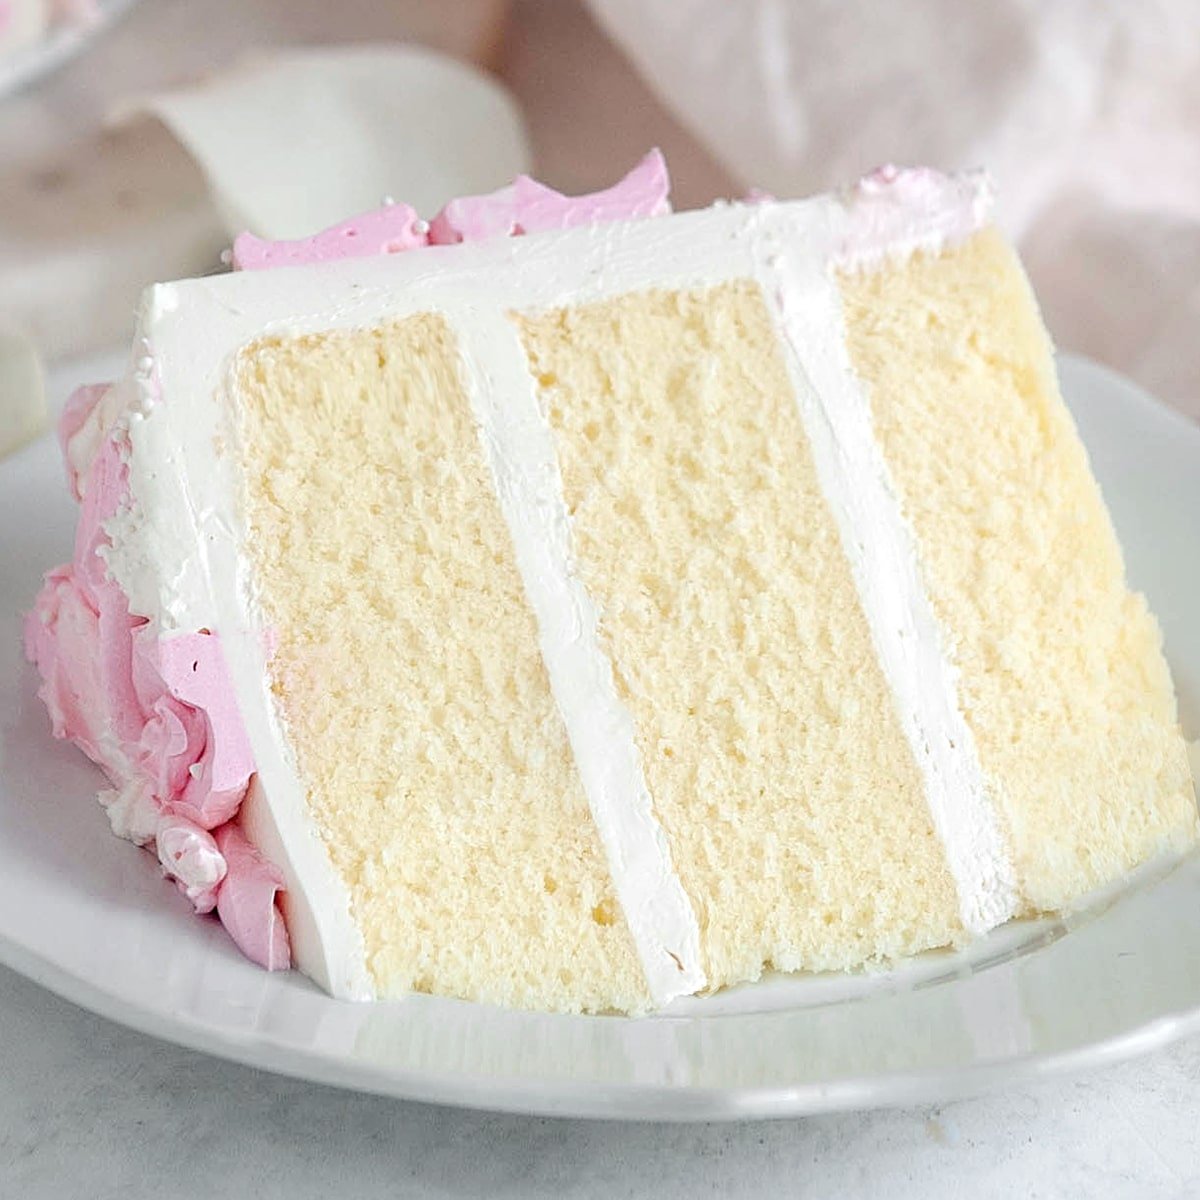
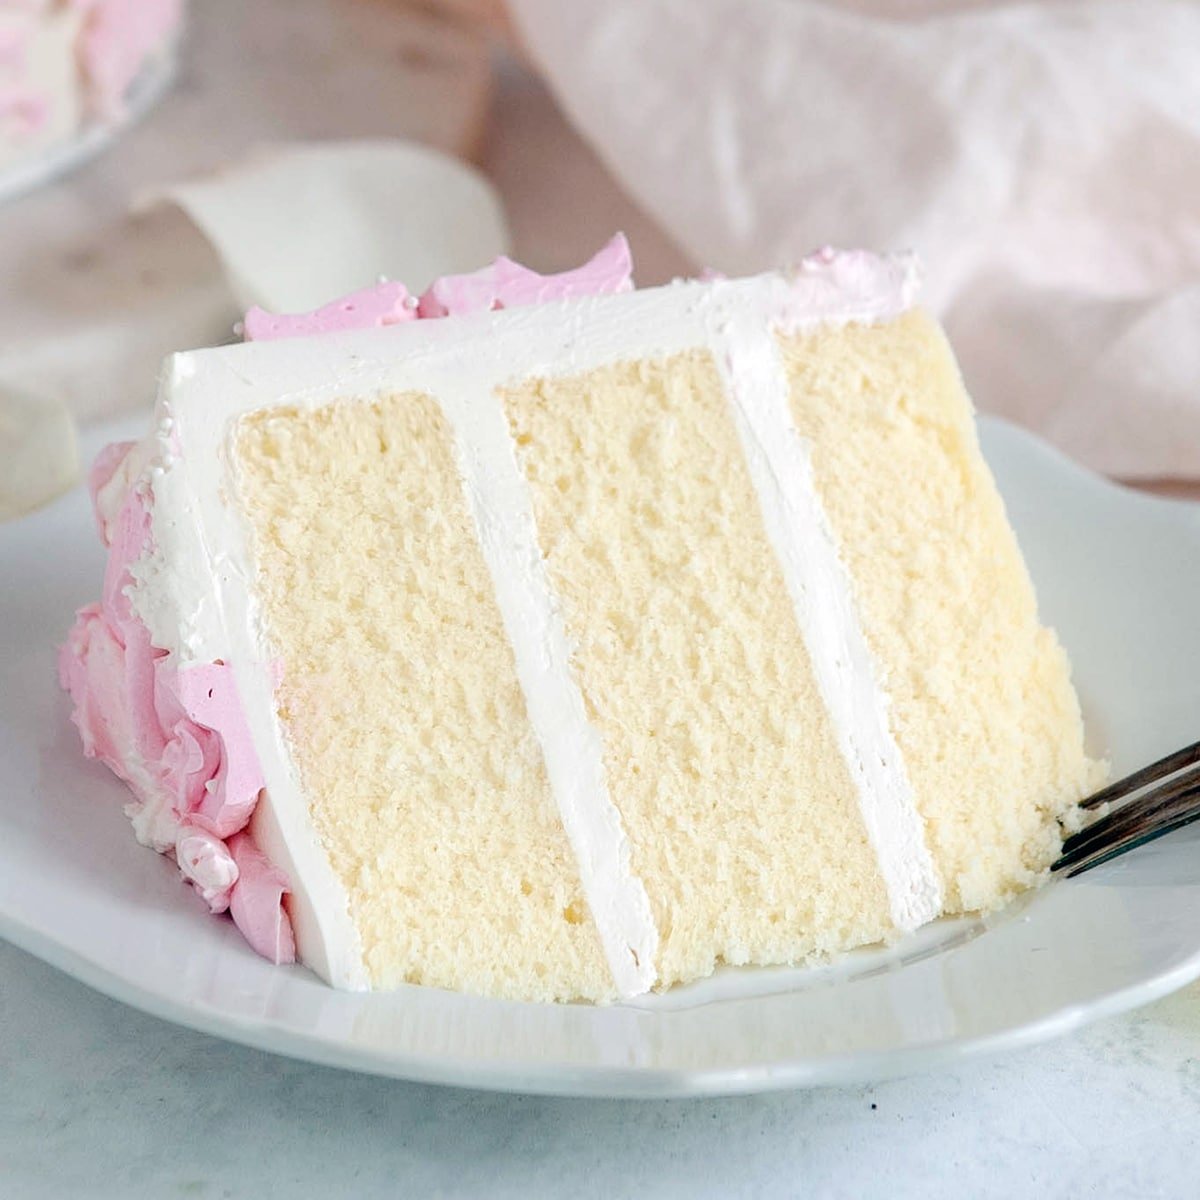
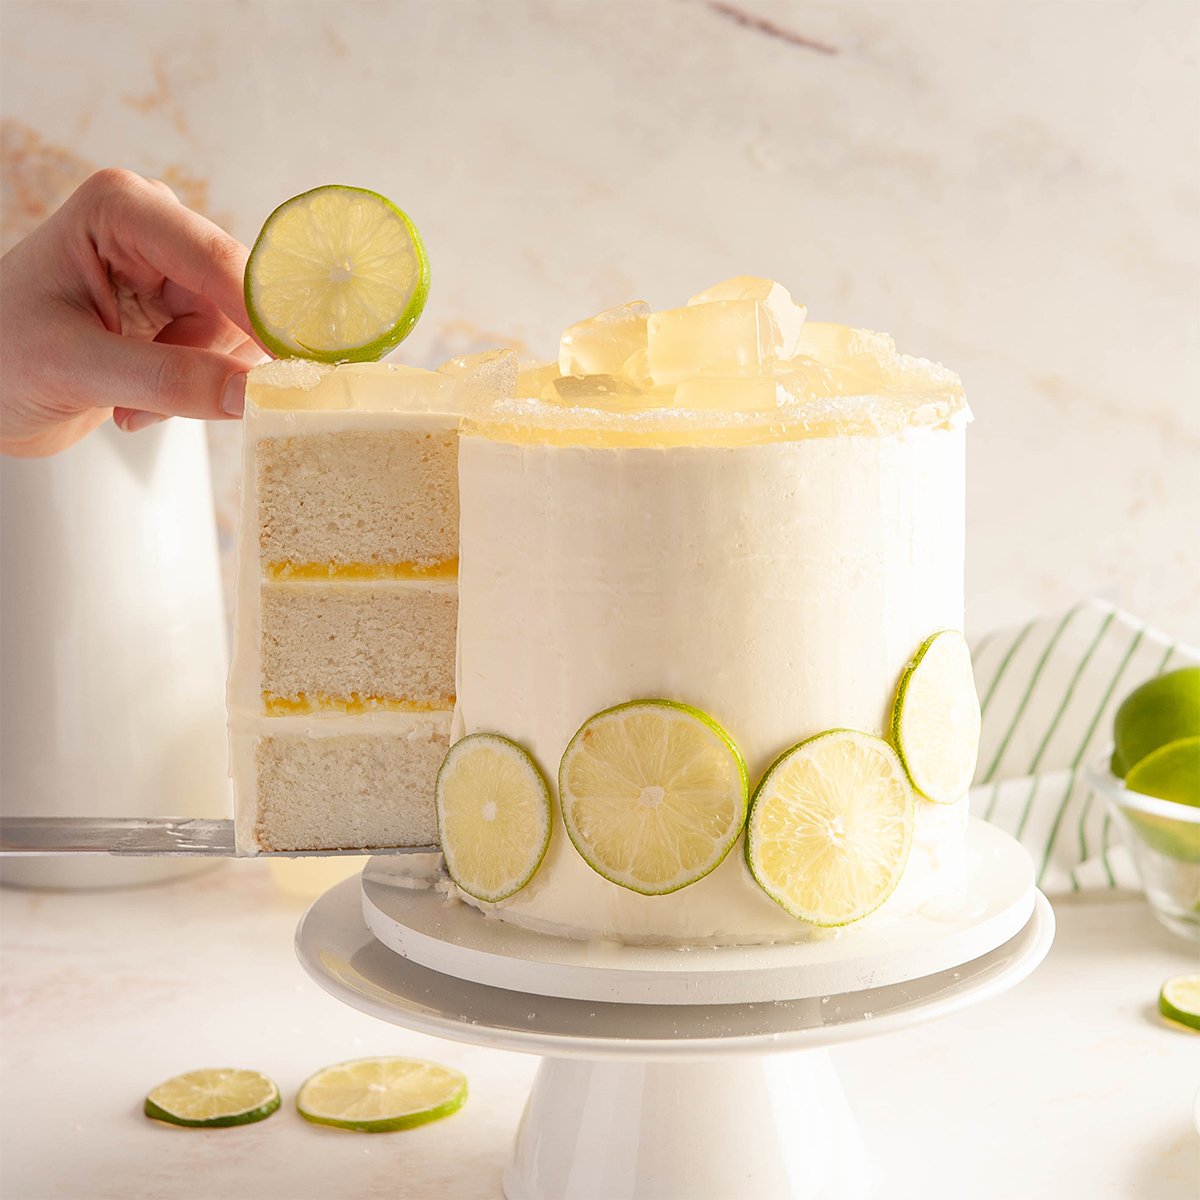
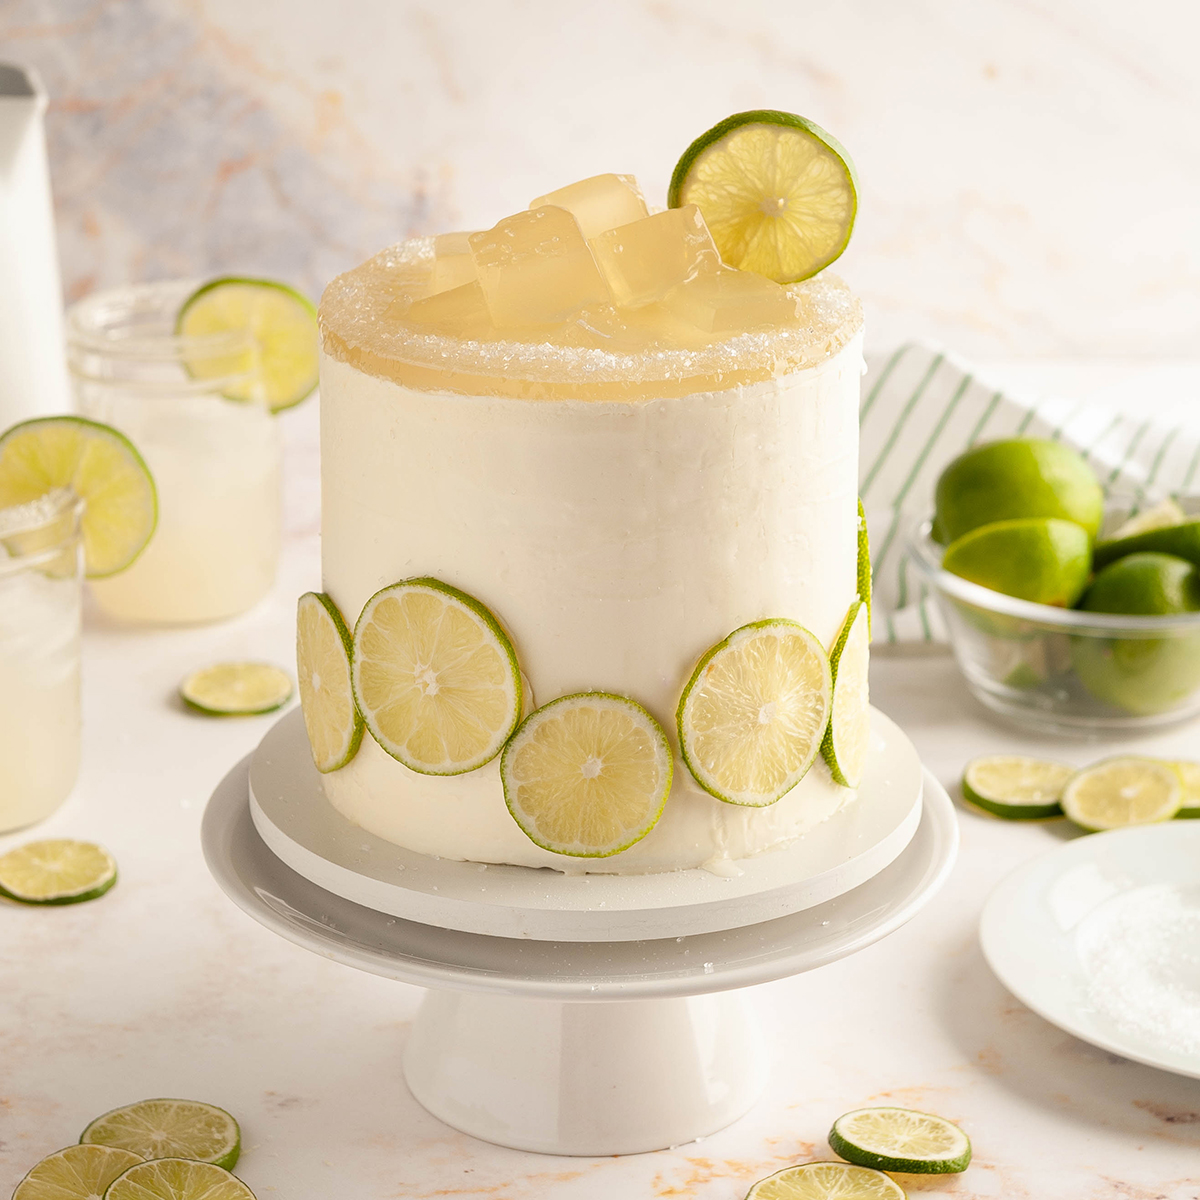
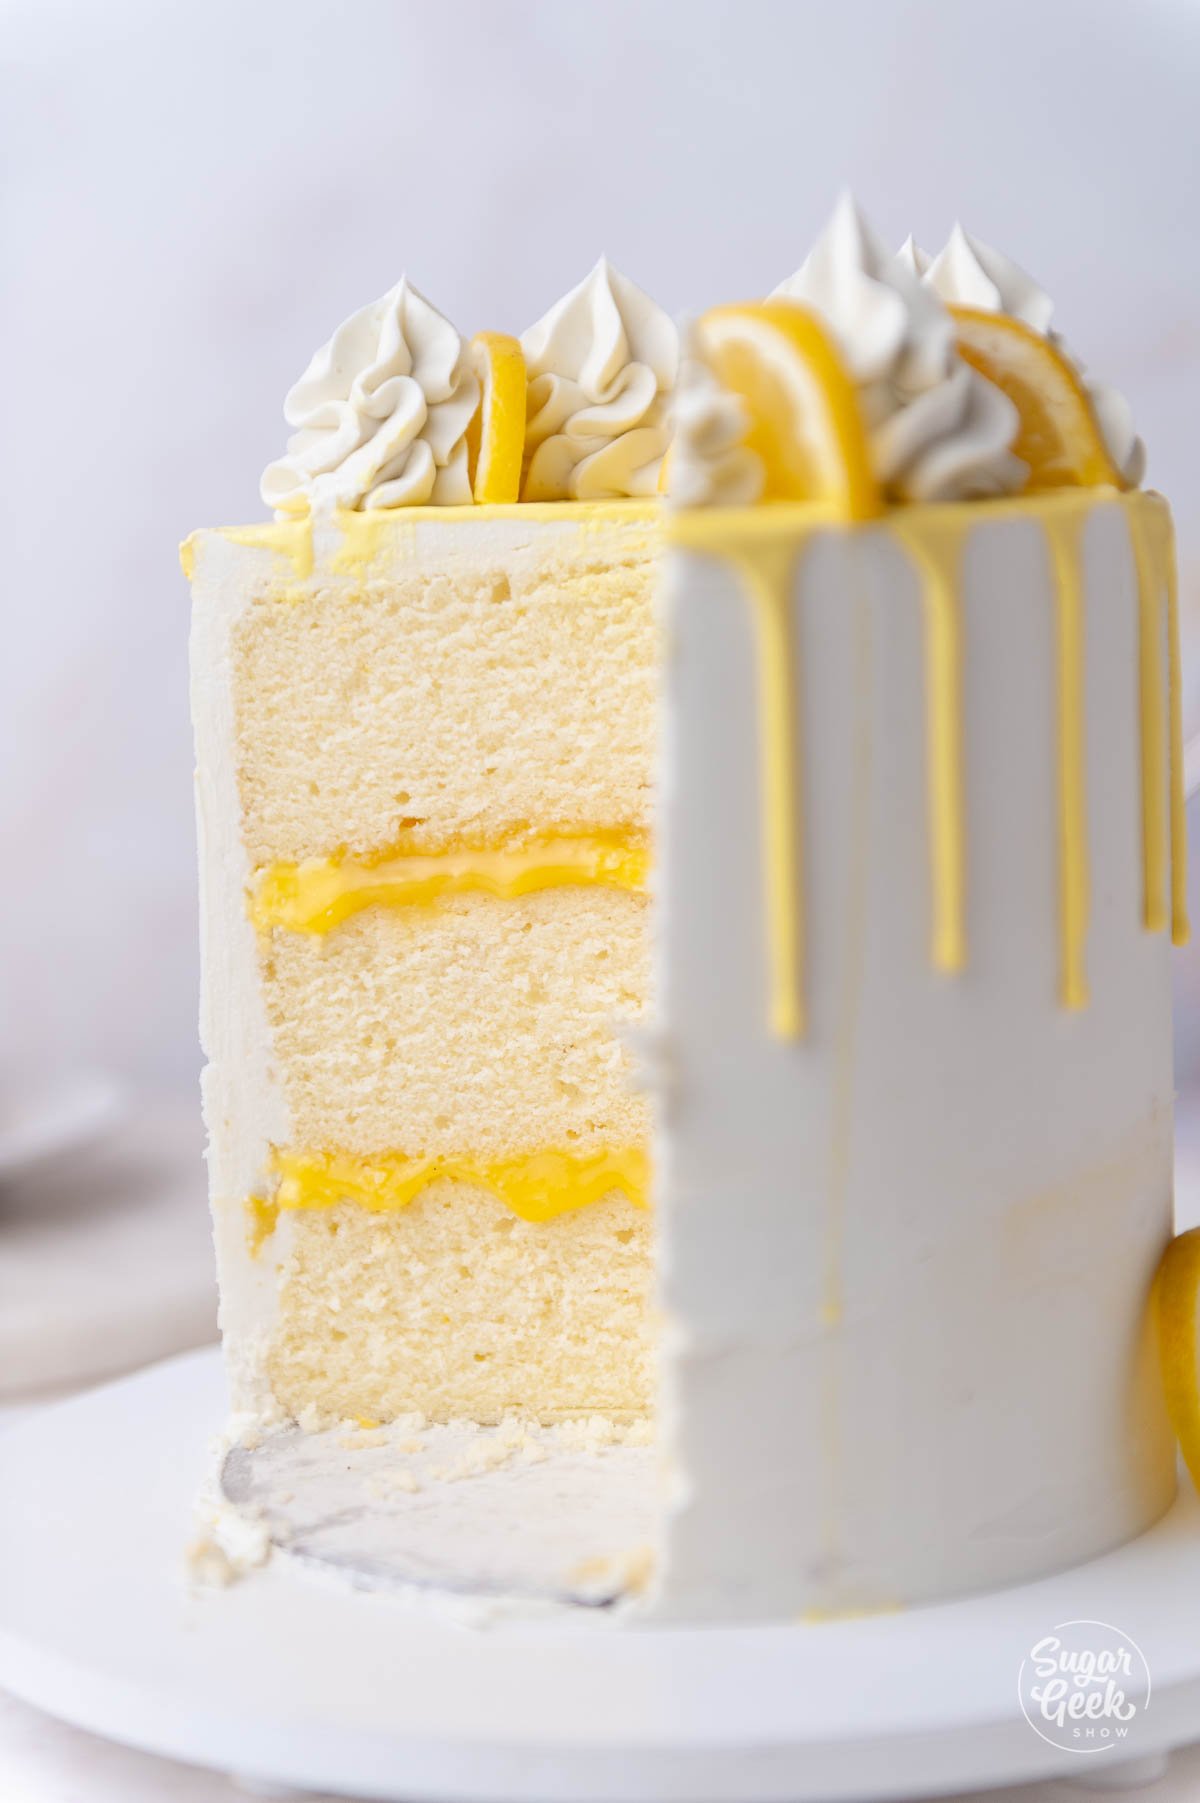
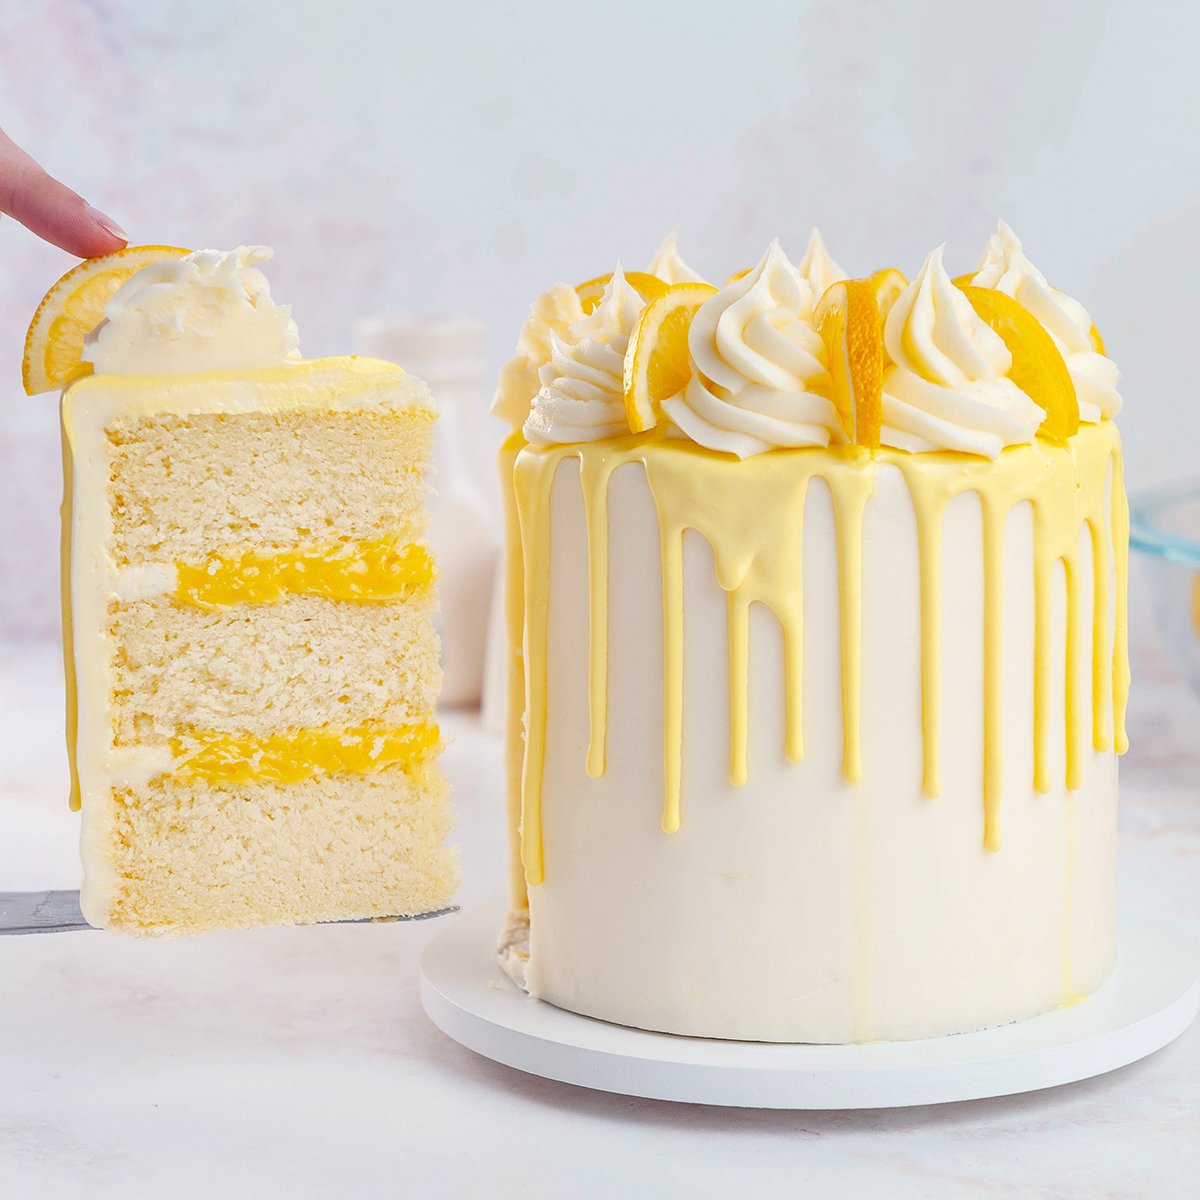
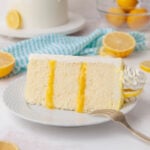
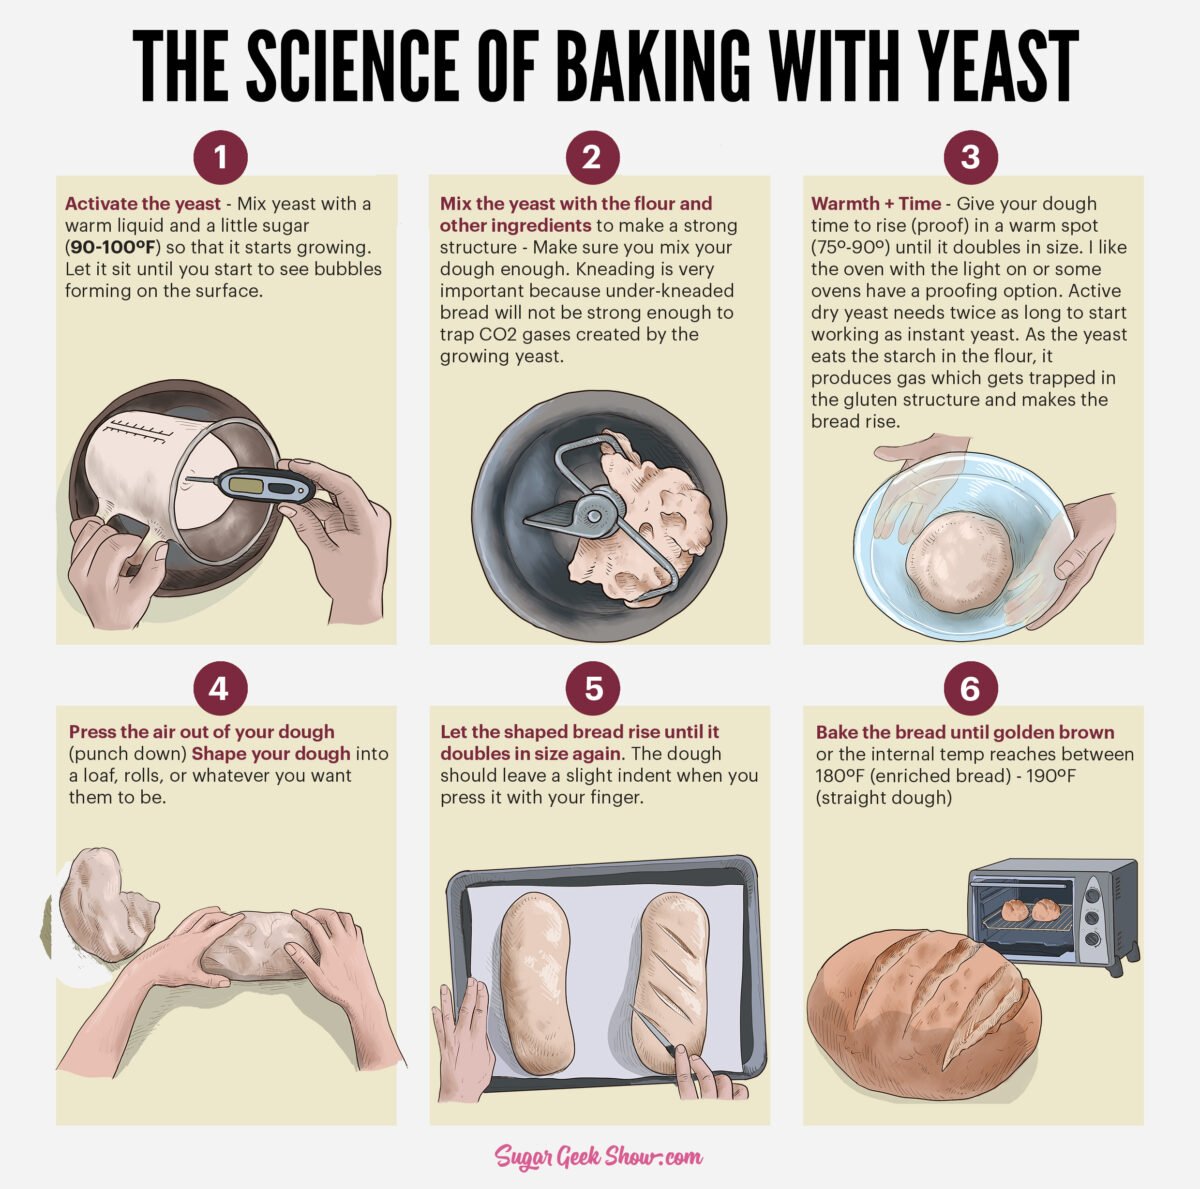
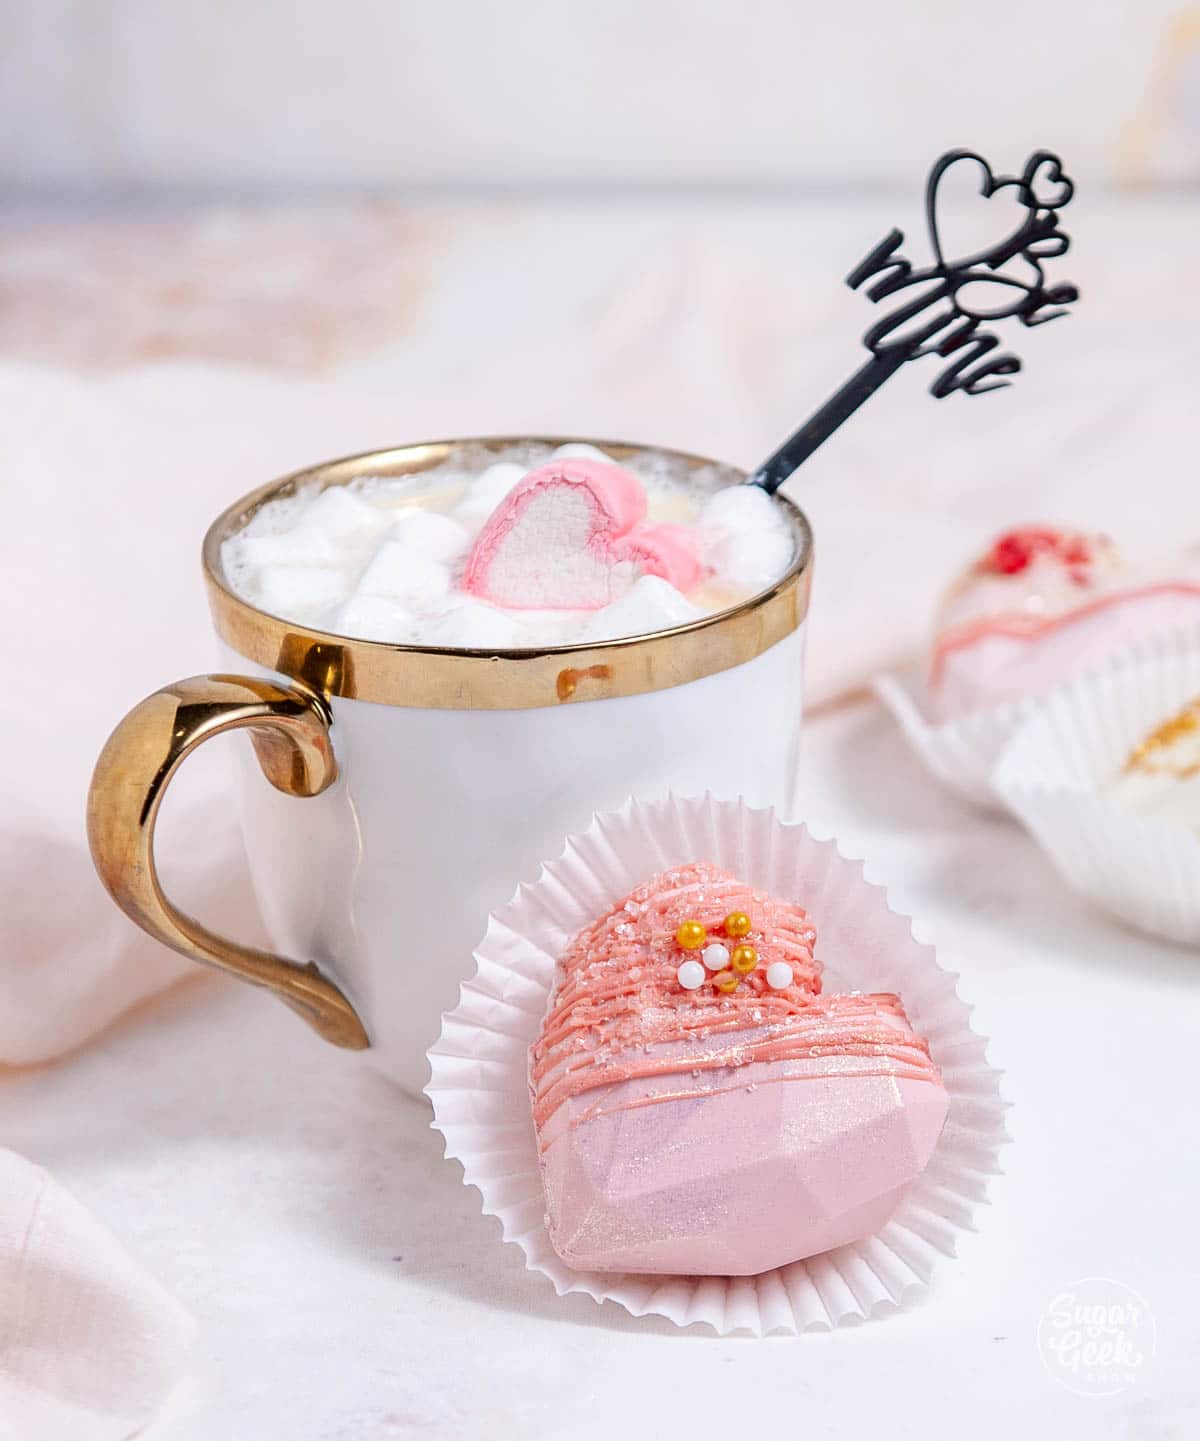
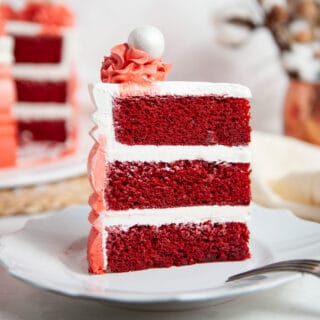
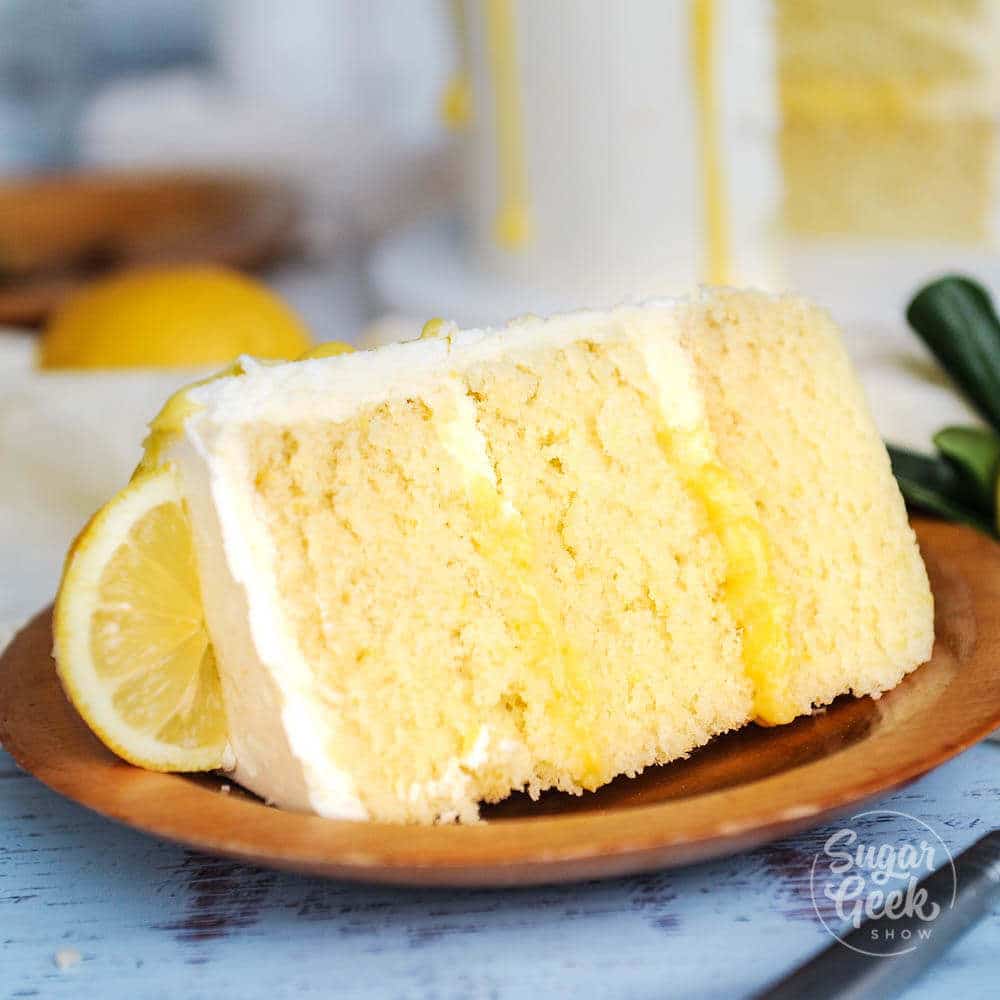
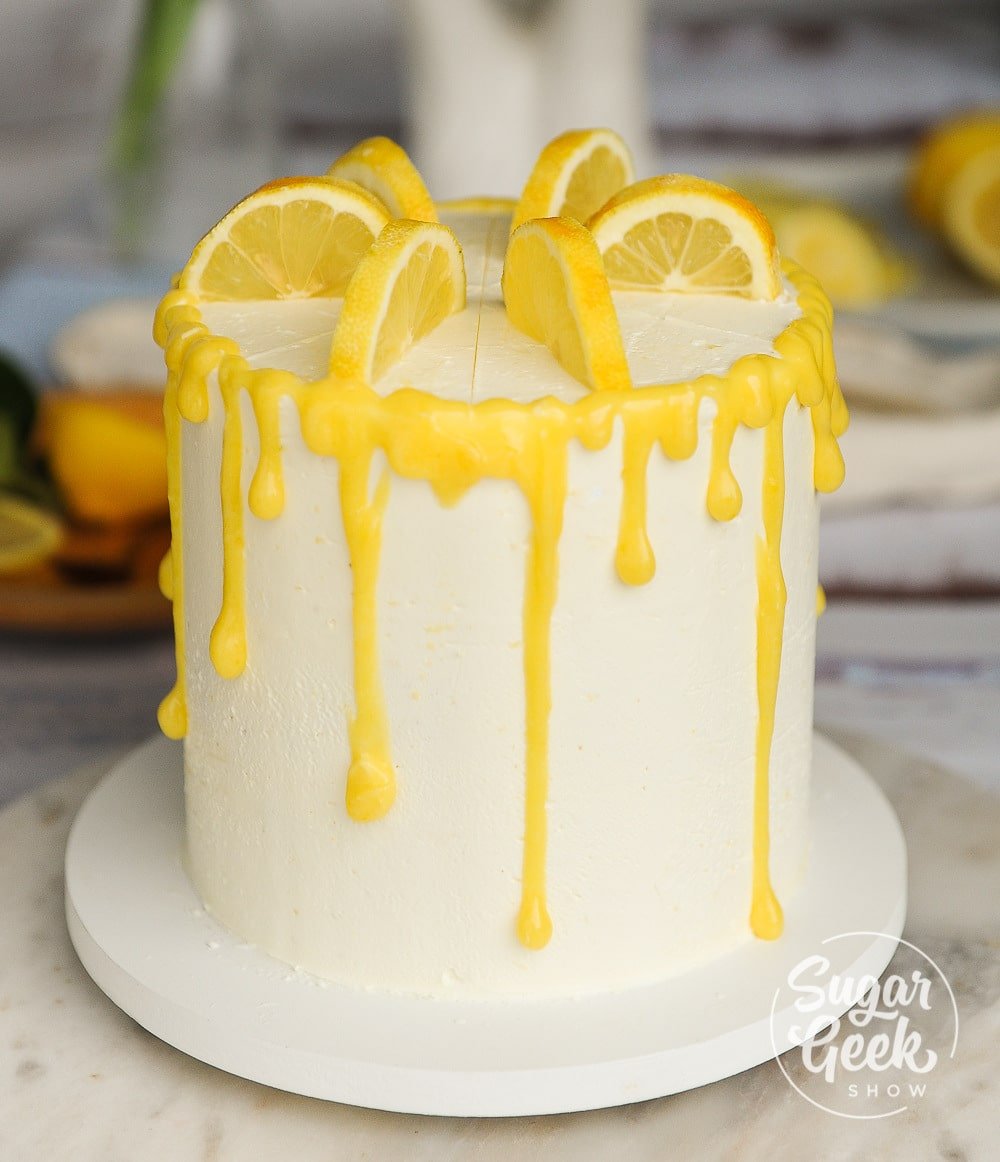
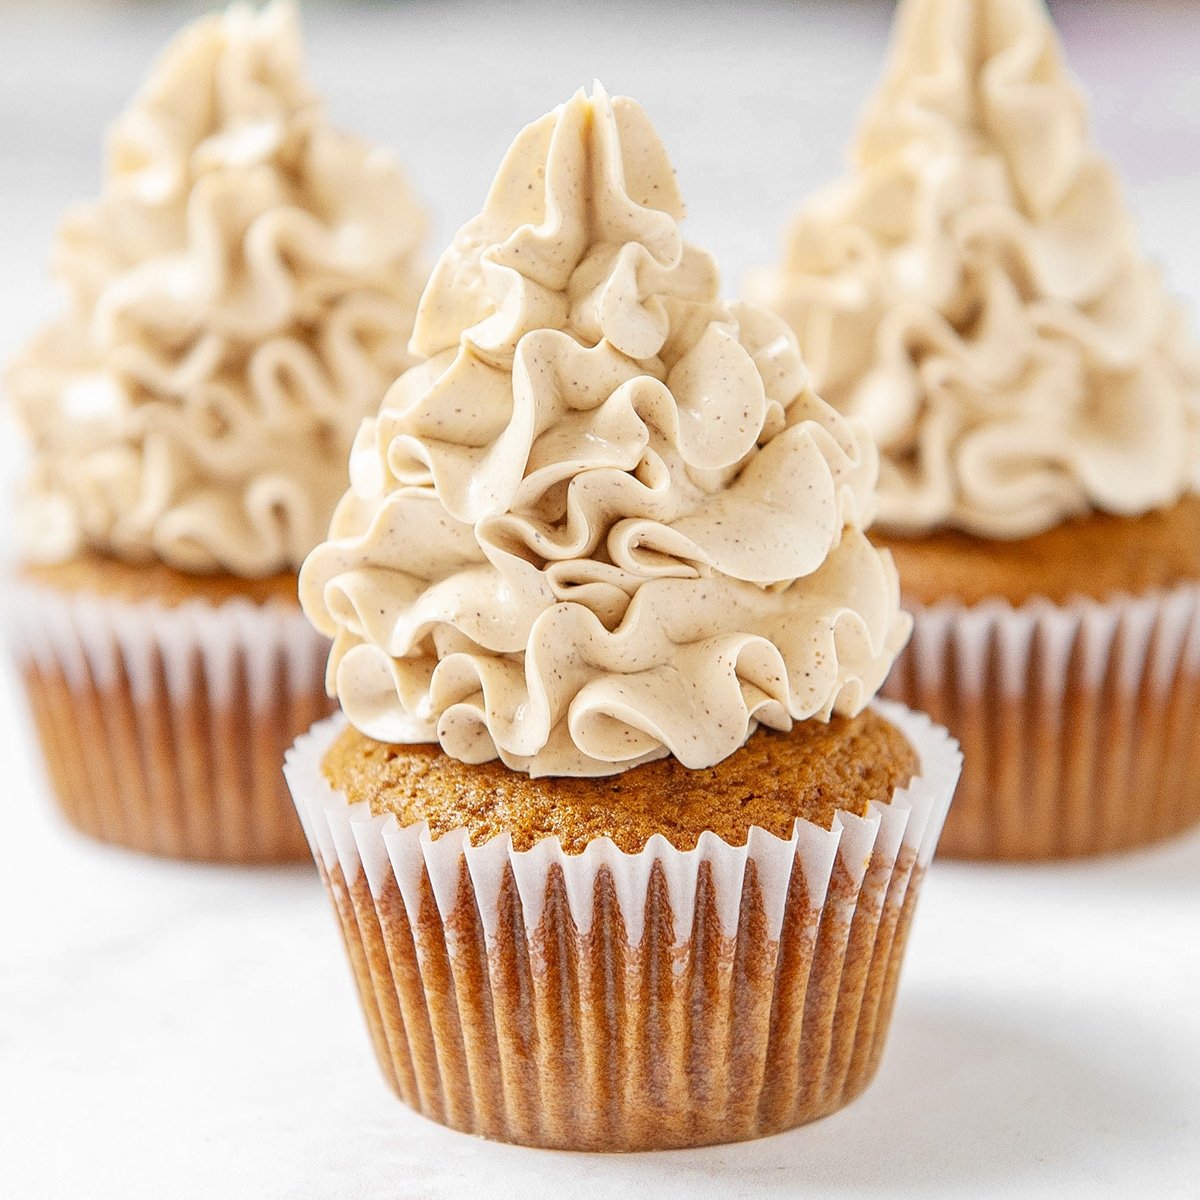
This tequila lime margarita cake is made with three layers of moist lime cake, filled with zesty lime curd and topped with silky smooth buttercream and a boozy margarita gelatin on top! This is the PERFECT cake for Cinco de Mayo!
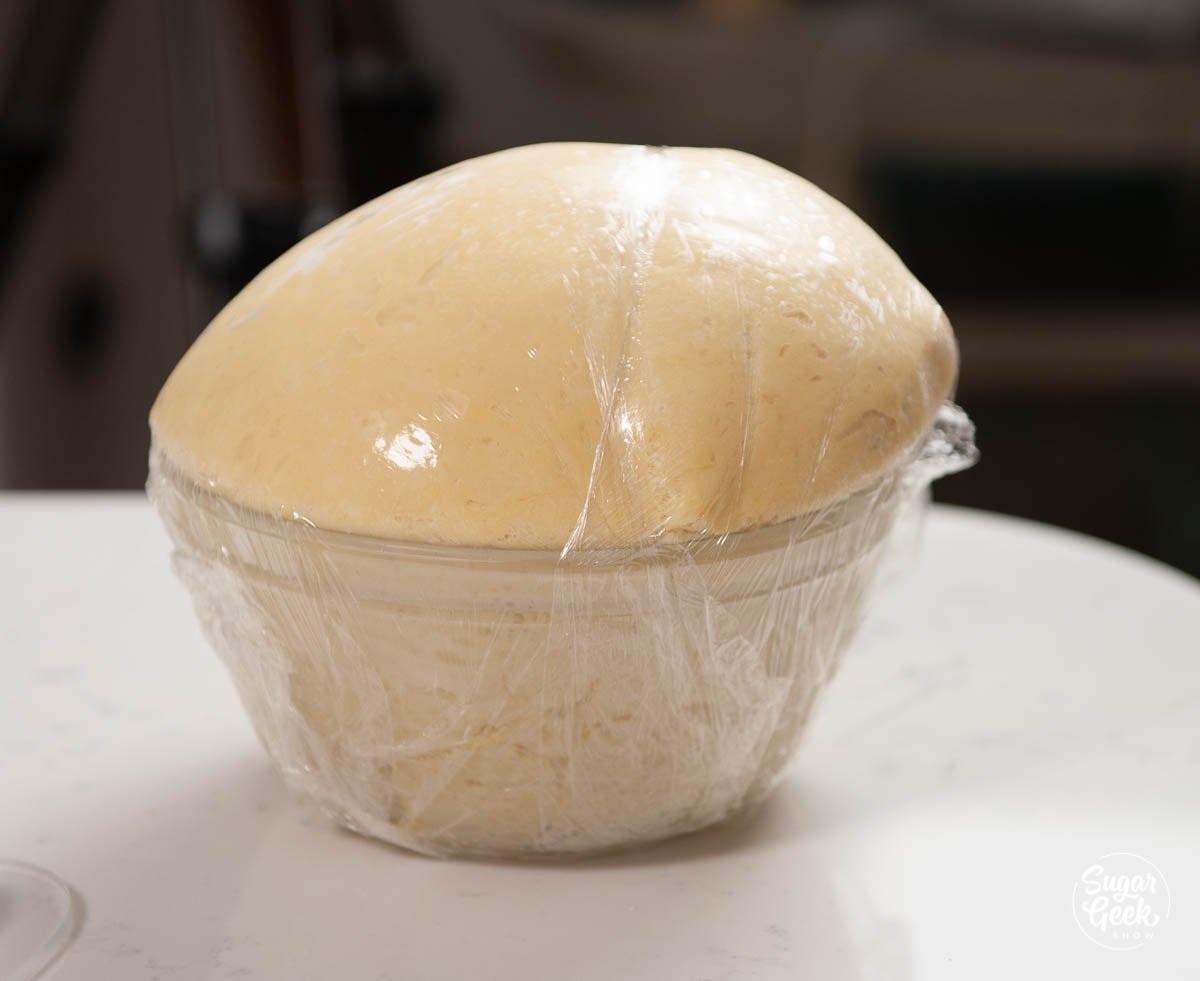
This recipe takes some time to make but it's TOTALLY worth it! I like to make the lime curd, gelatin, and cakes one day before so they are all ready to go when I need them.
What's in this blog post
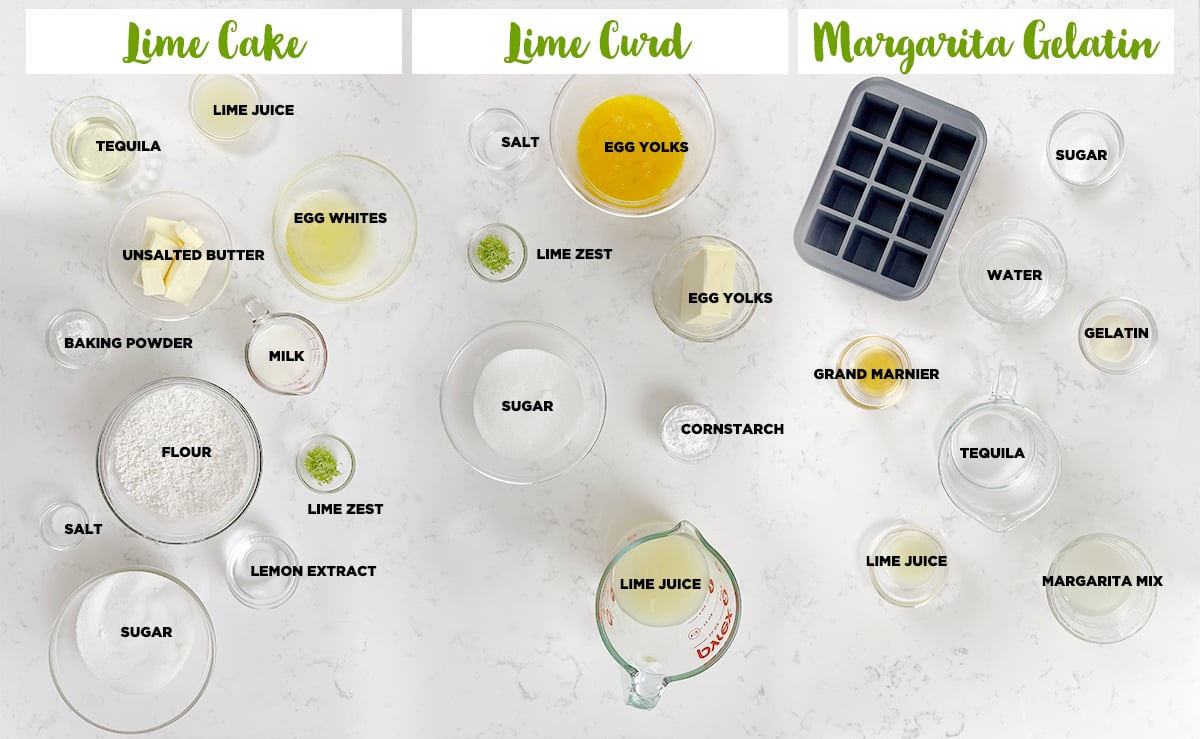
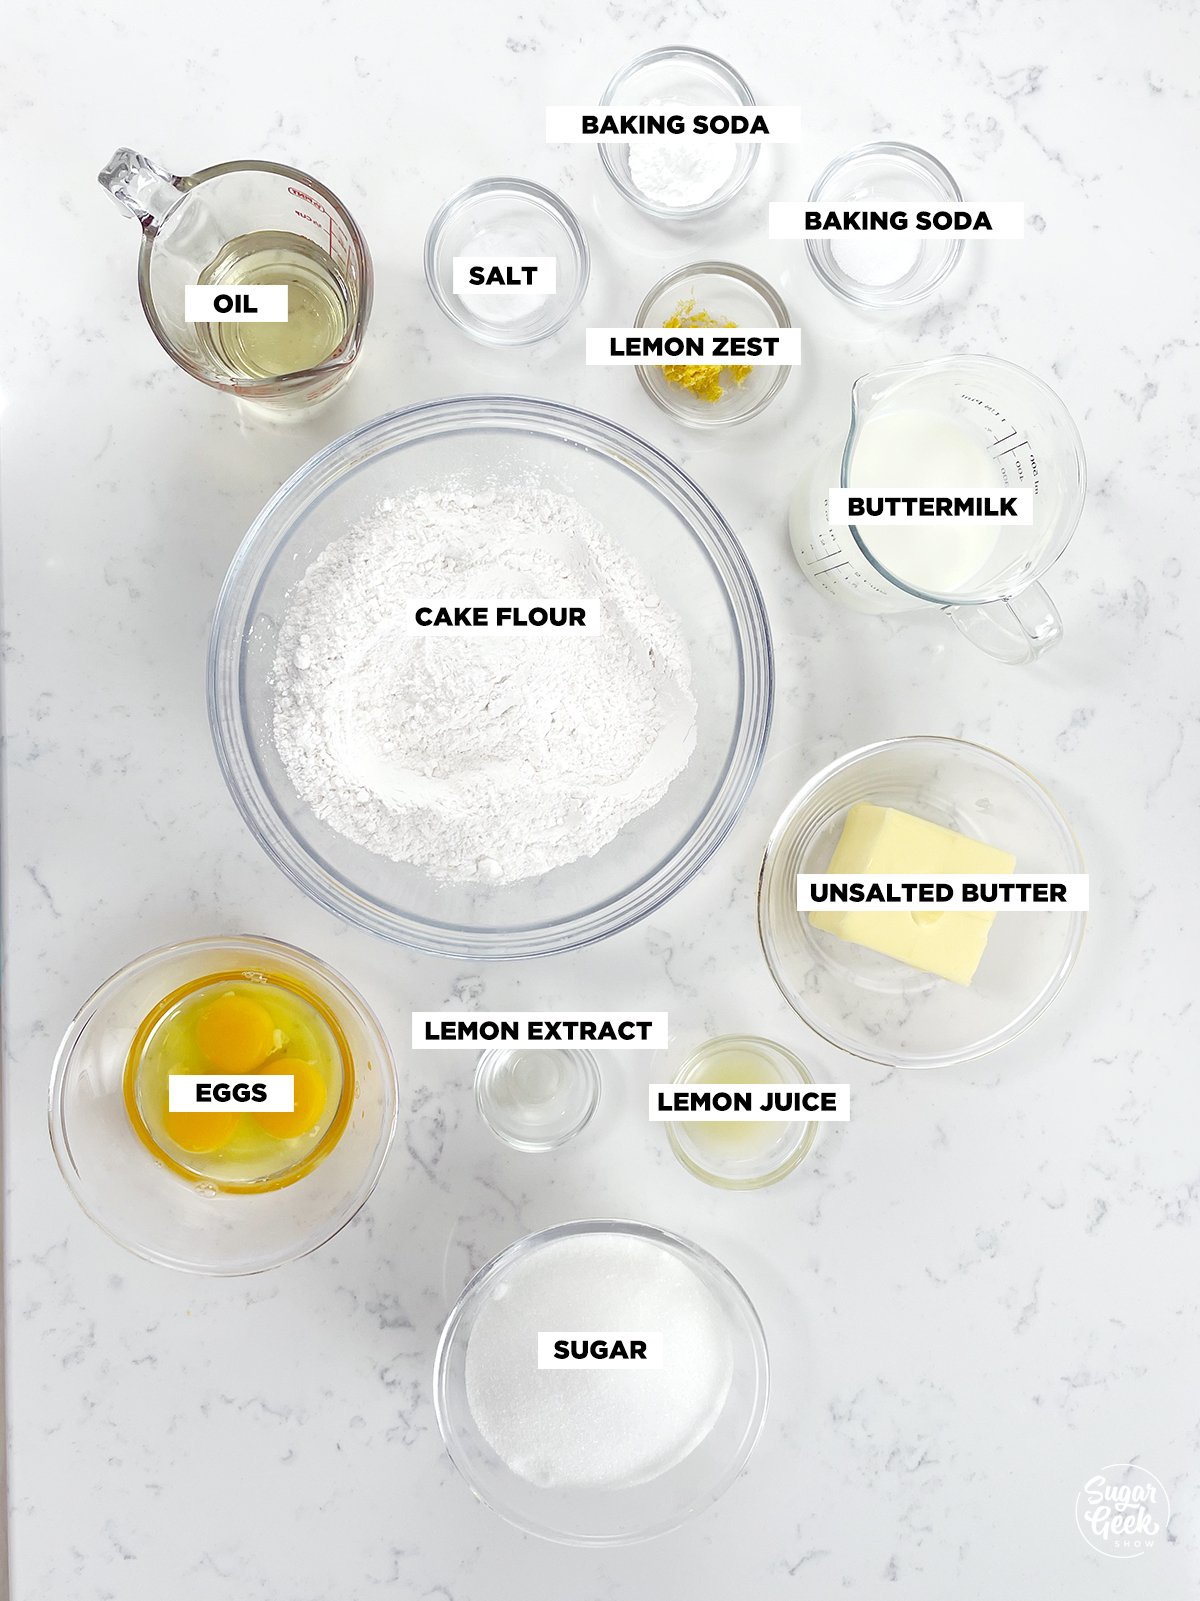
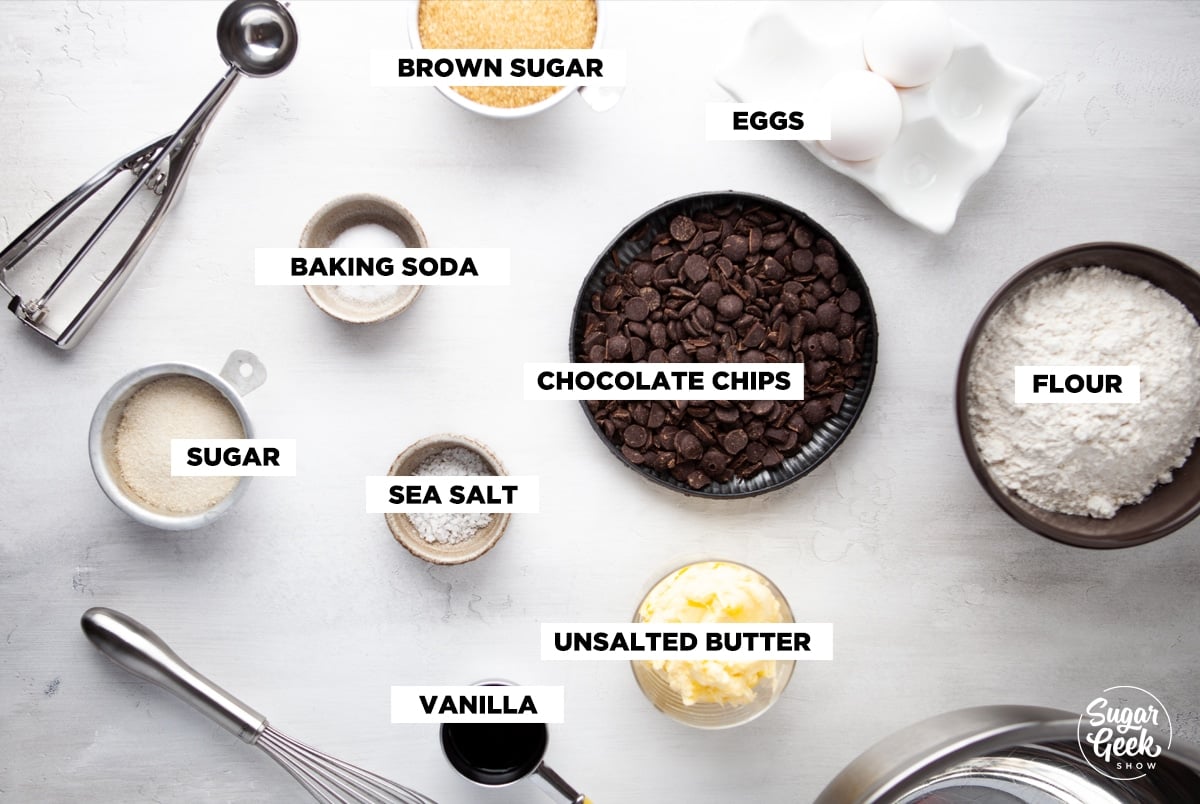
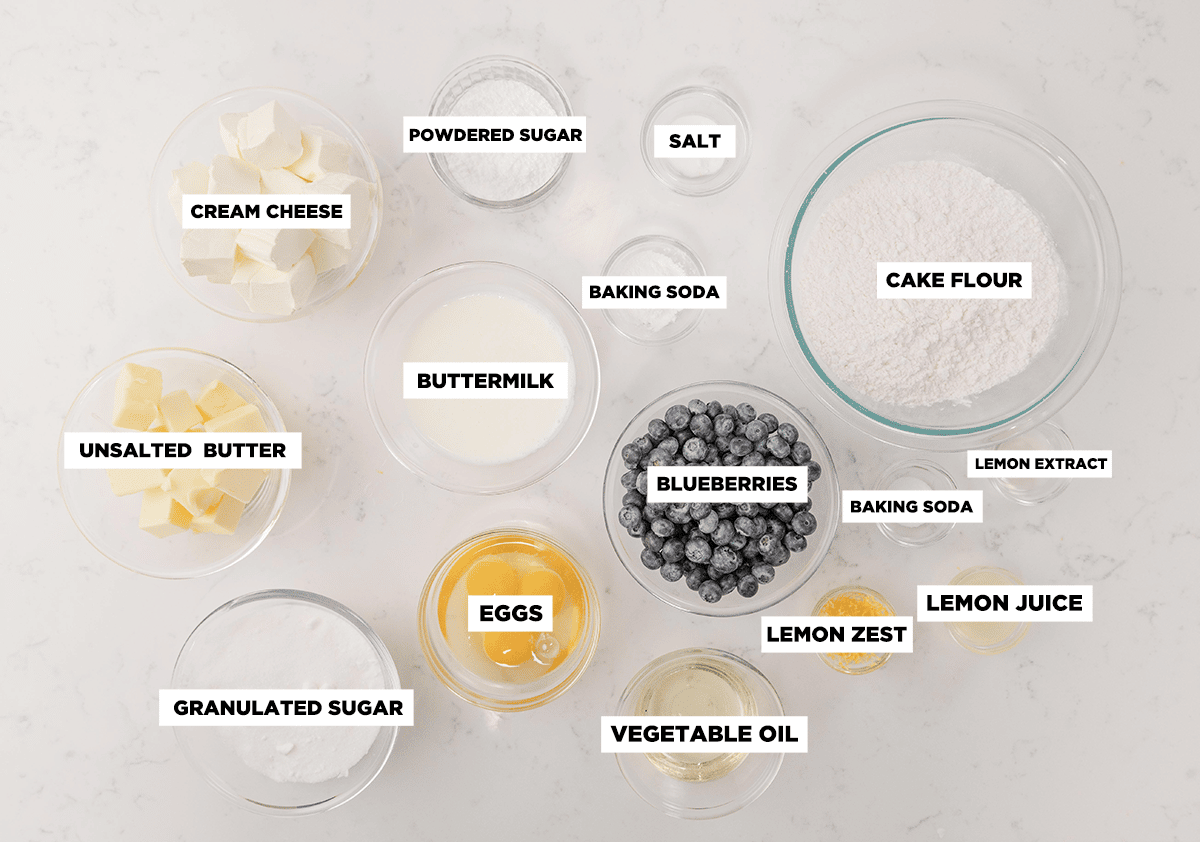
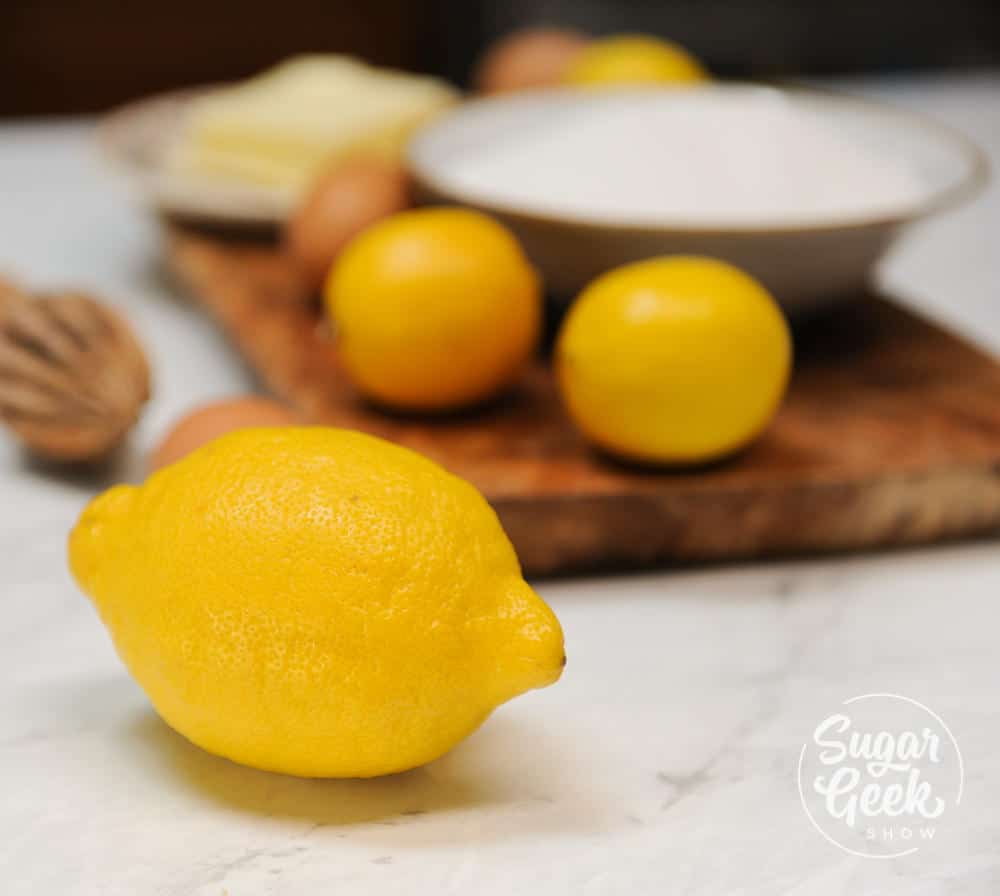
Margarita cake ingredients
I love turning drinks into cakes! I wanted to stay true to that delicious margarita flavor and incorporate as much tequila and lemon-lime flavor as possible so I used Blanco Espolon tequila because I absolutely love the flavor but you can use whatever tequila you like best.
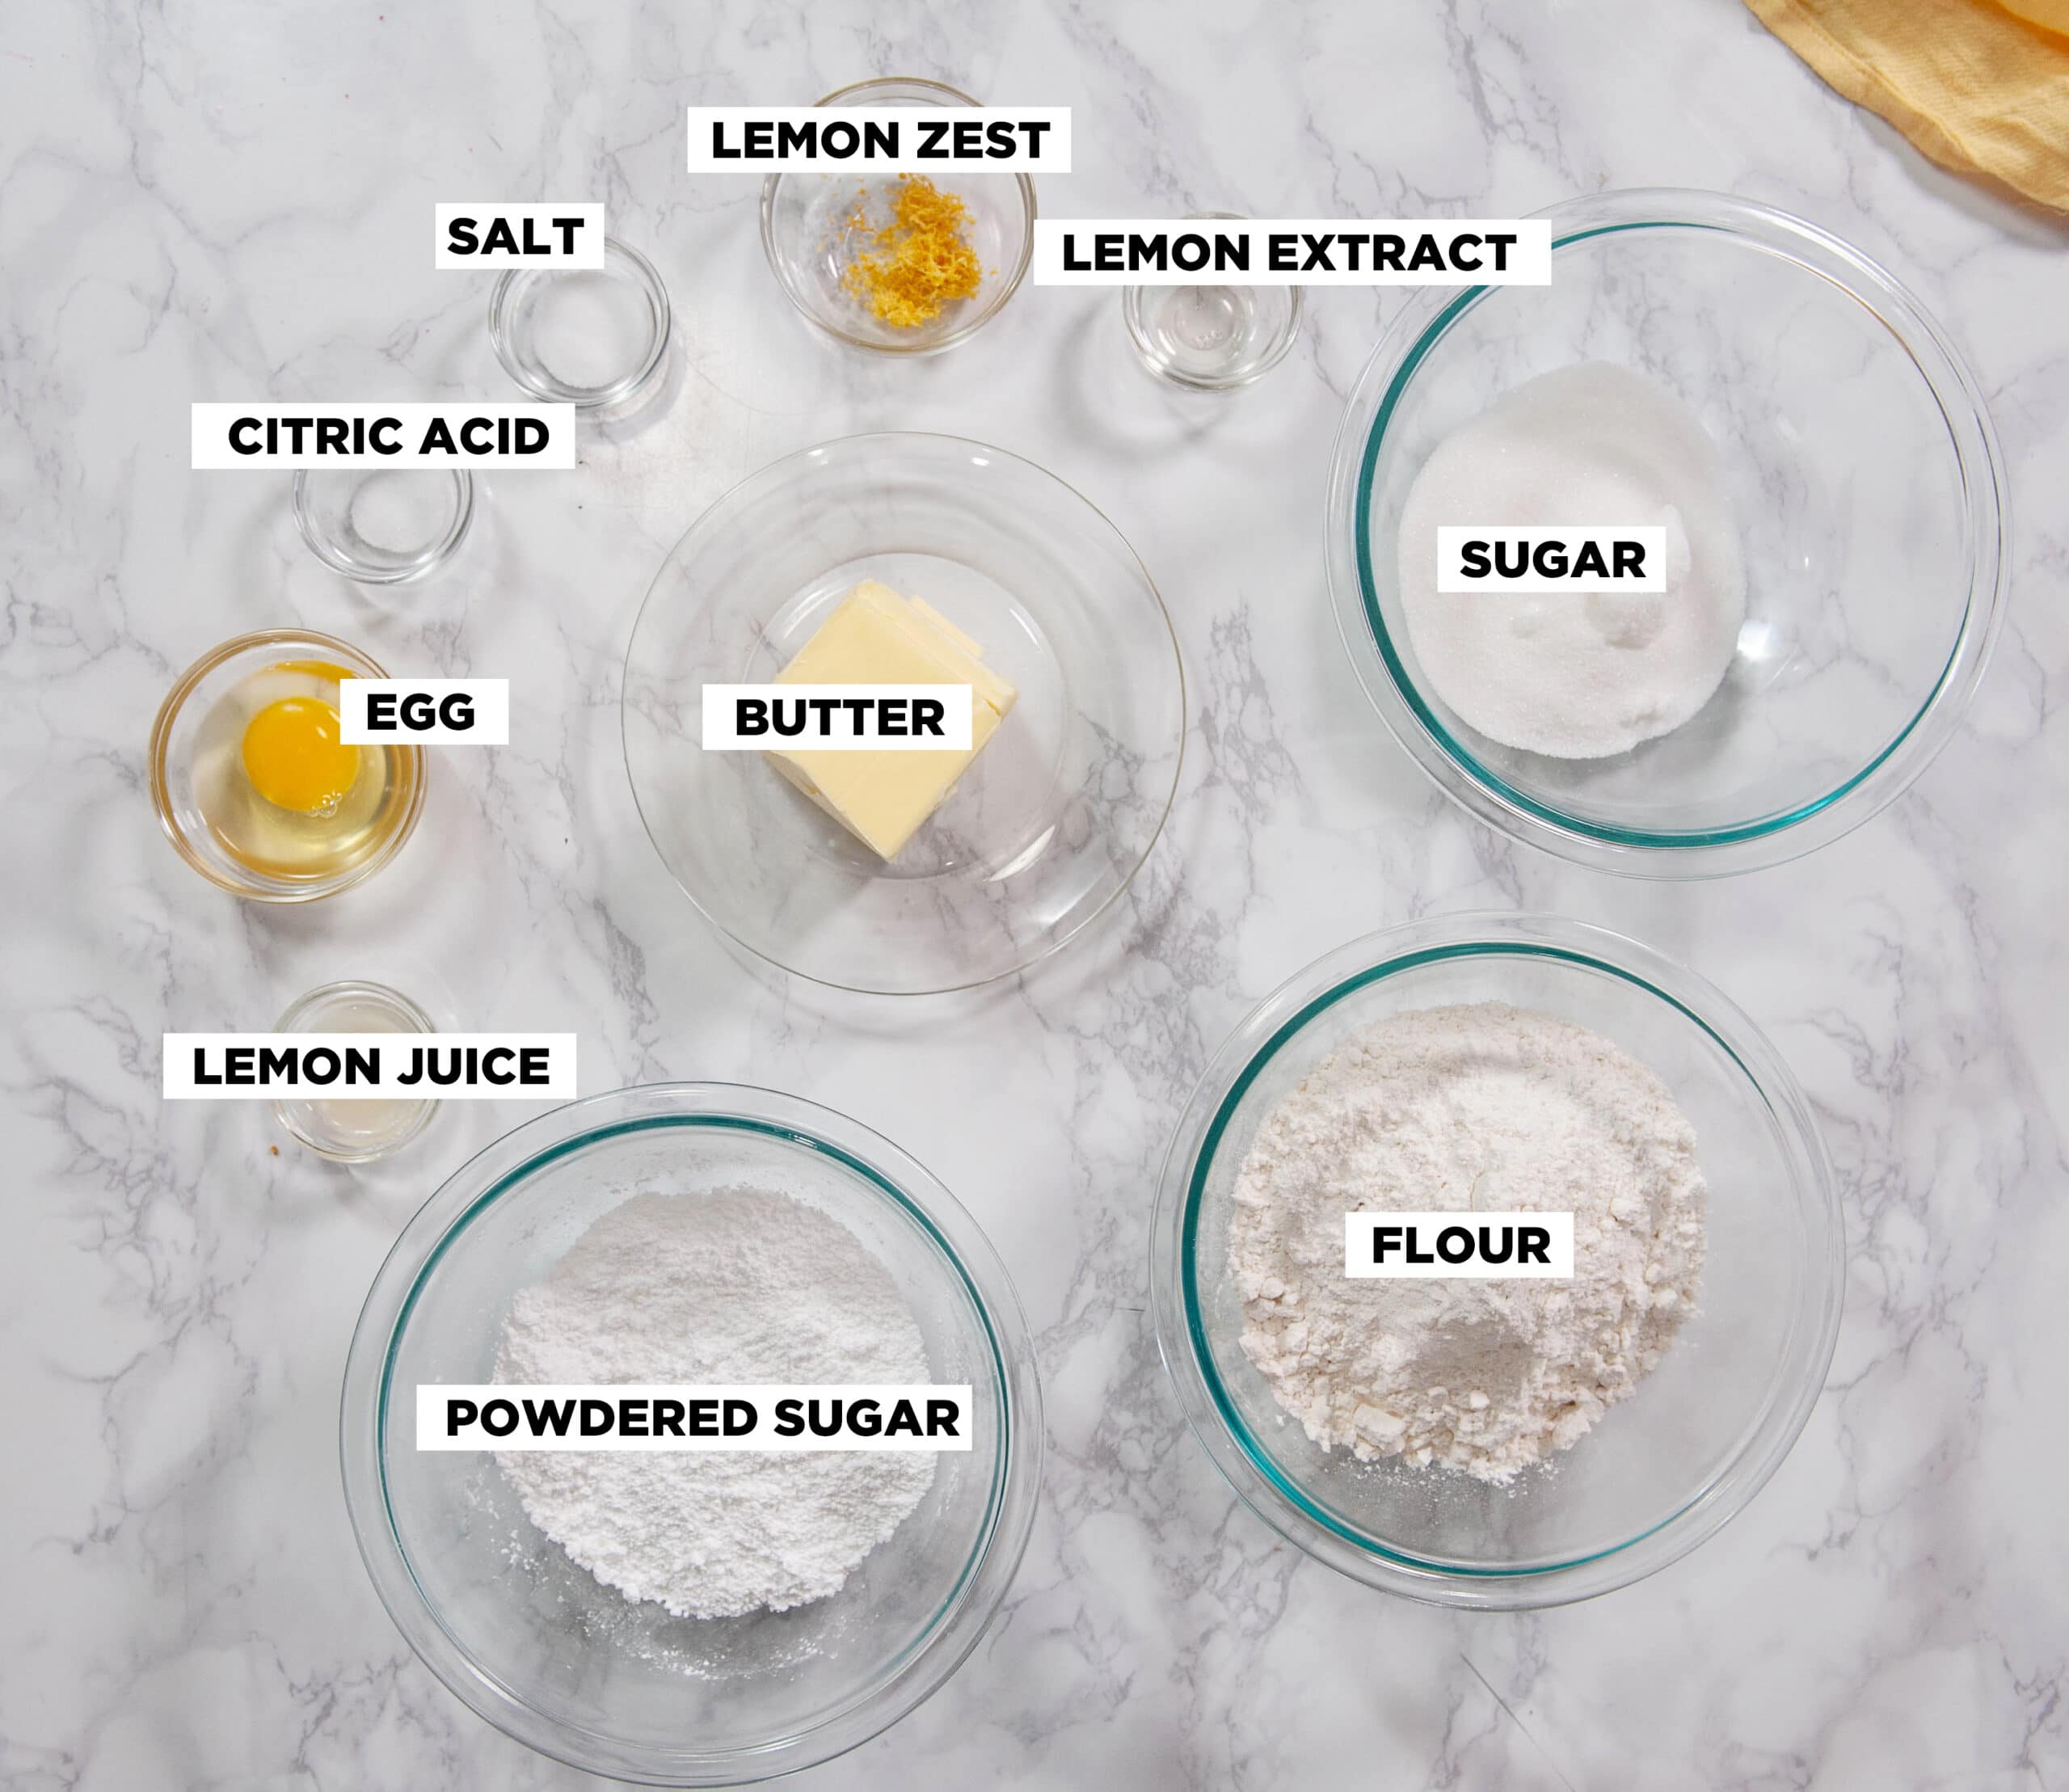
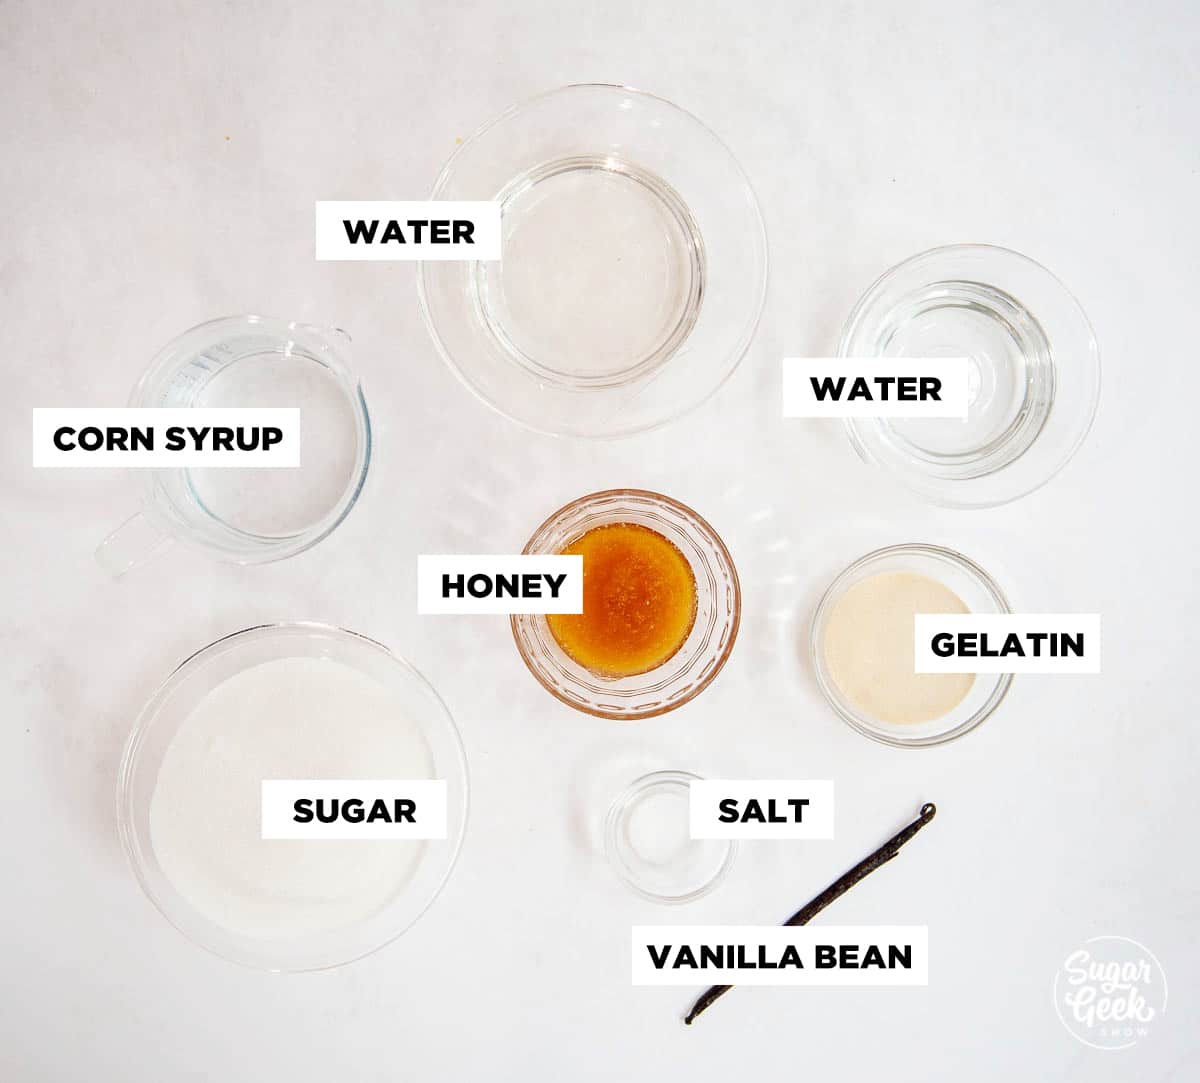
This might look like a ton of ingredients but I have grouped the different ingredients into the lime cake, the lime curd, and the margarita gelatin layer. I highly recommend making the curd and gelatin ahead of time so they have time to cool down.
How to make the lime cake
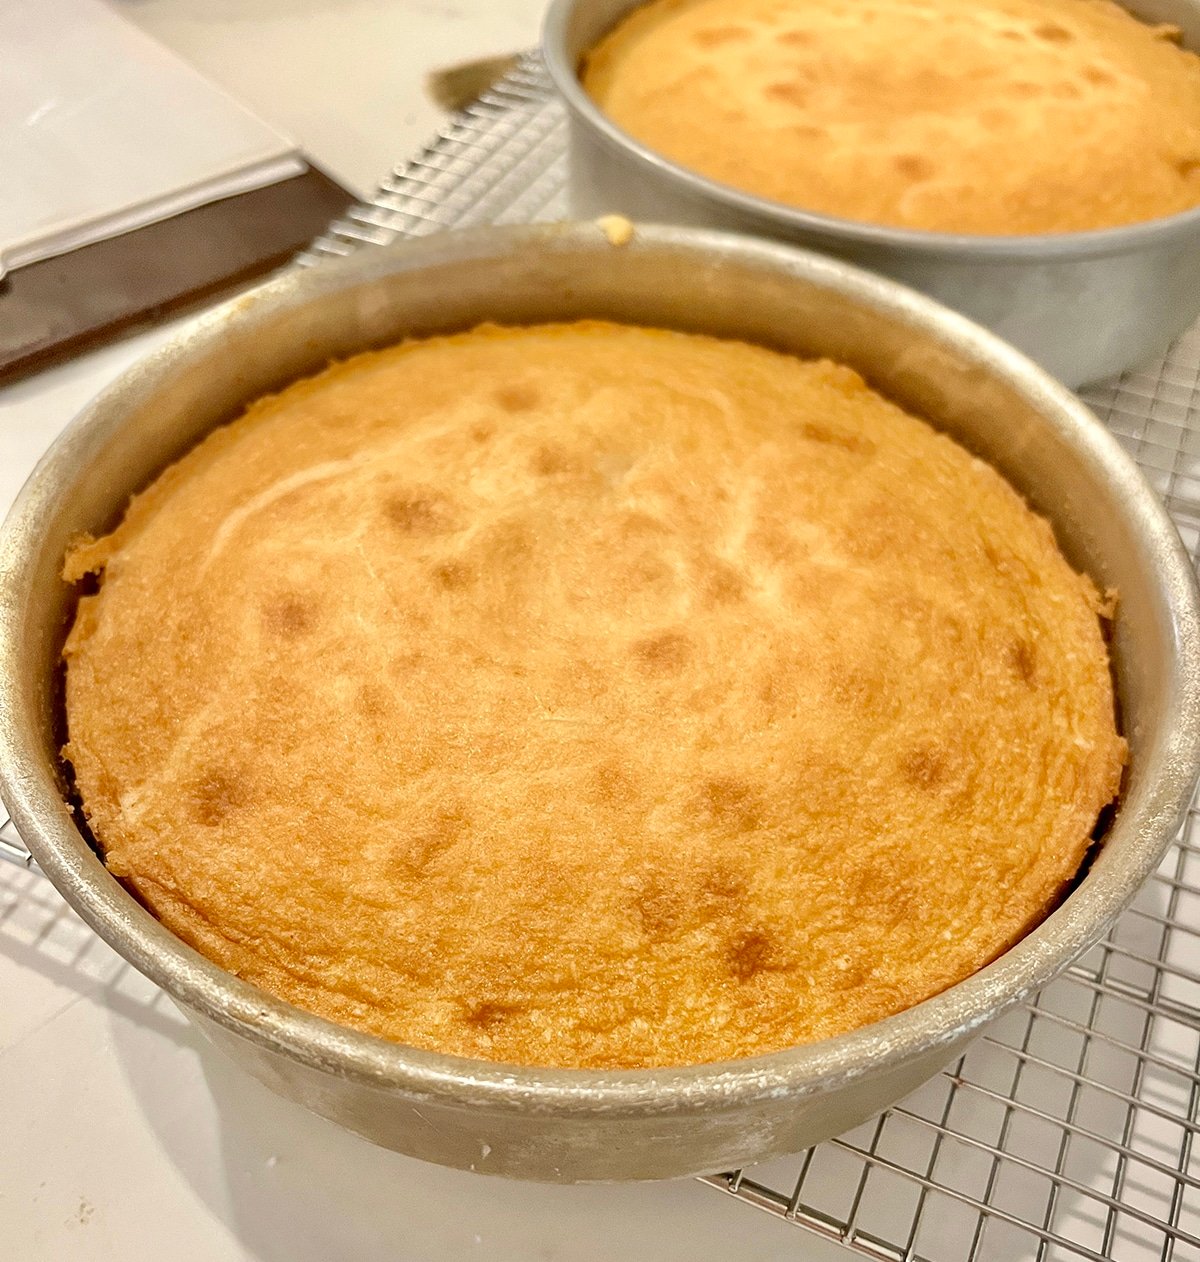
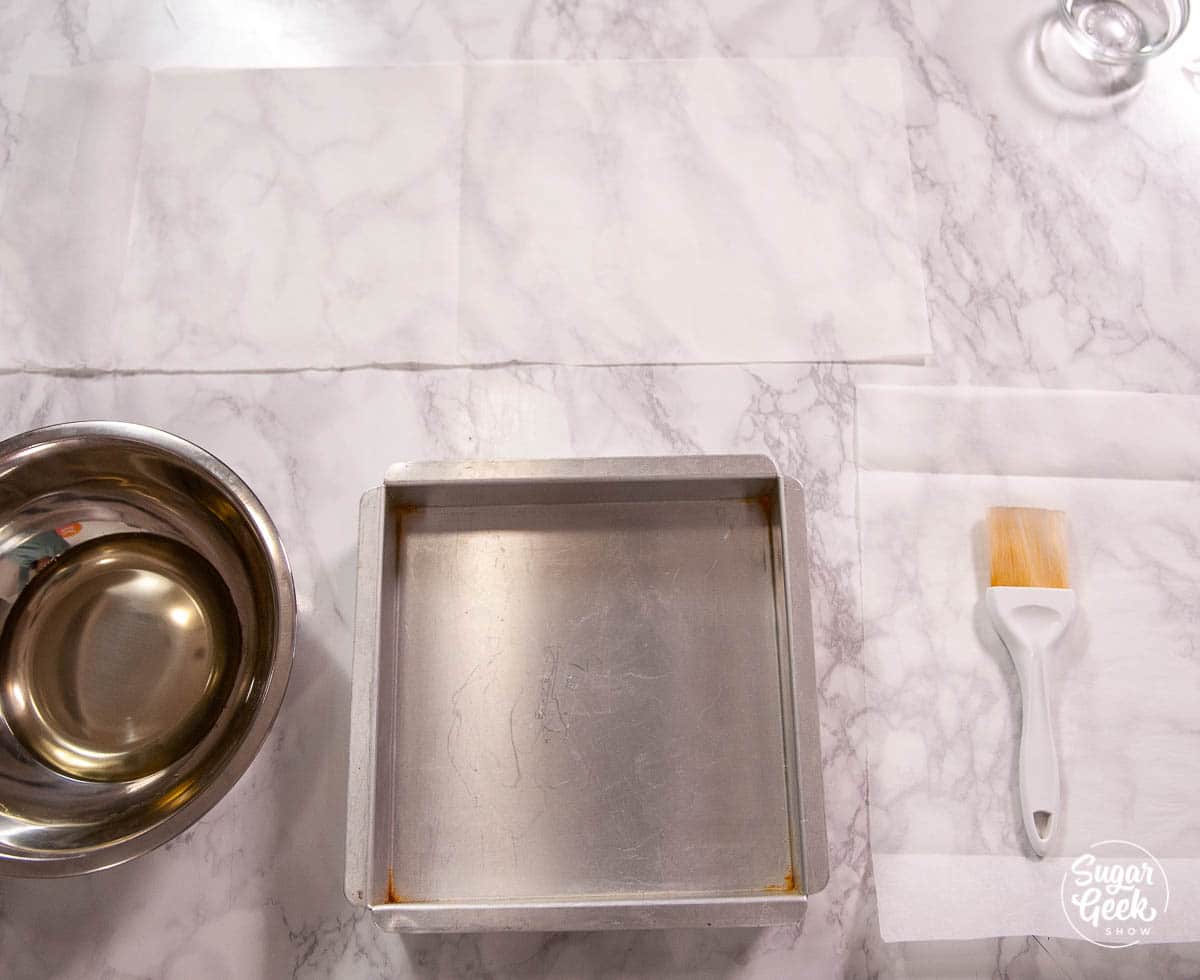
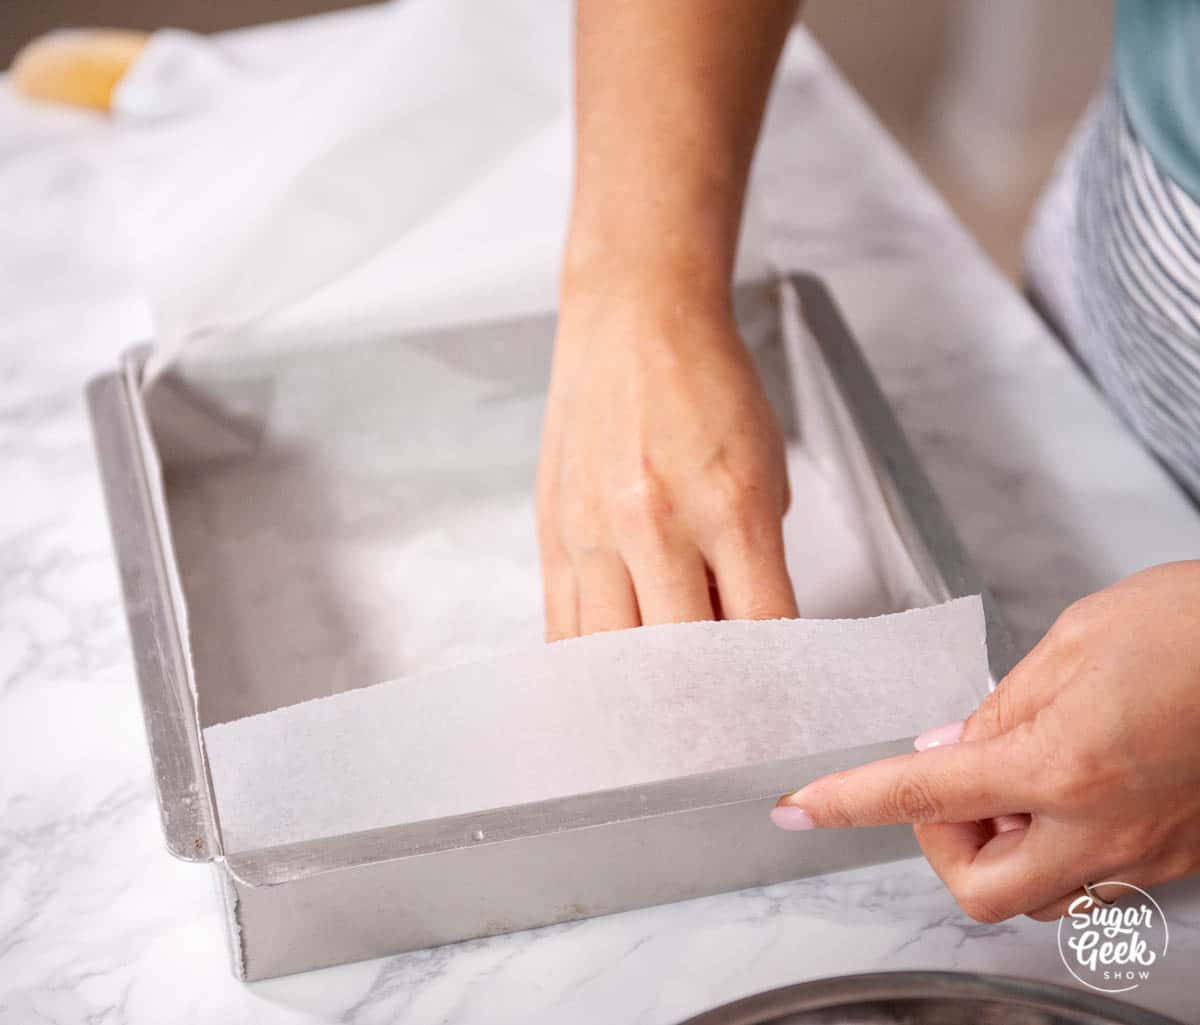
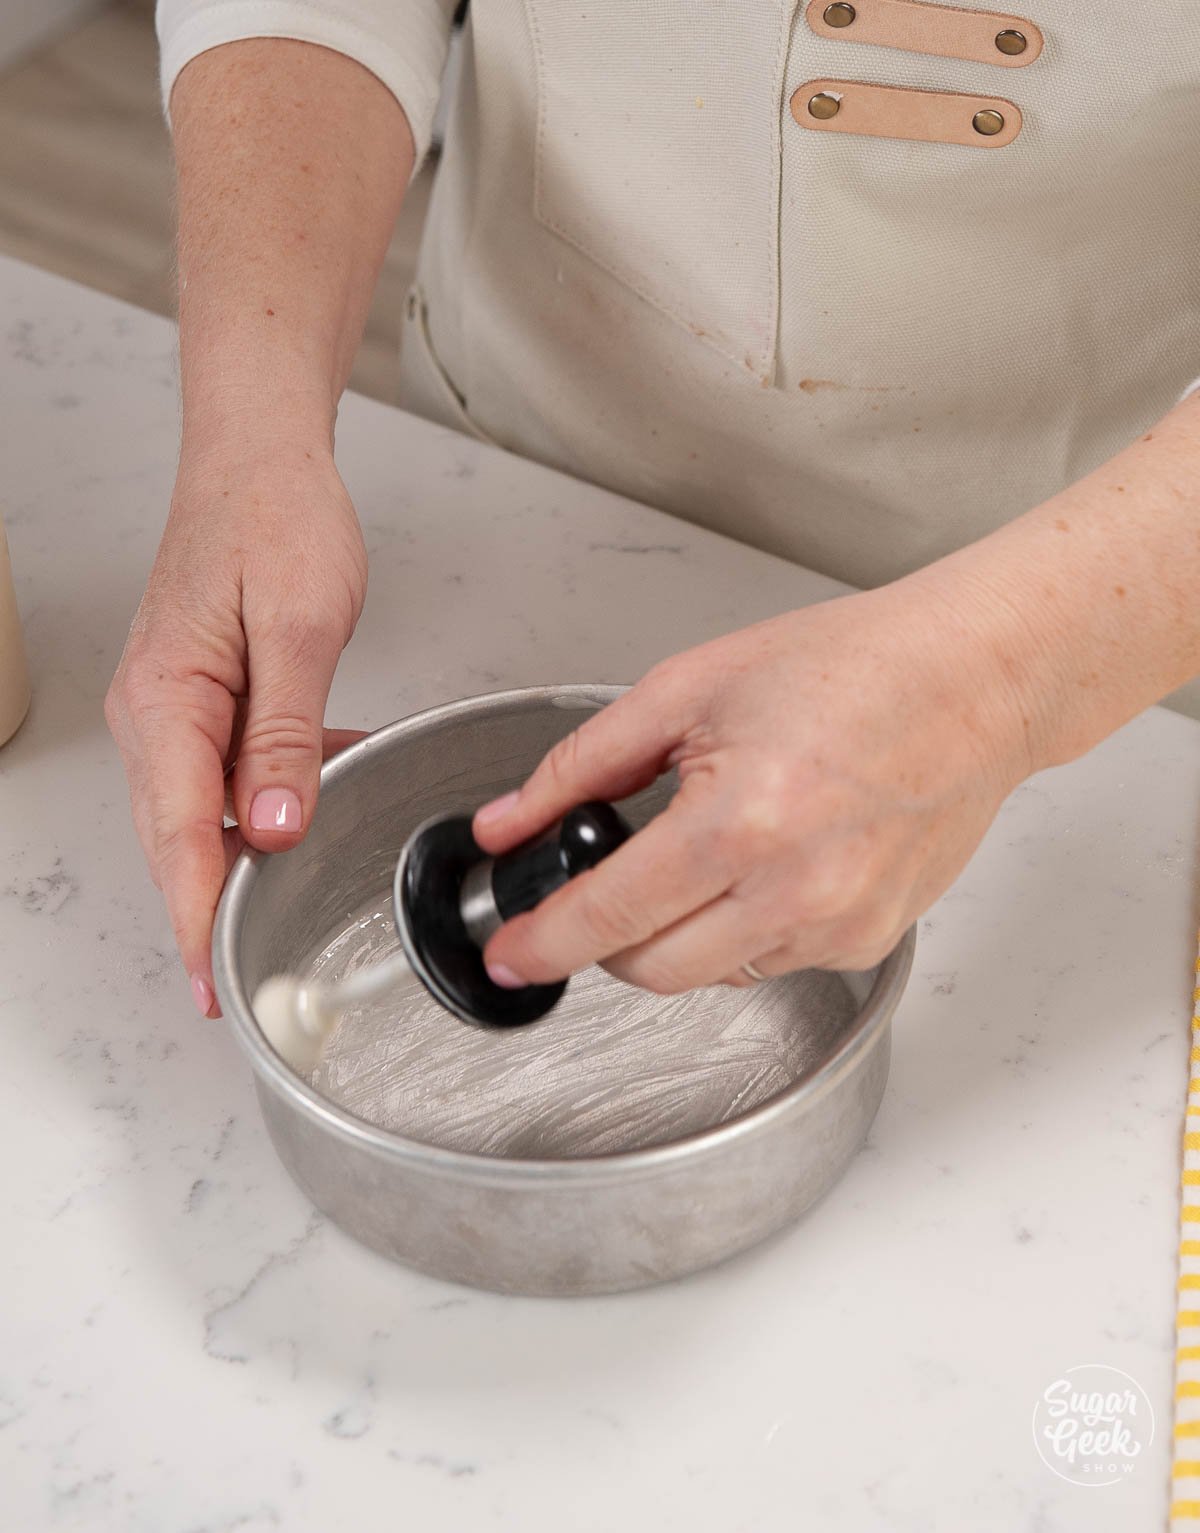
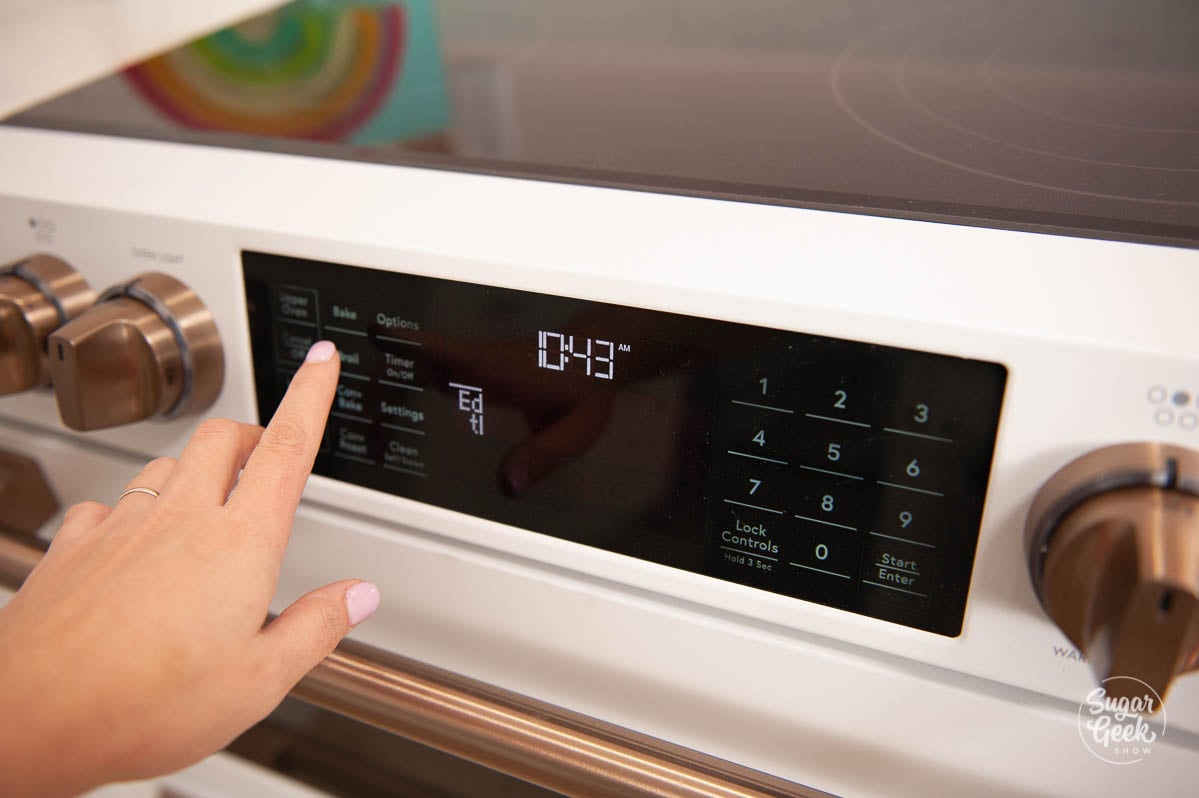
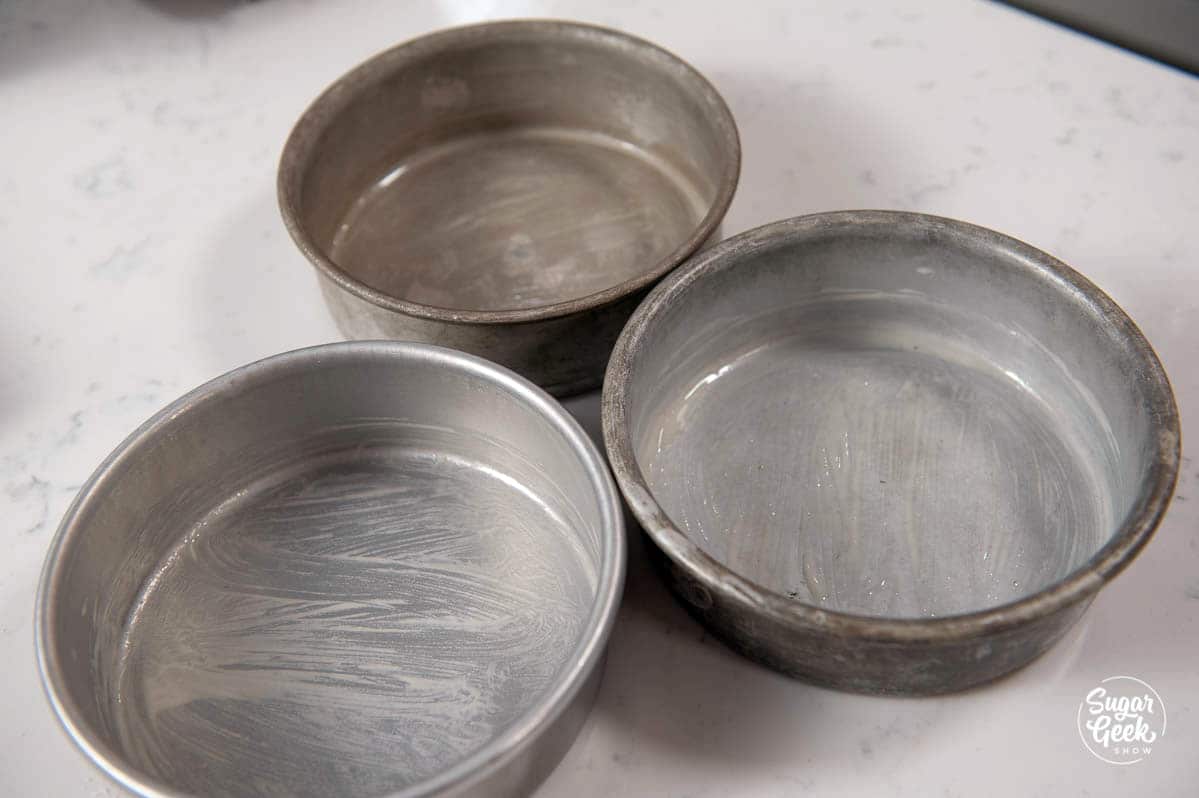
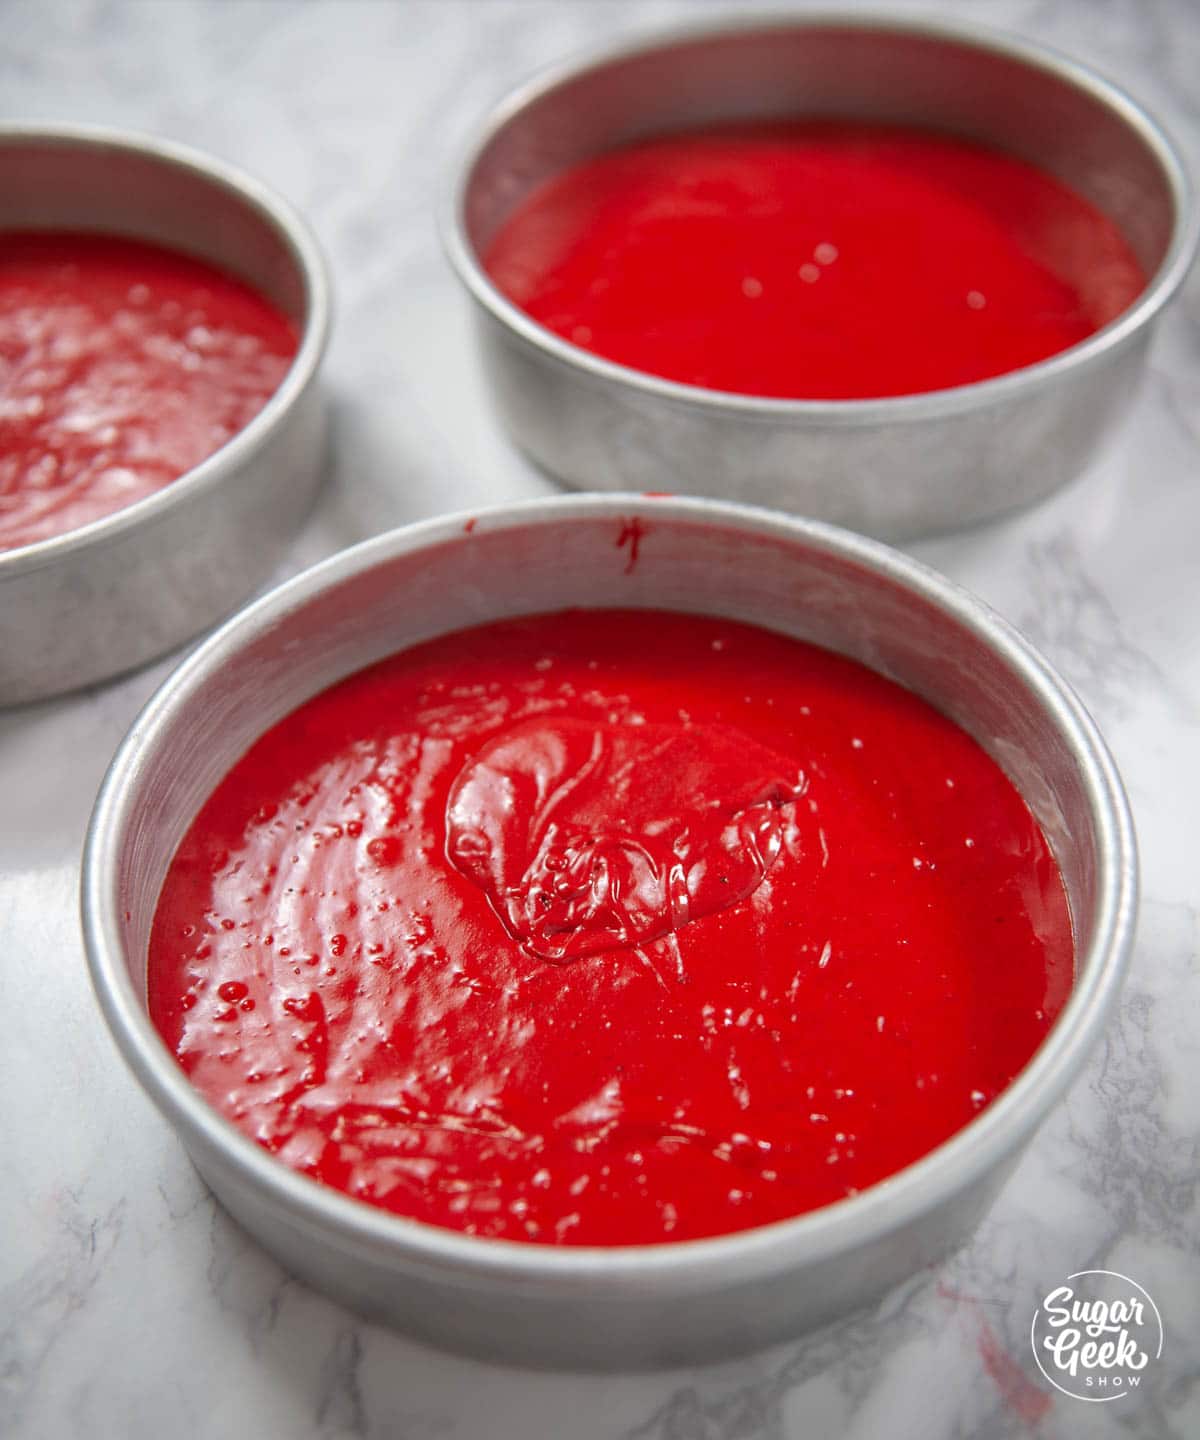
- Preheat your oven to 335ºF and prepare three 6"x2" cake pans with cake goop or another preferred pan release.
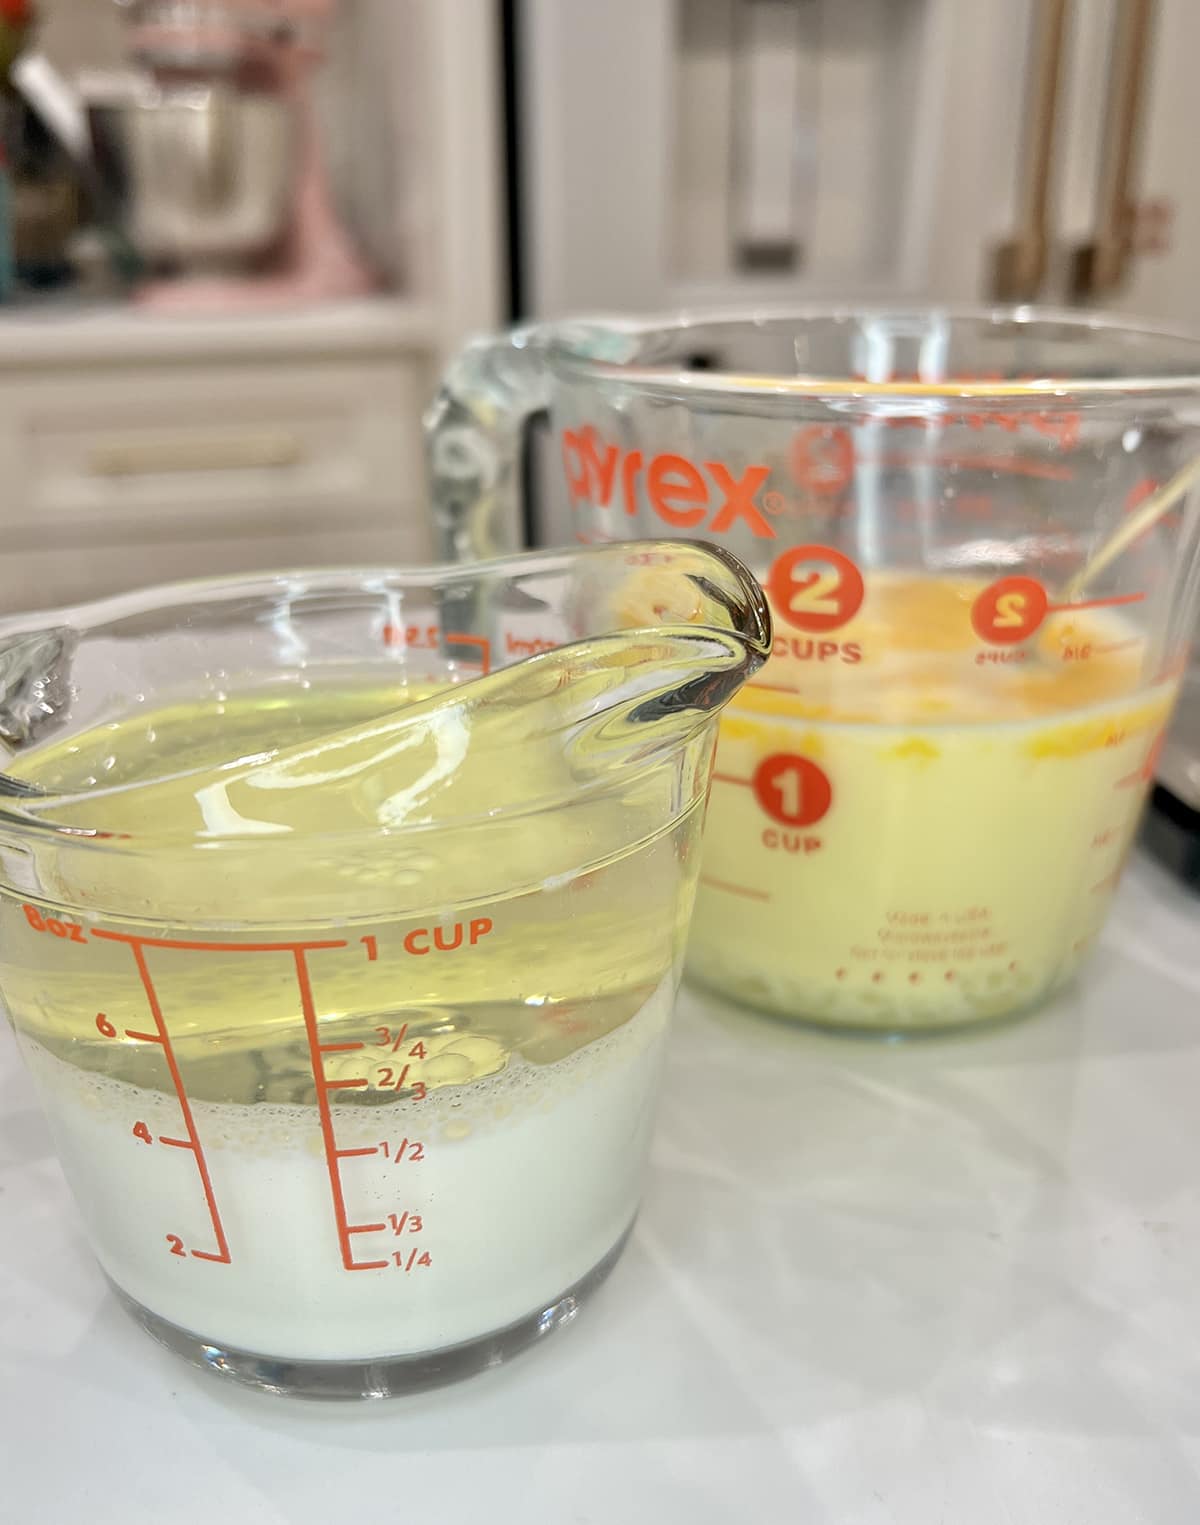
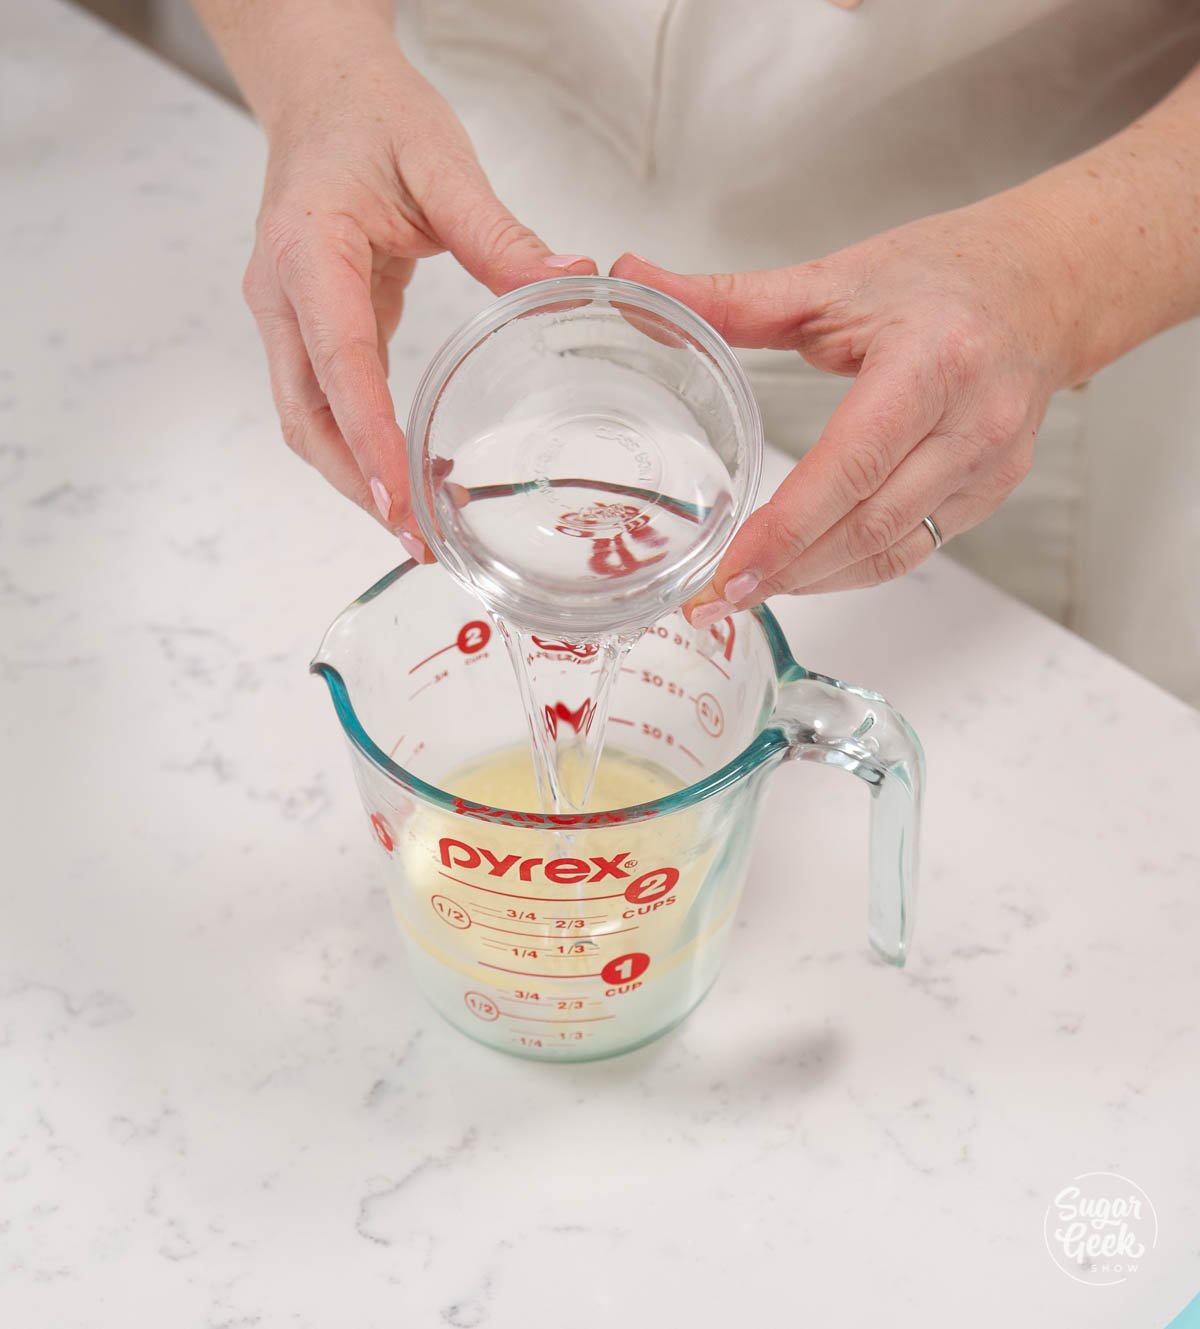
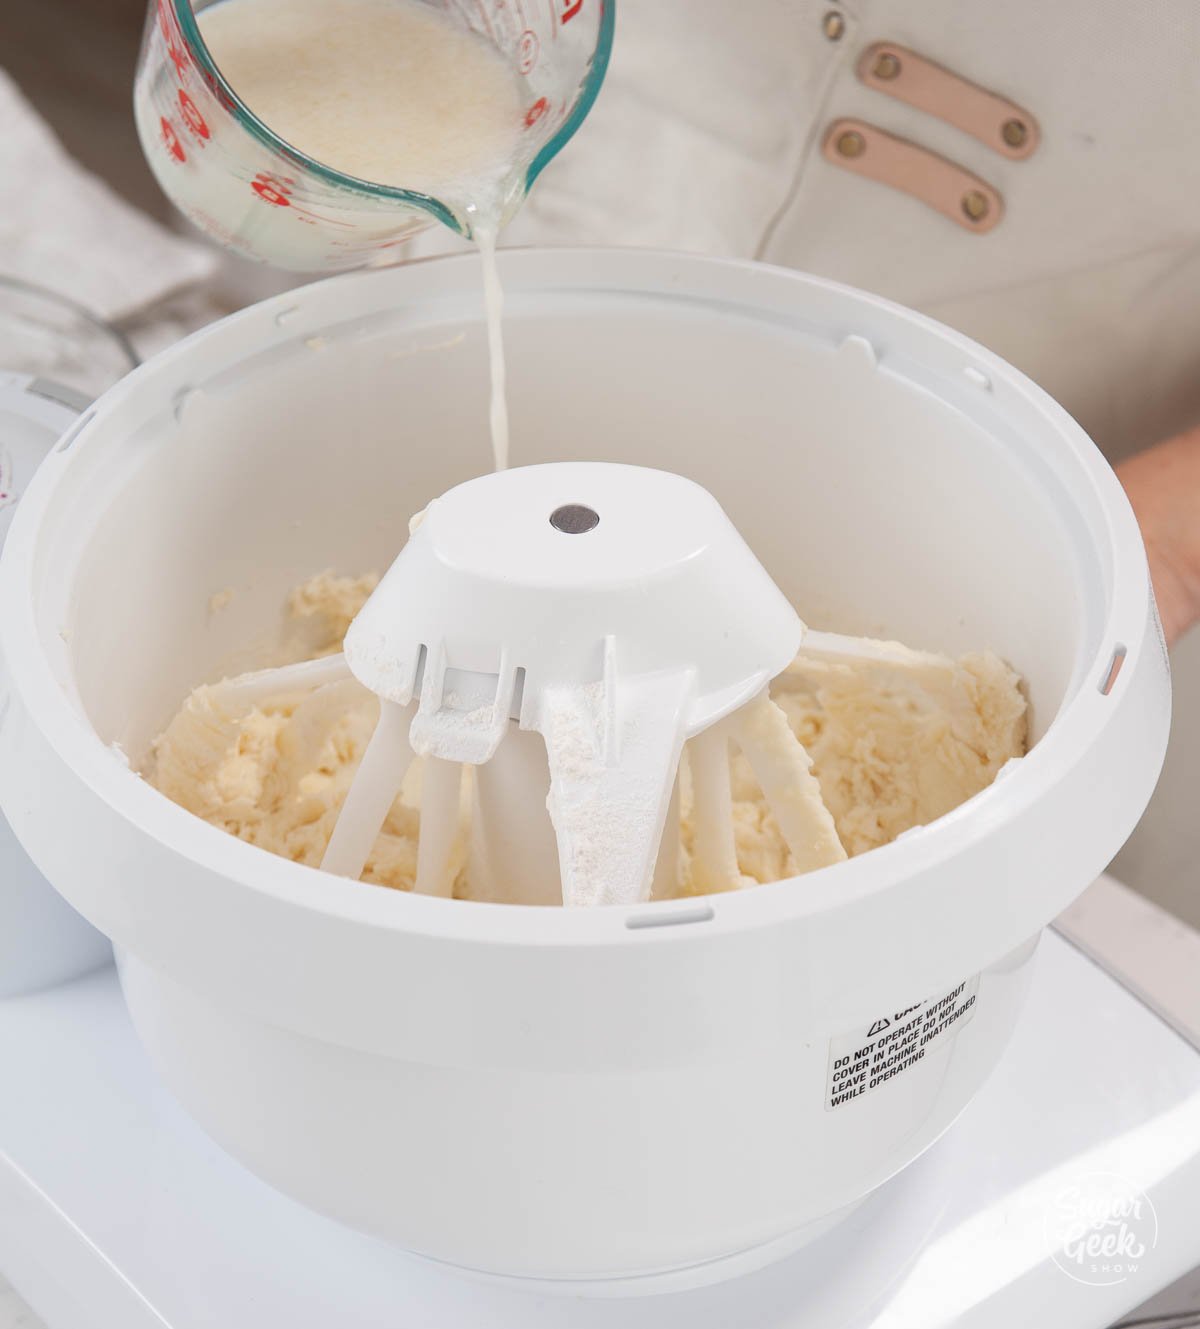
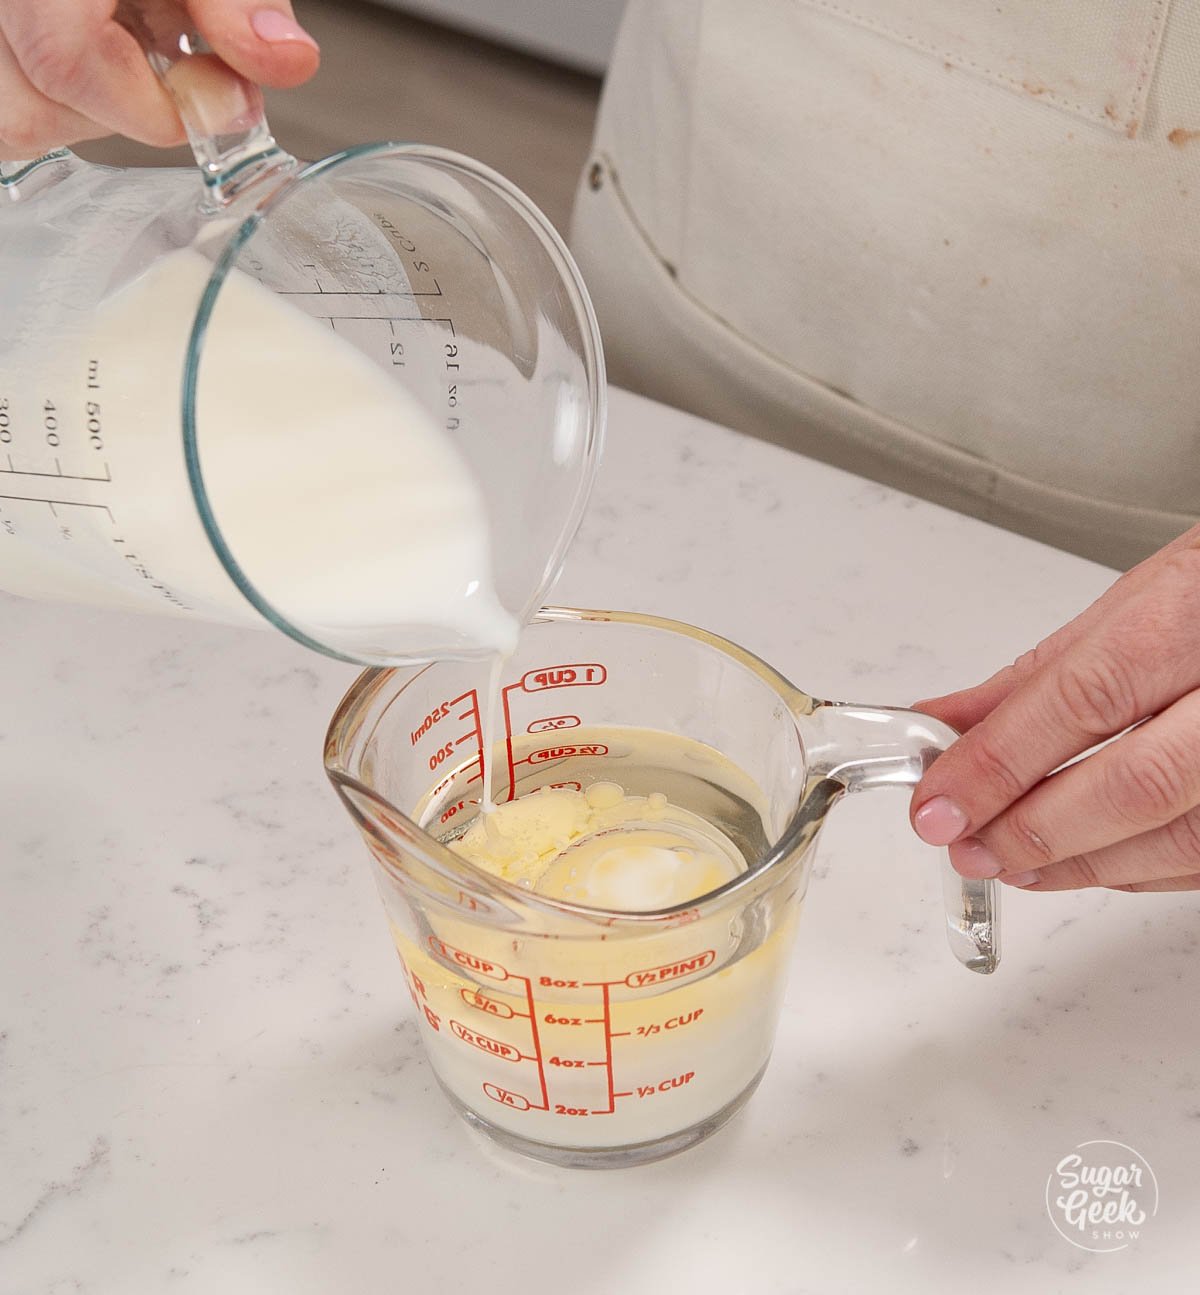
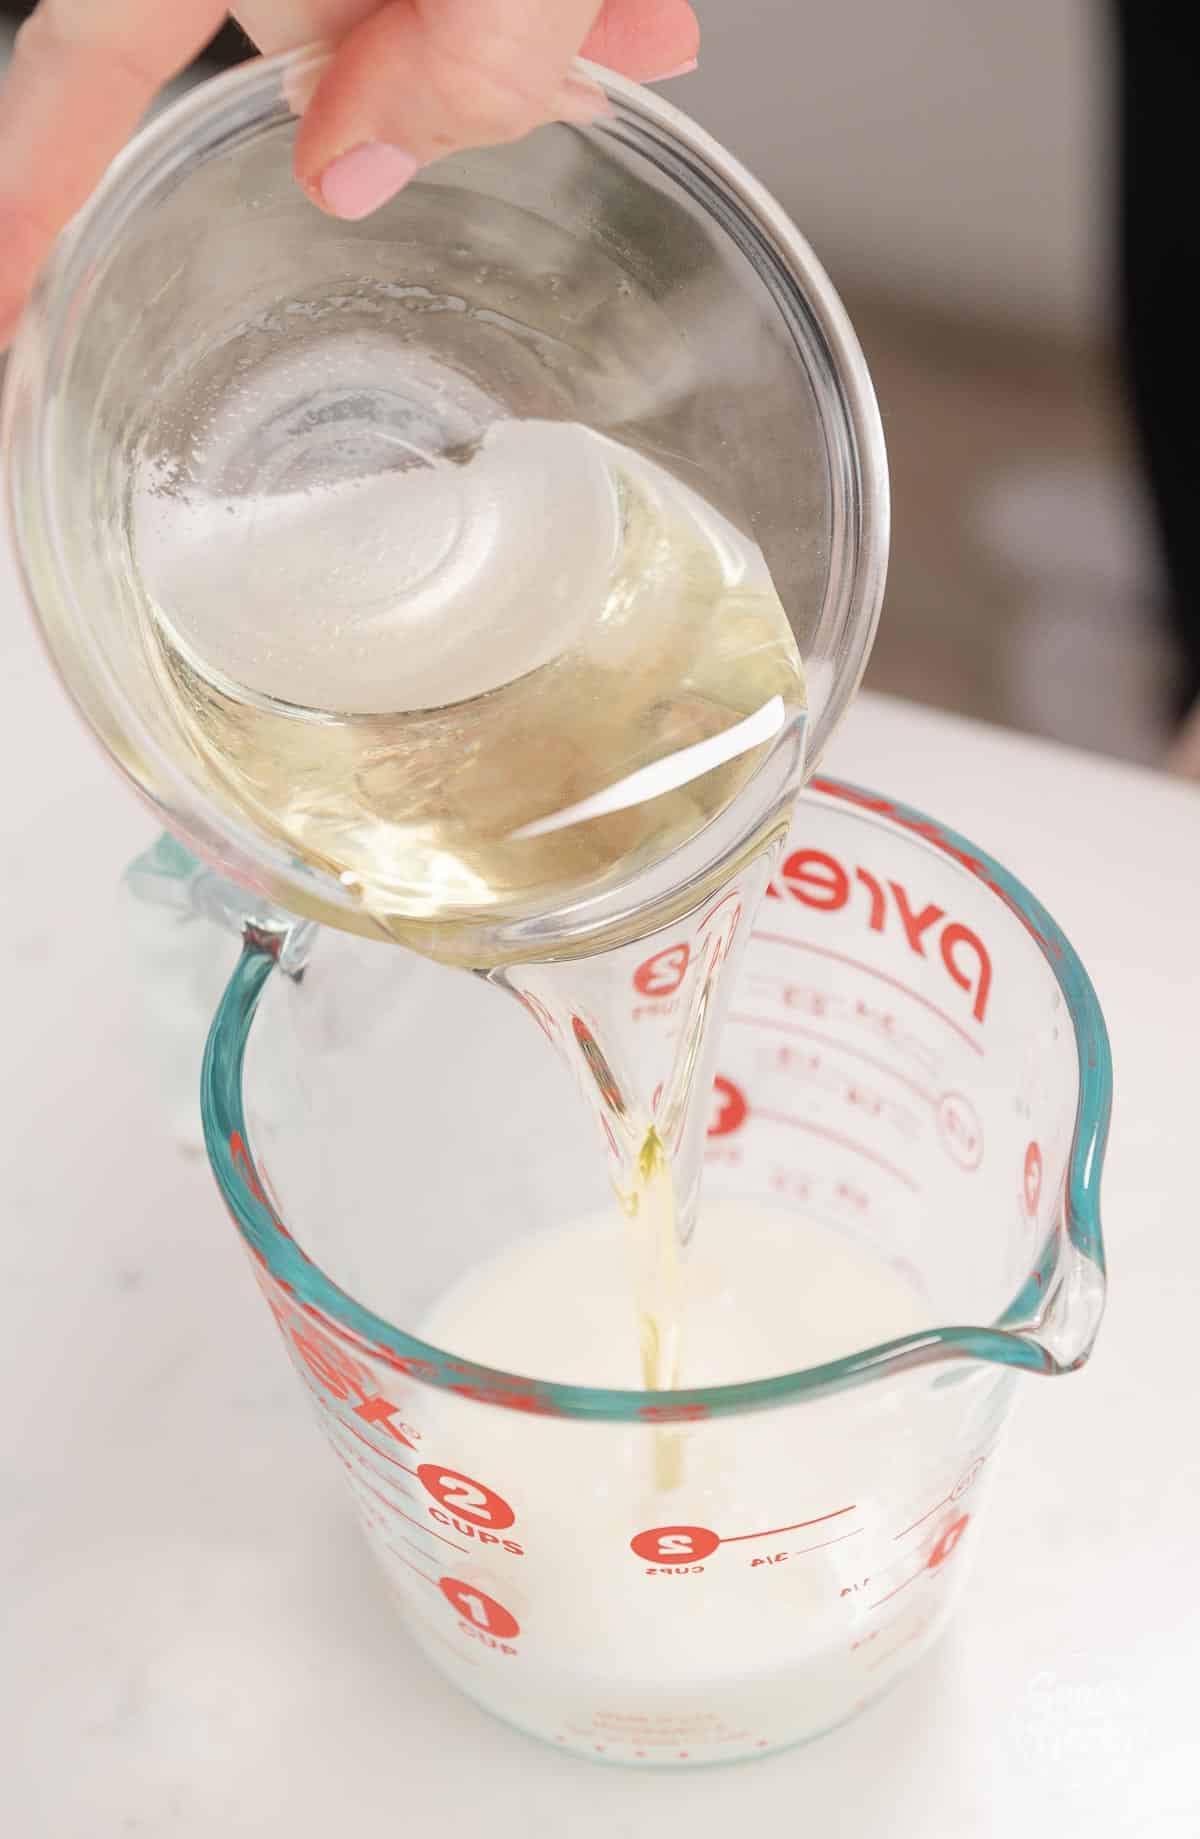
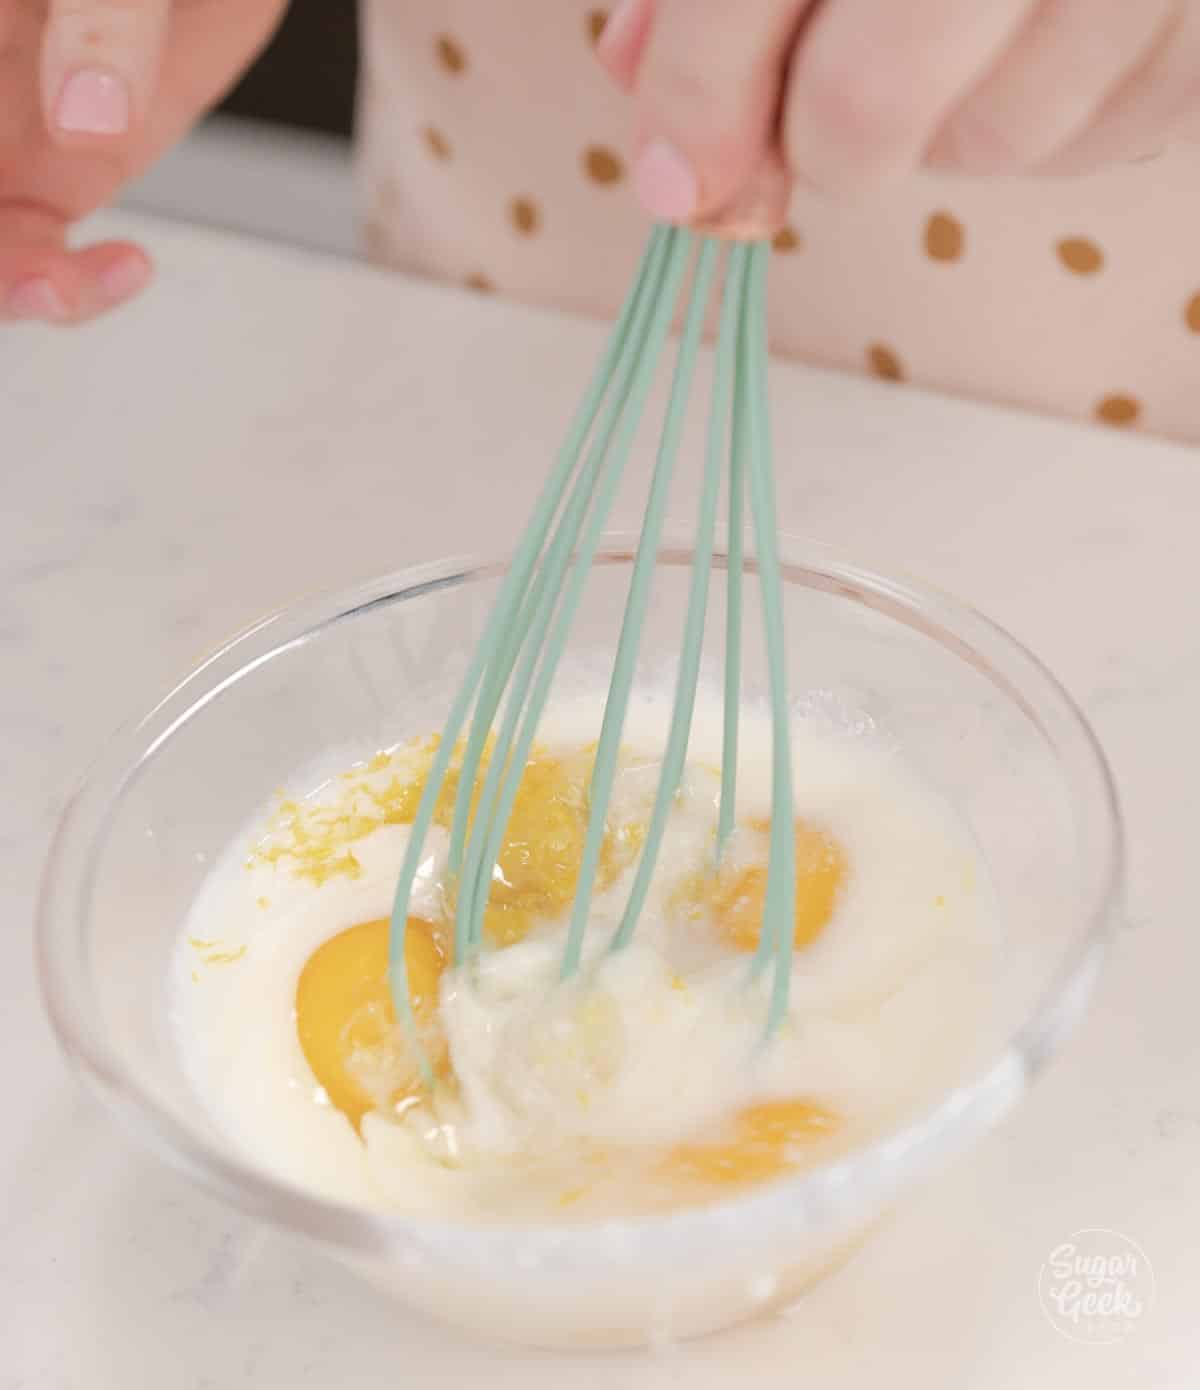
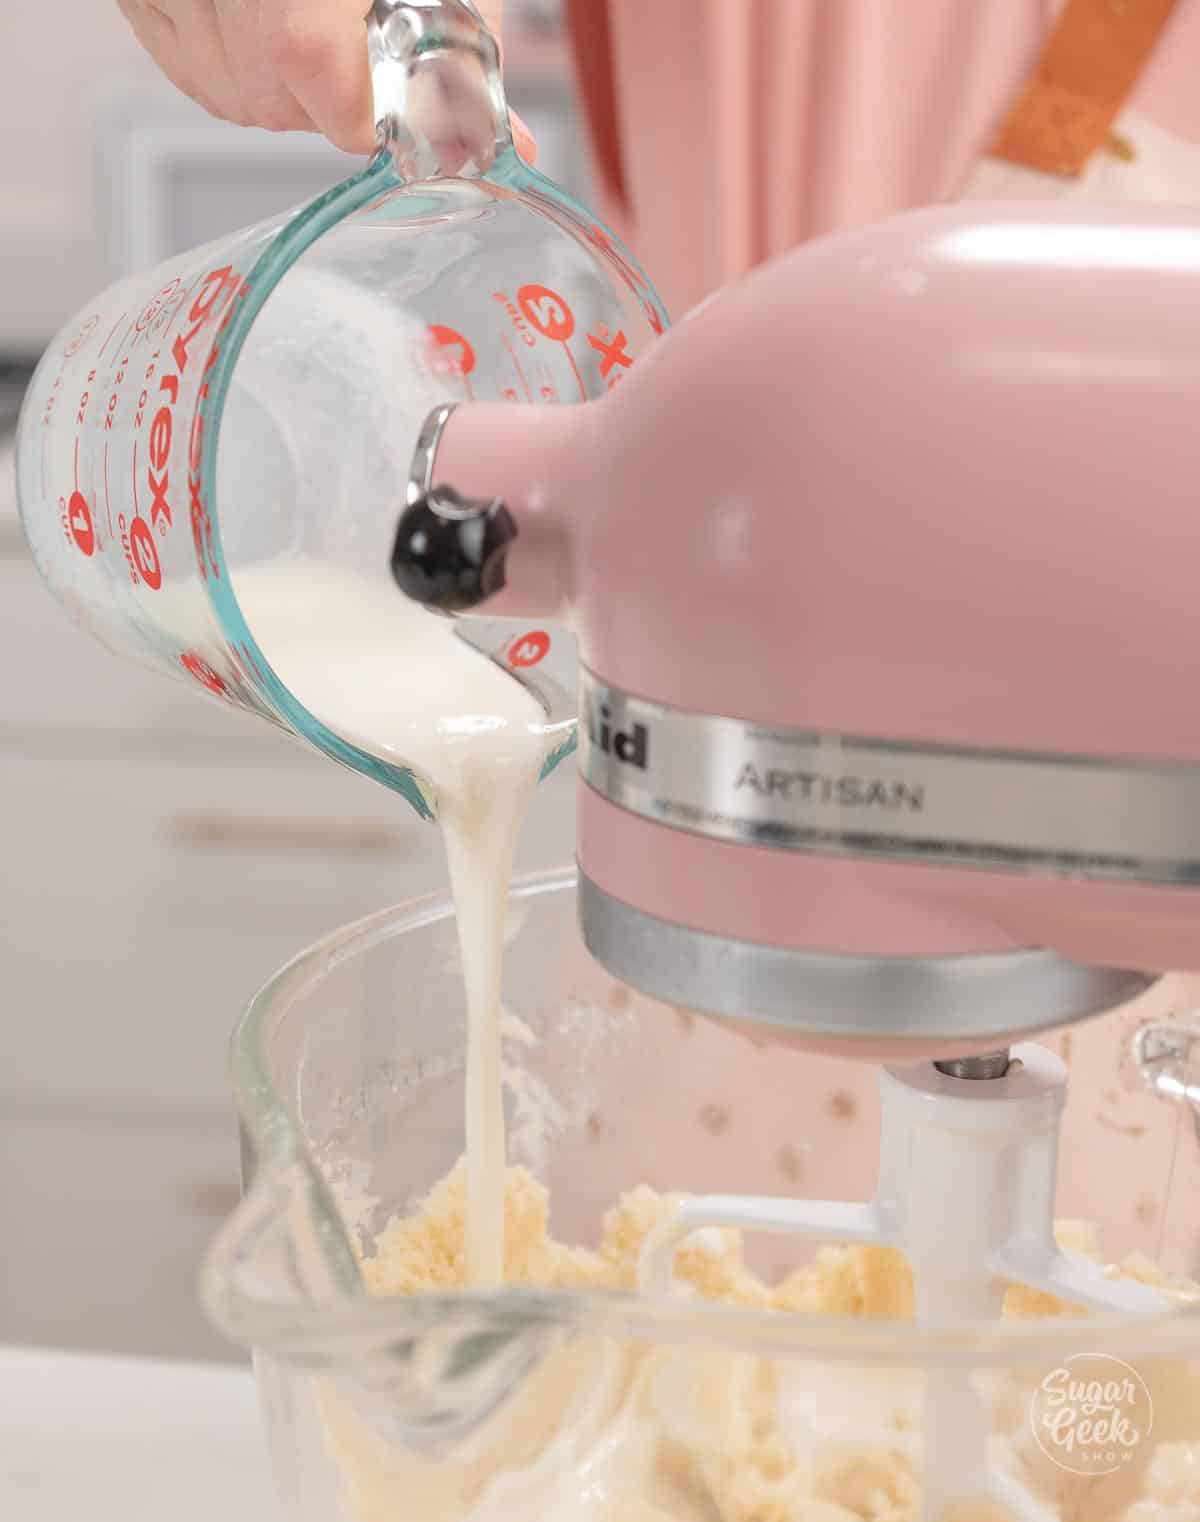
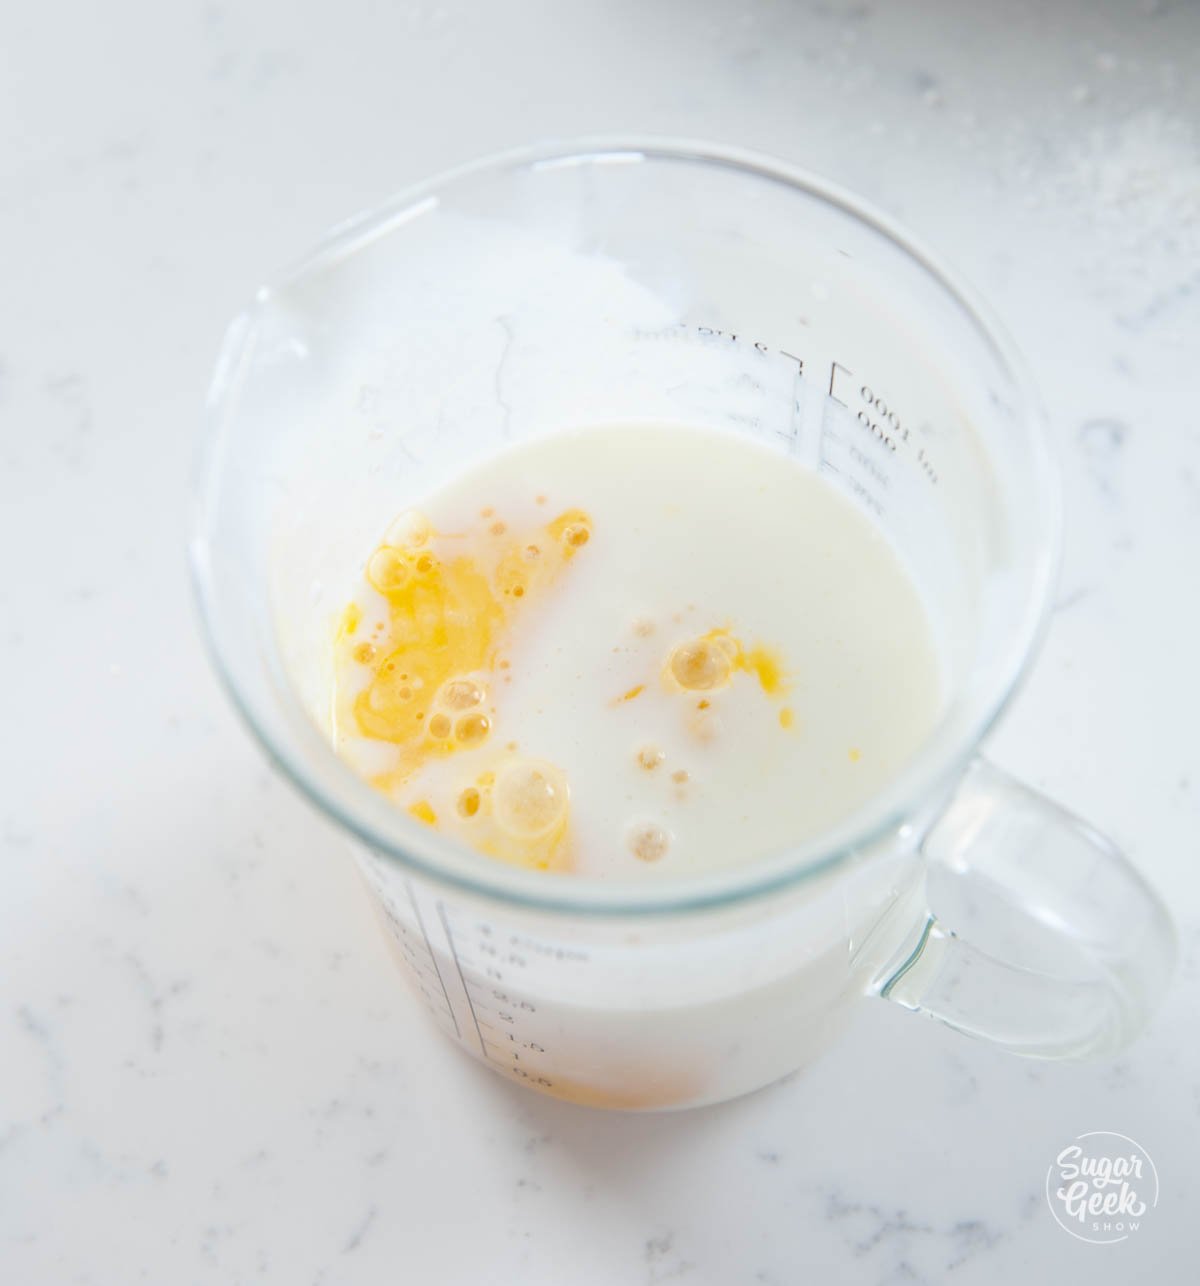
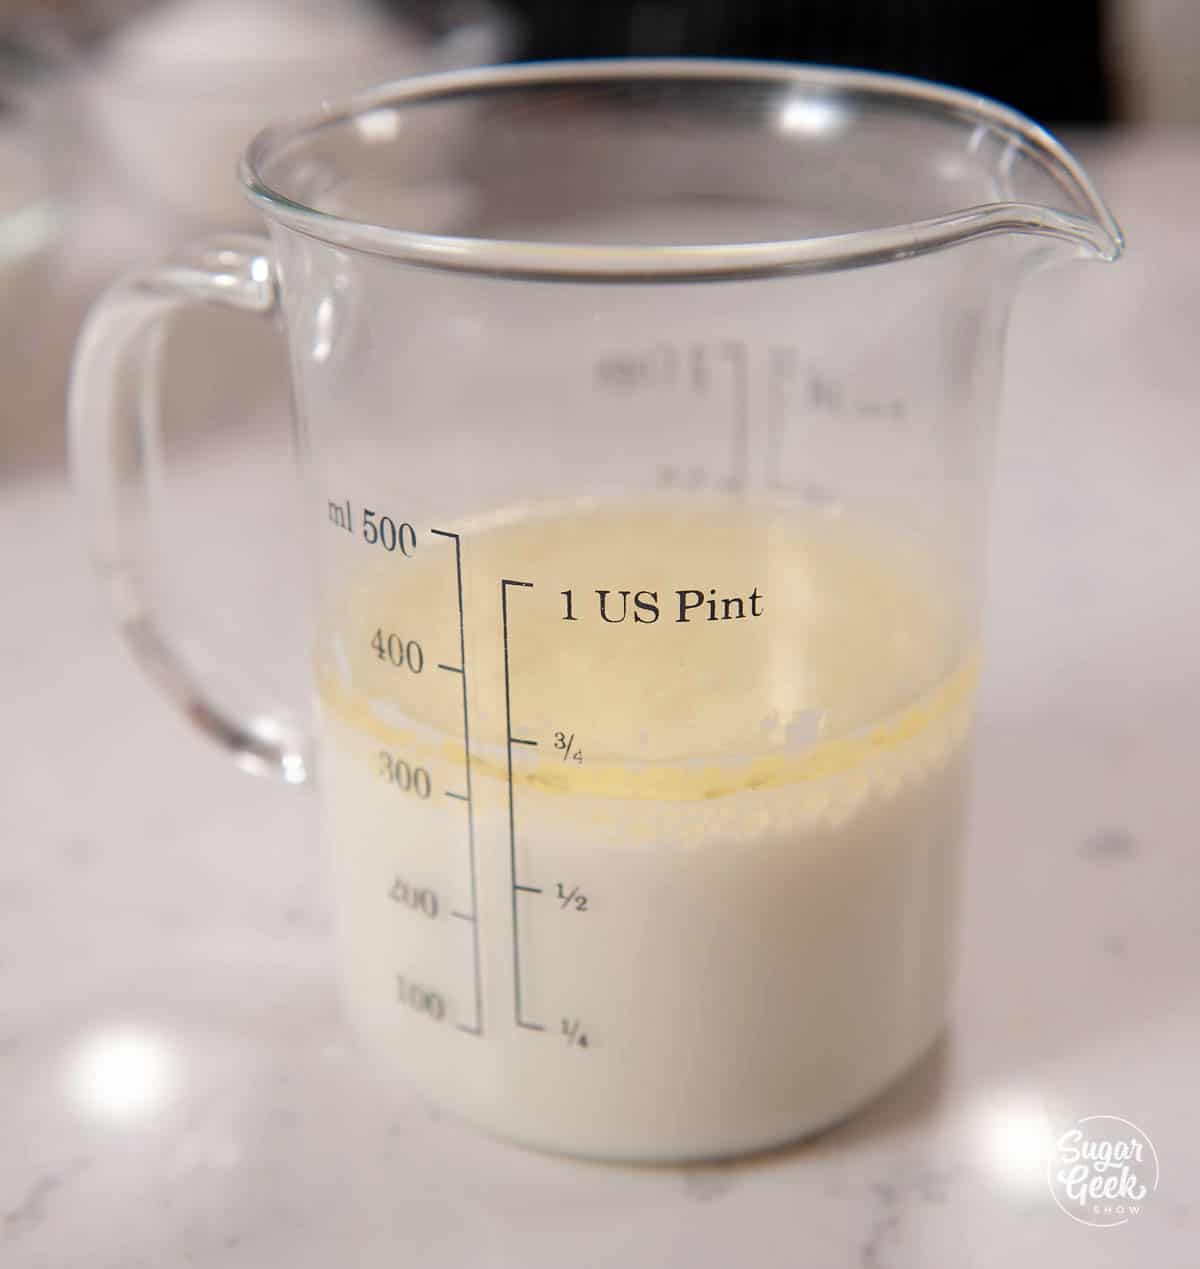
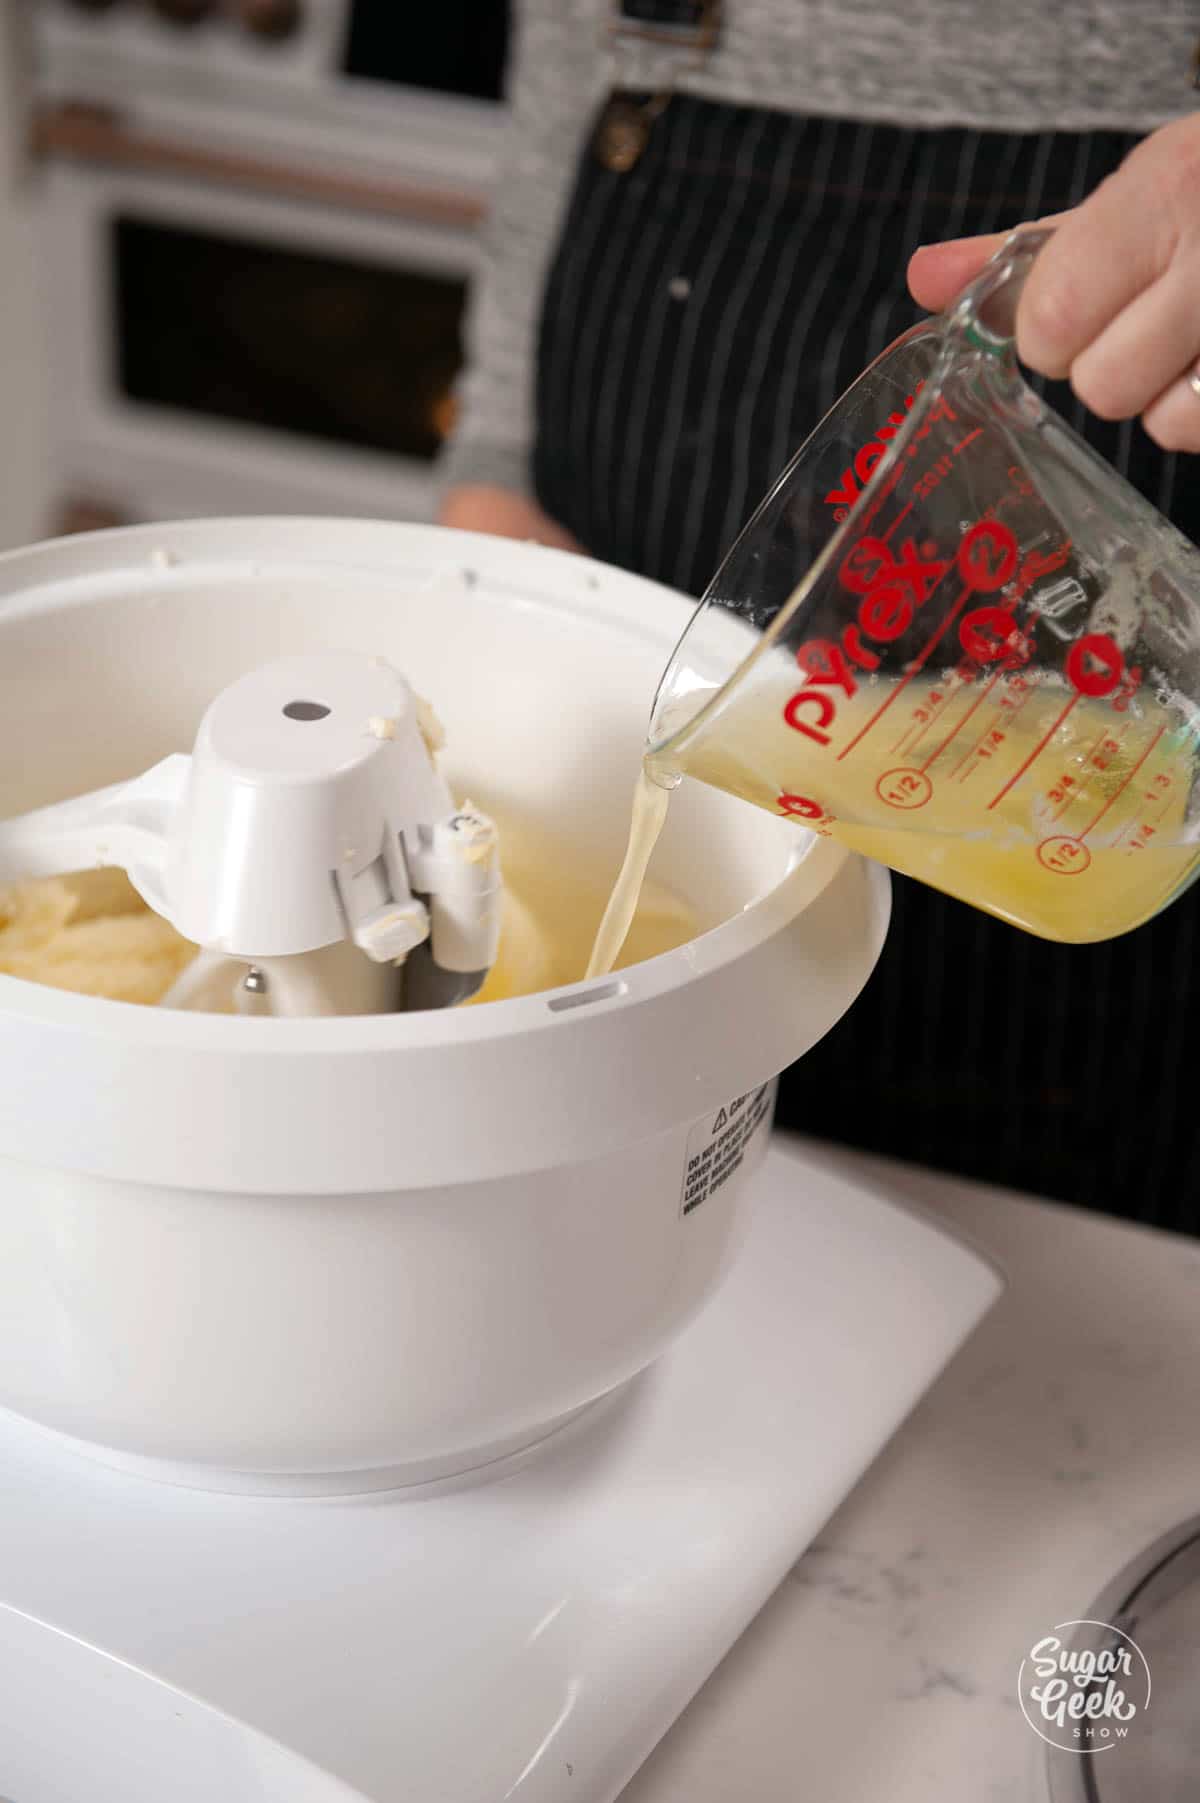
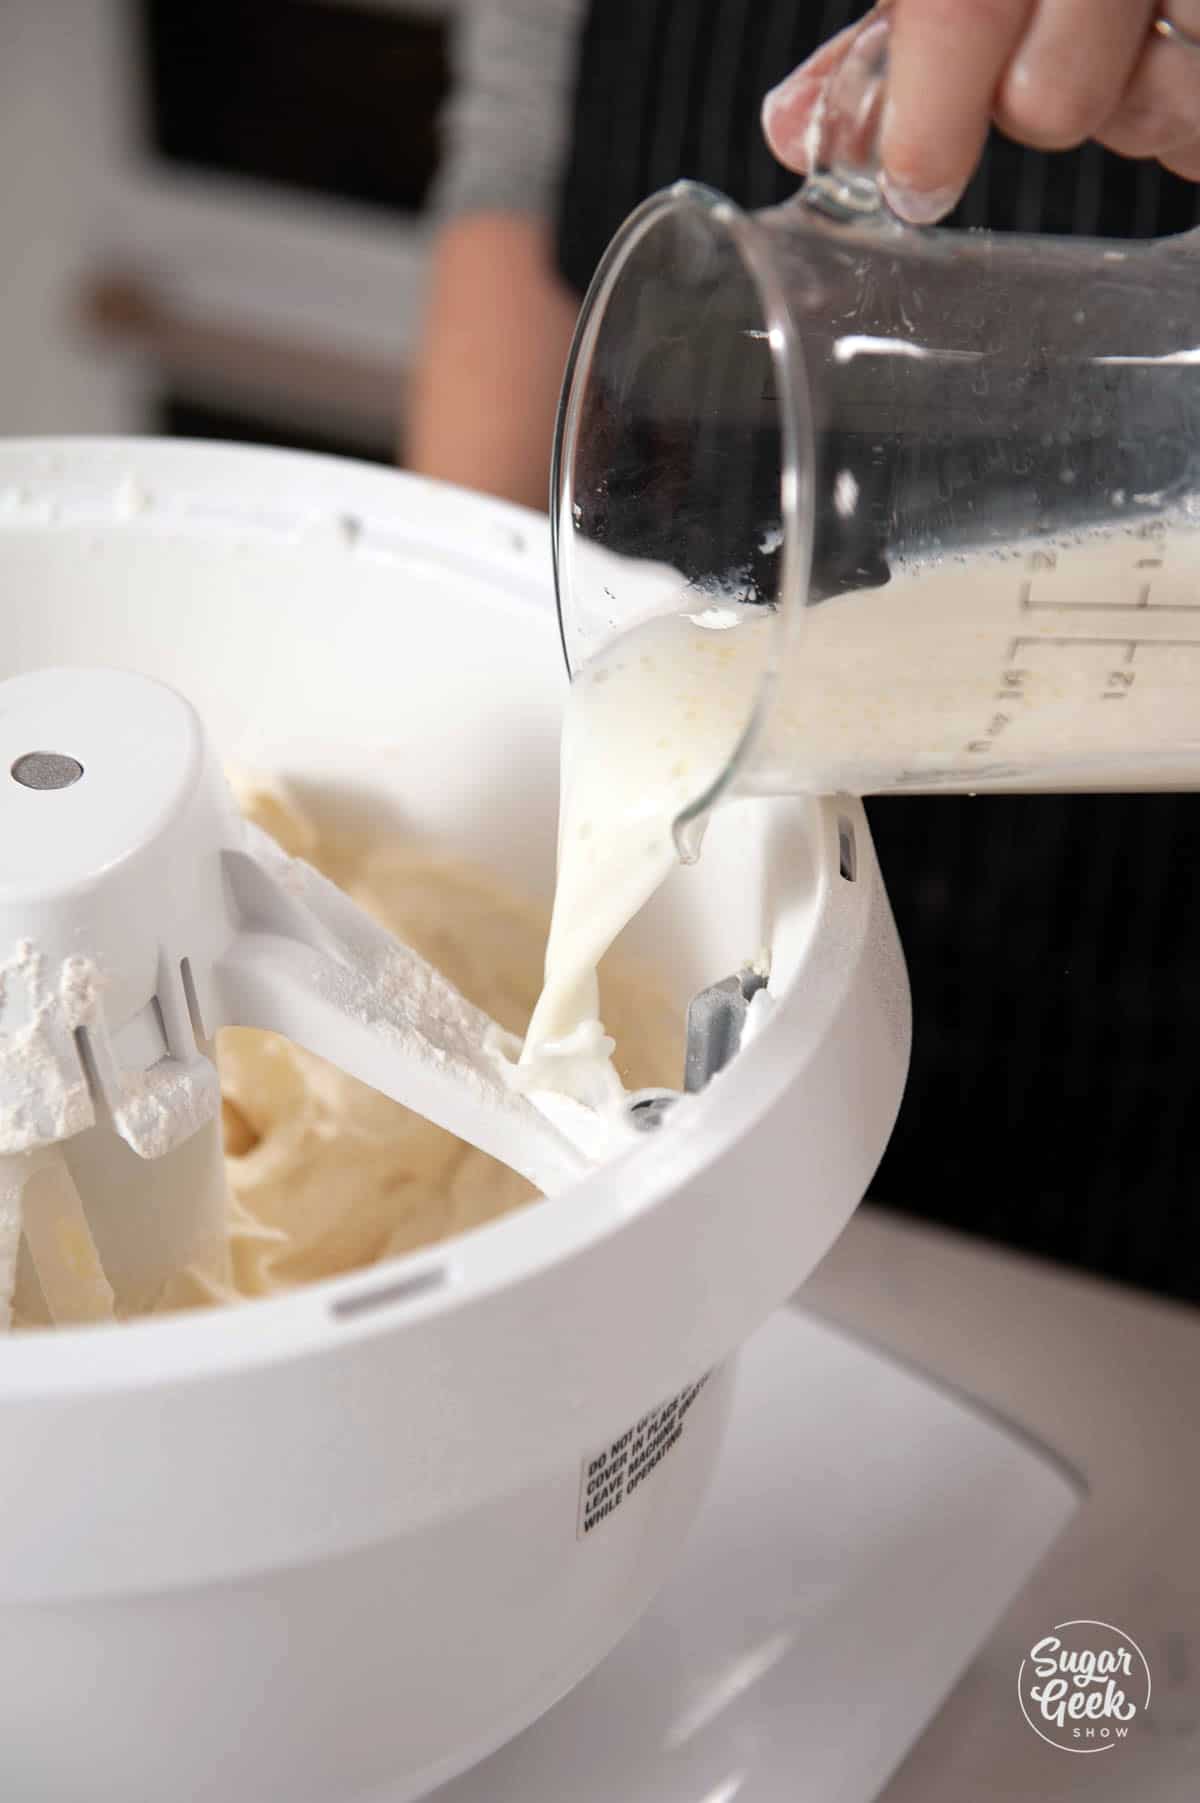
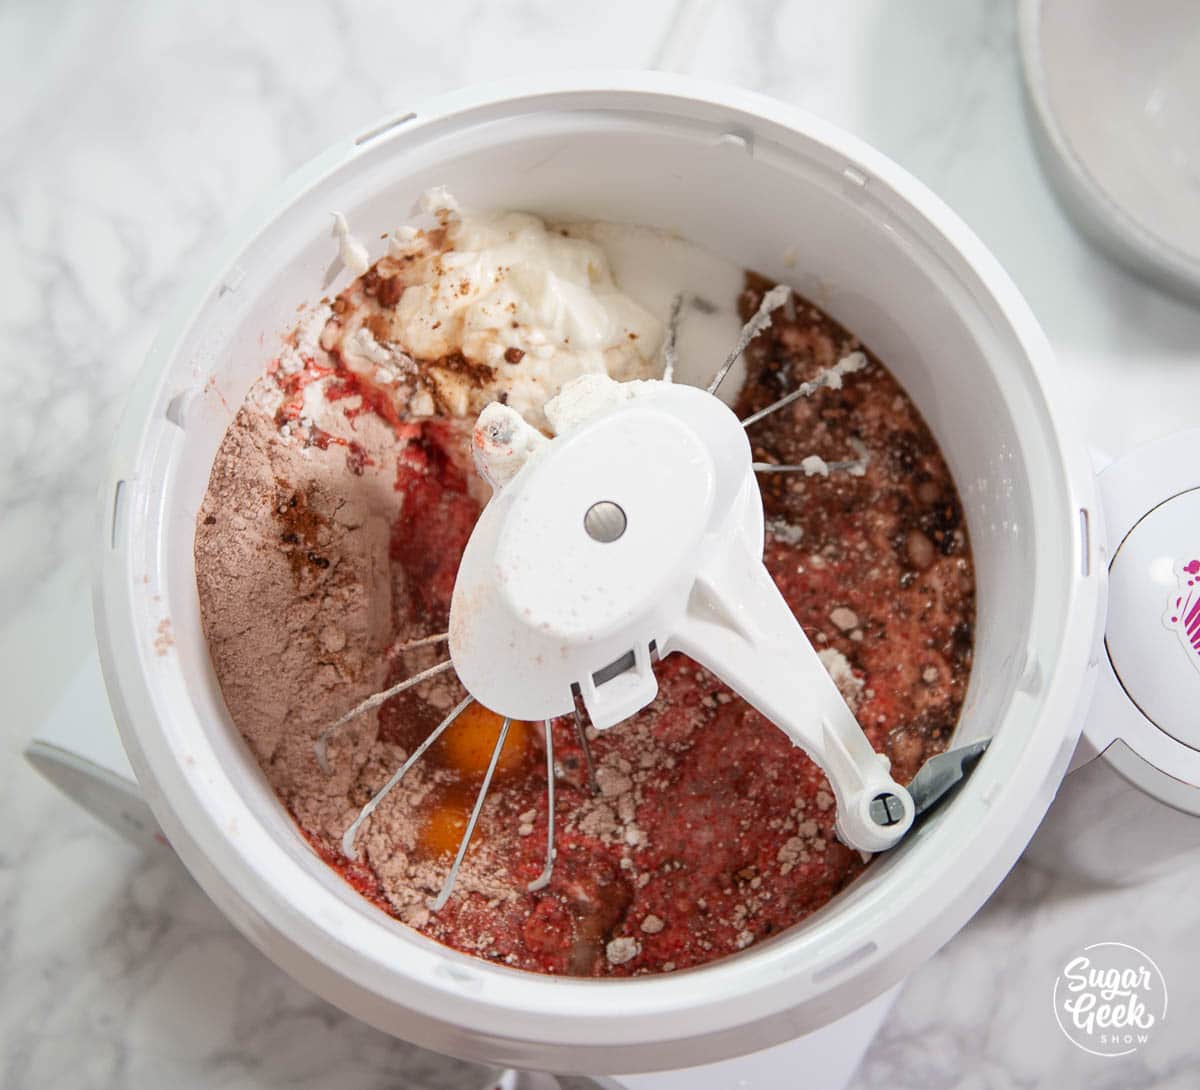
- Combine the lime juice, zest, tequila, lemon extract, and milk and set it aside.

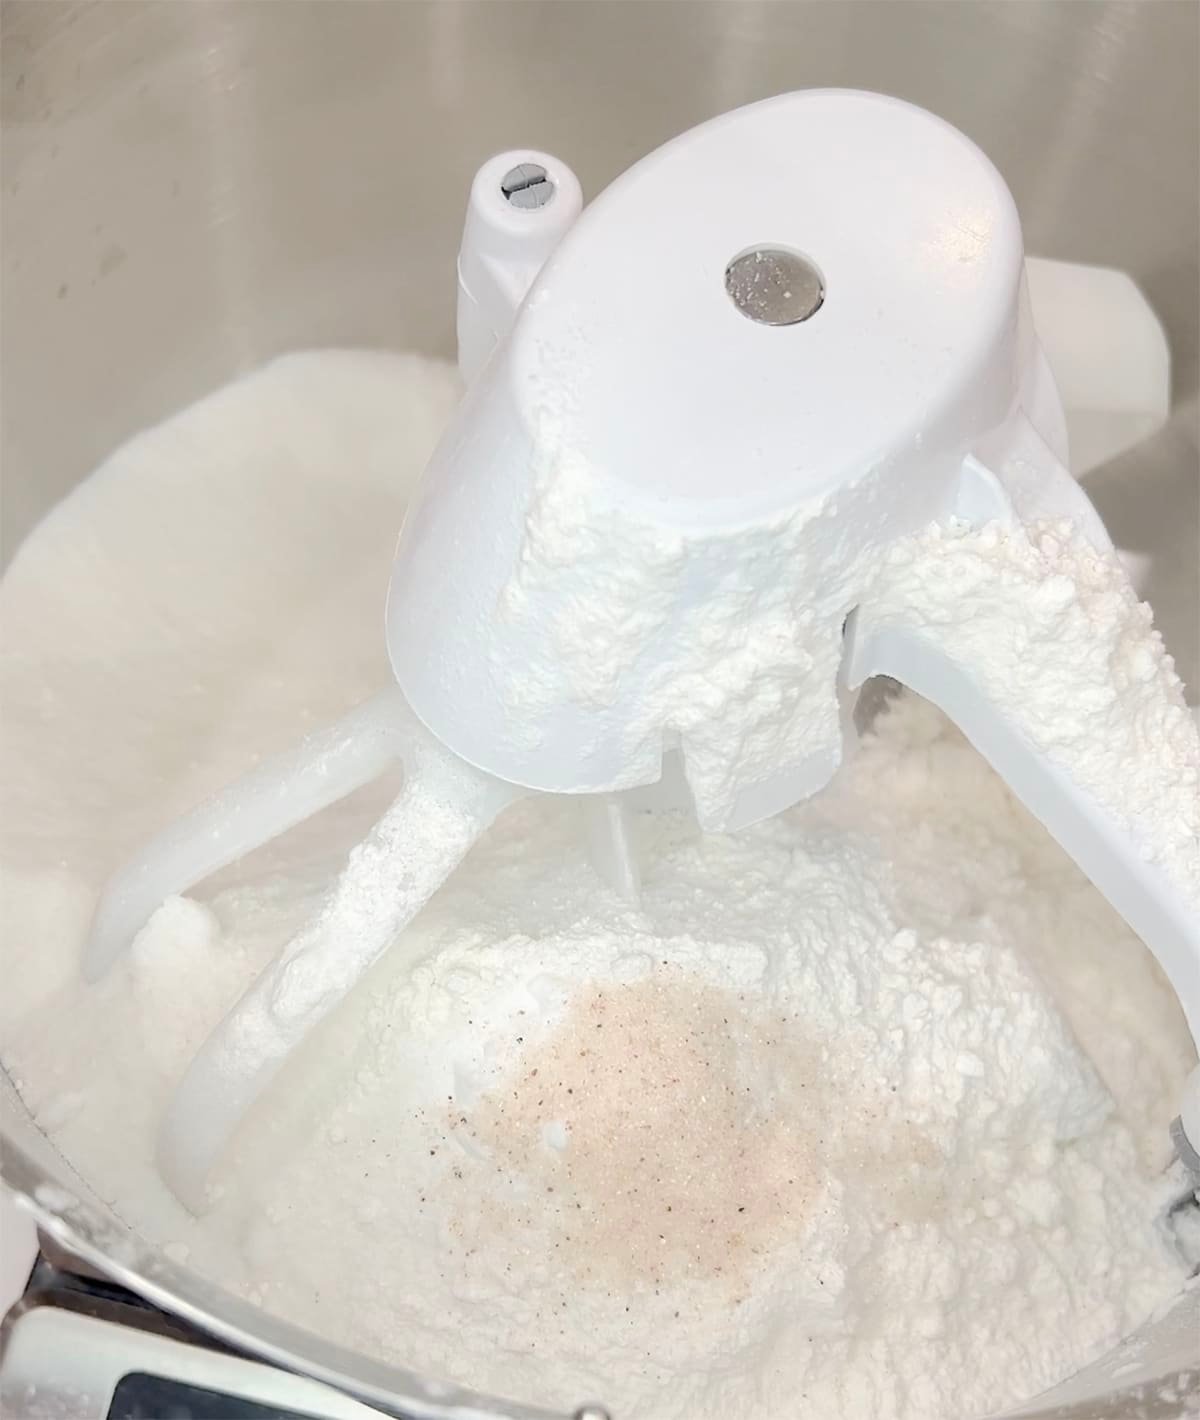
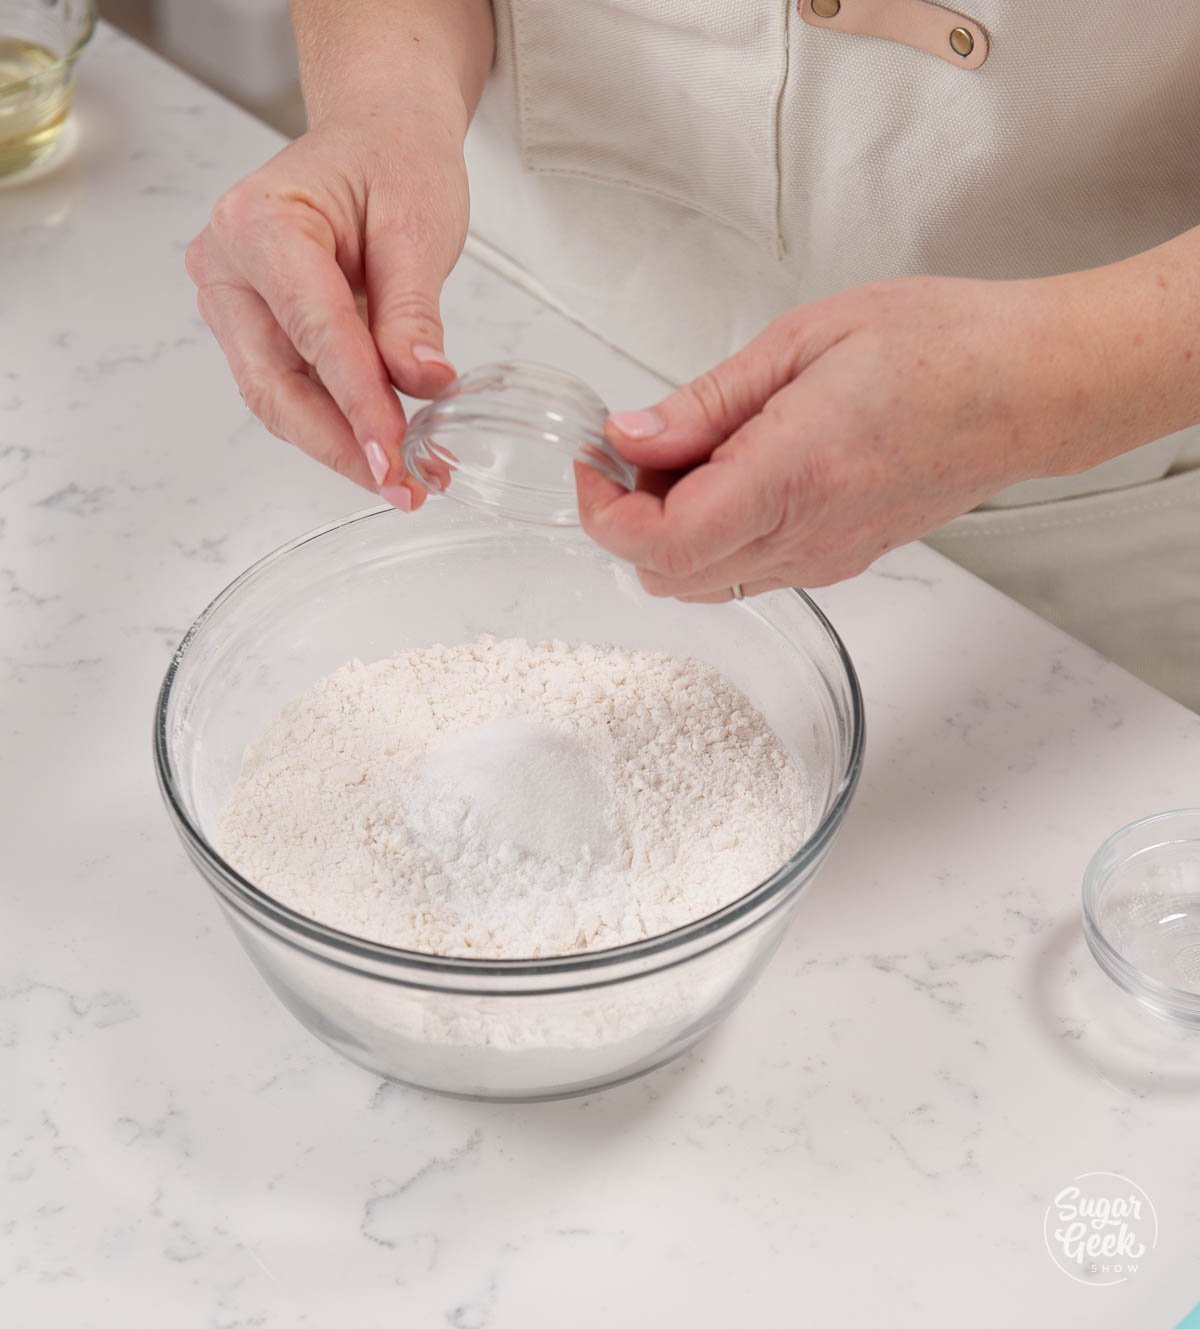
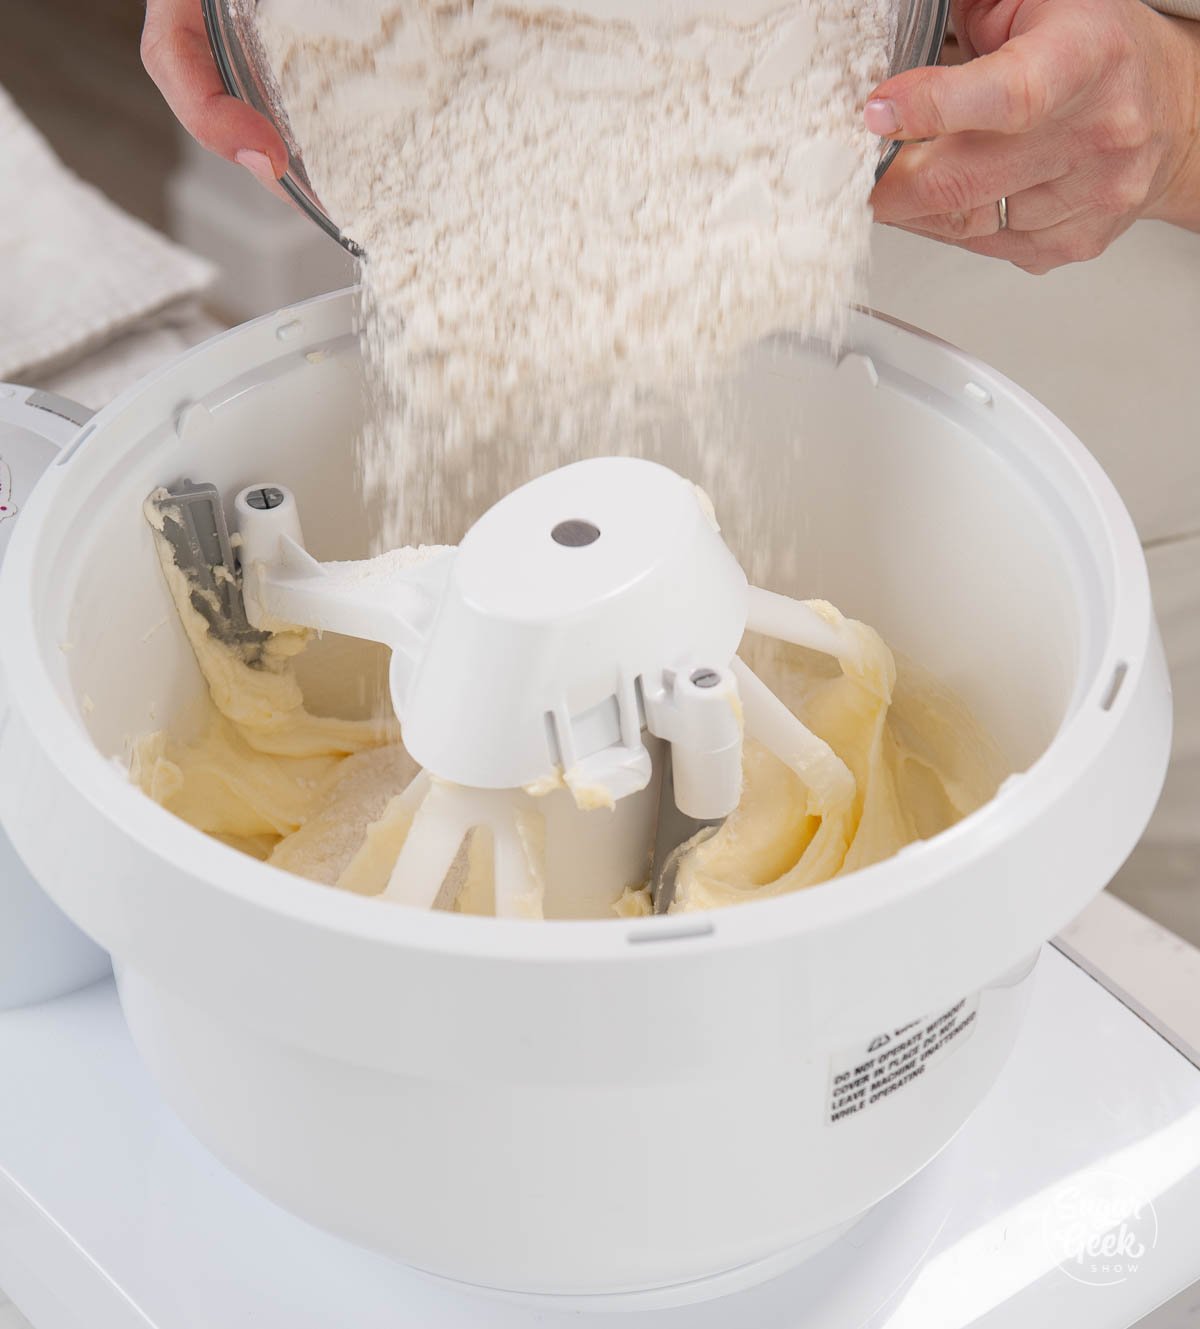
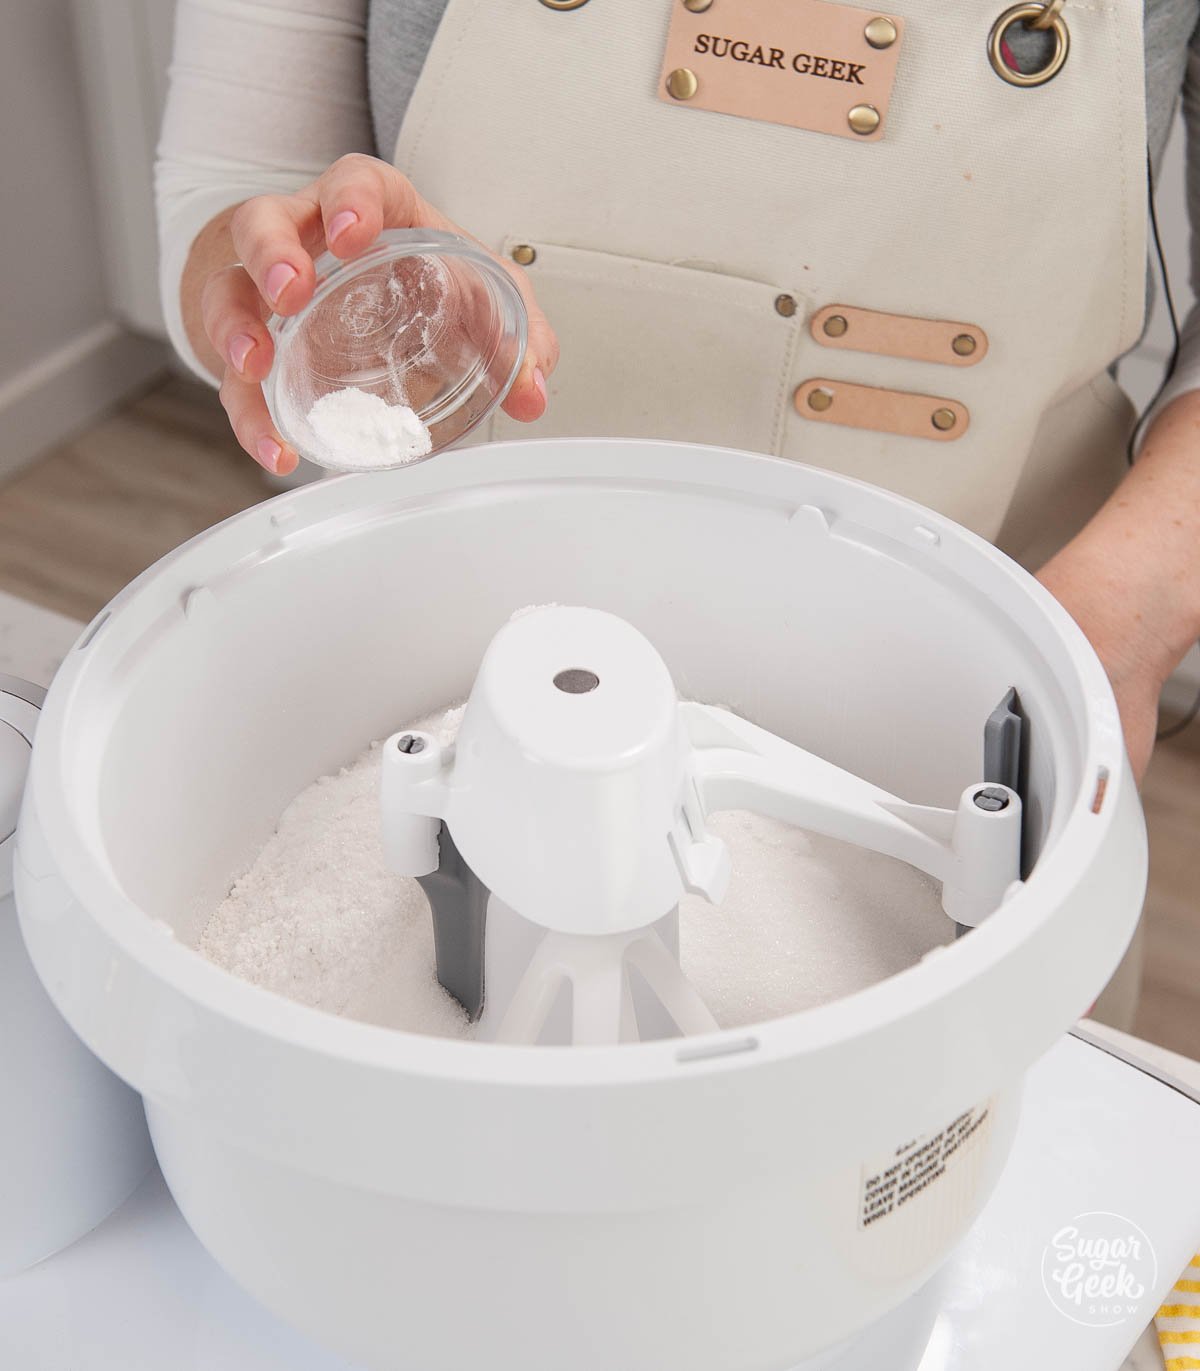
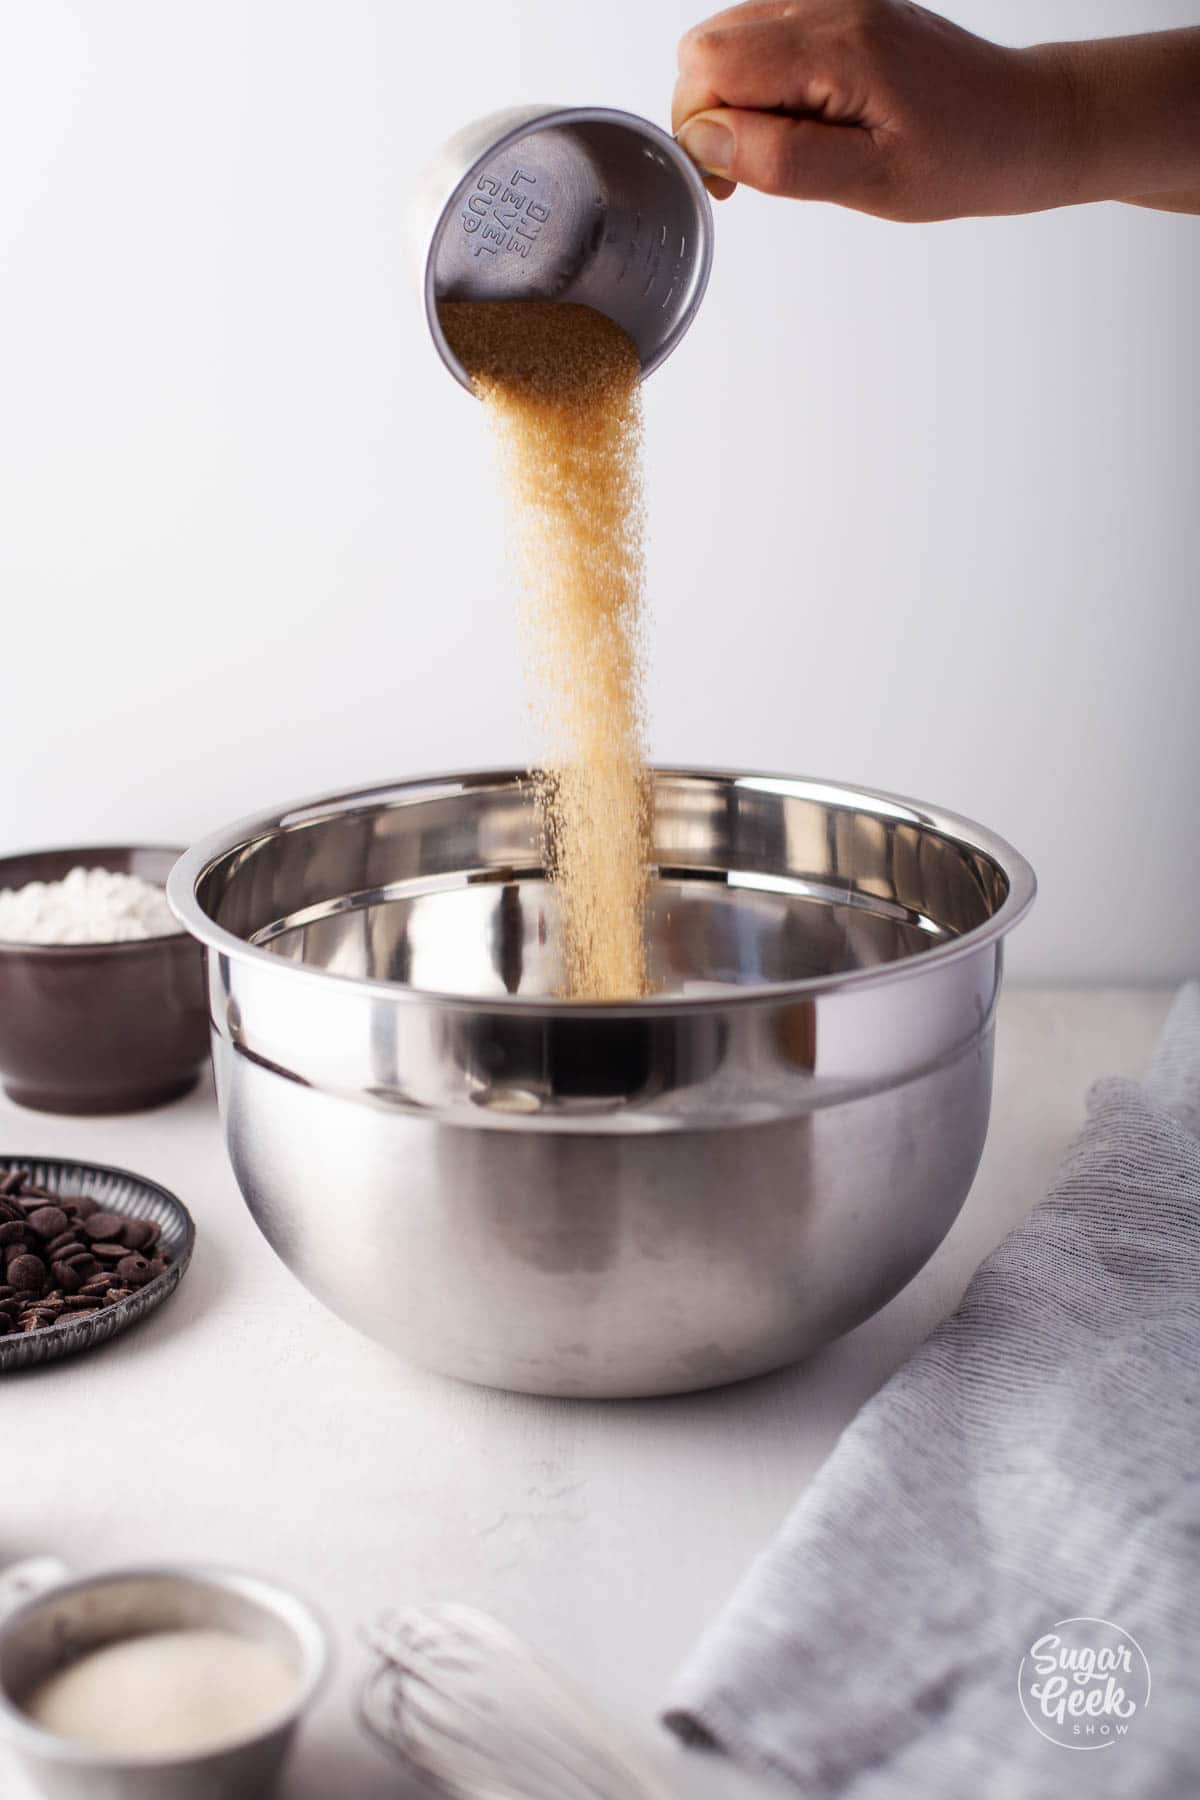
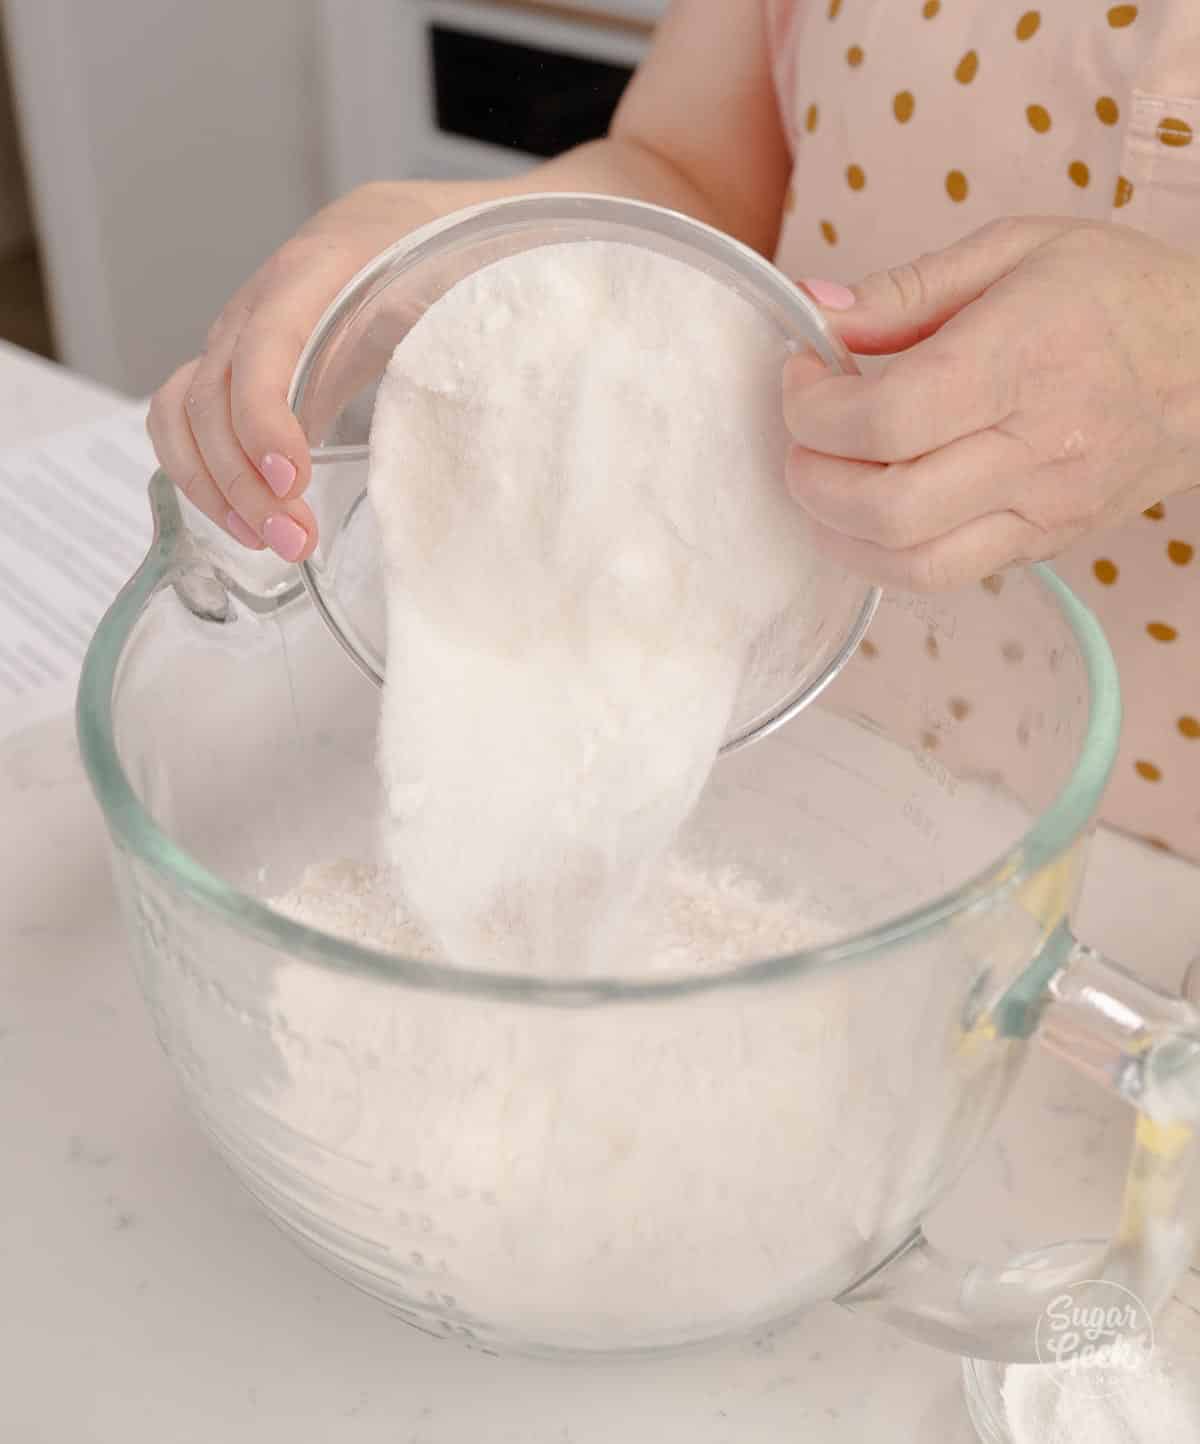
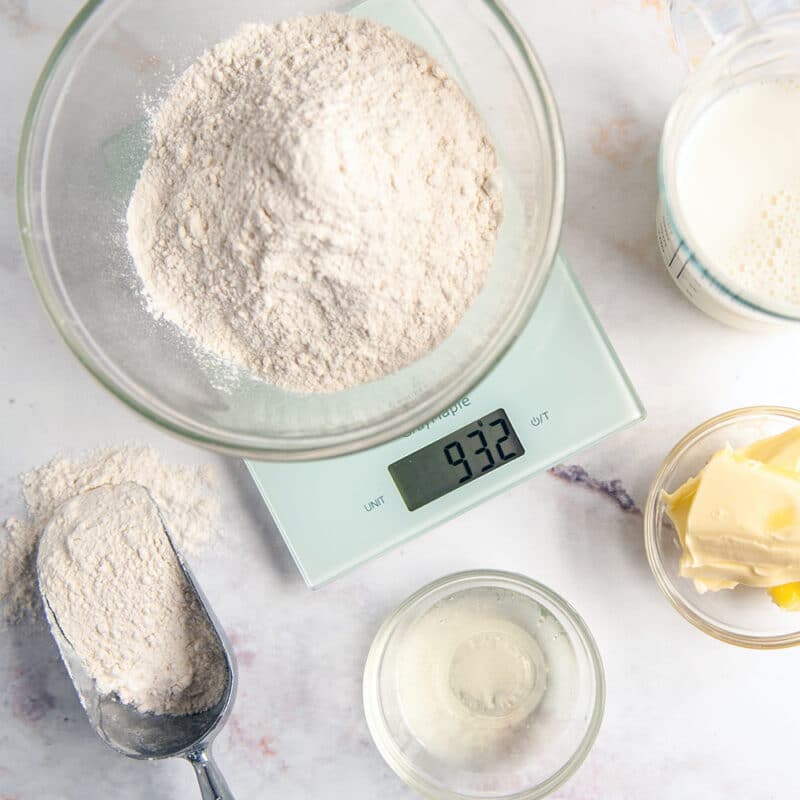
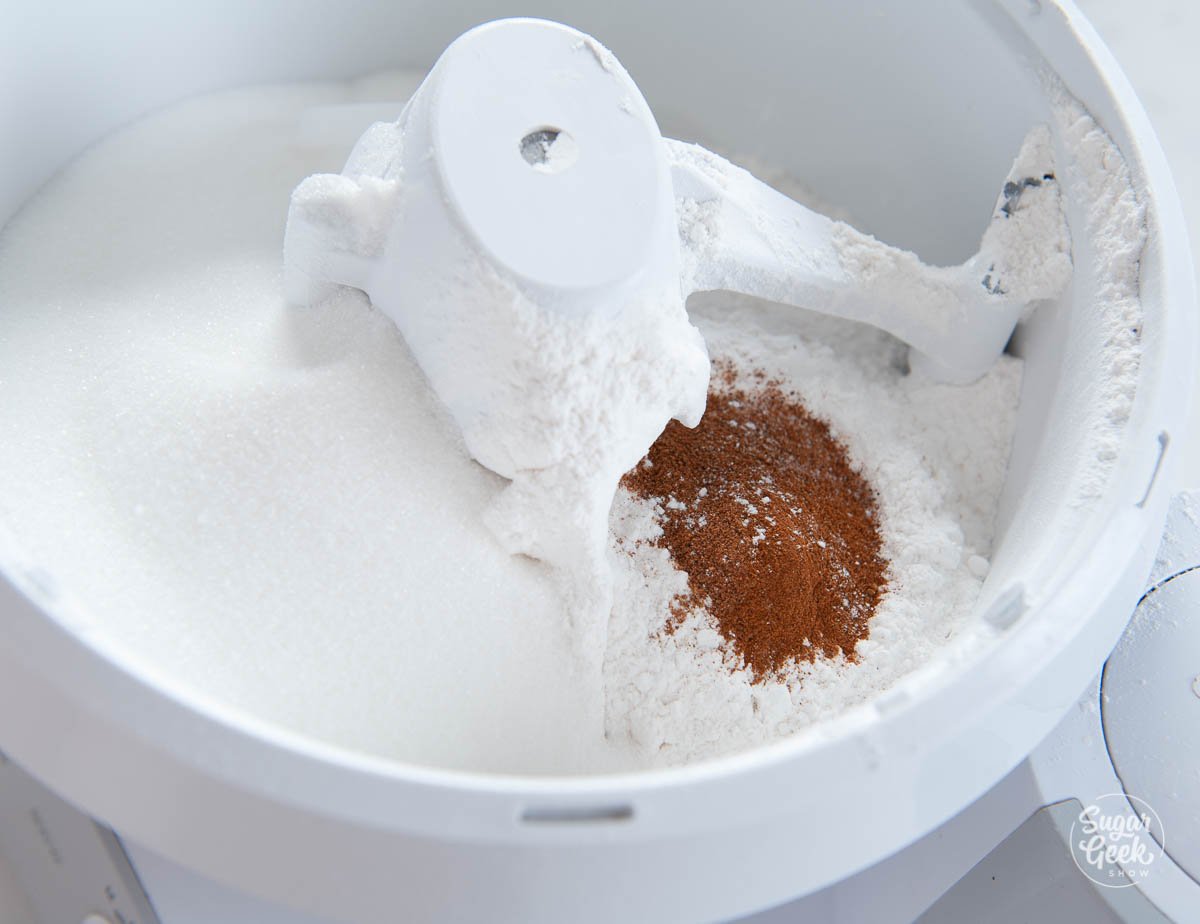
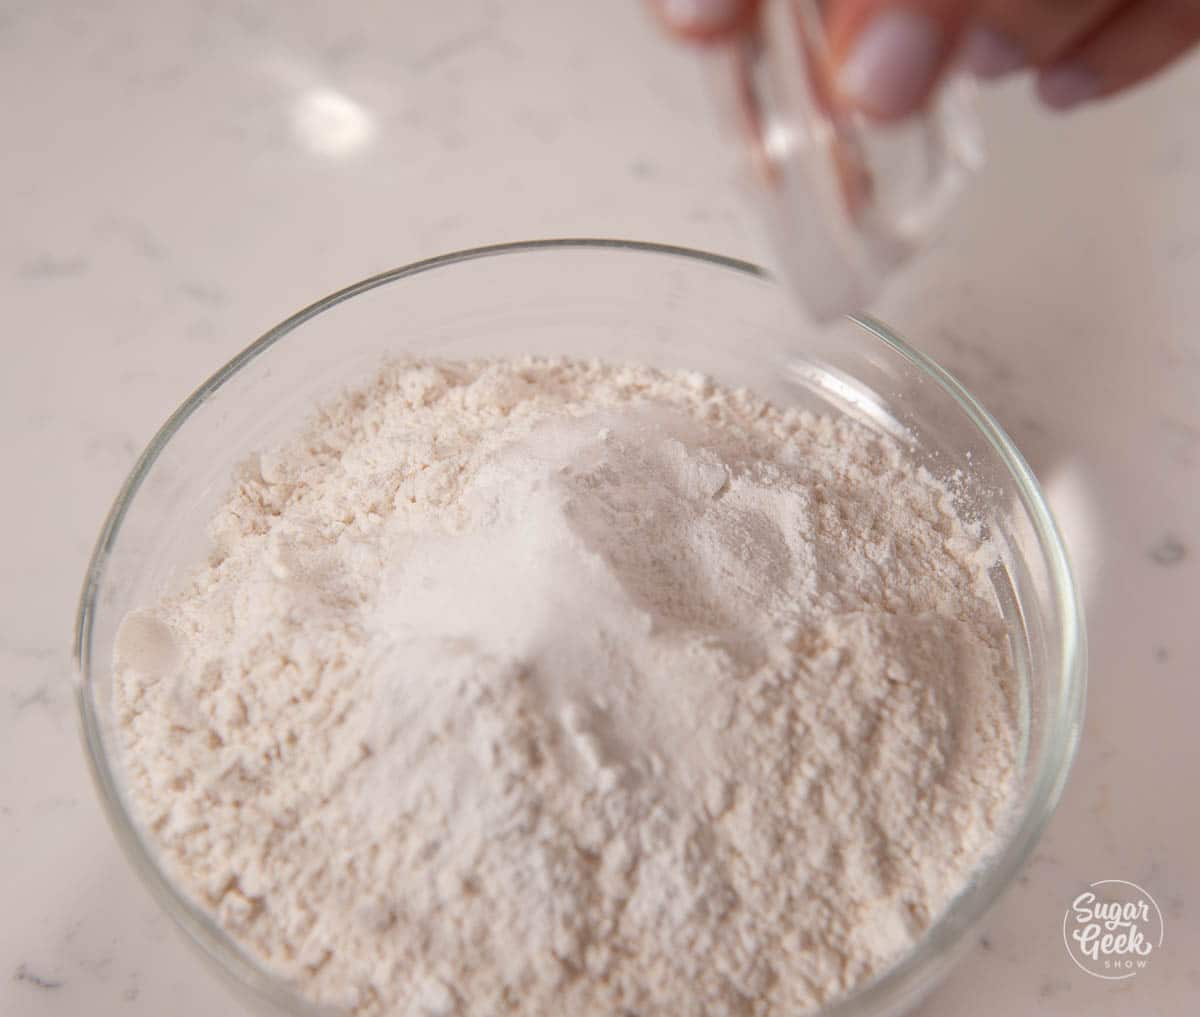
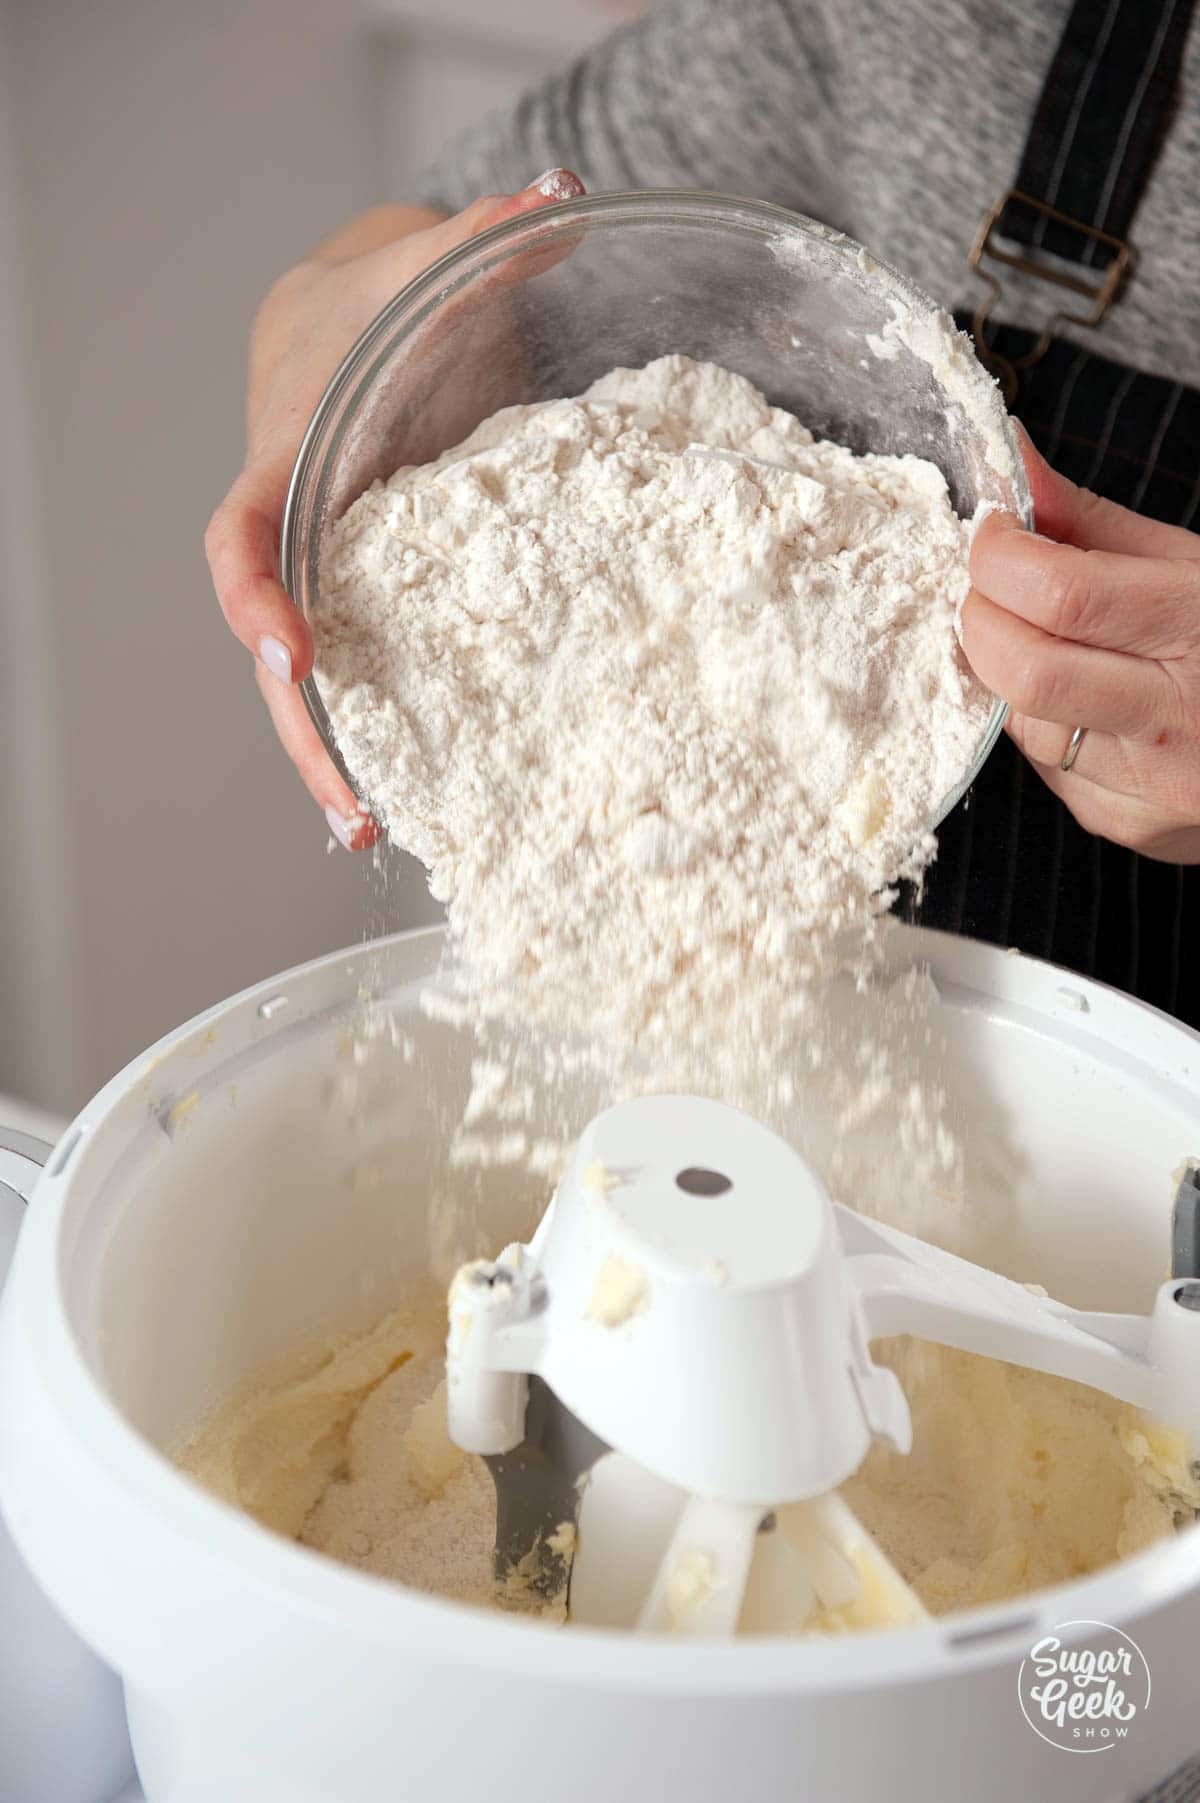
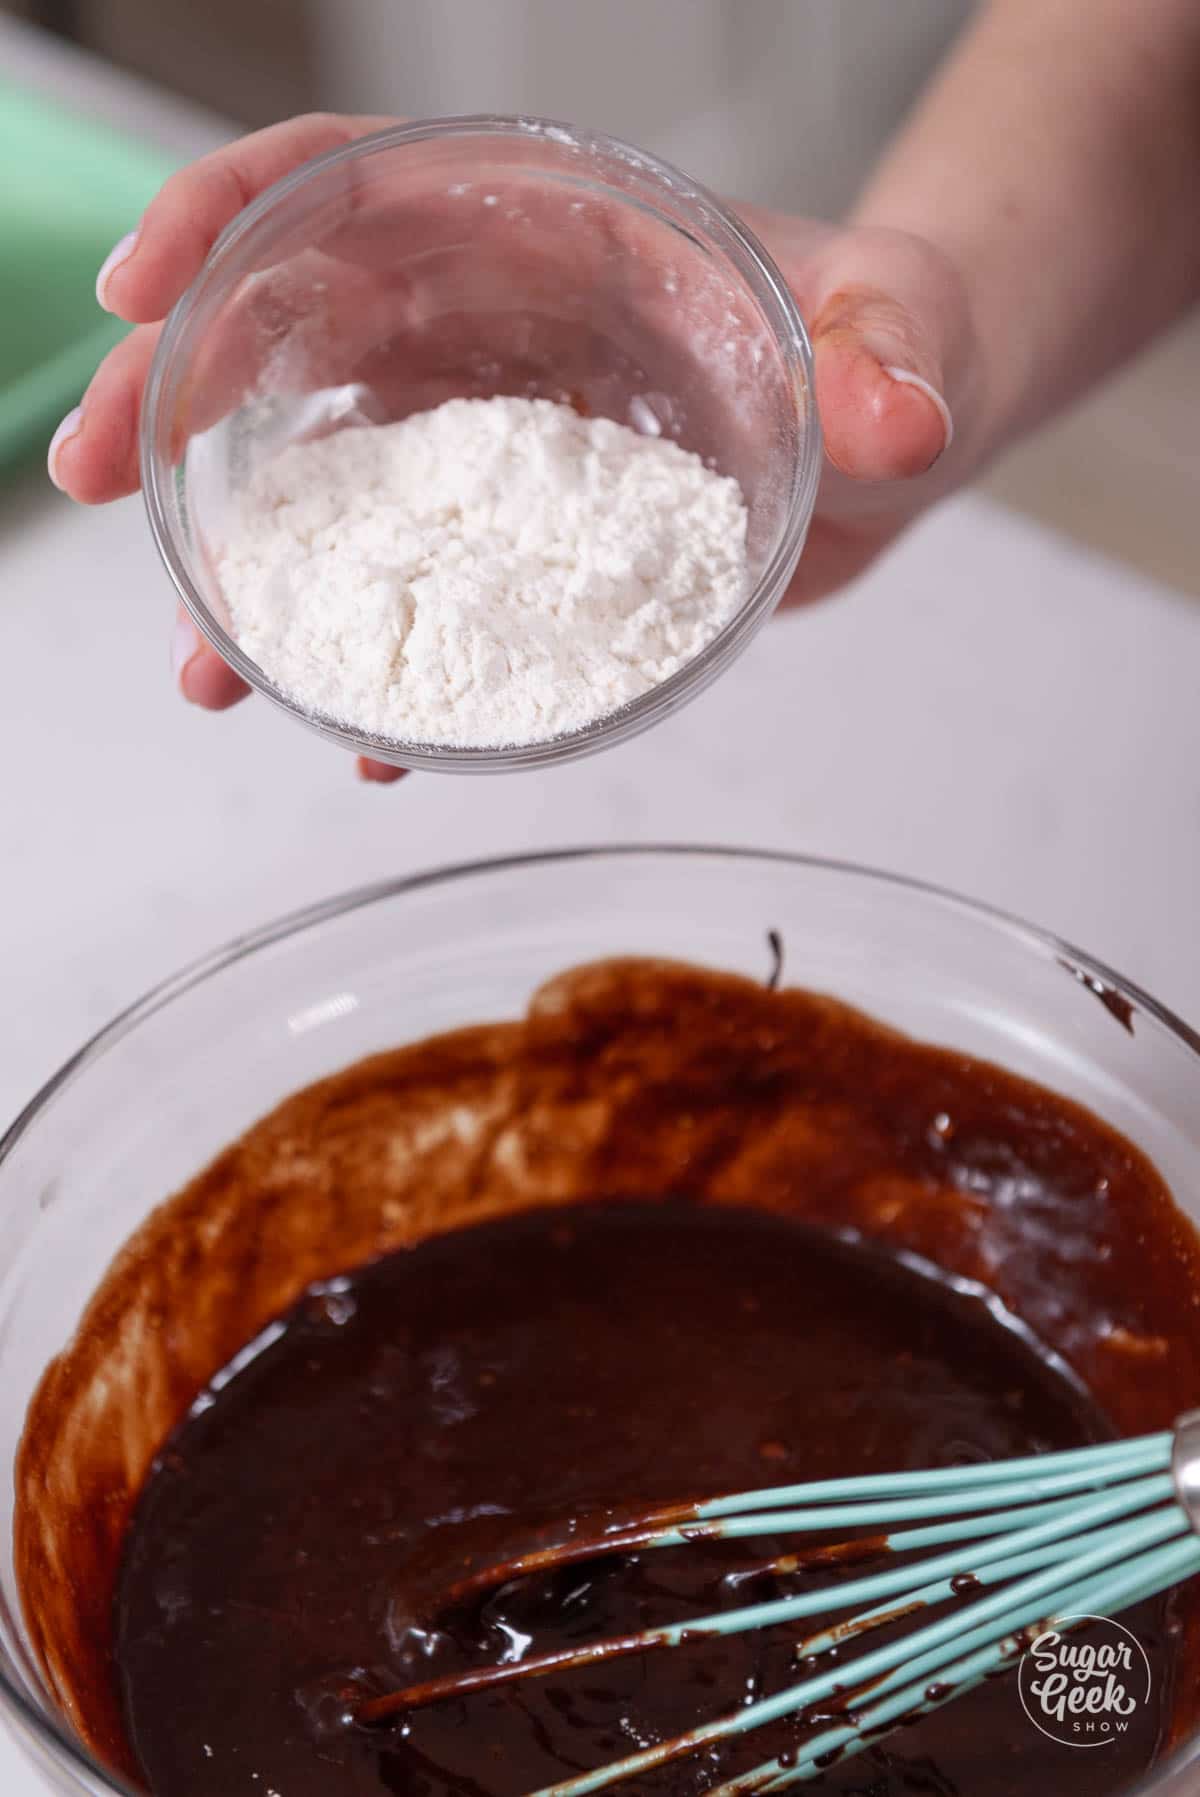
- Combine the flour, baking powder, and salt and set it aside.
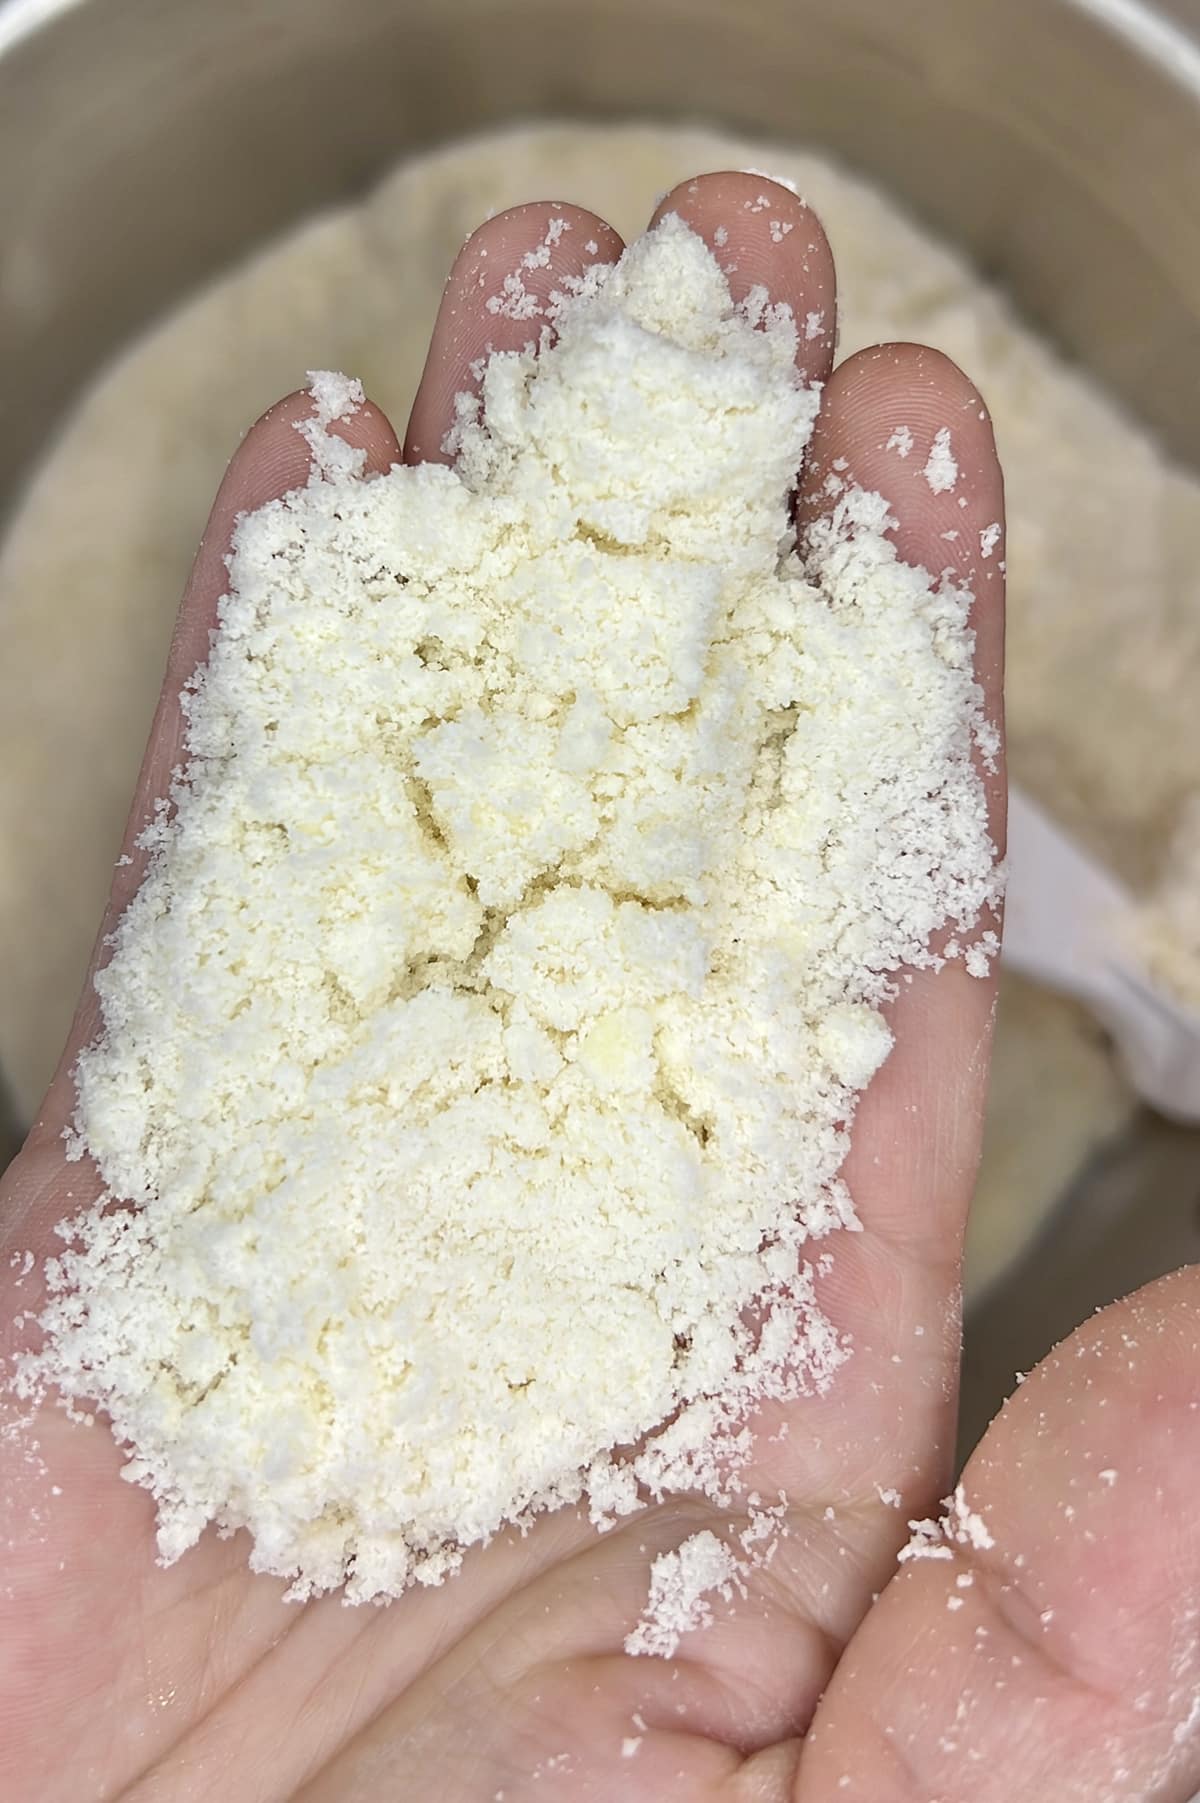
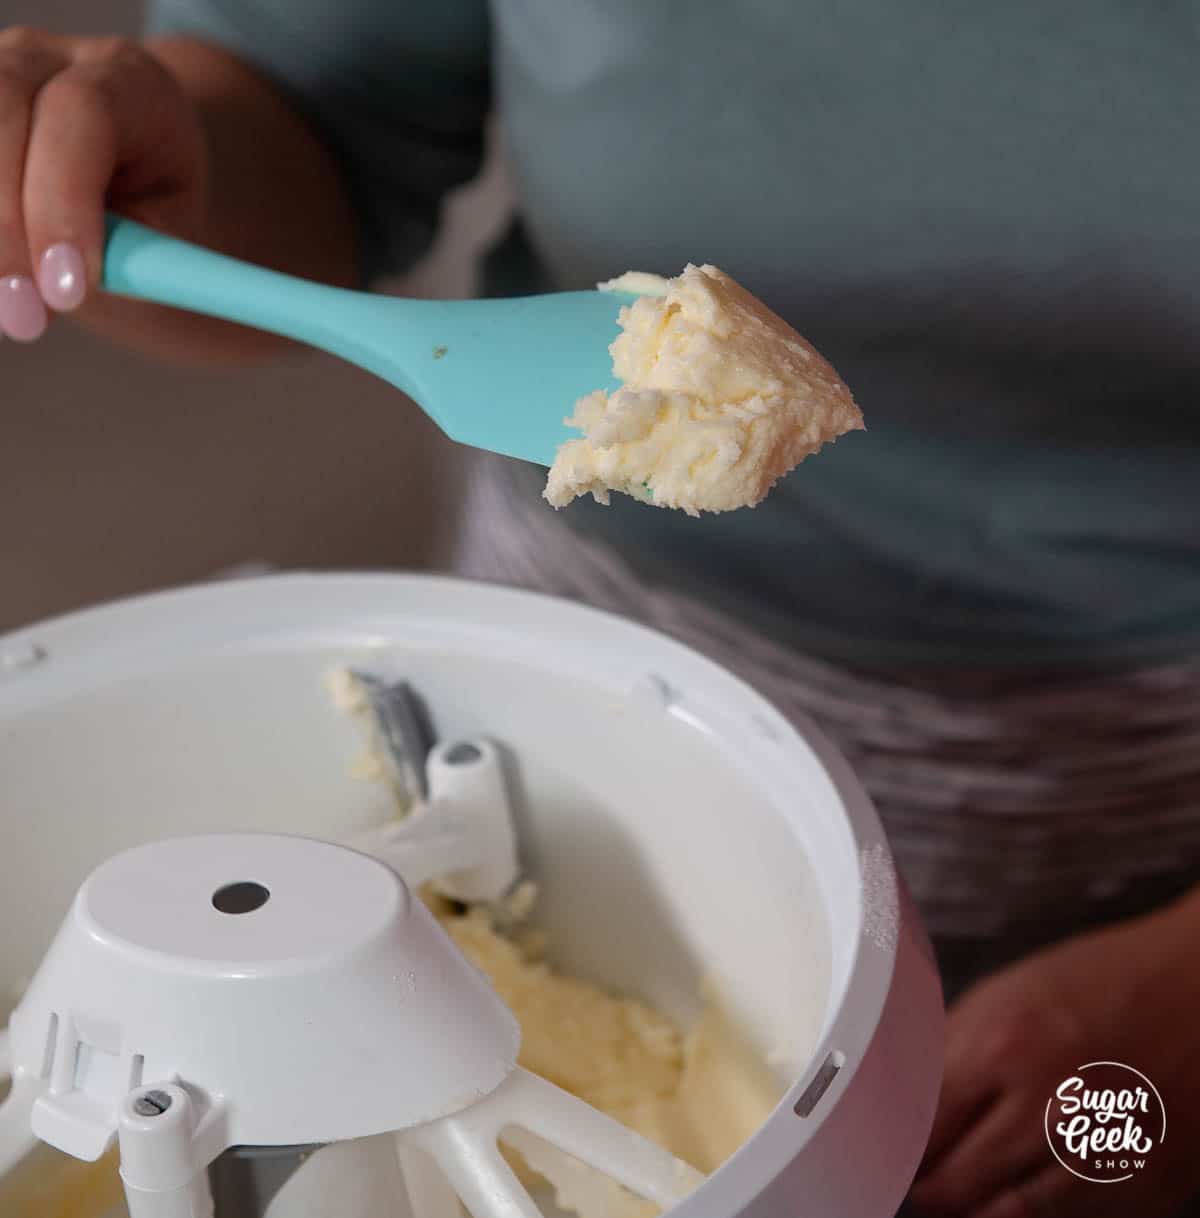
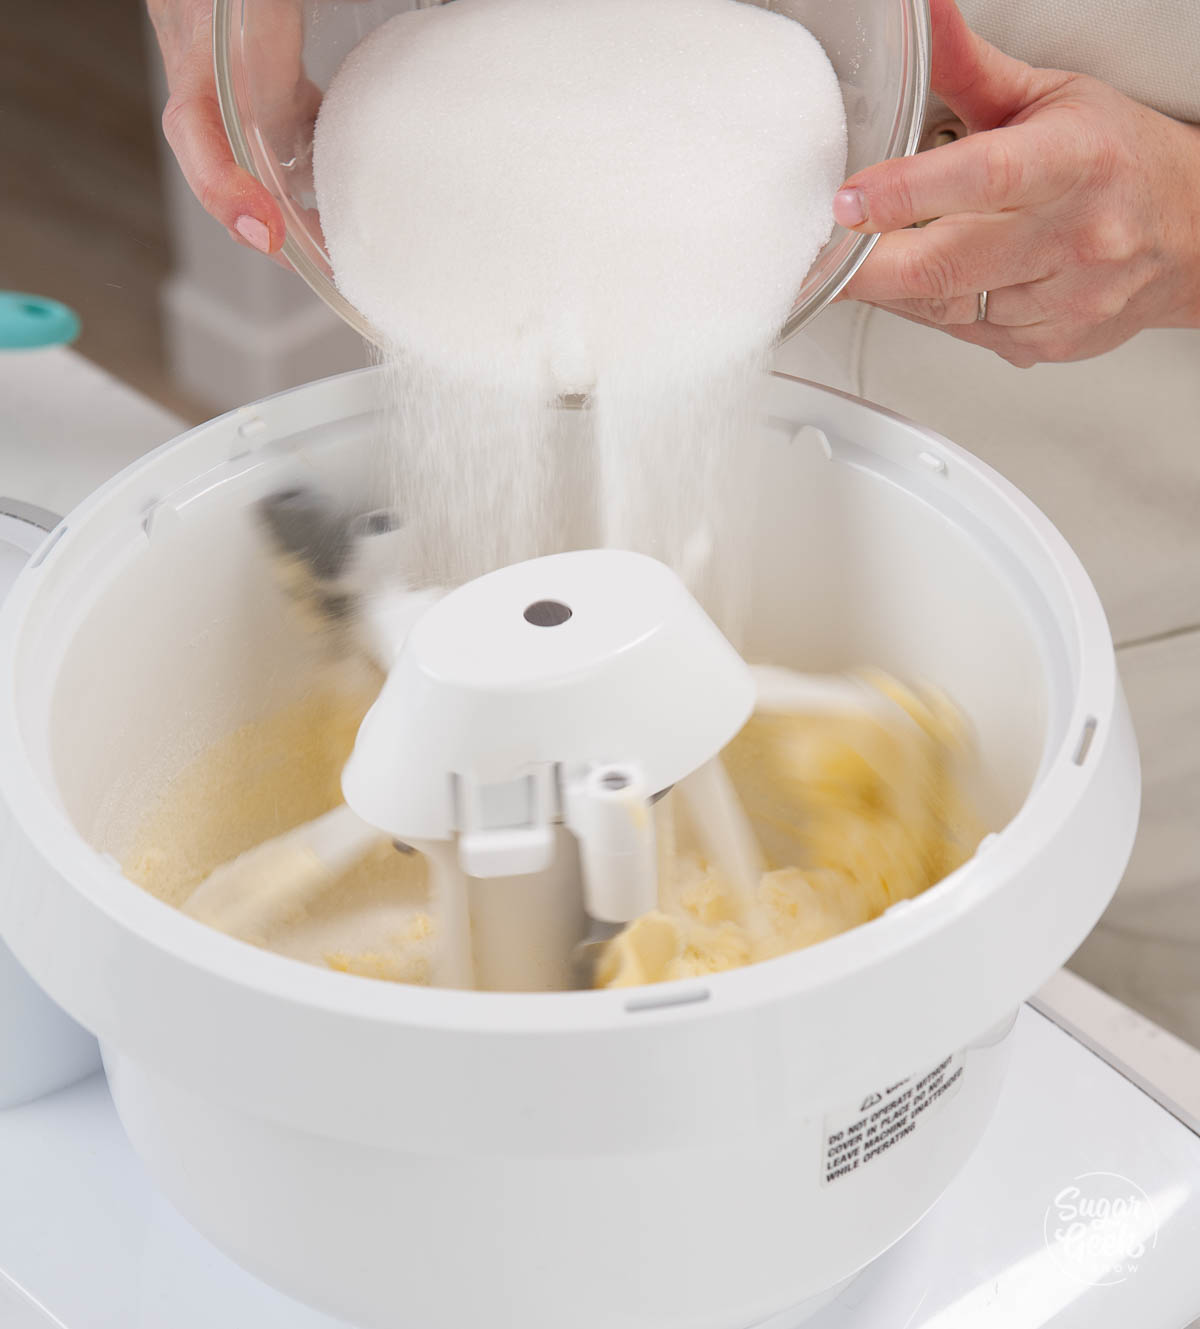
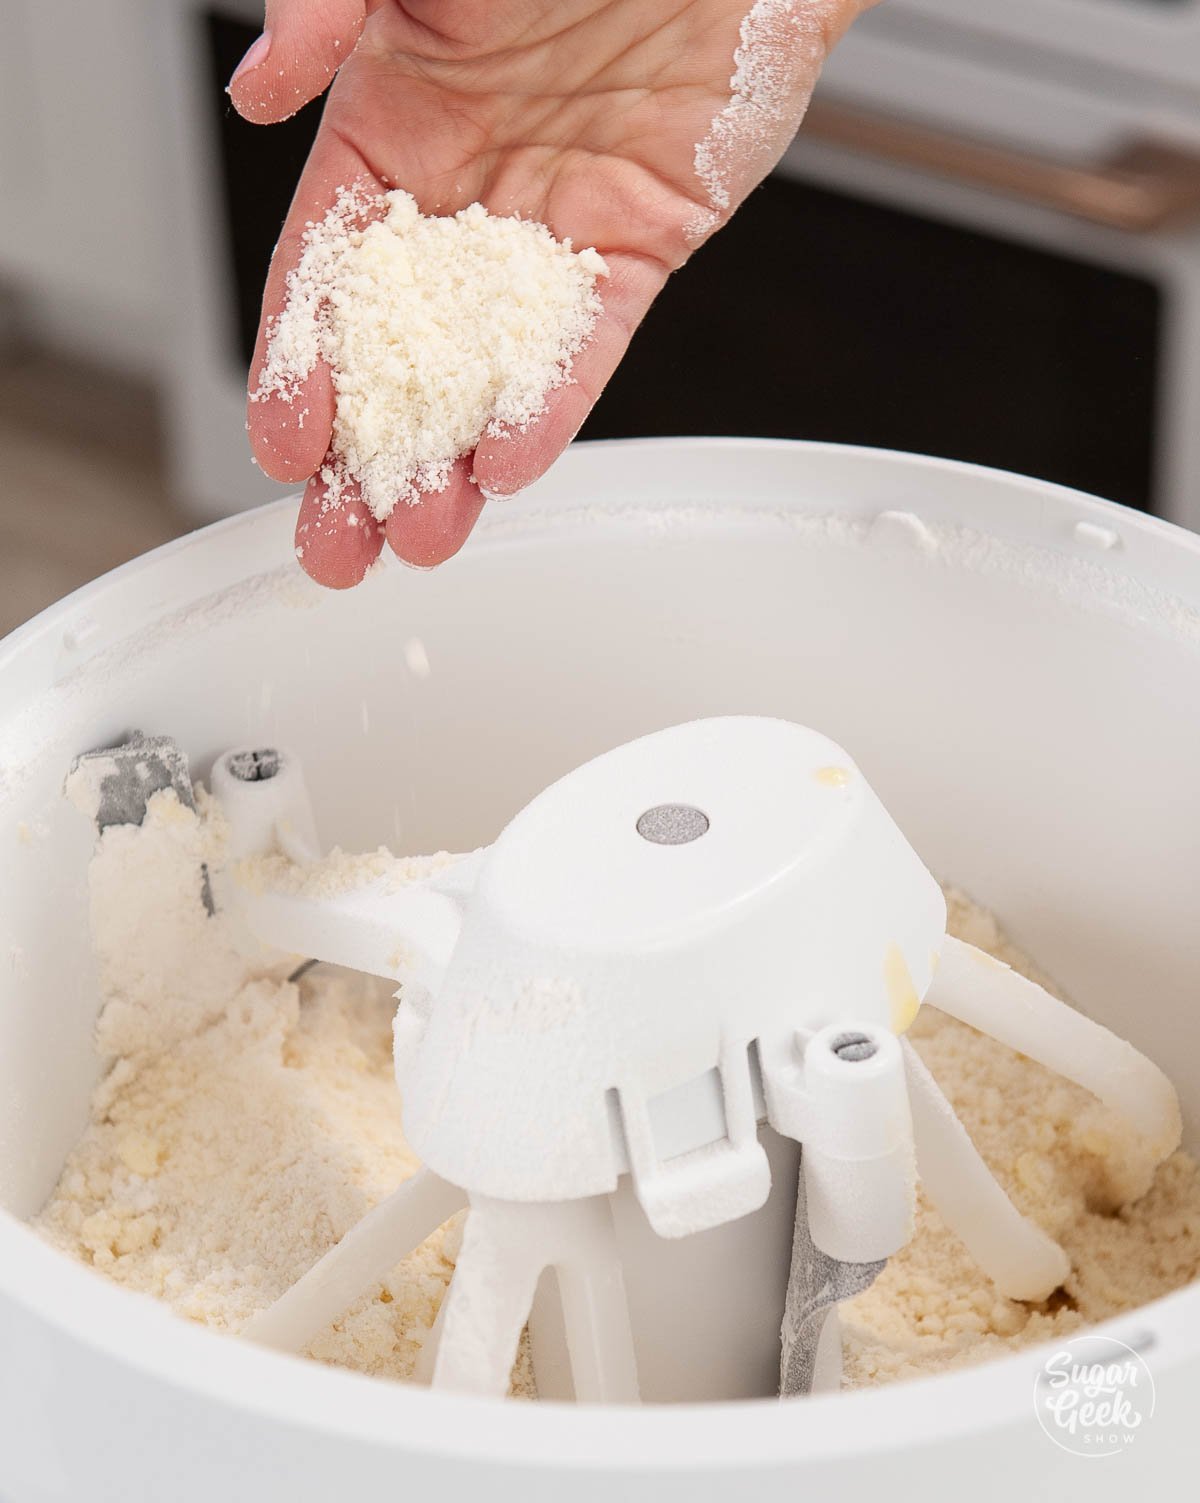
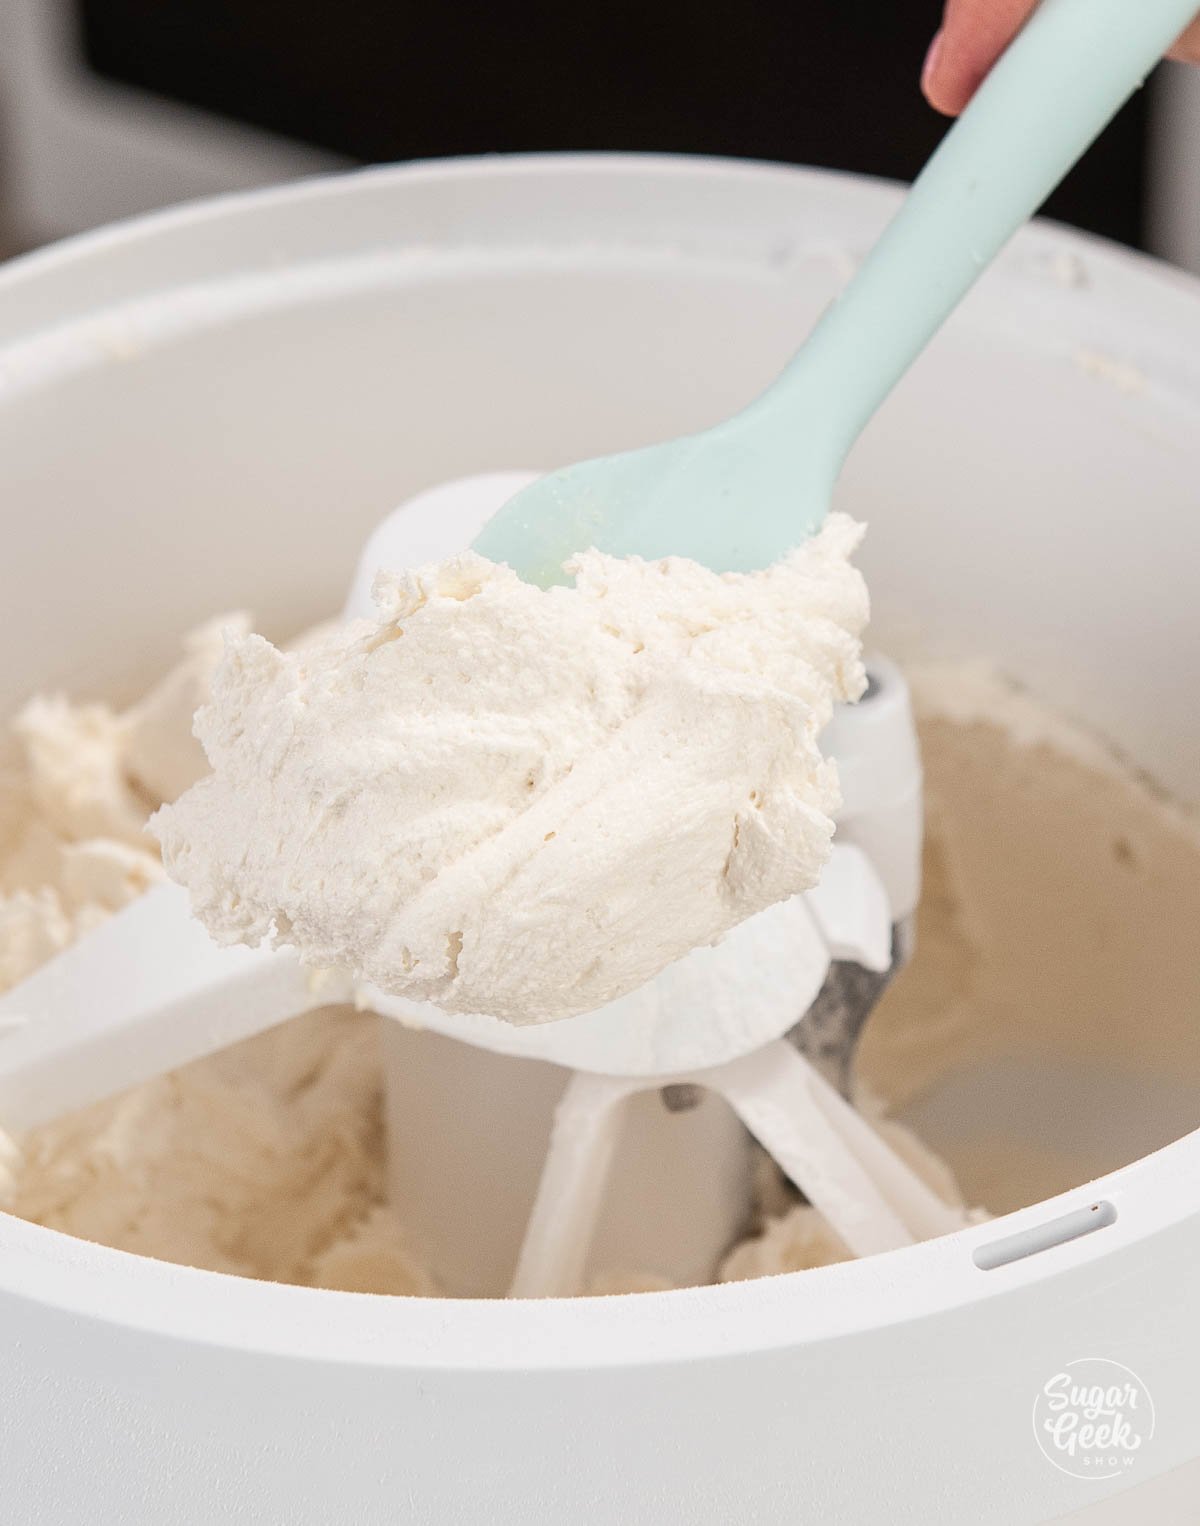
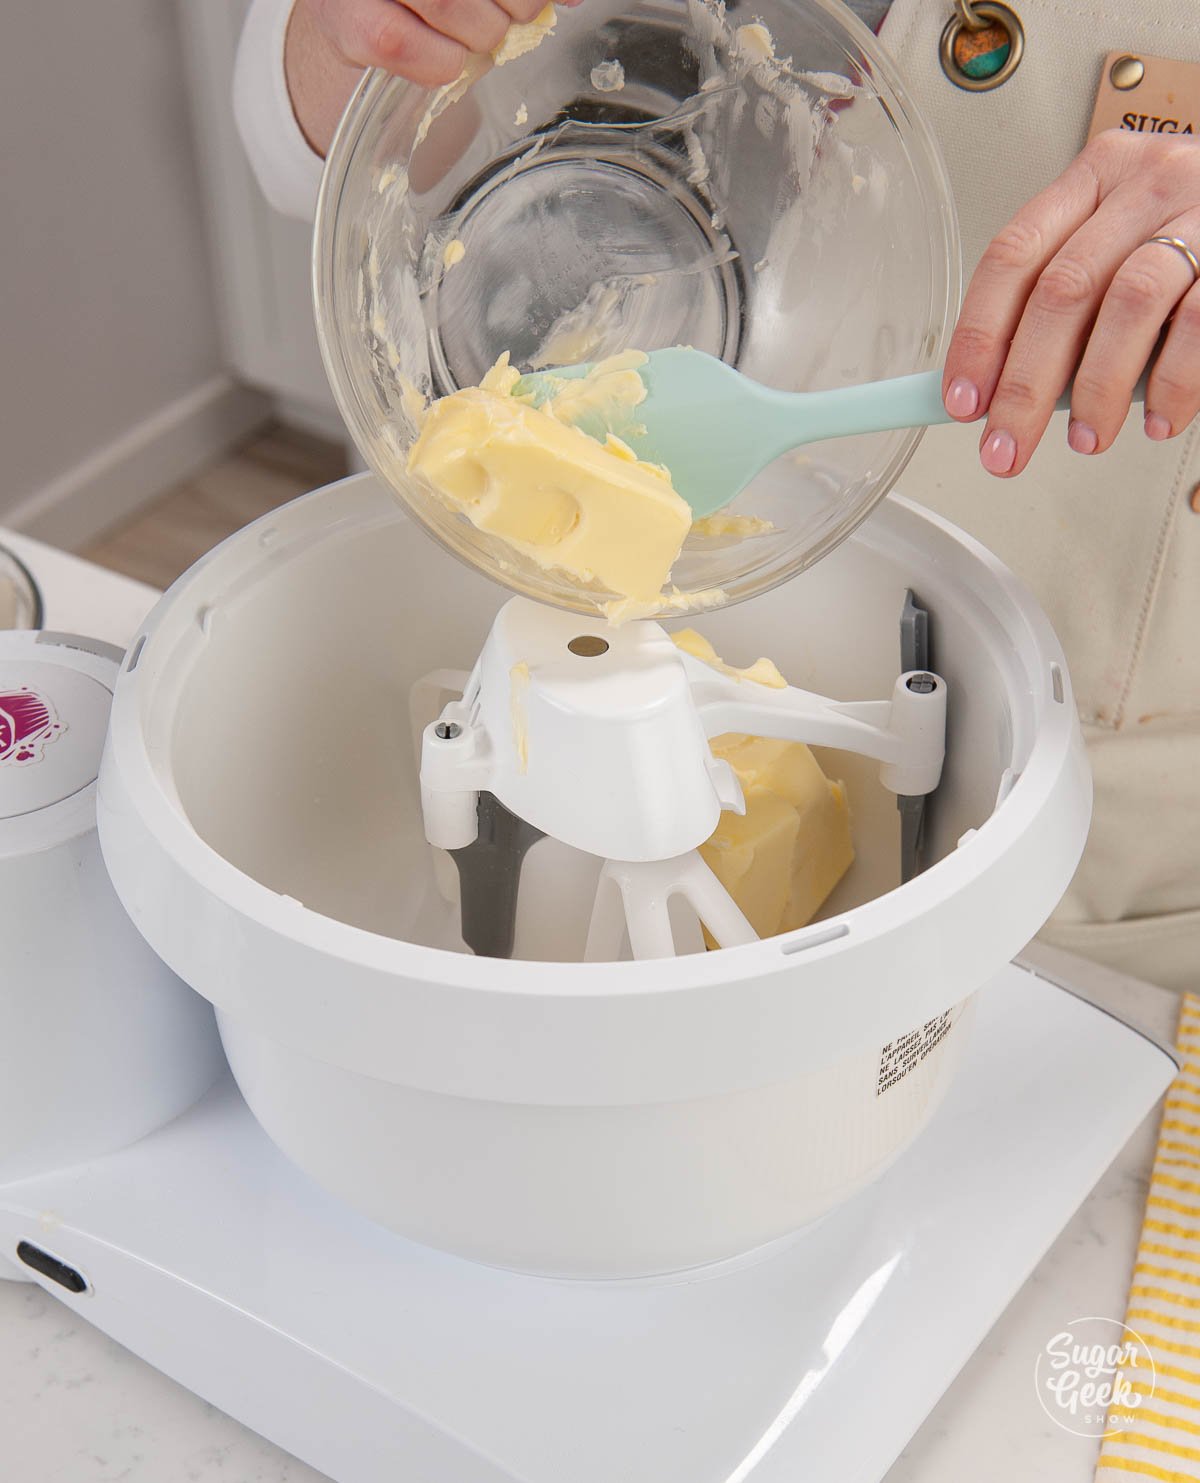
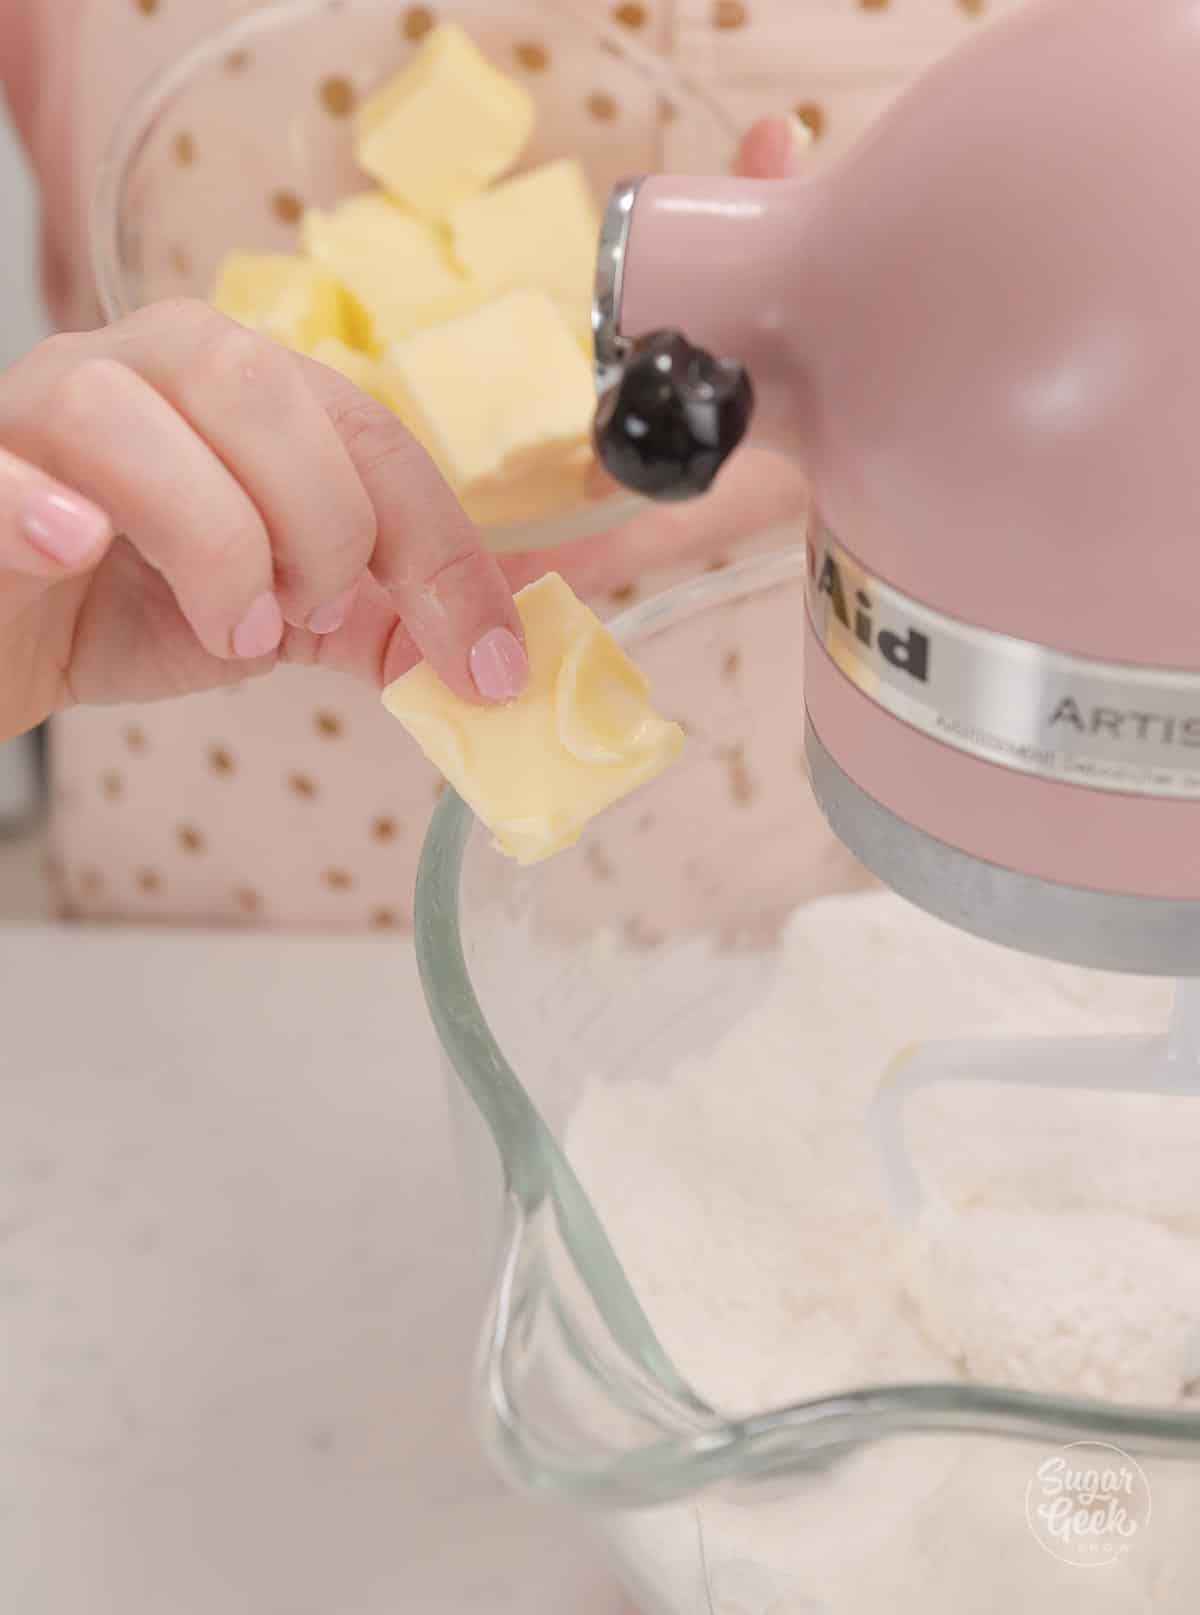
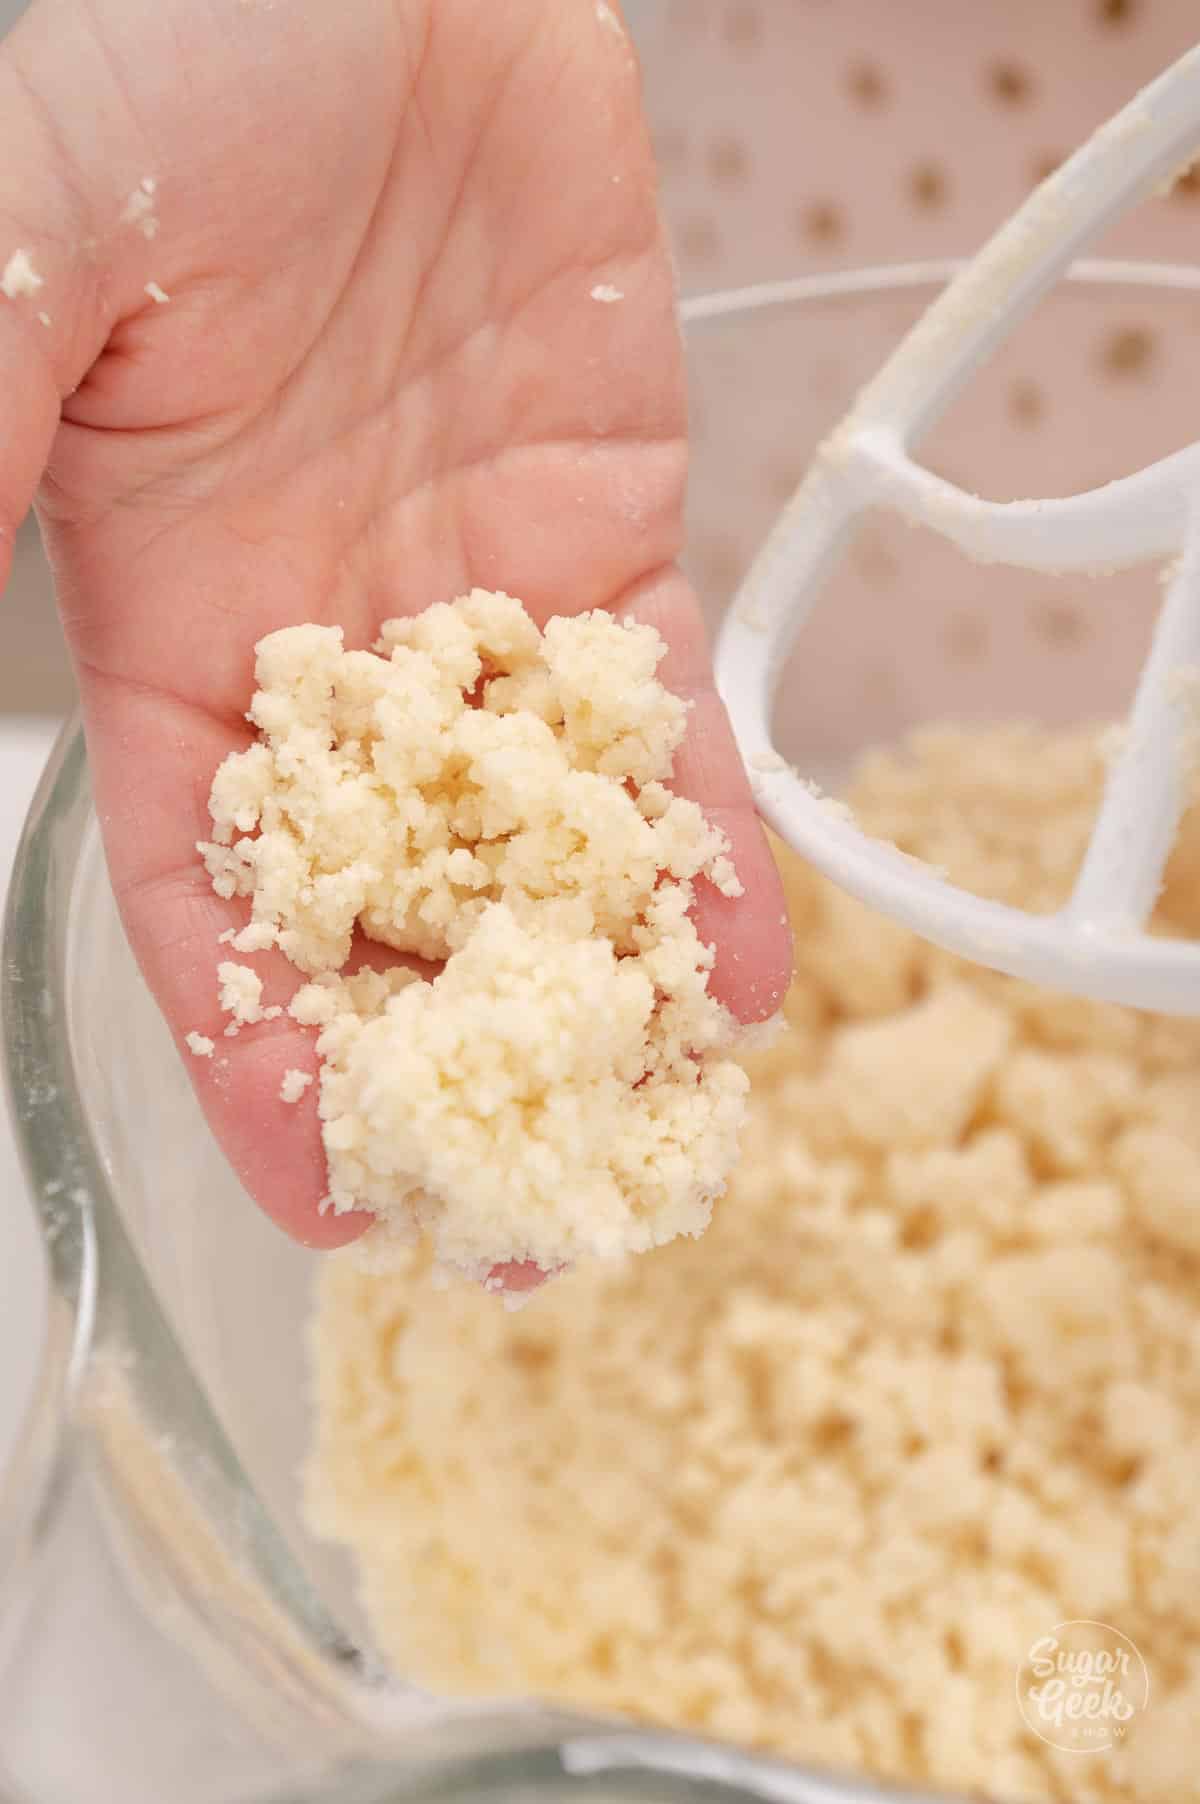
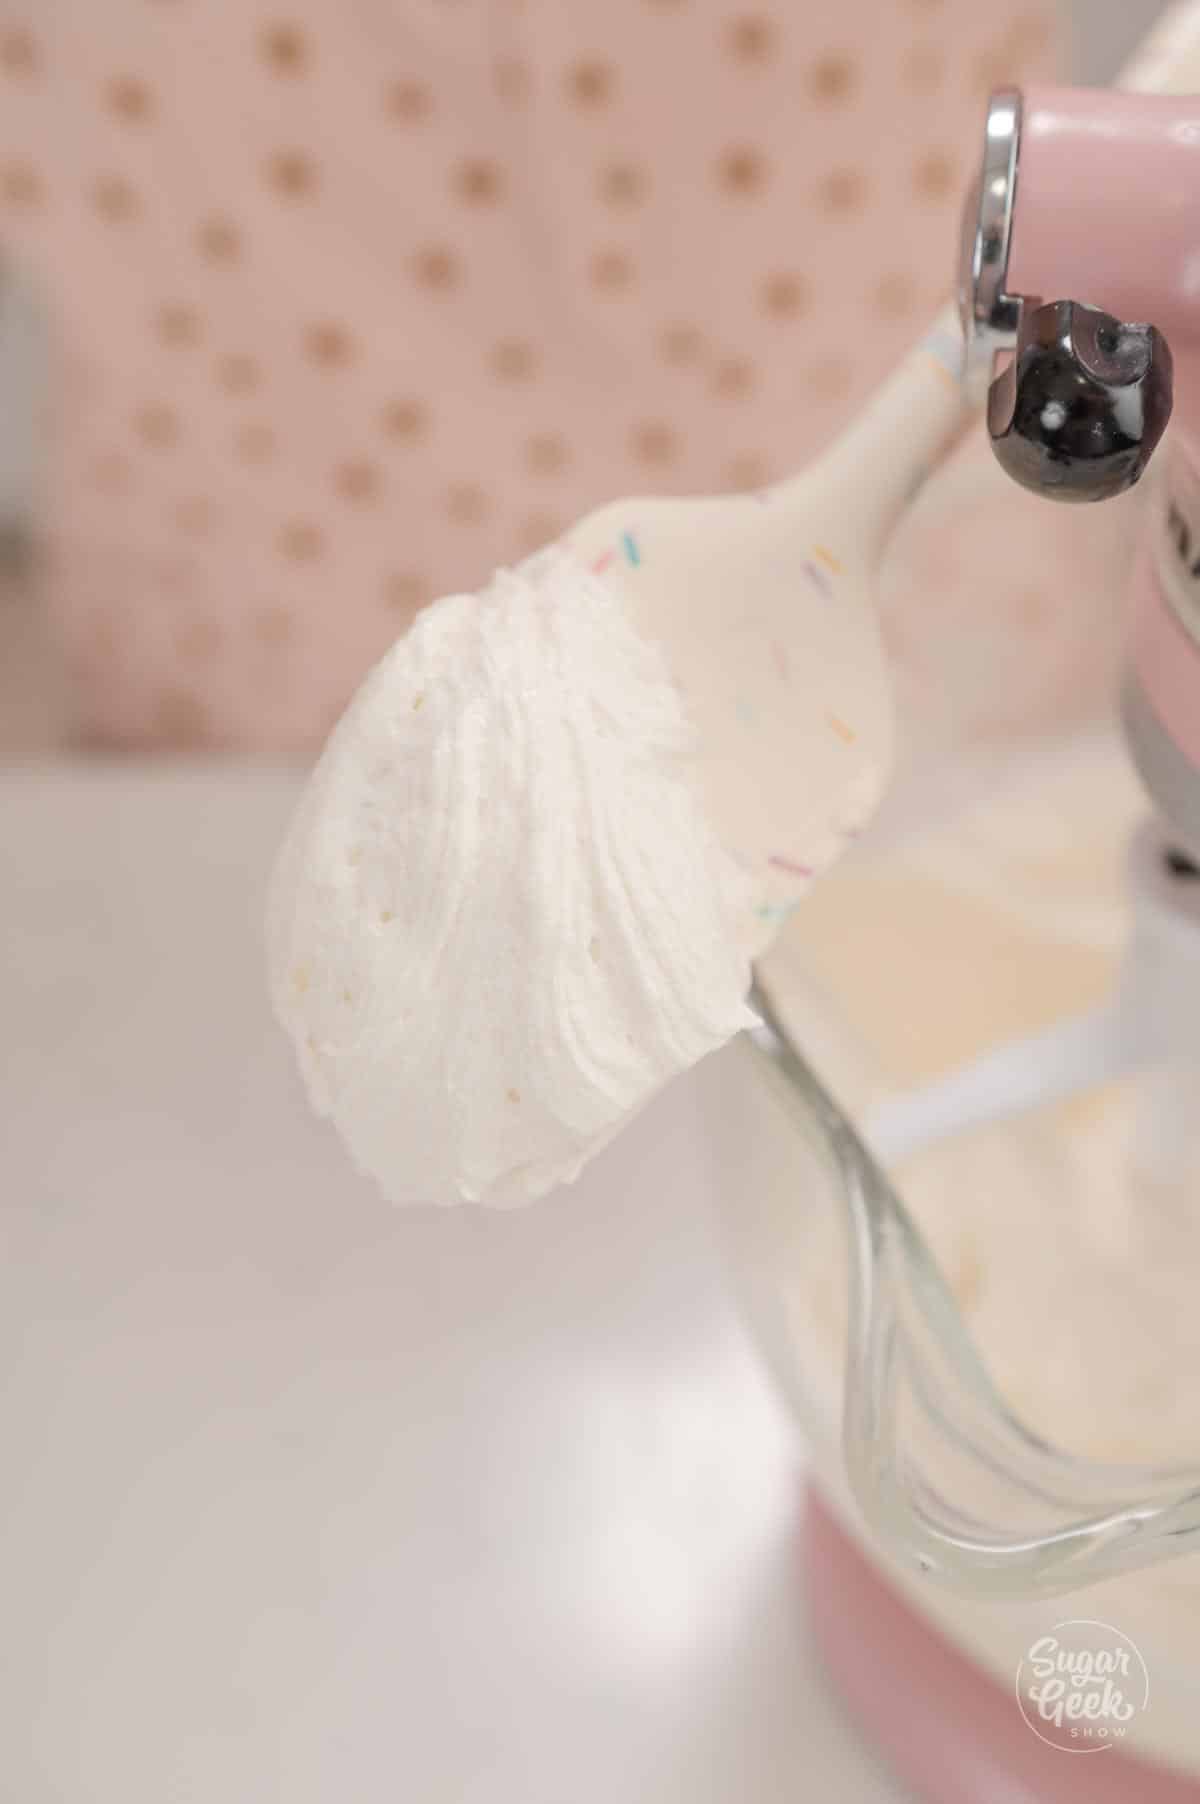
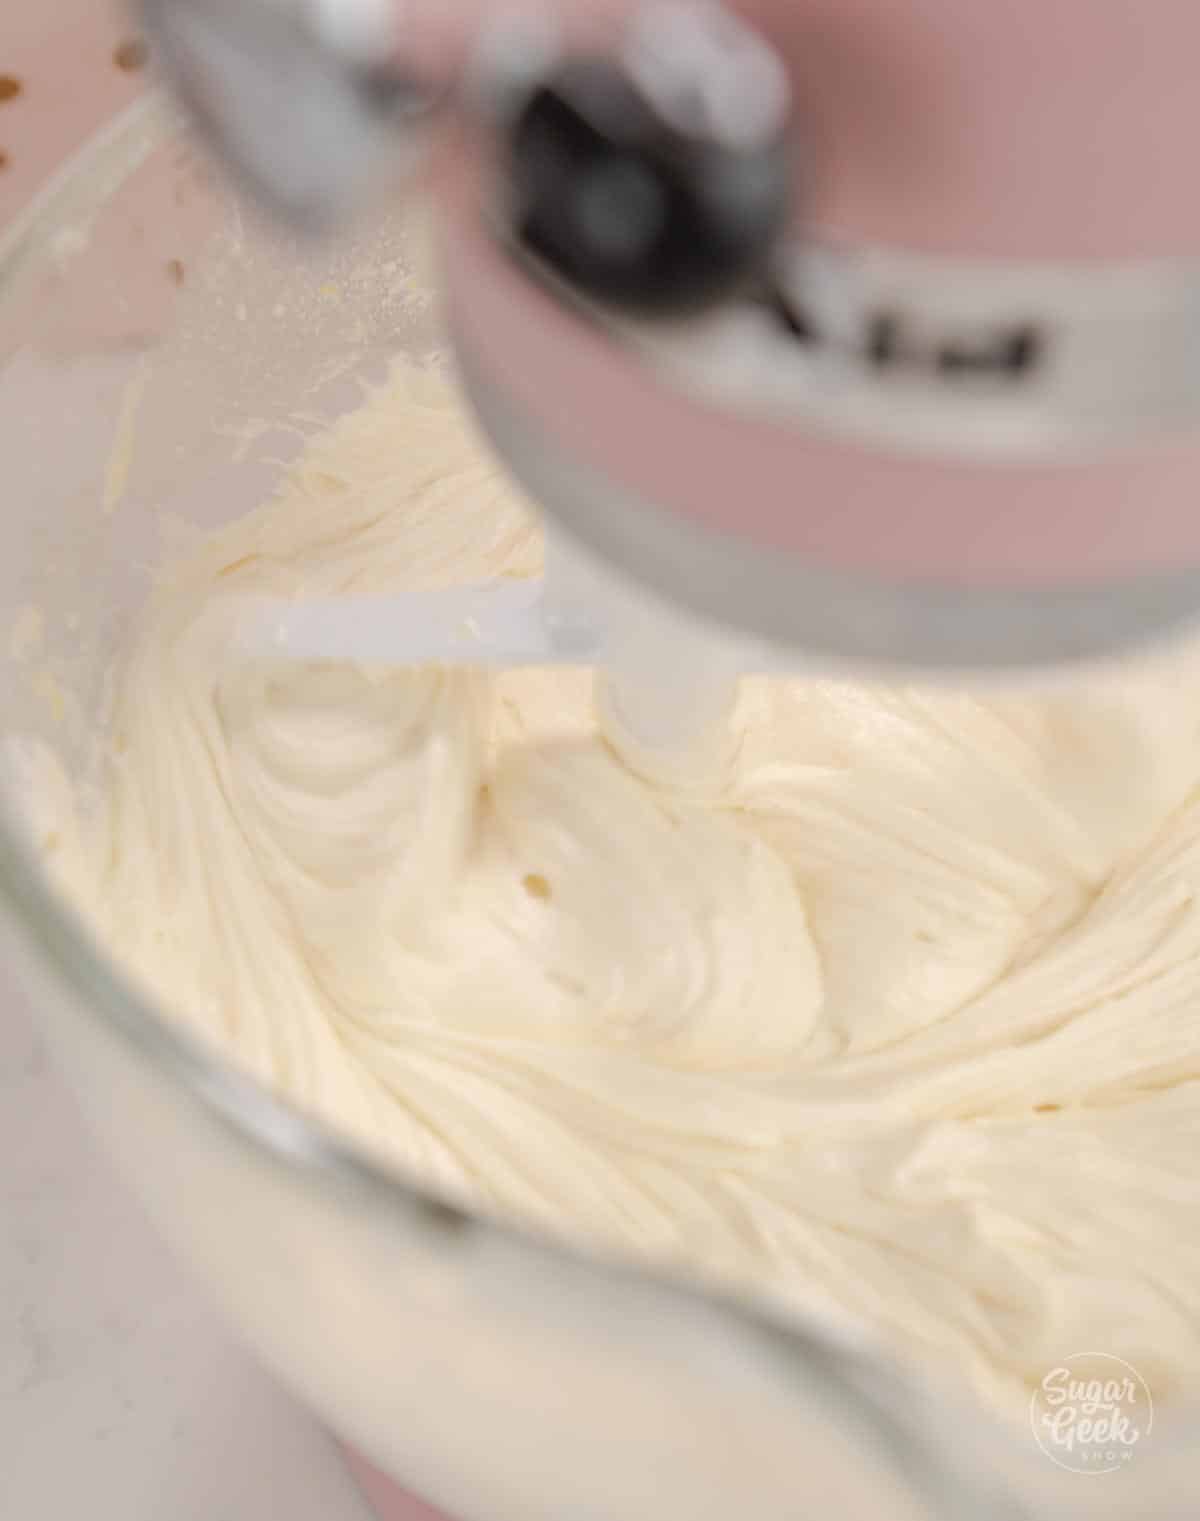
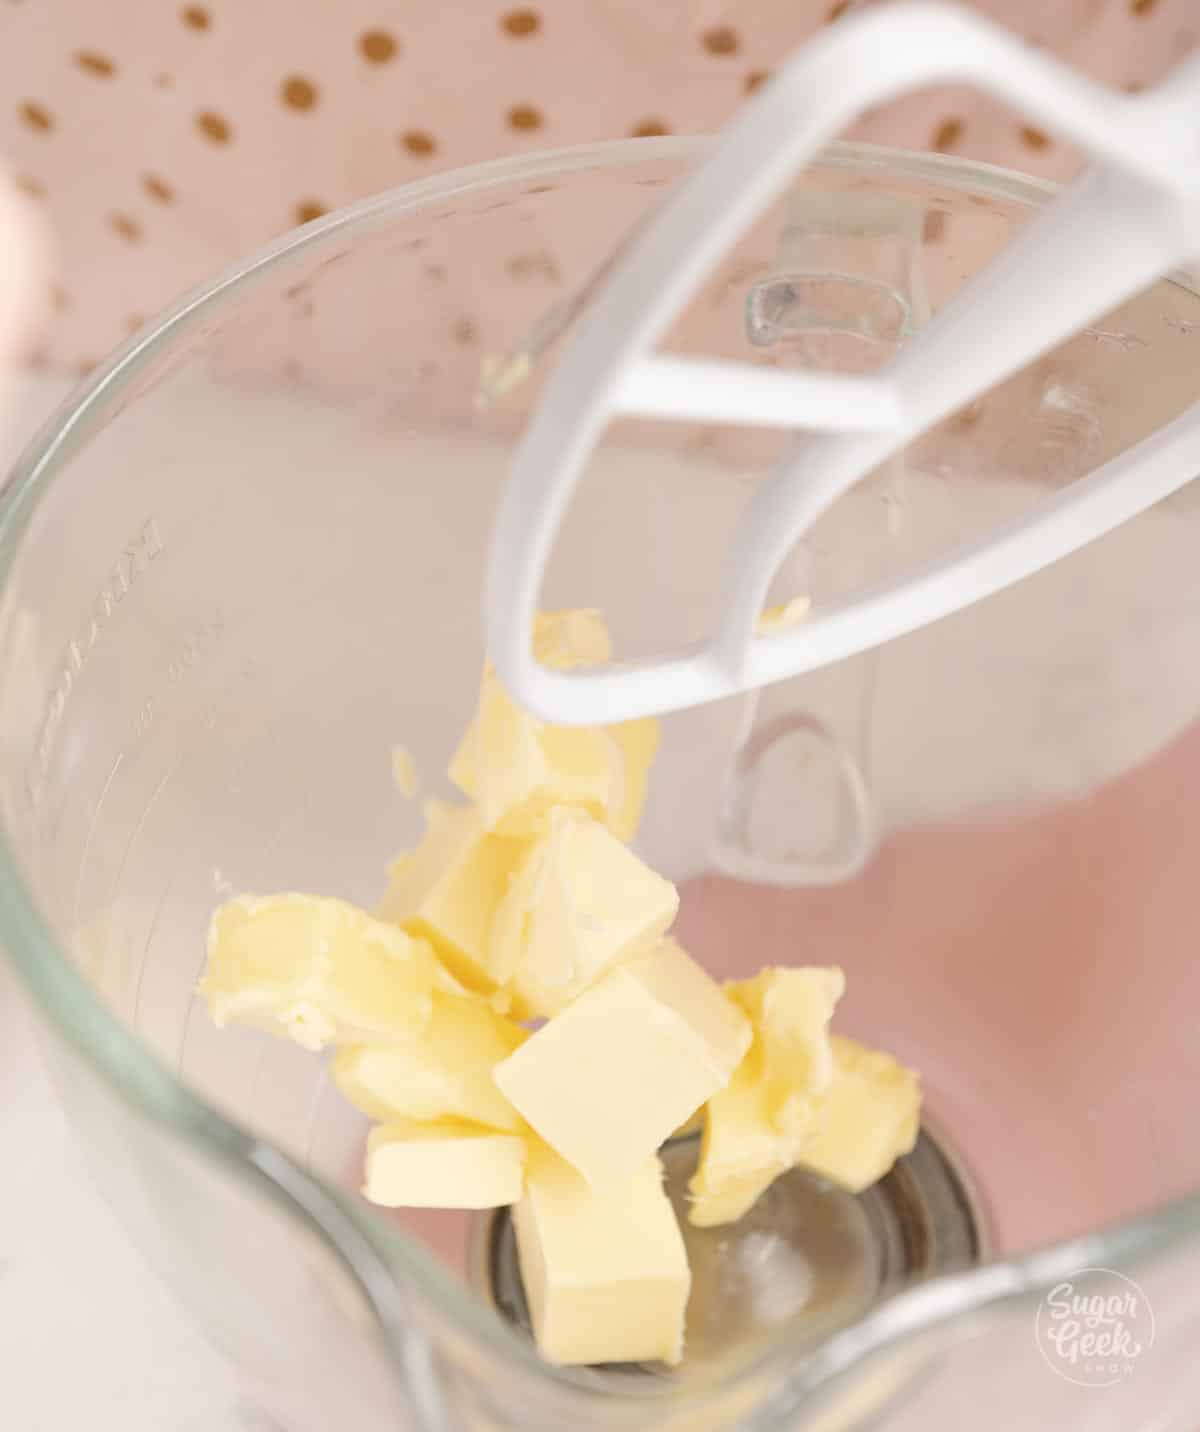
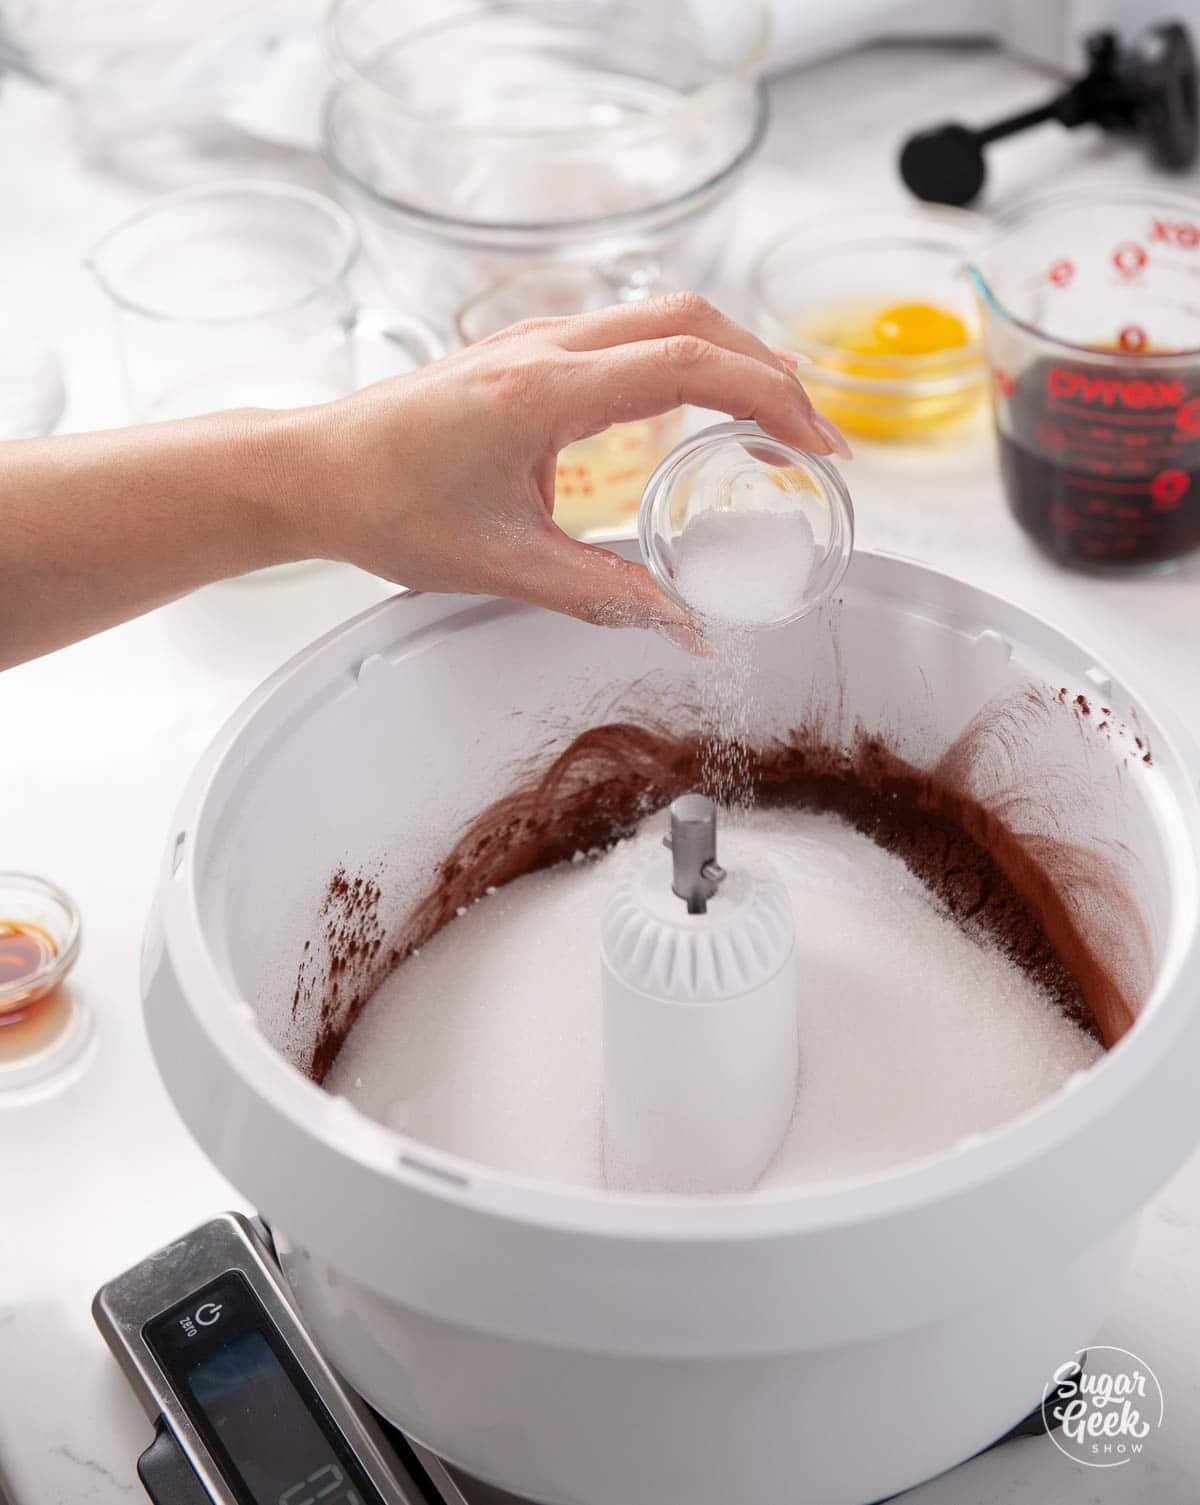
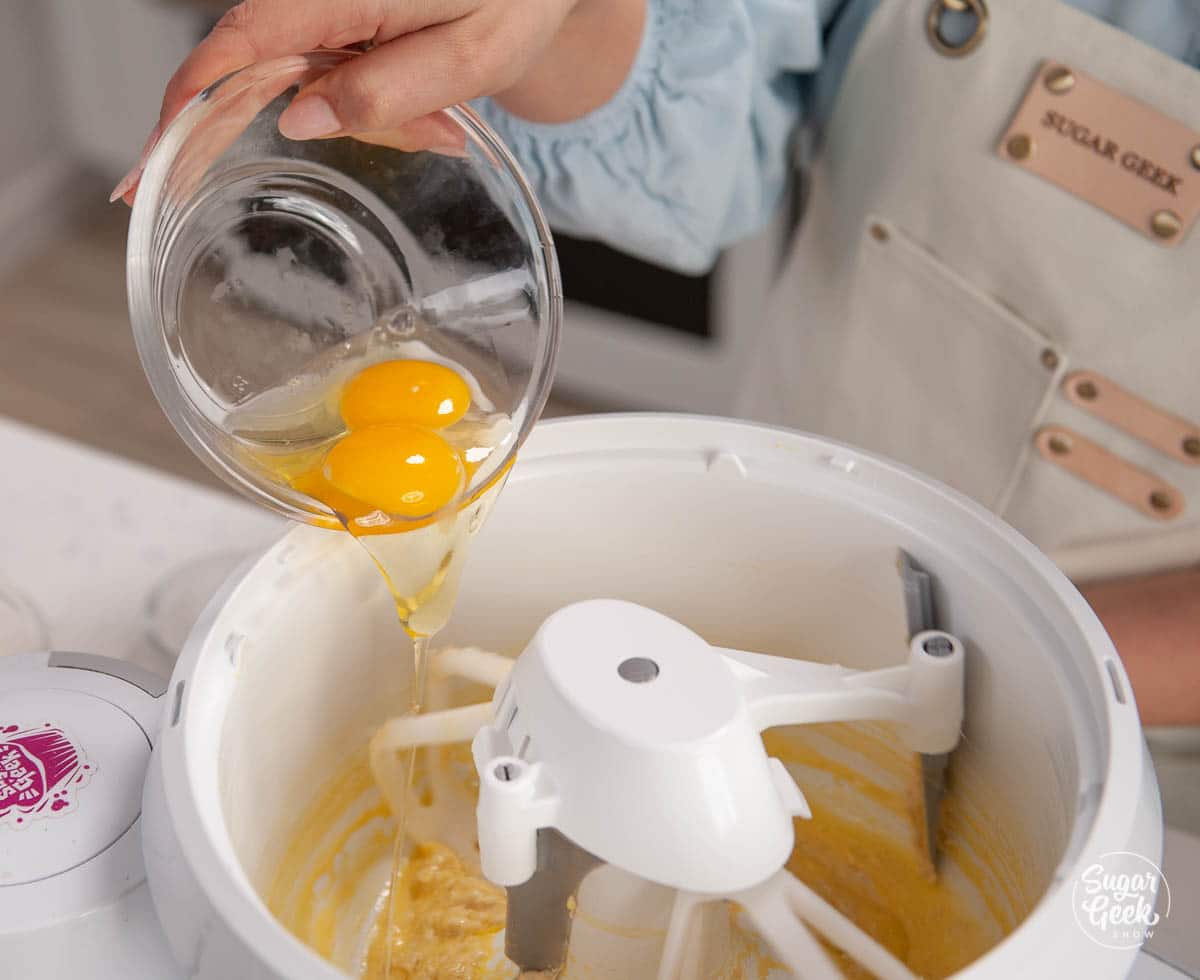
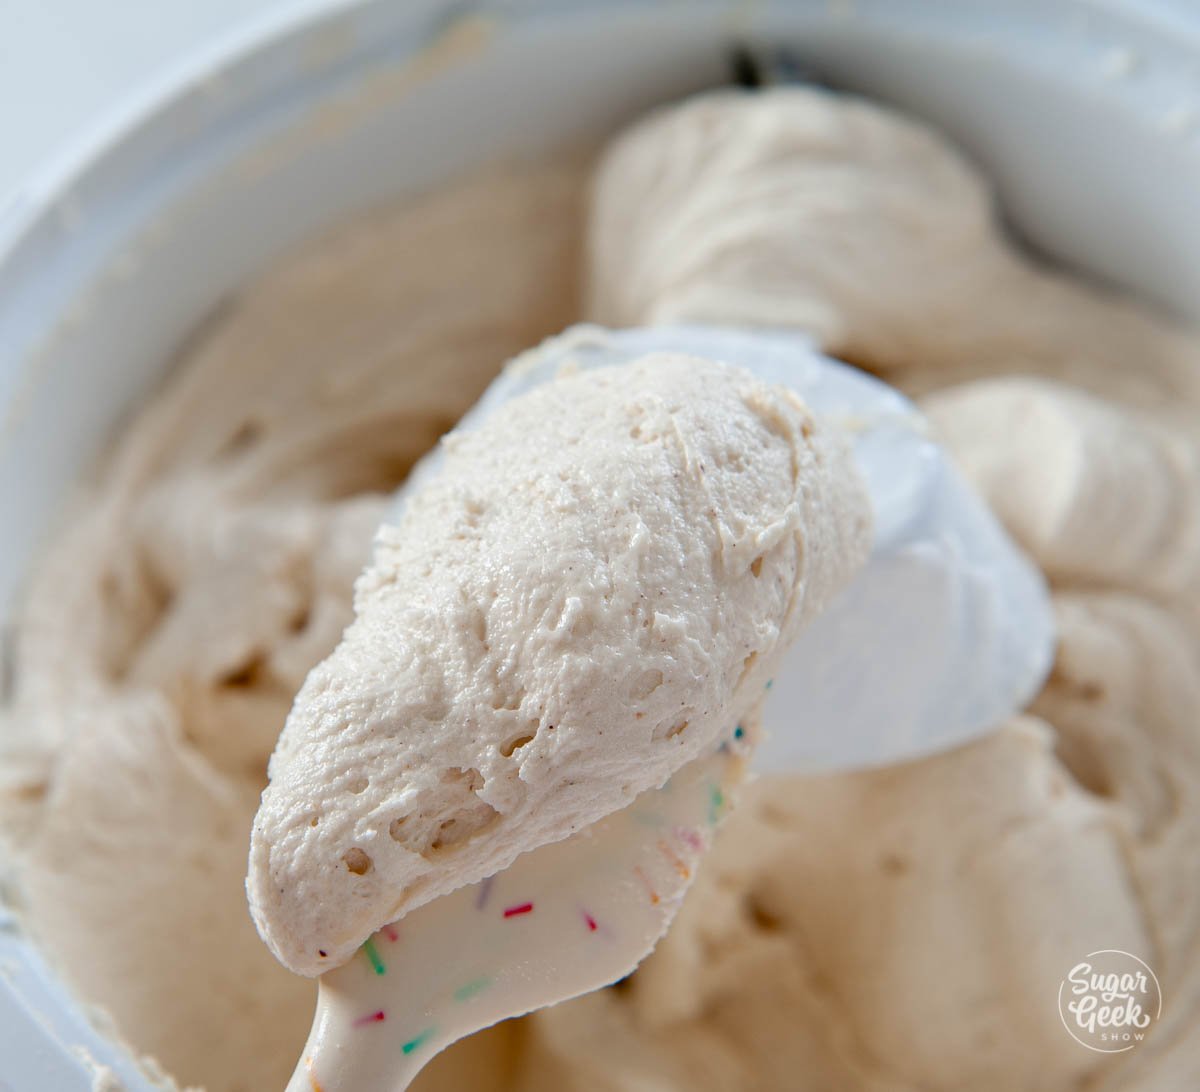
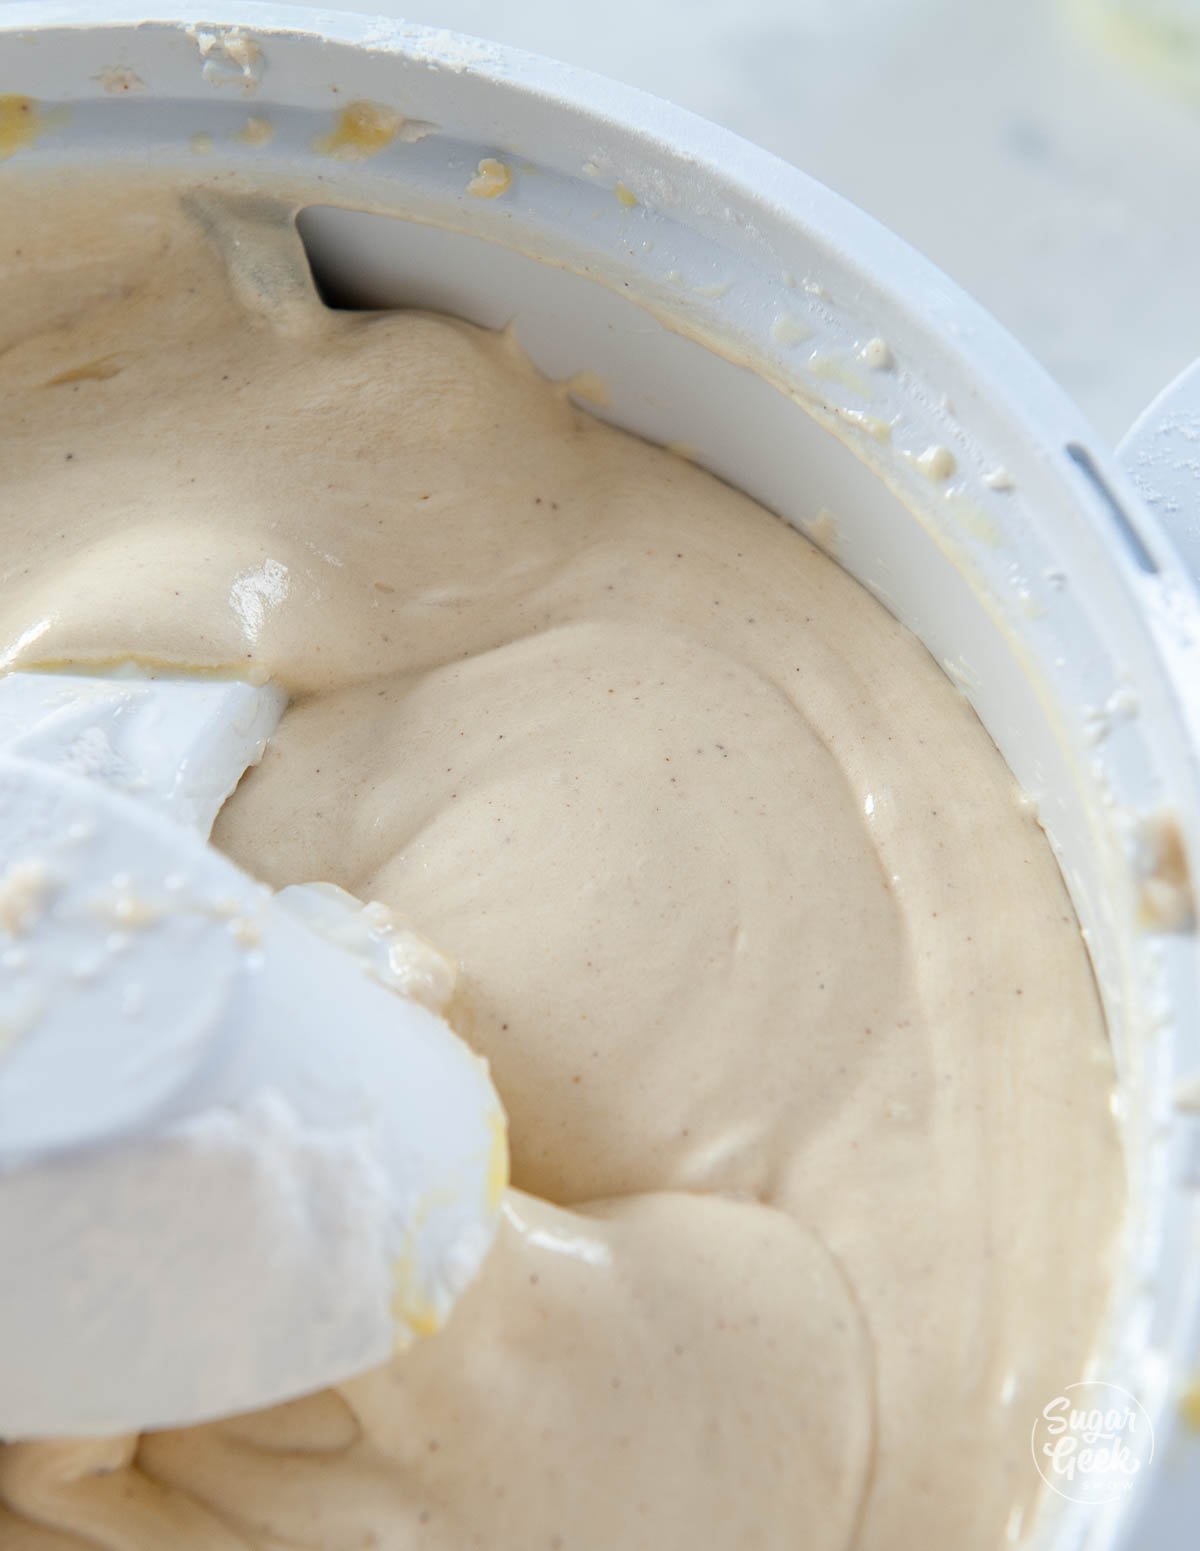
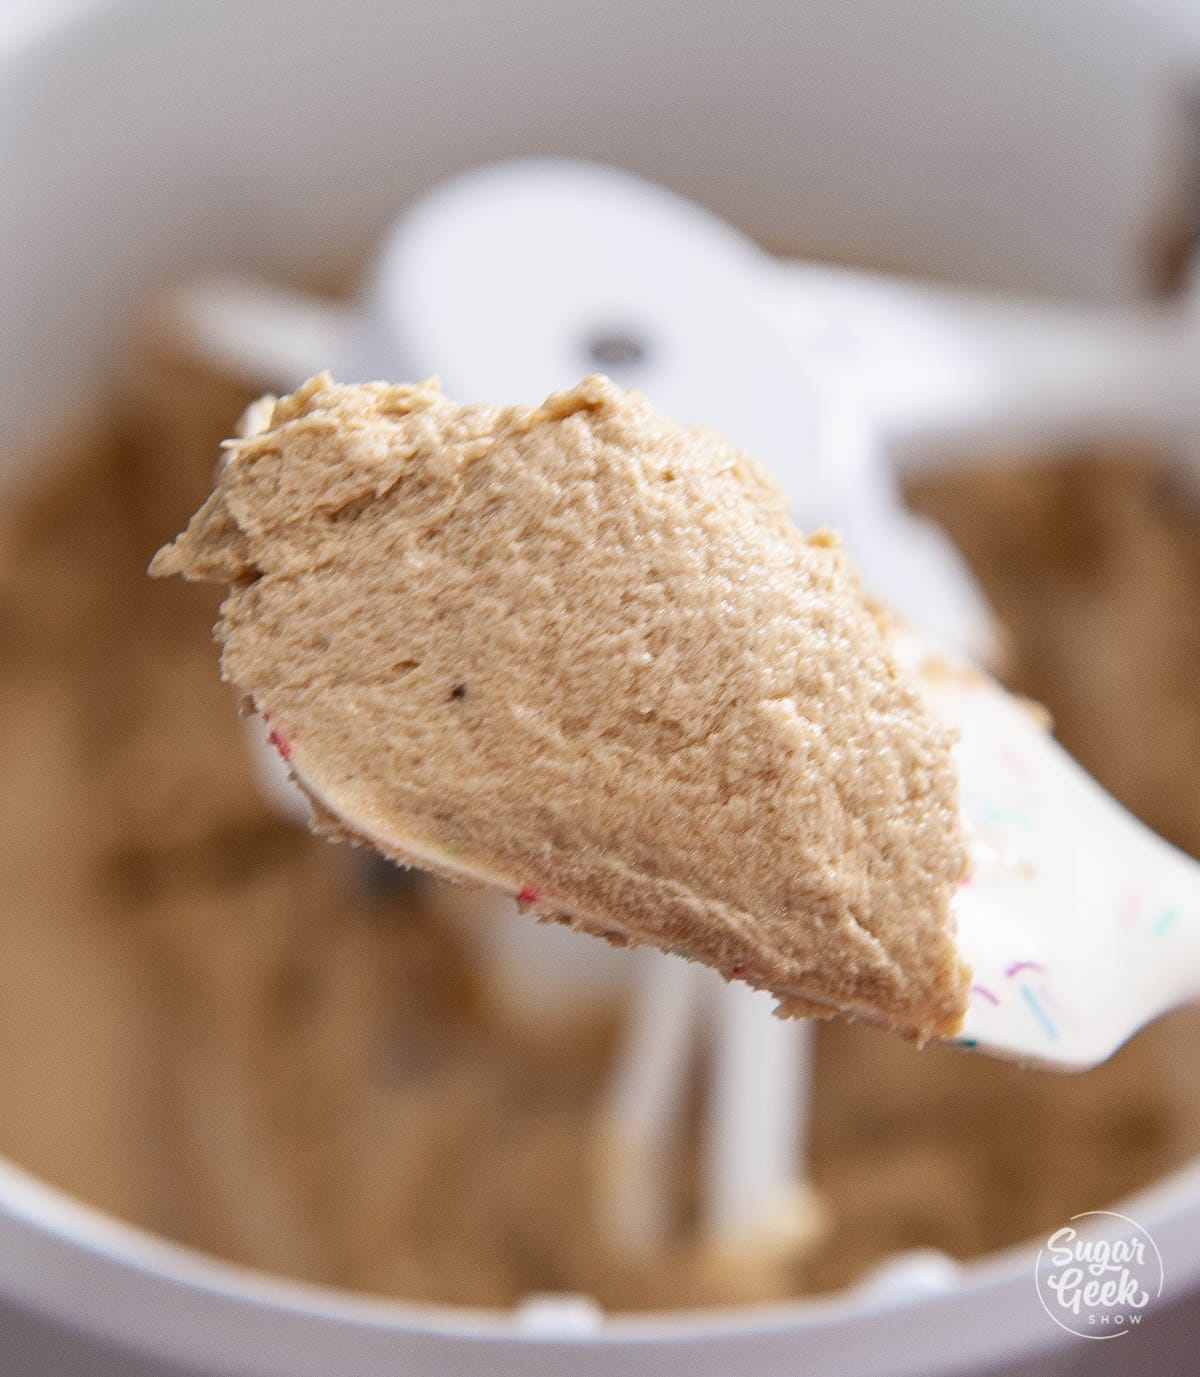
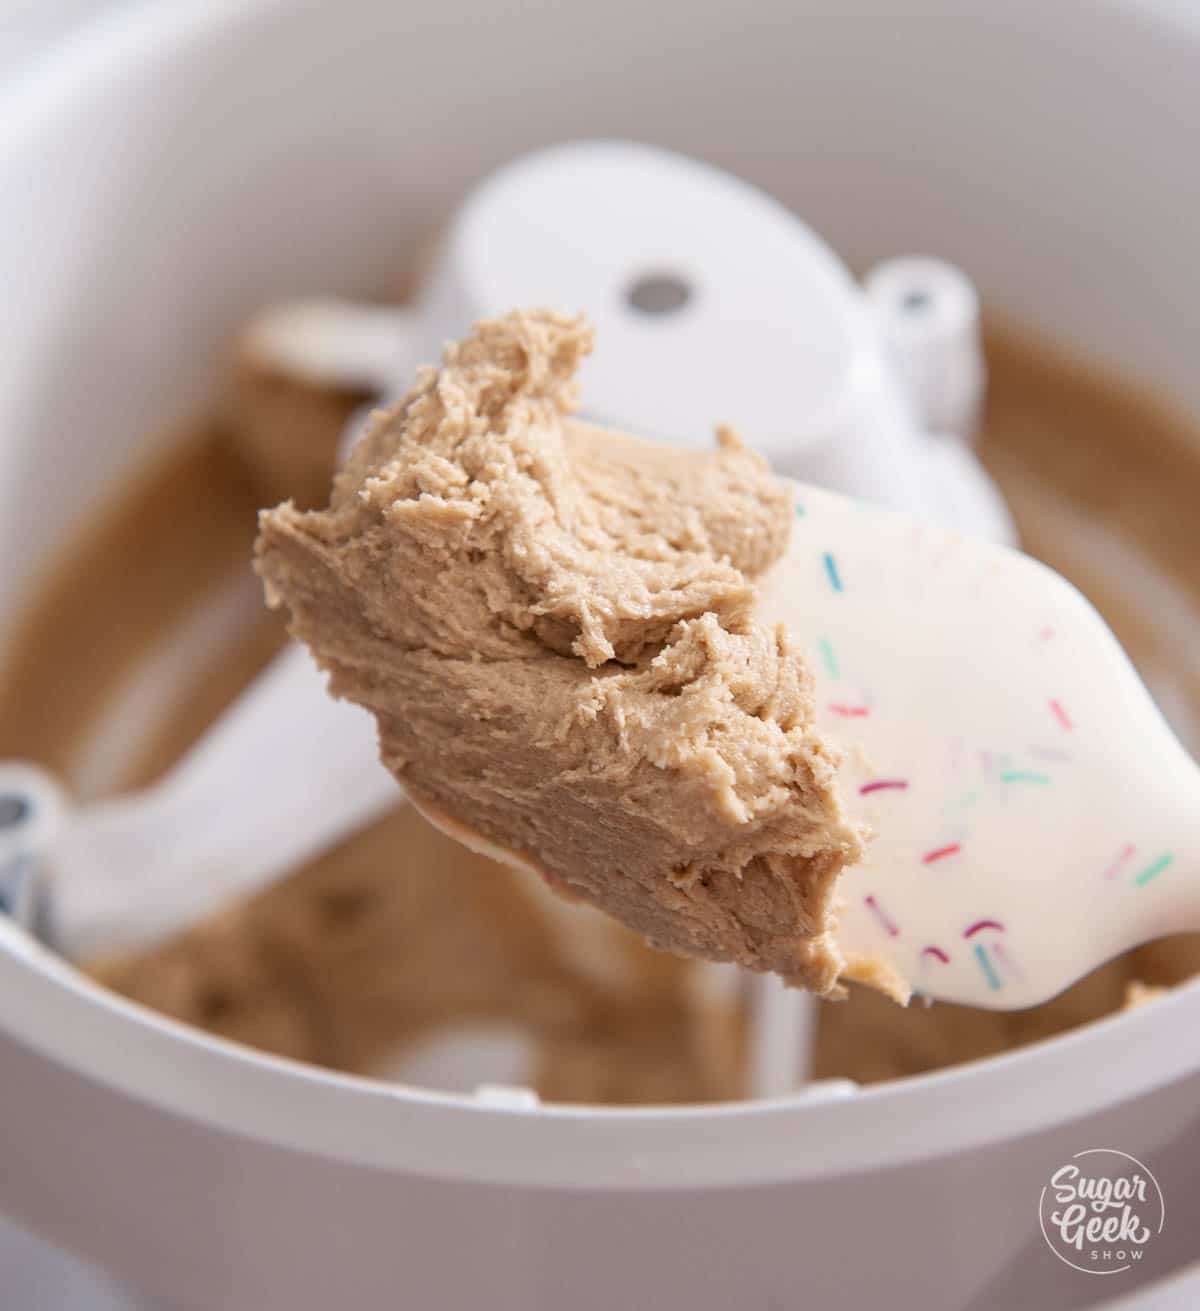
- Add your softened butter and sugar to the bowl of your stand mixer with the paddle attachment attached and cream it on medium-high speed until it's light, white, and fluffy (about 4-5 minutes). This is where you develop the structure of the cake, so don't be afraid to really let it mix.
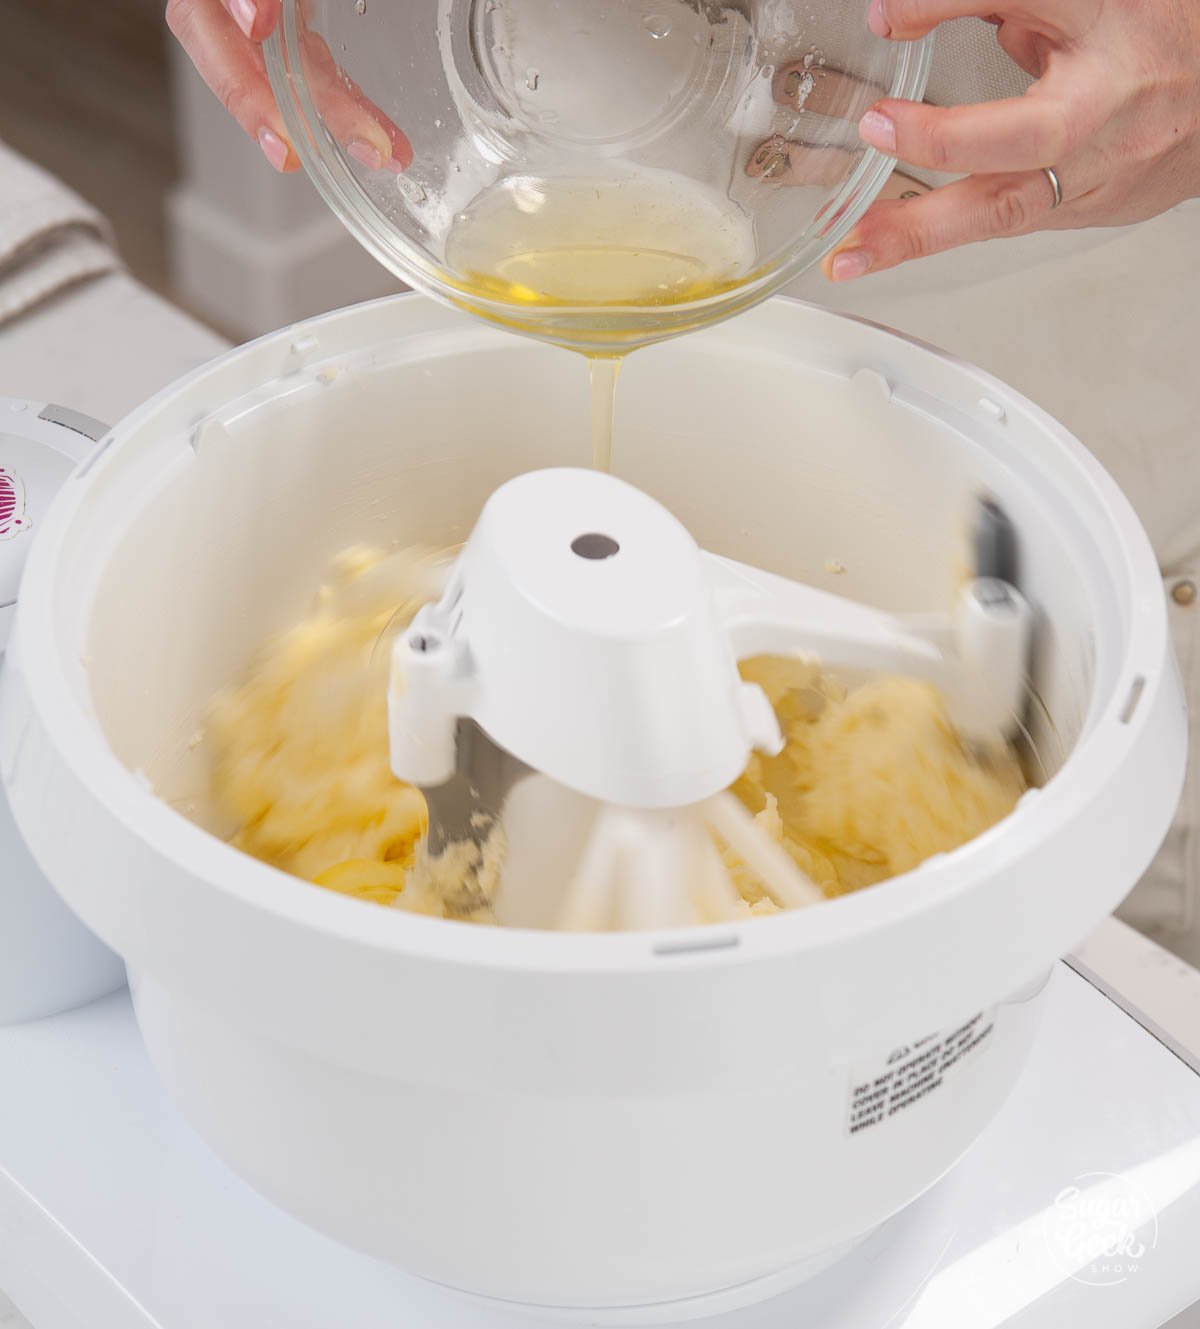
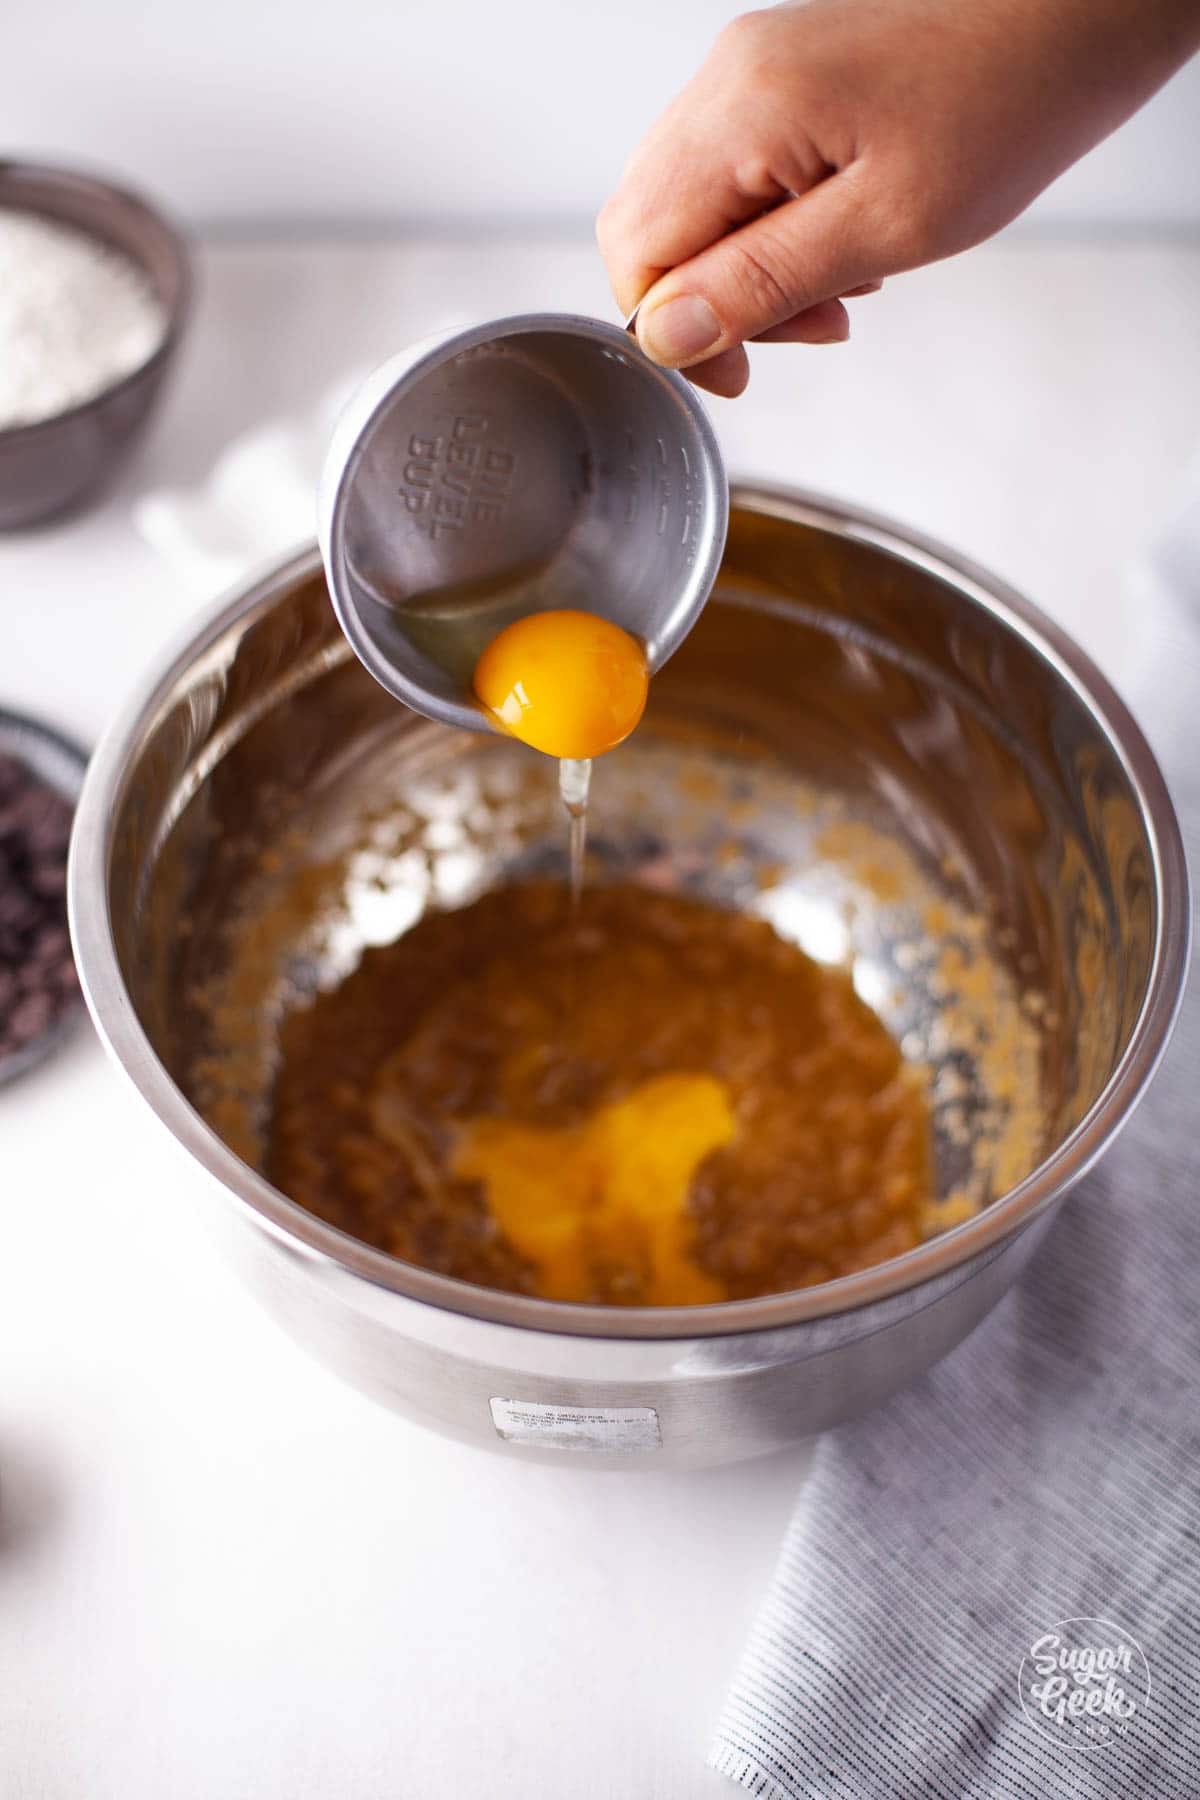
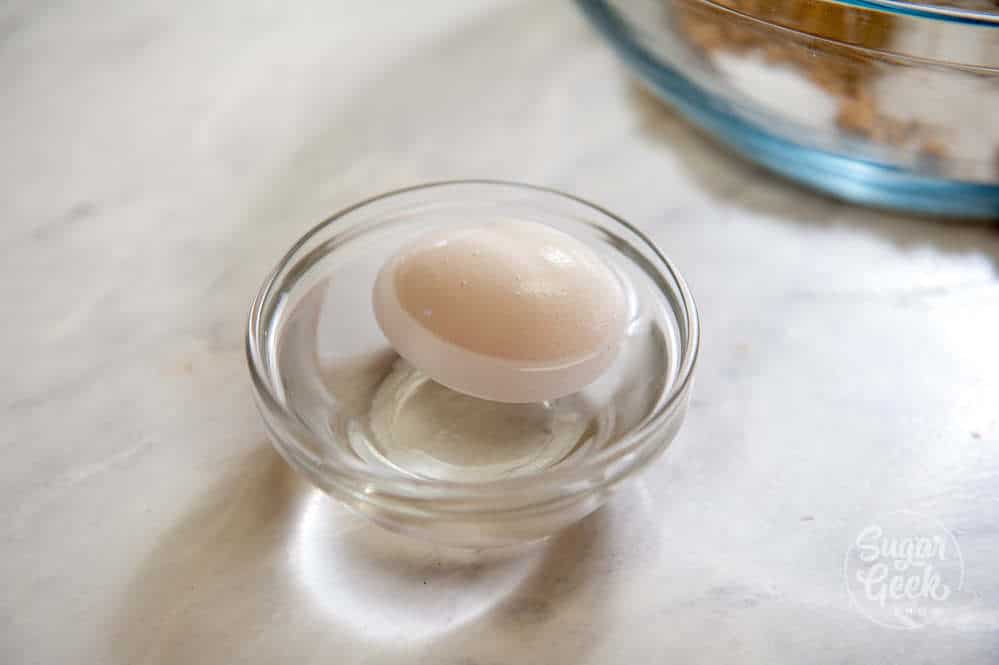
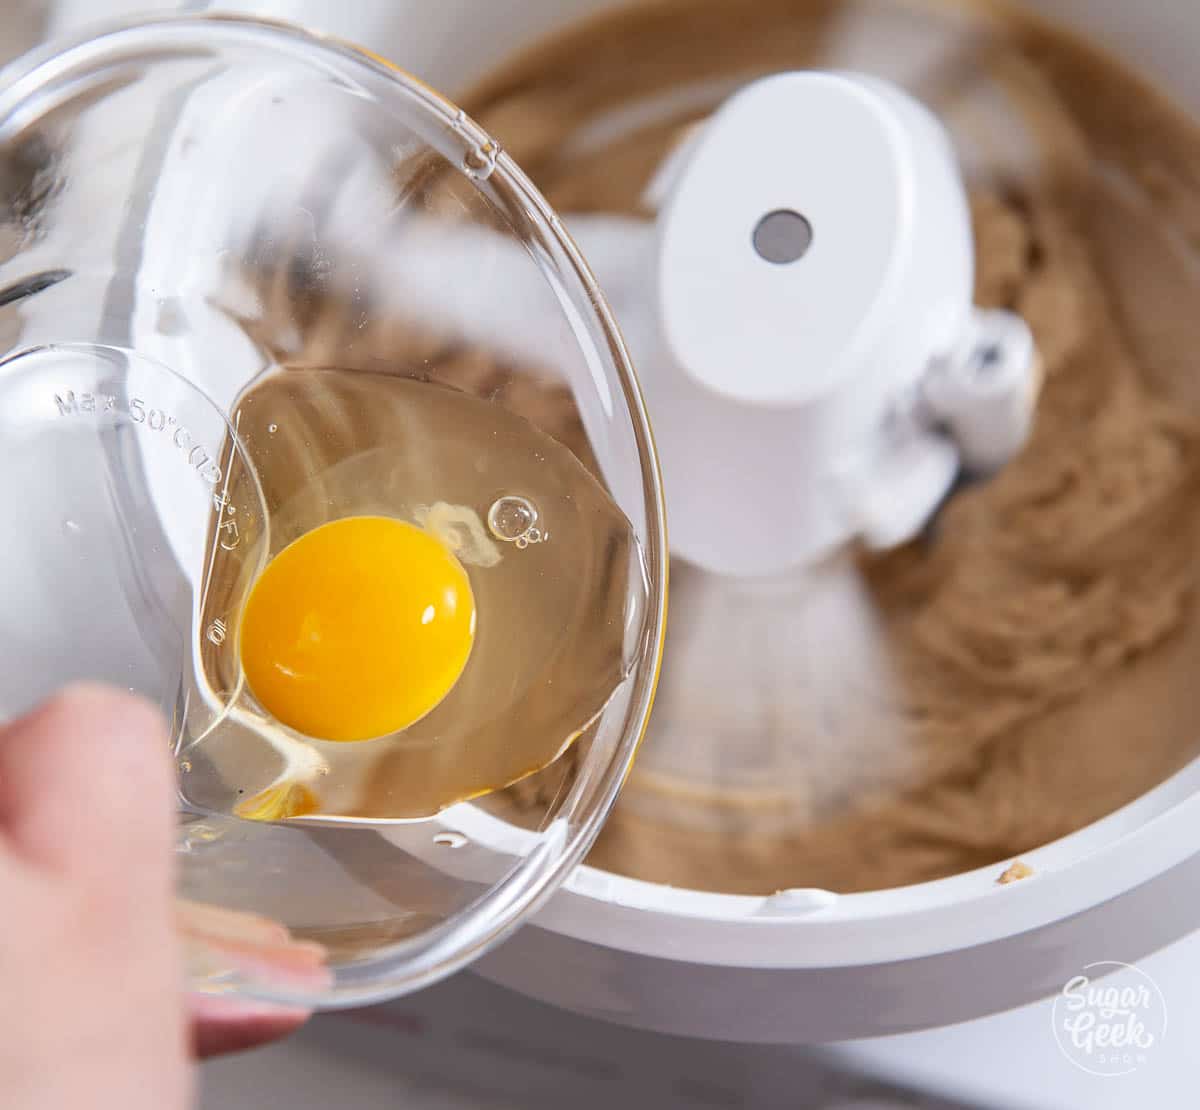
- Next, add in your egg whites (make sure they are room-temp or even slightly warm) ⅓ at a time while mixing on low, letting them mix in before adding the next part.
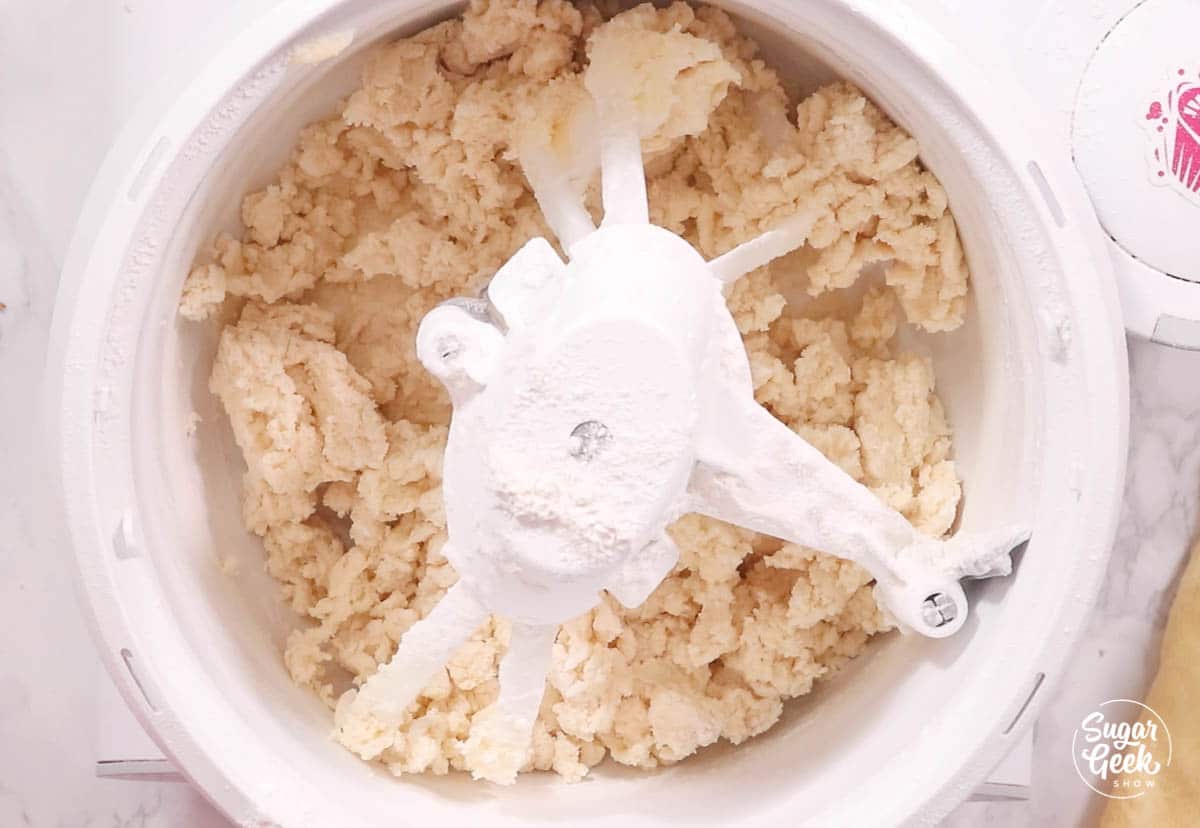
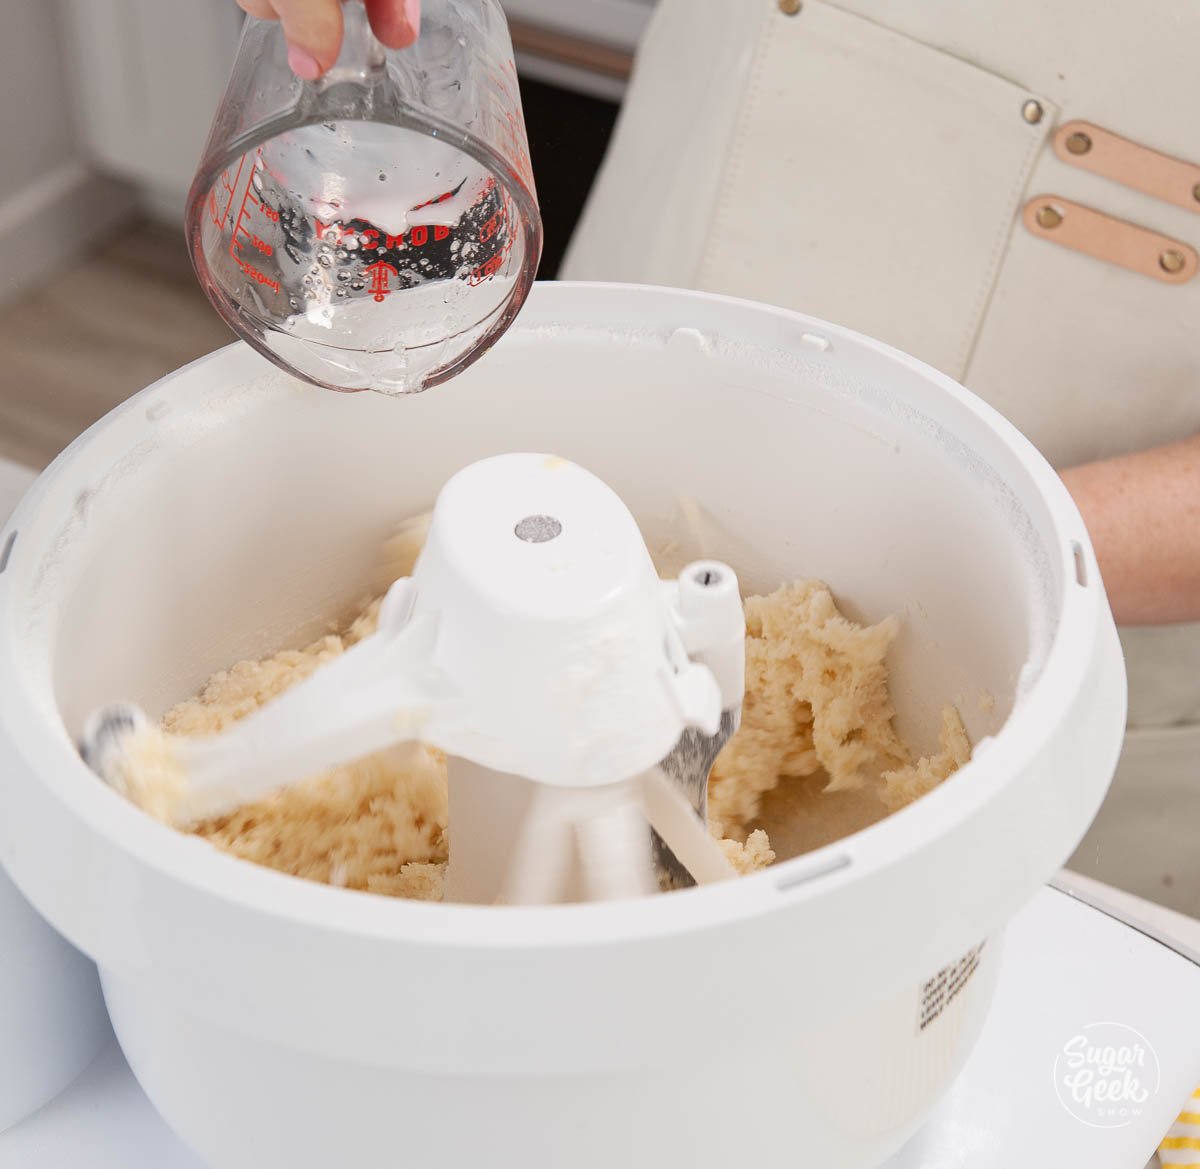
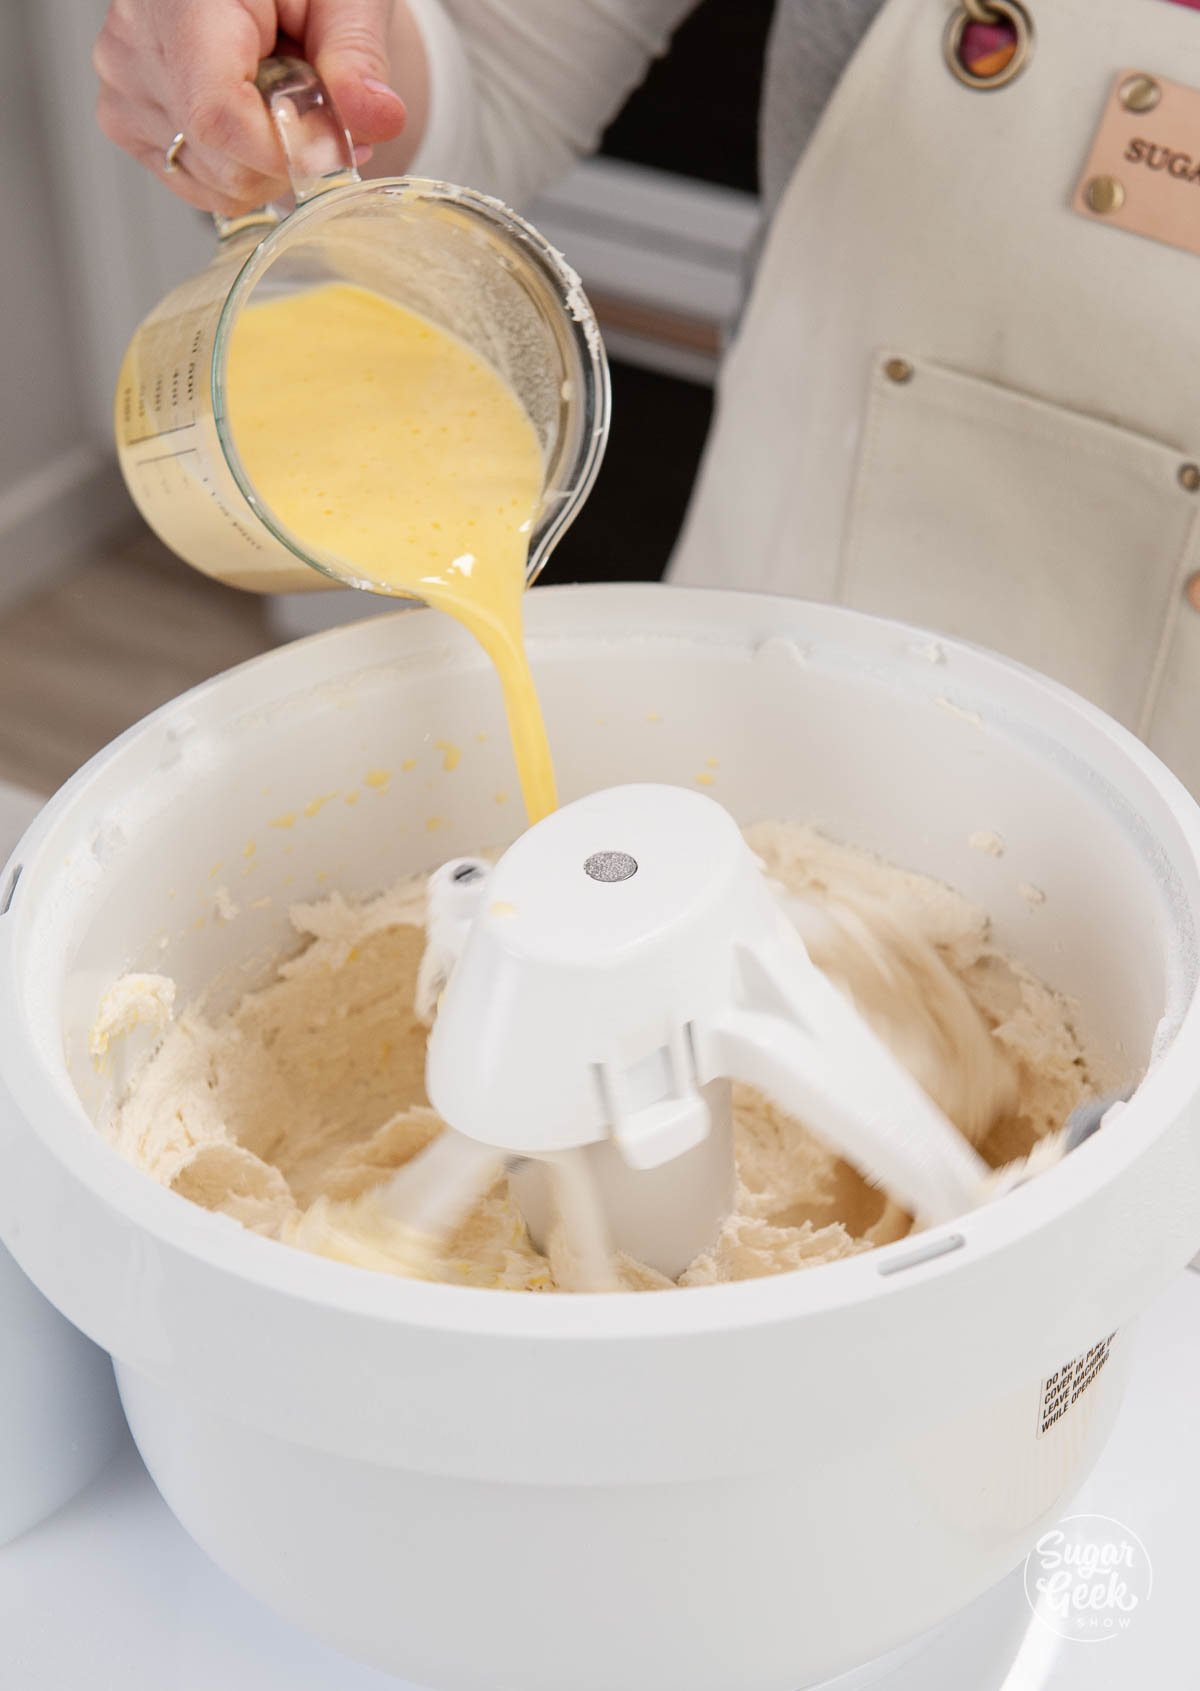
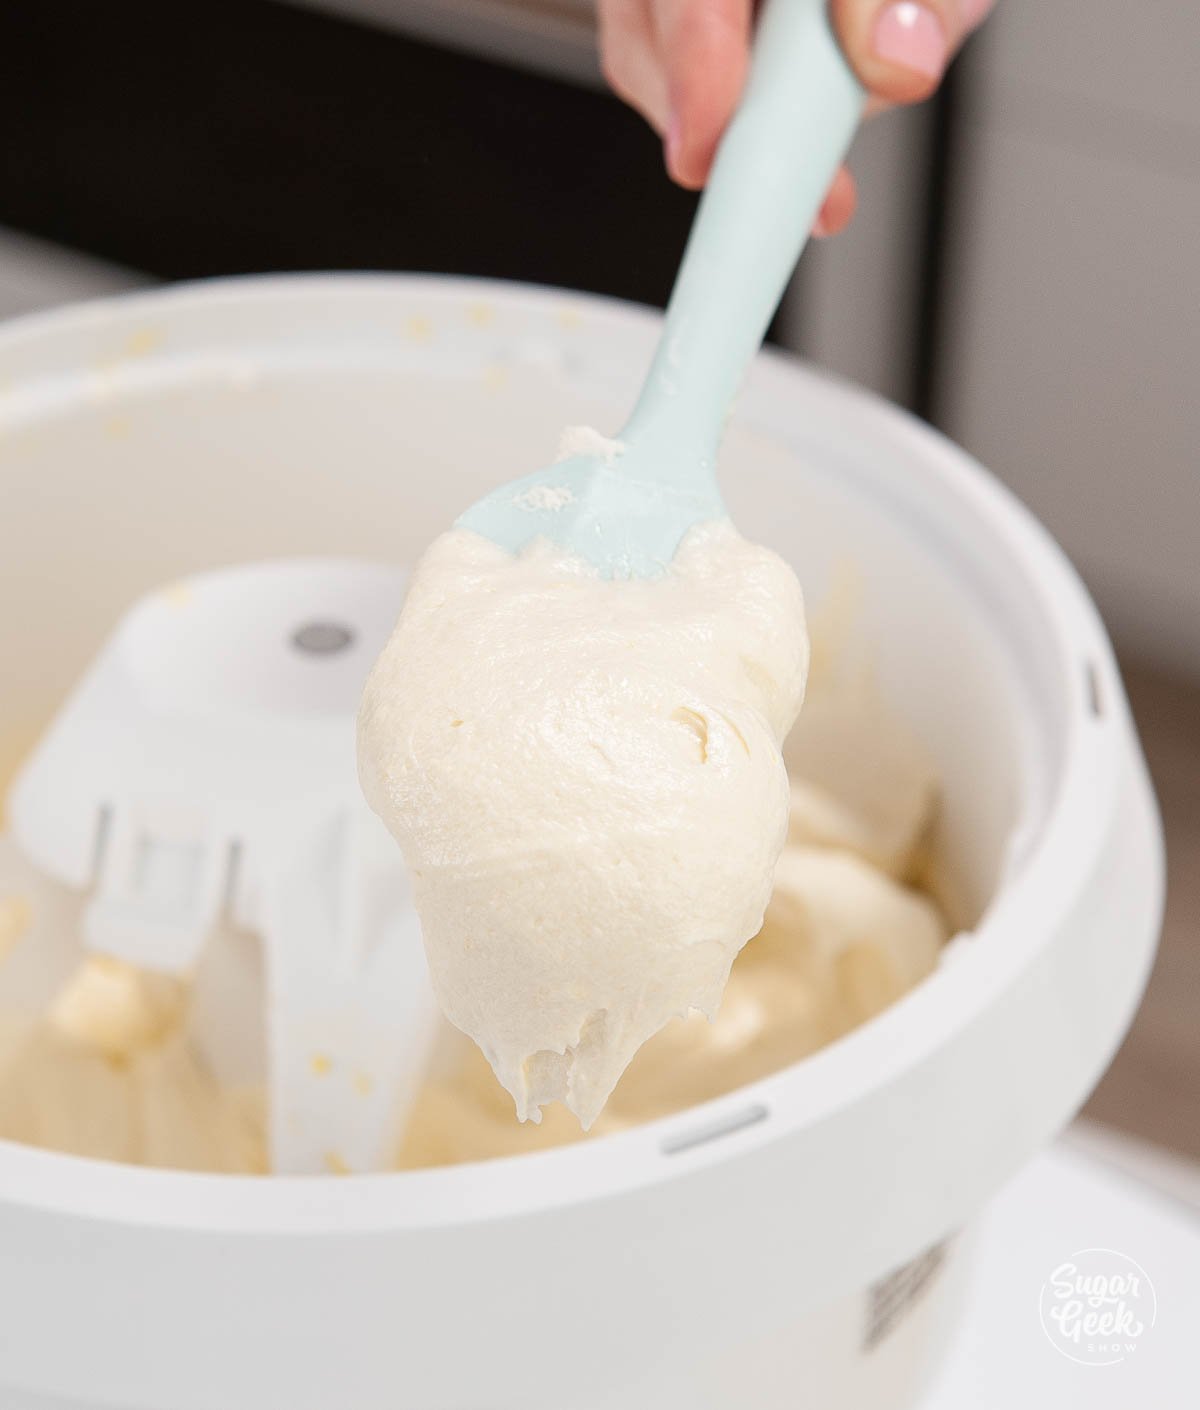
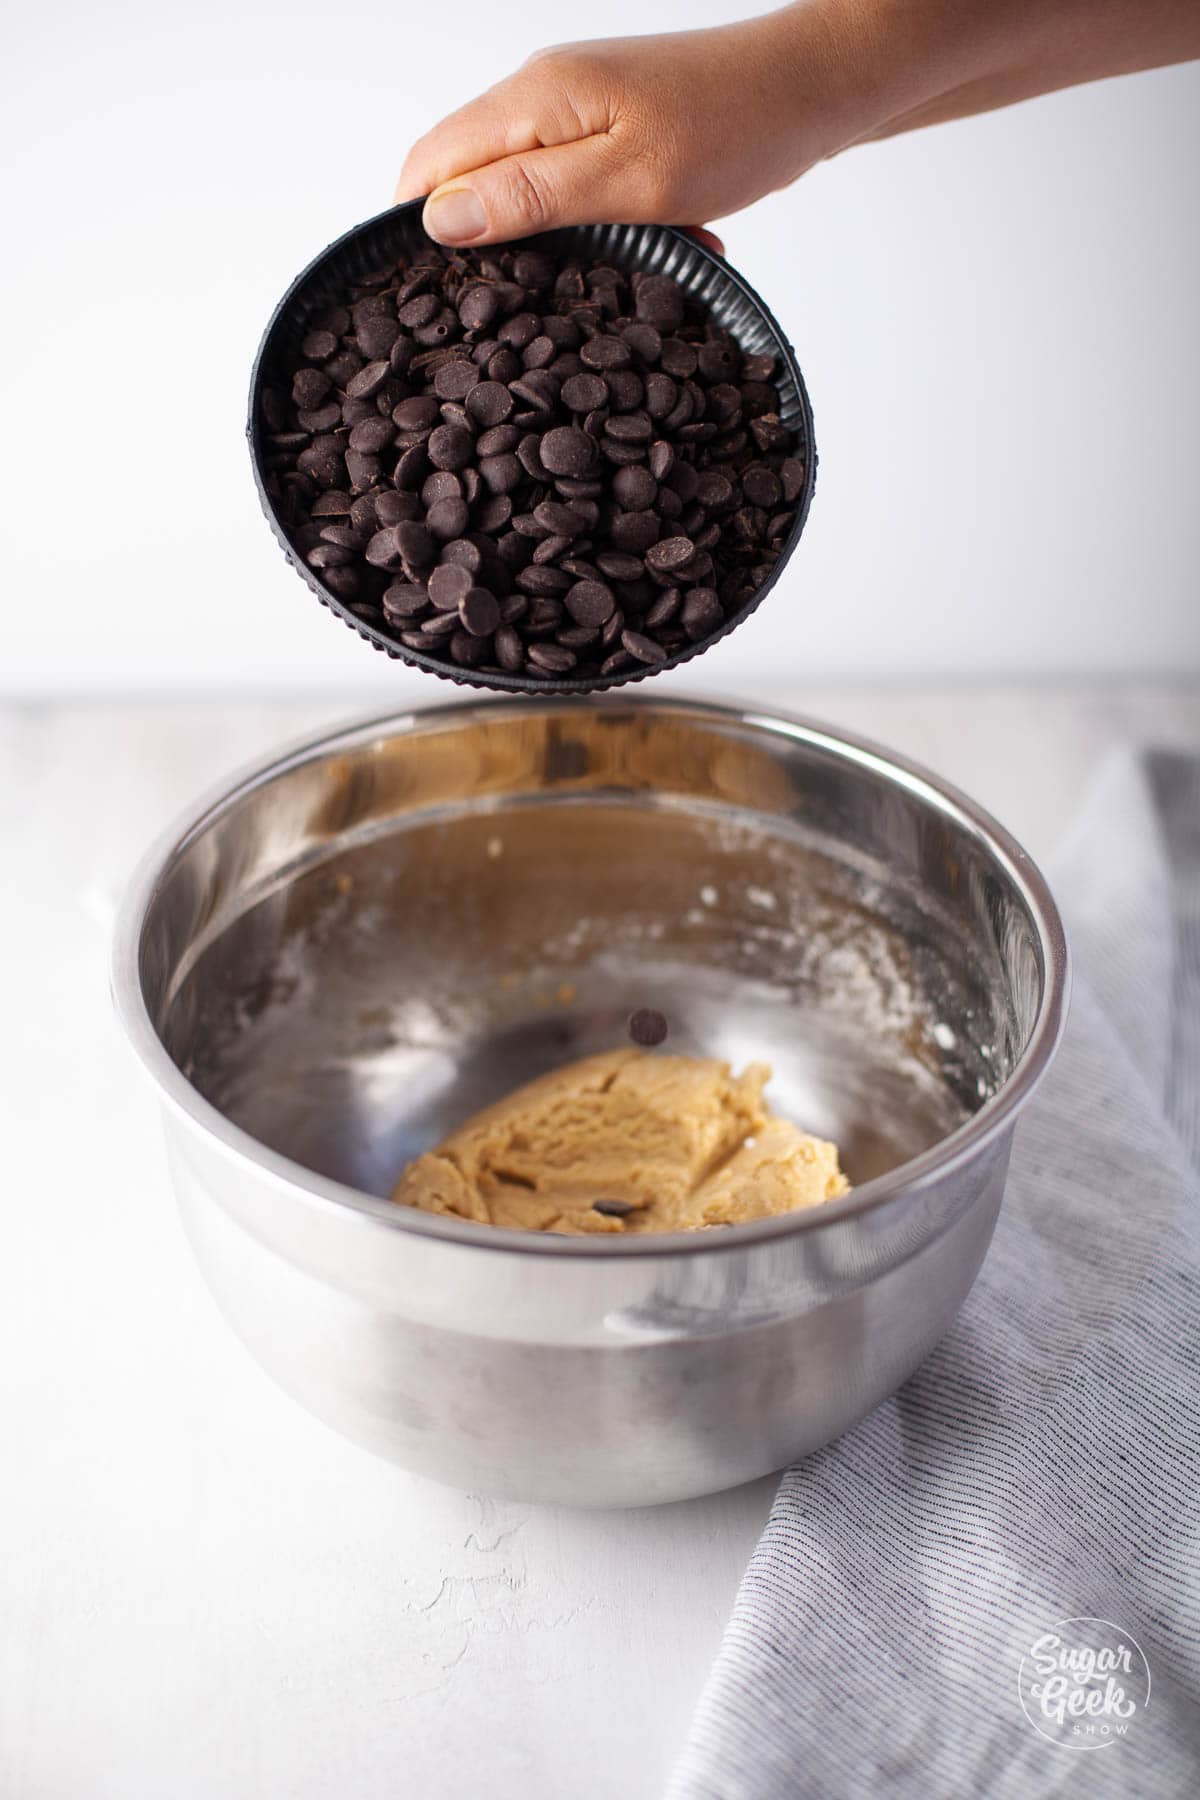
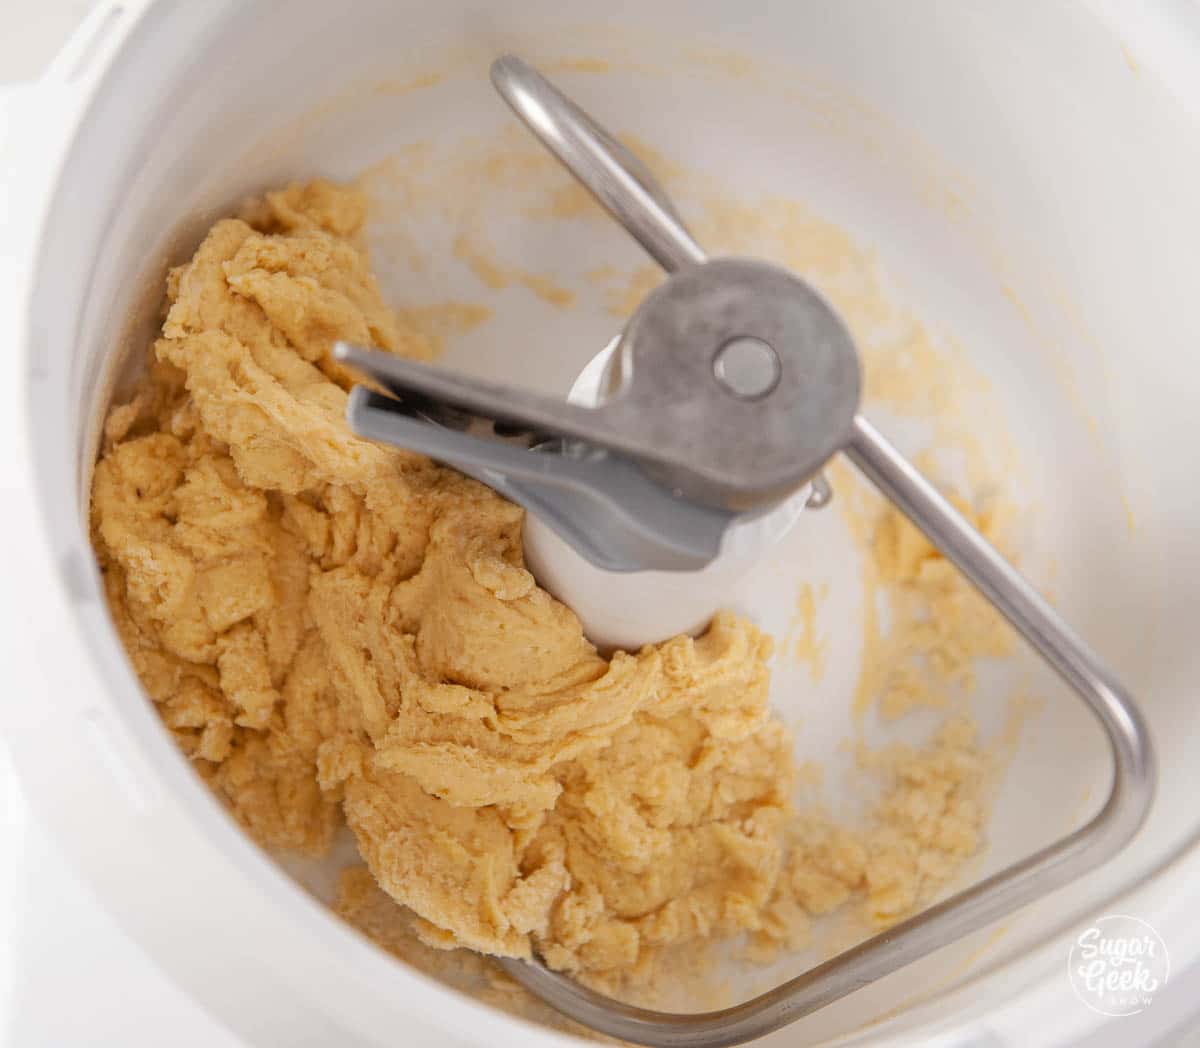
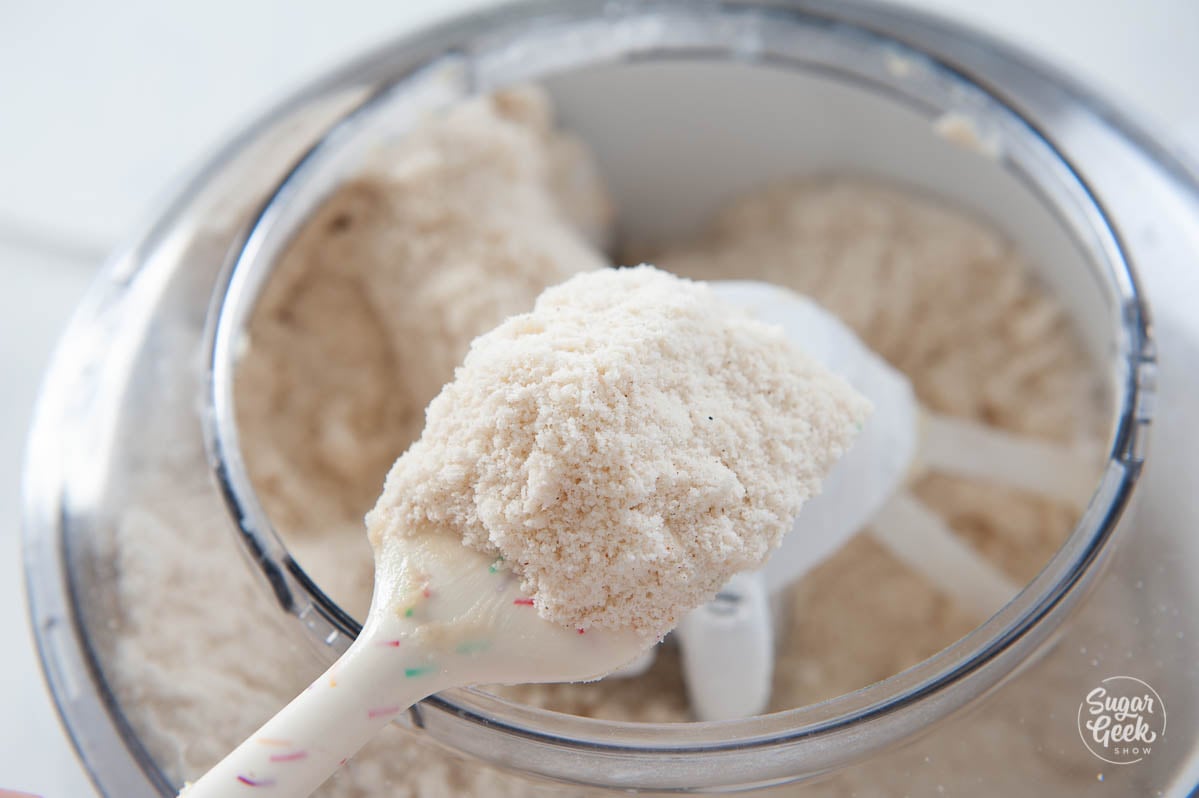
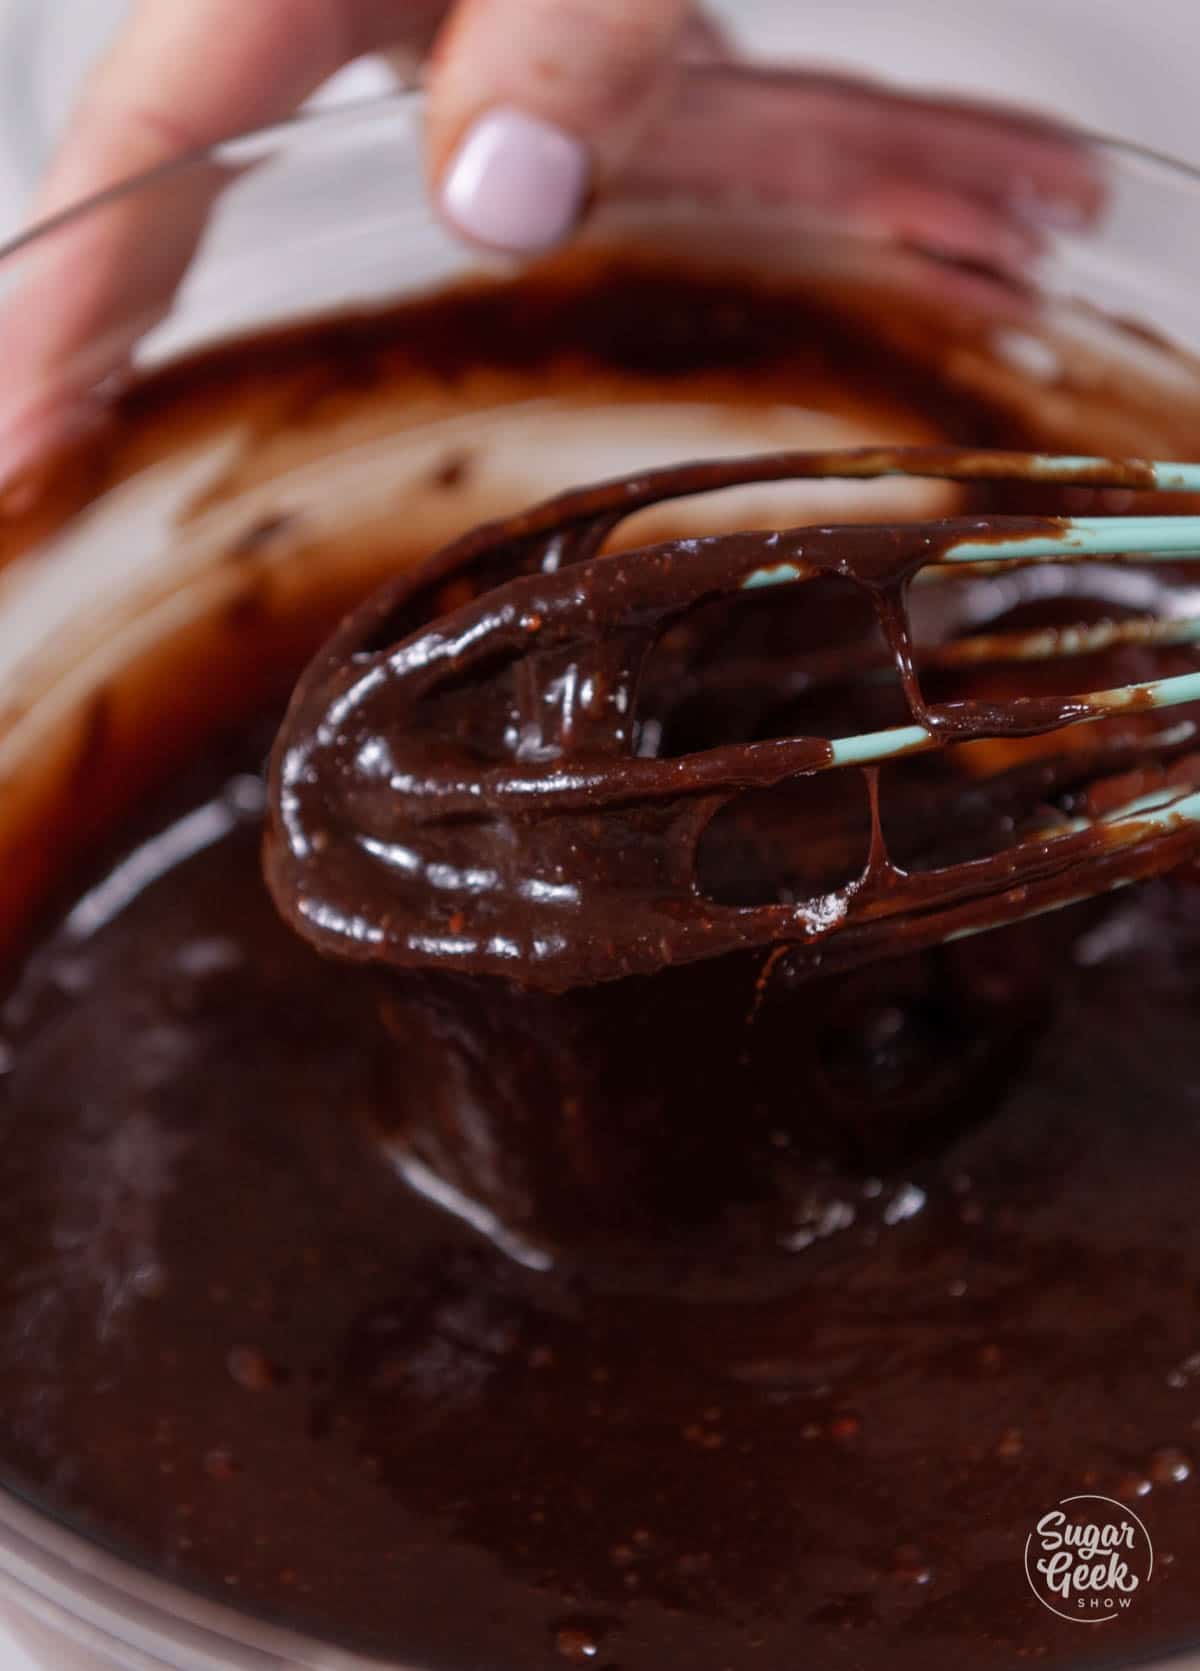
- Add in ⅓ of your dry ingredients to the egg/butter mixture and mix on low until just combined. Then add in ½ of your liquids, then dry, then liquids, and the rest of your dry. Mix until just combined.
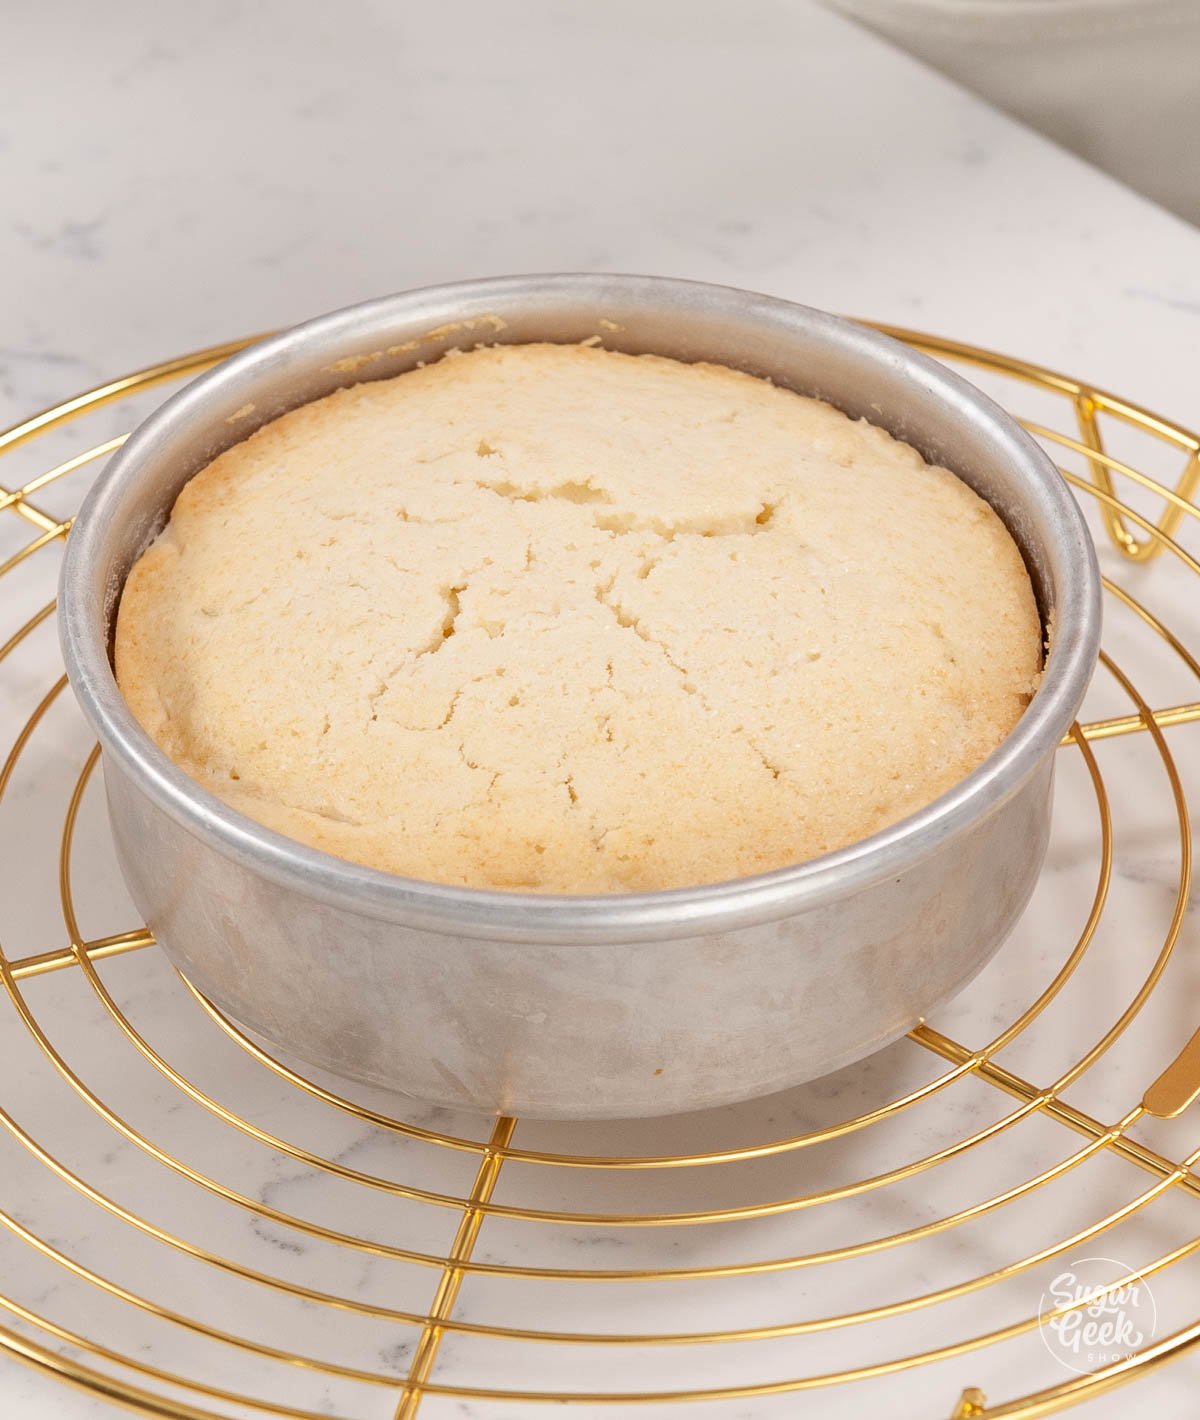
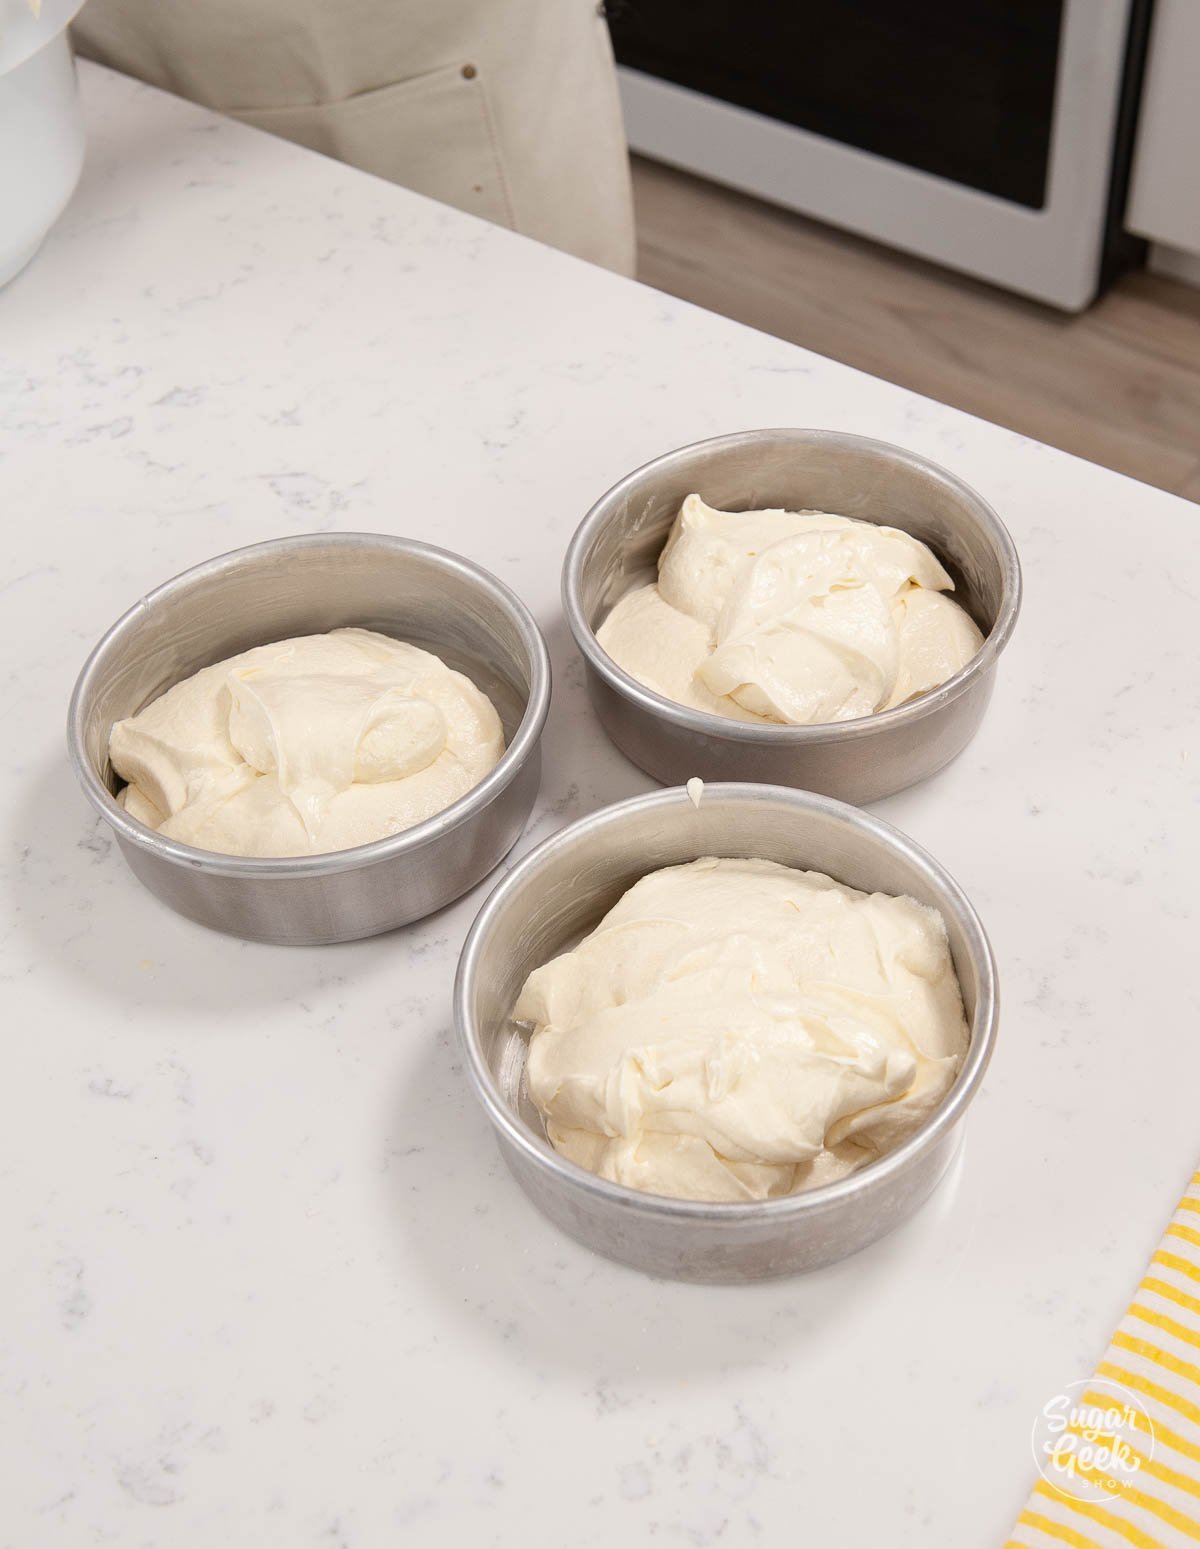
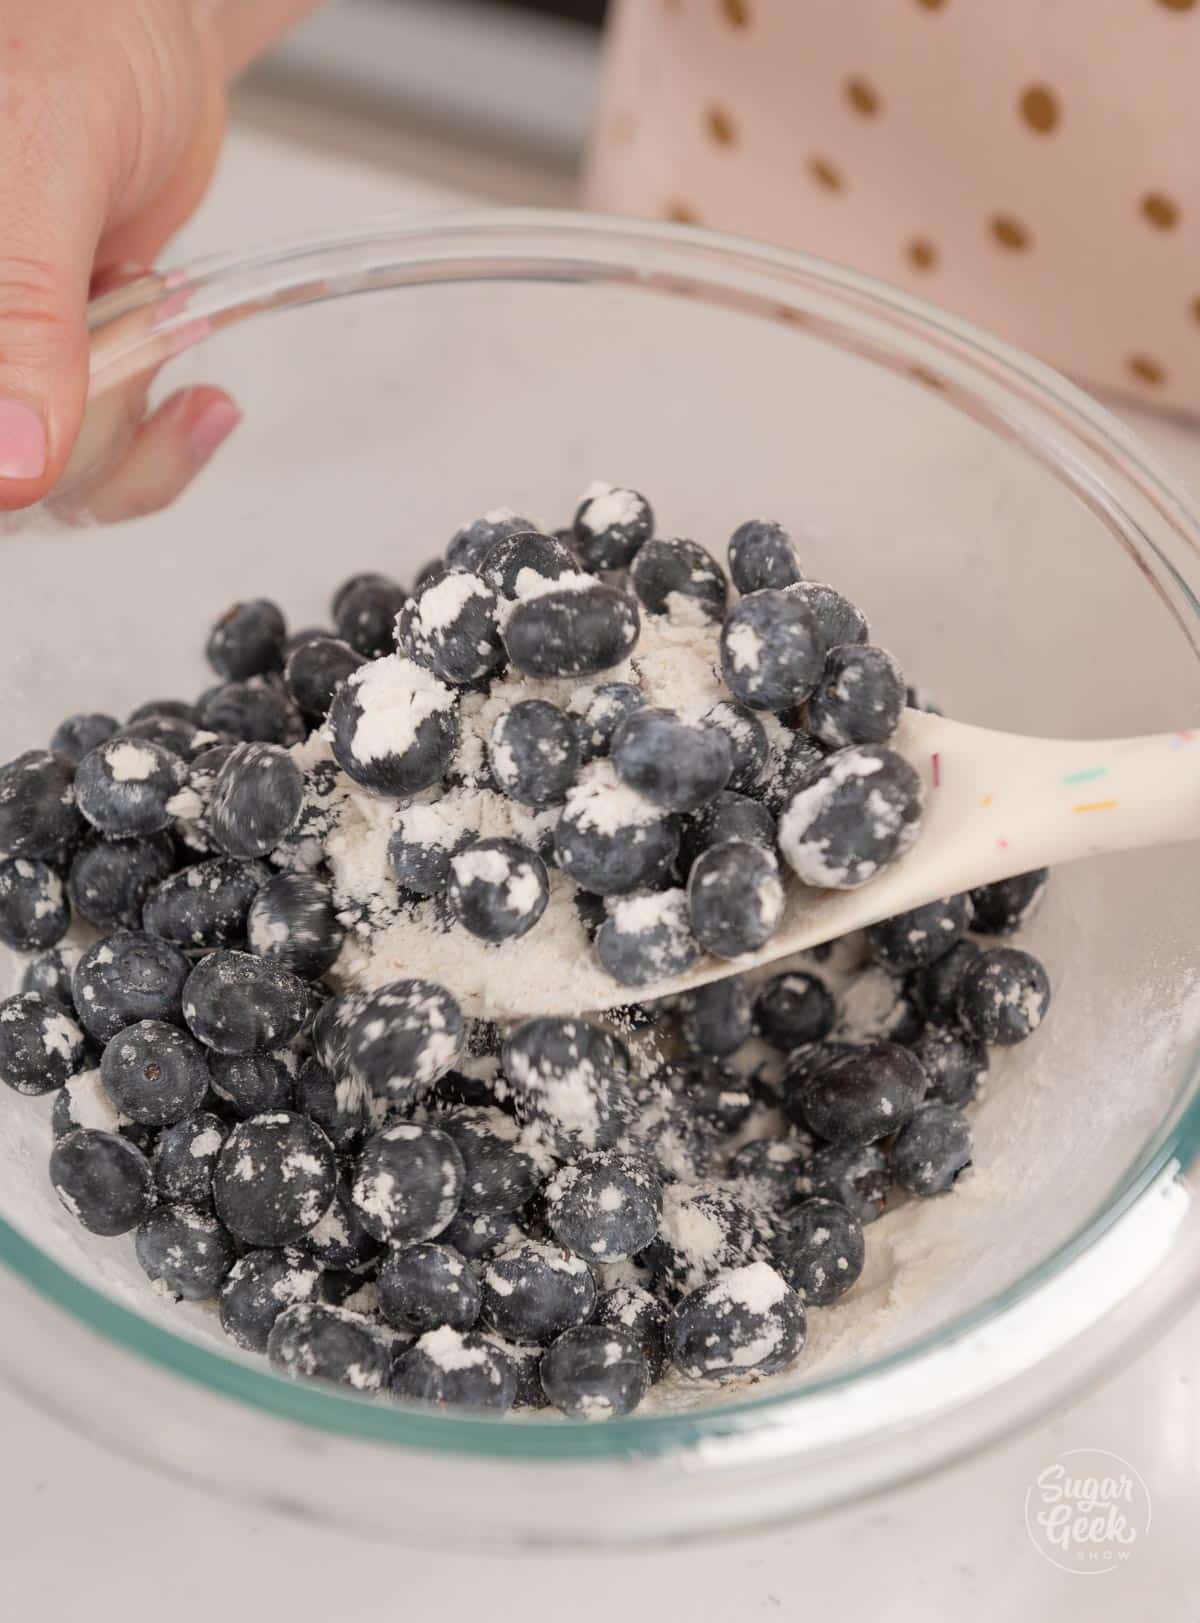
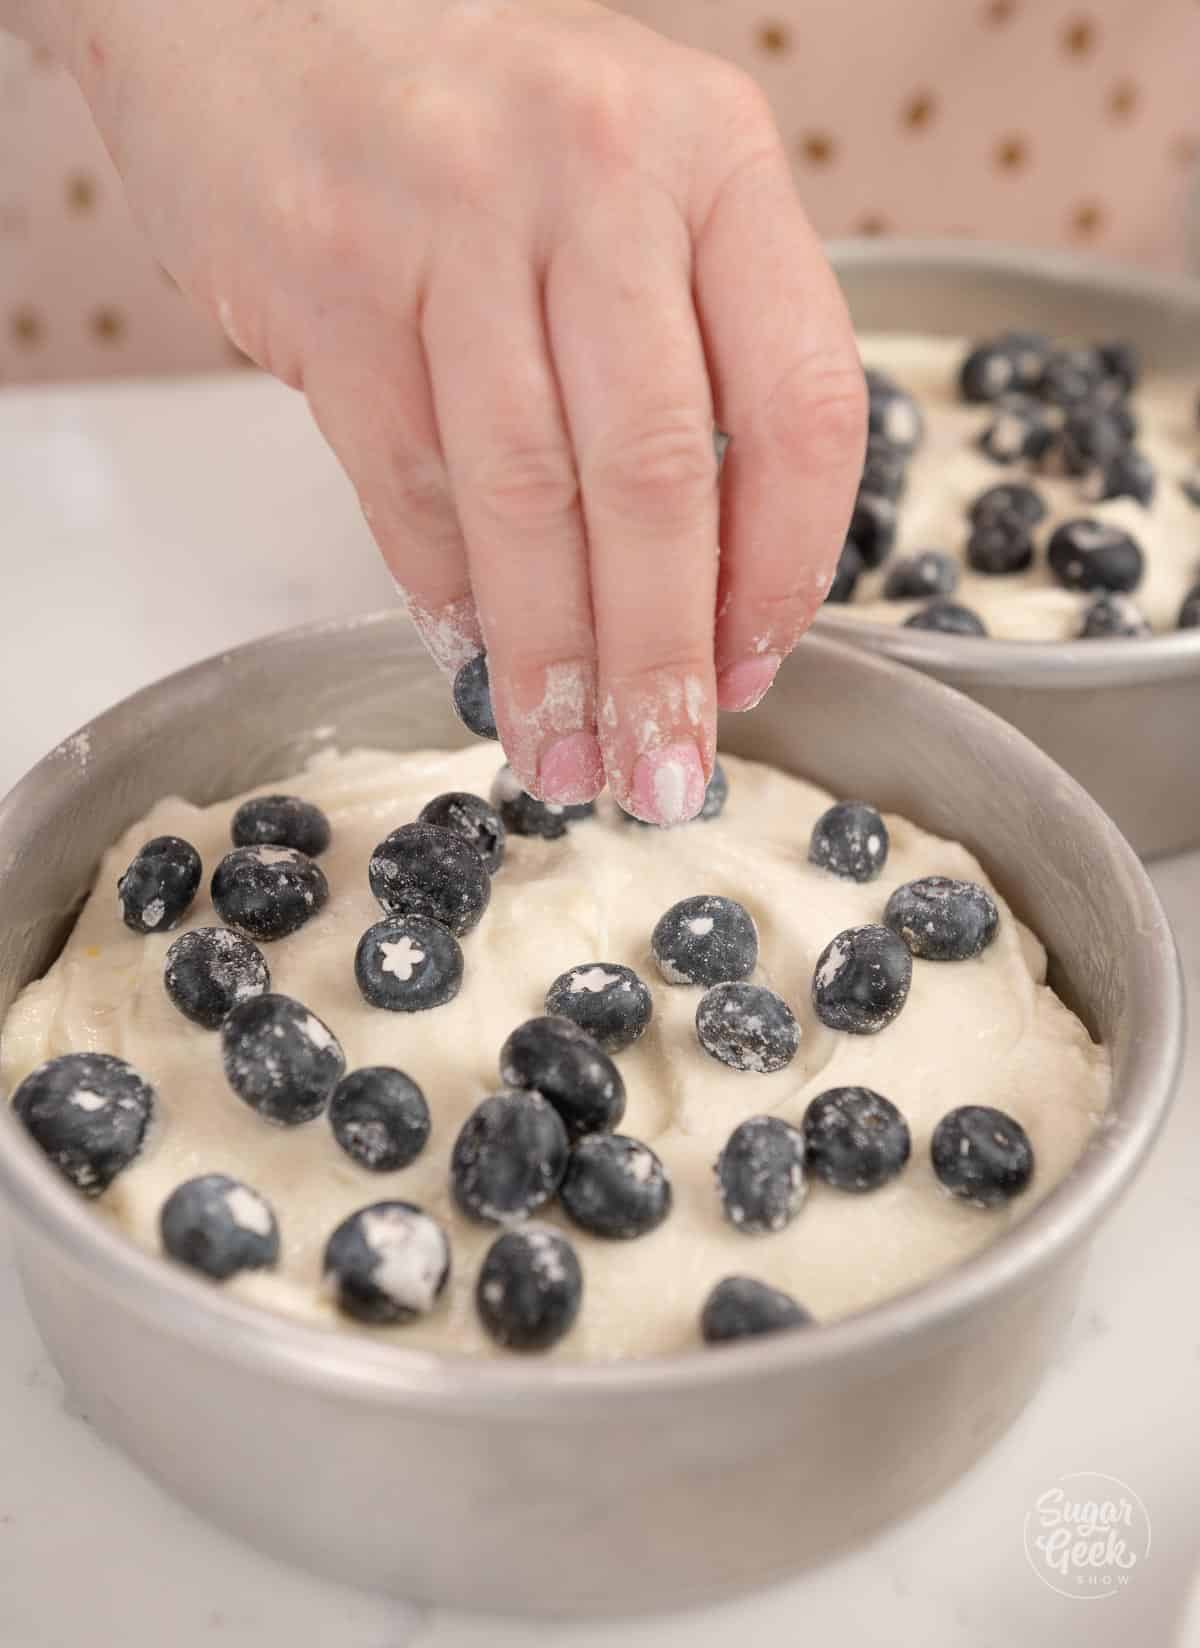
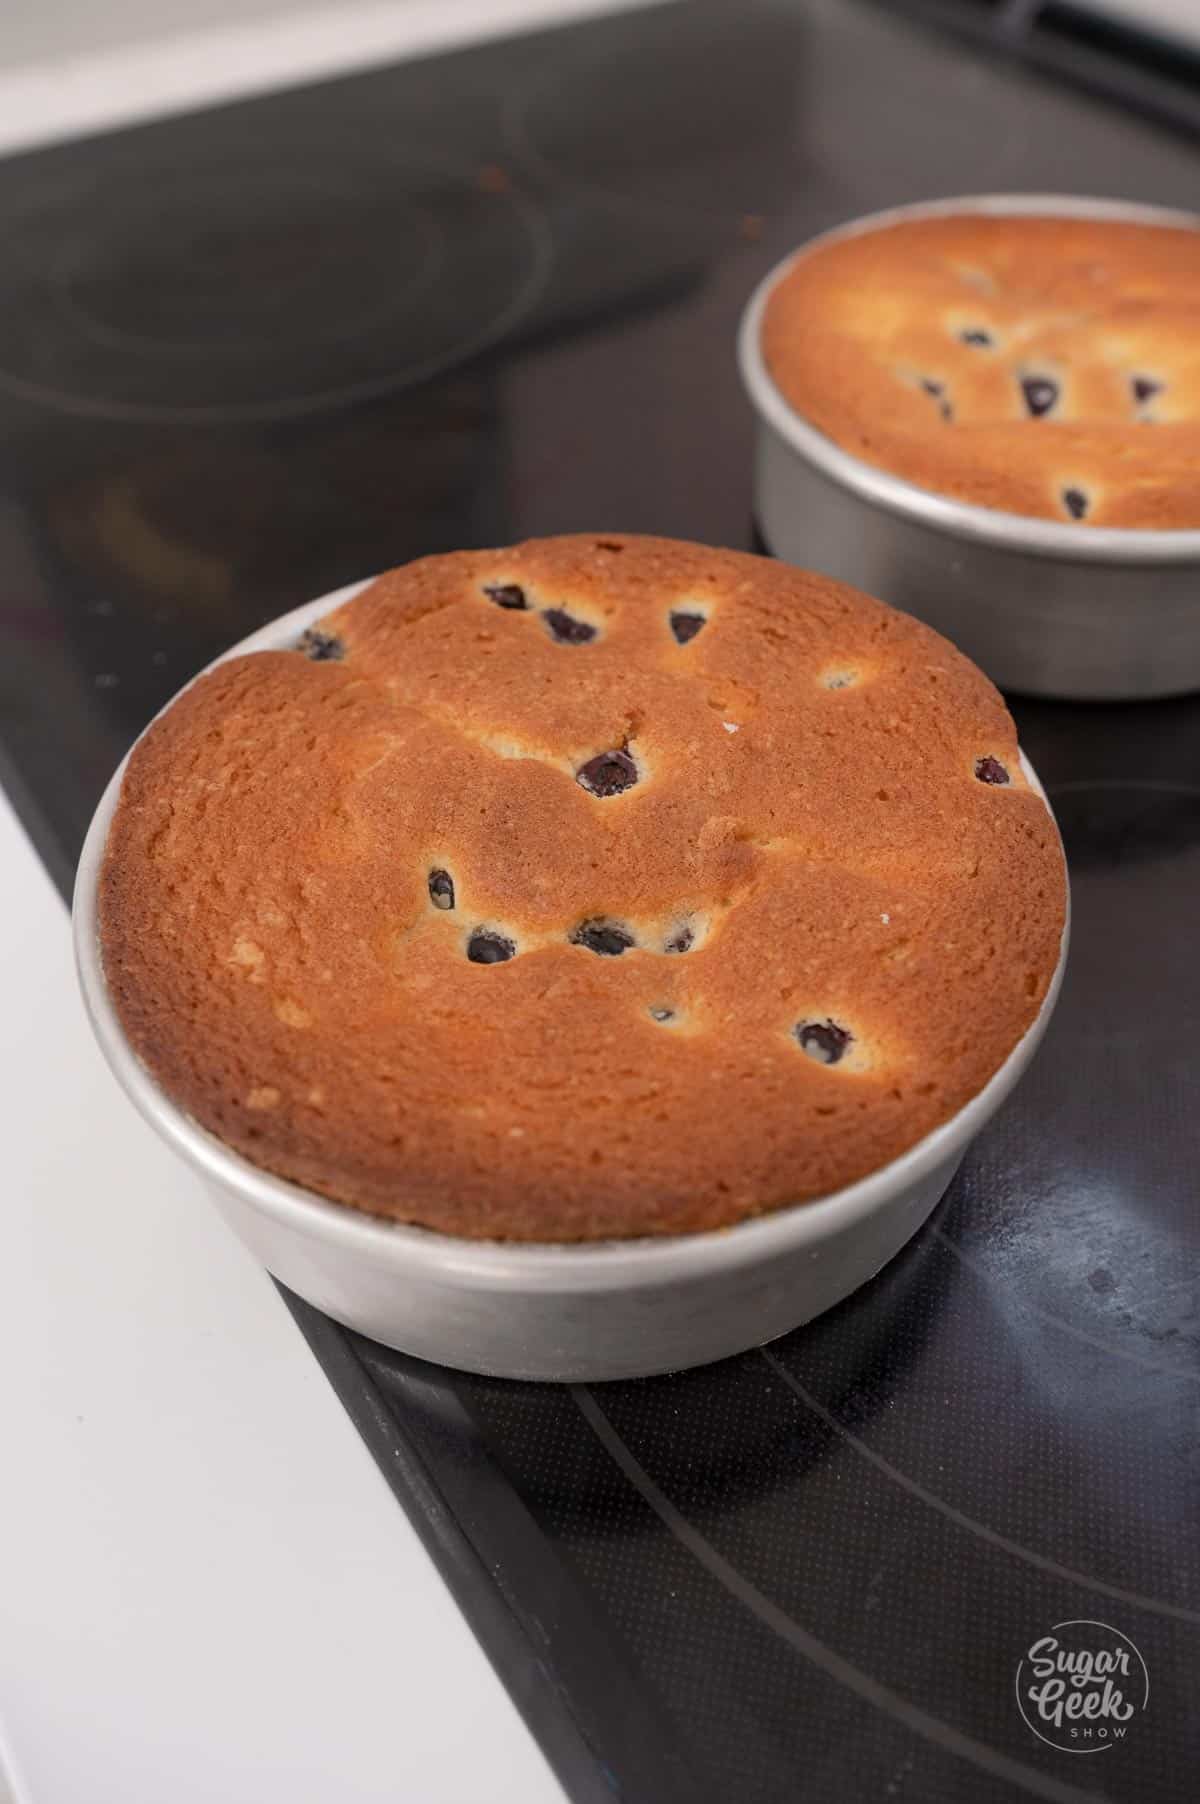
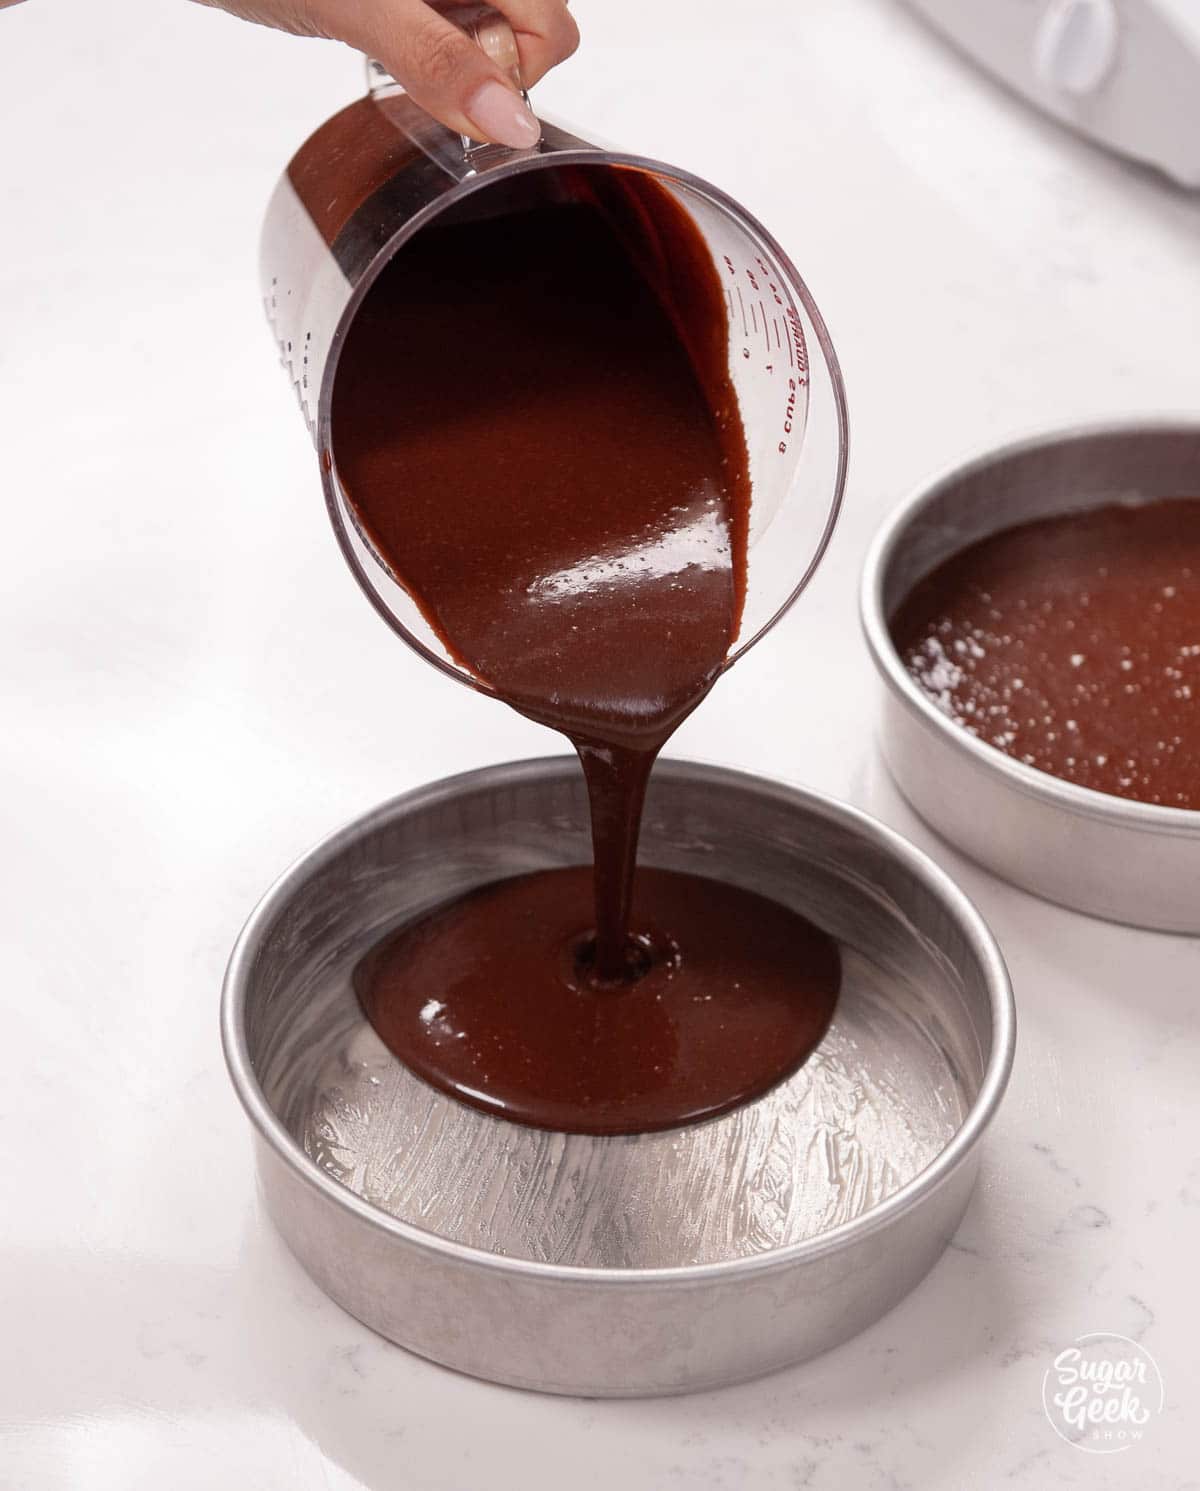
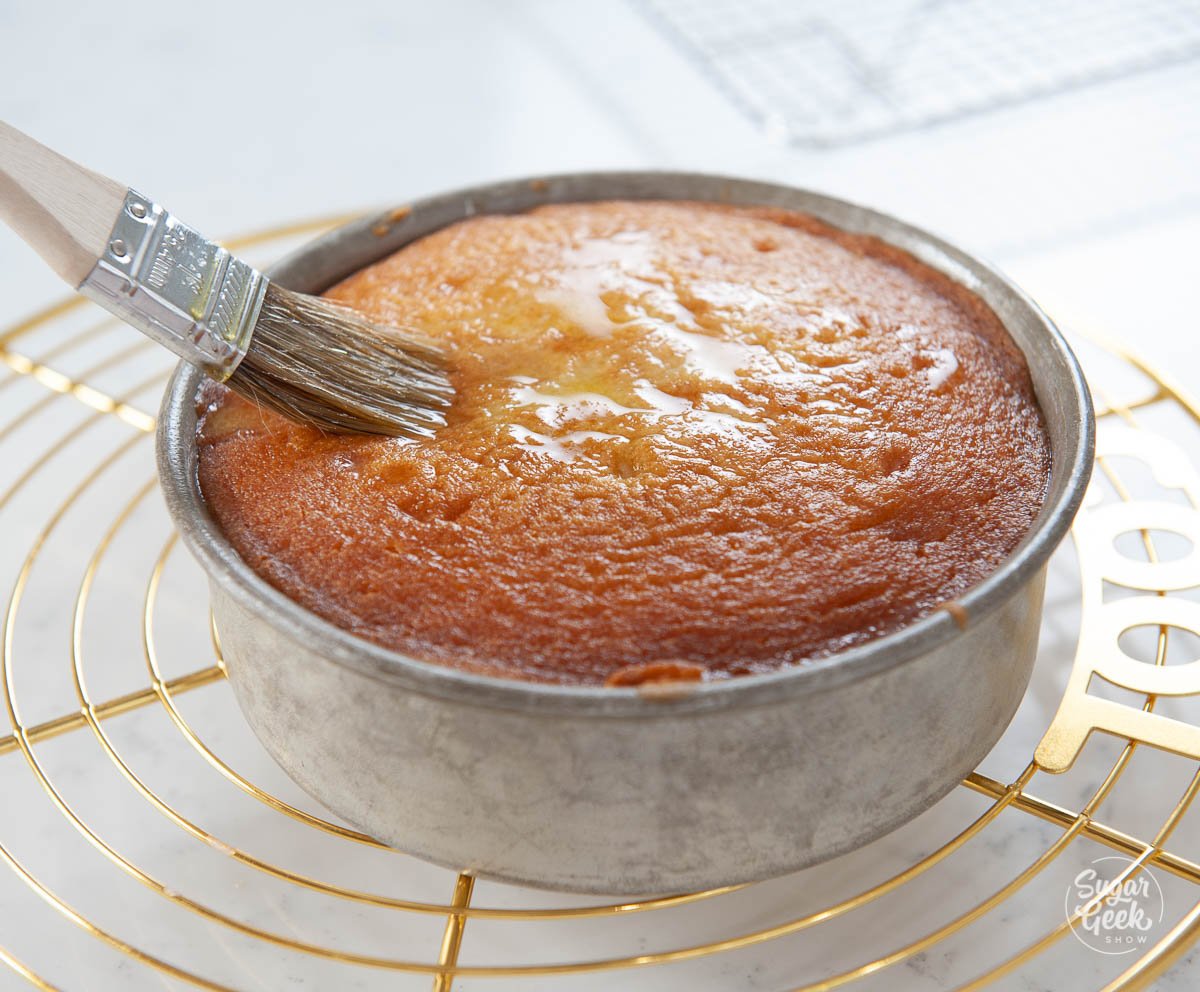
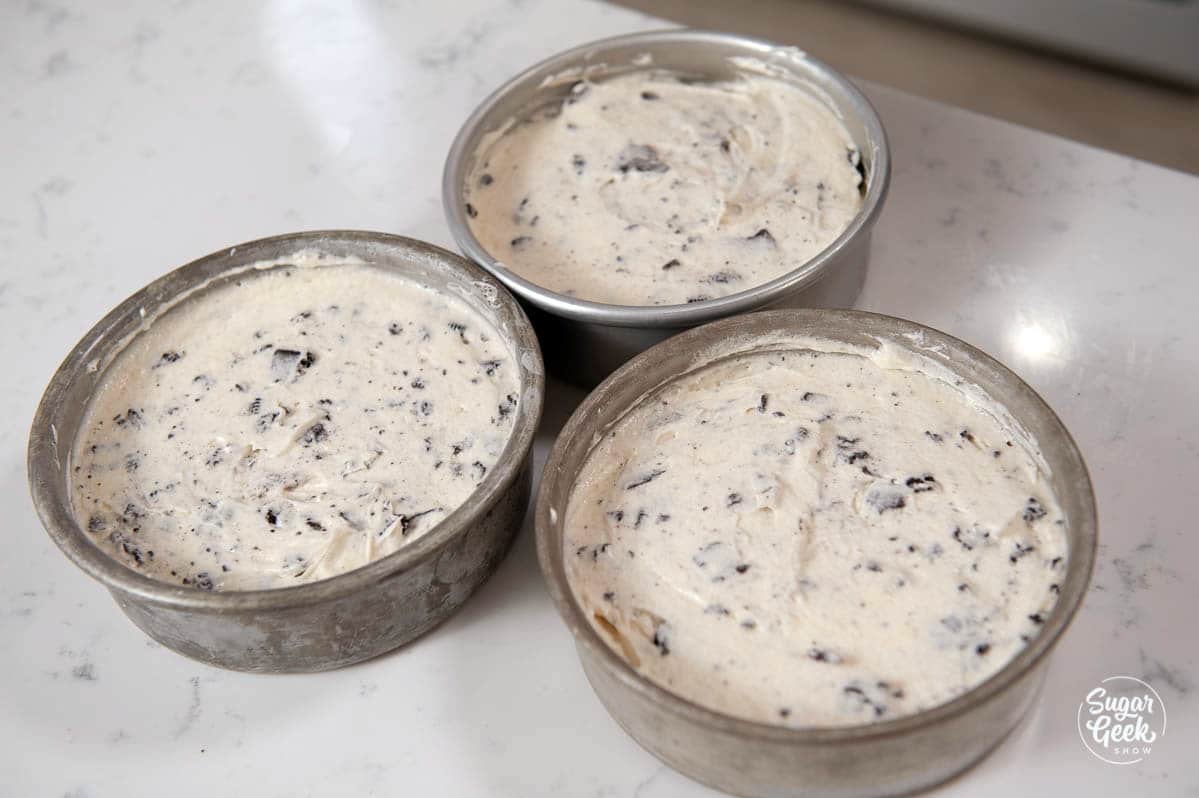
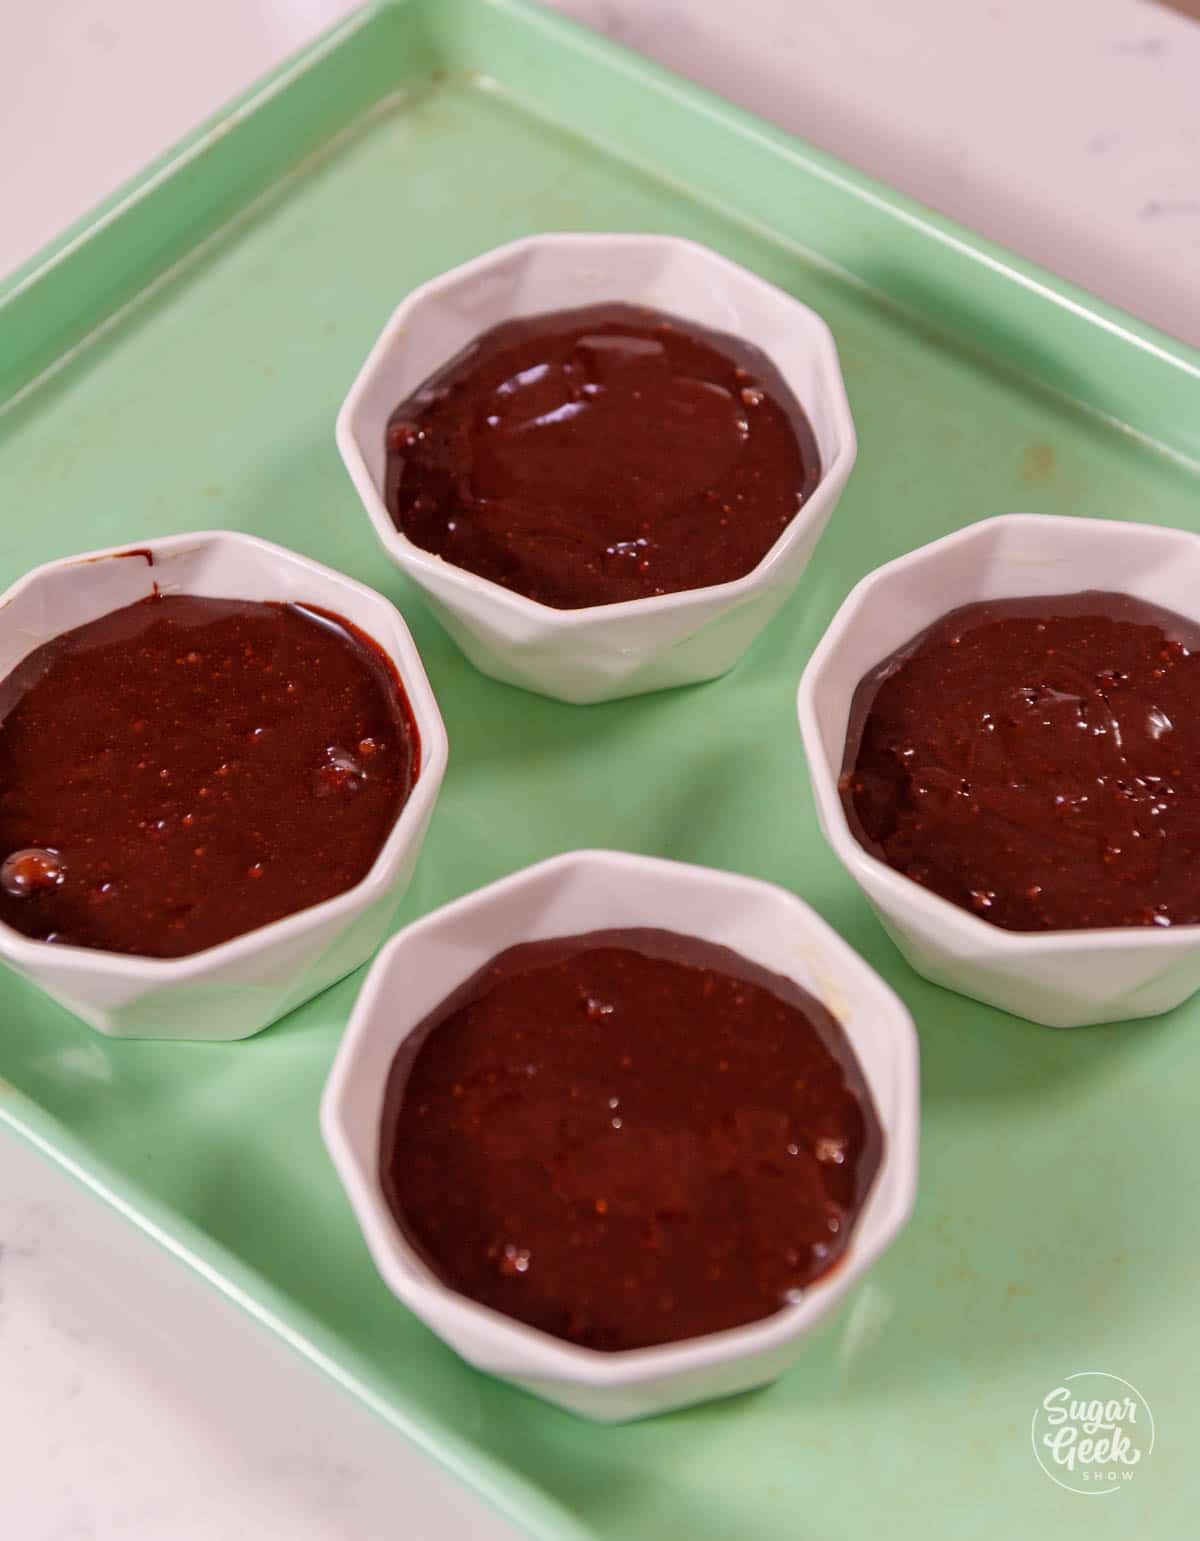
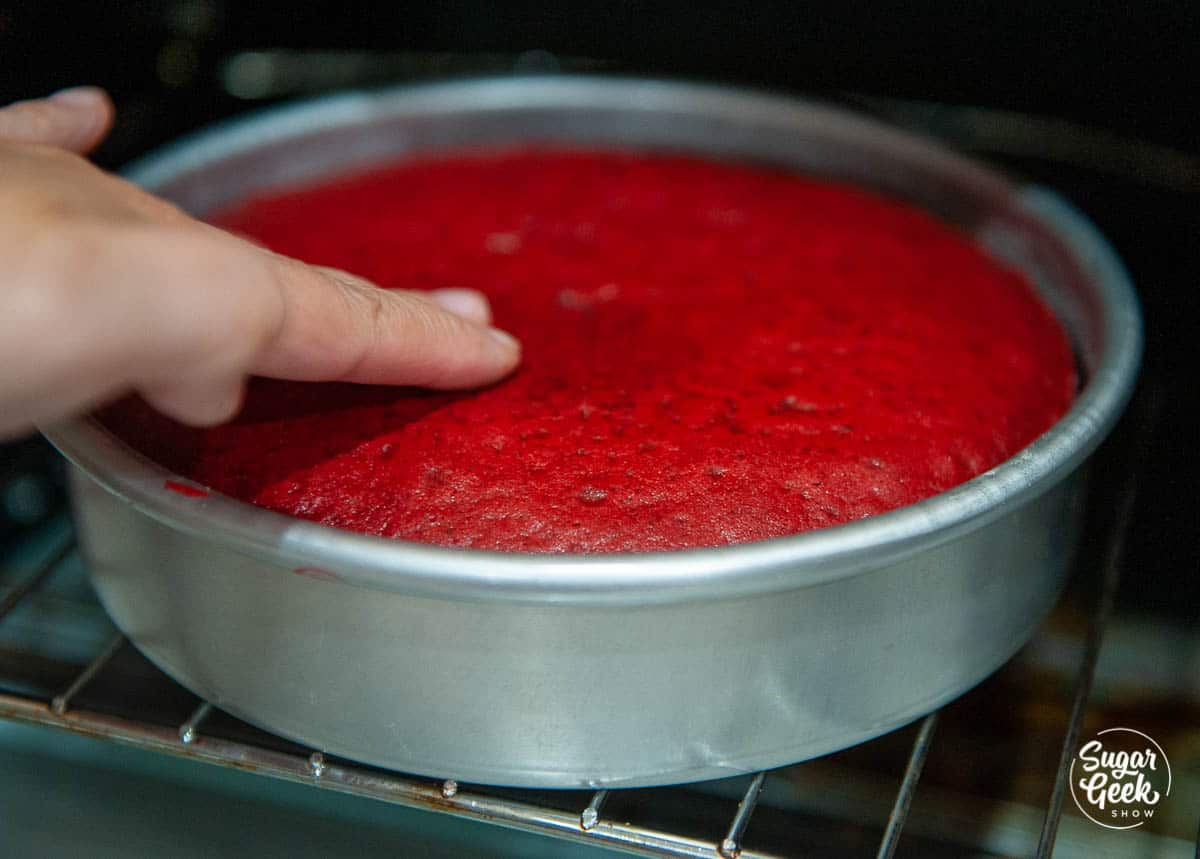
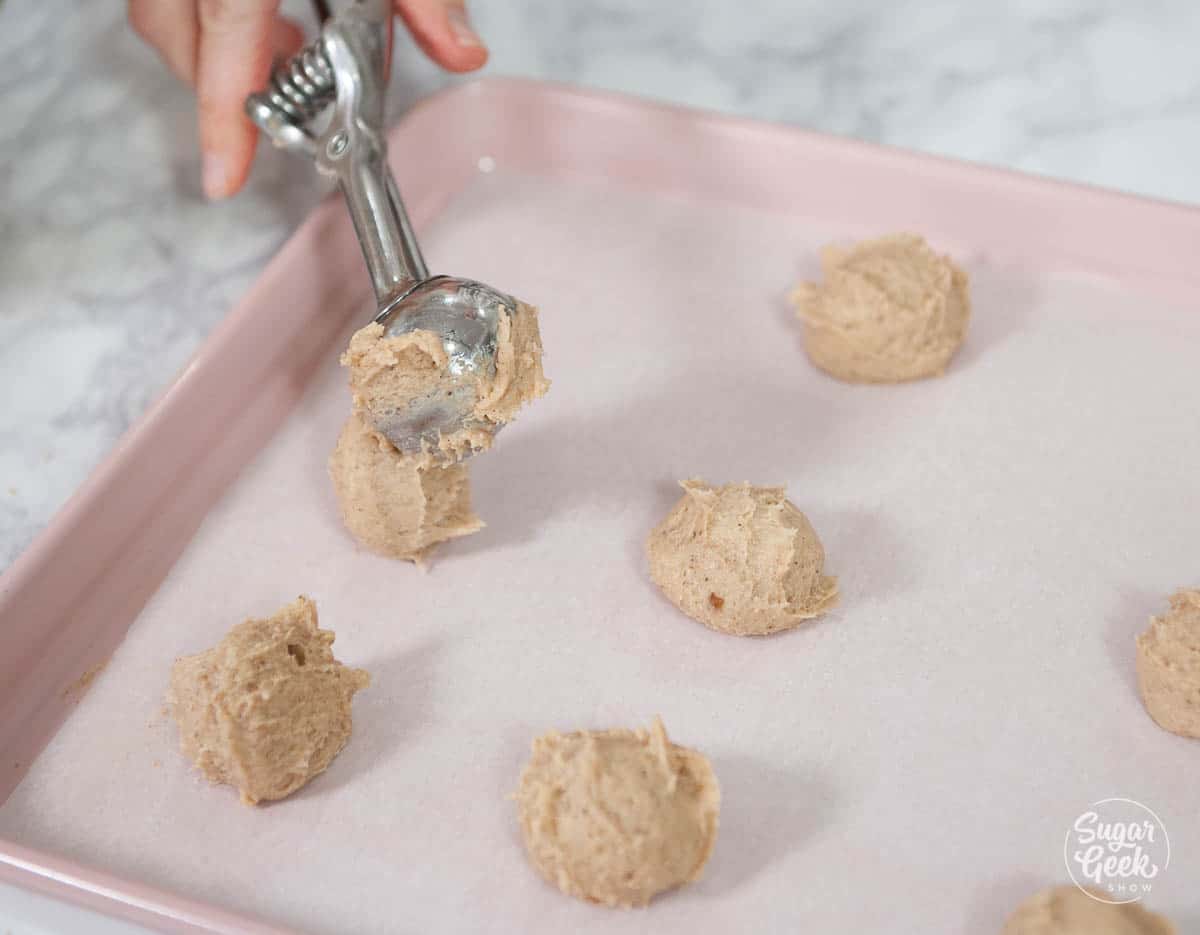
- Divide your batter evenly between your prepared cake pans and bake them for or 25-35 minutes or until a toothpick comes out from the center clean or the top bounces back when you lightly touch it. I'm using three, 6" x 2" cake pans, but you can also use two, 8" x 2" pans.

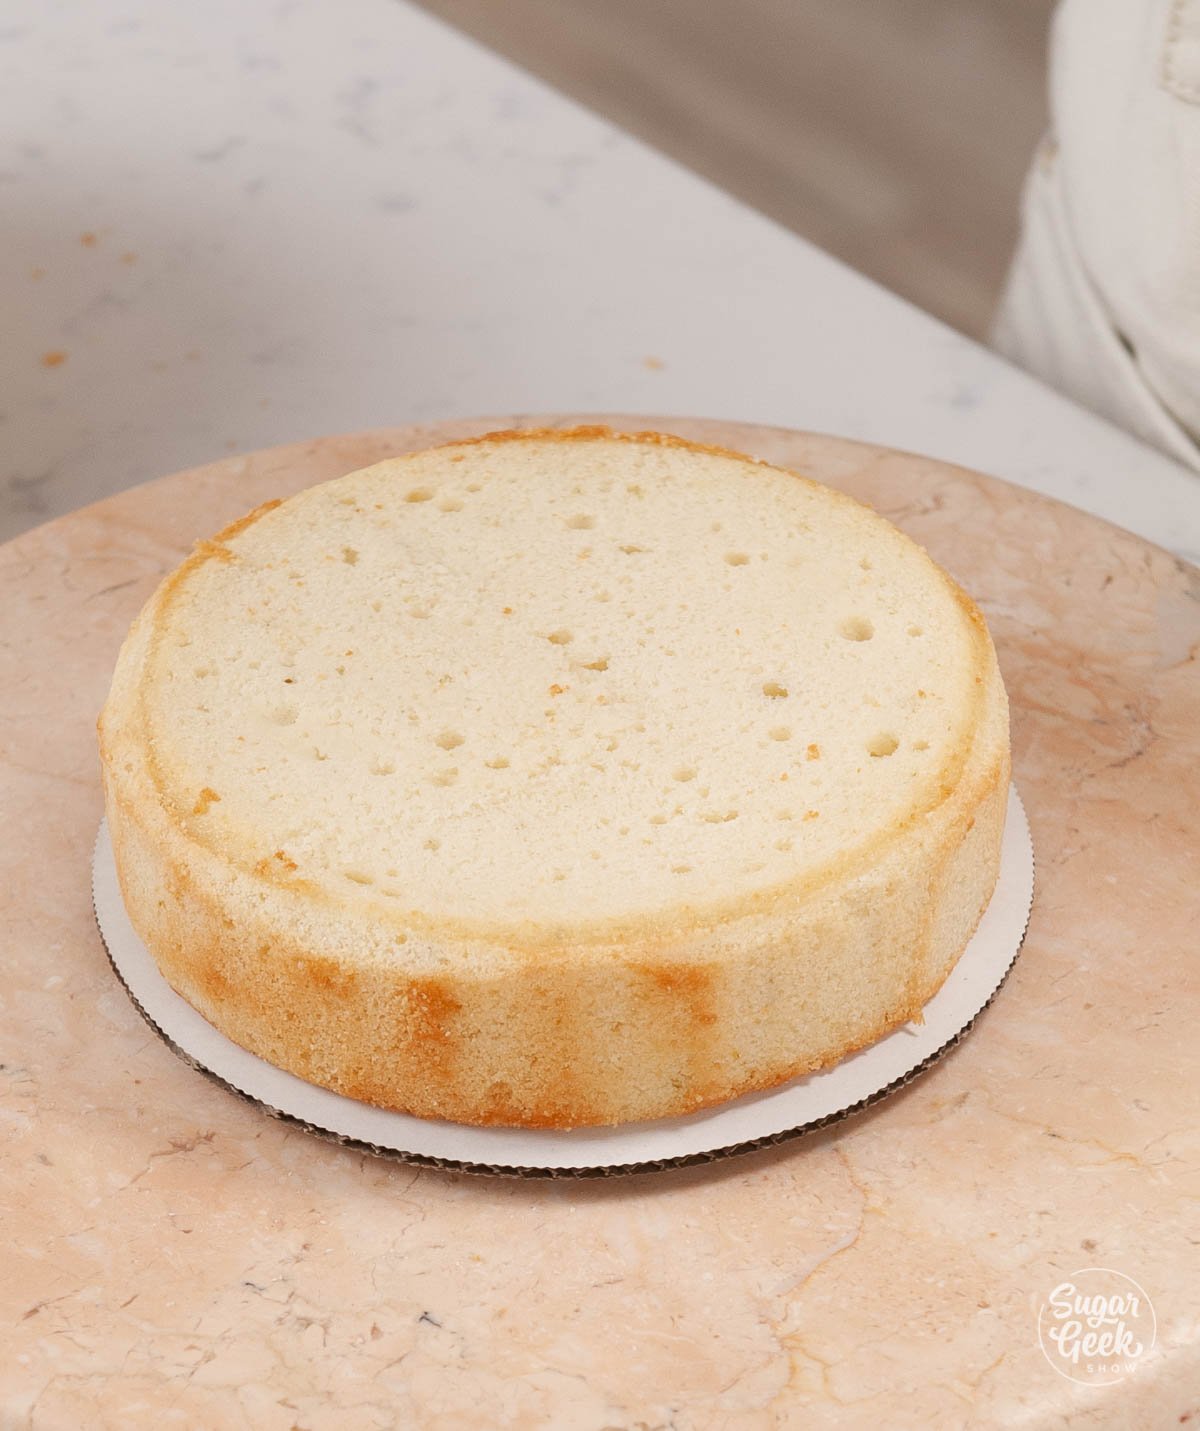
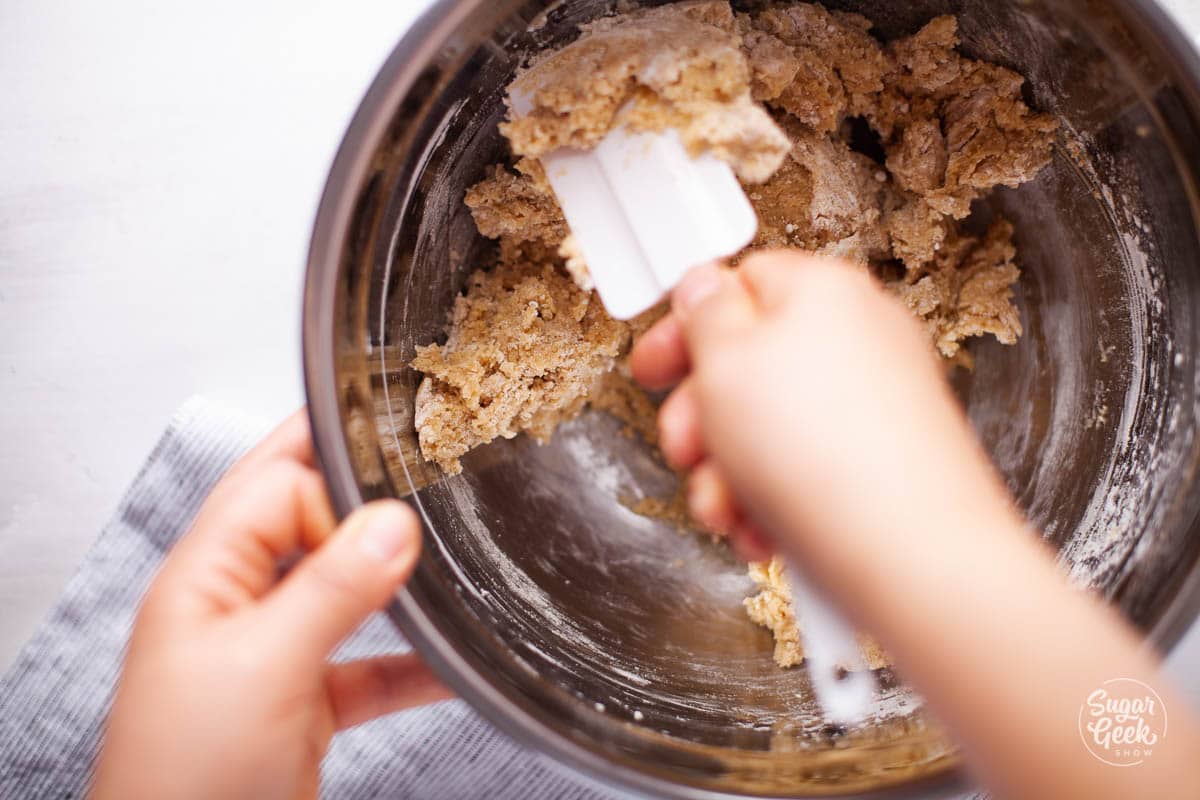
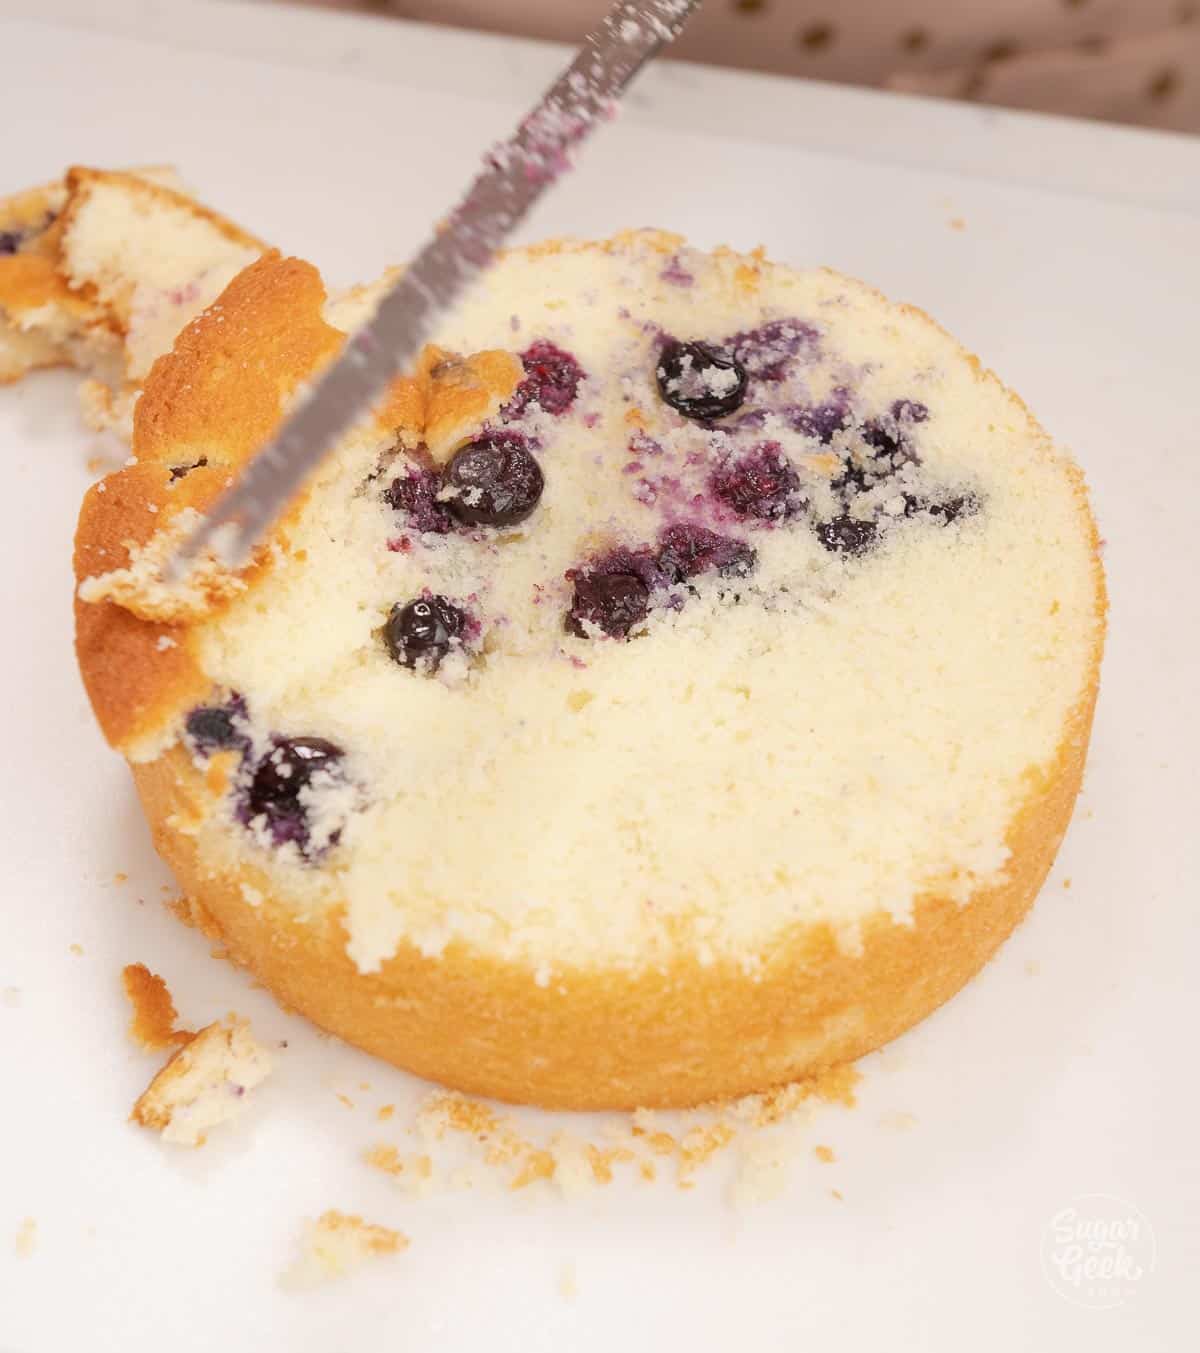
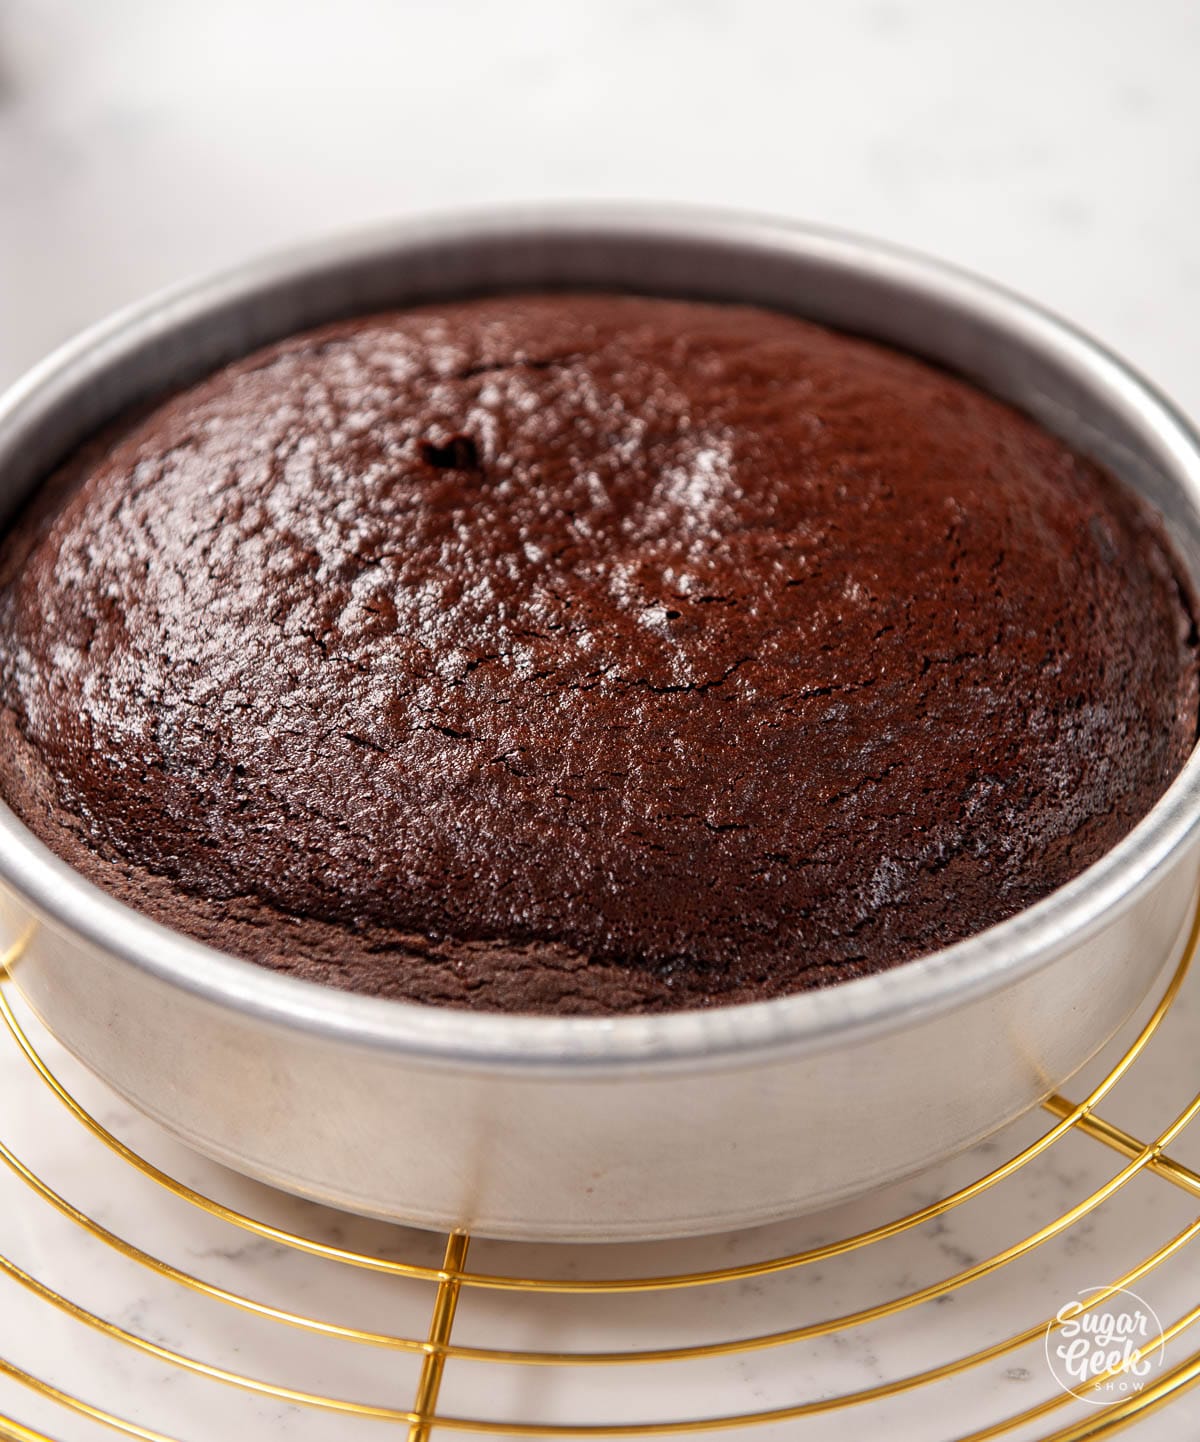
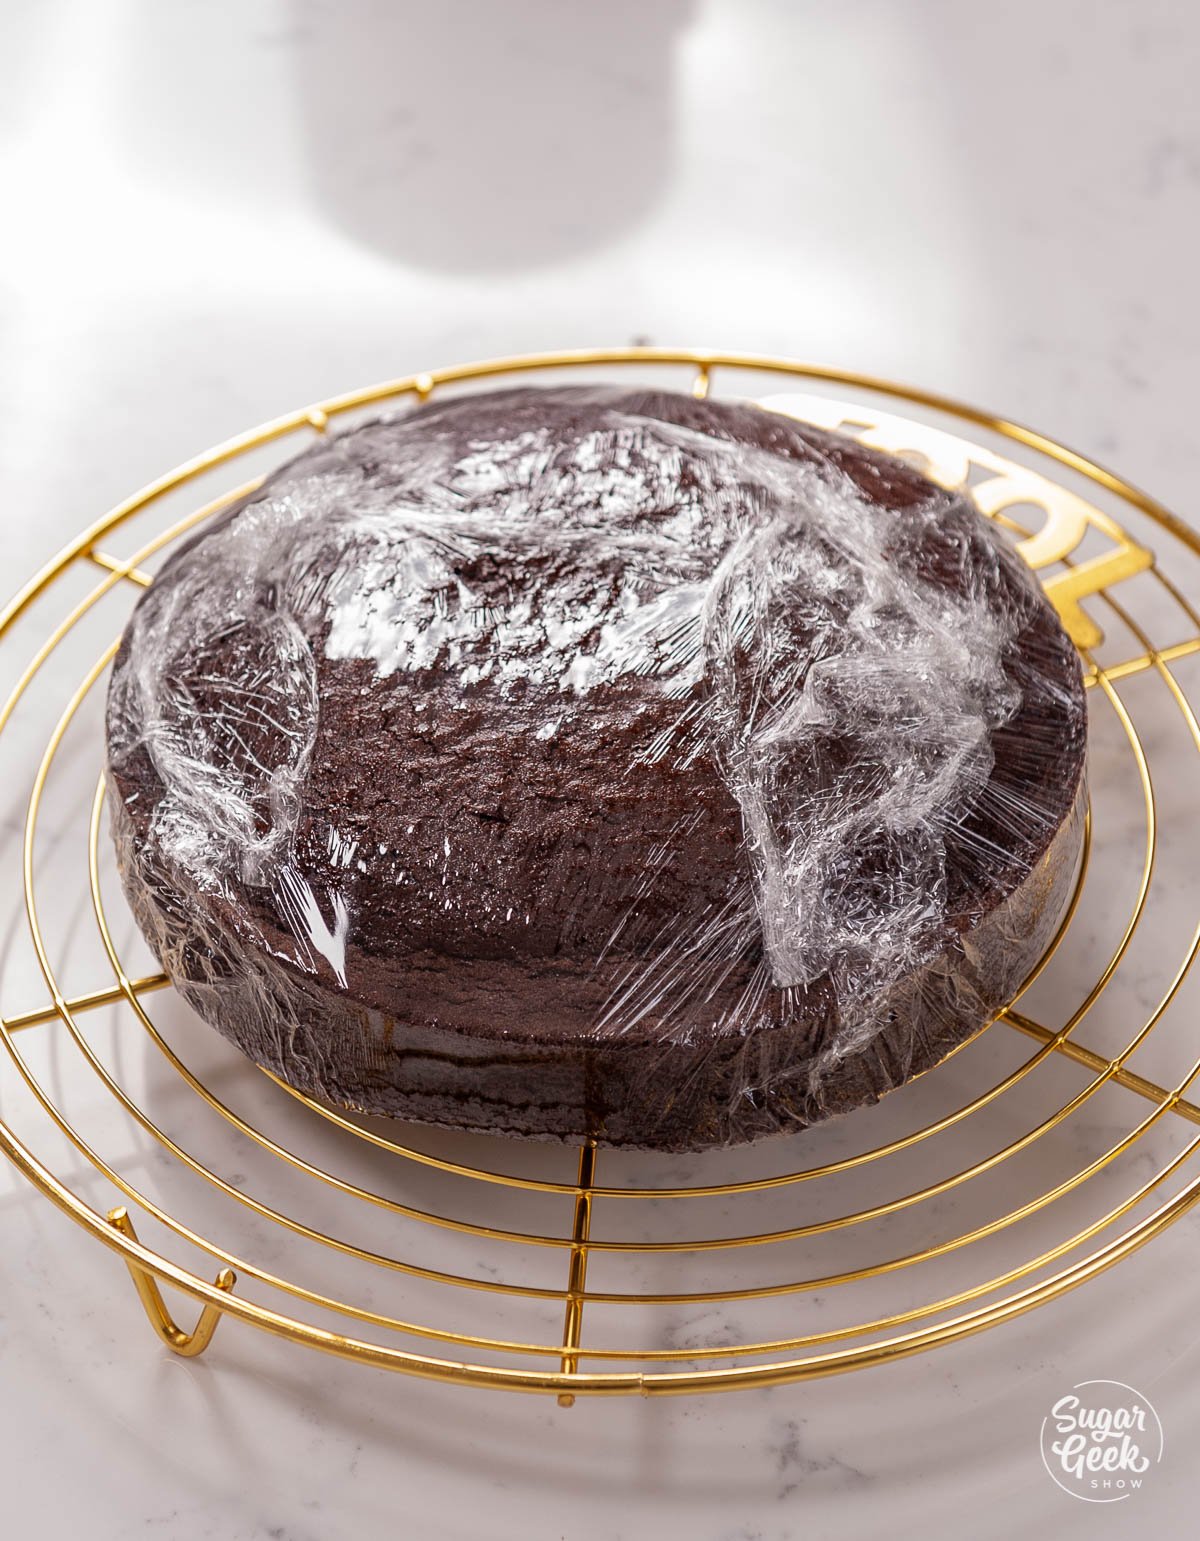
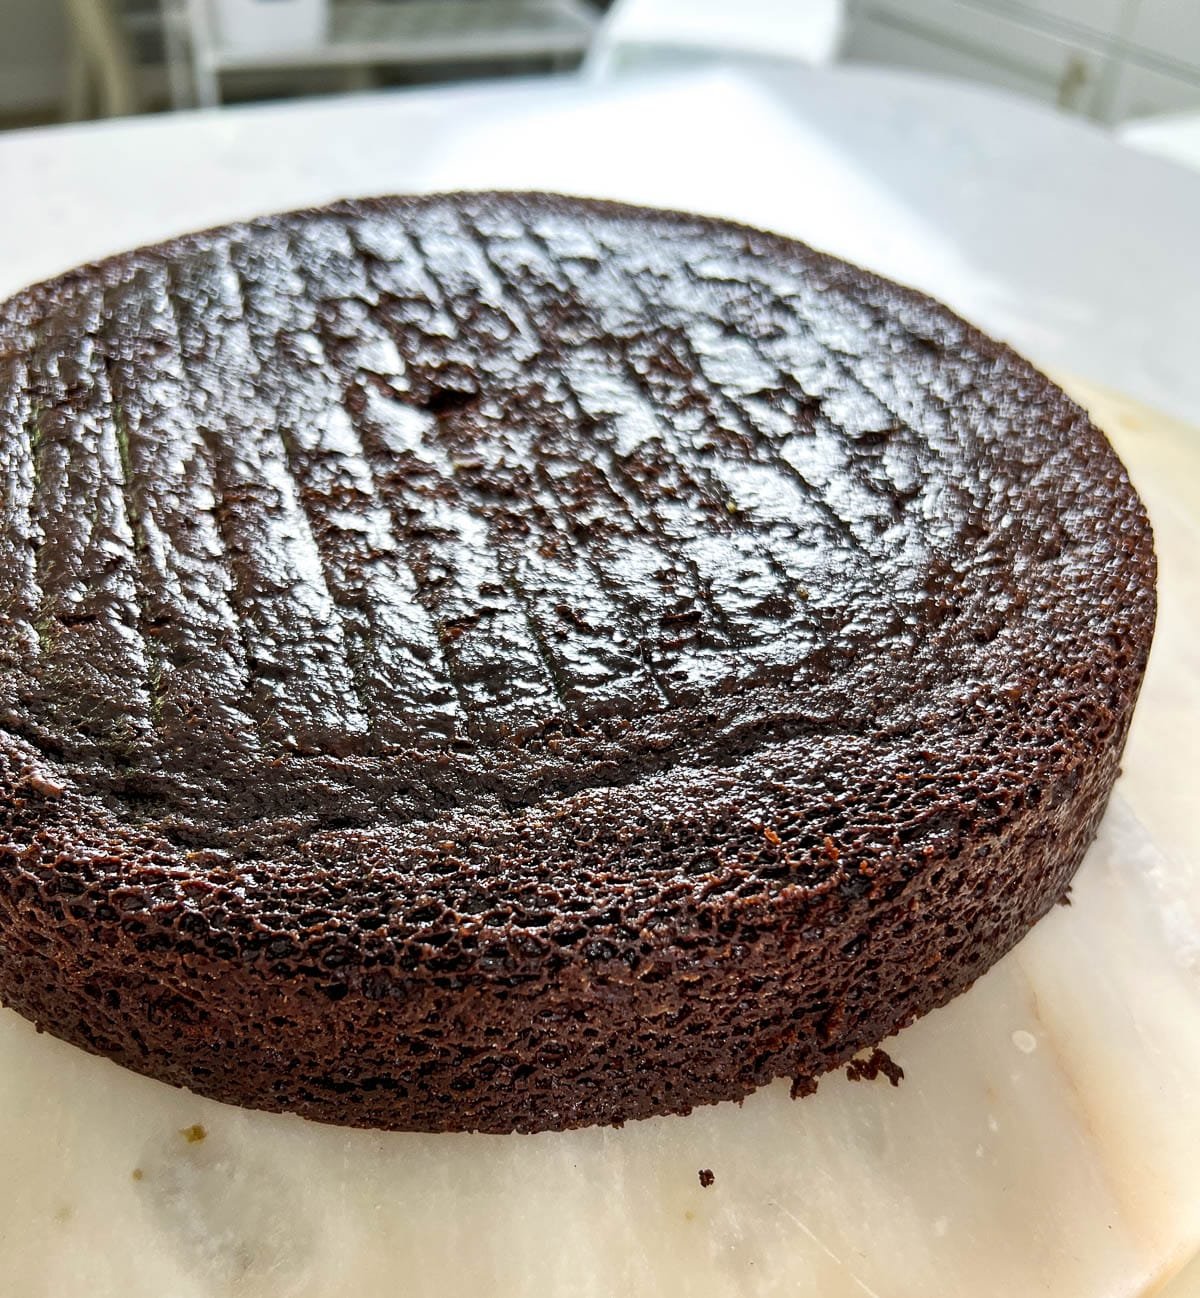
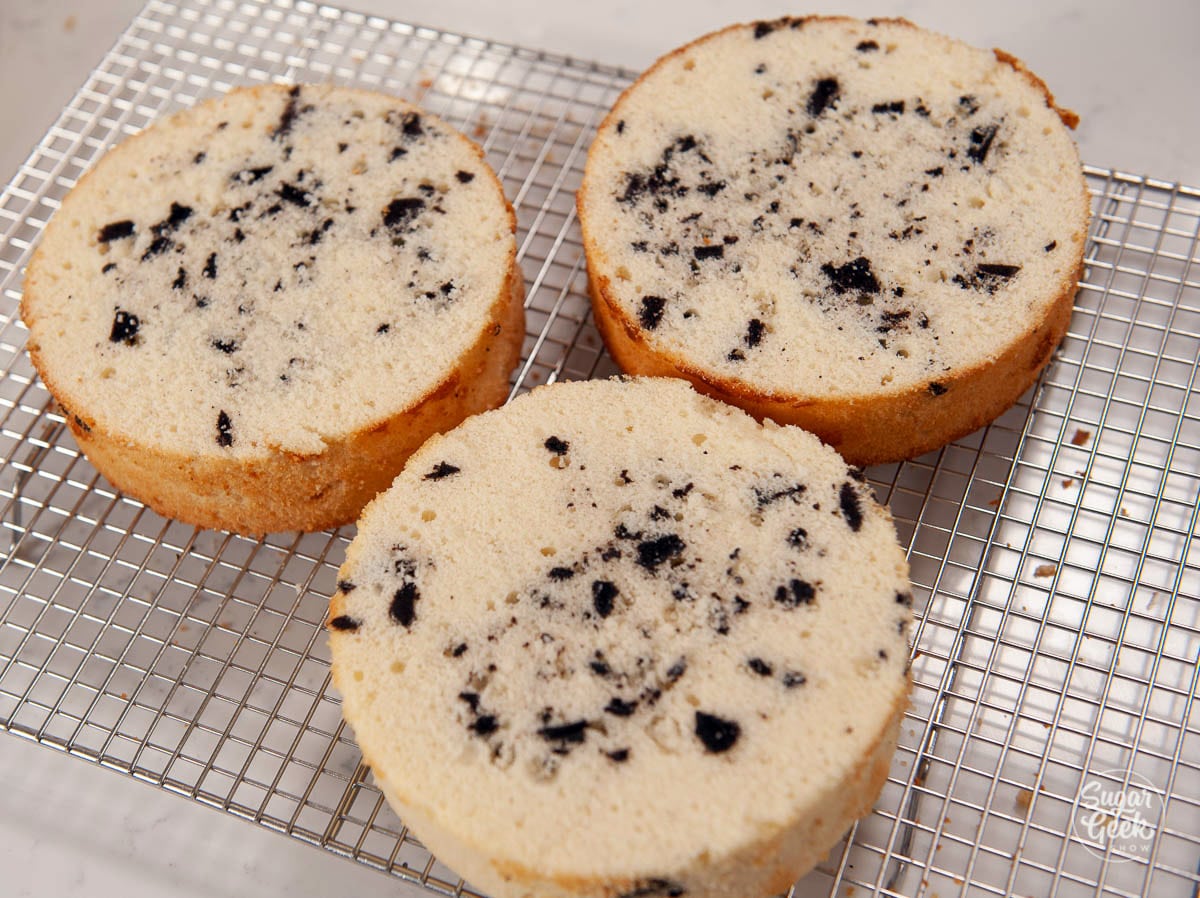
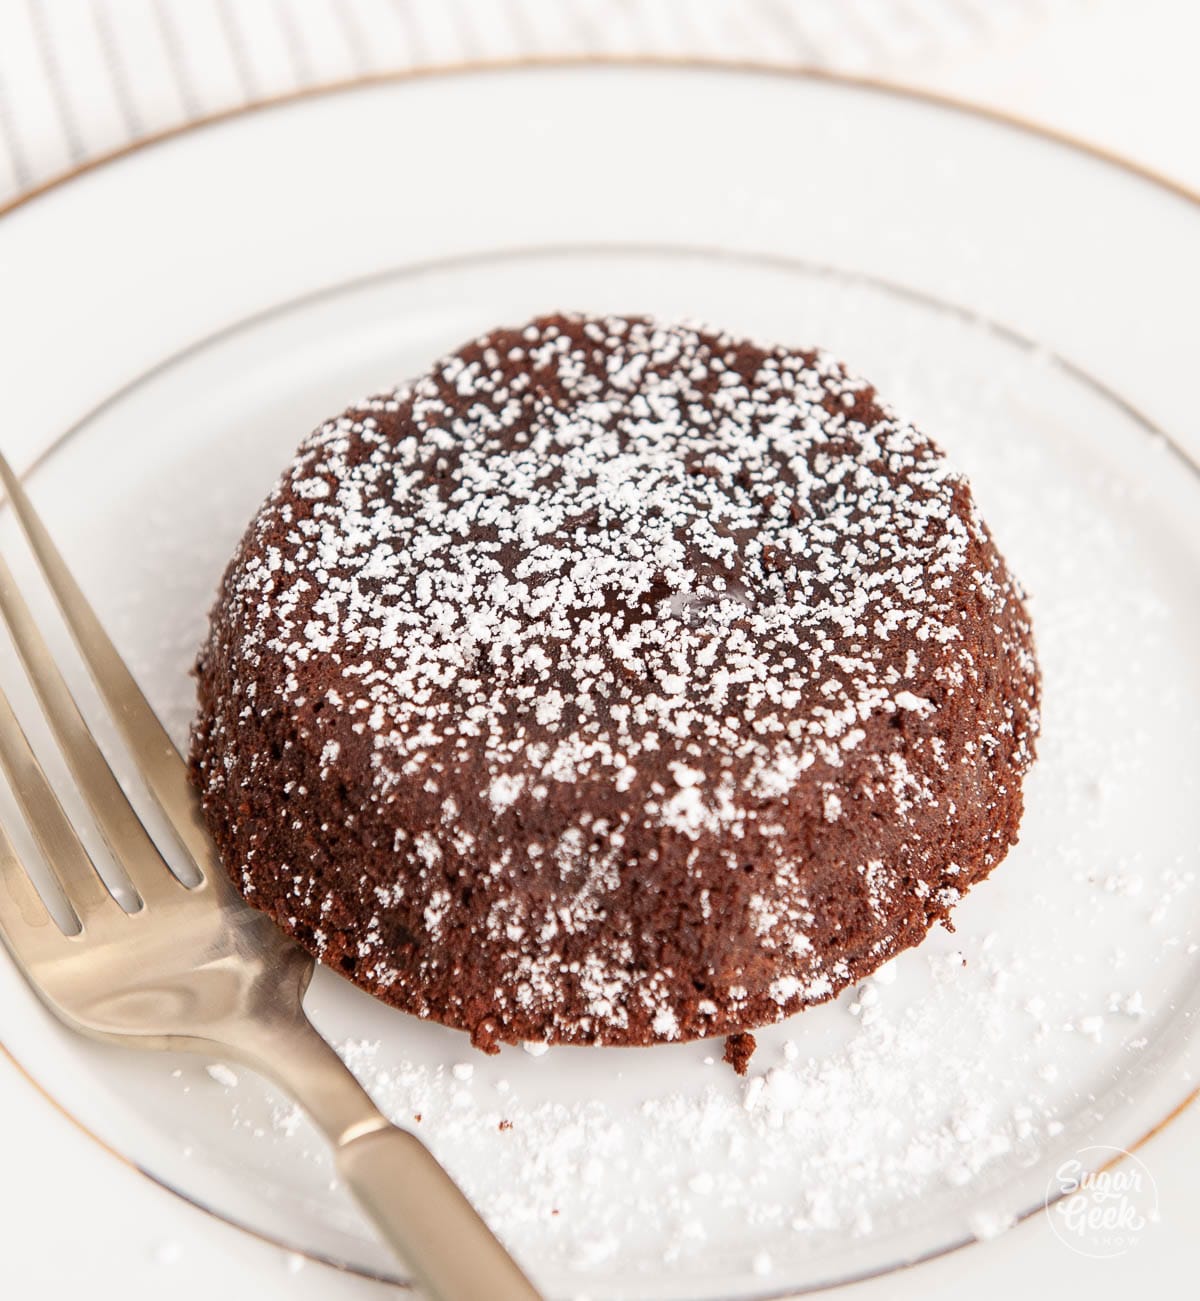
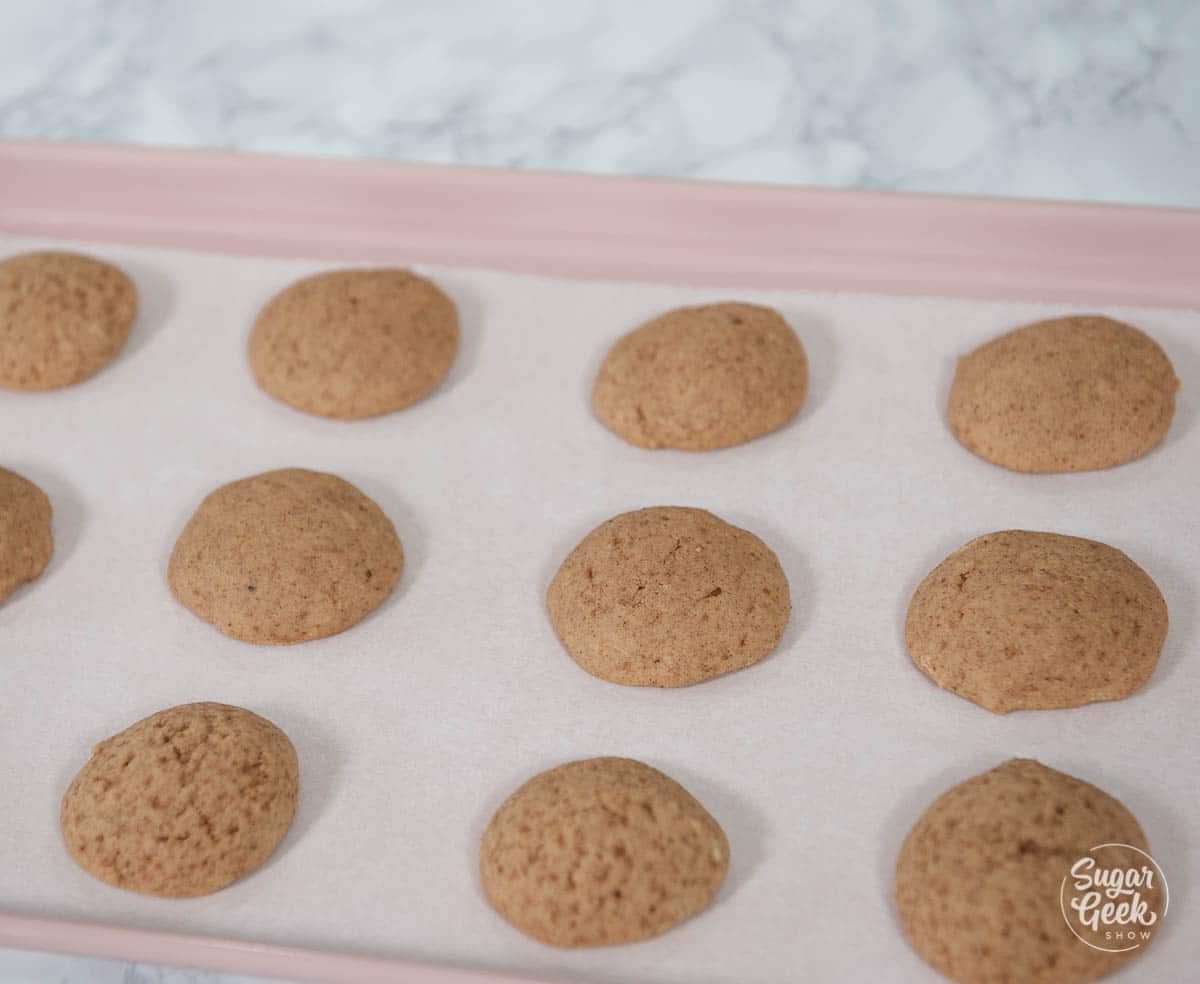
- Let the cake layers cool 15 minutes then turn out cakes onto a cooling rack. Wrap them in plastic wrap while still warm and place into the freezer to flash chill. This locks in the moisture. Once cool but not frozen, you can then trim off the brown edges of your cakes and frost as desired.
Making the margarita gelatin layer
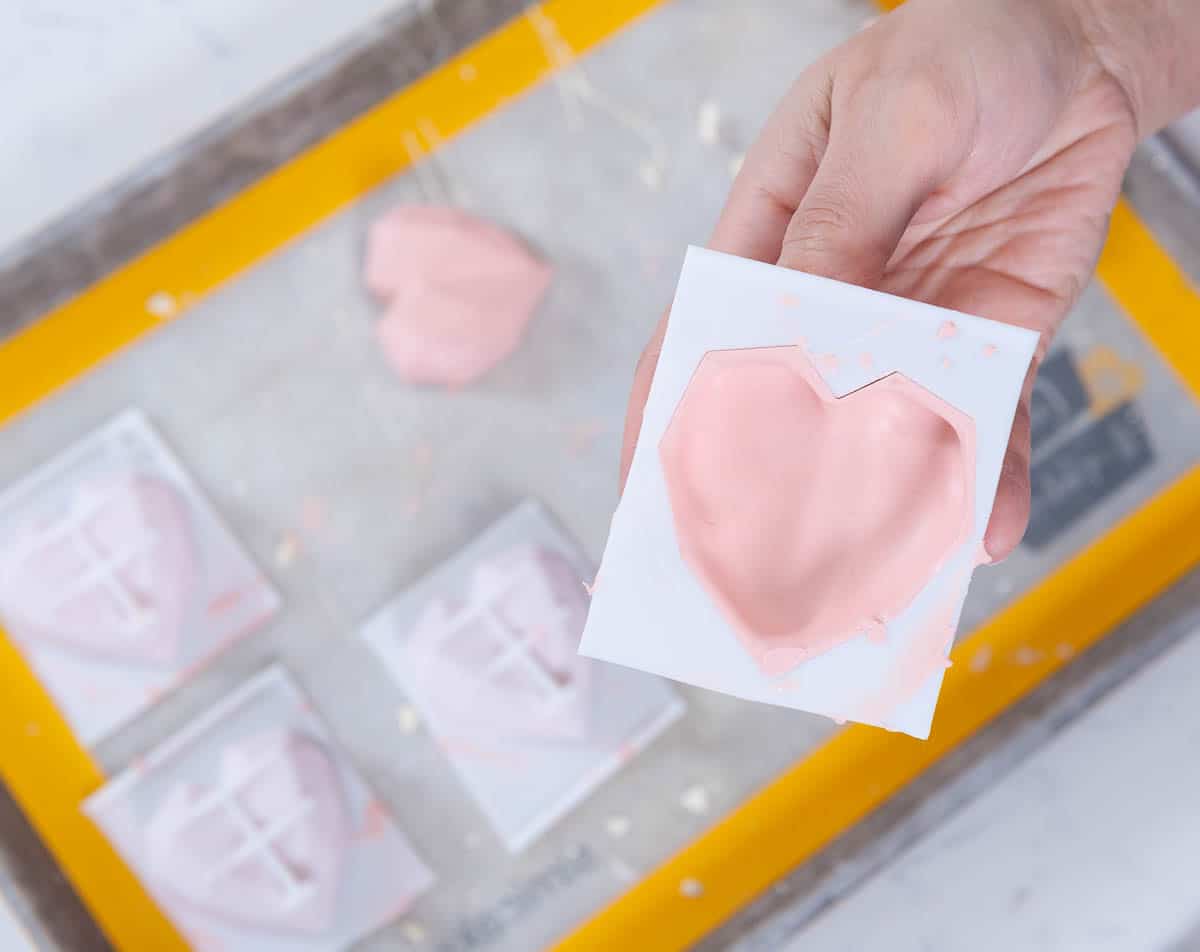
Yes, there is an actual margarita Jell-o shot on top of this cake. It might sound weird but it's totally fun and tastes delicious!
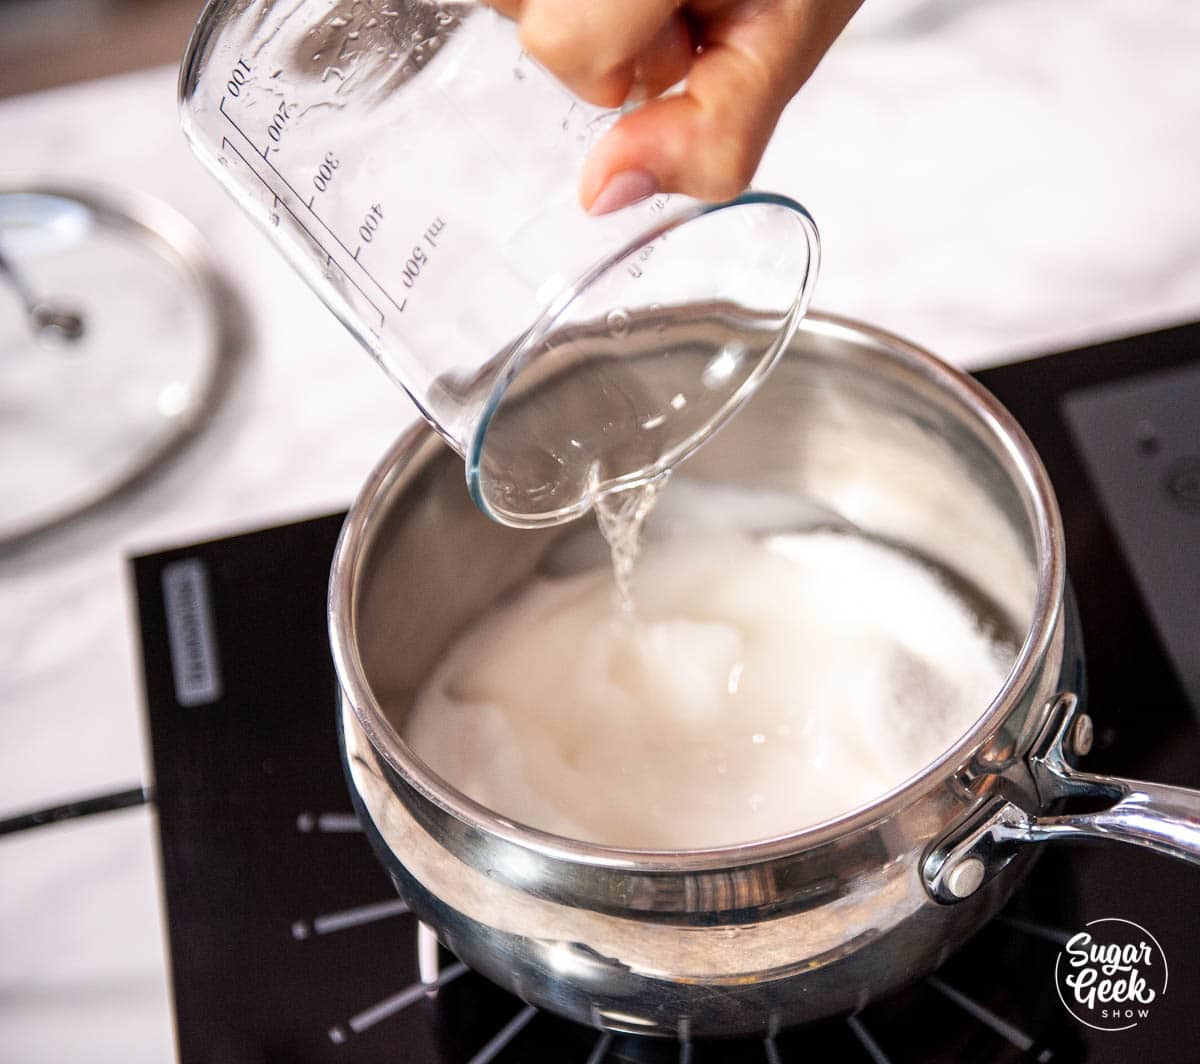
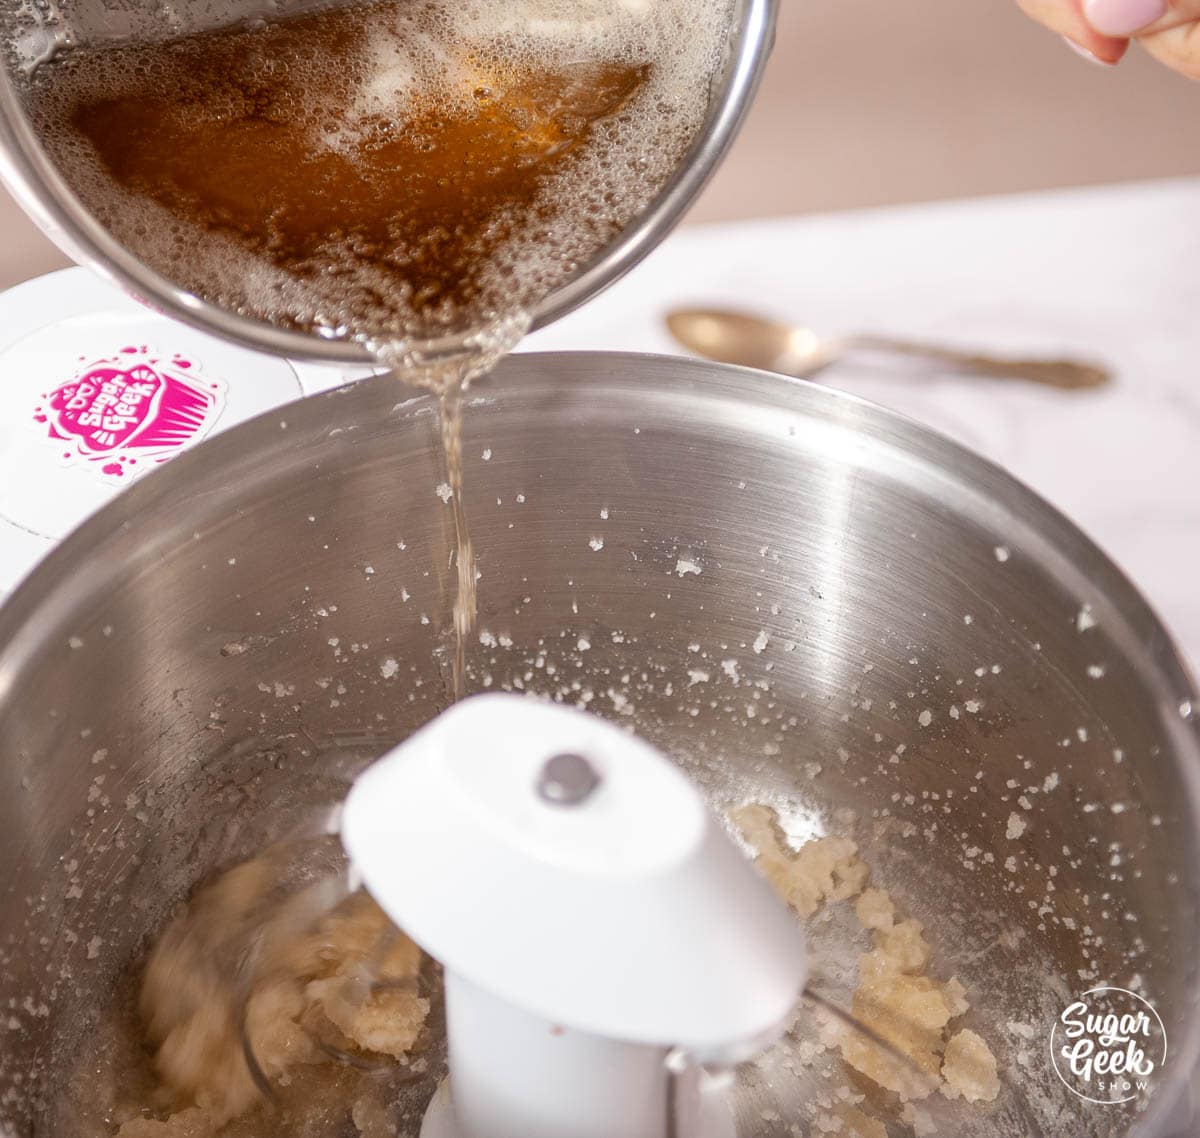
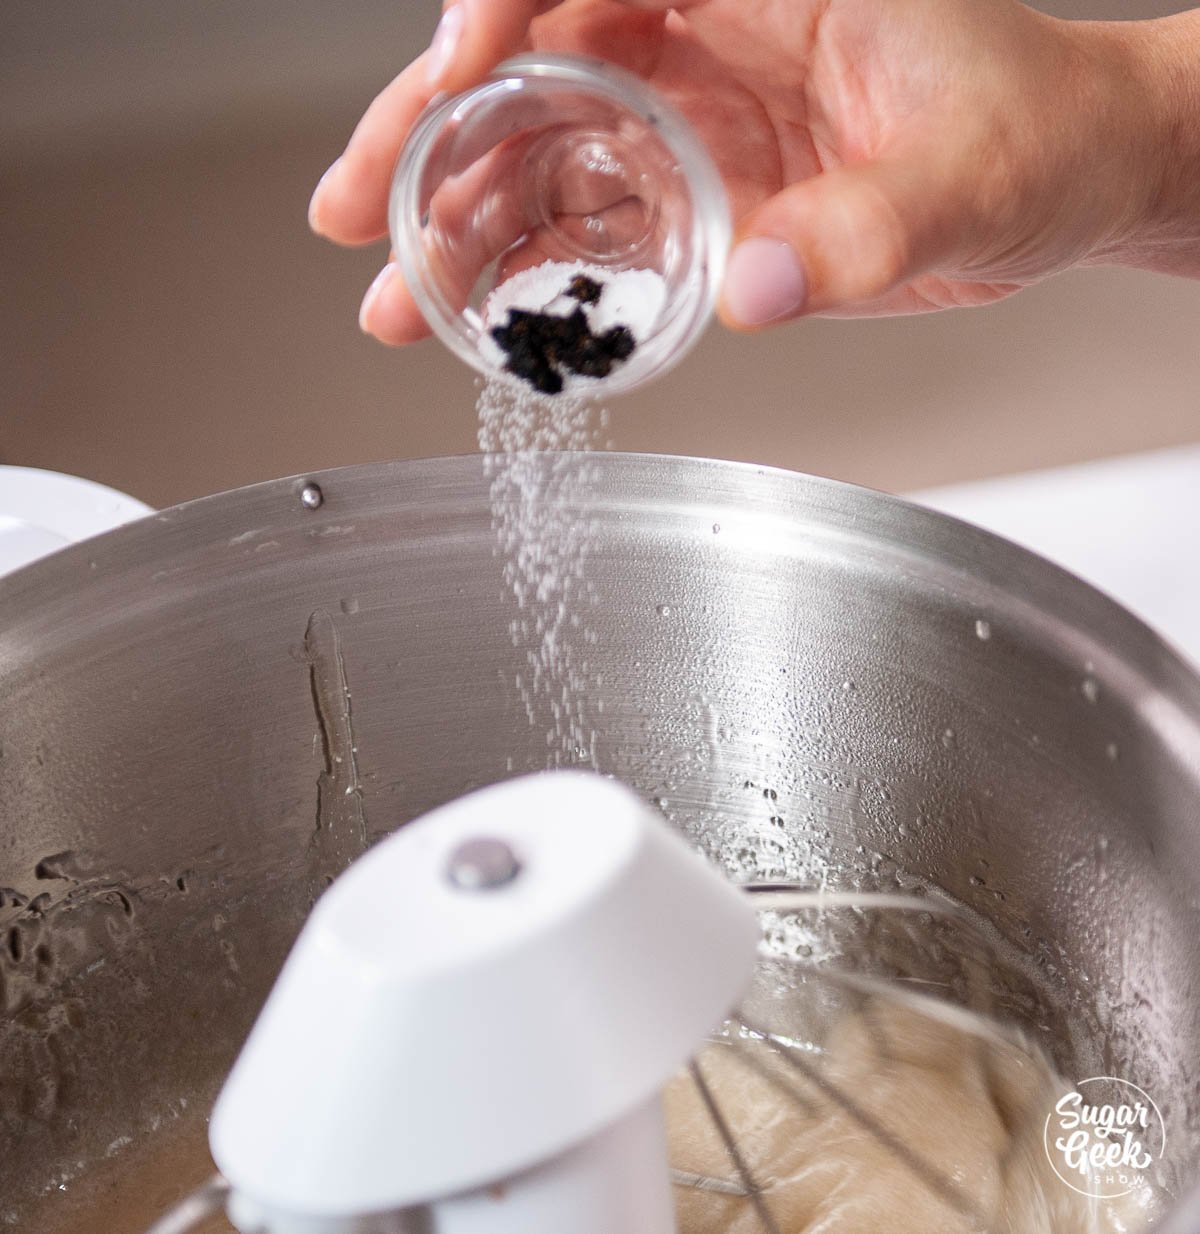
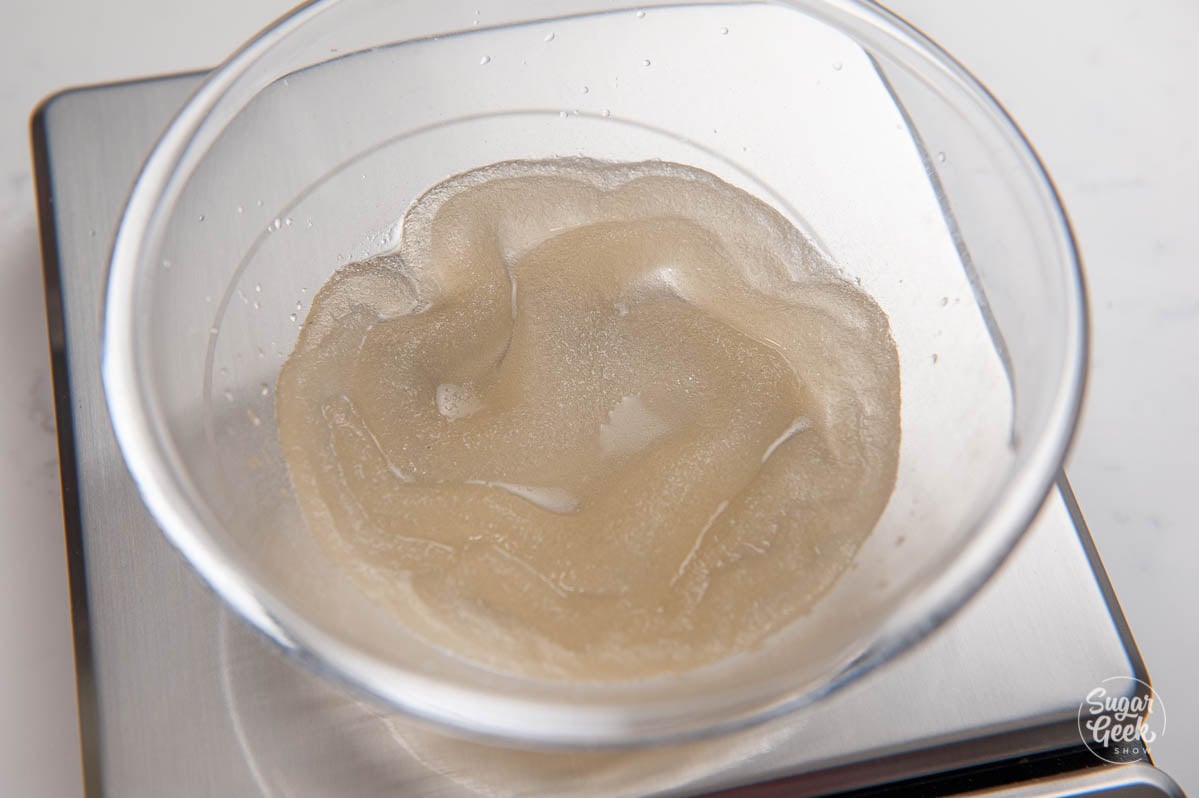
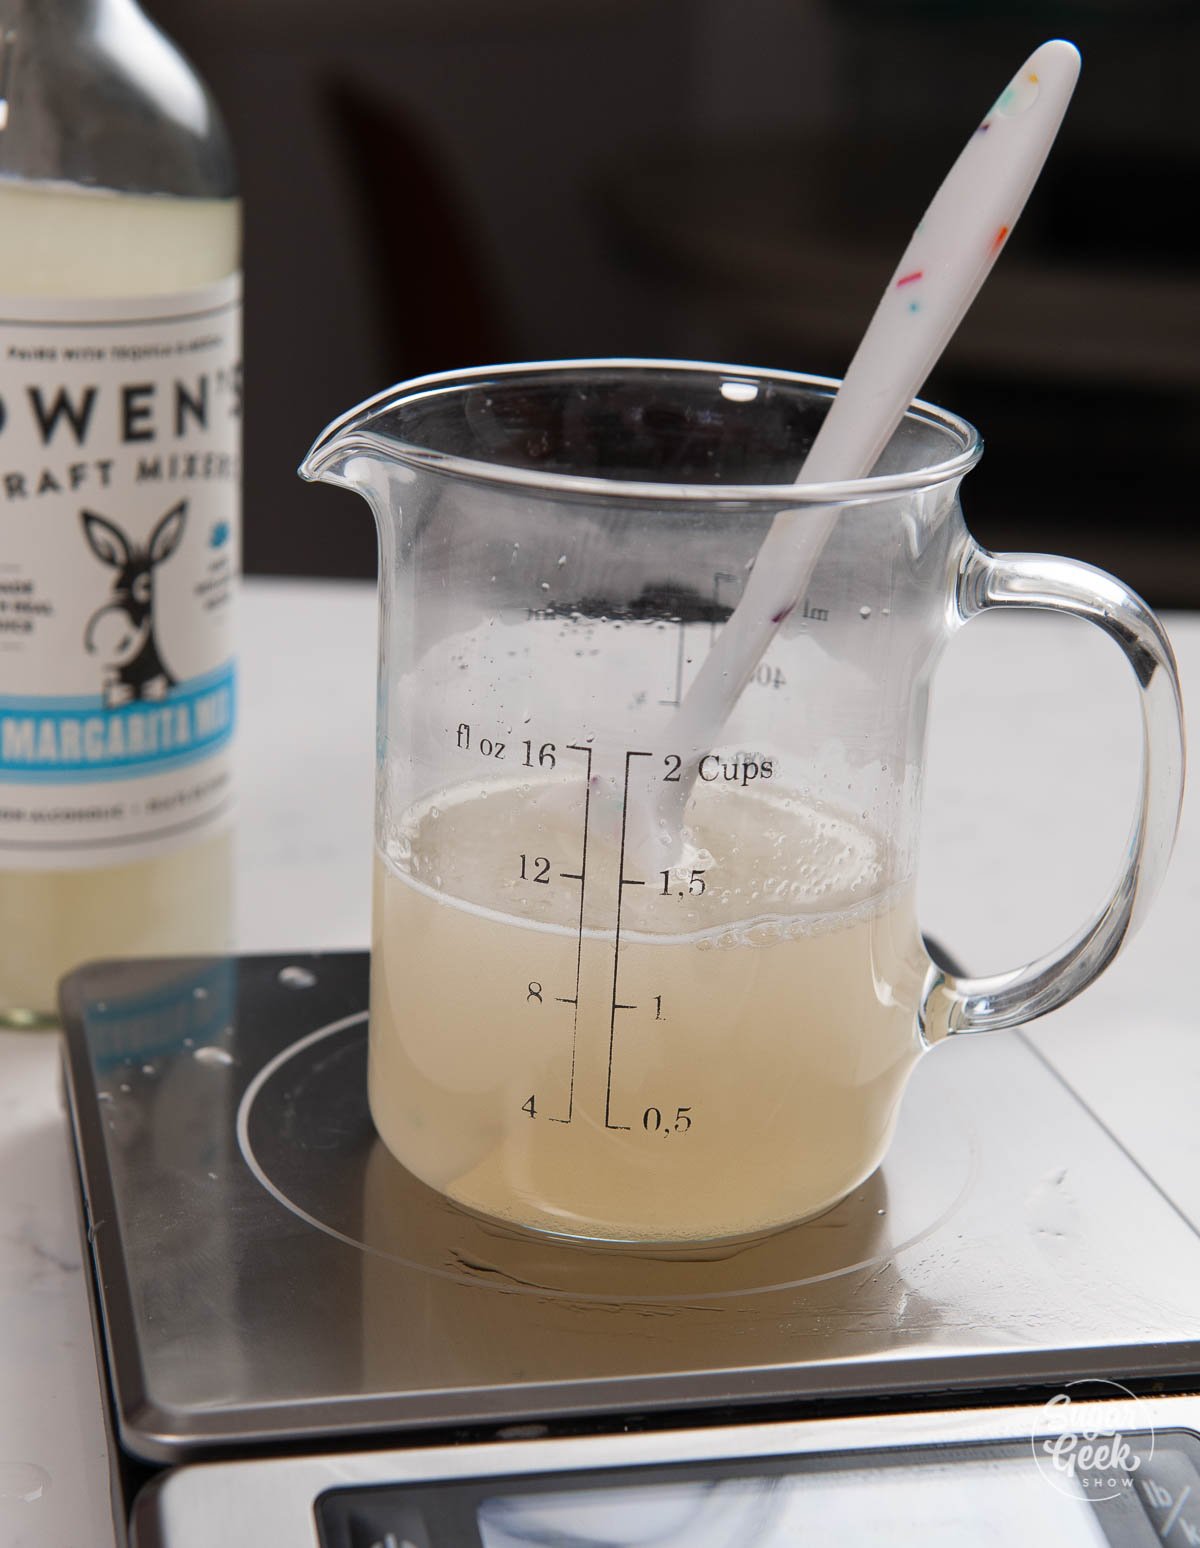
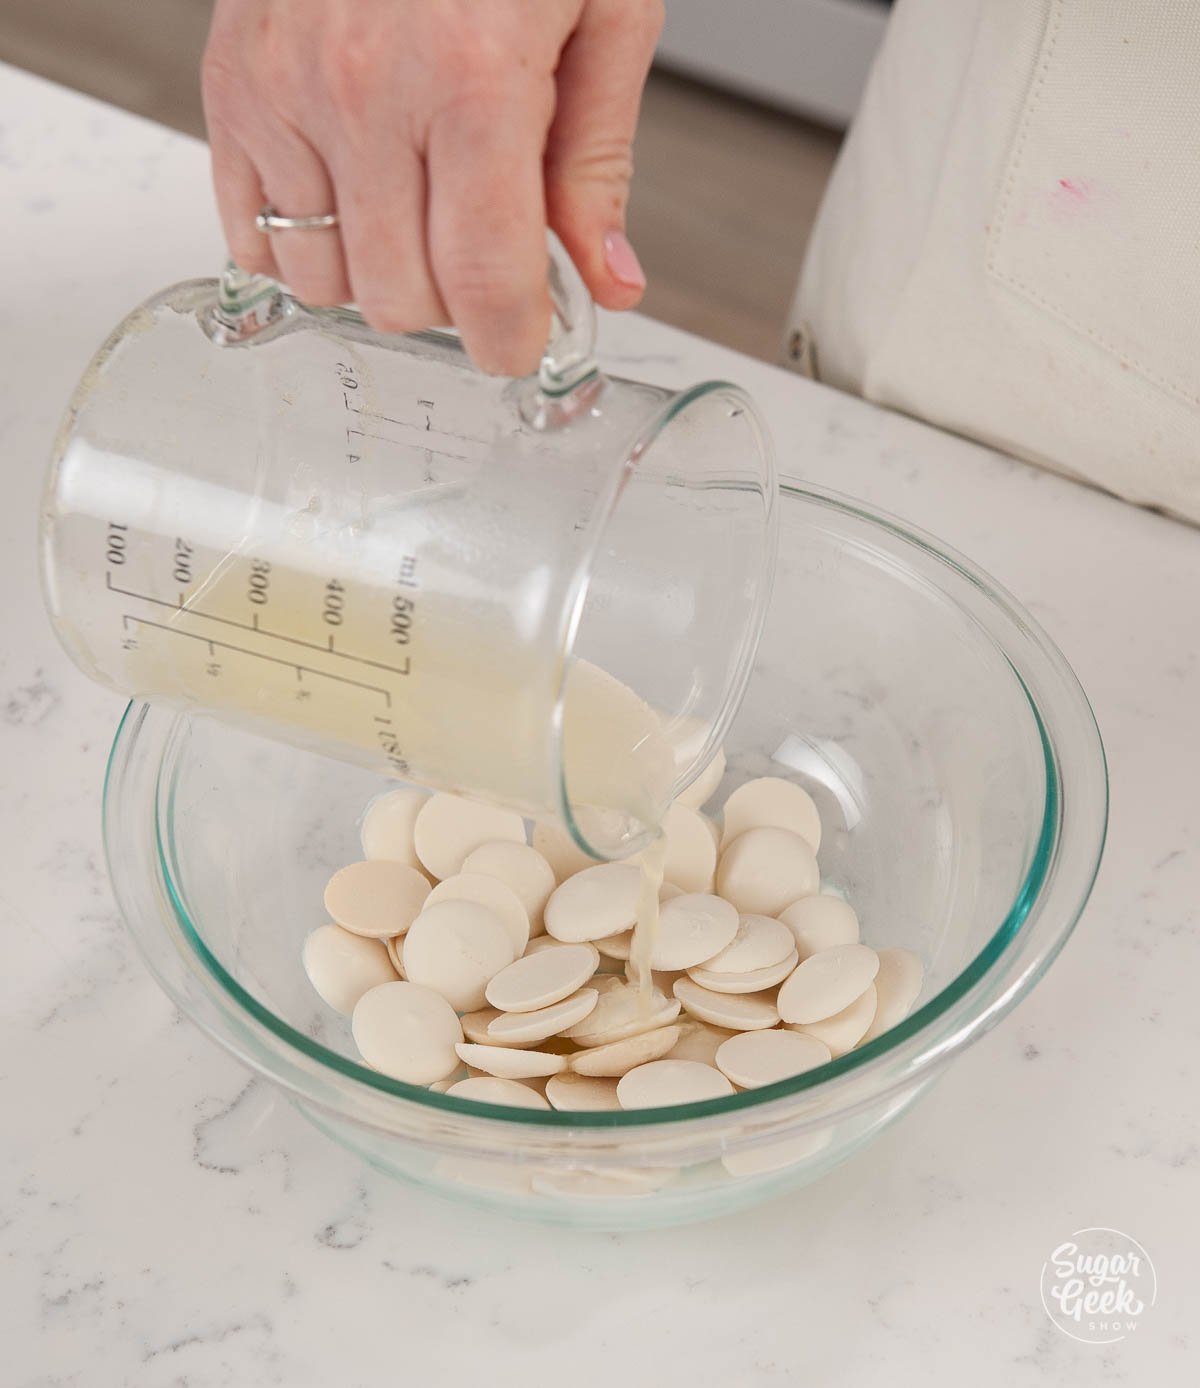
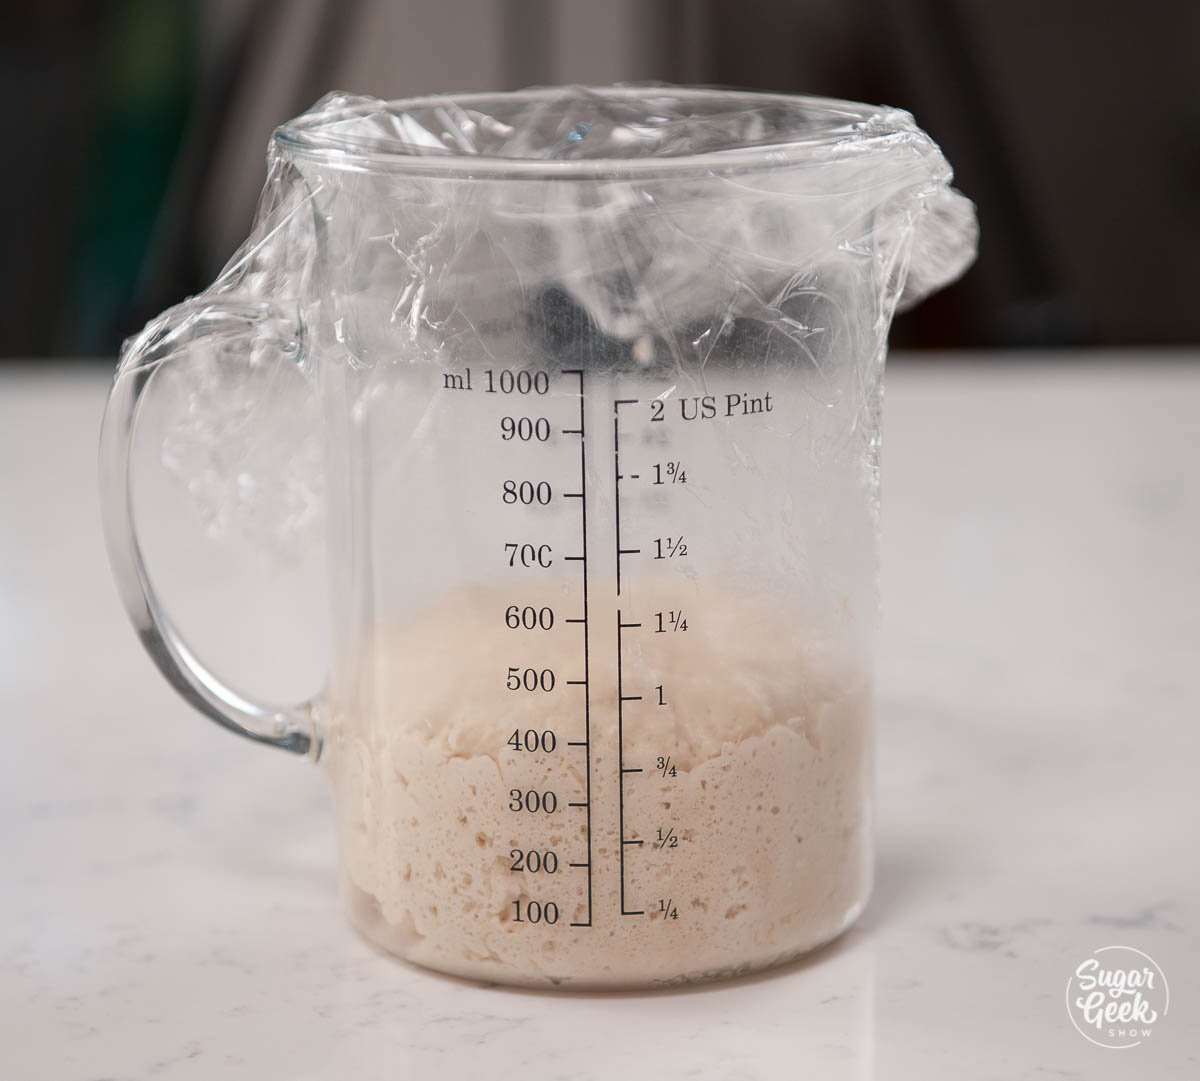
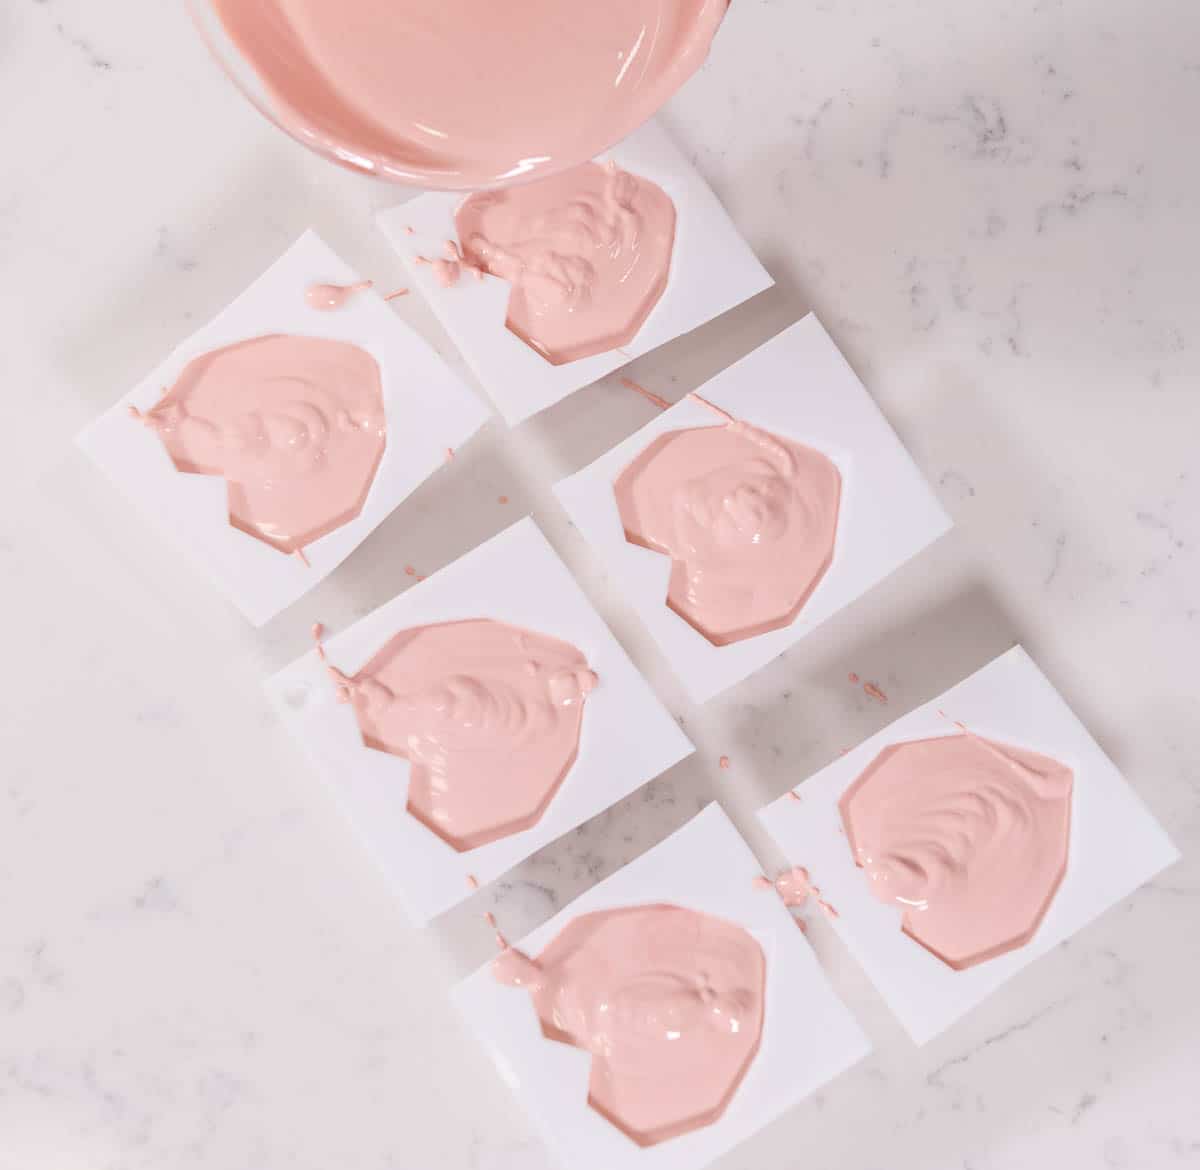
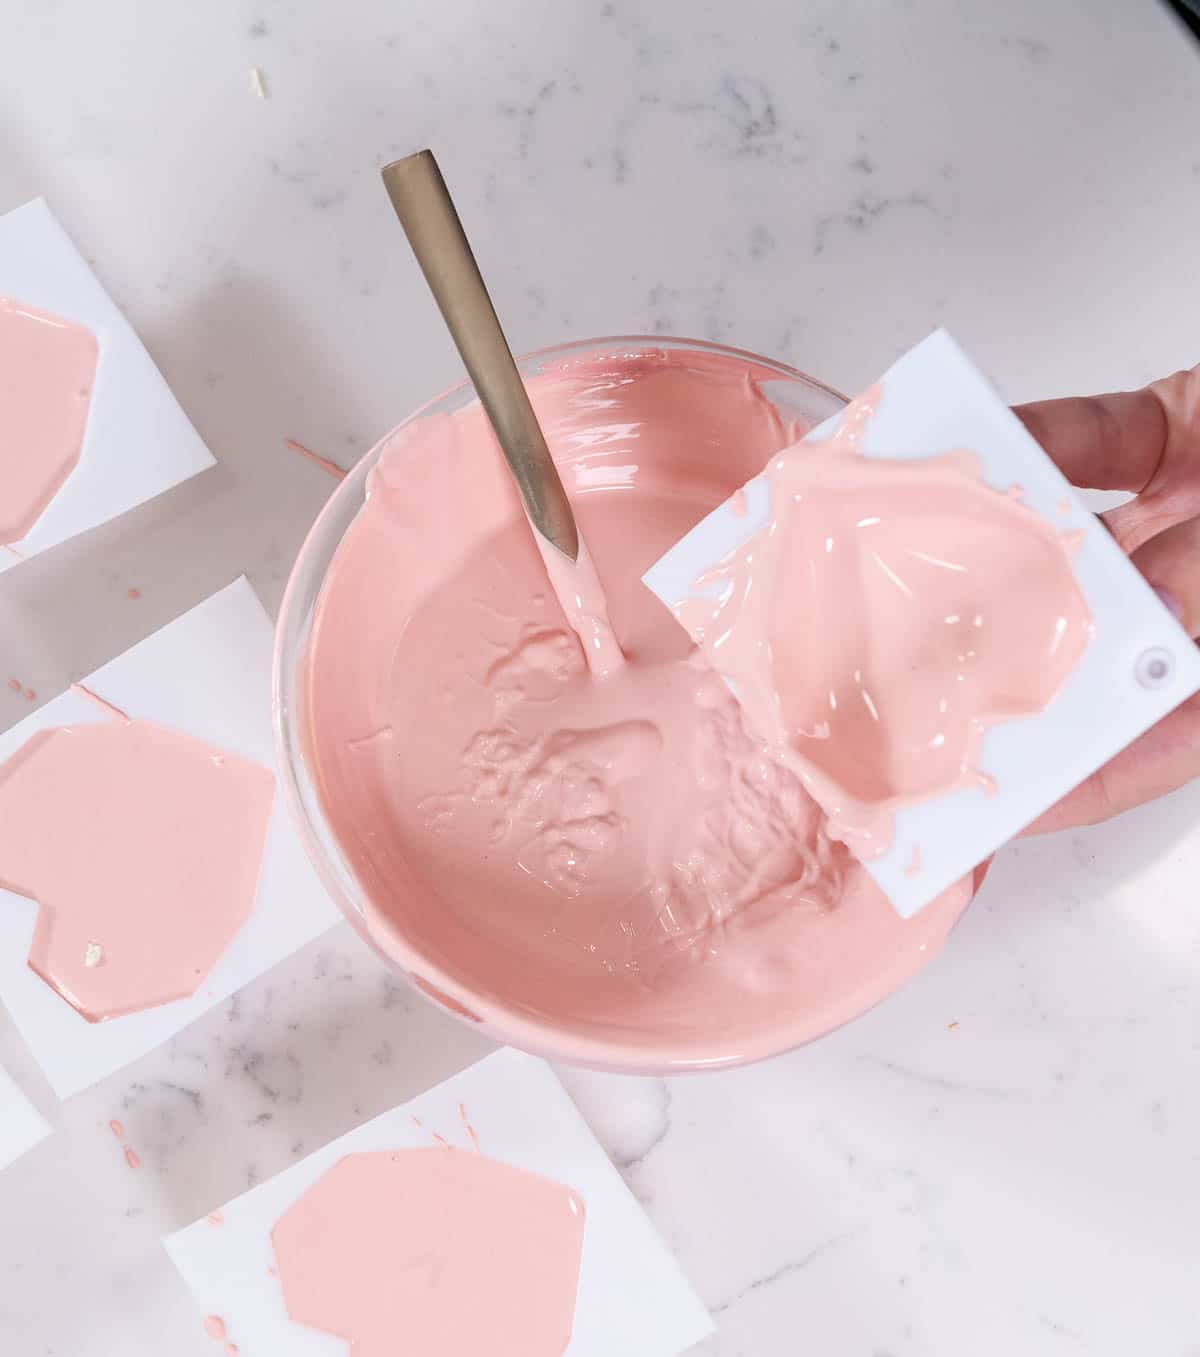
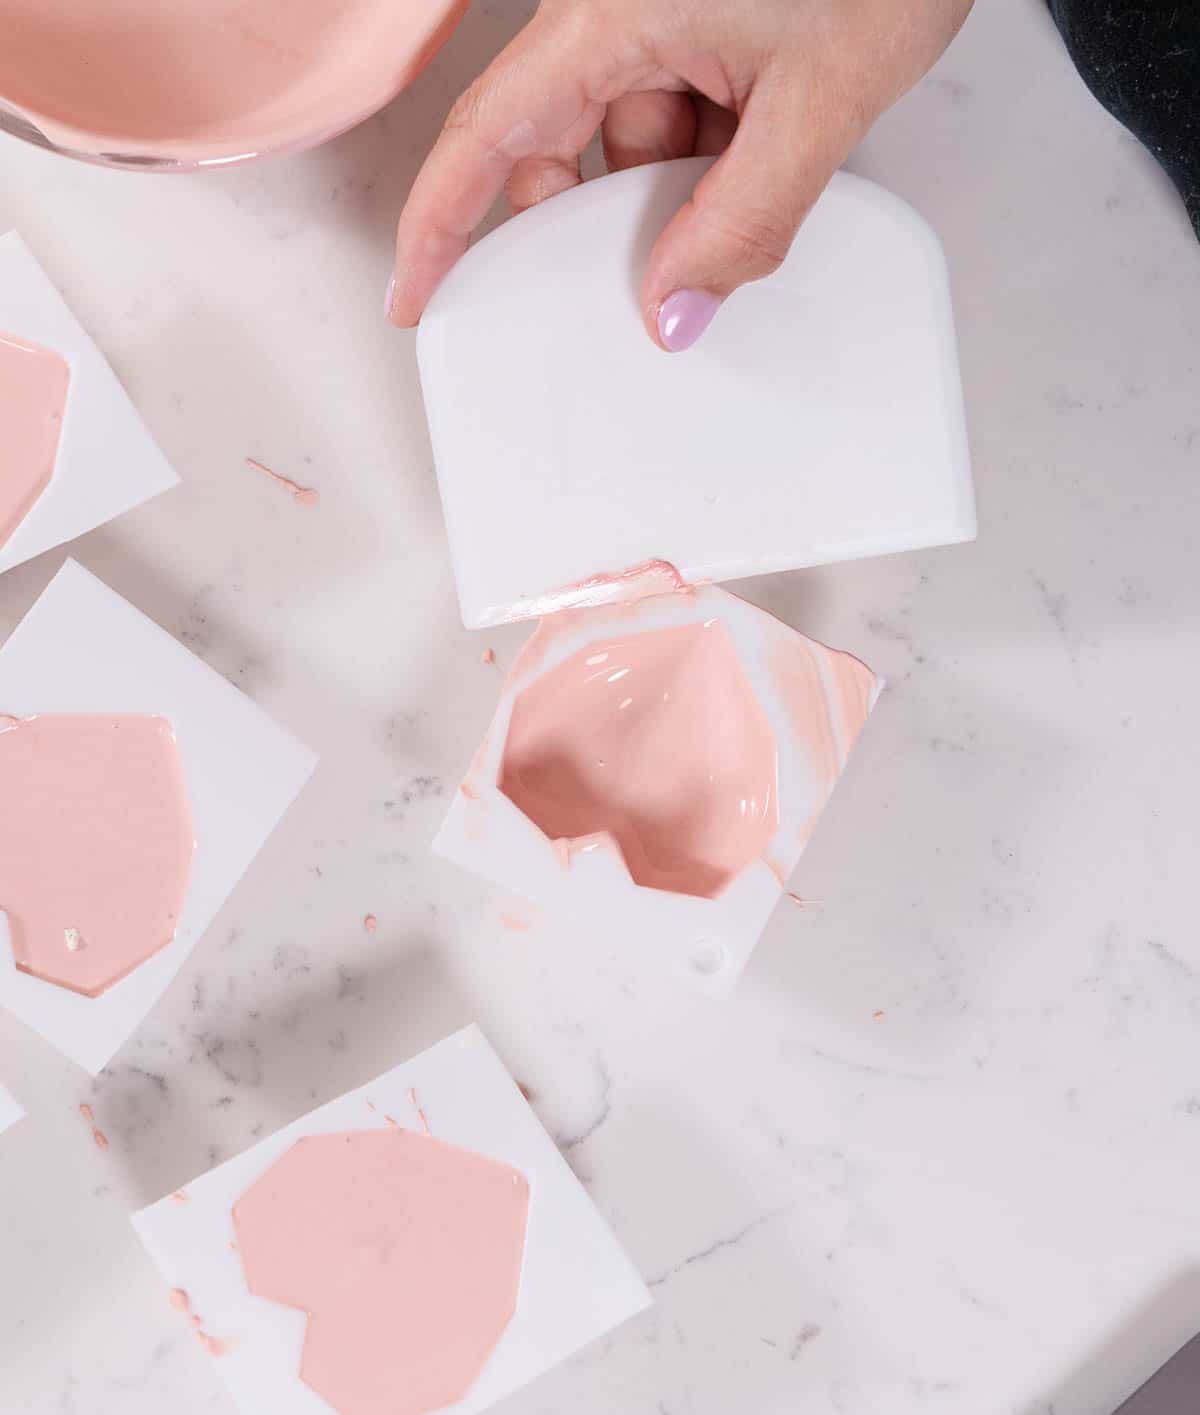
- Sprinkle the gelatin over the cold water and let it soak for 5 minutes.

- Add the margarita mix, lime juice, and sugar to the gelatin mixture and stir to combine.

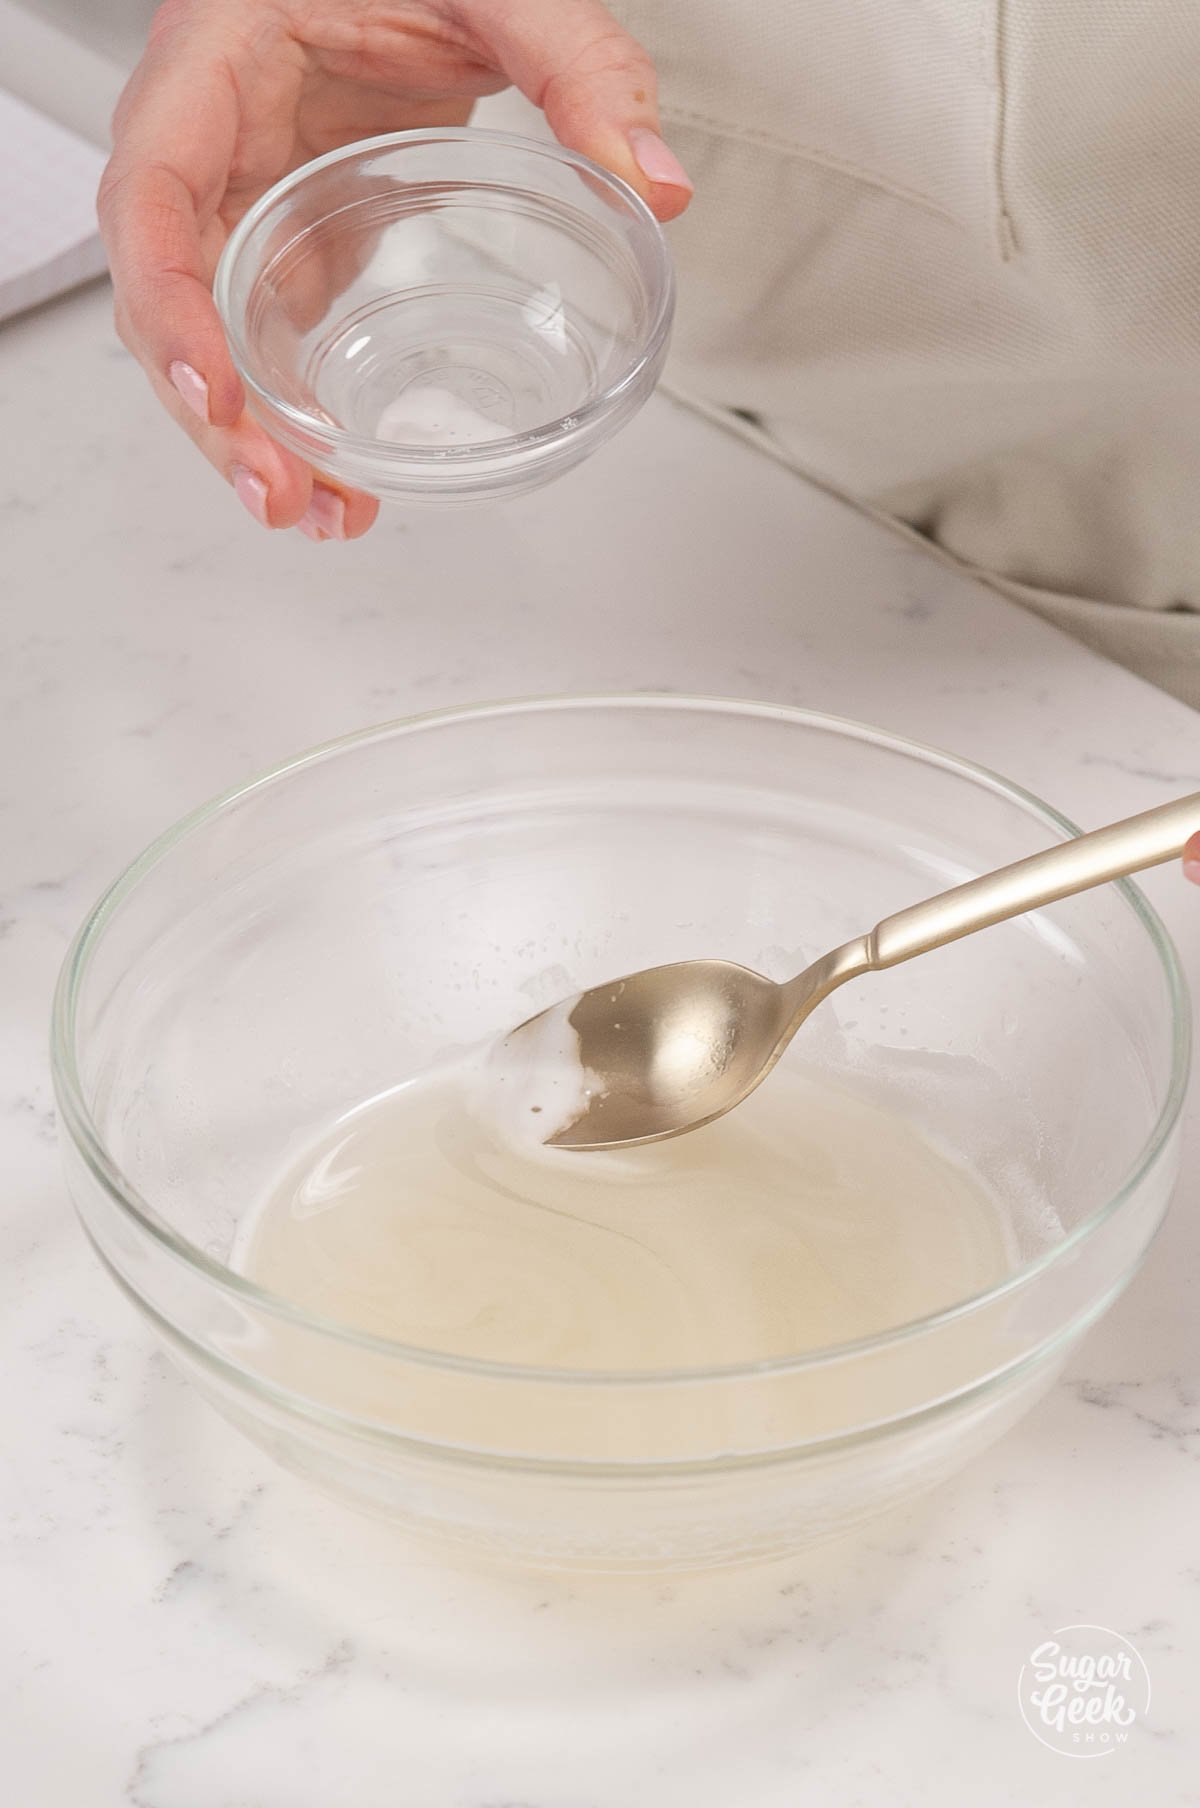
- Microwave (or heat on a stovetop over low heat) until dissolved. About 15-30 seconds. The granules of gelatin will look clear when it's melted. Scoop any white foam off the surface with a spoon to keep your gelatin clear.

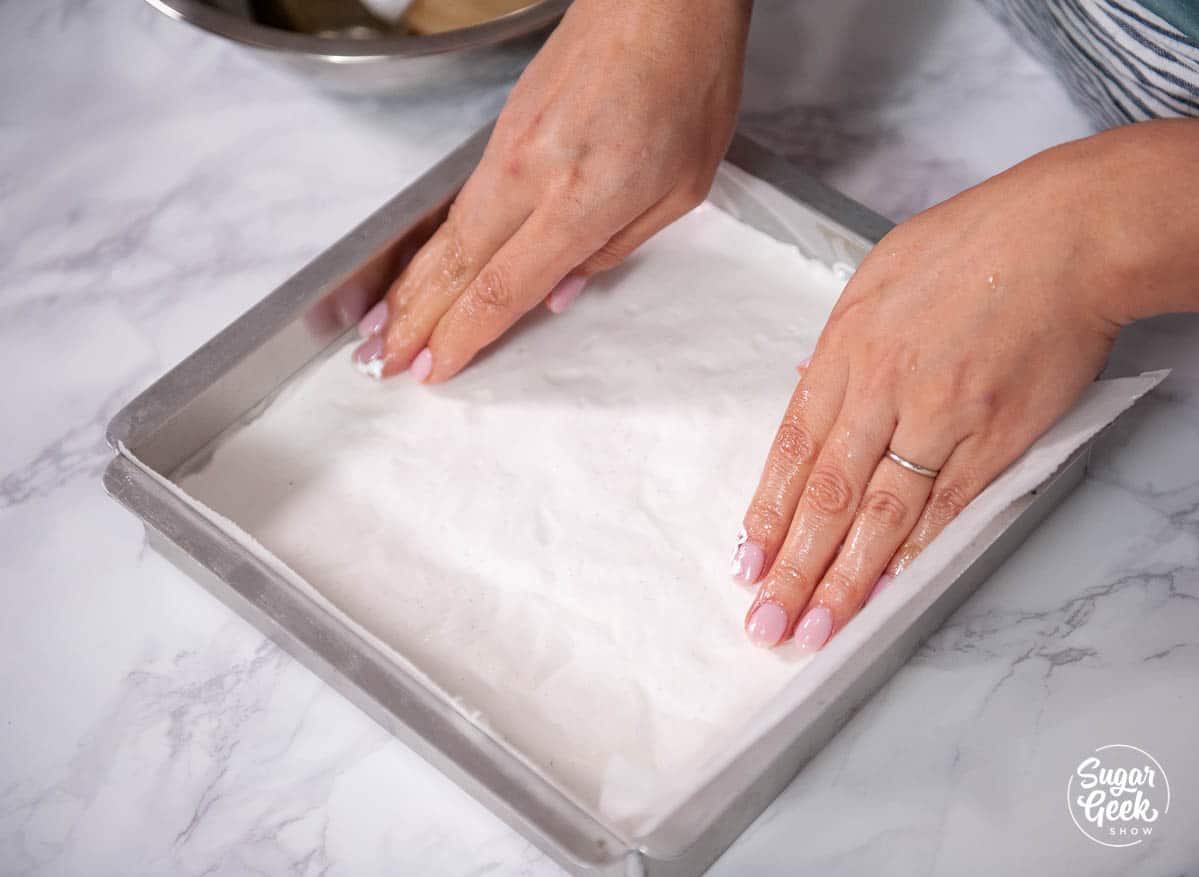
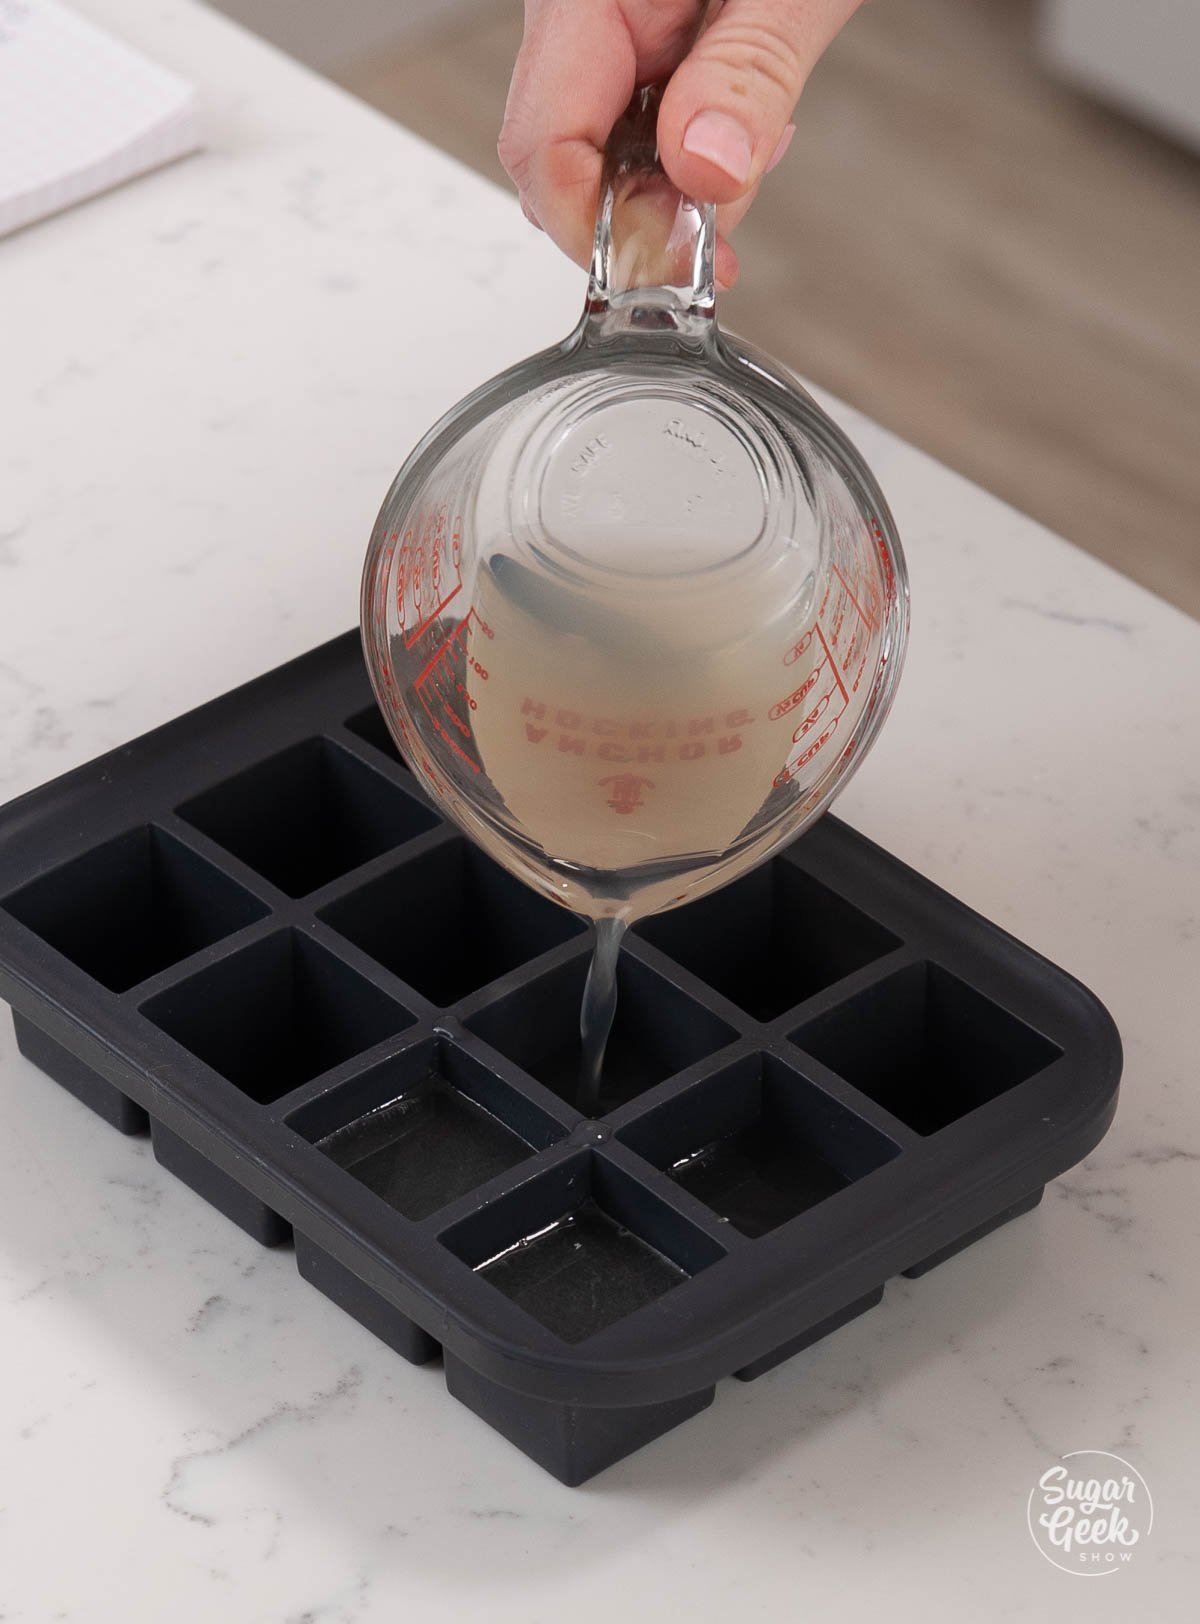
- Stir in the tequila and Grand Marnier. Pour half the mixture into a lightly greased ice cube tray and refrigerate for a few hours or overnight. Save the leftover in a measuring cup and refrigerate for later. You will be re-melting this portion.

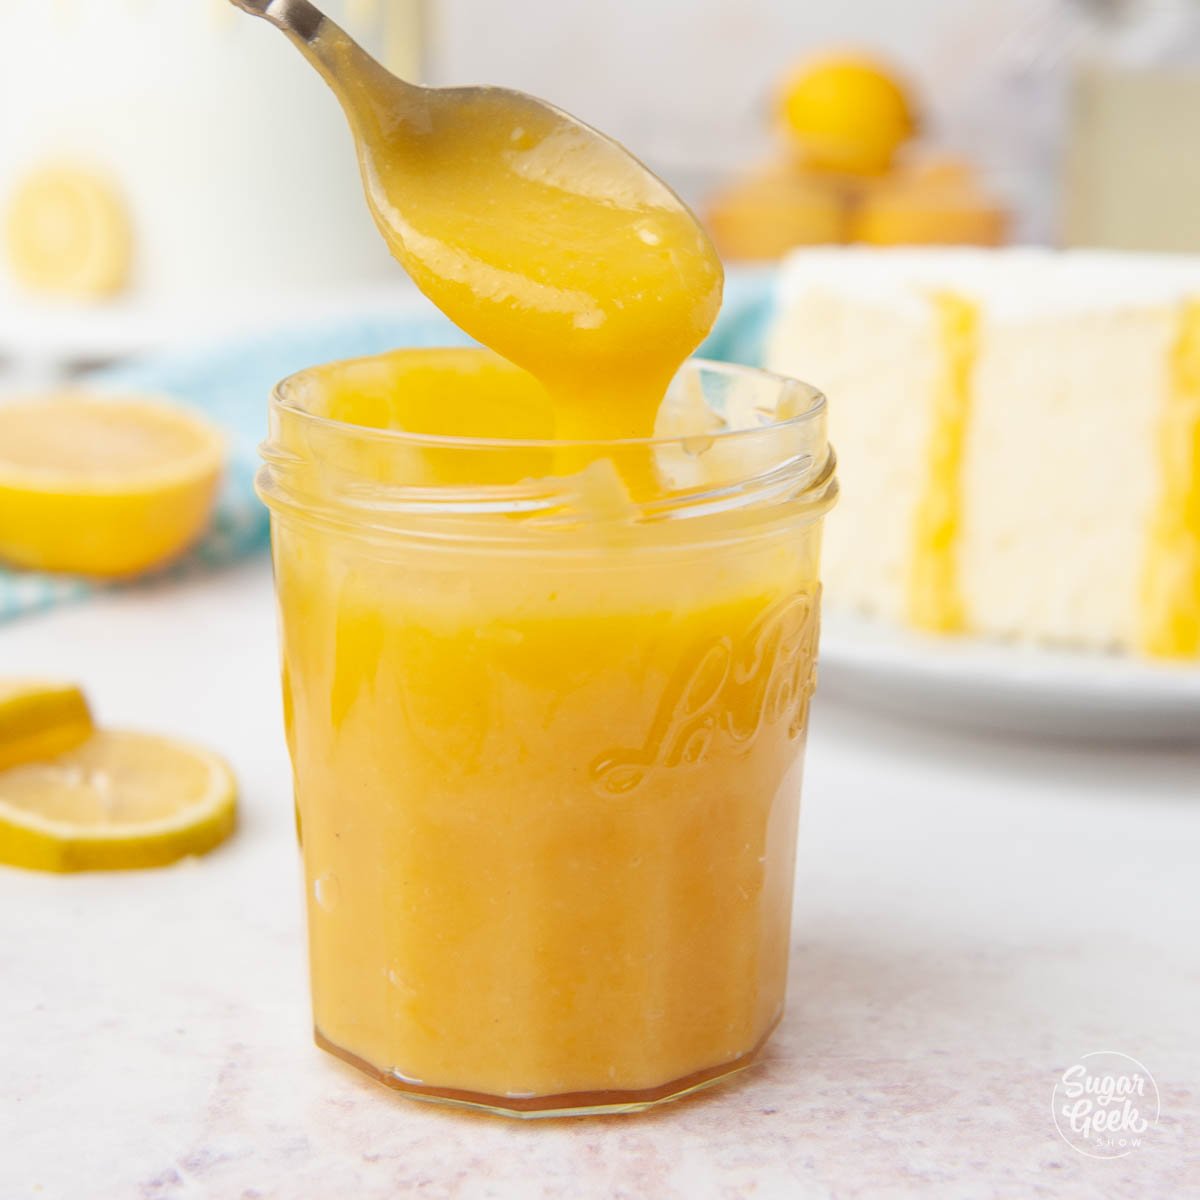
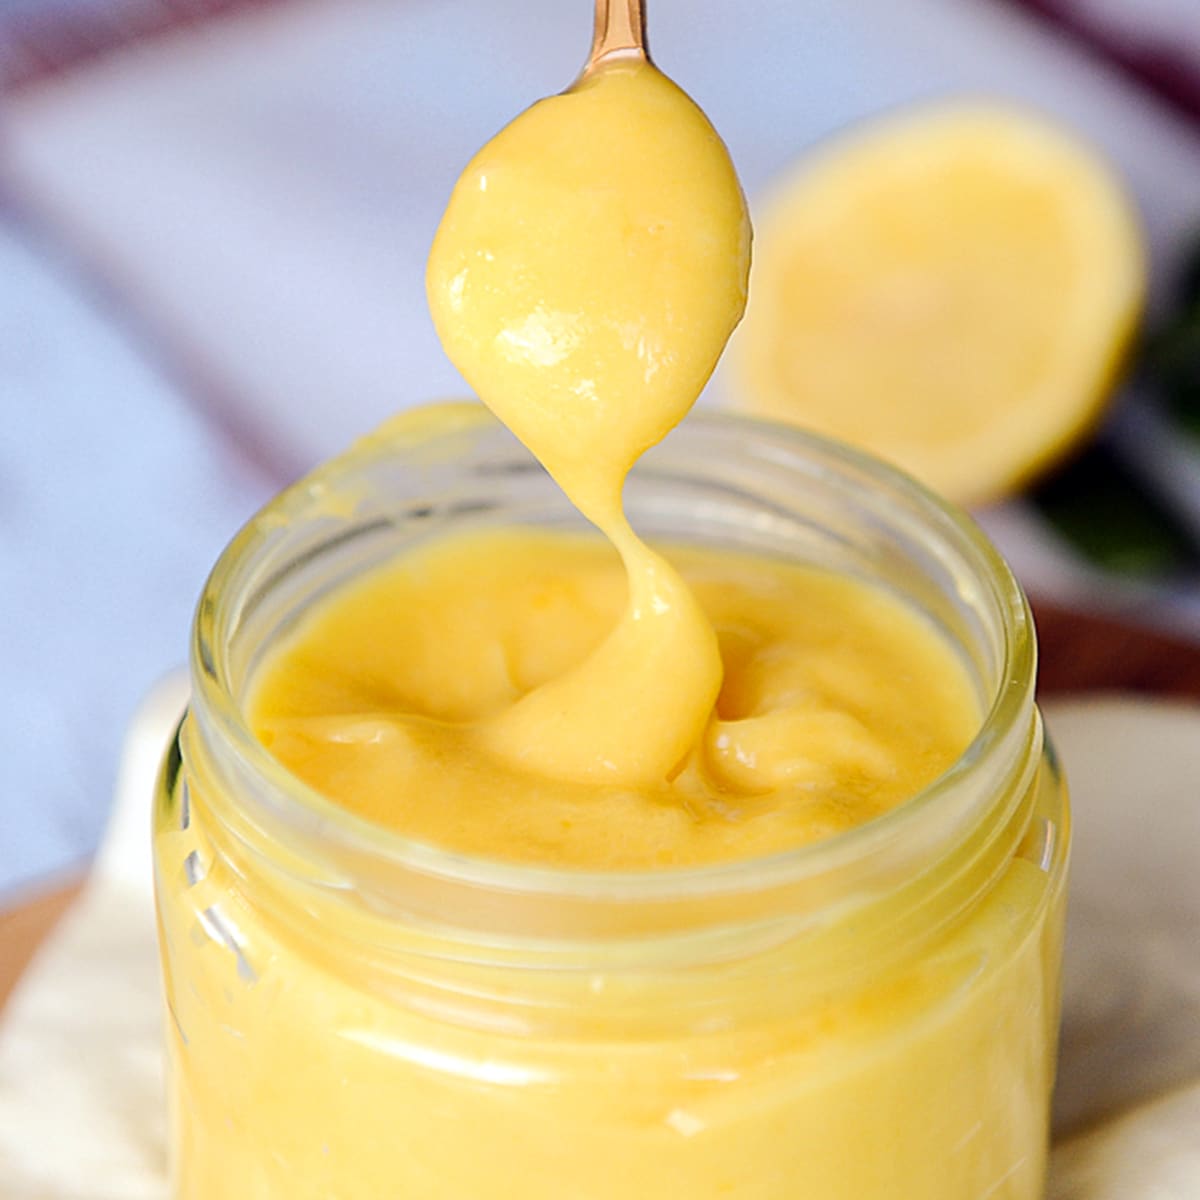
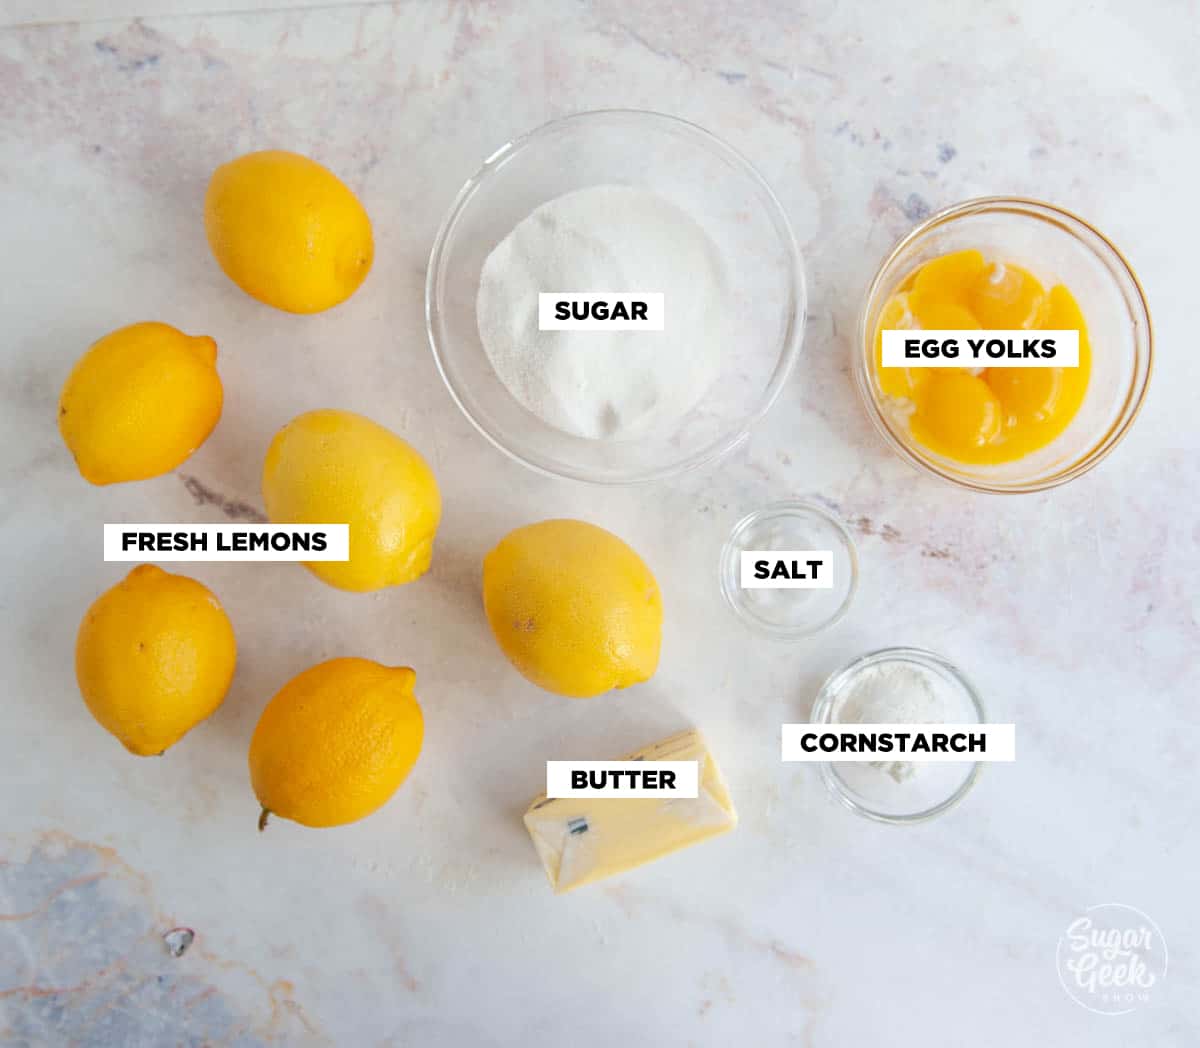
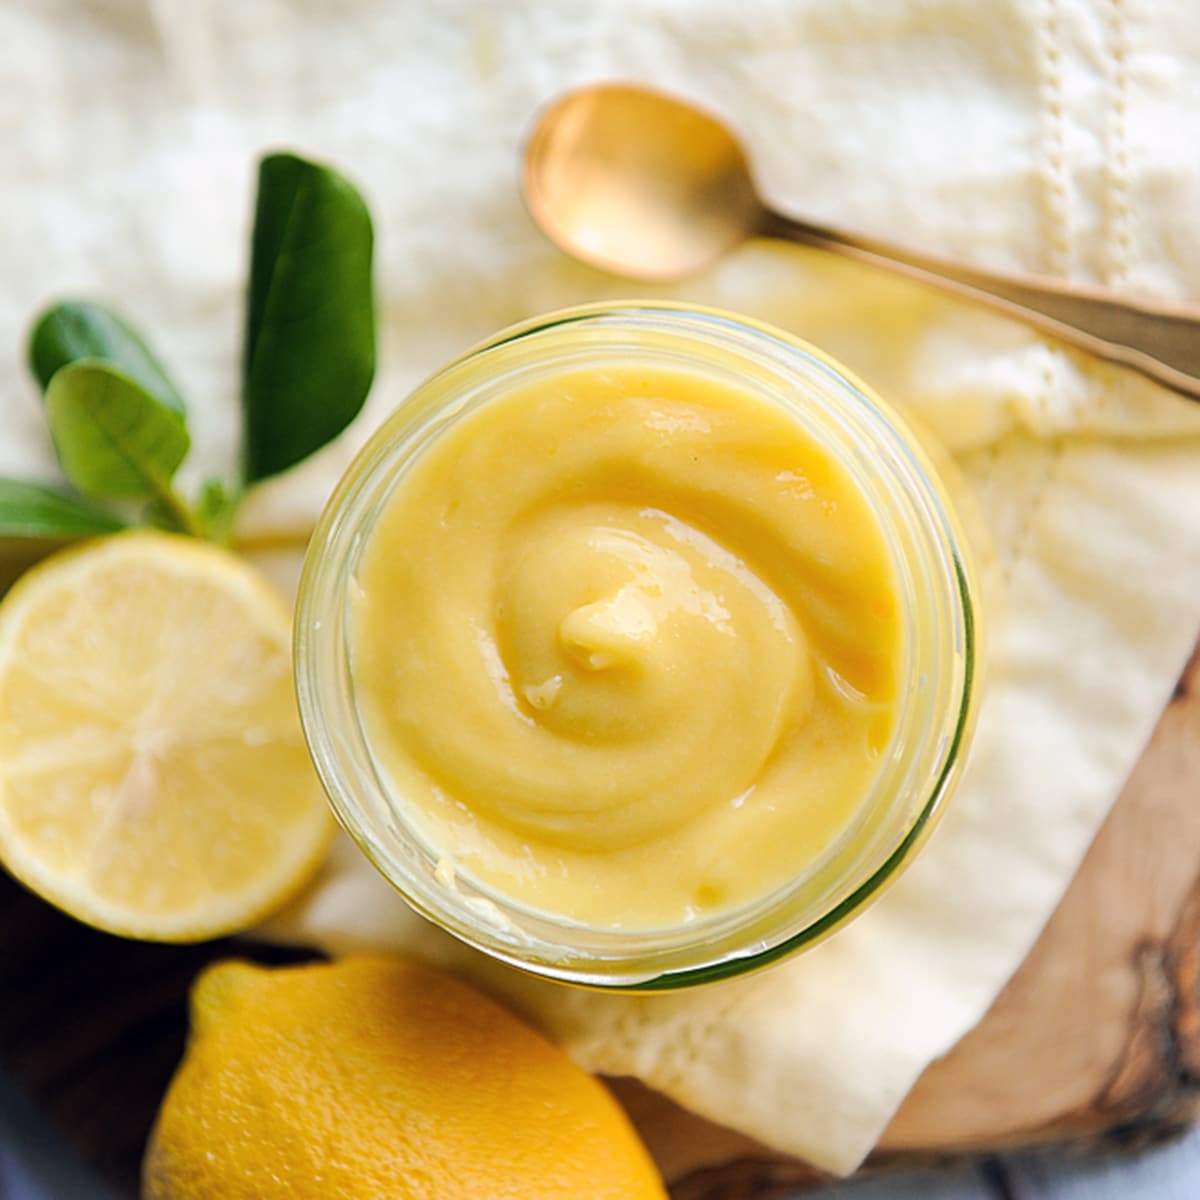
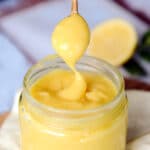
How to make lime curd
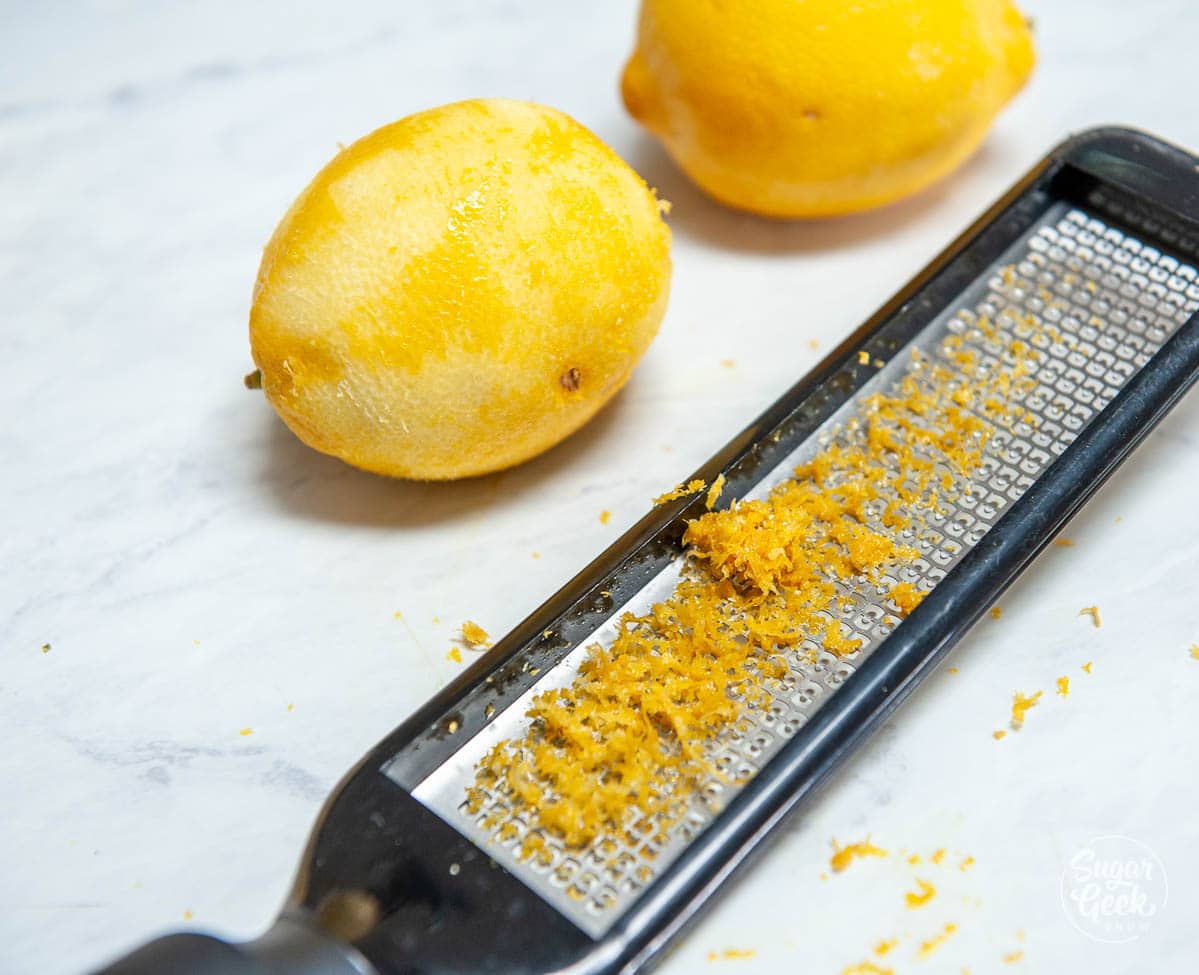
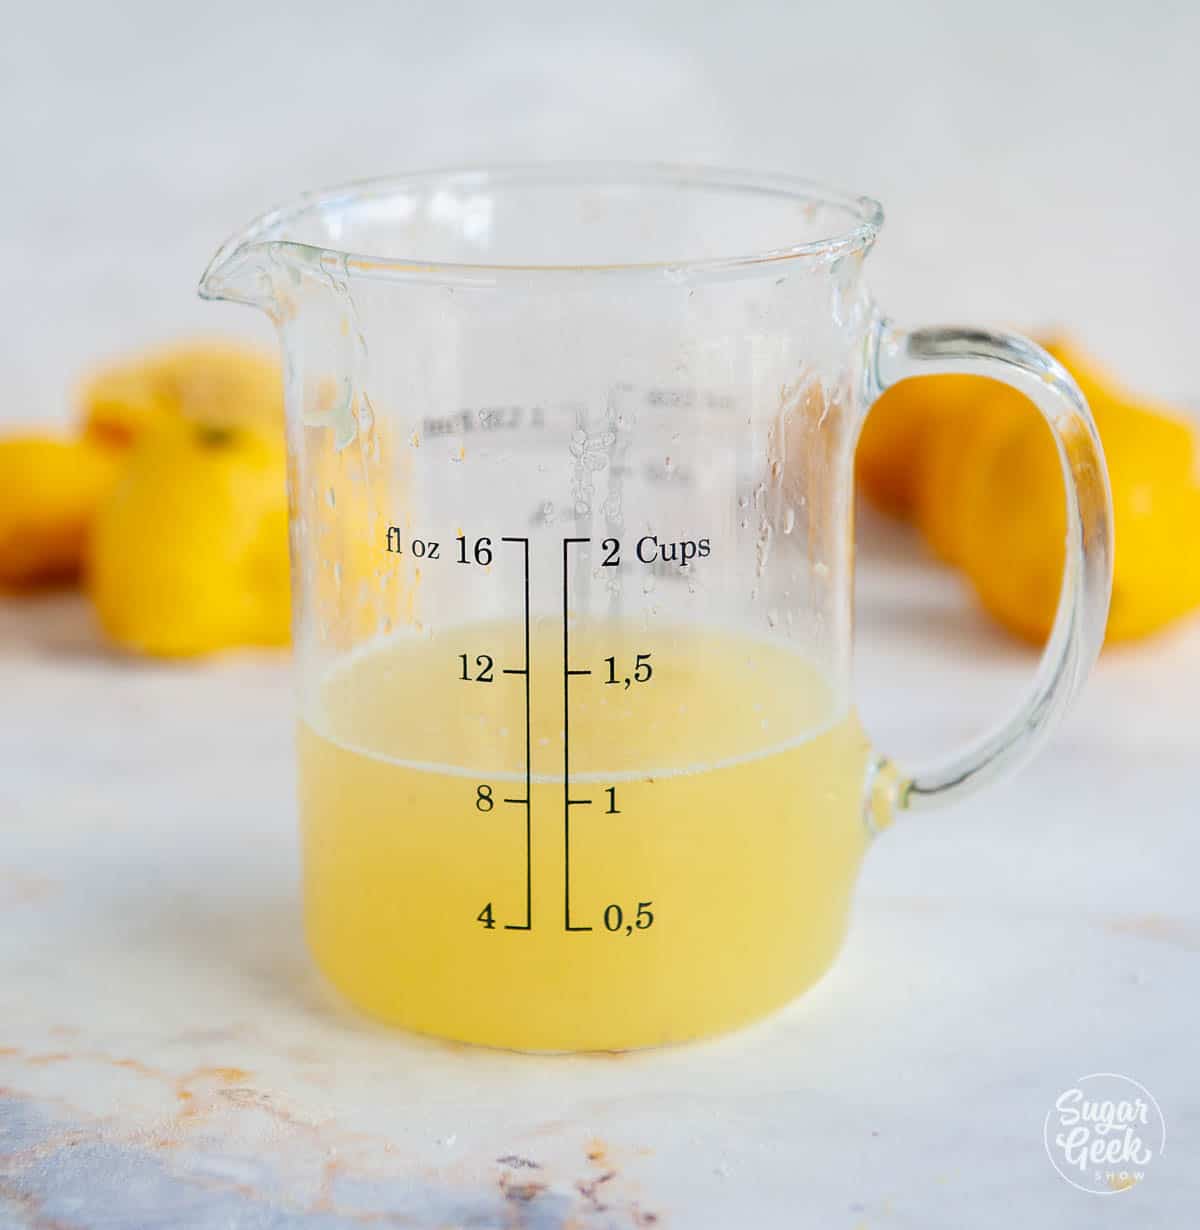
- Zest the limes, then slice them in half and juice them into a measuring cup. Use a small colander or a lemon juicer to keep out any seeds.
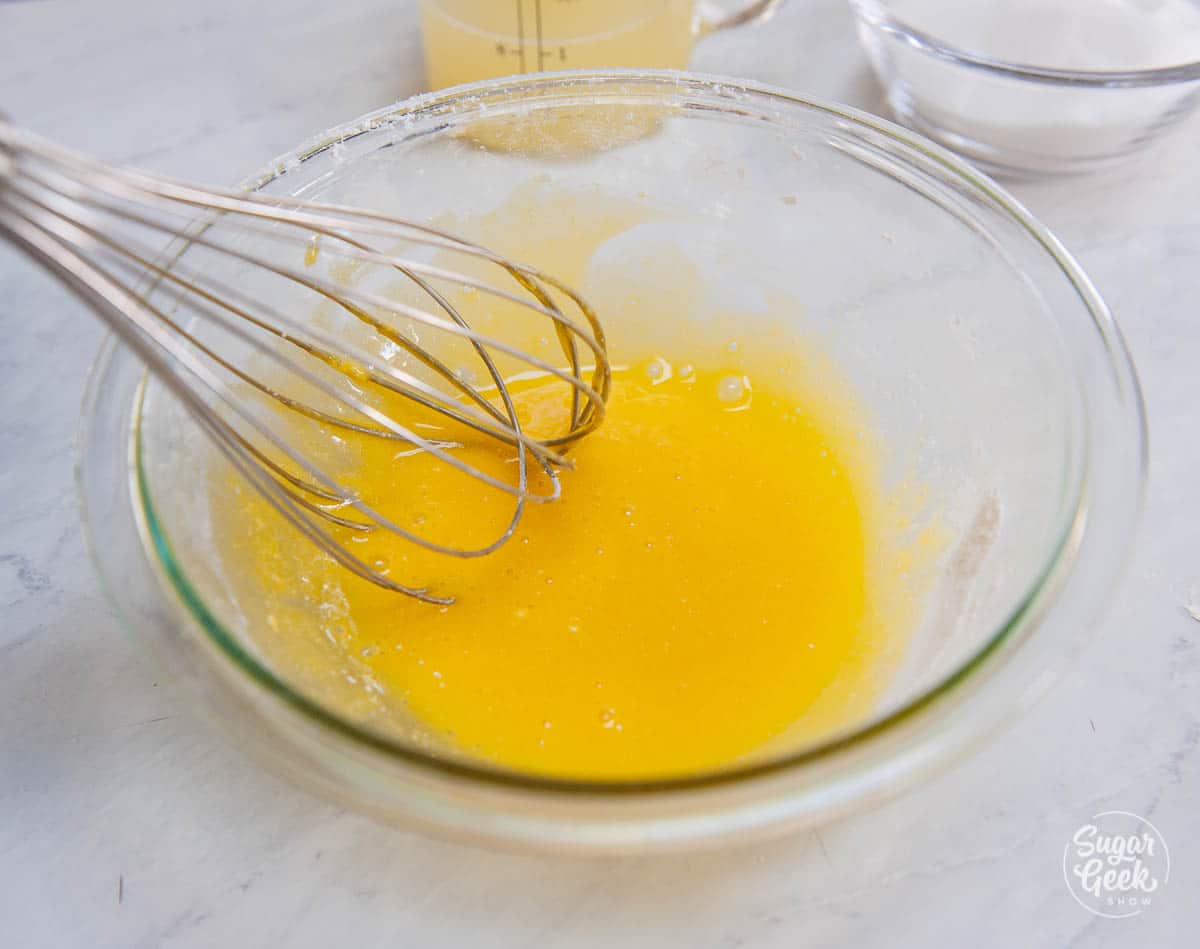
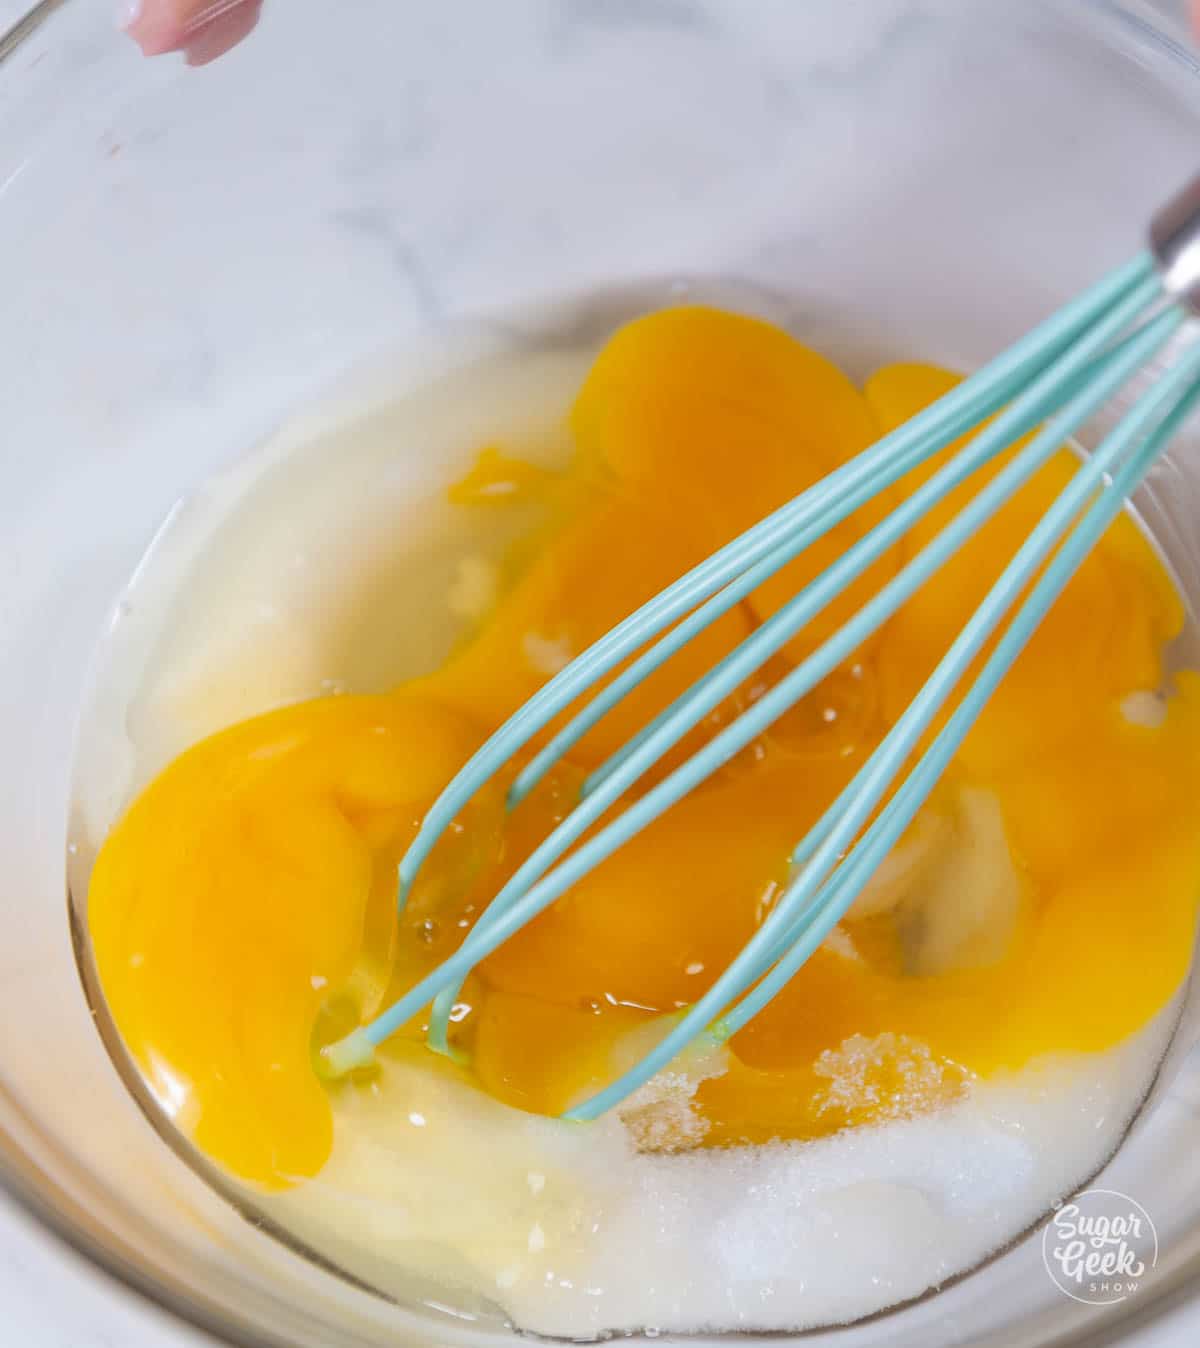
- Place the egg yolks, cornstarch, and salt in a large bowl. Whisk well to combine and set aside. (You will be adding more to this later, so make sure it's a large enough bowl.)
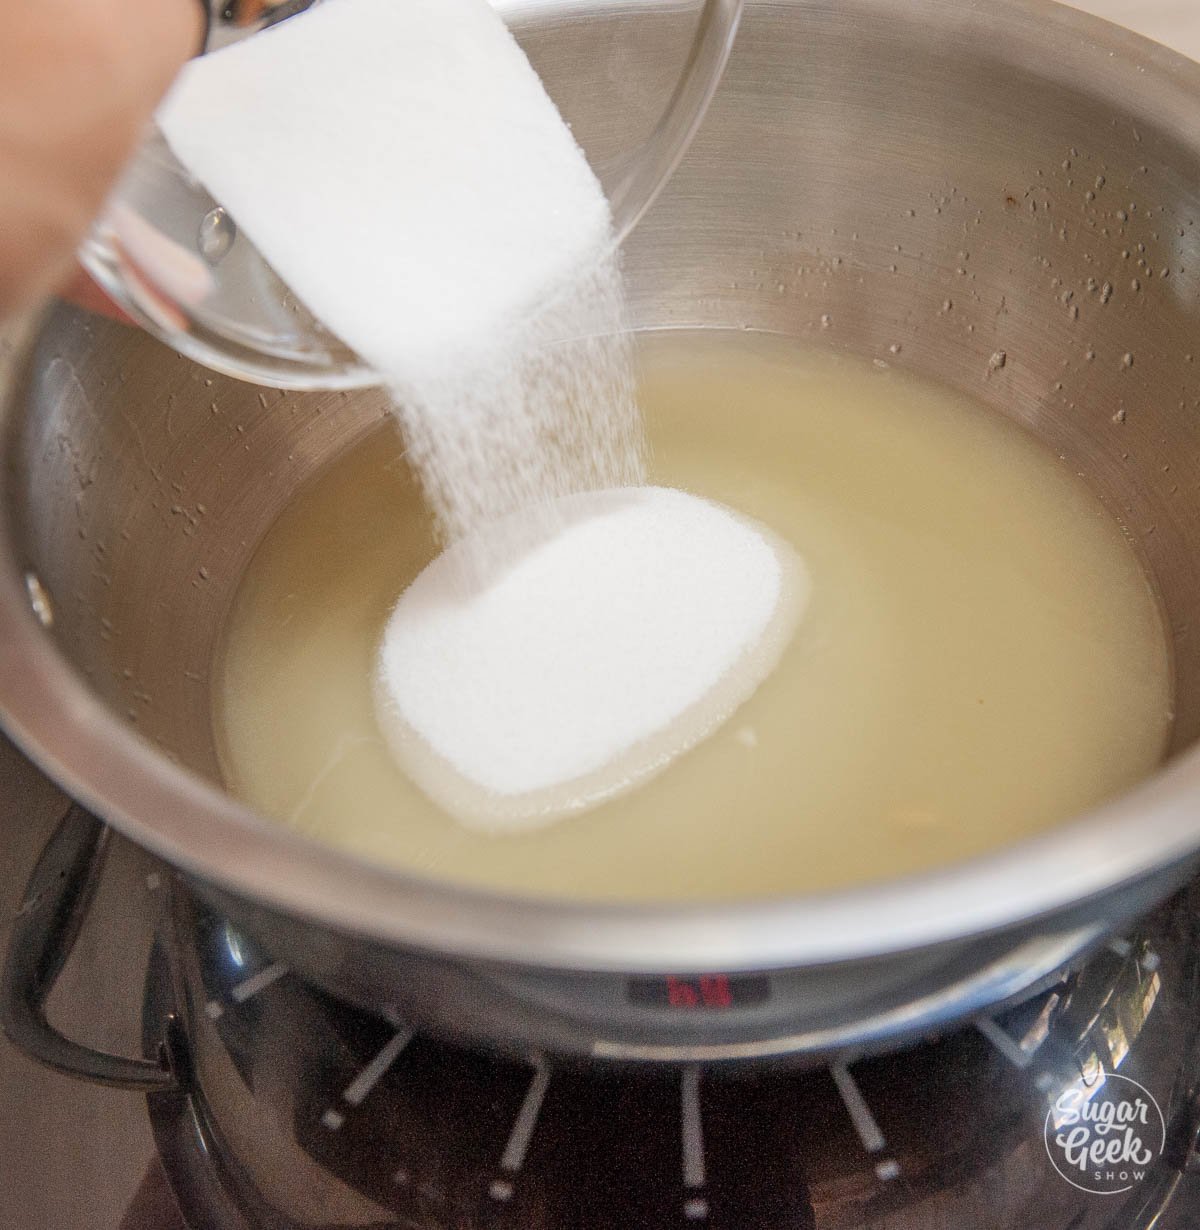
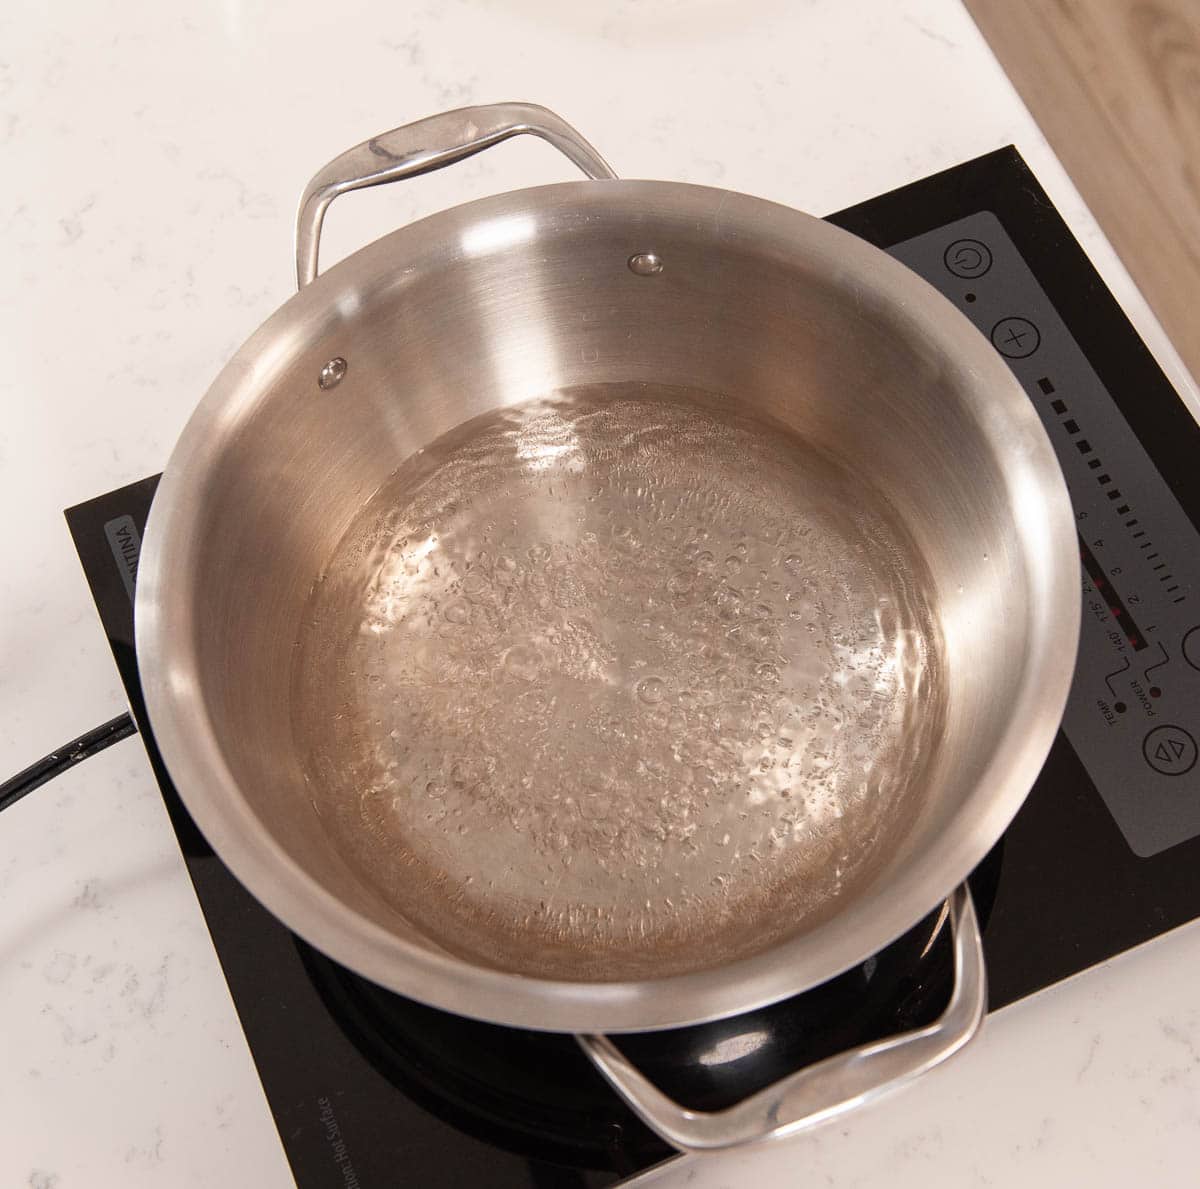
- Add your lime juice, granulated sugar, and lime zest to a saucepan and bring it to a simmer over medium heat, whisking to prevent burning.
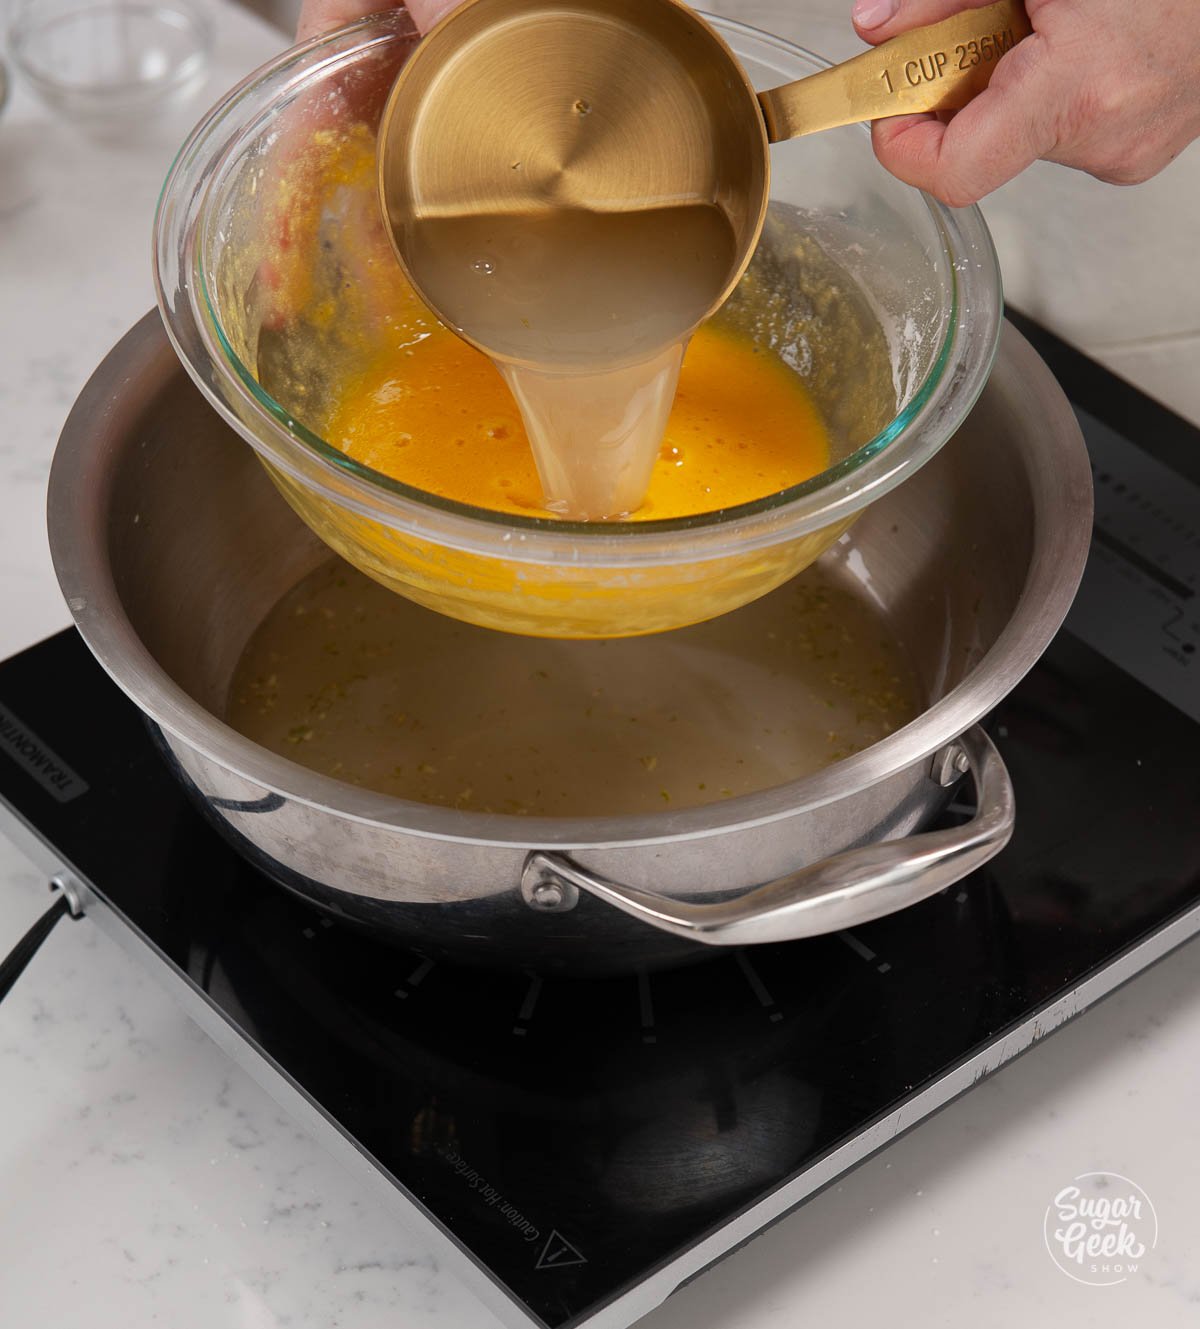
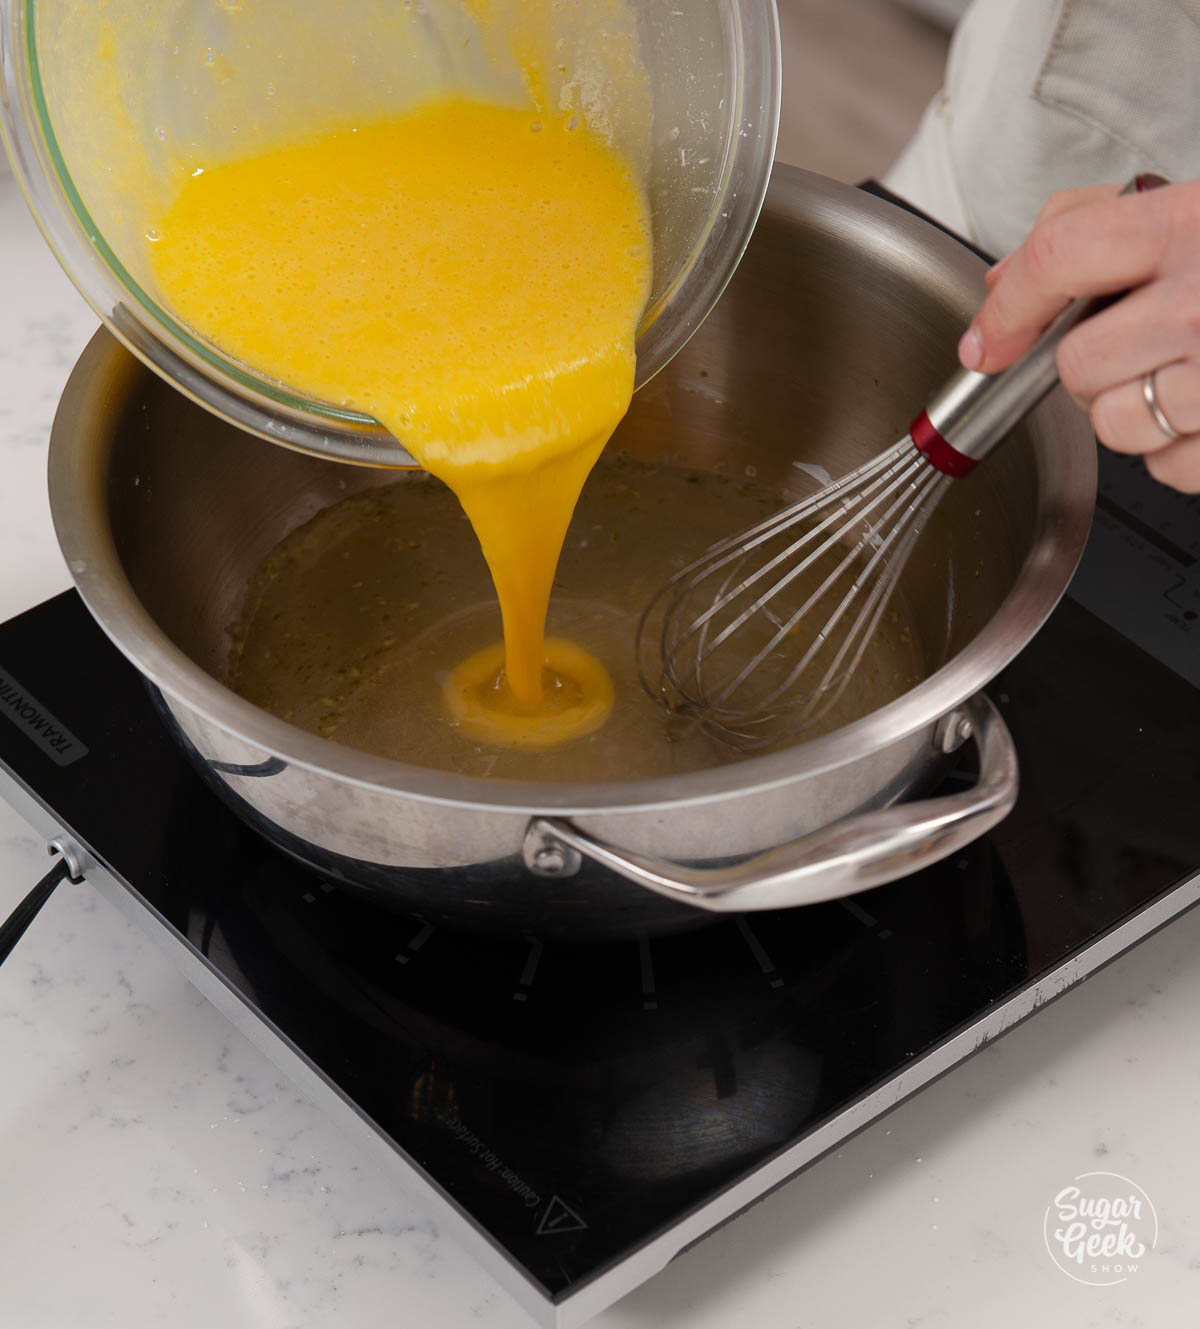
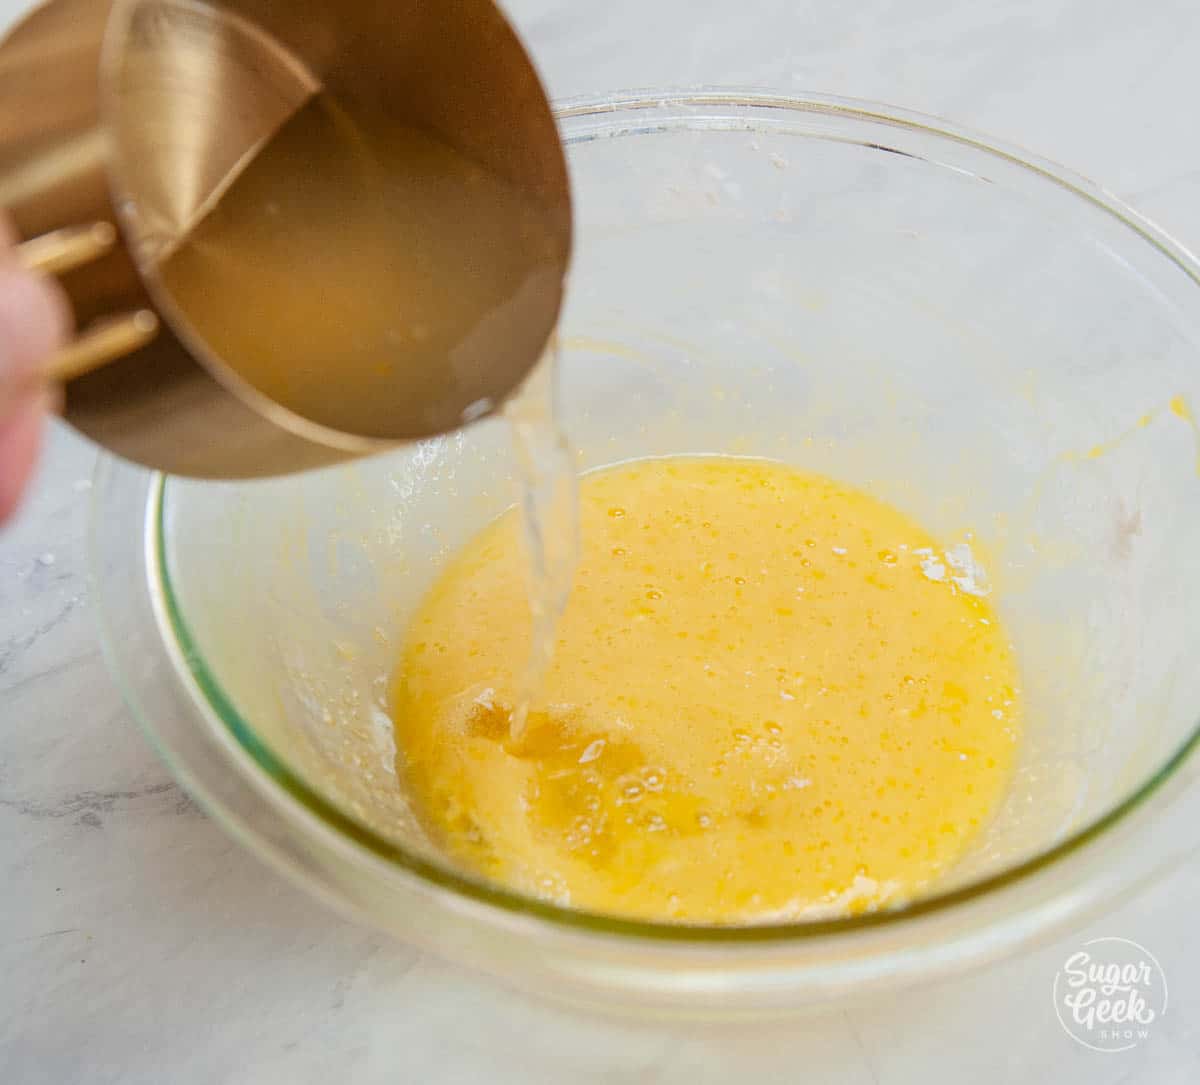
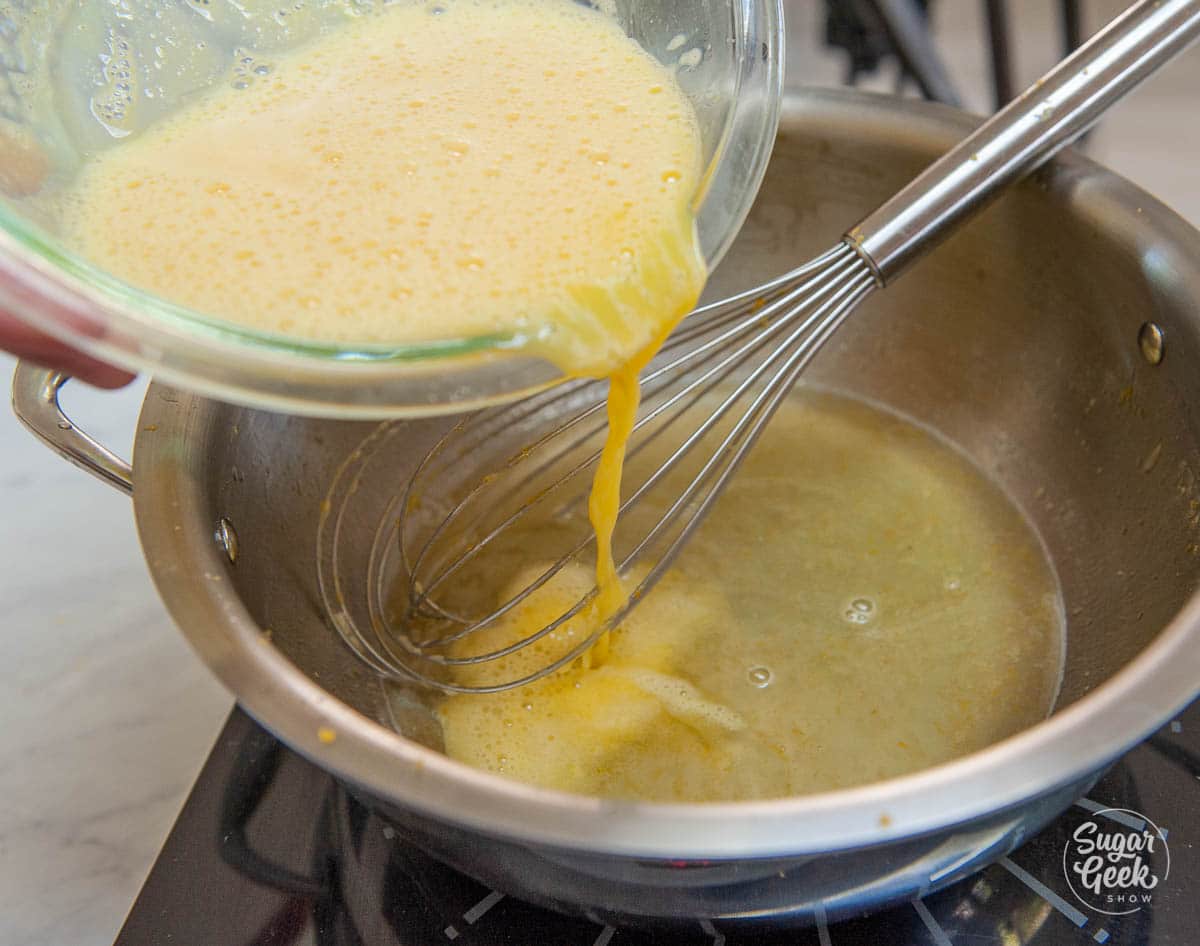
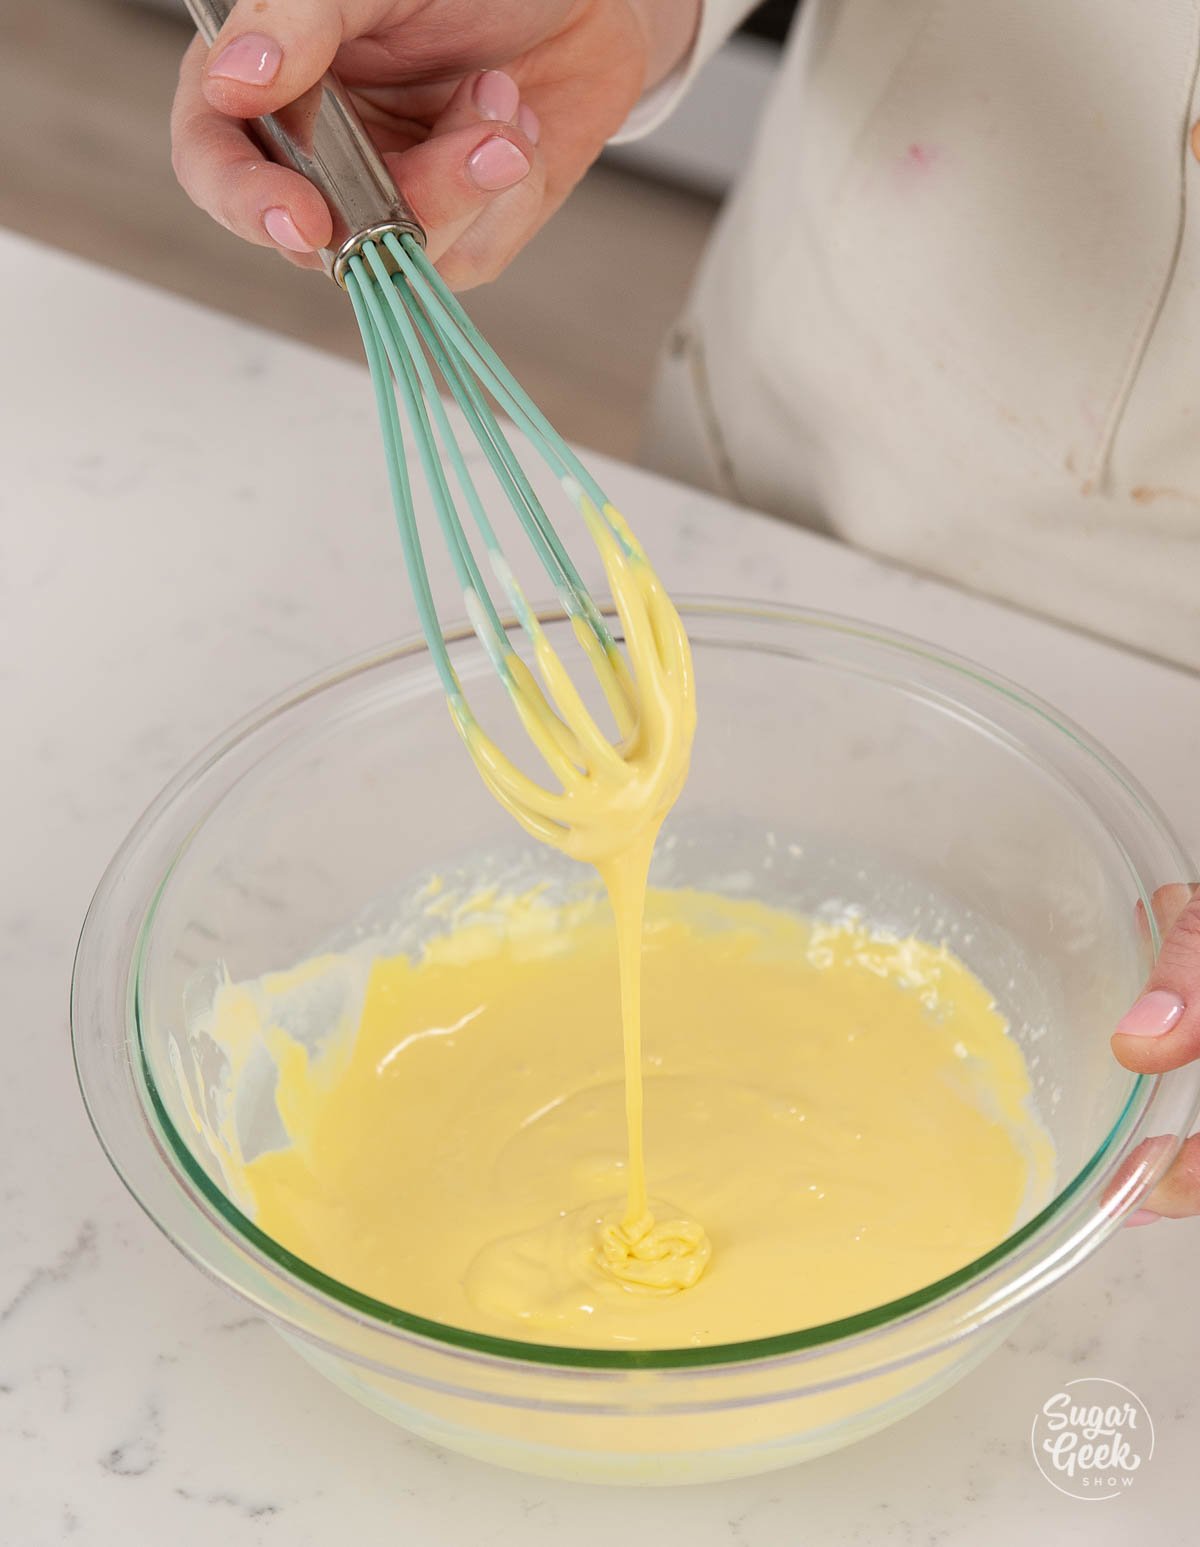
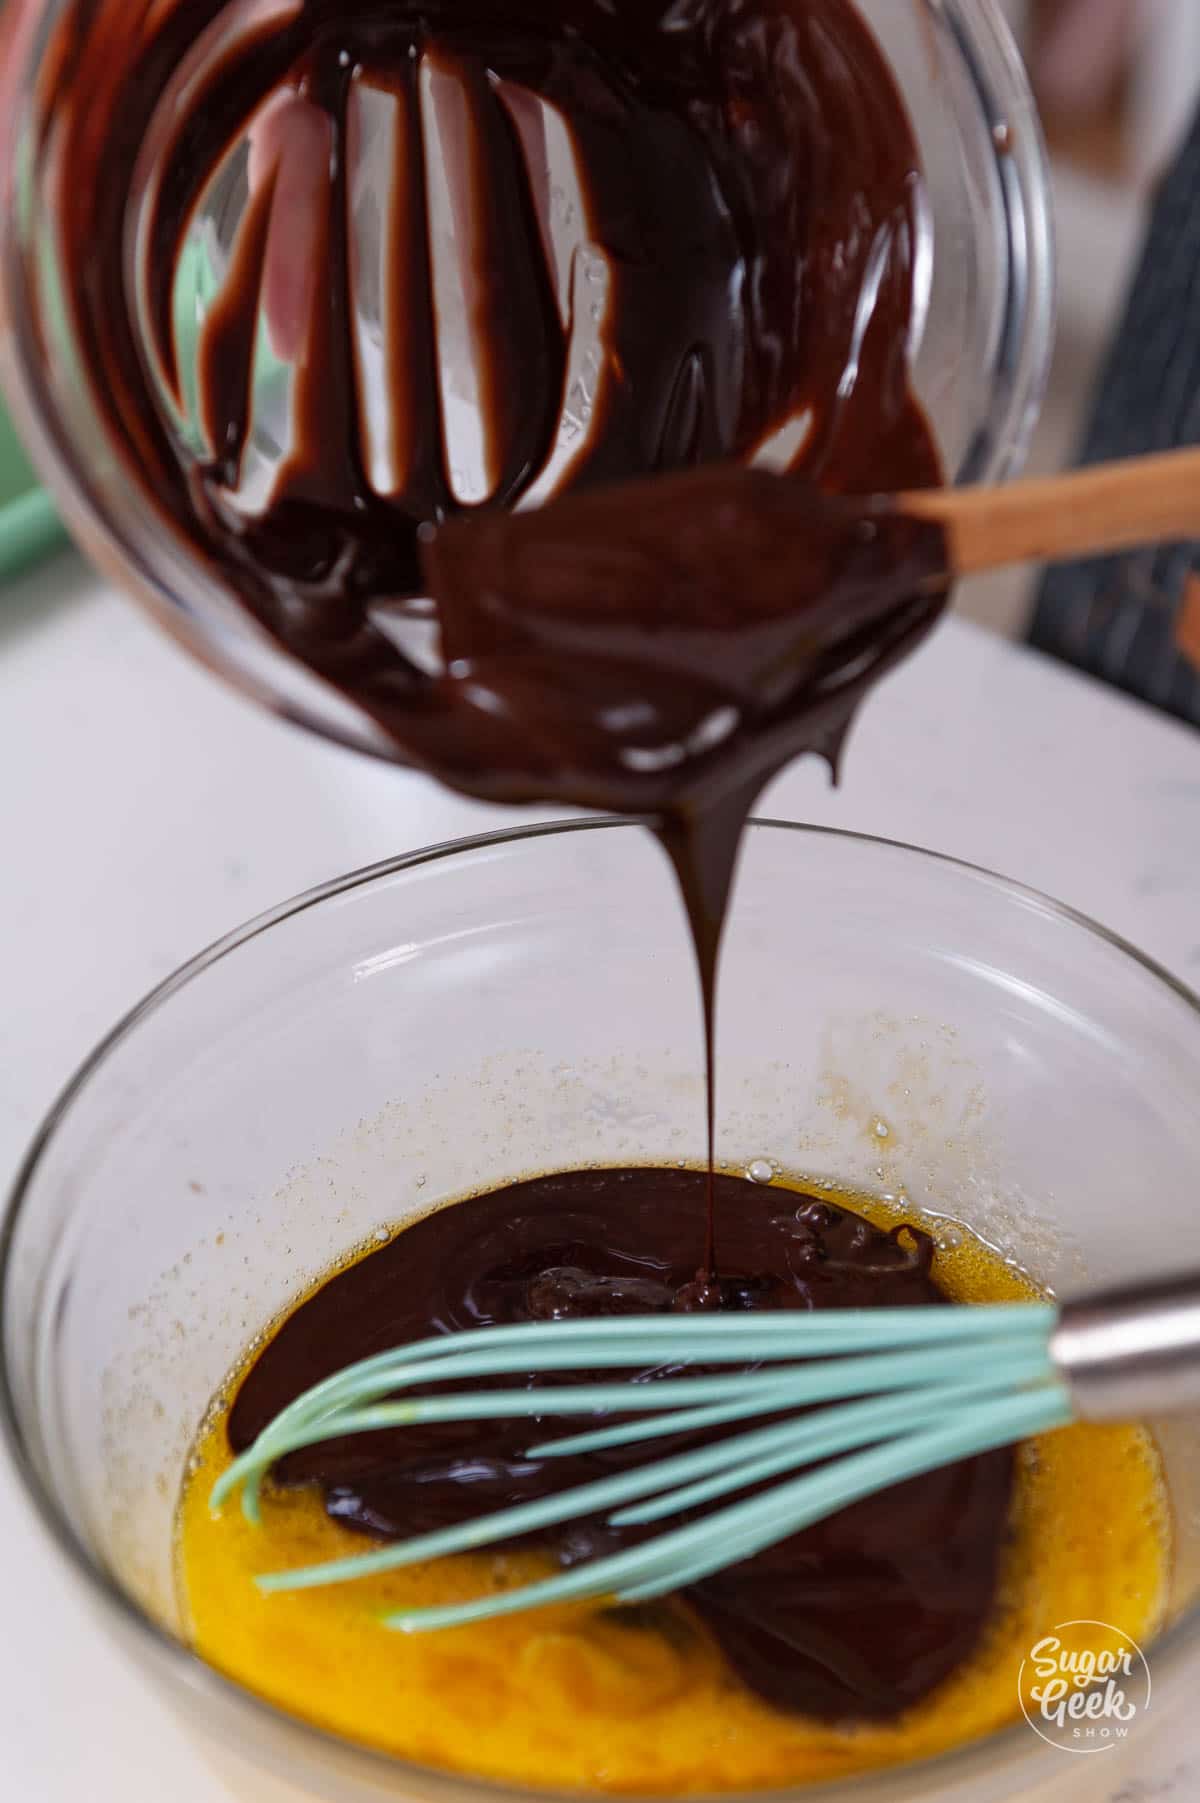
- When it has reached a simmer, scoop about 1 cup of the lime juice mixture and slowly add it into the egg yolk mixture while whisking continuously.
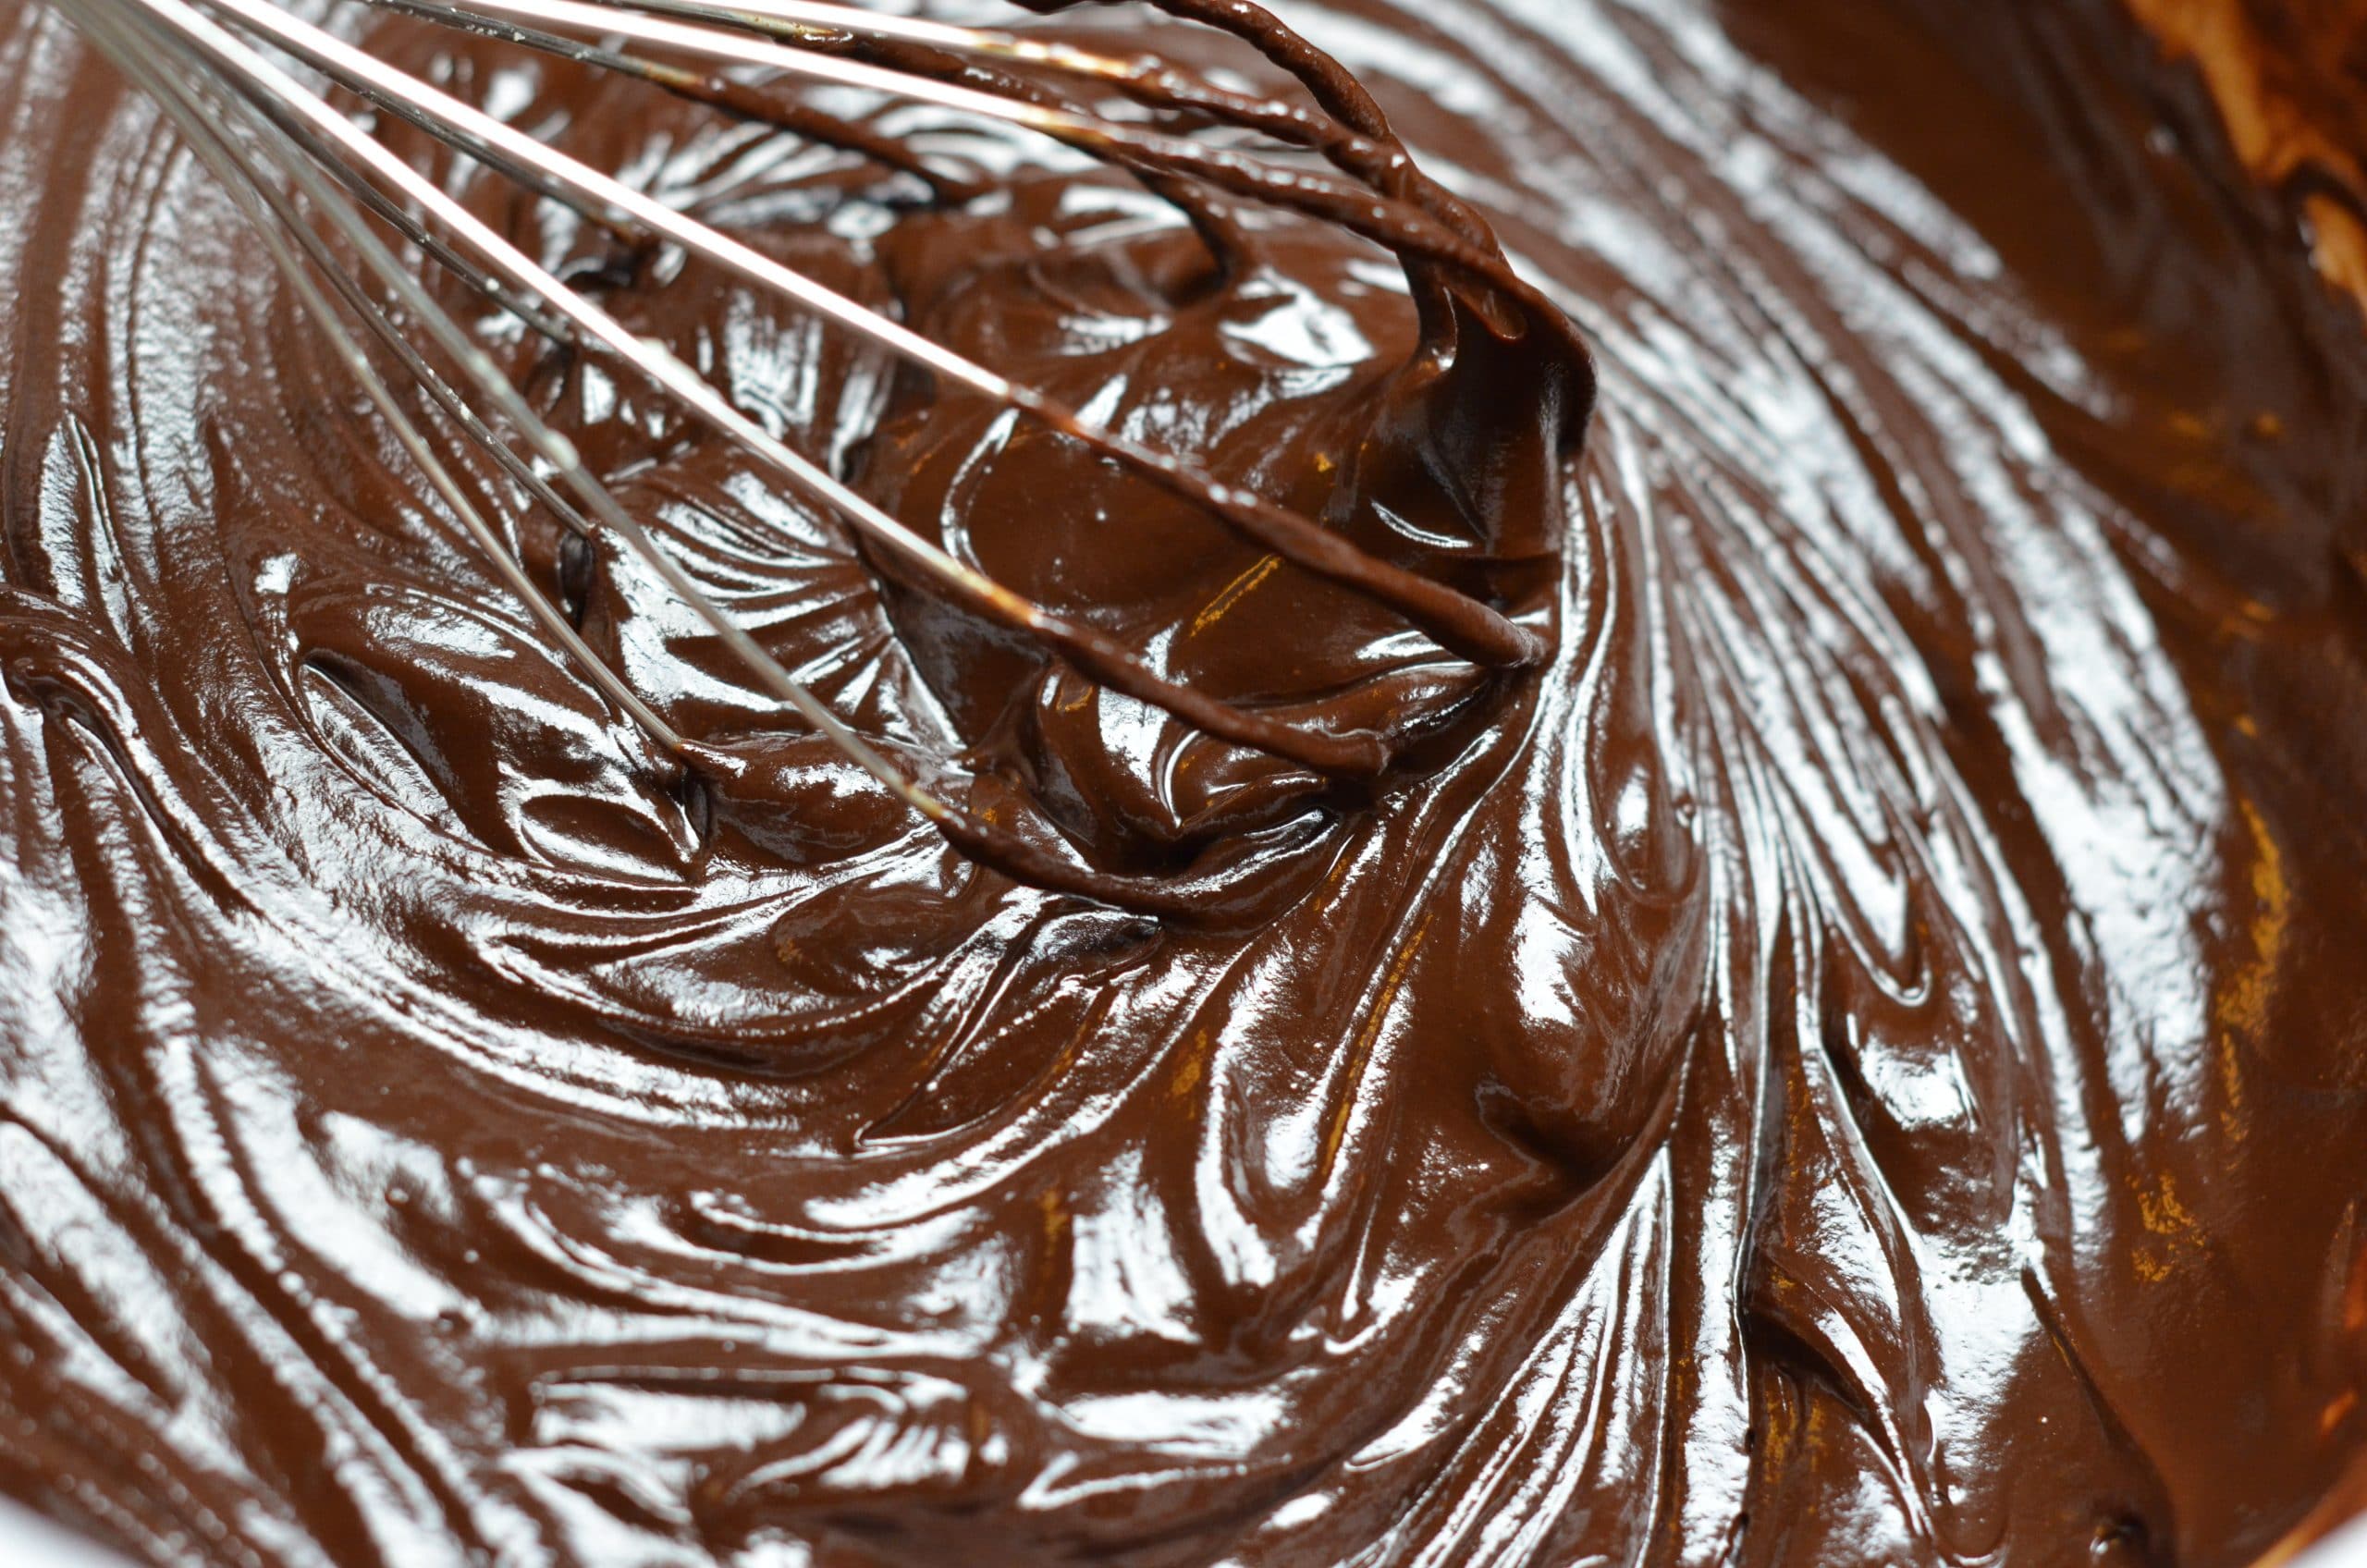
- Add the tempered egg mixture back into the lime mixture while whisking constantly. Keep an eye on it and keep whisking until it thickens, if you walk away for even a minute, the eggs can curdle.
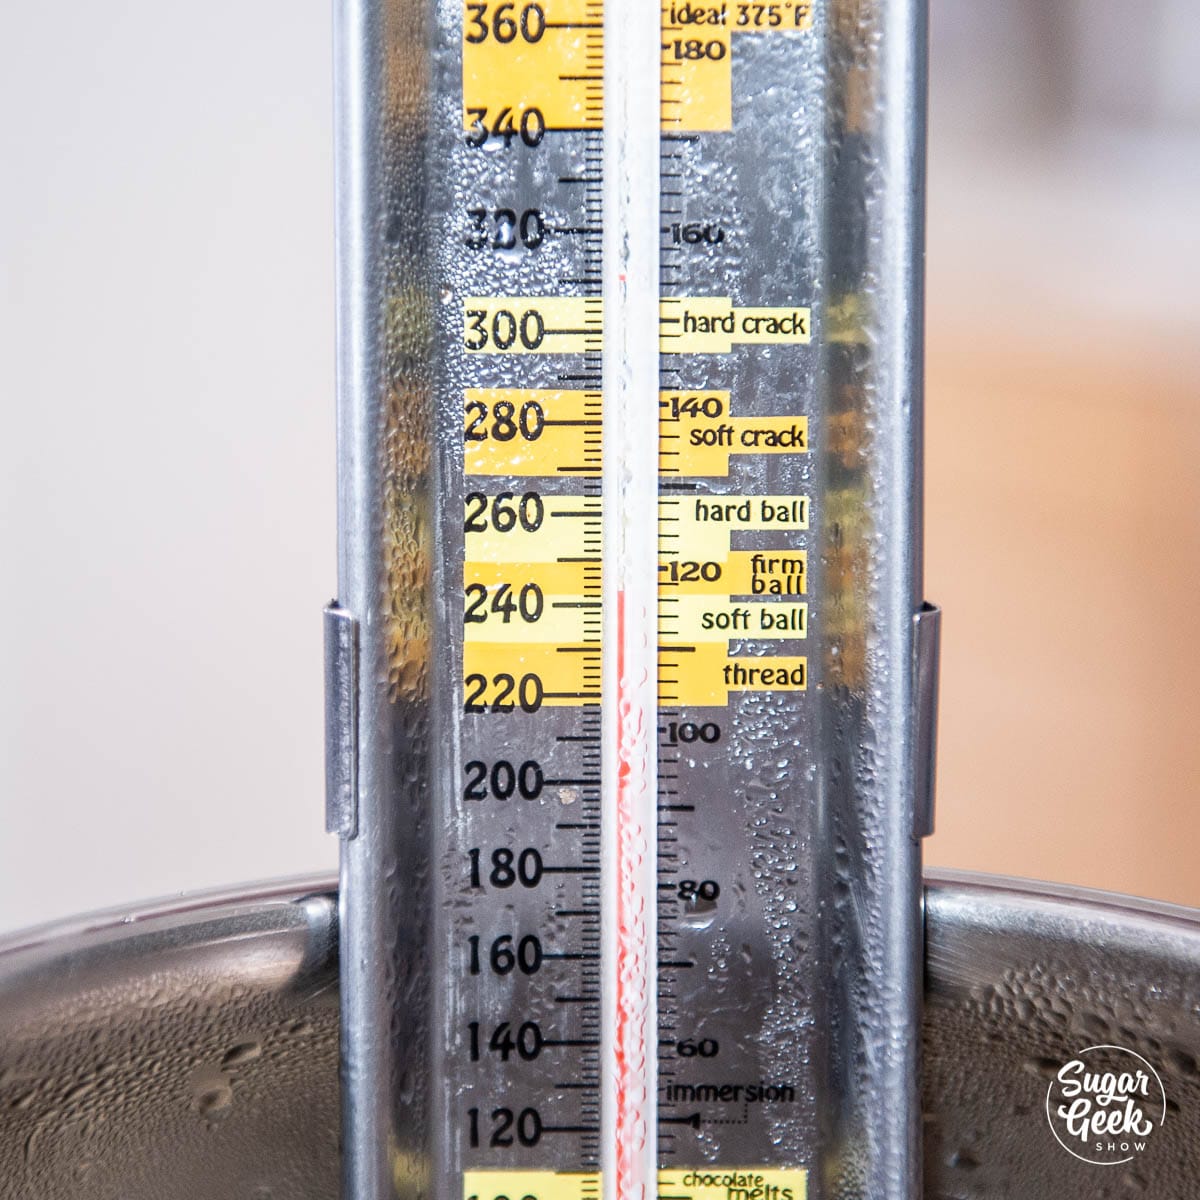
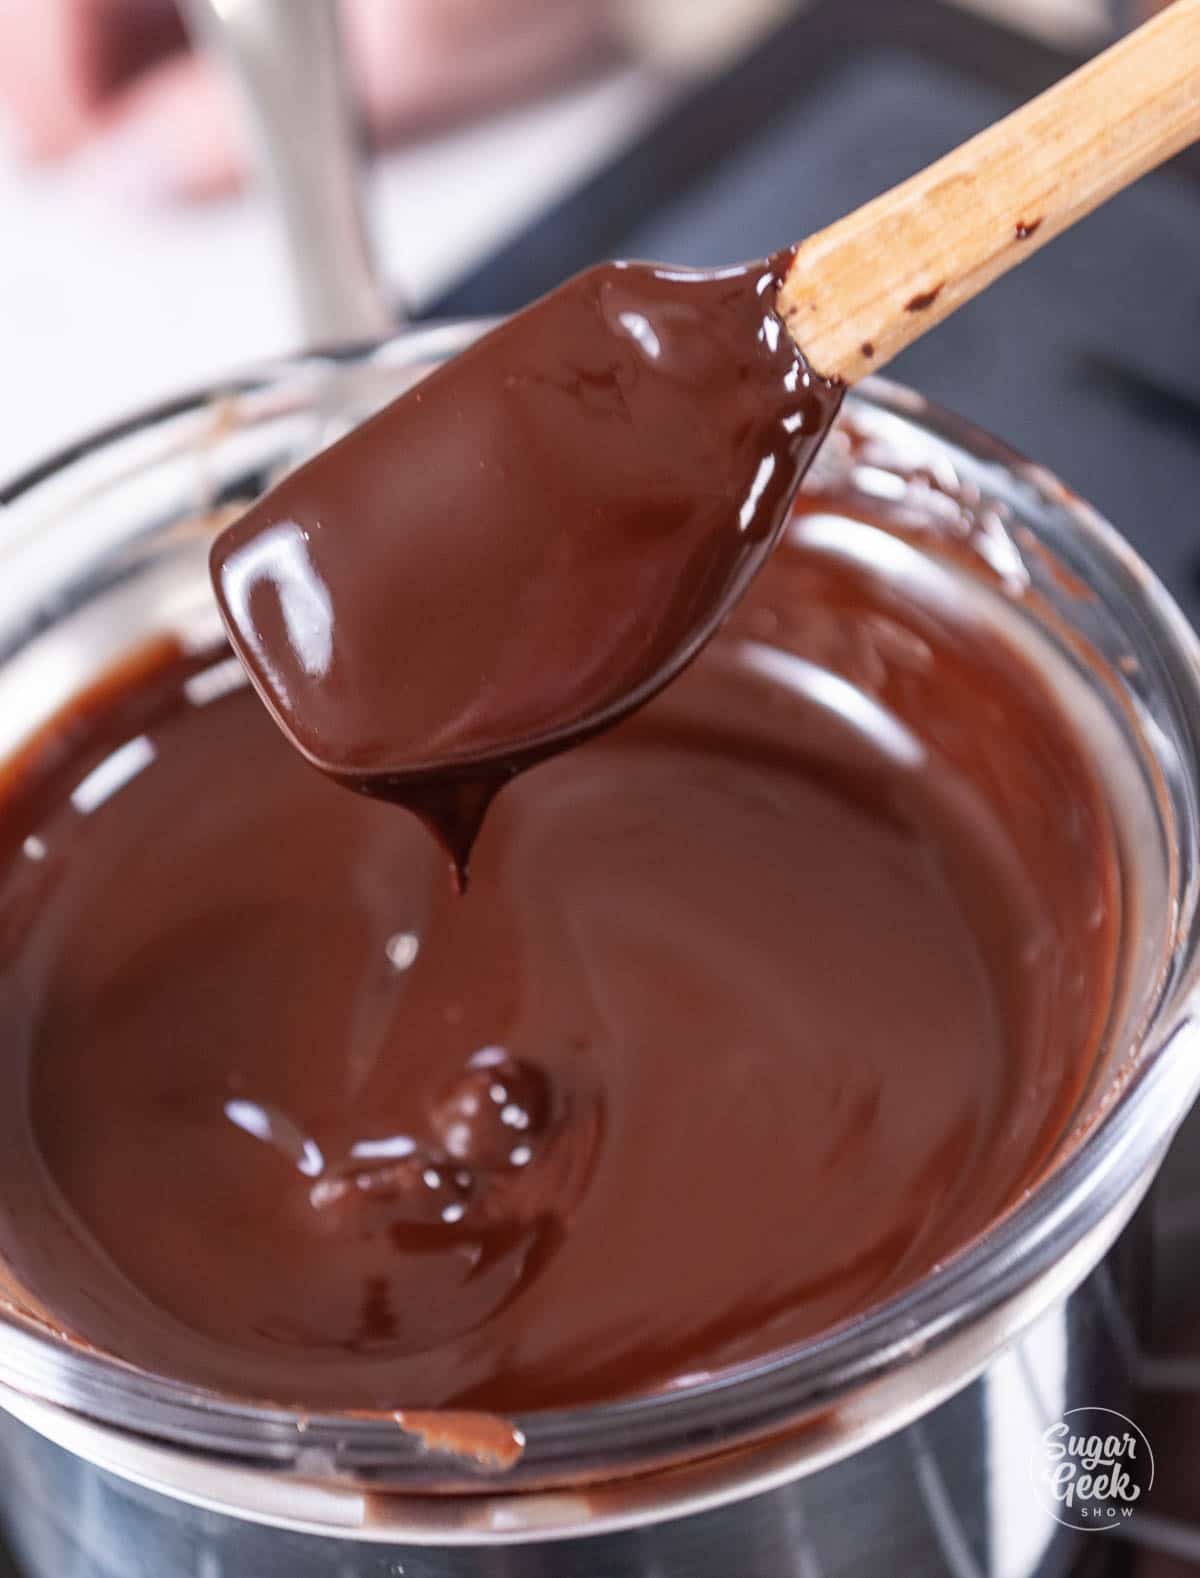
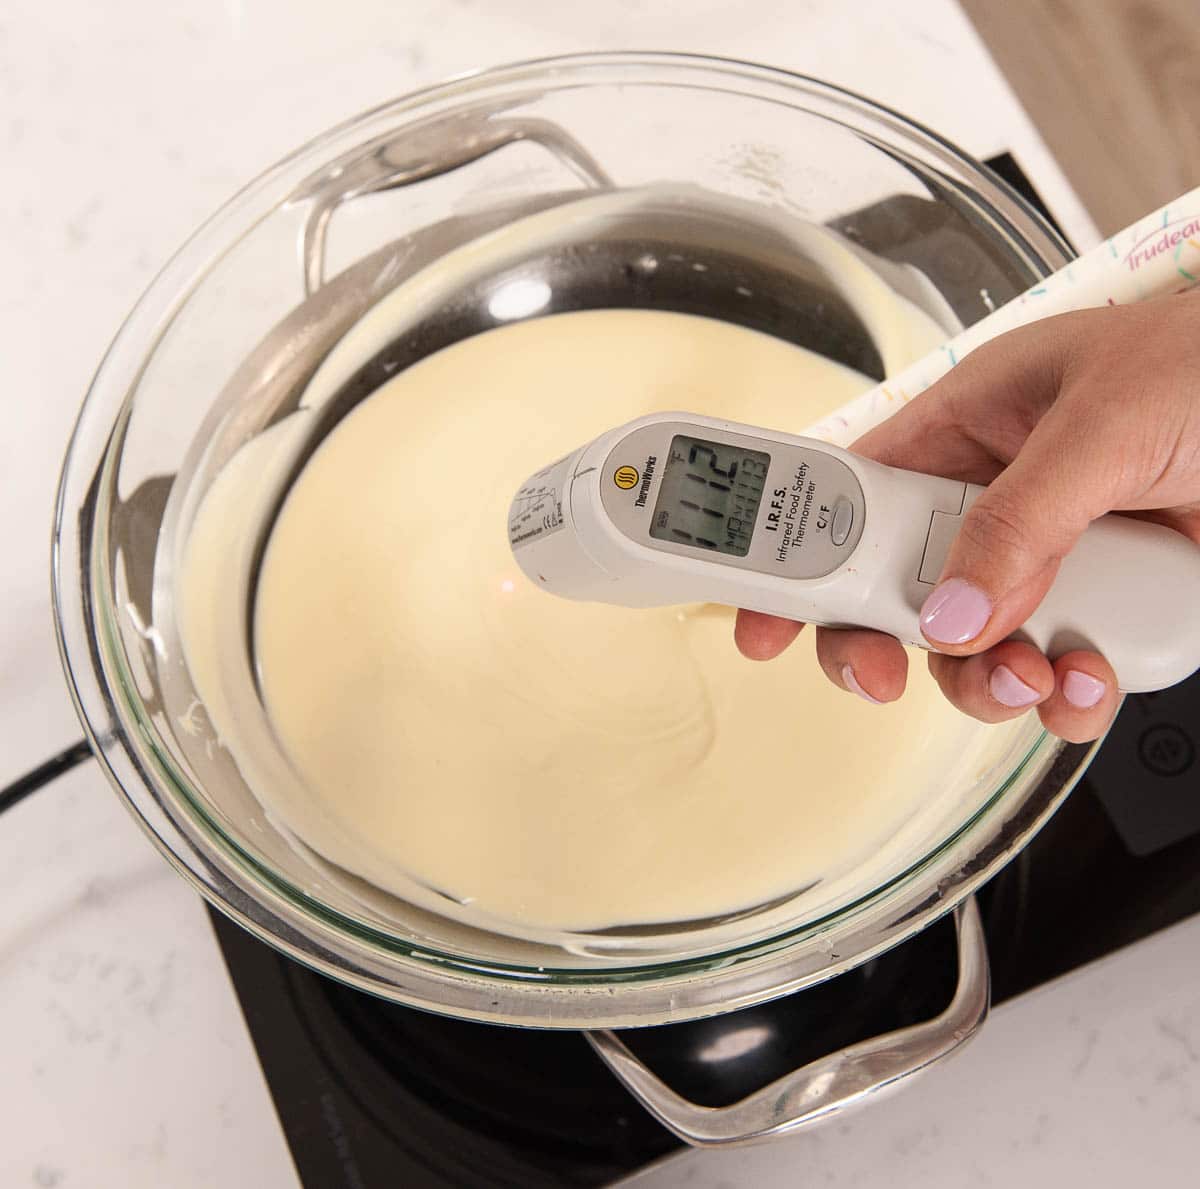
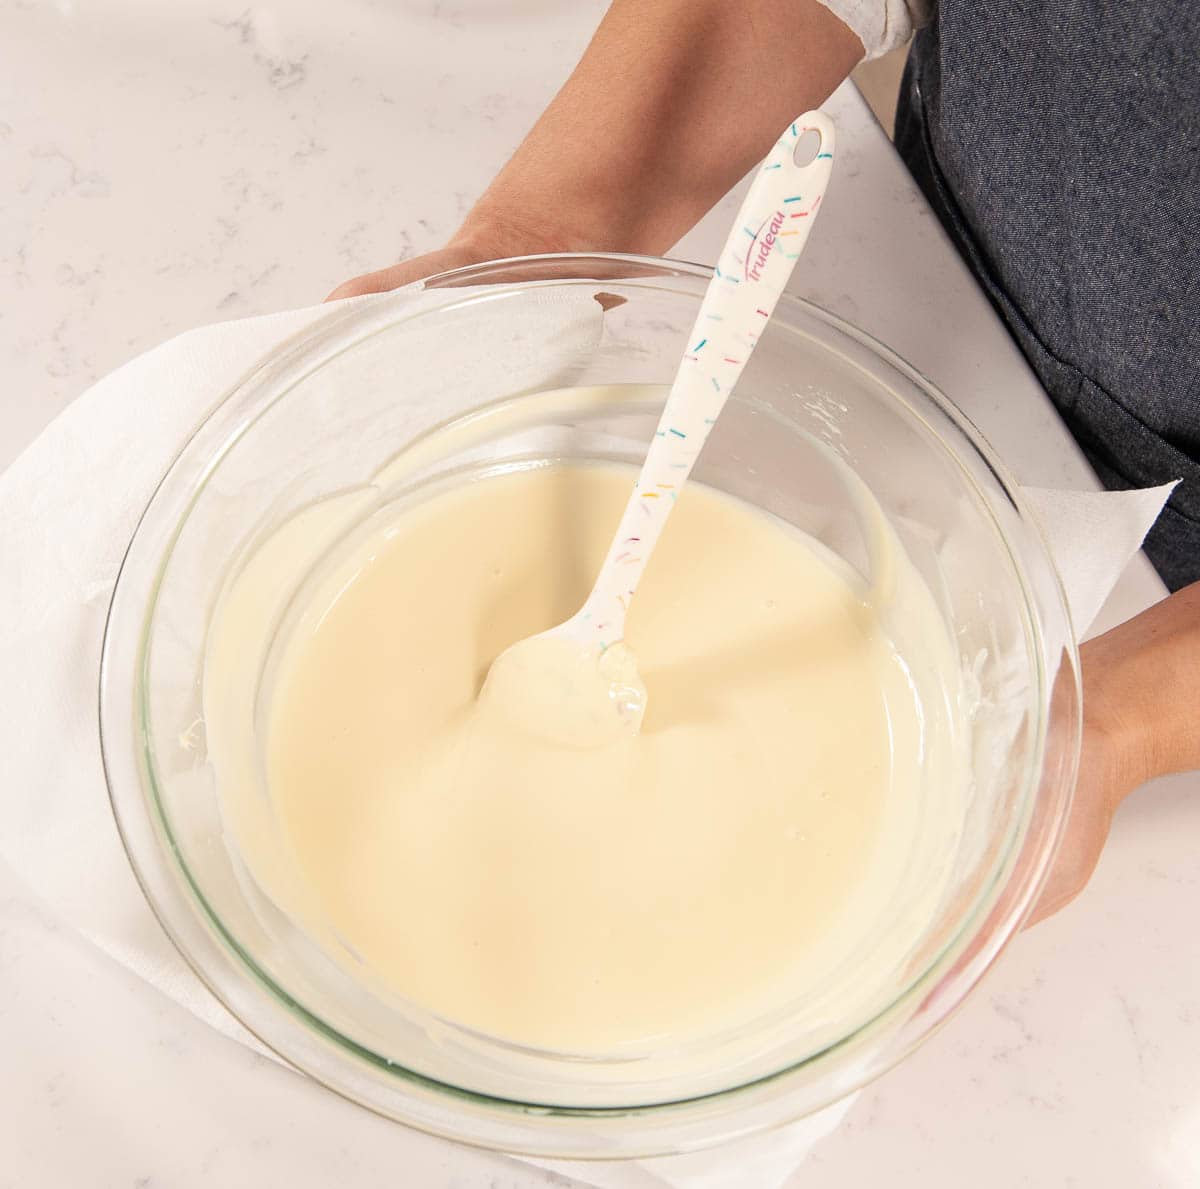
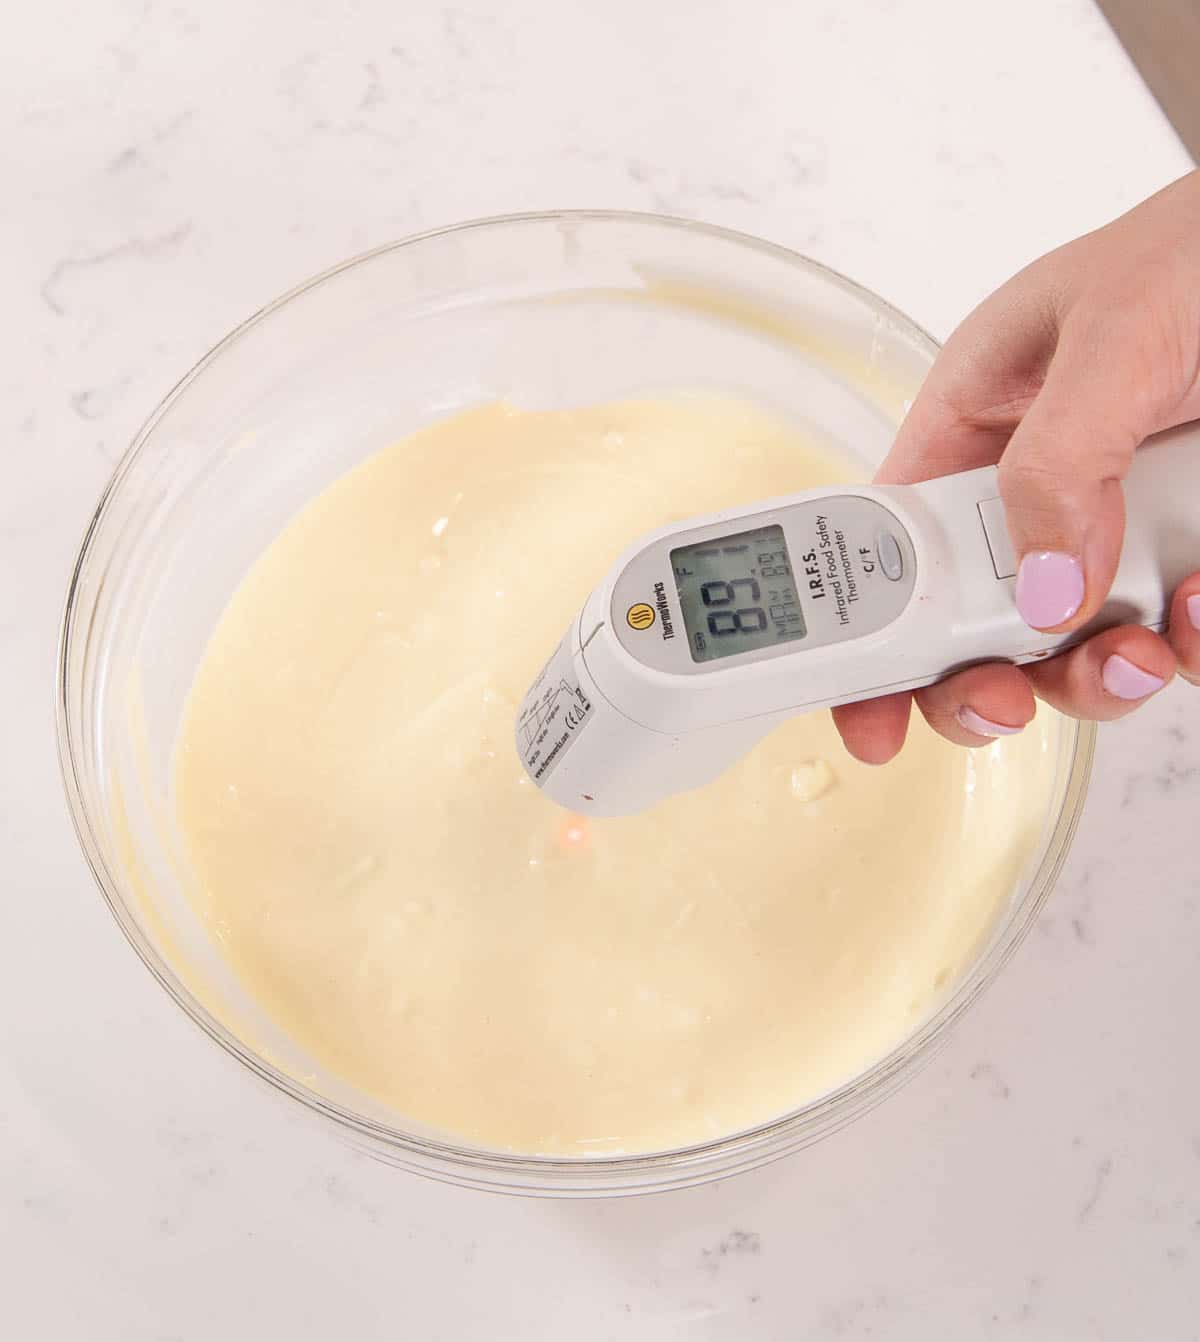
- Continue cooking and whisking your lemon curd until it thickens (about 170º F) and just begins to bubble then remove it from the heat. You can strain it if needed to remove any egg bits or the pieces of lime zest.
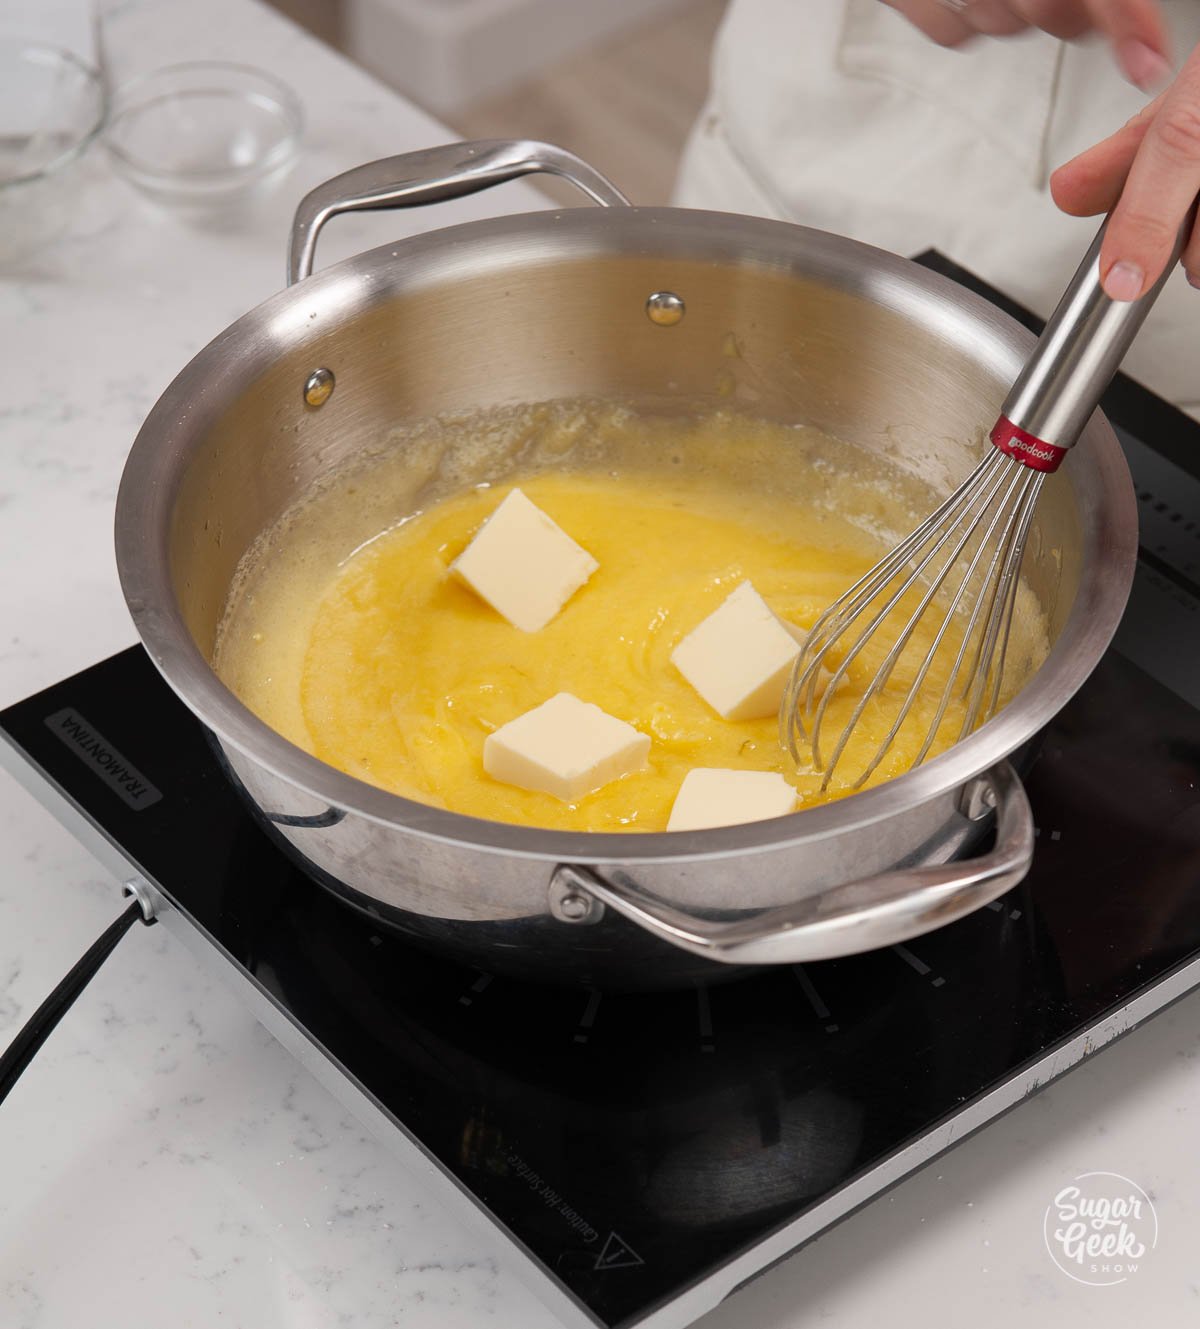
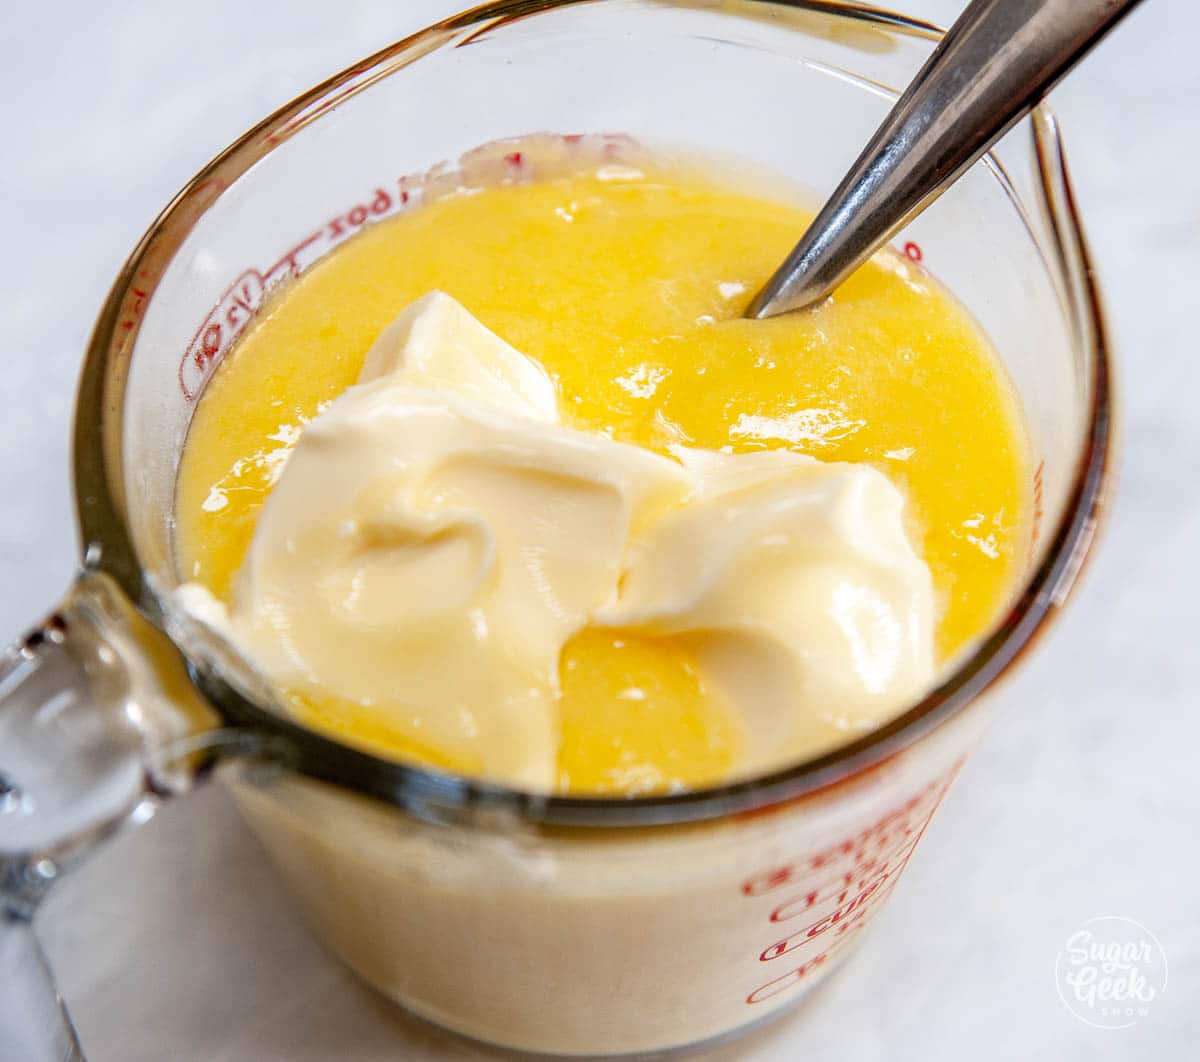
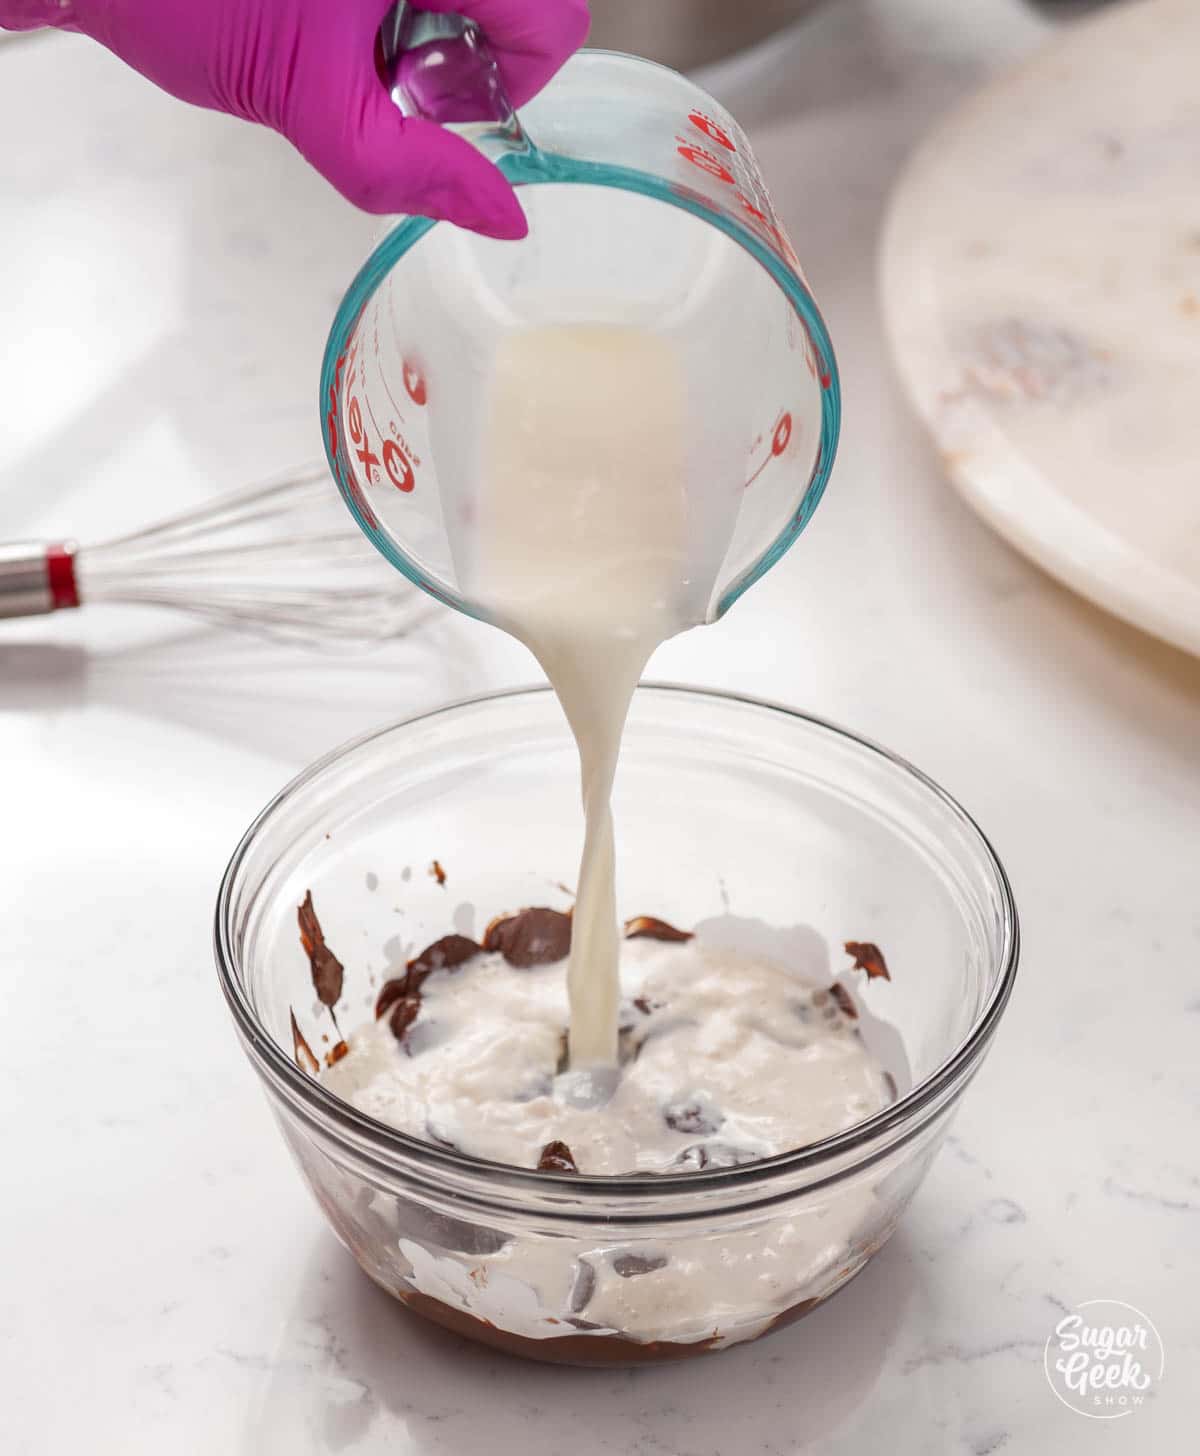
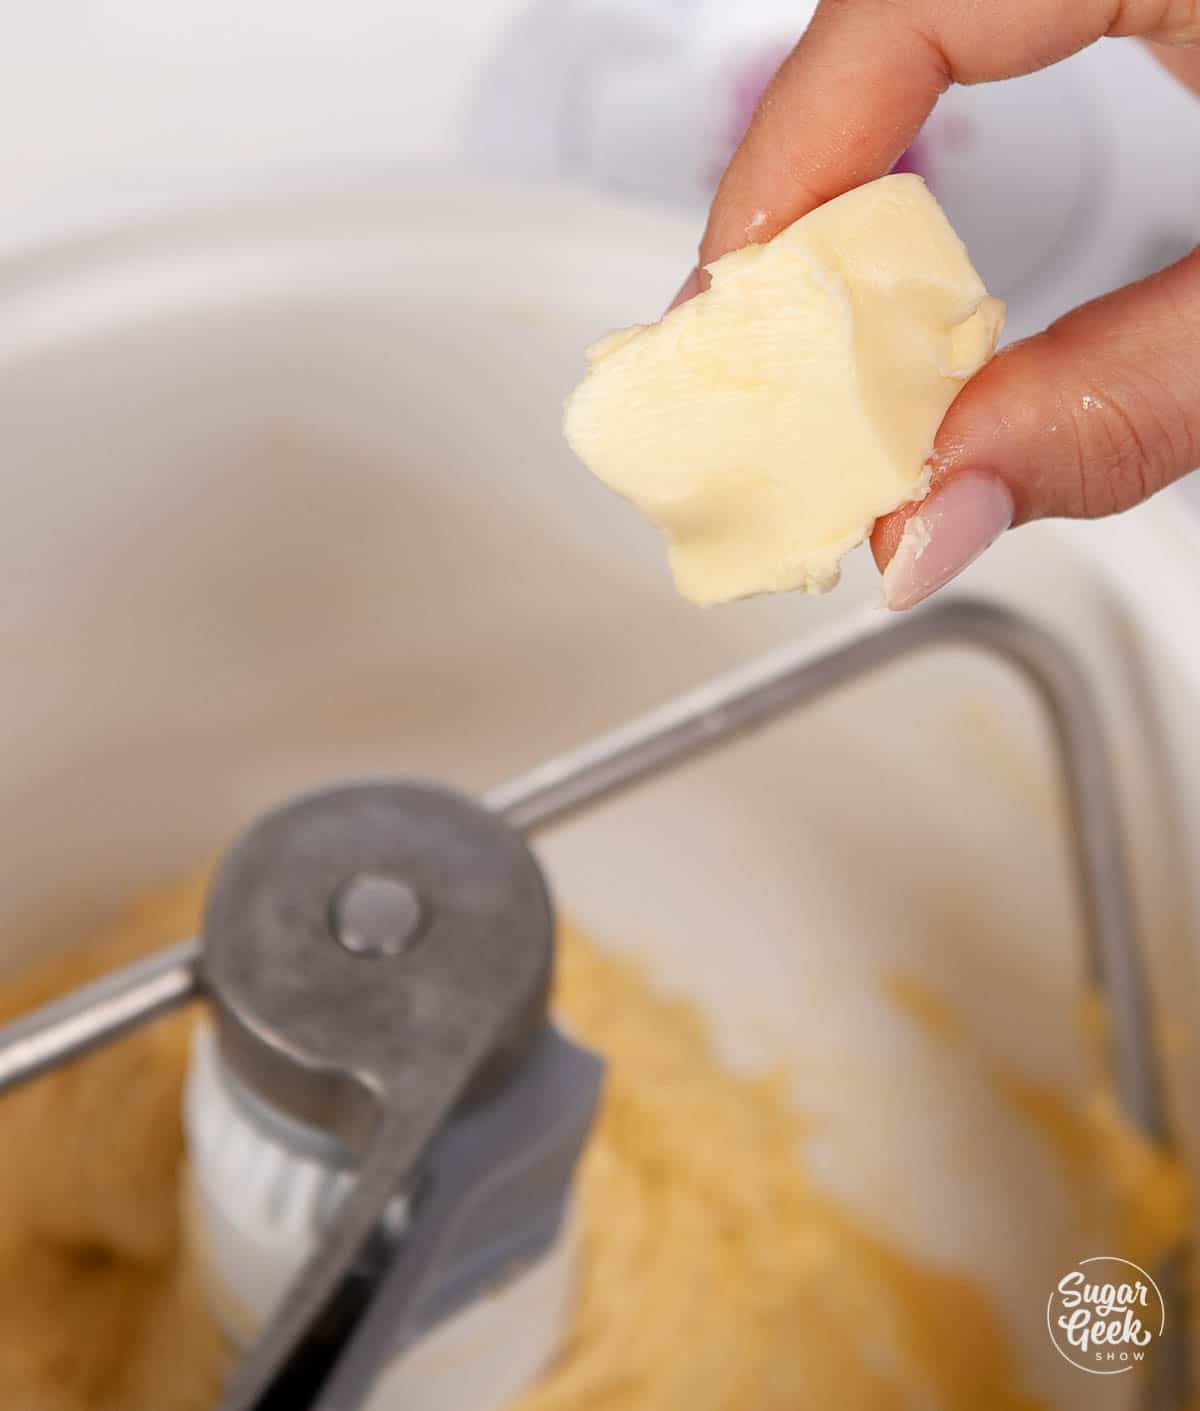
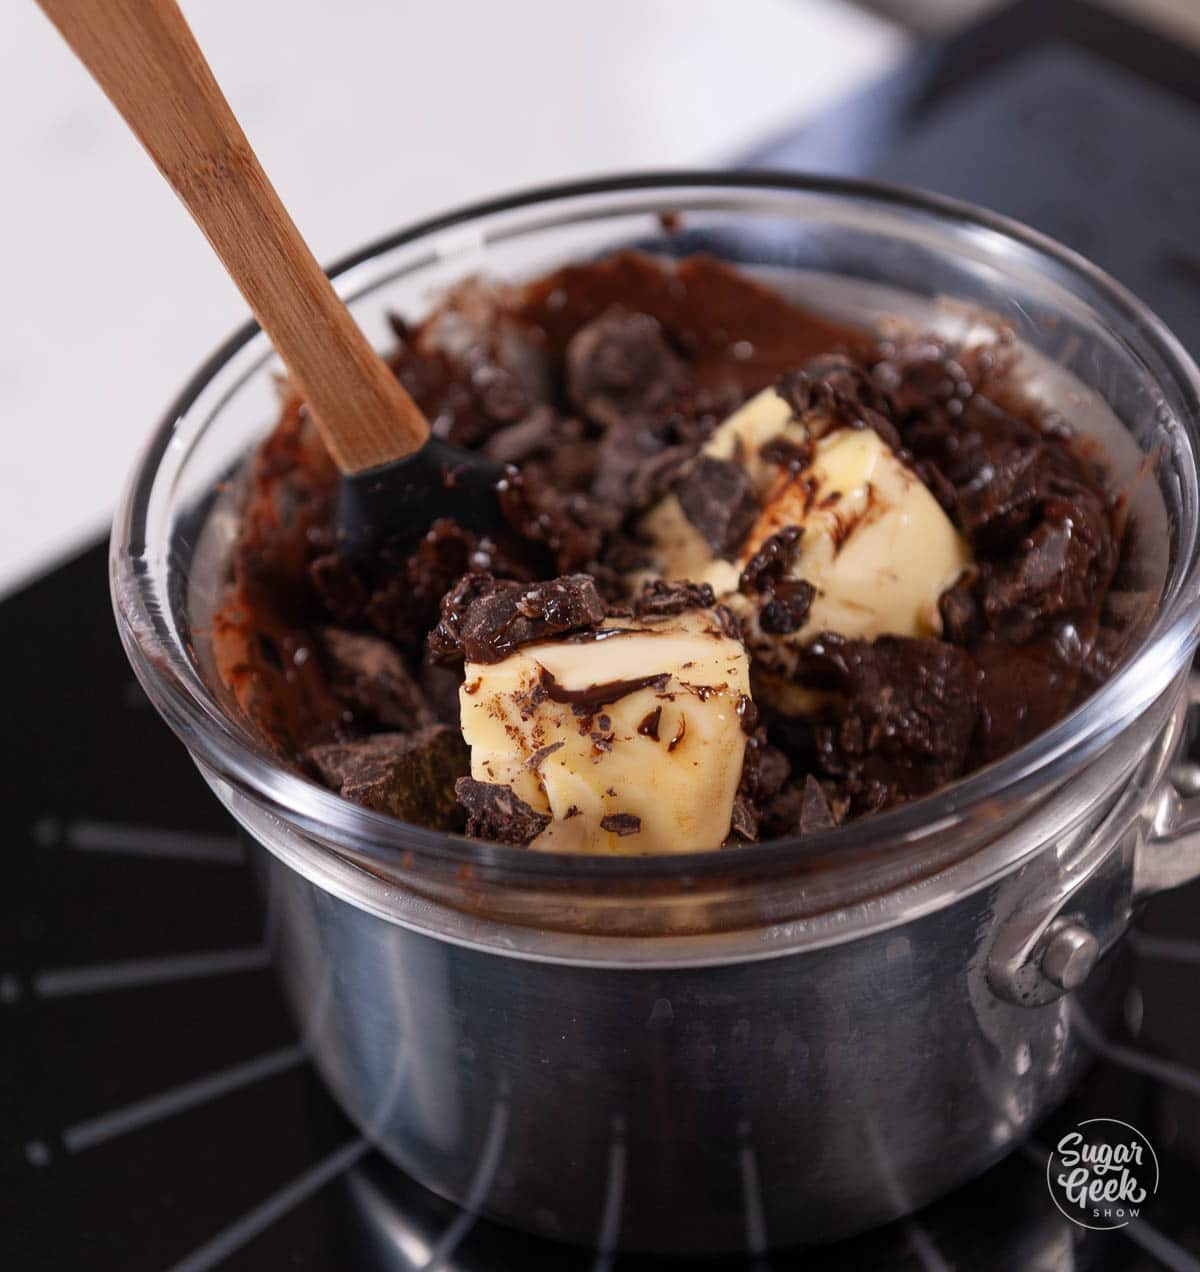
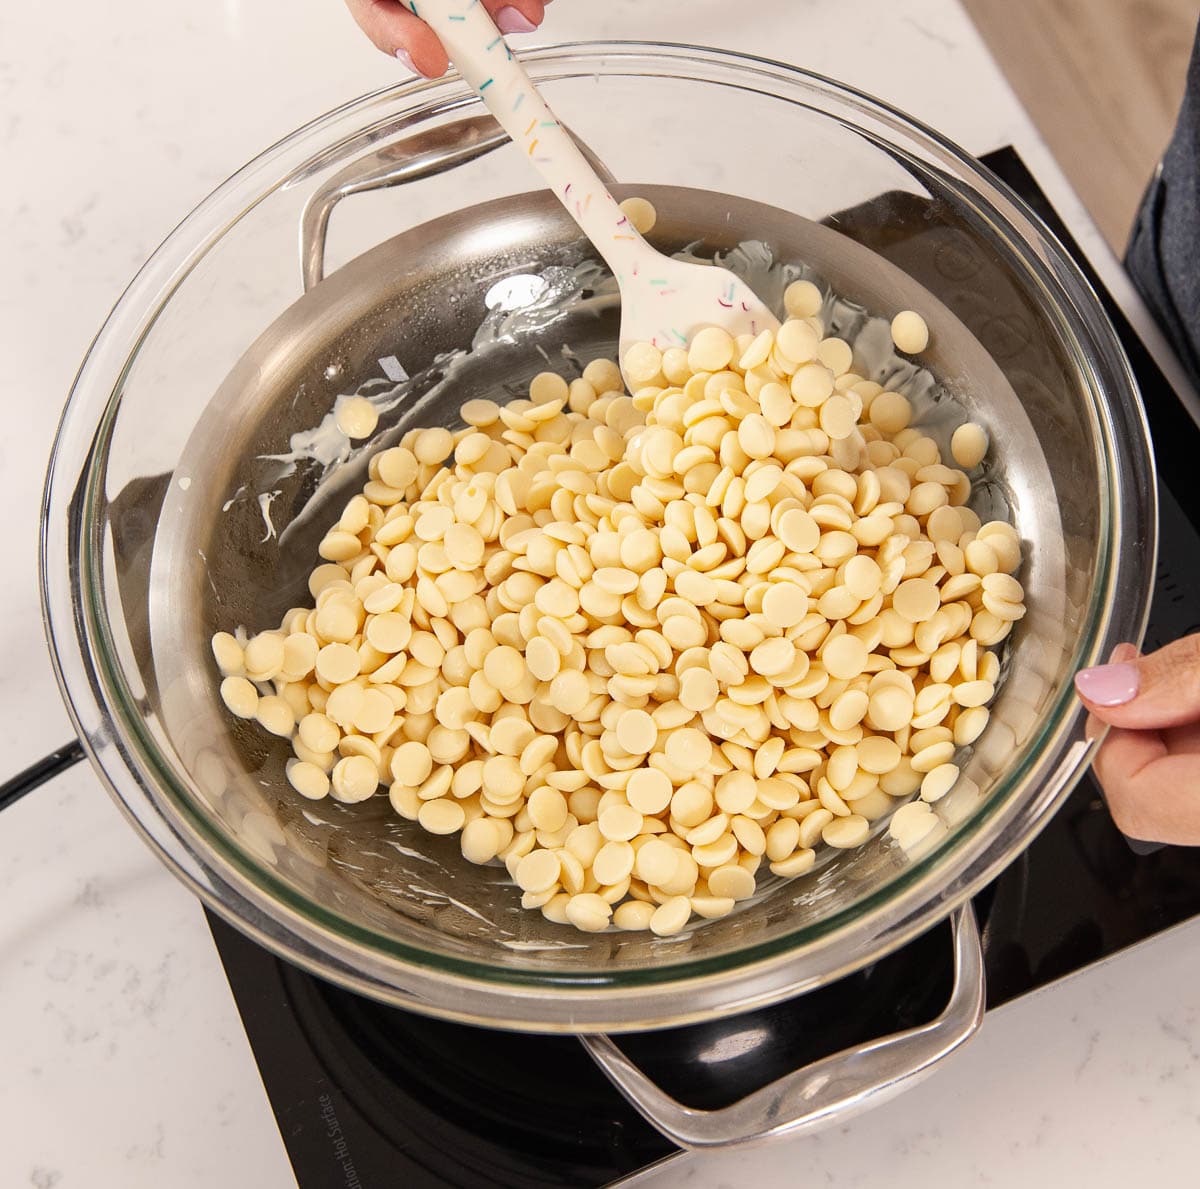
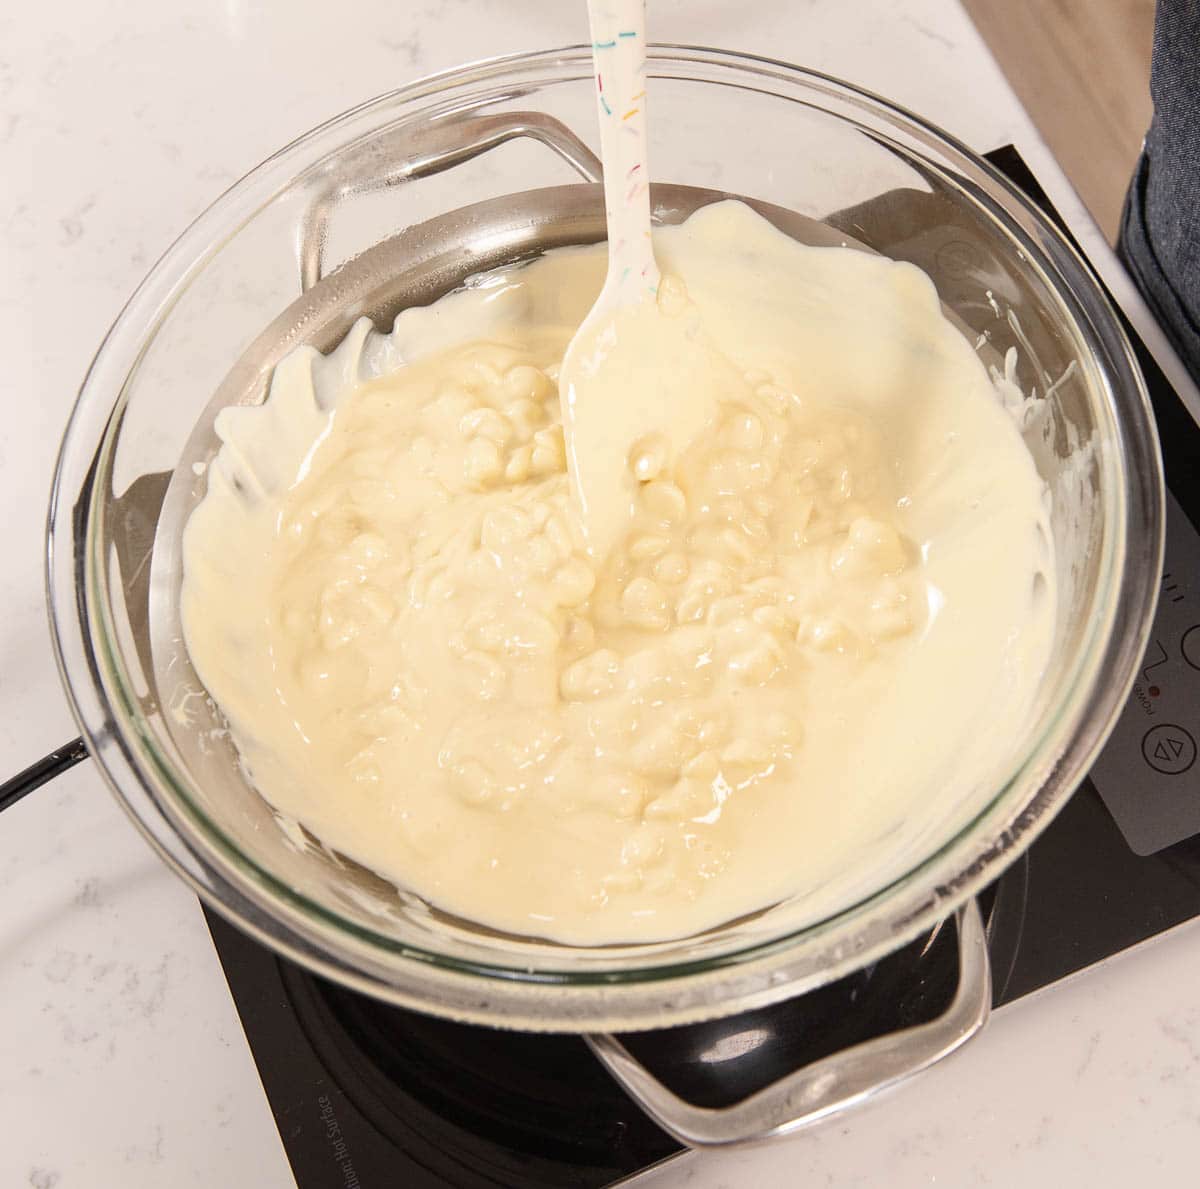
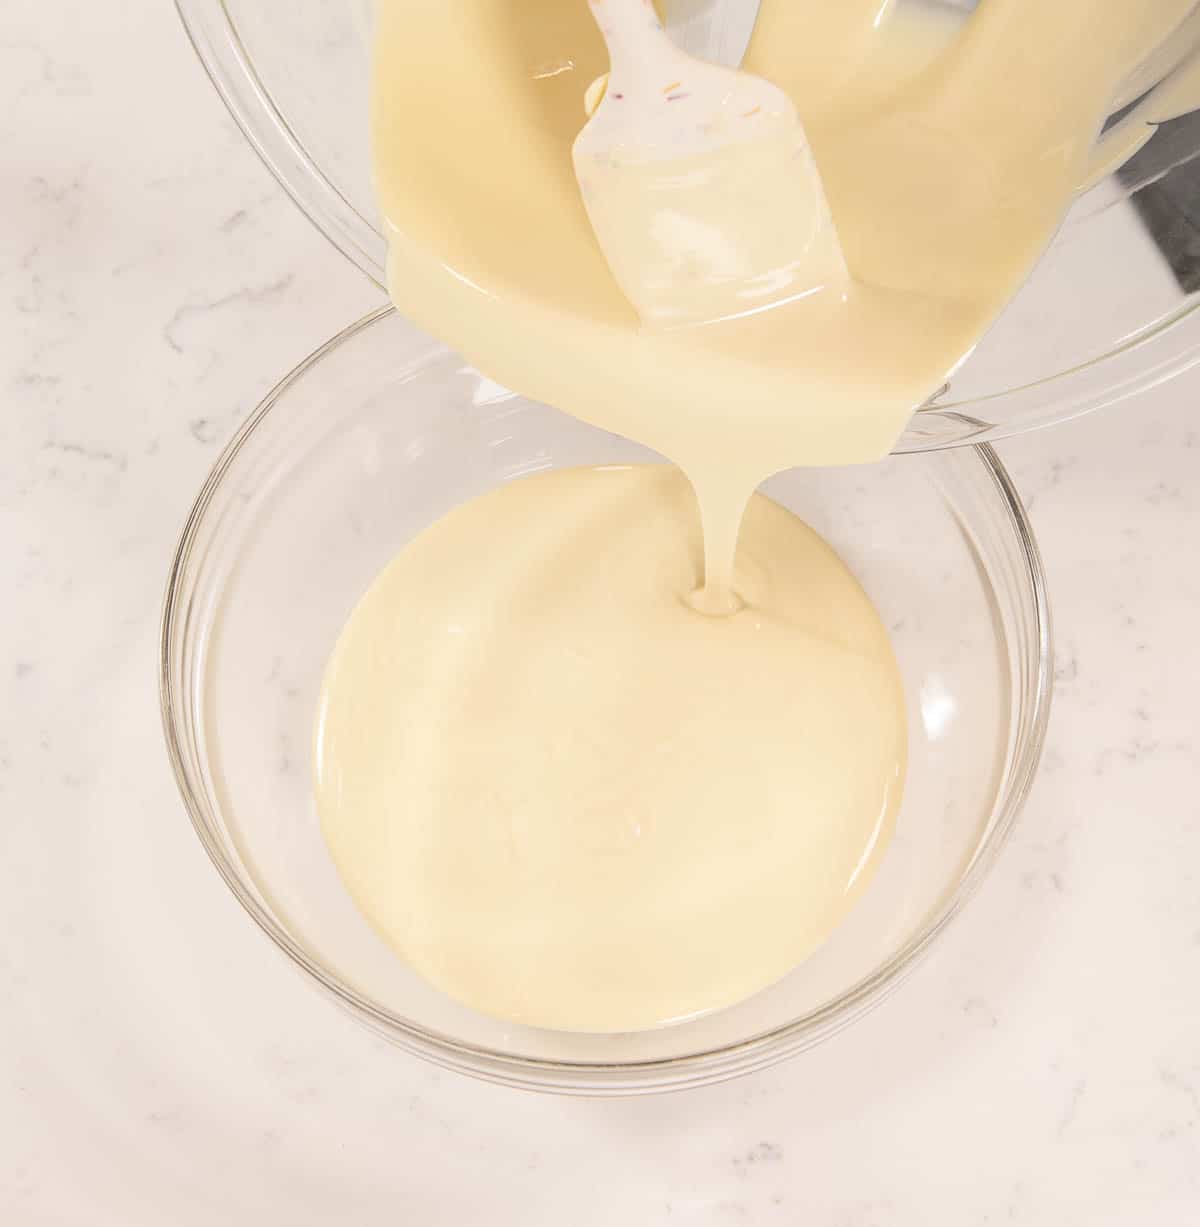
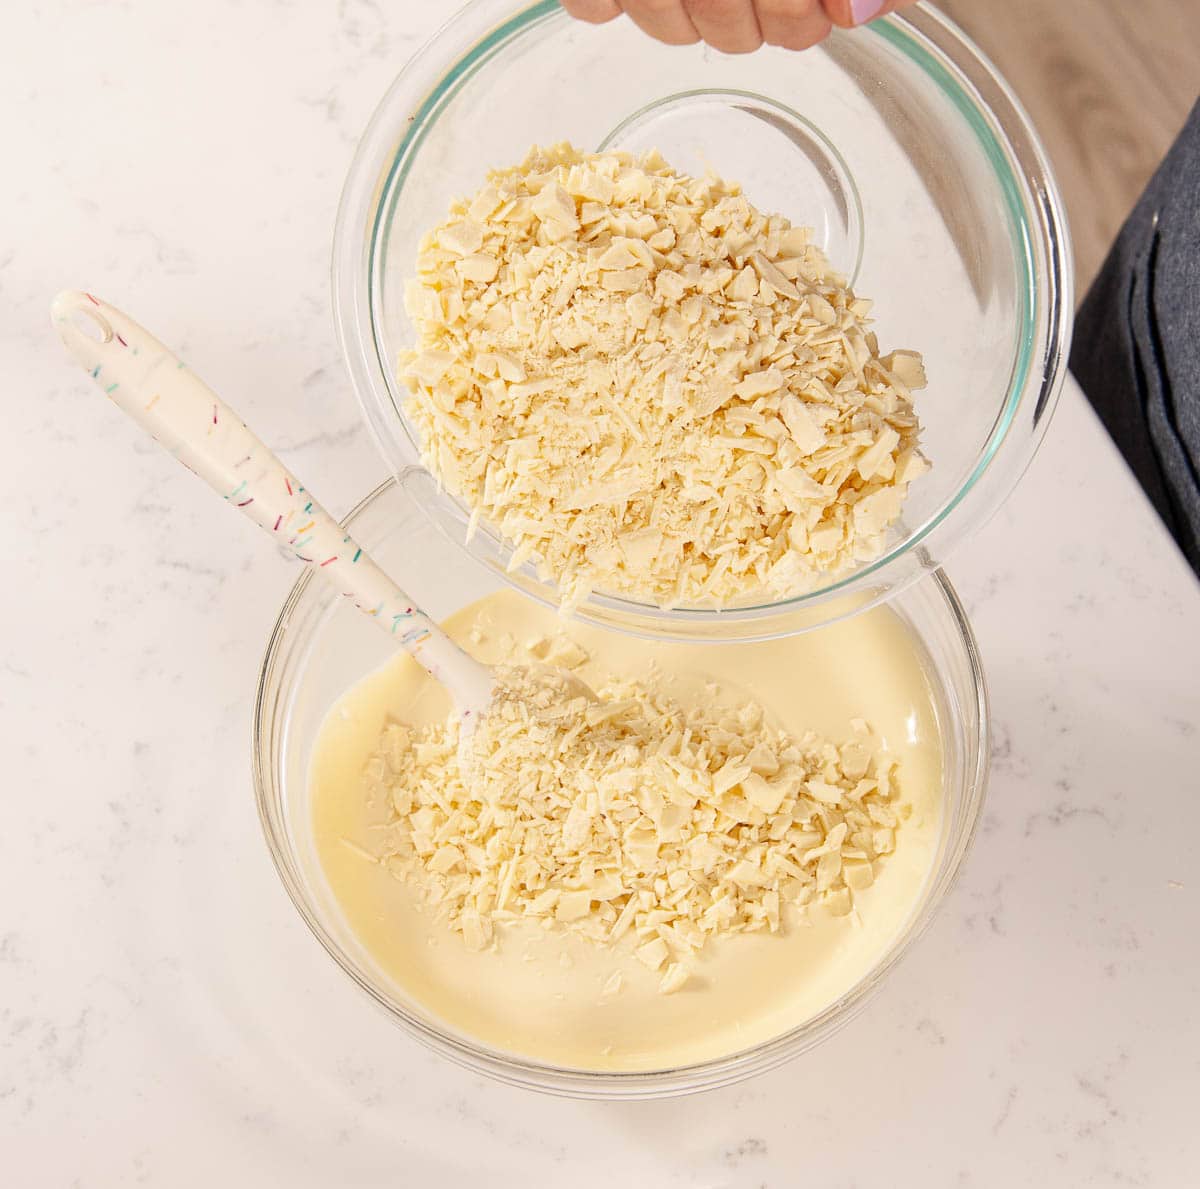
- Add your butter in chunks to the lime curd and whisk it until the butter is melted and combined. Remove the lime curd from the heat. It will continue to thicken as it cools.
- Add in your tequila and Grand Marnier (both optional) and stir until smooth.
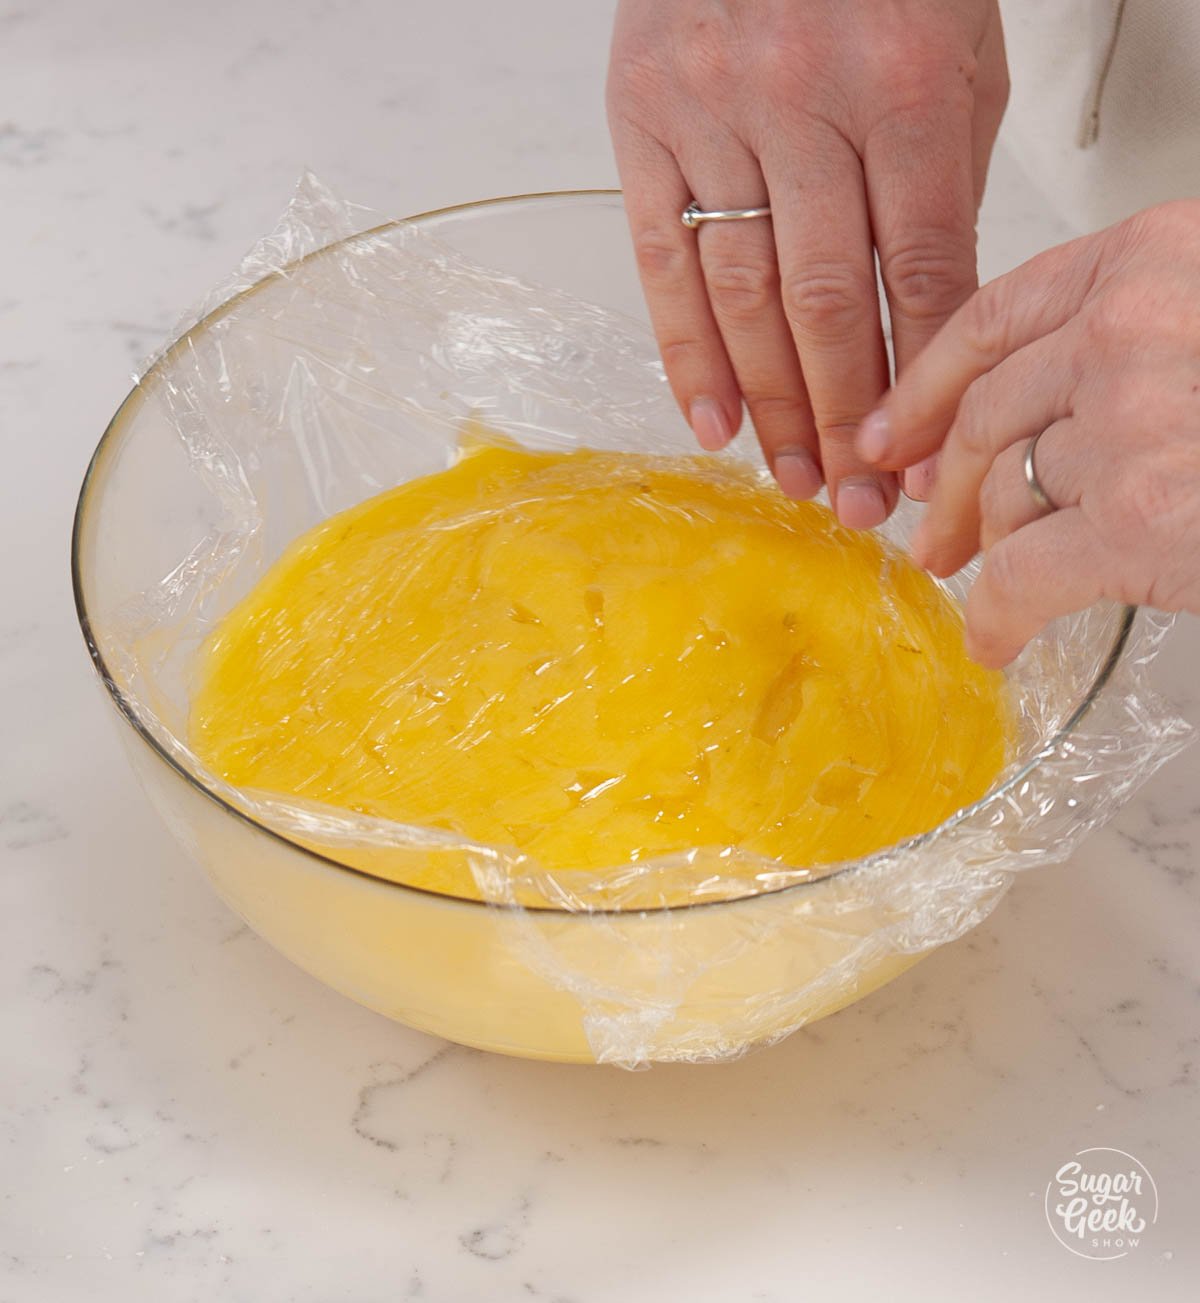
- Cover the curd with plastic wrap (make sure the wrap touches the surface so your curd doesn't form a skin) and refrigerate for a minimum of 2 hours or overnight.


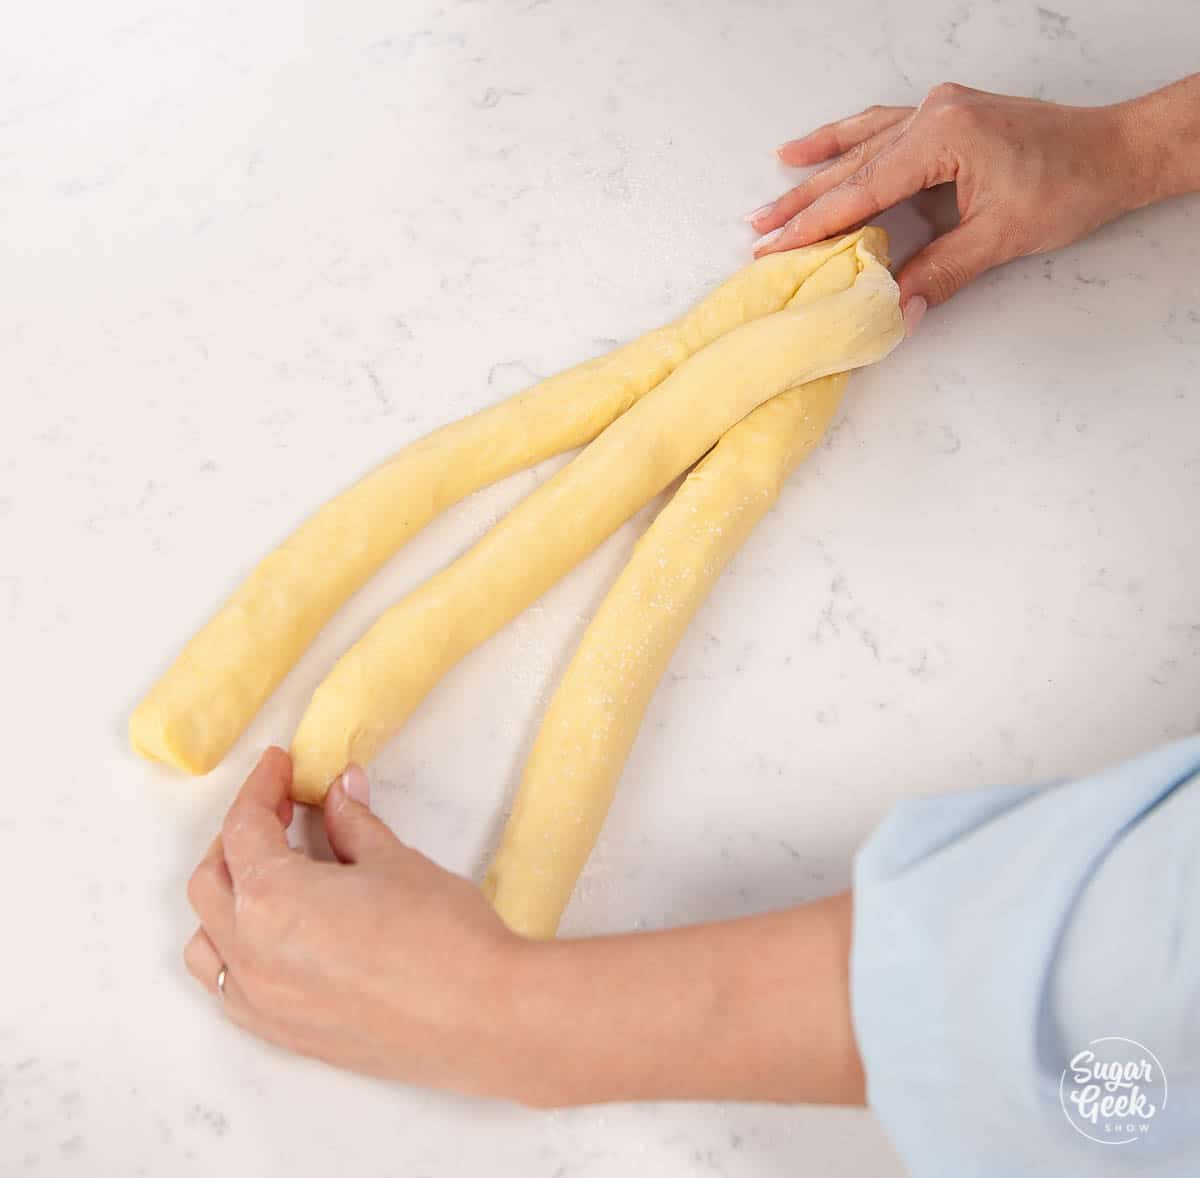
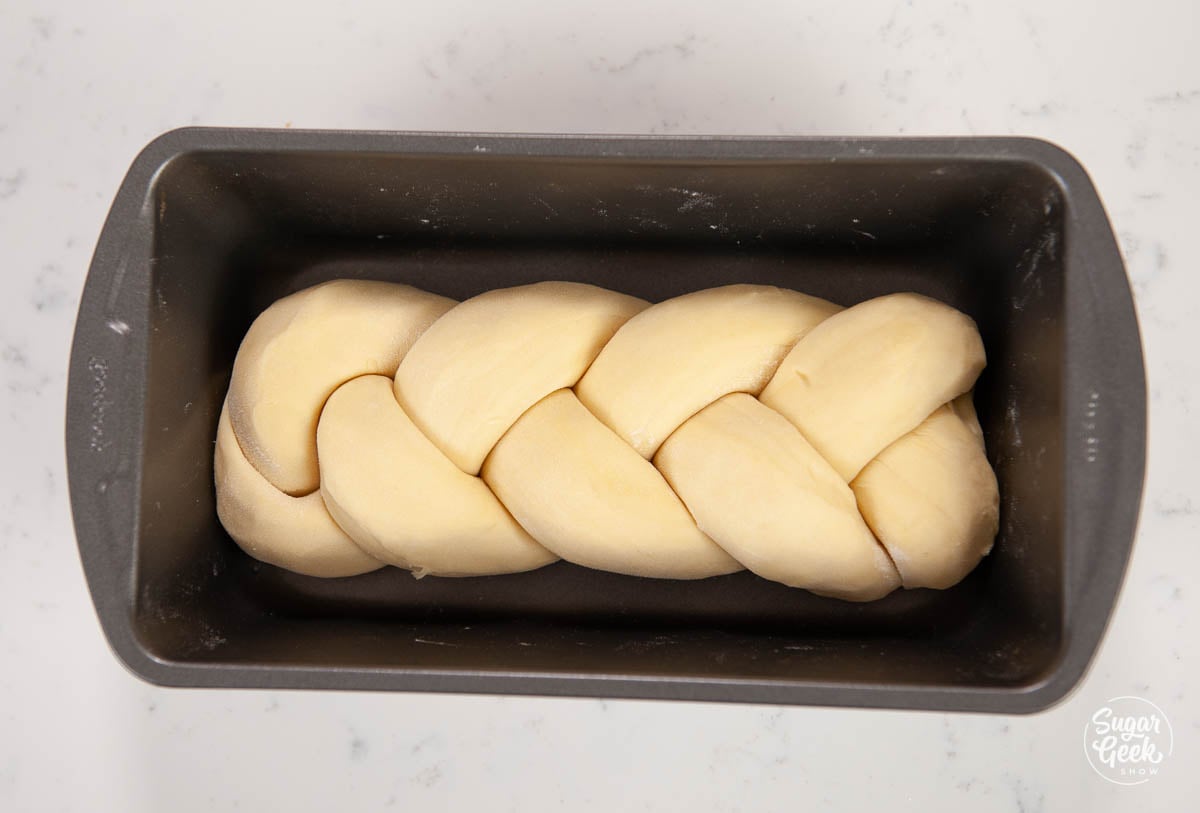
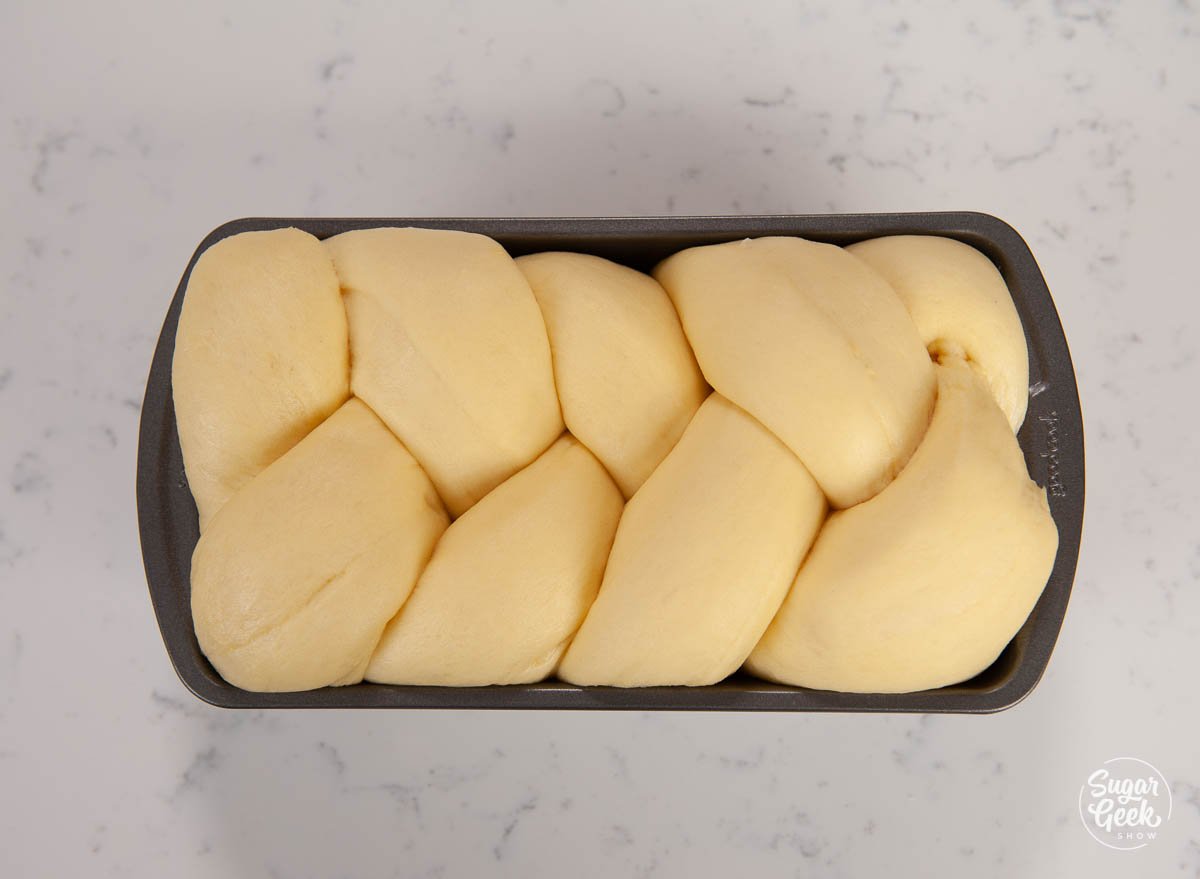
Cake assembly
If you need more help on decorating your first cake, check out my video tutorial.
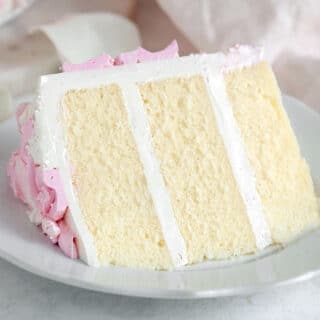
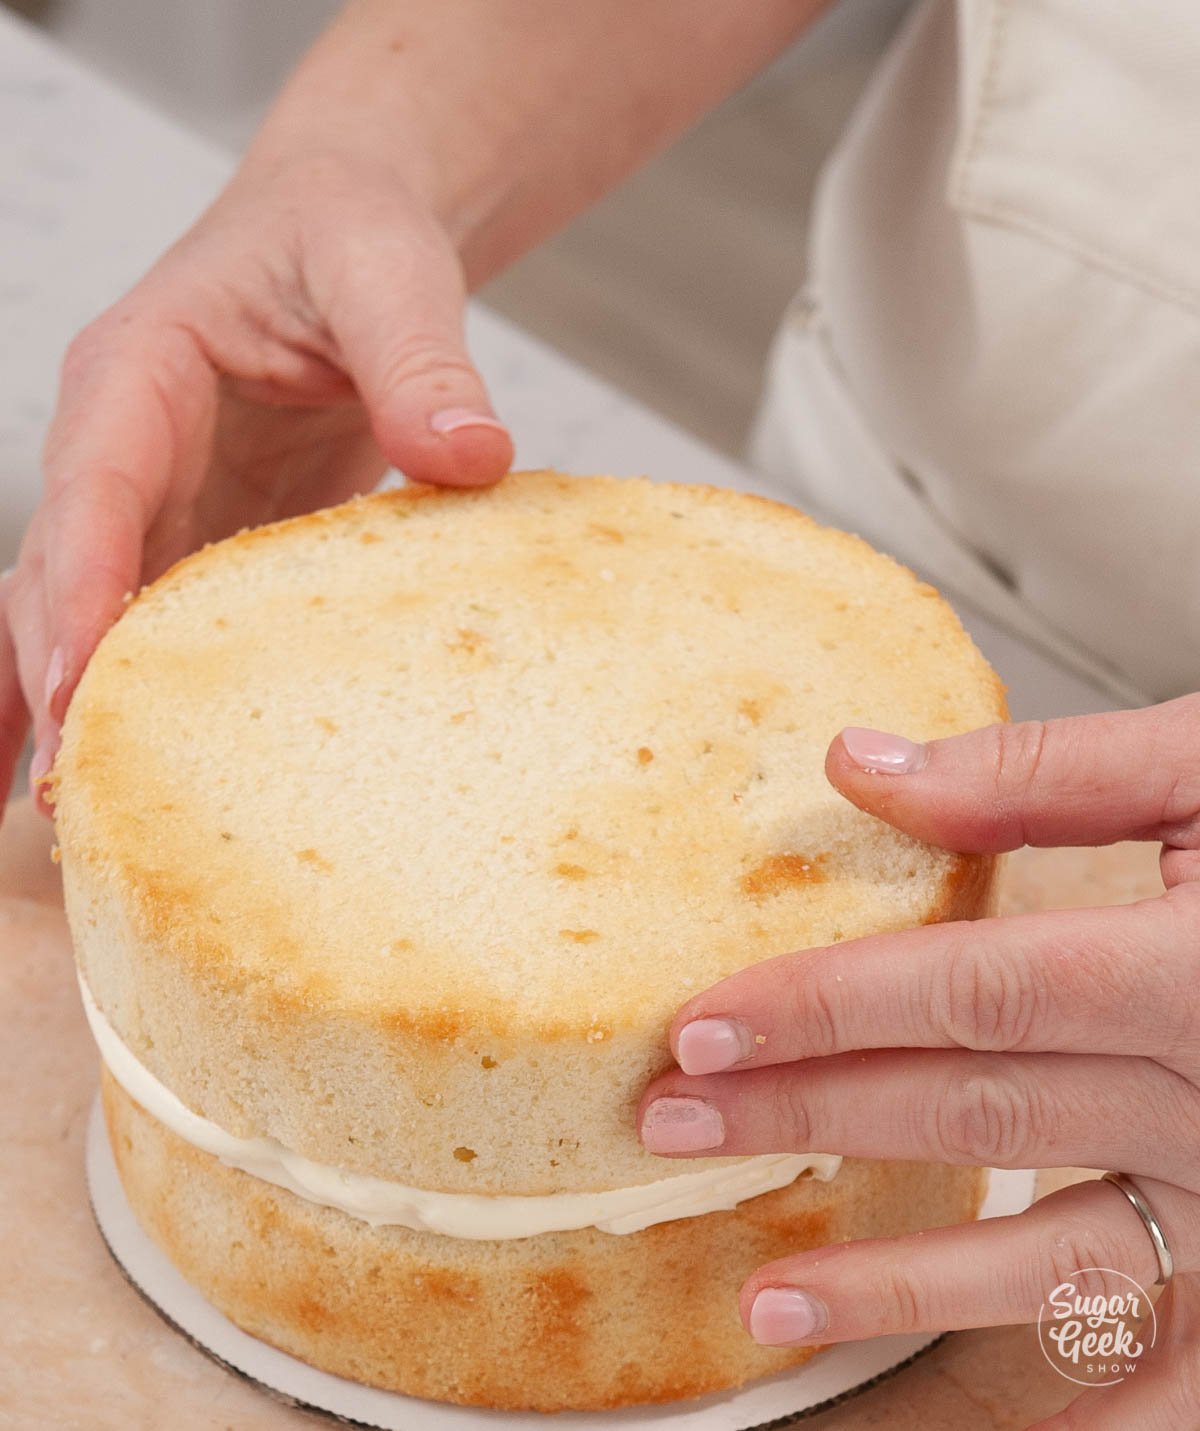
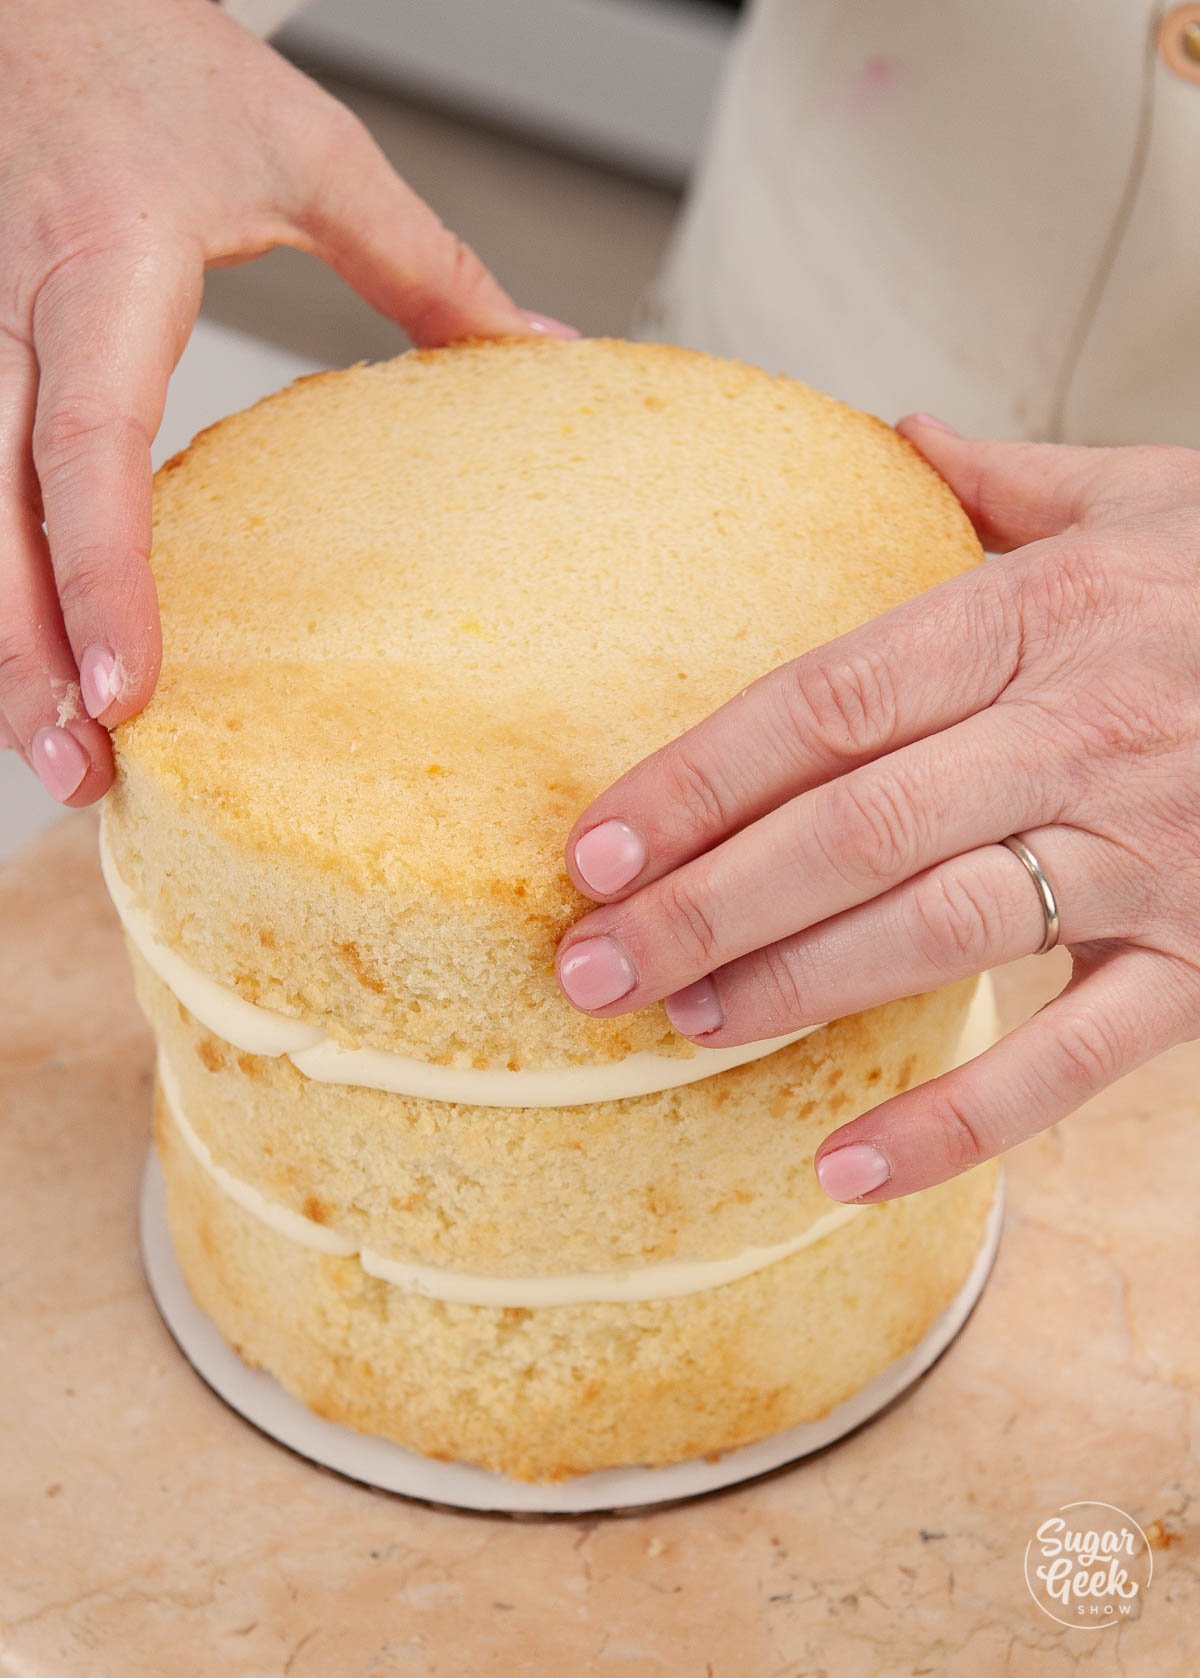
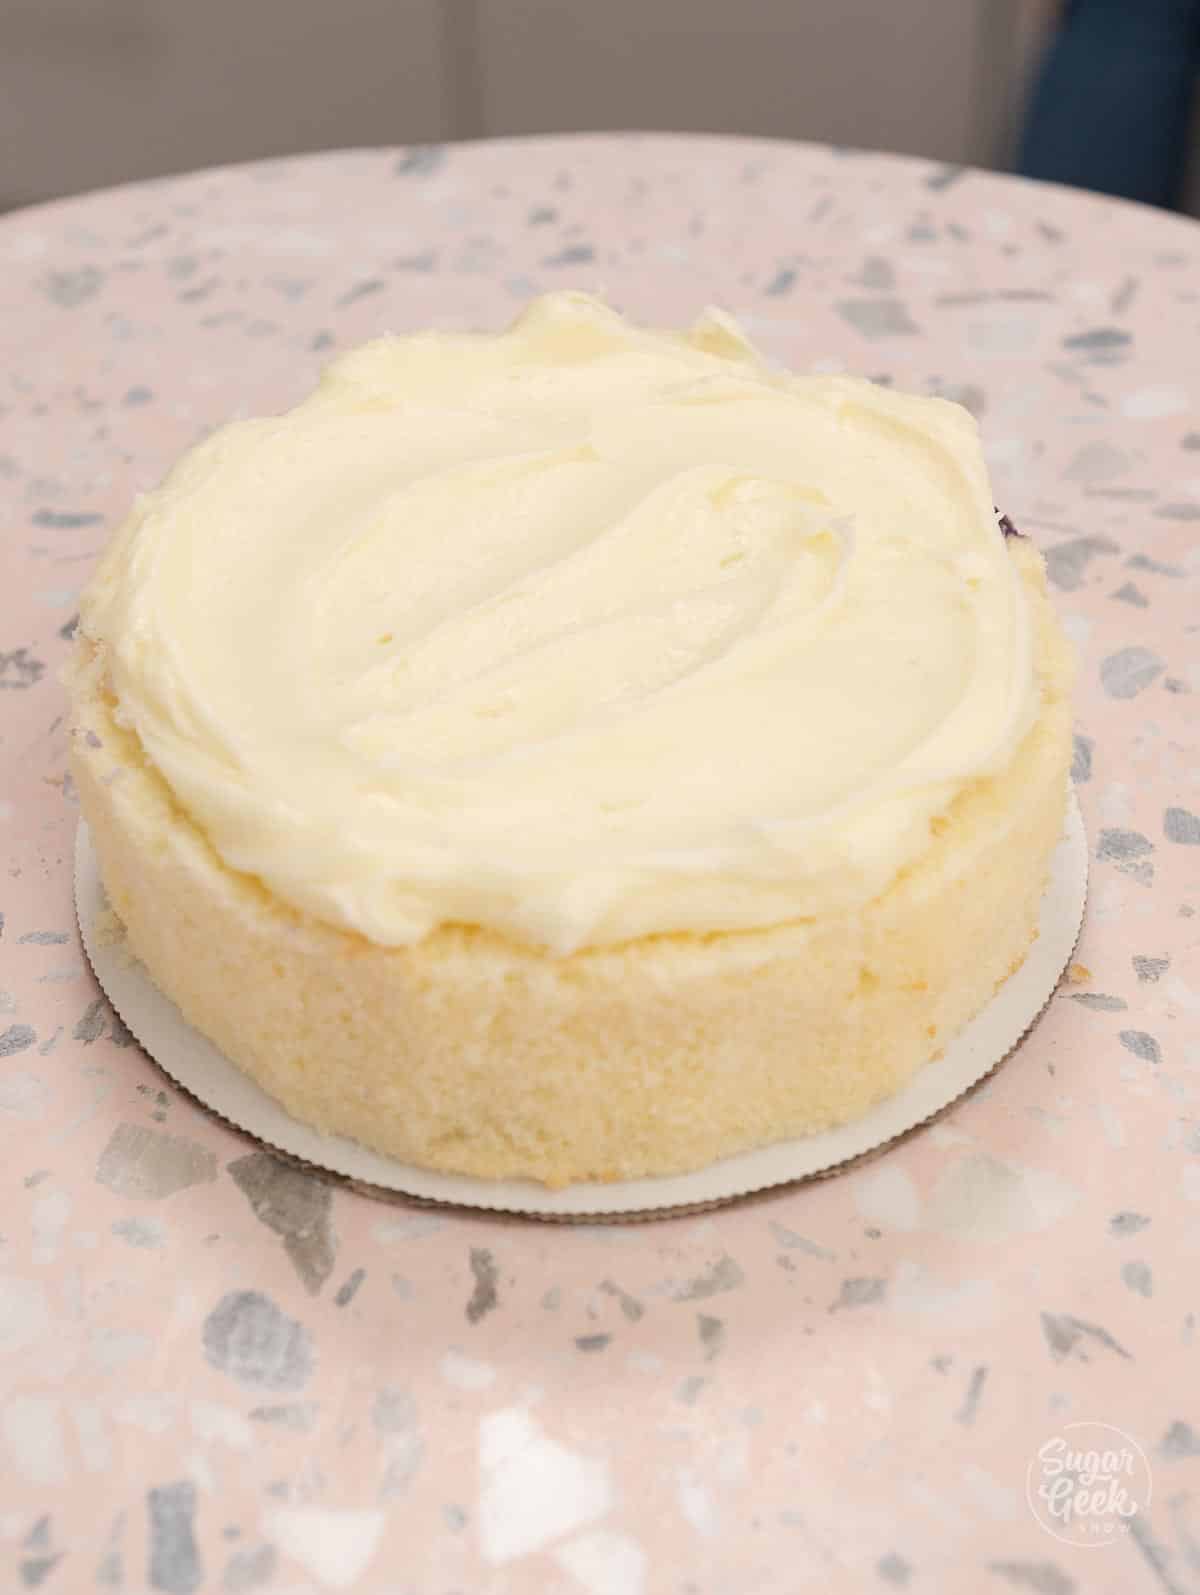
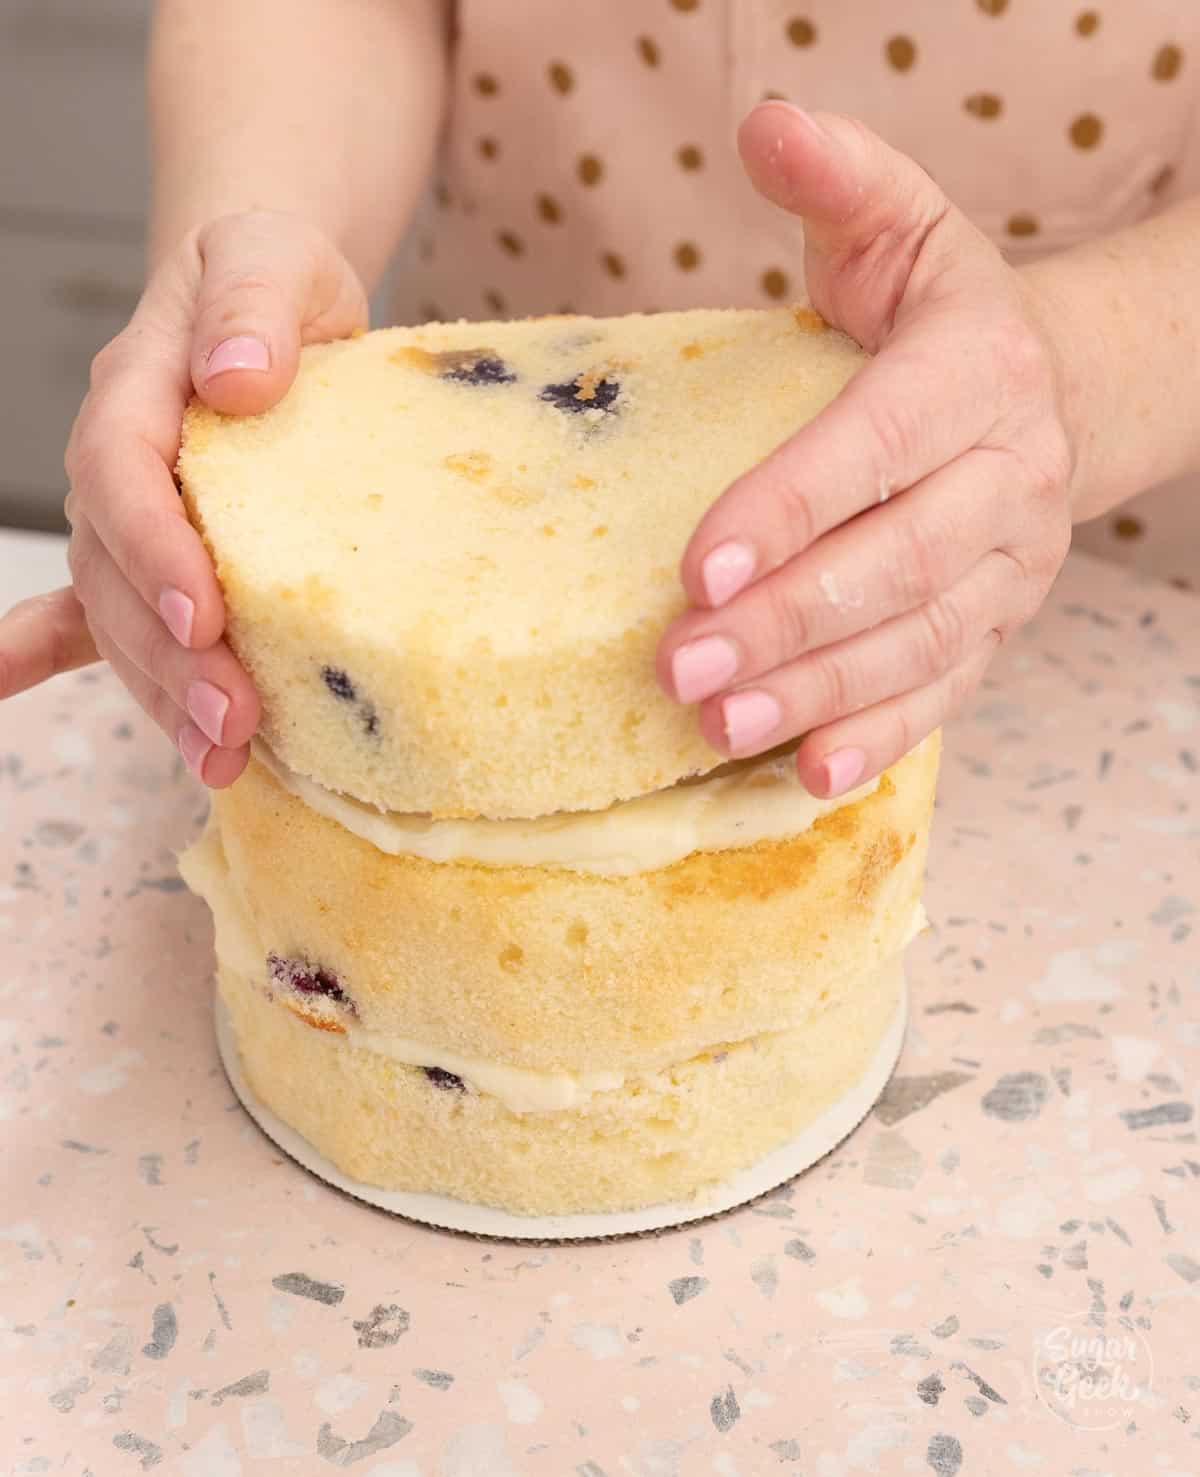
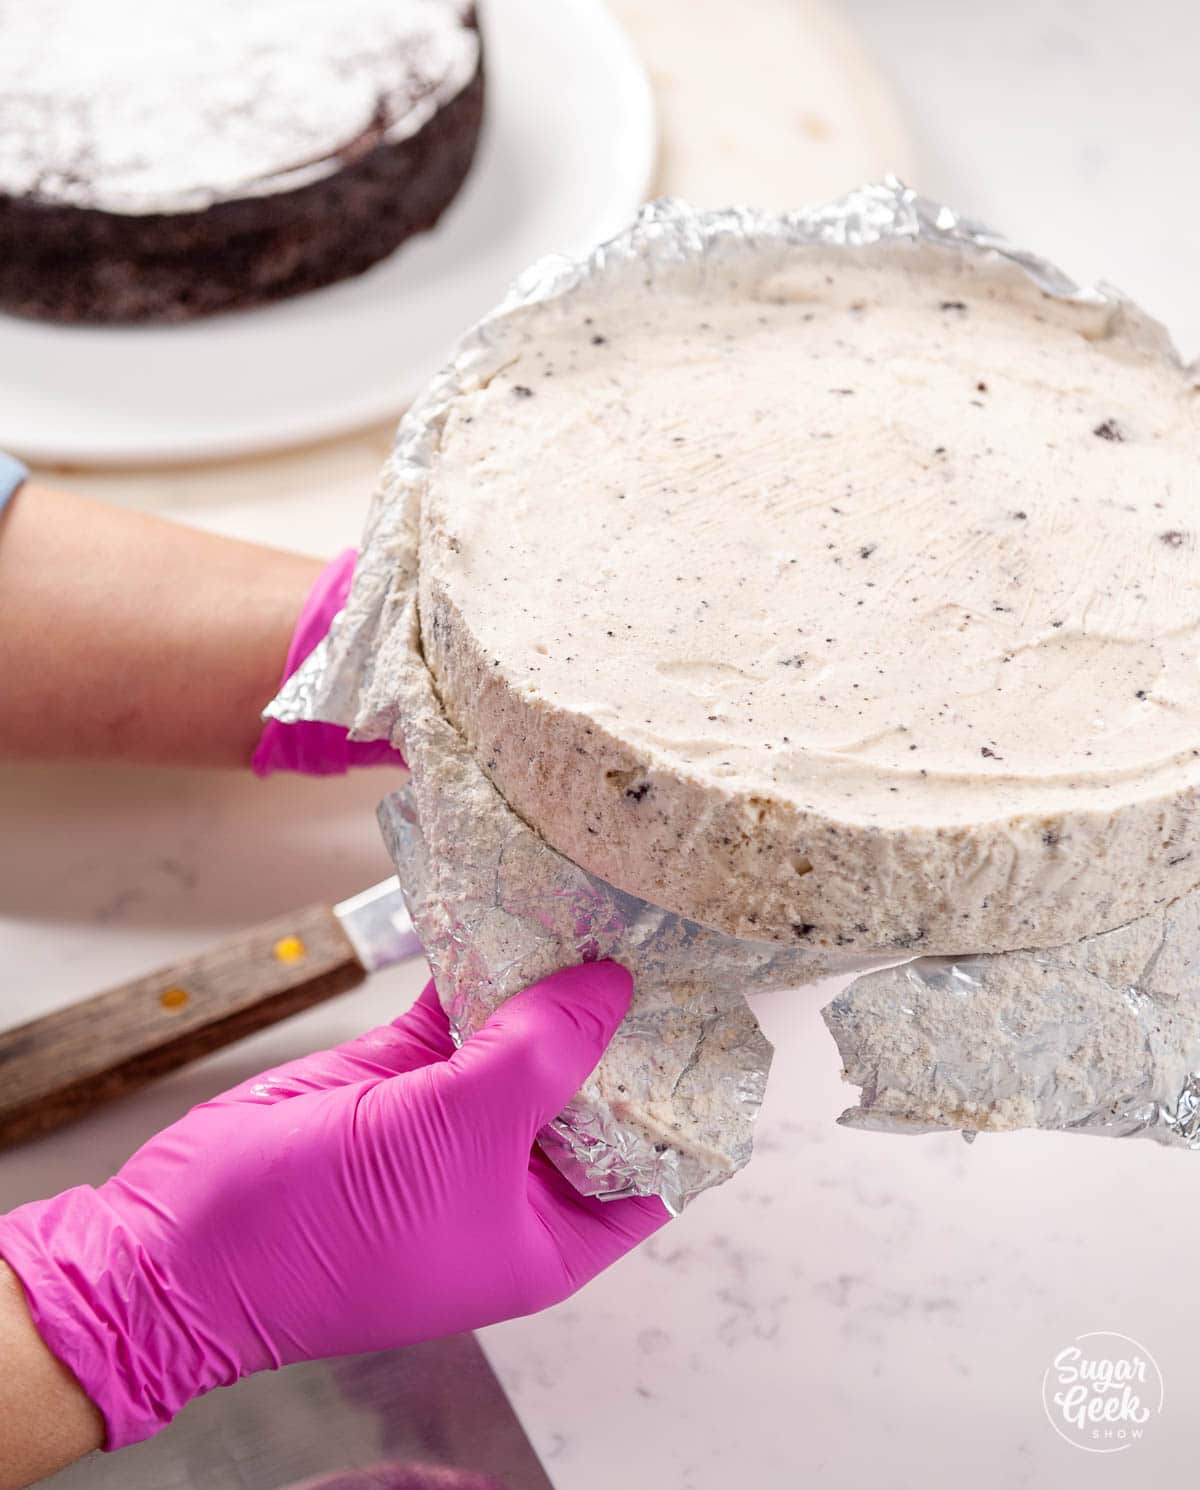
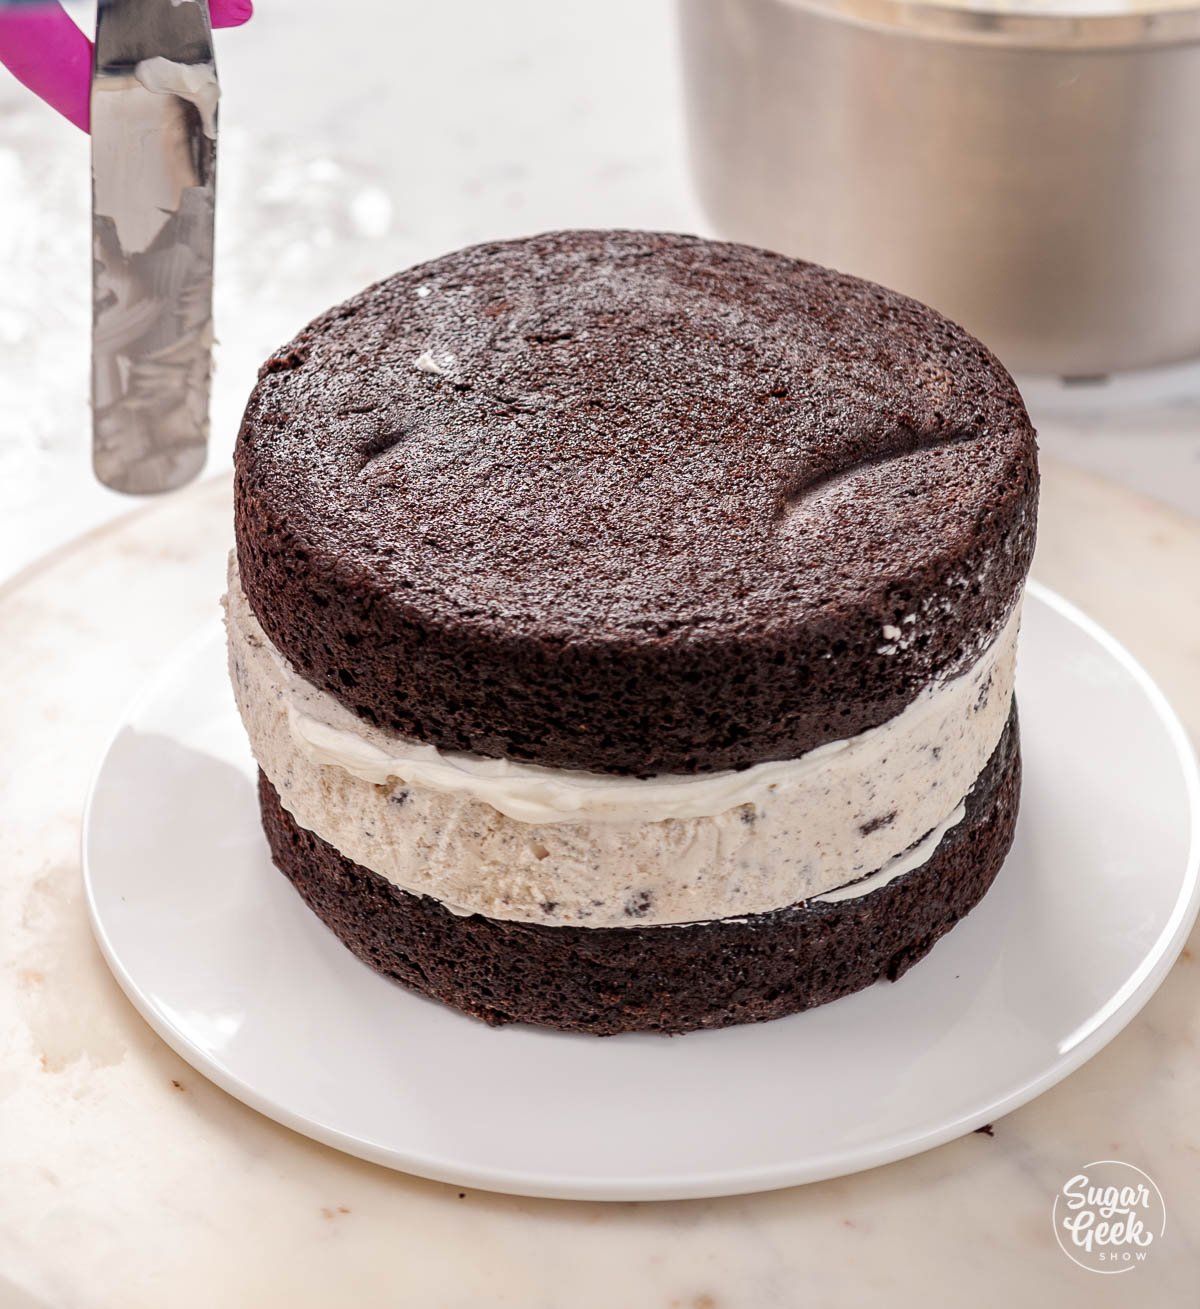
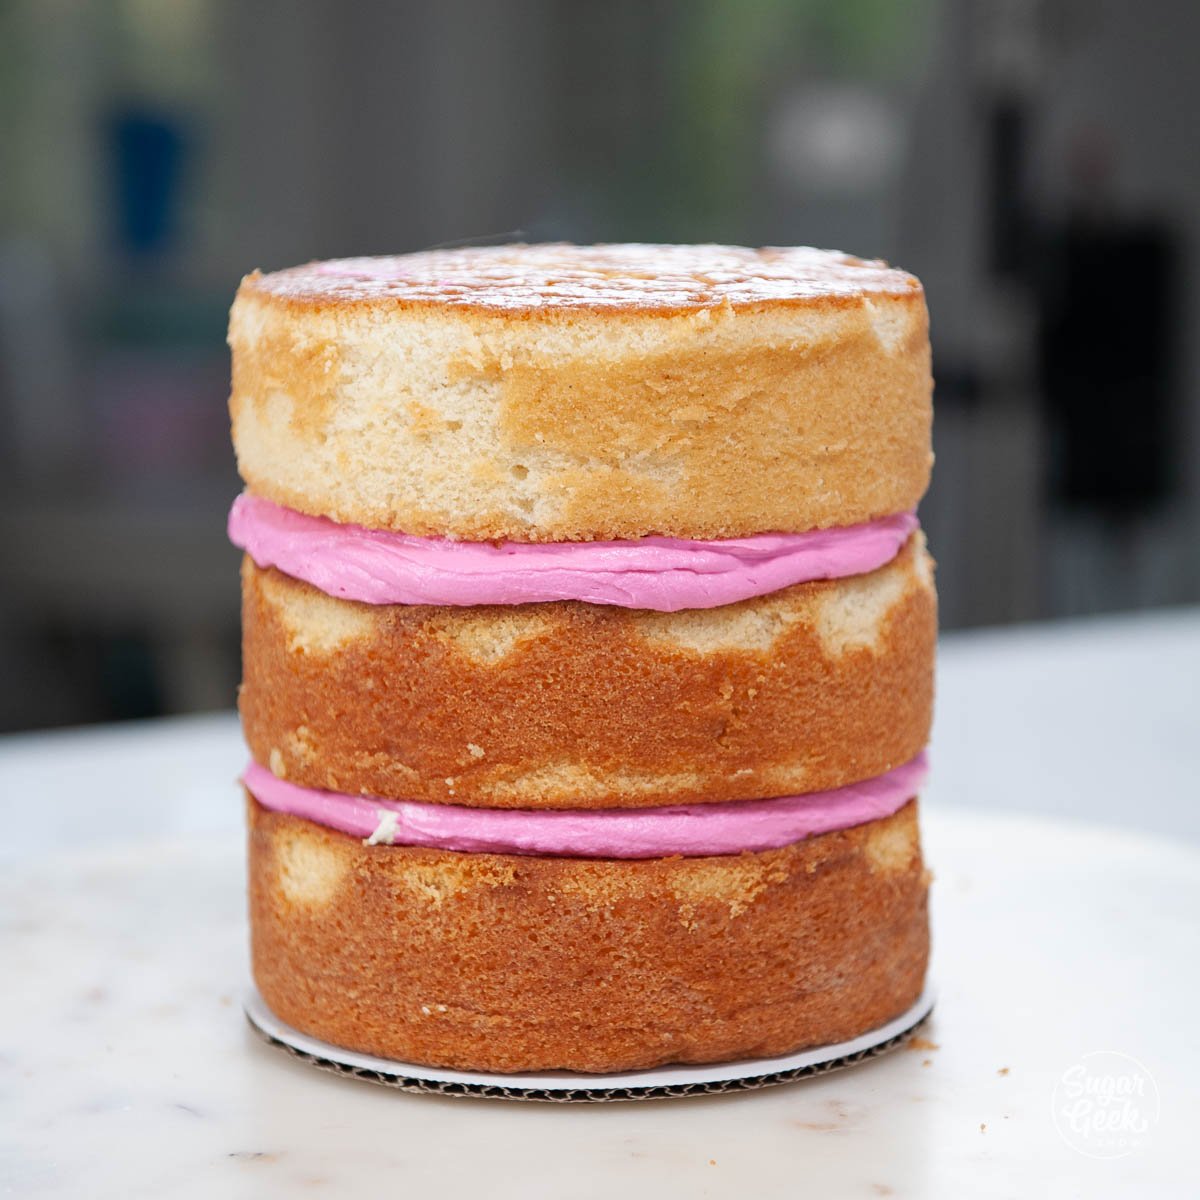
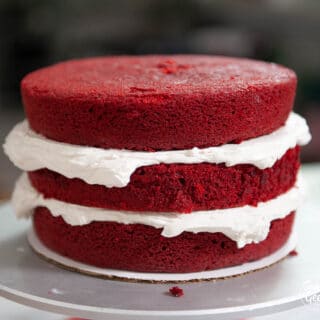
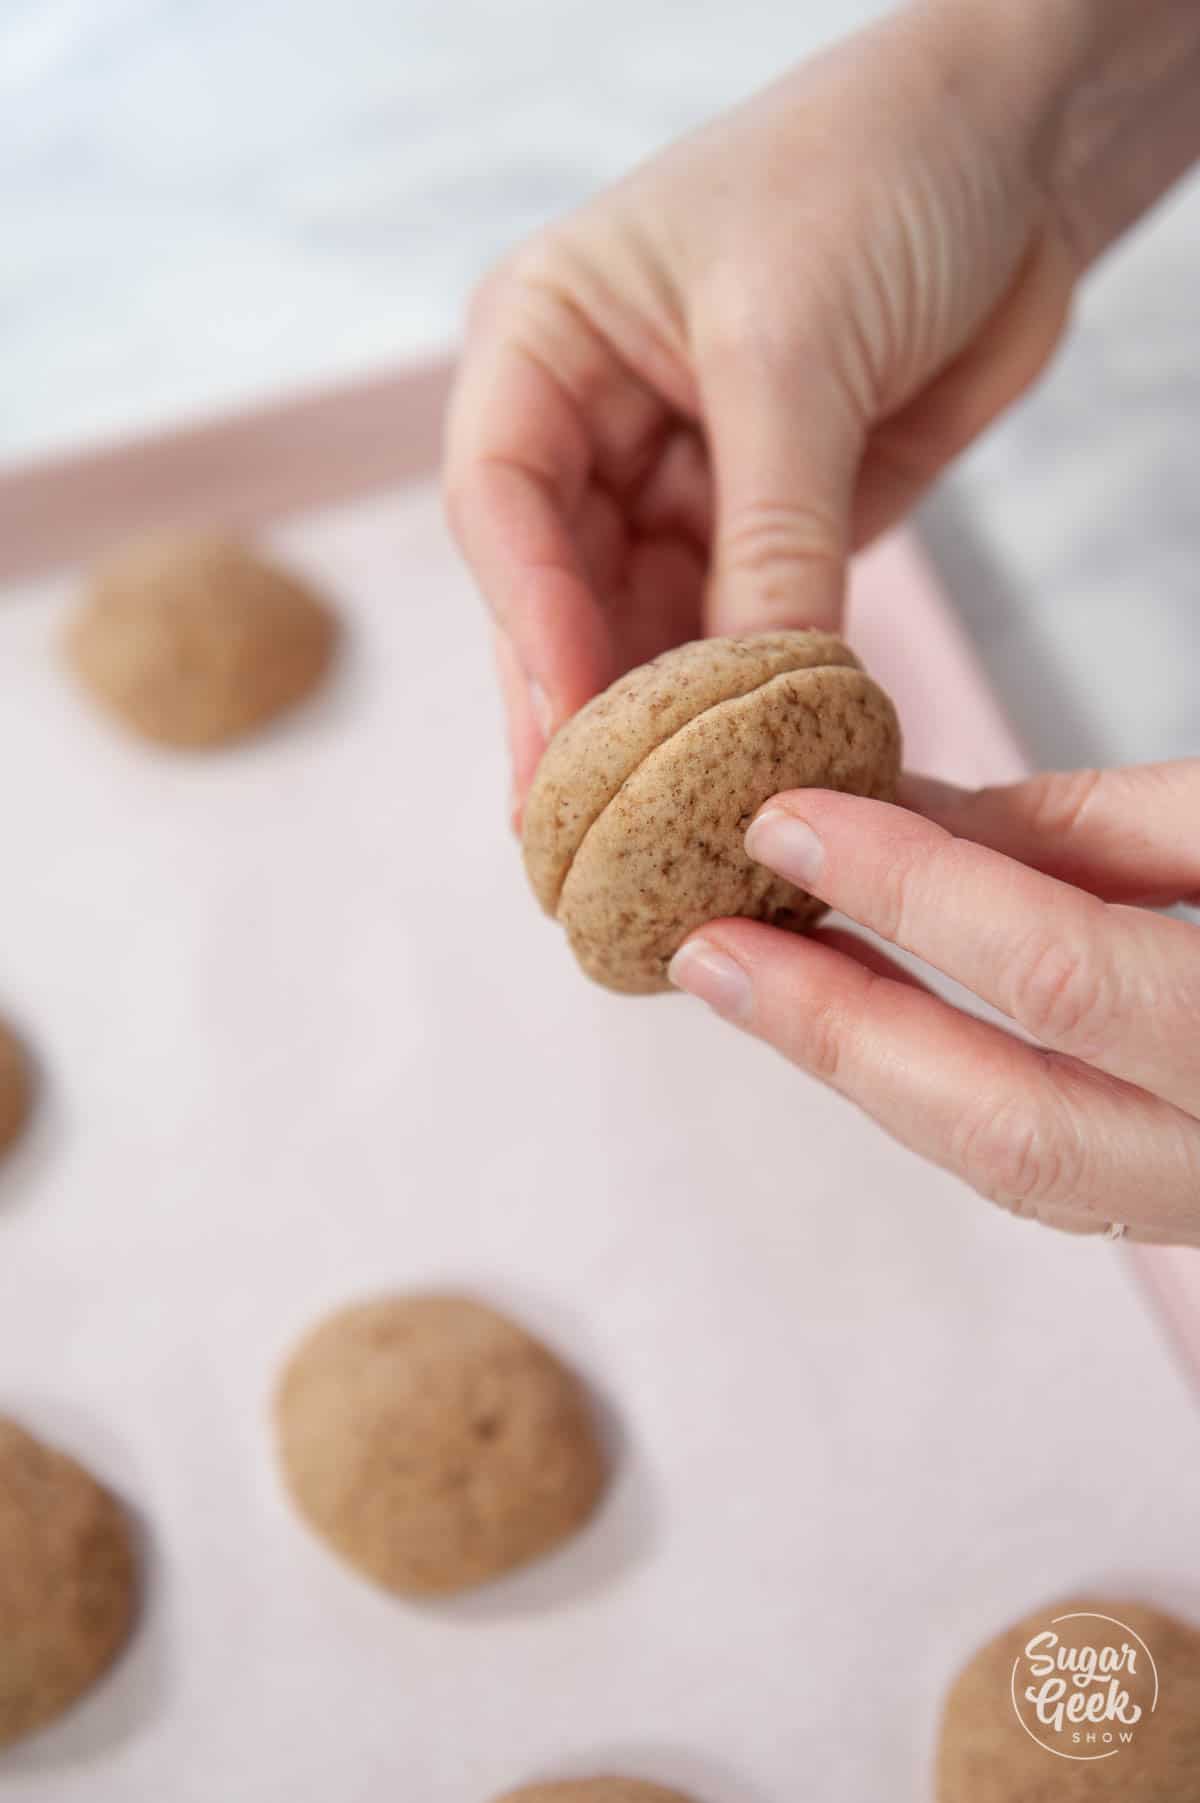
- Trim the domes off your chilled cake layers so they are nice and flat. I also like to trim the brown off the sides and the bottom but you don't have to. Place the first cake layer onto a 6" cake board or onto your cake platter.

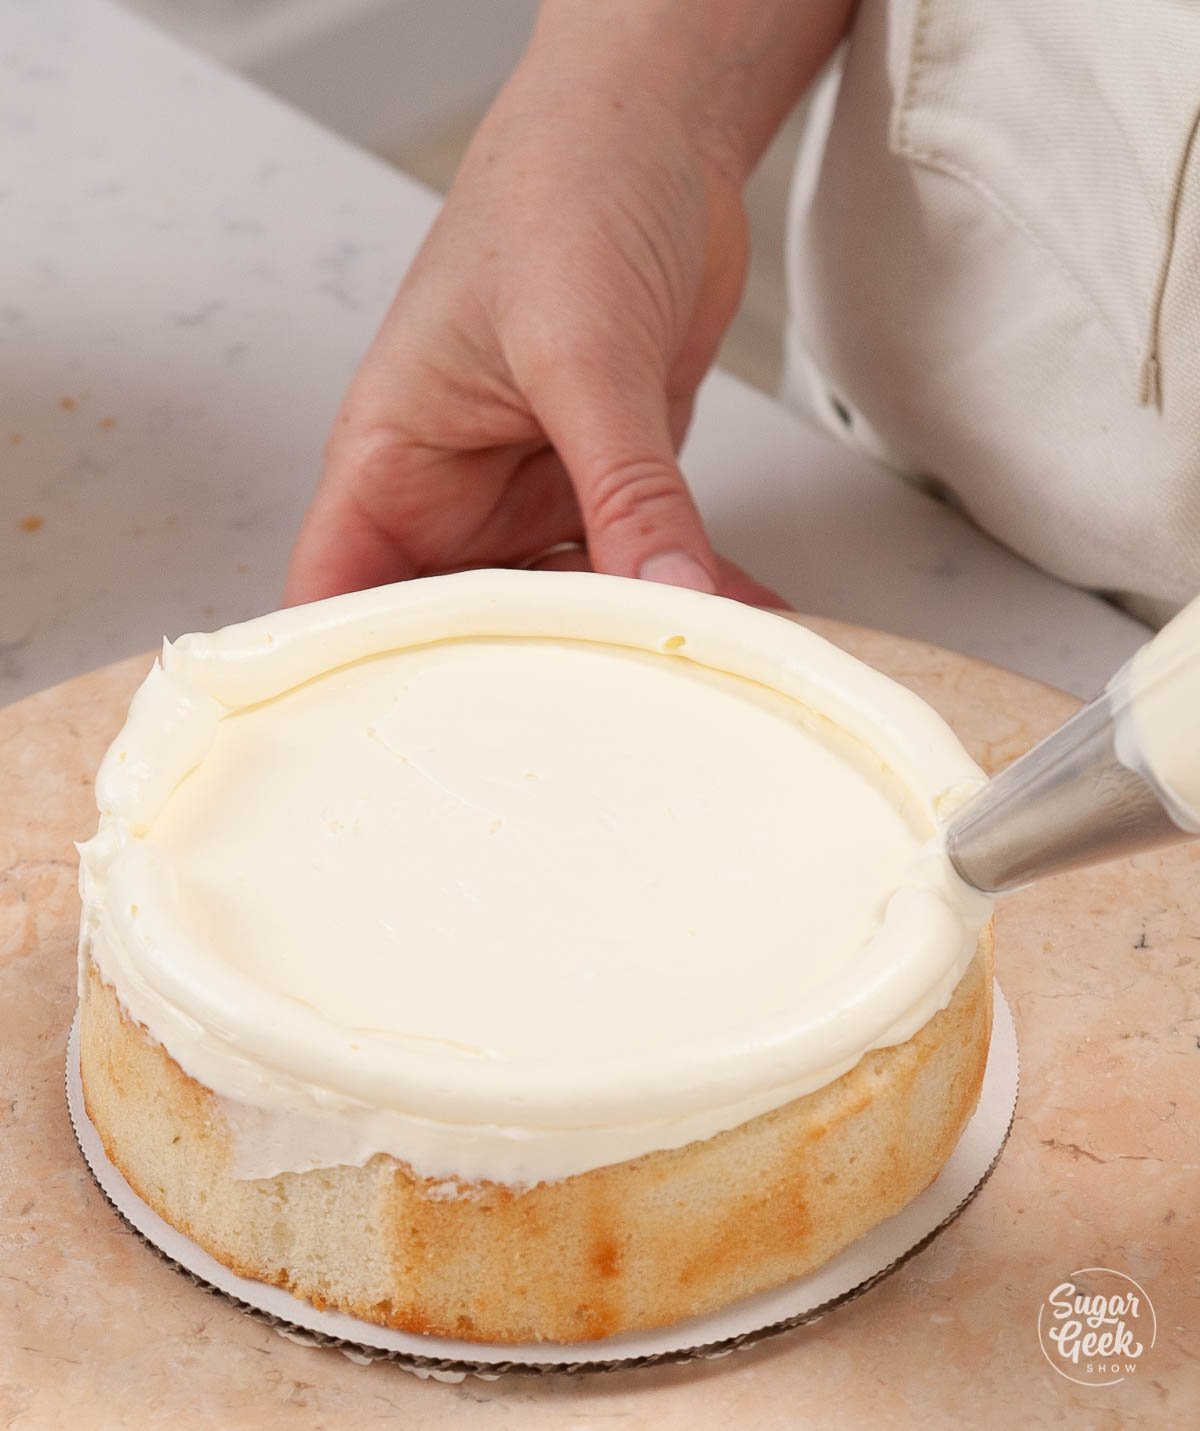
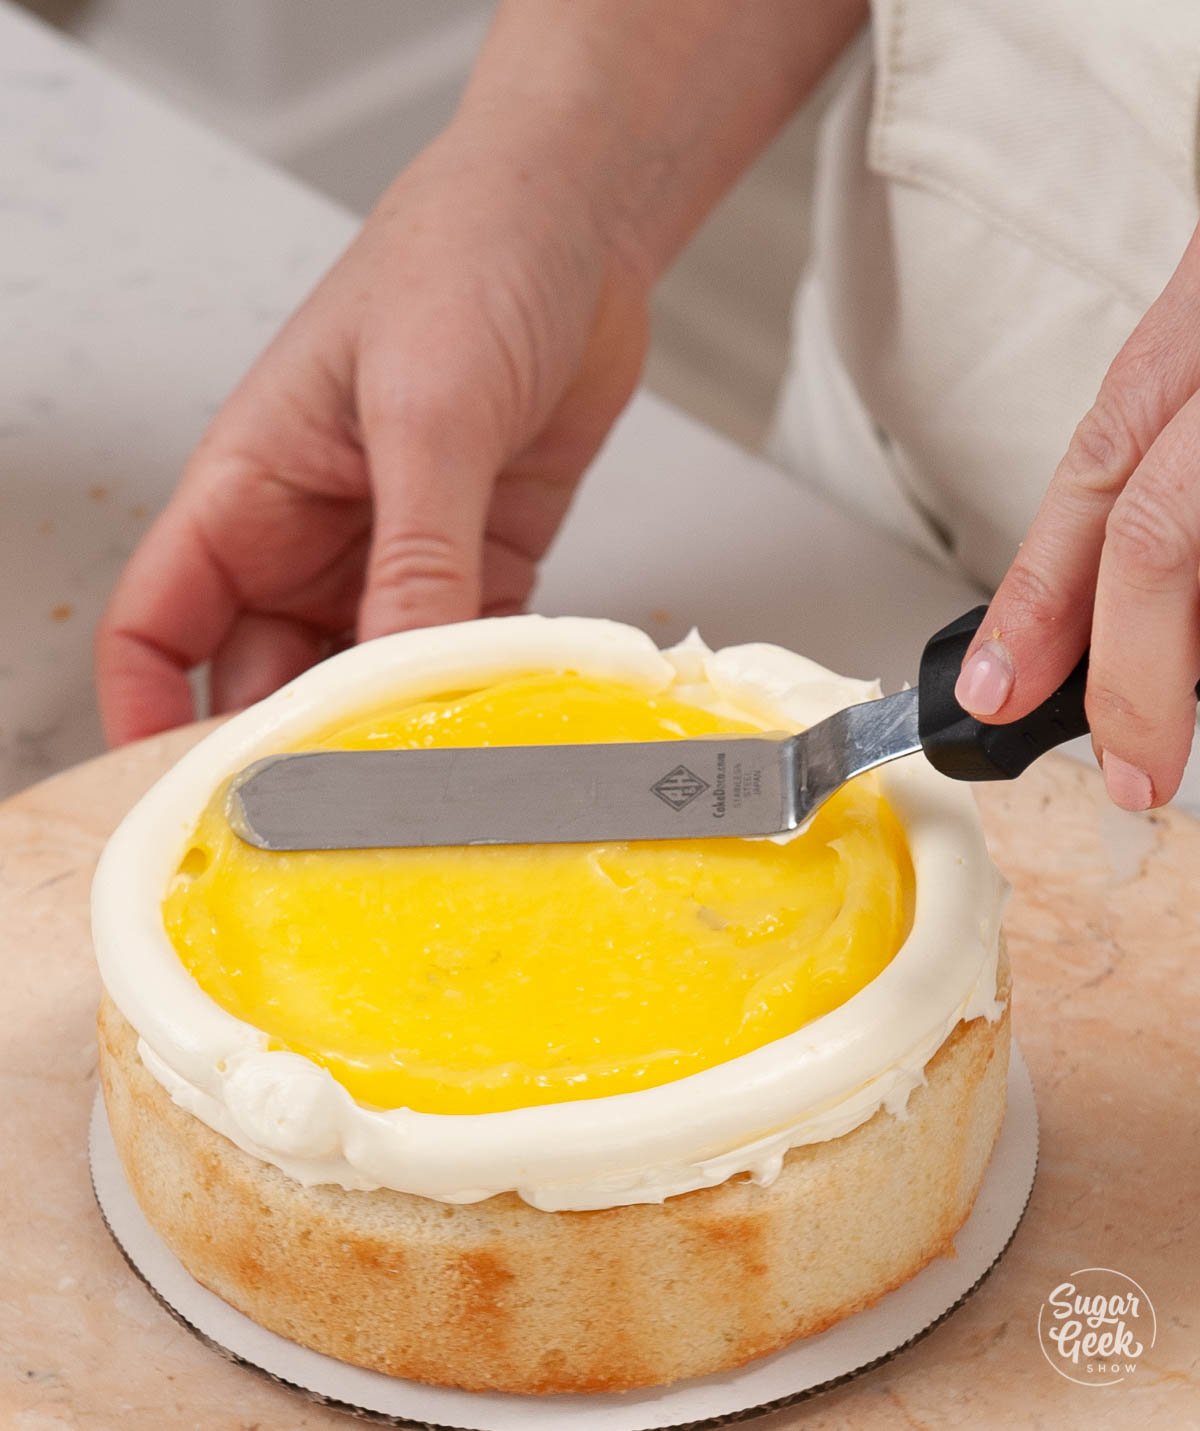
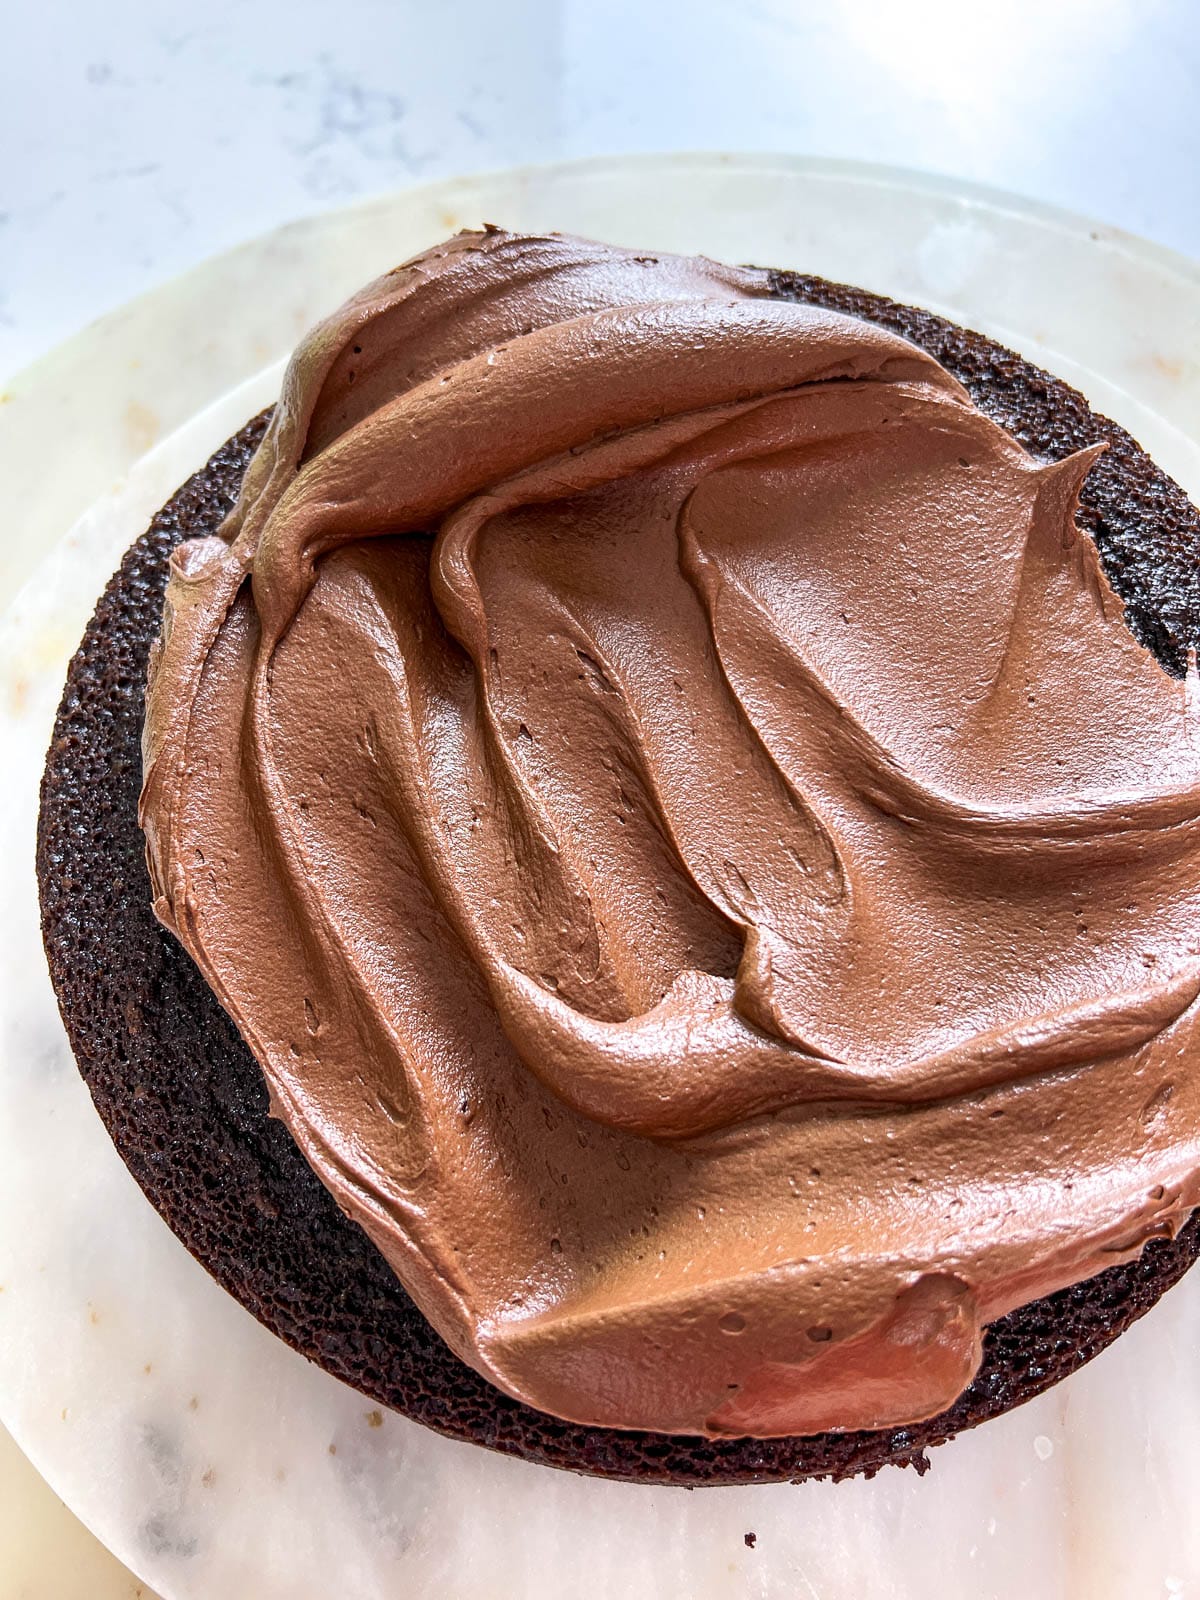
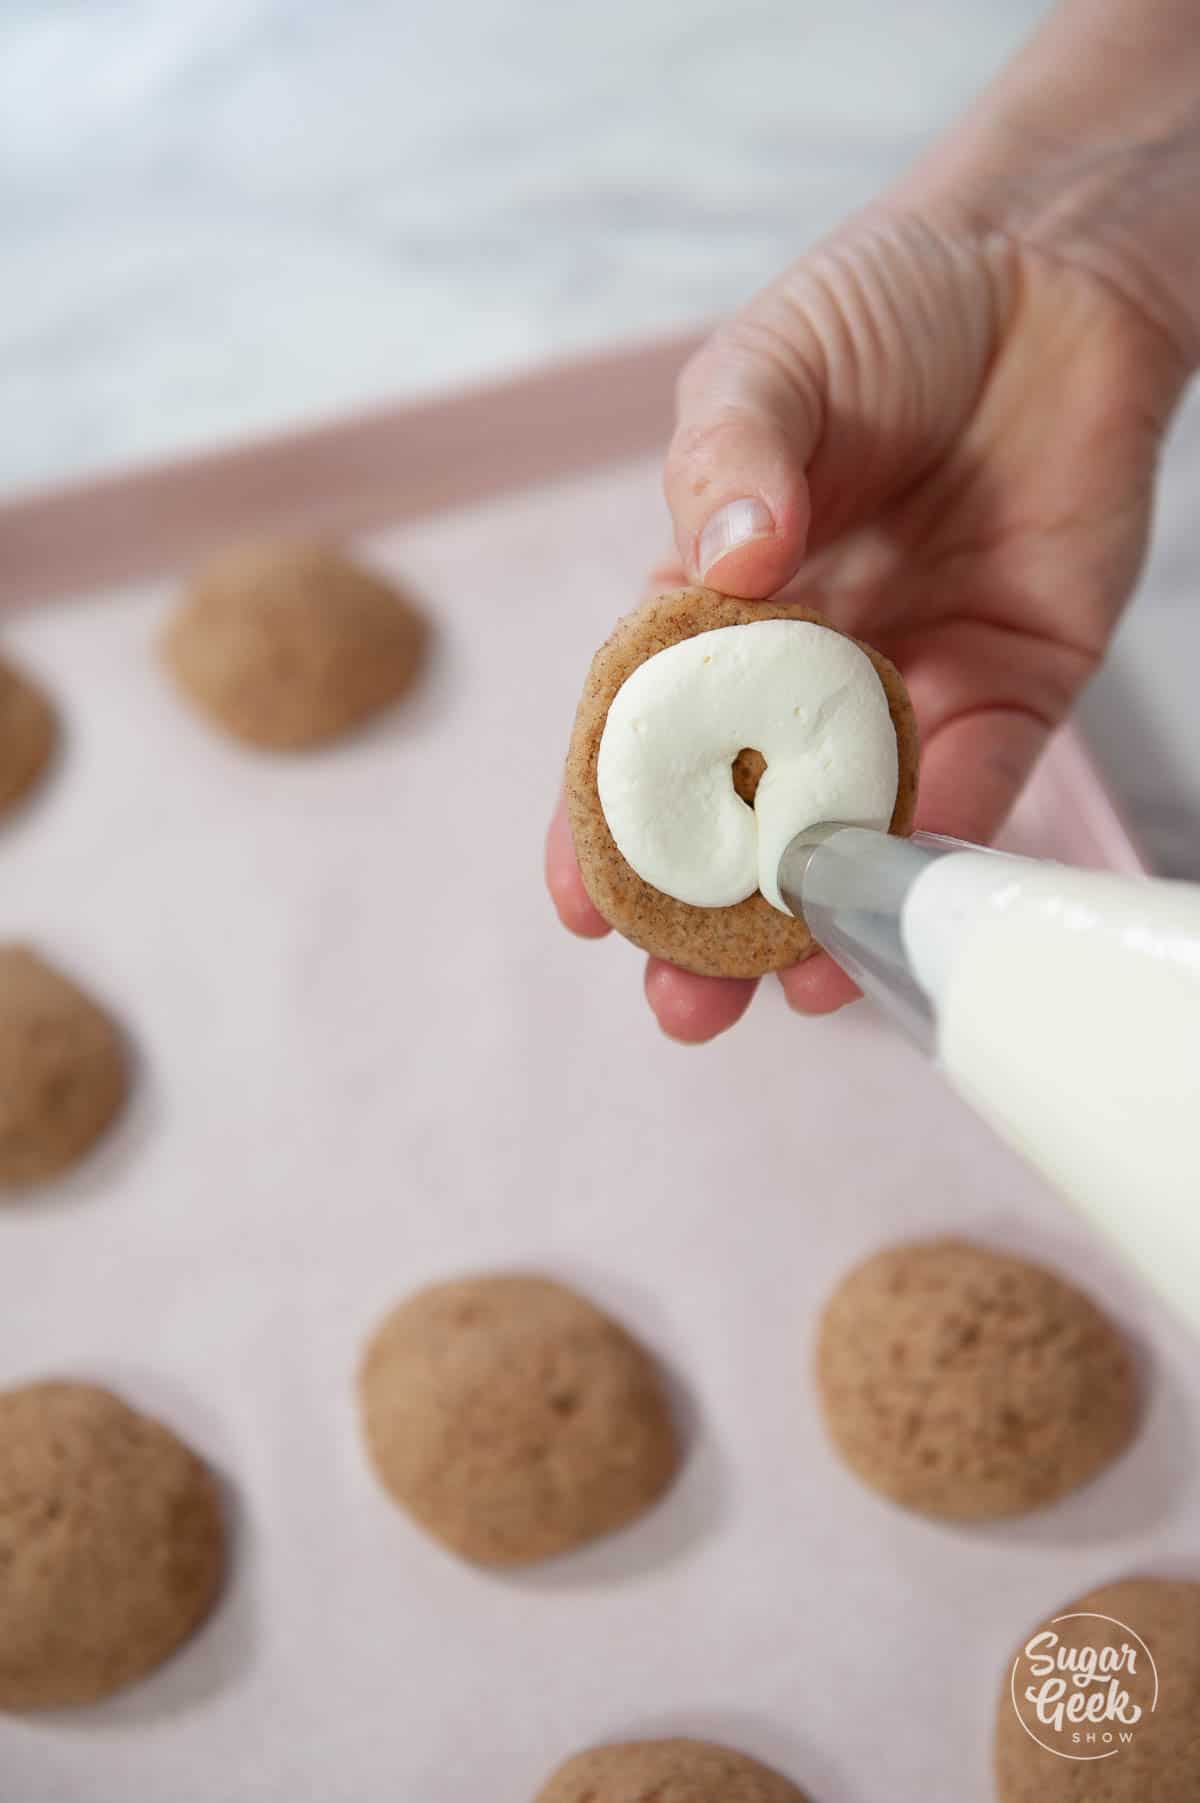
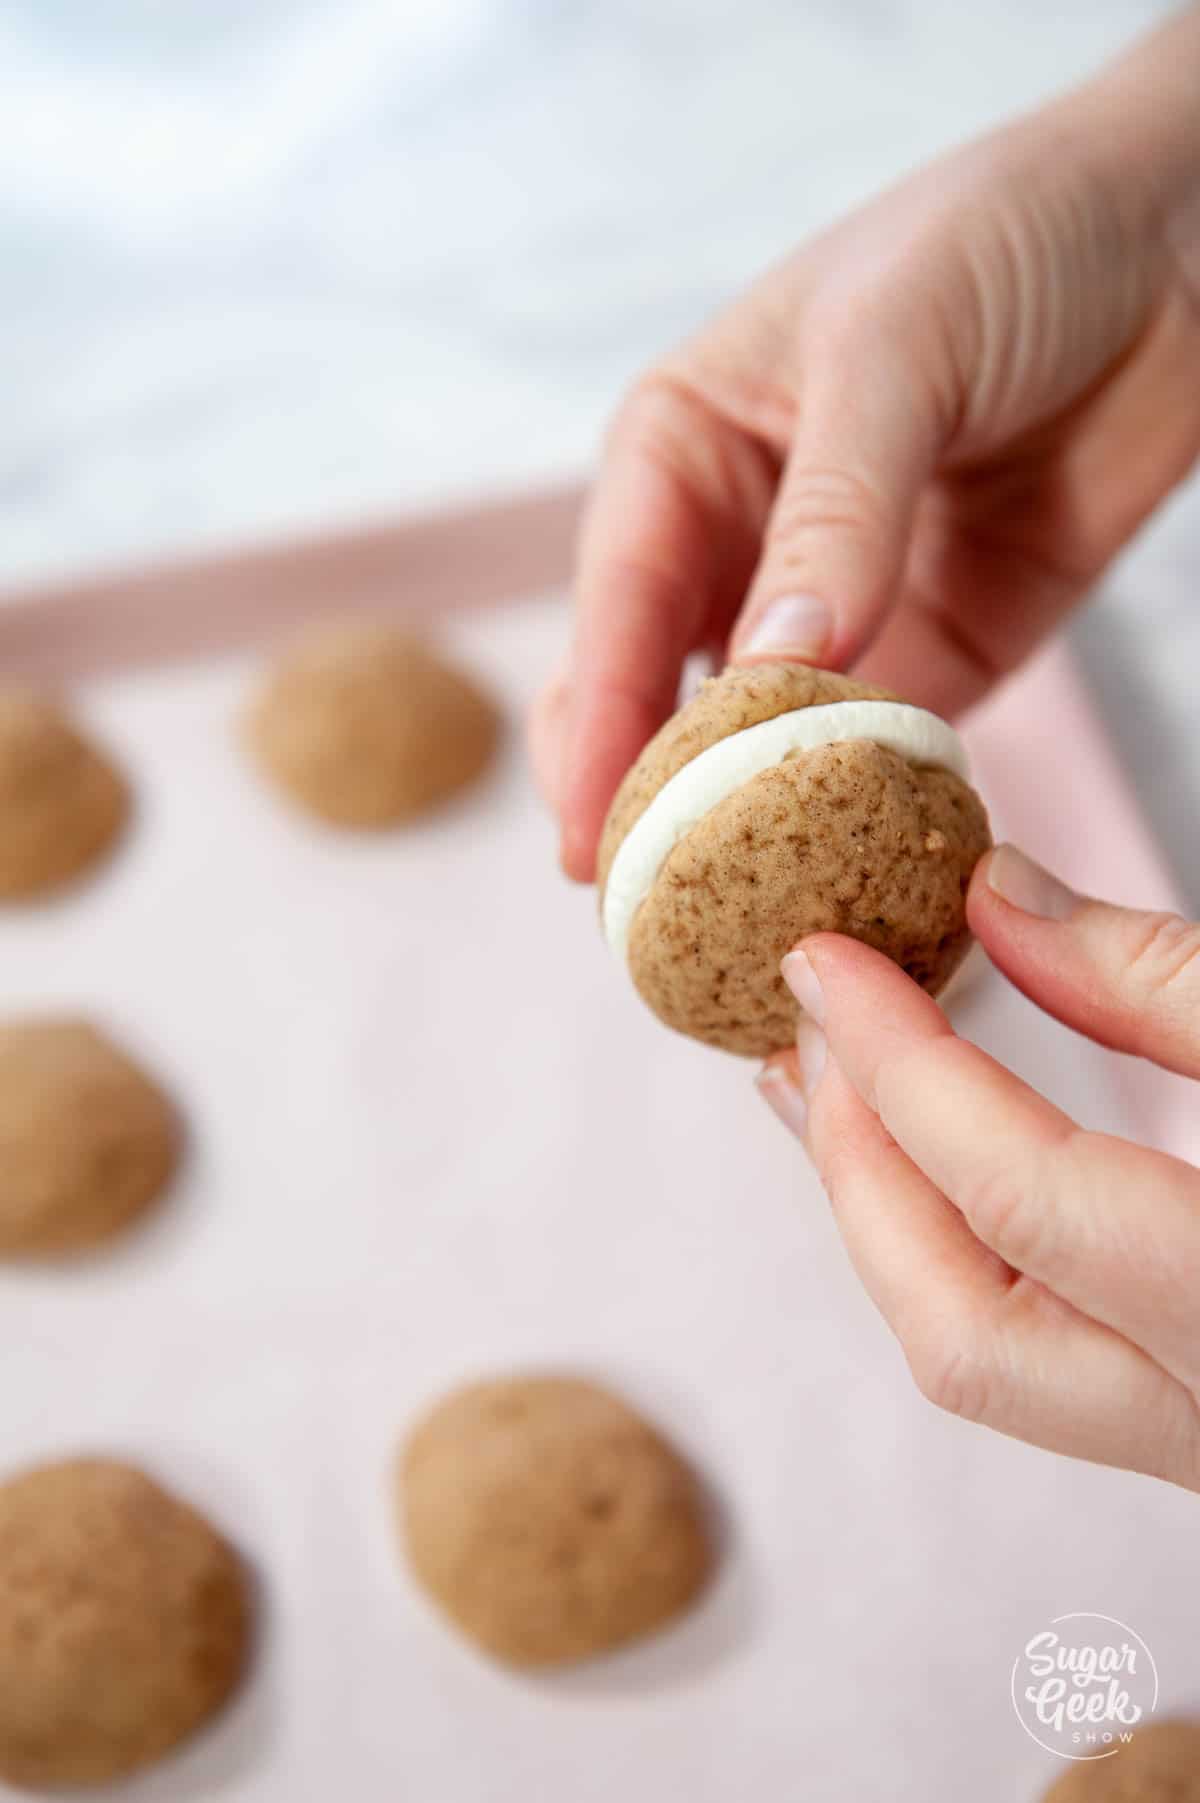
- Spread a thin layer of your easy buttercream onto the cake layer so the curd doesn't soak into the cake. Pipe a dam of buttercream around the outside edge so the curd doesn't spill out.
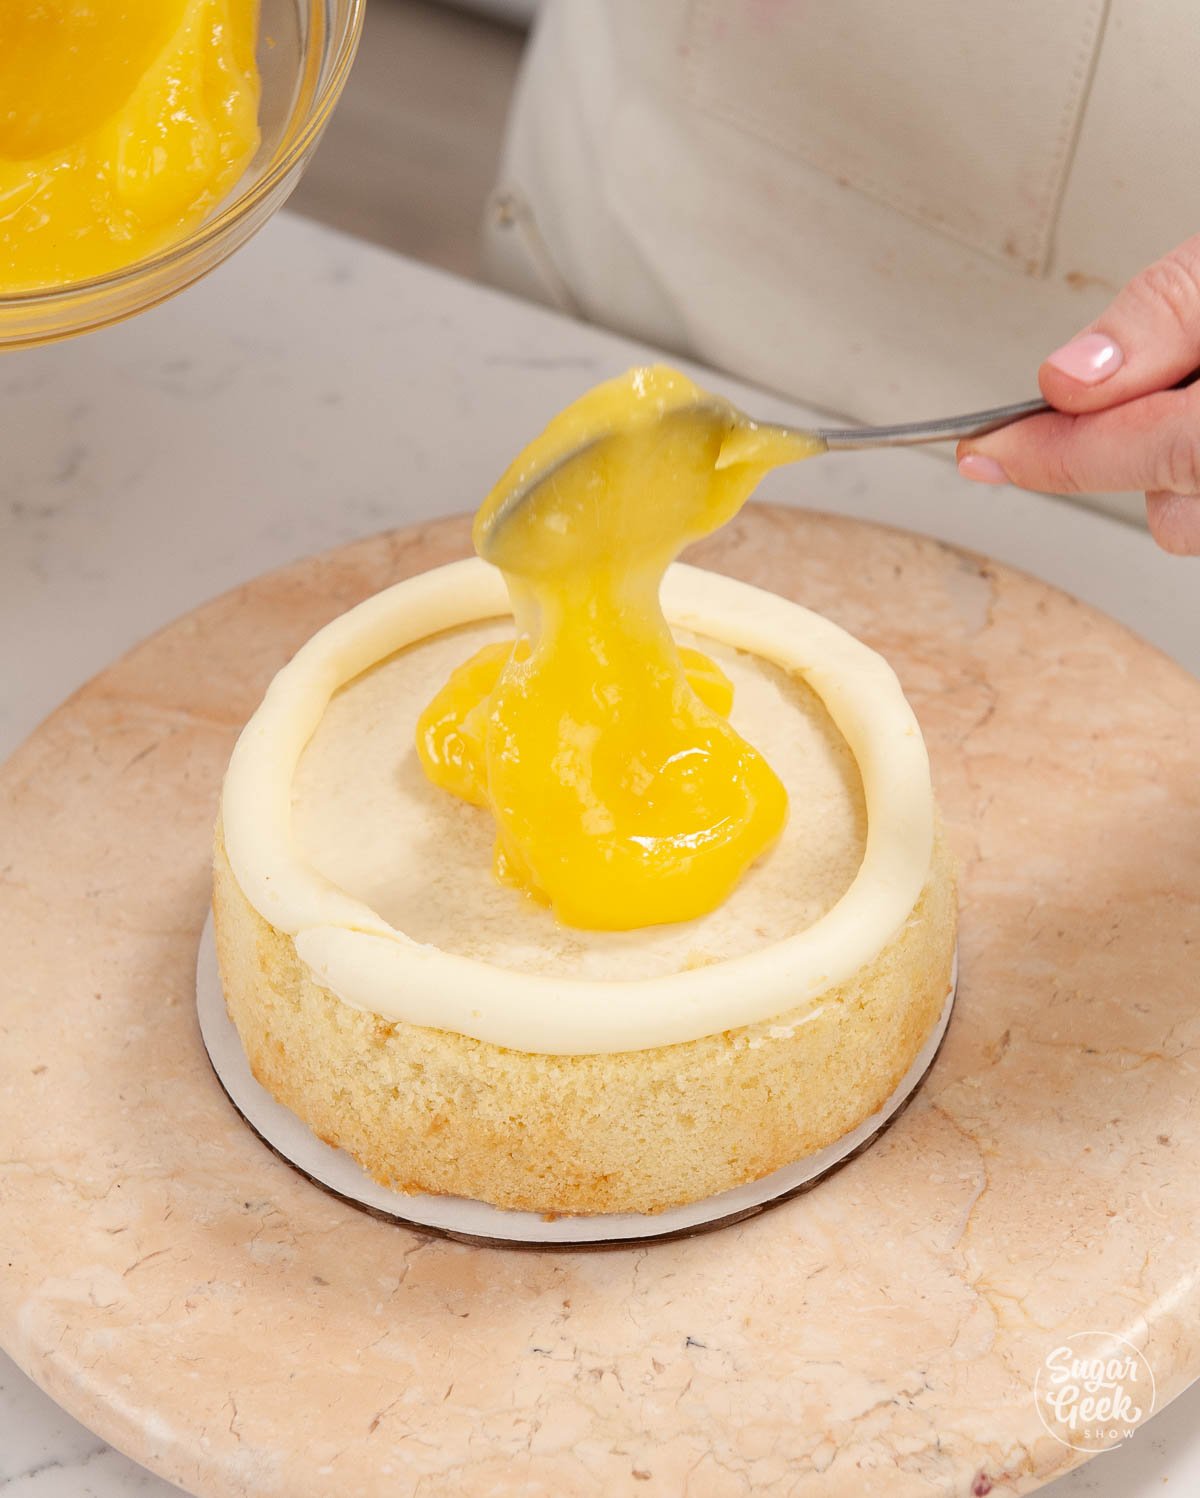
- Fill the inside with about ¼" of your lime curd. You don't want it too thick.
- Place the second layer of cake on top and repeat the process again with buttercream and curd. Then put the final layer of cake on top.
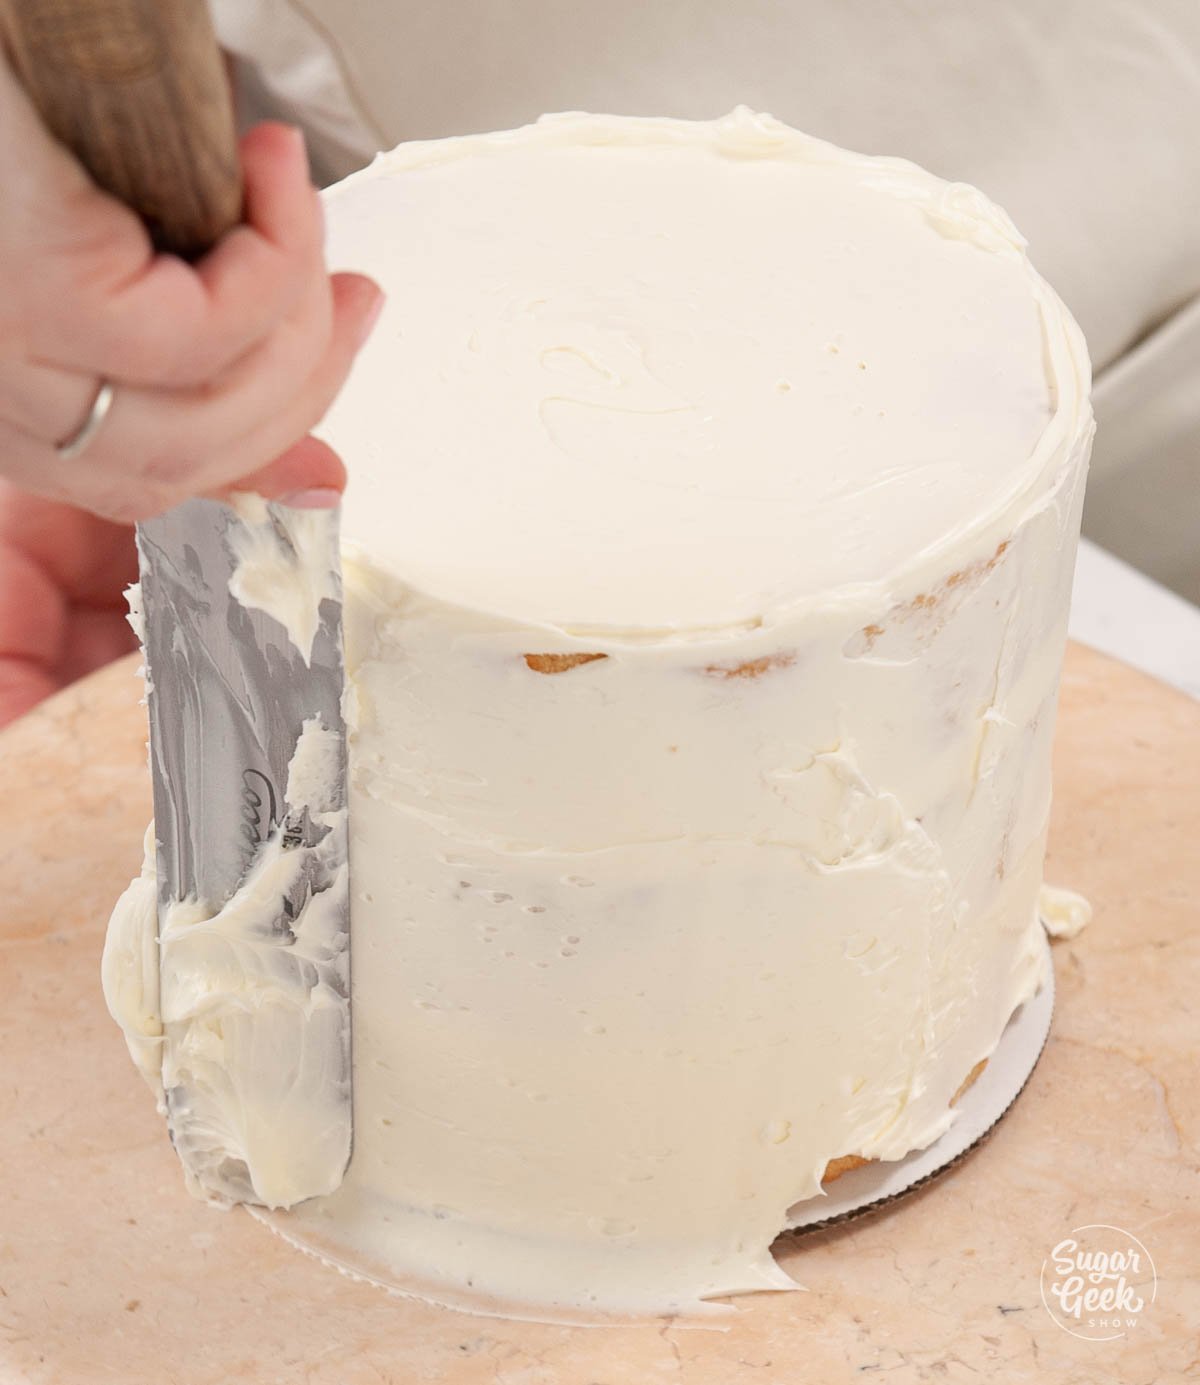
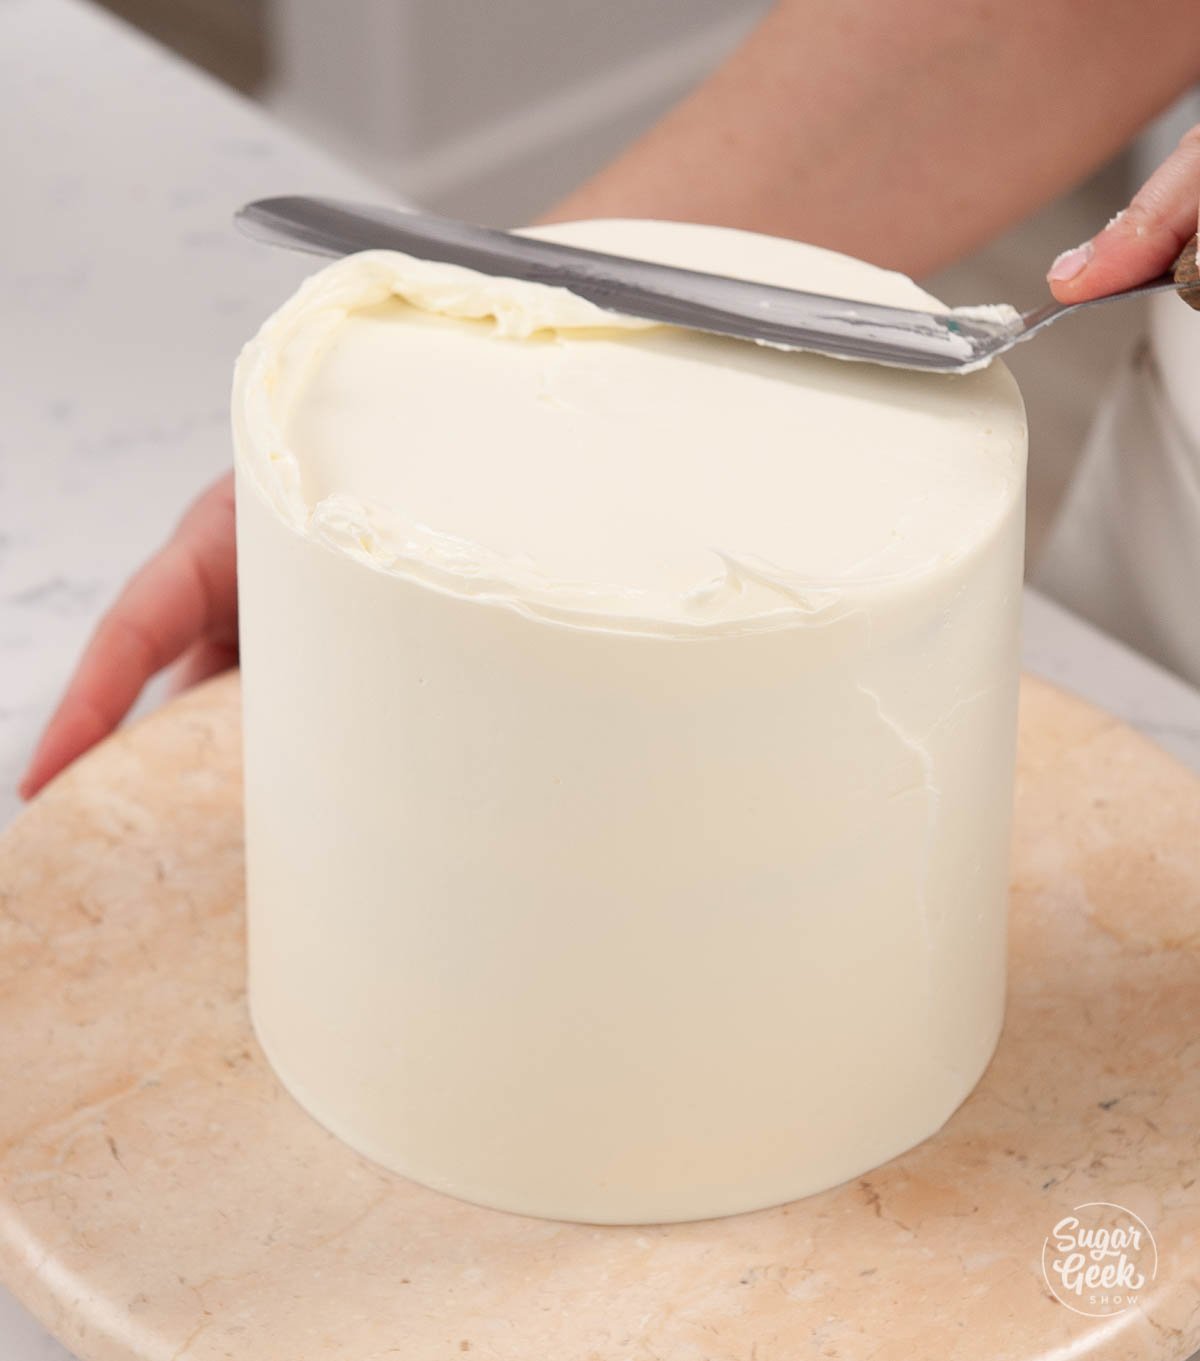
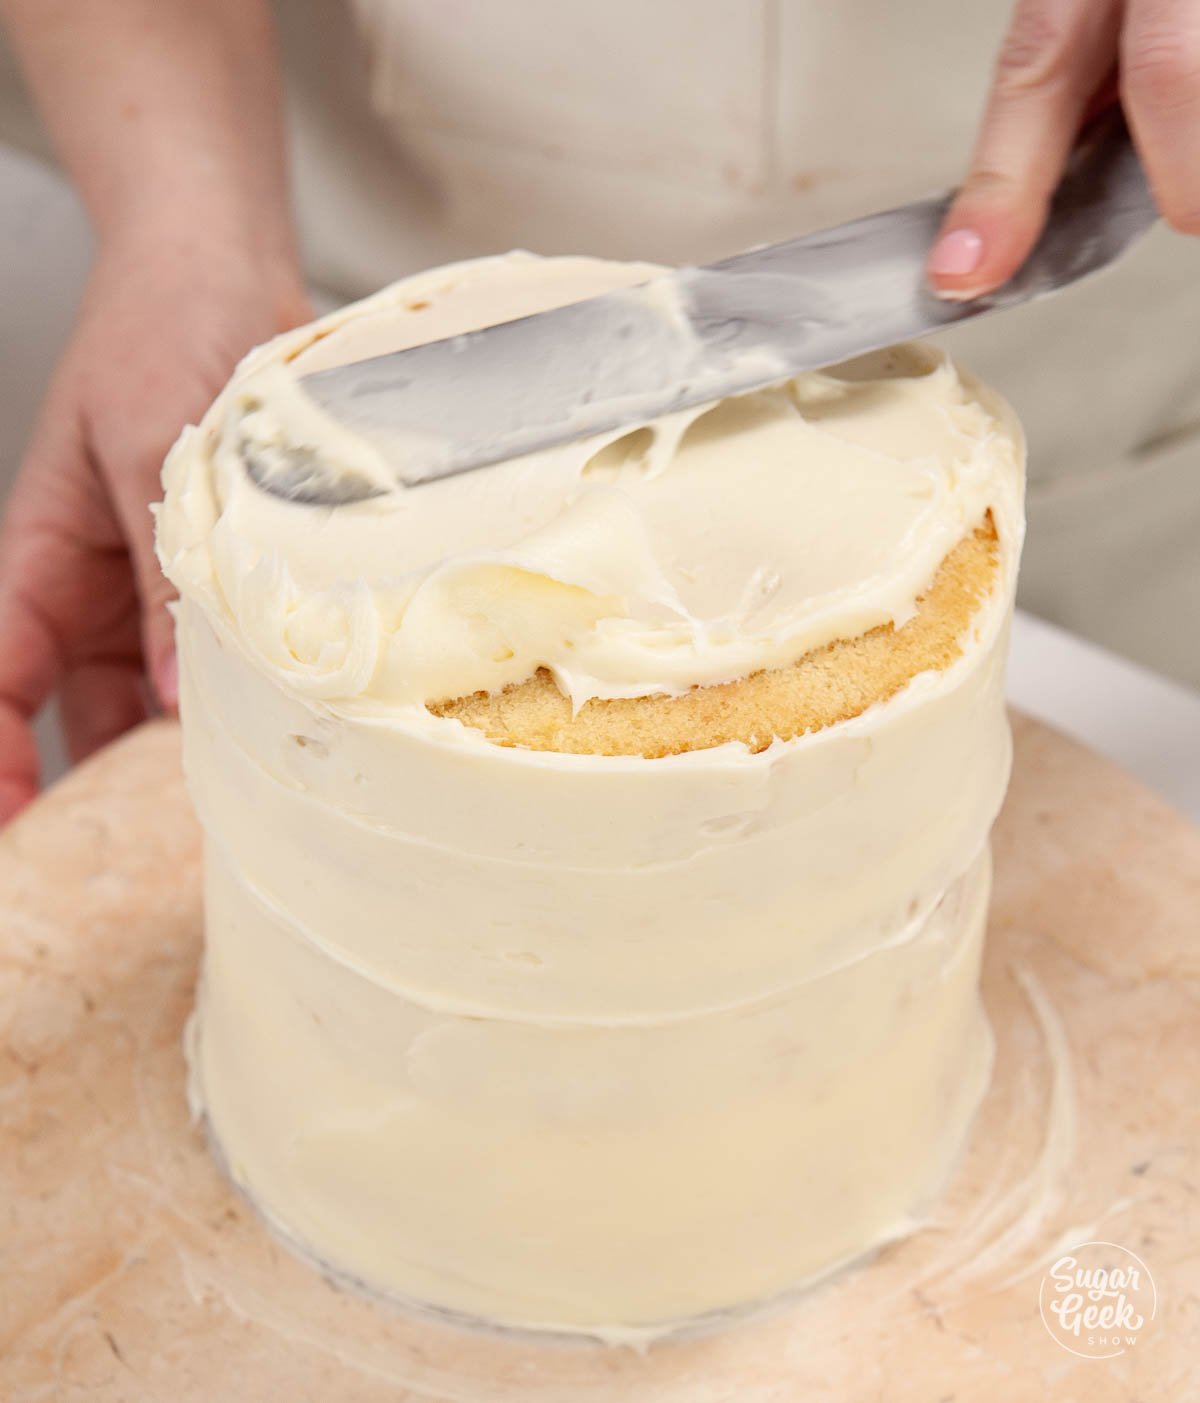
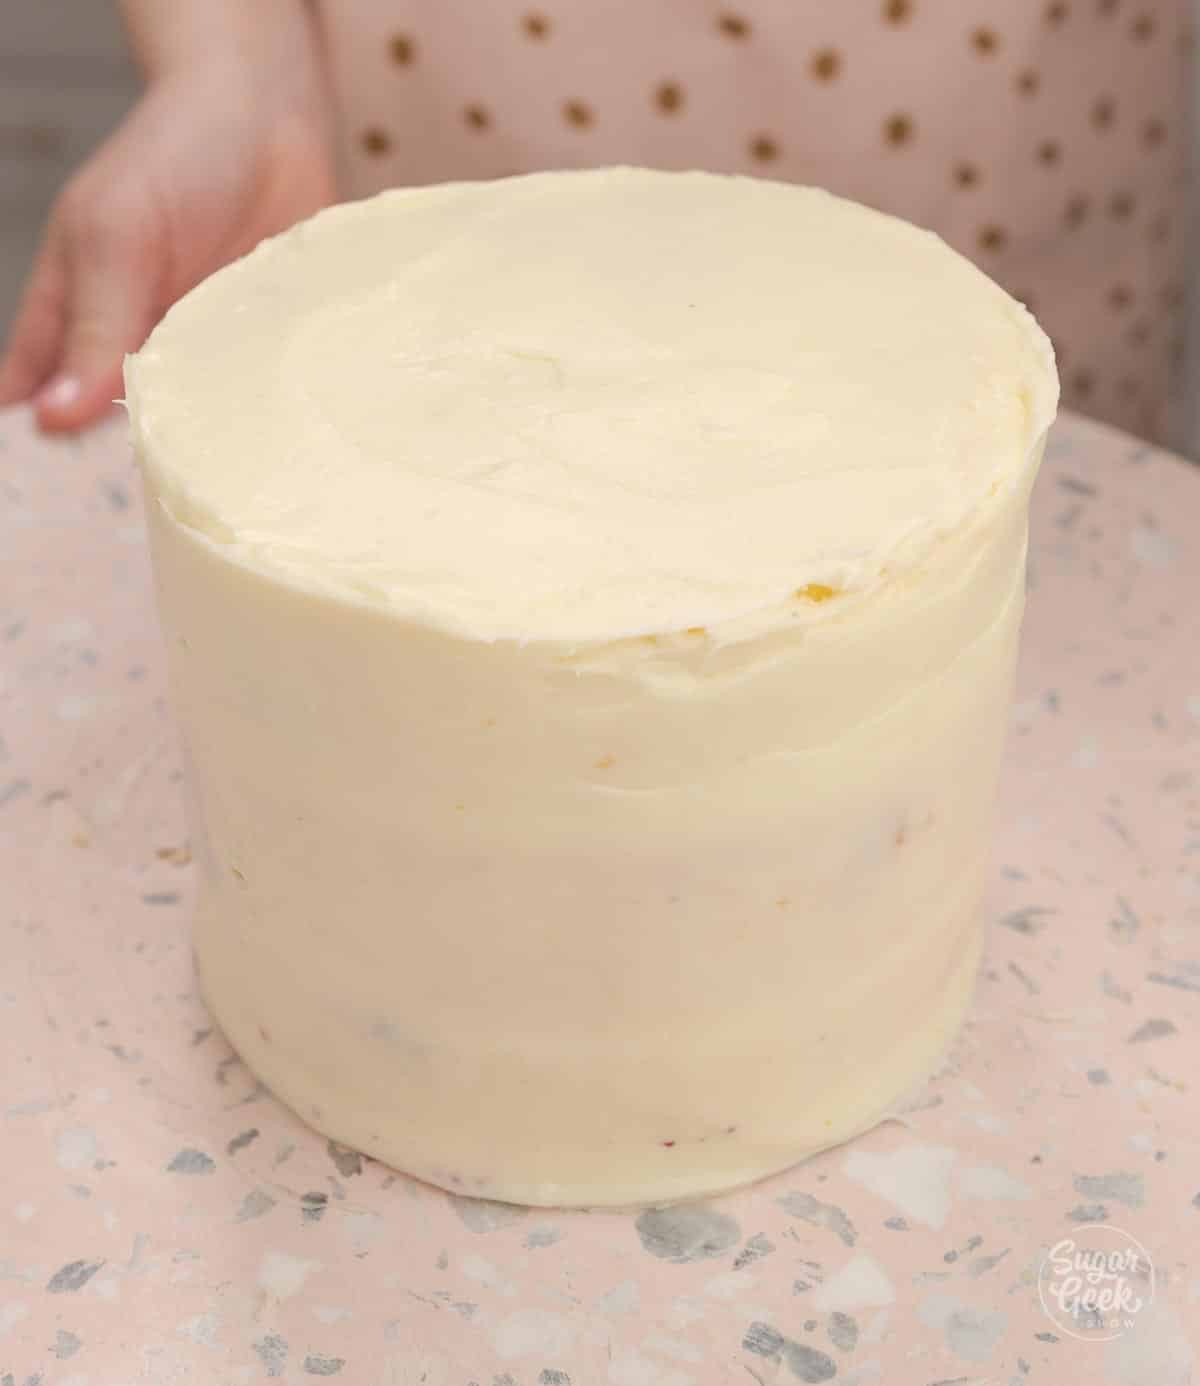
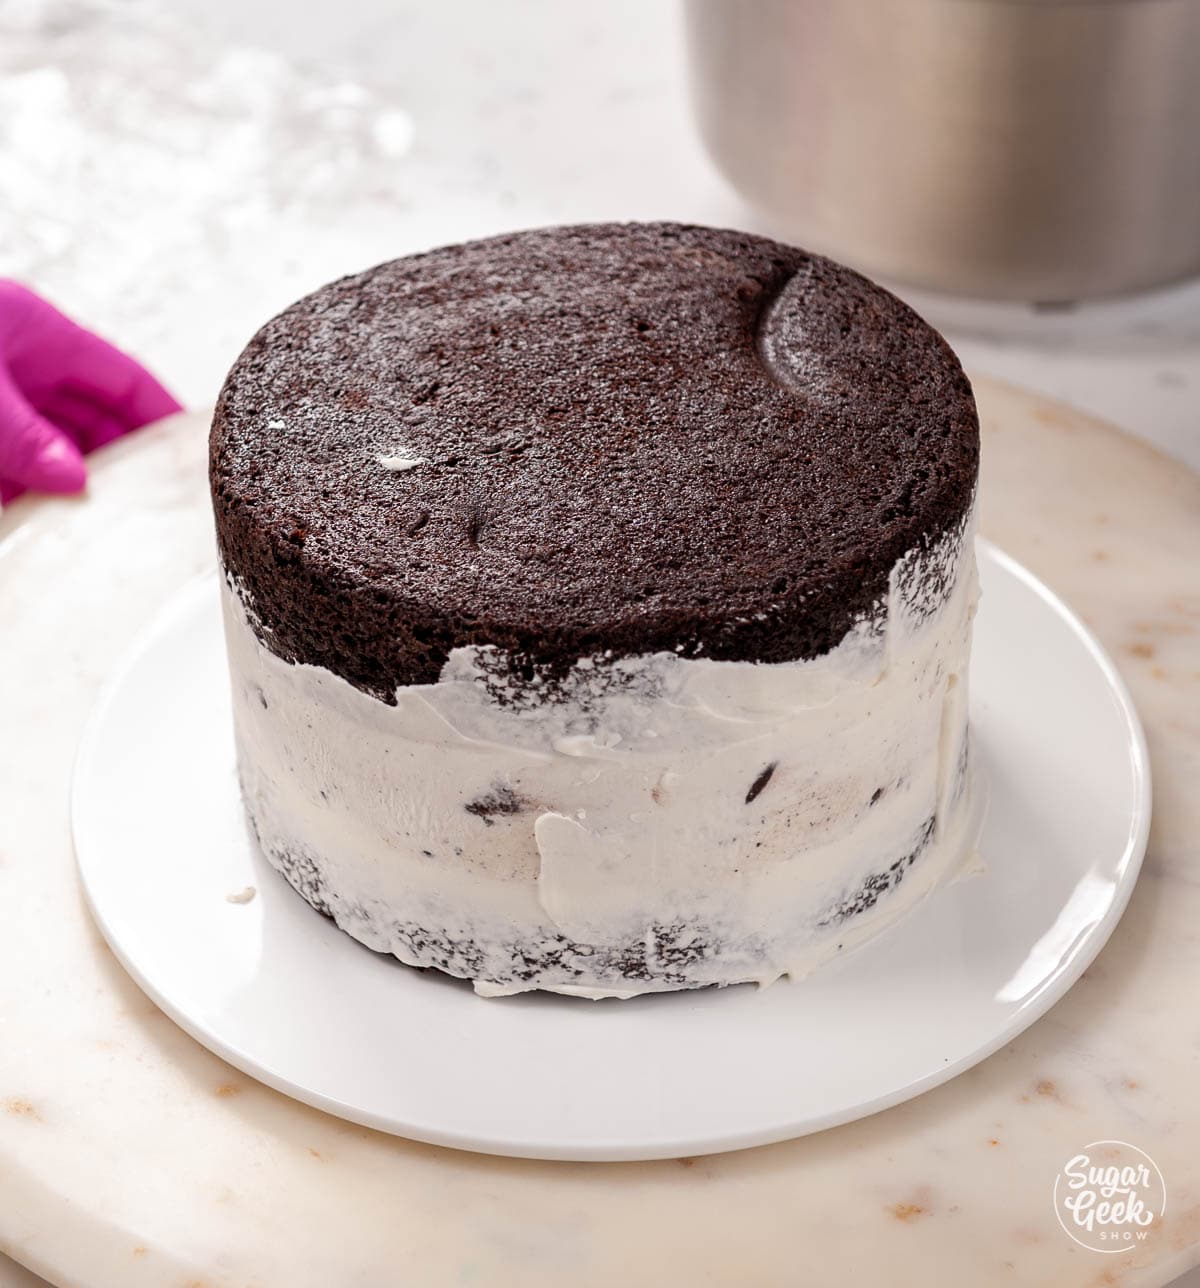
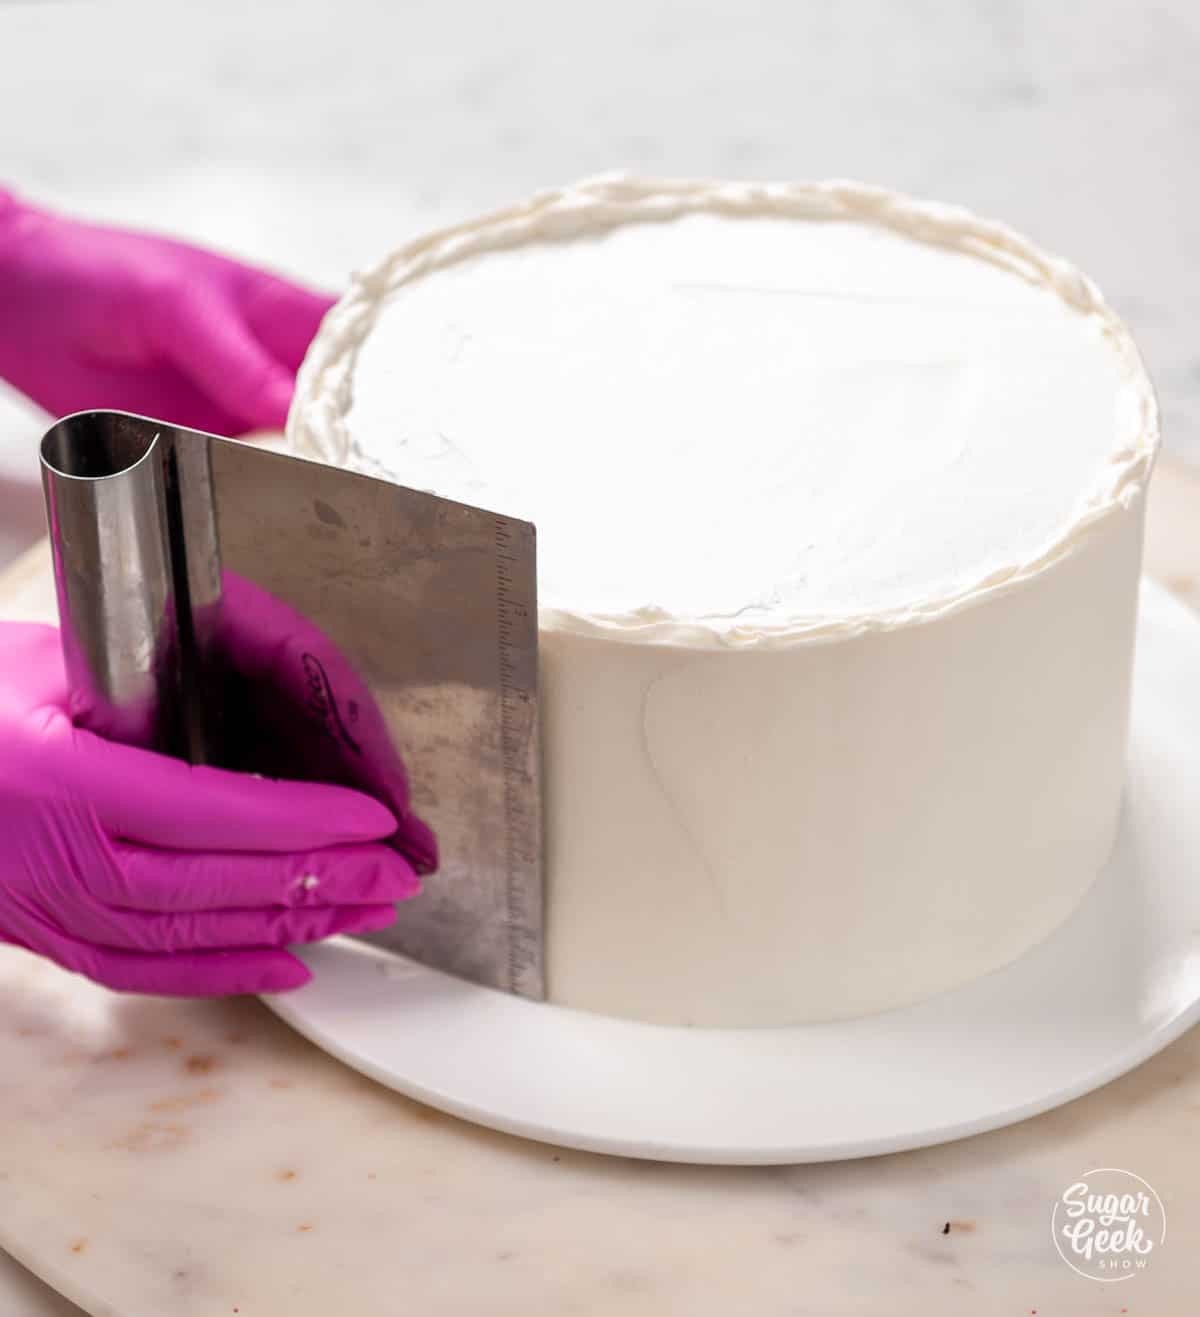
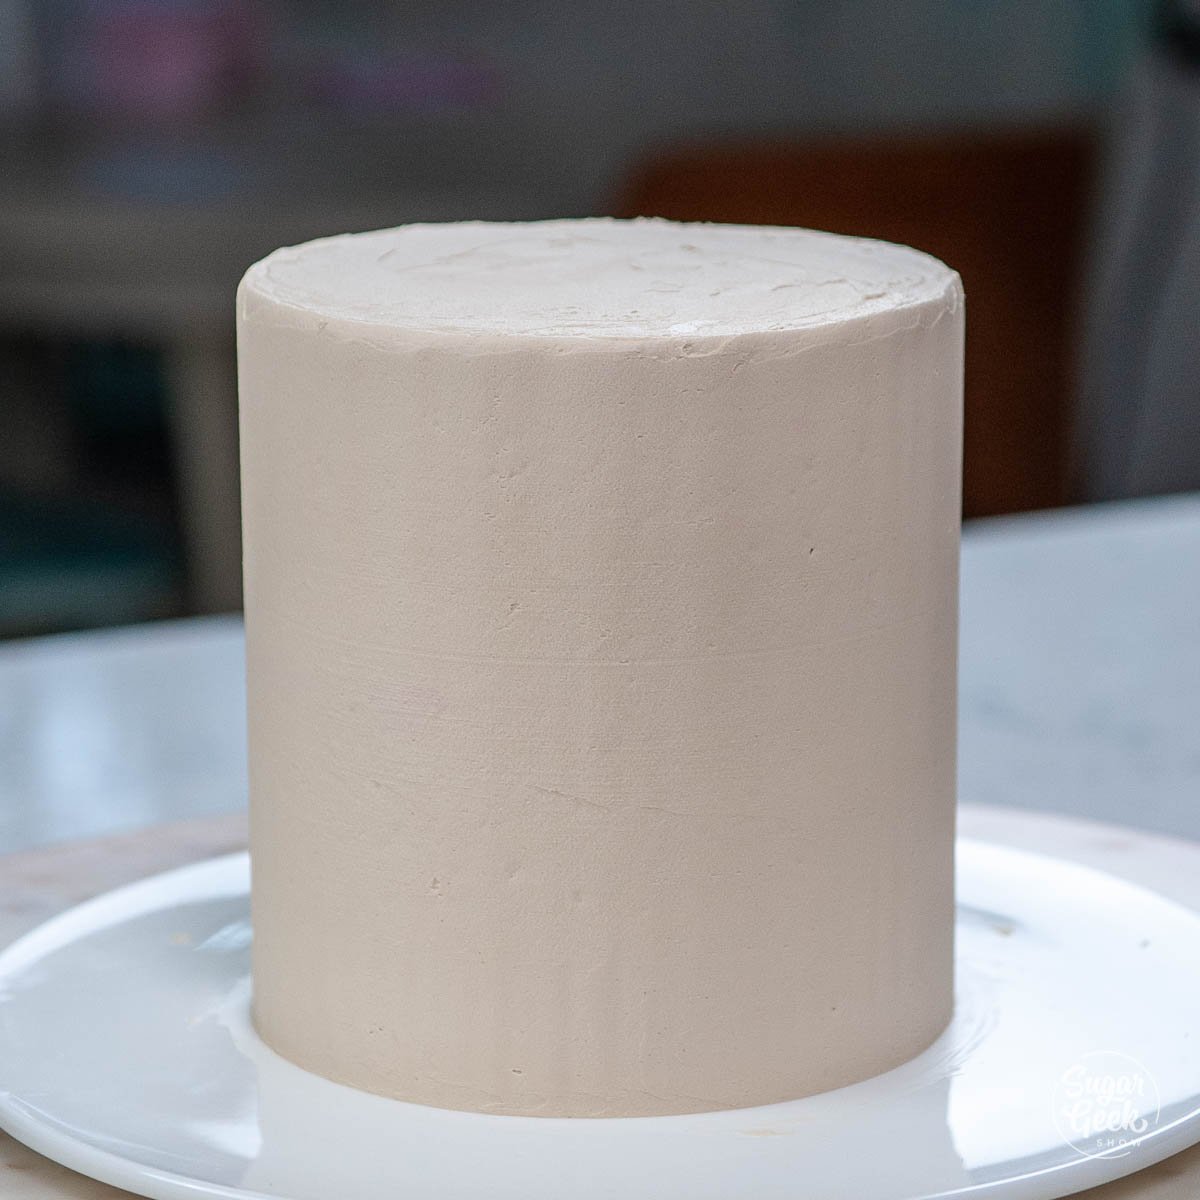
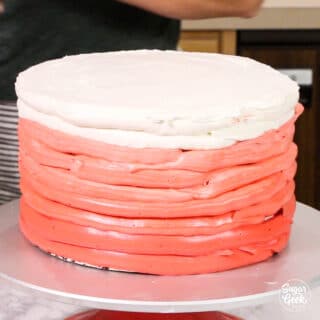
- Cover the entire cake in a thin layer of buttercream. This is the crumbcoat and locks in the crumbs so they don't get into the final layer of buttercream.

- Refrigerate your cake for 15 minutes so that the buttercream firms up.
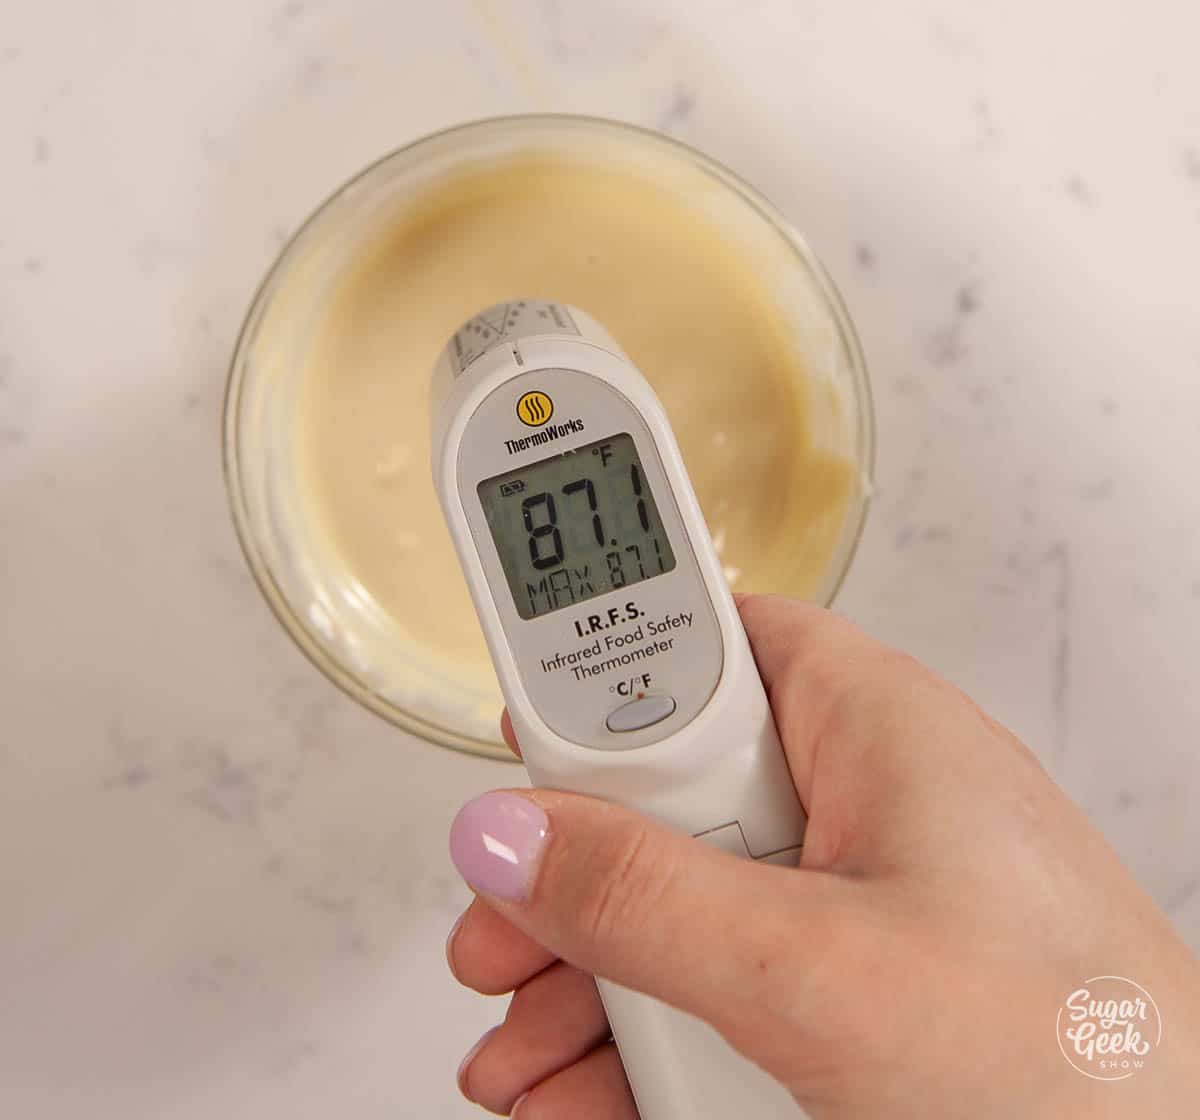
- While your cake is chilling, microwave the leftover gelatin that we made earlier until it's liquid but let it cool down so it's not hot. It shouldn't be warmer than 90ºF. It should only take about 15-30 seconds to melt.
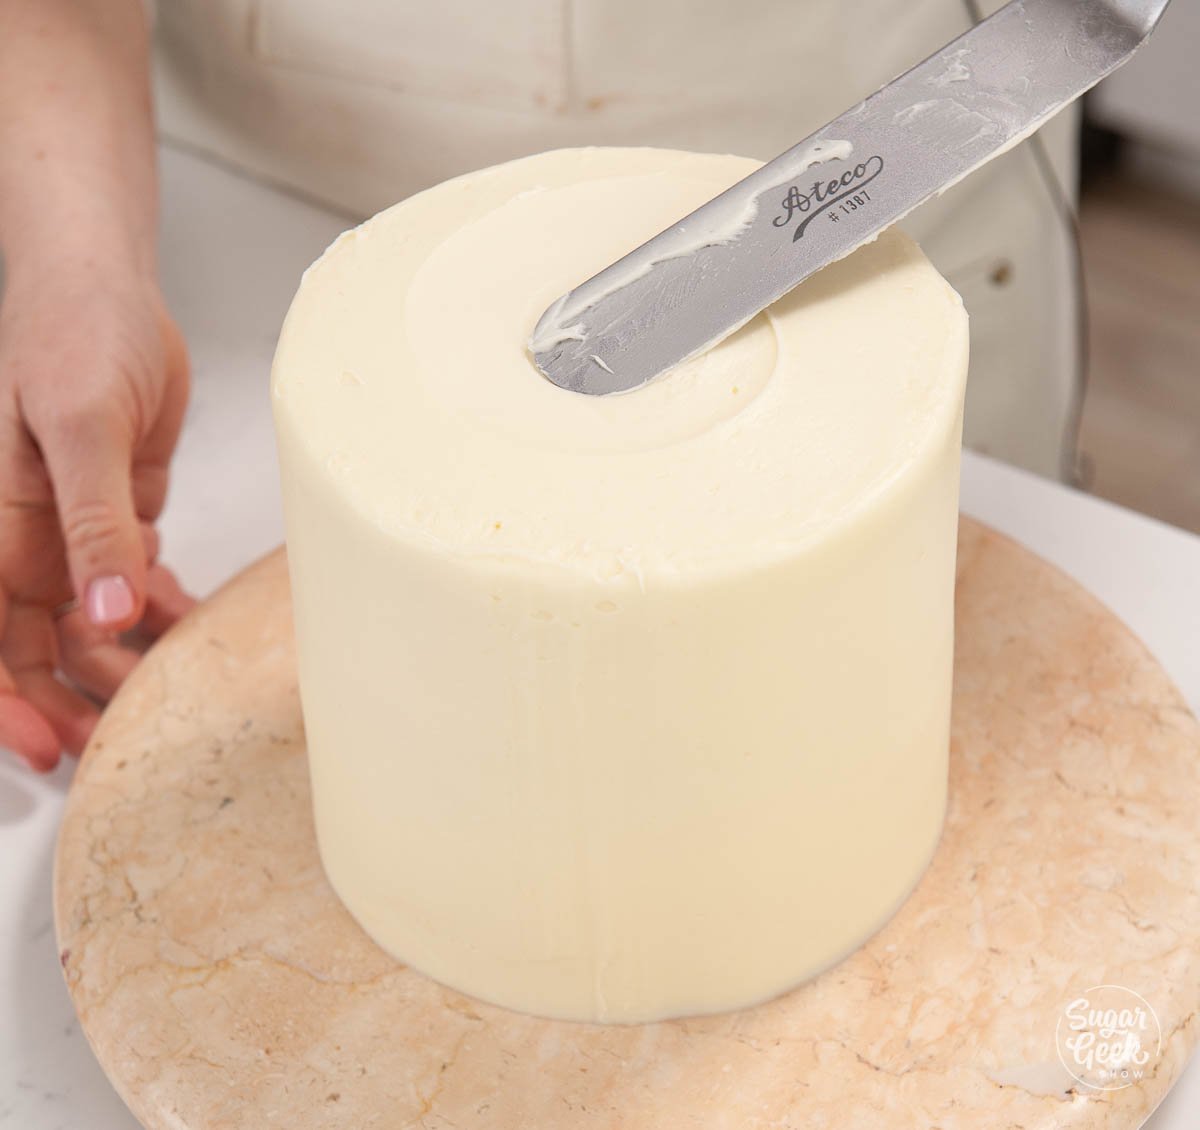
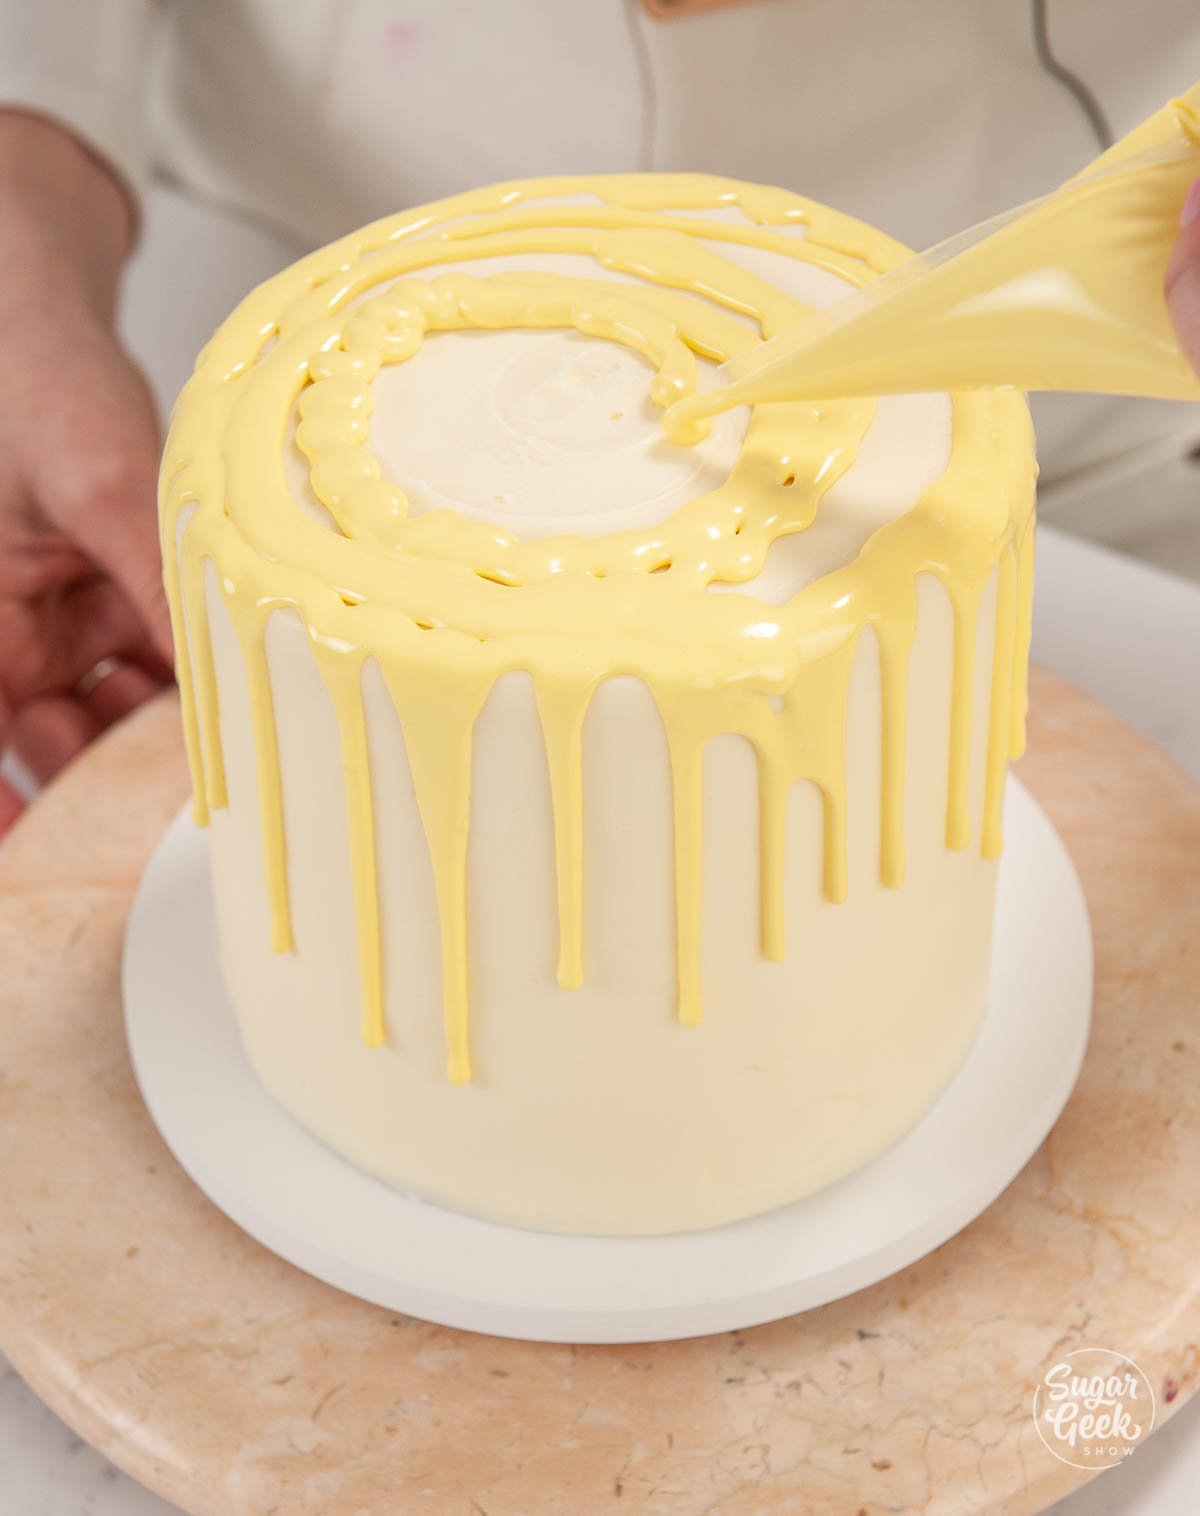
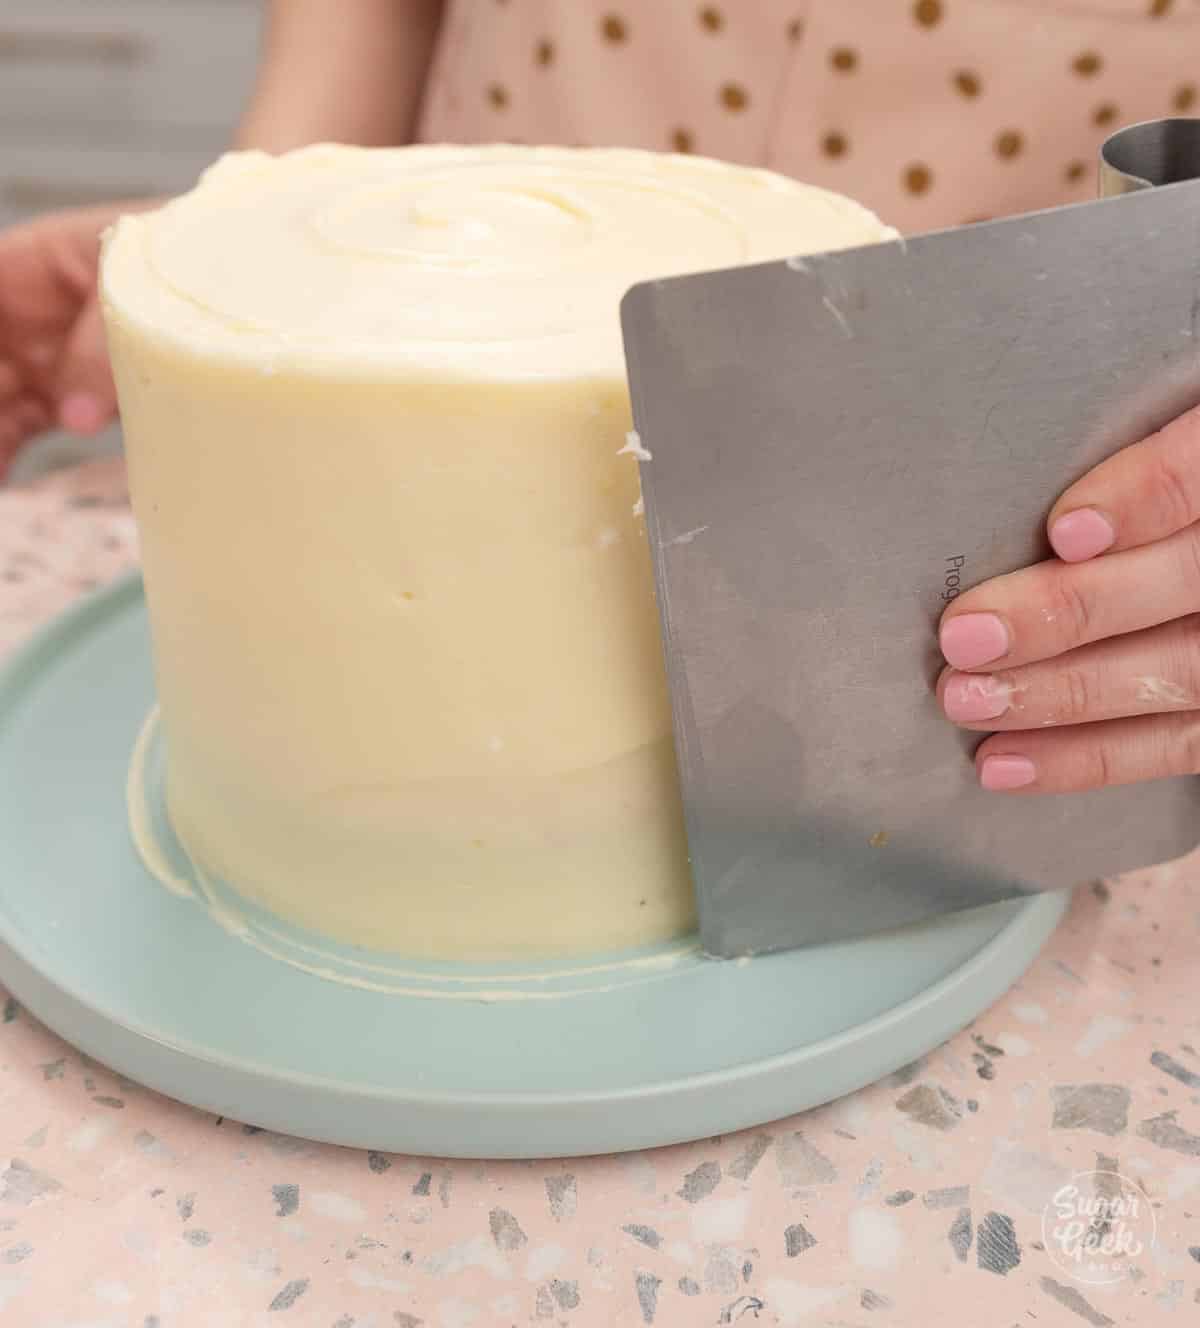
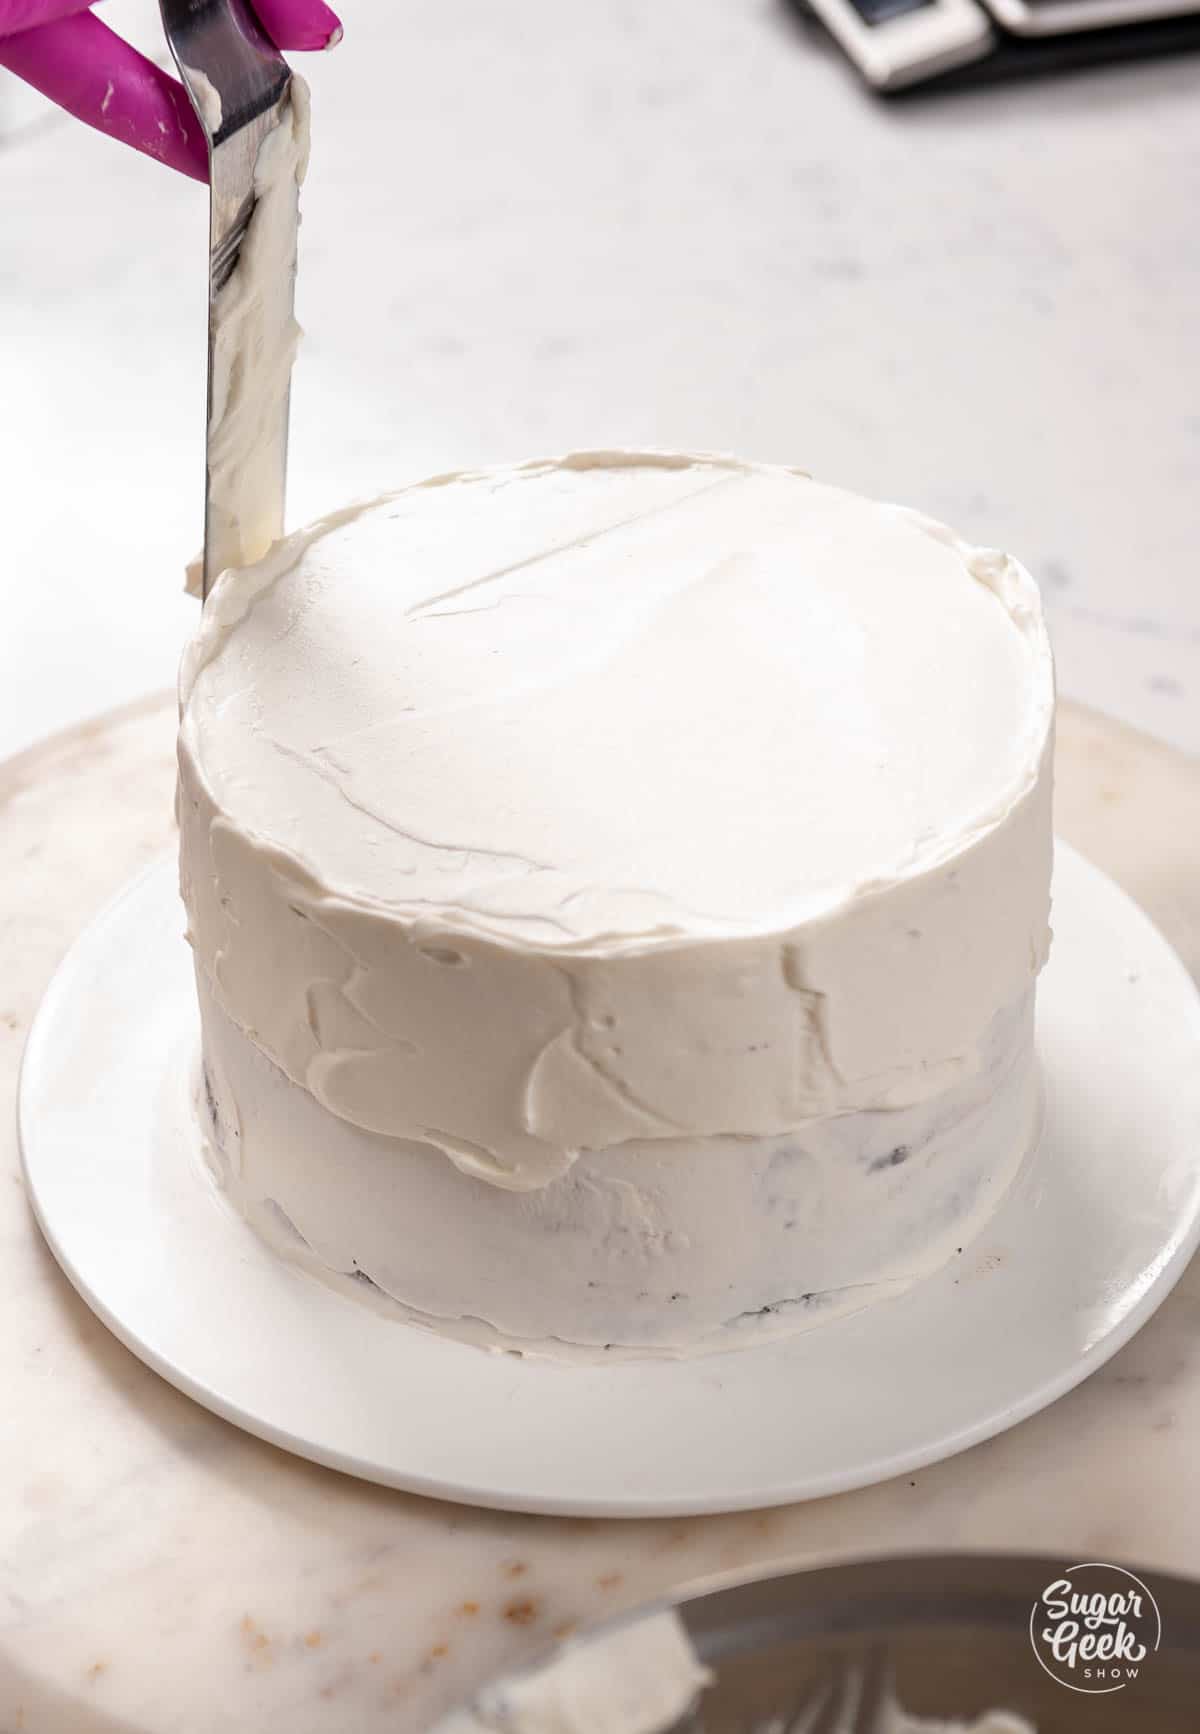
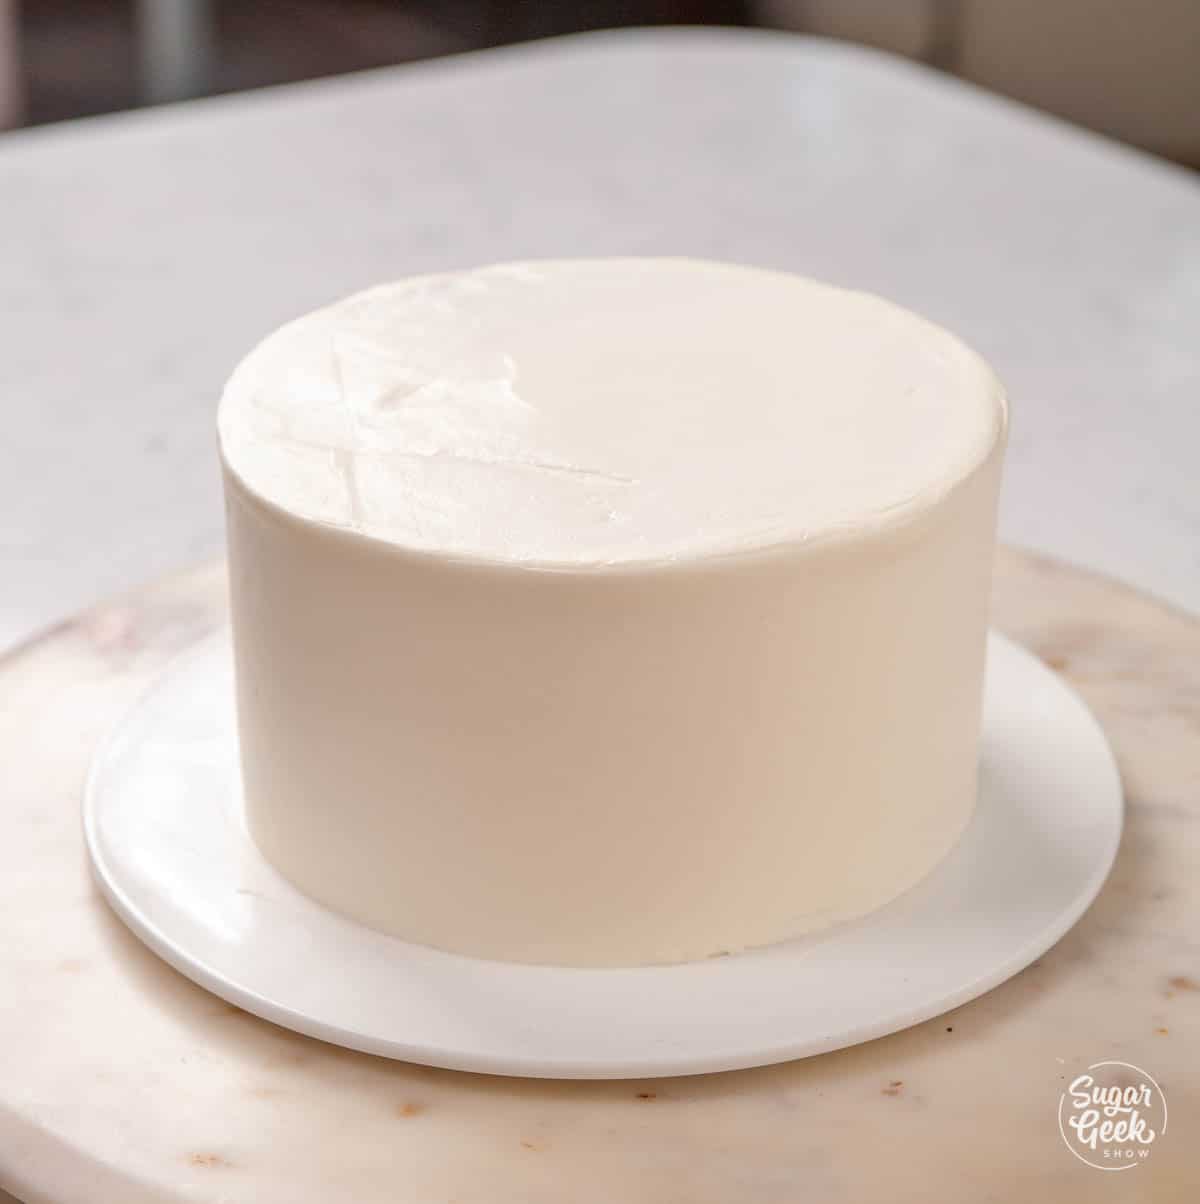
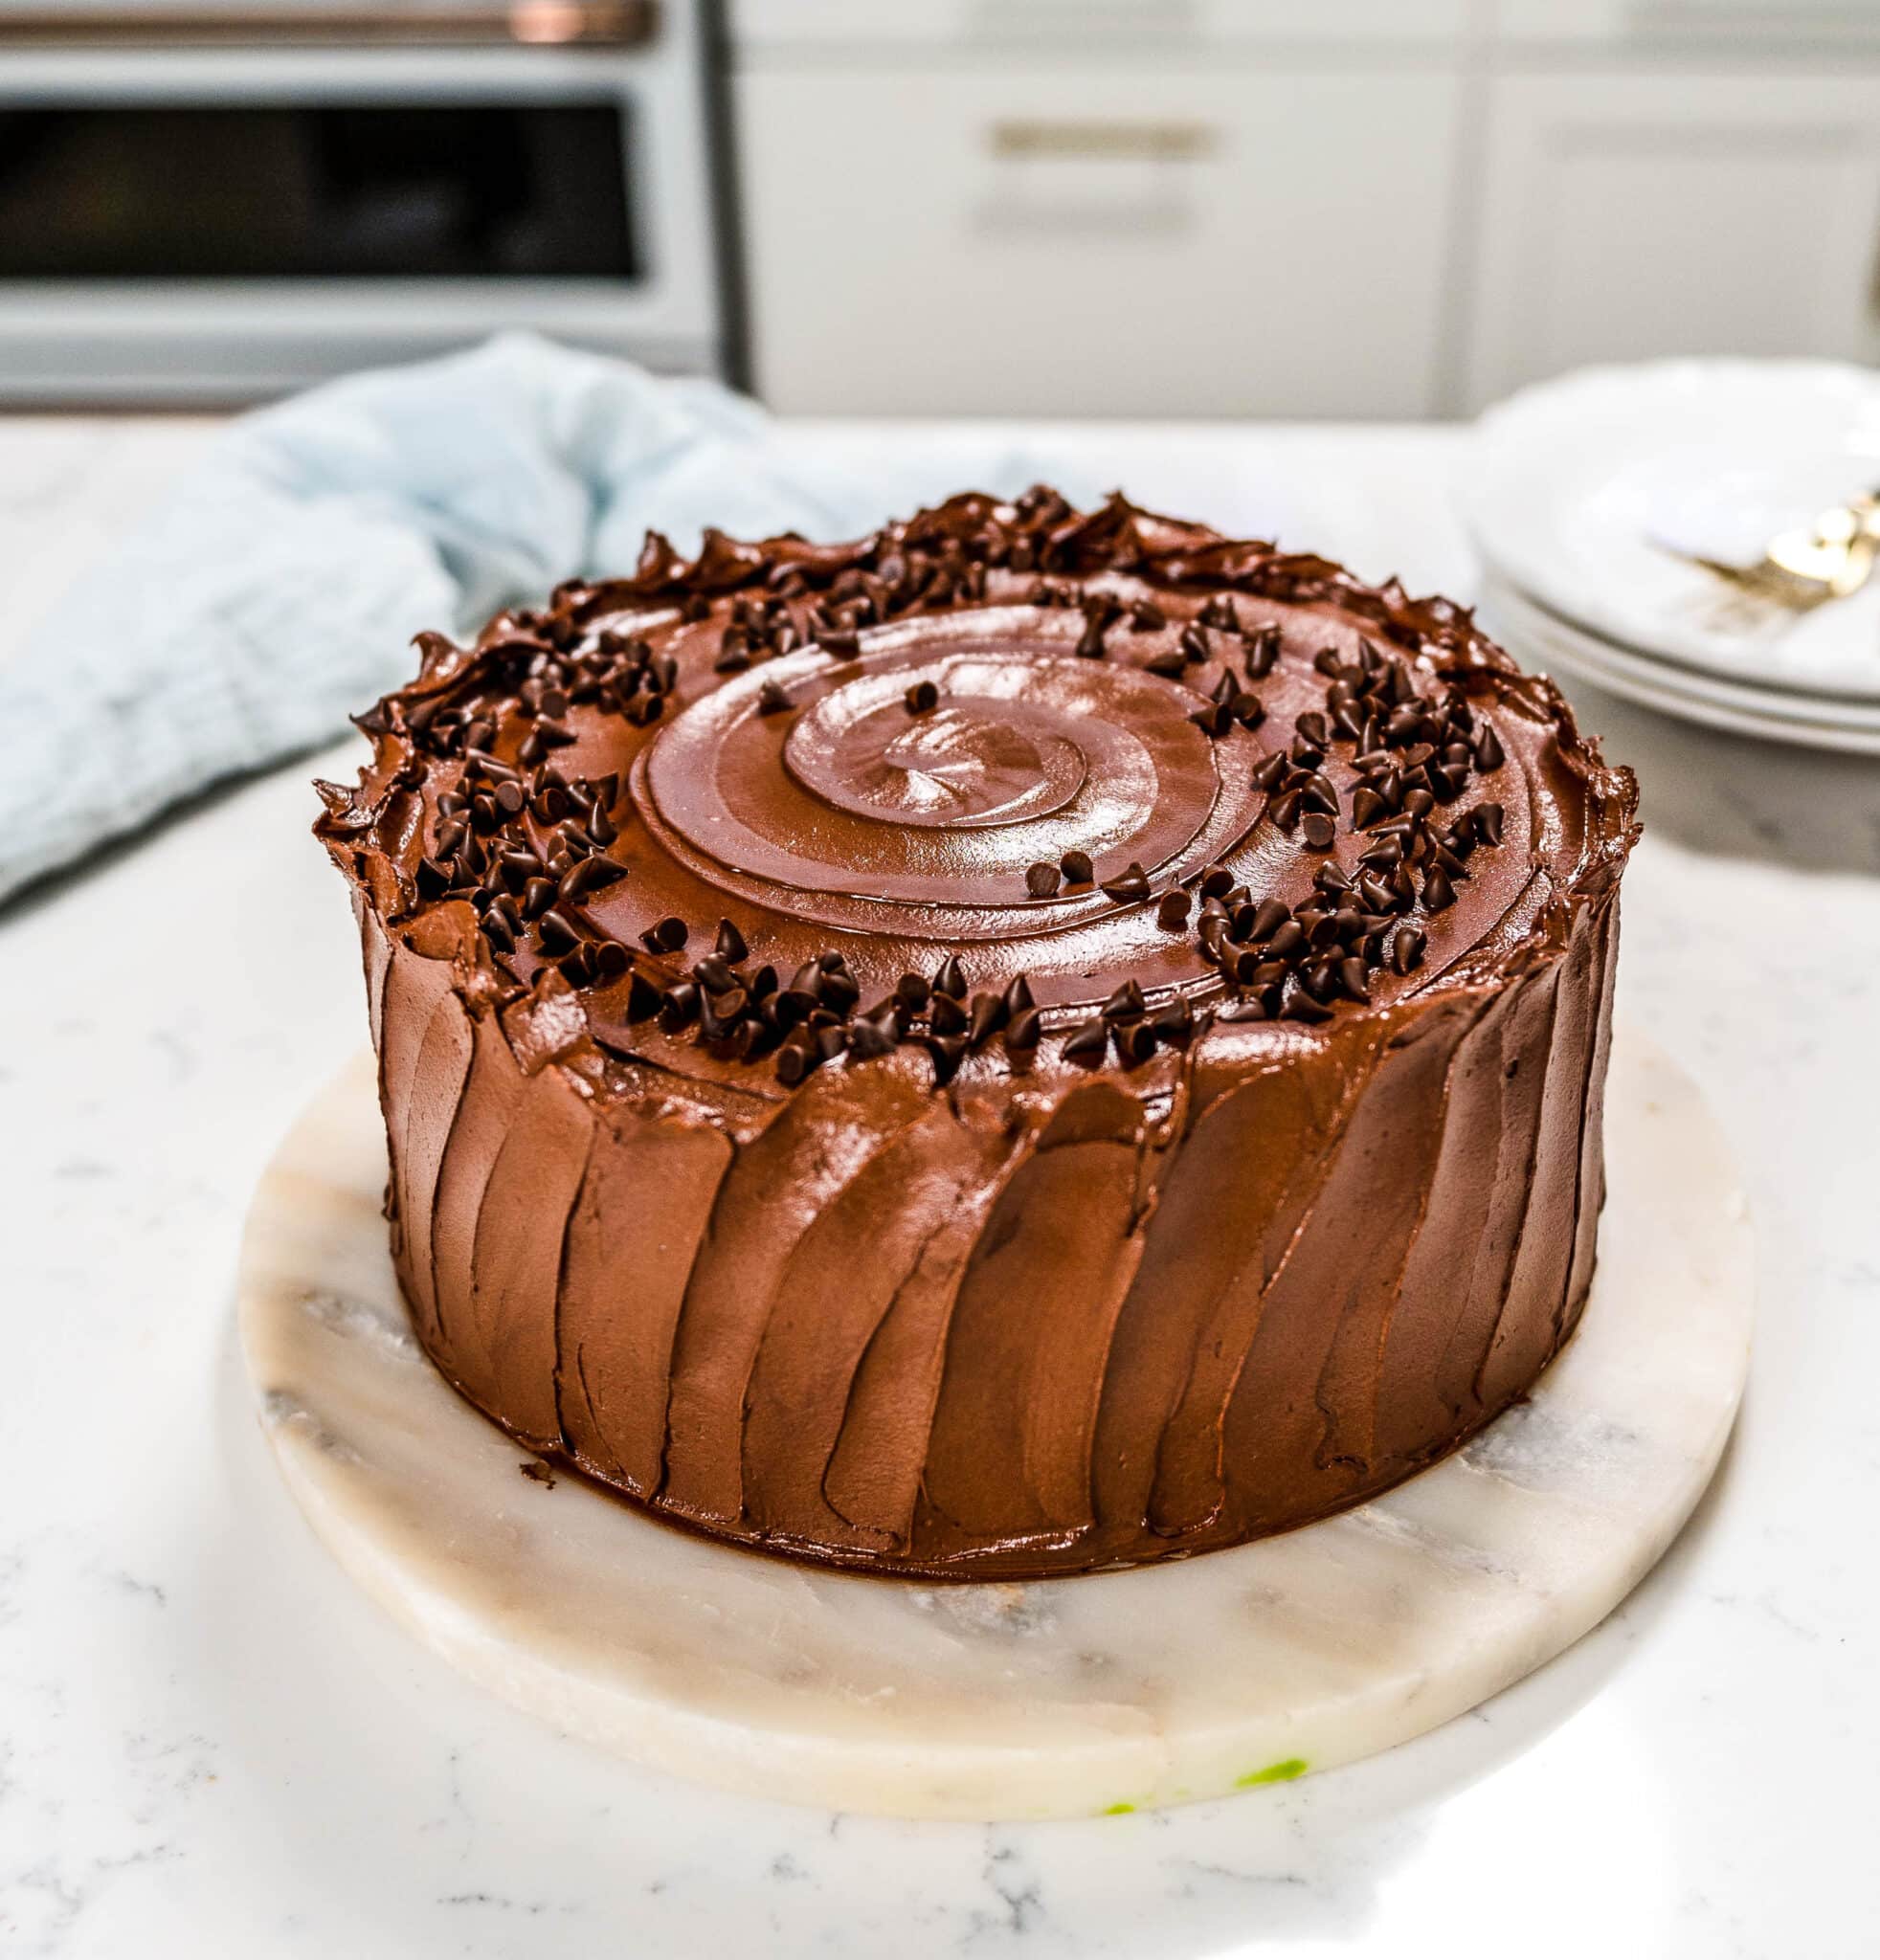
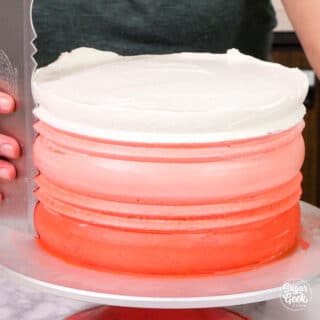
- Apply the final layer of buttercream and use a bench scraper to make sure the sides of the cake are very straight and smooth. Smooth out the top of the cake as well with an offset spatula.

- Refrigerate your cake again for 15 minutes.
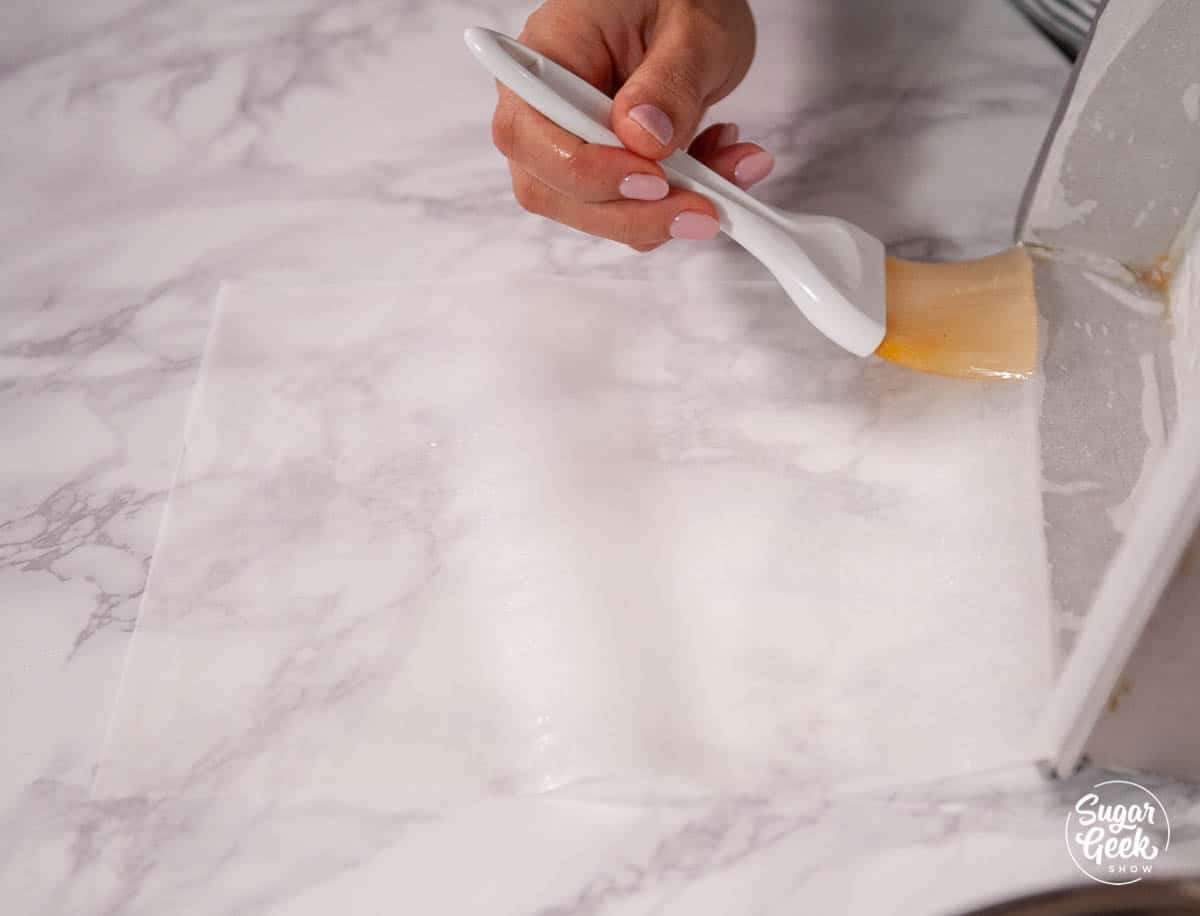
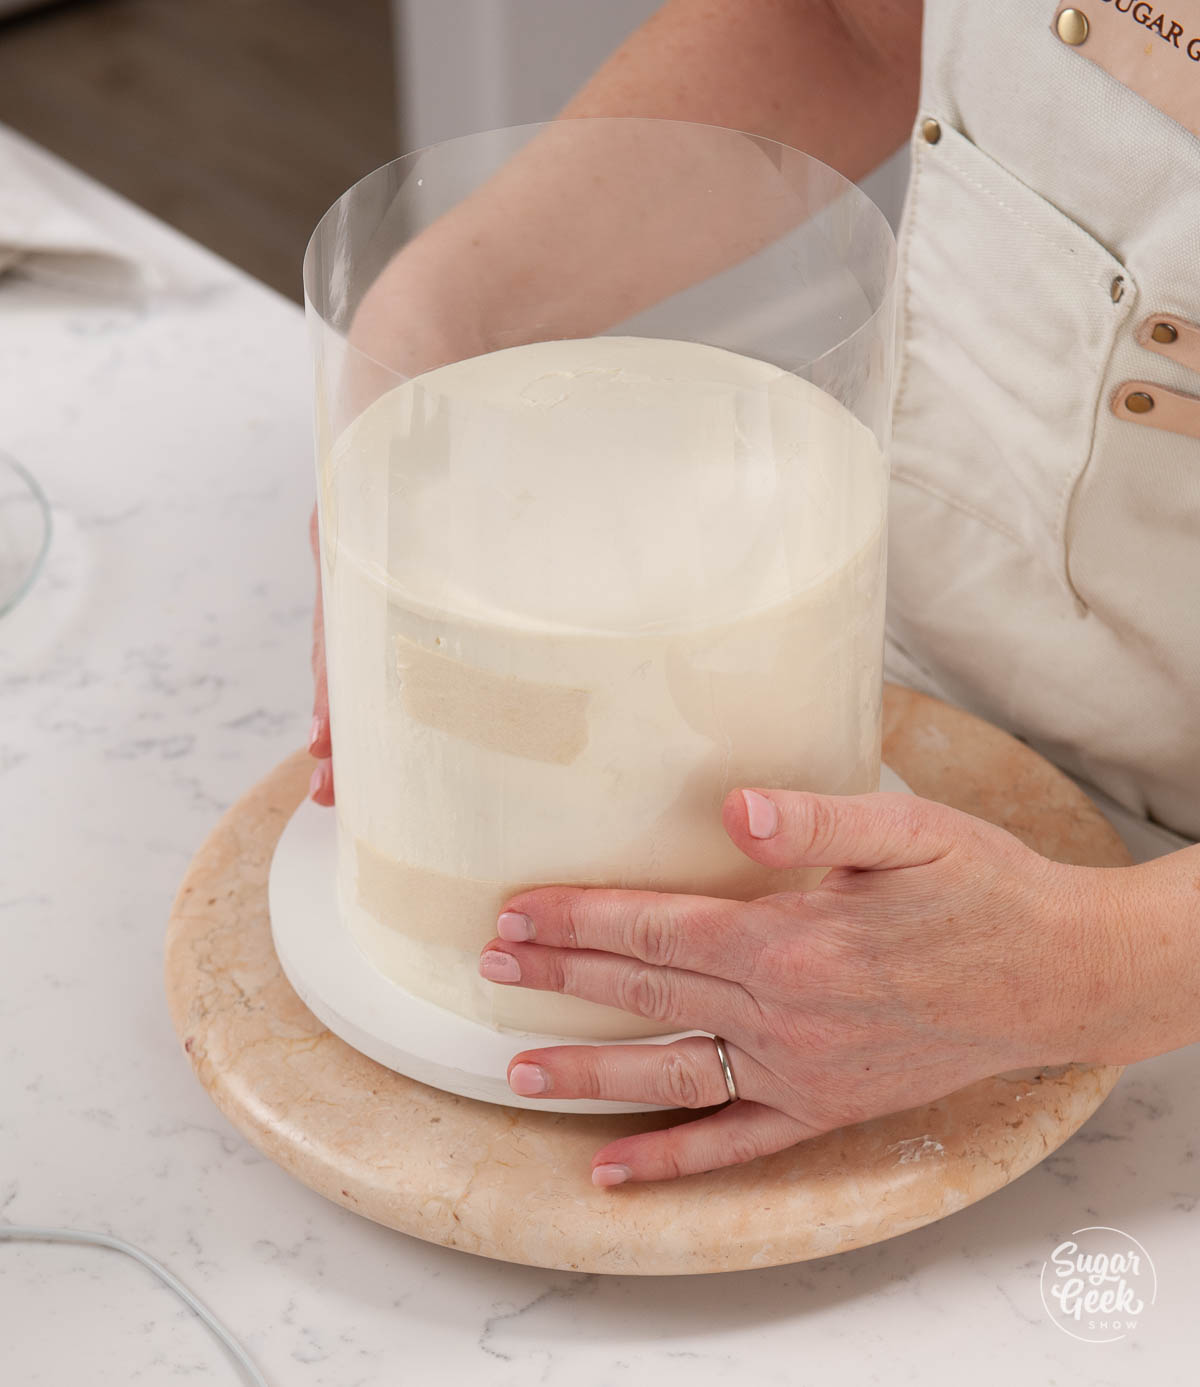
- Wrap your acetate around the outside of the cake, making sure you're getting it as close to the buttercream as possible. Tape the edges so it doesn't unravel.

- Pipe some buttercream into any gaps from the top so the gelatin doesn't leak out.

- Refrigerate the cake again for 15 minutes so the buttercream firms up.
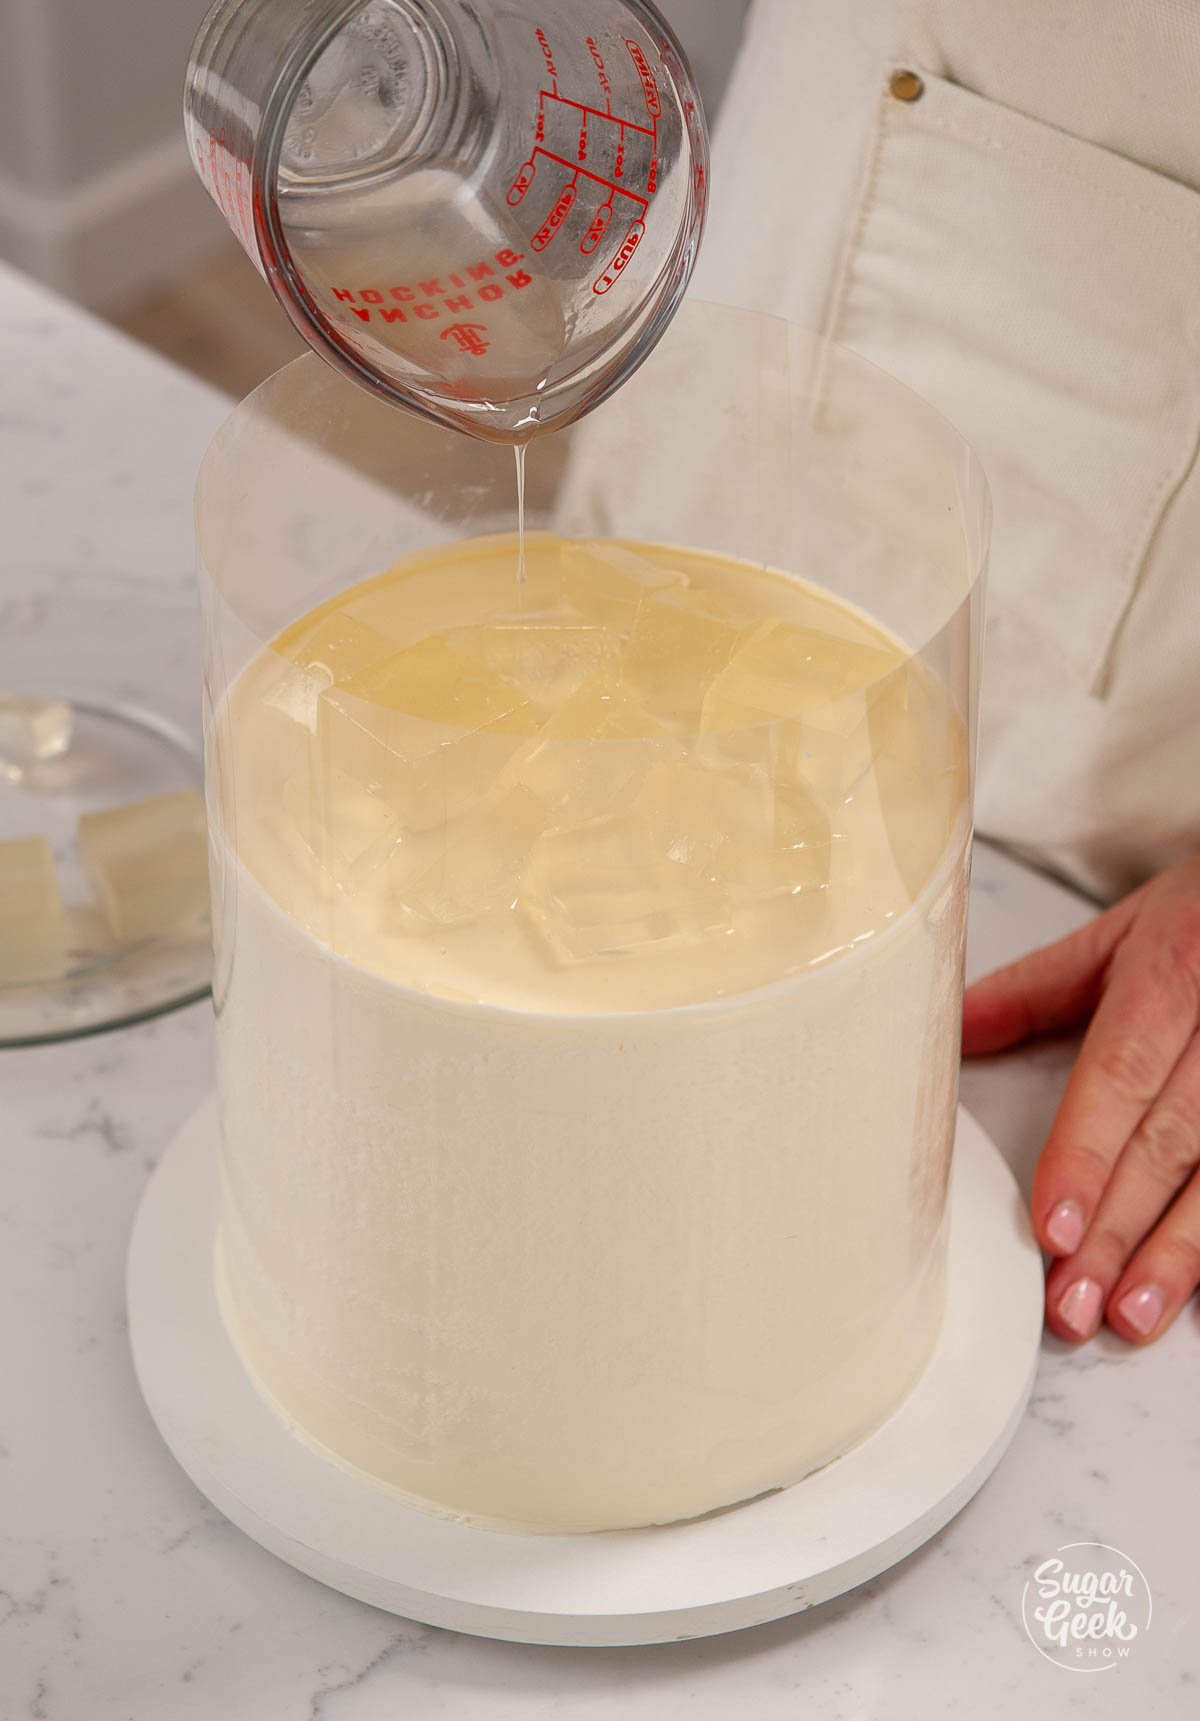
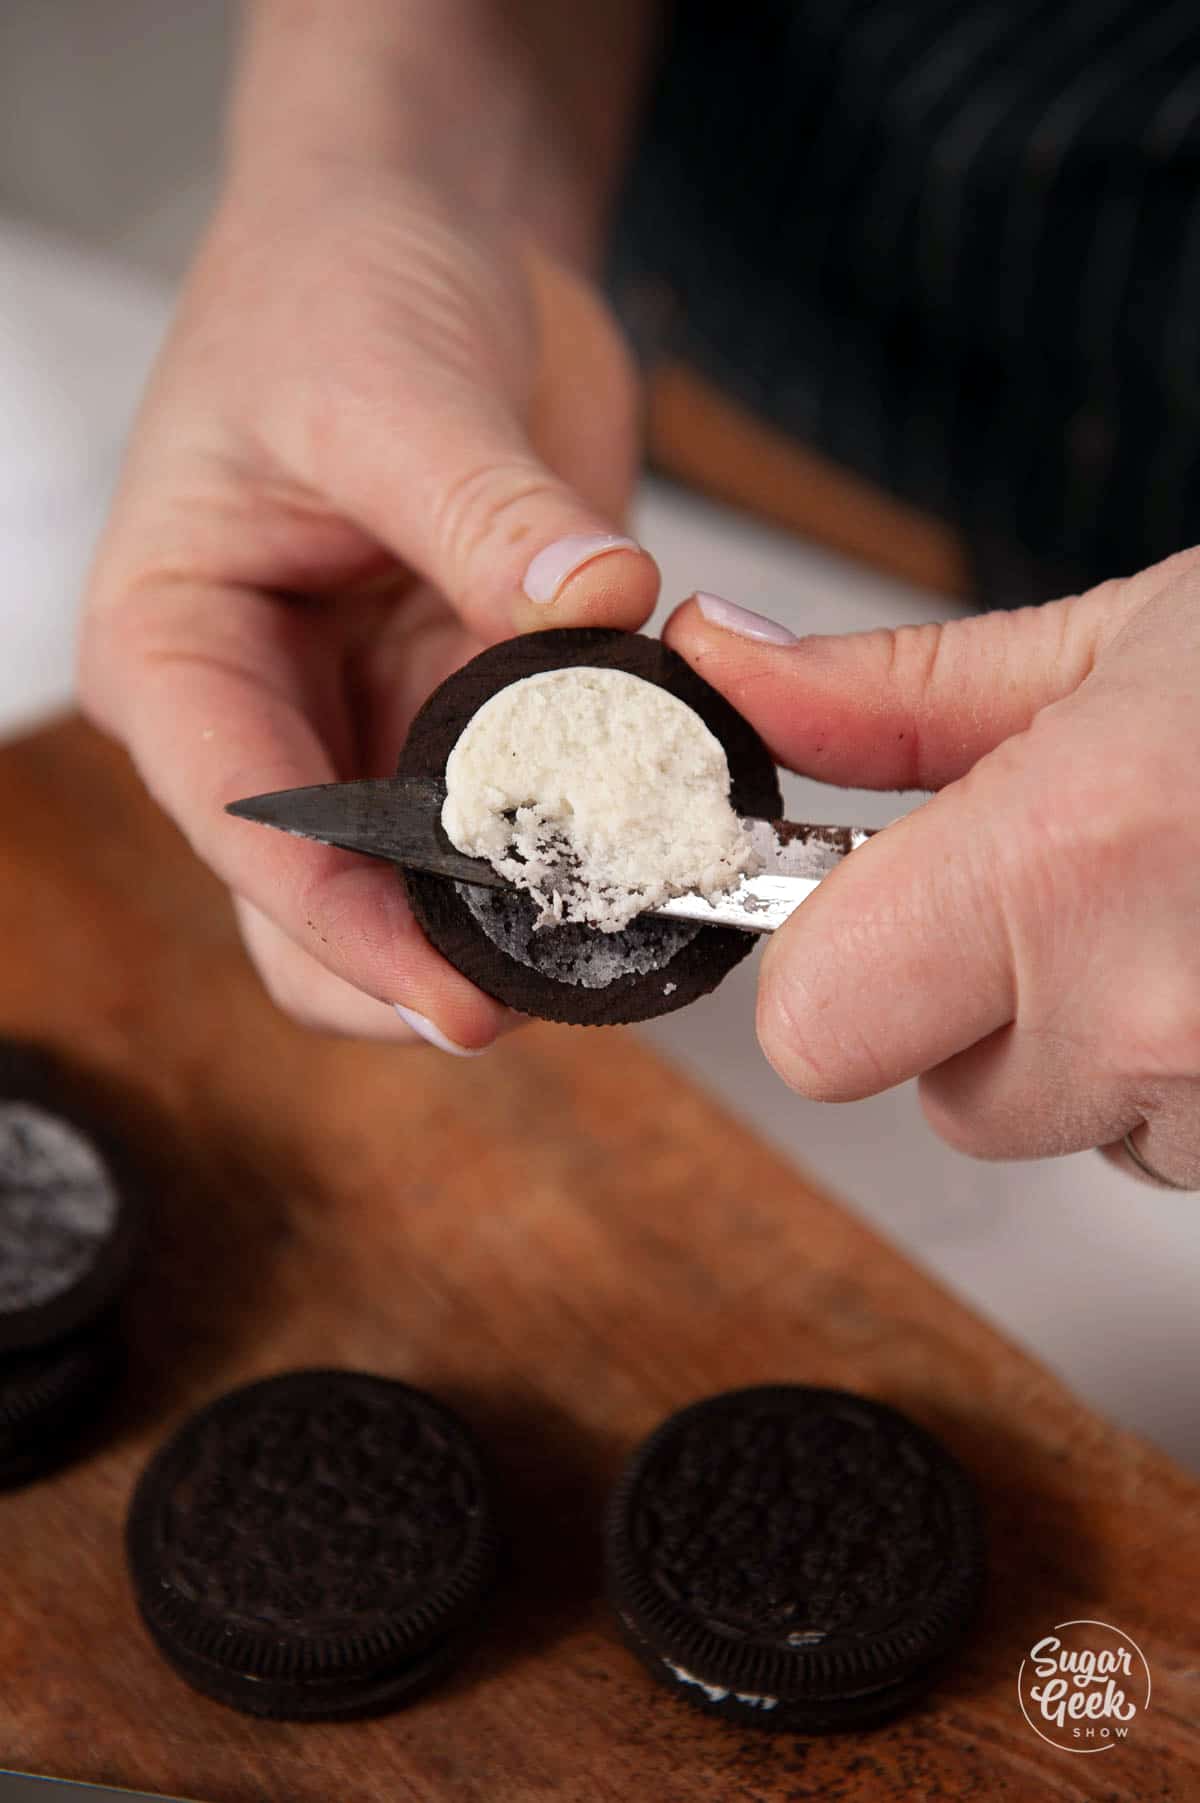
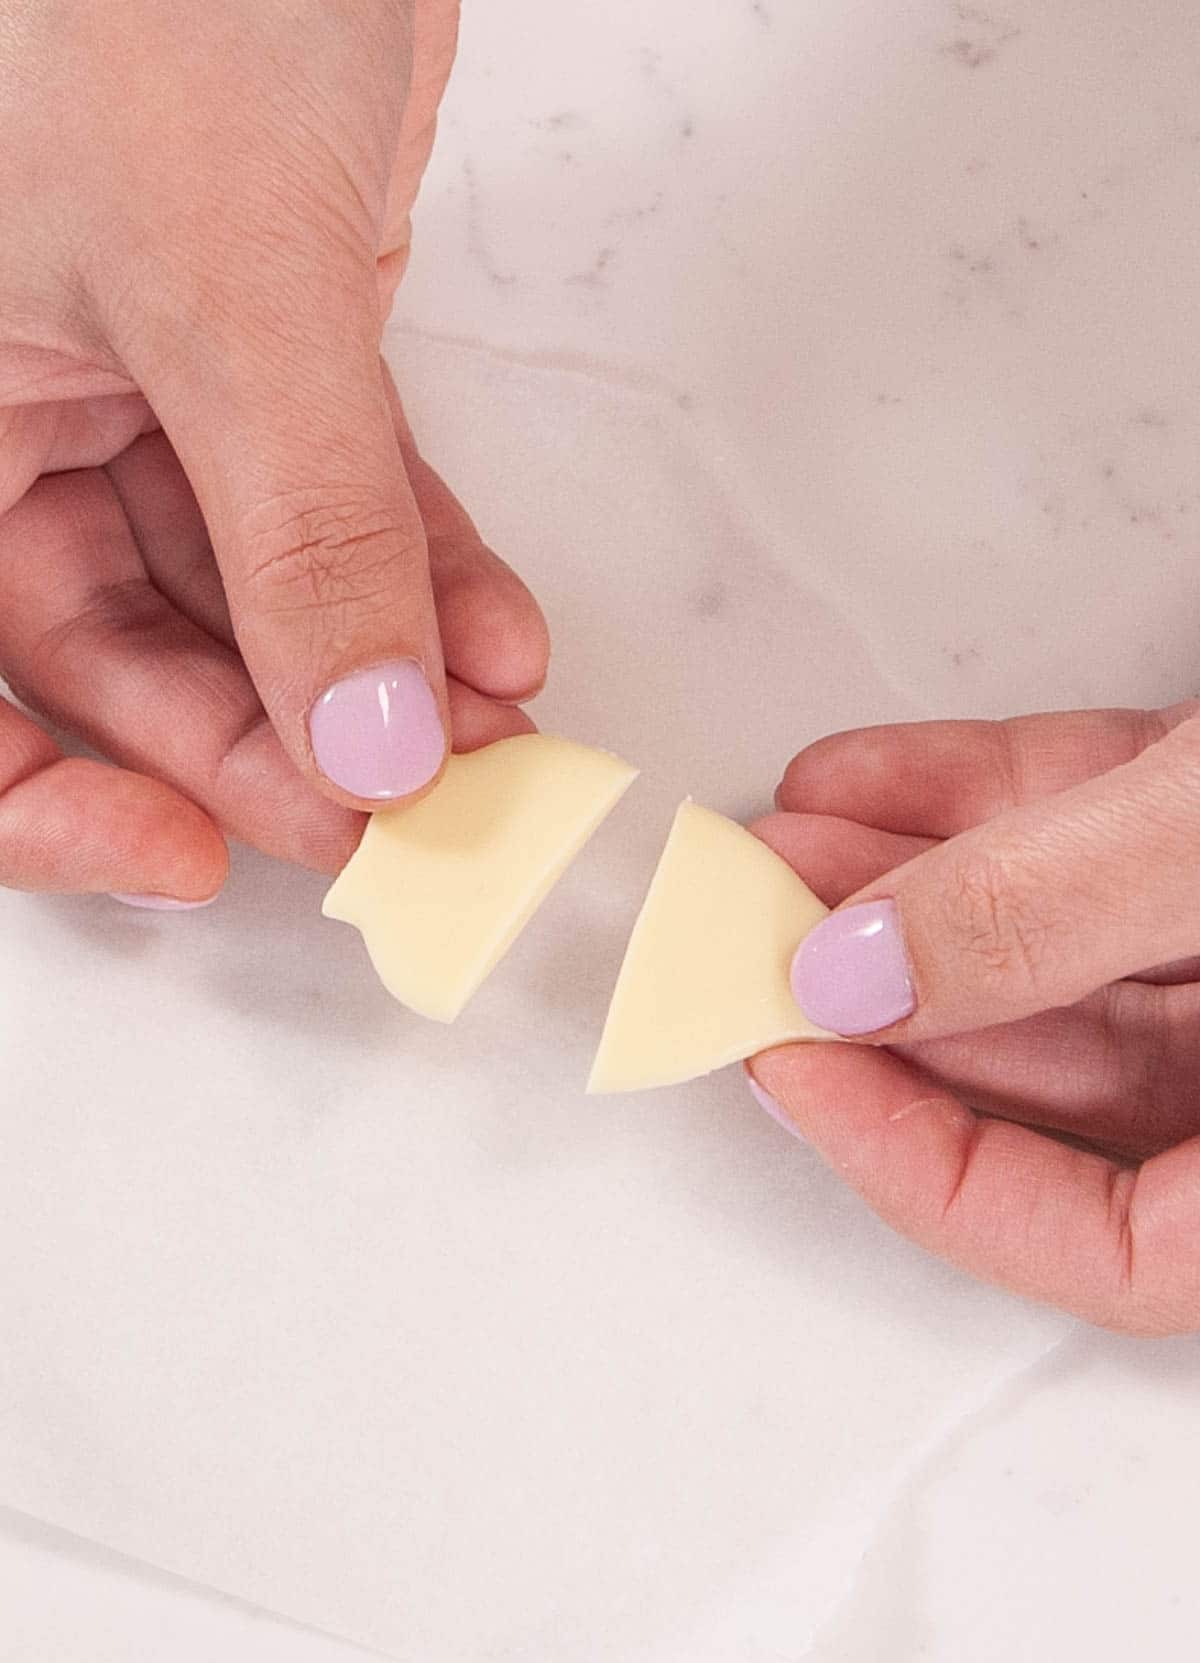
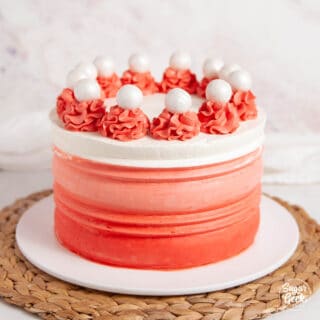
- Remove the gelatin gummies from the ice cube tray and place them on top of your cake in a little pile.

- Pour a thin layer of your cooled gelatin on top of the cake, about ¼" thick.

- Place the cake back into the fridge to chill until you're ready to serve it.
- Carefully pull off the acetate once the gelatin layer is set, it should set within 10-15 minutes.

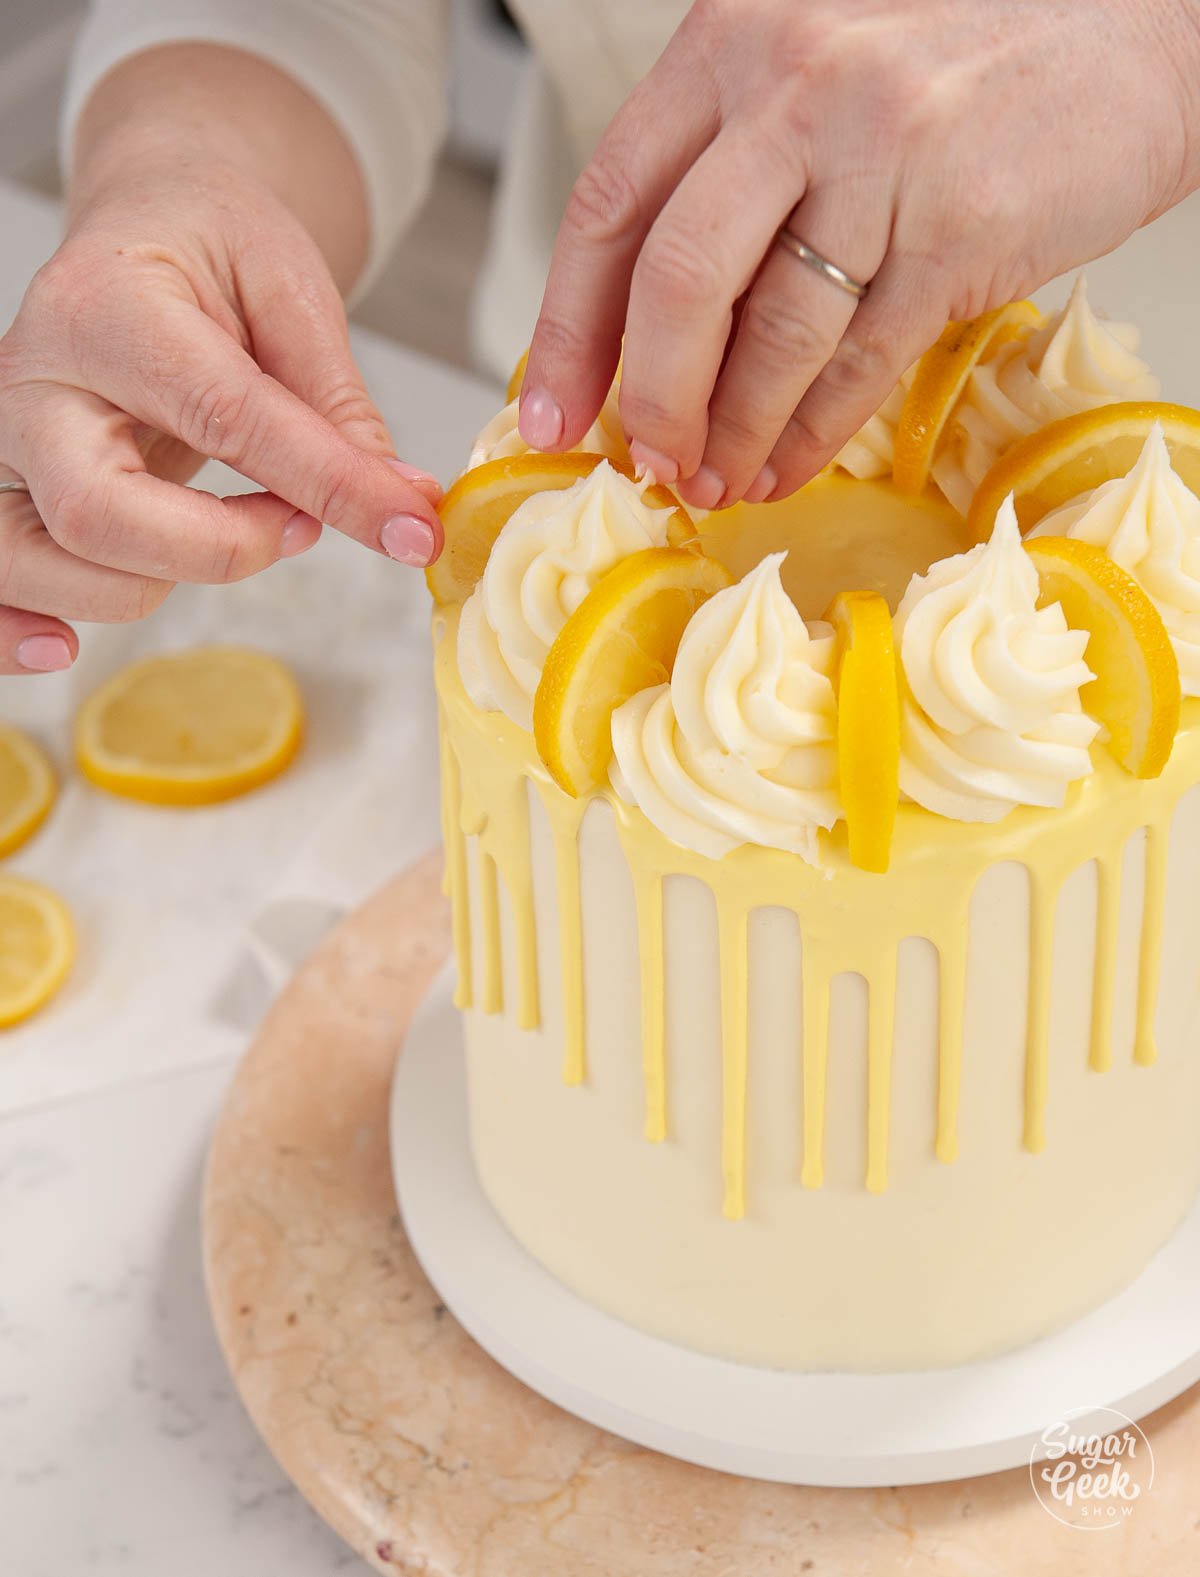
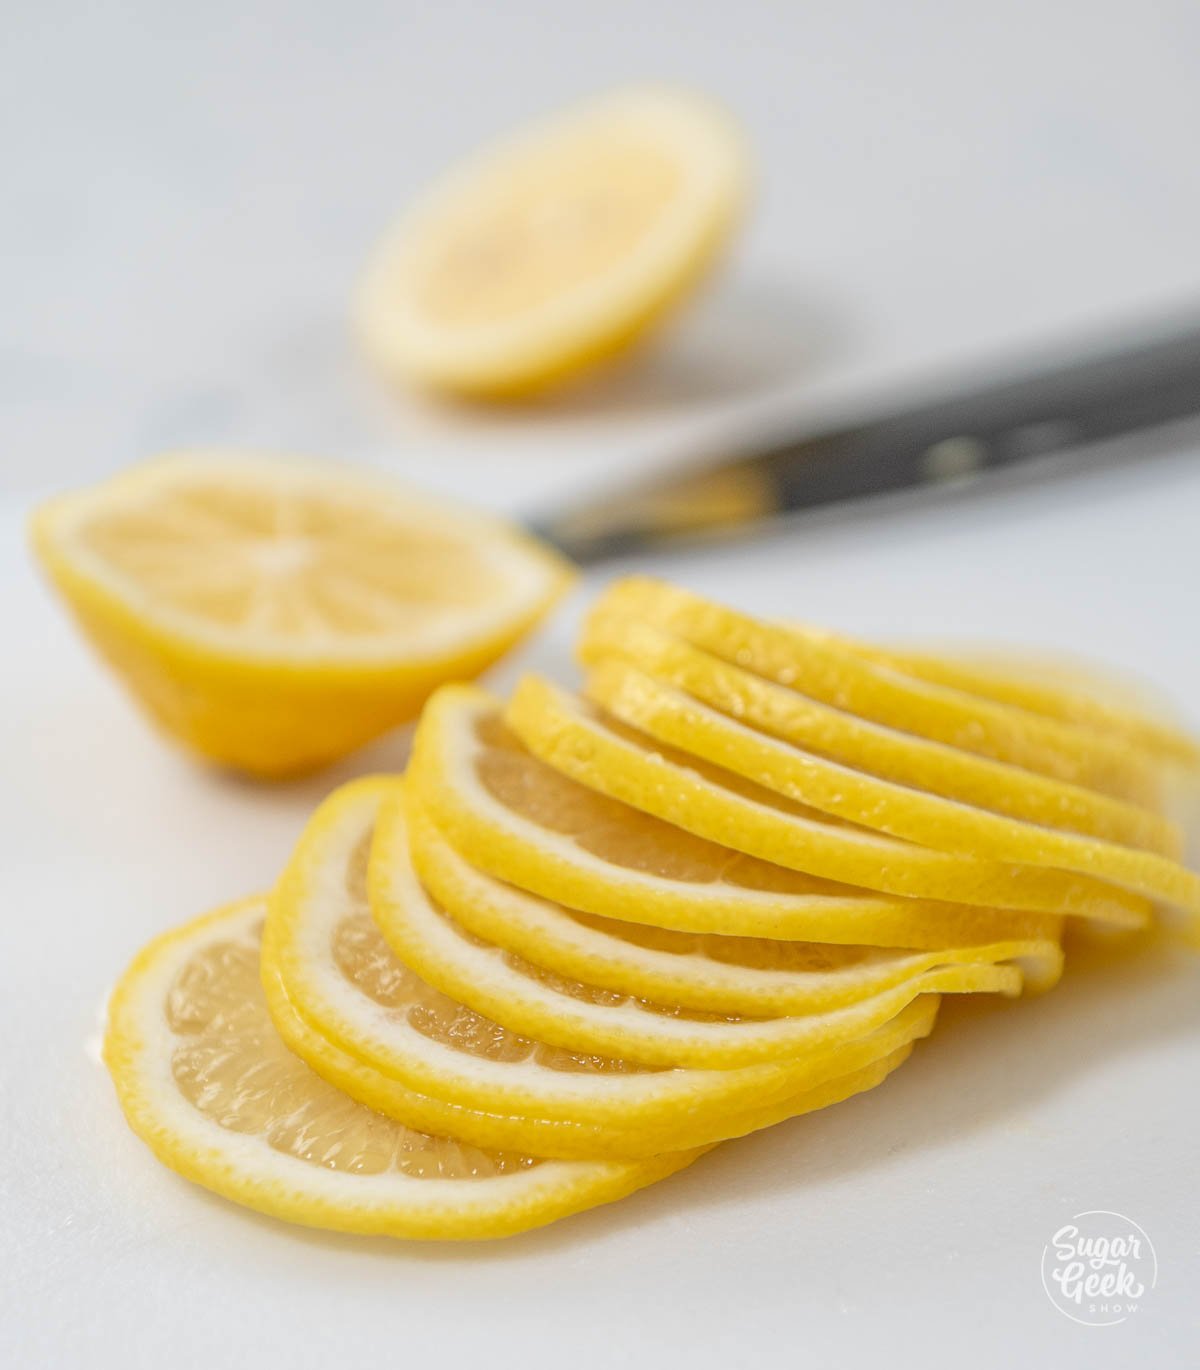
- I added some crystal sprinkles around the outer edge right before serving and also some thinly sliced limes around the outside and one on top that I attached with a toothpick. Don't add these too soon or they will drip and weep in the fridge. If your limes are not sticking to the side of your cake, pipe a little buttercream onto the back to help them stick on


Margarita Cake FAQ
Yes you can use the tequila lime cake batter for a bundt cake without making any changes to the recipe. I would use a simple powdered sugar glaze with lime juice and a splash of tequila instead of frosting.
Yes because of the lime curd, this cake needs to be refrigerated. However, it can be left at room temperature for a few hours with no problems. The cake should be consumed at room temperature as well. Cold cake can taste dry.
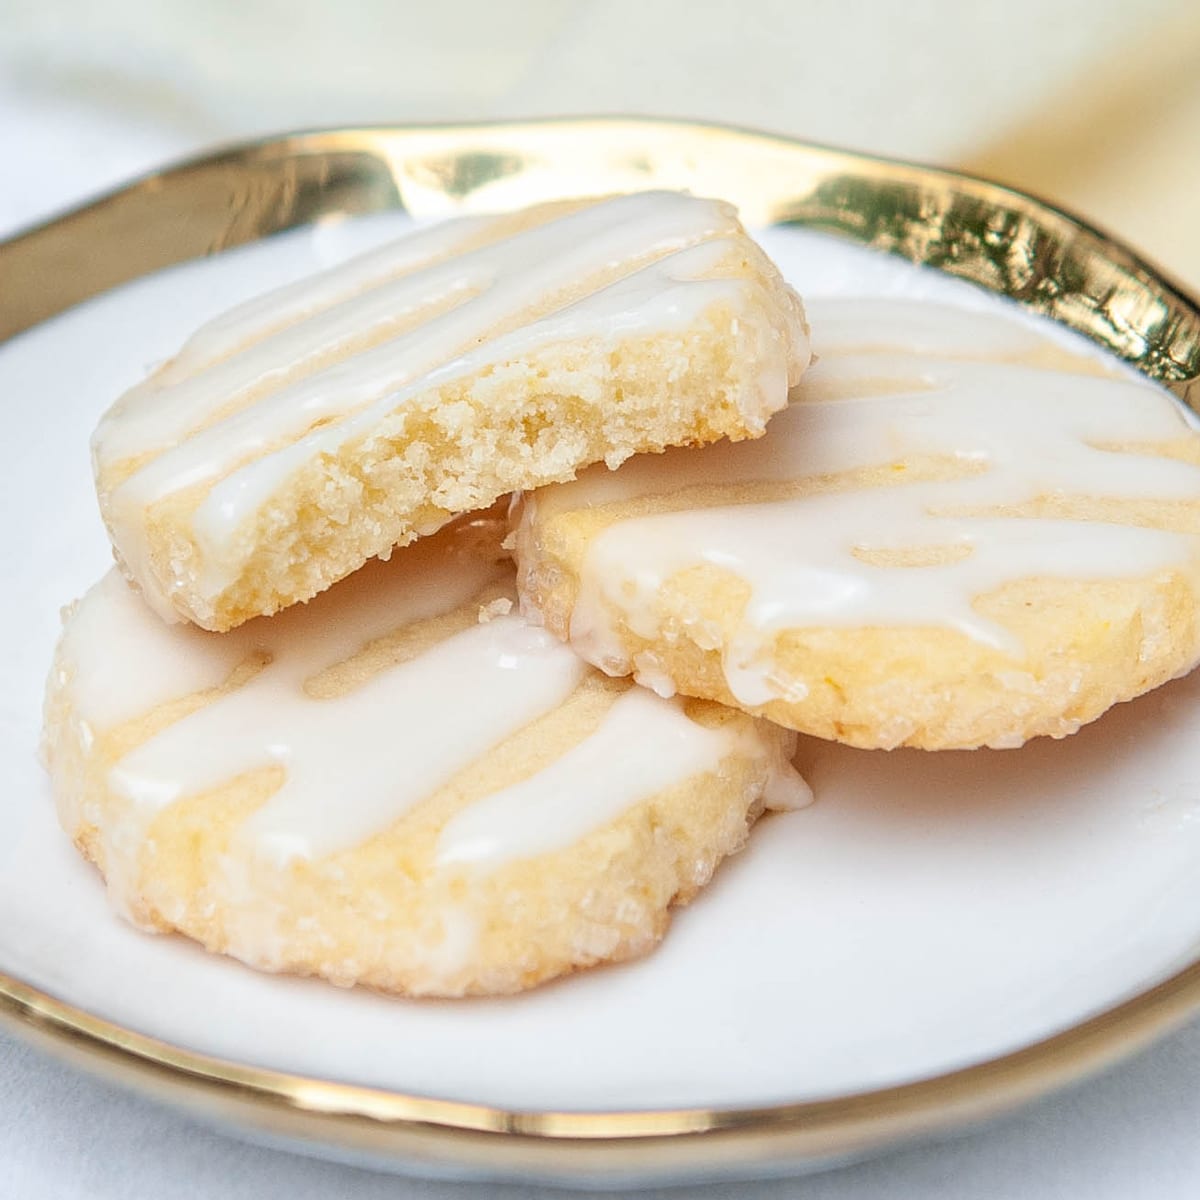
More Citrus Recipes You'll Love
Cake Batter and Frosting Calculator
Select an option below to calculate how much batter or frosting you need. Adjust the servings slider on the recipe card to change the amounts the recipe makes.
Choose a pan type
Choose a cake pan size
(based on 2" tall cake pan)
Choose a cake pan size
(based on 2" tall cake pan)
Cupcake Tin Size
Choose number of pans
Cups of Batter Needed
8 cups
Cups of Frosting Needed
5 cups
Note: measurements are estimated based off the vanilla cake recipe using standard US cake pans and sizes. Measurements used are for 2" tall cake pans only. Your results may vary. Do not overfill cake pans above manufacturer's recommended guidelines.
Recipe
Margarita Cake
Equipment
- silicone ice cube tray
- Acetate collar, scissors, and tape
- Three, 6" x 2" or two, 8" x 2" cake pans
- 6" Cake board, offset spatula, bench scraper for decorating
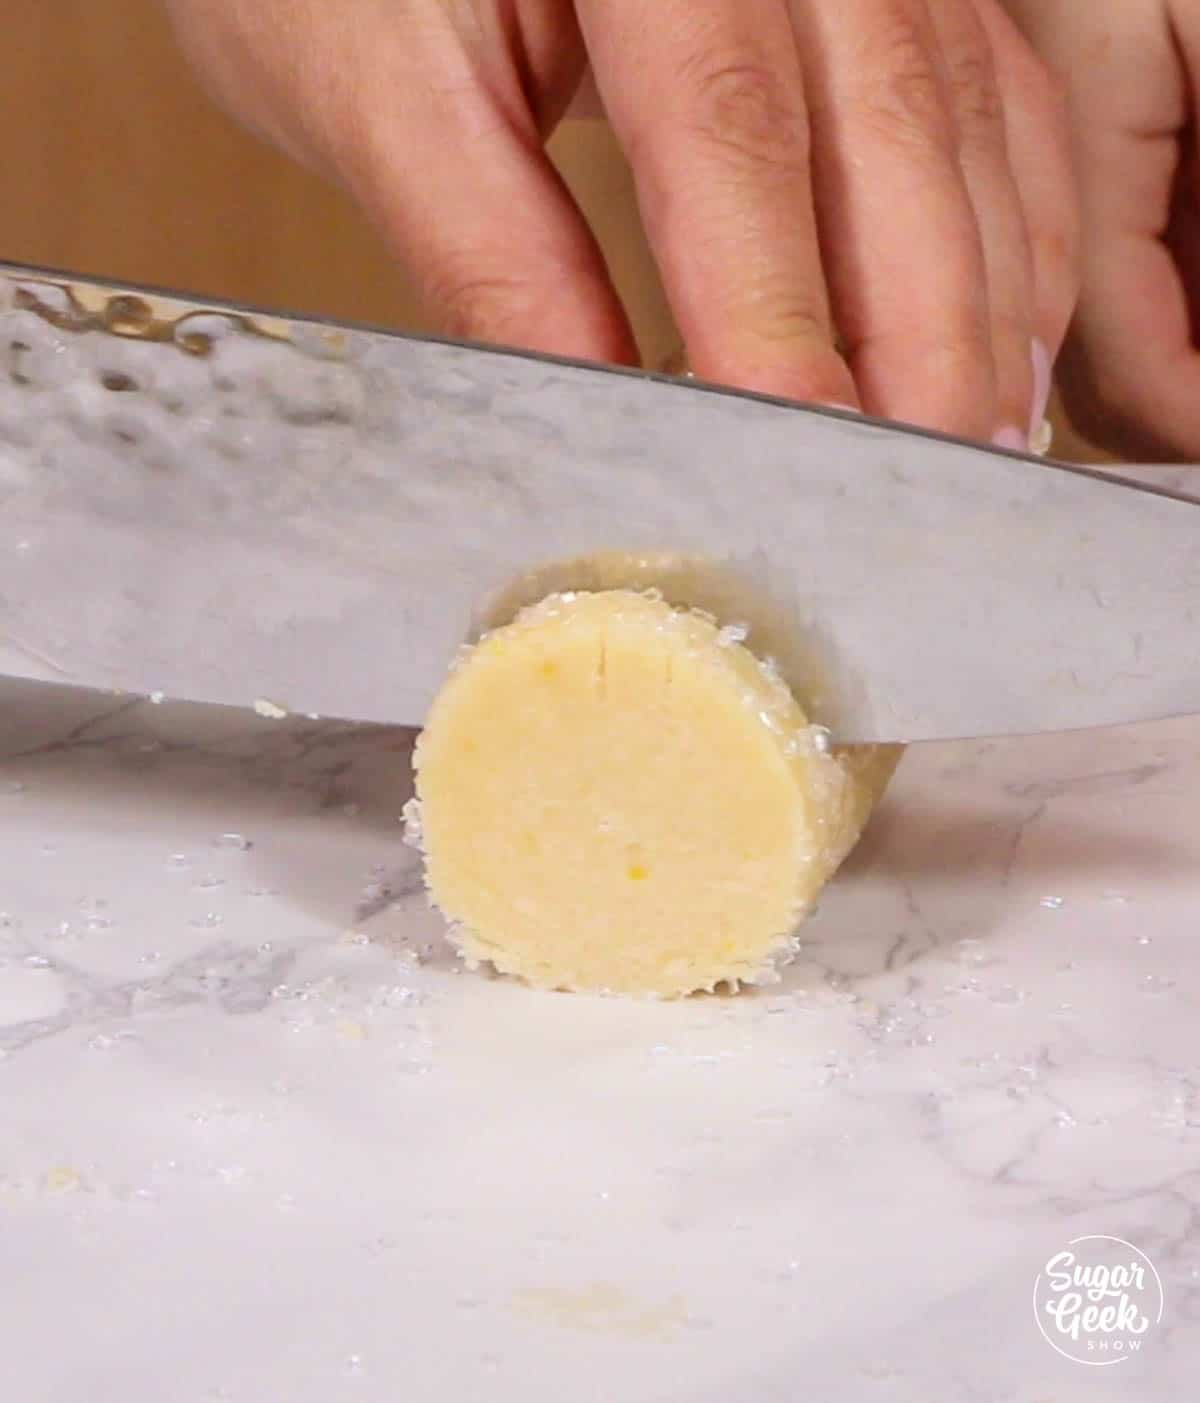
- Chef's knife
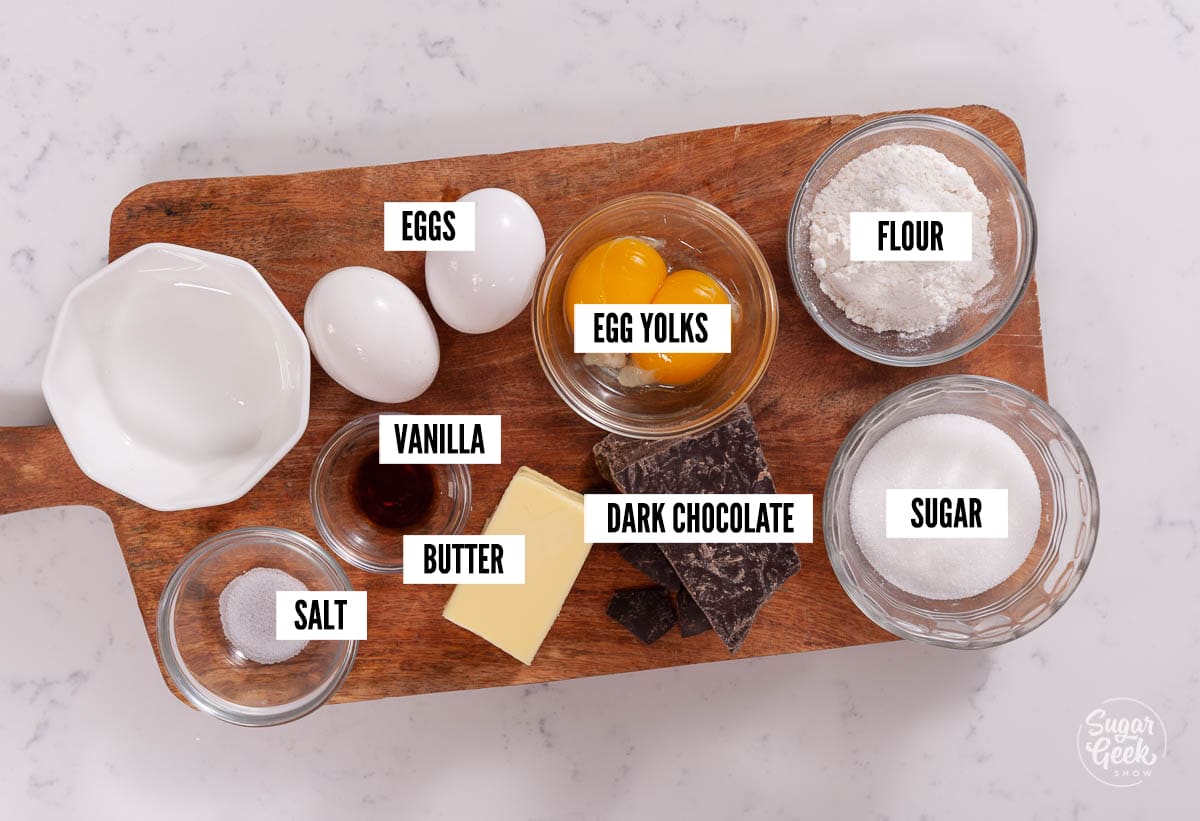
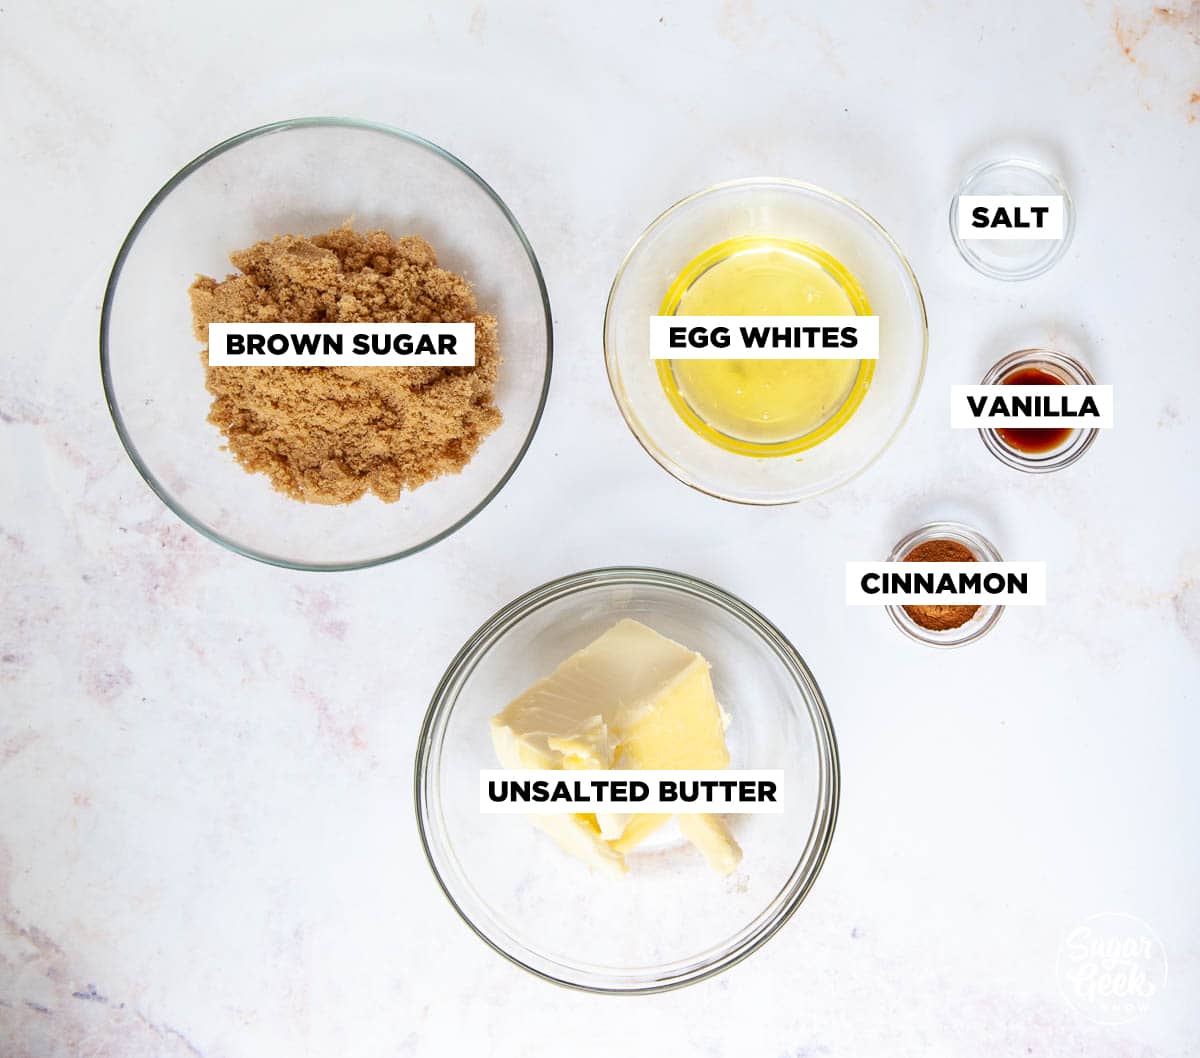
Ingredients
Margarita Gelatin
- 10 grams gelatin KNOX
- 2 ounces cool water
- 4 ounces margarita mix
- 2 Tablespoons sugar
- 2 Tablespoons lime juice
- 2 ounces tequila
- 1 Tablespoon Grand Marnier
Lime Curd
- 8 ounces lime juice
- 6 ounces sugar
- 5 large egg yolks
- ¼ teaspoon salt
- 1 Tablespoon cornstarch
- 4 ounces unsalted butter
- 2 Tablespoons lime zest
- 1 Tablespoon Tequila
- 1 teaspoon Grand Marnier
Lime Cake
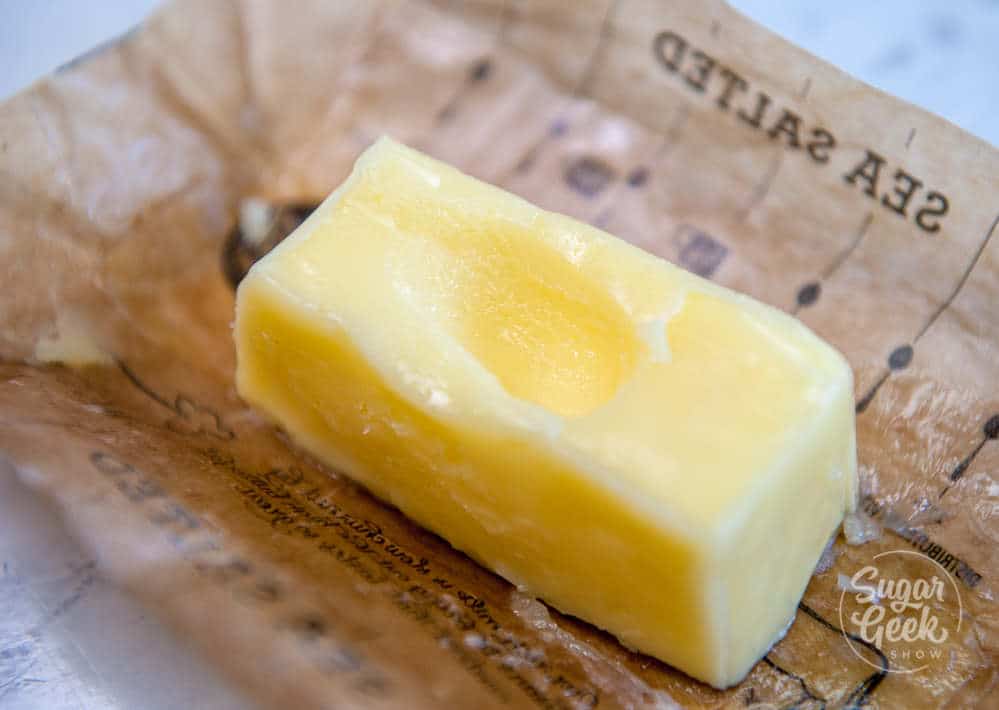
- 8 ounces unsalted butter softened but not melted
- 14 ounces sugar
- 6 ounces egg whites room temperature
- 14 ounces all purpose flour
- 2 ½ teaspoons baking powder
- ½ teaspoon salt
- 1 teaspoon lemon extract
- 5 ounces milk slightly warm
- 2 ½ ounces tequila You can substitute with milk or lime juice
- 2 ½ ounces lime juice
- 2 ounces vegetable oil
- 2 Tablespoons lime zest
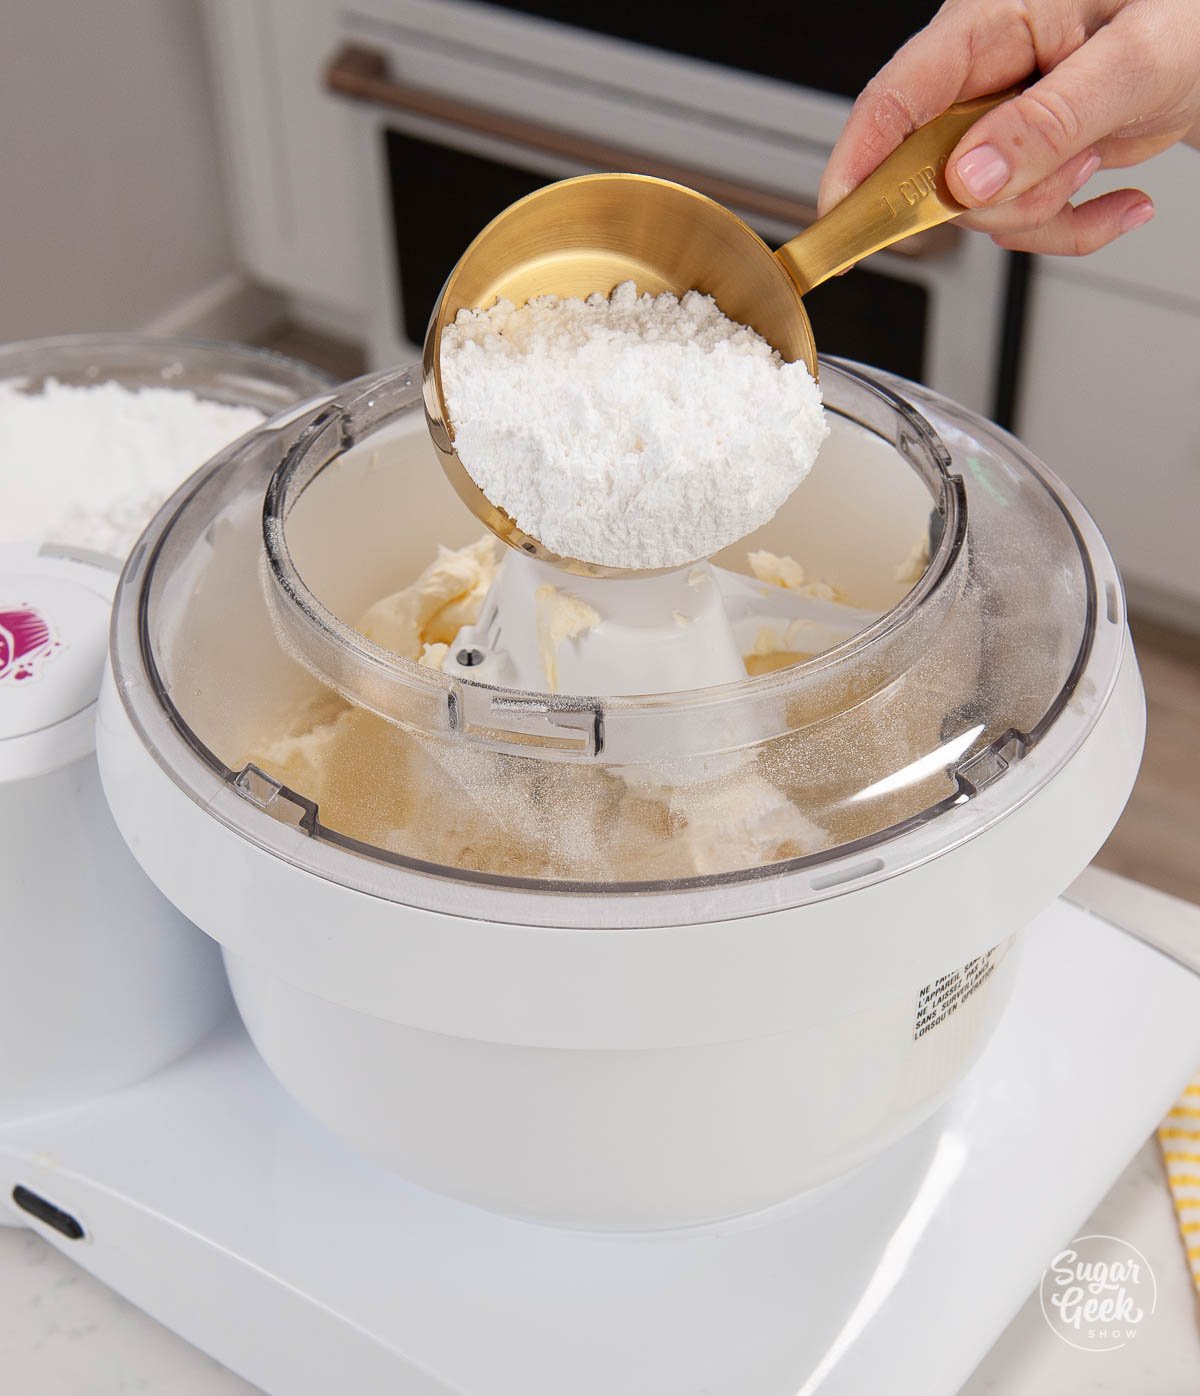
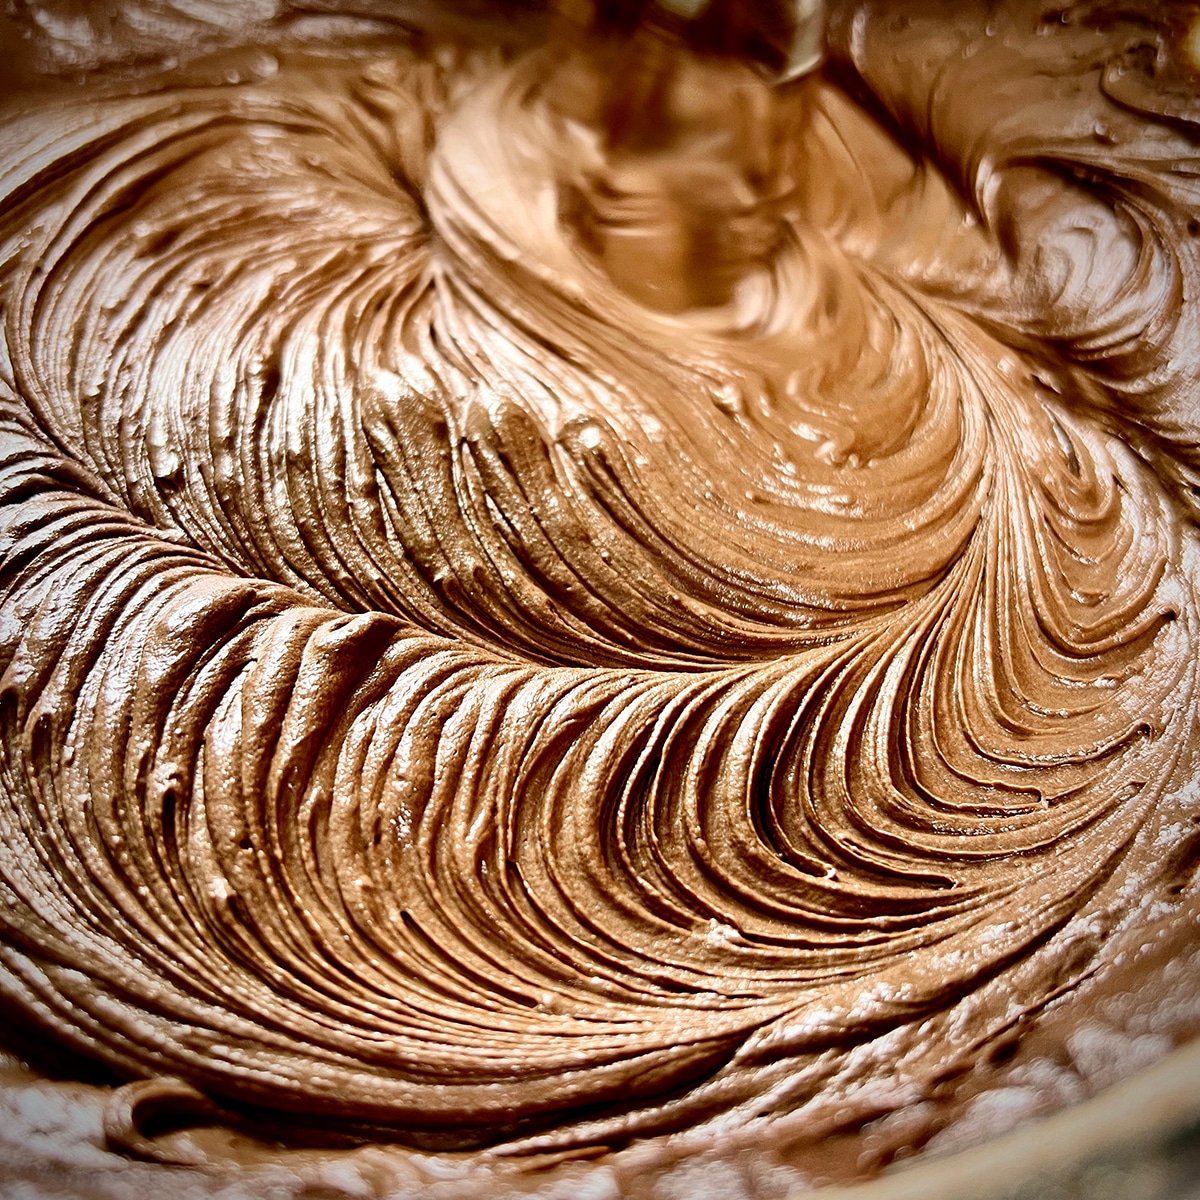
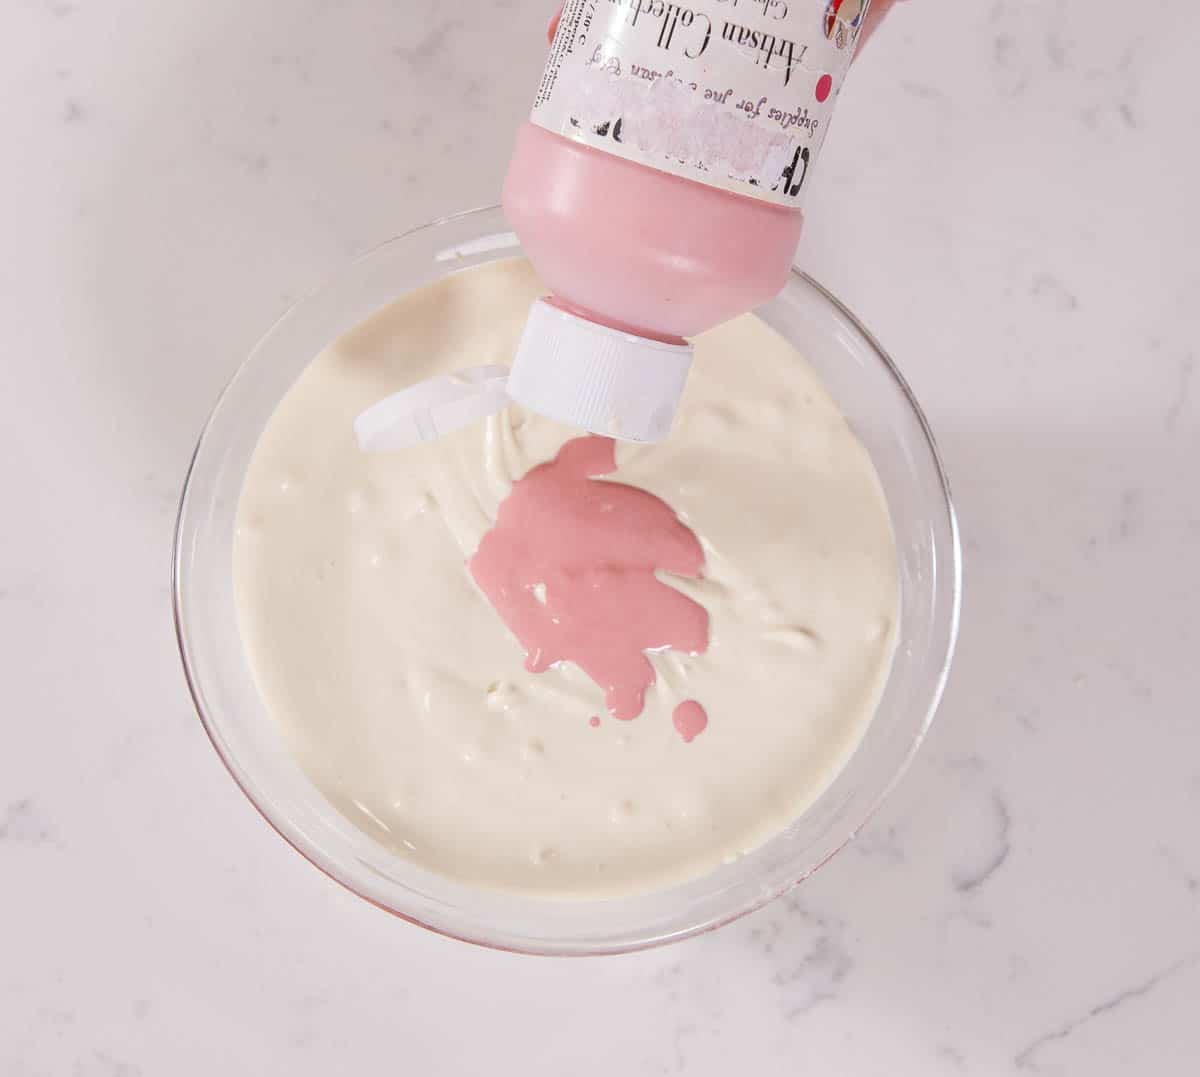
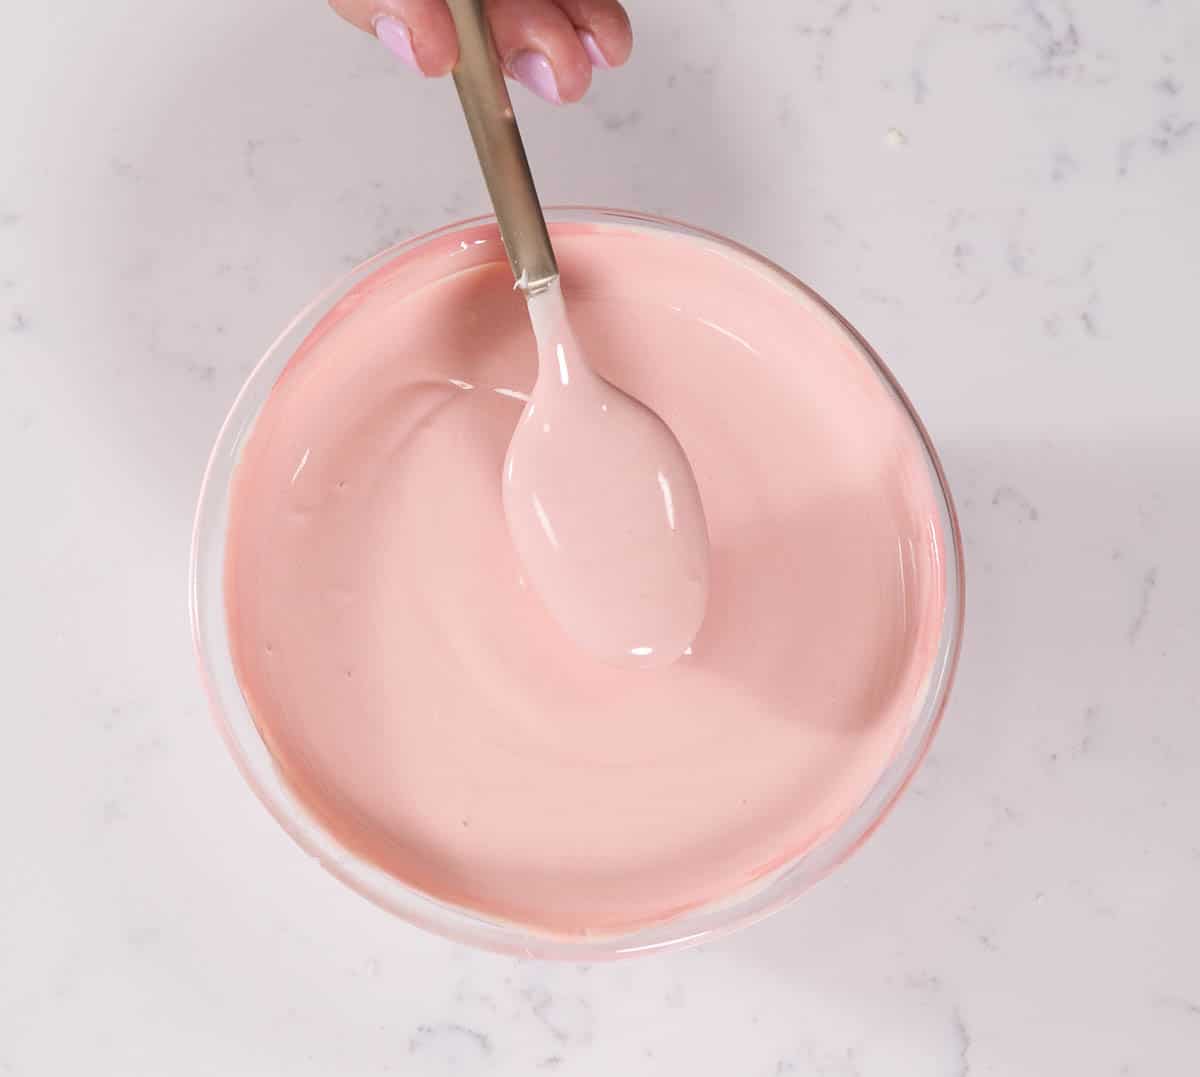
Easy Buttercream
- 16 ounces unsalted butter softened but not melted
- 16 ounces powdered sugar
- 2 teaspoons vanilla extract
- ½ teaspoon salt
- 4 ounces pastuerized egg whites
Instructions
Margarita Gelatin
- Sprinkle the gelatin onto the cool water and let it absorb for 5 minutes
- Add the bloomed gelatin to the margarita mix, sugar, and lime juice.
- Melt the gelatin mixture in the microwave for about 30 seconds or in a saucepan over low heat until the gelatin granules turn clear.
- Let the mixture sit for 5 minutes then scoop off the foam from the surface
- Stir in the tequila and Grand Marnier.
- Pour ¾ of the mixture into ice cube molds. Save the rest to pour it on top of the cake later. Don't worry if it solidifies, you can just re-melt it when you're ready to use it. If you don't have an ice cube tray, you can pour the liquid into a shallow, glass pyrex dish, let it set up, and slice them into cubes with a knife.
- Place the ice cube tray in the fridge to chill for at least a few hours or overnight.
Lime Curd
- Zest the limes, then slice them in half and juice them into a measuring cup. Use a small colander or a lemon juicer to keep out any seeds.
- Place the egg yolks, cornstarch, and salt in a large bowl. Whisk well to combine and set aside. (You will be adding more to this later, so make sure it's a large enough bowl.)
- Add your lime juice, granulated sugar, and lime zest to a saucepan and bring it to a simmer over medium heat, whisking to prevent burning.
- When it has reached a simmer, scoop about 1 cup of the lime juice mixture and slowly add it into the egg yolk mixture while whisking continuously.
- Add the tempered egg mixture back into the lime mixture while whisking constantly. Keep an eye on it and keep whisking until it thickens, if you walk away for even a minute, the eggs can curdle.
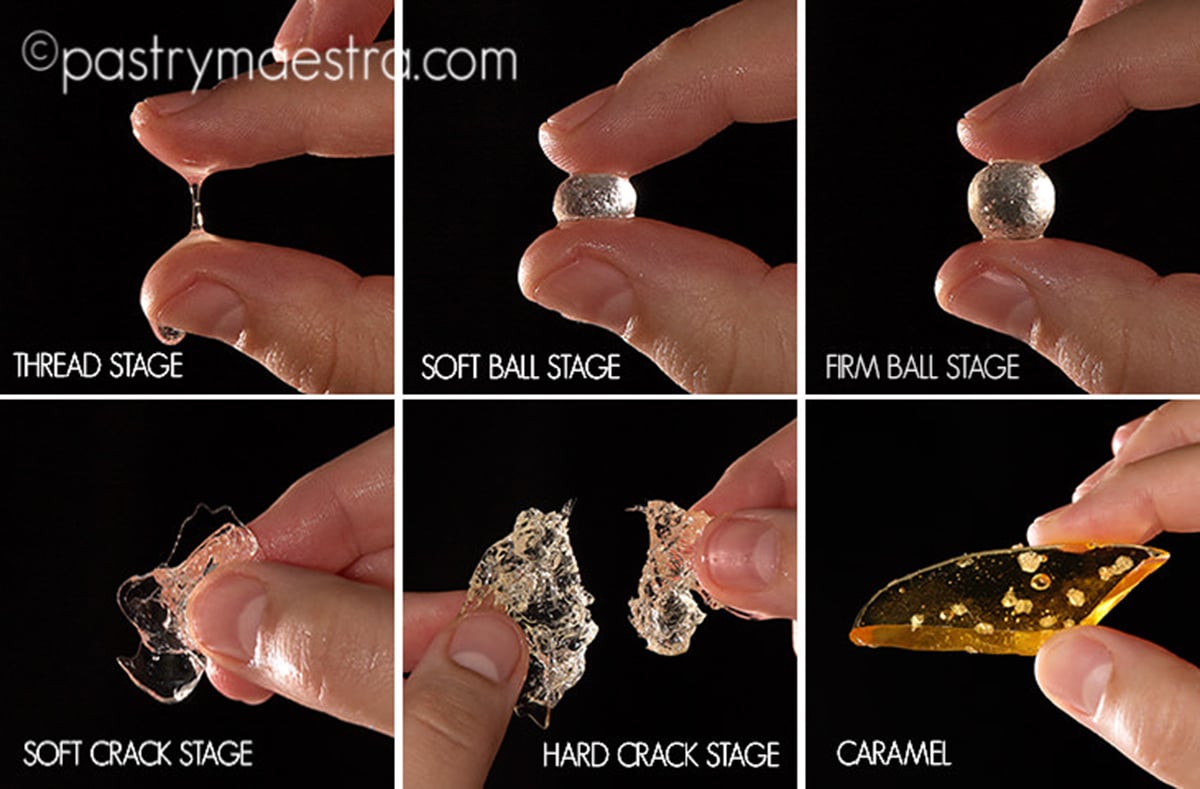
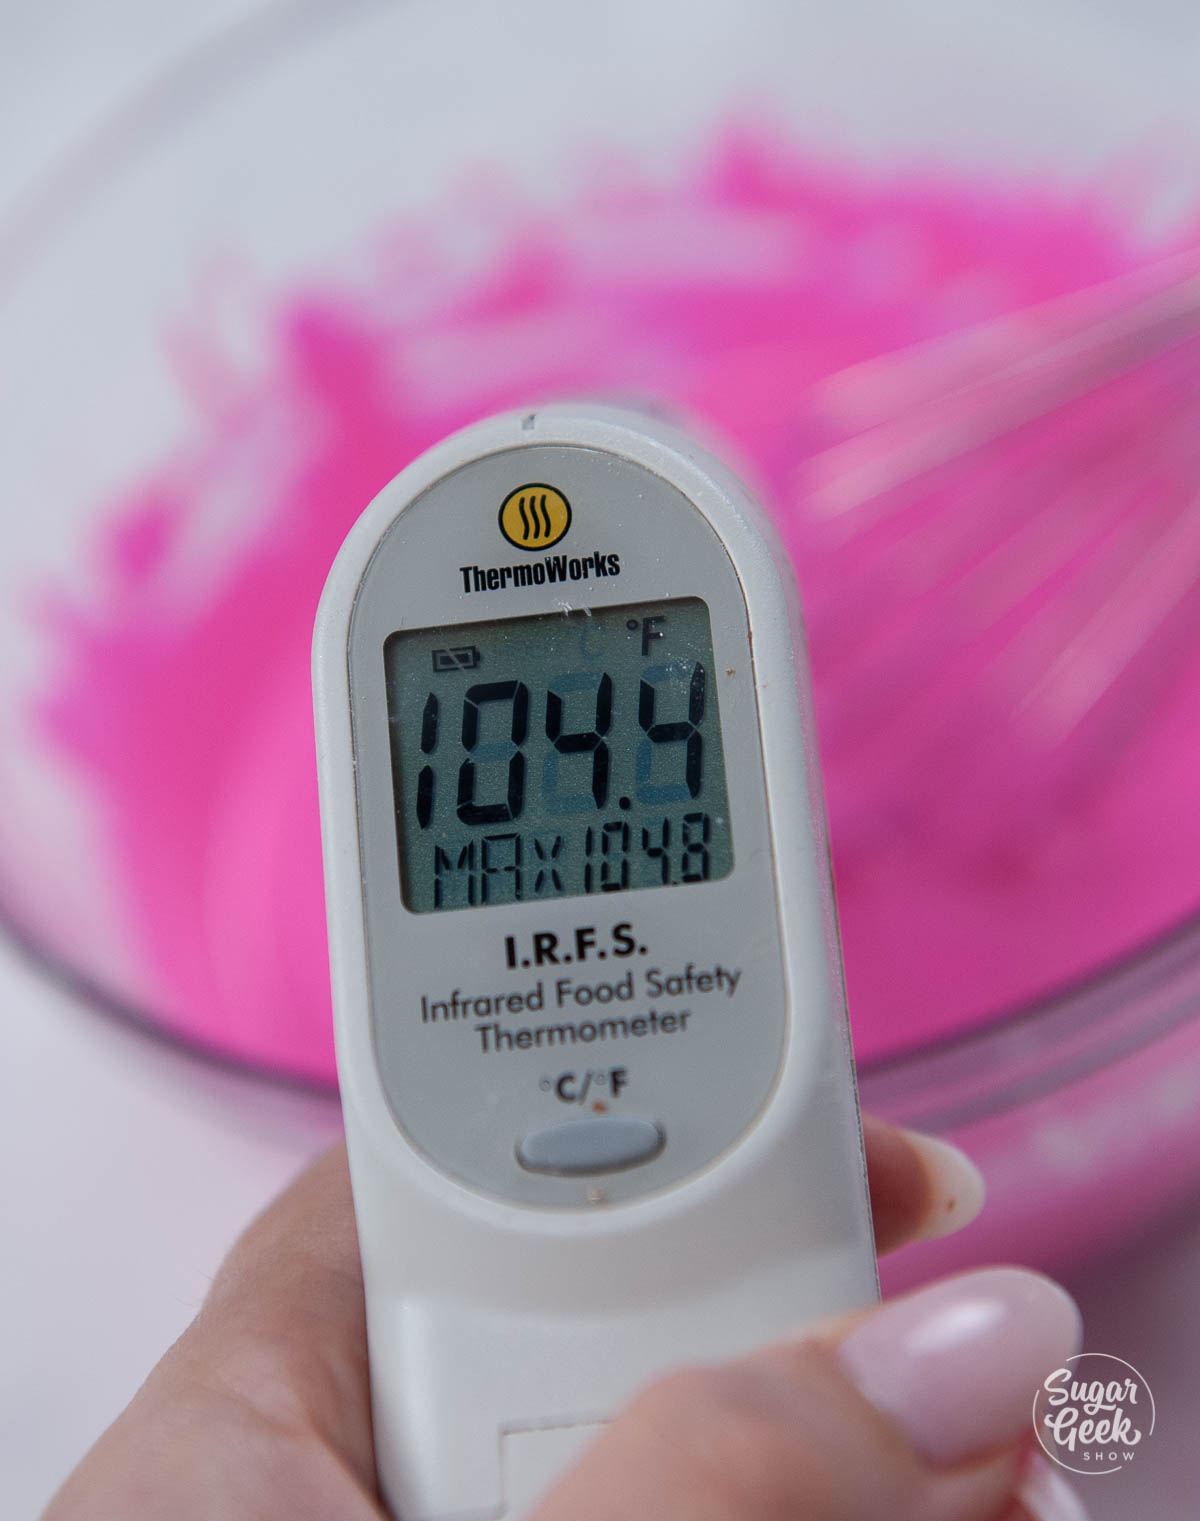
- I cook my curd for about 2 minutes because I like thick lime curd. Use a thermometer to check the temperature of the lime curd. Removing the curd at 170 ºF (76 ºC)will yield a thinner consistency while removing it at 180 ºF (82ºC) will be thicker.
- Add your butter in chunks to the lime curd and whisk it until the butter is melted and combined. Remove the lime curd from the heat. It will continue to thicken as it cools.
- Add in your tequila and Grand Marnier (both optional) and stir until smooth.
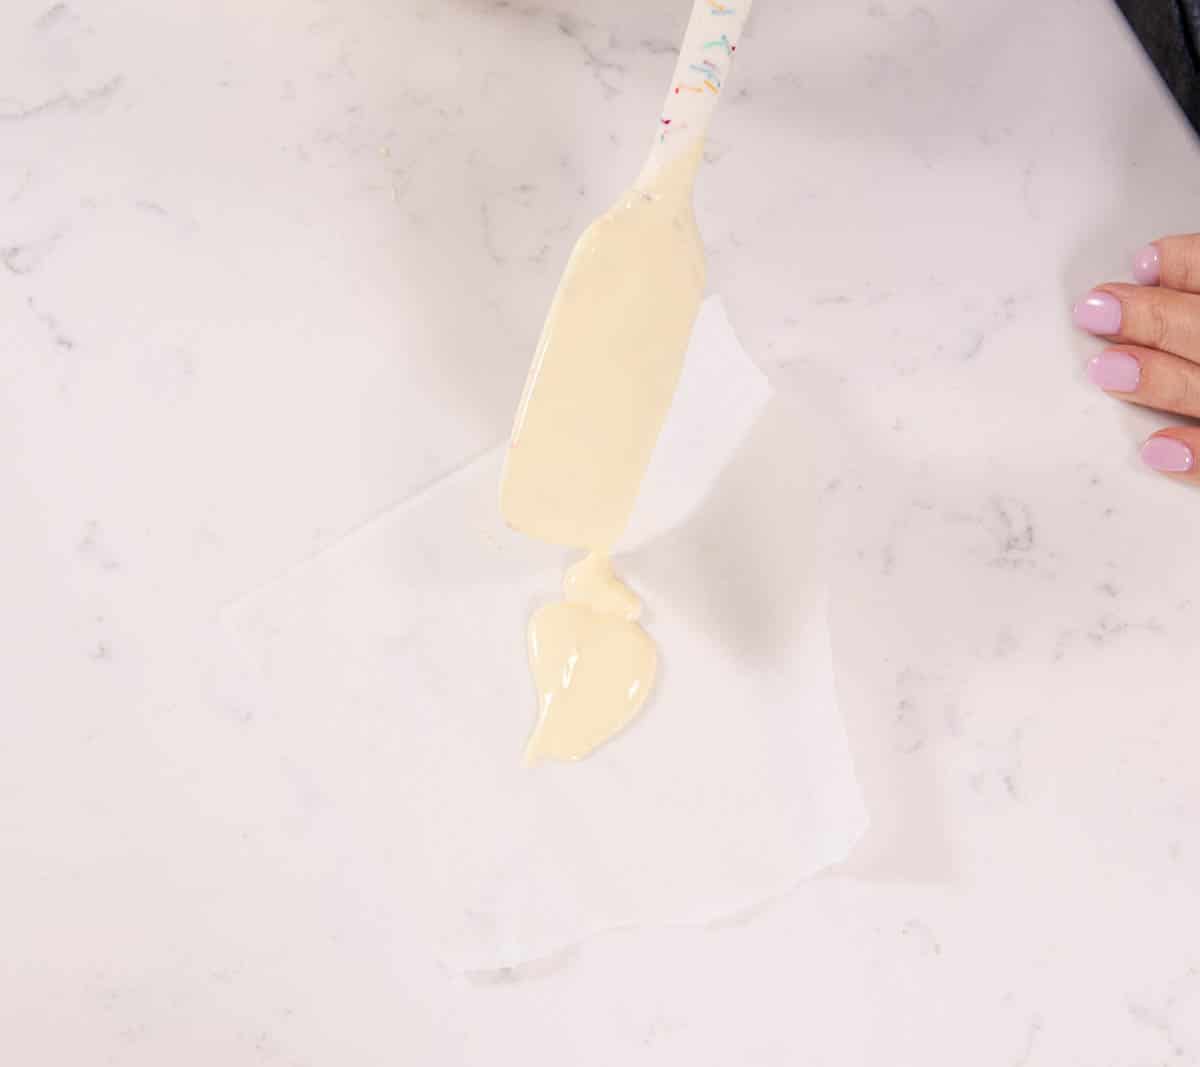
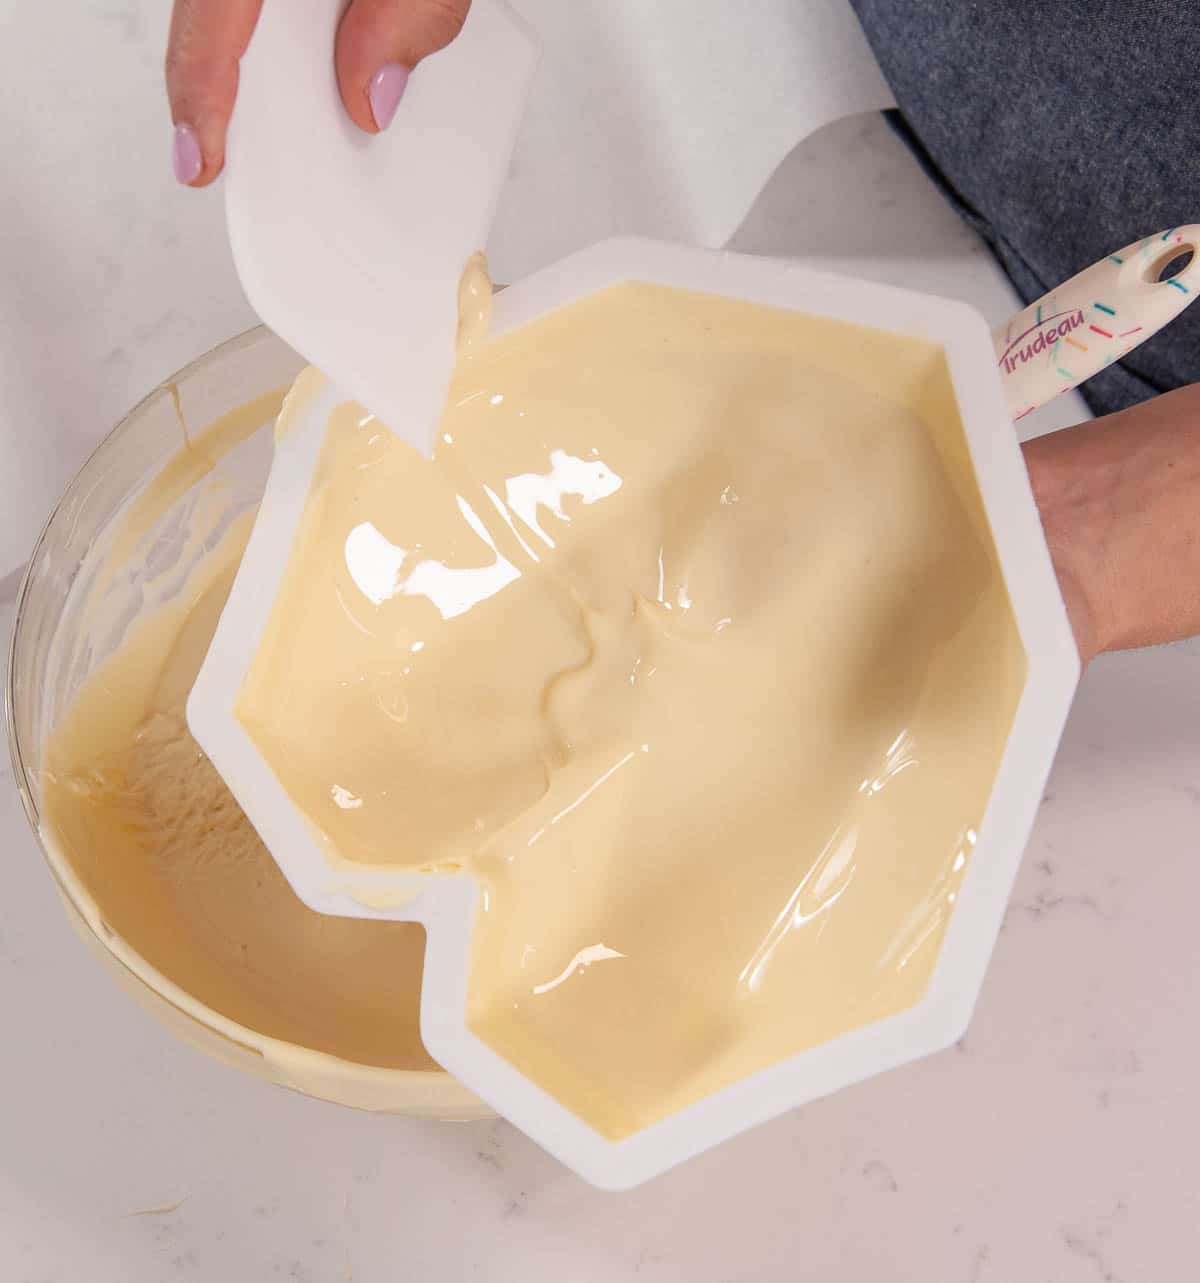
- Pour the finished lime curd into a heat-proof jar or bowl. Cover the curd with plastic wrap so that it is touching the surface of the curd without any air bubbles in between, this will prevent a skin from forming on the top of the curd. Refrigerate for minimum of 2 hours. Store it in the fridge for up to one week or freeze it for up to a year.
Lime Cake
- Preheat your oven to 335 ºF and prepare three 6"x2" cake pans with cake goop or another preferred pan release. You can also use two 8"x2" pans, just bake for longer.
- Combine the lime juice, zest, tequila, lemon extract, and milk and set it aside
- Combine the flour, baking powder, and salt and set it aside.
- Add your softened butter and sugar to the bowl of your stand mixer with the paddle attachment attached and cream it on medium-high speed until it's light, white, and fluffy (about 4-5 minutes).
- Add in your egg whites (make sure they are room-temp or even slightly warm) ⅓ at a time while mixing on low, letting them mix in before adding the next part.
- Add in ⅓ of your dry ingredients to the egg/butter mixture and mix on low until just combined. Then add in ½ of your liquids, then dry, then liquids, and the rest of your dry. Mix until just combined.
- Divide your batter evenly between your prepared cake pans and bake them for or 25-35 minutes or until a toothpick comes out from the center clean or the top bounces back when you lightly touch it.
- Let the cake layers cool for 15 minutes in the pans then turn them out onto a cooling rack. Wrap warm and place into the freezer to flash chill. This locks in the moisture. Once cool but not frozen you can then trim off the brown edges of your cakes and frost as desired.
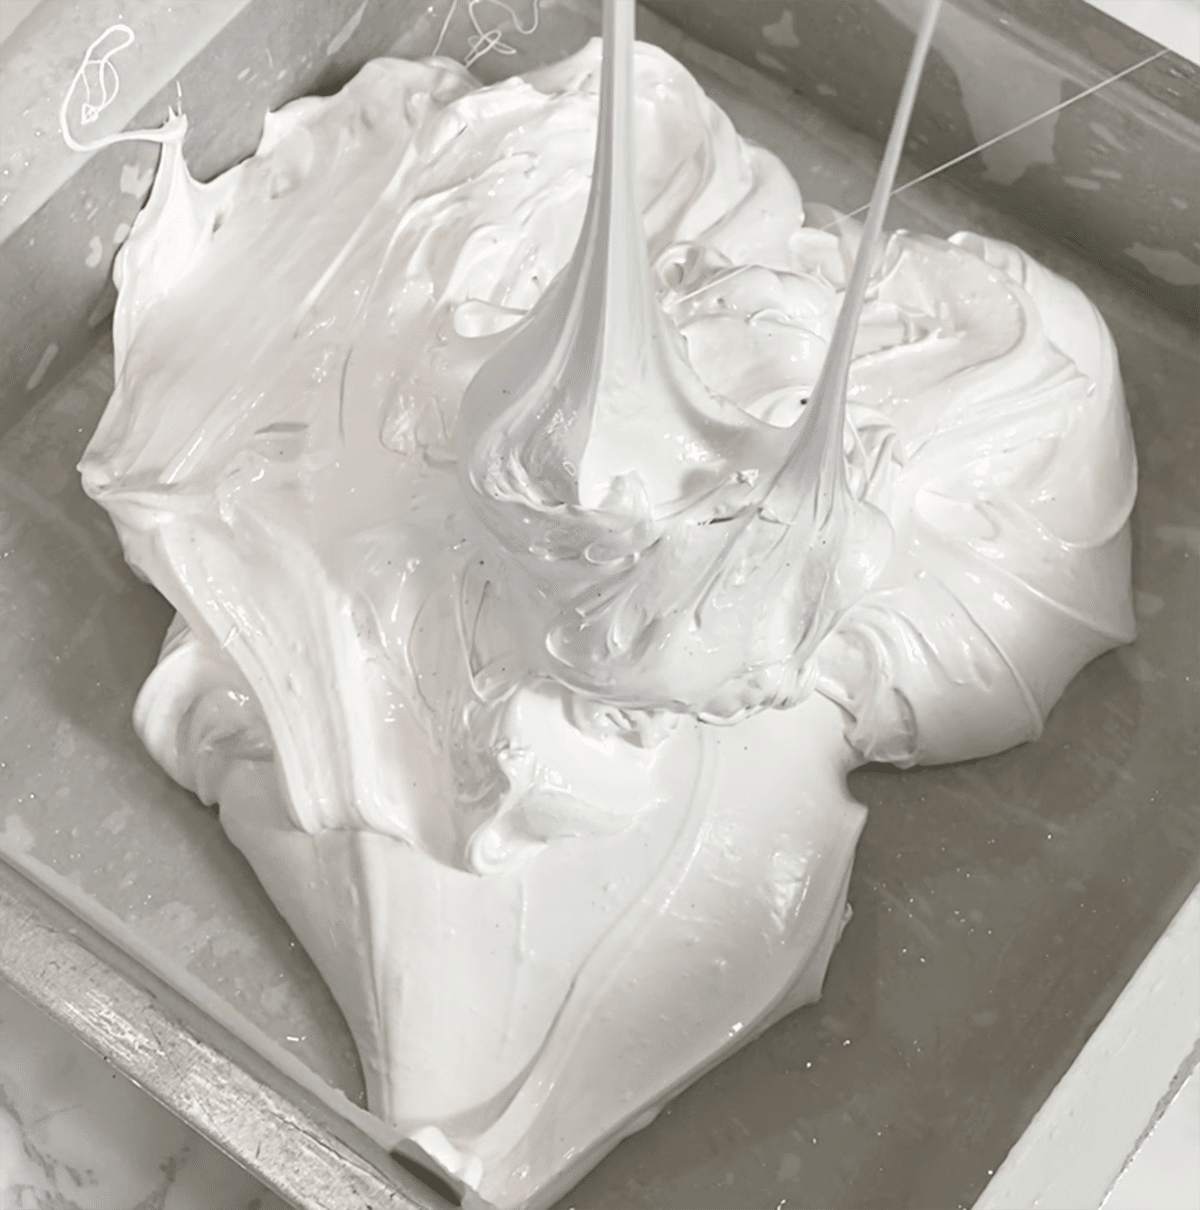
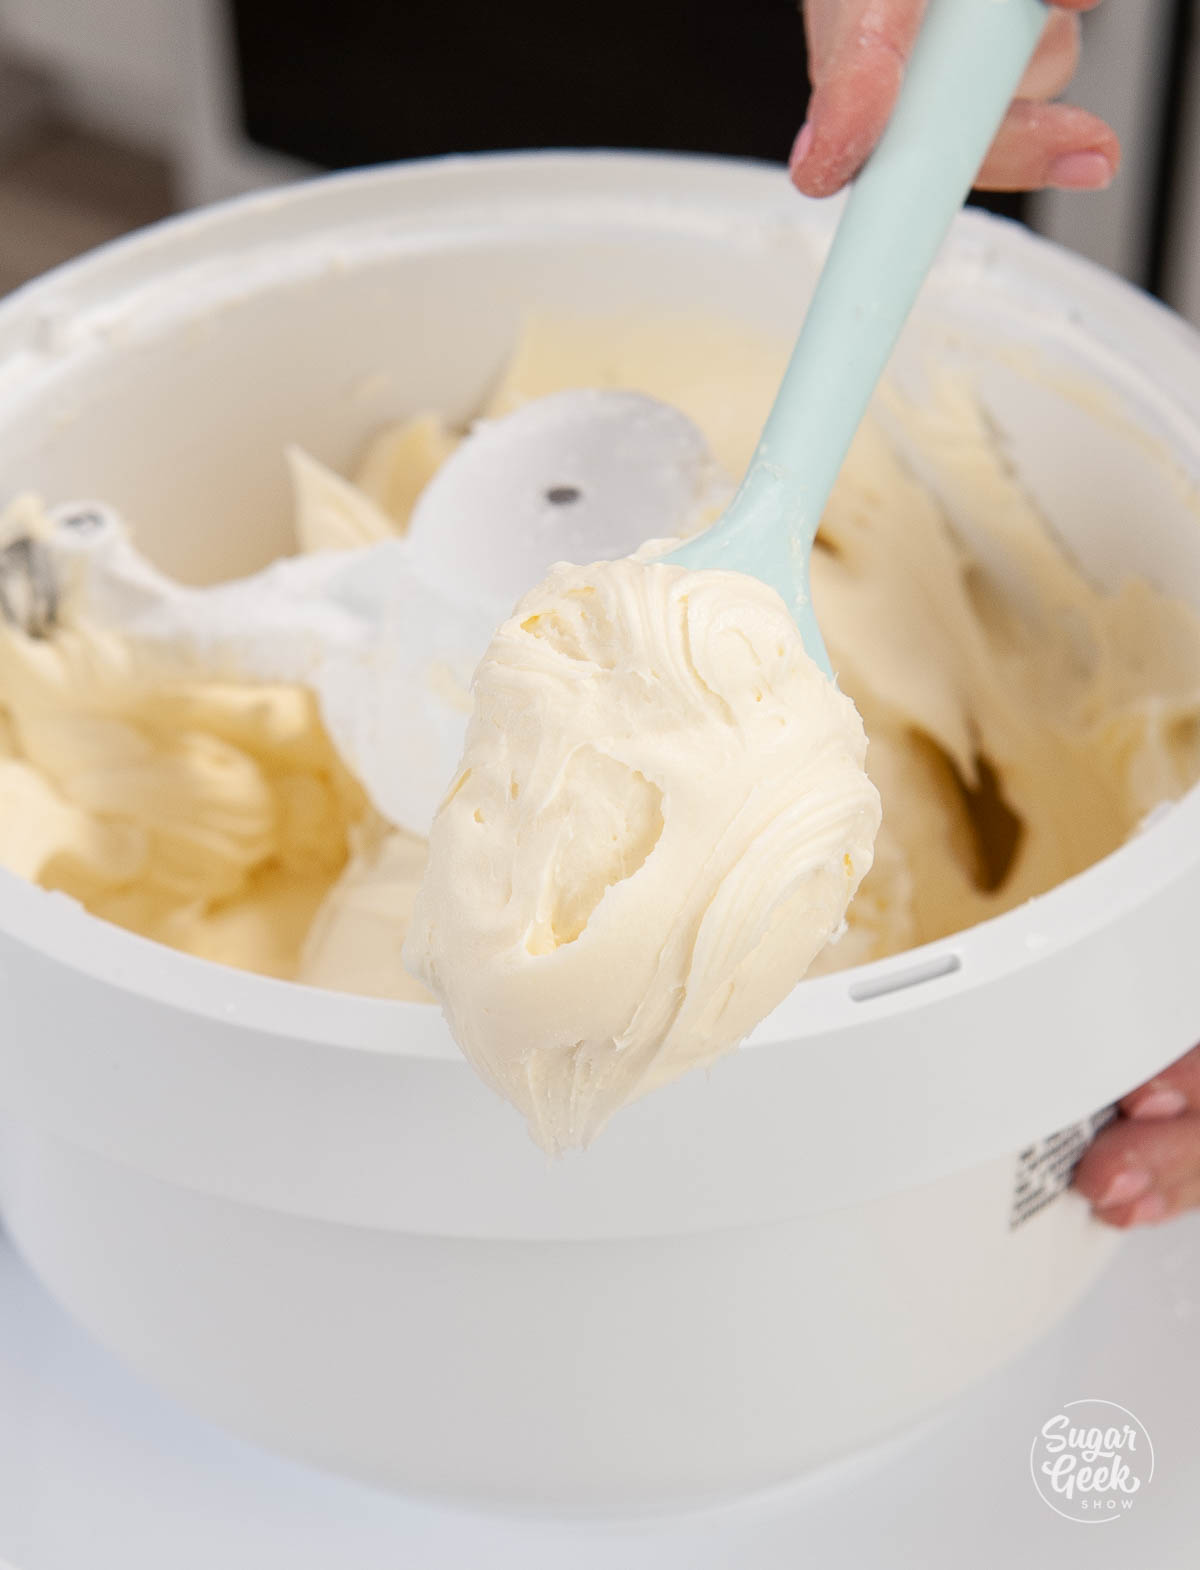
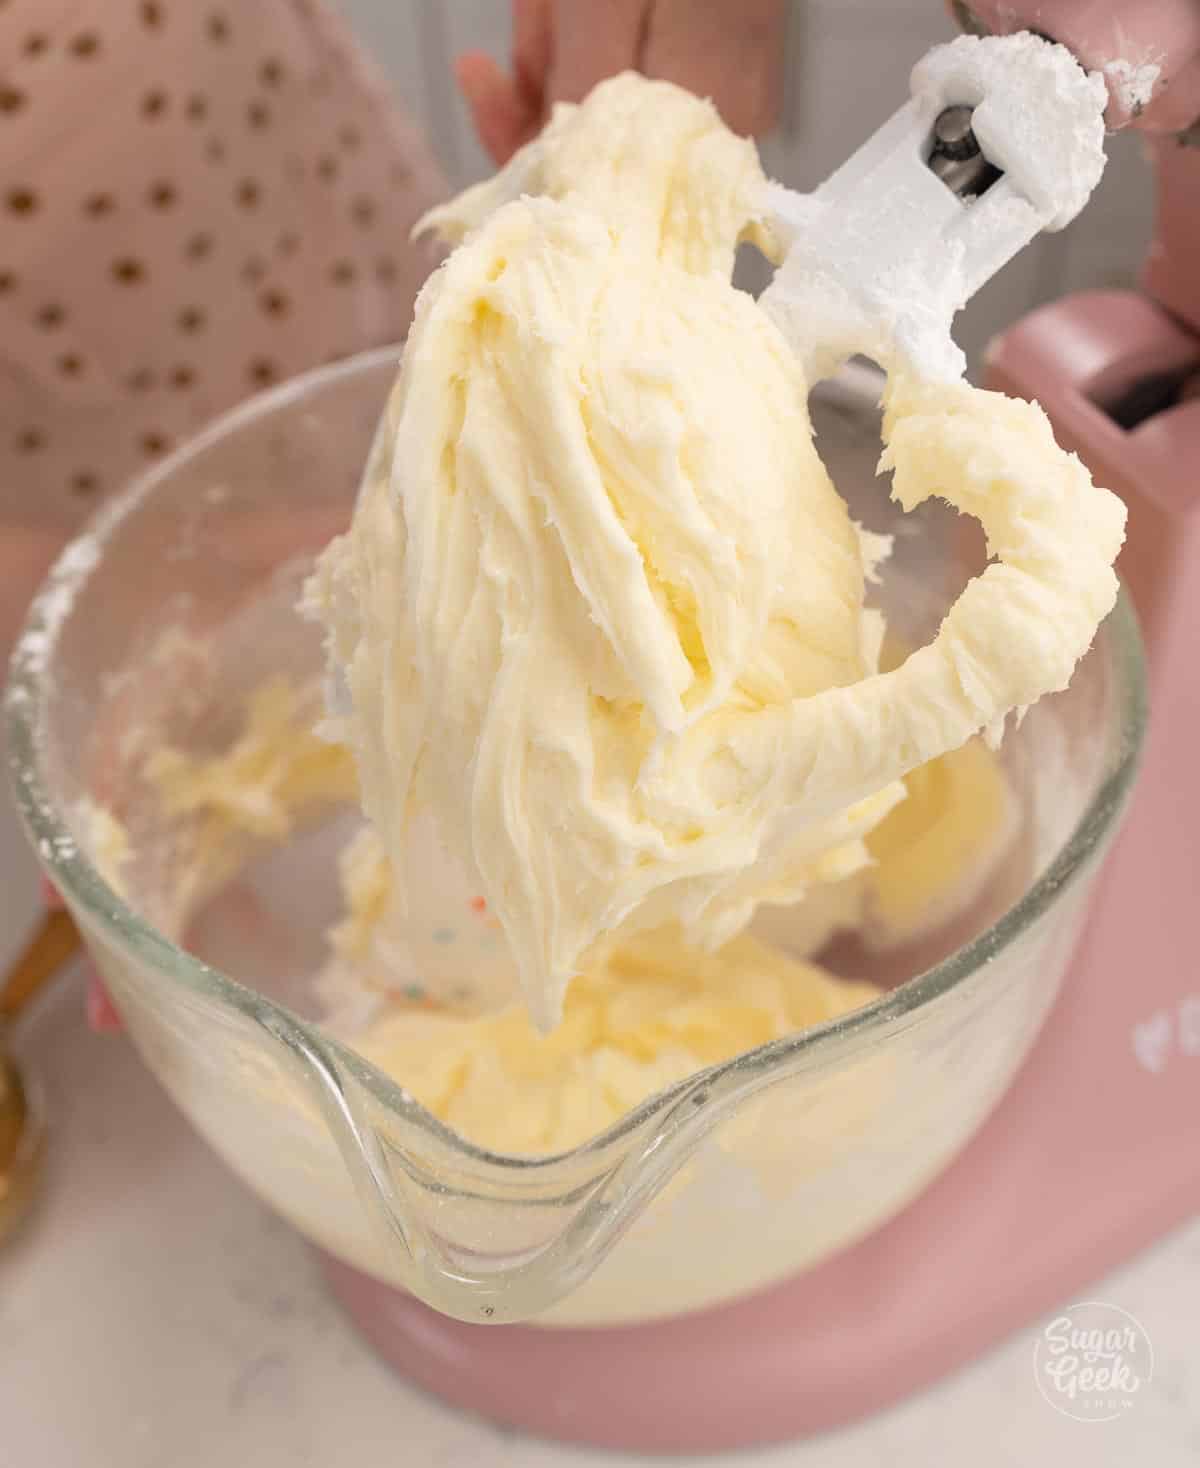
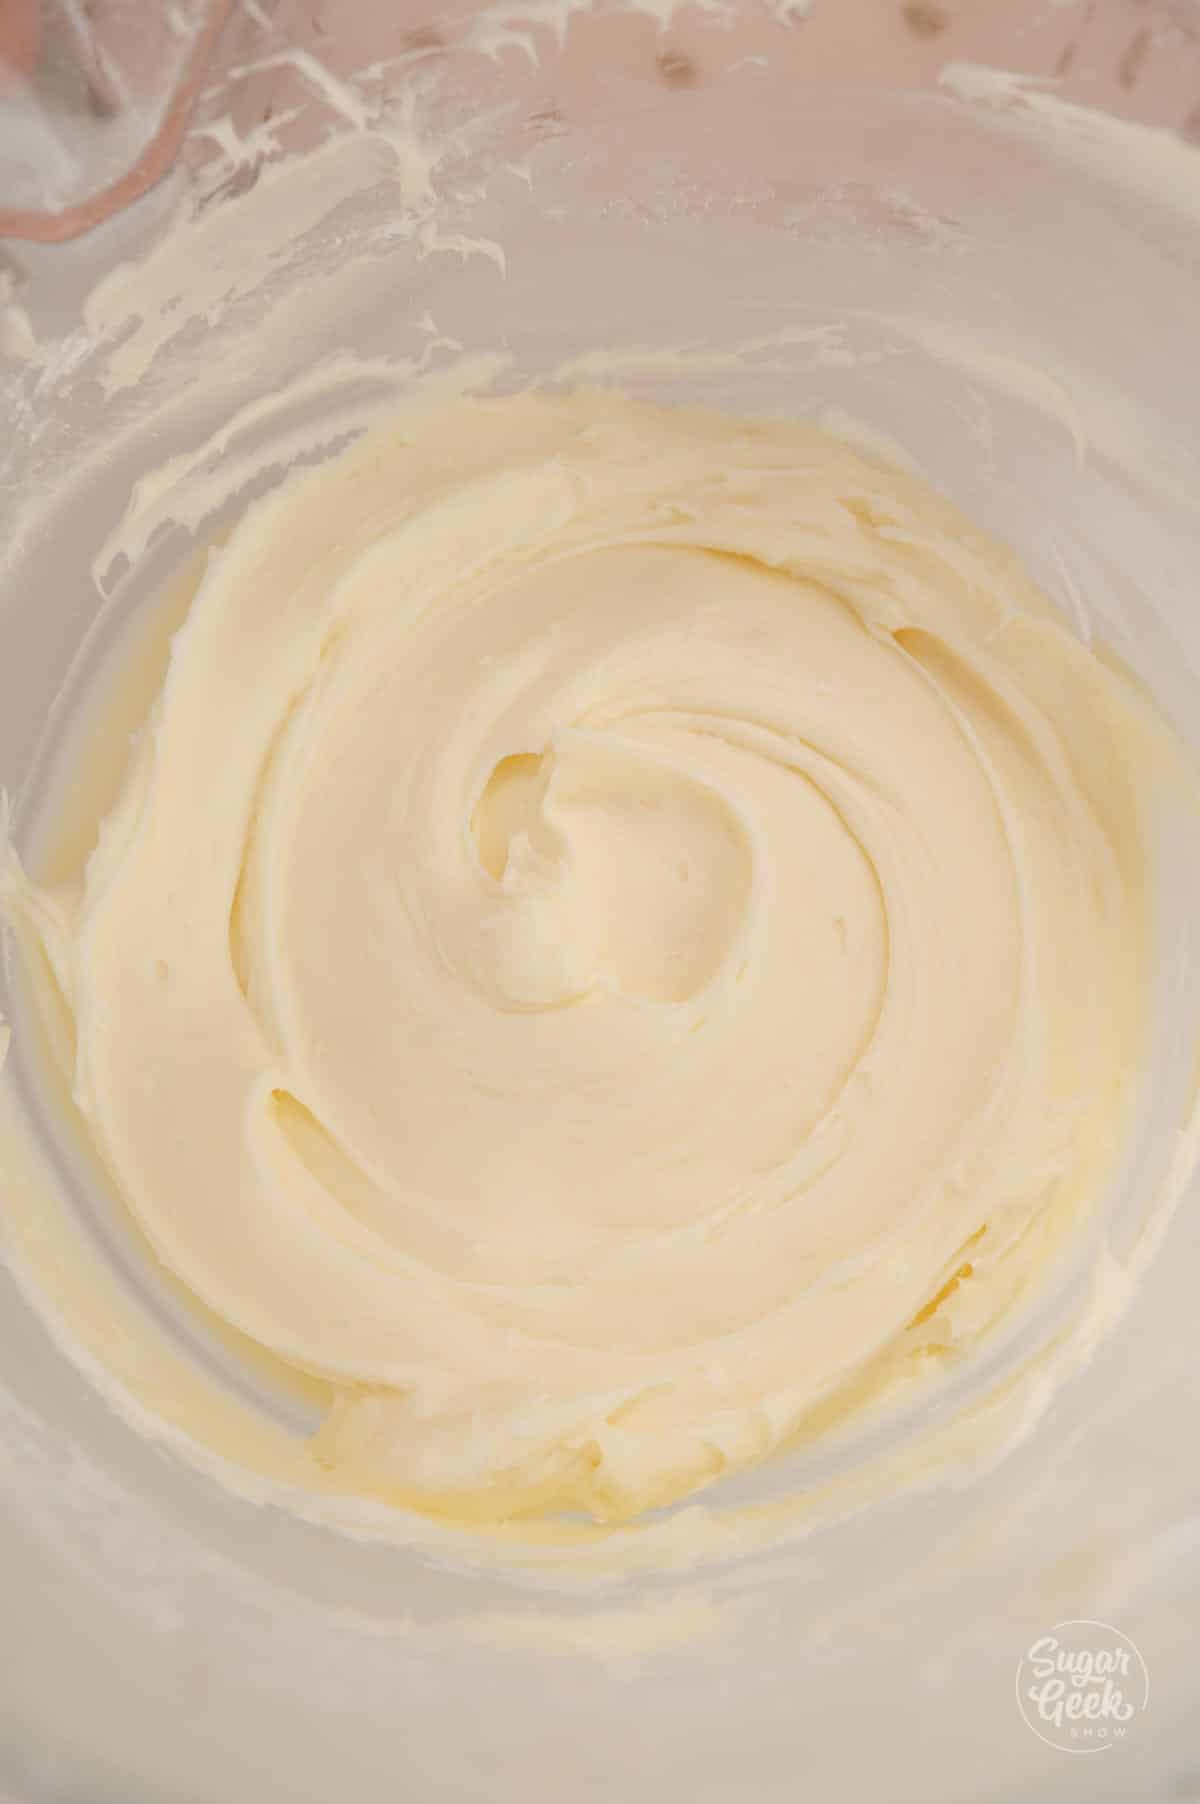
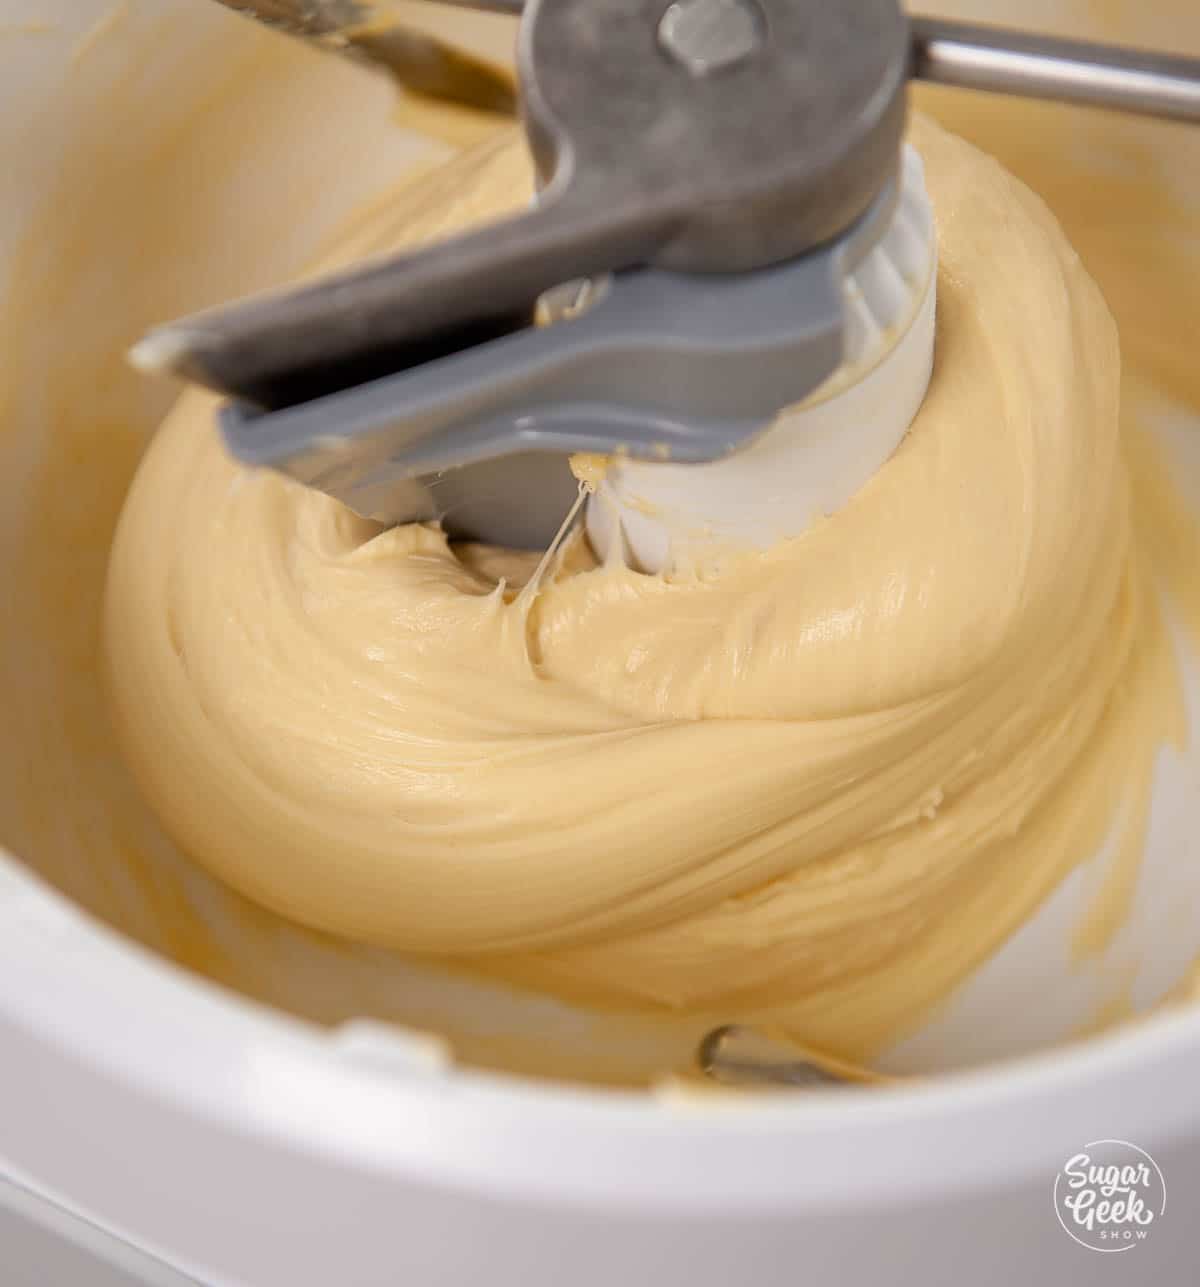
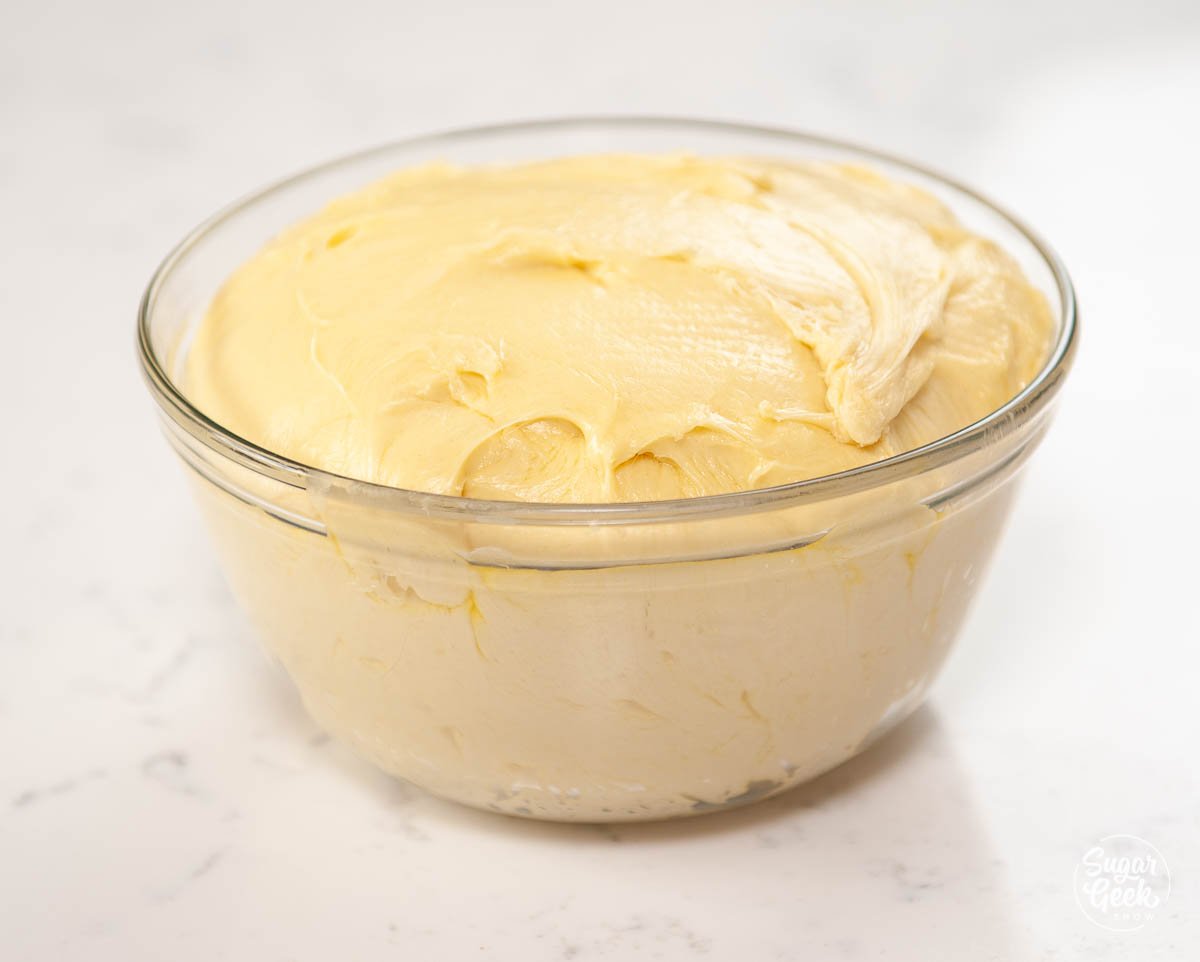
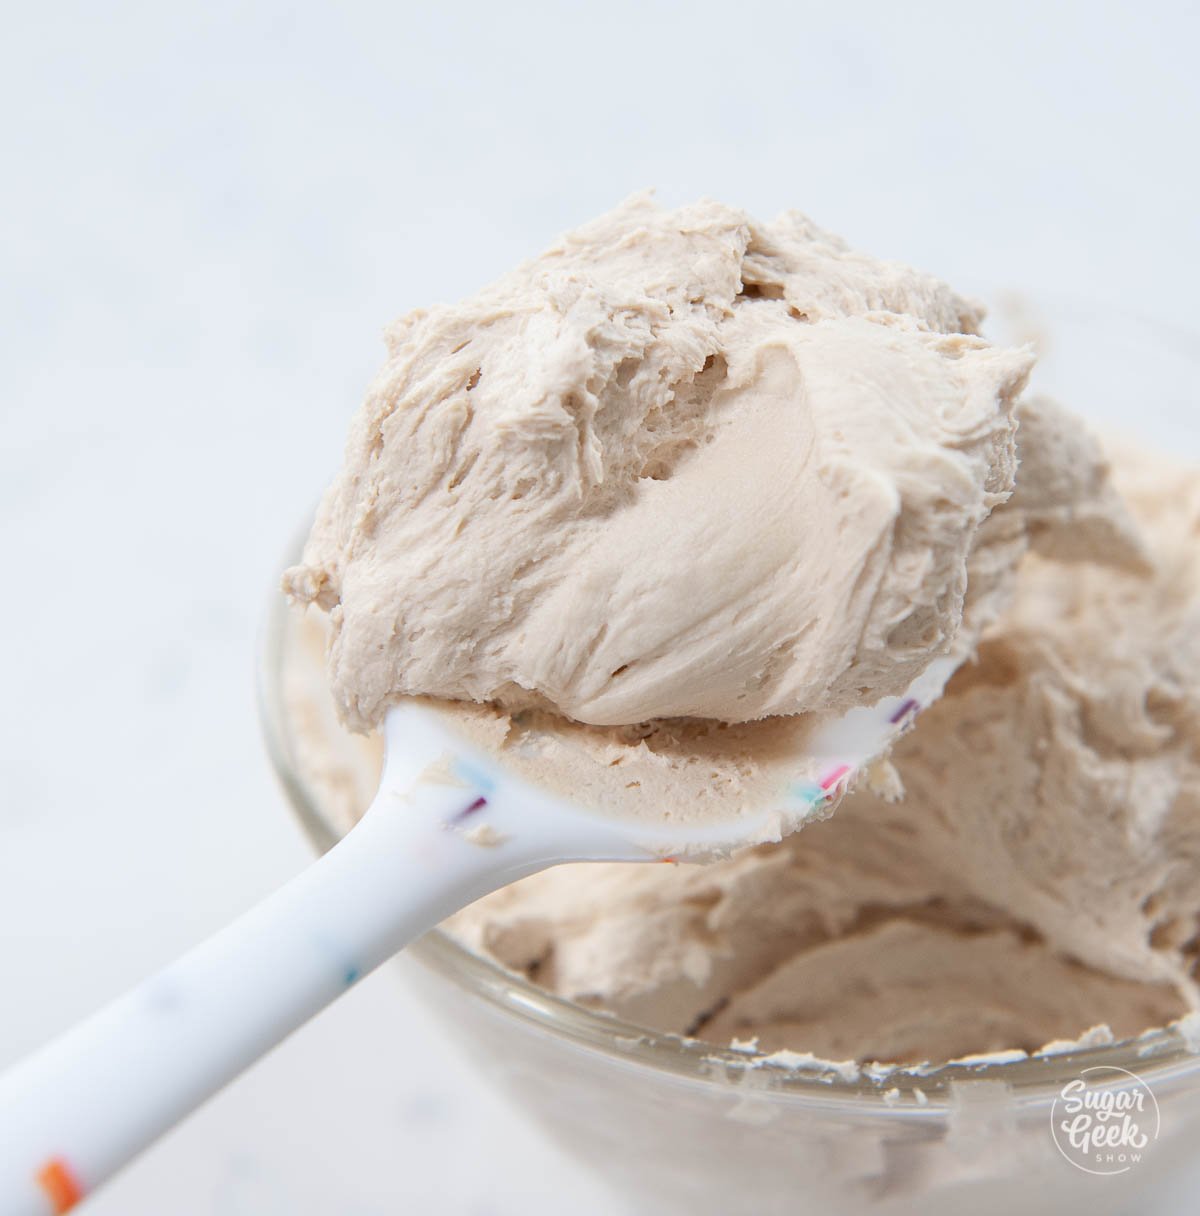
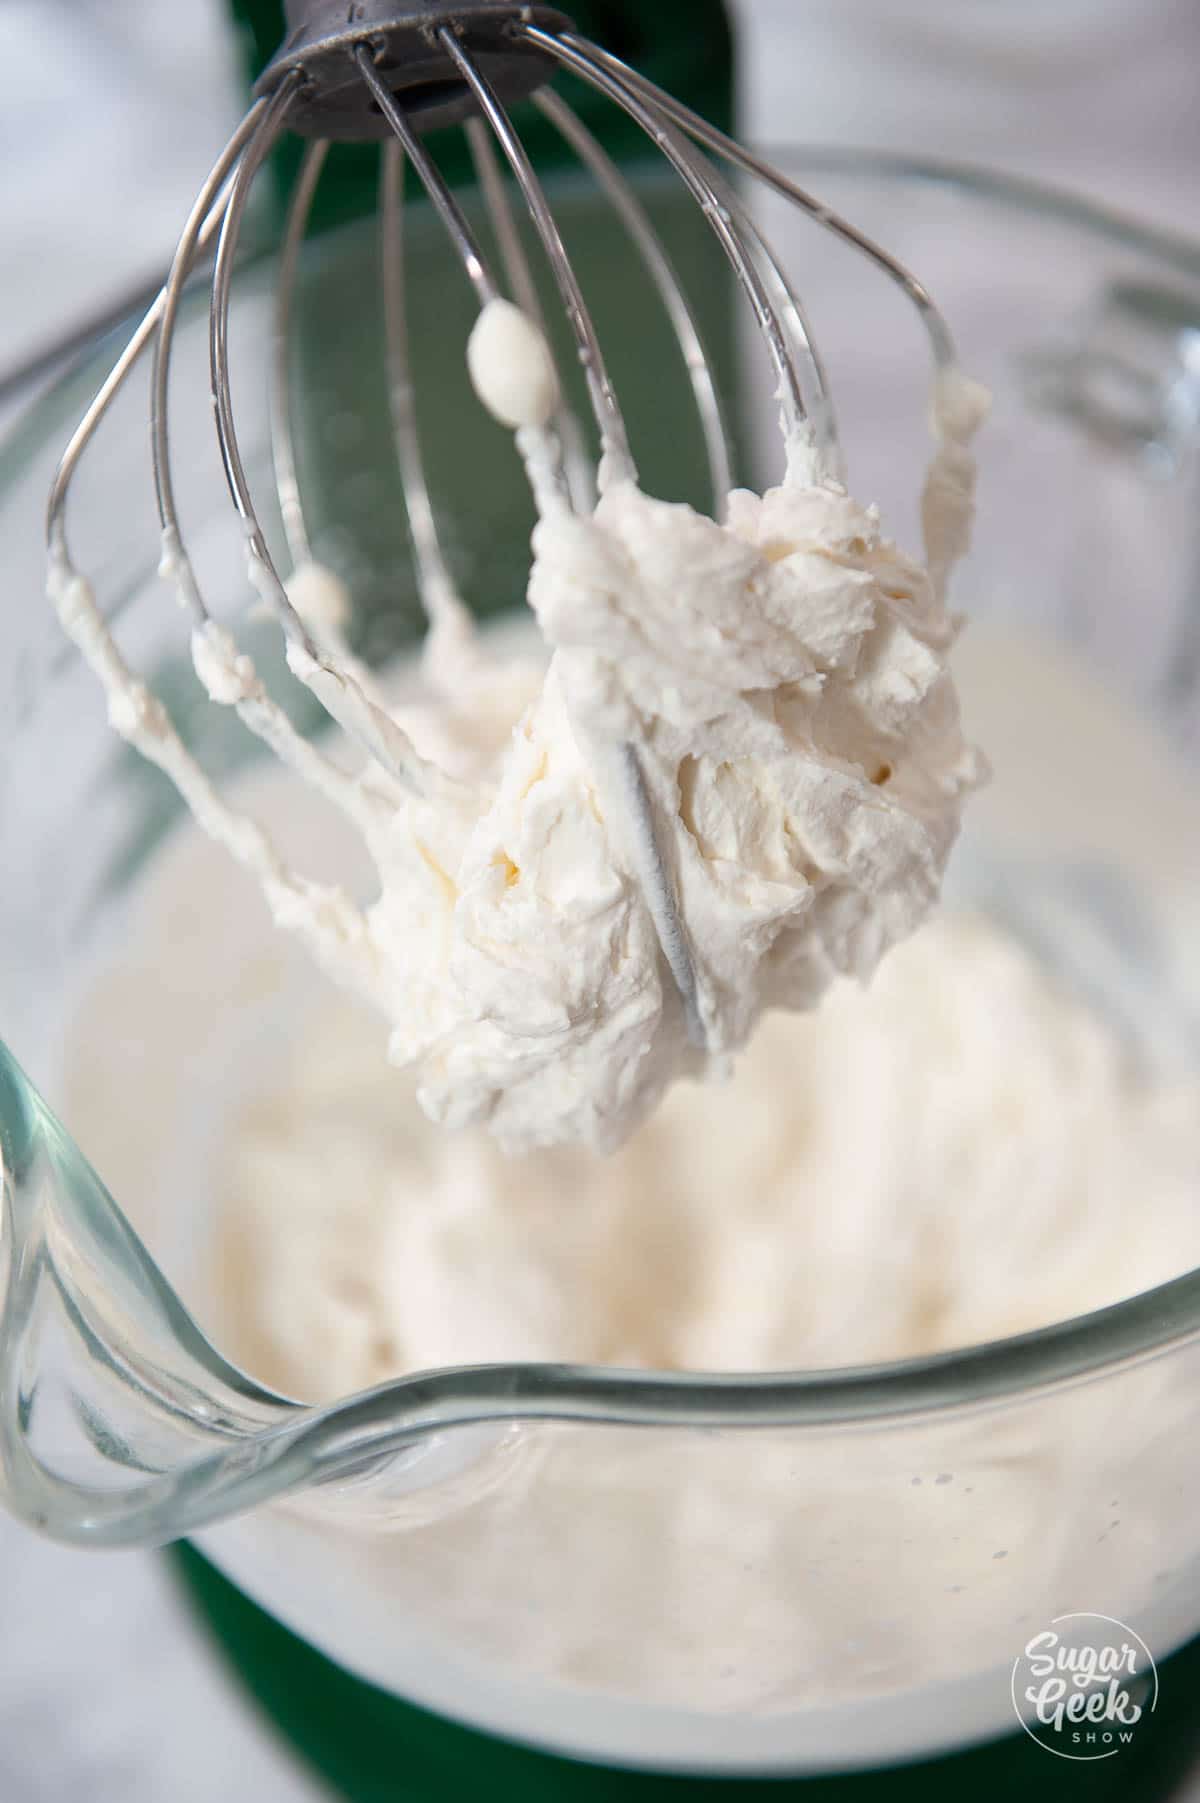
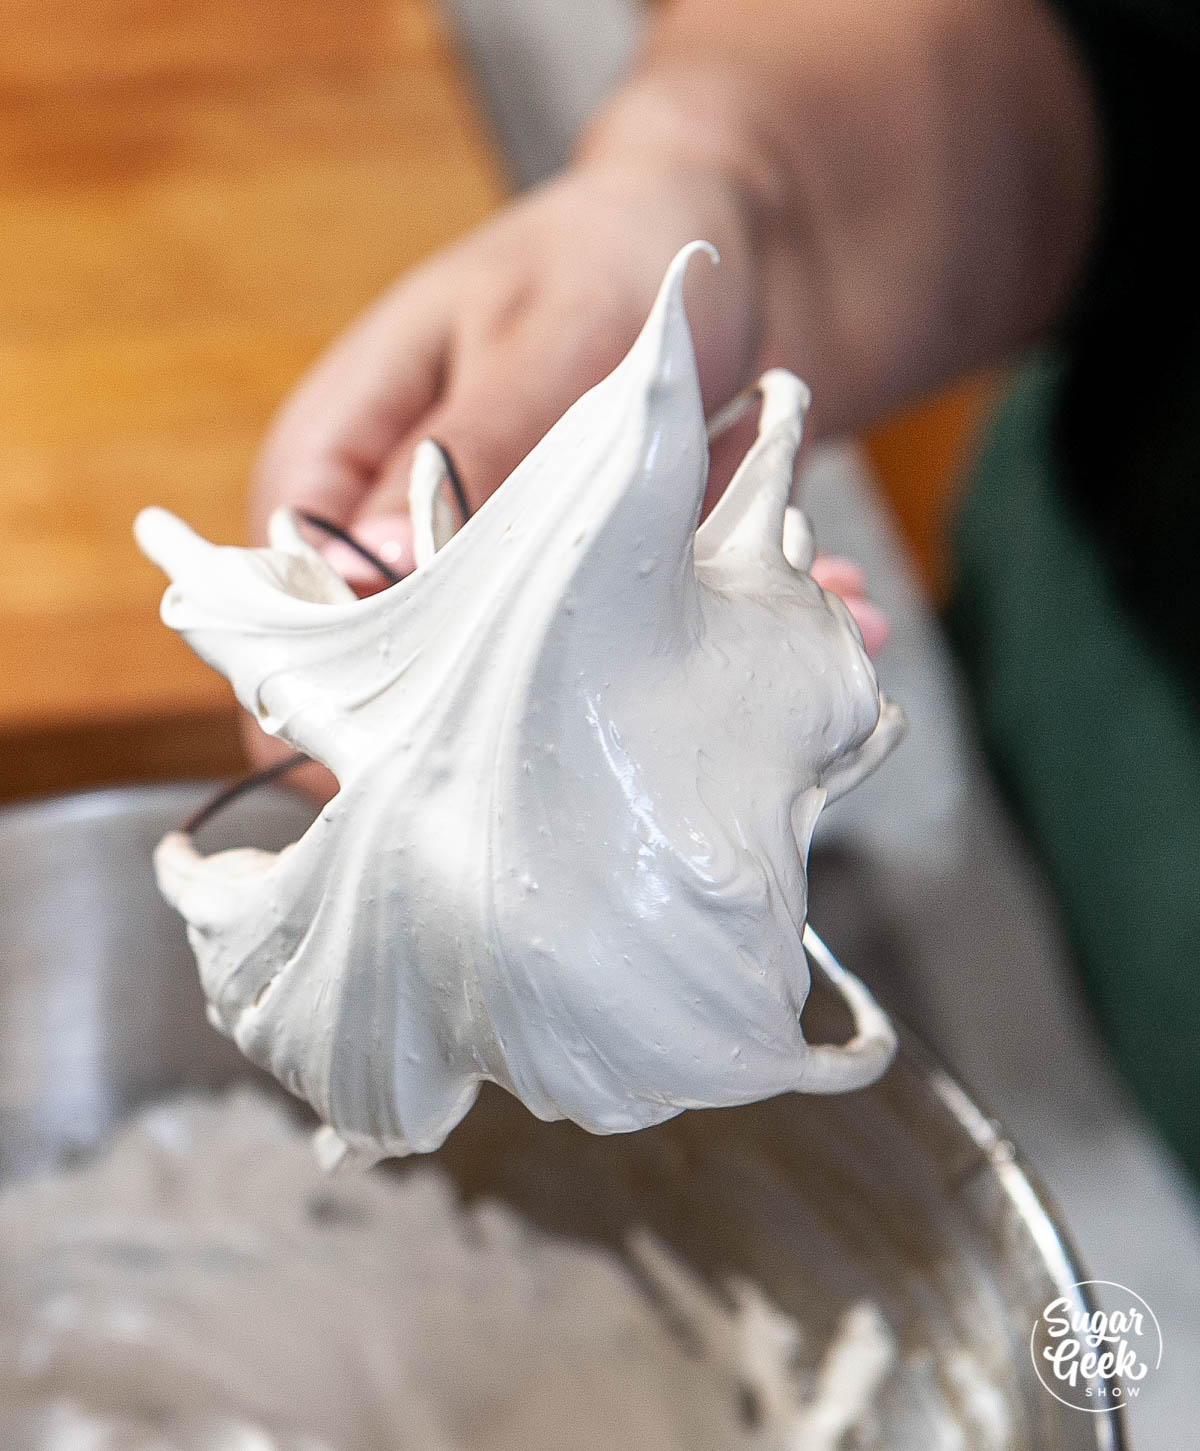
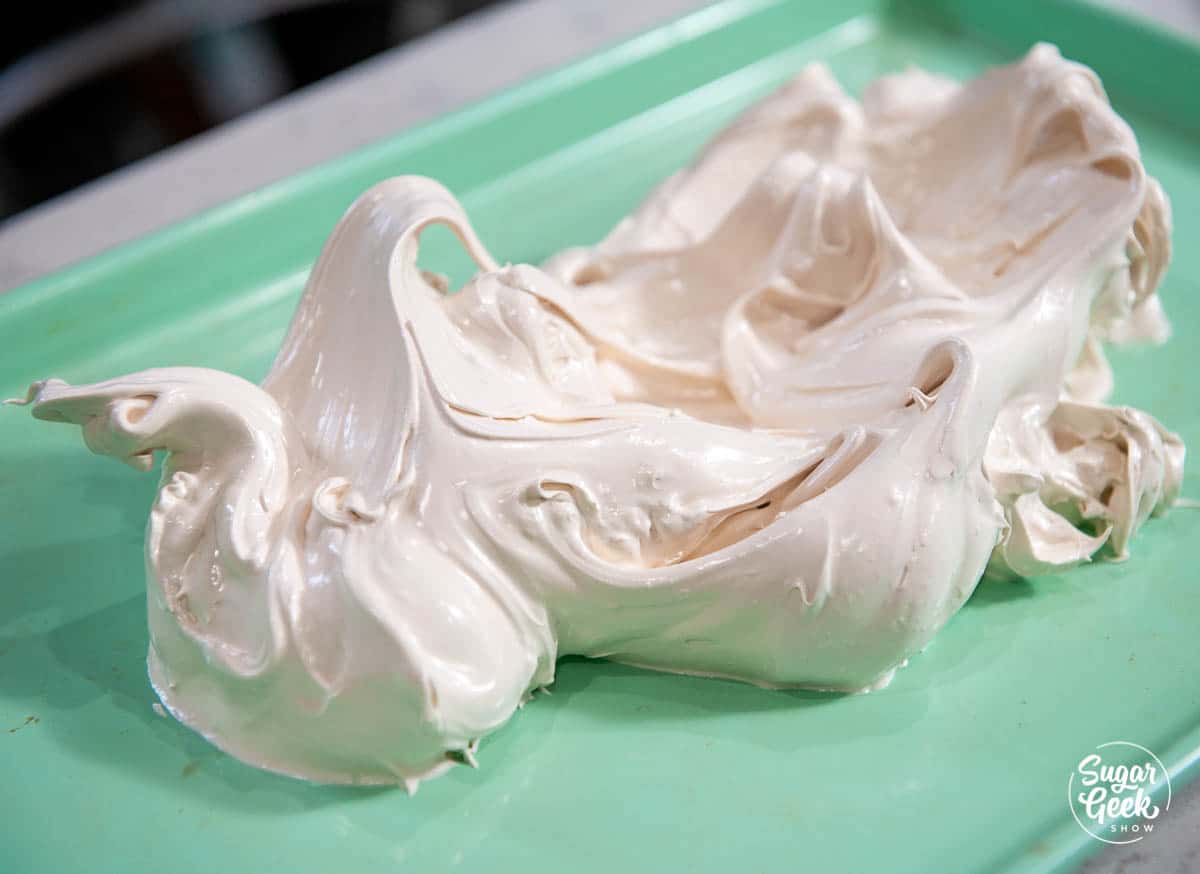
Easy Buttercream
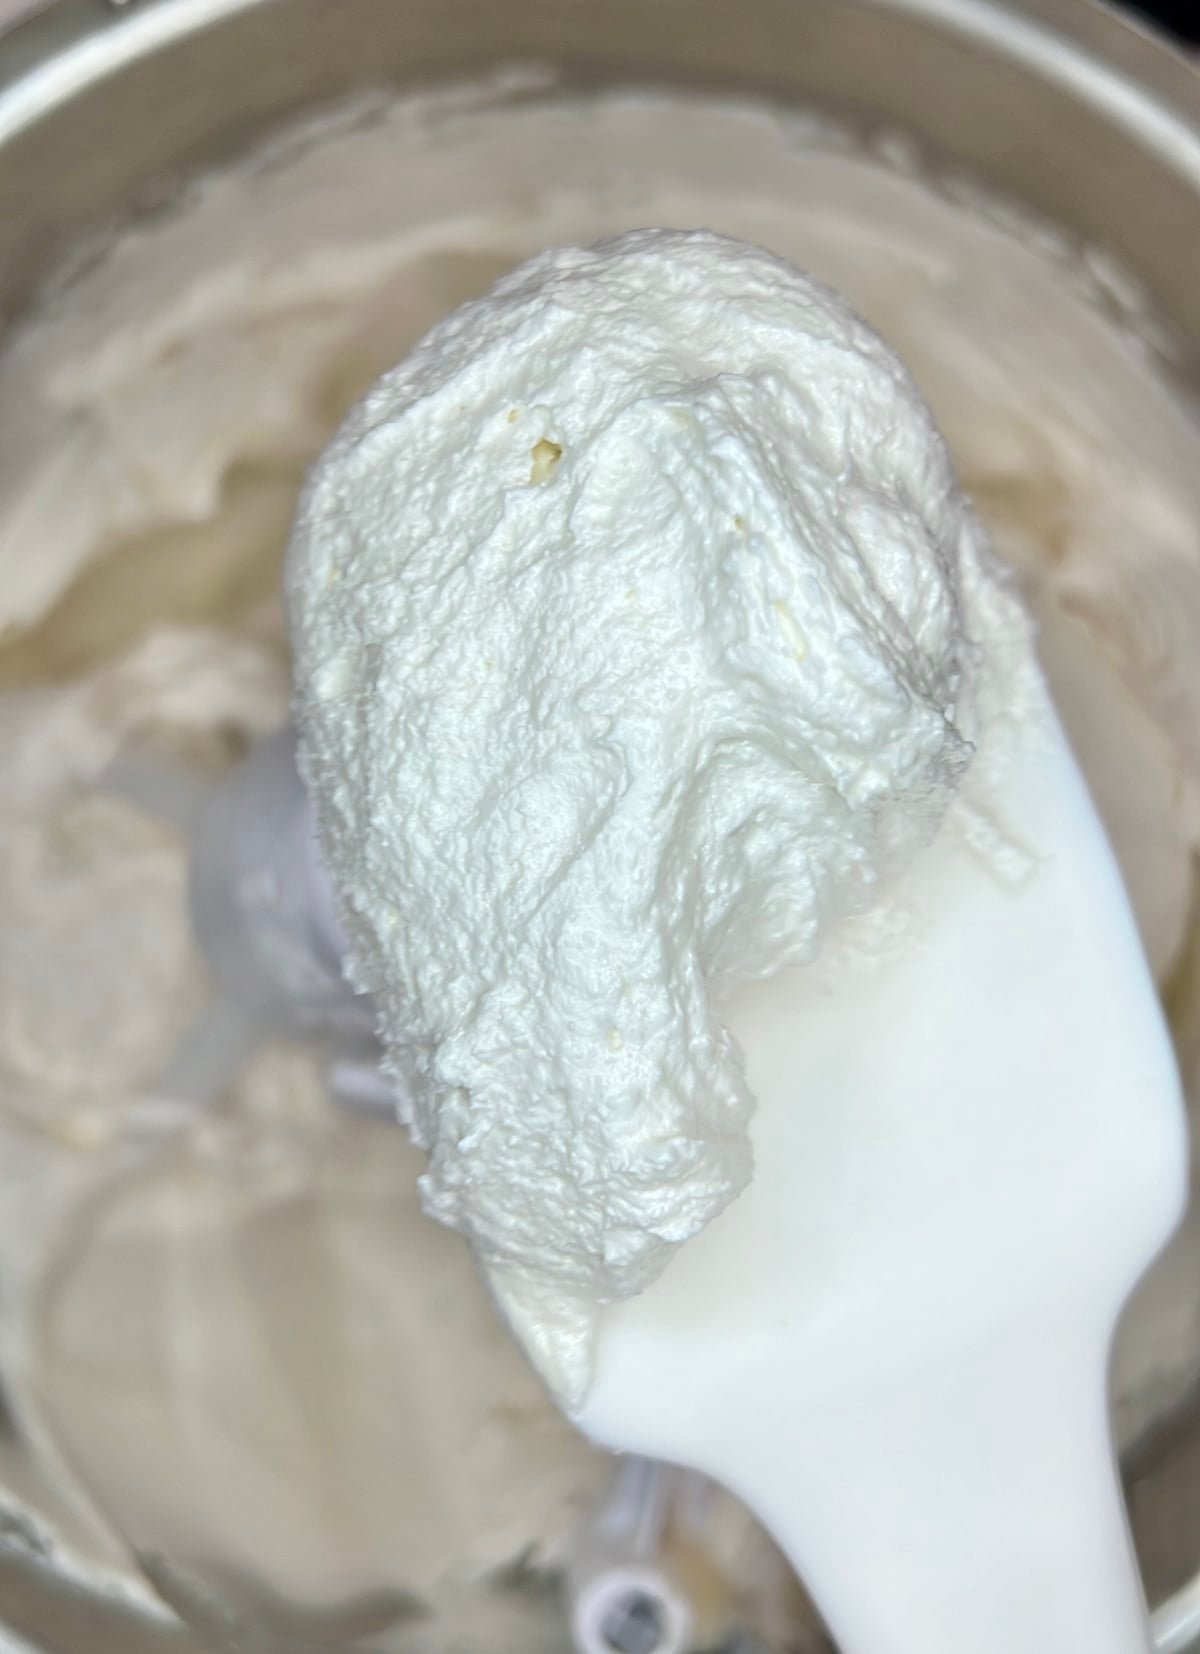
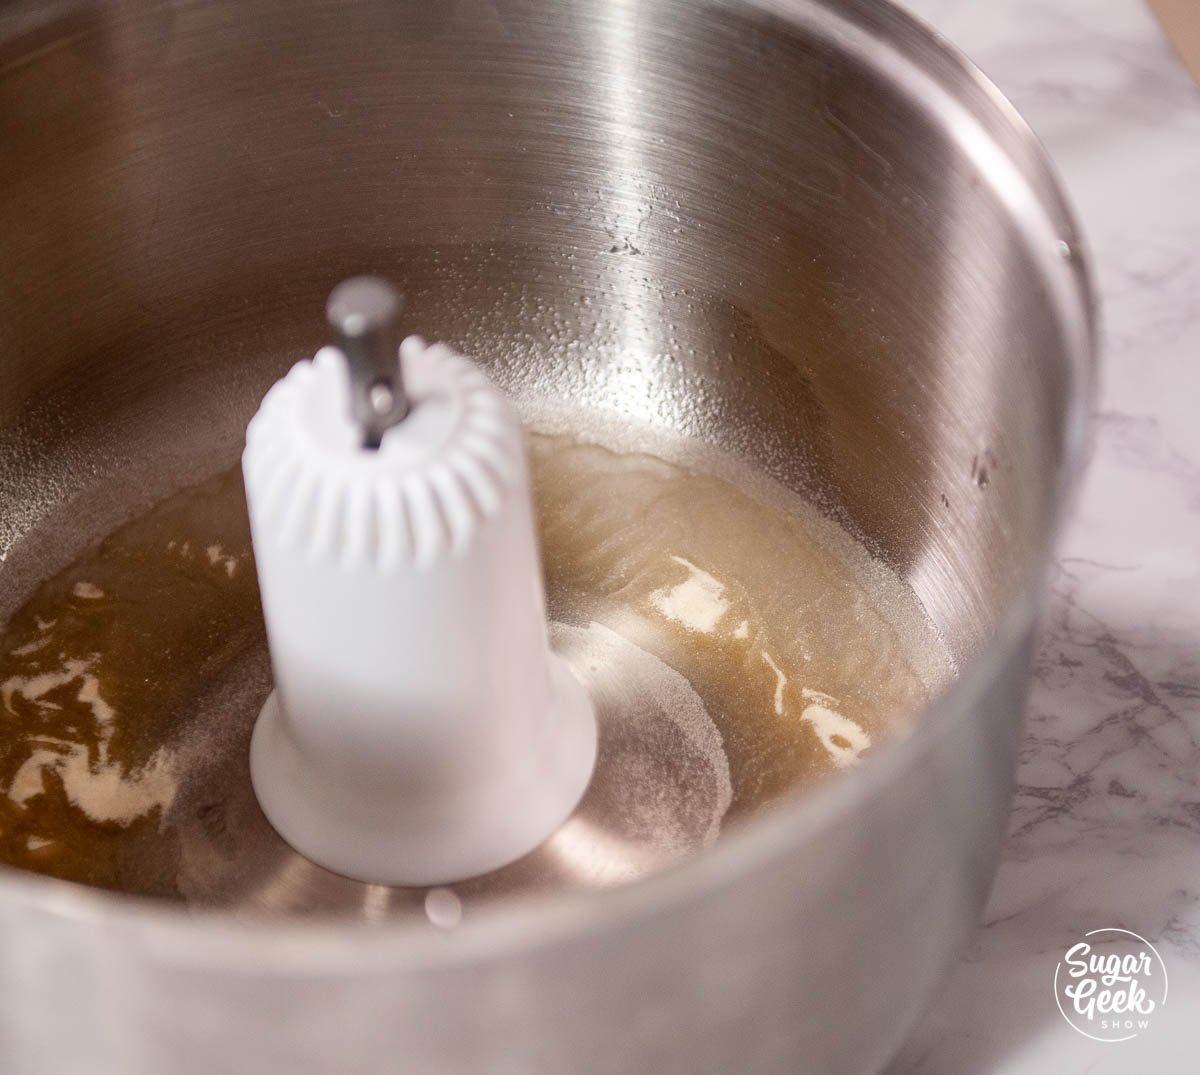
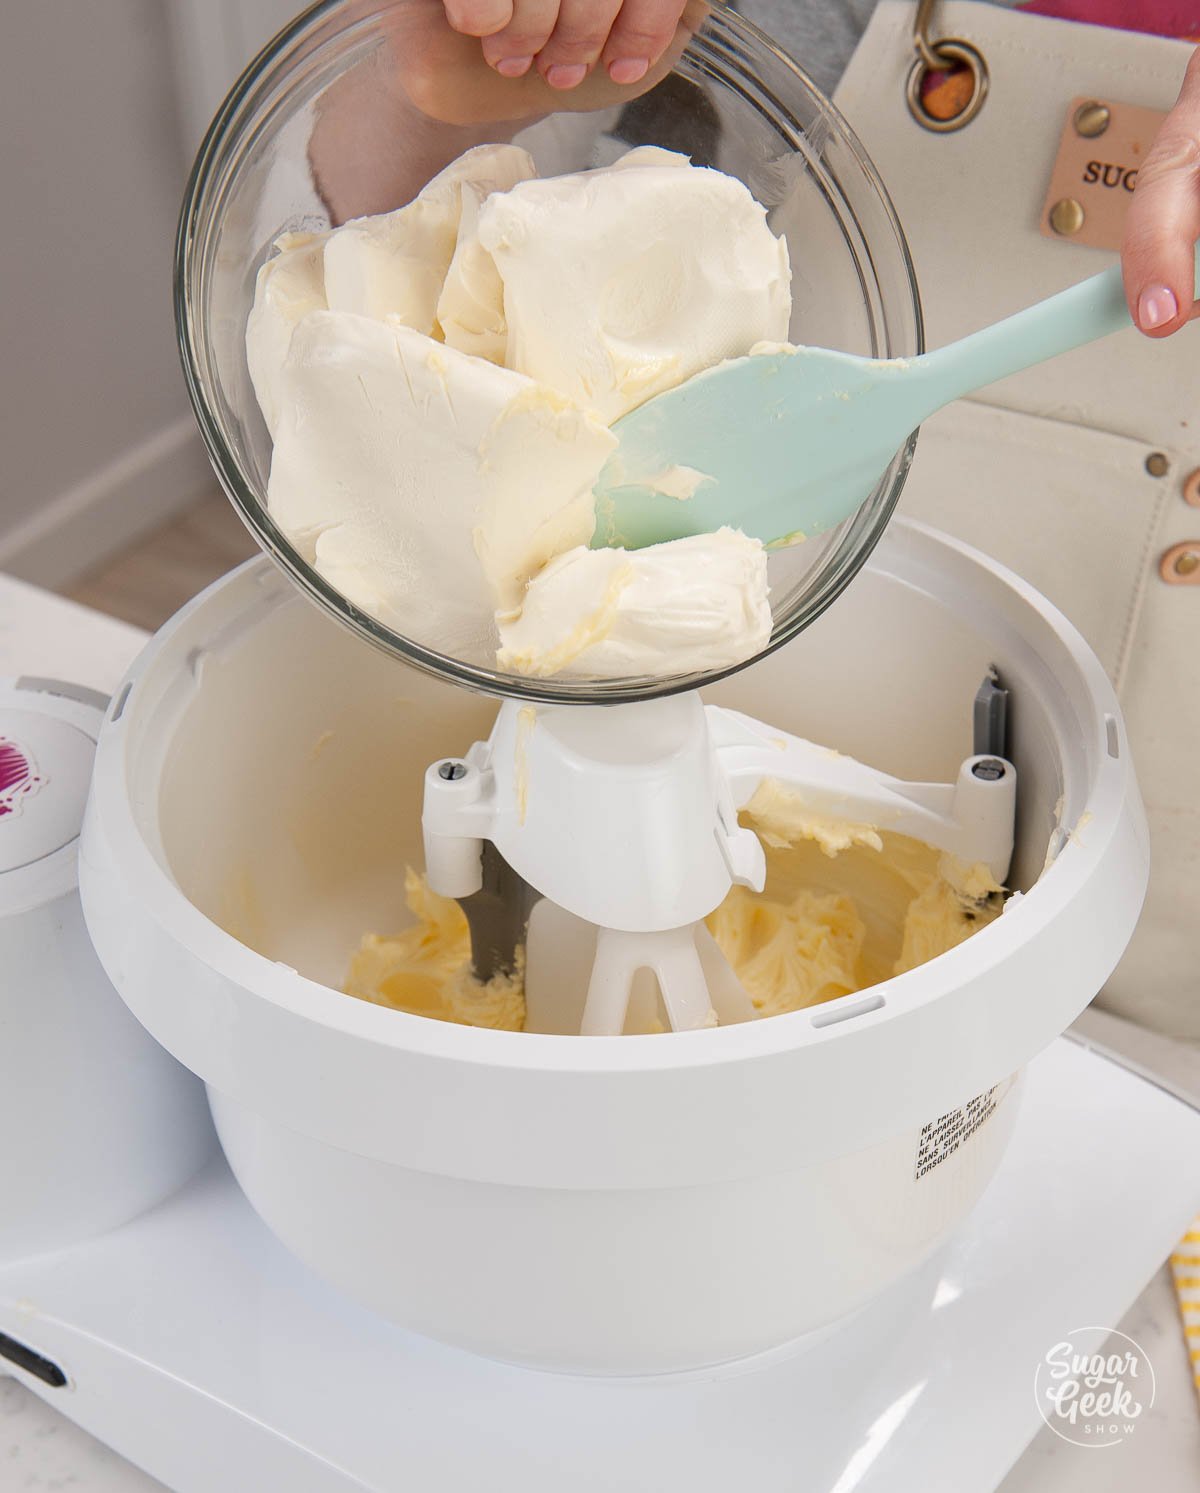
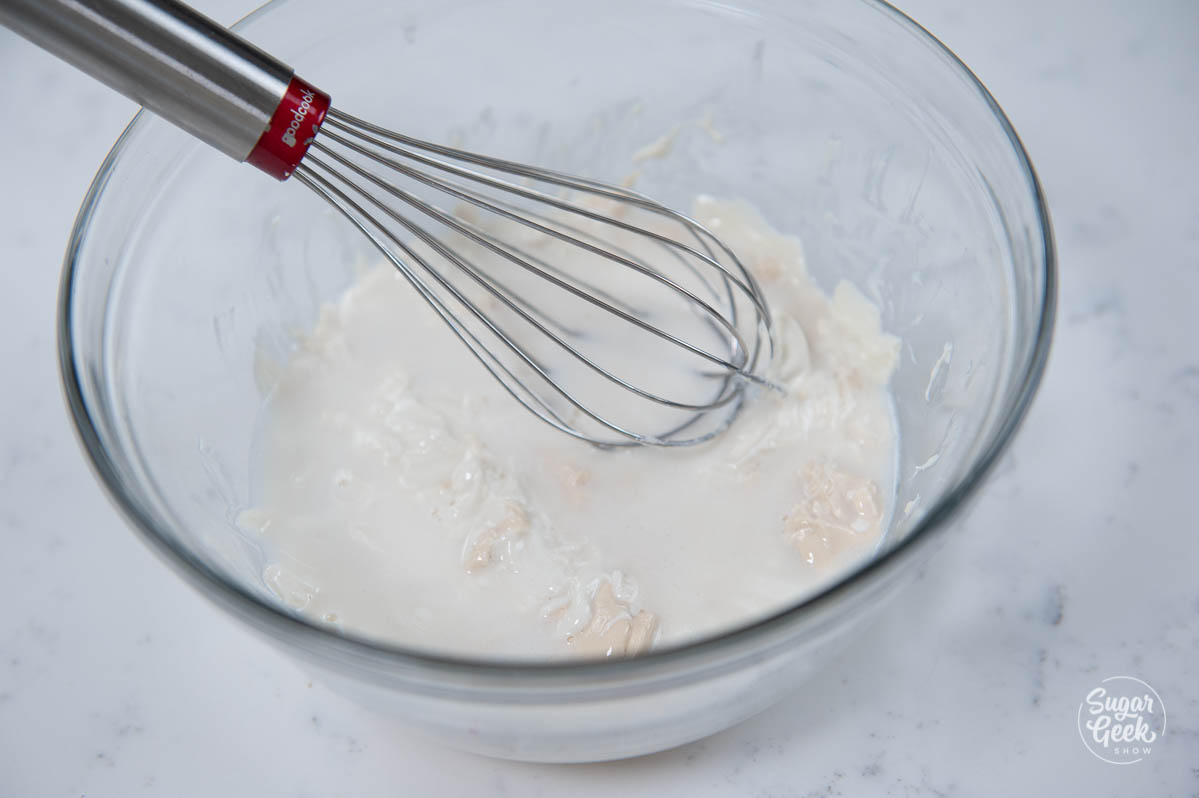
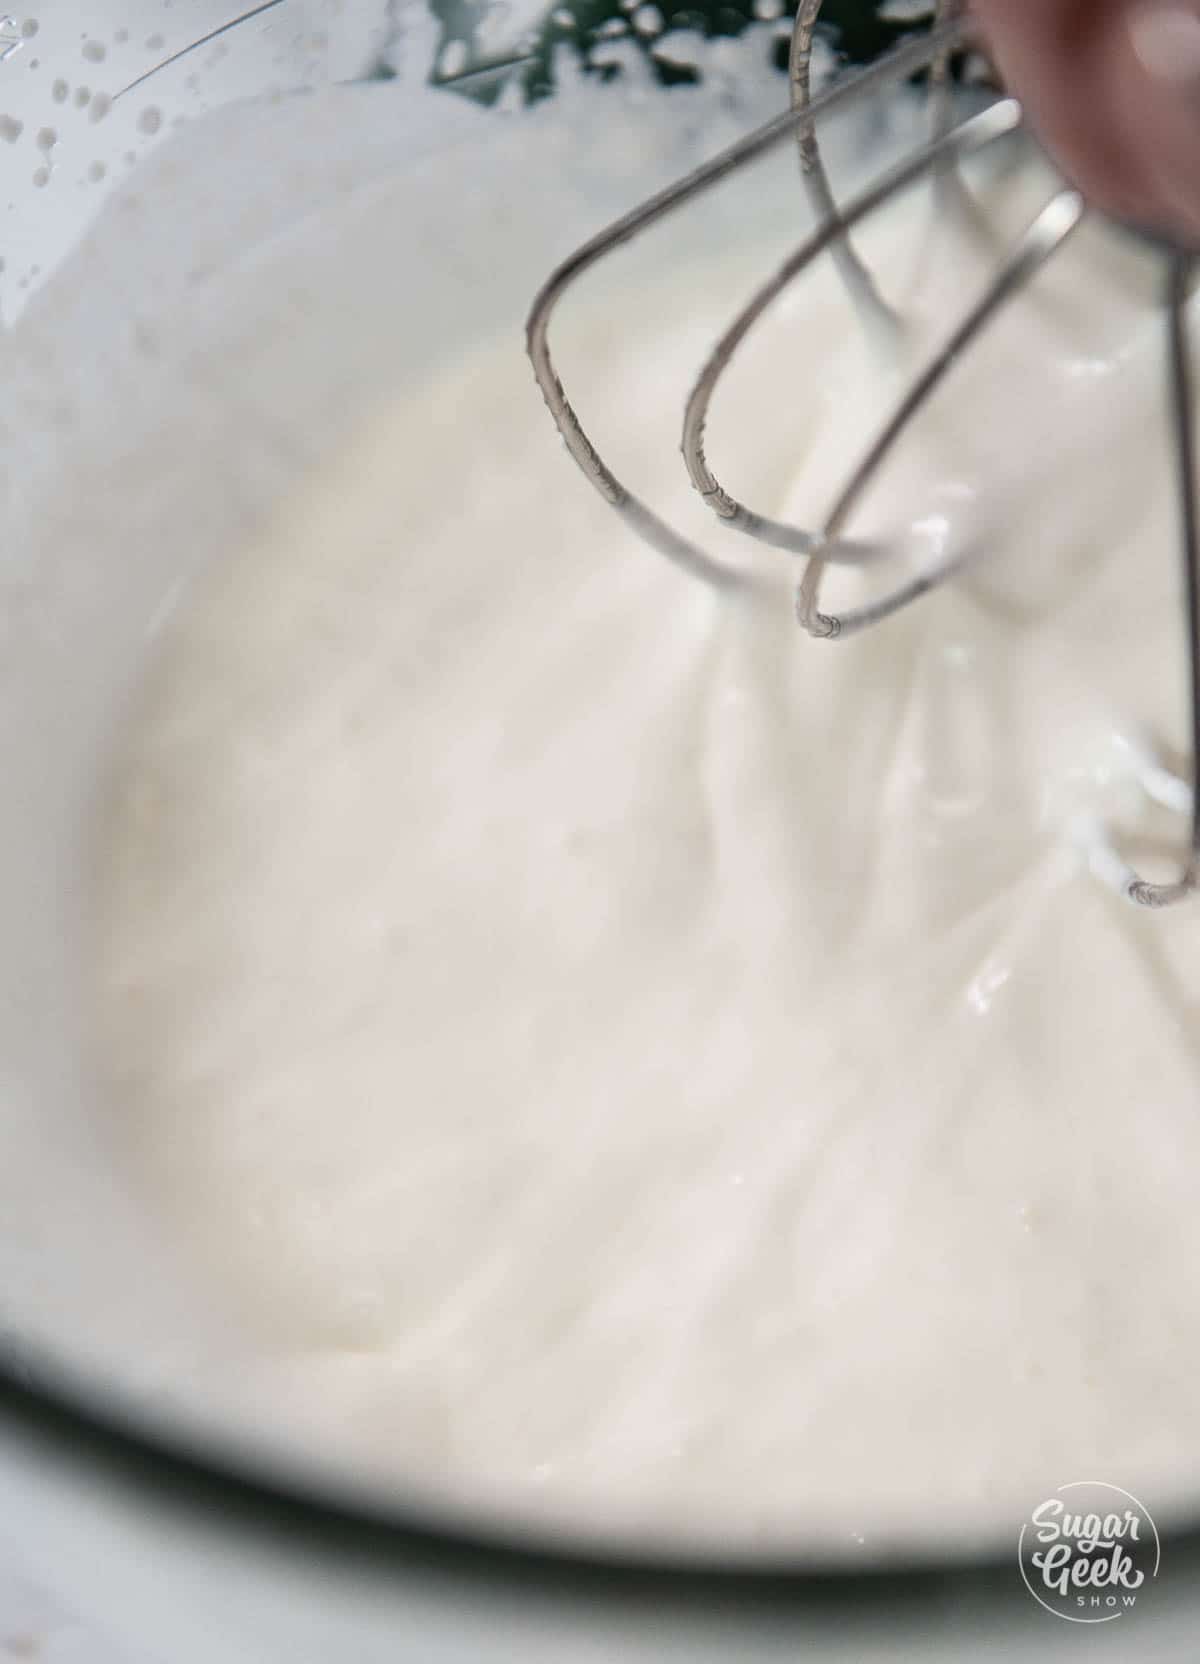
- Place egg whites and powdered sugar in a stand mixer bowl. Attach the whisk and combine ingredients on low and then whip on high for 1-2 minutes to dissolve the powdered sugar.
- Add in your salt and vanilla extract
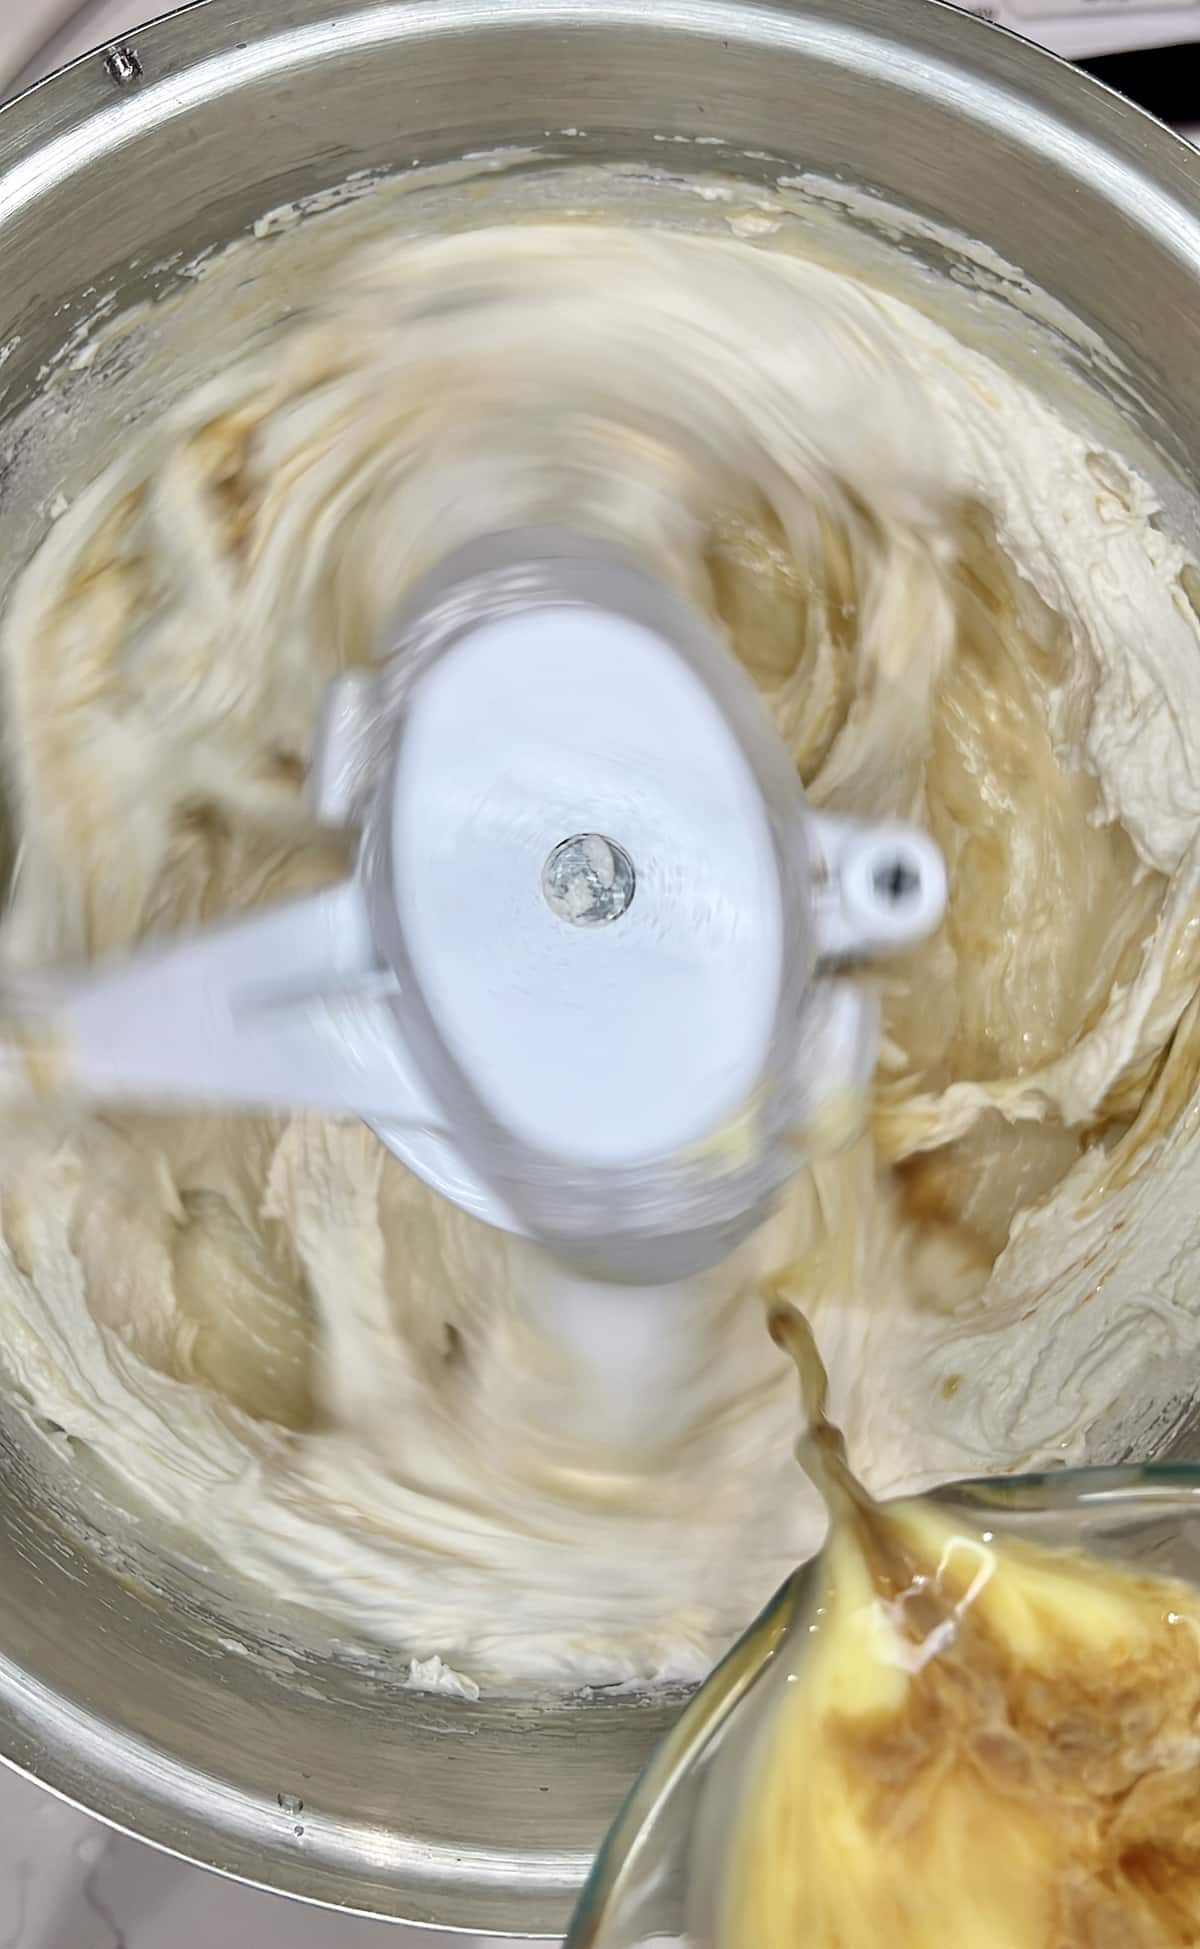
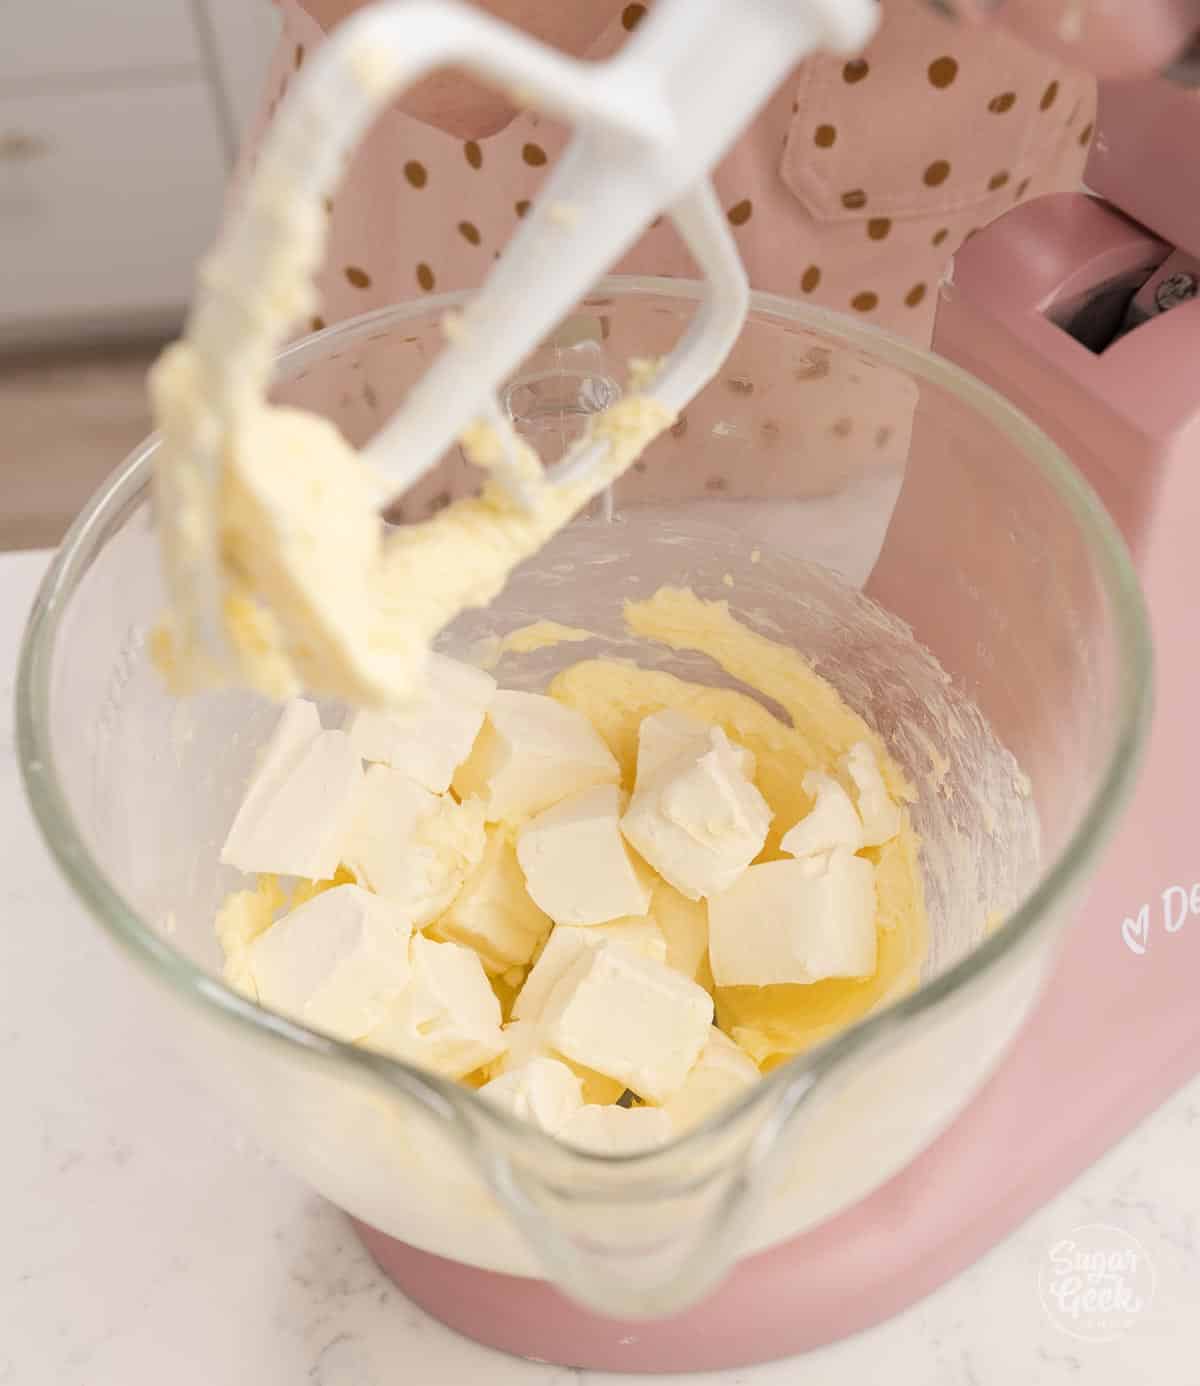
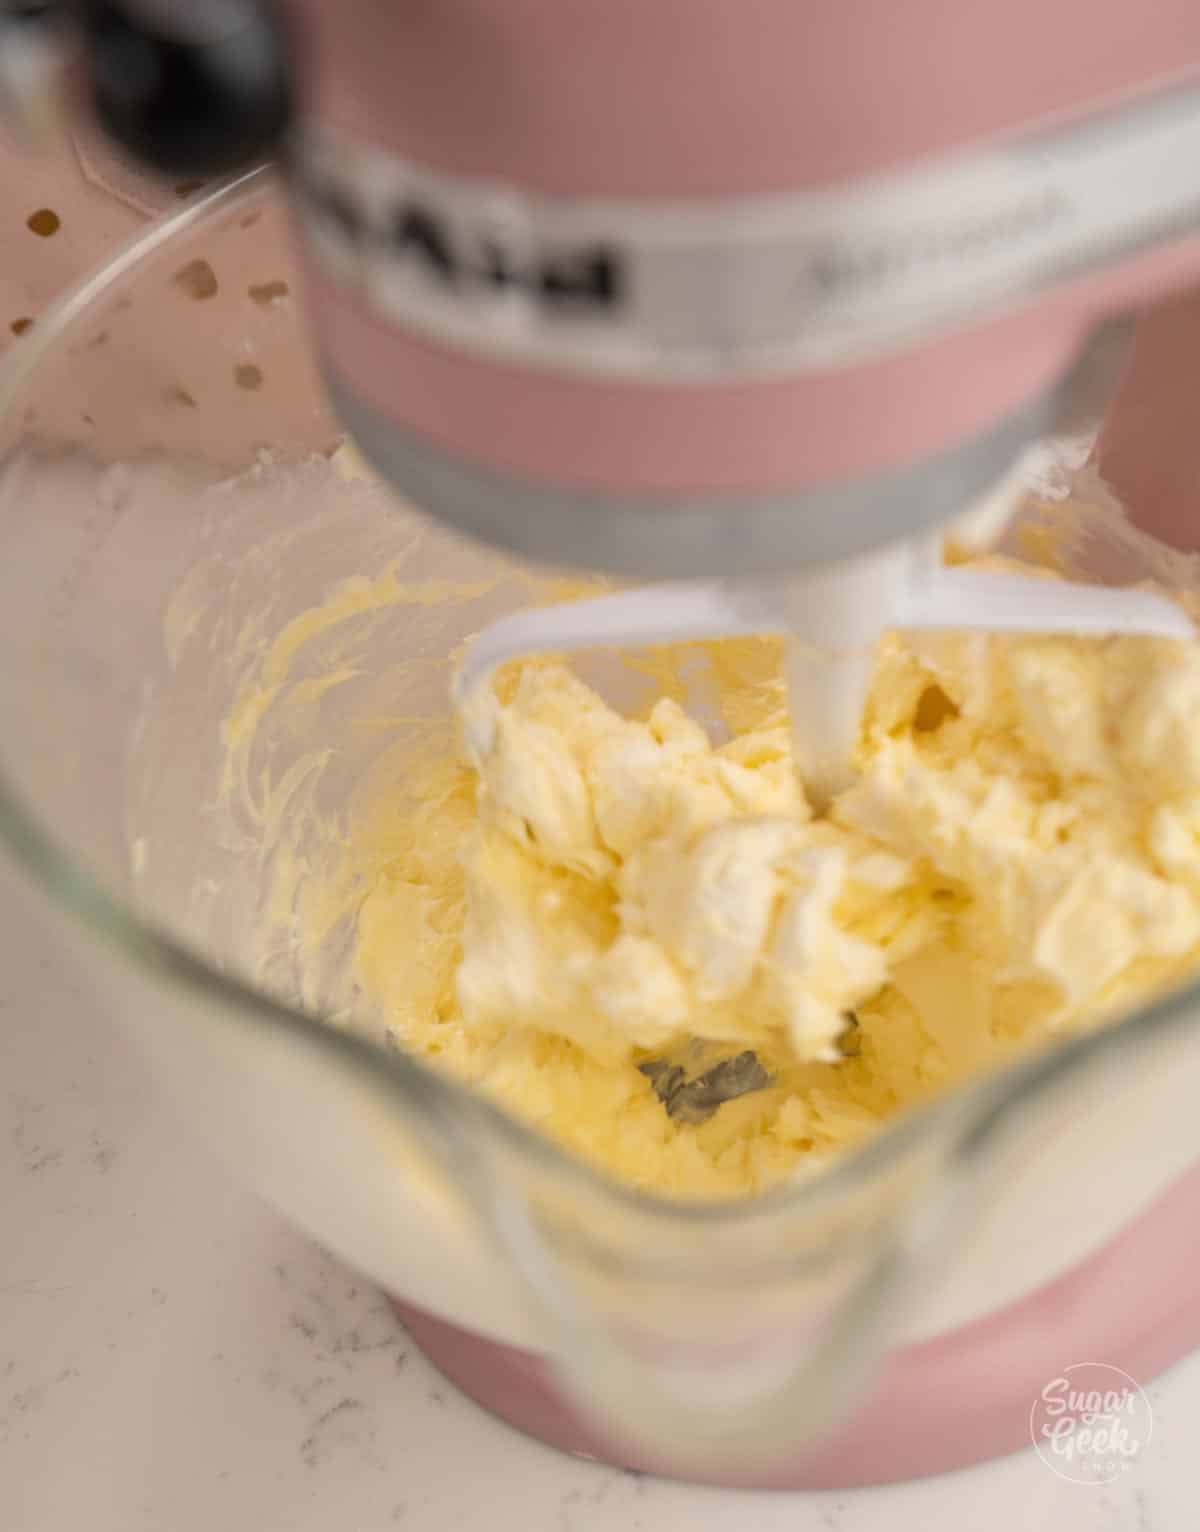
- Add in your softened butter in chunks and whip with the whisk attachment to combine. It will look curdled at first. This is normal. It will also look pretty yellow. Keep whipping on high until it no longer tastes like butter, about 8-10 minutes.
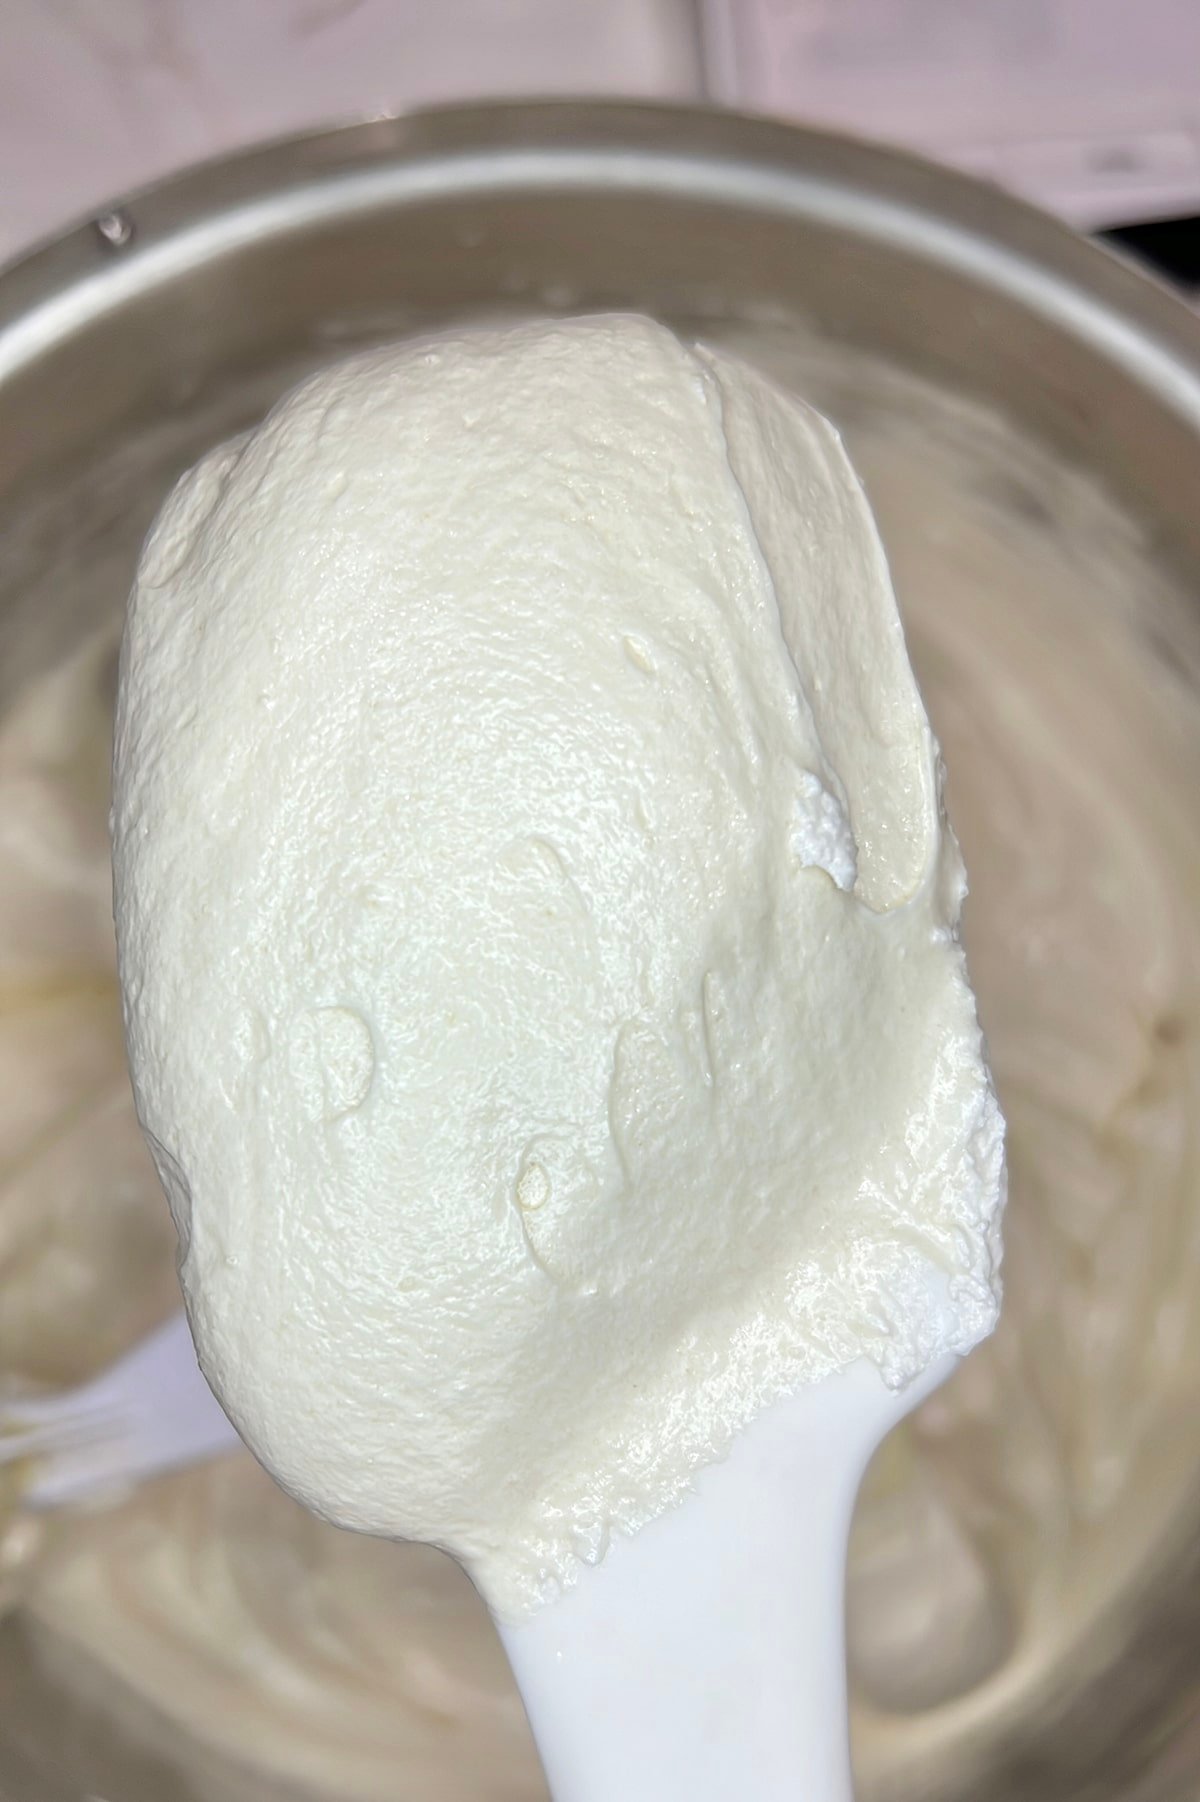
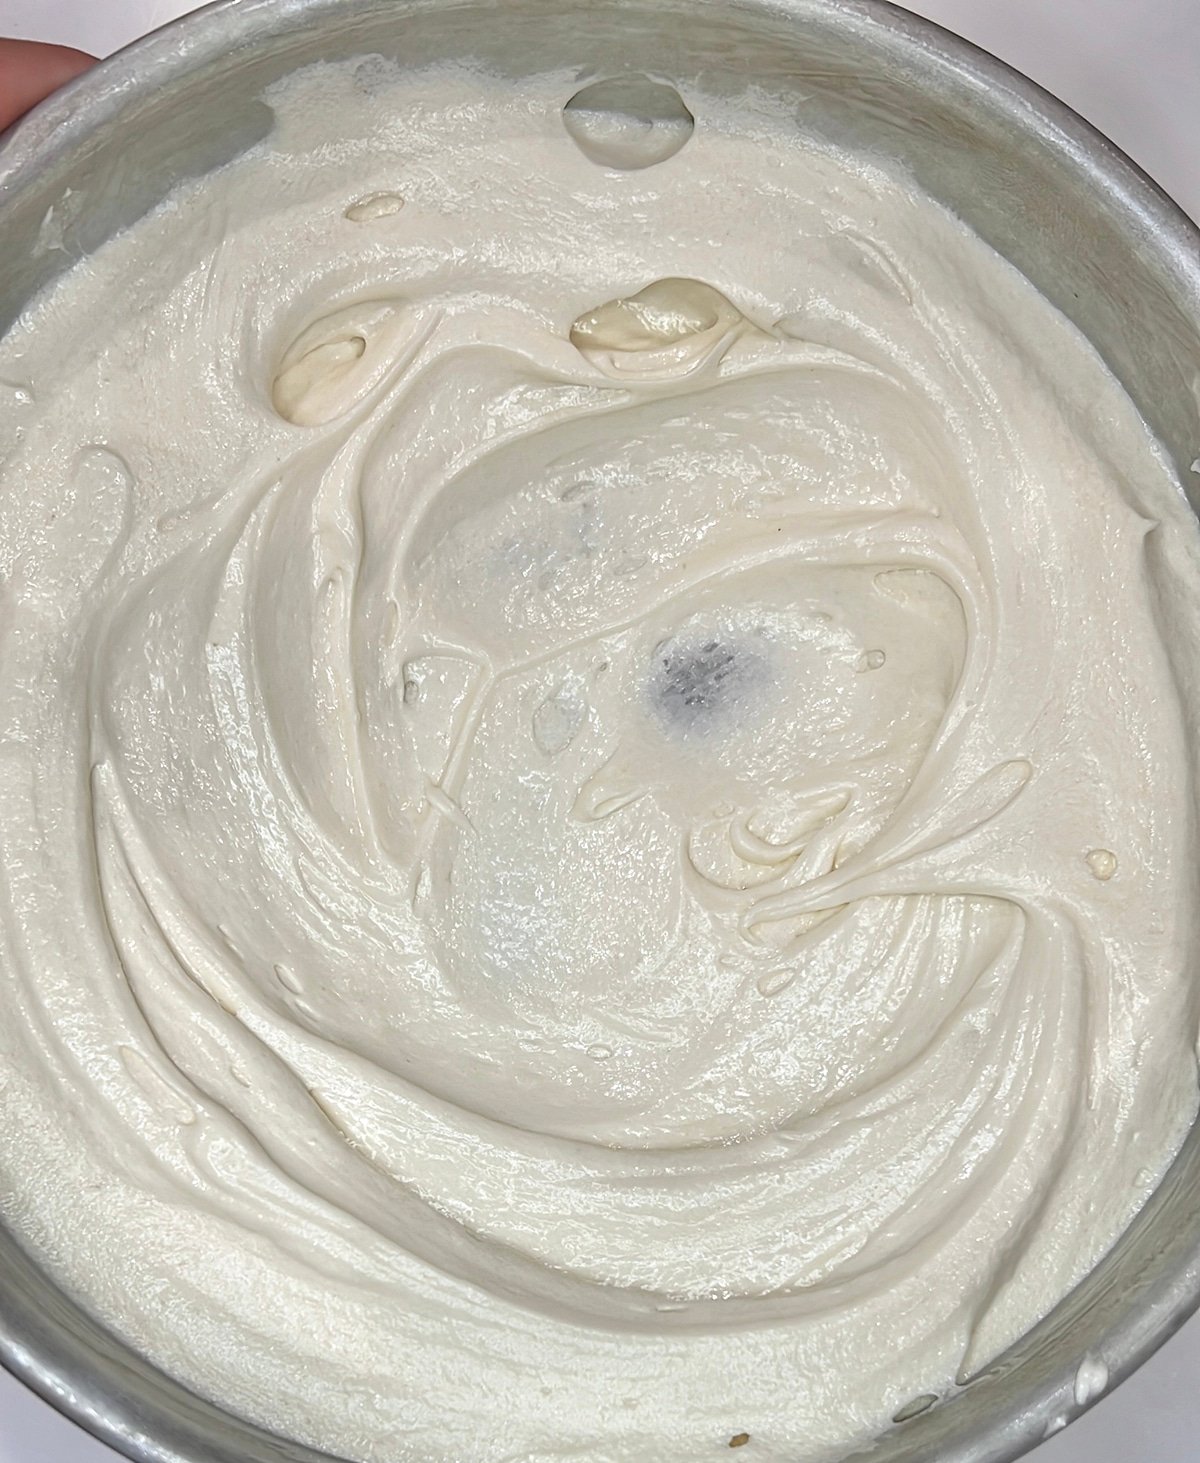
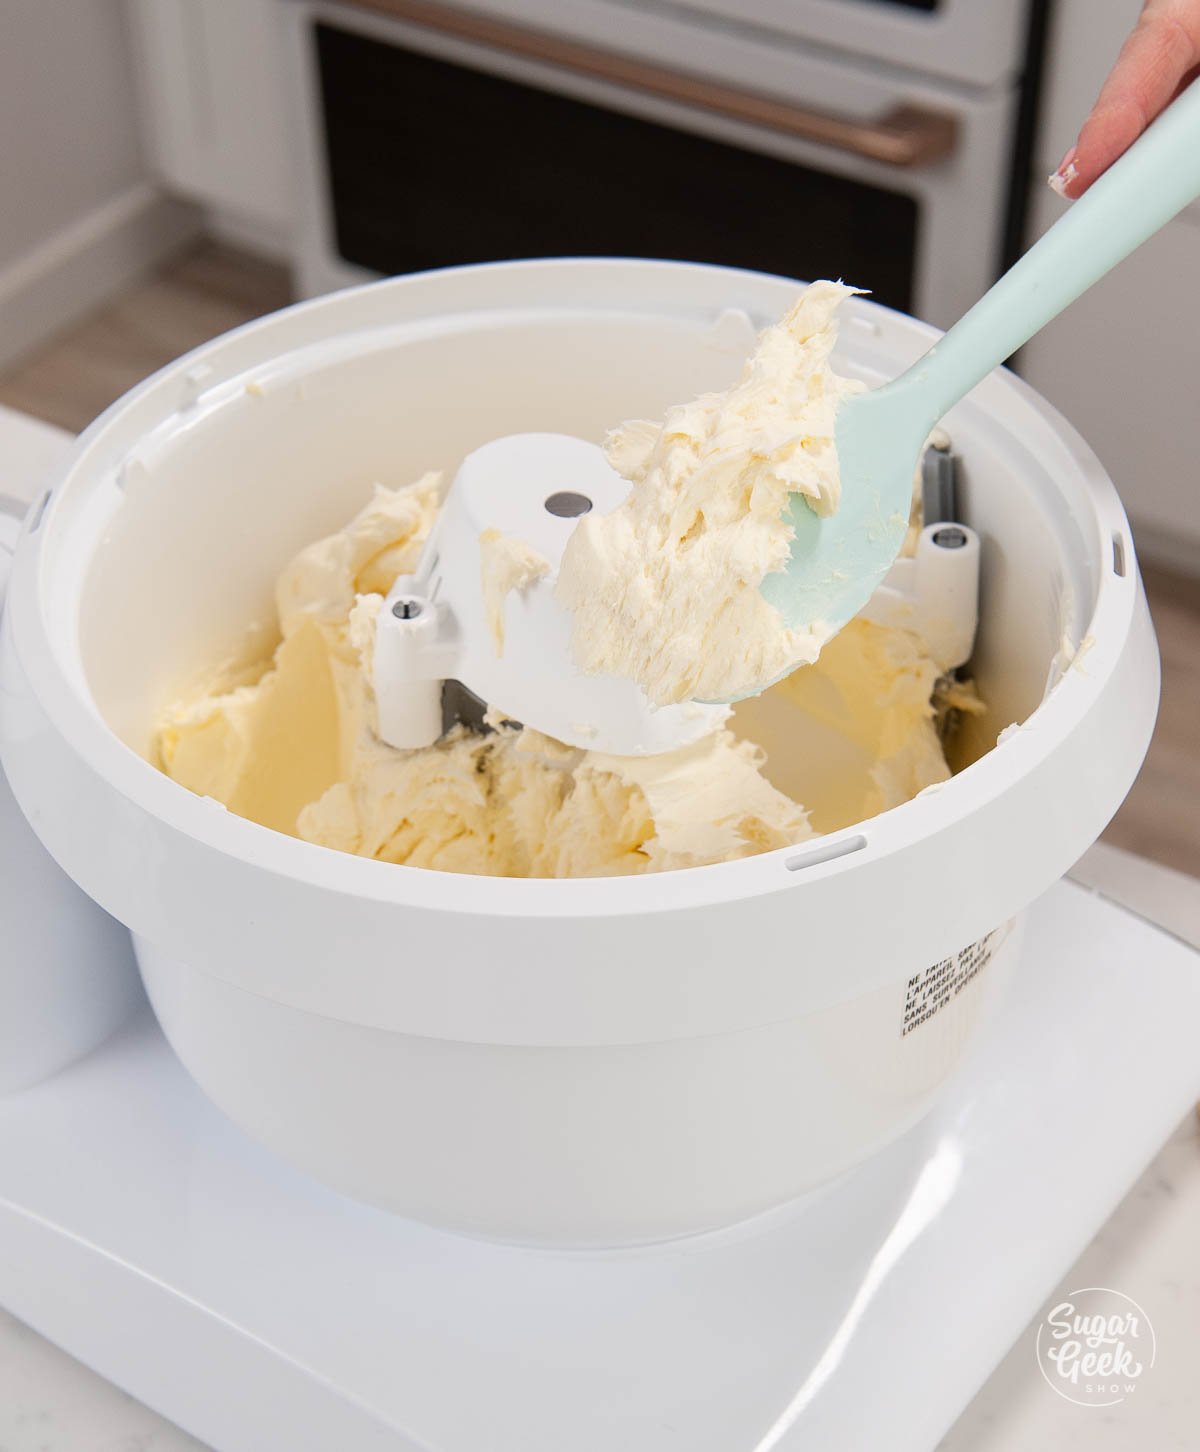
- Switch to a paddle attachment and mix on low for 15-20 minutes to make the buttercream very smooth and remove air bubbles. This isn't required but if you want really creamy frosting, you don't want to skip it.
Video
Notes
- Weigh your ingredients to avoid cake failure. Using a kitchen scale for baking is super easy and gives you the best results every single time.
- Make sure all your cold ingredients are room temperature or slightly warm (butter, milk, eggs, to create a cohesive batter. Curdled batter causes cakes to collapse.
- Make your own pan release (cake goop!) The best pan release ever!
- Need more help with making your first cake? Check out my how to decorate your first cake blog post.
- If you don't want to add alcohol to the cake layers you can replace the tequila and Grand Marnier with more milk or lime juice.
- You can leave the alcohol out of the lime curd.
- If you want the gelatin layer to be alcohol-free, replace the tequila and Grand Marnier with more margarita mix.
- A stand mixer works best for this cake recipe, but you can also use a hand mixer. Just go by look and consistency instead of time while mixing, you will have to mix for longer. I use a Bosch Universal Plus mixer!


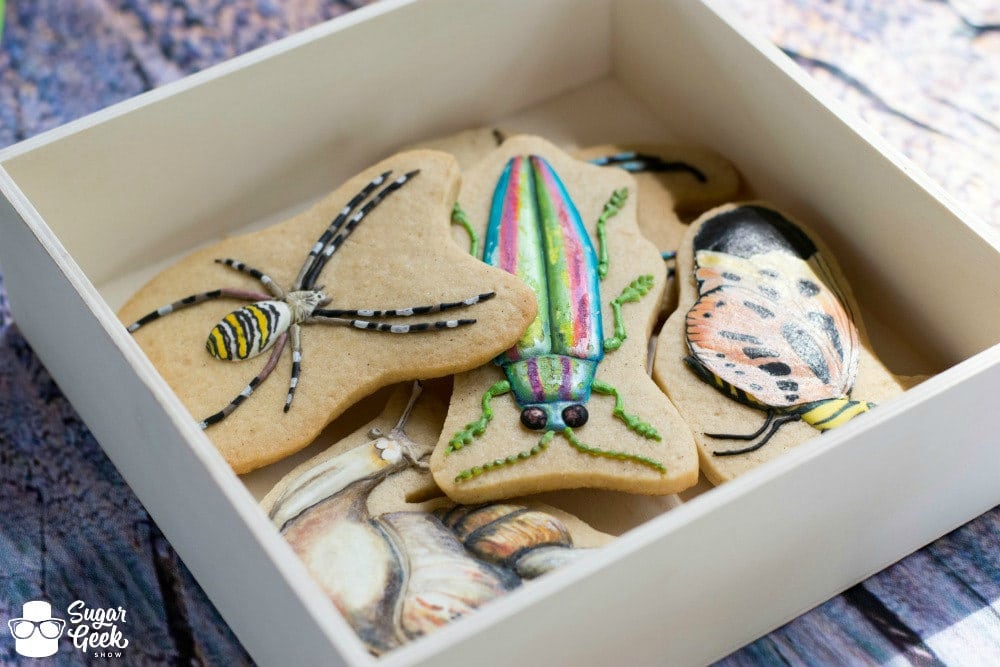 Gorgeous bug-themed cookies for Avalons' third bug birthday party.