
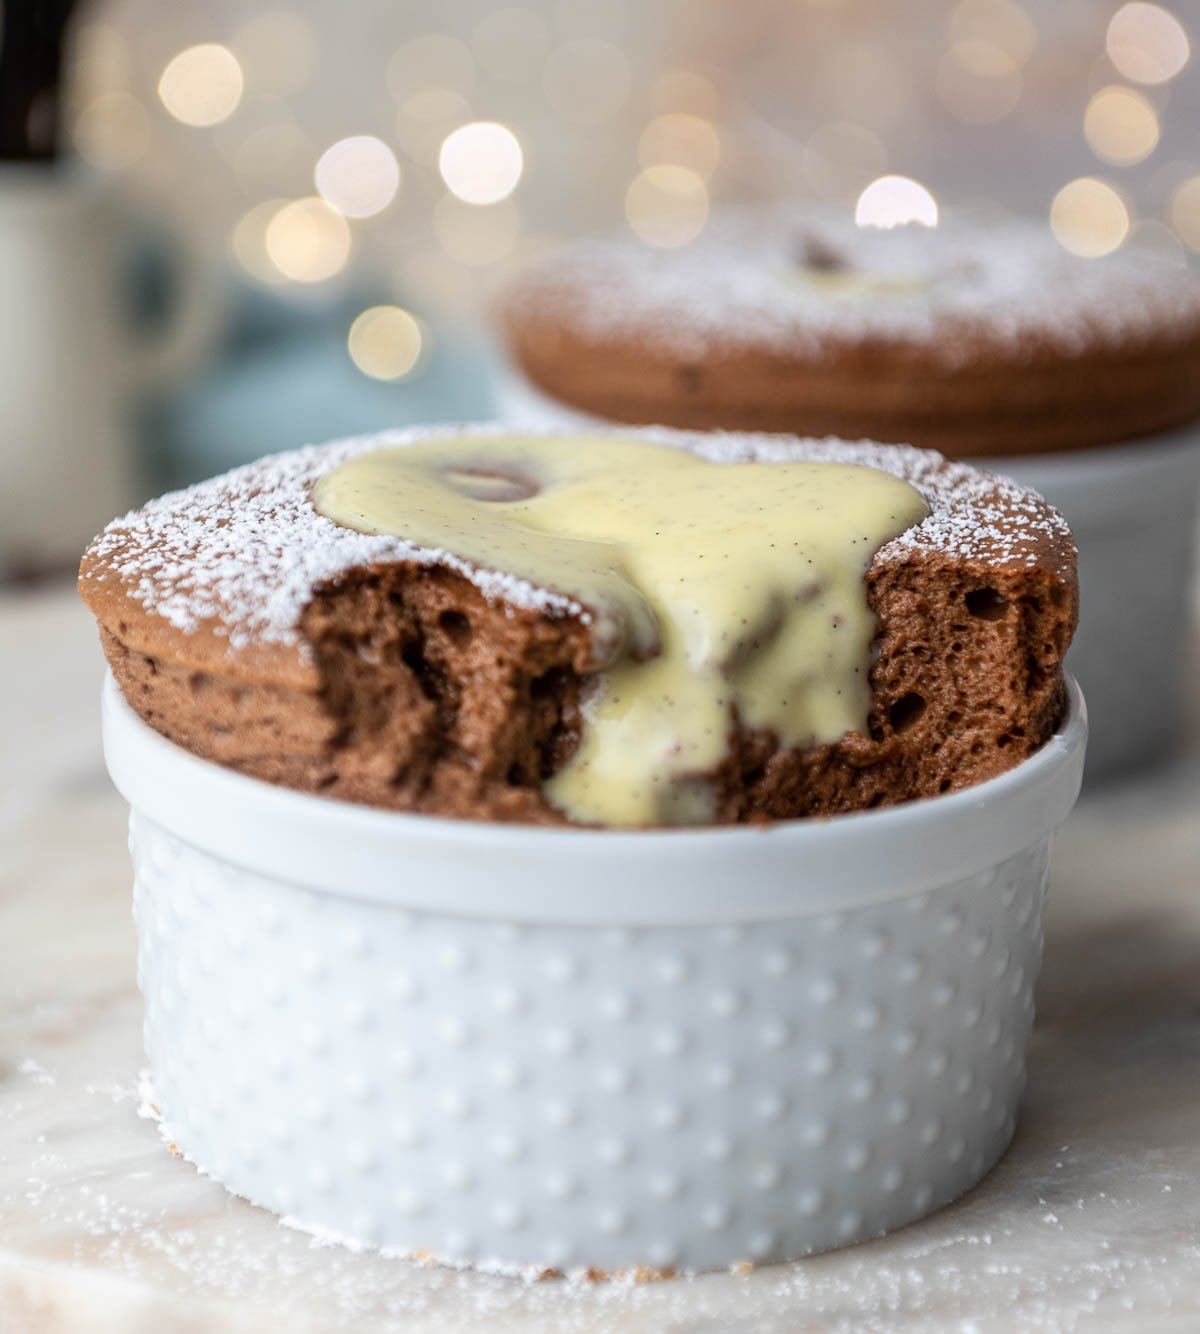
This is how to get a perfectly light and airy chocolate soufflé with an intense chocolate flavor and topped with a creamy cremé Anglaise vanilla sauce. Follow Chef Christophe Rull's foolproof tips and tricks to get your chocolate soufflé to rise nice and tall. Anyone can make a soufflé!
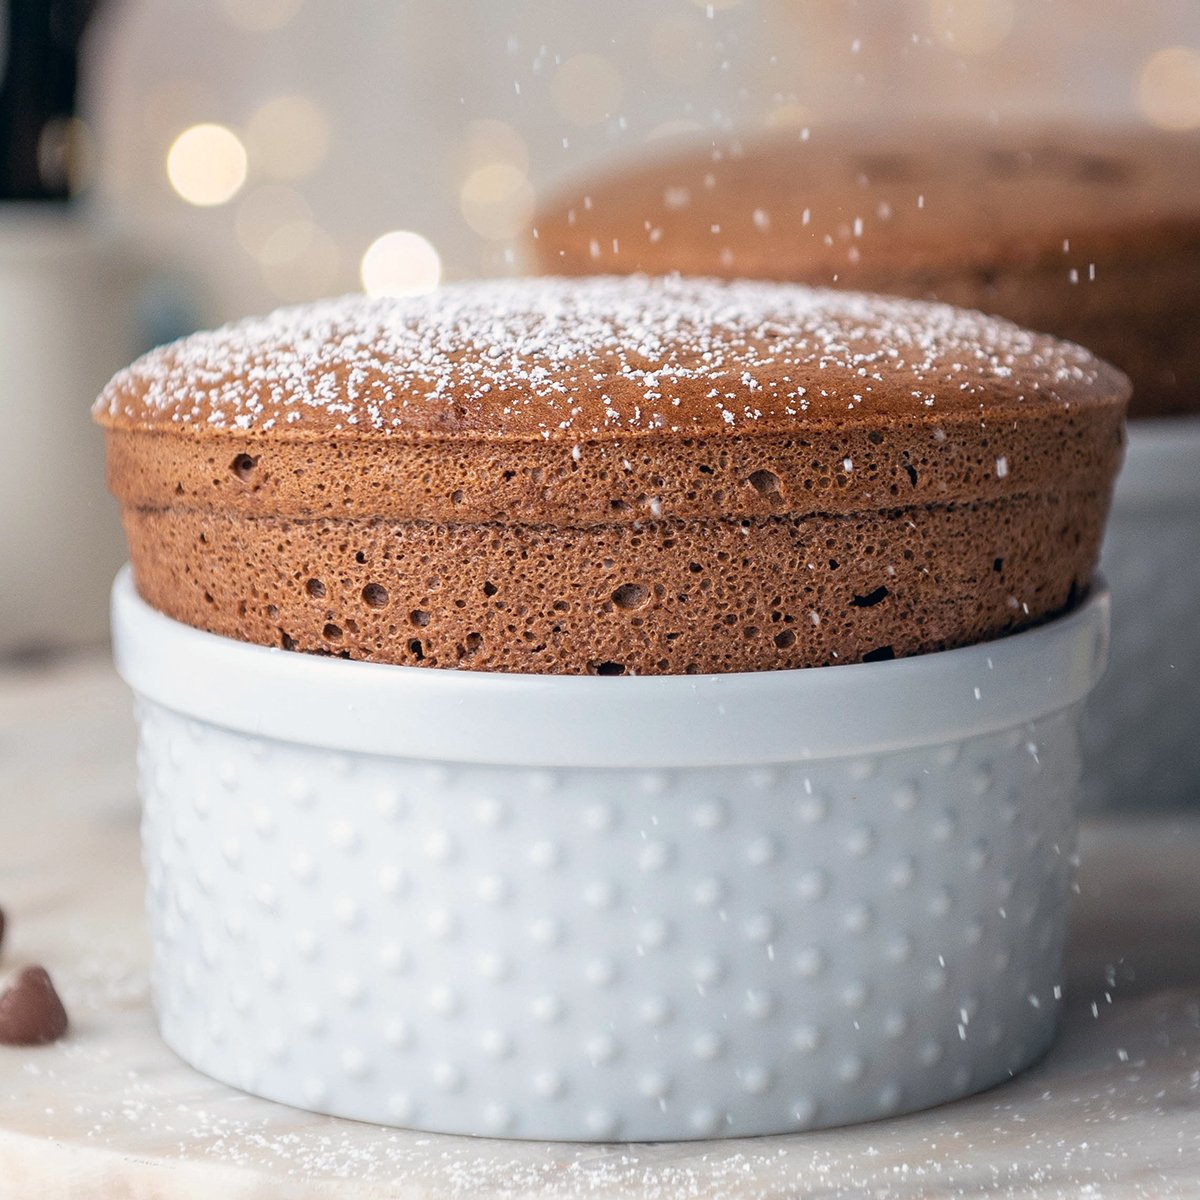
Don't be intimidated by the idea of baking a soufflé! This recipe will walk you through step-by-step how to prepare and bake chocolate soufflé that tastes light, airy, creamy, chocolatey, and stands tall every time you make it!
I've got all my tips and tricks to share with you, and this recipe will ensure you have all the information you need to successfully bake a chocolate soufflé!
What's In This Blog Post
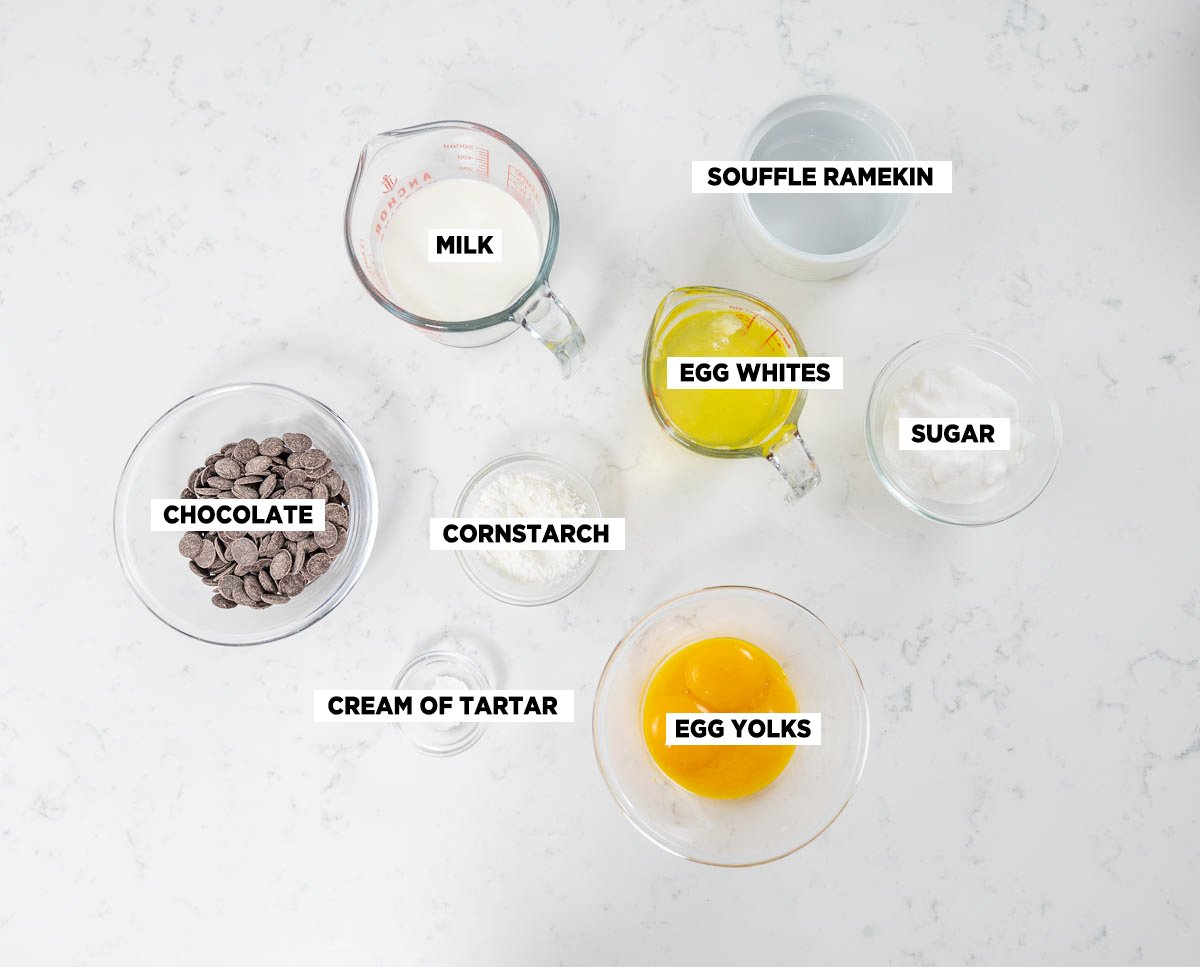
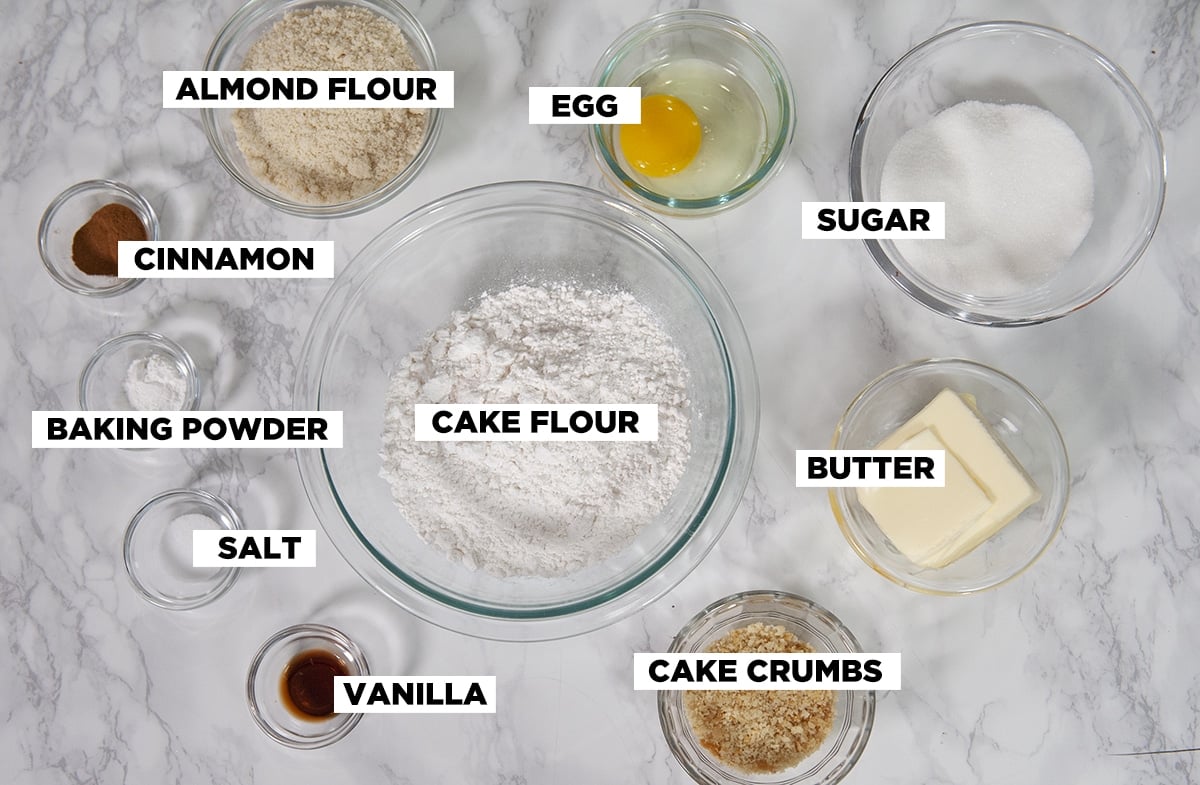
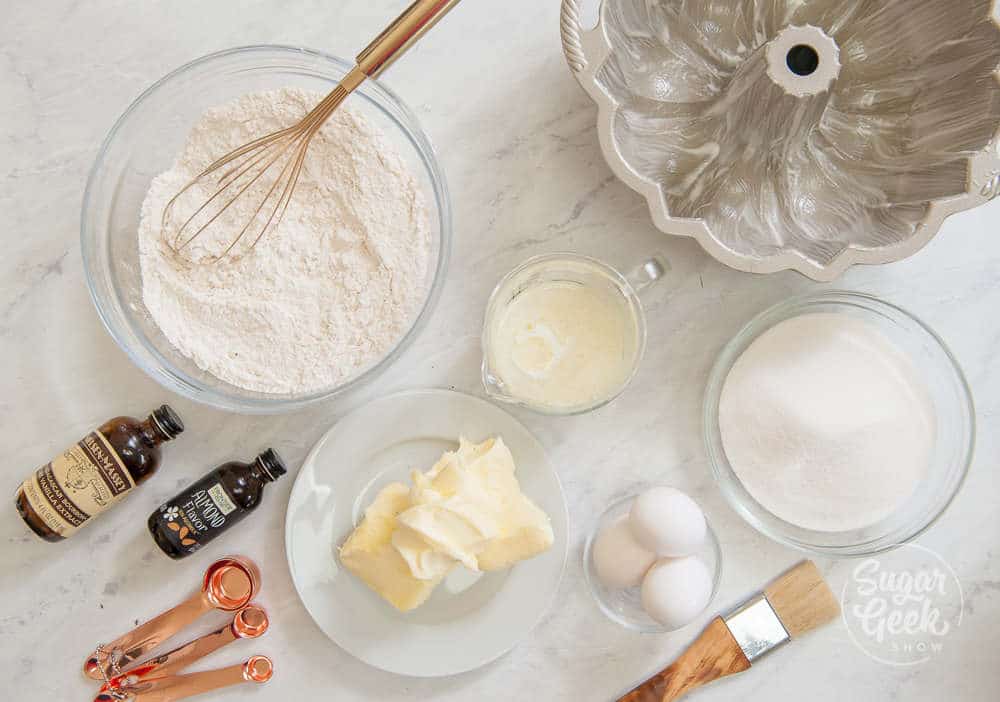
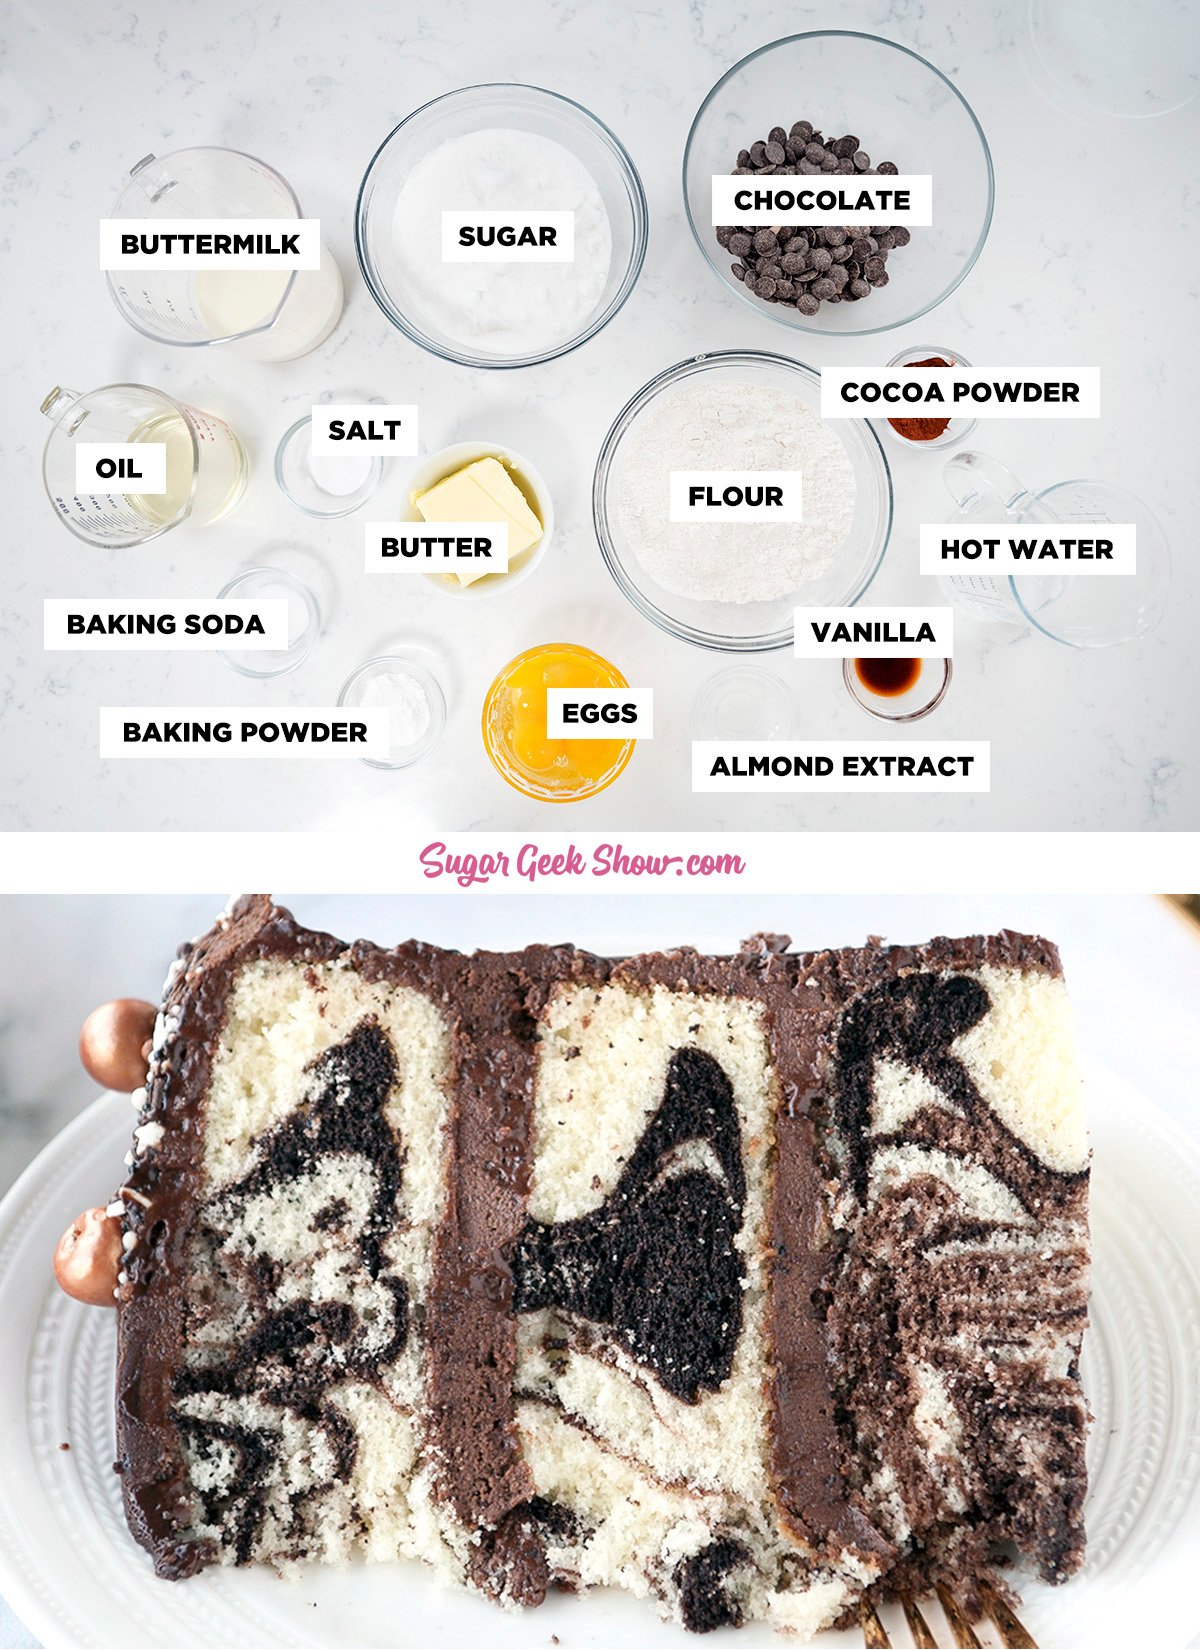
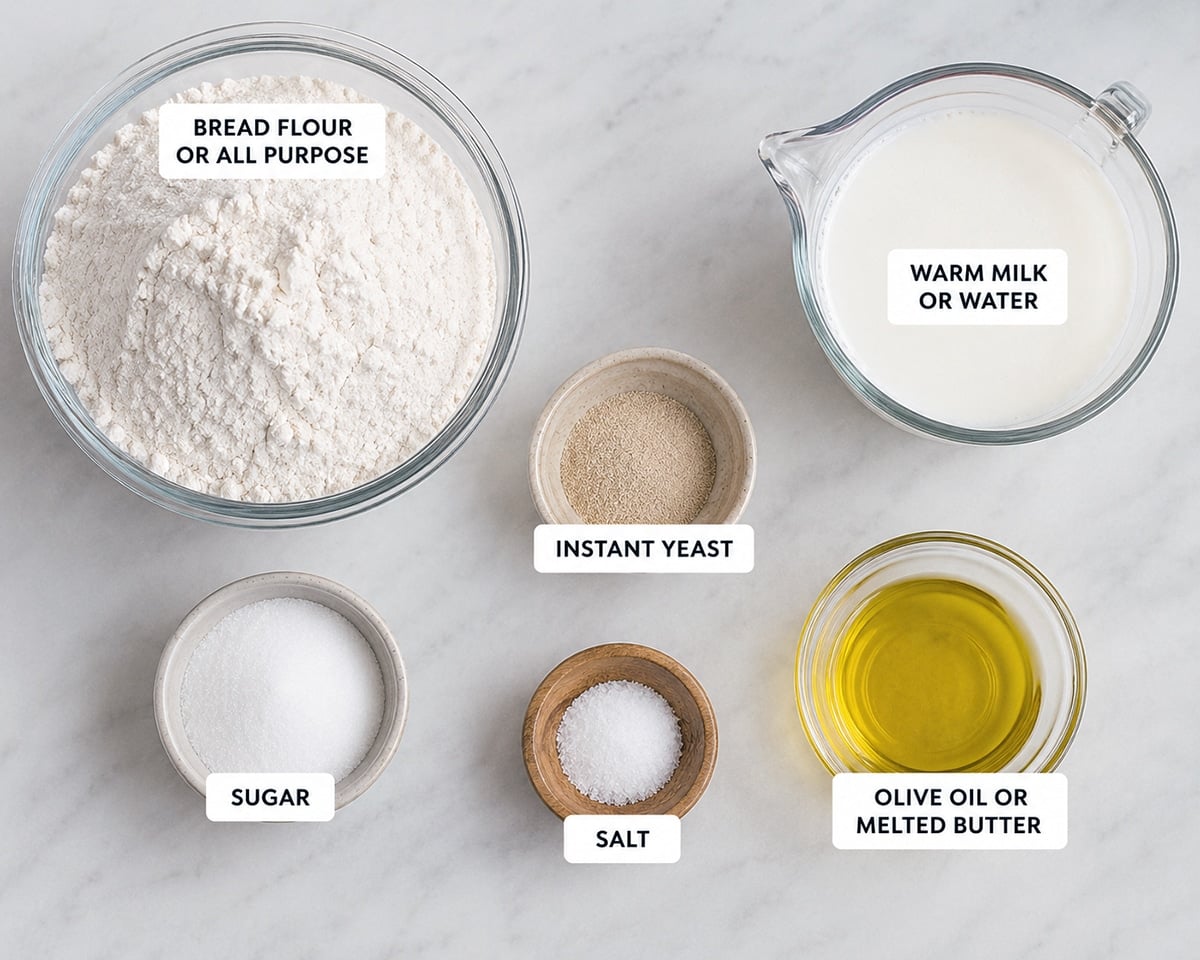
Chocolate Soufflé Ingredients
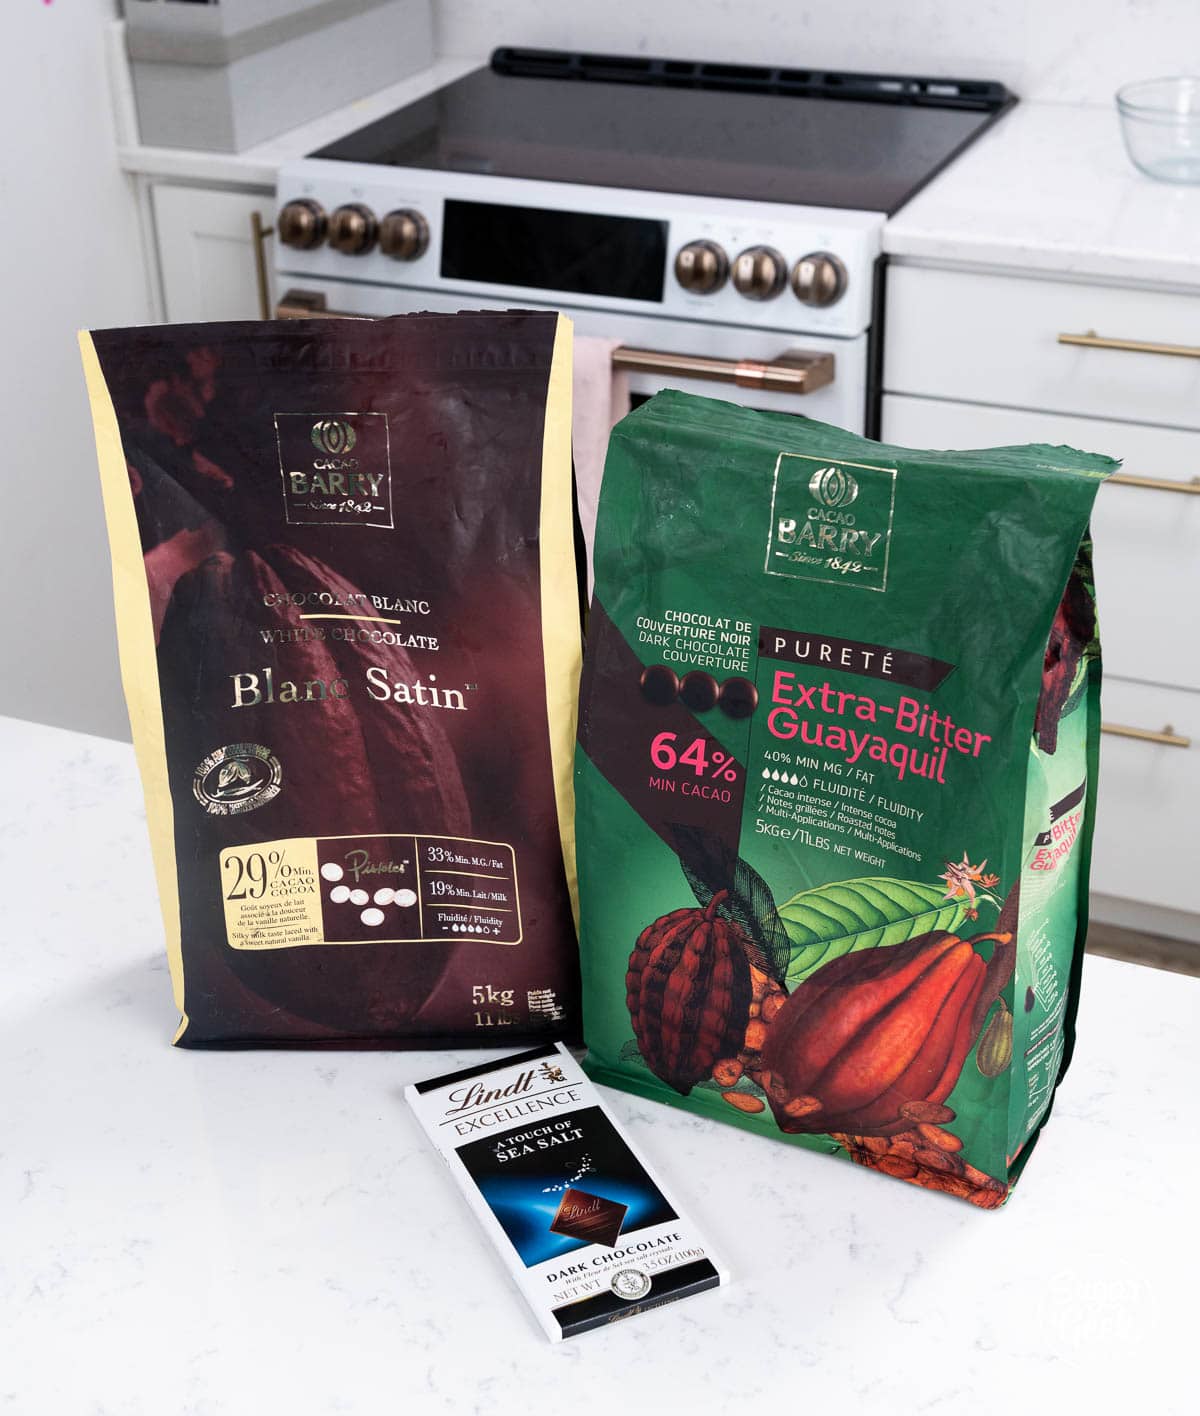
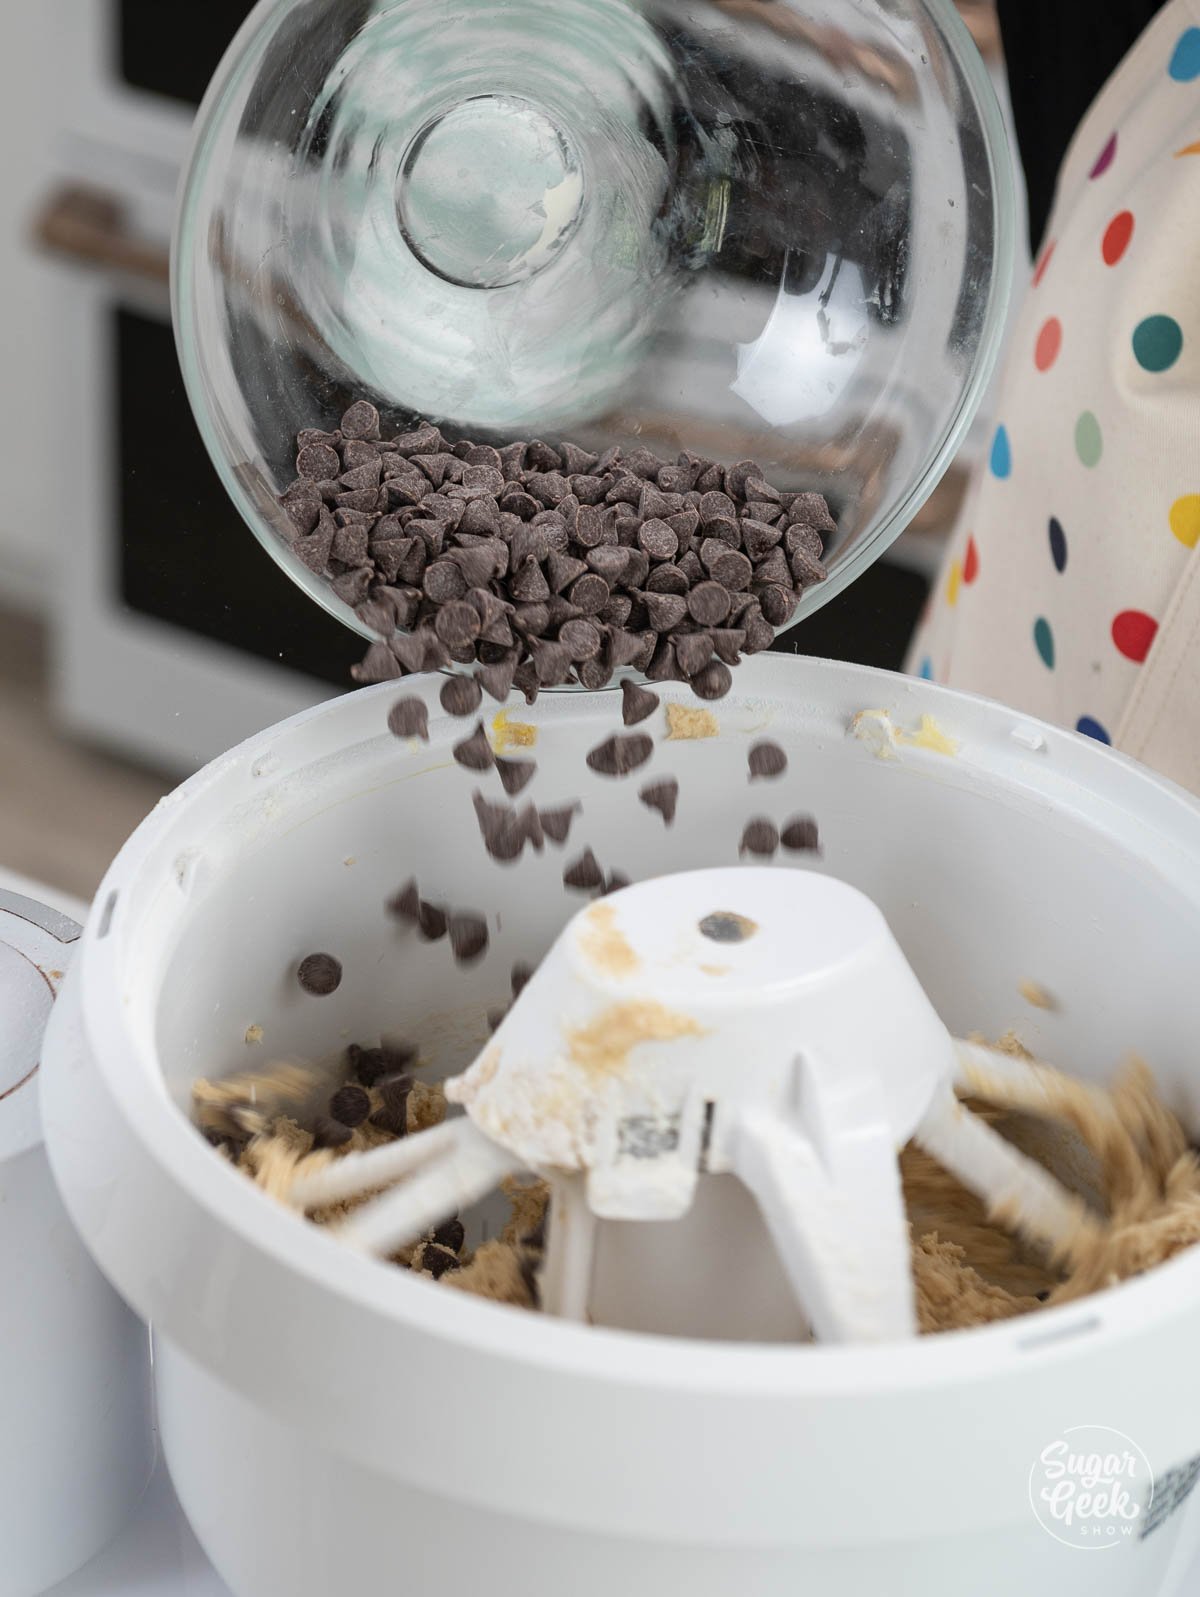
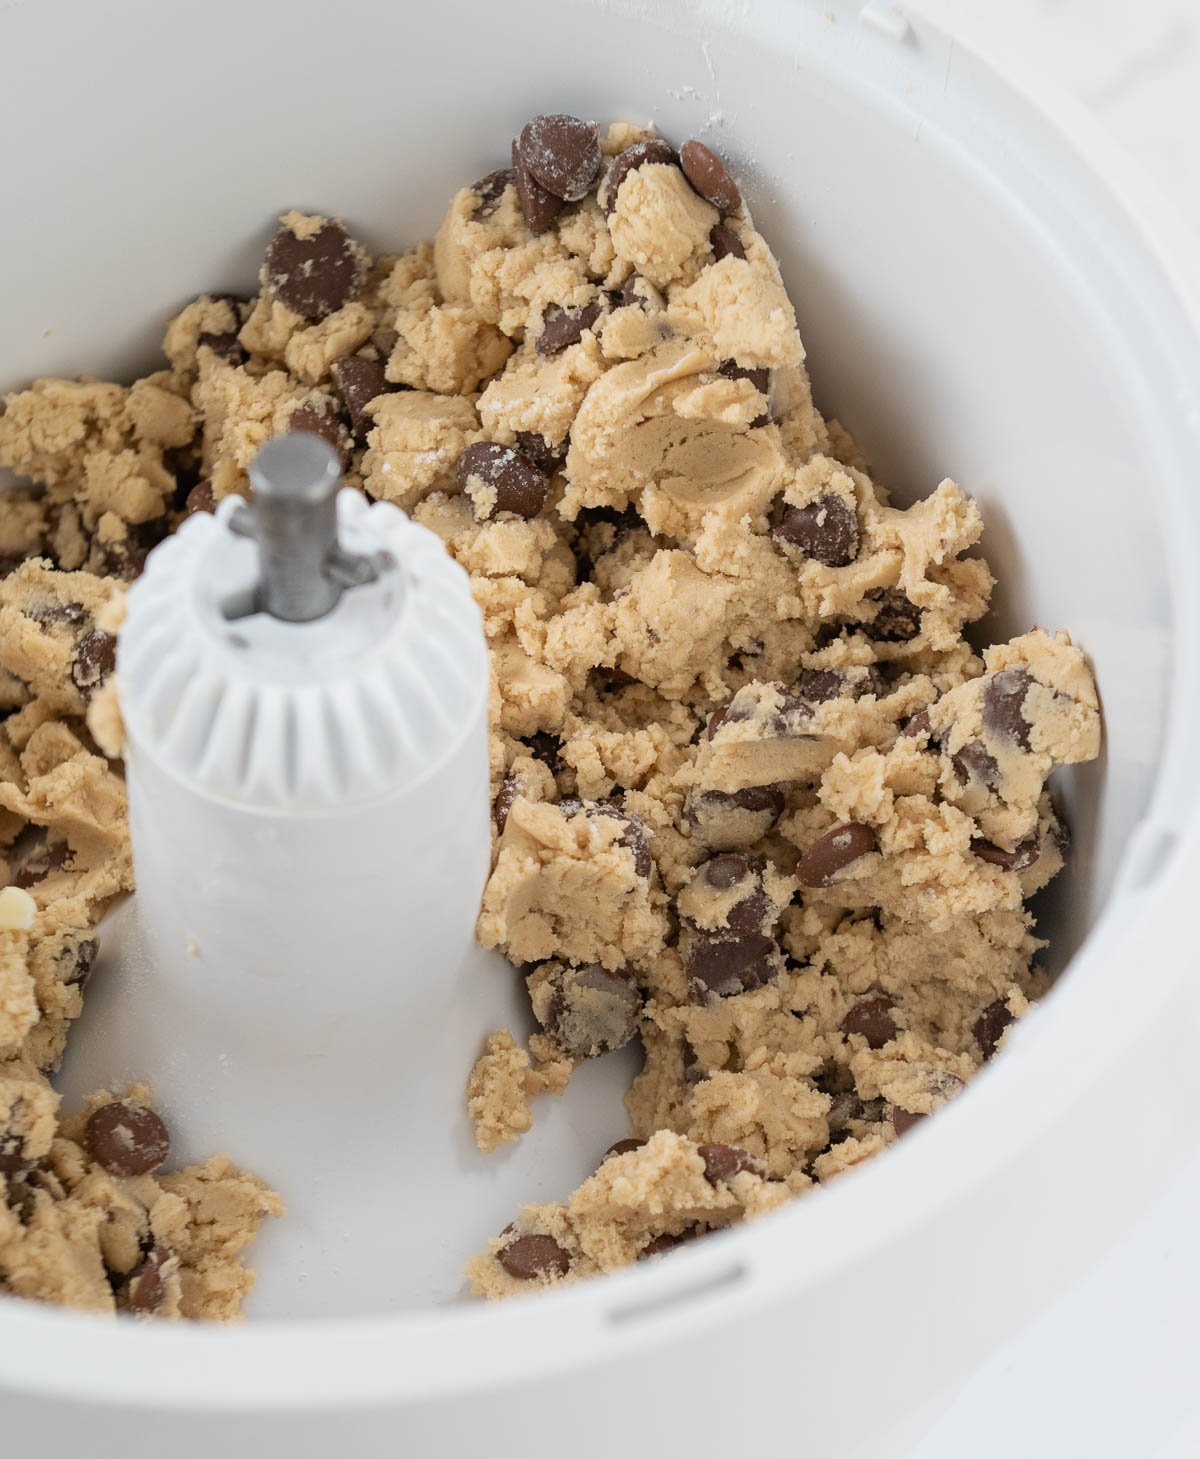
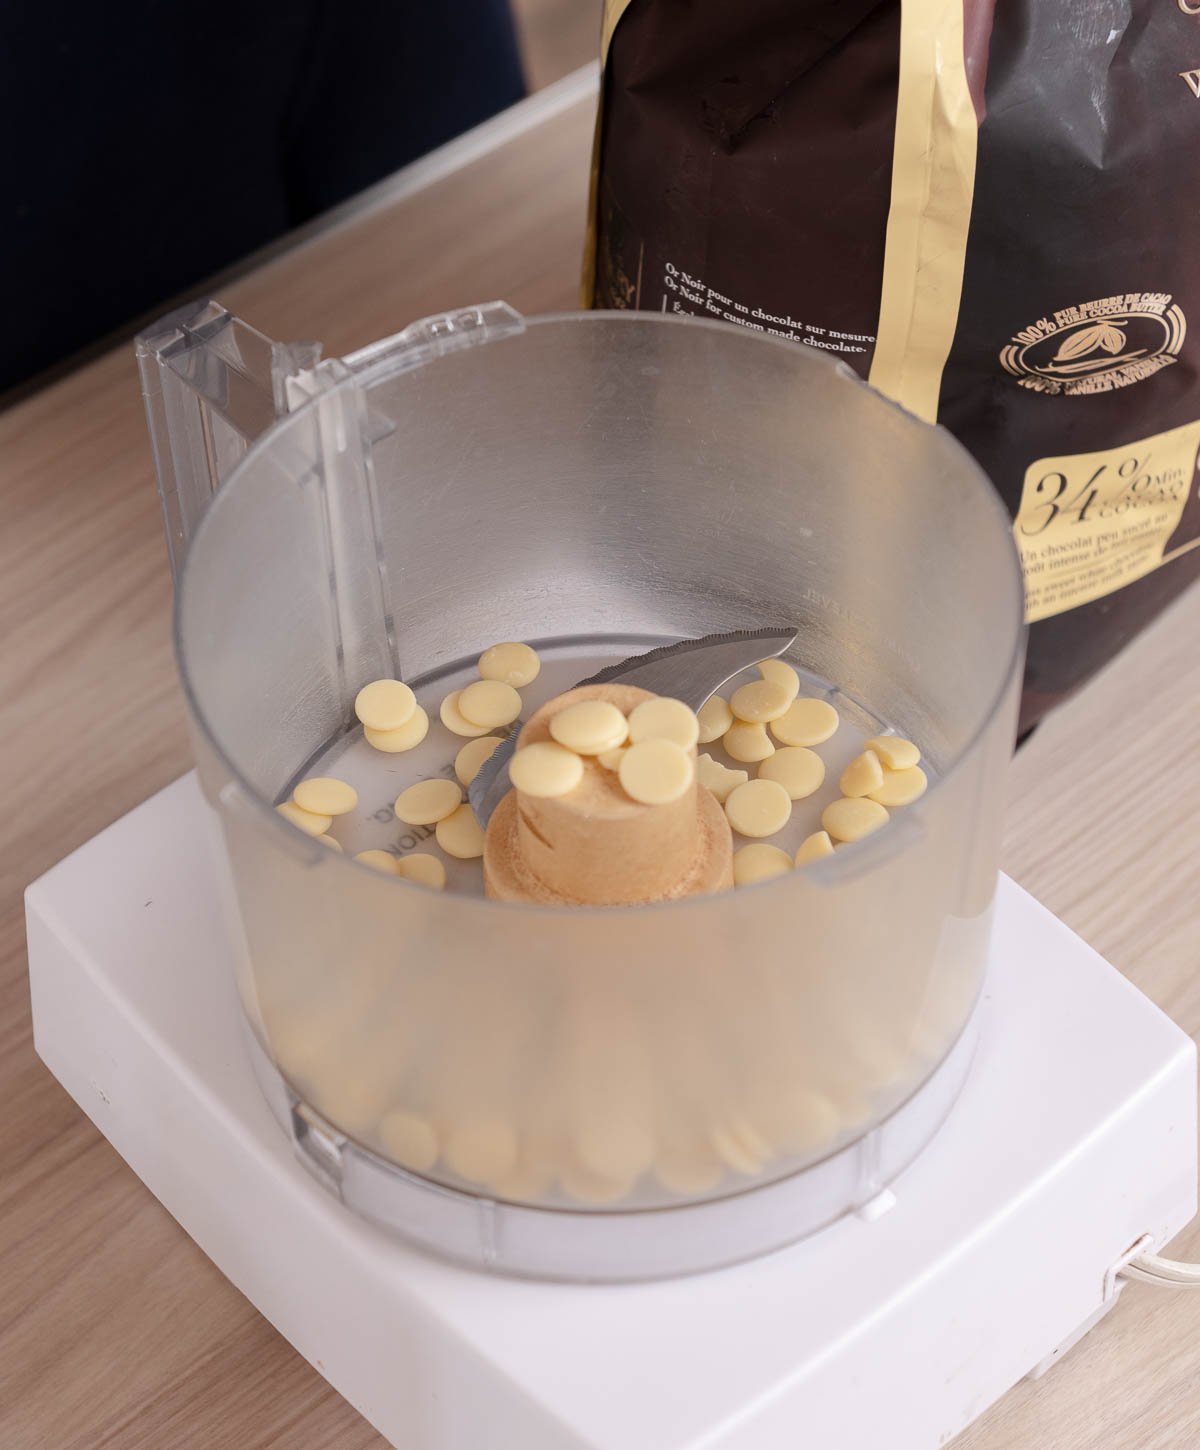
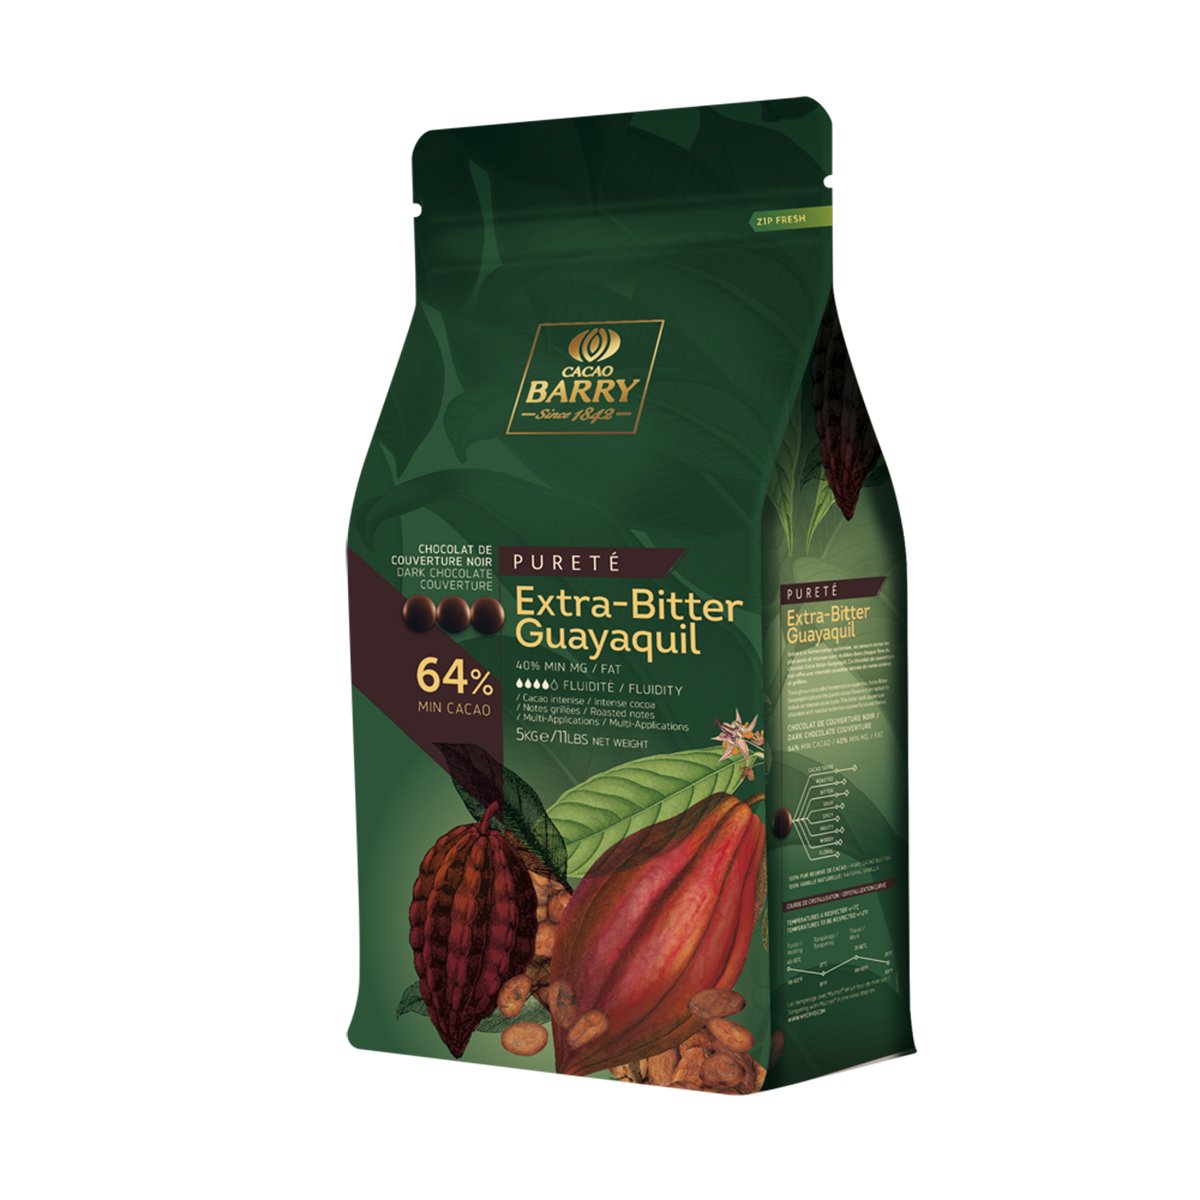
There aren't any tricky ingredients in this recipe but you might want to double-check your chocolate. I use extra-bitter Guayaquil but you could just look for a nice bar of dark chocolate at your grocery store like Lindt and just chop it up. You want to avoid chocolate chips because they contain thickeners that stop them from melting smoothly.
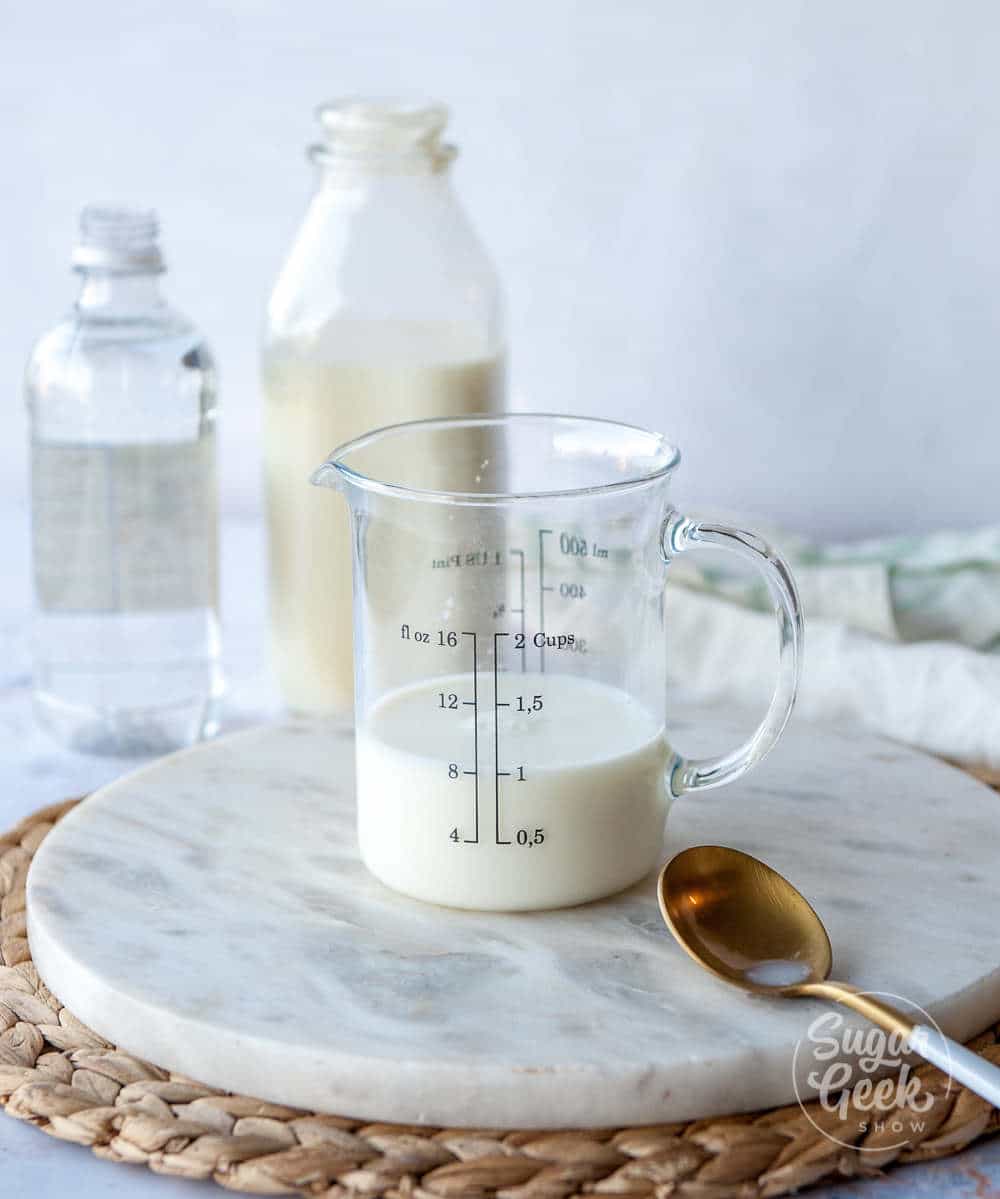
Crème Anglaise Ingredients
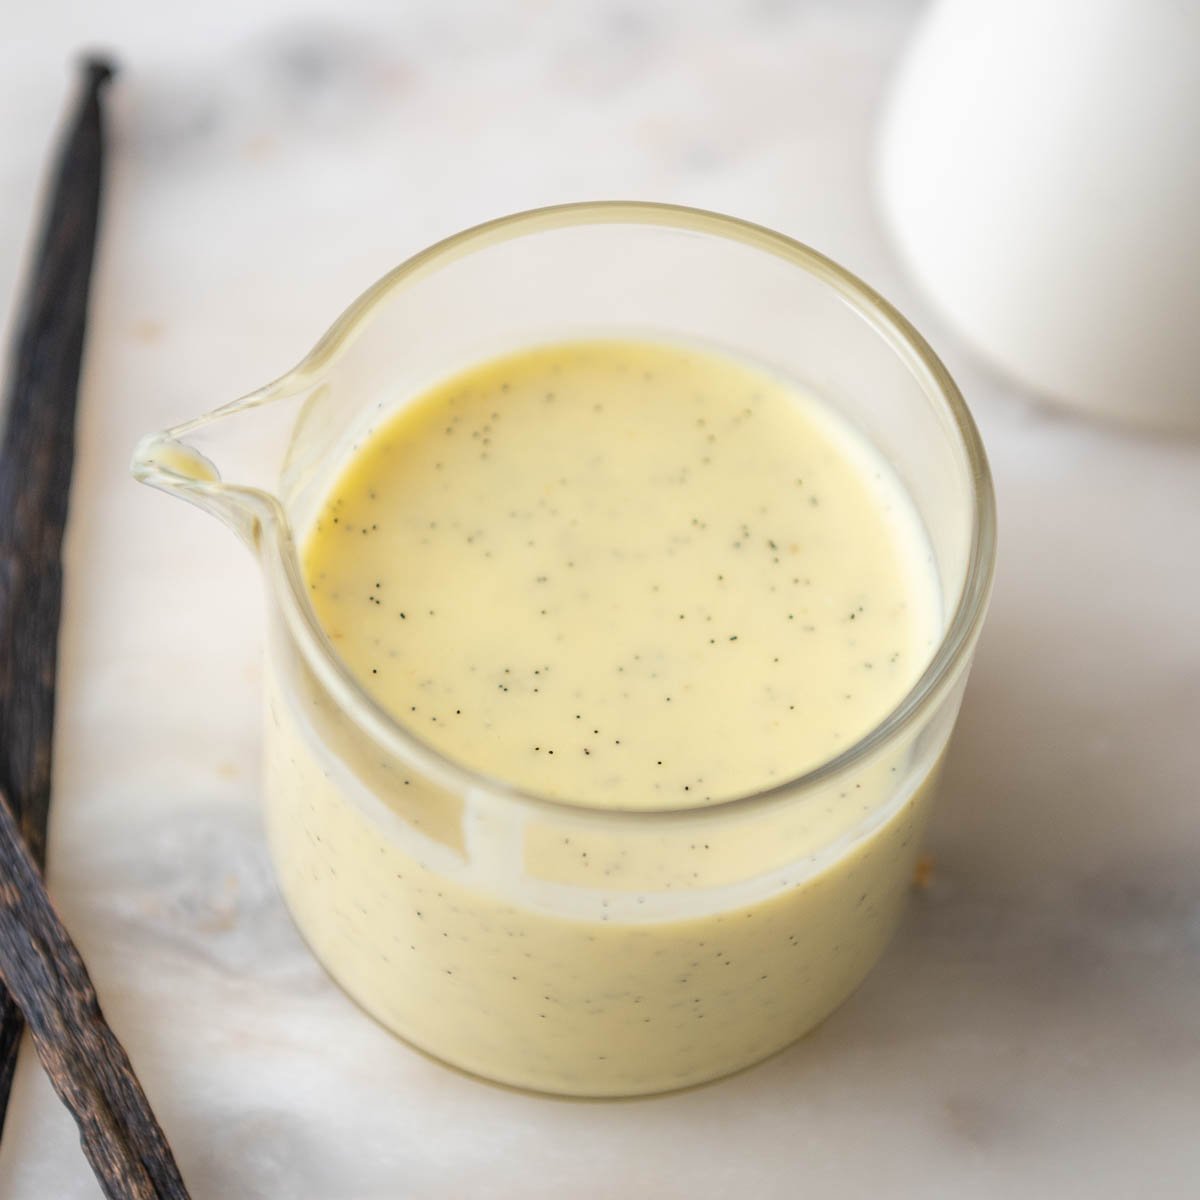
To make crème anglaise you only need three ingredients: milk, eggs, and a vanilla bean.
Don't have a vanilla bean? No problem! You can substitute with 1 teaspoon of vanilla bean paste or a high-quality vanilla extract.
Preparing the Crème Anglaise
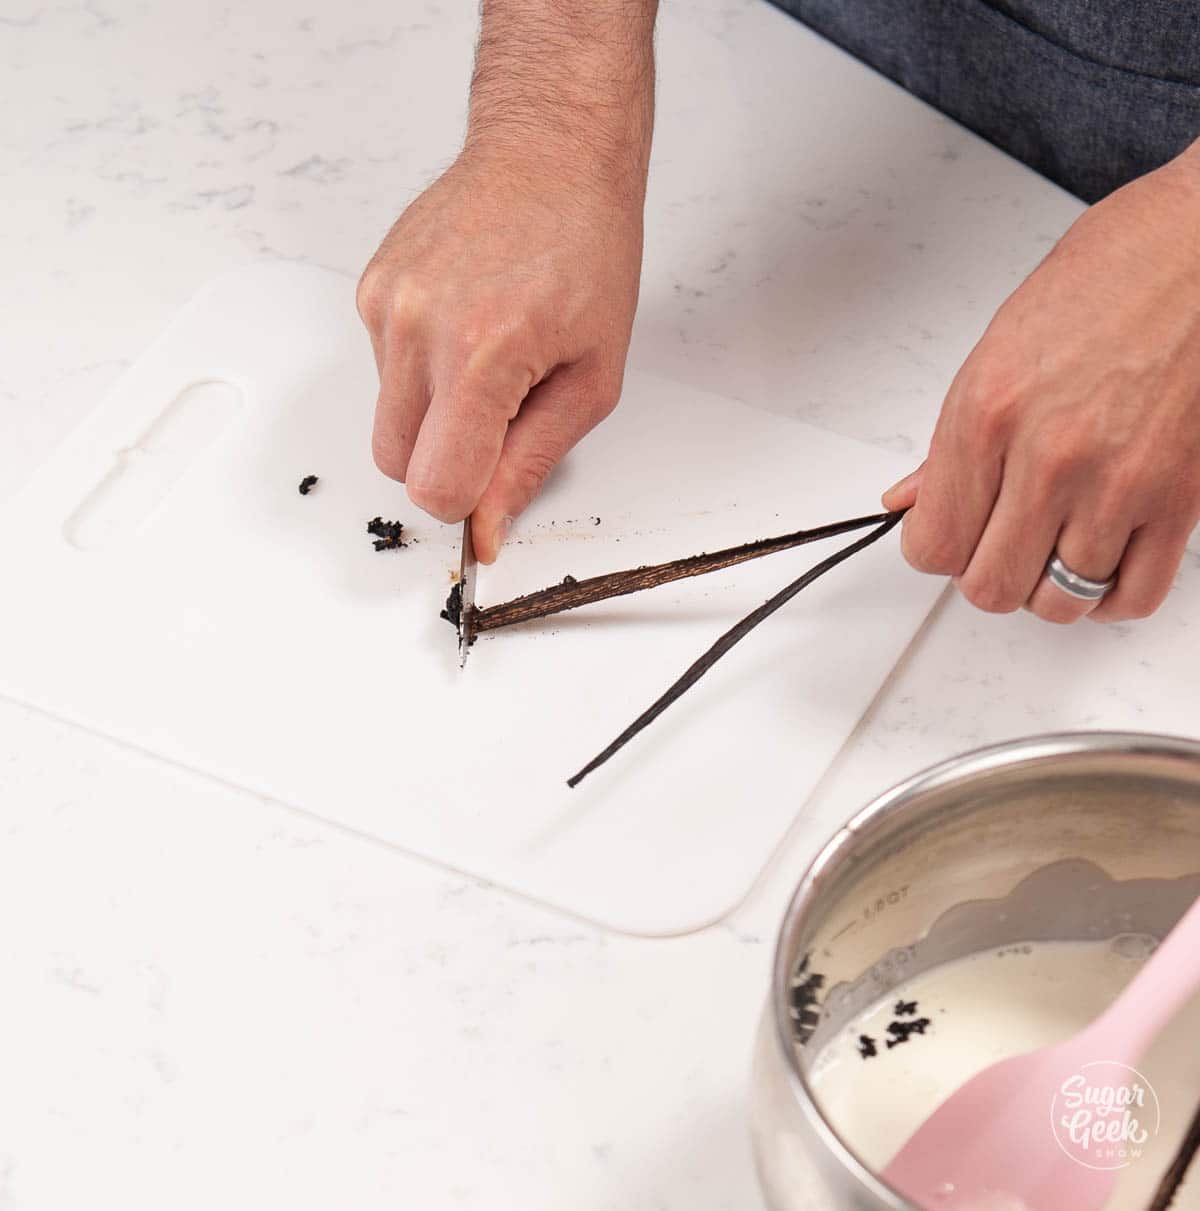
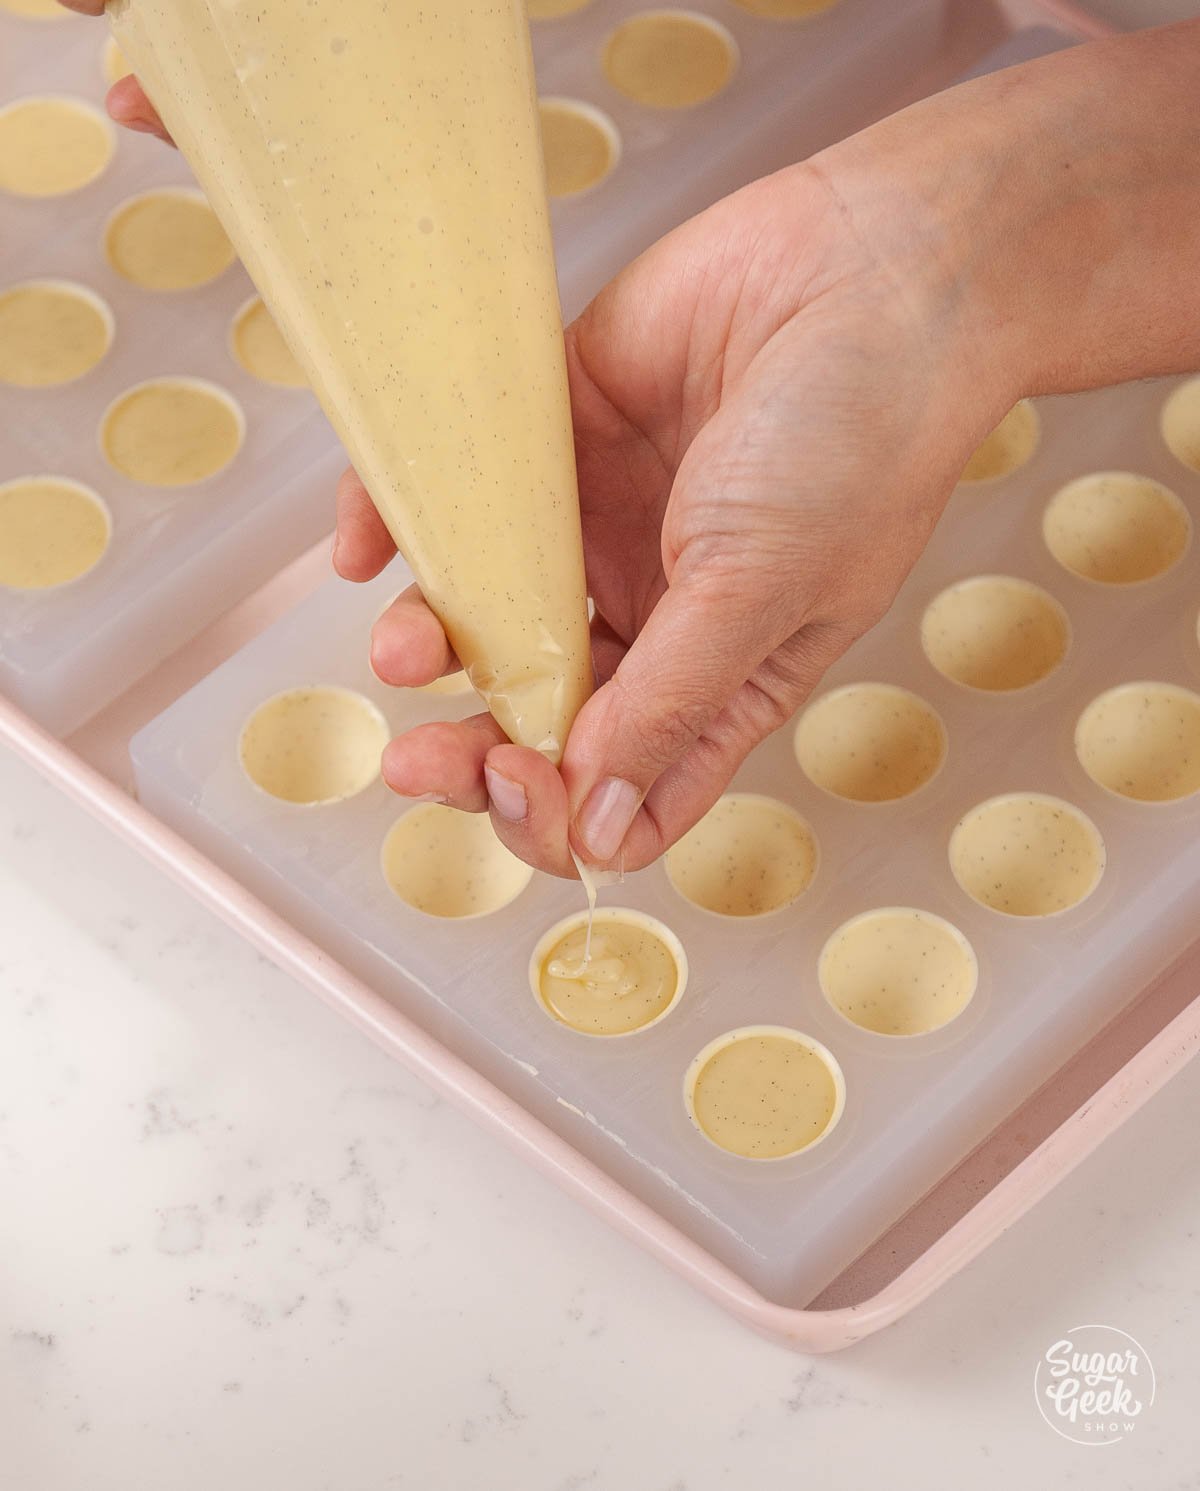
- First, cut your vanilla bean in half lengthwise and carefully scrape the seeds out with a knife.
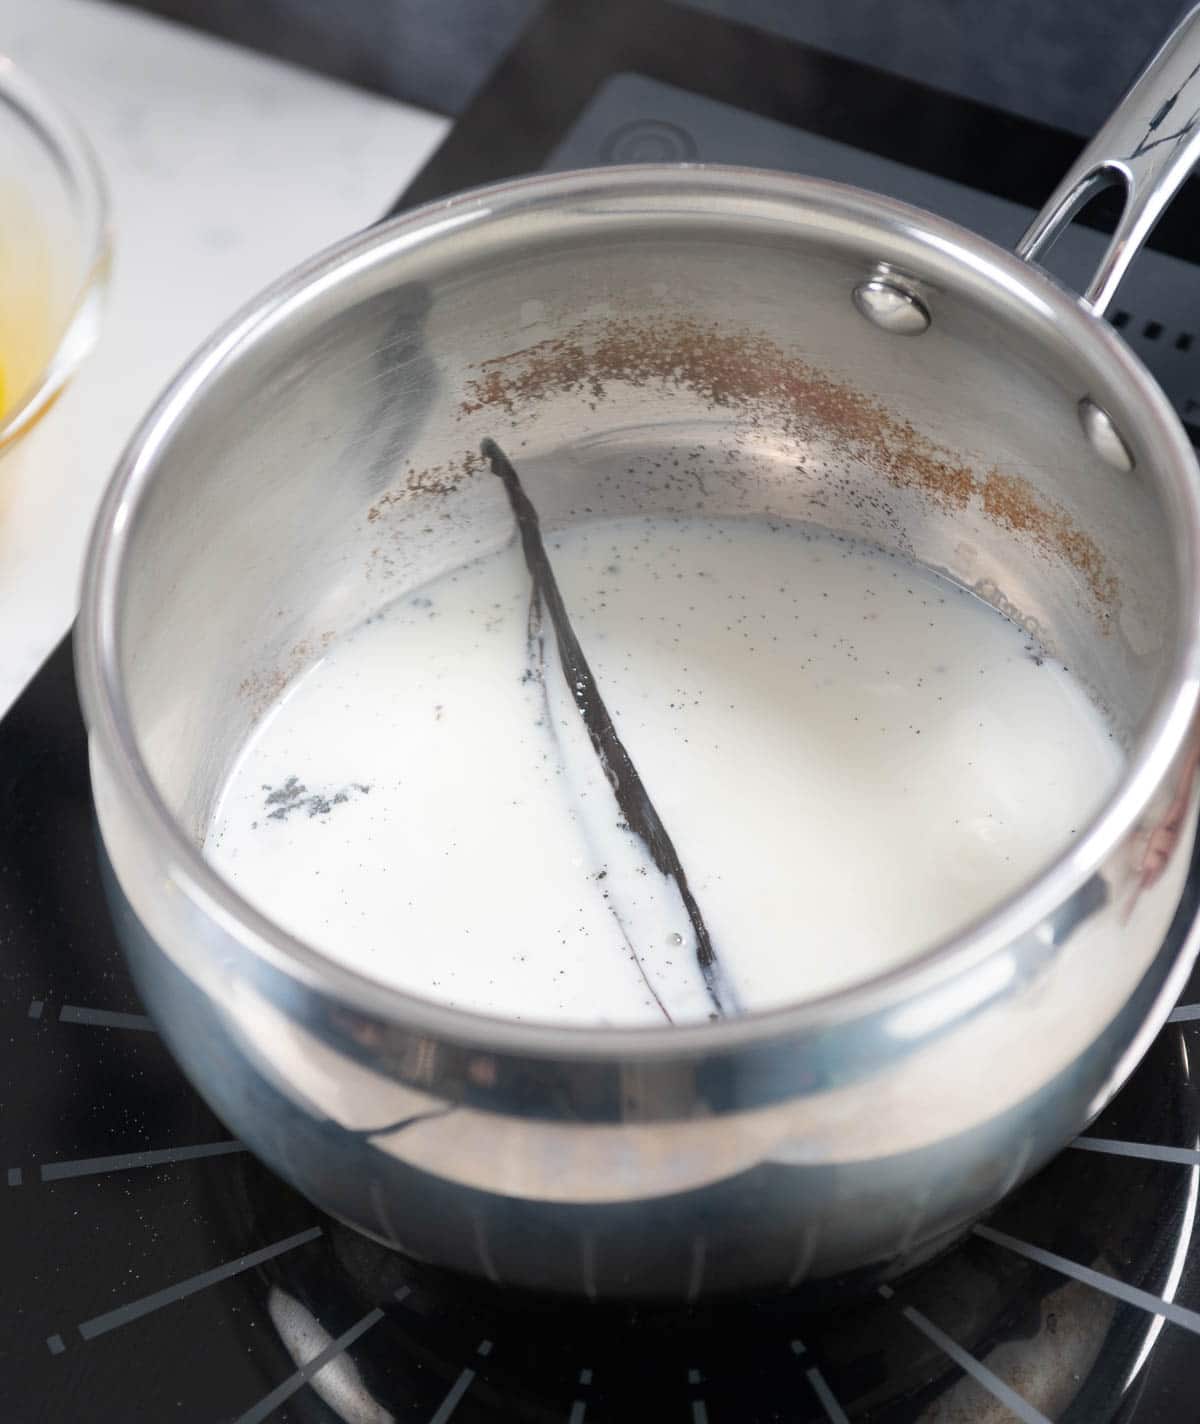
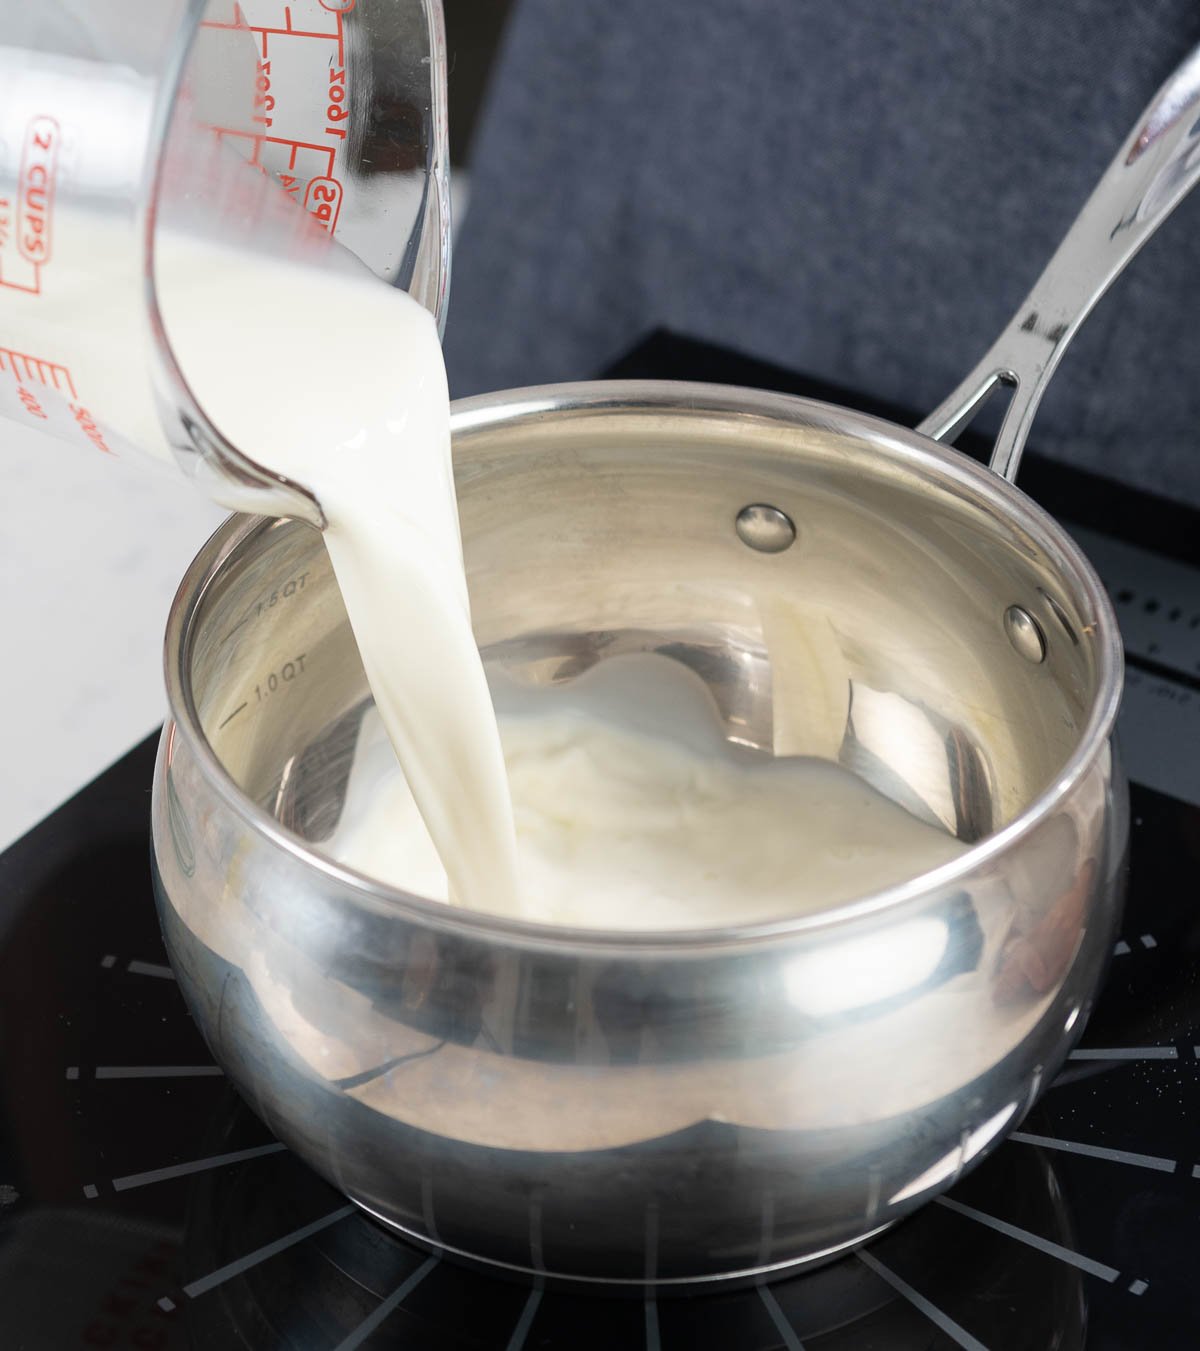
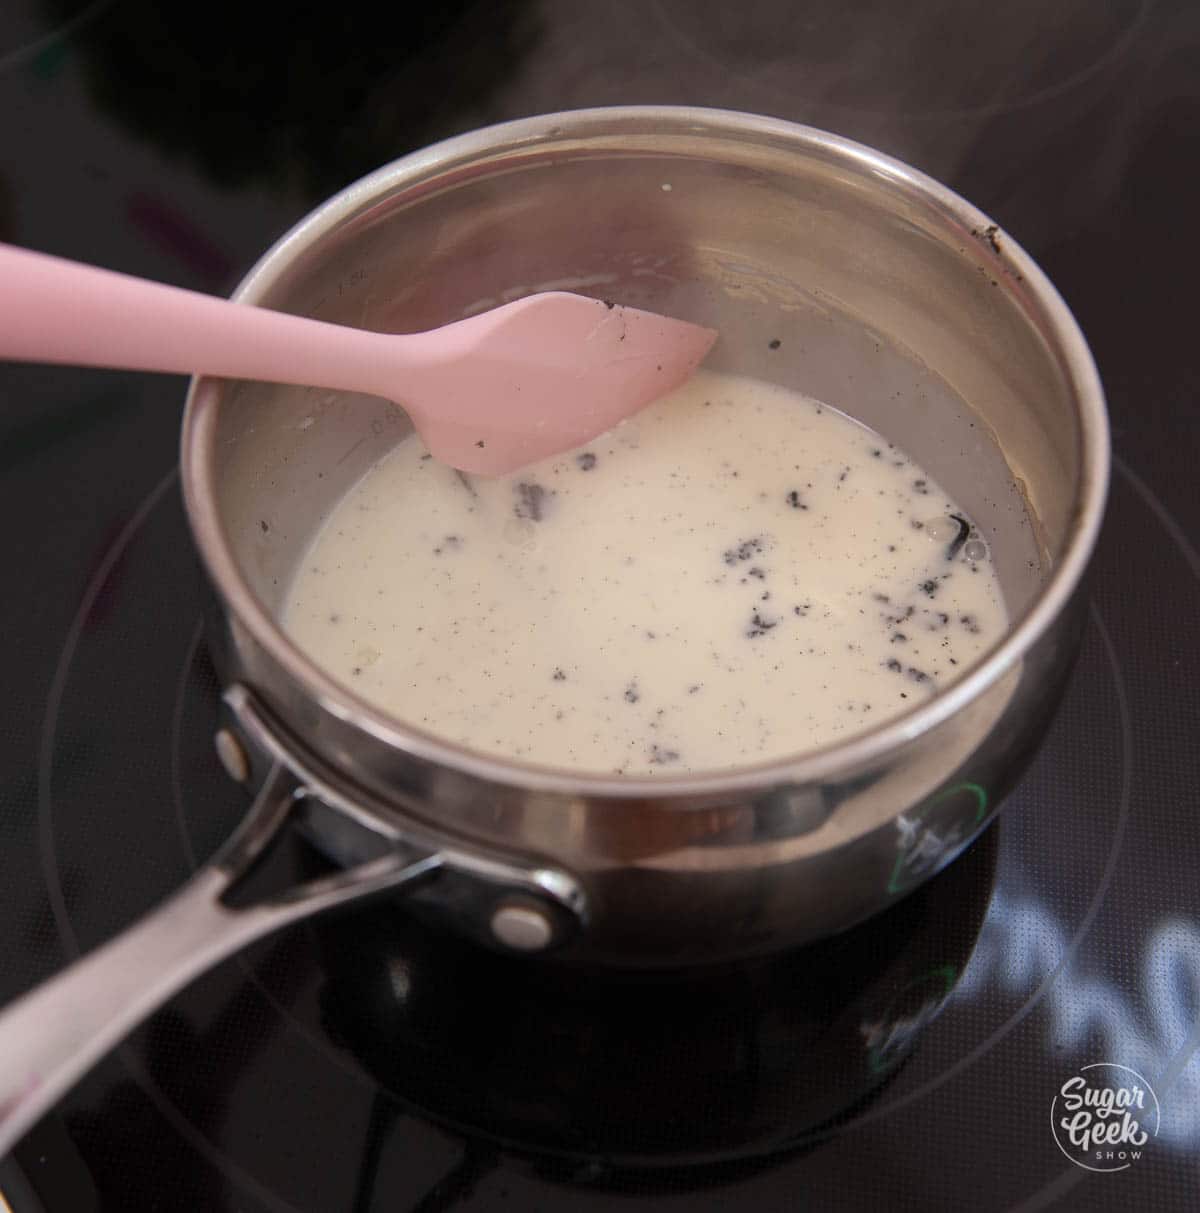
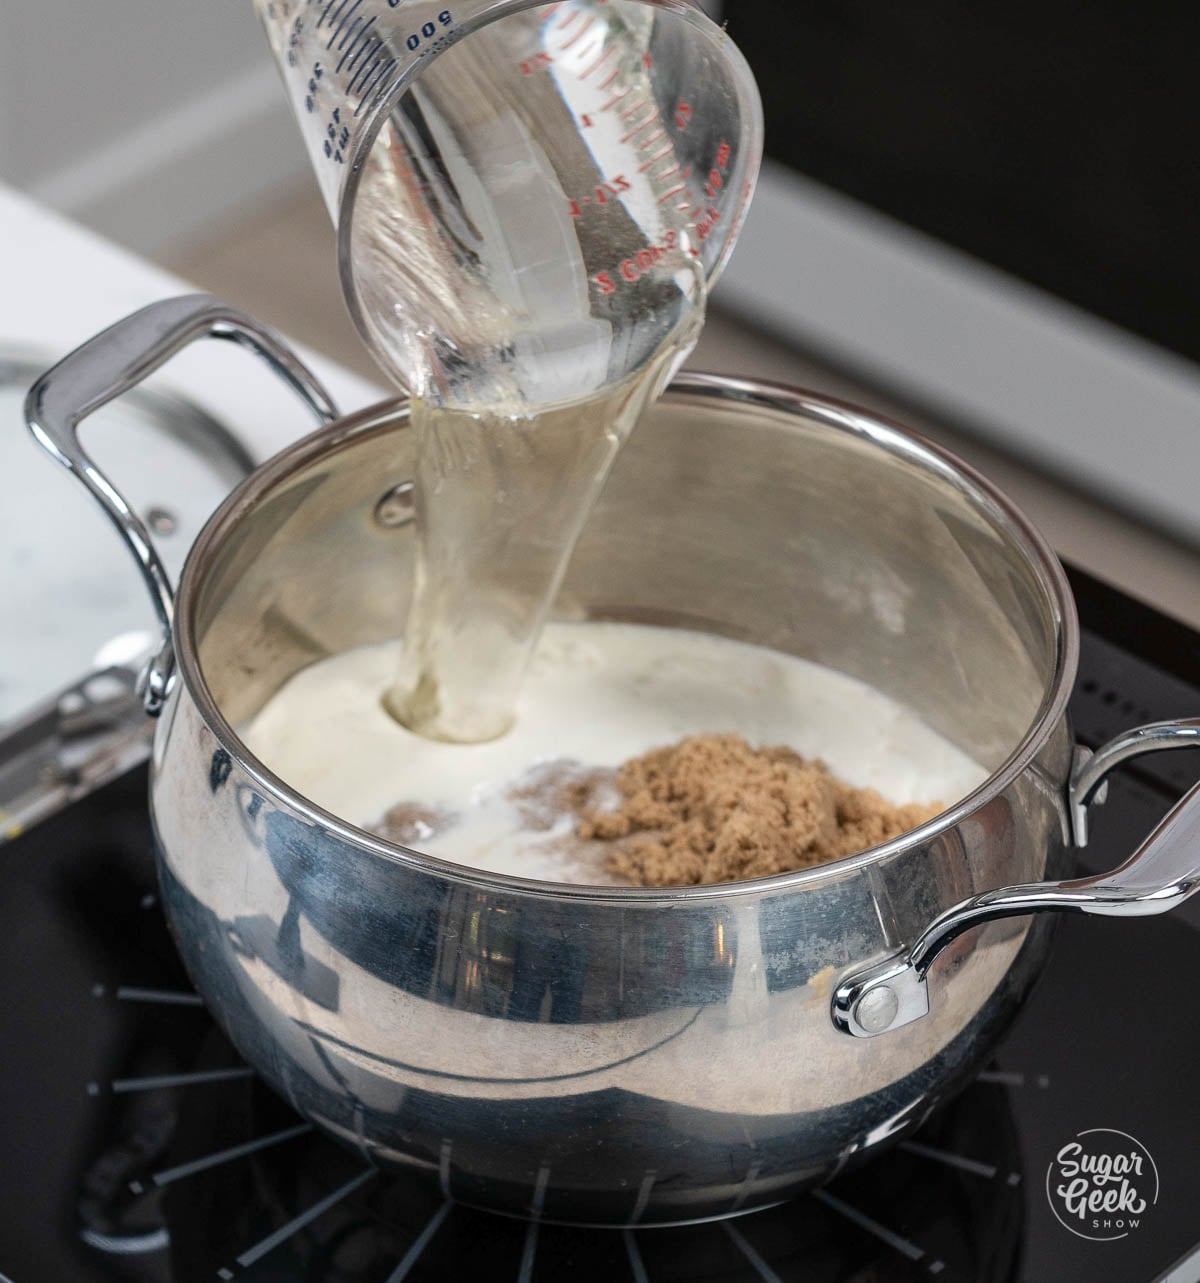
- Next, pour the milk into a saucepan. Turn the heat onto medium heat.
- Then, add the vanilla bean seeds and the pod into the milk.

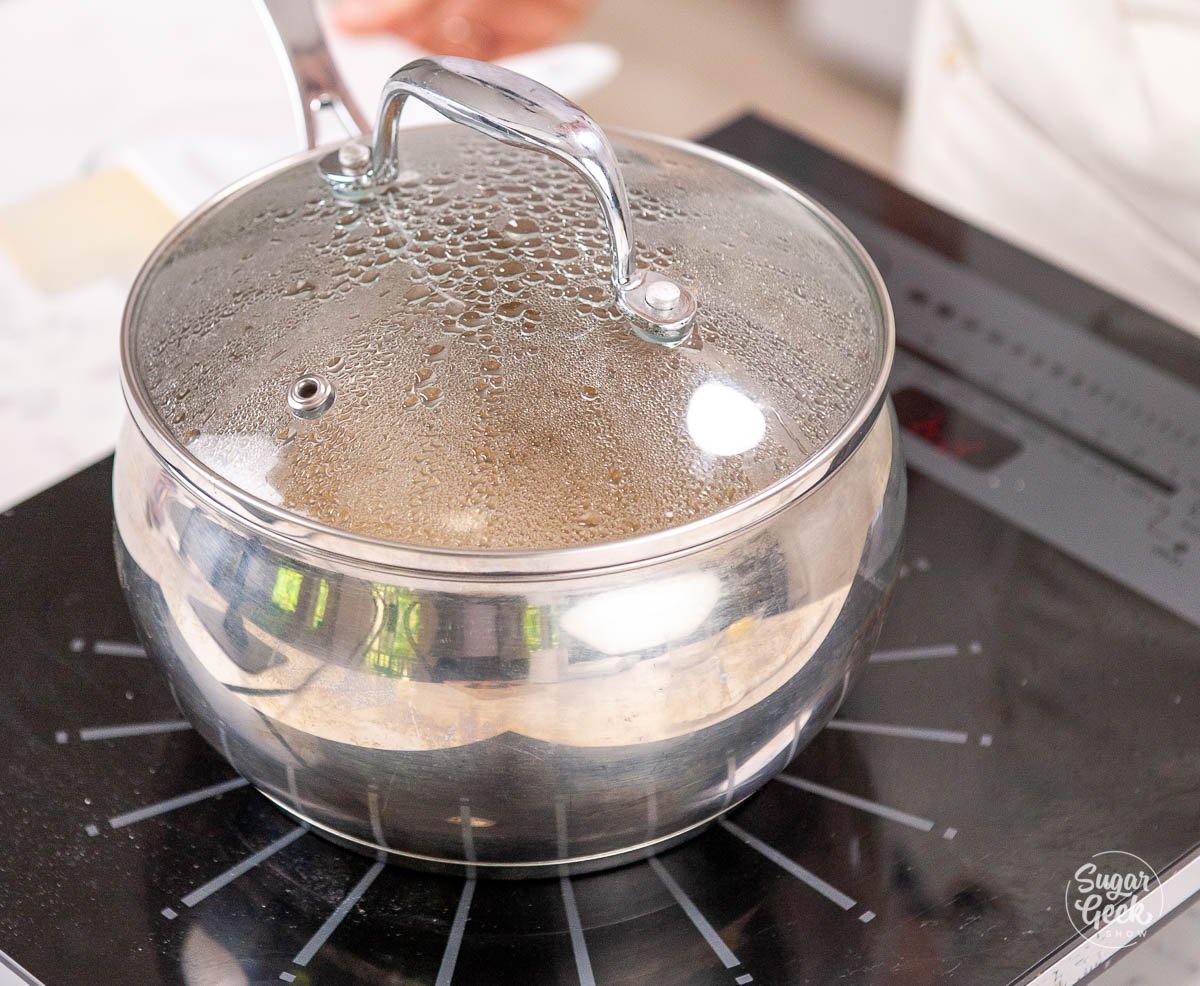
- Bring the milk to a simmer, and then remove it from the heat. We are not trying to boil the milk, just heat it enough to enfuse it with the vanilla flavor.
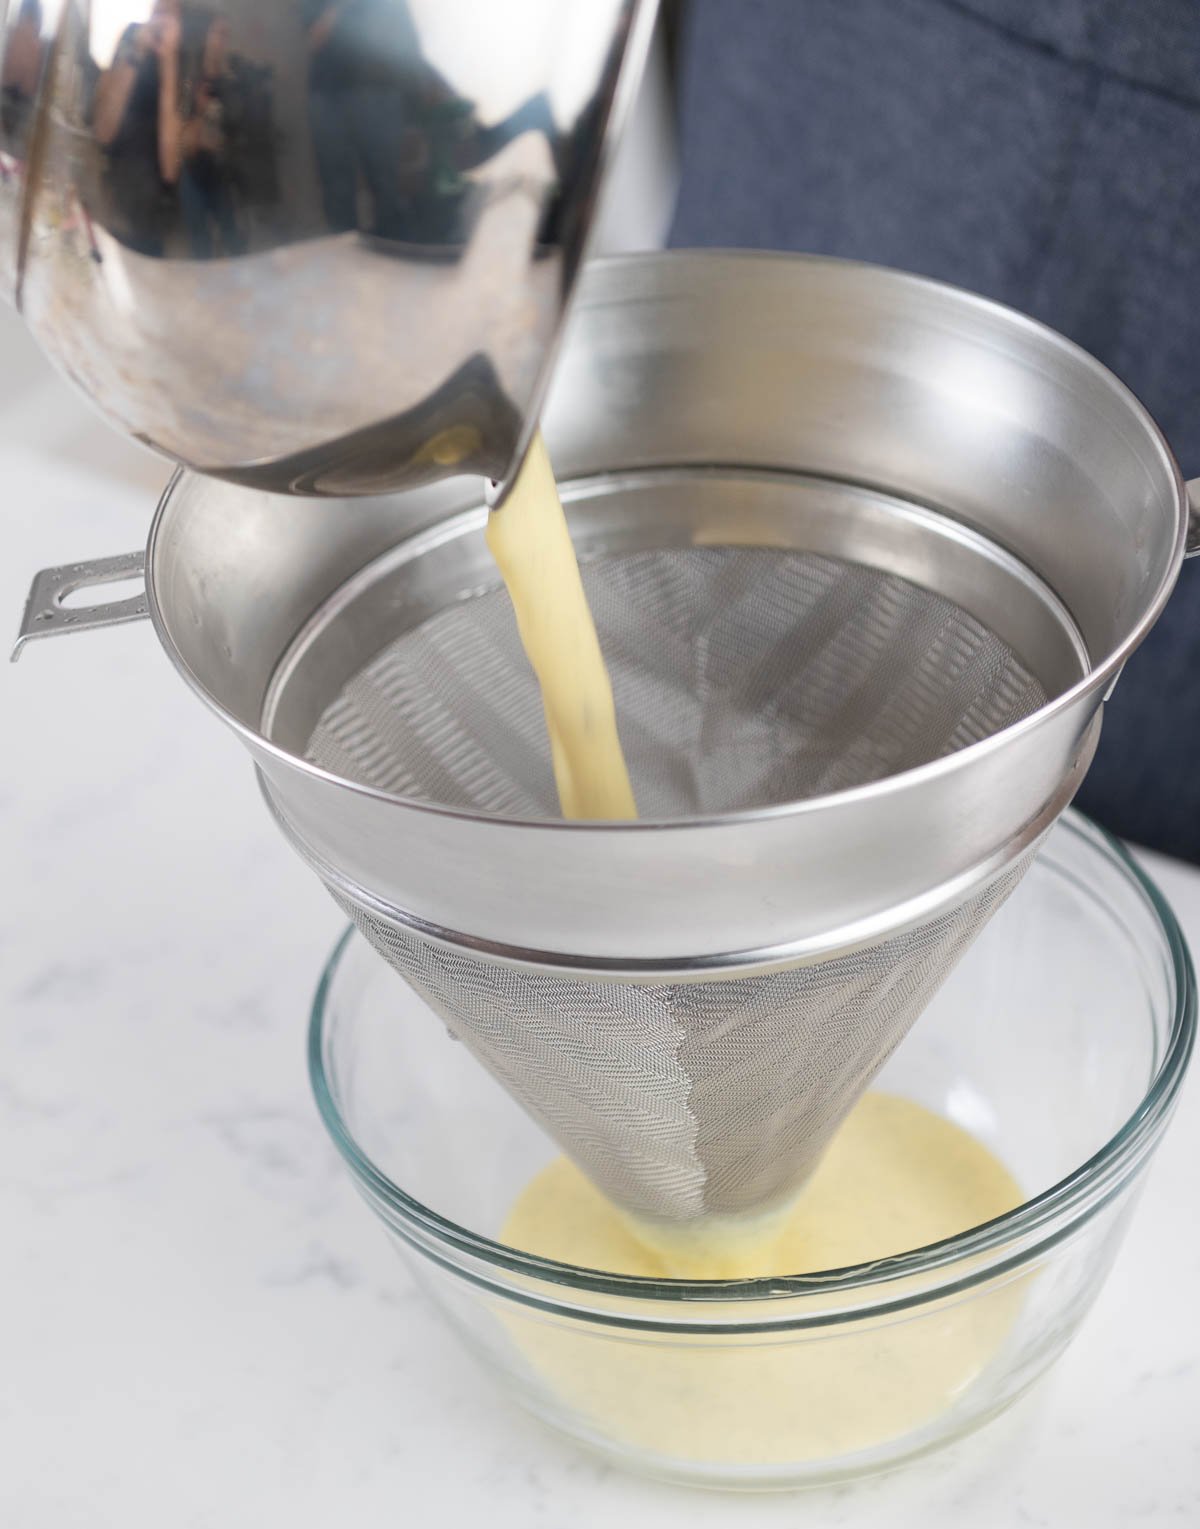
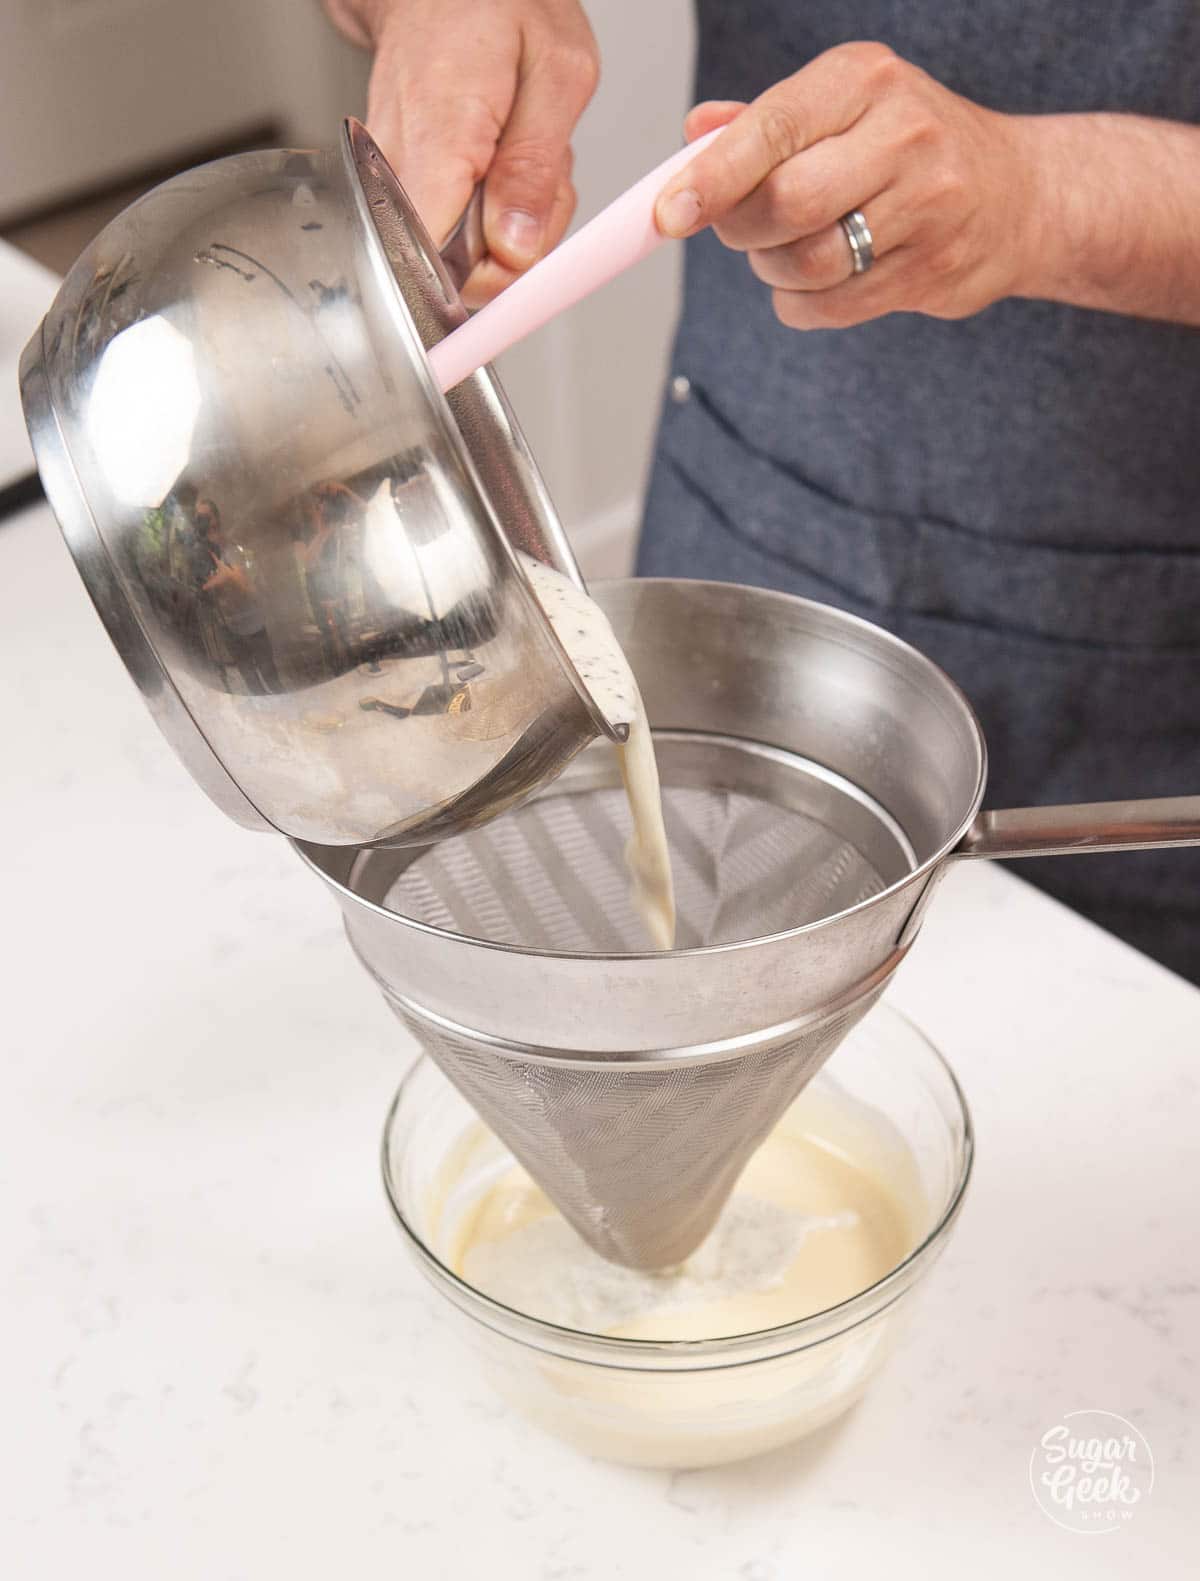
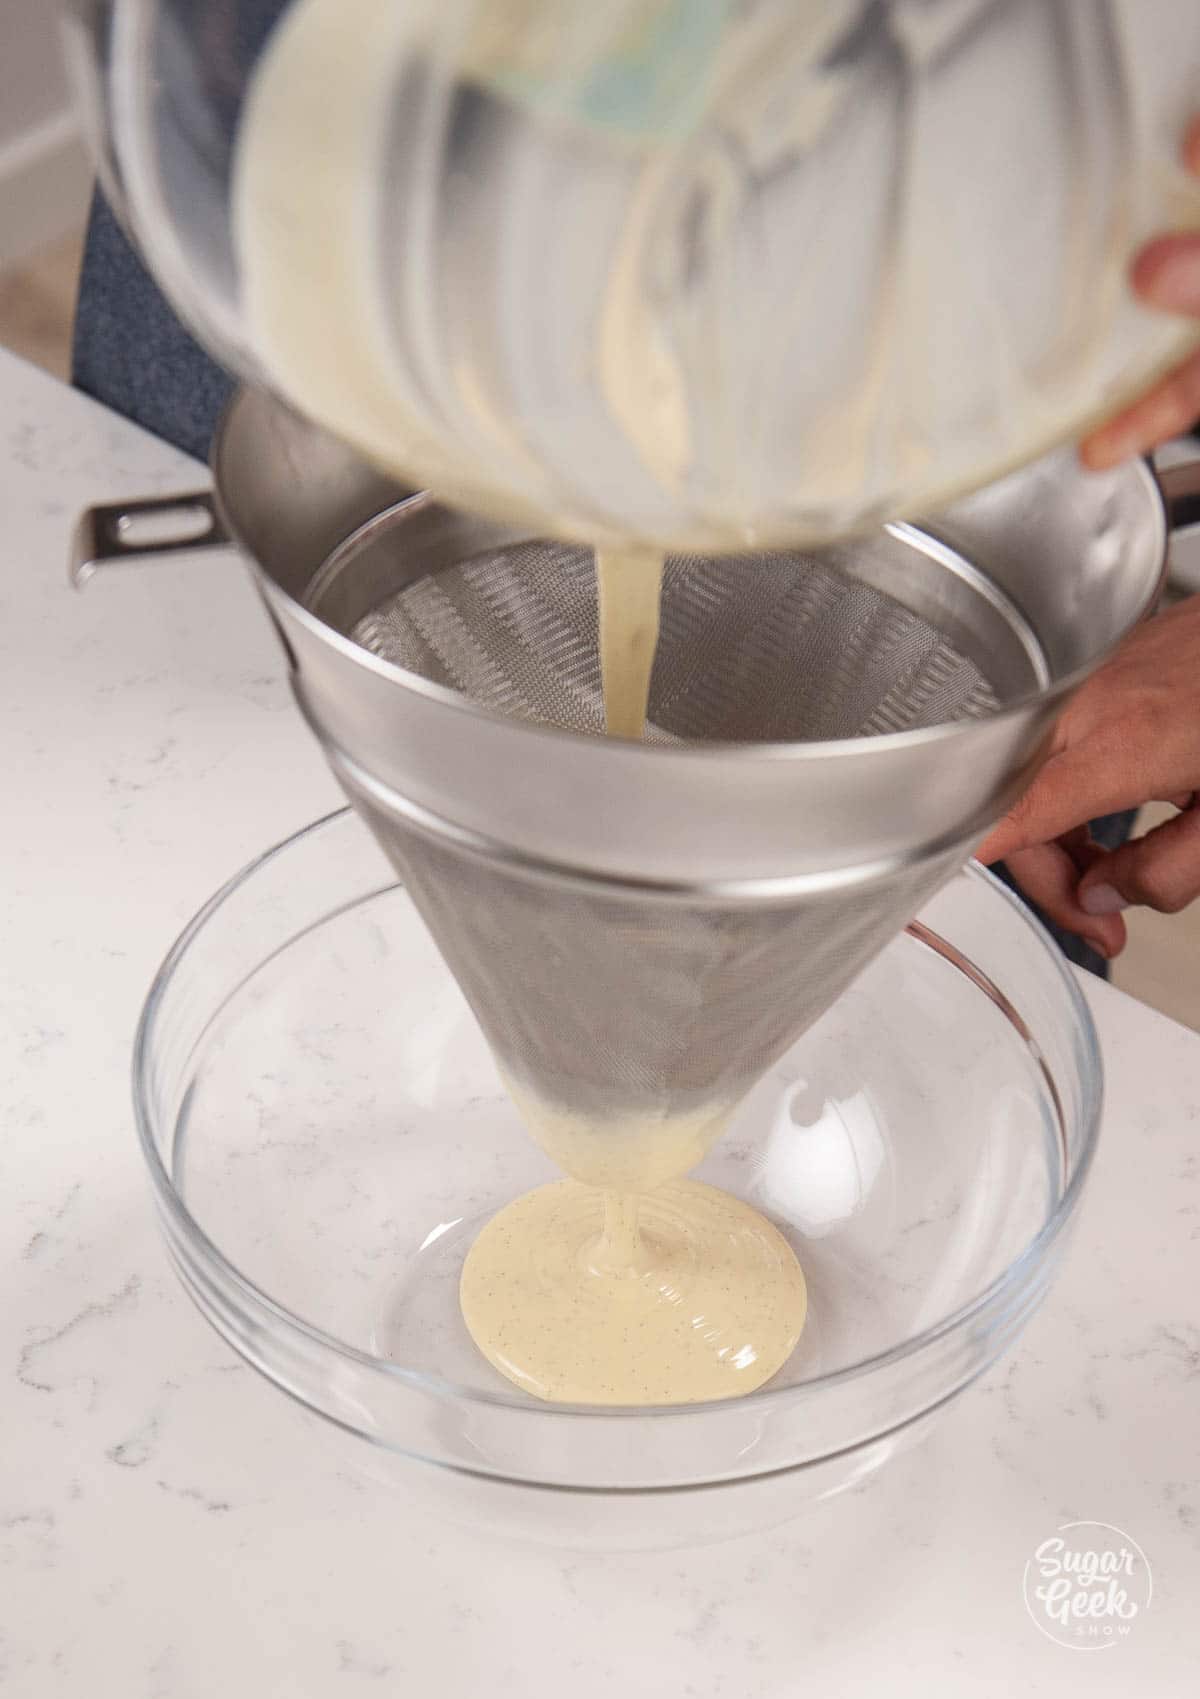
- Next, strain the milk and vanilla bean mixture to remove the vanilla bean pod.
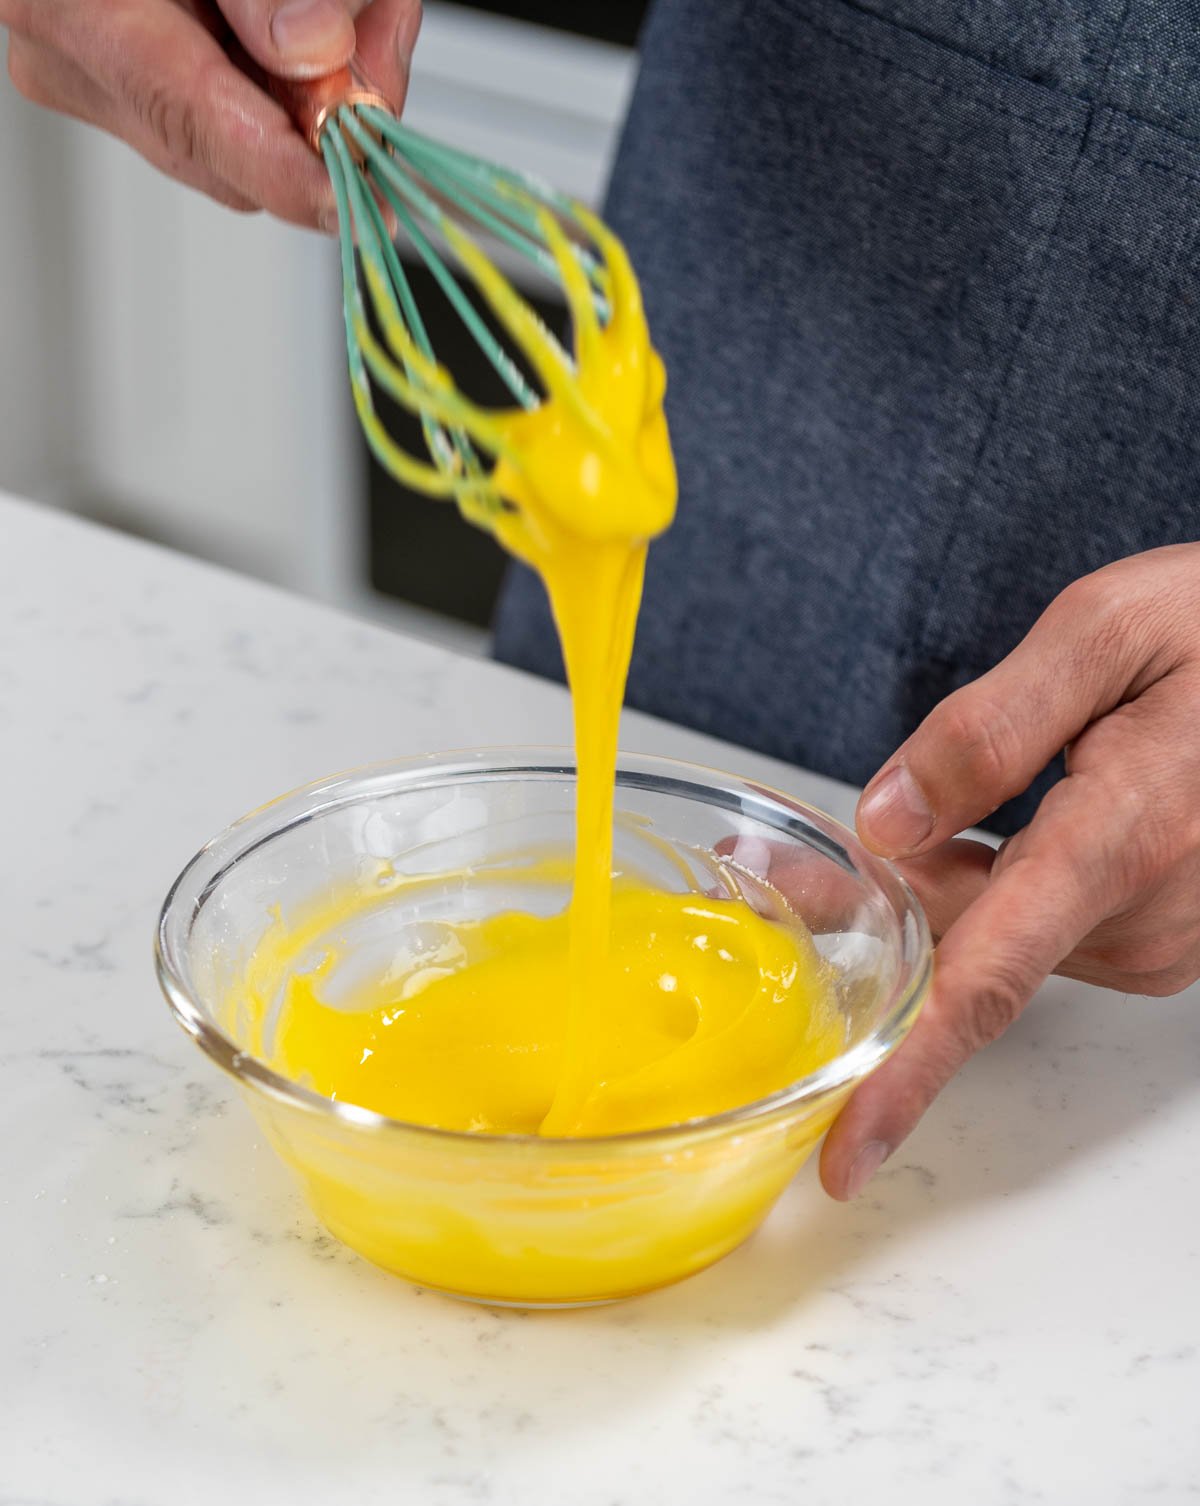
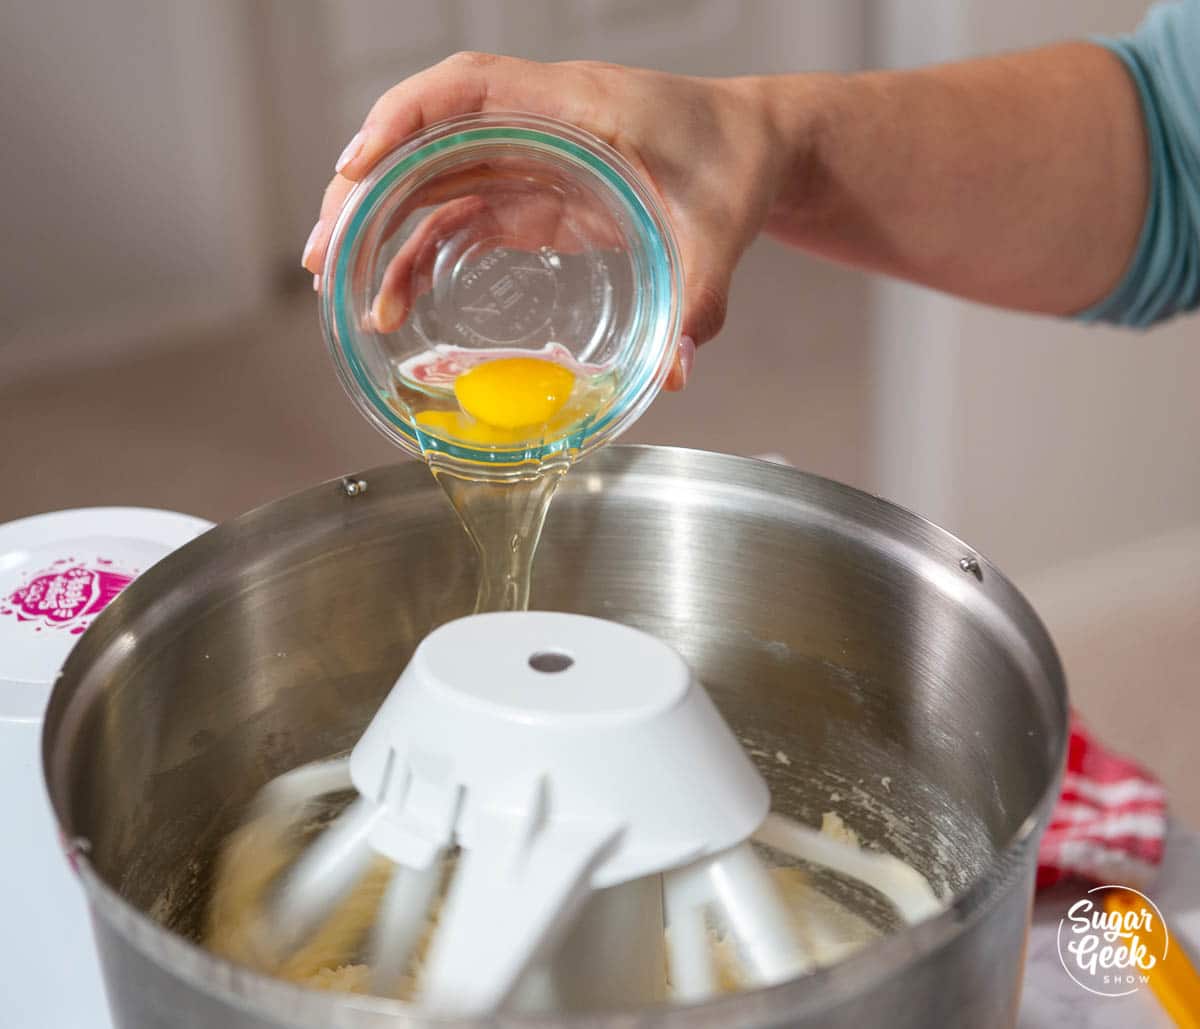
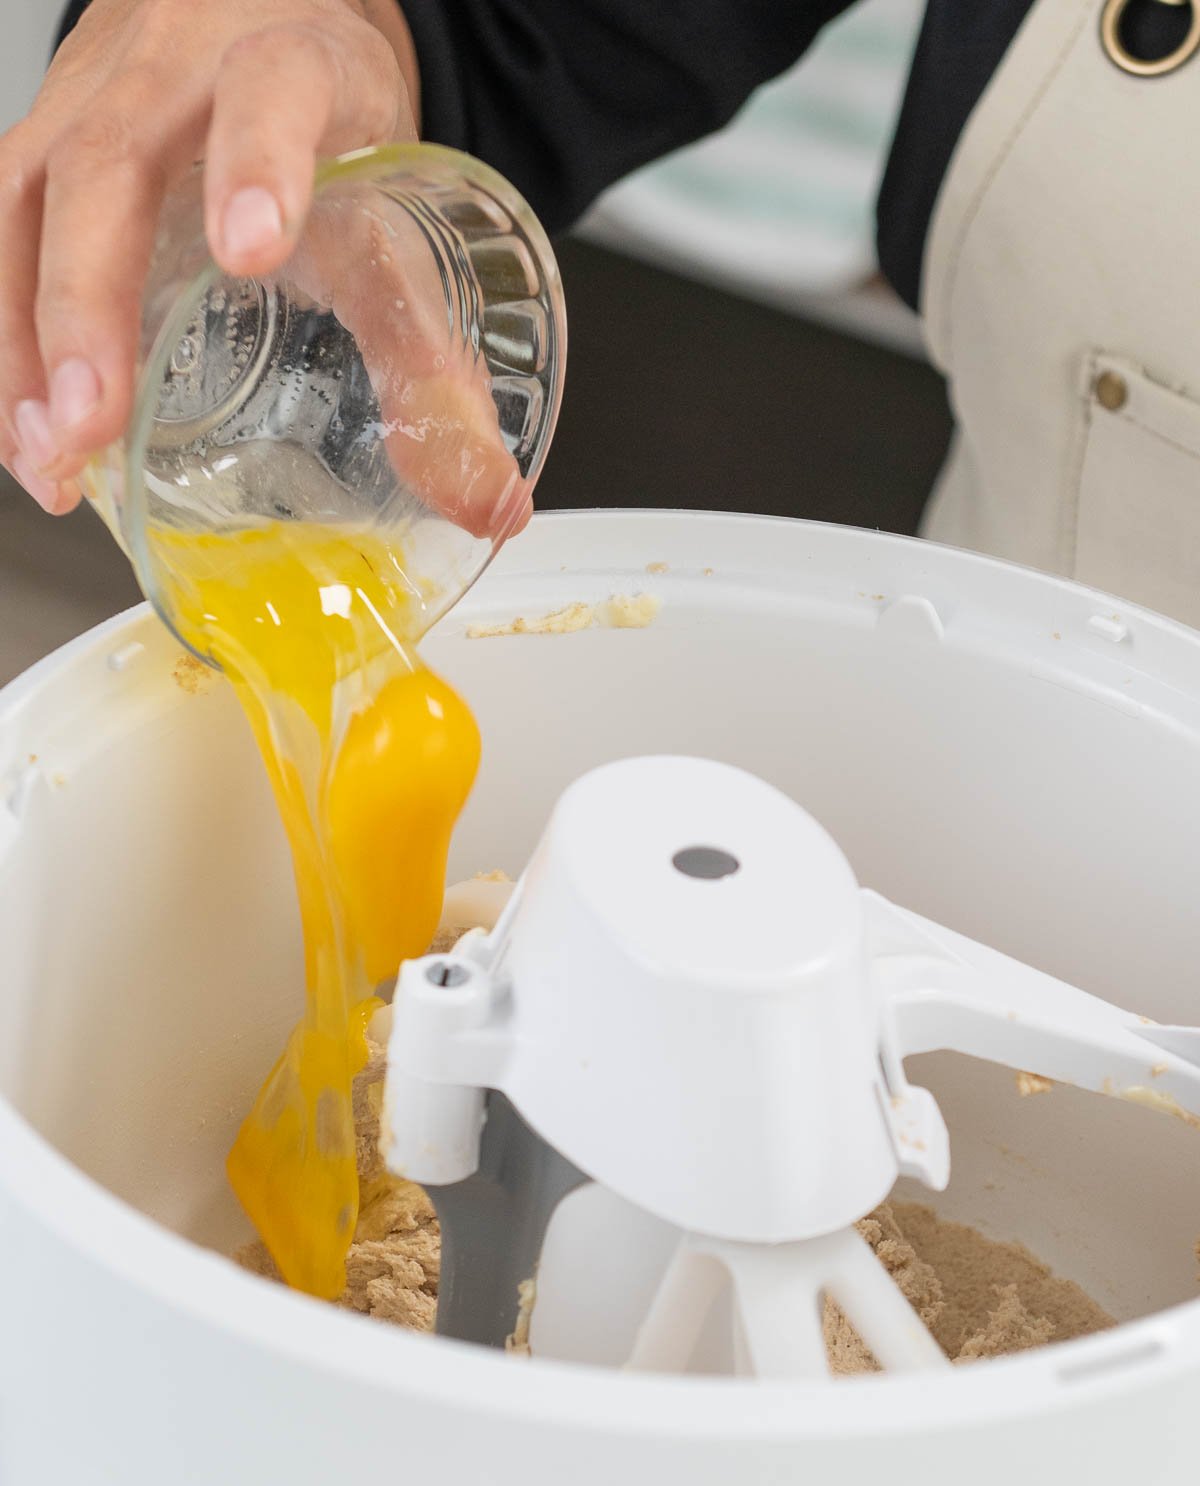
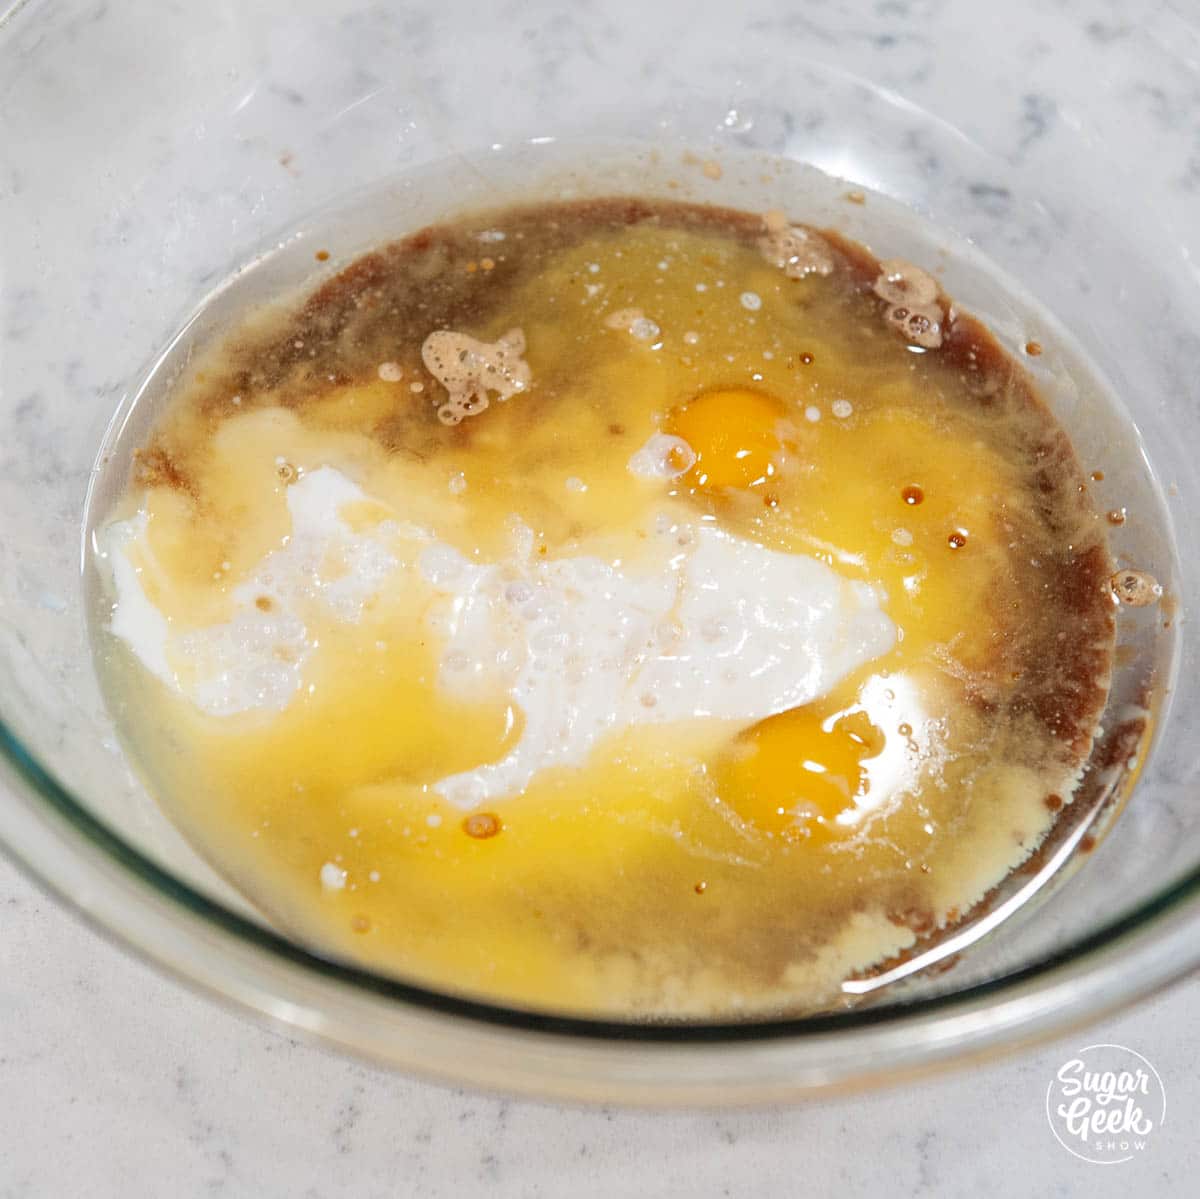
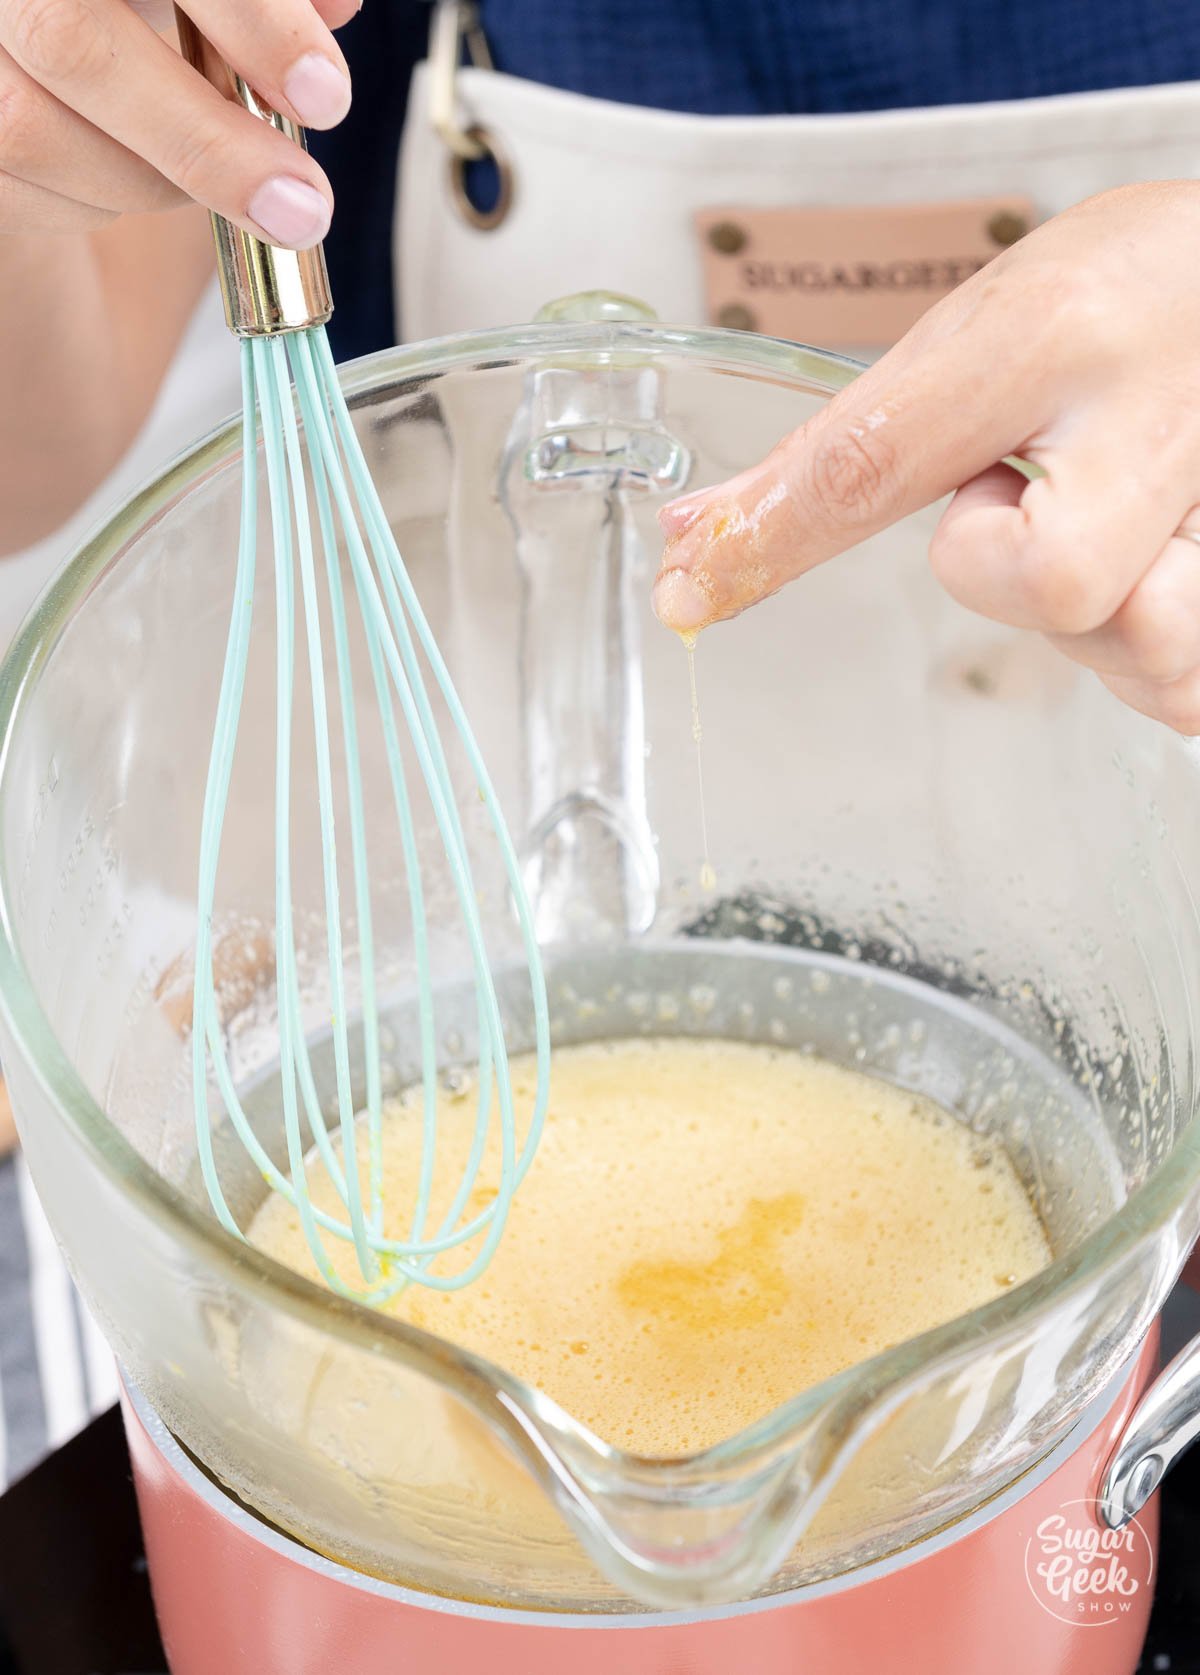
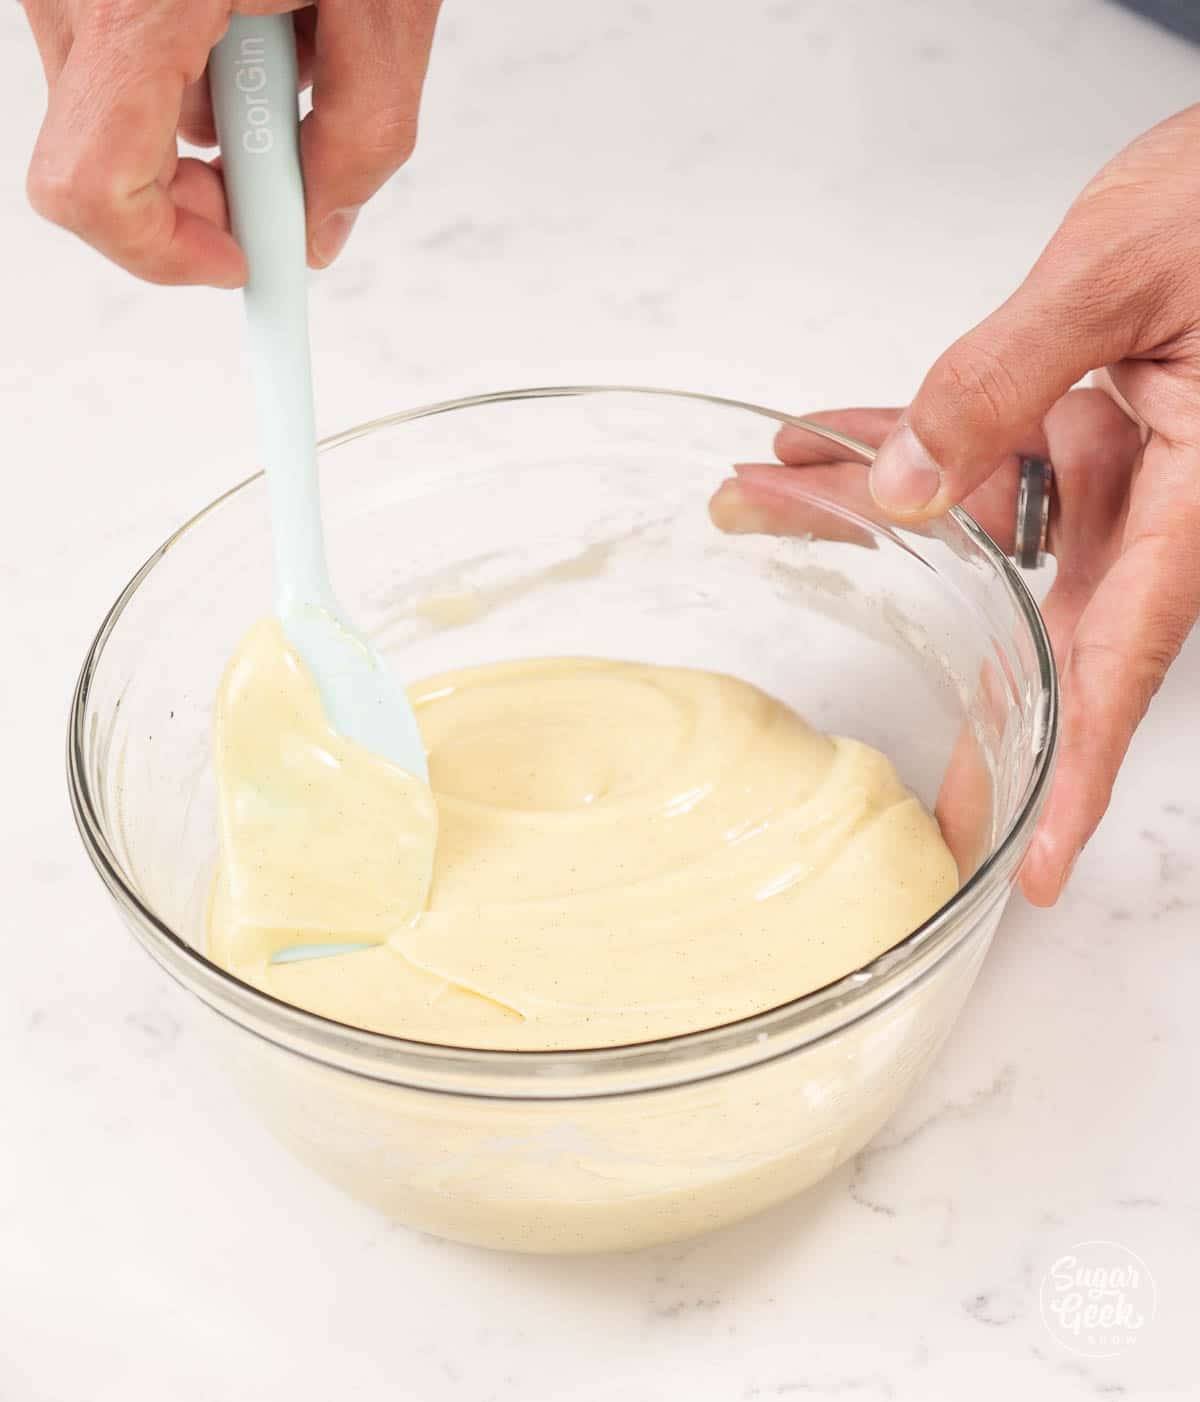
- In a mixing bowl, whisk the egg yolks to break them up.
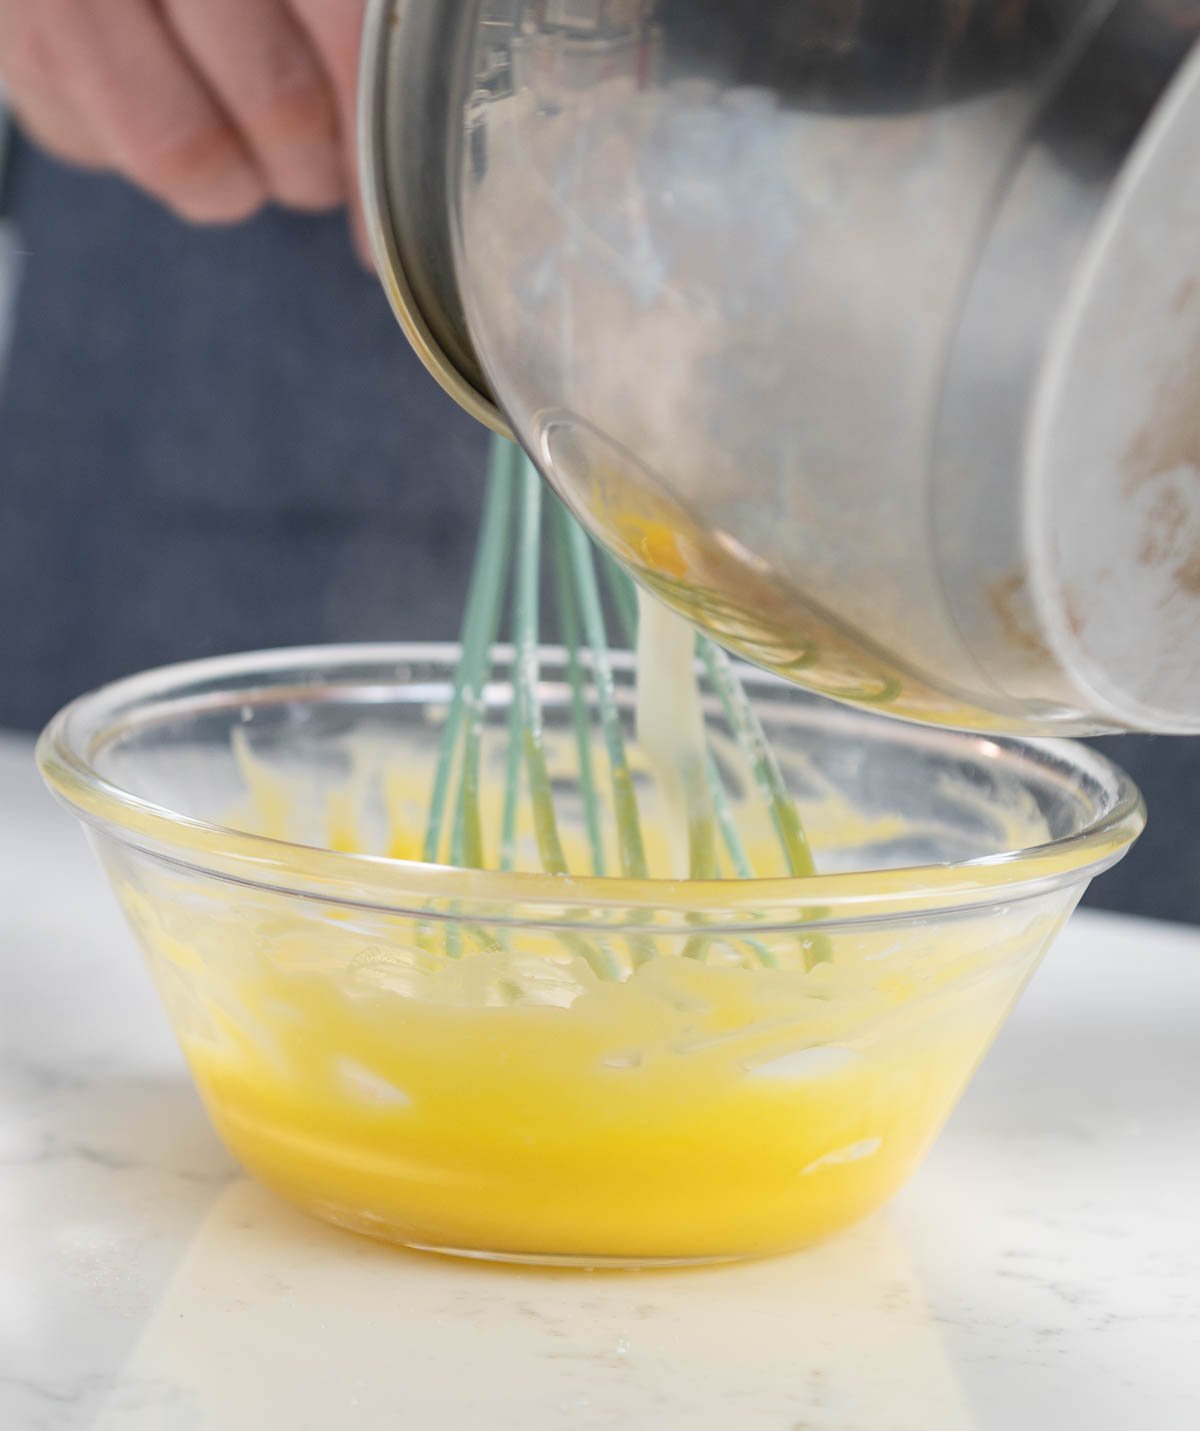
- Add in ⅓ of the hot milk mixture into the egg yolks, and whisk to combine them. This will heat the eggs up just enough that they wont curdle when you add them into the saucepan with the rest of the cream.

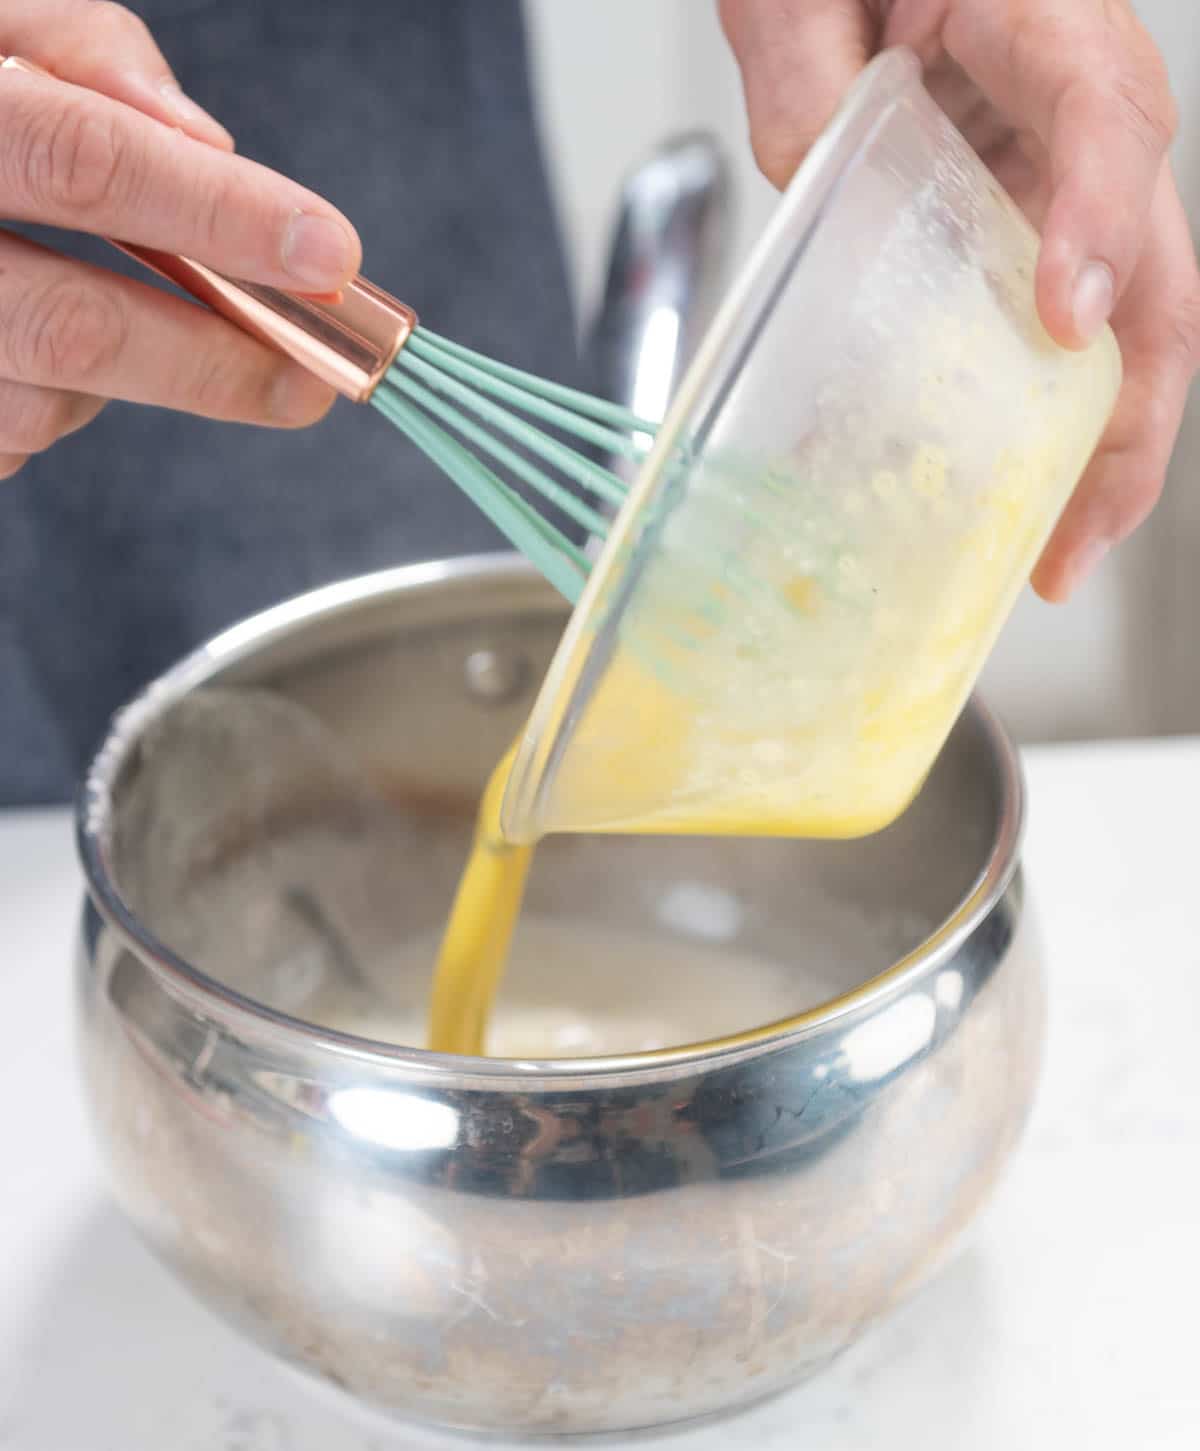
- Once they are combined, add the egg yolk mixture back into the saucepan and turn the heat back up to medium.

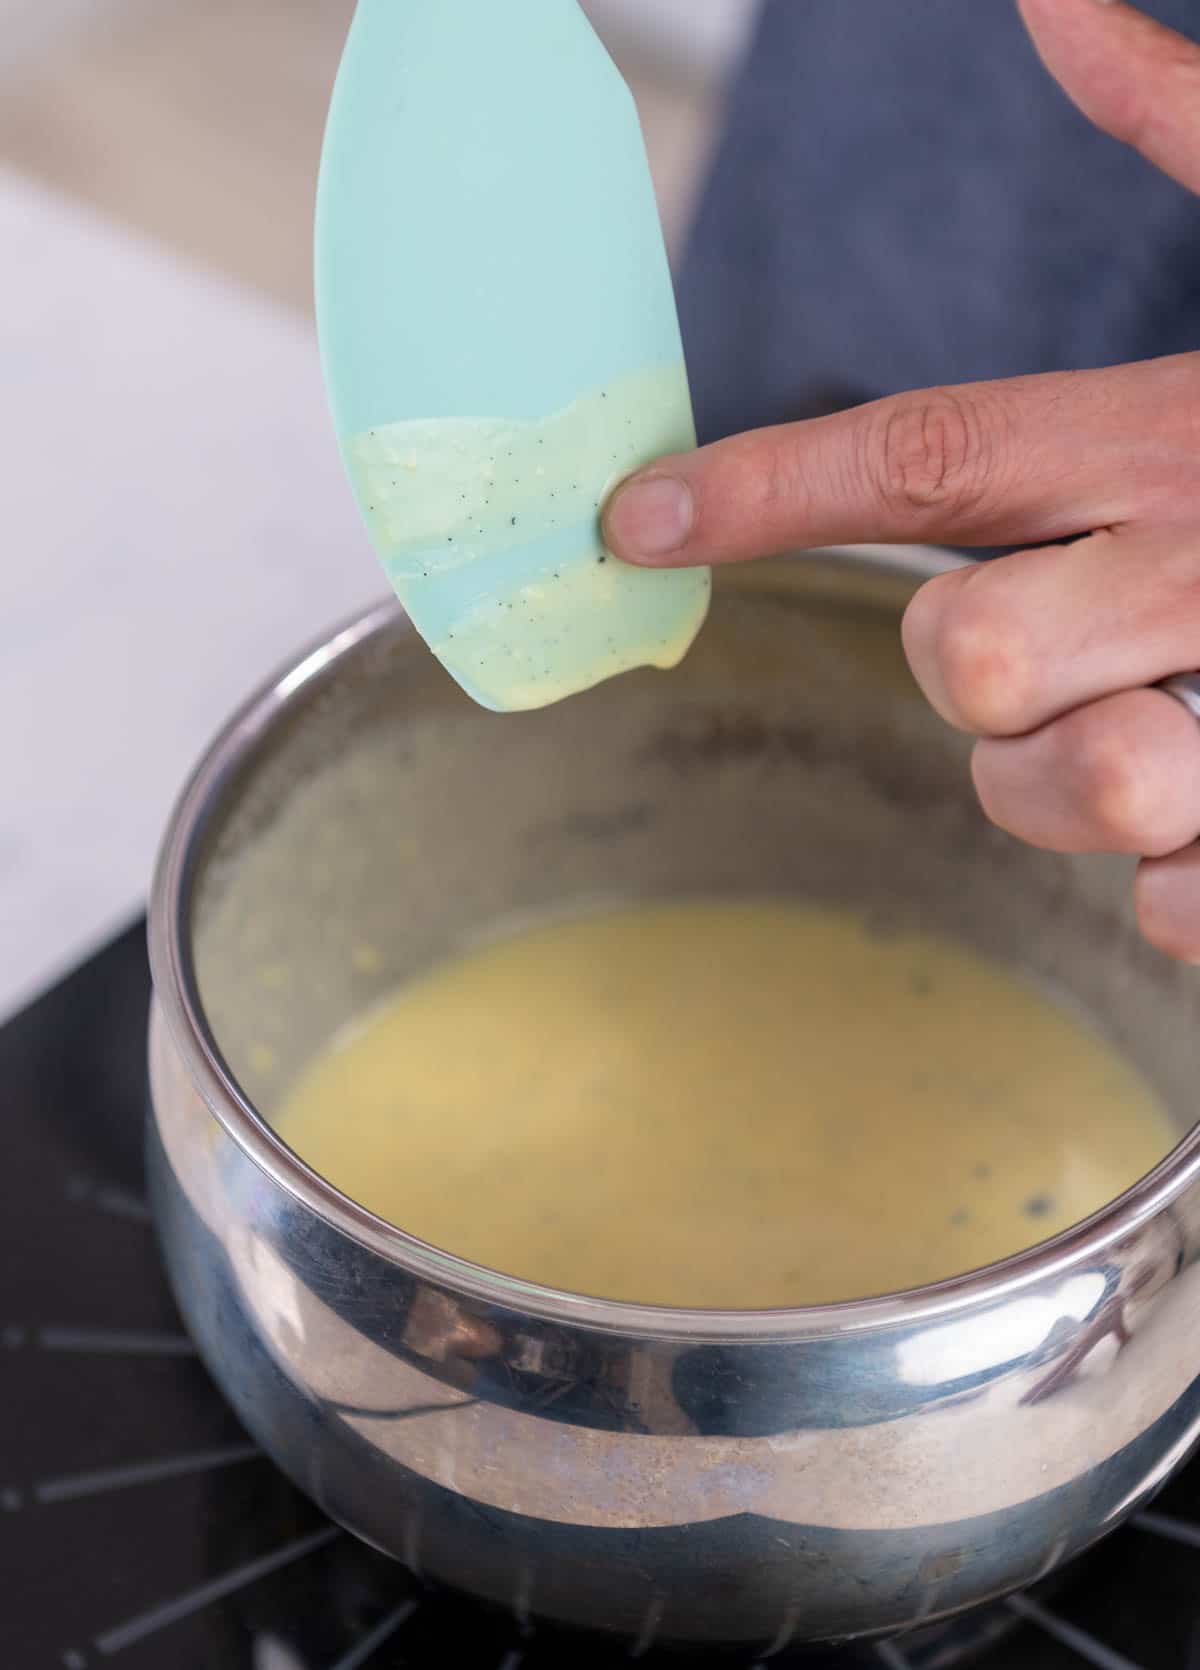
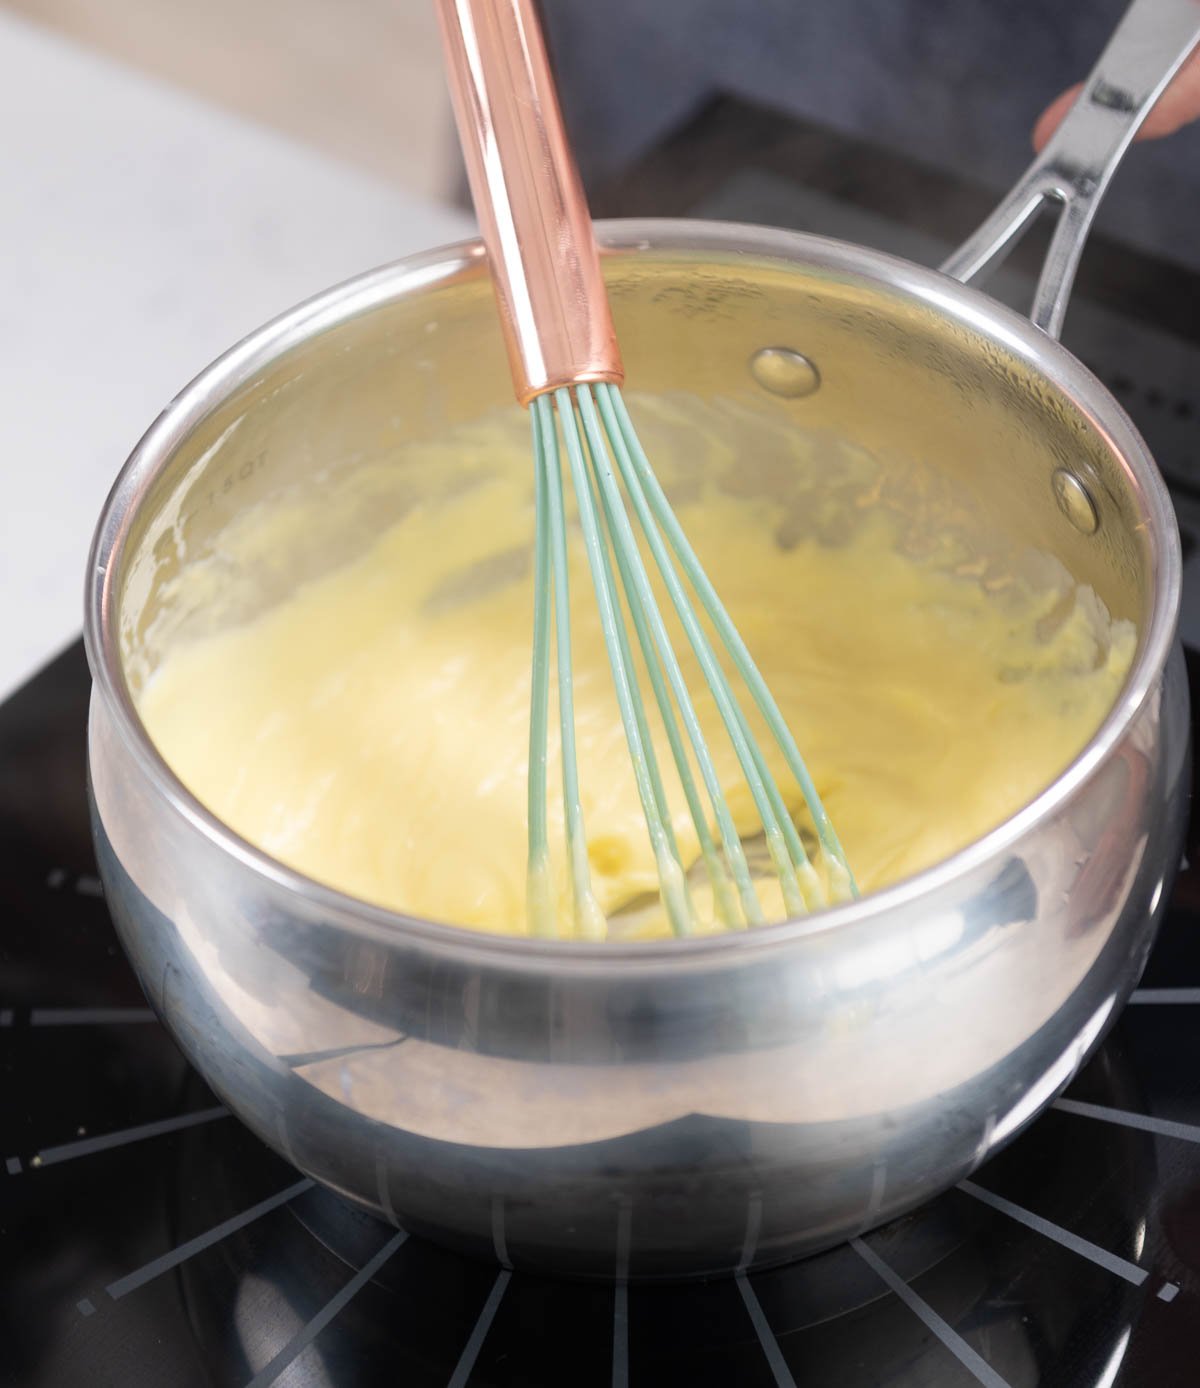
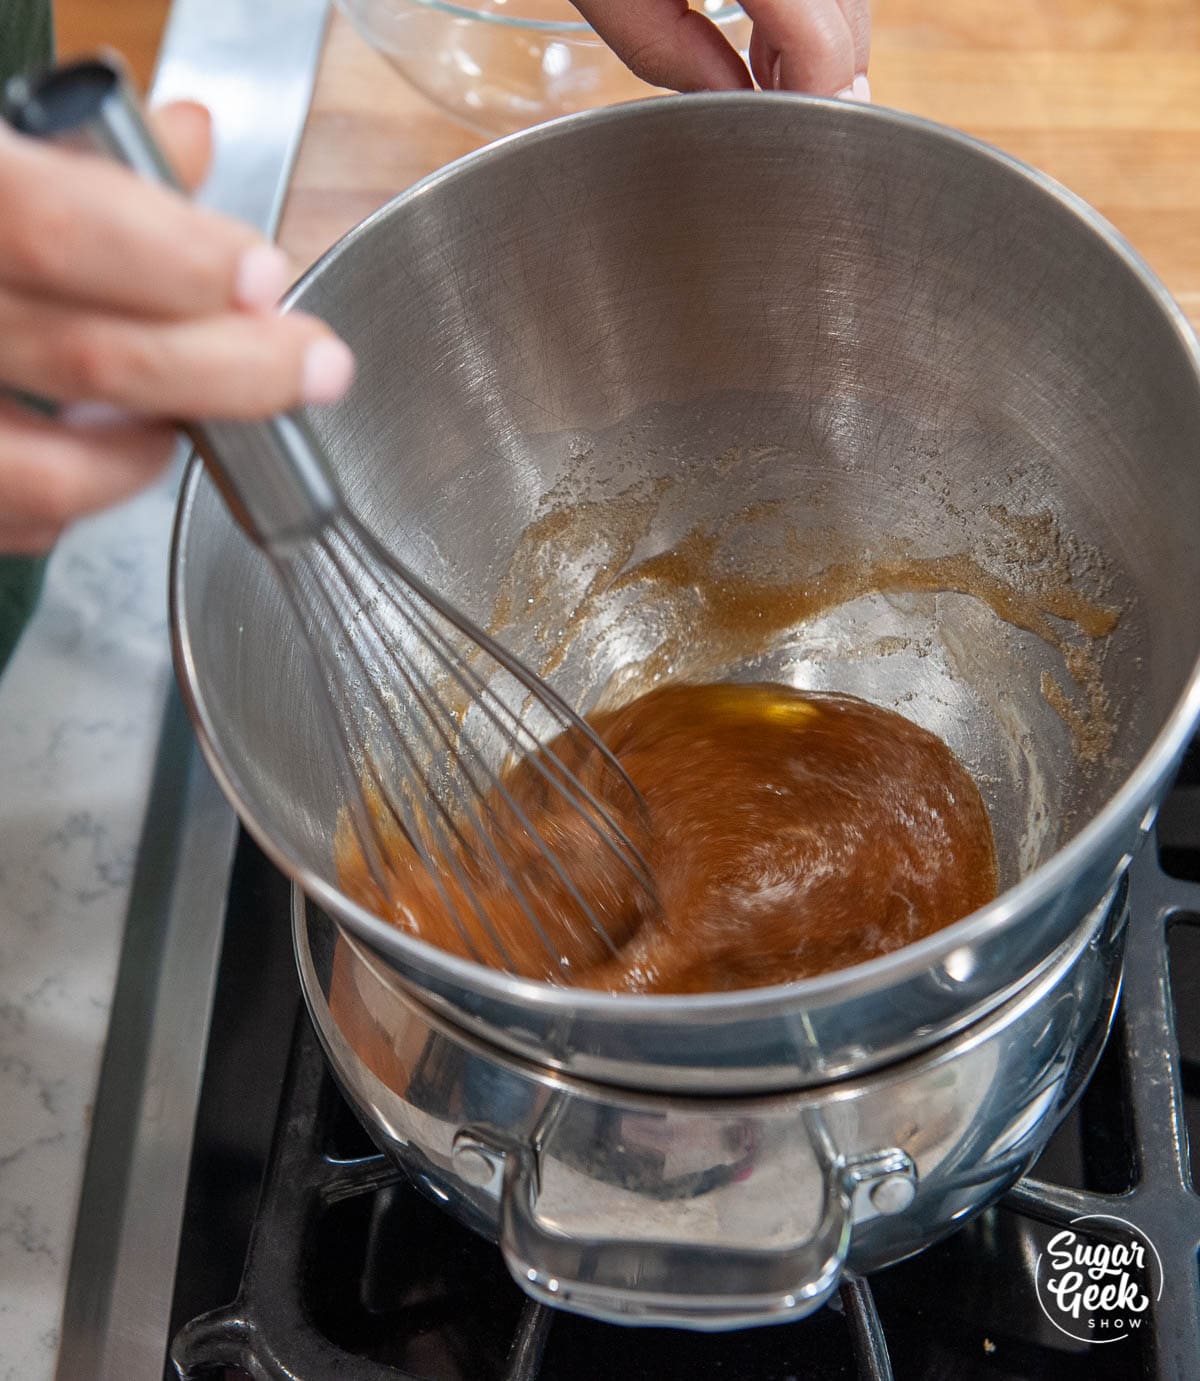
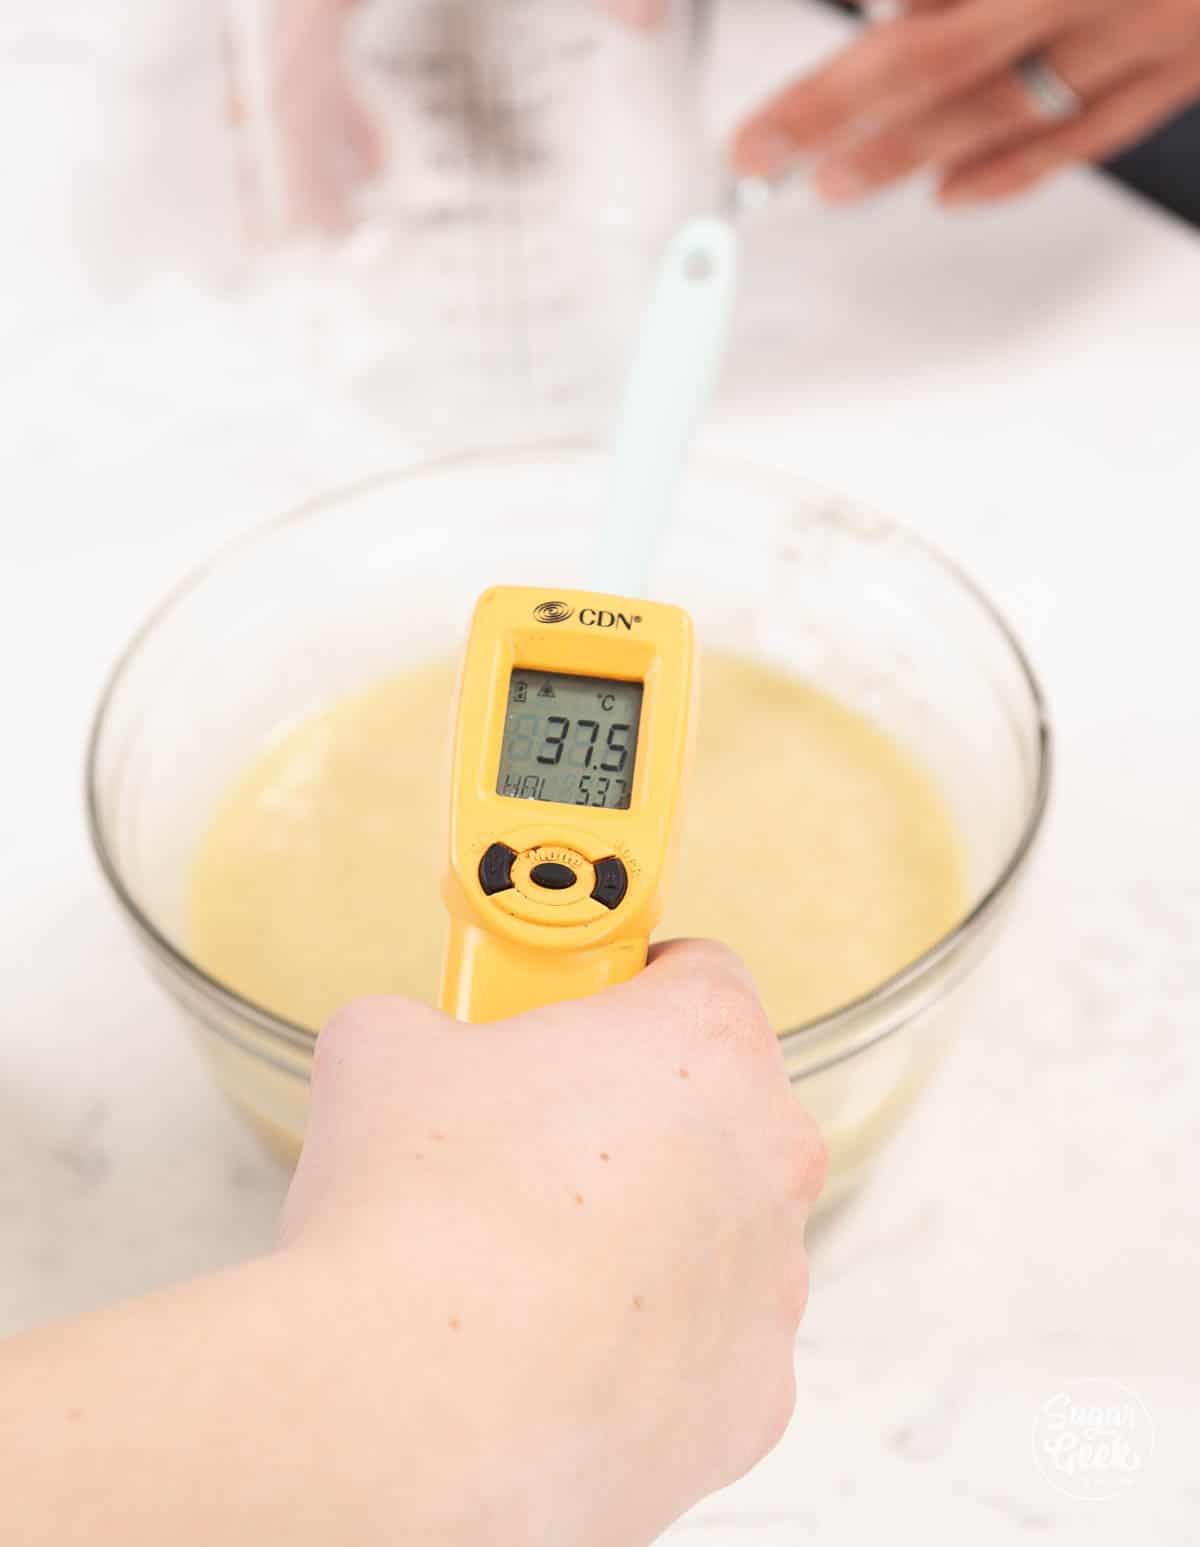
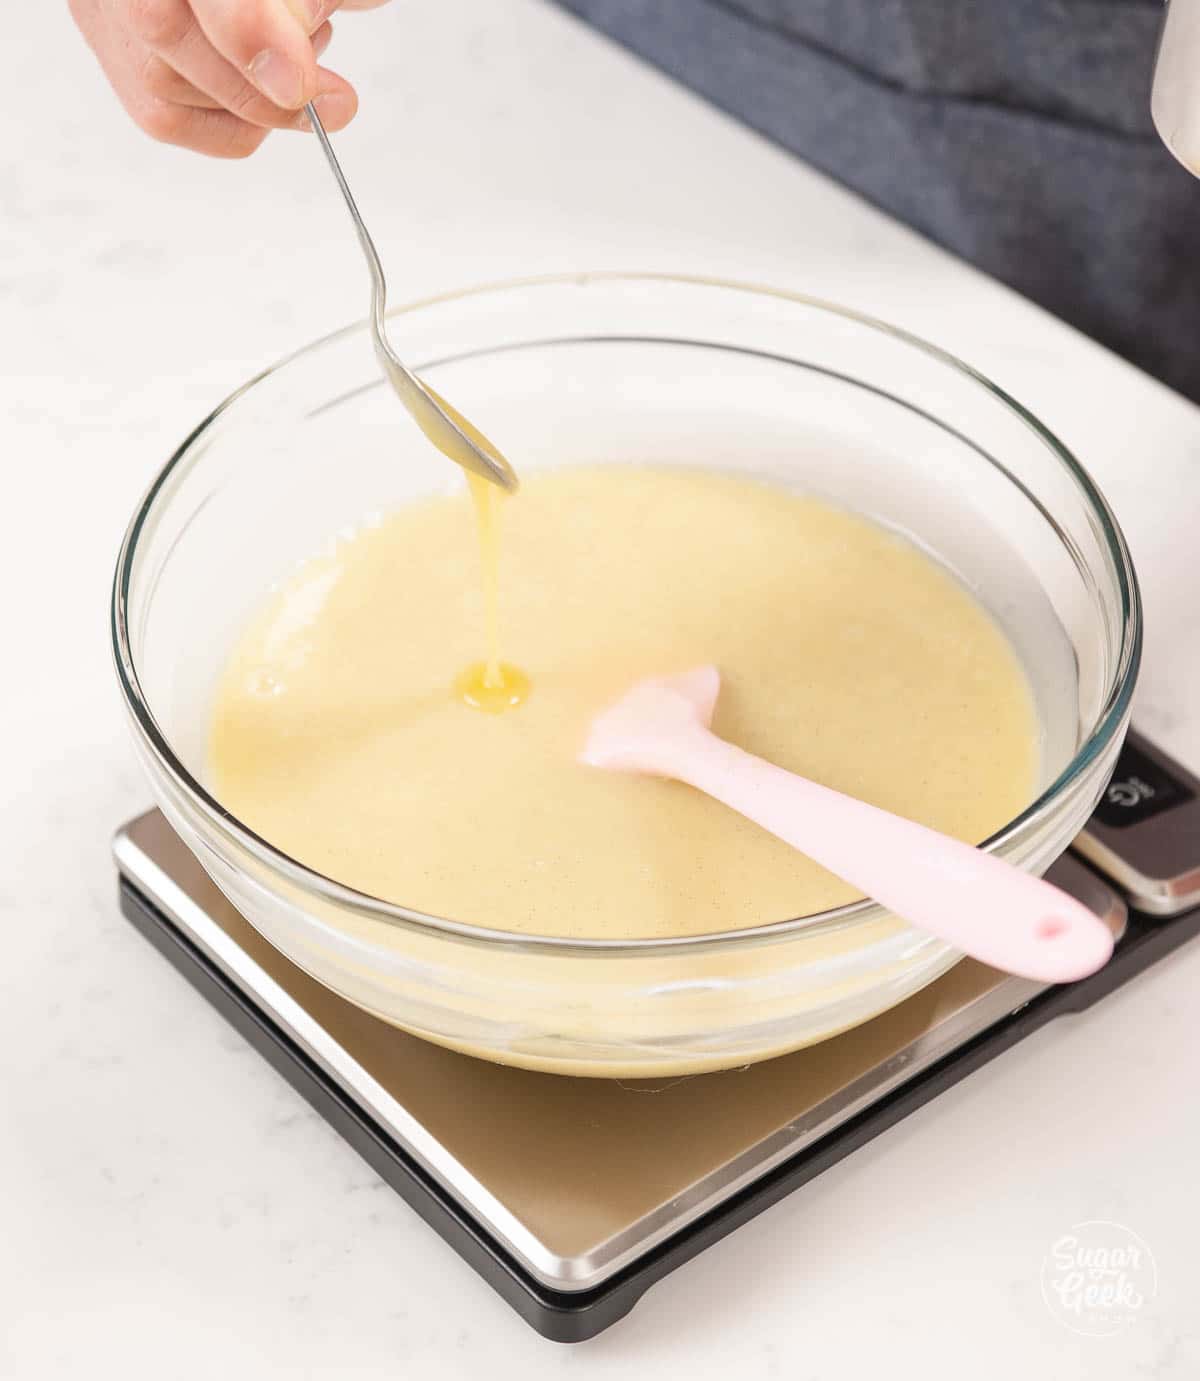
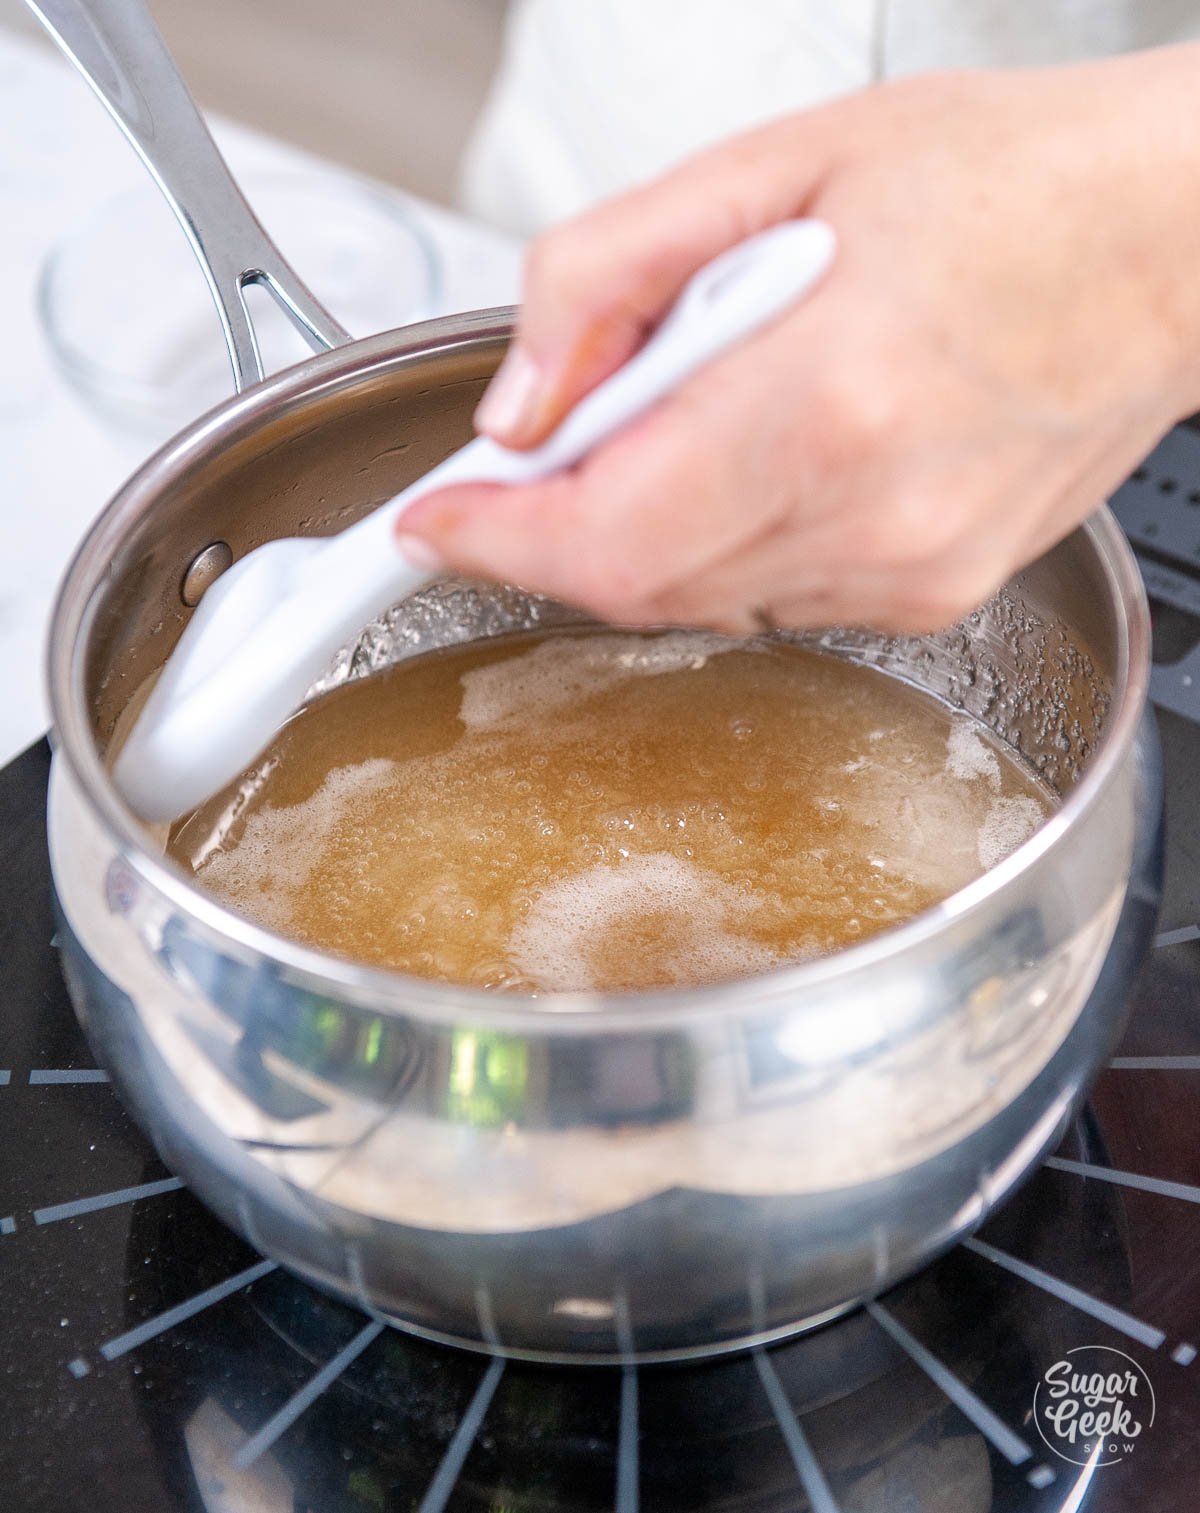
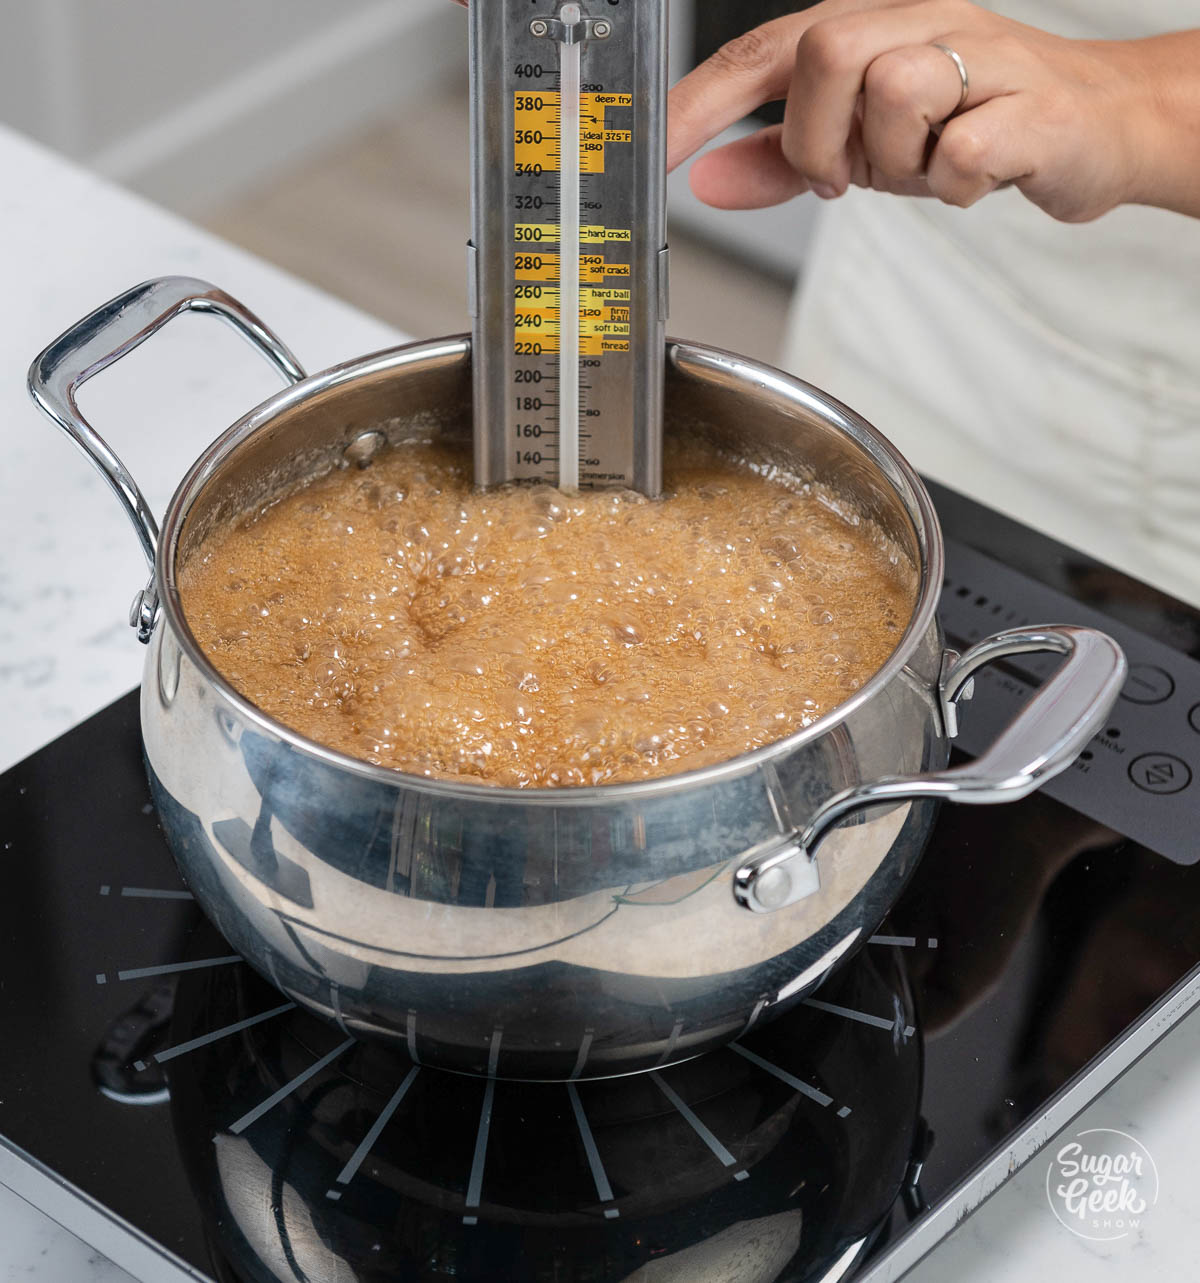
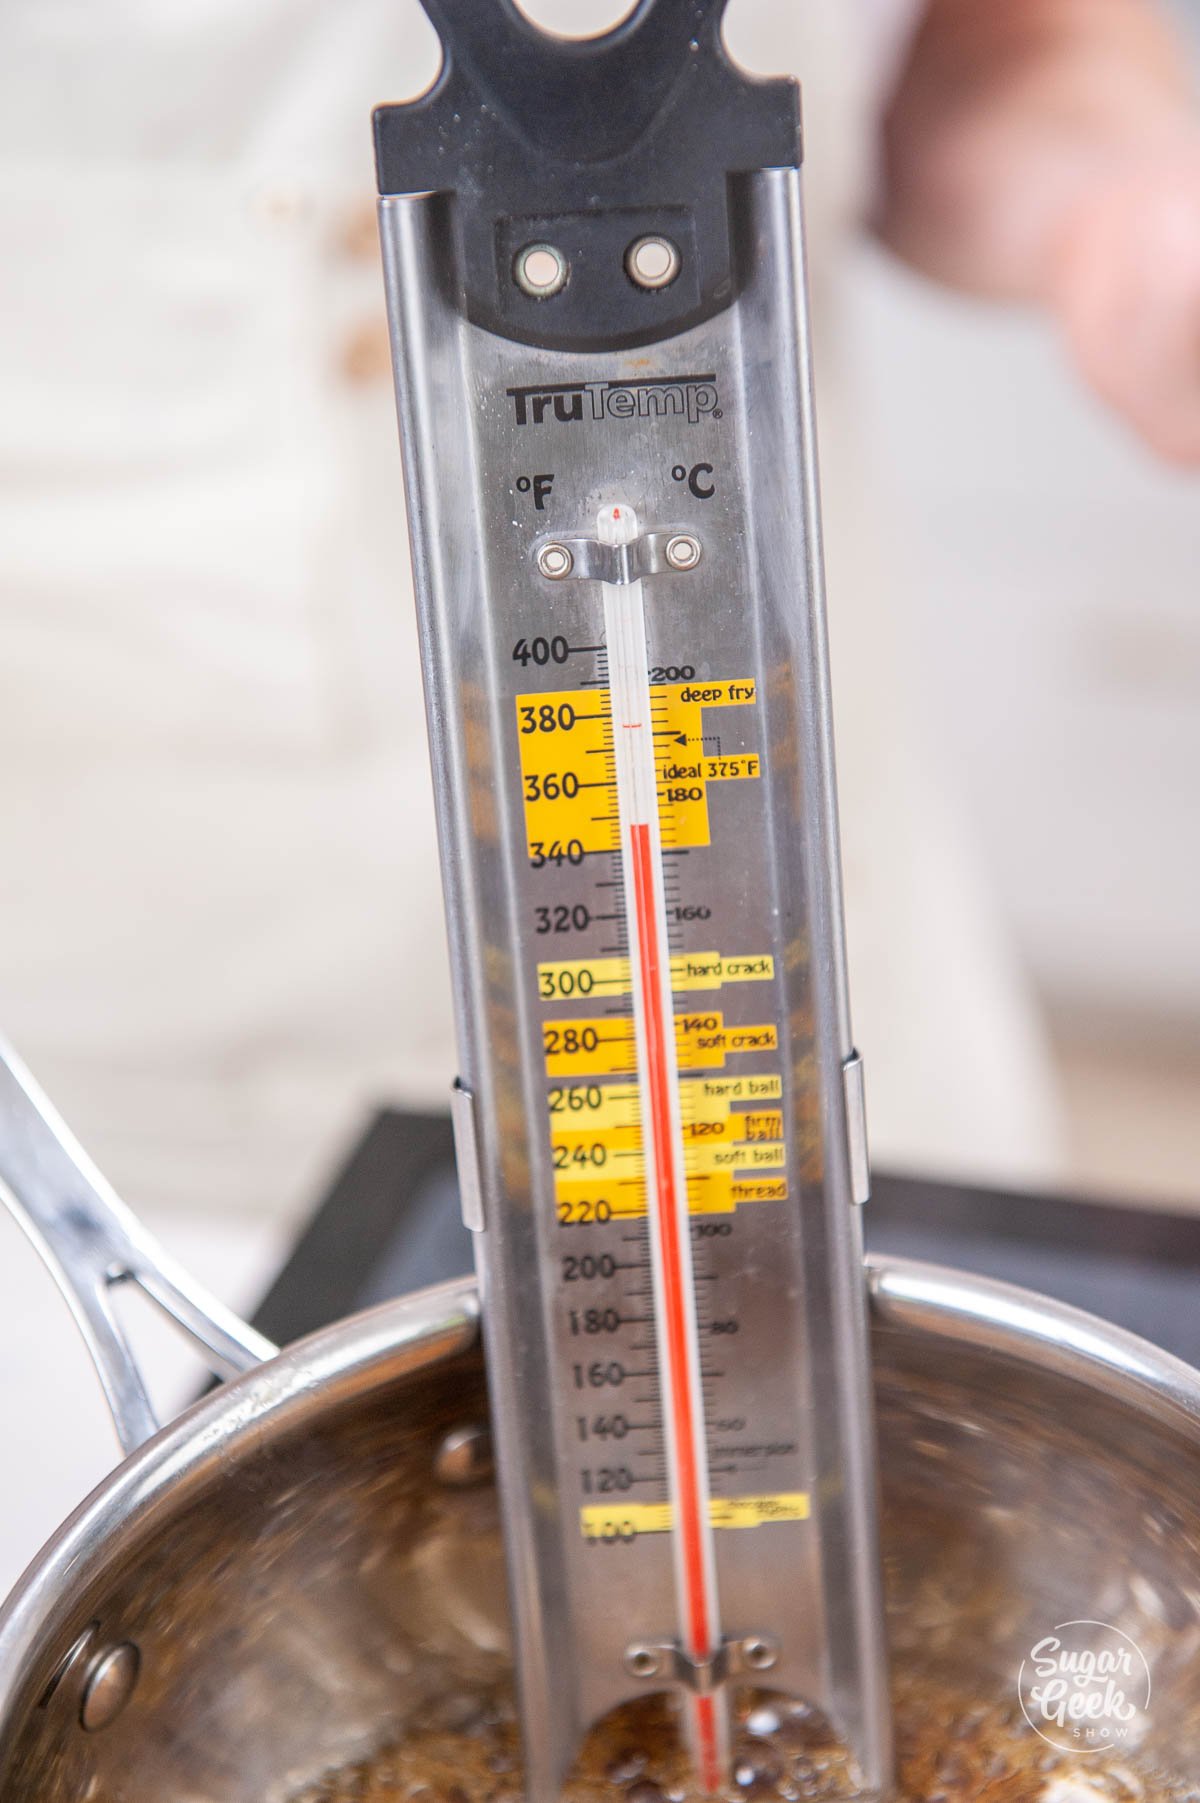
- Then, over medium heat, whisk the mixture constantly until it begins to bubble and thicken. Be very careful not to overheat the mixture.

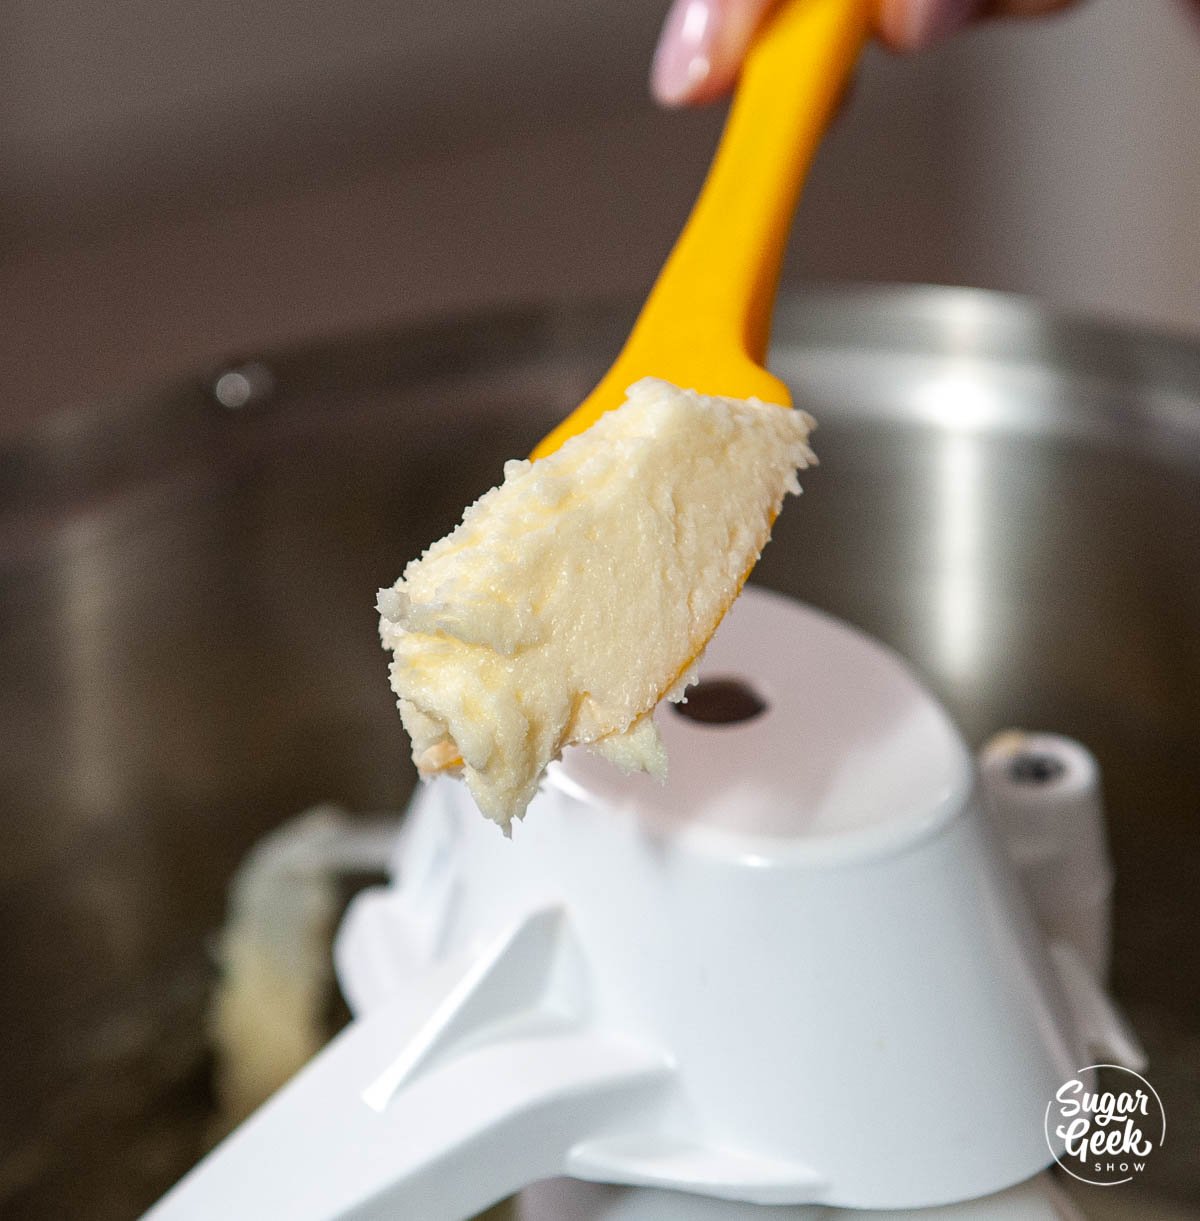
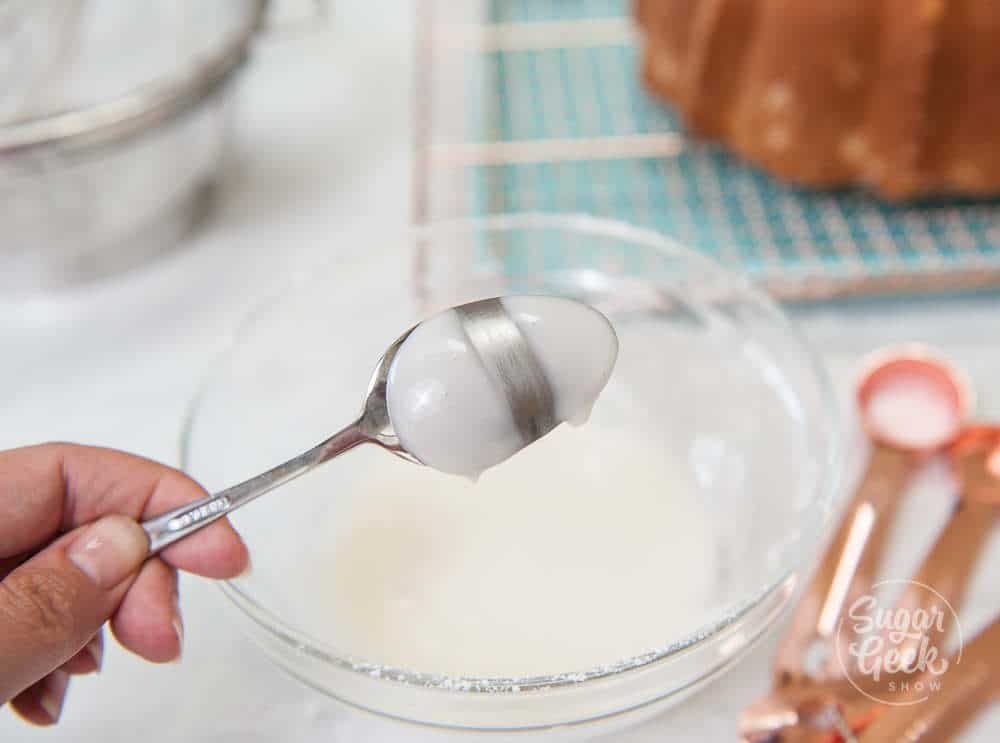
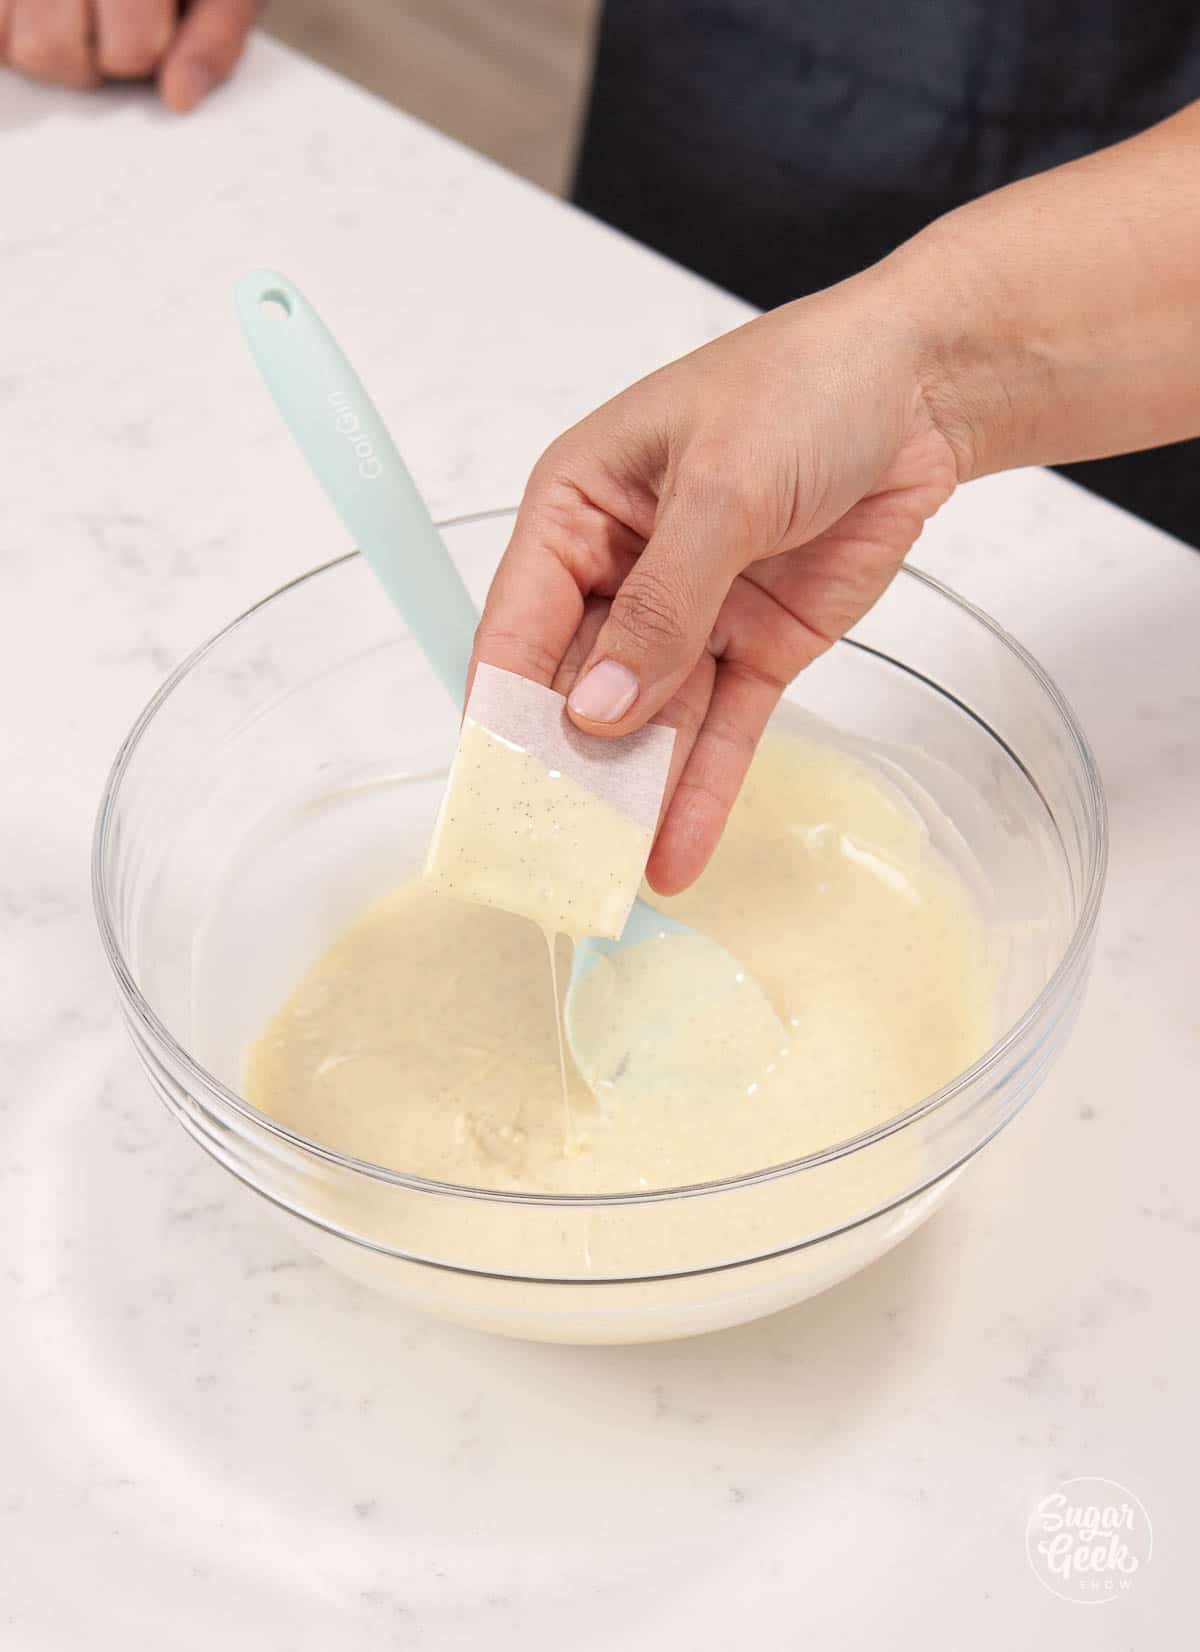
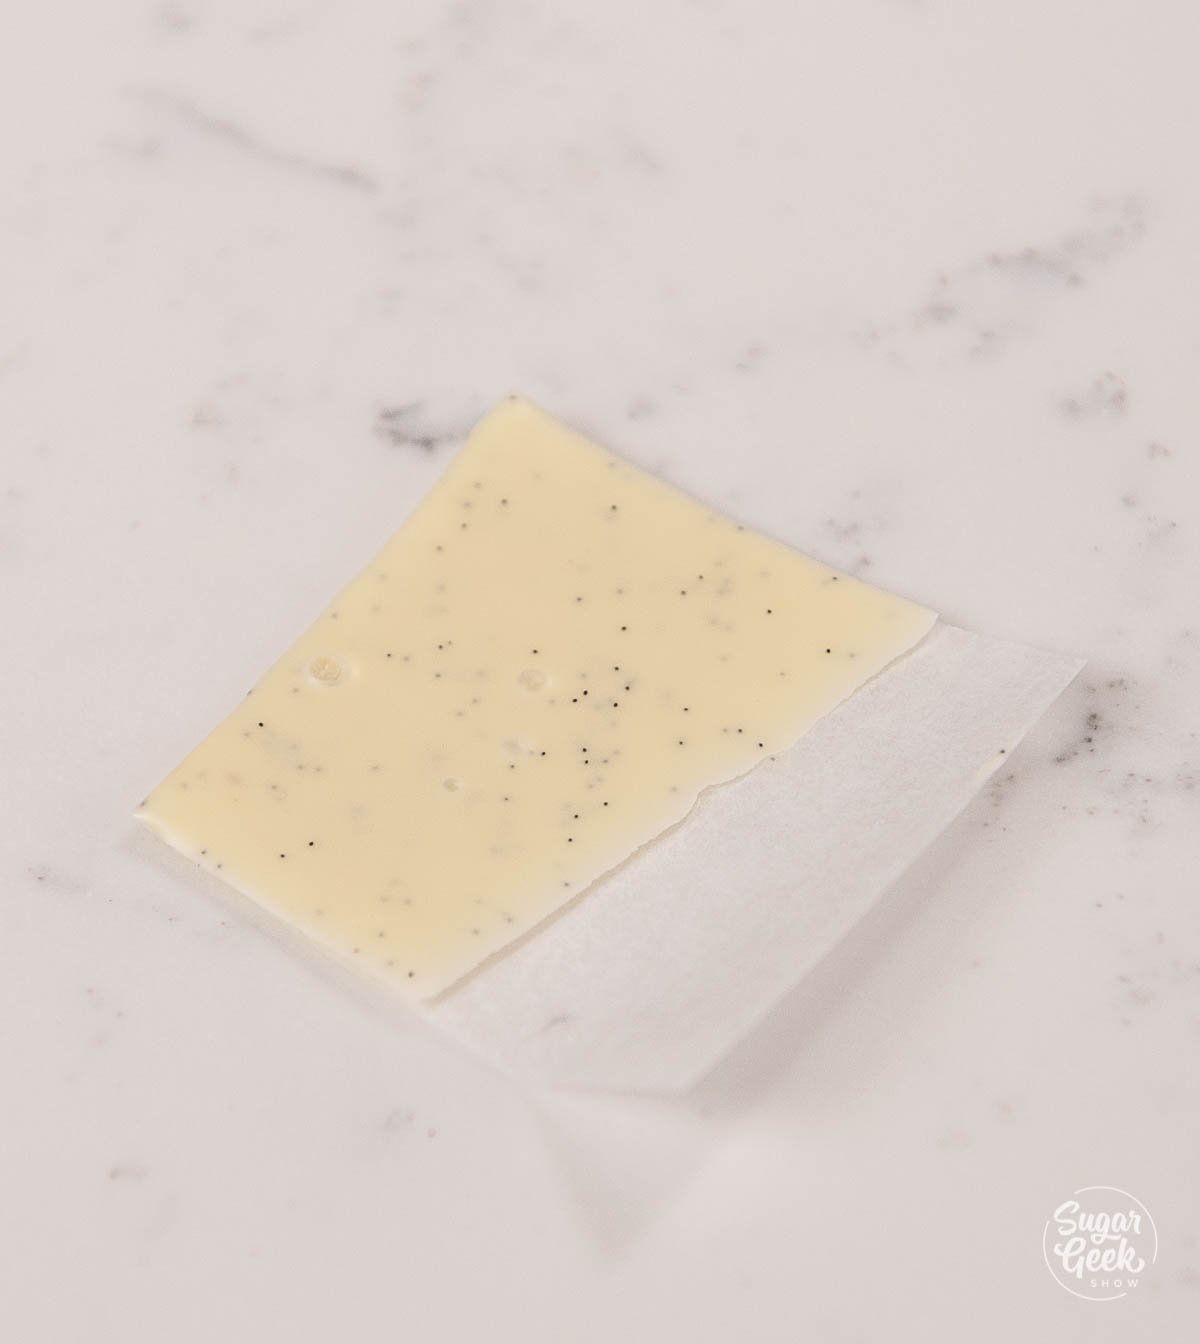
- When the mixture is thick enough to coat the back of a spoon and you can drag your finger through the center without the sauce dripping (a la nappe), your crème anglaise is ready.

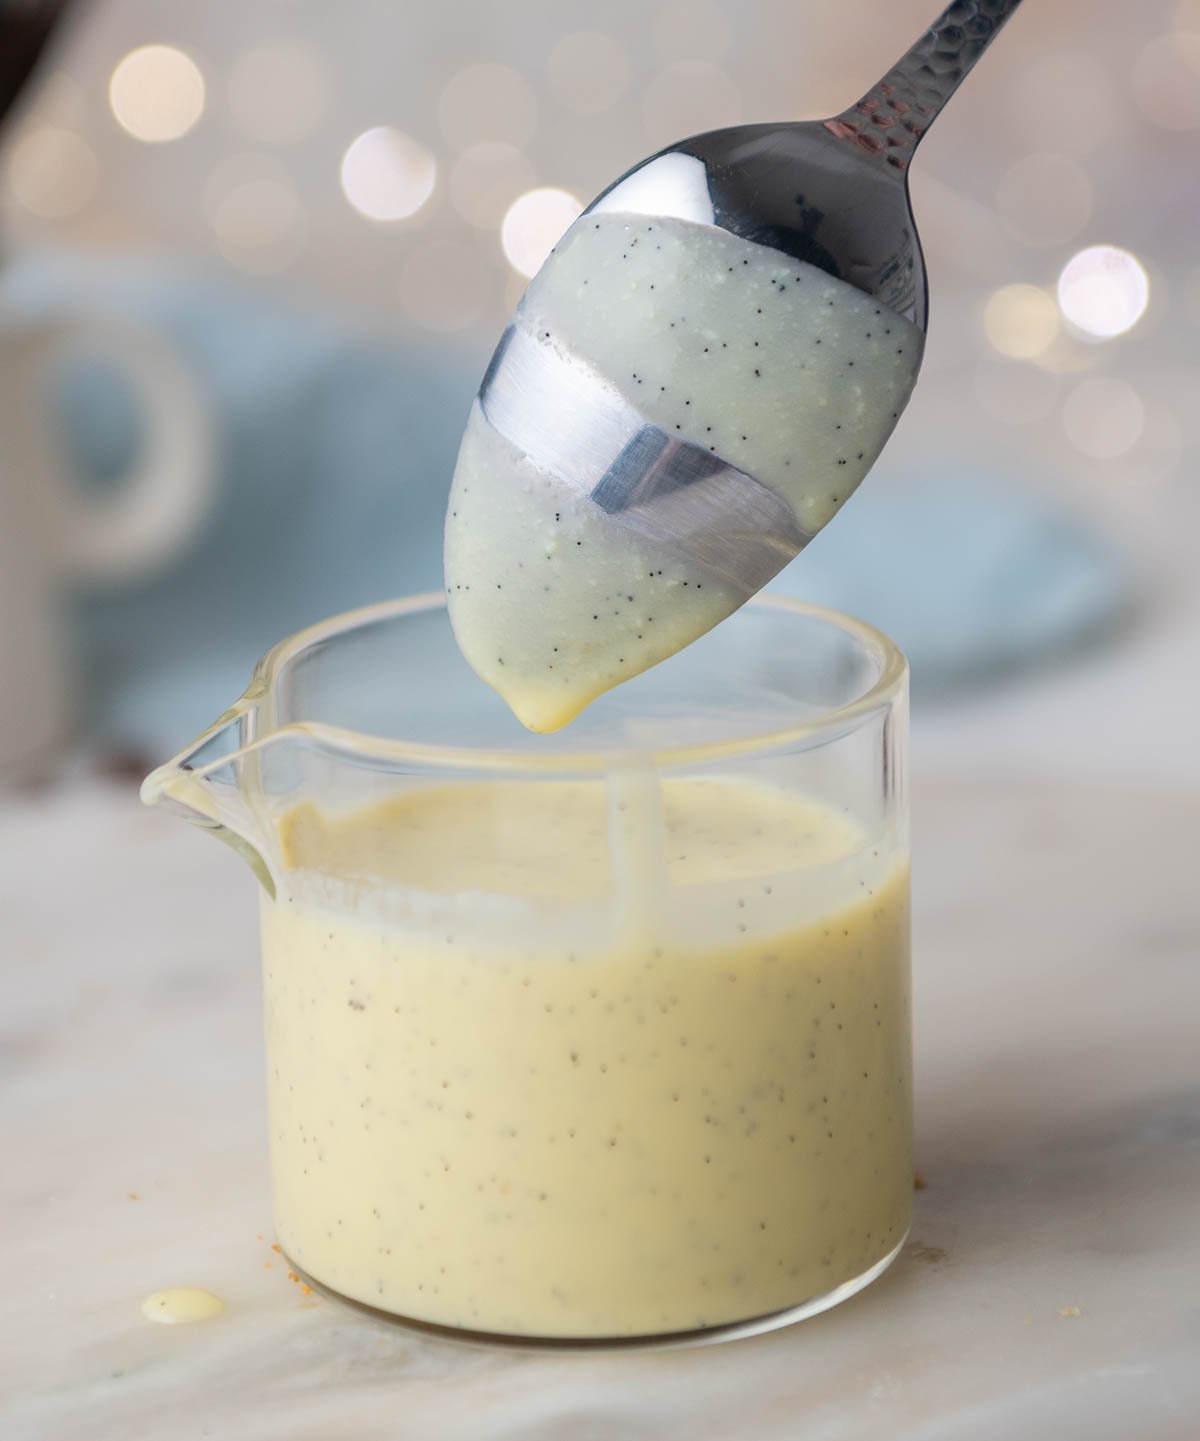
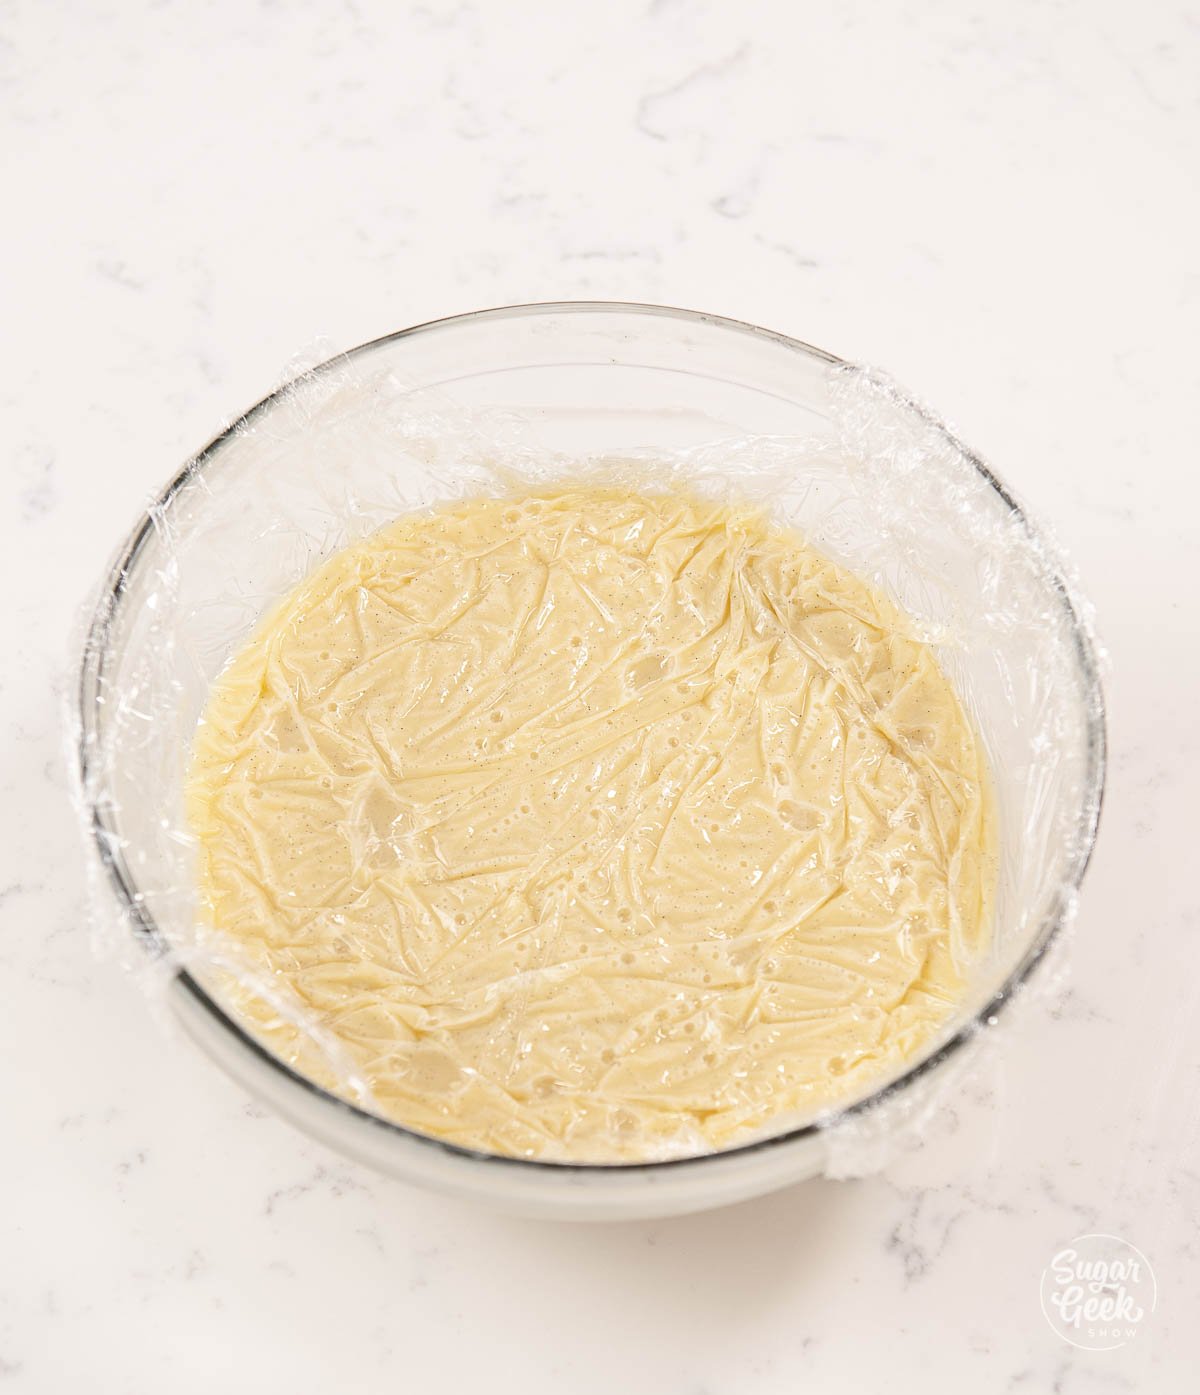
- Strain the anglaise into a bowl to remove the vanilla fibers, and then cover it with plastic wrap (make sure the plastic wrap is touching the top of the sauce).

- Allow it to cool and set it aside until you're ready to drizzle it onto your soufflé.

How to Make Chocolate Soufflé Step-by-Step
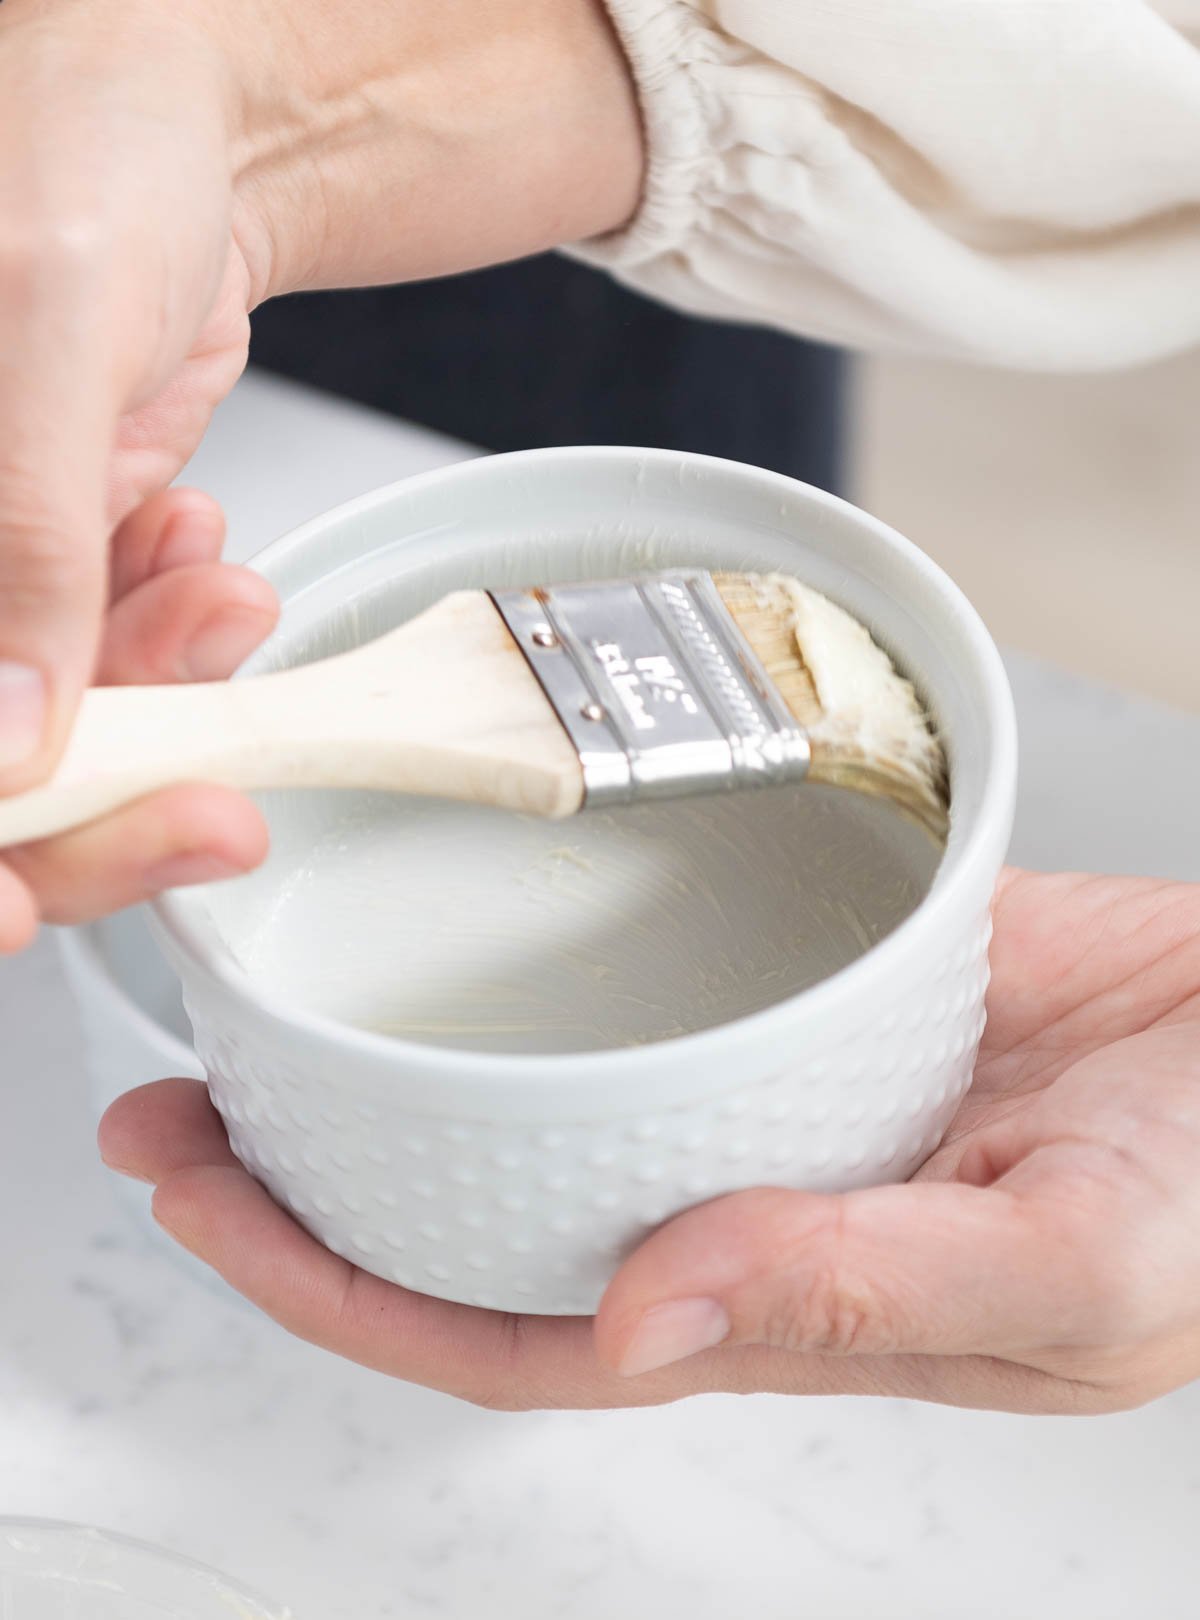
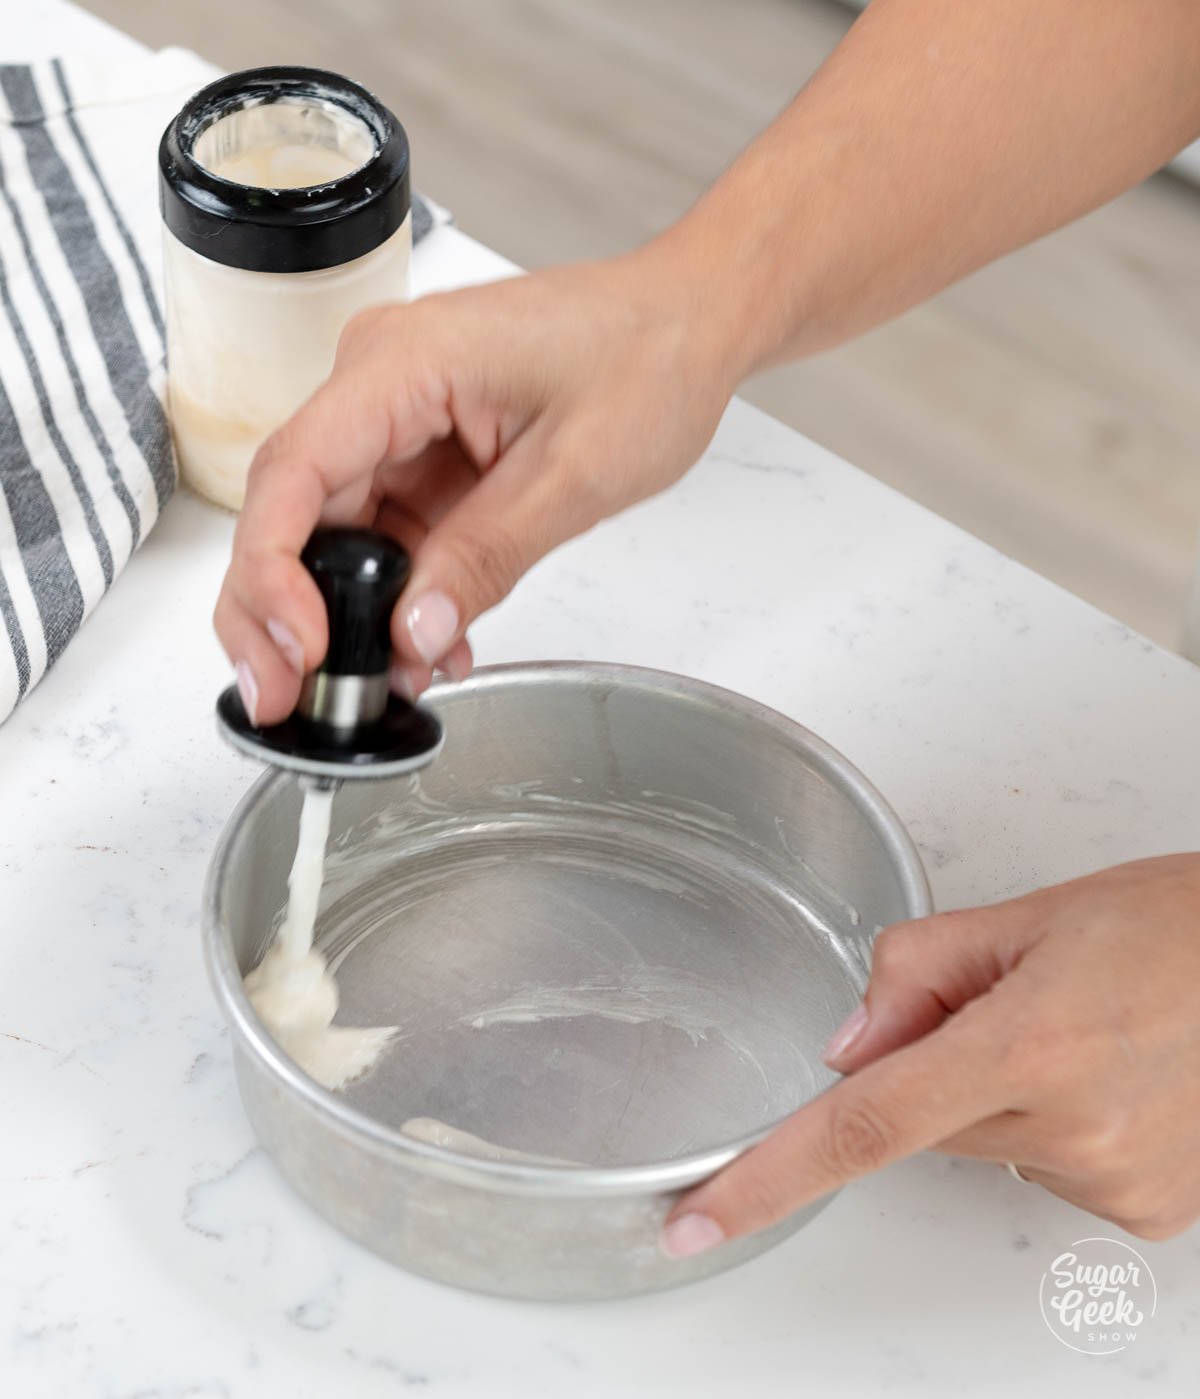
- Prepare the ramekins by brushing them with soft but not melted butter in a vertical direction. This will help the soufflé to raise straight up. I'm using four, 4" x 2" ramekins but you can use smaller ramekins if you'd like.

- Then, coat the butter with a thin layer of granulated sugar. Add one Tablespoon of sugar to the ramekin and roll the sugar around to coat all sides evenly then remove the excess sugar by tapping it back into a separate bowl. Set the ramekins aside.

- Preheat your oven to 360°F (182°C)
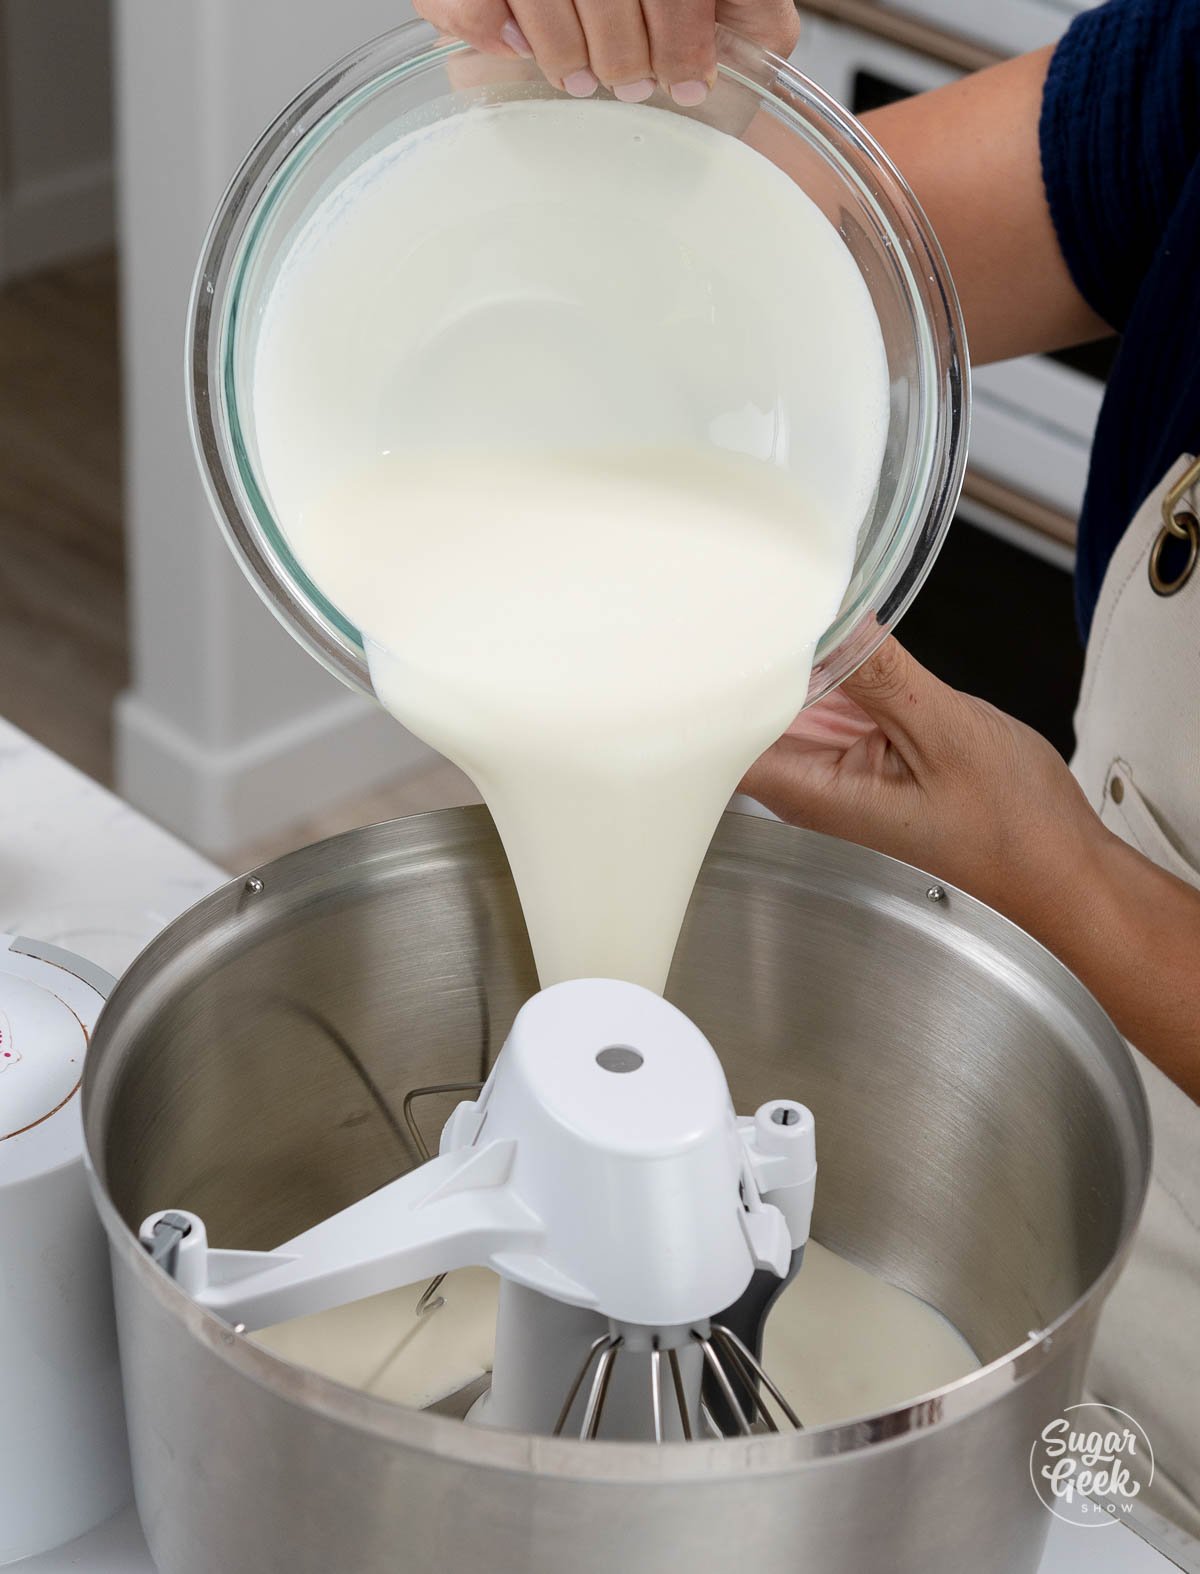
- Add your milk to a heavy bottom saucepan and bring it to a boil over medium heat.

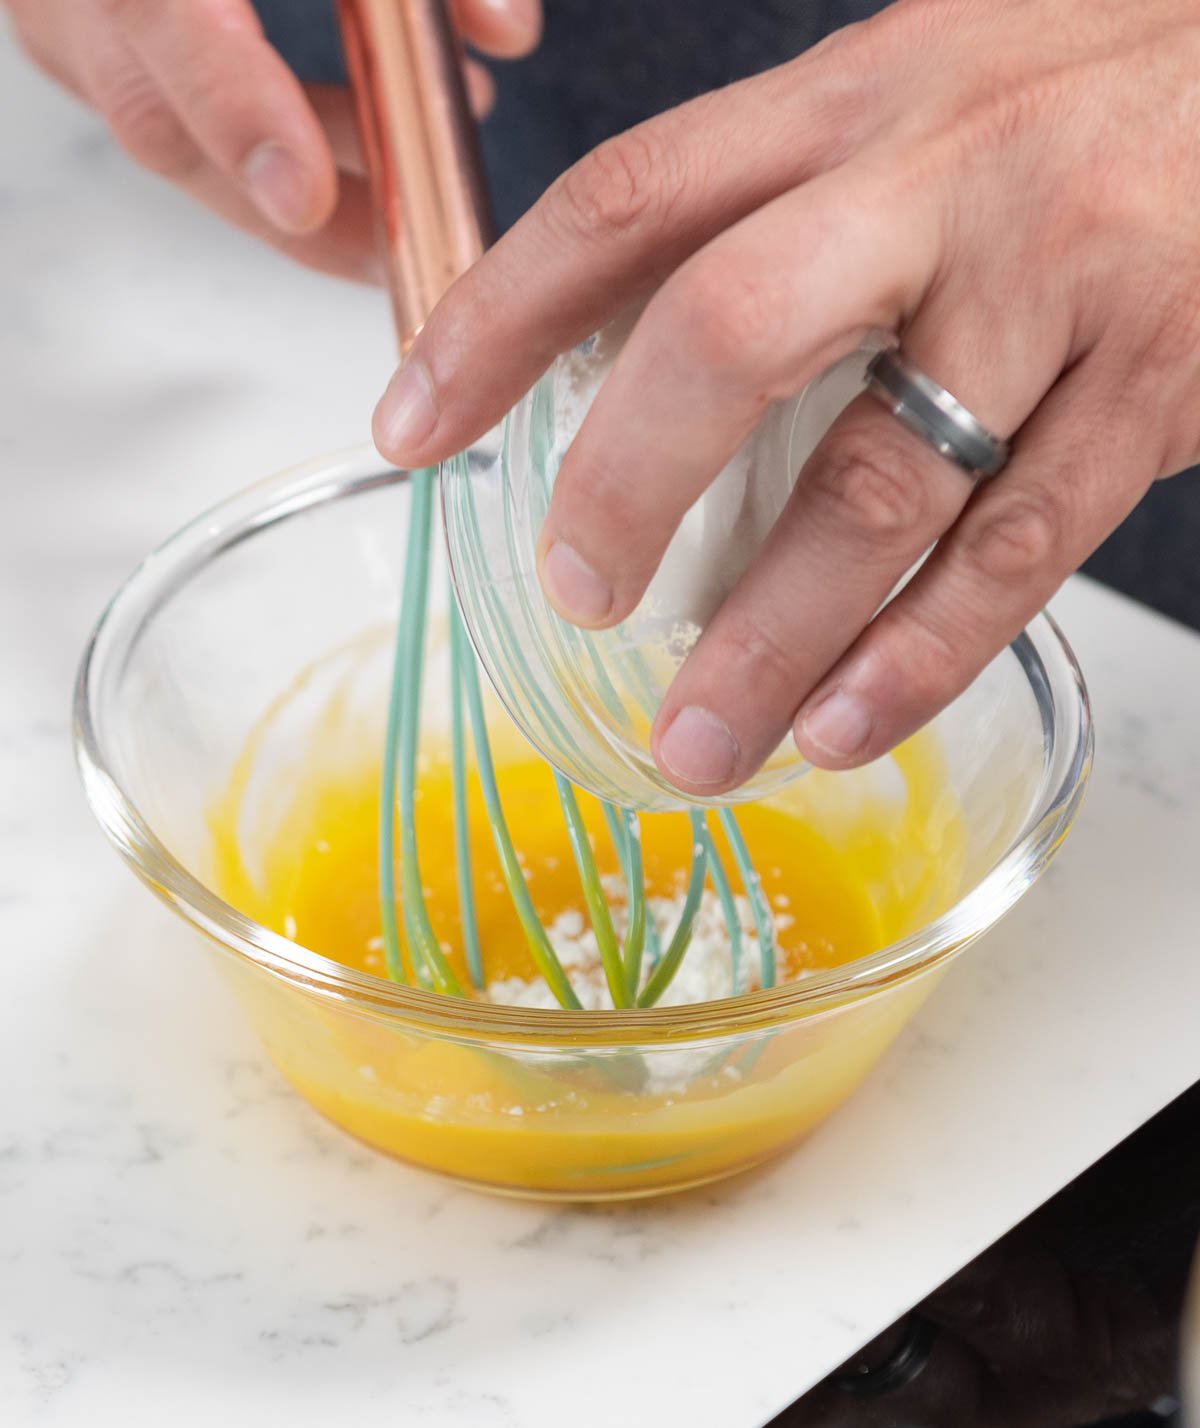
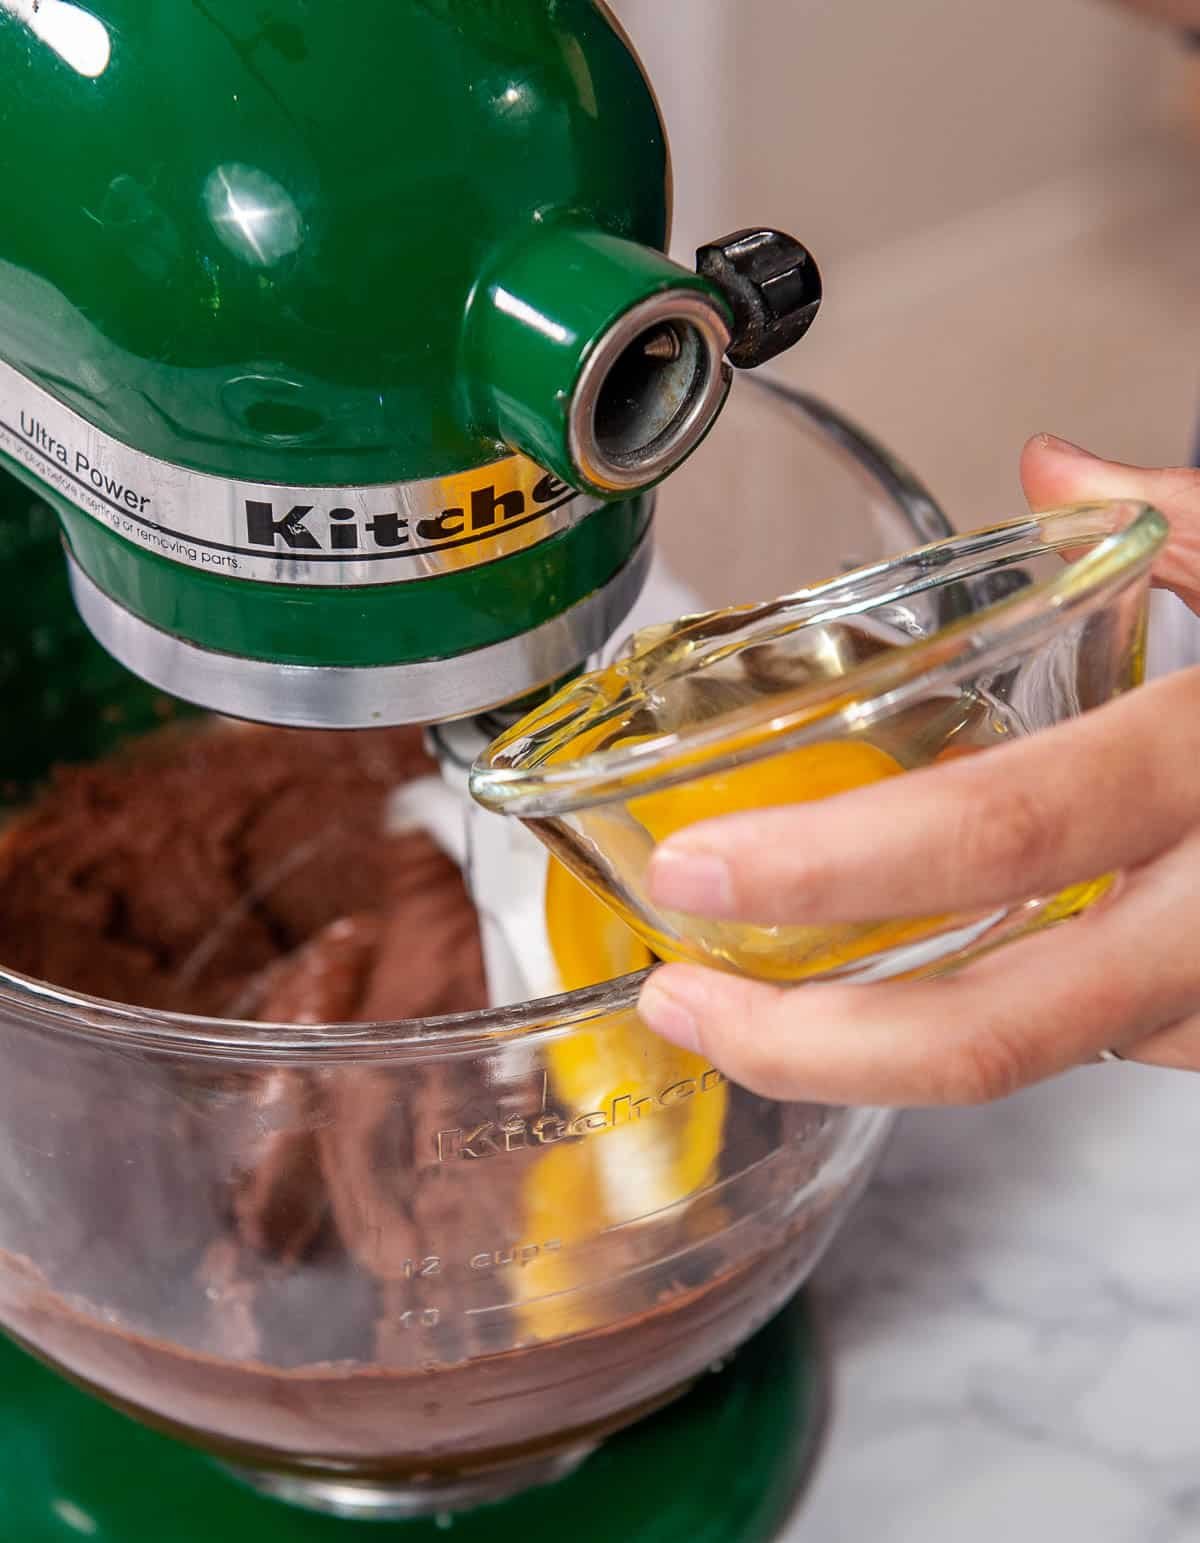
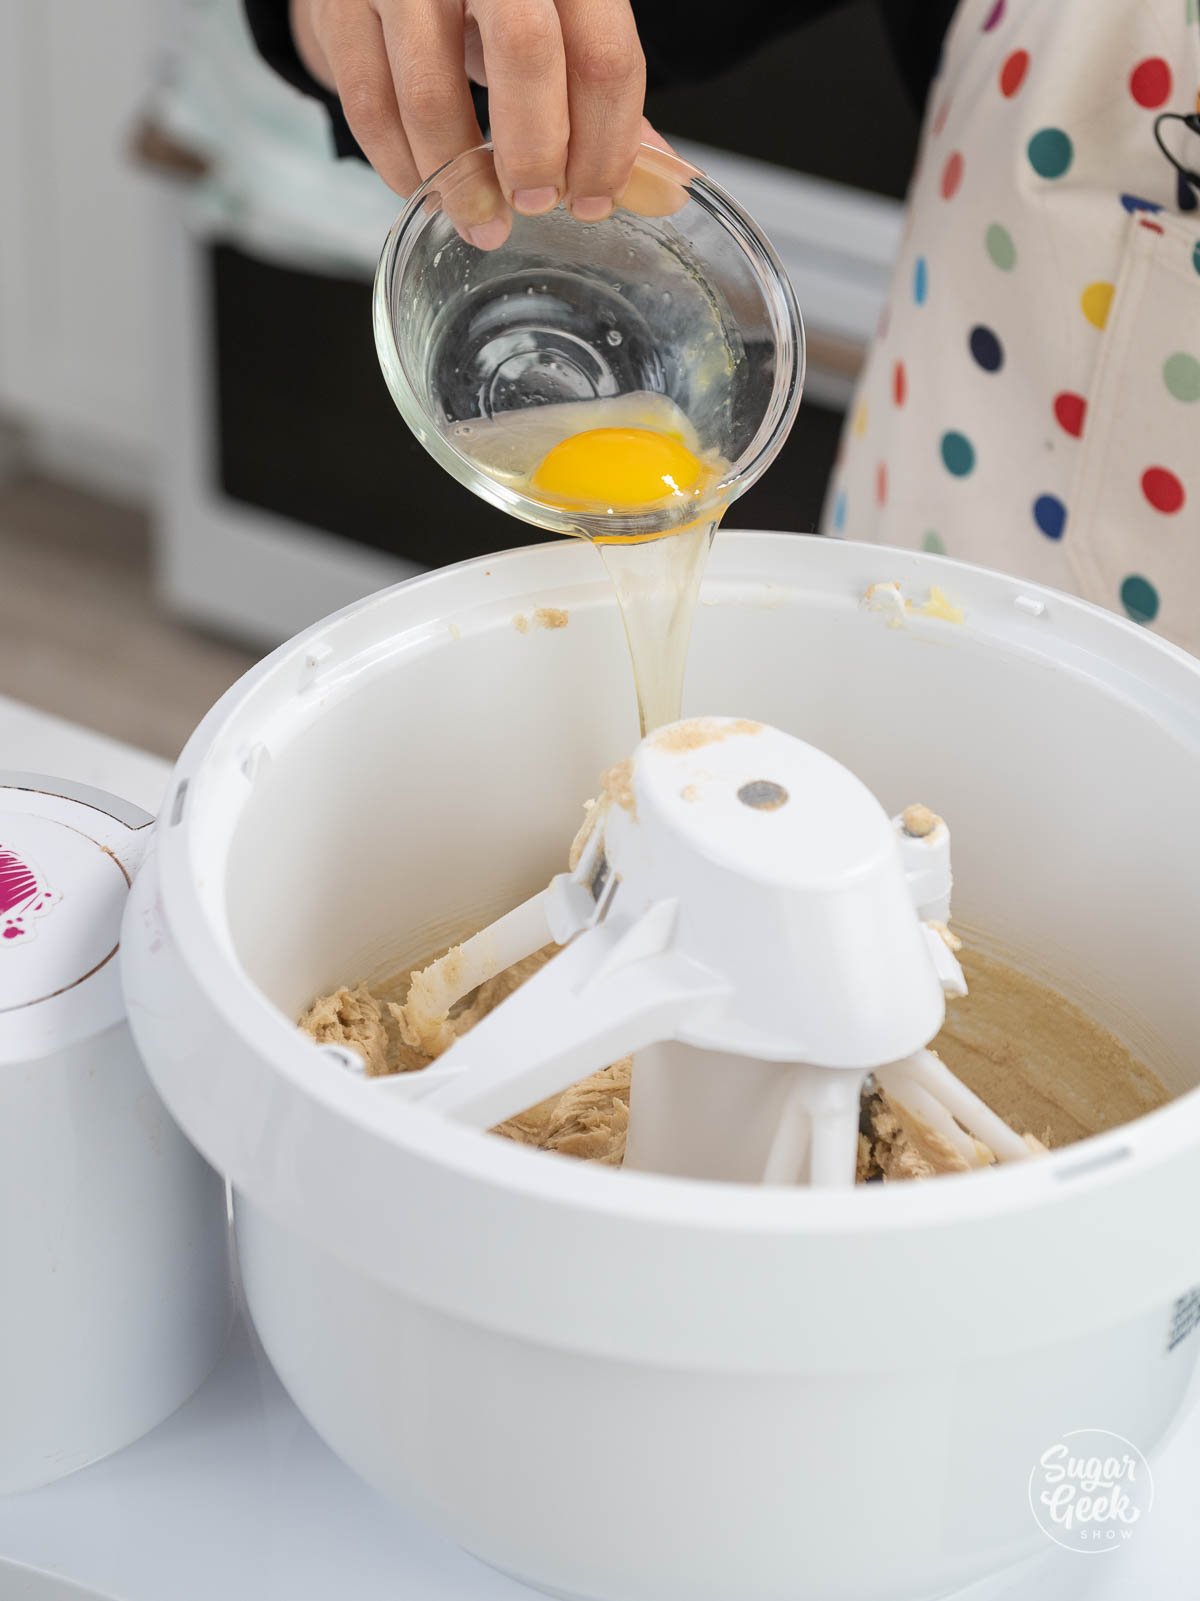
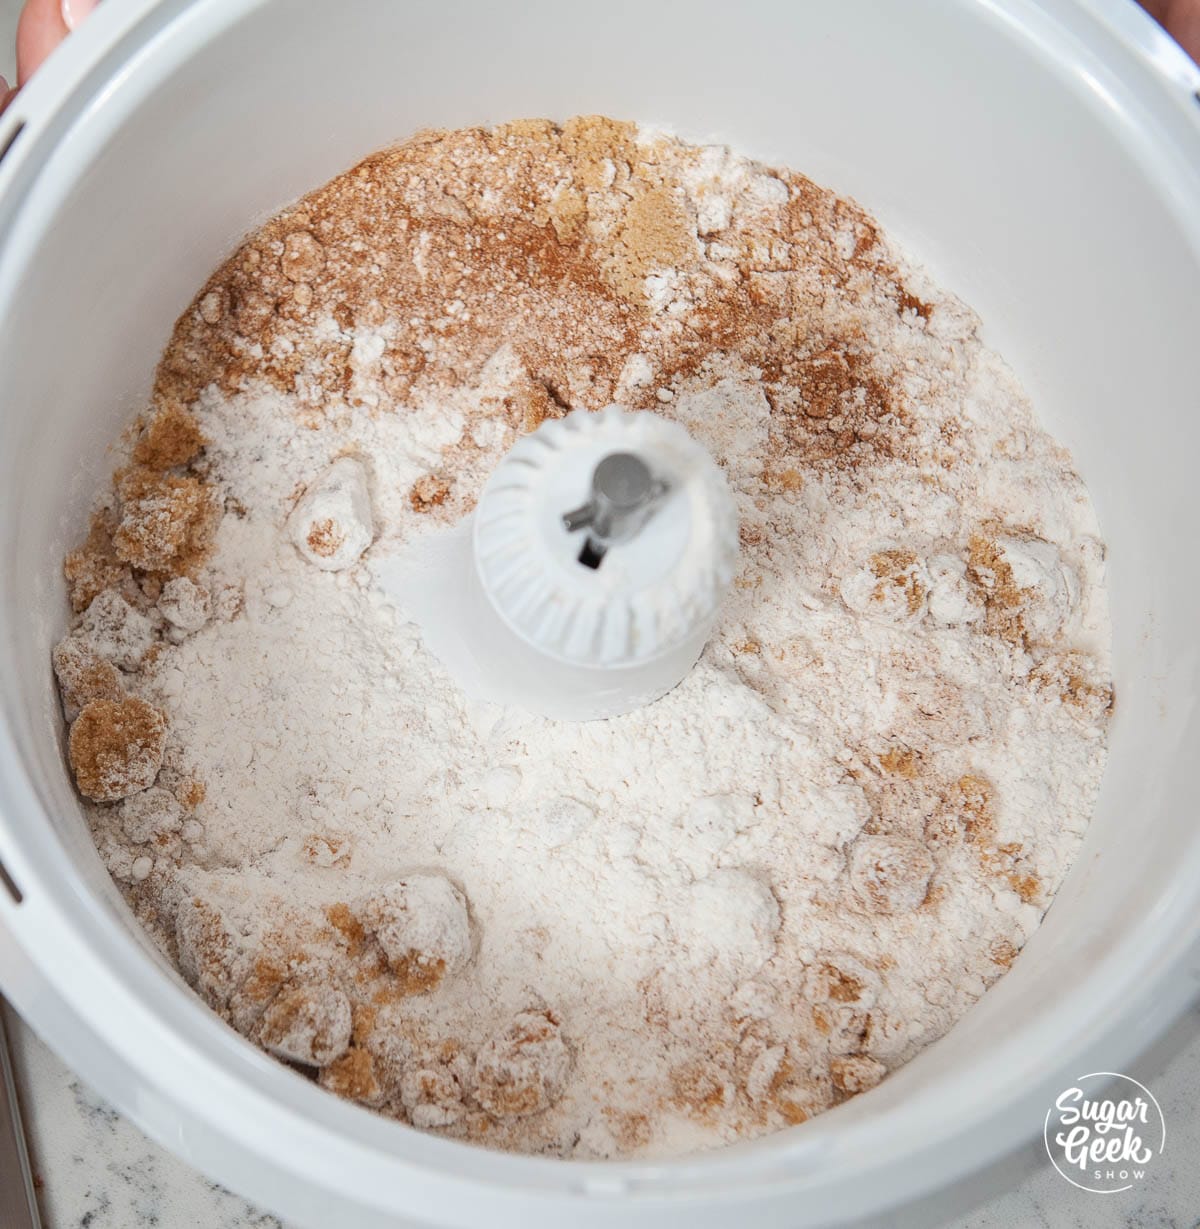
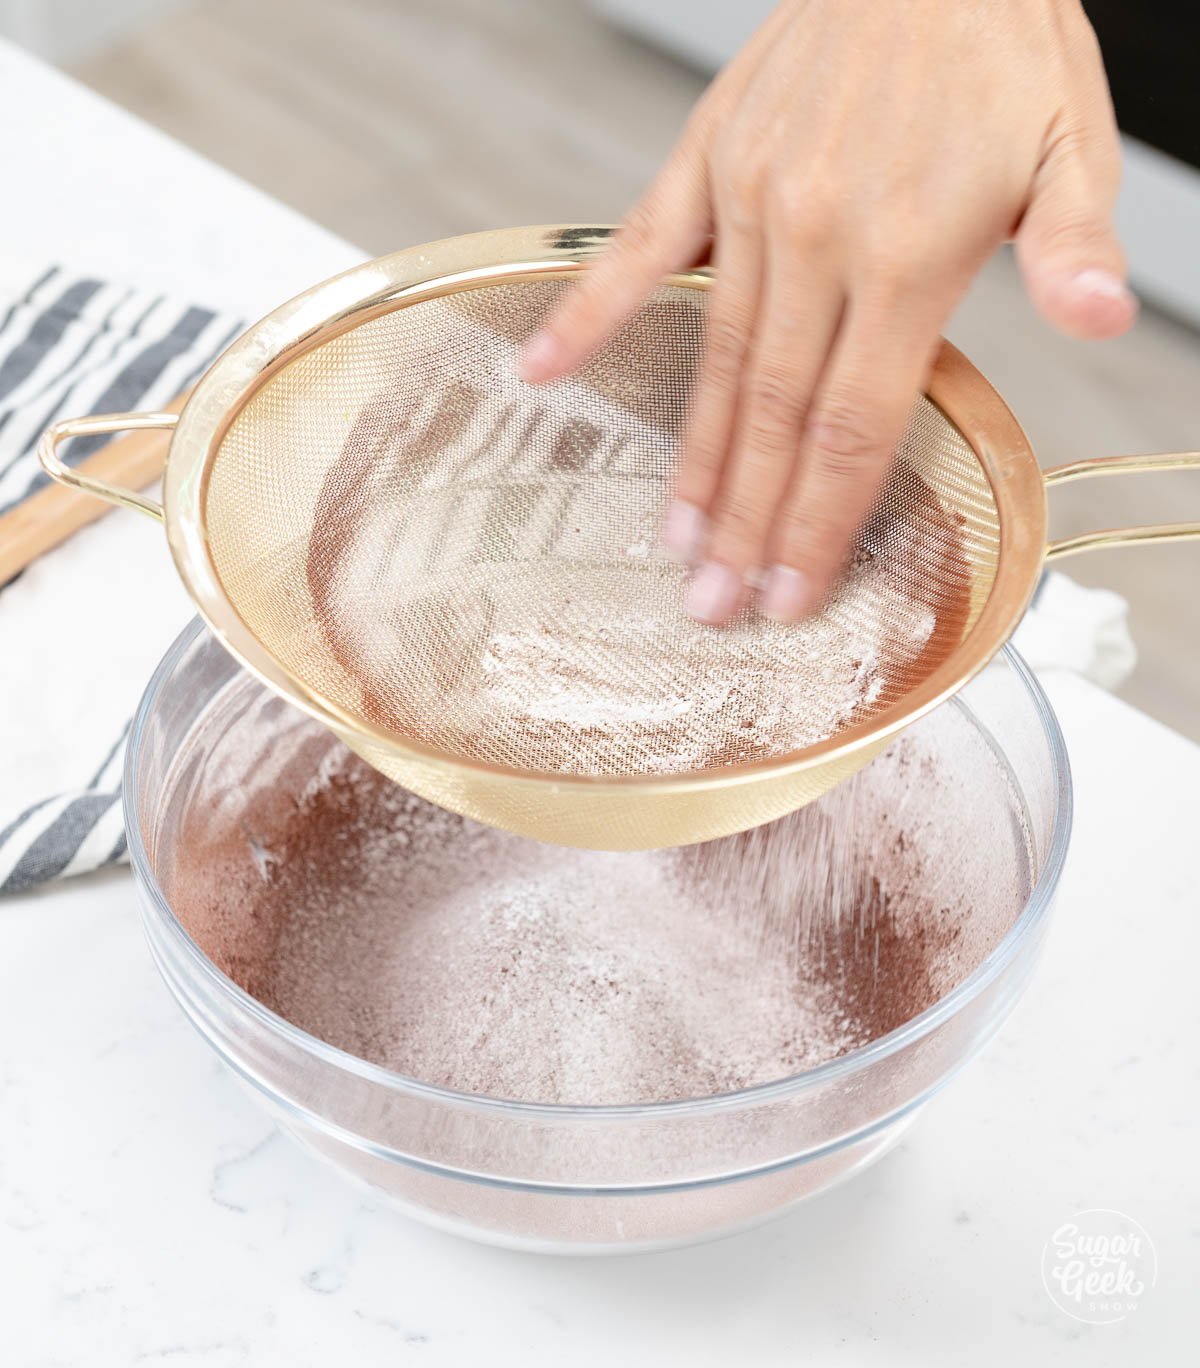
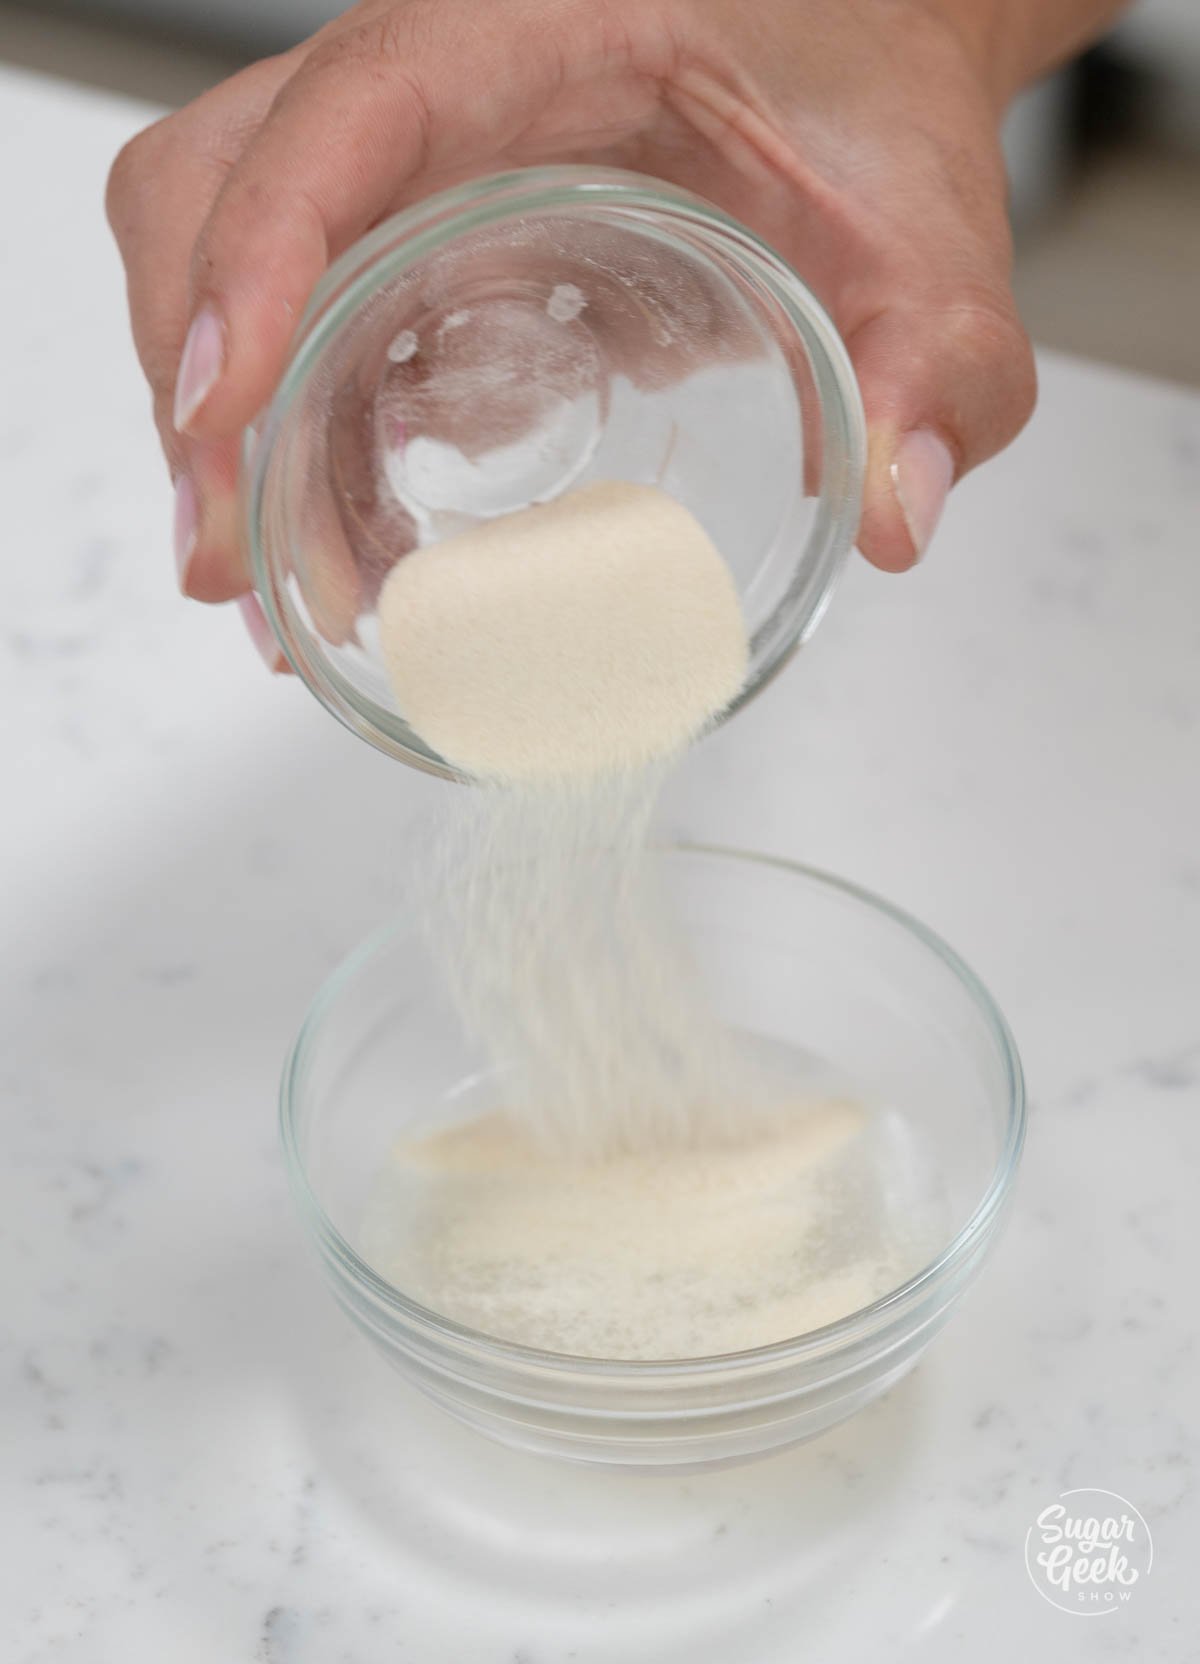
- Next, in a separate bowl, combine the egg yolk and cornstarch by whisking it until the mixture is smooth and the cornstarch is dissolved. Really whisk it together so you don't get any clumps of cornstarch.


- Add about ⅓ cup of the hot milk to the egg yolks and mix. This is tempering the eggs so they don't curdle. Pour the egg/milk mixture back into the pot with the rest of the hot milk and whisk.
- Stir it constantly over medium heat until the mixutre begins to bubble and thicken. Be careful not to cook the eggs too quickly. If its getting too hot, lift the pot away from the heat and continue whisking.

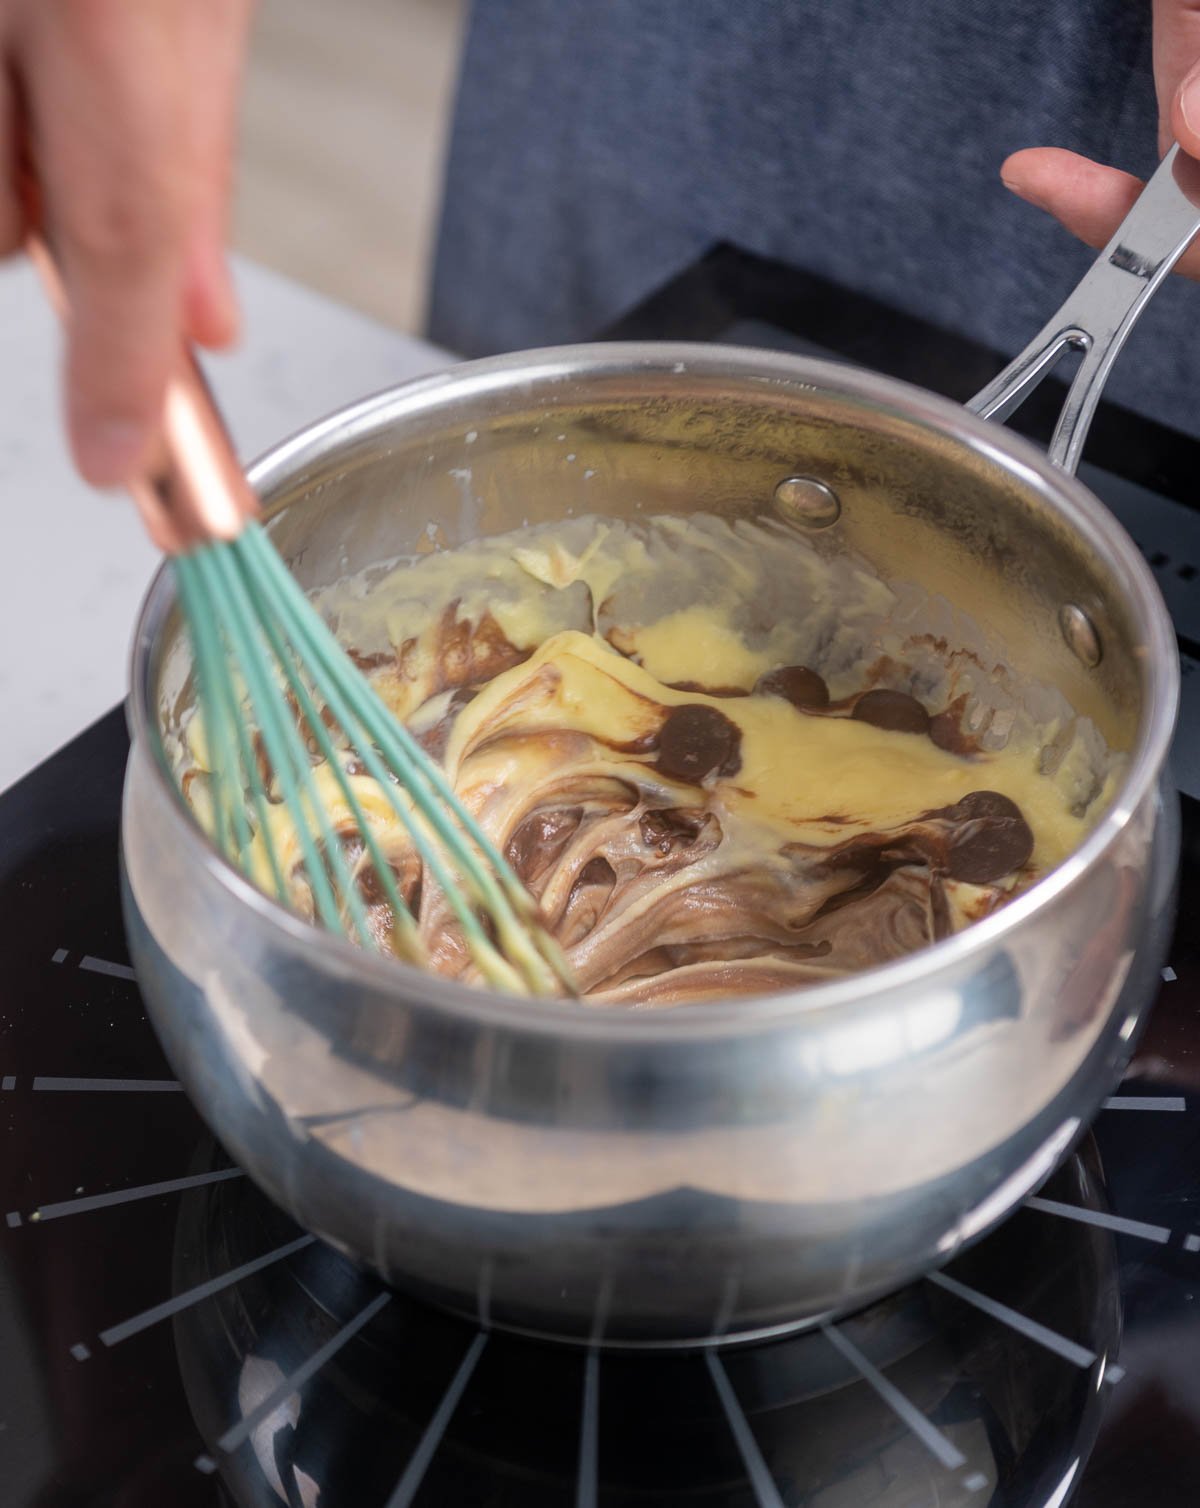
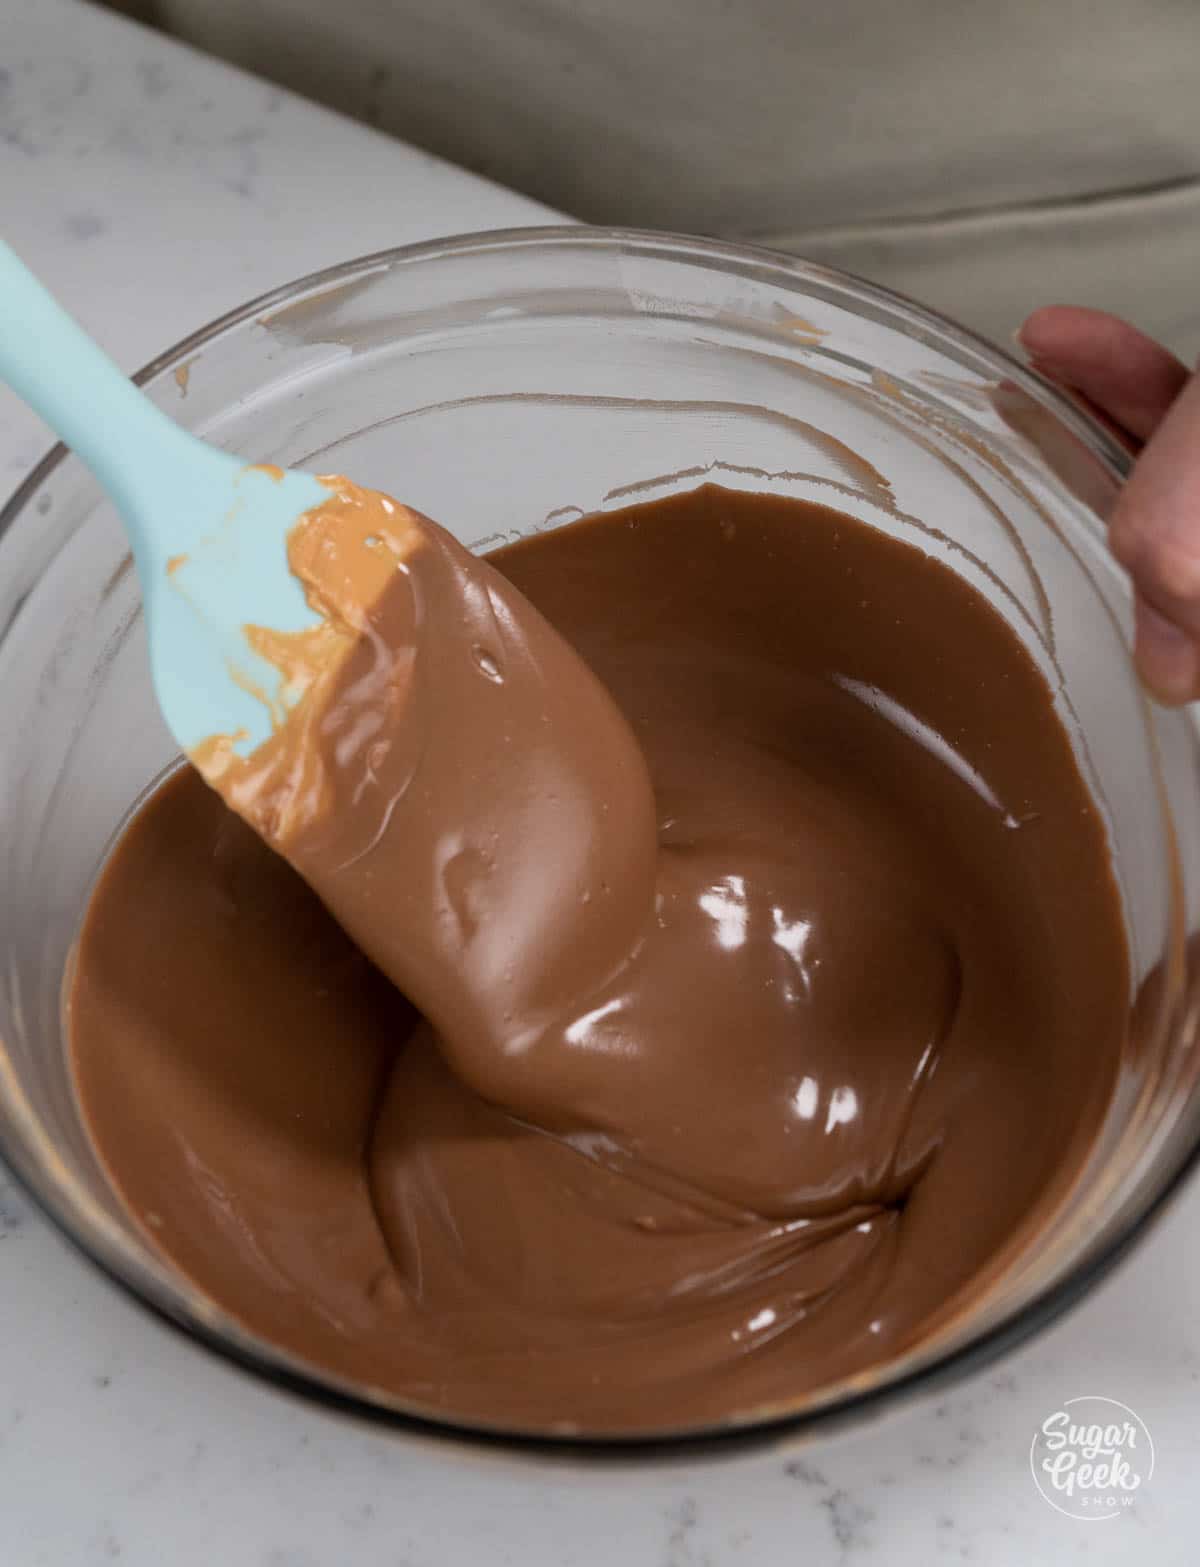
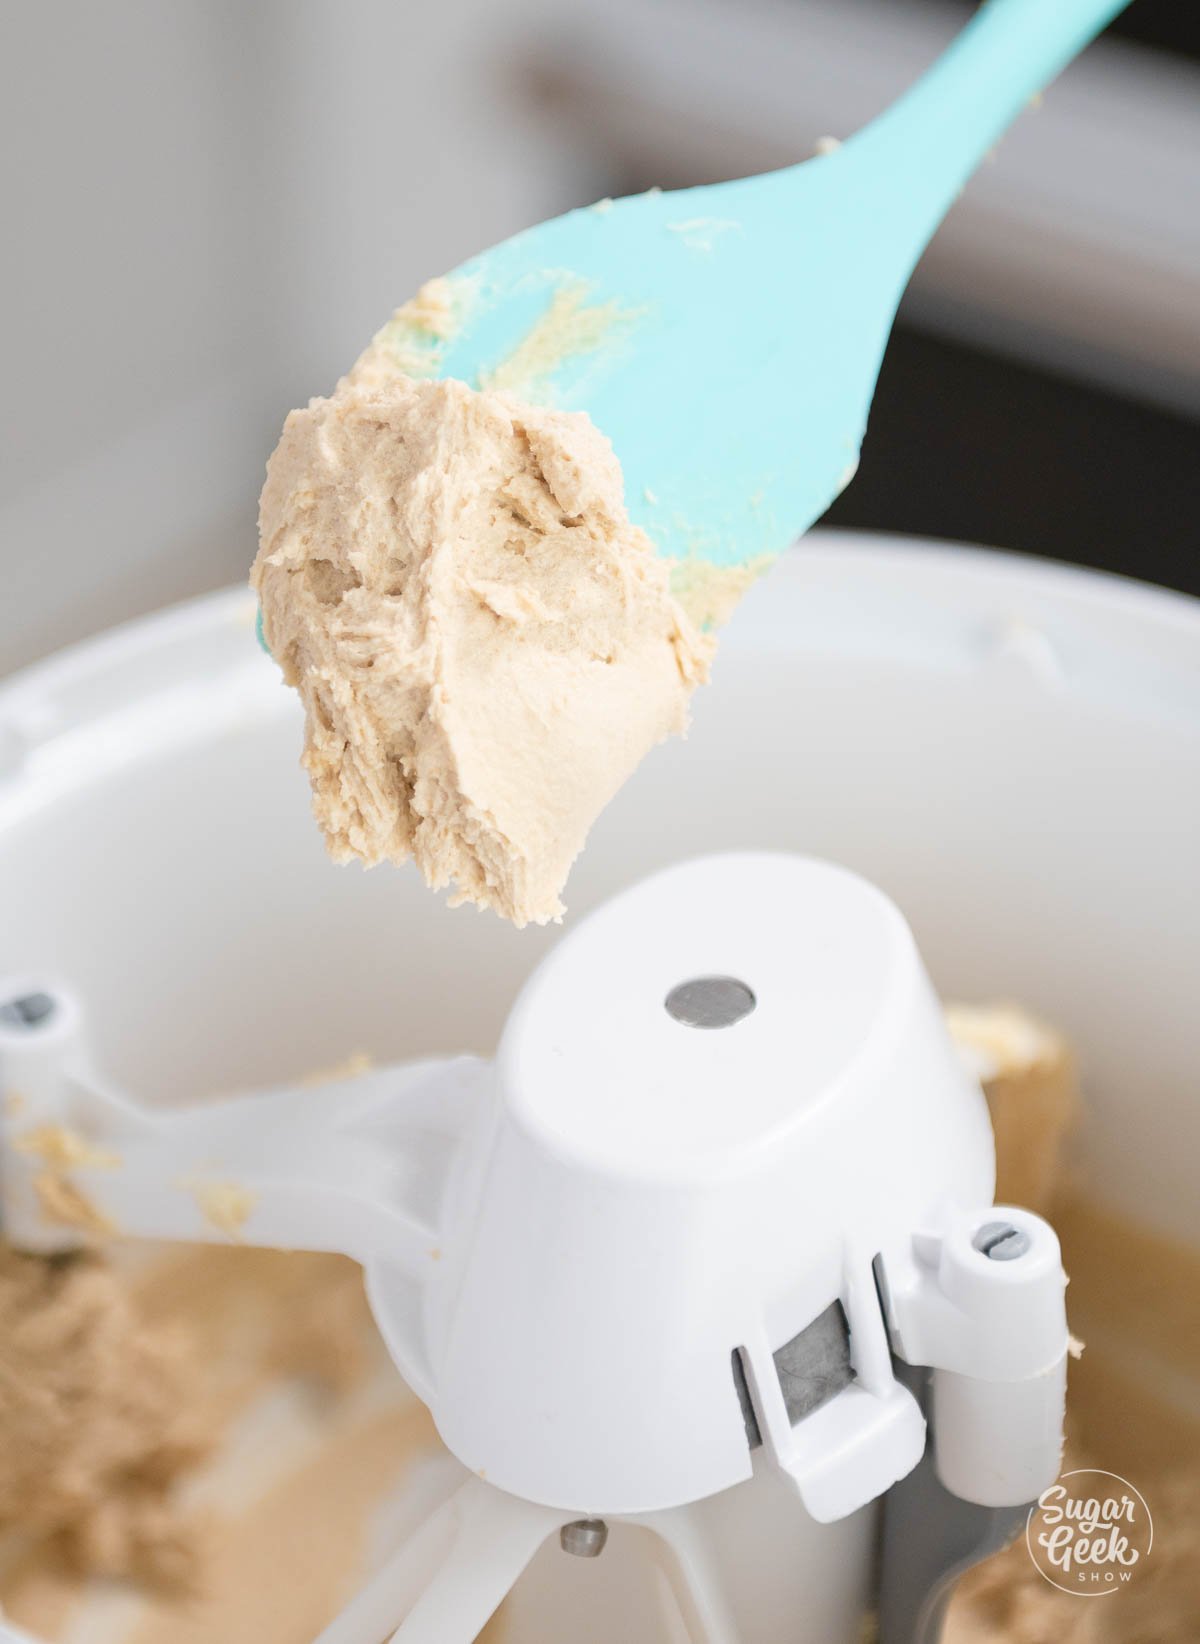
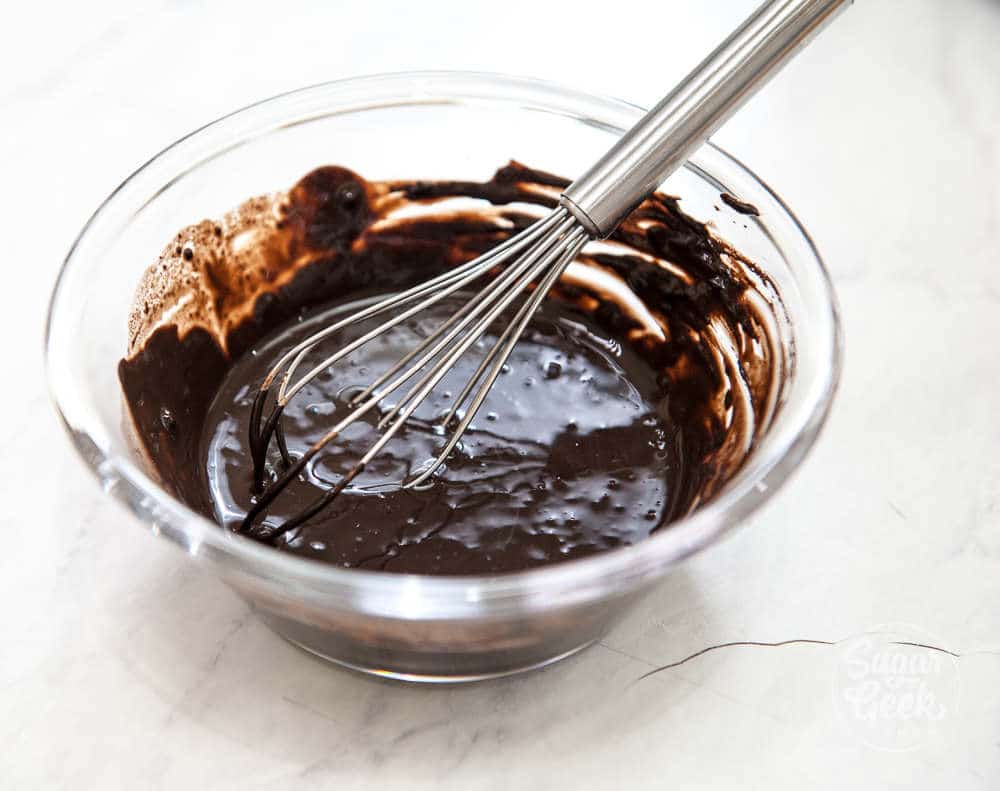
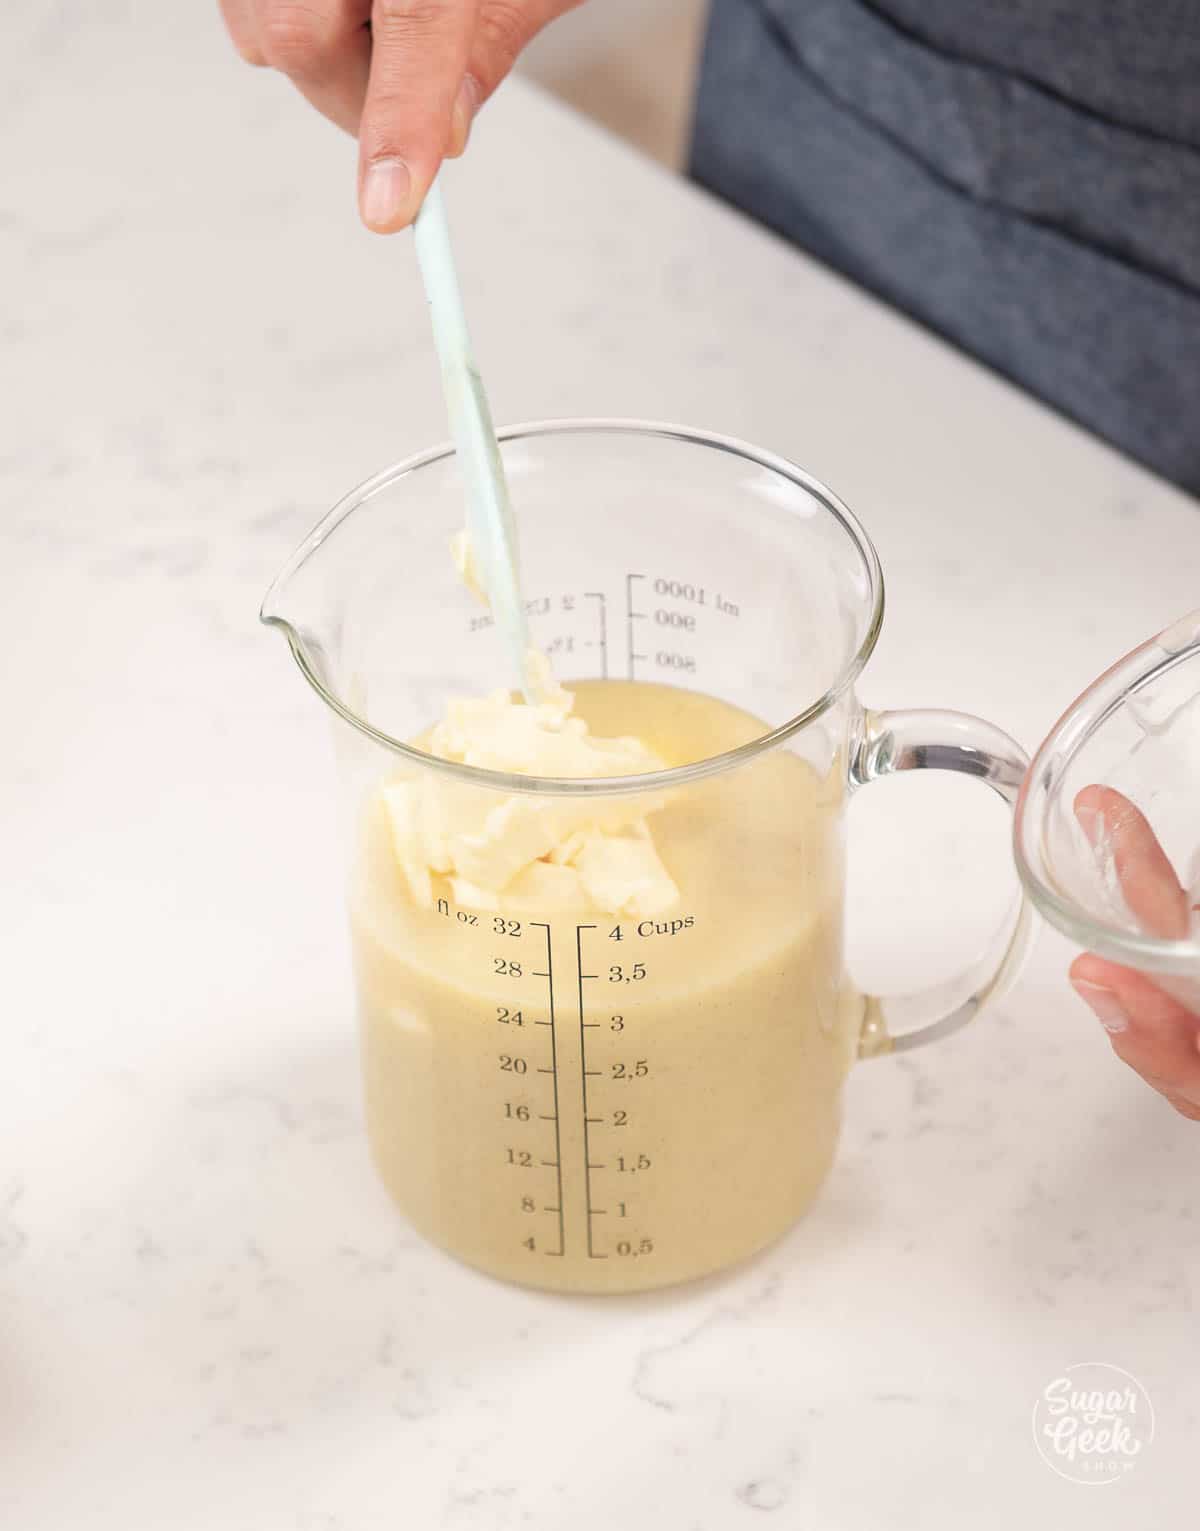
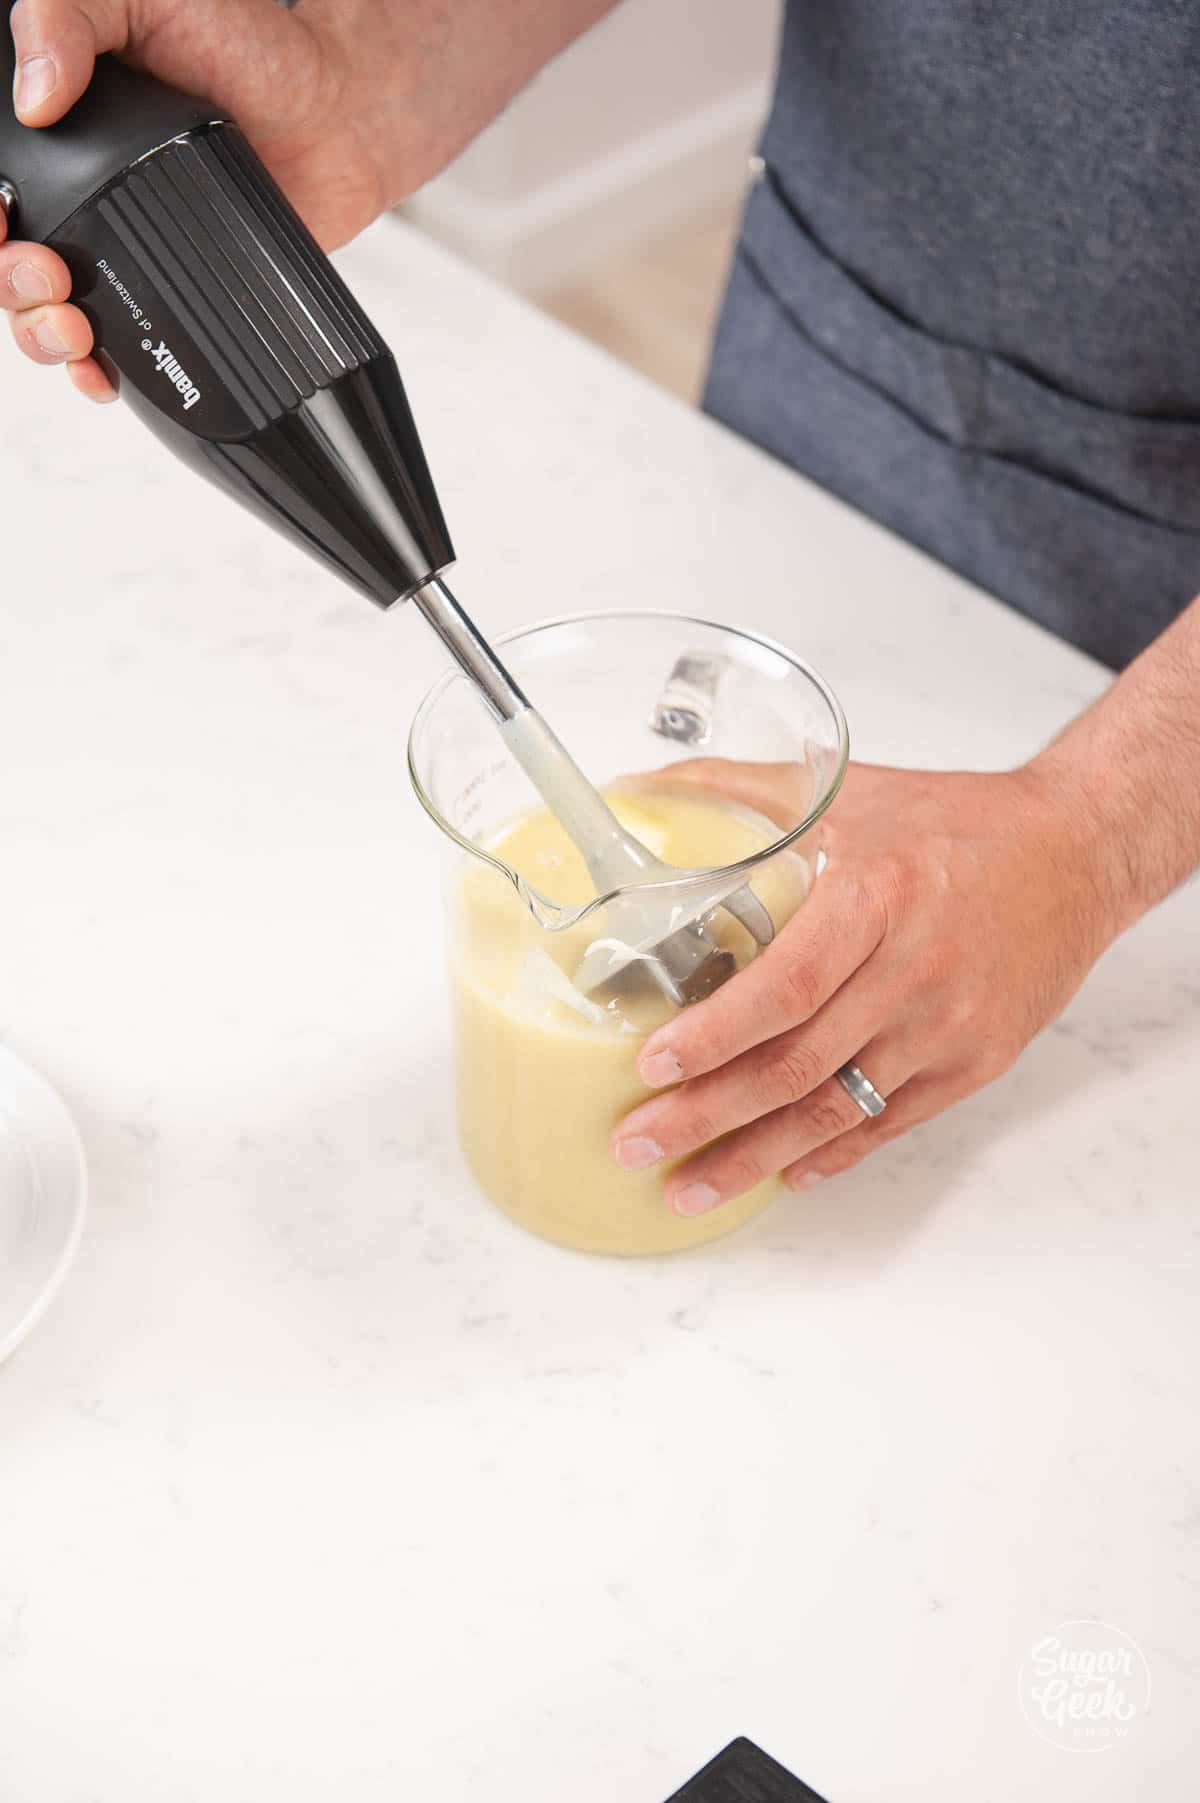
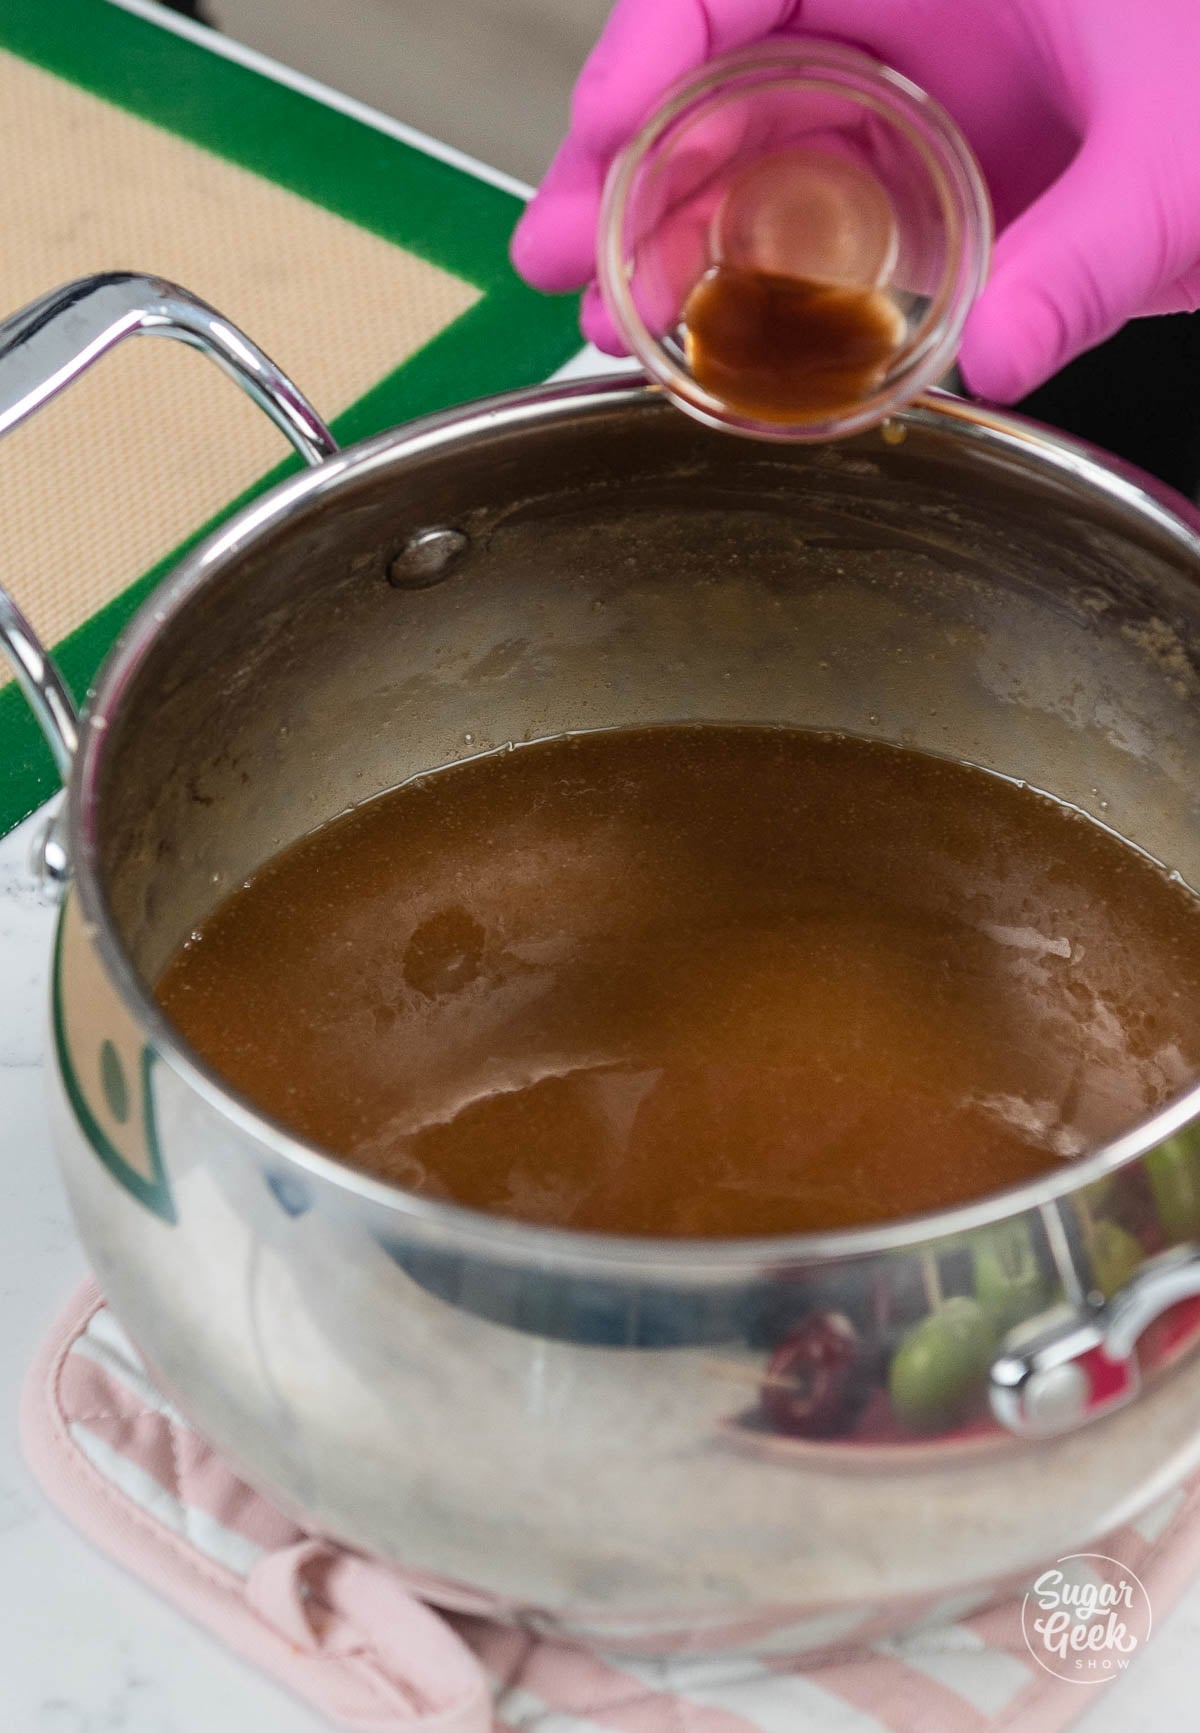
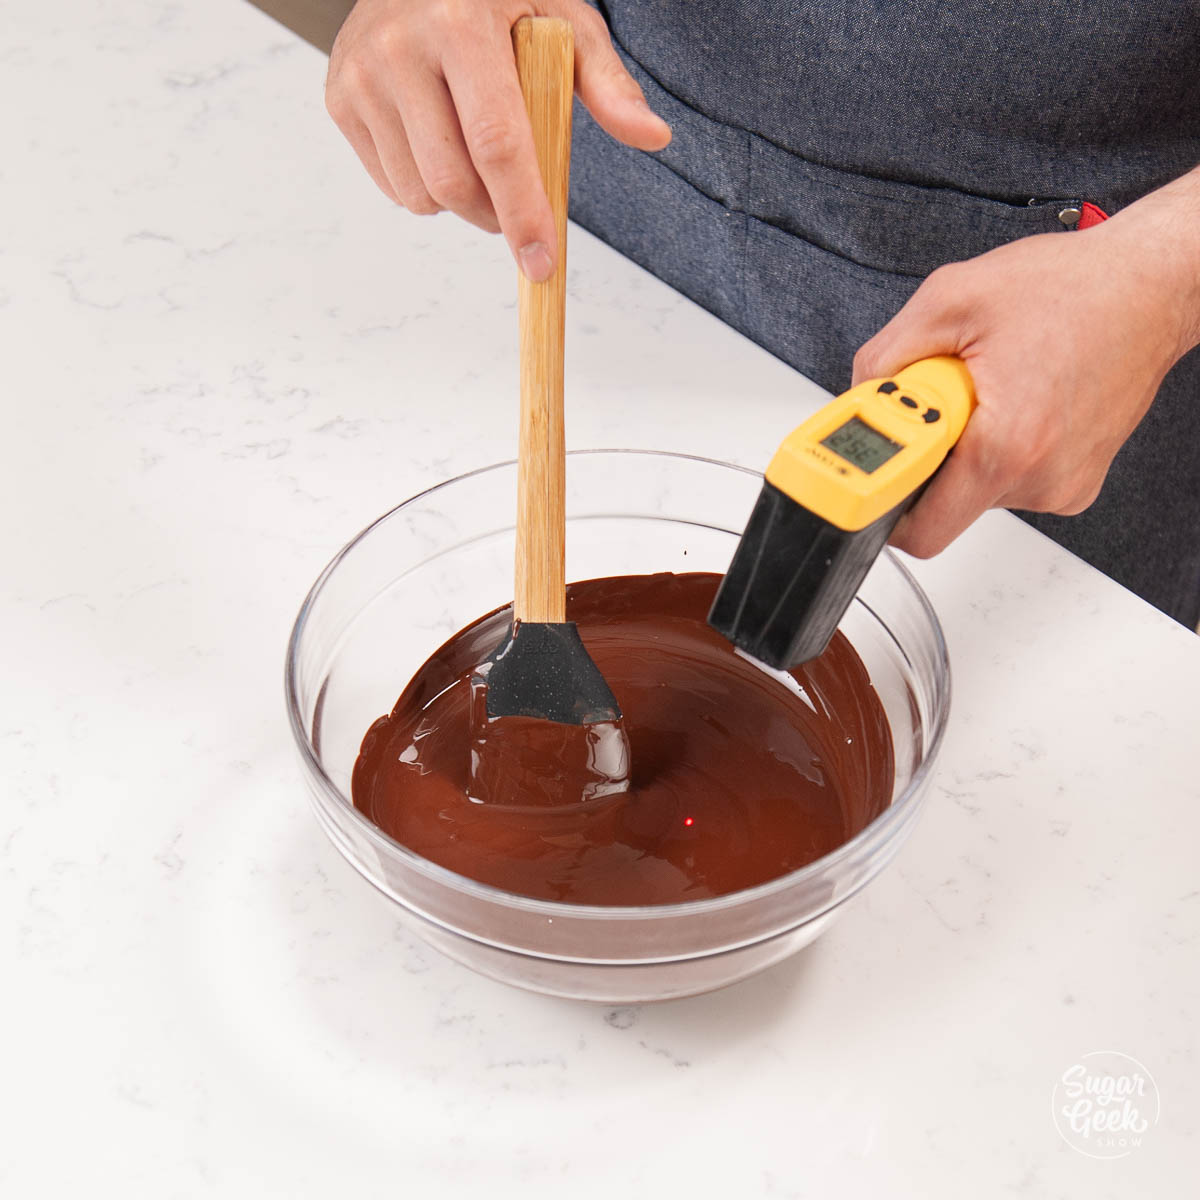
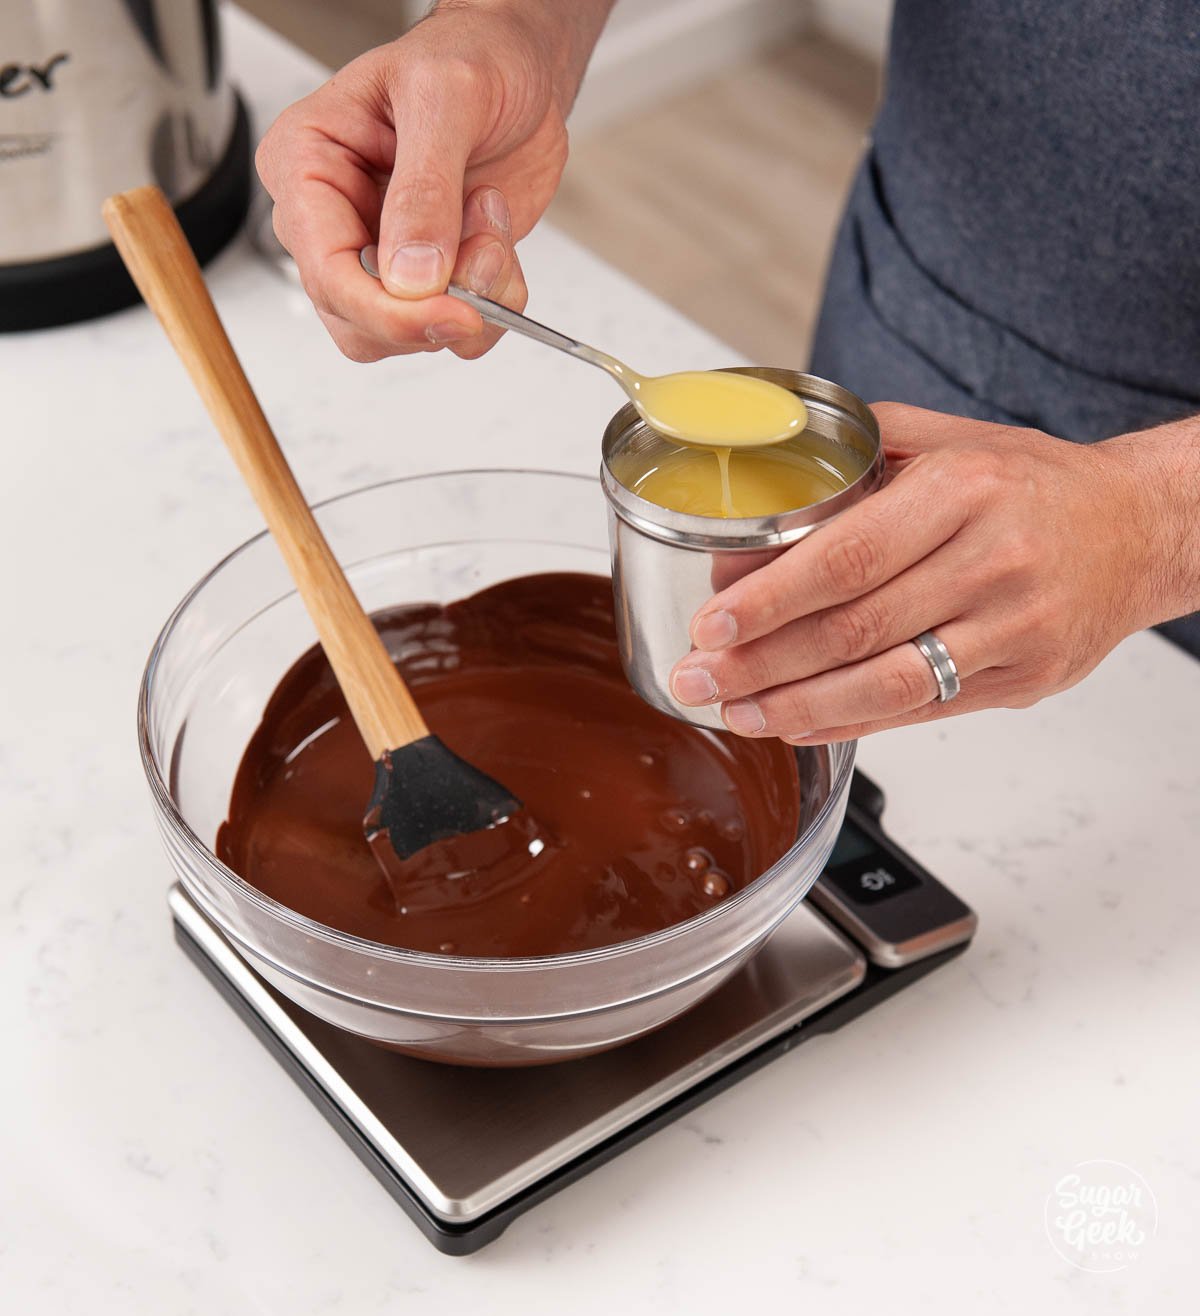
- Remove the pot from heat, and then add the chocolate to the saucepan.

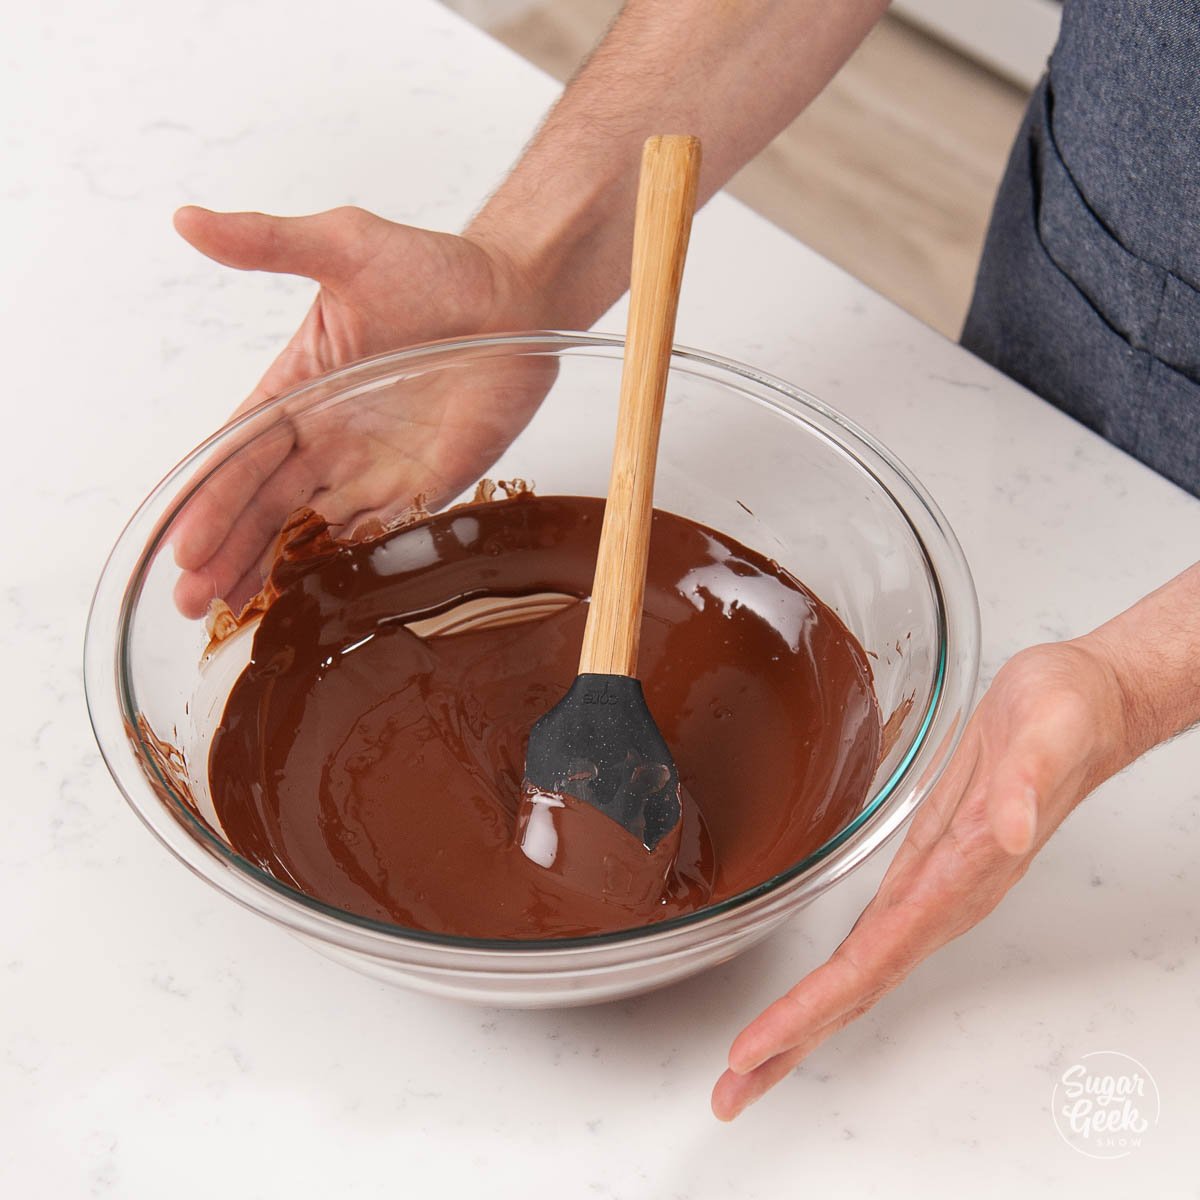
- Keep stirring the mixture until the chocolate is fully incorporated and melted.
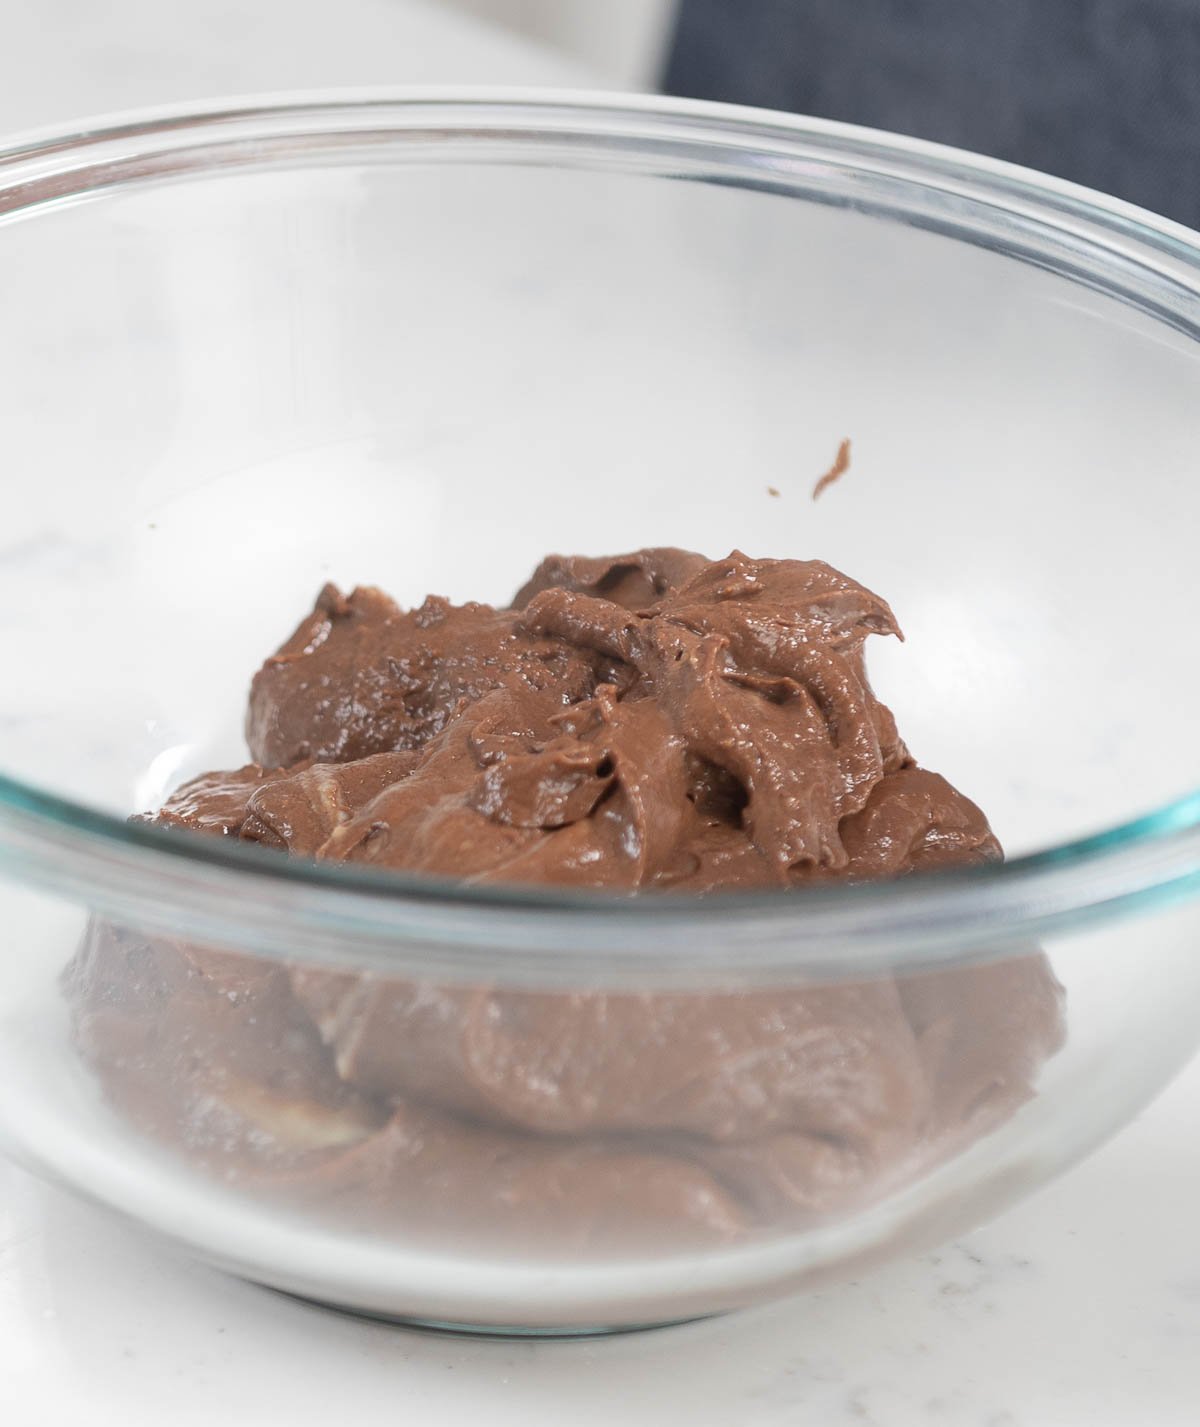
- Then, transfer the chocolate mixture to a bowl and set it aside.

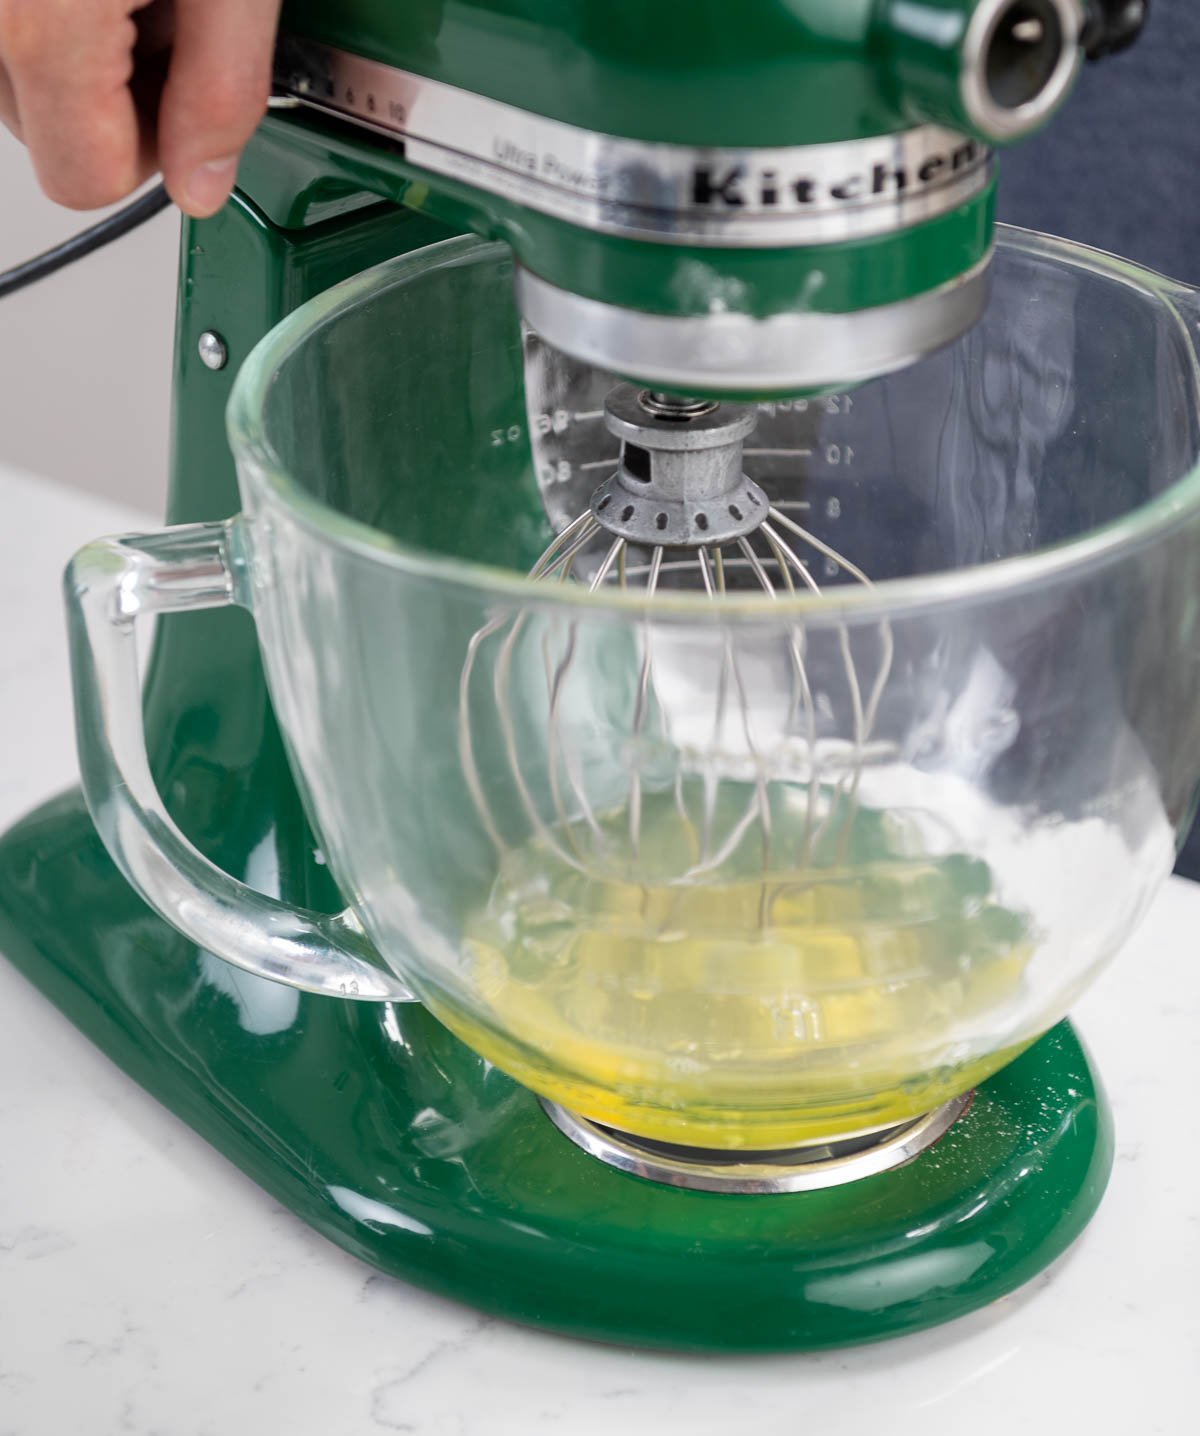
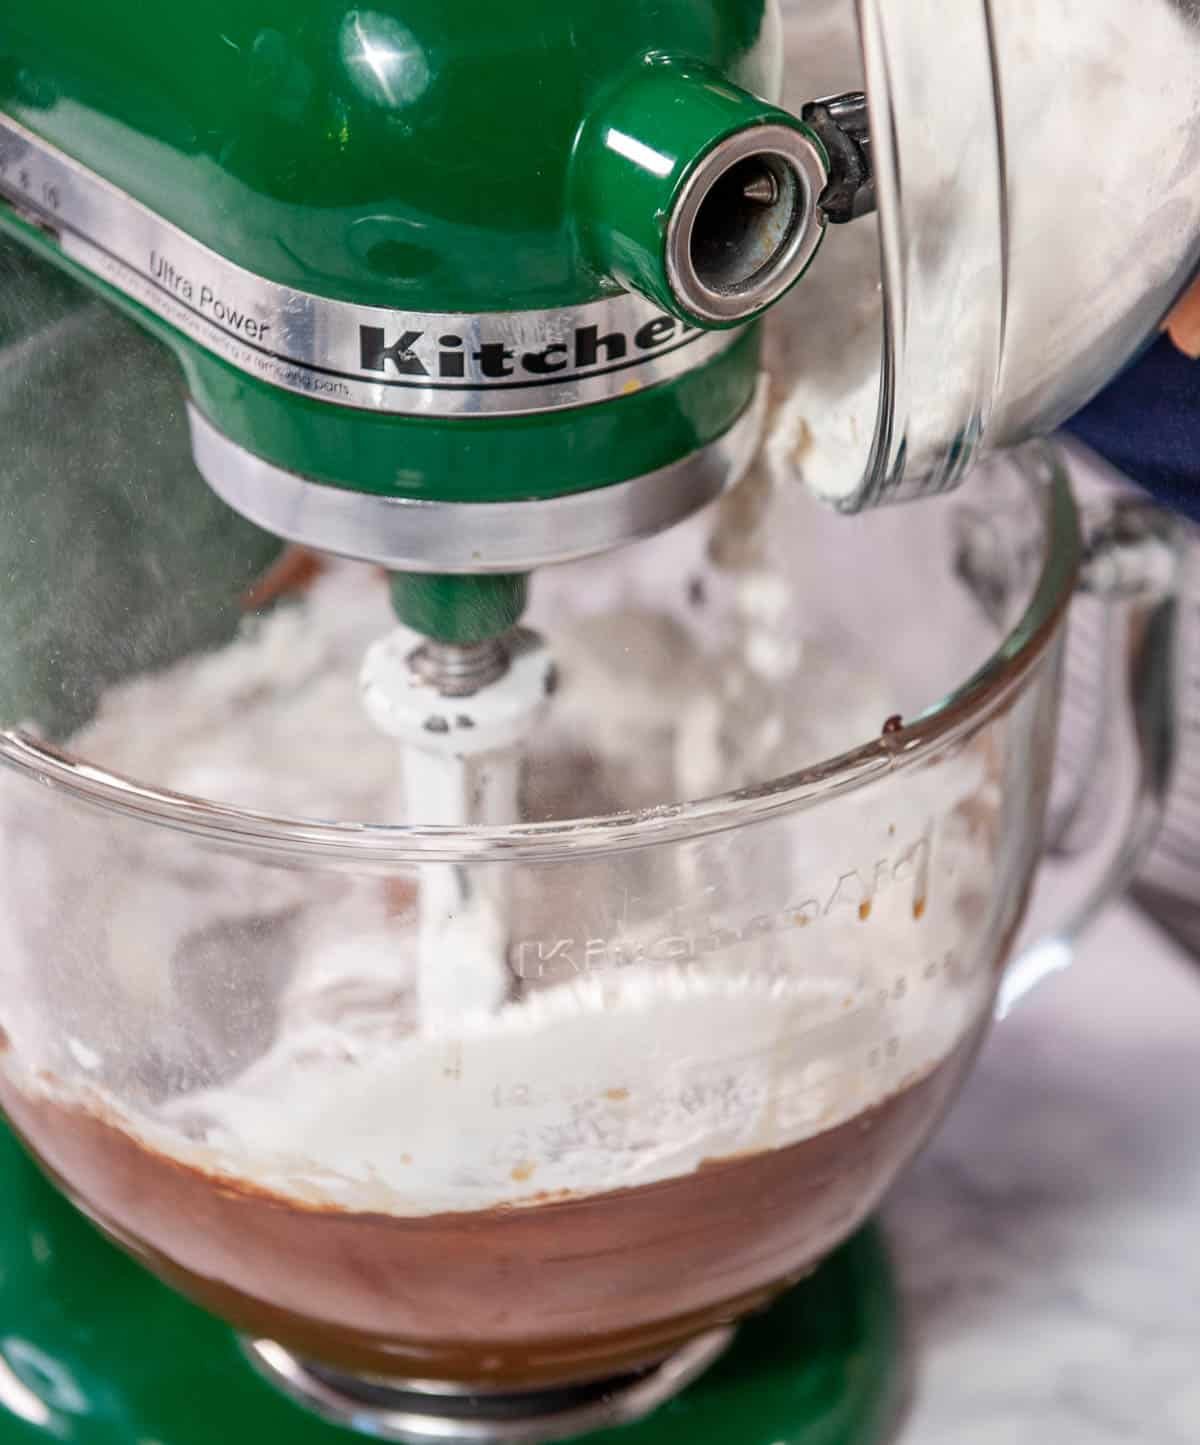
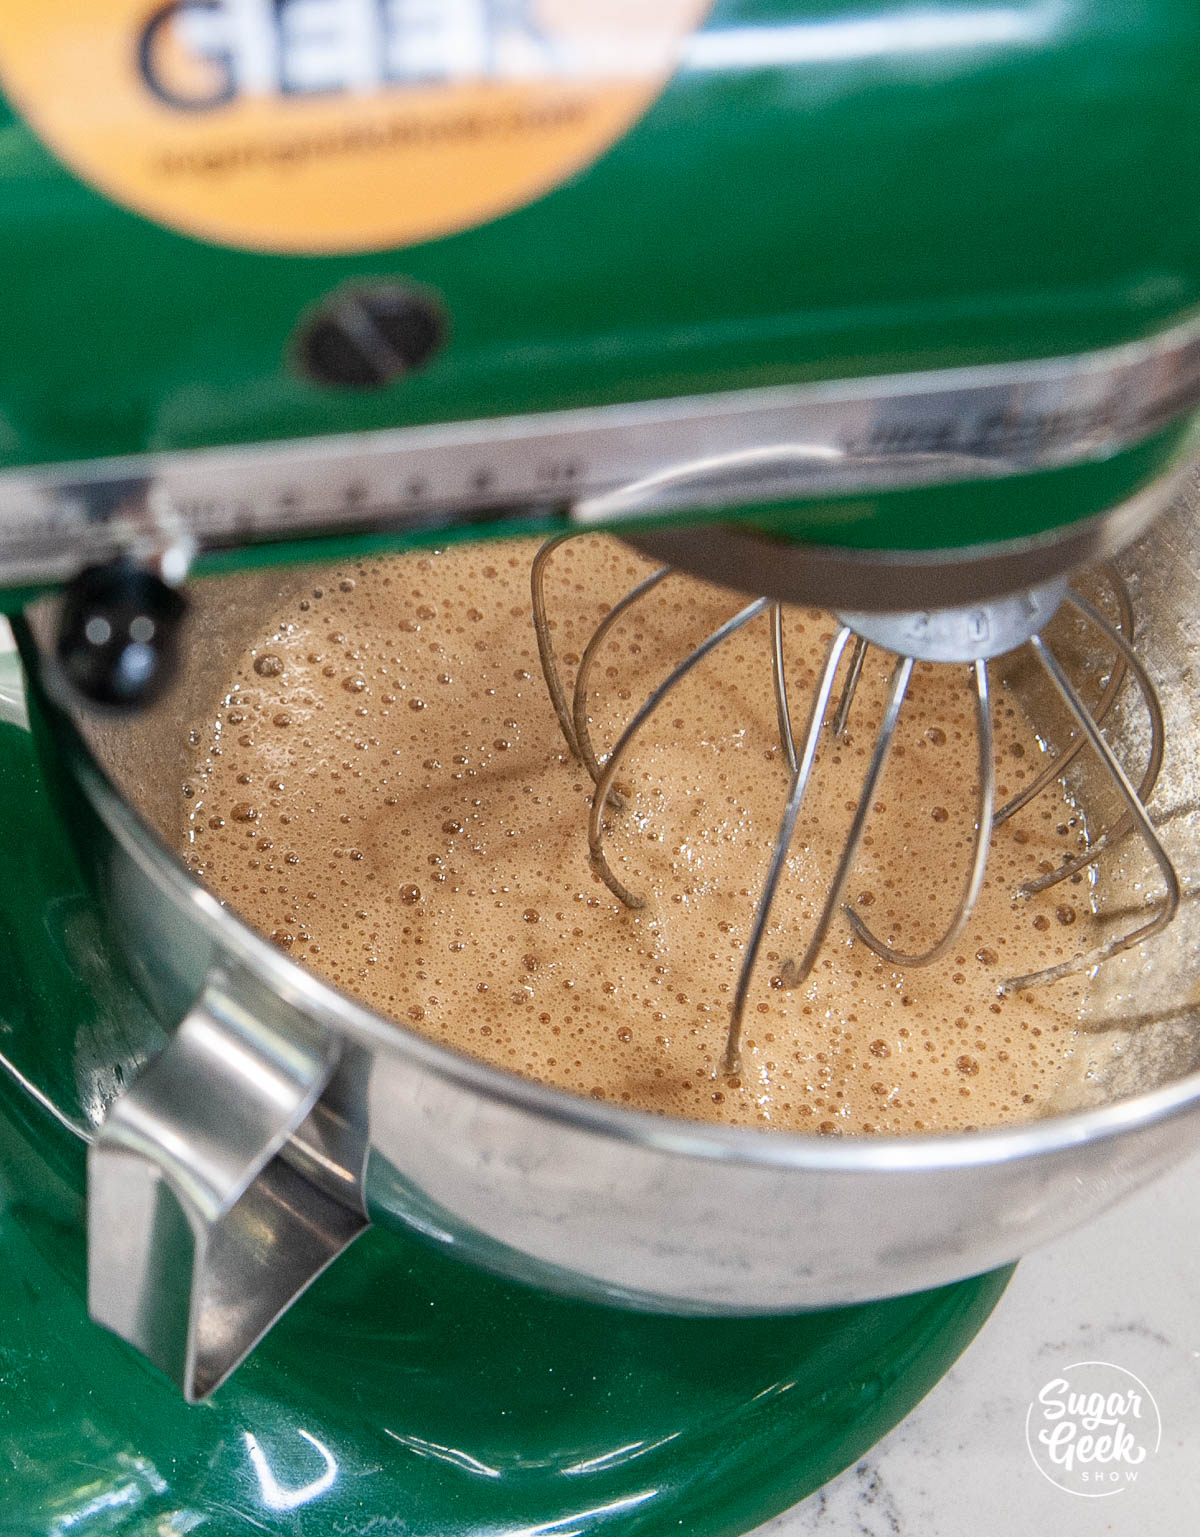
- Next, in the bowl of your stand mixer with the whisk attachment, add in your egg whites and a pinch of cream of tartar. Make sure your bowl is very clean, use a little bit of white vinegar to clean your bowl and whisk attachment if needed.

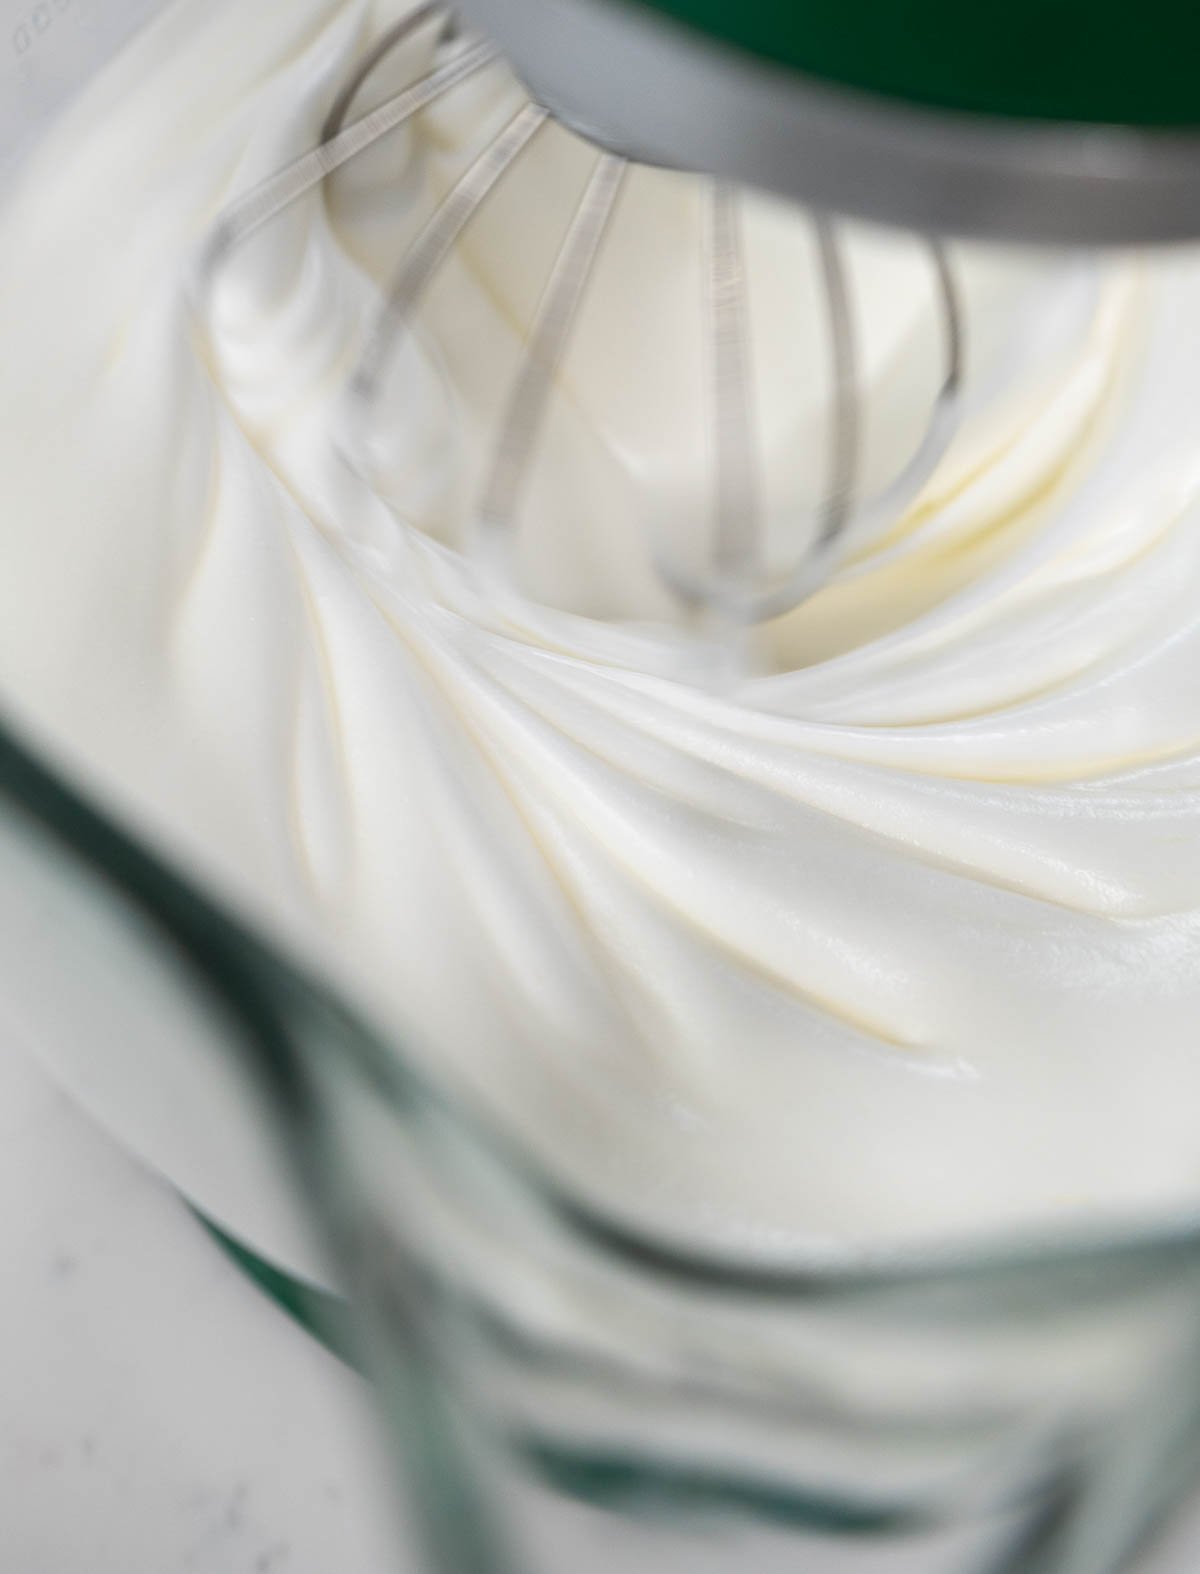
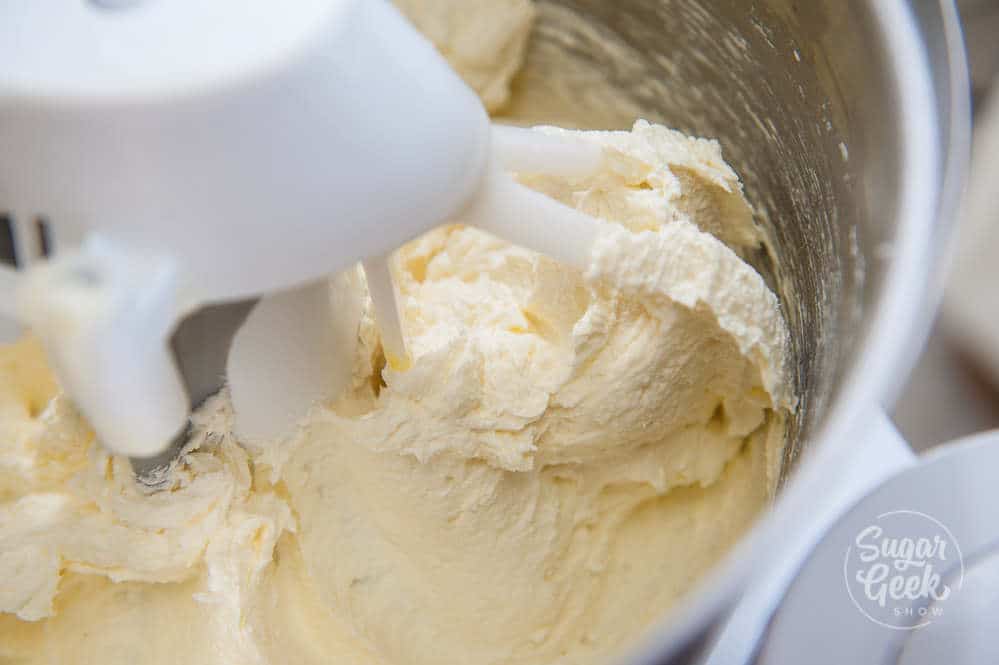
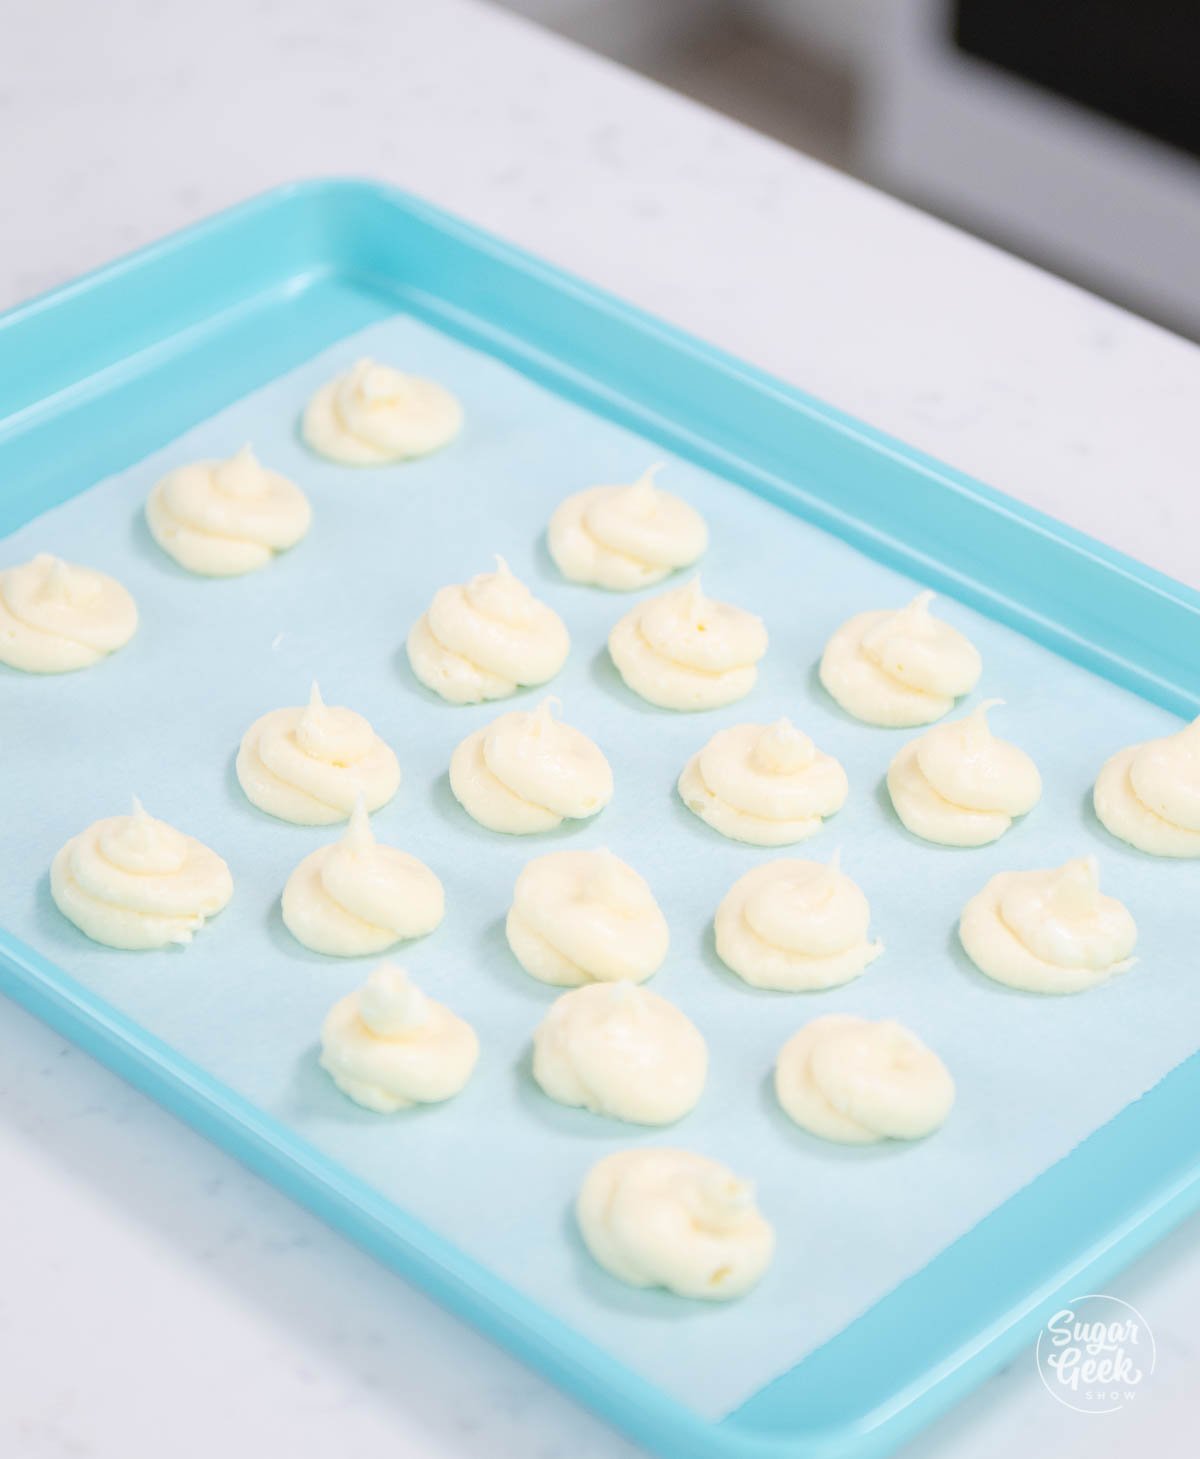
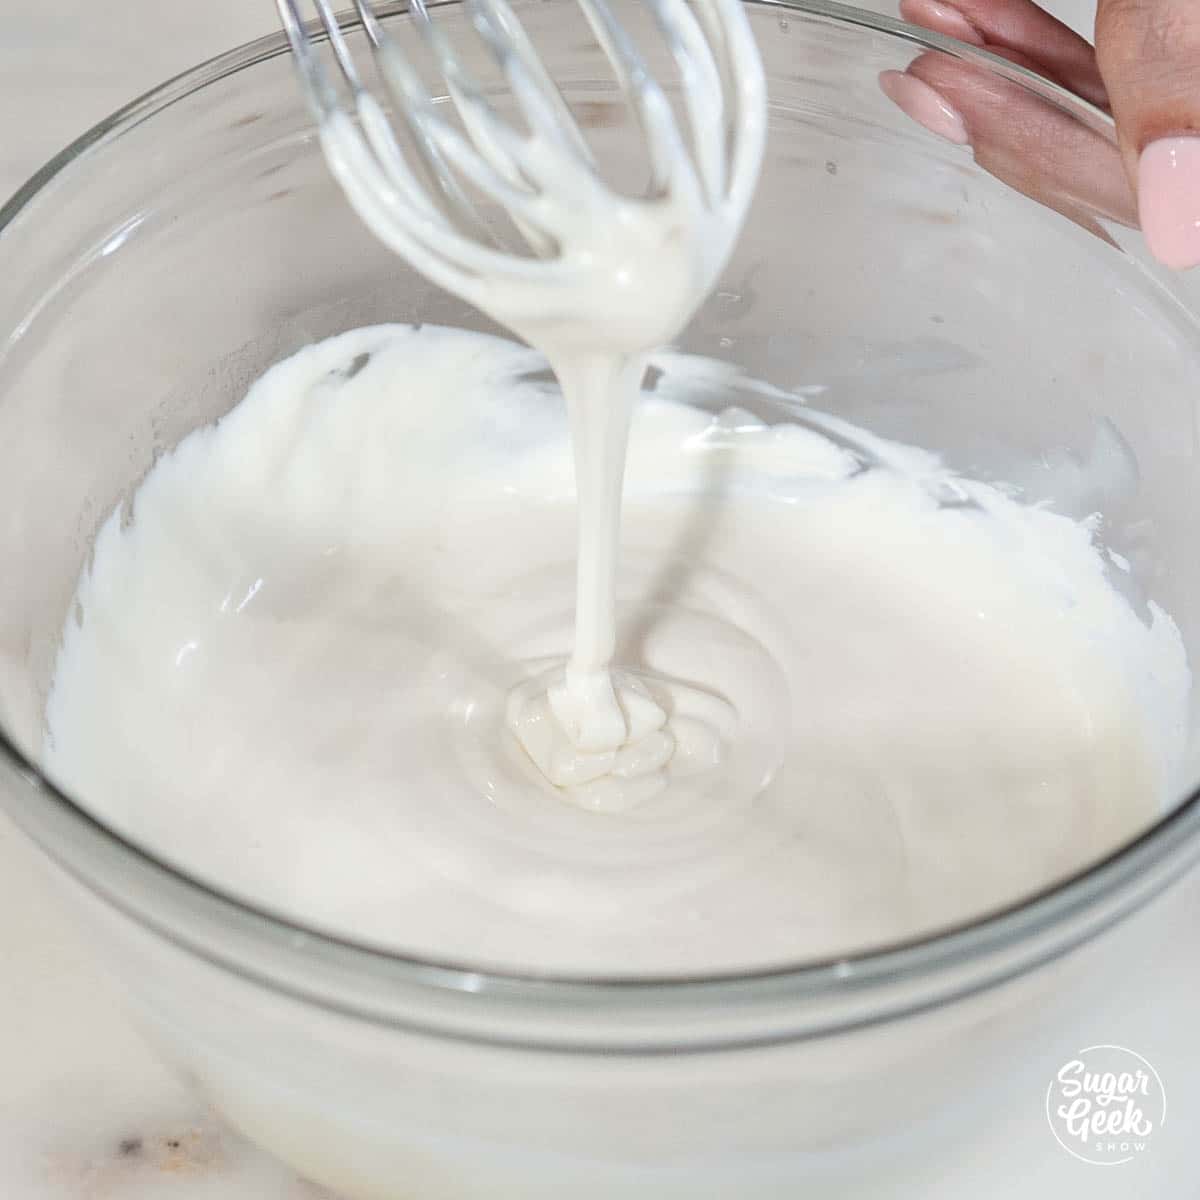
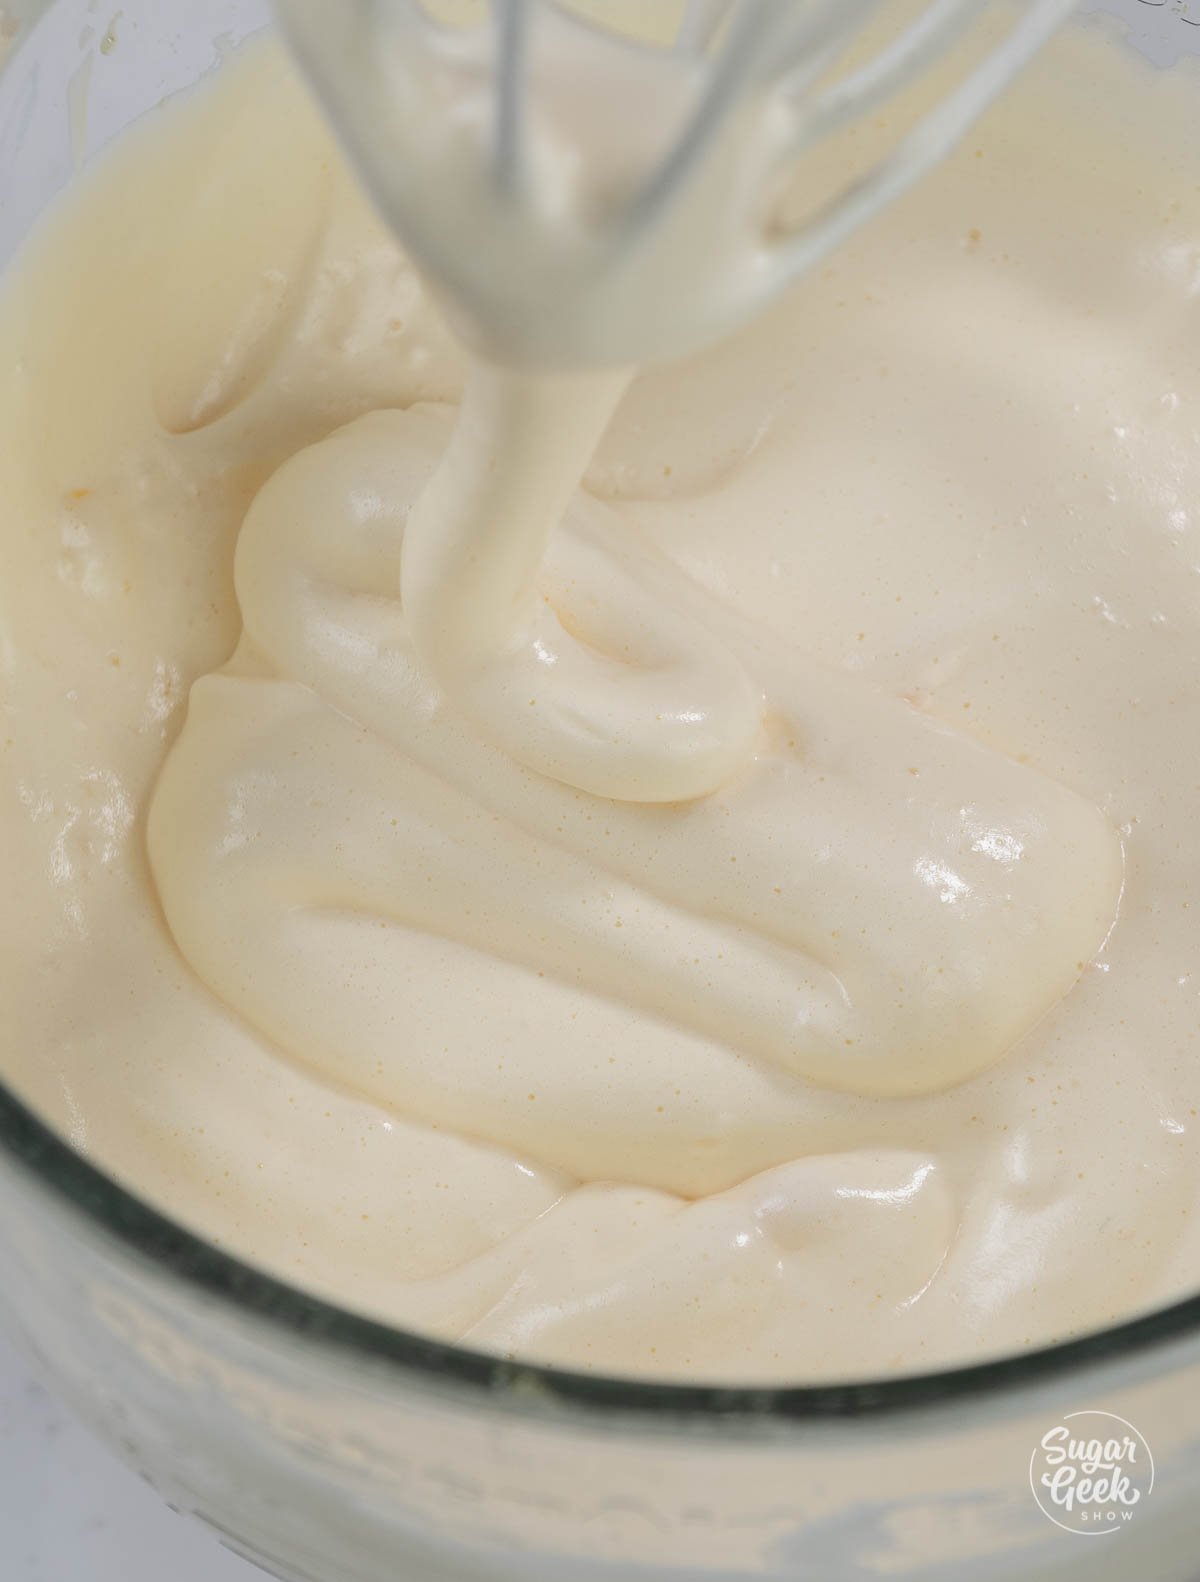
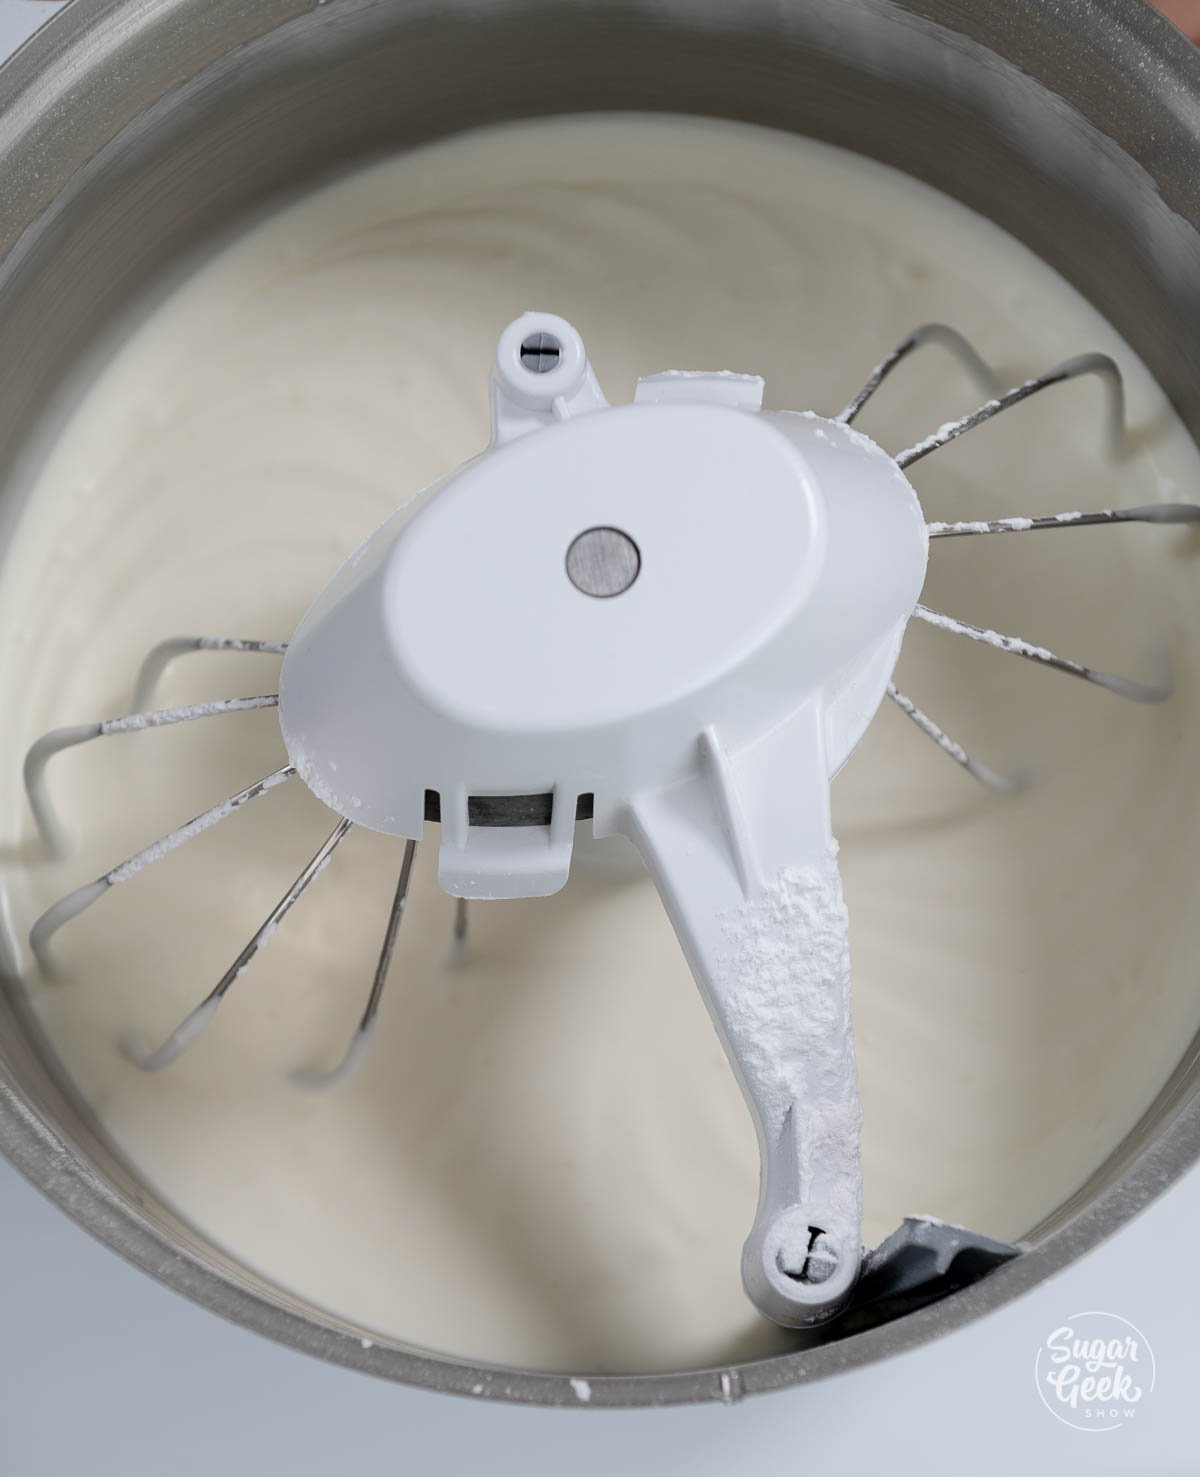
- Whip the egg whites on medium speed until you reach soft peaks (lines beginning to form in the surface of the meringue).

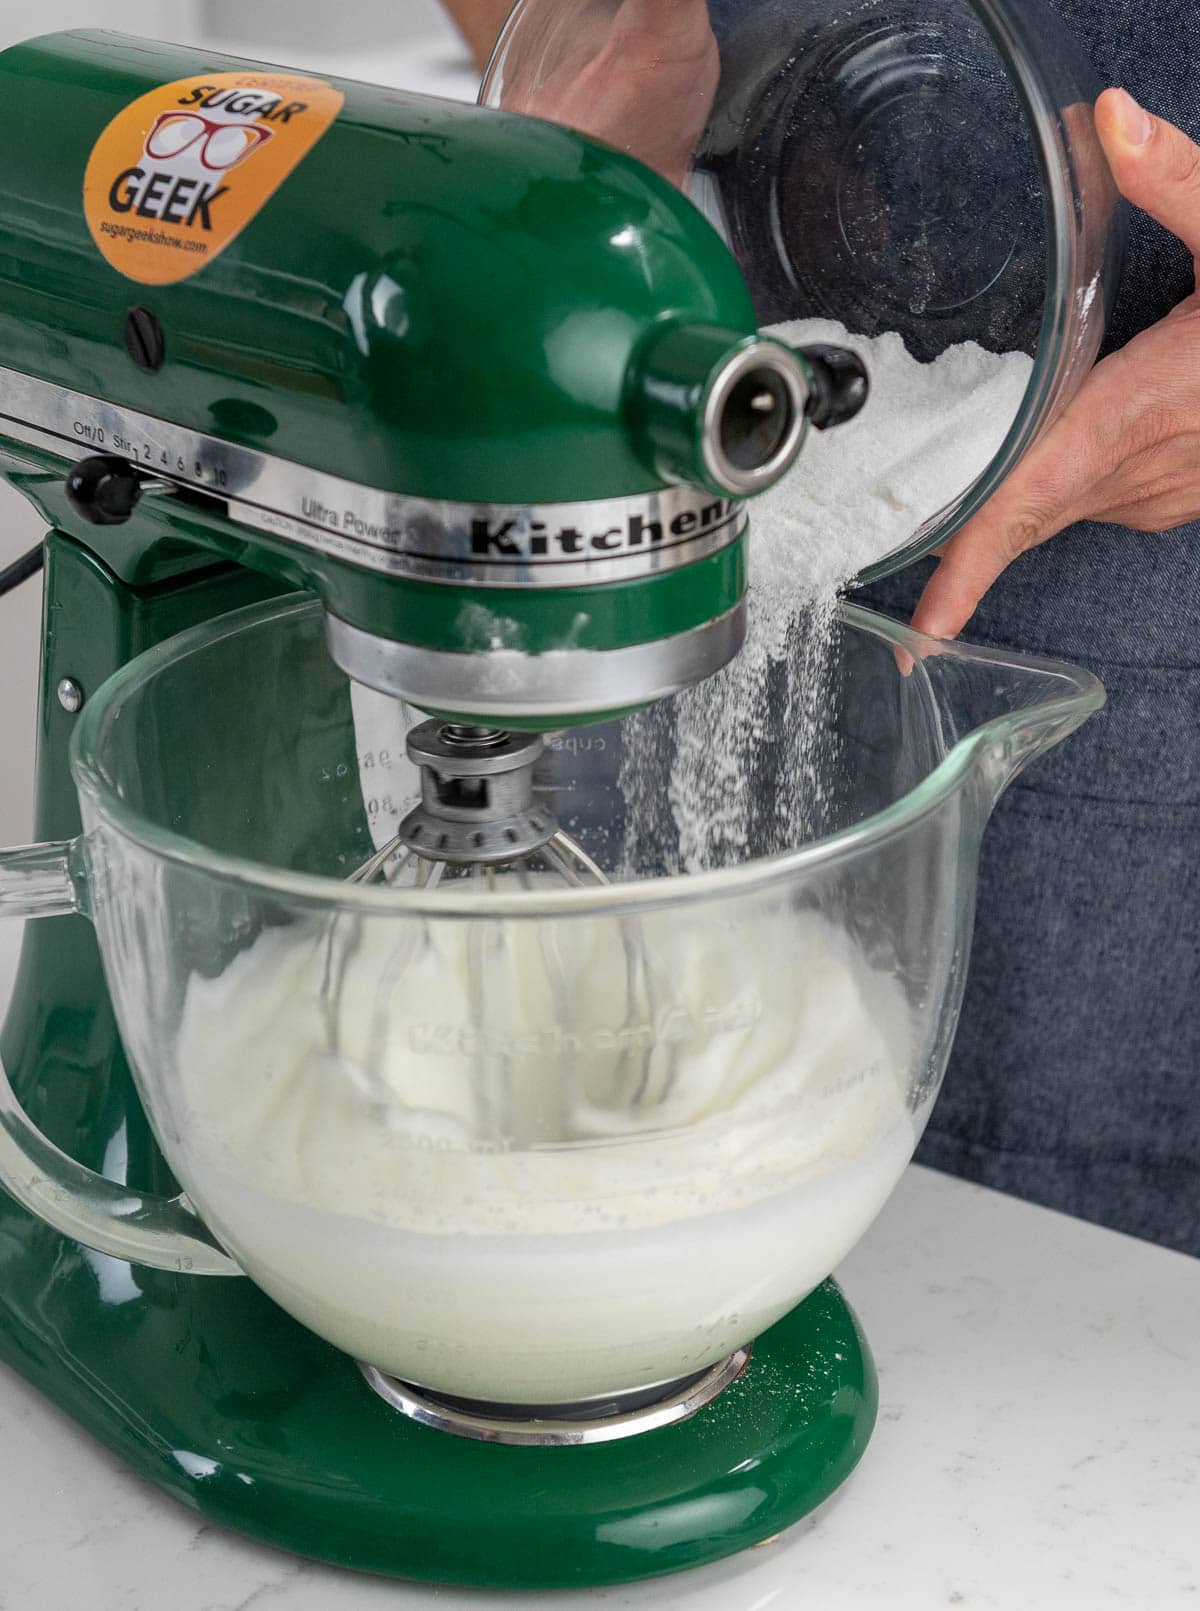
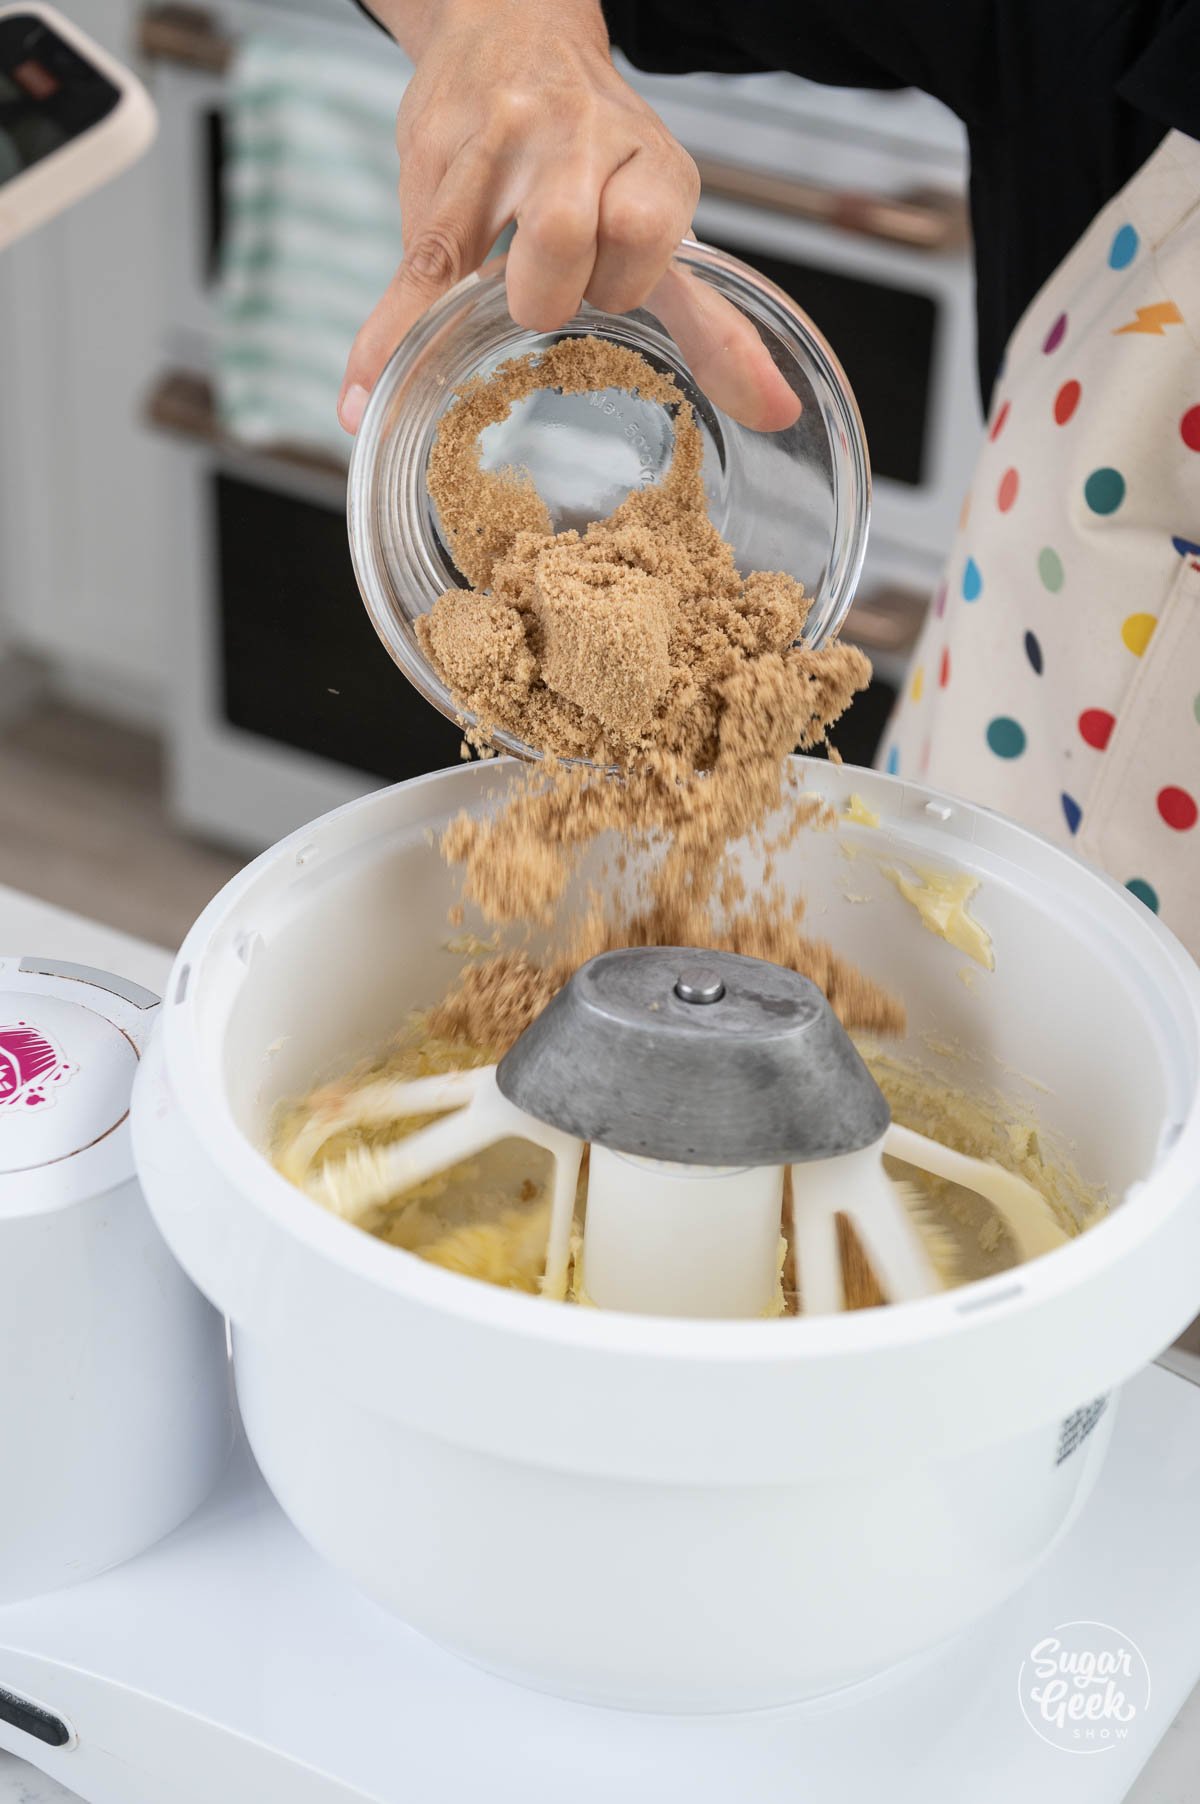
- Slowly add in your sugar while mixing on low.

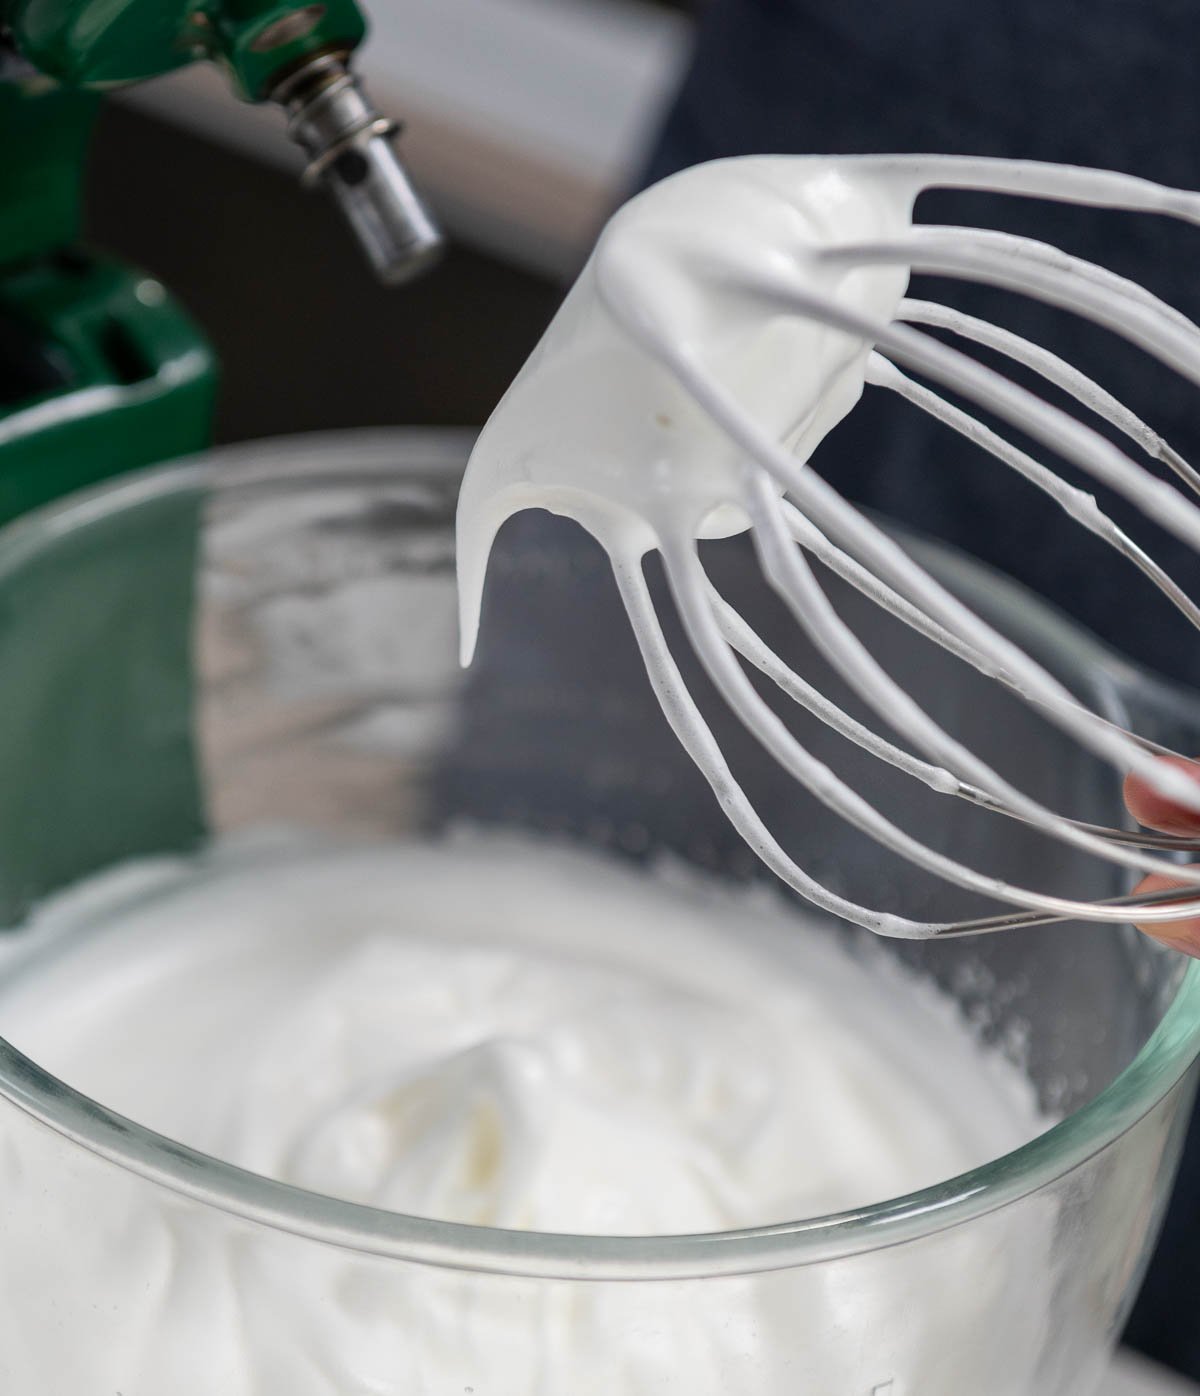
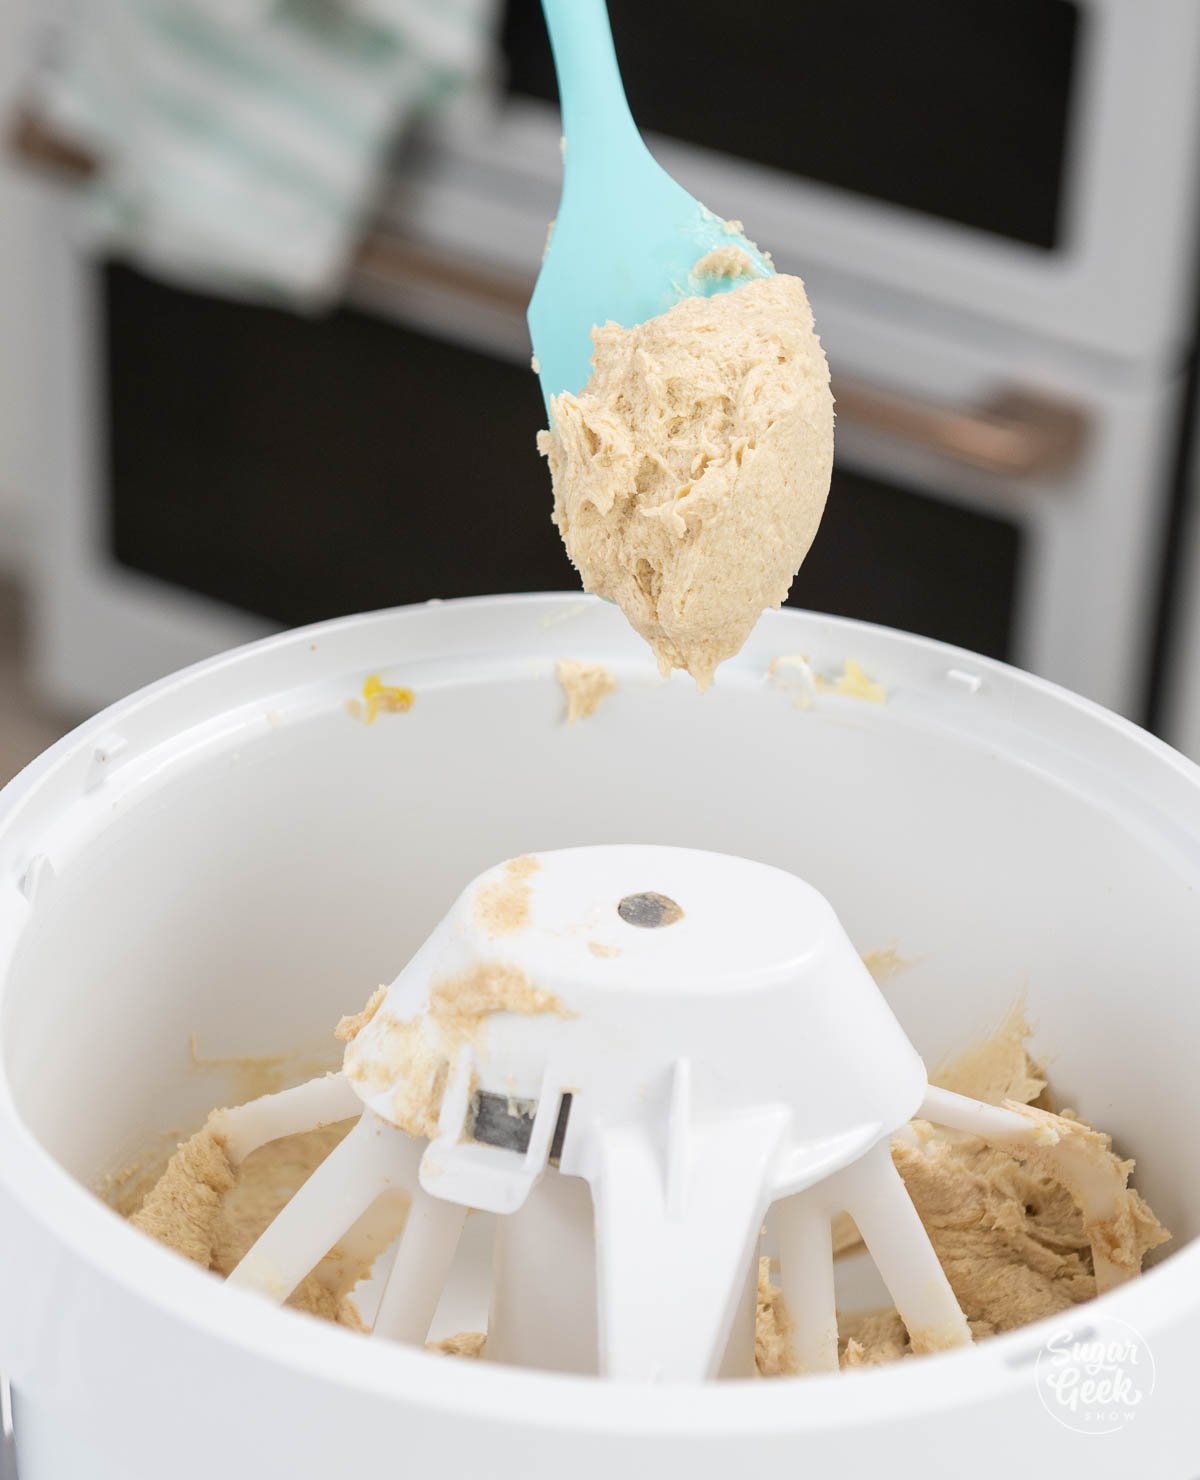
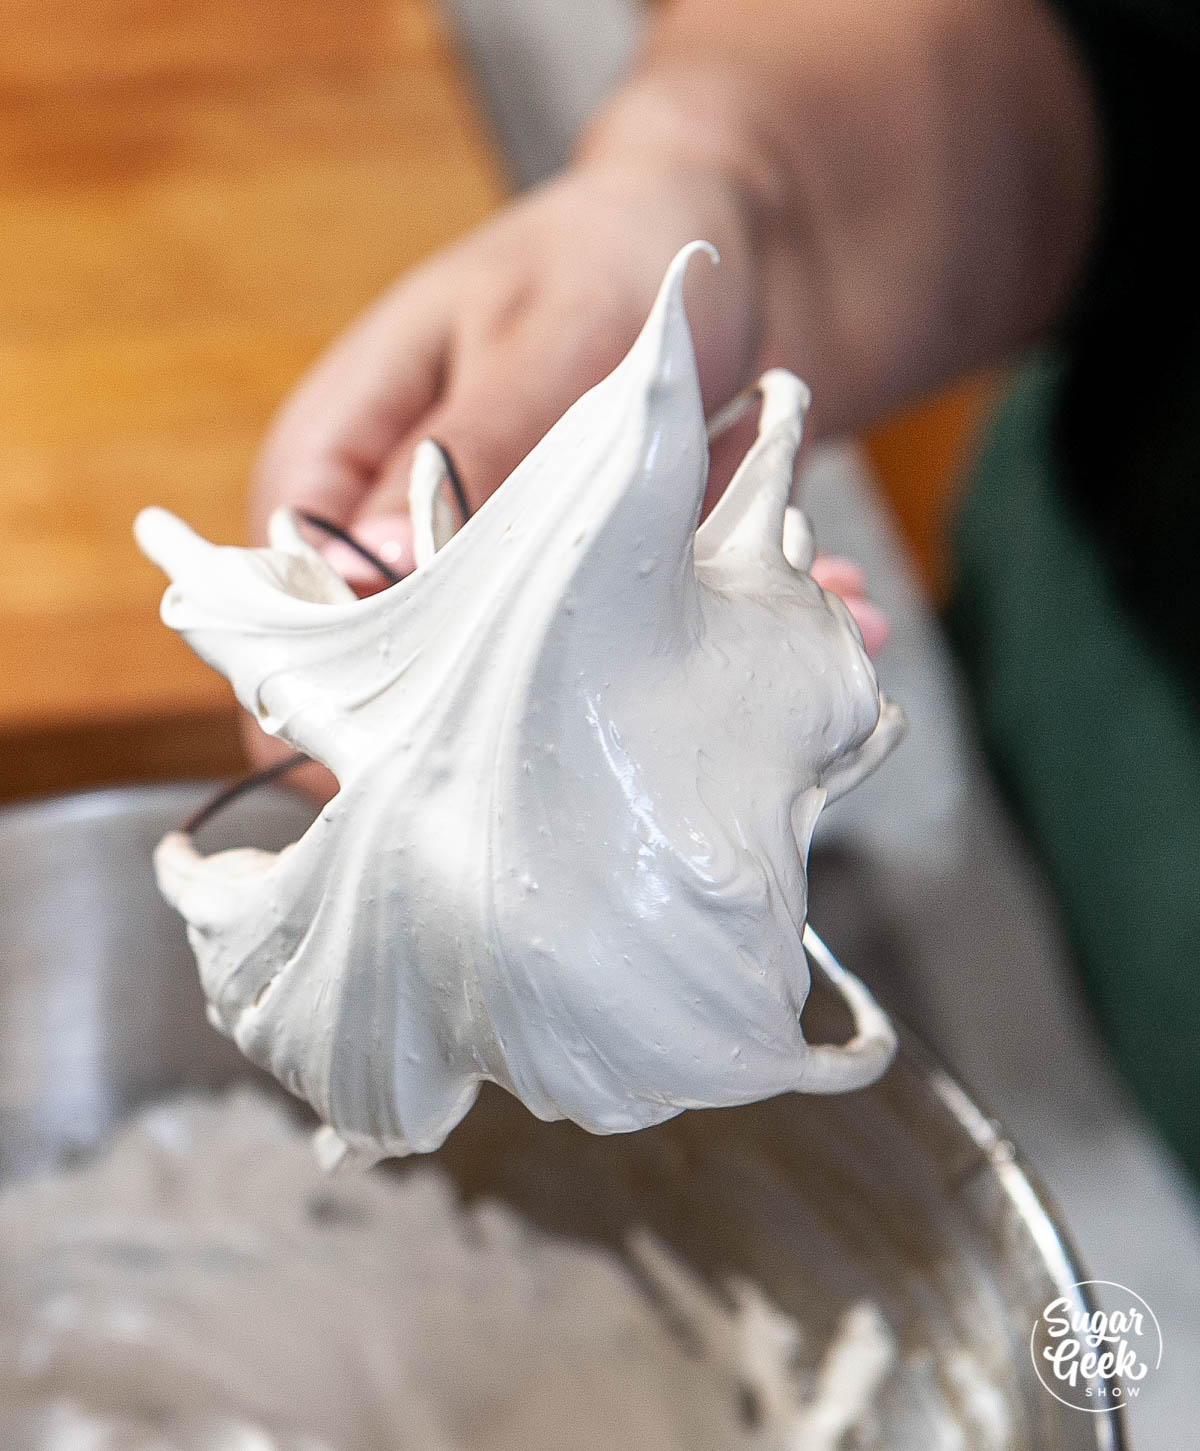
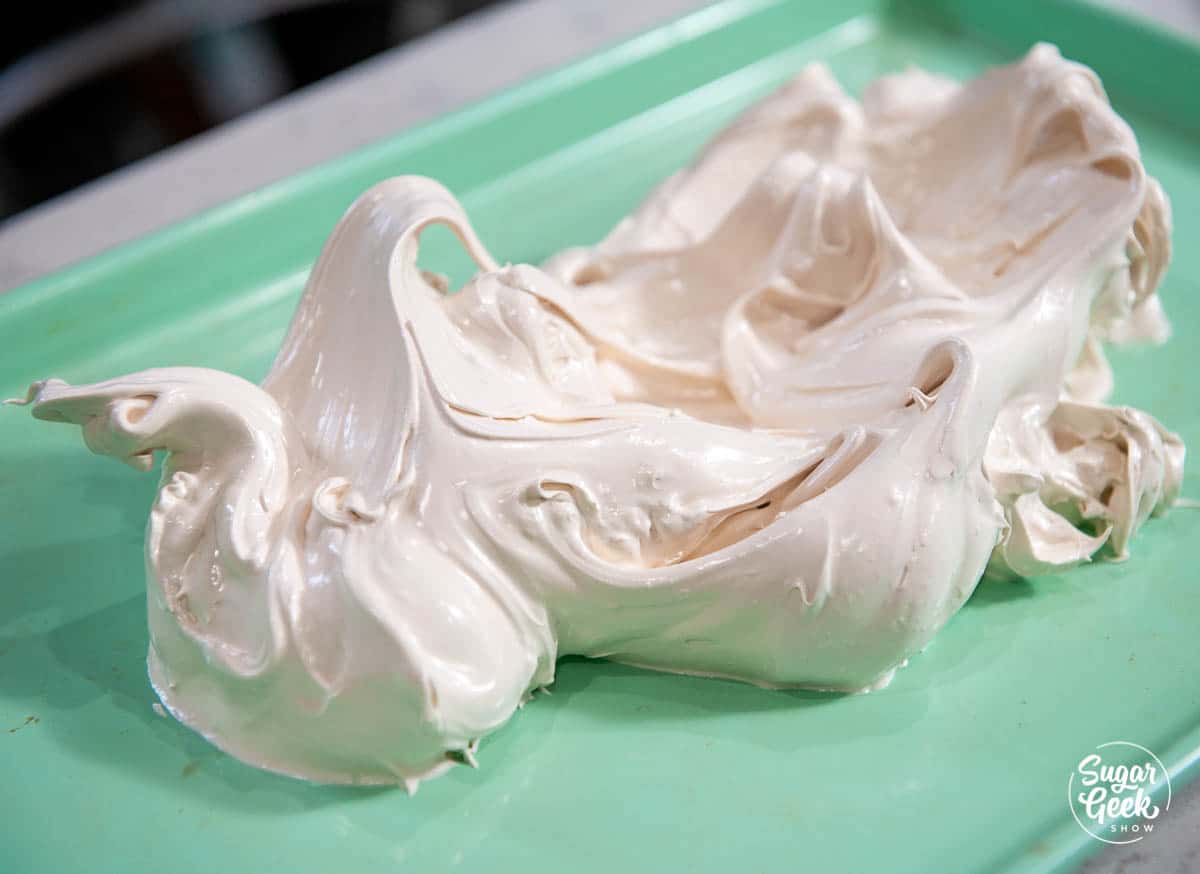
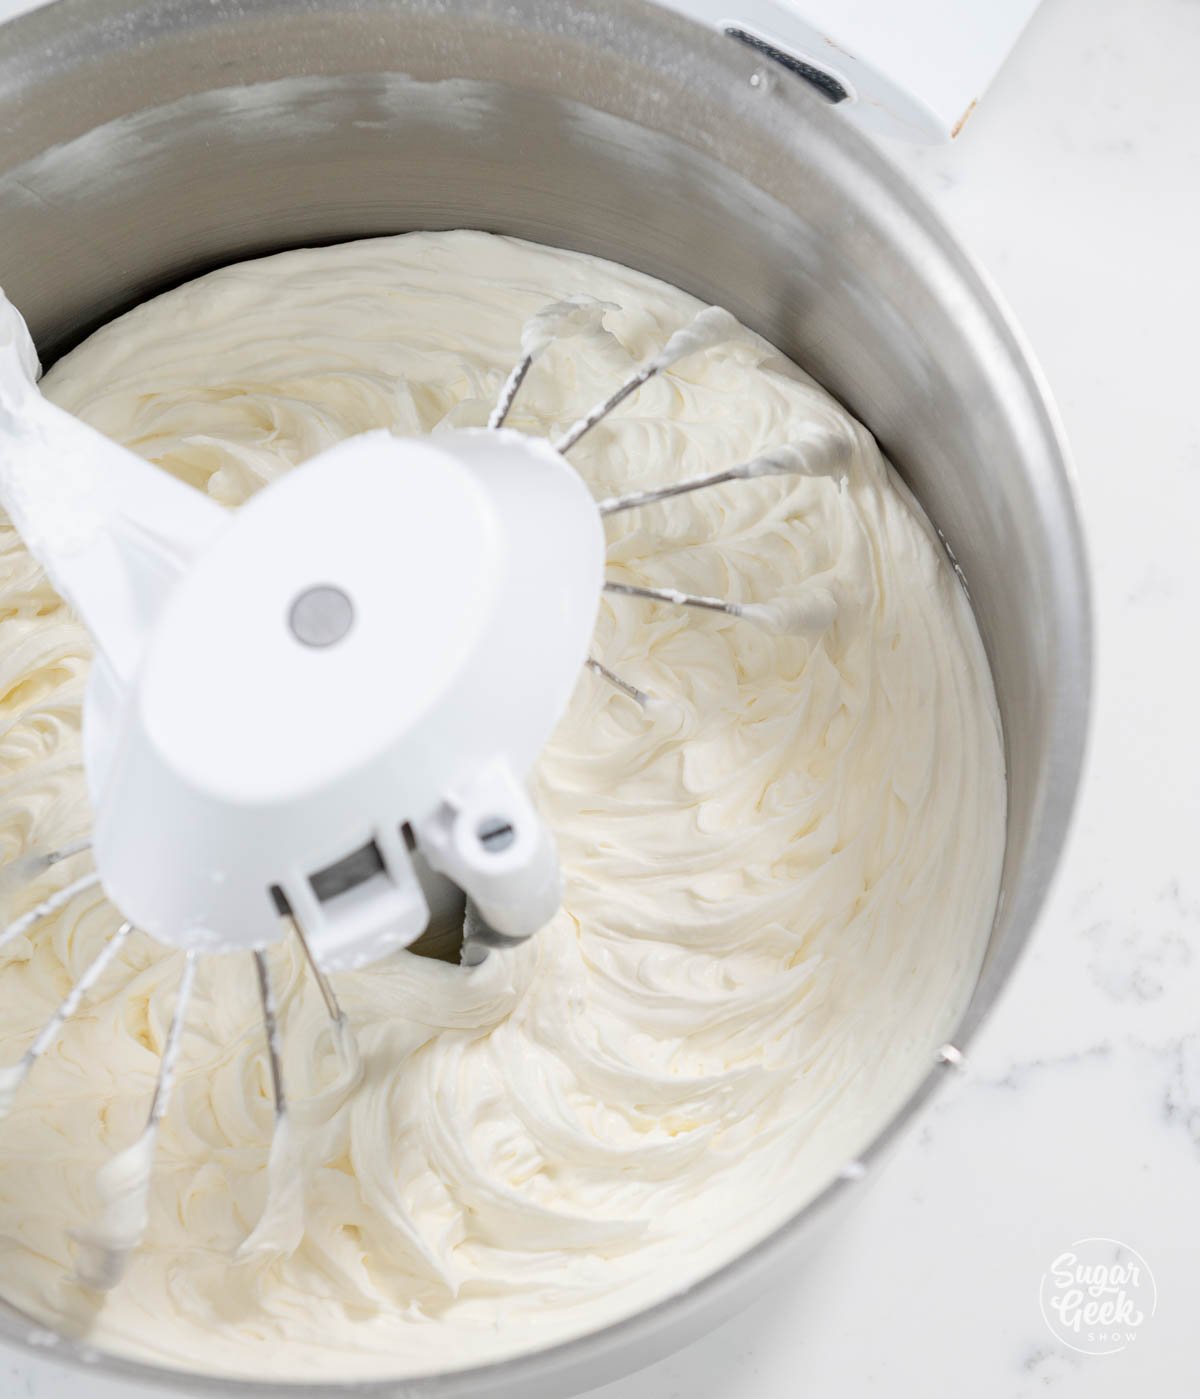
- Continue to whip the egg whites at medium speed until they have reached a smooth medium peak (meringue holds its shape but the tip does not stand straigh up).

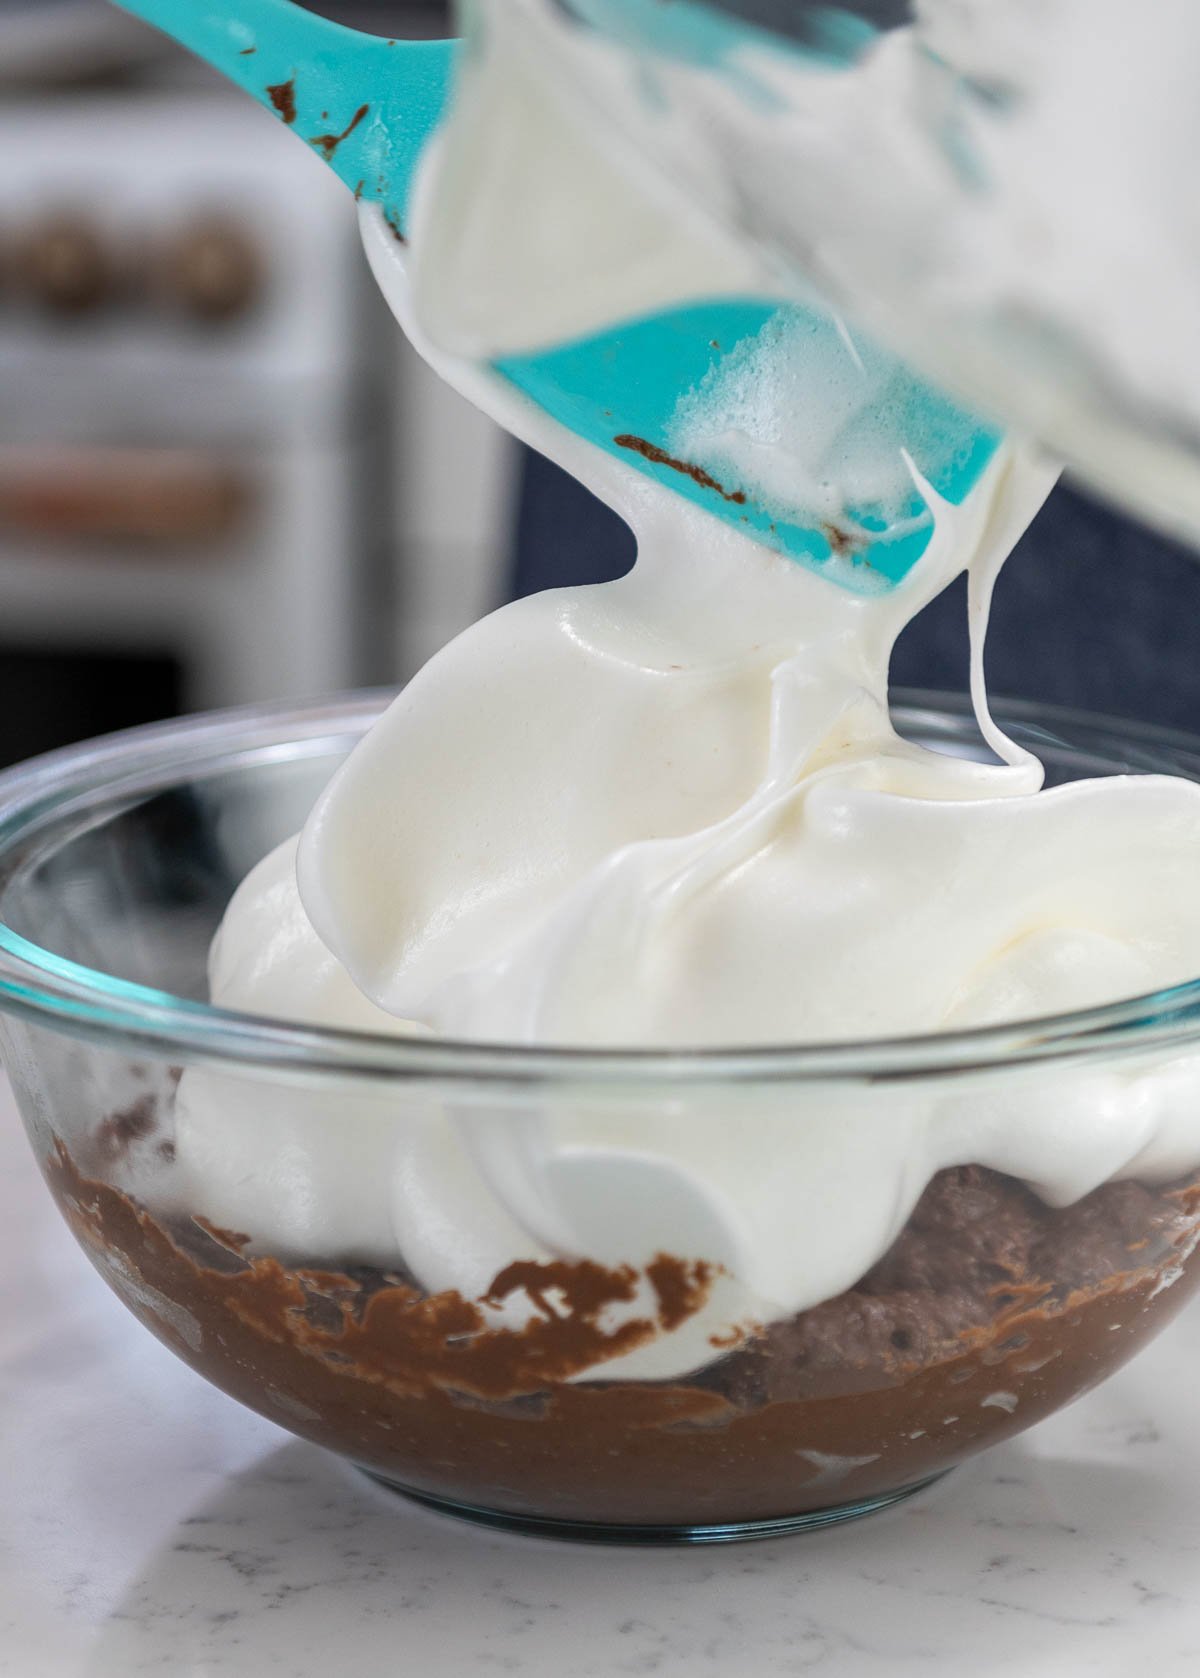
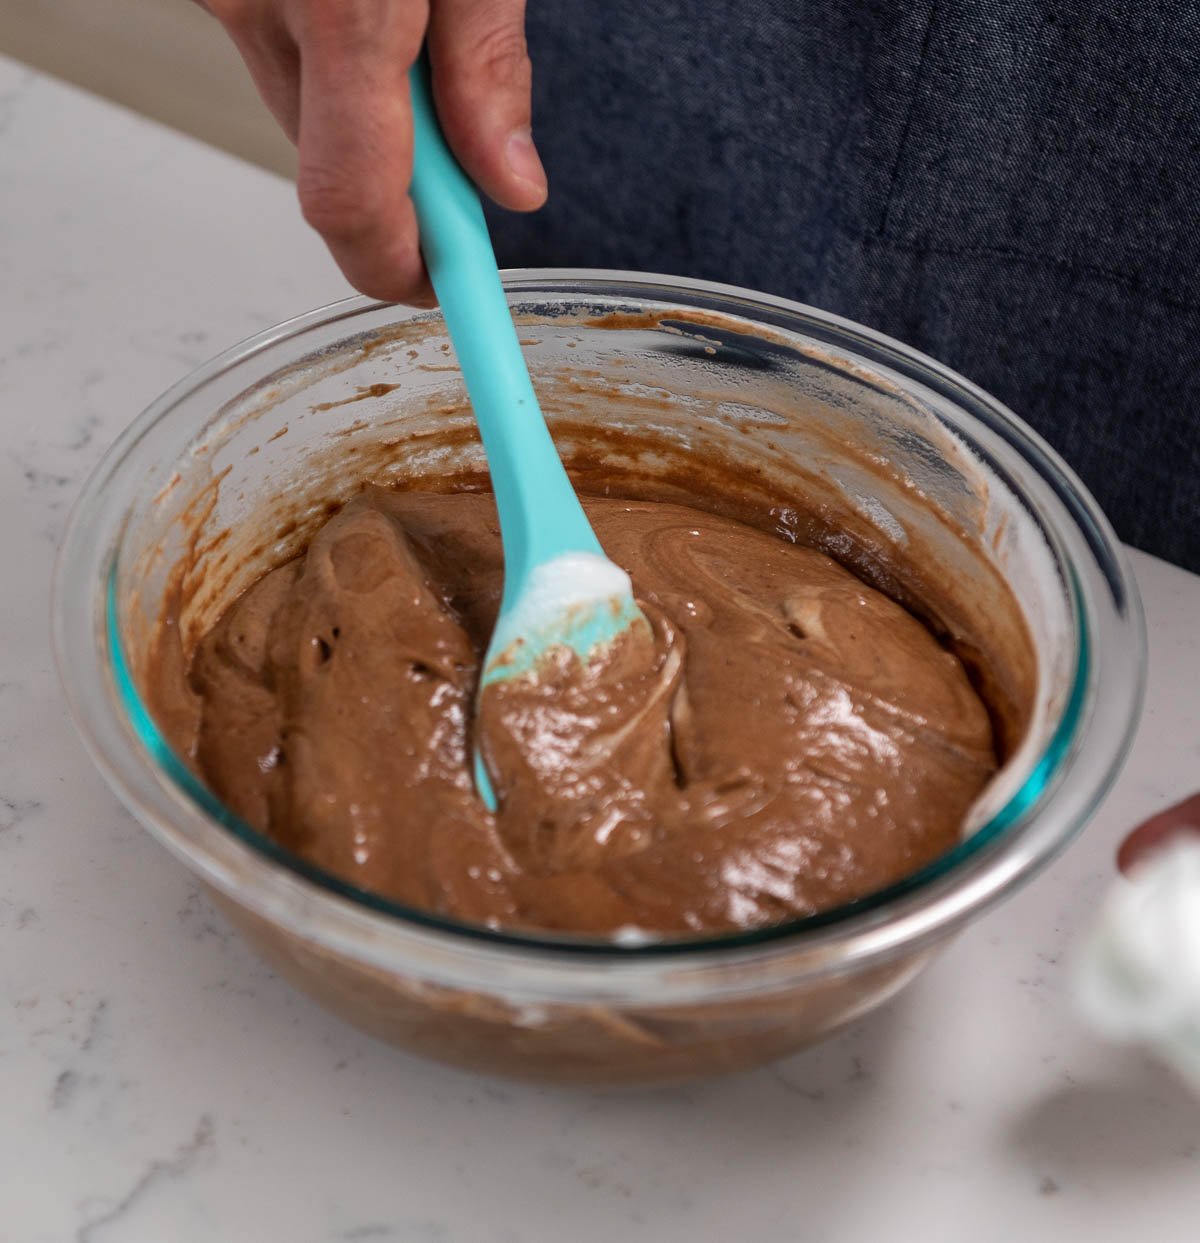
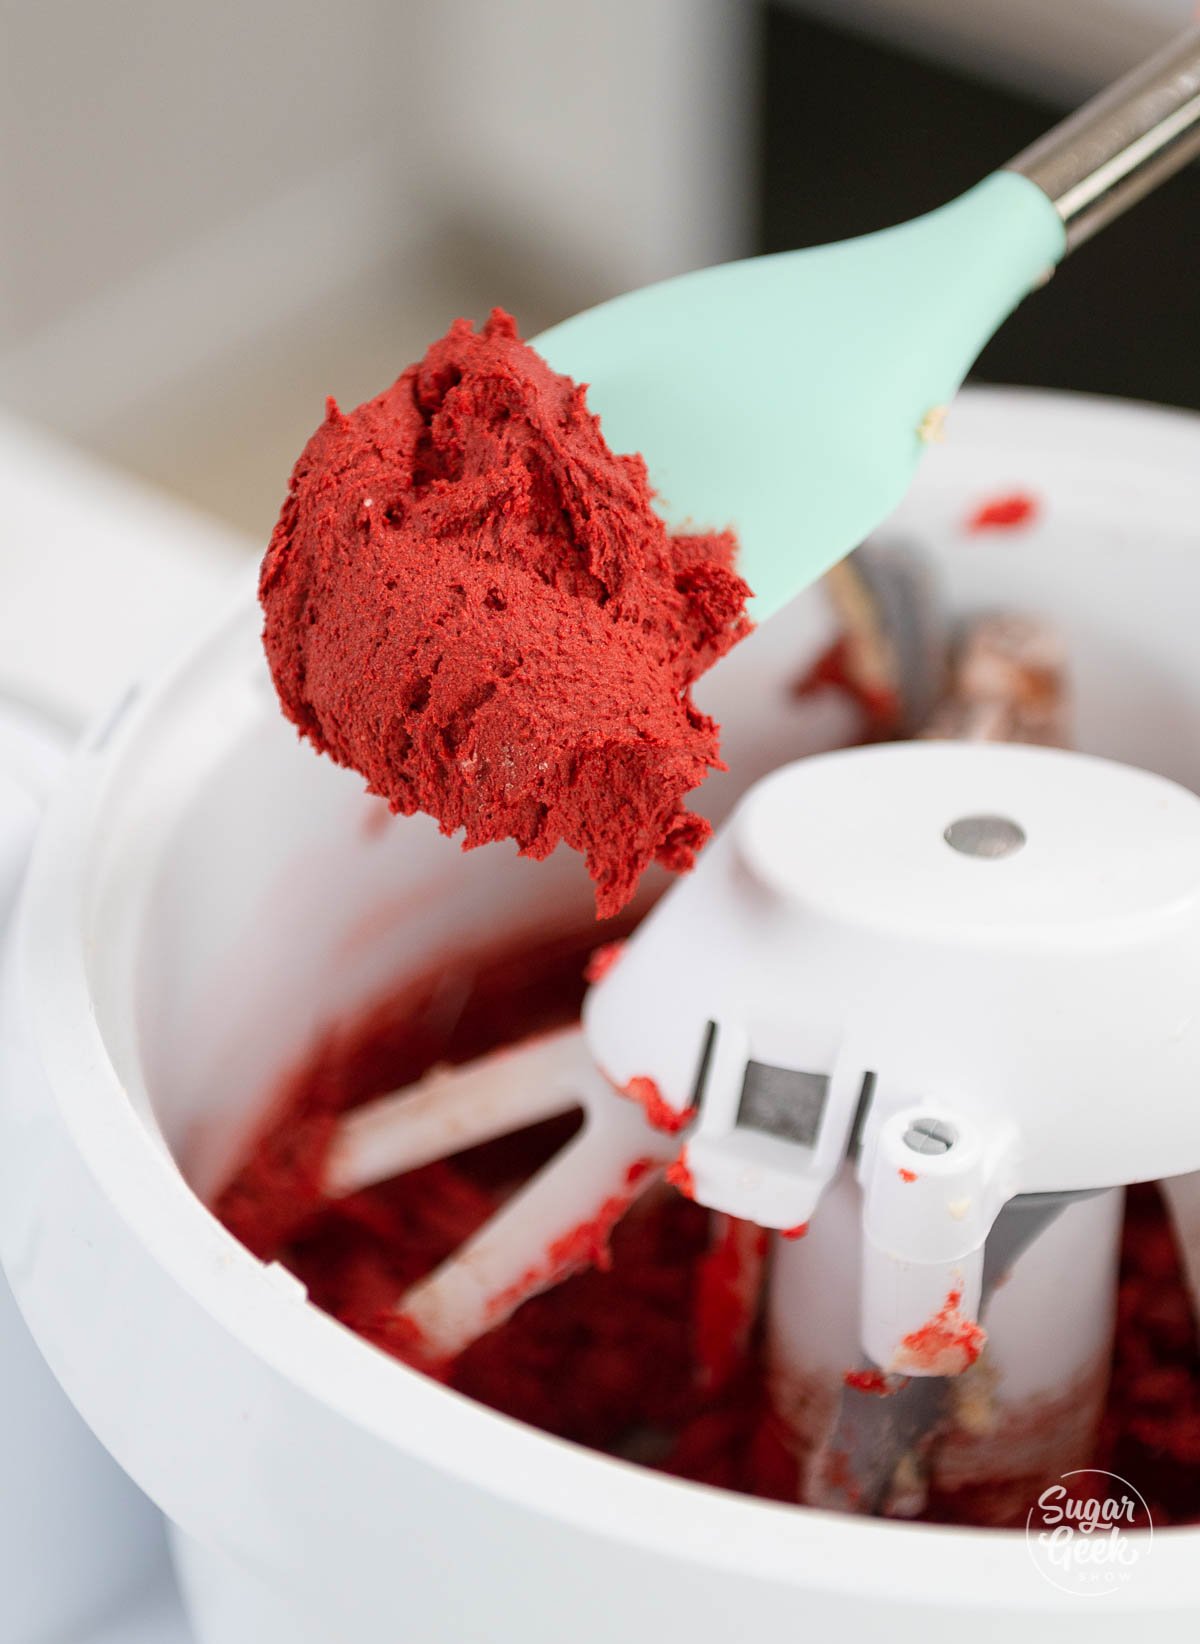
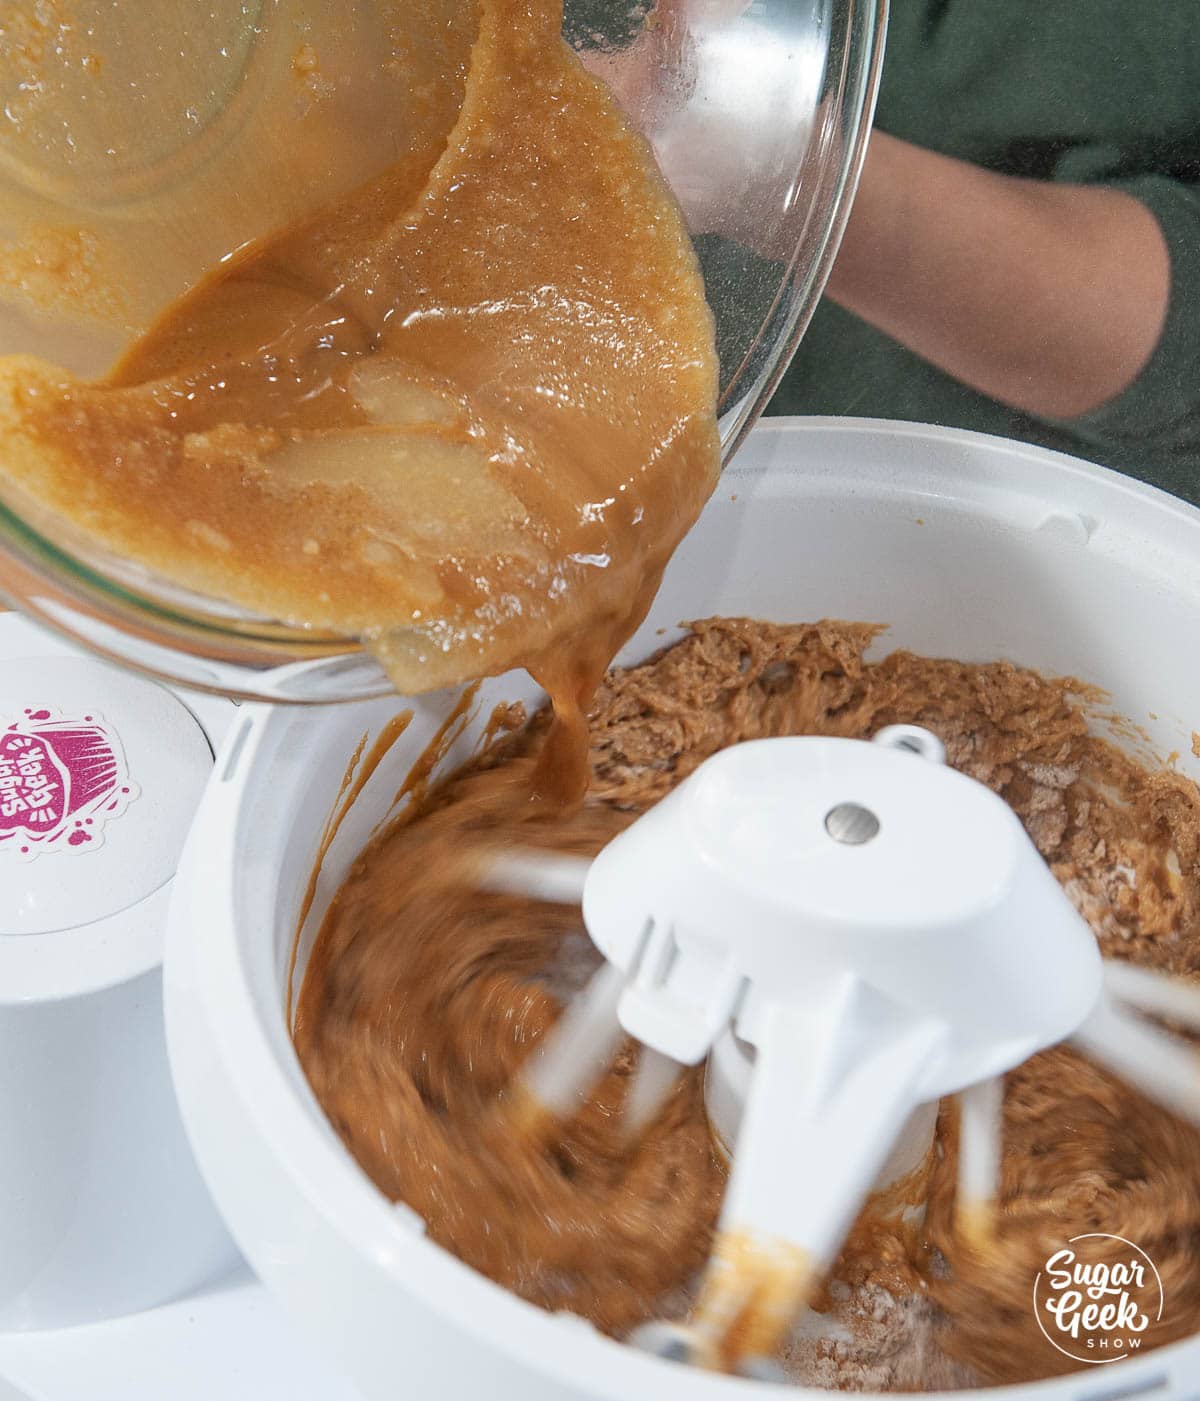
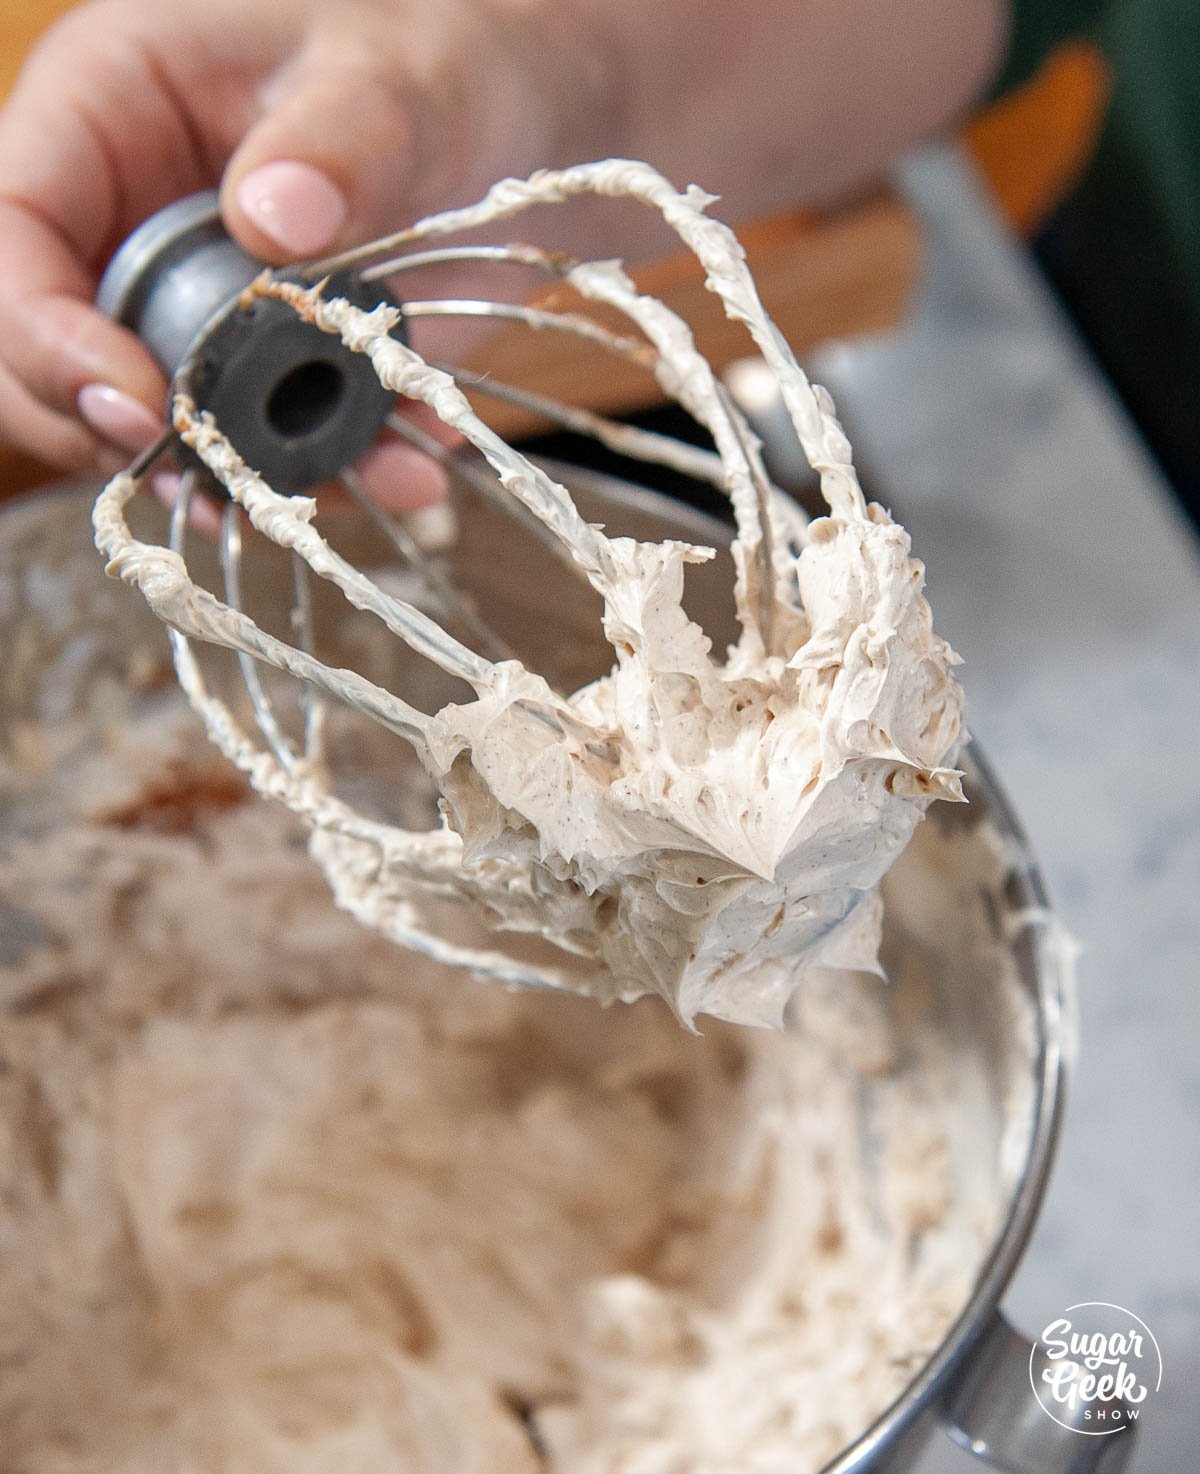
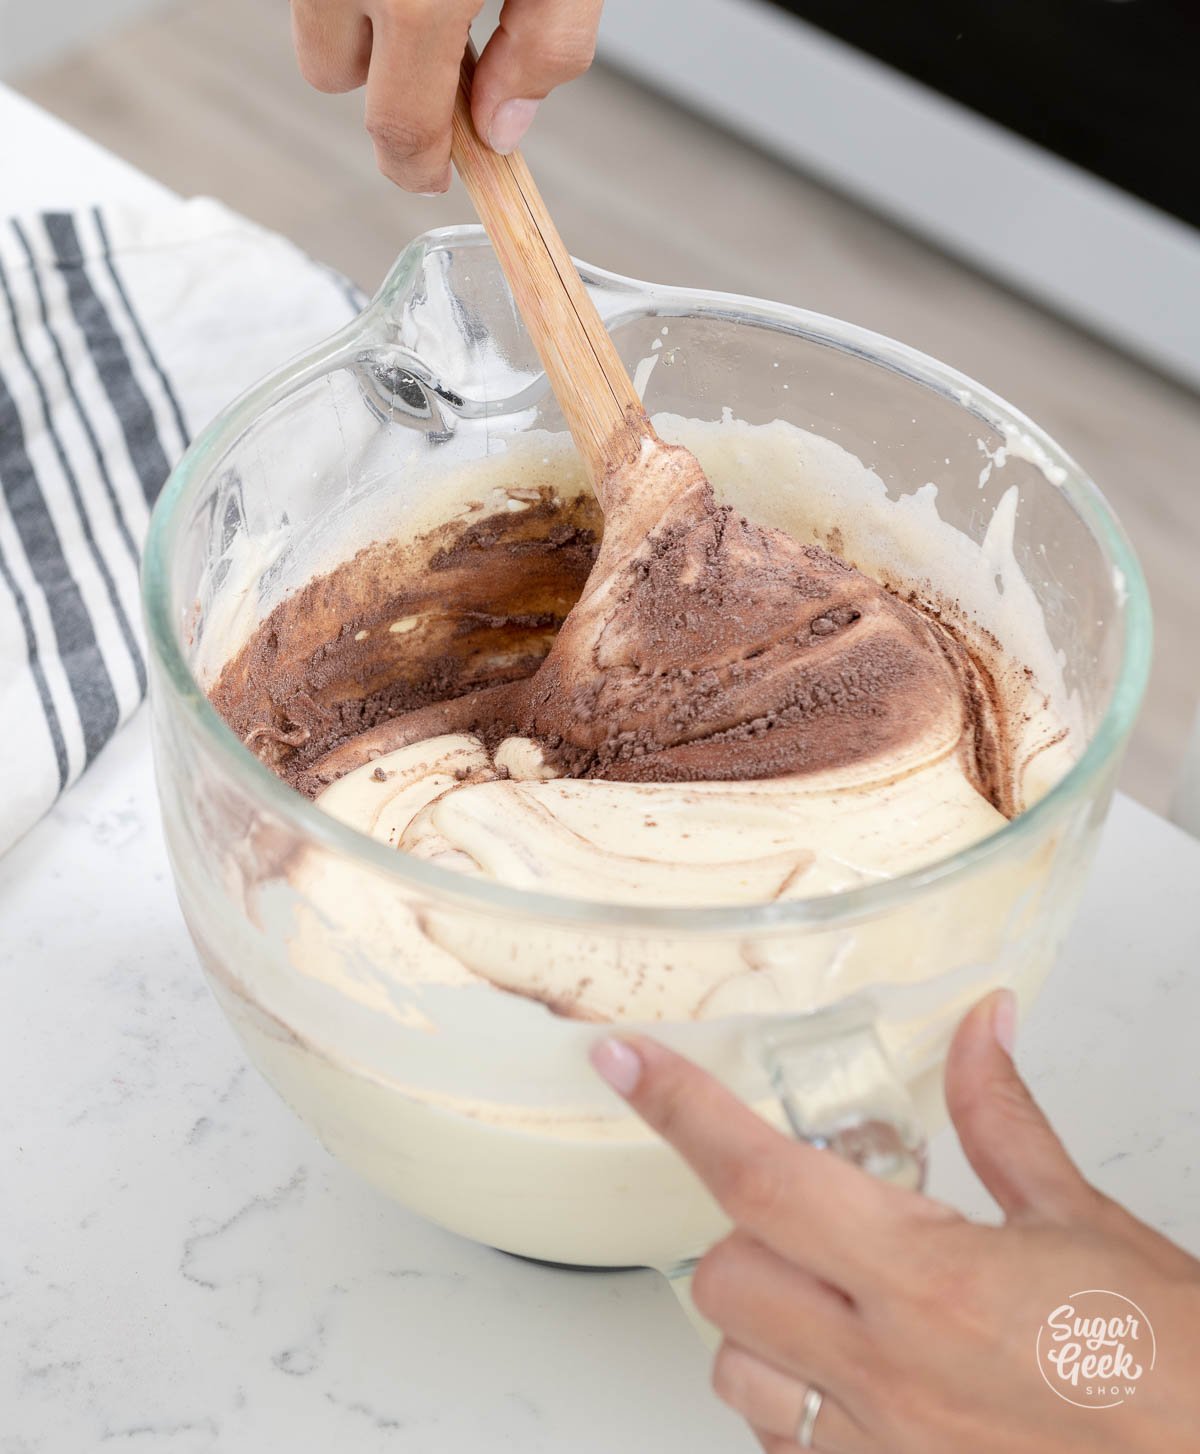
- Then, add in ⅓ of the meringue to the chocolate pastry cream and mix them together until they are fully incorporated. You do not need to be gentle at this point.


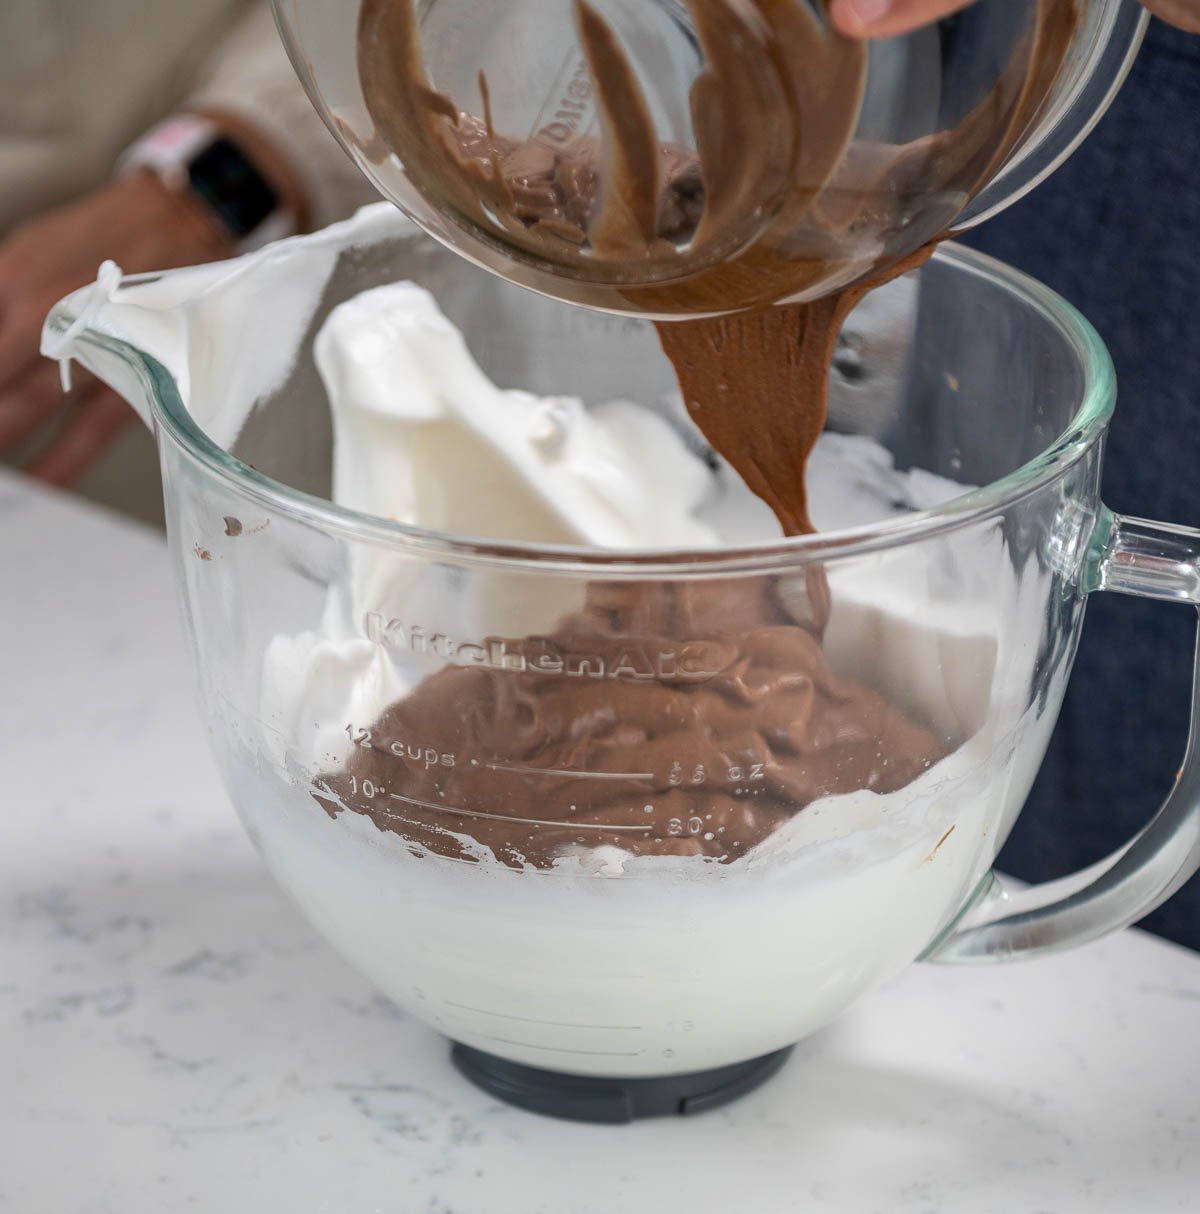
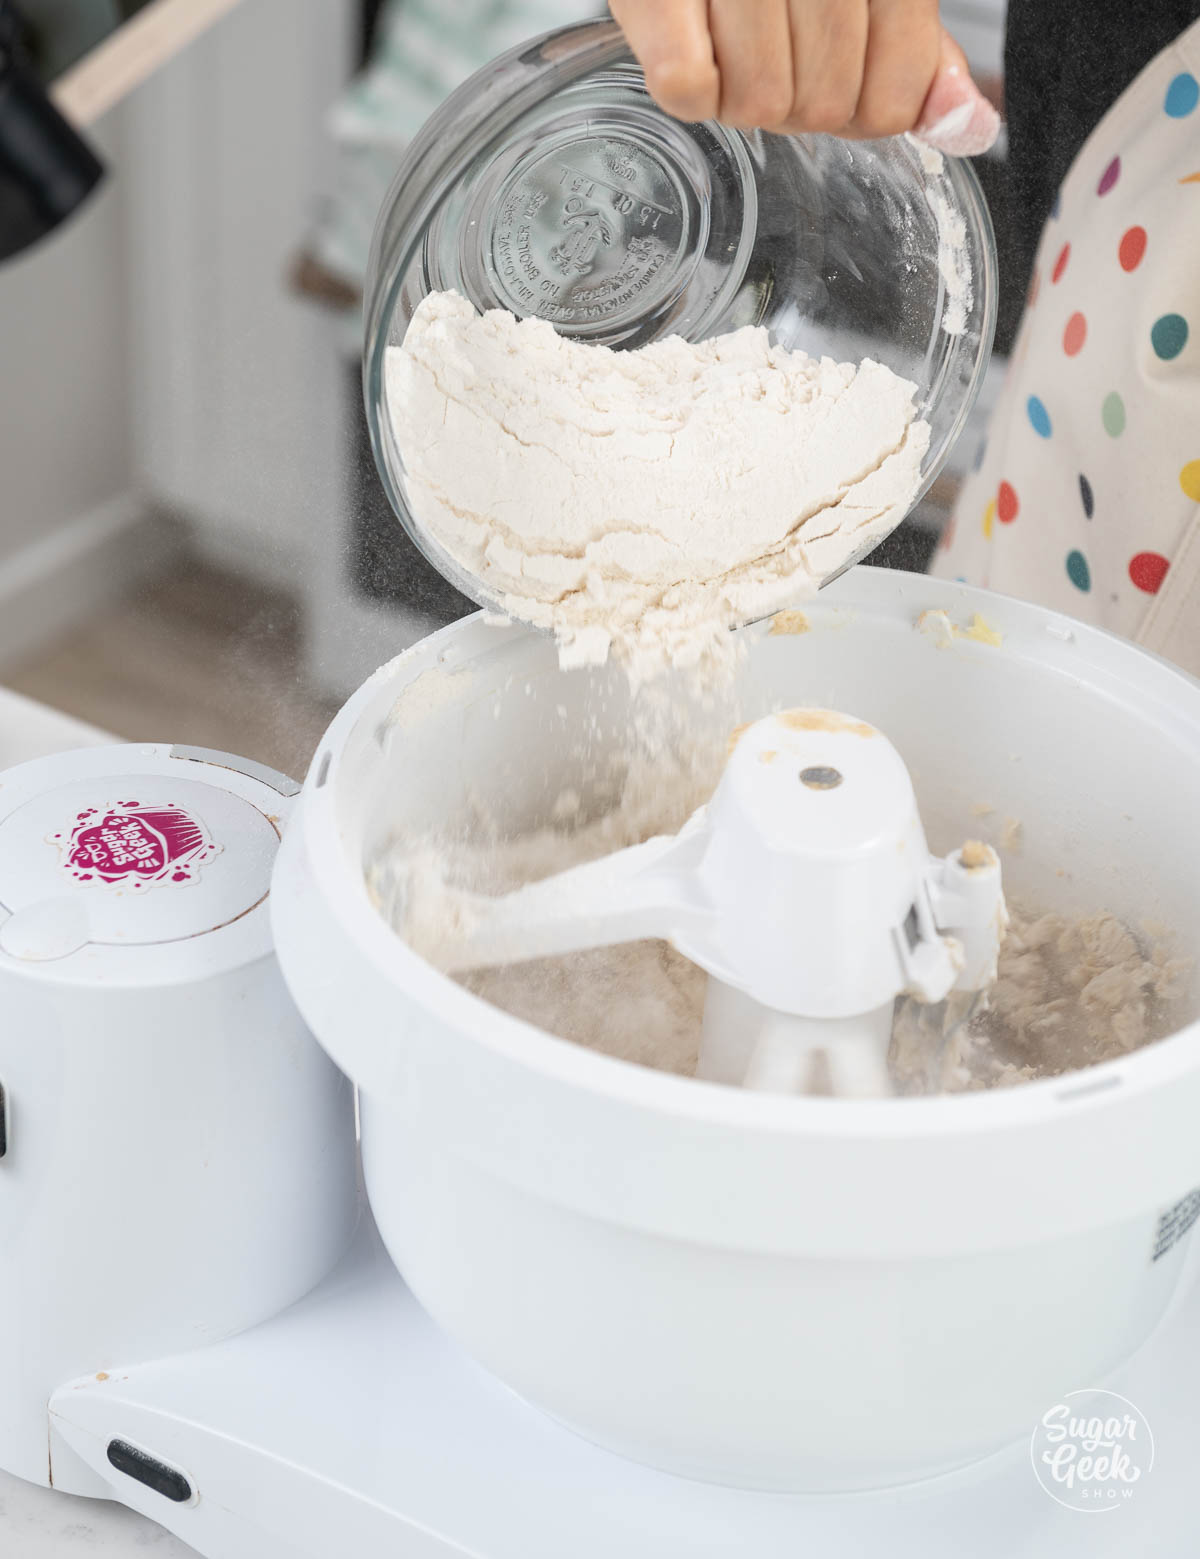
- Add the chocolate mixture into the bowl with the rest of the whipped egg whites.

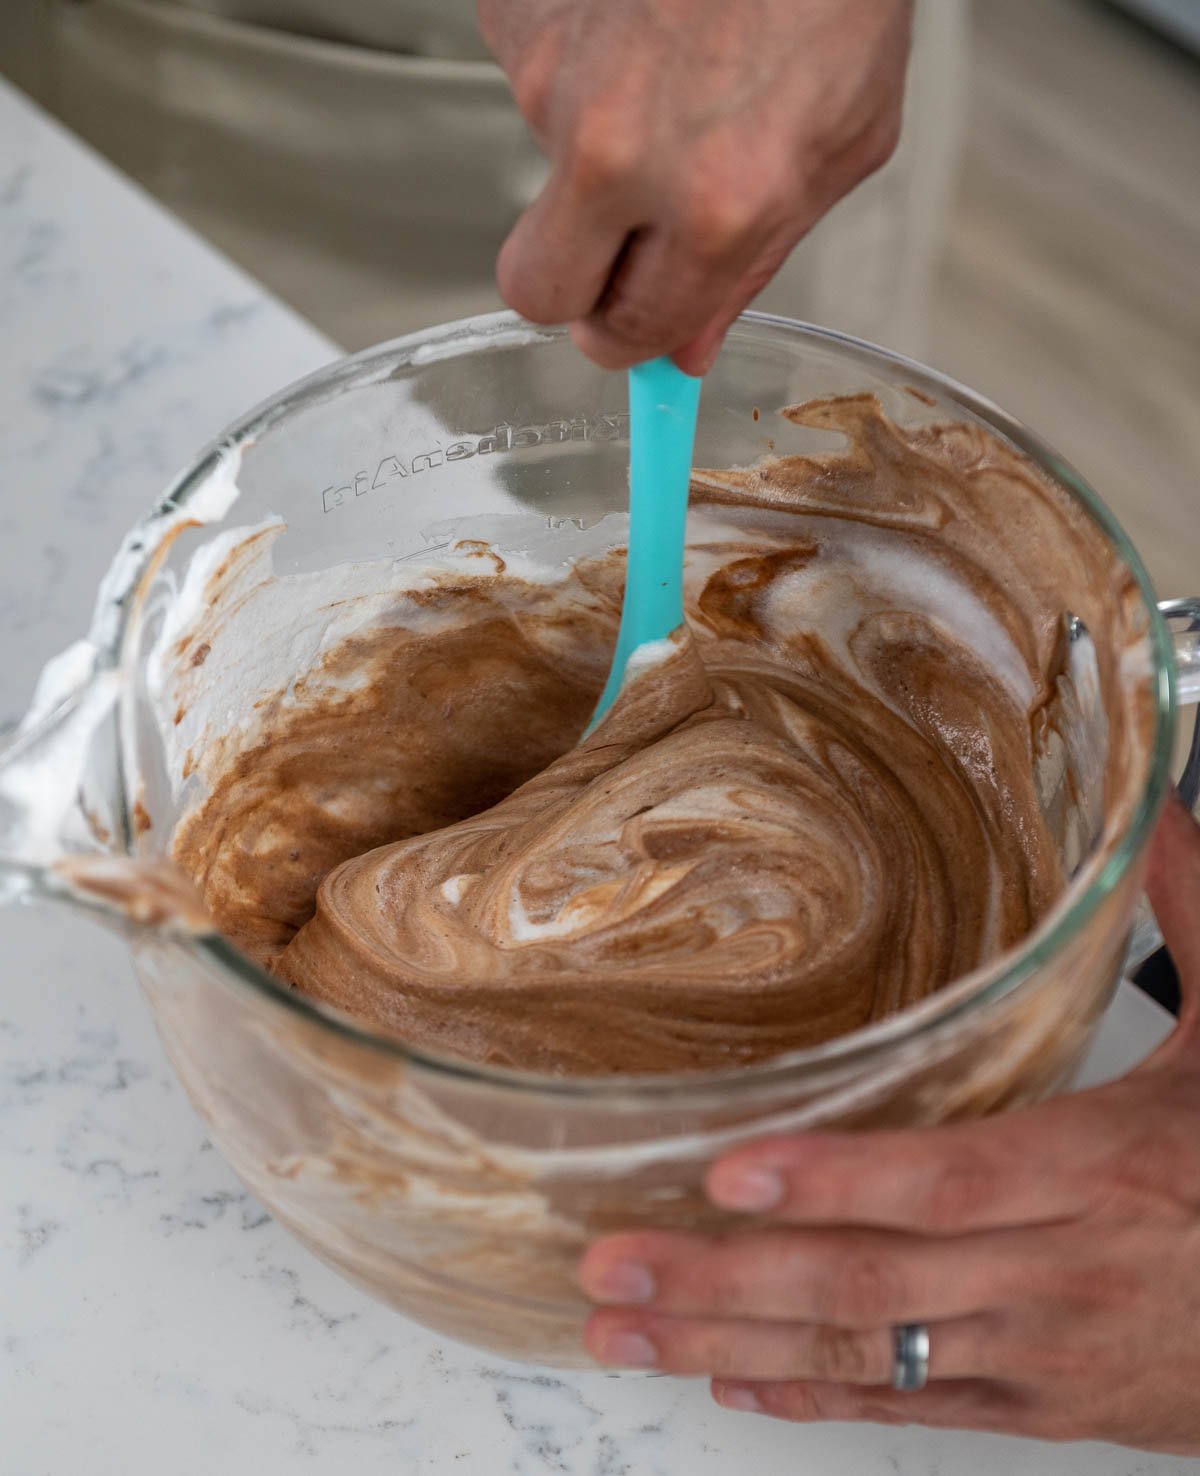
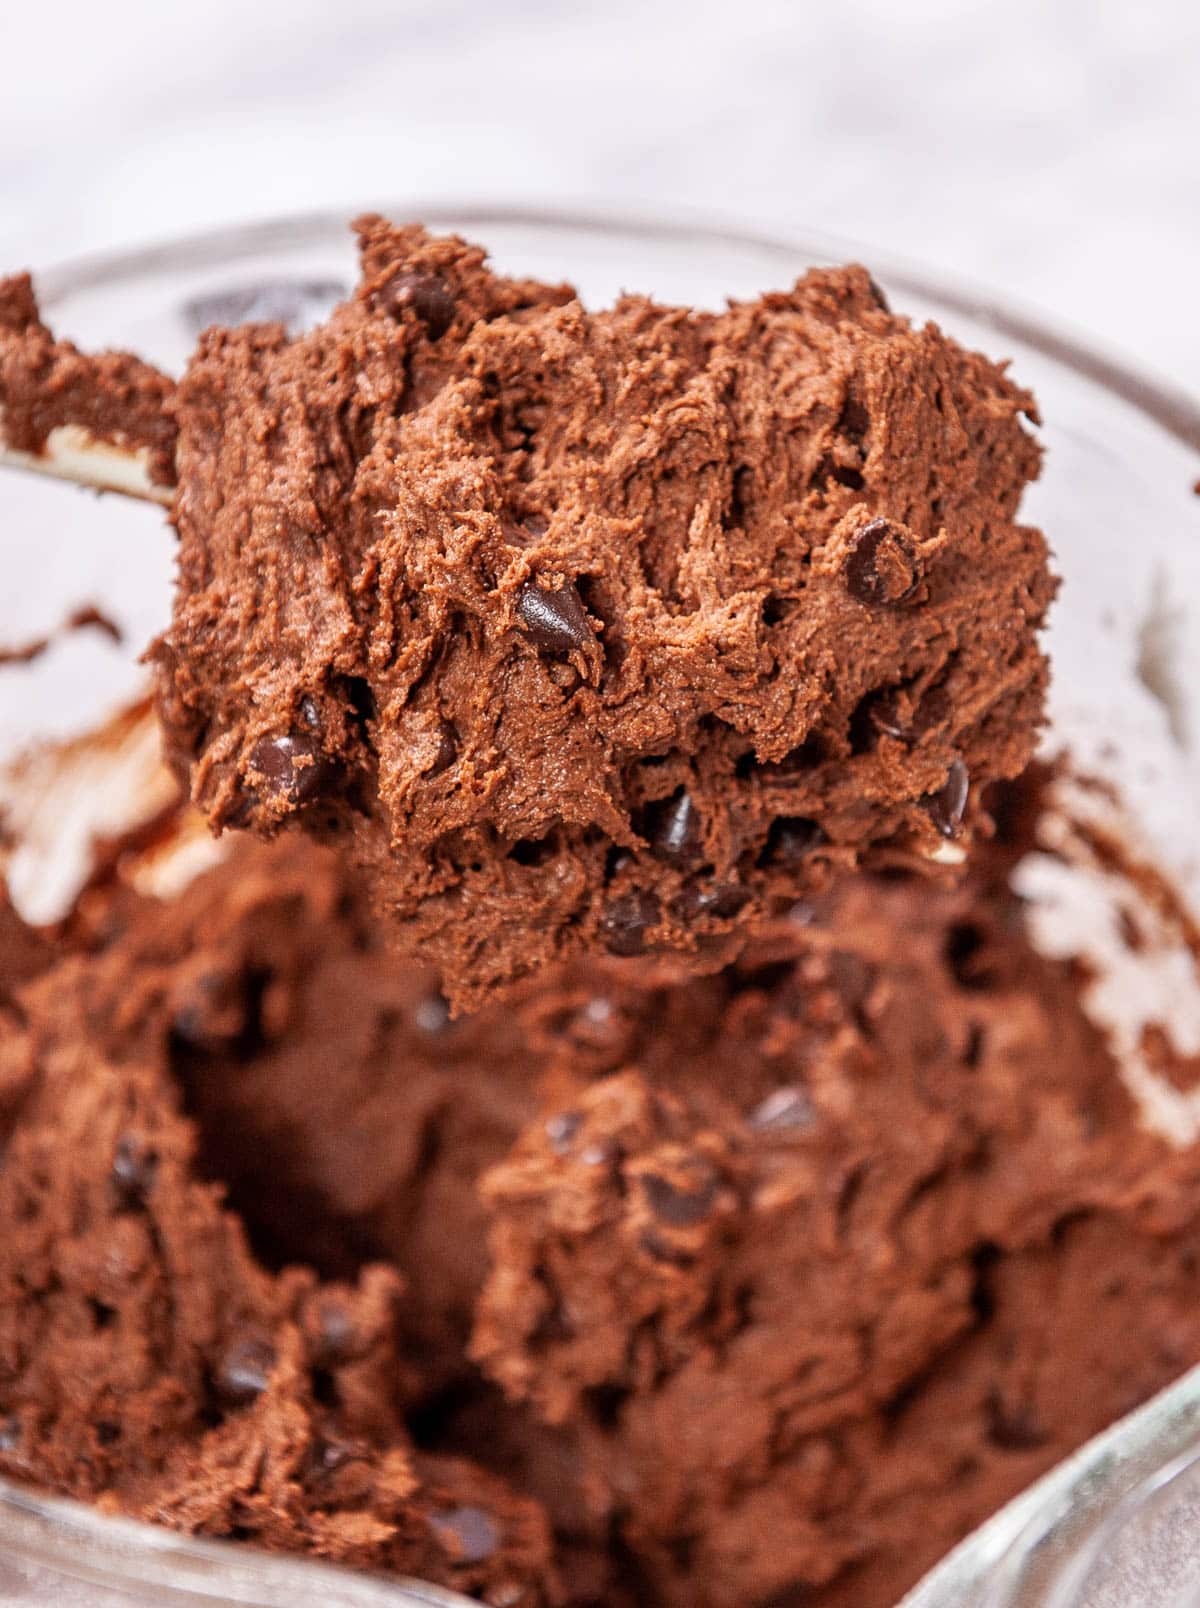
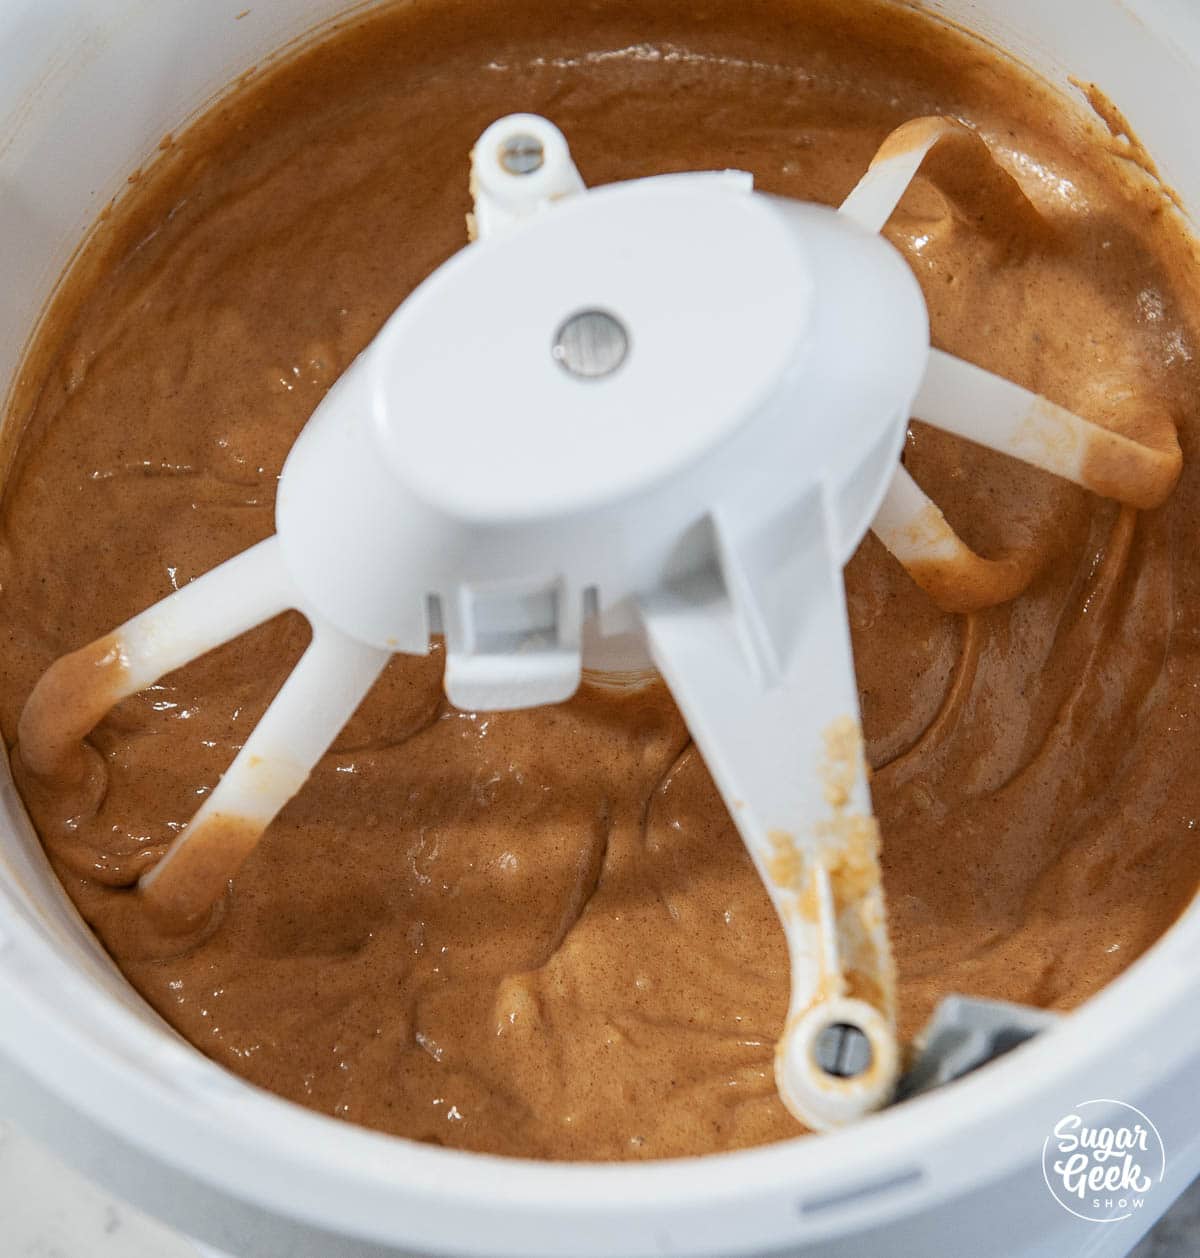
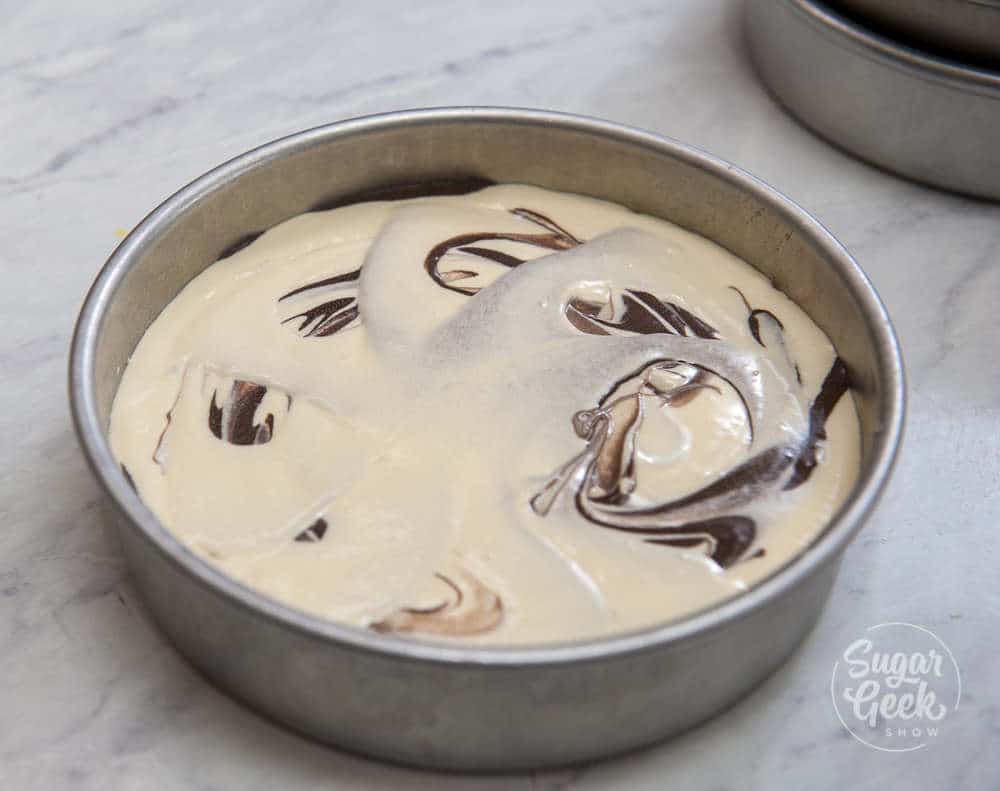
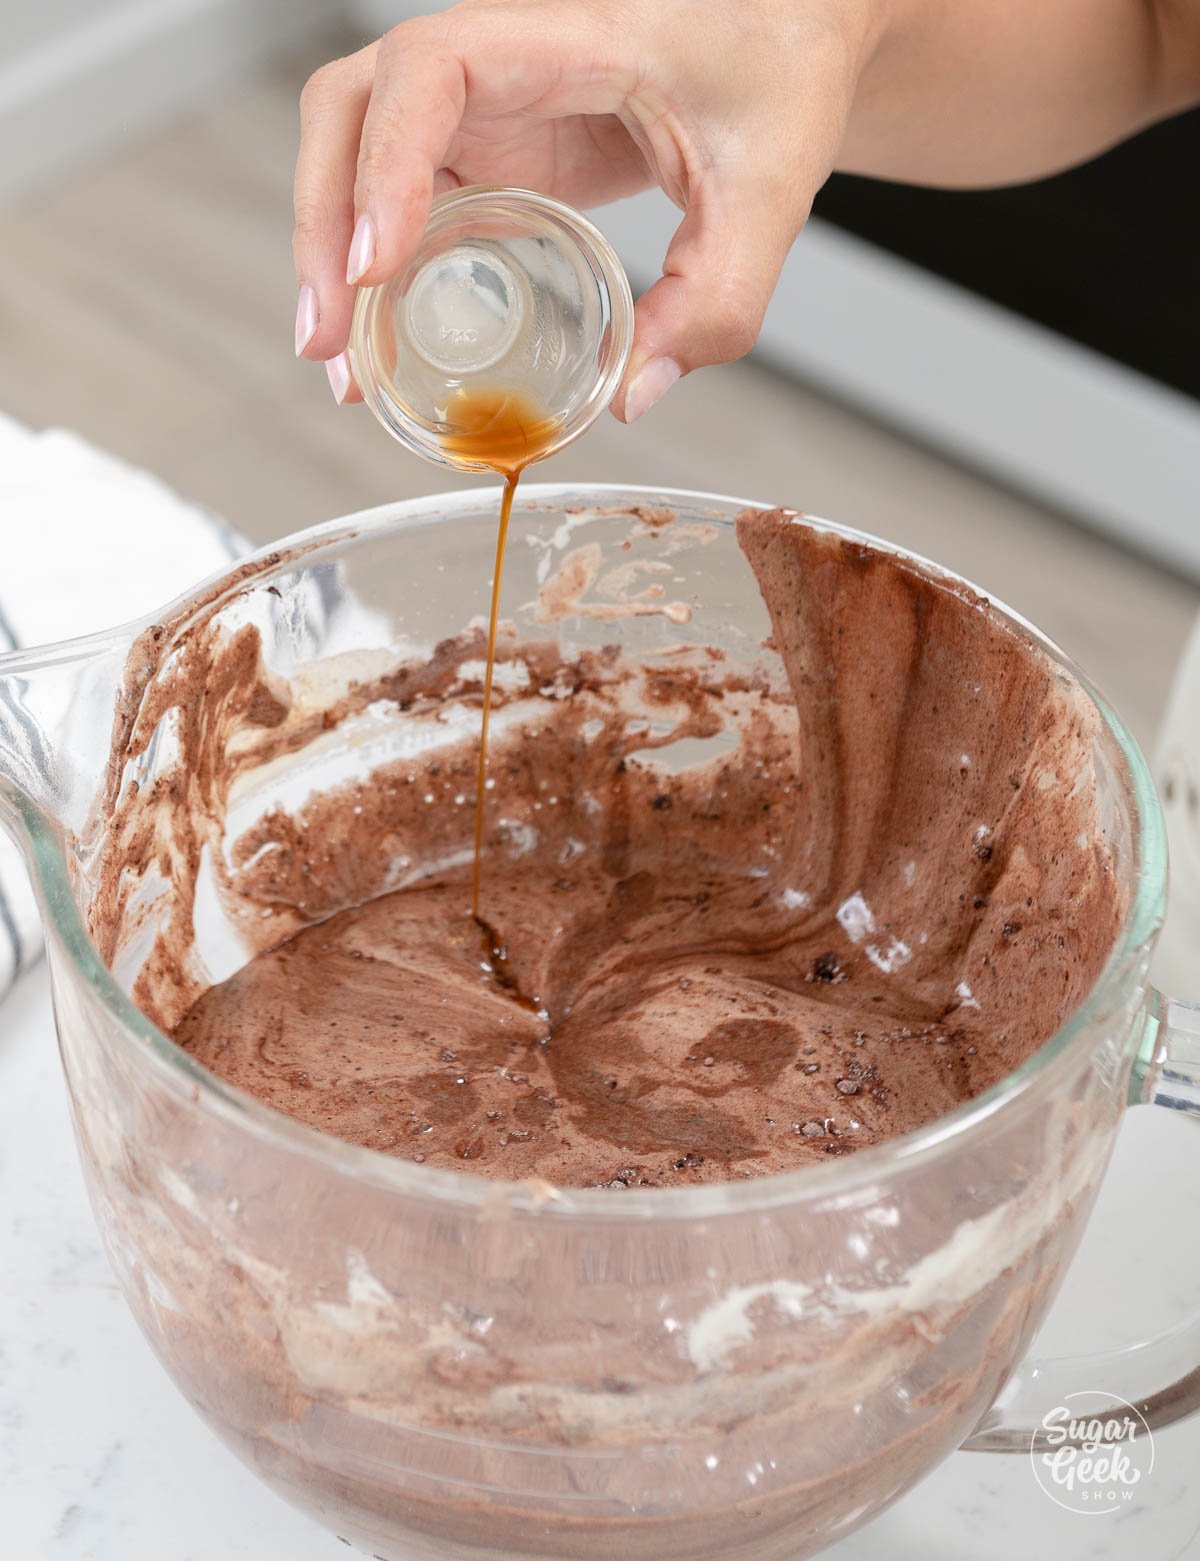
- Next, gently fold the egg whites and chocolate mixture together carefully. Try not to deflate the egg whites too much. You only want to fold them until they are fully incorporated.


Baking the Chocolate Soufflé
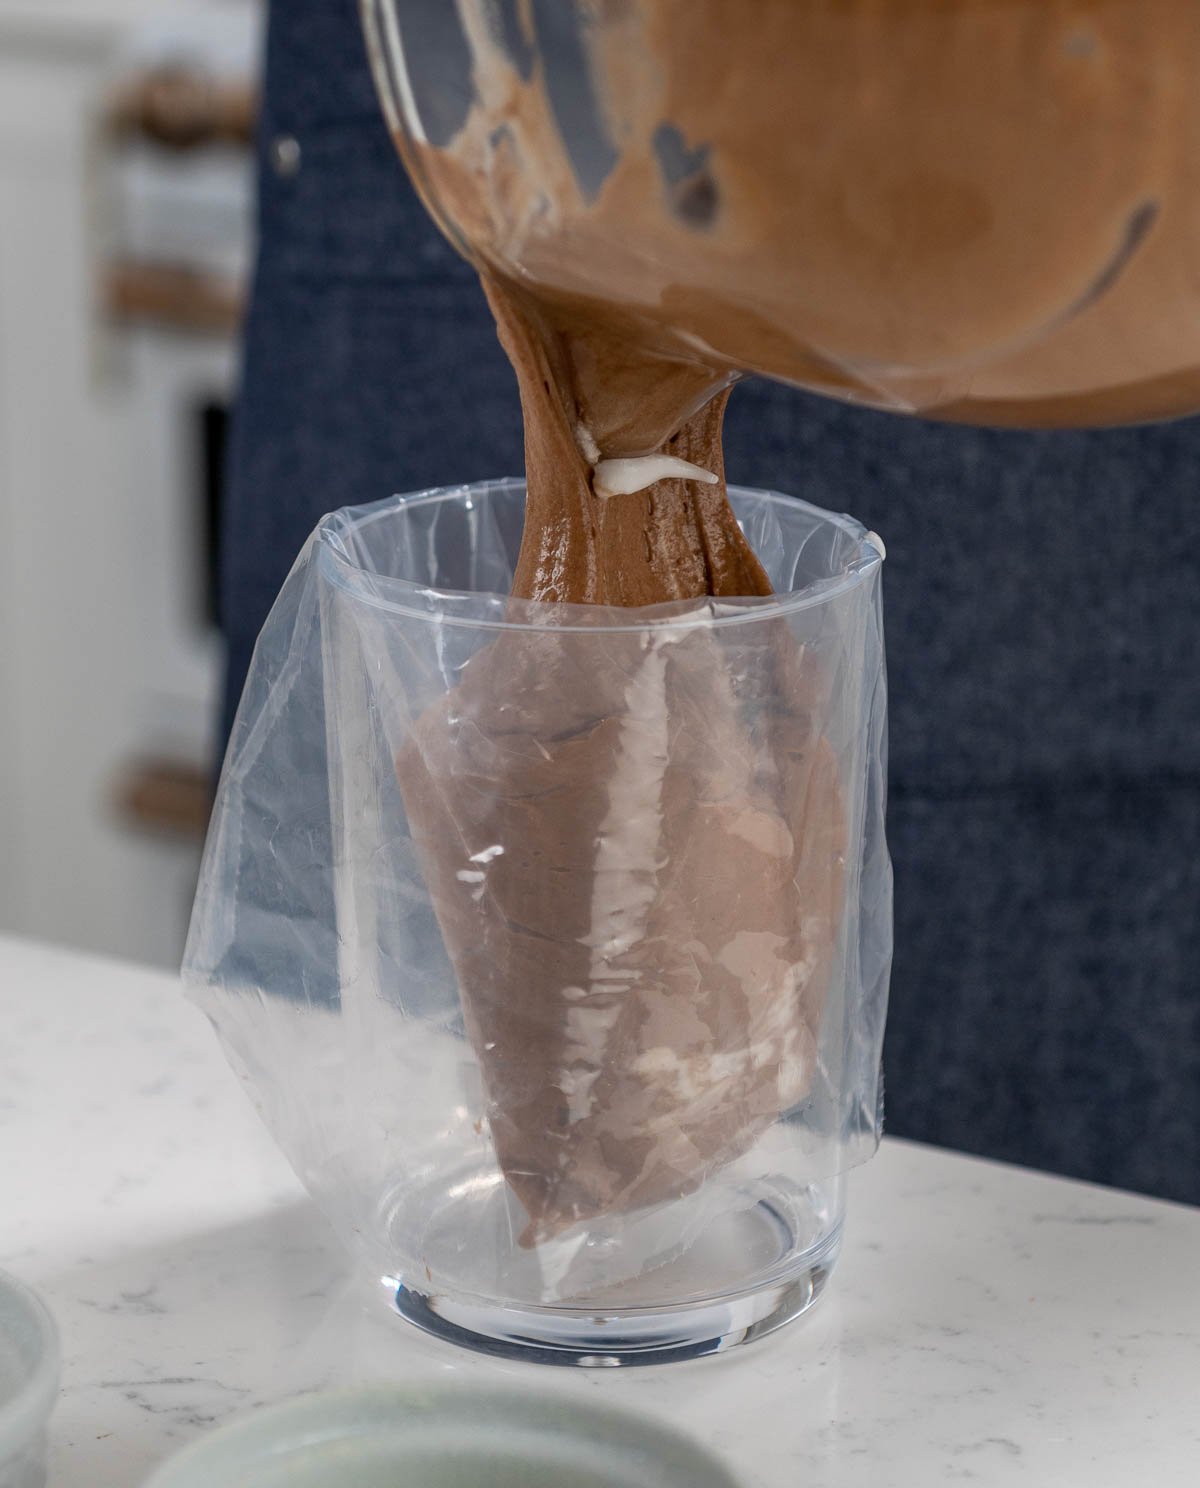
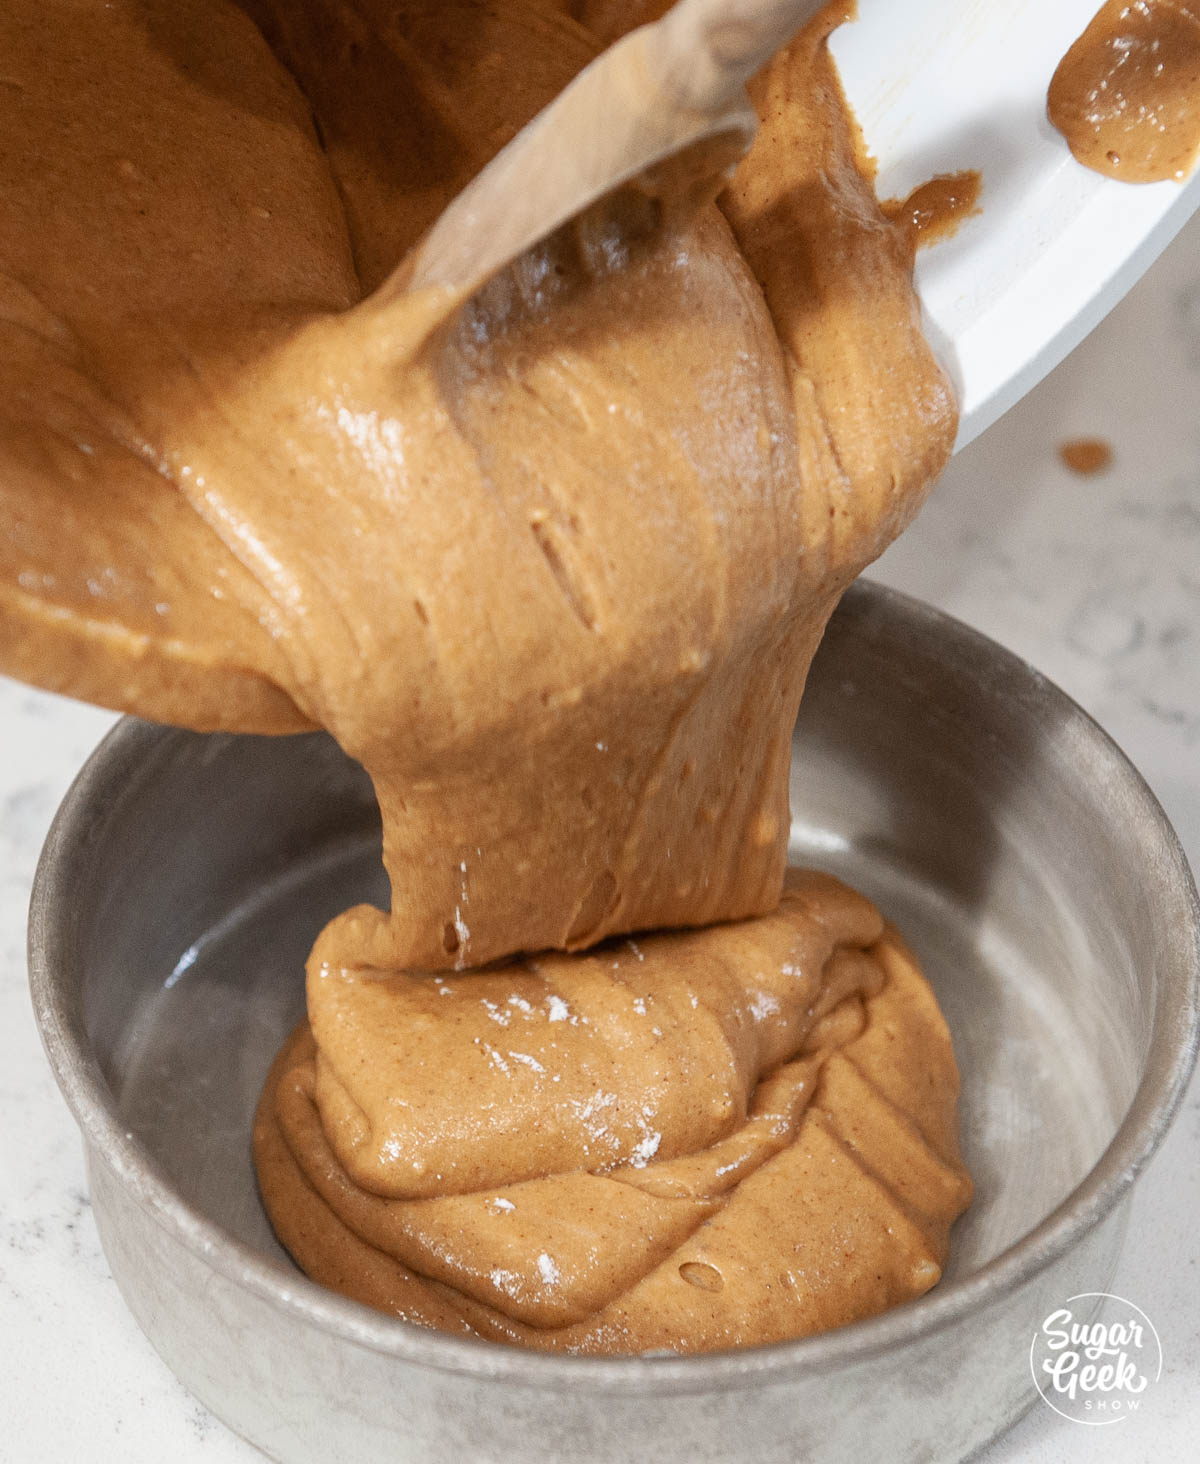
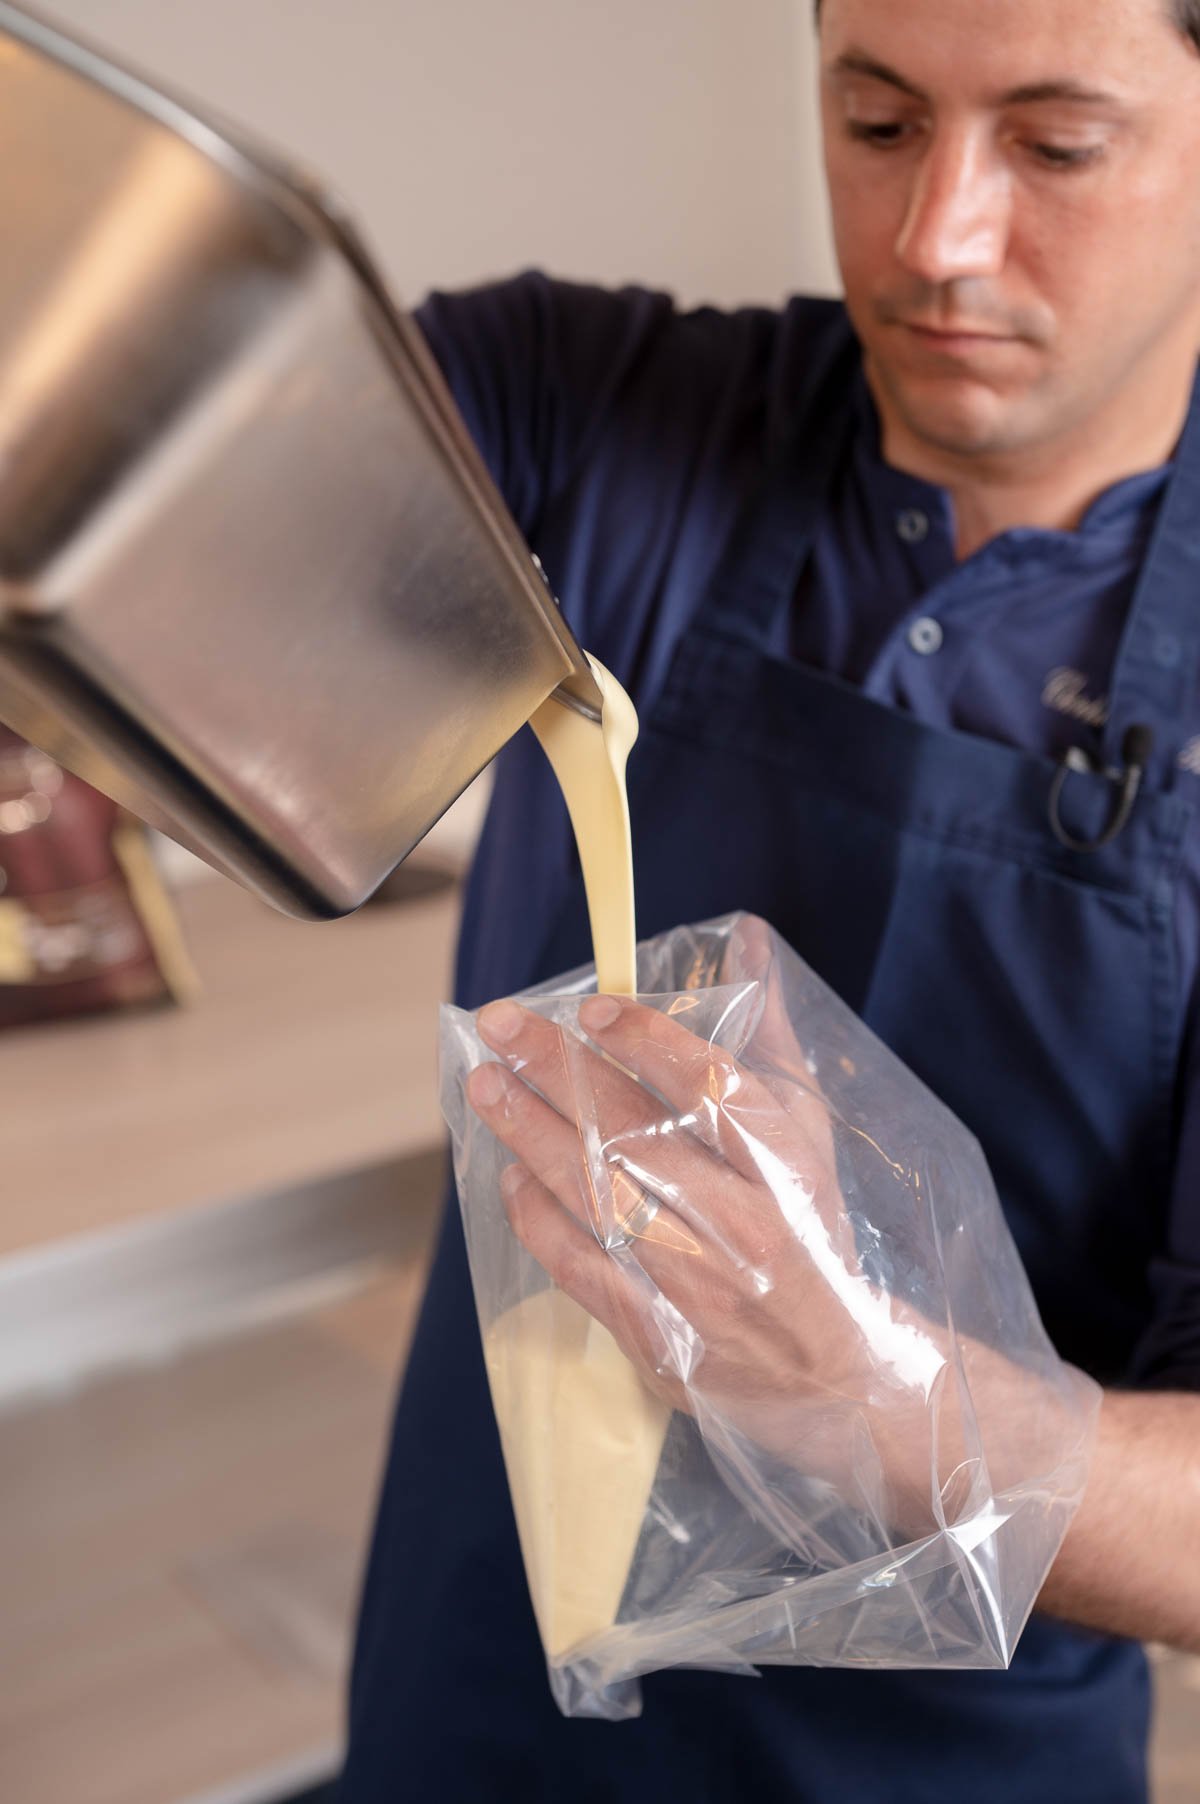
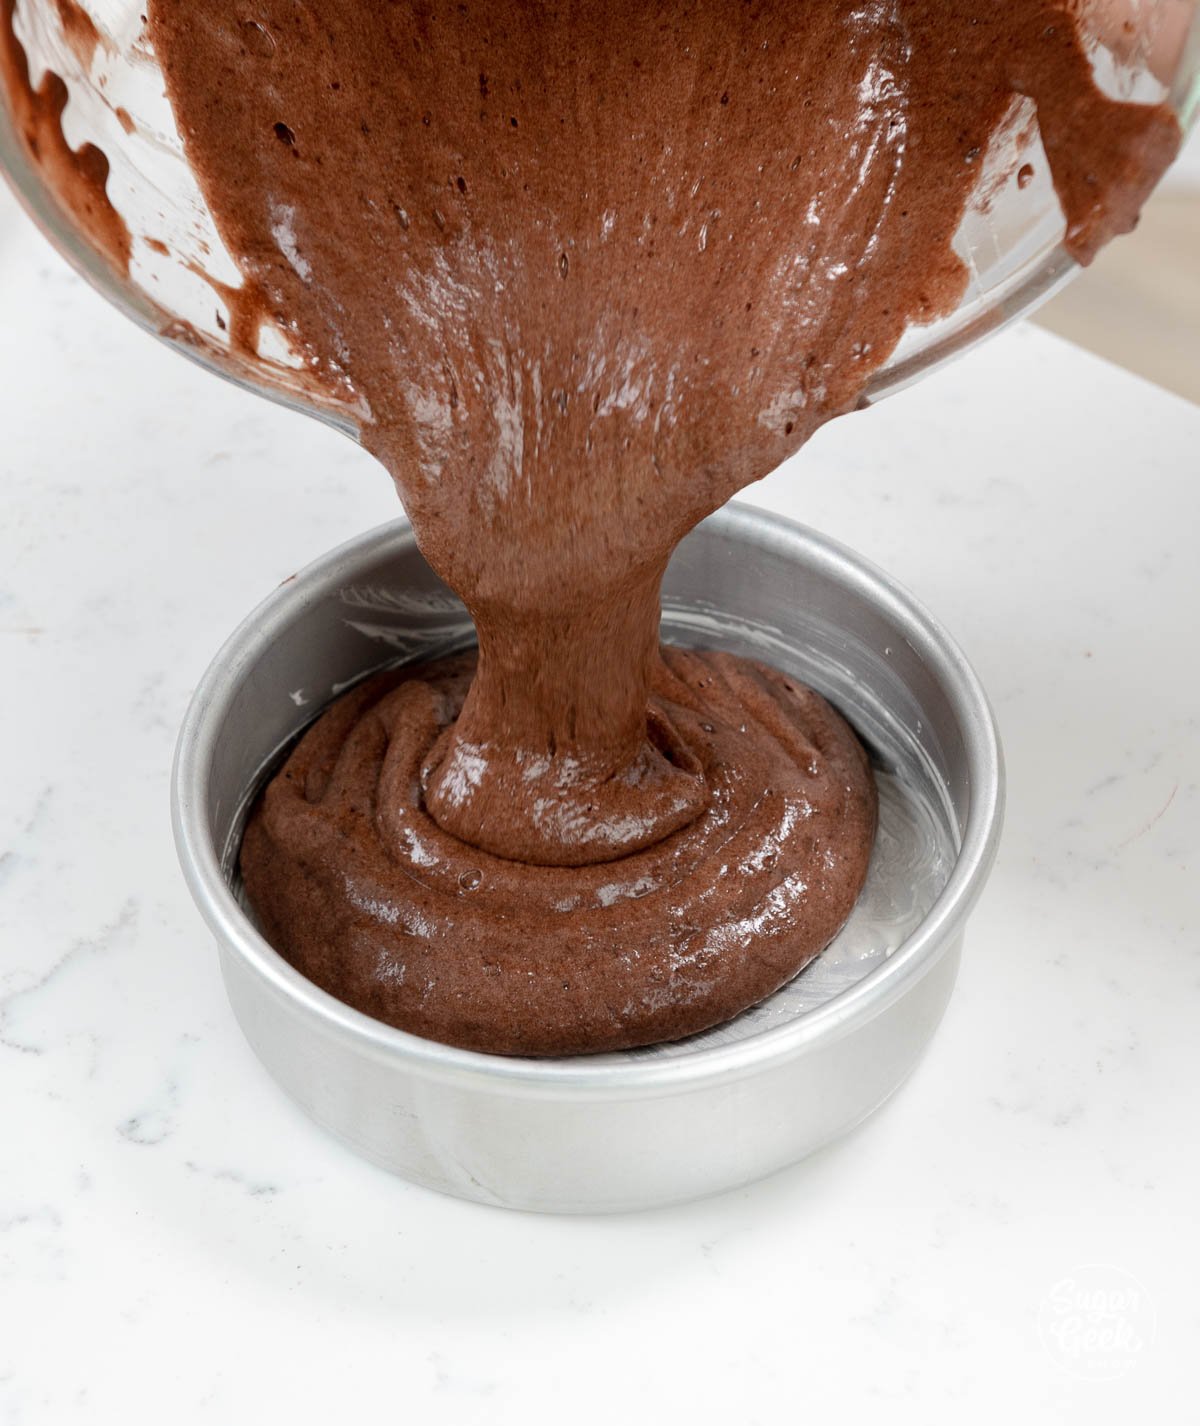
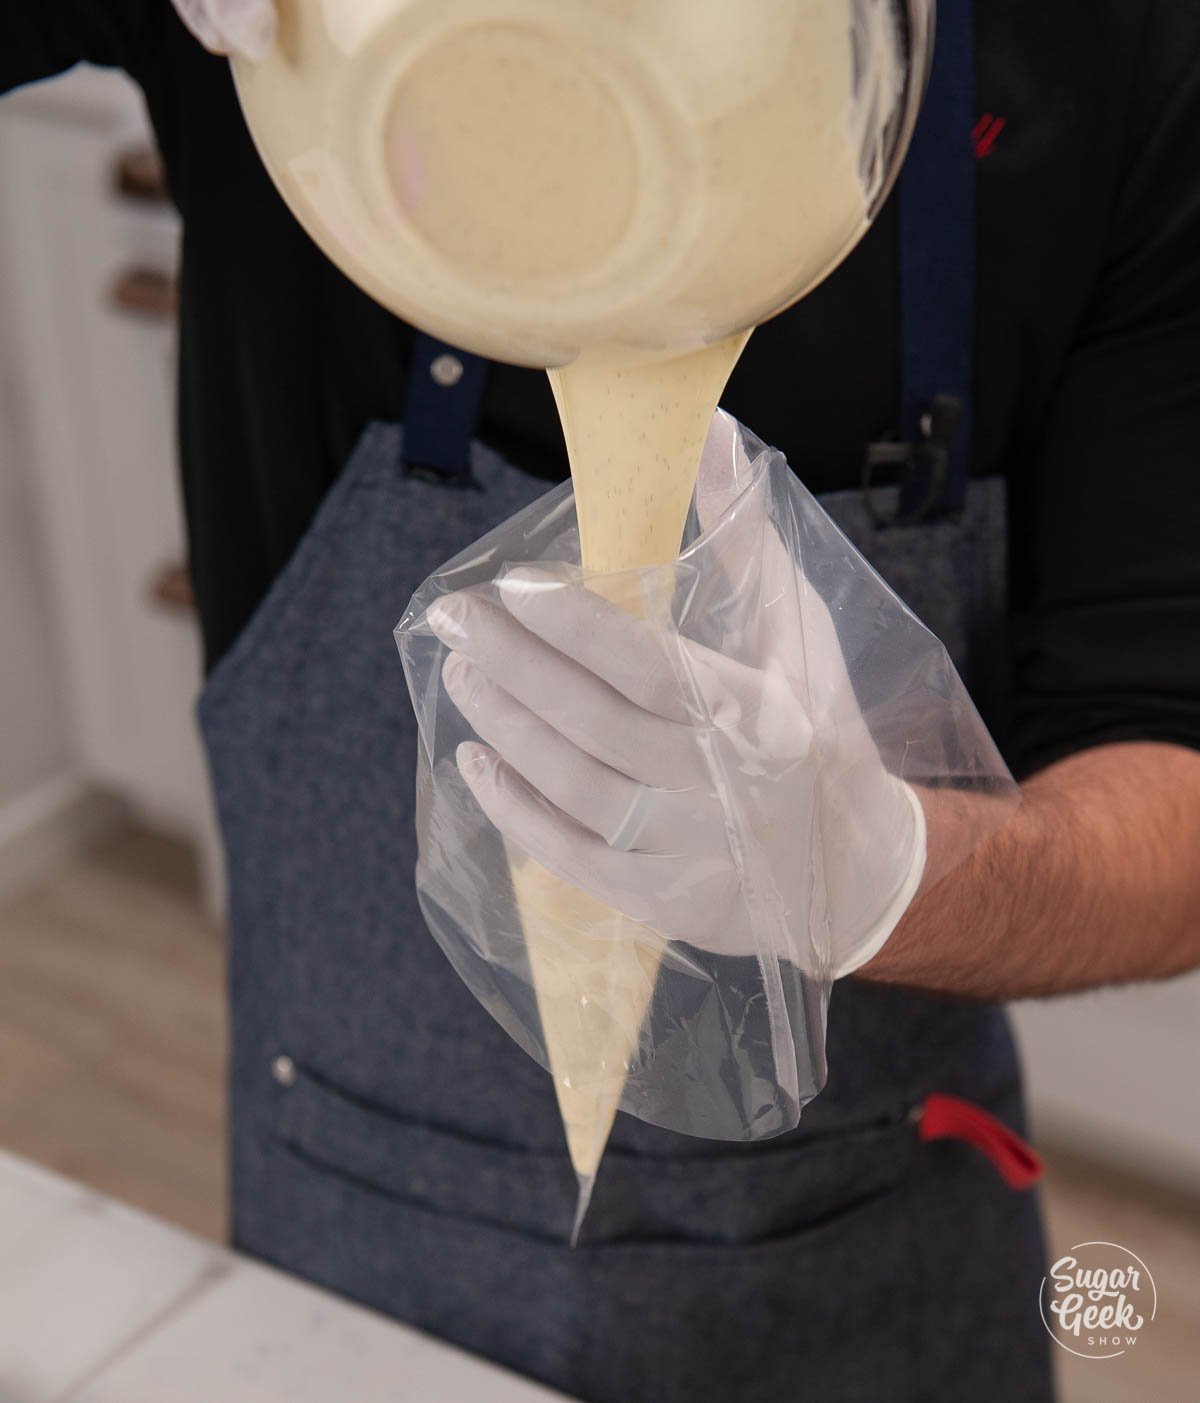
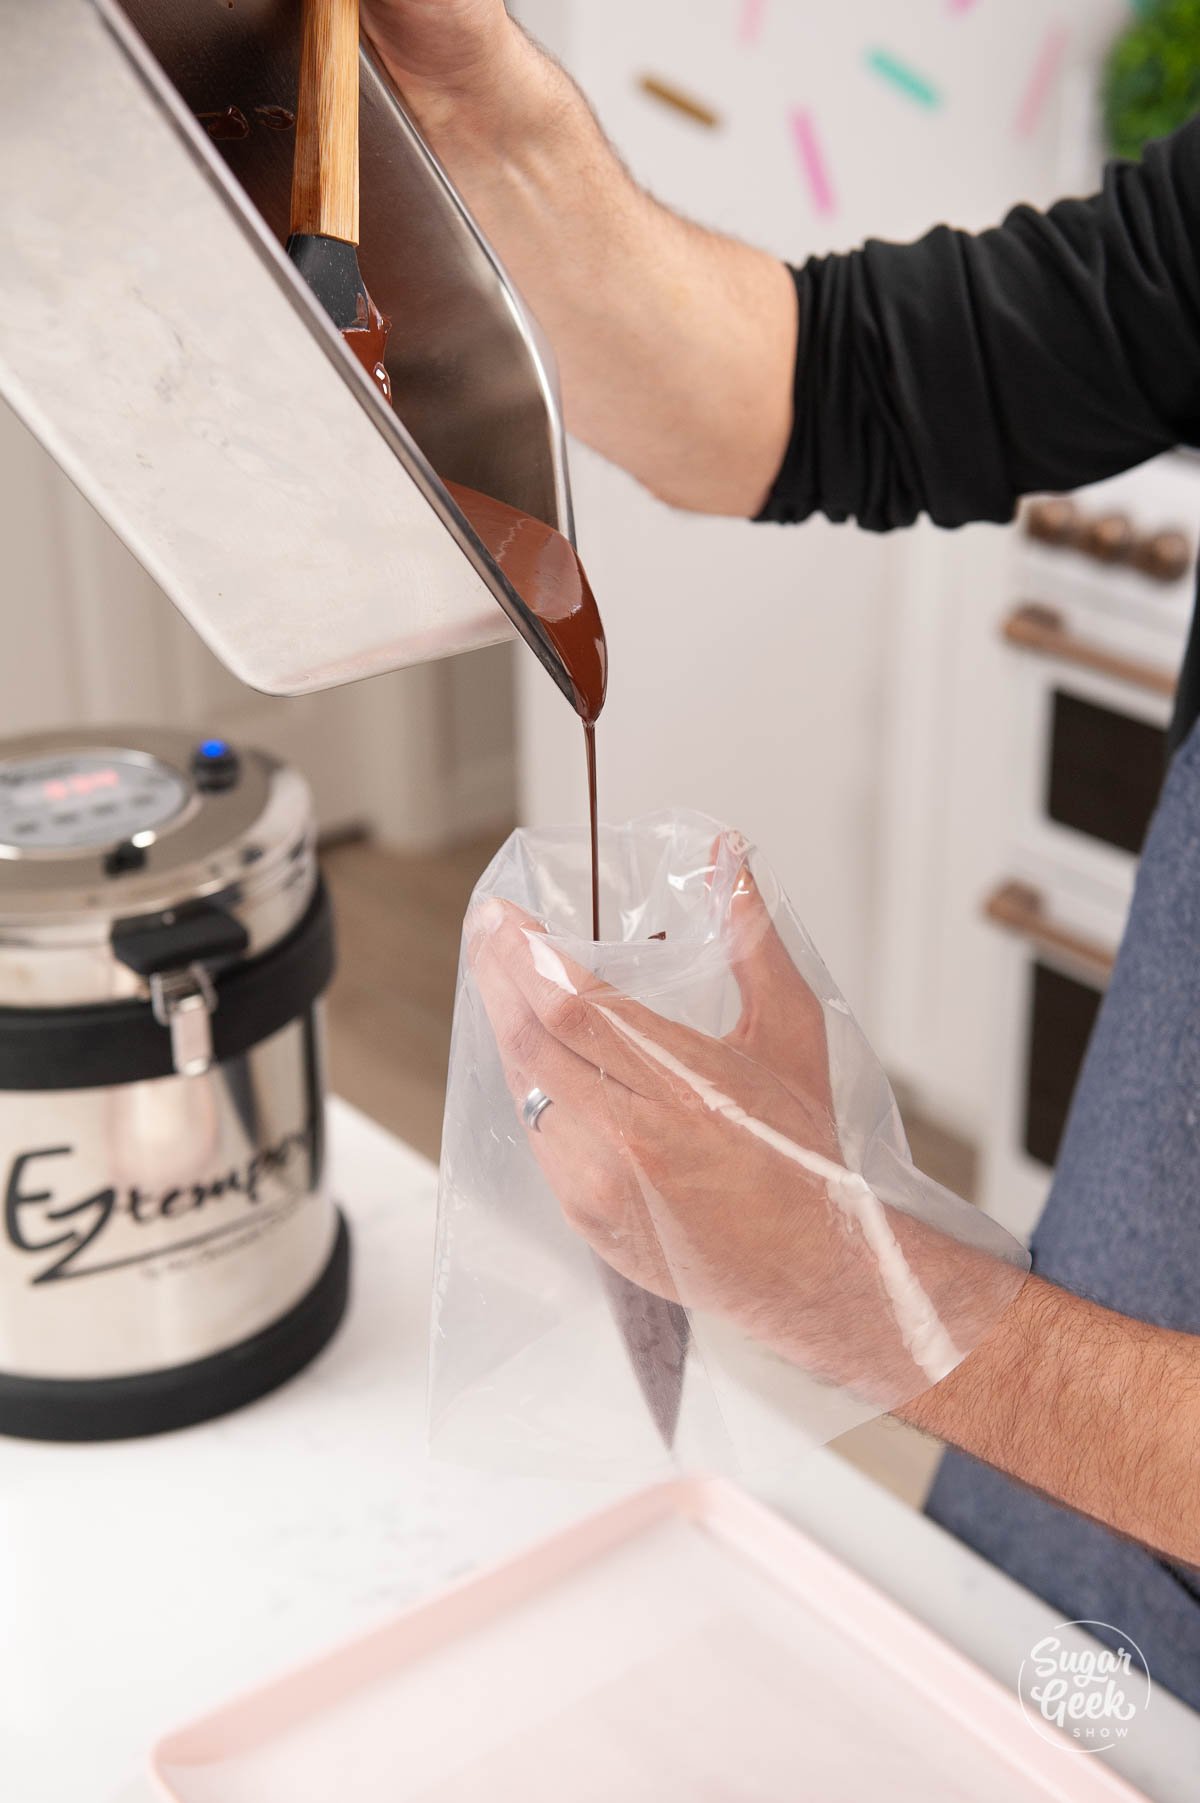
- First, pour the soufflé mixture into a large piping bag.

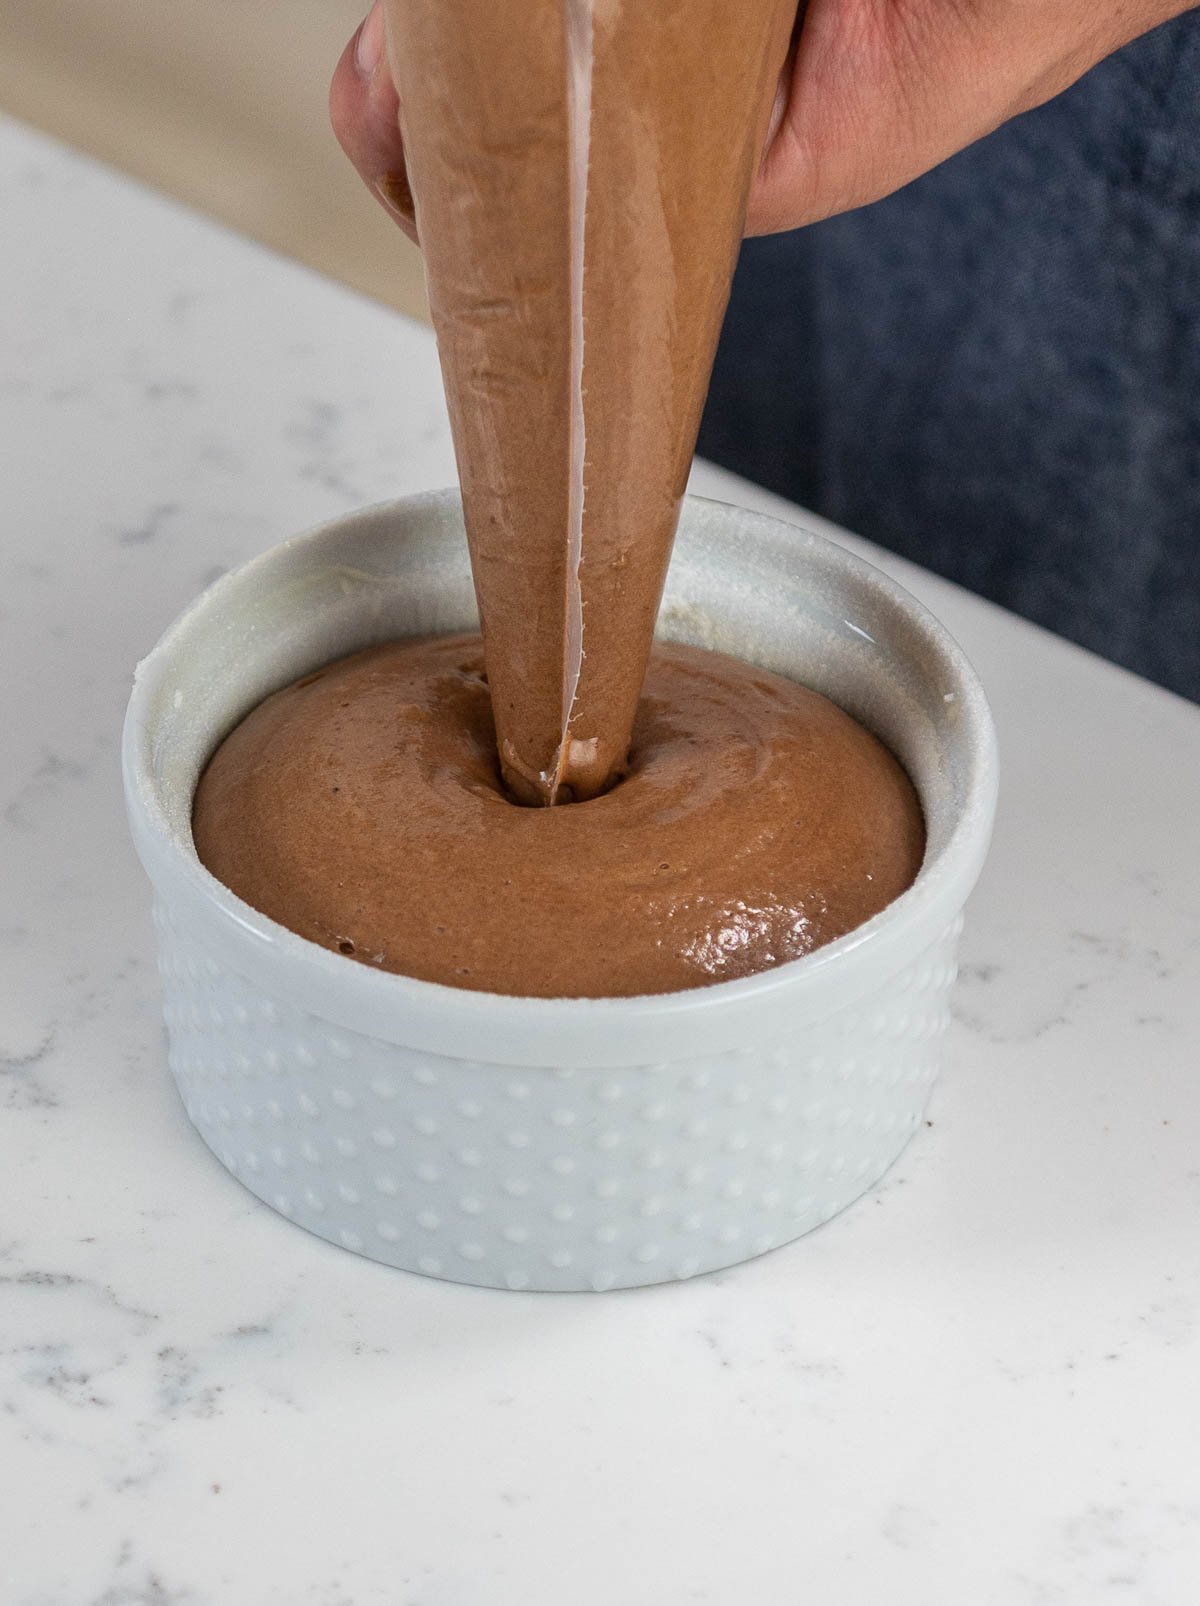
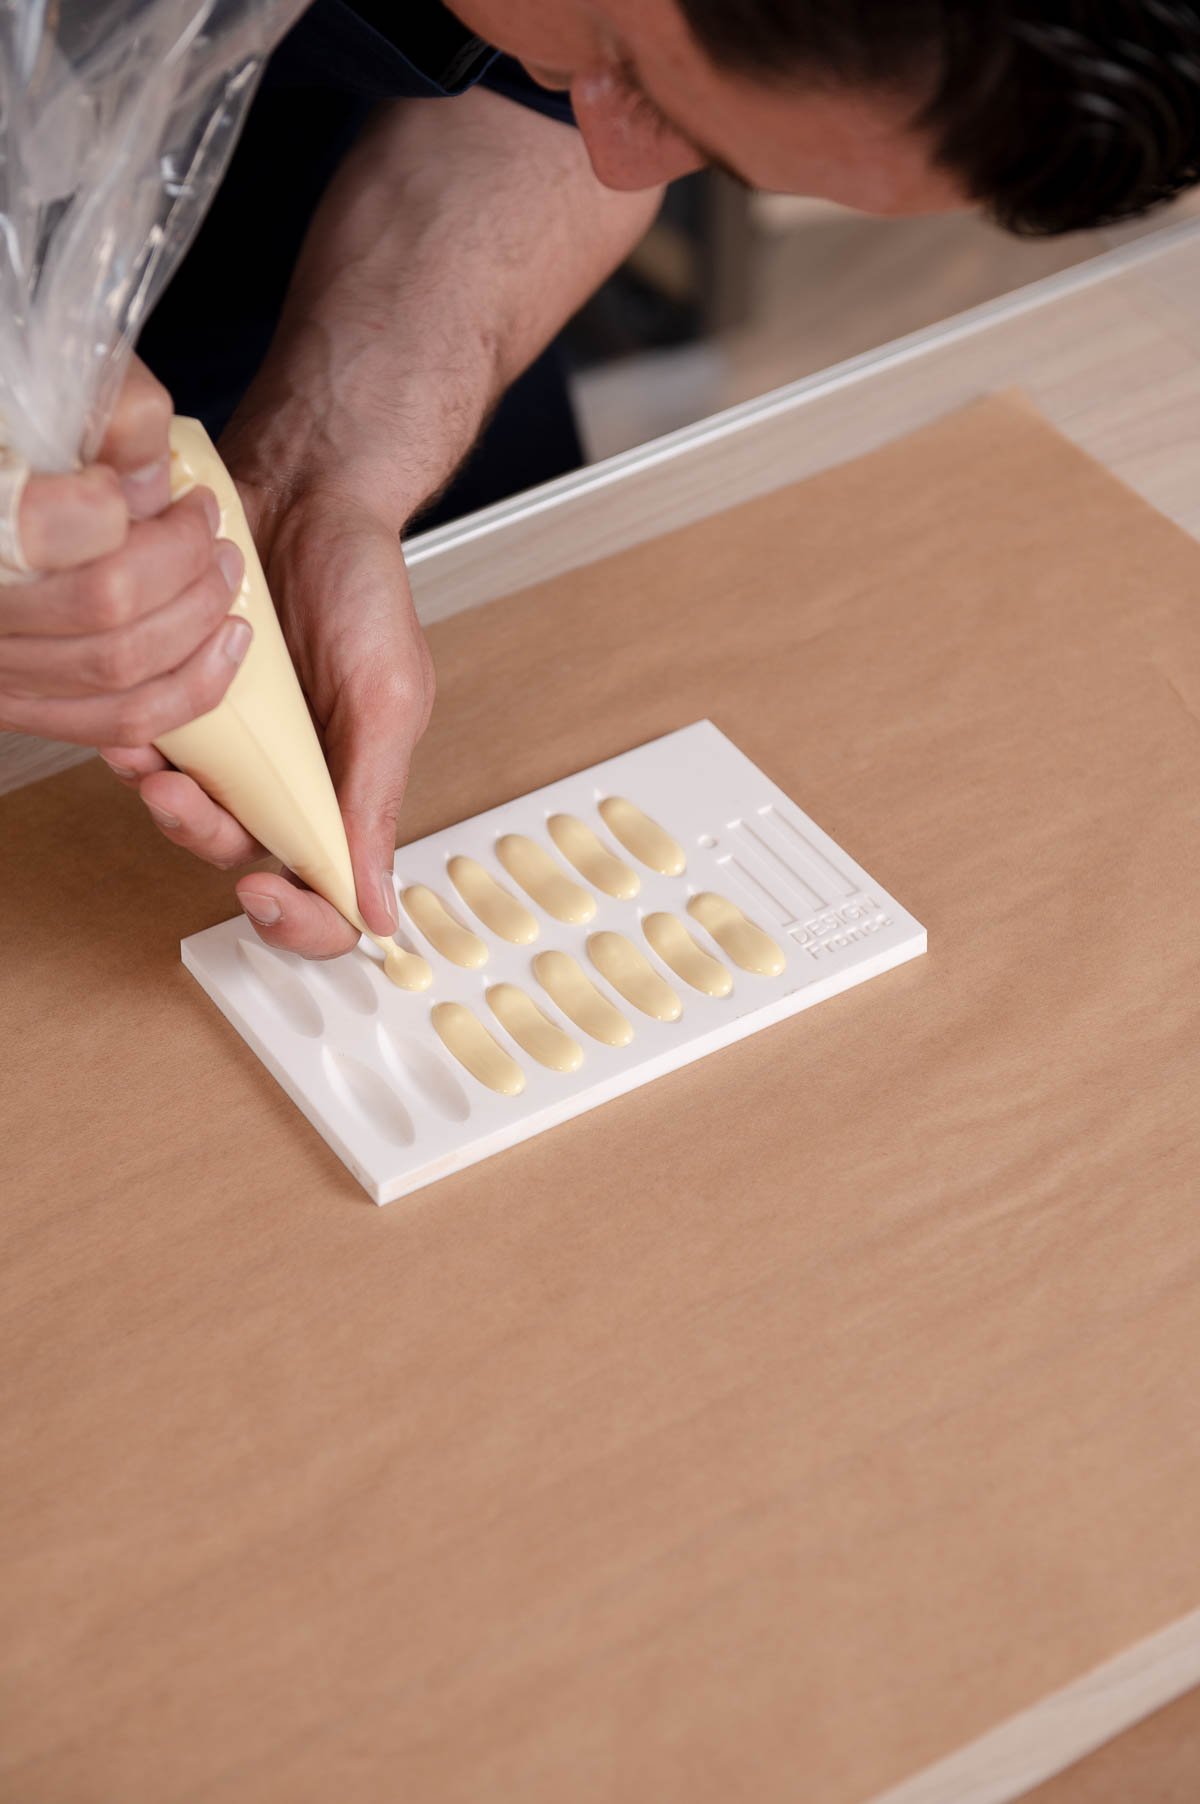
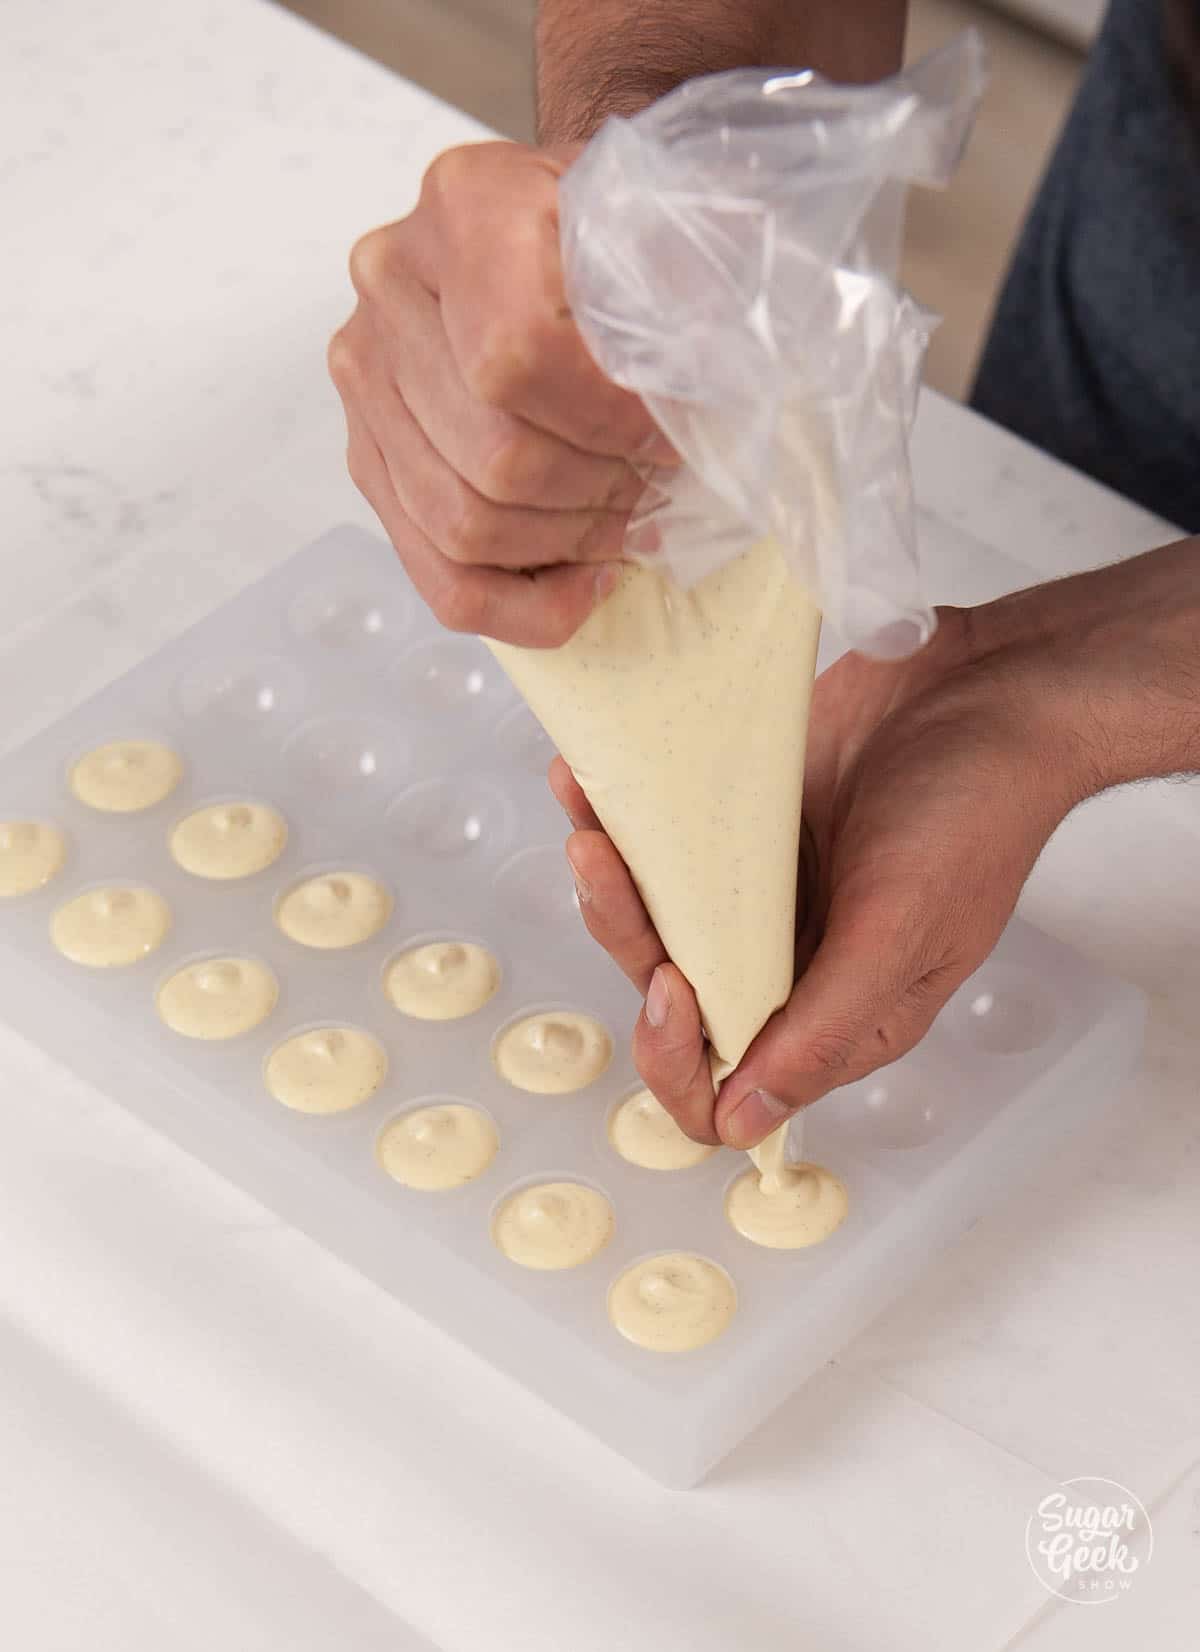
- Snip the tip off the bag (about 1cm wide) and pipe the soufflé mixture into the ramekin. Keep the tip of the bag inside the batter as you squeeze. When the ramekin is full, stop the pressure and lift up.

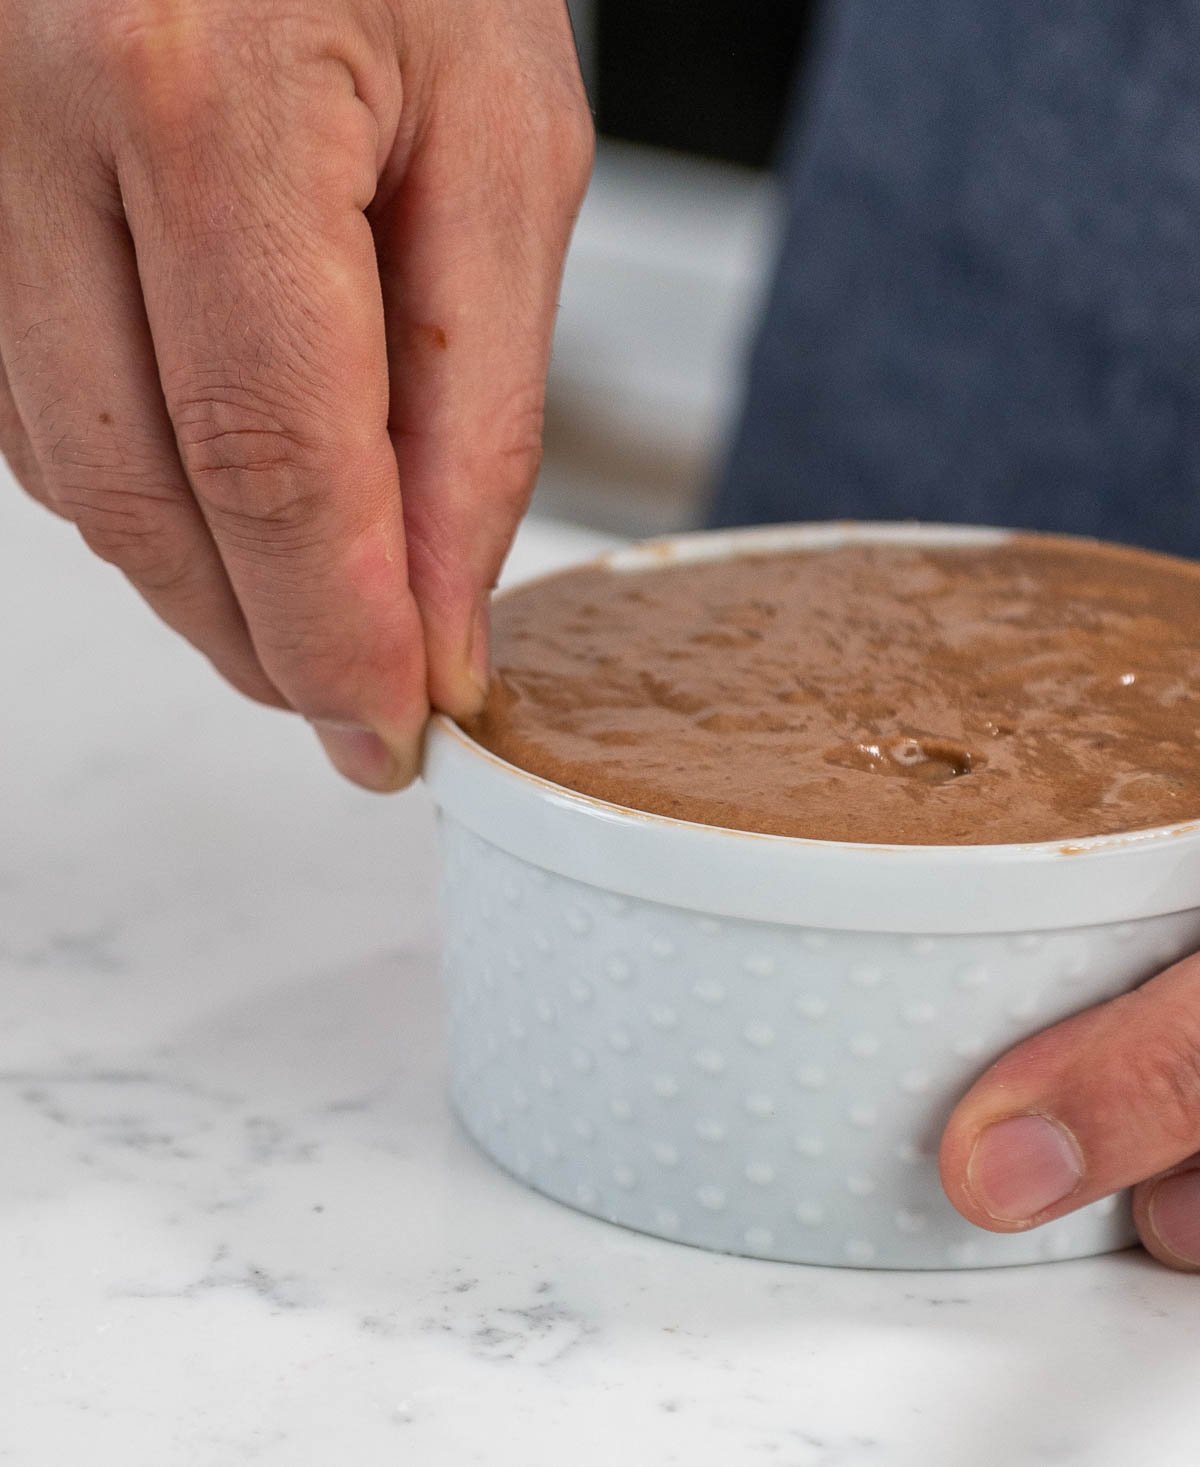
- Using a flat spatula, level off the top of the soufflé mixture to the edge of the ramekin.

- Next, using the edge of your thumbnail, clean the very top edge around the ramekin to create a space between the batter and the edge of the ramekin. Make sure there is no batter on the edges or outsides of your ramekin.

- Repeat filling, leveling, and cleaning up the edges for each of your ramekins.
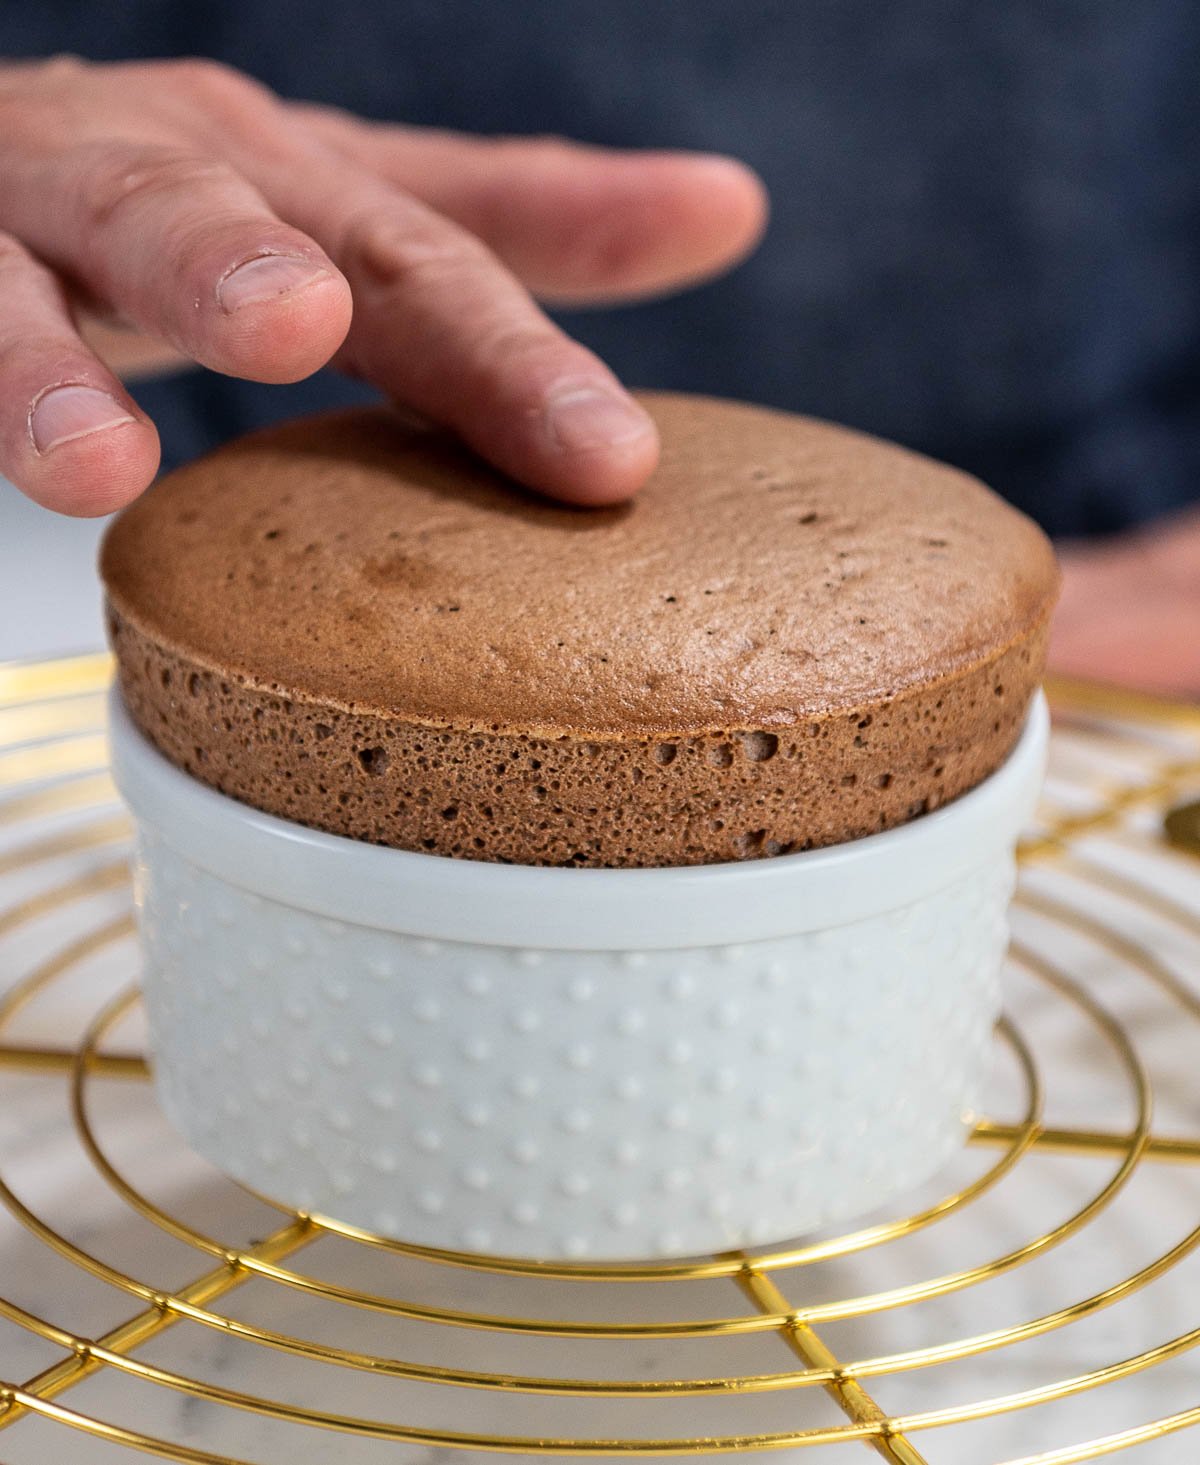
- Place the soufflés in a 360°F (182°C) oven for 15 minutes. Do not open the oven.You will know the soufflé is done when it has risen and has a very slight jiggle (but also a slight bounce back when it's gently touched).

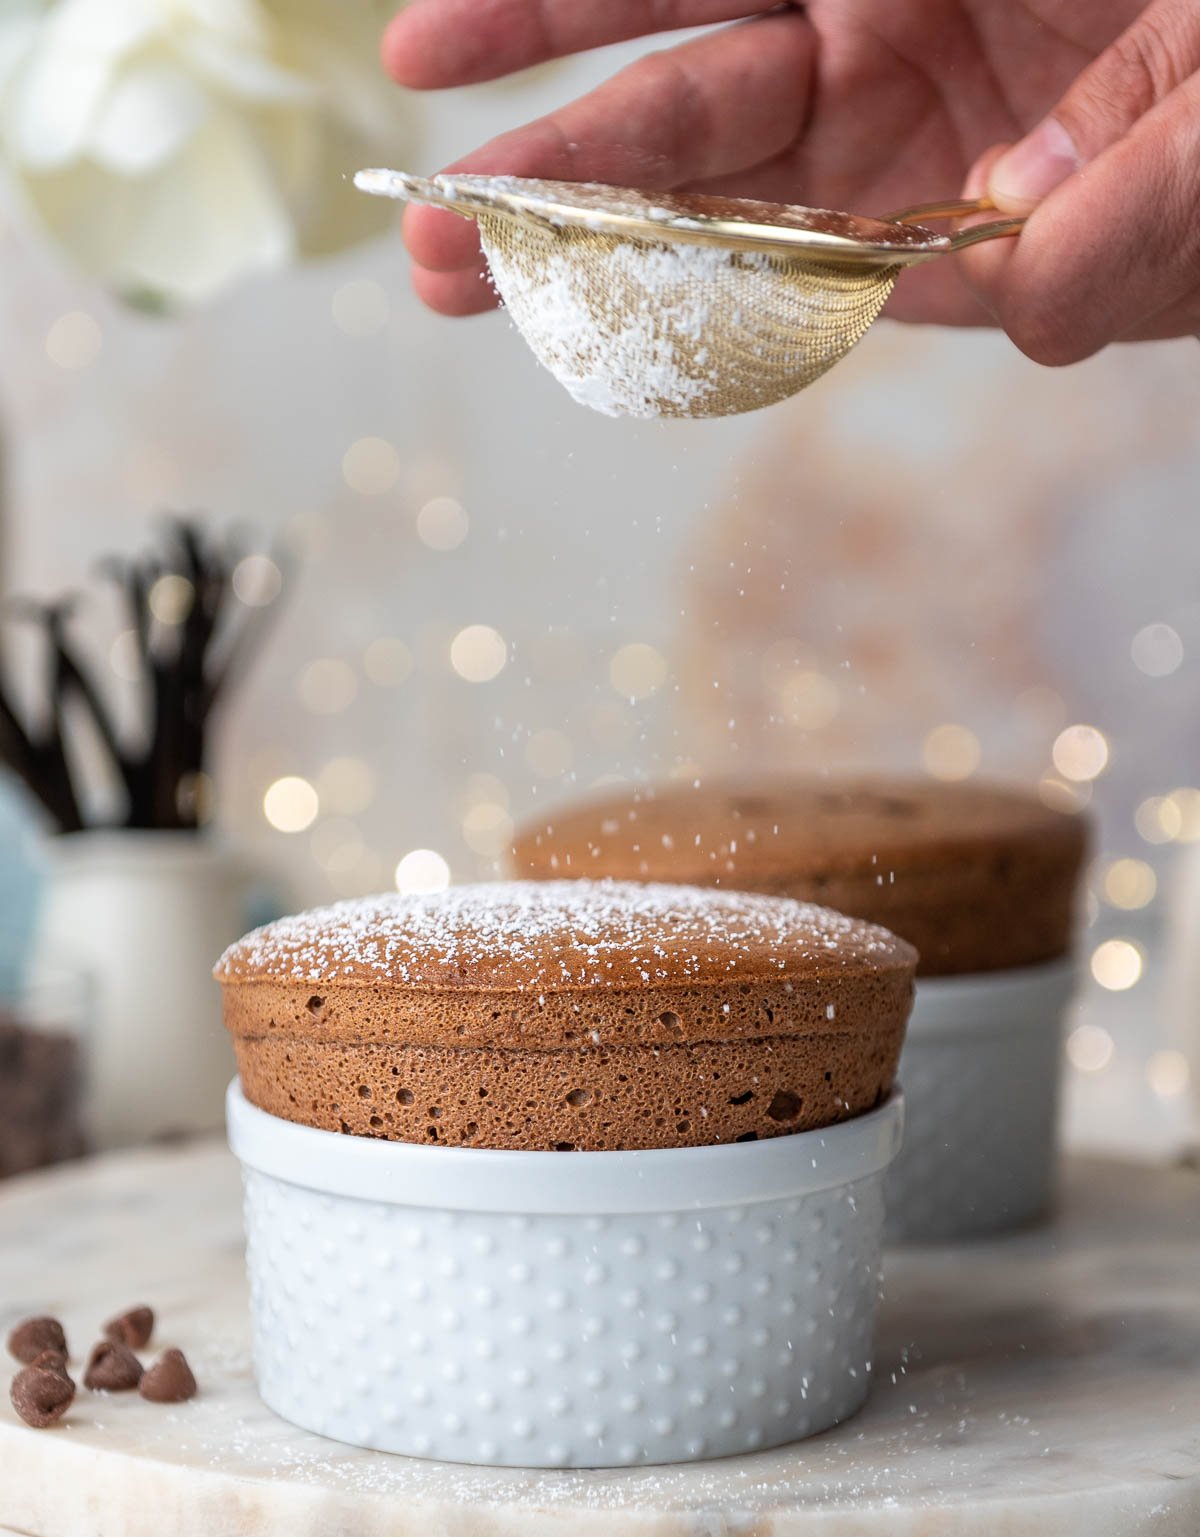
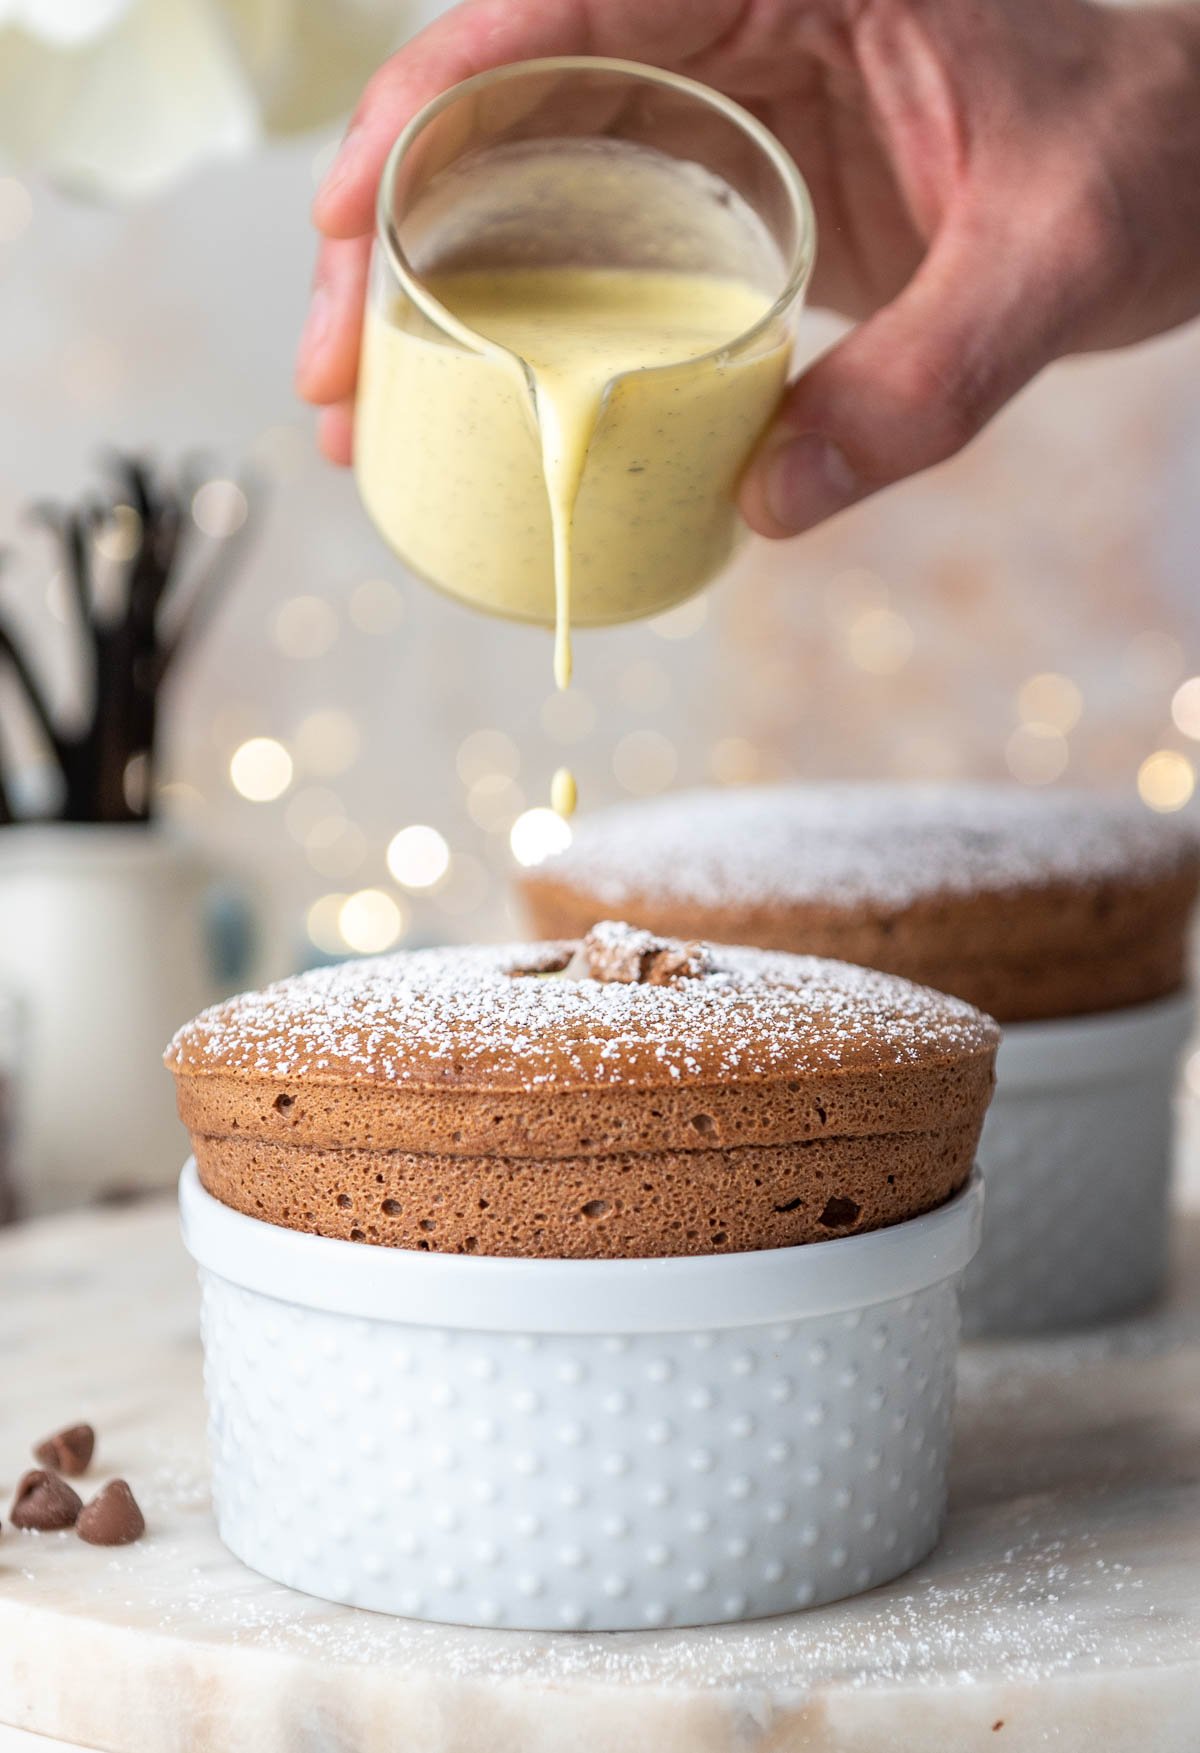
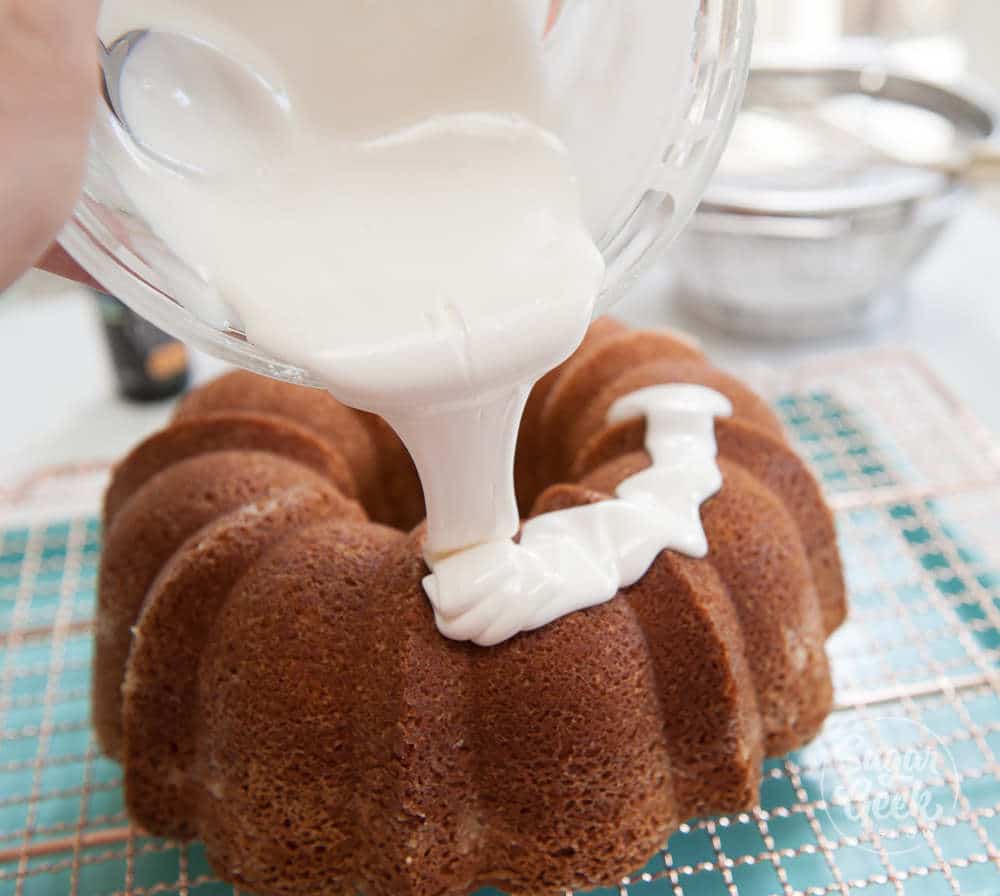
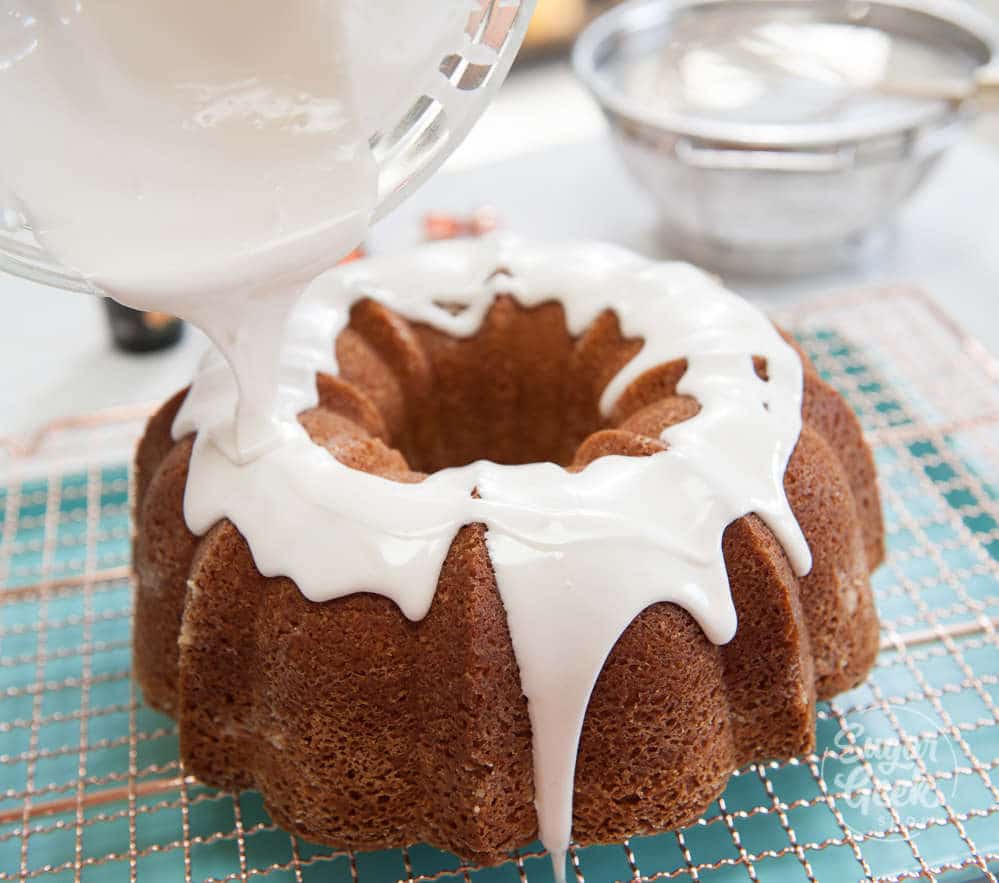
- Serve the soufflé immediately. Garnish with powdered sugar and/or a drizzle of the crème anglaise sauce.


Tips for the Perfect Chocolate Soufflé
- Practice Mise en Place (everything in its place). Measure out your ingredients ahead of time and have them ready right before you start mixing to reduce the chances of accidentally leaving something out.
- The chocolate you use matters! Avoid using chocolate chips. Why? Because they contain thickeners that stop the chocolate from melting smoothly. I would recommend chopping up a bar of Lindt dark chocolate since it's relatively easy to find at the grocery store. If you want to use the same chocolate I did, I used extra-bitter guayaquil.
- Be patient with your eggs. This is key to ensuring the correct taste and texture of your soufflé. You will want to be mindful of the recipe instructions and be careful to not cook the eggs too quickly.
- Fold the egg whites and chocolate mixture gently. Start by taking your spatula and going around the edge of the bowl just under the mixture, then cut through the center. Repeat this until everything looks combined and then stop. You don't want to go overboard otherwise you will remove all of the air you've mixed into the soufflé. Why does that matter? Because we want air trapped inside the mixture so that when it is baked, your soufflé stands tall and does not collapse.
- Whip your French meringue on medium. Whipping this meringue on a lower speed will create smaller bubbles, helping your souffle rise higher in the oven. Big bubbles pop faster than small bubbles.
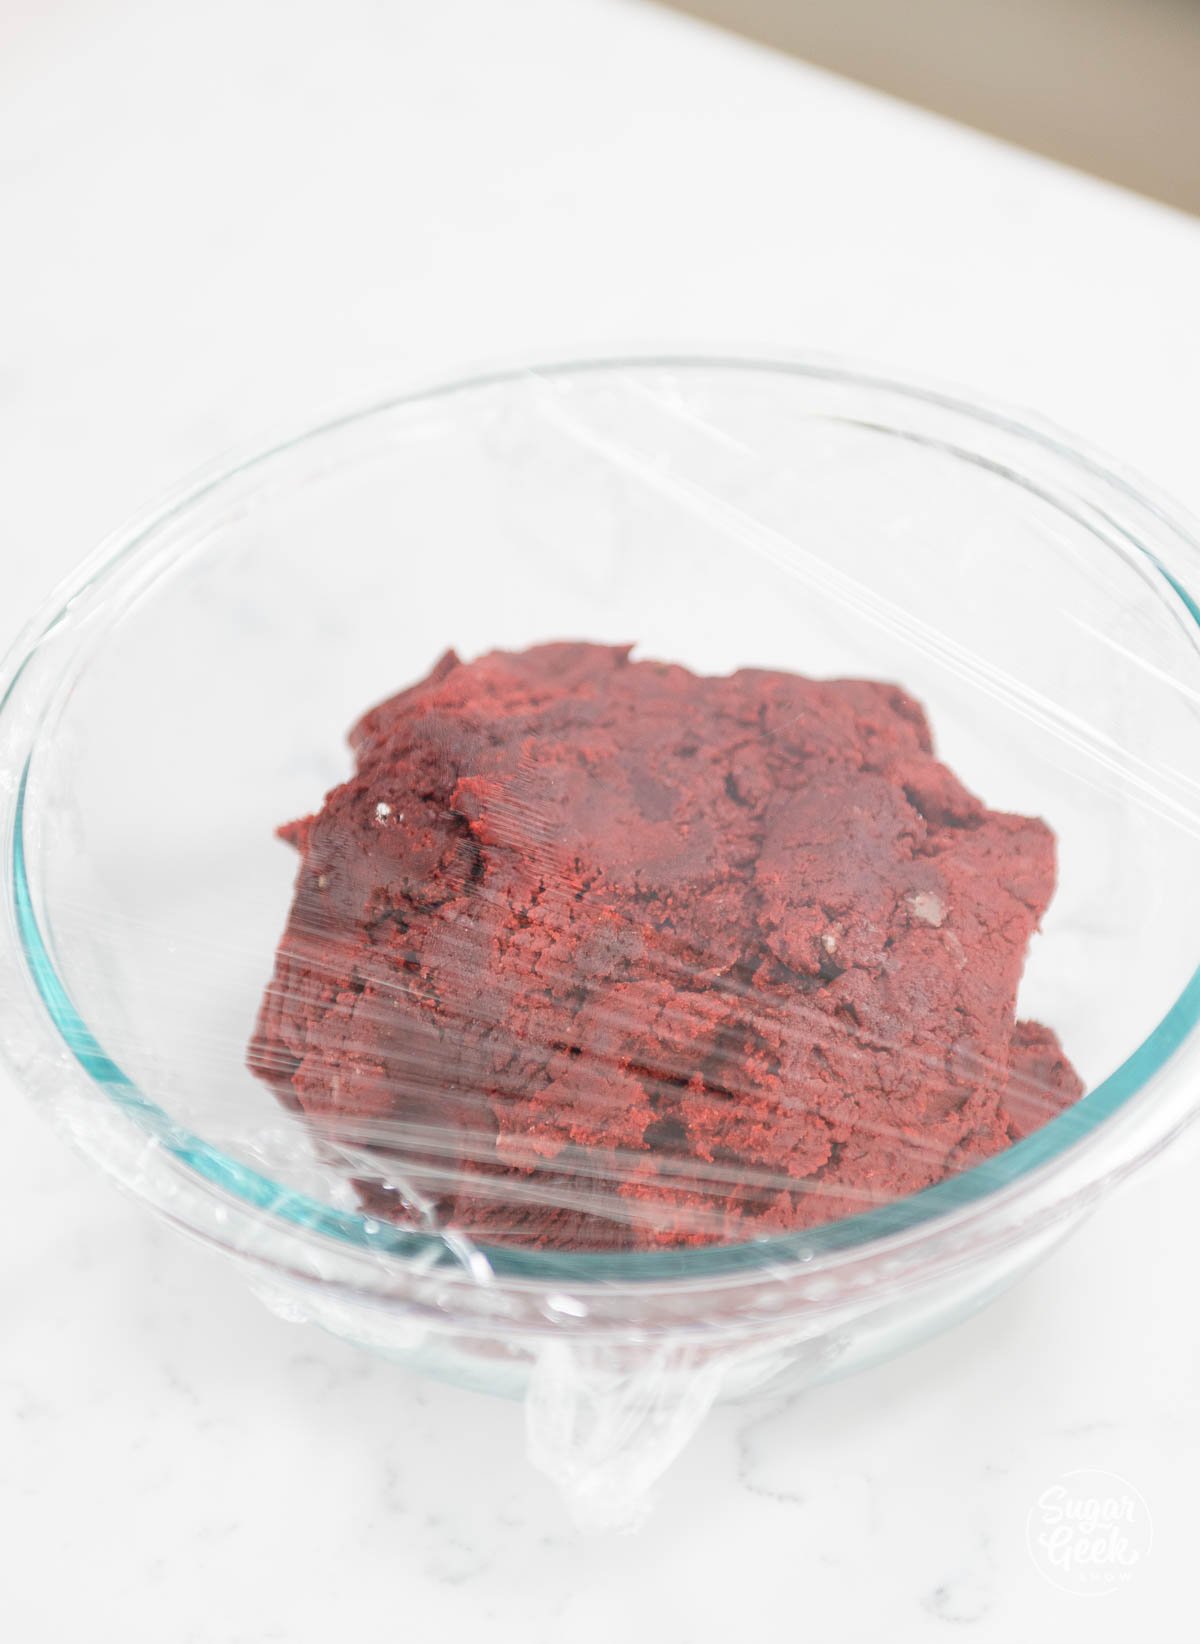
- Waiting for your oven to pre-heat? Chill the mixture in the refrigerator for 5 minutes while your oven heats up. Keeping the ingredients from getting too warm will help keep your soufflé from falling.
FAQ
A chocolate soufflé is light and airy on the outside, and creamy on the inside. It is rich with chocolate flavor and will almost melt in your mouth as you eat it.
Chocolate, eggs yolks, egg whites, whole milk, granulated sugar, cornstarch, and cream of tartar.
A chocolate soufflé is fully baked, and a chocolate lava cake is not. Chocolate lava cakes have a runny texture in the center, and chocolate soufflé has a more creamy texture.
Ramekins are ideal to use if you are baking individual soufflés. If you want to bake a larger soufflé, you can use a soufflé dish or any other casserole dish that has deep sides. Ceramic or heatproof glass dishes work best.
Your chocolate soufflé most likely collapsed because it cooled down. You can avoid this by only taking the soufflé out of the oven when you are ready to serve it. Timing is key!
Another reason your soufflé may have deflated is that you did not fold the egg whites and chocolate mixture carefully enough. A gentle fold is the key to keeping all of the air inside of the mixture so that when the soufflé is baked it stands tall.
Soufflés trap heat inside the dish which is what causes them to rise. As soon as you take a soufflé out of the oven, the heat begins to escape and this will cause the soufflé to fall naturally.
If your chocolate soufflé tastes more like scrambled eggs than custard, you may have cooked the eggs too quickly.
Chocolate soufflé should have a subtle egg flavor. Anything more than a subtle egg flavor would indicate a mistake was made while preparing the soufflé.
More Recipes You'll Love
Recipe

Chocolate Soufflé with Crème Anglaise
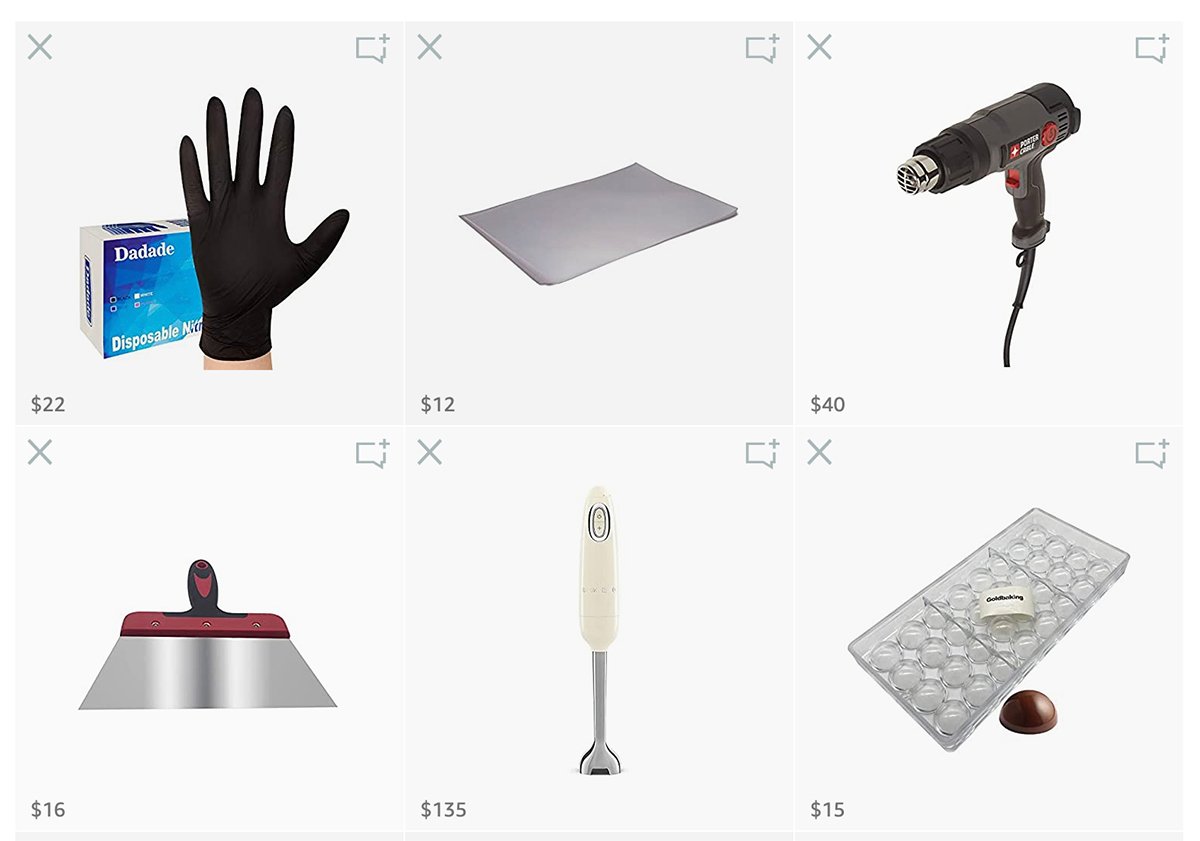
Equipment
- Mixer with whip attachment
- mixing bowl
- pot
- Whisk
- brush
- fine mesh strainer
- ramekins (I'm using four, 4" ceramic ramekins)
Ingredients
Crème Anglaise
- 250 grams whole milk
- 60 grams egg yolks
- 30 grams granulated sugar
- 1 vanilla bean
Chocolate Soufflé
- 250 grams whole milk
- 60 grams egg yolk
- 16 grams cornstarch
- 125 grams 64% dark chocolate My favorite is Cacao Barry 64% Guayaquil chocolate
- 250 grams fresh egg whites room temperature
- 100 grams granulated sugar
- 1 Pinch cream of tartar
Instructions
Making the Crème Anglaise Sauce
- First, cut your vanilla bean in half lengthwise and carefully scrape the seeds out with a knife.
- Next, pour the milk into a saucepan. Turn the heat on to medium heat.
- Then, add in the vanilla bean seeds and the pod into the milk.
- Bring the milk to a simmer, and then remove it from the heat.
- Next, strain the milk and vanilla bean mixture over the saucepan to remove the vanilla bean pod.
- In a mixing bowl, whisk the egg yolks to break them up.
- Add in ⅓ of the hot milk mixture into the egg yolks, and whisk to combine them.
- Once they are combined, add the egg yolk mixture back into the saucepan and turn the heat back up to medium.
- Then, over medium heat, whisk the mixture constantly until it begins to bubble and thicken. Be very careful not to overheat the mixture.
- When the mixture is thick enough to coat the back of a spoon and you can drag your finger through the center without the sauce dripping (a la nappe), your crème anglaise is ready.
- Strain the anglaise into a bowl to remove the vanilla fibers, and then cover it with plastic wrap.
- Allow to cool and set it aside until you're ready to drizzle it onto your soufflé.
Preparing the Chocolate Soufflé Mixture
- Begin by preparing the ramekins by brushing them with butter in a vertical direction.
- Then, coat the butter with a thin layer of granulated sugar. Set them aside.
- Preheat your oven to 360°F (182°C)
- In a heavy bottom potbelly over medium heat, bring the milk to a boil.
- Next, in a separate bowl, combine the egg yolk and cornstarch by whisking it until the mixture is smooth and the cornstarch is dissolved. Really whisk it together so you don't get any clumps of cornstarch.
- Add about ⅓ cup of the warm milk to the egg yolks and mix. This is tempering the eggs. Once you've done this, pour the egg/milk mixture back into the pot with the rest of the hot milk.
- Stir it constantly over medium heat to cook the egg/milk mix to a boil. Be careful not to cook the eggs too quickly.
- Remove the pot from heat, and then add the chocolate to the pot.
- Keep stirring the mixture until the chocolate is fully incorporated.
- Then, transfer the chocolate mixture to a bowl and set it aside.
- Next, in the bowl of your stand mixer, add in your egg whites and a pinch of cream of tartar. Make sure your bowl is very clean, use a little bit of white vinegar to clean your bowl and whisk attachment if needed.
- Begin to whip the egg whites in the bowl of your stand mixer on medium speed while bringing them to a soft peak.
- Then, slowly add in the sugar while mixing.
- Continue to whip the egg whites at medium speed until they have reached a smooth medium peak.
- Then, once the egg whites have a smooth medium peak, add ⅓ of the egg whites to the chocolate pastry cream and mix them together until they are fully incorporated.
- Now, pour the chocolate mixture into the bowl with the rest of the whipped egg whites.
- Next, gently fold the egg whites and chocolate mixture together carefully. Try not to deflate the egg whites too much. You only want to fold them until they are fully incorporated.
Baking the Chocolate Soufflé
- First, pour the soufflé mixture into a large, prepared piping bag.
- Then, keeping the tip of the piping bag down in the prepared ramekin, fill the ramekin to the top making sure there are no air bubbles.
- Using a flat spatula, level off the top of the ramekin.
- Next, using the edge of your thumbnail, clean the very top edge around the ramekin to create a border. Make sure there is no batter on the edges or outsides of your ramekin.
- Repeat filling, leveling, and cleaning up the edges for each of your ramekins.
- Place the soufflés in a 360°F (182°C) oven for 15 minutes. You will know the soufflé is done when it has risen and has a very slight jiggle (but also a slight bounce back when it's gently touched).
- Serve the soufflé immediately. Optional: Garnish with powdered sugar and/or a drizzle of the crème anglaise sauce.
Video
Notes
- Practice Mise en Place (everything in its place). Measure out your ingredients ahead of time and have them ready right before you start mixing to reduce the chances of accidentally leaving something out.
- The chocolate you use matters! Avoid using chocolate chips. Why? Because they contain thickeners that stop the chocolate from melting smoothly. I would recommend chopping up a bar of Lindt dark chocolate since it's relatively easy to find at the grocery store. If you want to use the same chocolate I did, I used extra-bitter guayaquil.
- Be patient with your eggs. This is key to ensuring the correct taste and texture of your soufflé. You will want to be mindful of the recipe instructions and be careful to not cook the eggs too quickly.
- Fold the egg whites and chocolate mixture gently. Start by taking your spatula and going around the edge of the bowl just under the mixture, then cut through the center. Repeat this until everything looks combined and then stop. You don't want to go overboard otherwise you will remove all of the air you've mixed into the soufflé. Why does that matter? Because we want air trapped inside the mixture so that when it is baked, your soufflé stands tall and does not collapse.
- Whip your French meringue on medium. Whipping this meringue on a lower speed will create smaller bubbles, helping your souffle rise higher in the oven. Big bubbles pop faster than small bubbles.
- Waiting for your oven to pre-heat? Chill the mixture in the refrigerator for 5 minutes while your oven heats up. Keeping the ingredients from getting too warm will help keep your soufflé from falling.


