
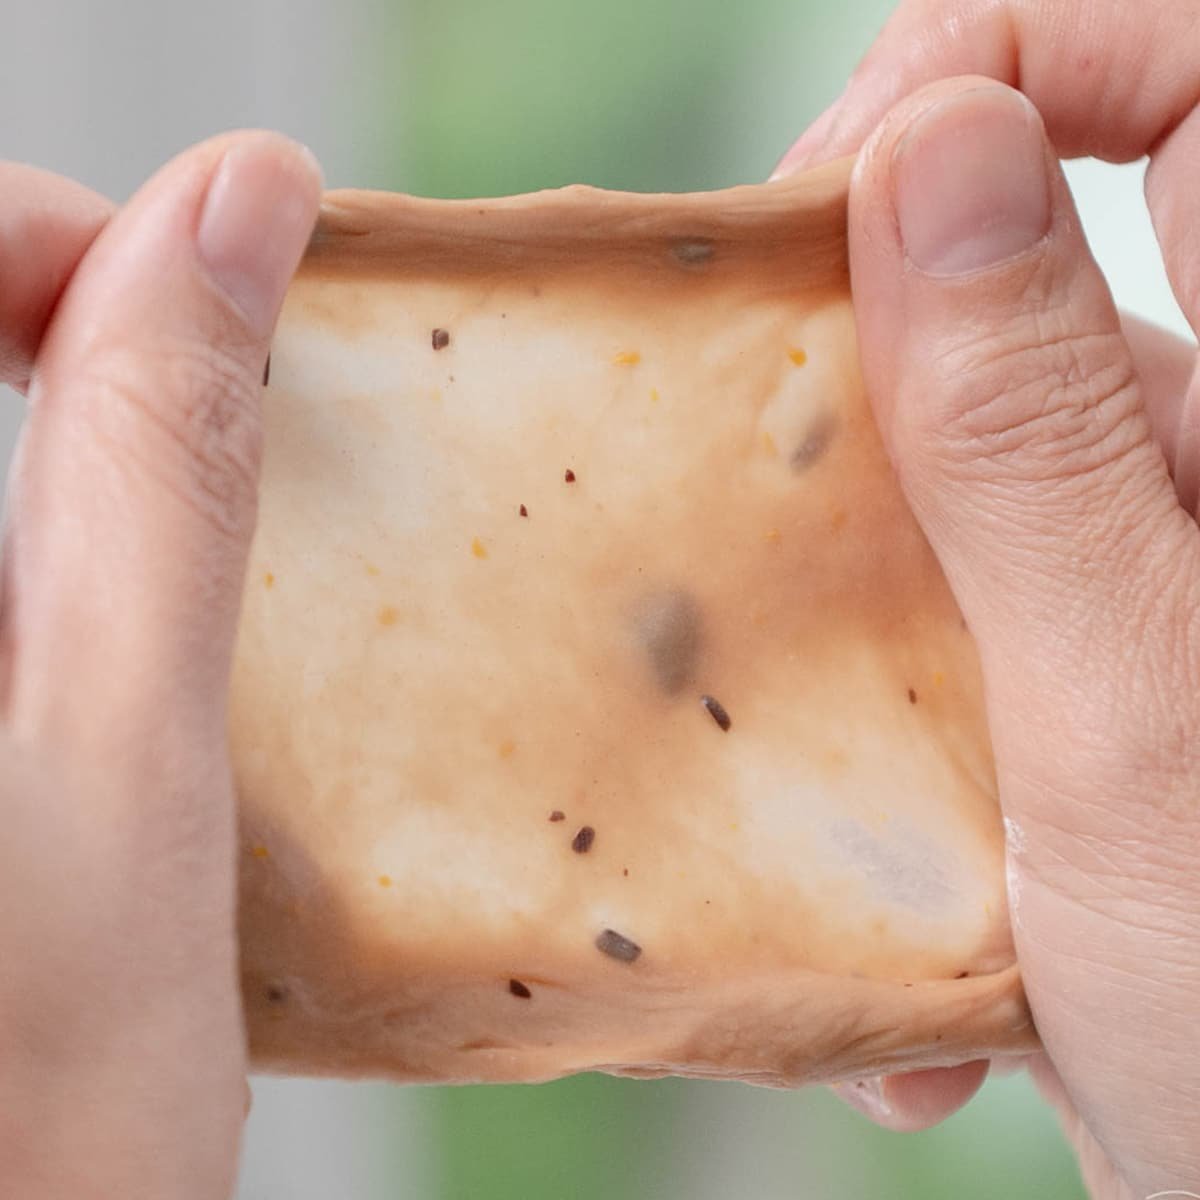
A windowpane test is an important step to making sure your dough is ready to use. We test by taking a small piece of dough and gently stretching it between your fingers to the point that you can see light shining through it. This is where it gets the windowpane name. This is a simple test we perform to see if our dough has developed enough gluten through mixing and is ready to bake or needs to be mixed longer.
What's In This Blog Post
If you've somehow found this post and don't know what a windowpane test is or maybe you just heard the word before but didn't understand its significance, let me explain.
The windowpane test is especially helpful if you are new to making bread dough, pizza dough, or any kind of rich dough with yeast and needs a lot of mixing and you just don't know when your bread recipes are done mixing. Terms like "mix until smooth" or "mix until the dough bounces back" are very vague.
When I was first learning to bake bread in my early 20's, I had no idea what I was looking for and often wondered WHY my bread was not rising as expected. It wasn't until I attended pastry school in 2010 that this very short demonstration on the best ways to check for gluten development changed my whole outlook on baking bread.
Now I never have under-mixed dough.
How To Do The Windowpane Test
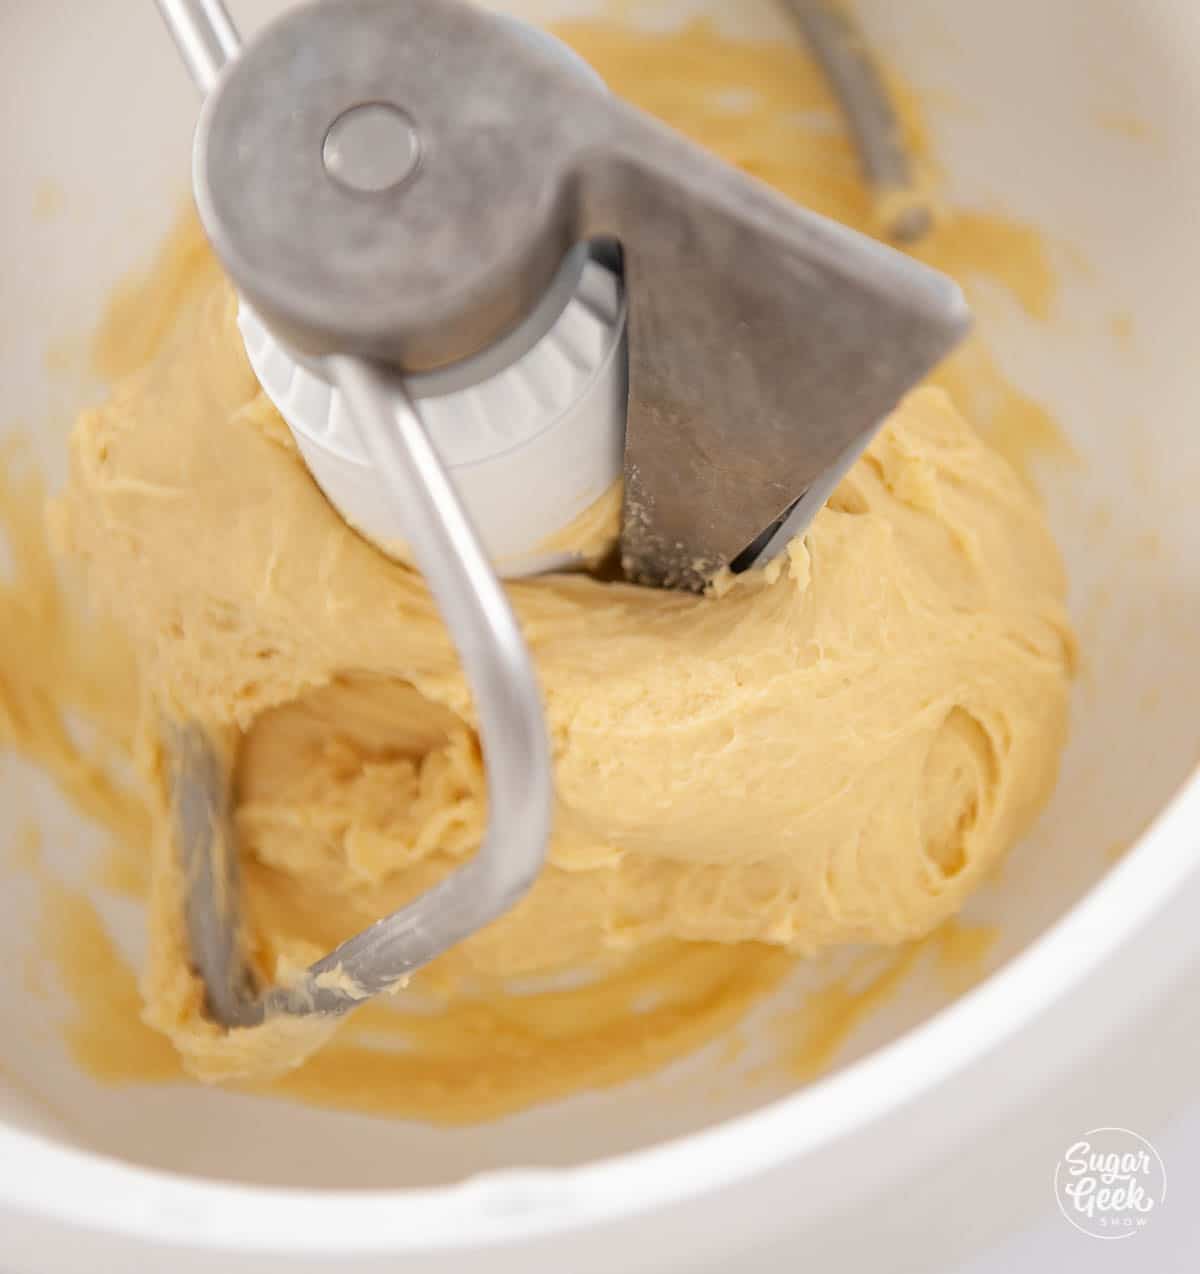
- After your dough has been mixing in your stand mixer (or if you're mixing by hand) and the rough texture of the bread begins to smooth out and "cleans" the bowl, that is a good time to test your dough.

- Take a piece of dough about the size of a golf ball and press it flat to about ¼" thick. Let it rest on the workbench for 5 minutes which allows the gluten strands to relax and will give you a more accurate representation of how much gluten is developed.
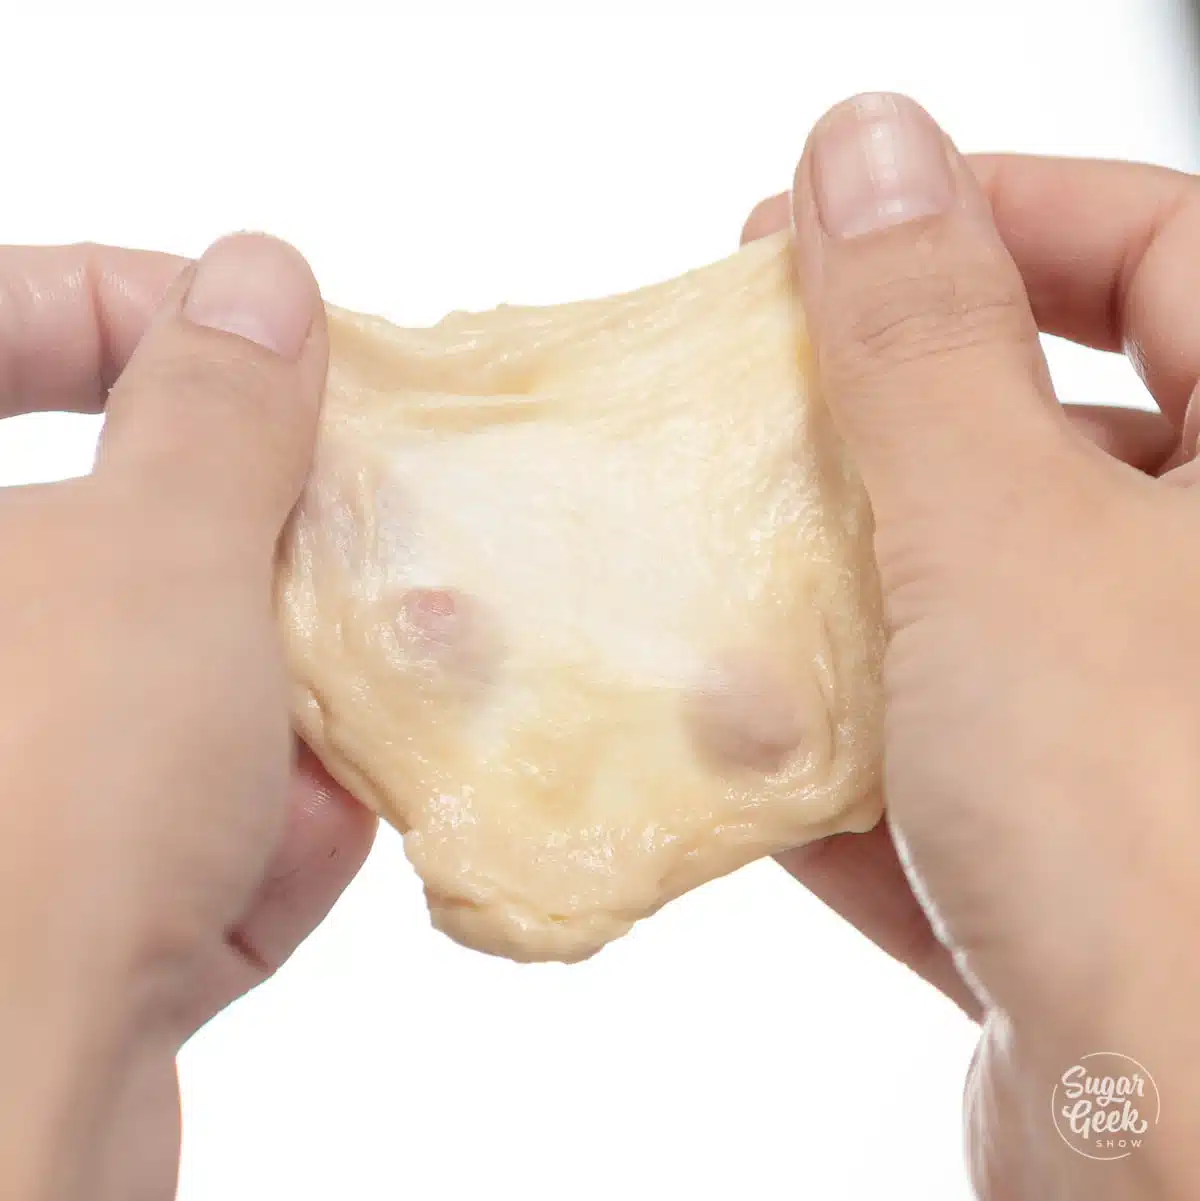
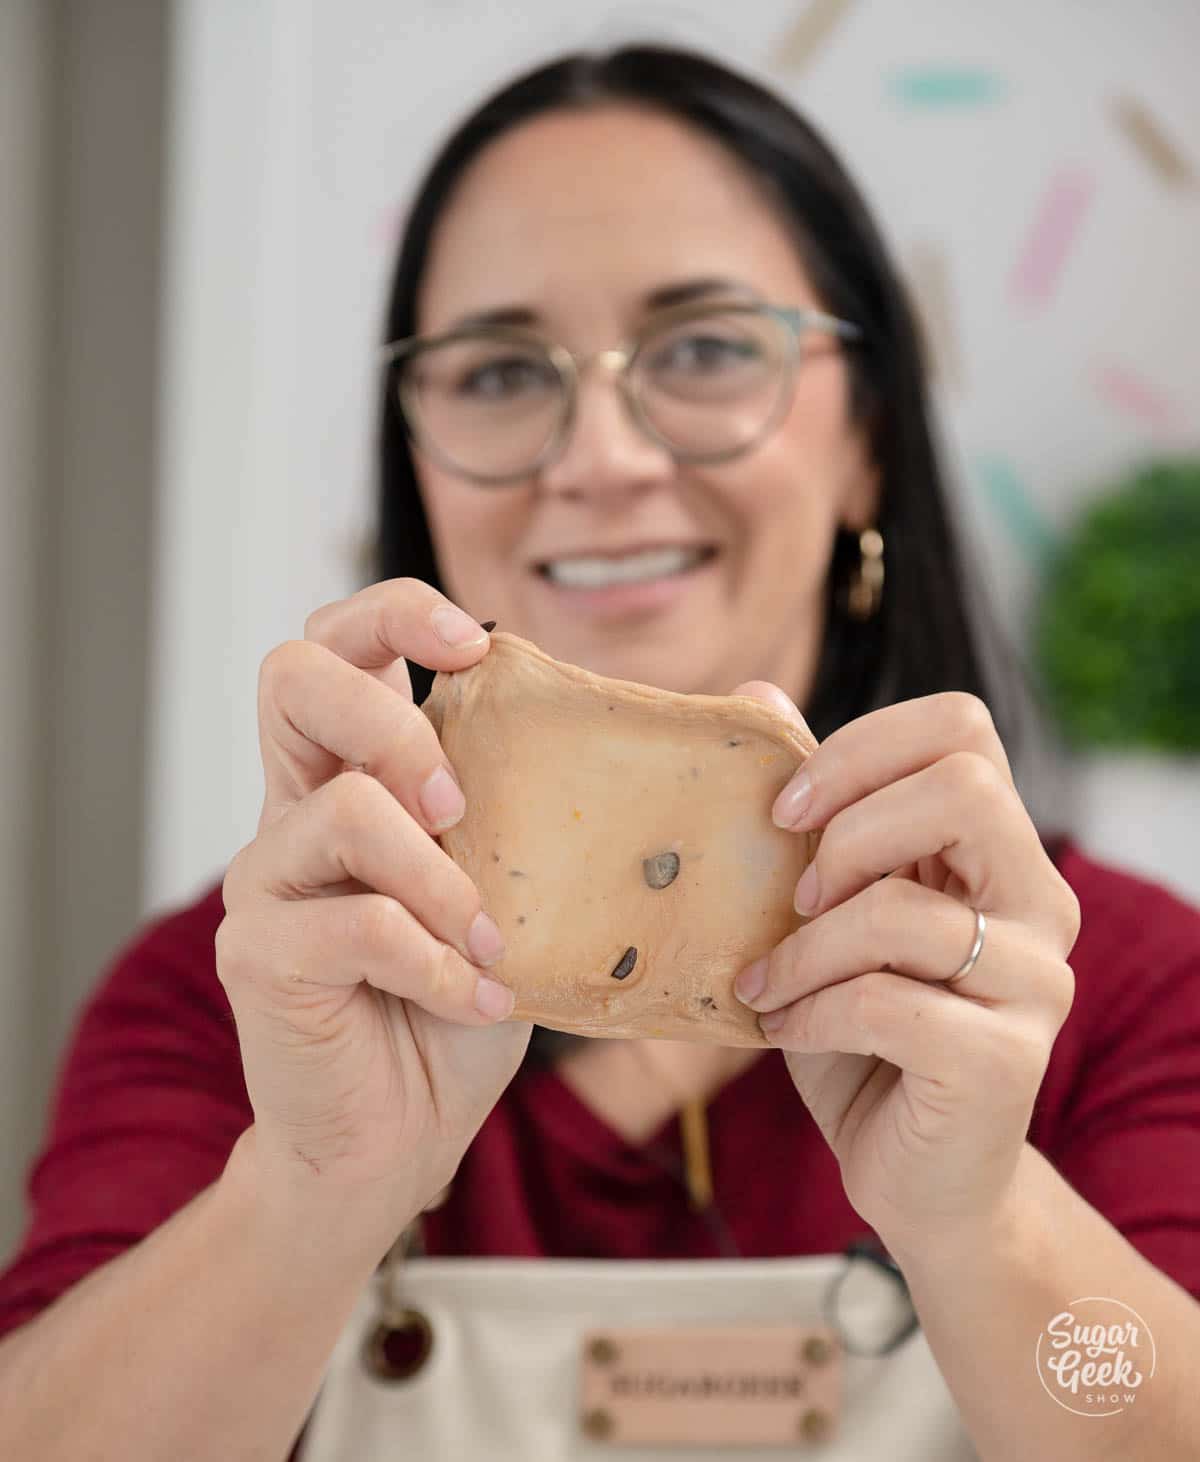
- Begin slowly stretching the dough with your fingers. The center will get thinner and thinner until you form a thin membrane. If you can stretch the dough to the point you can see light shining through without breakage, your dough is likely ready to bulk ferment (your first rise).

- If your dough tears, feels sticky or rough, then you need to mix your dough for longer until you have enough gluten development to perform the window pane test successfully. Proper gluten development can take anywhere from 15-30 minutes of mixing time so be patient.
Why Does The Windowpane Test Work
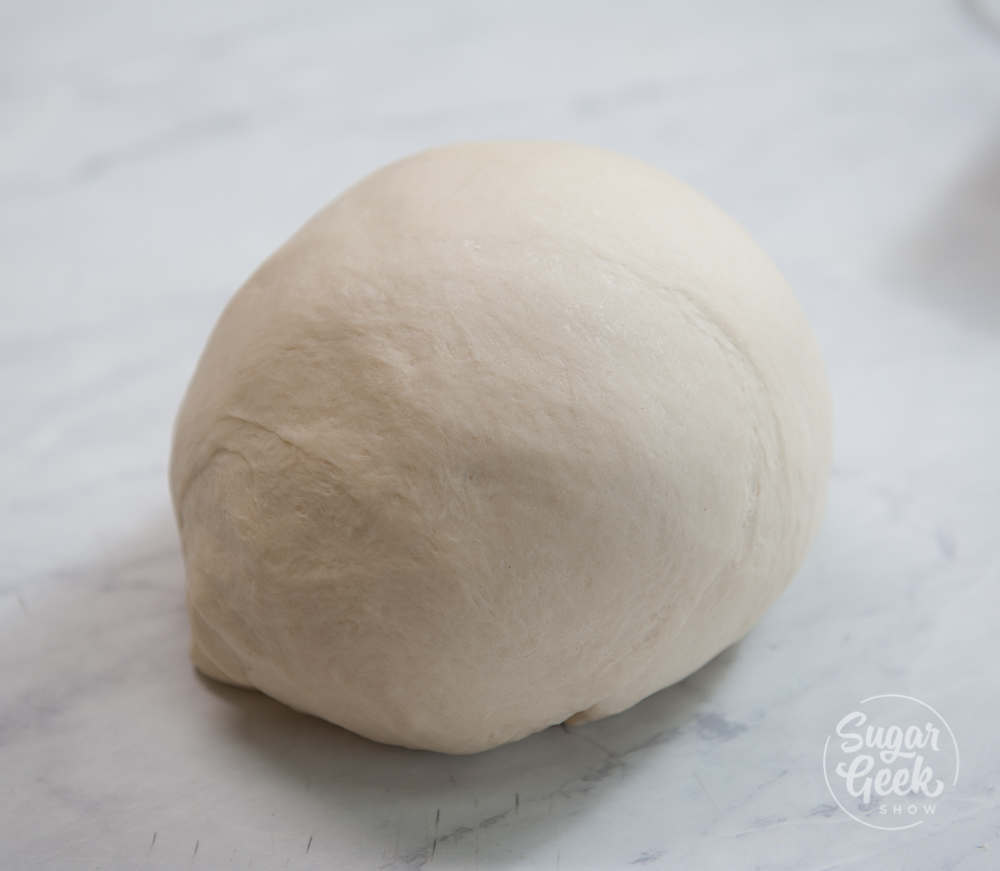
Gluten changes as it's handled. The dough becomes smoother, stronger, less wet and less lumpy as more gluten strands are developed through kneading.

What you are seeing when you look at a smooth ball of dough are strands of protein (glutenin and gliadin) linked together in a very fine web along with yeast, water, and small gas bubbles released from the yeast. The more strands you have, the more small gas bubbles are trapped during the proofing process. These gas bubbles heat up during baking and improve the overall rise and volume of the dough.
What type of flour is best for making dough?

Bread flour, all purpose flour or 00 flour works best for making doughs that needs a lot of gluten development because it contains more protein that can produce stronger gluten strands about 12.7% rather than all-purpose flour which is at about 11%. Double 00 flour has between 12% and 13% protein content which is pretty high and most often used for pizza dough or pasta. For context, pastry and cake flours have less protein, about 7% to 10%, respectively.
When gluten is underdeveloped and weak, it cannot trap air, resulting in a flat or dense loaf of bread.
When Should You Do The Windowpane Test
You should perform a windowpane test whenever you are unsure of the gluten development in your dough. This test is especially helpful to new bakers or when you are working with a new recipe that you're not sure what it should look and feel like.
Sometimes when you use whole wheat flour or other types of gritty flours it can be hard to tell when your dough has the right elasticity to handle these doughs carefully.
Breads that are enriched with eggs and butter such as brioche, panettone, or fast bread are especially difficult to develop gluten because of the added fat. These breads are always good for performing a windowpane test.
You do not need to perform a windowpane test if you are making a bread that will be resting for a long time such as sourdough or overnight focaccia. The reason for this is that gluten can also develop with time, not just kneading. So a dough that is undeveloped on day one can be very developed on day two.
Keep in mind that yeast will break down gluten as it ferments. So you don't want to leave your dough to proof for too long or your bread could collapse during baking. If you think you may have over-proofed your dough, perform the windowpane test after fermentation and shaping to see if it still holds together.


Leave a Reply