

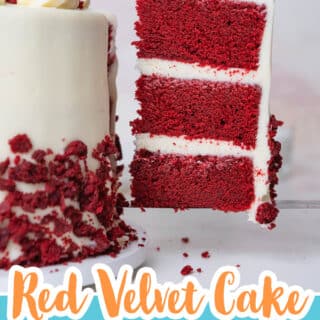
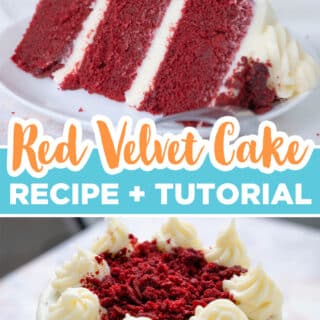
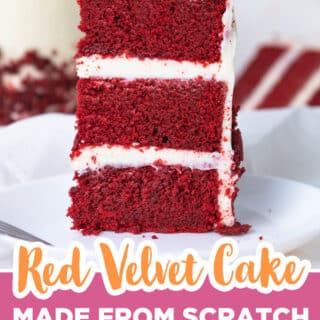
This is what a TRUE authentic classic red velvet cake with cream cheese frosting tastes like. Soft, moist, buttery, and far better than any grocery store cake. It's a true Southern classic perfect for weddings, birthdays, holidays, or that red velvet-obsessed person in your life. Pair it with my cream cheese frosting and you've got the most-requested cake on my client list for over a decade.
Quick Glance at the Recipe: Red Velvet Cake Recipe
- Recipe Name: Red Velvet Cake Recipe
- Why You'll Love It: True velvety texture, real red velvet flavor (not just chocolate cake with red dye), and the perfect tangy cream cheese frosting to go with it.
- Time and Difficulty: 10 minutes prep, 30 to 40 minutes bake. Beginner-friendly. One-bowl mixing.
- Main Ingredients: All-purpose flour, sugar, cocoa powder, eggs, oil, buttermilk, vinegar, butter, red food coloring, cream cheese, powdered sugar.
- Method: One-bowl method. Add the wet ingredients to the dry ingredients in the mixer. Bake, cool, and frost with cream cheese.
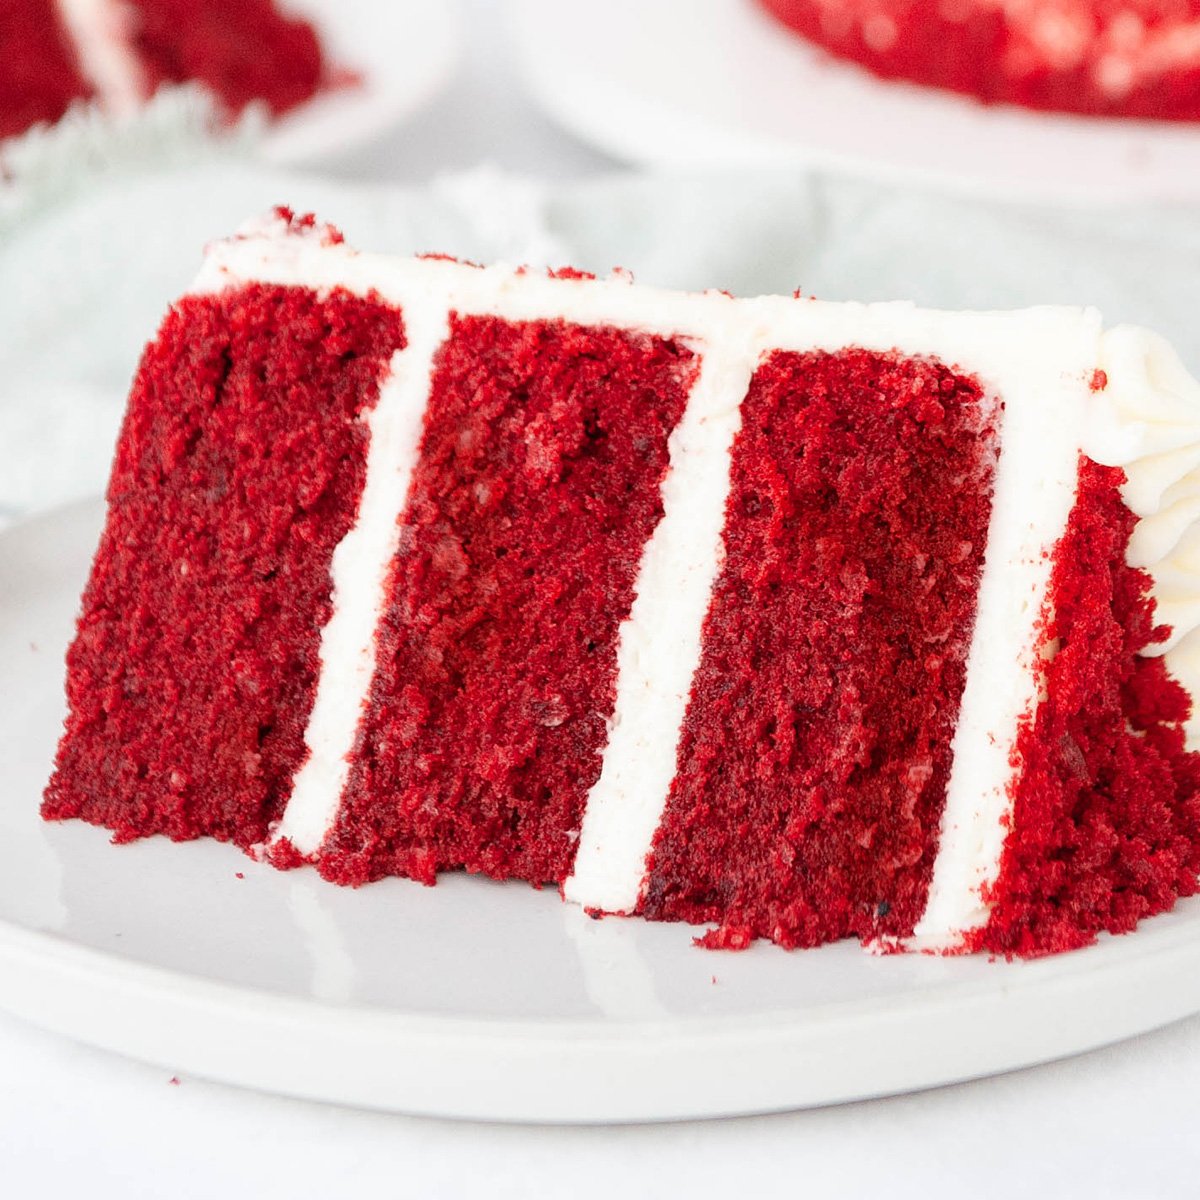
- Texture and Flavor: Velvety soft crumb with a tangy buttermilk-cocoa flavor that tastes a little like chocolate but mostly like its own thing. Pairs perfectly with tangy cream cheese frosting.
- Quick Tip: Use super red gel food coloring for the brightest, most beautiful red color.
Jump to:
- Quick Glance at the Recipe: Red Velvet Cake Recipe
- What Makes This Red Velvet Cake Different
- Red Velvet Cake Ingredients
- Why Natural Cocoa, Buttermilk, And Vinegar Matter (The Science)
- How To Make A Red Velvet Cake Step-By-Step
- Cake Batter and Frosting Calculator
- Cake Batter and Frosting Calculator
- Cups of Batter Needed
- Cups of Frosting Needed
- A Quick History Of Red Velvet Cake
- What Red Velvet Actually Tastes Like
- Common Red Velvet Cake Problems To Avoid
- Why Did My Red Velvet Cake Come Out Brown, Not Red?
- Tiering Red Velvet For Wedding Cakes
- Make-Ahead, Storage, And The Event-Day Plan
- Make This Red Velvet Cake Recipe Your Own
- Final Thoughts
- Red Velvet Cake FAQs
- More Velvet Recipes To Try
- Leave Me A Review⭐️⭐️⭐️⭐️⭐️
- Recipe
What Makes This Red Velvet Cake Different
I spent a lot of time researching the actual history of American red velvet cake before I landed on this recipe. There are a thousand "red velvet" recipes online, and most of them are just chocolate cake with red dye, which misses the point entirely. Real red velvet has a tangy buttermilk-and-cocoa flavor that's its own thing, with just a hint of chocolate. The texture is what matters most: velvety soft, almost cloud-like, finer than a chocolate cake's crumb. If you want a darker, more chocolatey velvet cake, try my black velvet cake.
The recipe I landed on uses the one-bowl method, which couldn't be easier. You whisk the wet ingredients in one bowl, the dry in your stand mixer, then dump the wet into the dry and mix on medium for about a minute. That's it. You have to actively try to mess this up.
For the topping, I pair red velvet with my cream cheese frosting without powdered sugar for the smoothest, most flavorful version (no starchy aftertaste, just pure tangy cream cheese). If you want something more traditional and old-school, ermine frosting is actually the original Southern pairing for red velvet cake before cream cheese frosting became standard. Both work beautifully.
A few things make this version different from most red velvet recipes you'll find:
- One-bowl mixing. No creaming butter, no separating eggs, no folding. Whisk, dump, mix.
- Holds up for stacking and fondant. This is the cake I use for tiered wedding cakes and fondant-covered designs because the texture stays sturdy enough to handle.
- Real red velvet flavor, not chocolate cake in disguise. The buttermilk-vinegar-cocoa combination is what gives this cake its distinctive tang.
- Velvety texture that's softer than a typical butter cake. The lactic acid in the buttermilk breaks down the gluten so the crumb stays tender.
- Vibrant red color without dumping in half a bottle of dye. A high-quality concentrated gel like Americolor Super Red goes a long way.
Red Velvet Cake Ingredients
The ingredient list is short. The trick is using the right TYPE of each one (real cultured buttermilk, natural cocoa powder, gel food coloring, not the bargain-bin equivalents). I always recommend weighing your ingredients with a digital kitchen scale for the most accurate results.
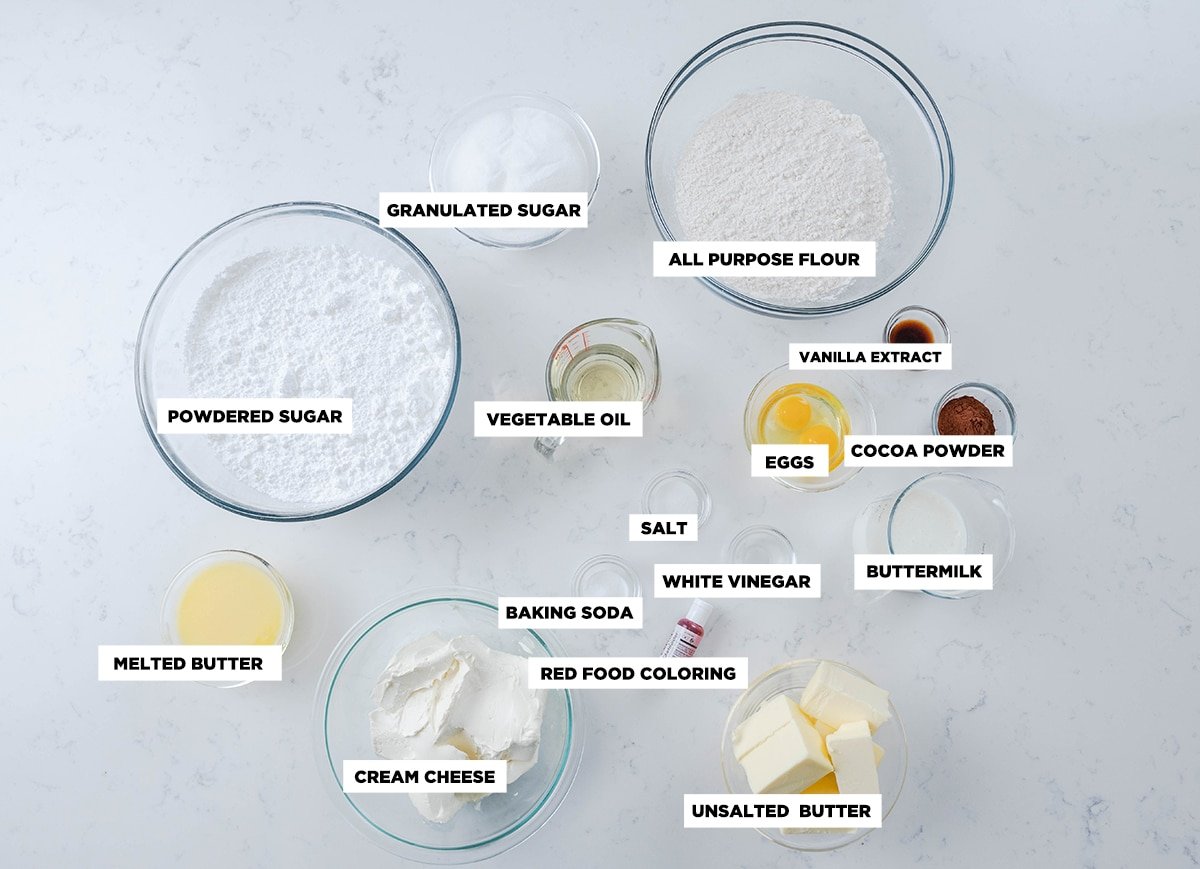
- All-purpose flour. AP flour gives this cake its sturdier-than-a-typical-velvet texture, which is what lets it hold up to stacking and fondant. Cake flour would make it too delicate. Don't substitute.
- Granulated sugar. Standard white sugar. Sweetens the cake and adds structure when whisked into the dry mix.
- Cocoa powder. Natural unsweetened cocoa powder (not Dutch-processed). The acidity of natural cocoa is what reacts with the baking soda and vinegar to create the tangy red velvet flavor AND the natural red tint. Dutch-processed cocoa is alkalized and won't give you the same chemistry.
- Salt and baking soda. Standard leavening and seasoning. Baking soda is the only leavener in this recipe; it reacts with the buttermilk and vinegar to create rise.
- Eggs. Two large eggs at room temperature. Cold eggs will shock the melted butter and break the emulsion.
- Vegetable oil. Keeps the cake moist for days. Any neutral oil works (canola, grapeseed, sunflower). Avoid olive oil because the flavor comes through.
- Buttermilk. Real cultured buttermilk gives this cake its distinct tangy flavor and velvety texture. The lactic acid breaks down the gluten and tenderizes the crumb. No buttermilk? Make a buttermilk substitute by adding 1 Tablespoon of vinegar to regular milk and letting it sit until it curdles.
- White vinegar. Sounds odd in a cake, but it's essential. The vinegar boosts the baking soda's lift and helps brighten the natural red pigment in the cocoa.
- Unsalted butter (melted). Adds rich flavor and a soft, almost custardy crumb. Make sure it's melted and slightly cooled, not hot, before mixing in.
- Vanilla extract. Real vanilla extract or vanilla bean paste. Imitation vanilla tastes flat in something this delicate.
- Red food coloring (gel). I prefer Americolor Super Red because it doesn't have an aftertaste, which matters when you're using a full Tablespoon. Liquid food coloring is too watery and won't give you a vibrant color without throwing off the recipe.
- Cream cheese. Full-fat block-style cream cheese (not the spreadable kind in tubs). Softened to room temperature so it whips smoothly without lumps.
- Powdered sugar. Sweetens the frosting and gives it body. Sift it before adding to avoid lumps.
Why Natural Cocoa, Buttermilk, And Vinegar Matter (The Science)
This is why the original red velvet was actually red without food coloring, and why most modern copycats can't quite hit the flavor.
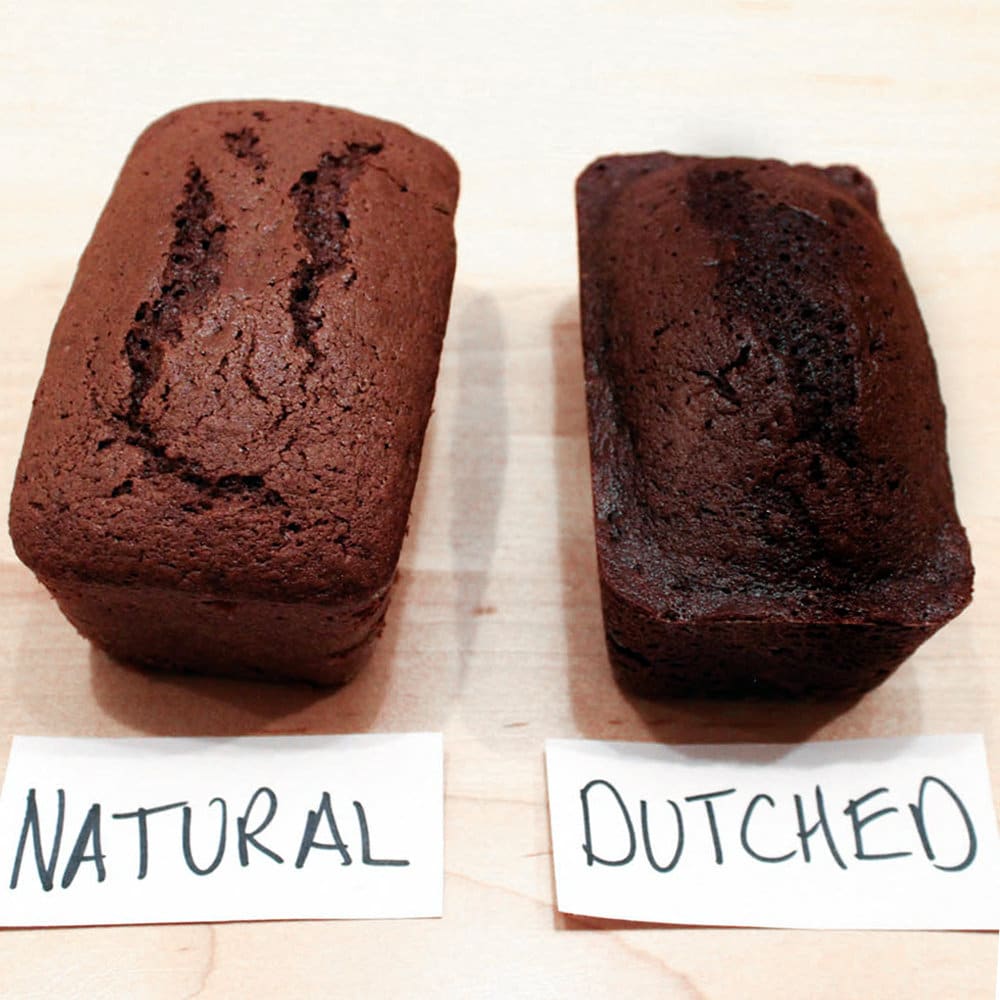
Natural cocoa and the anthocyanin reaction. Cocoa beans contain anthocyanin, a pigment that's also in red cabbage, blueberries, and (yes) red velvet's natural color. Anthocyanins' color depends on pH. Below pH 4 it reads red. Above pH 7 it goes purple, then blue, then almost colorless. Natural cocoa powder sits around pH 5 to 6 naturally. Add an acid (buttermilk + vinegar), and you push the pH below 4, which is where the anthocyanin turns visibly reddish in color. That's the chemistry behind the ORIGINAL red velvet color. No food coloring needed.
Why Dutch-processed cocoa breaks this. Dutch-processed (or "alkalized") cocoa is treated with potassium carbonate to neutralize its acidity, which makes it darker, smoother, and less bitter. Great for chocolate cakes. Terrible for red velvet. With the acid stripped out, the anthocyanin sits at neutral pH and reads as muddy brown. You can dump in all the food coloring you want and the cake will still look duller than it should. (For the full breakdown of when to reach for one or the other, see my post on natural vs Dutch processed cocoa powder.)
The buttermilk + vinegar + baking soda combo. Three jobs at once. The acids (buttermilk + vinegar) react with the baking soda to create the rise (no other leavener in this recipe). The lactic acid in the buttermilk breaks down some of the gluten in the flour, which is what gives you the velvety, fine crumb. And the acids drop the batter's pH below 4, which keeps the natural anthocyanin in the red zone instead of letting it shift purple-brown.
So the three "weird" ingredients (natural cocoa, vinegar, buttermilk) are doing six things together: leavening, tenderizing, flavor, color chemistry, structure, and tang. Pull any one, and the cake stops being red velvet and starts being a slightly off chocolate cake. The rest is just technique.
How To Make A Red Velvet Cake Step-By-Step
Before you start mixing: eggs, buttermilk, butter, and cream cheese all need to be at room temperature before you start. Cold ingredients are the fastest way to break a cake batter or curdle a frosting. While they warm up, grease three 8-inch cake pans with cake goop and preheat the oven to 335º F.
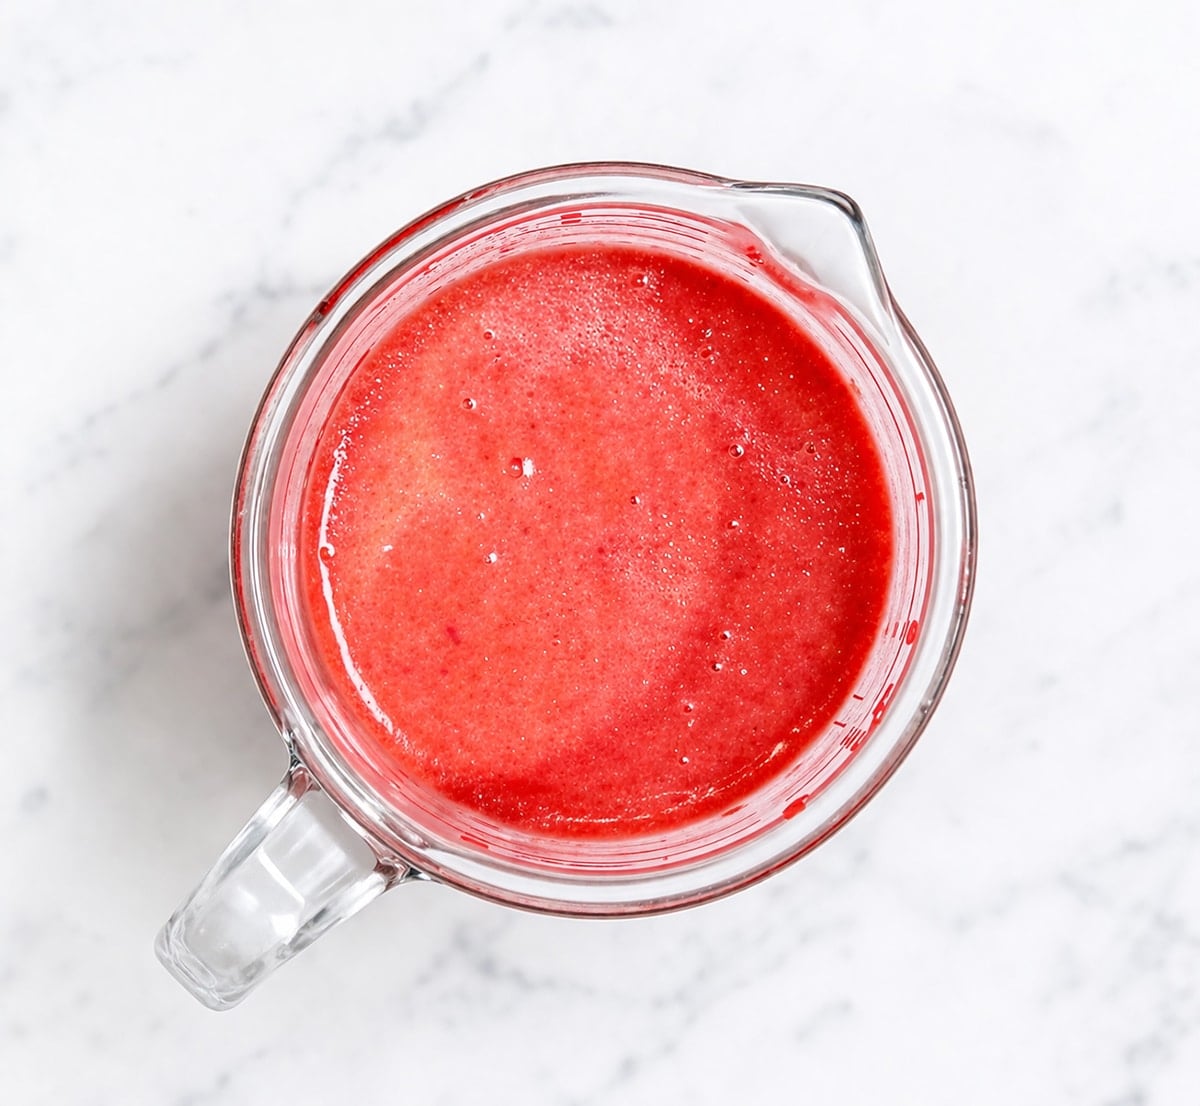
- Whisk the wet ingredients together. In a medium bowl, whisk the eggs, oil, buttermilk, vinegar, melted butter, vanilla, and red food coloring until smooth. Set aside.
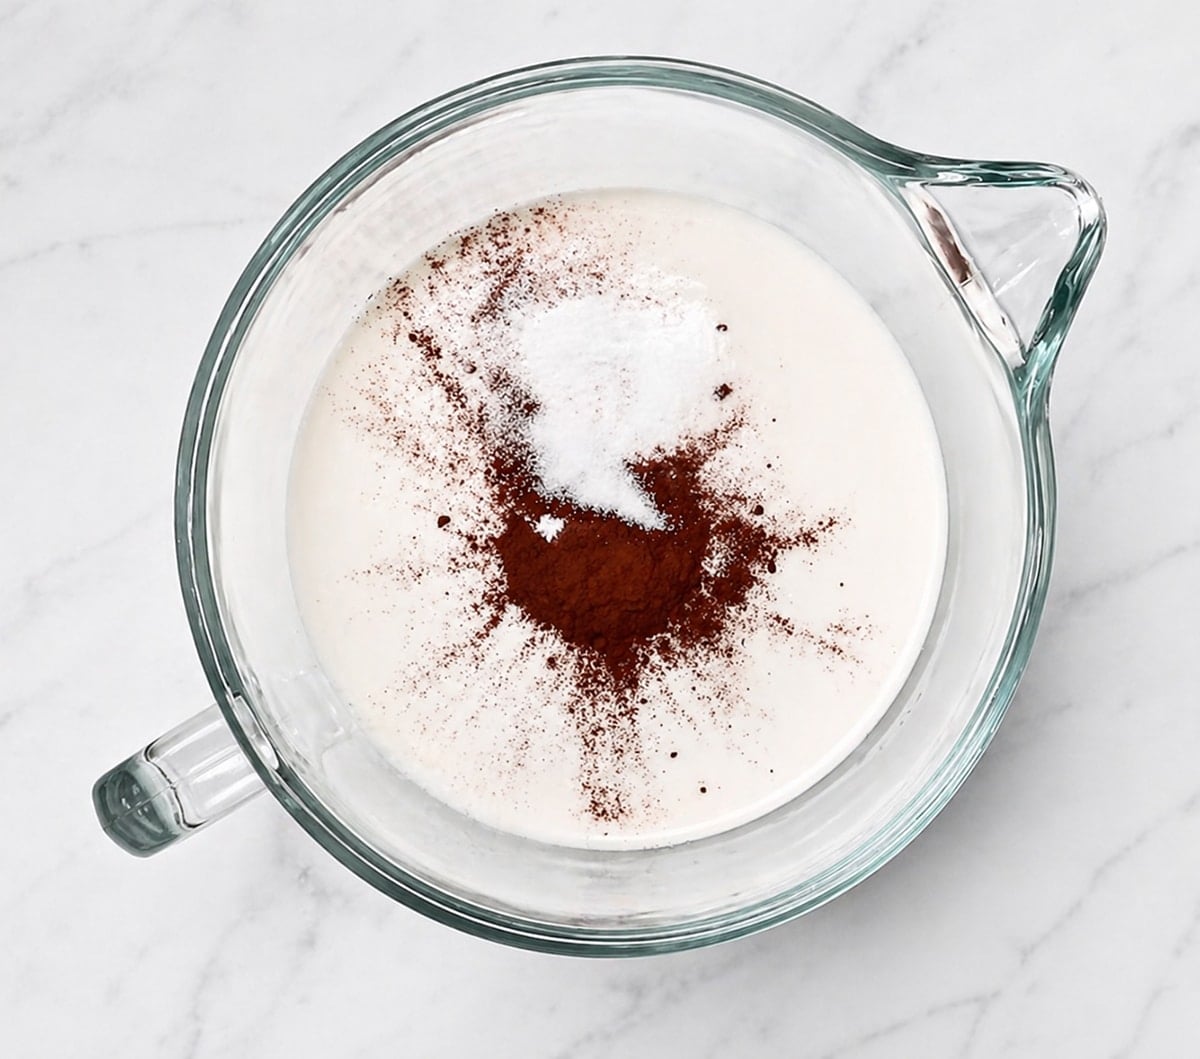
- Combine the dry ingredients in your stand mixer. Add the flour, sugar, cocoa powder, salt, and baking soda to the bowl of your stand mixer with the paddle attachment. Mix on low for a few seconds to combine.
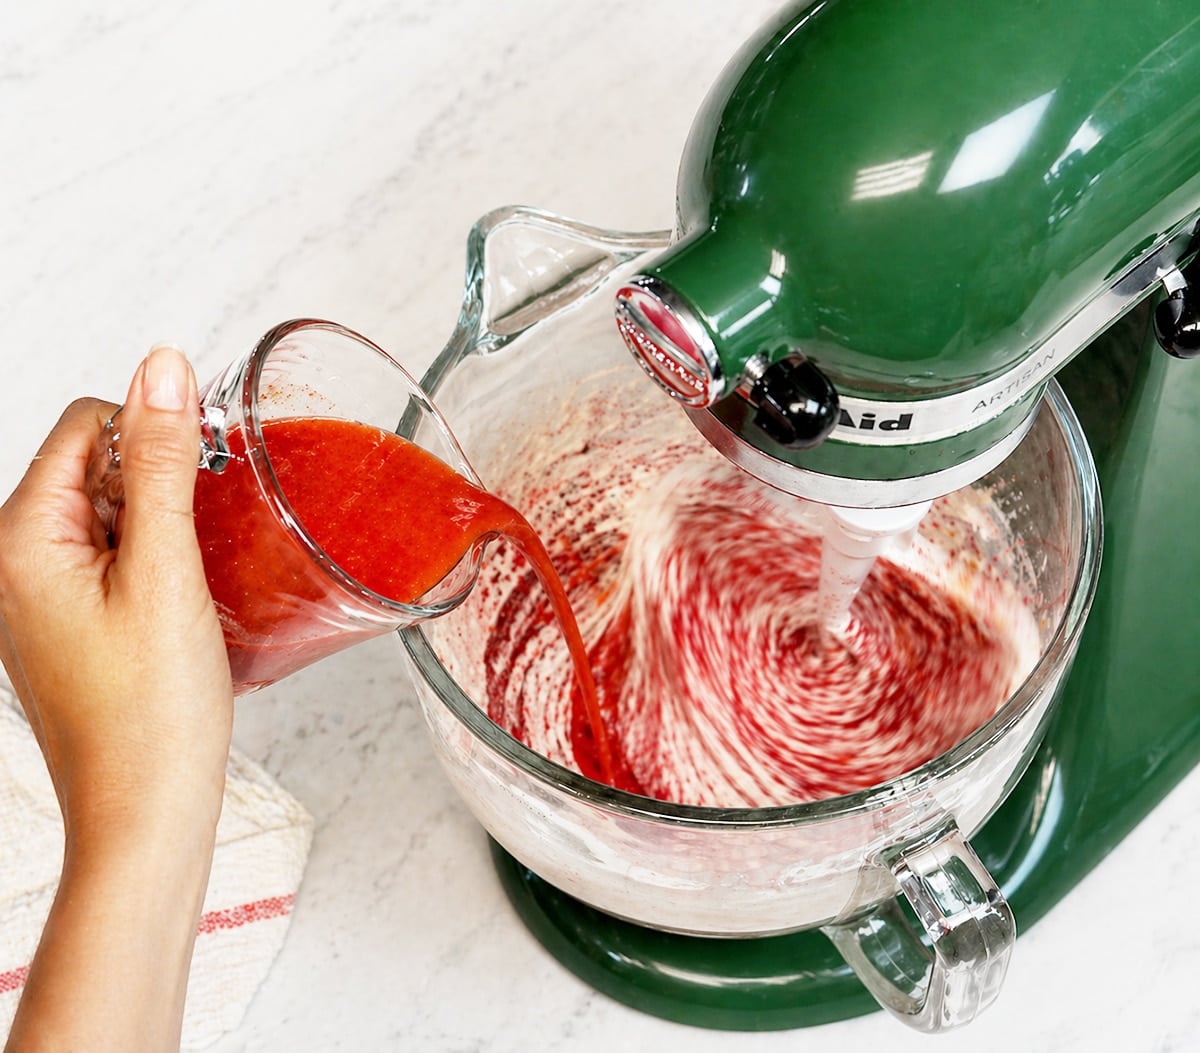
- Add the wet to the dry and mix. With the mixer on low, slowly pour the wet ingredients into the dry. Once incorporated, increase to medium speed and mix for about a minute until the batter is smooth and uniform. Stop and scrape the bowl thoroughly to make sure nothing is hiding at the bottom.
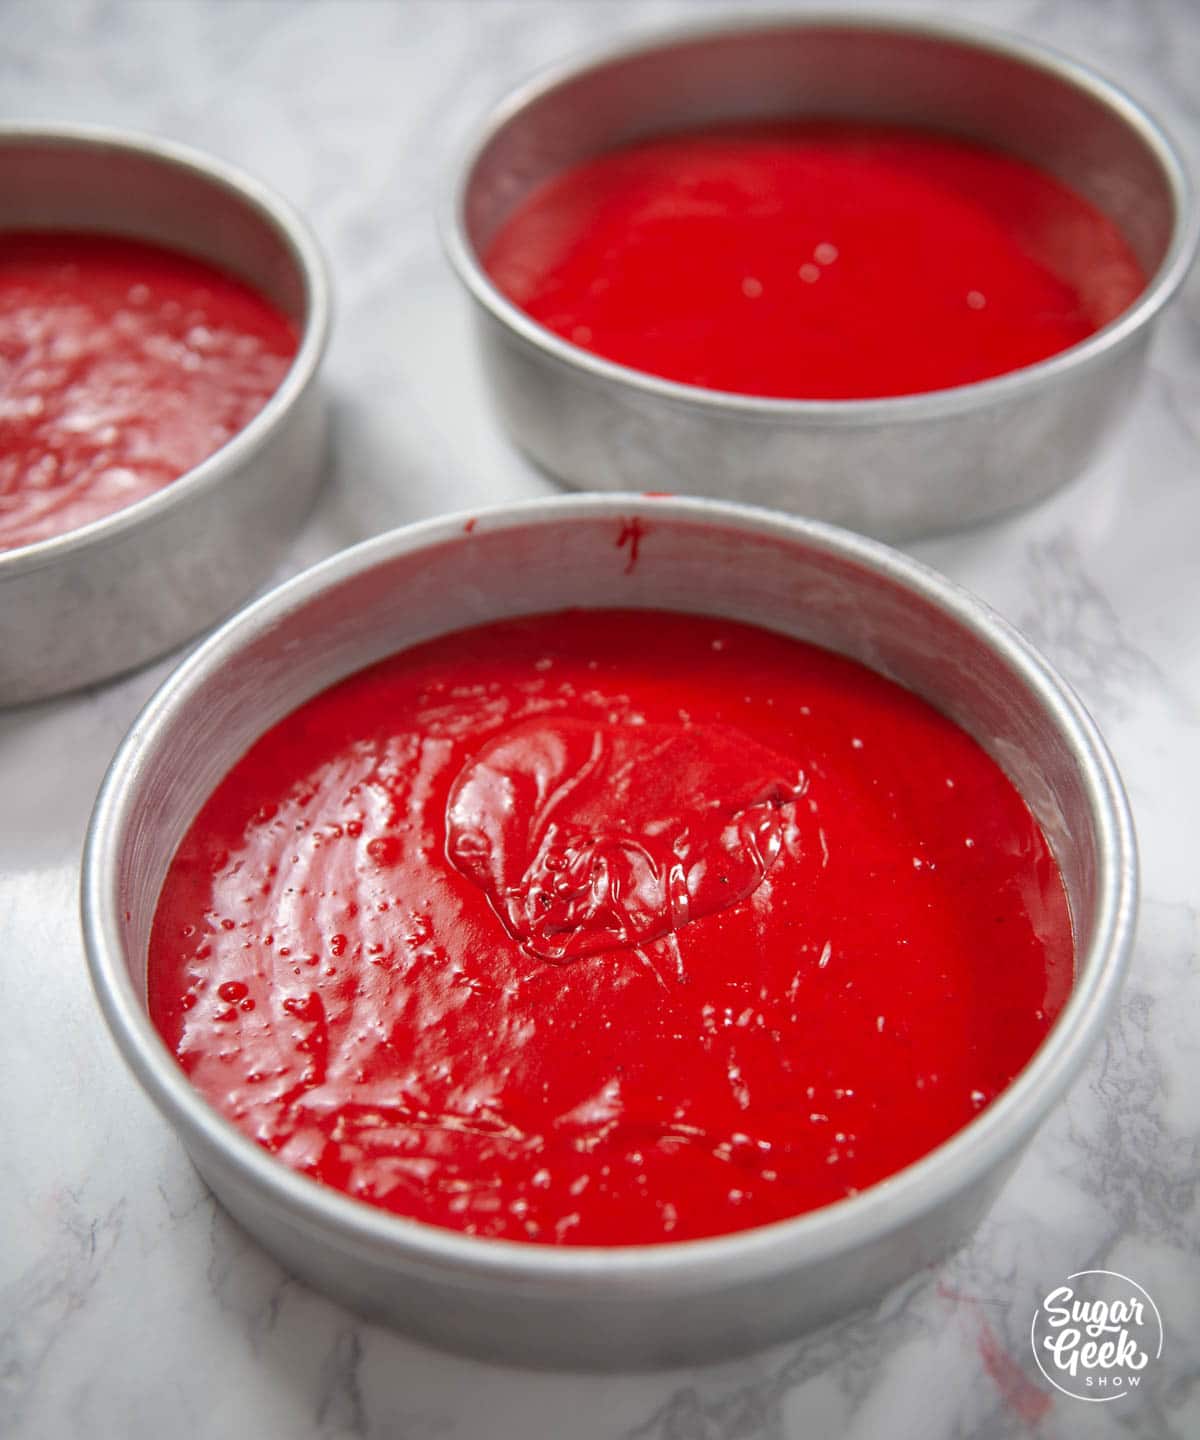
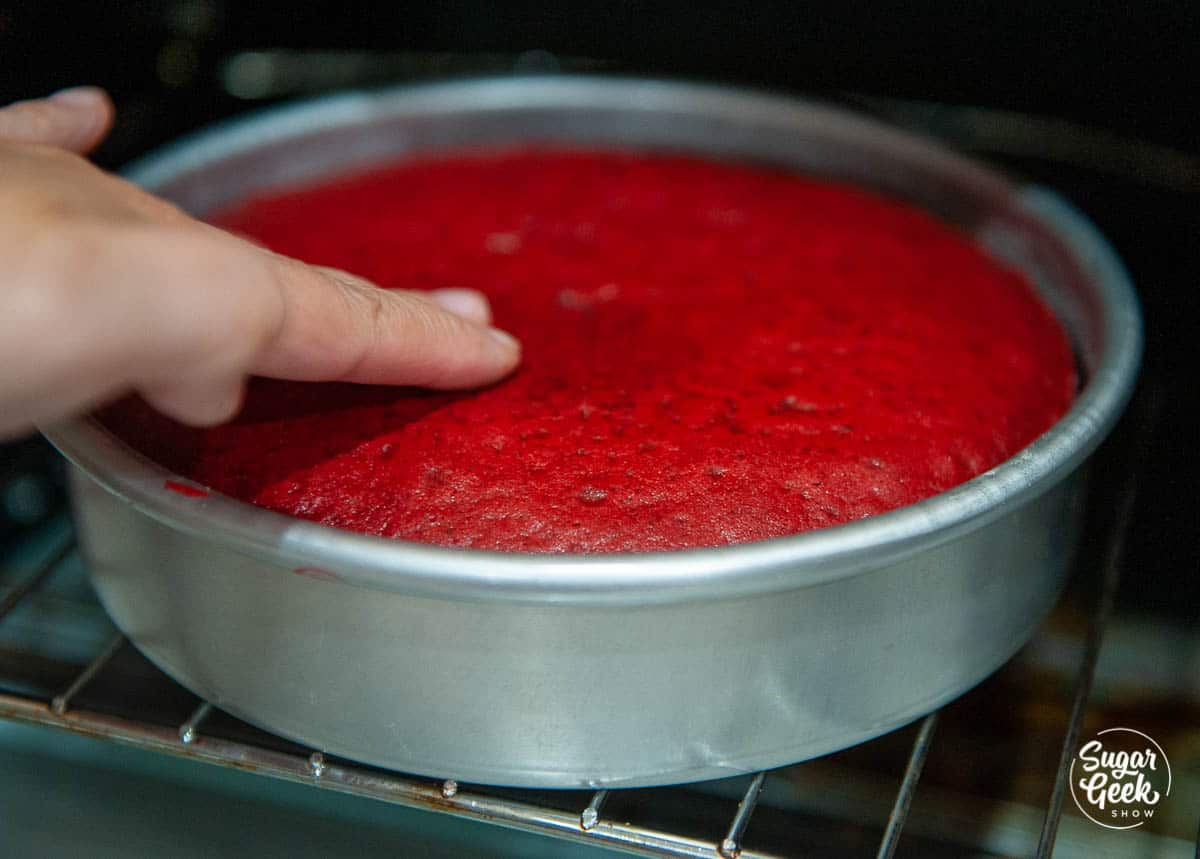
- Divide and bake. Pour the batter evenly between the three prepared cake pans. Bake at 335º F for 40 to 45 minutes, until the centers feel firm, the dome bounces back when lightly touched, and a toothpick comes out clean.
PRO TIP: If your batter looks pinkish-brown instead of vibrant red, your food coloring is the problem (cheap brand or liquid instead of gel), not the recipe. Add another teaspoon of Americolor Super Red and mix again. Better to over-color the batter than wait and be disappointed when the baked cake comes out muted.
- Cool the cakes. Let the cakes cool in the pans for 10 minutes, then turn them out onto a wire rack to finish cooling. If you're stacking the same day, pop the layers in the freezer for an hour to firm up. Otherwise, wrap them in plastic and freeze for up to a week.
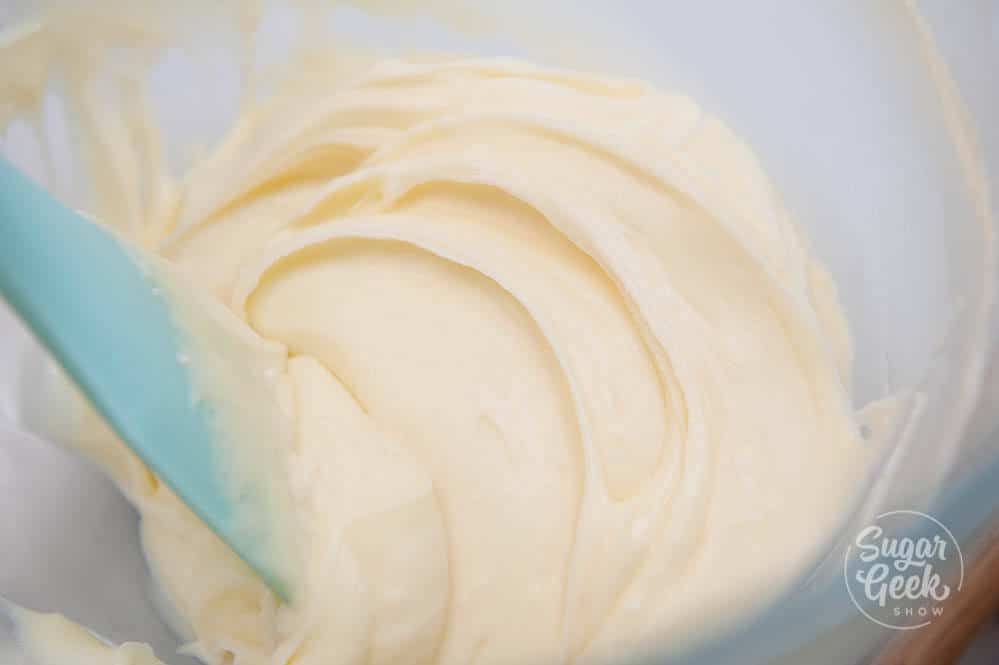
- Make the cream cheese frosting. Whip the softened butter in your stand mixer with the whisk attachment until smooth. Add the softened cream cheese and combine on low until lump-free. Add sifted powdered sugar one cup at a time on low speed, then mix in the vanilla and salt just until smooth. Don't over-mix or the frosting will curdle.
PRO TIP: Wrap the cake layers in plastic while they're still slightly warm (not hot) before they go into the freezer. The trapped steam re-absorbs into the crumb and seals in moisture, so the layers come out of the freezer day-of-decorating better than the day you baked them. This is the single best thing you can do for a cake that needs to travel.
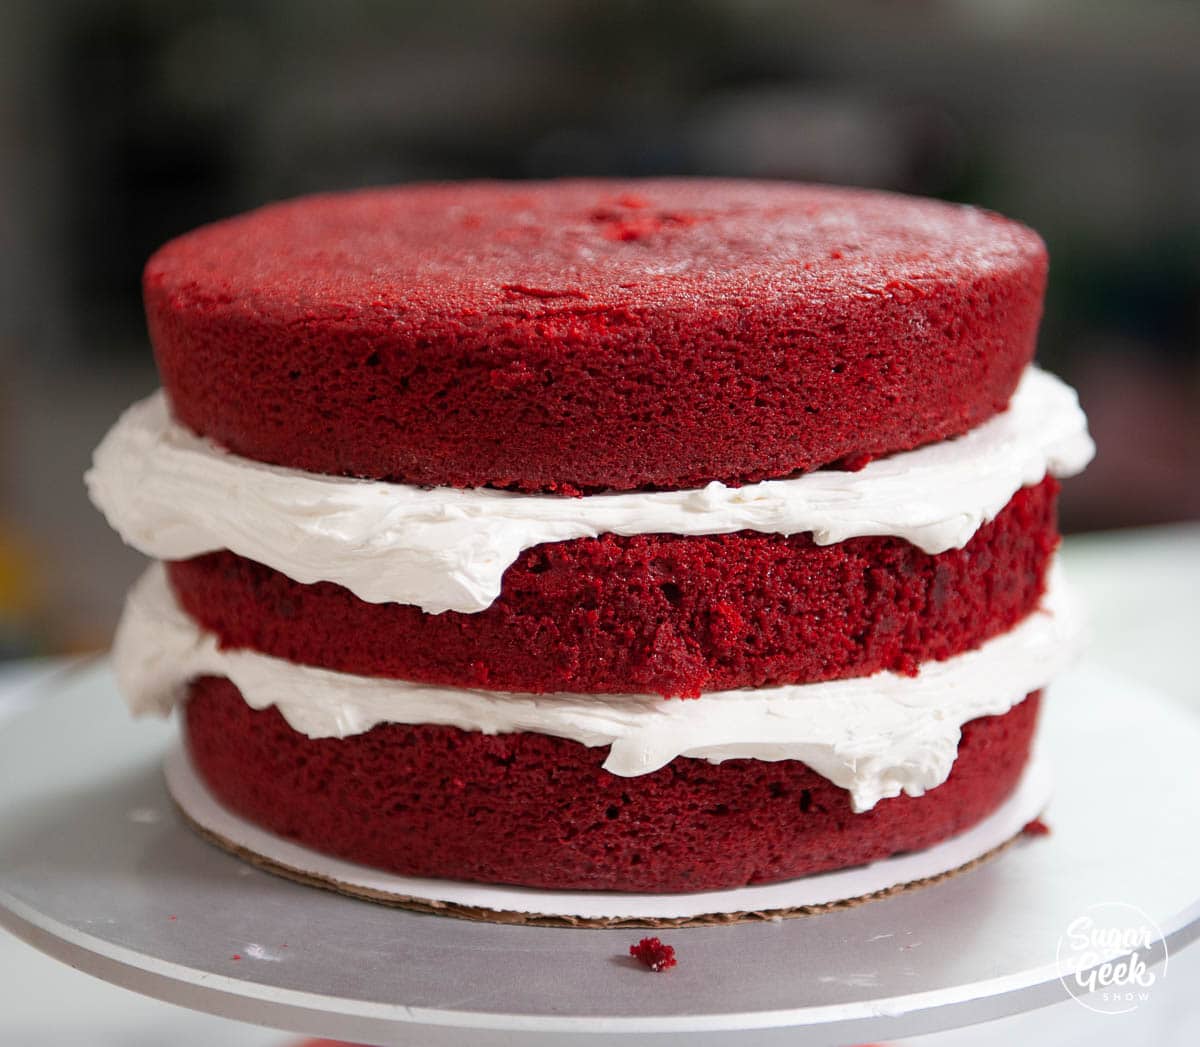
- Assemble and decorate. Stack the chilled cake layers with cream cheese frosting between each layer, then crumb coat and frost the outside. Chill the finished cake before serving for clean slices.
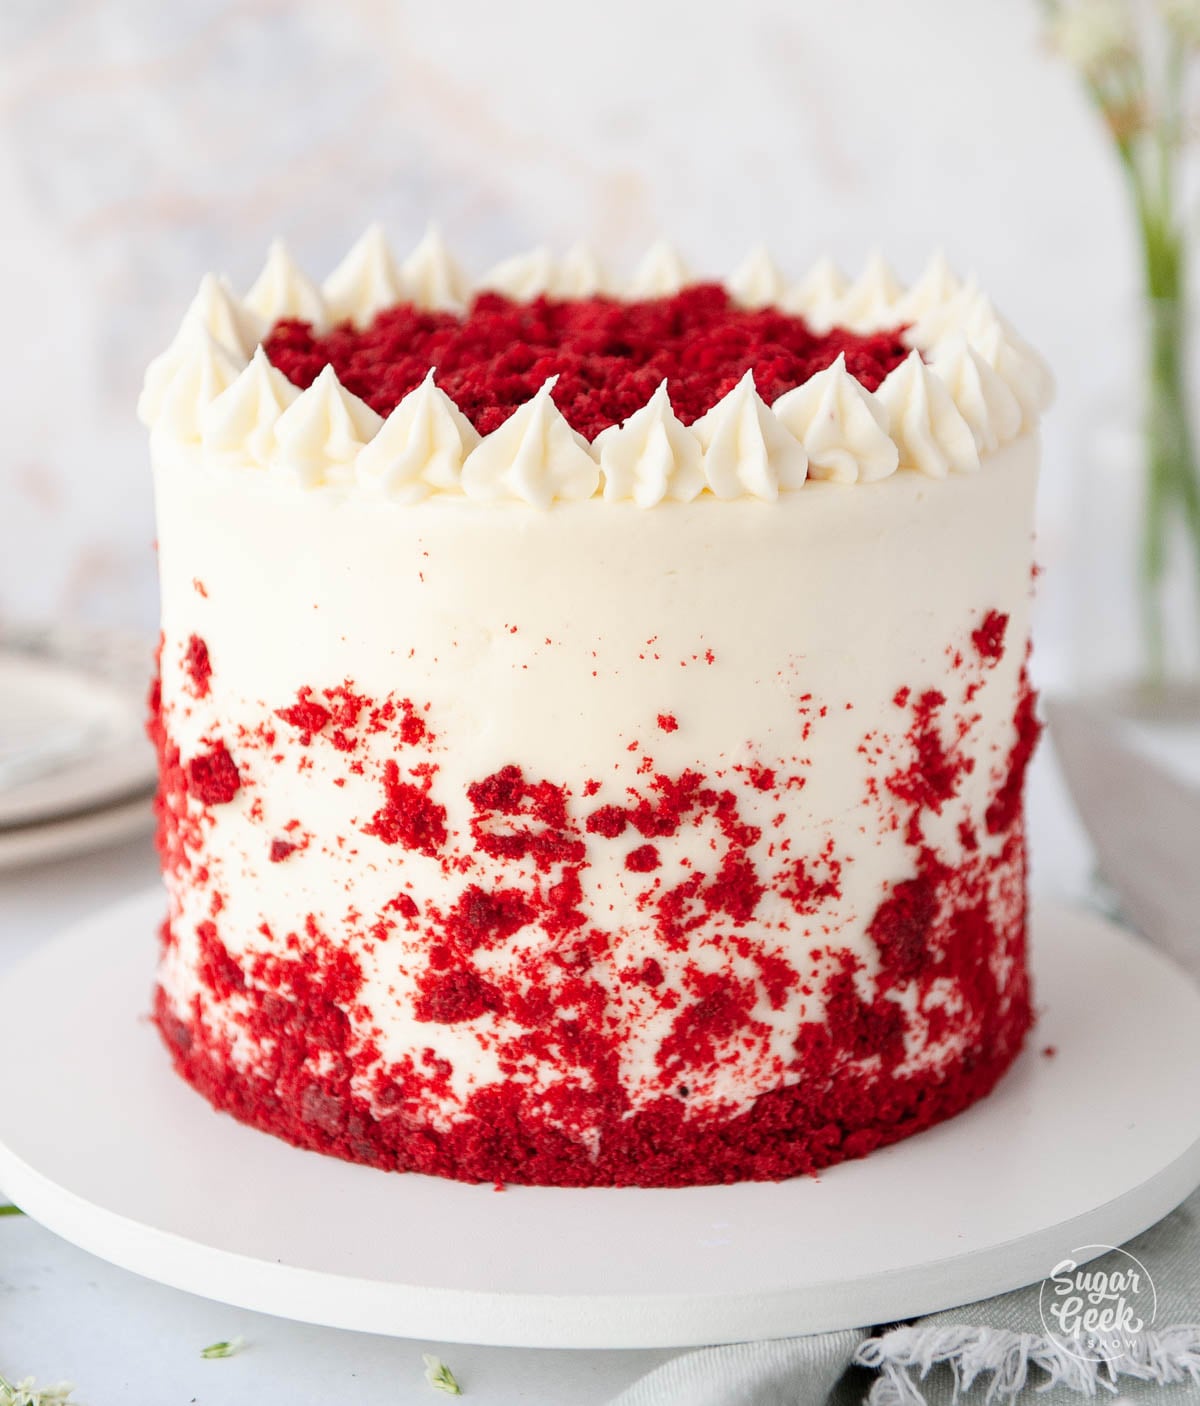
- Chill the finished cake before serving for clean slices. (Watch the video in the recipe card below for the full assembly walkthrough.)
PRO TIP: Over-mixed cream cheese frosting goes soupy and loose because cream cheese has a lot of moisture and breaks down with too much whipping. Mix on LOW once the cream cheese goes in. If your frosting still ends up soft, refrigerate it for 30 minutes and re-whip briefly on low before using.
Cake Batter and Frosting Calculator
This recipe makes approximately 12 cups of cake batter, which is enough for three 8-inch layers, two 9-inch layers, two 10-inch layers, one half-sheet pan (12x18), or about 36 cupcakes. It also makes about 6 cups of cream cheese frosting, which is enough to fill and frost a 3-layer 8-inch cake or generously frost 24 cupcakes. Adjust the servings slider on the recipe card if you need to scale up or down.
Cake Batter and Frosting Calculator
Select an option below to calculate how much batter or frosting you need. Adjust the servings slider on the recipe card to change the amounts the recipe makes.
Choose a pan type
Choose a cake pan size
(based on 2" tall cake pan)
Choose a cake pan size
(based on 2" tall cake pan)
Cupcake Tin Size
Choose number of pans
Cups of Batter Needed
8 cups
Cups of Frosting Needed
5 cups
Note: measurements are estimated based off the vanilla cake recipe using standard US cake pans and sizes. Measurements used are for 2" tall cake pans only. Your results may vary. Do not overfill cake pans above manufacturer's recommended guidelines.
A Quick History Of Red Velvet Cake
Red velvet didn't start as a Southern thing, and it definitely didn't start with food coloring. The original recipe goes back to the late 1800s, when "velvet" was a marketing term for cakes with a finer crumb than the dense pound cakes most people were baking at home. Add buttermilk, vinegar, and natural cocoa to a "velvet" cake, and you get a faint reddish-brown tint from a chemical reaction in the cocoa itself. No dye involved. That's the original.
The bright-red version we recognize today comes from John A. Adams, who ran Adams Extract, a Texas food coloring and flavoring company. In the 1940s, during a sugar shortage, his company started promoting a red food-colored cake recipe to sell more dye and extract. Recipe cards went in every bottle of food coloring, and the recipe took off. The Waldorf-Astoria in New York famously served a version (the "Waldorf-Astoria red cake") that further cemented the bright red look in the public imagination.
Then Steel Magnolias happened in 1989. The red velvet armadillo groom's cake in that movie is the single biggest reason red velvet became the unofficial Southern wedding cake. If your grandma started making red velvet in the late 80s or early 90s, you can probably blame that armadillo. I actually got to re-create that famous armadillo cake early in my cake decorating career, and of course, used this red velvet cake recipe.

So the cake is part 1880s velvet-crumb chemistry, part 1940s food coloring marketing, part 1989 movie moment. All three matter, but the chemistry is what you actually taste.
What Red Velvet Actually Tastes Like
Real red velvet has a tangy flavor. It shouldn't taste like vanilla cake, and it shouldn't taste like chocolate cake. The buttermilk and vinegar are doing the heavy lifting here, with the cocoa sitting quietly in the background. If your bite tastes like a chocolate cake with red dye, the recipe used too much cocoa. If it tastes like a vanilla cake that happens to be red, it's just a vanilla cake colored red.
Real red velvet lands in between. Subtly tangy, faintly chocolatey, with a velvety crumb and a cream cheese frosting that tastes like it was always meant to be there.
Common Red Velvet Cake Problems To Avoid
- Measuring by cups instead of weight. Cup measurements vary by up to 50 percent depending on how you scoop, which is enough to throw off the entire recipe. Use a kitchen scale for accurate results every time.
- Skipping the room temperature step. Cold eggs, cold buttermilk, or cold butter will cause the batter to break and curdle. Set everything out at least an hour before mixing, or speed it up by warming the buttermilk in the microwave for 20 seconds and the butter for 10 seconds at a time until soft.
- Using cheap or liquid red food coloring. Liquid food coloring is too watery and won't give you a vibrant red, especially after baking. Use a concentrated gel like Americolor Super Red (my preferred, no aftertaste) and add more if the batter looks pinkish-brown.
- Using Dutch-processed cocoa instead of natural. This recipe relies on the natural acidity of regular unsweetened cocoa to react with the baking soda and vinegar. Dutch-processed cocoa is alkalized and breaks the chemistry. Stick with natural cocoa.
- Skipping the vinegar. It seems like an odd ingredient but it's essential. The vinegar activates the baking soda for proper rise and helps the cake develop its signature red velvet flavor and color.
- Substituting regular milk for buttermilk. Buttermilk is what gives red velvet its tangy flavor and tender crumb. If you don't have any on hand, make a quick substitute with vinegar and regular milk, but don't skip the cultured tang entirely.
- Over-mixing the batter. A minute on medium speed is plenty. Over-mixing develops too much gluten and gives you a tough, rubbery cake instead of a velvety one.
- Cake sinks in the middle. Almost always under-baked. Ovens vary a lot, so don't trust the timer alone. Press the center lightly with a finger. If it springs back, it's done. If it leaves a dent, give it 3 to 5 more minutes.
Why Did My Red Velvet Cake Come Out Brown, Not Red?
This is the single most common red velvet question I get, and there are three real culprits.
The food coloring. This is the answer 80 percent of the time. Liquid food coloring (the McCormick squeeze bottles in the grocery store baking aisle) is mostly water and not concentrated enough to survive an oven. The color washes out. Use a gel like Americolor Super Red. If you're trying to go all-natural with beet juice or pomegranate concentrate, expect a muted reddish-pink, not a vivid red. Natural alternatives can't compete with concentrated gel for vivid color, full stop.
The cocoa. Dutch-processed cocoa is the silent killer of red velvet color. It's alkalized, so the anthocyanin pigment in the cocoa stays in its brown-purple state instead of shifting red. Check the label. If it says "Dutch-processed," "alkalized," "European-style," or "rouge cocoa," that's the wrong cocoa for this recipe. You want plain "natural unsweetened cocoa powder" (Hershey's, Ghirardelli natural, etc.).
Over-baking. If you pull the cake even 5 minutes past done, the red darkens to maroon, then to brown. Red velvet wants to come out the moment a toothpick is clean, no later. Better slightly under than slightly over.
If your cake came out brown and you used a gel coloring AND natural cocoa AND didn't overbake, the issue is usually that you used less gel than the recipe calls for. Add more next time. The amount in this recipe is calibrated for a vivid, classic red velvet color.
Tiering Red Velvet For Wedding Cakes
Red velvet is the unofficial Southern wedding cake (thanks again, Steel Magnolias), and it's been on my wedding cake order list for over a decade. But tiering red velvet has one real complication: cream cheese frosting is not naturally stable enough for a stacked tier in warm weather. Here's how to make it work. If you've never built a tiered cake before, my full how to make a wedding cake guide walks through the whole process from baking the layers to delivering the finished cake.
- Chill the cake layers FIRM before stacking. Cream cheese frosting holds shape when it's cold and goes soft when it warms. Cold layers (refrigerated overnight or freezer for 1 hour) give you a stable base to build on.
- Refrigerate between every step. Fill the tier, refrigerate 30 minutes. Crumb coat, refrigerate 30 minutes. Final coat, refrigerate 1 hour minimum before stacking the next tier on top. This is slow but non-negotiable for stability.
- Use dowels in every tier. Bubble tea straws or wood dowels spaced 6 inches inside the perimeter of the next tier up. For tall stacks, a central sharpened dowel through the entire stack down to the cake board. My how to stack cakes tutorial walks through the doweling pattern with step-by-step photos.
- Consider switching to white chocolate cream cheese frosting for tiered cakes. White chocolate stiffens the frosting as it cools, which makes tiered structures more stable. Beat 4 ounces of melted (and cooled) white chocolate into the cream cheese frosting after the powdered sugar. Same flavor, way more stability.
- For outdoor weddings above 80º F or high humidity, swap to American buttercream-tinted to match. Cream cheese frosting will sweat and slump in hot, humid conditions. An American buttercream that's been tinted off-white with a tiny bit of brown to mimic cream cheese is the trade for stability. Most wedding guests can't tell the difference under fondant or buttercream florals.
- Transport chilled. Always. Cake box, non-slip mat, back-seat floor of the car (the coolest spot), AC running. Cream cheese frosting that warms up in transit slumps fast.
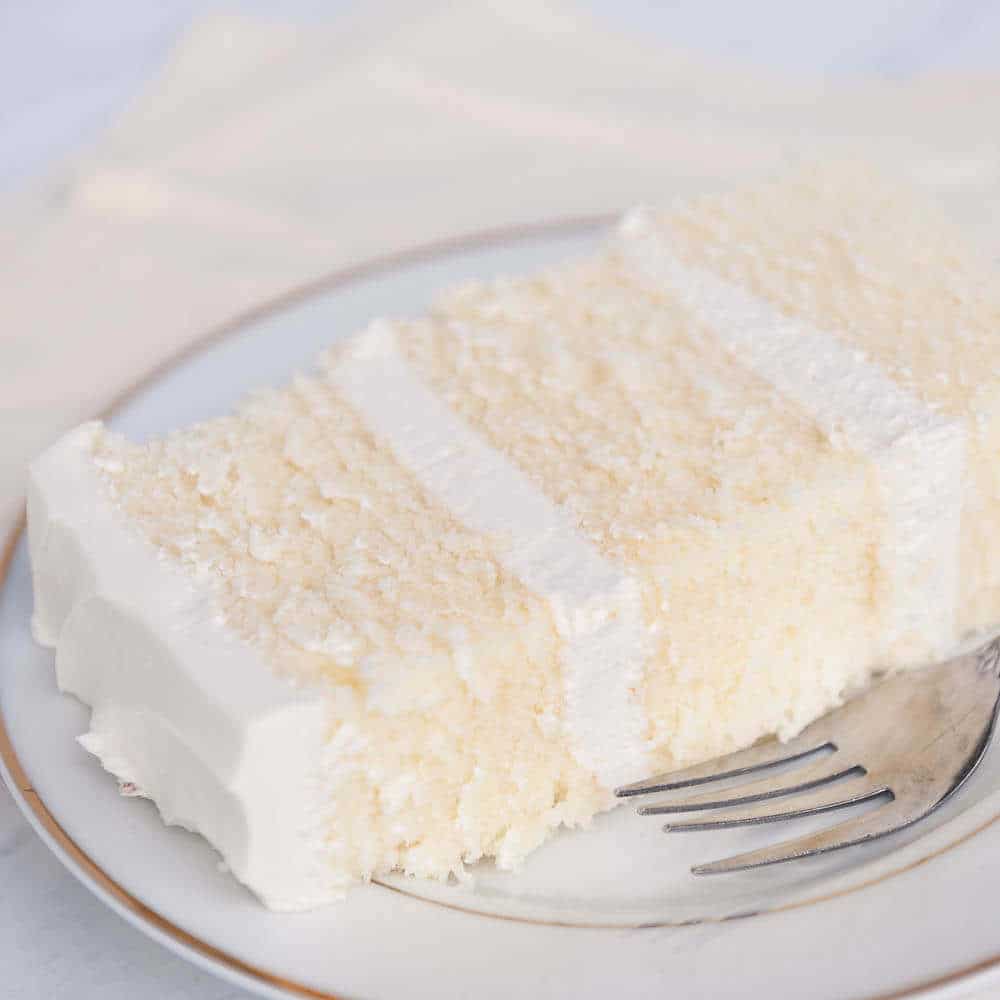
For a more delicate cousin of this recipe that's specifically designed for wedding work, see my white velvet buttermilk cake. Same buttermilk technique, more refined crumb.
Make-Ahead, Storage, And The Event-Day Plan
Red velvet is the cake people make ahead because it travels to events. Here's the matrix.
- Cake layers, refrigerator. Wrap tightly in plastic. Up to 5 days.
- Cake layers, freezer. Wrap tightly in plastic and a layer of foil. Up to 3 months. Thaw overnight in the fridge in the wrapping (condensation forms on the foil, not the cake).
- Cream cheese frosting, refrigerator. Airtight container. Up to 1 week. Re-whip briefly on low before using.
- Cream cheese frosting, freezer. Airtight container. Up to 3 months. Thaw overnight in the fridge, then re-whip.
- Frosted assembled cake, refrigerator. Covered cake dome or loose plastic. Up to 4 days. Bring to room temperature 30 to 60 minutes before serving so the frosting softens.
- Frosted assembled cake, freezer. Flash-freeze unwrapped for 1 hour, then double-wrap in plastic and a layer of foil. Up to 1 month. Thaw overnight in the fridge inside the wrap.
Make This Red Velvet Cake Recipe Your Own
The base recipe is the launchpad for a whole family of cakes.
- Ermine frosting instead of cream cheese. Ermine is the original Southern frosting for red velvet, used long before cream cheese became the default. Boiled milk frosting, light as whipped cream, less sweet than American buttercream. My ermine frosting recipe walks through it. Switch to this for an authentic vintage red velvet experience.
- White chocolate cream cheese frosting. Beat 4 ounces of melted-and-cooled white chocolate into the cream cheese after the butter, before the powdered sugar. Stiffer, richer, ideal for tiered cakes.
- Red velvet cupcakes. Same batter, line a cupcake pan, fill ⅔ full, bake at 335º F for 18 to 25 minutes. Yields about 36 cupcakes.
- Red velvet bundt. Pour the full batter into a greased 12-cup bundt pan, bake at 325º F (slightly lower) for 50 to 60 minutes. Drizzle with cream cheese glaze (thinned cream cheese frosting) instead of frosting.
- 2-layer home version. If three 8-inch layers is more cake than you need, scale every ingredient down by one-third (or see the recipe card notes for exact amounts) and bake in two 8-inch pans. Same method, more reasonable for a home dessert.
- Red velvet cake balls. Crumble a baked layer into the cream cheese frosting until it forms a dough. Roll into balls, dip in white chocolate. The recipe that built a thousand bakery cake balls.
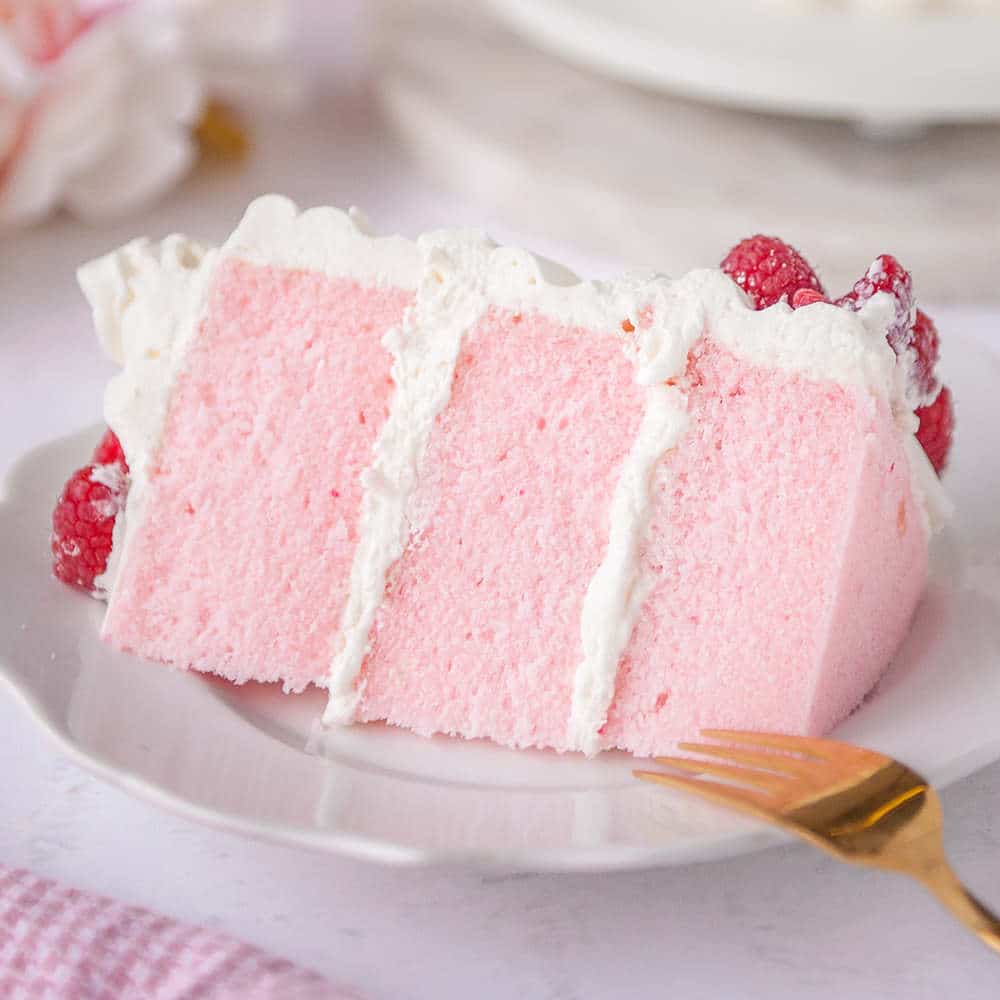
- Pink velvet. Skip the cocoa, swap the red food coloring for pink. My pink velvet cake uses this approach for baby showers and bridal showers.
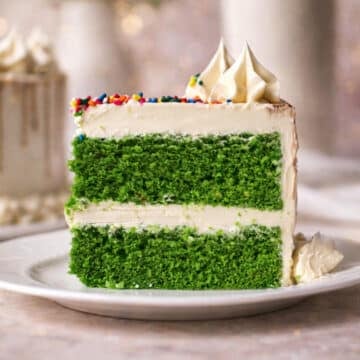
- Green velvet. Same swap with green food coloring. My green velvet cake is the St. Patrick's Day version.
- No food coloring at all. If you want the authentic-1880s natural-red version, skip the dye, use a high-quality natural cocoa, and accept that the cake will be a muted reddish-brown instead of vivid red. The flavor is the same. The color is just honest.
Final Thoughts
Red velvet has been on the menu at every cake business I've ever worked at, and it's one of the recipes I keep going back to for clients who say they "don't really like red velvet." Most of the time, they've only ever had the chocolate-cake-with-dye version, and once they taste a real red velvet with that tangy buttermilk-and-cocoa flavor, they get it. If you've been disappointed by red velvet before, I'd bet on this recipe to convert you.
The chemistry is the part that hooked me. A pH-sensitive pigment, a careful acid balance, a flour that's been alkalized or not, a 1940s marketing campaign that turned a faint reddish-brown cake into a bright red icon, a movie that turned the cake into a Southern wedding tradition. There's more story in red velvet than almost any other dessert on this site.
If you love this and want to branch out into the velvet family, my white velvet buttermilk cake uses the same buttermilk technique with a softer, more delicate flavor profile. Same tender crumb, totally different cake.
Red Velvet Cake FAQs
Yes. You'll get a muted reddish-brown cake instead of a vivid red, but the flavor stays the same. This is what red velvet looked like before the 1940s. Some bakers prefer it.
You can, but then it's not red velvet anymore. It's a buttermilk cake with red food coloring. The cocoa is doing real flavor and chemistry work, not just adding color.
A reader asked this. Kefir is fermented and acidic like buttermilk, so it should work as a 1:1 swap. Texture might be slightly different but the chemistry will still trigger. I haven't tested it personally.
You don't have to. Some red velvet recipes add a quarter cup of strong coffee to deepen the chocolate notes. It works, and it doesn't taste like coffee in the finished cake. But the original red velvet style is buttermilk-and-vinegar forward with just a hint of cocoa. Adding coffee tips the flavor toward chocolate cake territory, which is the opposite of what real red velvet is doing. Skip it unless you specifically want a more chocolate-forward version.
Over-mixed cream cheese breaks down and releases moisture. Mix on LOW once the cream cheese goes in, just until smooth. If it's already soft, refrigerate 30 minutes and re-whip briefly.
More Velvet Recipes To Try
Leave Me A Review
⭐️⭐️⭐️⭐️⭐️
If you tried this Red Velvet Cake Recipe or any other recipe on my blog, please leave a 🌟 star rating and let me know how it goes in the comments. I love hearing from you!
Recipe
Ingredients
Red Velvet Cake Ingredients
- 4 large eggs room temperature
- 9 ounces vegetable oil
- 18 ounces buttermilk room temperature
- 2 ¼ Tablespoons white vinegar
- 13 ounces unsalted butter melted but not hot
- 1 Tablespoon vanilla
- 1 ½ Tablespoons red food coloring gel food coloring
- 31 ounces all-purpose flour
- 31 ounces granulated Sugar
- 4 ½ Tablespoons cocoa powder
- 1 ½ teaspoons salt
- 2 ¼ teaspoons baking soda
Cream Cheese Frosting Ingredients
- 12 ounces unsalted butter softened
- 18 ounces cream cheese softened
- 40 ounces powdered sugar sifted
- 1 teaspoon vanilla extract or orange extract
- ½ teaspoon salt
Instructions
- Before you begin: All refrigerated ingredients (eggs, buttermilk, butter, cream cheese) must be at room temperature or slightly warm before starting. Cold ingredients break the batter and curdle the frosting. Grease three 8-inch cake pans with cake goop and preheat the oven to 335º F before you begin mixing.
Red Velvet Cake
- Whisk the wet ingredients together. In a medium bowl, whisk the eggs, oil, buttermilk, vinegar, melted butter, vanilla, and red food coloring until smooth. Set aside.
- Combine the dry ingredients in your stand mixer. Add the flour, sugar, cocoa powder, salt, and baking soda to the mixer bowl with the paddle attachment. Mix on low for a few seconds to combine.
- Add the wet to the dry and mix. With the mixer on low, slowly pour in the wet ingredients. Once incorporated, increase to medium speed and mix for about 1 minute until smooth. Stop and scrape the bowl thoroughly.
- Divide and bake. Pour the batter evenly between the three prepared pans. Bake at 335º F for 40 to 45 minutes, until the centers feel firm, the dome bounces back when lightly touched, and a toothpick comes out clean.
- Cool the cakes. Cool in the pans for 10 minutes, then turn out onto a wire rack to finish cooling. For same-day stacking, pop the layers in the freezer for 1 hour to firm up. Otherwise, wrap and freeze for up to a week.
Cream Cheese Frosting
- Place the softened butter in the bowl of your stand mixer with the whisk attachment. Mix on low until smooth and lump-free.
- Add the softened cream cheese and combine on low until smooth and completely homogeneous. Scrape the bowl to make sure it is all incorporated.
- Add the sifted powdered sugar one cup at a time, mixing on low to avoid throwing powdered sugar out of the bowl.
- Add the vanilla extract and salt and mix until just combined and smooth. Do not over-mix.
- Assemble and decorate. Stack the chilled cake layers with cream cheese frosting between each layer. Crumb coat, chill, then frost the outside. Refrigerate before serving for clean slices.
Video
Notes
- Bring all your refrigerated ingredients (eggs, buttermilk, butter, cream cheese) to room temperature or even slightly warm before mixing. Cold ingredients break the batter and curdle the frosting.
- Use a kitchen scale to weigh your ingredients including liquids. Cup measurements vary too much for consistent results.
- Practice mise en place. Measure everything out before you start mixing so you don't accidentally leave something out.
- Chill your cakes before frosting and filling. Cold cakes are easier to handle and the cream cheese frosting holds firmer when applied to chilled layers. This recipe also covers beautifully under fondant.
- If you don't have buttermilk, use one of my buttermilk substitutes. One Tablespoon of vinegar in a cup of regular milk, sat for 5 minutes, works perfectly.
- For red food coloring, I prefer Americolor Super Red because it doesn't have an aftertaste, which matters when you're using a full Tablespoon. Other concentrated gels work too if you don't notice the taste.
- Use natural unsweetened cocoa powder, NOT Dutch-processed. Dutch cocoa breaks the chemistry that gives red velvet its color and flavor.
- Three 8-inch cake pans is the recommended size (the wedding-cake build).
- Two 9-inch pans work; bake for 35 to 40 minutes since the layers will be a bit thicker.
- Two 10-inch pans work for a wider, slightly thinner cake; bake for 30 to 35 minutes.
- Cupcakes: line a cupcake pan, fill liners ⅔ full, bake at 335º F for 18 to 25 minutes. Yields about 36 cupcakes.
- Half-sheet pan (12x18): pour the full batch into a greased pan and bake for 30 to 35 minutes.
- 12-cup bundt pan: bake at 325º F for 50 to 60 minutes.
- Cake layers: wrap tightly in plastic and refrigerate up to 5 days or freeze up to 3 months before assembling.
- Cream cheese frosting: refrigerate in an airtight container for up to a week, or freeze for up to 3 months. Re-whip briefly before using.
- Frosted assembled cake: refrigerate covered for up to 4 days. Bring to room temperature 30 to 60 minutes before serving.
- Frosted cake in freezer: flash-freeze unwrapped for 1 hour, then double-wrap. Up to 1 month.
- Ermine frosting for cream cheese: the original Southern frosting. See the recipe linked in the body.
- White chocolate cream cheese frosting for tiered cakes: beat 4 oz melted and cooled white chocolate into the cream cheese before the powdered sugar.
- Buttermilk: 1 Tablespoon of vinegar in 1 cup regular milk, sat 5 minutes.
- Orange extract in place of vanilla in the frosting: use ½ teaspoon orange extract instead of 1 teaspoon vanilla for a brighter, slightly citrusy cream cheese that pairs beautifully with red velvet.
- No food coloring at all: cake will be muted reddish-brown instead of vivid red. Flavor is the same.
- Don't substitute Dutch-processed cocoa for natural cocoa. The chemistry won't work.
- Don't use liquid food coloring or skip the food coloring if you want a vivid red color.
- Don't use cold ingredients. Everything must be at room temperature.
- Don't over-mix the batter or the frosting.
- Don't skip the vinegar even though it sounds weird. It's what activates the baking soda.


Matt says
What would I need to adjust if I can only find salted butter? Thank you
Liz Marek says
You can use salted butter, just leave out the added salt in the recipe. If you have more questions, come ask me in the Sugar Geeks community: https://community.raptive.com/sugargeeks
Laura says
Hi! The metric conversion is not working. Could you repost? Thanks so much!
Liz Marek says
The Metric button is working now! Click it right above the ingredient list to switch to grams. If you have more questions, come ask me in the Sugar Geeks community: https://community.raptive.com/sugargeeks
Josiah says
Favourite recipe, and one i’ve been following for a while now. Really sad to see everything has been switched to ounces for every recipe I follow on this website. I’ve only ever used grams & seeing the ounces and servings changed have really thrown me off my game. Hope you can make an adjustment to be able to switch to grams to make it easier for those who bake in grams.
Liz Marek says
Thank you! The Metric button is working now. Click it right above the ingredients and everything switches to grams. If you have more questions, come ask me in the Sugar Geeks community: https://community.raptive.com/sugargeeks
Brianne says
Have you ever made this cake in a Bundt cake pan?
Liz Marek says
Yes! Use a 12-cup bundt pan and bake at 325º F for 50 to 60 minutes. If you have more questions, come ask me in the Sugar Geeks community: https://community.raptive.com/sugargeeks