
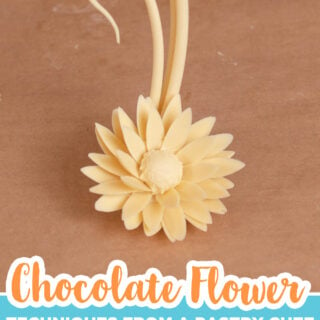
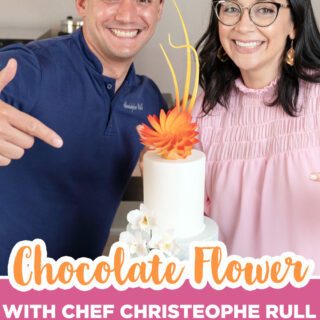
Chef Christophe Rull shows us some amazing chocolate techniques with this chocolate flower showpiece. Learn how to sculpt with tempered chocolate, assemble a chocolate flower and add color with cocoa butter. This chocolate flower makes an amazing topper for a wedding cake!
What's in this blog post
Chocolate flower tools & equipment
These are the tools that Christophe used very often for making not only a chocolate flower but a lot of types of chocolate sculptures. You can purchase the petal mold here if you want to use this exact mold. Any silicone or polycarbonate sphere mold will work for the base. Here are some options on Amazon.
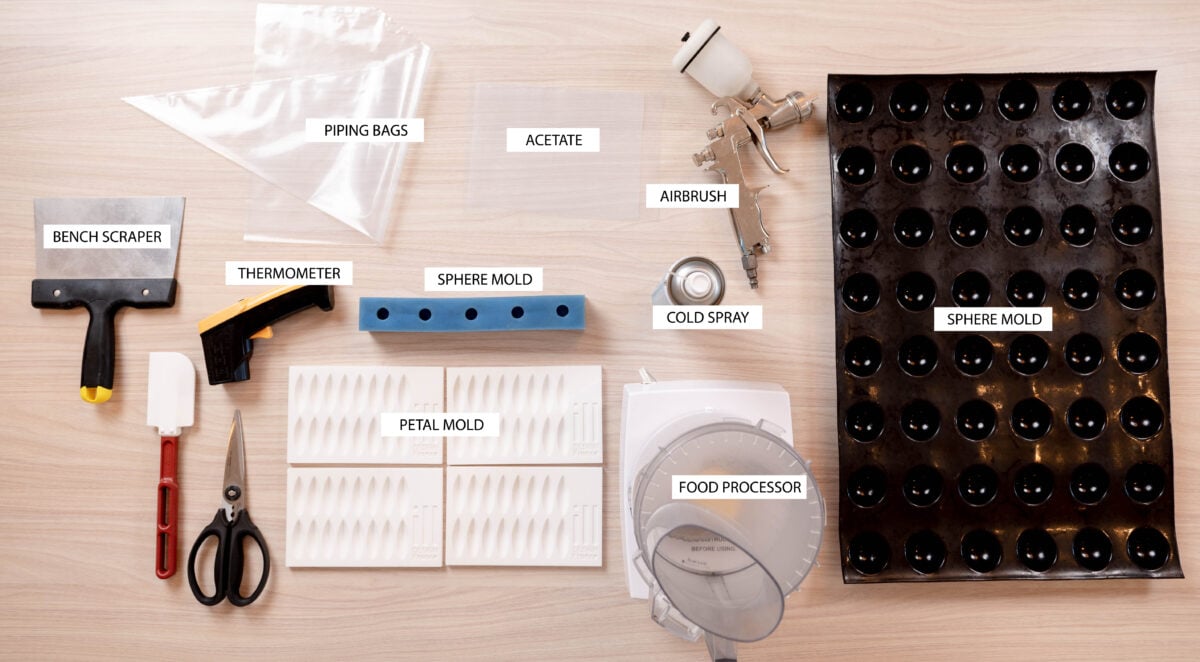
Some other things you might not have on hand that Chef Christophe uses.
EZ Temper Machine - A fantastic tool for tempering chocolate easily and quickly. You simply add in some unmelted cocoa butter the day before, let the machine bring it to the perfect temperature for proper crystalization then you can add that pre-tempered cocoa butter paste to melted chocolate (1-2% of the total chocolate mass) at 34ºC and then voila, tempered chocolate!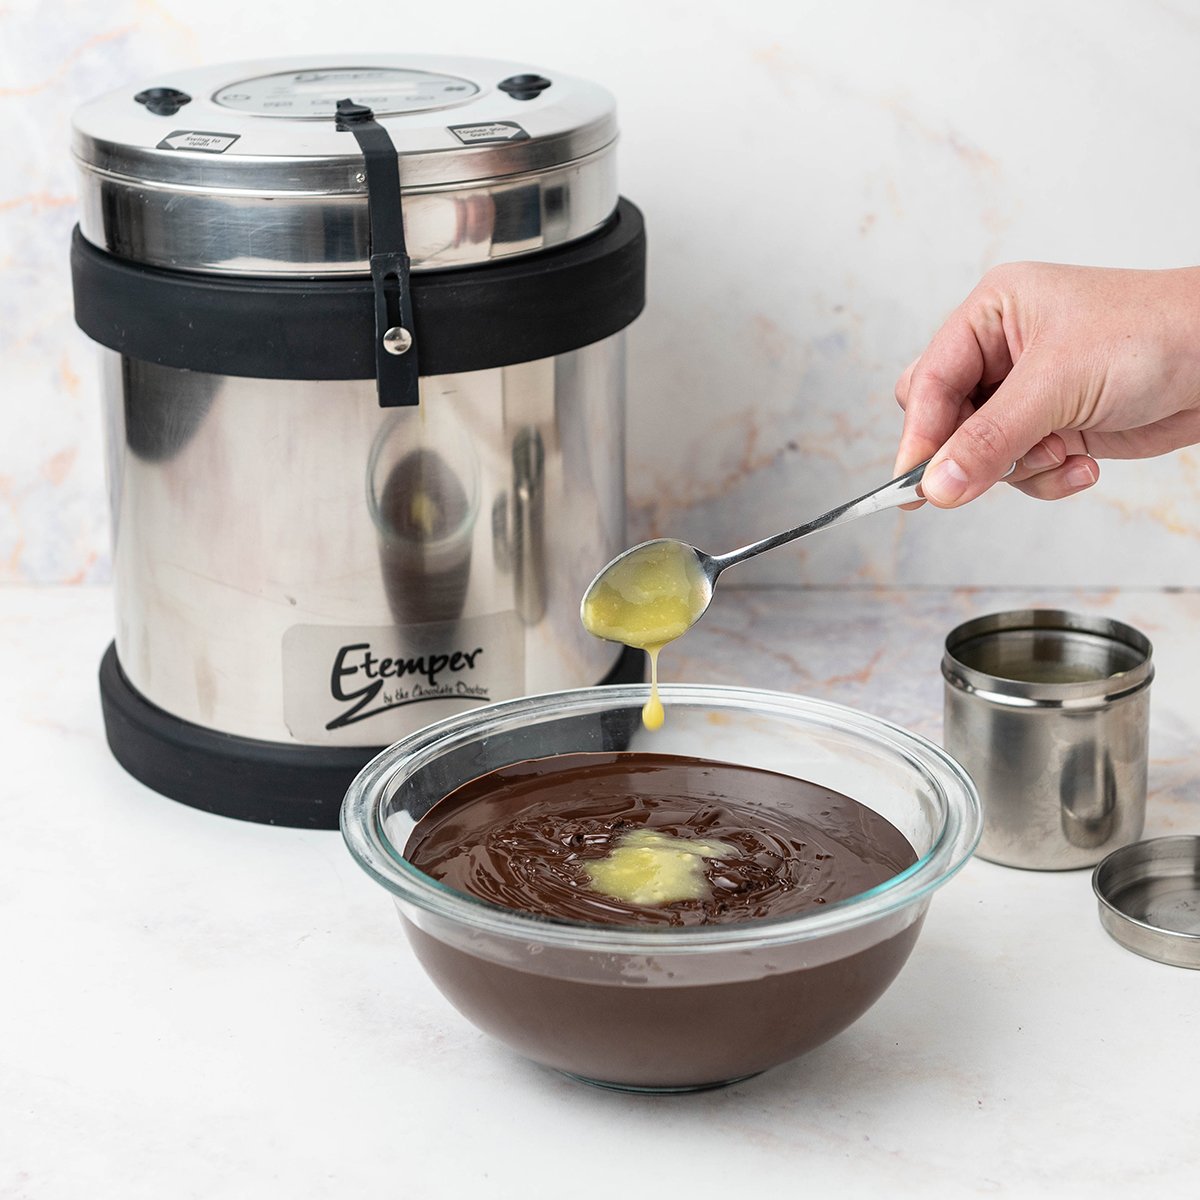
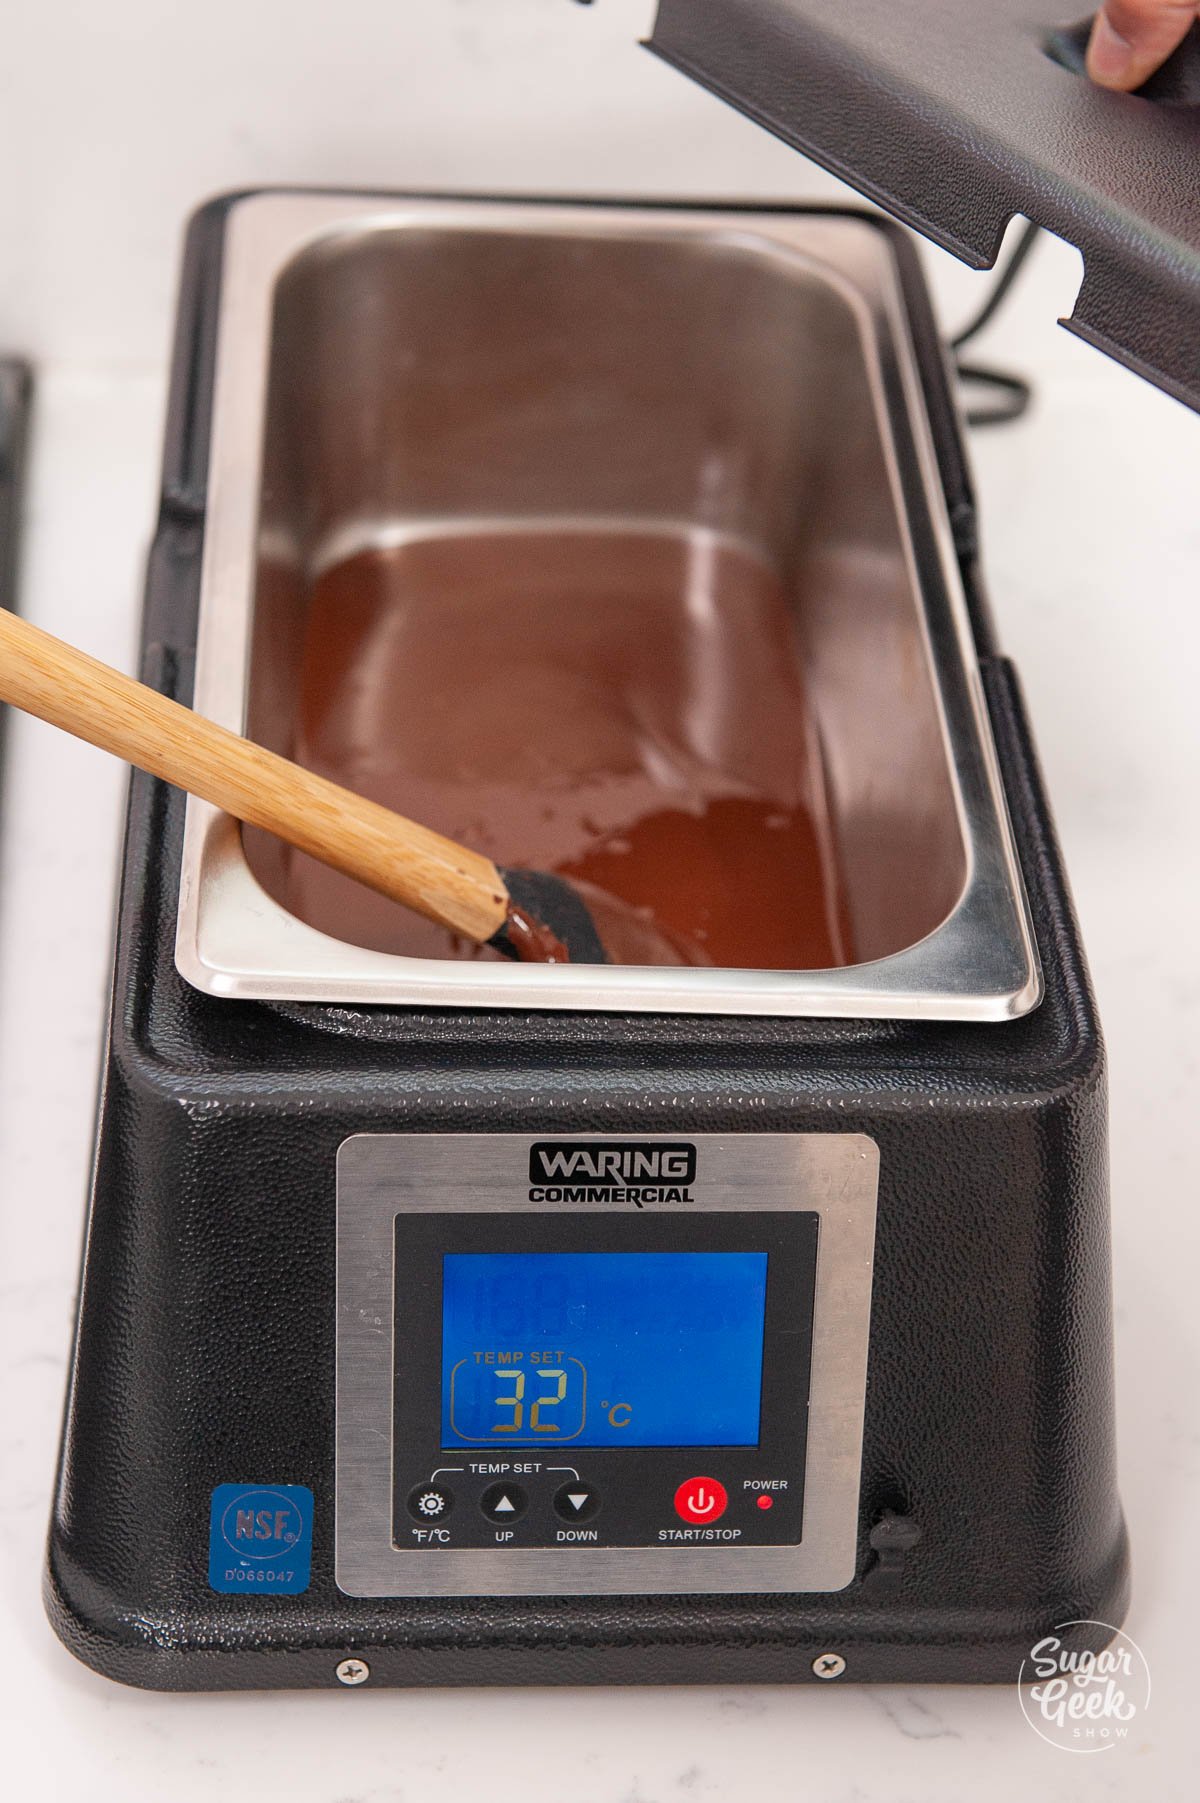
Waring Chocolate Warmer - If you don't have a chocolate tempering machine, keeping your chocolate in temper can be a challenge. The Waring chocolate warmer keeps your tempered chocolate at the exact temperature it needs to be to stay in temper which allows you to work with your chocolate for longer without the need to re-temper.
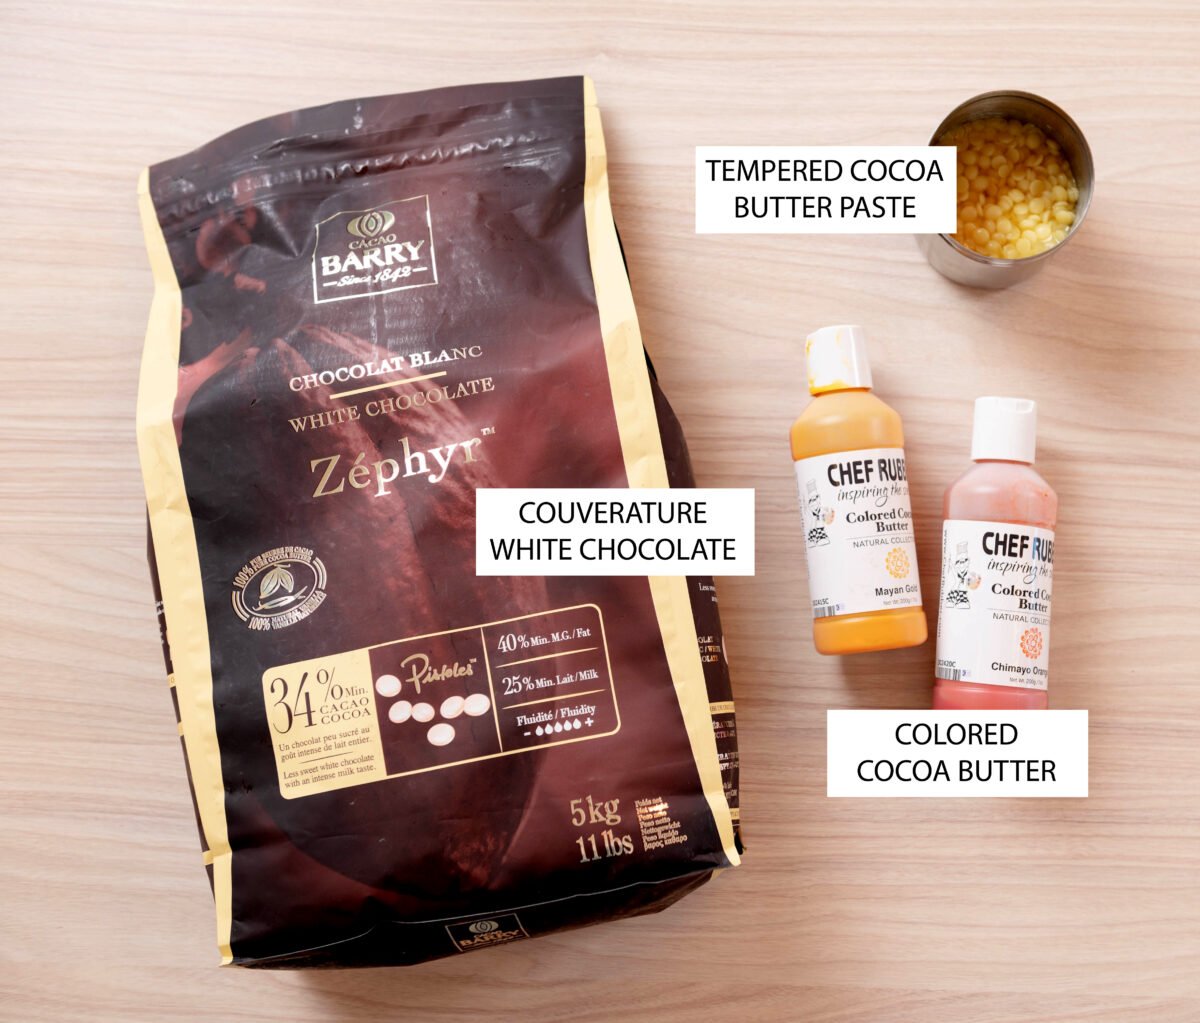
Chocolate flower ingredients
We are using Zephyr white chocolate from Cocao Barry which is a fantastic chocolate to work with but any white chocolate couverture is going to work great.
You will also need some colored cocoa butter. I got this from Chef Rubber which has a very extensive inventory of colored cocoa butter products.
We are also using tempered cocoa butter paste from the EZ Temper machine but if you don't have the EZ temper you can temper your cocoa butter using the traditional tempering method.
How to make the flower petals
Begin by making sure your chocolate is in temper. Chef Christophe recommends you always do a test to make sure your chocolate is properly crystallizing. Better safe than sorry! If you need a refresher on how to temper chocolate using the EZ Temper machine you can watch this video or you can use my method for tempering in the microwave.
- Cut your acetate to be just a bit bigger than the petal mold
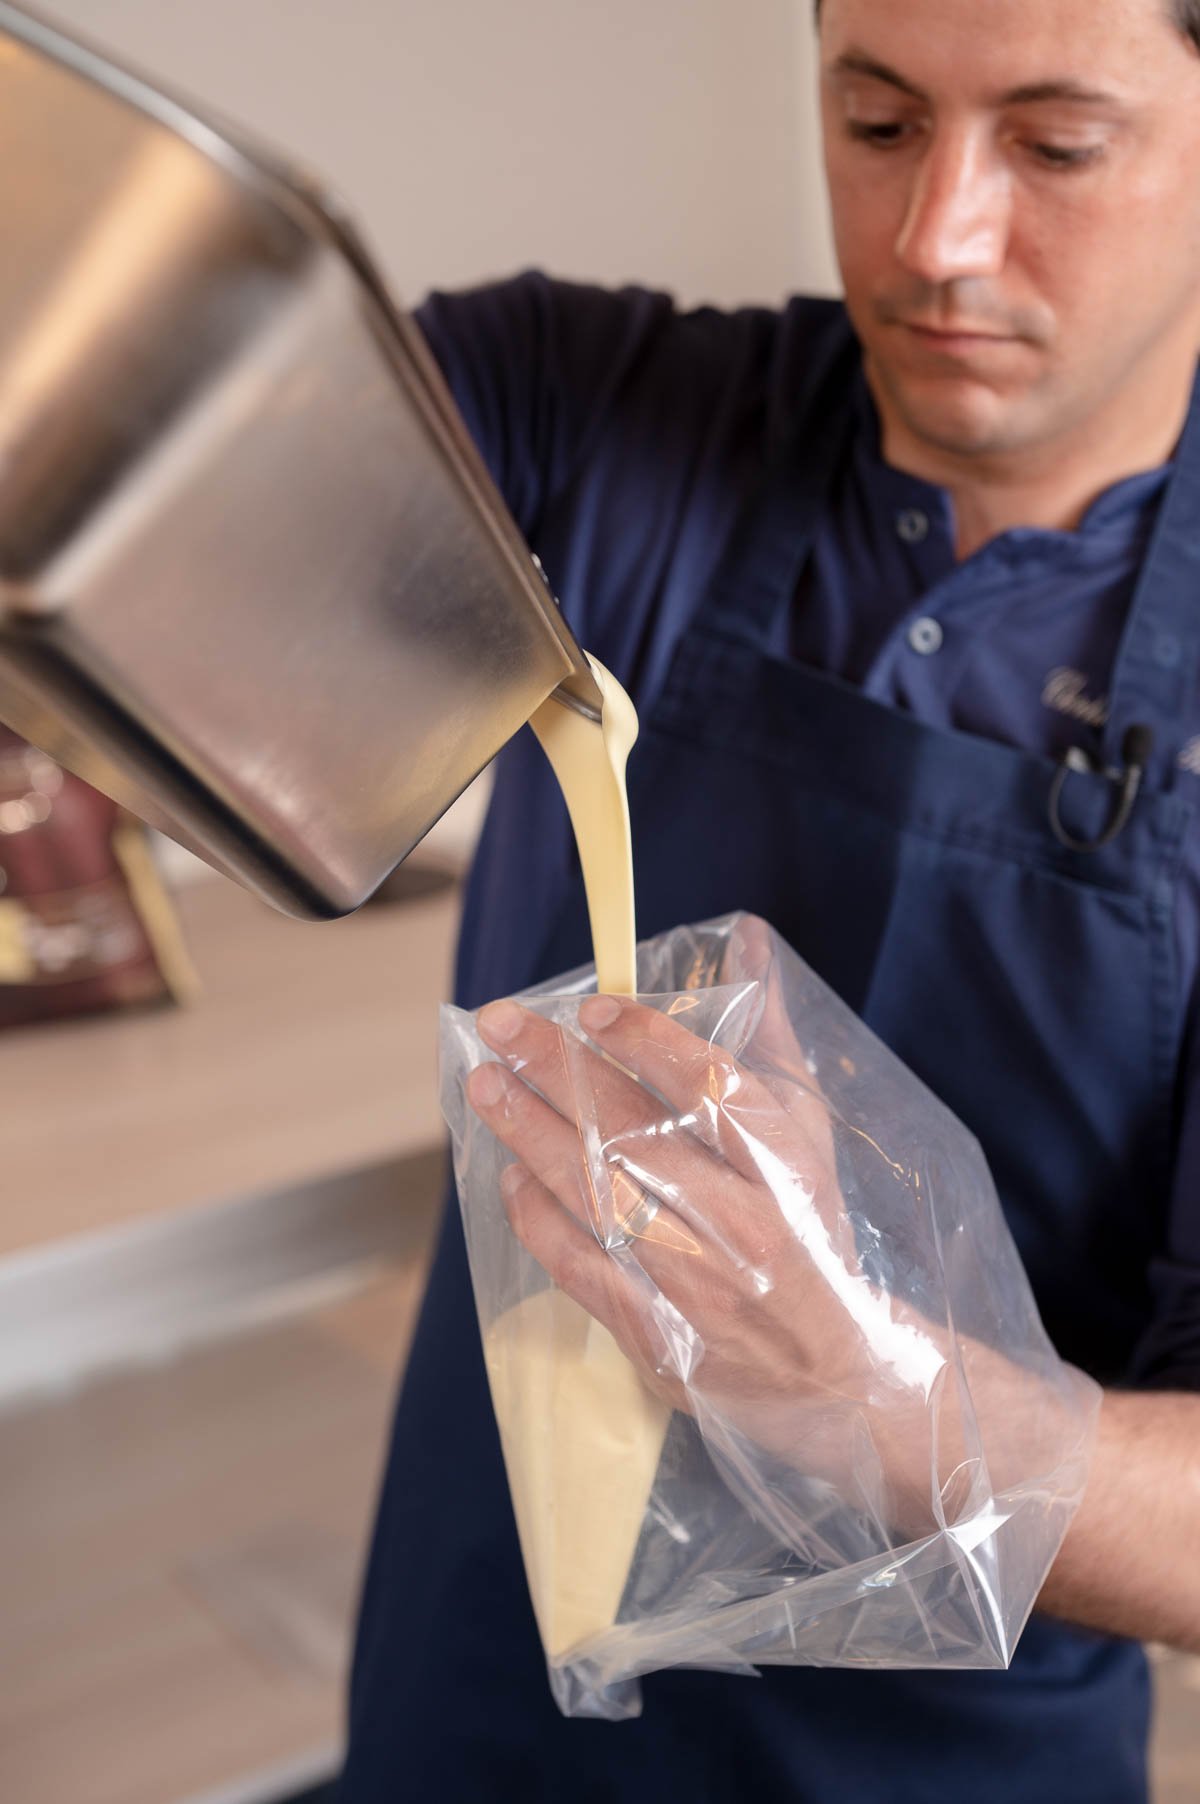
- Fill your piping bag with some tempered chocolate and tie the opening to work clean.

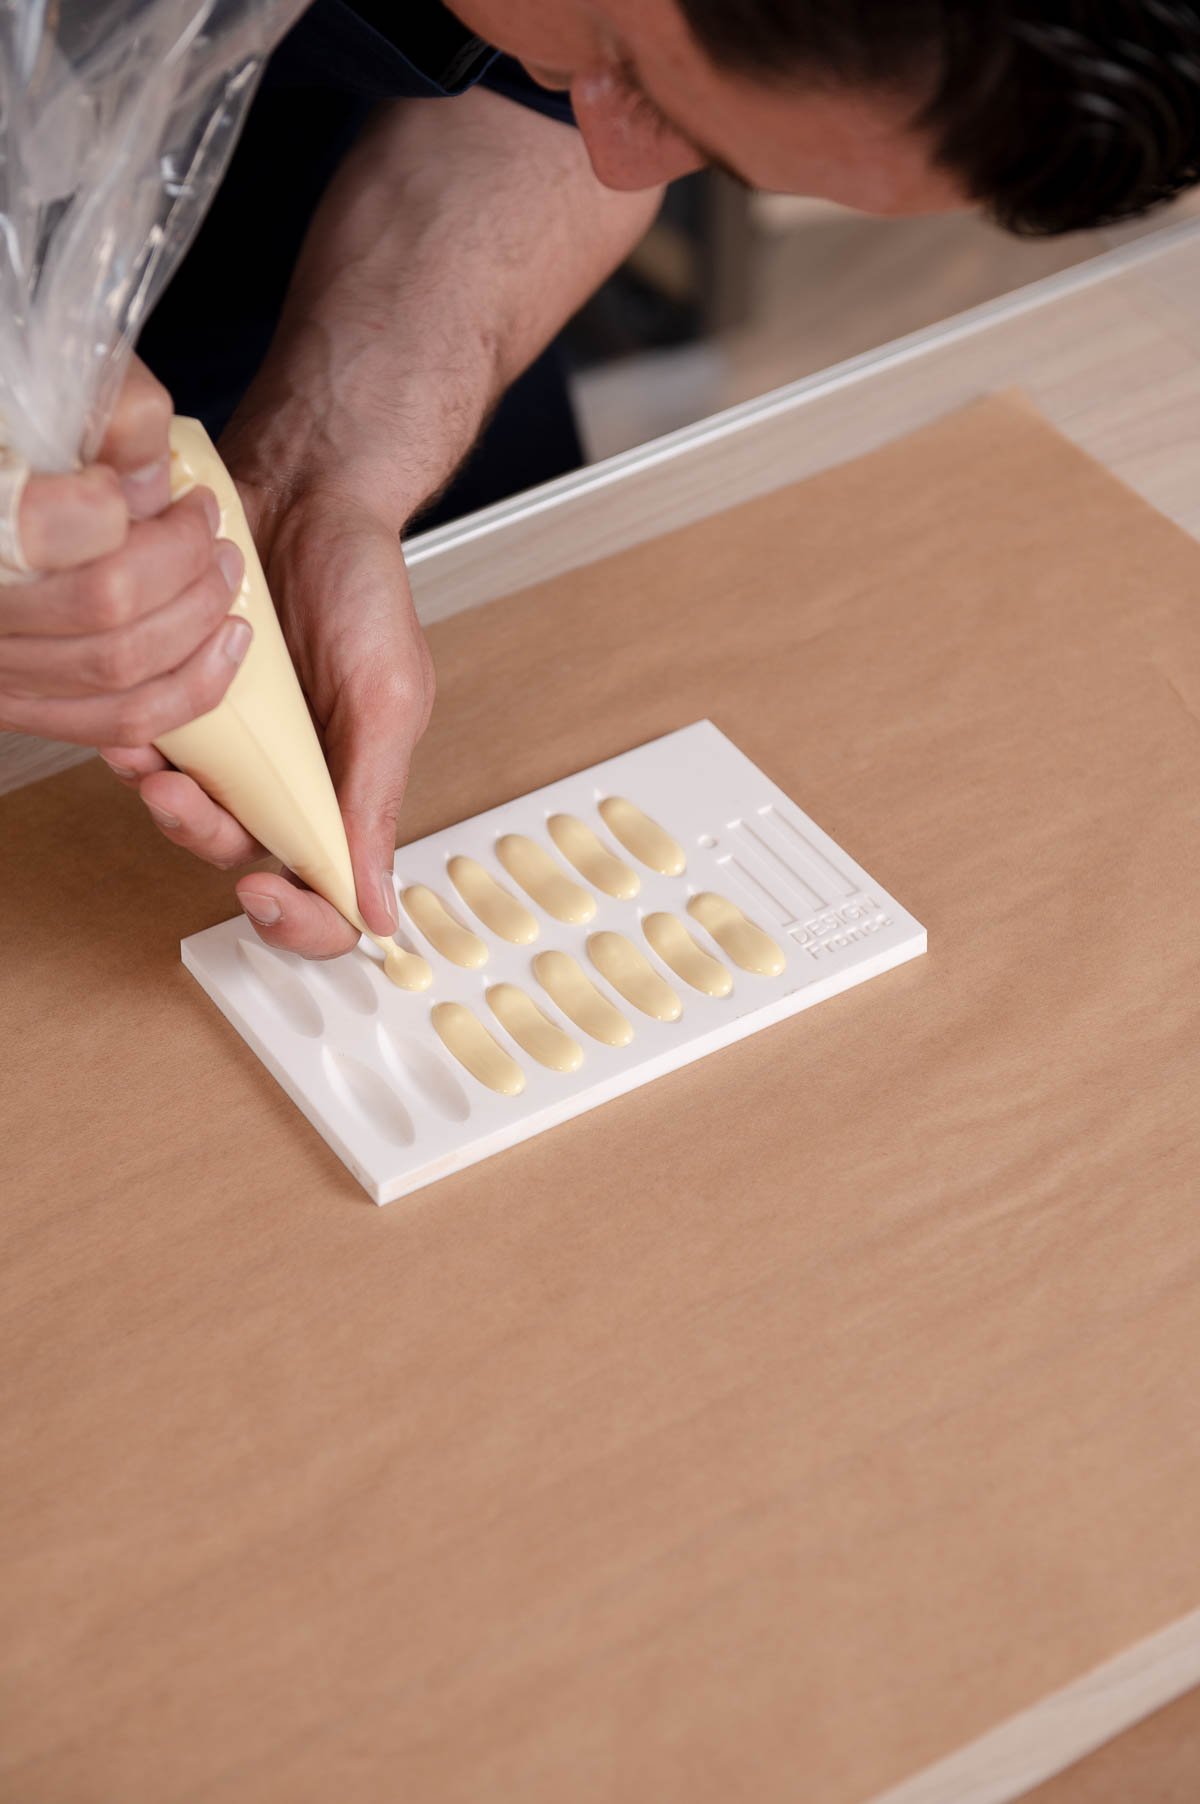
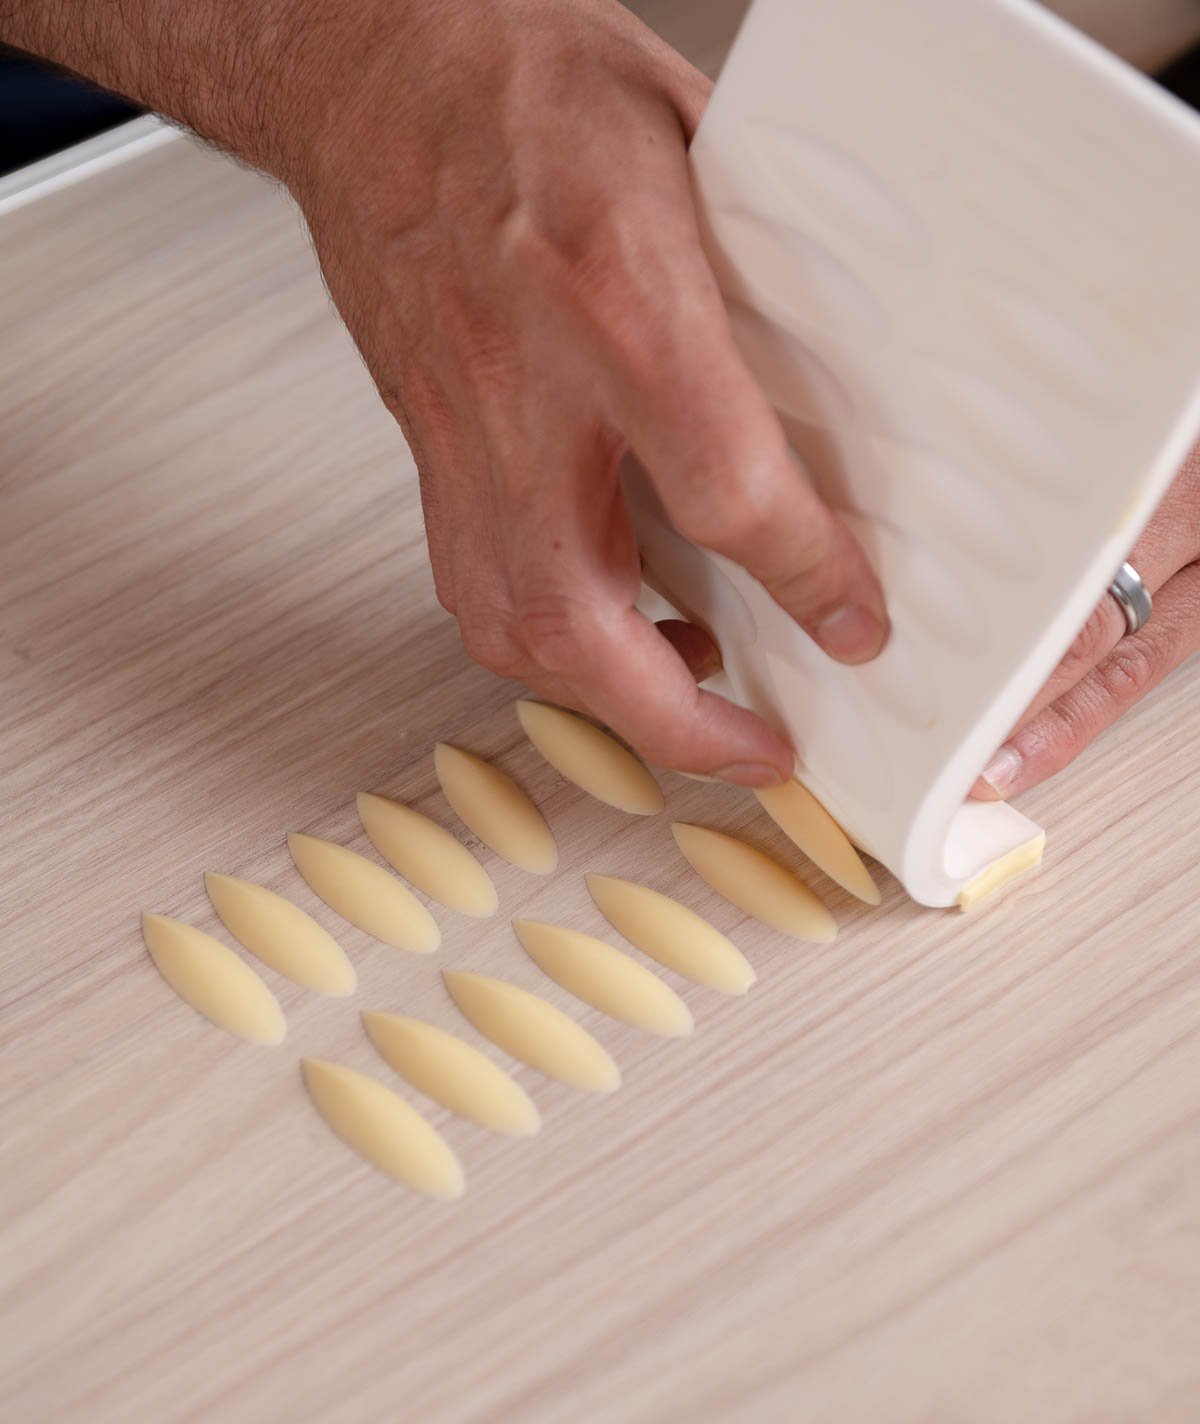
- Use the pinch and release method to fill the petal cavities with white chocolate.
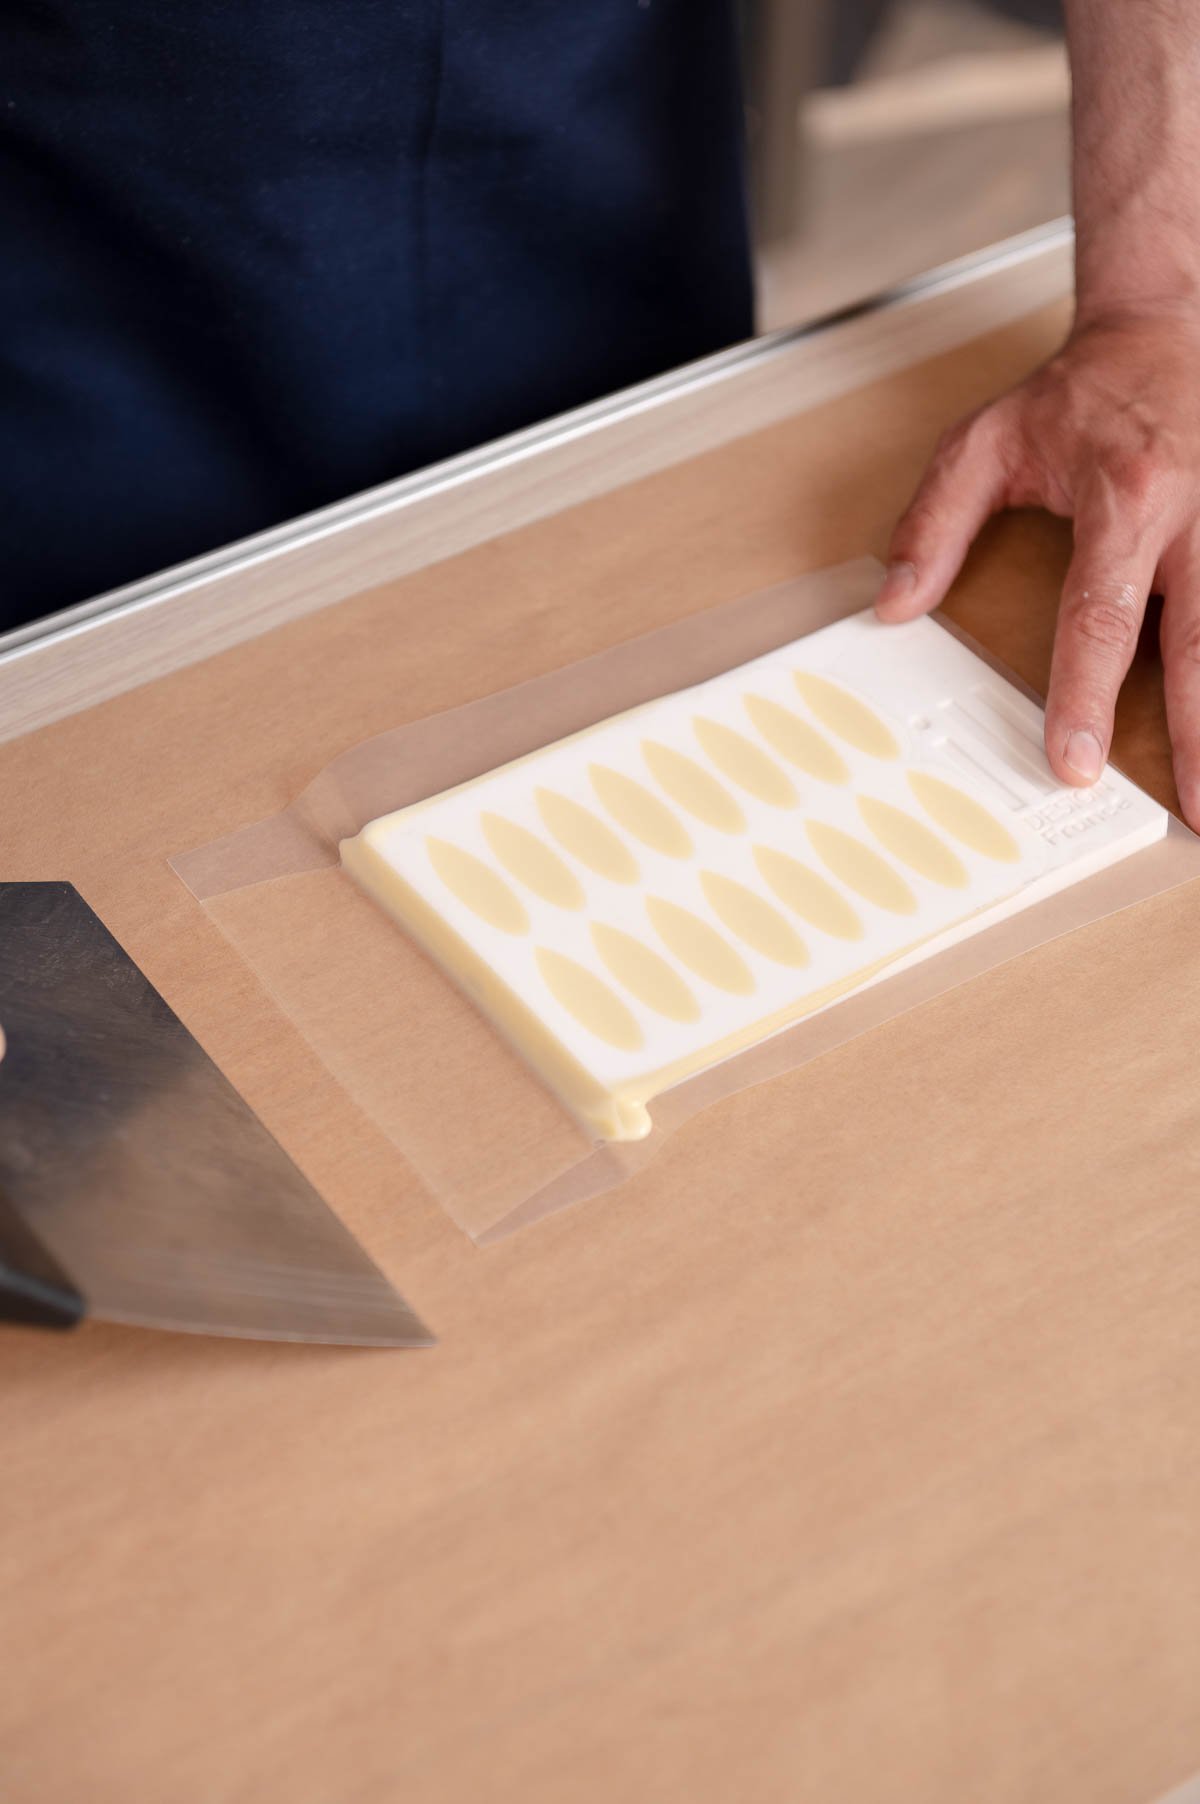
- Place the sheet of acetate on top of the mold and press to make sure your petals are completely filled.
- Use your bench scraper to press the the chocolate flat and remove the excess chocolate from the mold.
- Place the piping bag into the chocolate warmer to keep it at the proper temperature to use later.
- Set the mold in the fridge to crystalize.

How to make the flower base
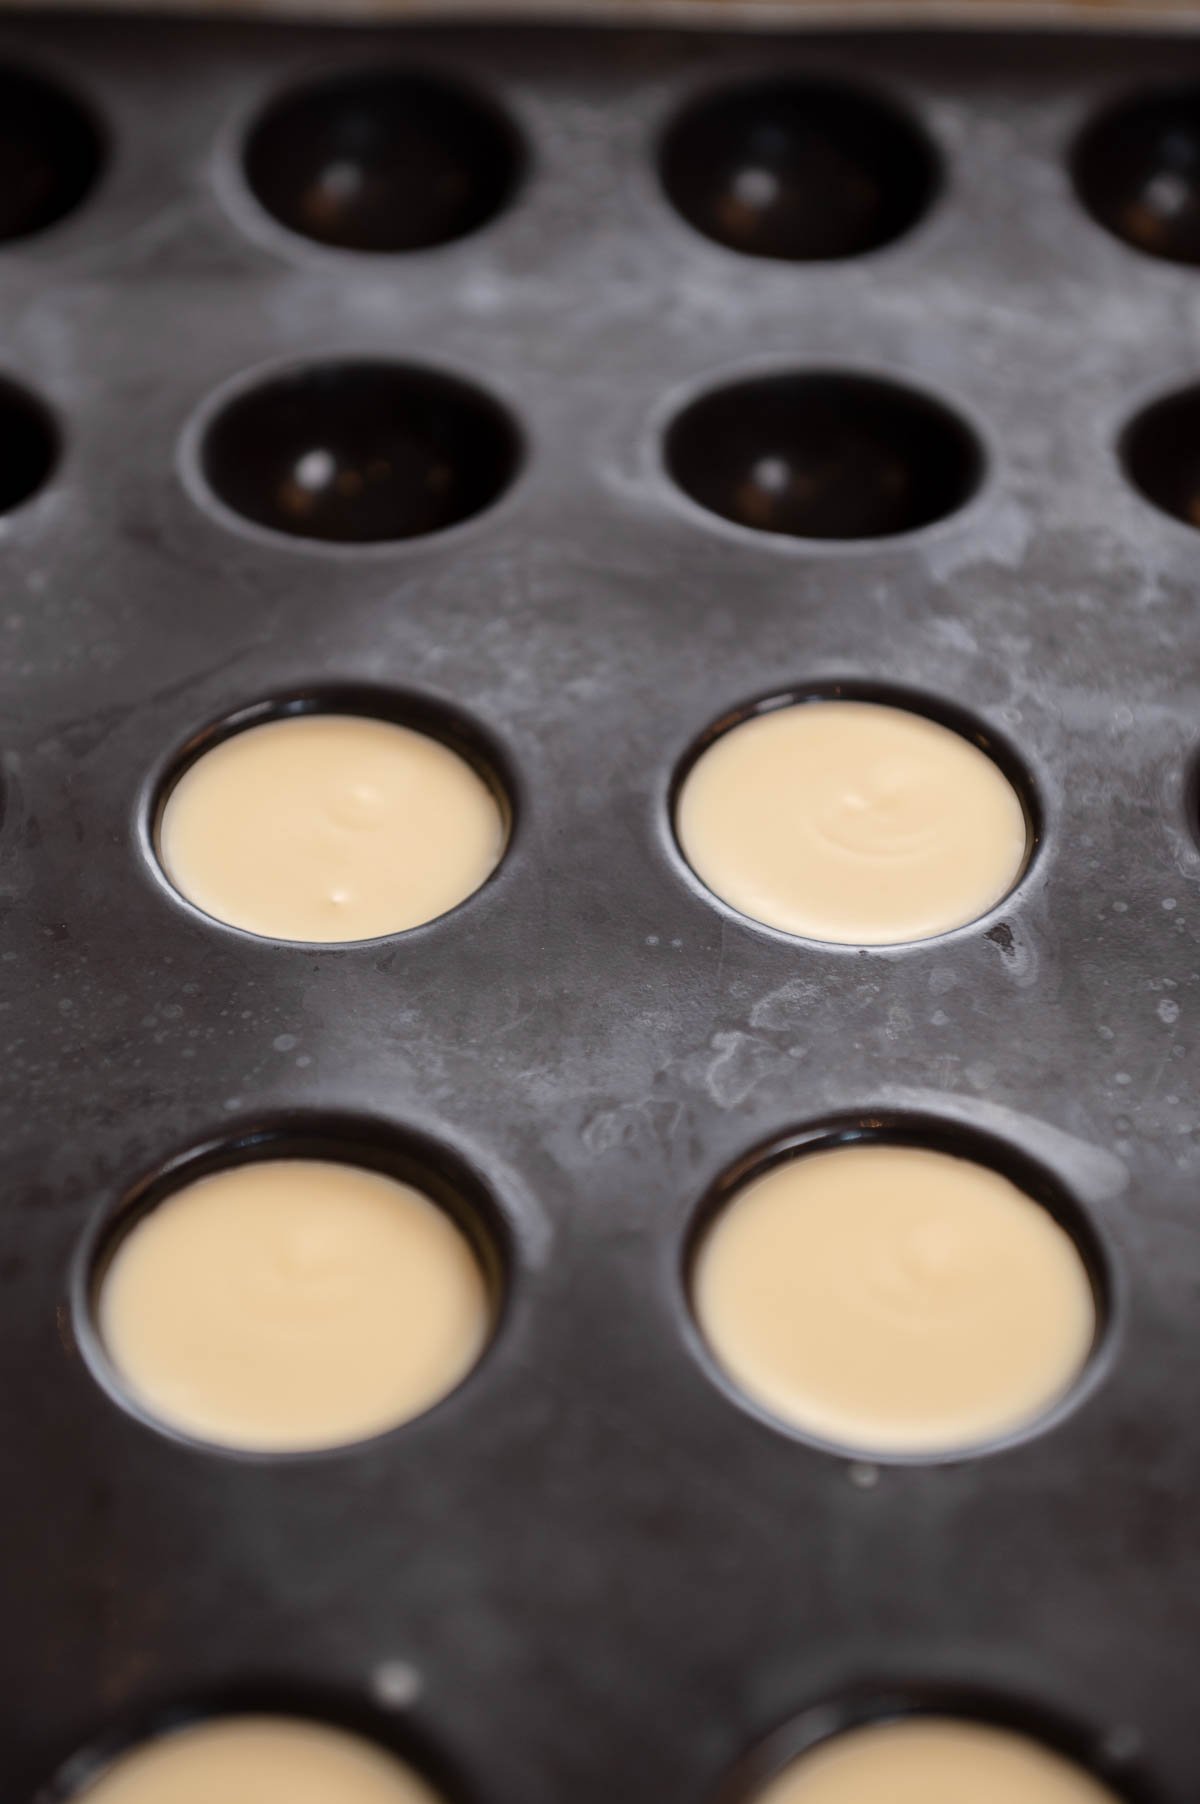
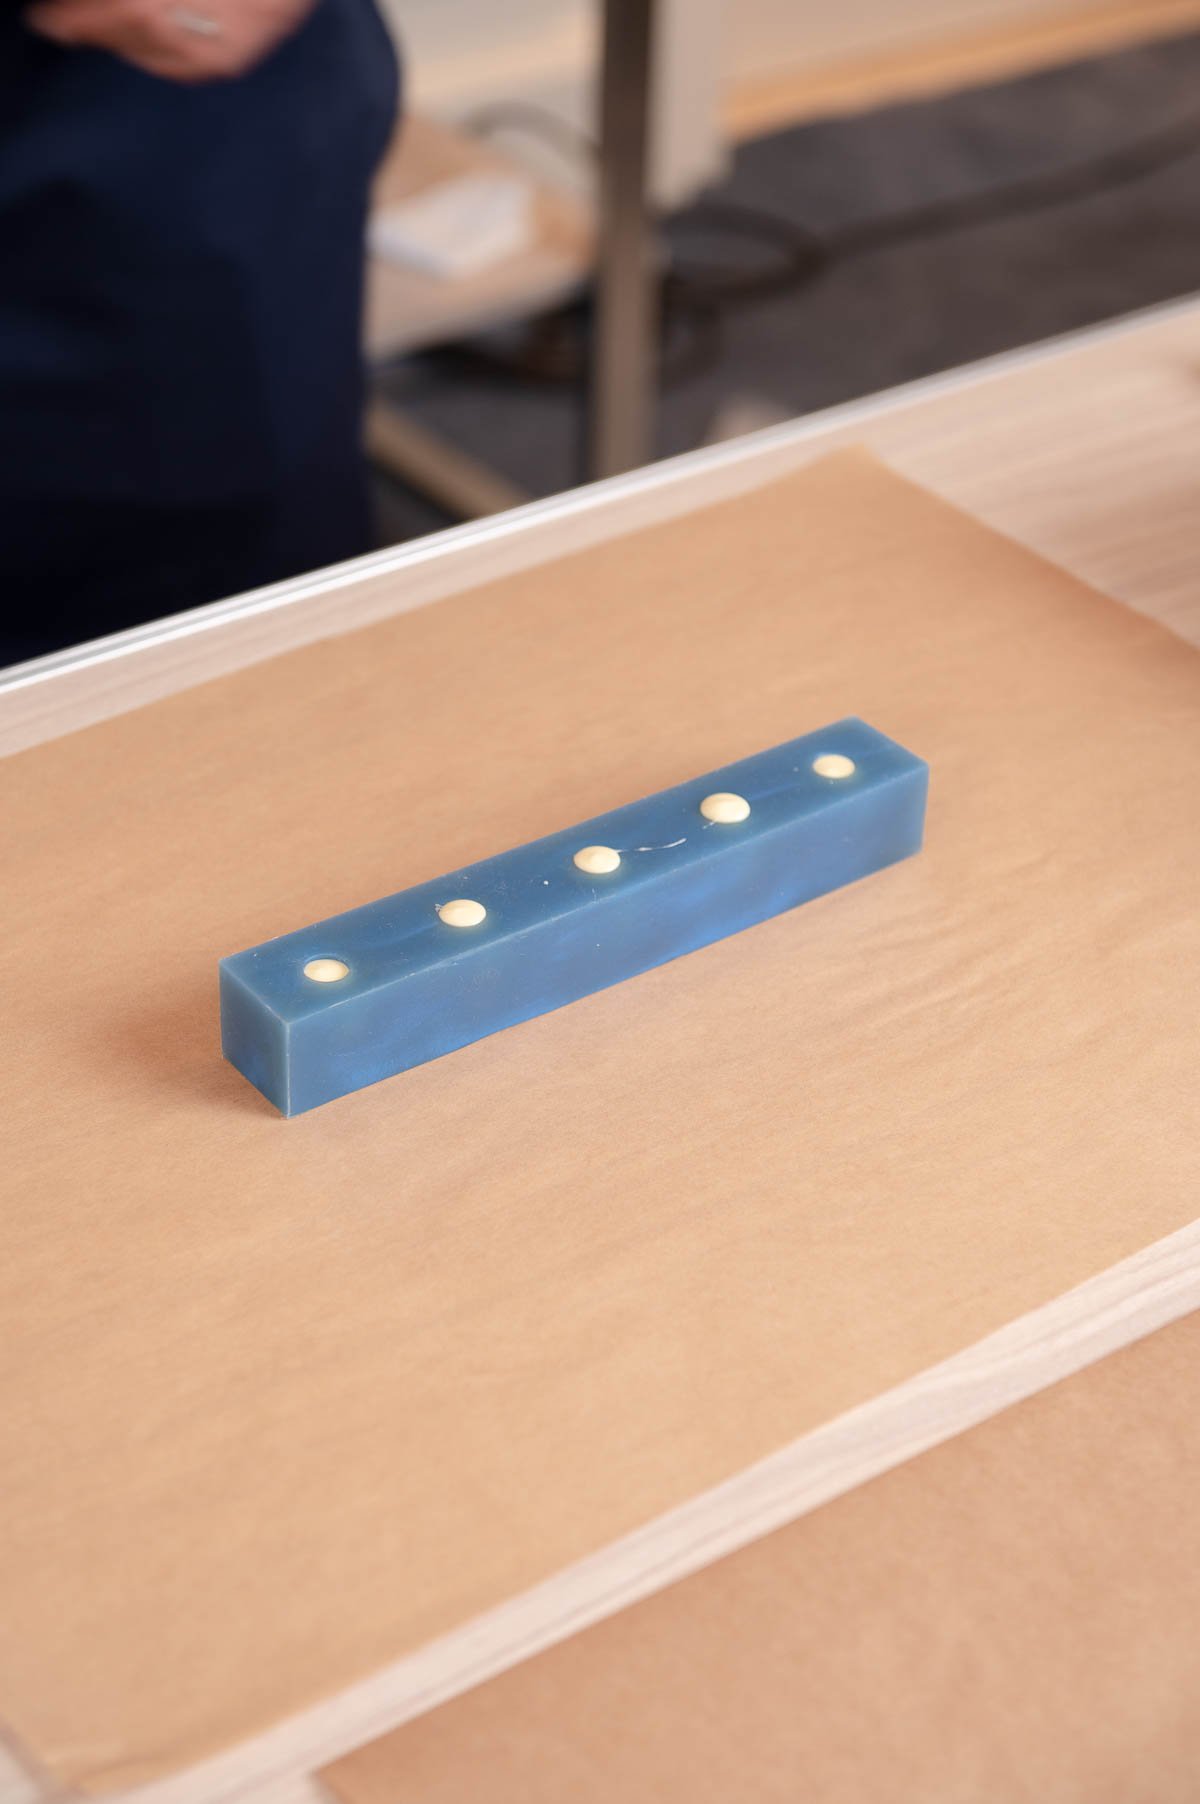
- Use your piping bag to fill your 2" sphere mold (you only need 2 half) but you can make extras just in case.
- Fill your 1.5" sphere mold to make two full spheres.
- Place the spheres into the fridge to set while you work on the tendrils.
Making the chocolate tendrils
Did you know you can sculpt with tempered chocolate? I was amazed by this technique.
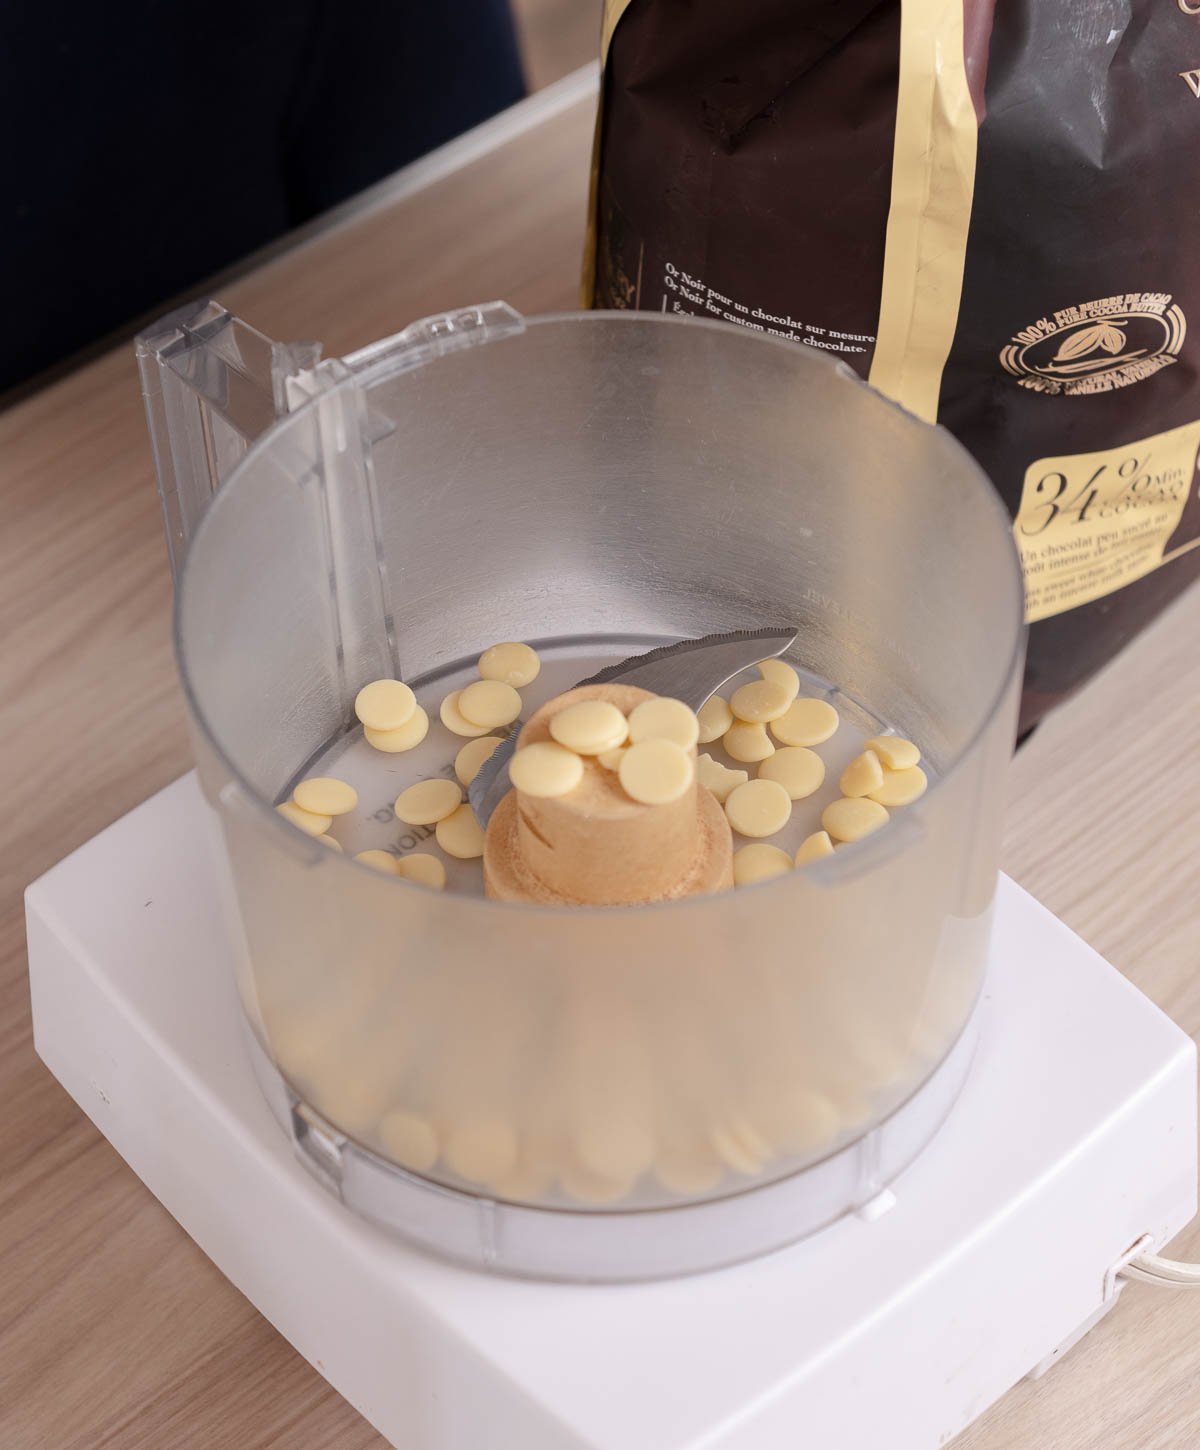
- Start by adding your unmelted chocolate pieces into a food processor.

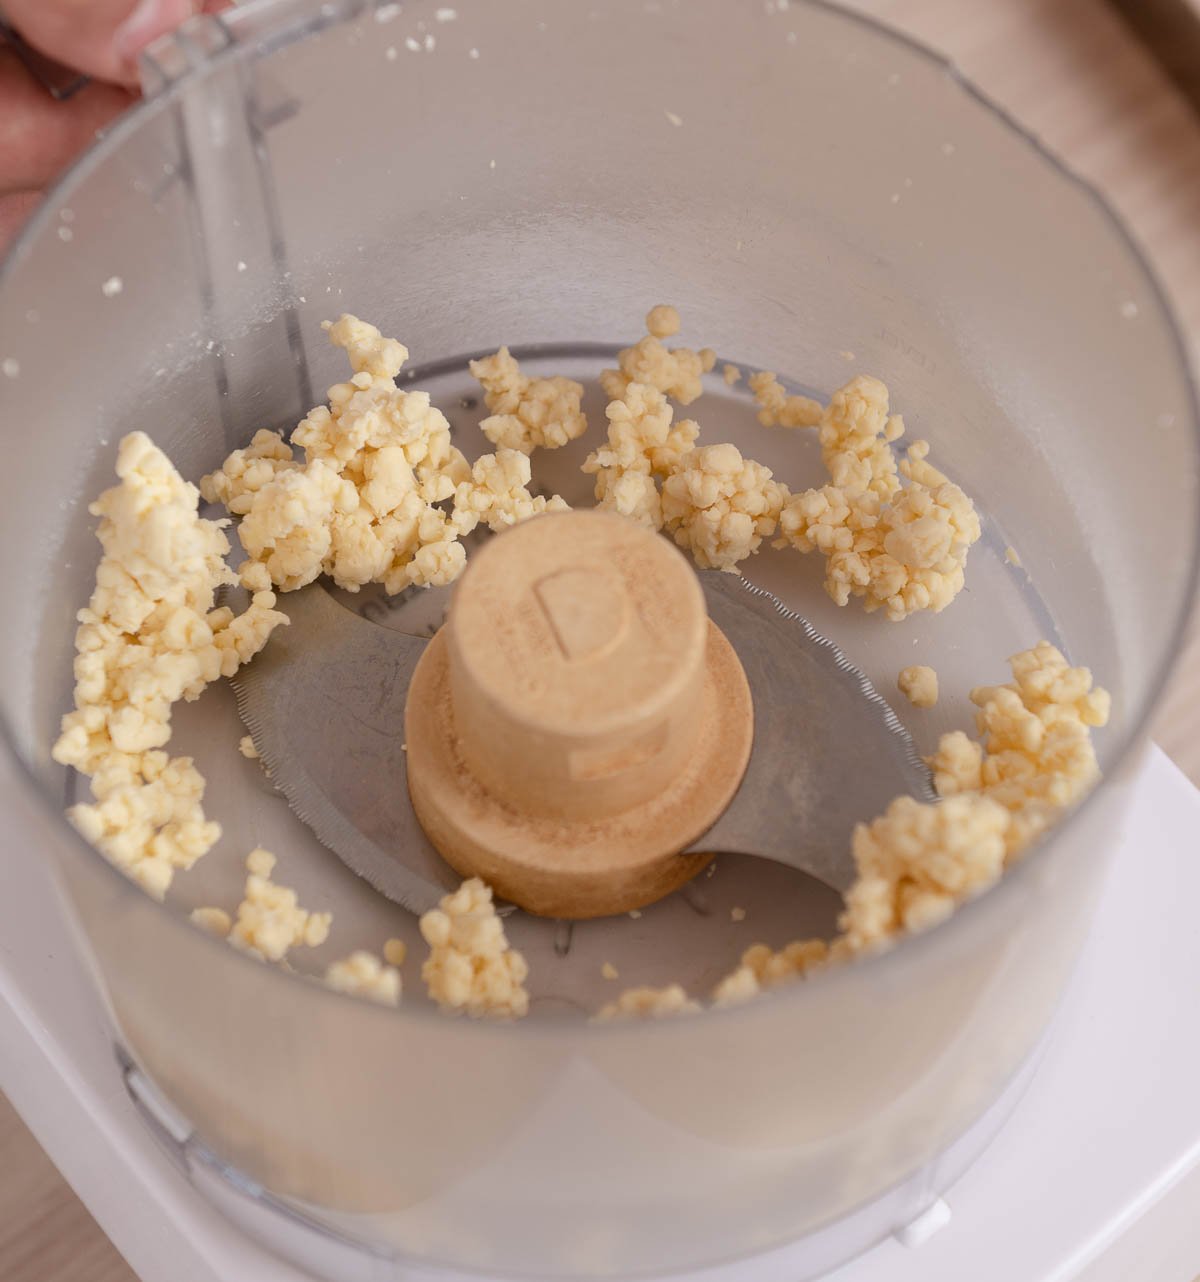
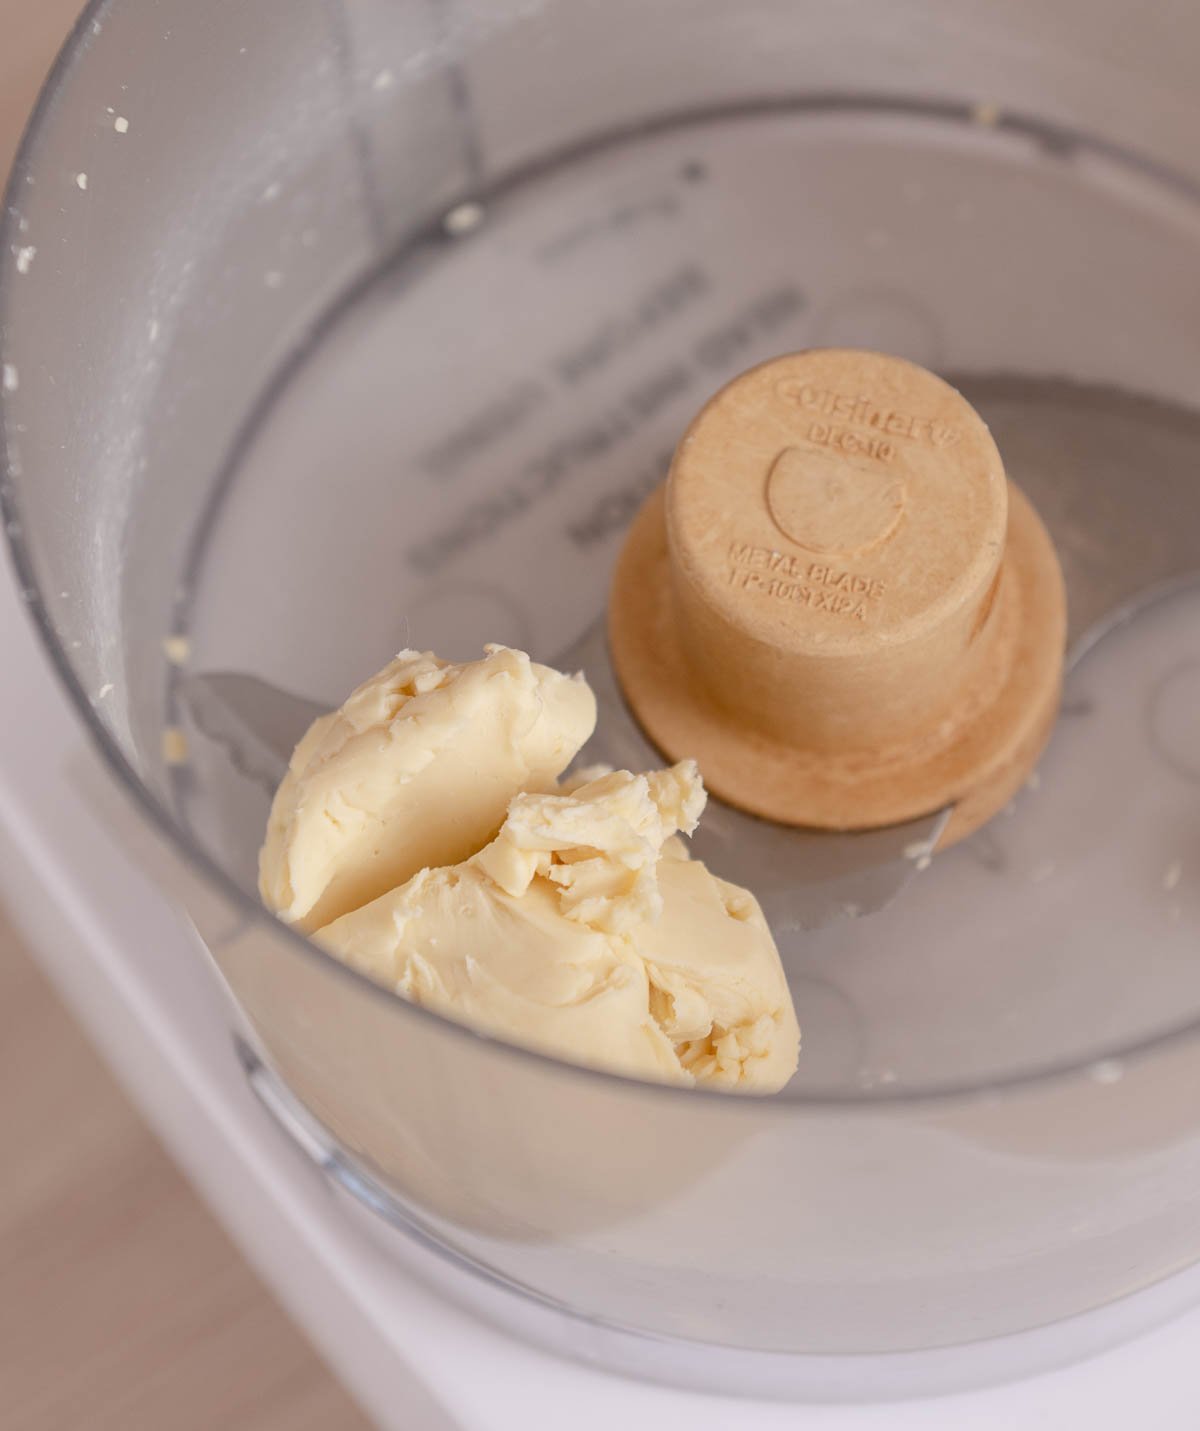
- Turn the food processor on and blend until the chocolate forms a ball. Do not over-mix it. Now it's ready to sculpt.


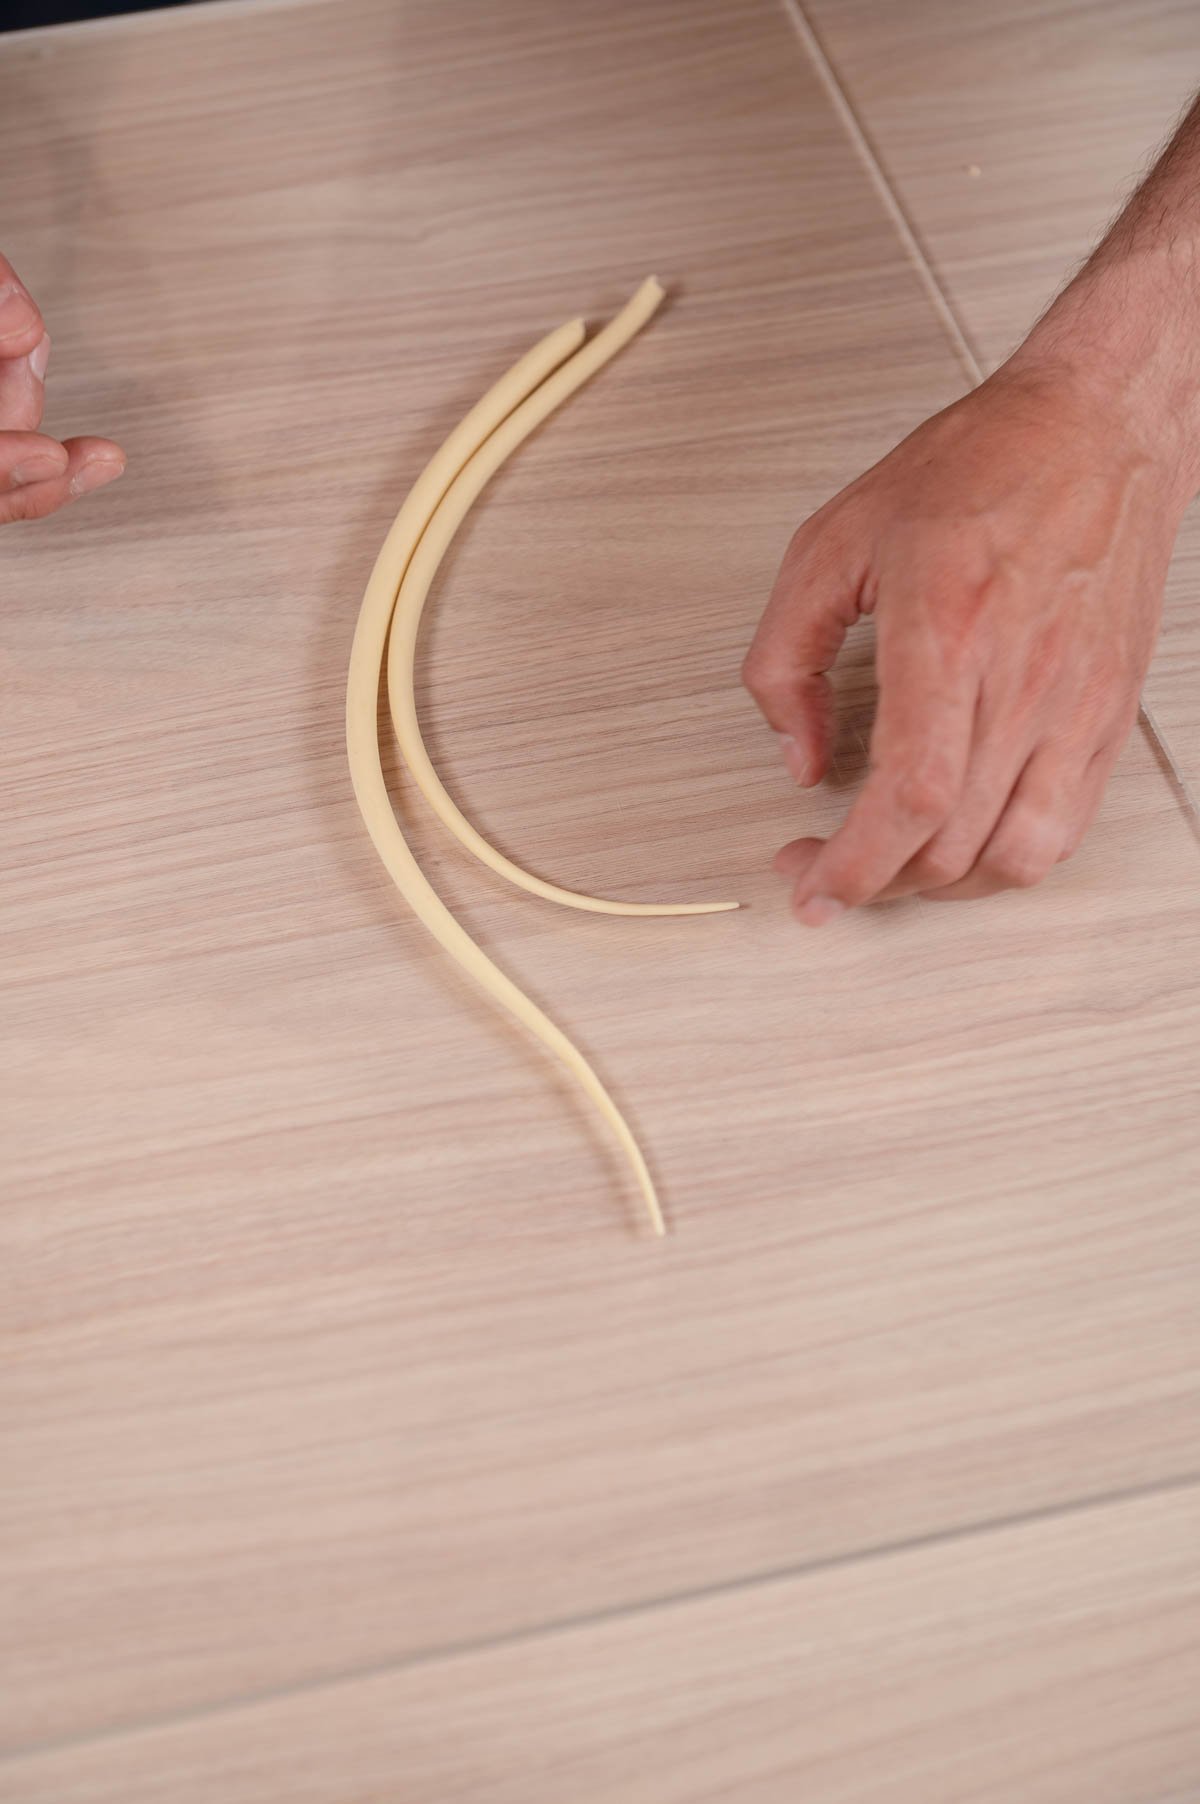
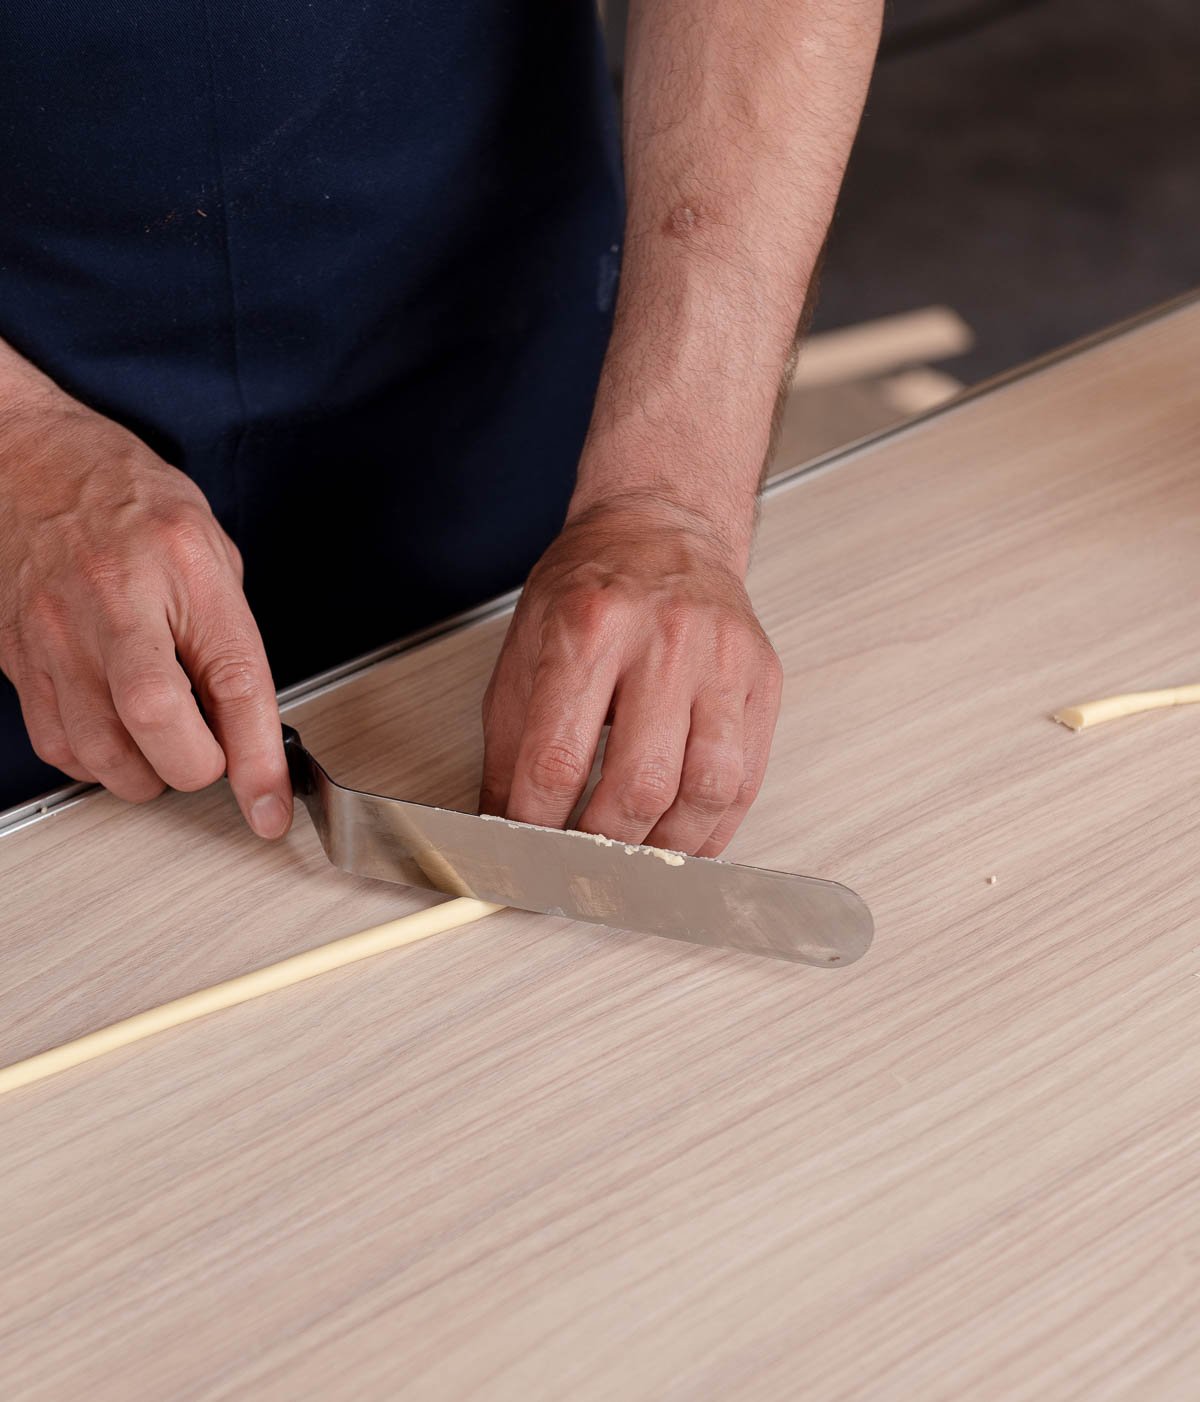
- Use your hands and your cake board to roll out some long tendrils.
- Cut the end to the length you want it to be.

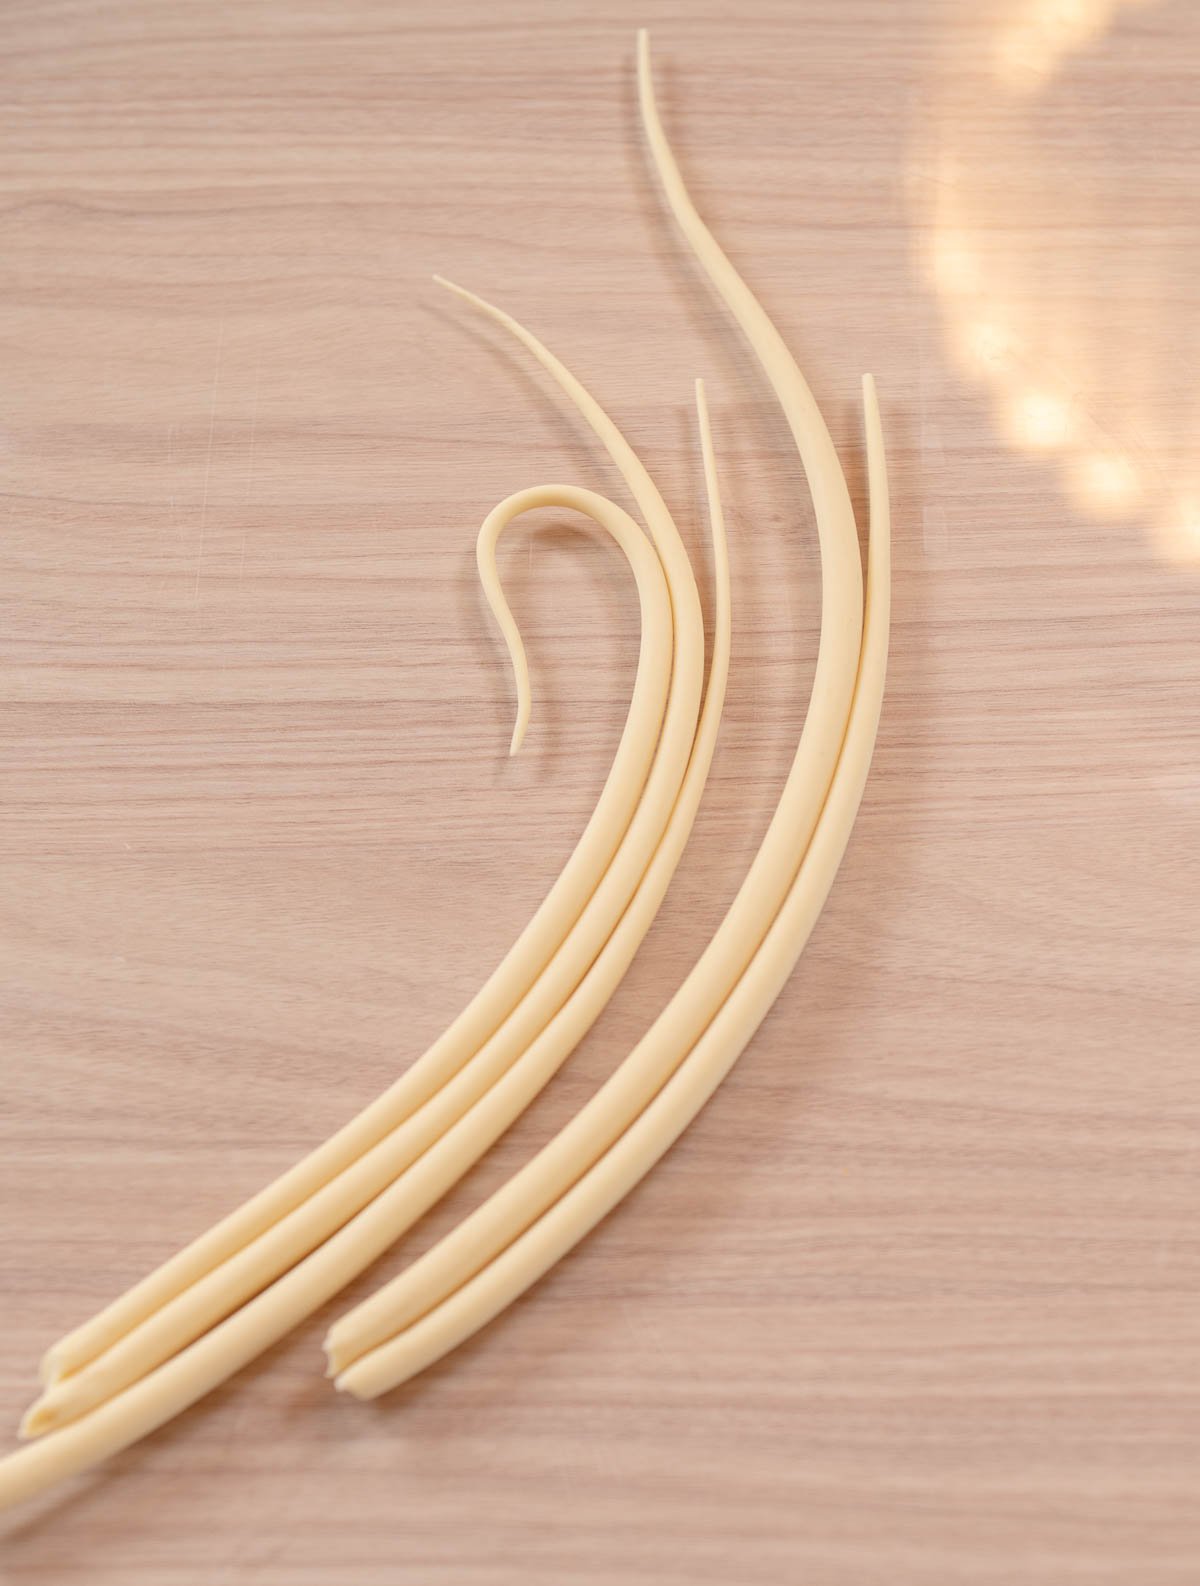
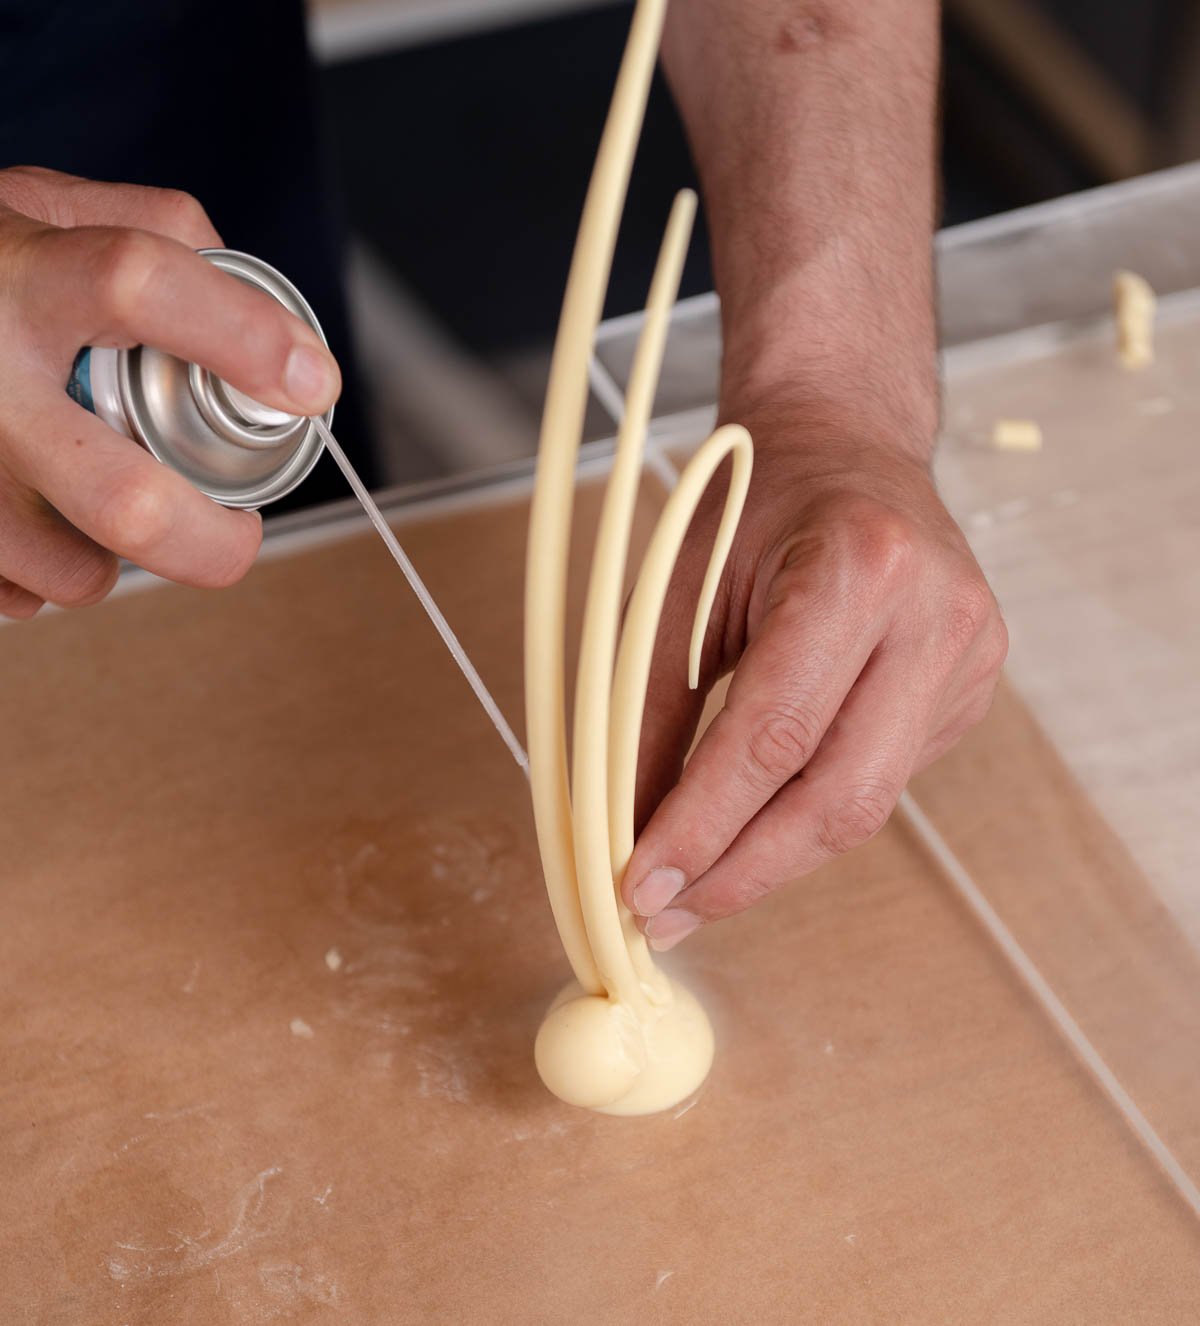
- sharpen the tip and bend it into a nice artistic shape.
- The chocolate will set as it cools and be very strong.

Assembling the chocolate flower
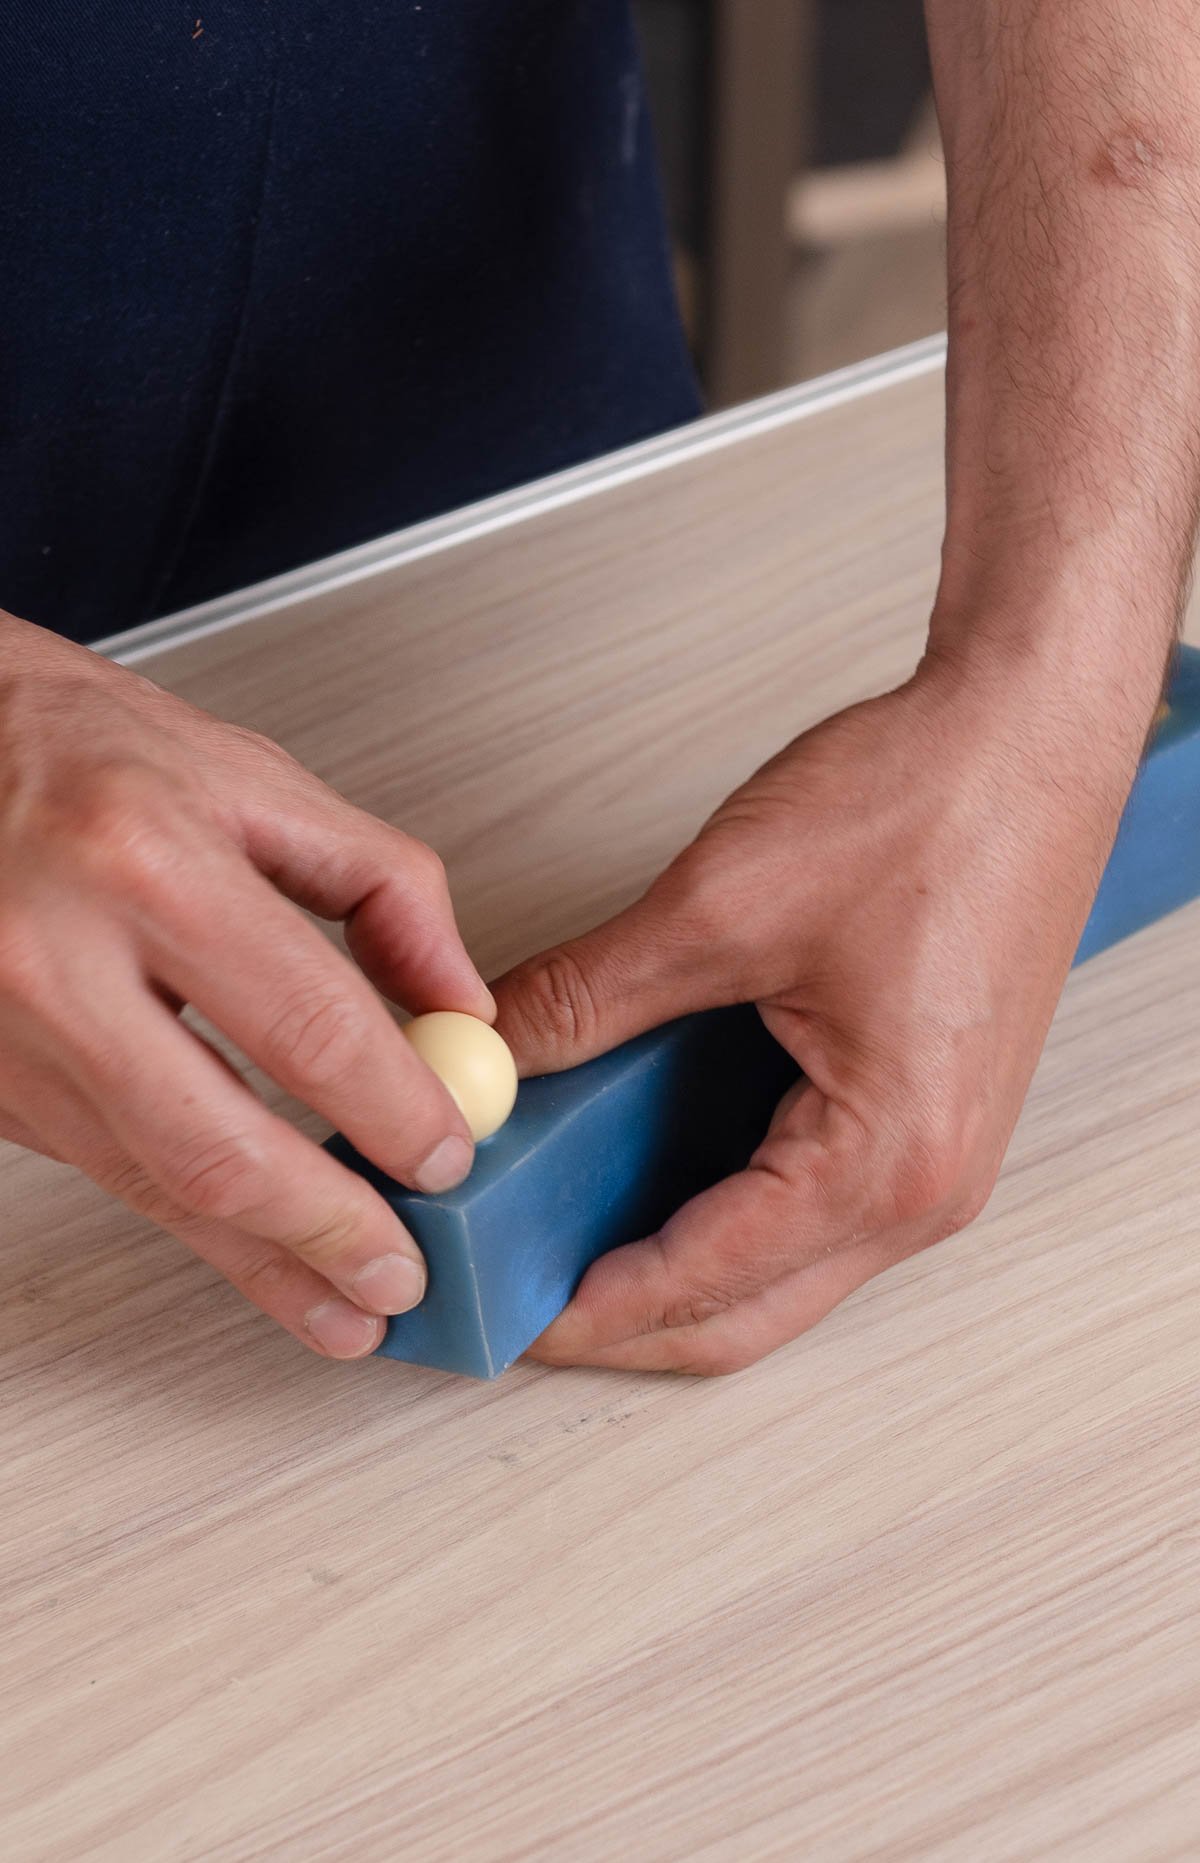
- Turn your petal mold over (opening side down) and pull the mold off the petals so they don't break.

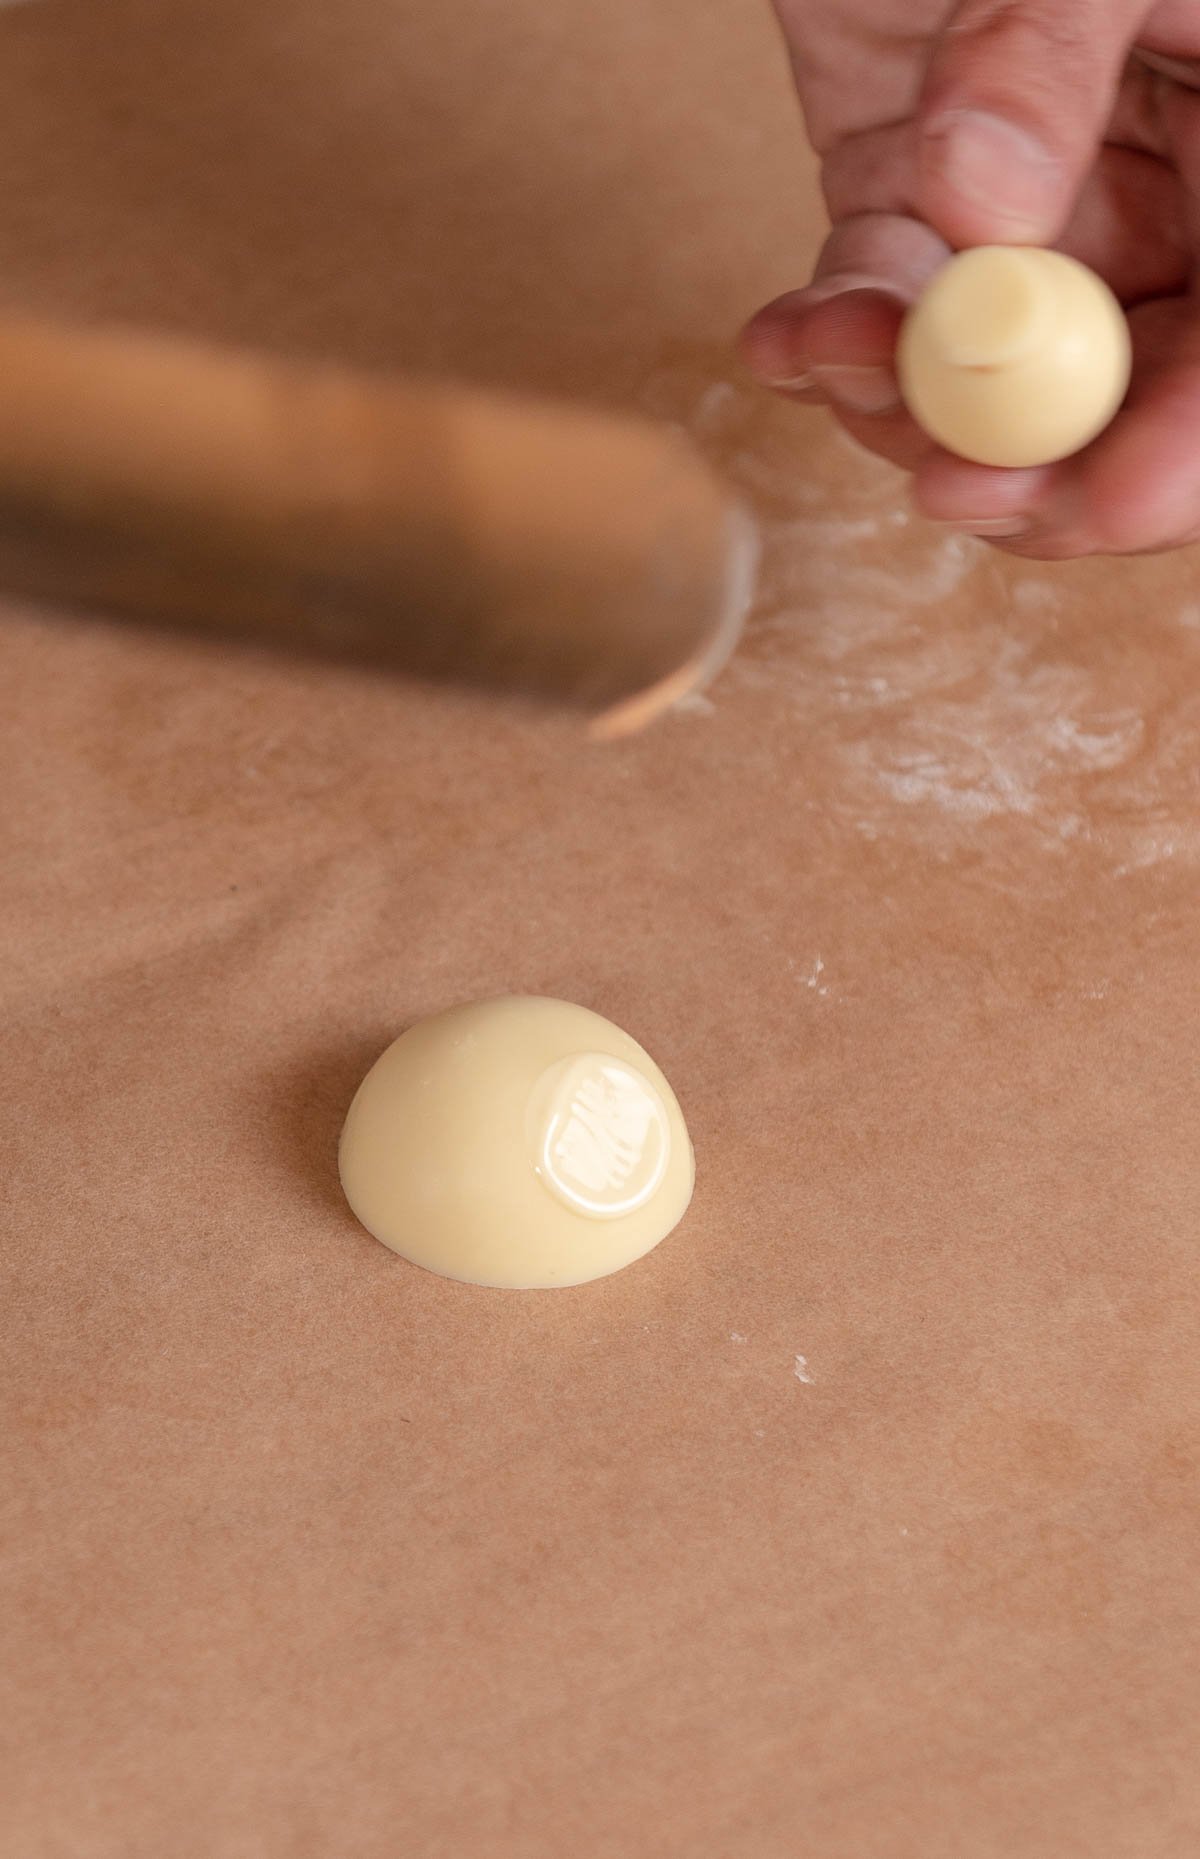
- Unmold your spheres.

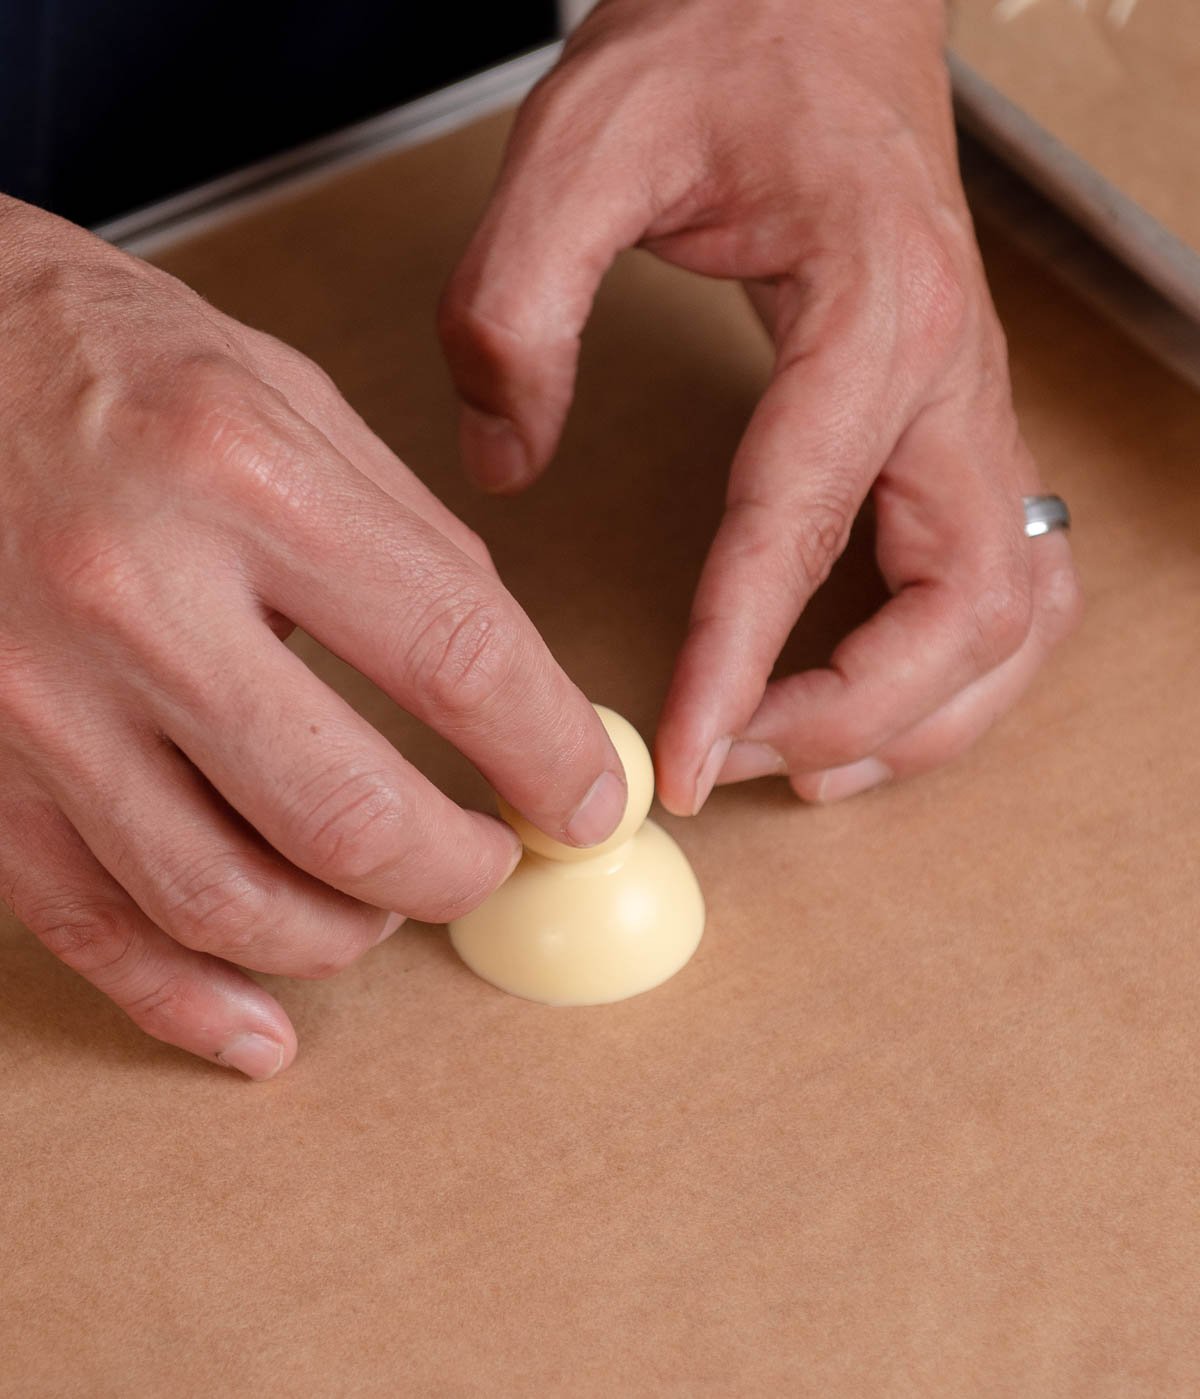
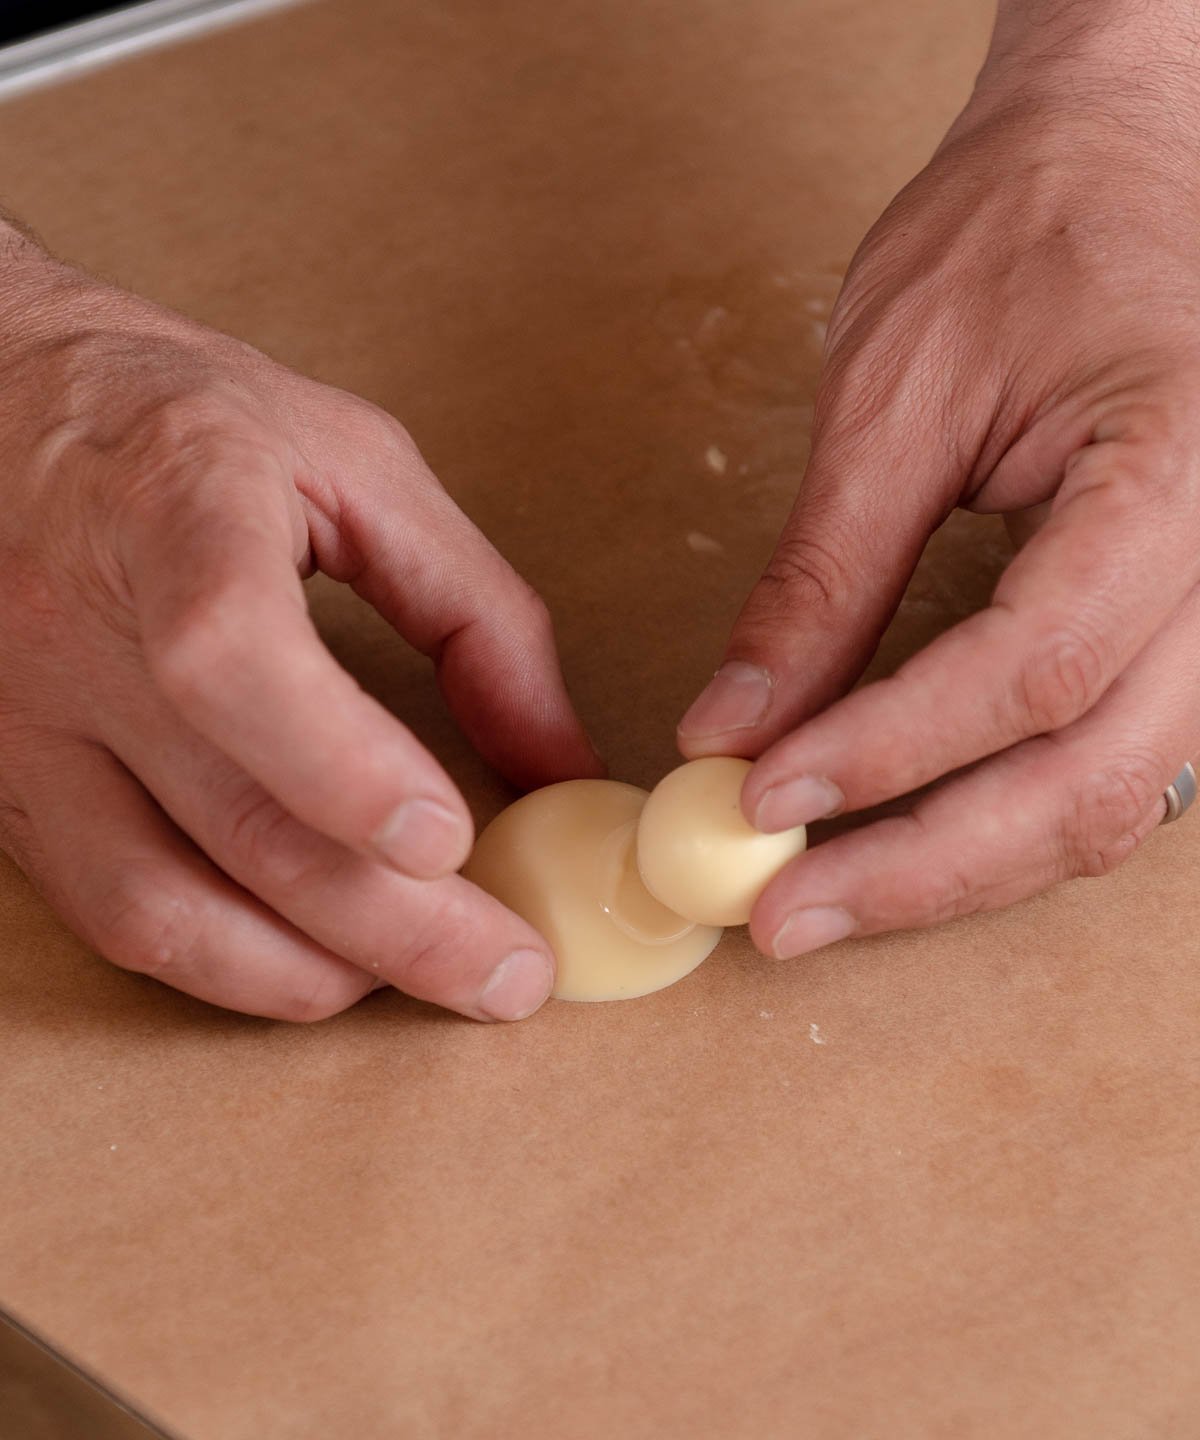
- Use your spatula and kitchen torch to melt the top of the half sphere just a bit.
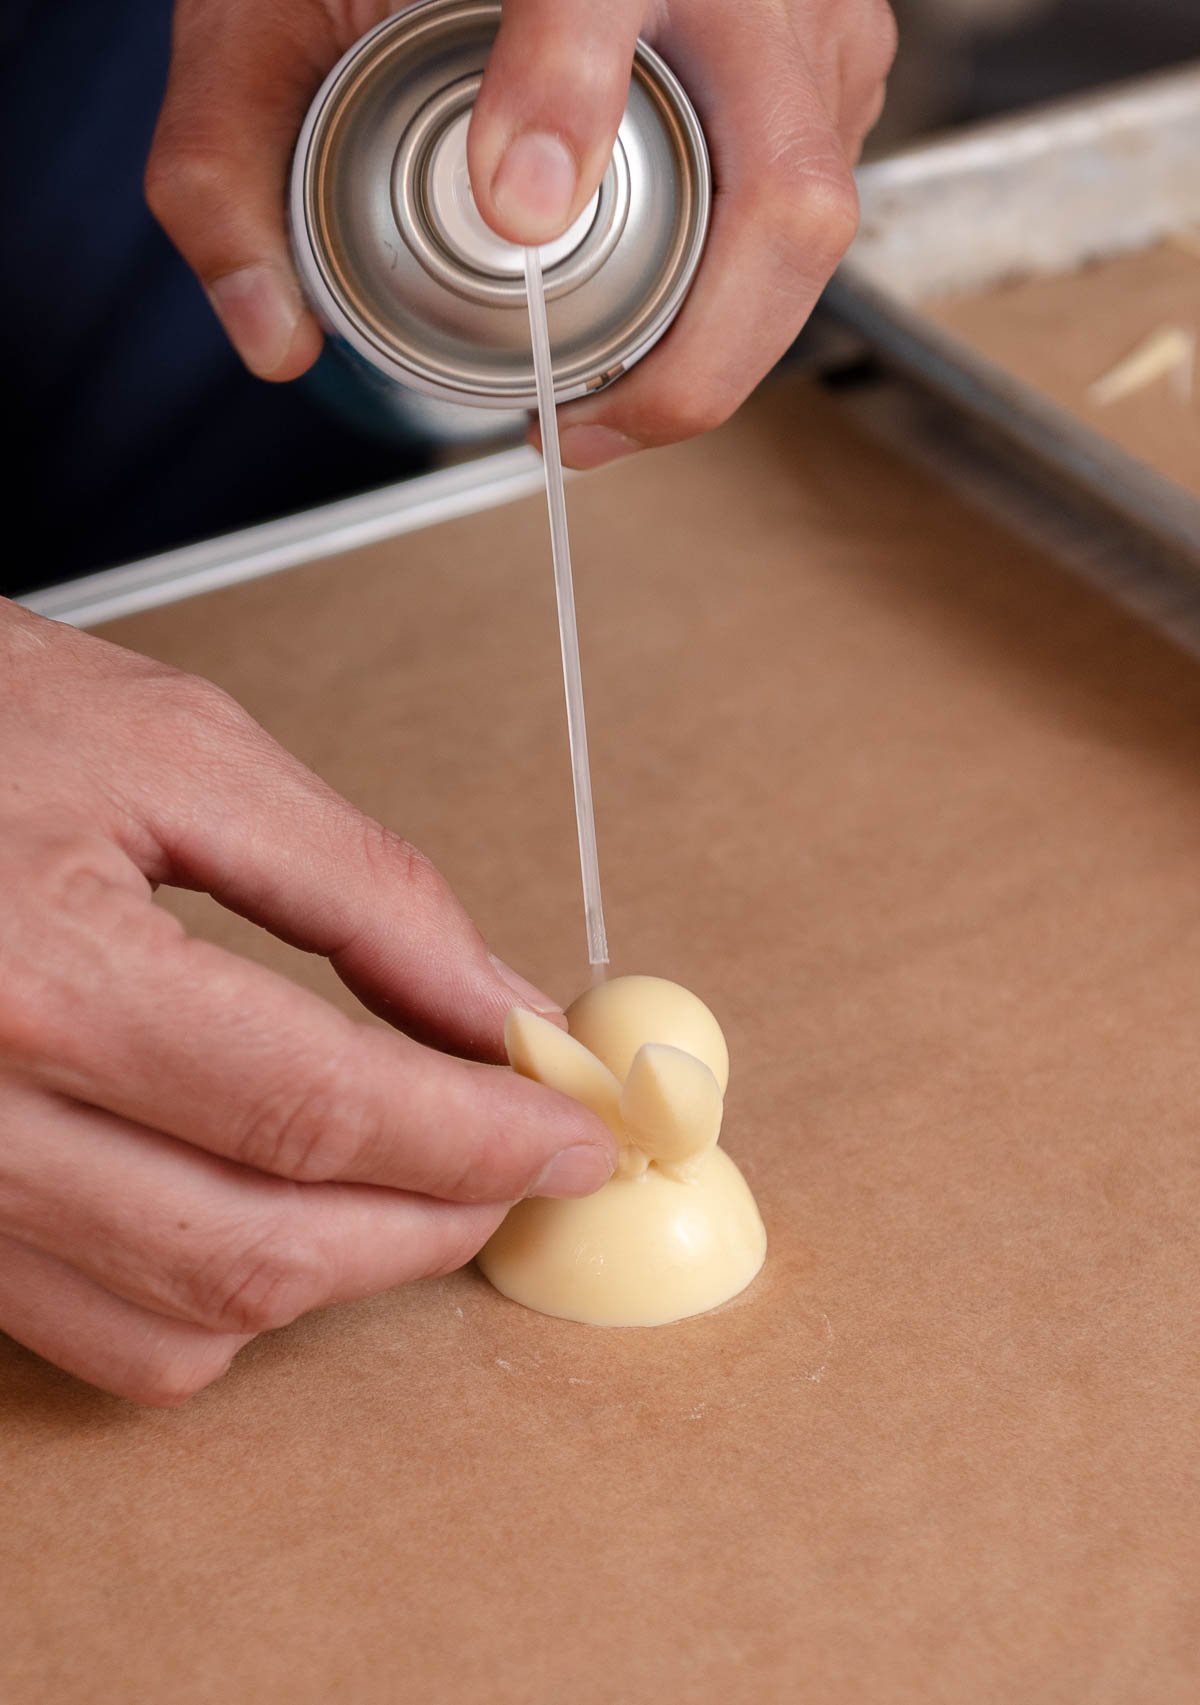
- Place the second sphere on top and use the cold spray to set the sphere.

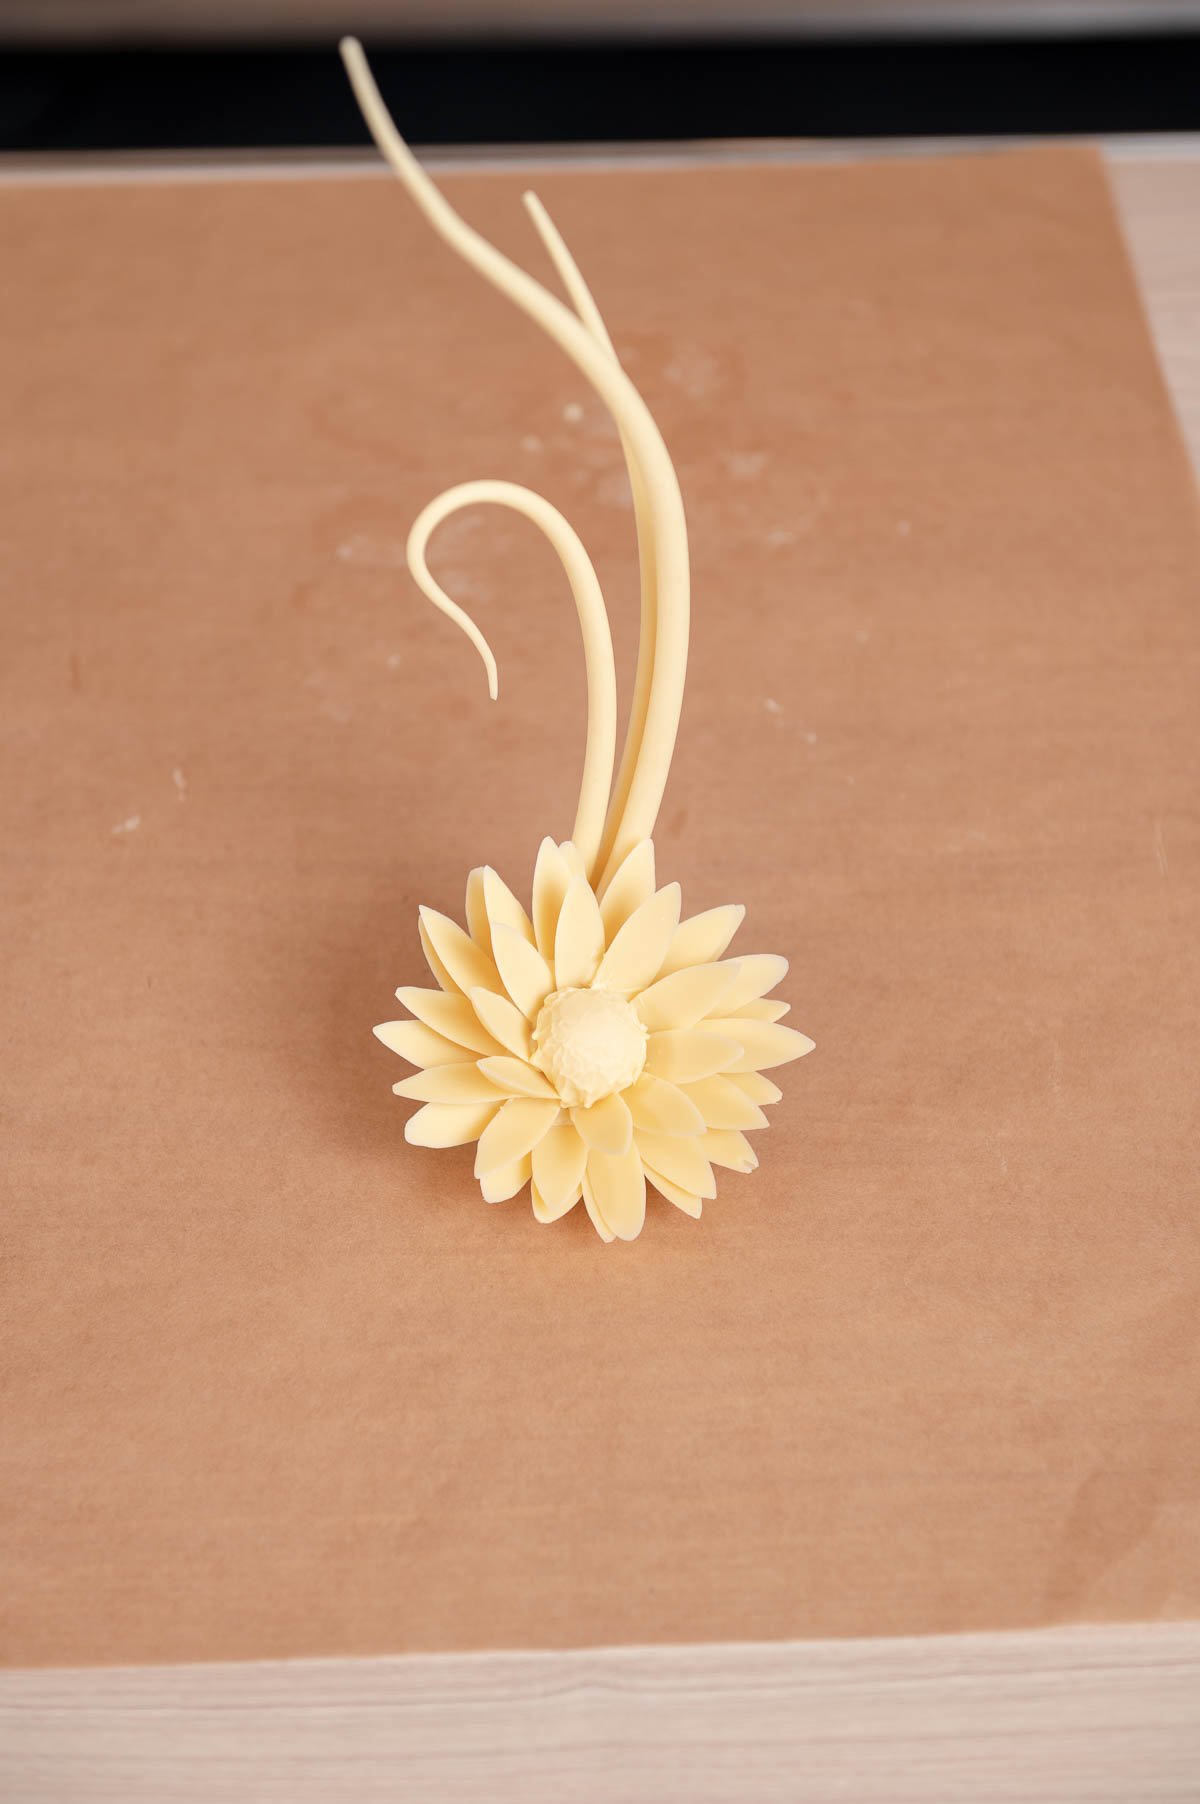
- Working quickly, dip the rounded tip of the flower petal into the tempered chocolate, lay the petal against the base of the chocolate sphere and use the cold spray to set it. Arrange the petals at a slight angle to create movement.

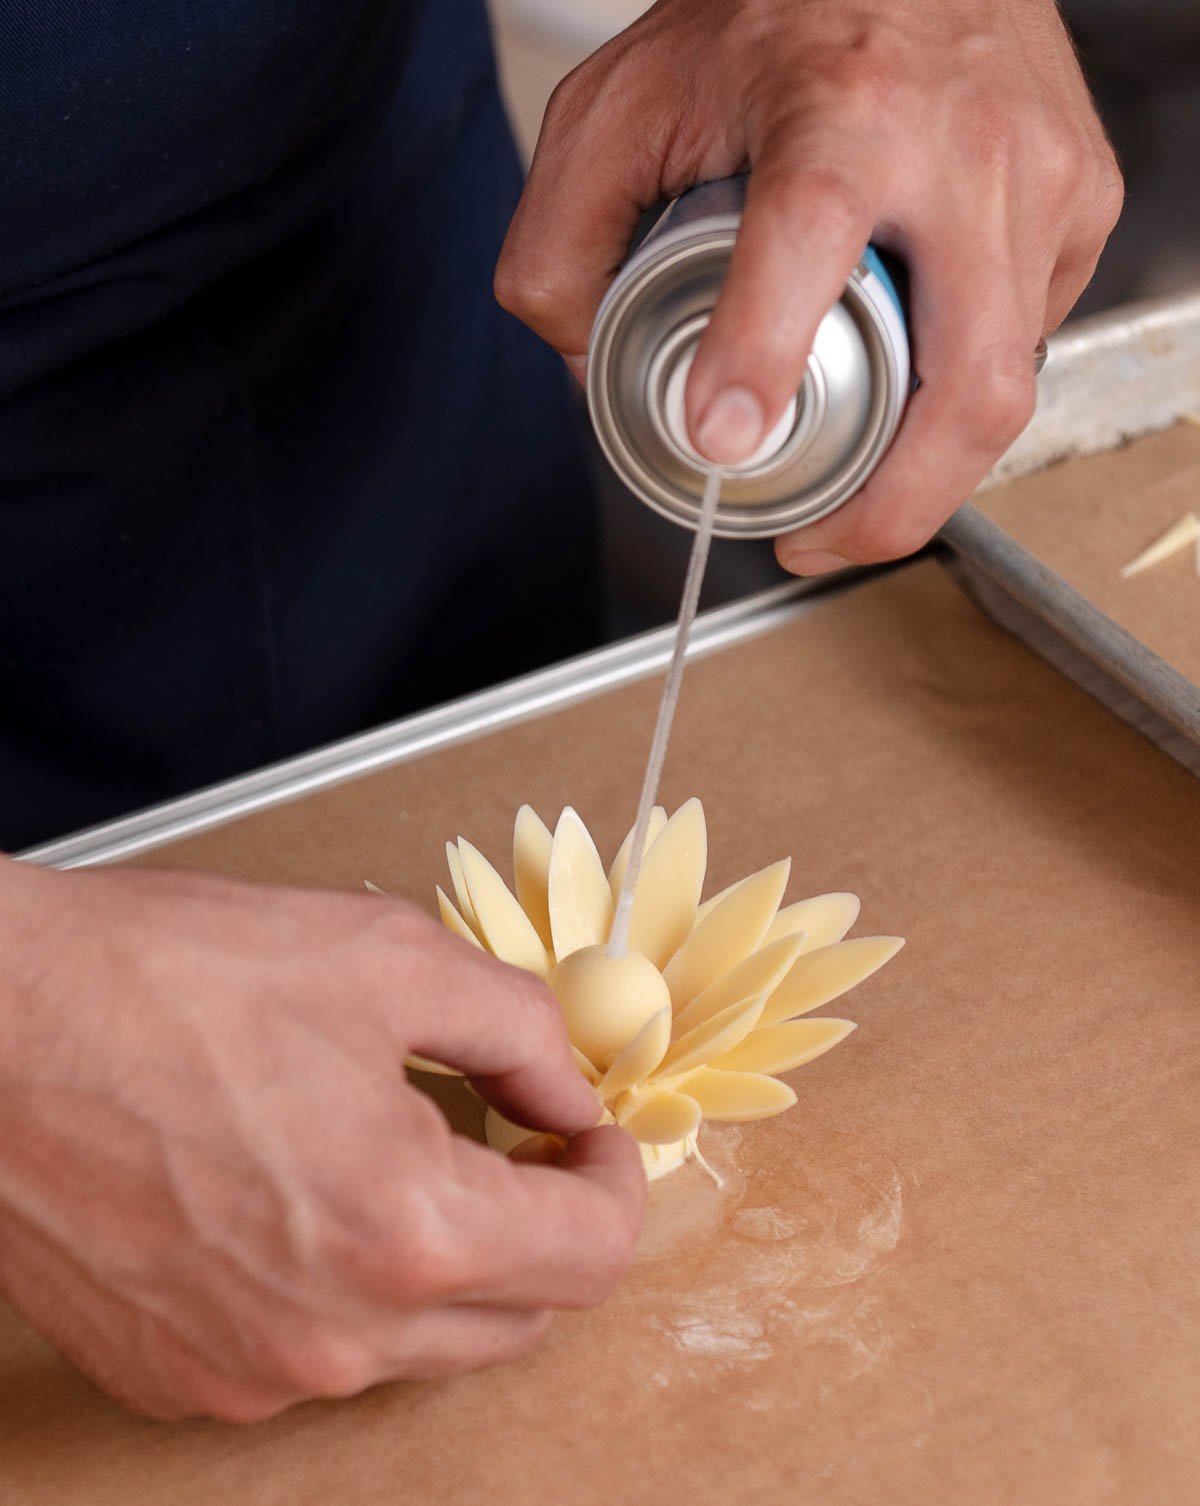
- Continue adding petals around until you have a few layers of petals.

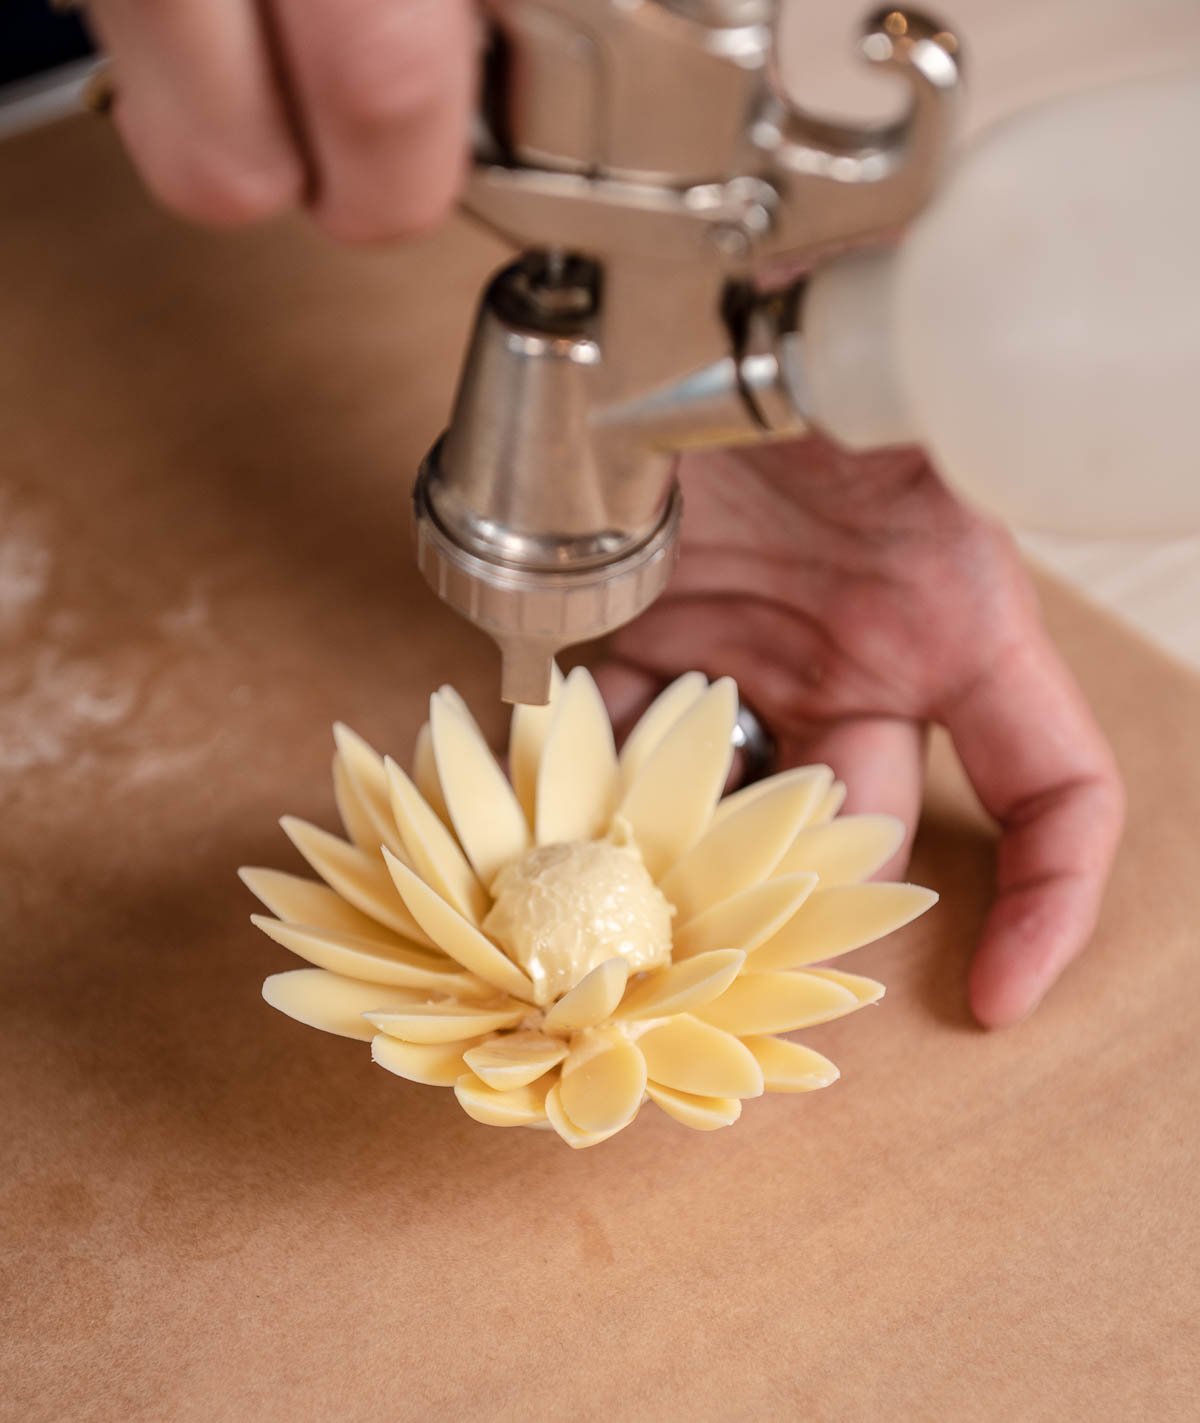
- You can pipe a little tempered chocolate in the center of the flower and use the airbrush to add texture to the center of the flower.

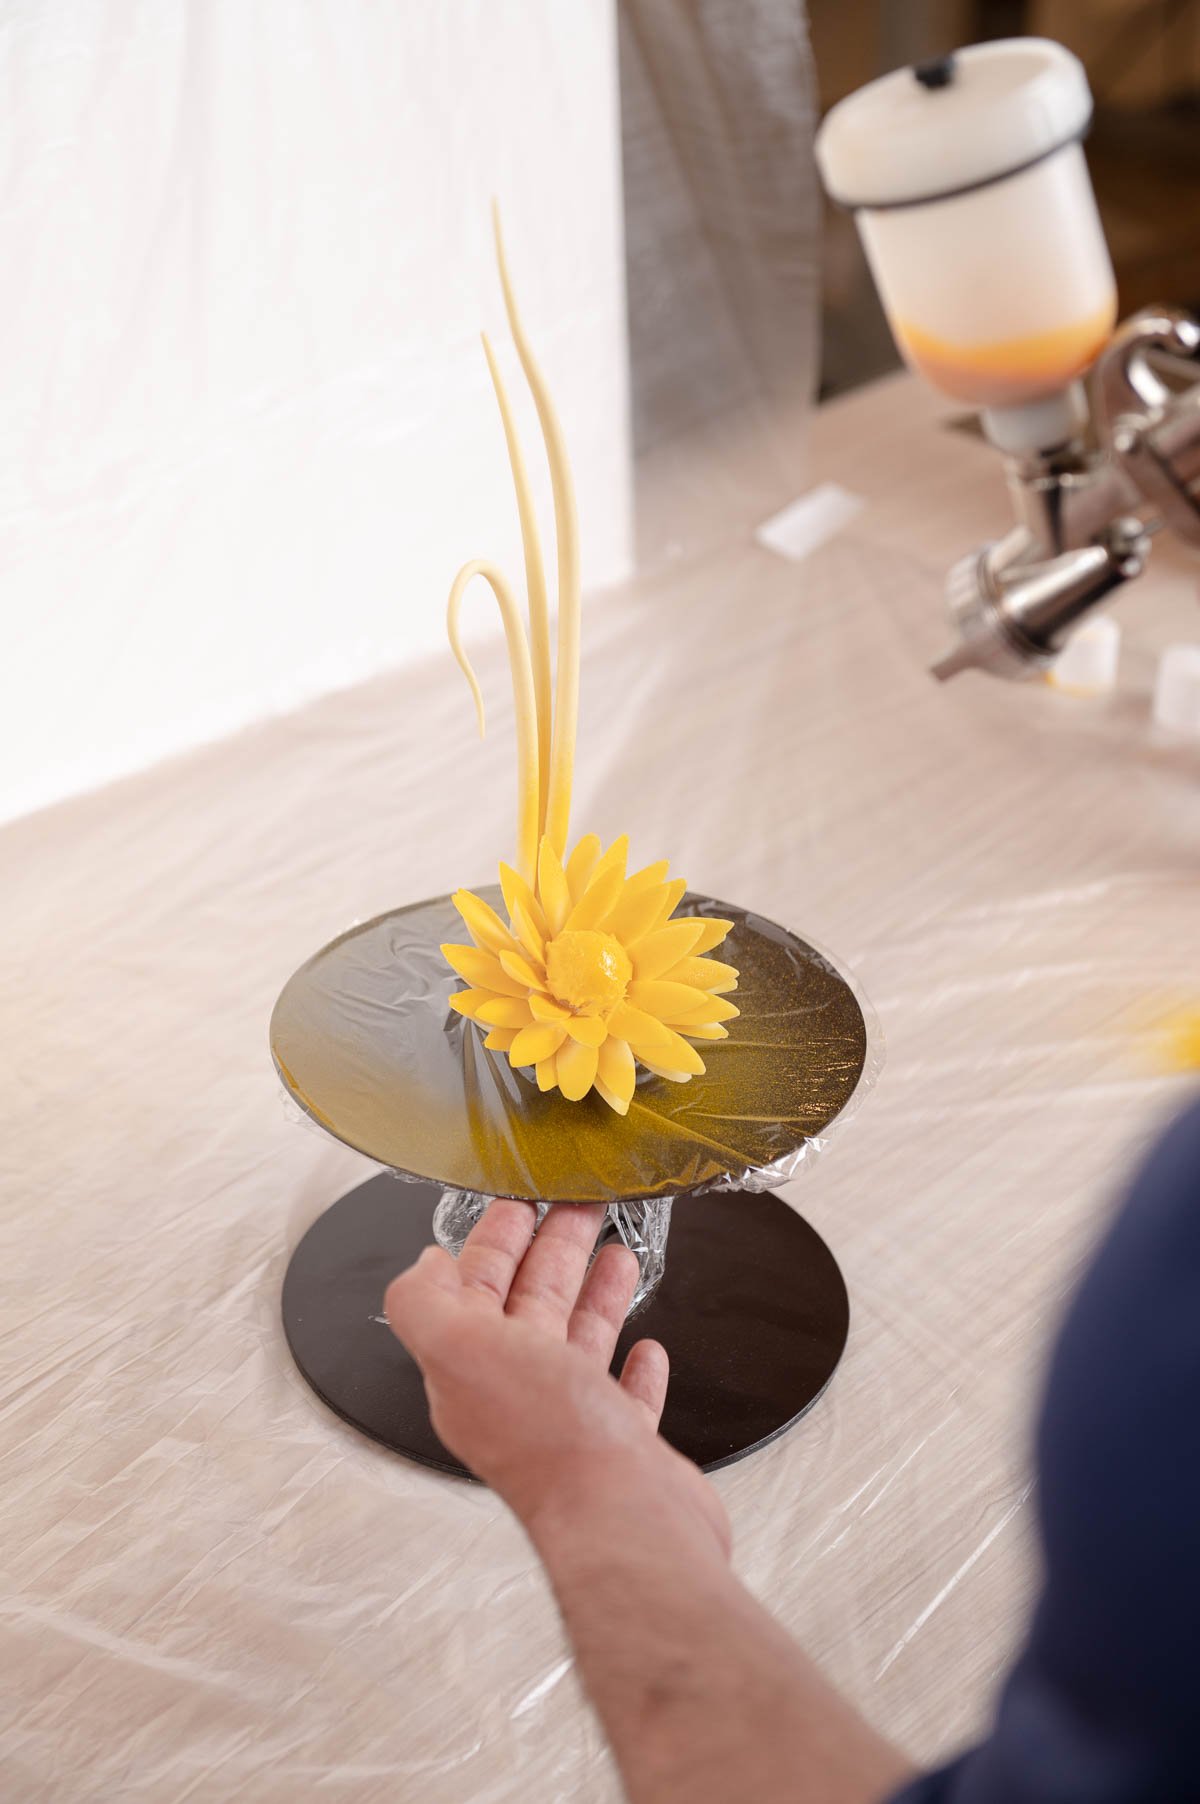
- Glue another sphere on top of the 2" base at a 45" angle as we did before with the spatula and kitchen torch.


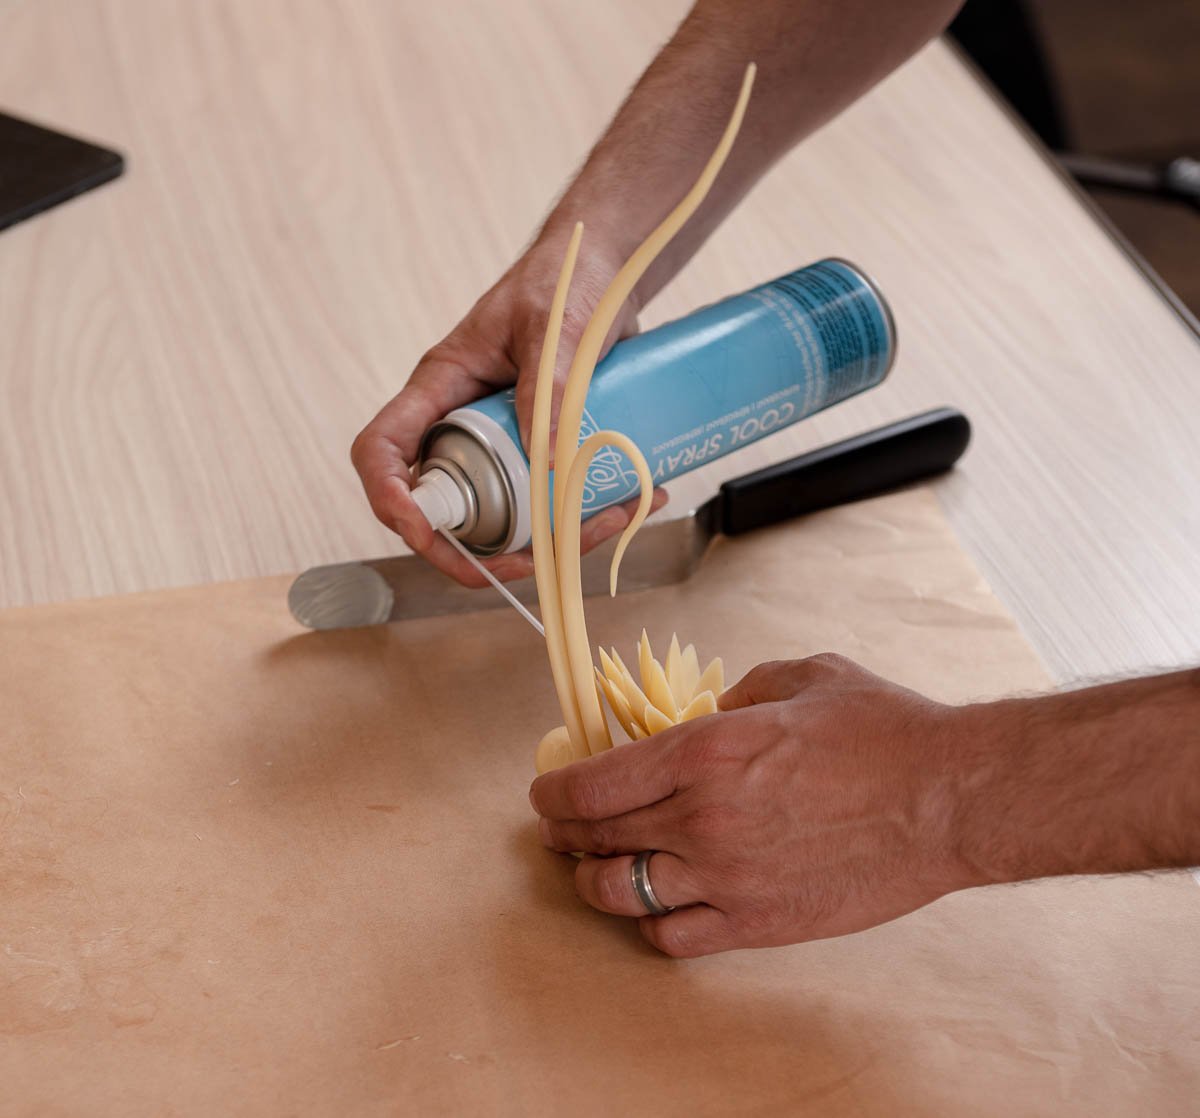
- Attach you tendrils to the back of the base with some more tempered chocolate and set with the cold spray.

- Attach the chocolate flower to the front of the sphere with melted chocolate and set with cold spray.

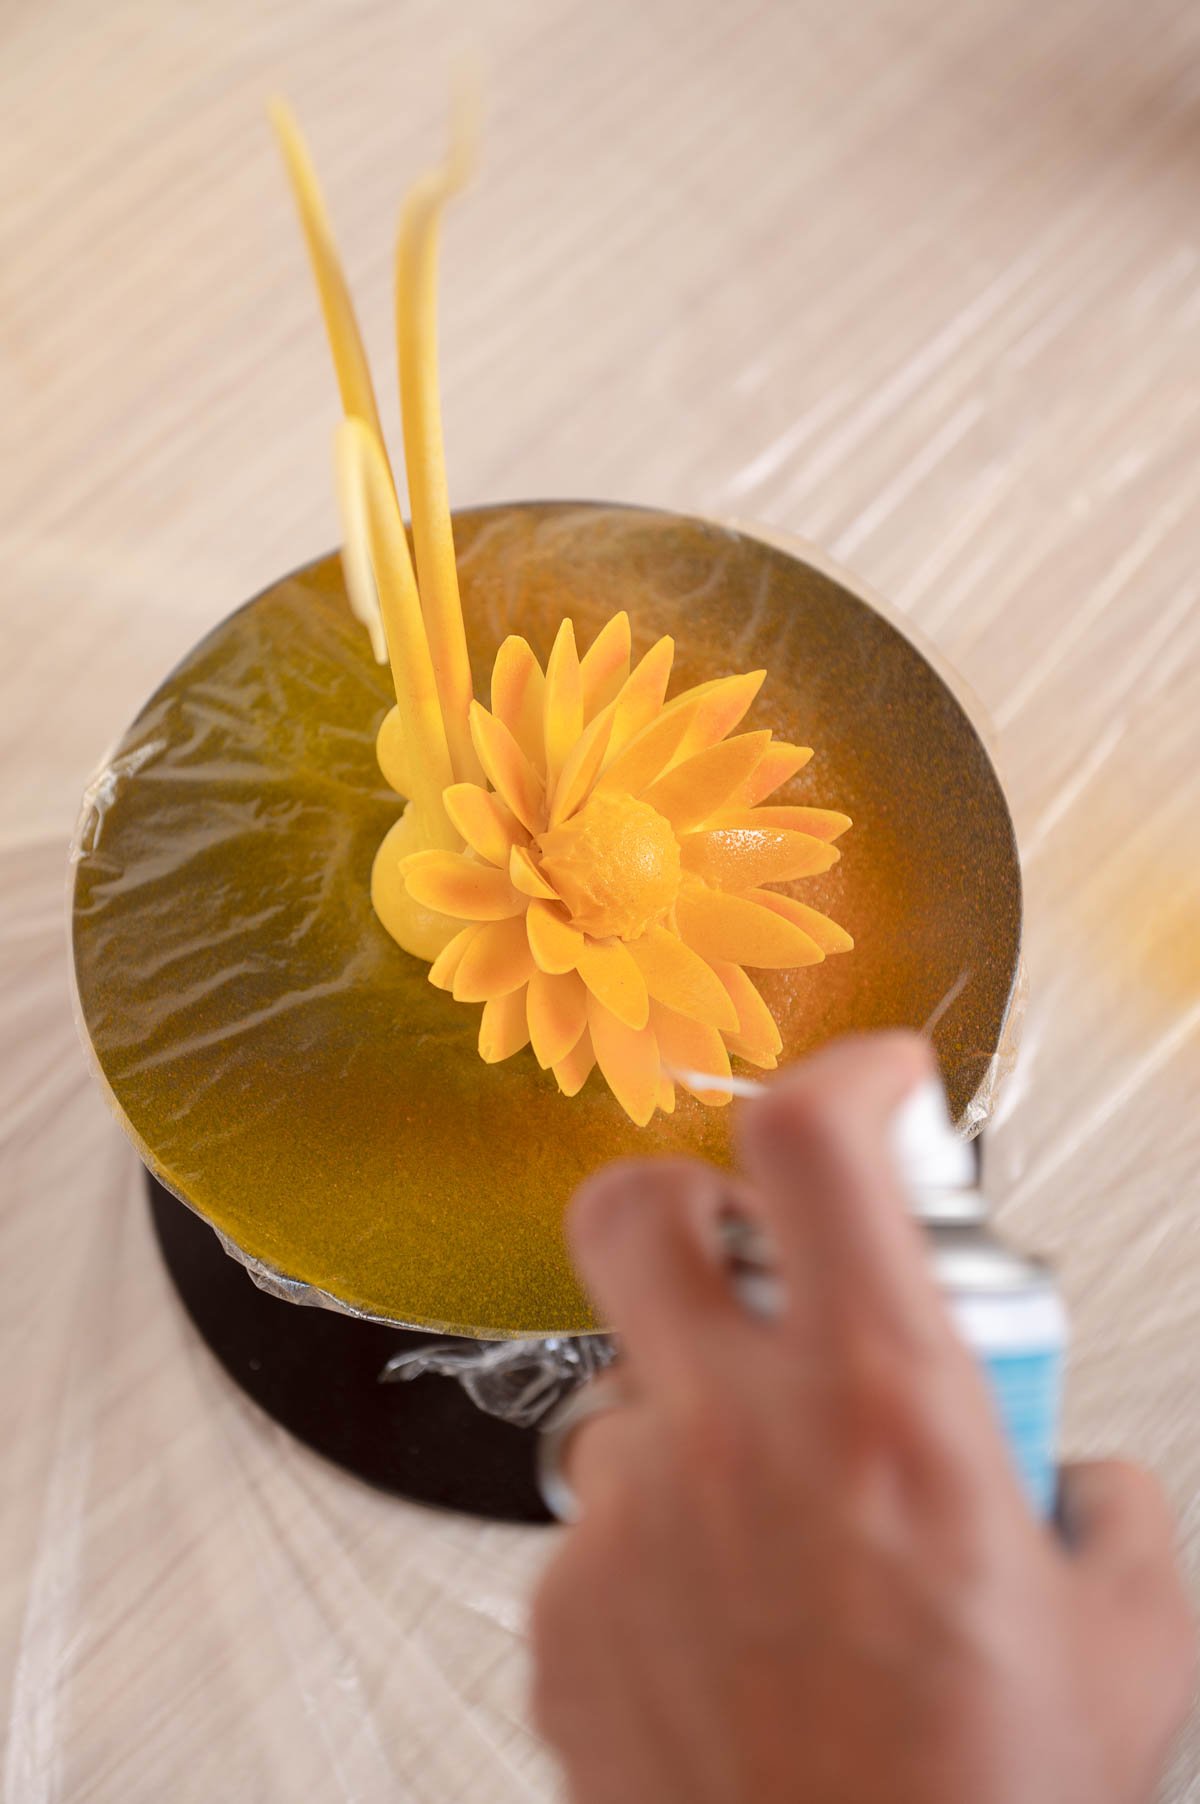
How to color the flower with cocoa butter
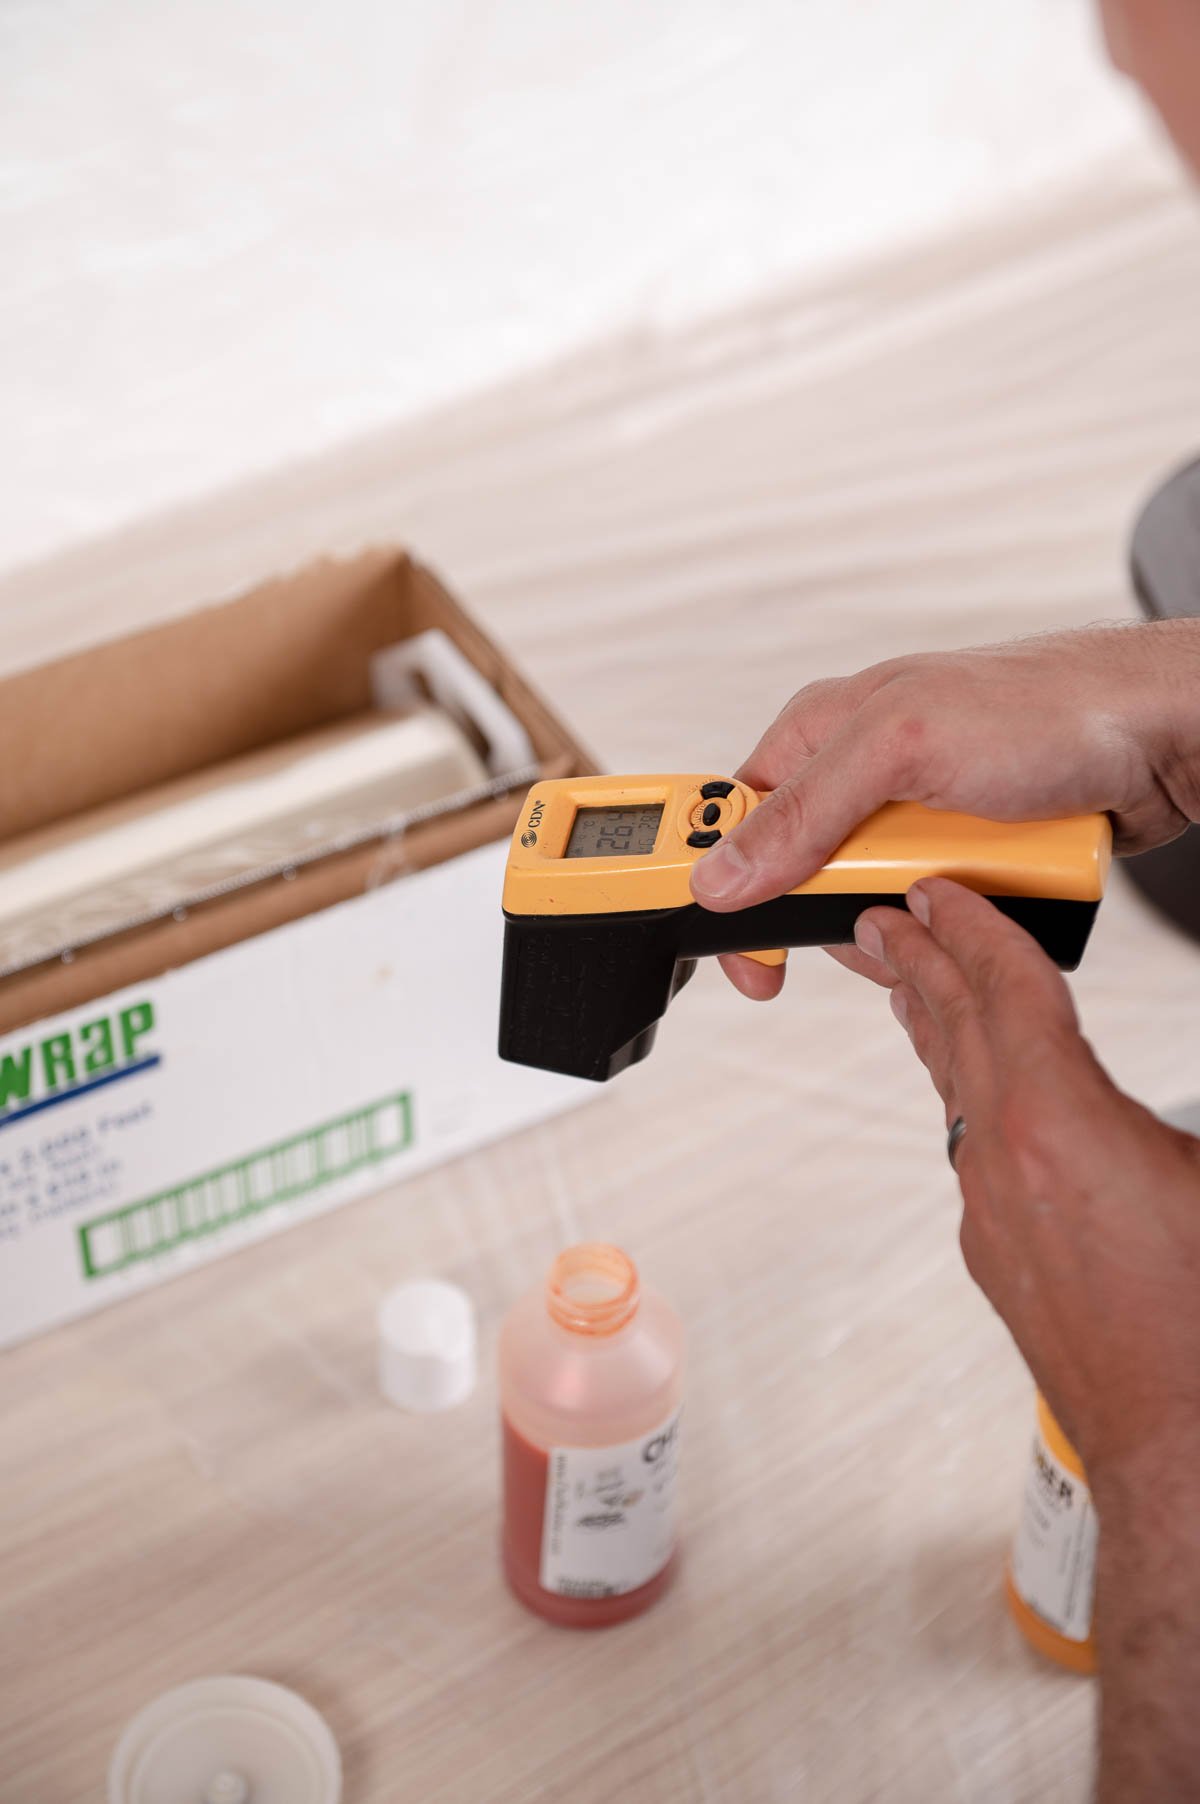
- Melt your colored cocoa butter in the microwave. Cool to 30ºC.
- Add your tempered cocoa butter paste at 29ºC to your melted colored cocoa butter.
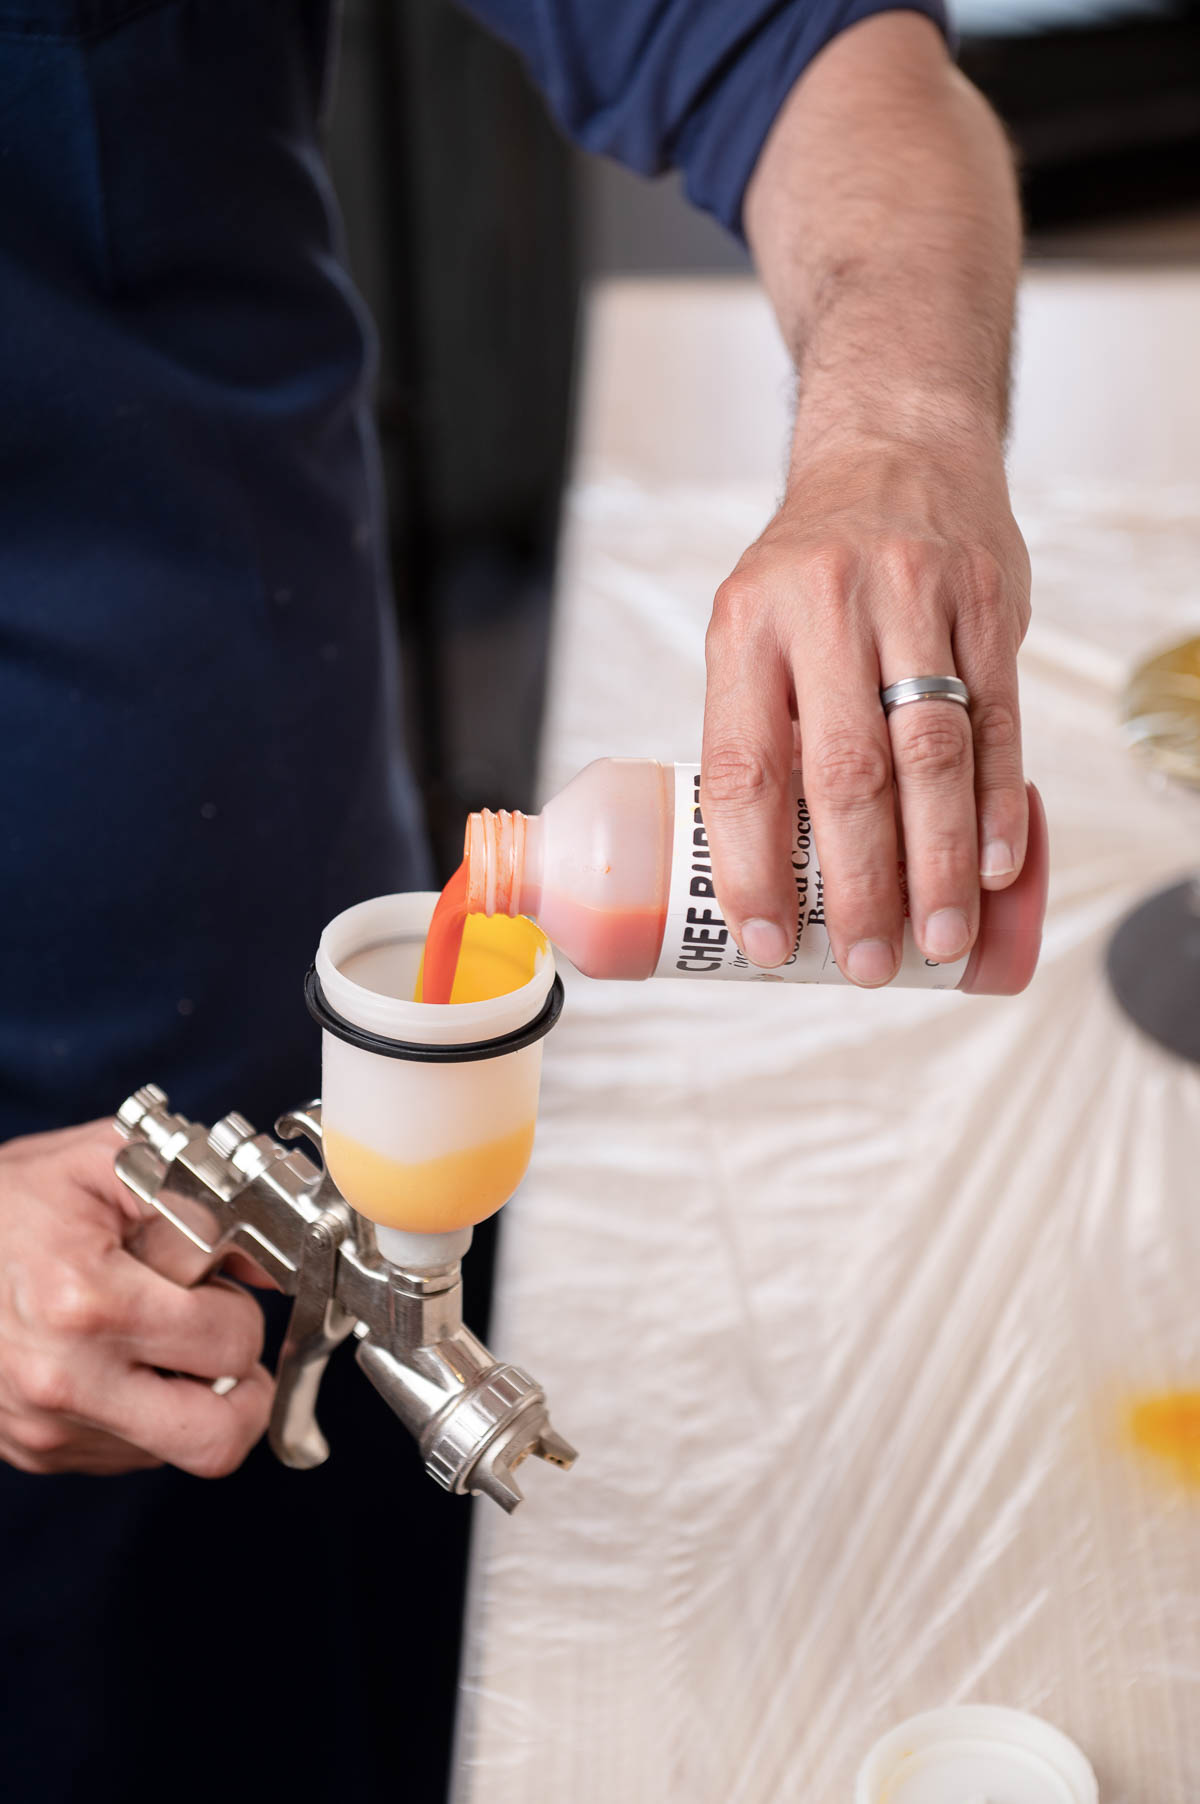
- Add the melted cocoa butter to your airbrush and you can color the flower.
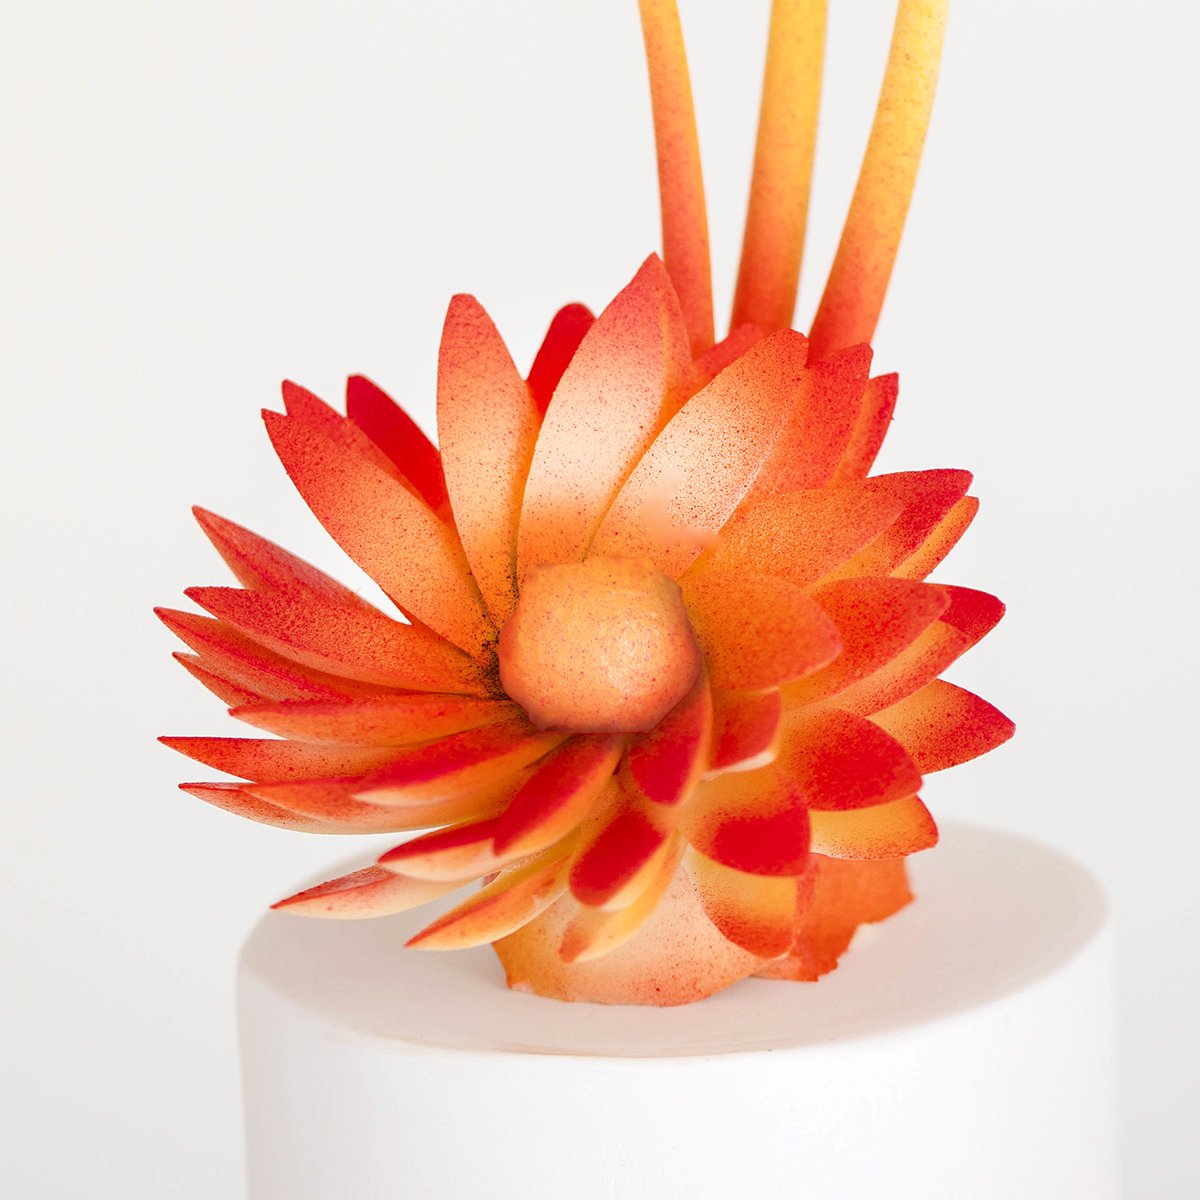
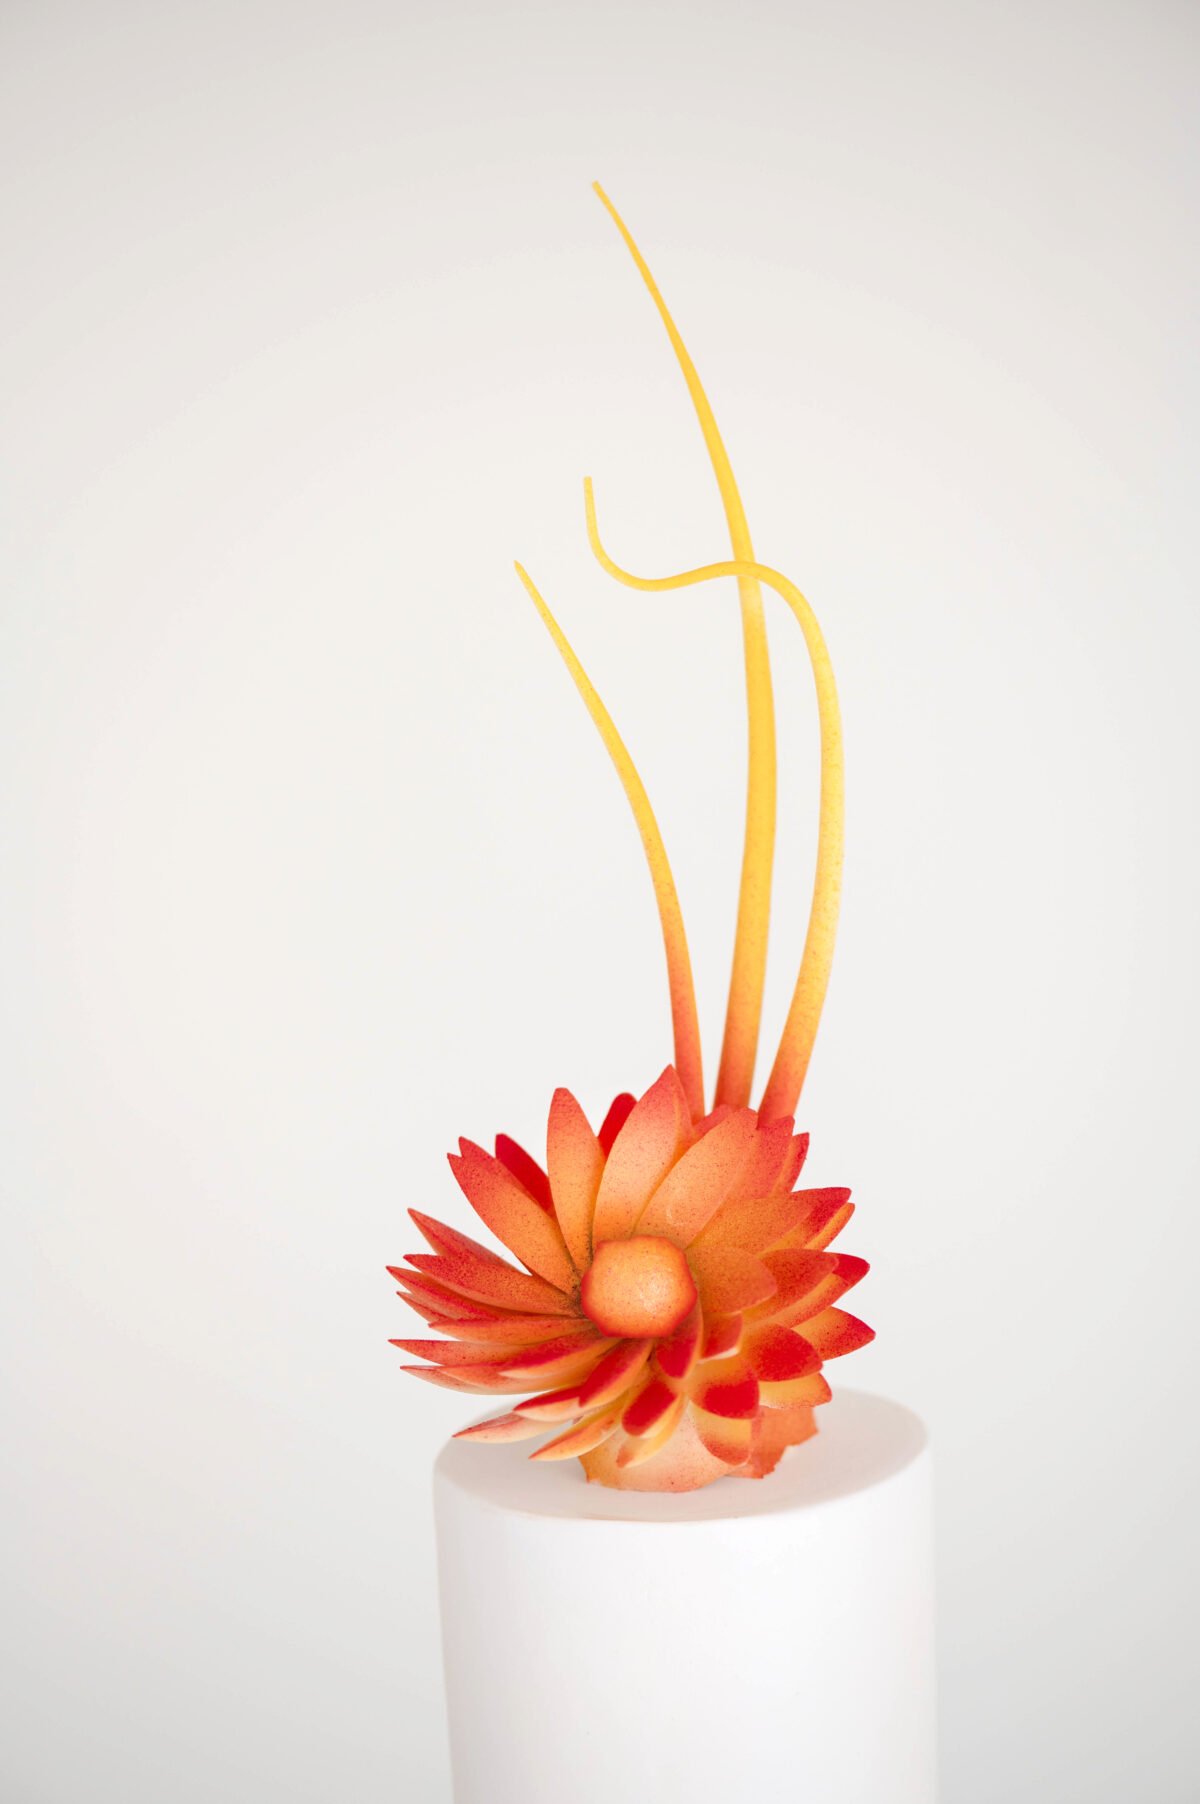
- Start with yellow and then add highlights with red.
Now your chocolate flower is complete! It can be attached to the cake with a little melted chocolate.
Chef Christophe uses a Waring dehydrator to store his airbrush and cocoa butter to keep it at the correct temperature for airbrushing.
Recipe
Equipment
- Sphere Molds
- Petal Mold
- Acetate
- infrared thermometer
- Piping Bag
- Air Brush
- EZ Temper Machine (optional)
- Waring Chocolate Warmer (optional)
Ingredients
- 200 grams tempered white chocolate https://sugargeekshow.com/how-to-temper-chocolate-with-cocoa-butter/
- 200 grams white chocolate couverature
- 2 Tablespoons red cocoa butter
- 1 Tablespoon yellow cocoa butter
- 2 Tablespoons tempered cocoa butter paste optional, if you don't have the EZ temper then you will have to temper the colored cocoa butter and chocolate using either the microwave or traditional seeding method
Instructions
How to Make the Flower Petals
- Cut your acetate to be just a bit bigger than the petal mold.
- Fill your piping bag with some tempered chocolate and tie the opening to work clean.
- Use the pinch and release method to fill the petal cavities with white chocolate.
- Place the sheet of acetate on top of the mold and press to make sure your petals are completely filled.
- Use your bench scraper to press the the chocolate flat and remove the excess chocolate from the mold.
- Place the piping bag into the chocolate warmer to keep it at the proper temperature to use later.
- Set the mold in the fridge to crystalize.
How to Make the Flower Base
- Use your piping bag to fill your 2″ sphere mold (you only need 2 half) but you can make extras just in case.
- Fill your 1.5″ sphere mold to make two full spheres.
- Place the spheres into the fridge to set while you work on the tendrils.
Making the Chocolate Tendrils
- Start by adding your unmelted chocolate pieces into a food processor.
- Turn the food processor on and blend until the chocolate forms a ball. Do not over-mix it. Now it's ready to sculpt.
- Use your hands and your cake board to roll out some long tendrils.
- Cut the end to the length you want it to be.
- Sharpen the tip and bend it into a nice artistic shape.
- The chocolate will set as it cools and be very strong.
Assembling the Chocolate Flower
- Turn your petal mold over (opening side down) and pull the mold off the petals so they don't break.
- Unmold your spheres.
- Use your spatula and kitchen torch to melt the top of the half sphere just a bit.
- Place the second sphere on top and use the cold spray to set the sphere.
- Working quickly, dip the rounded tip of the flower petal into the tempered chocolate, lay the petal against the base of the chocolate sphere and use the cold spray to set it. Arrange the petals at a slight angle to create movement.
- Continue adding petals around until you have a few layers of petals.
- You can pipe a little tempered chocolate in the center of the flower and use the airbrush to add texture to the center of the flower.
- Glue another sphere on top of the 2″ base at a 45″ angle as we did before with the spatula and kitchen torch.
- Attach you tendrils to the back of the base with some more tempered chocolate and set with the cold spray.
- Attach the chocolate flower to the front of the sphere with melted chocolate and set with cold spray.
How to Color the Flower with Cocoa Butter
- Melt your colored cocoa butter in the microwave. Cool to 30ºC.
- Add your tempered cocoa butter paste at 29ºC to your melted colored cocoa butter.
- Add the melted cocoa butter to your airbrush and you can color the flower.
- Start with yellow and then add highlights with red.


Leave a Reply