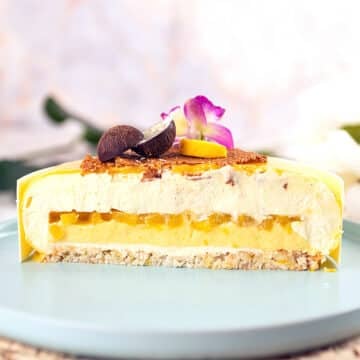
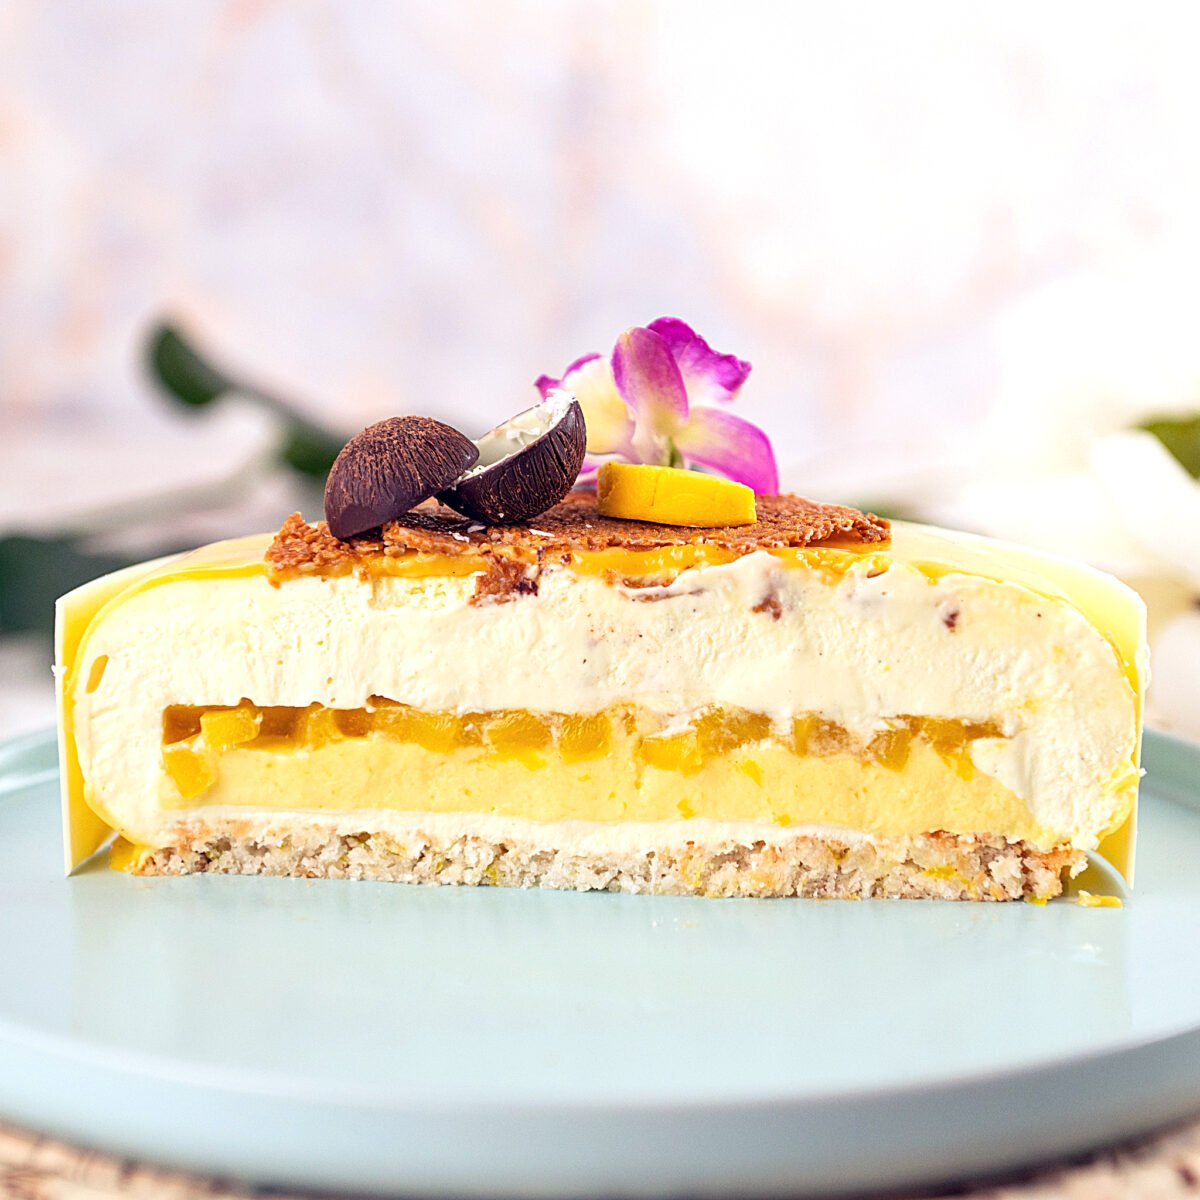
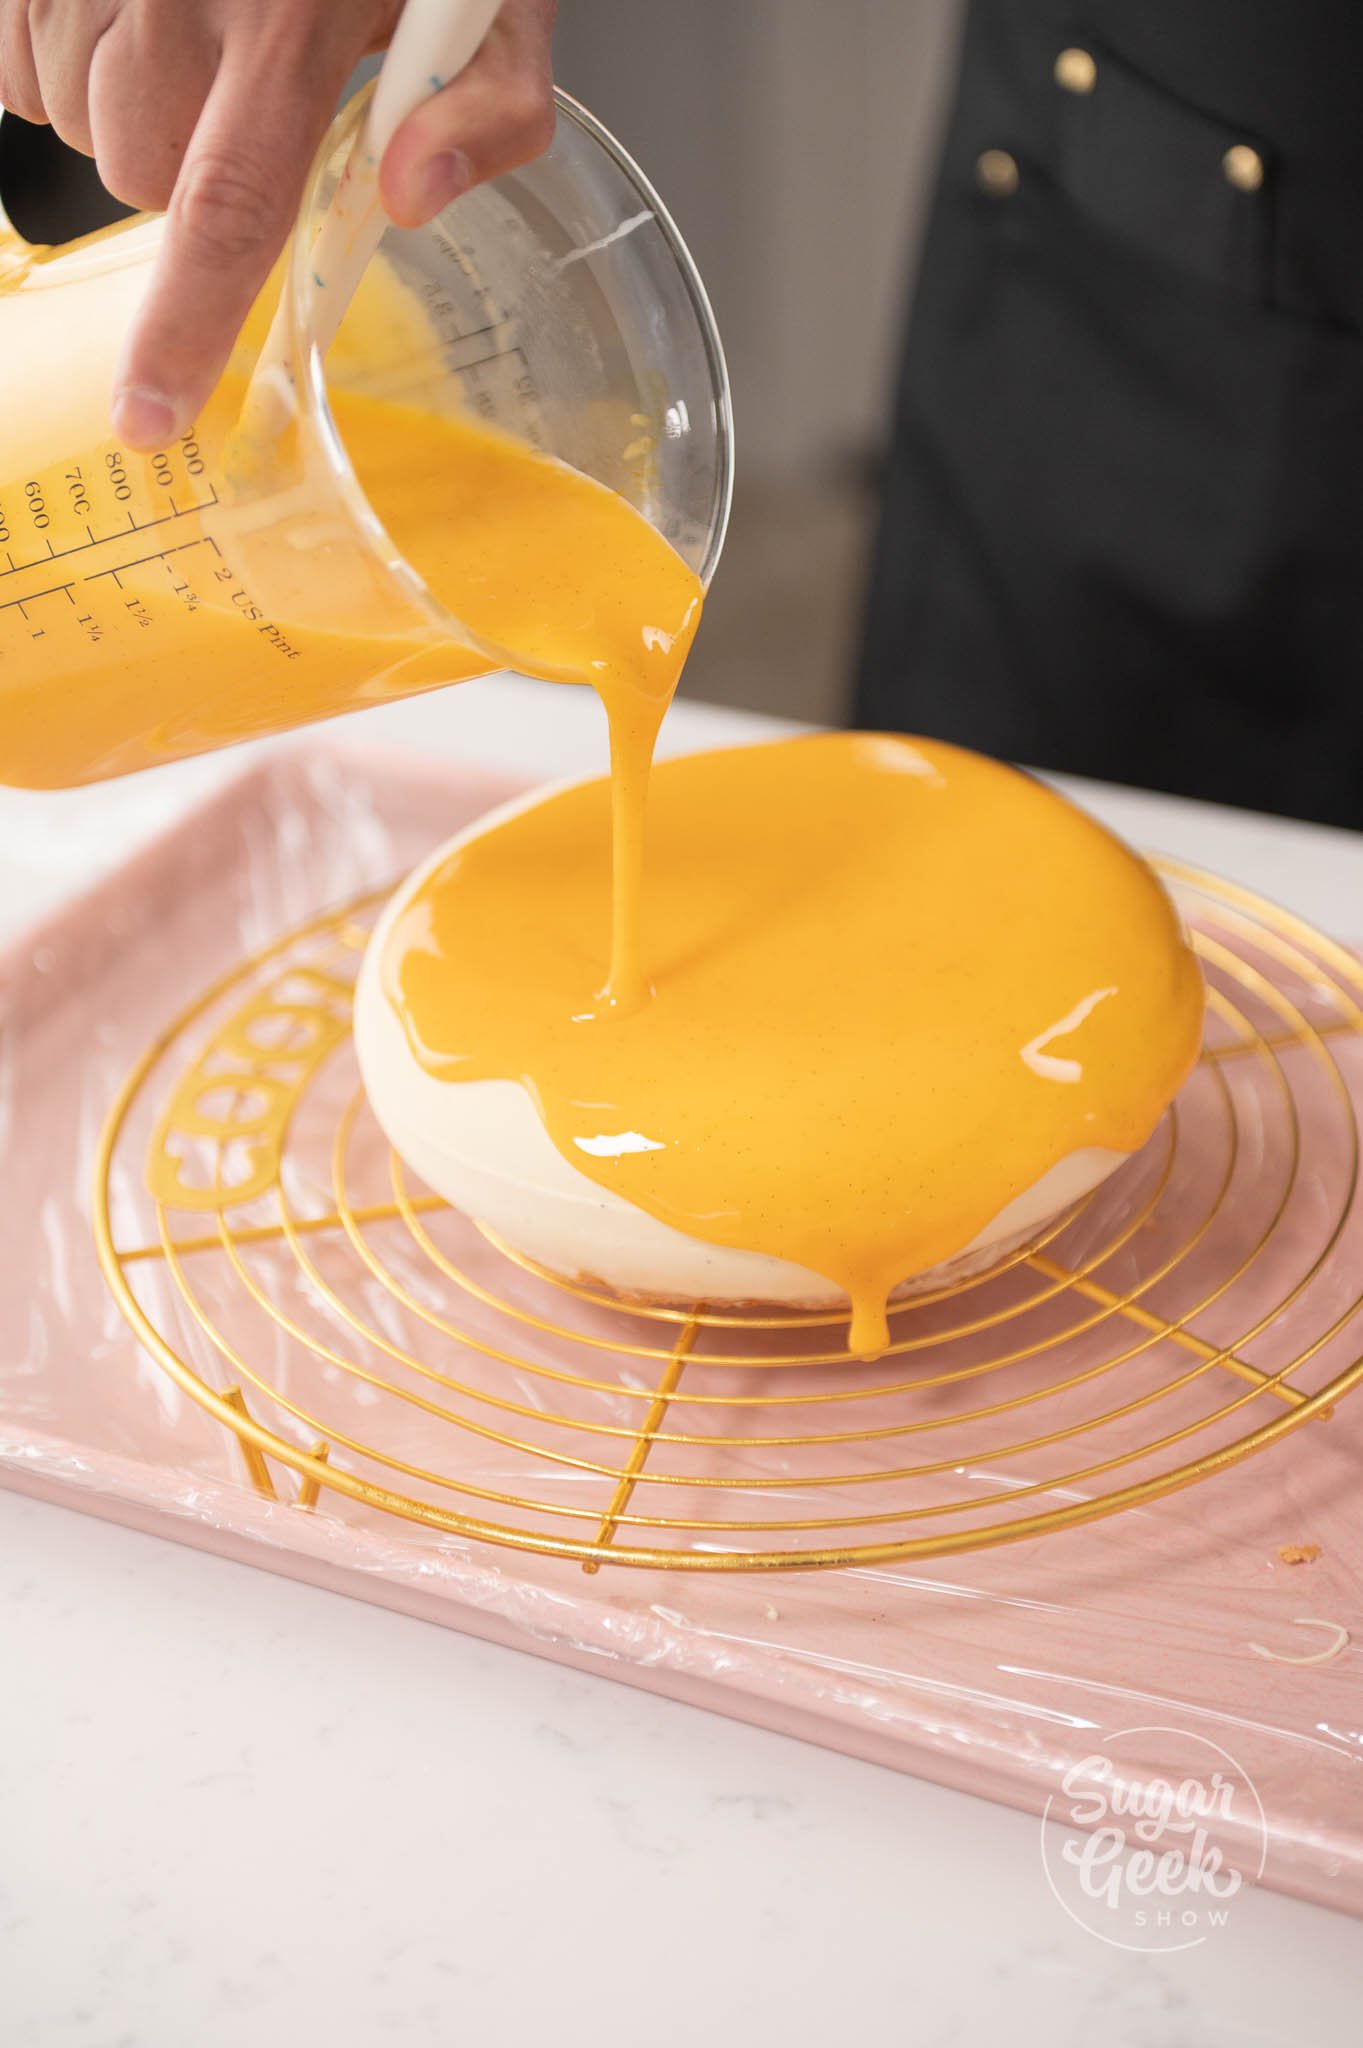
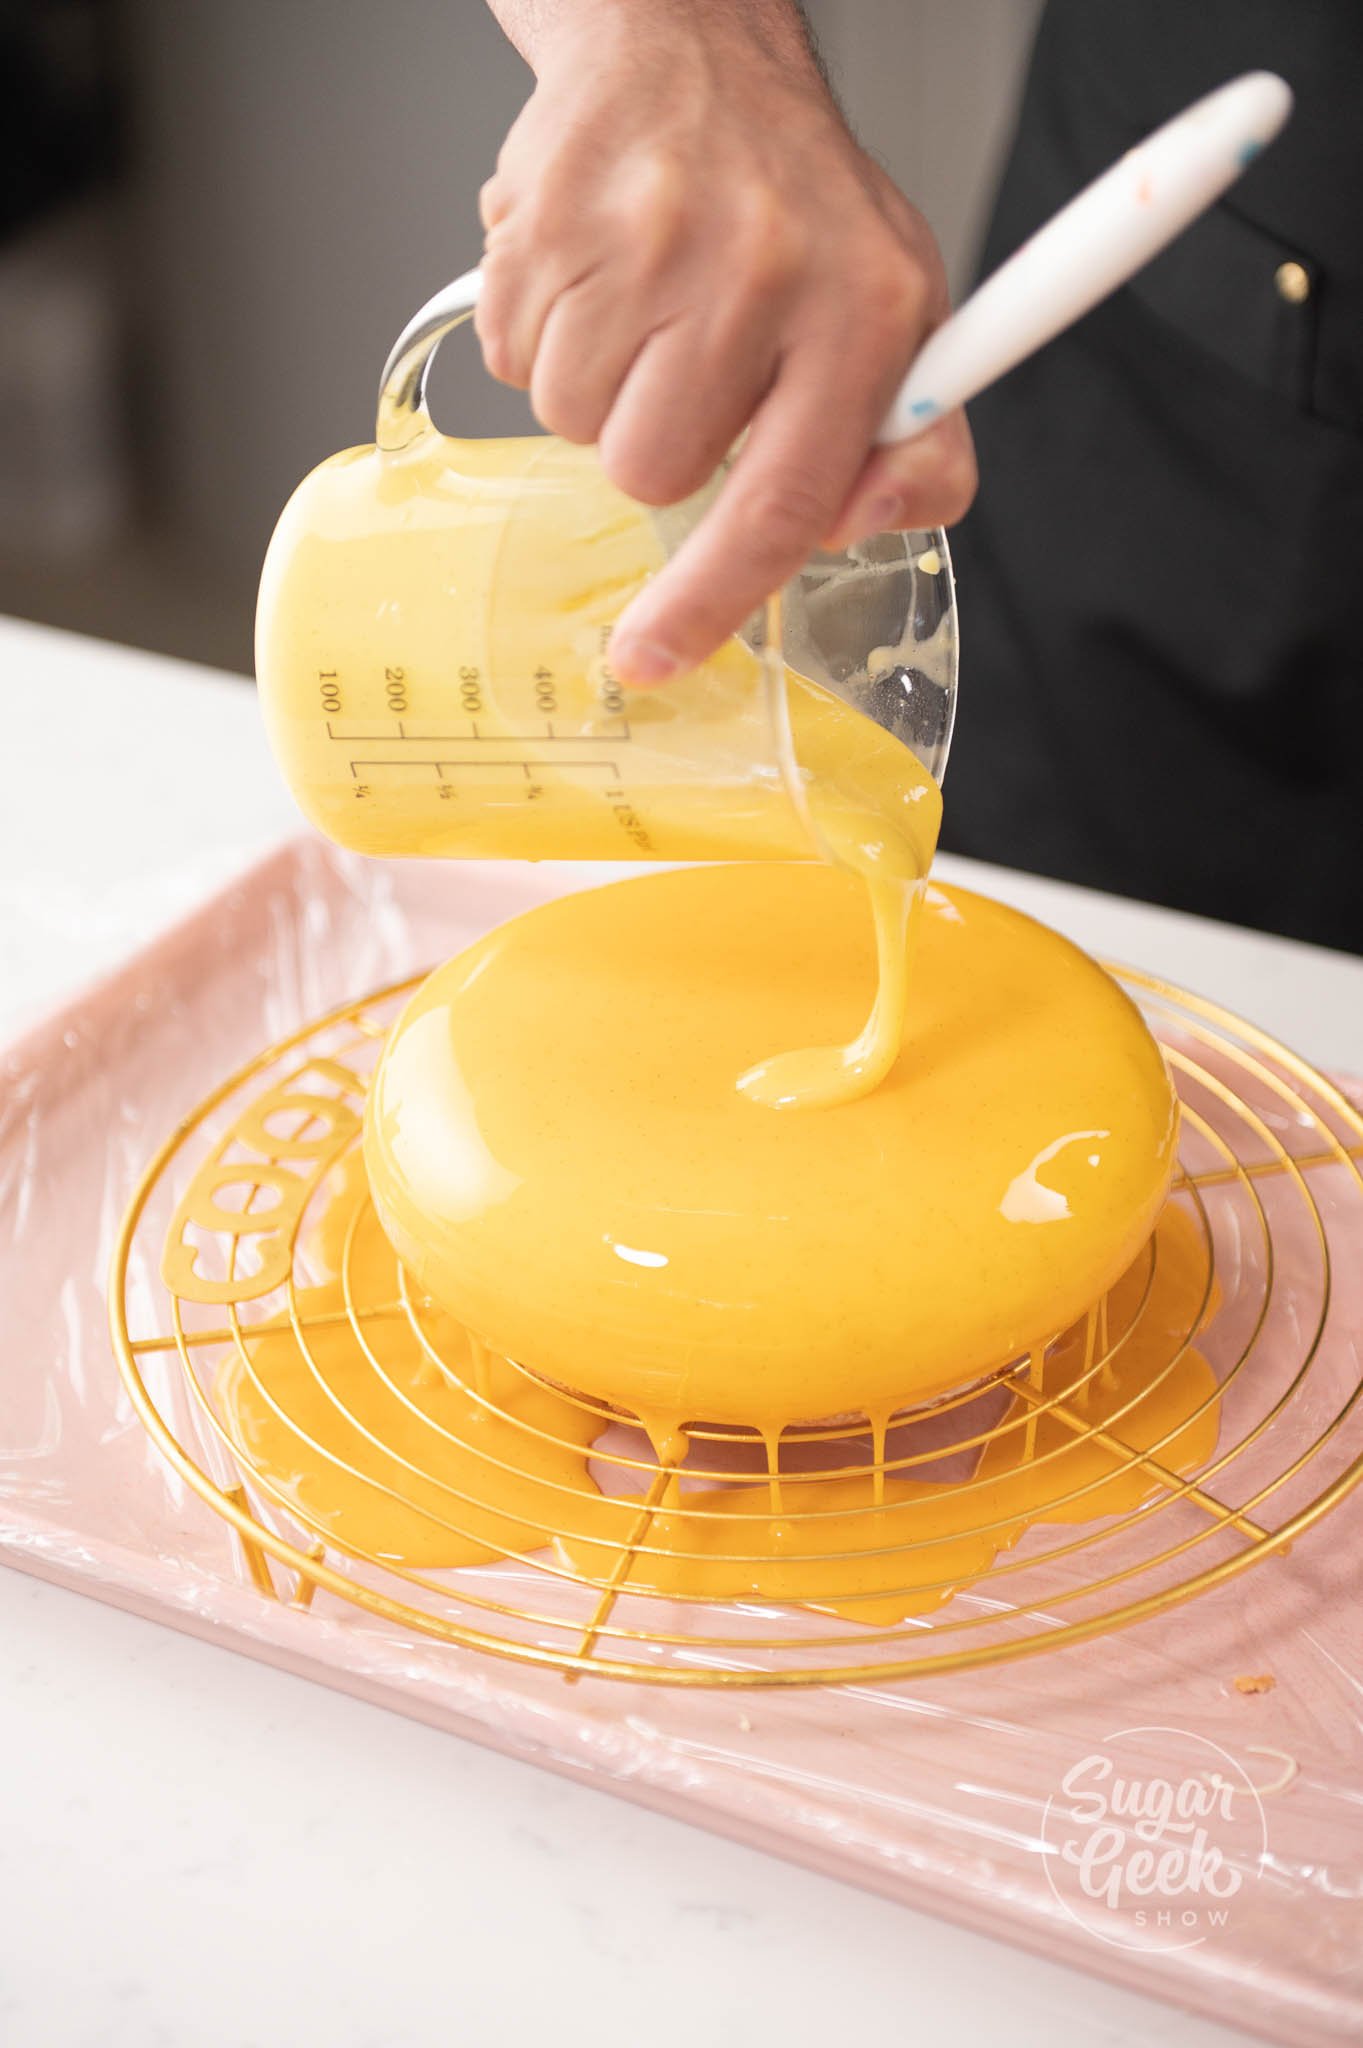
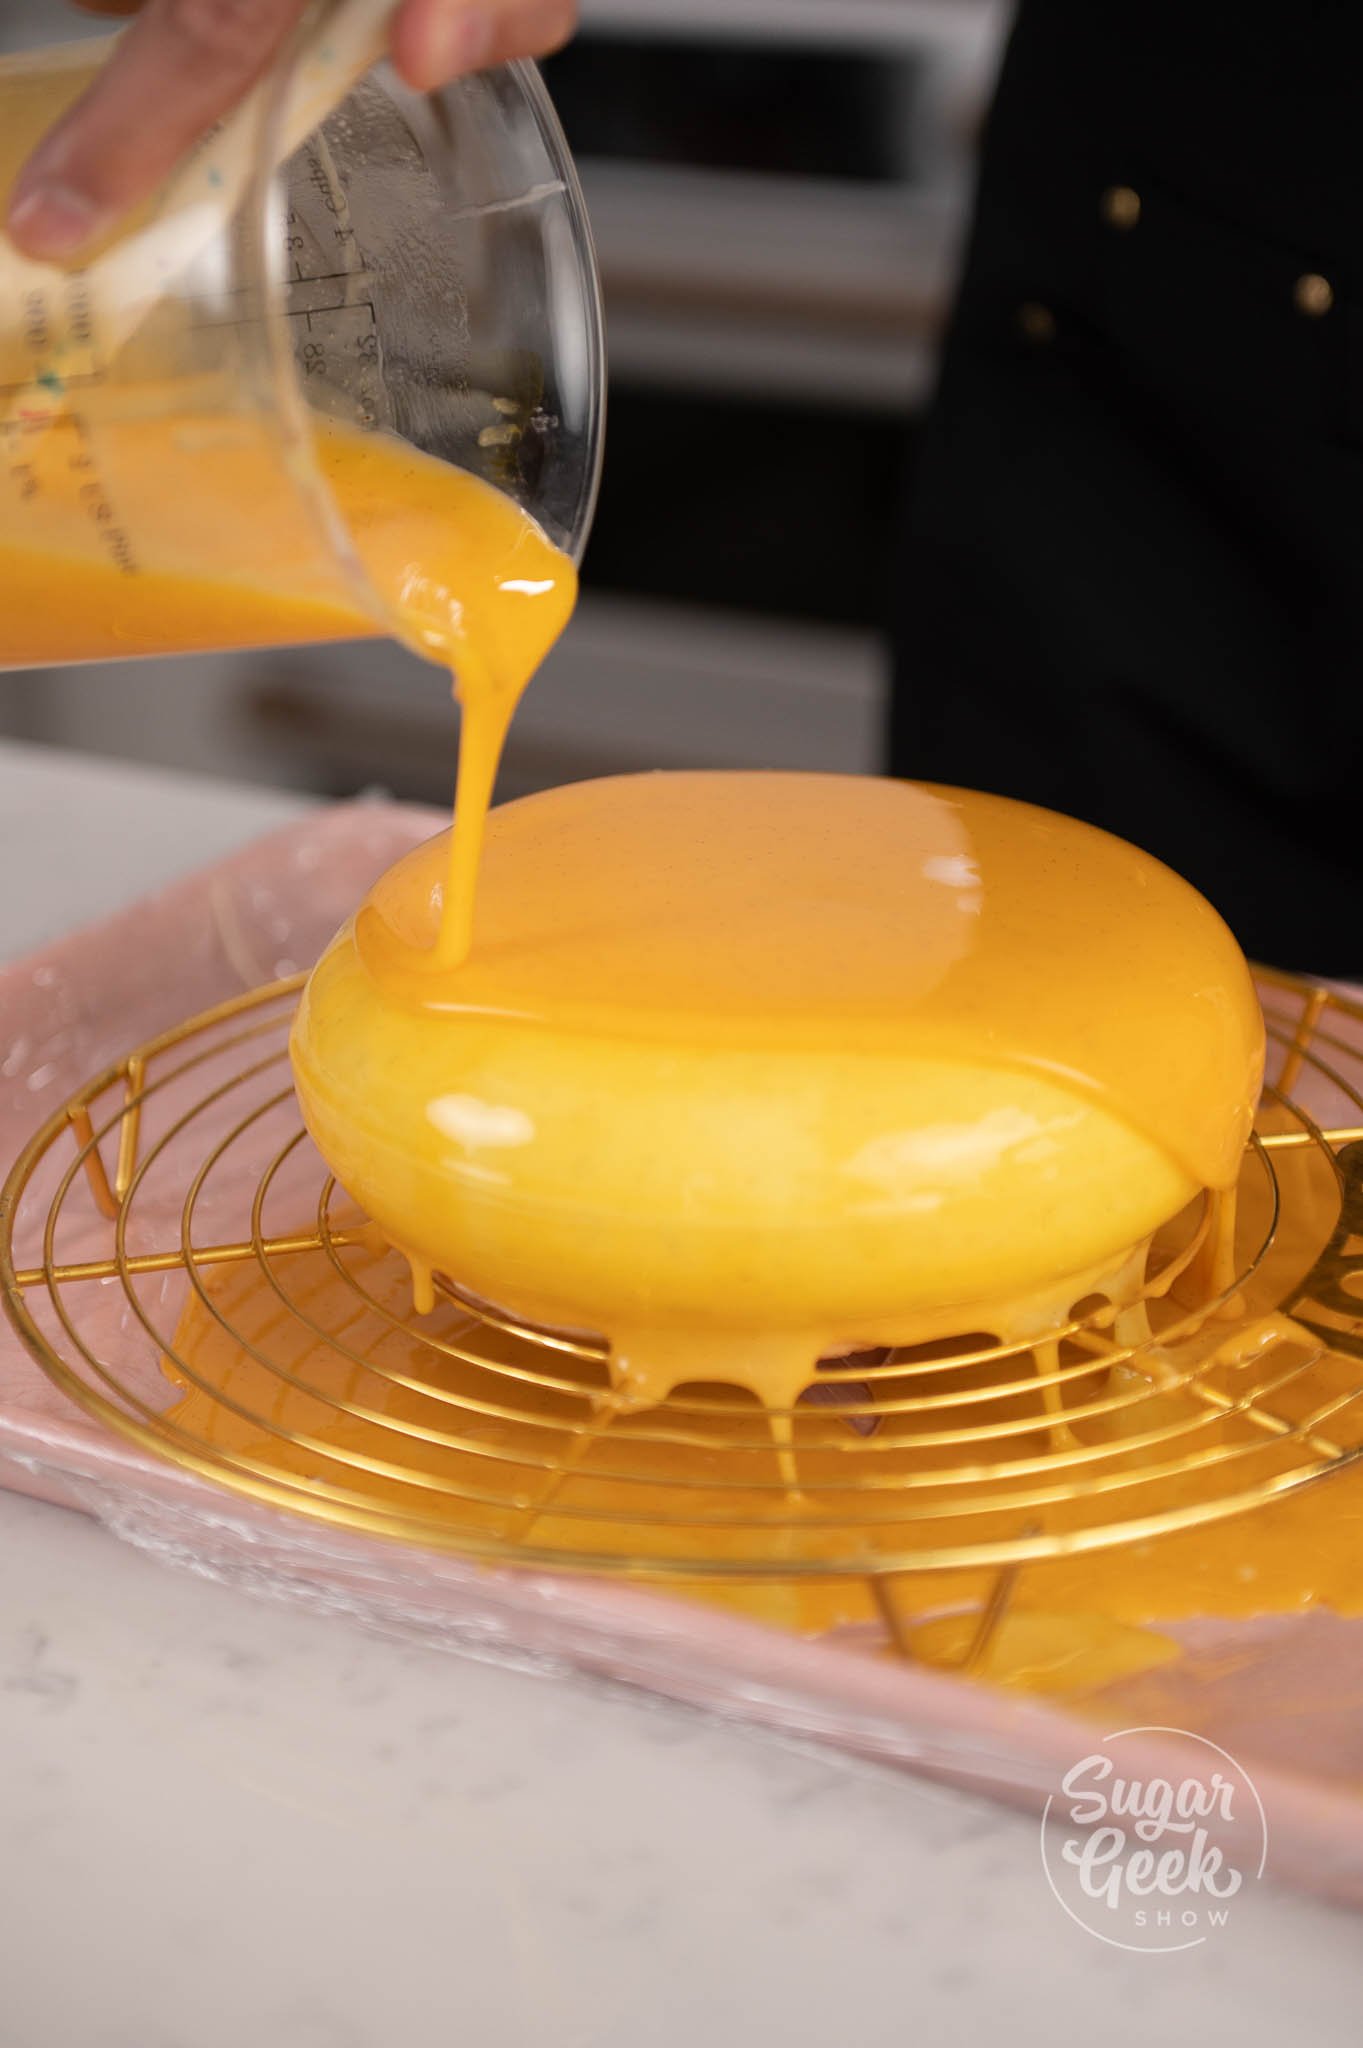
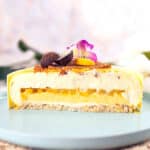
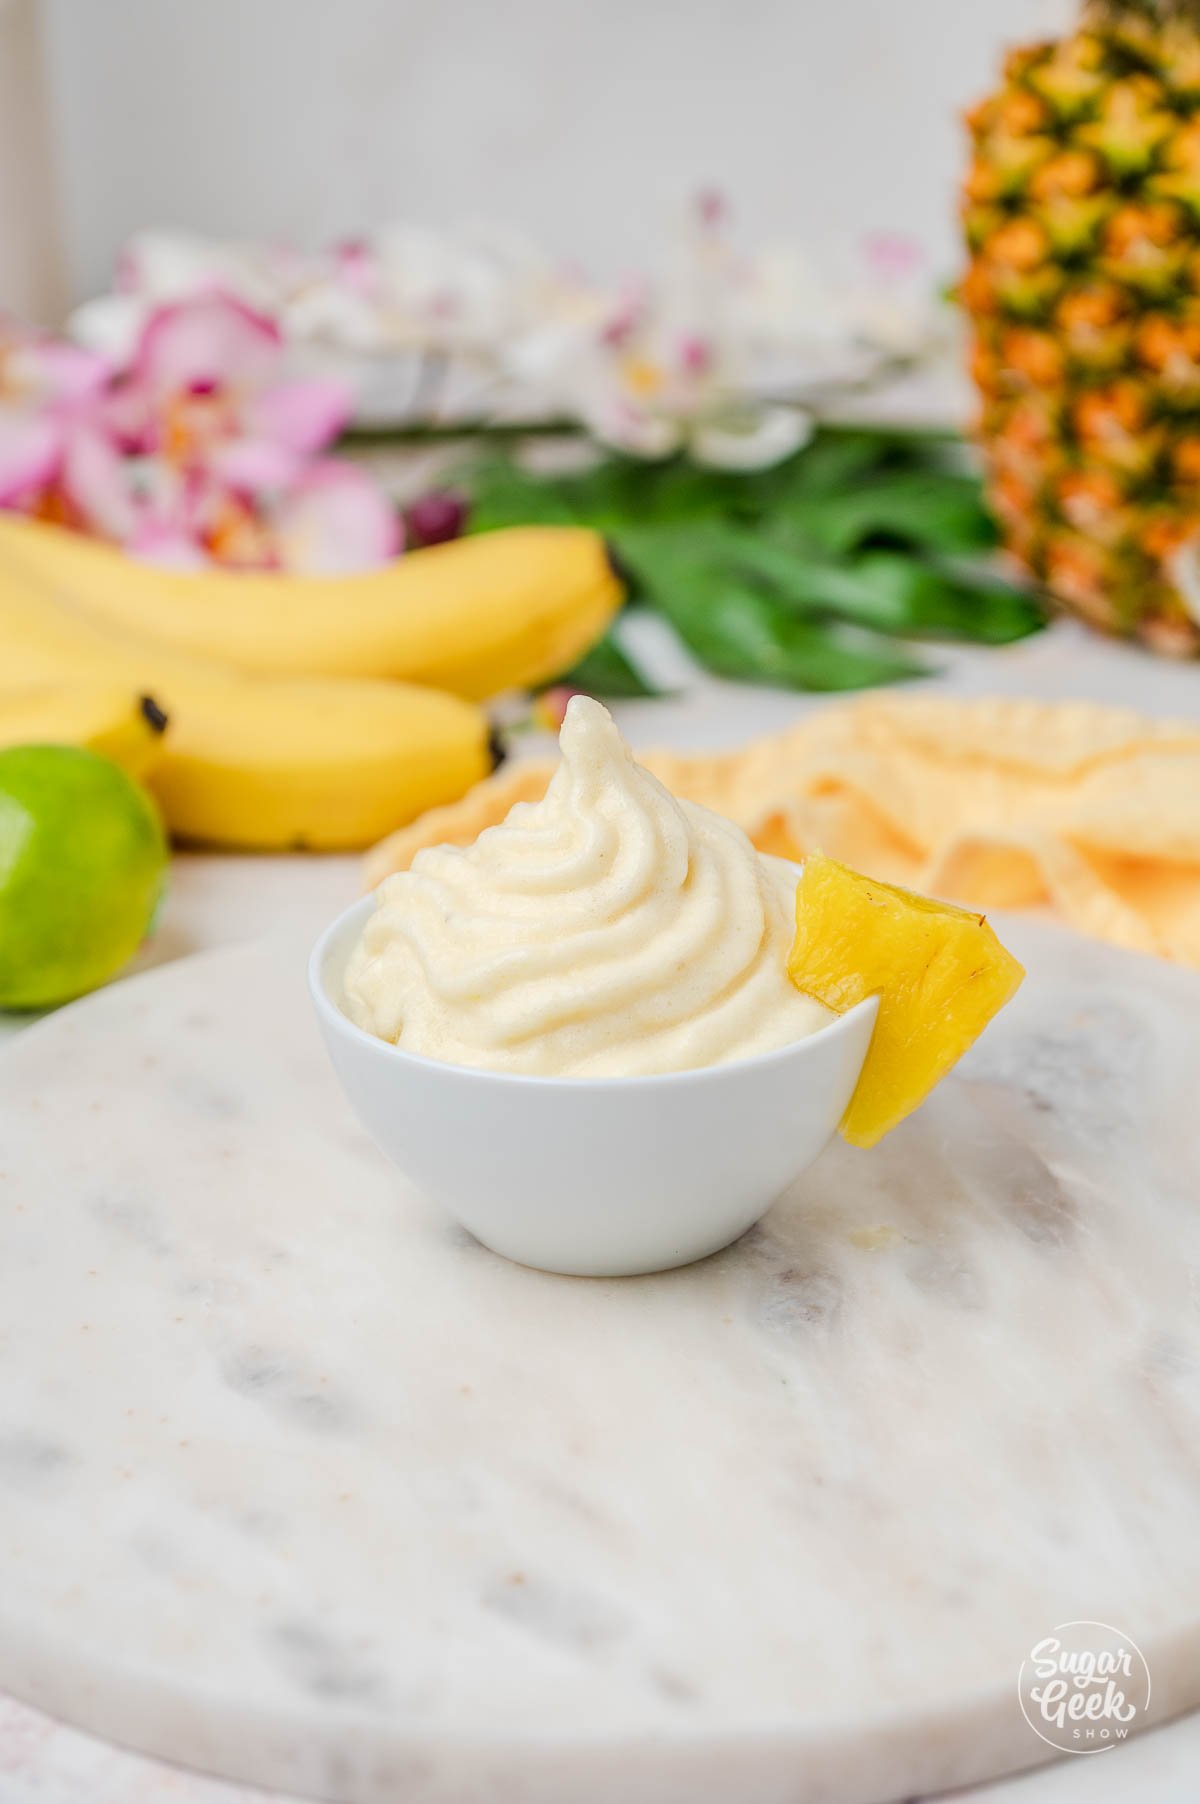
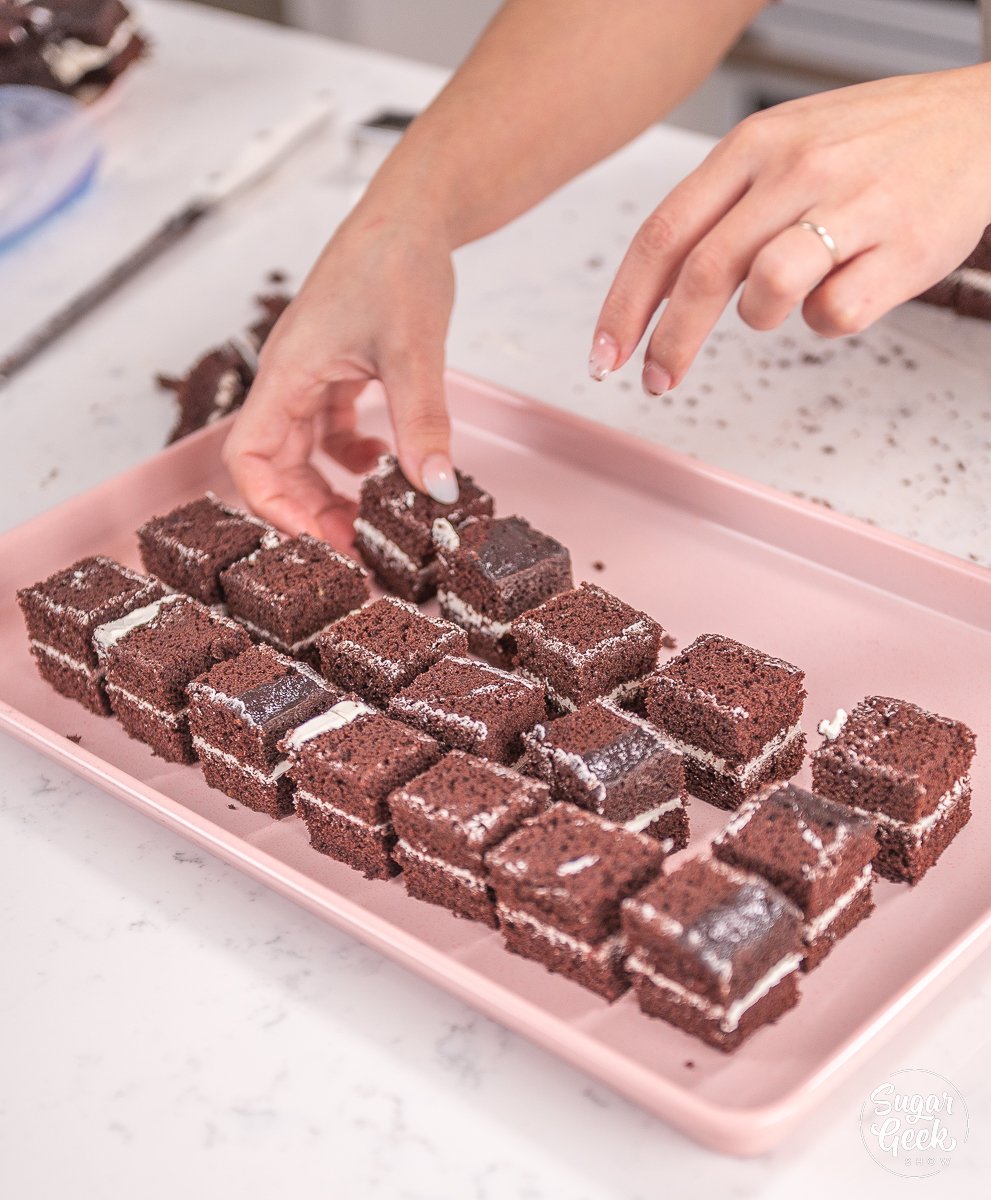
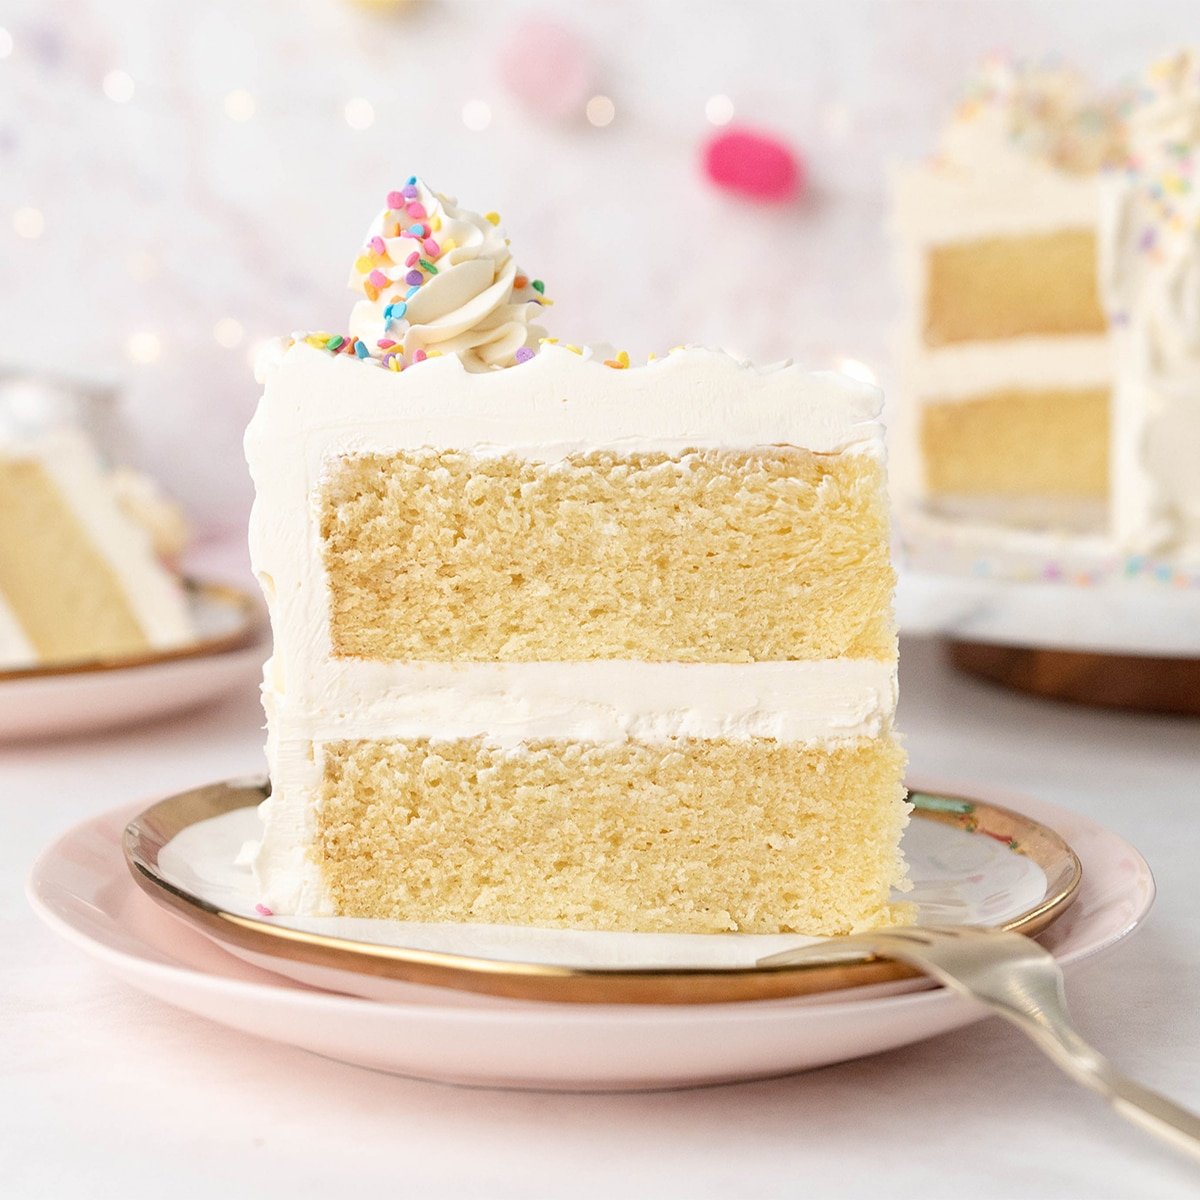
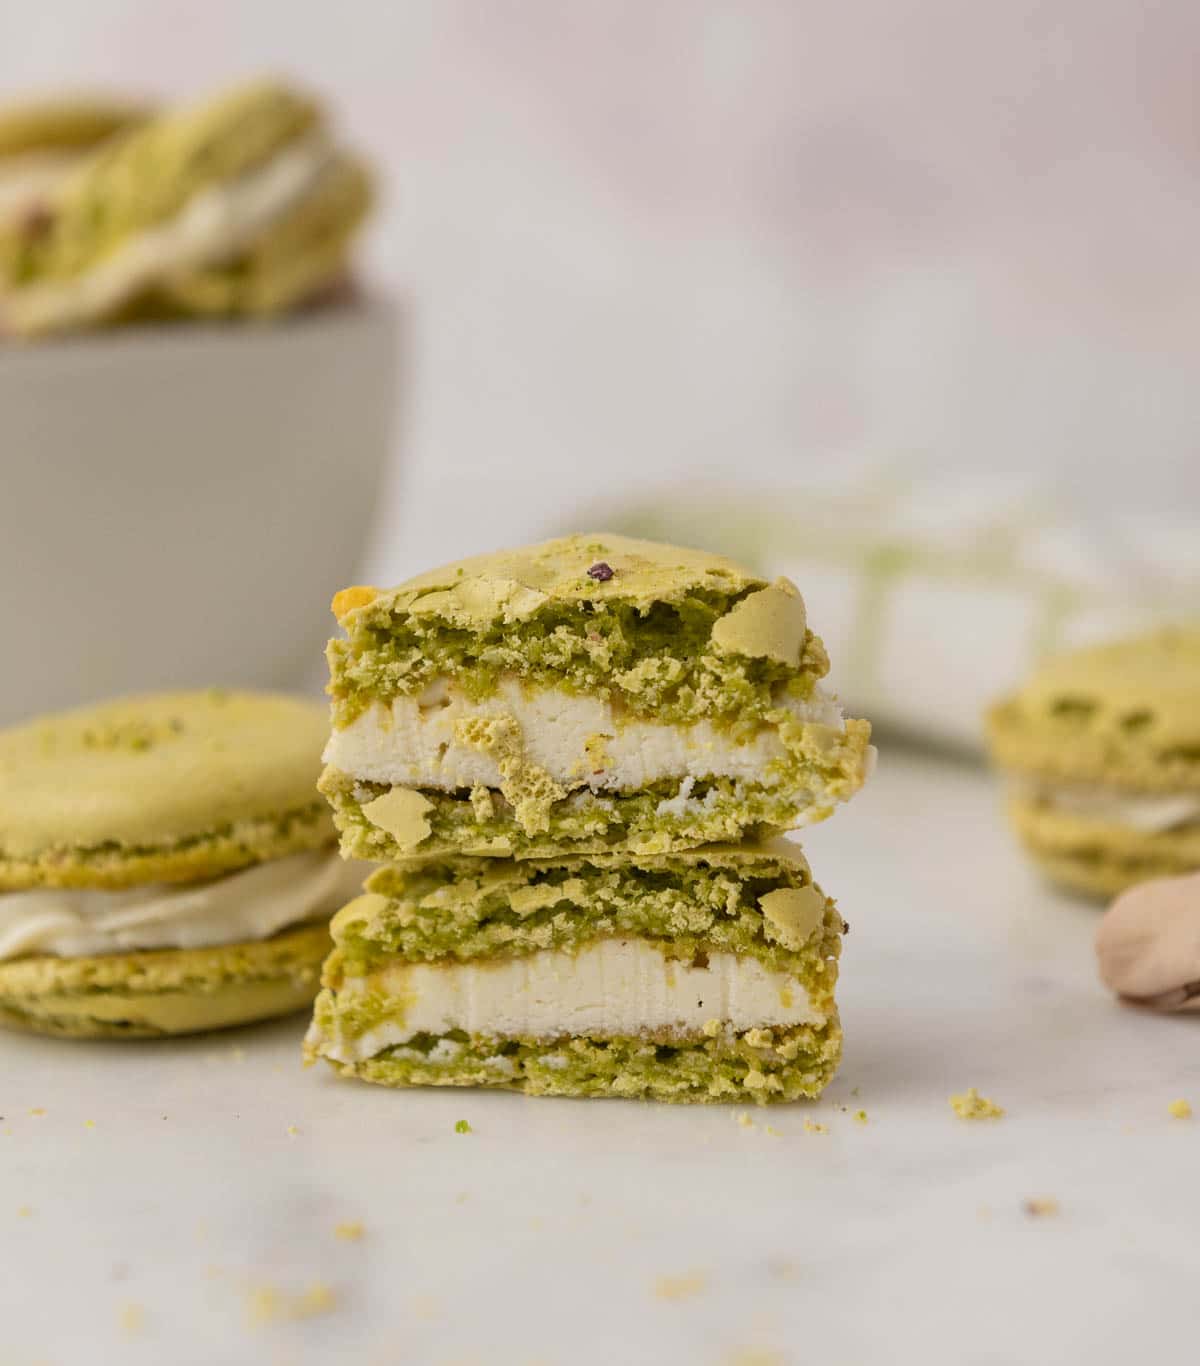
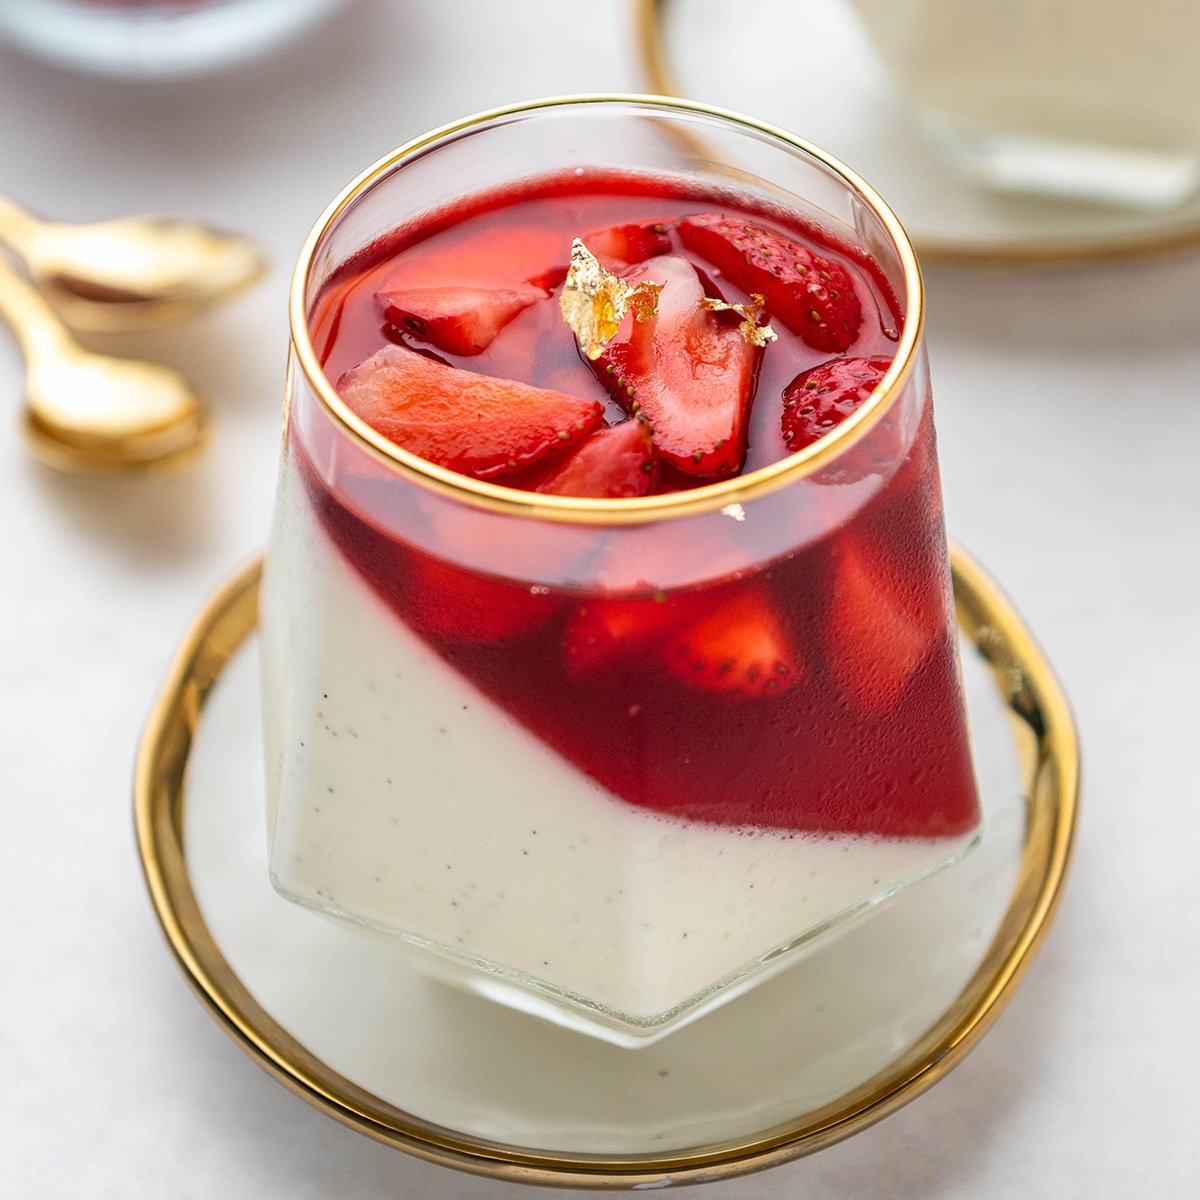
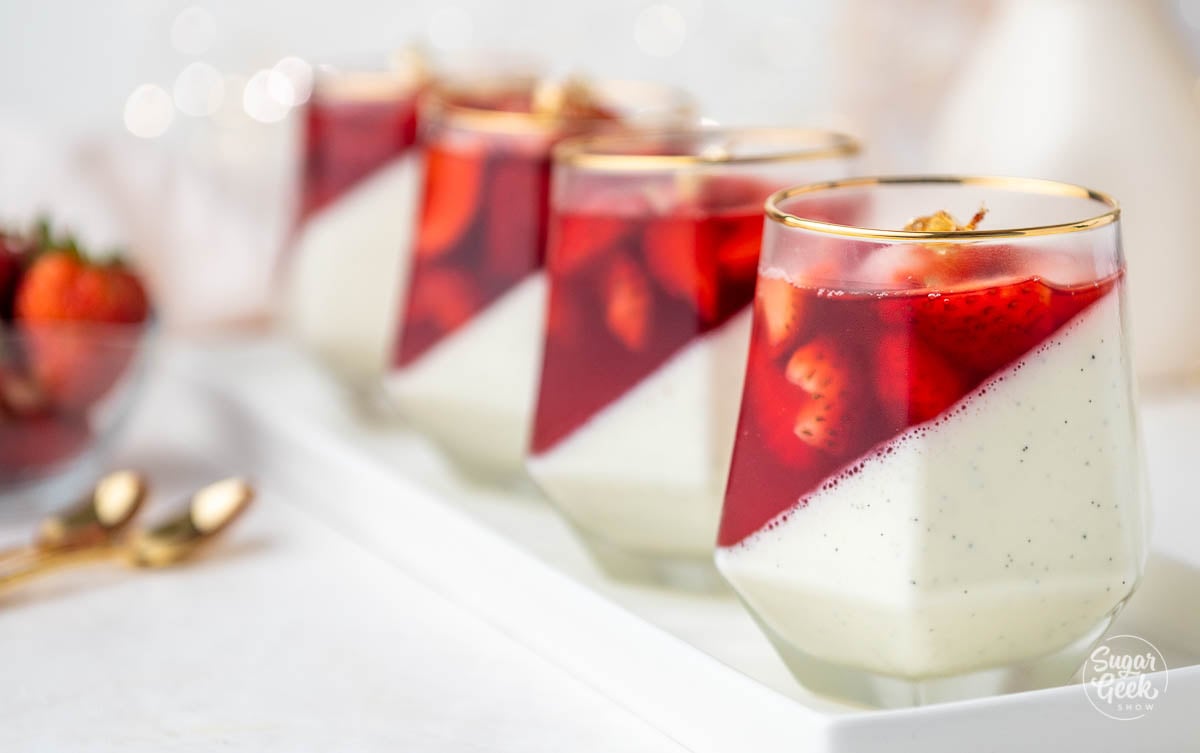
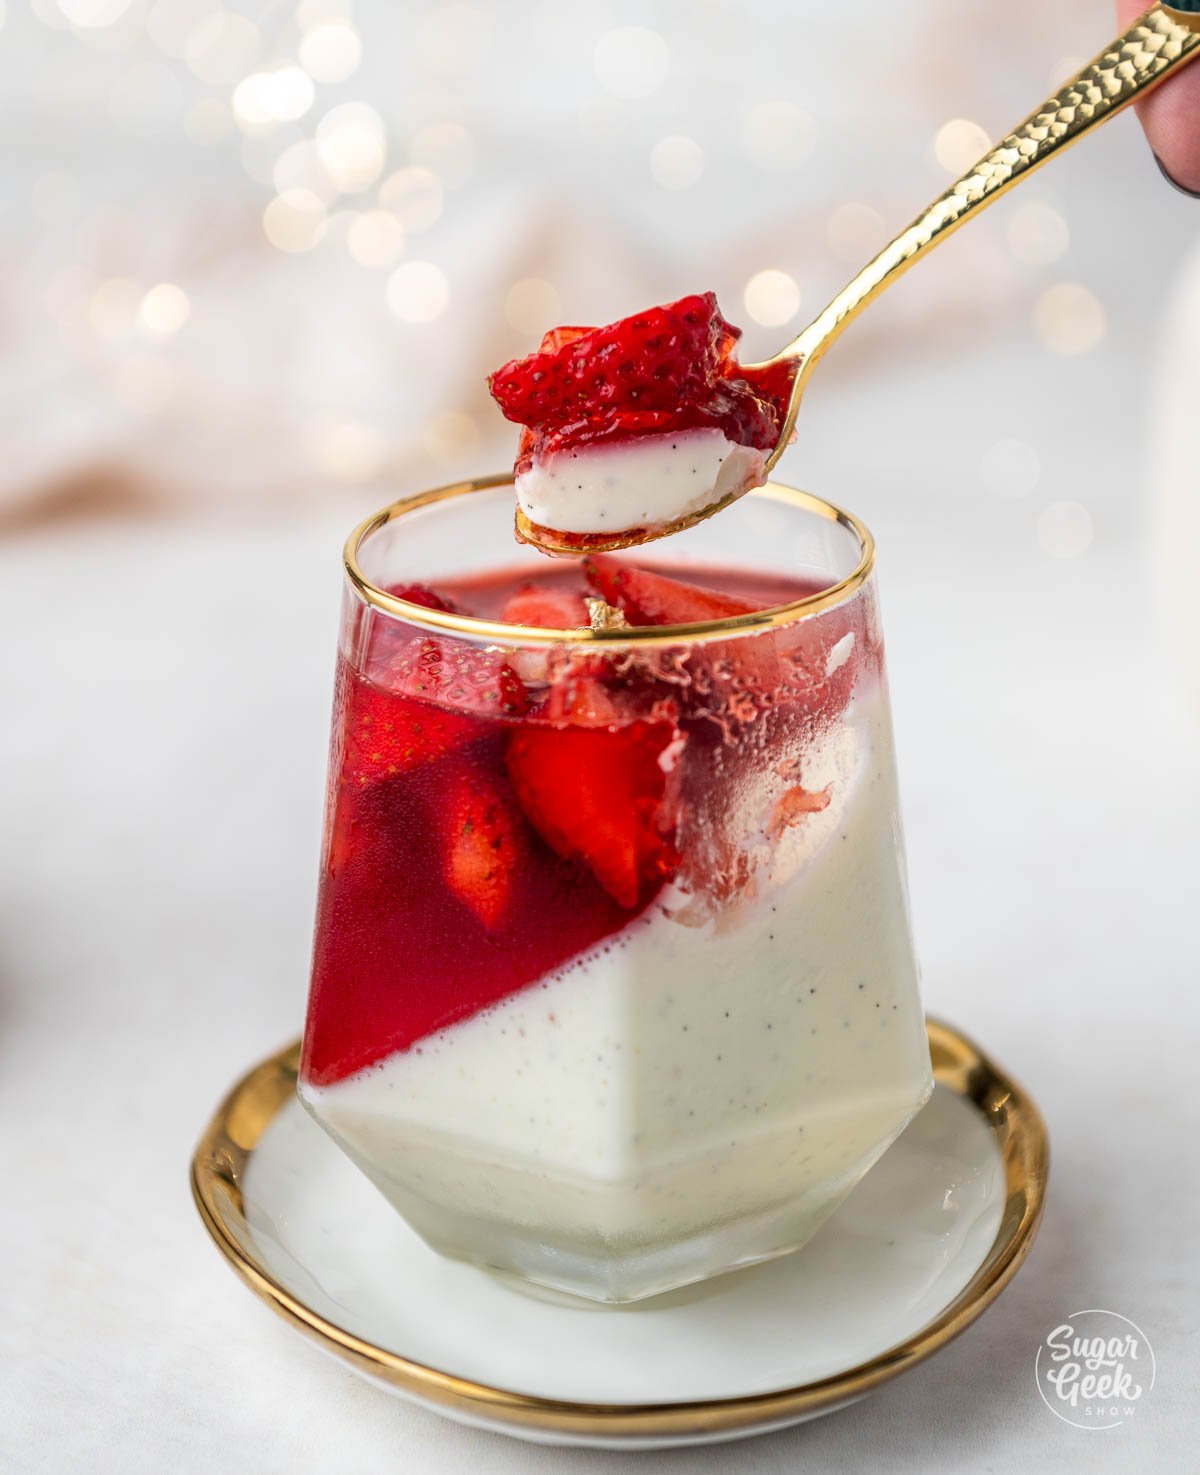
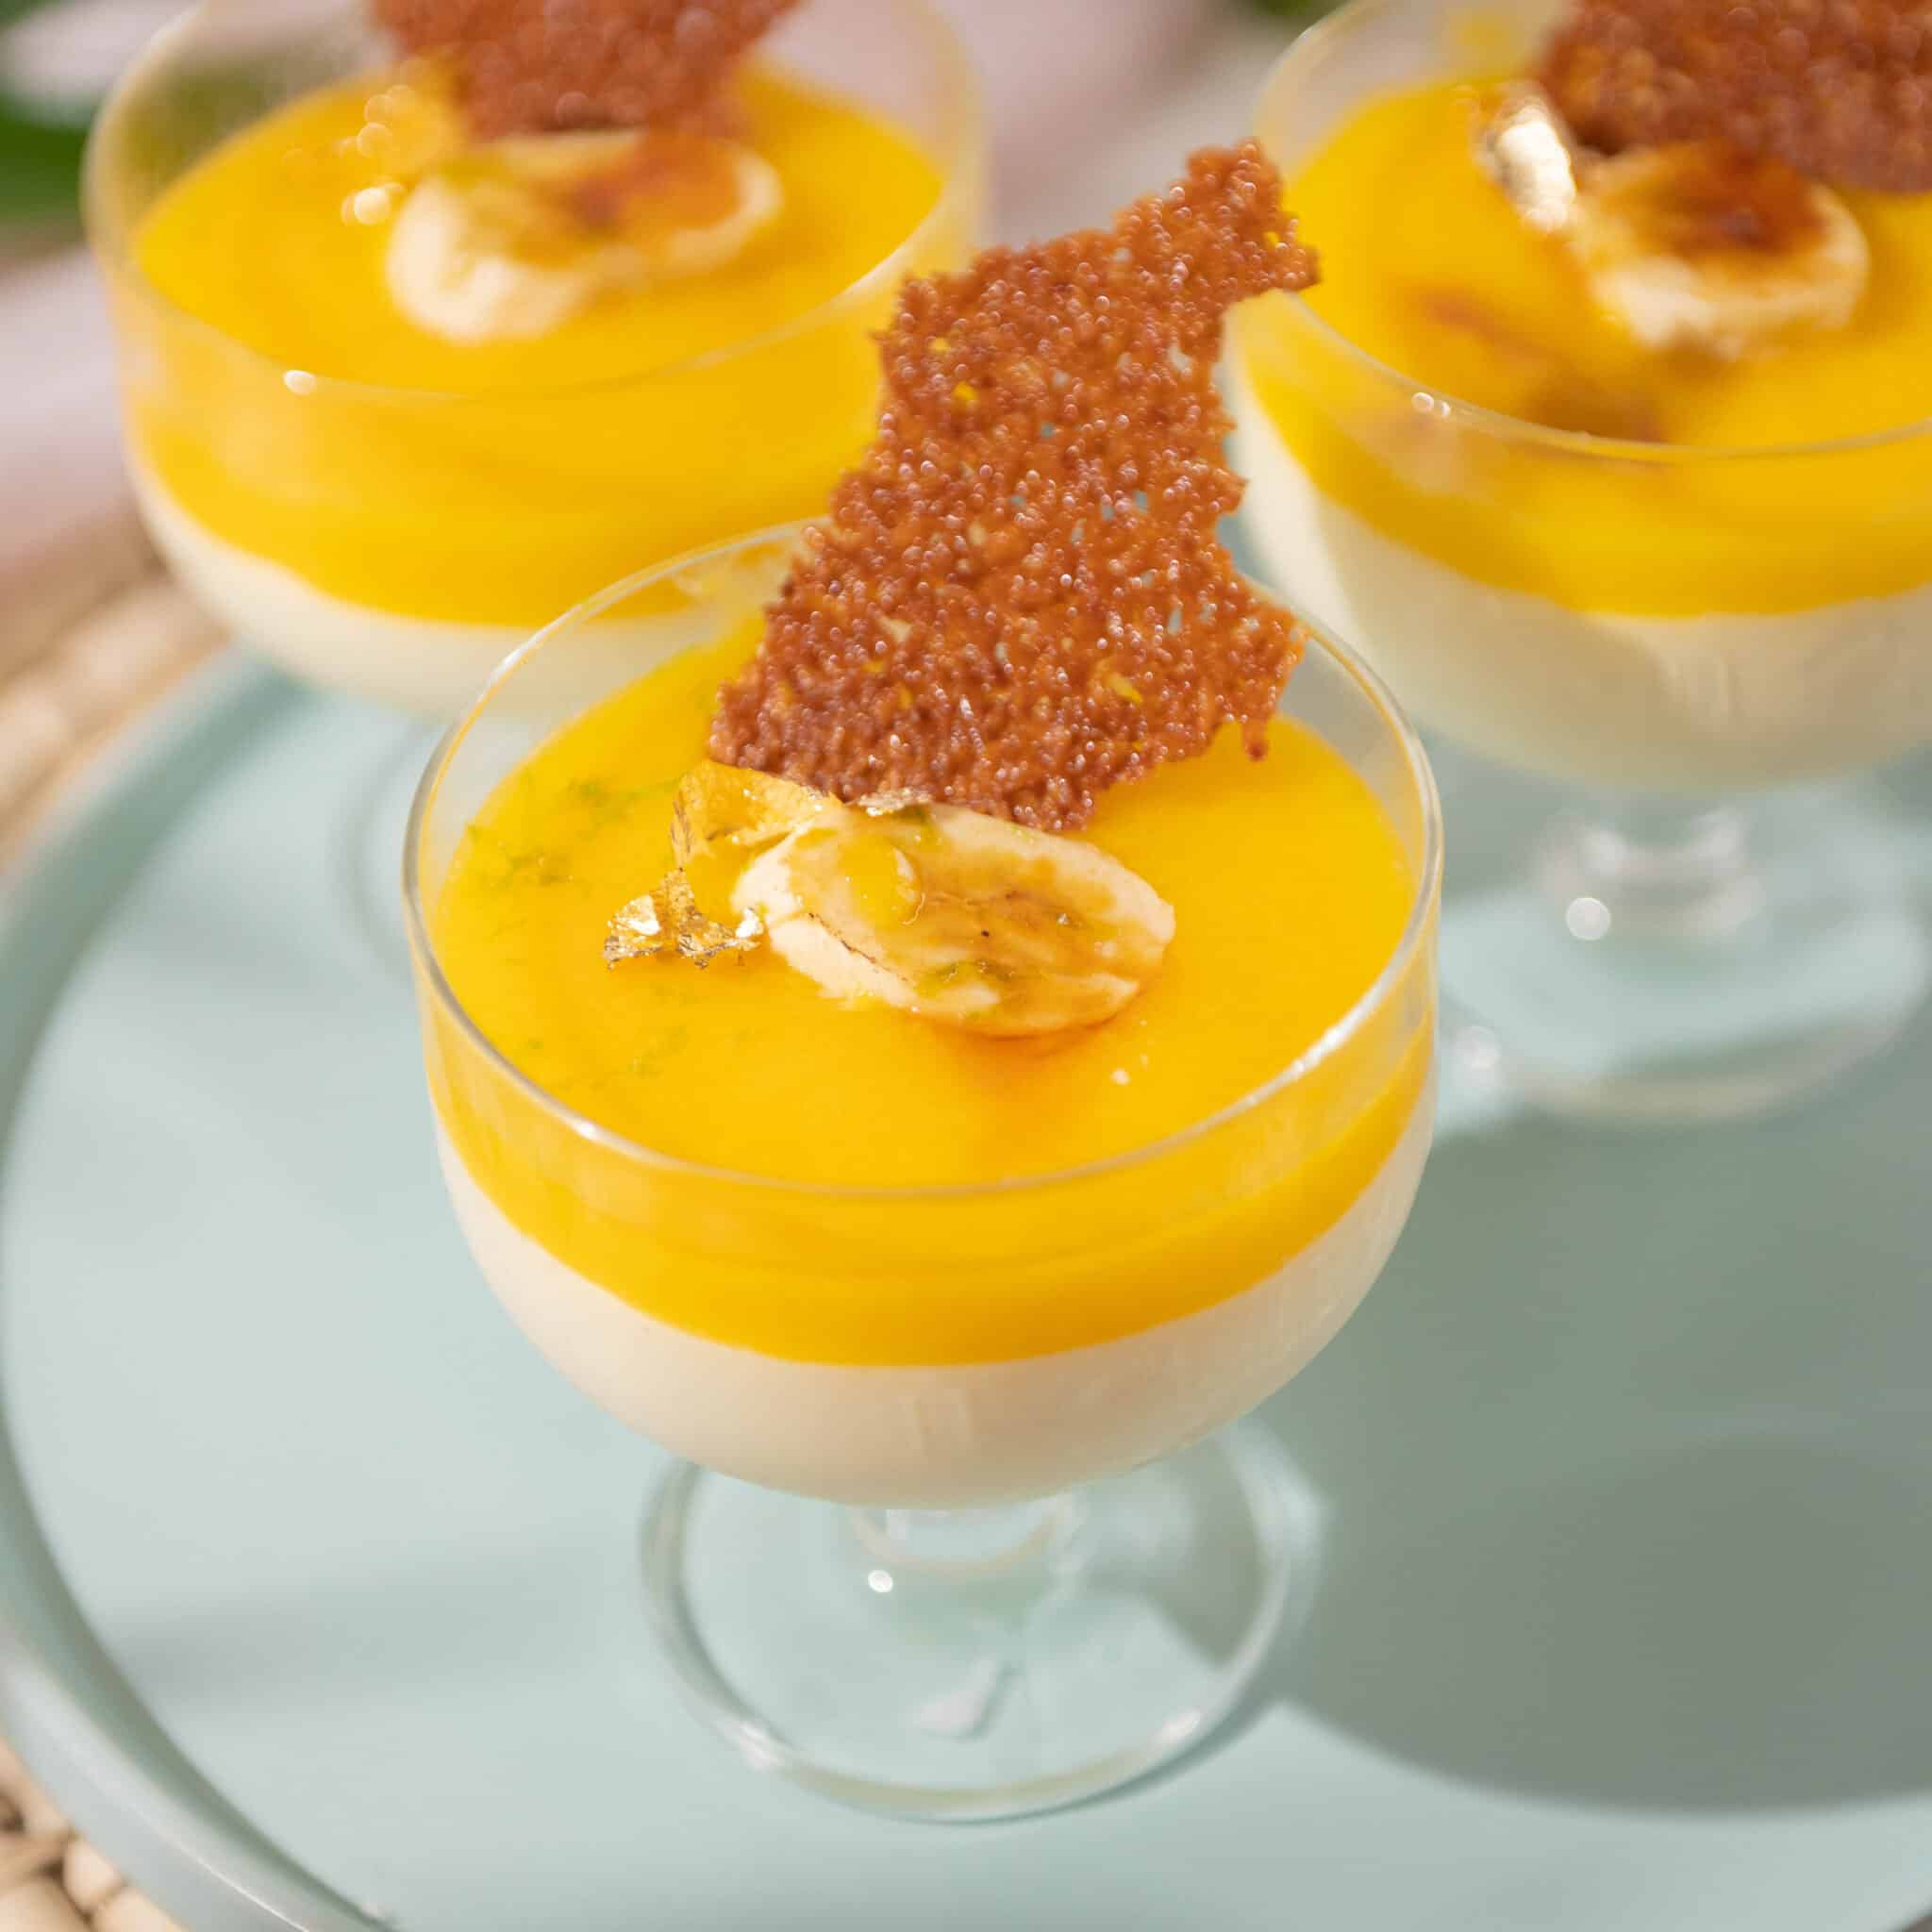
This Coconut Mousse Recipe with mango puree is a bright burst of flavor in every bite. The tangy mango puree, airy coconut mousse, and crunchy coconut nougatine on top combine for layers of sweet satisfaction. They're perfect for individual wedding desserts, summer BBQs, or just a yummy tropical treat.
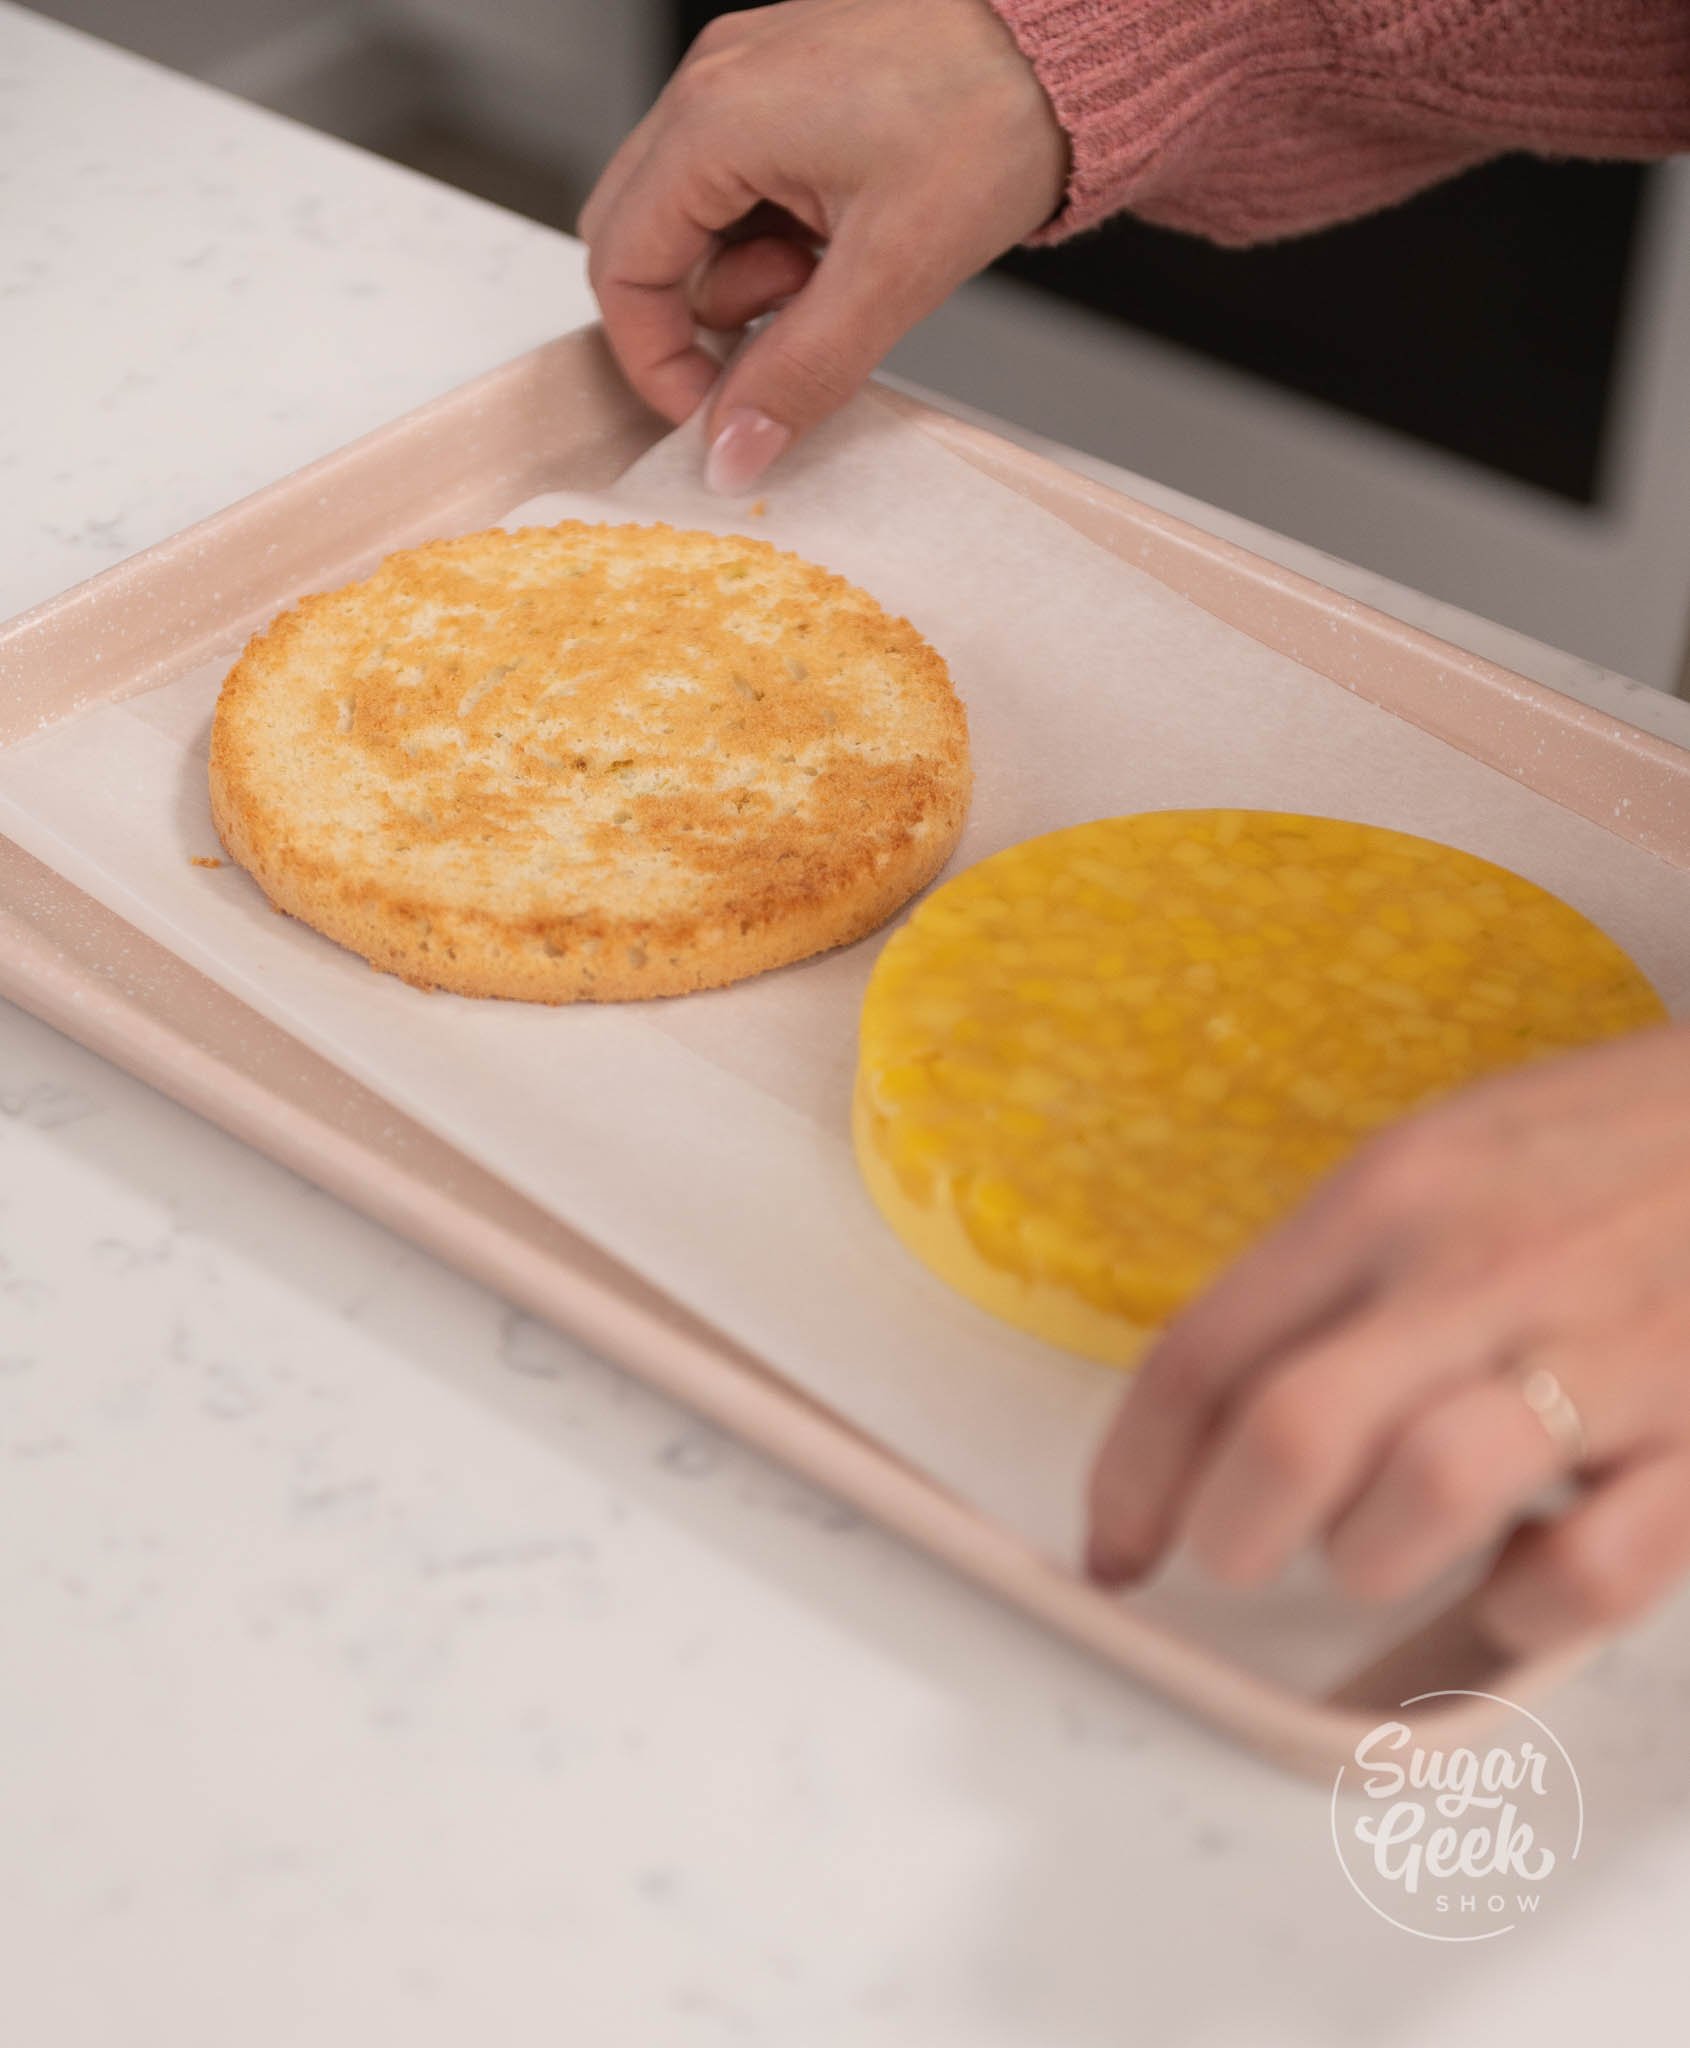
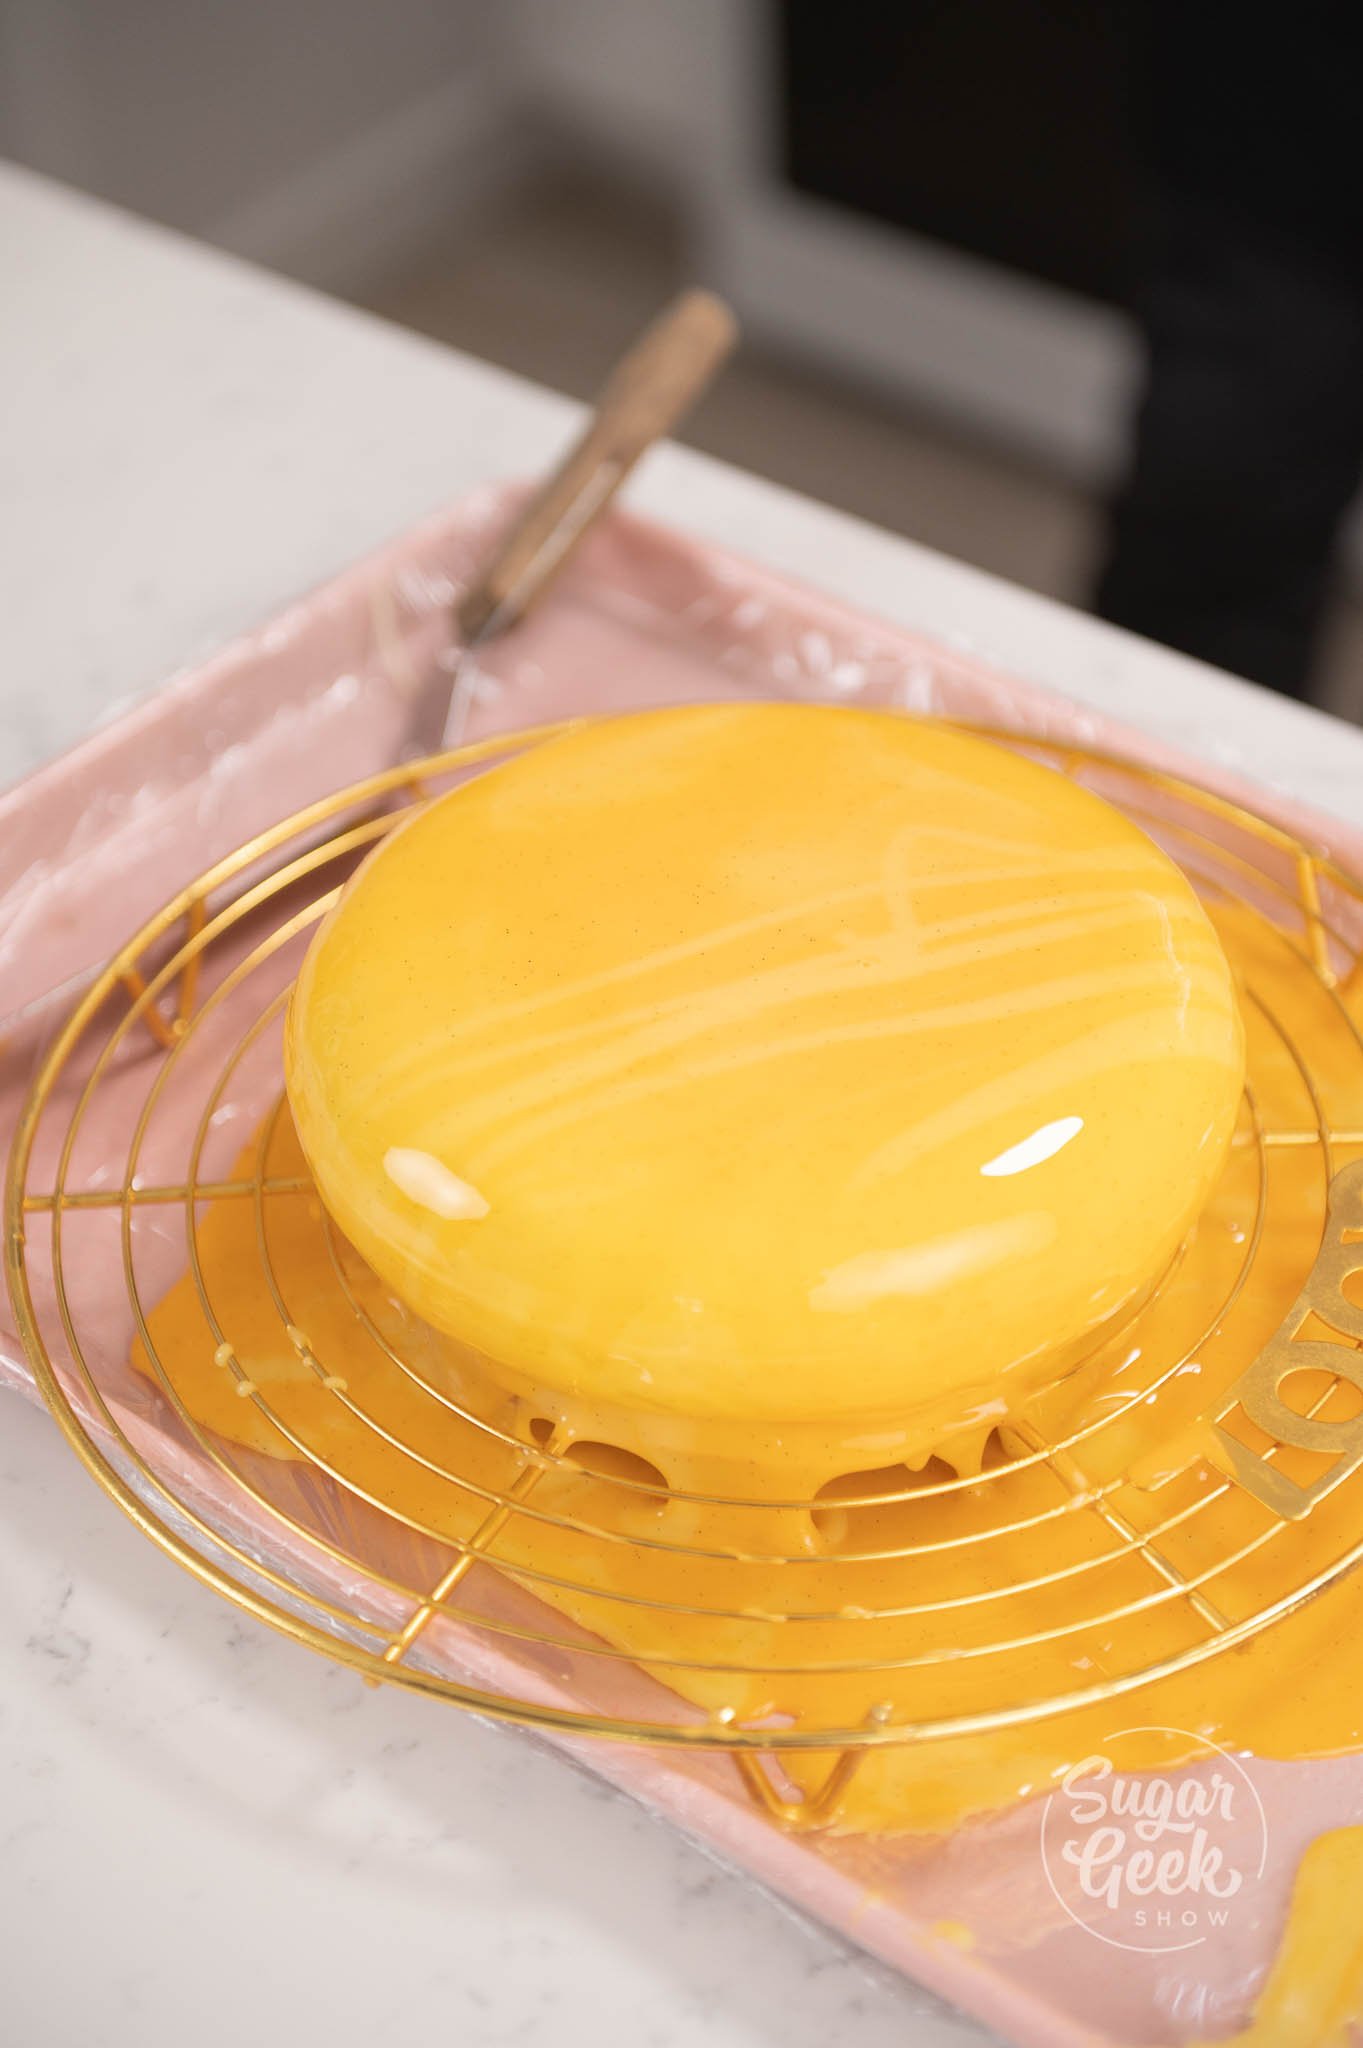
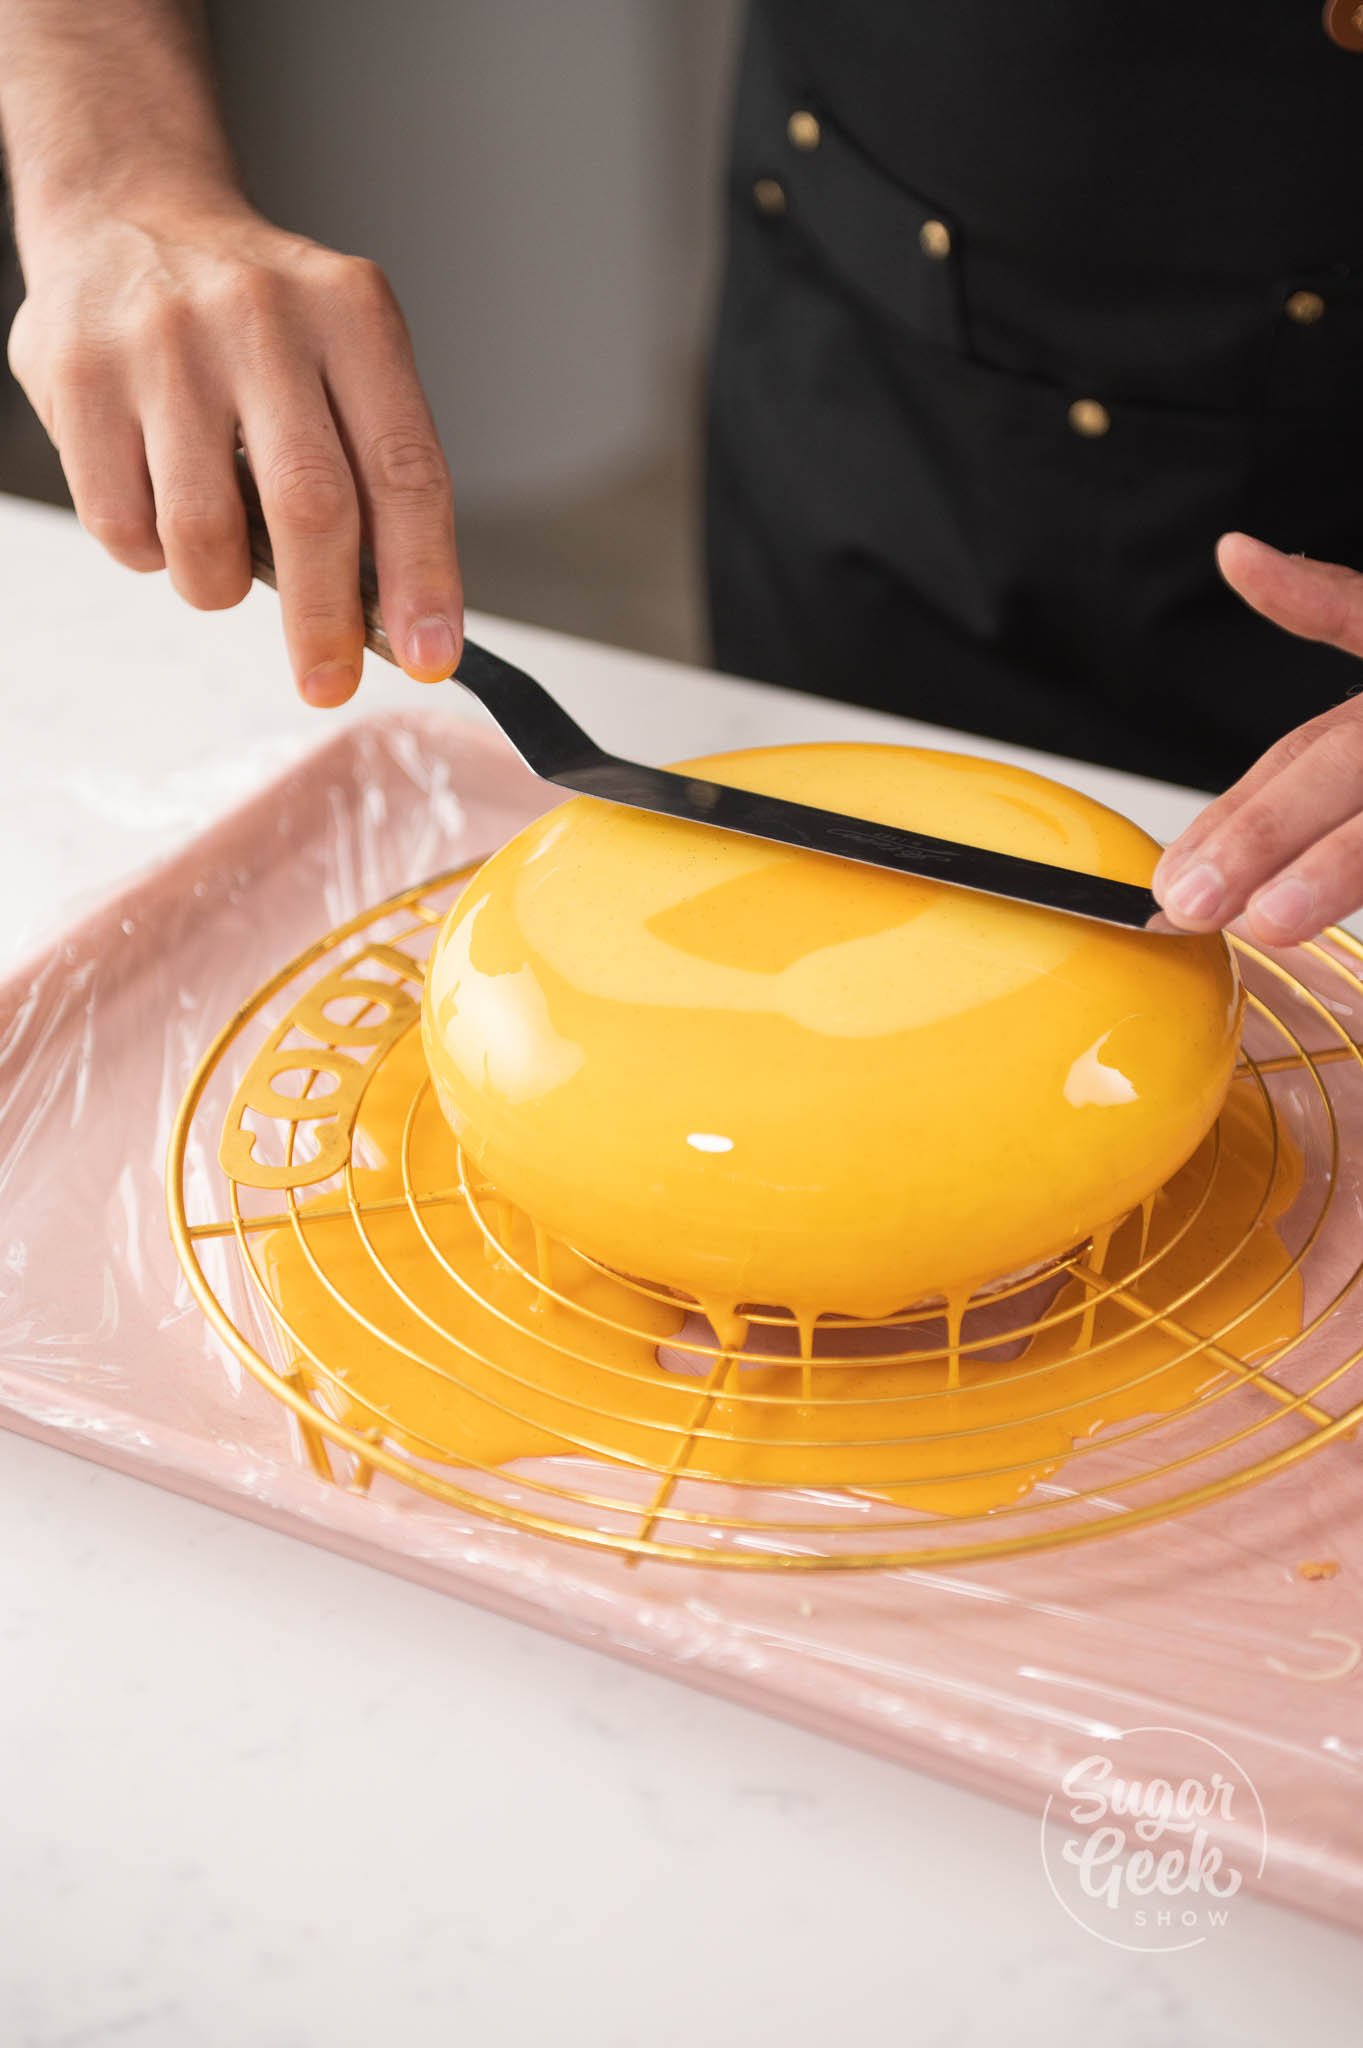
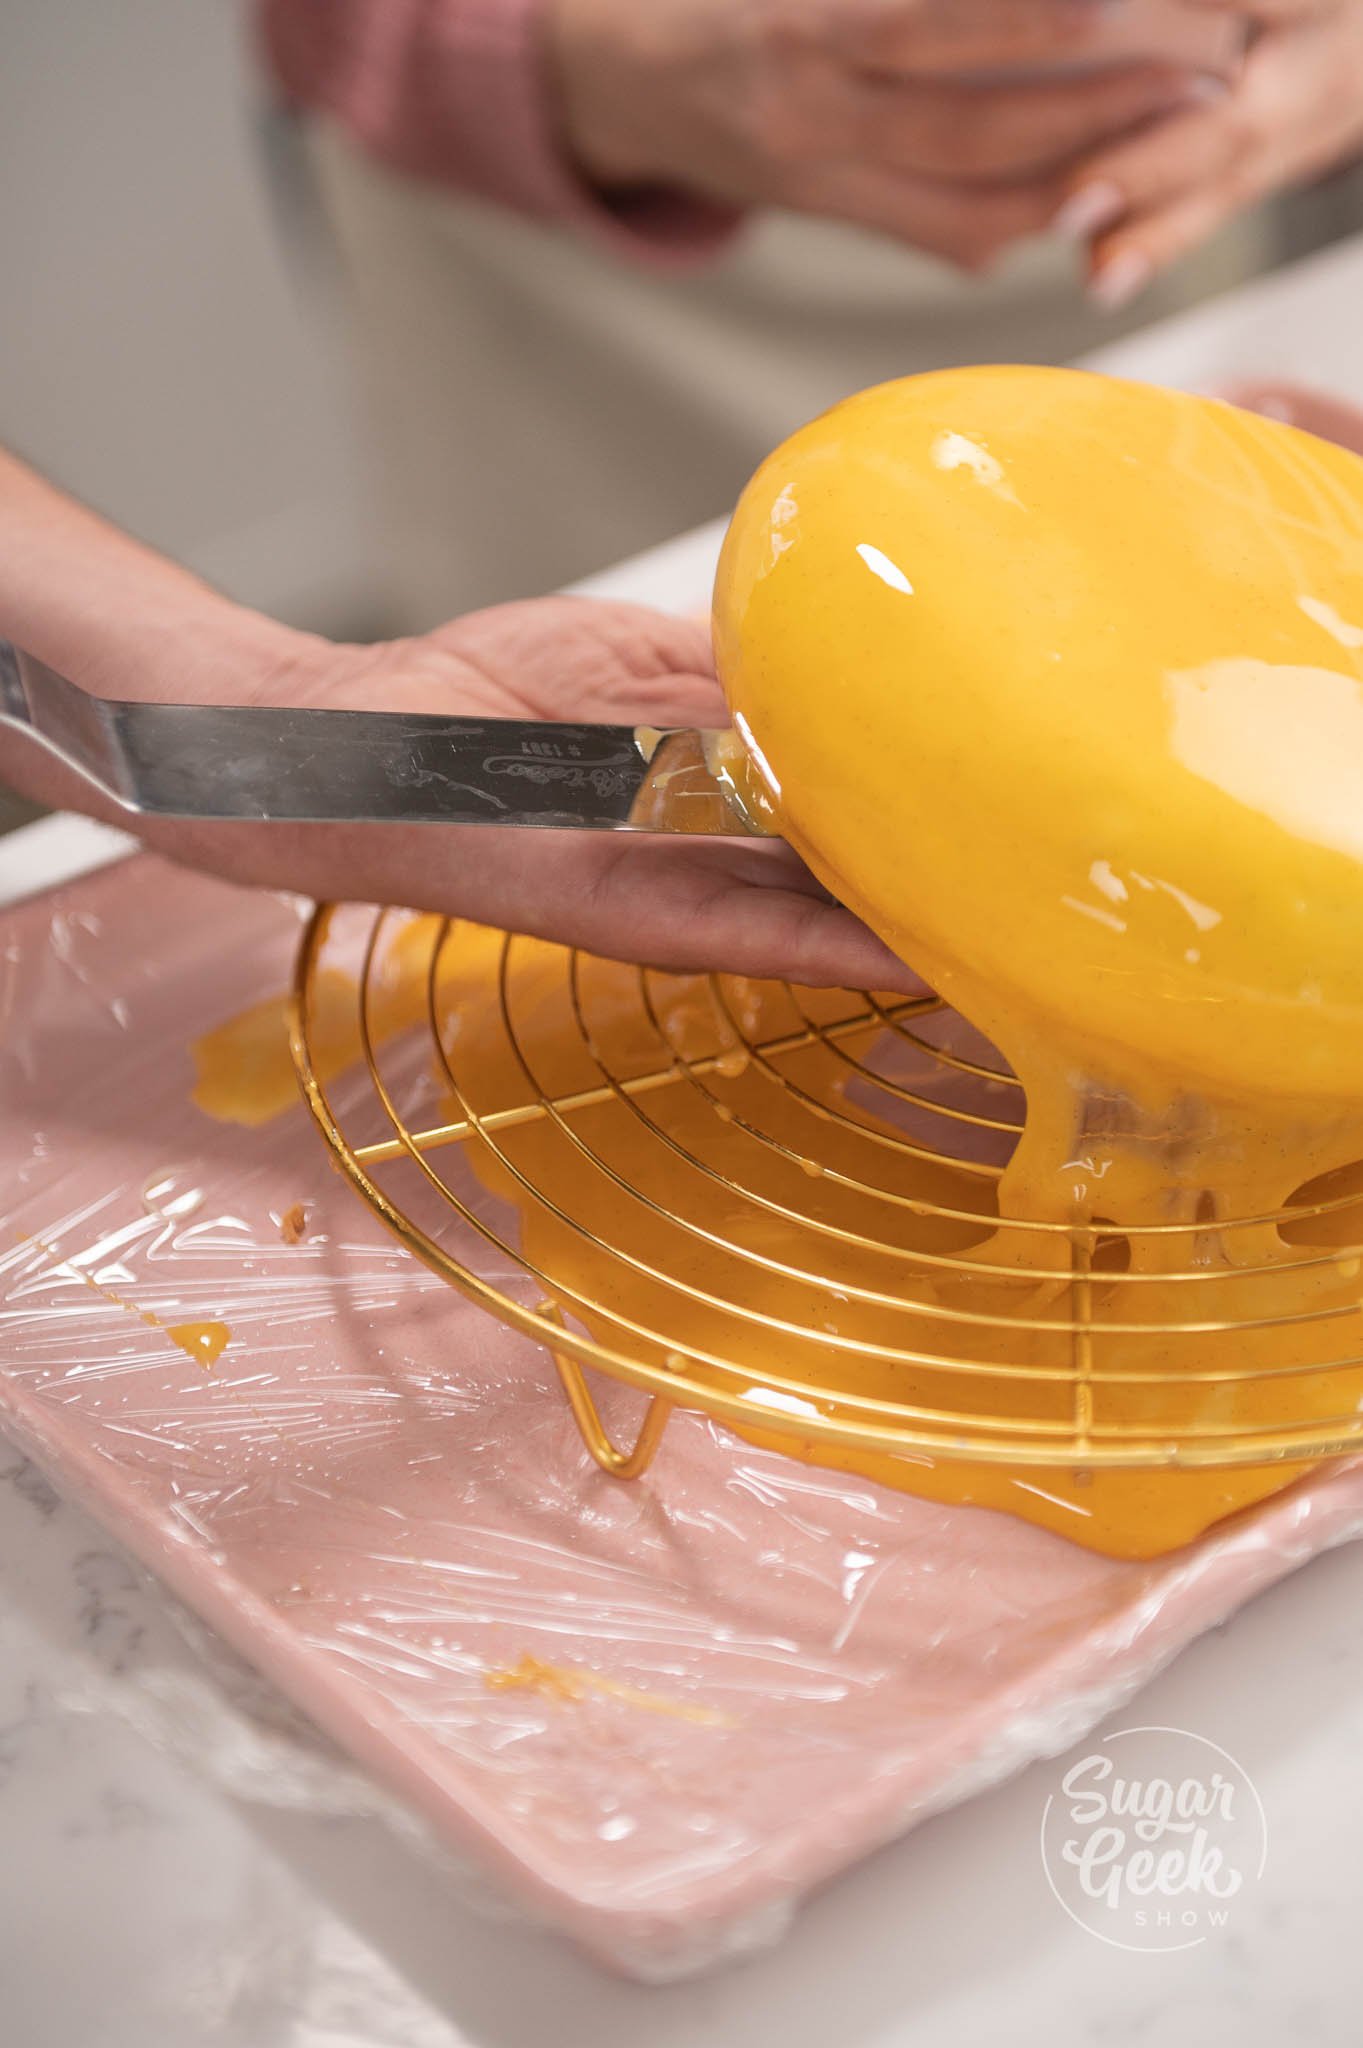
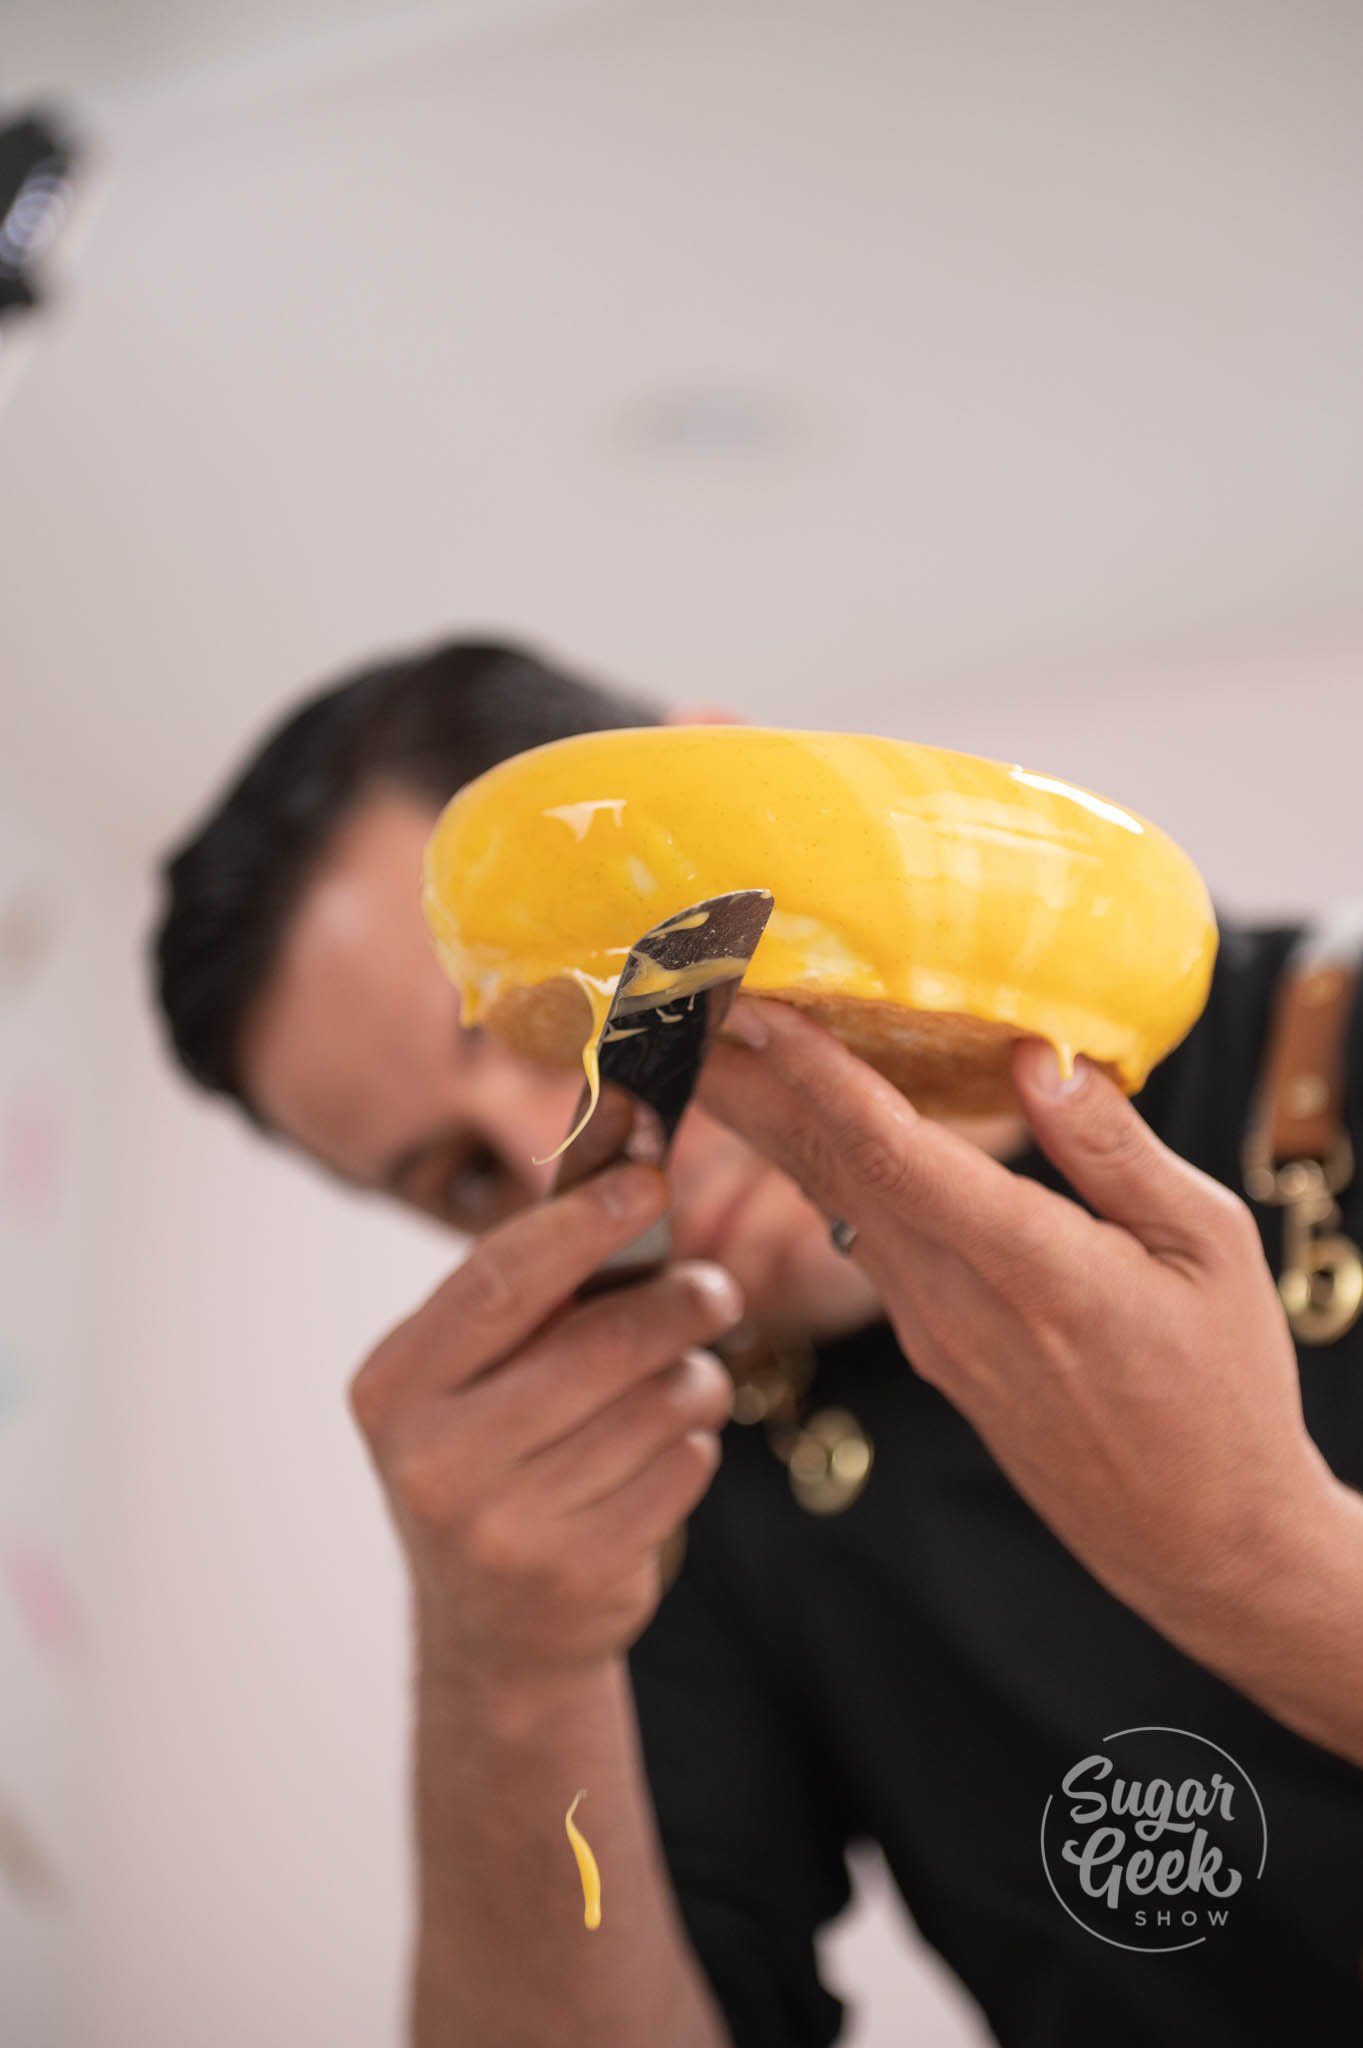
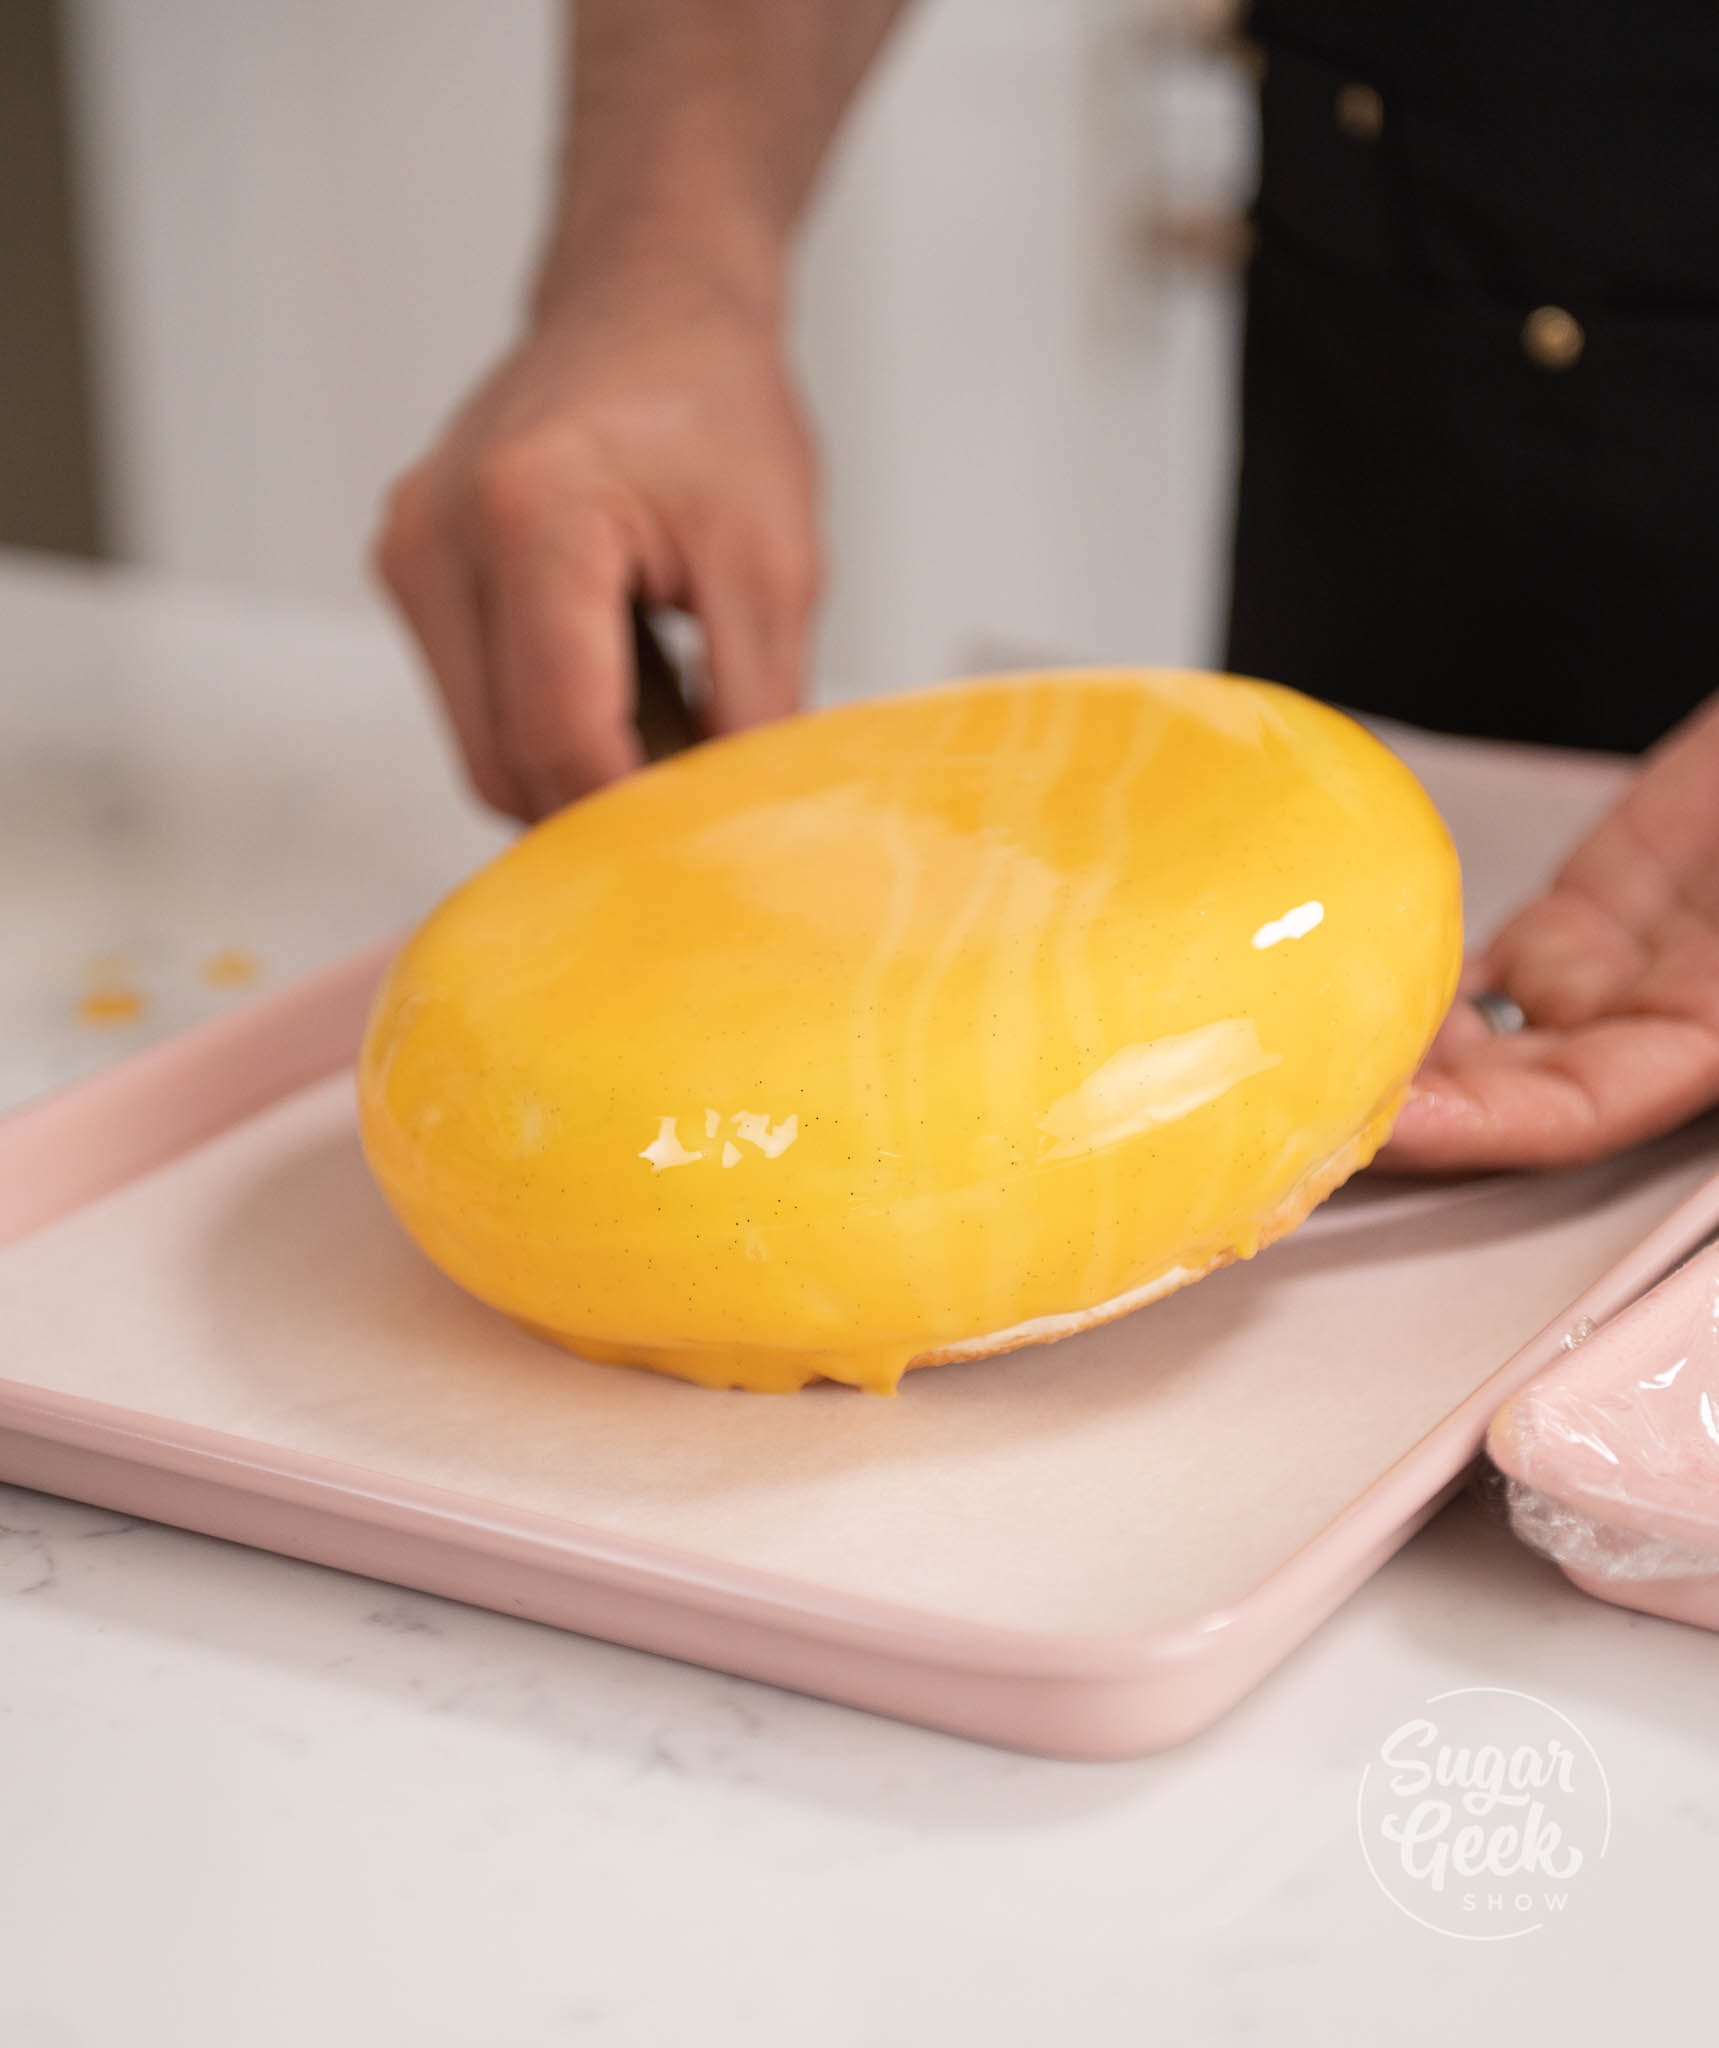
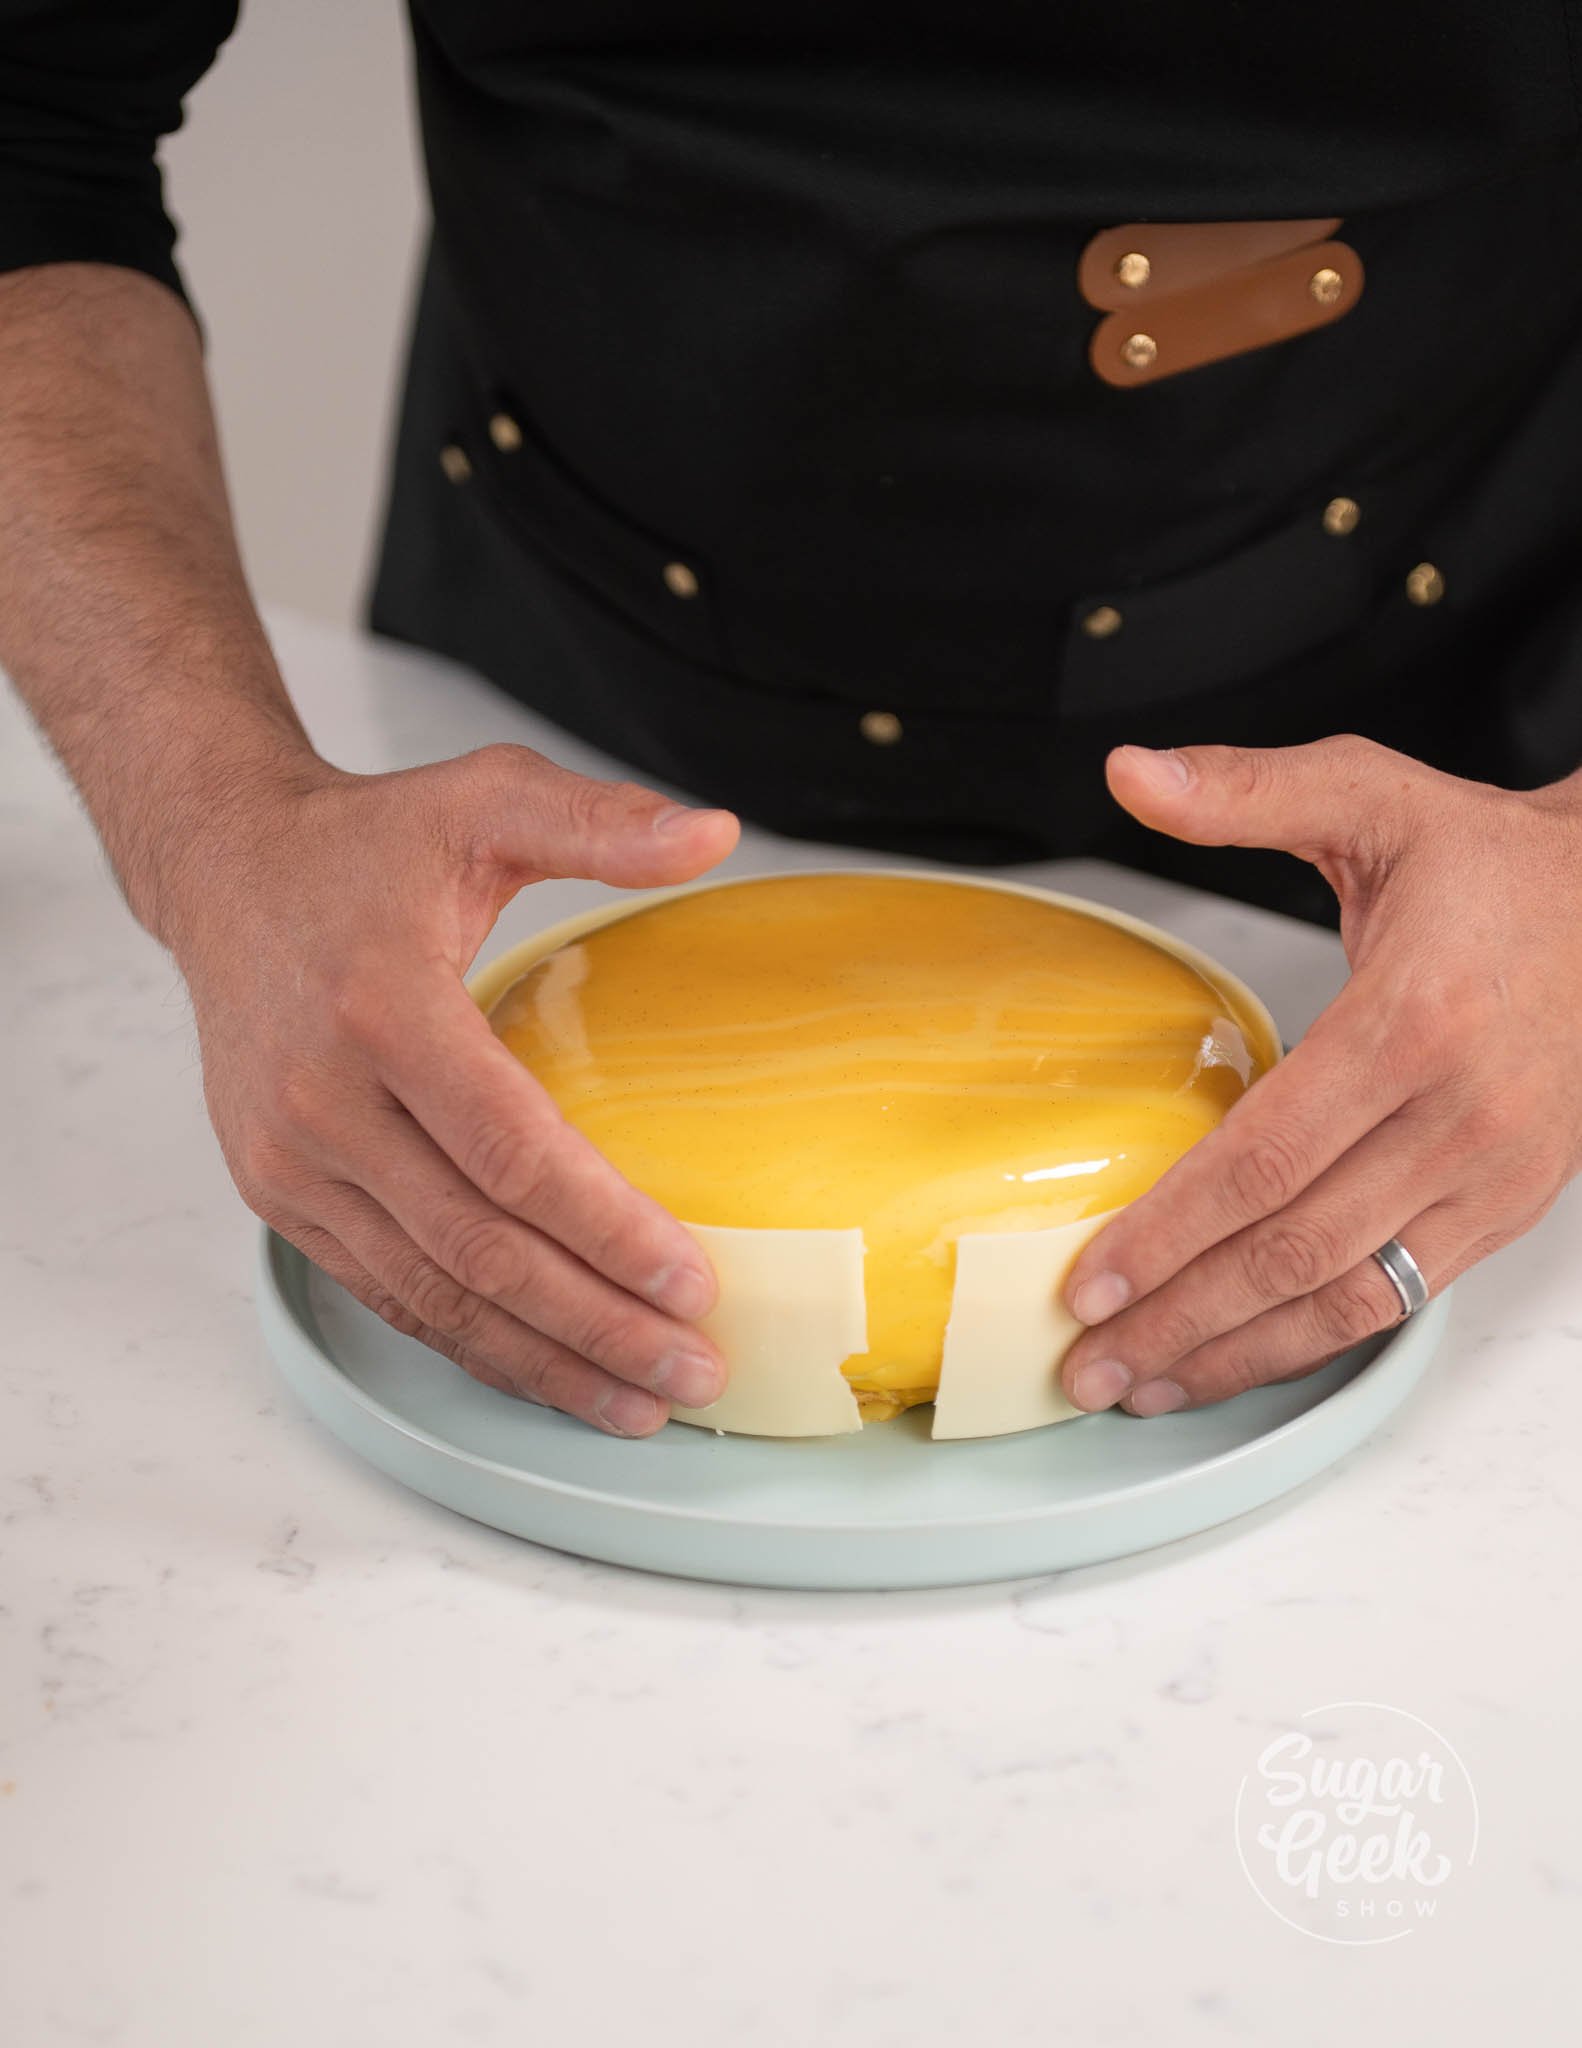
This recipe is based on Chef Christophe's Mango Mousse Cake. The mousse, nougatine (tuille), and puree are all components in the entremet, but while testing the recipe, we couldn't stop eating these three together! So we decided to make them into mango mousse cups! (I love my job) They look so pretty layered in dessert cups, but you can also use these recipes to fill pavlova, on top of a cheesecake, or just enjoy them plain on their own.
What's In This Blog Post
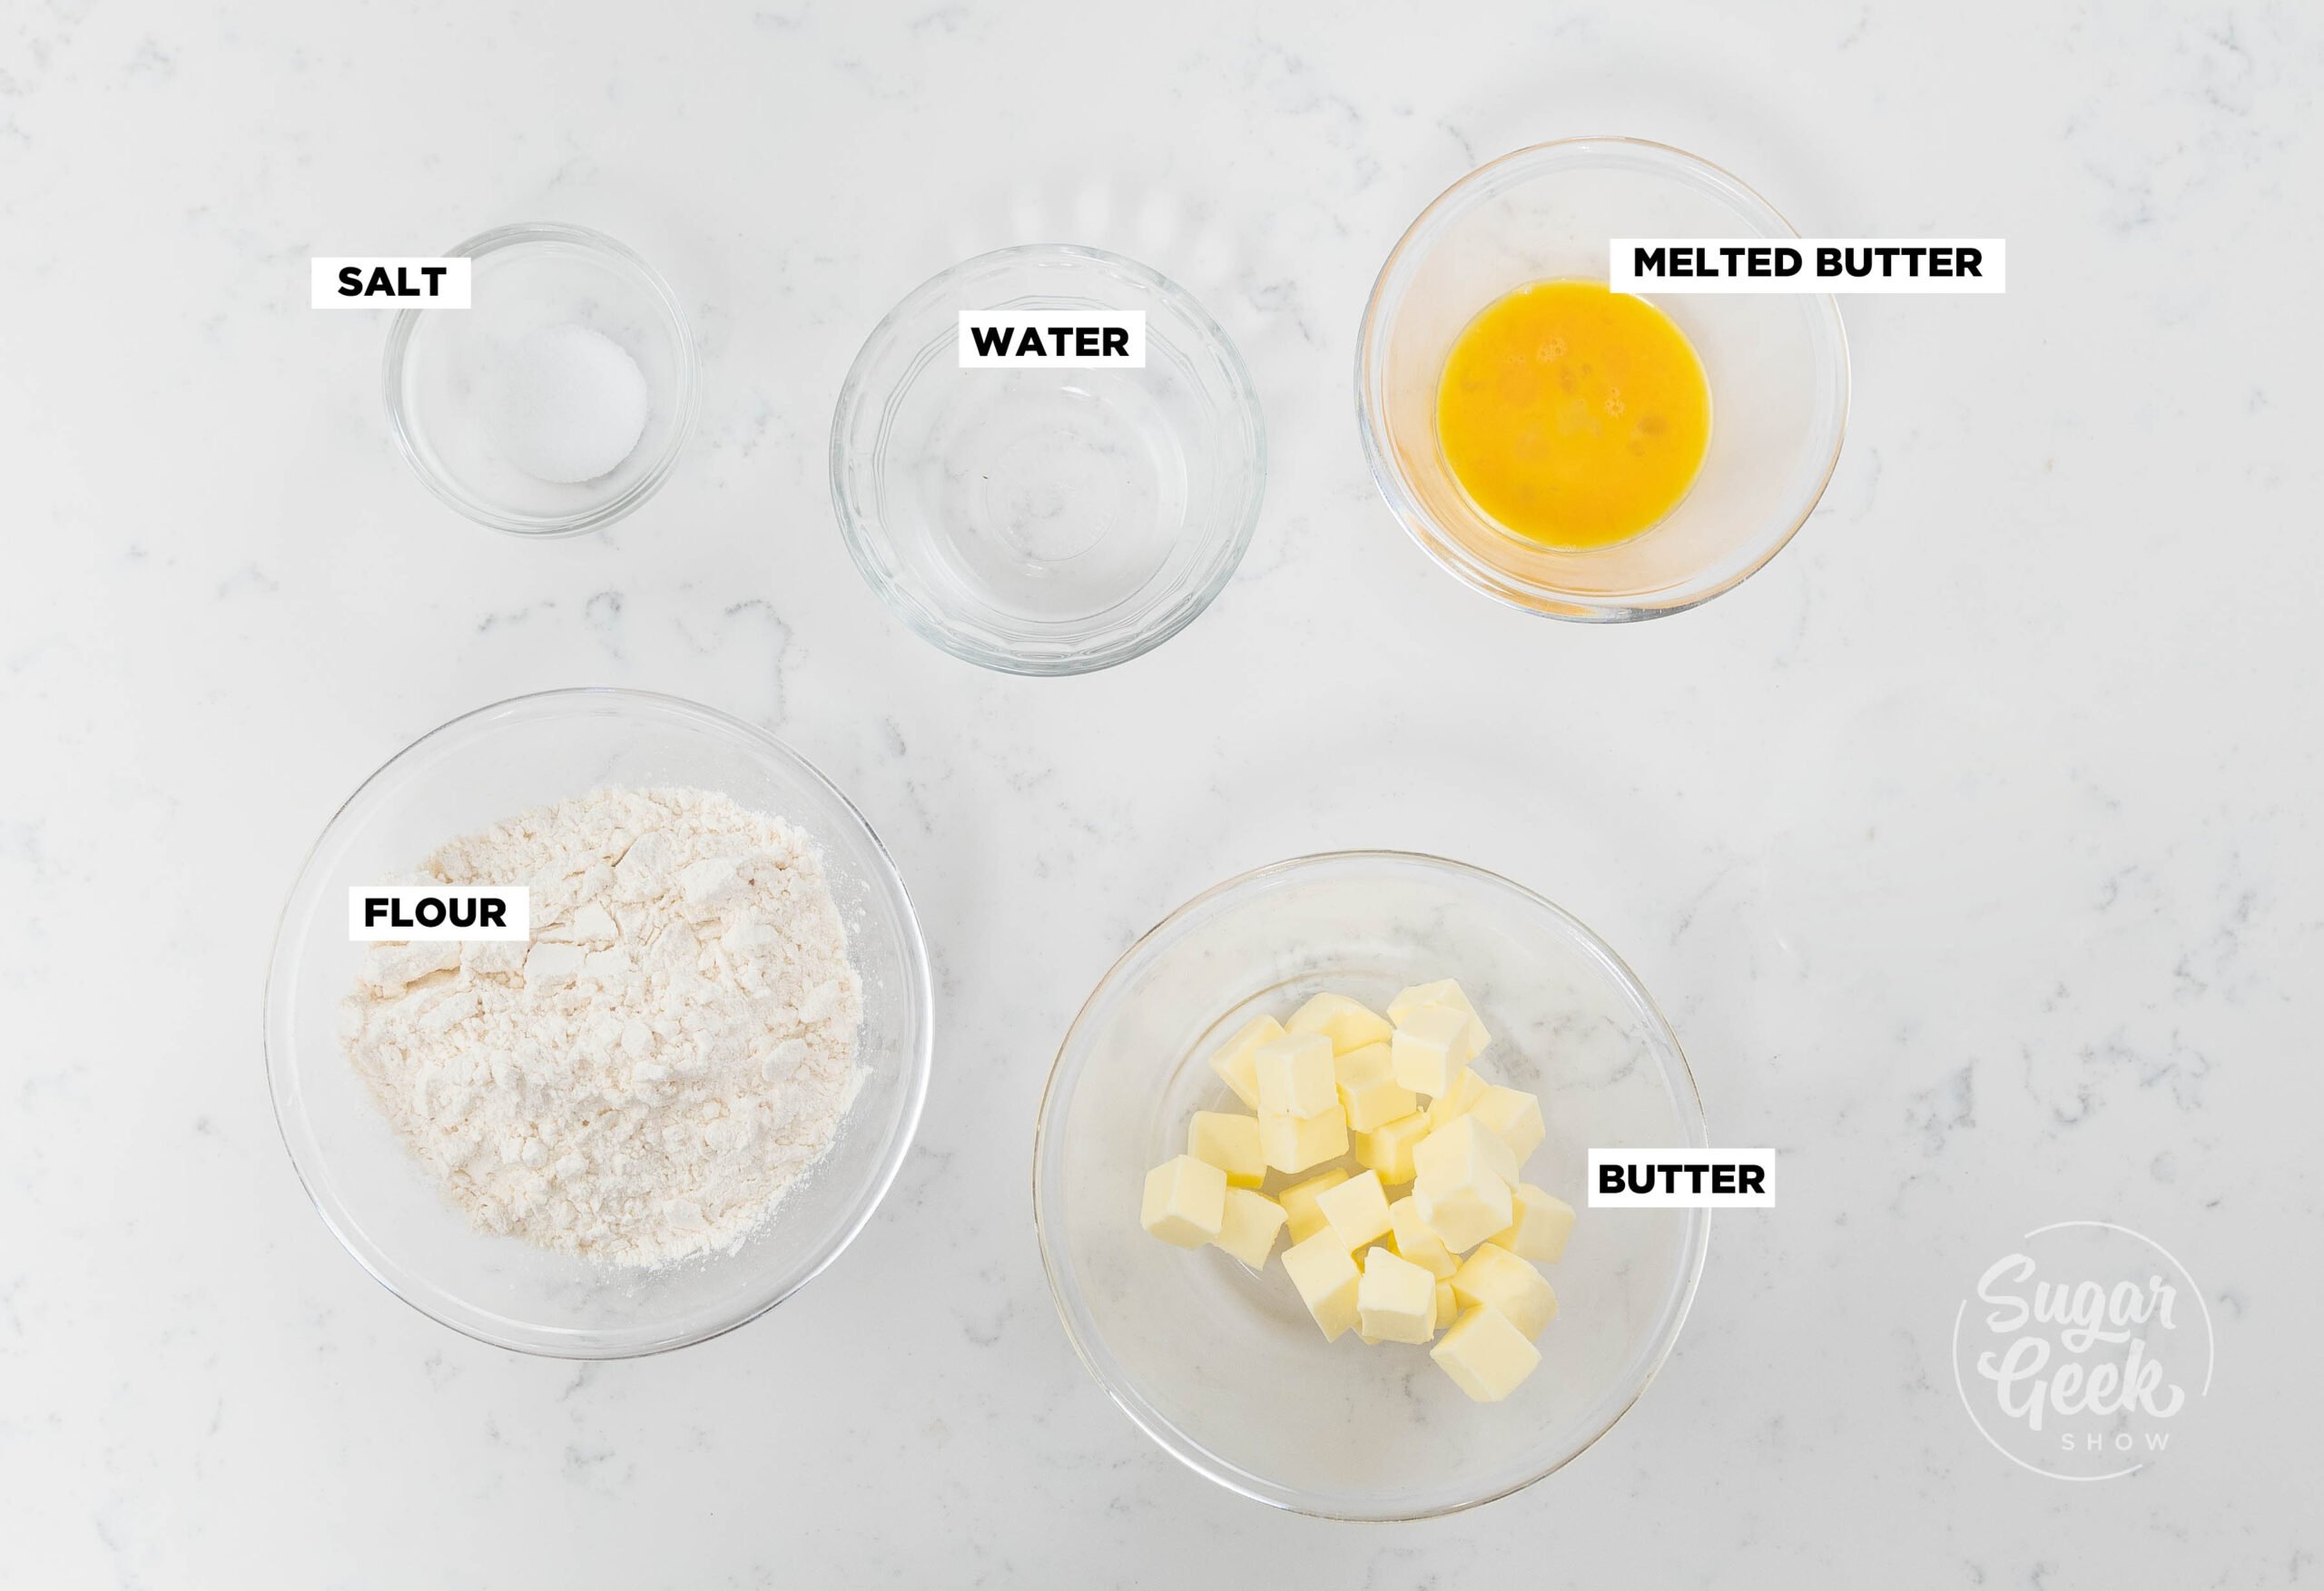
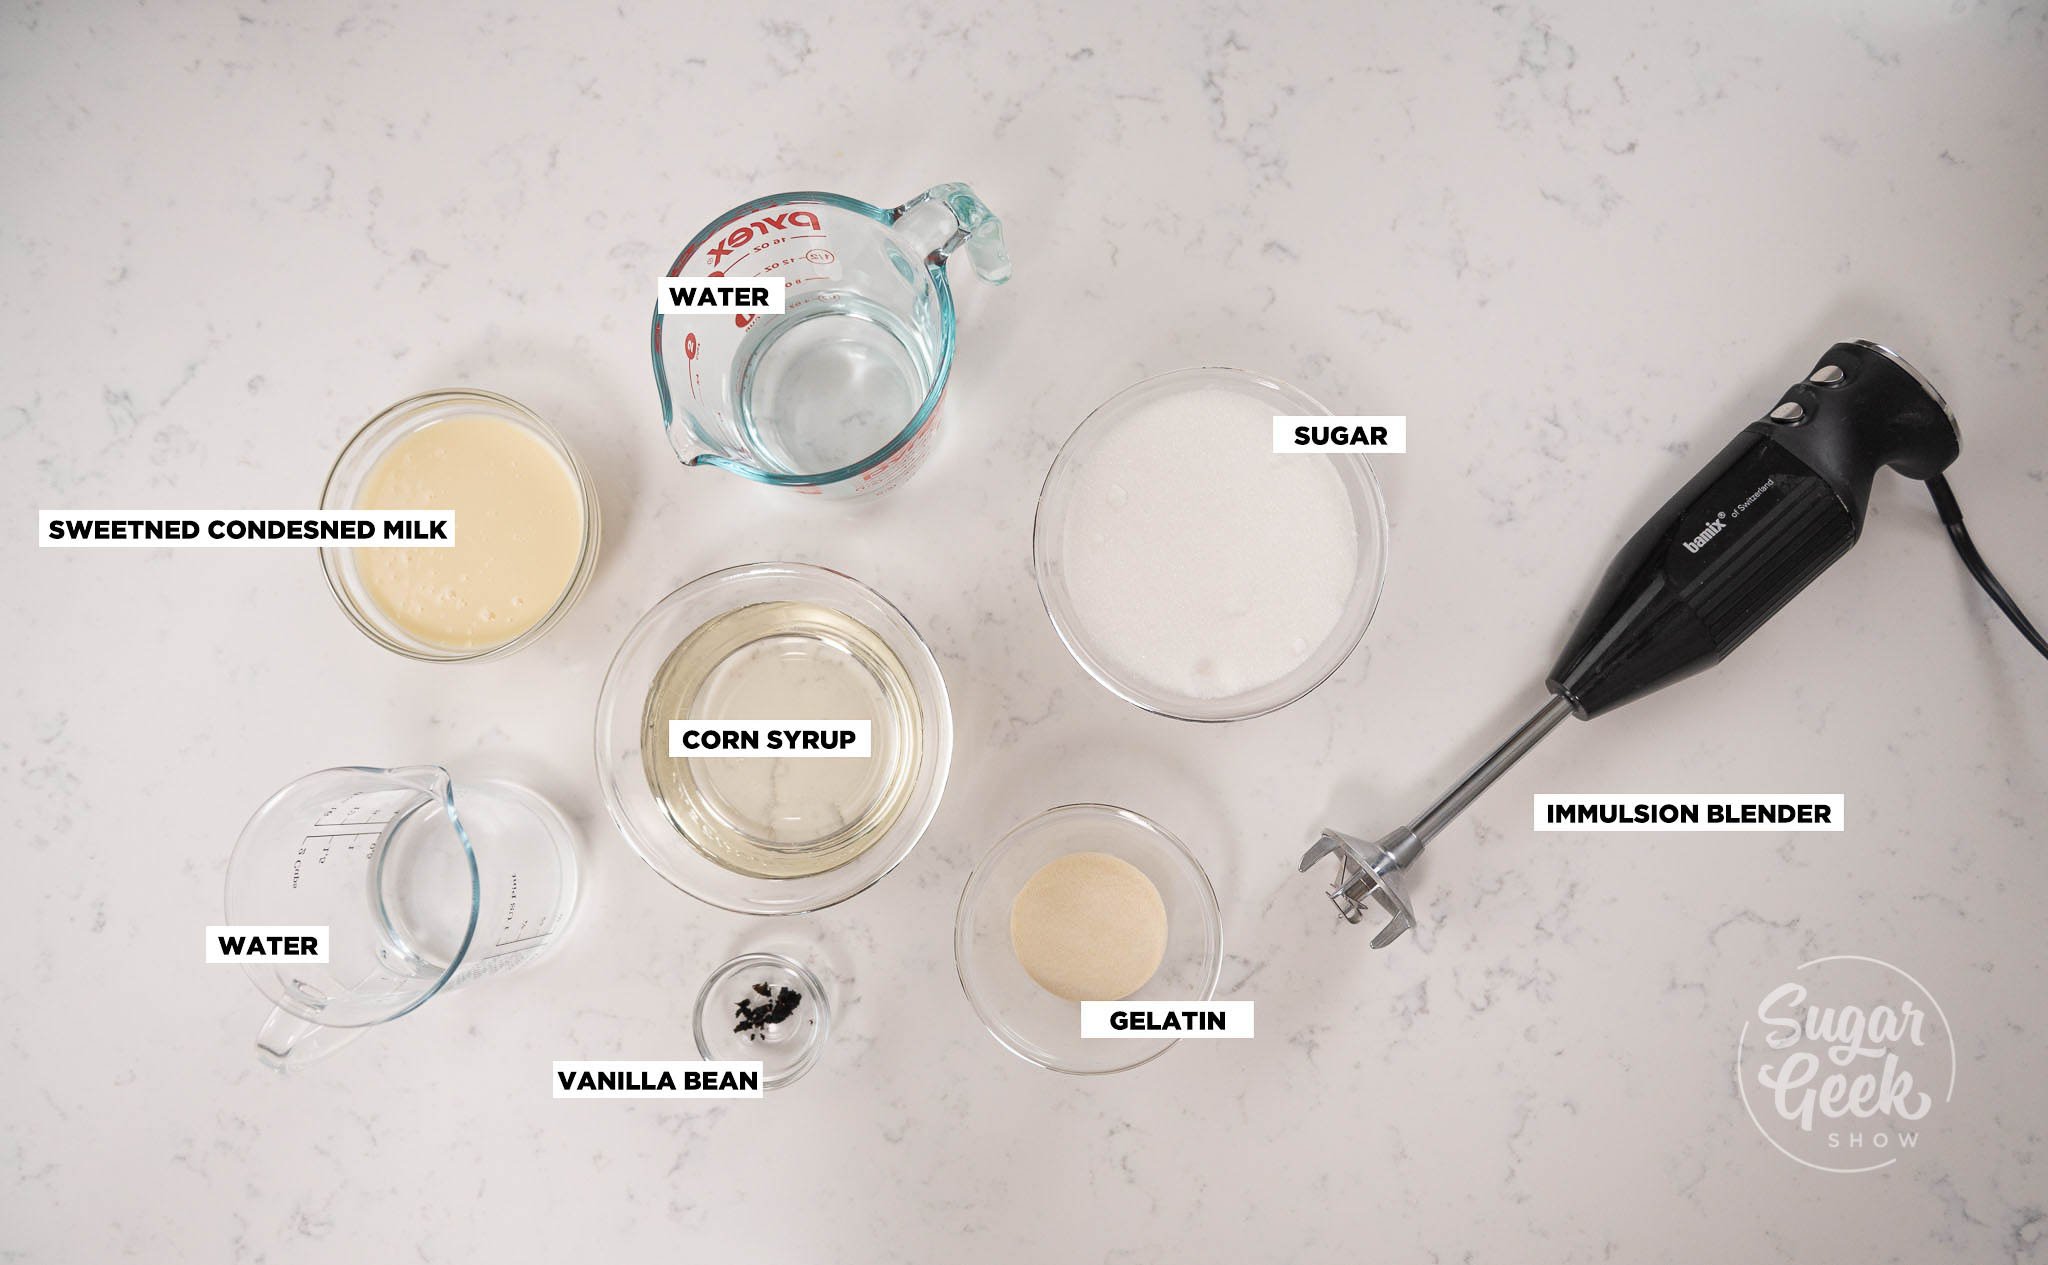
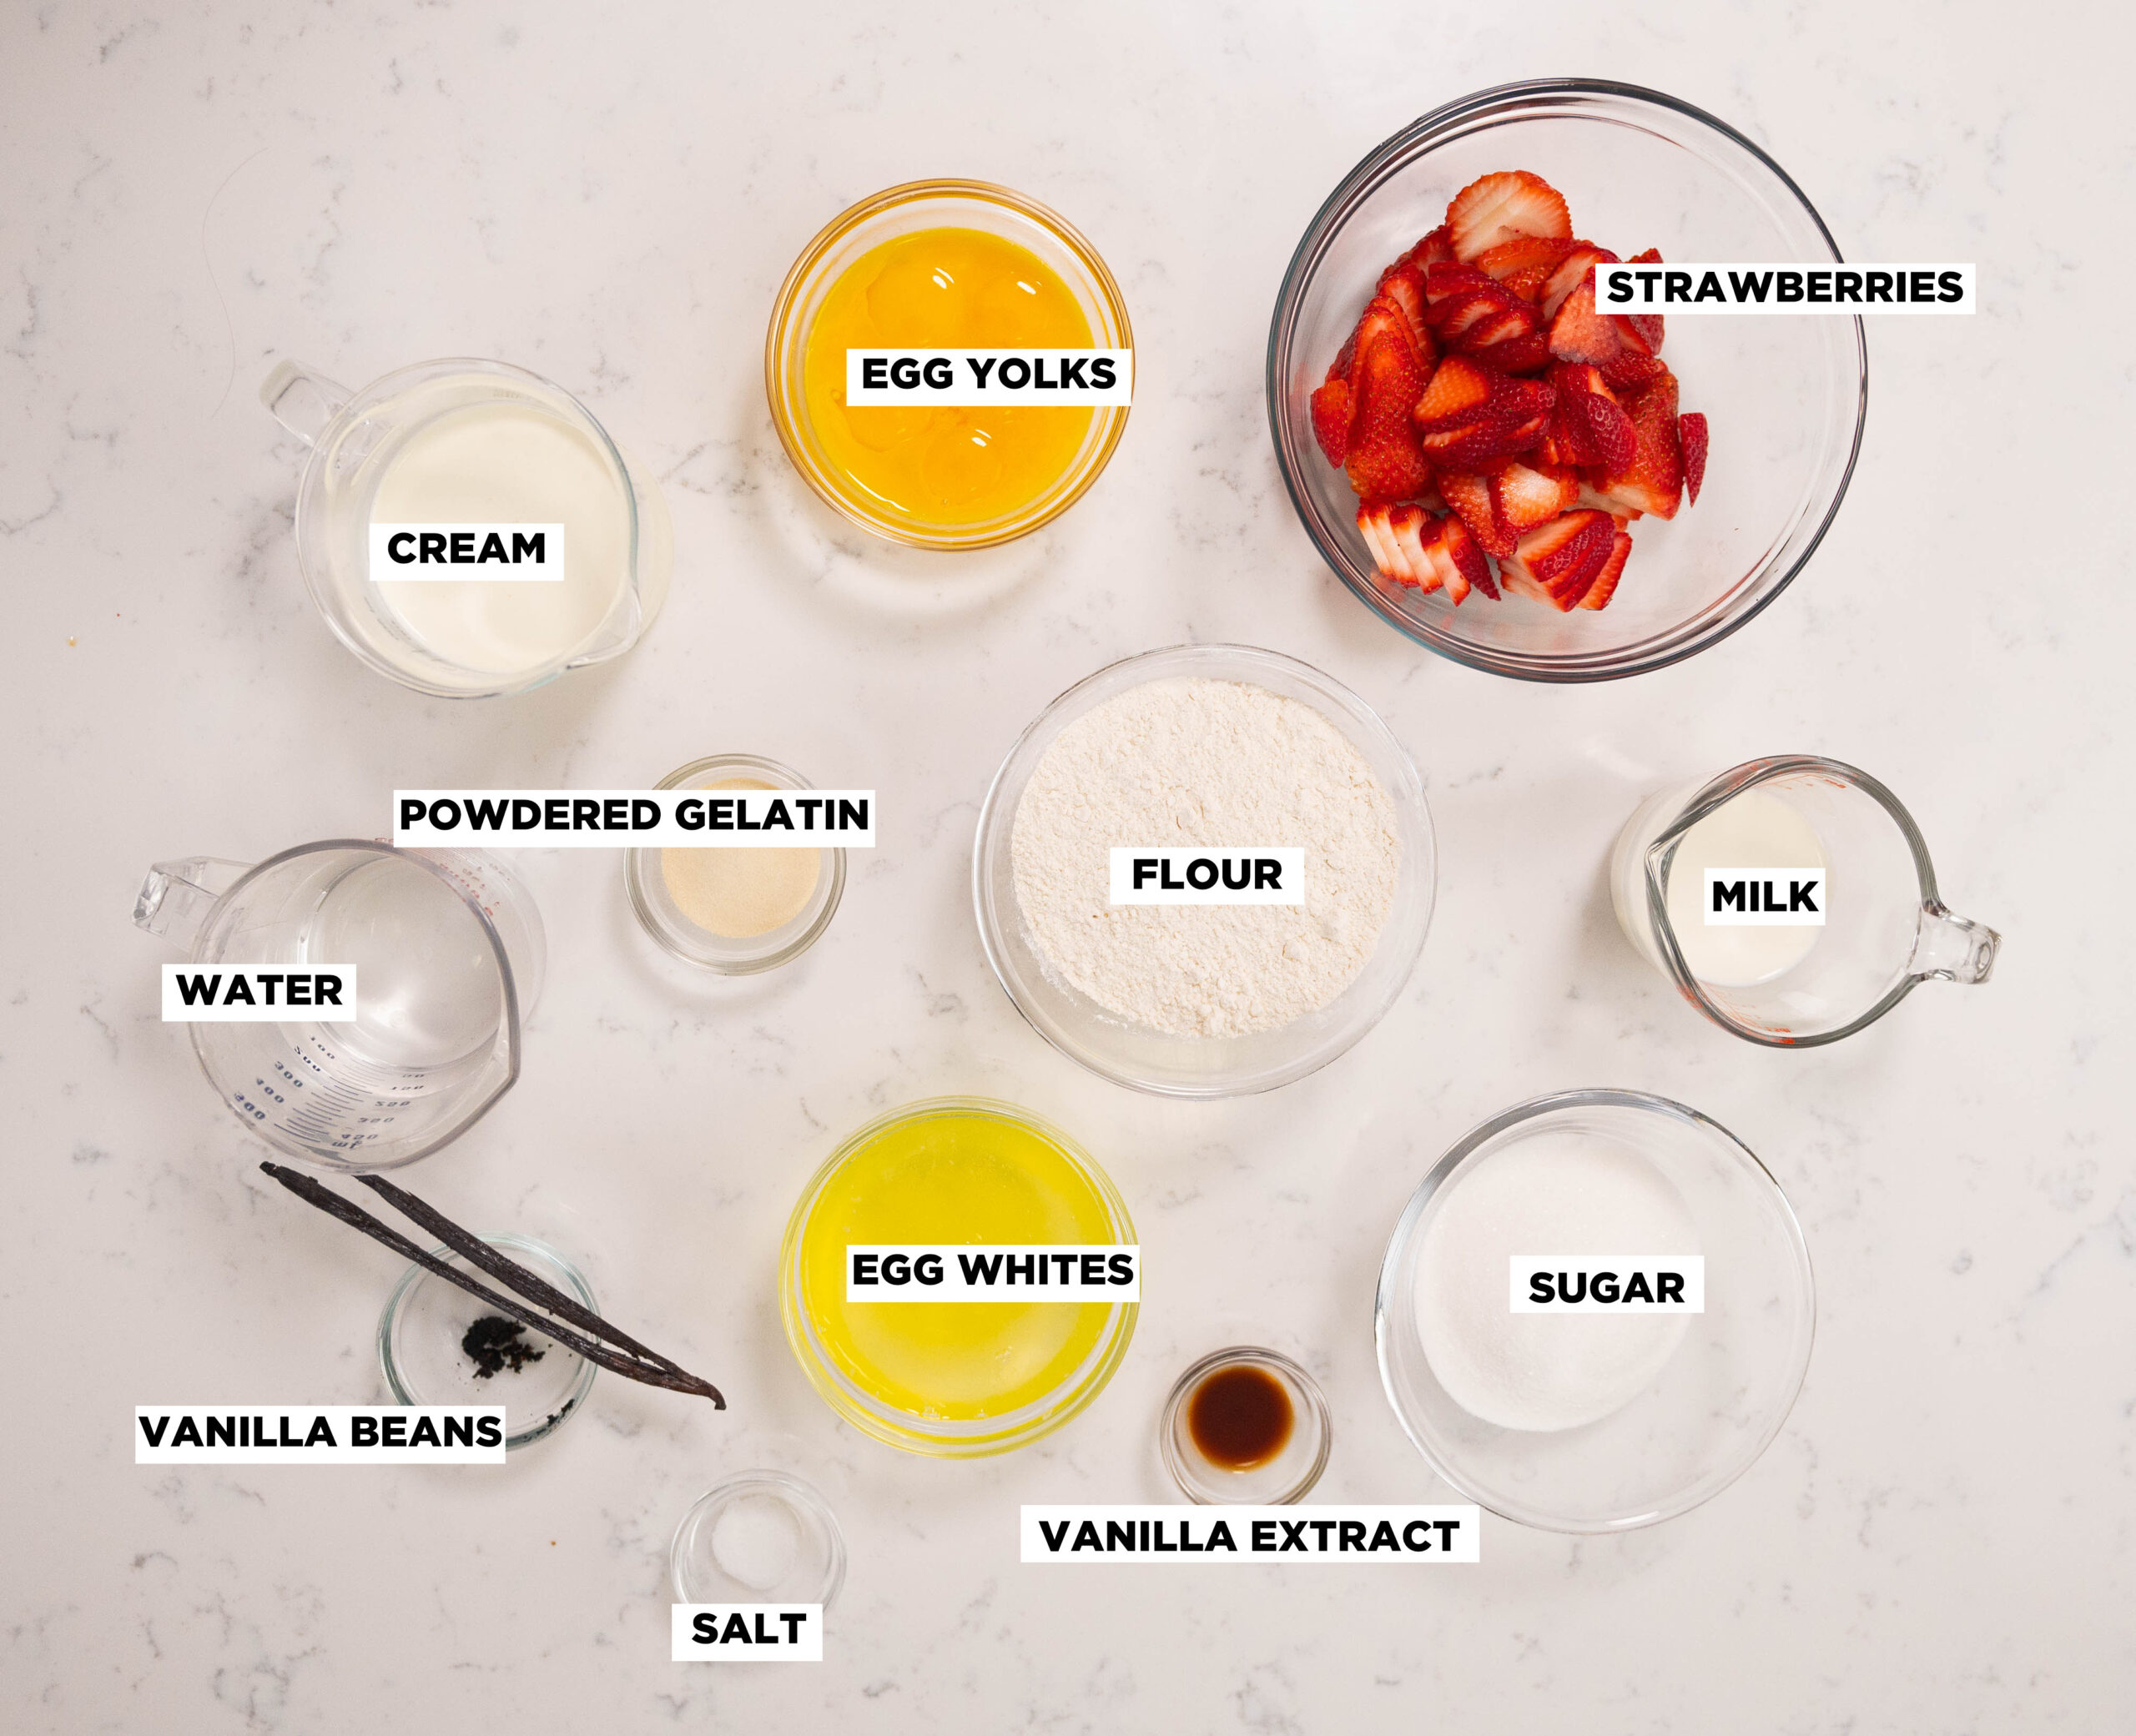
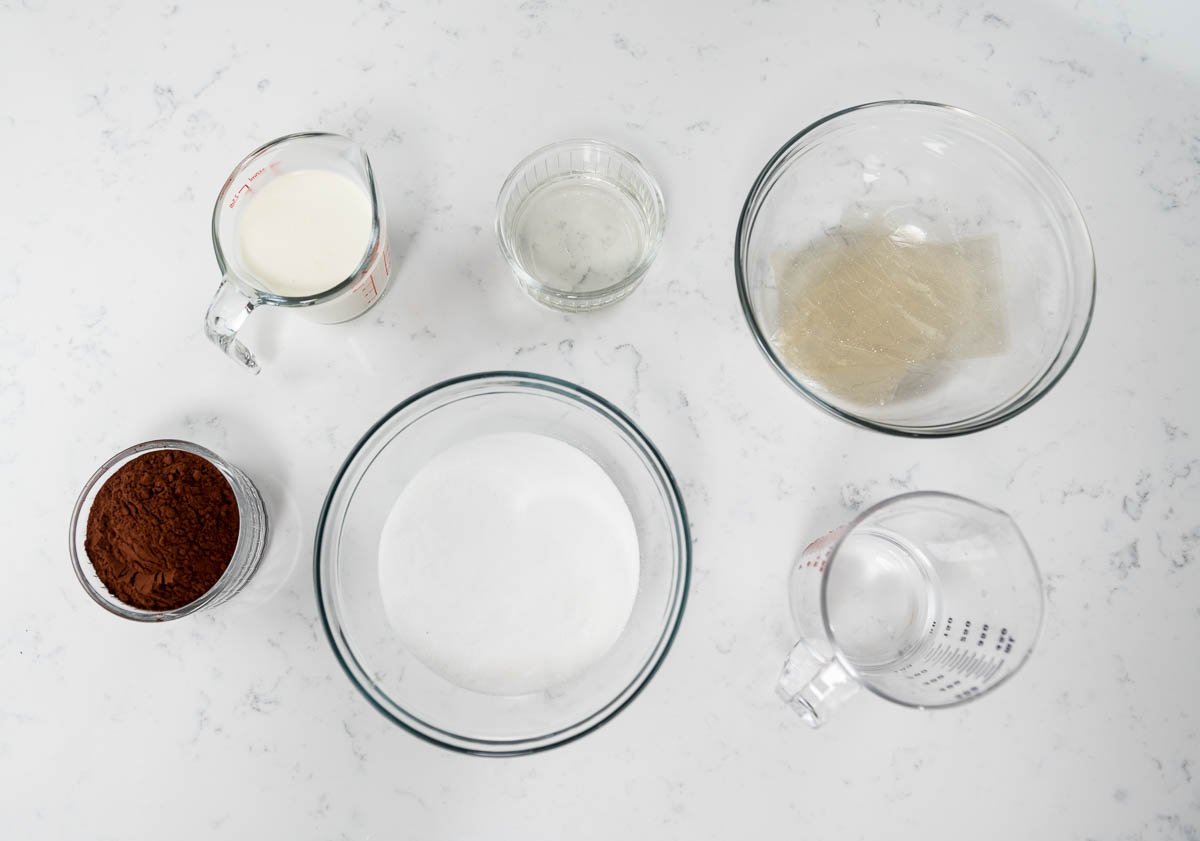
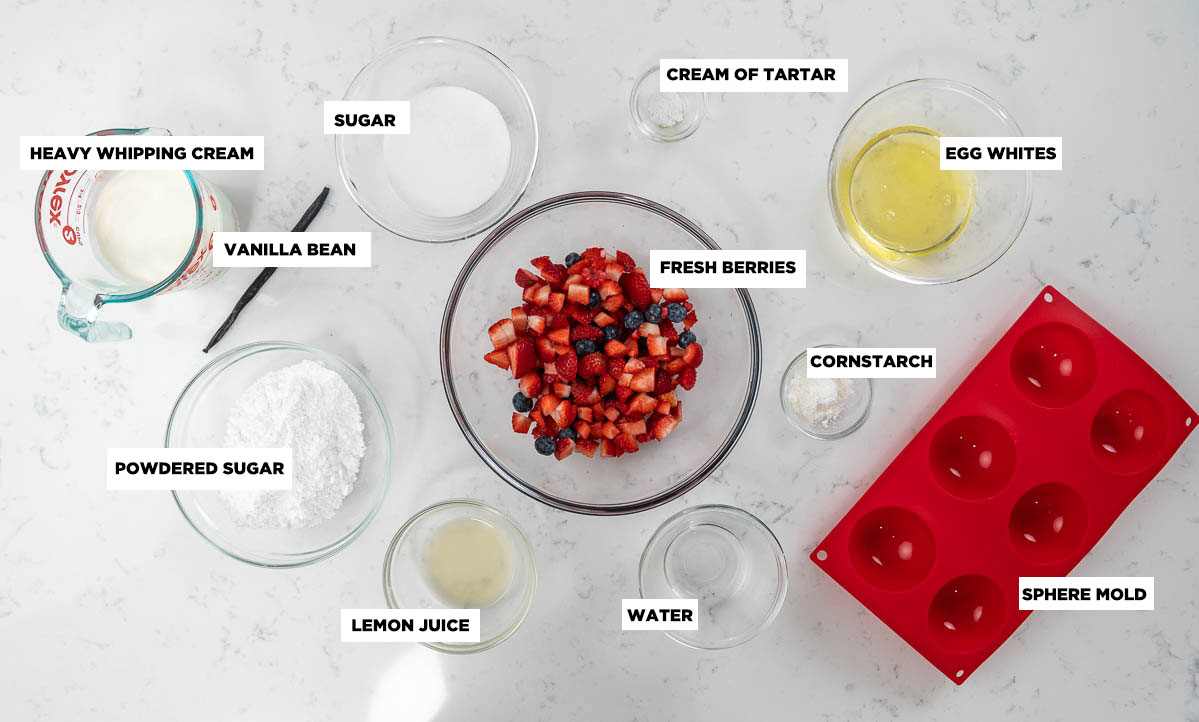
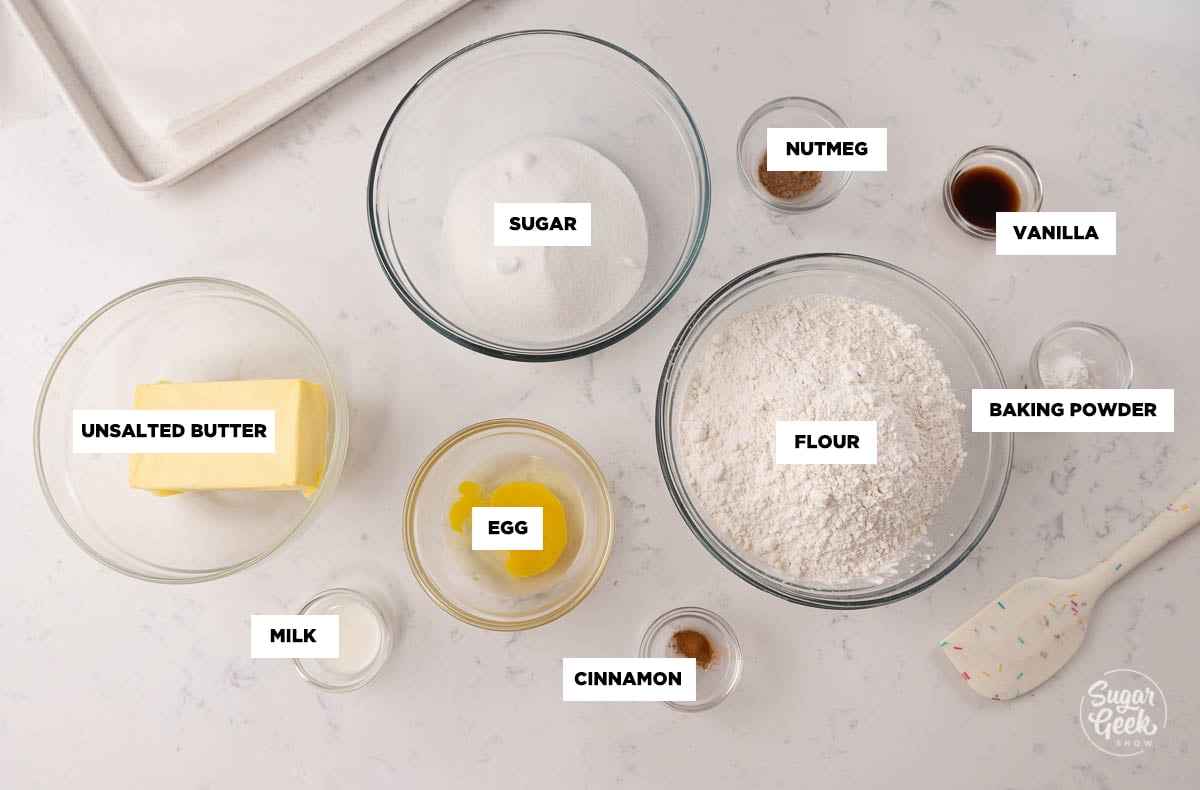
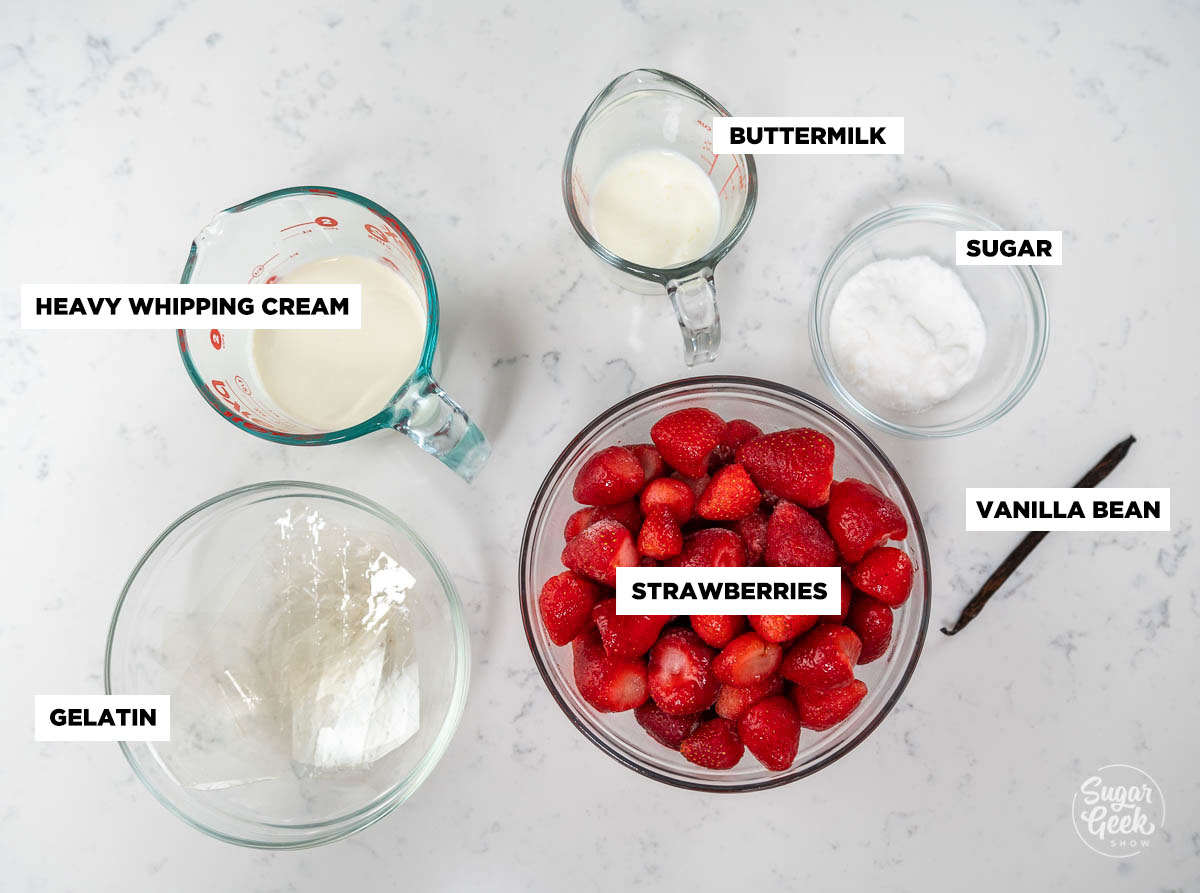
Ingredients
For our dessert cups, I recommend making the mango puree first, followed by the mousse, and then the coconut nougatine on top for the perfect combination of creamy, airy, and crunchy.
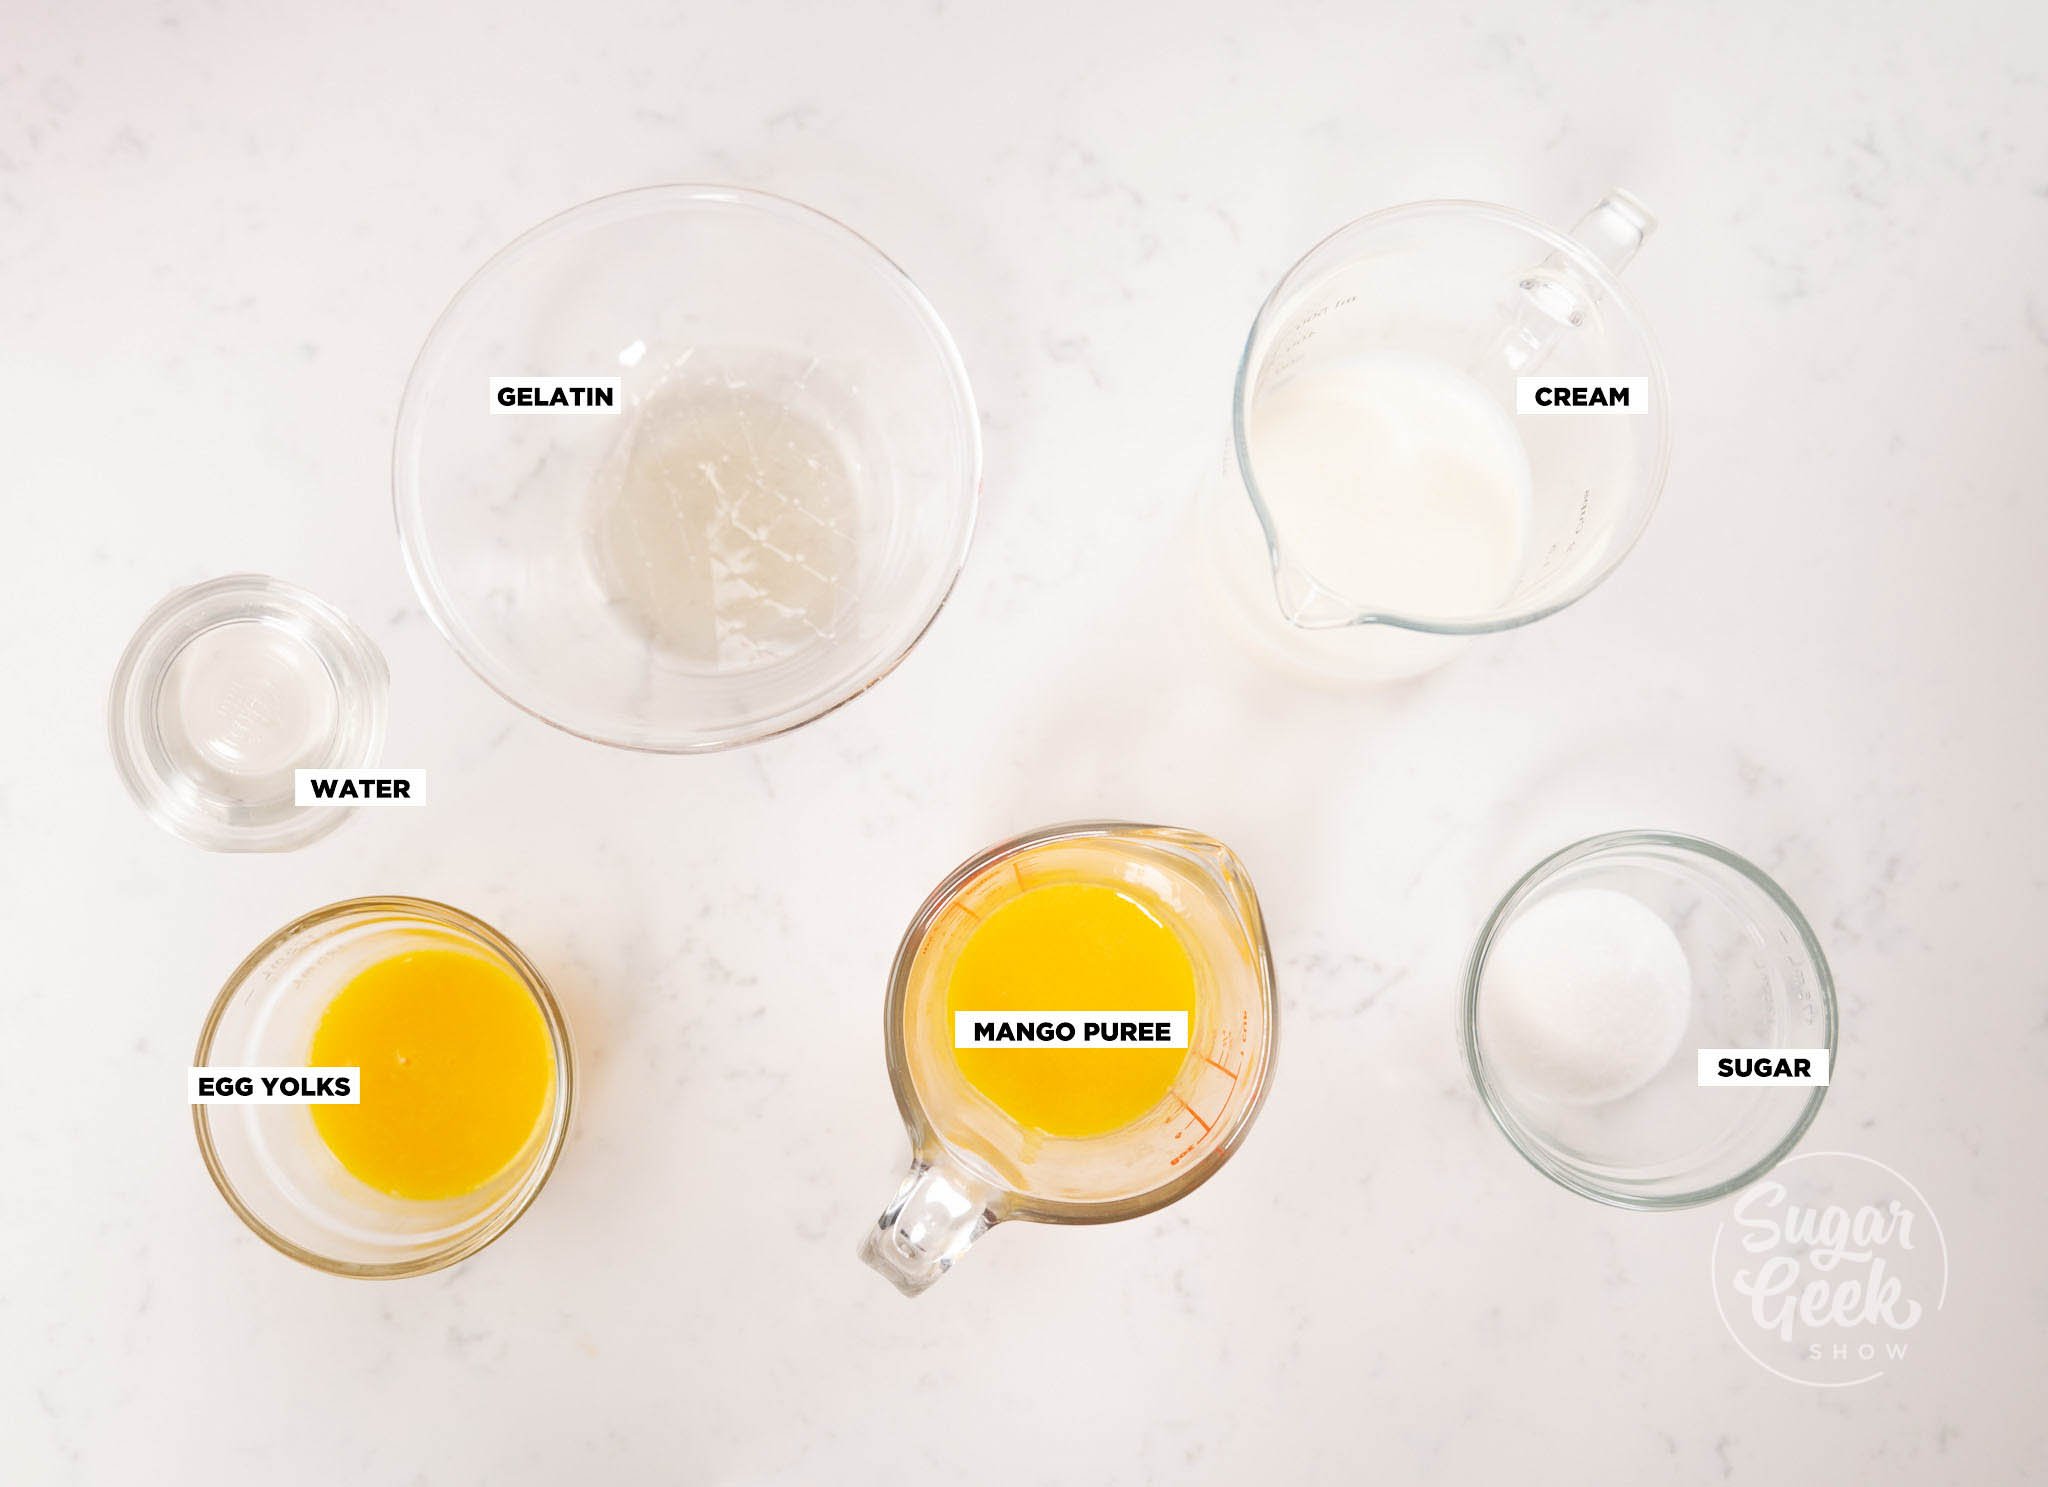
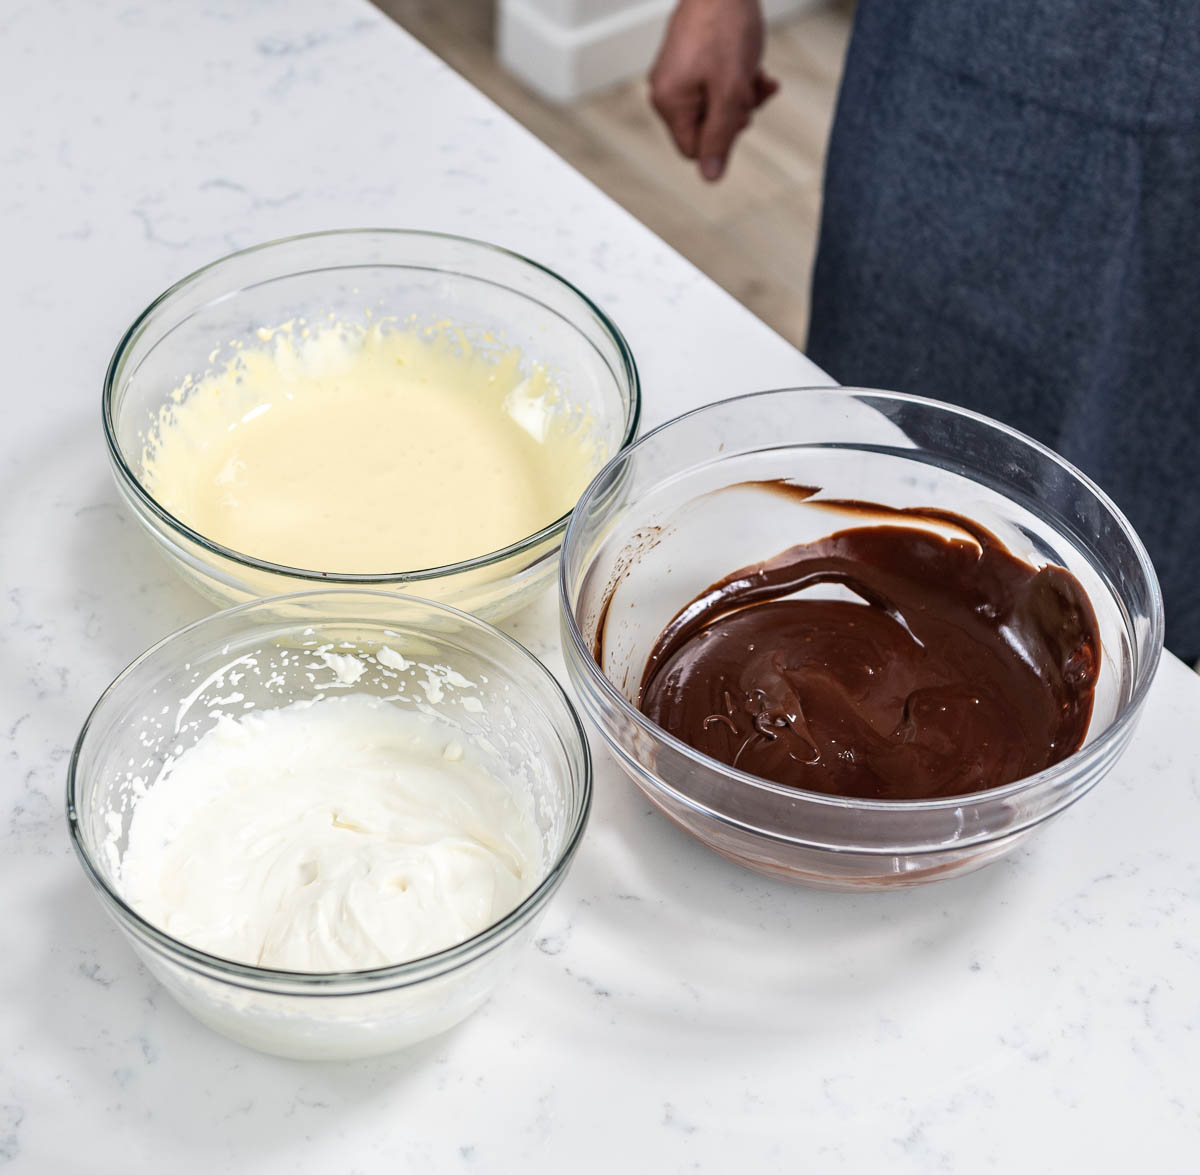
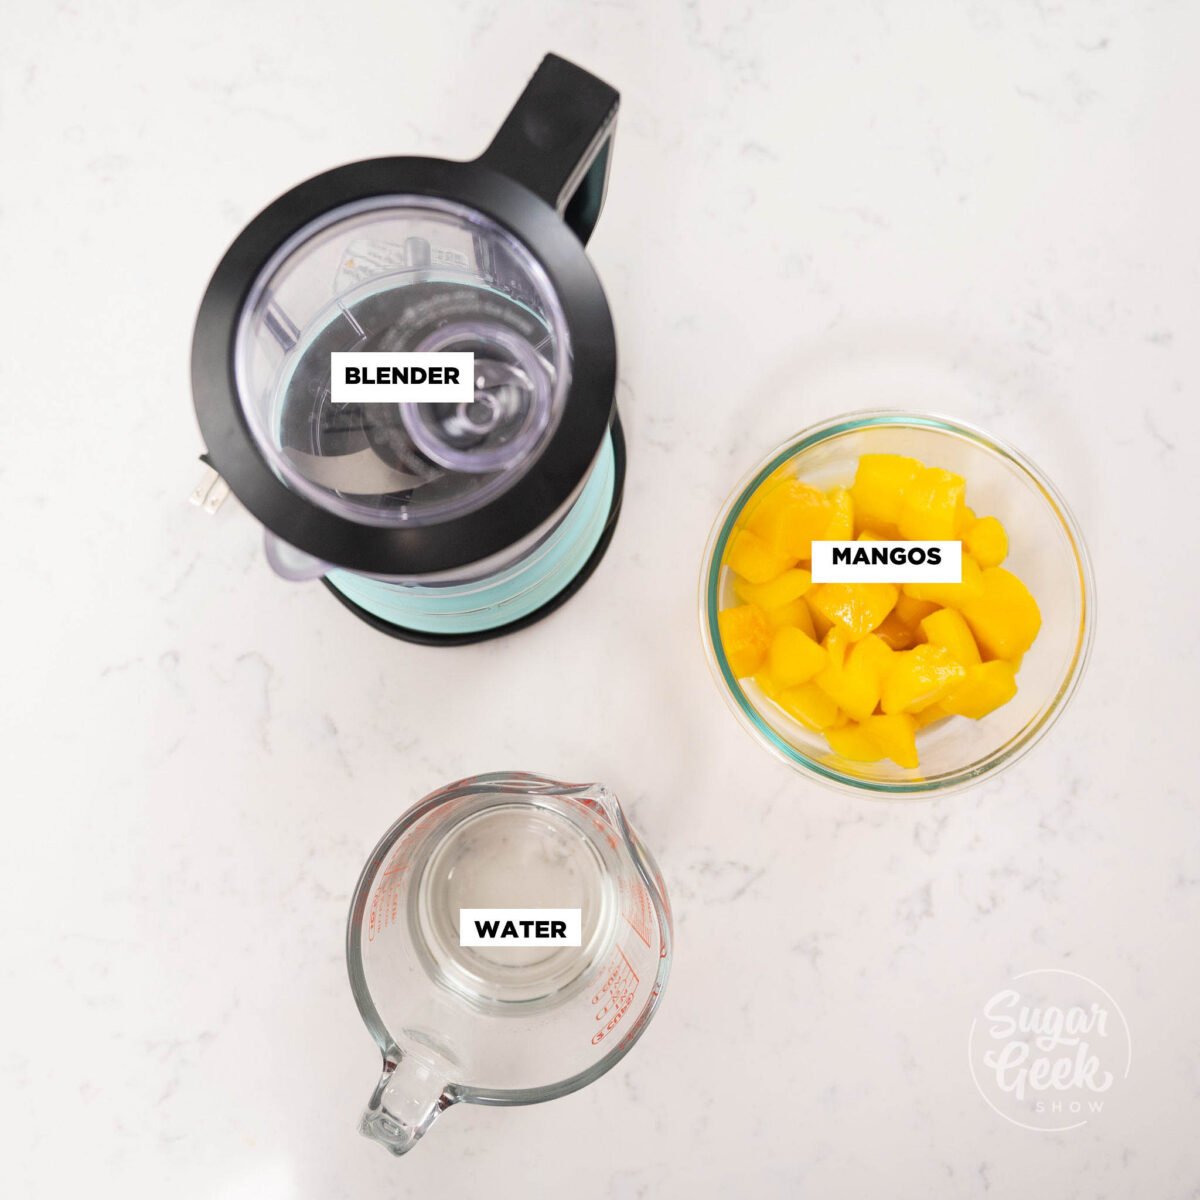
Mango Puree
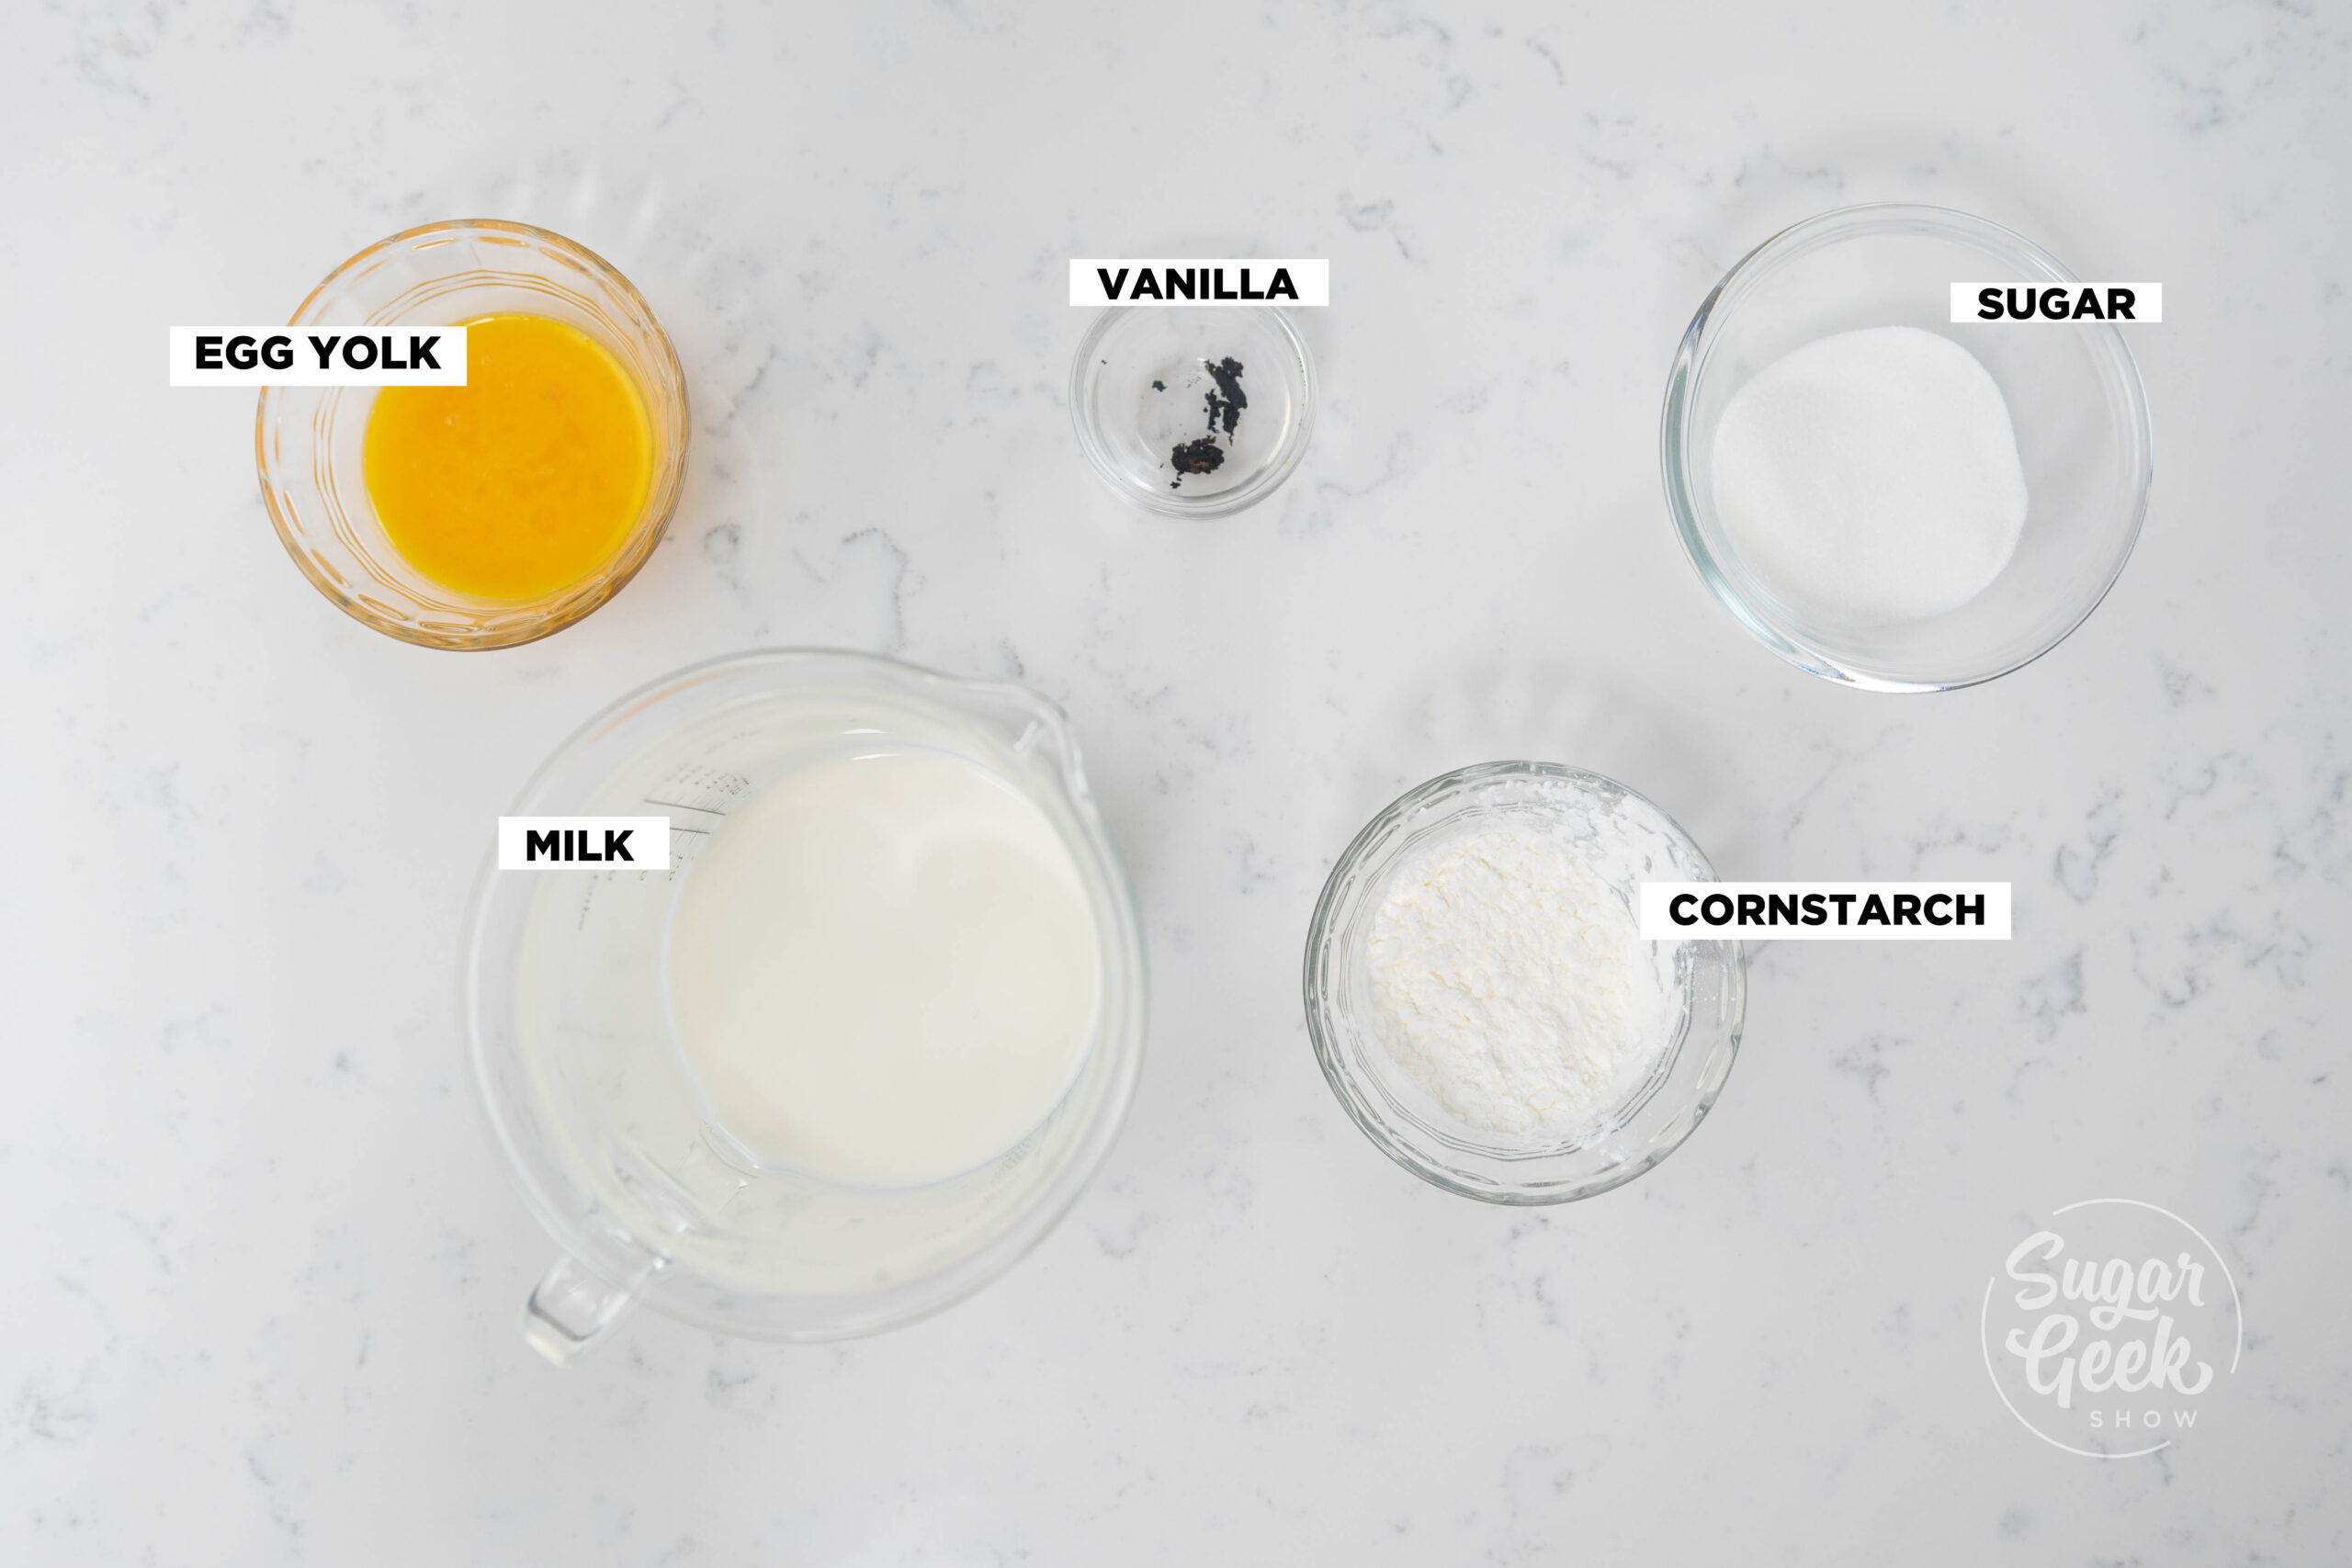
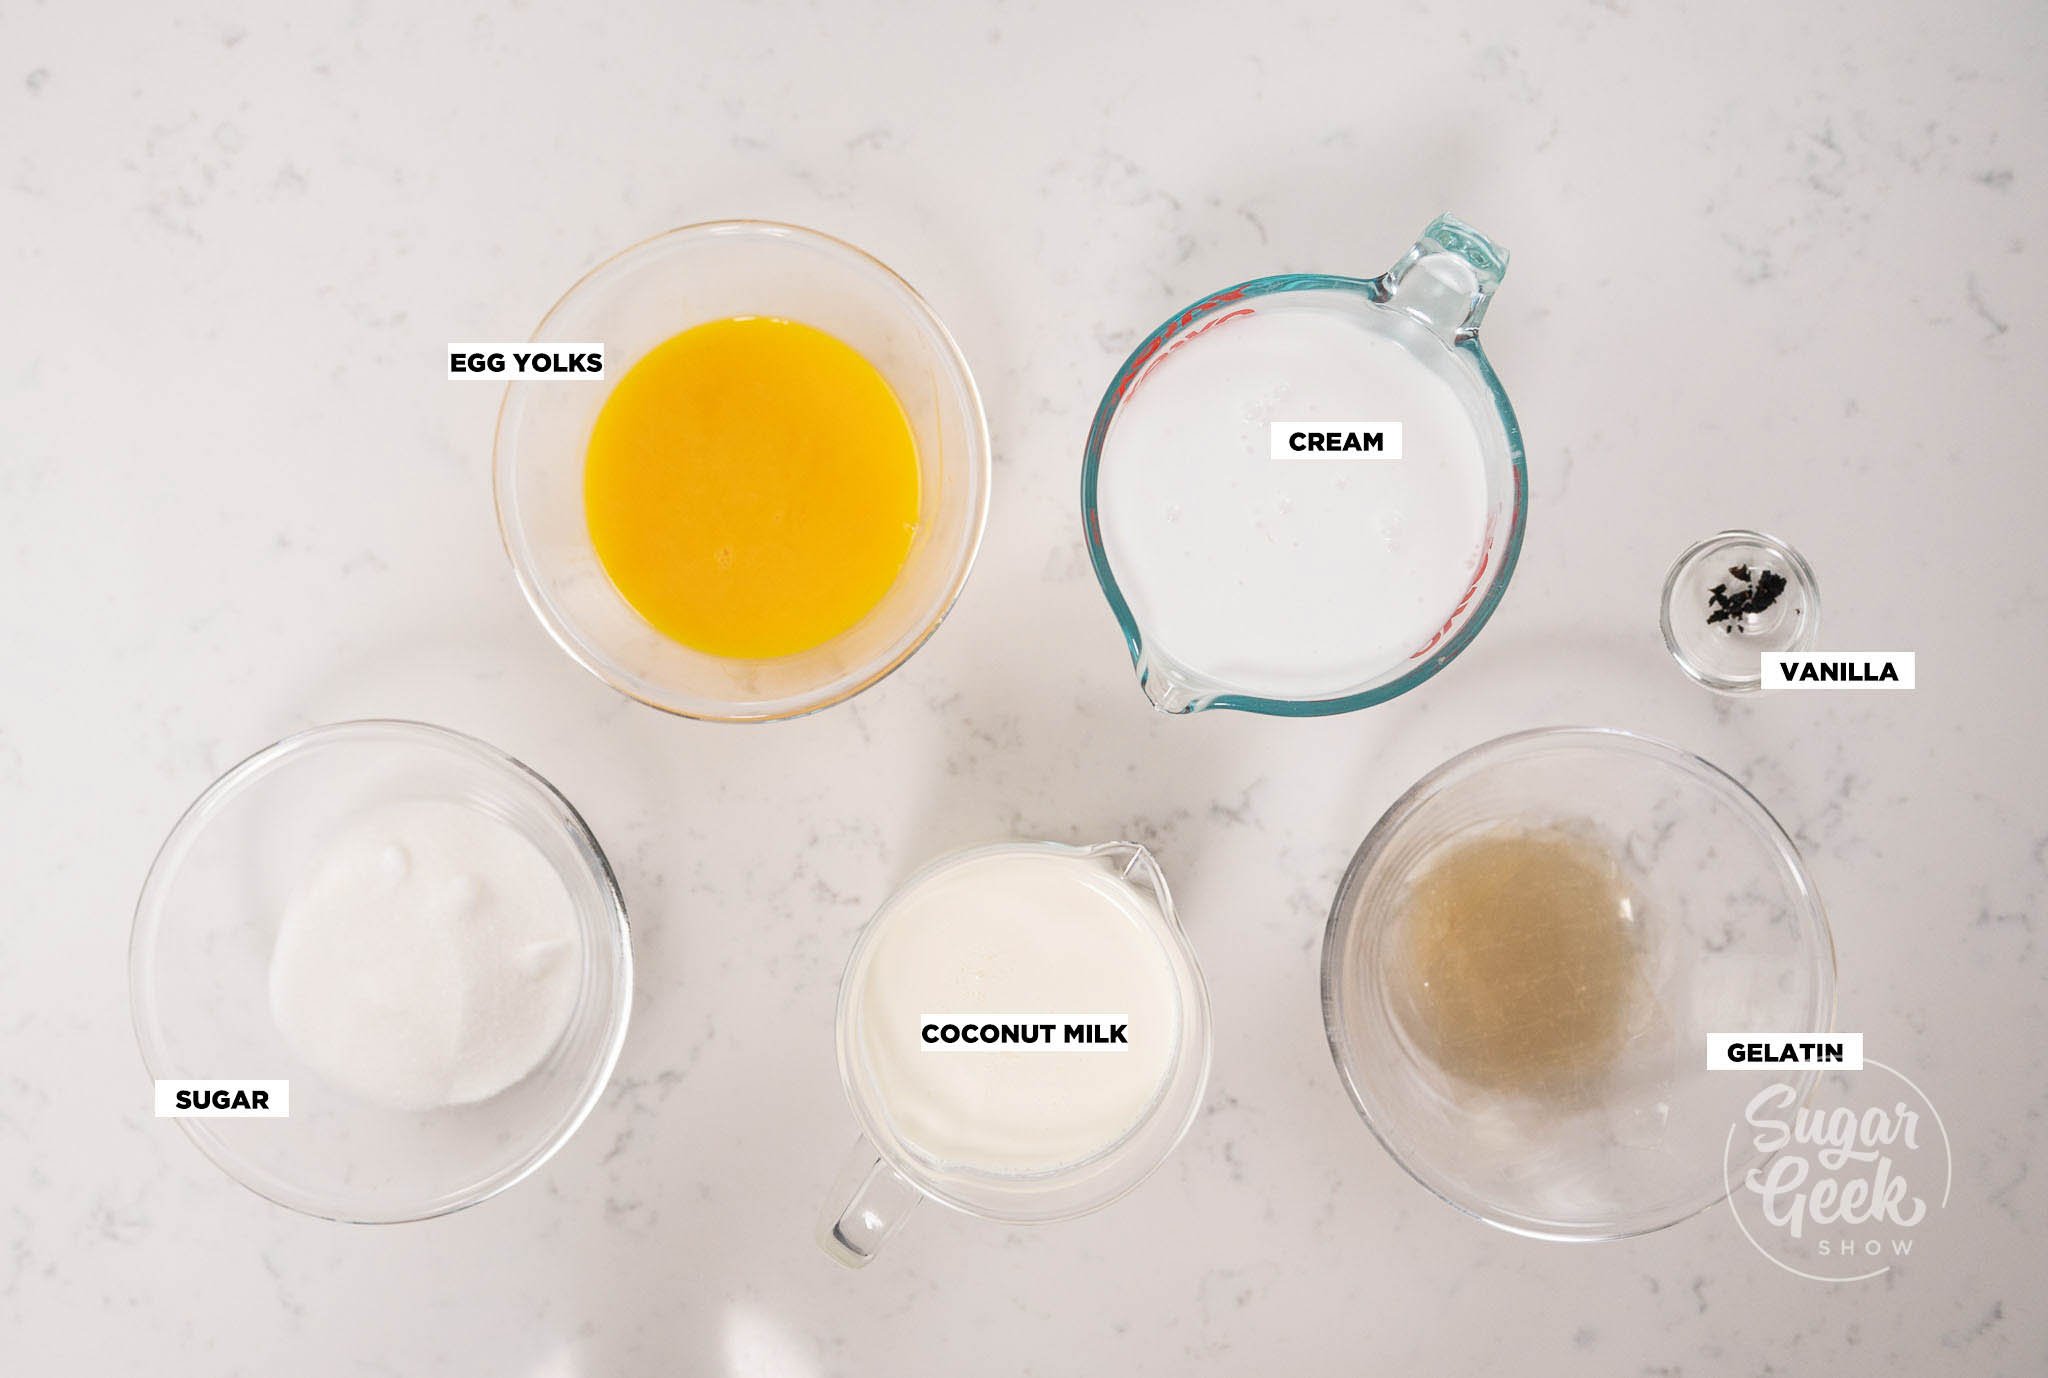
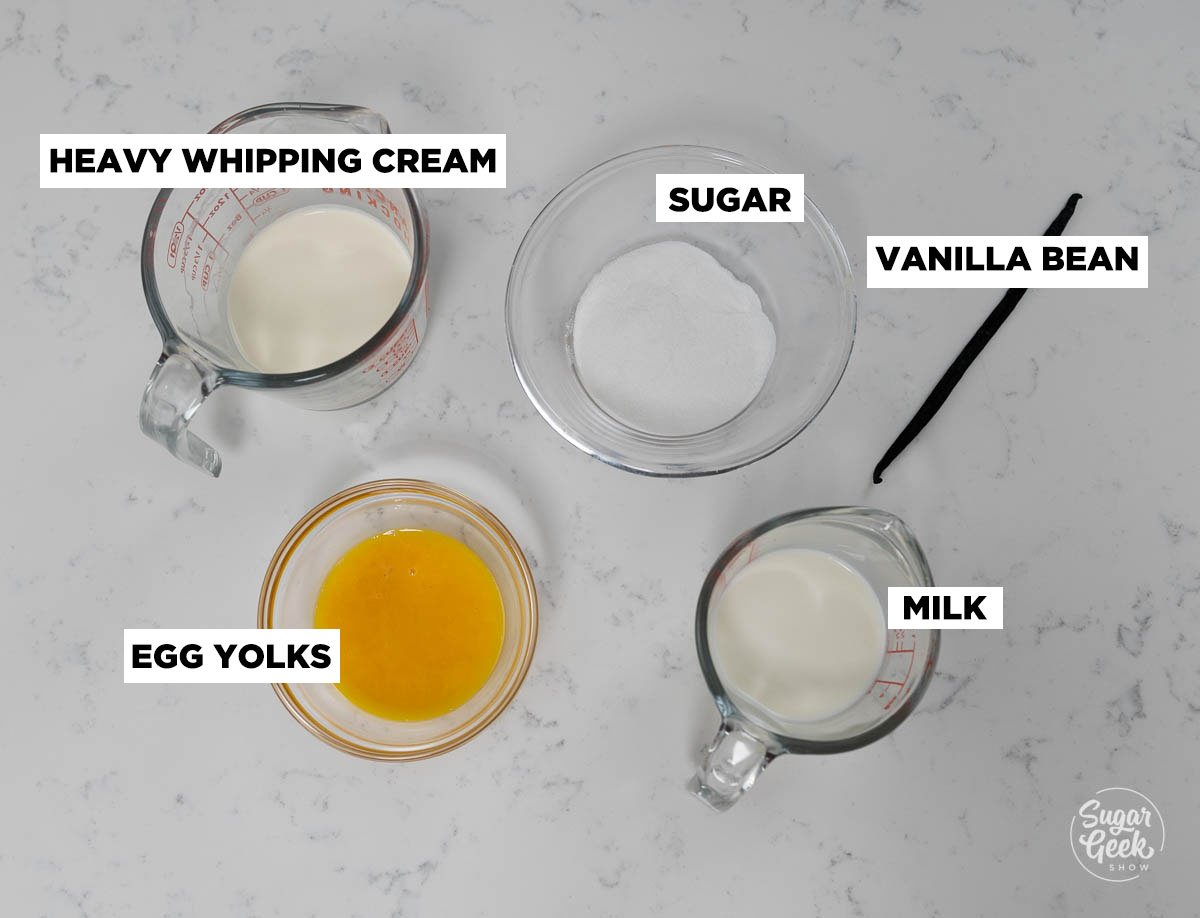
Coconut Mousse
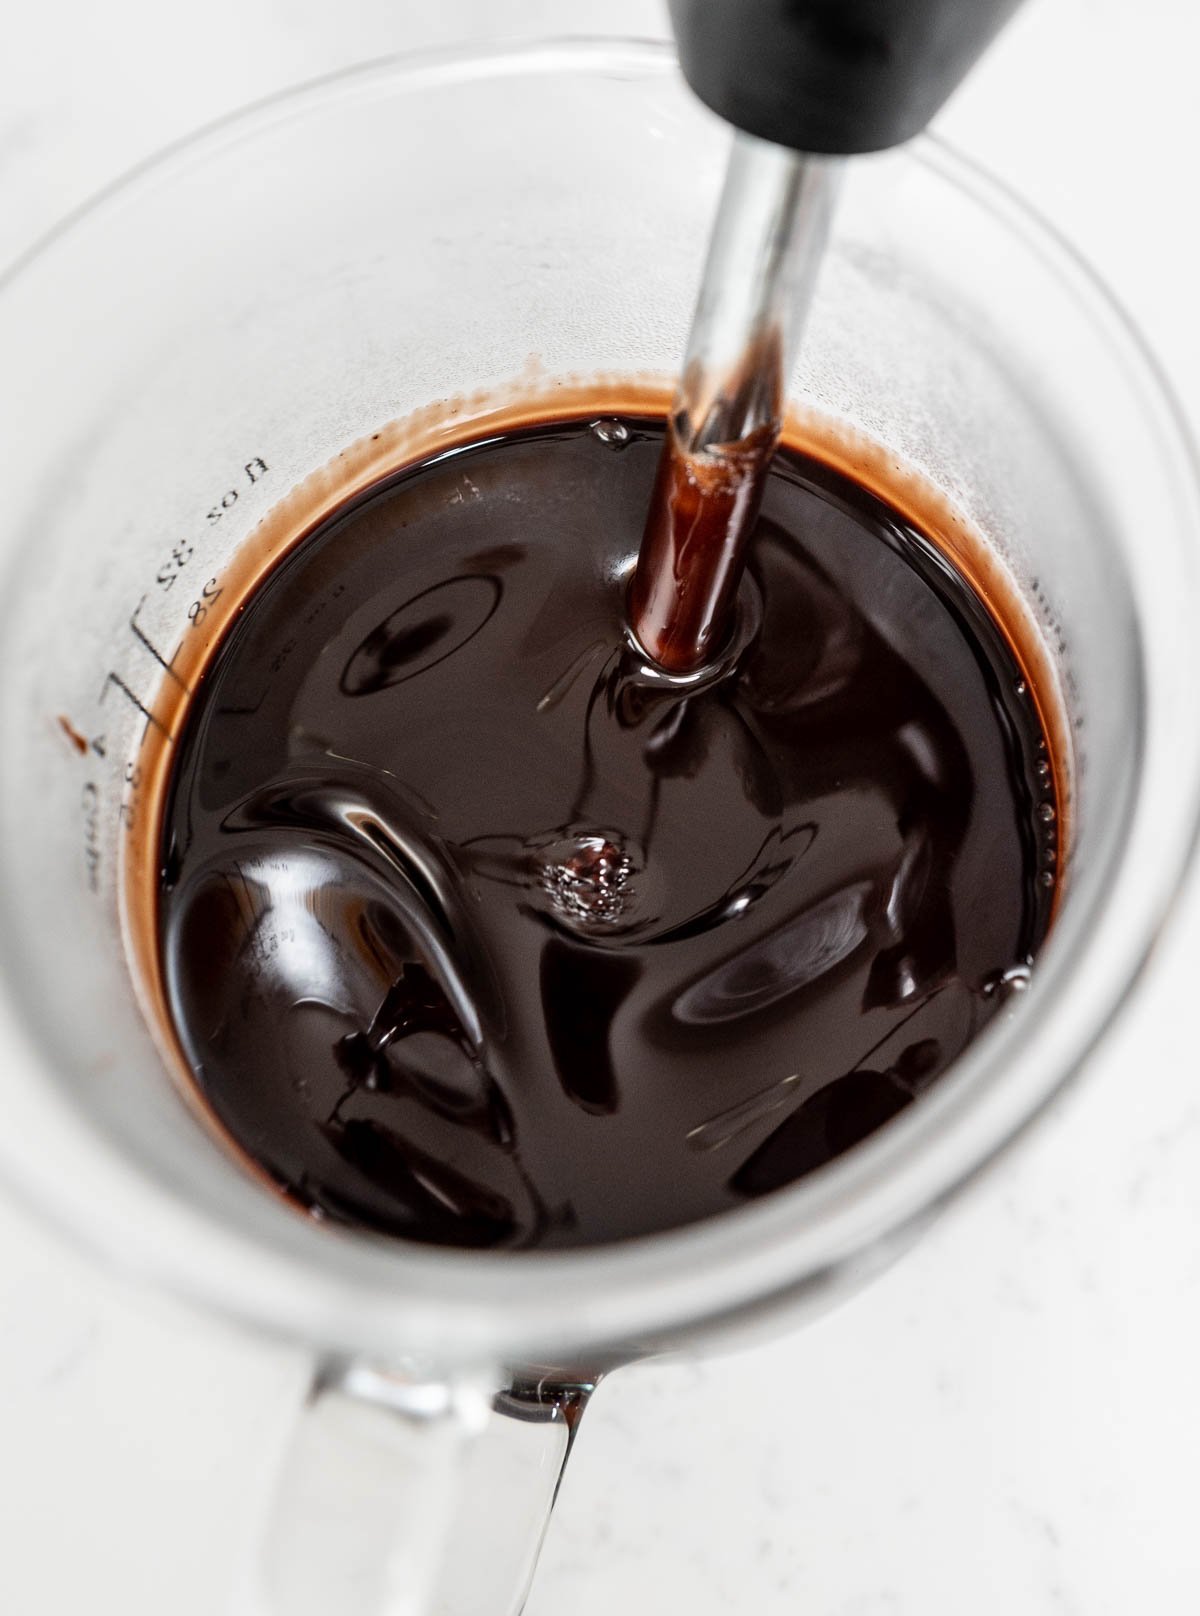
This mousse is basically a crémeux that has been lightened with whipped cream. Some coconut mousse recipes use egg whites, coconut cream, and coconut extract, but egg yolks, heavy cream, and coconut milk make for a very silky texture.

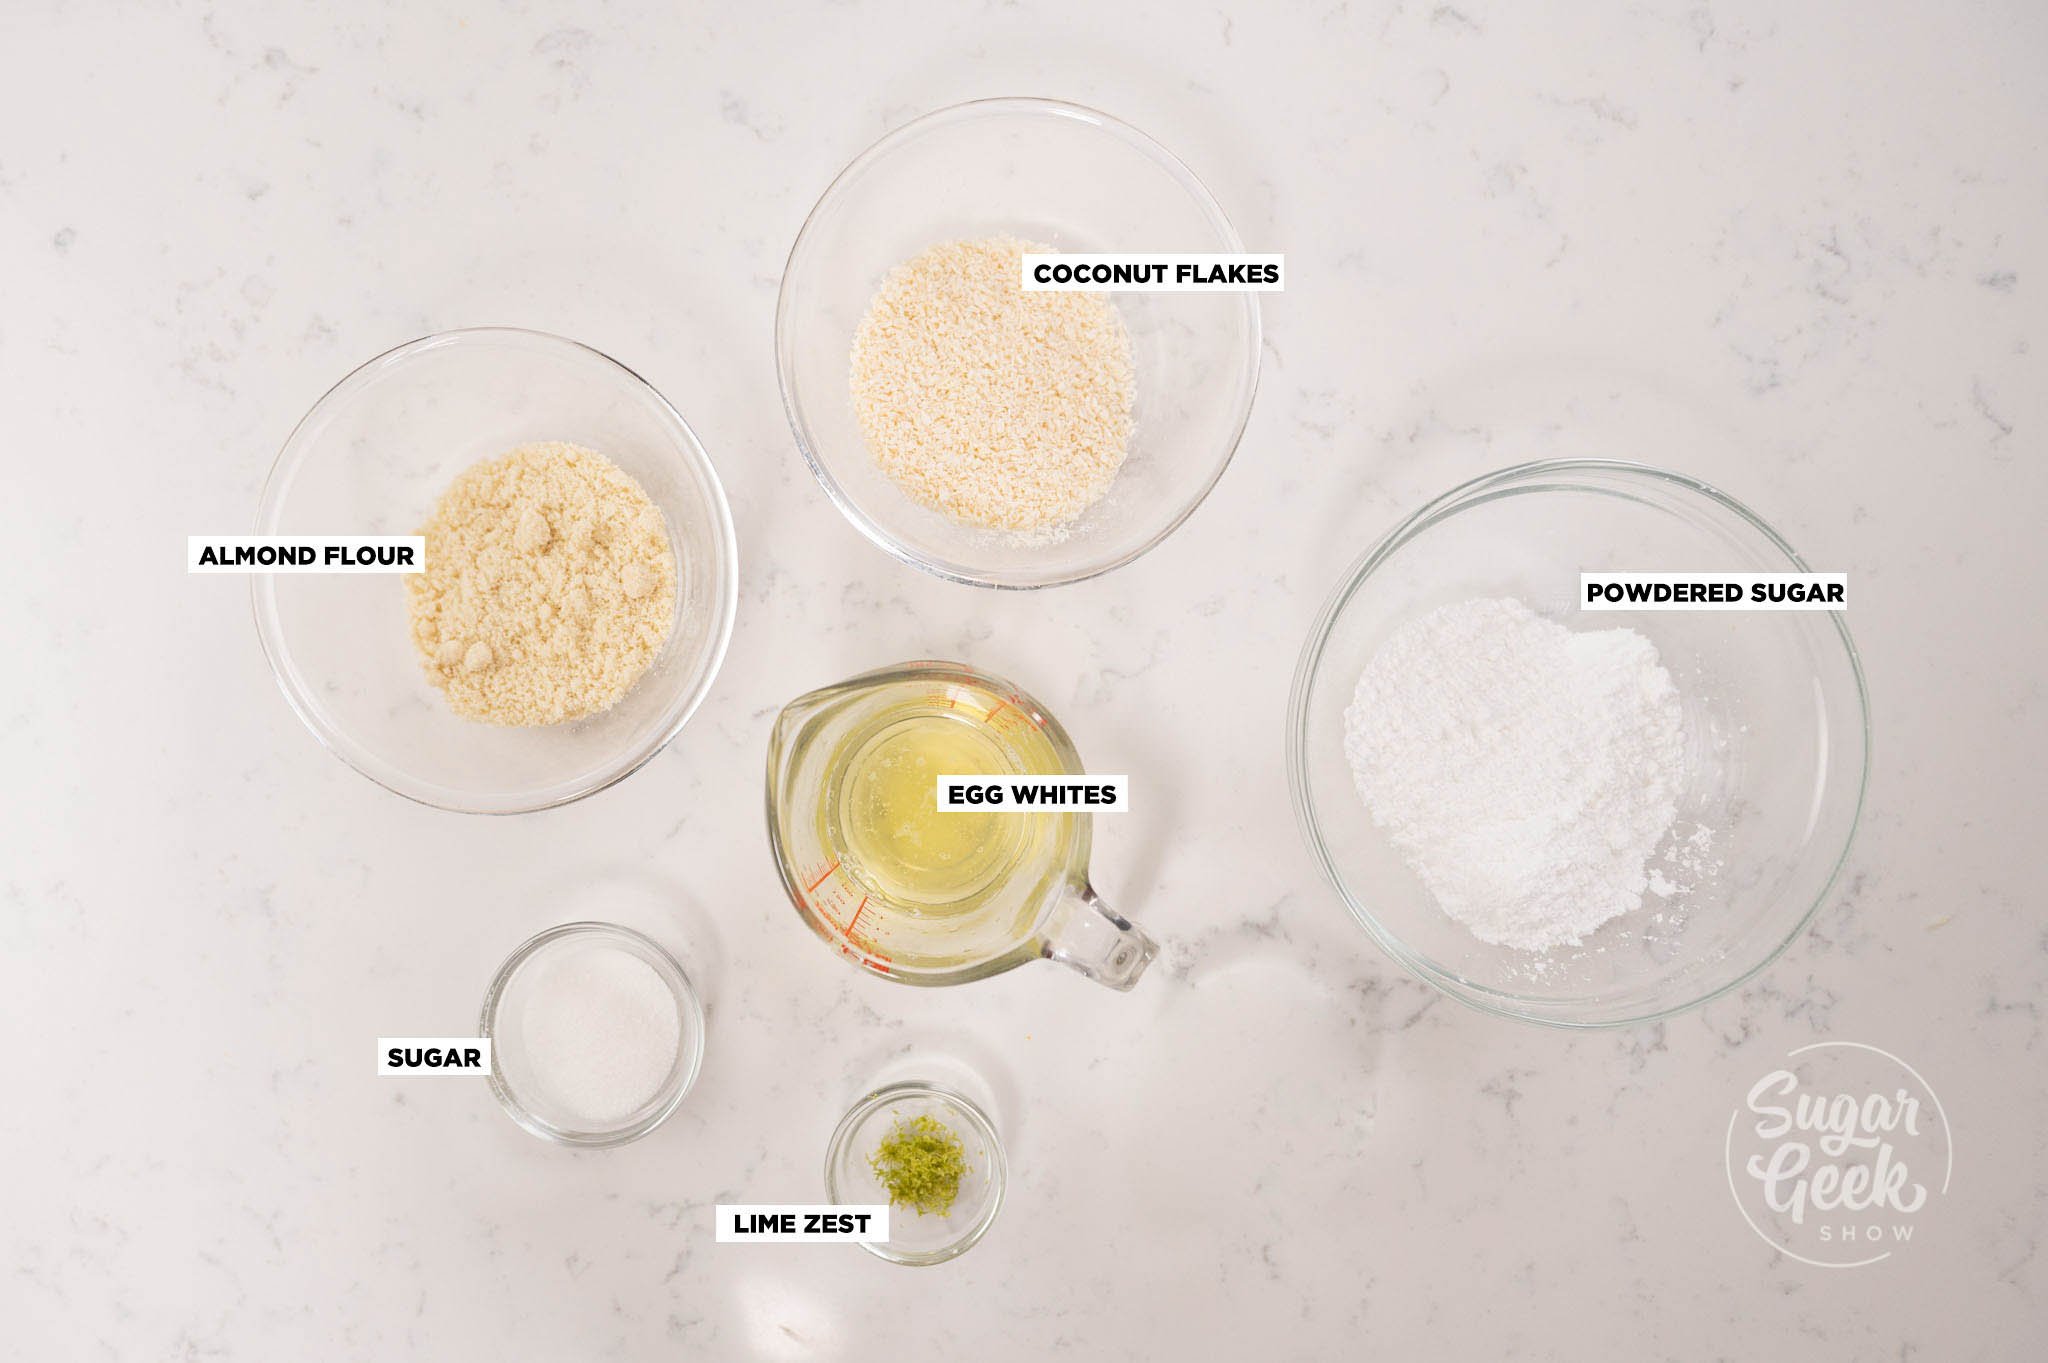
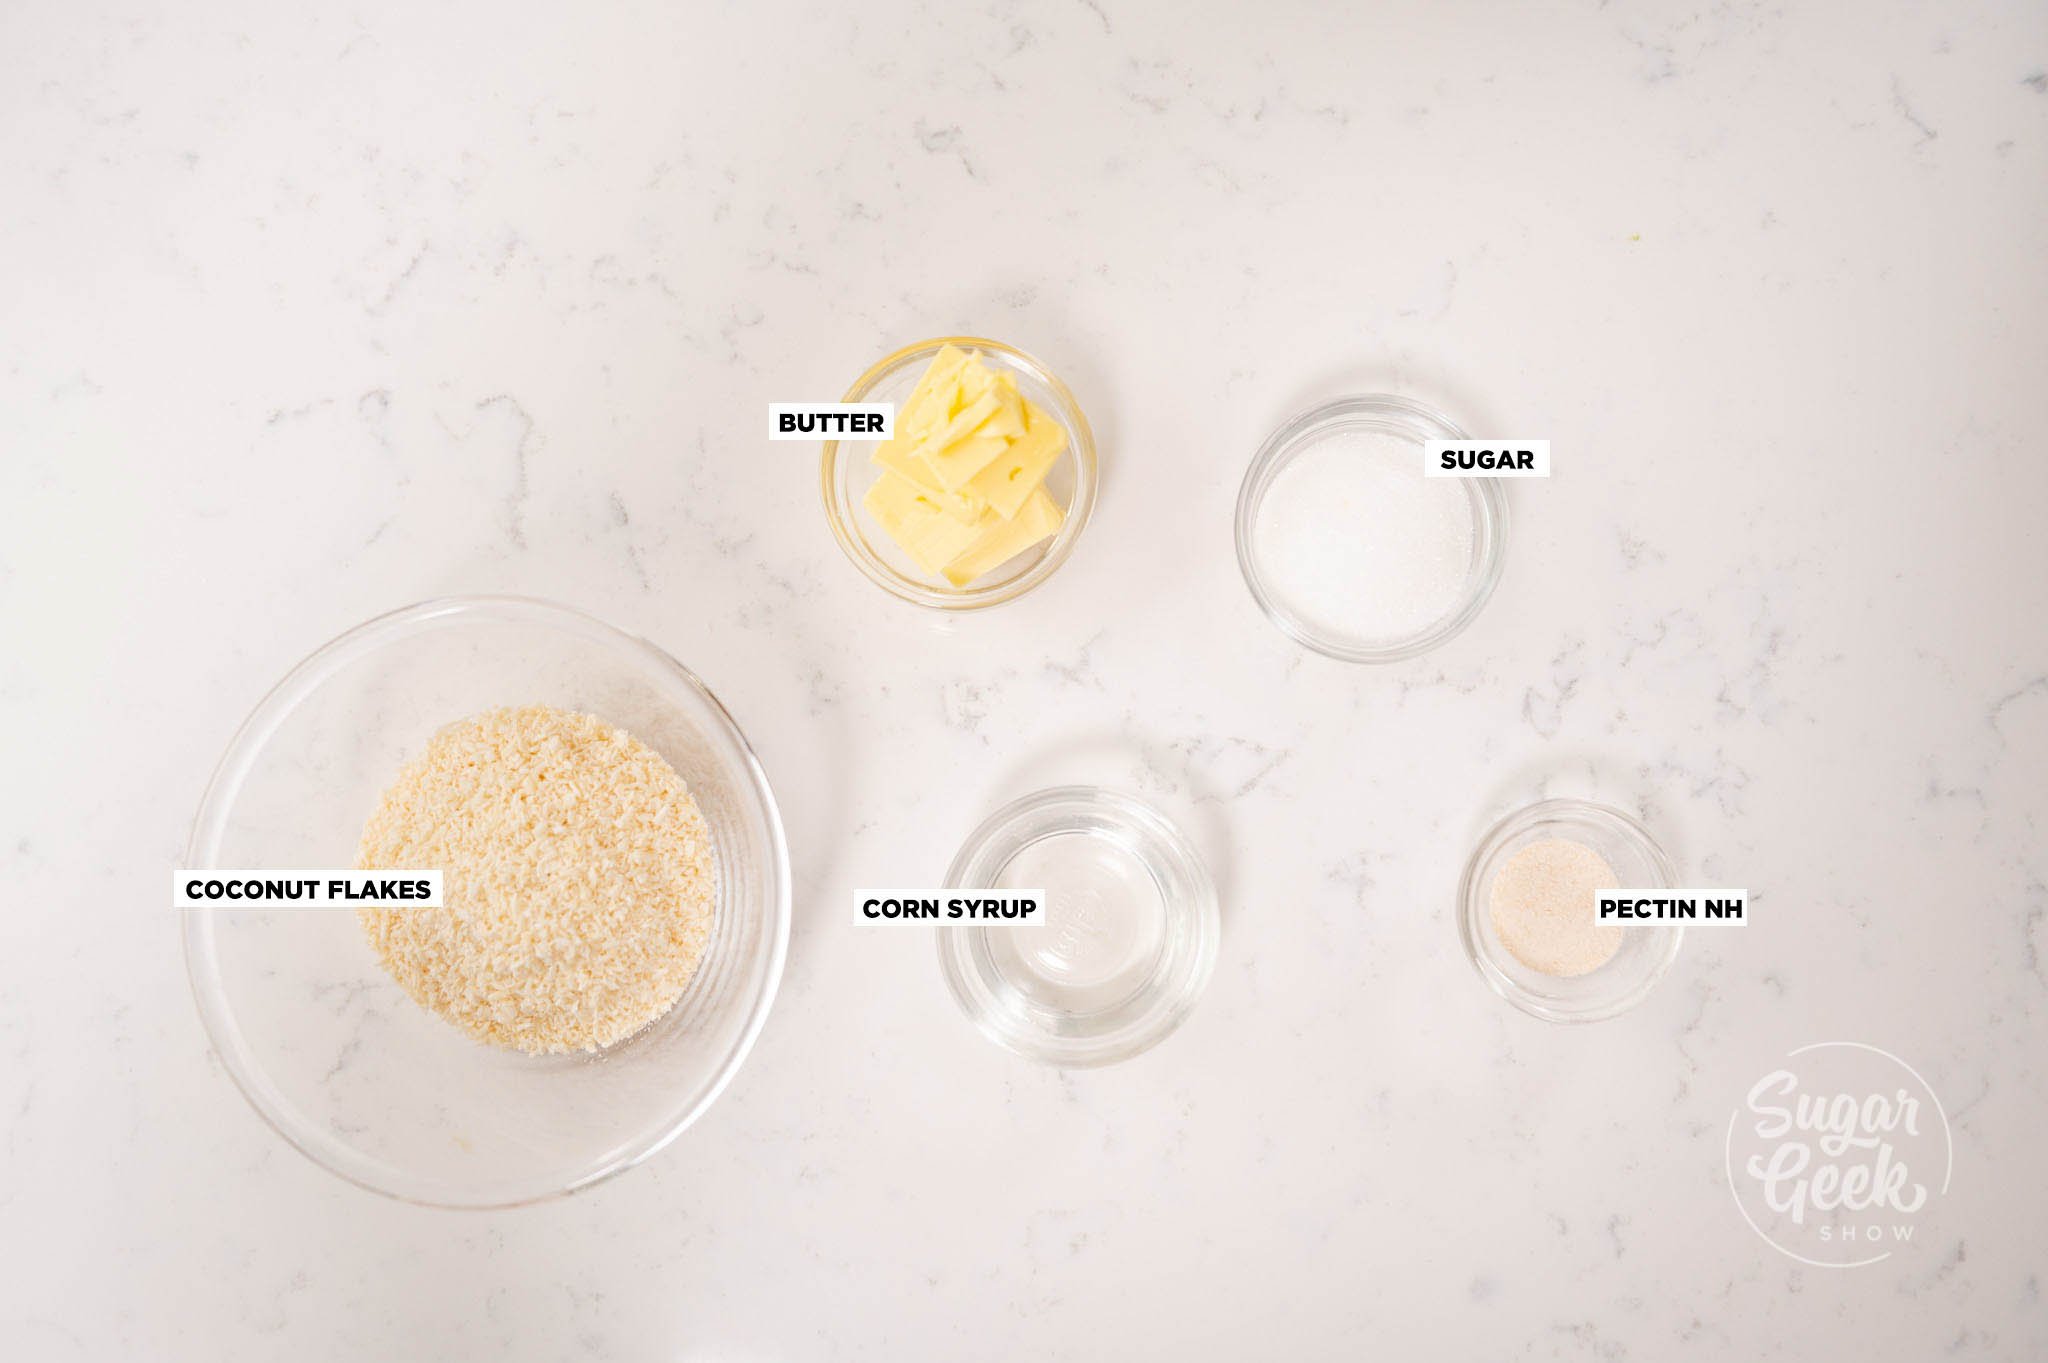
Coconut Nougatine
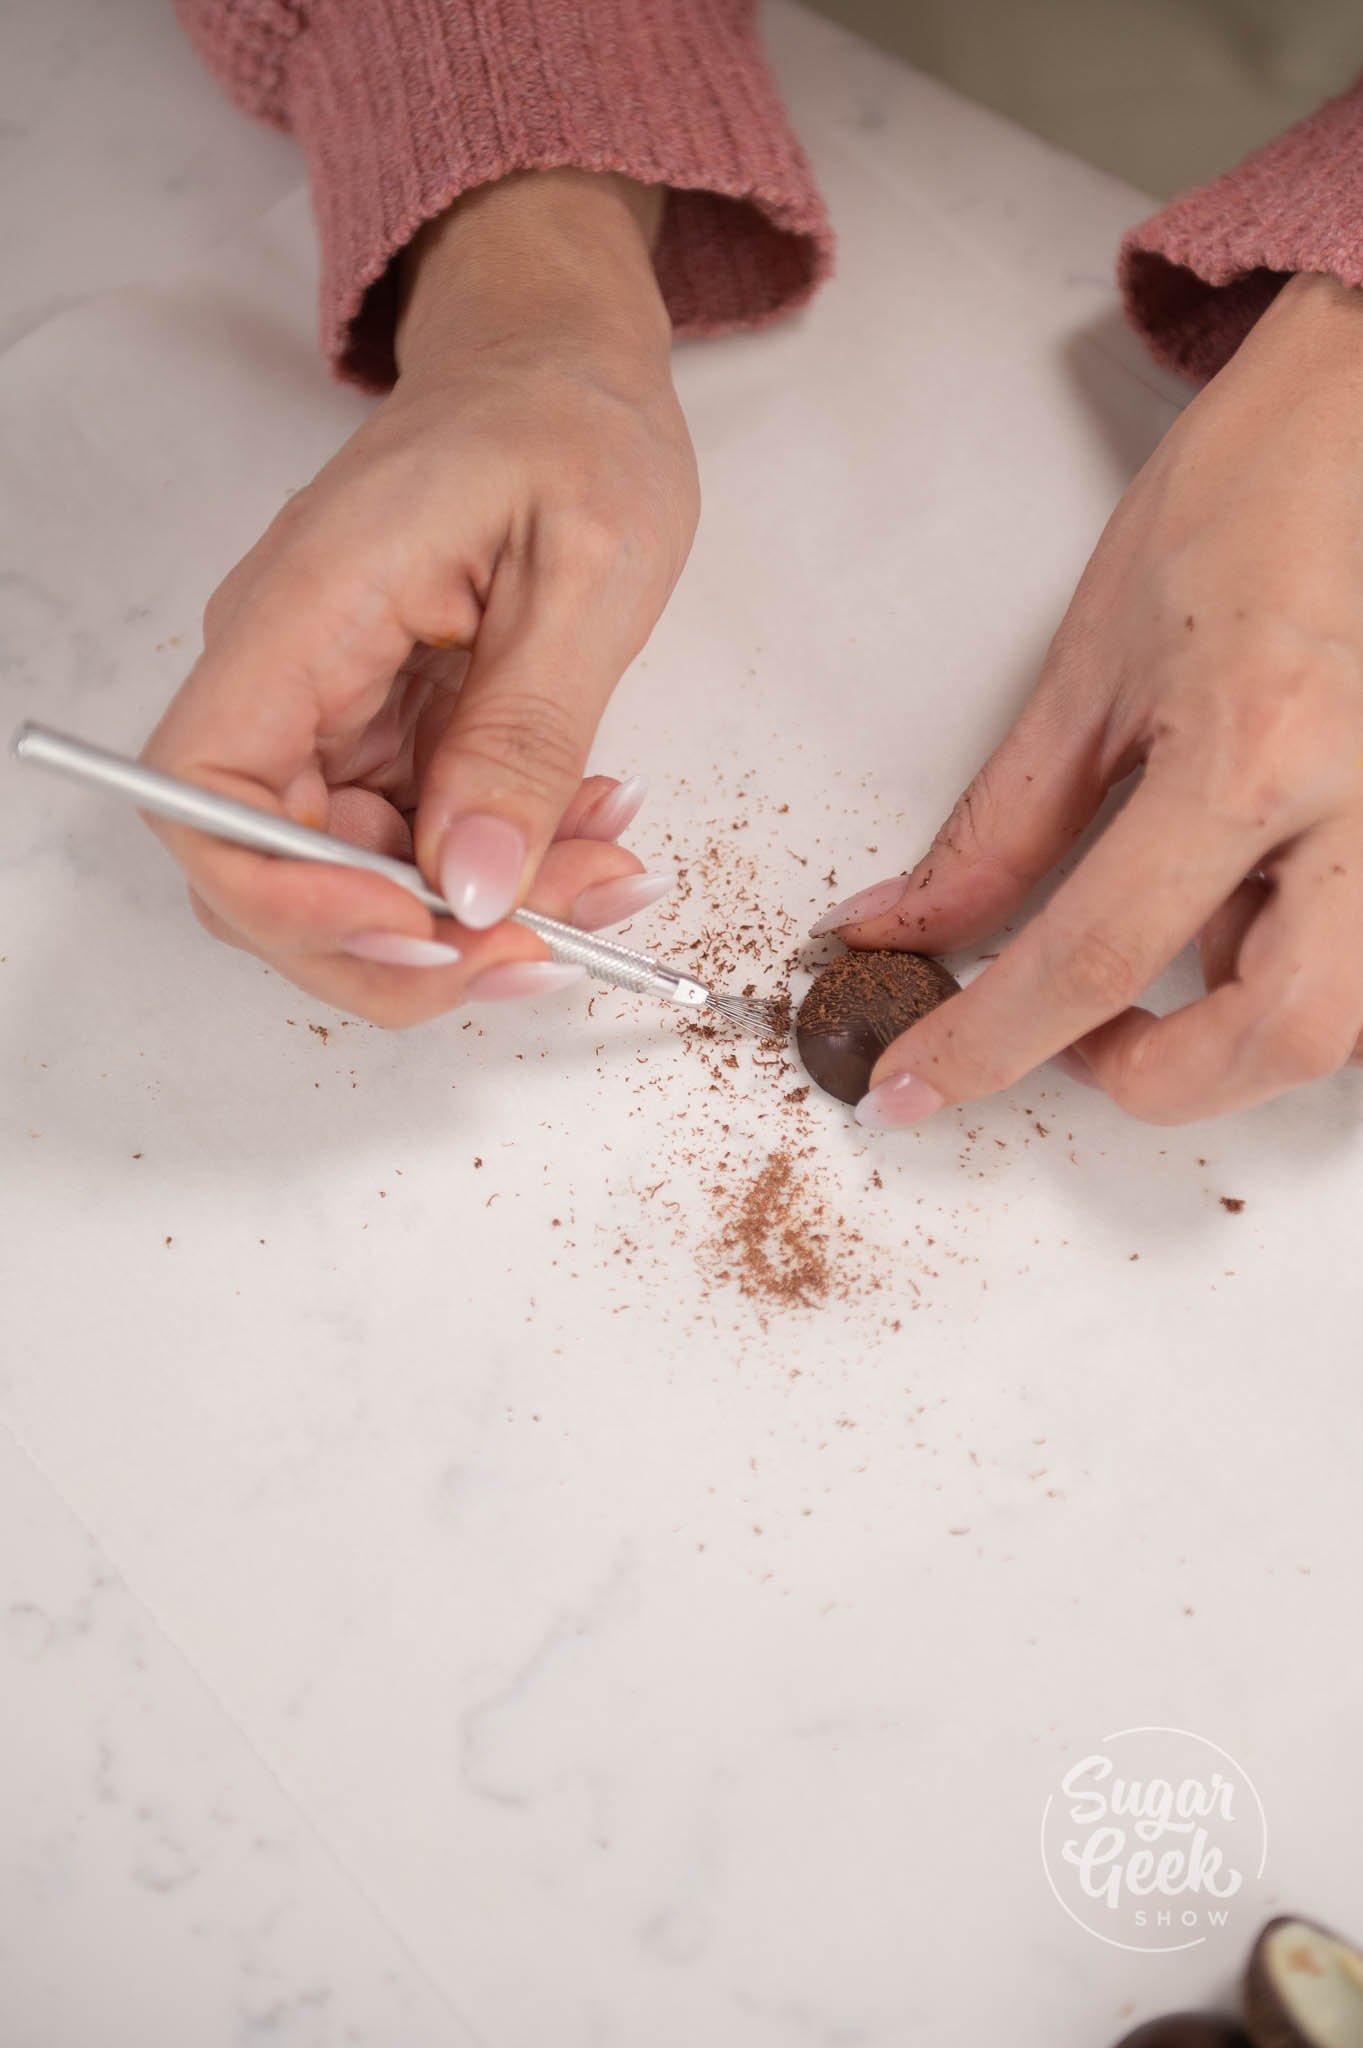
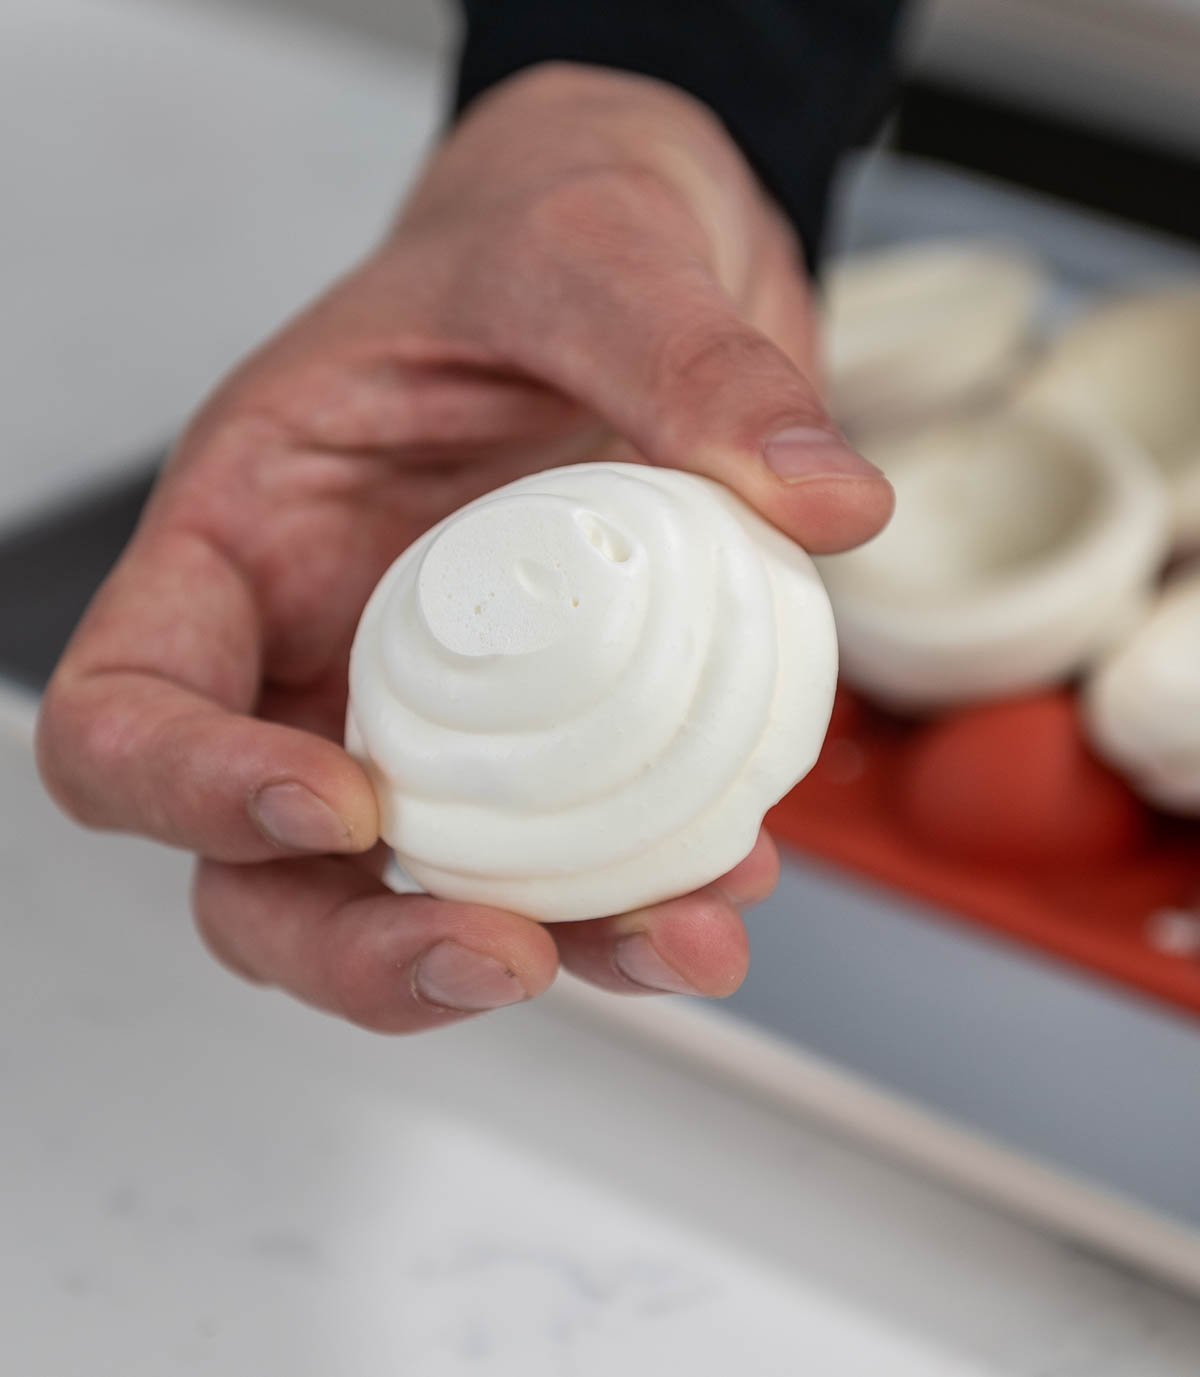
Nougatine is going to serve as our texture in these dessert cups. Crunchy, sweet, and highly addictive.

Ingredients Tips and Substitutions
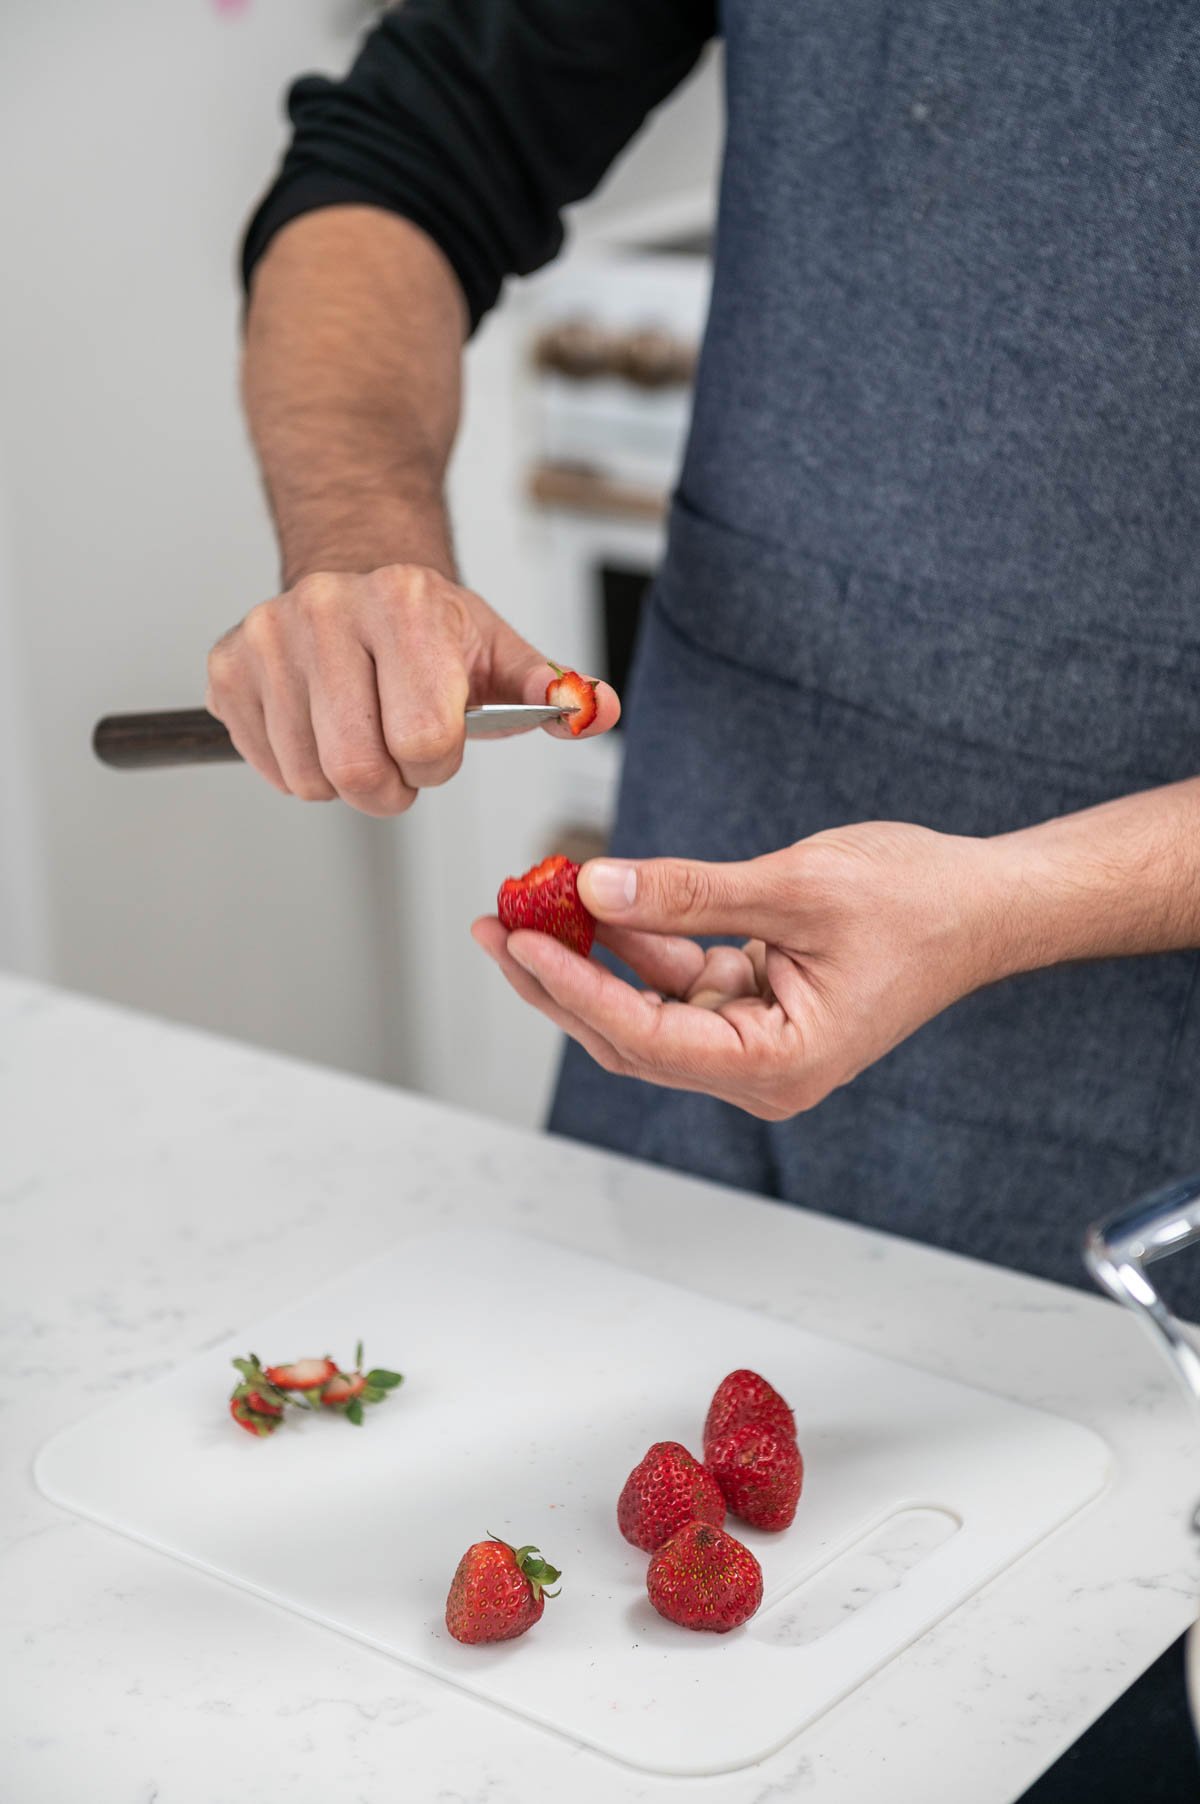
Mango: Make sure to buy them pretty ripe so they are soft, sweet, and easy to slice. To pick the perfect mango press on them lightly and if they feel slightly soft (not too soft) then they are ready to use! You can also buy frozen mango.
Coconut flakes: To make our coconut nougatine we need coconut flakes for texture and flavor. We are using unsweetened for this recipe because we are adding sugar to our components. You can use sweetened if you would like, just make sure to adjust your sugar measurement so you don't make your recipe too sweet.
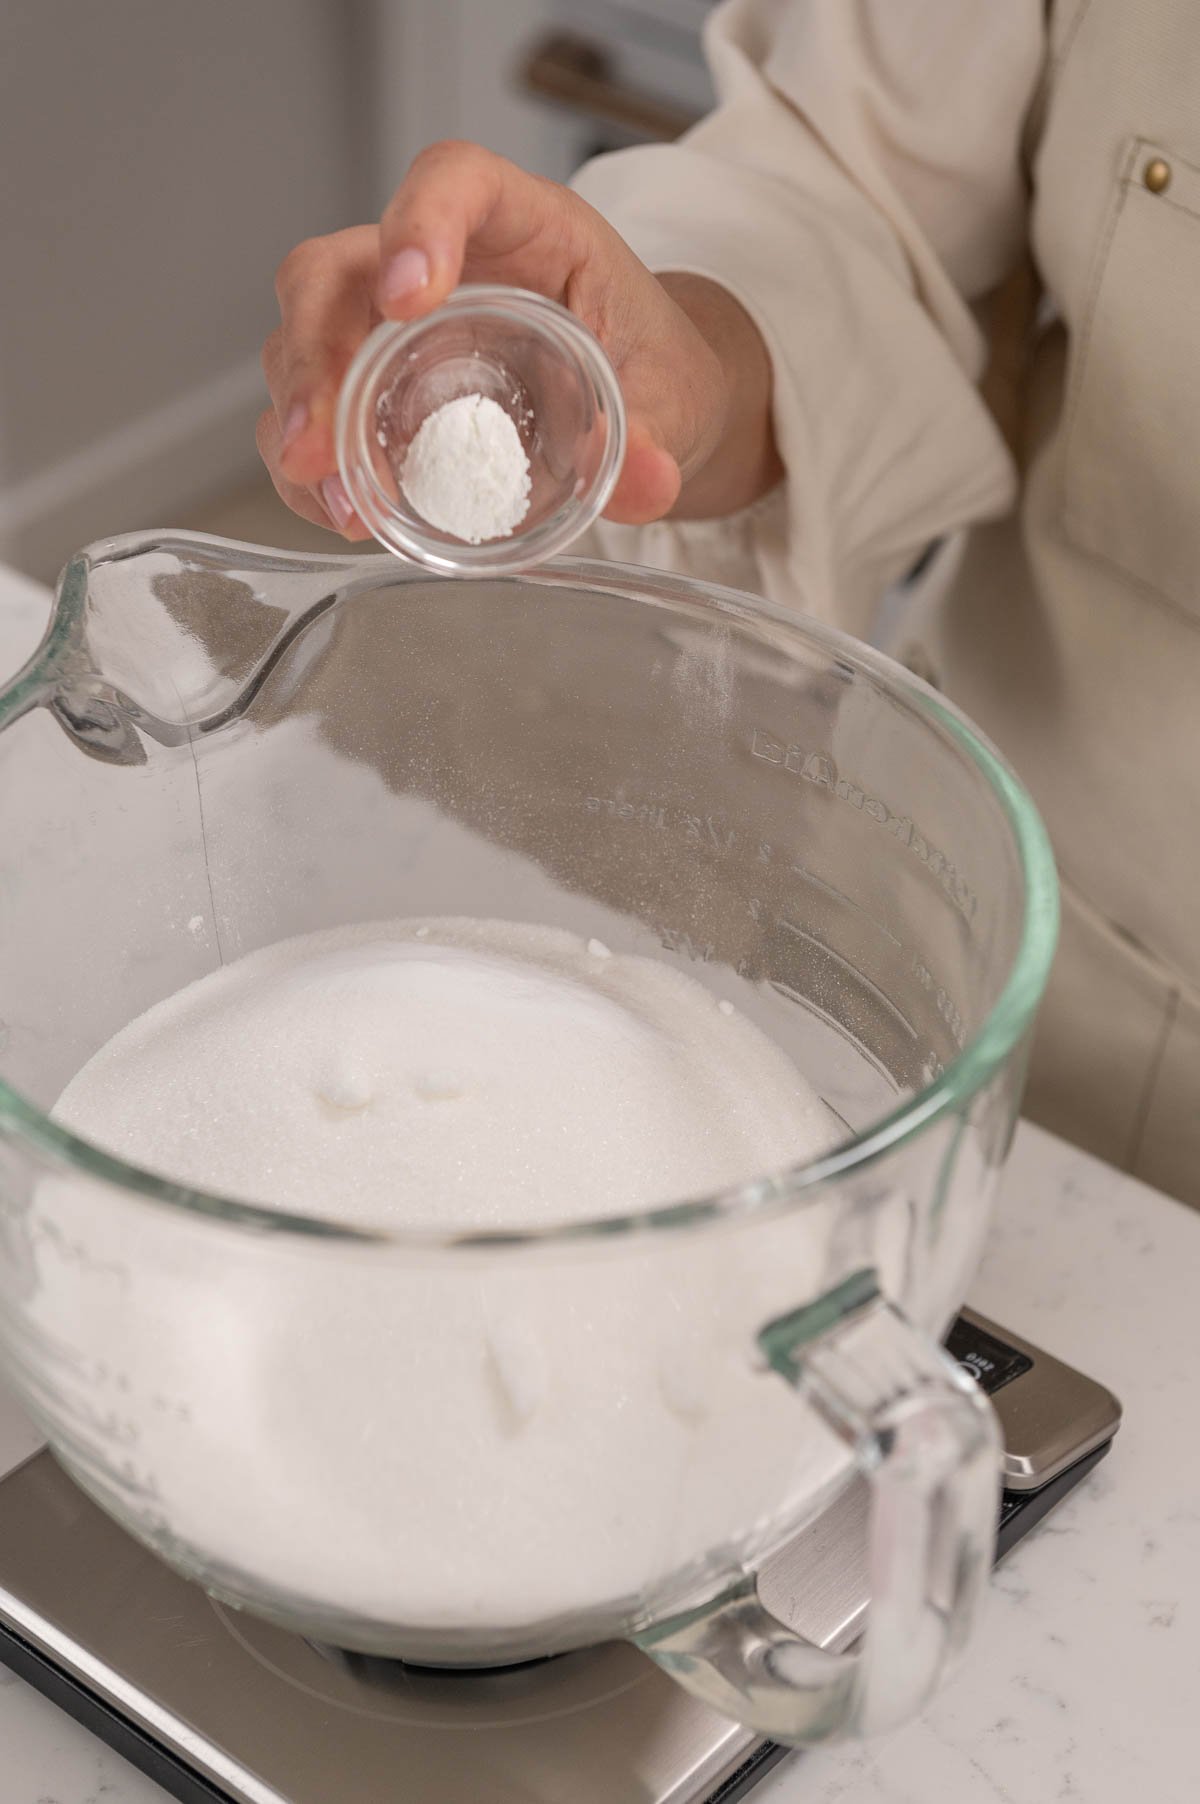
Pectin NH: Pectin is a thickening agent that is used in many jams, spreads, and compotes. It is what helps thicken your sauce to become more pliable and gives it that jam texture. You can usually find it in the grocery store in the canning or food preservation aisle or you can order it online.
Gelatin: We are using 200 bloom gelatin sheets because sheets will create a transparent and extra shiny product. You can use gelatin powder since it's easier to find or can order sheets online.
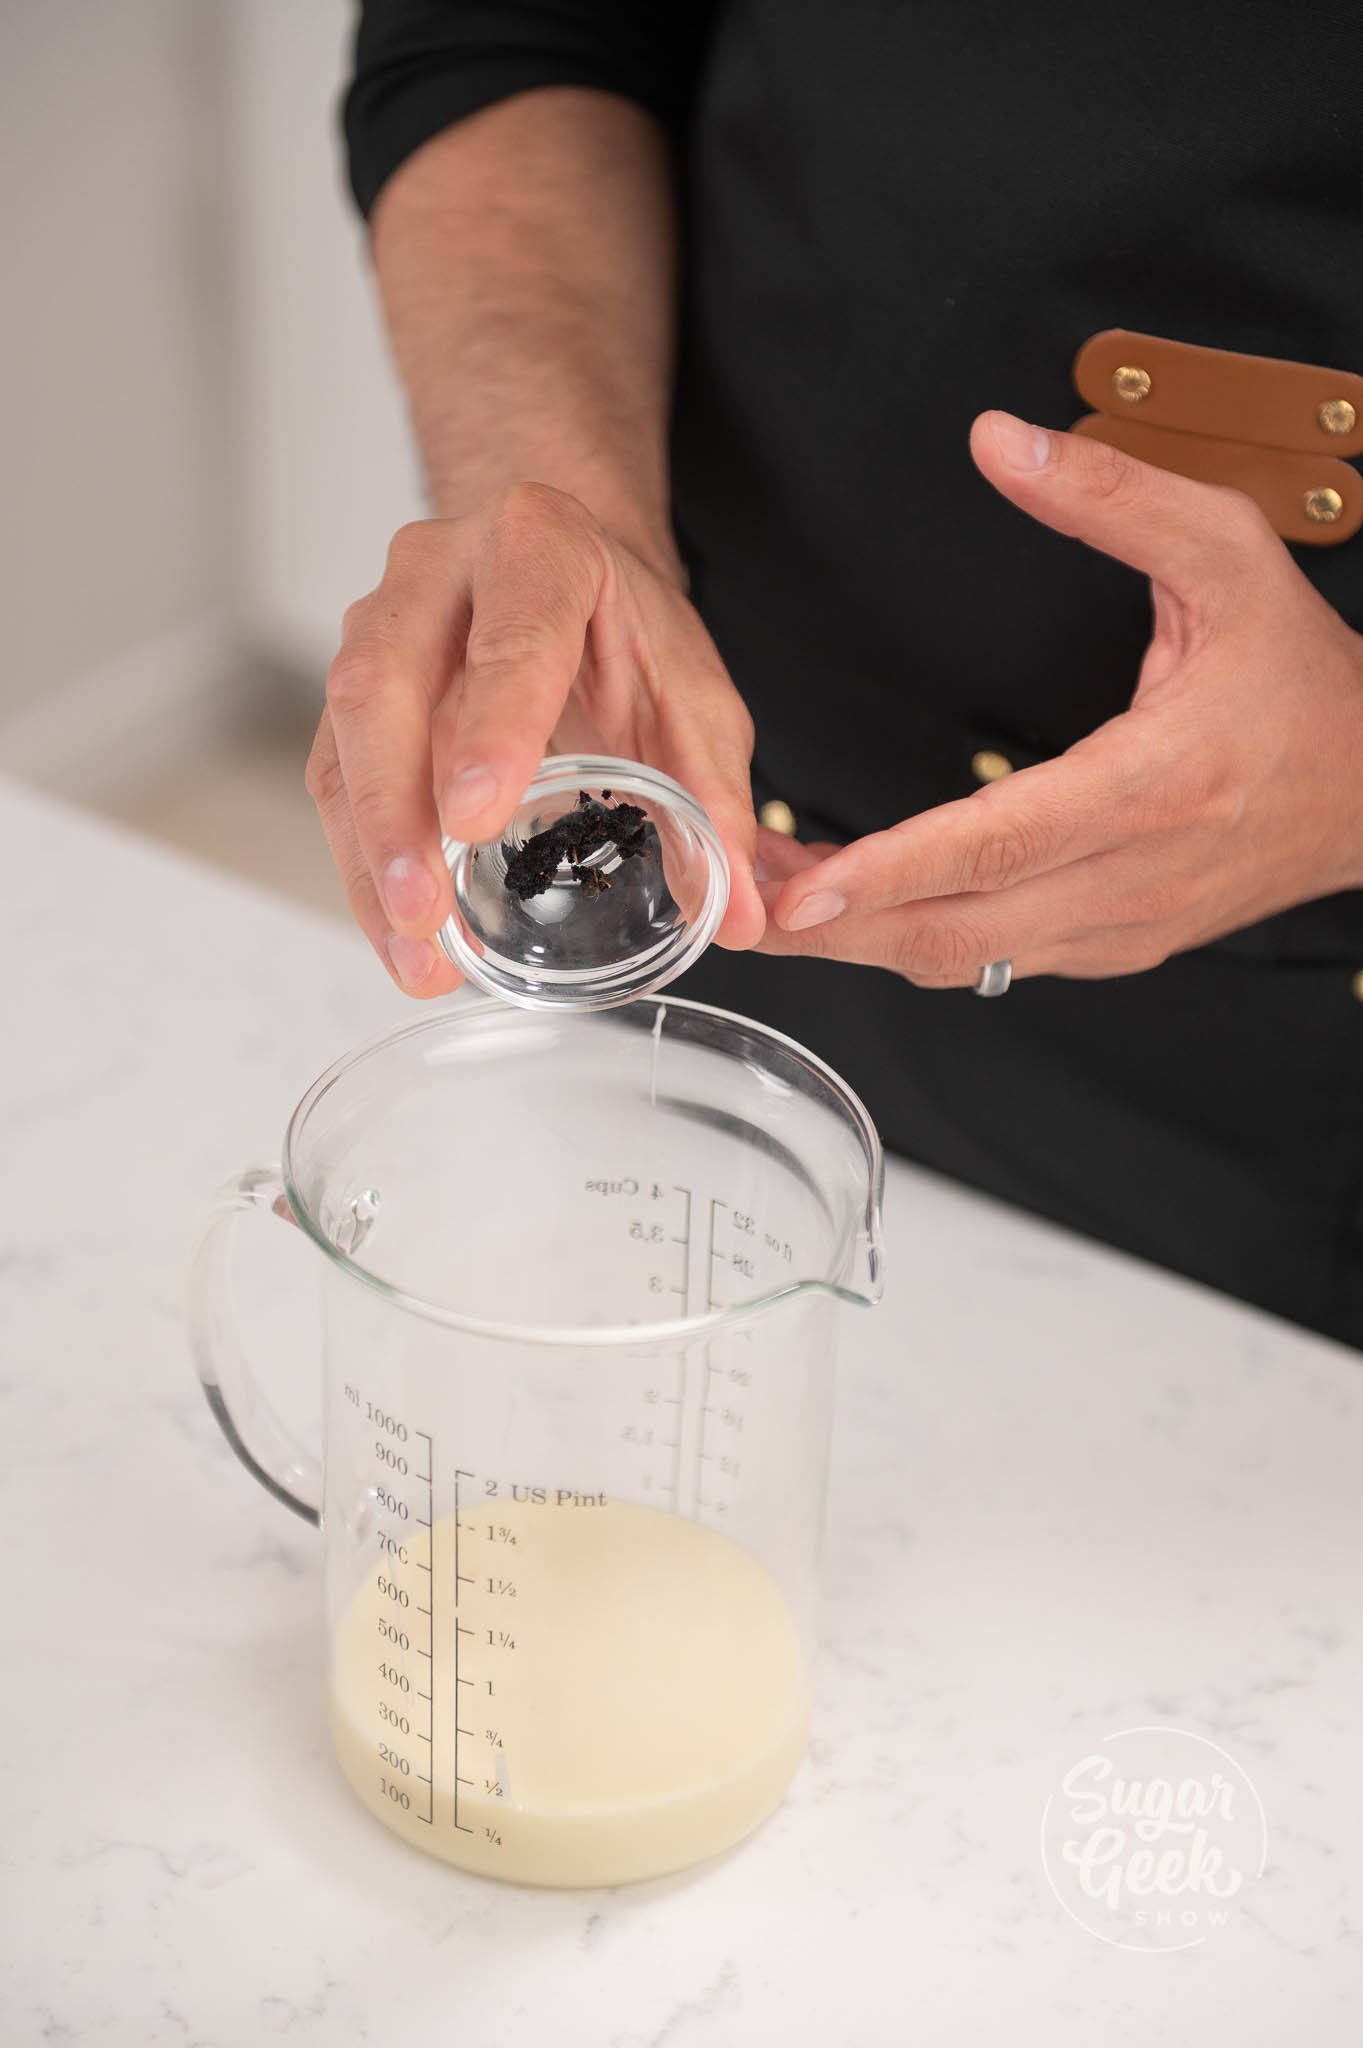
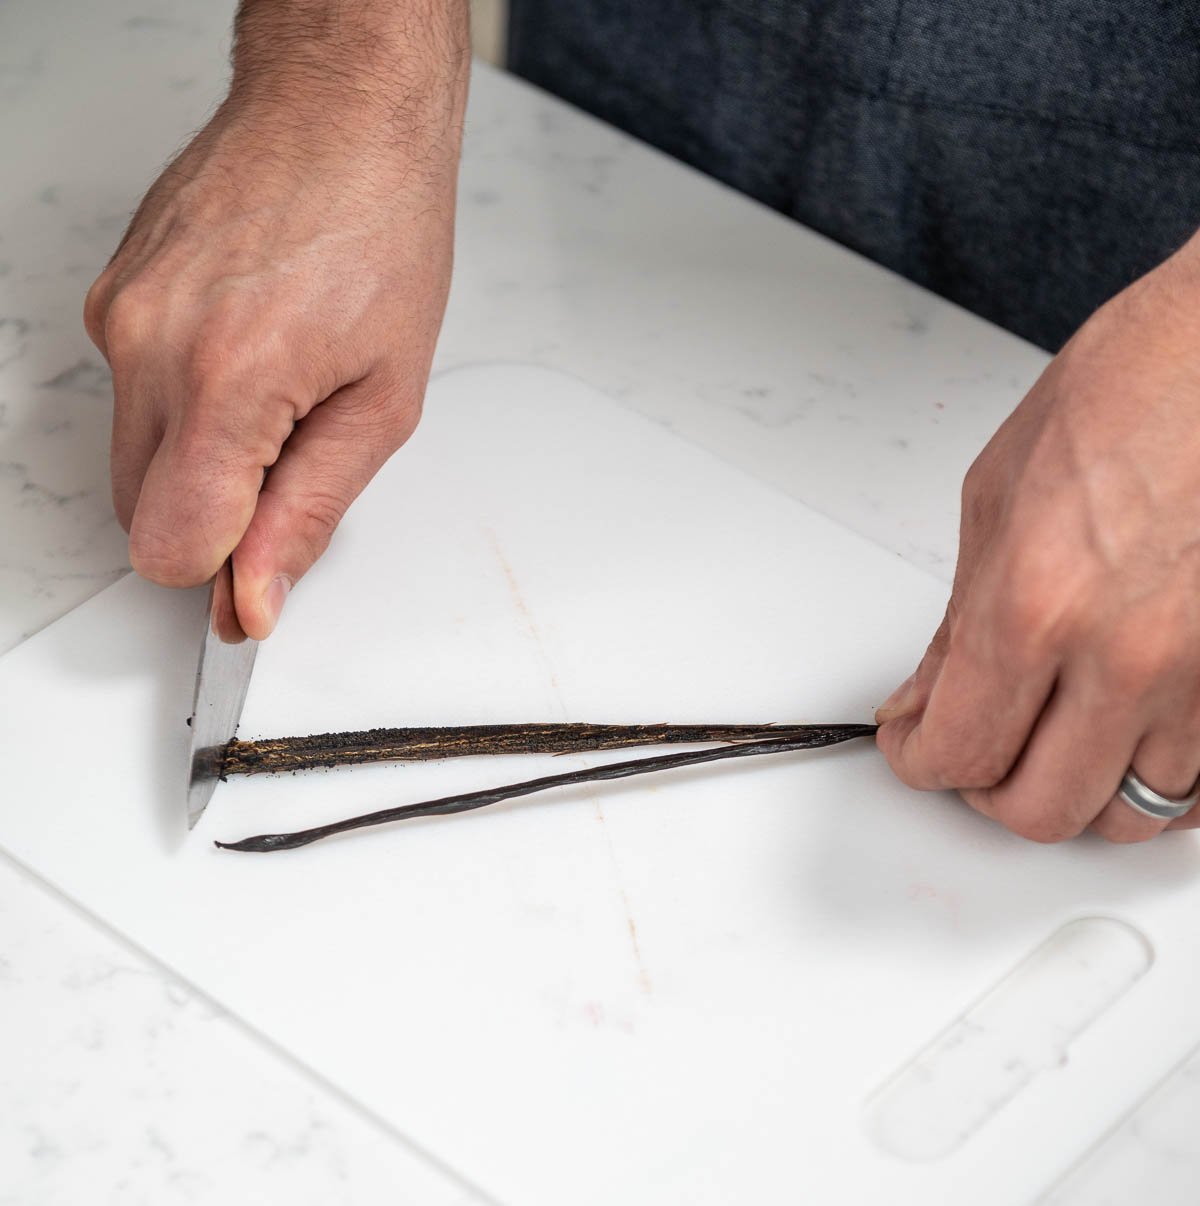
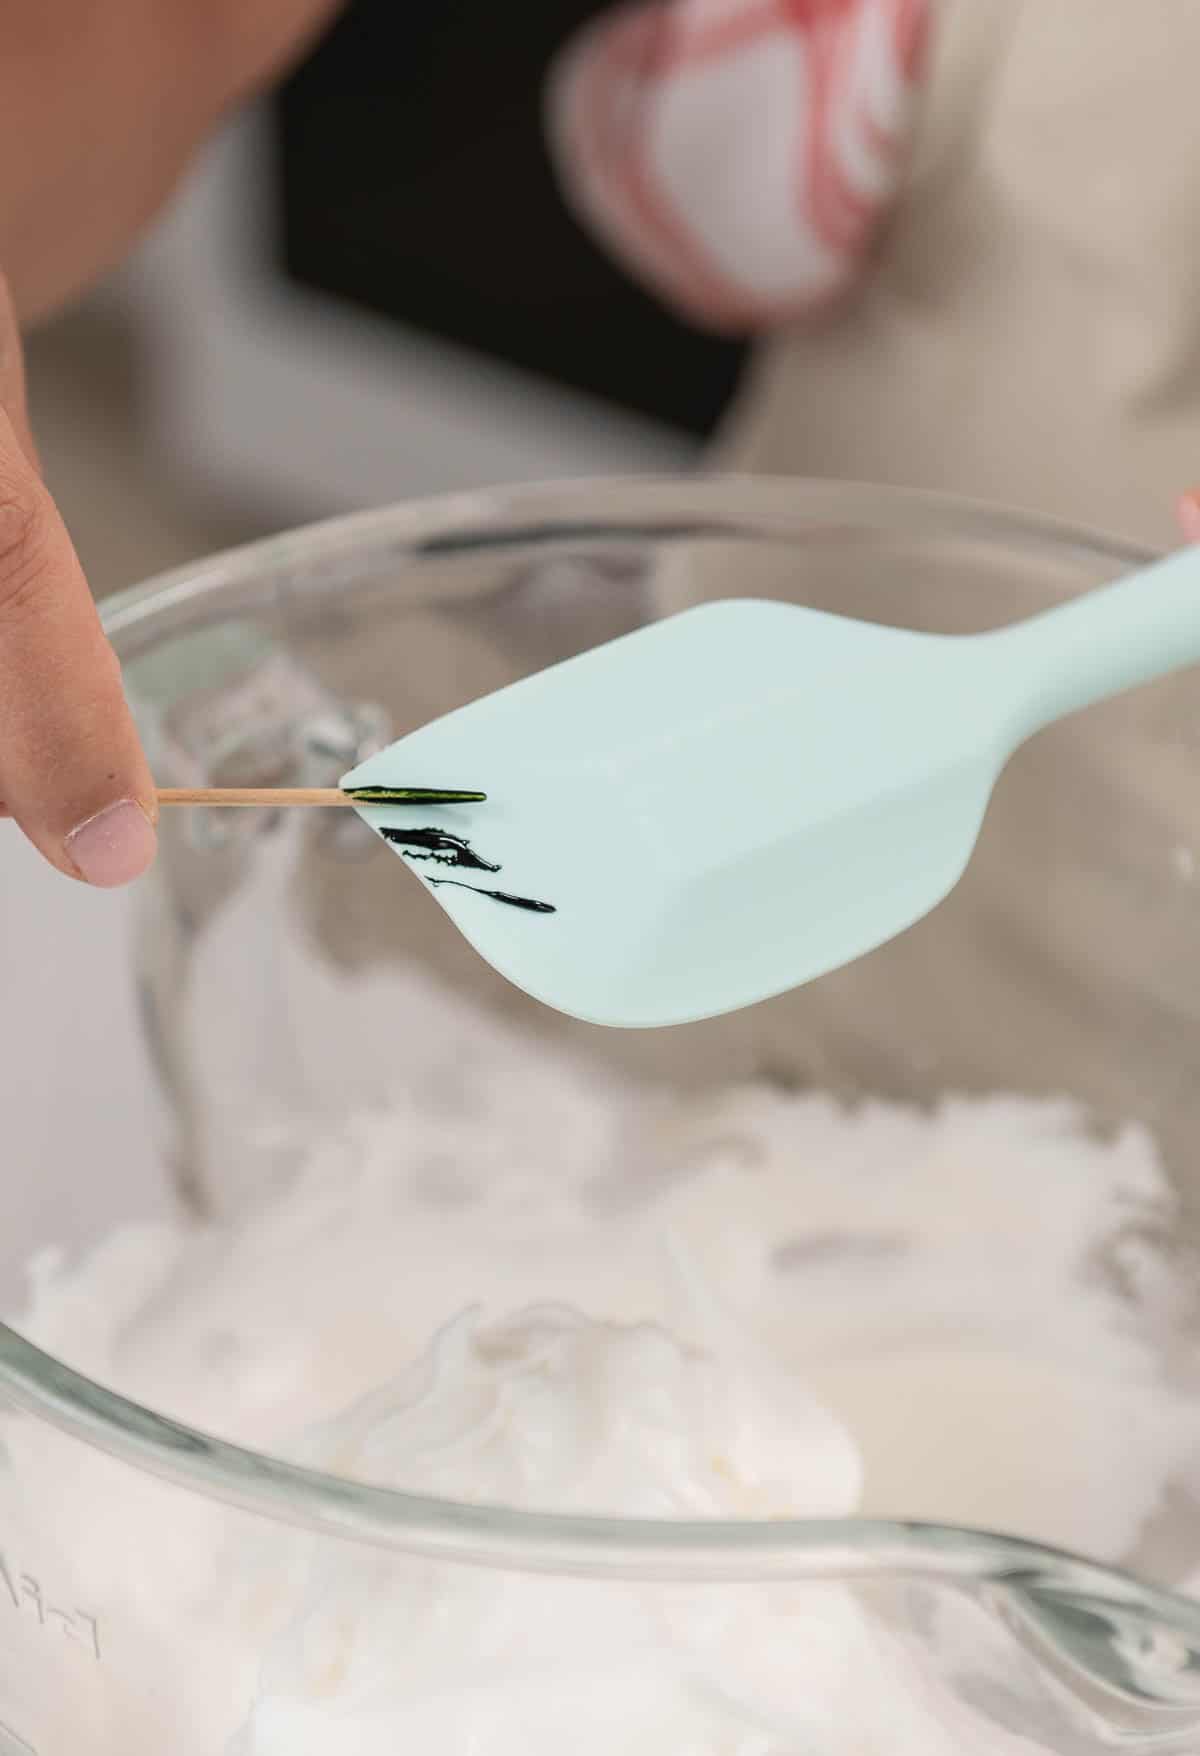
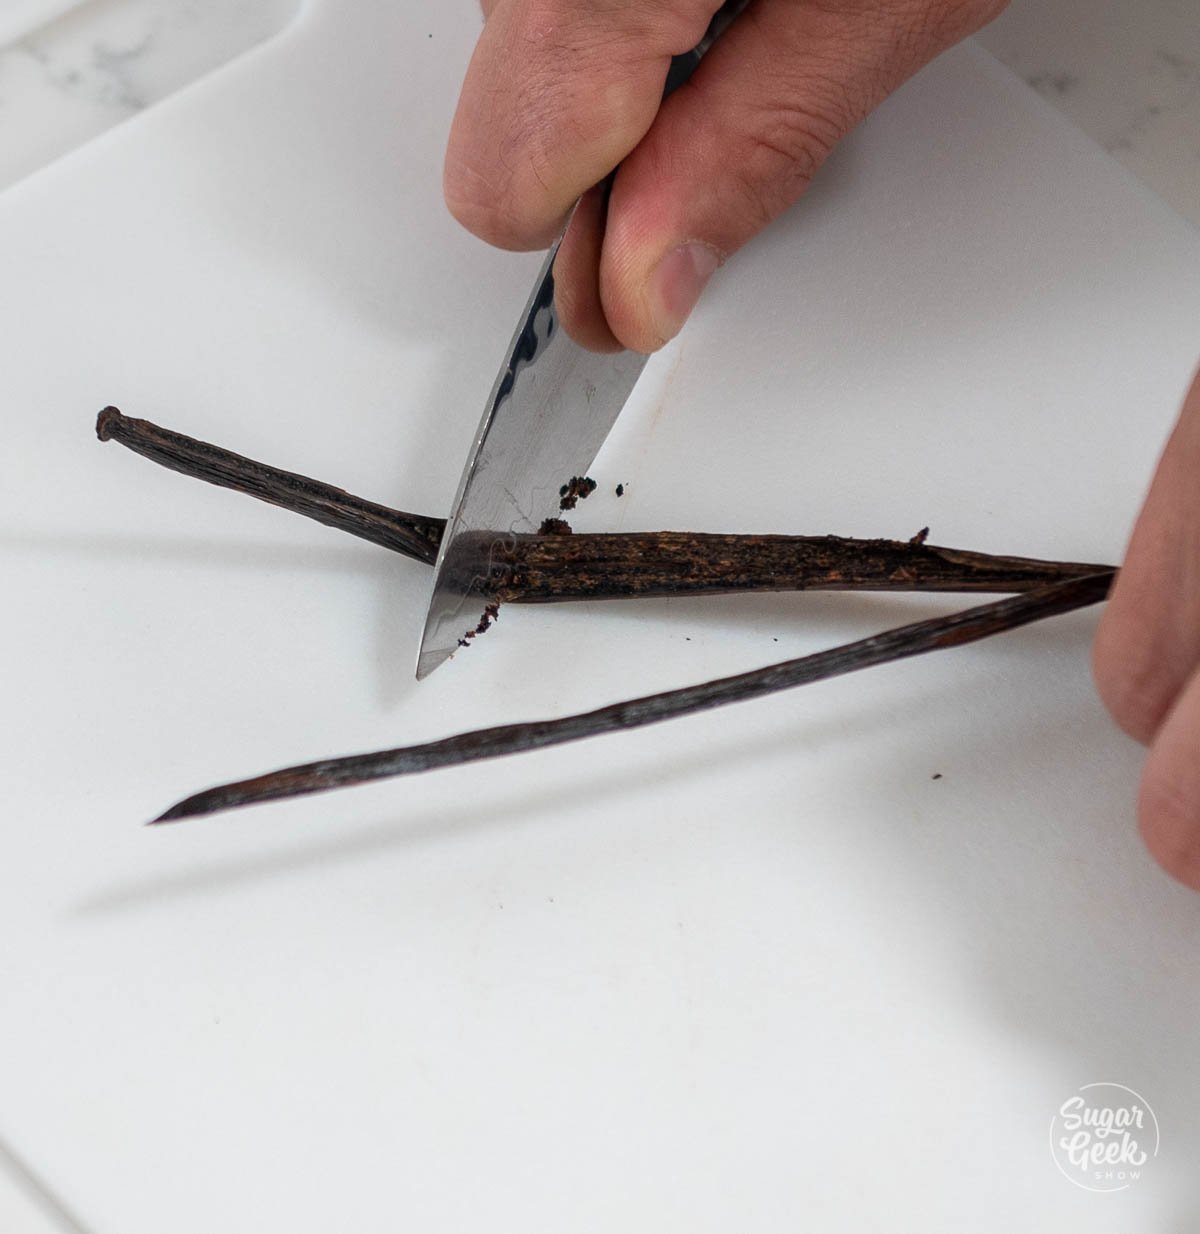
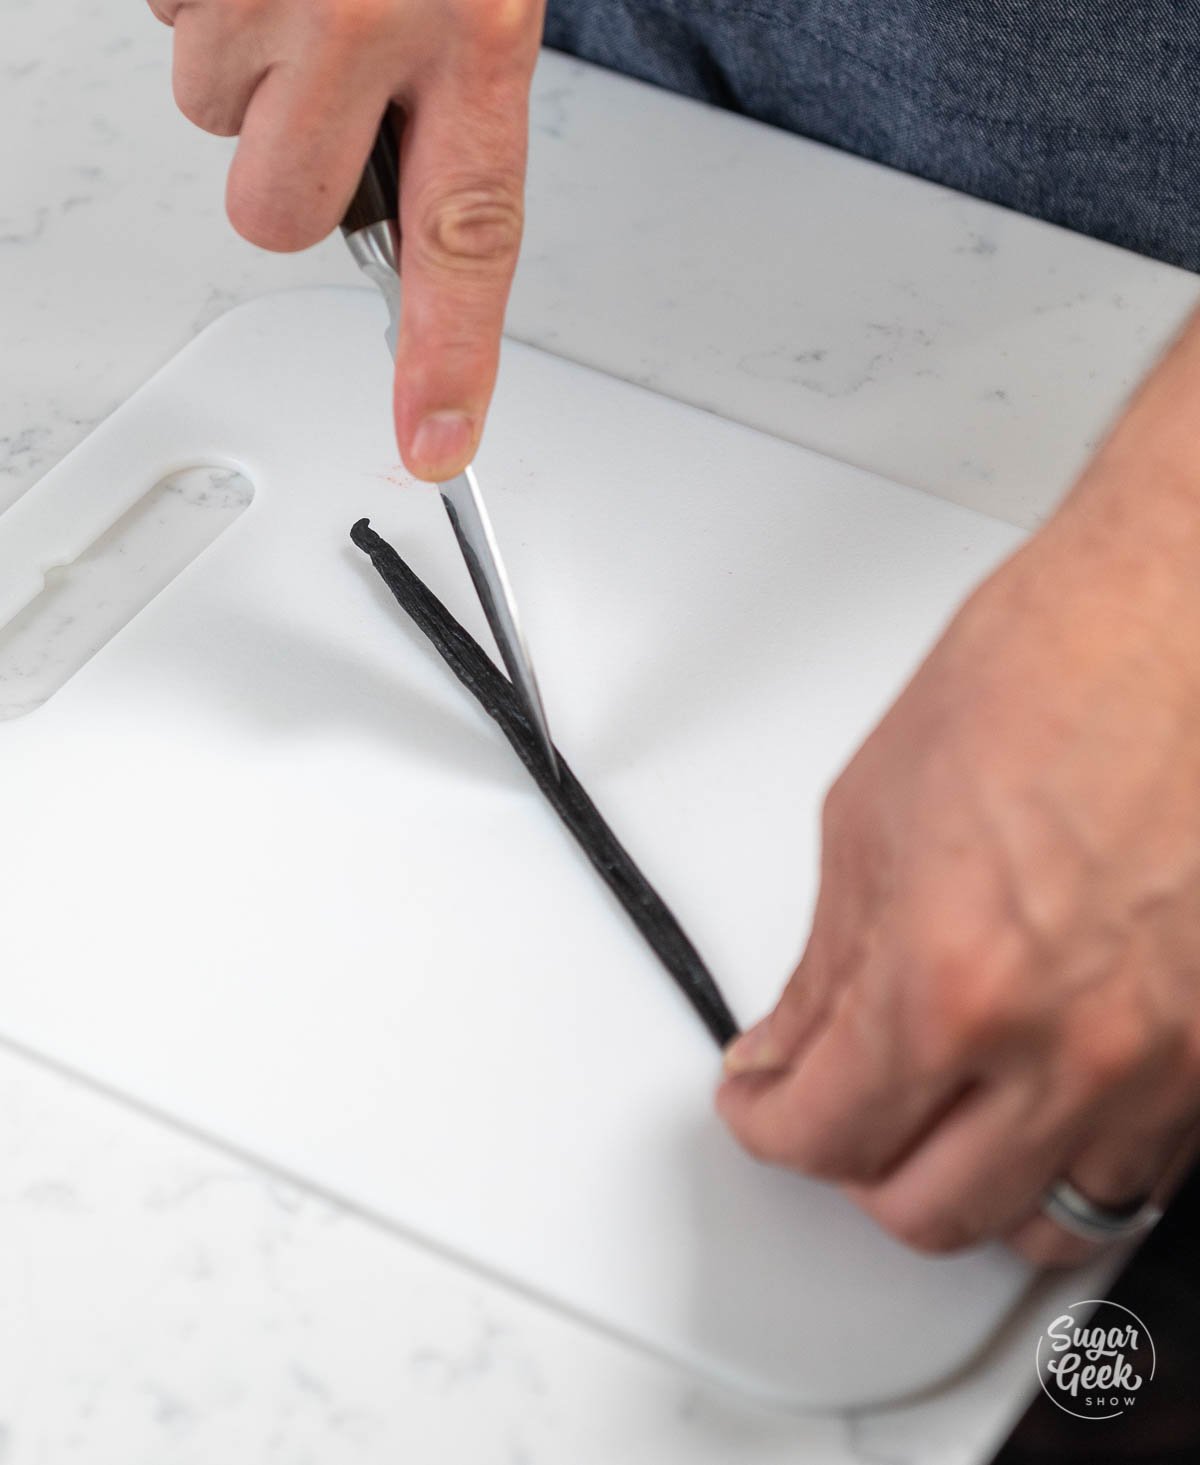
Vanilla: We are using a vanilla bean to produce the best vanilla flavor, but you can use vanilla bean paste or extract. Nielsen Massey has amazing vanilla paste, extract, and beans!
Coconut Mango Dessert Cups Step-By-Step
Making the Mango Puree
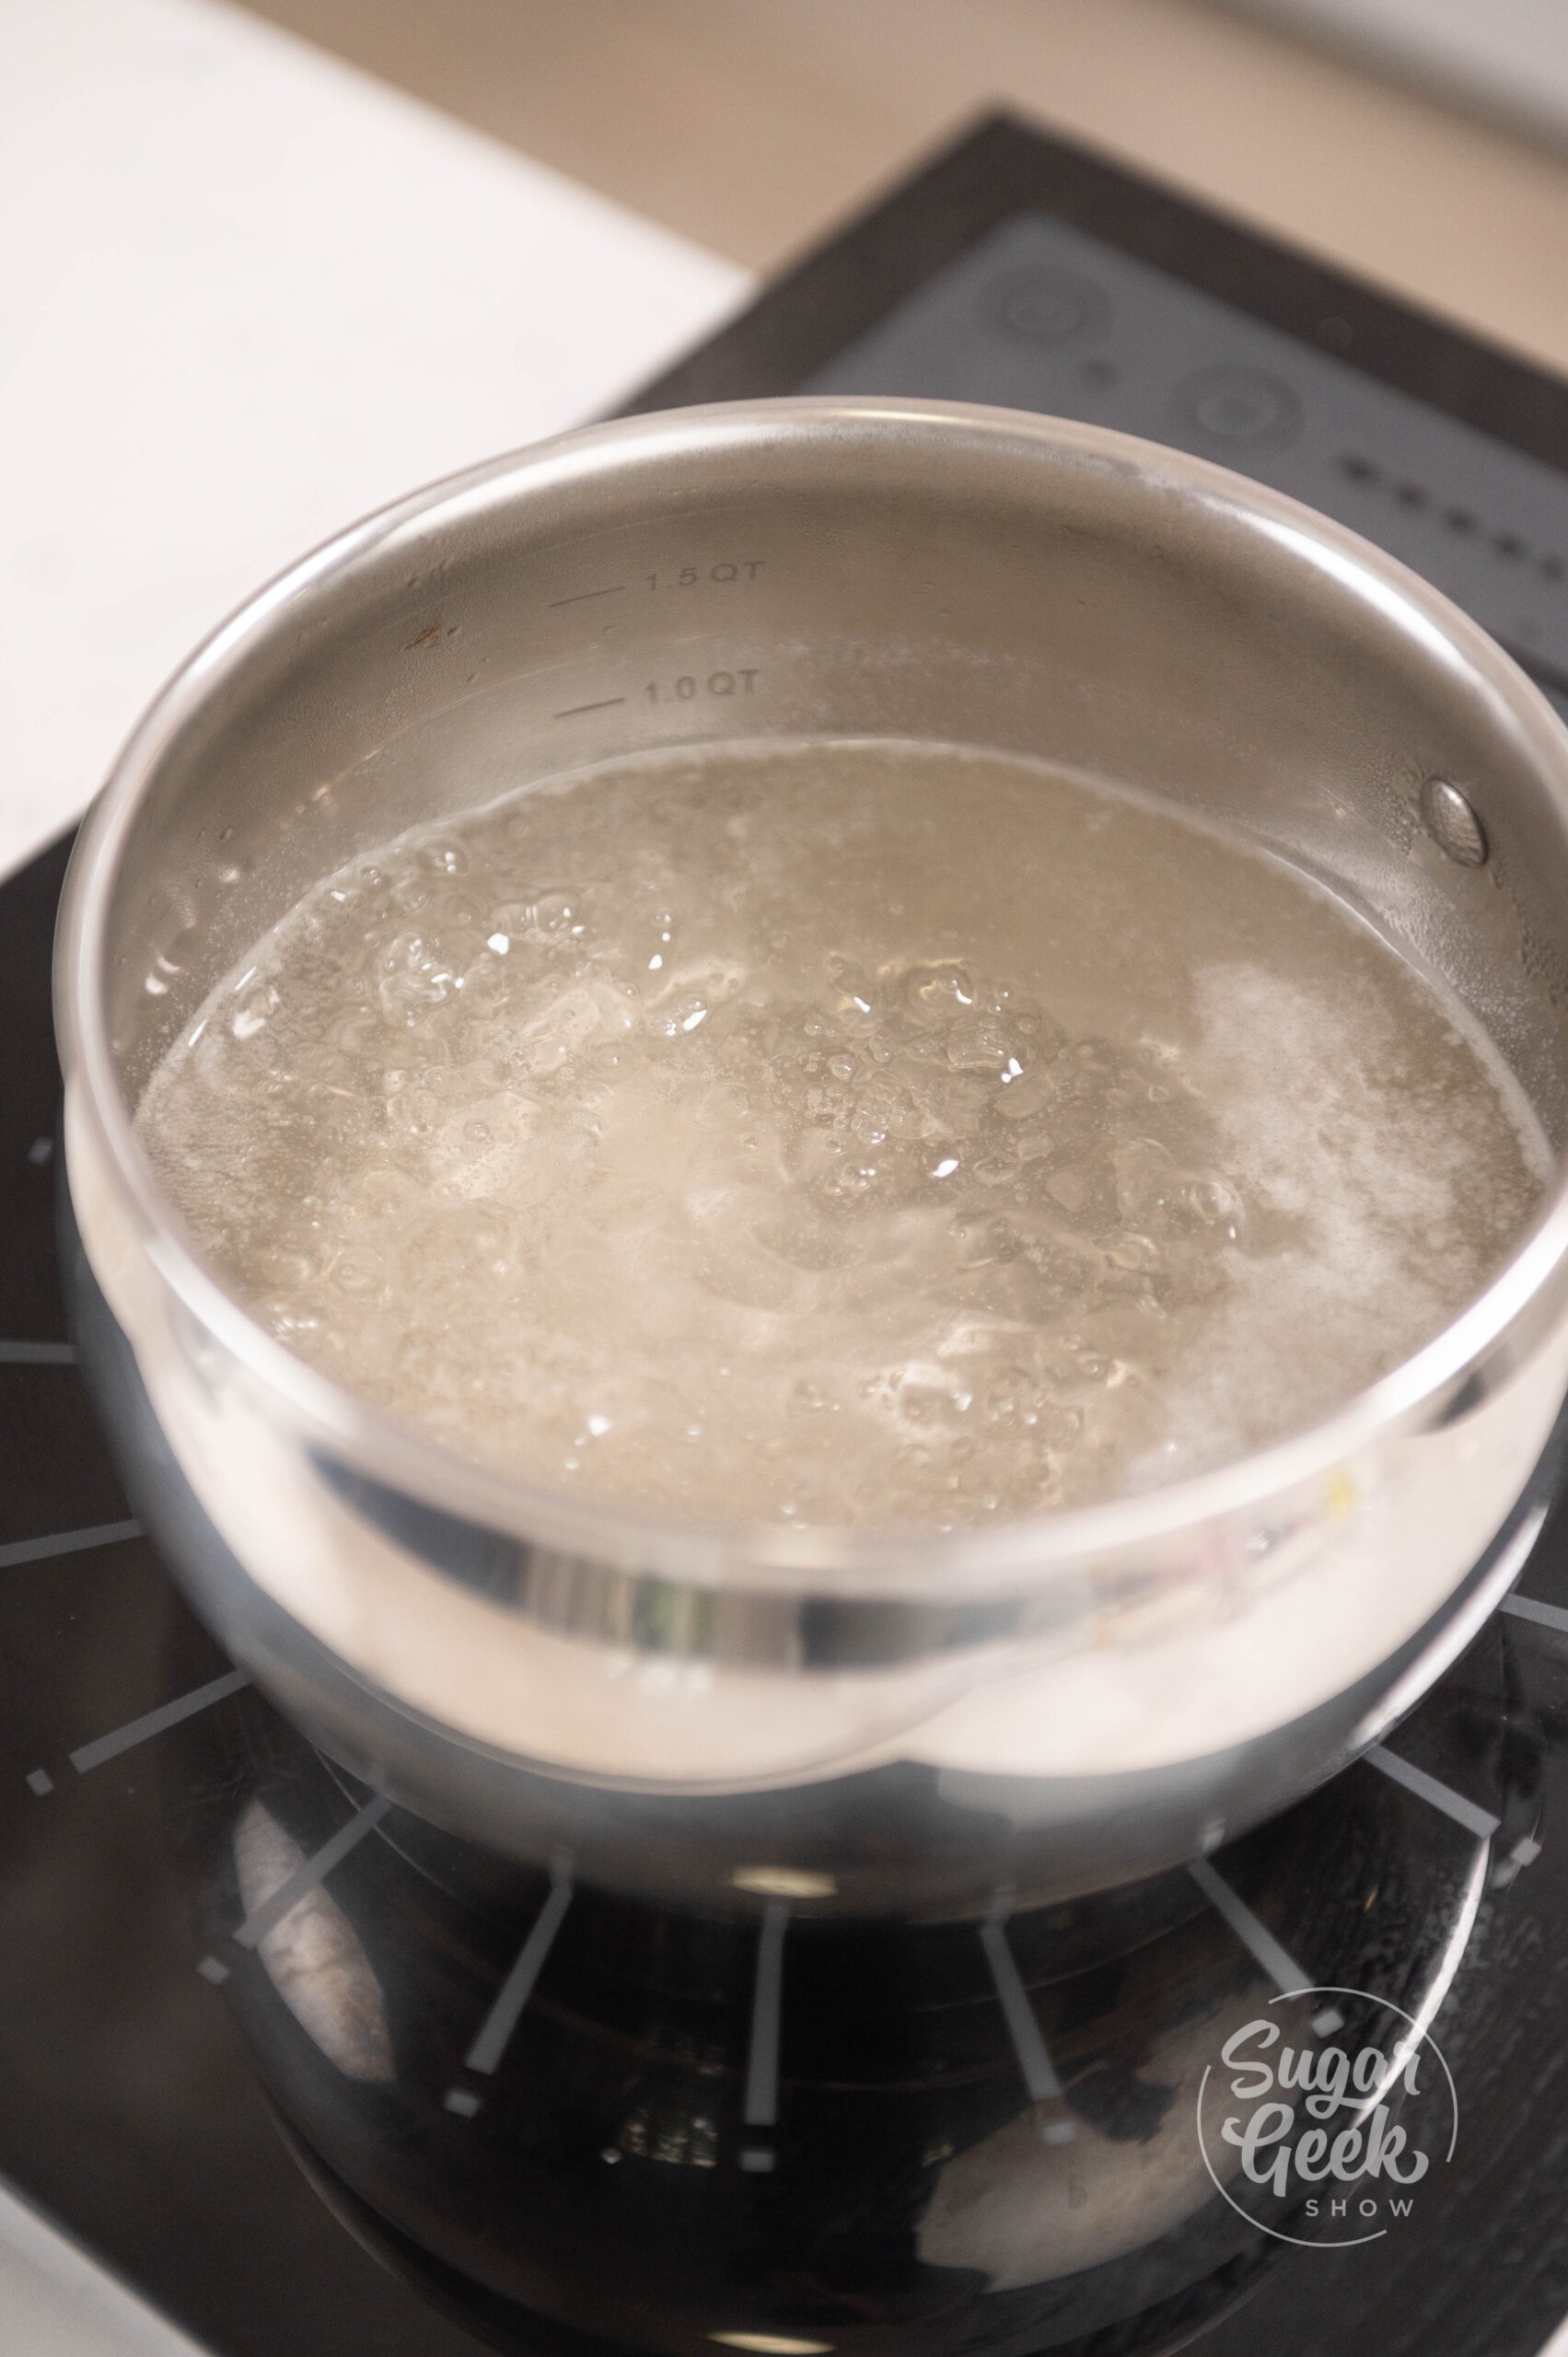
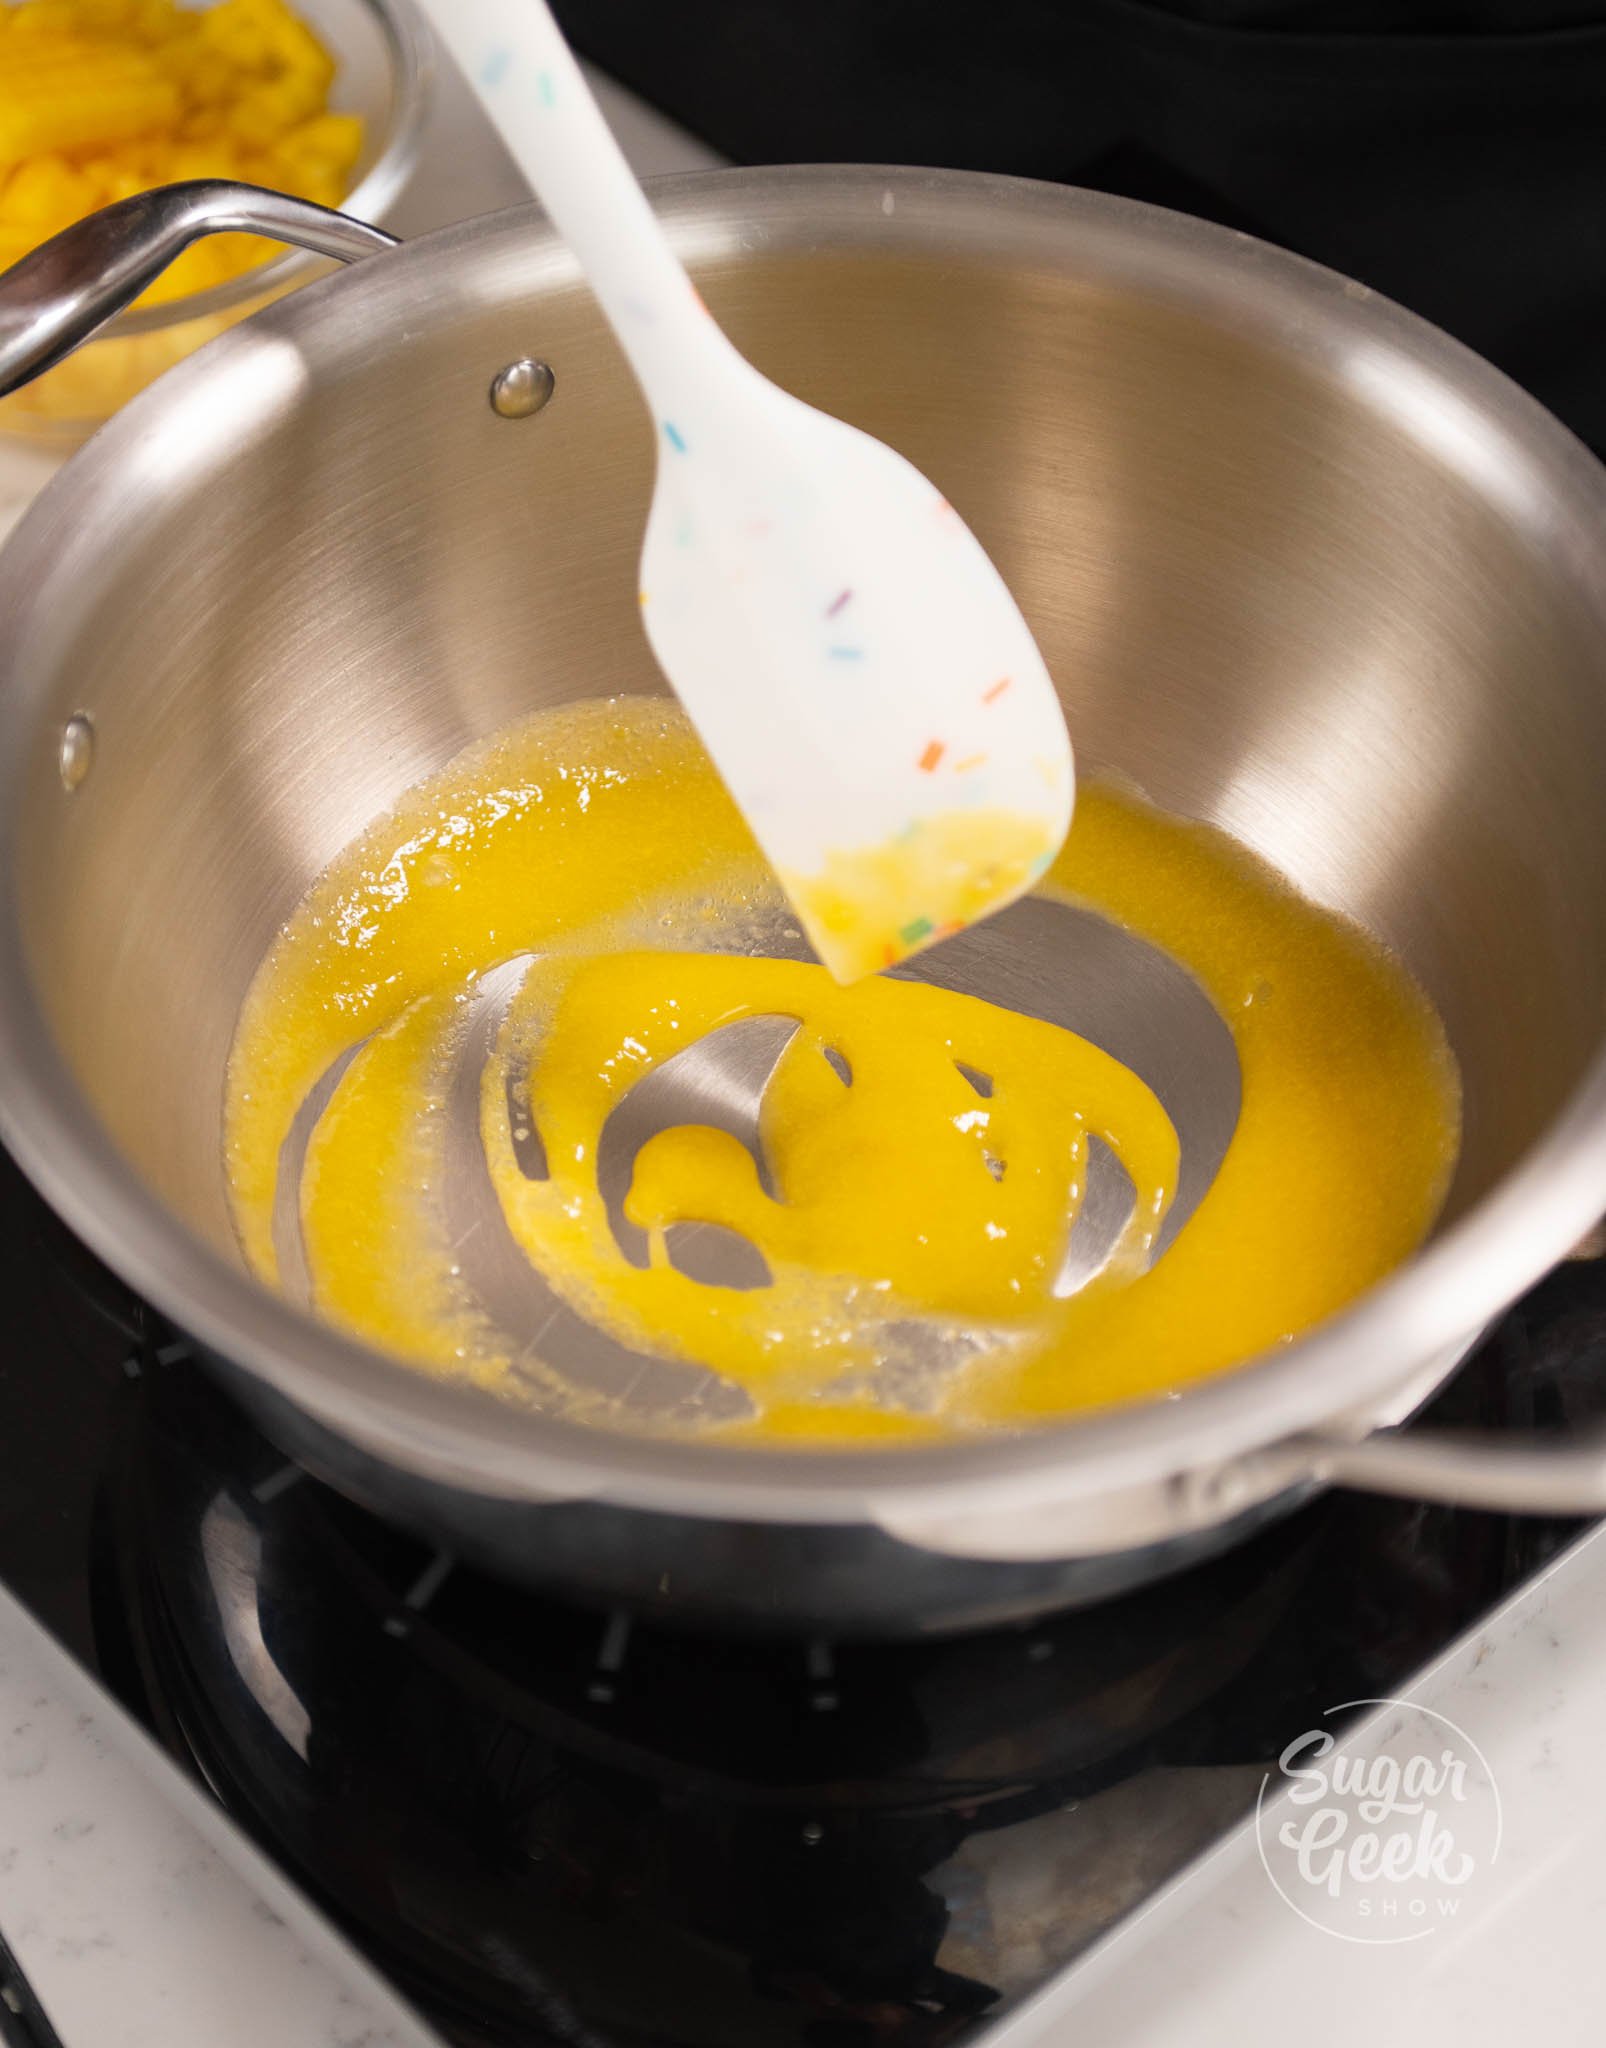
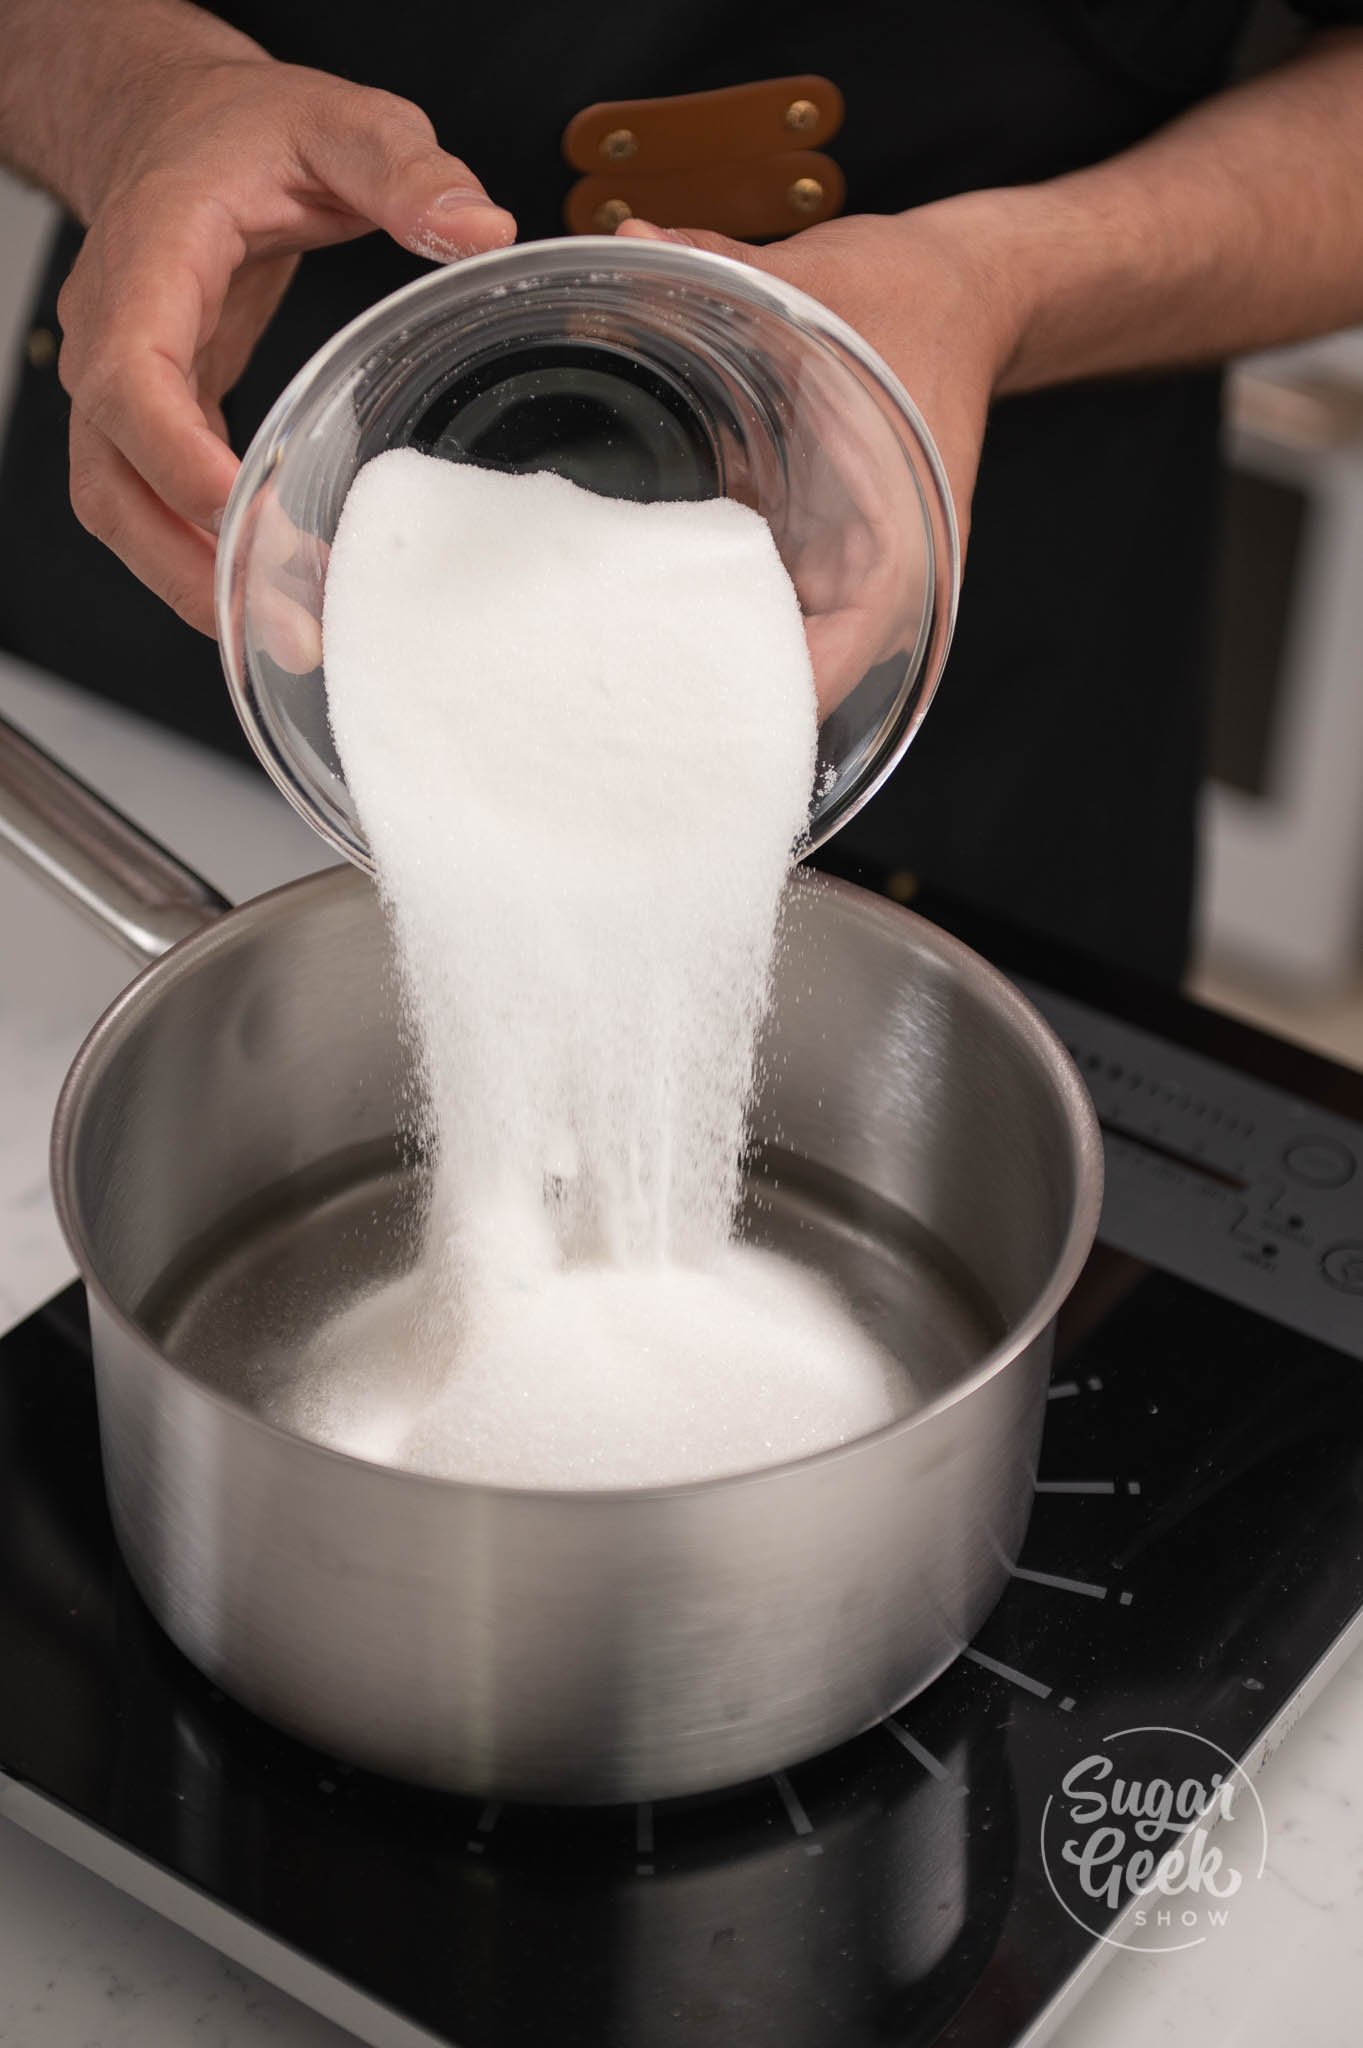
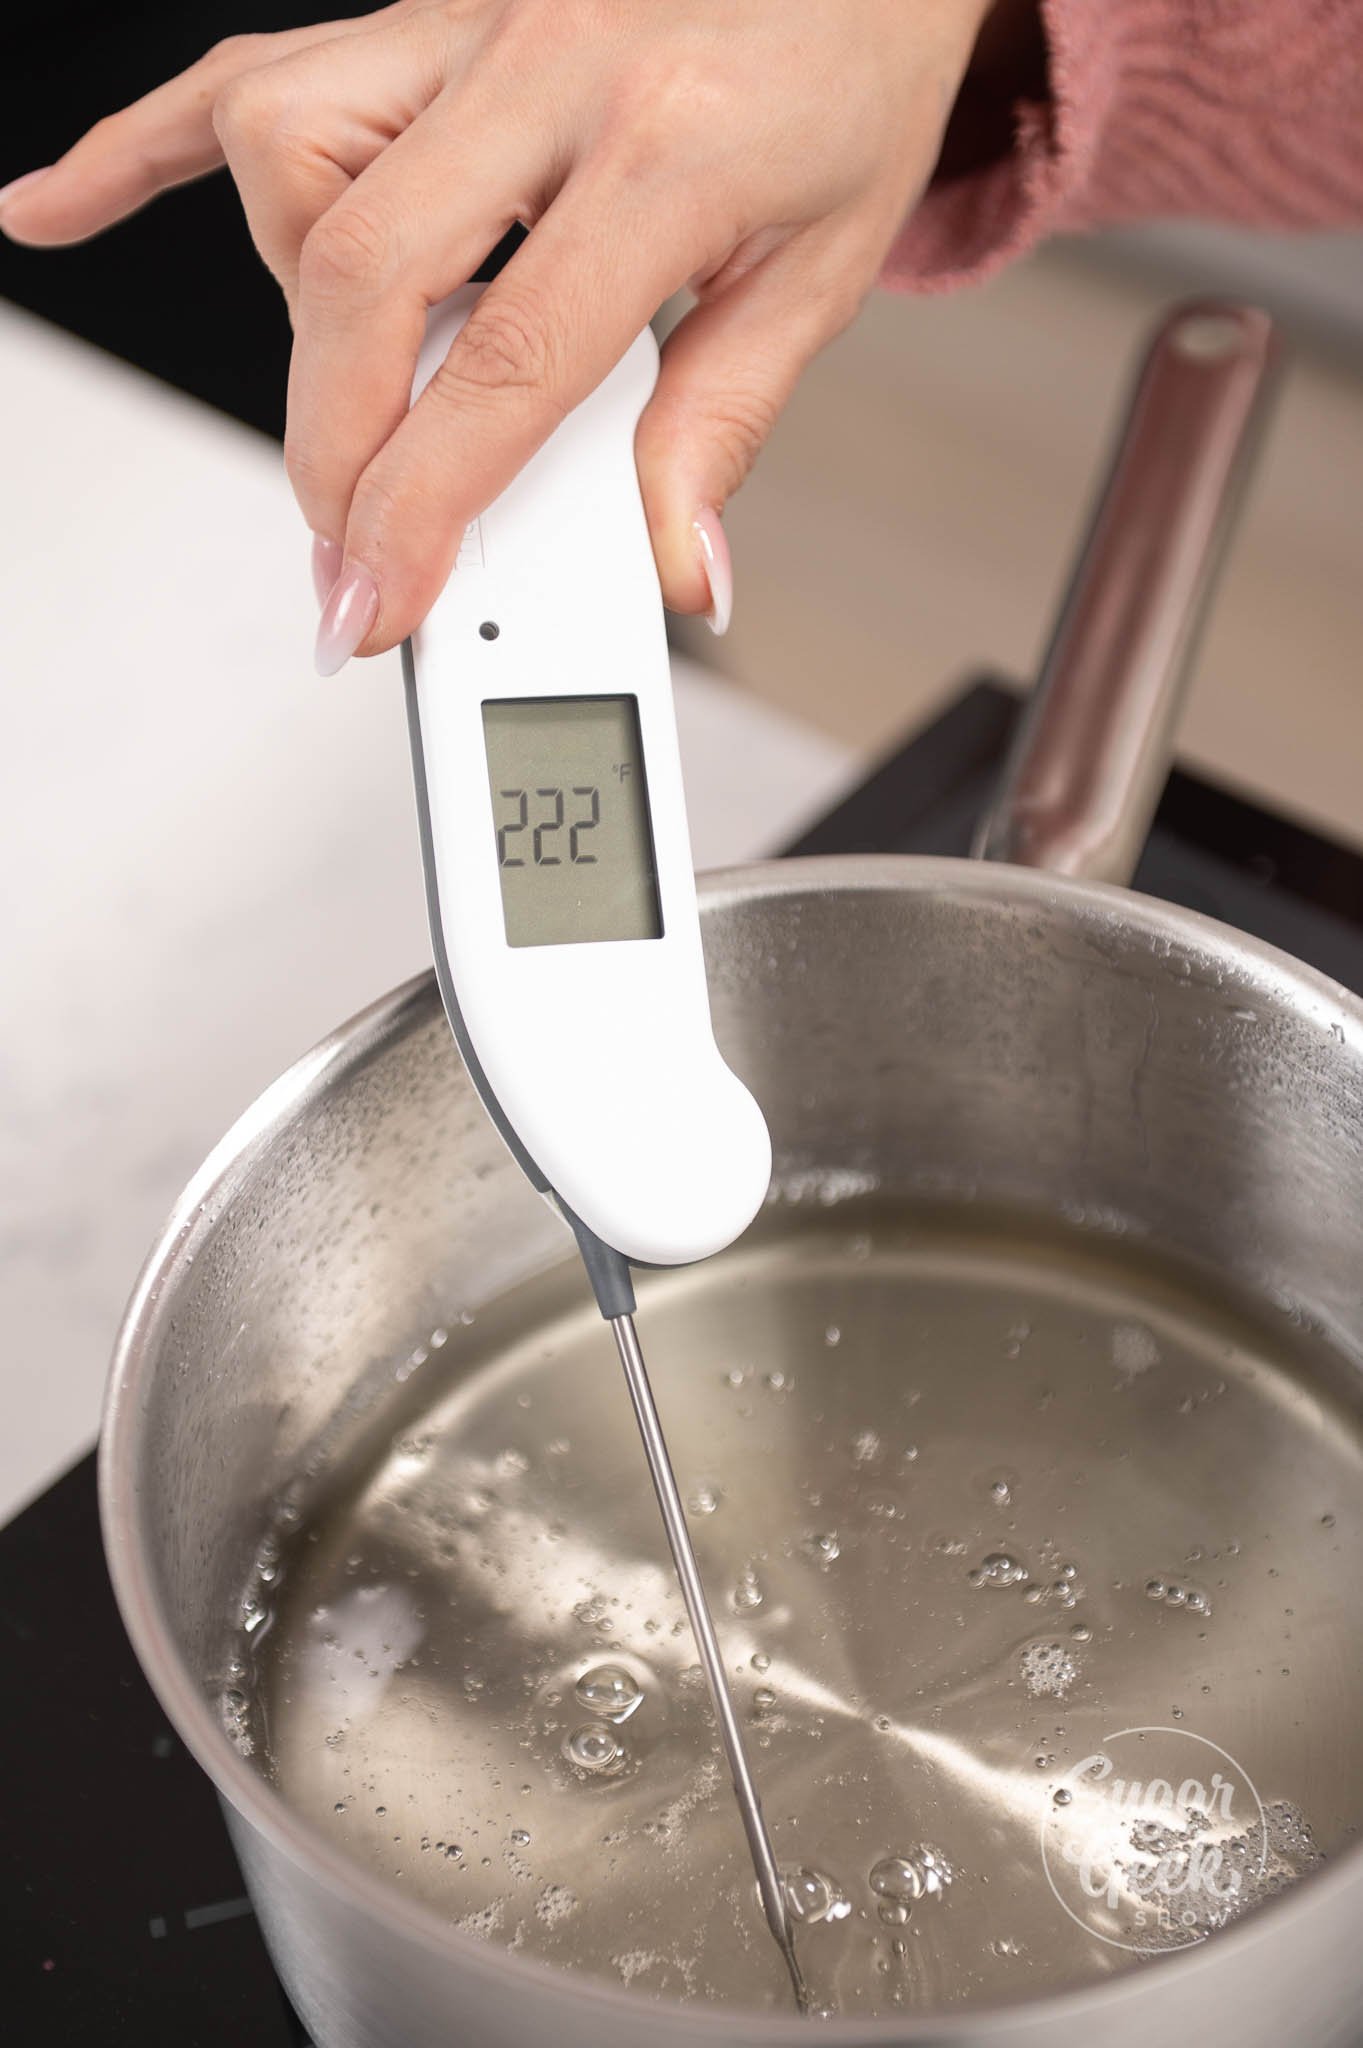
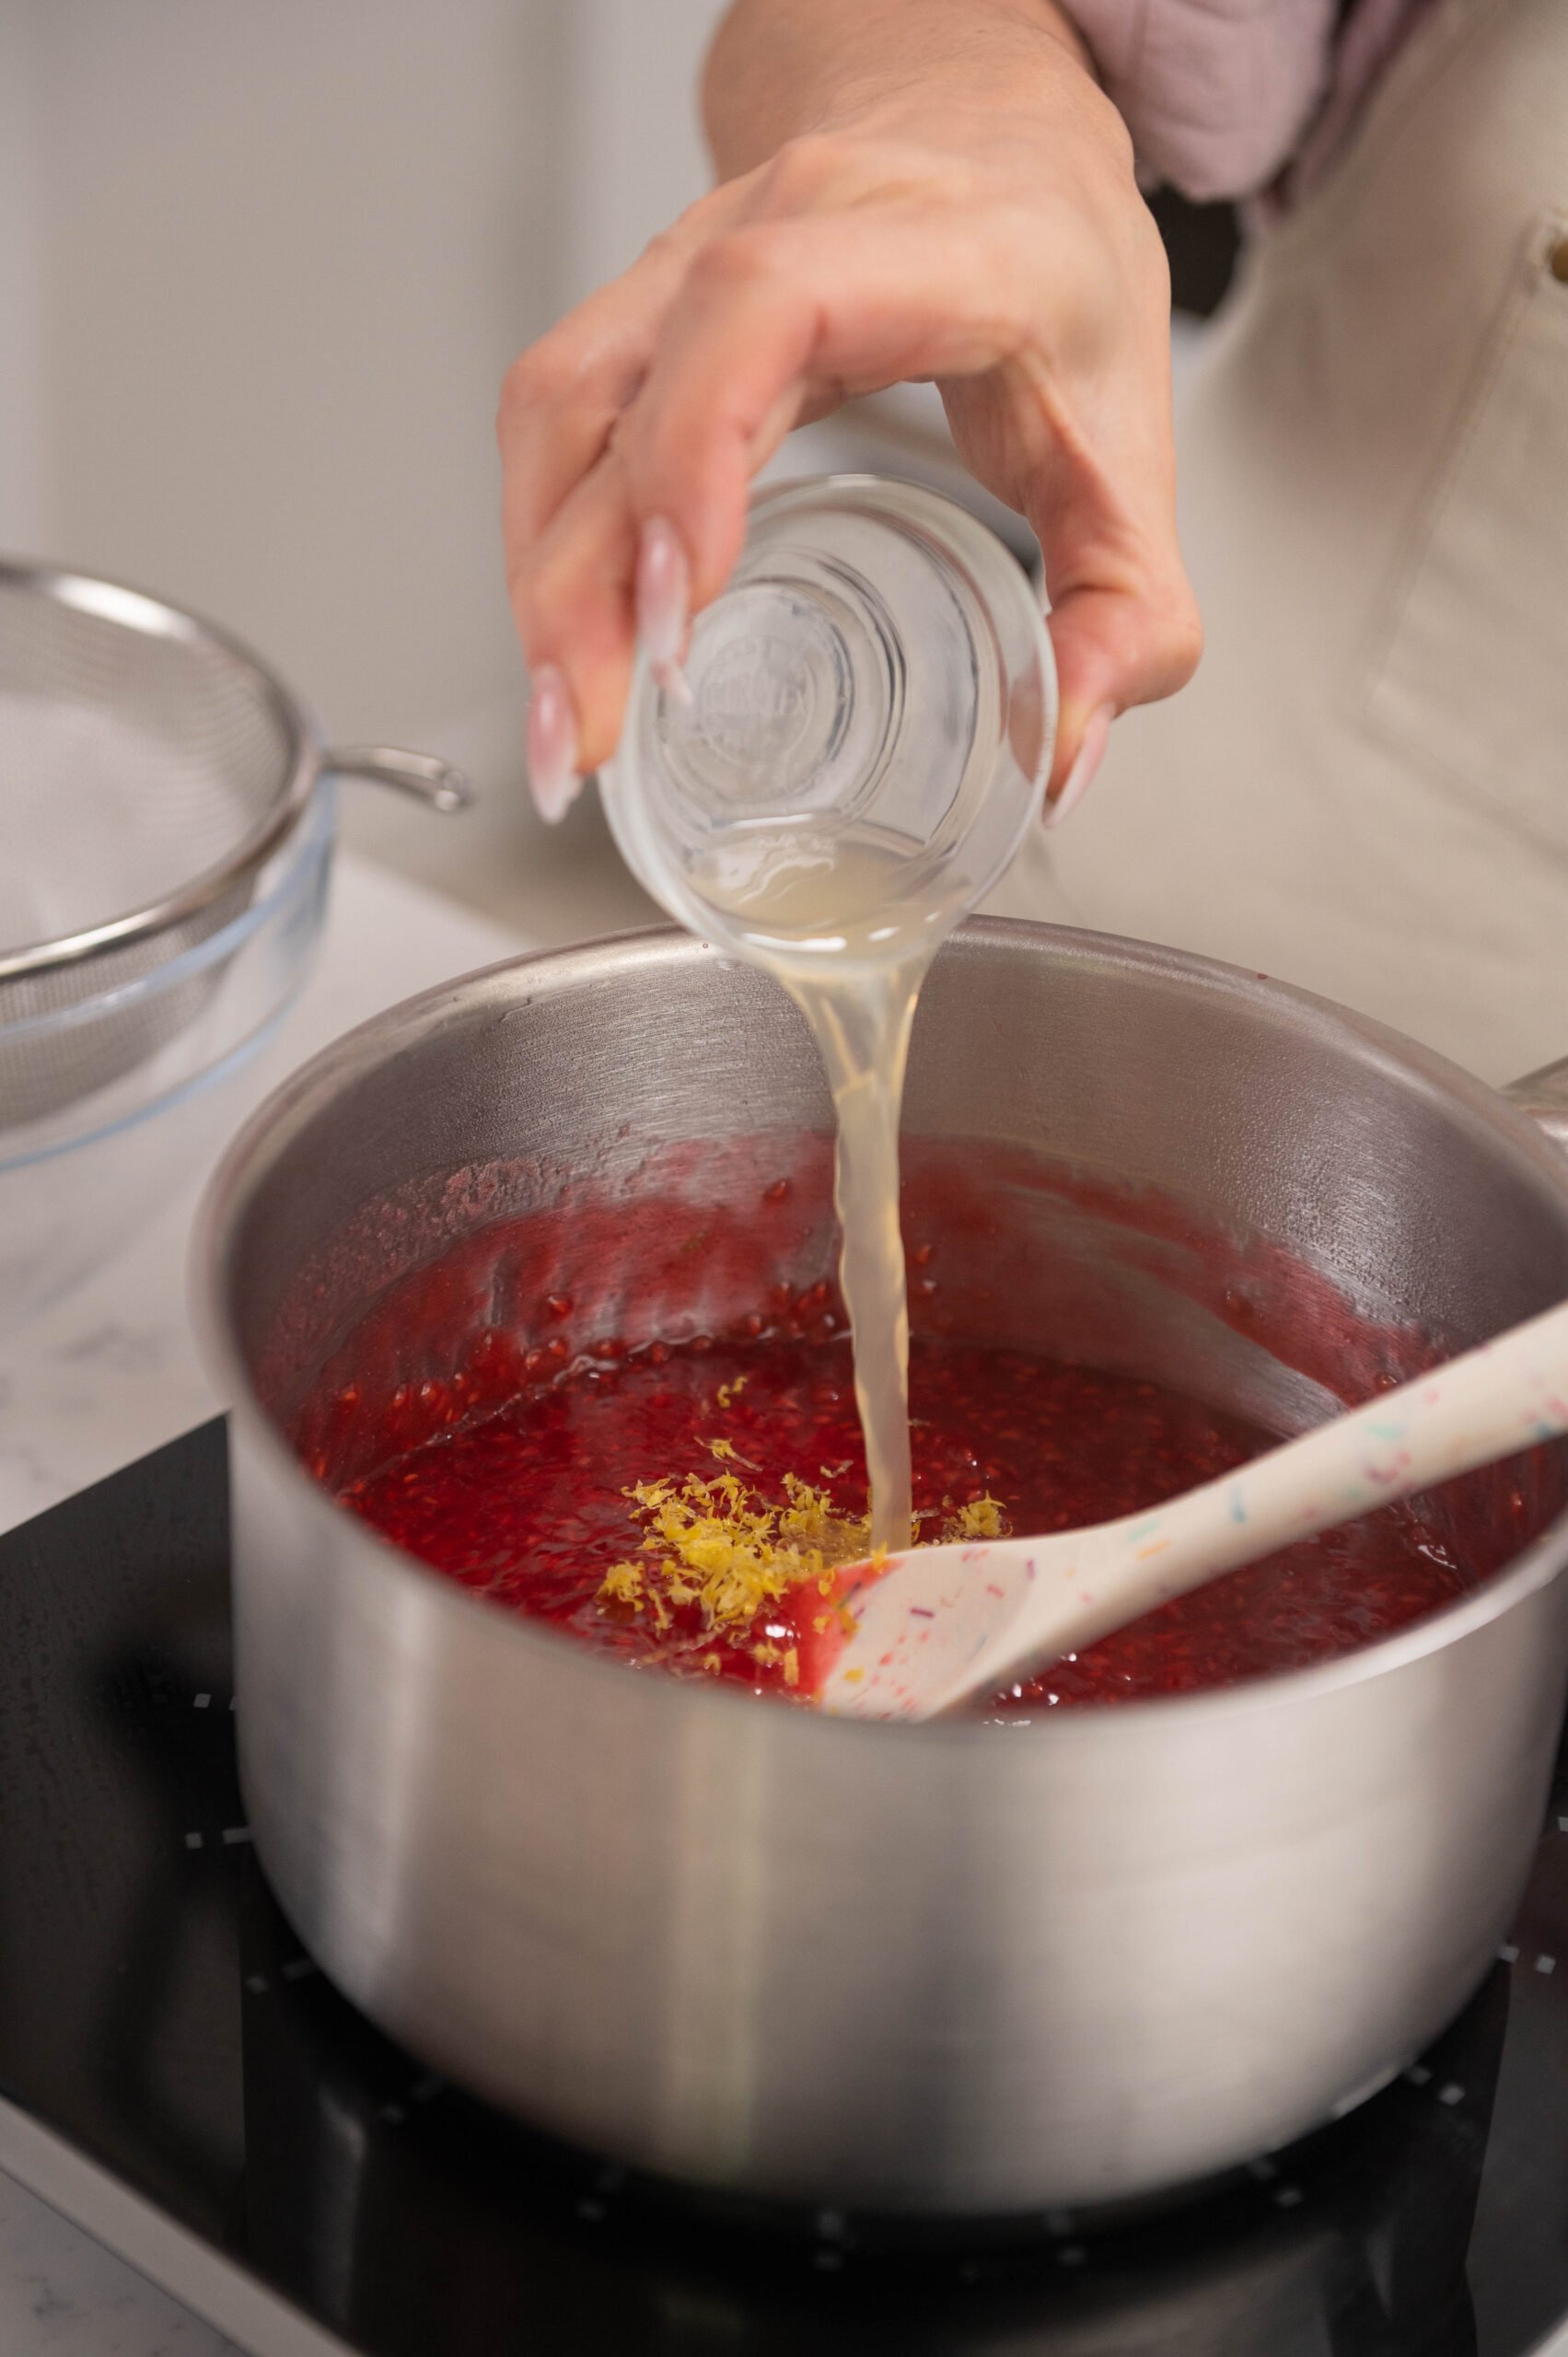
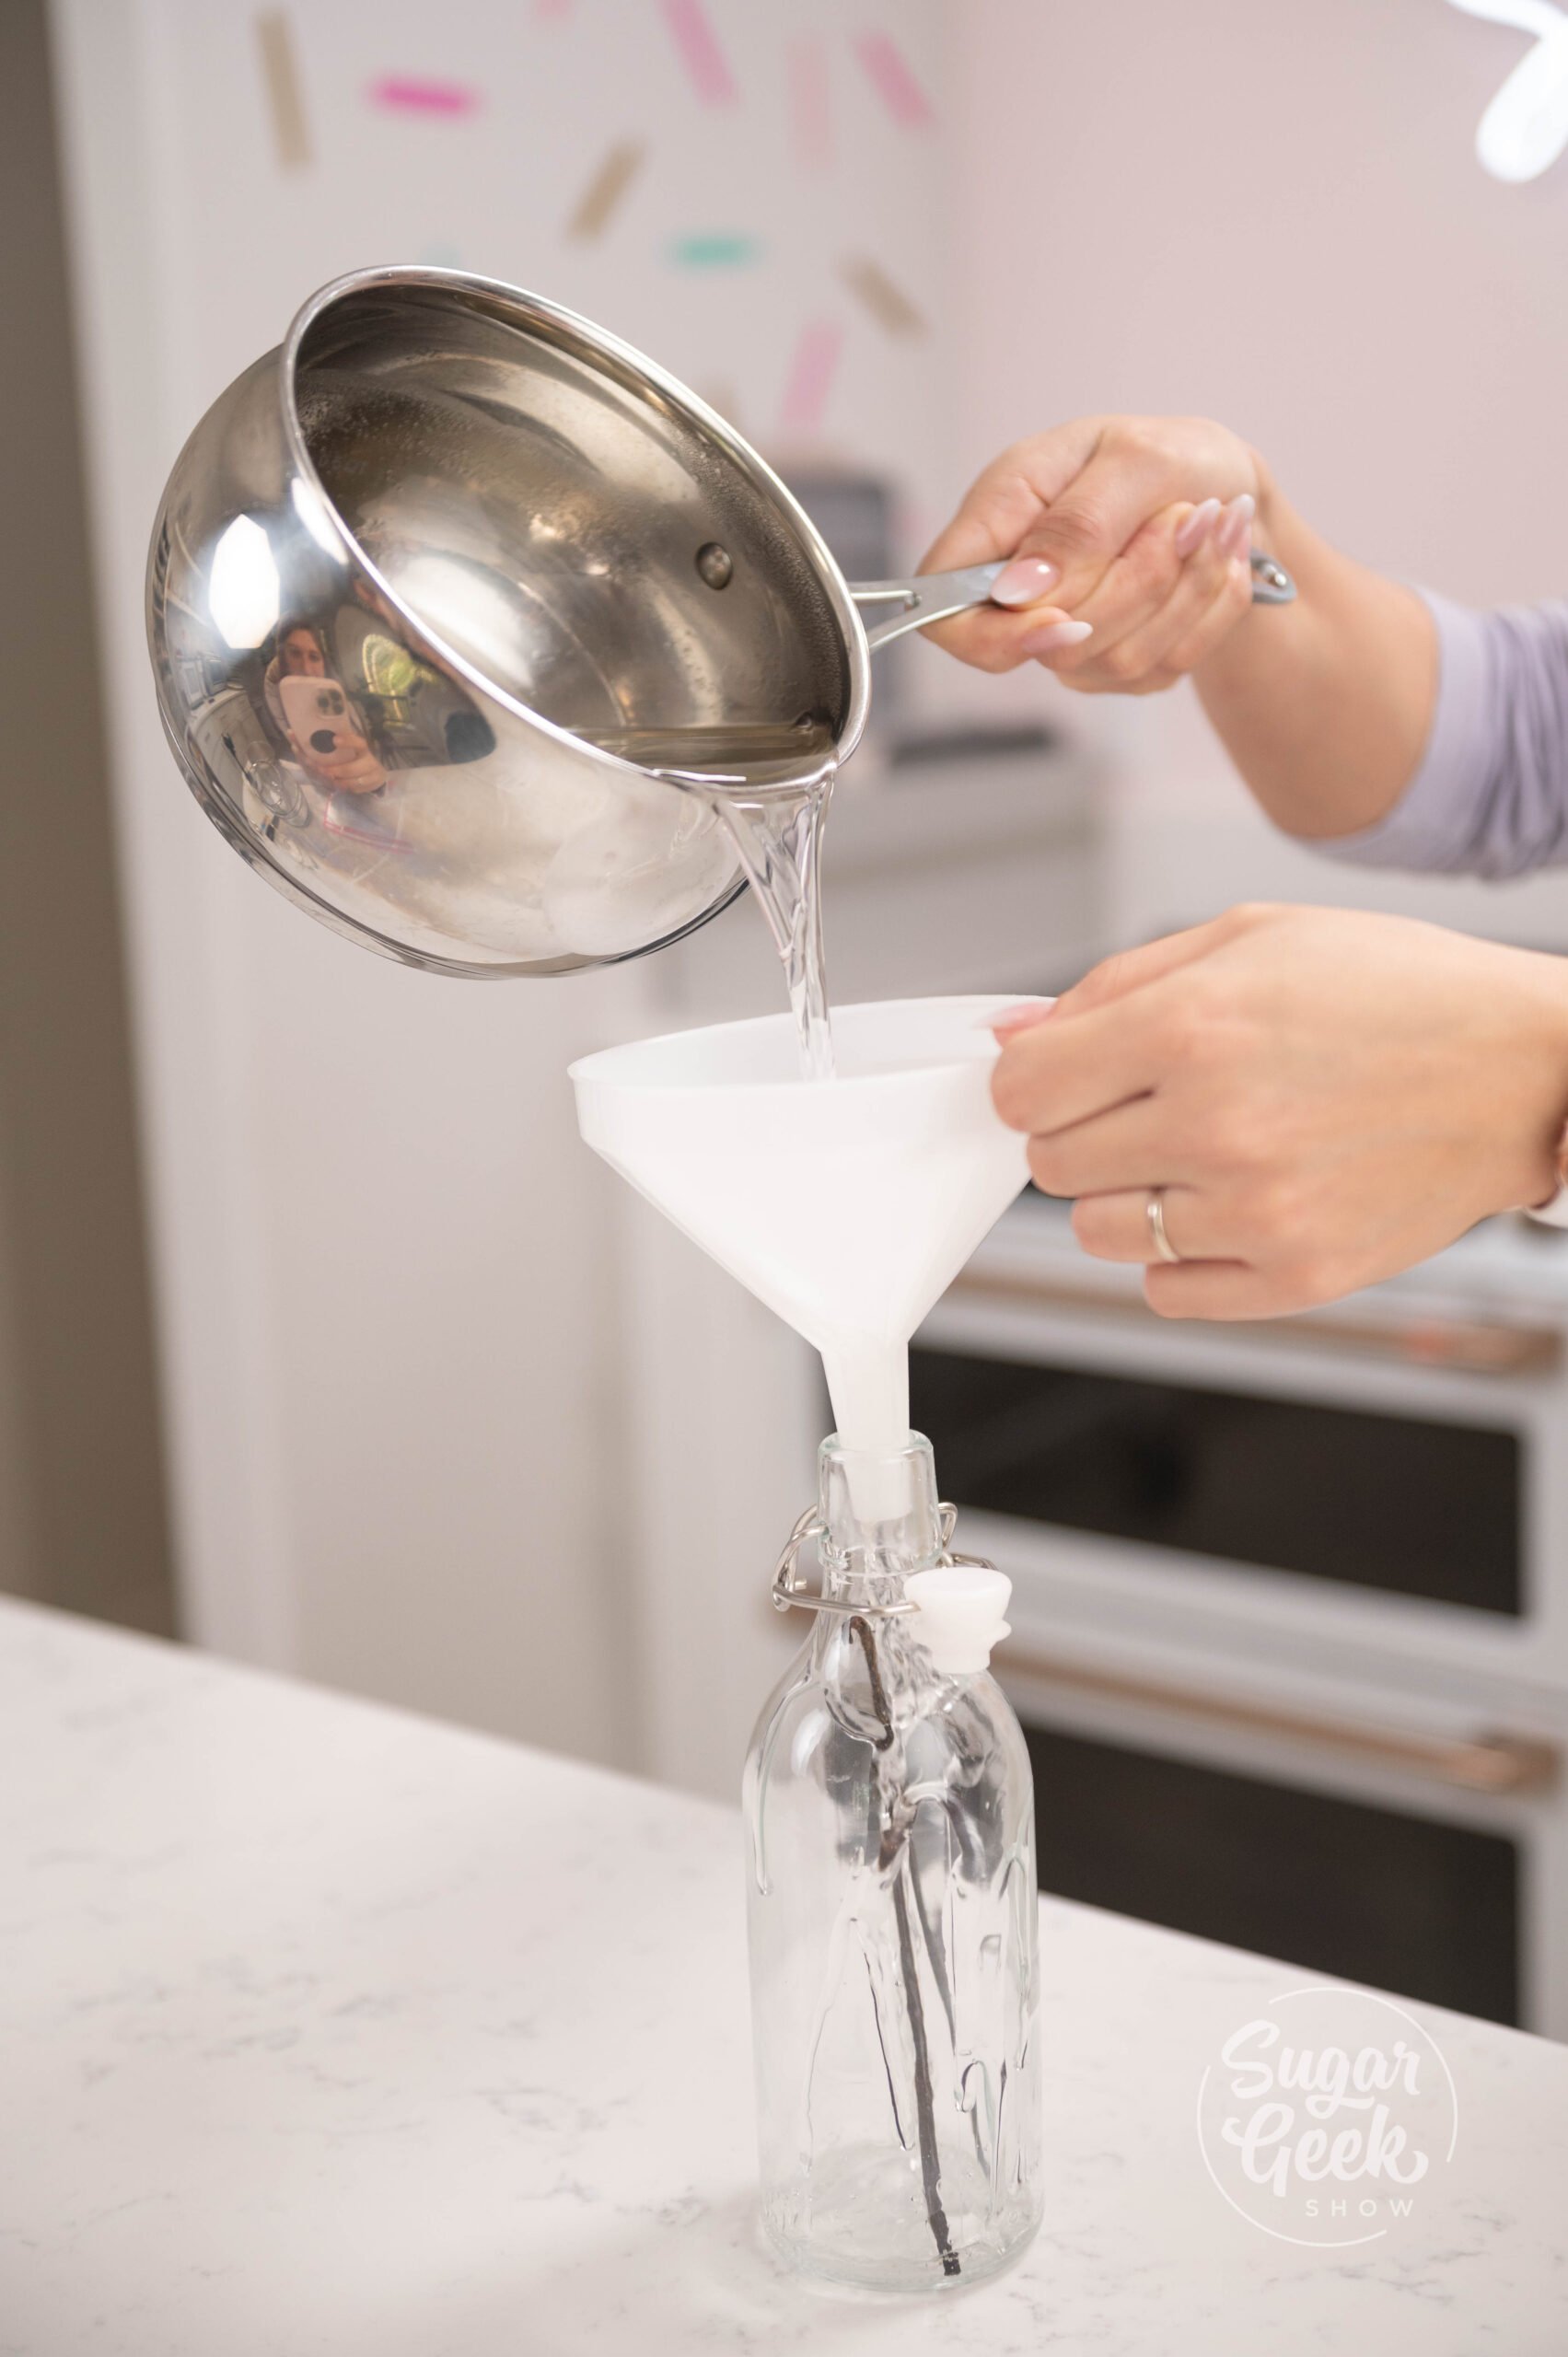
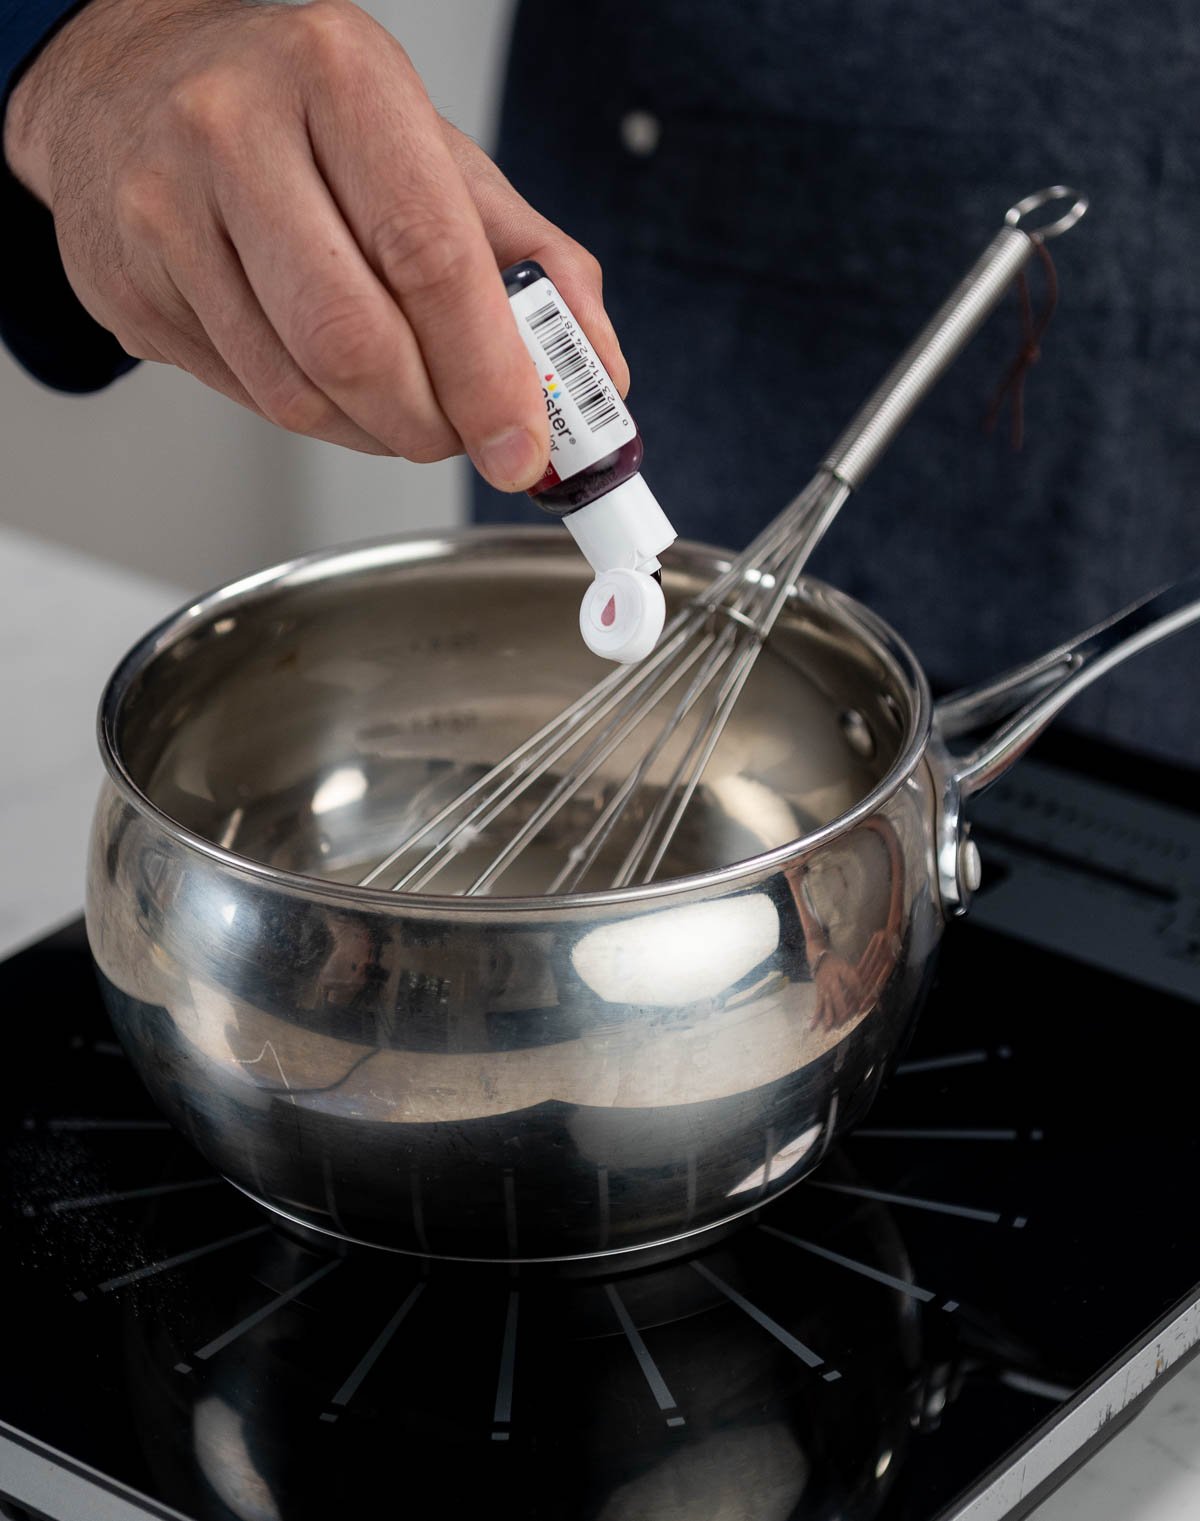
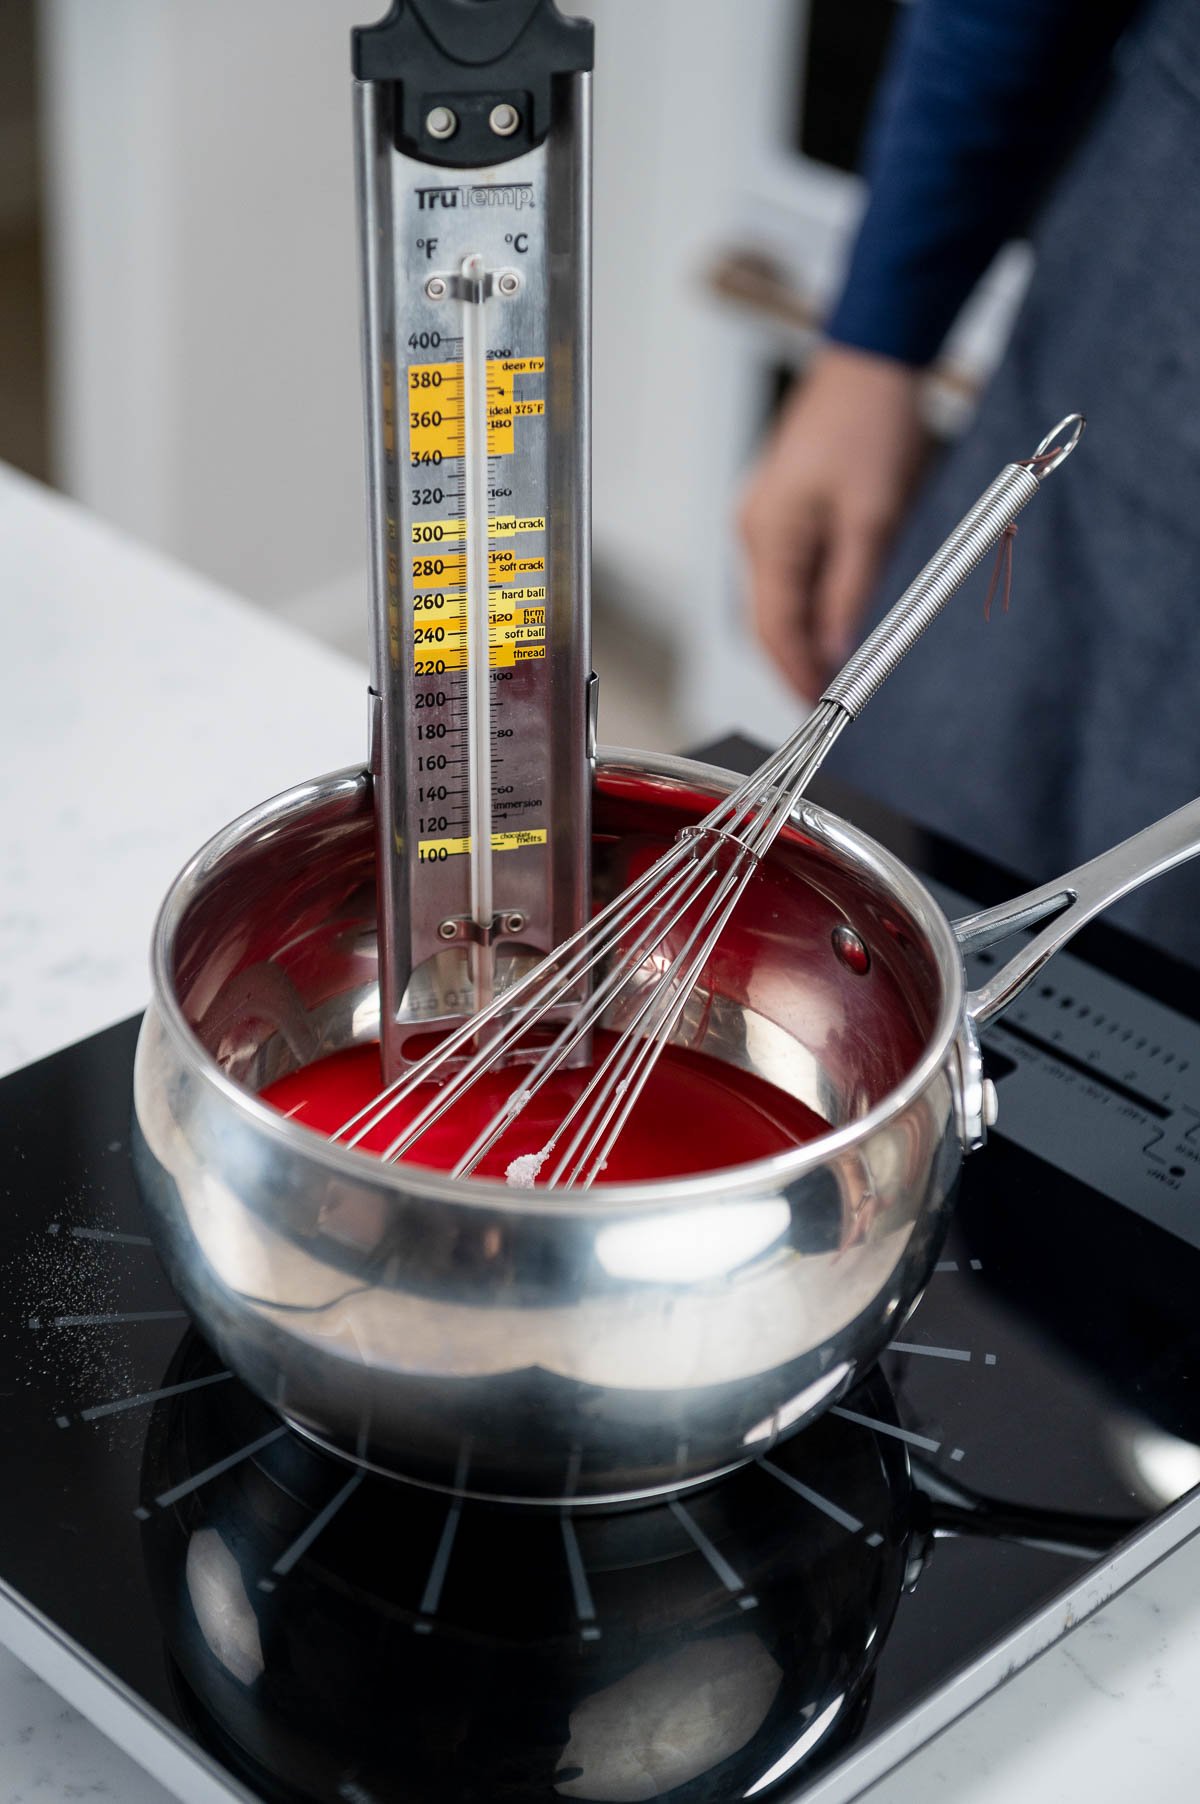
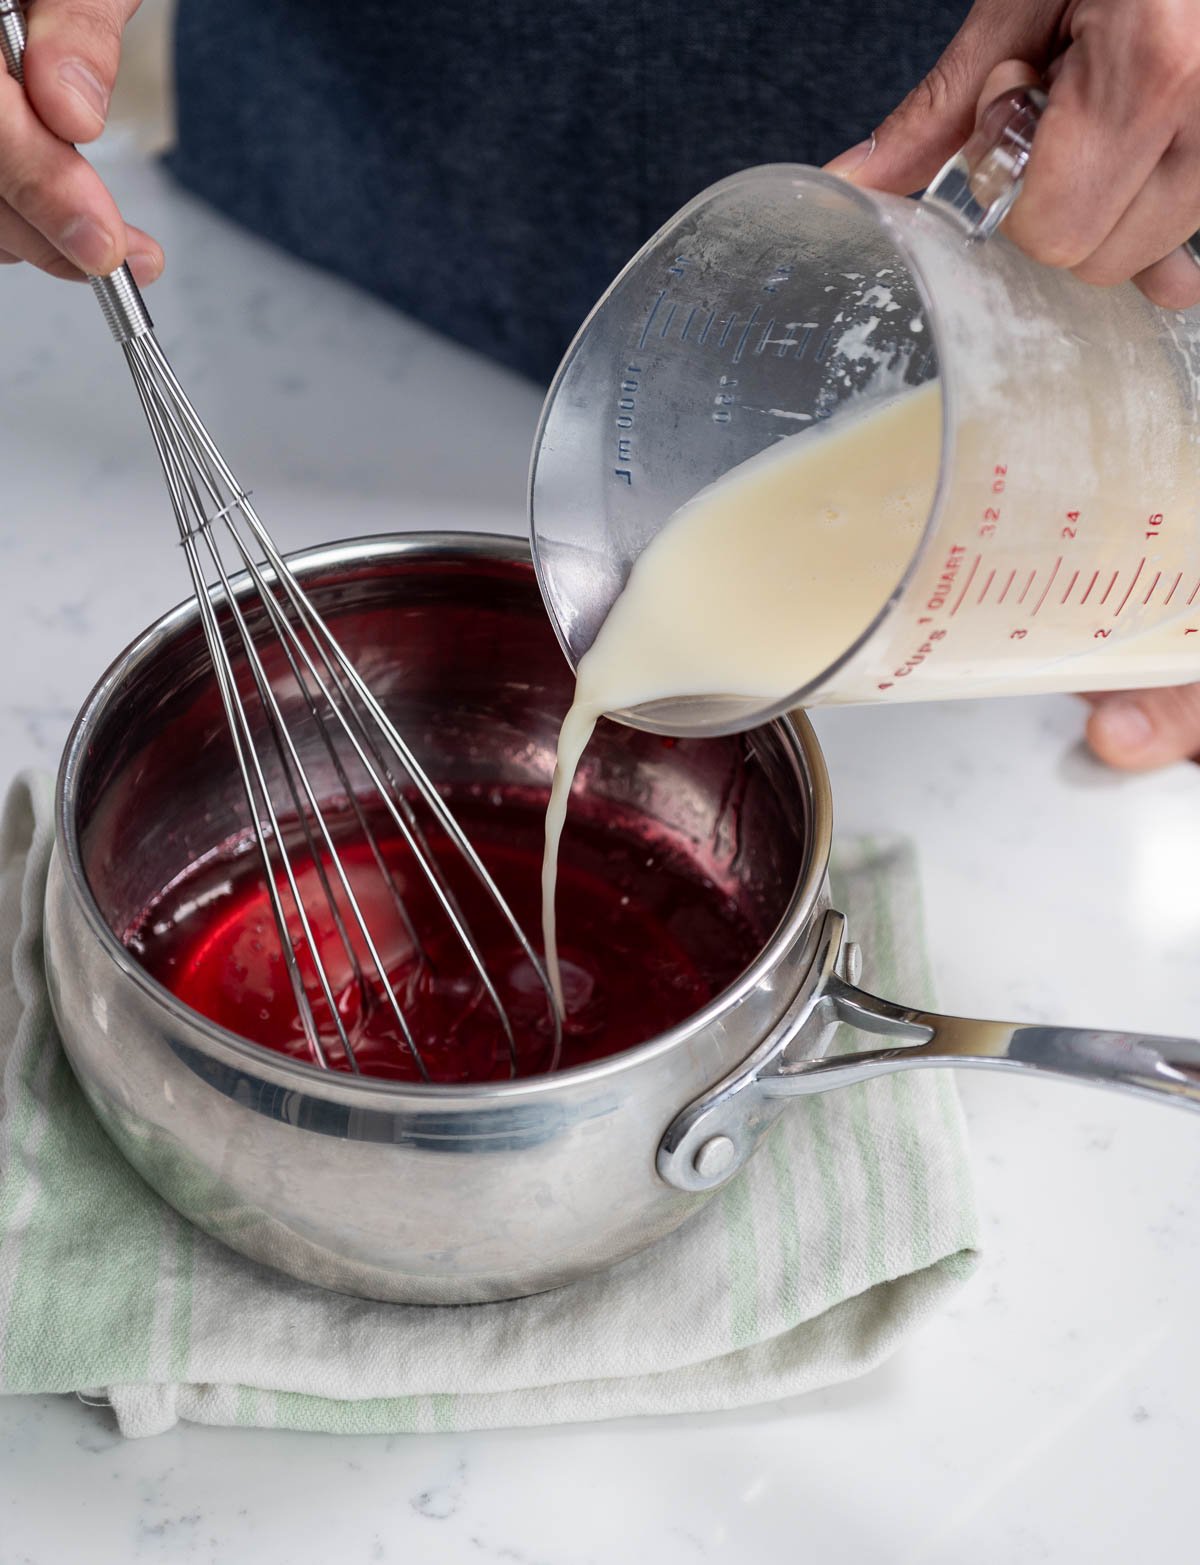
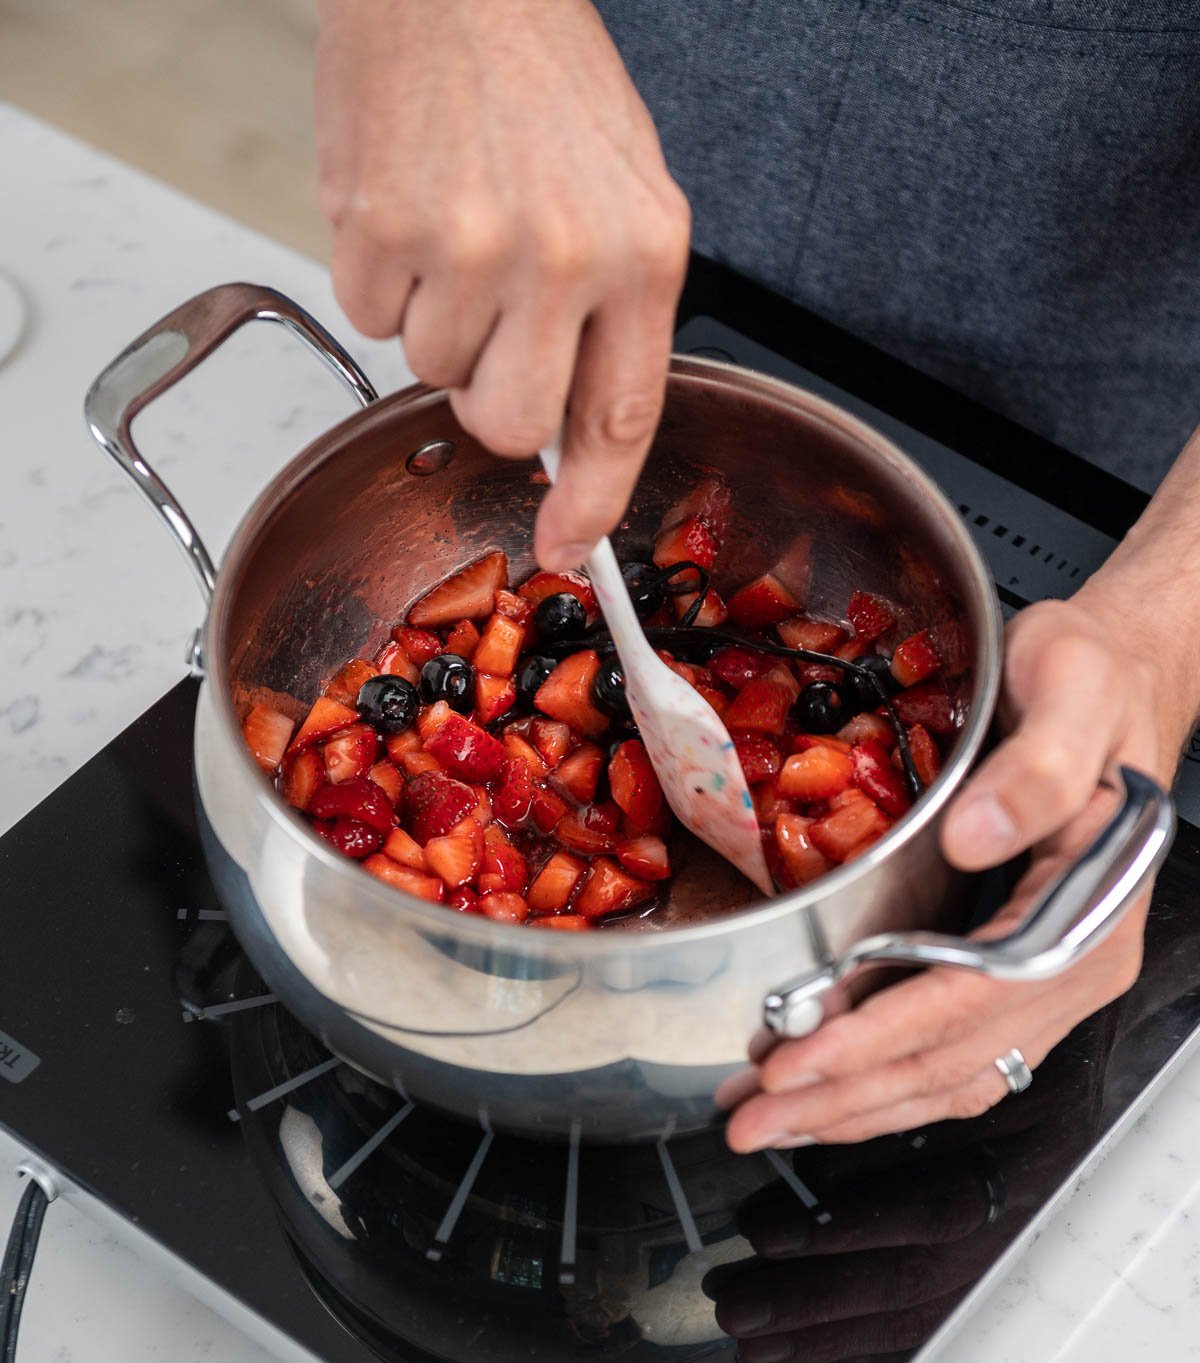
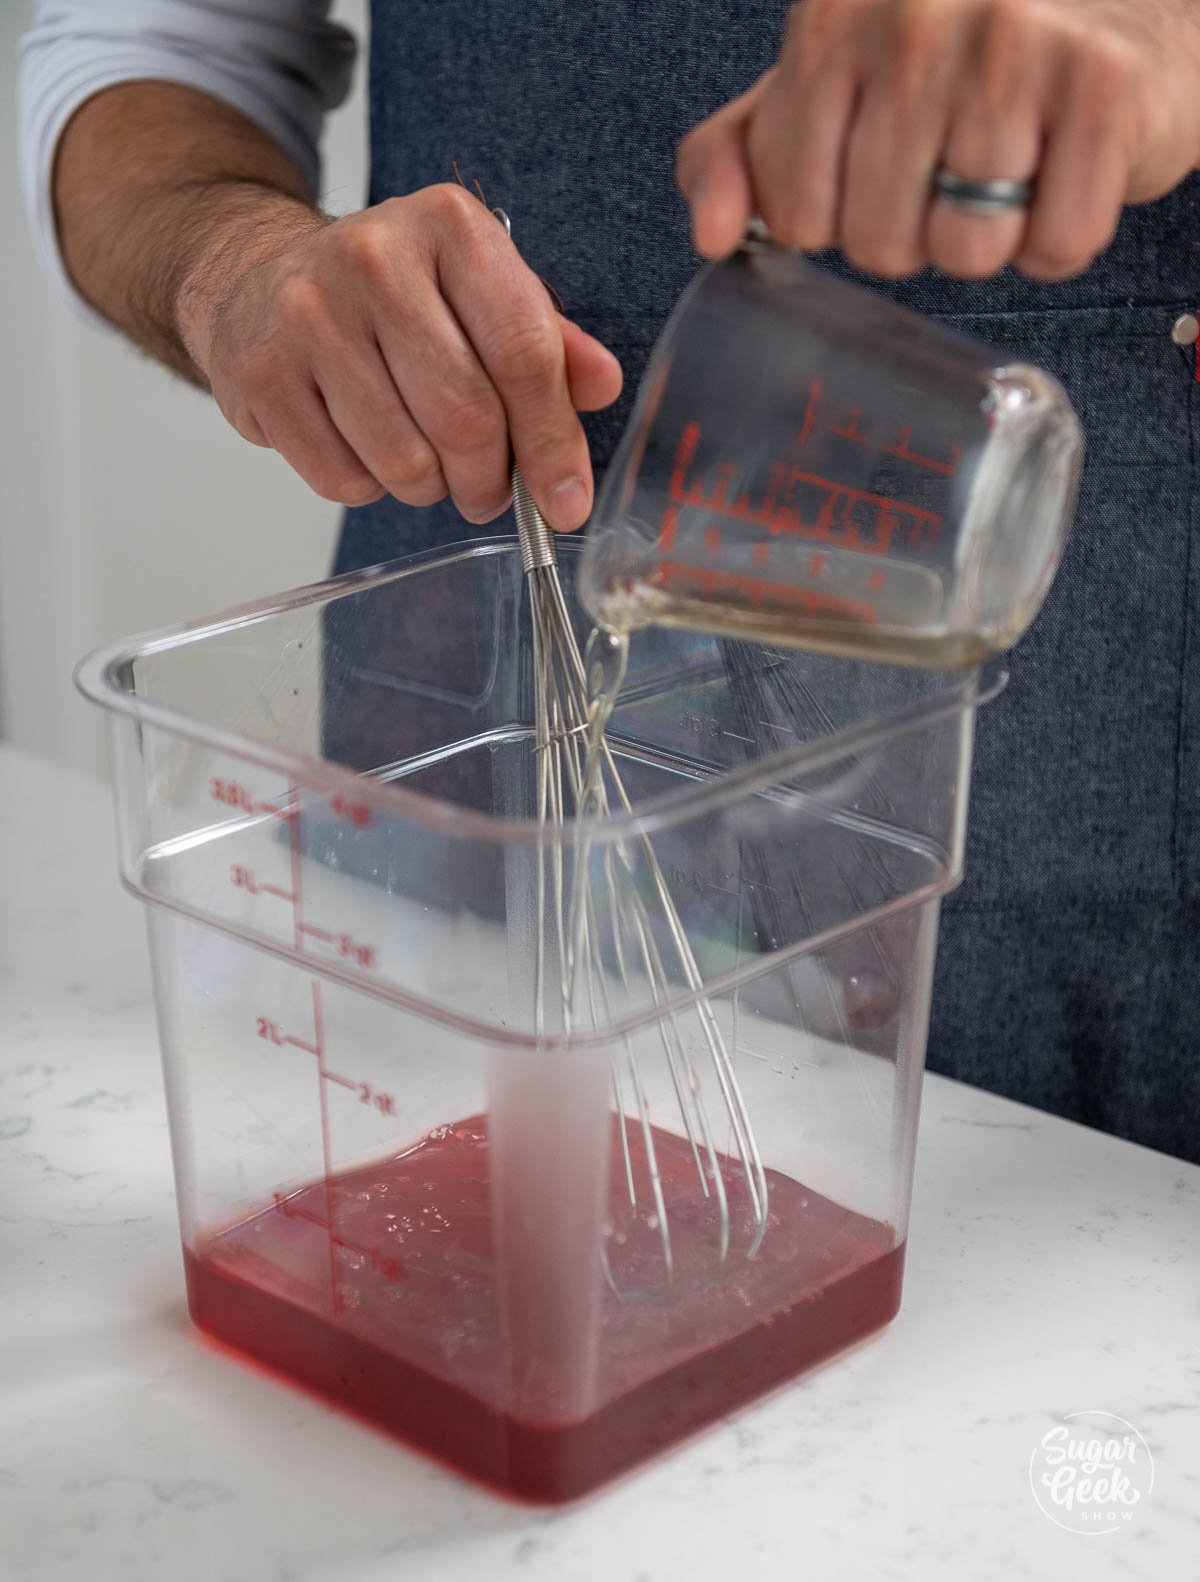
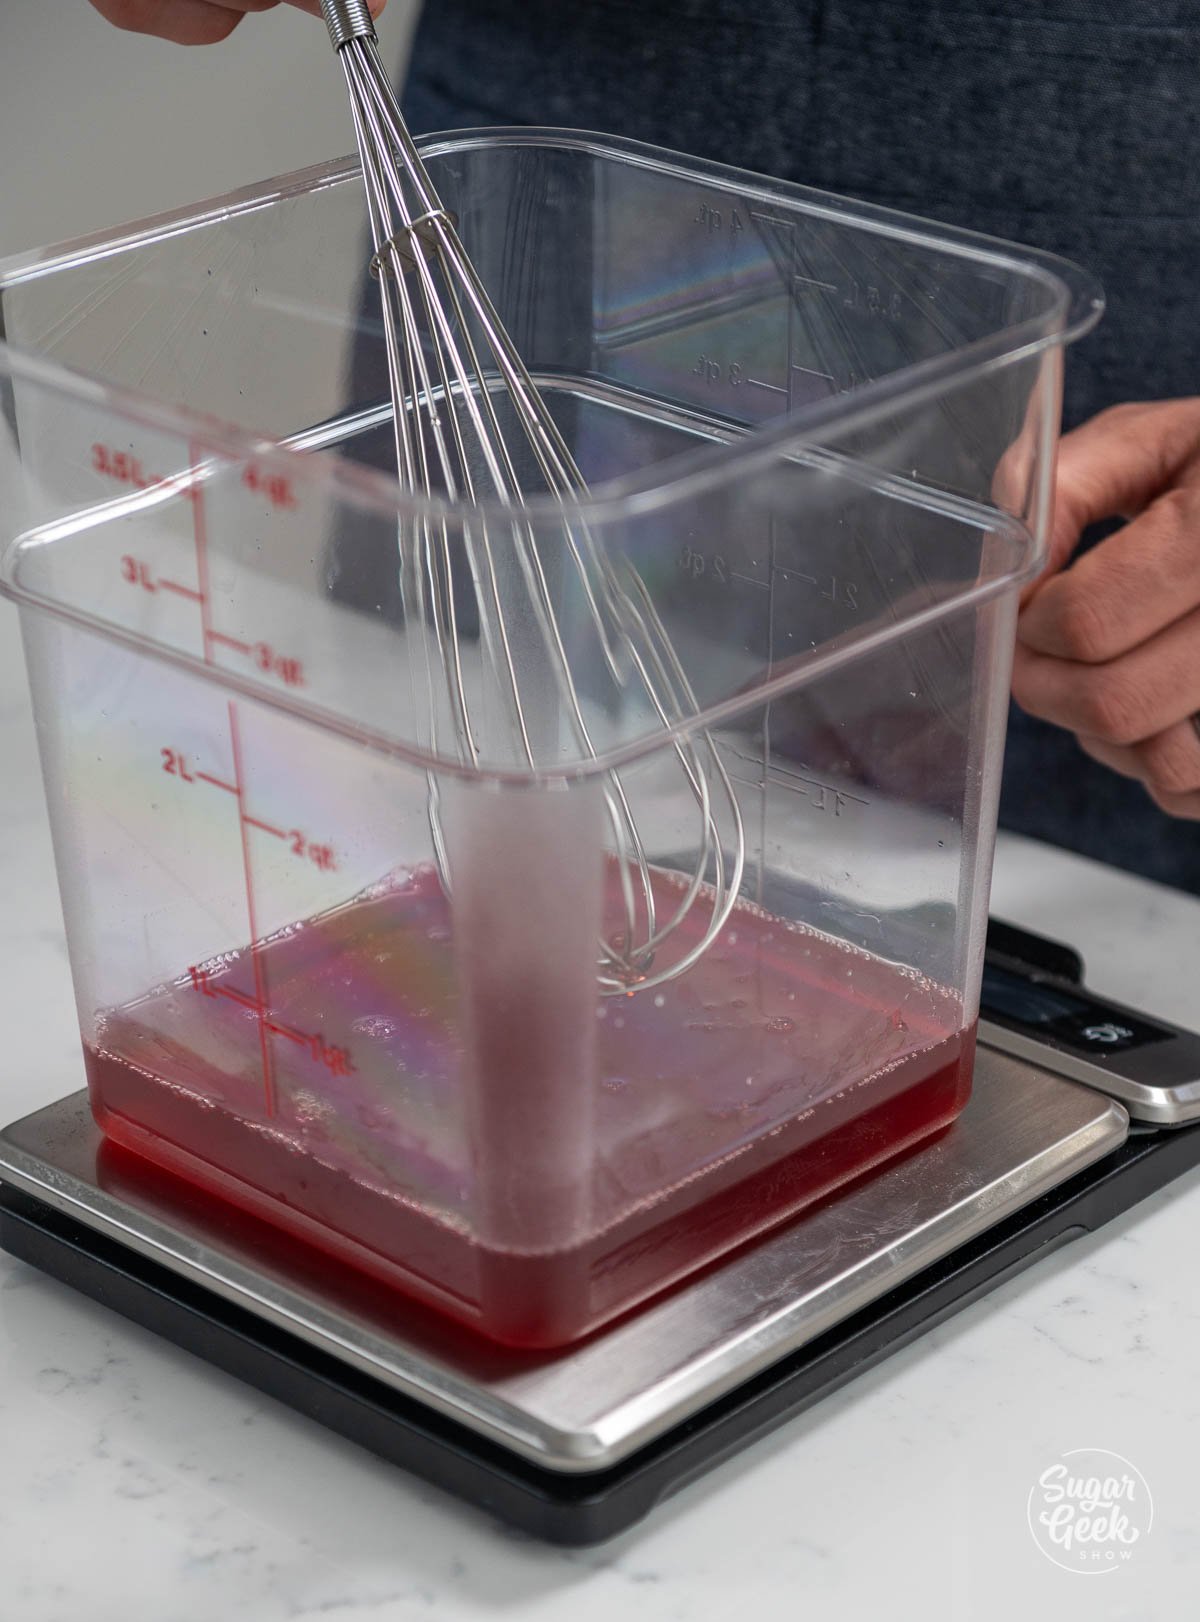
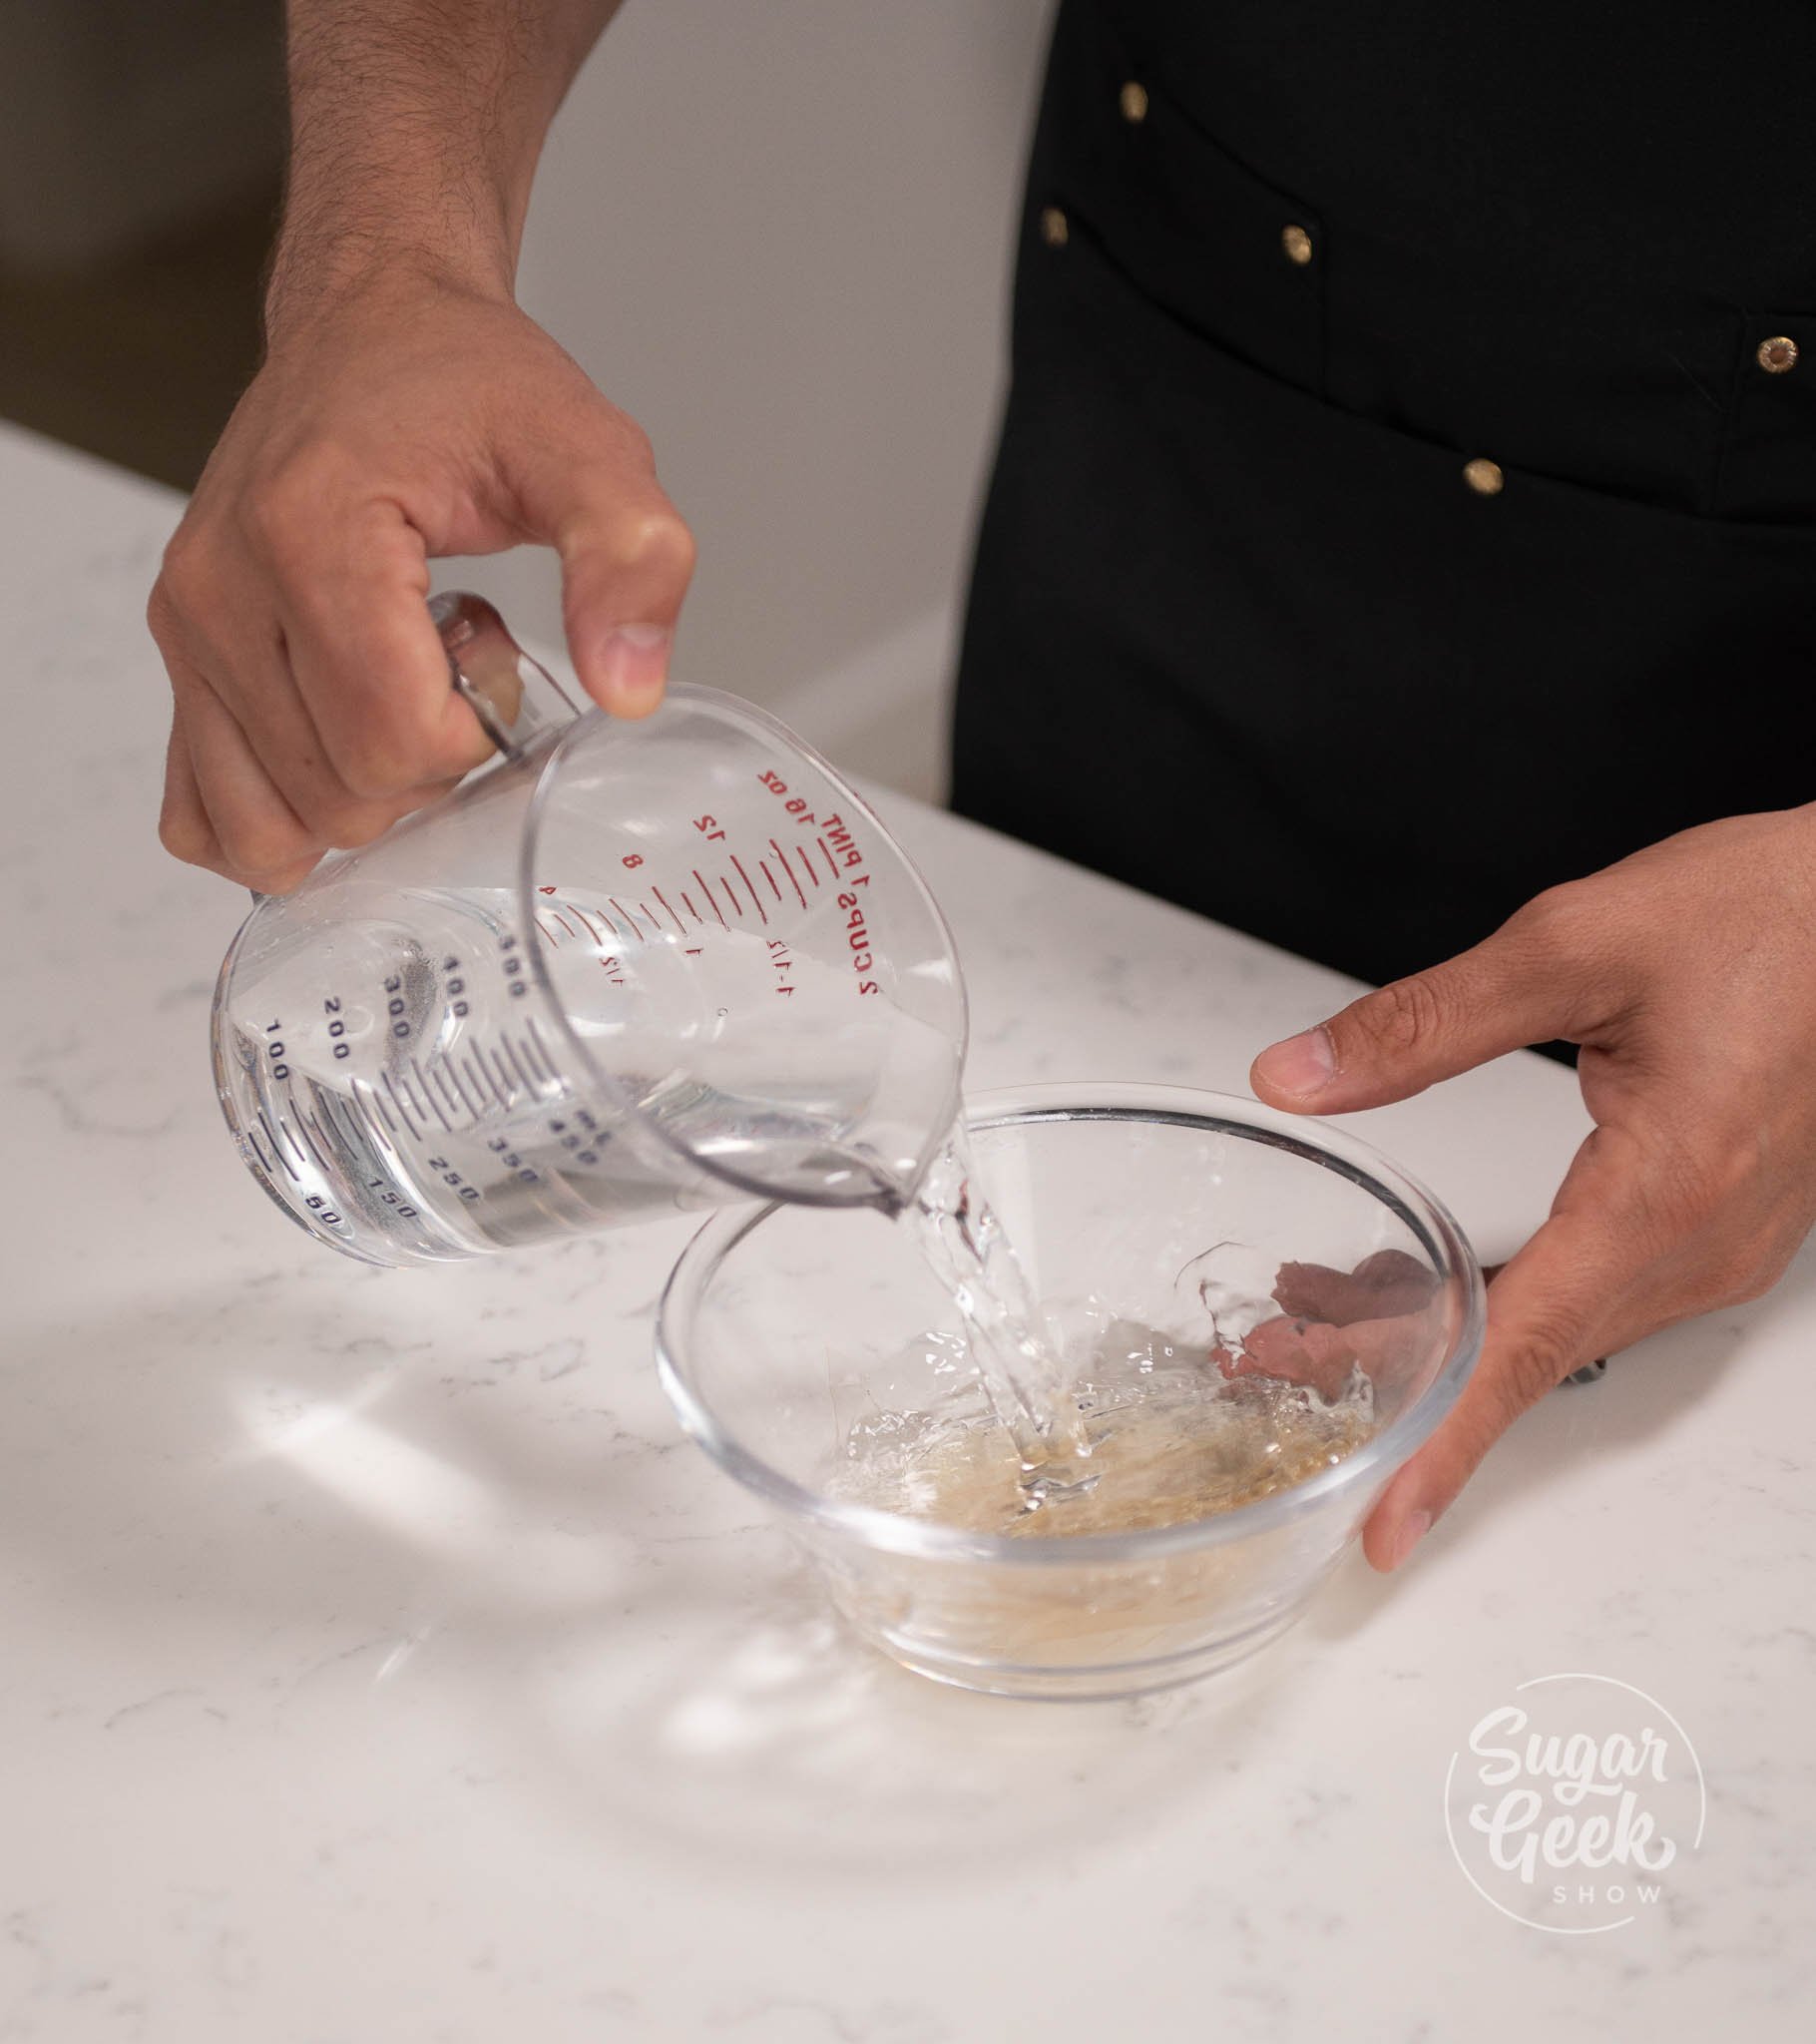
- To make your simple syrup, add your sugar and water into a small pot over medium heat. Bring it to a boil and cook until the sugar dissolves. Pour into a glass container to cool and store in the fridge.

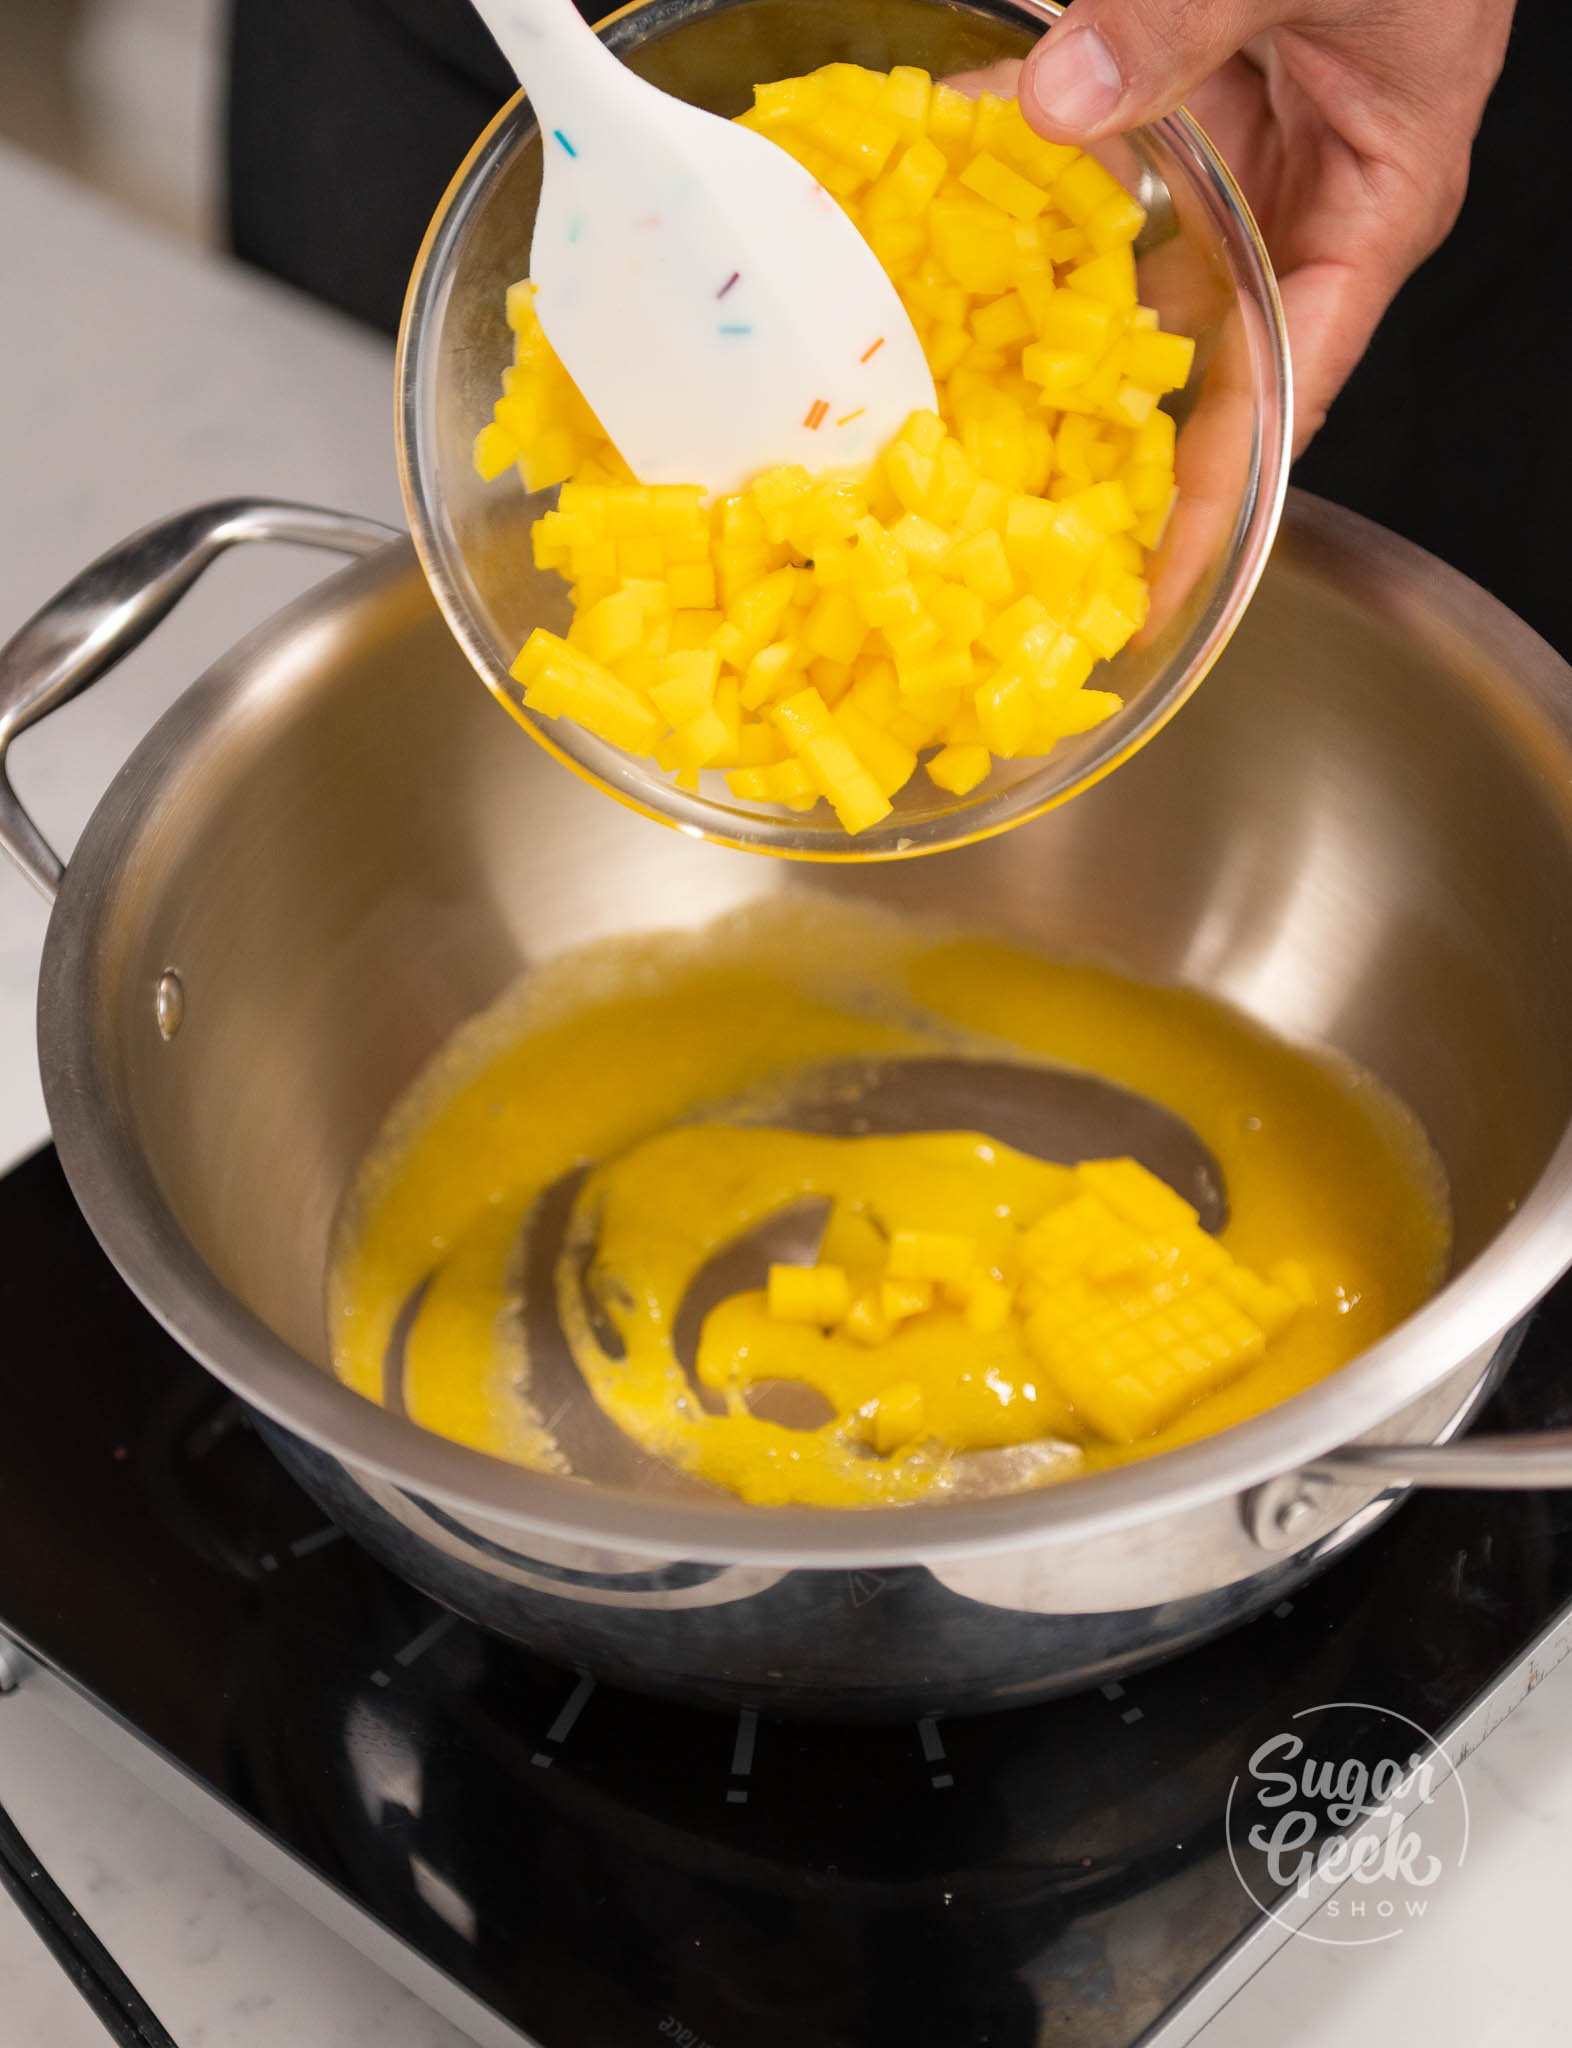
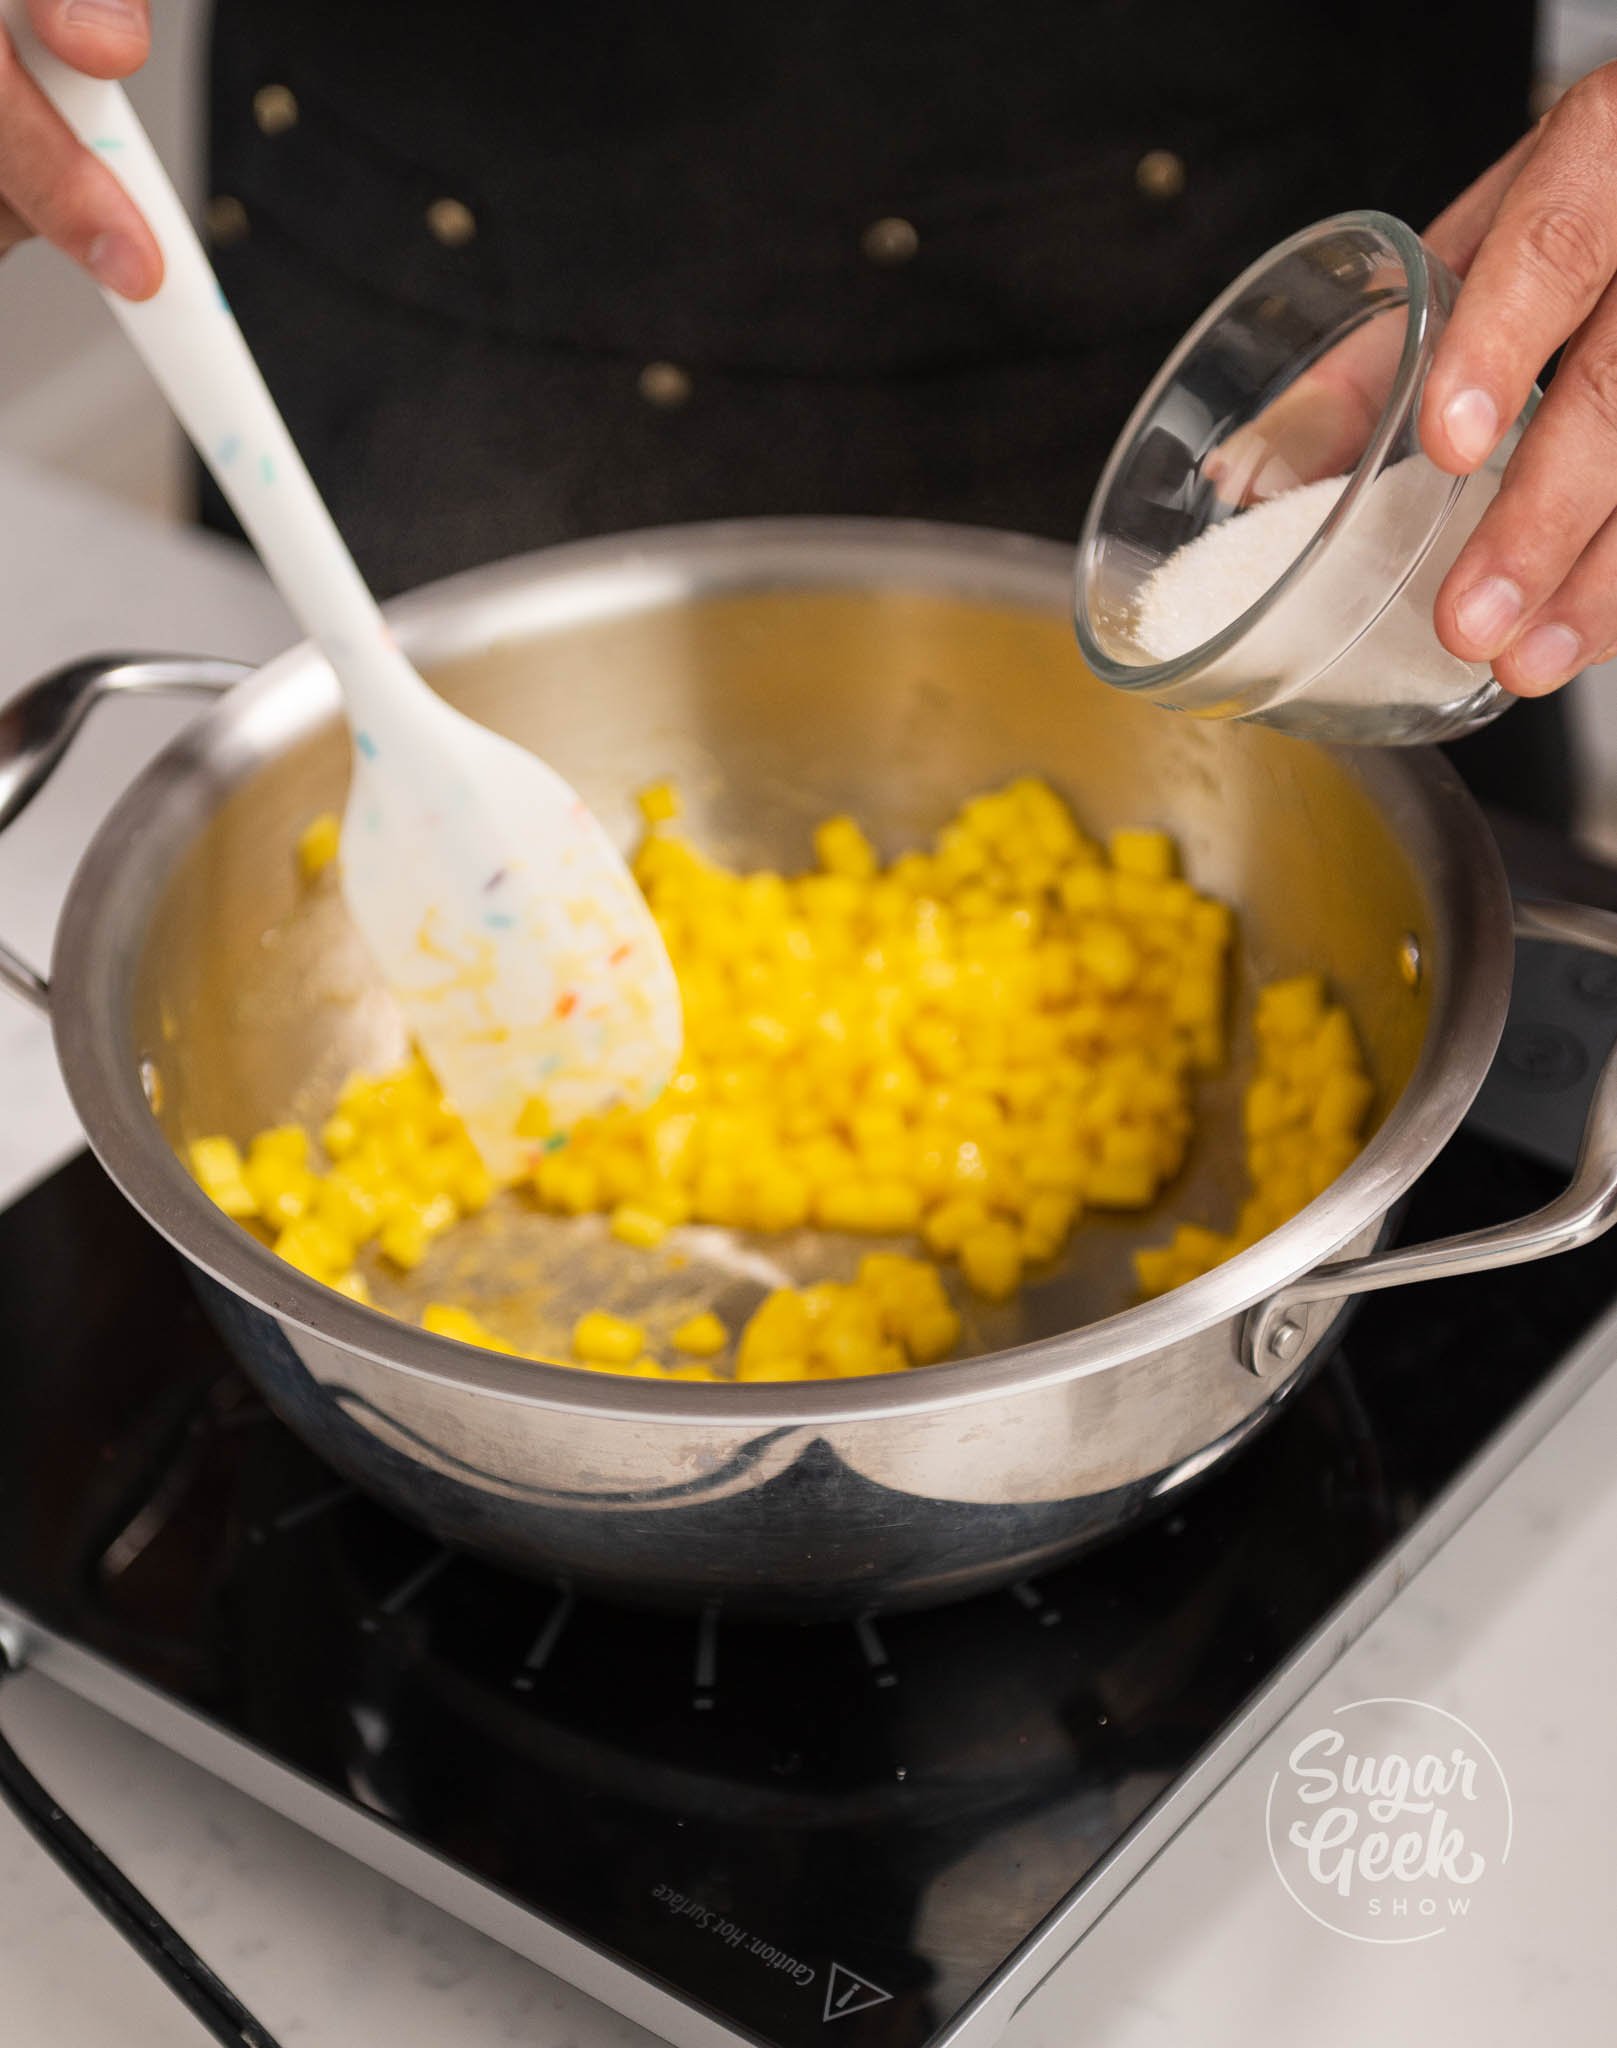
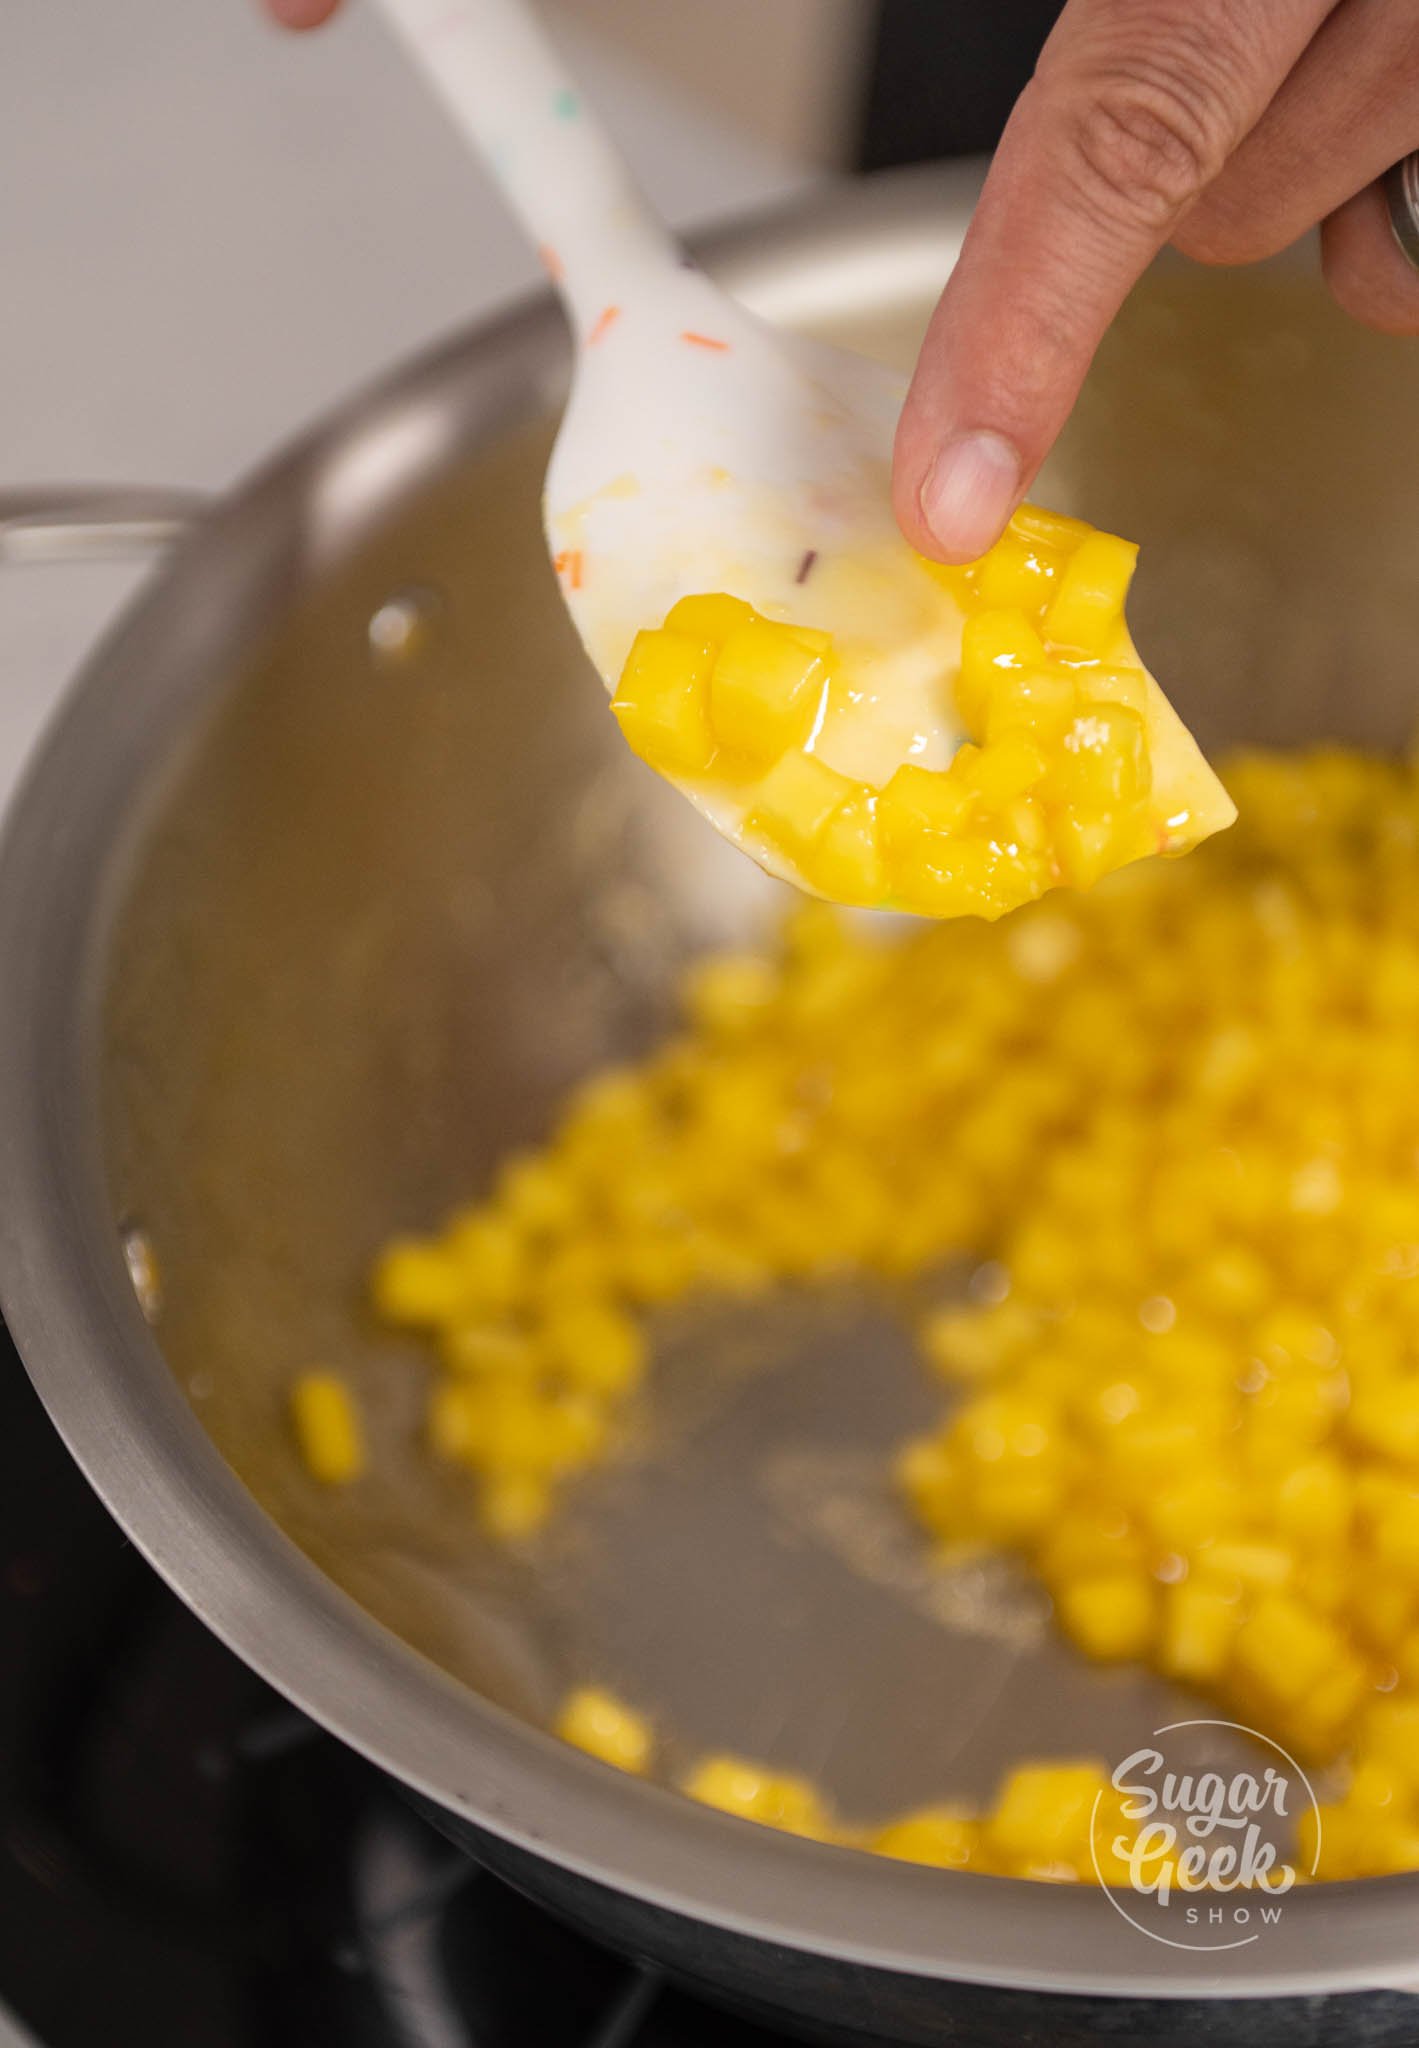
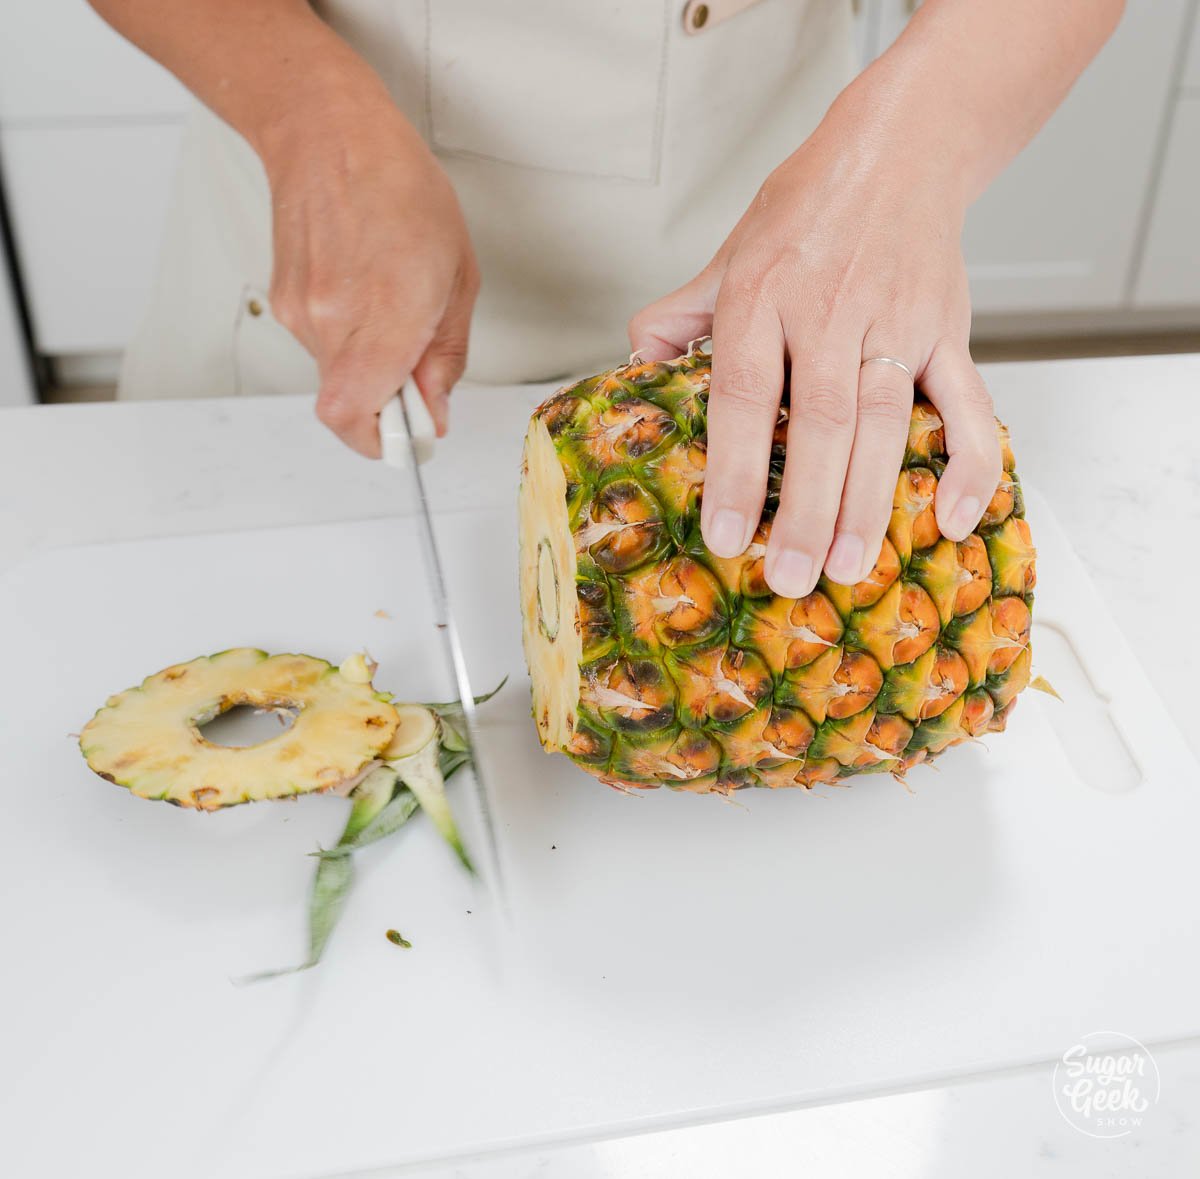
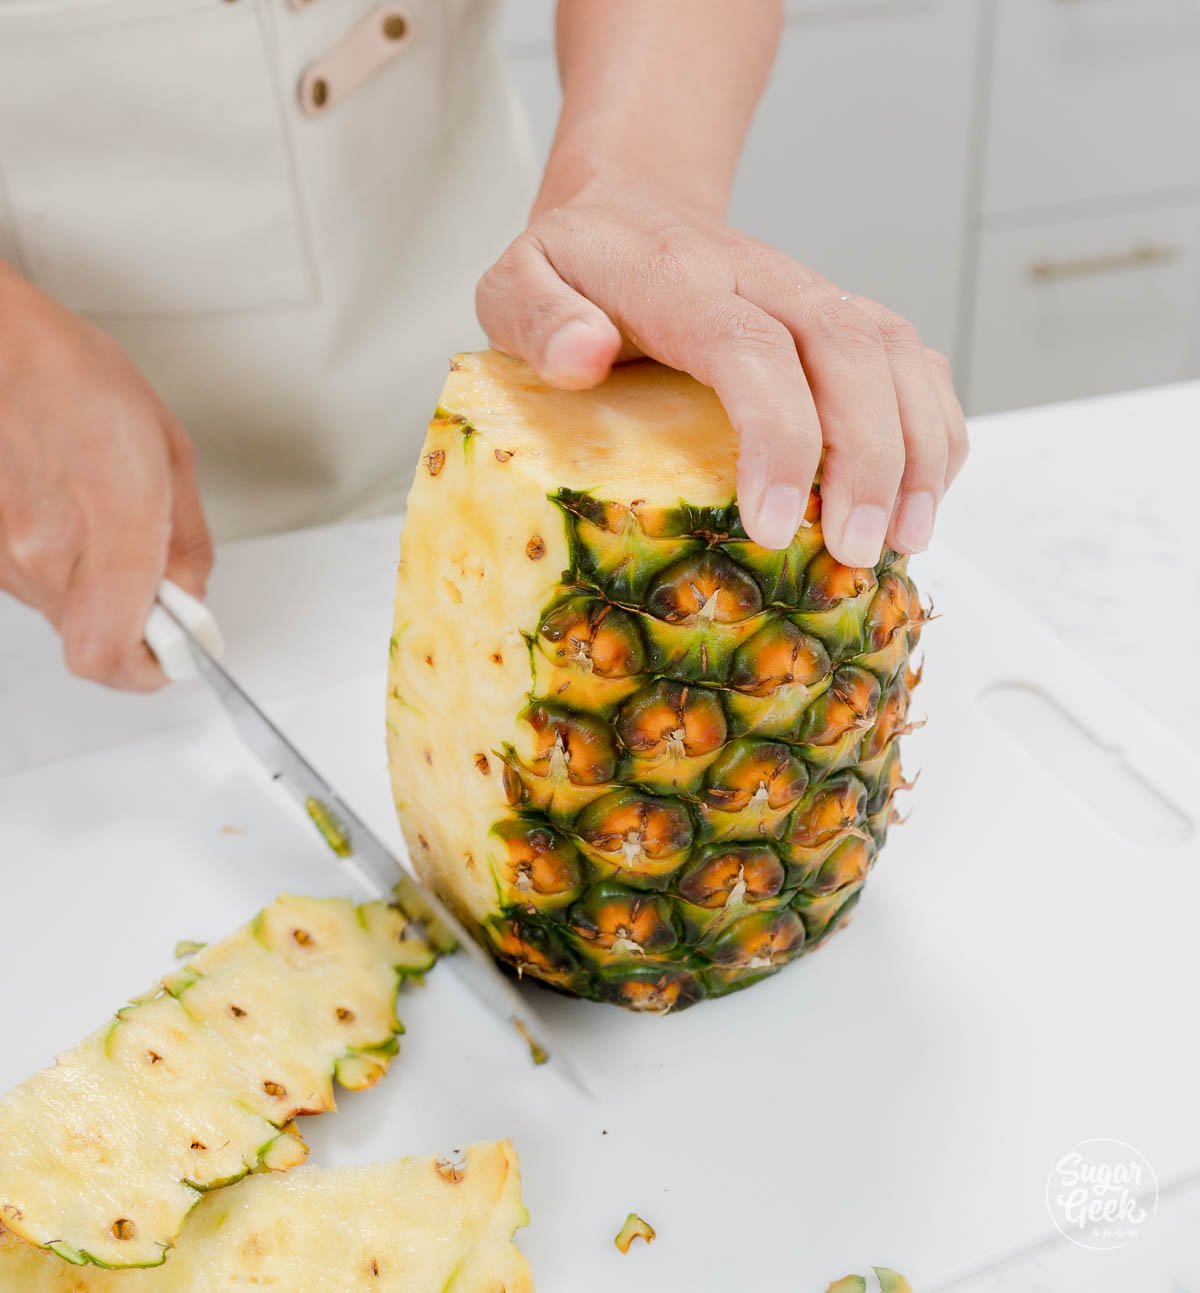
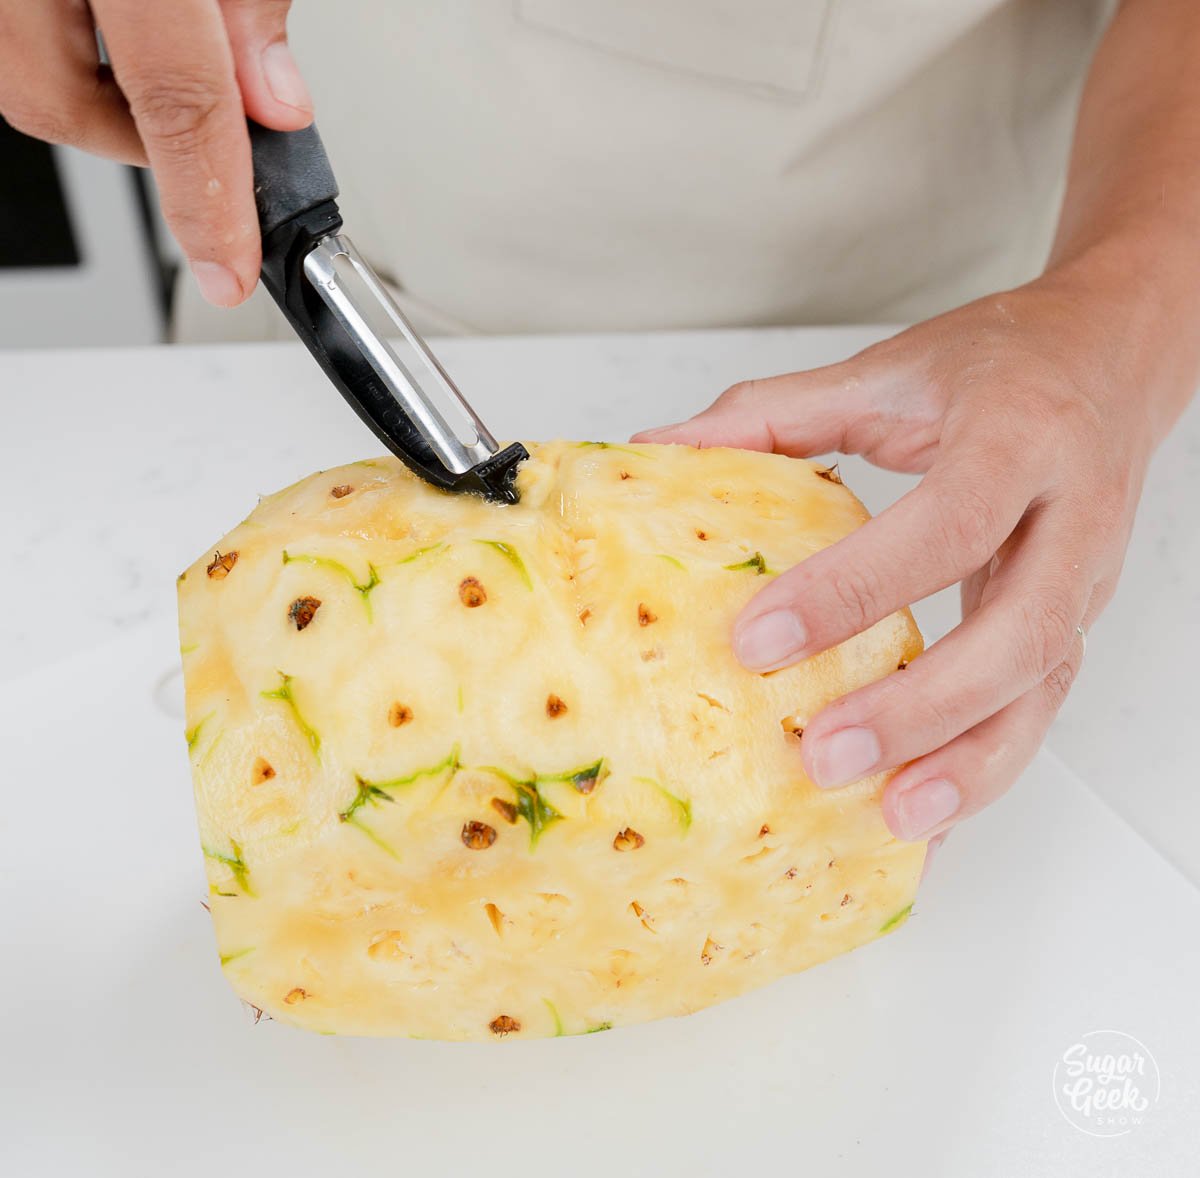
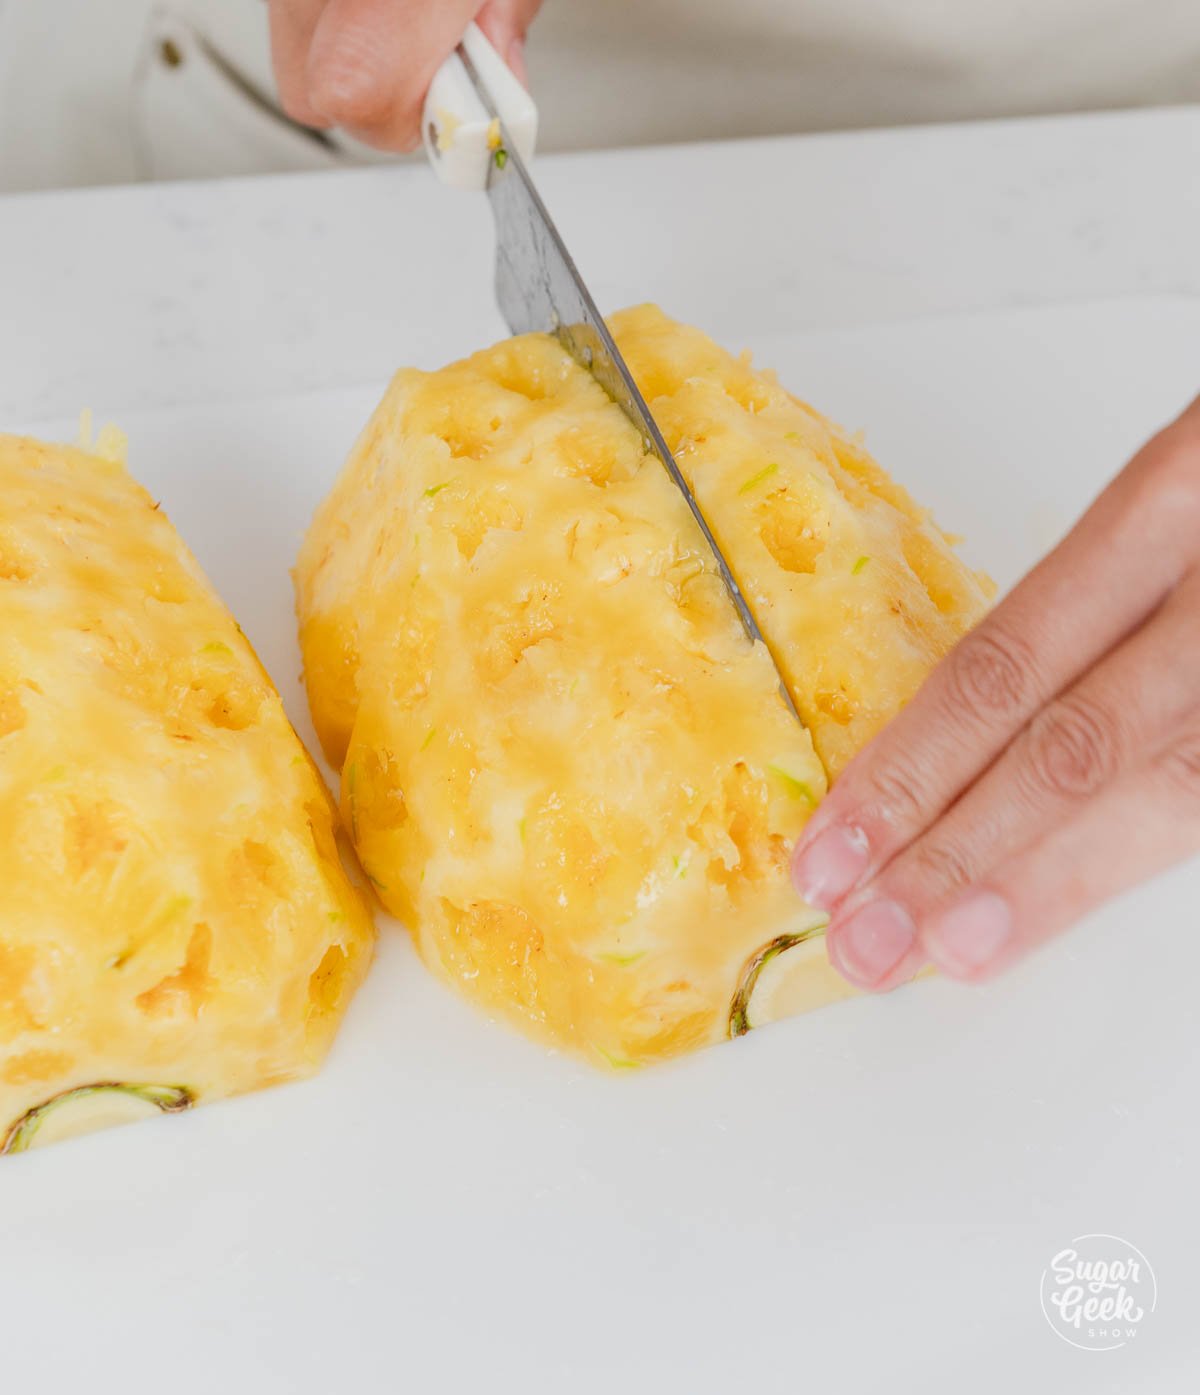
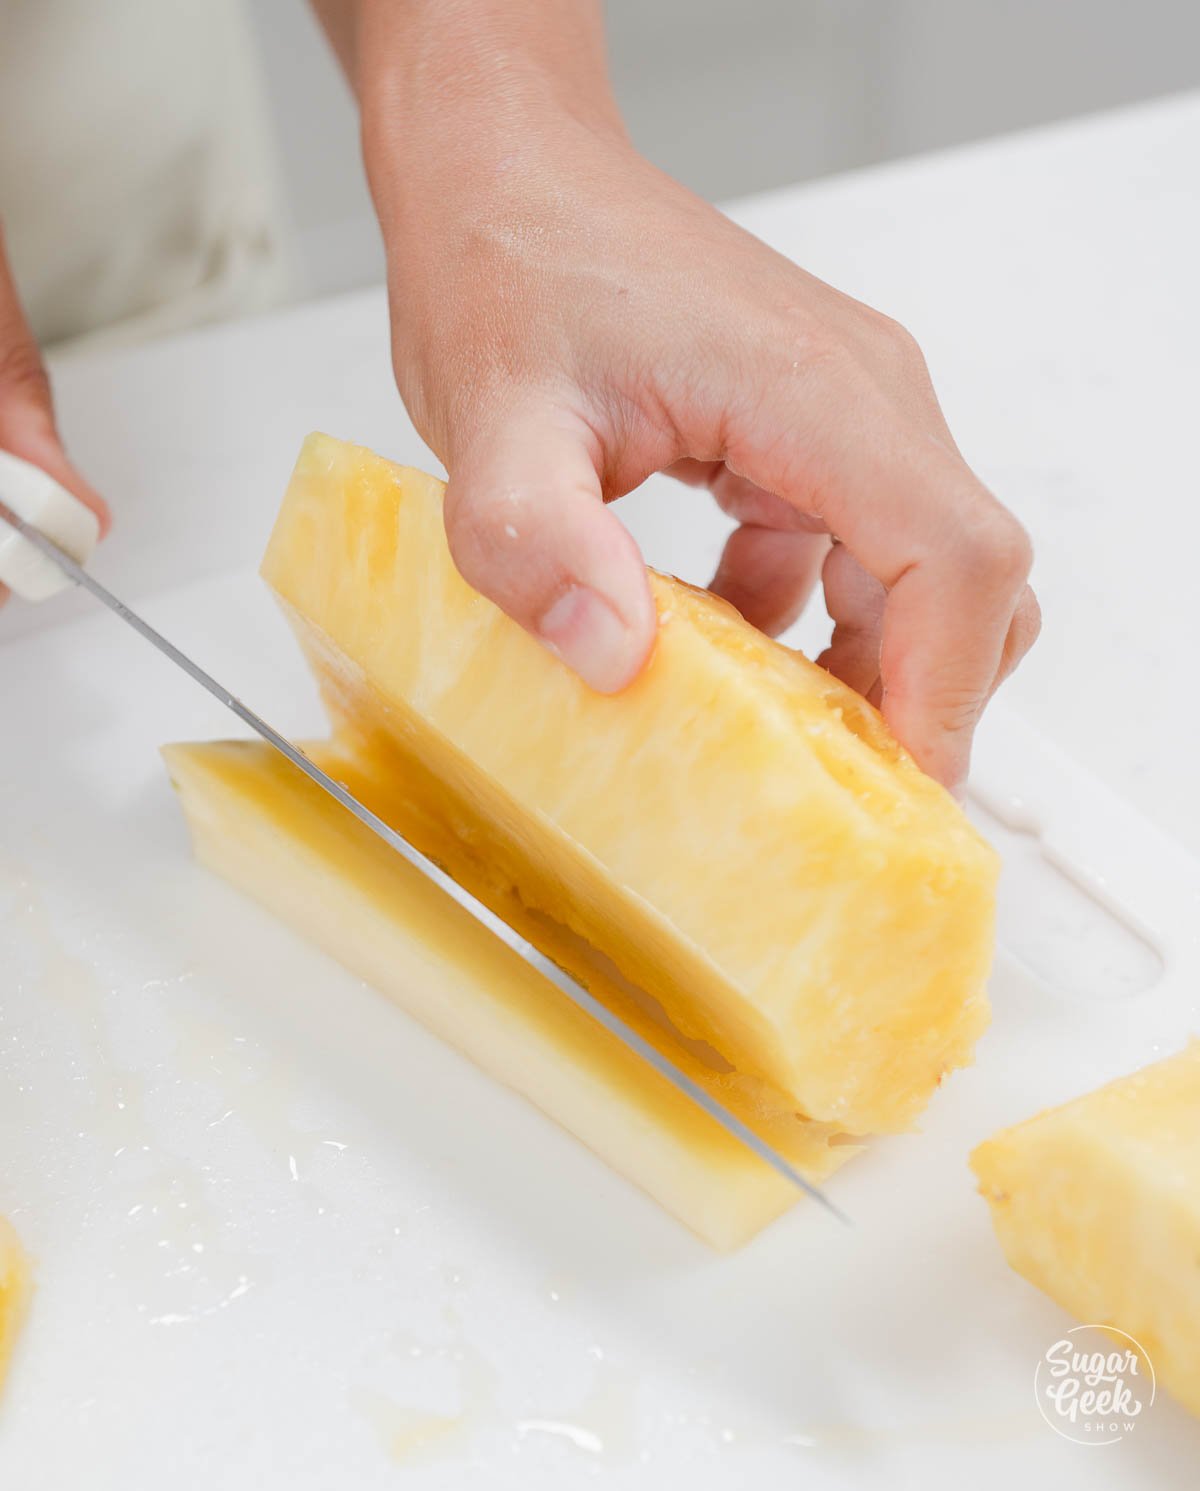
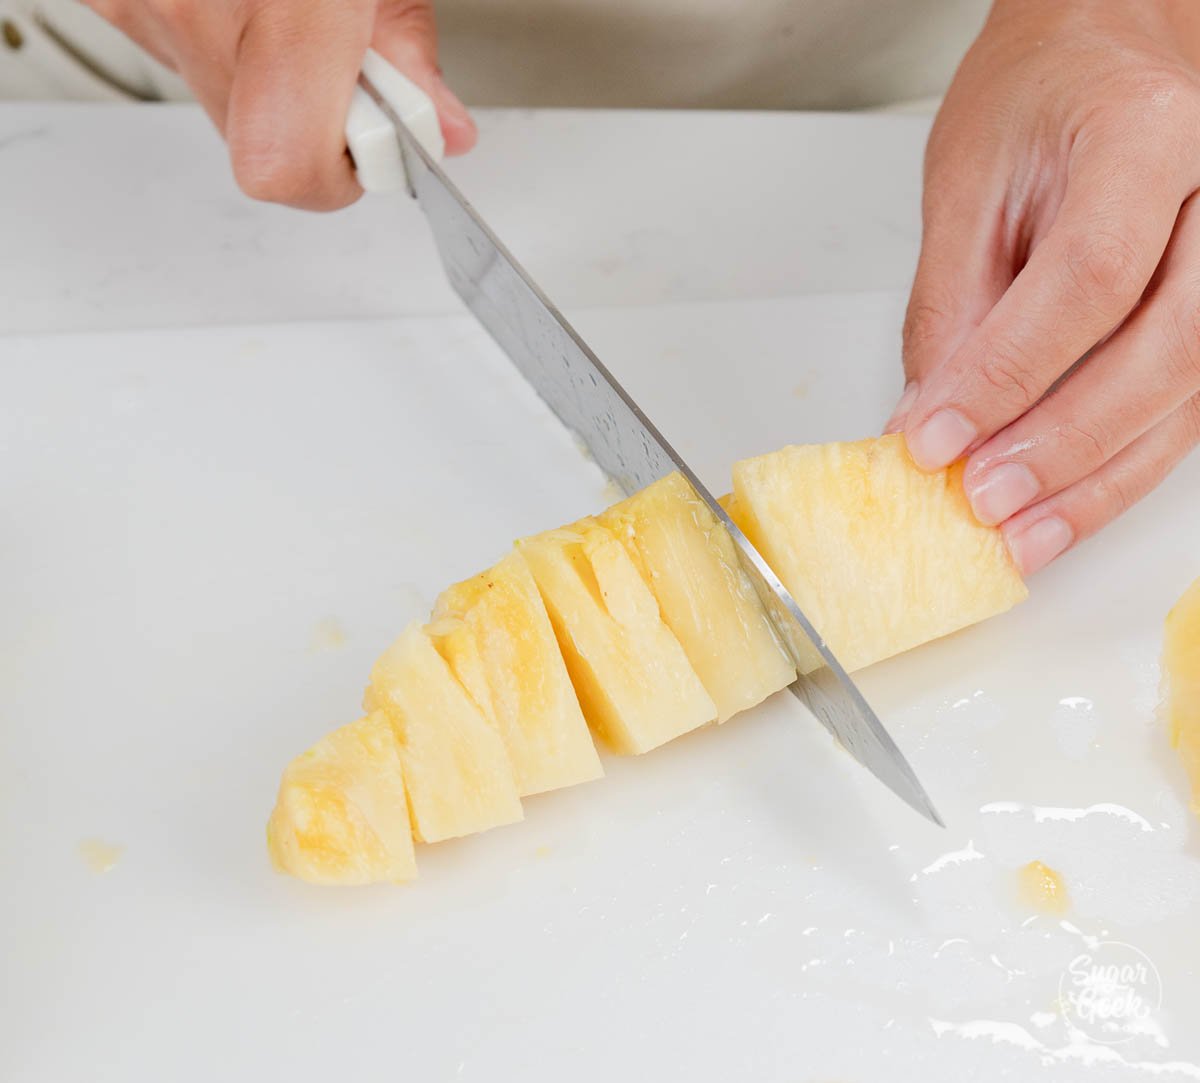
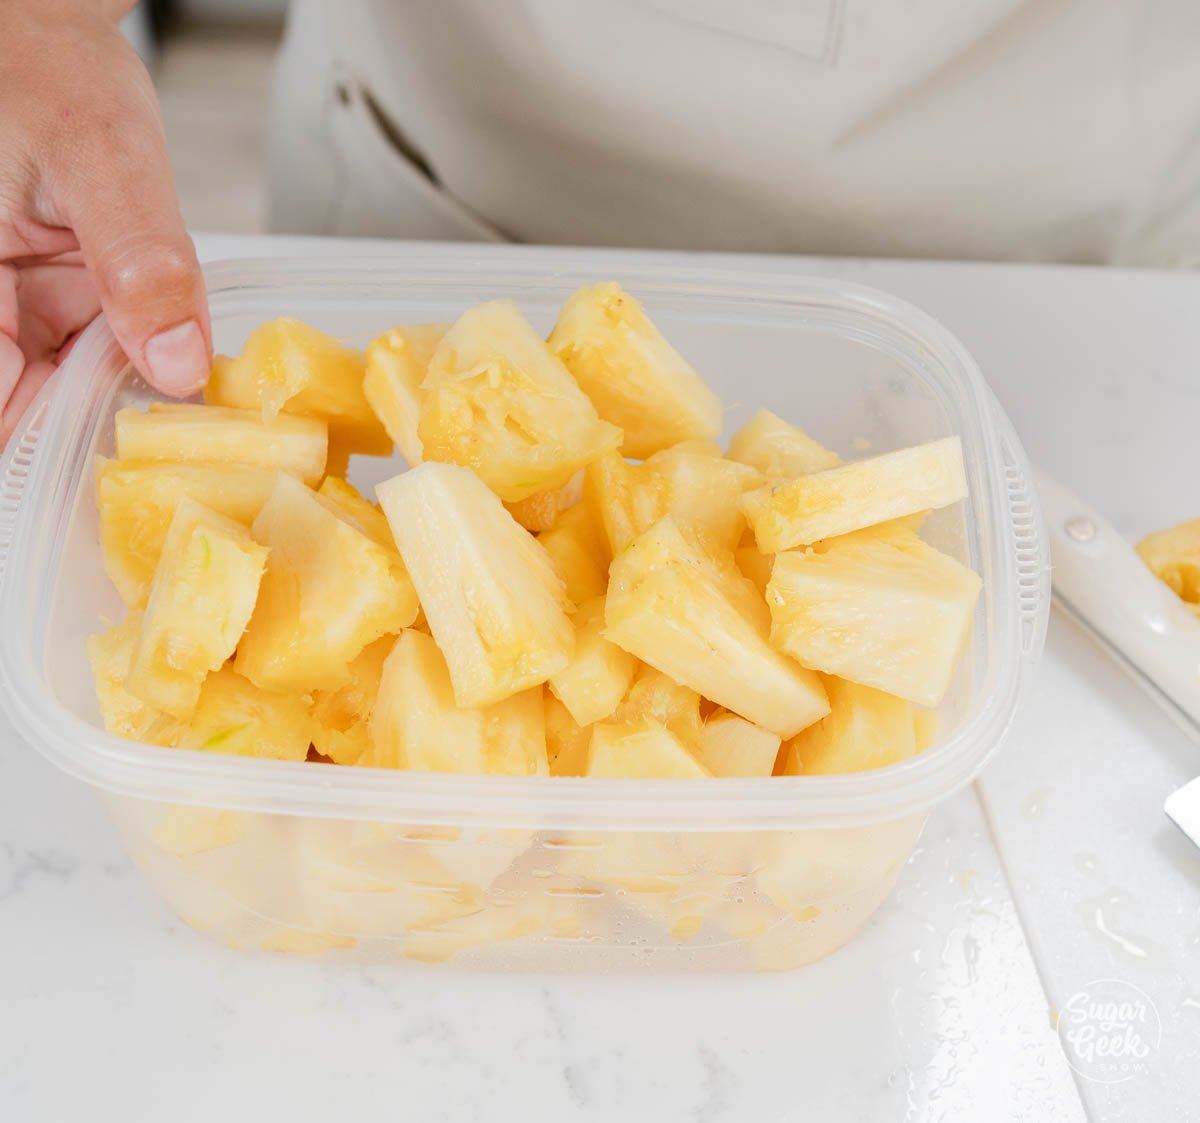
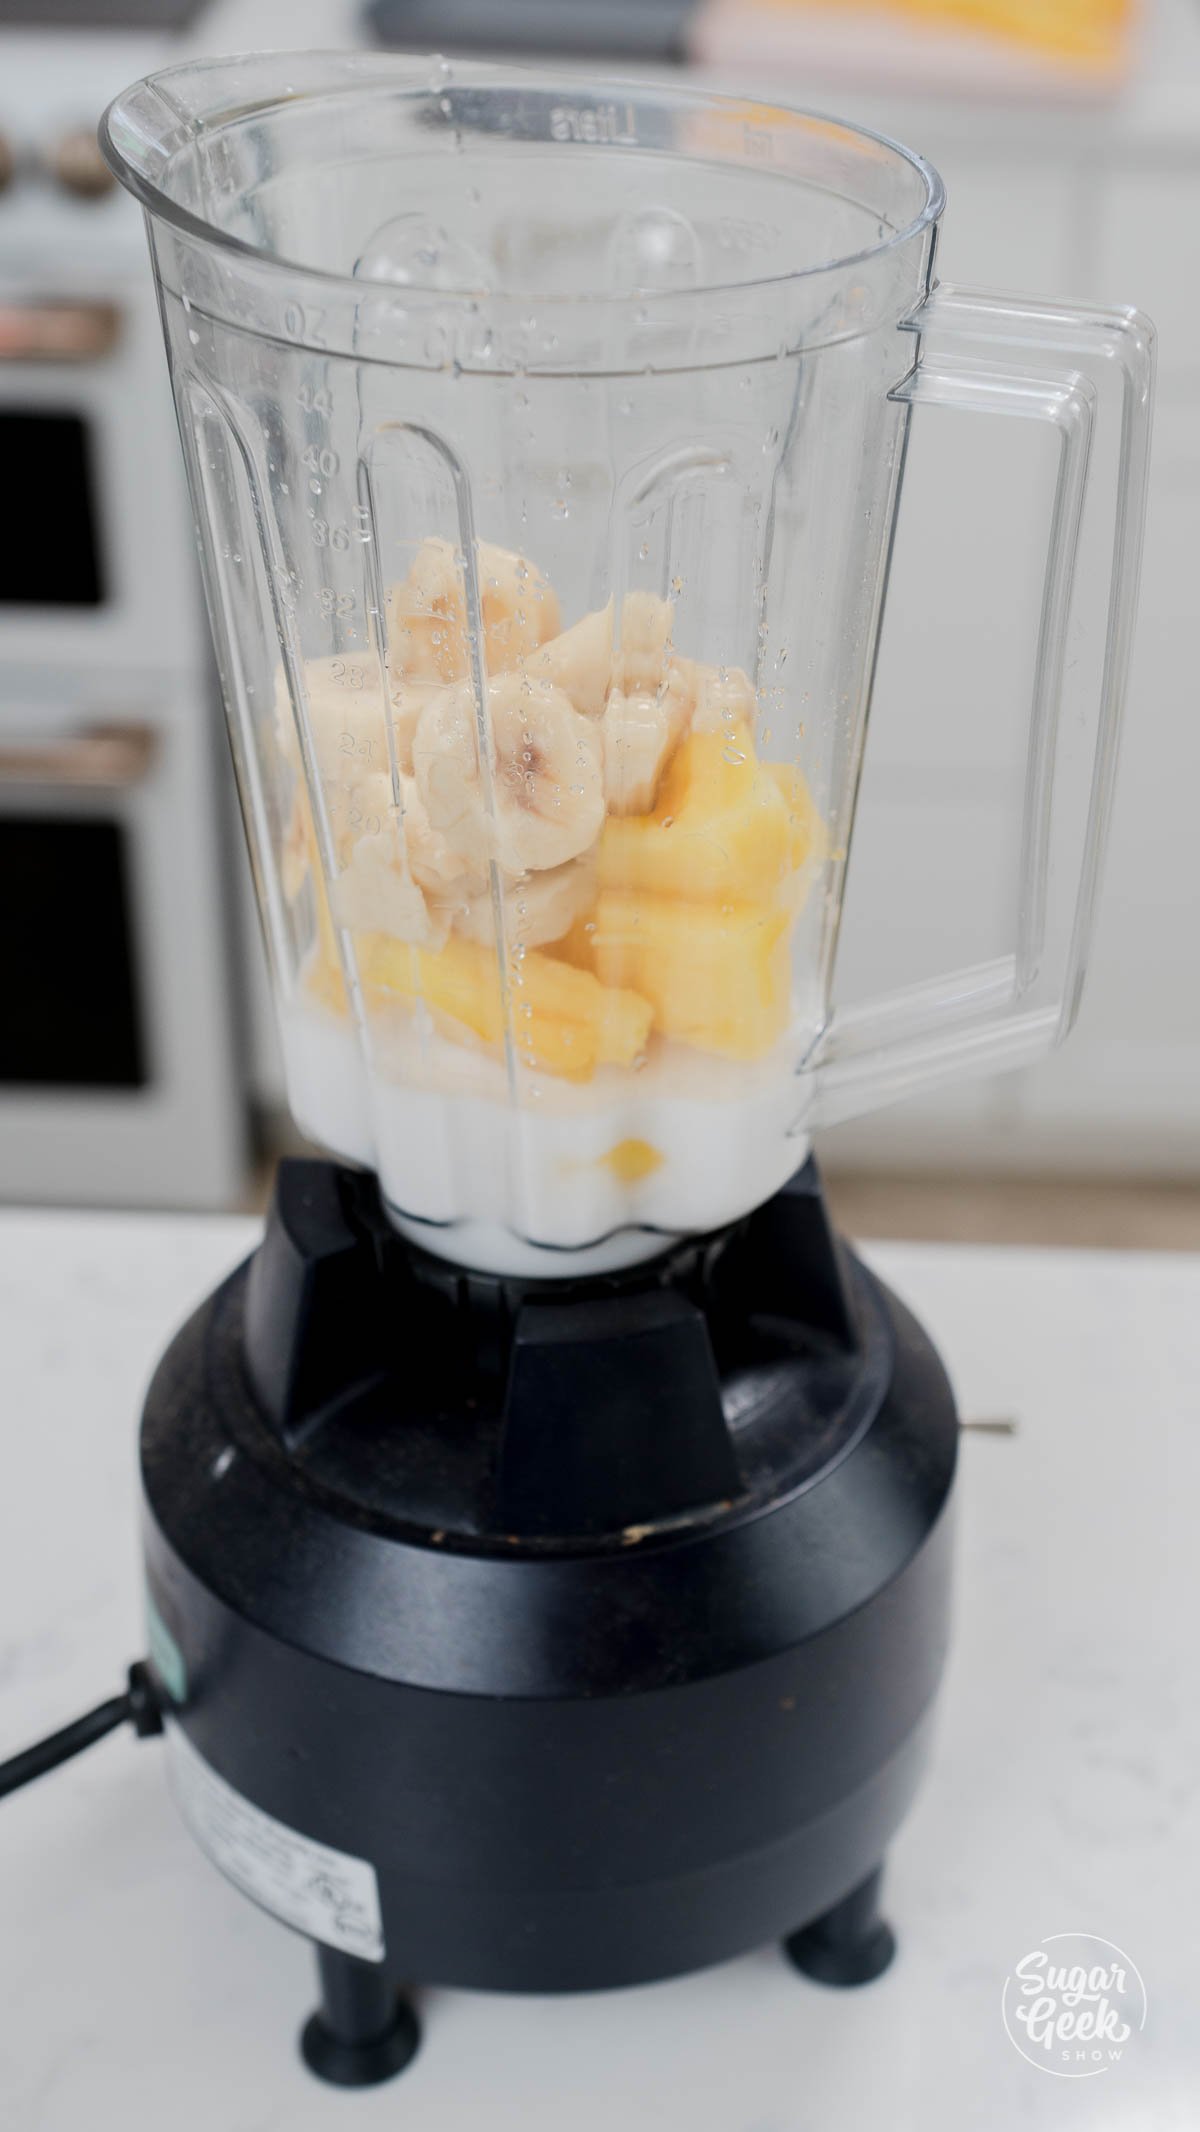
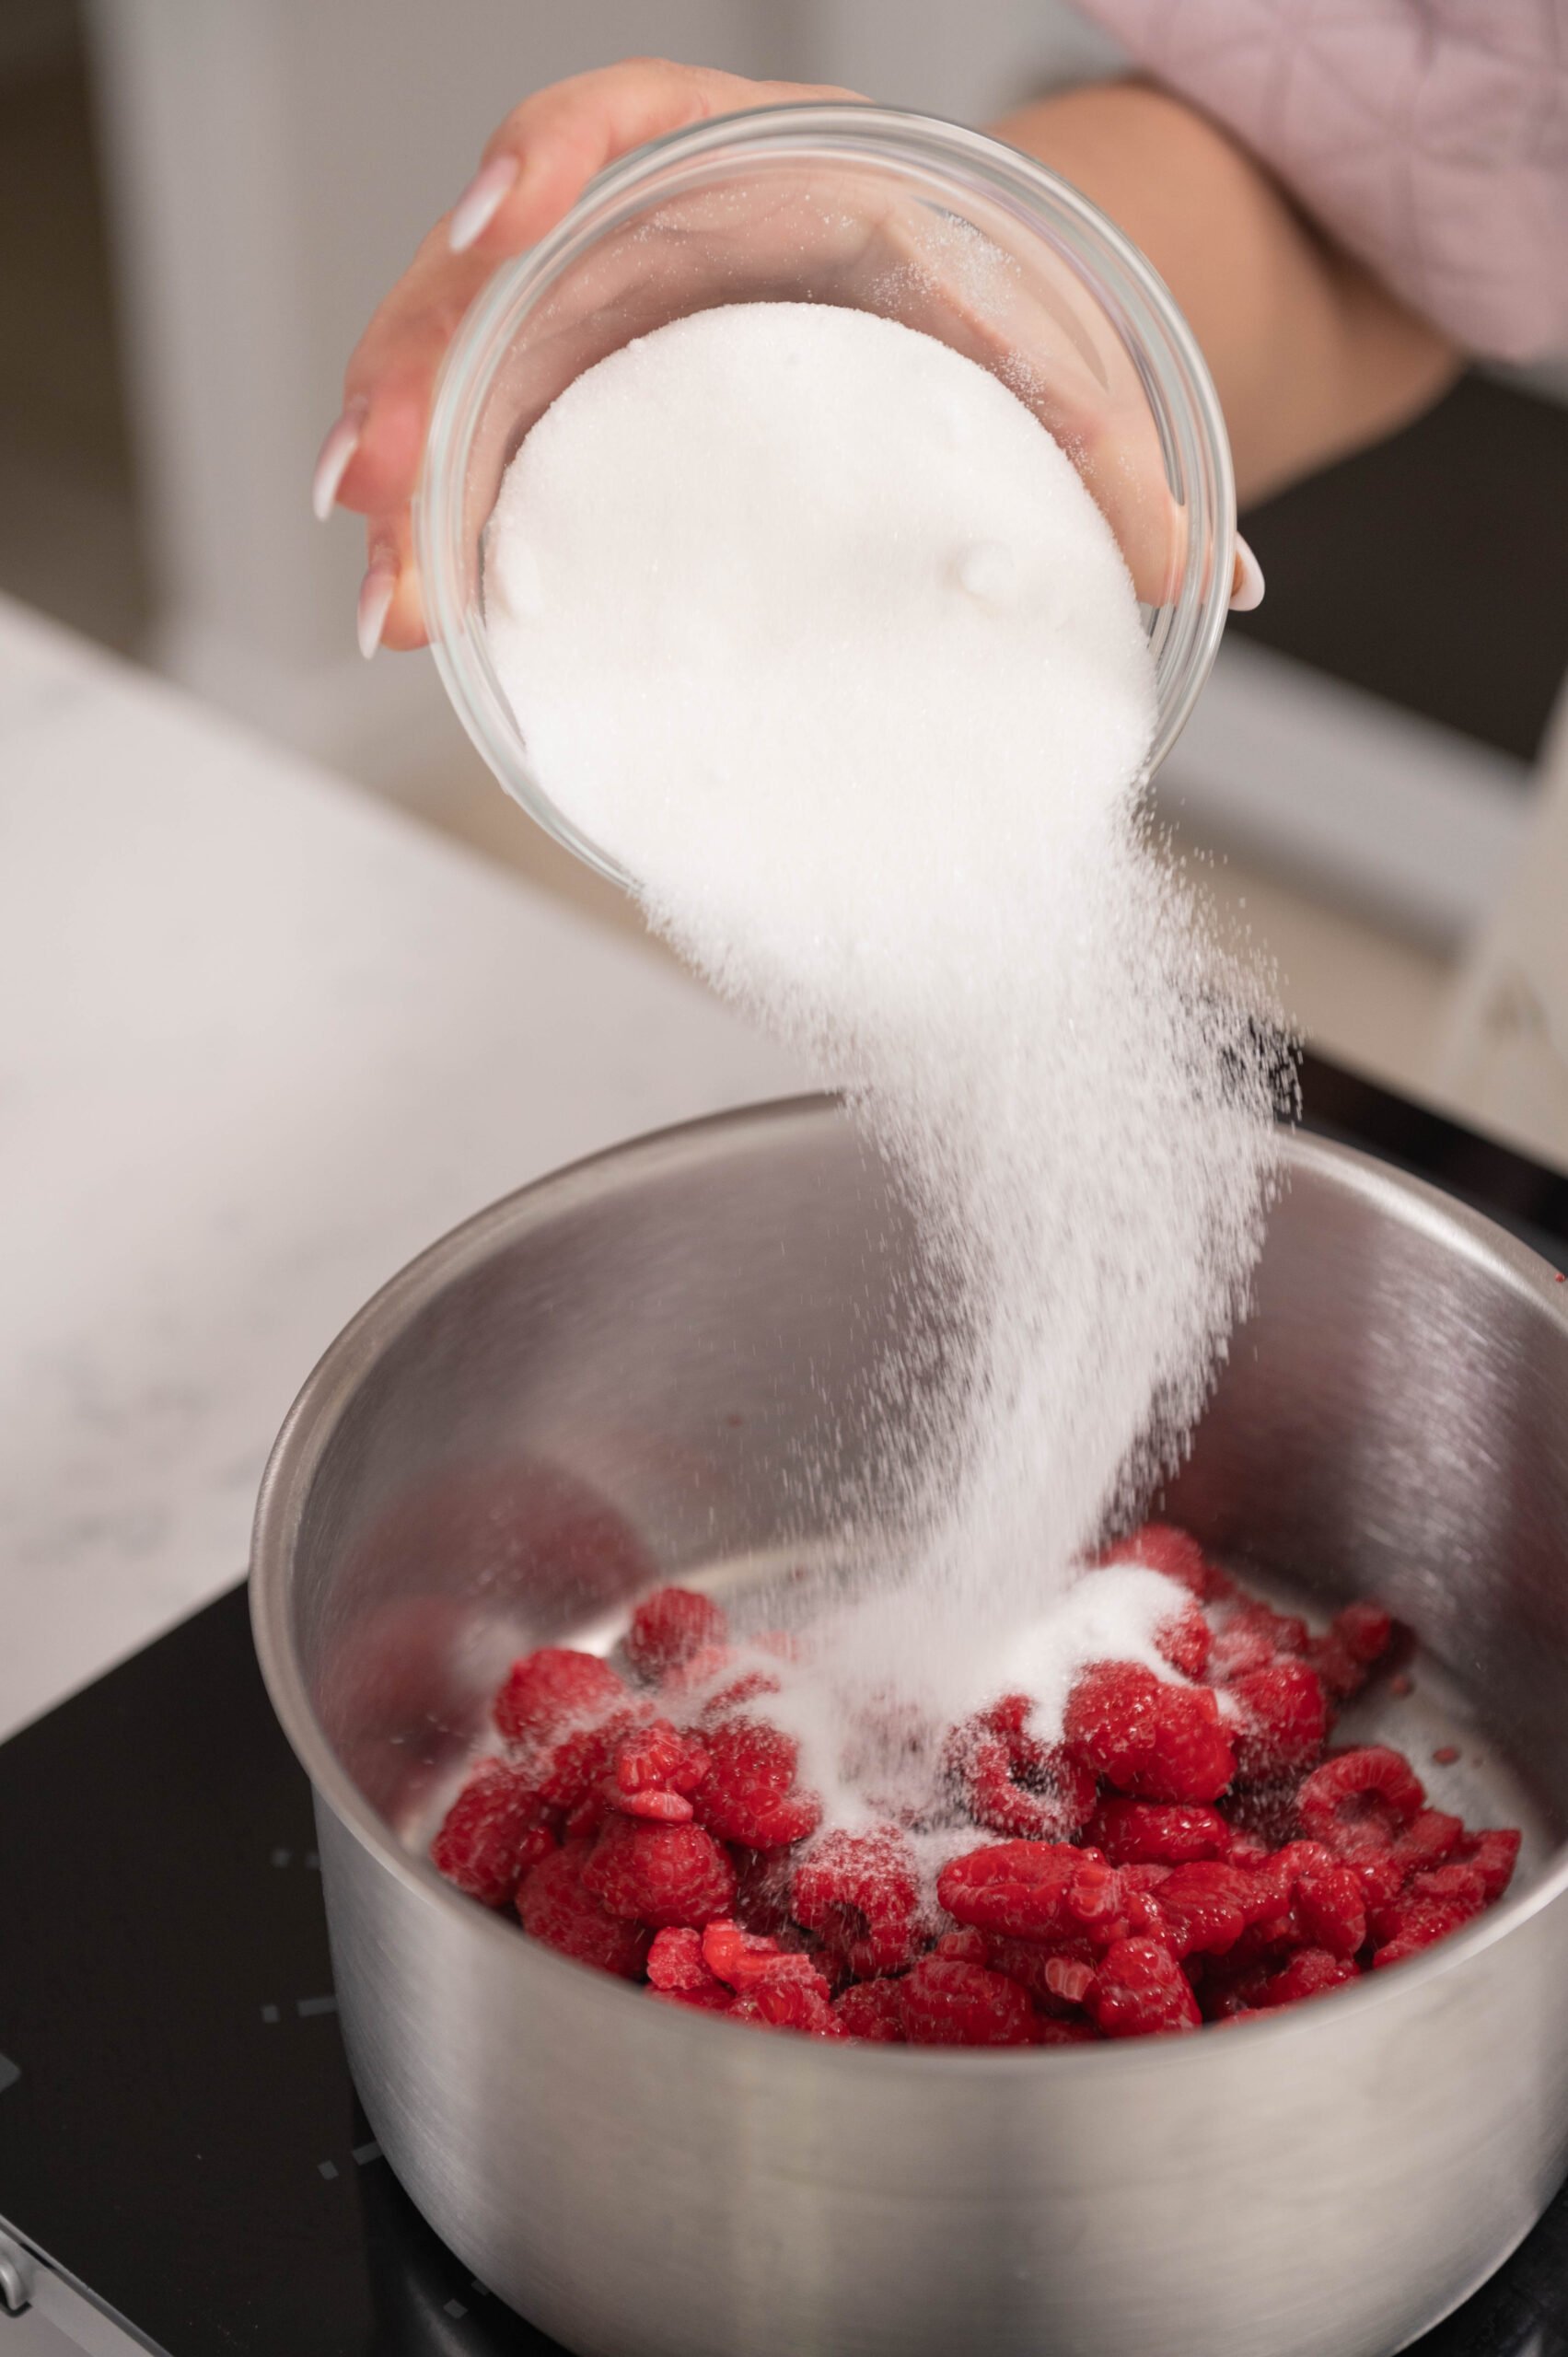
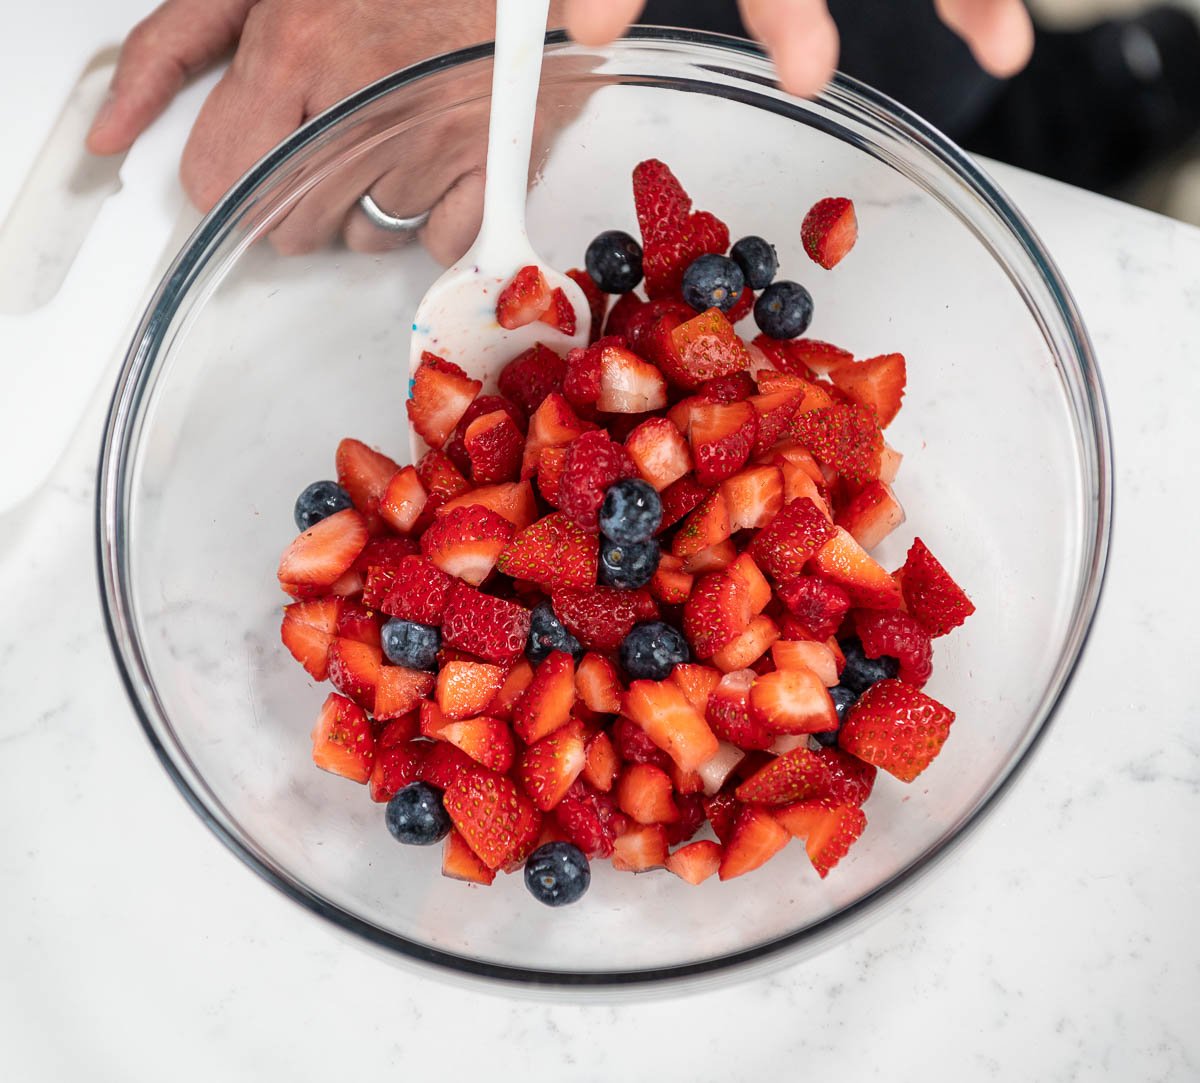
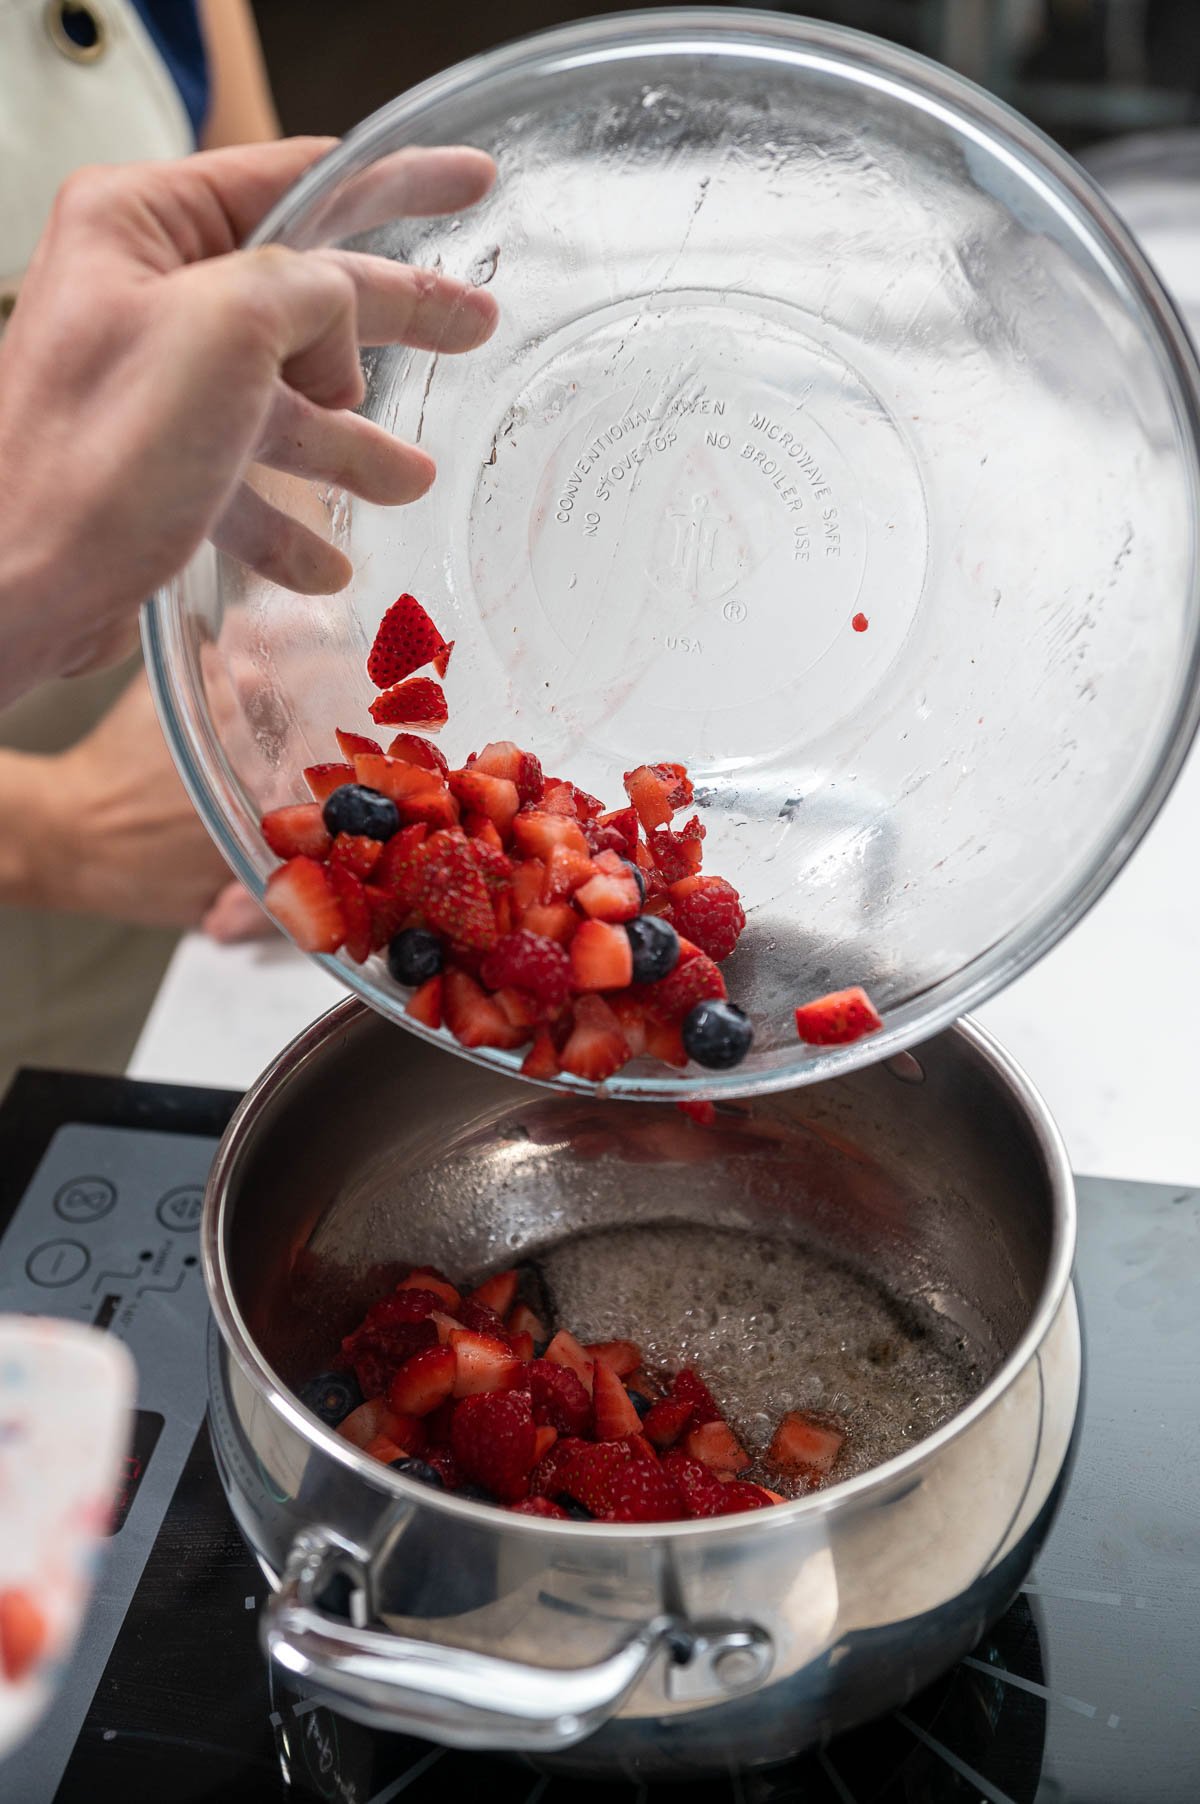
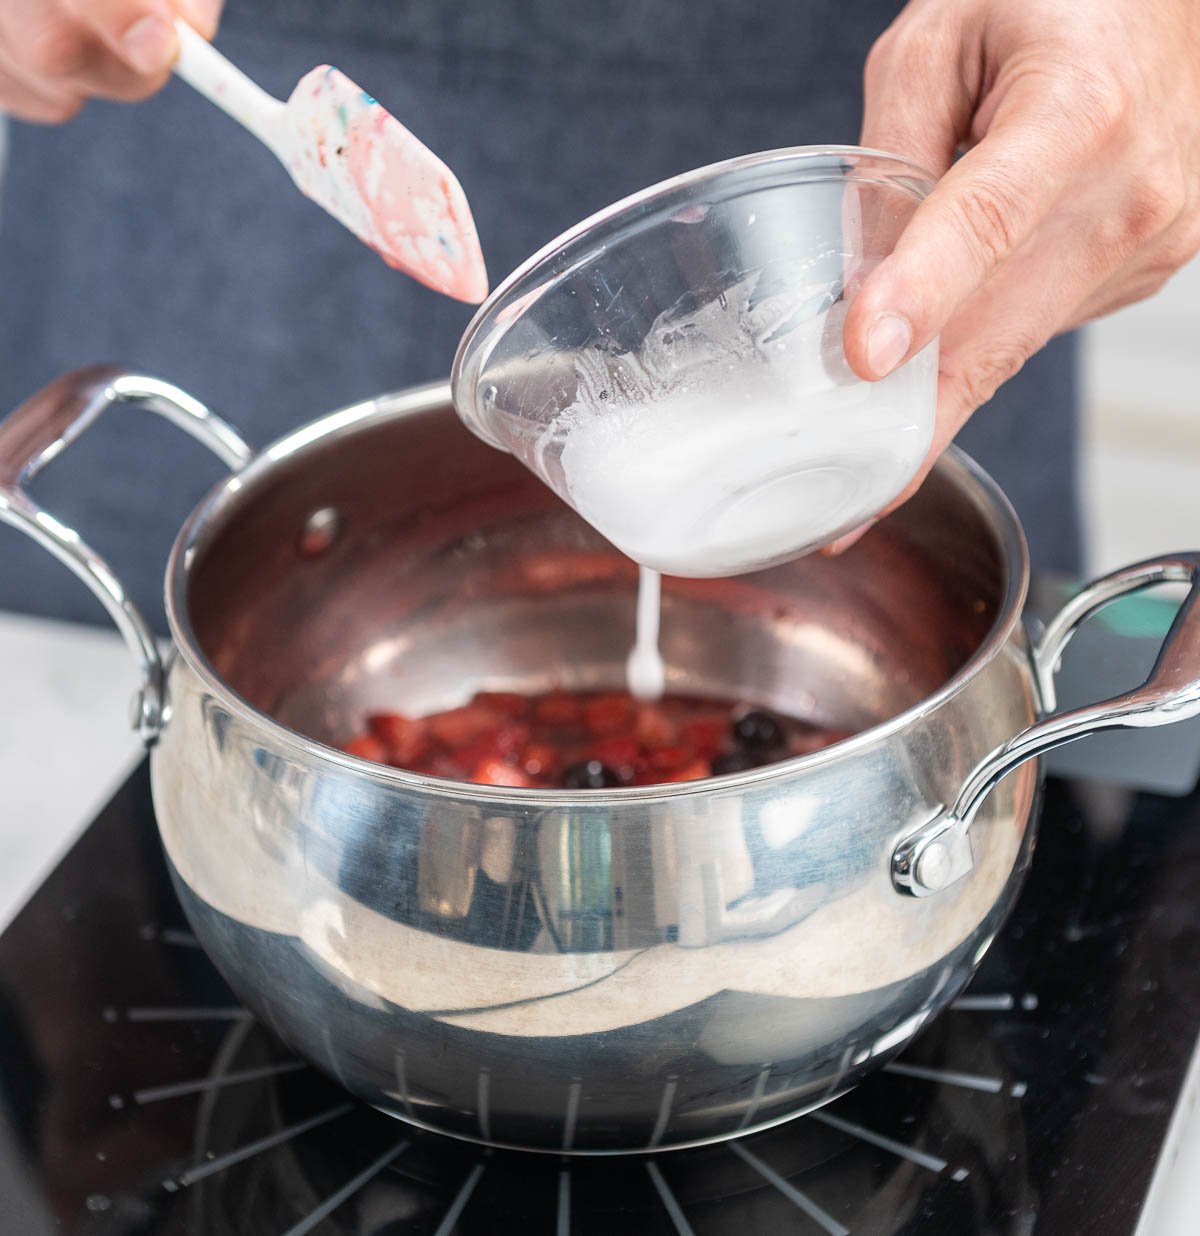
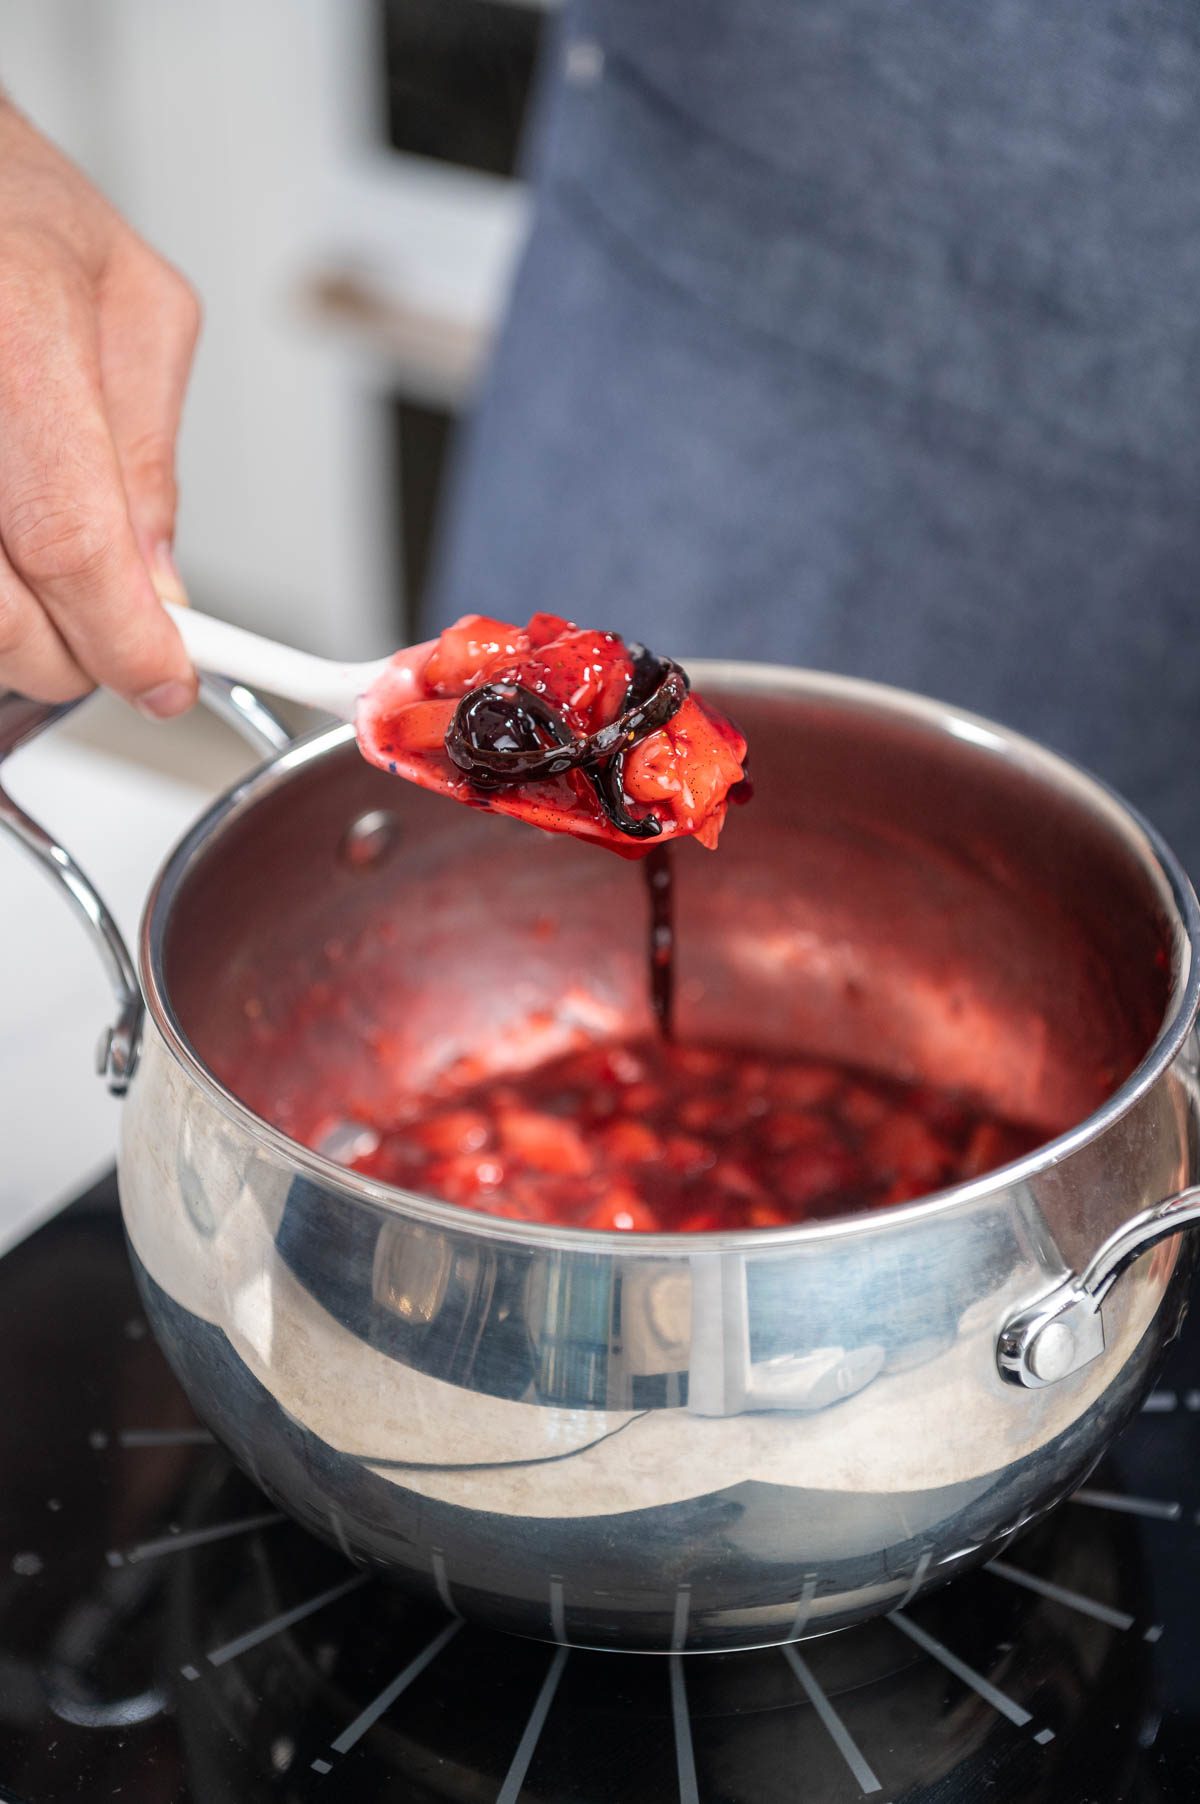
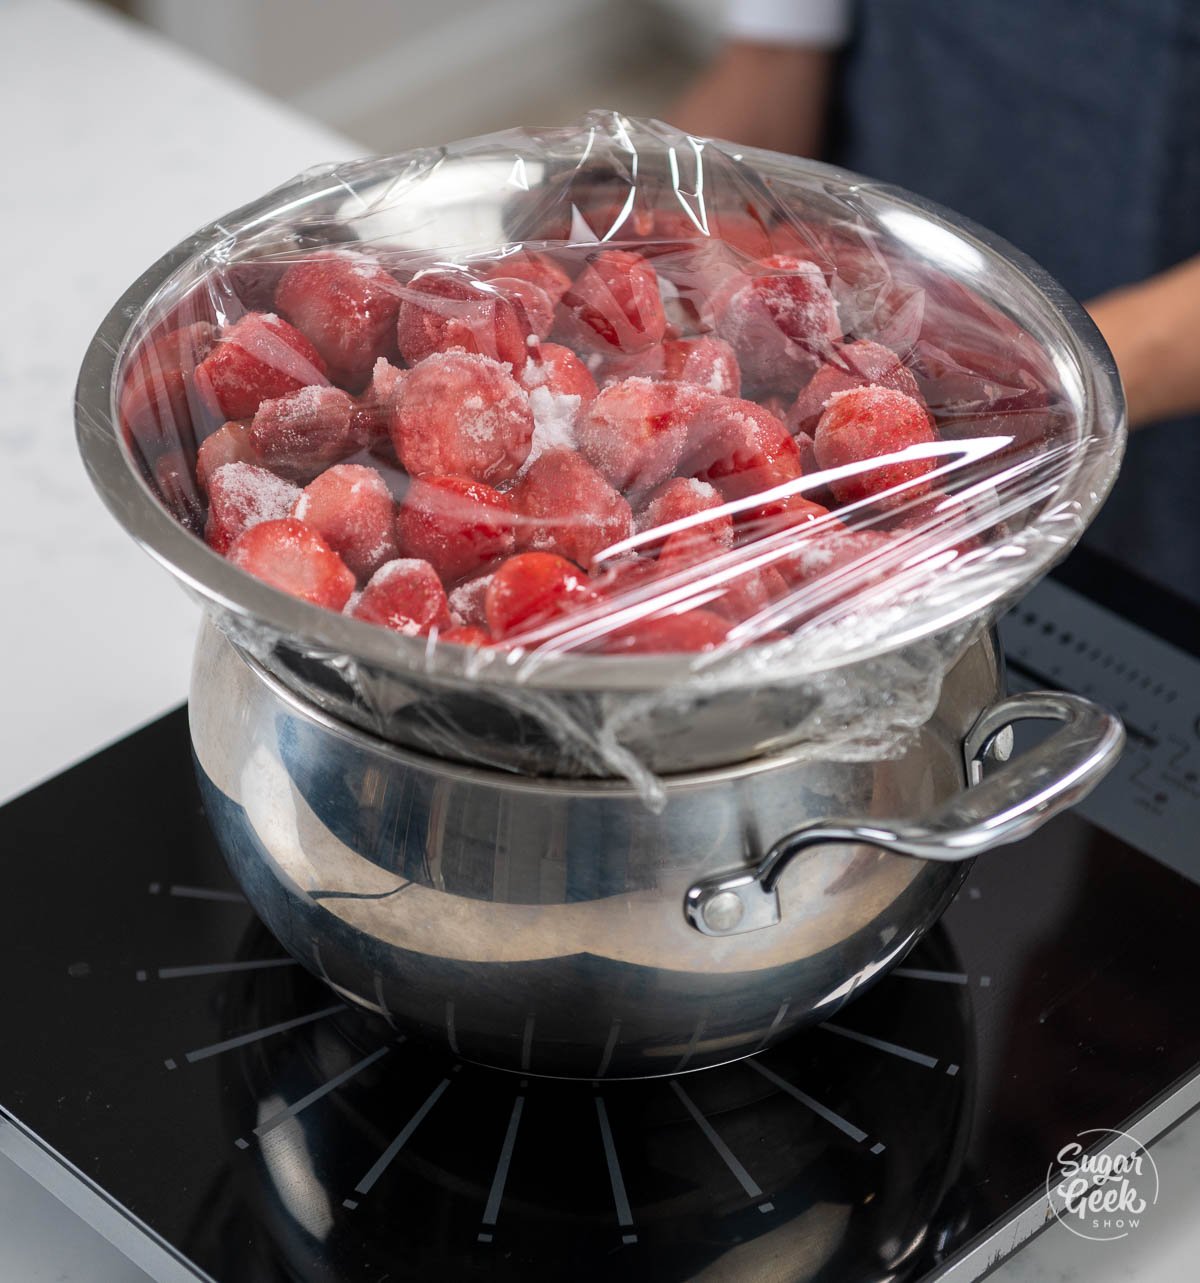
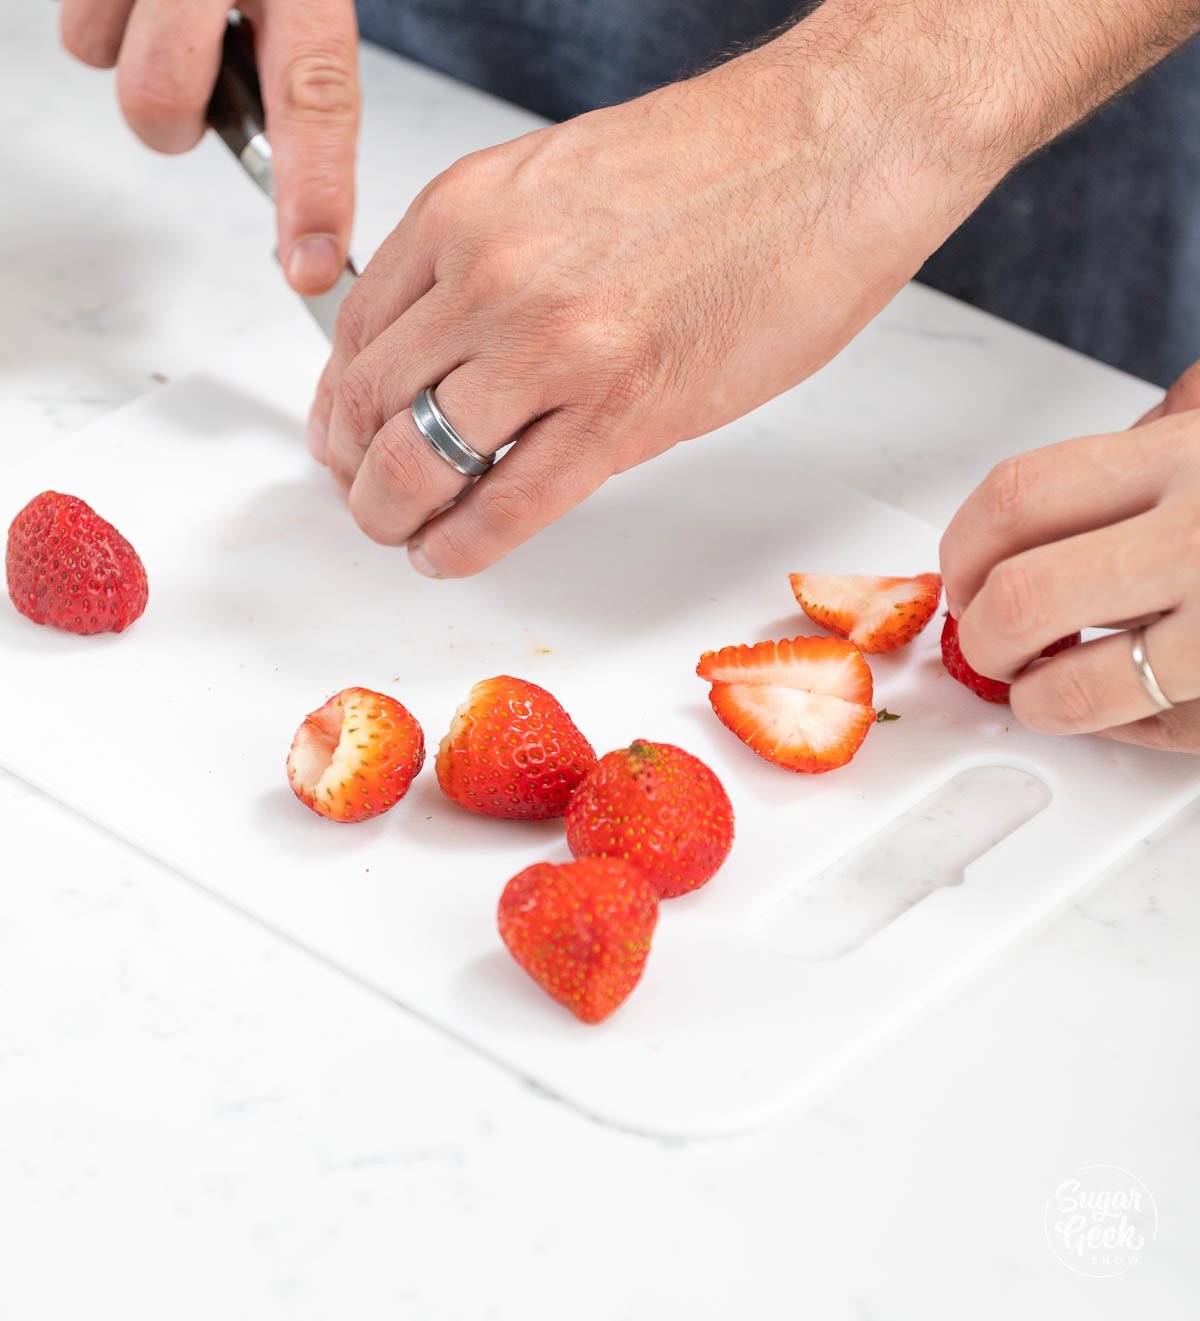
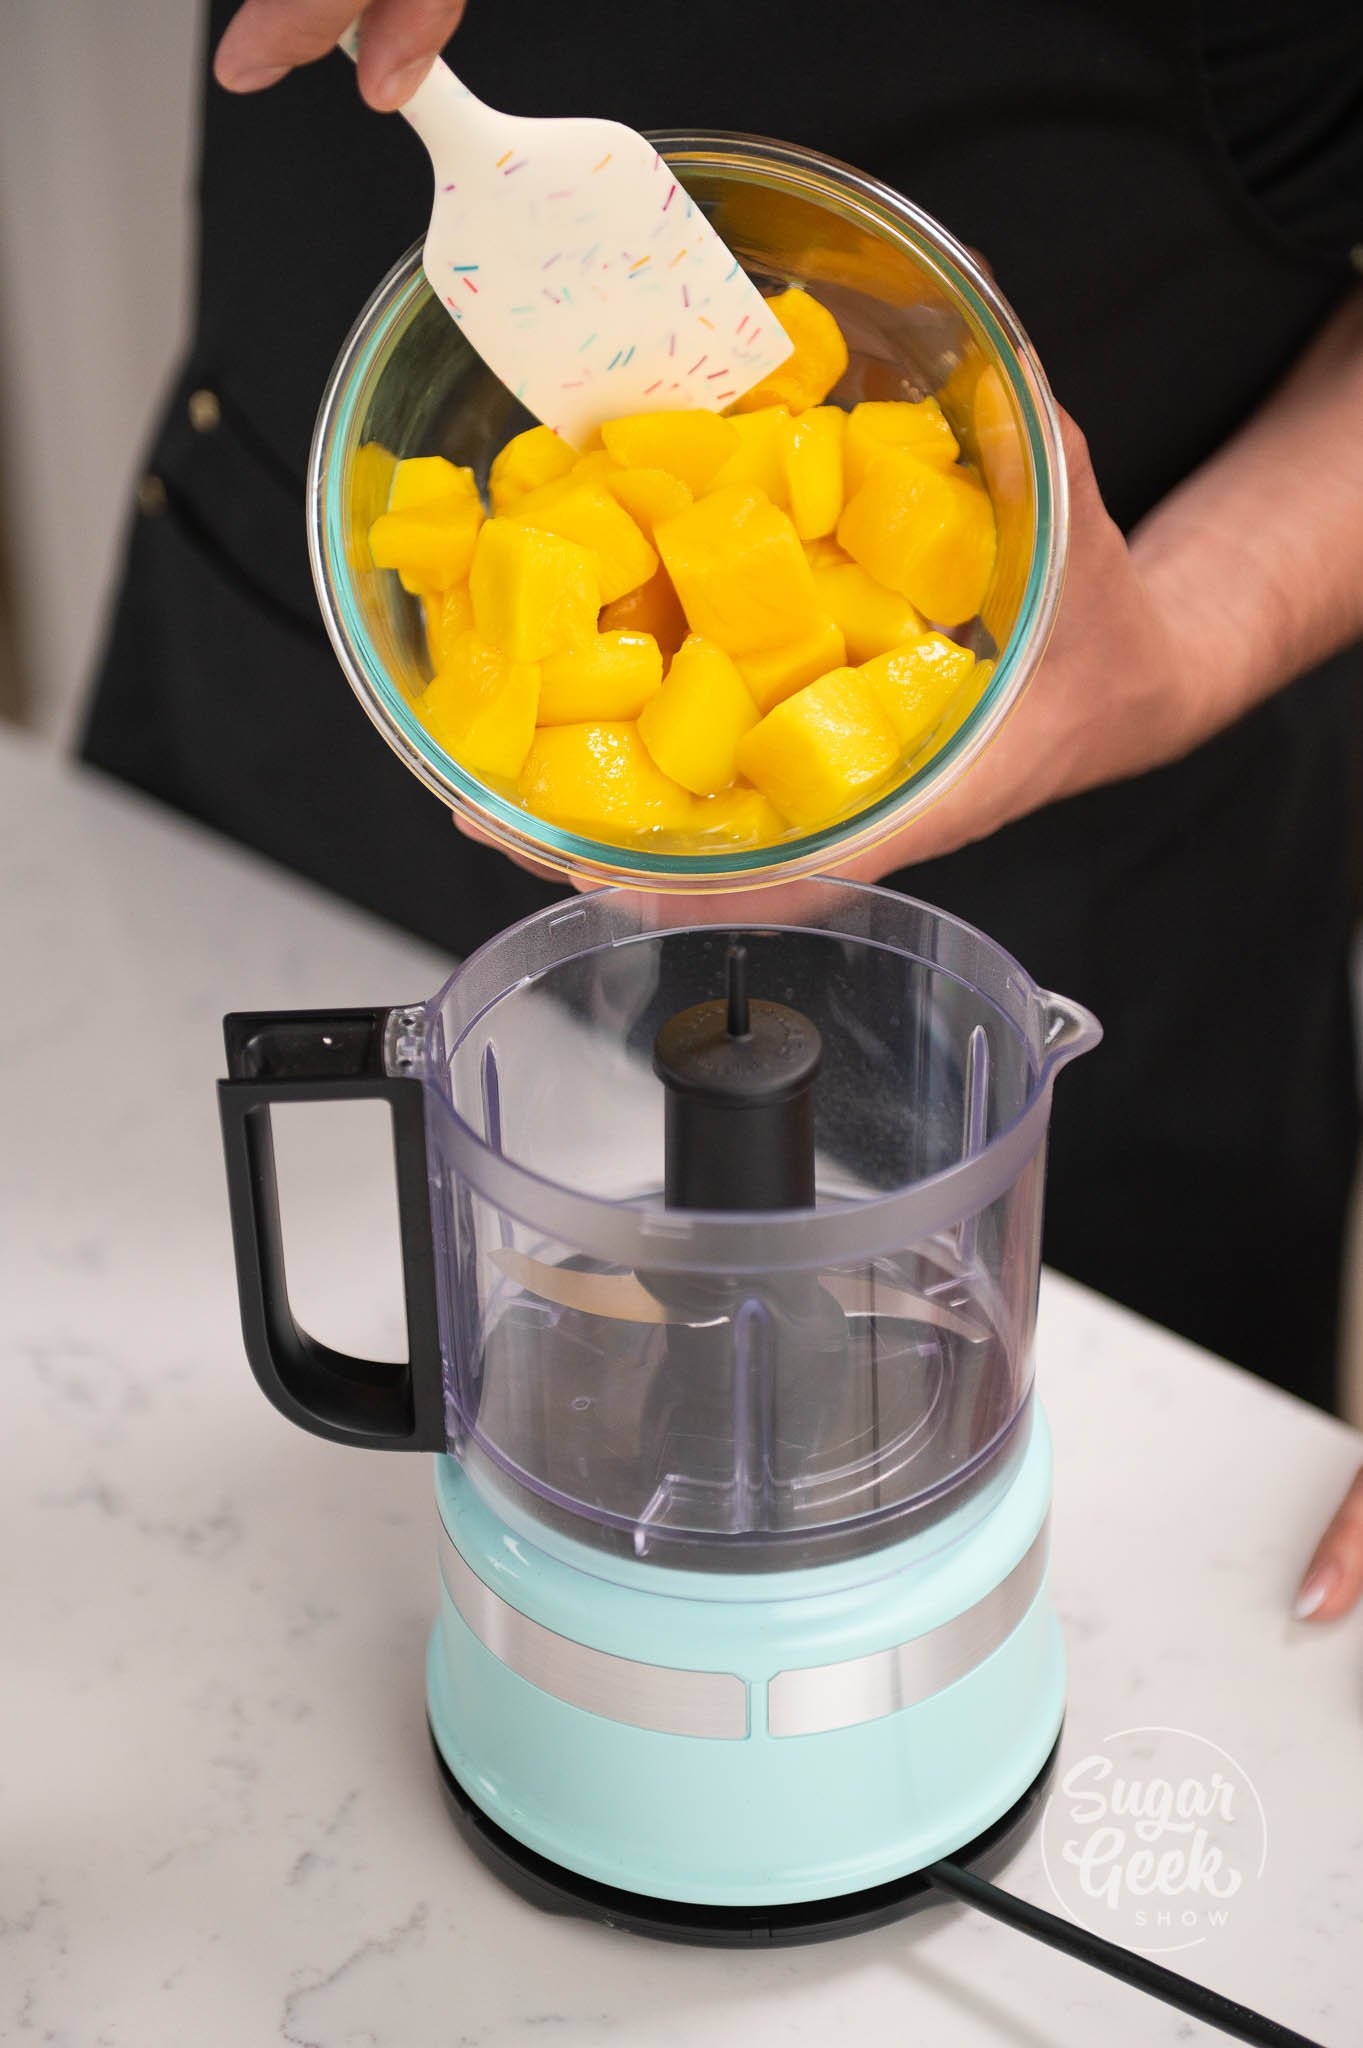
- Cut up your mangoes and dice them into chunks. Place the diced mangoes into a blender or food processor.
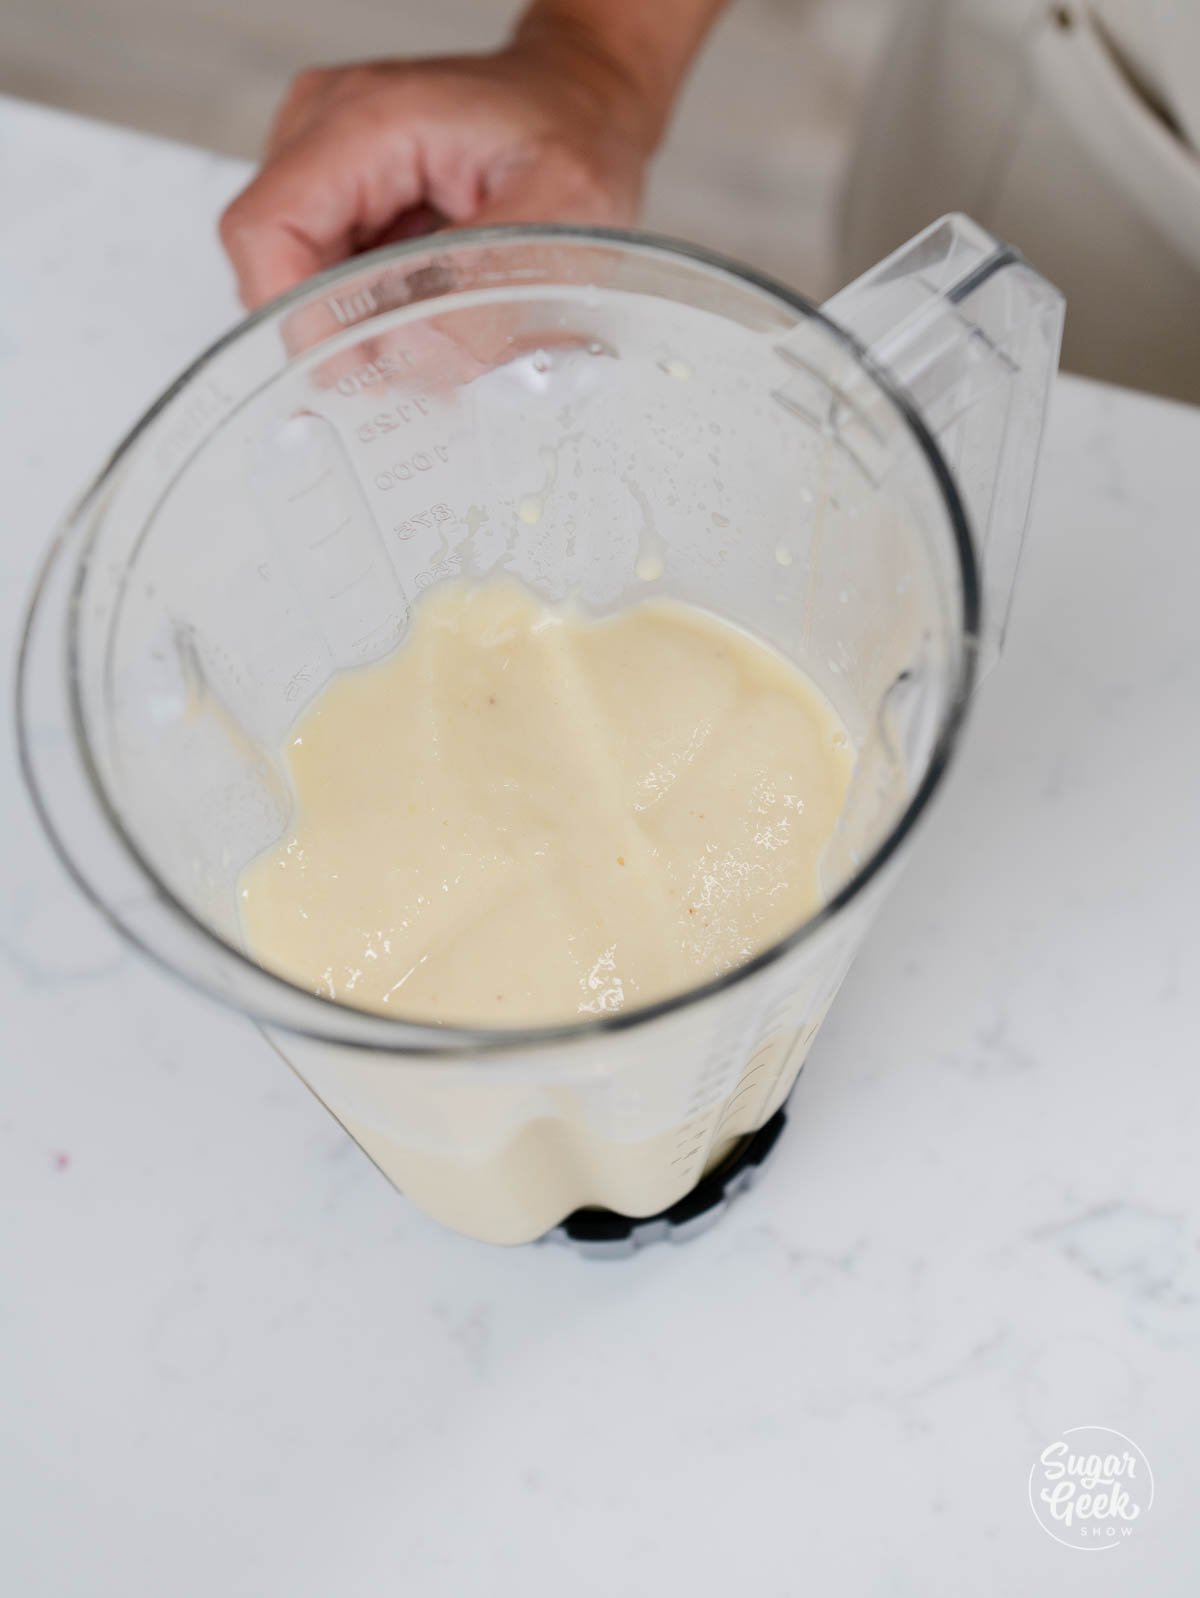
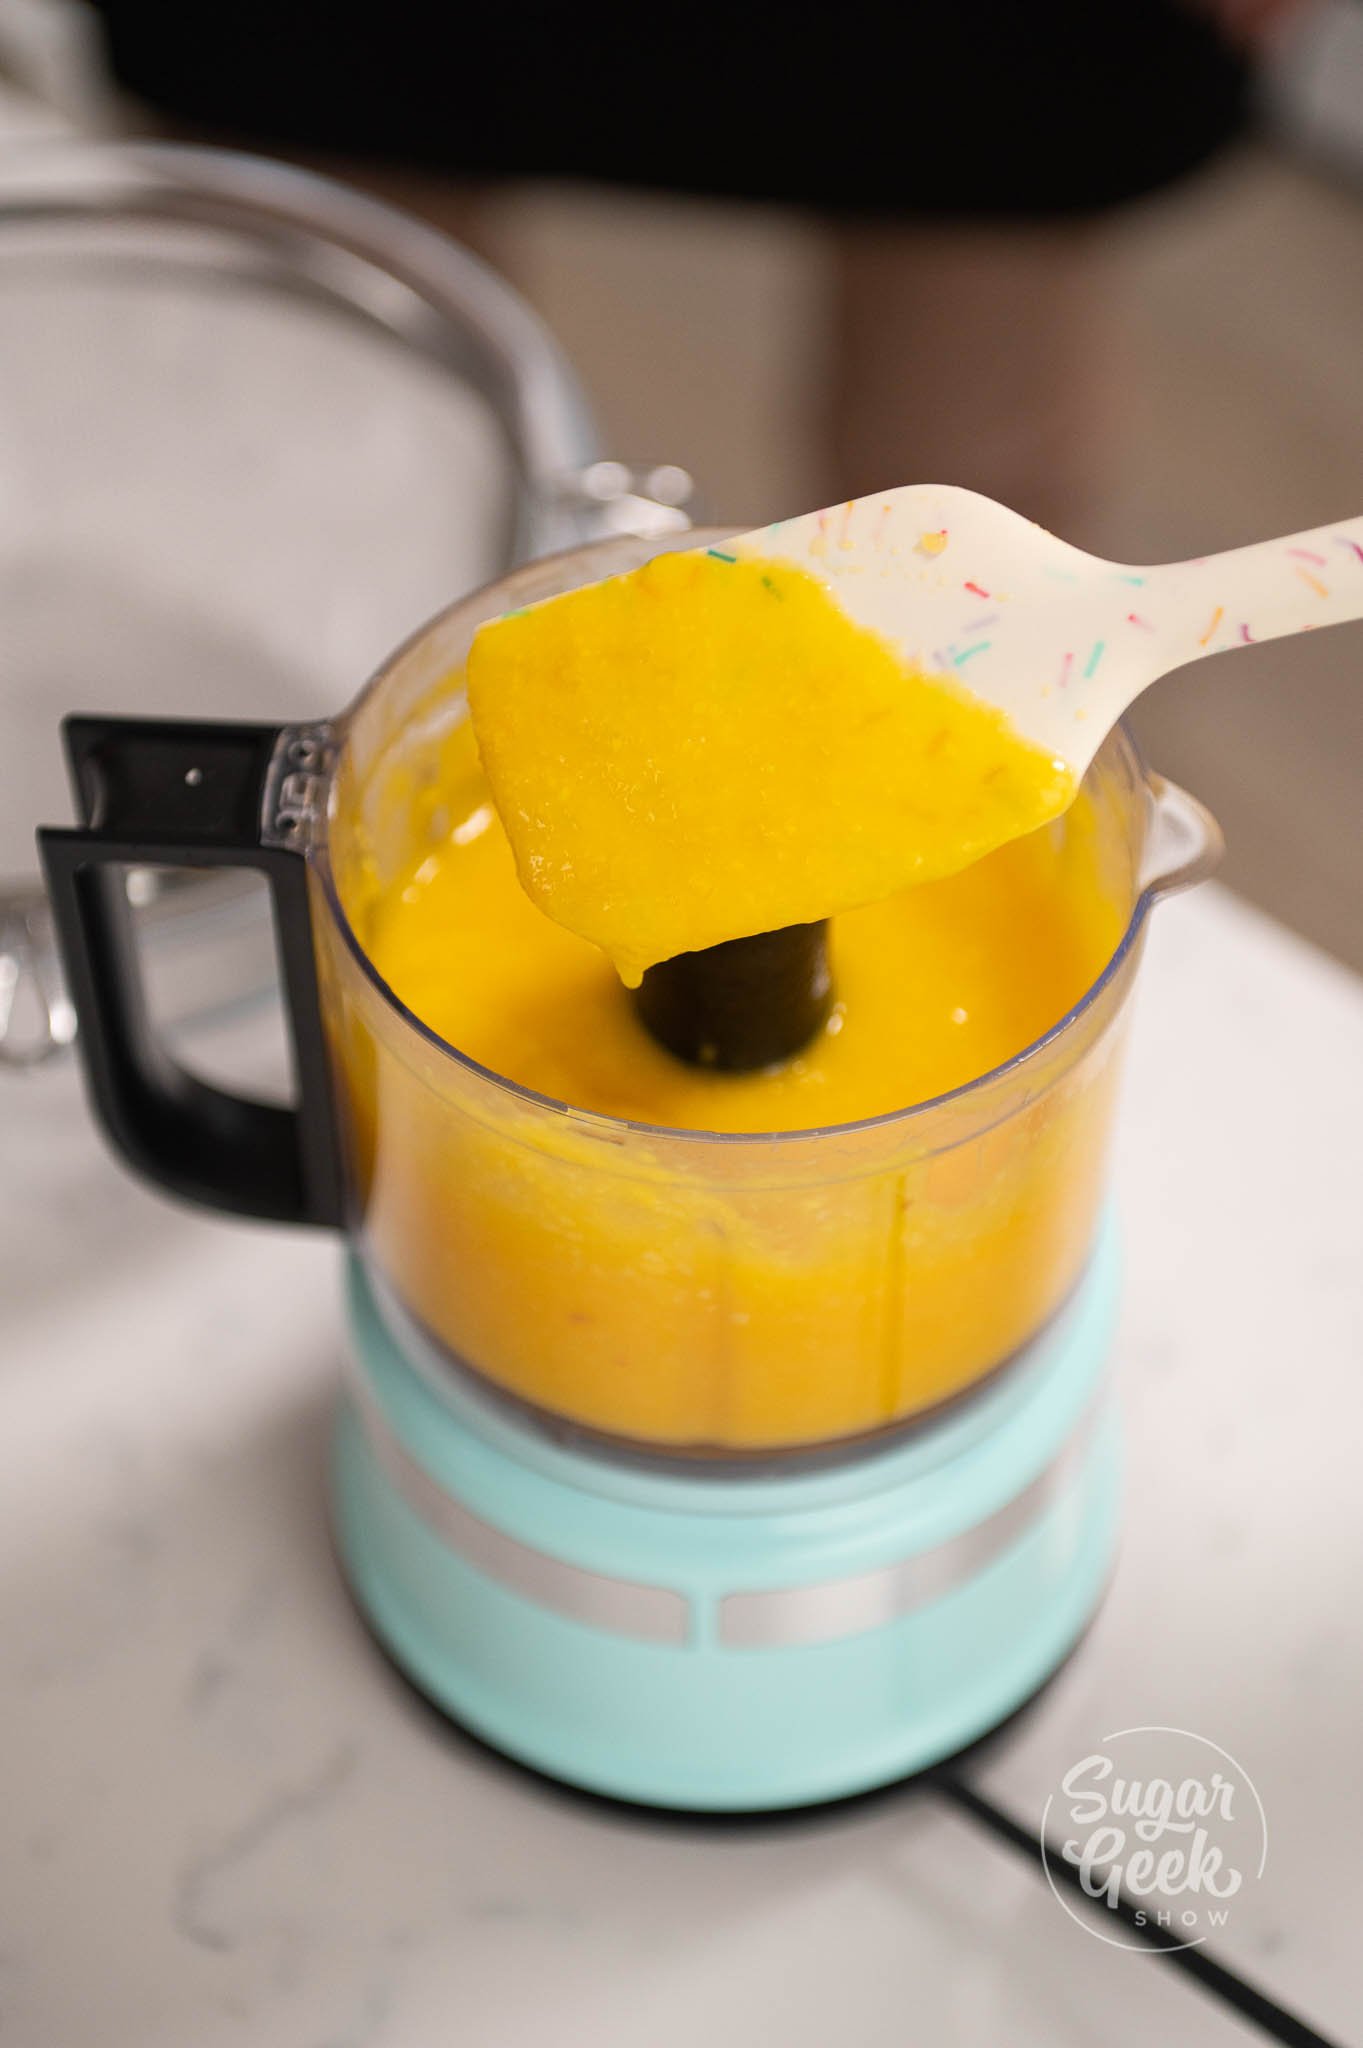
- Add your simple syrup and blend everything together until it becomes a thin smoothie-like texture.
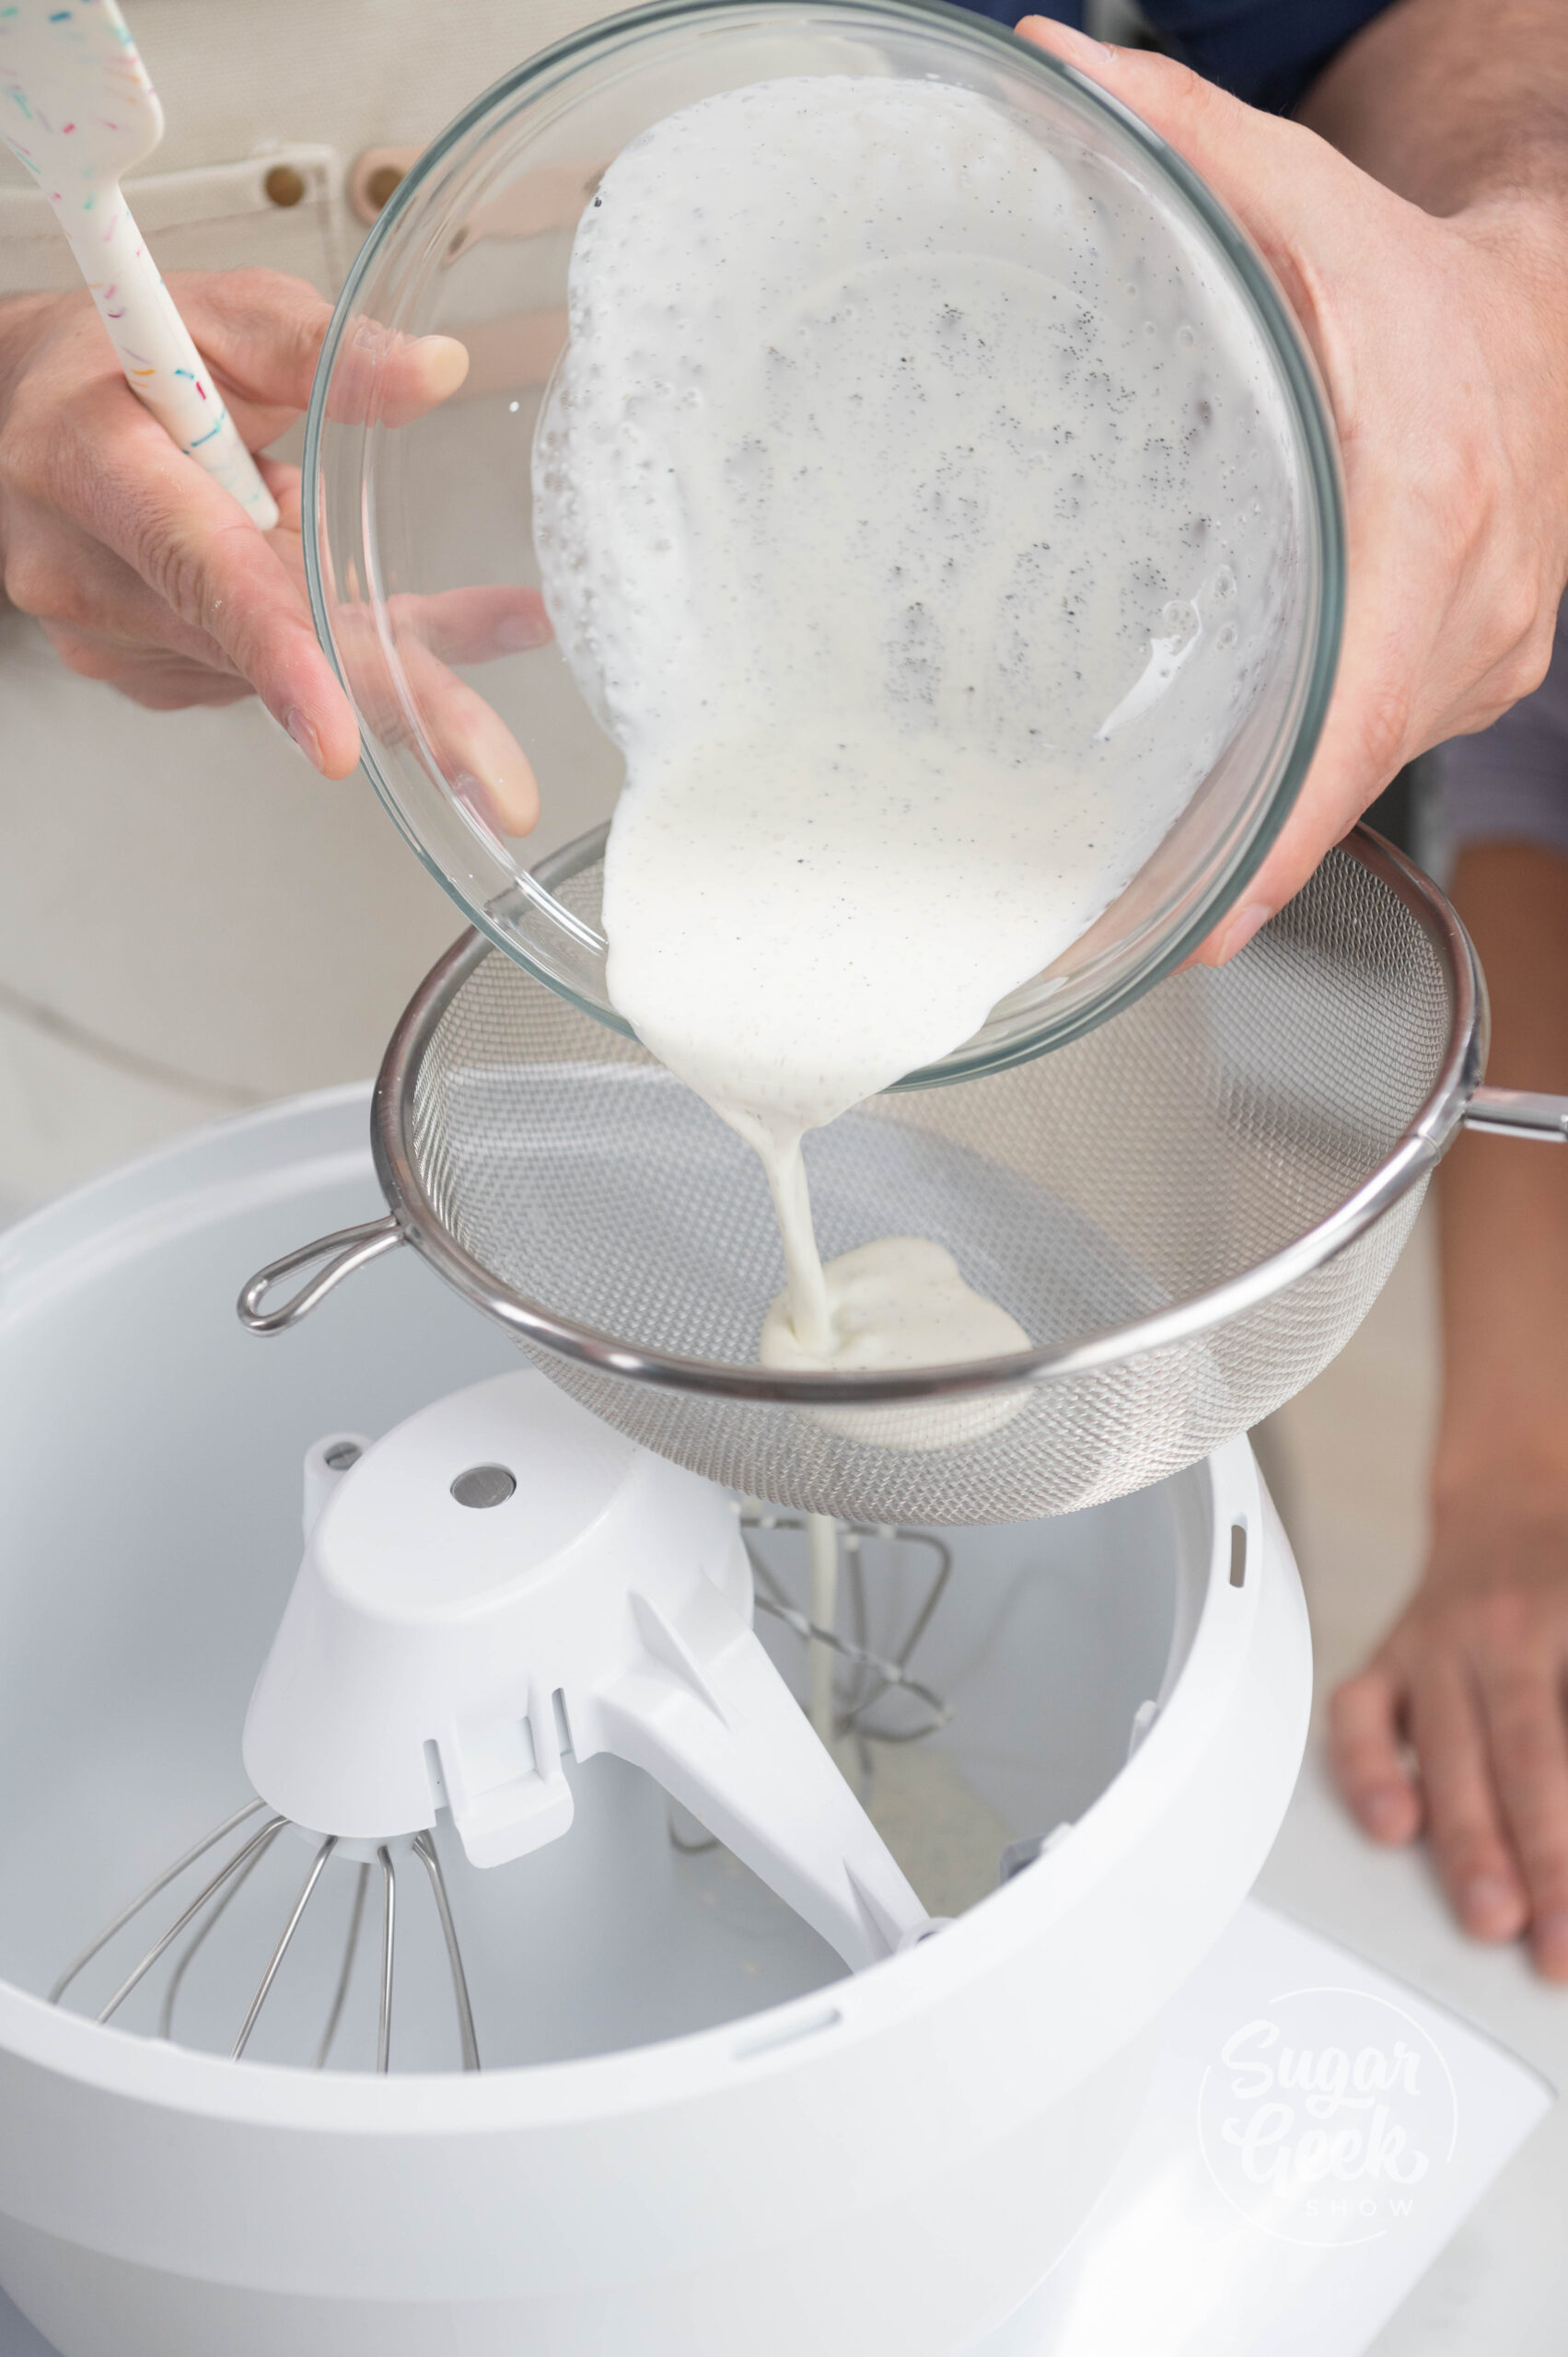
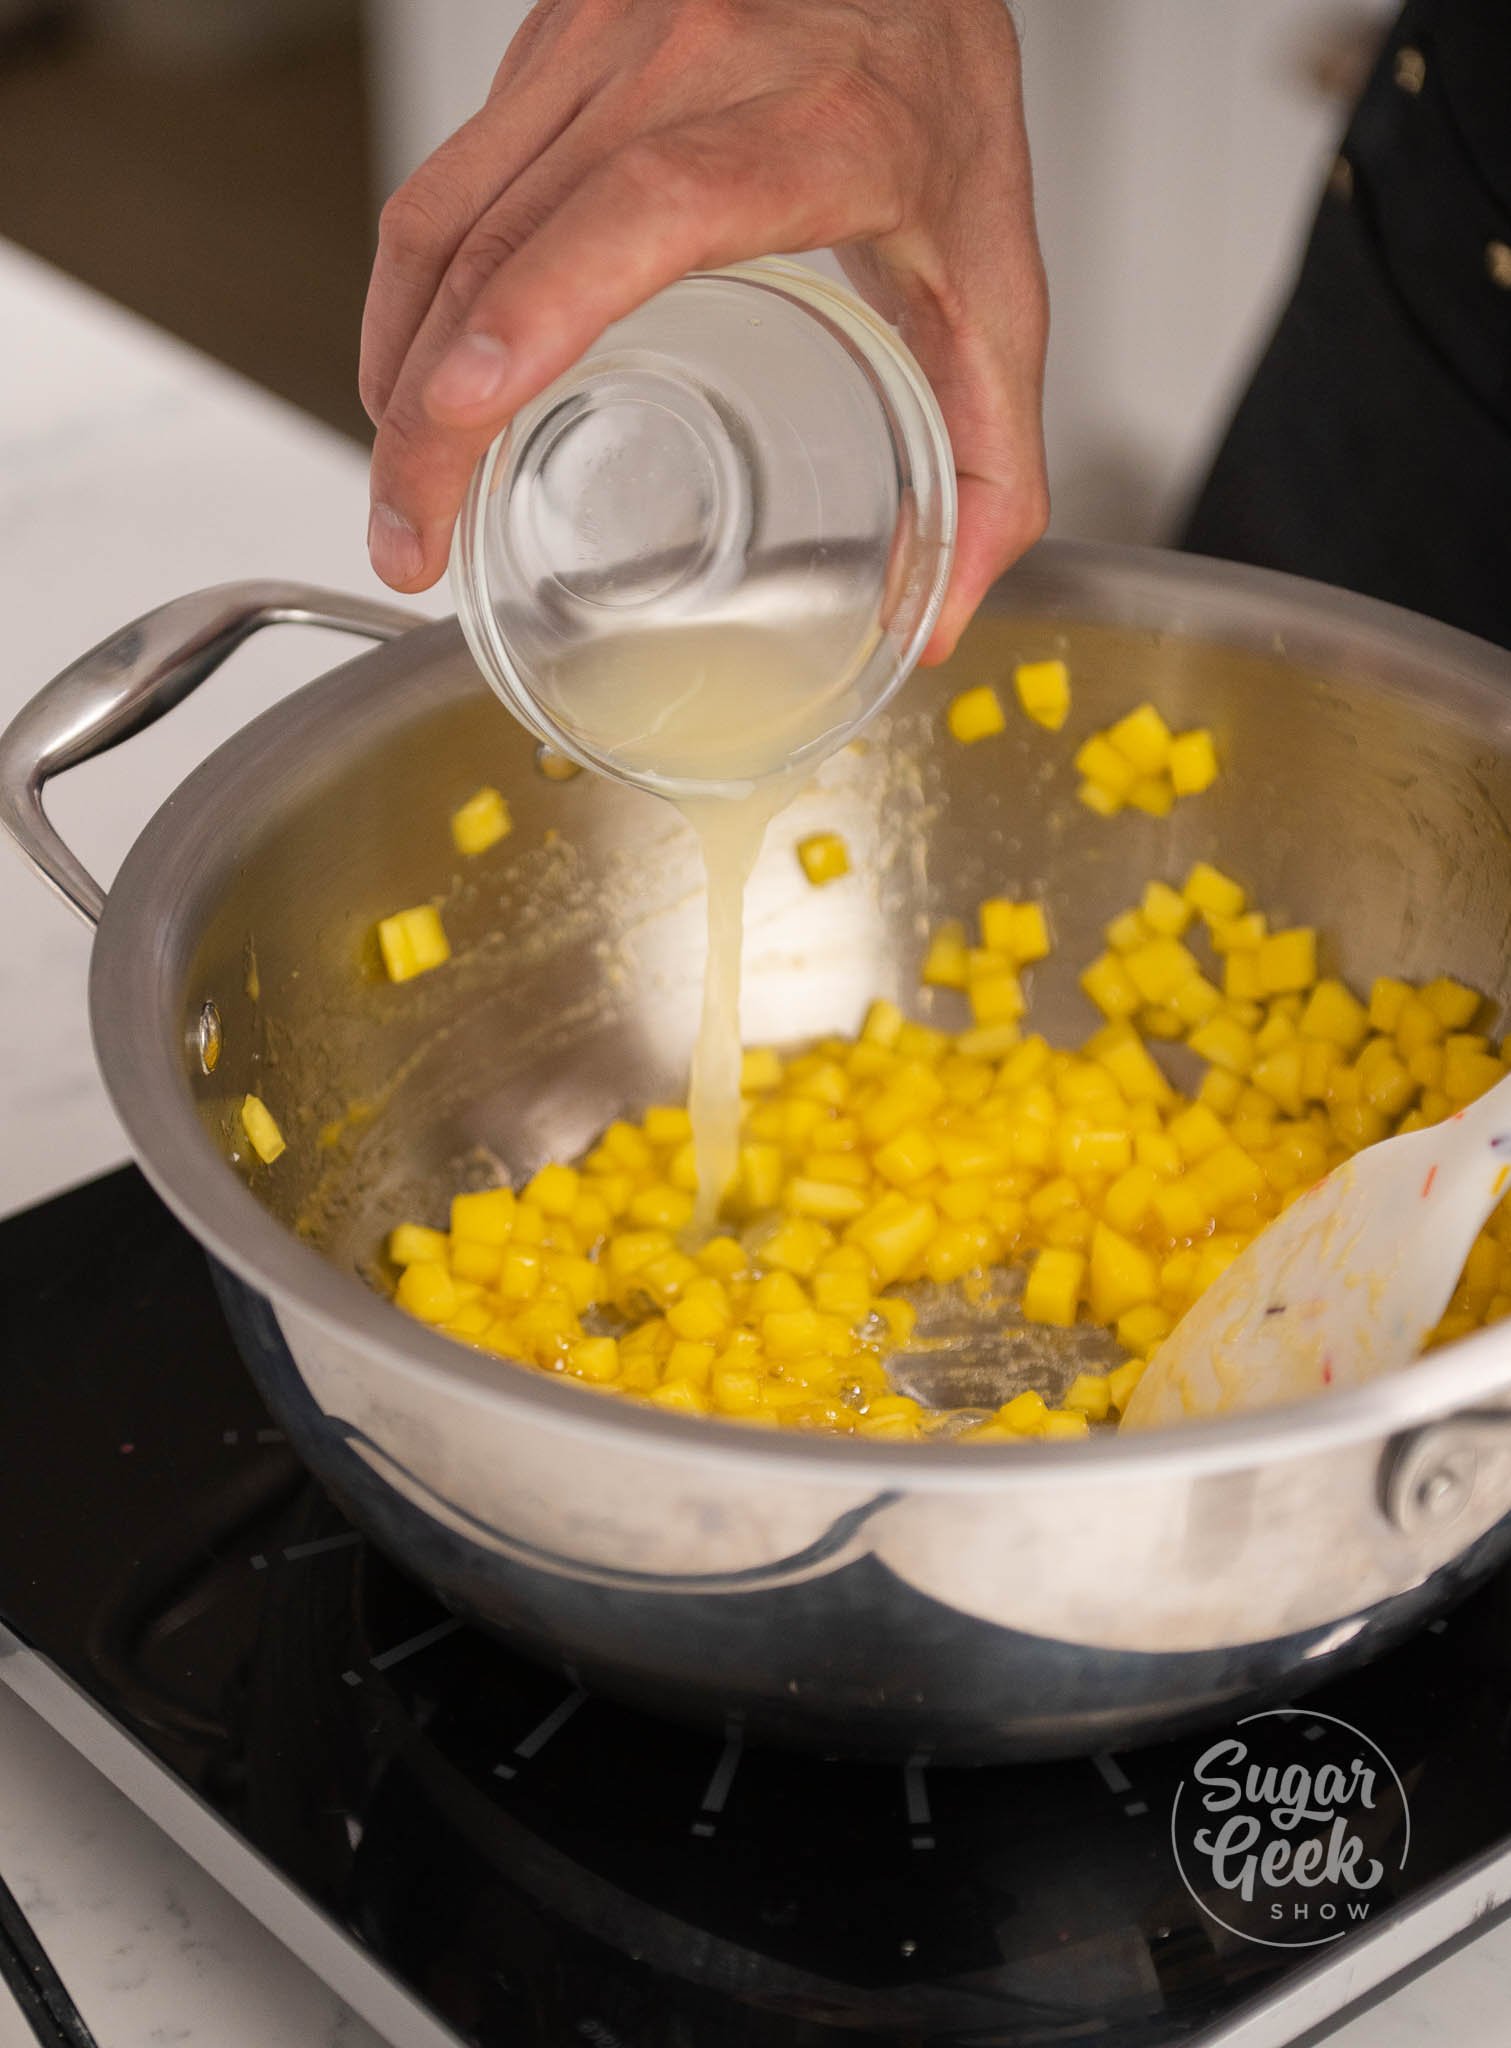
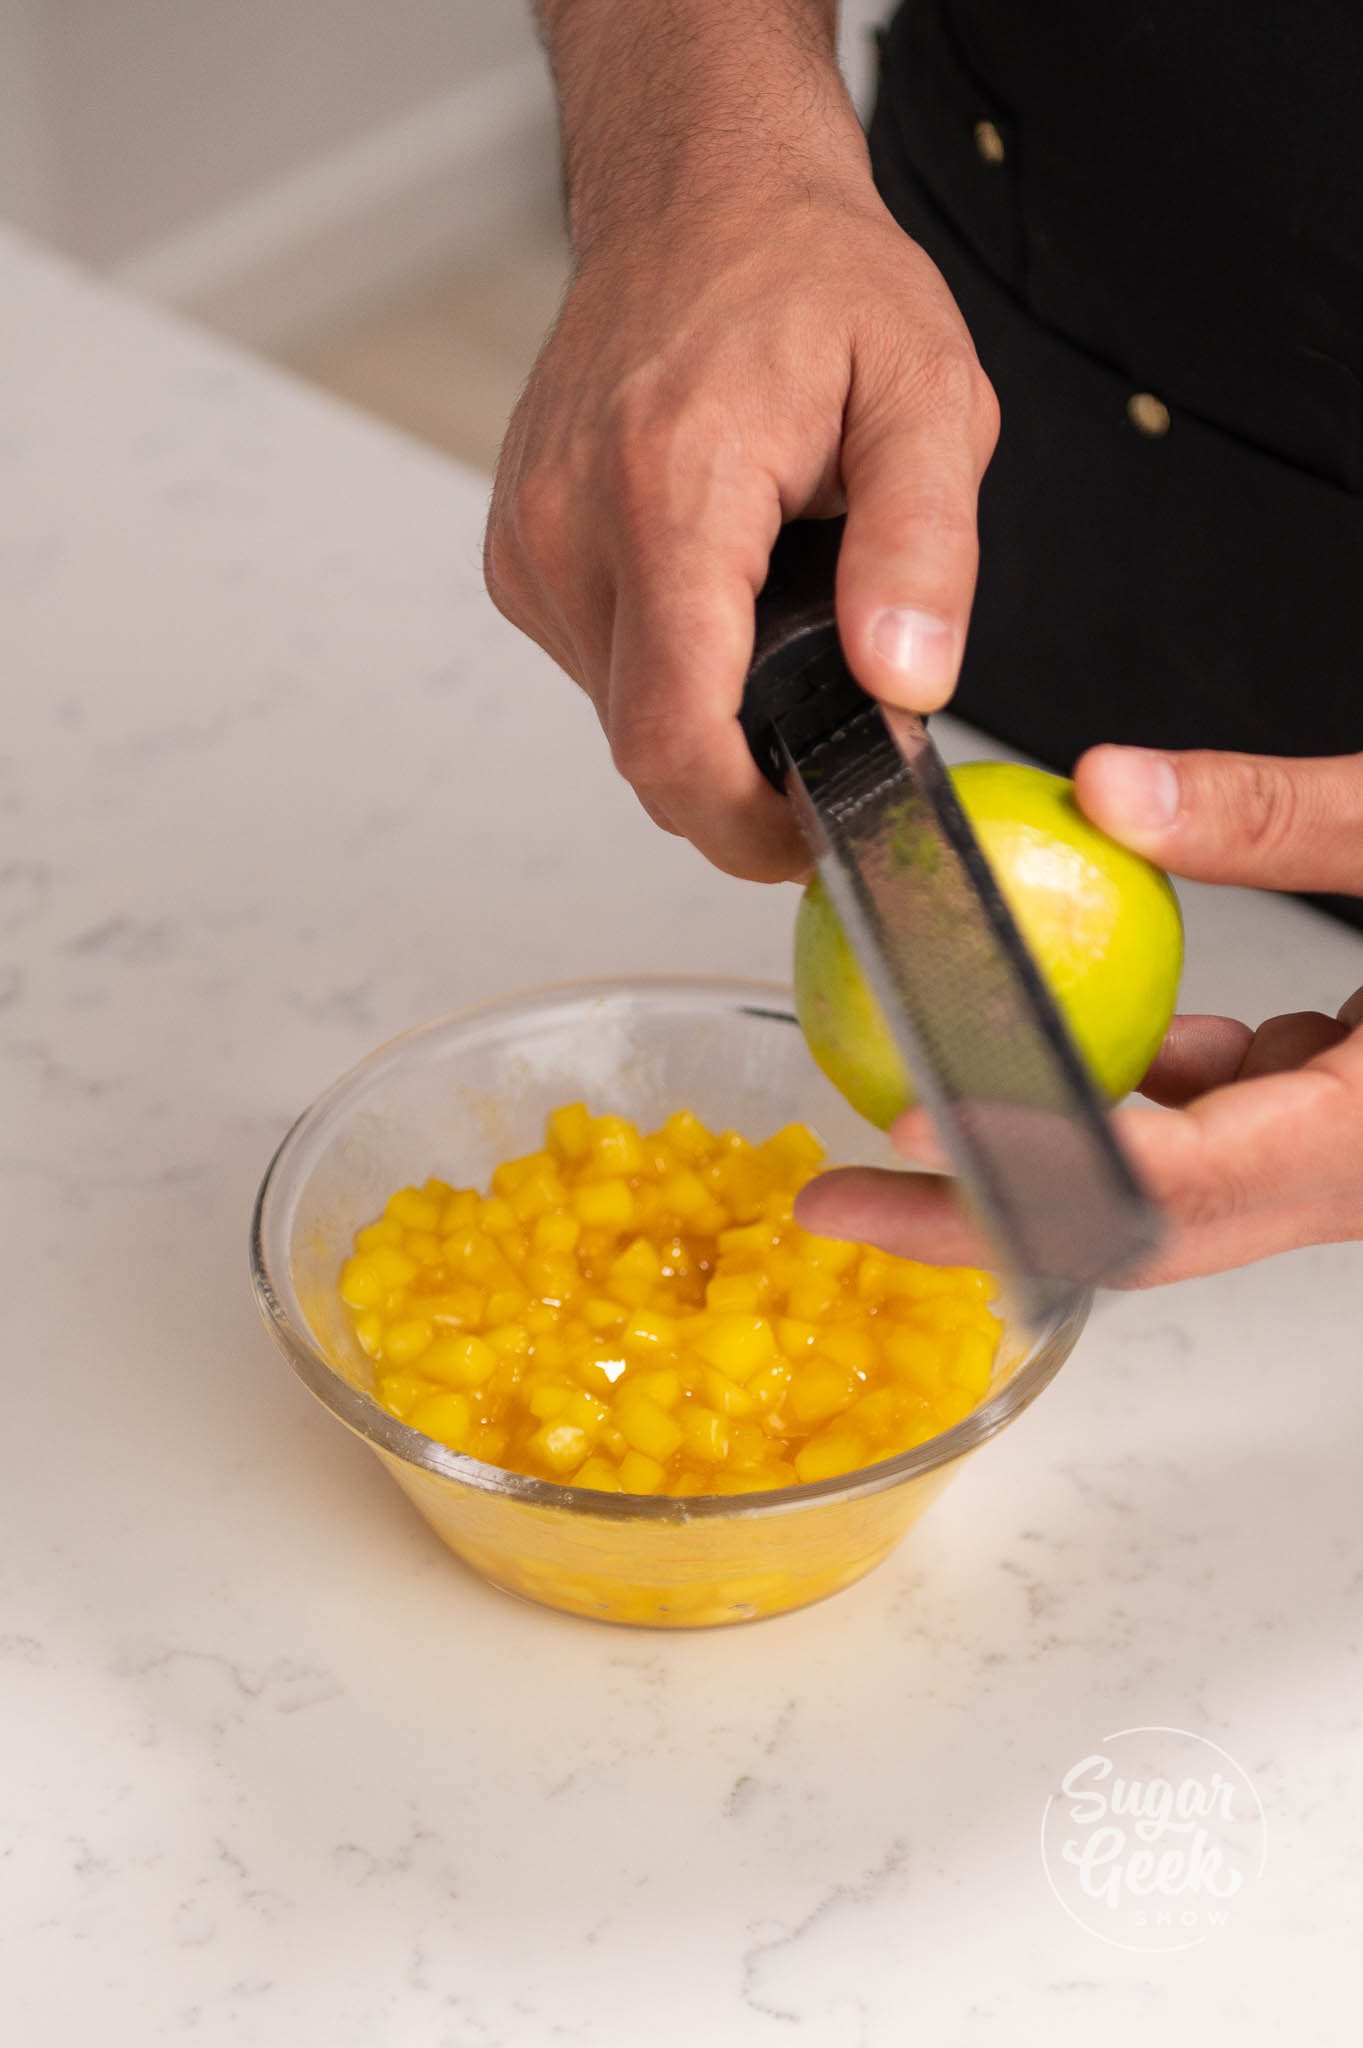
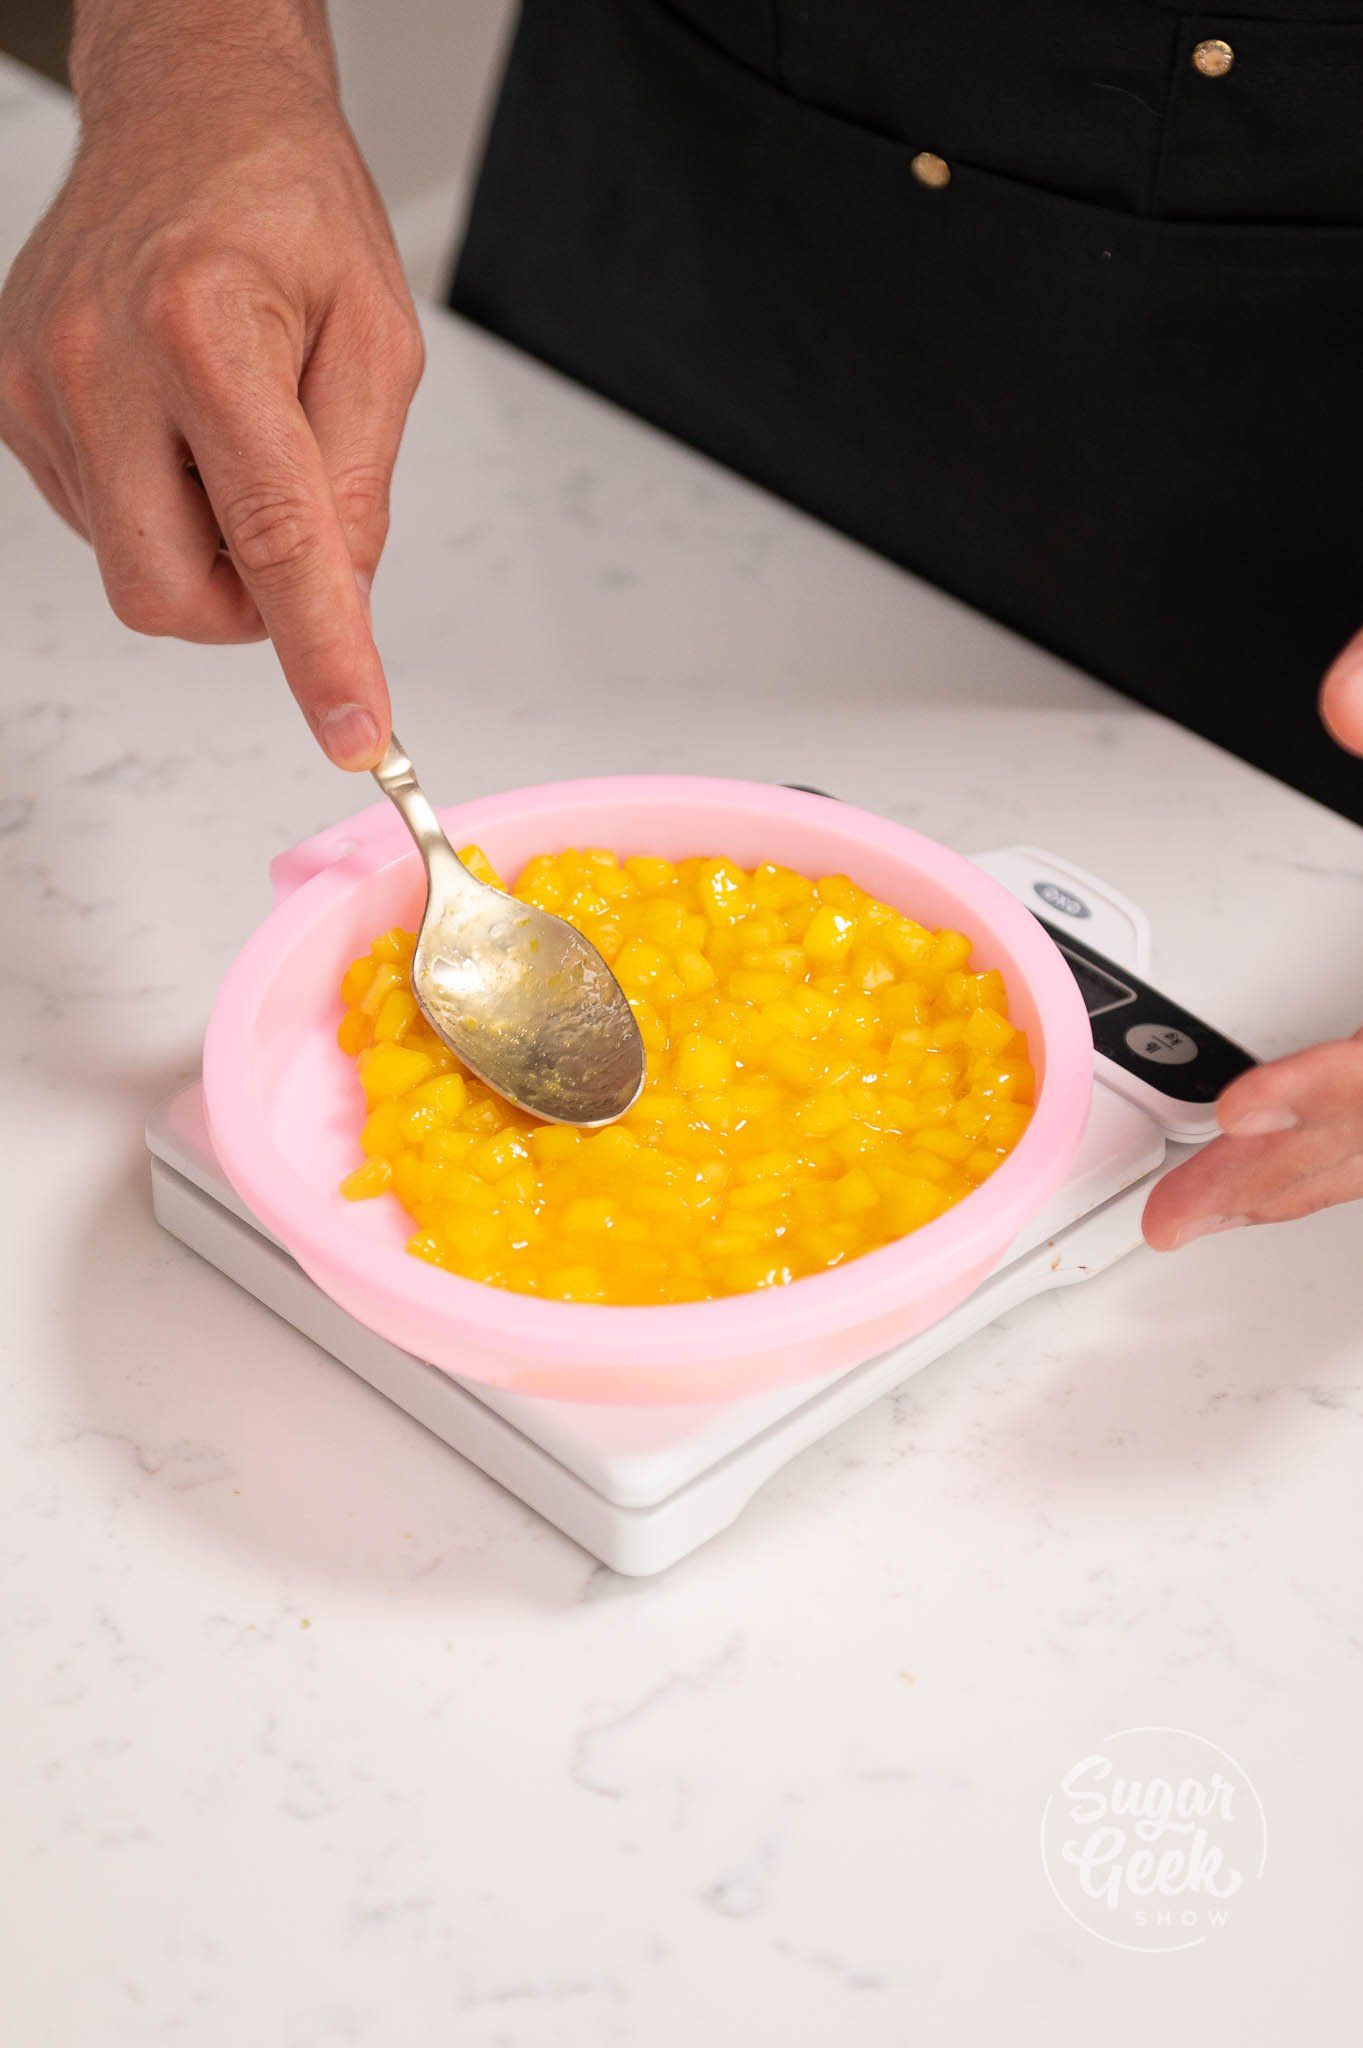
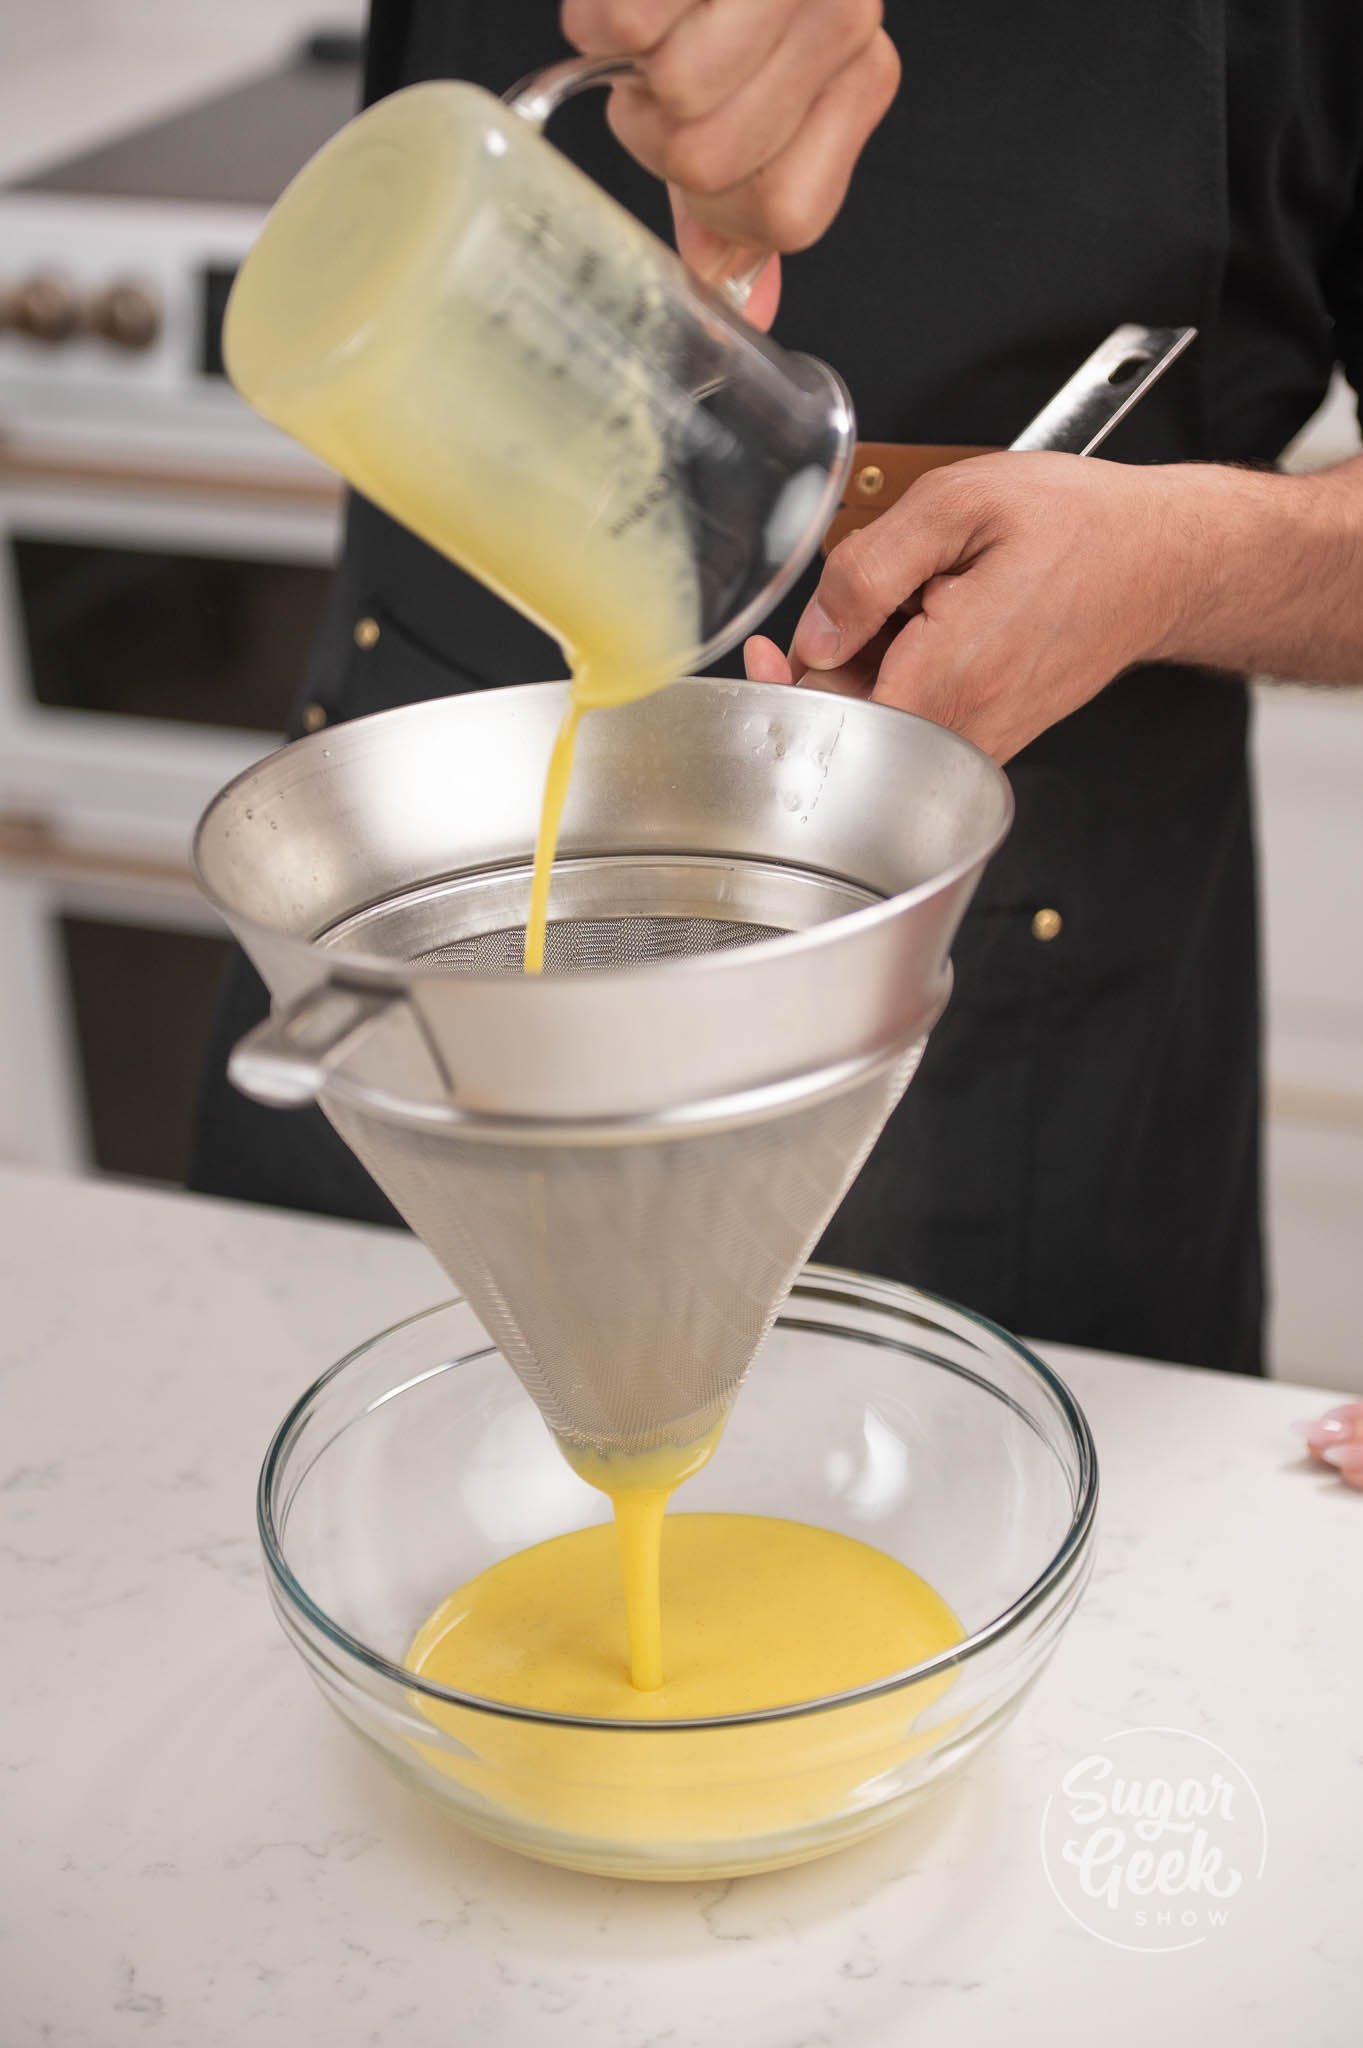
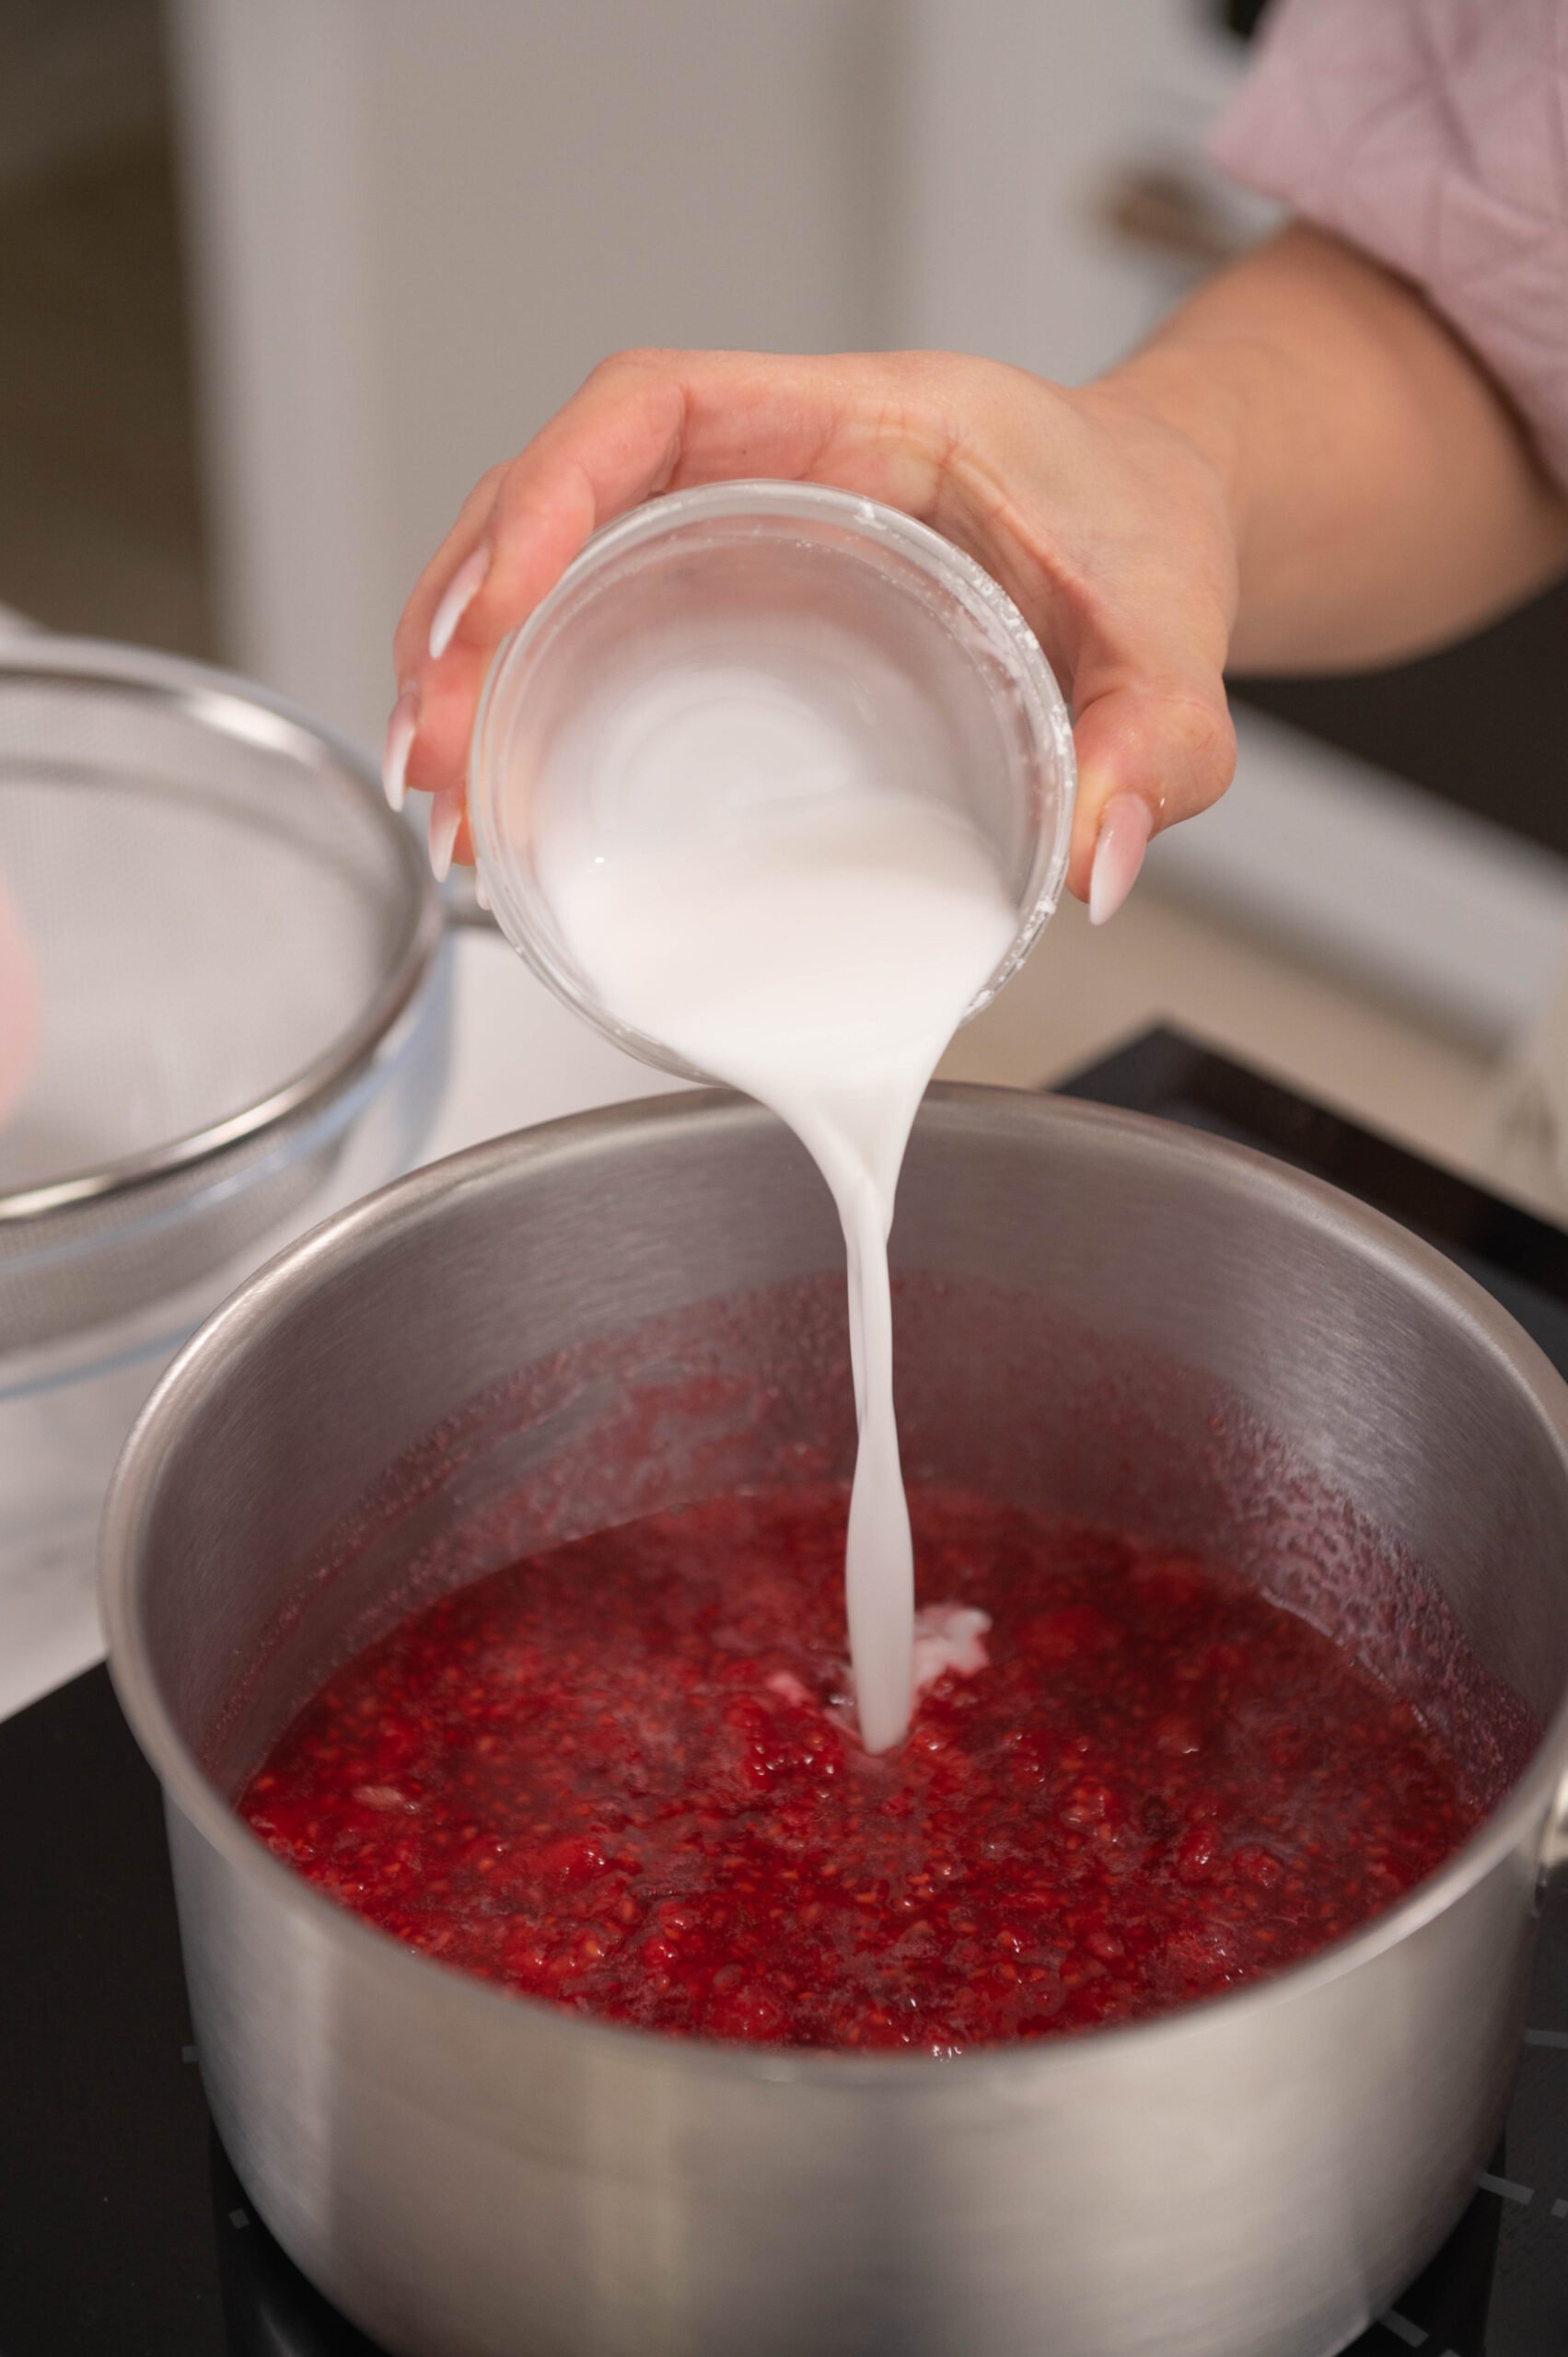
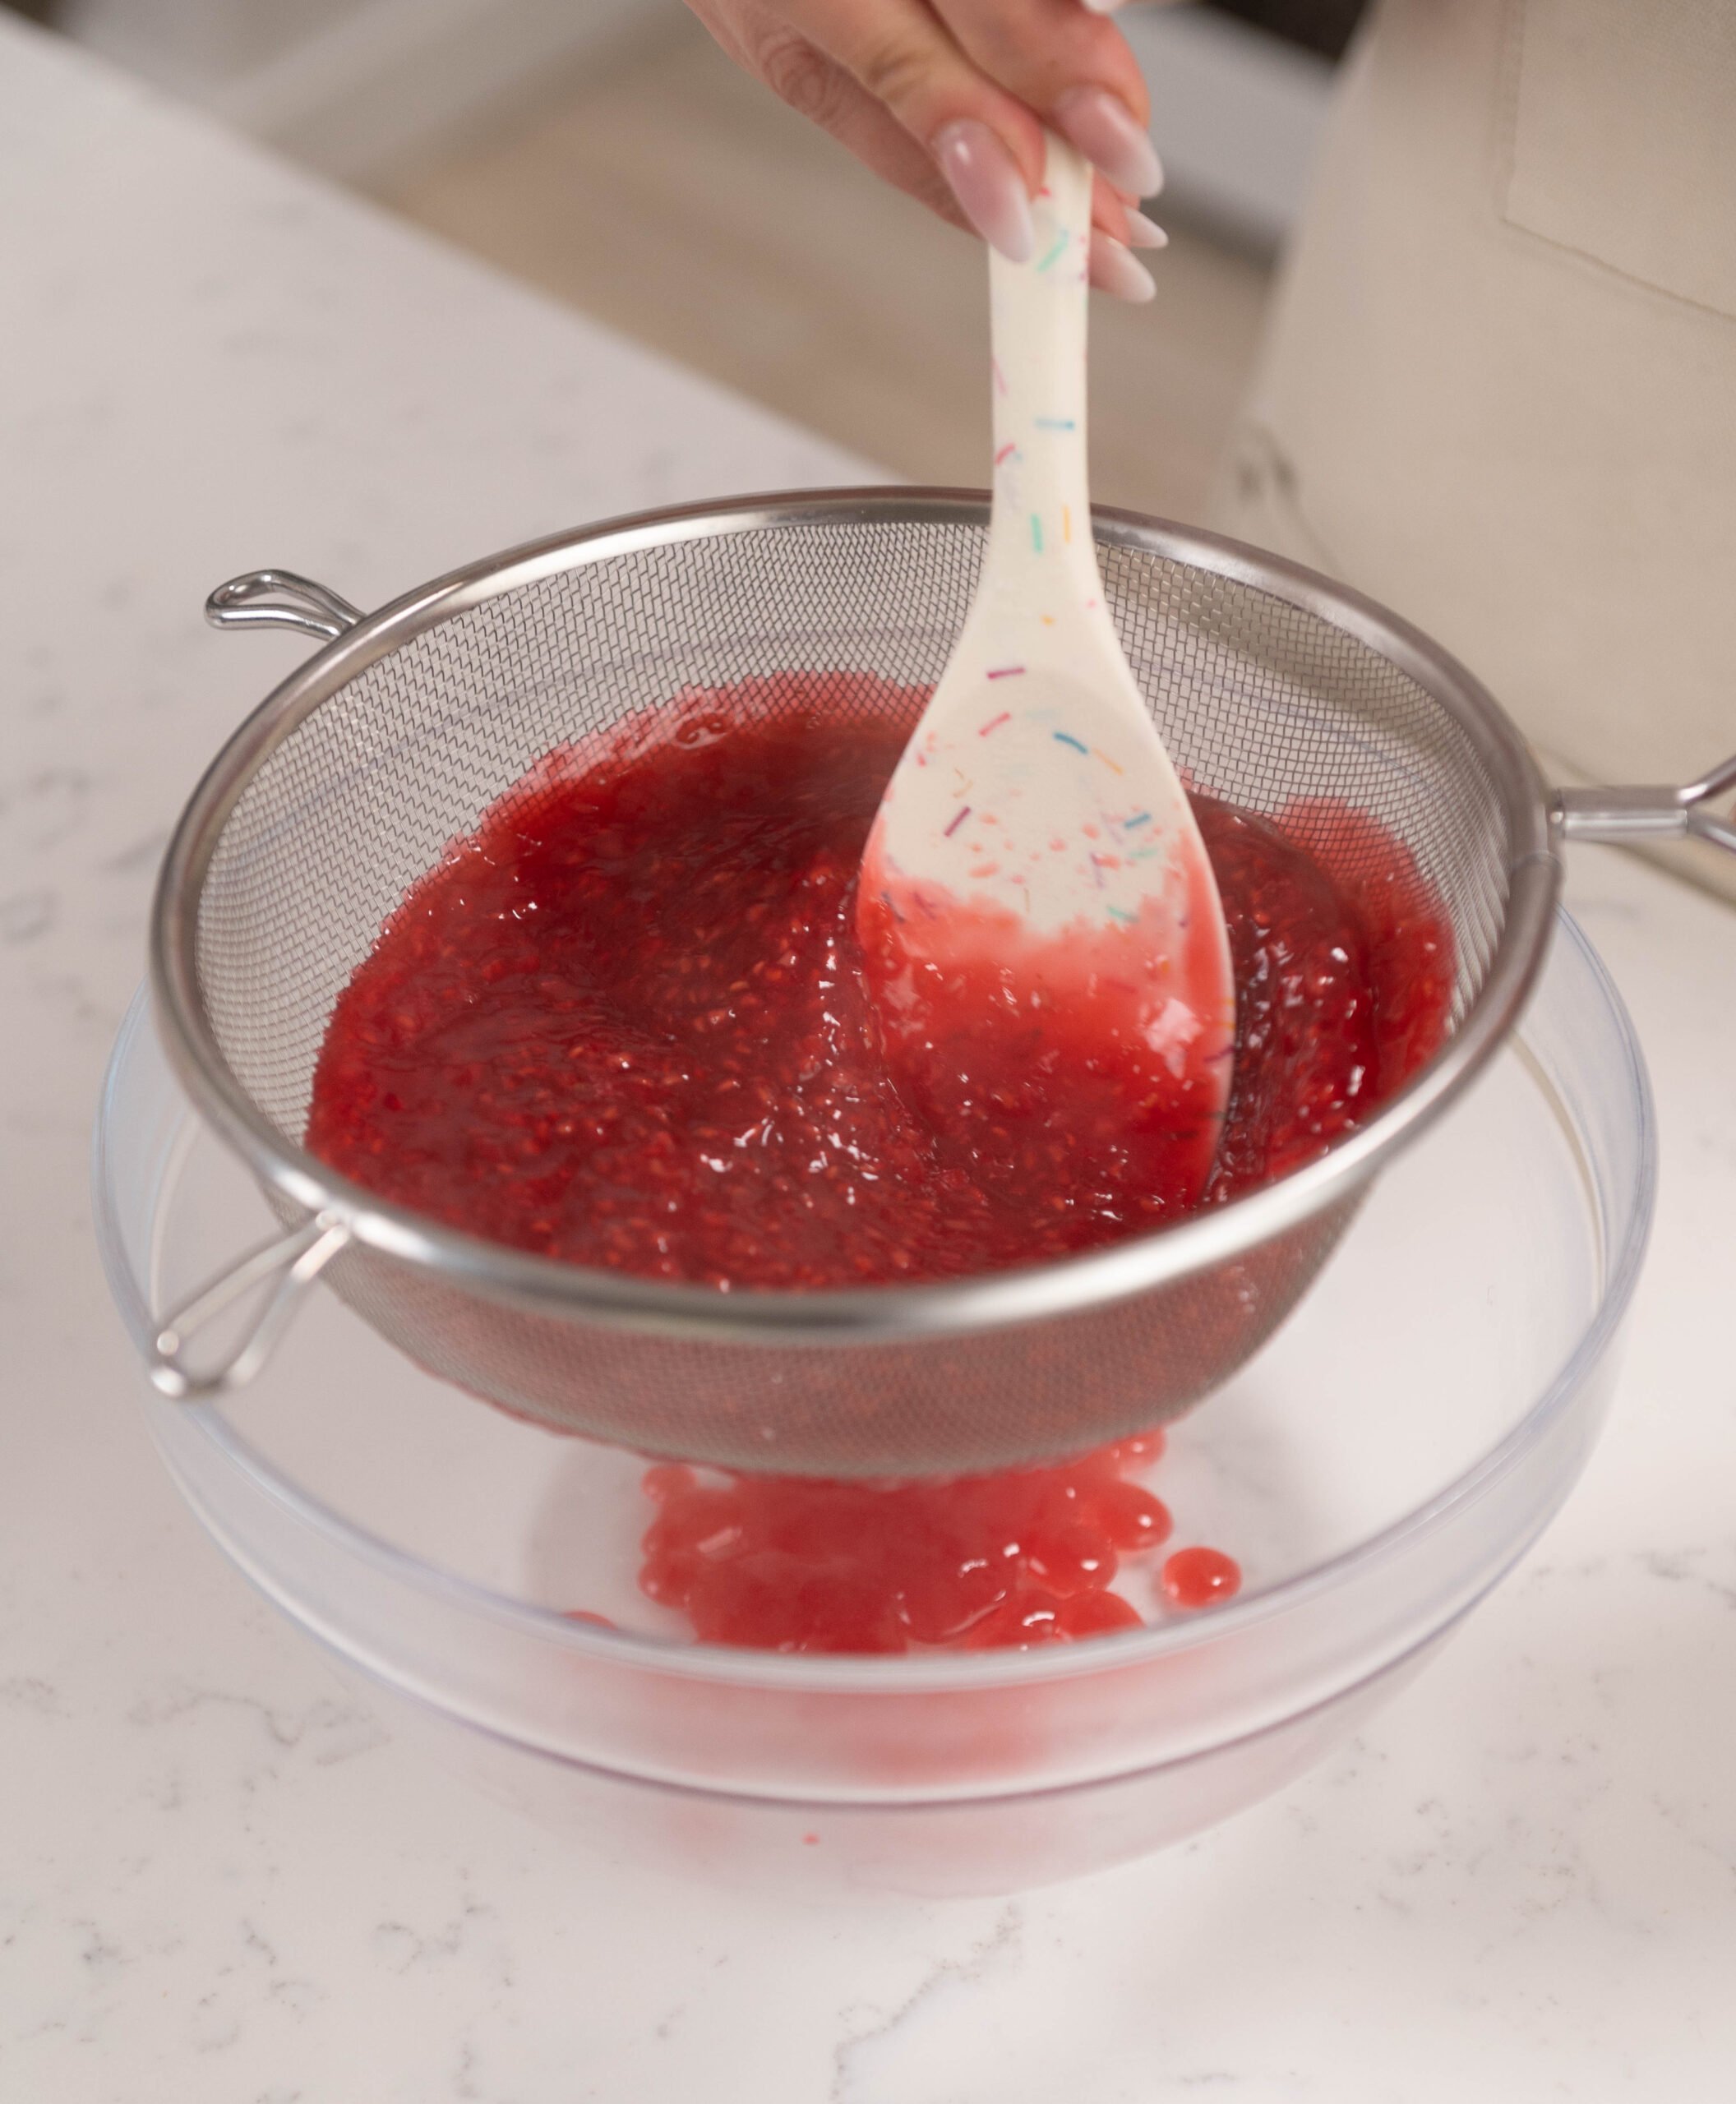
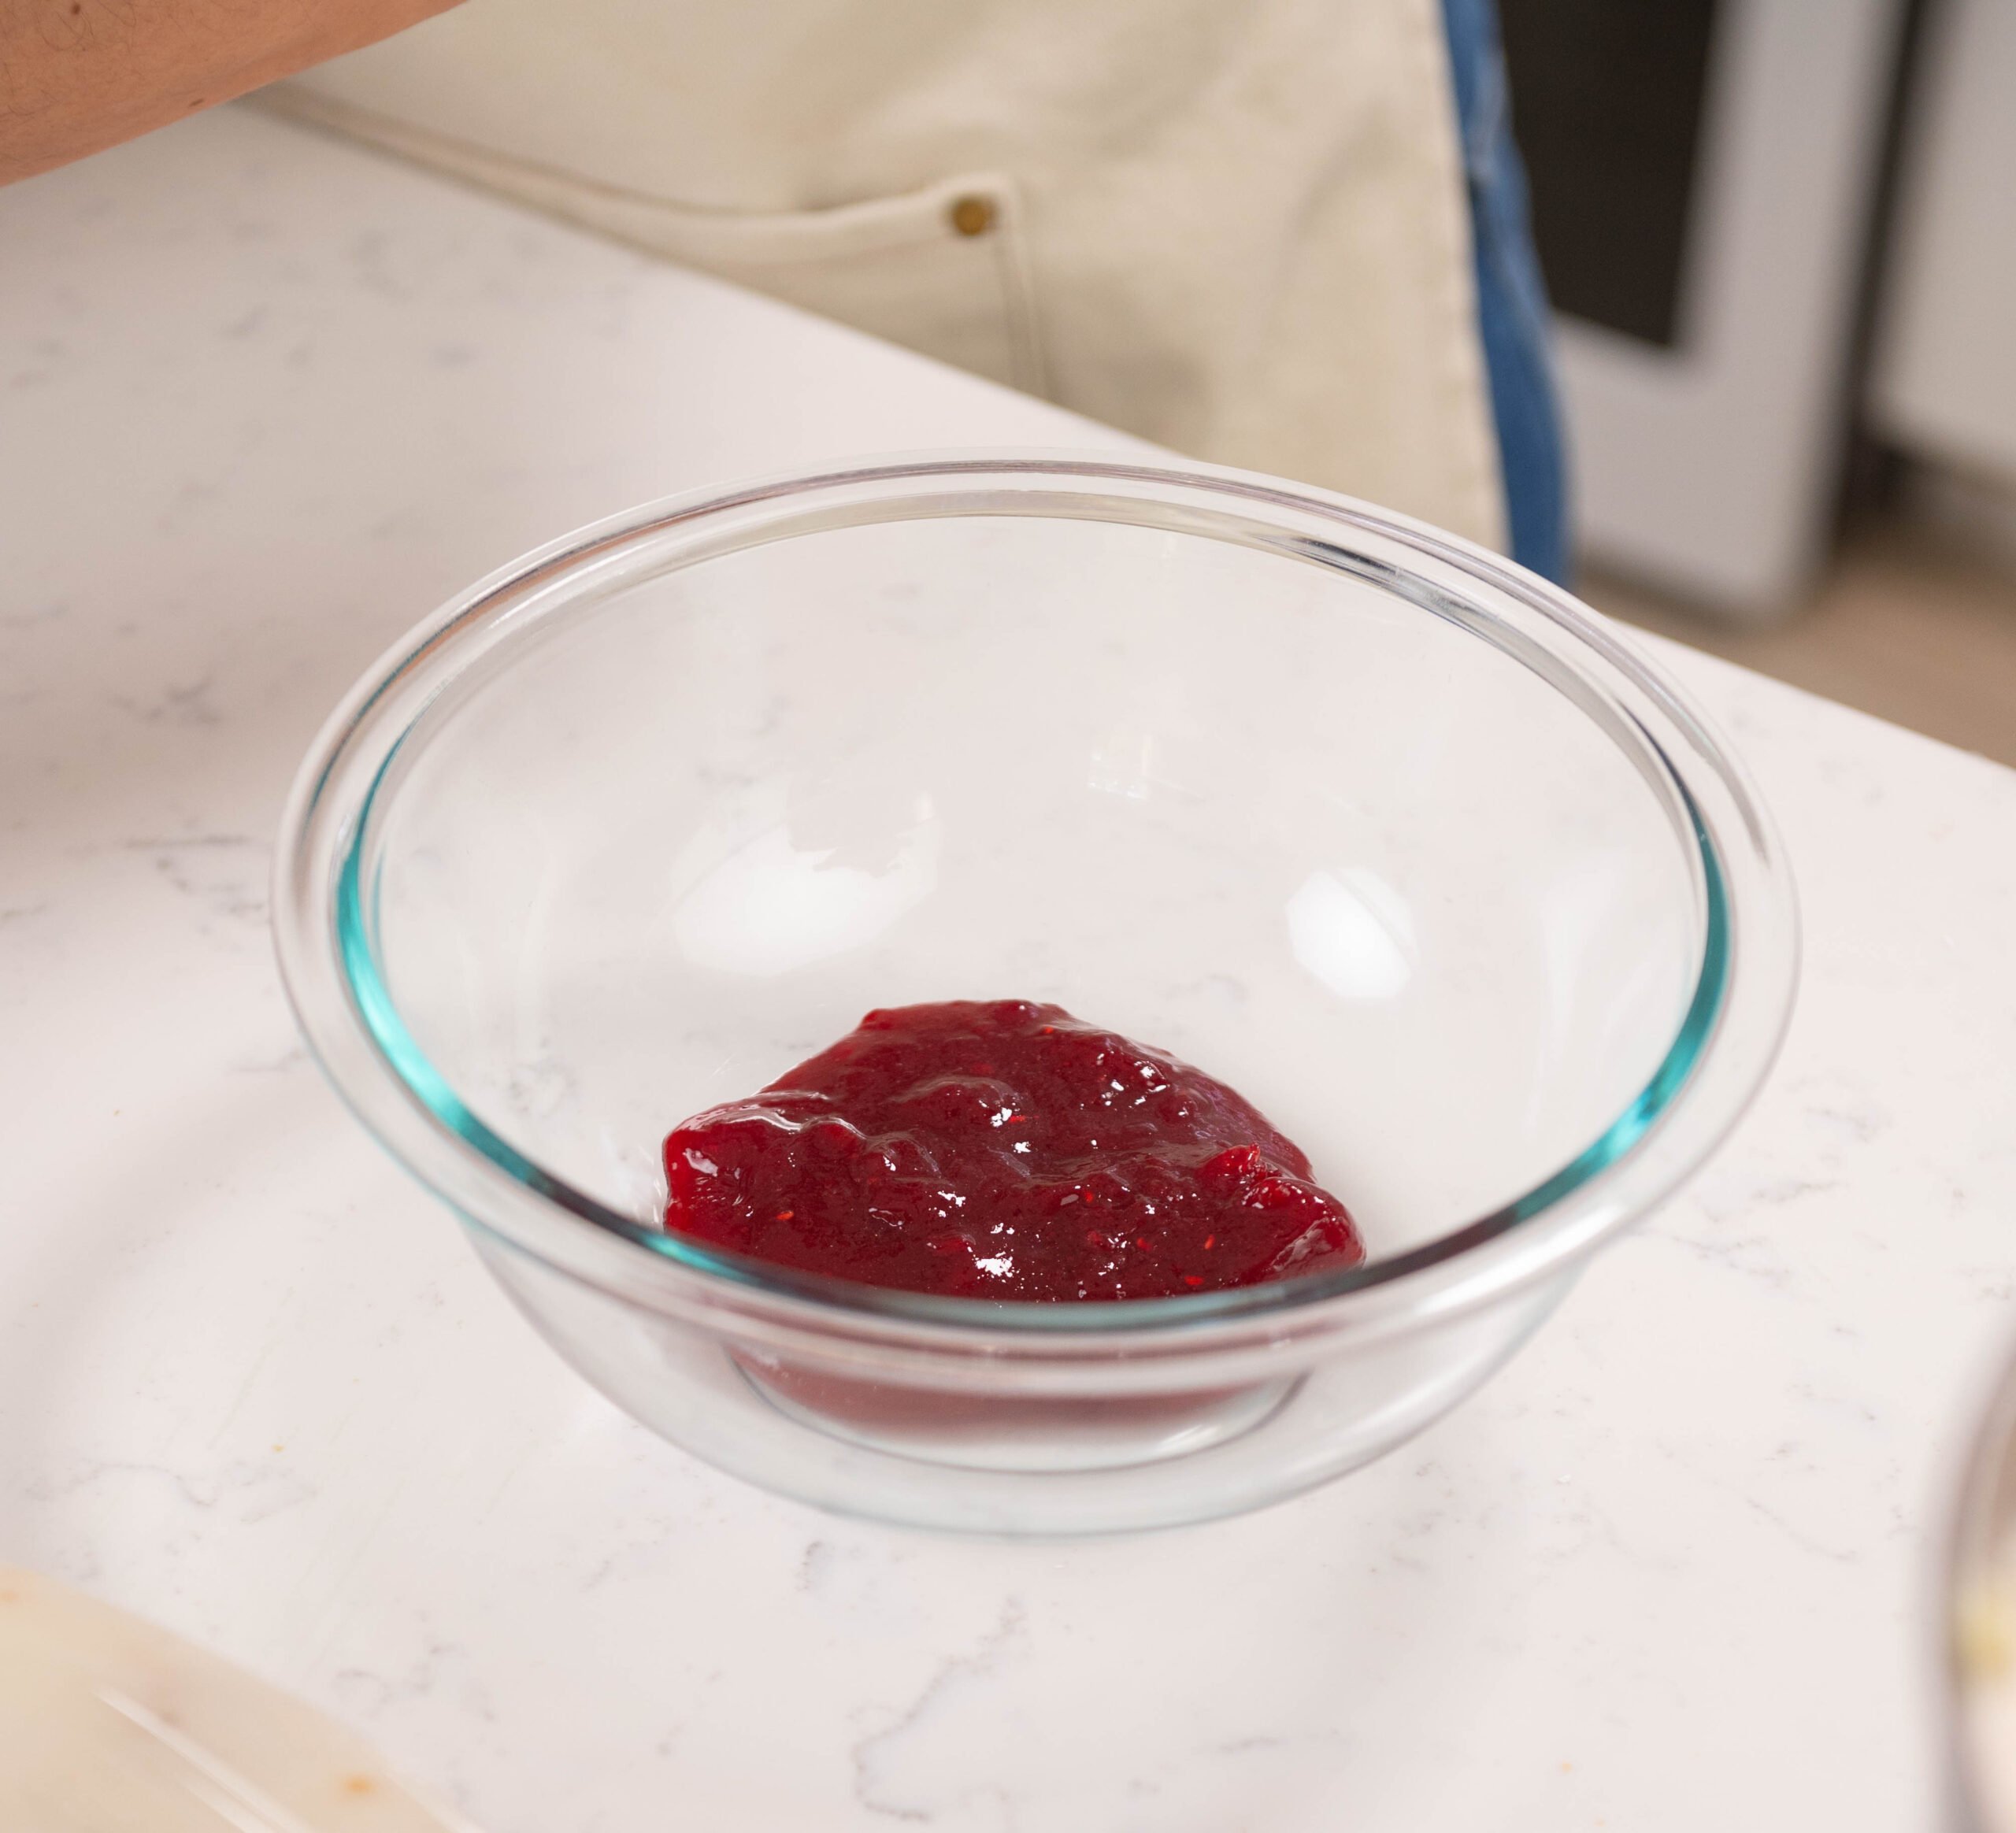
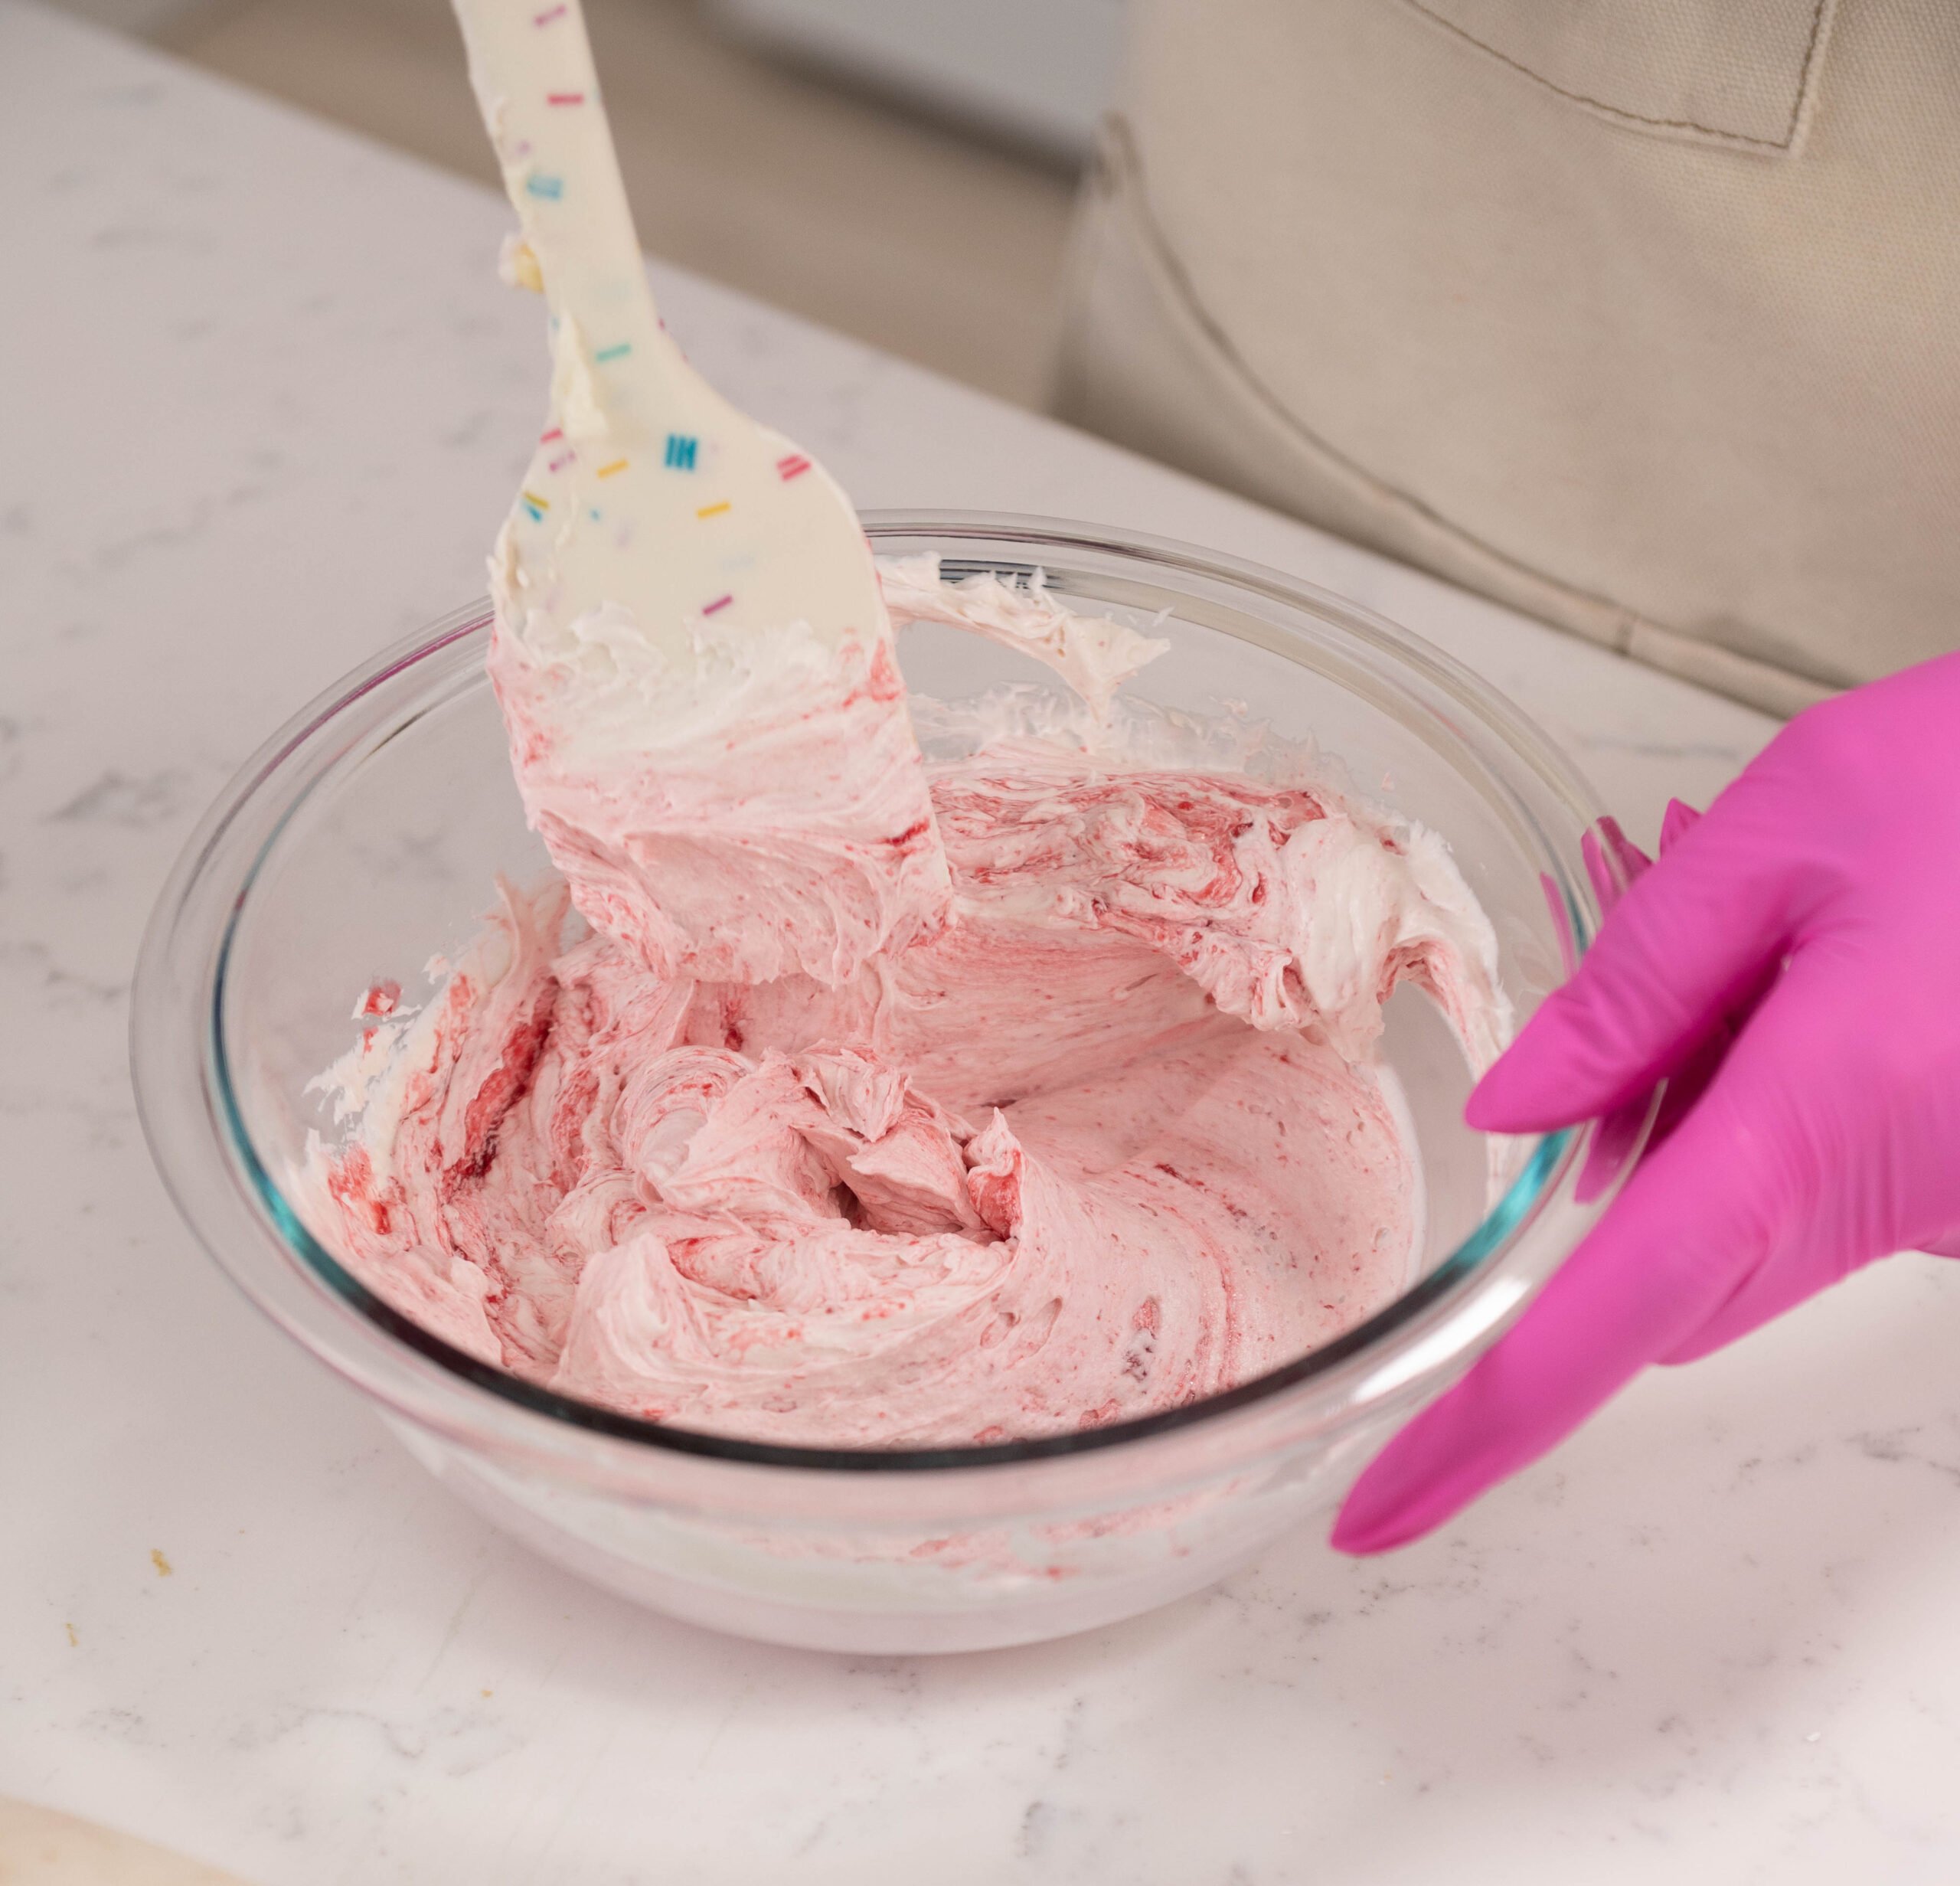
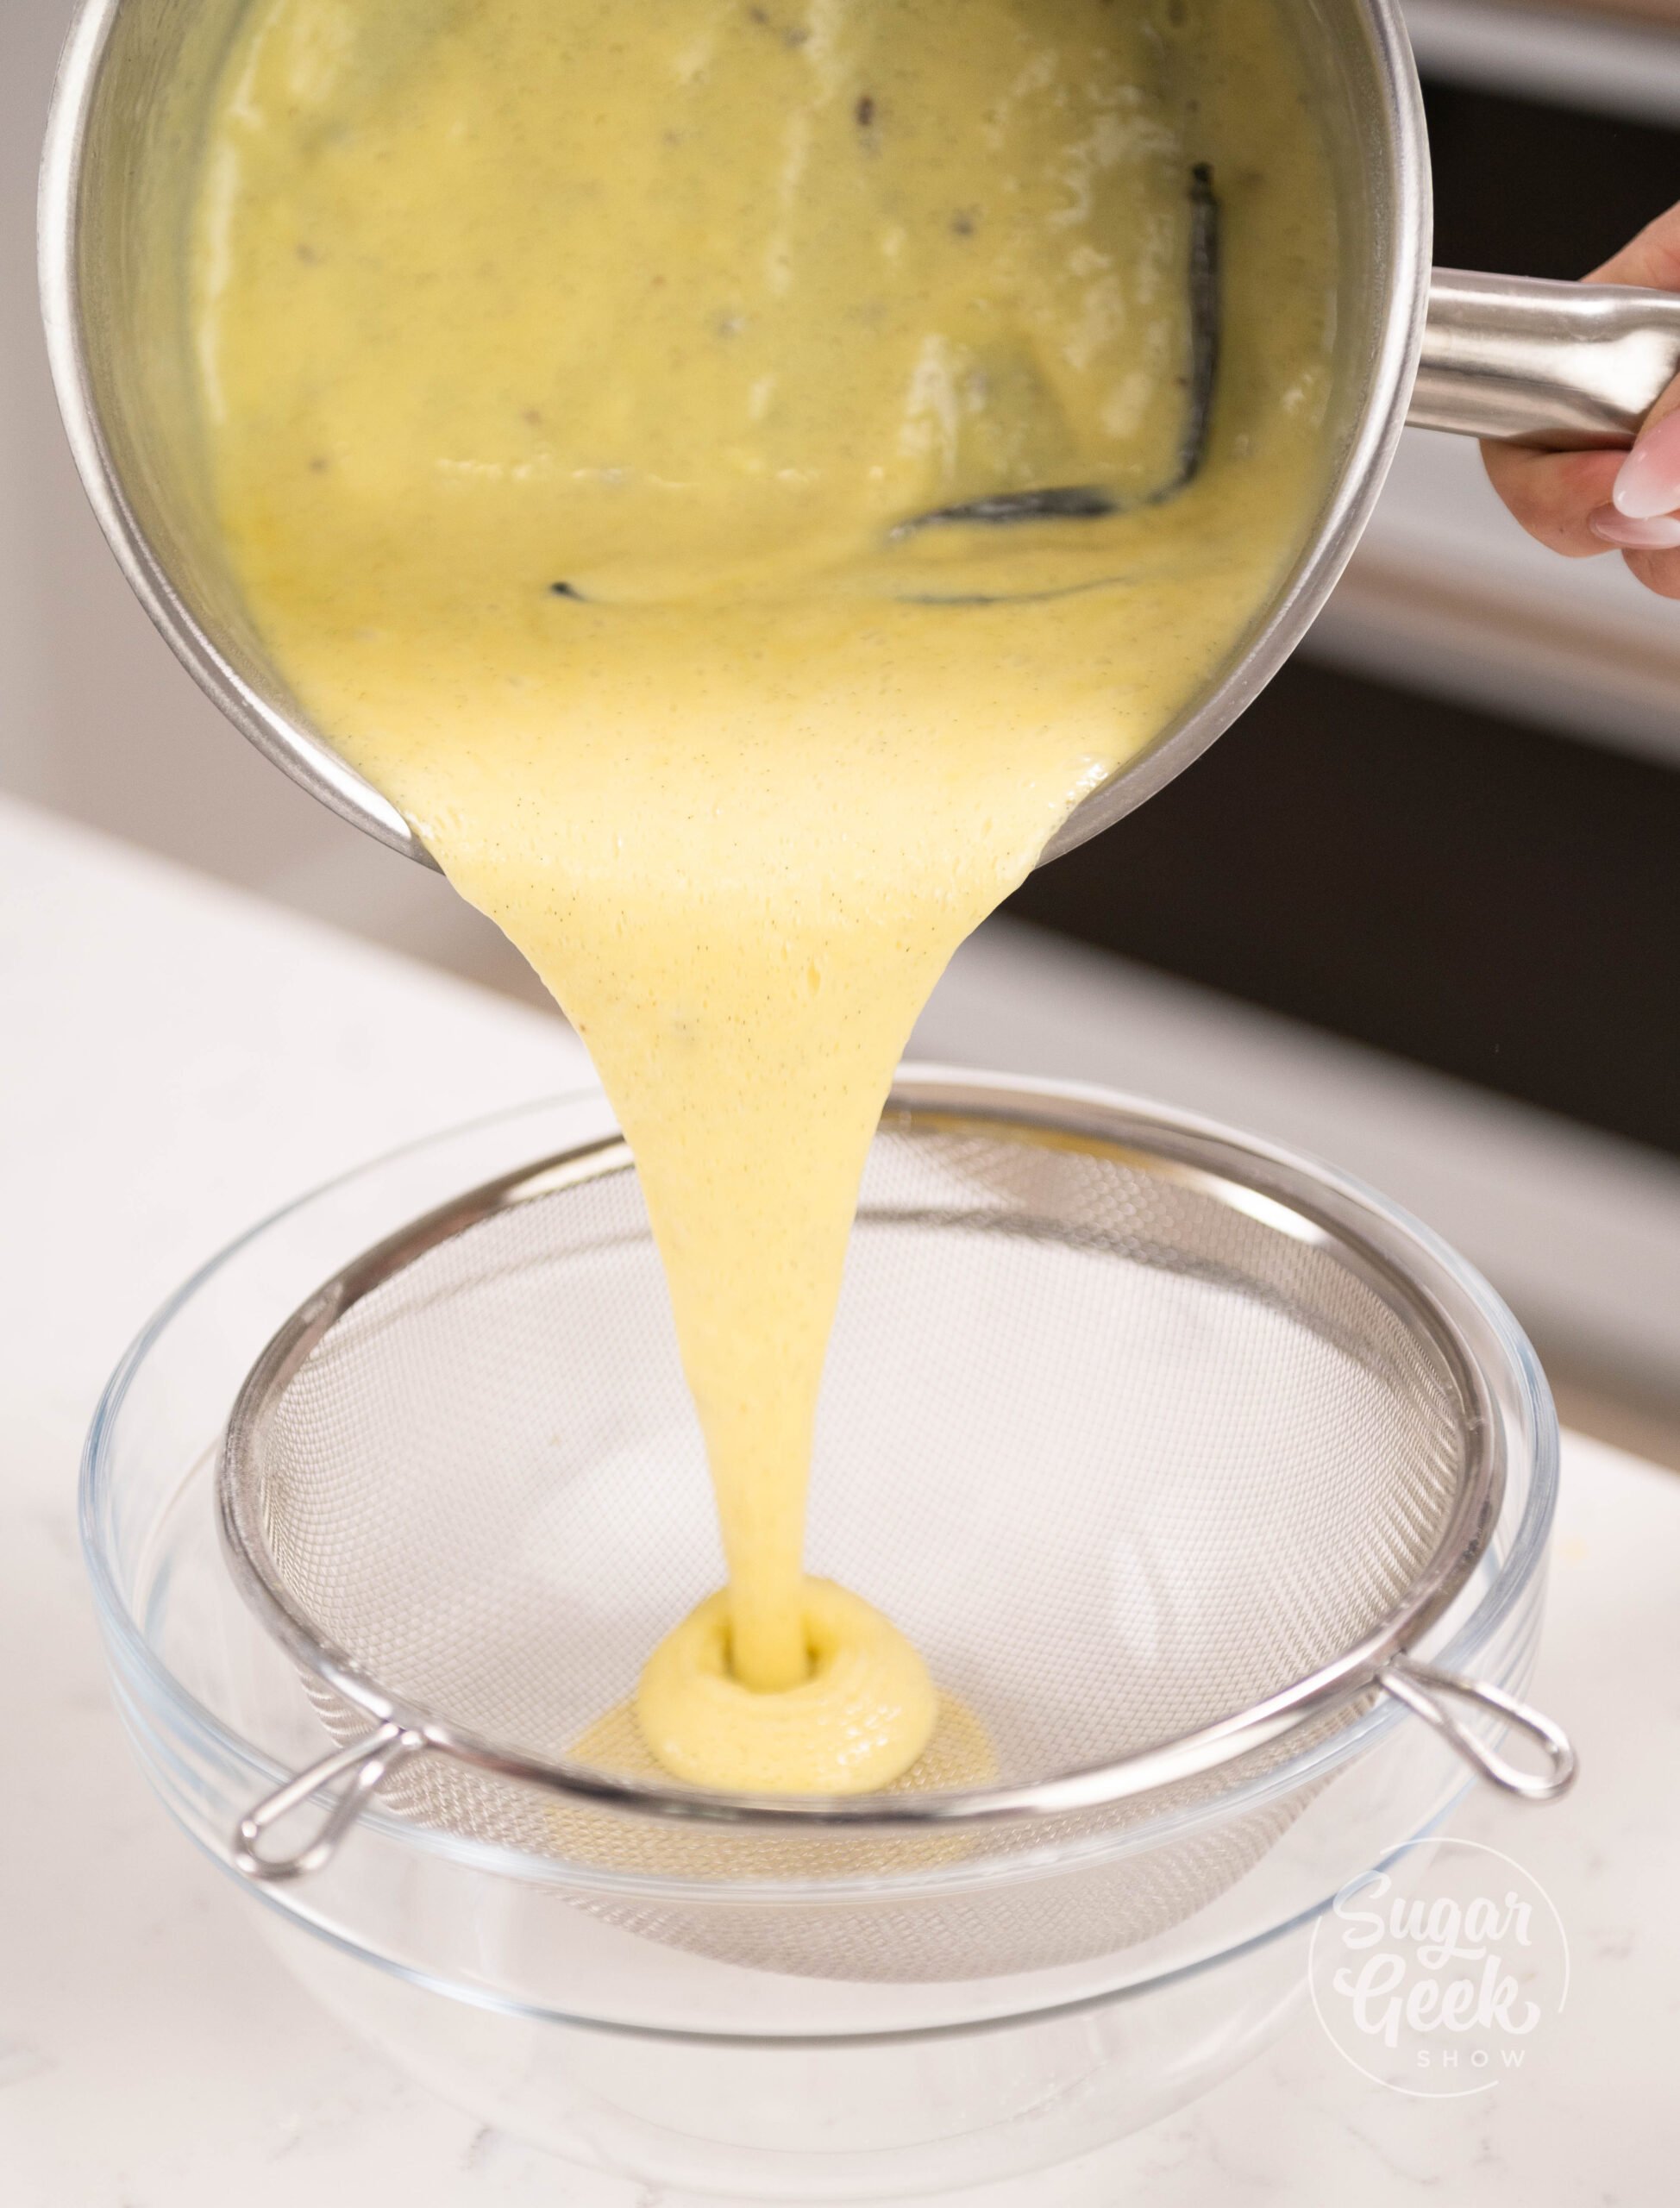
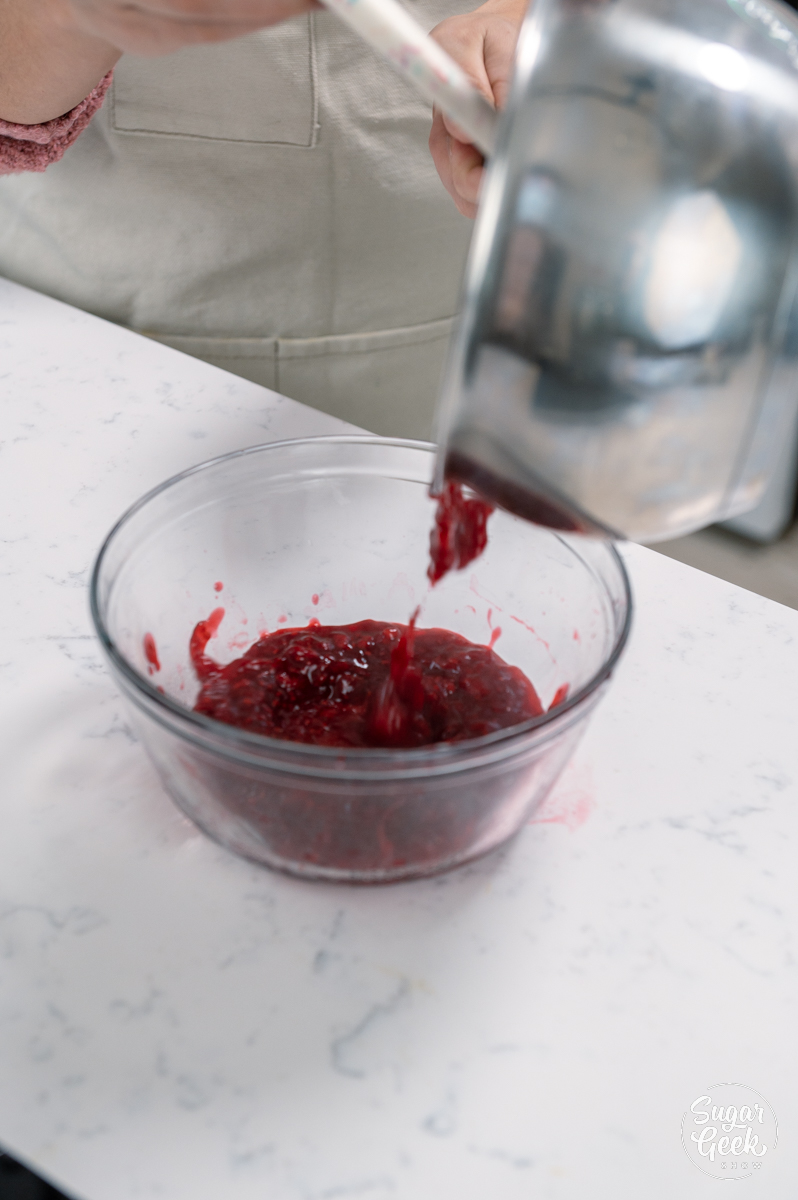
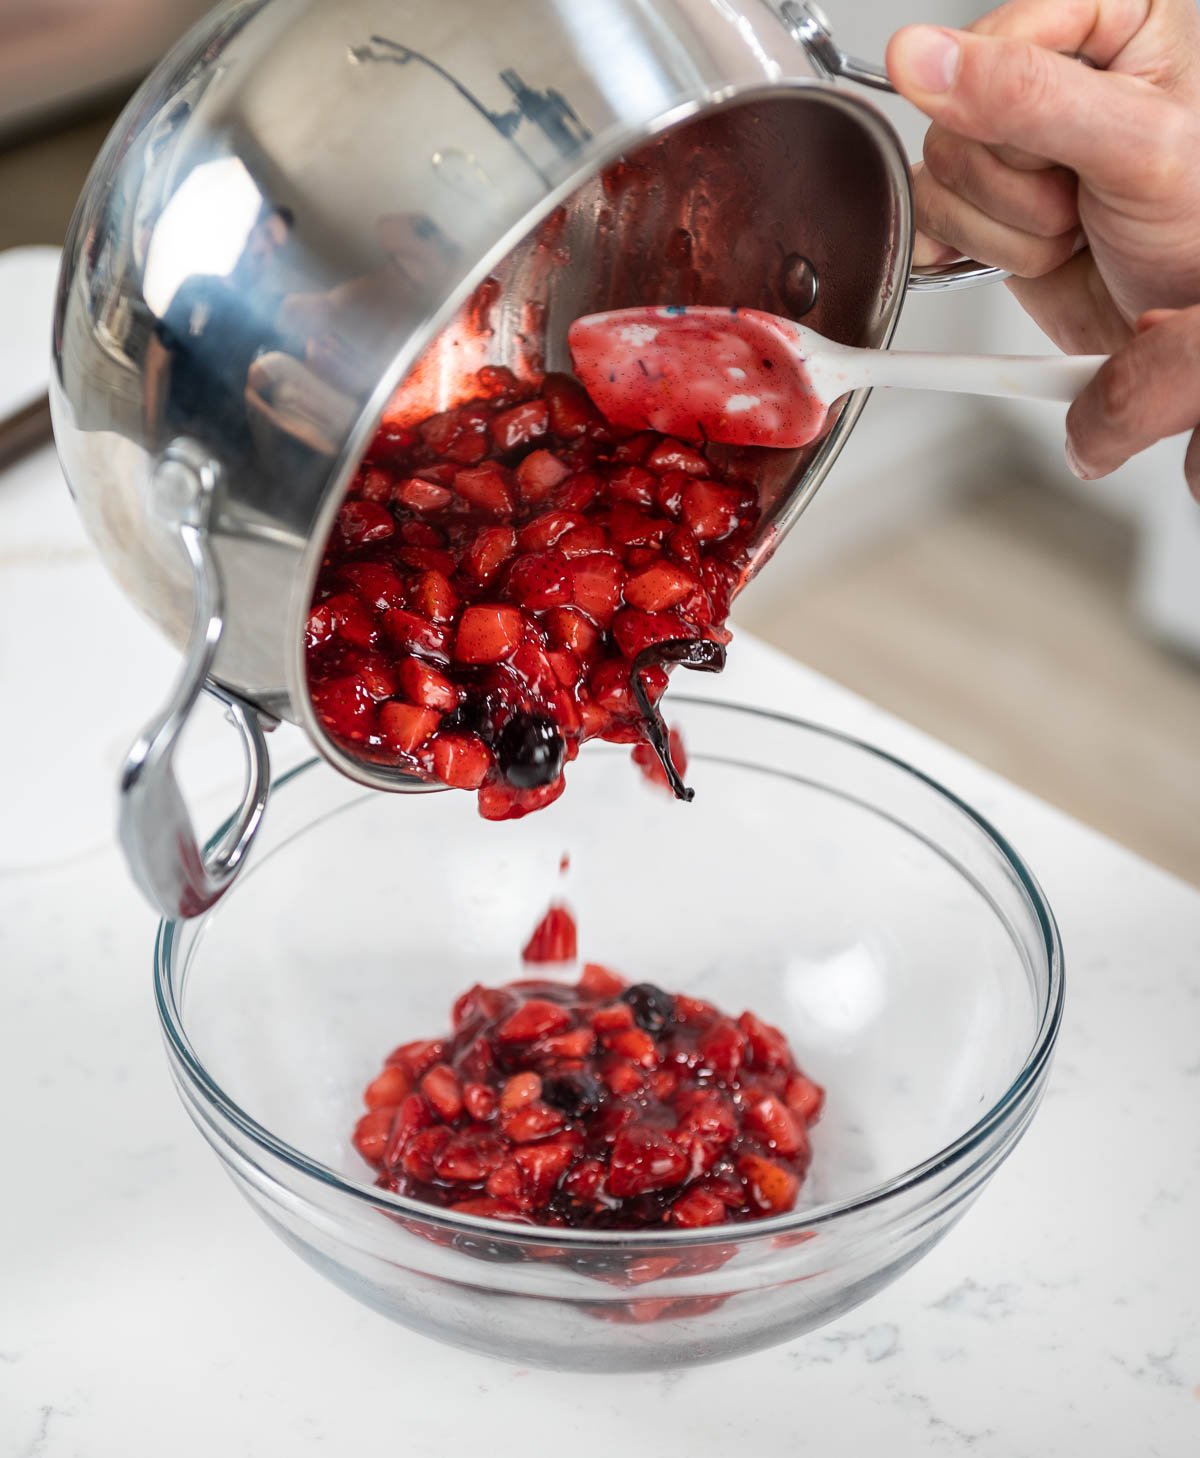
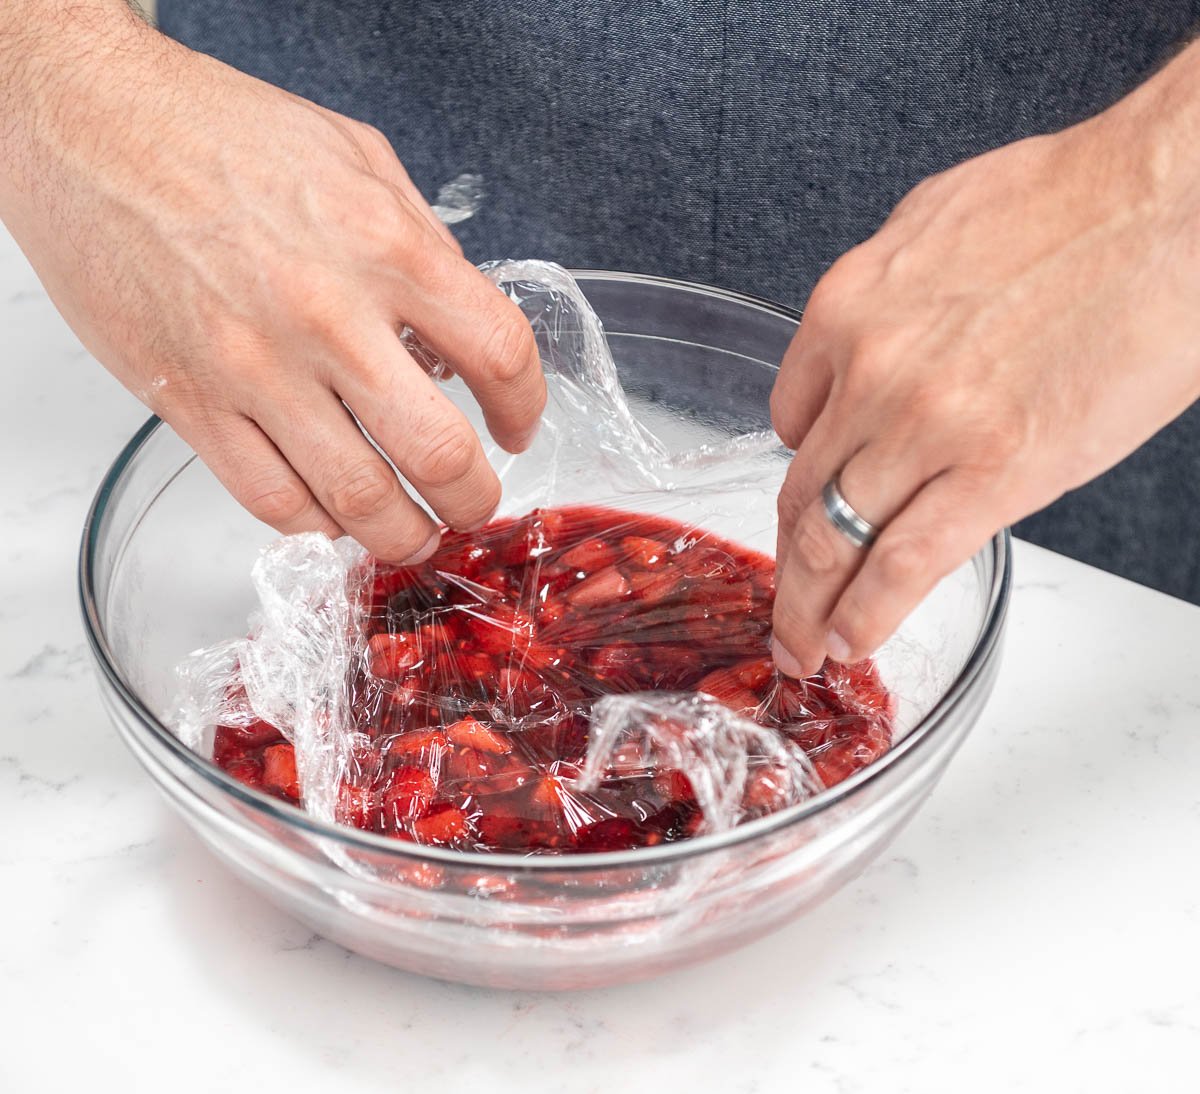
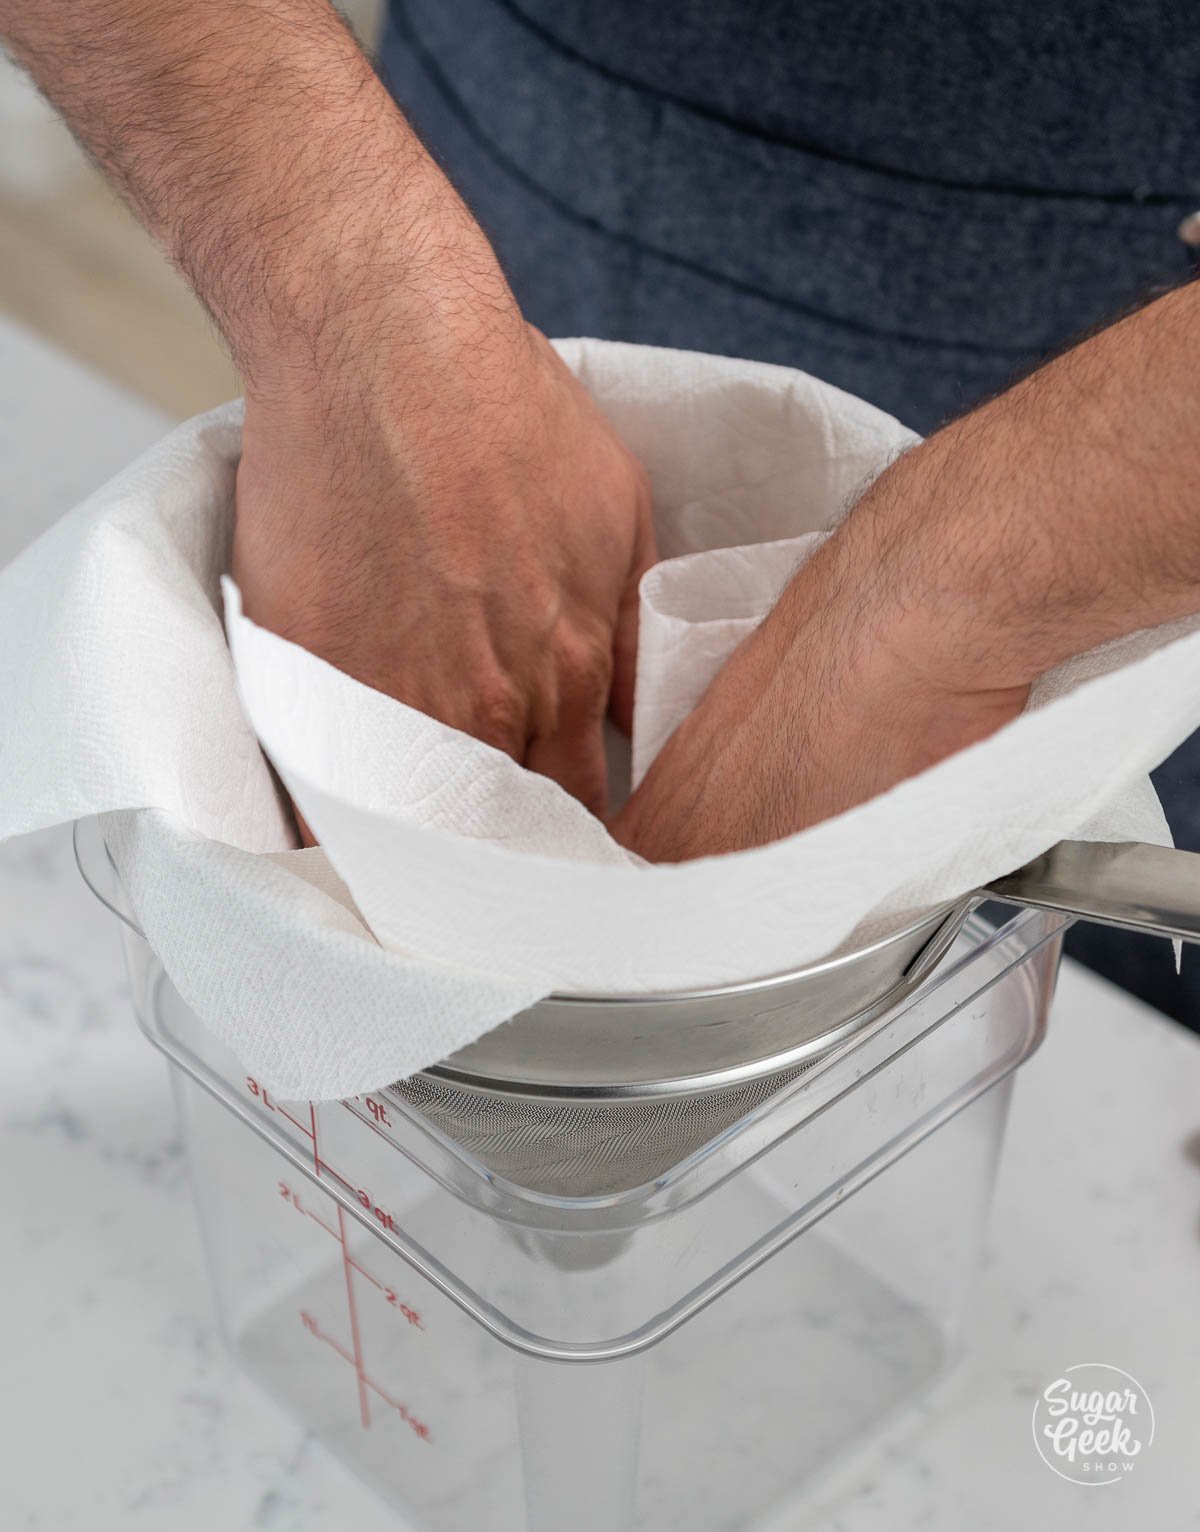
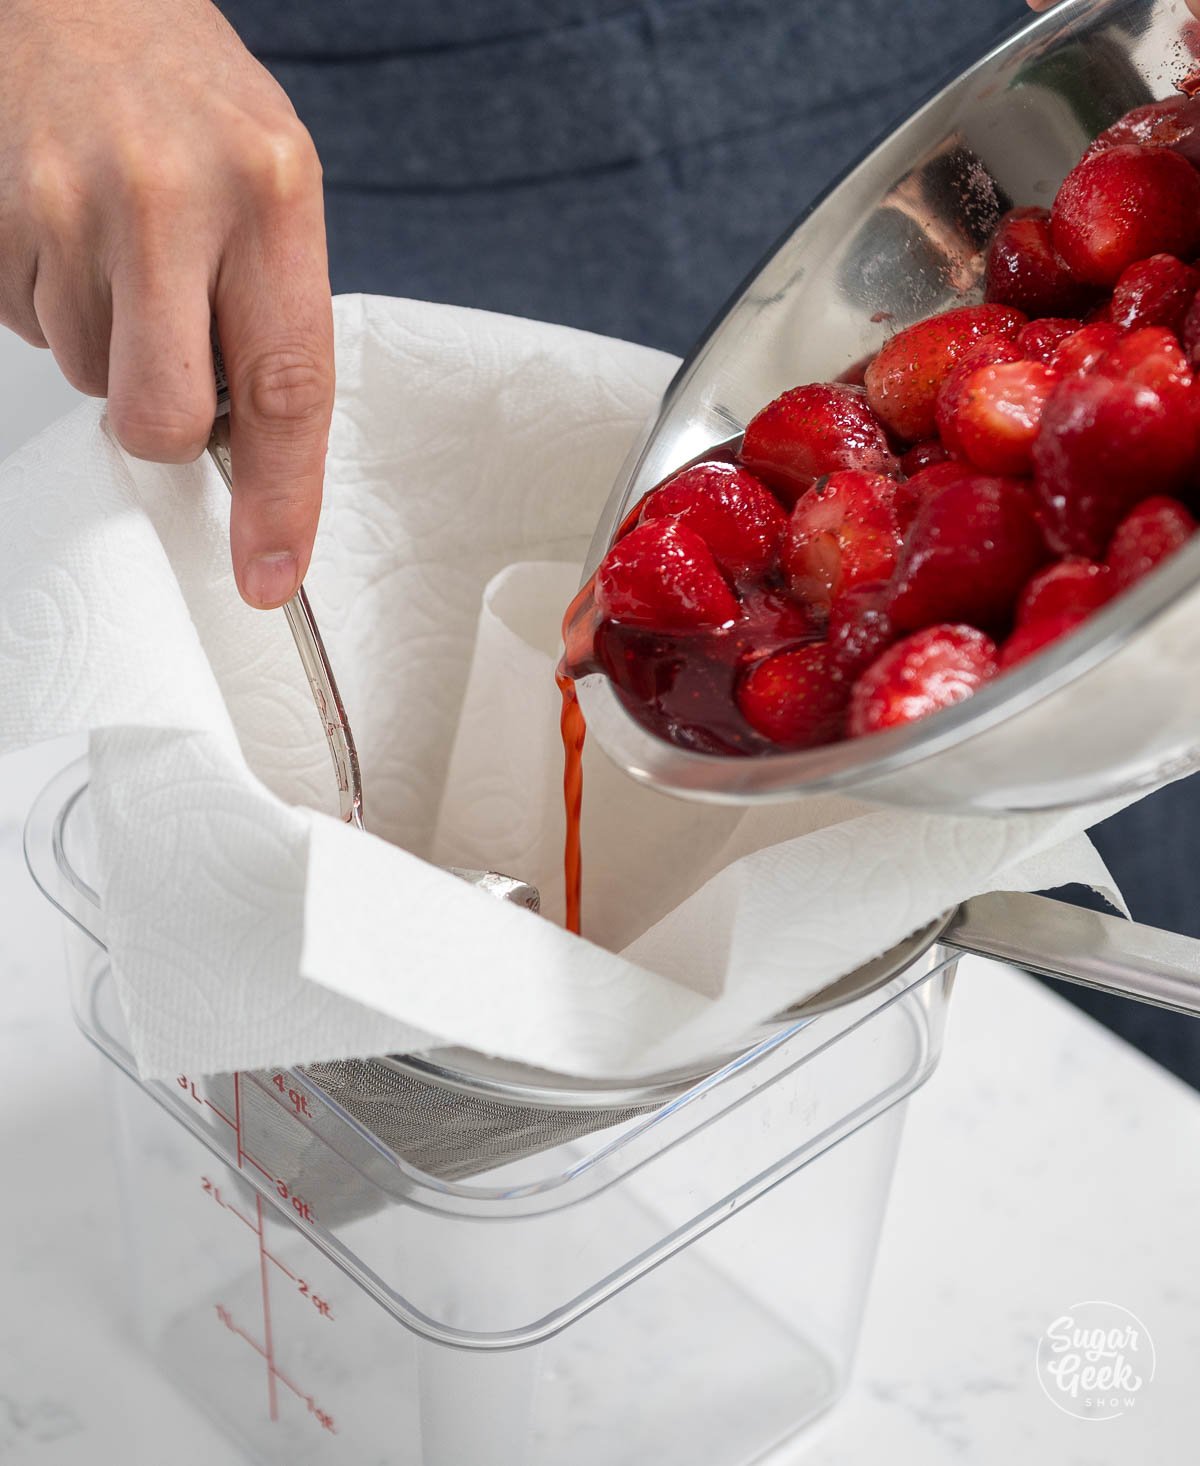
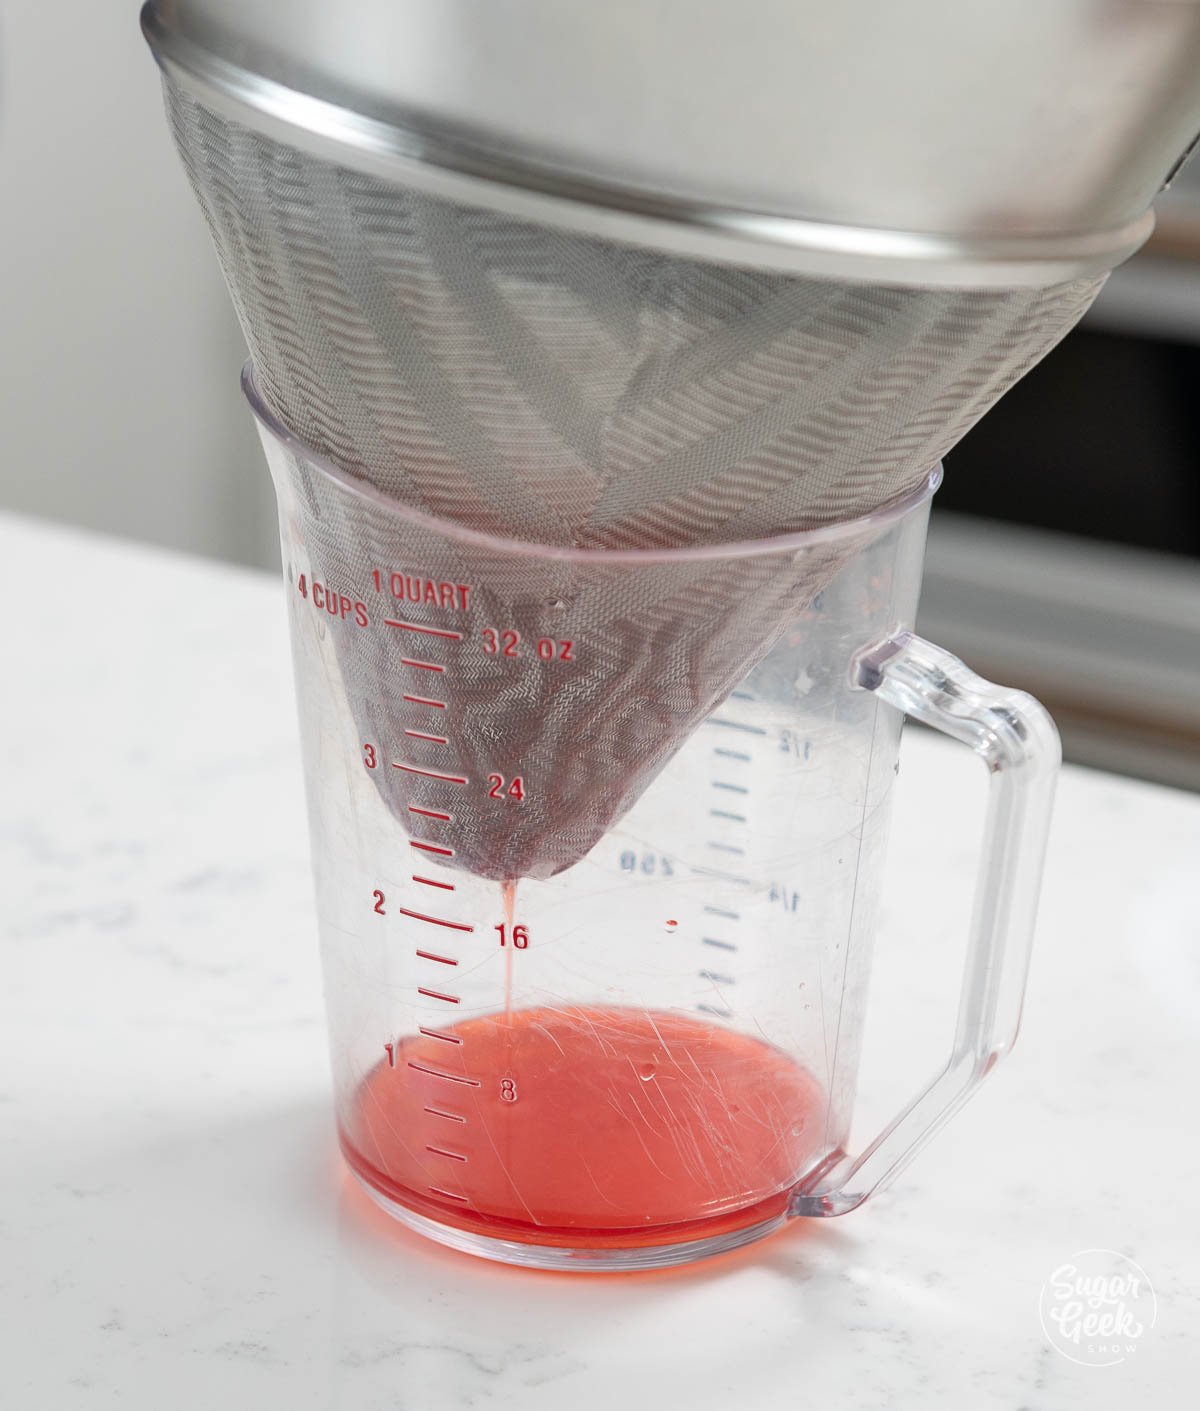
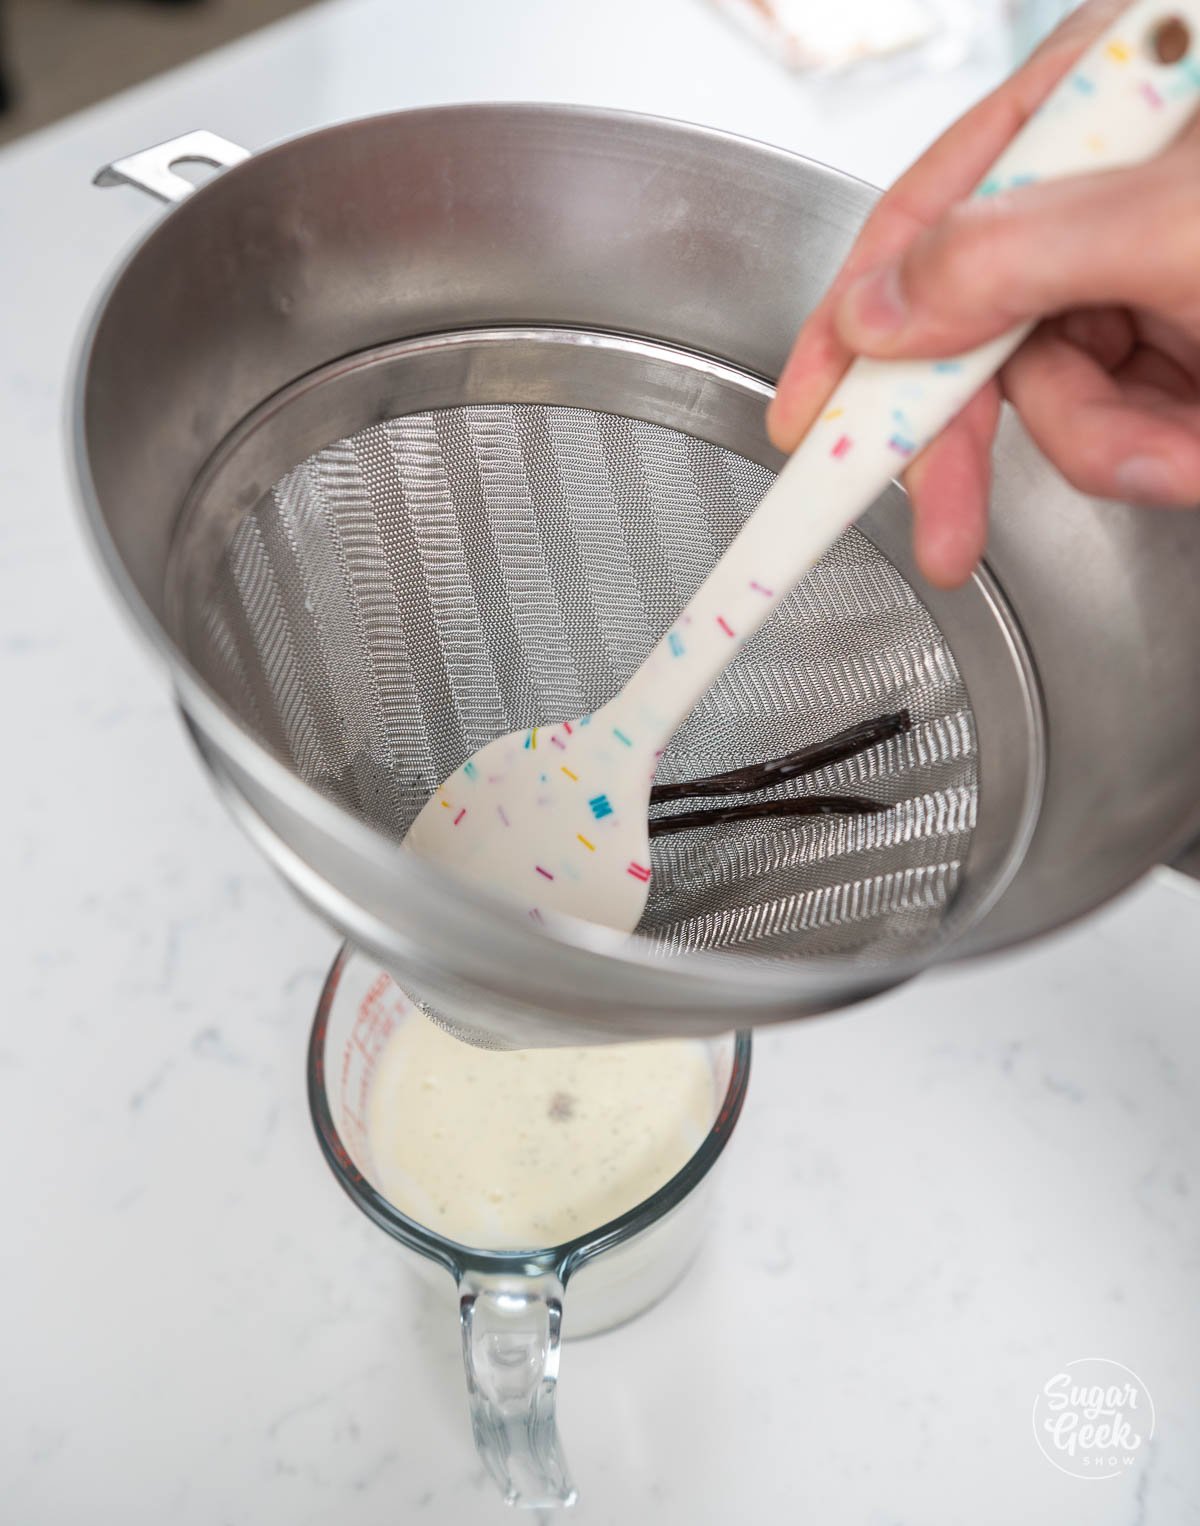
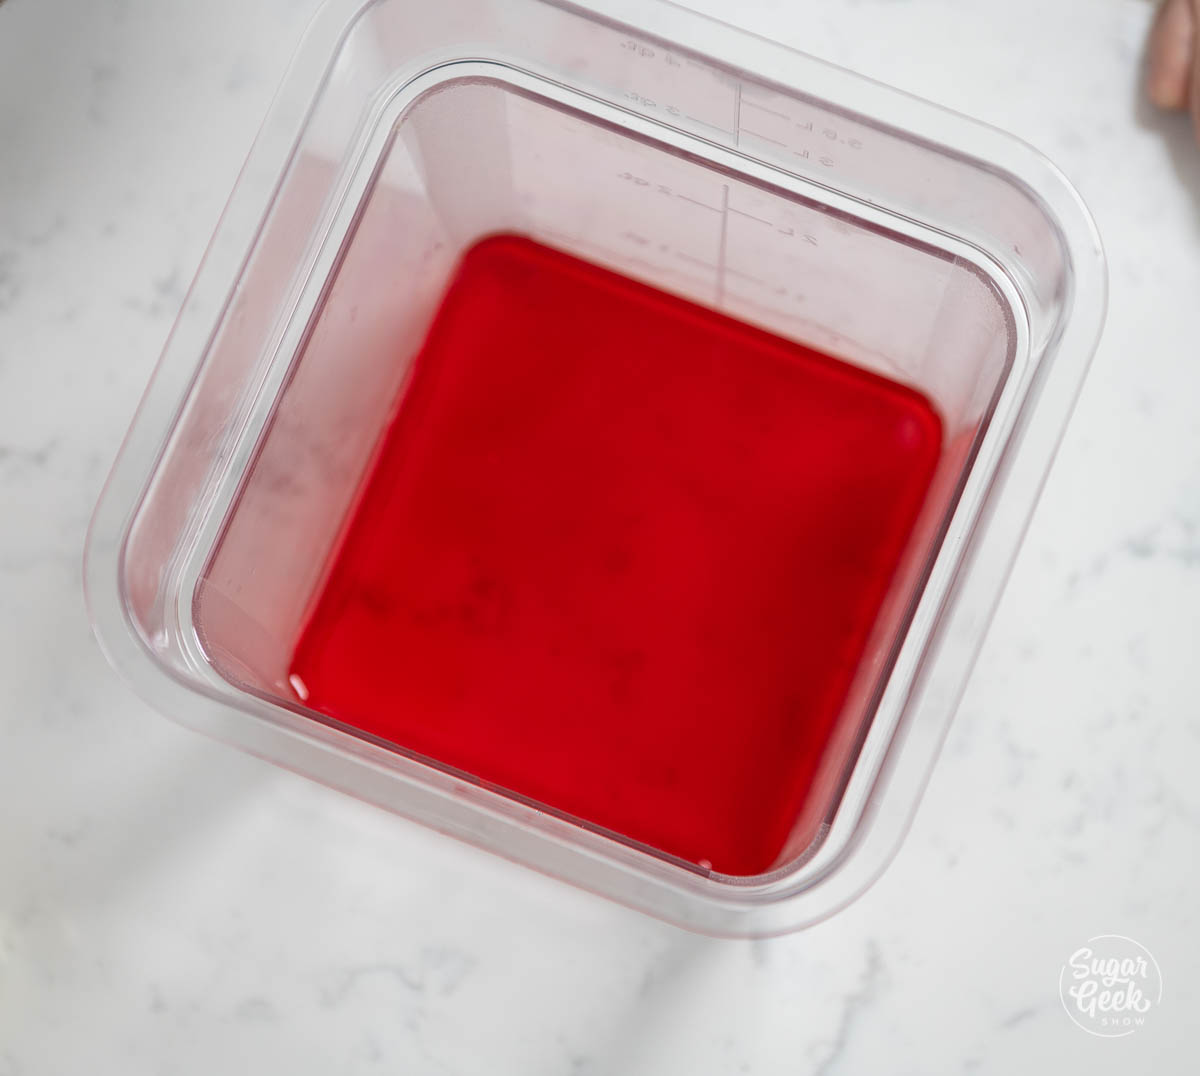
- Strain the mix into a bowl or container to get rid of lumps and extra pulp. This makes the puree super smooth. Set this aside to use later. If you want to make this ahead of time, you can refrigerate it for a week or freeze it for up to a month.


Making The Coconut Mousse
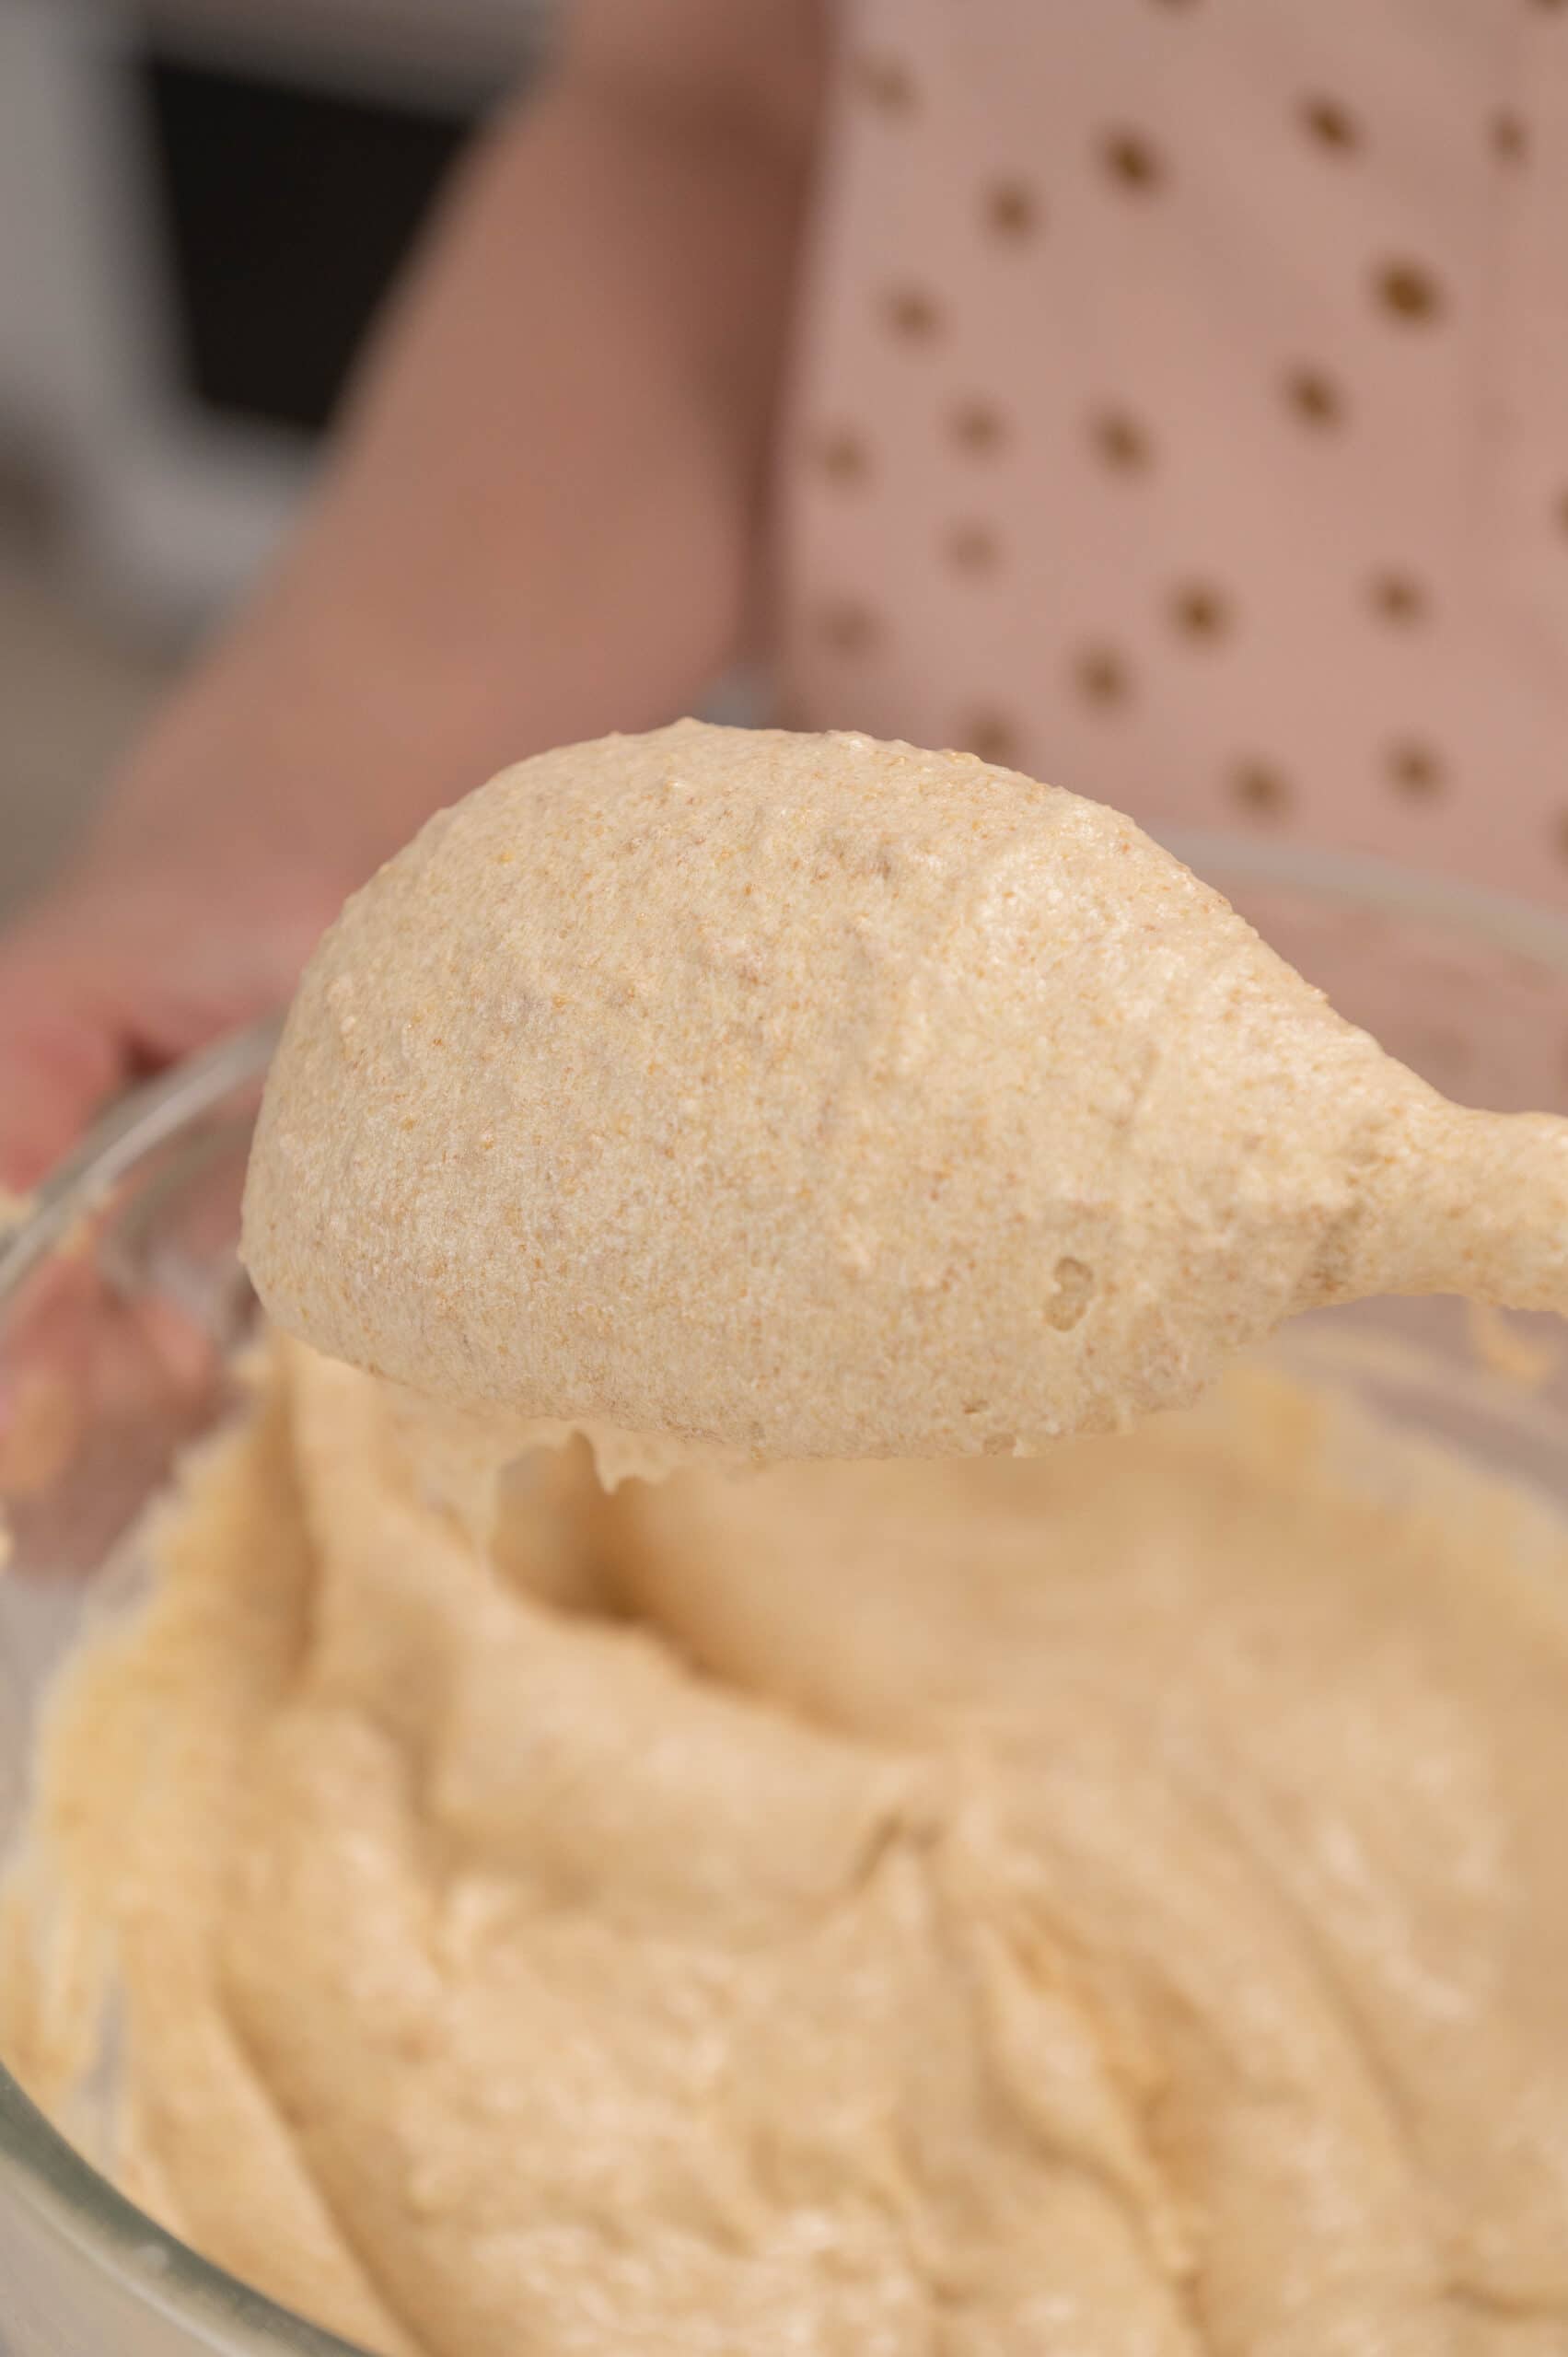
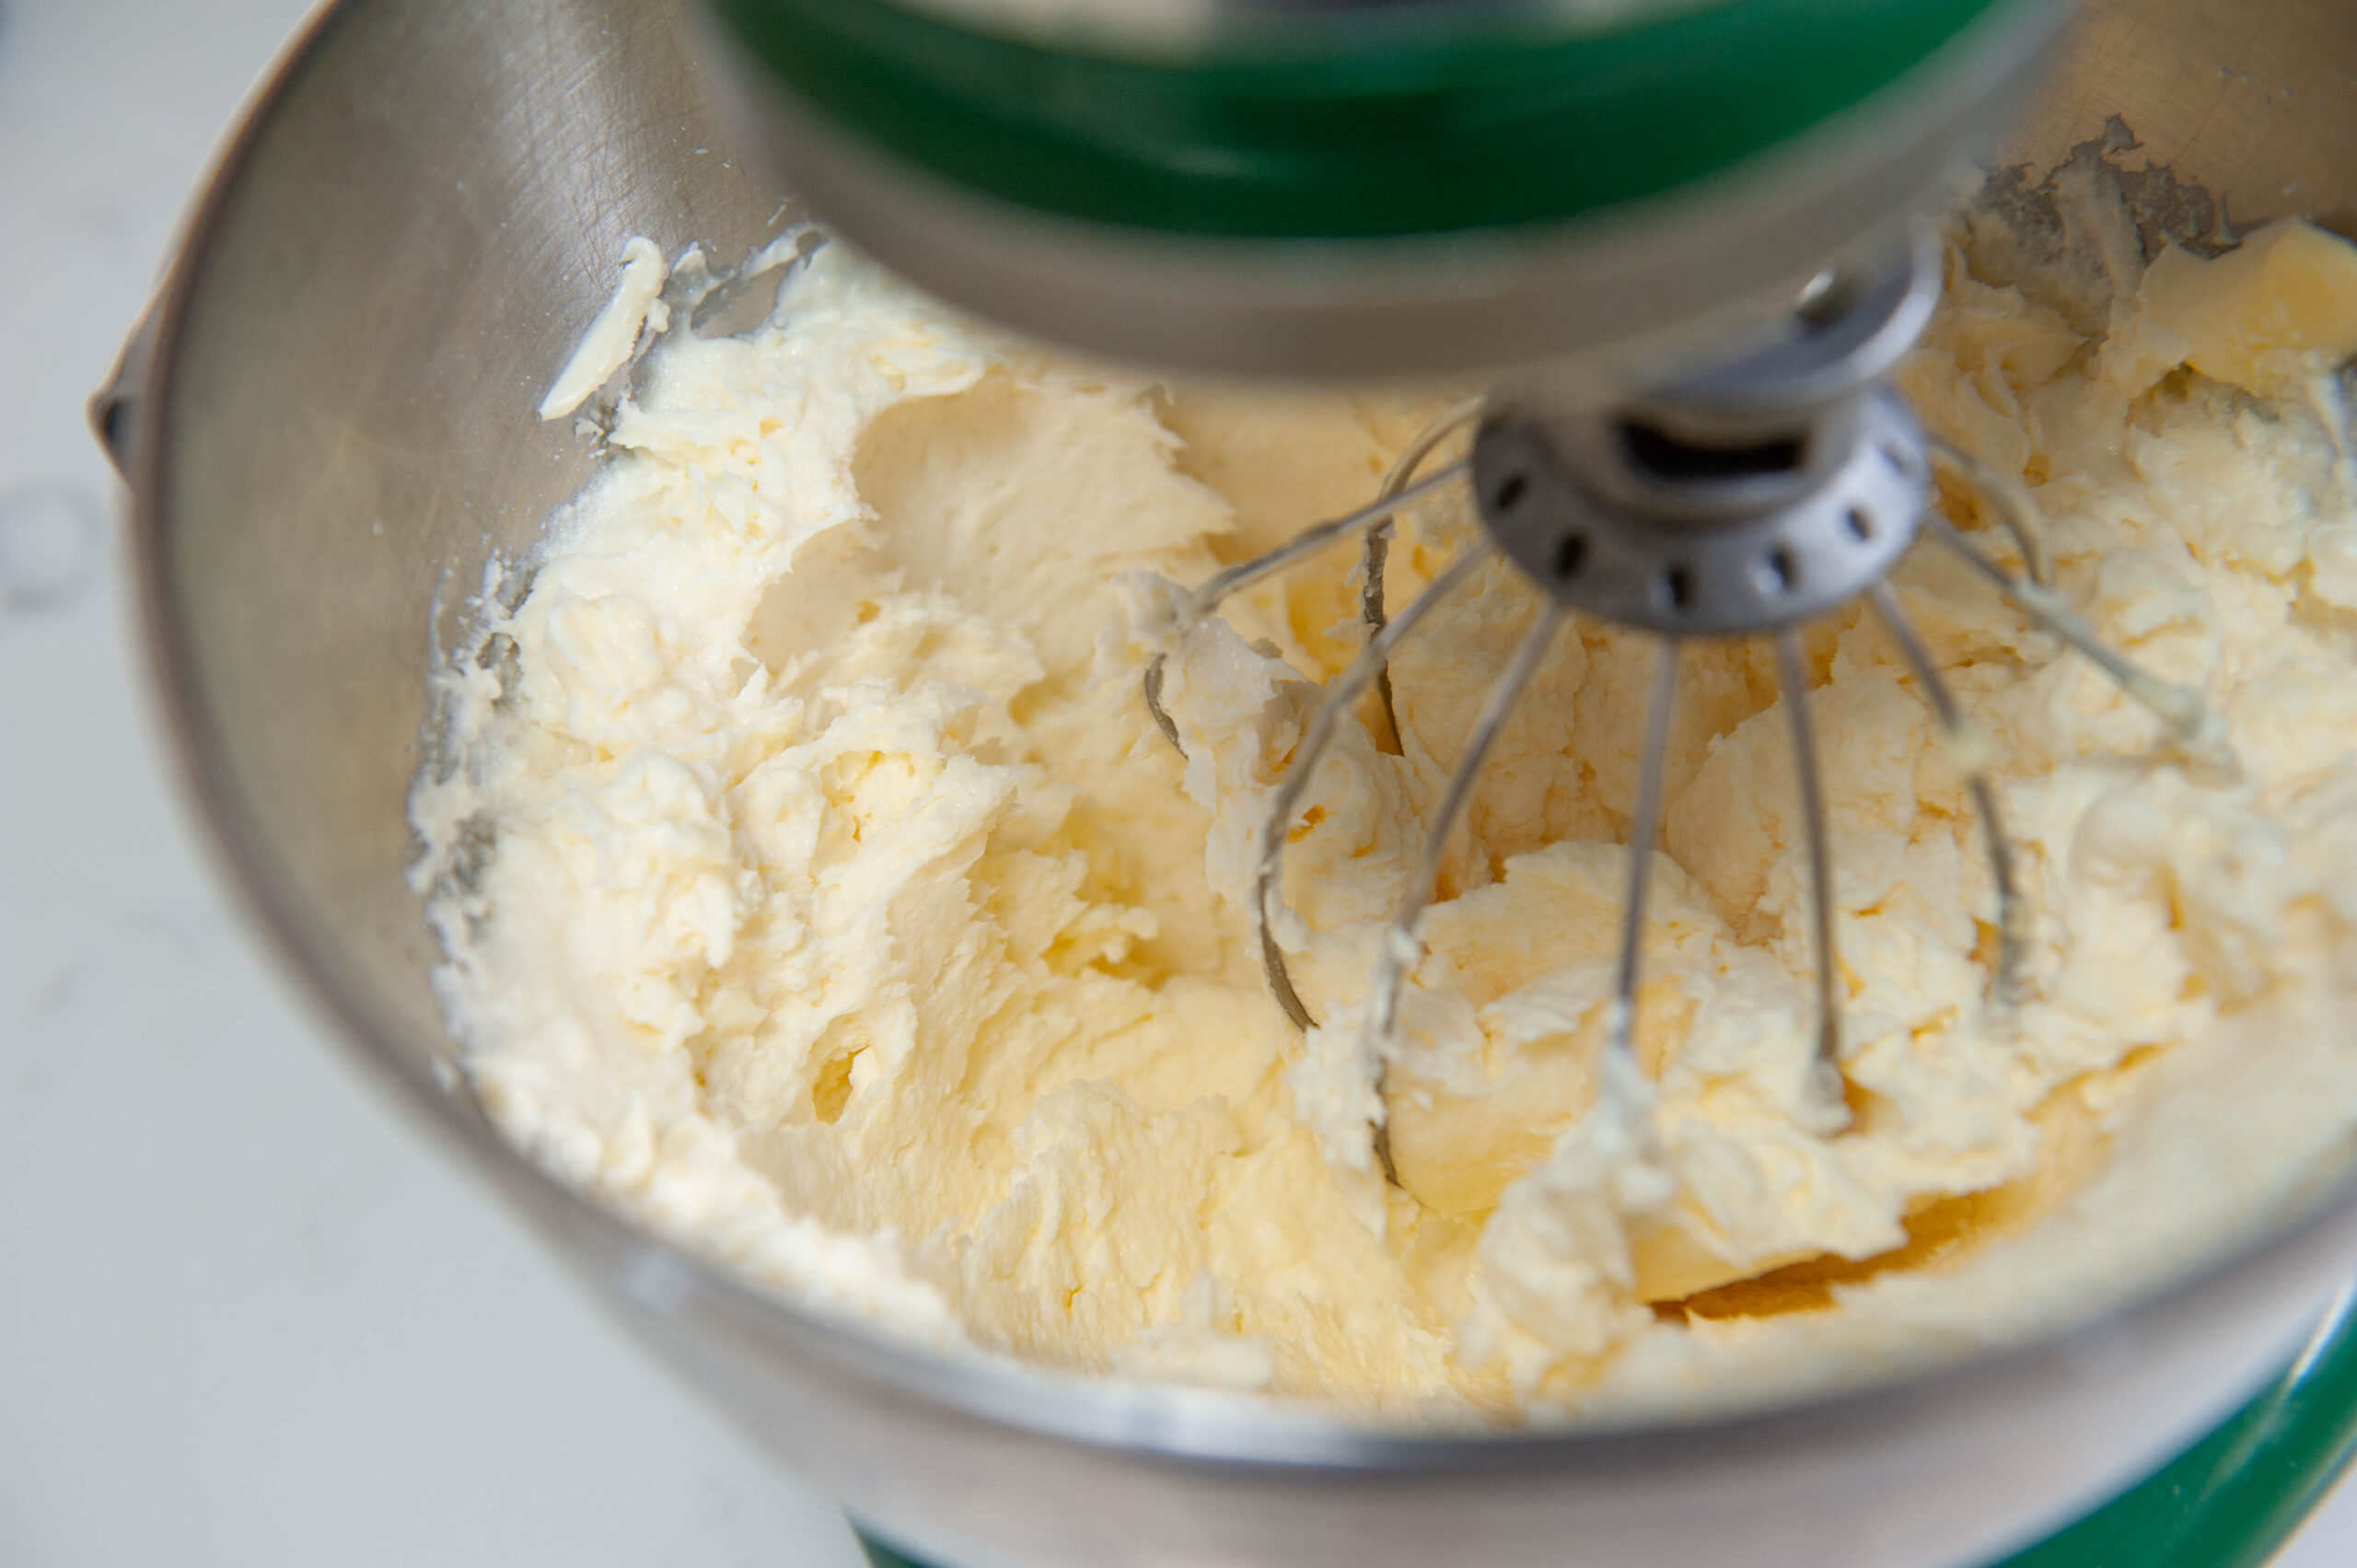
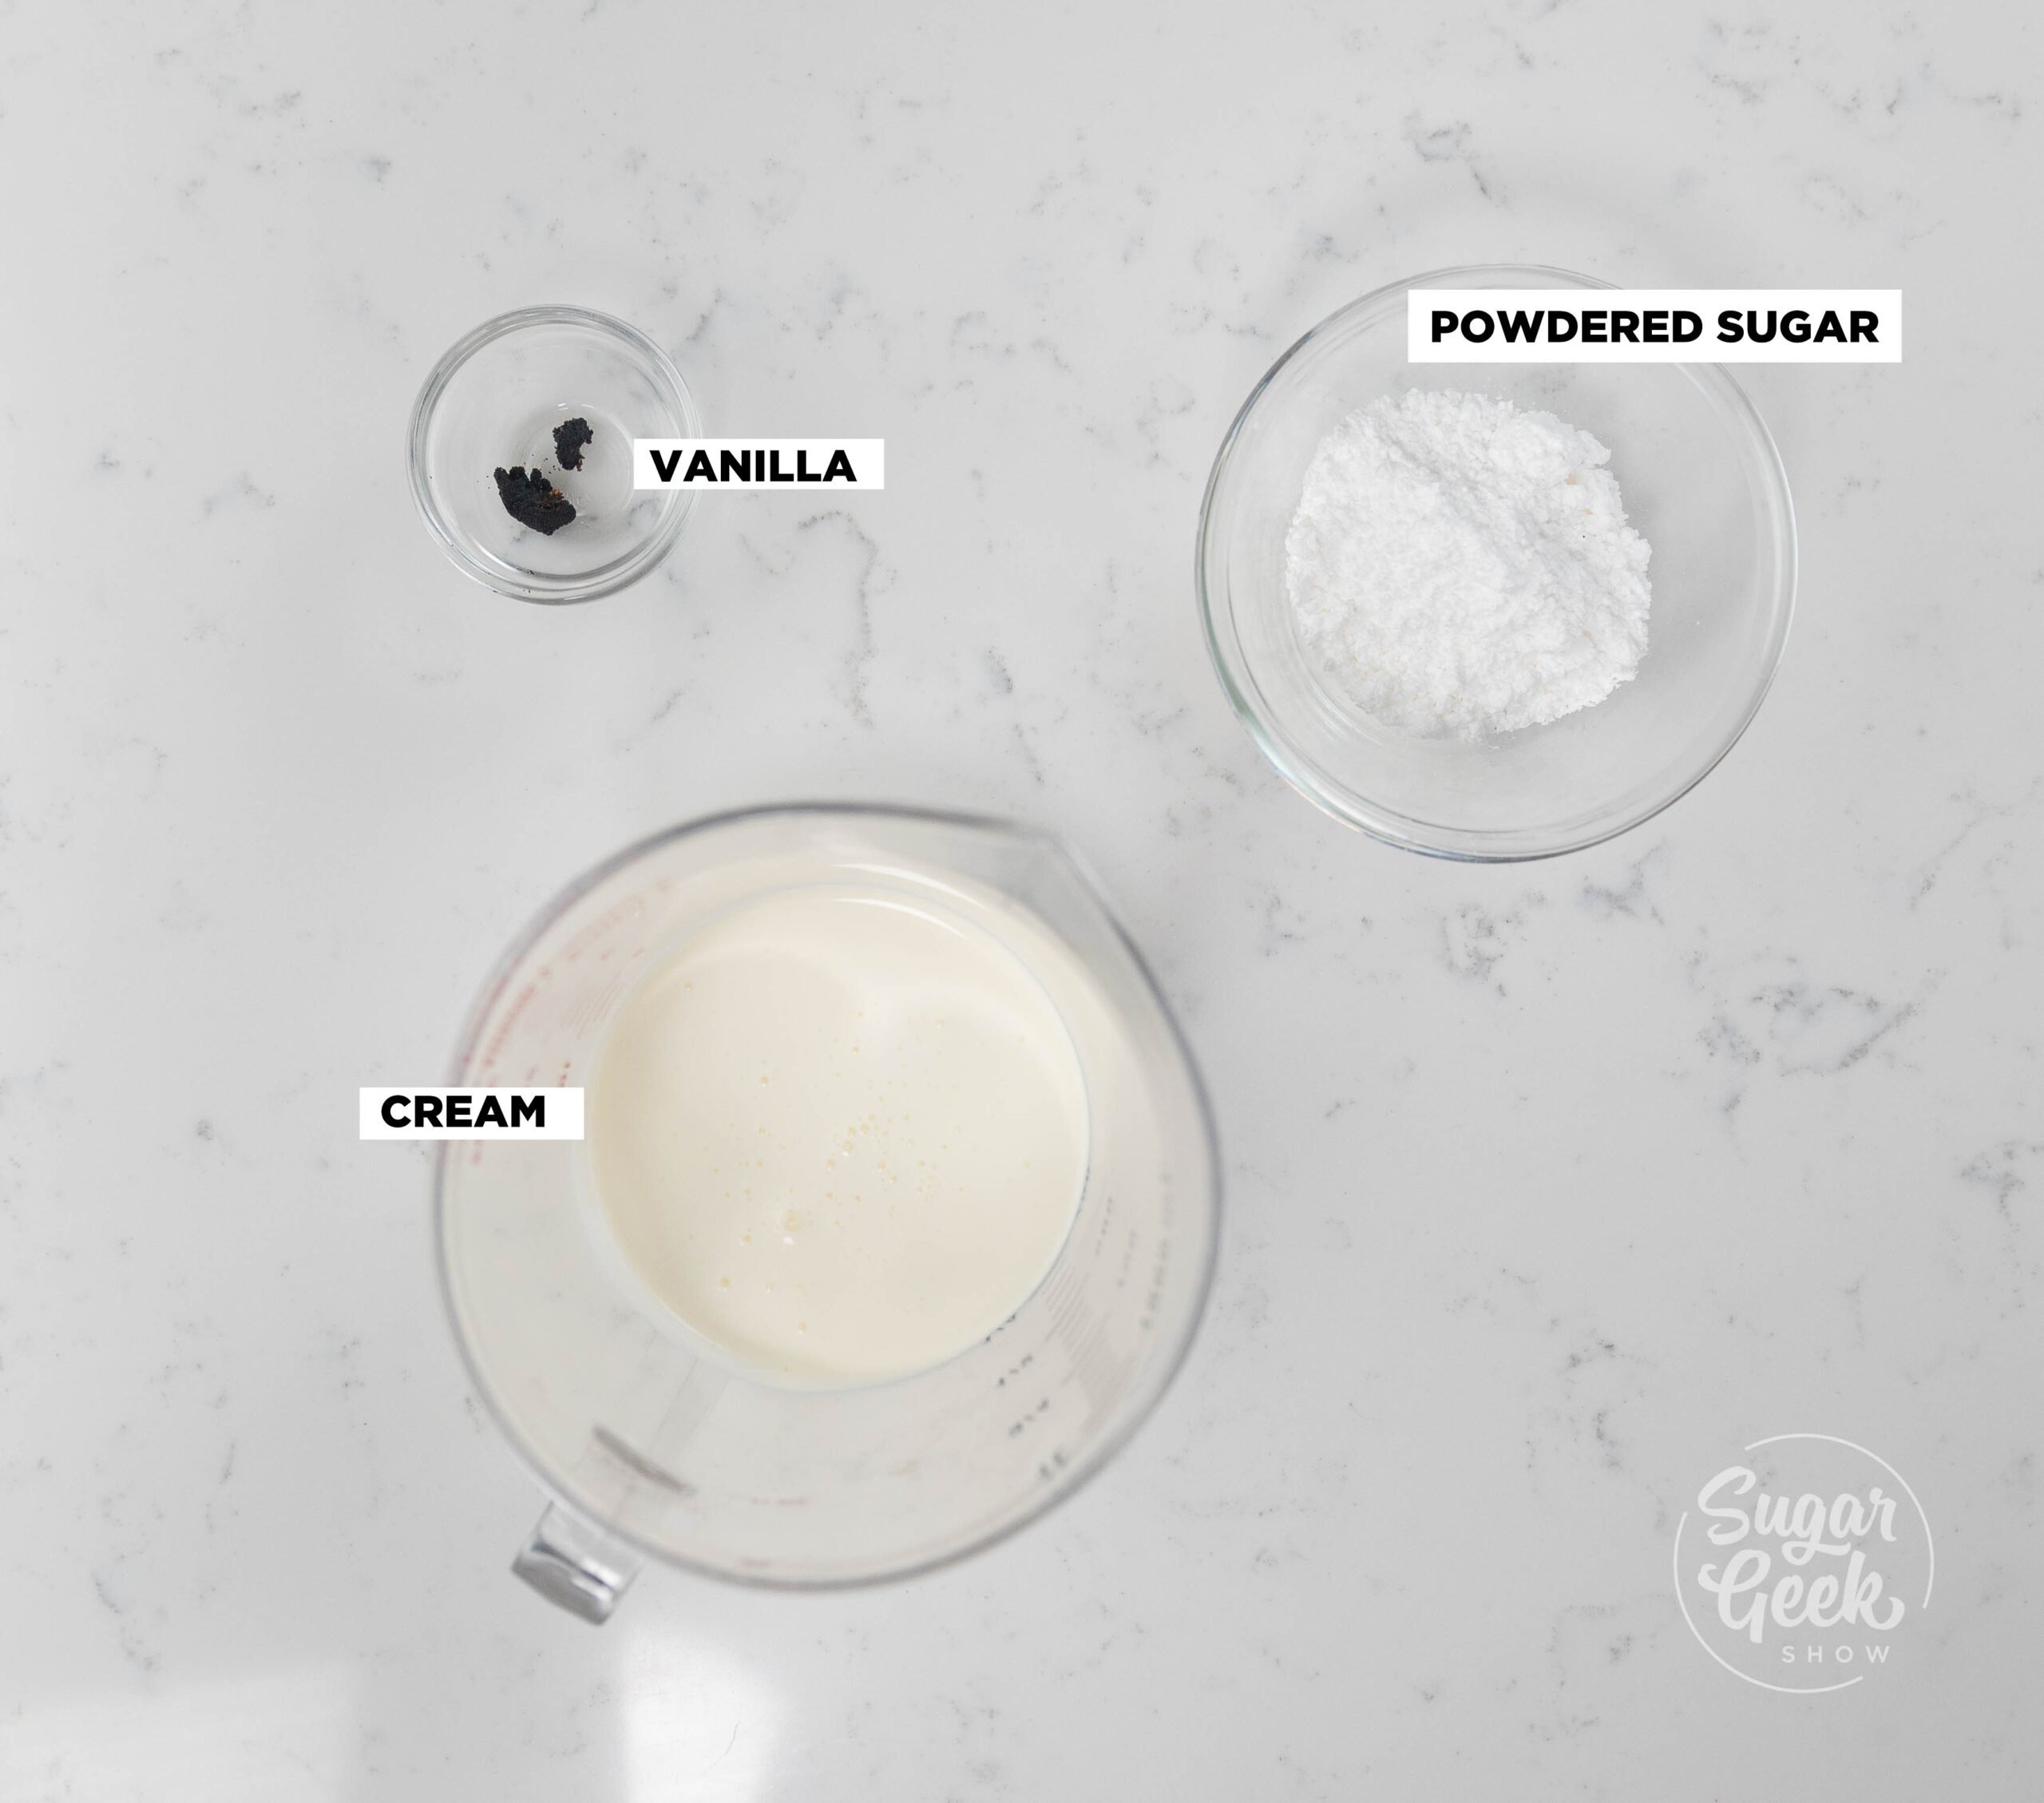
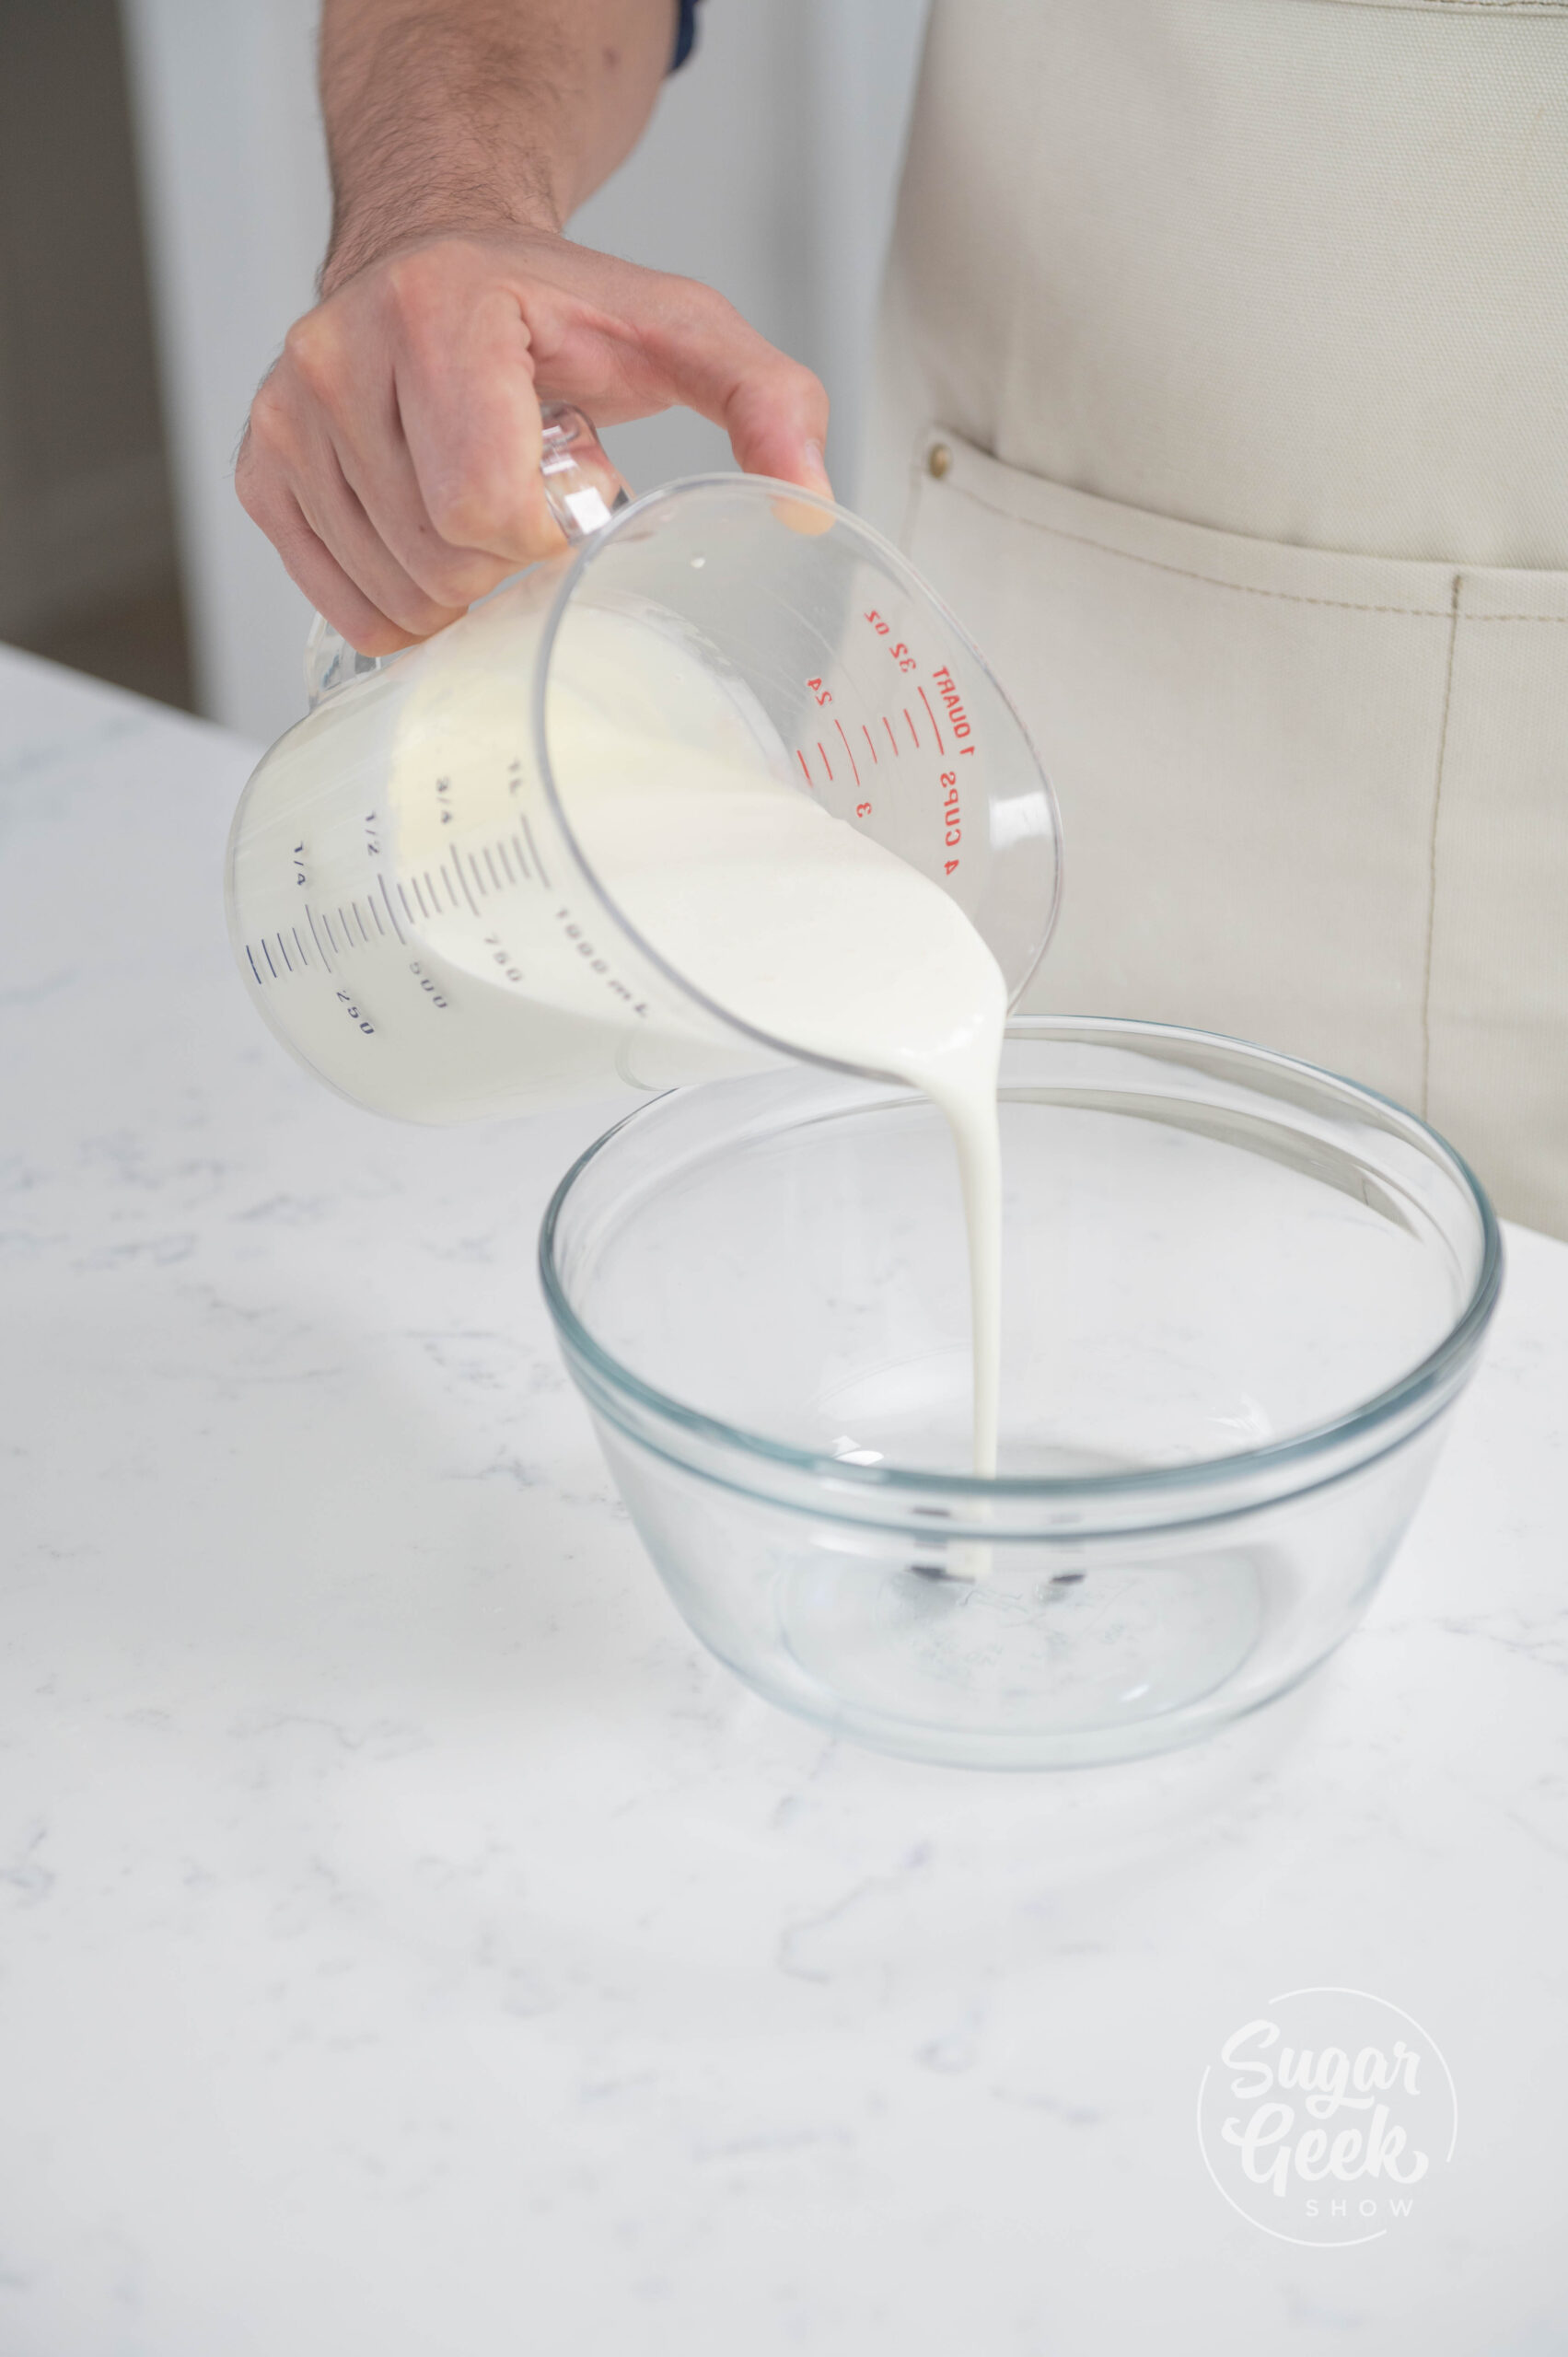
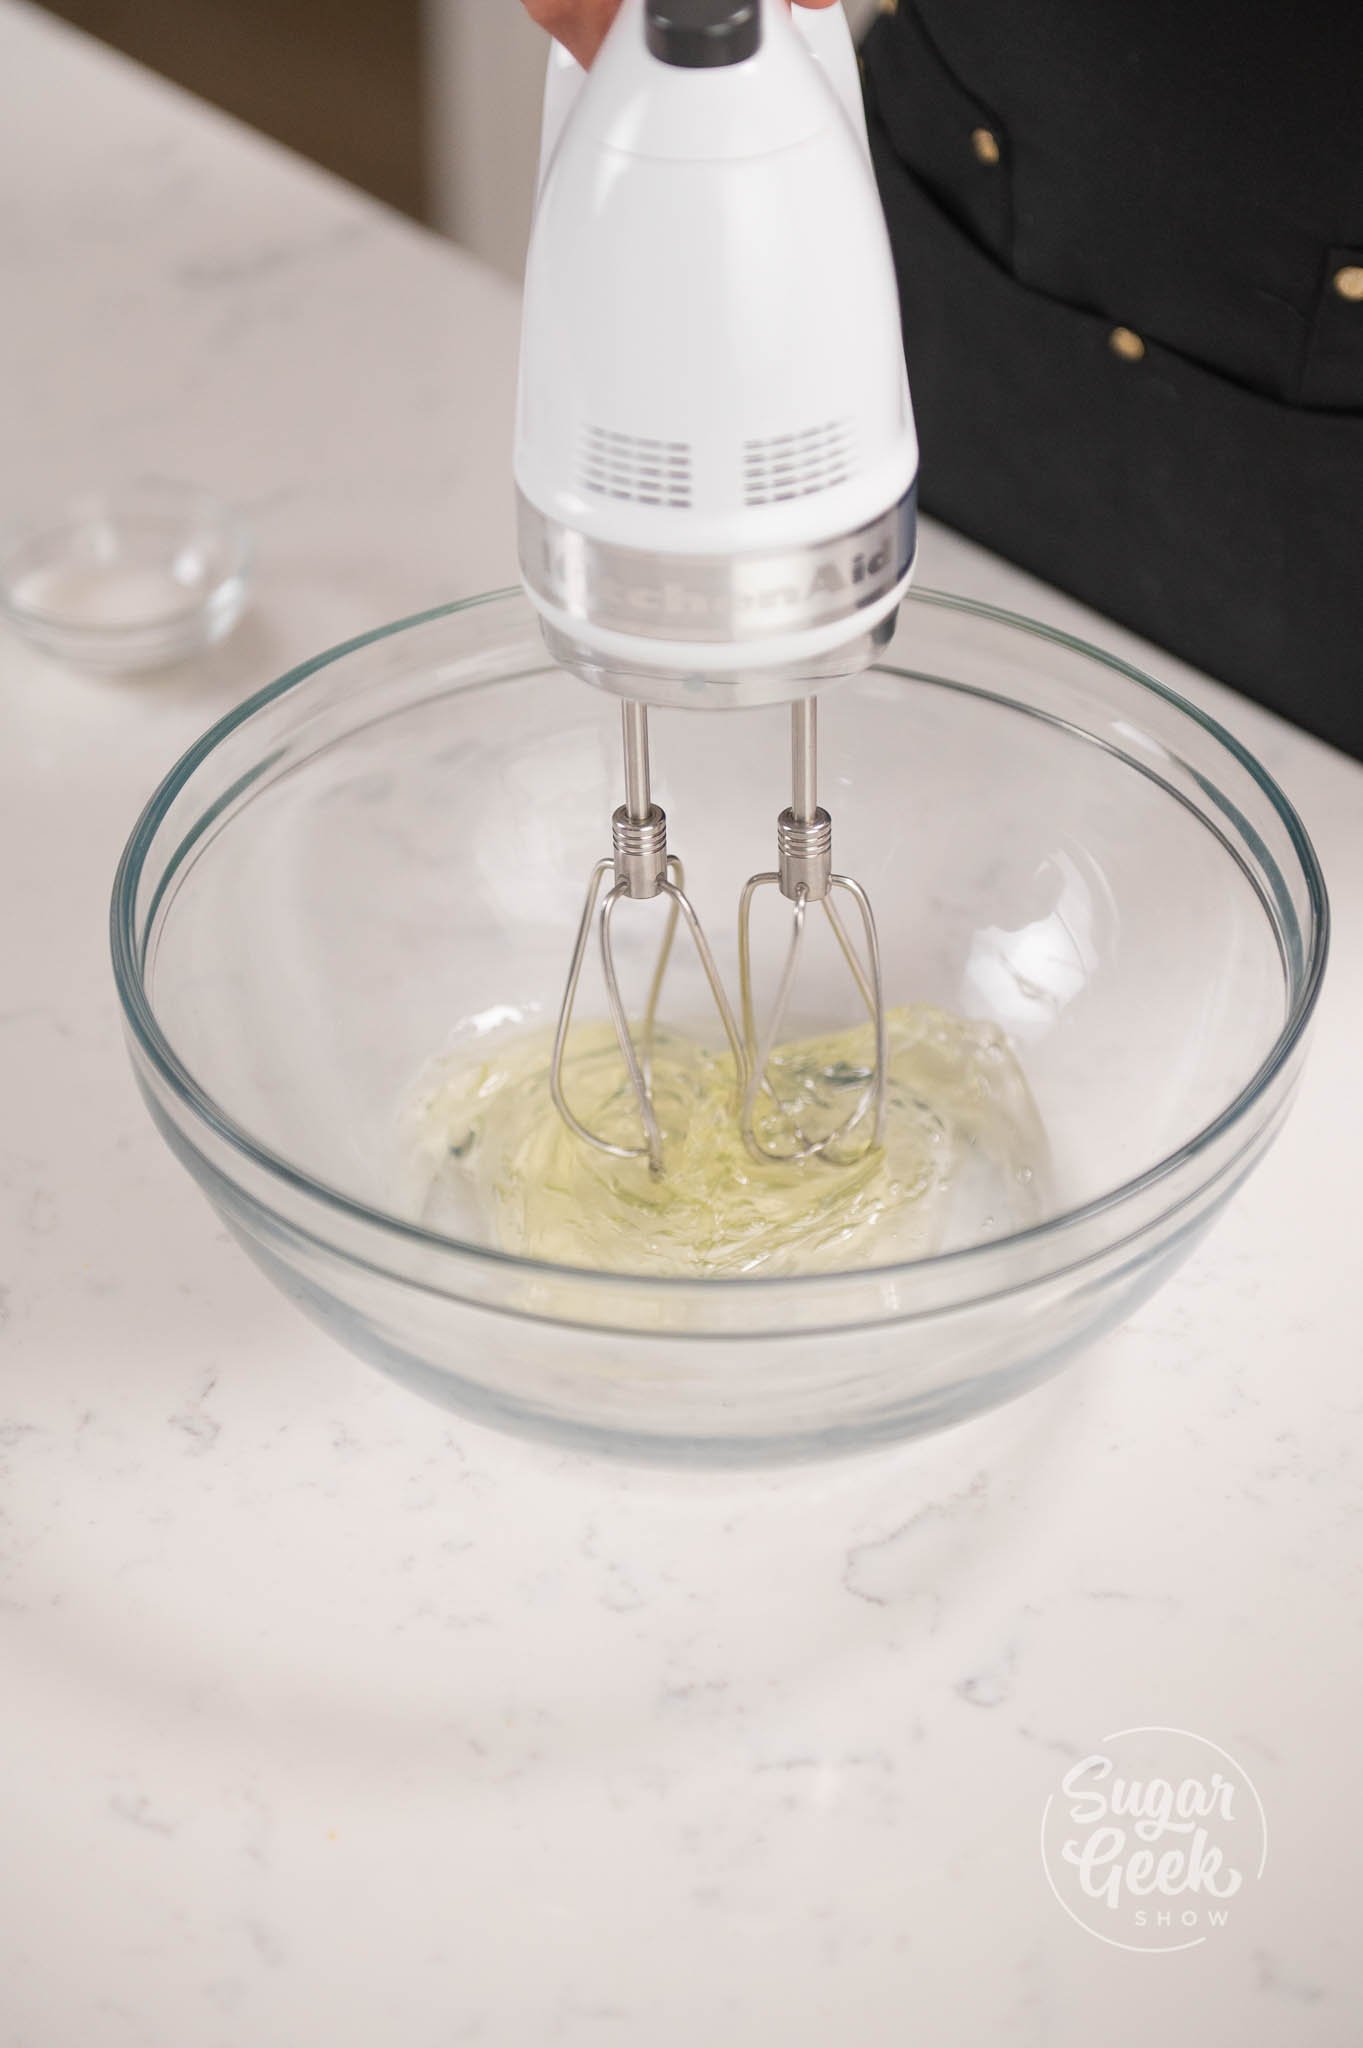
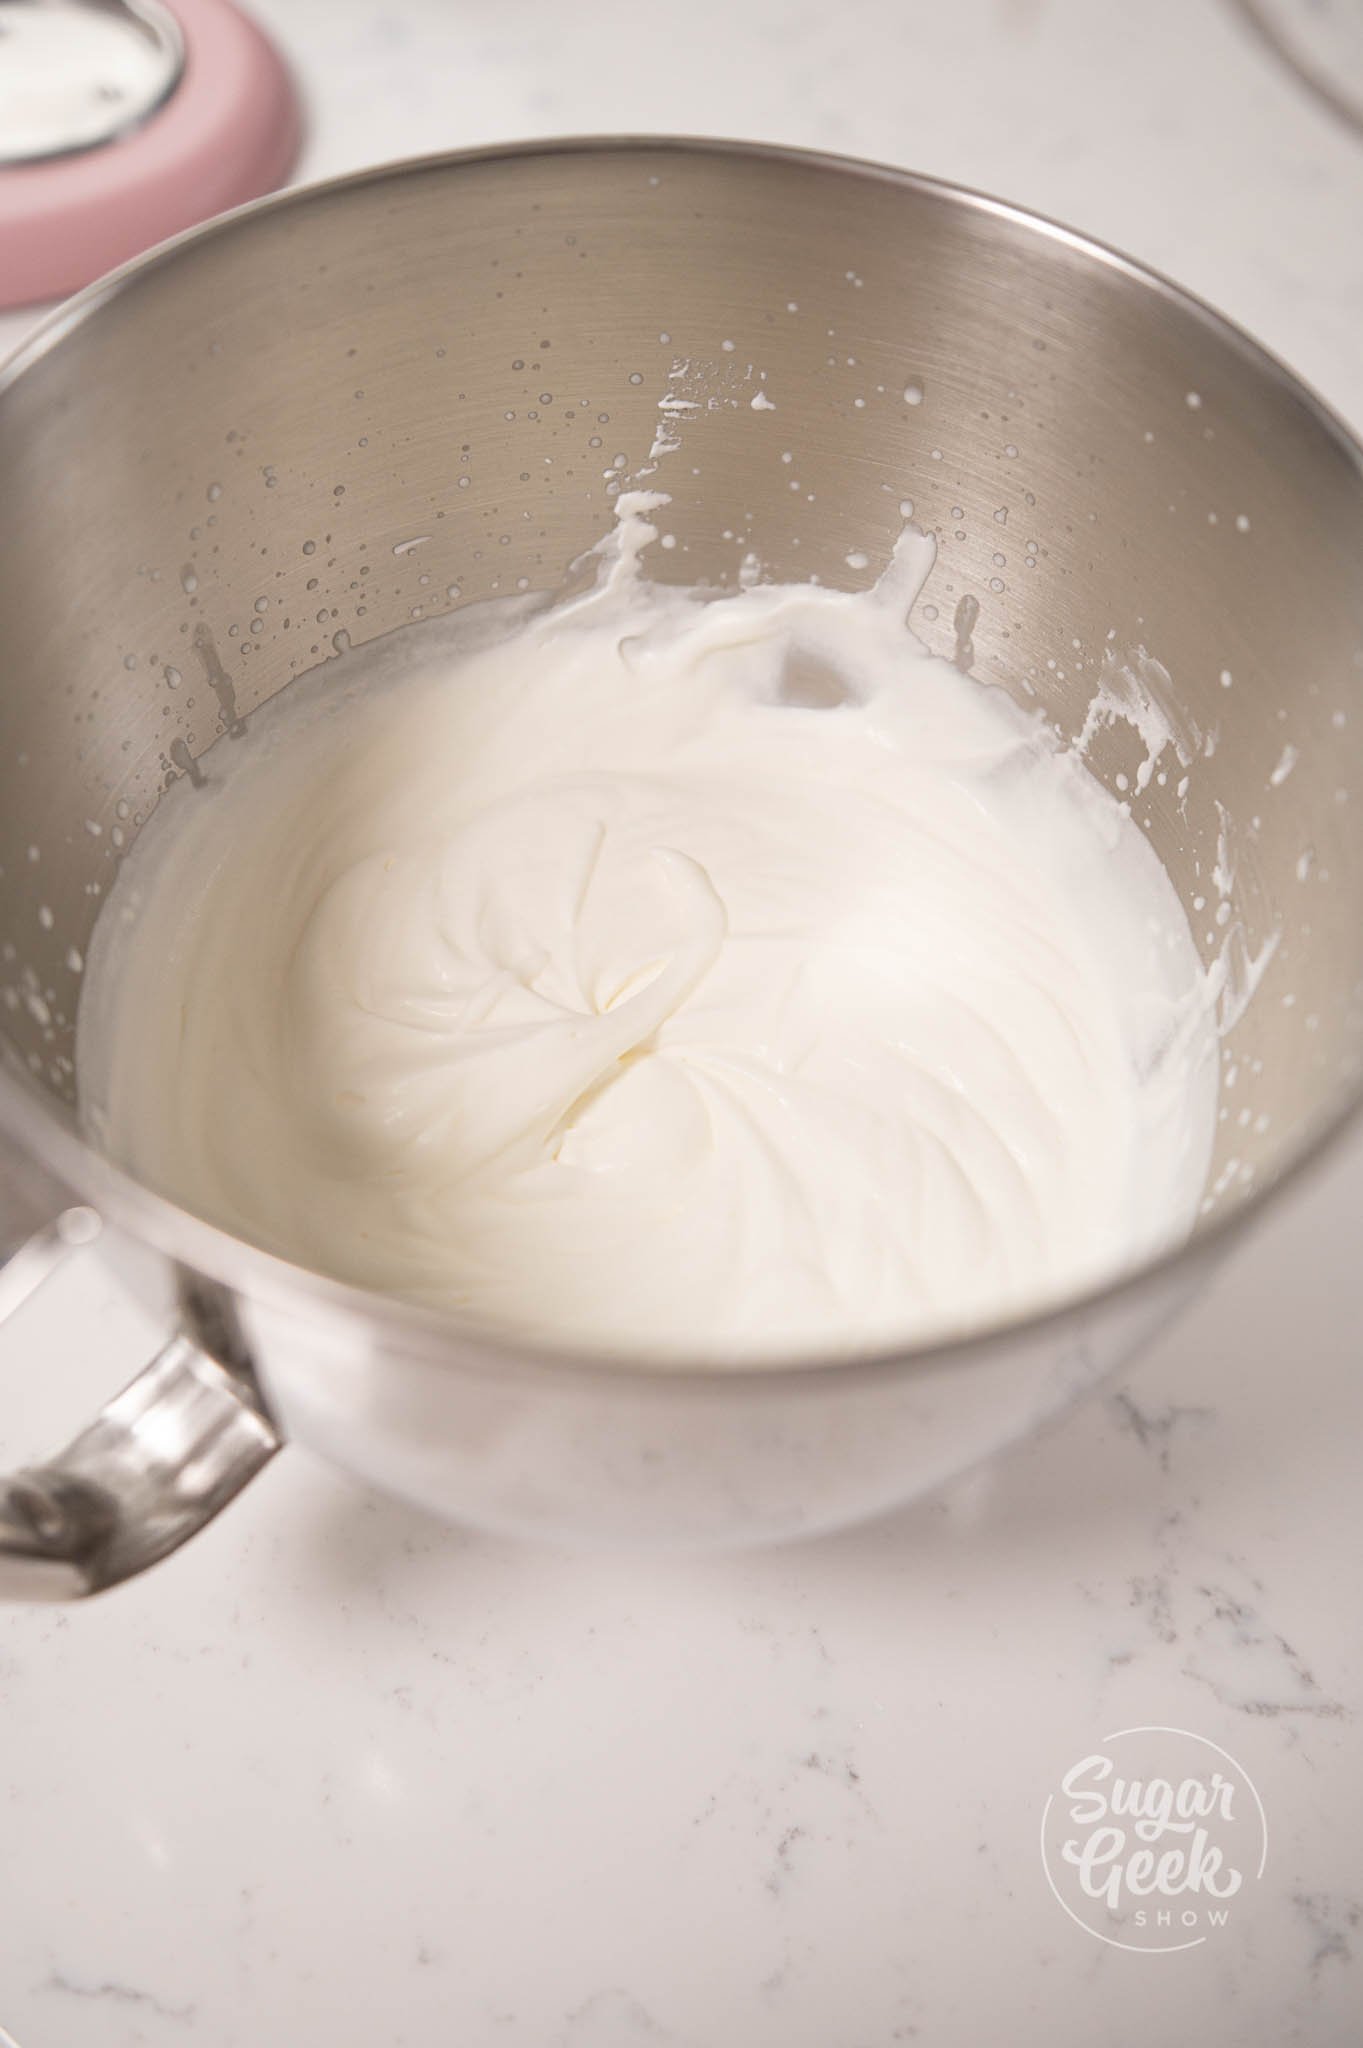
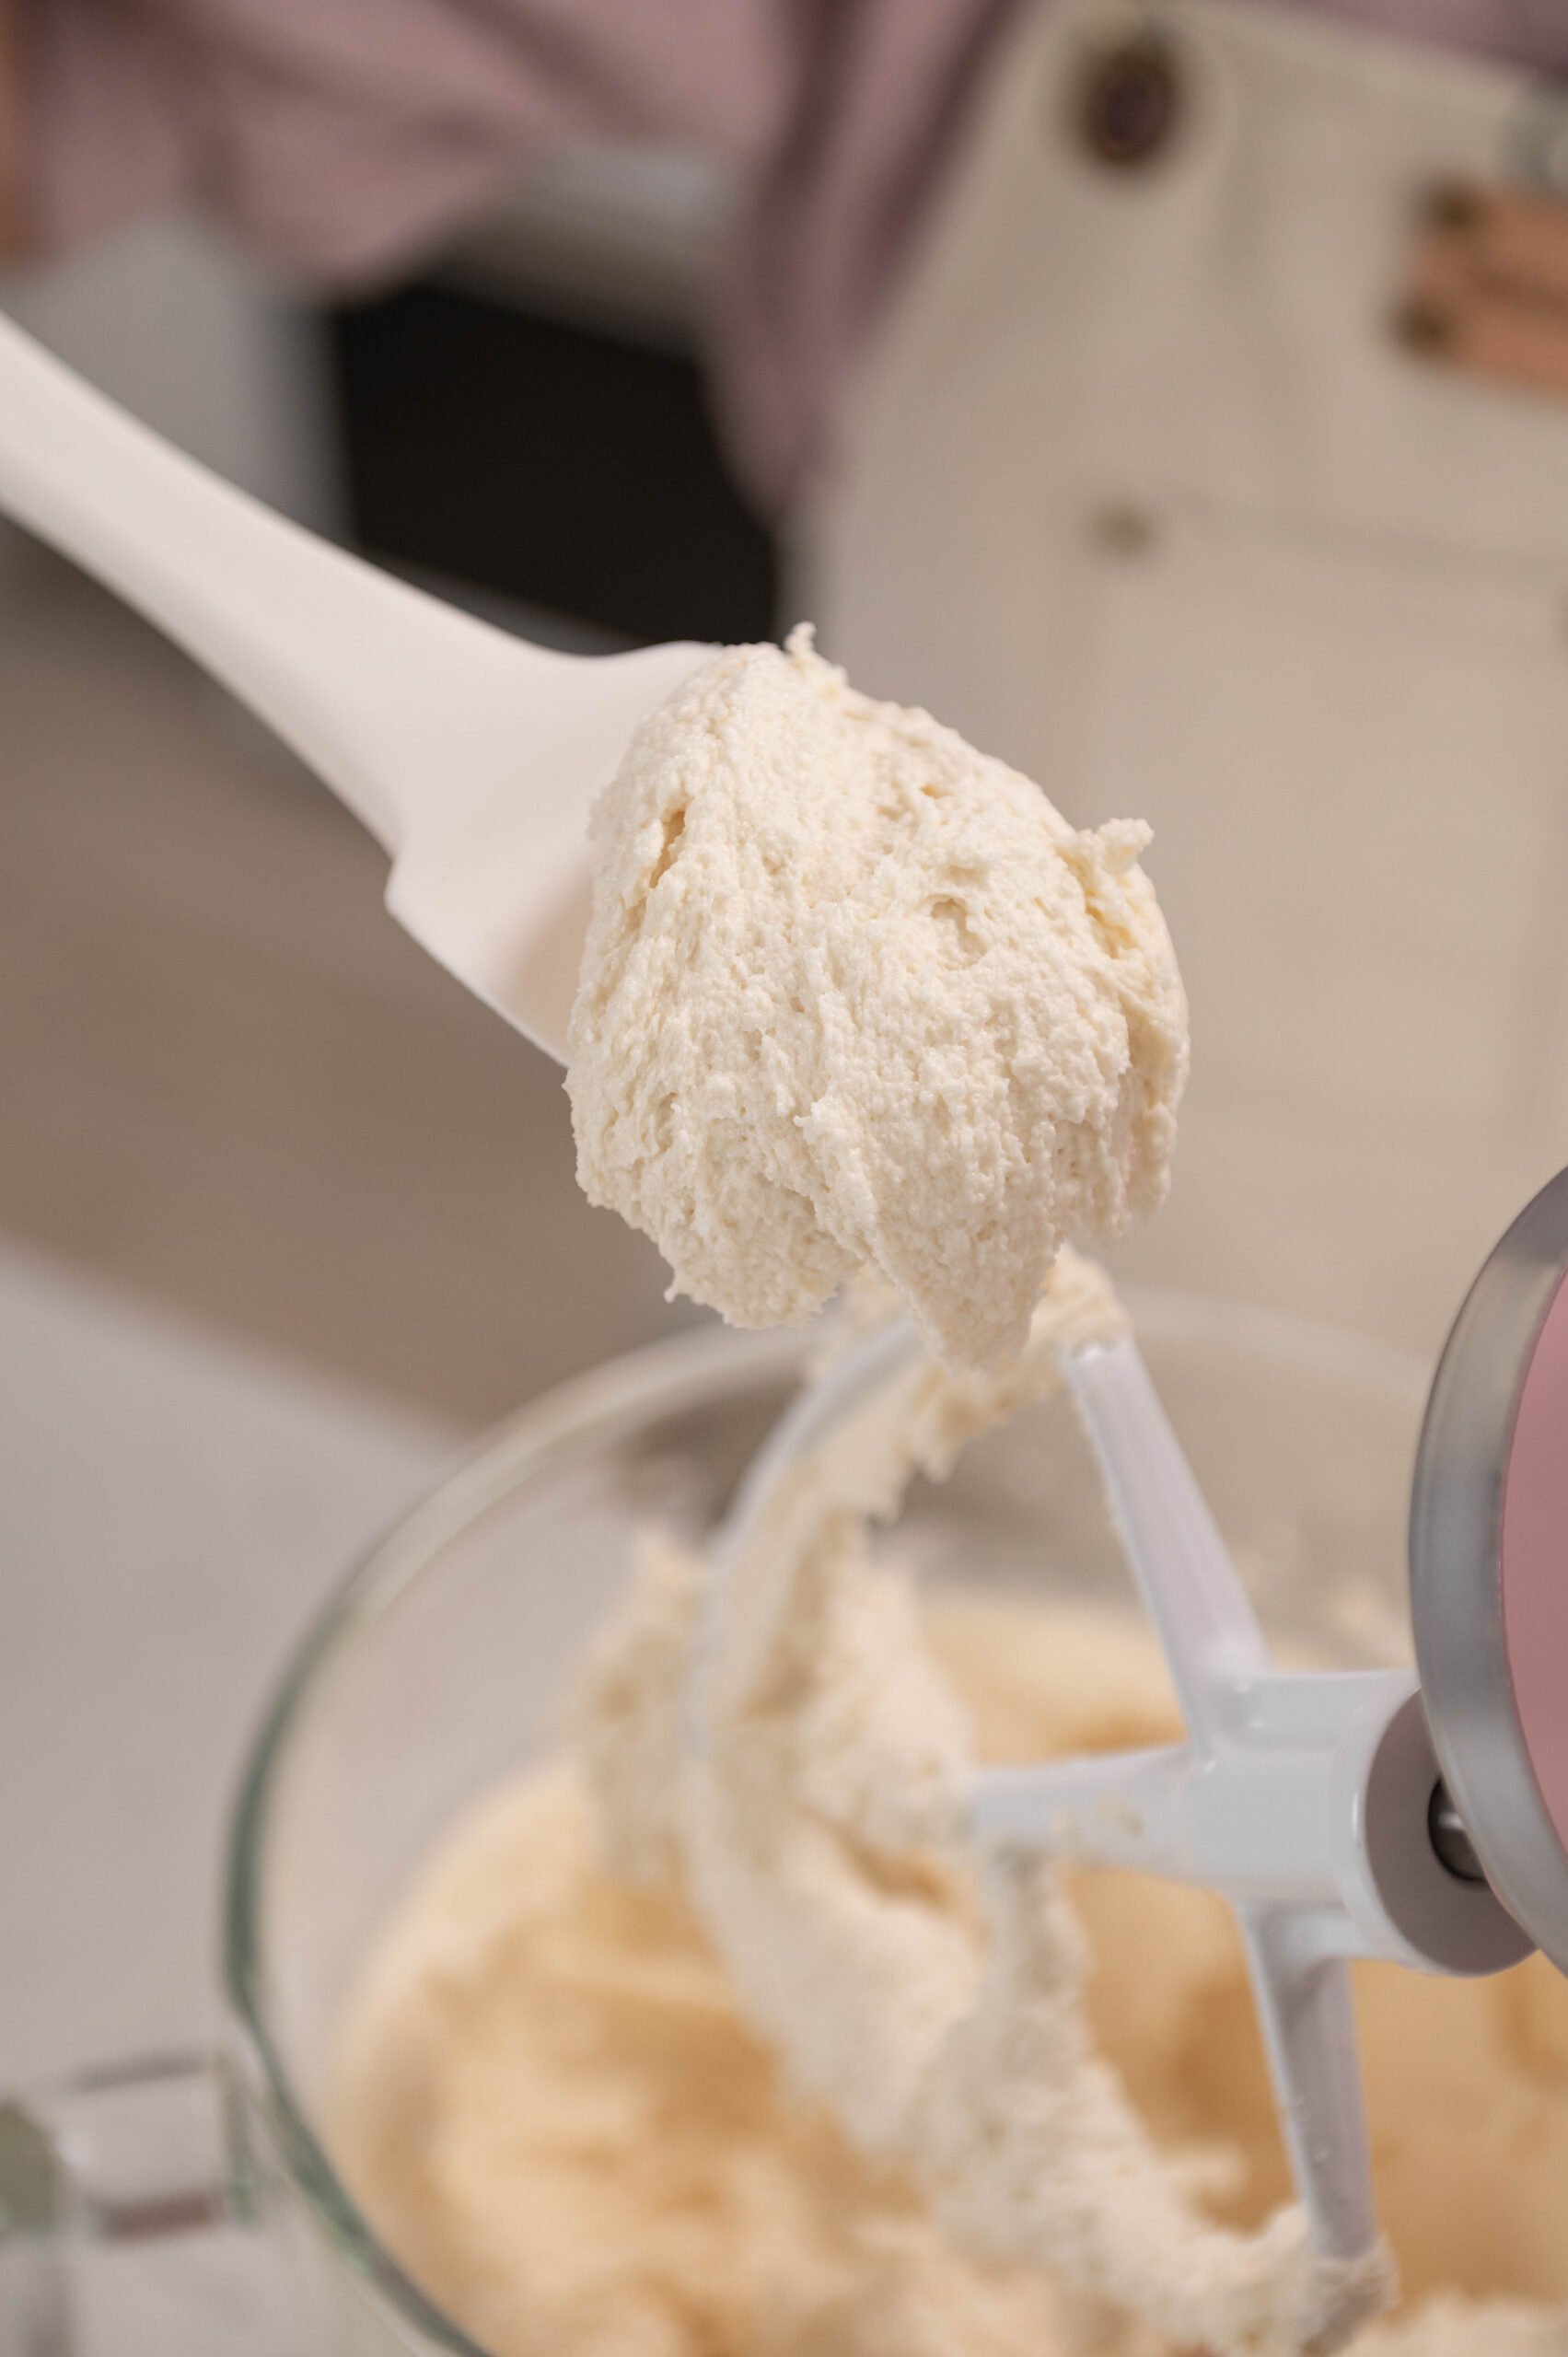
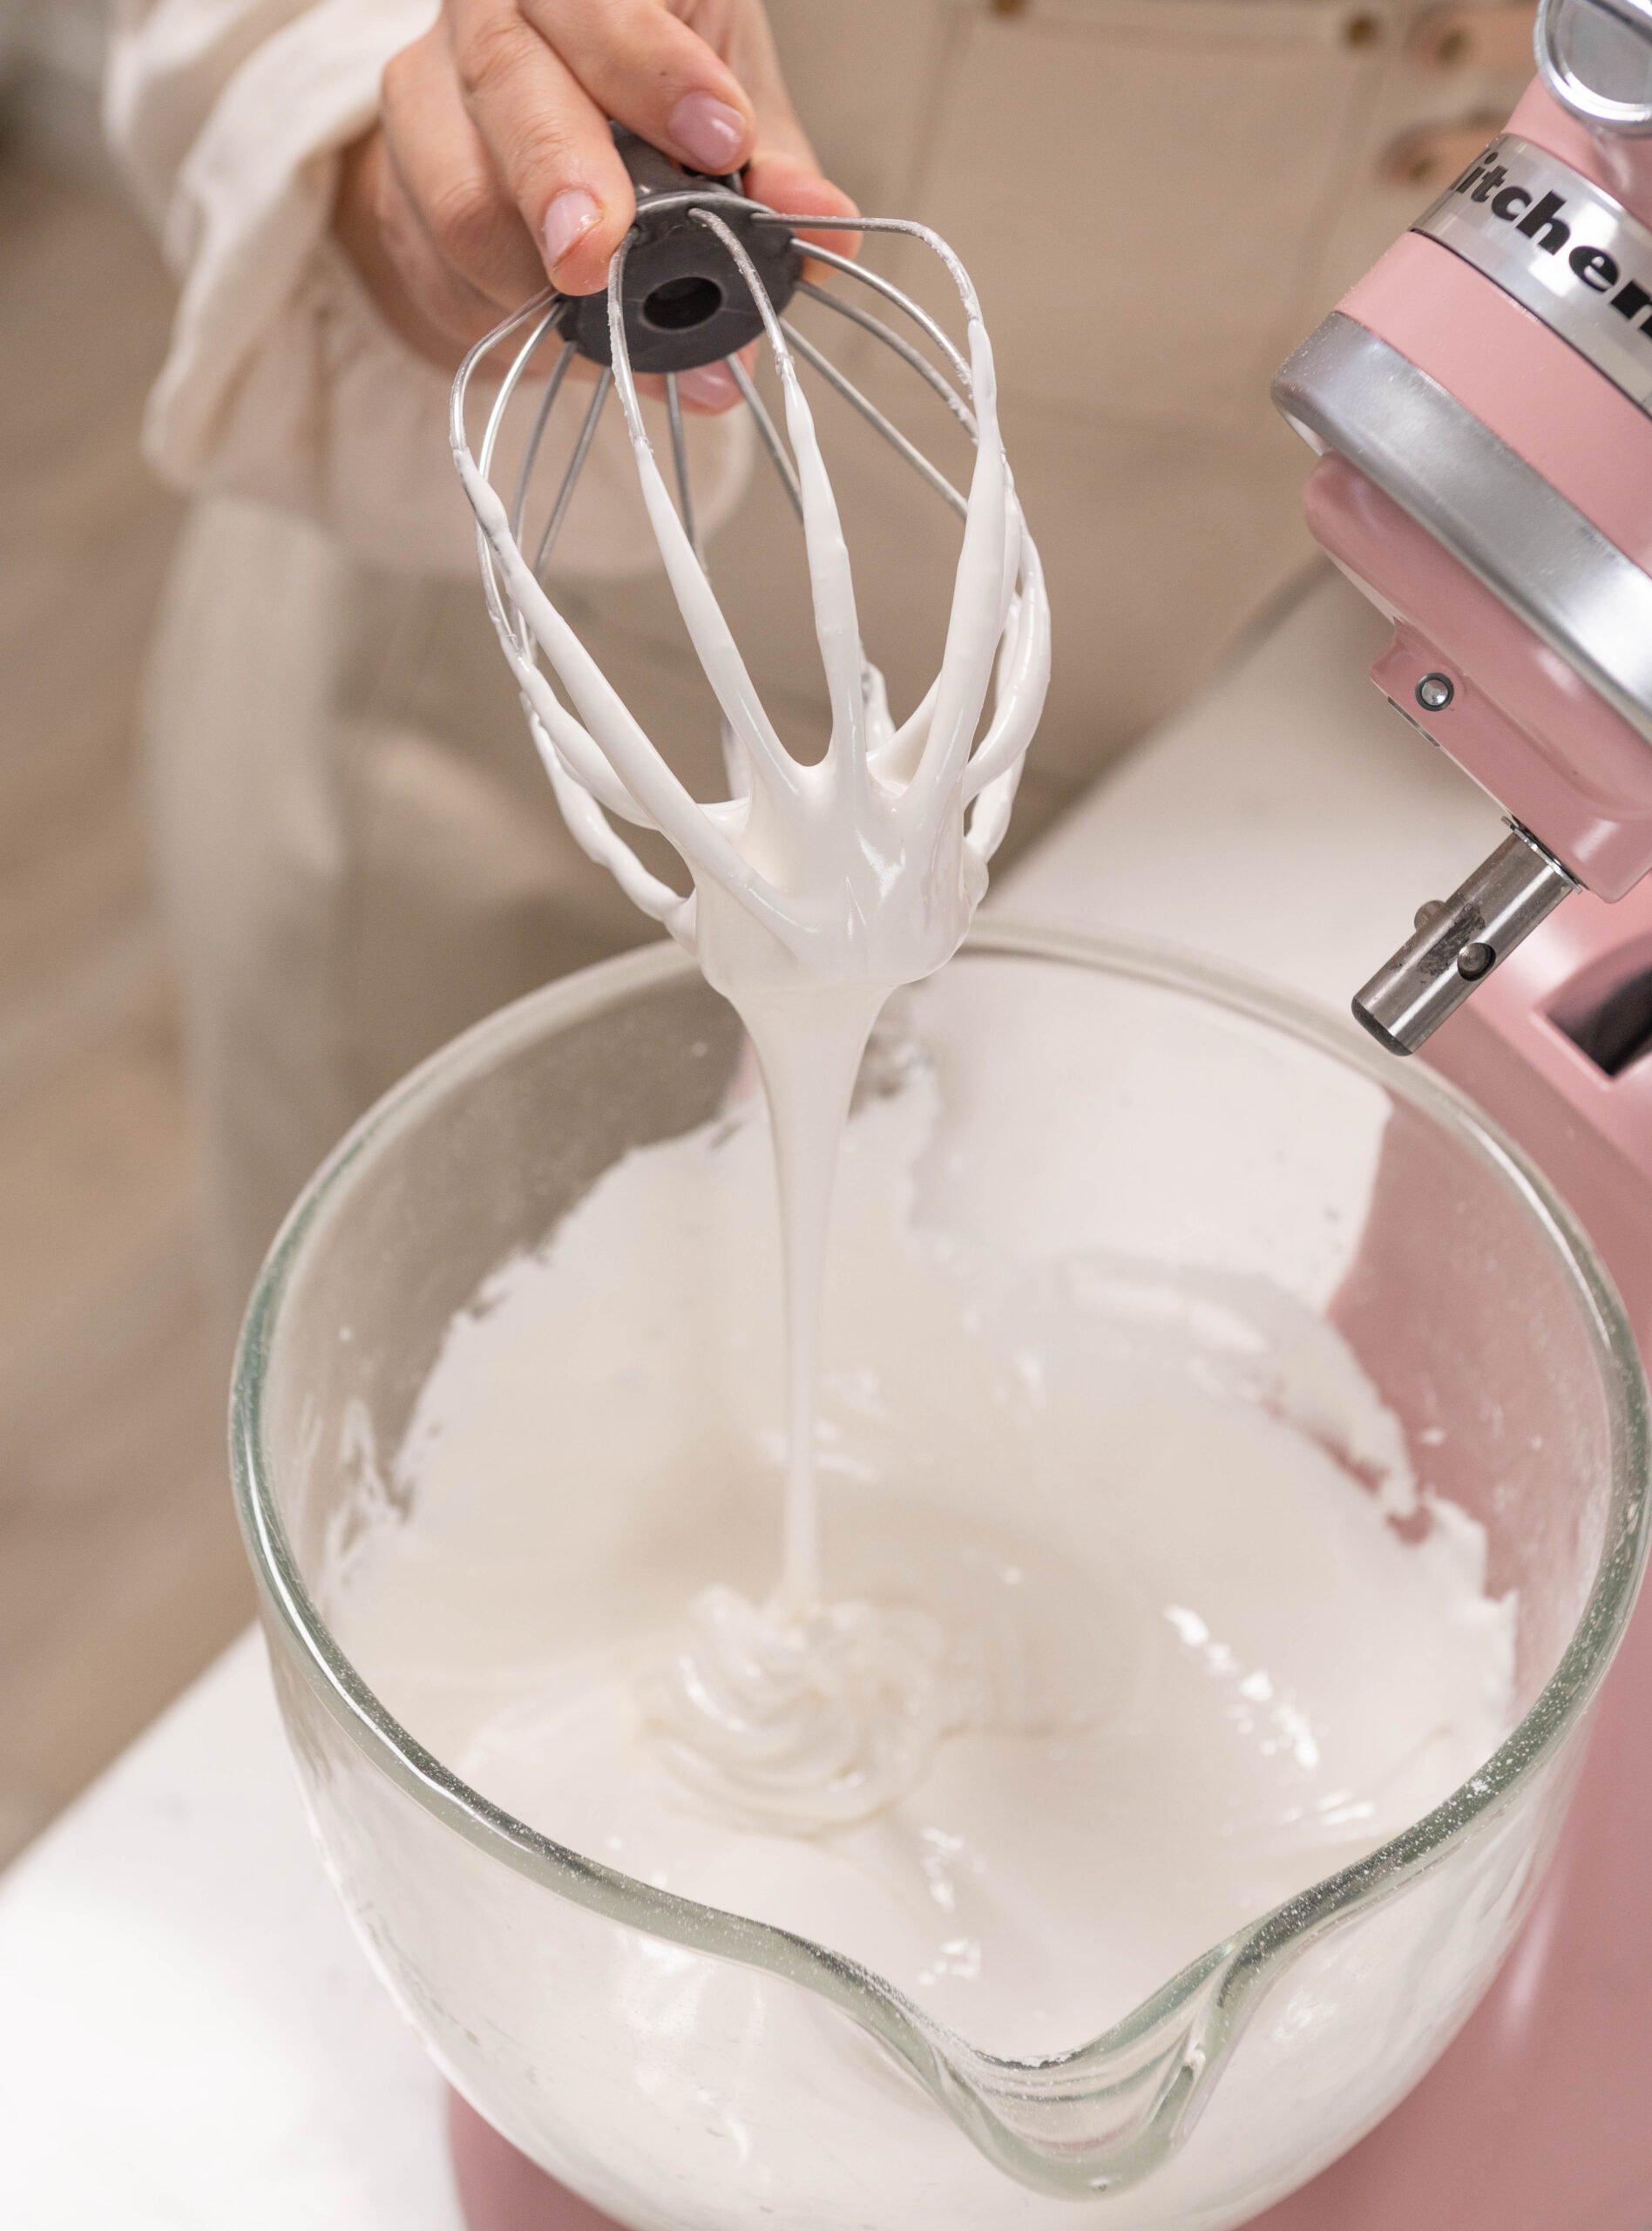
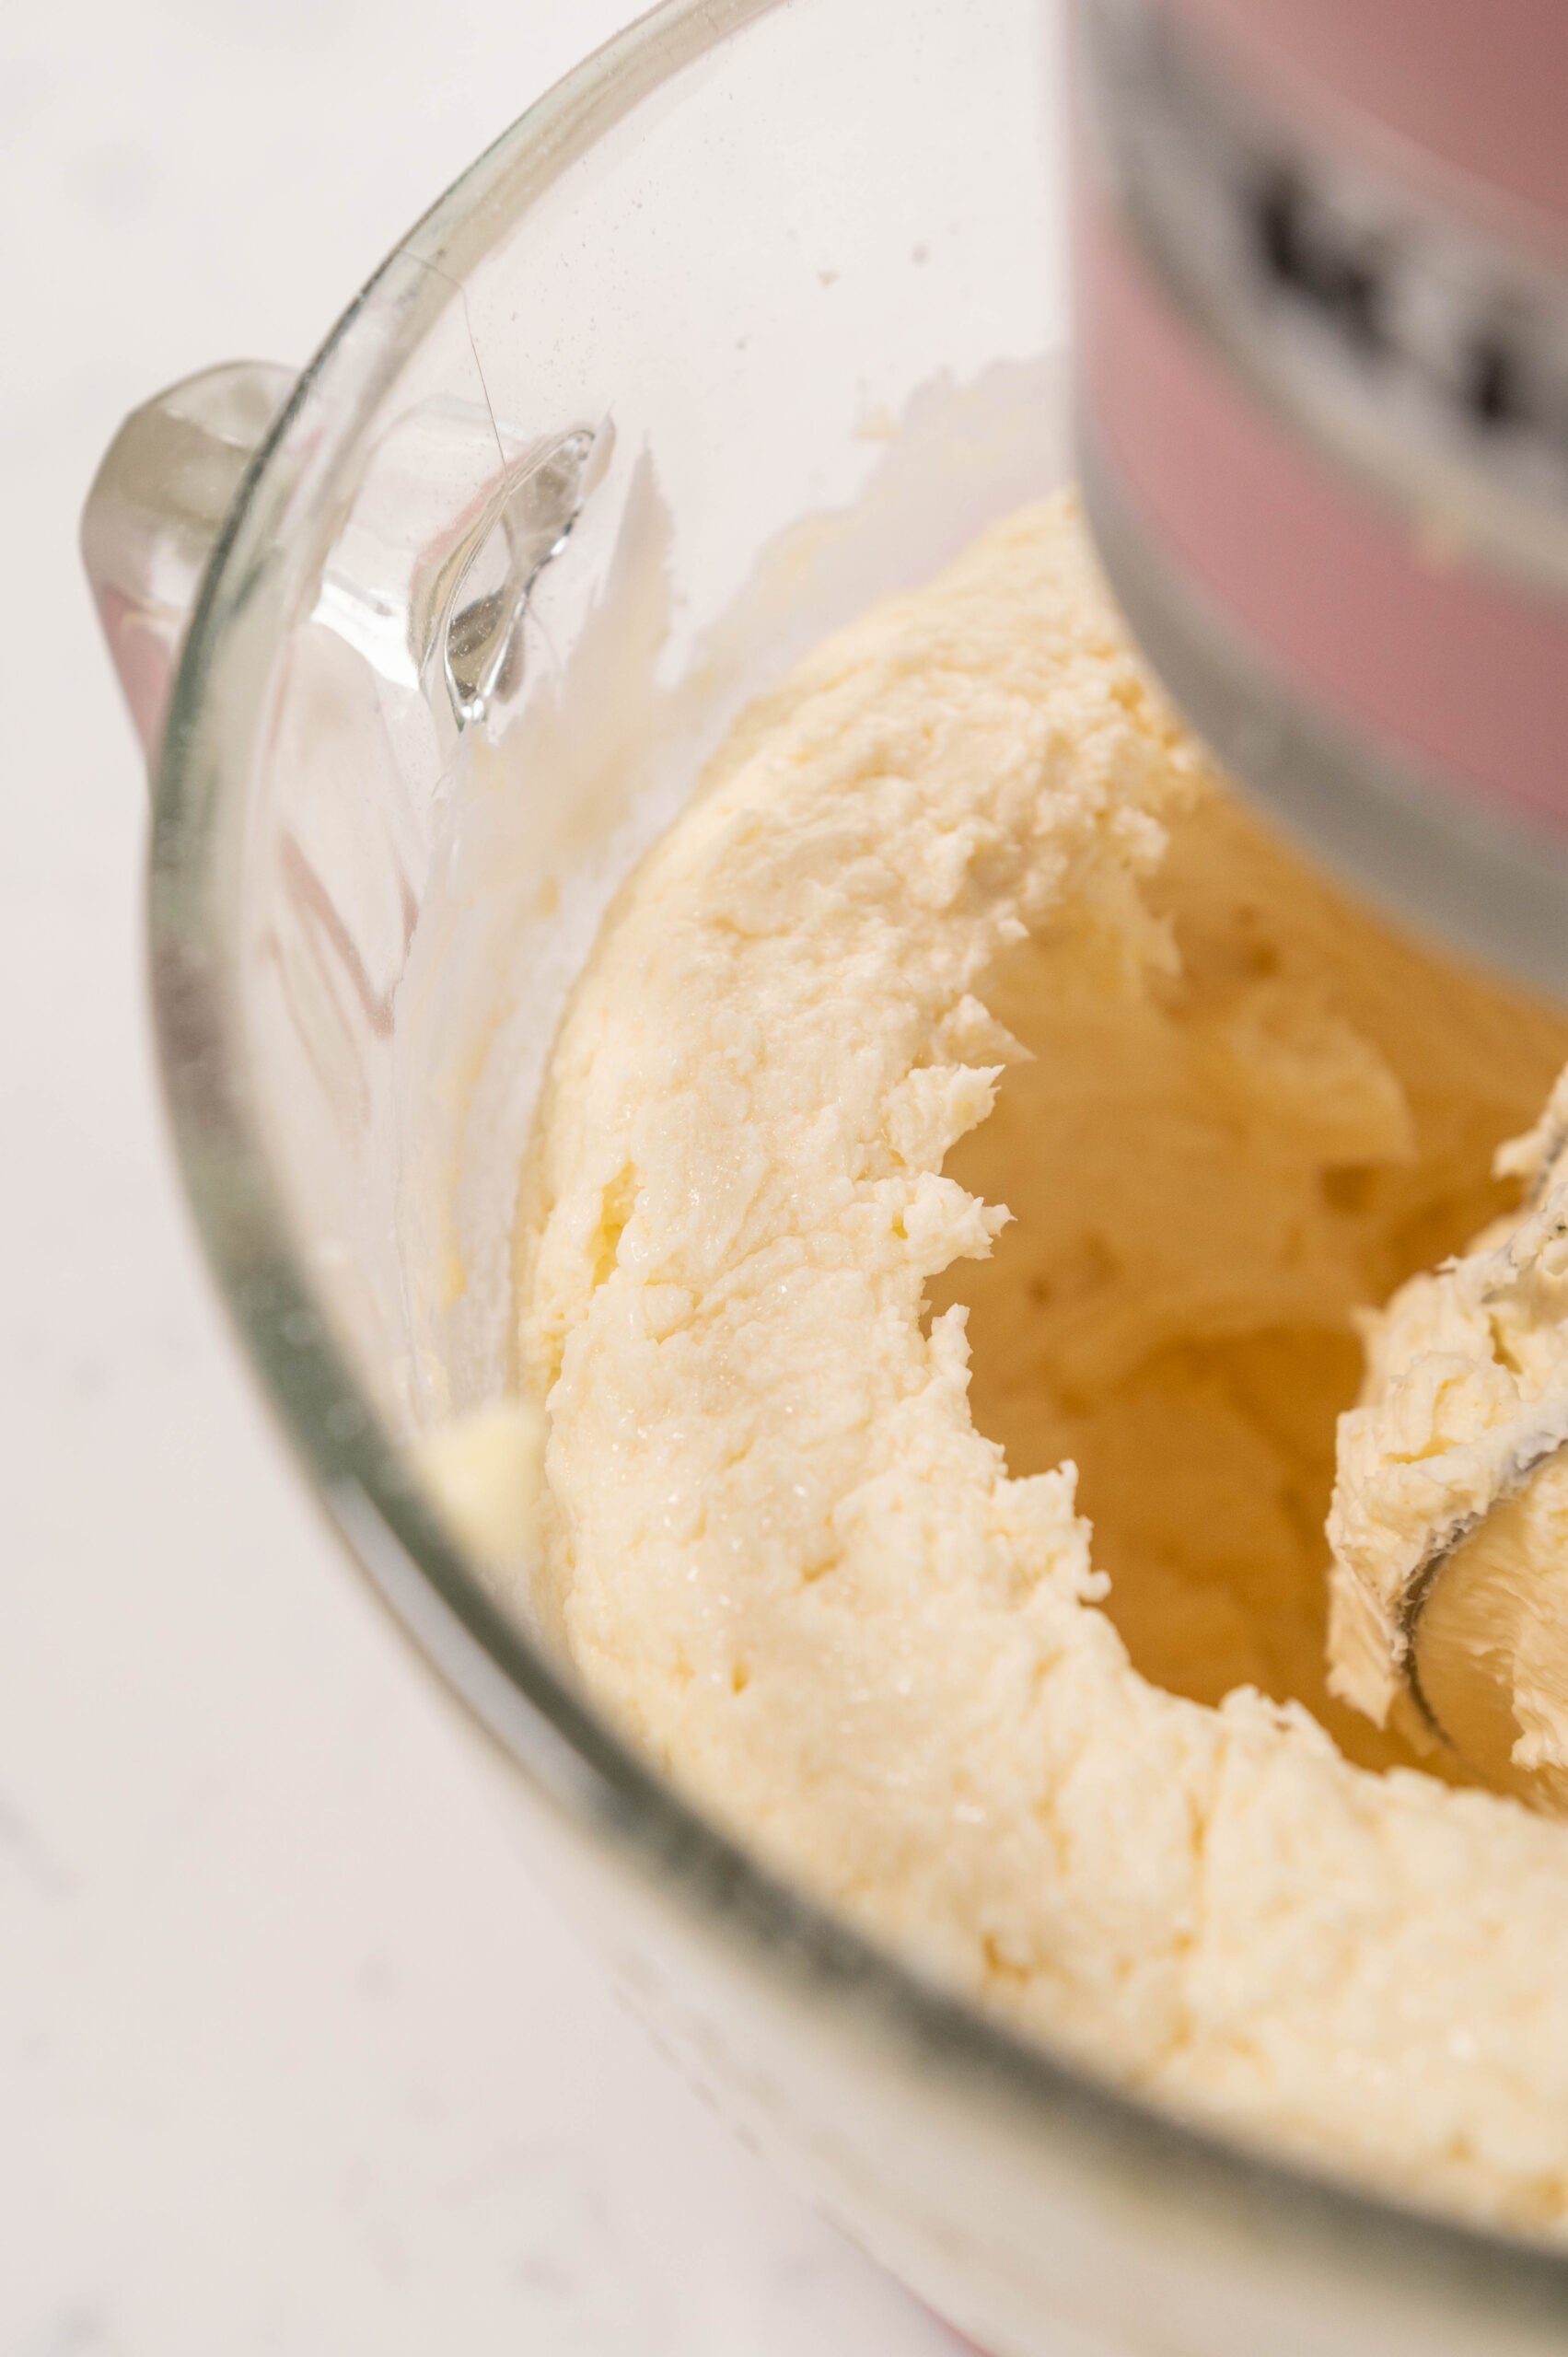
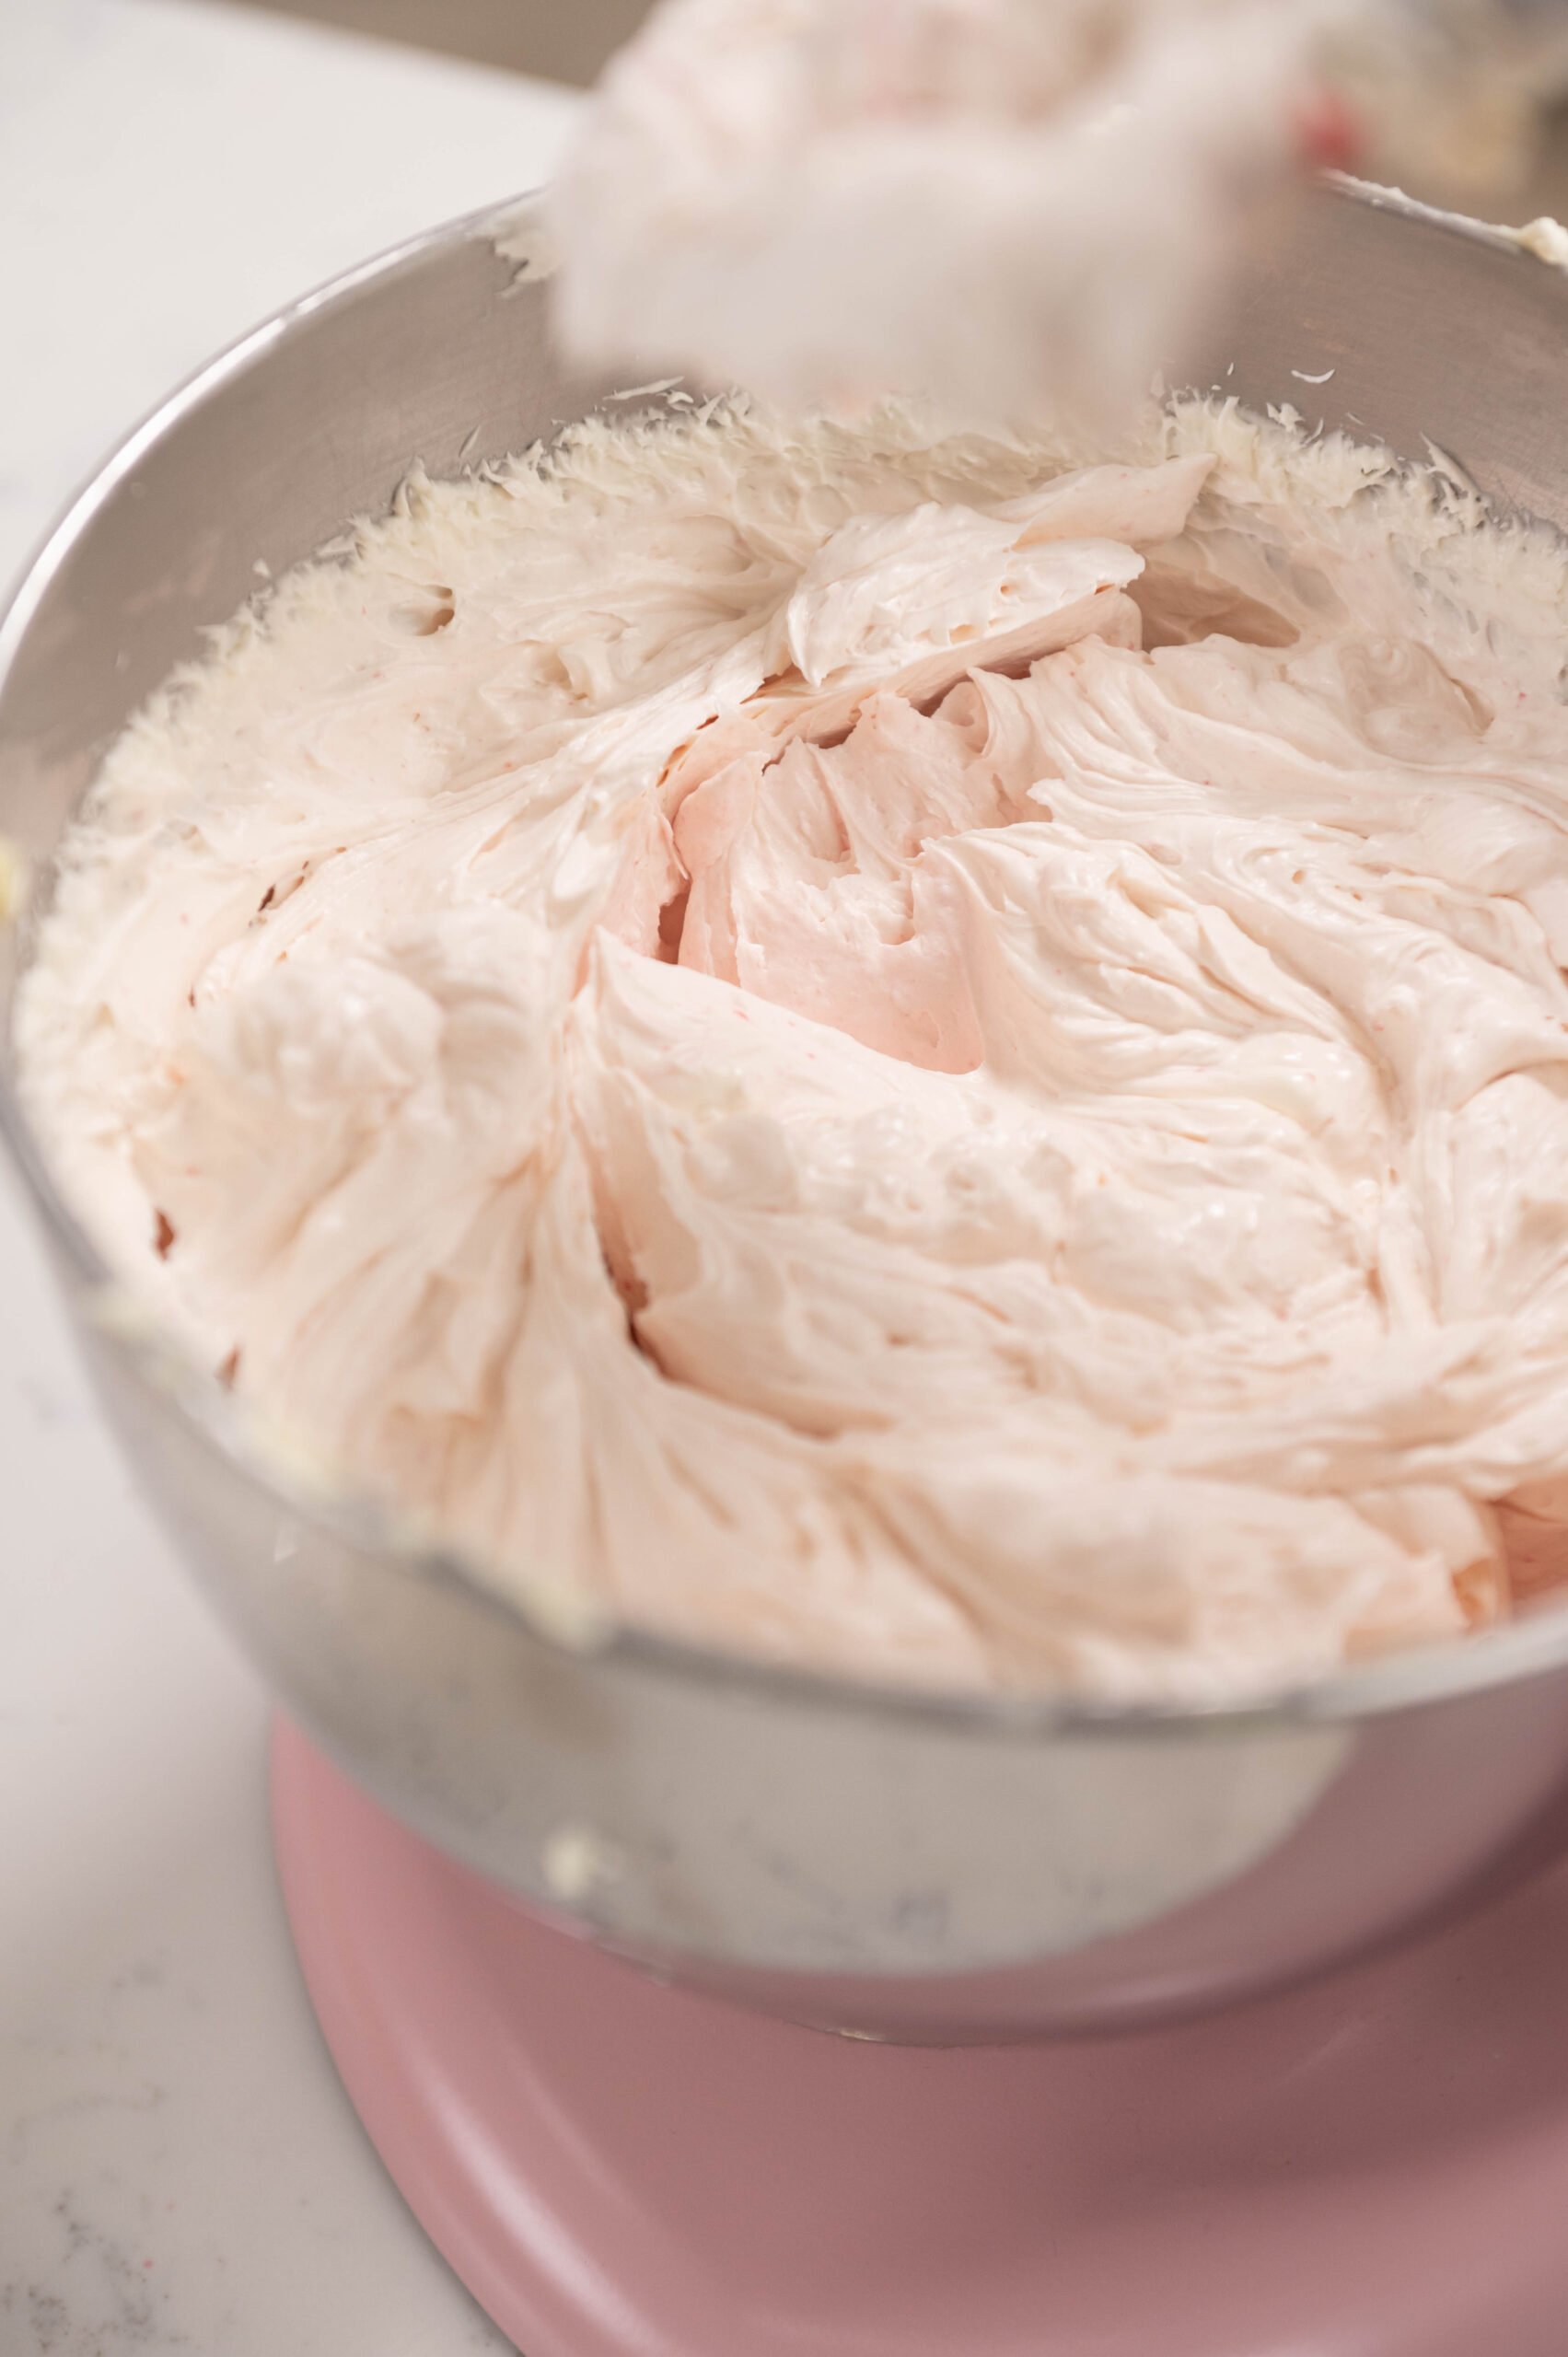
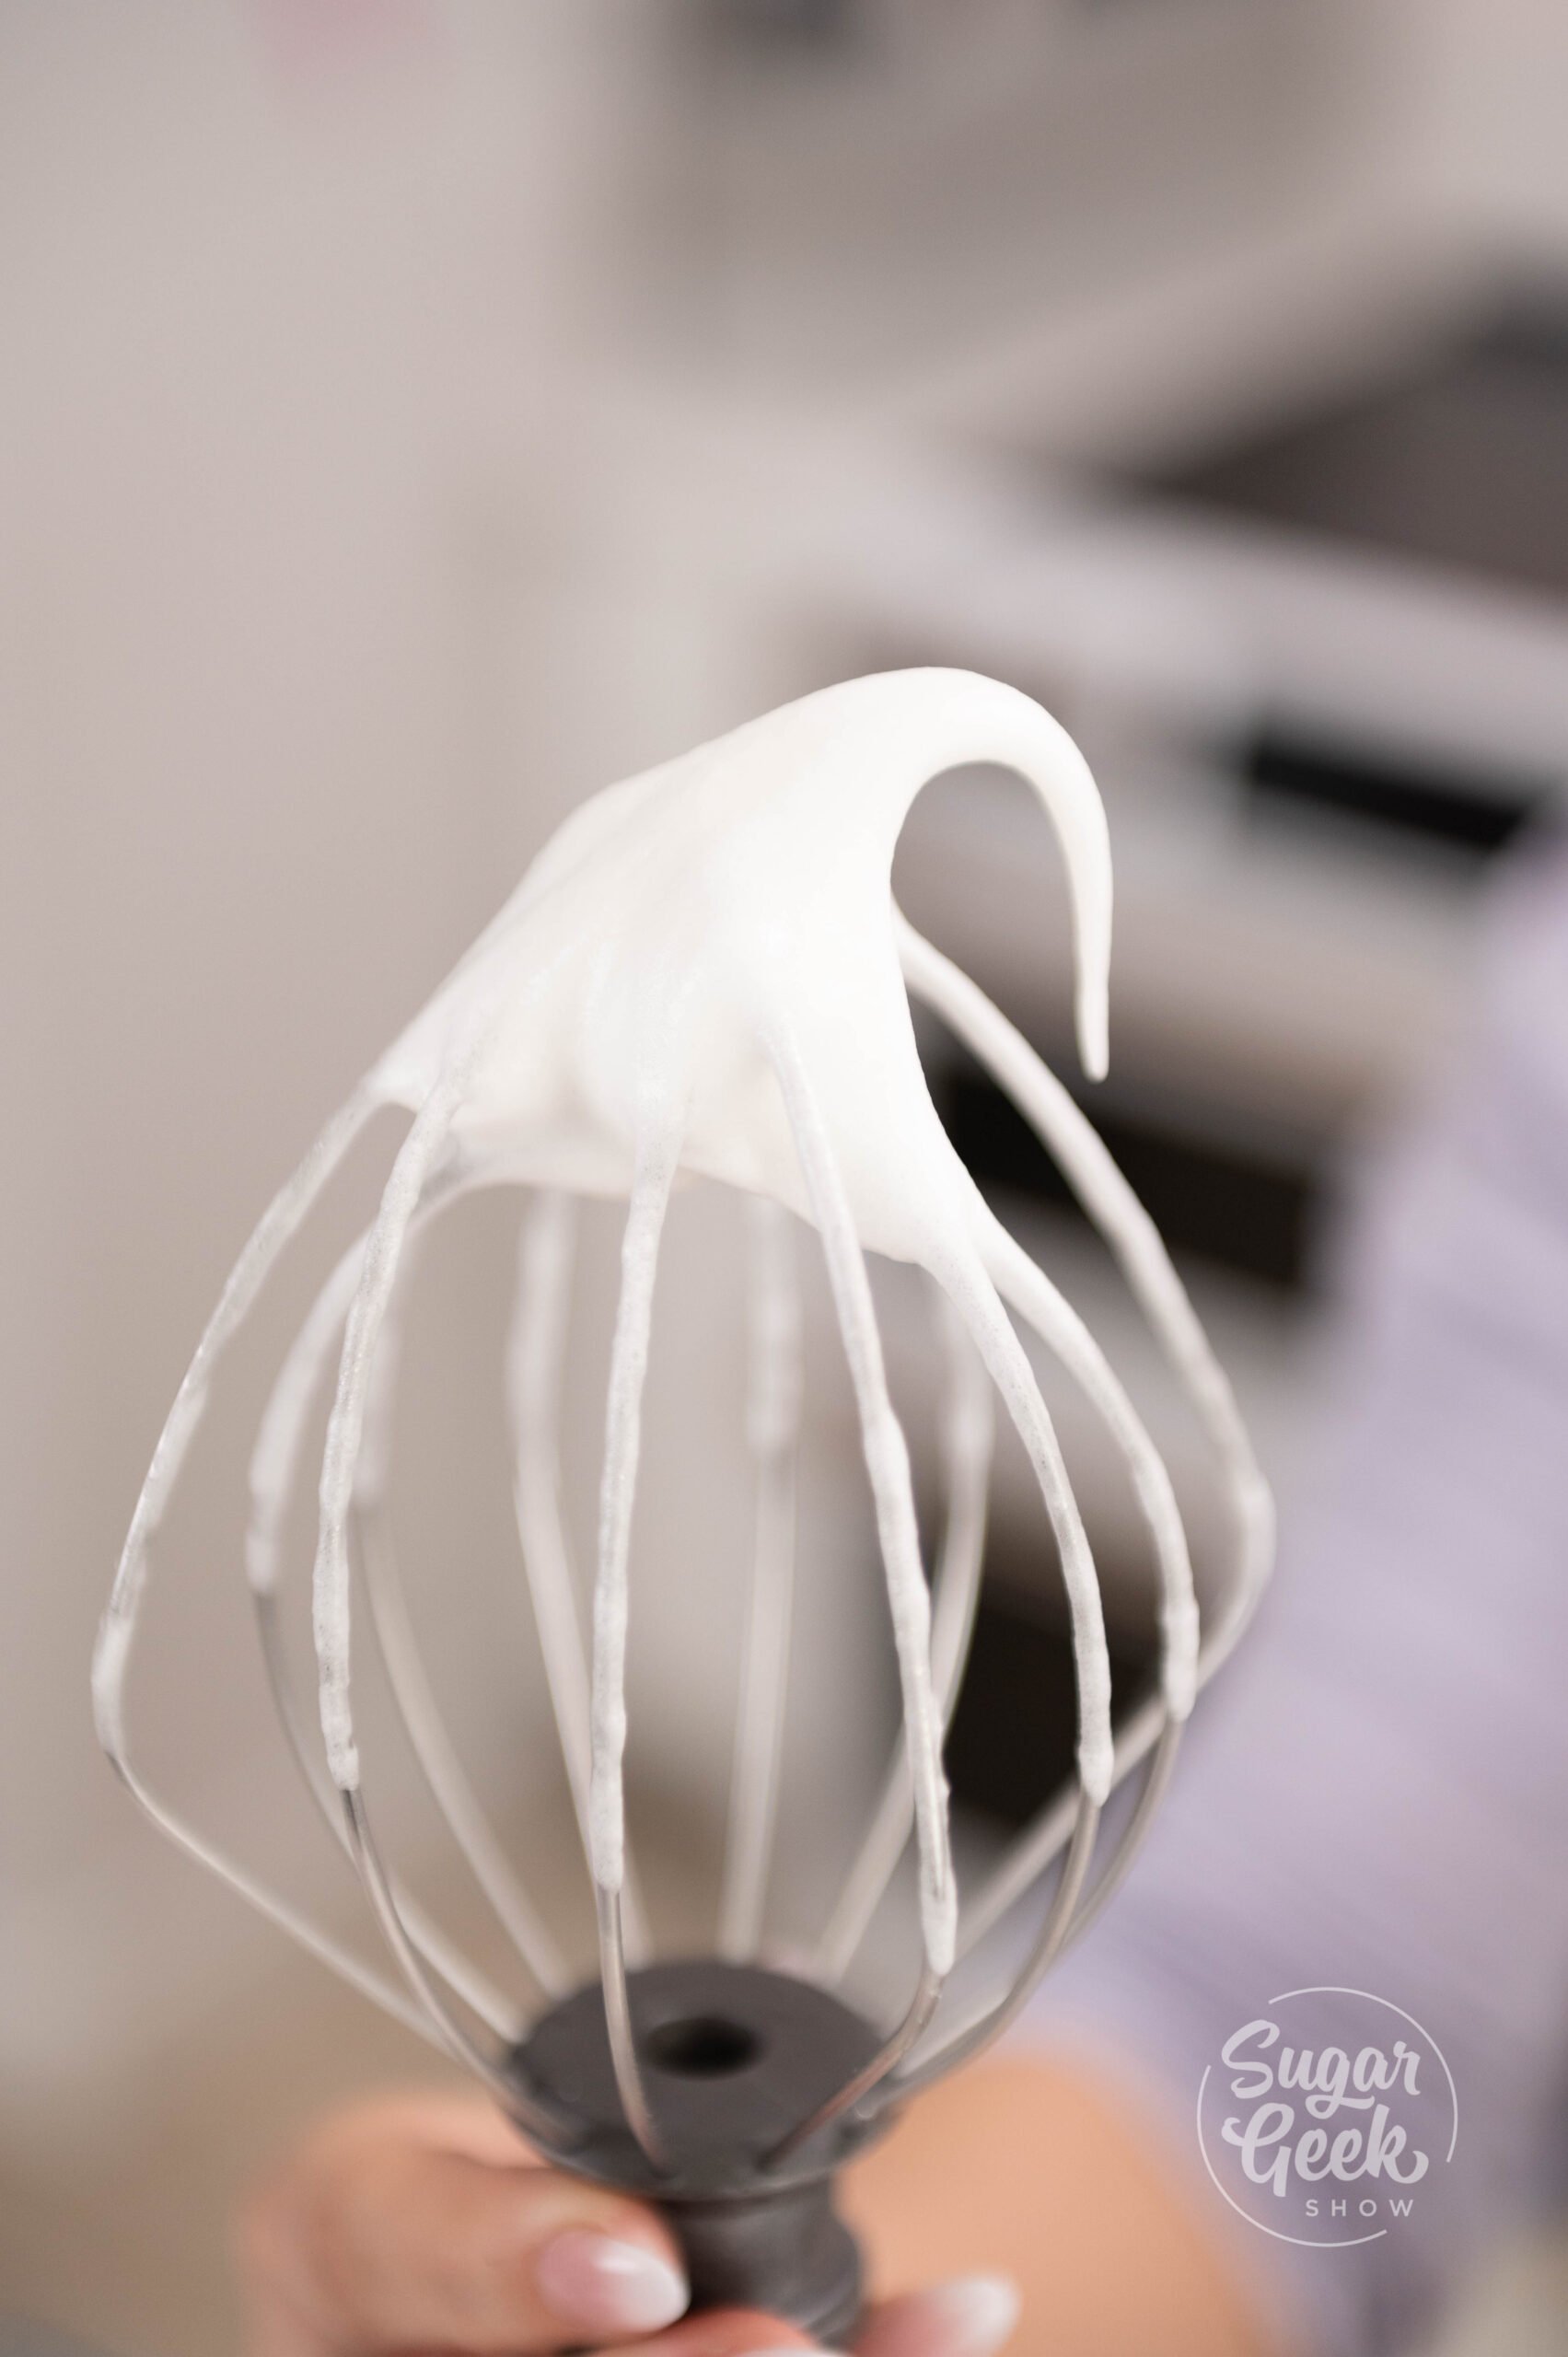
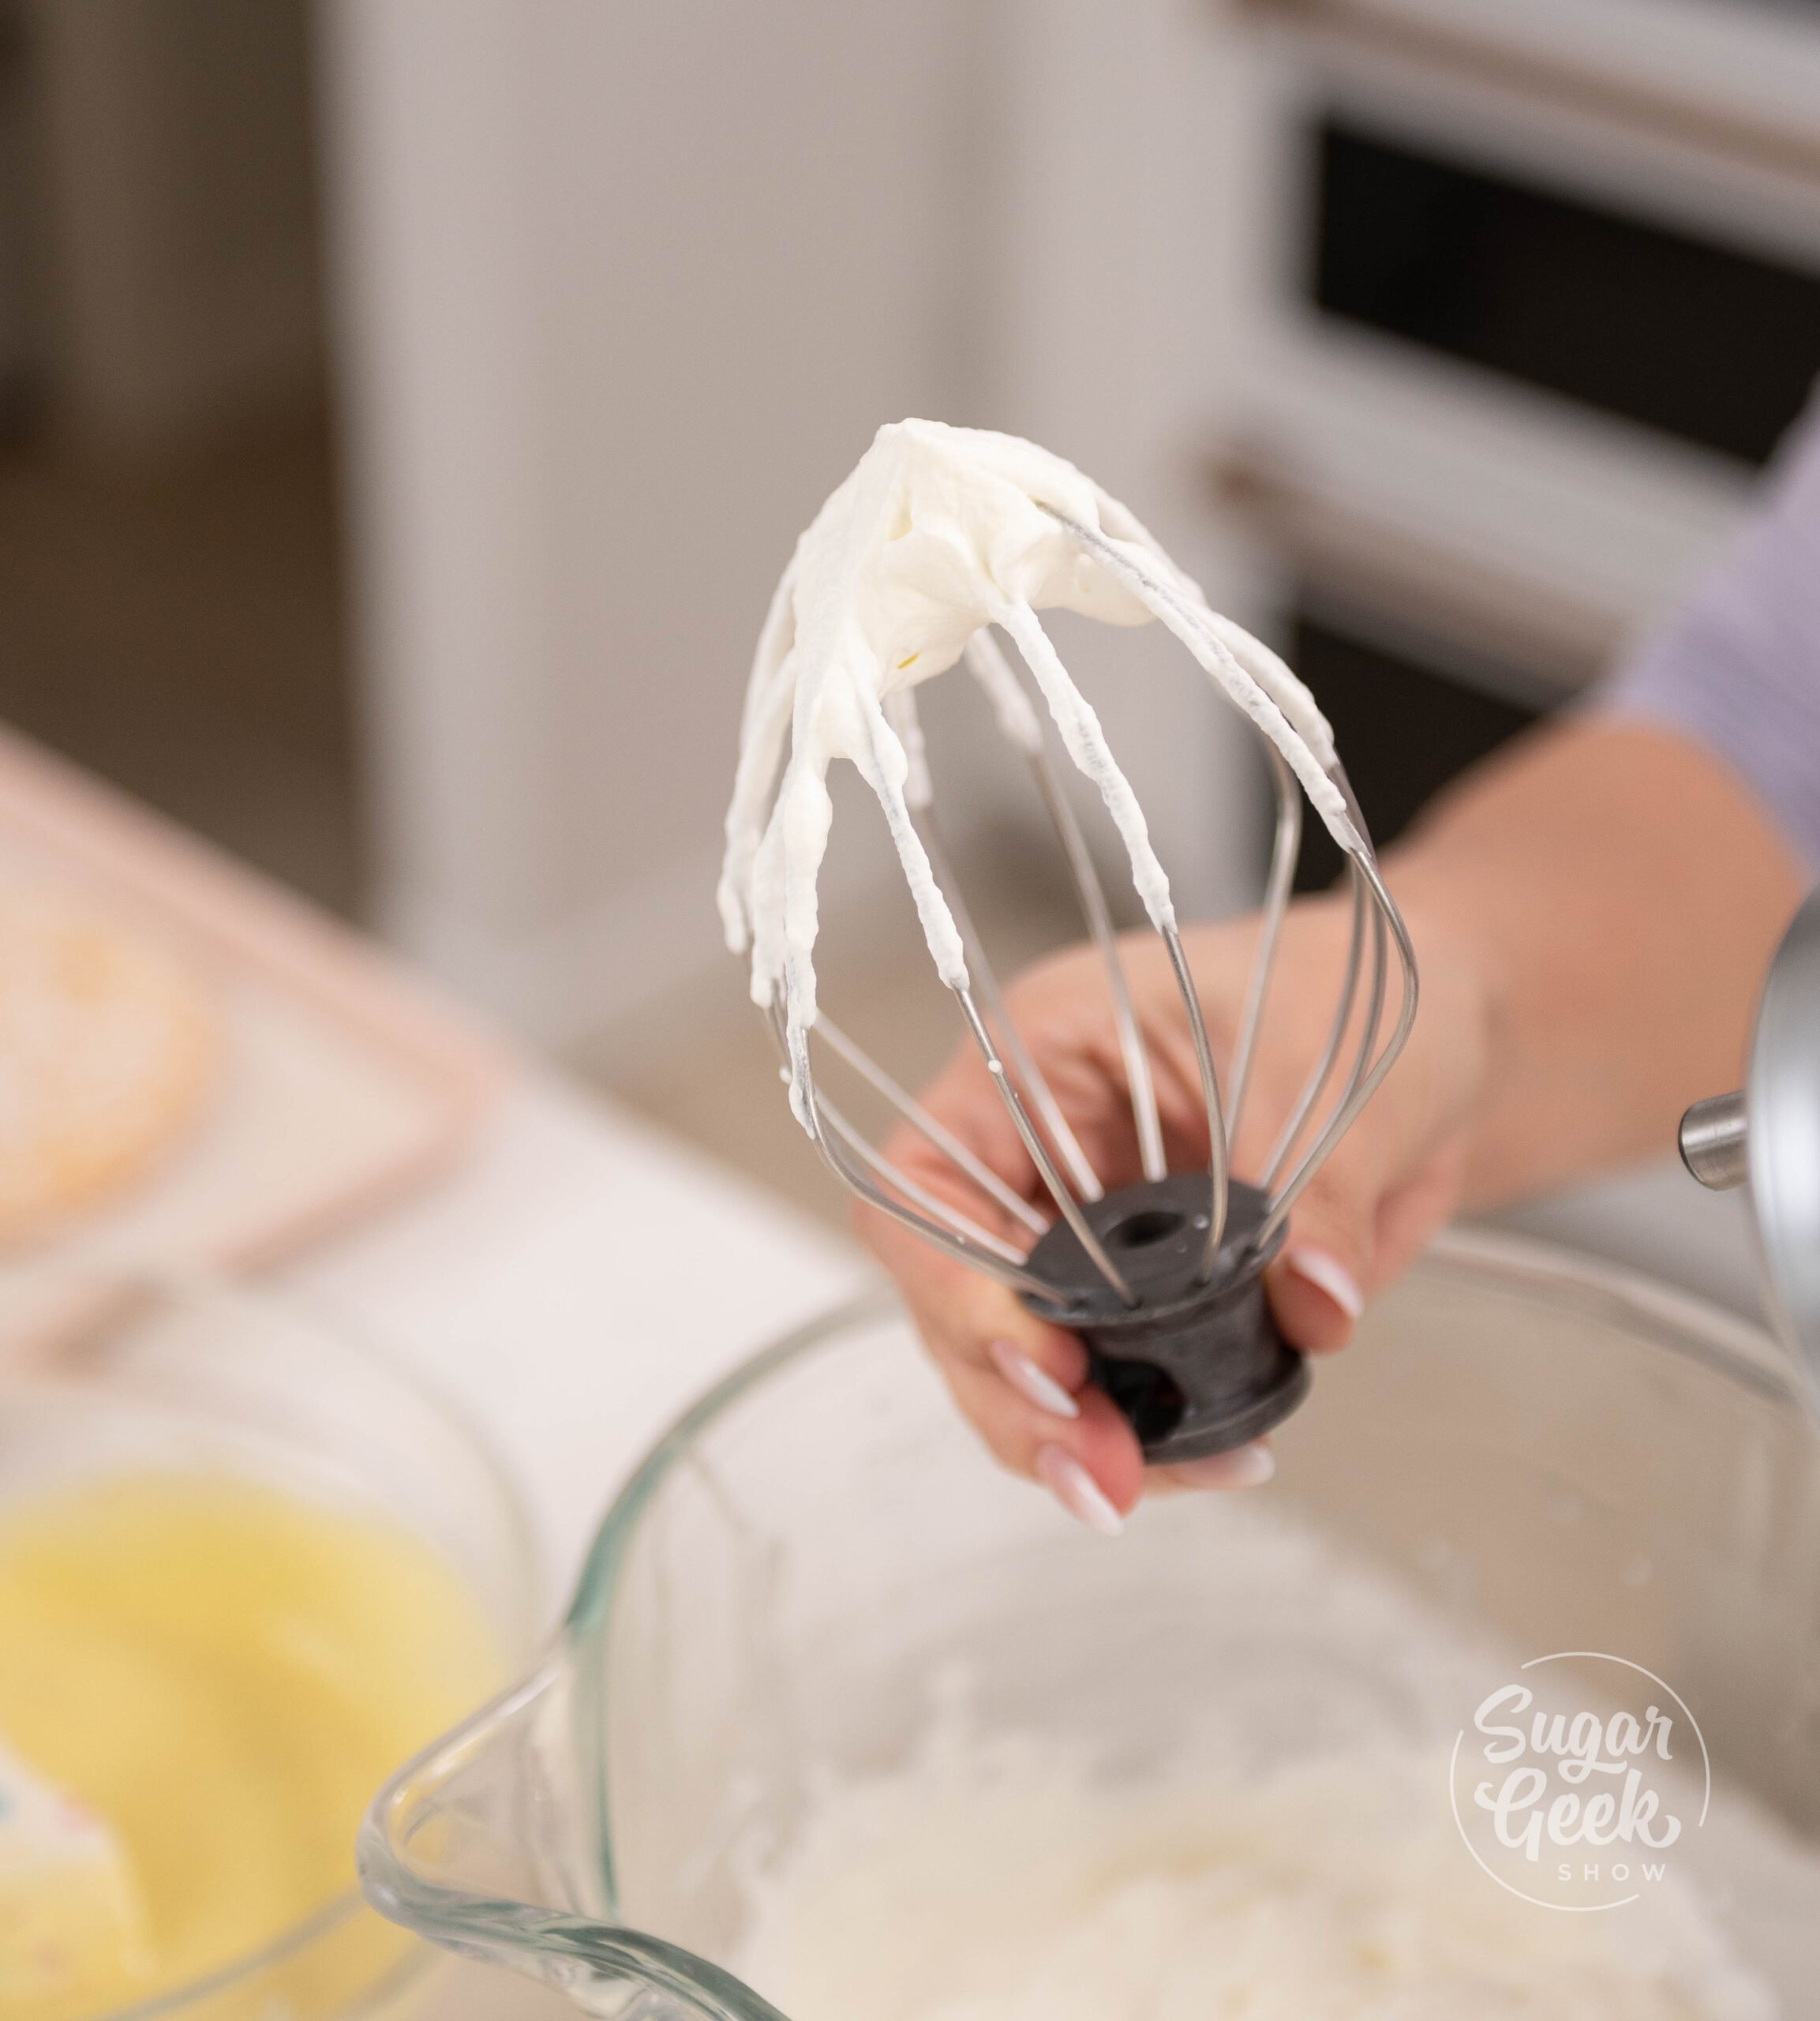
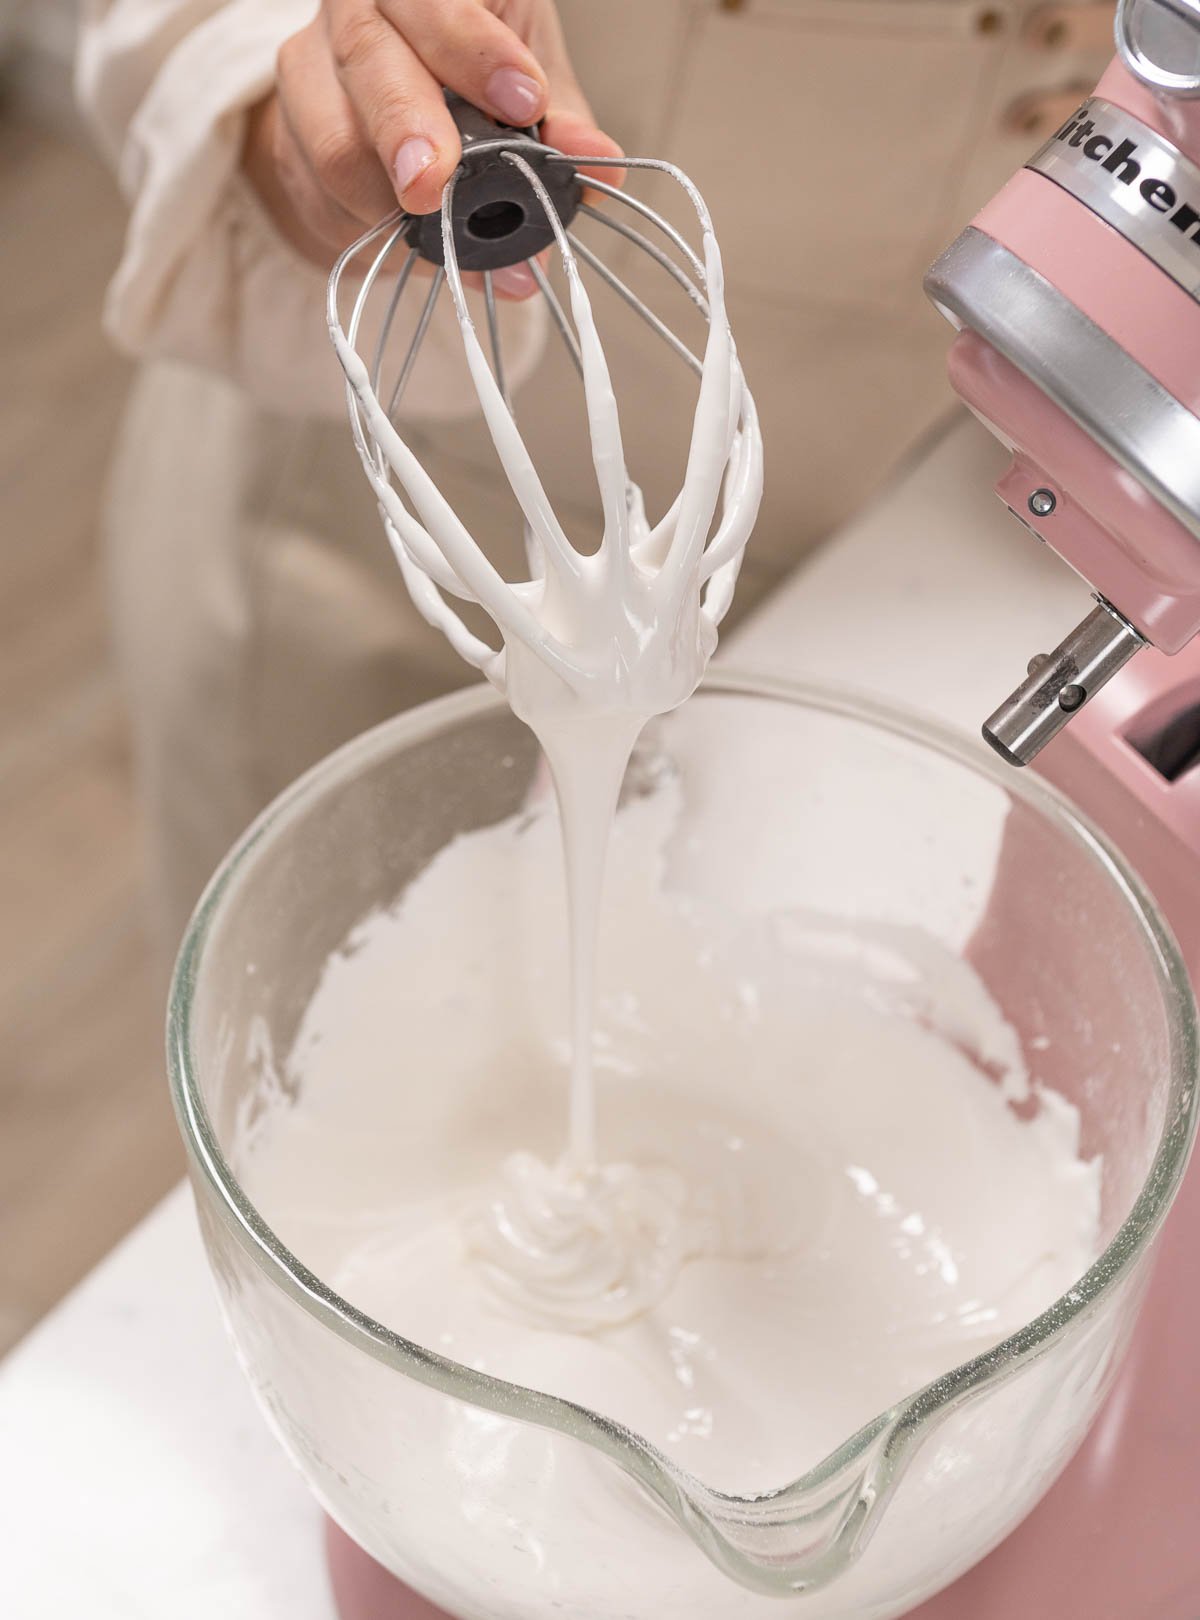
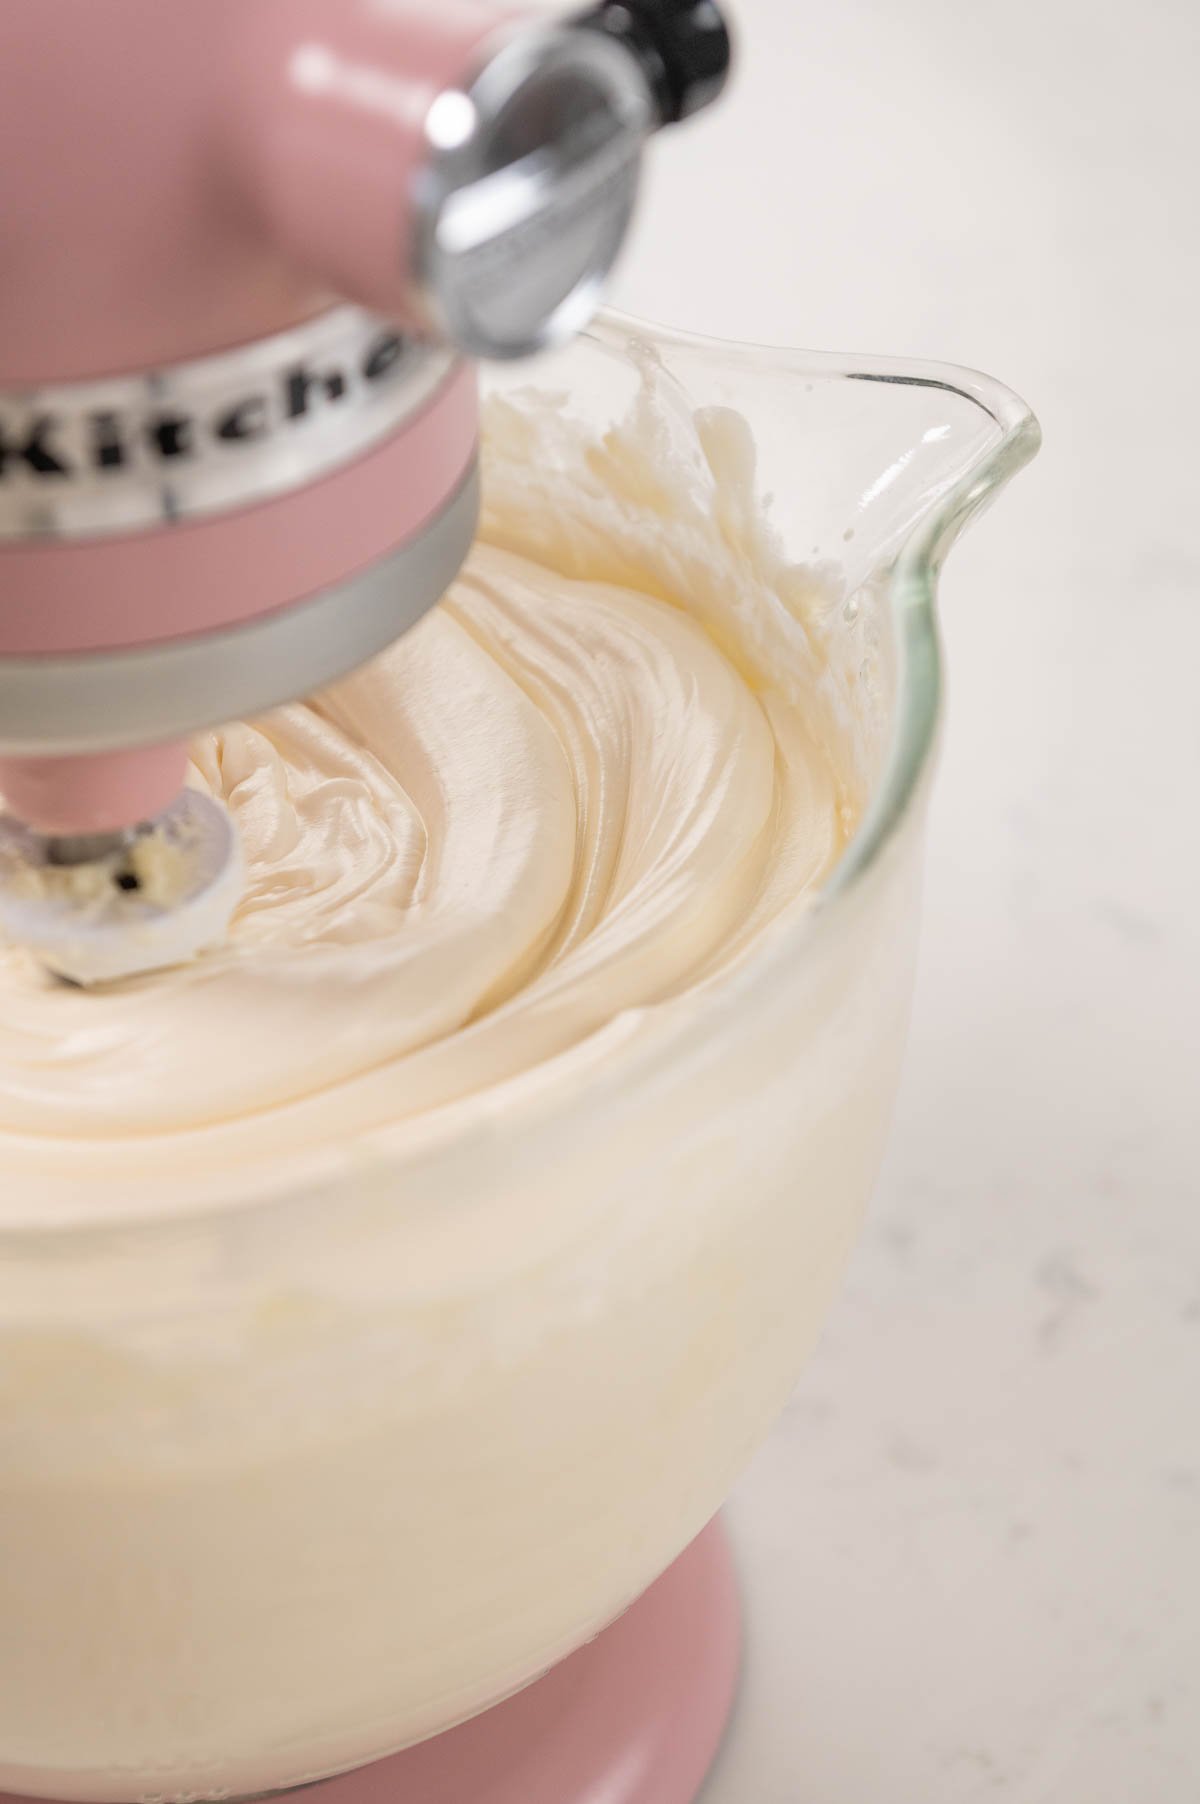
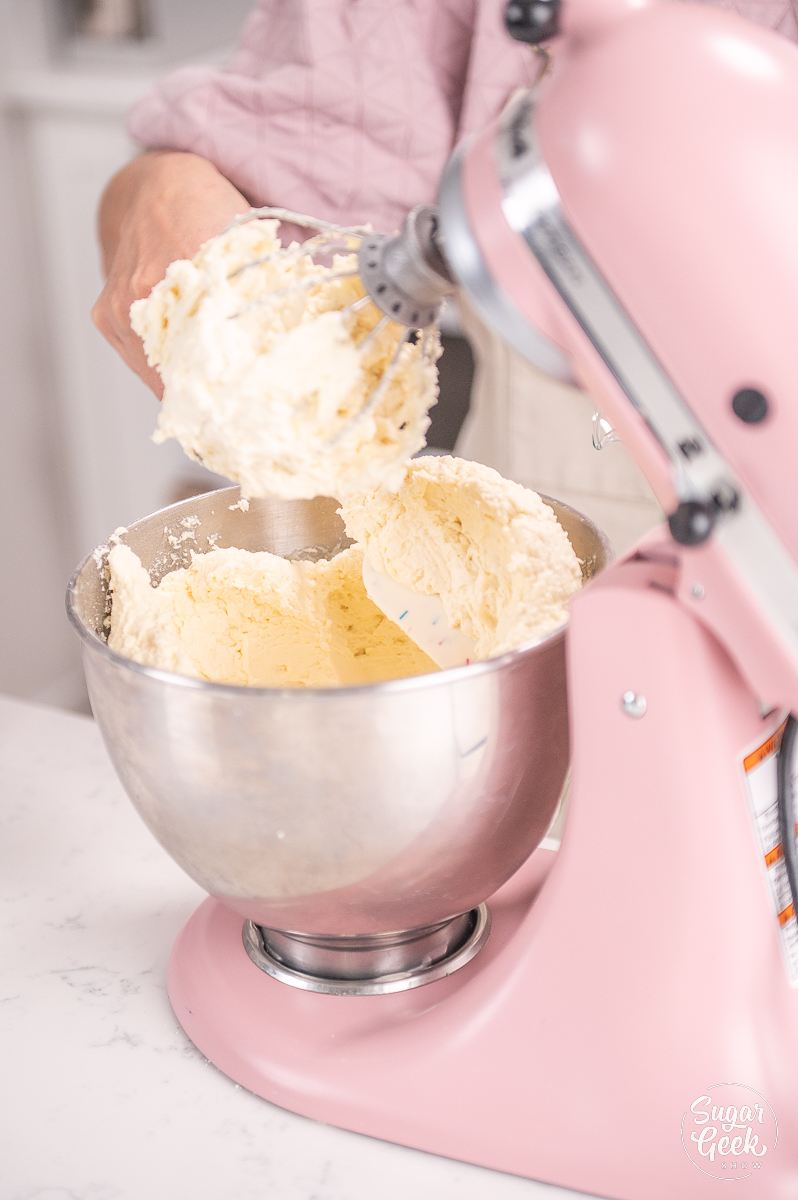
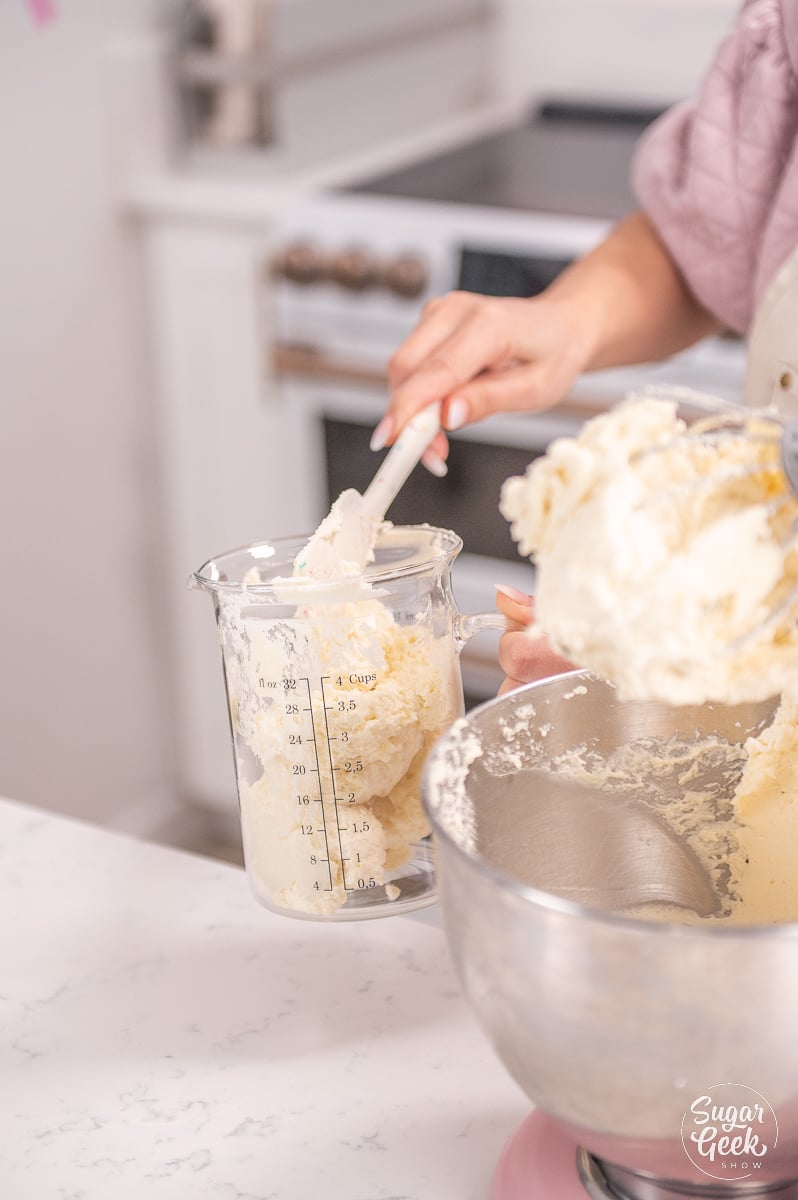
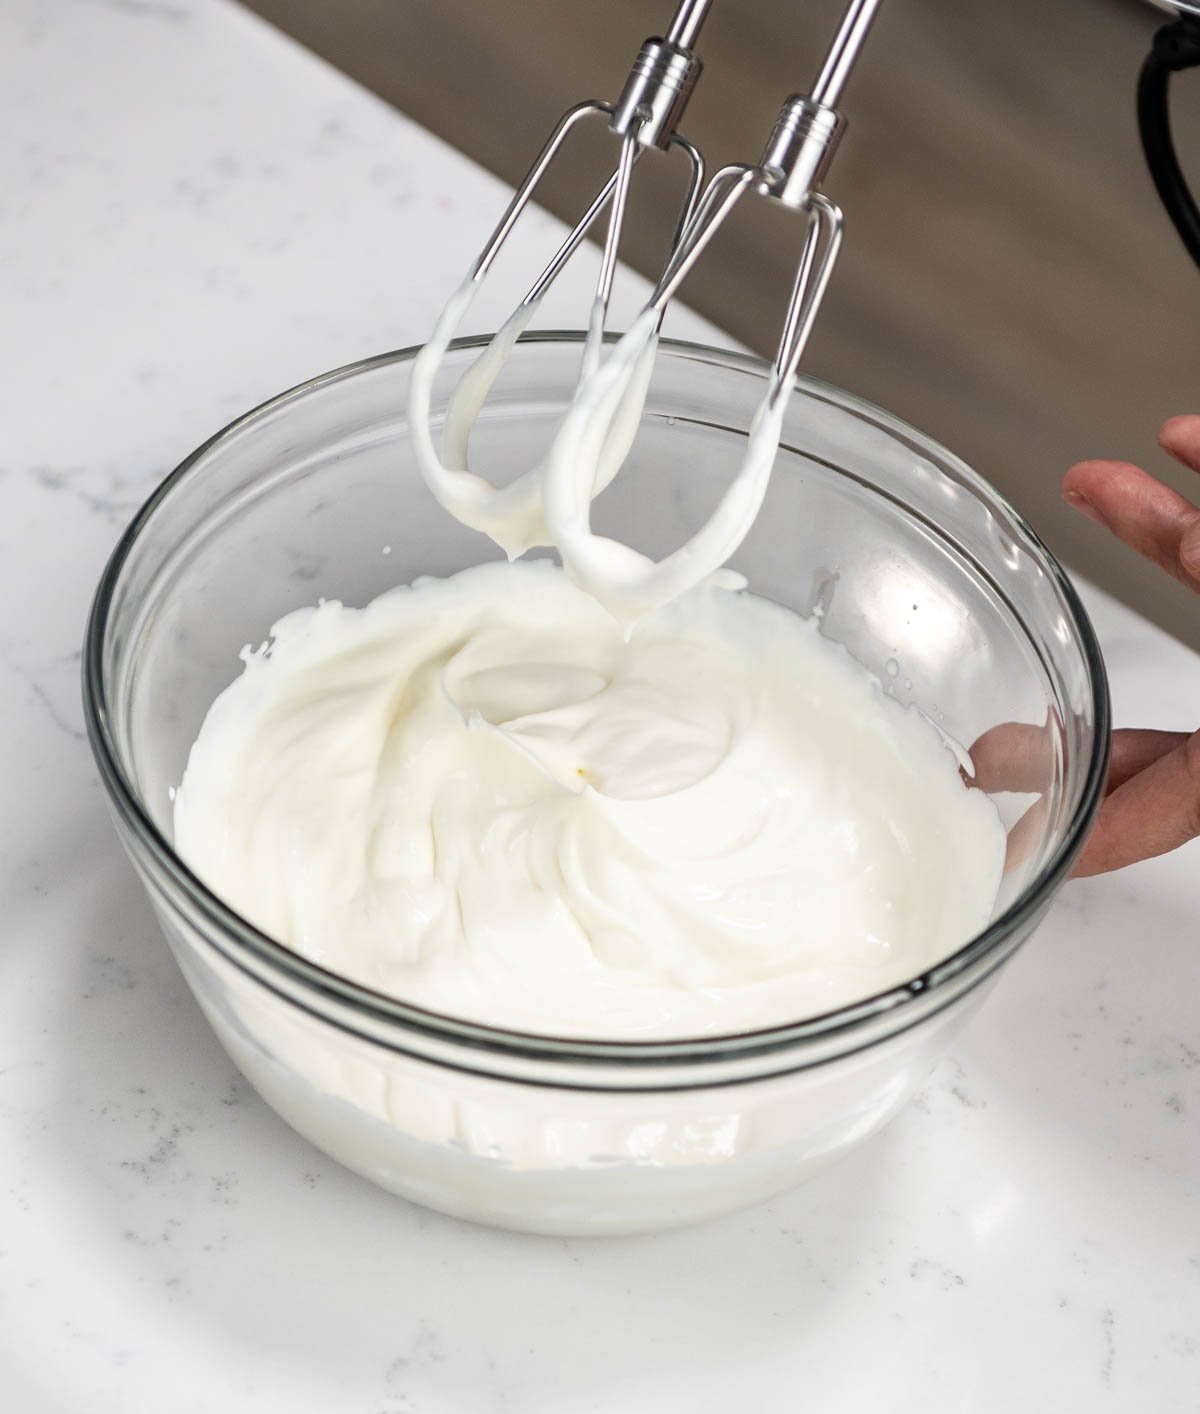
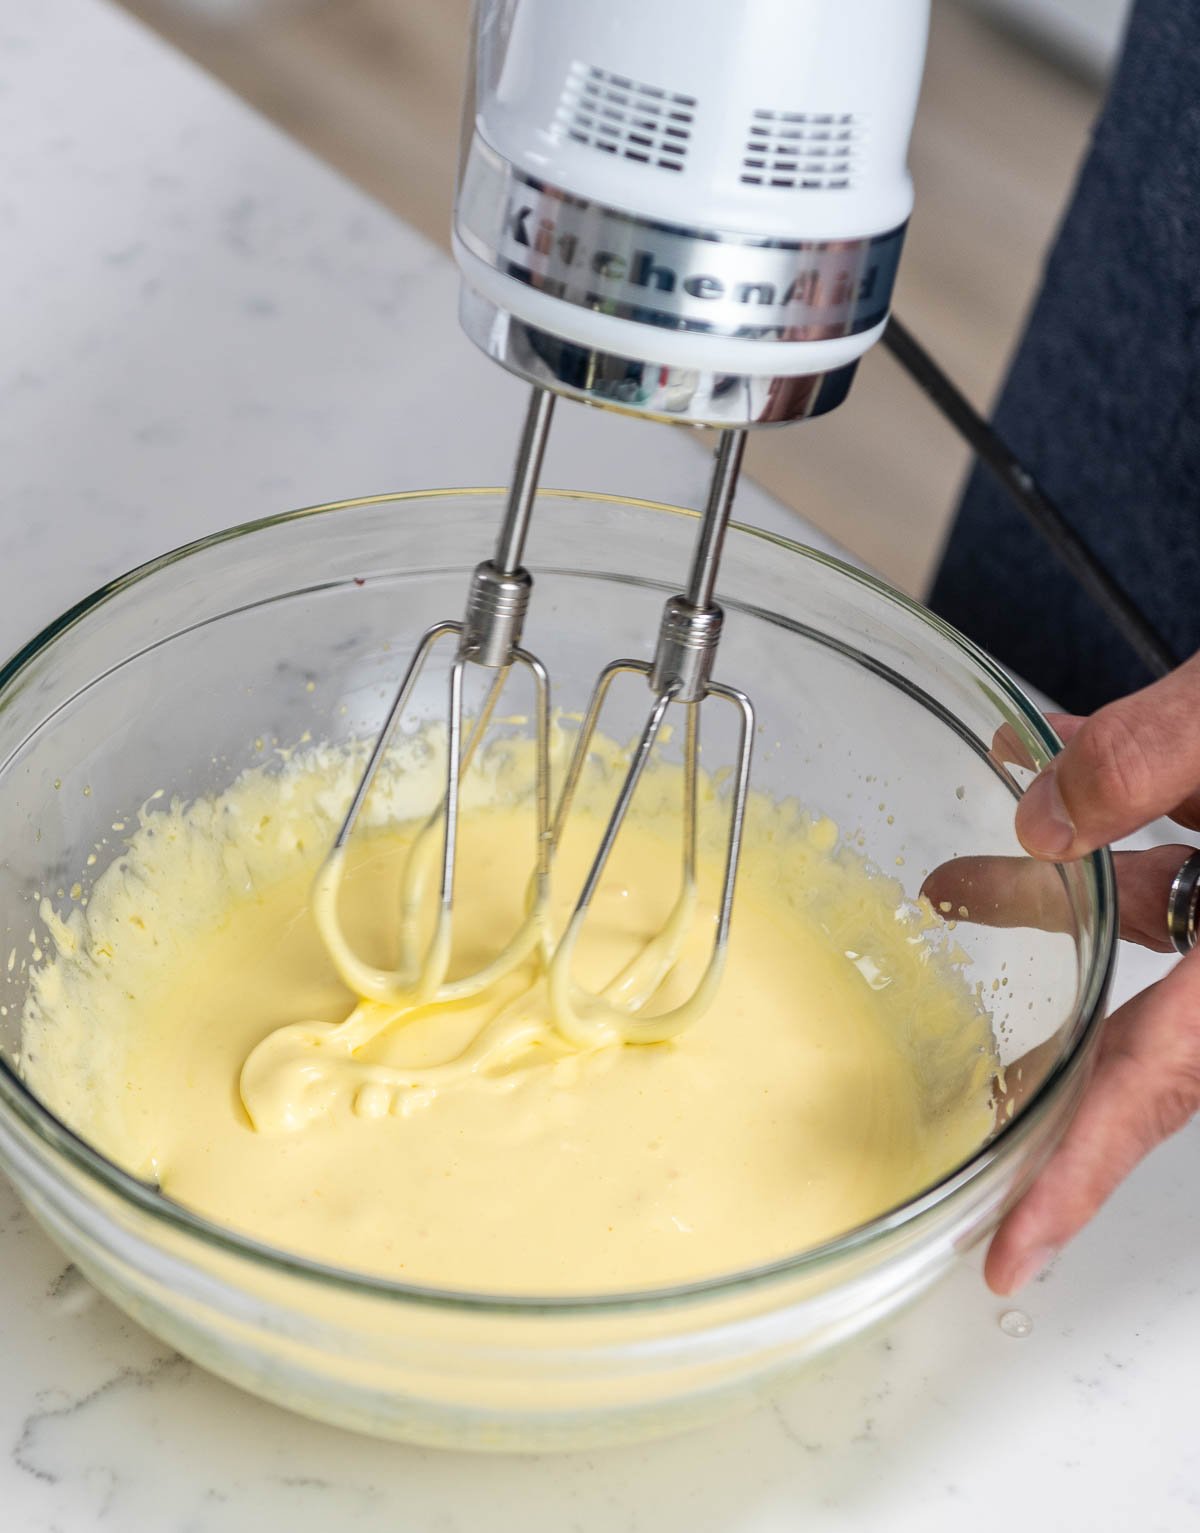
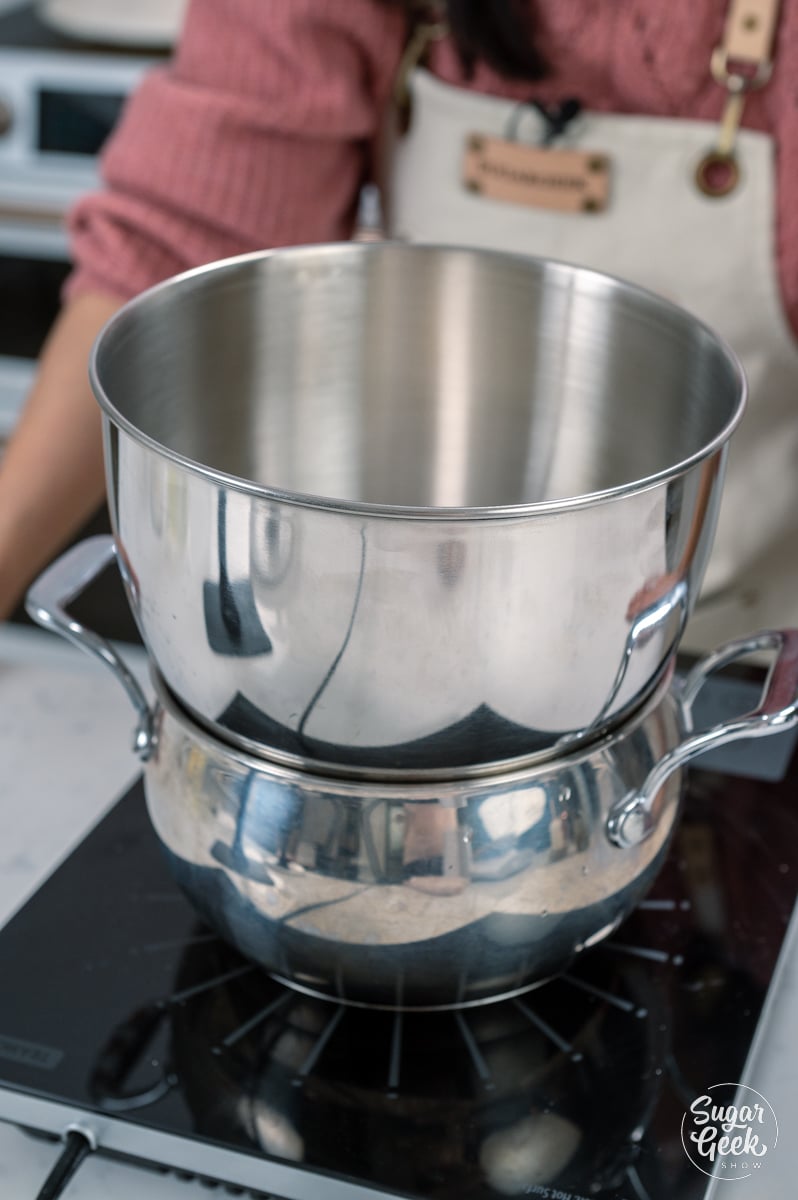
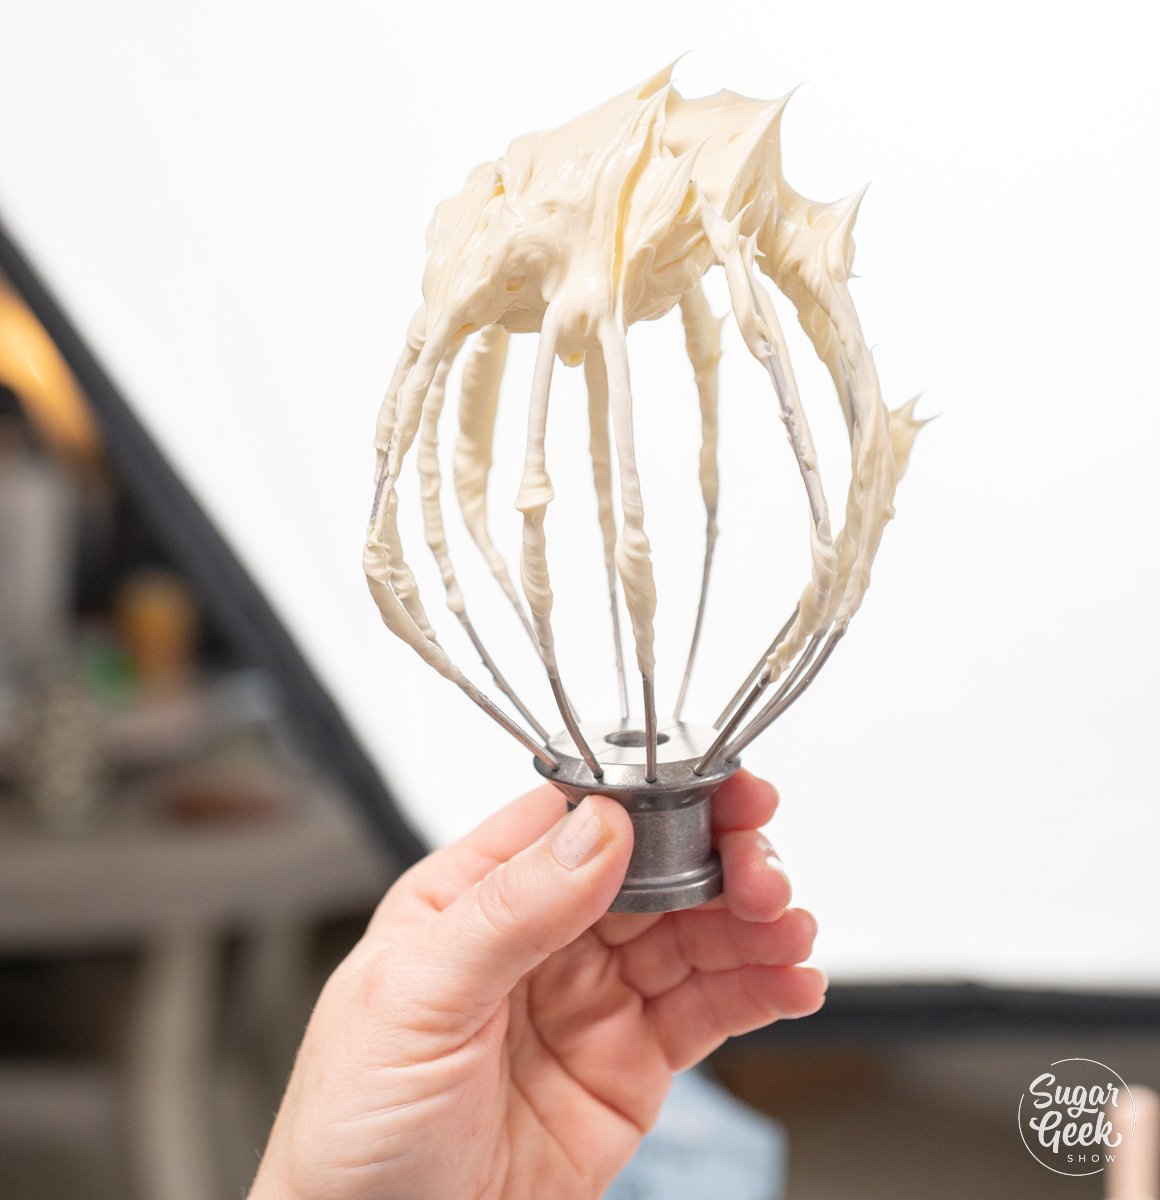
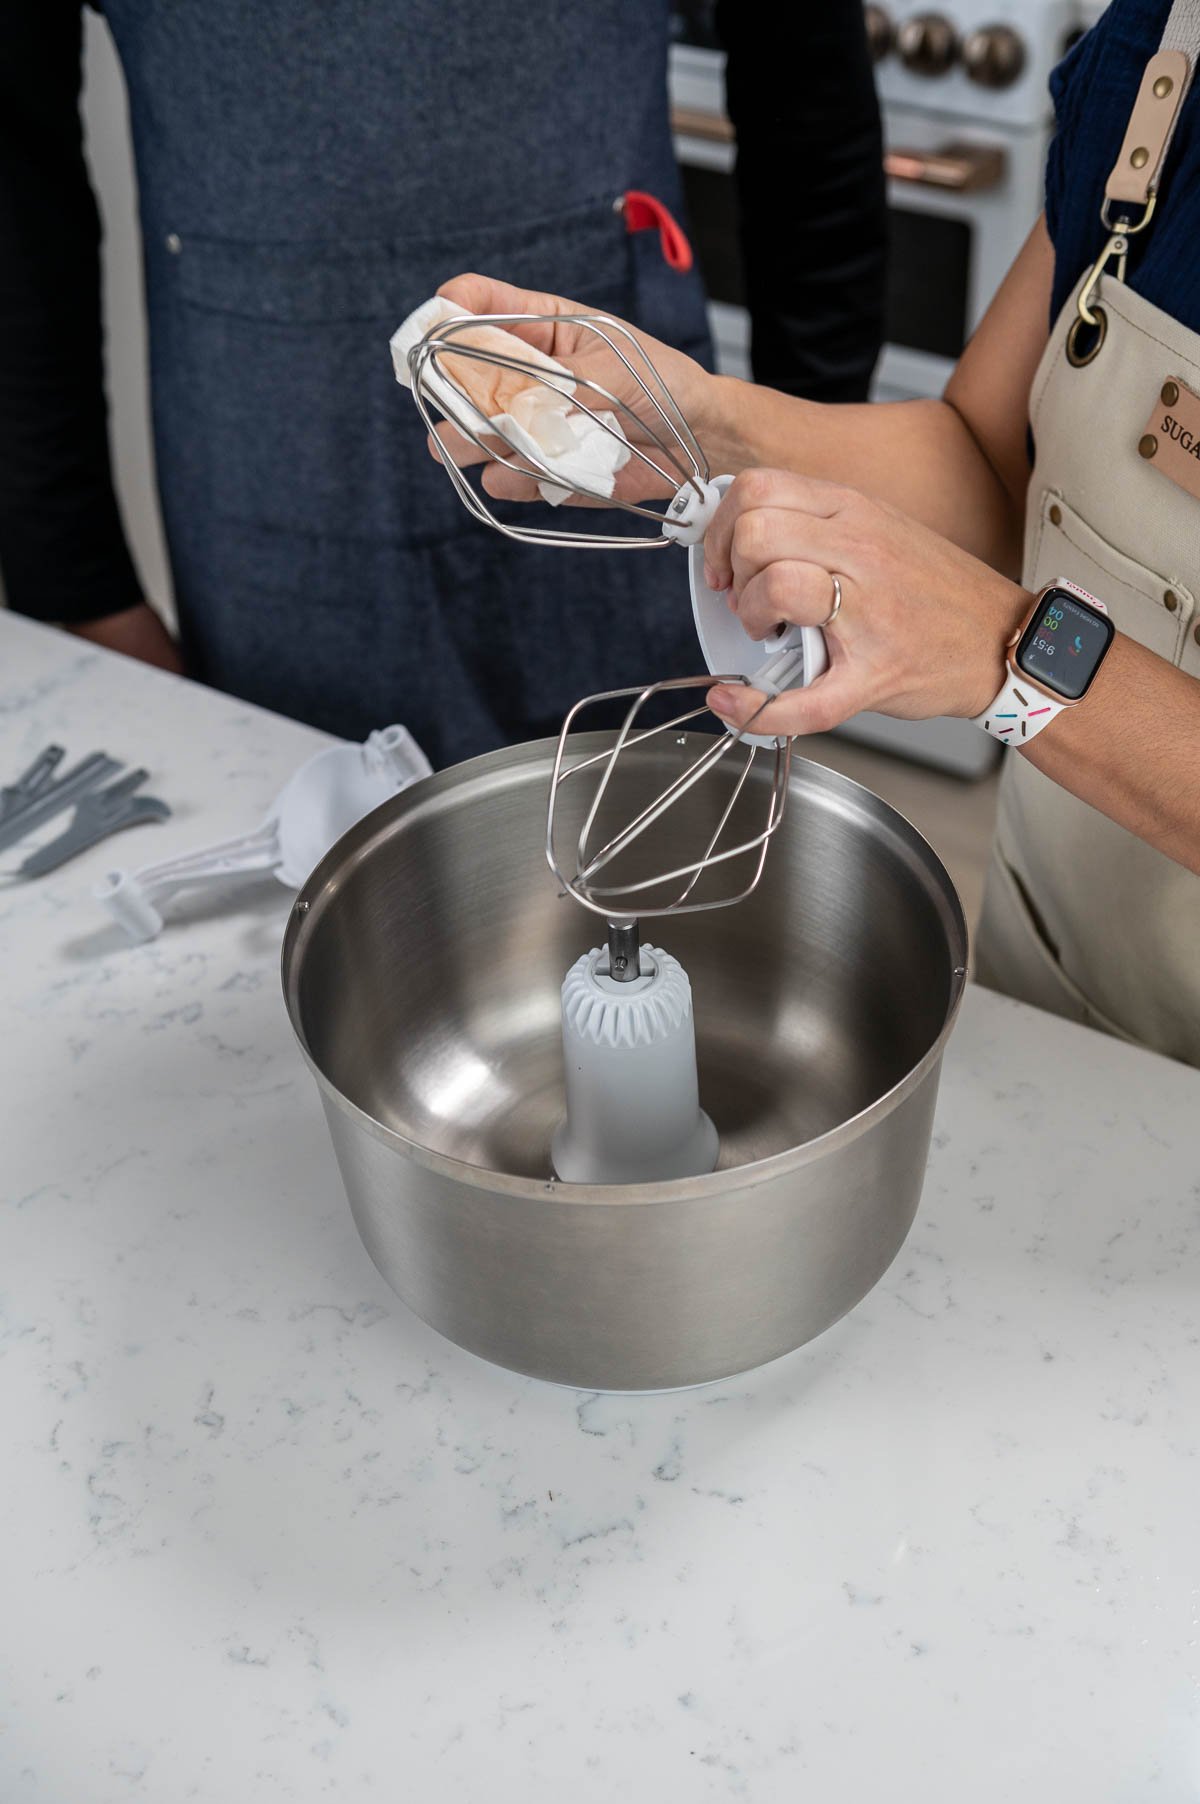
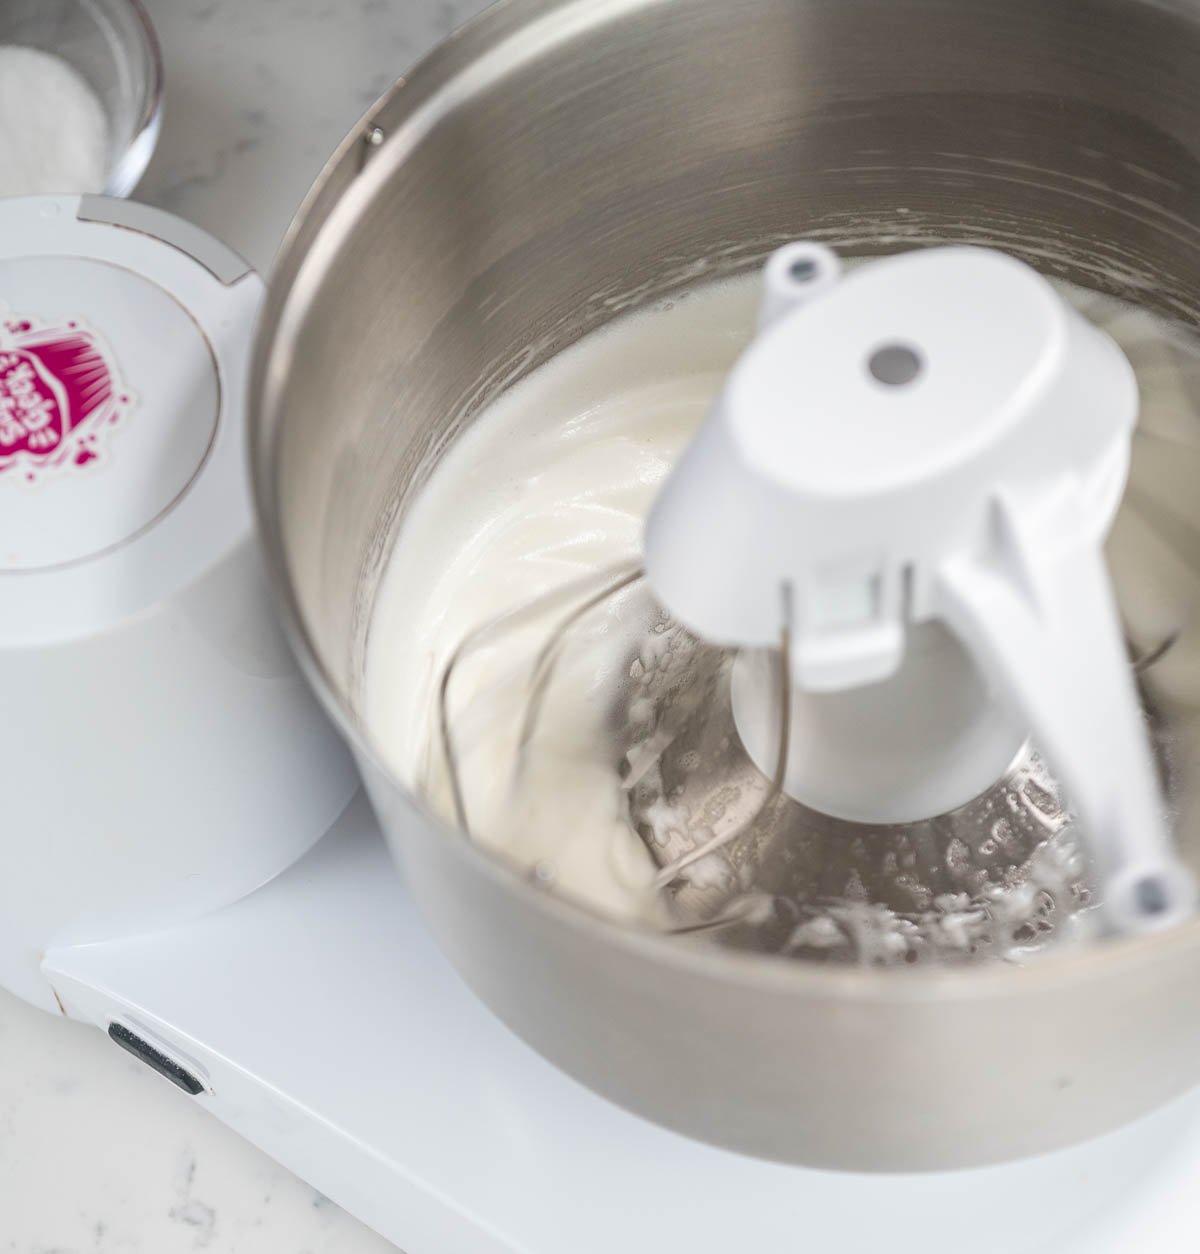
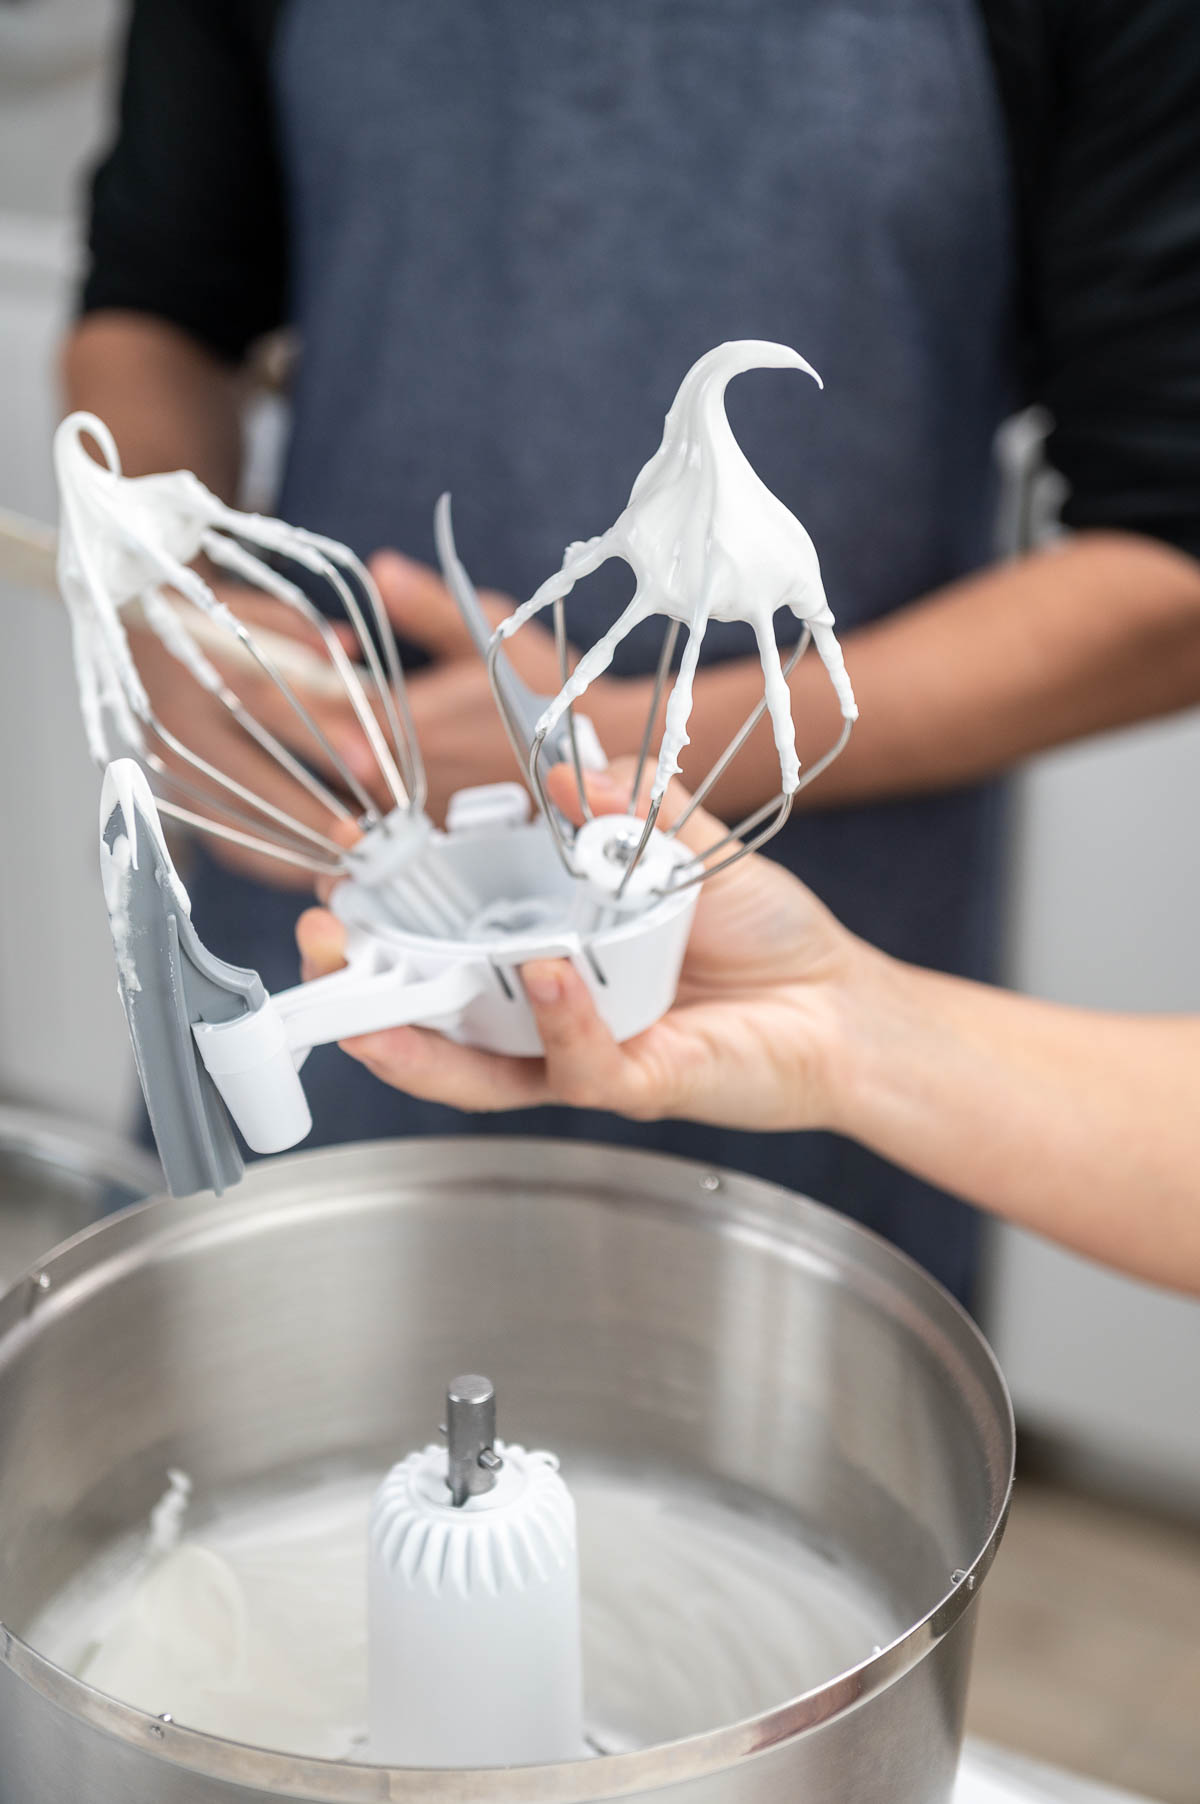
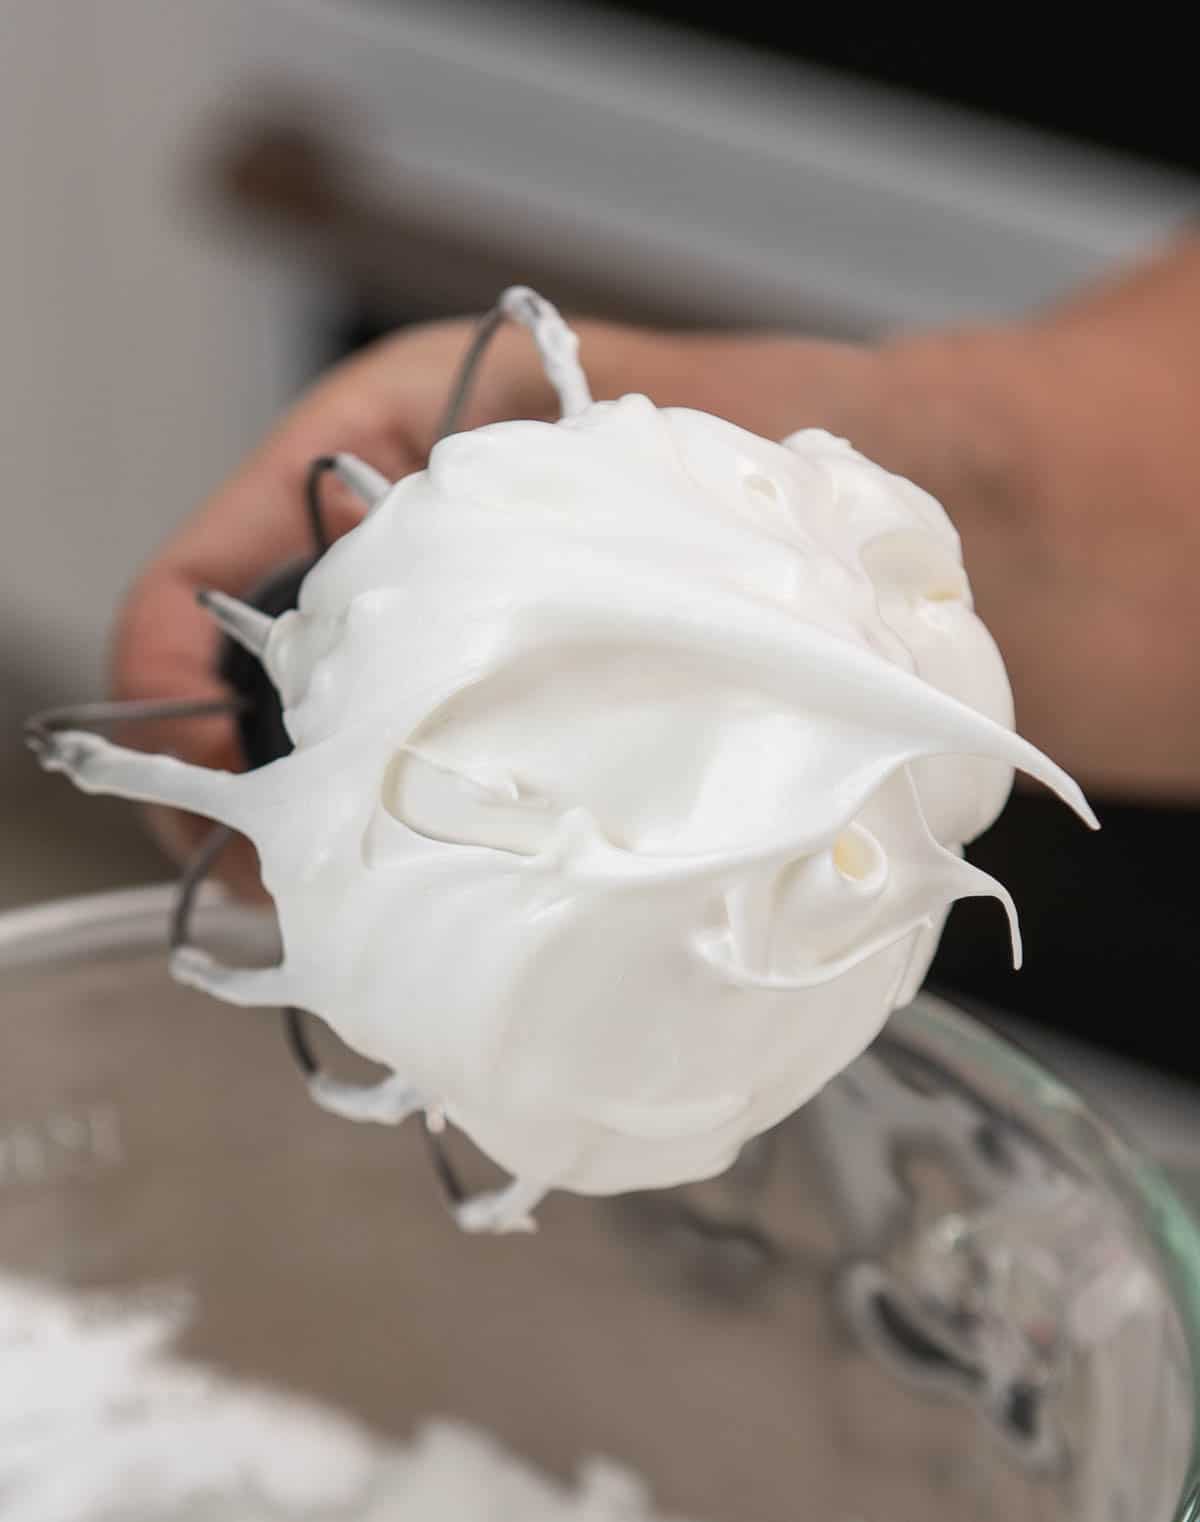
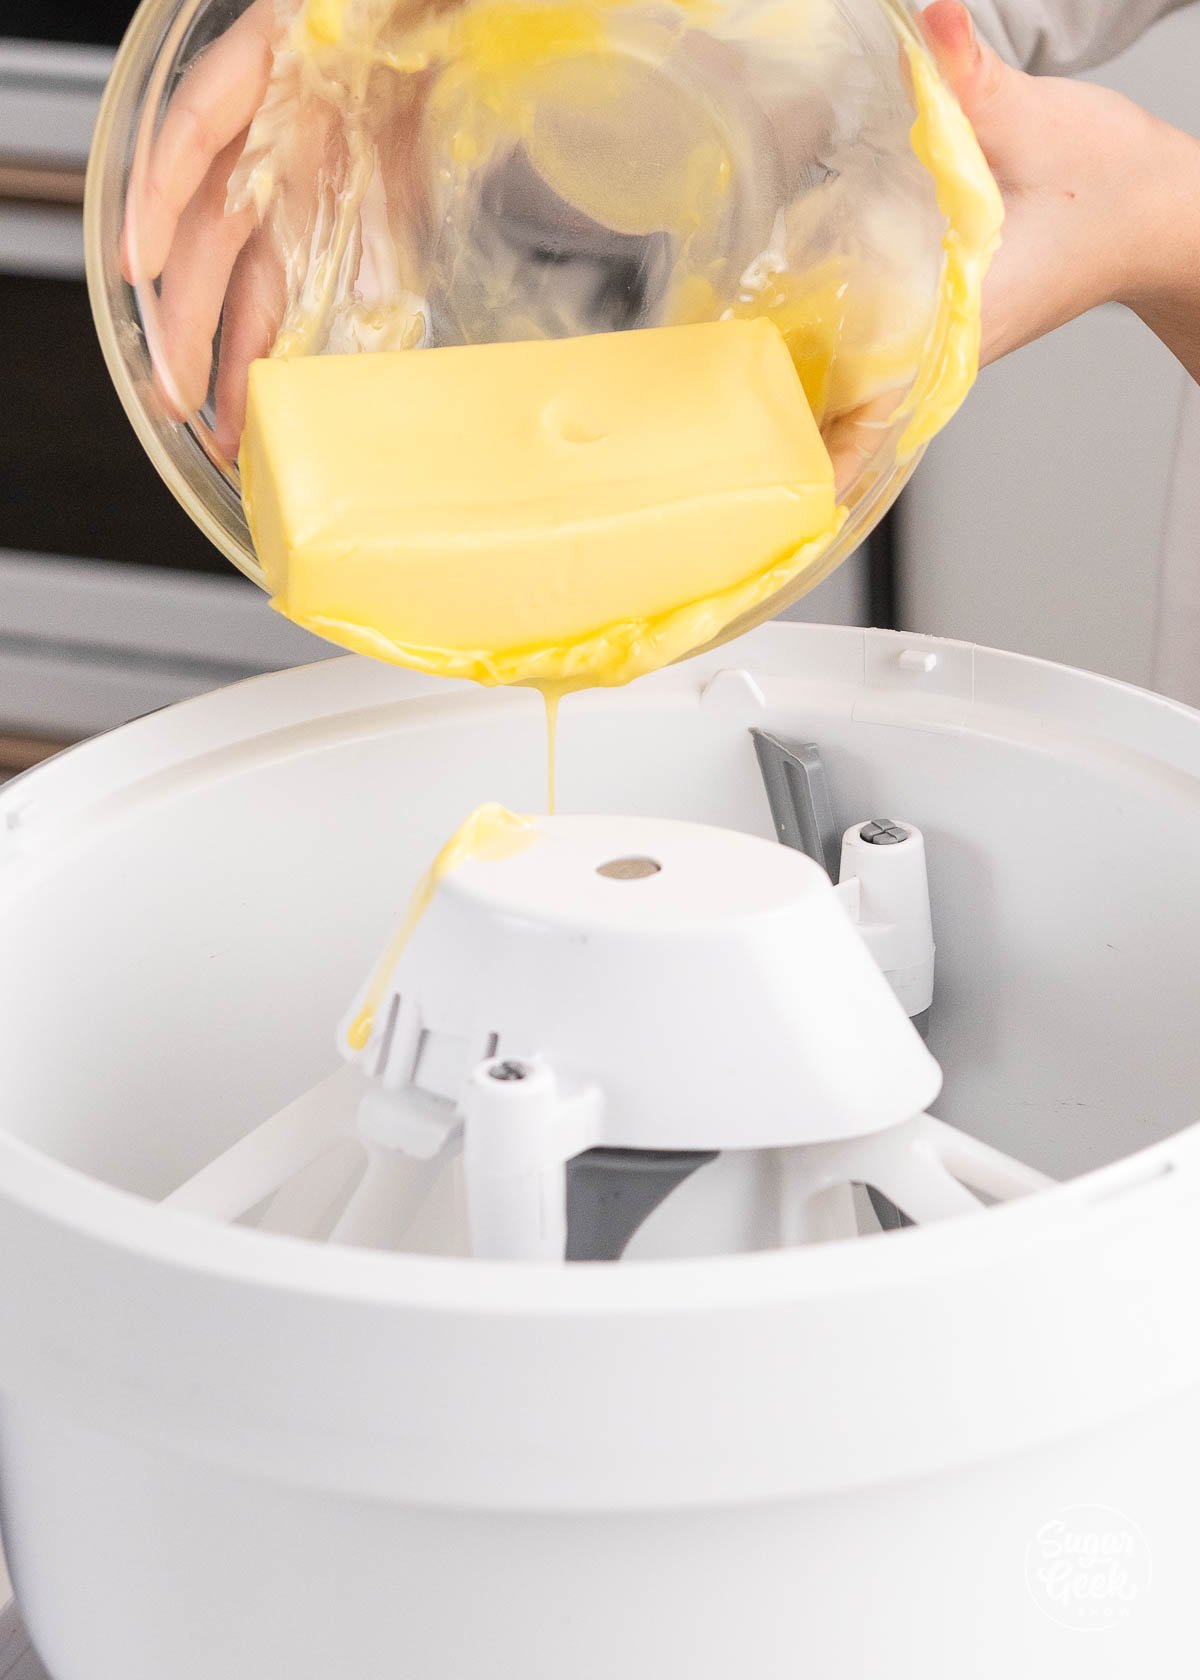
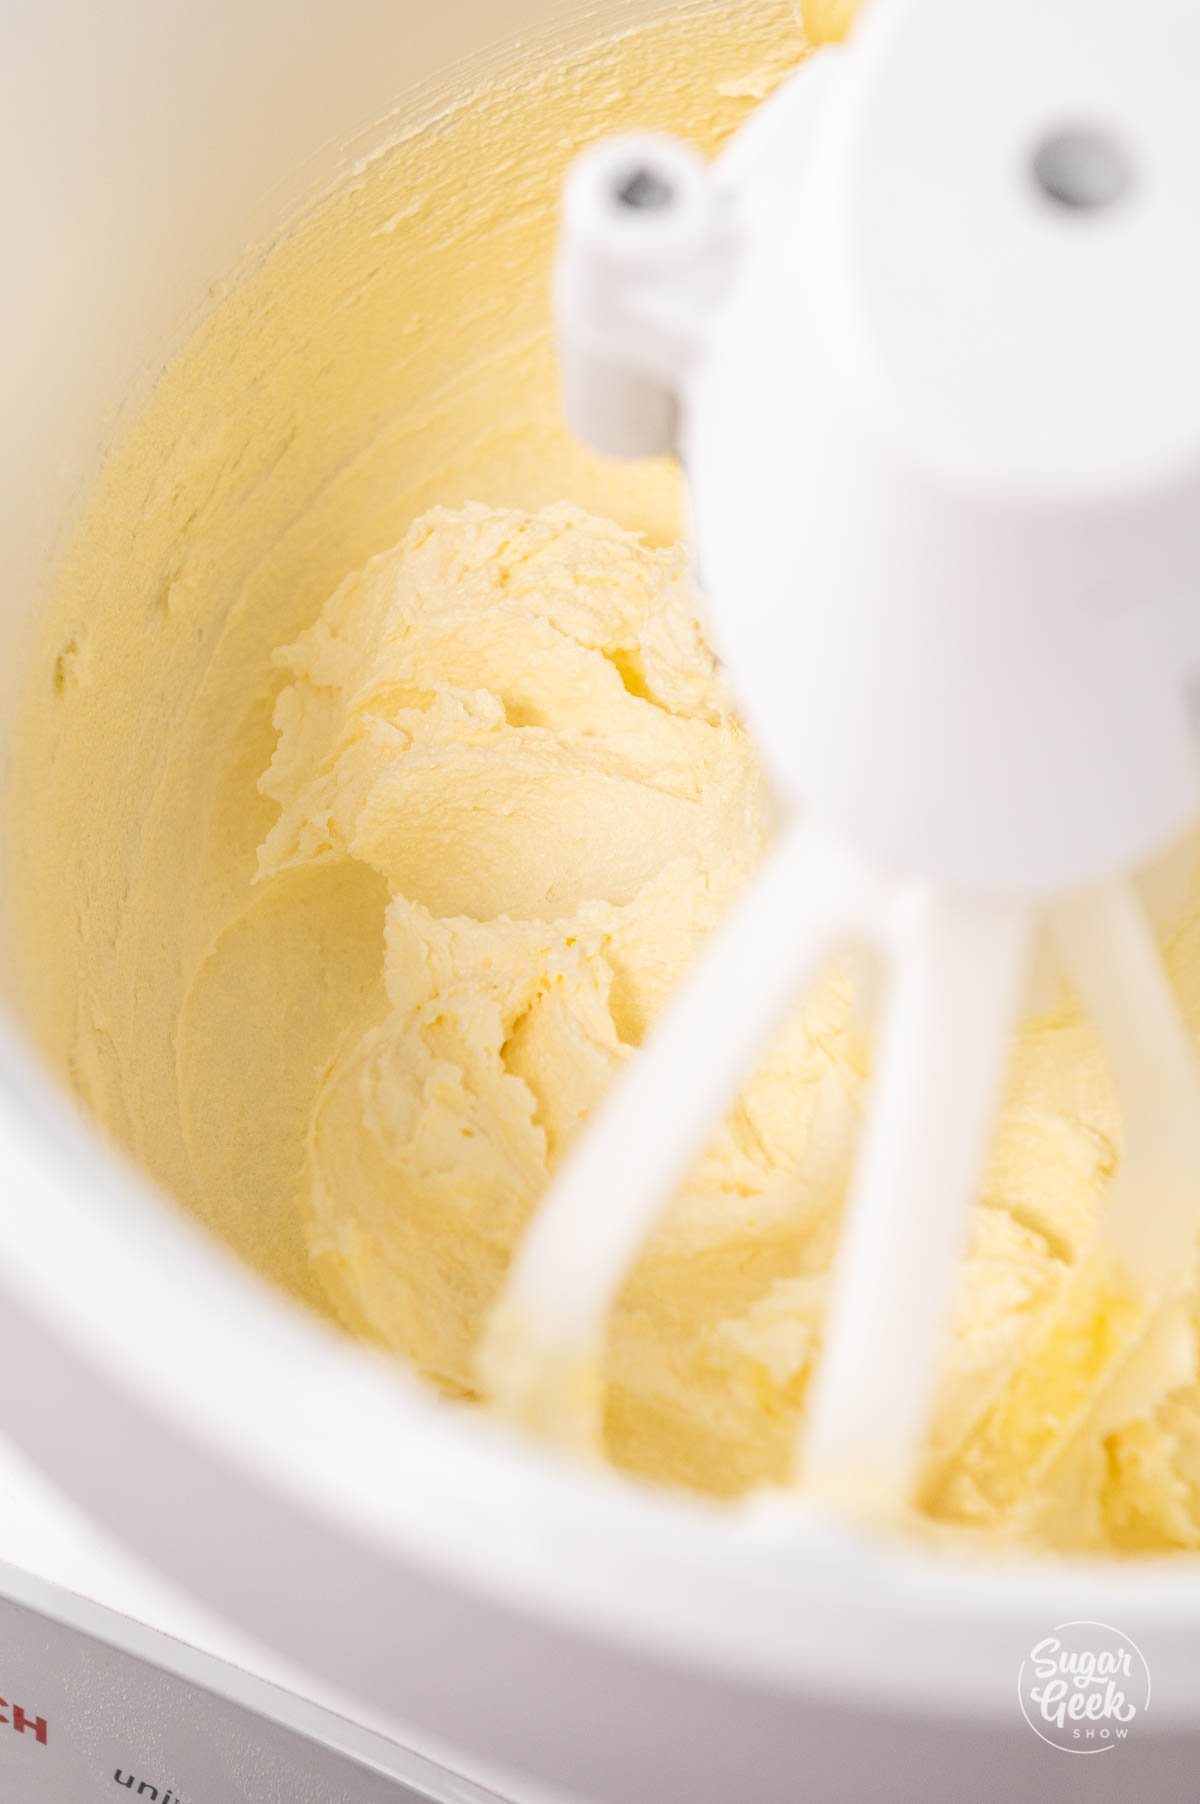
- Add your cold whipping cream into the bowl of a stand mixer with the whisk Add your cream into the bowl of a stand mixer with the whisk attachment. Whip to a soft-medium peak. Do not overmix, I recommend finishing the mixing by hand.

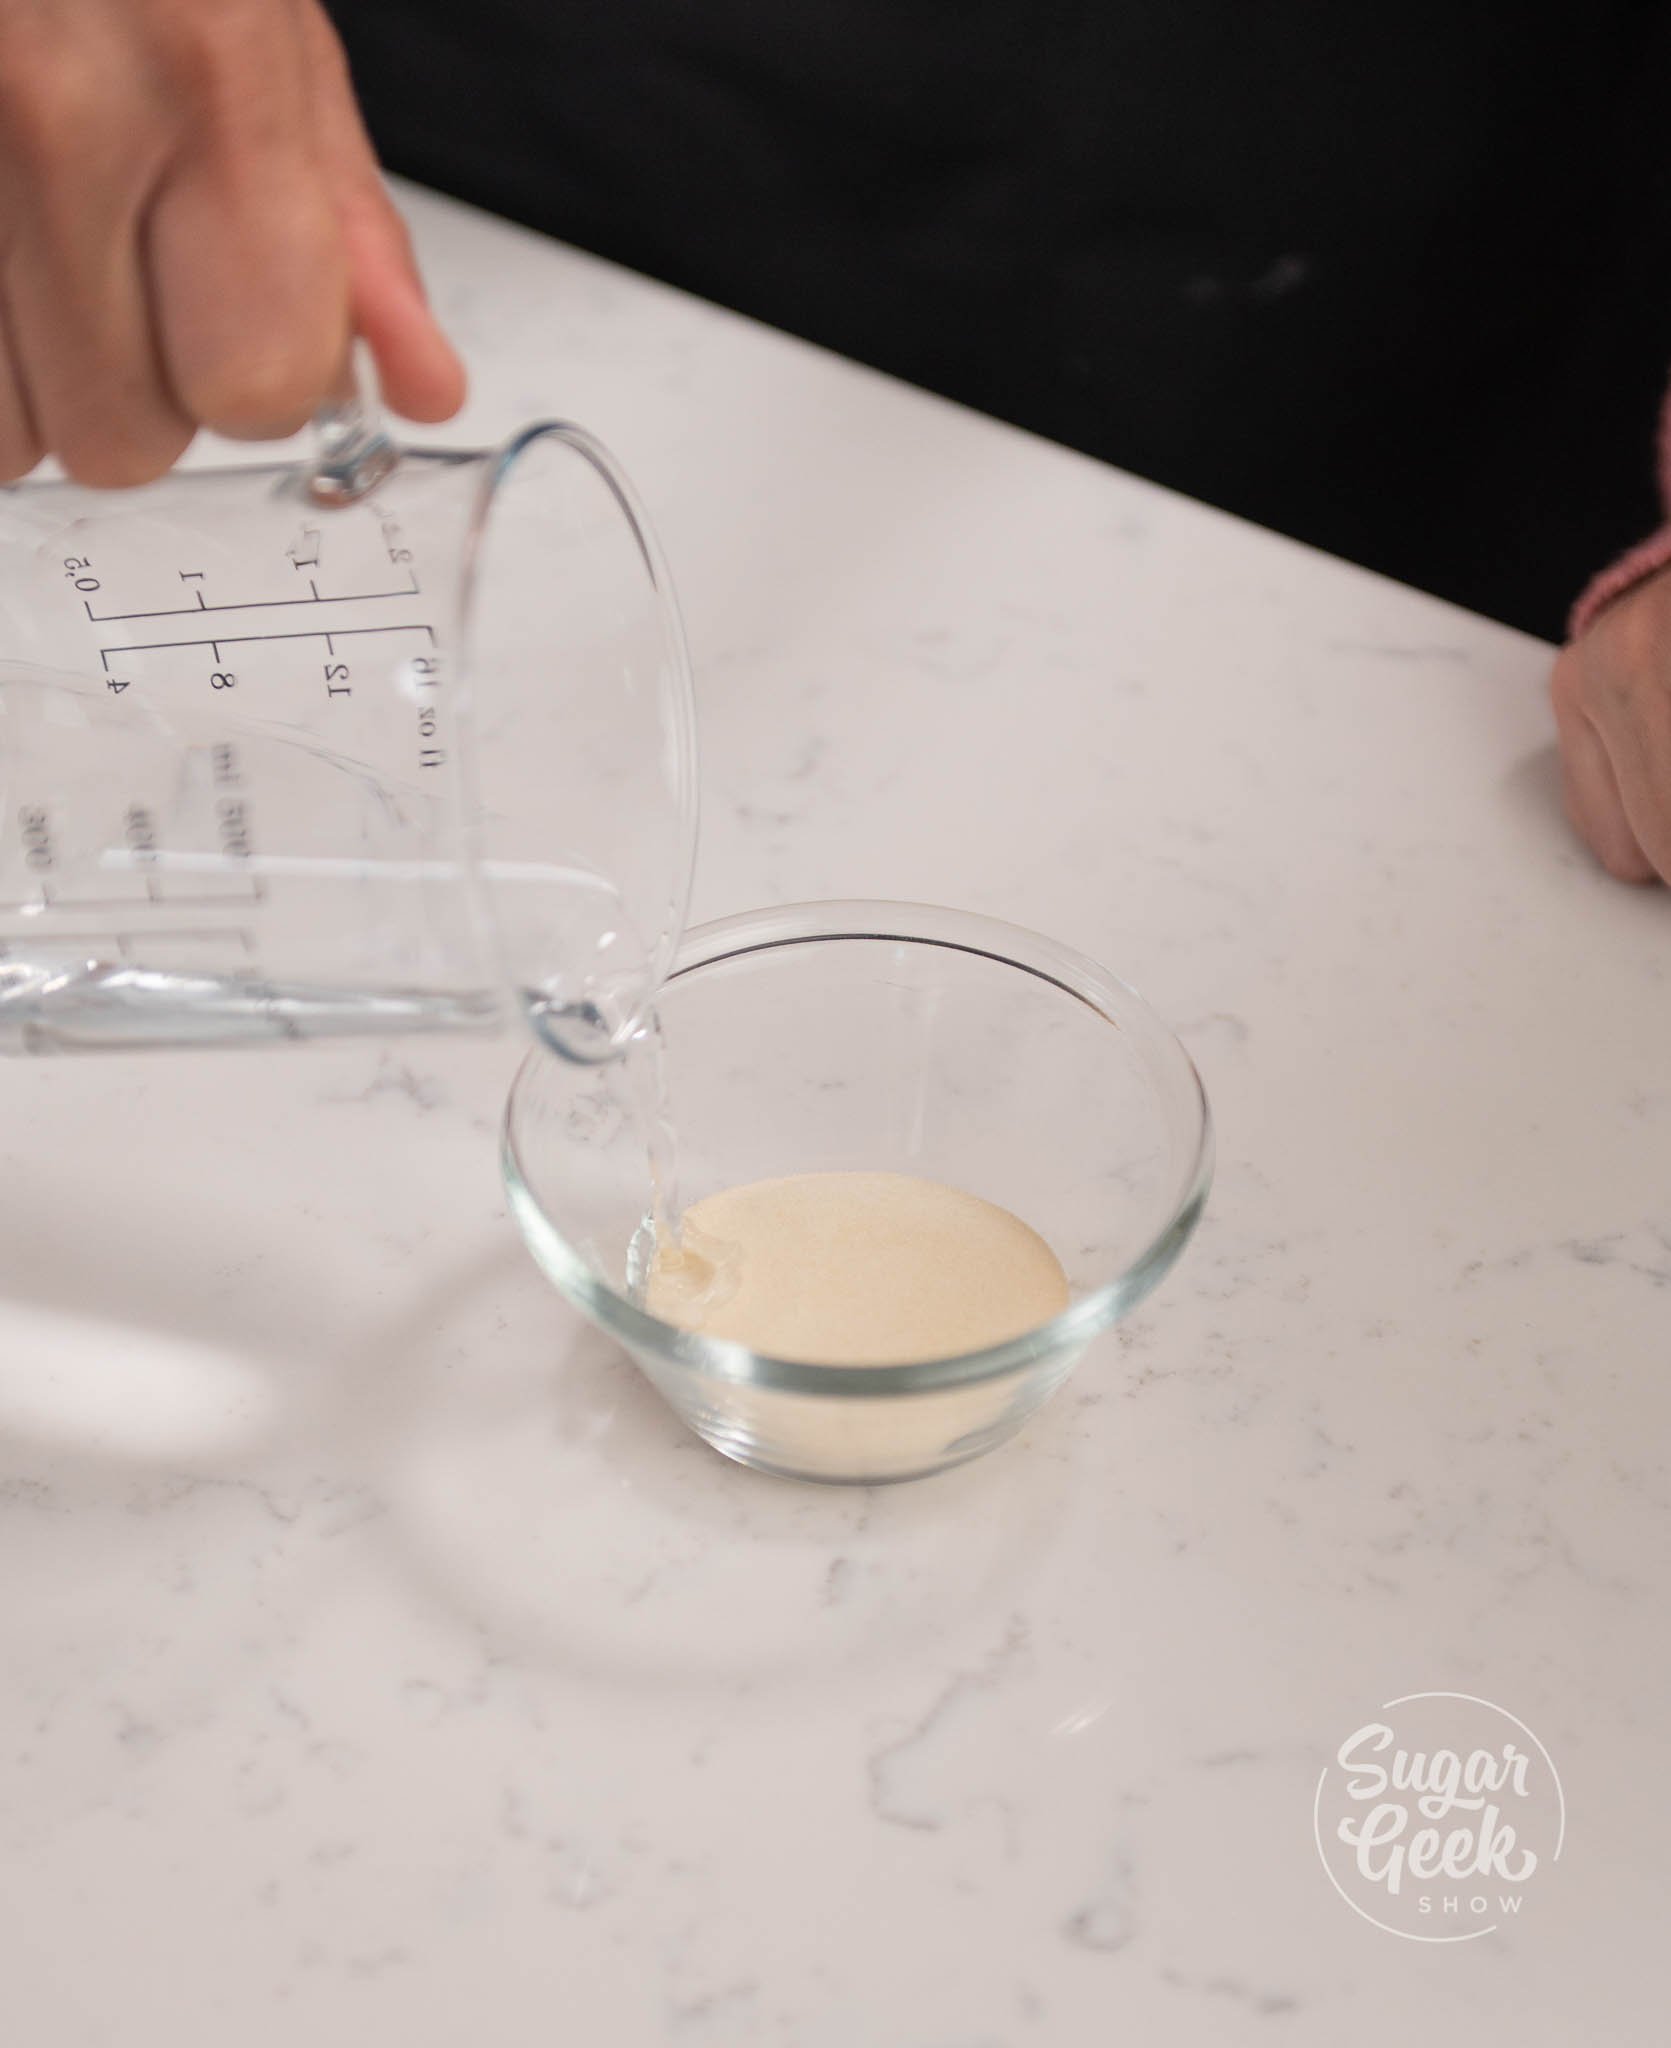
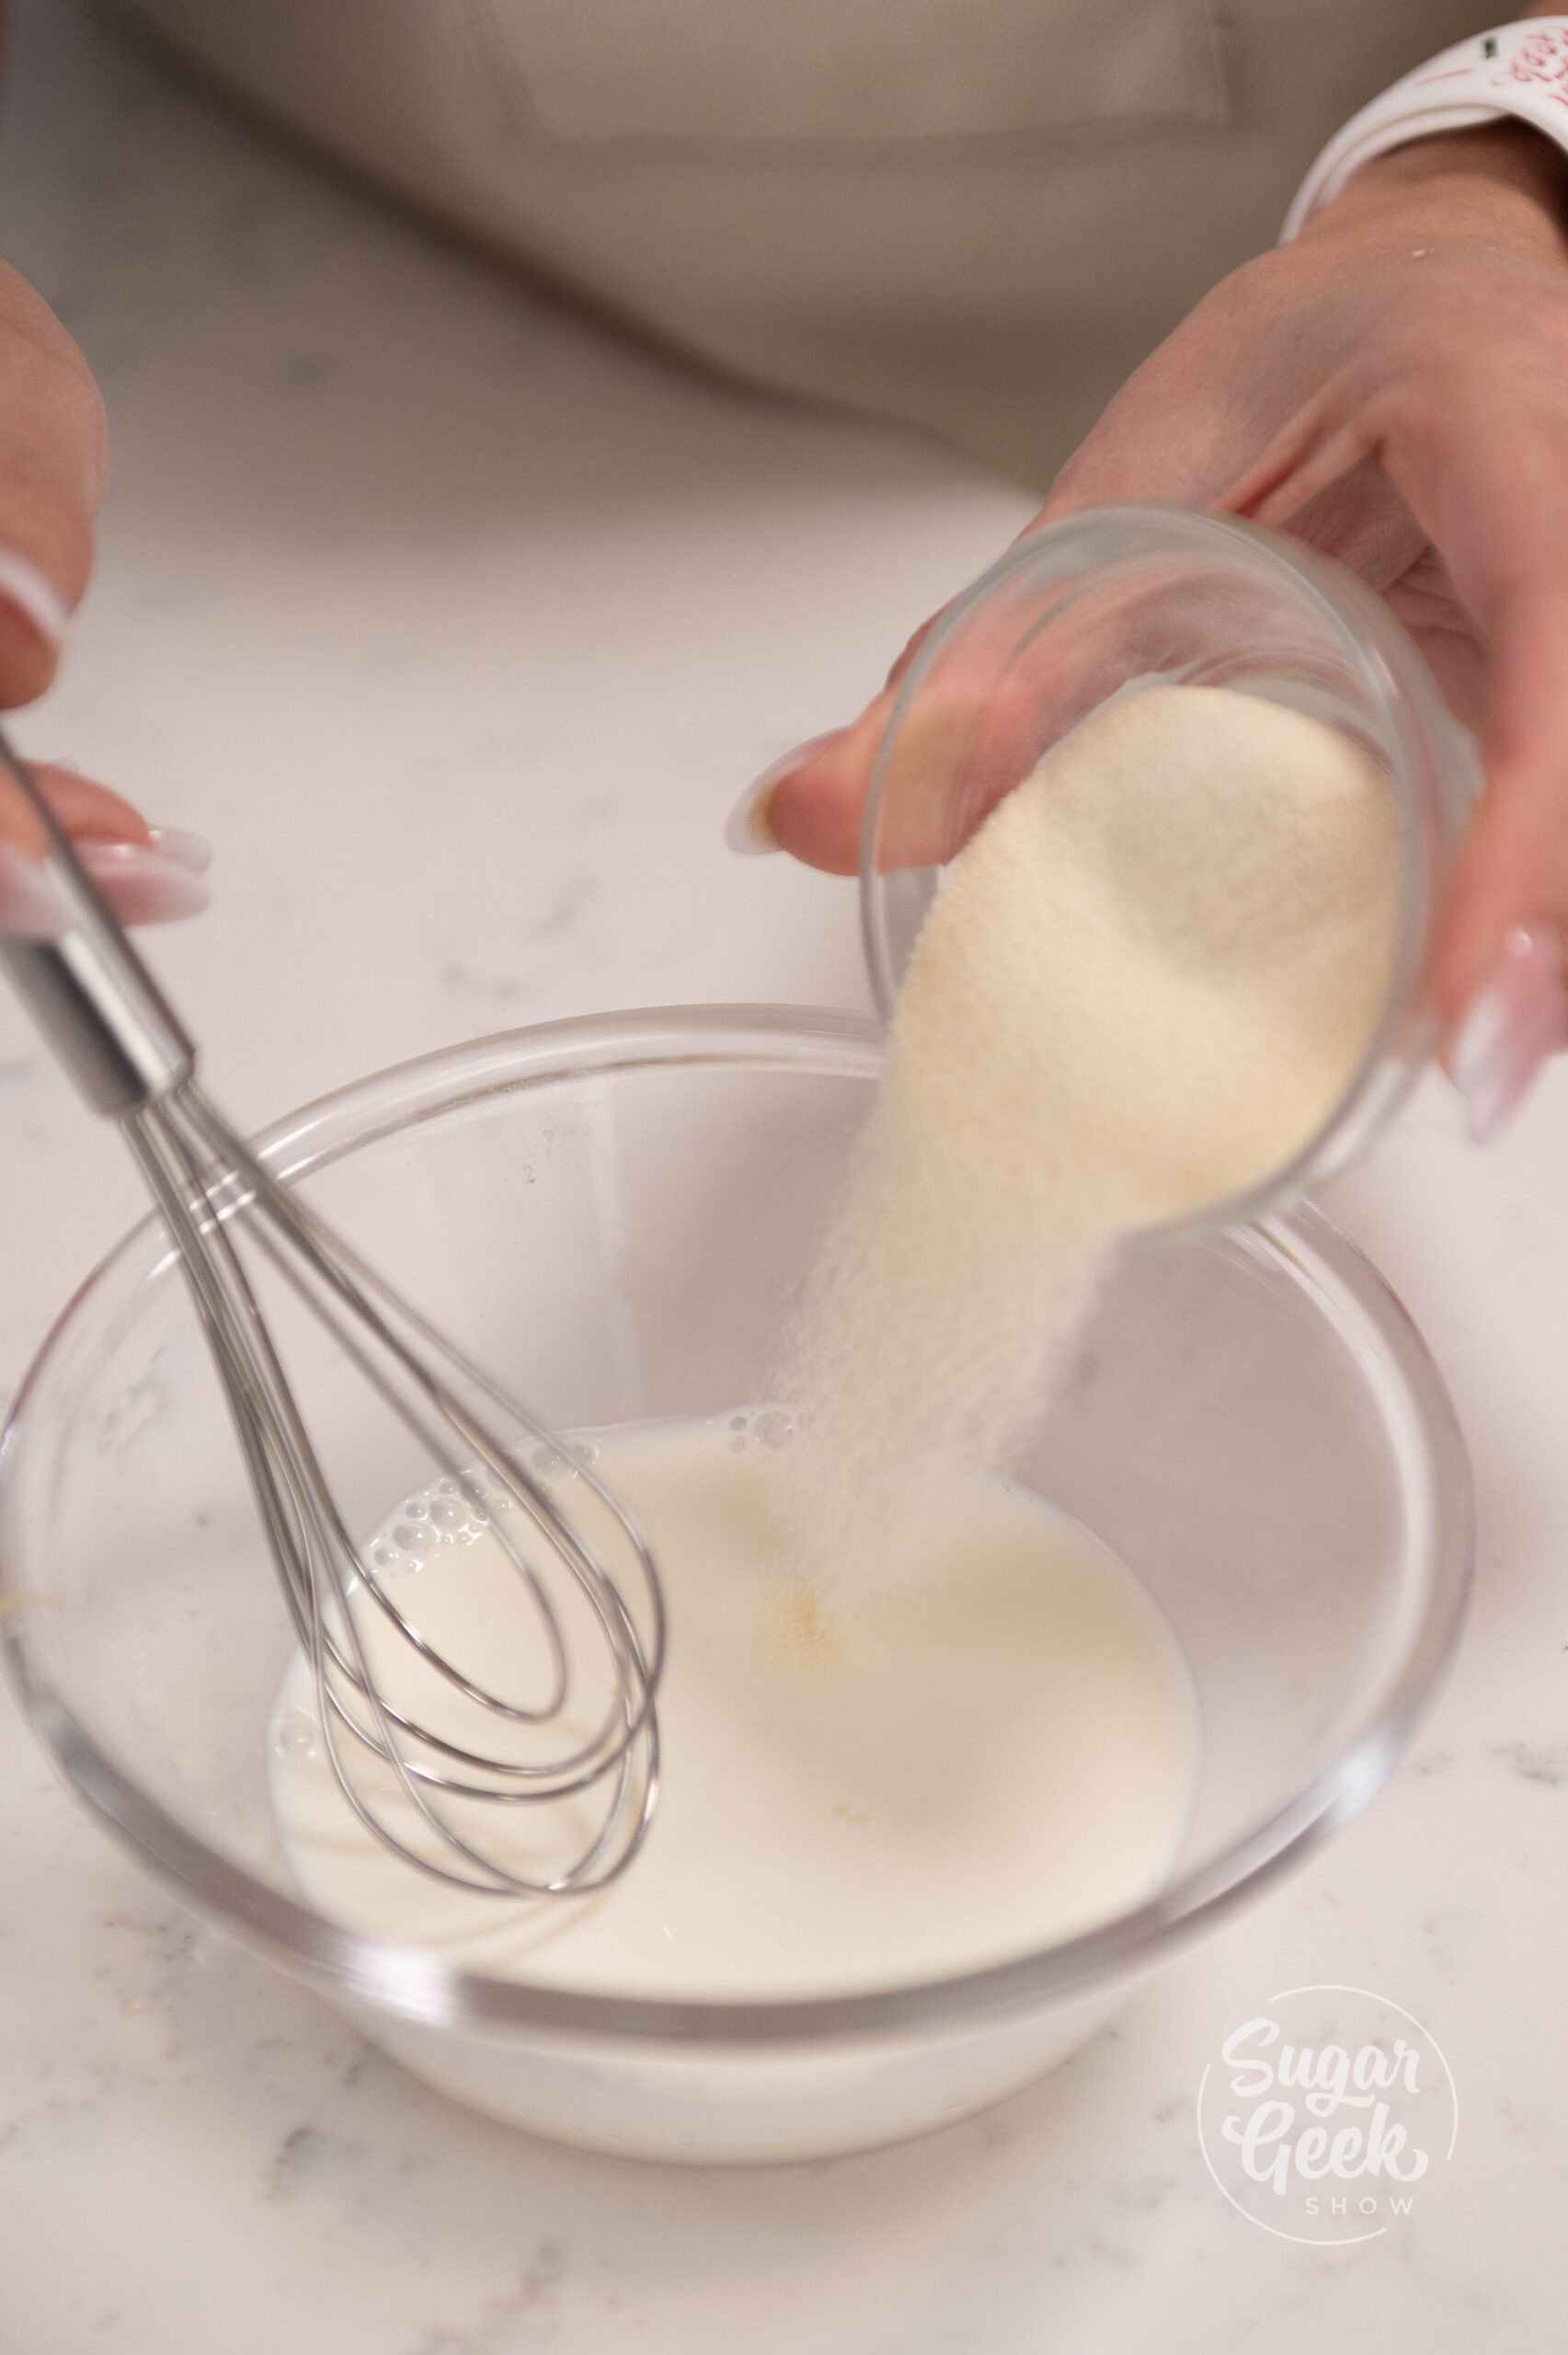
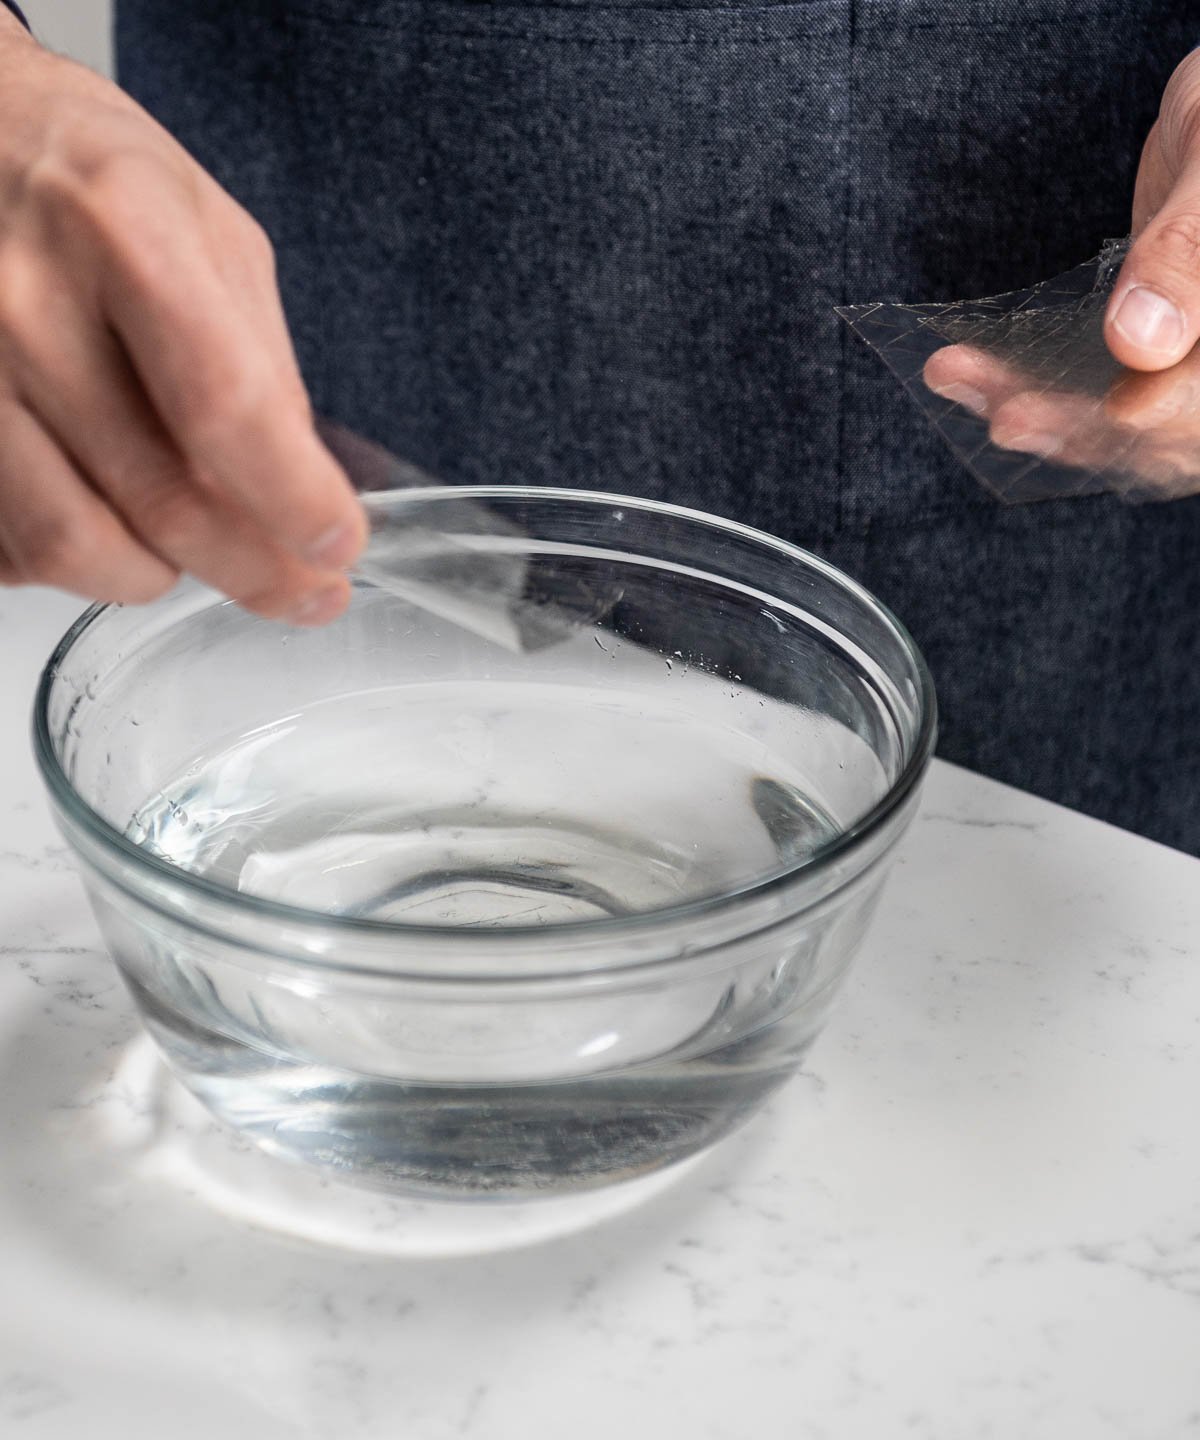
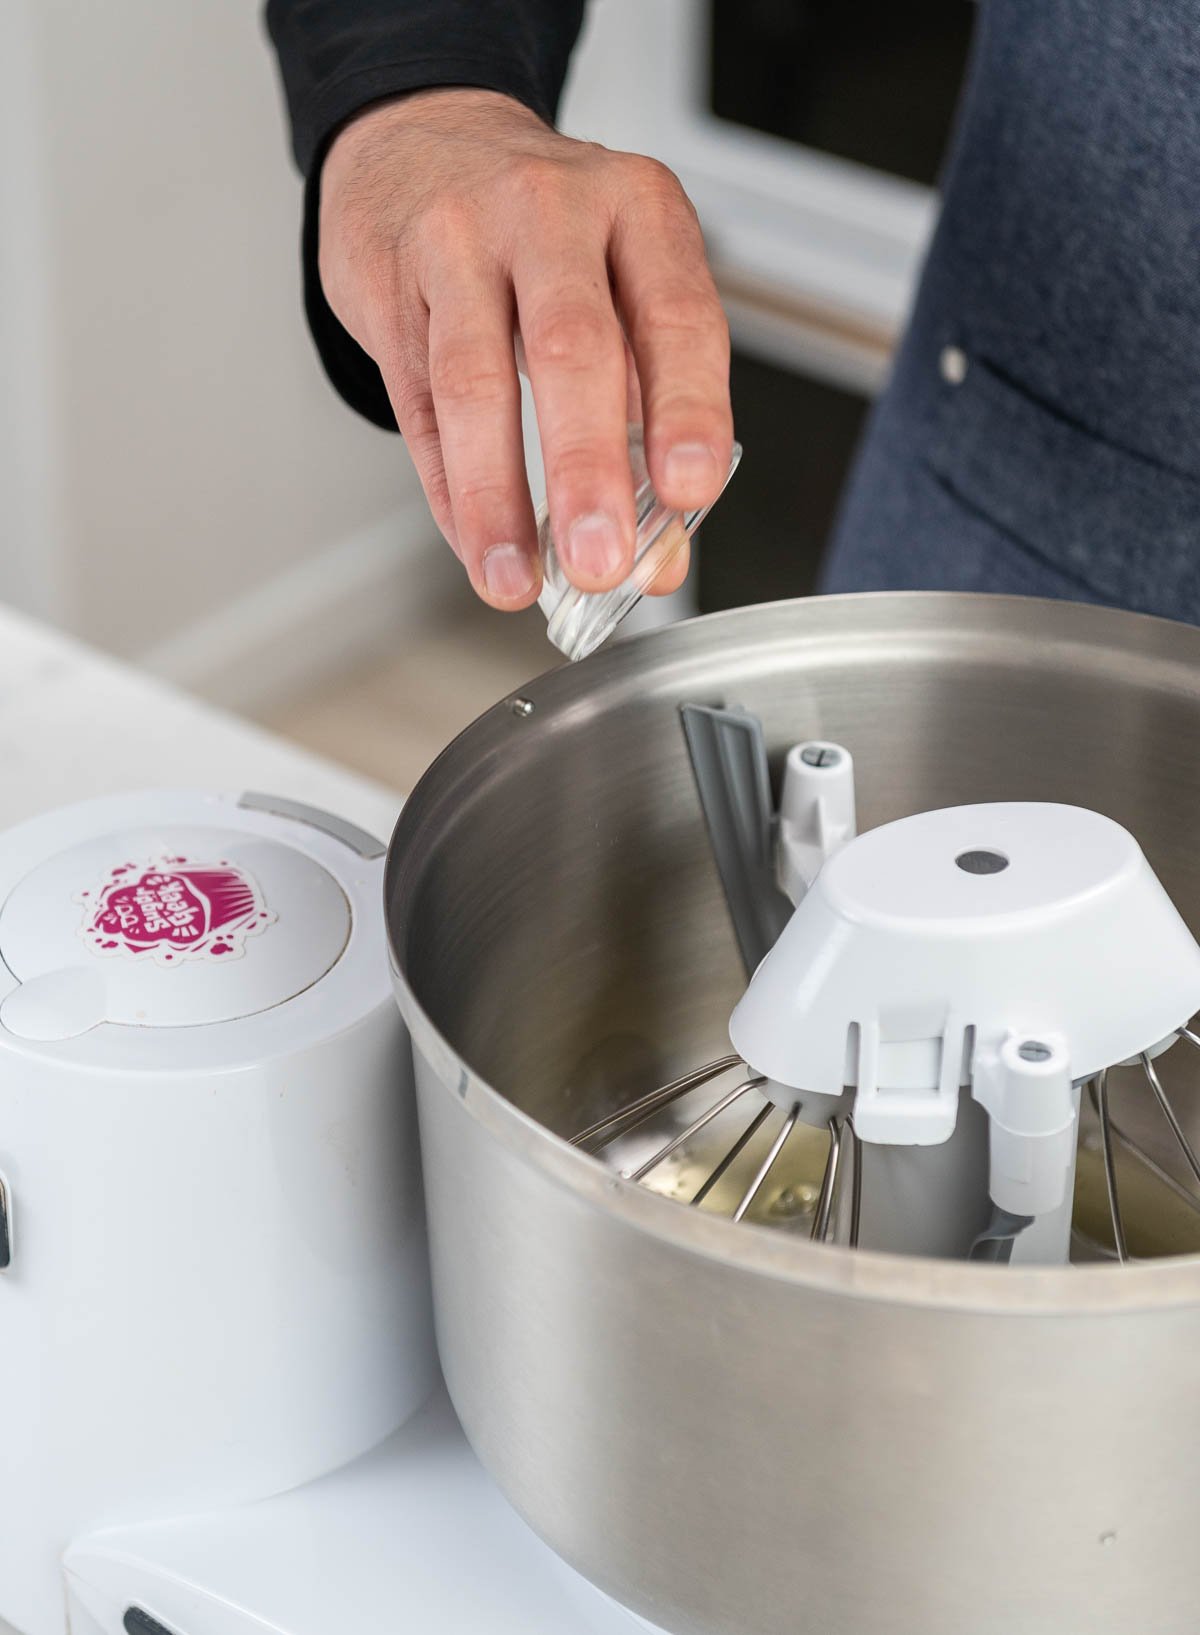
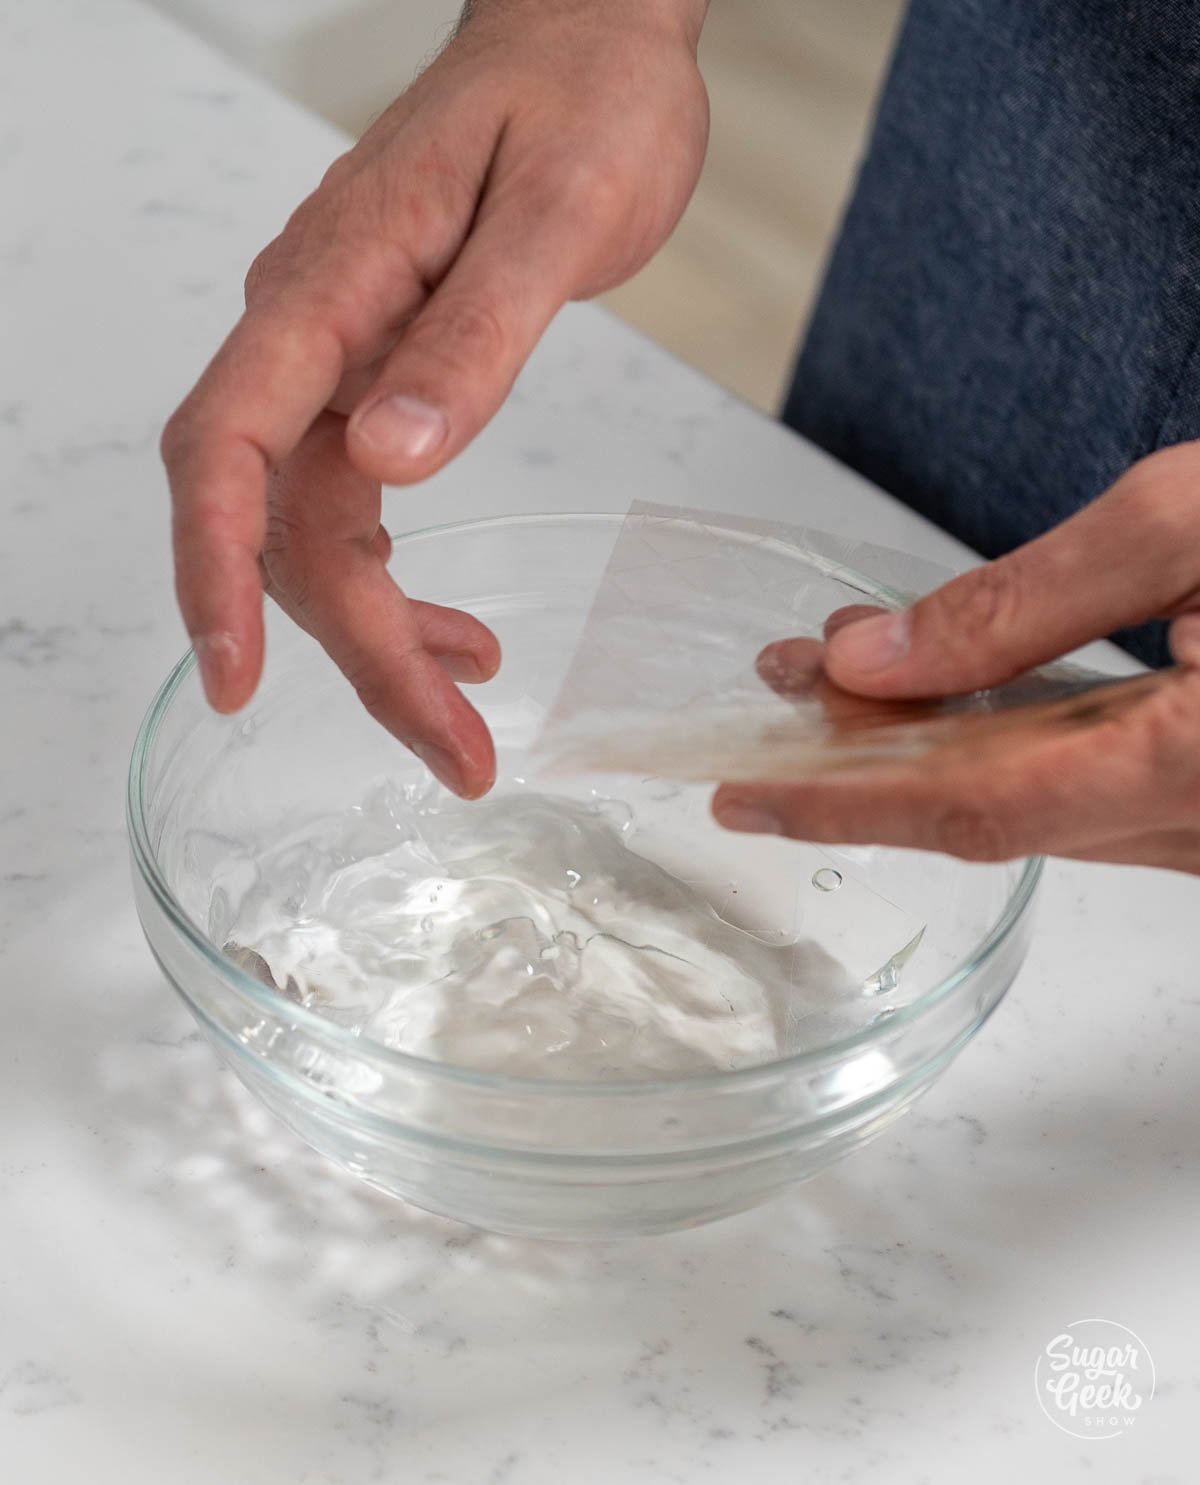
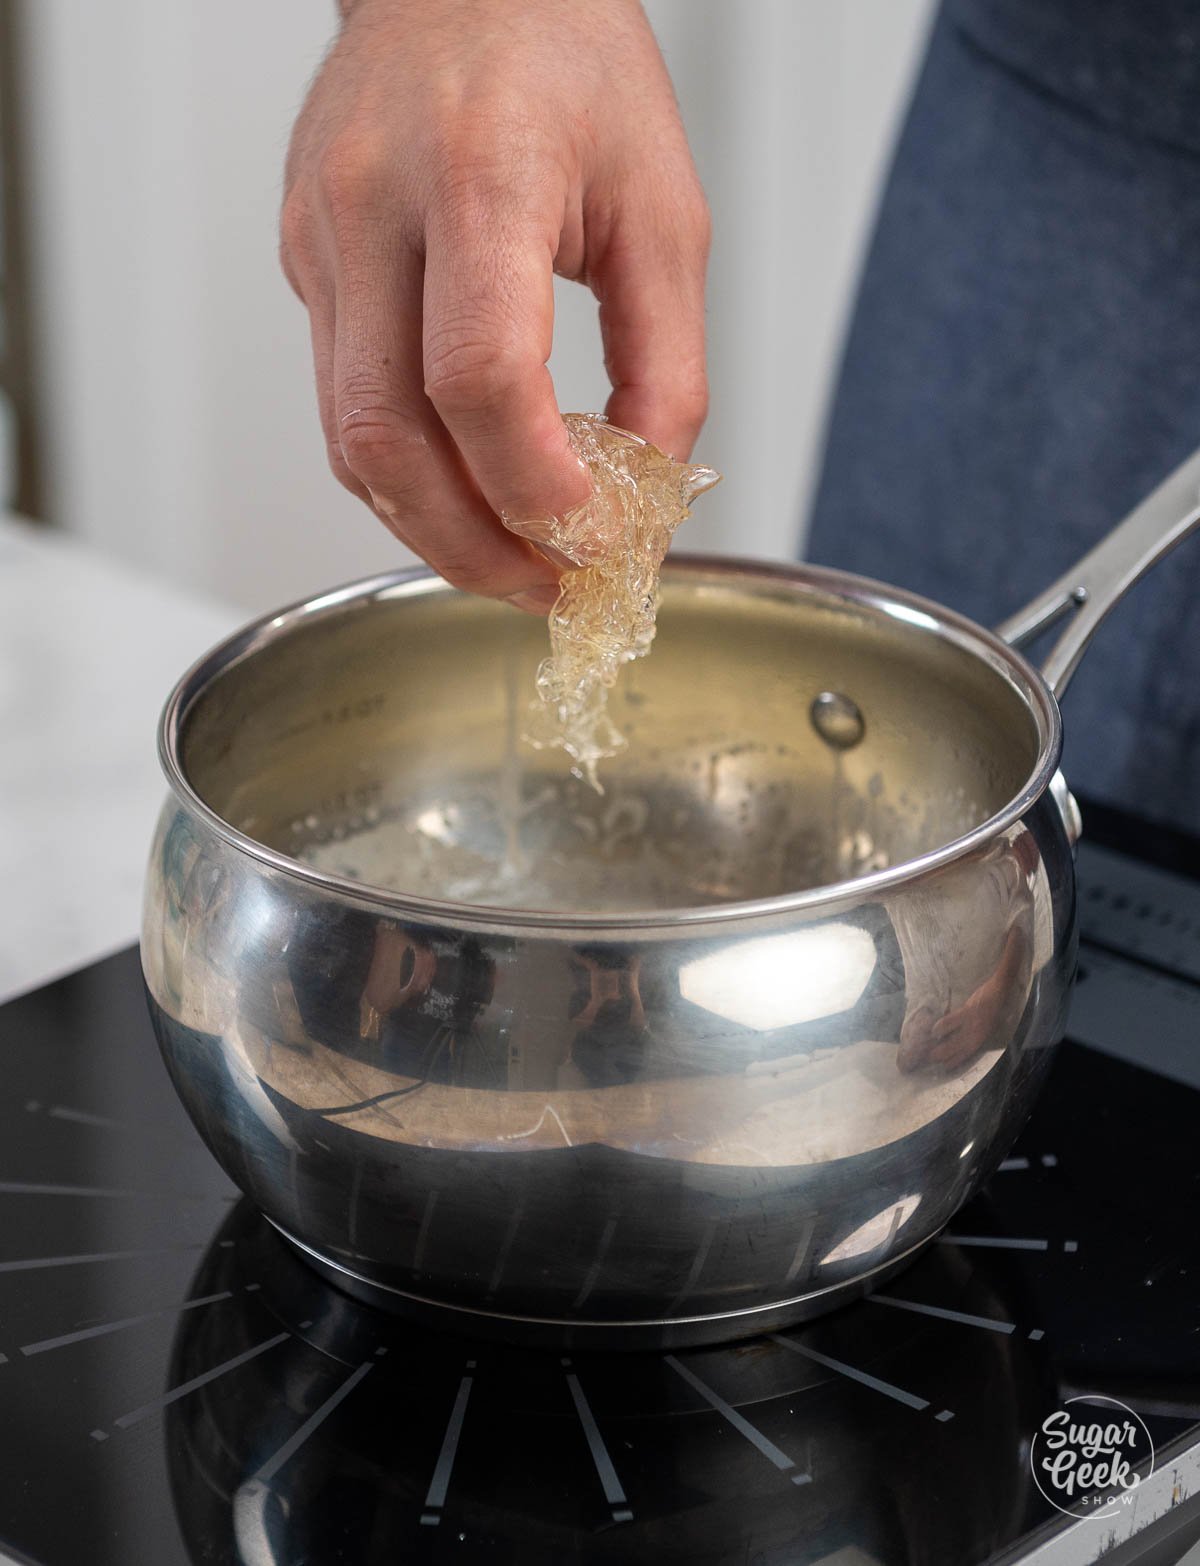
- Soak the gelatin in cold water (blooming). Let it absorb for 1-2 minutes.

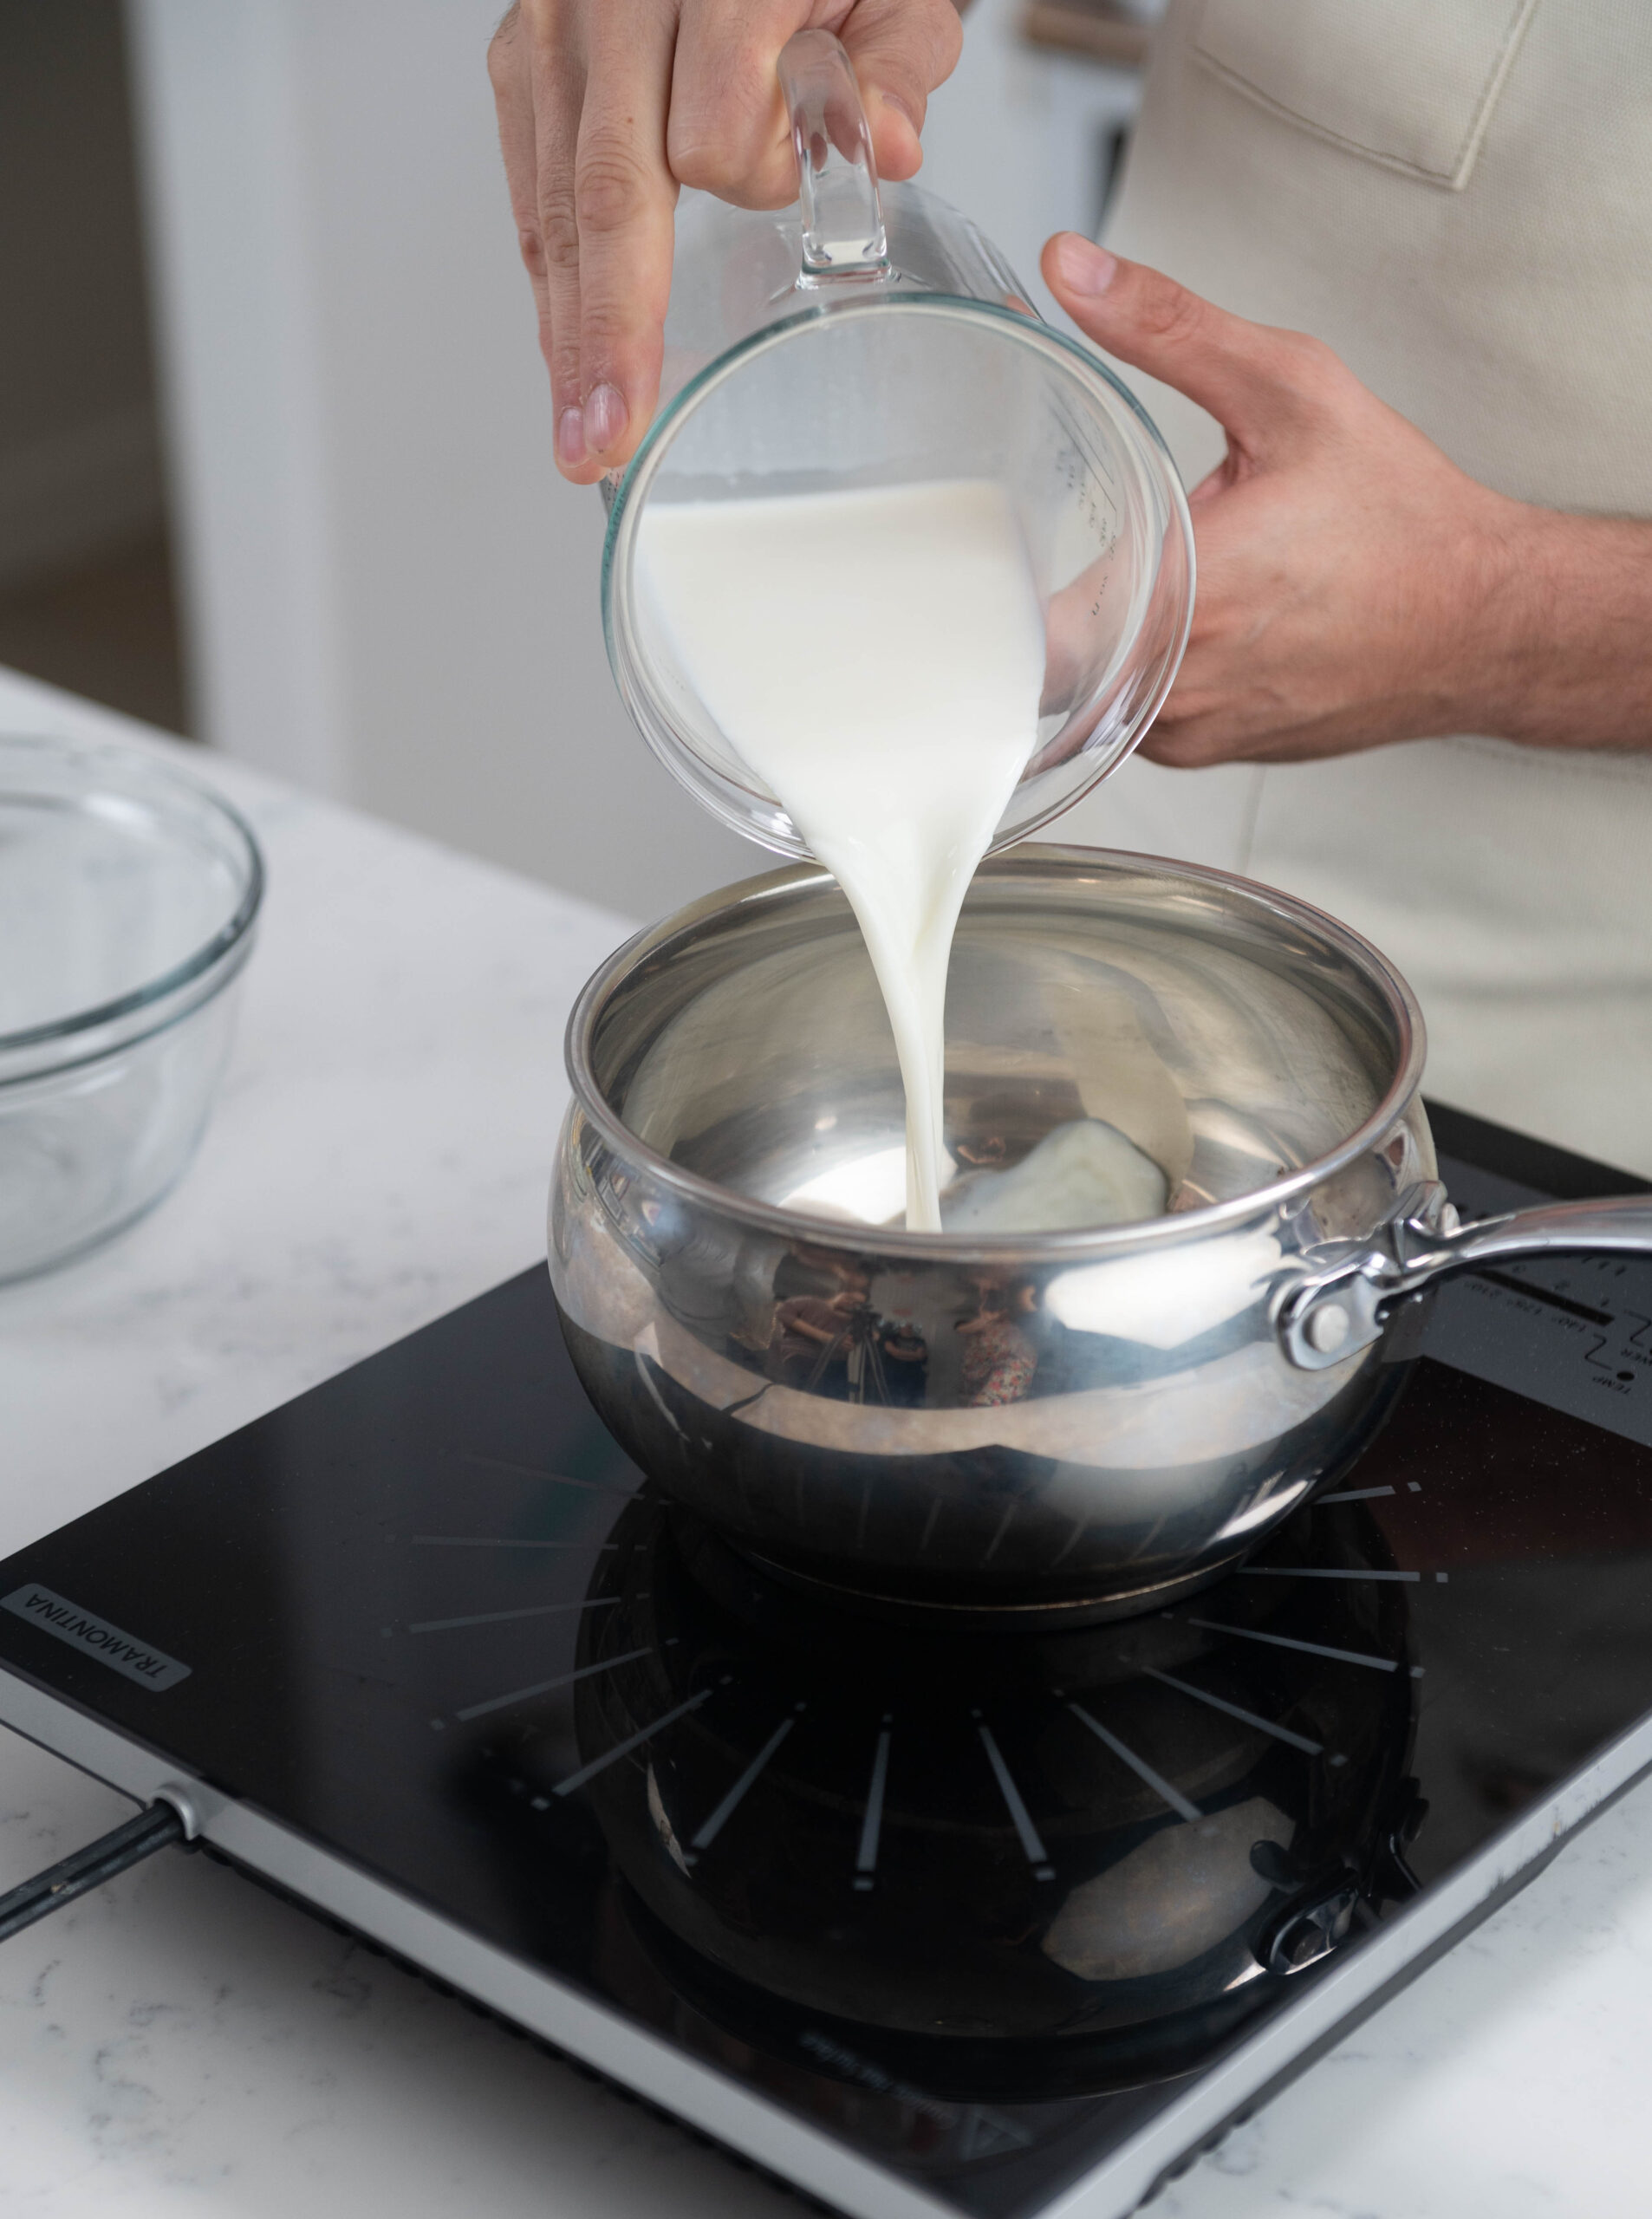
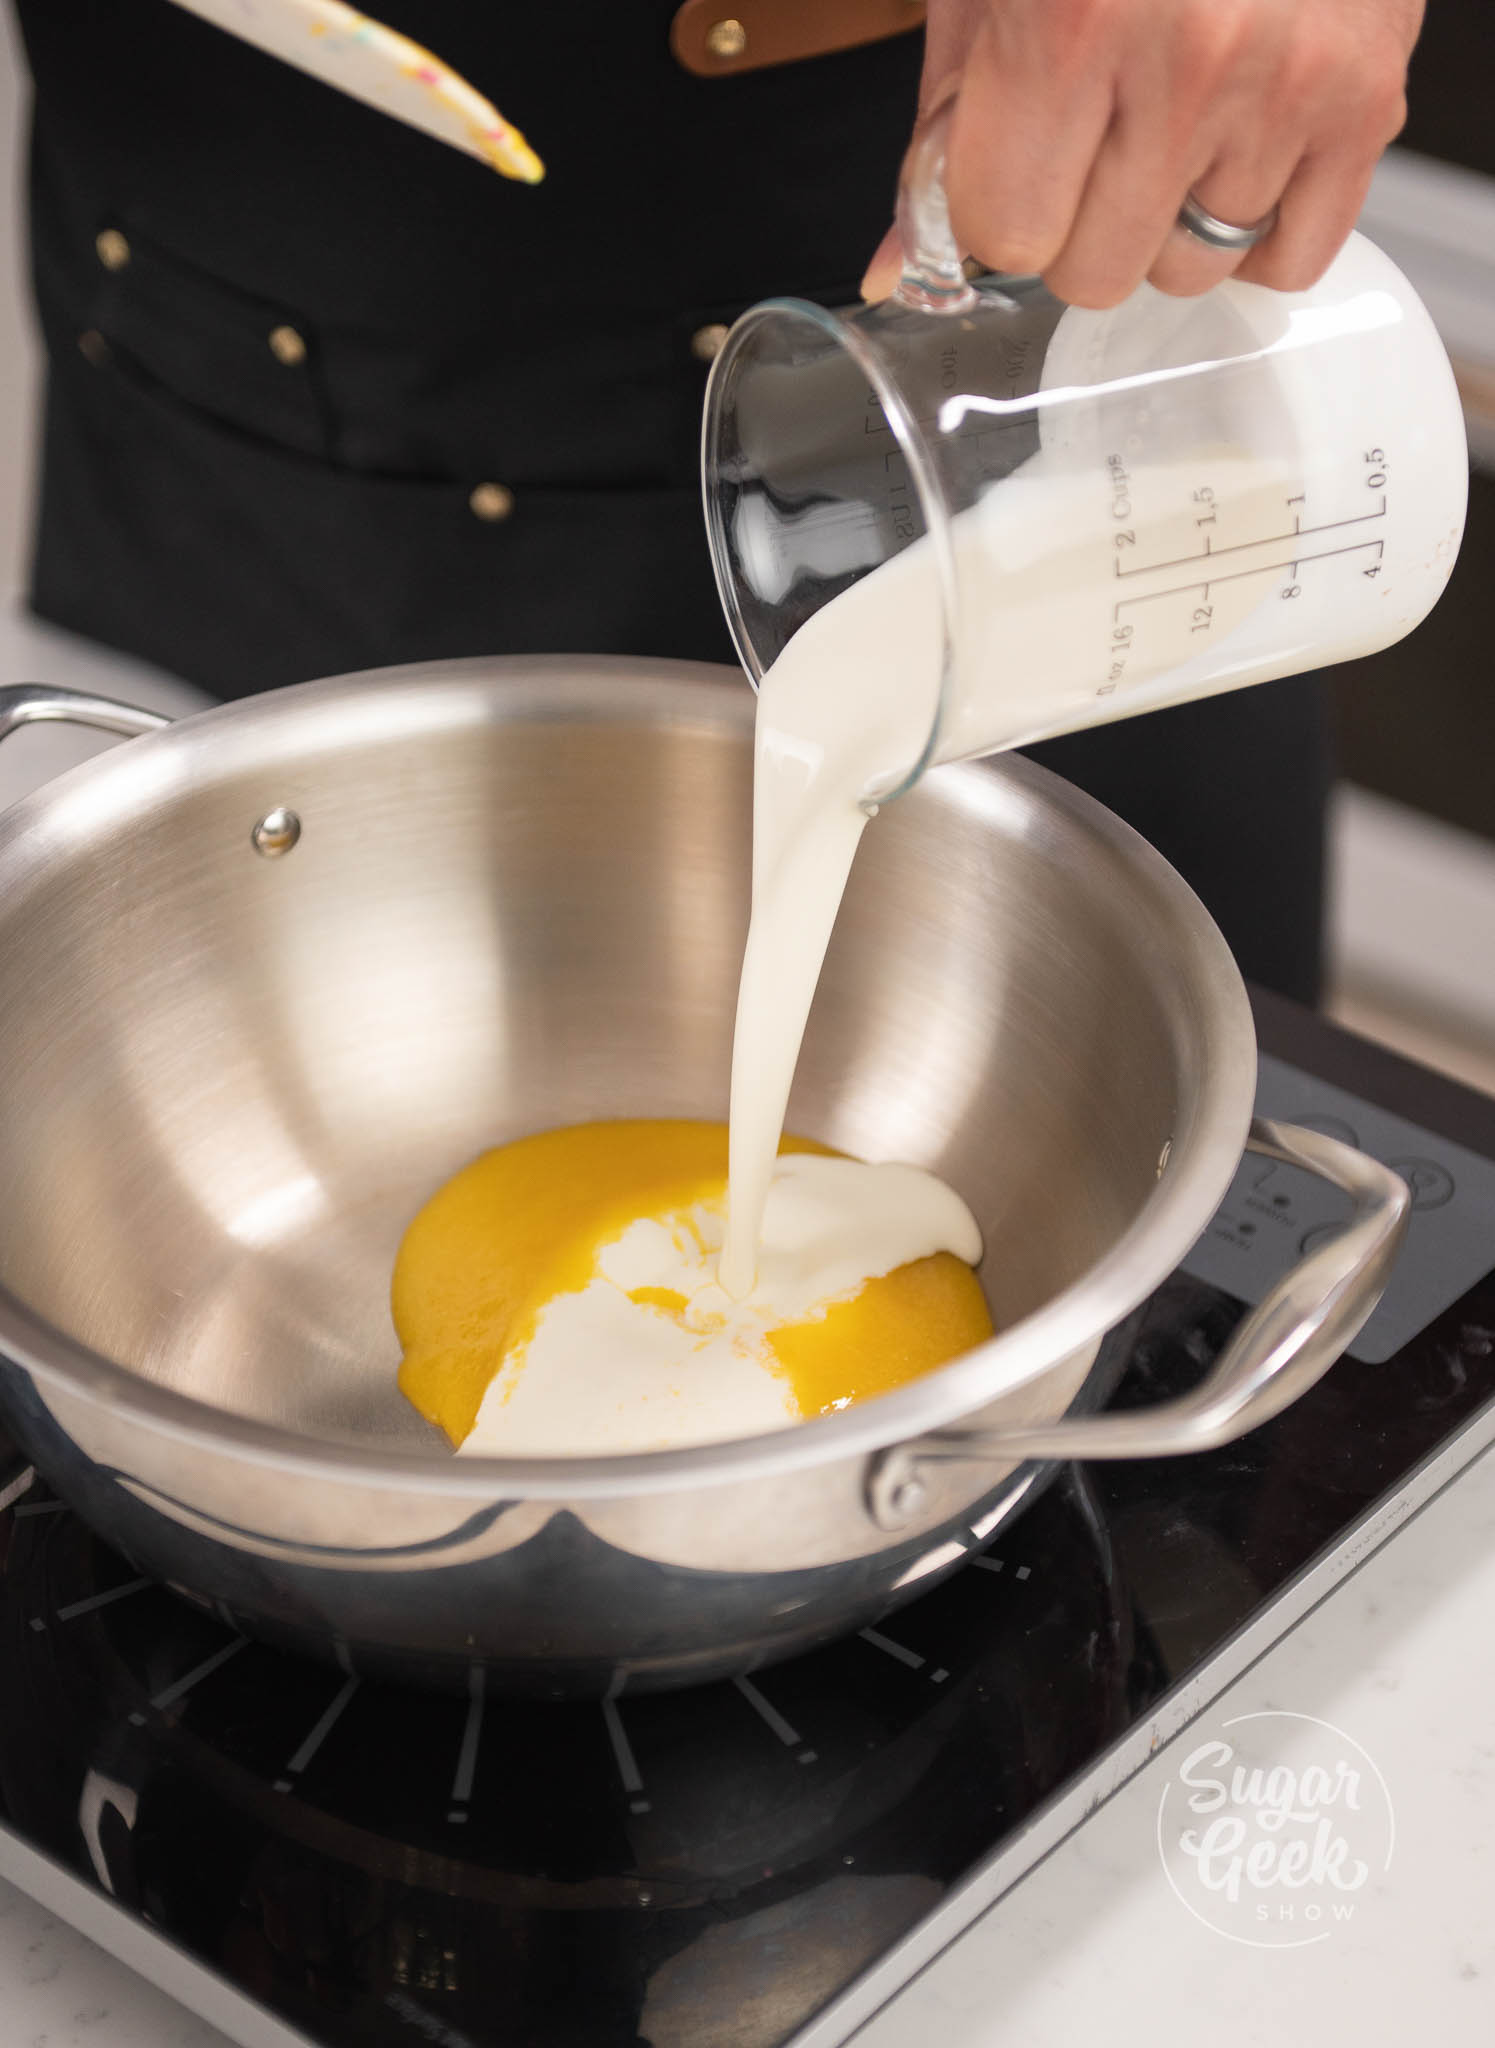
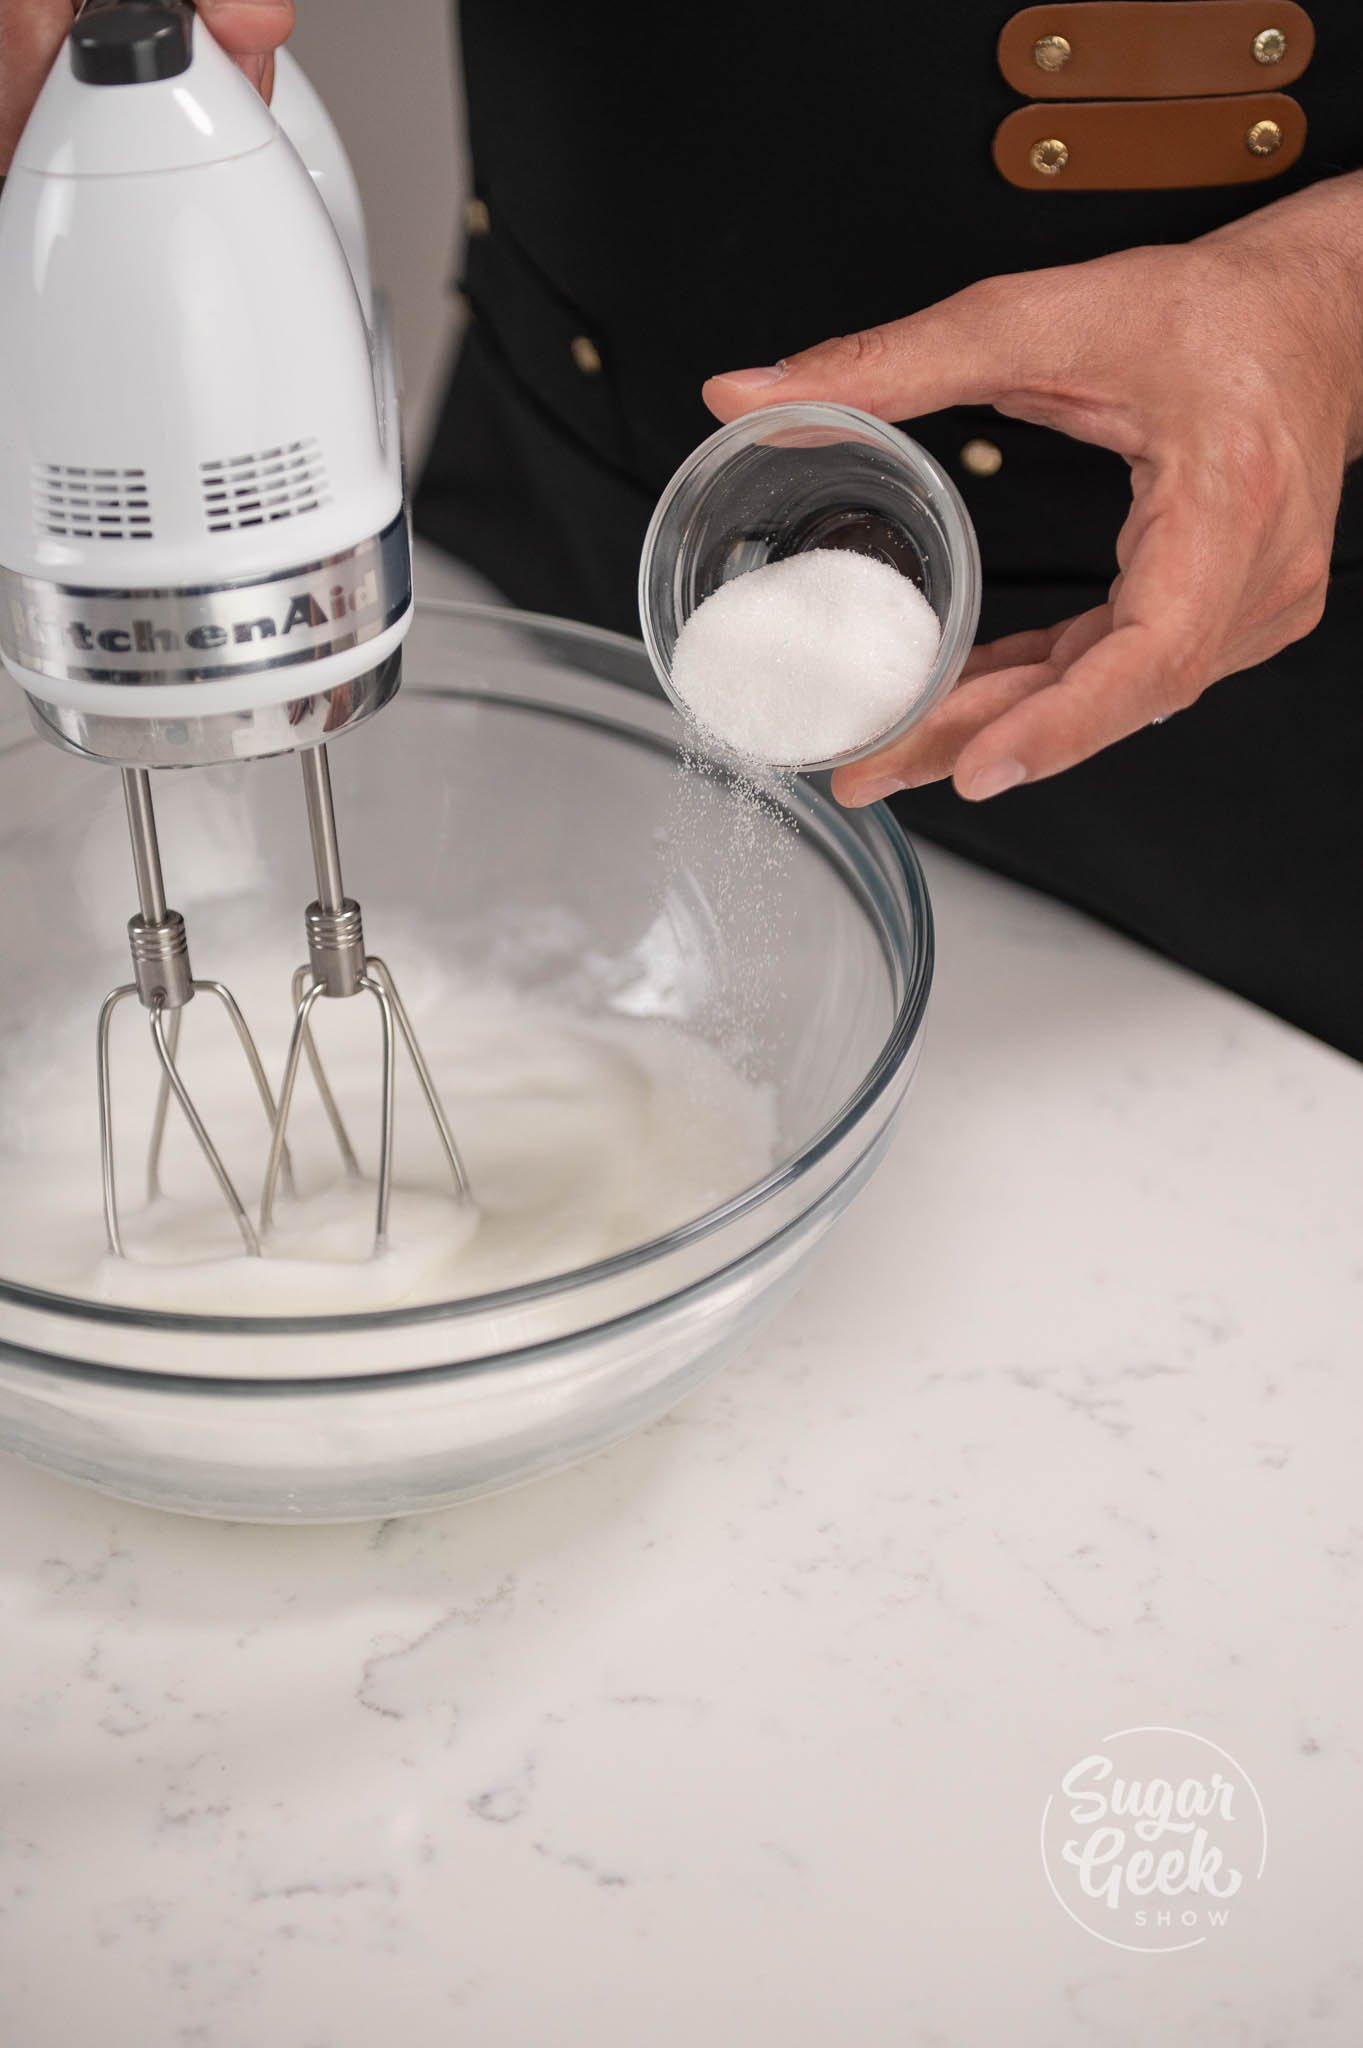
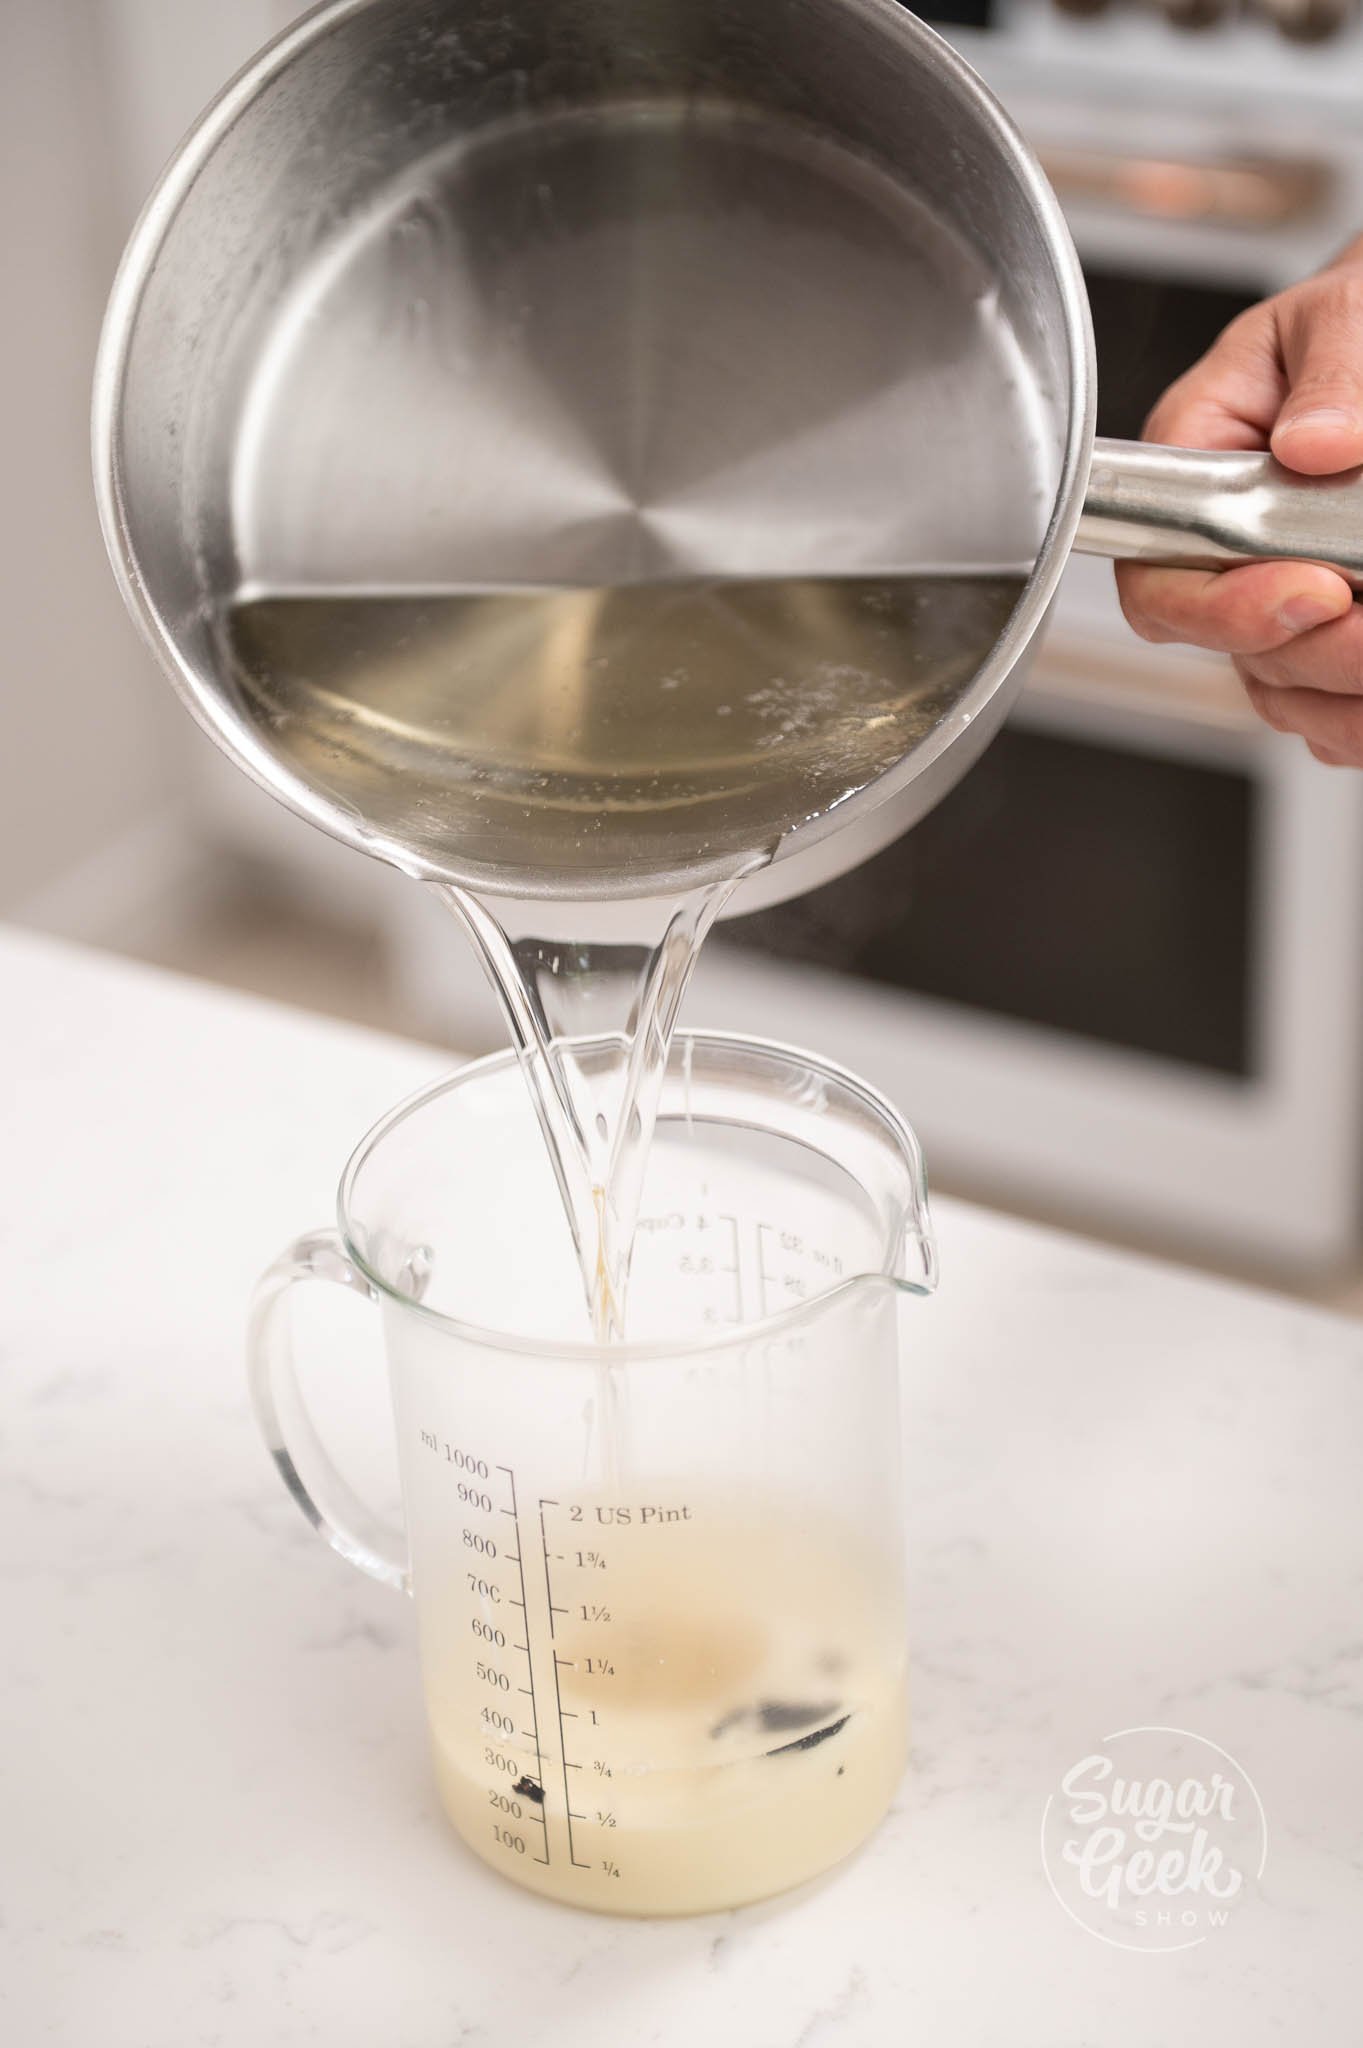
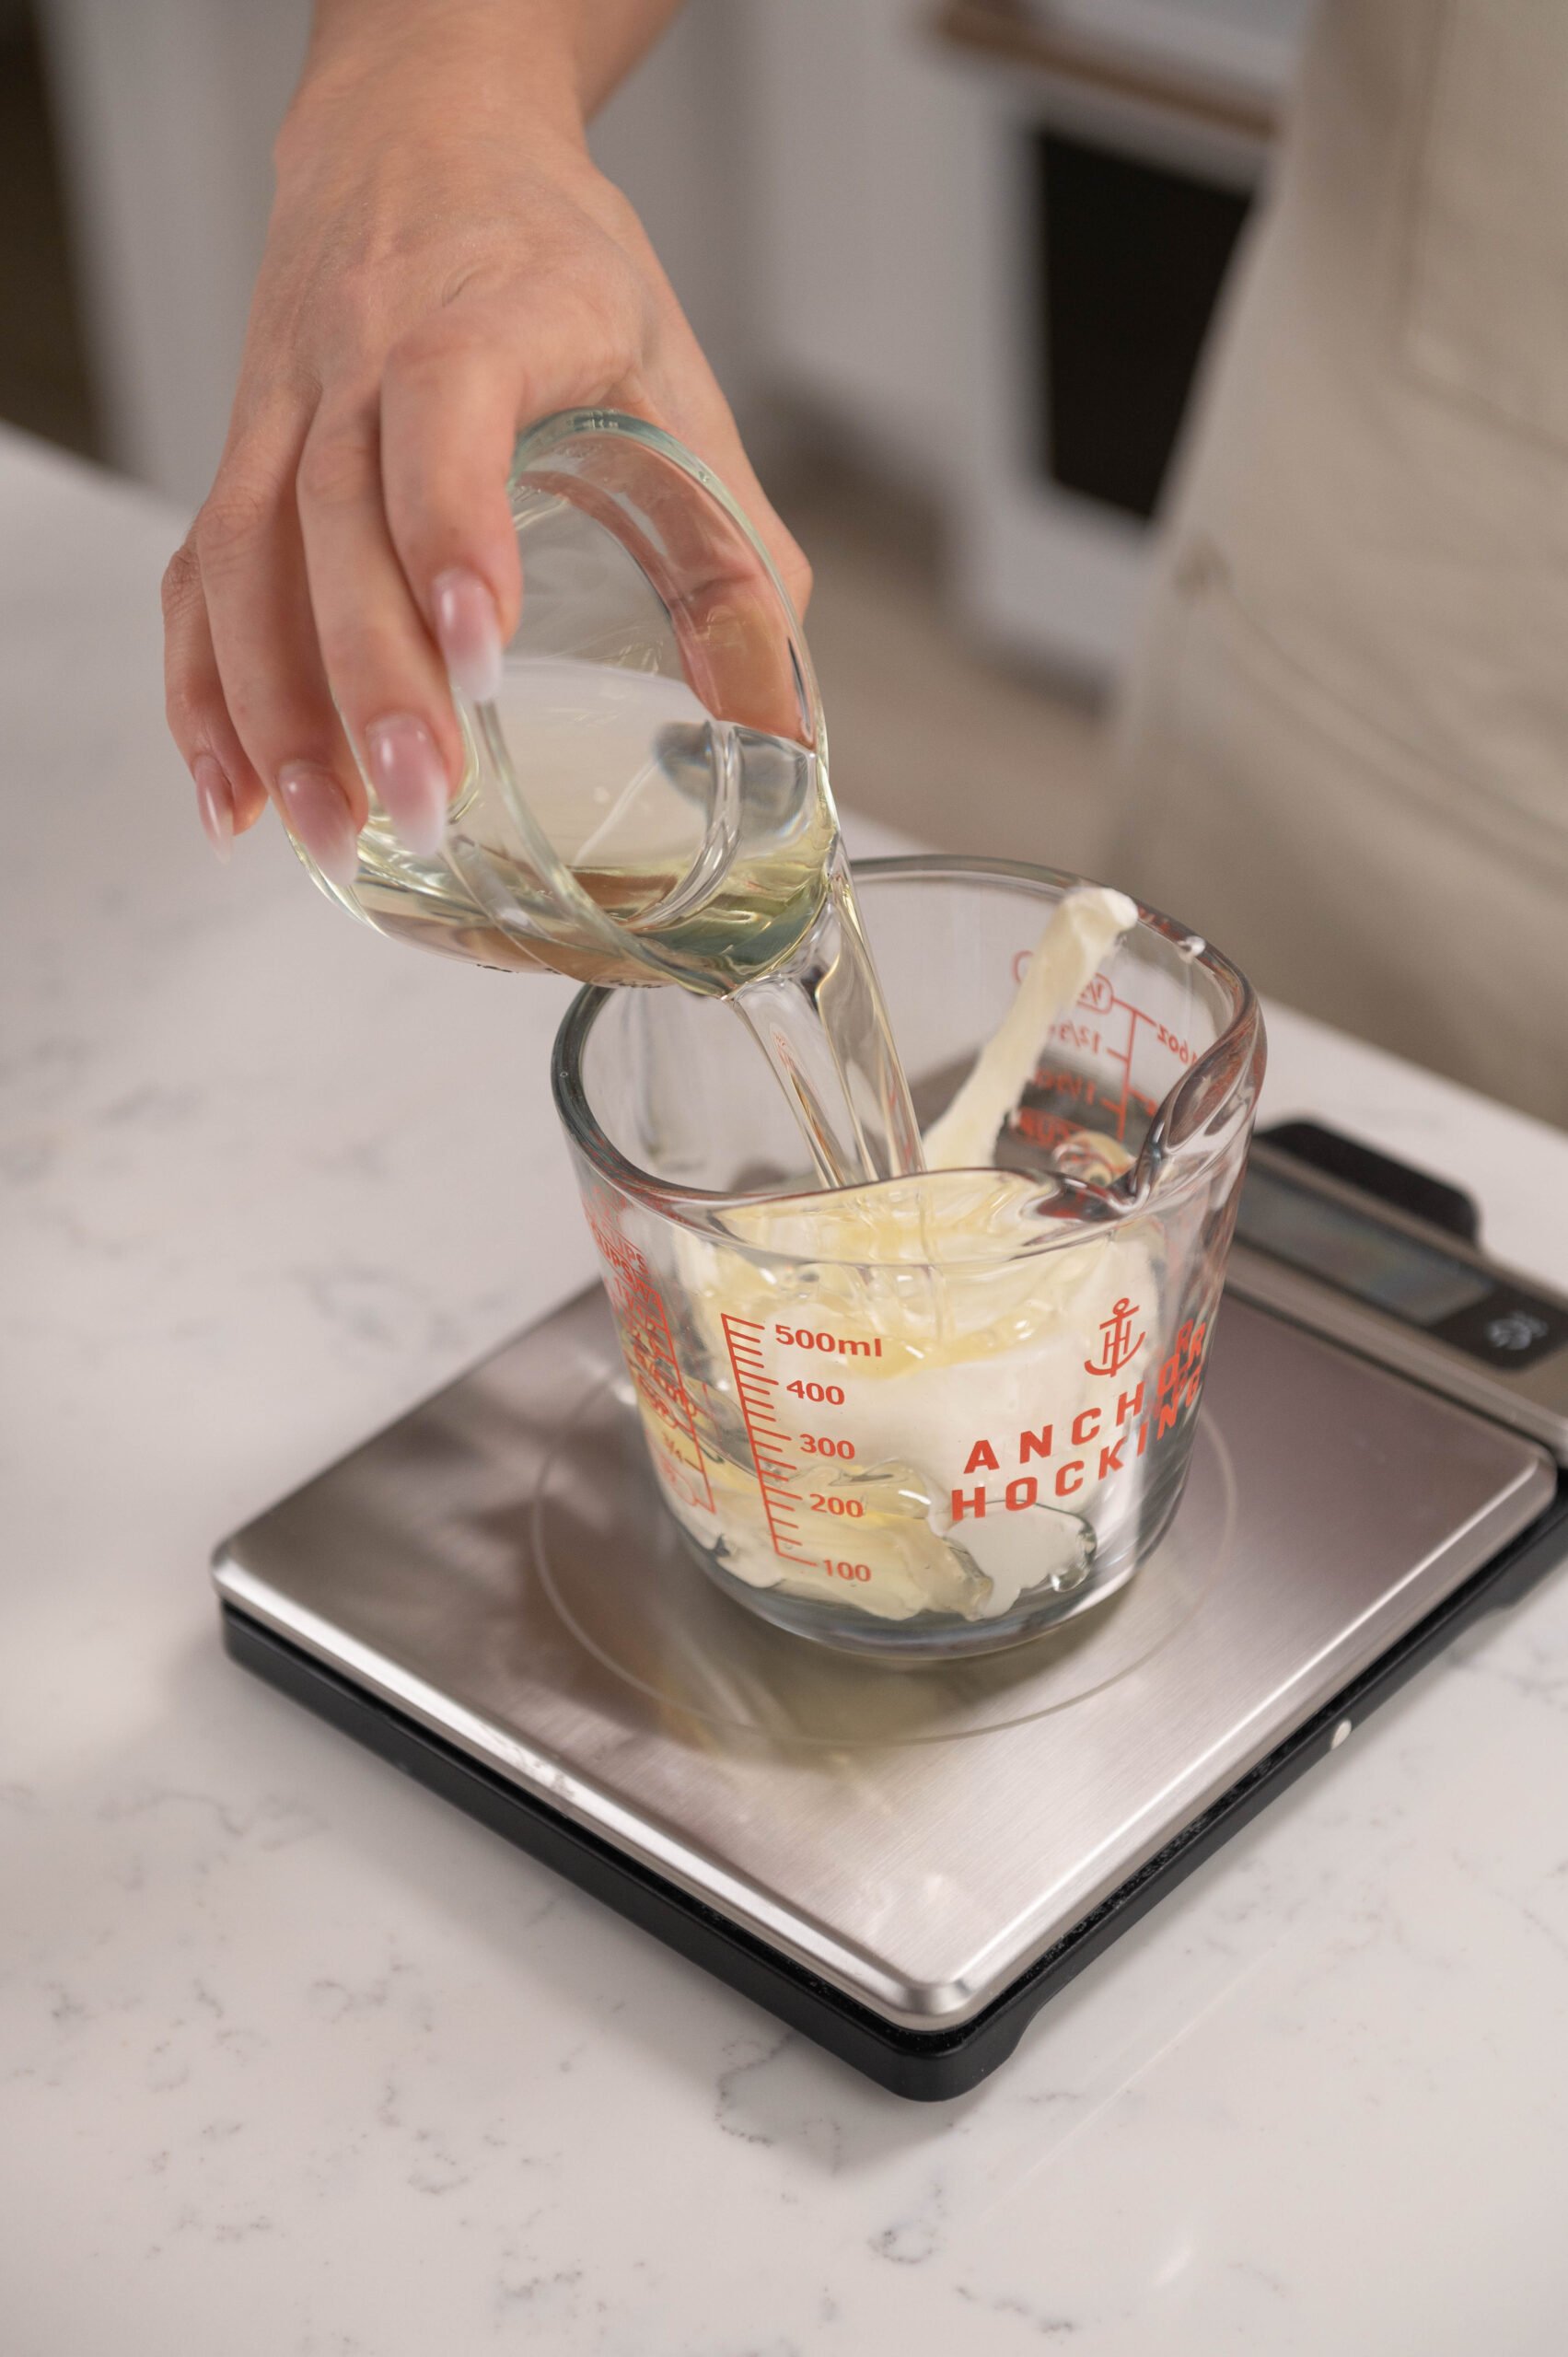
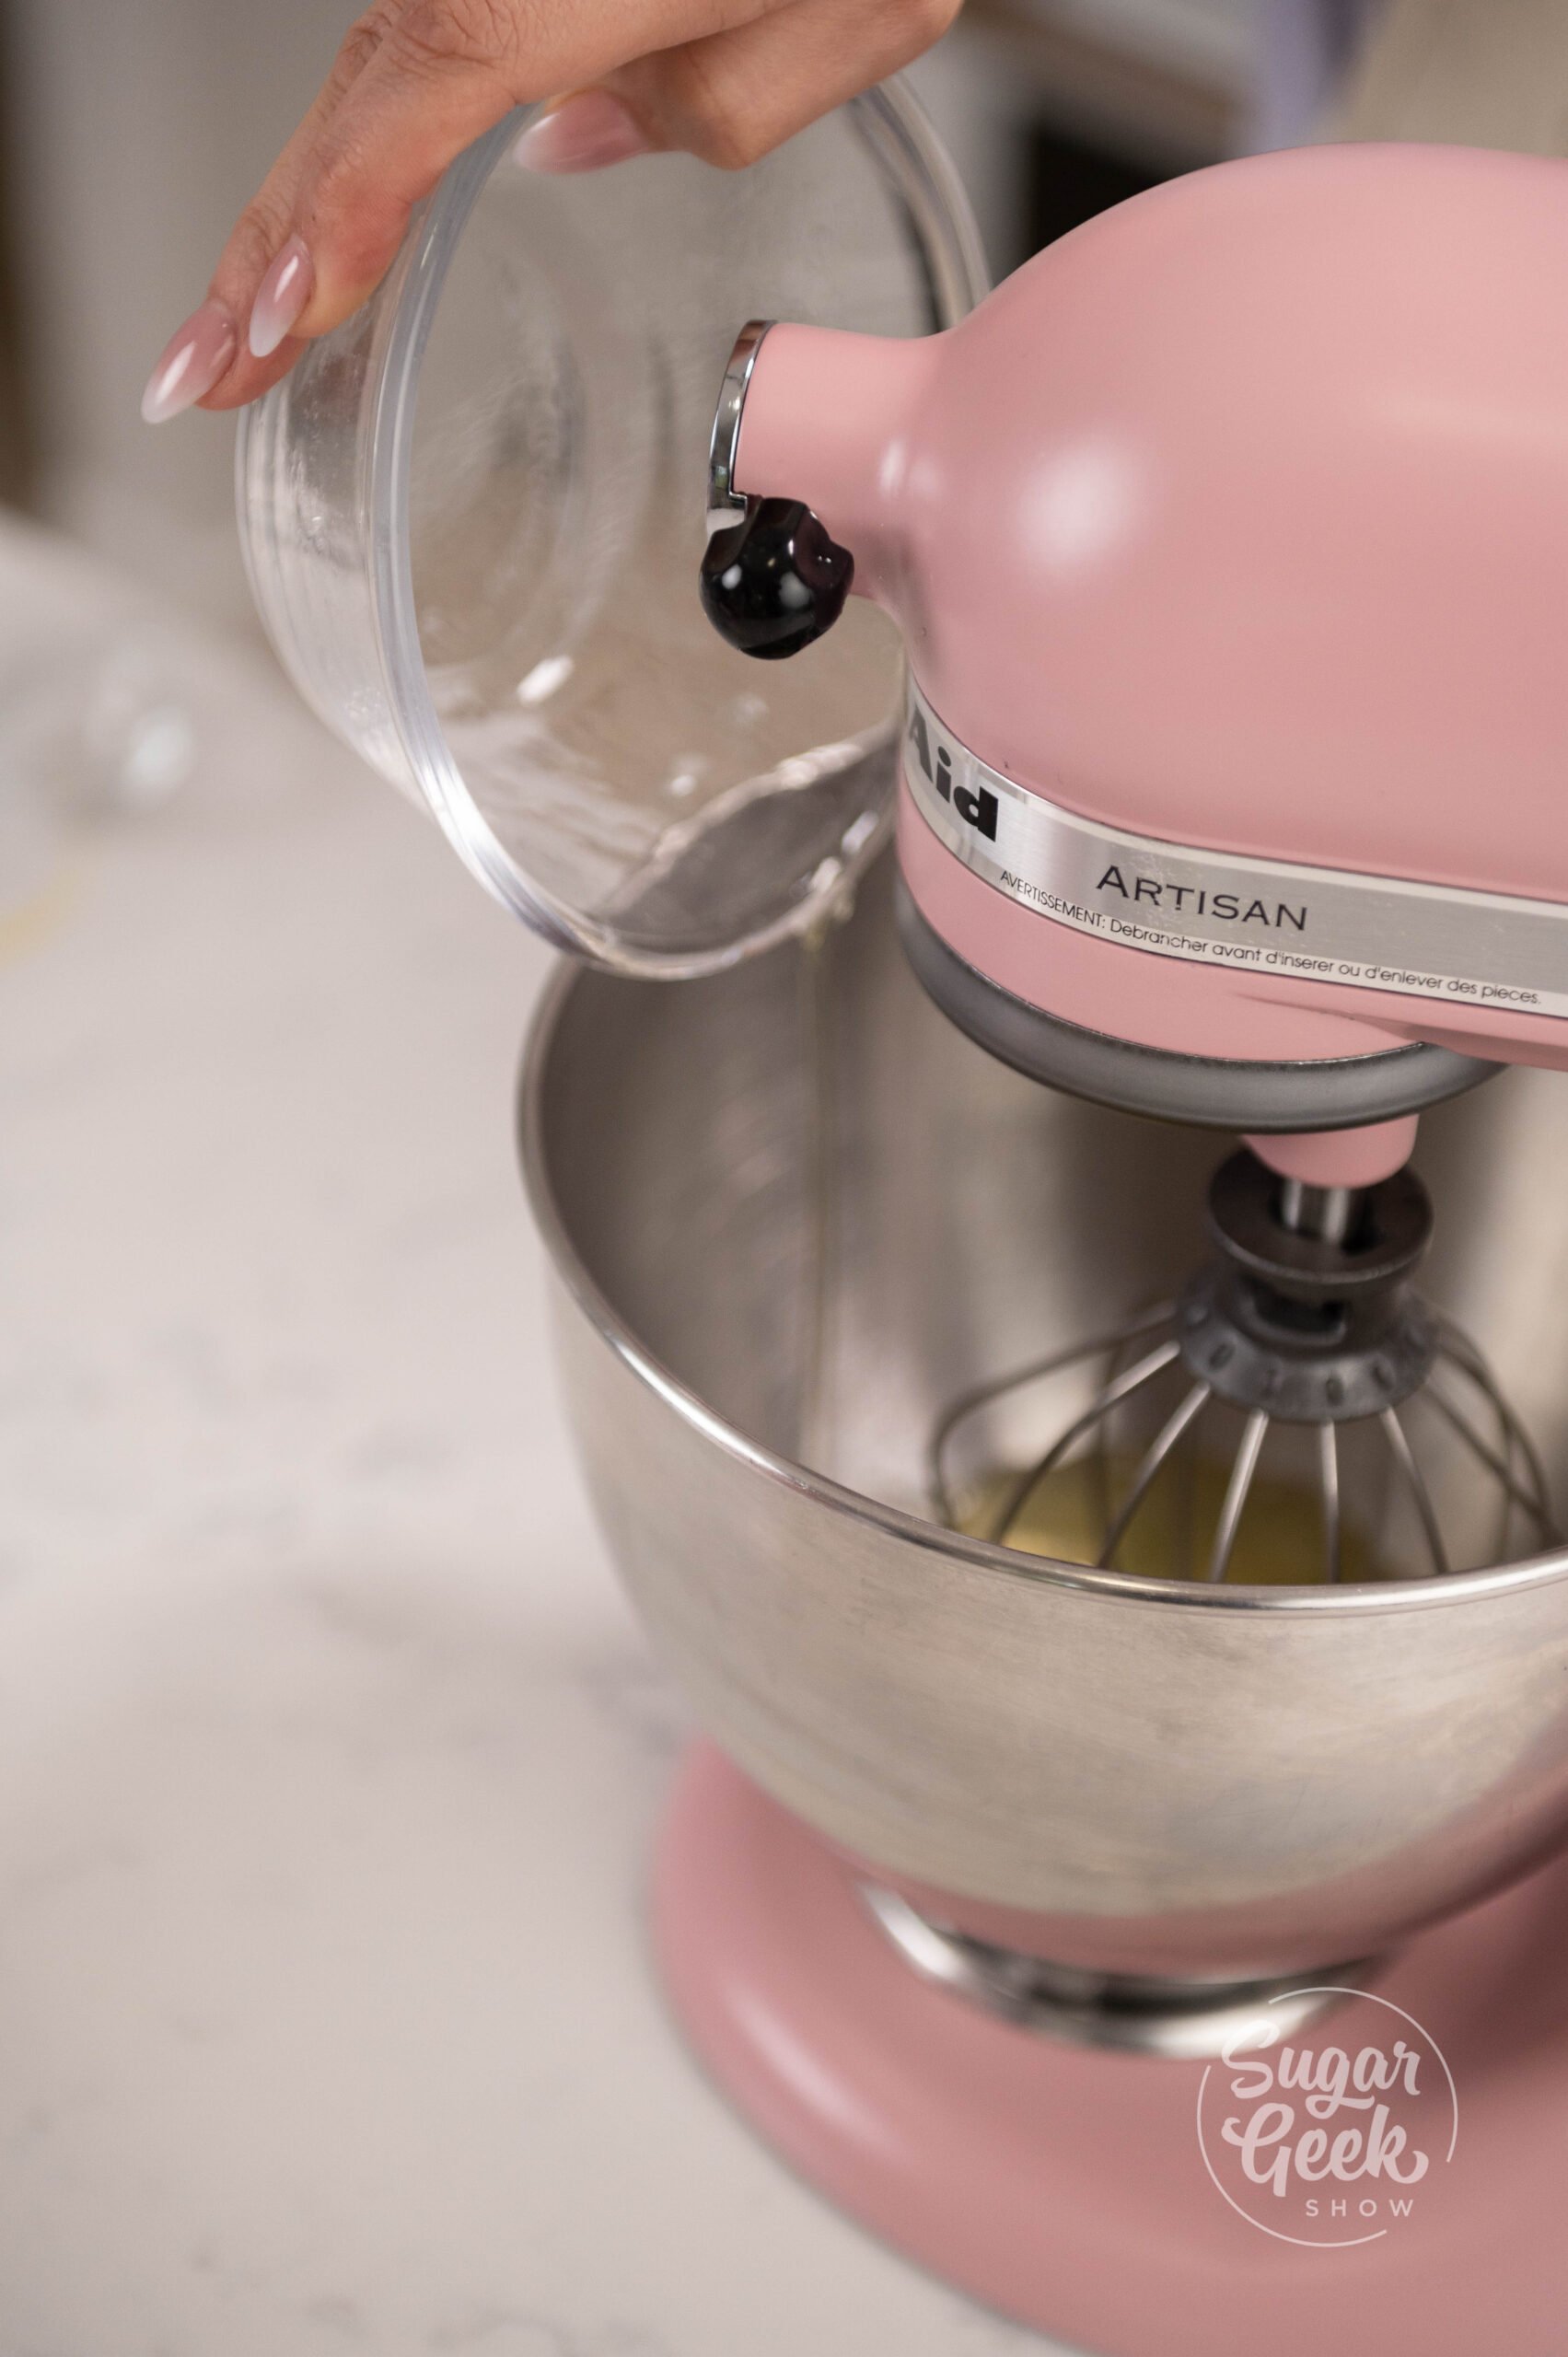
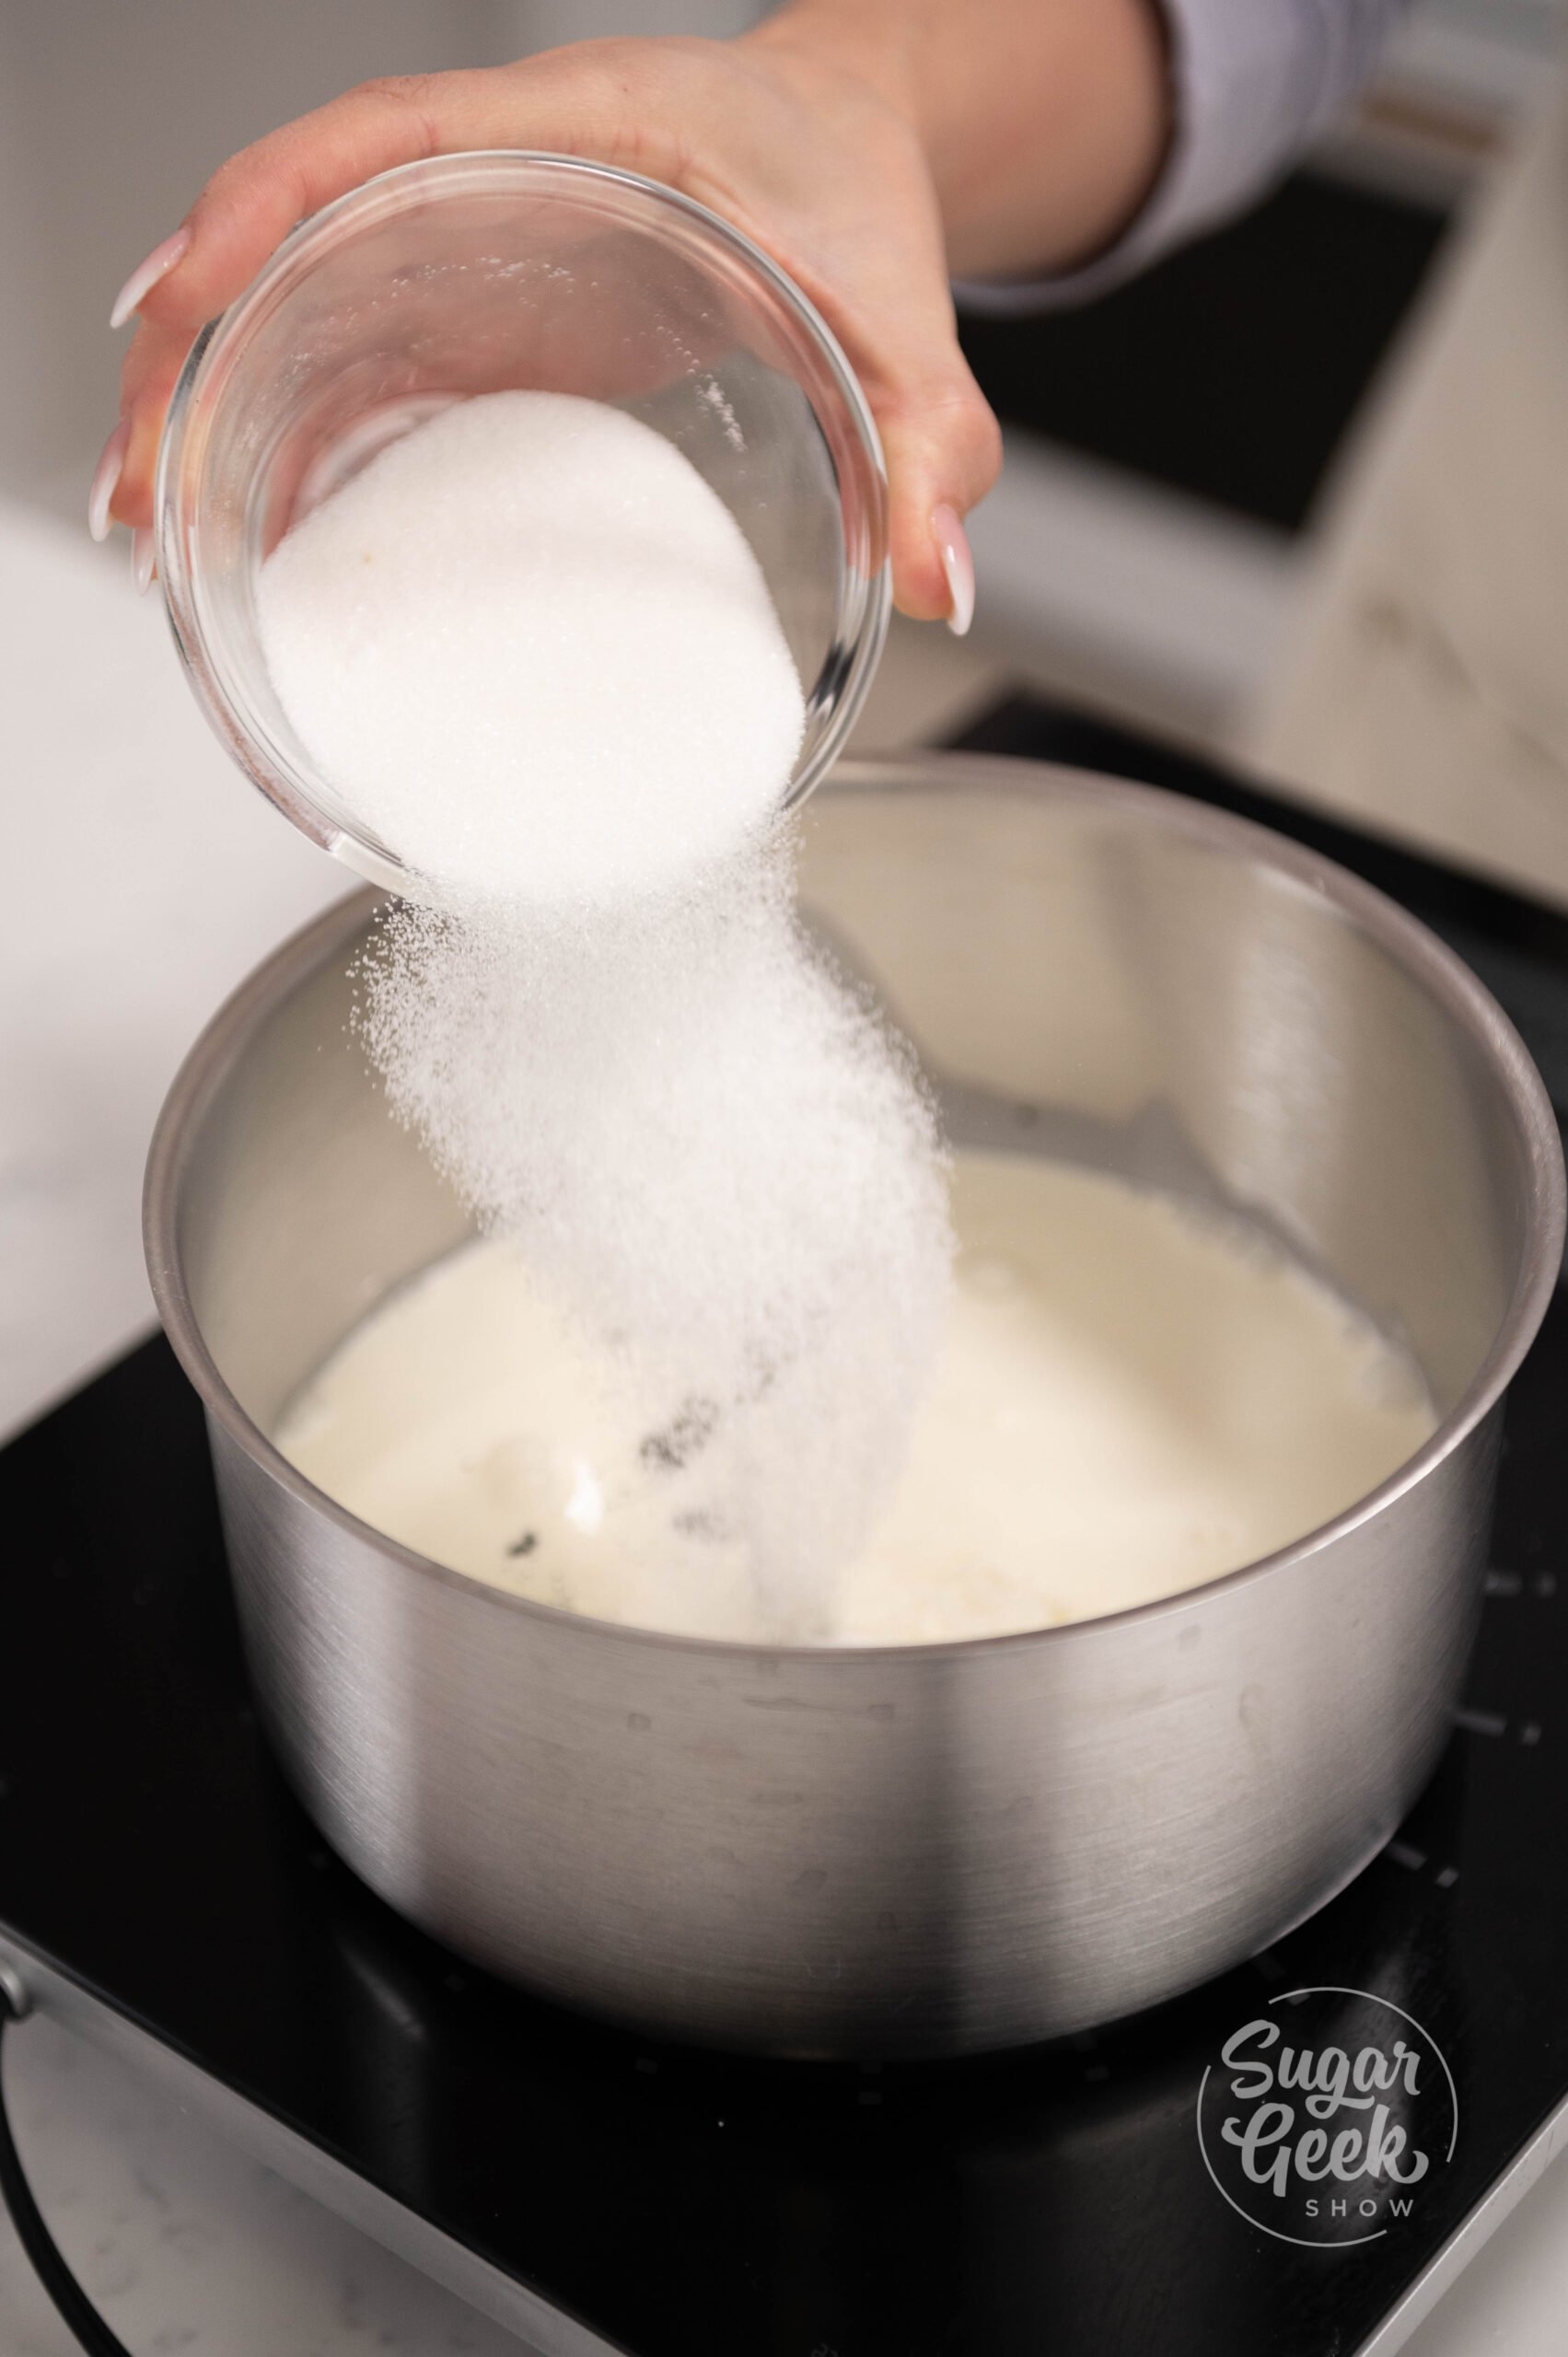
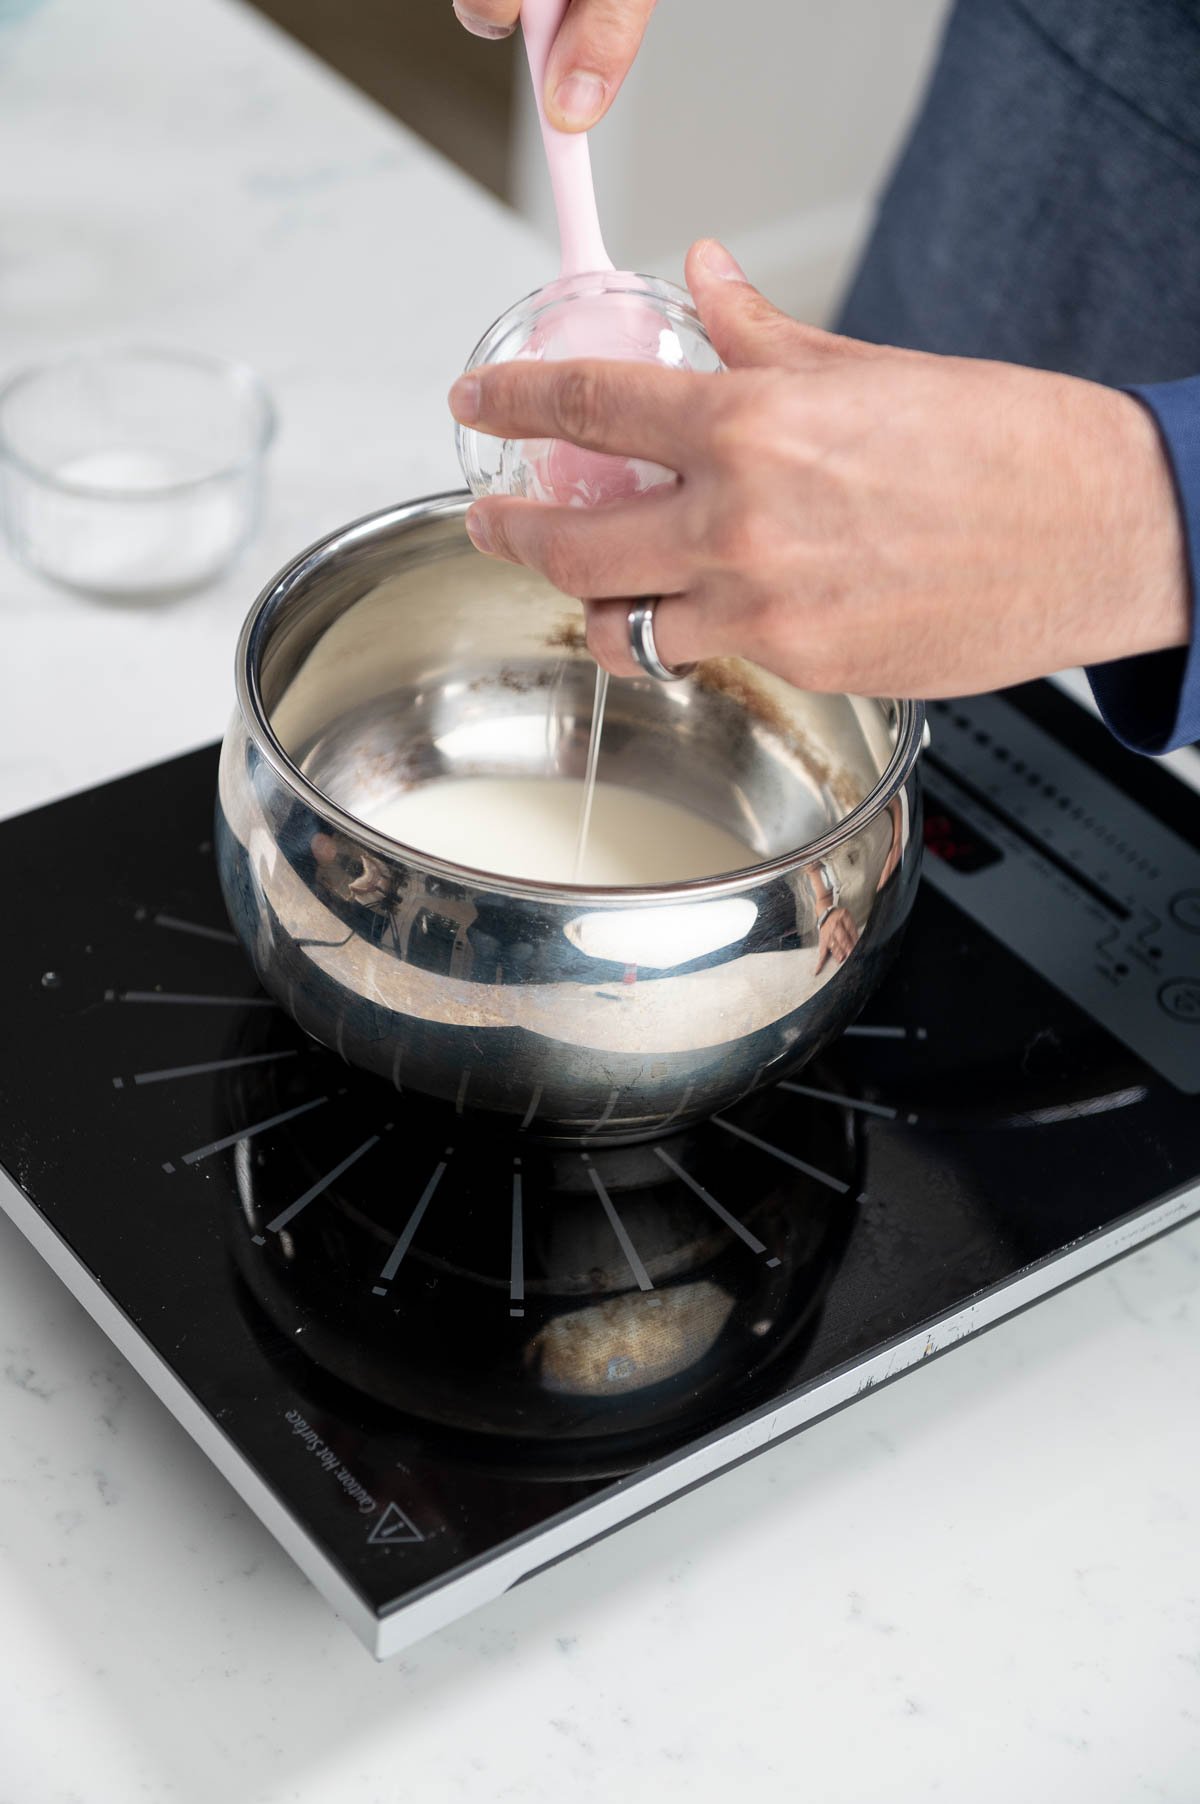
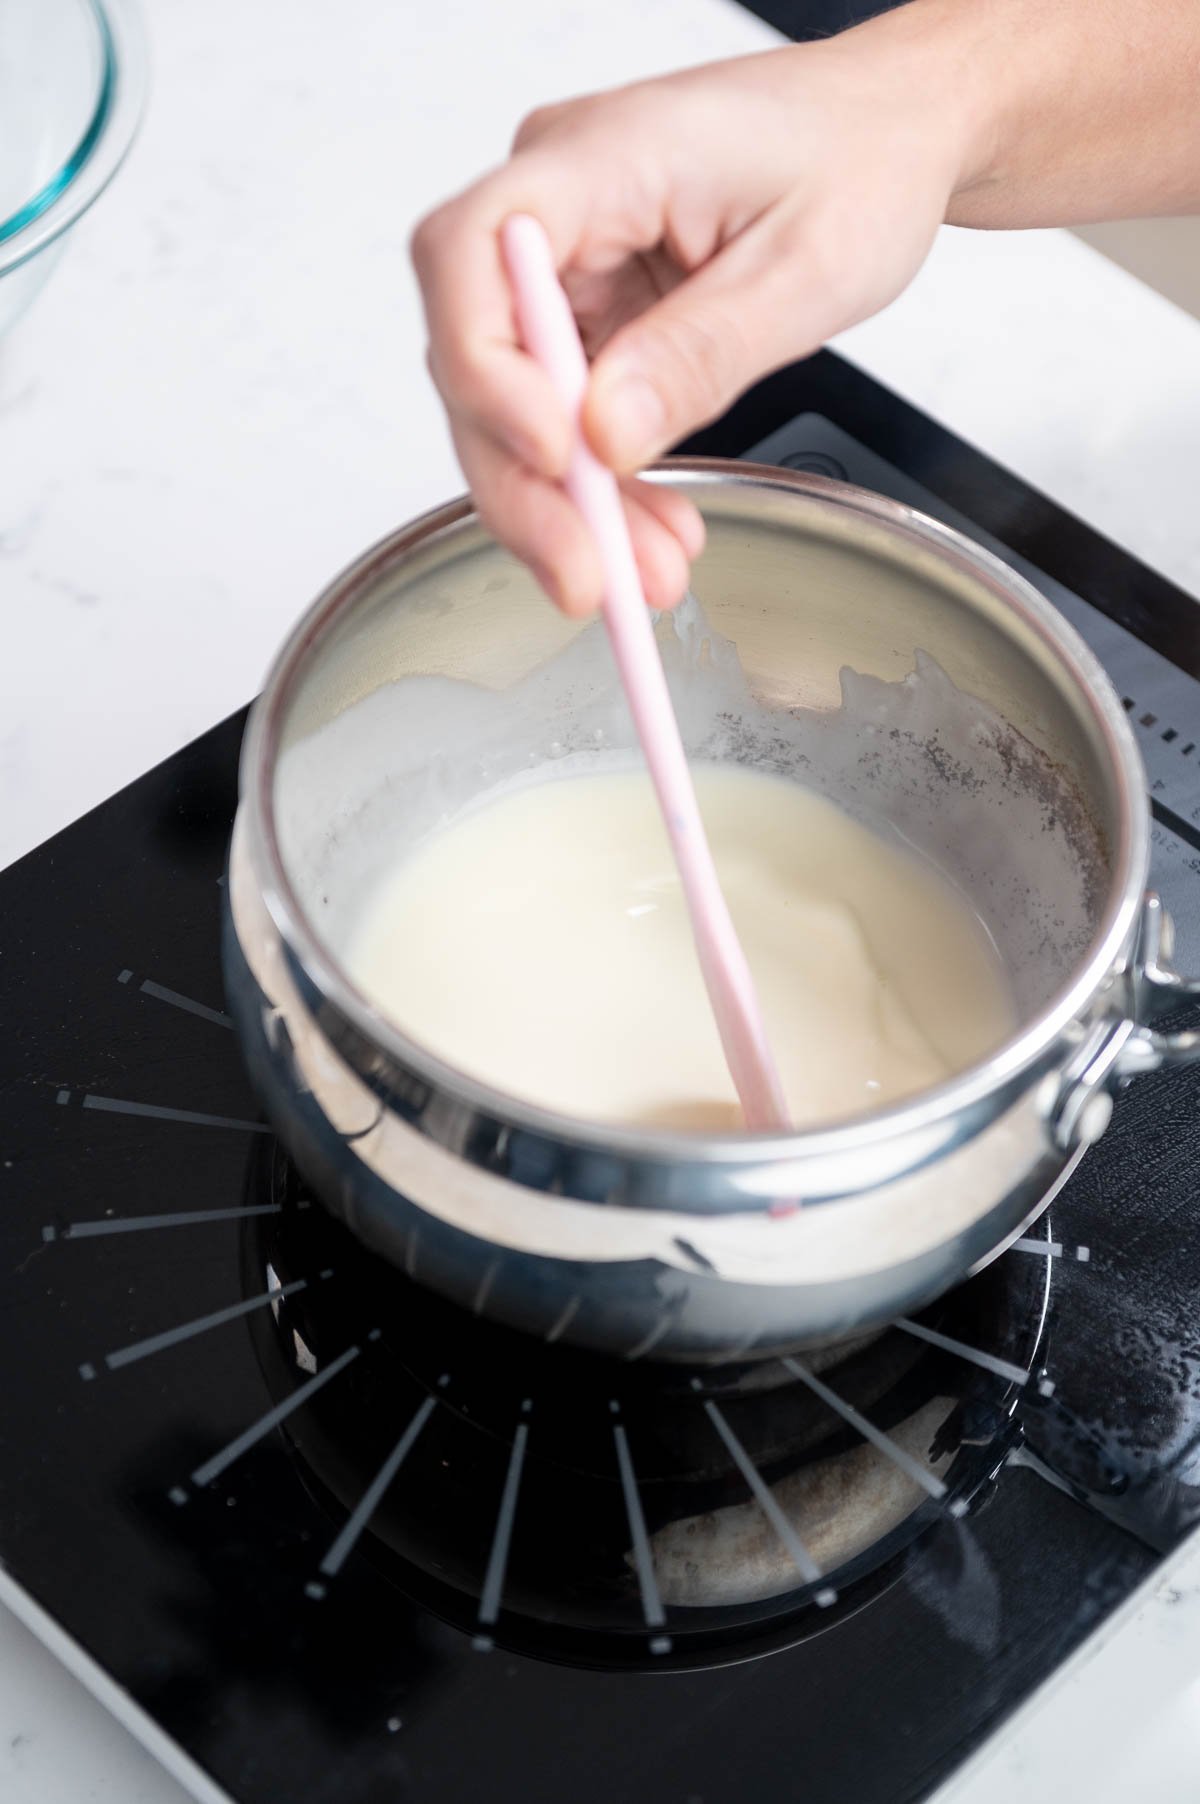
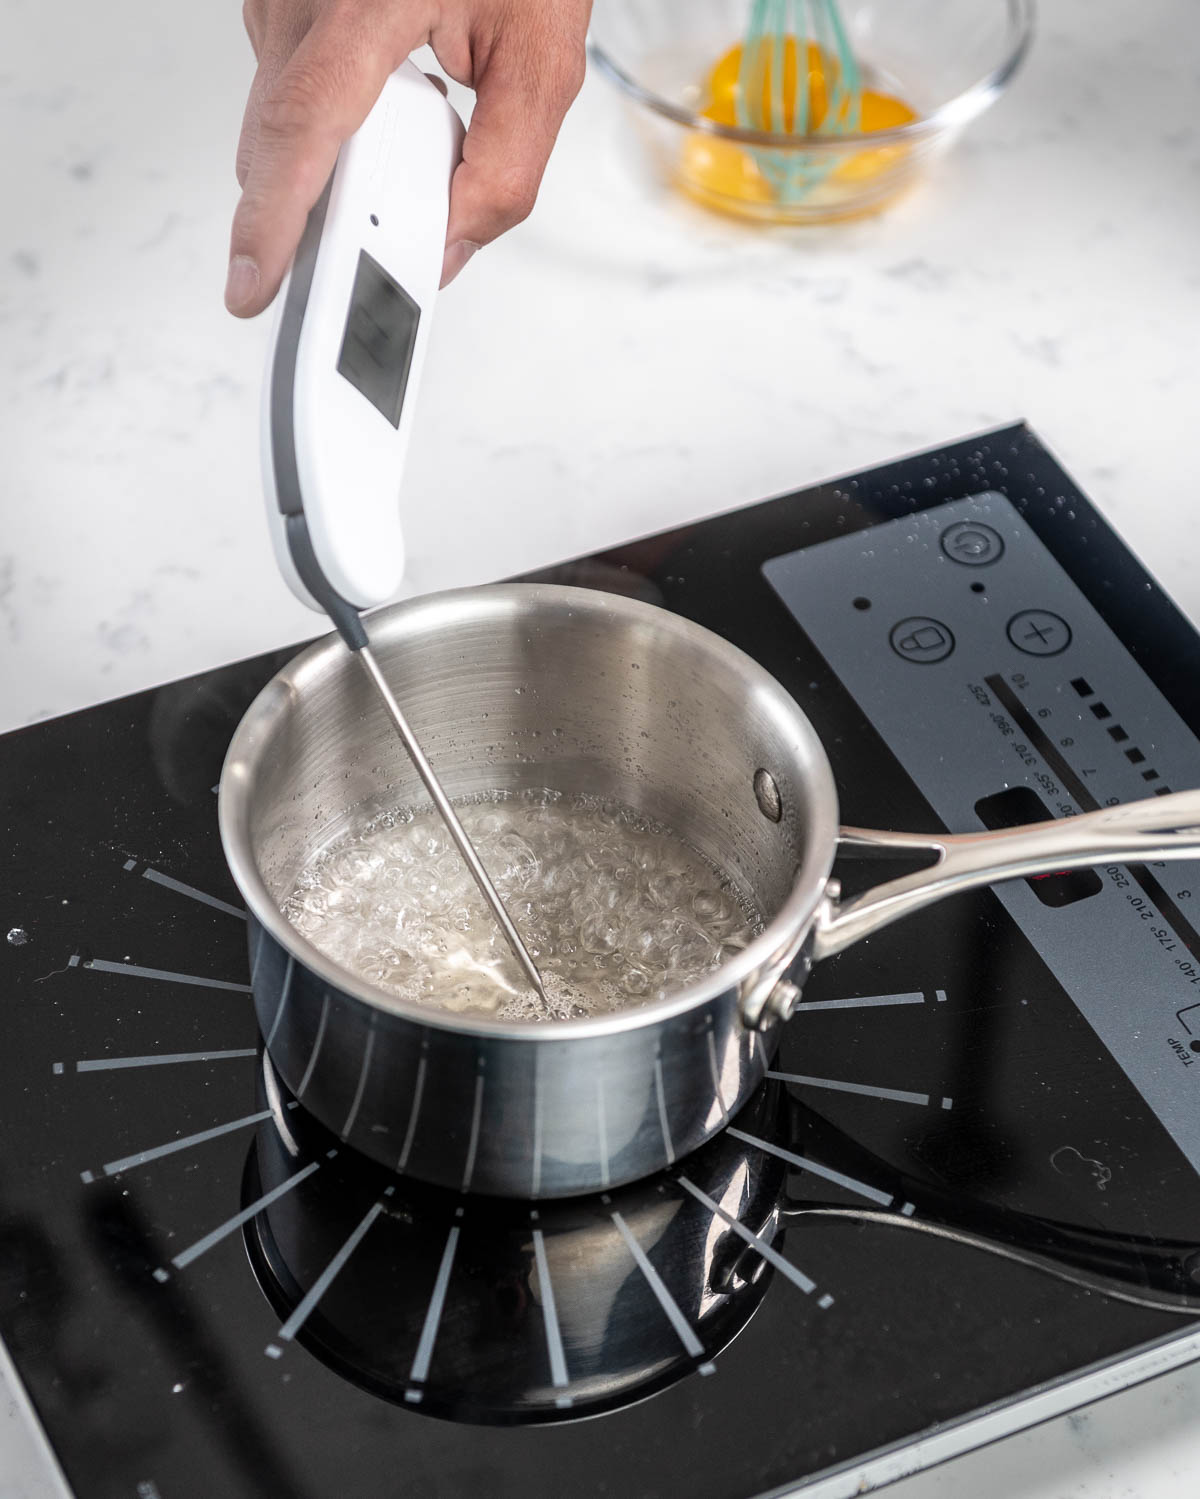
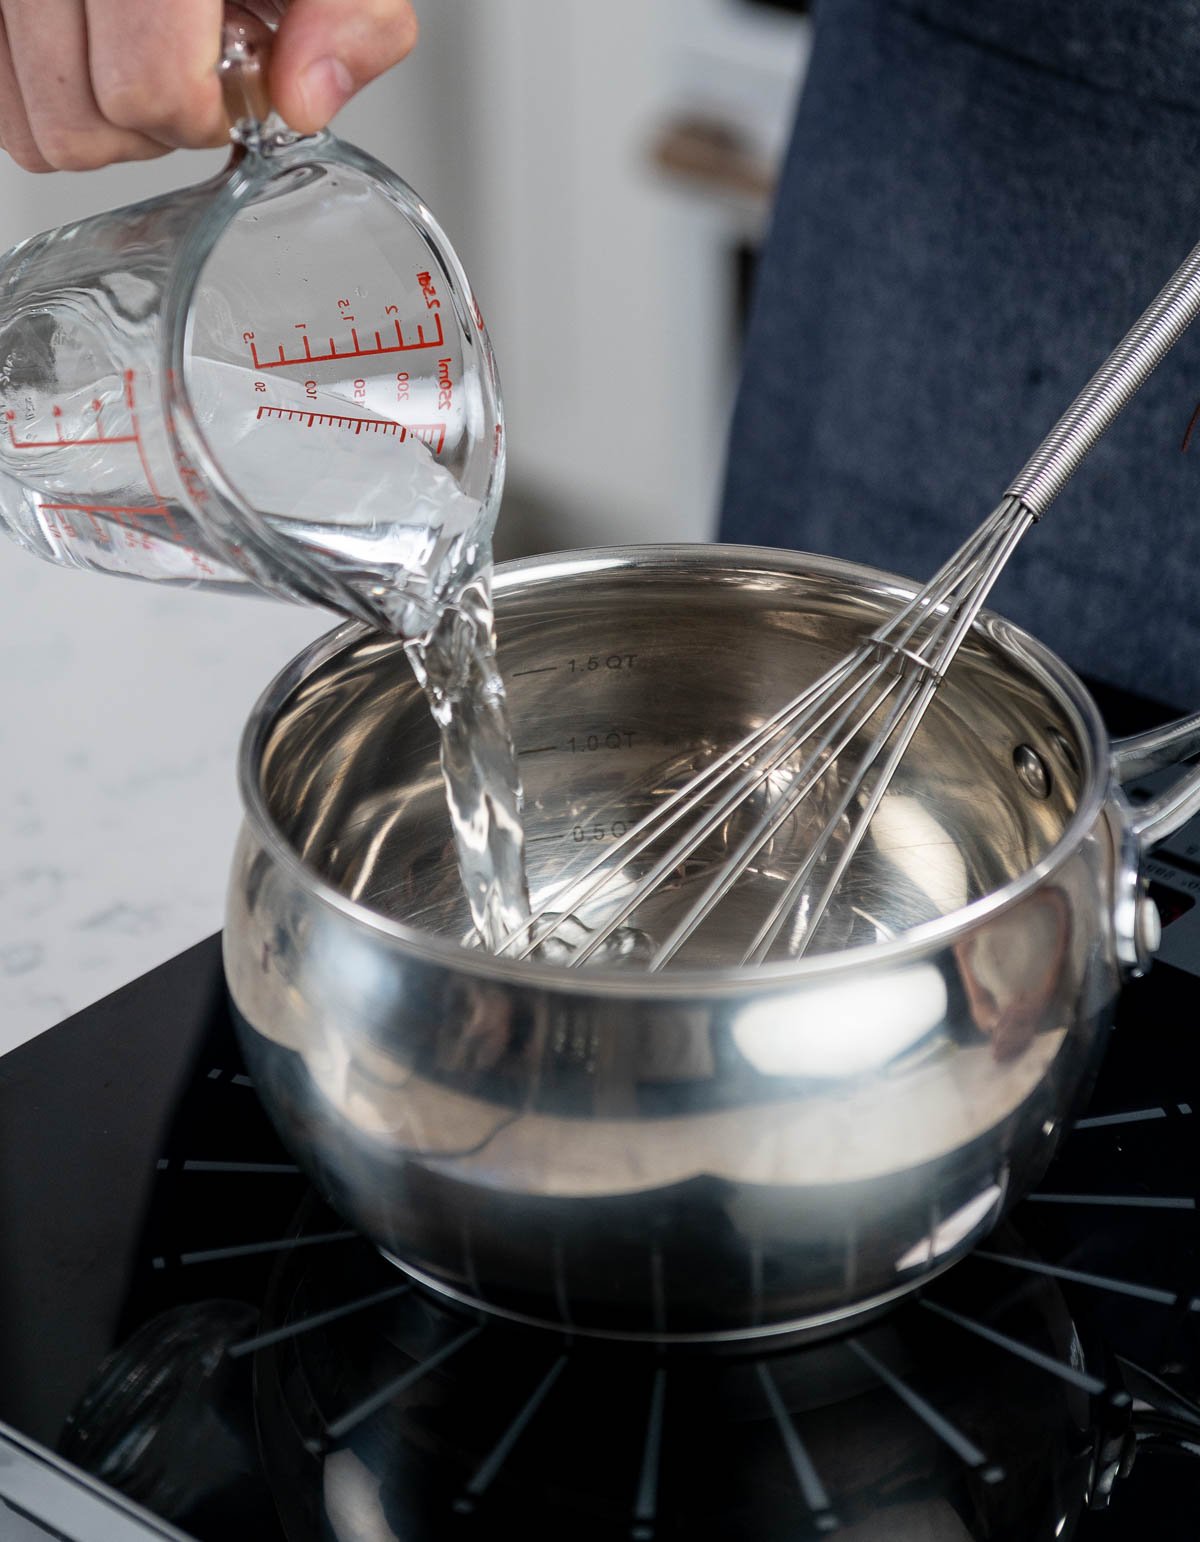
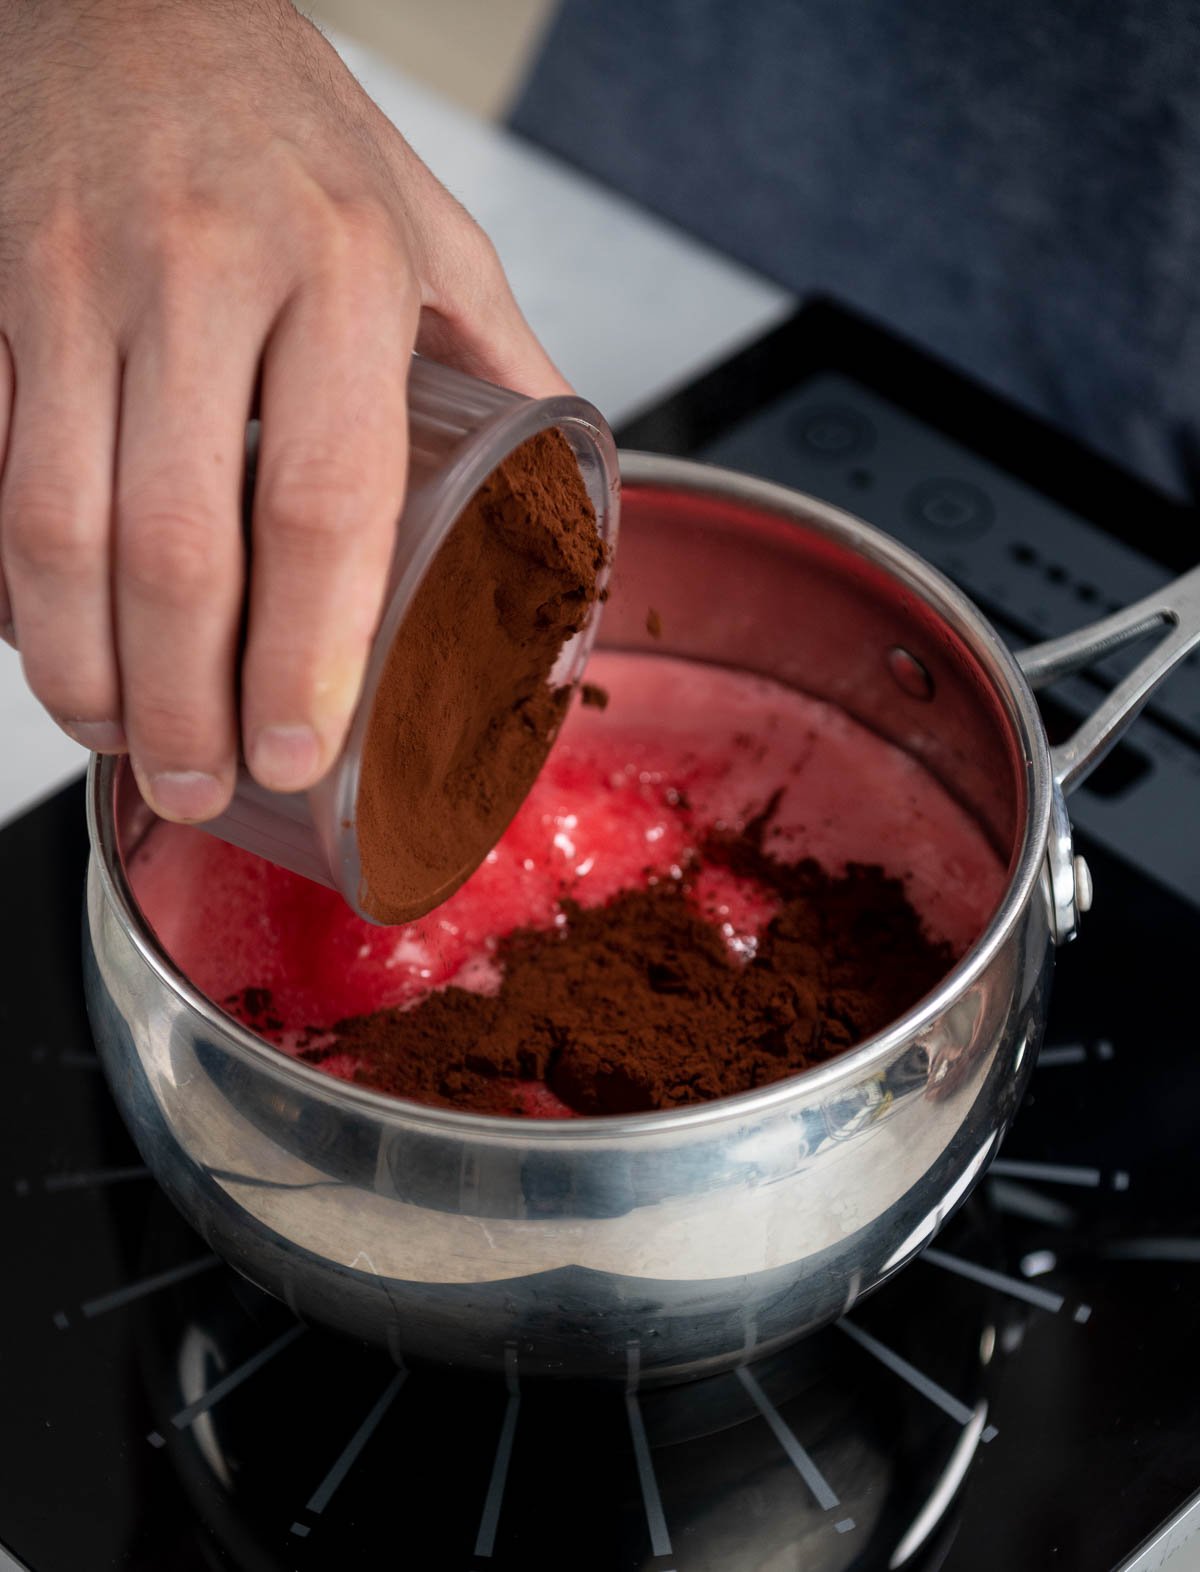
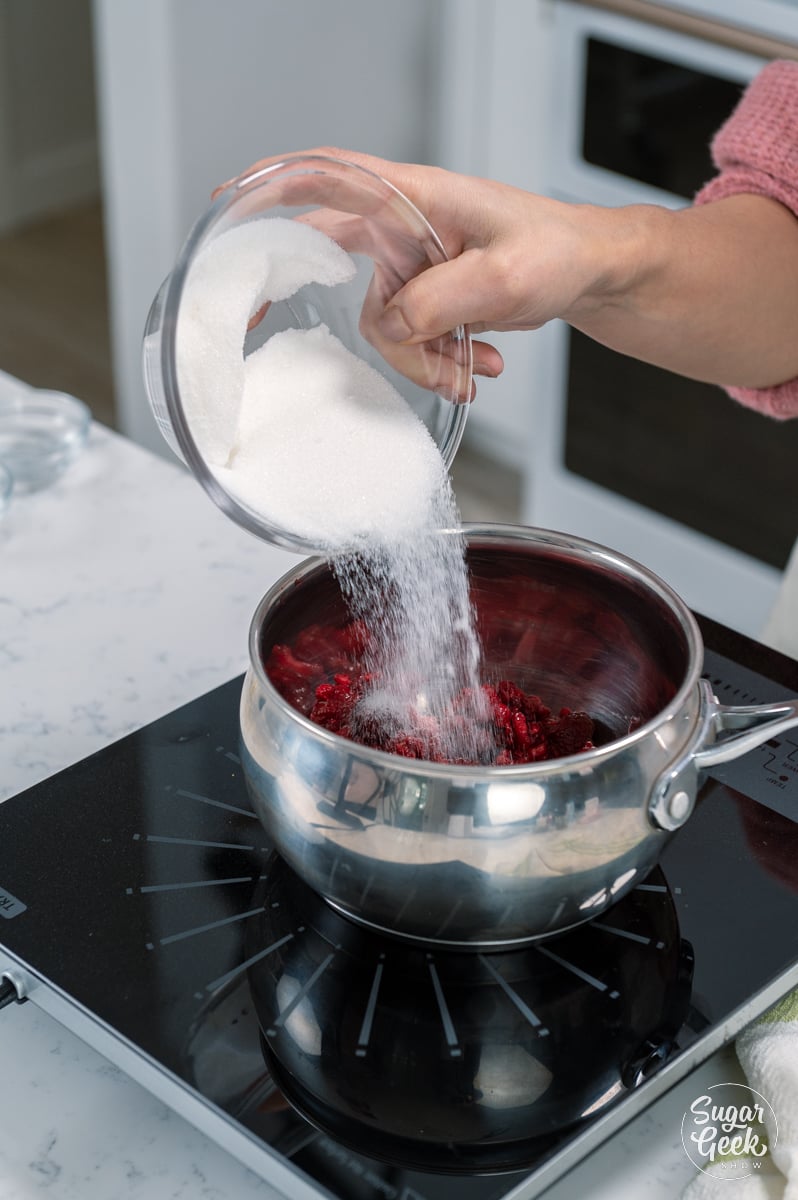
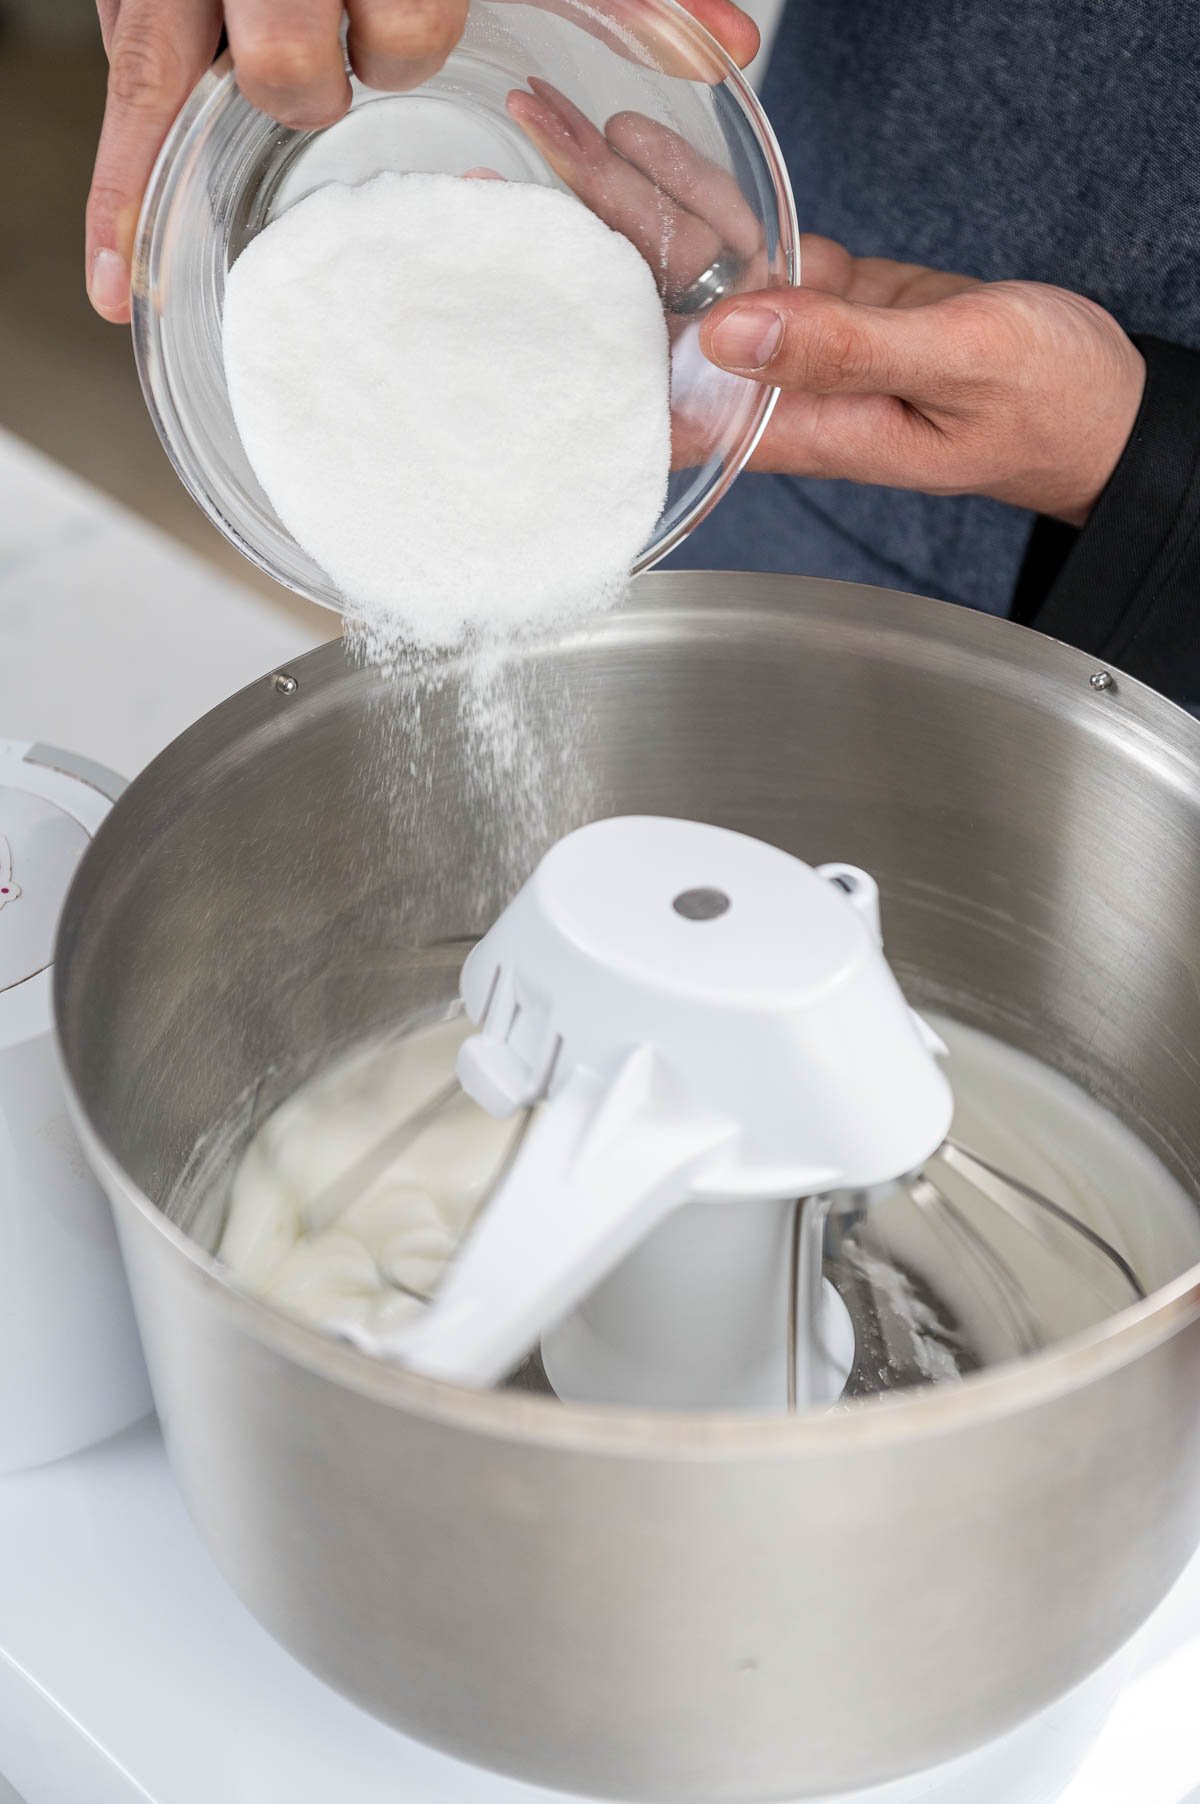
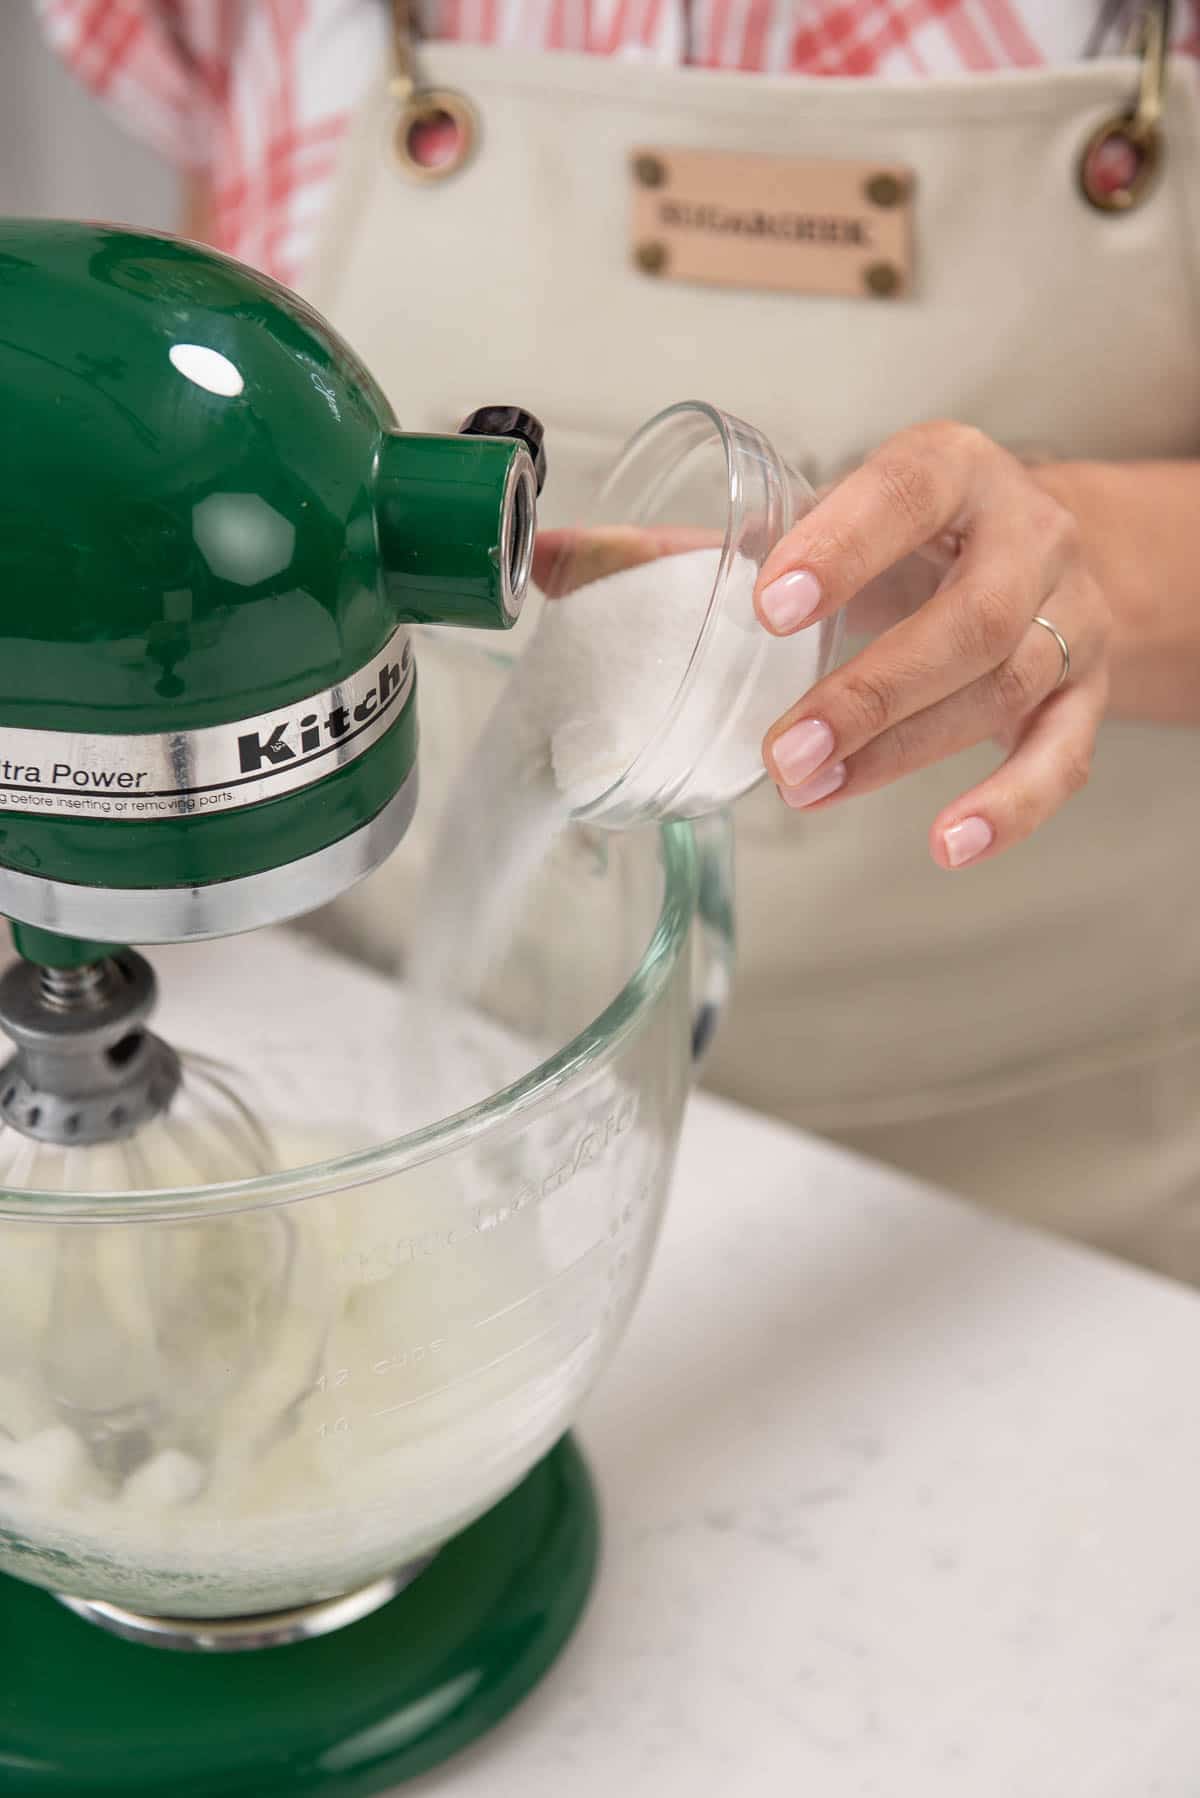
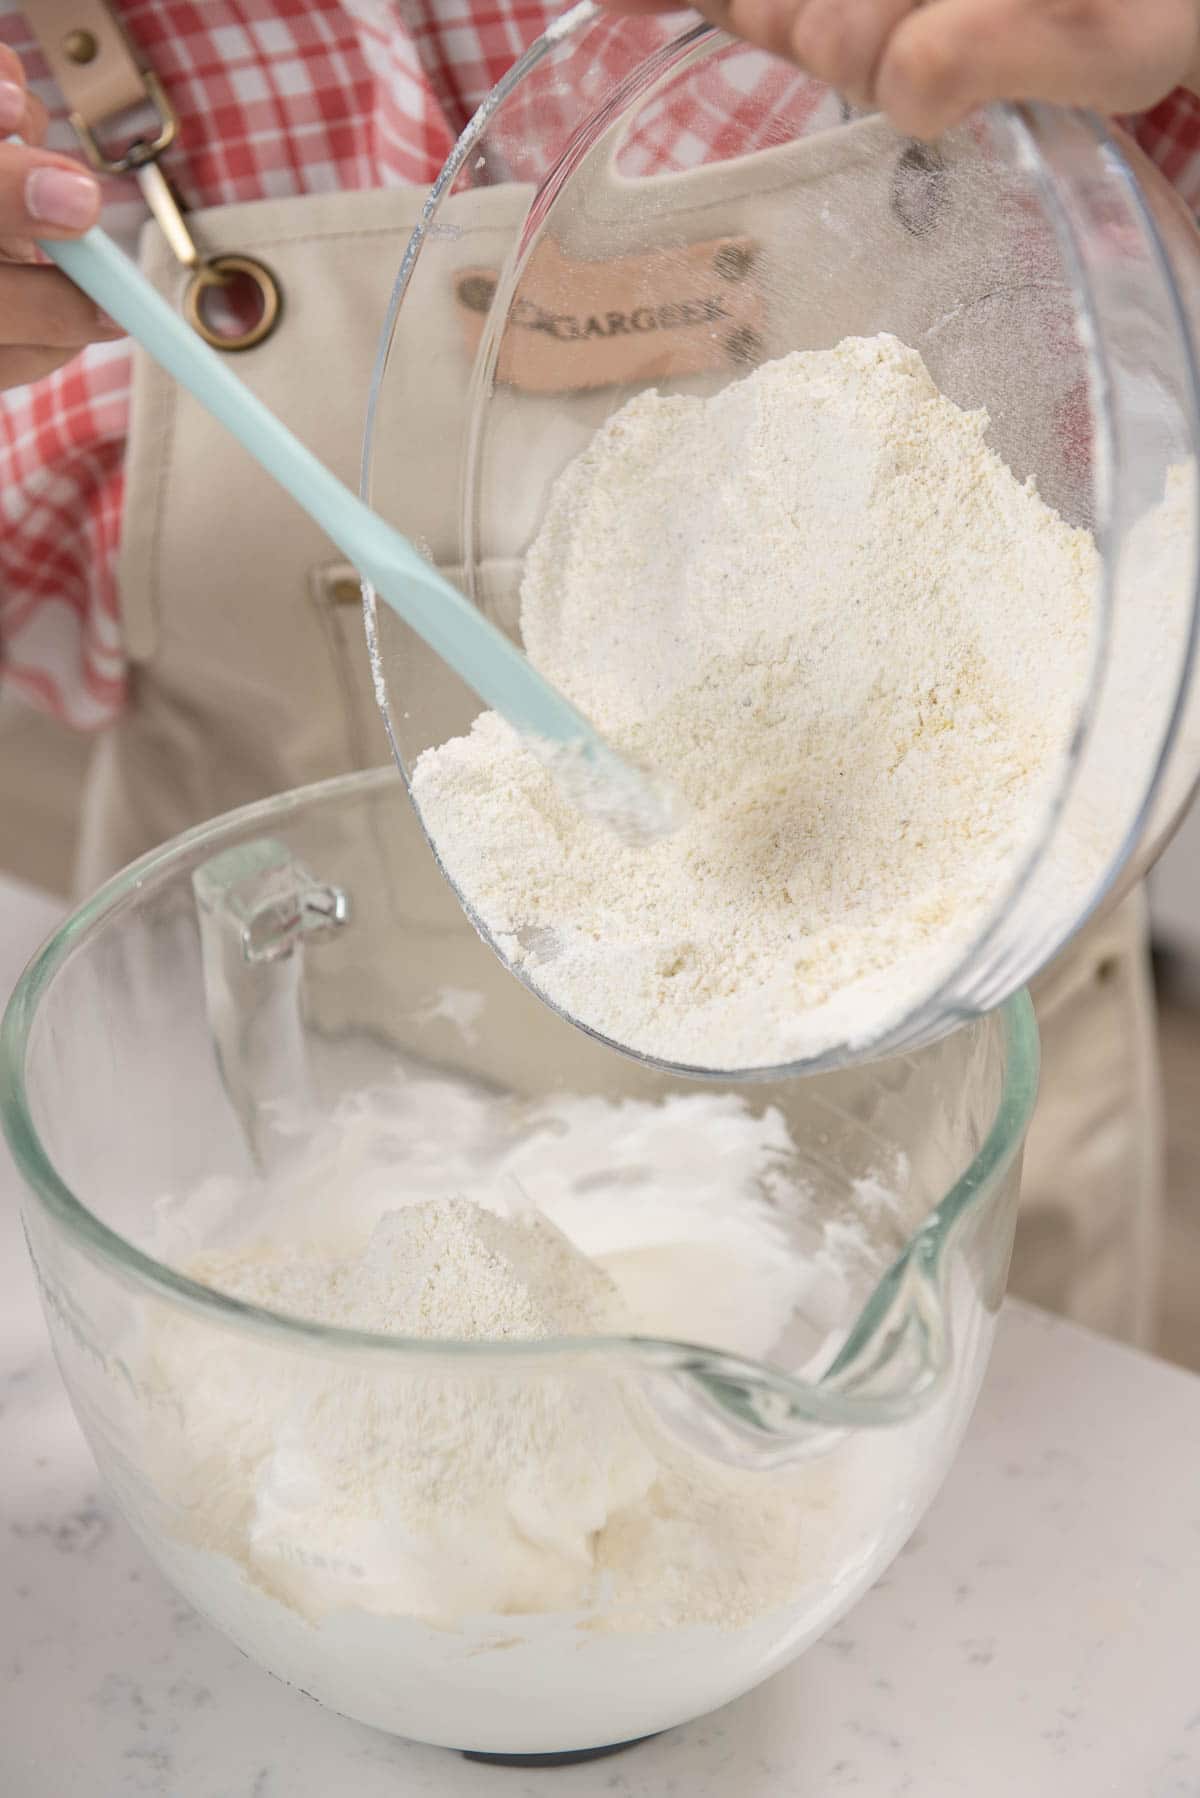
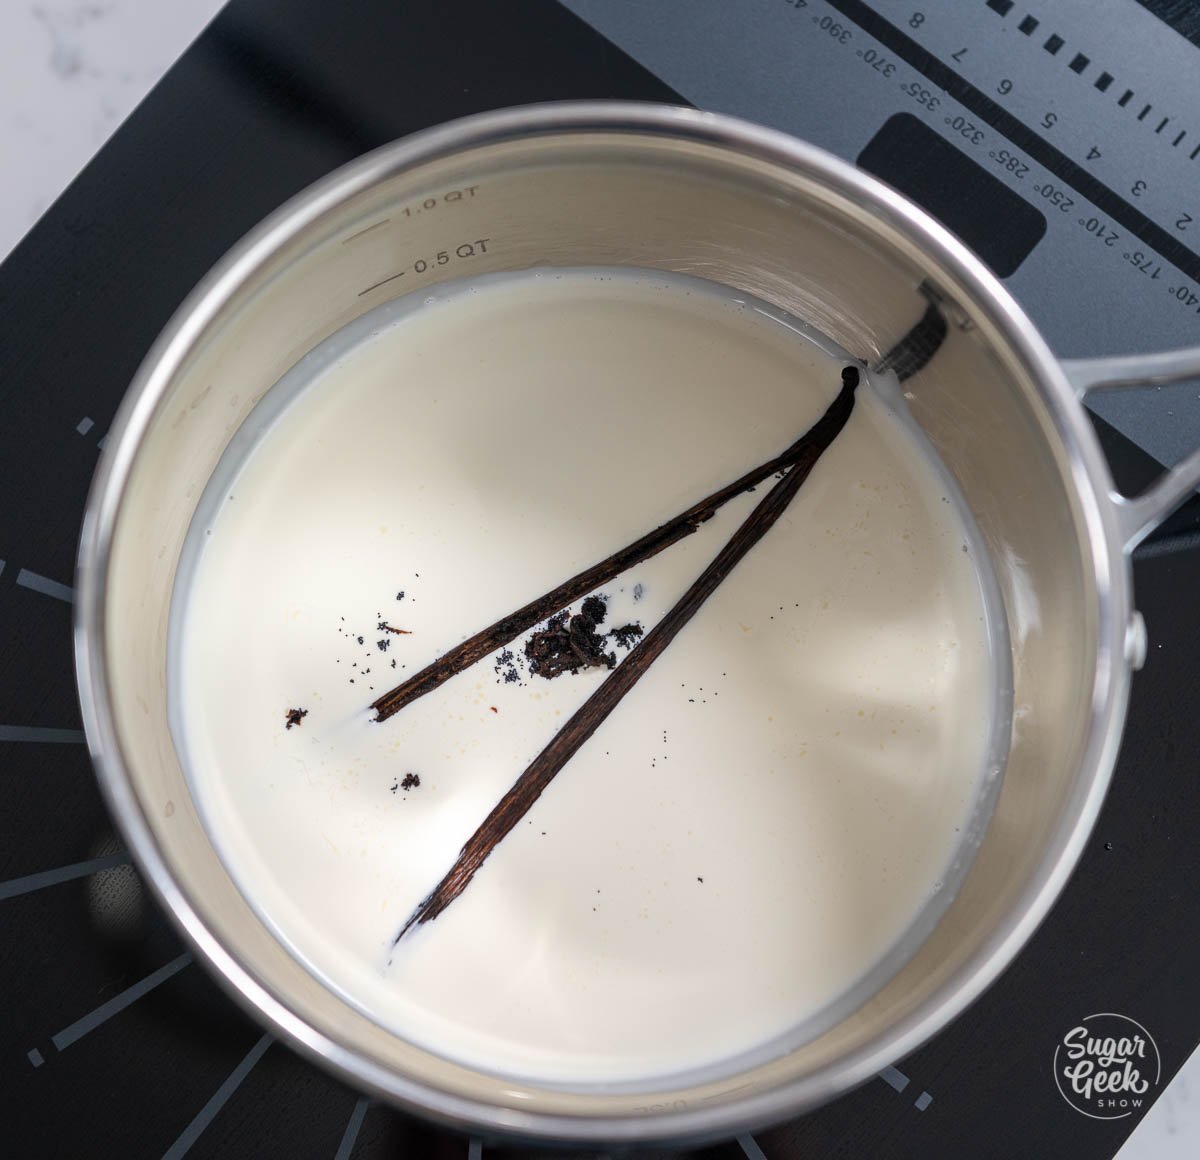
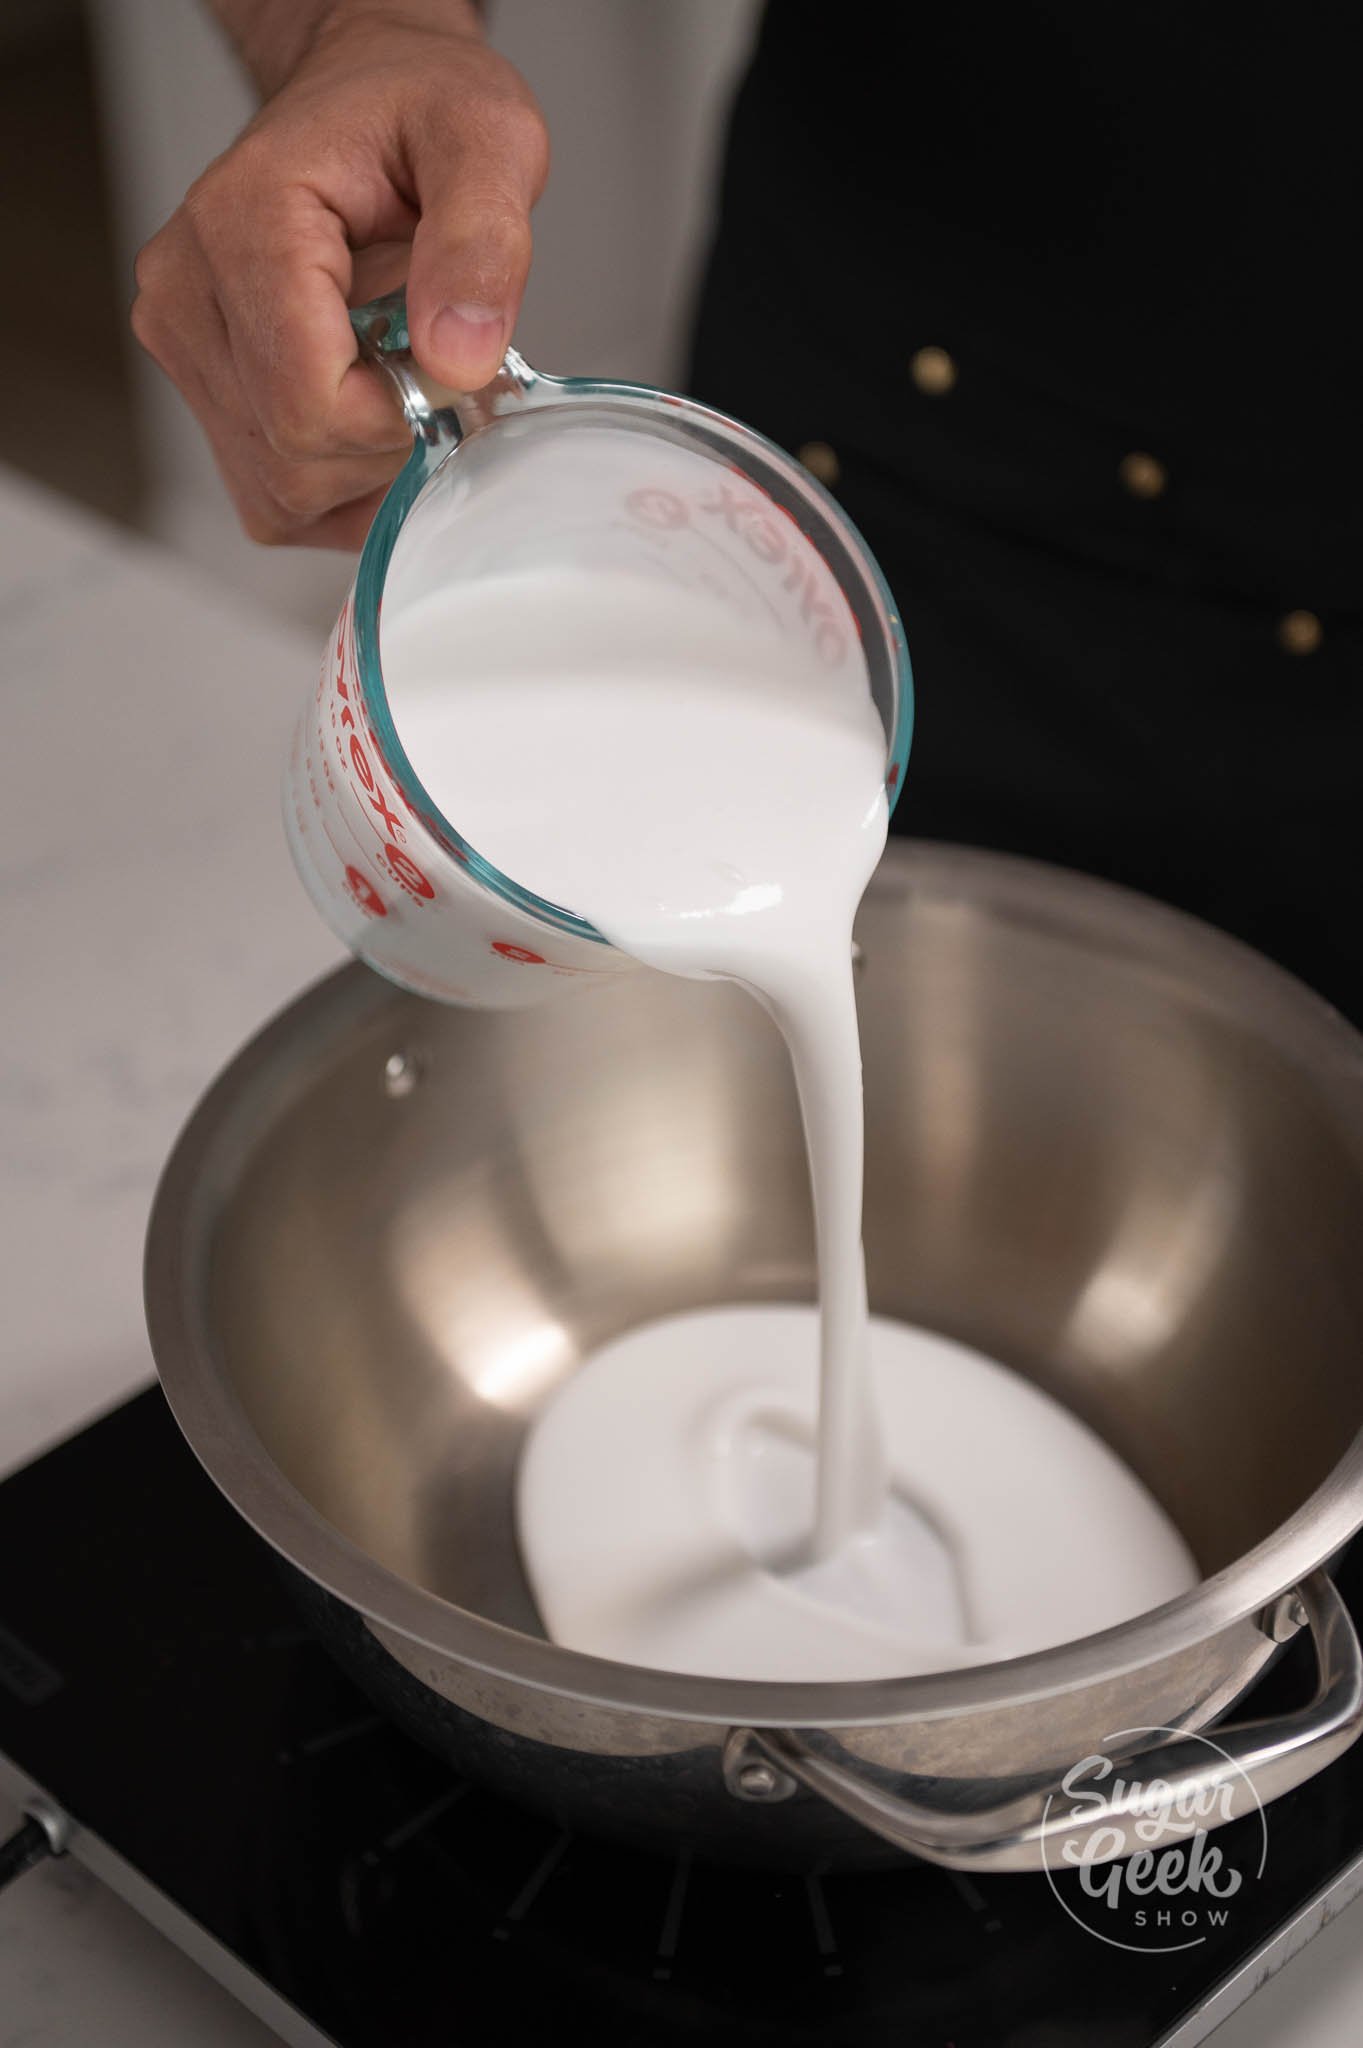
- Add the coconut milk, and half of the sugar into a small pot over medium heat. The sugar prevents the coconut milk from burning.
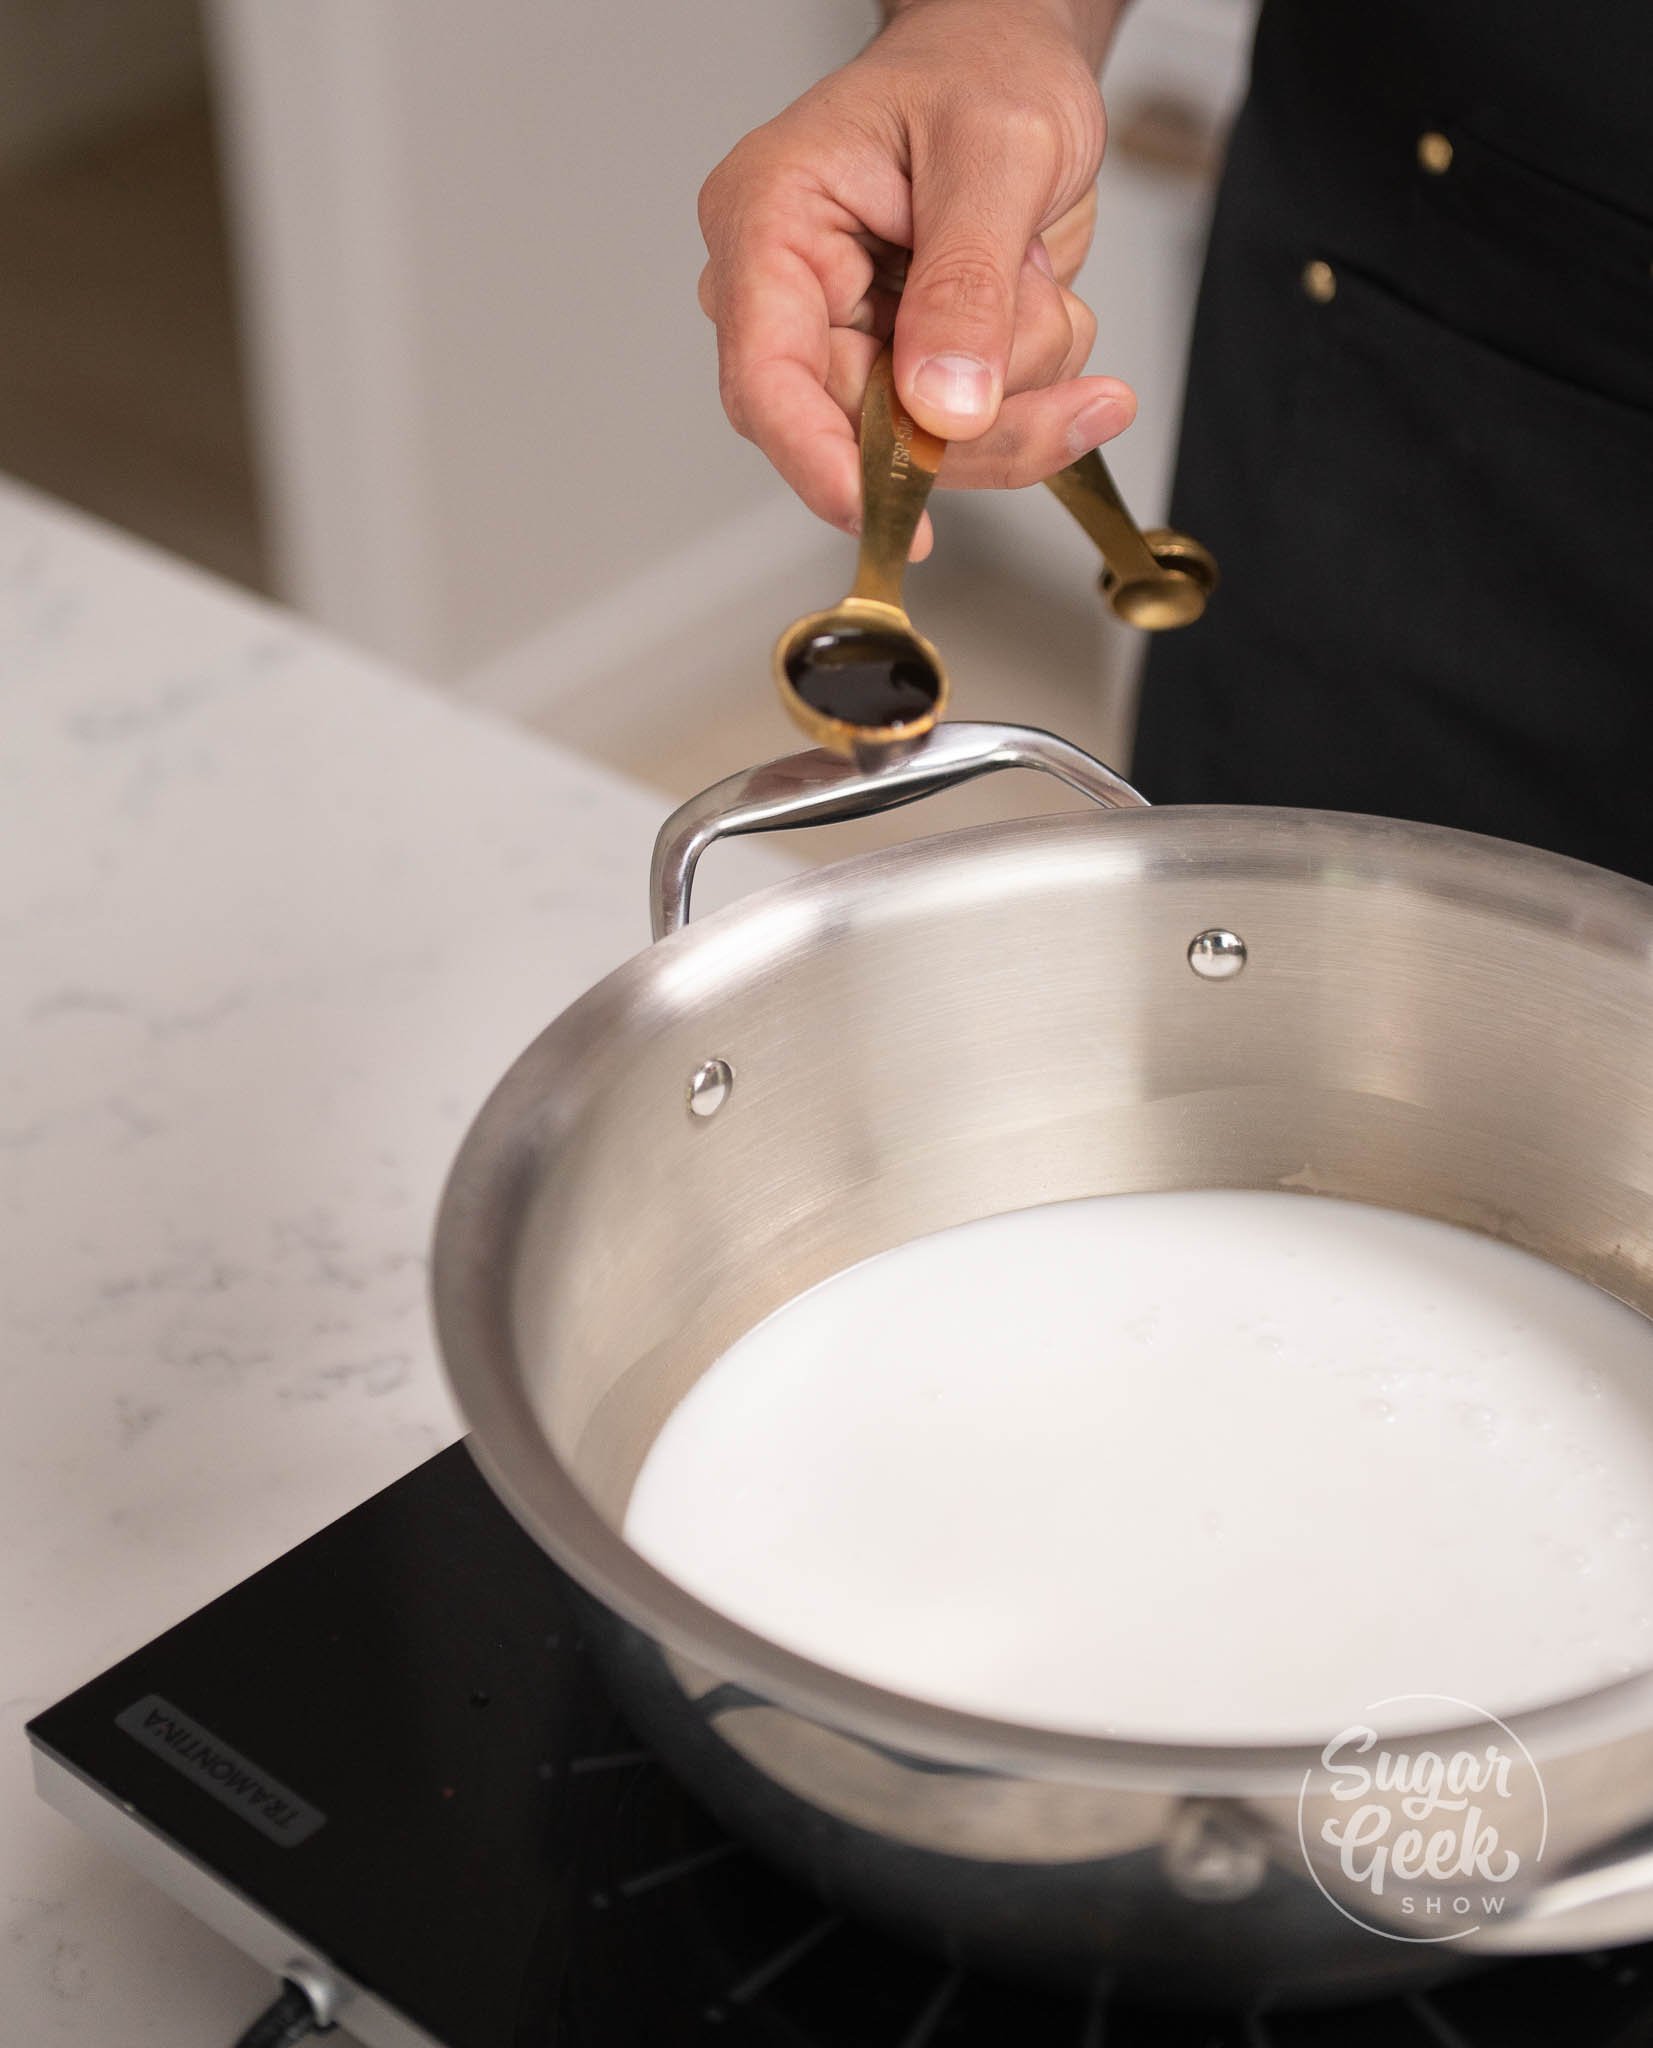
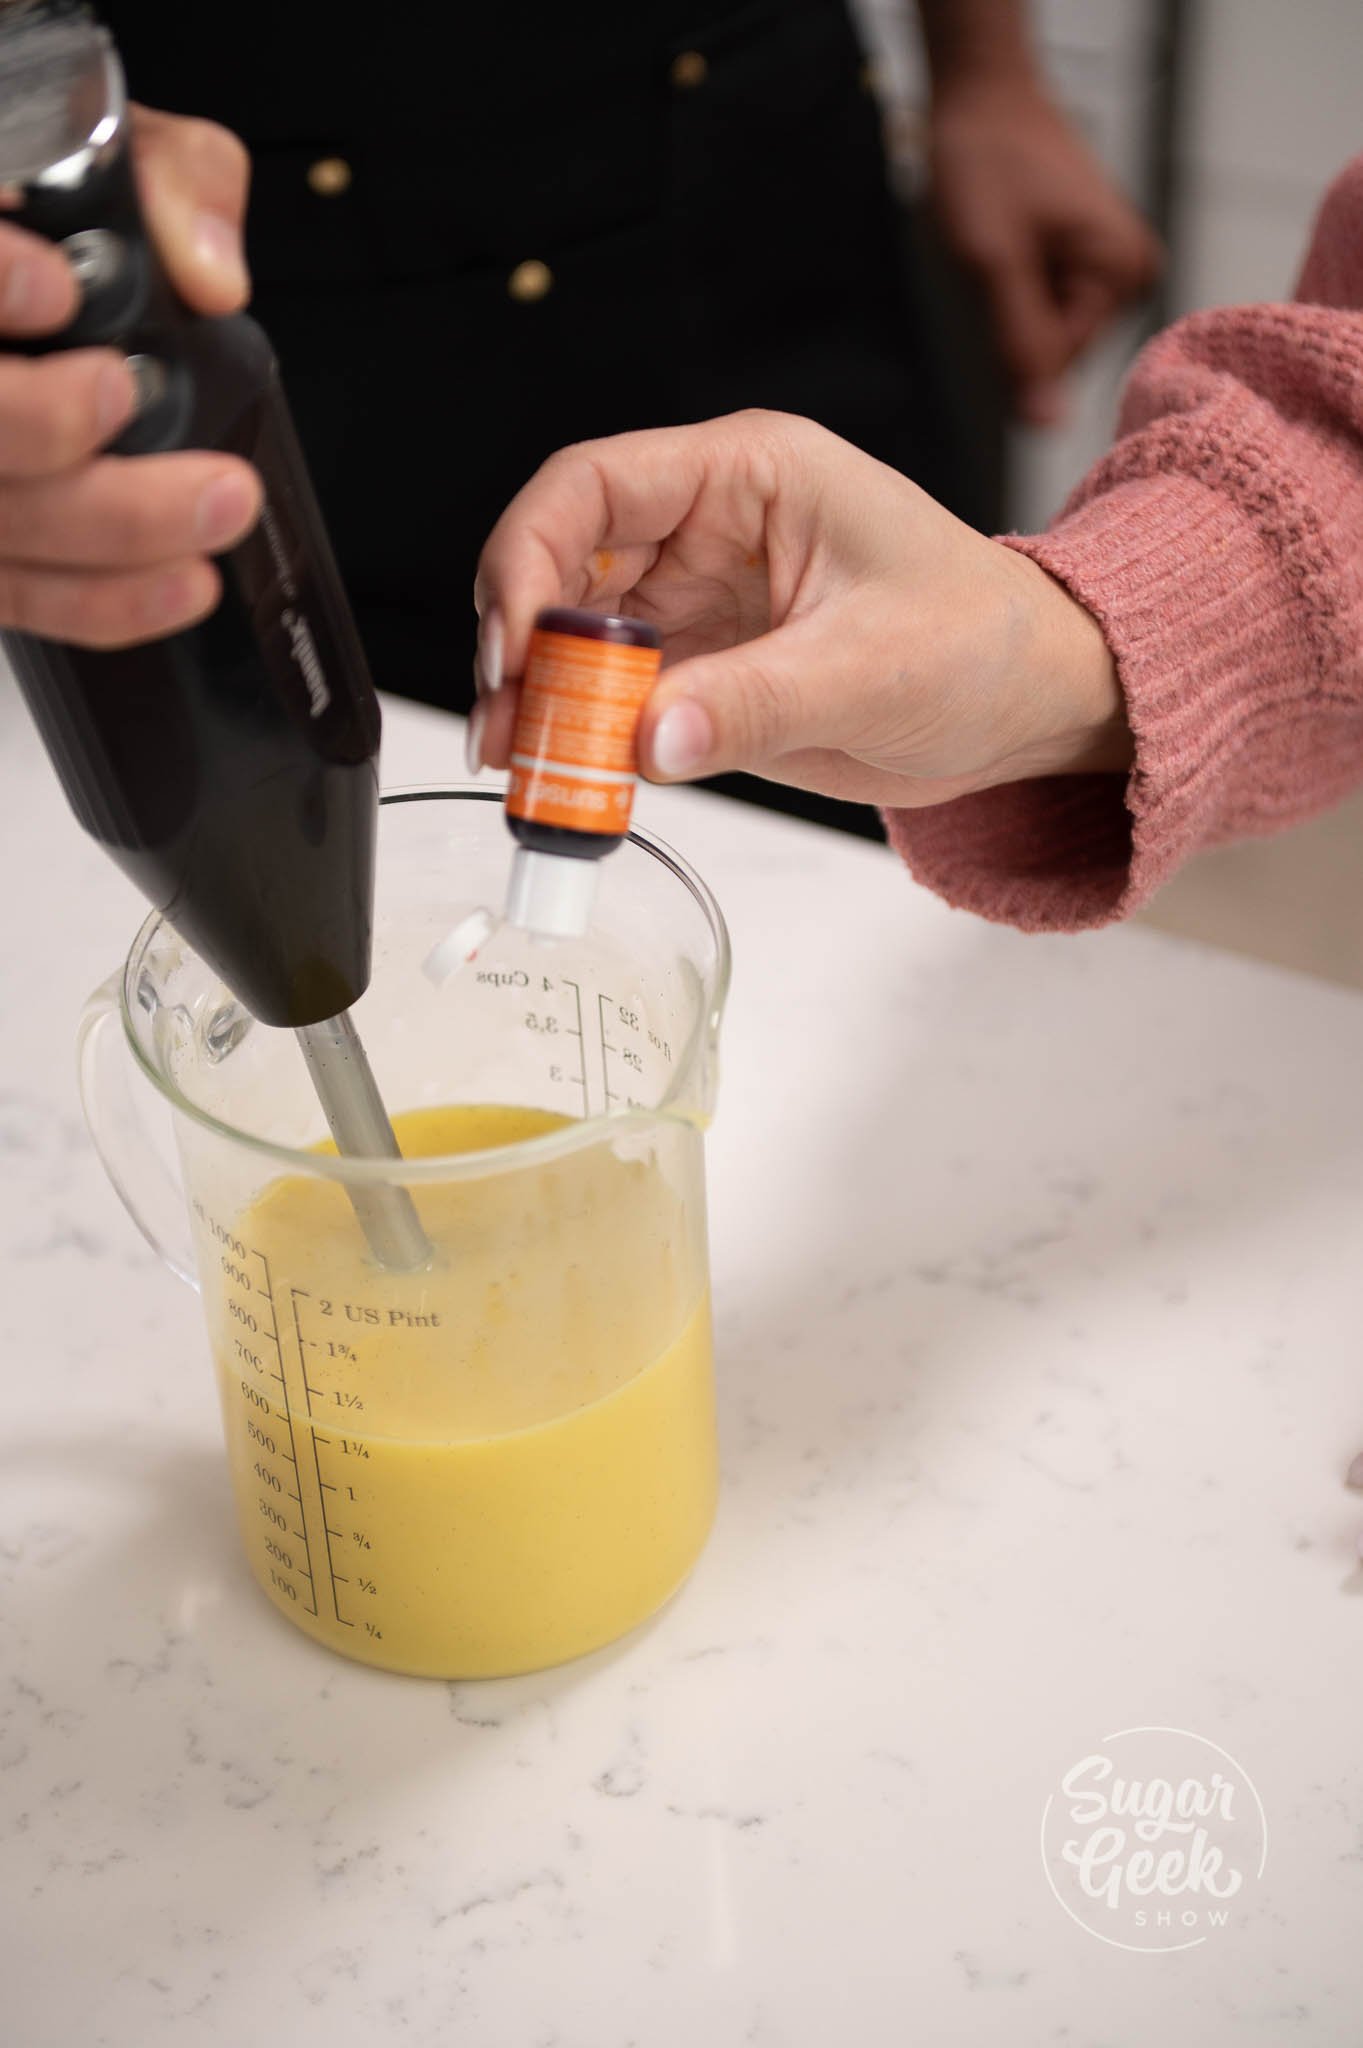
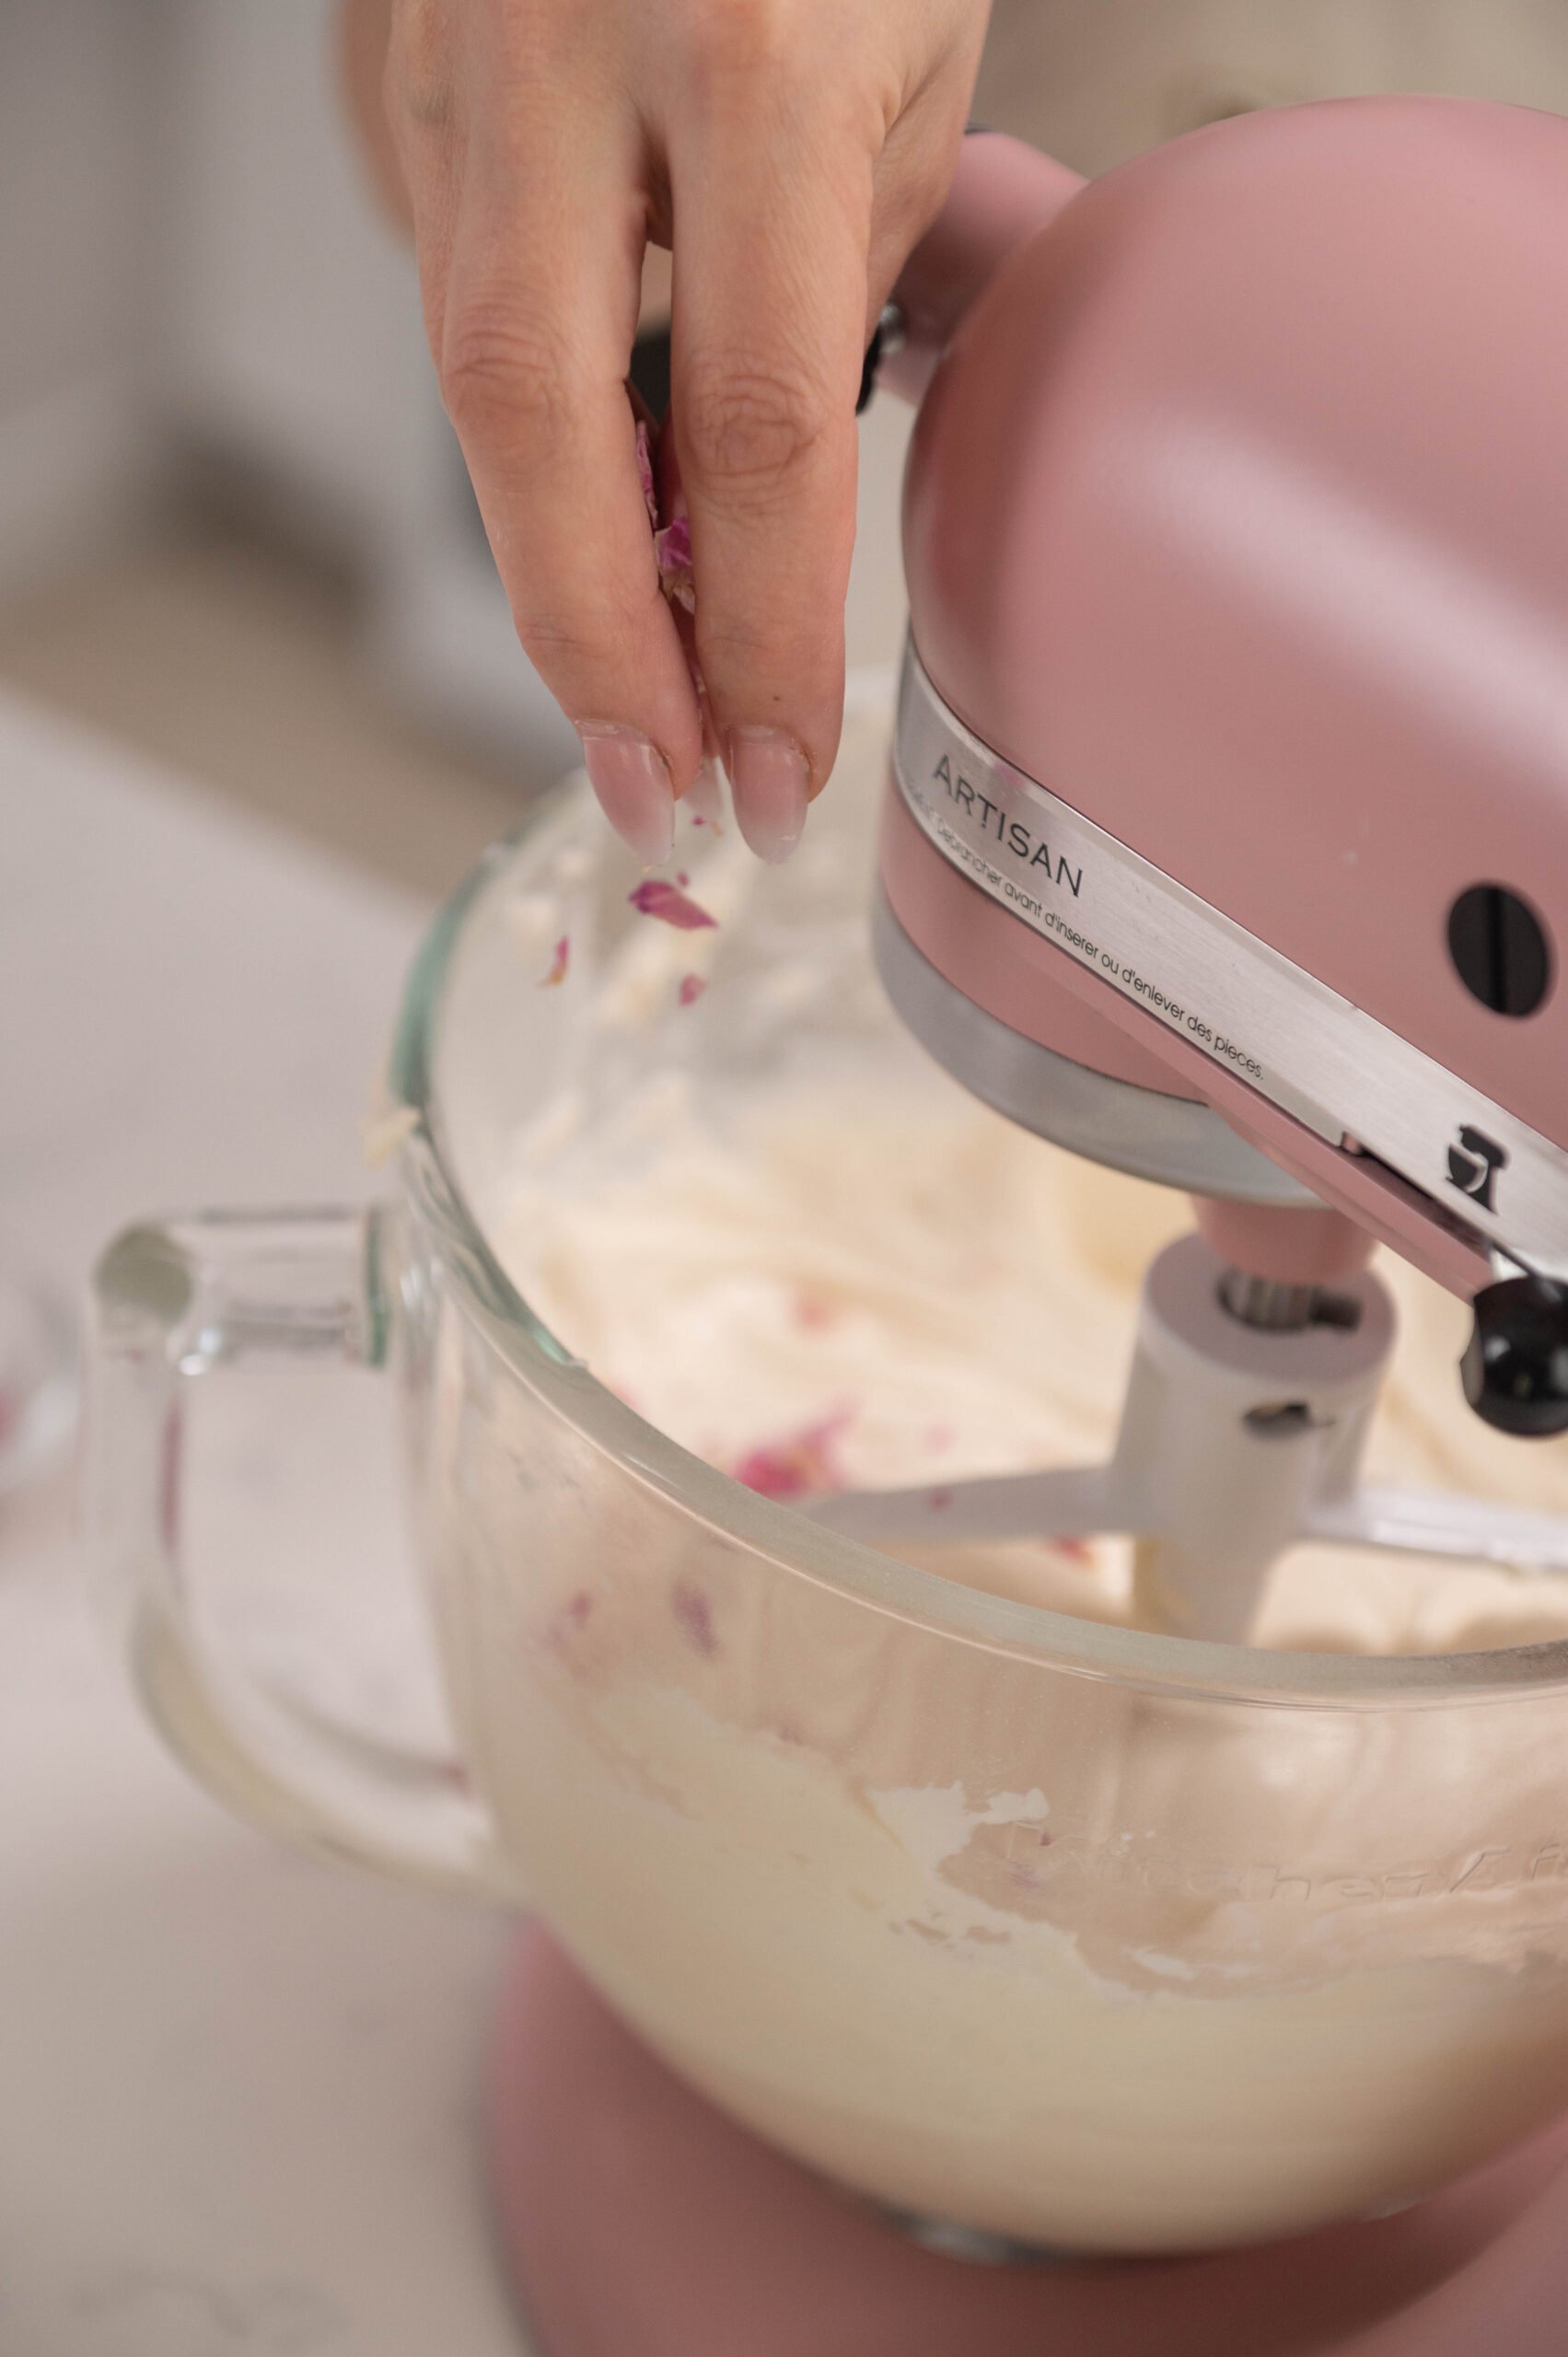
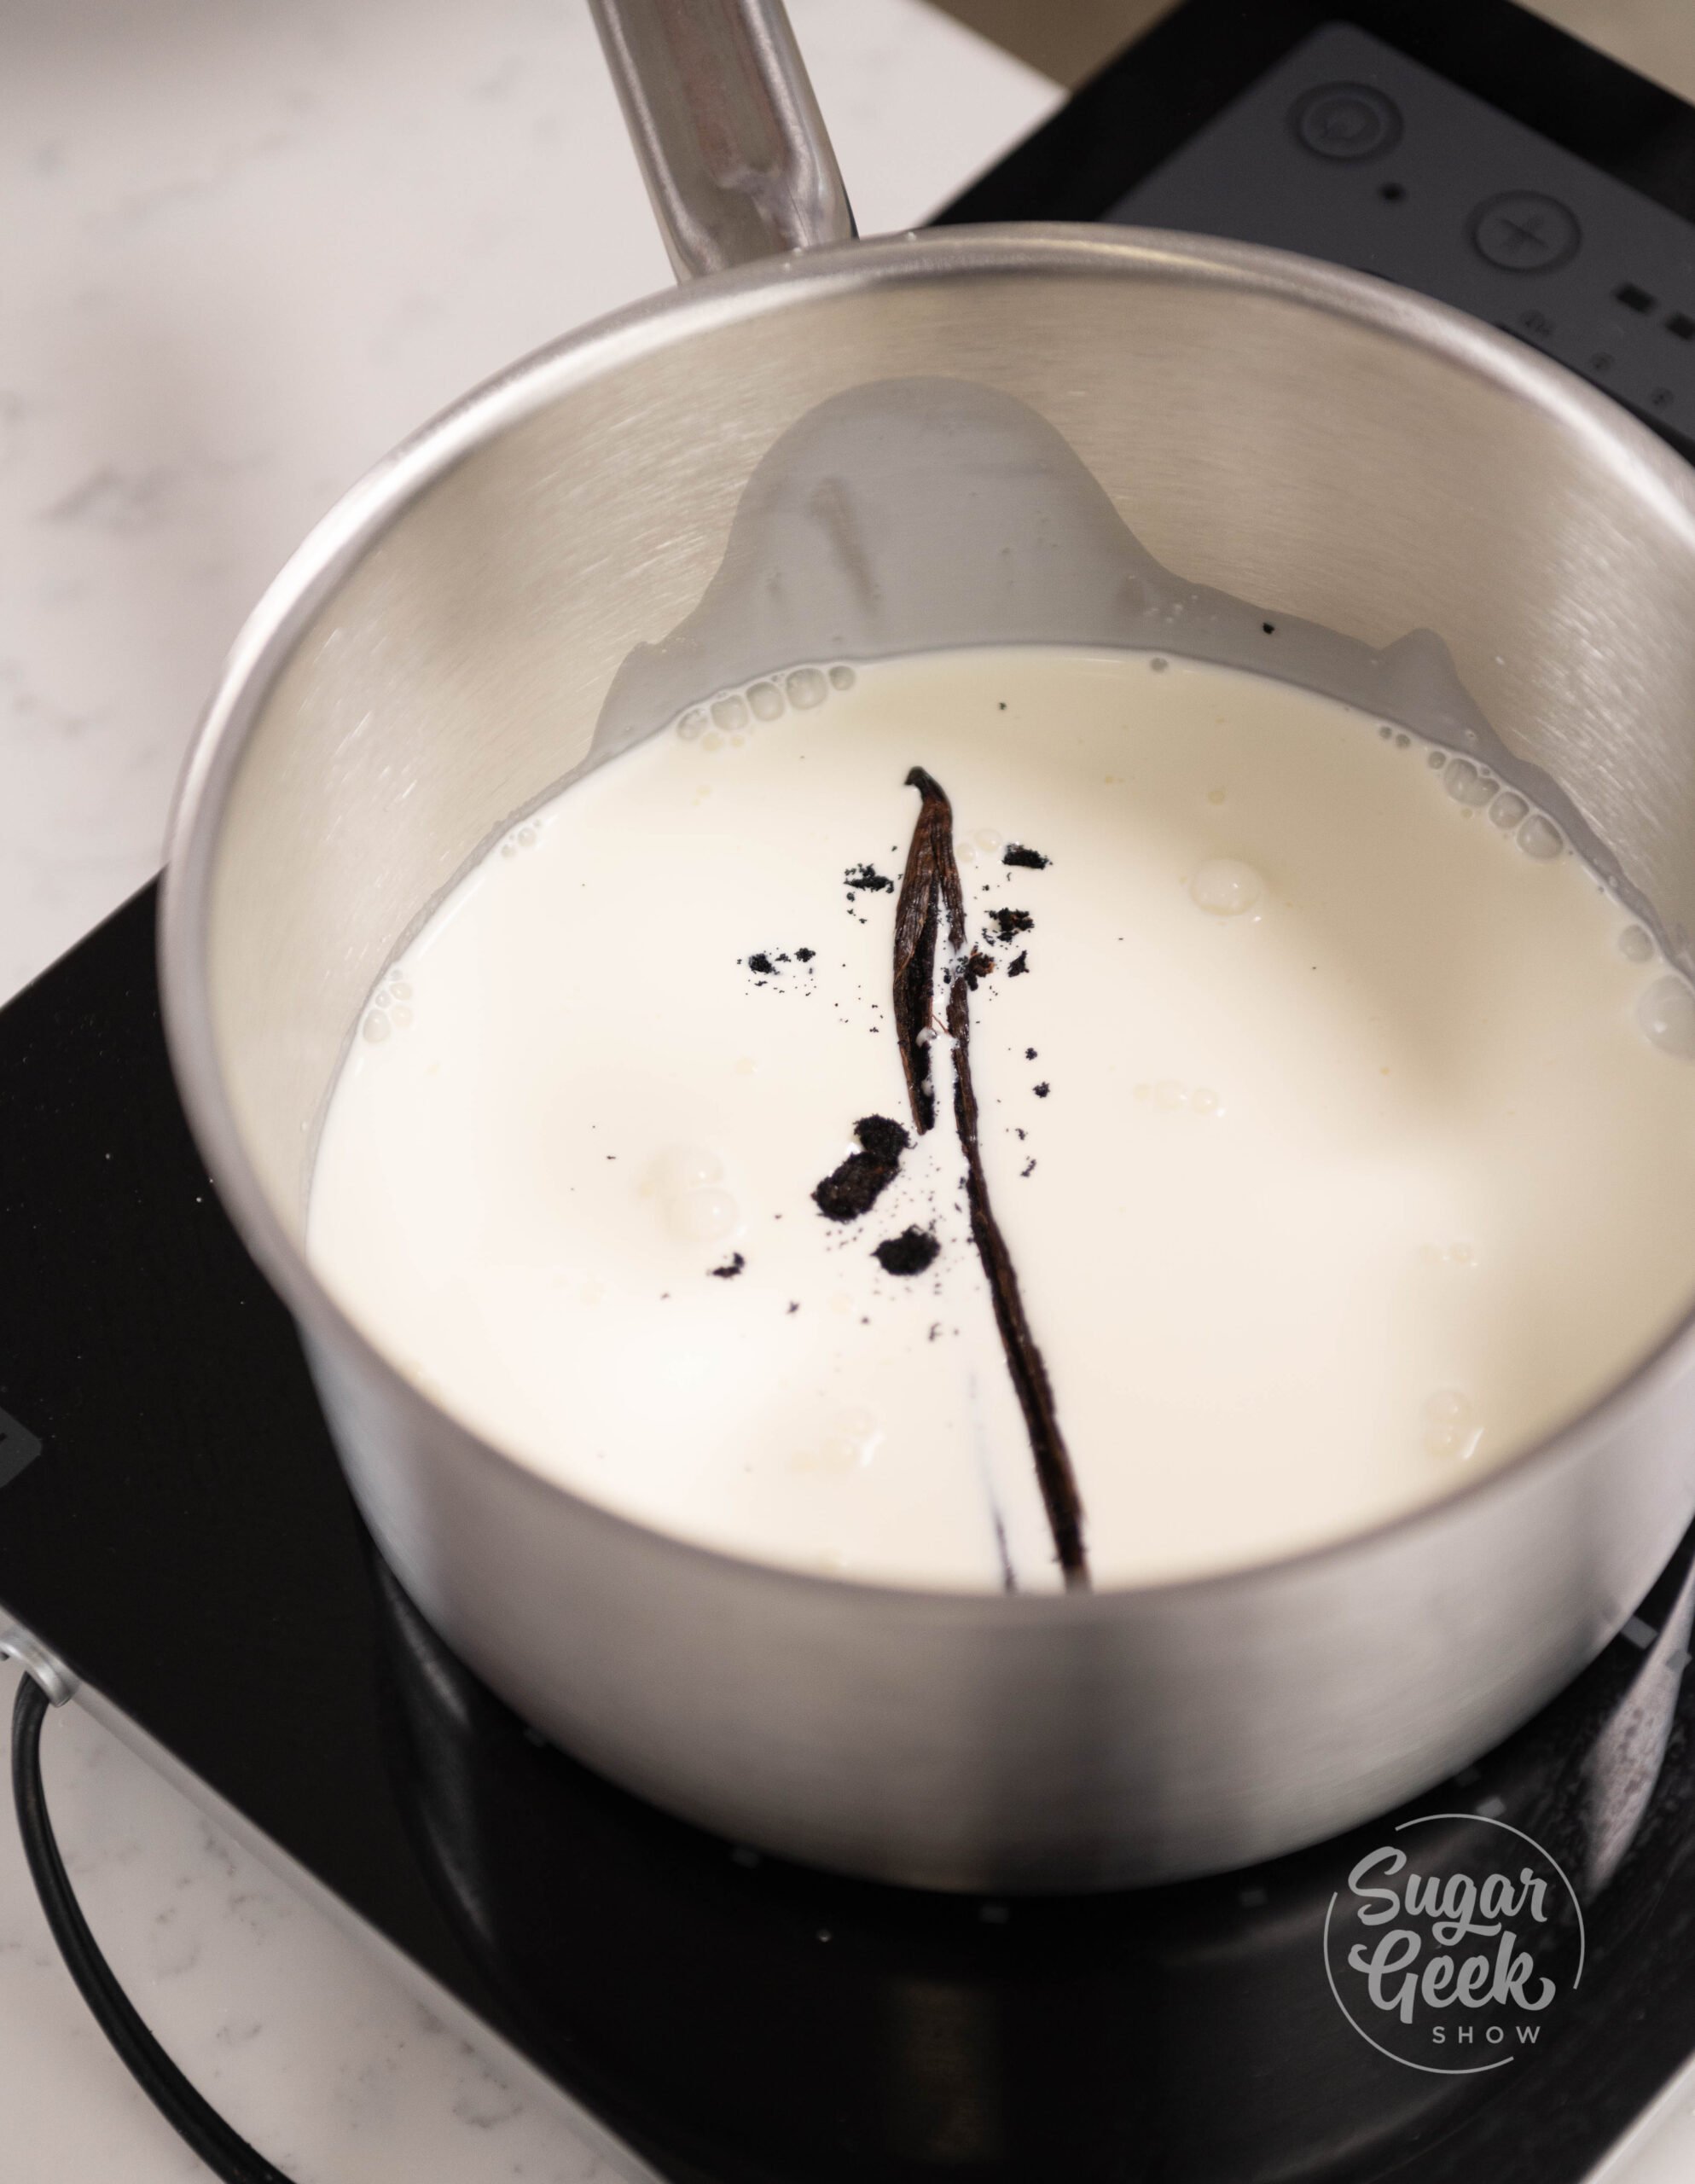
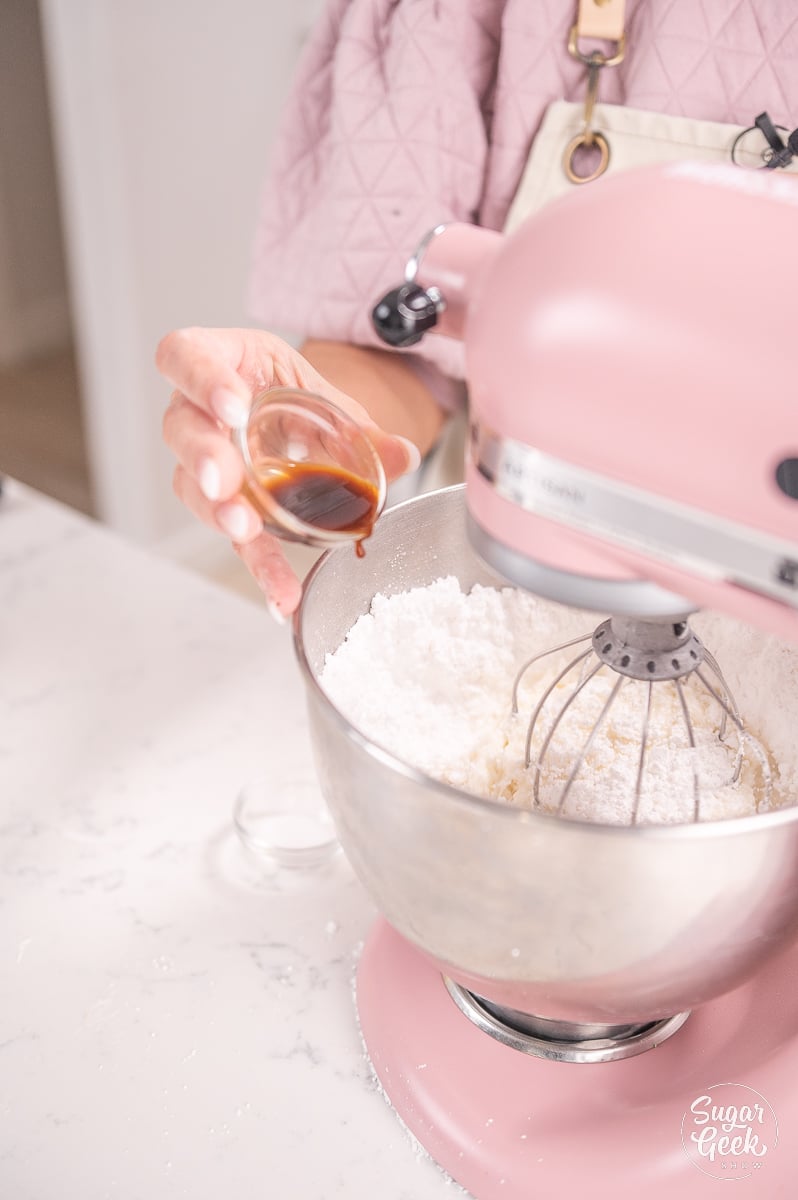
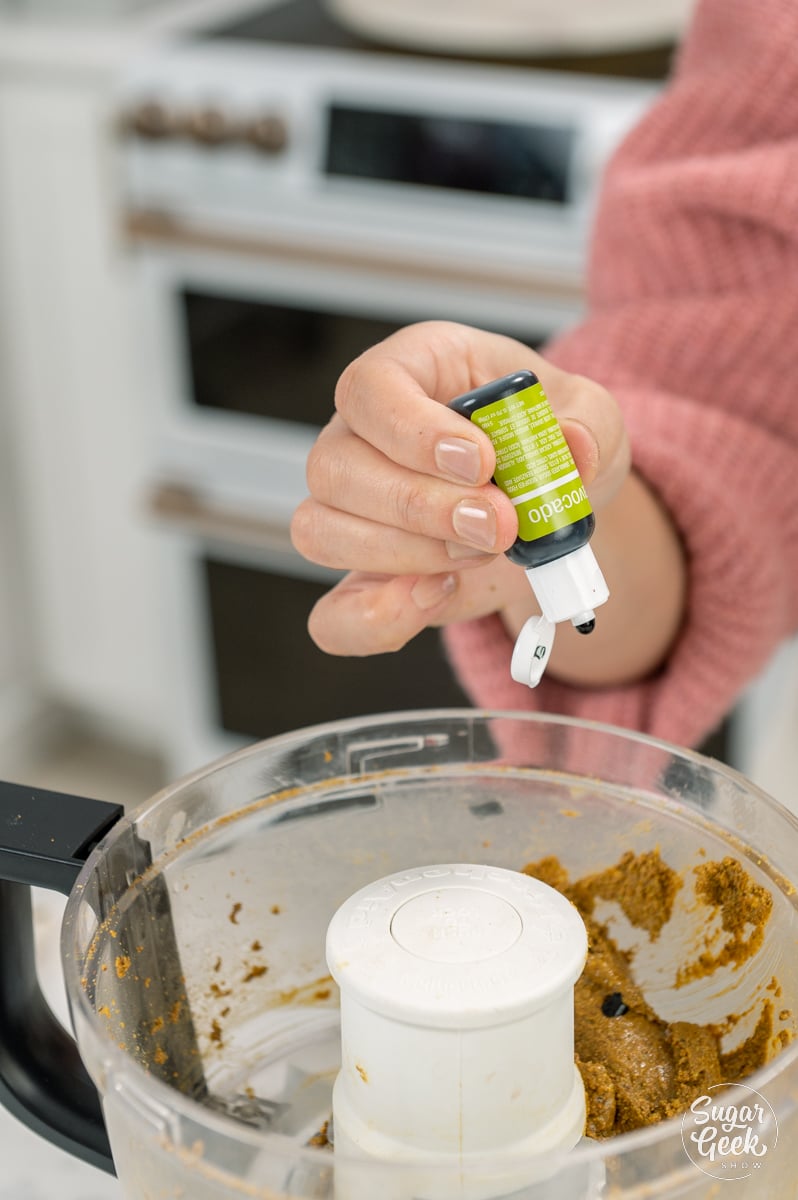
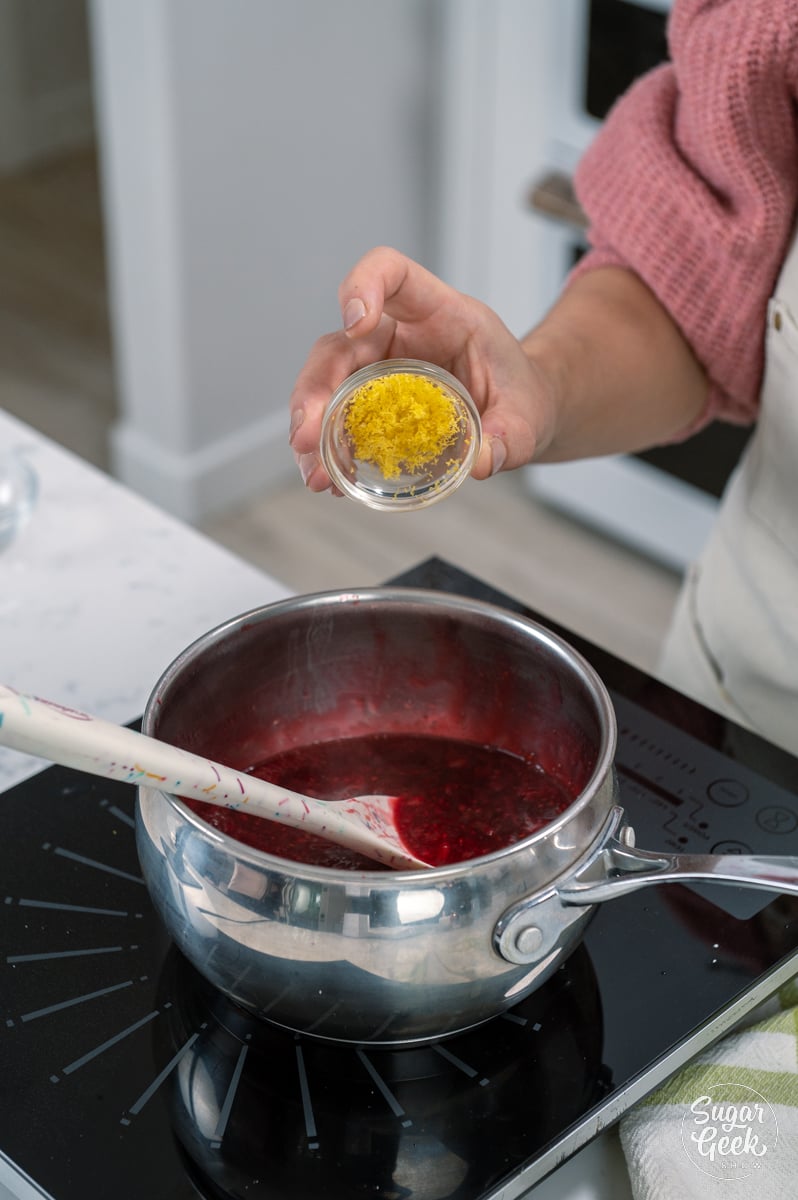
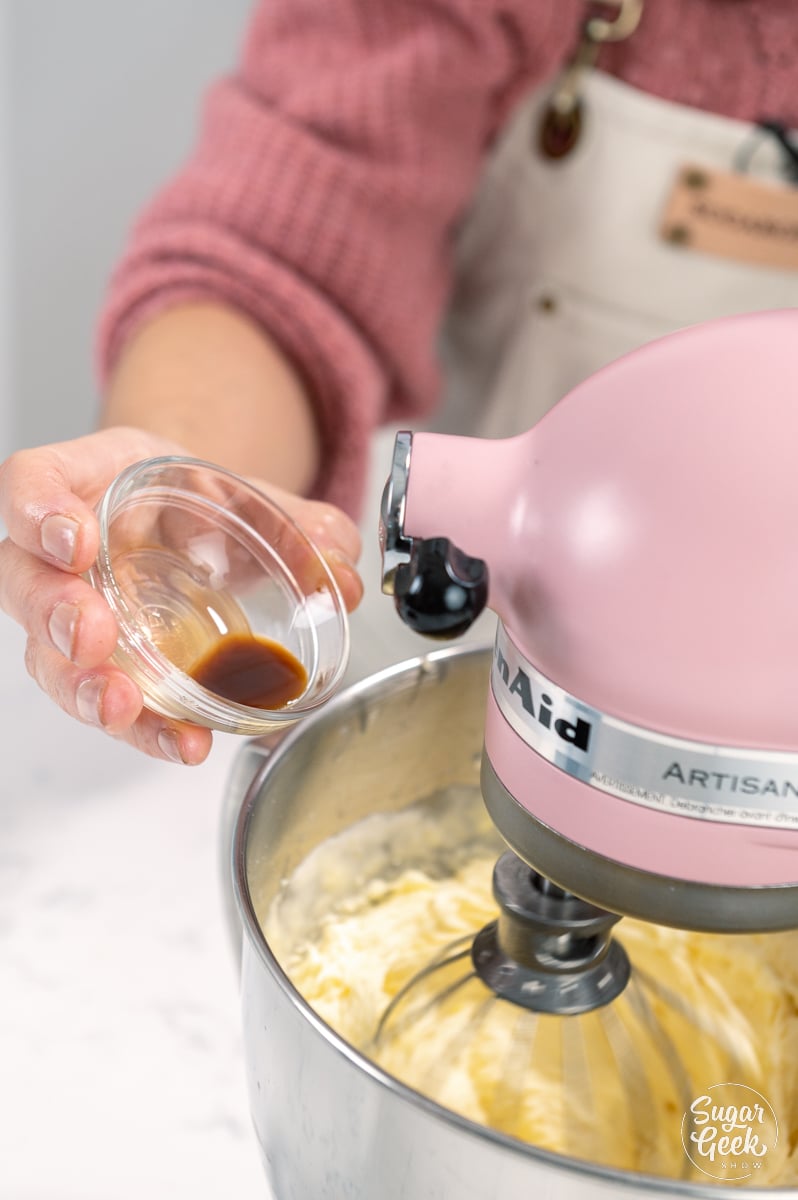
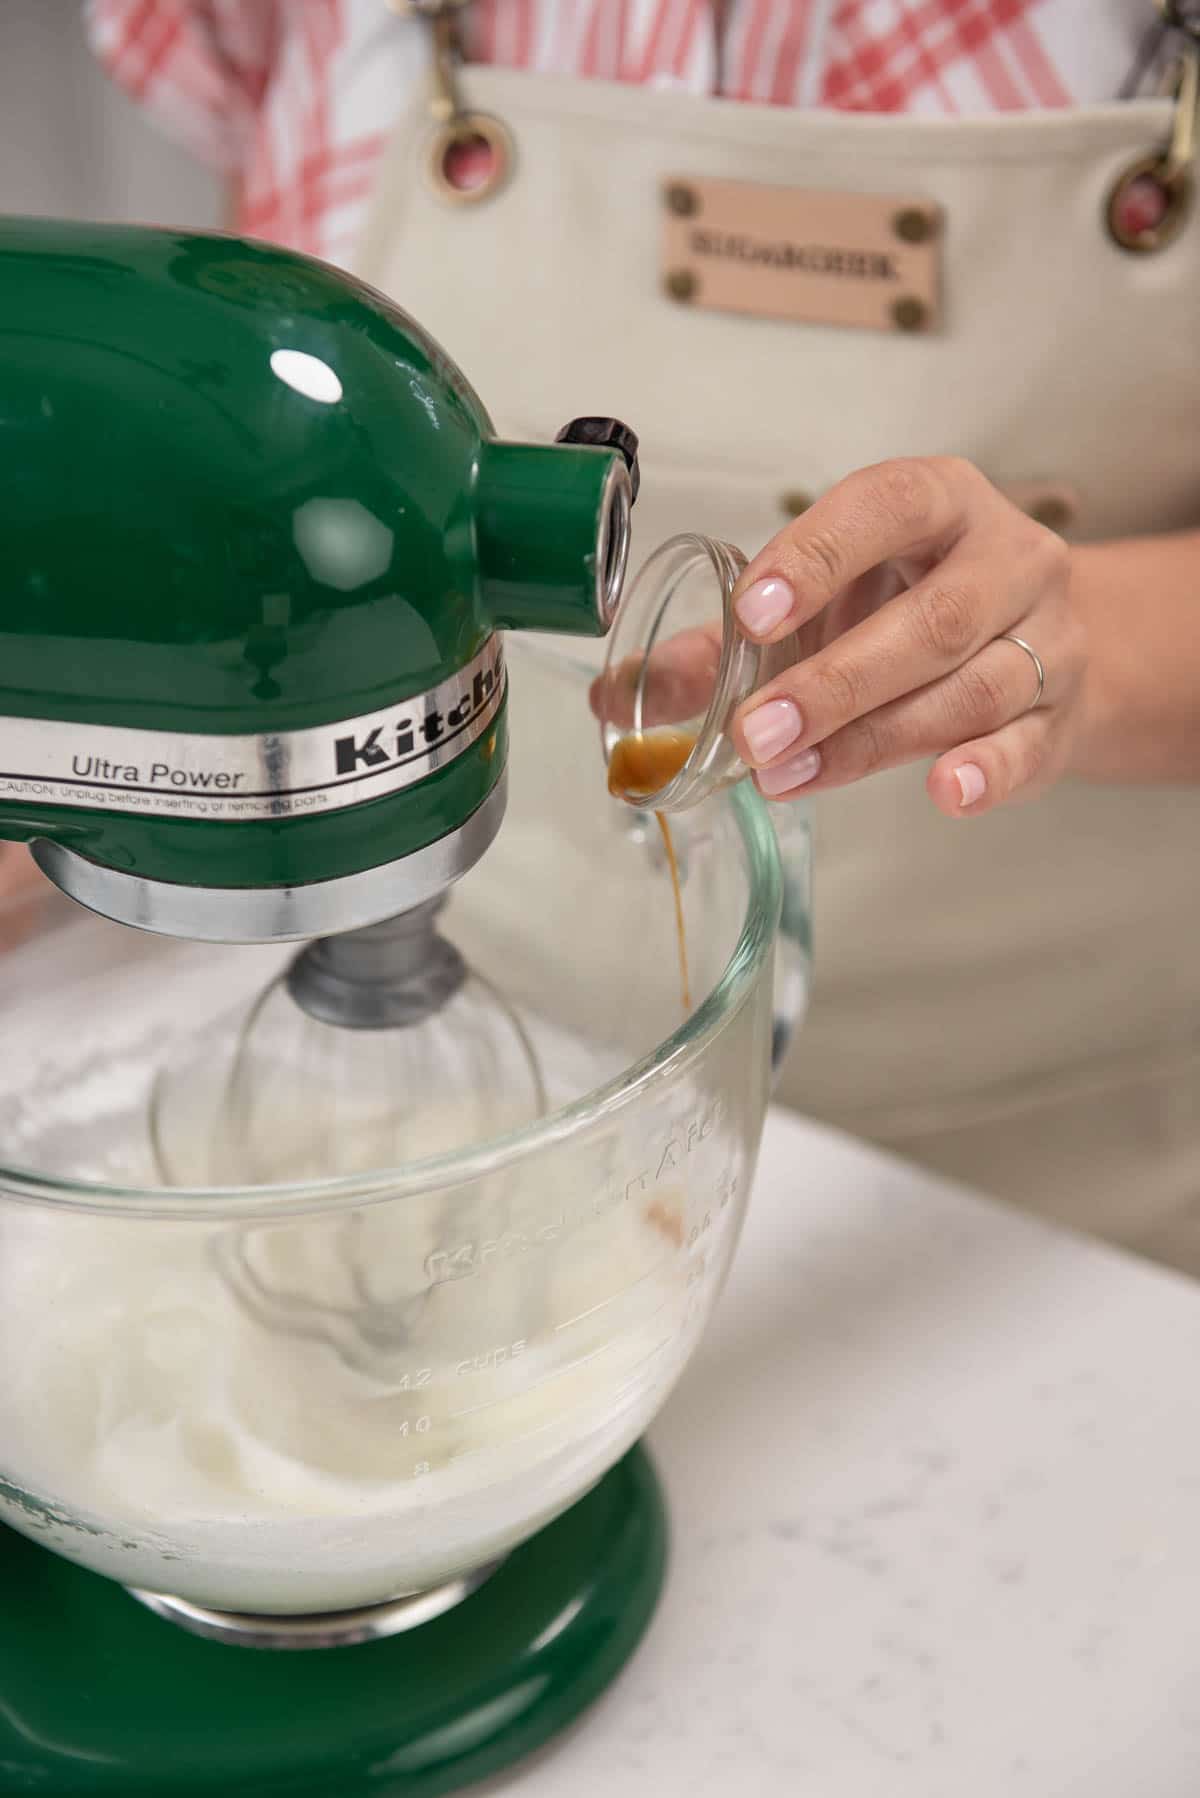
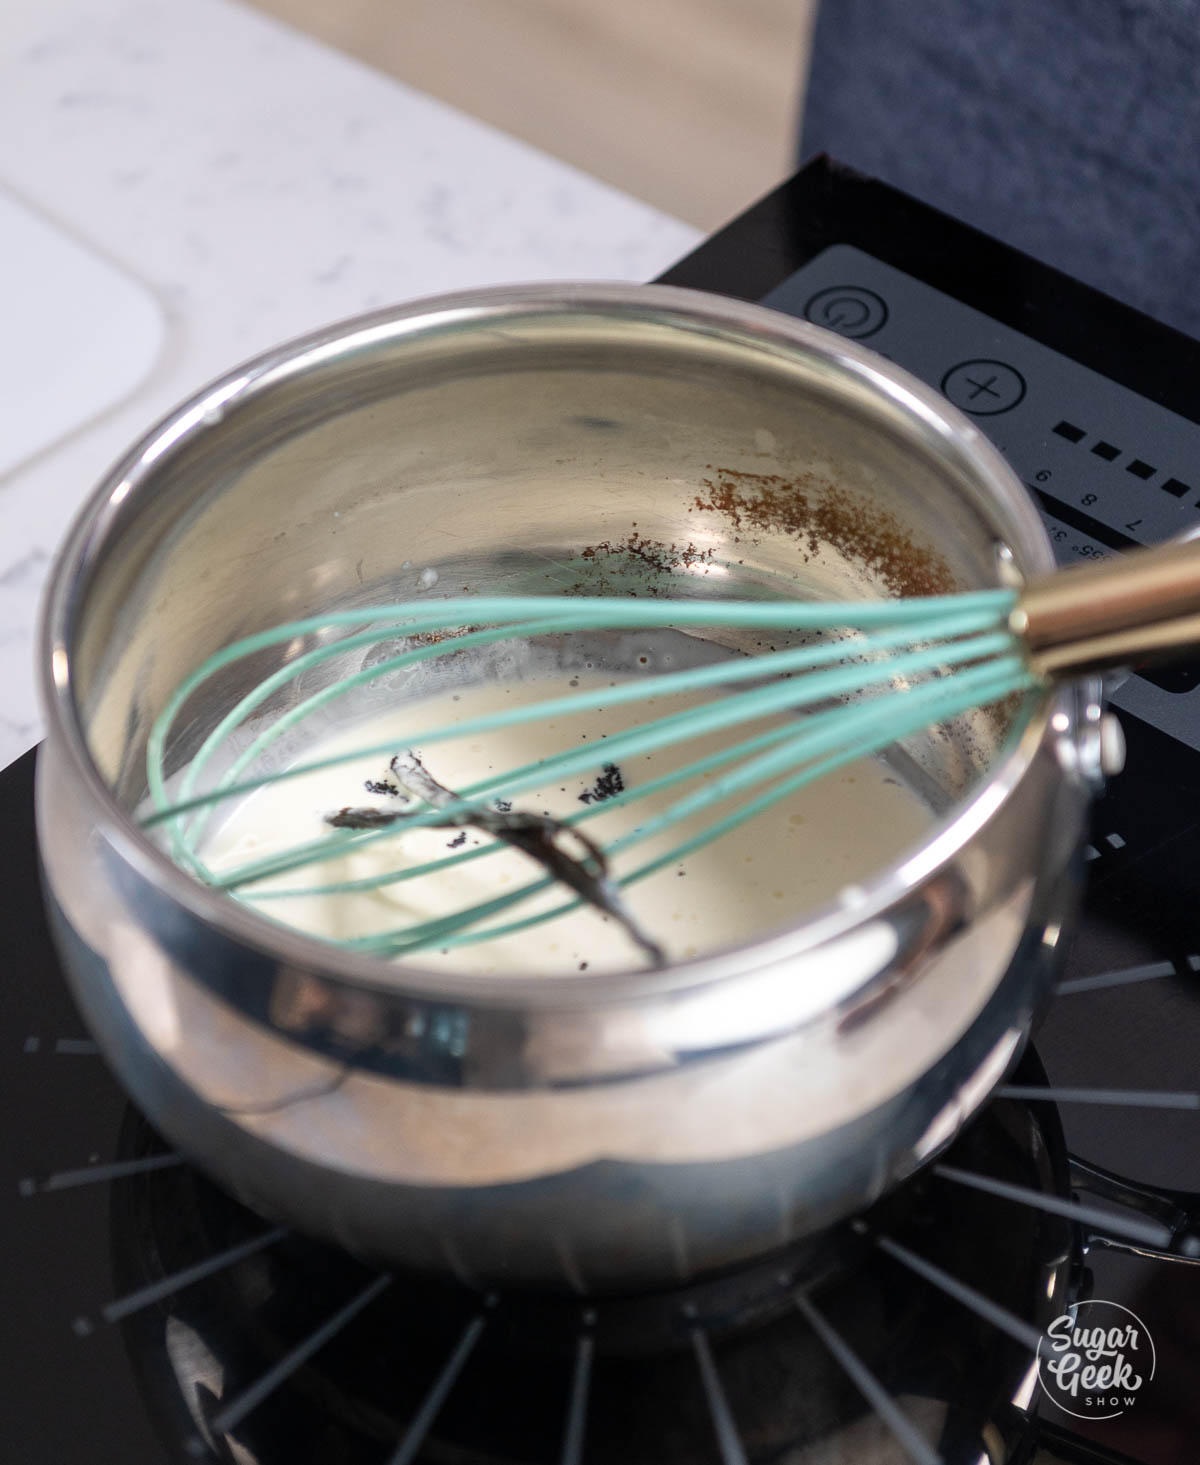
- Add in the vanilla. Whisk the mix in the pot and bring it to a boil.
- Bring the milk to a simmer (just beginning to see bubbles forming) while mixing constantly.
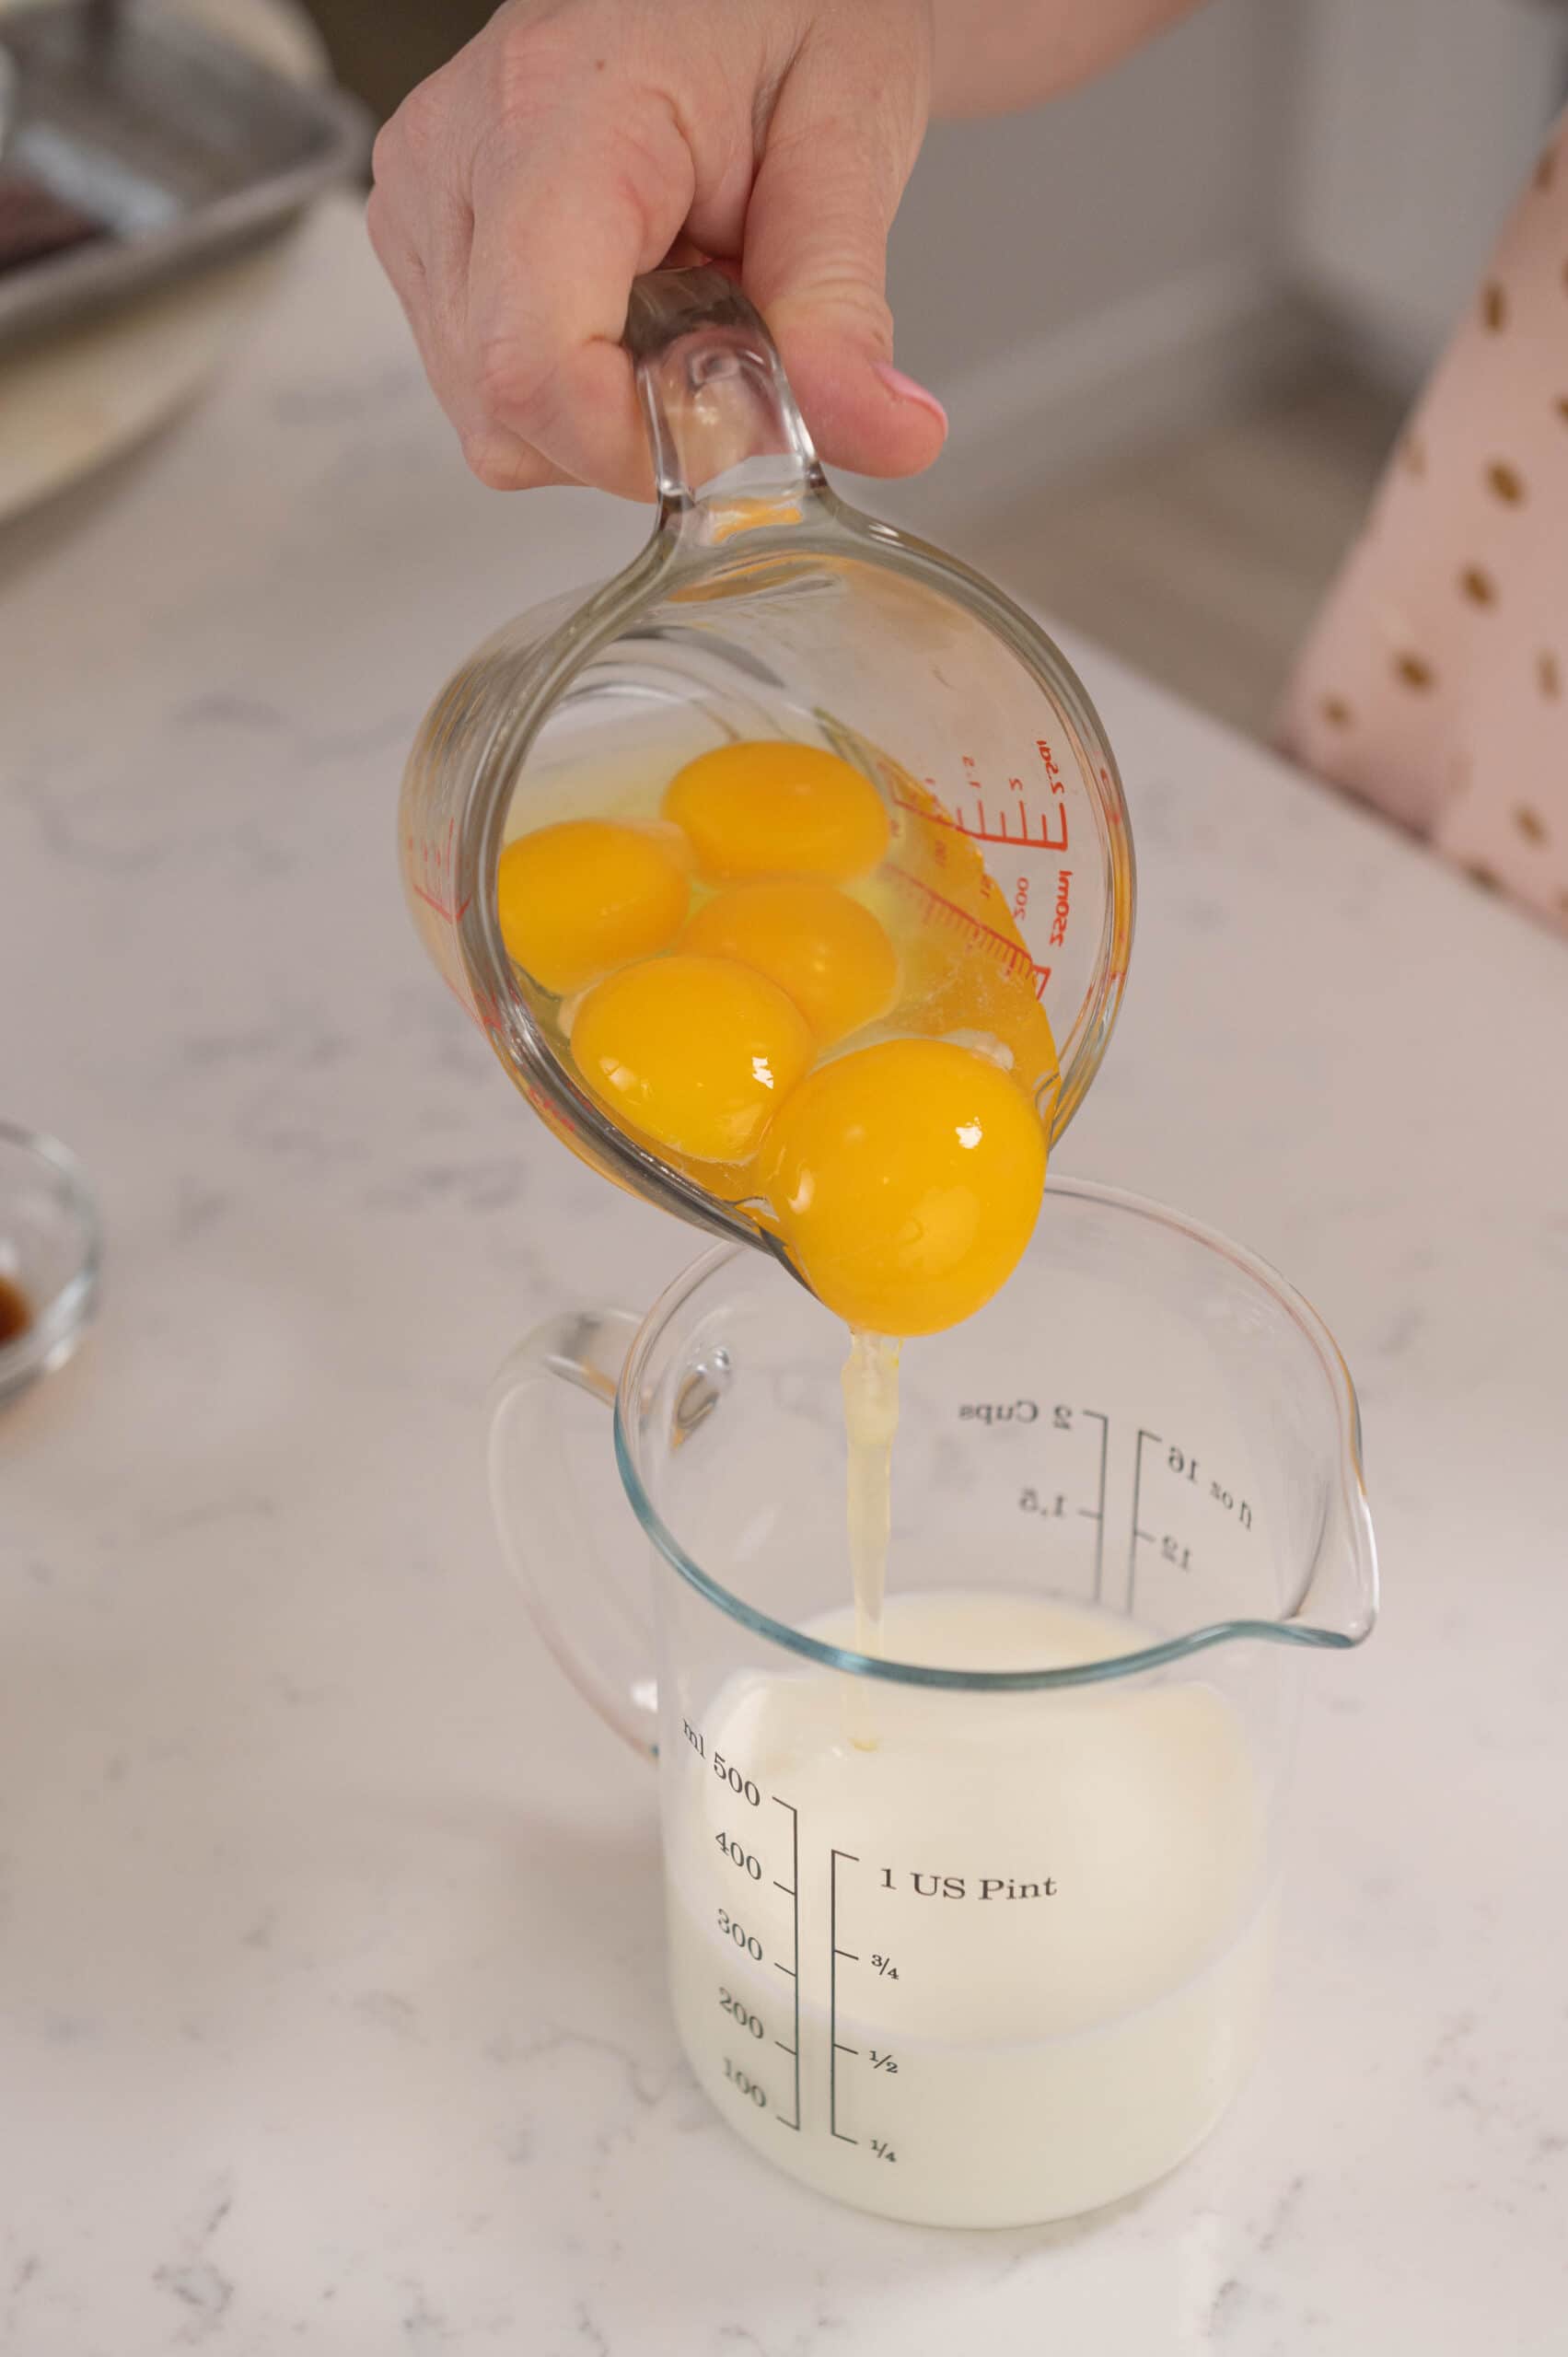
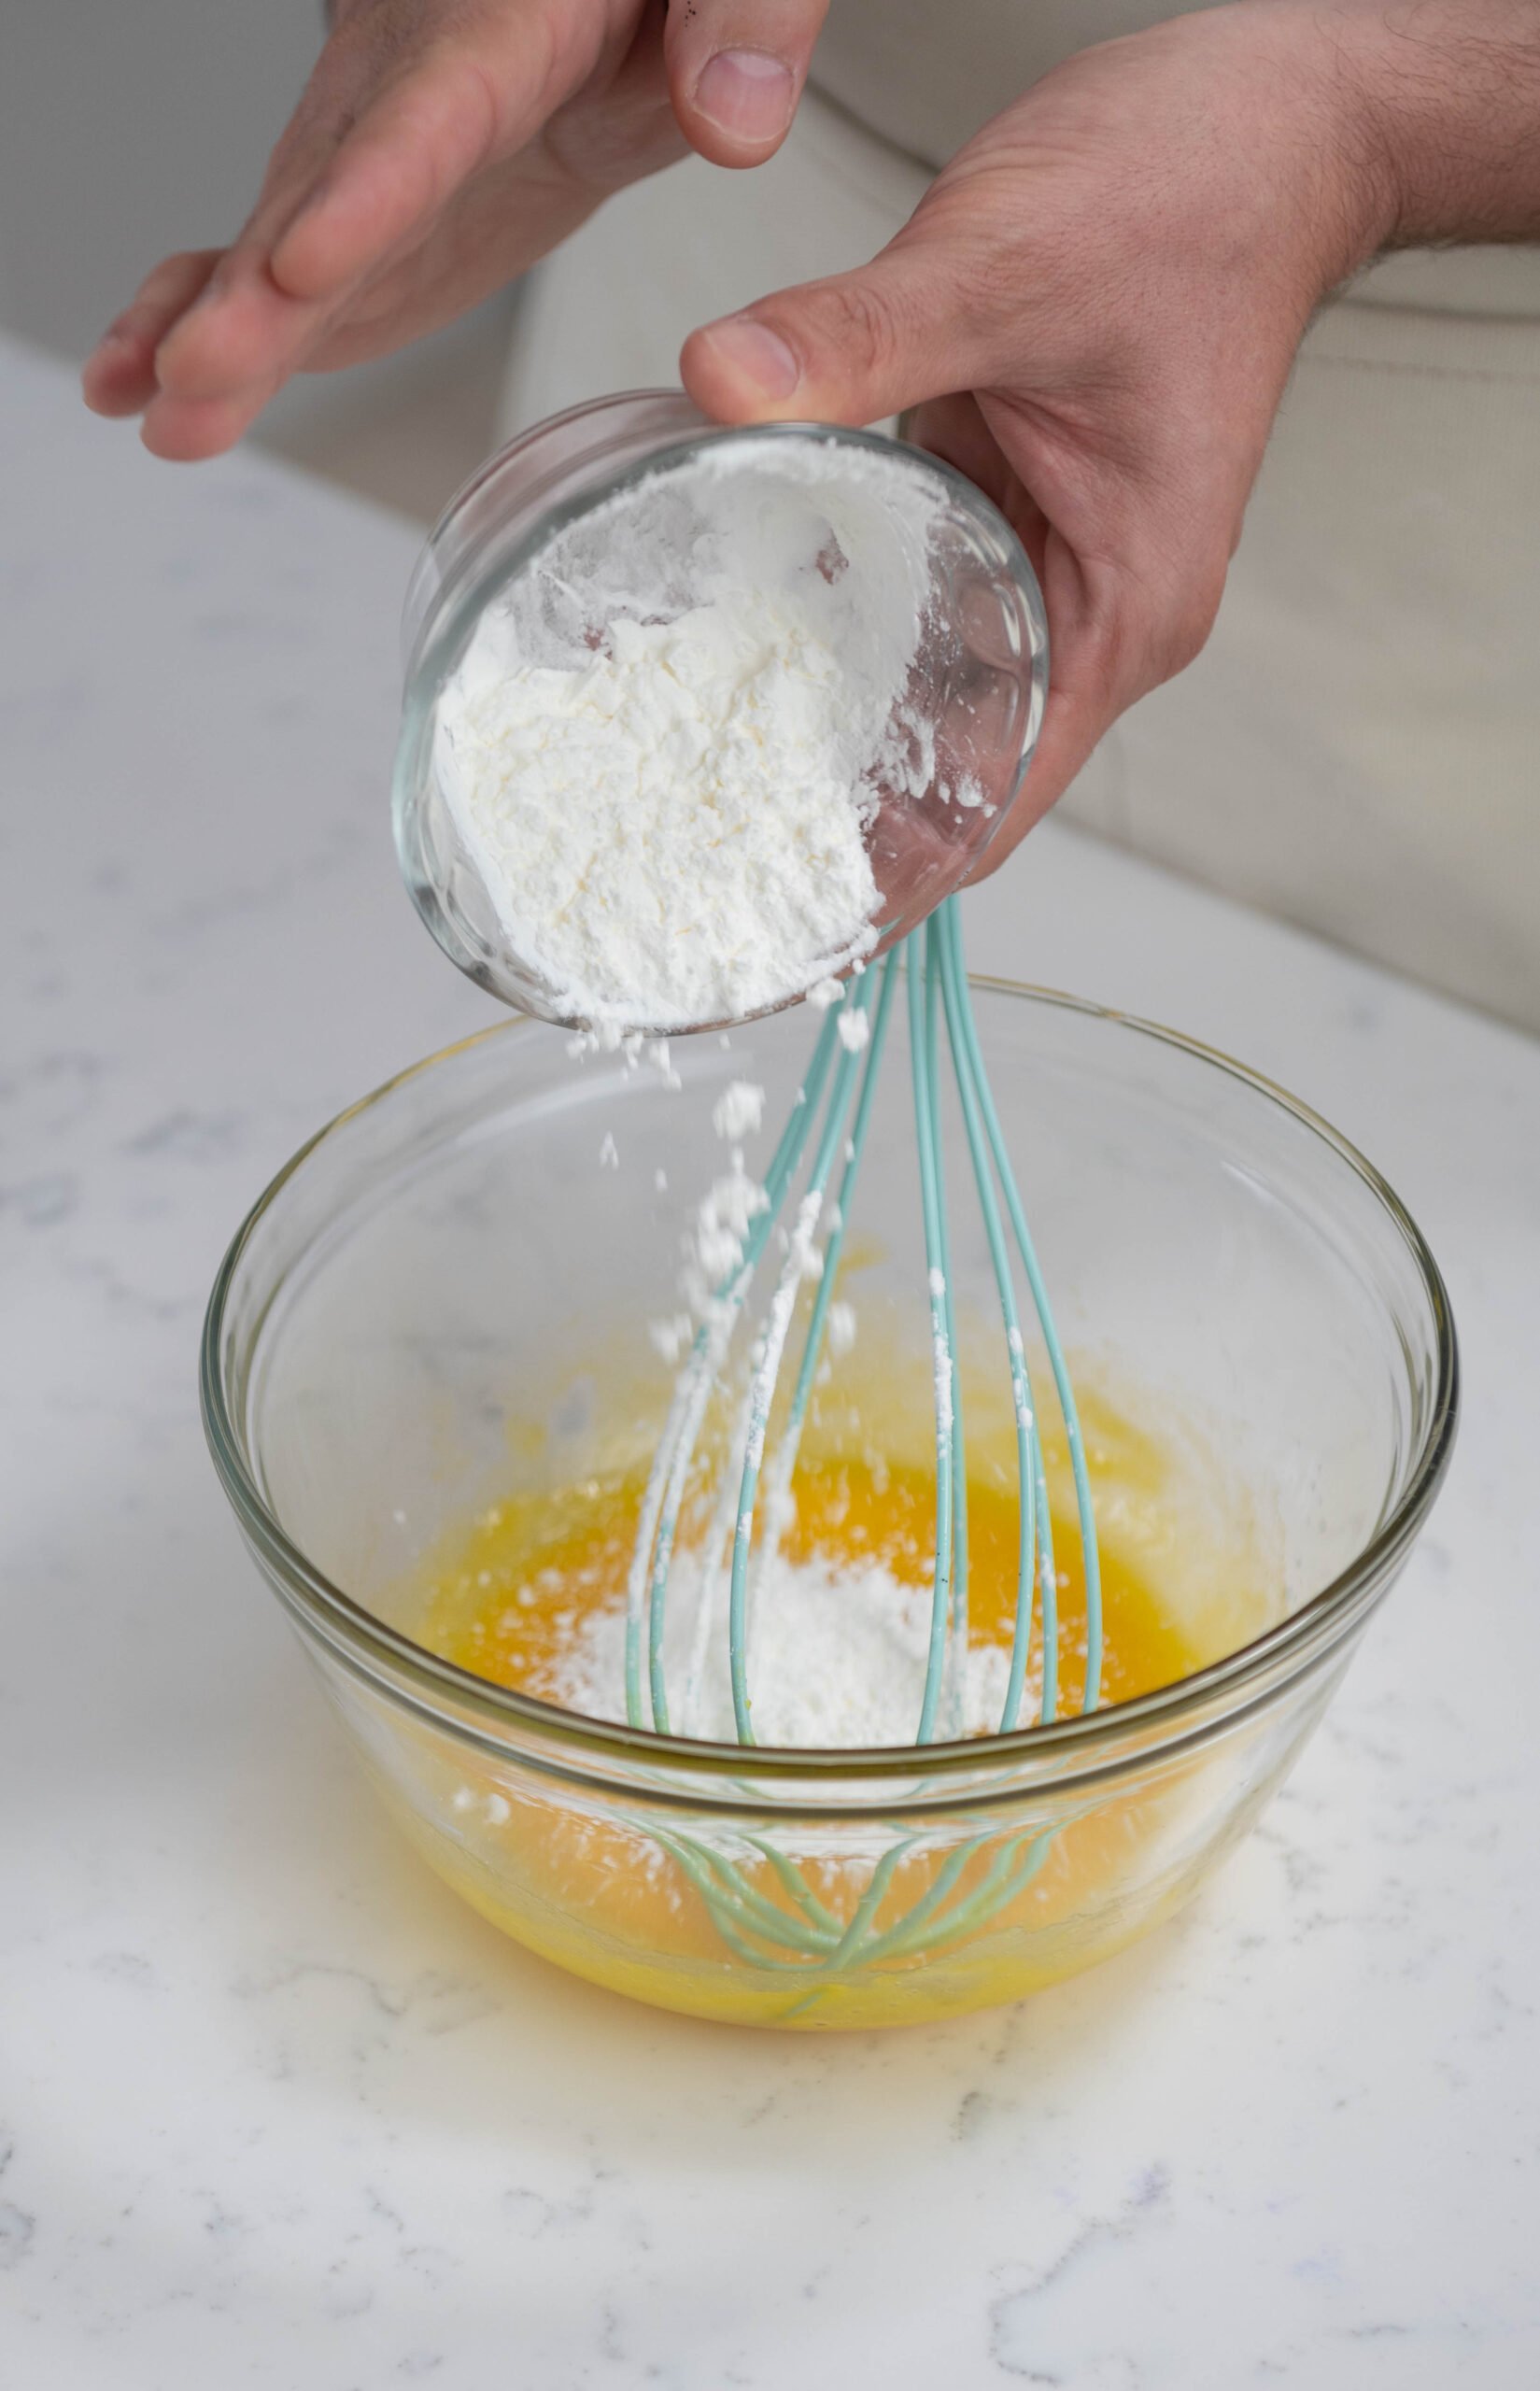
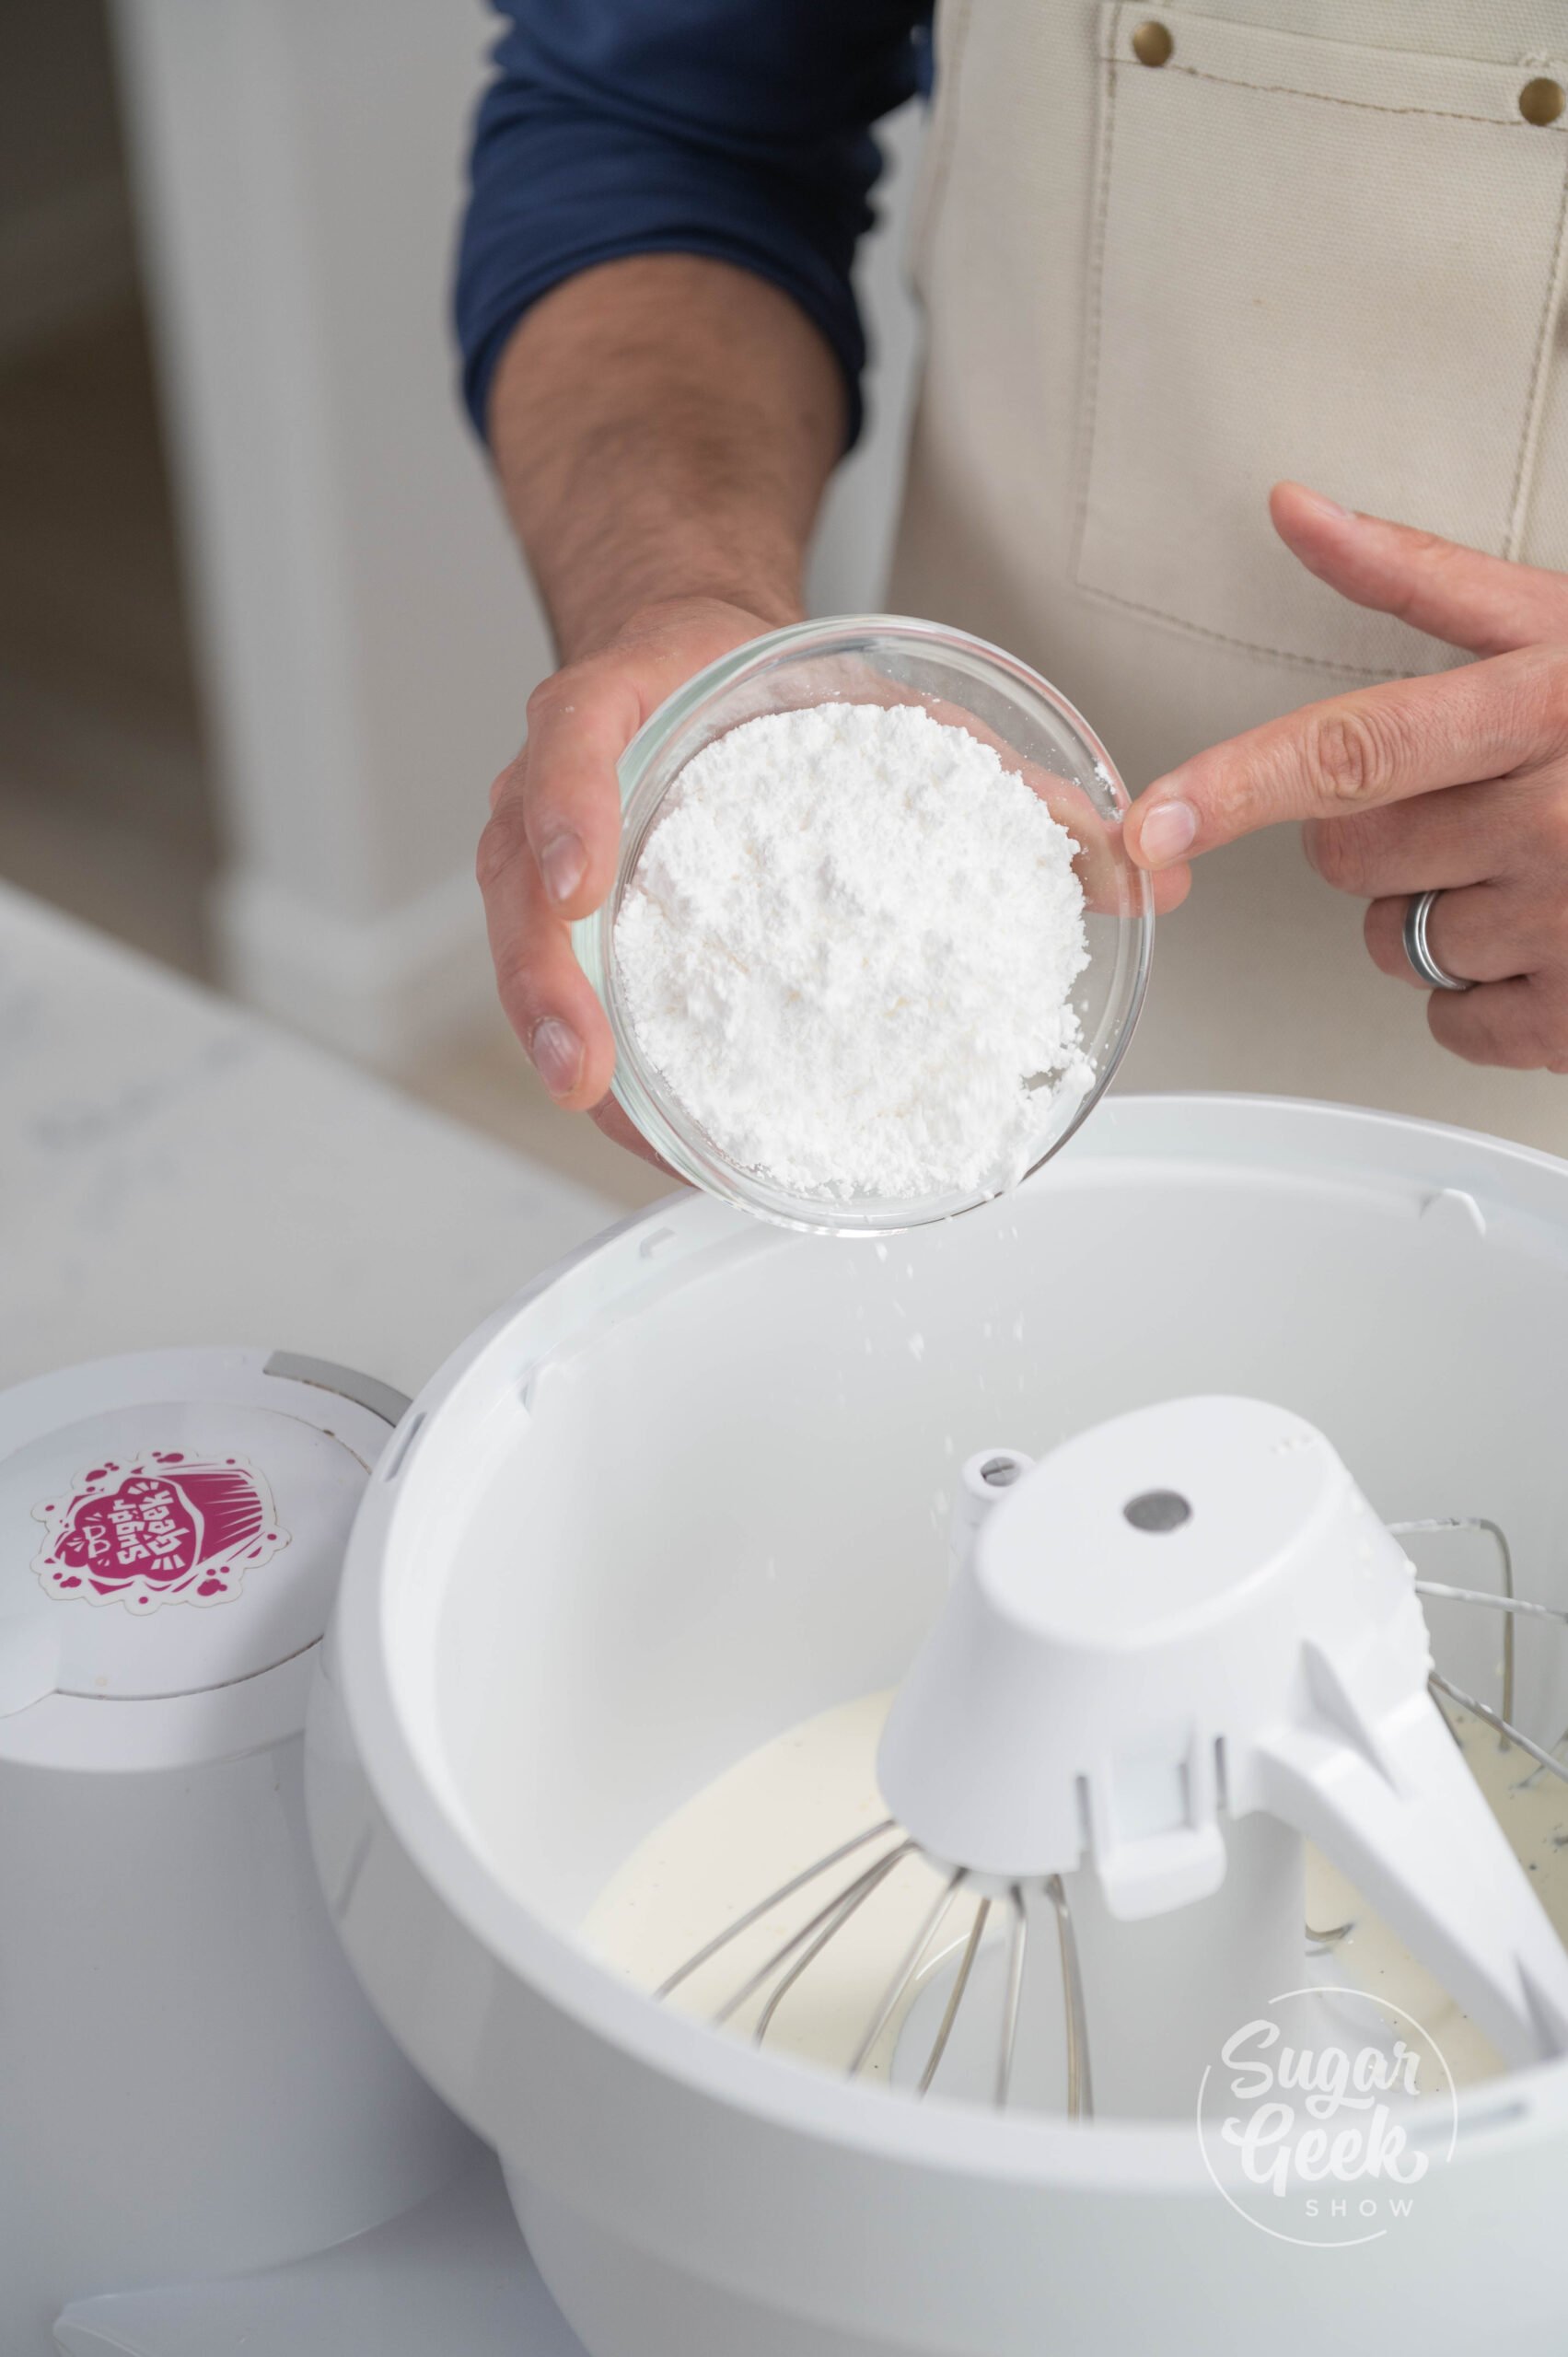
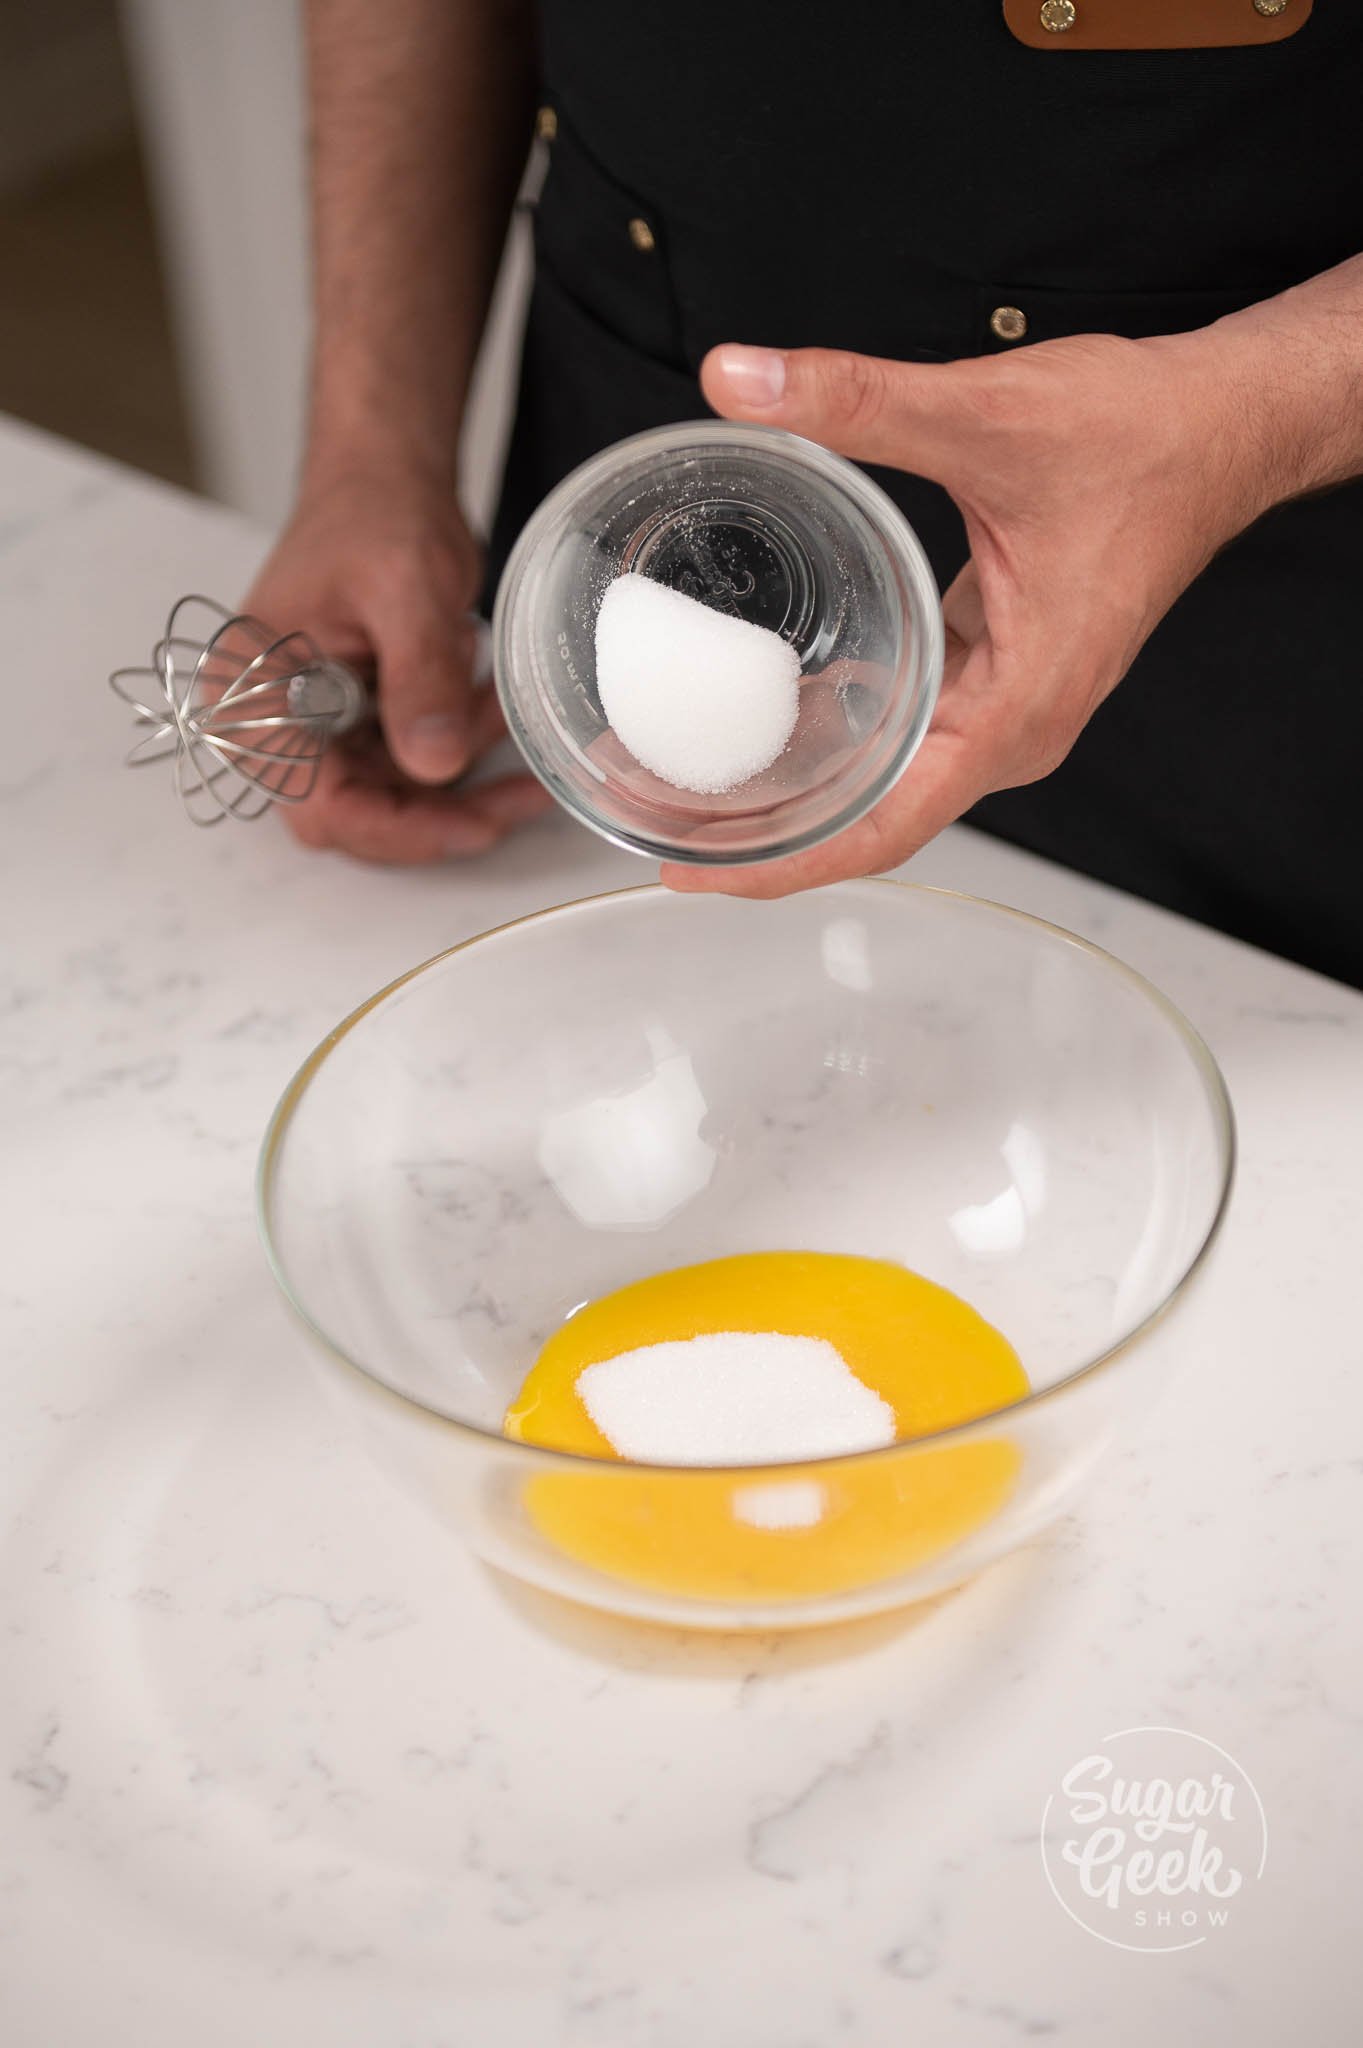
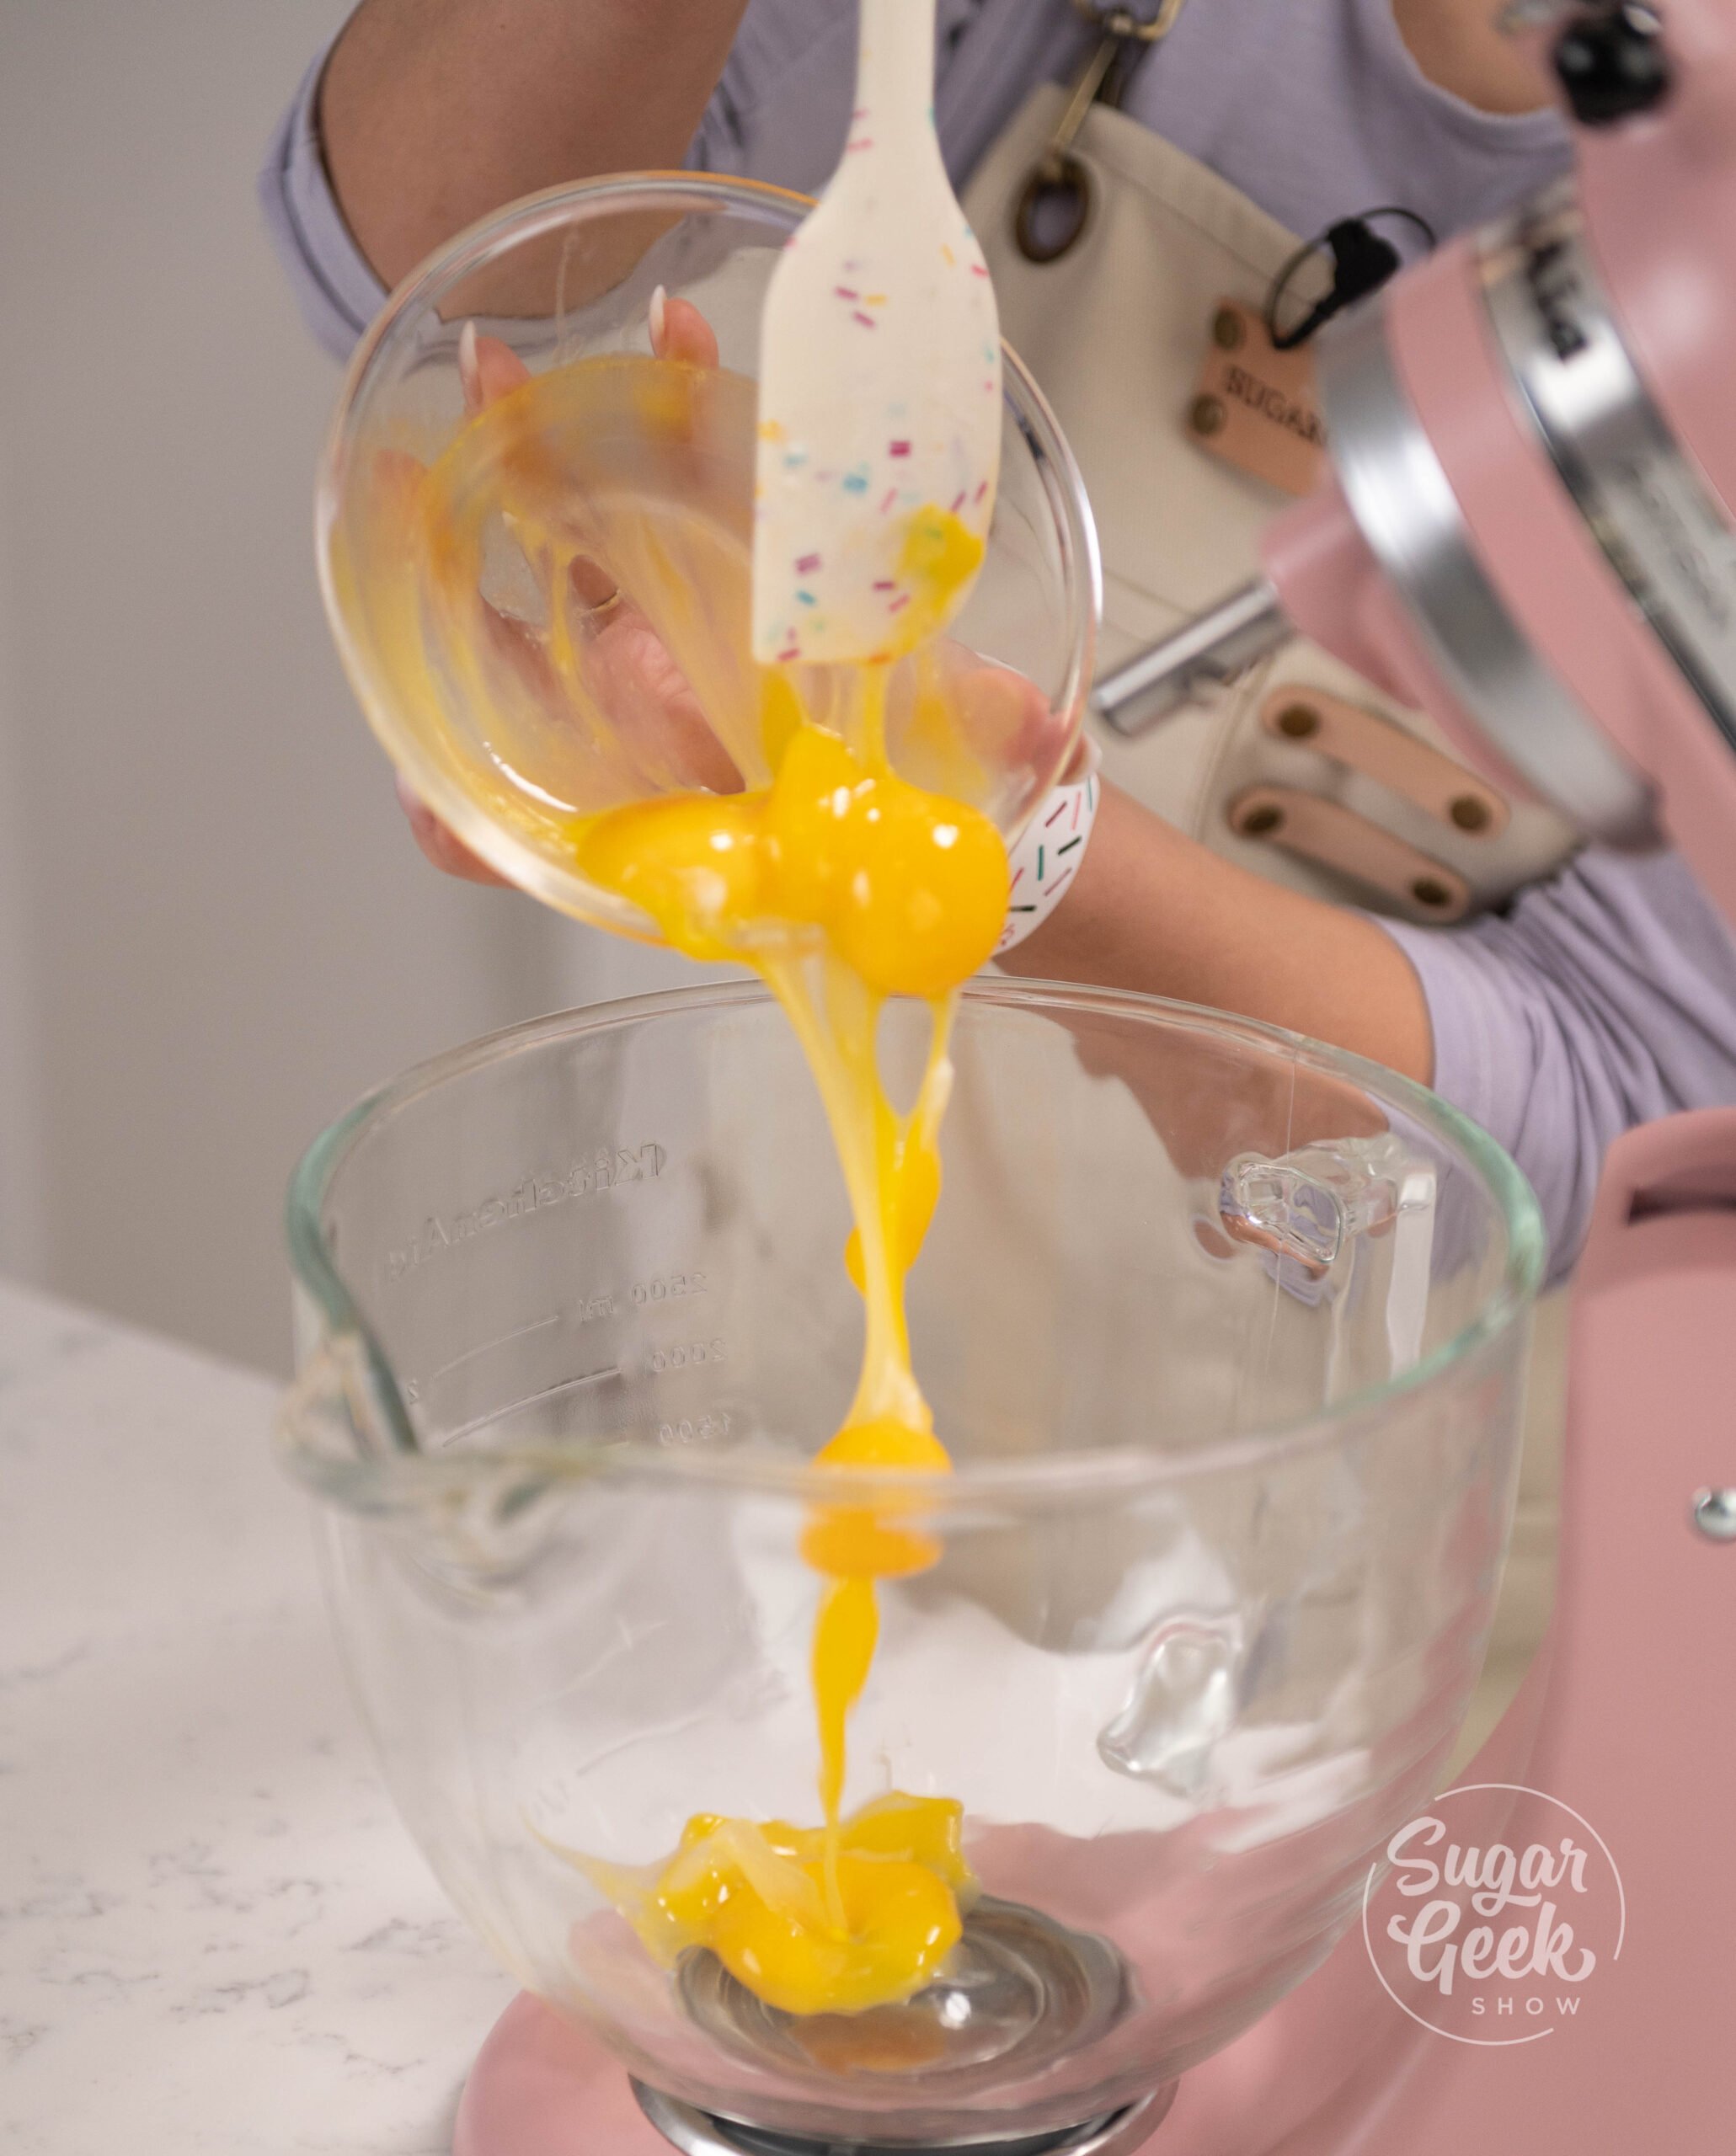
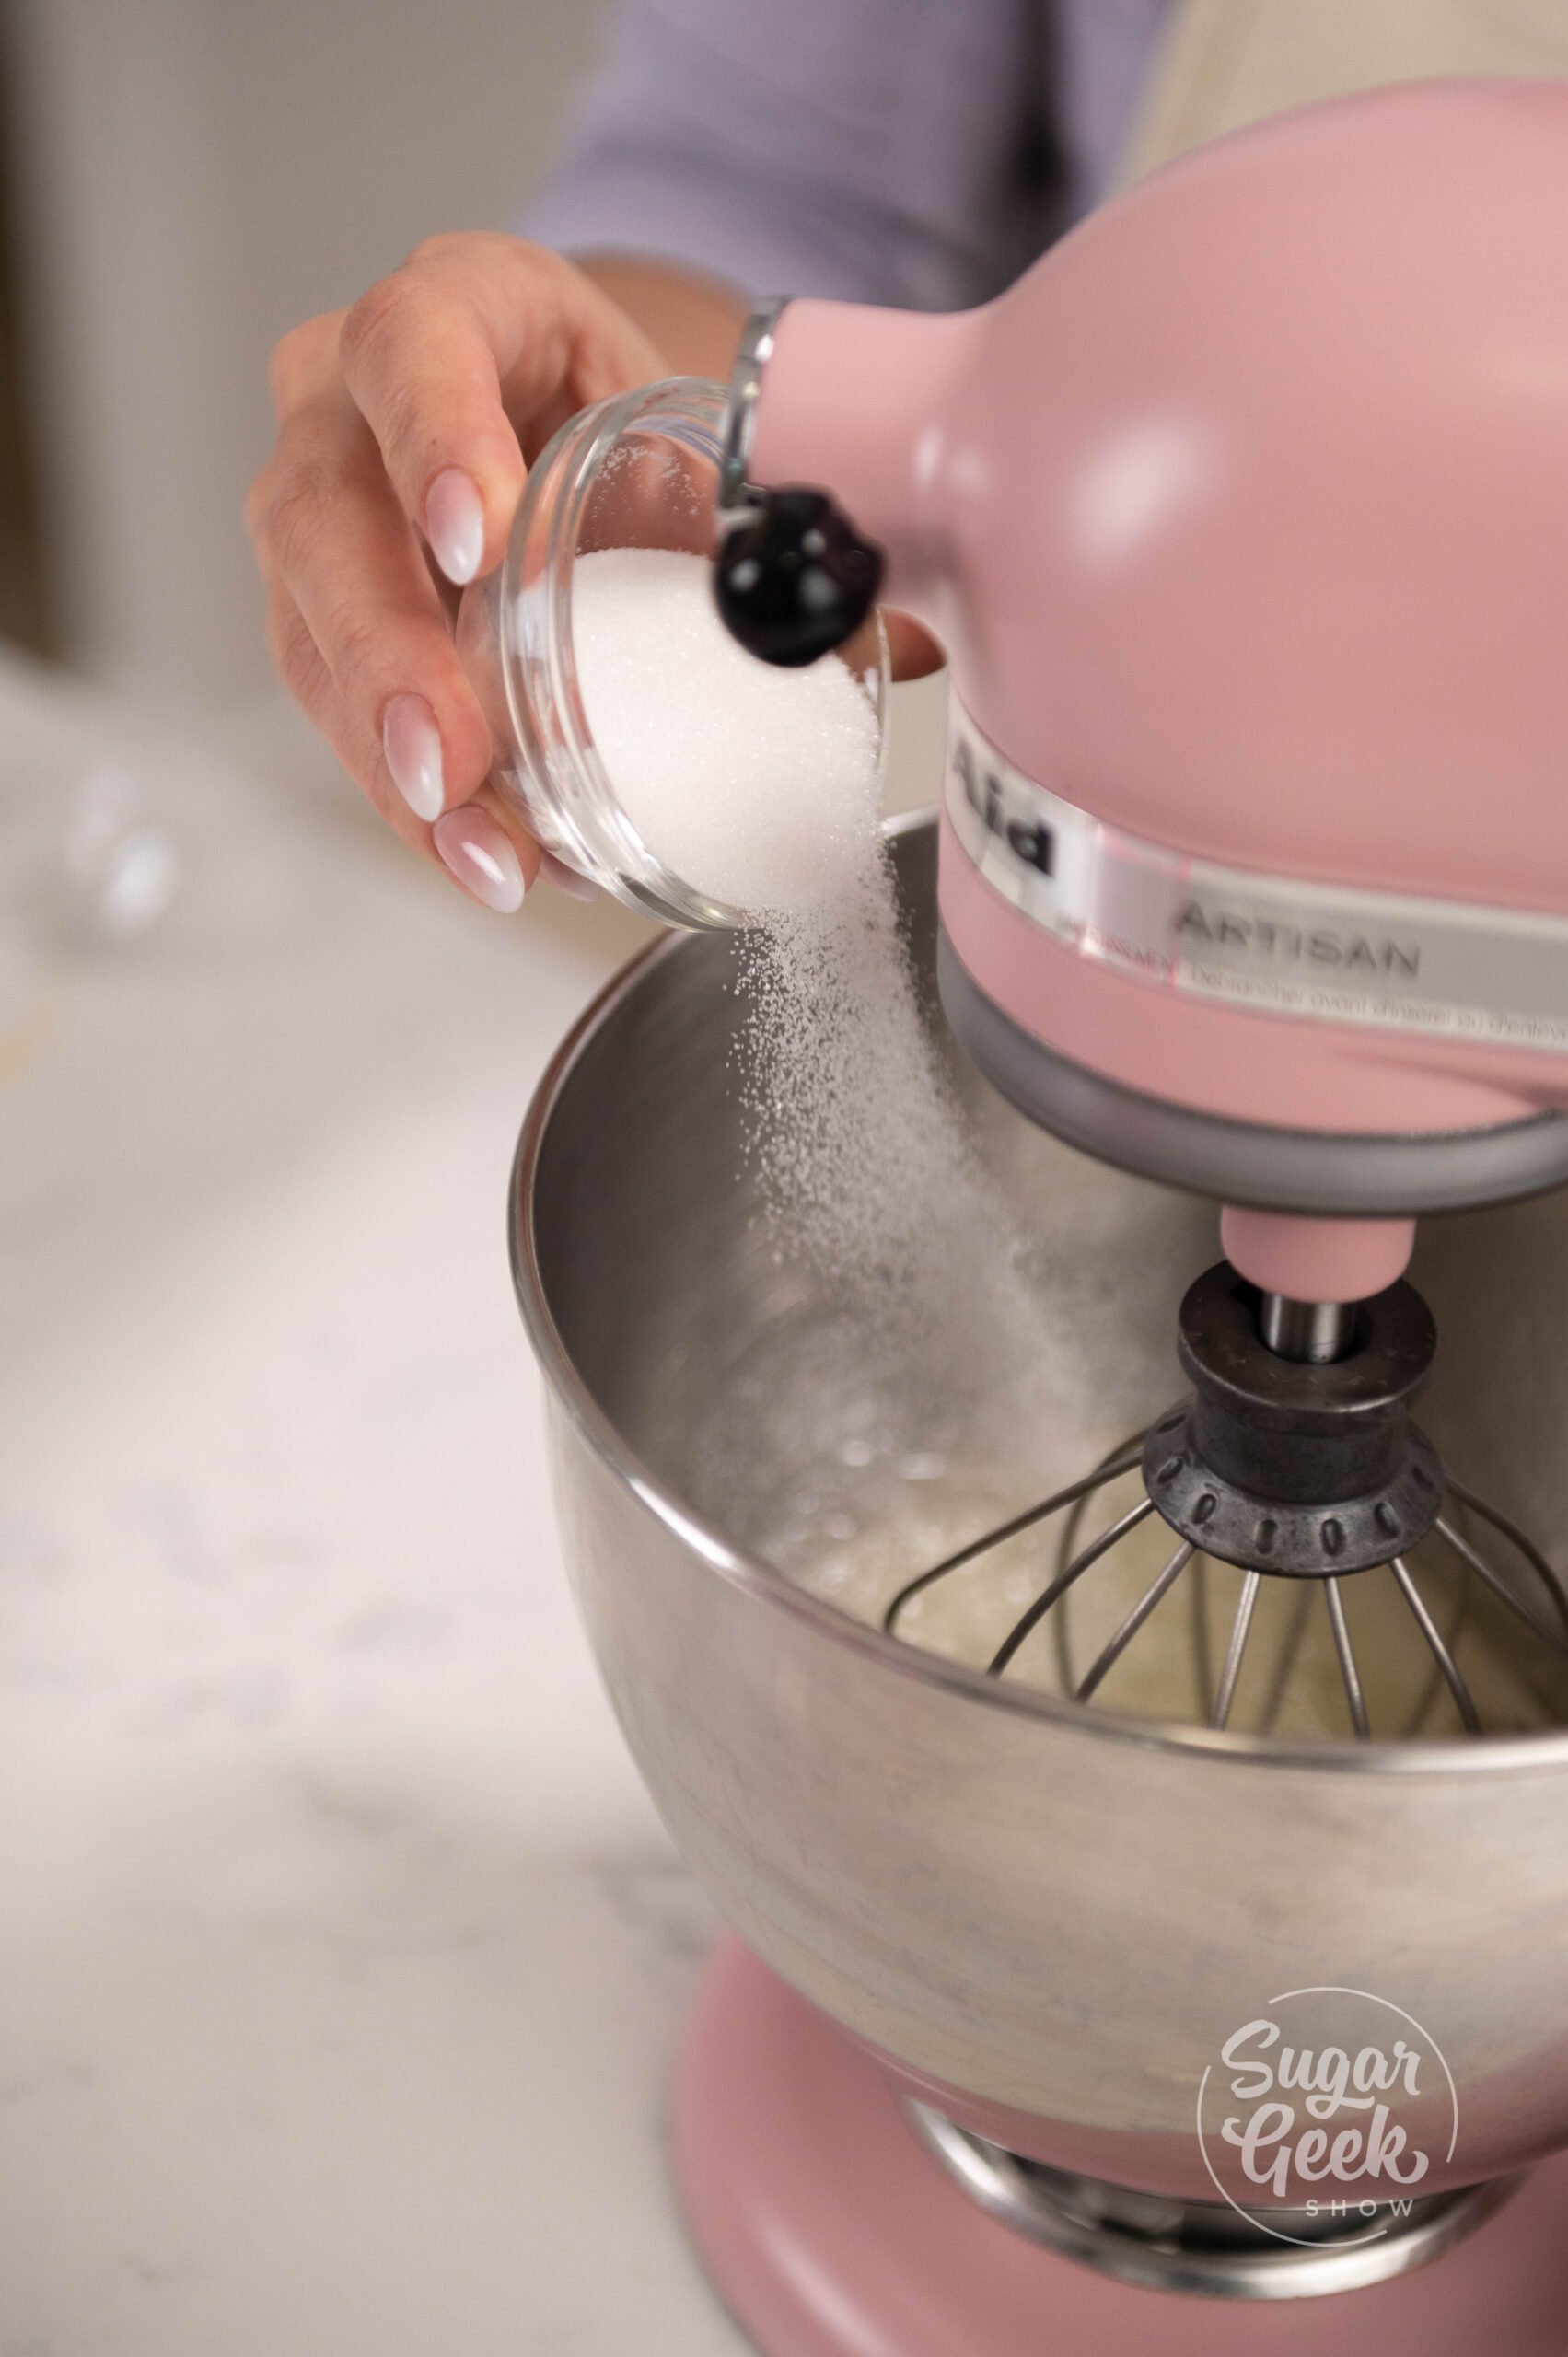
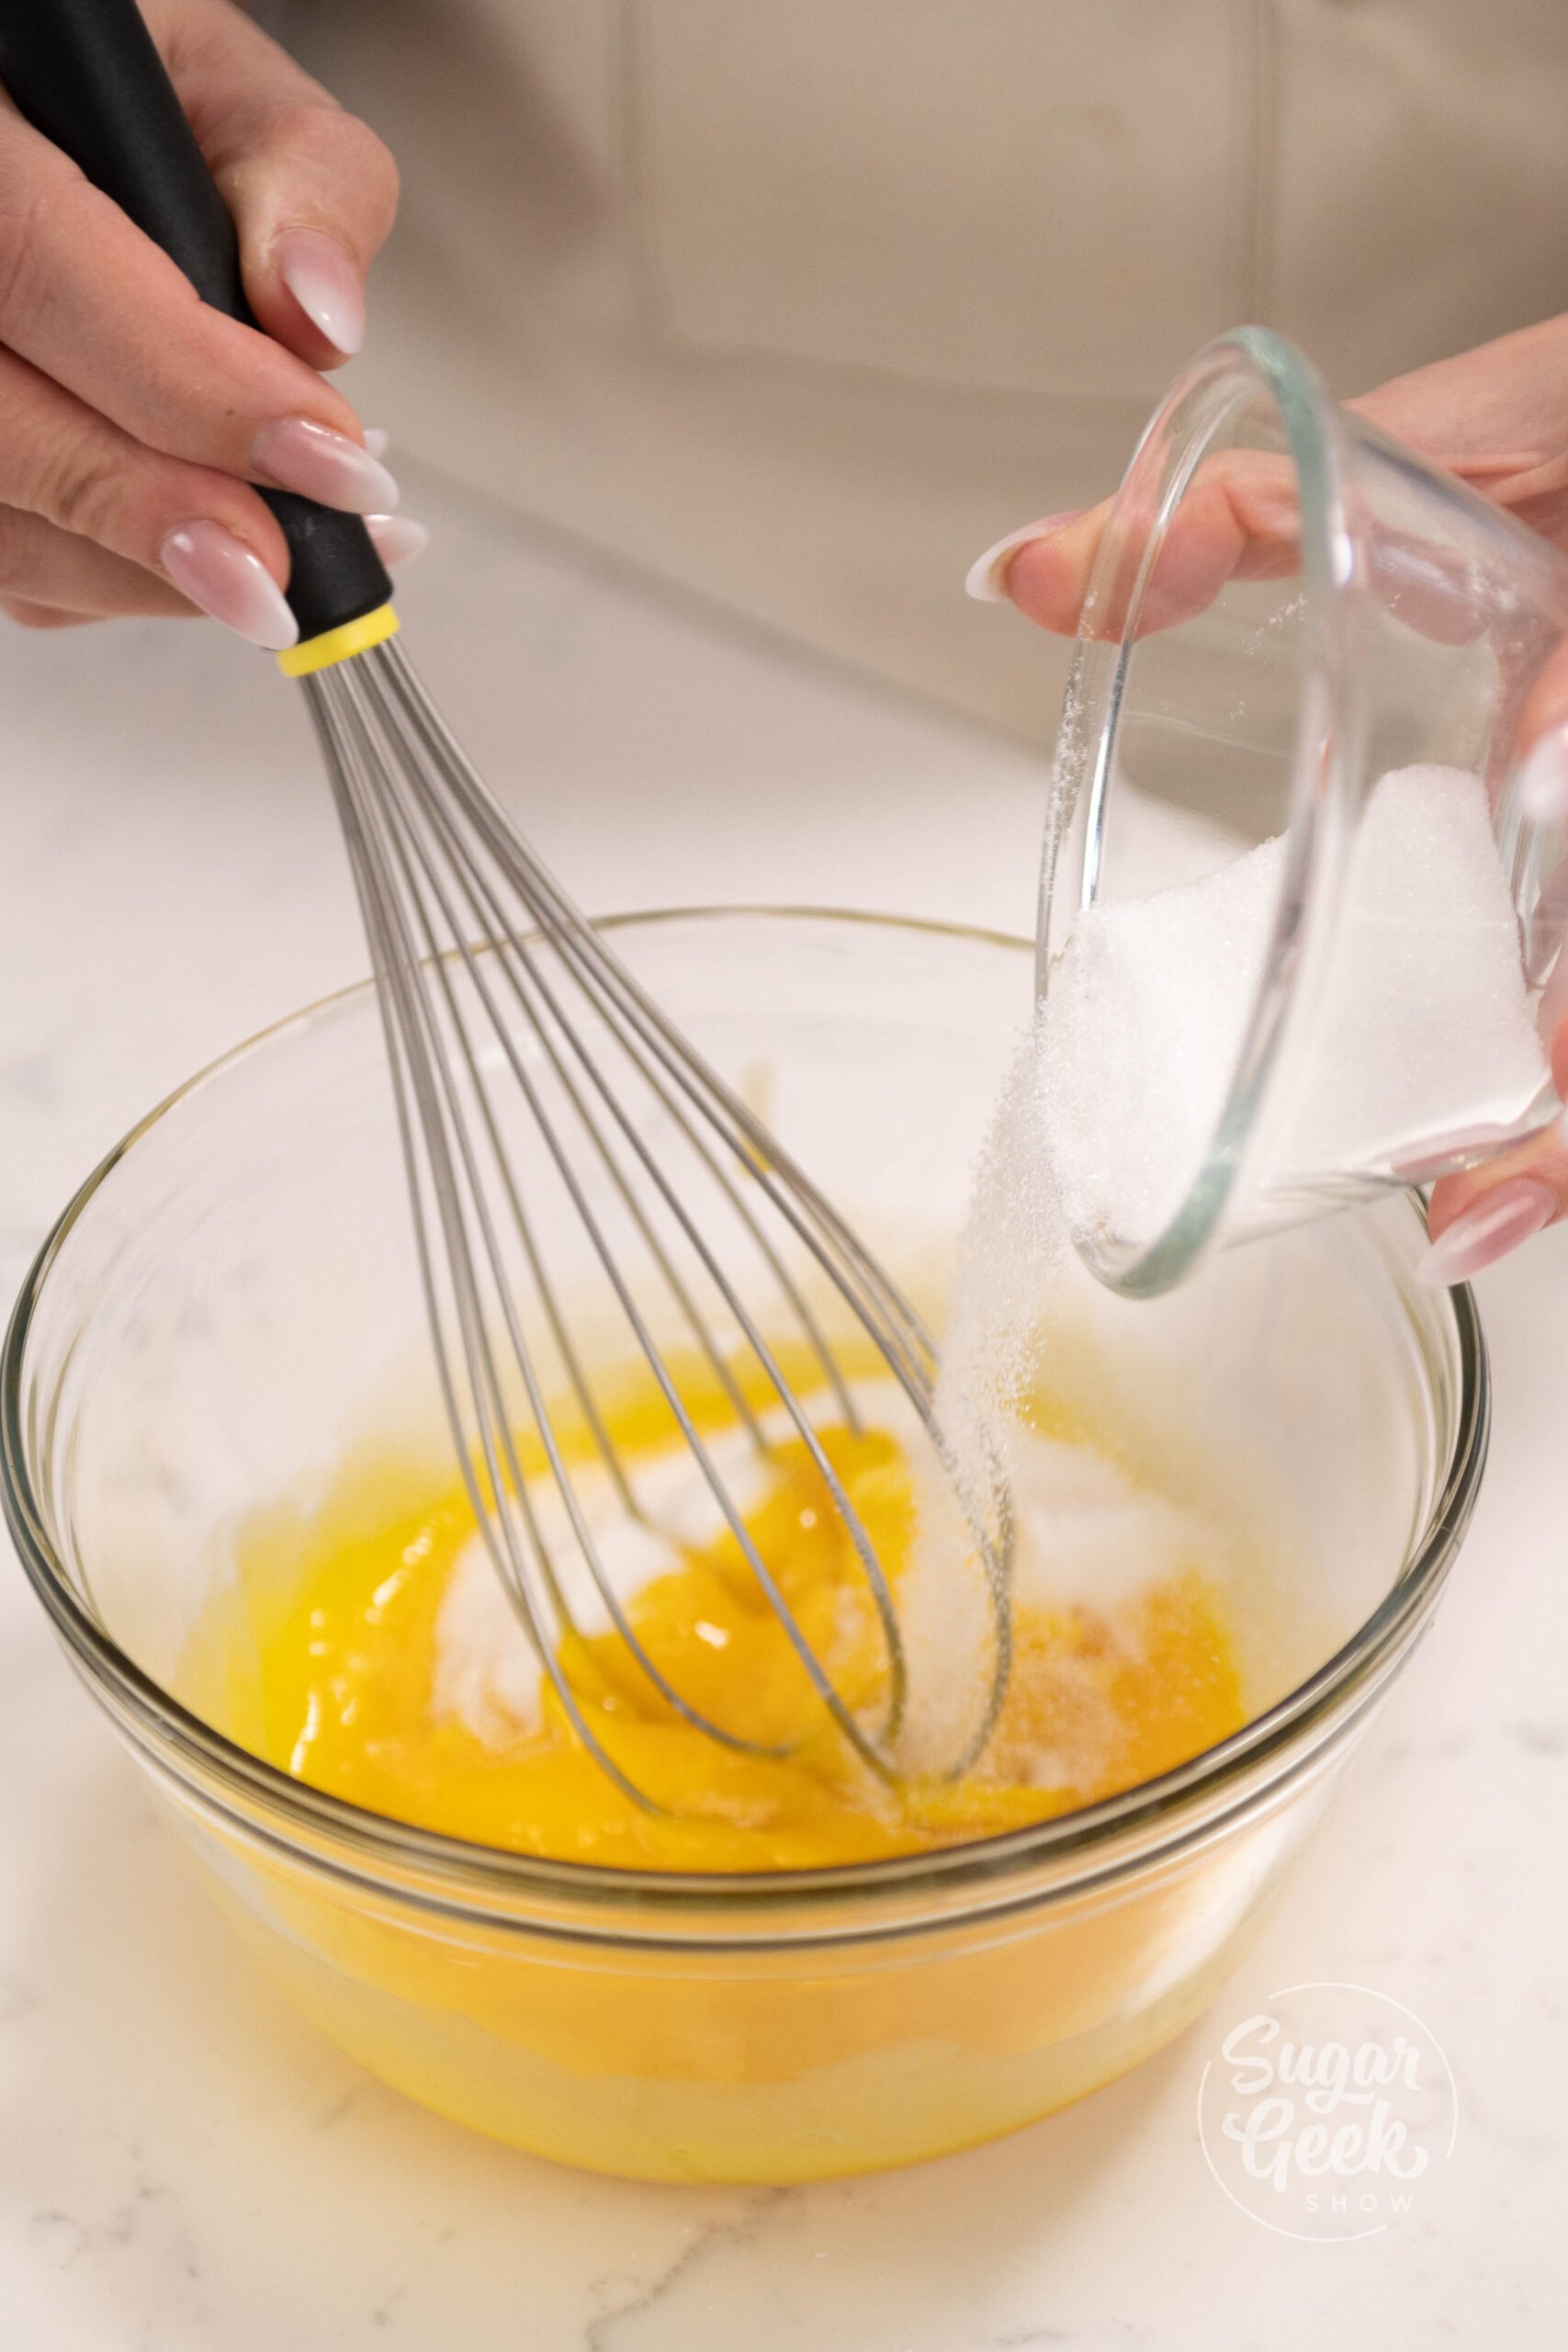
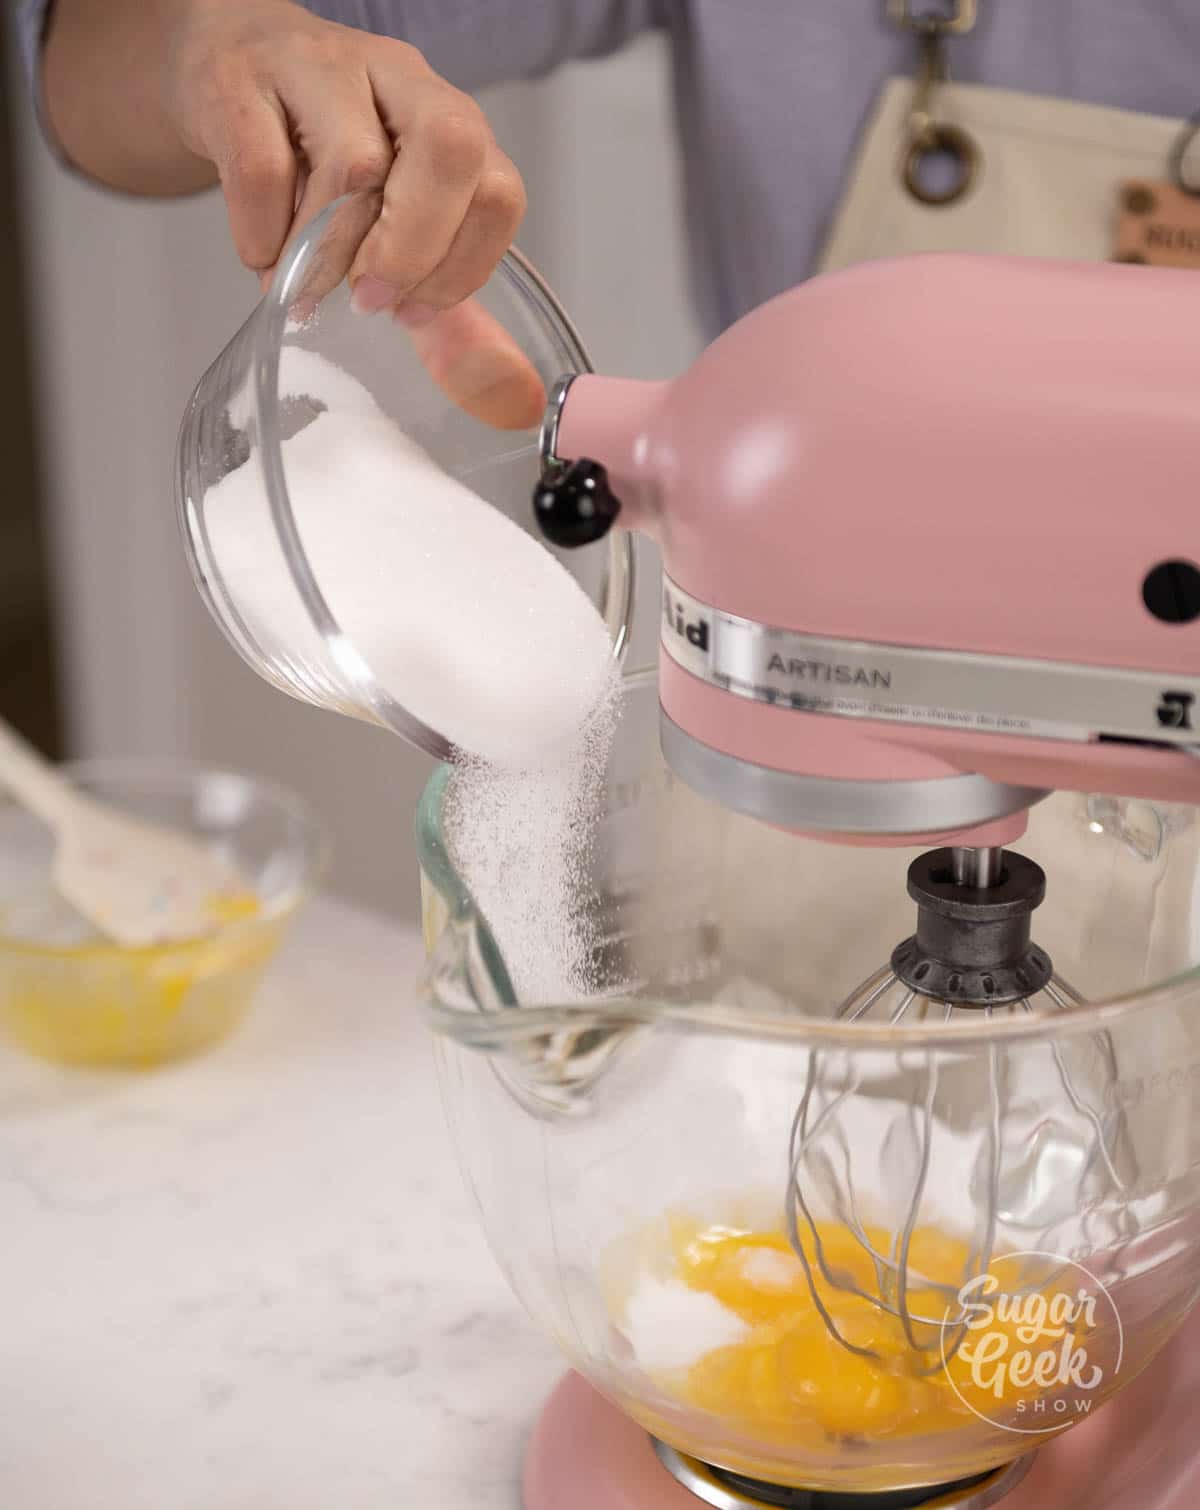
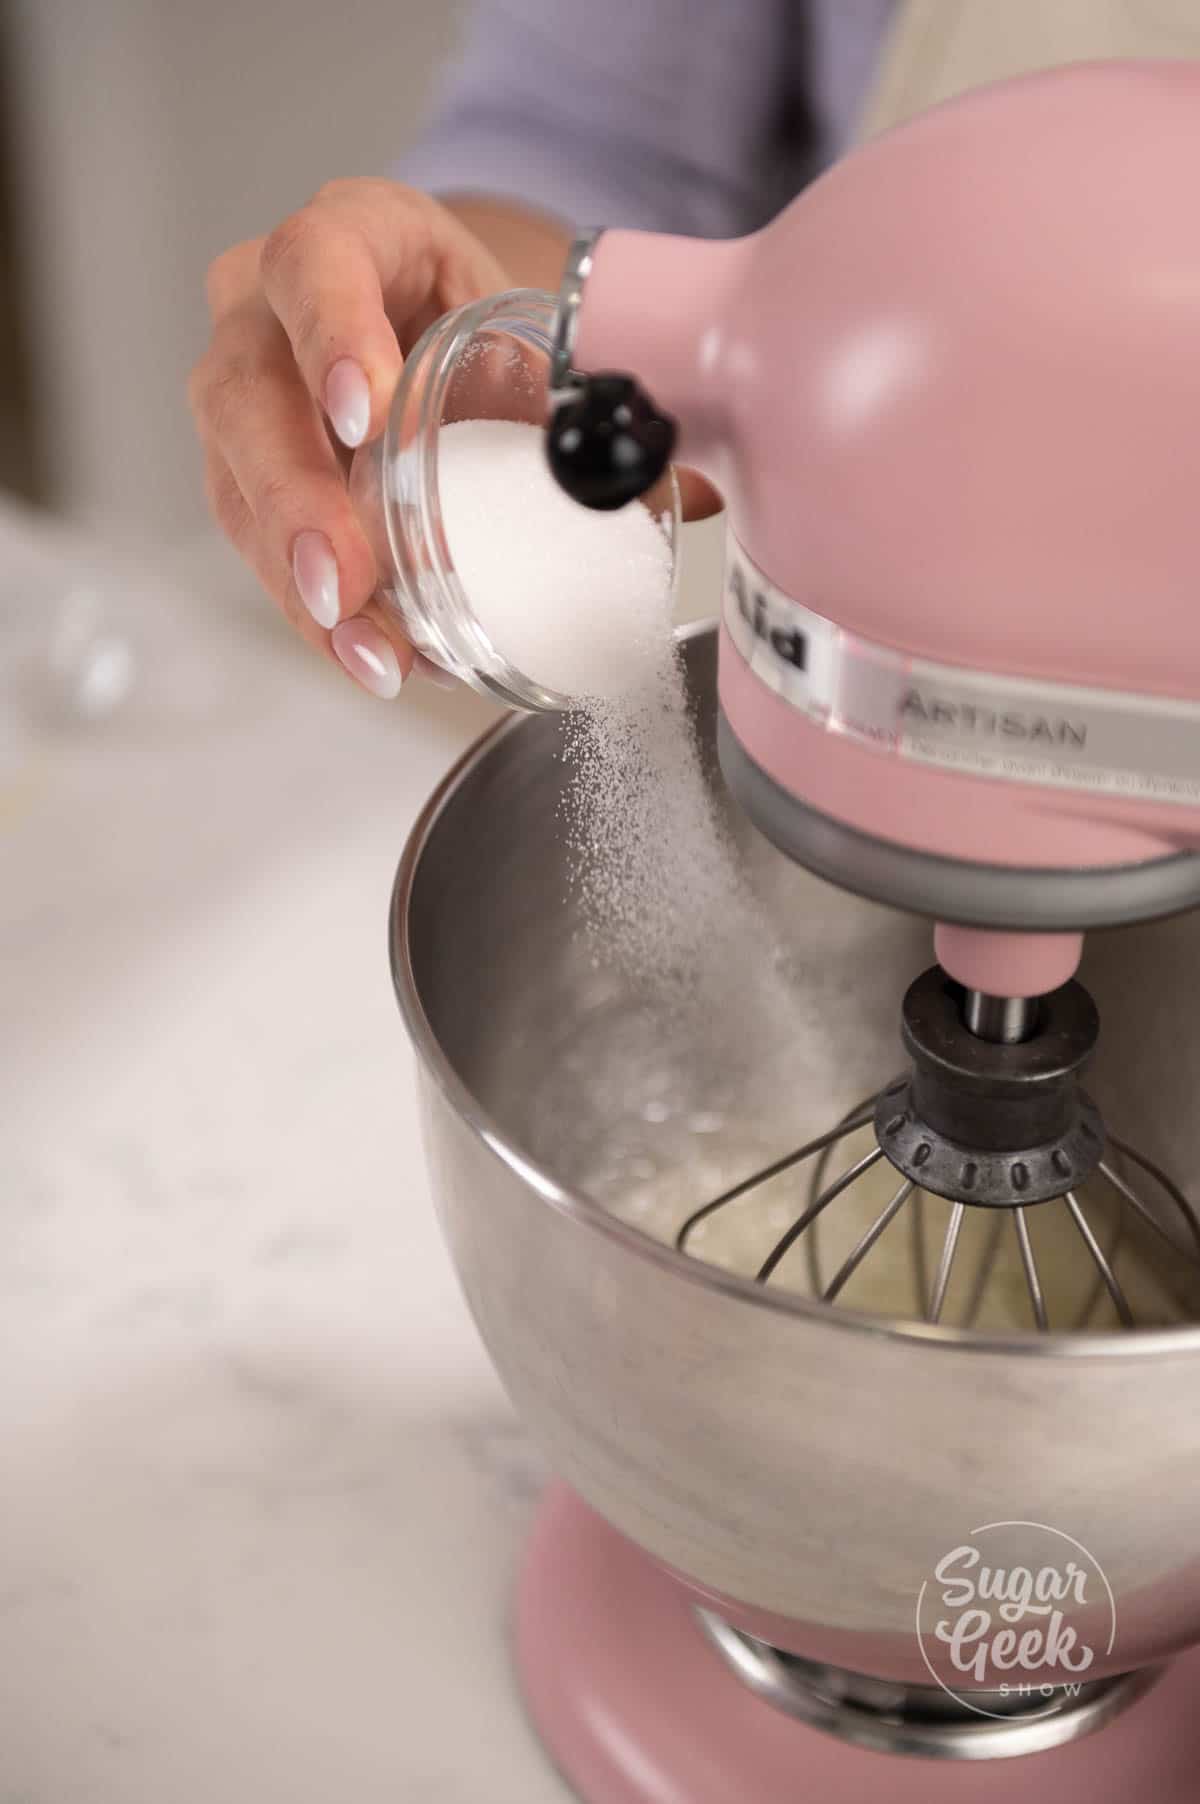
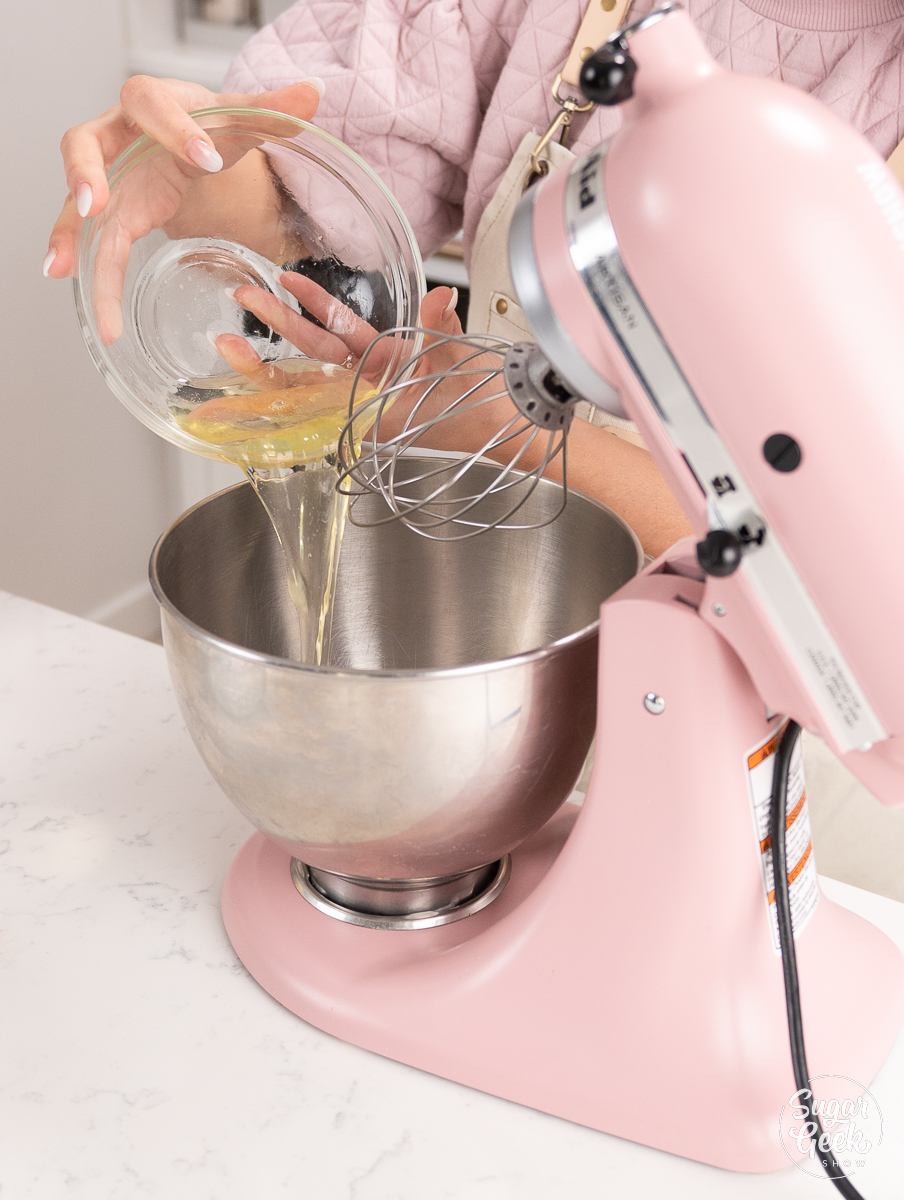
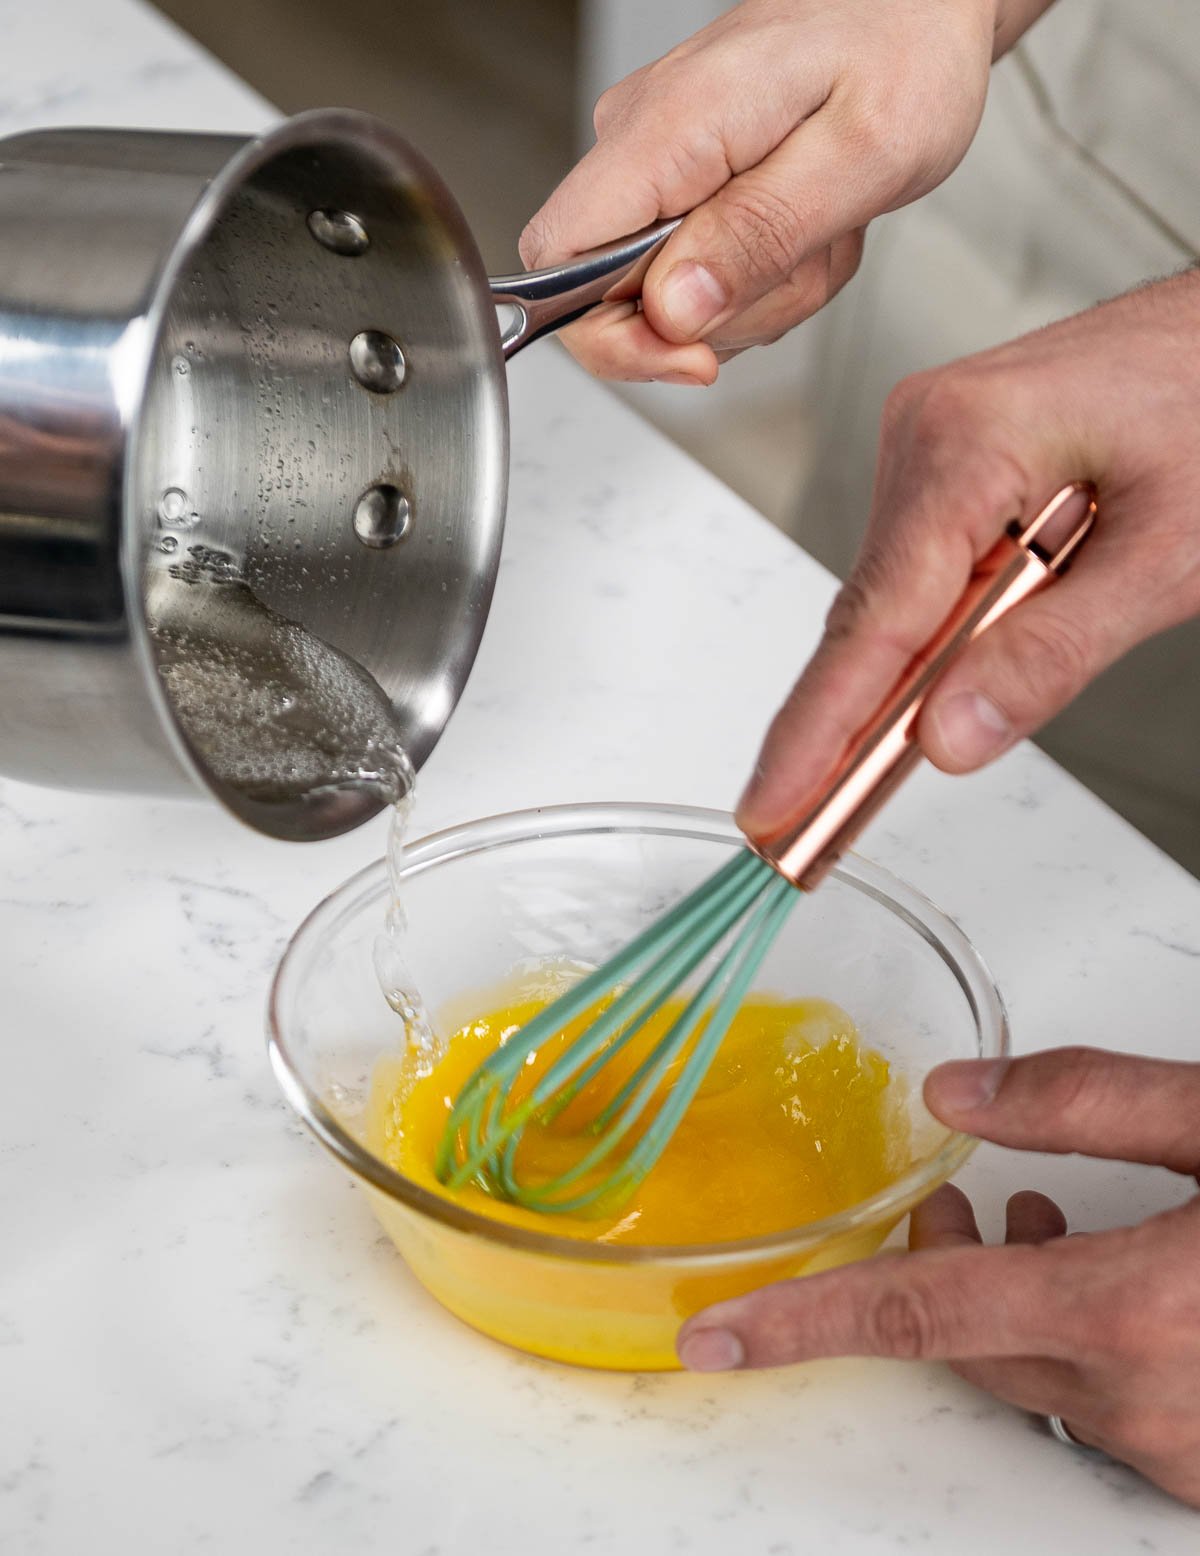
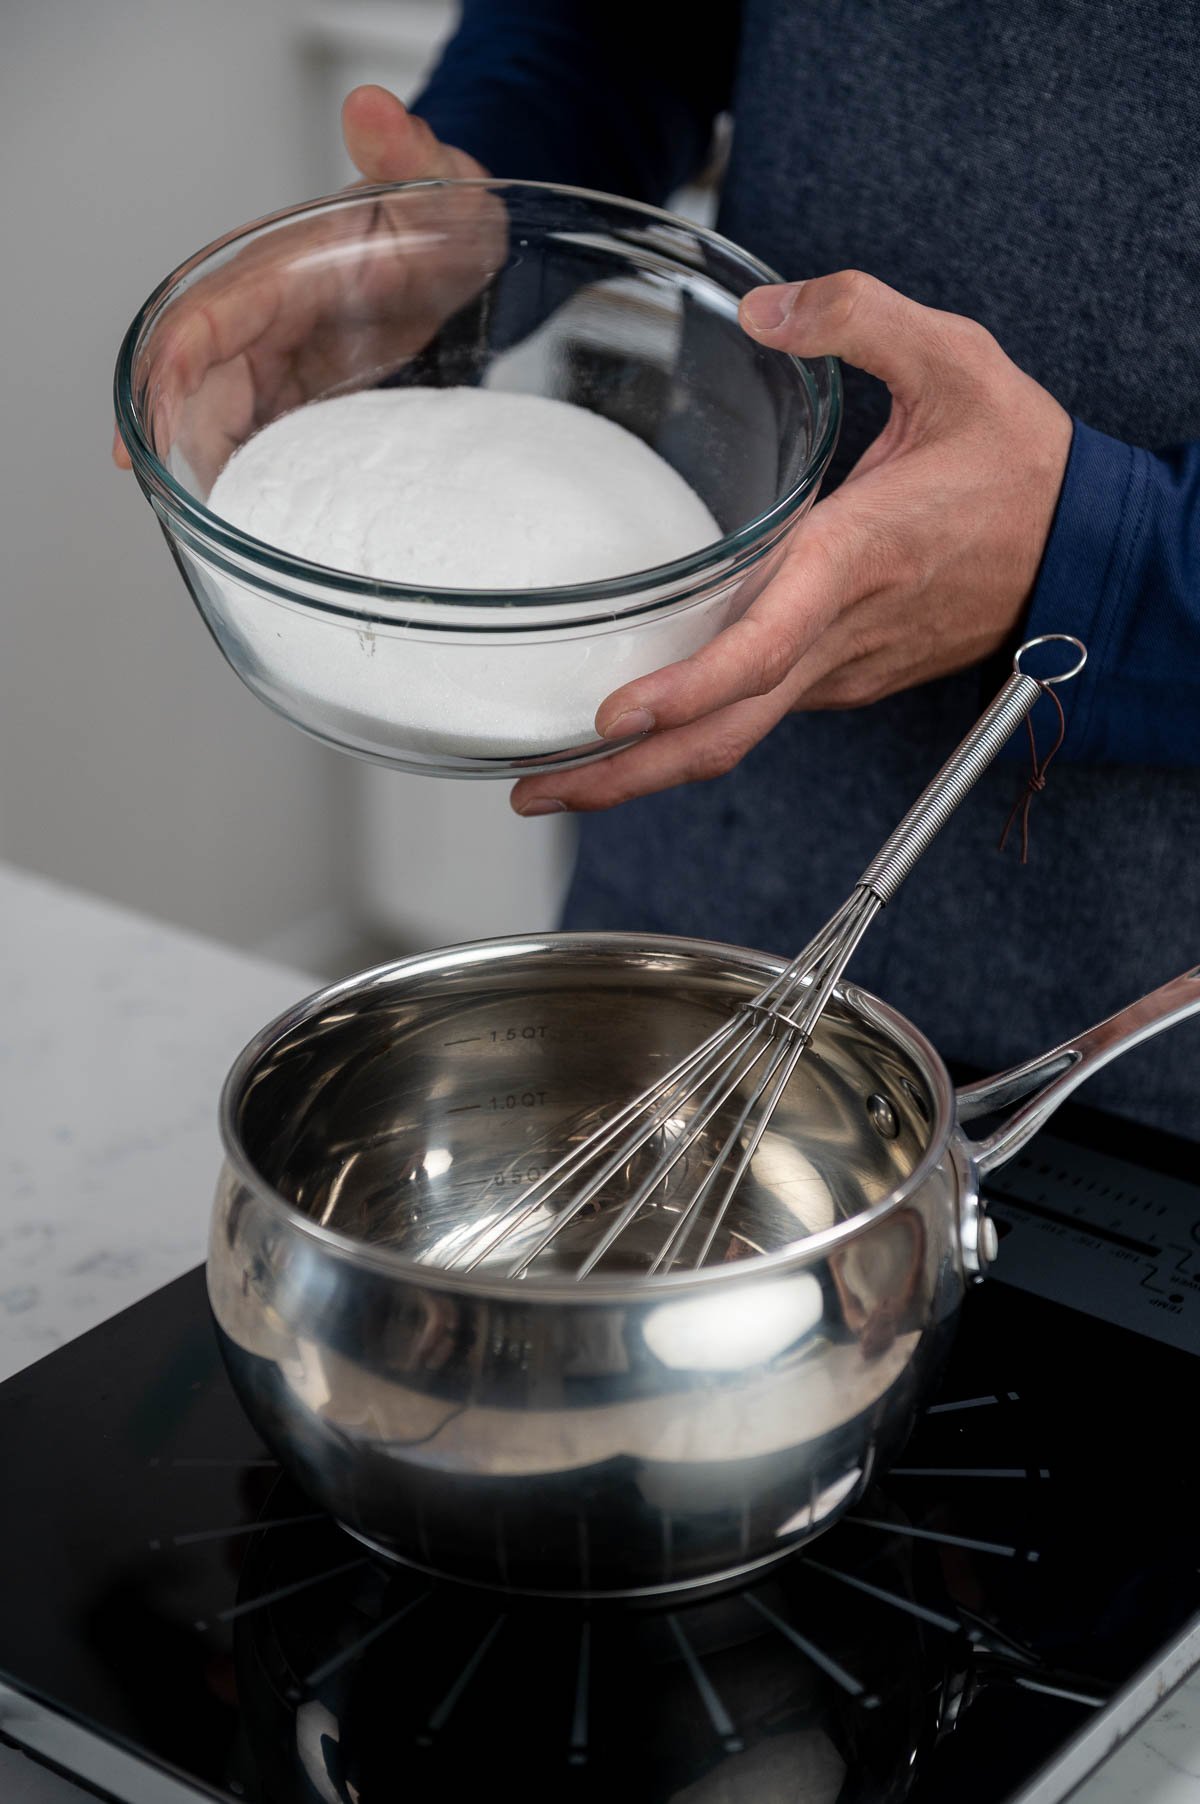
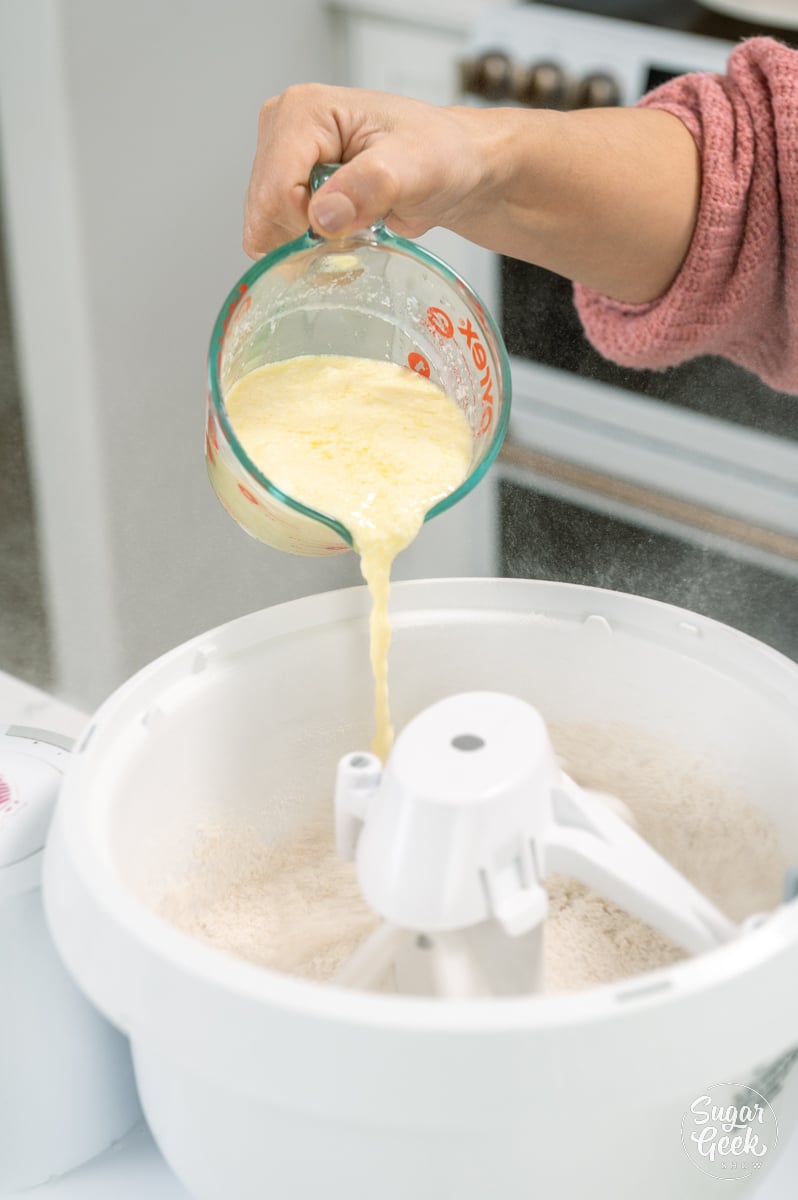
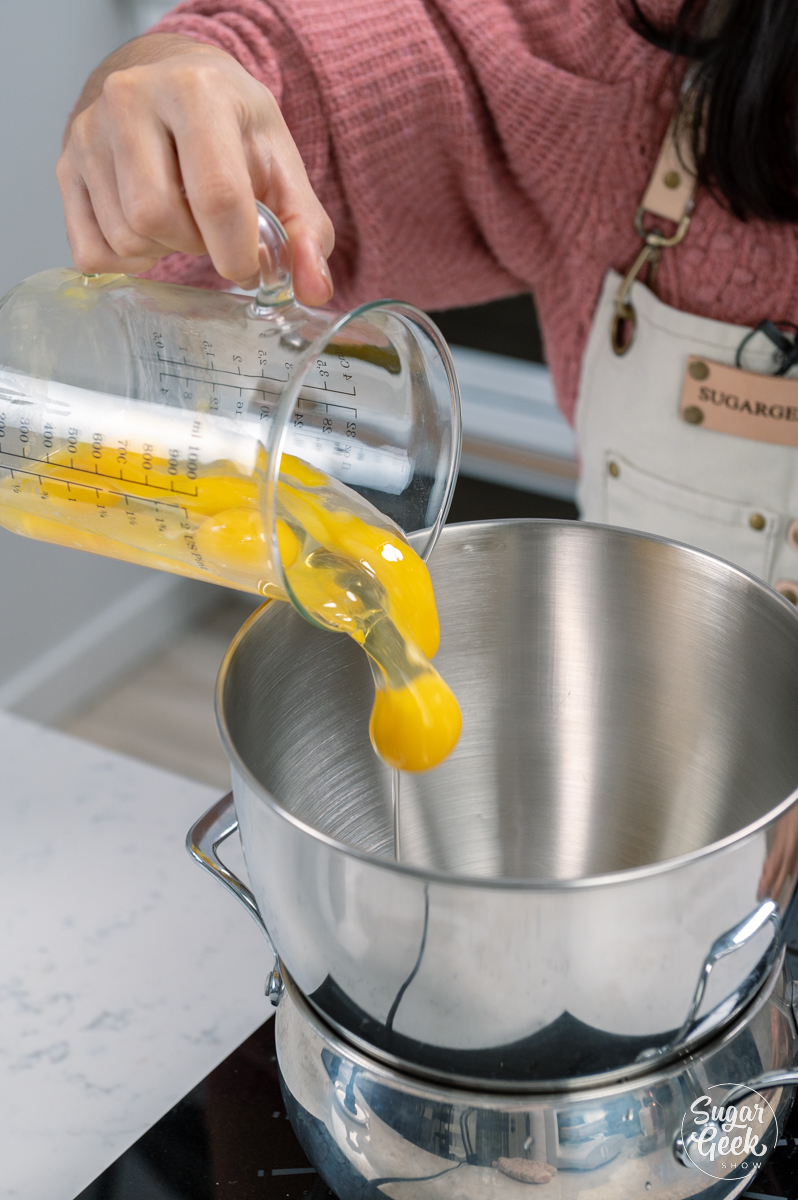
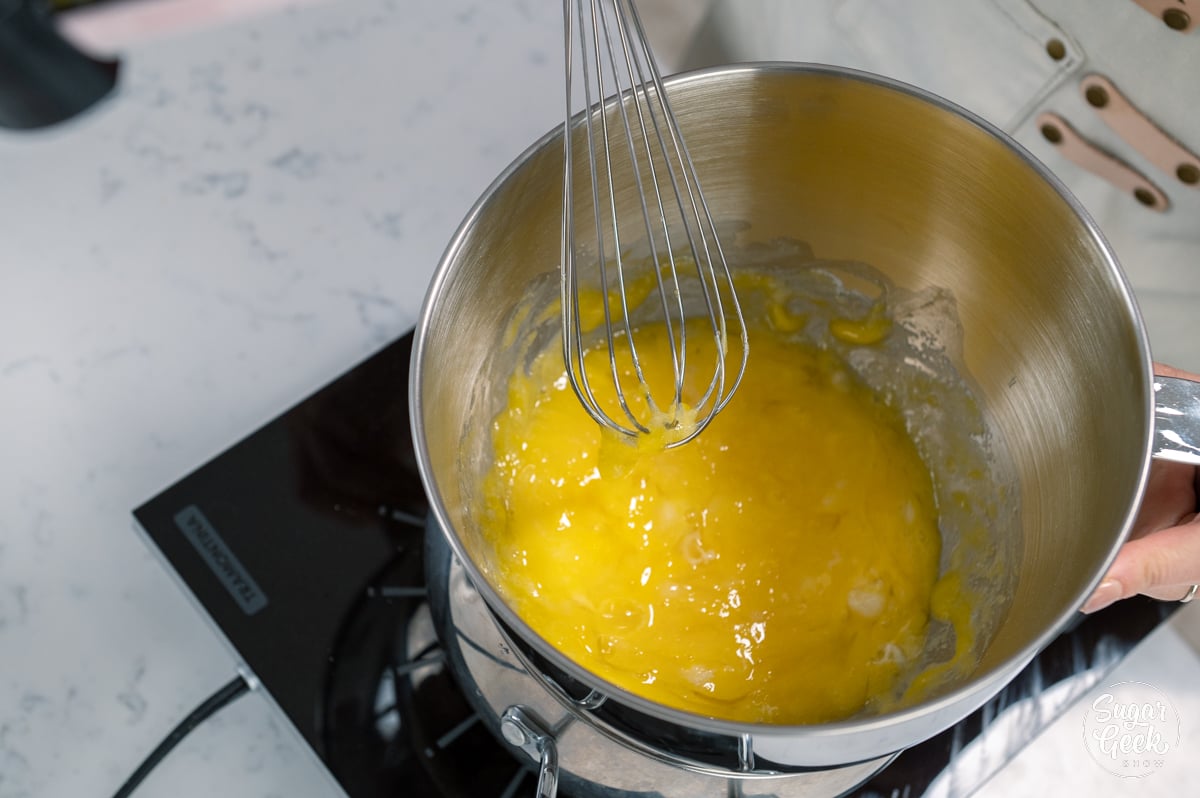
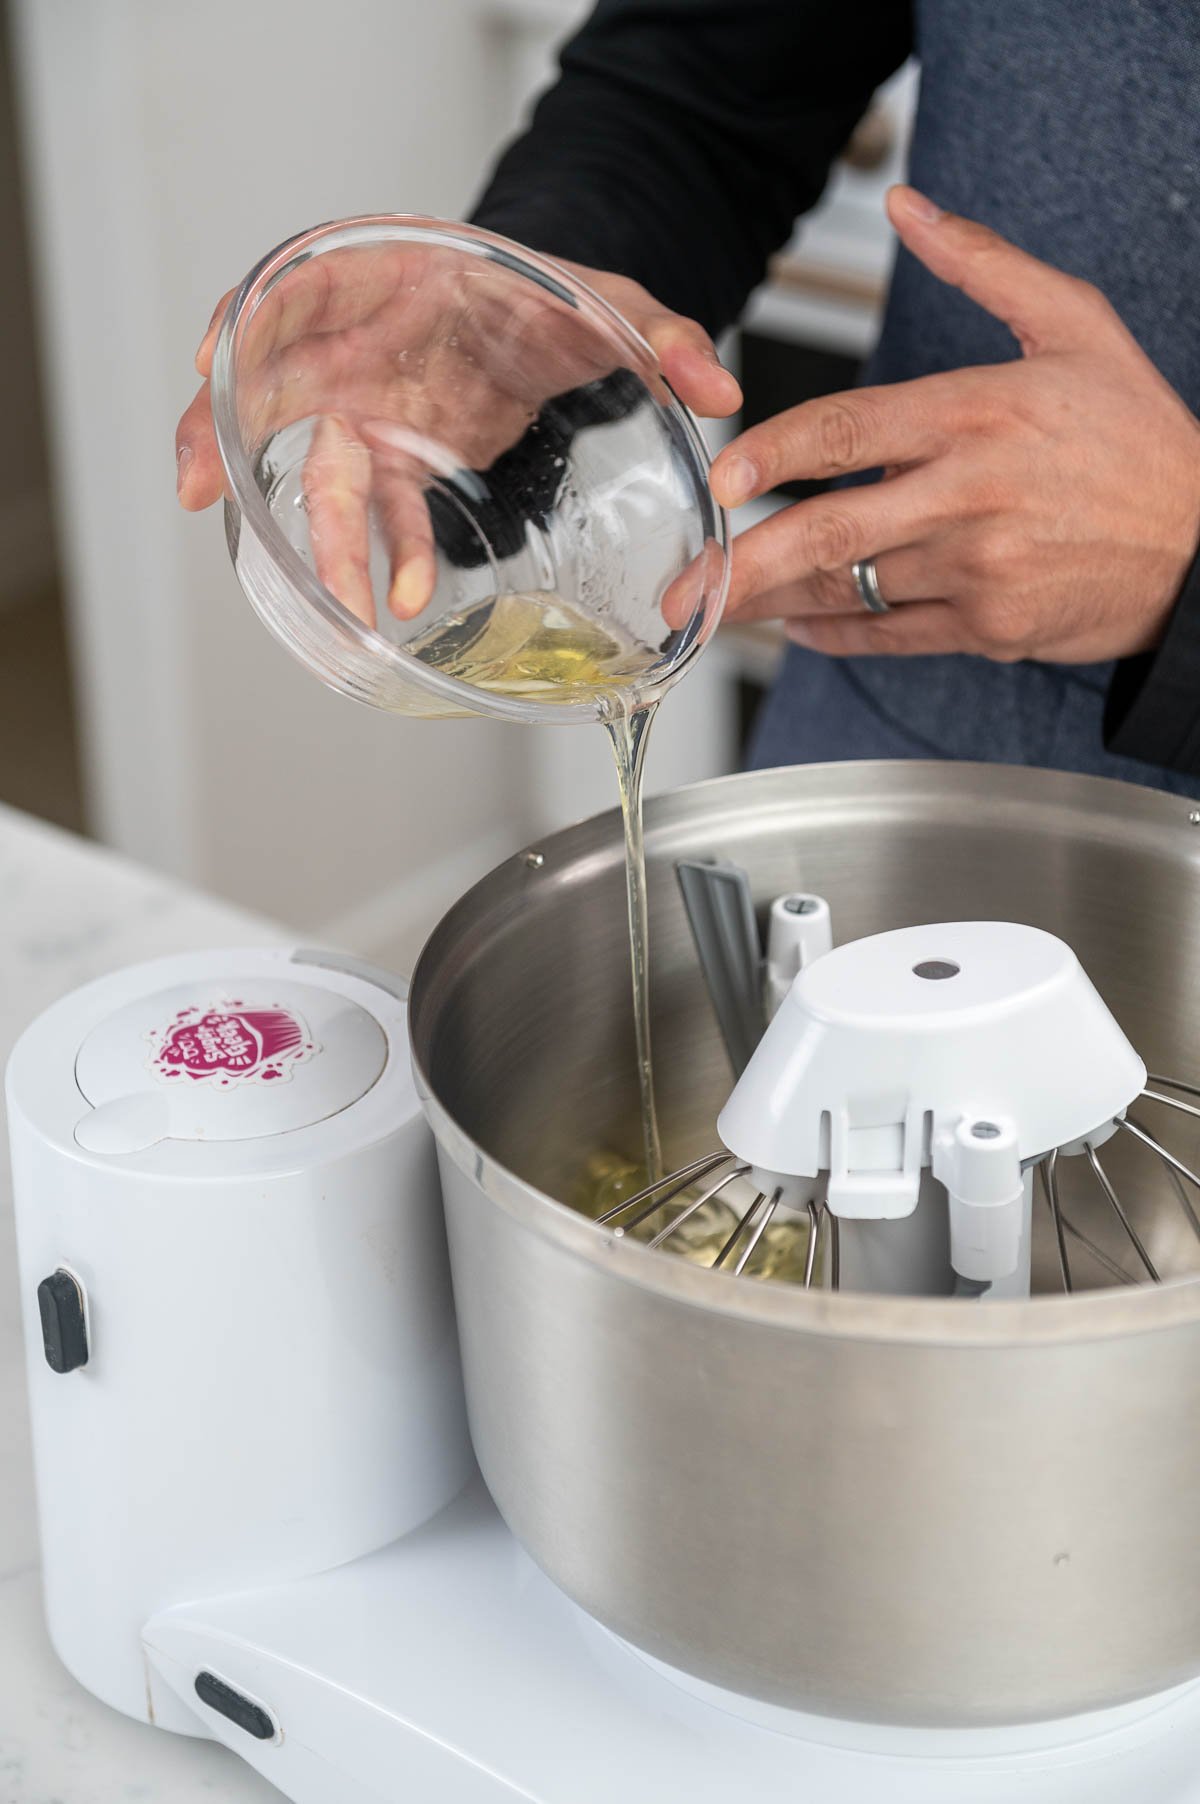
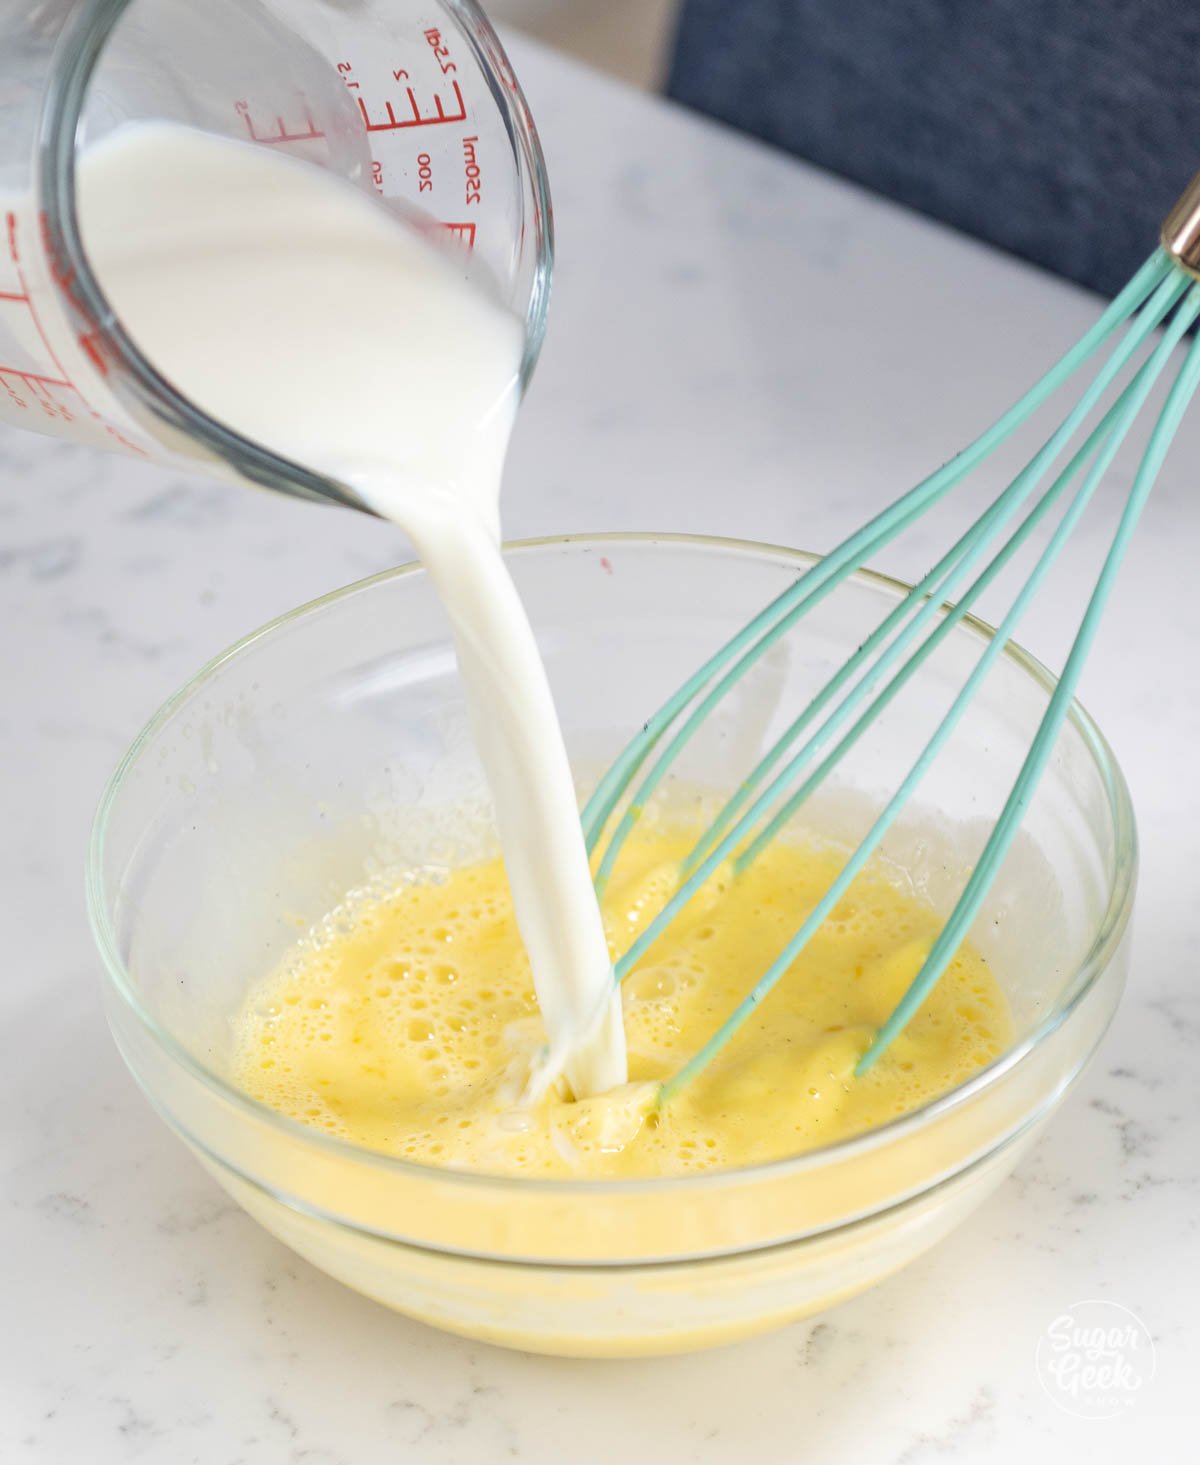
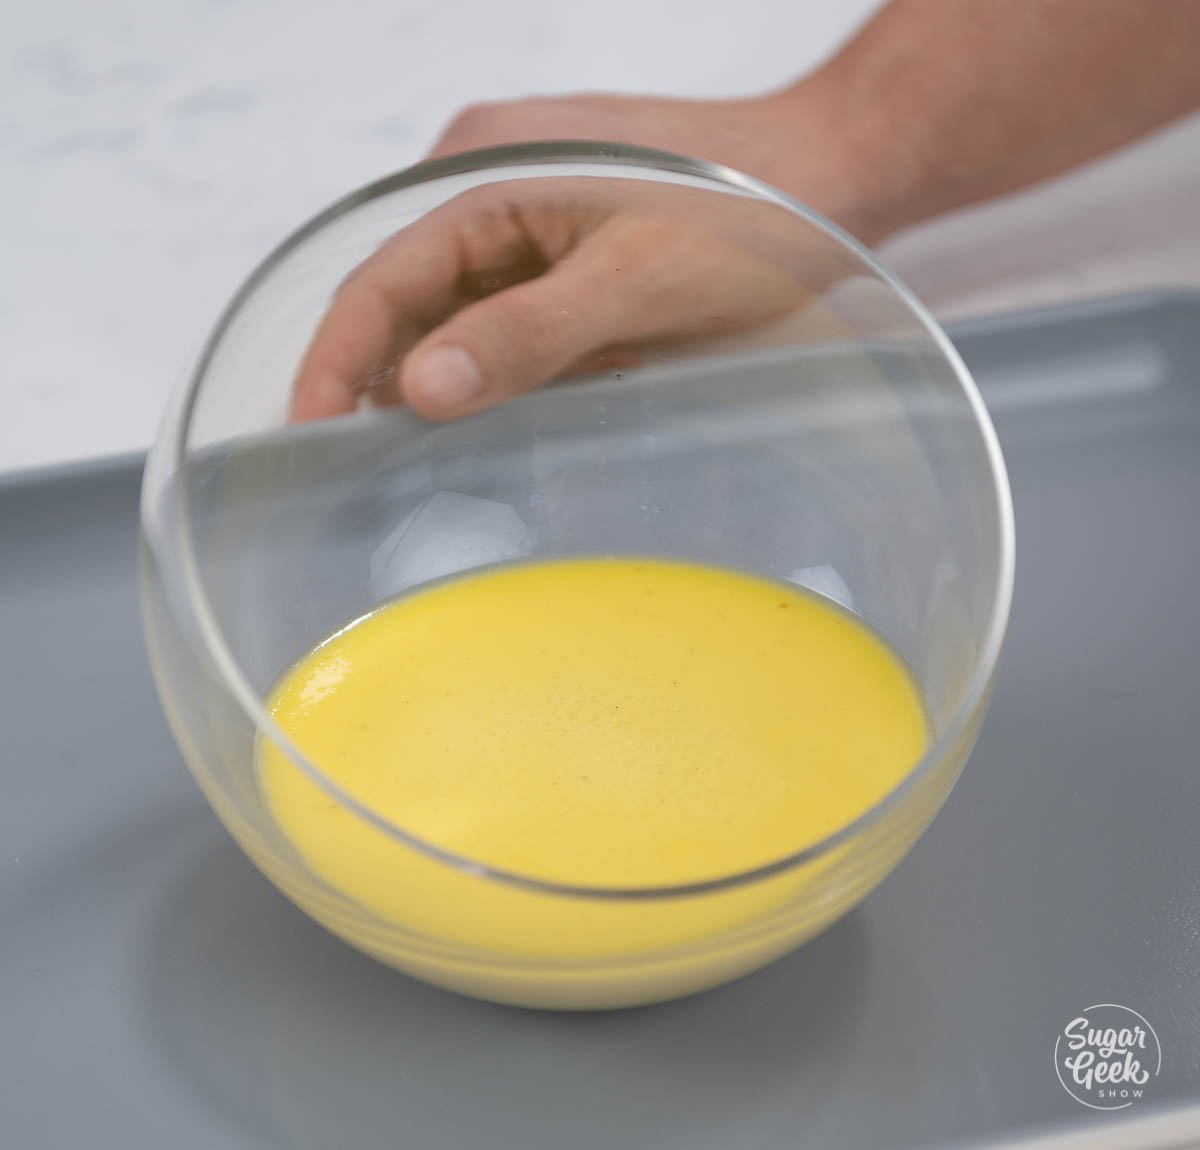
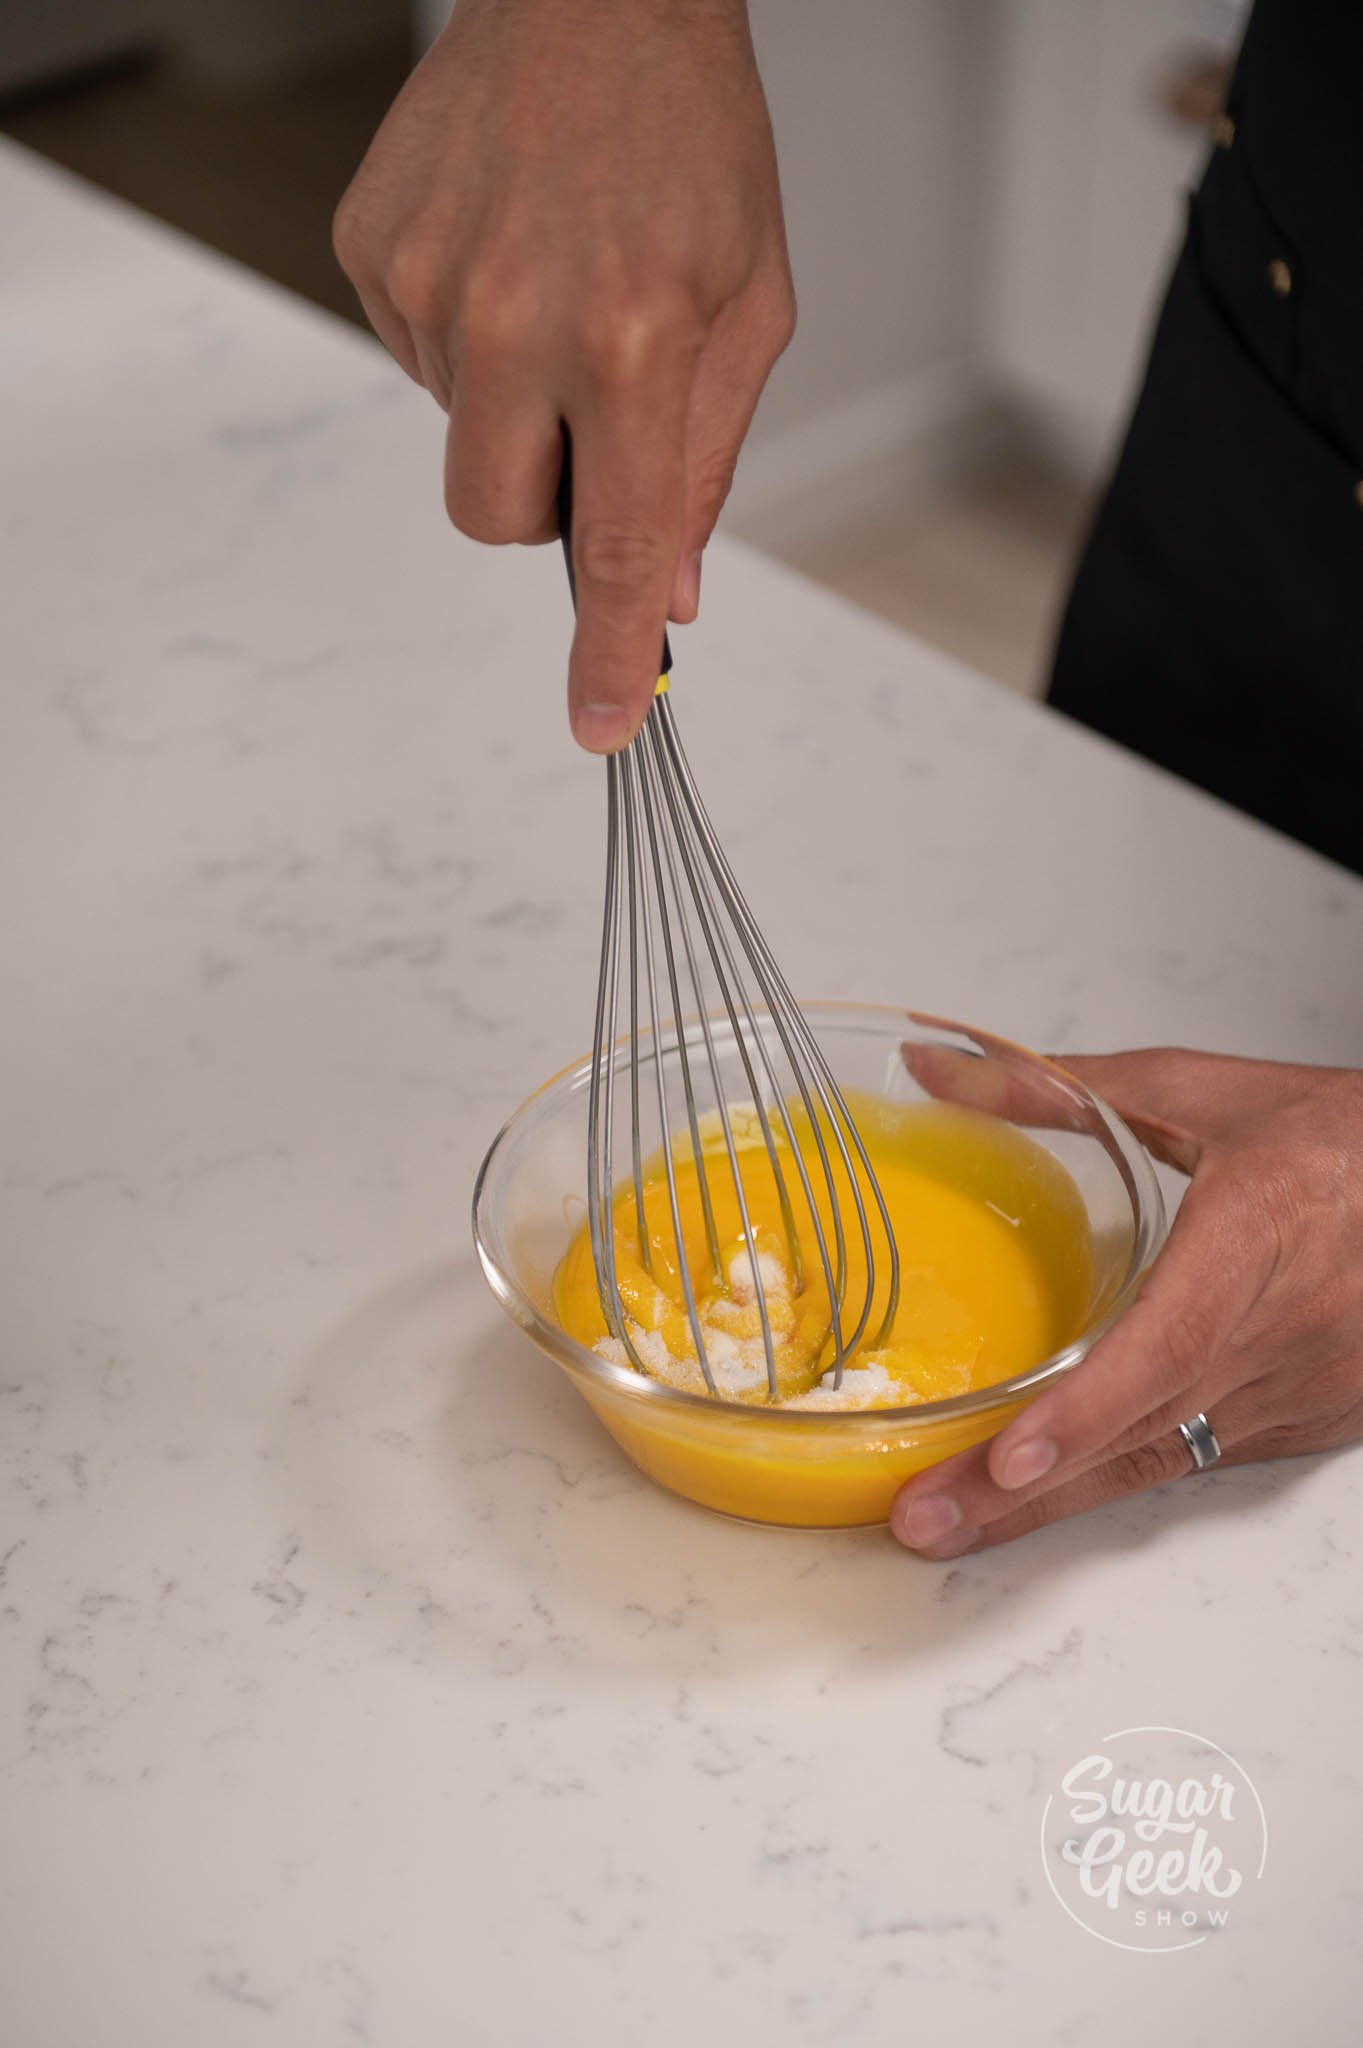
- Add the egg yolks and the other half of the sugar into a medium bowl.
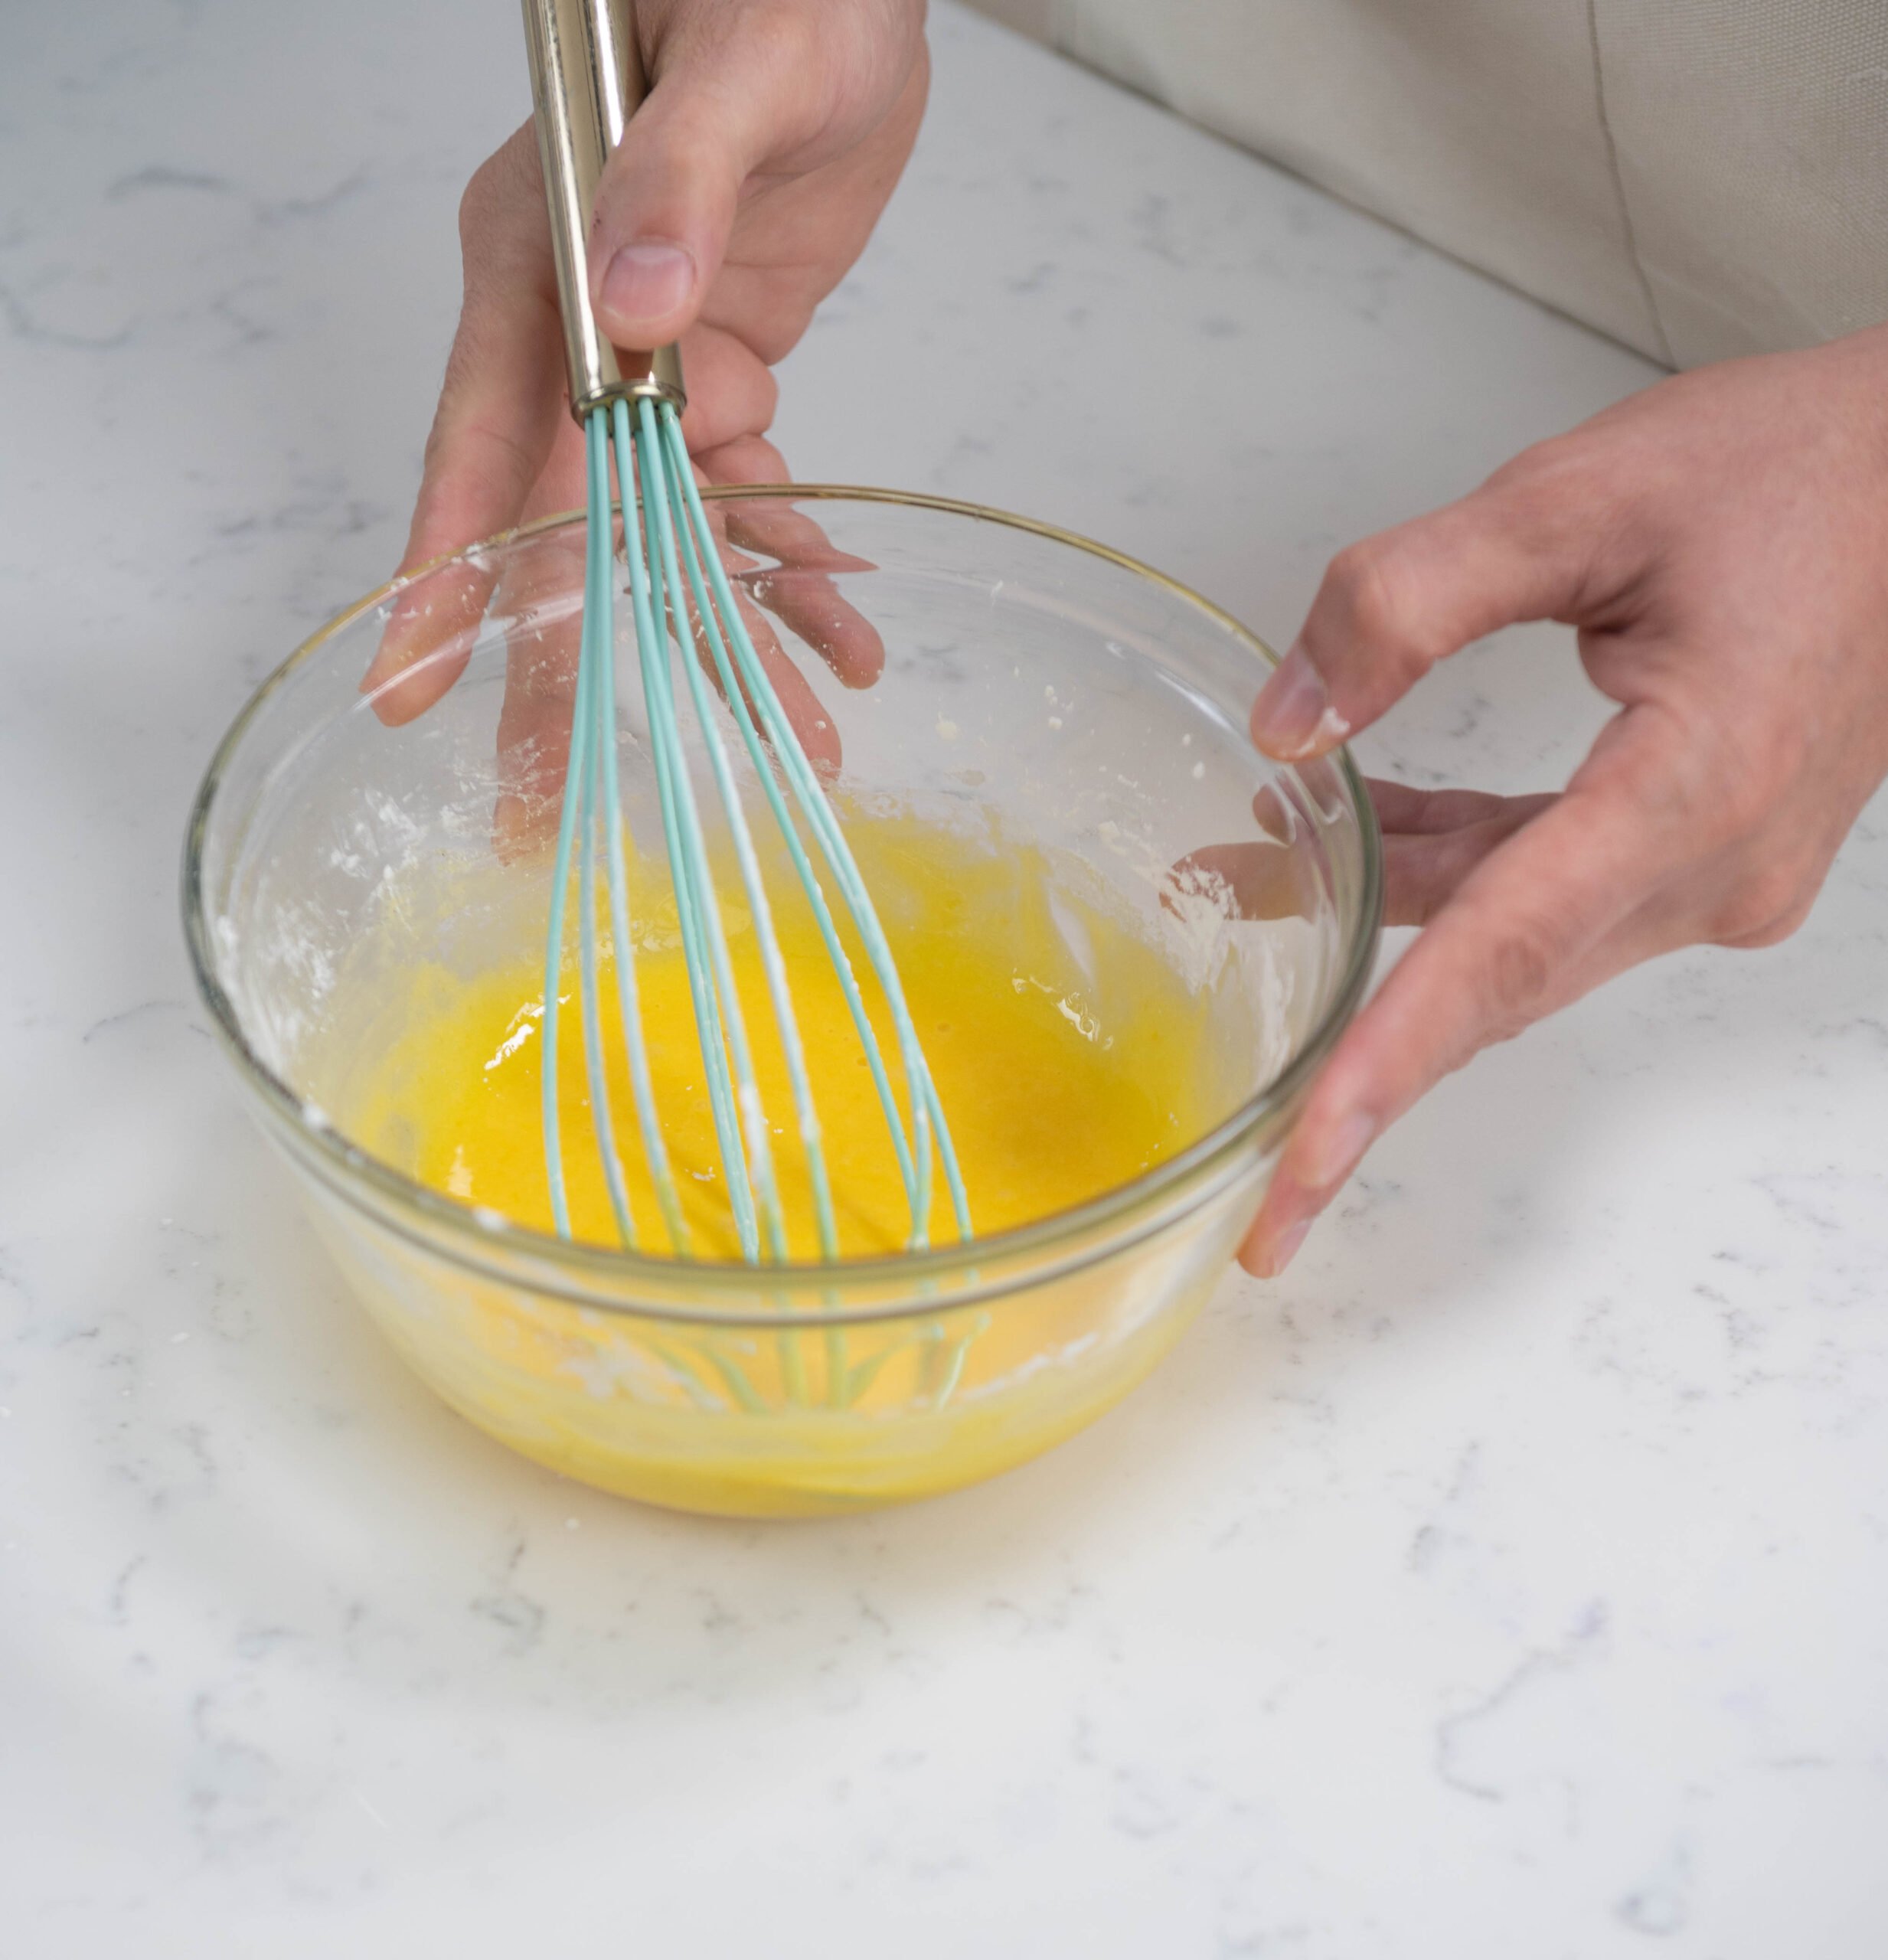
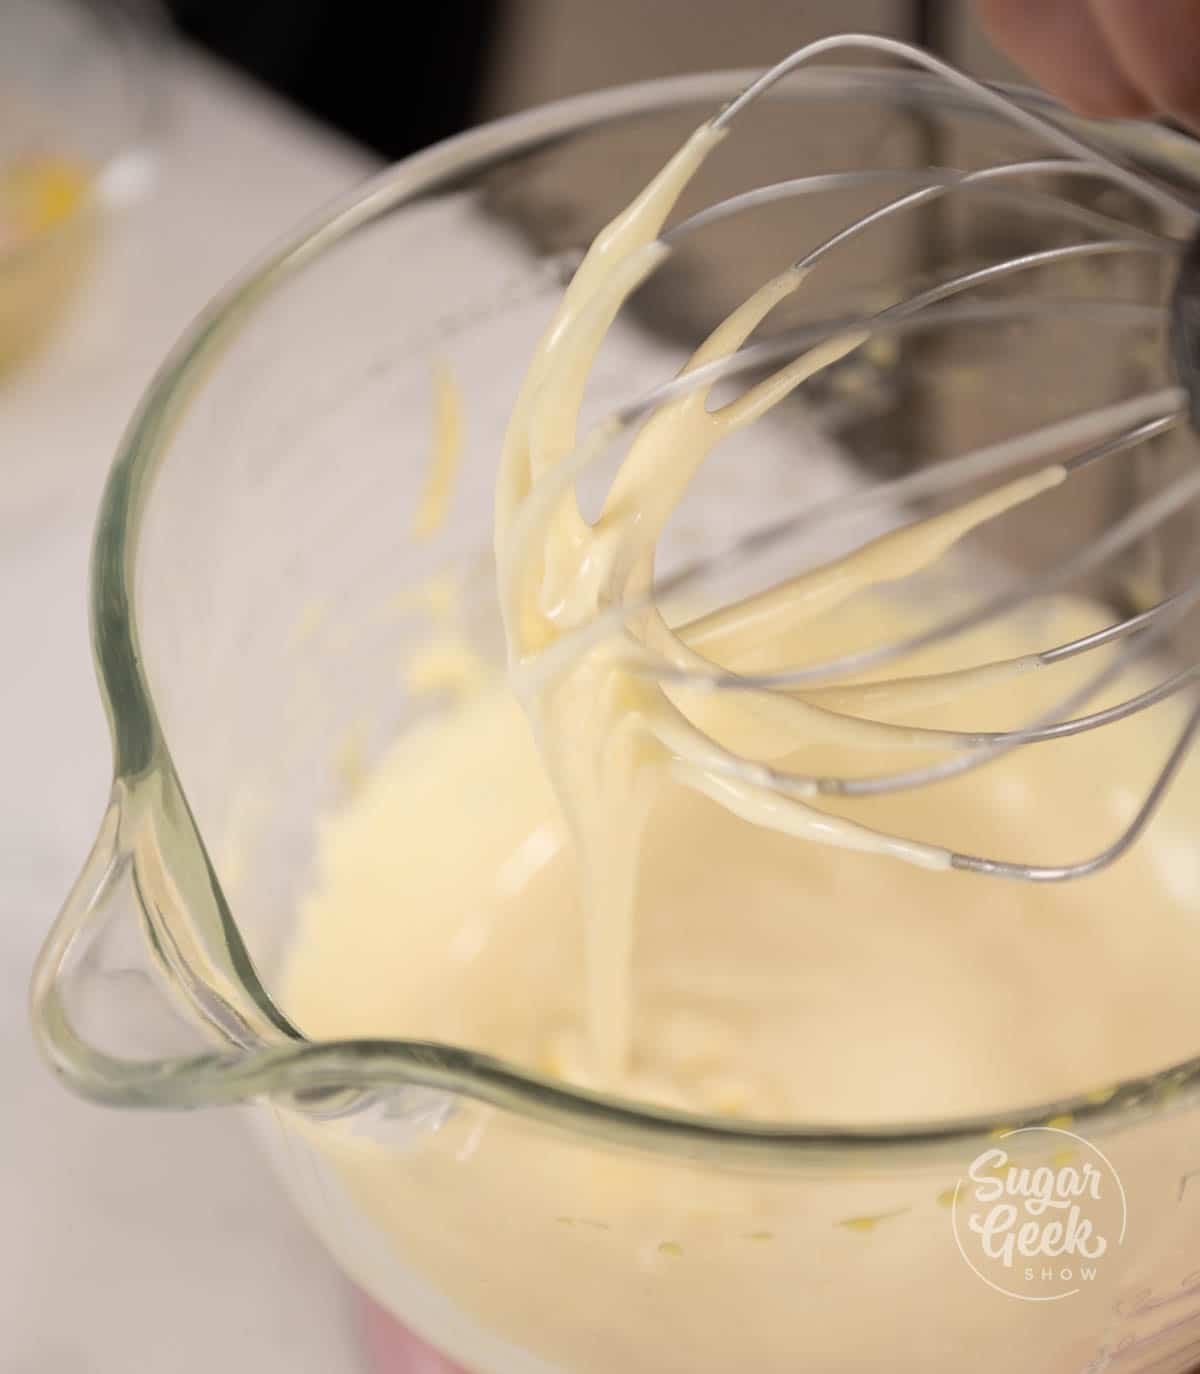
- Whisk together until you reach a smooth texture and the sugar is dissolved.
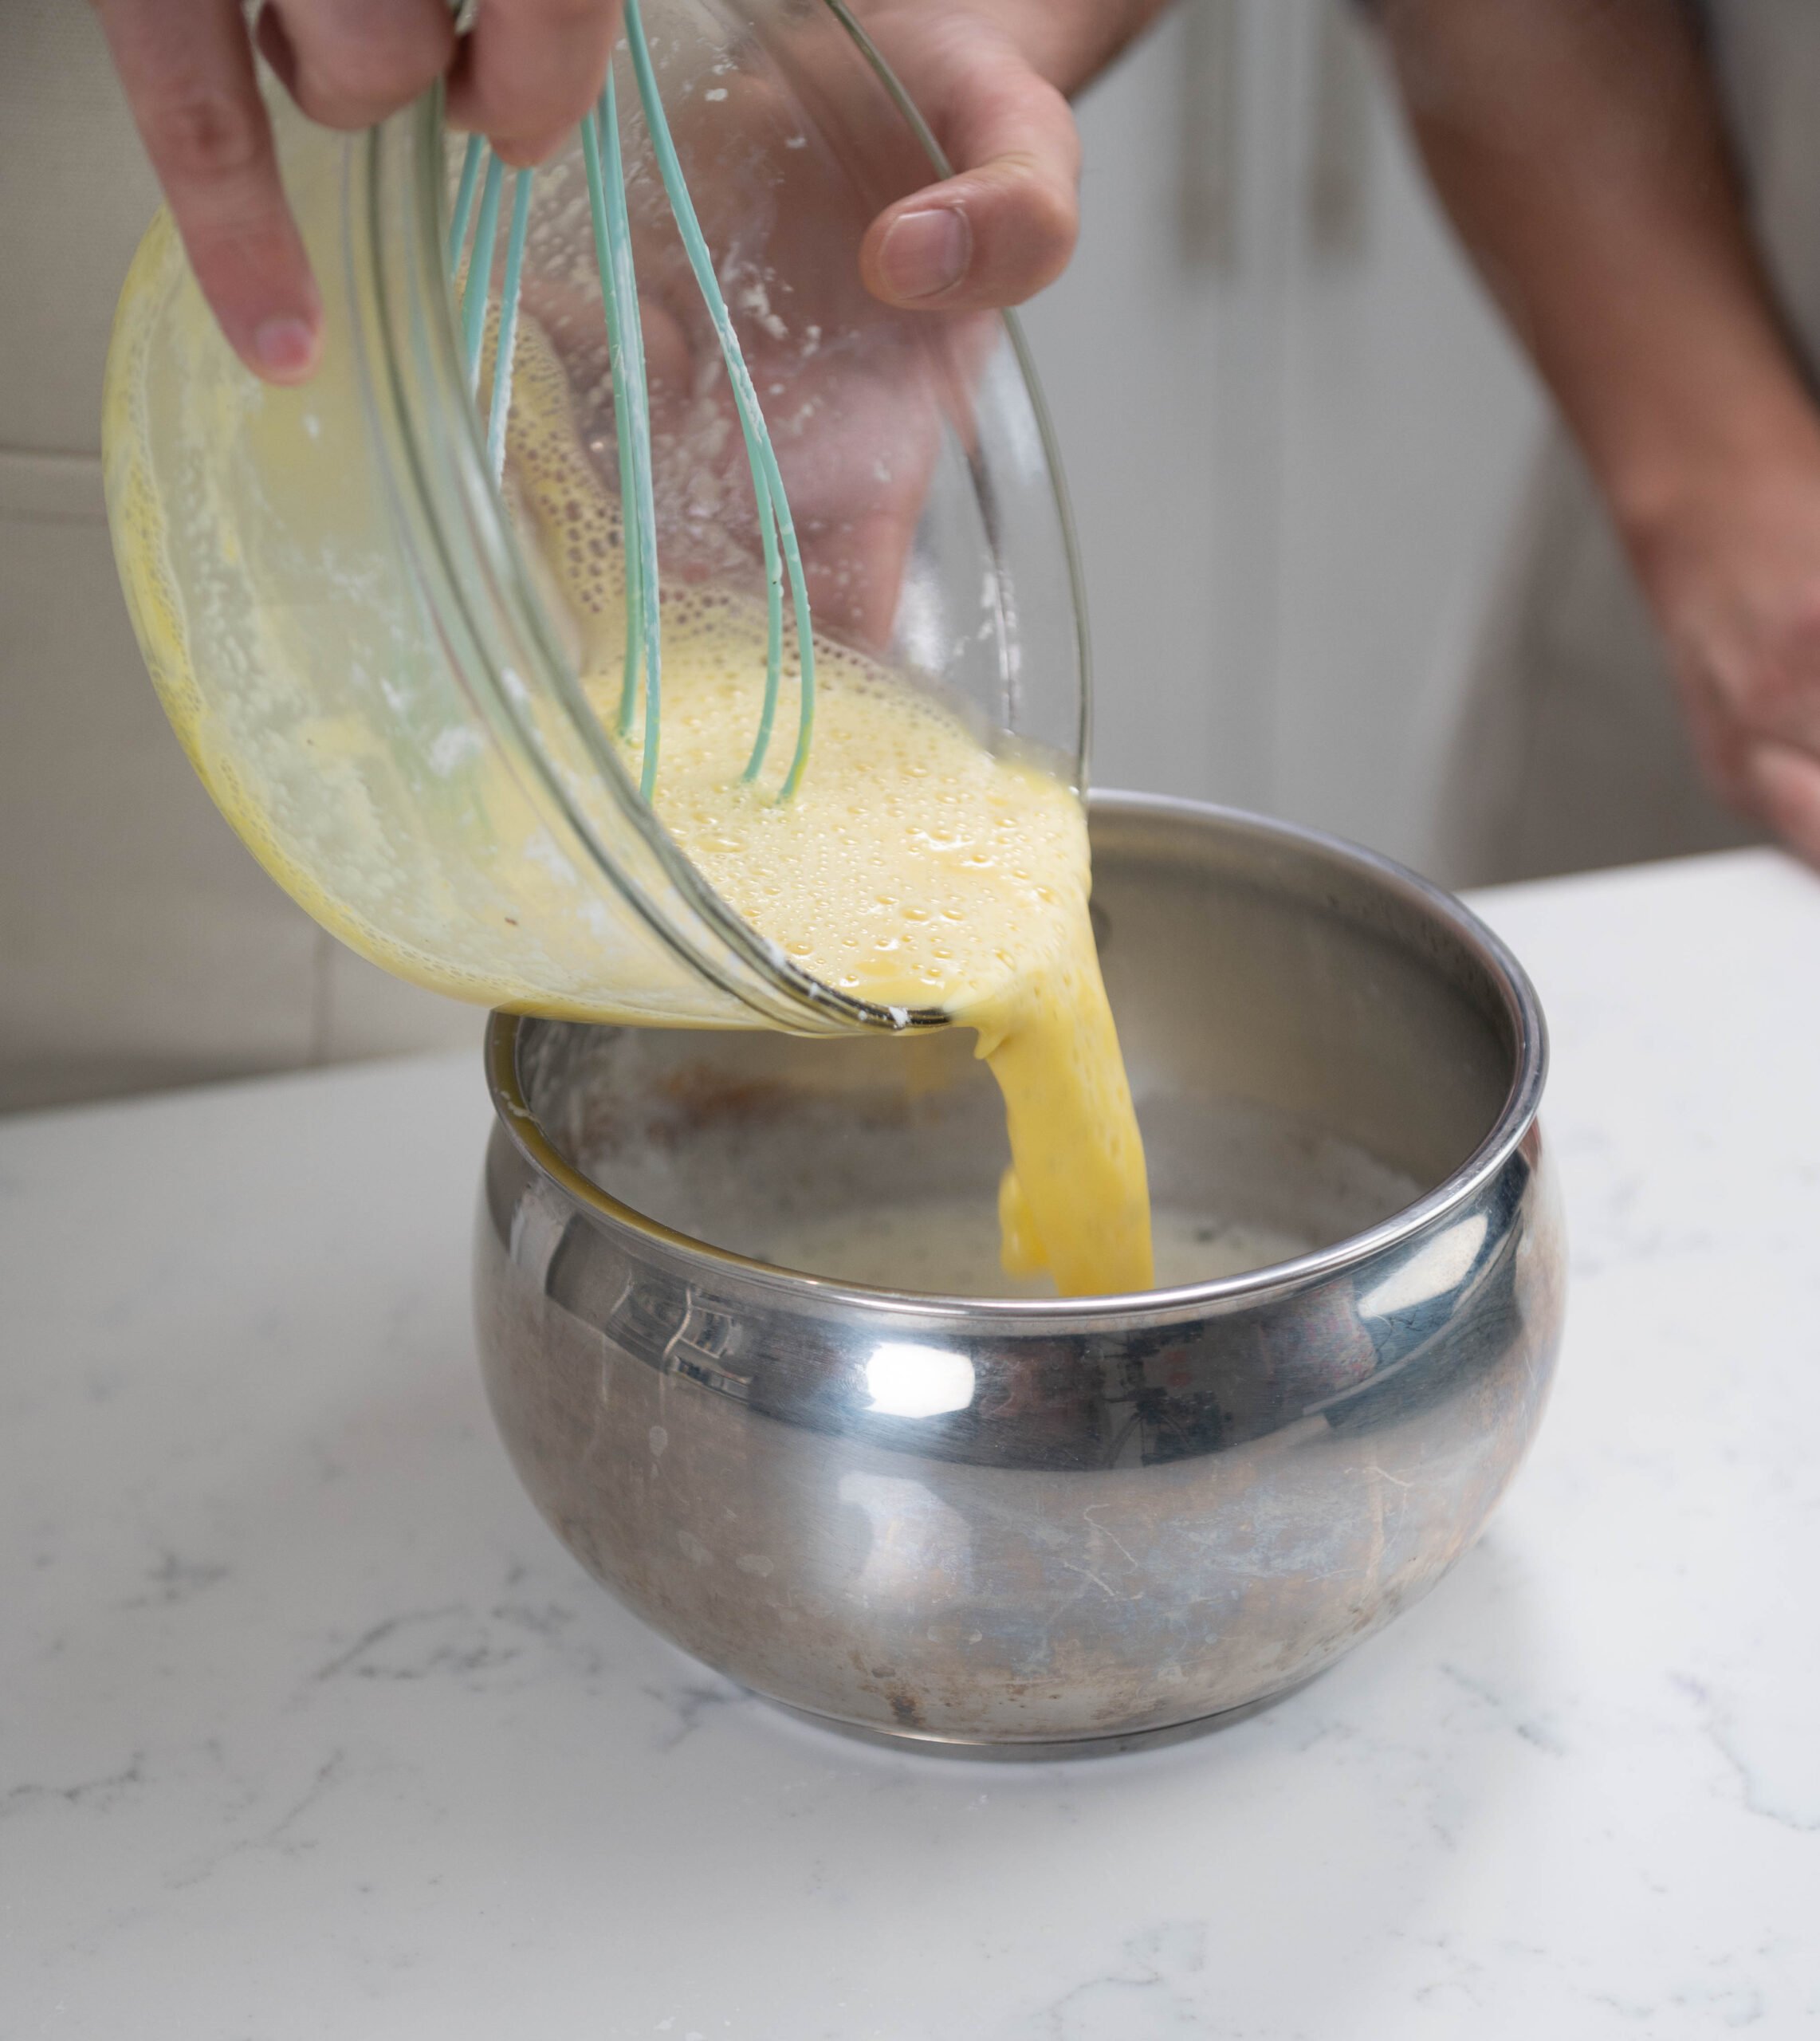
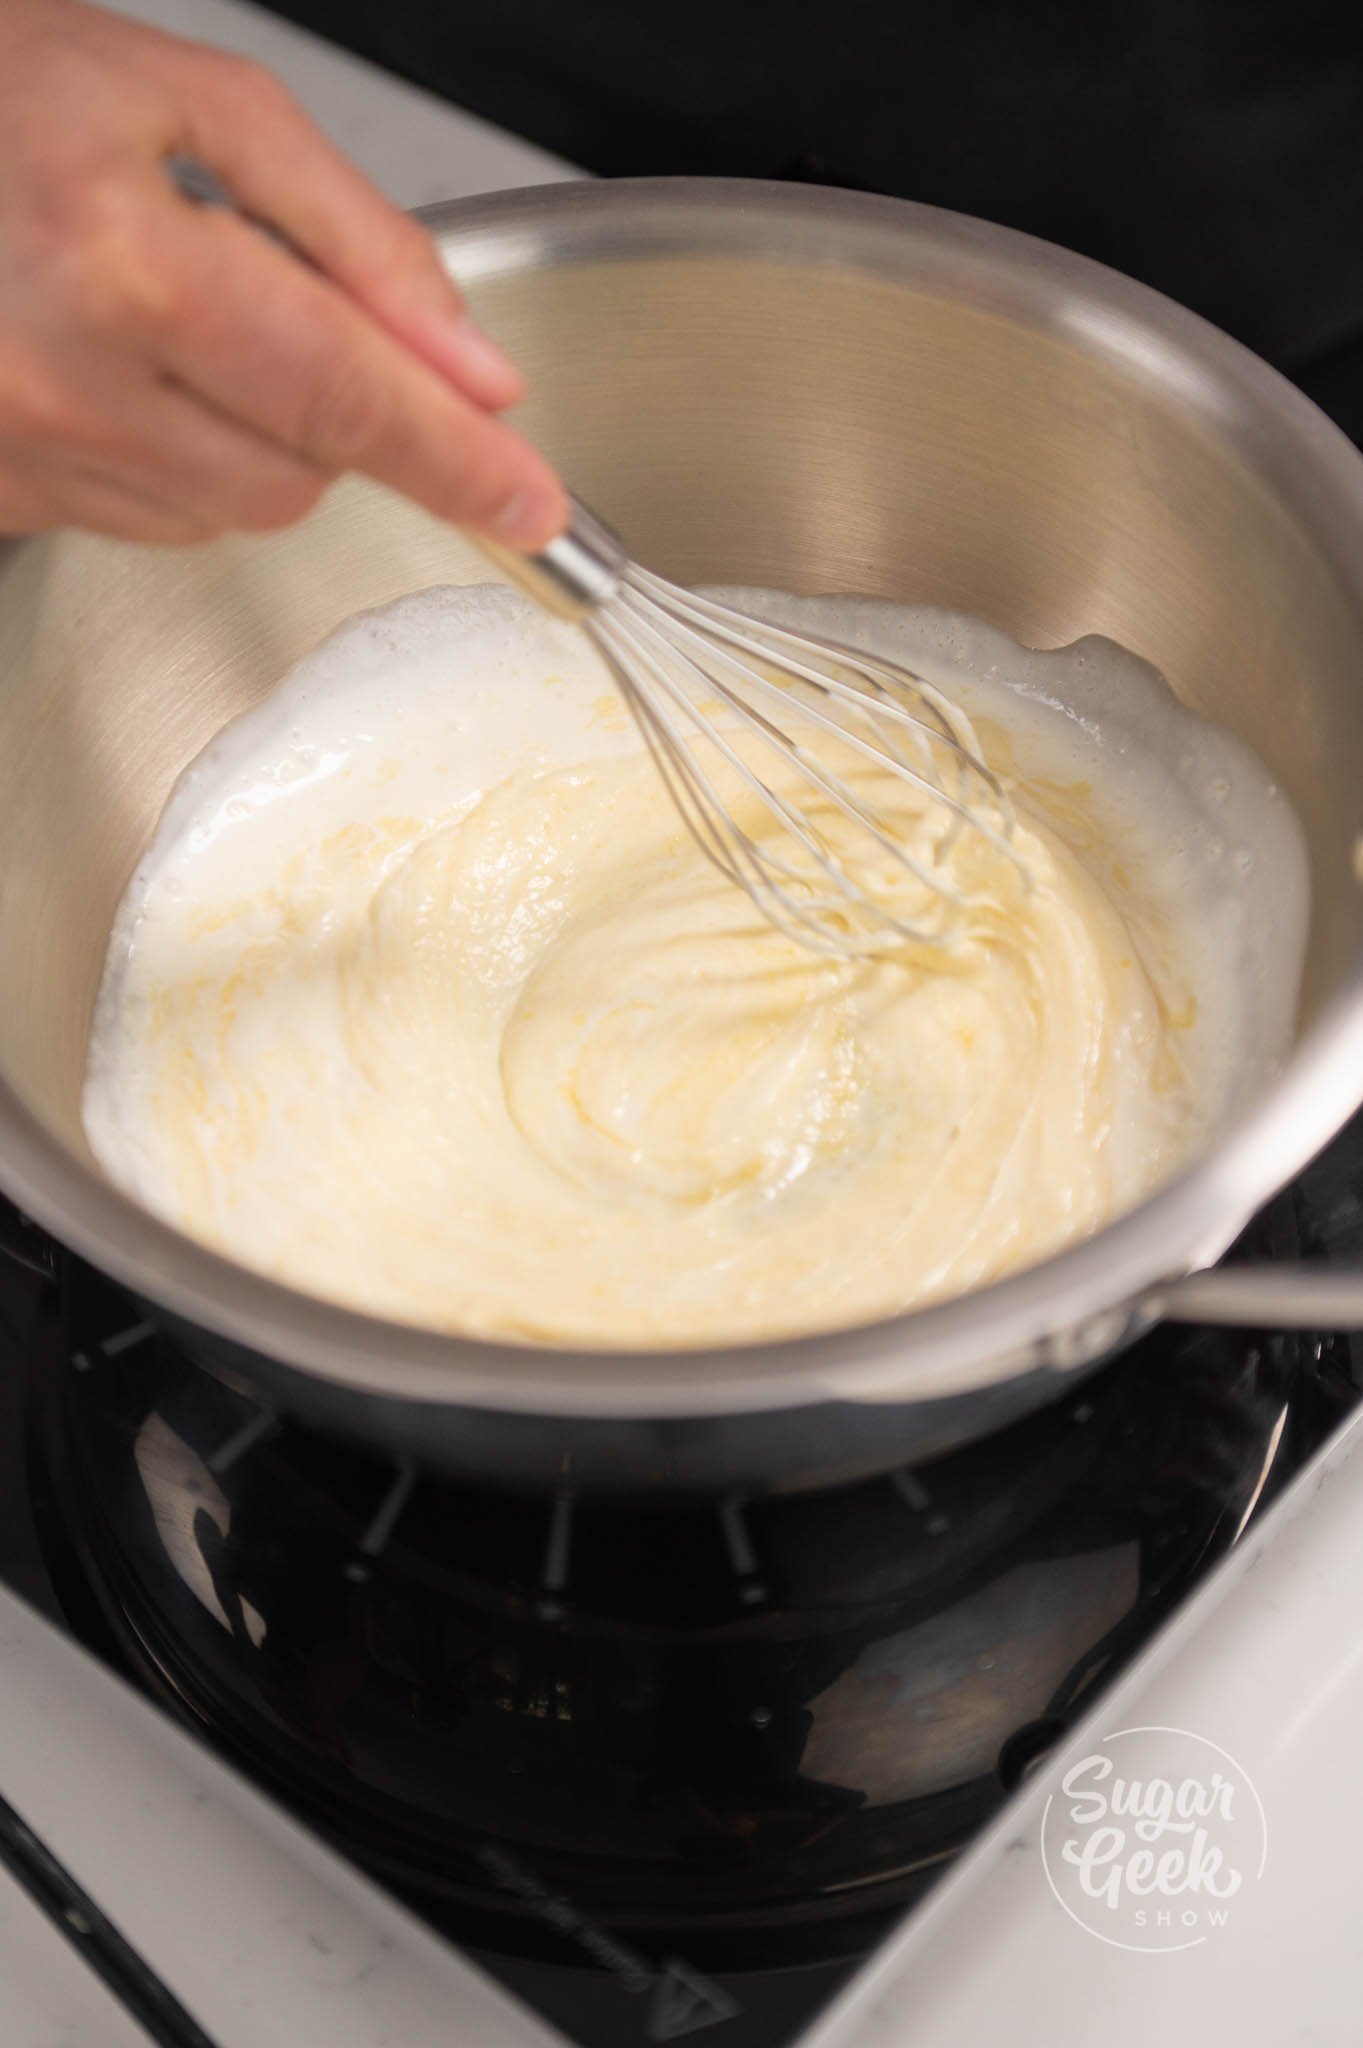
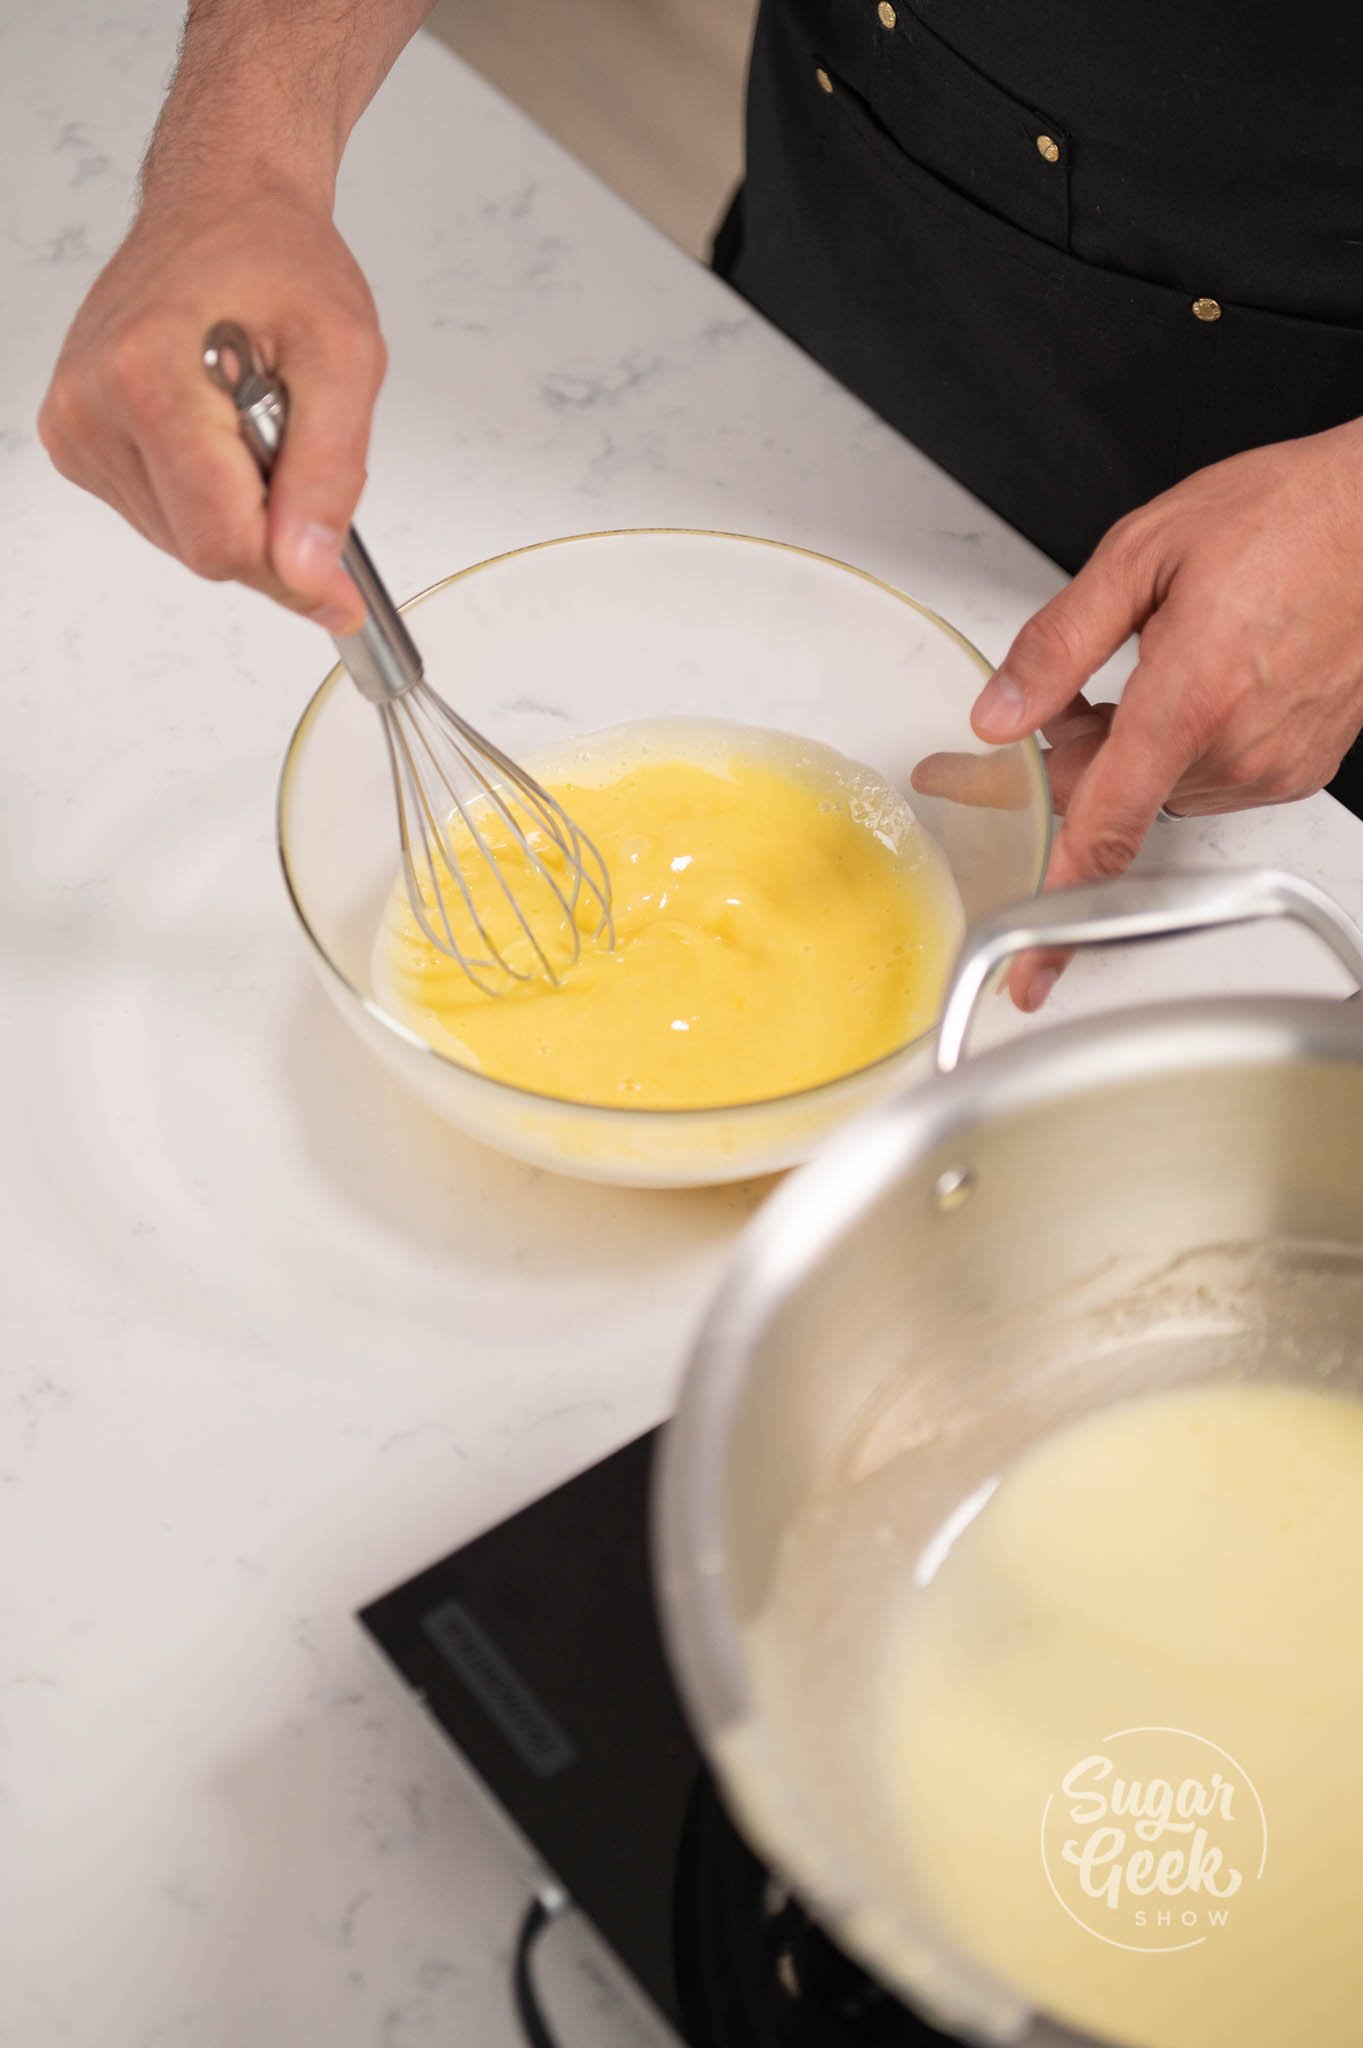
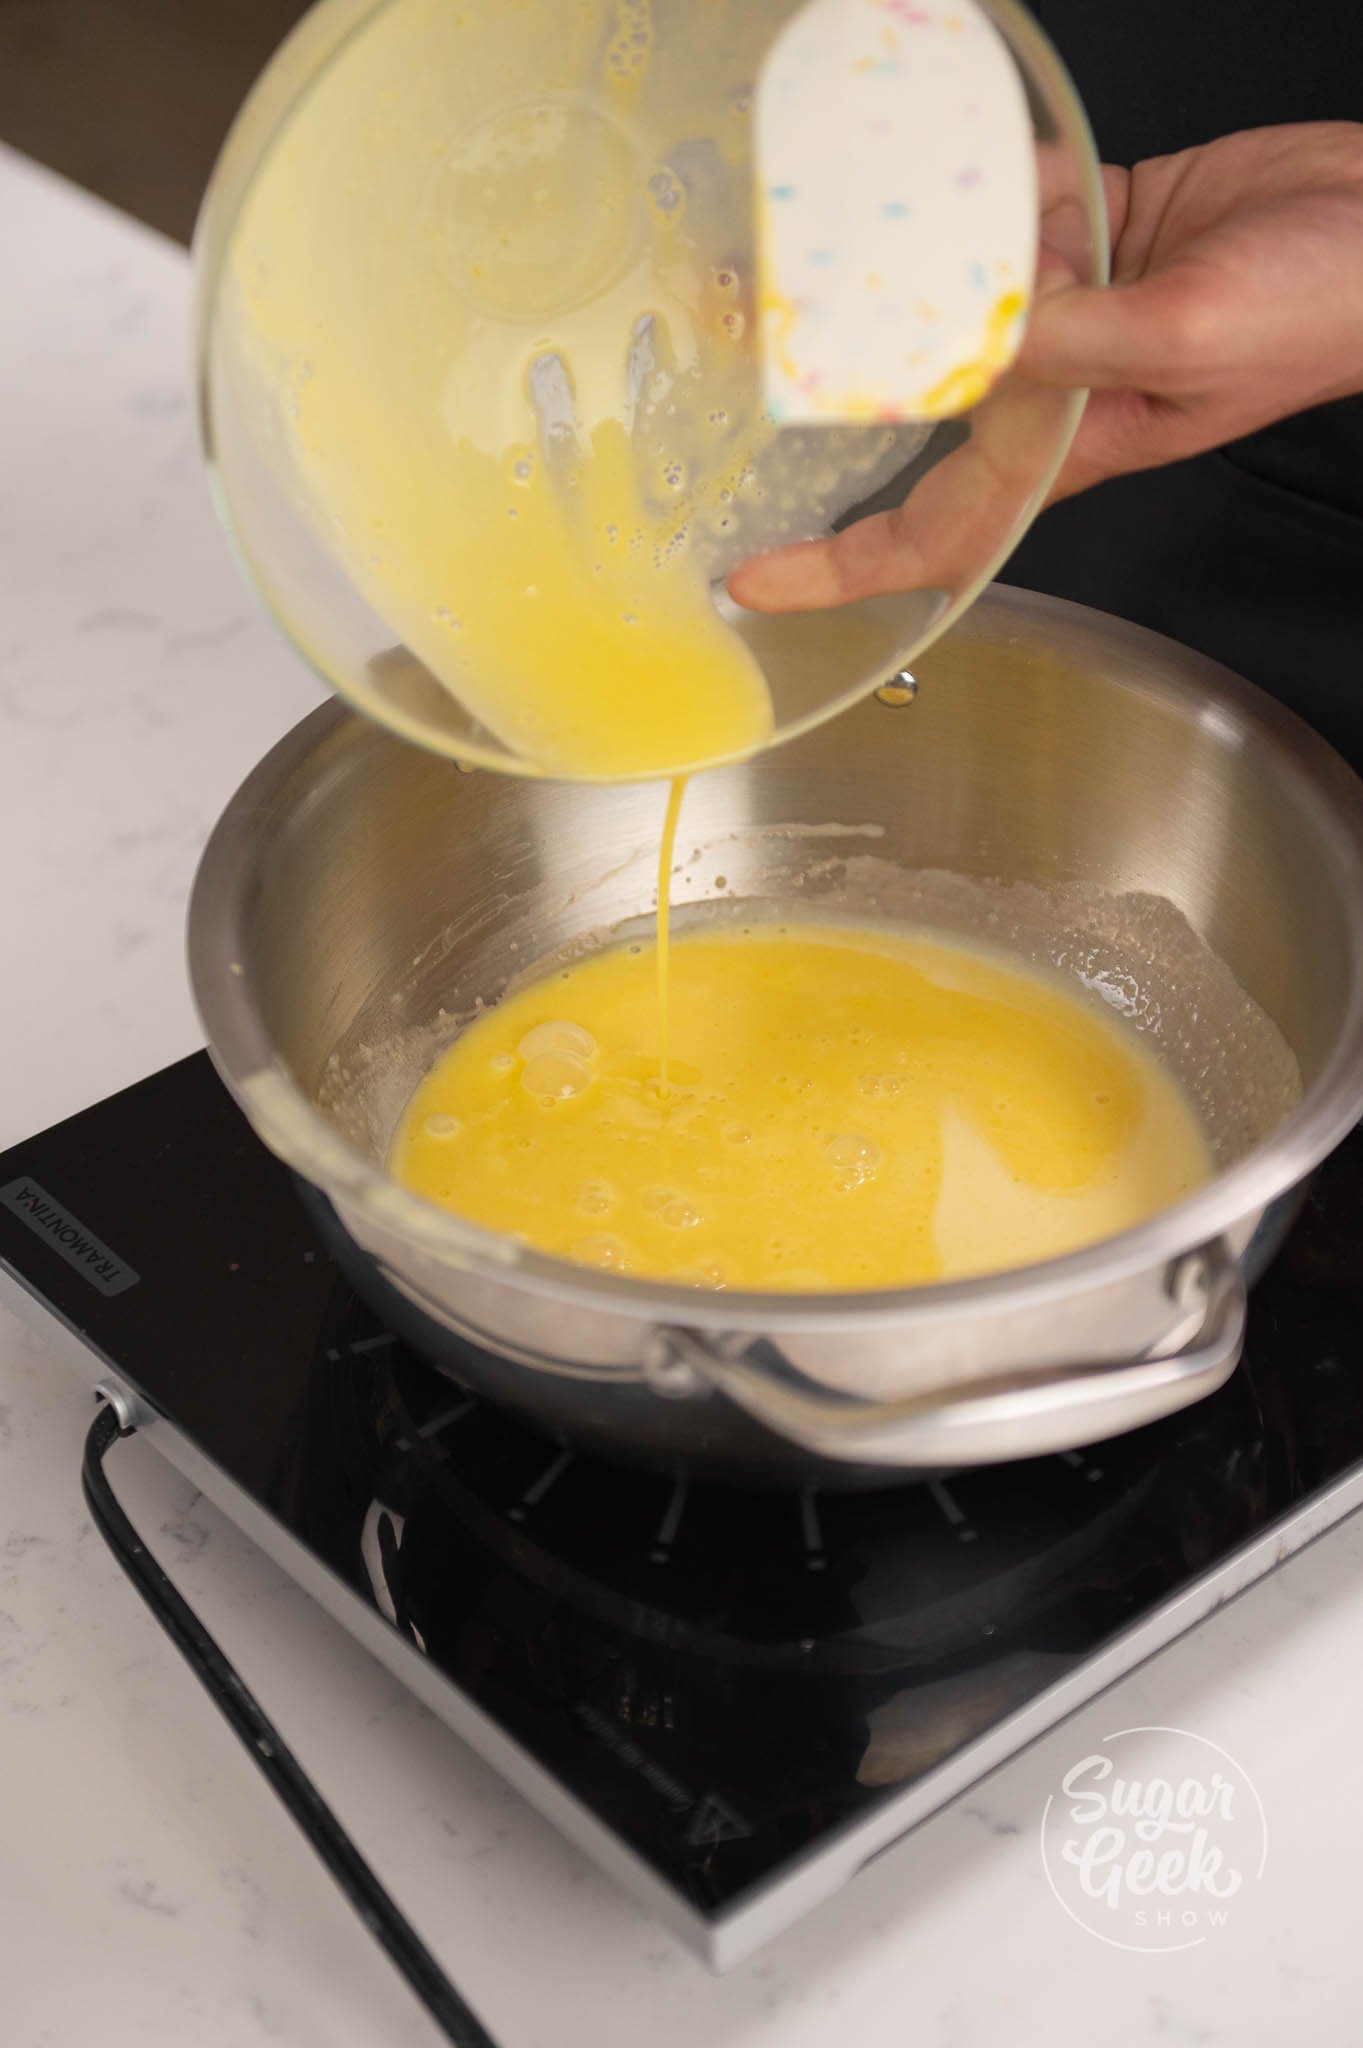
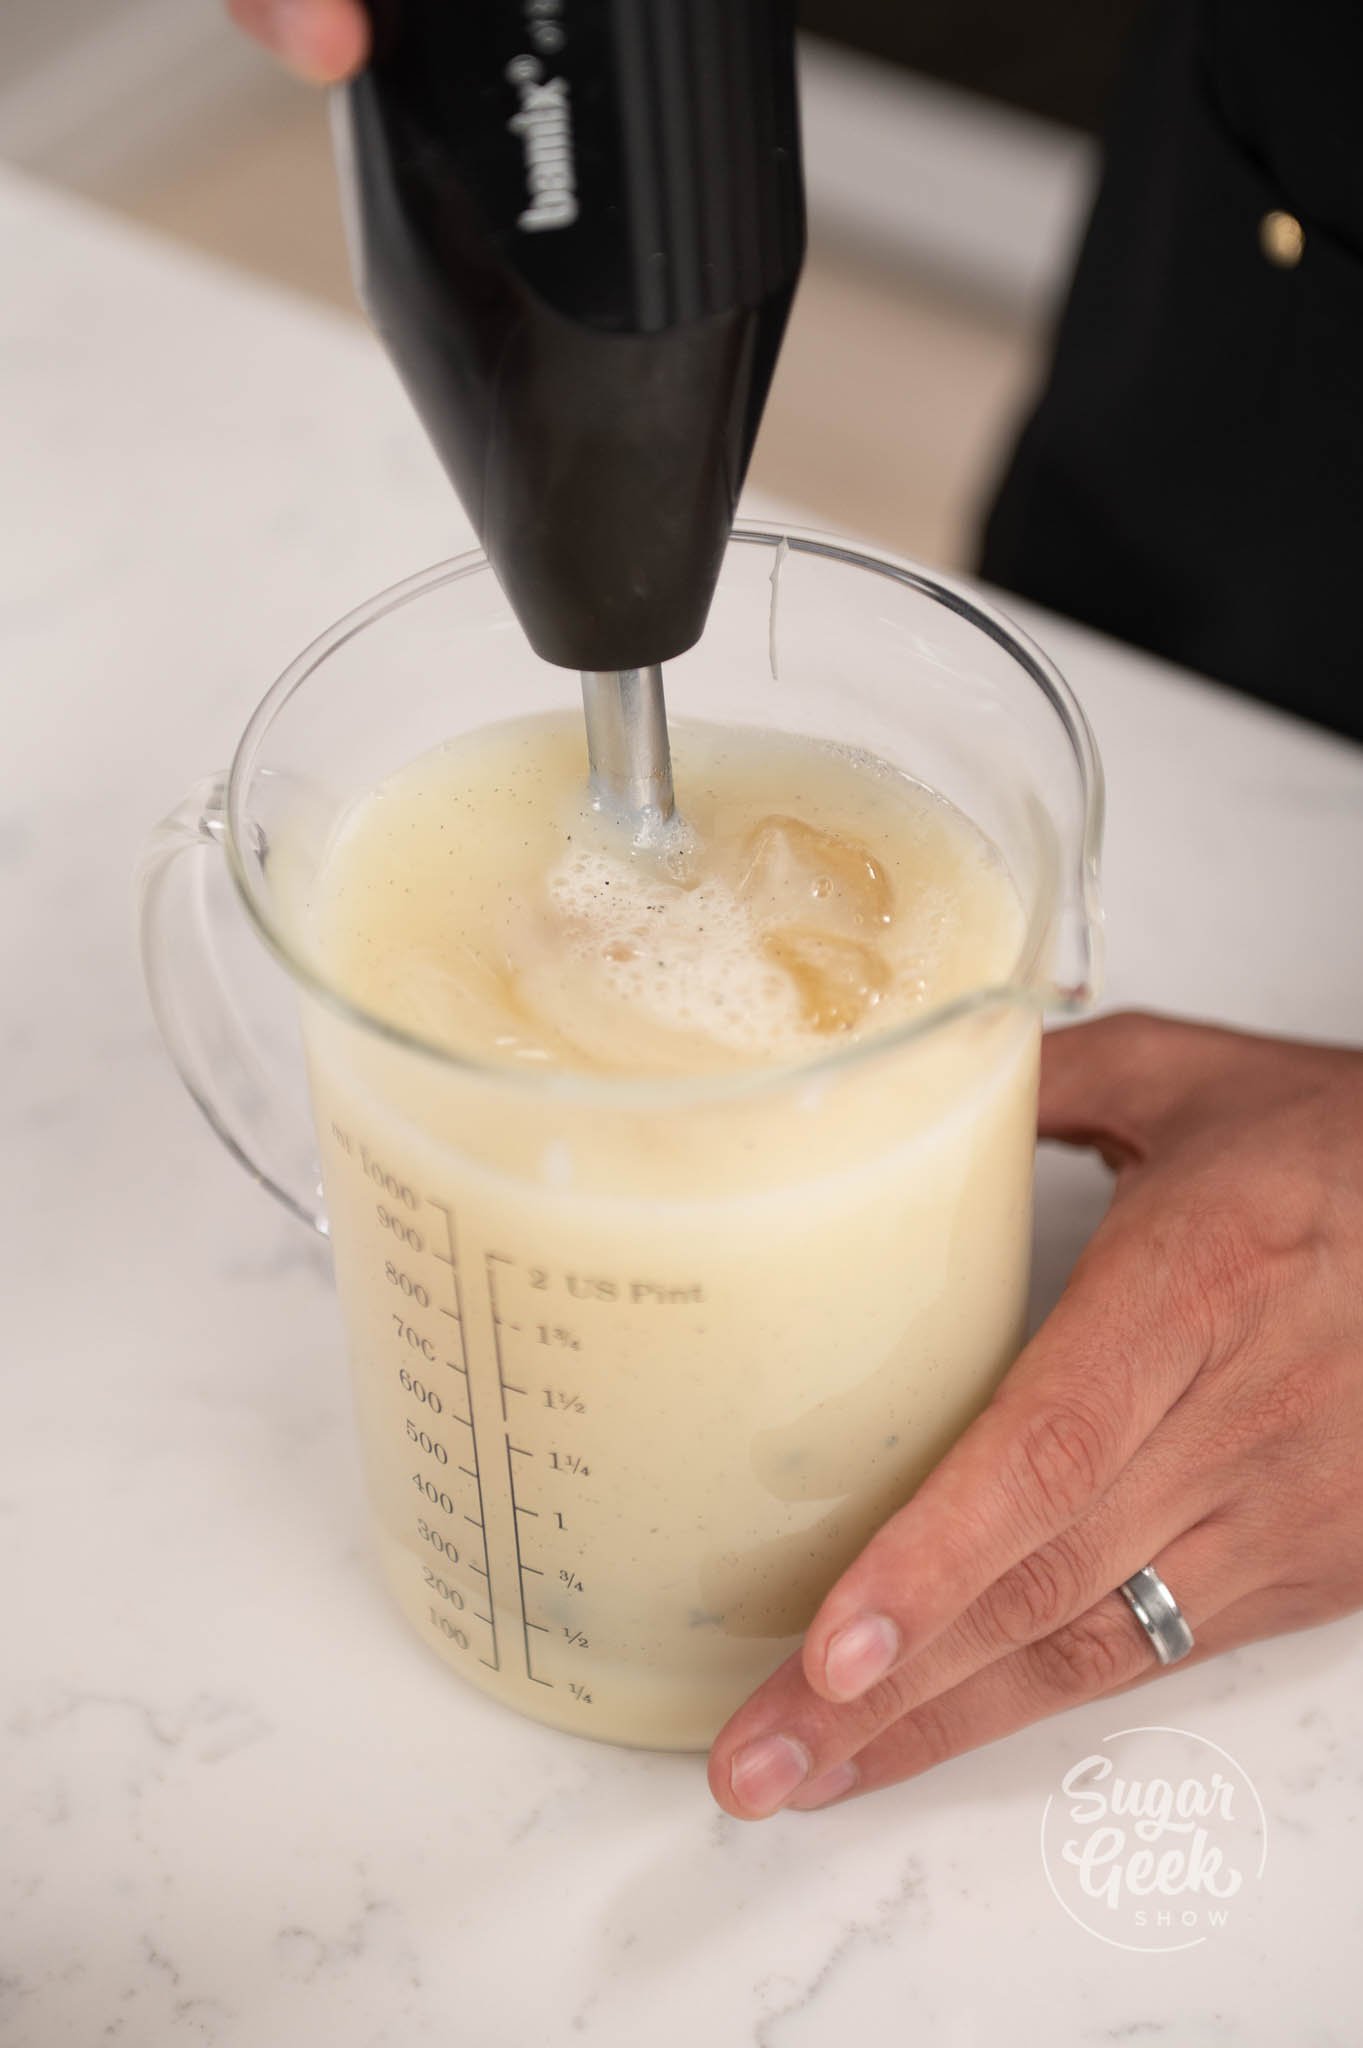
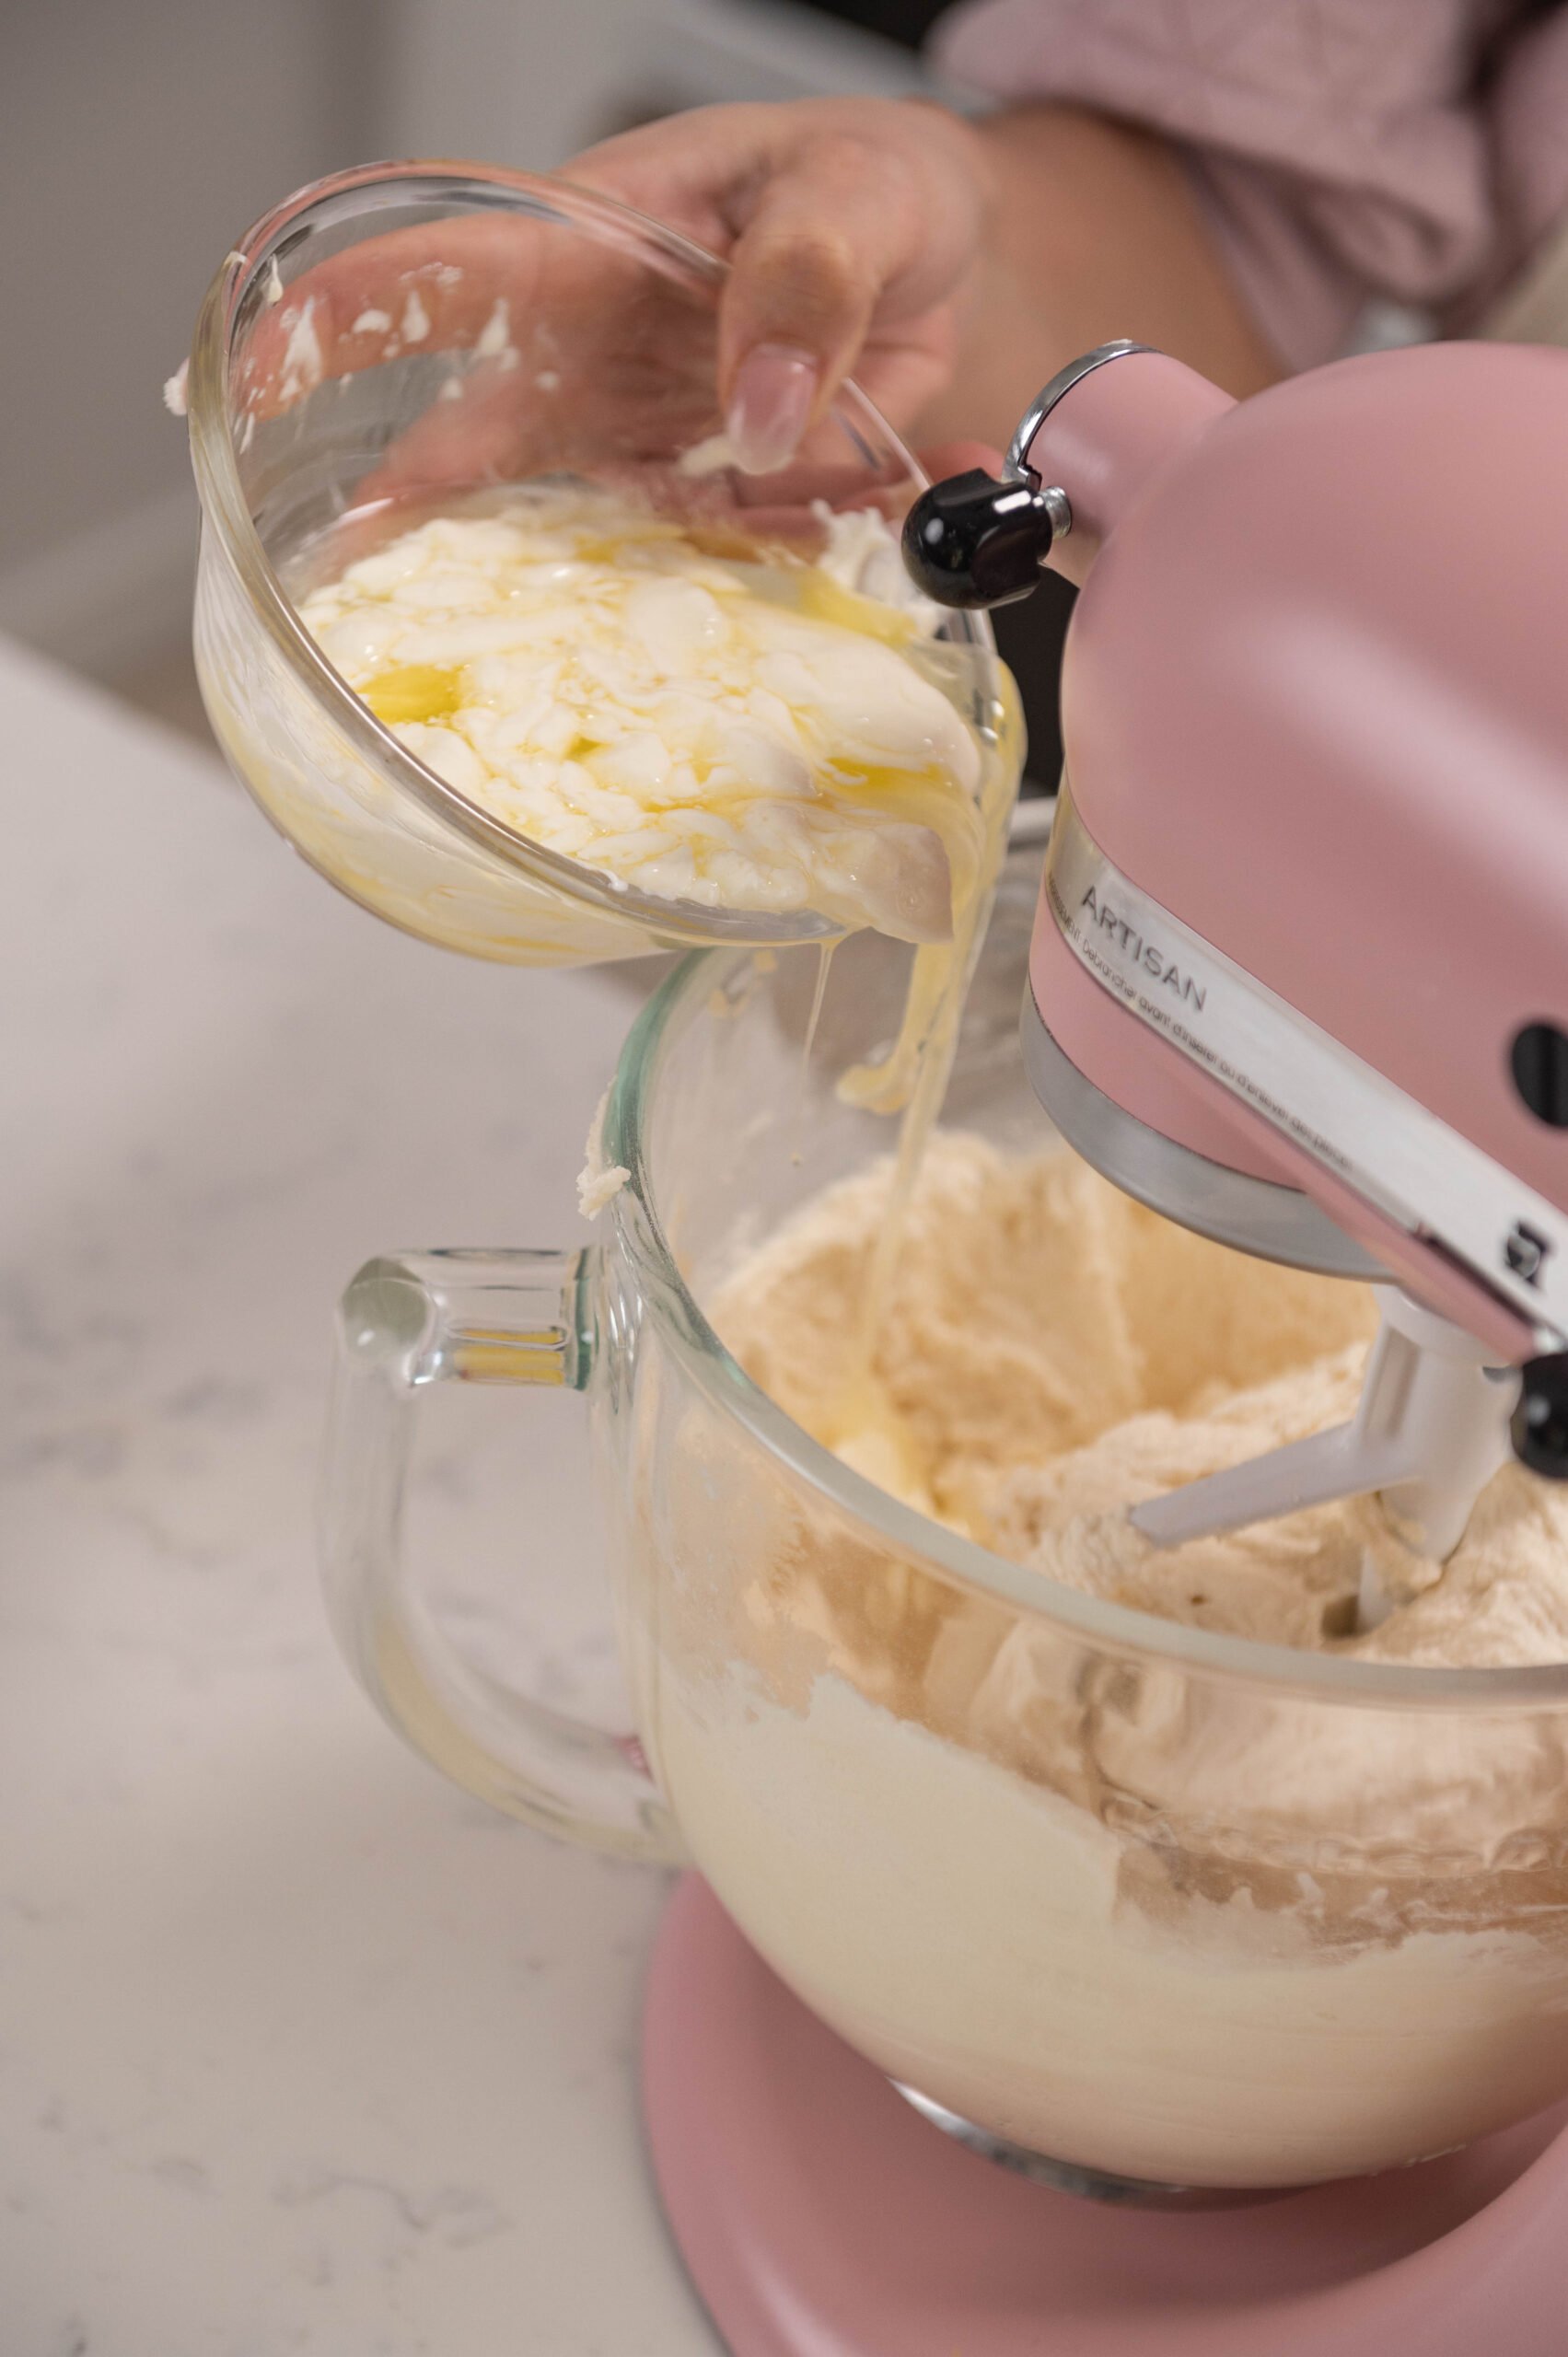
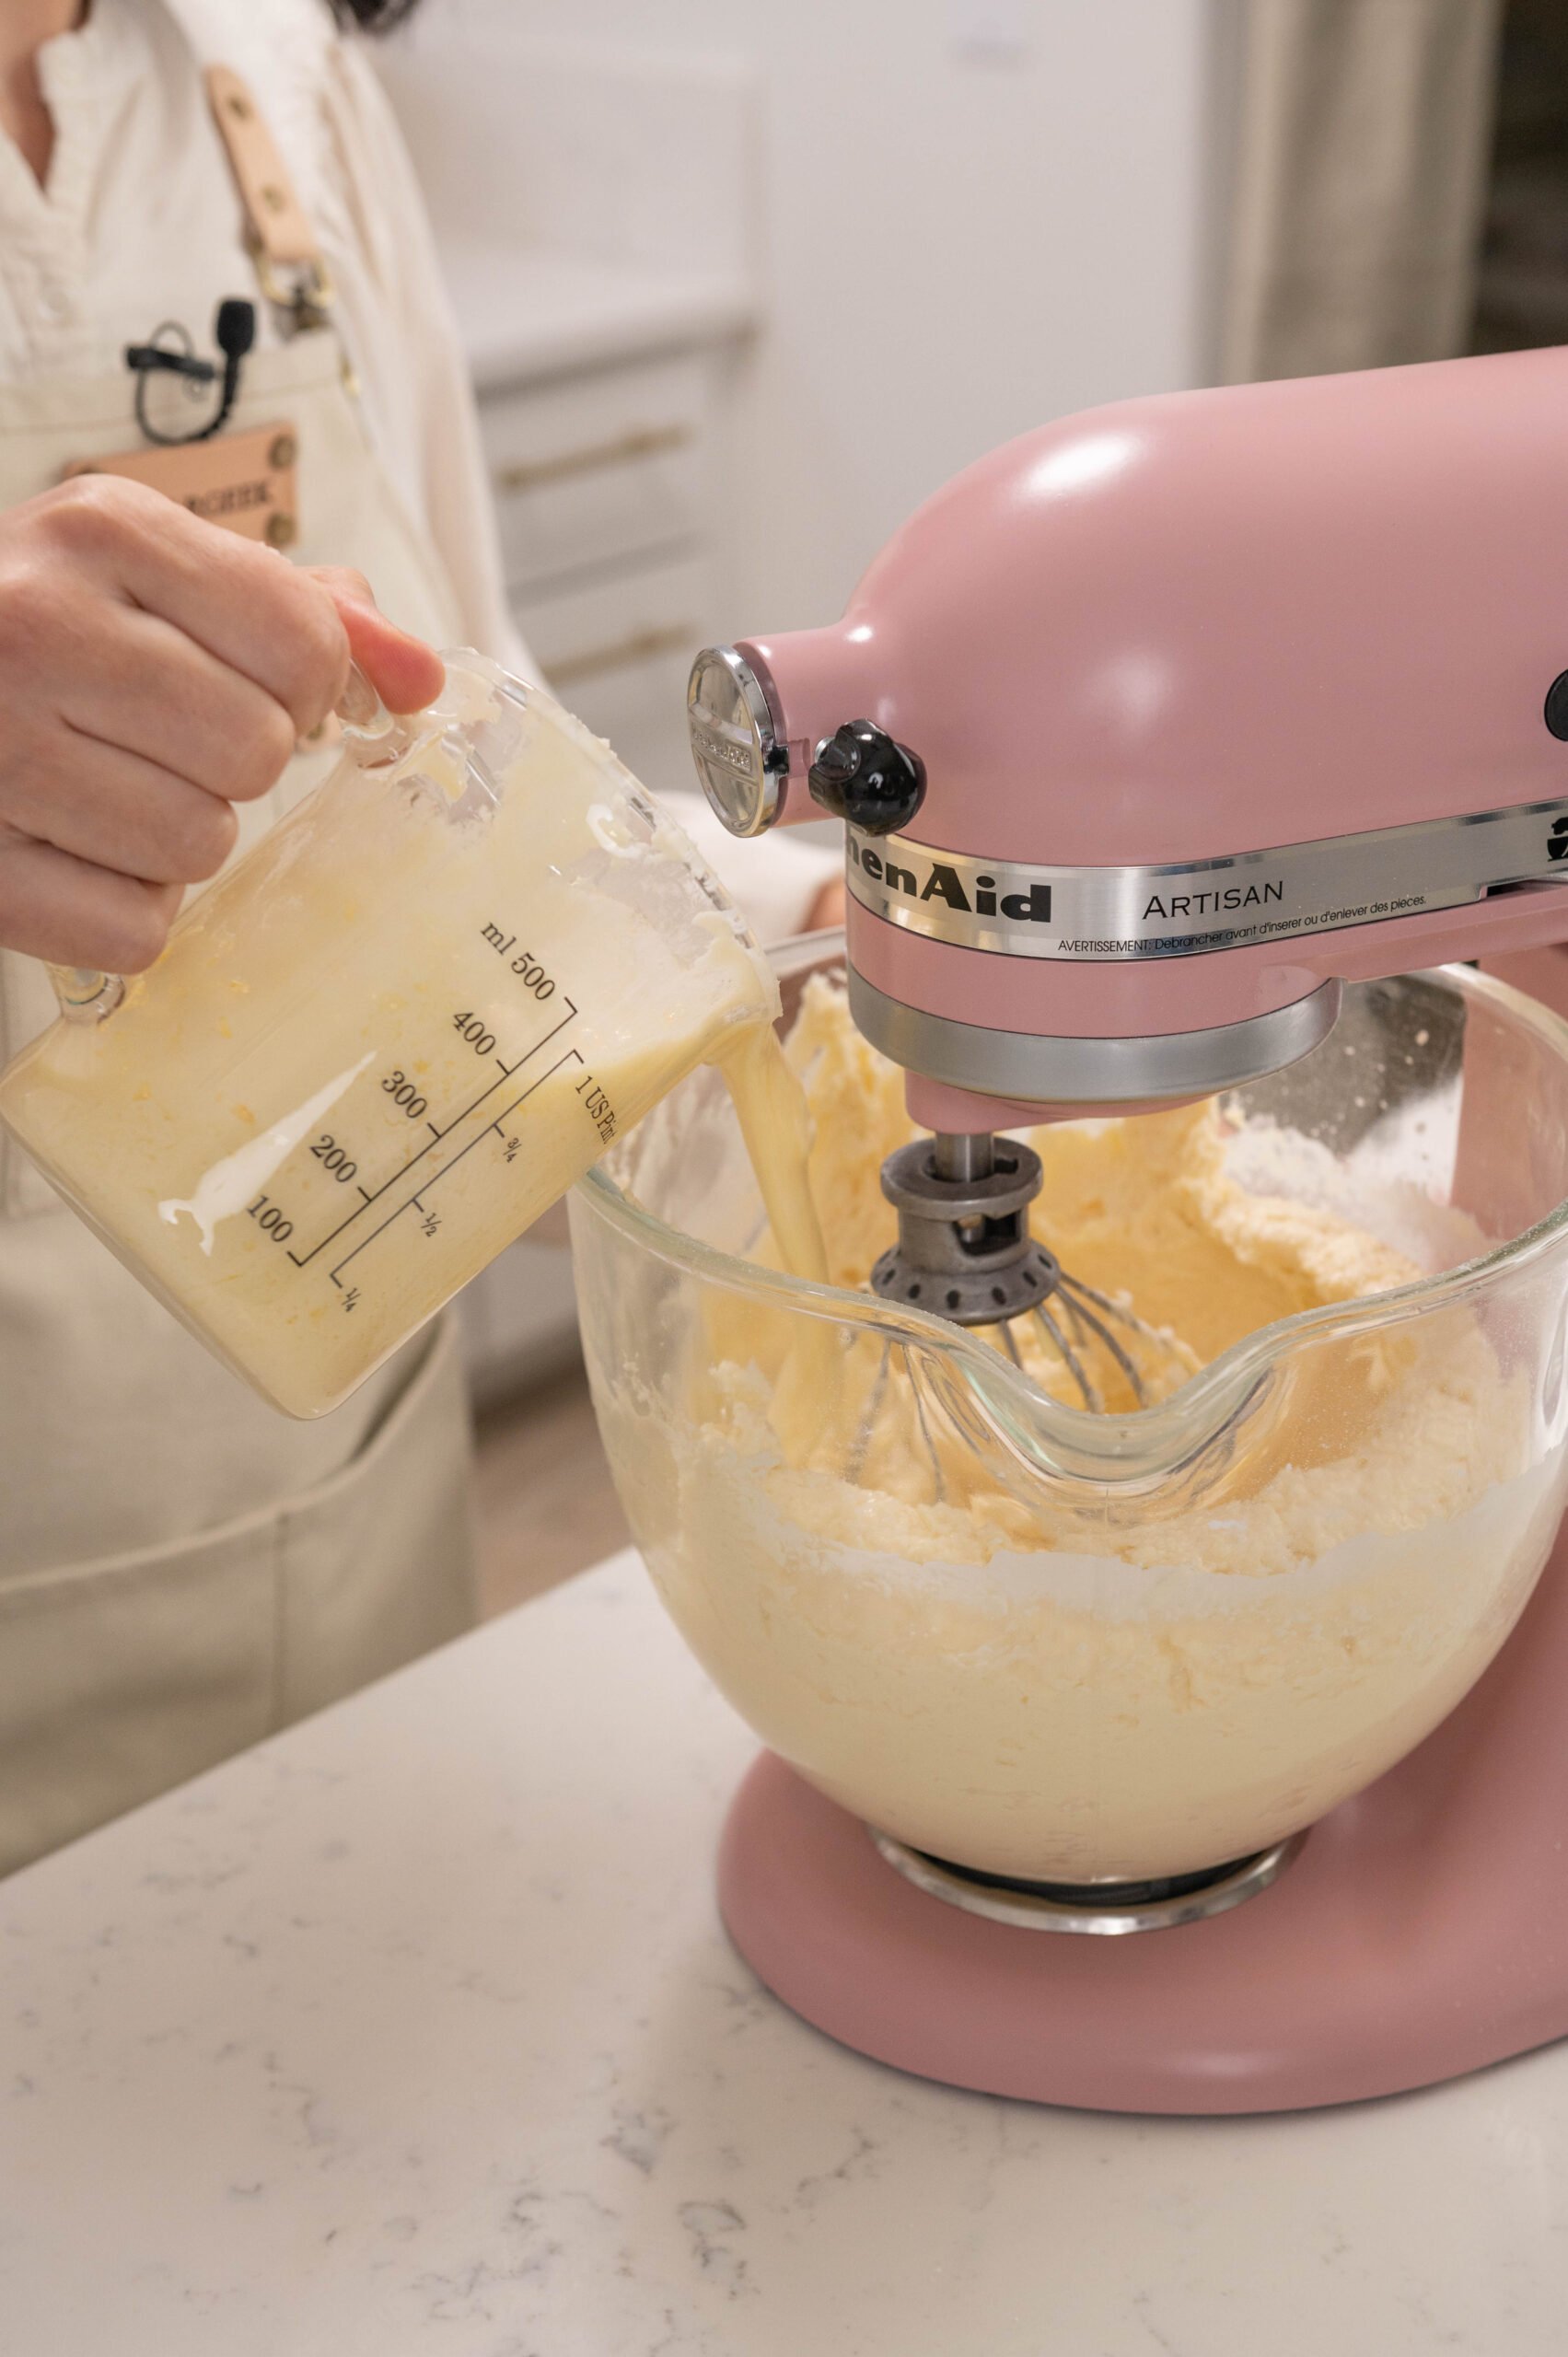
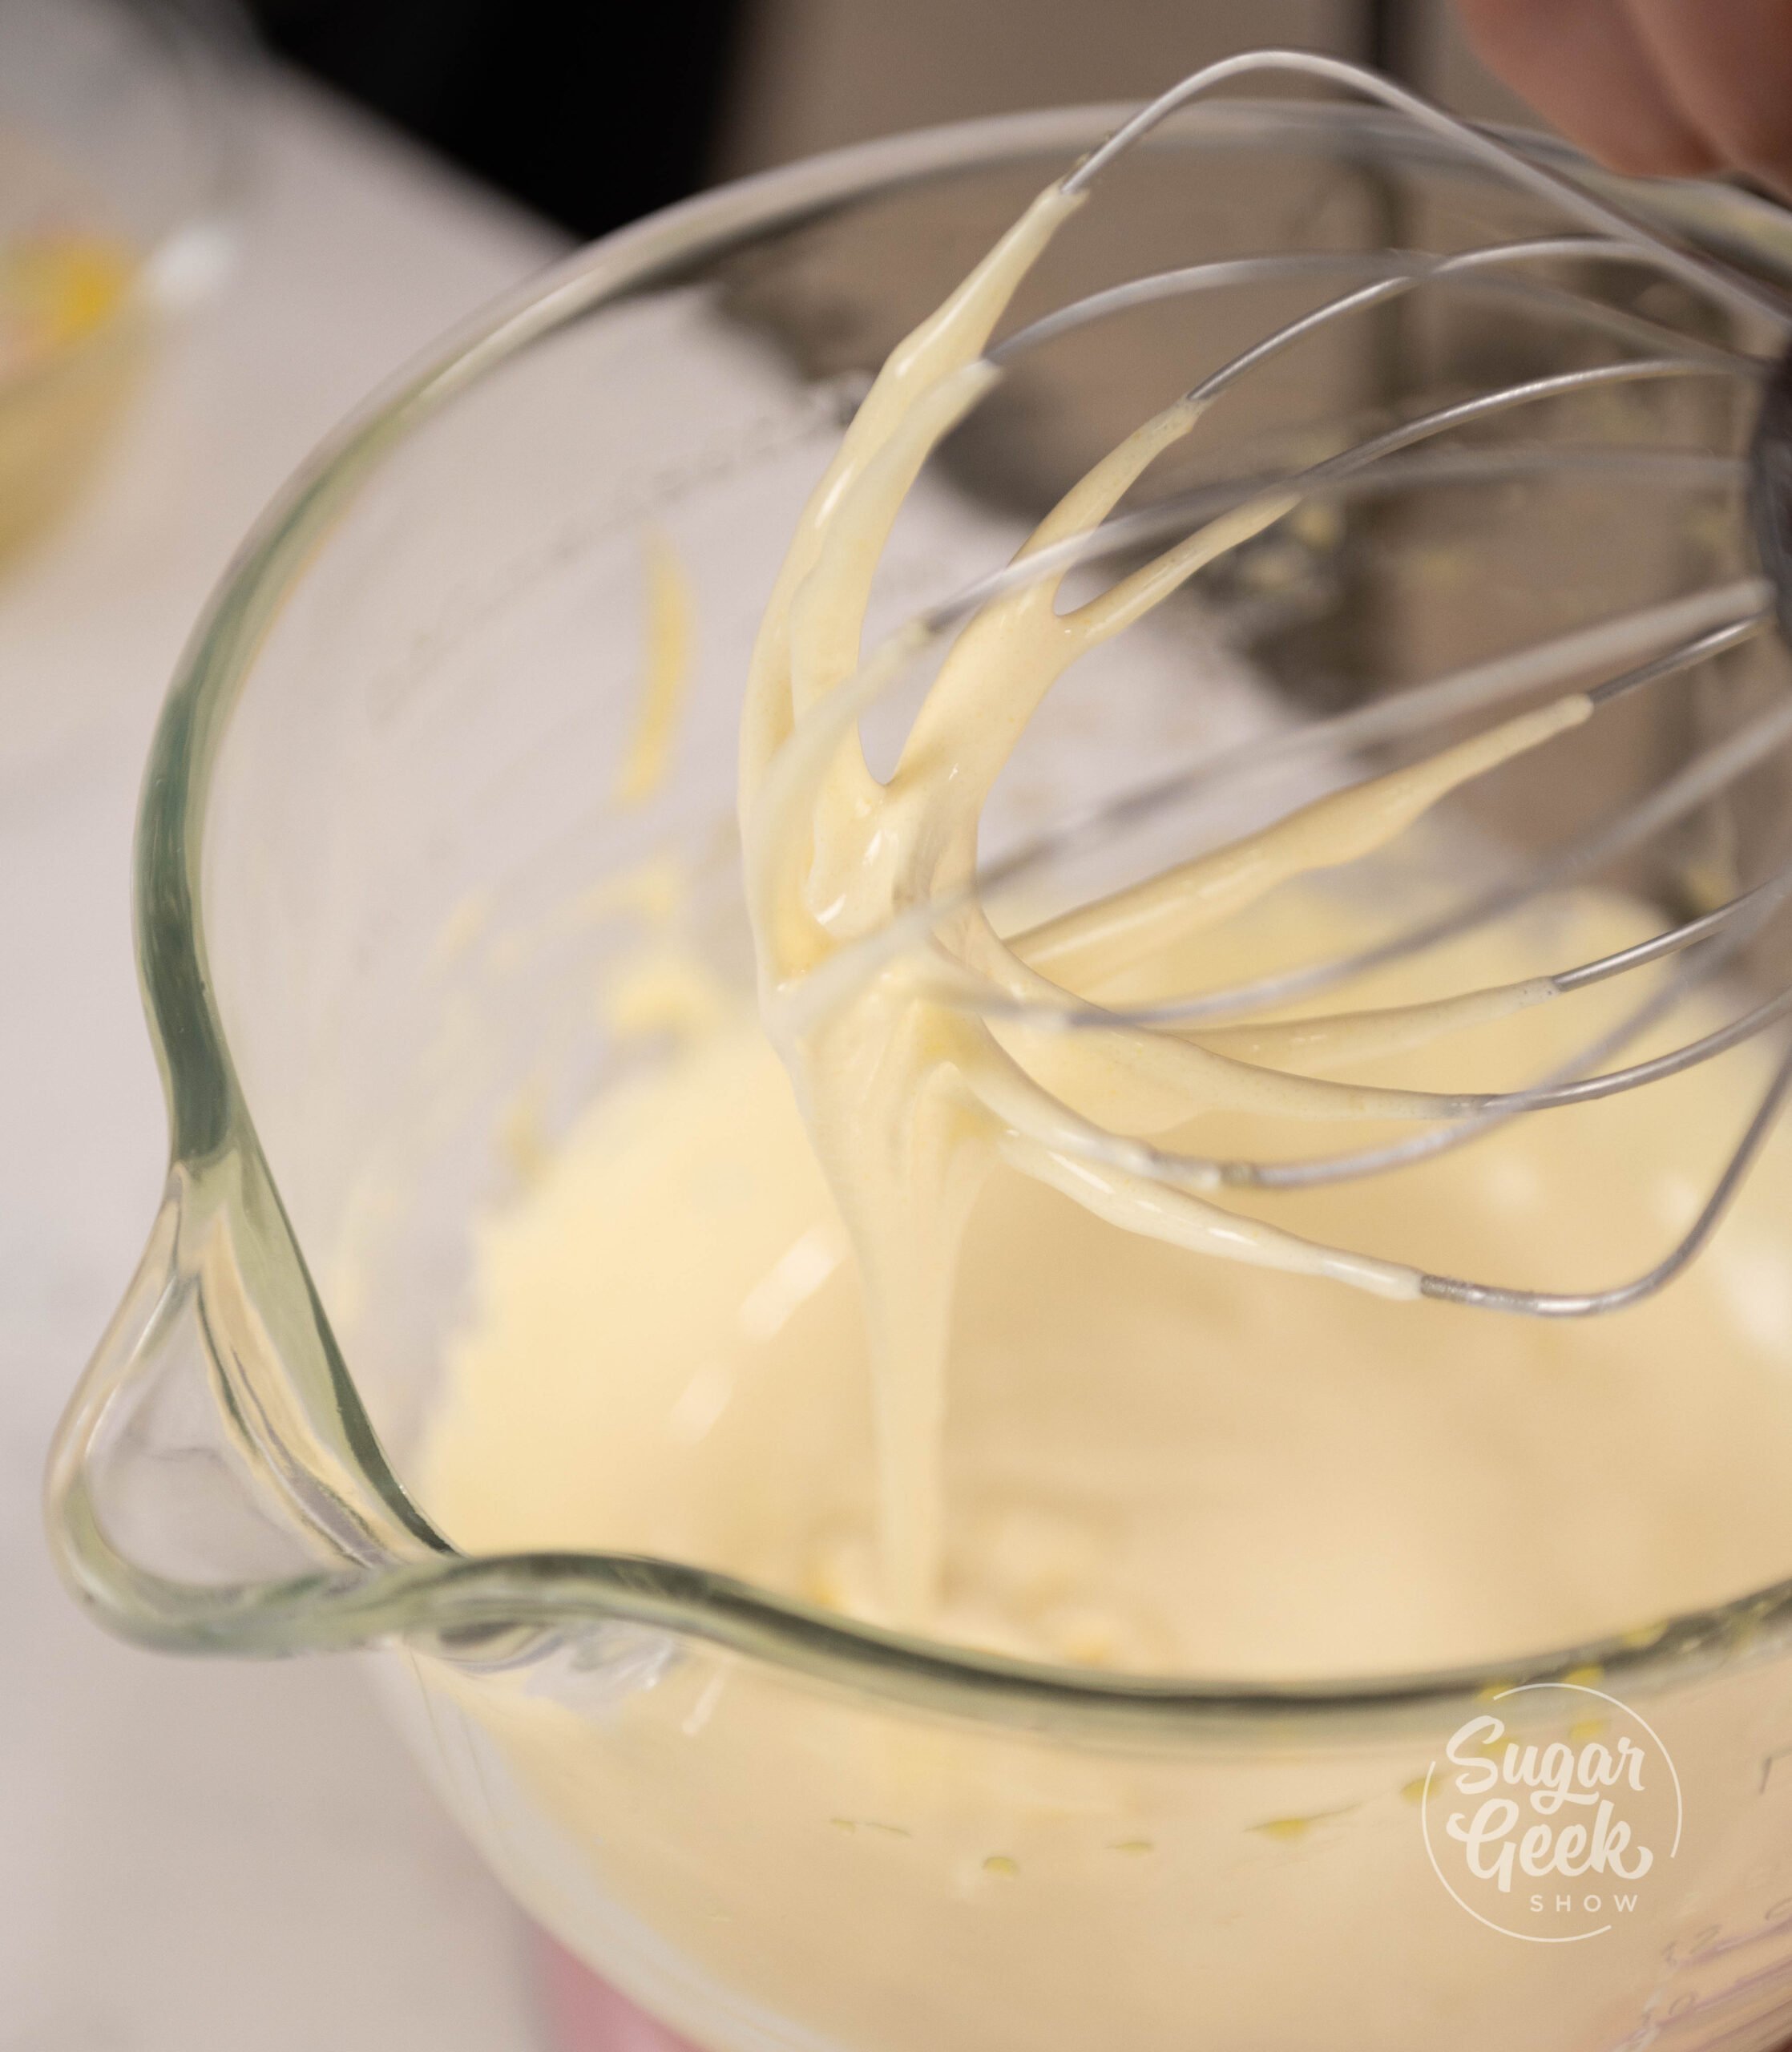
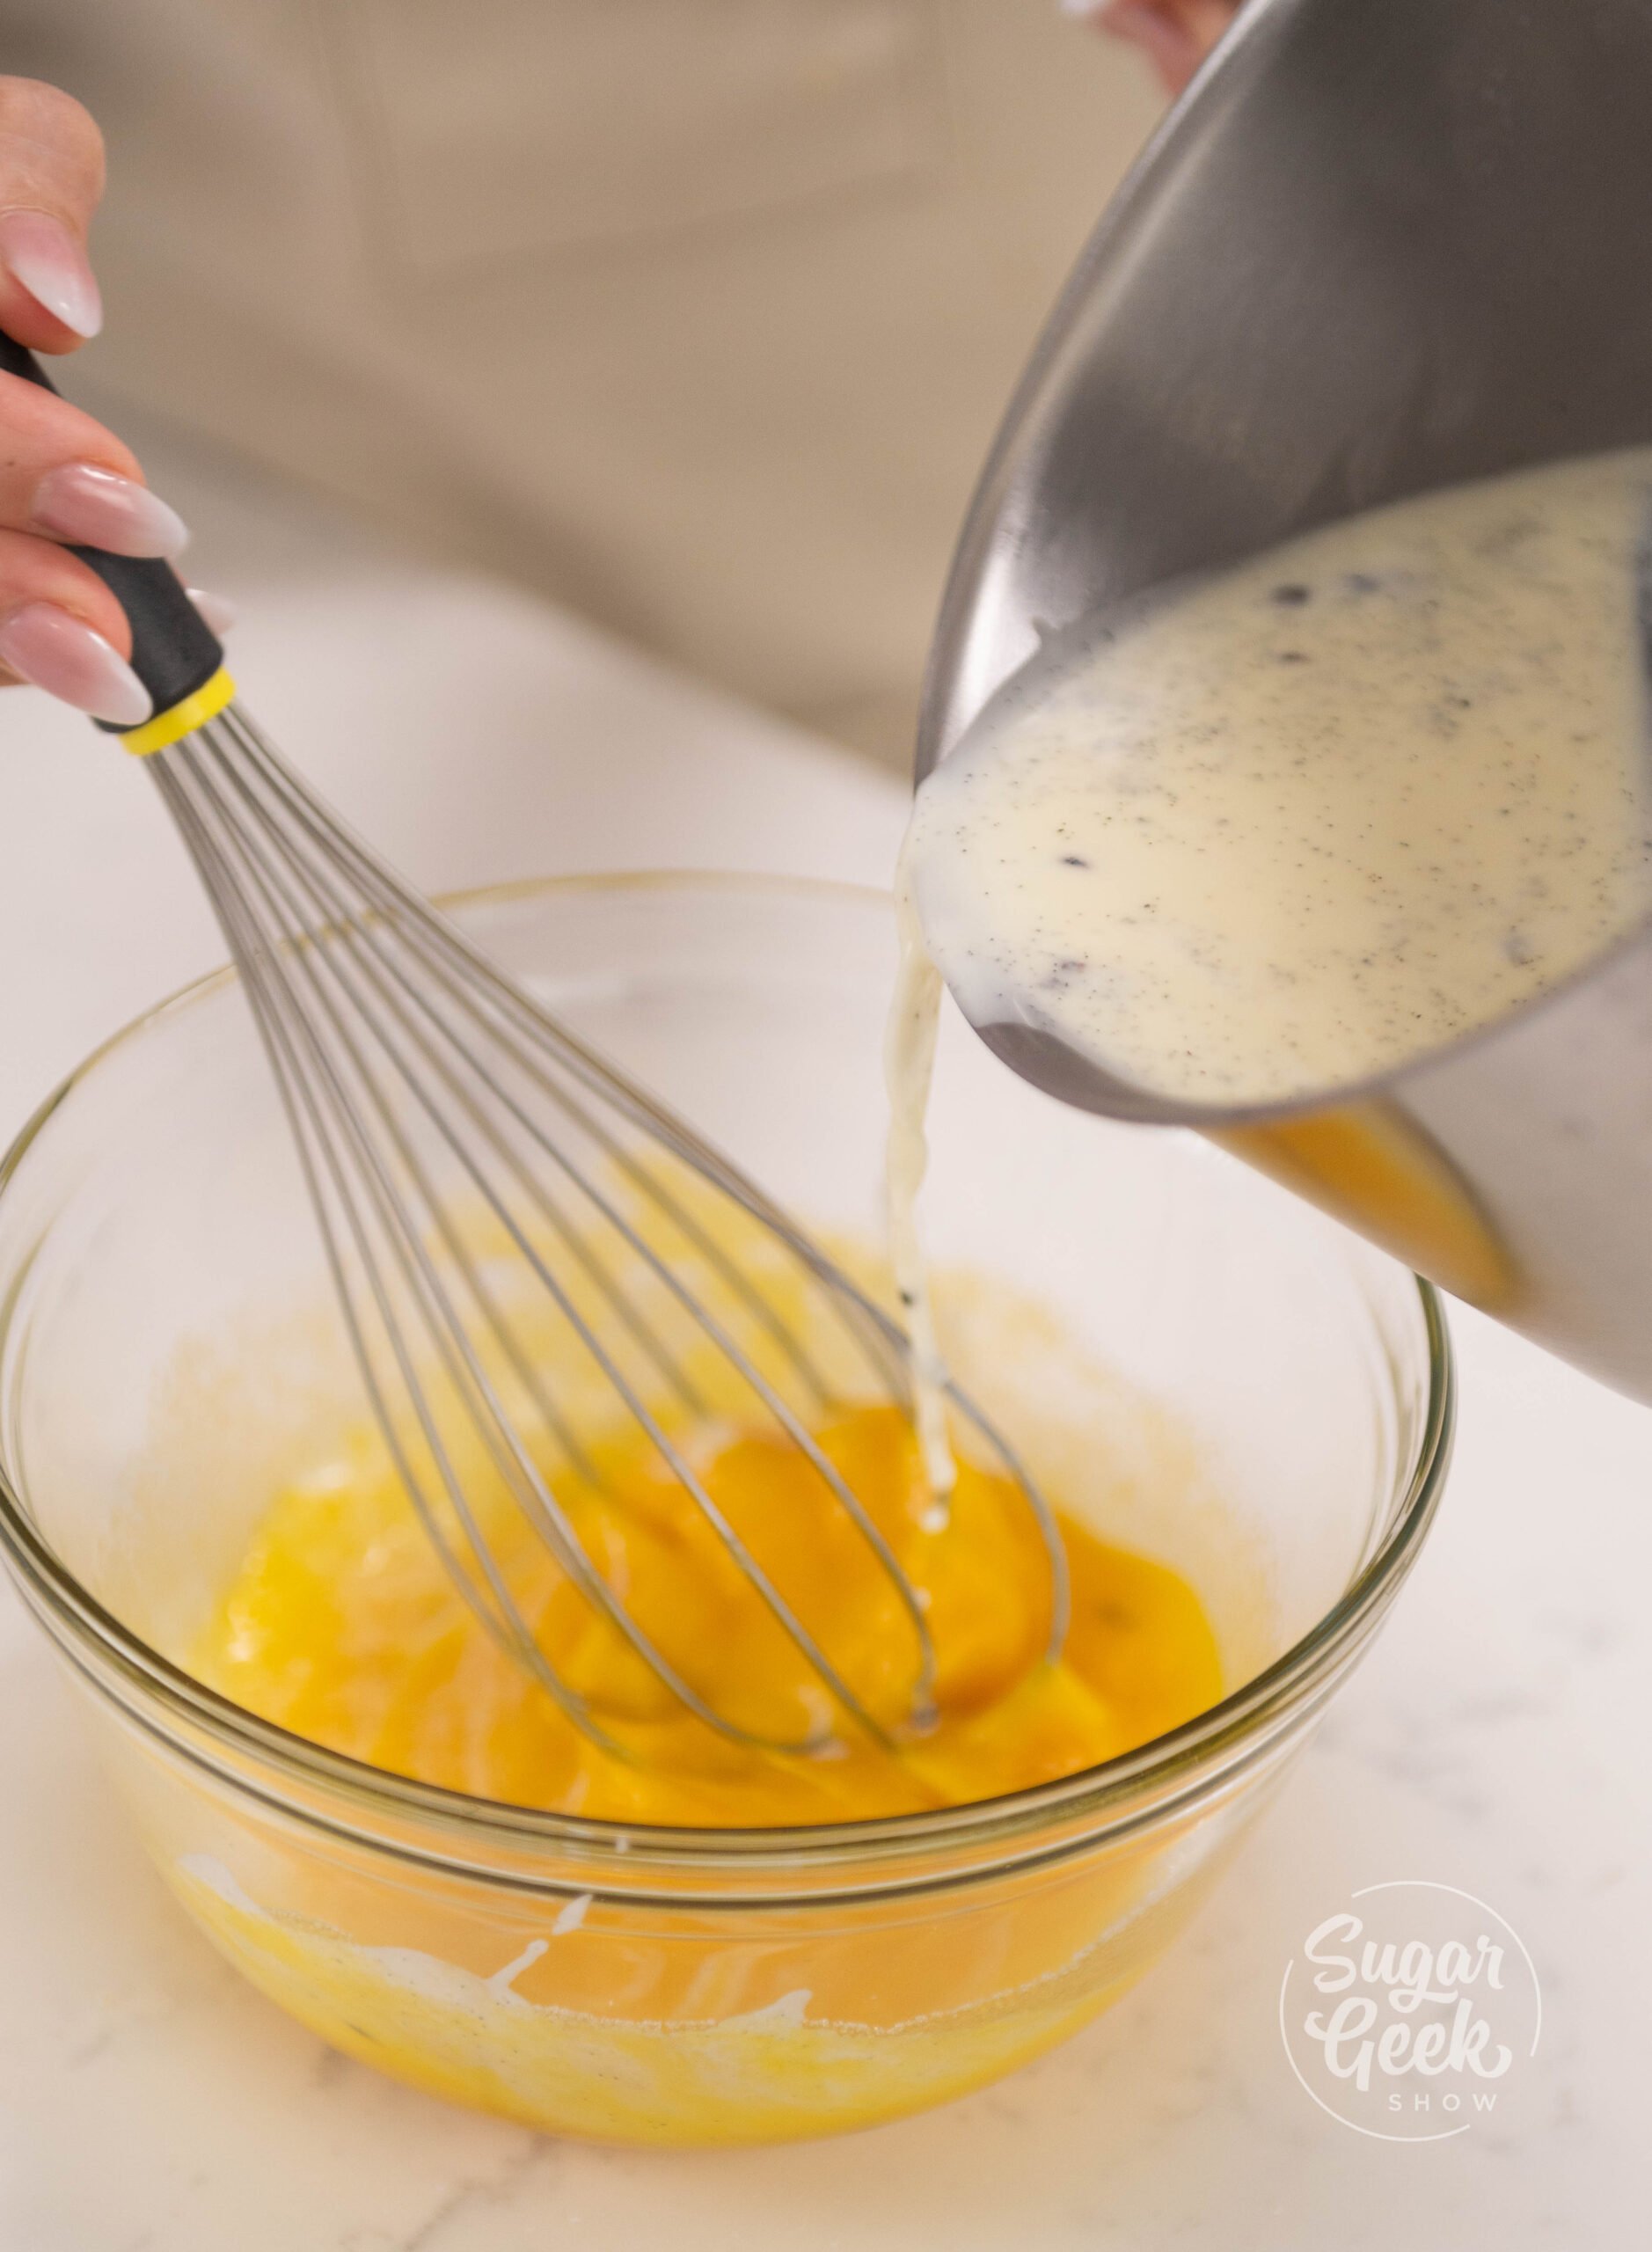
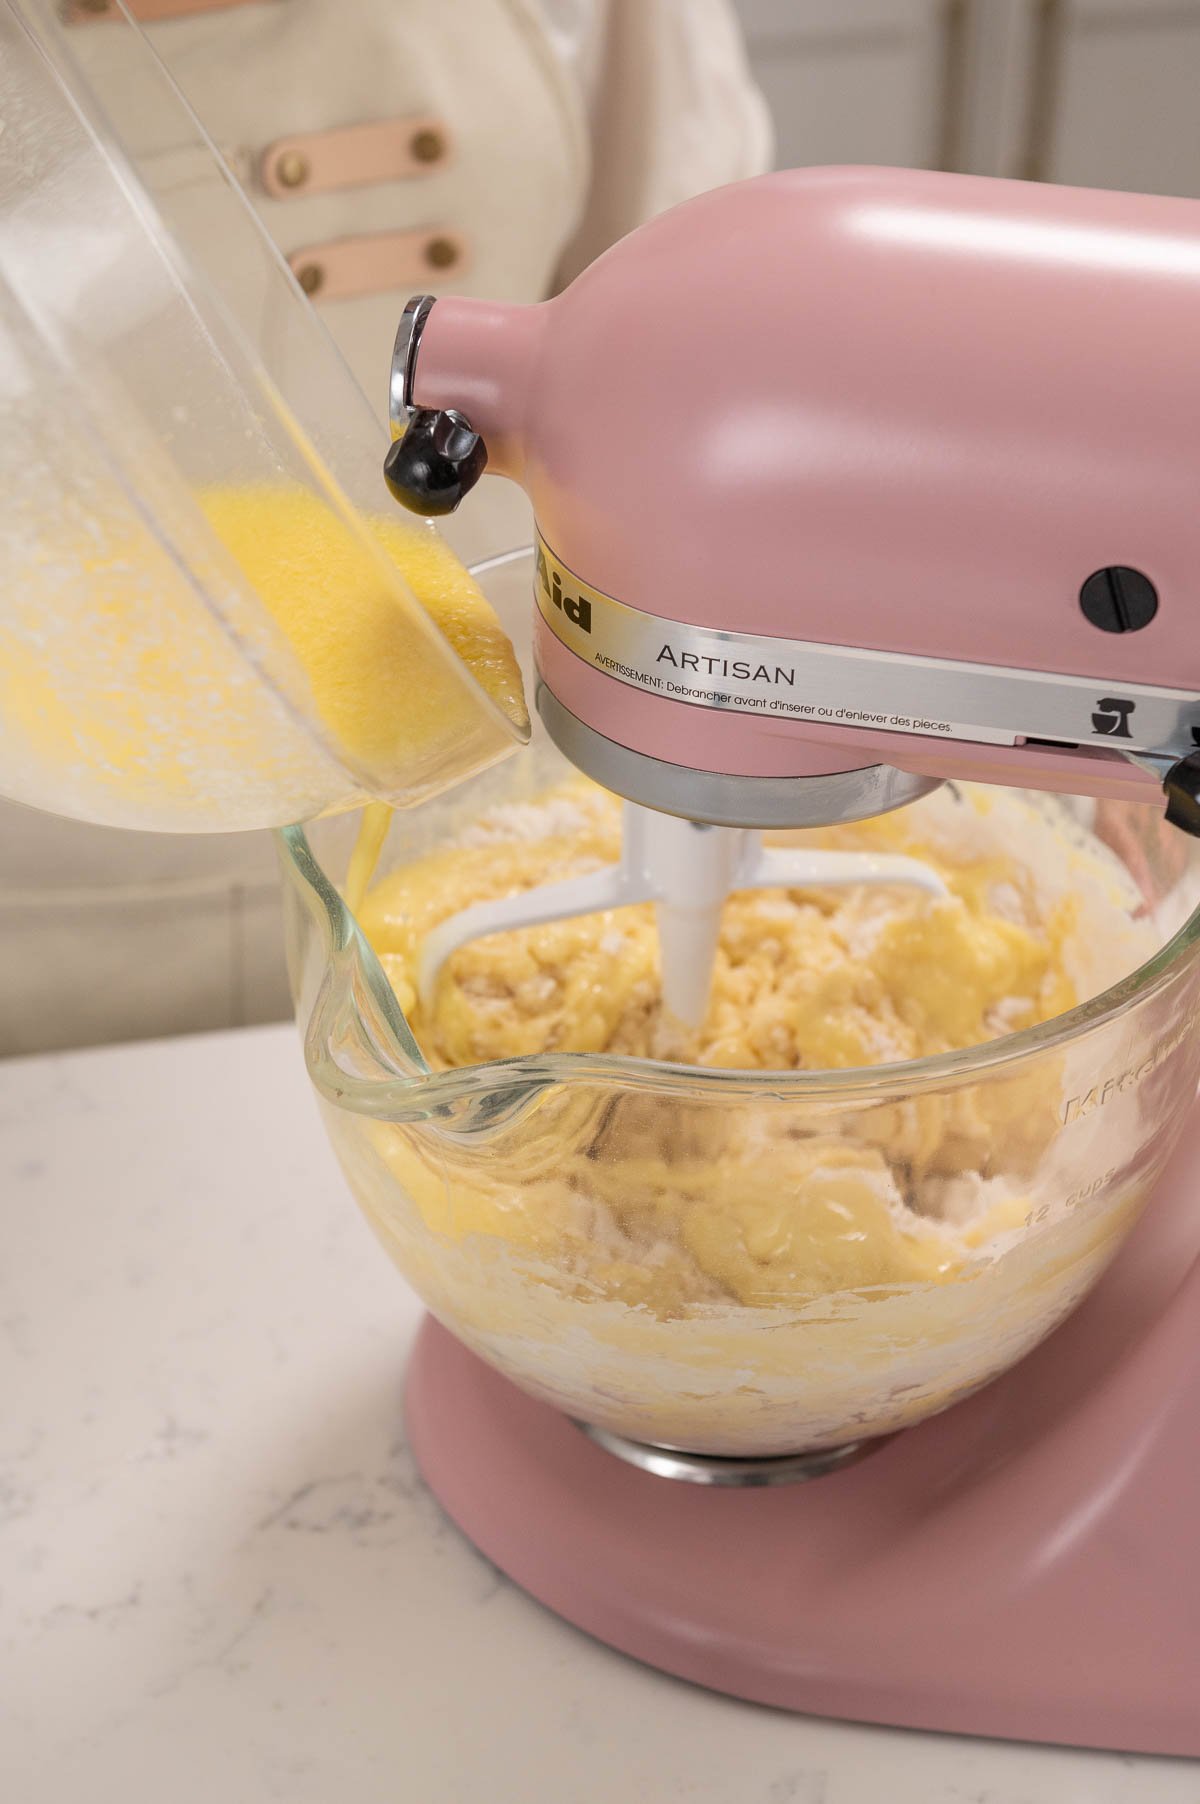
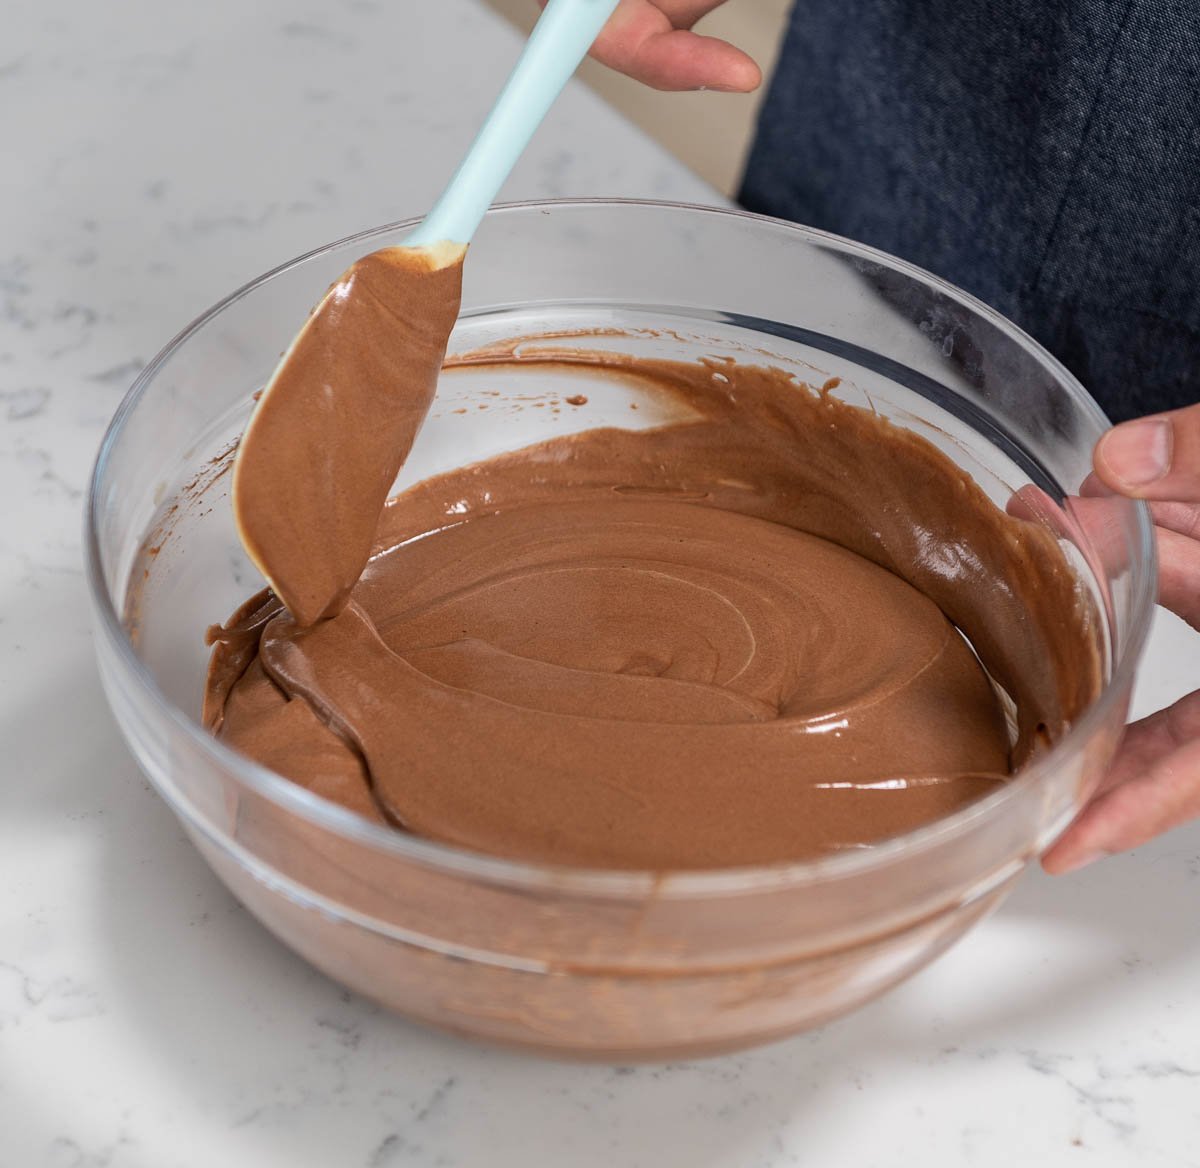
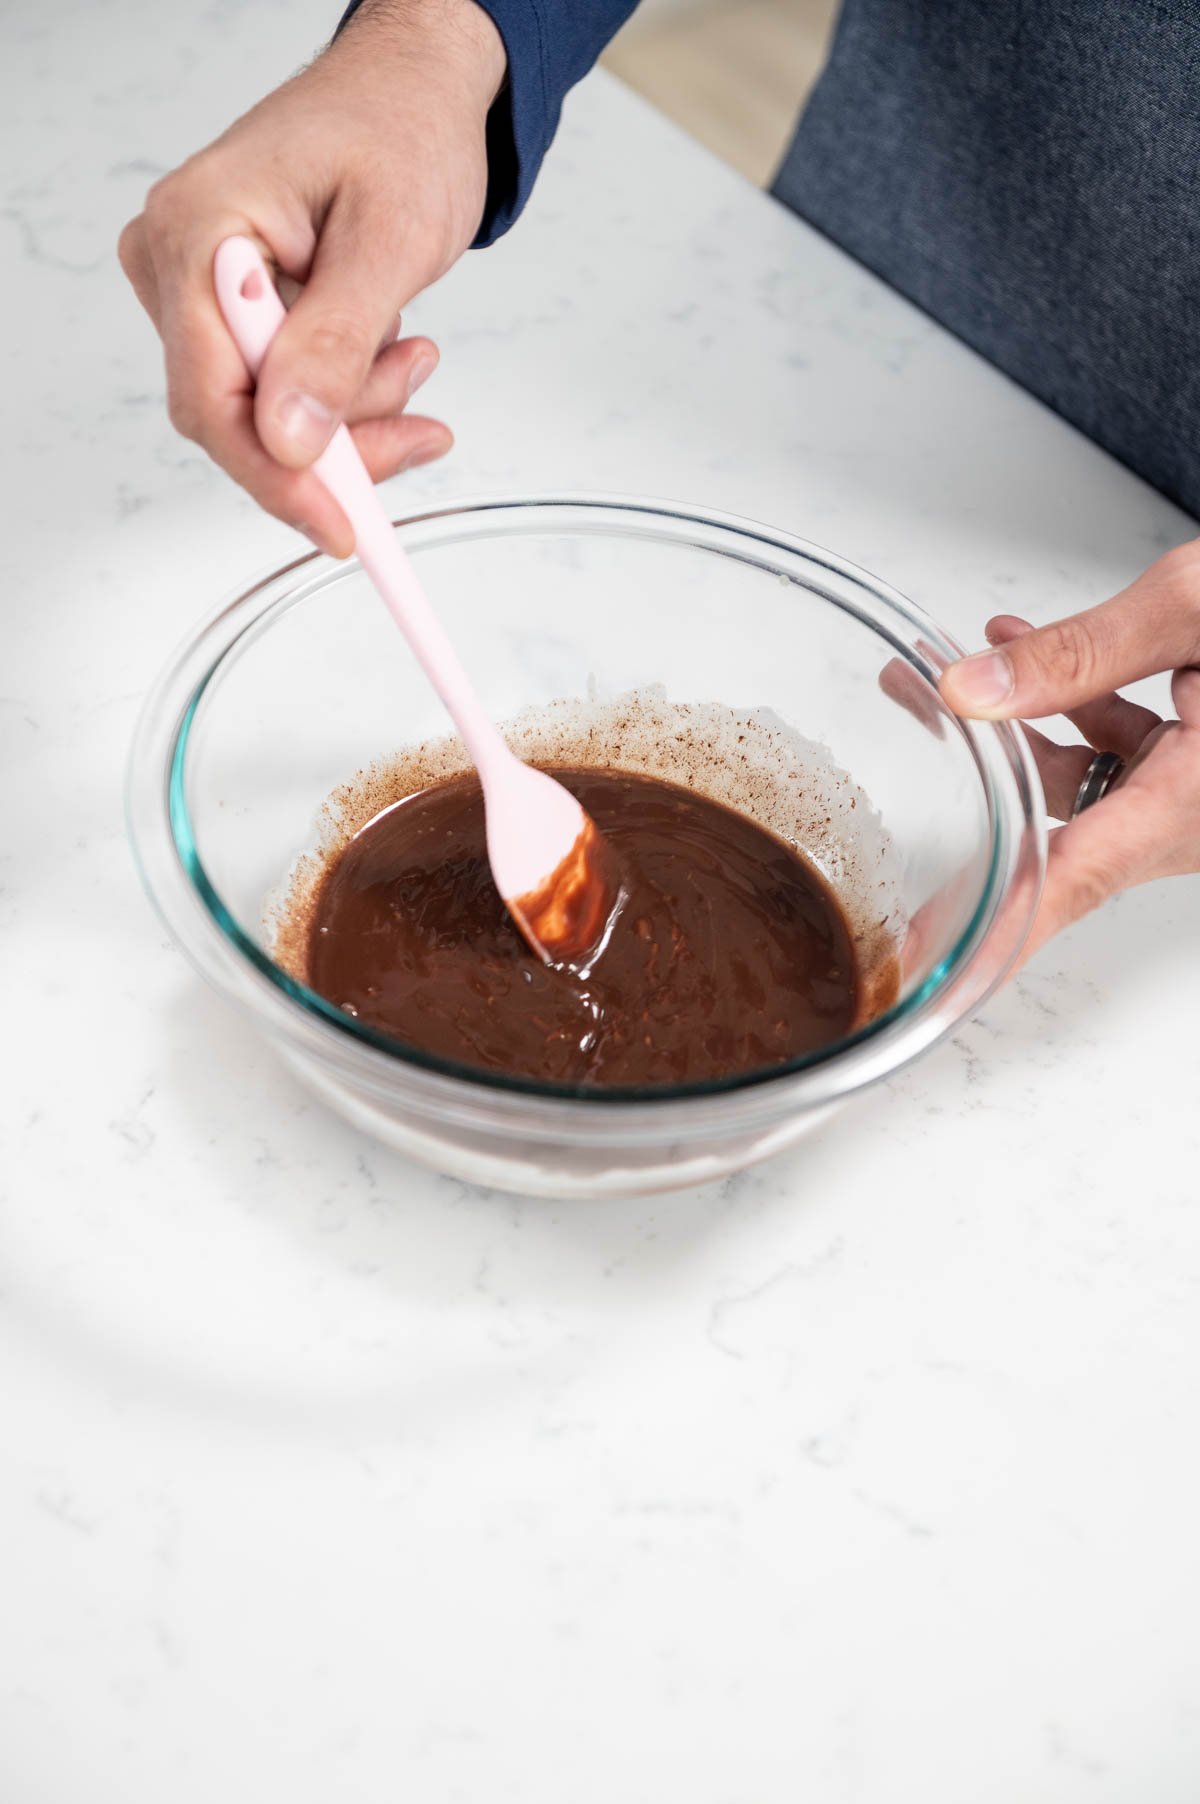
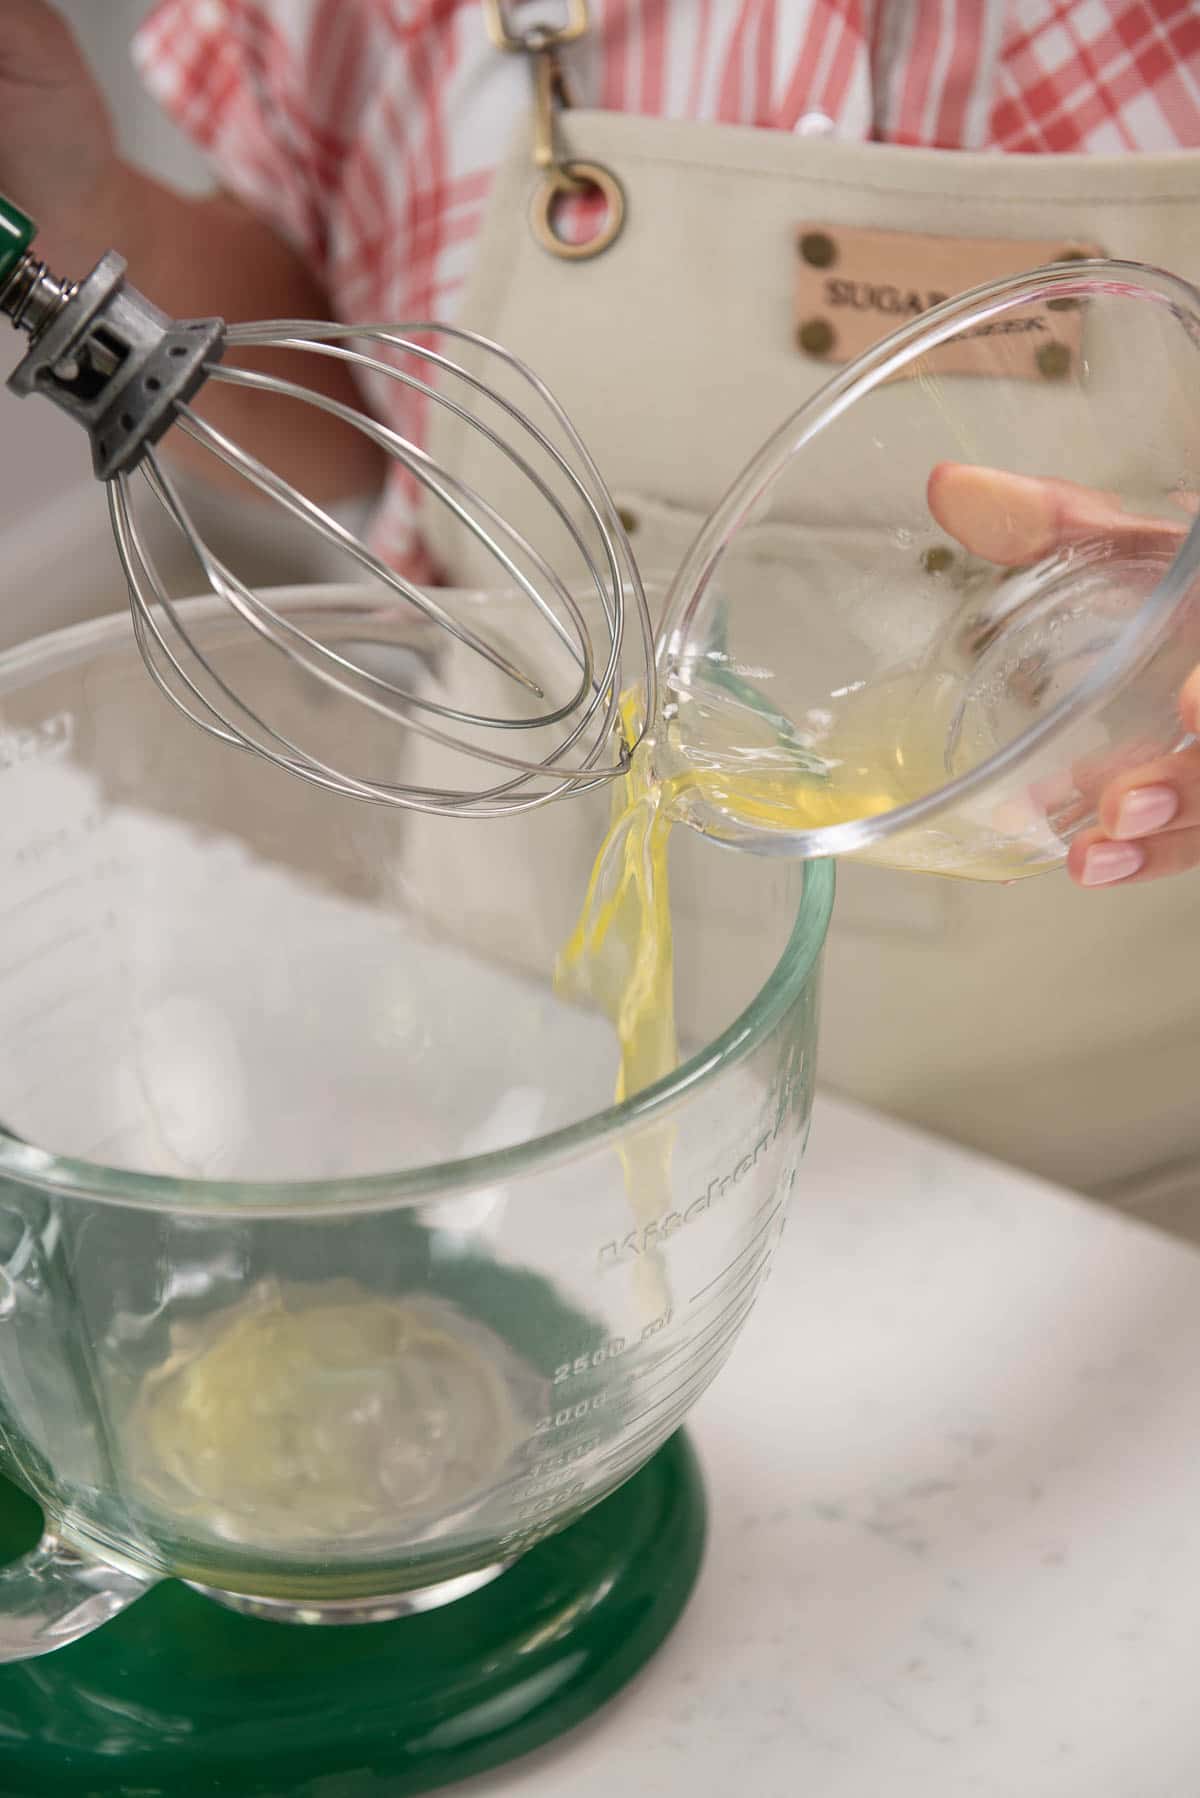
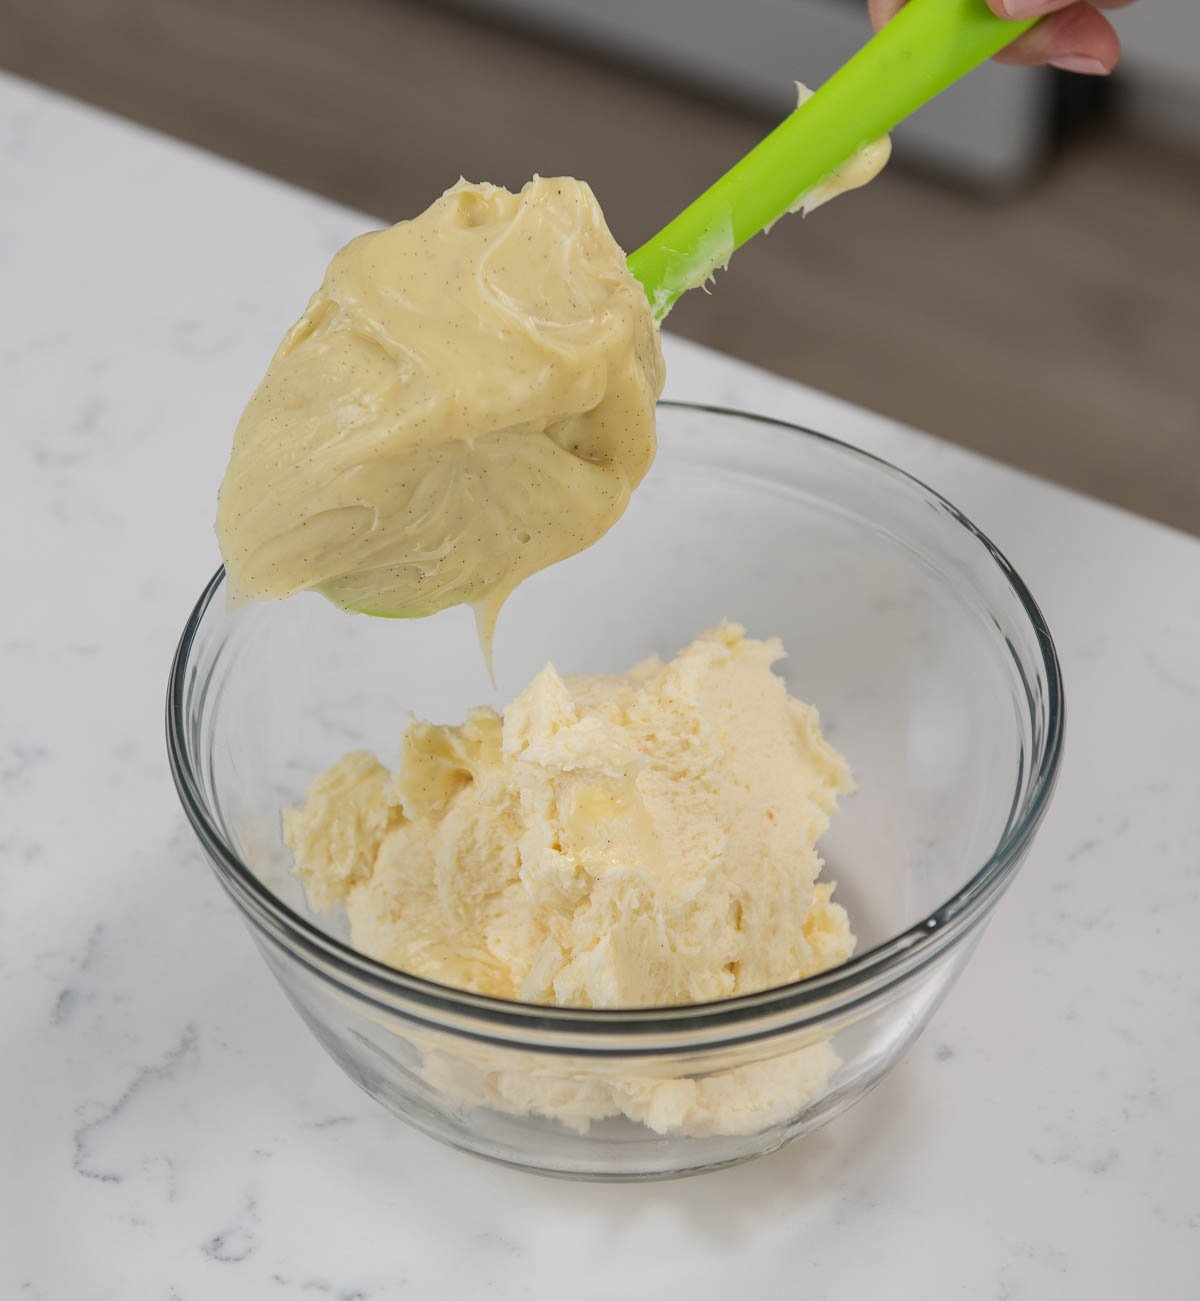
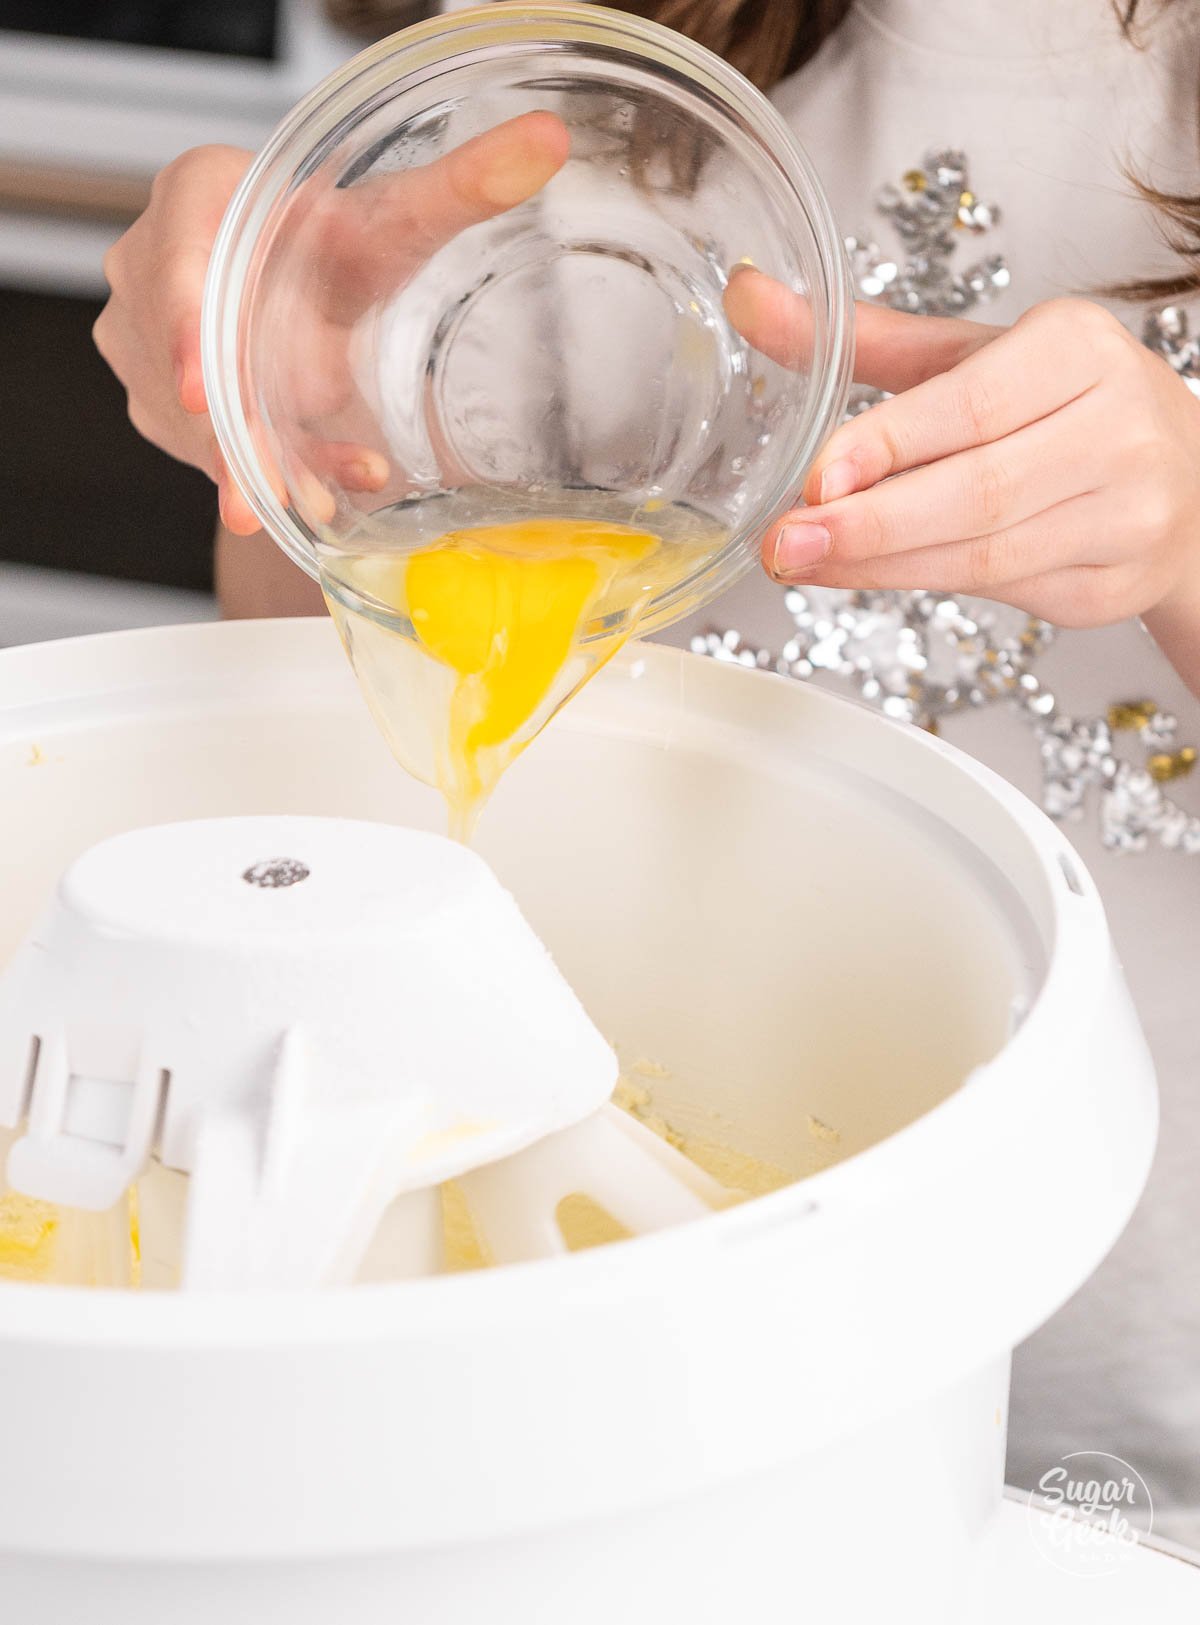
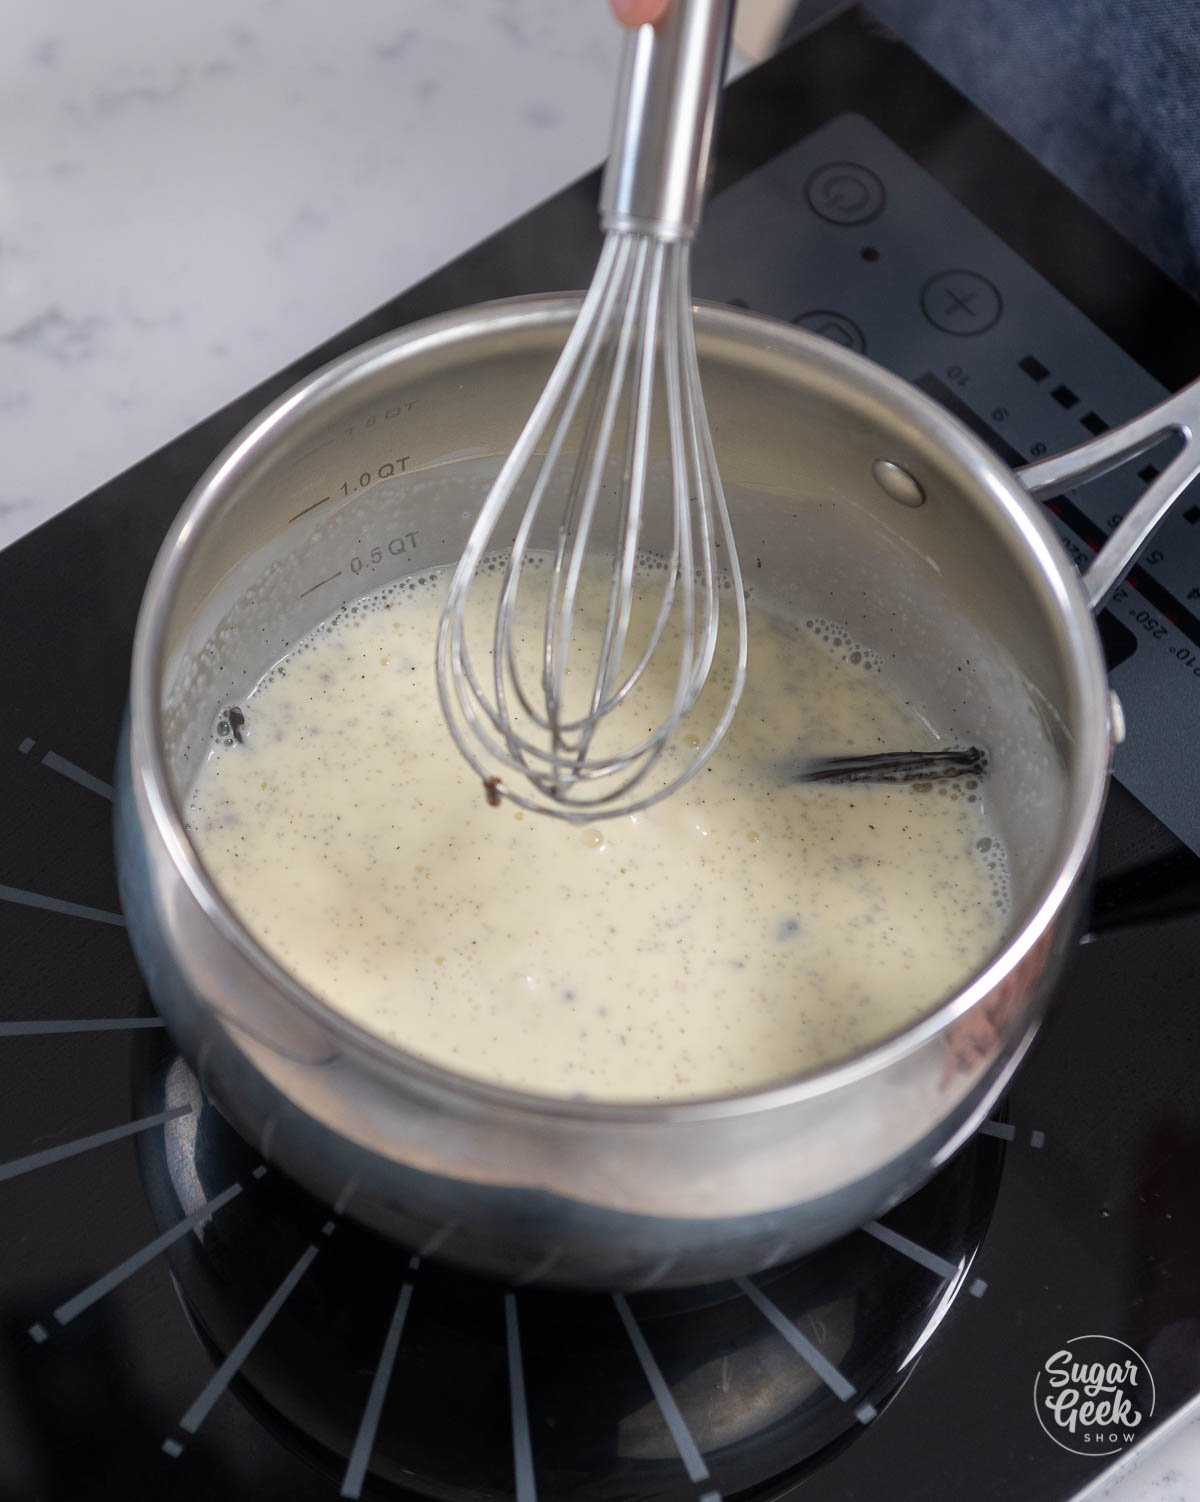
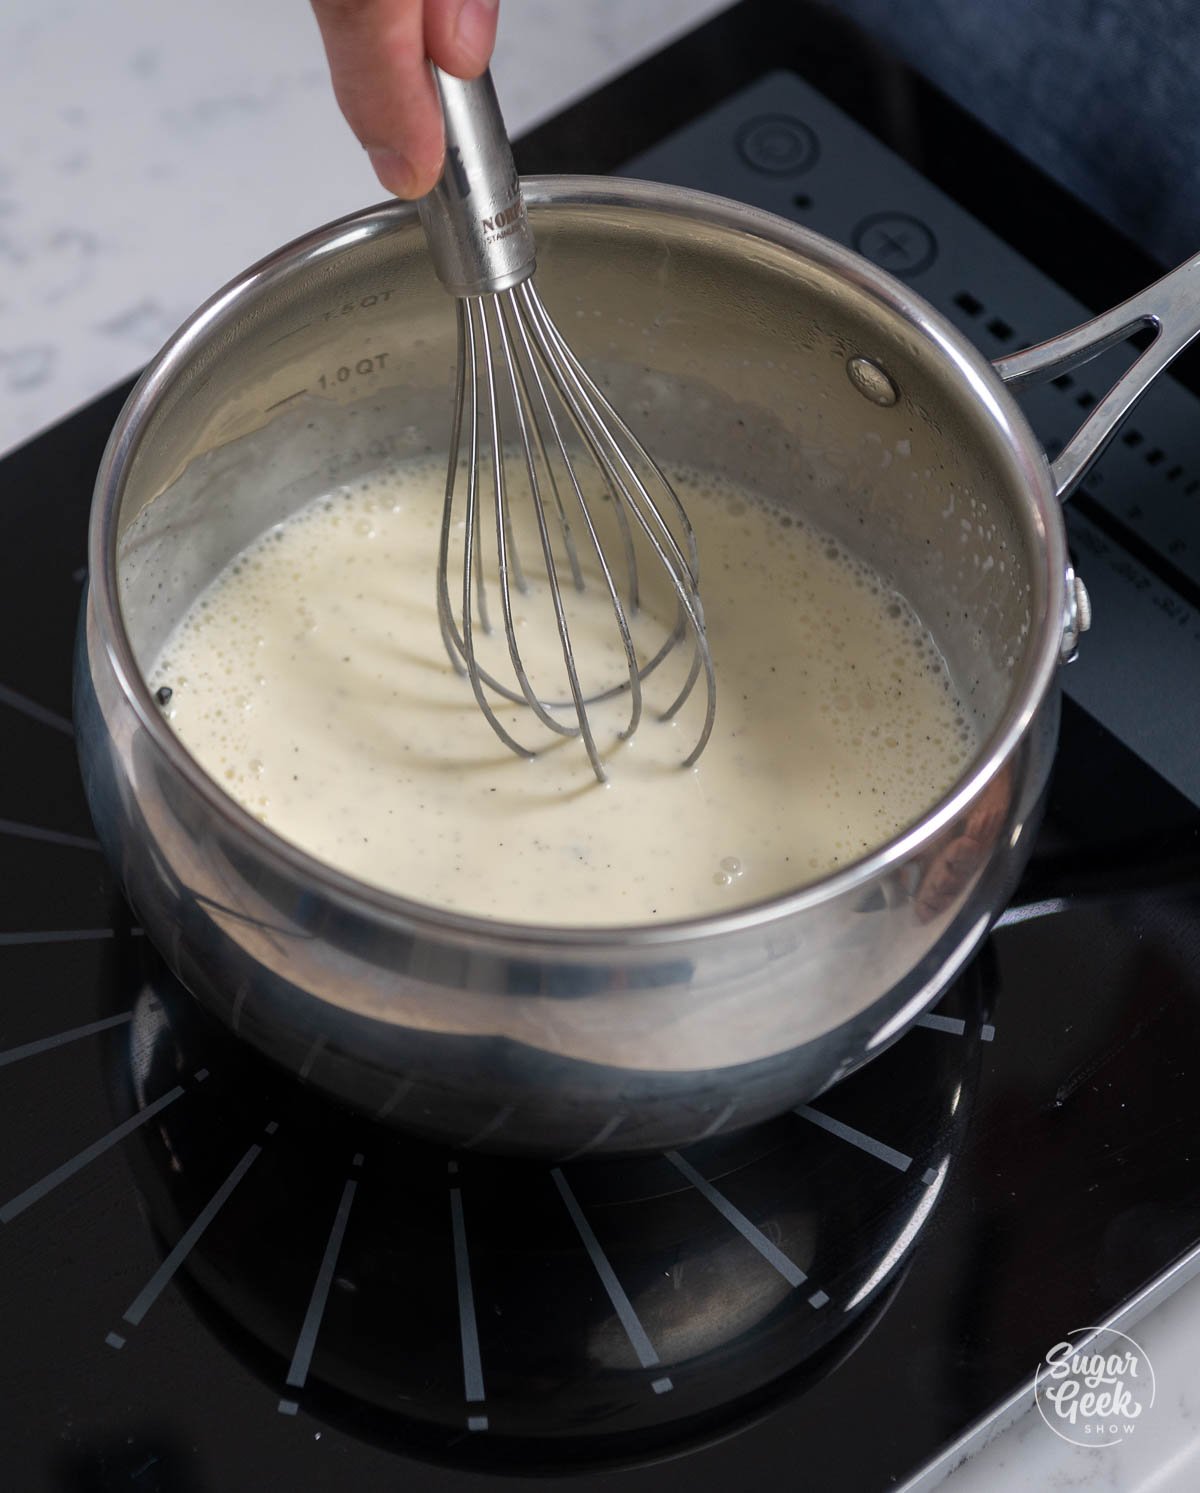
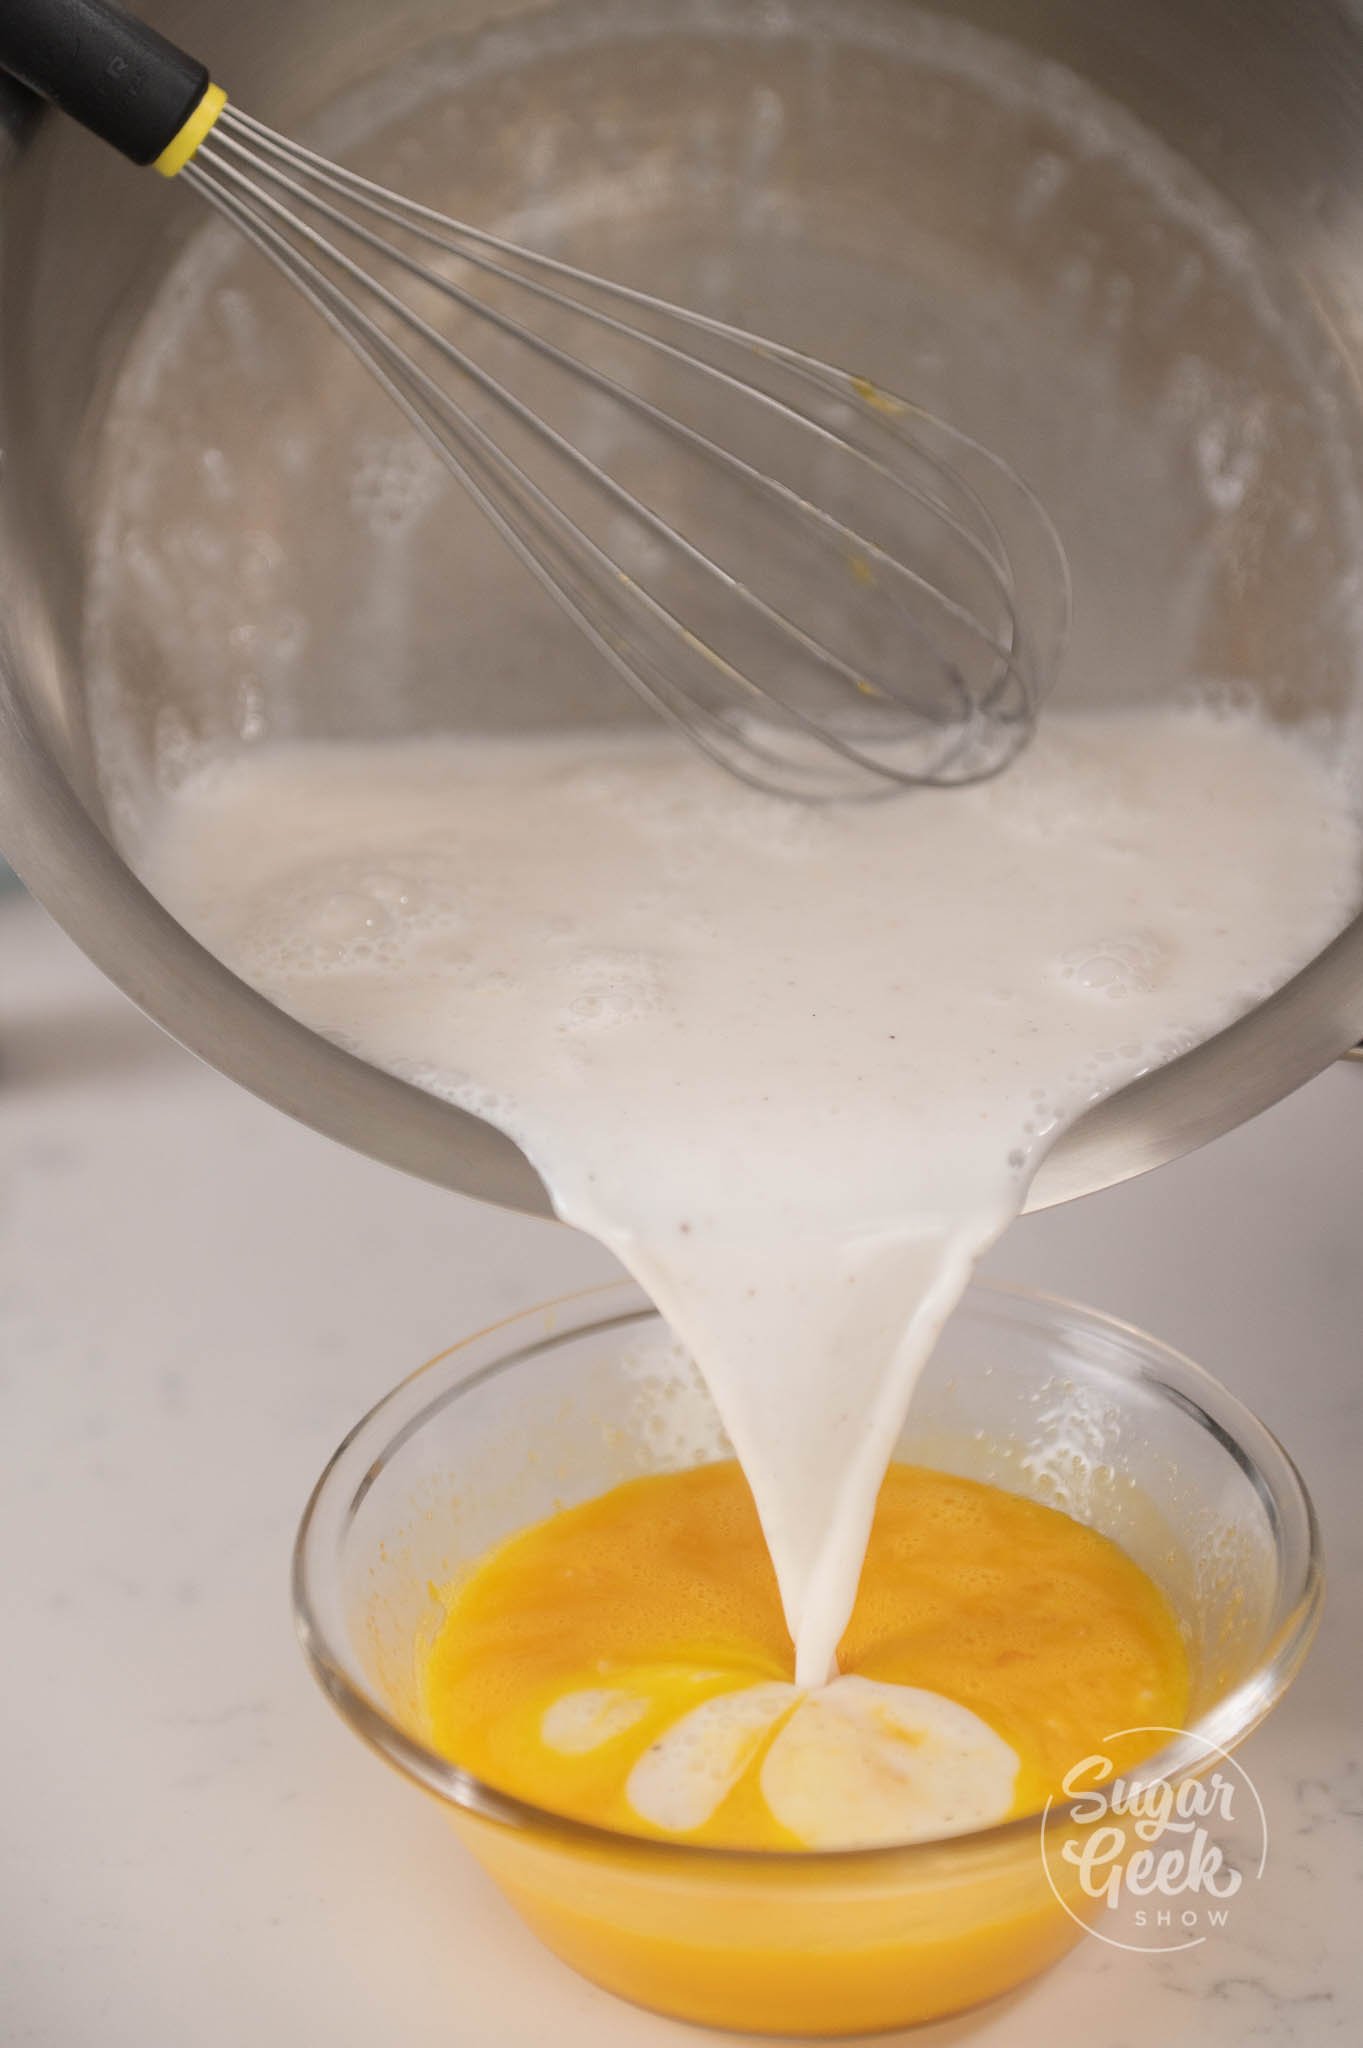
- Once your coconut milk mixture is boiling, temper your yolks with some of the milk by pouring ⅓ of the hot mixture into the yolks while whisking constantly. Pour everything back into the pot.
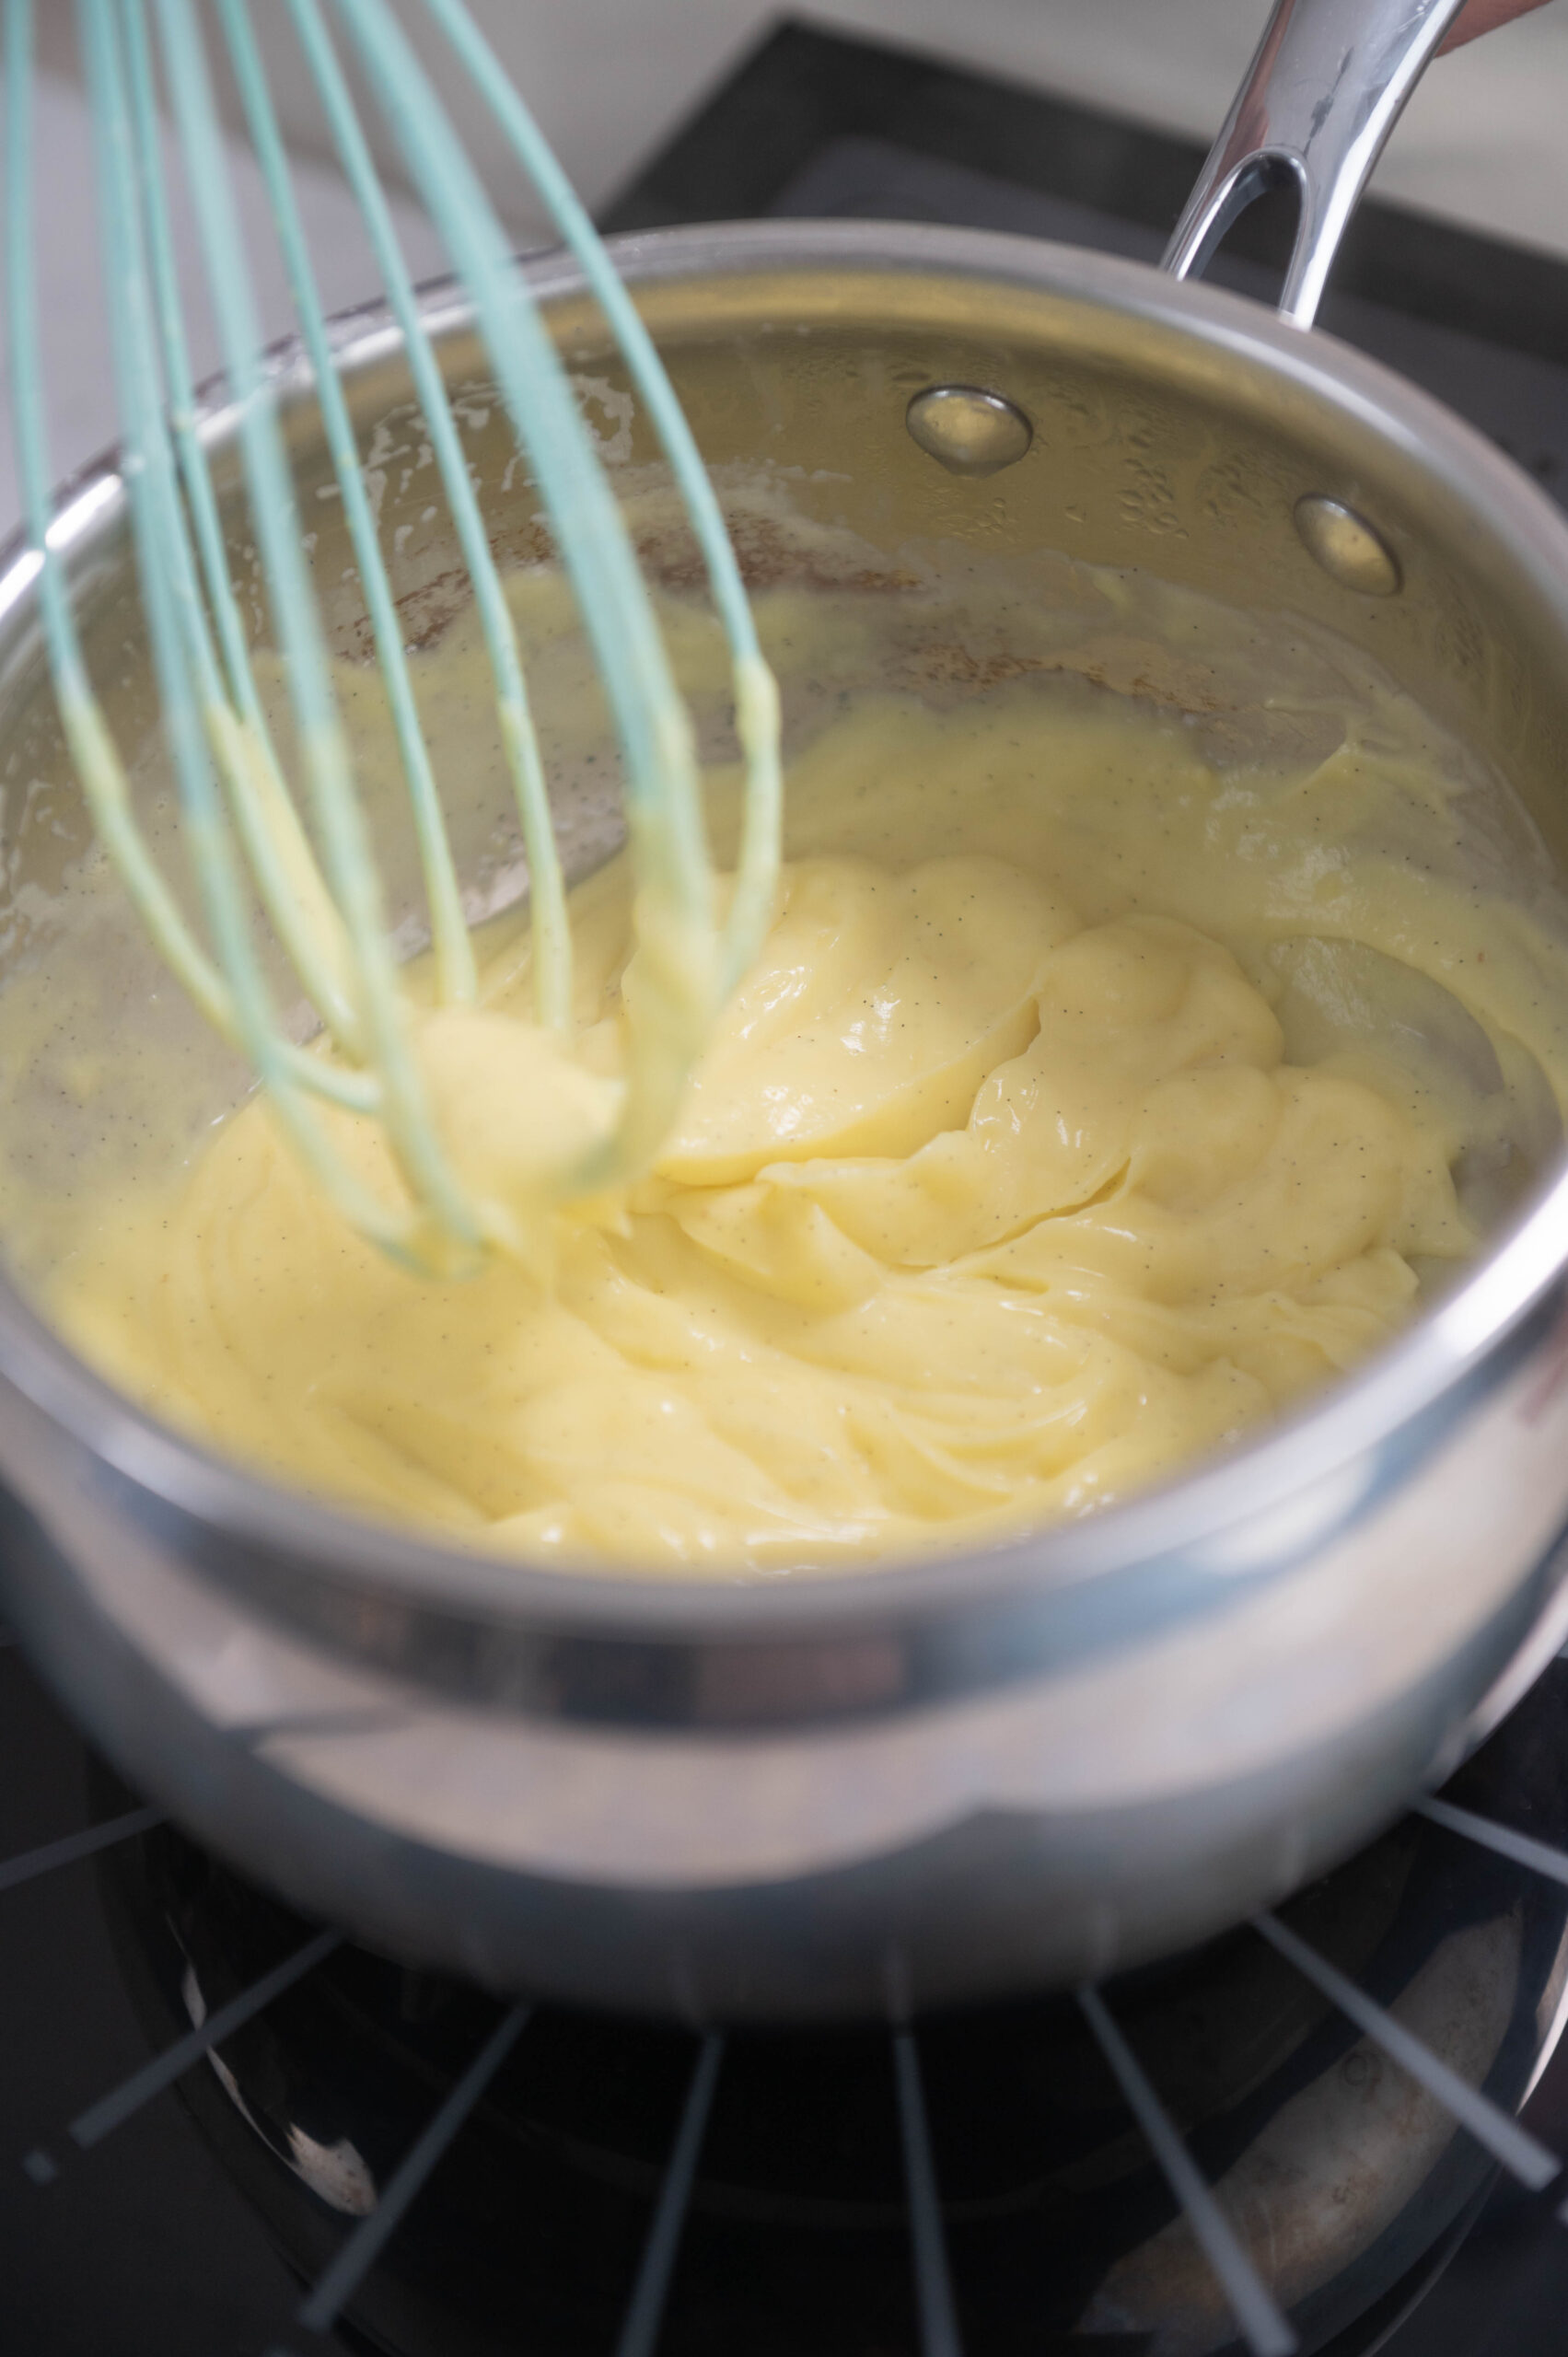
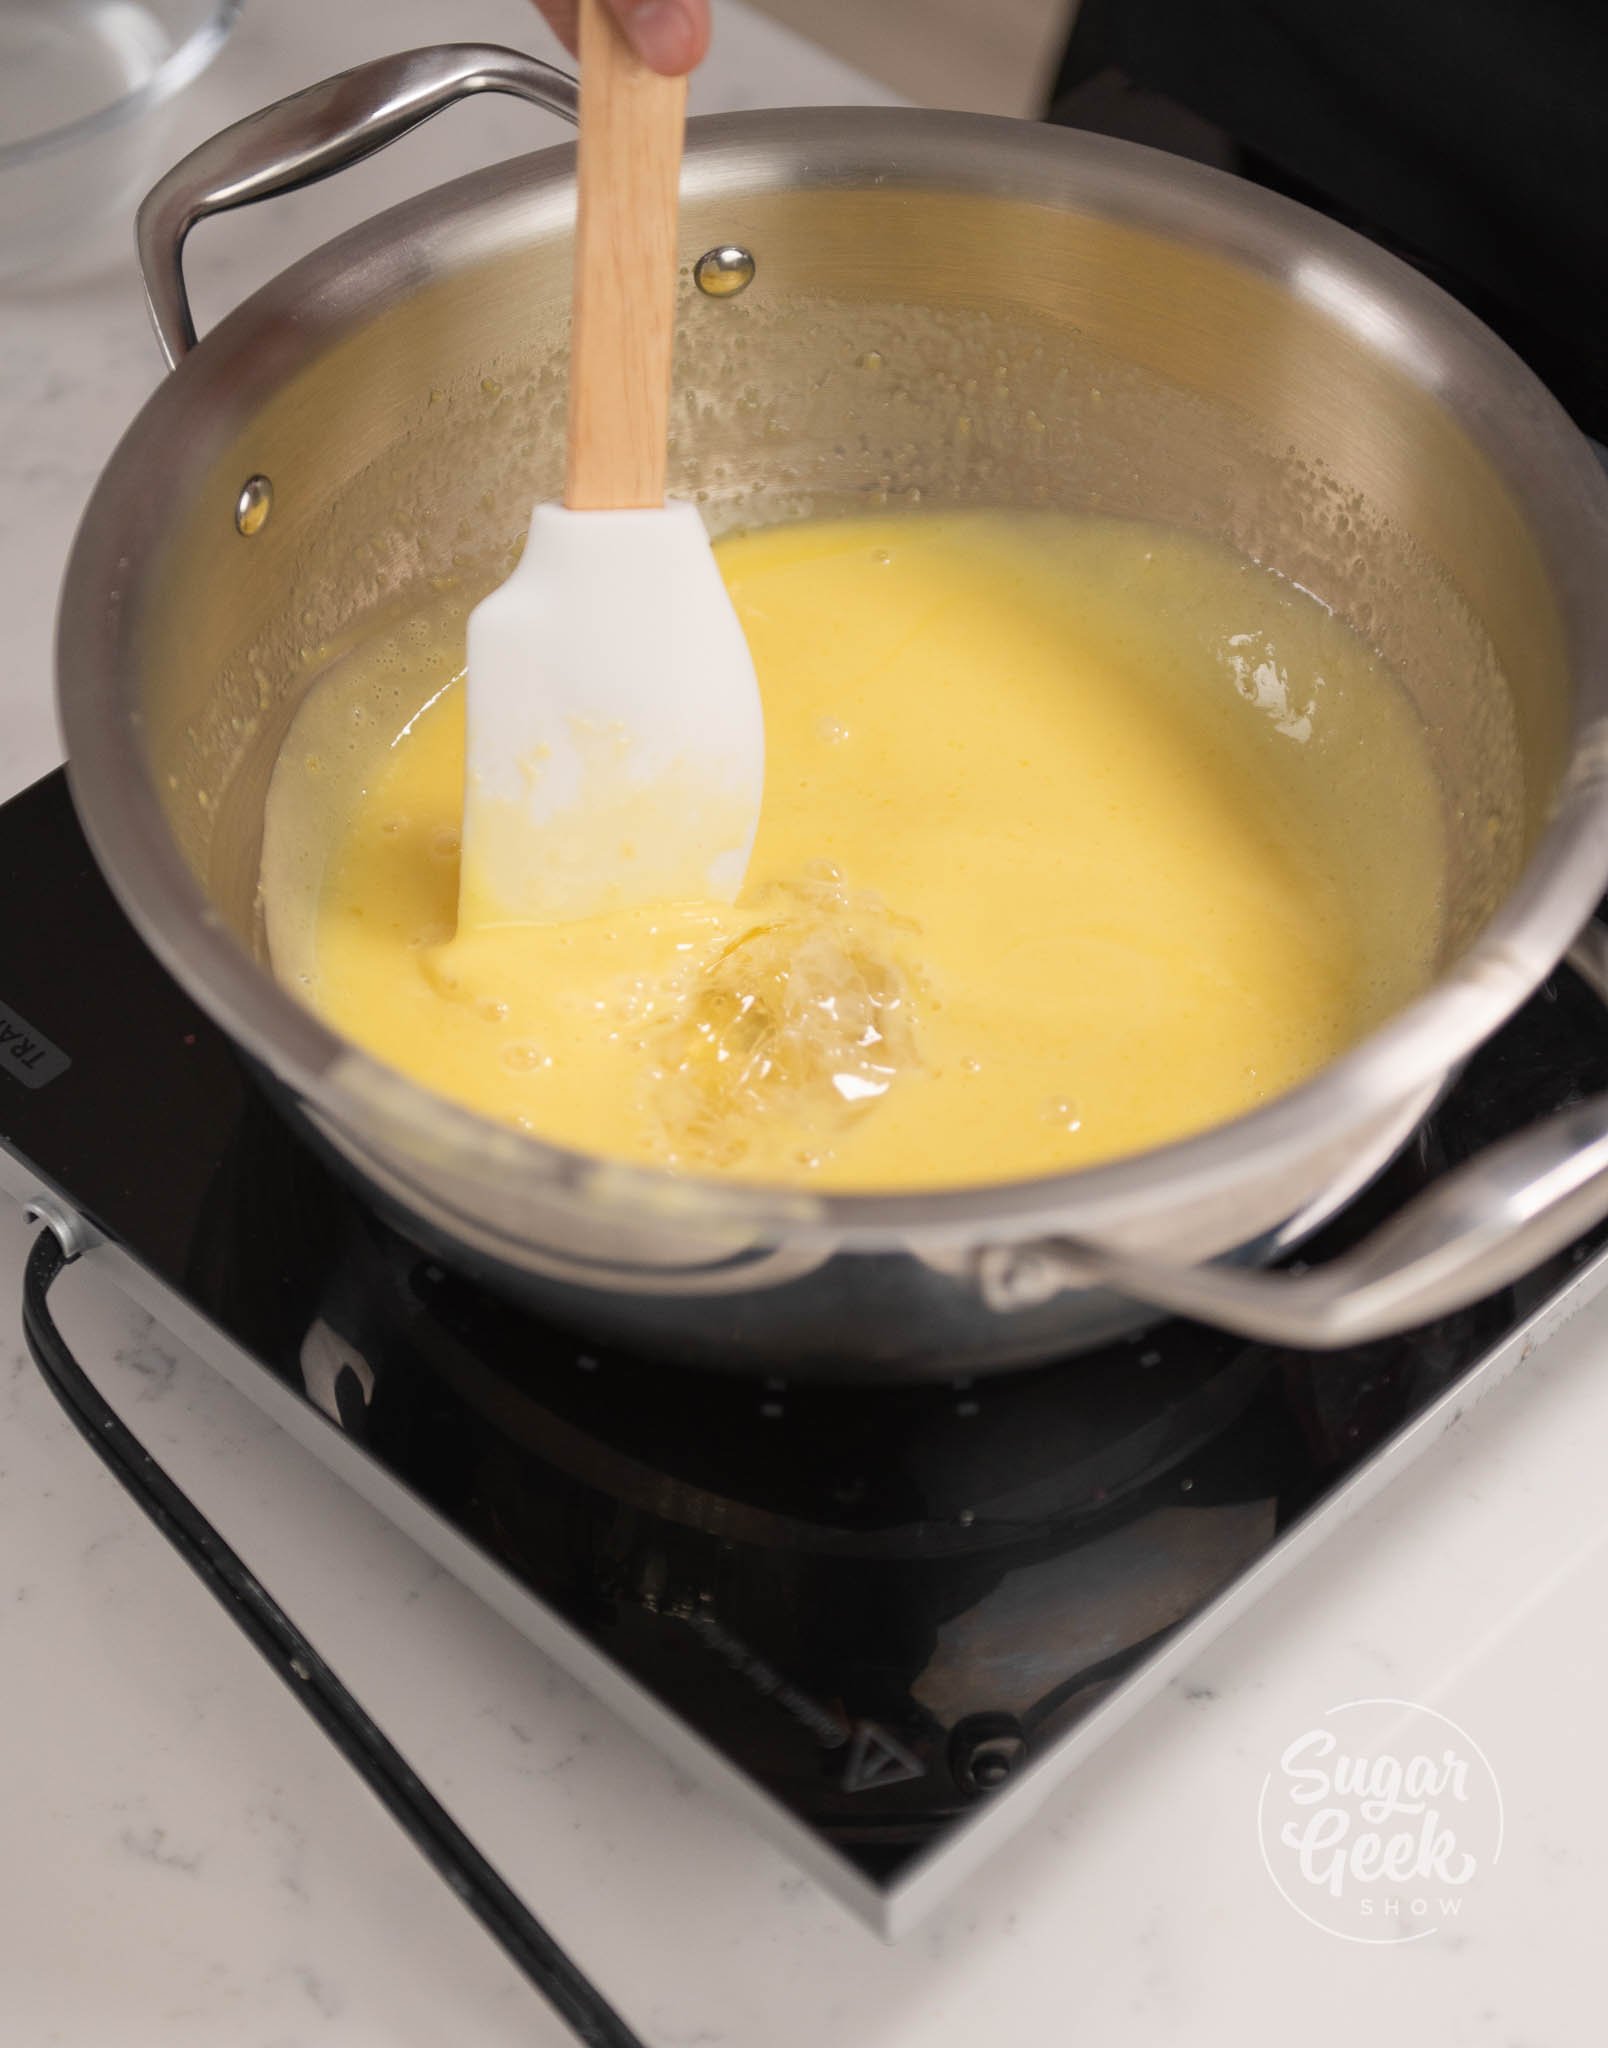
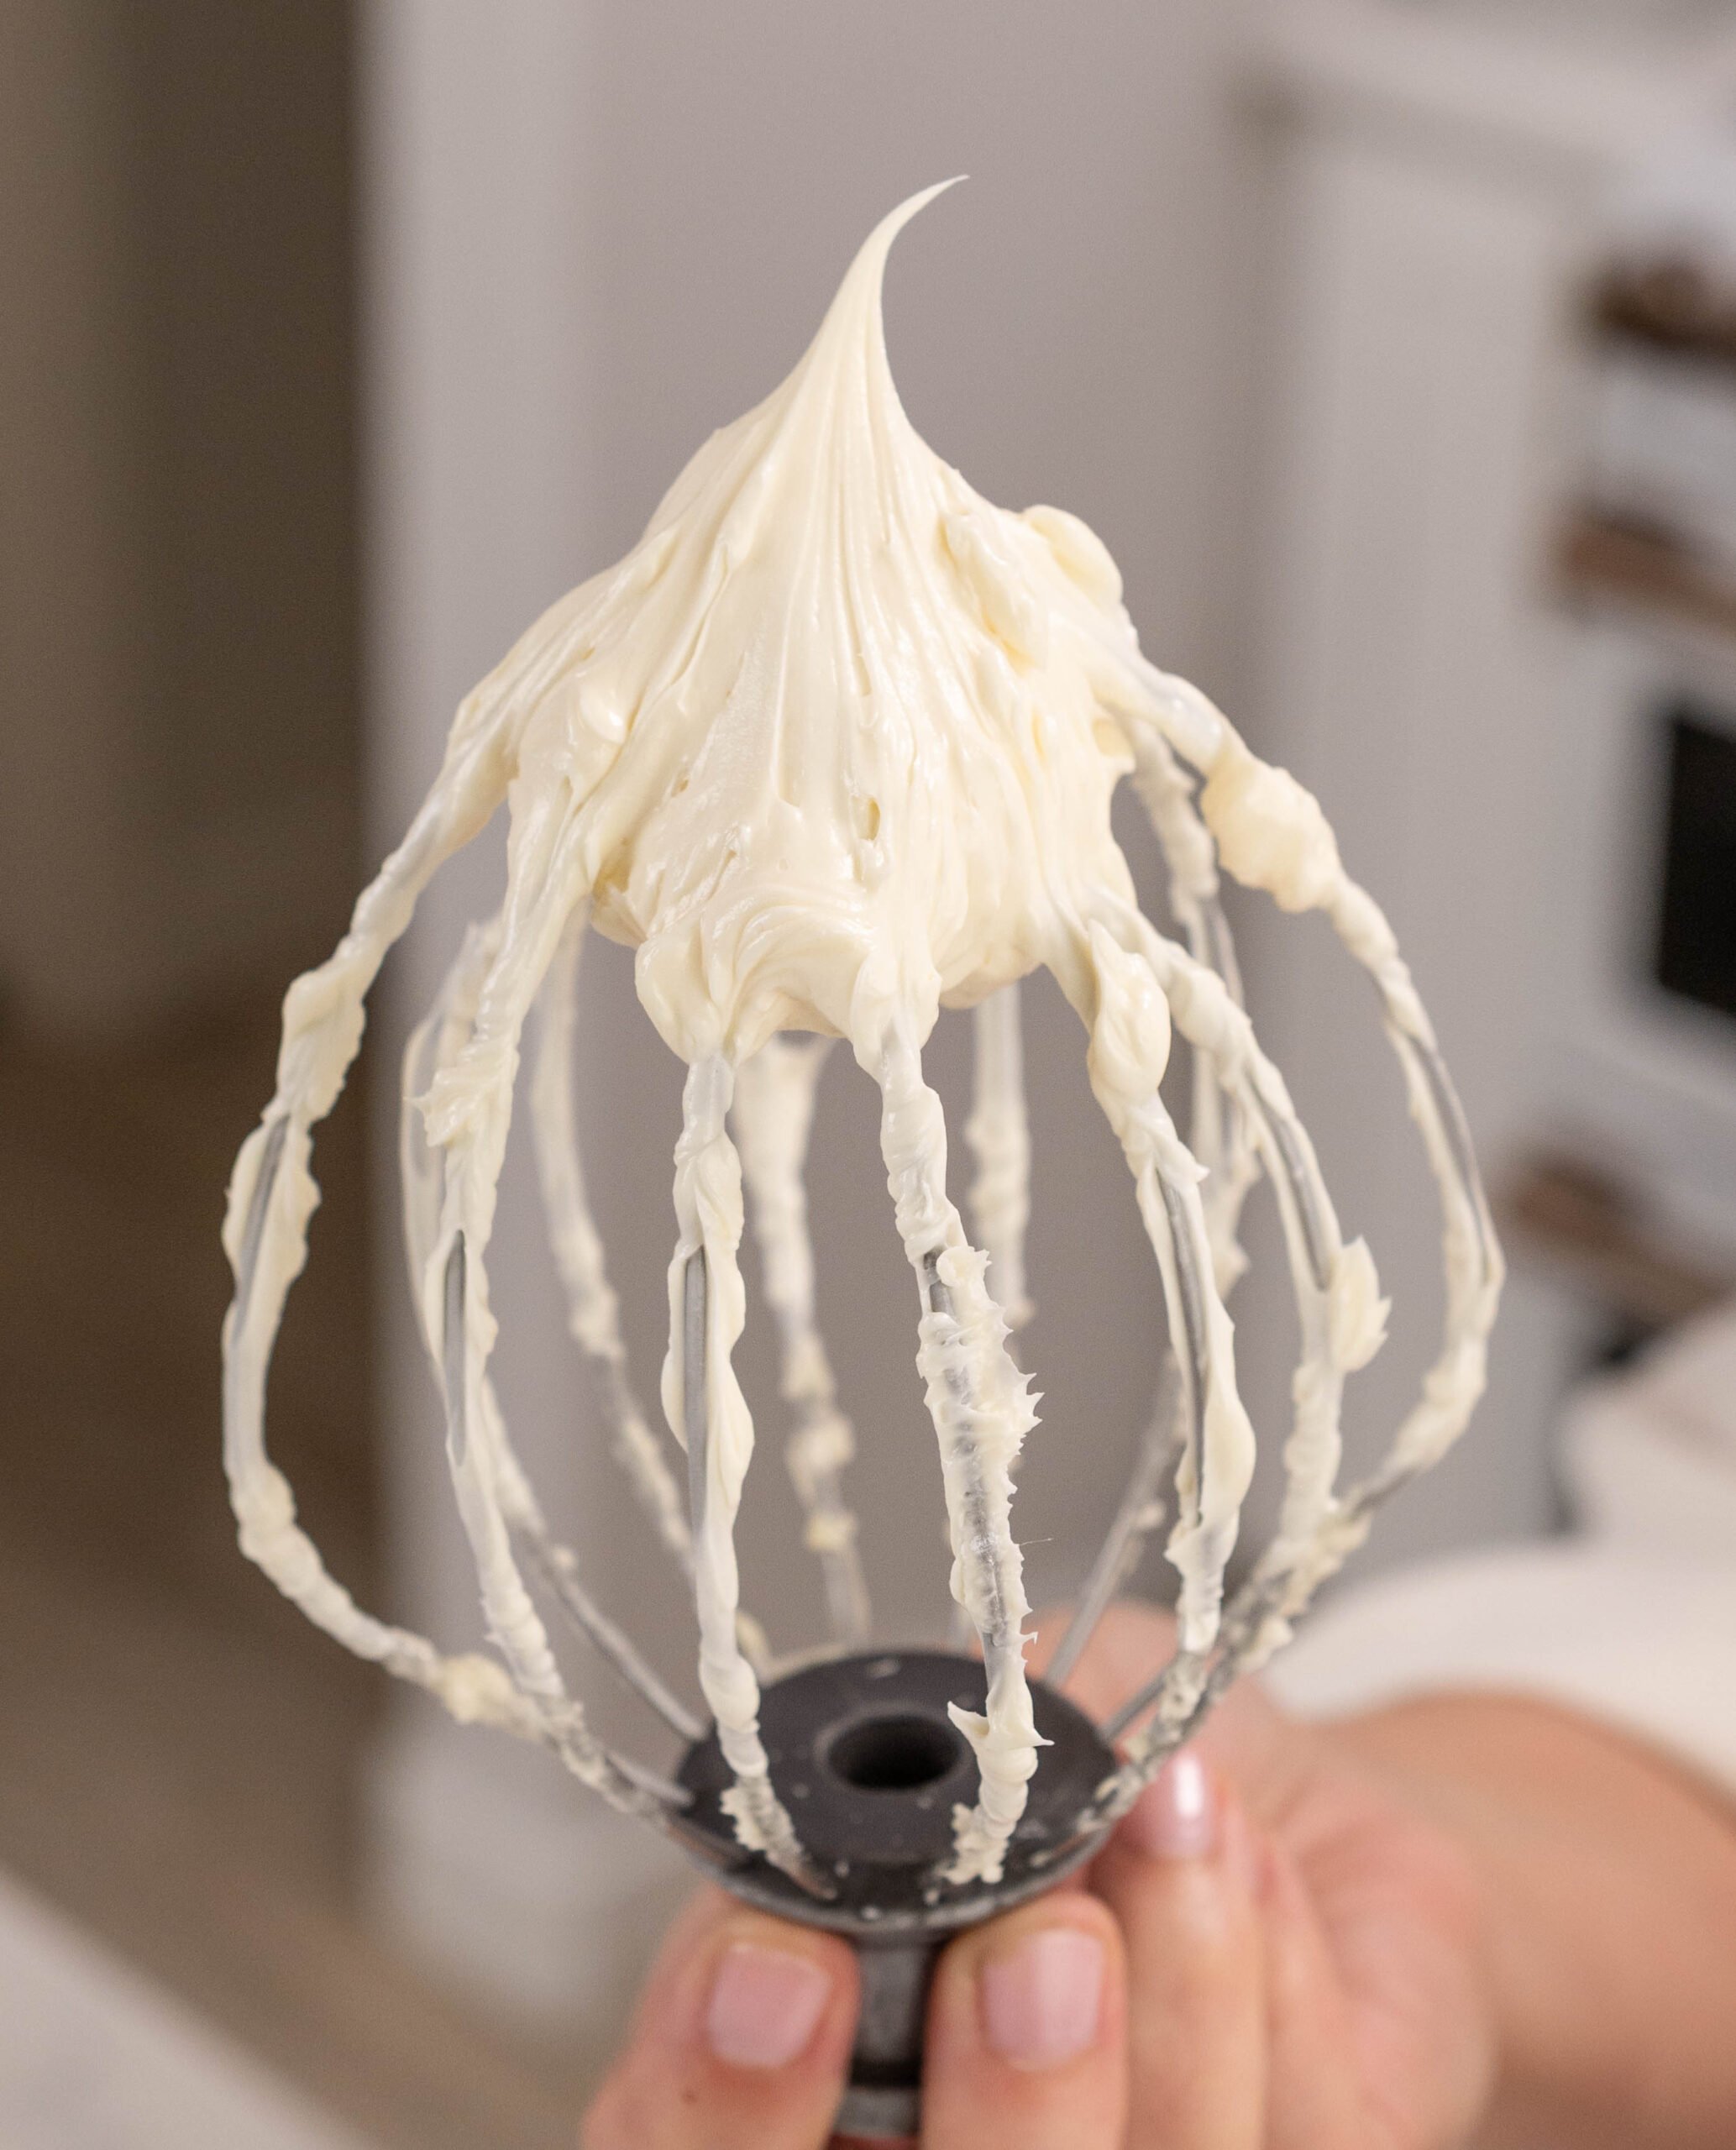
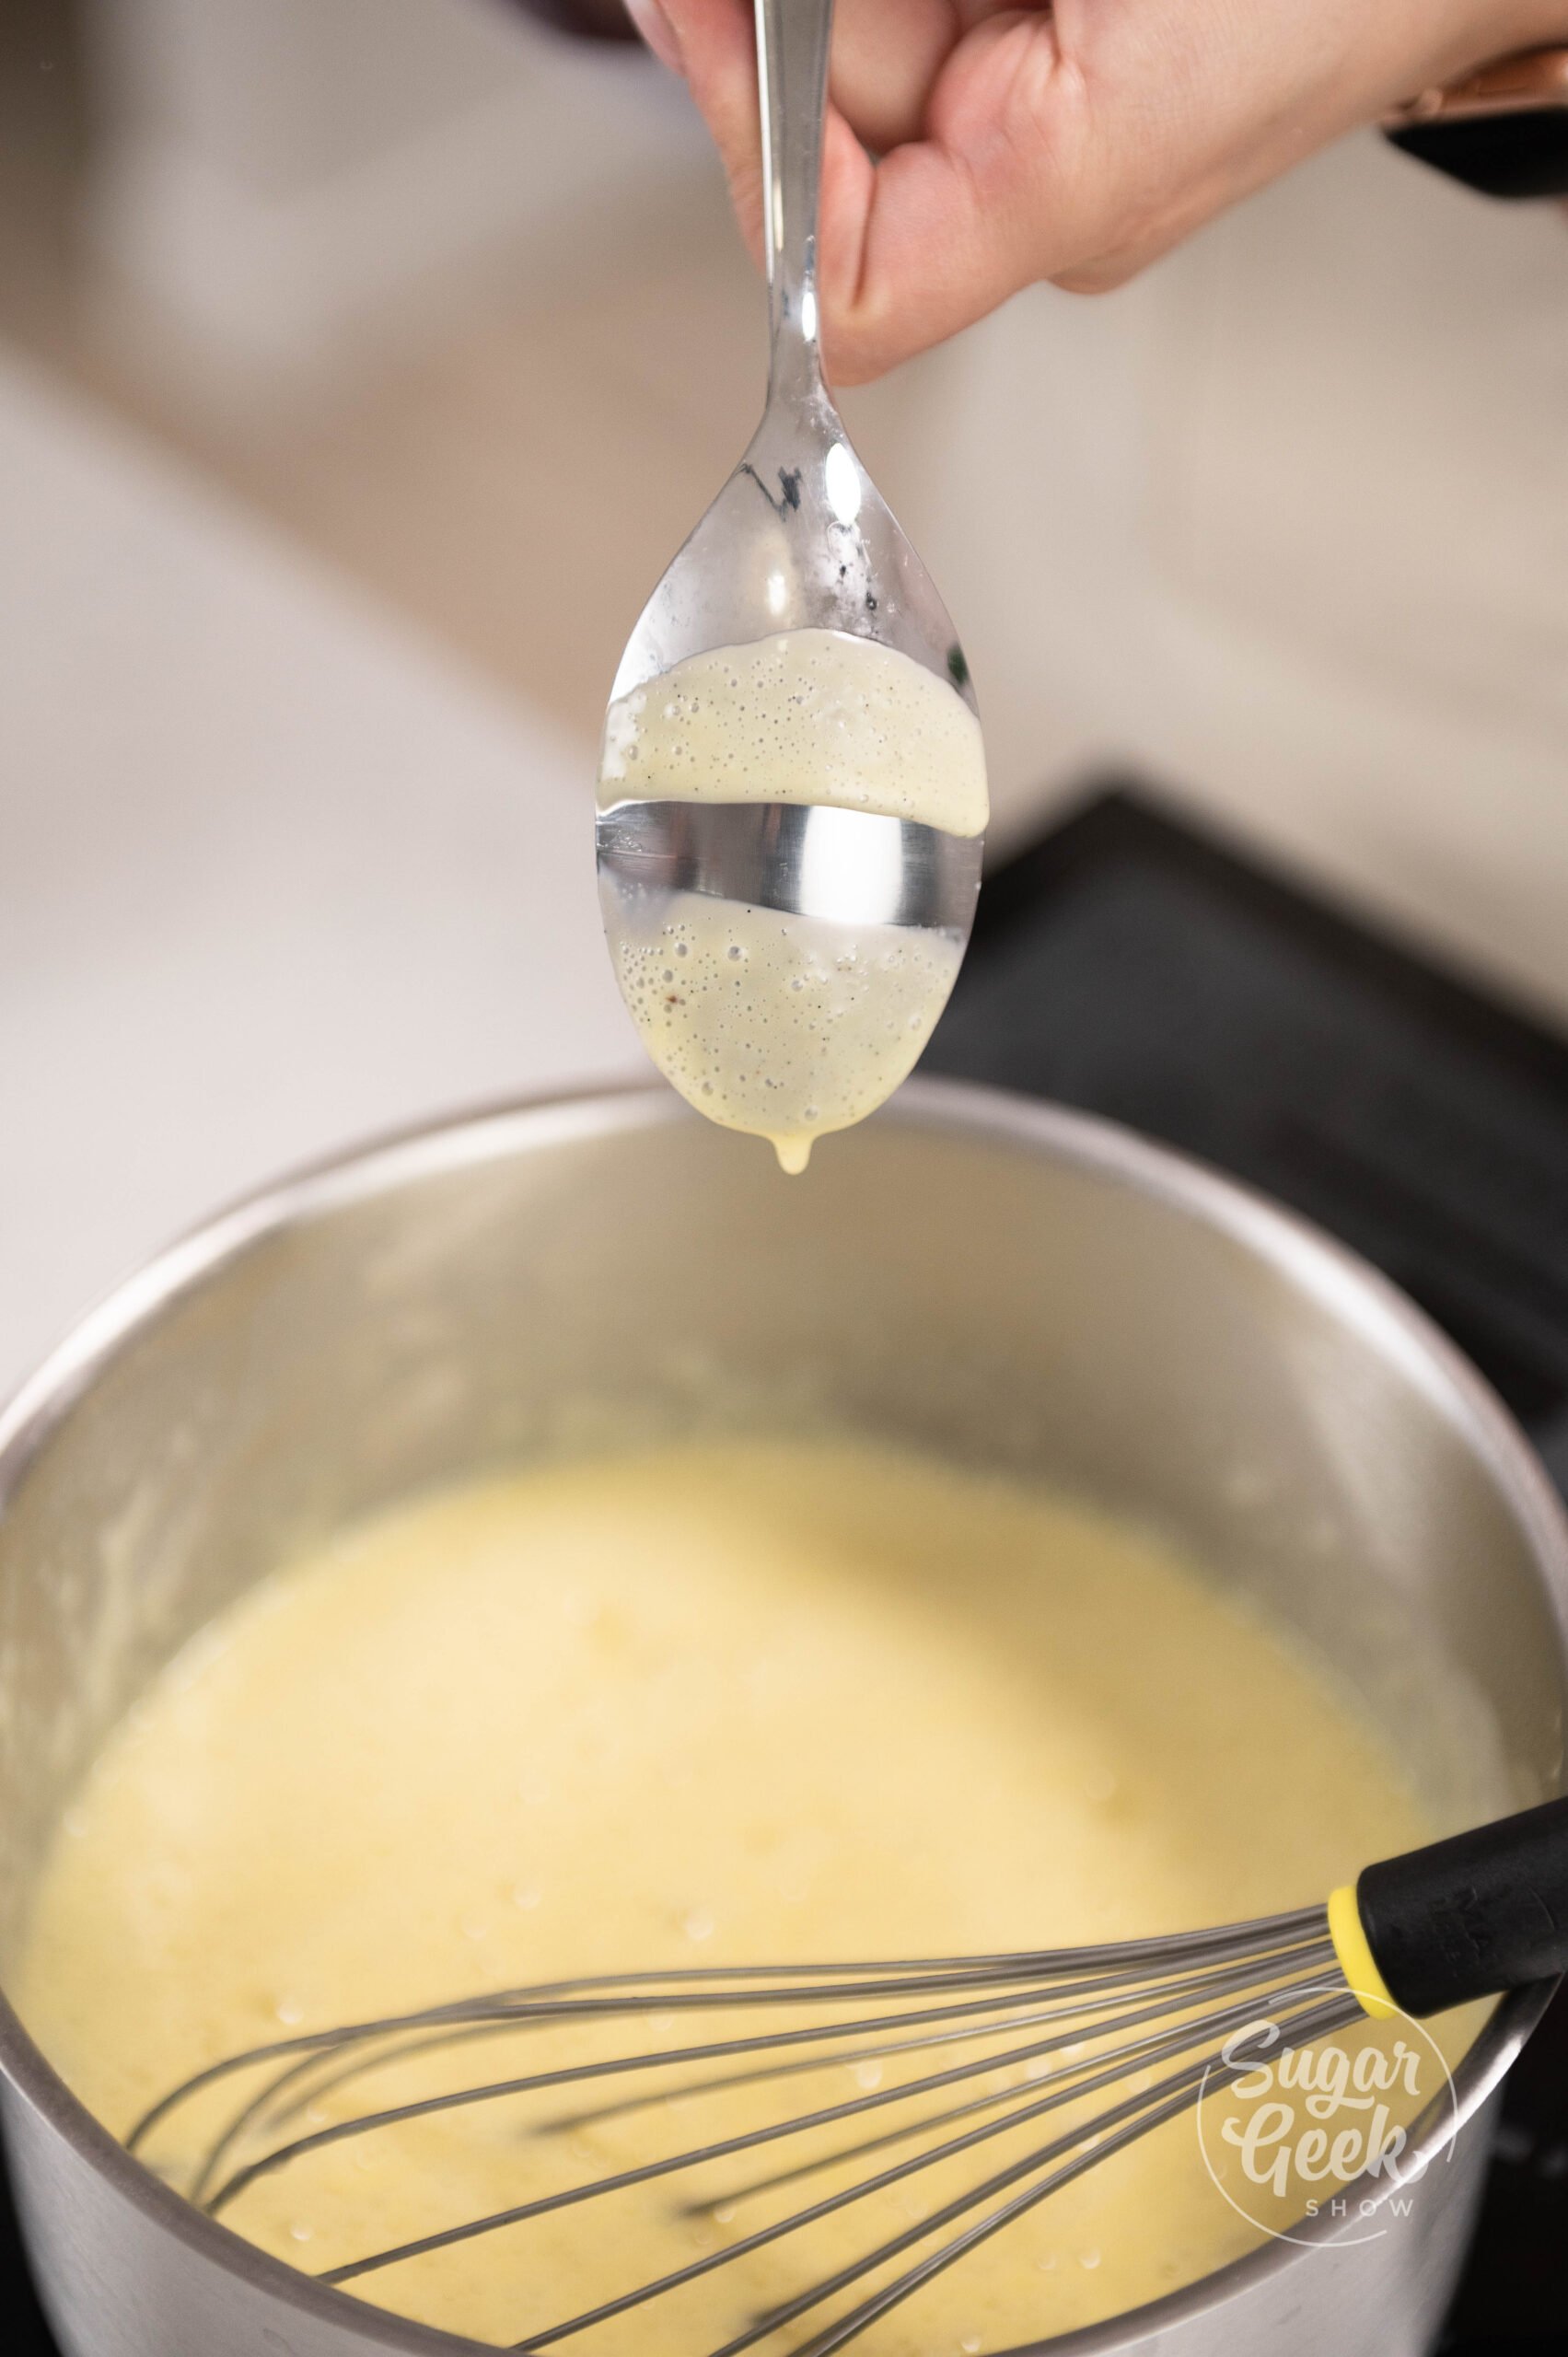
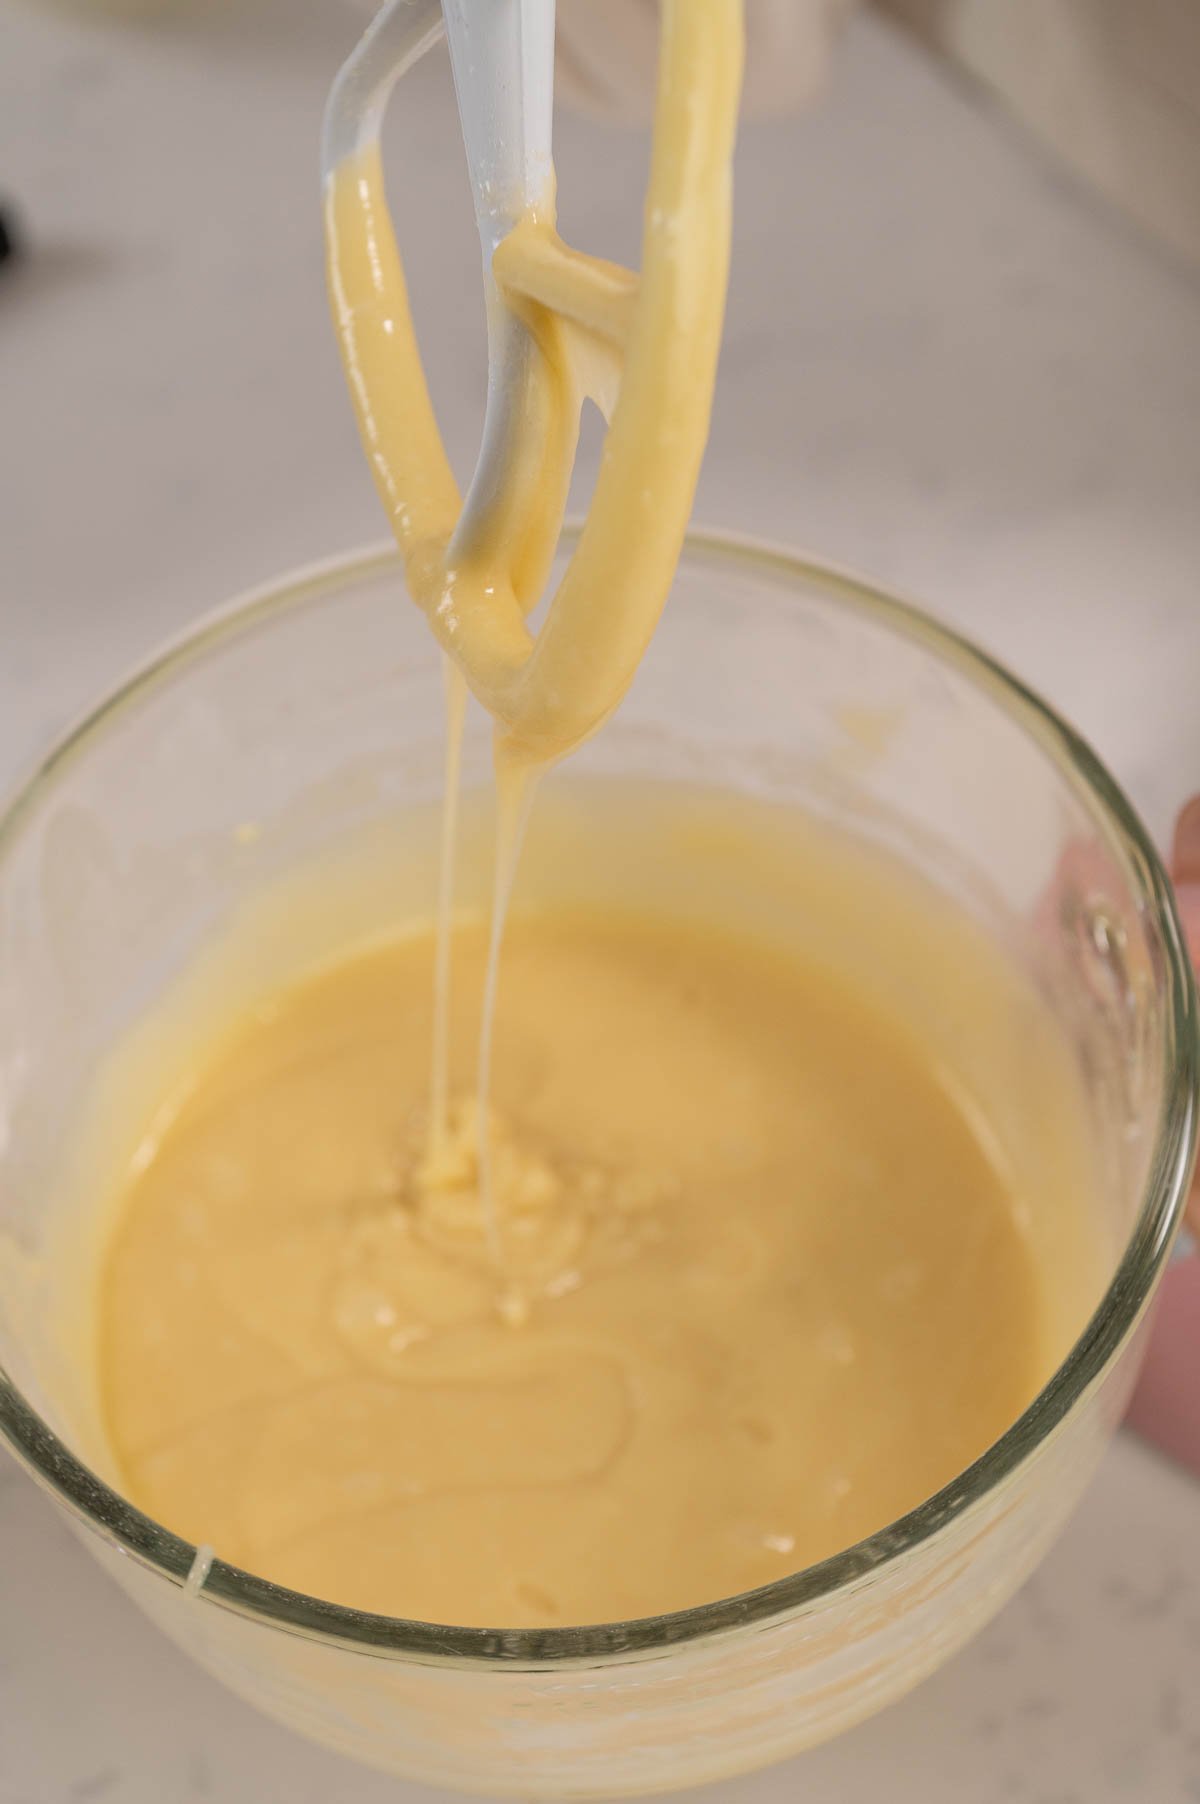
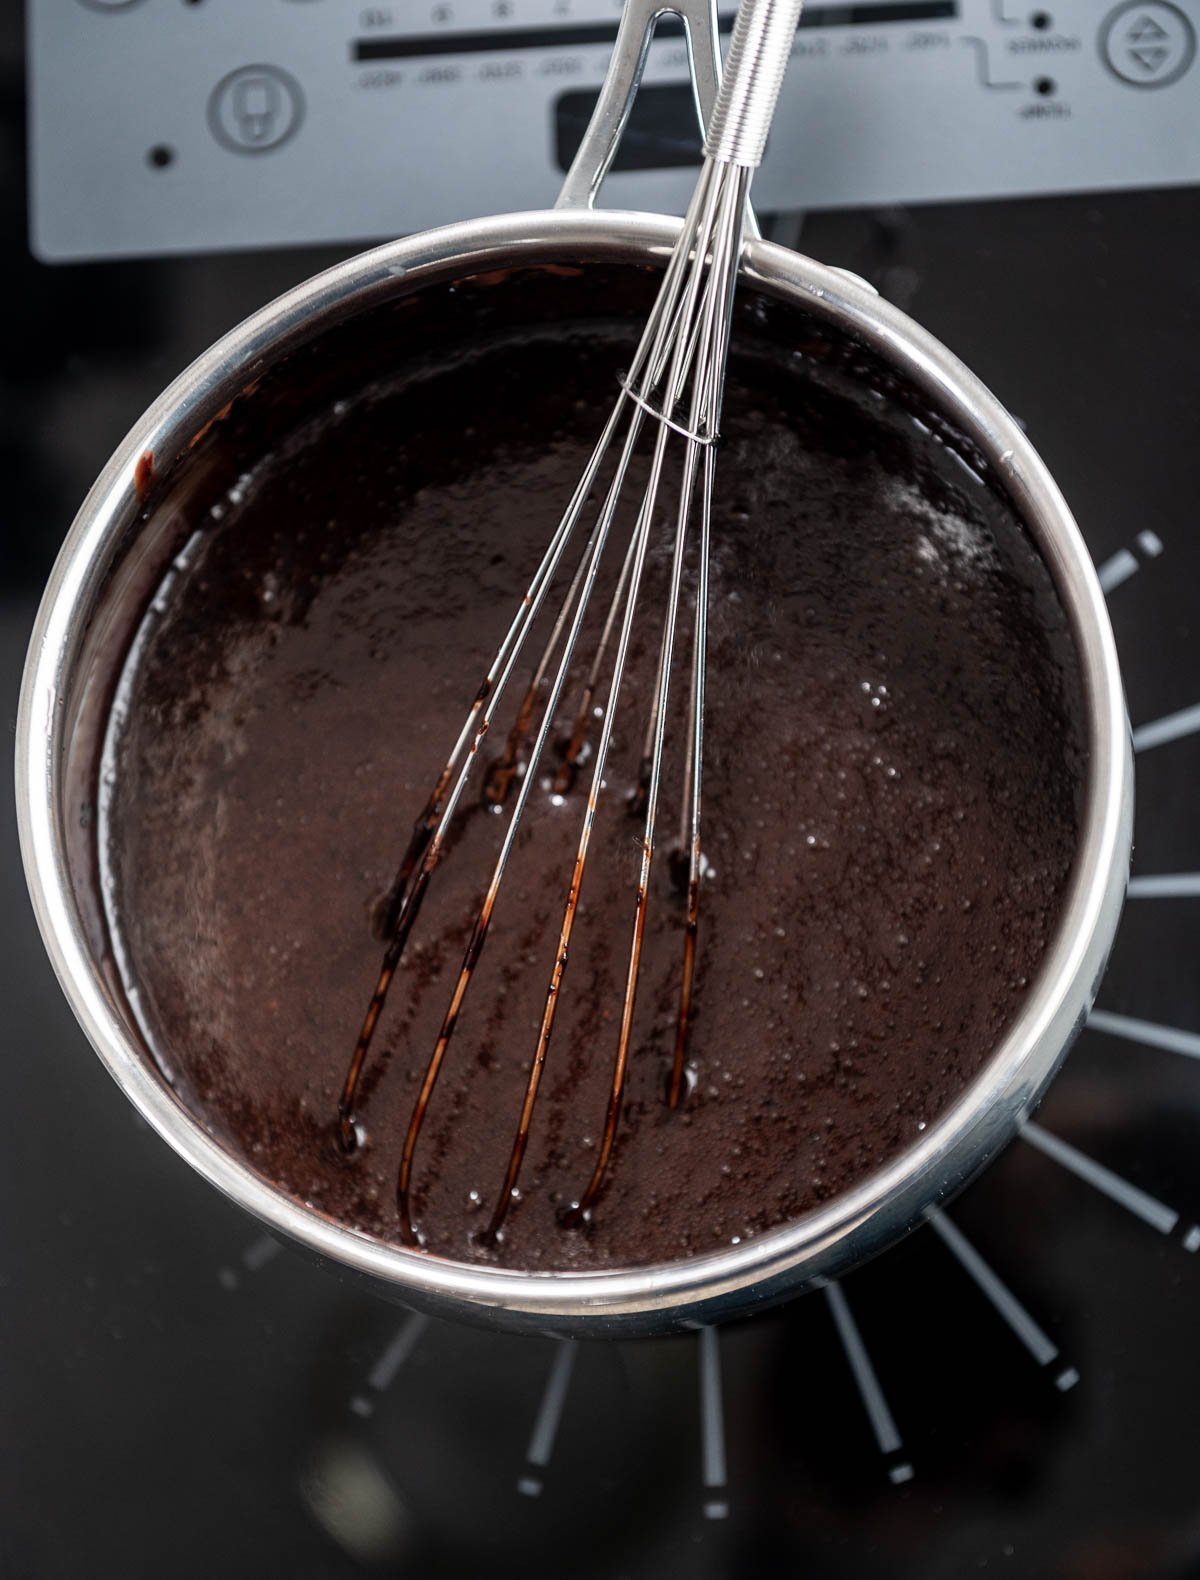
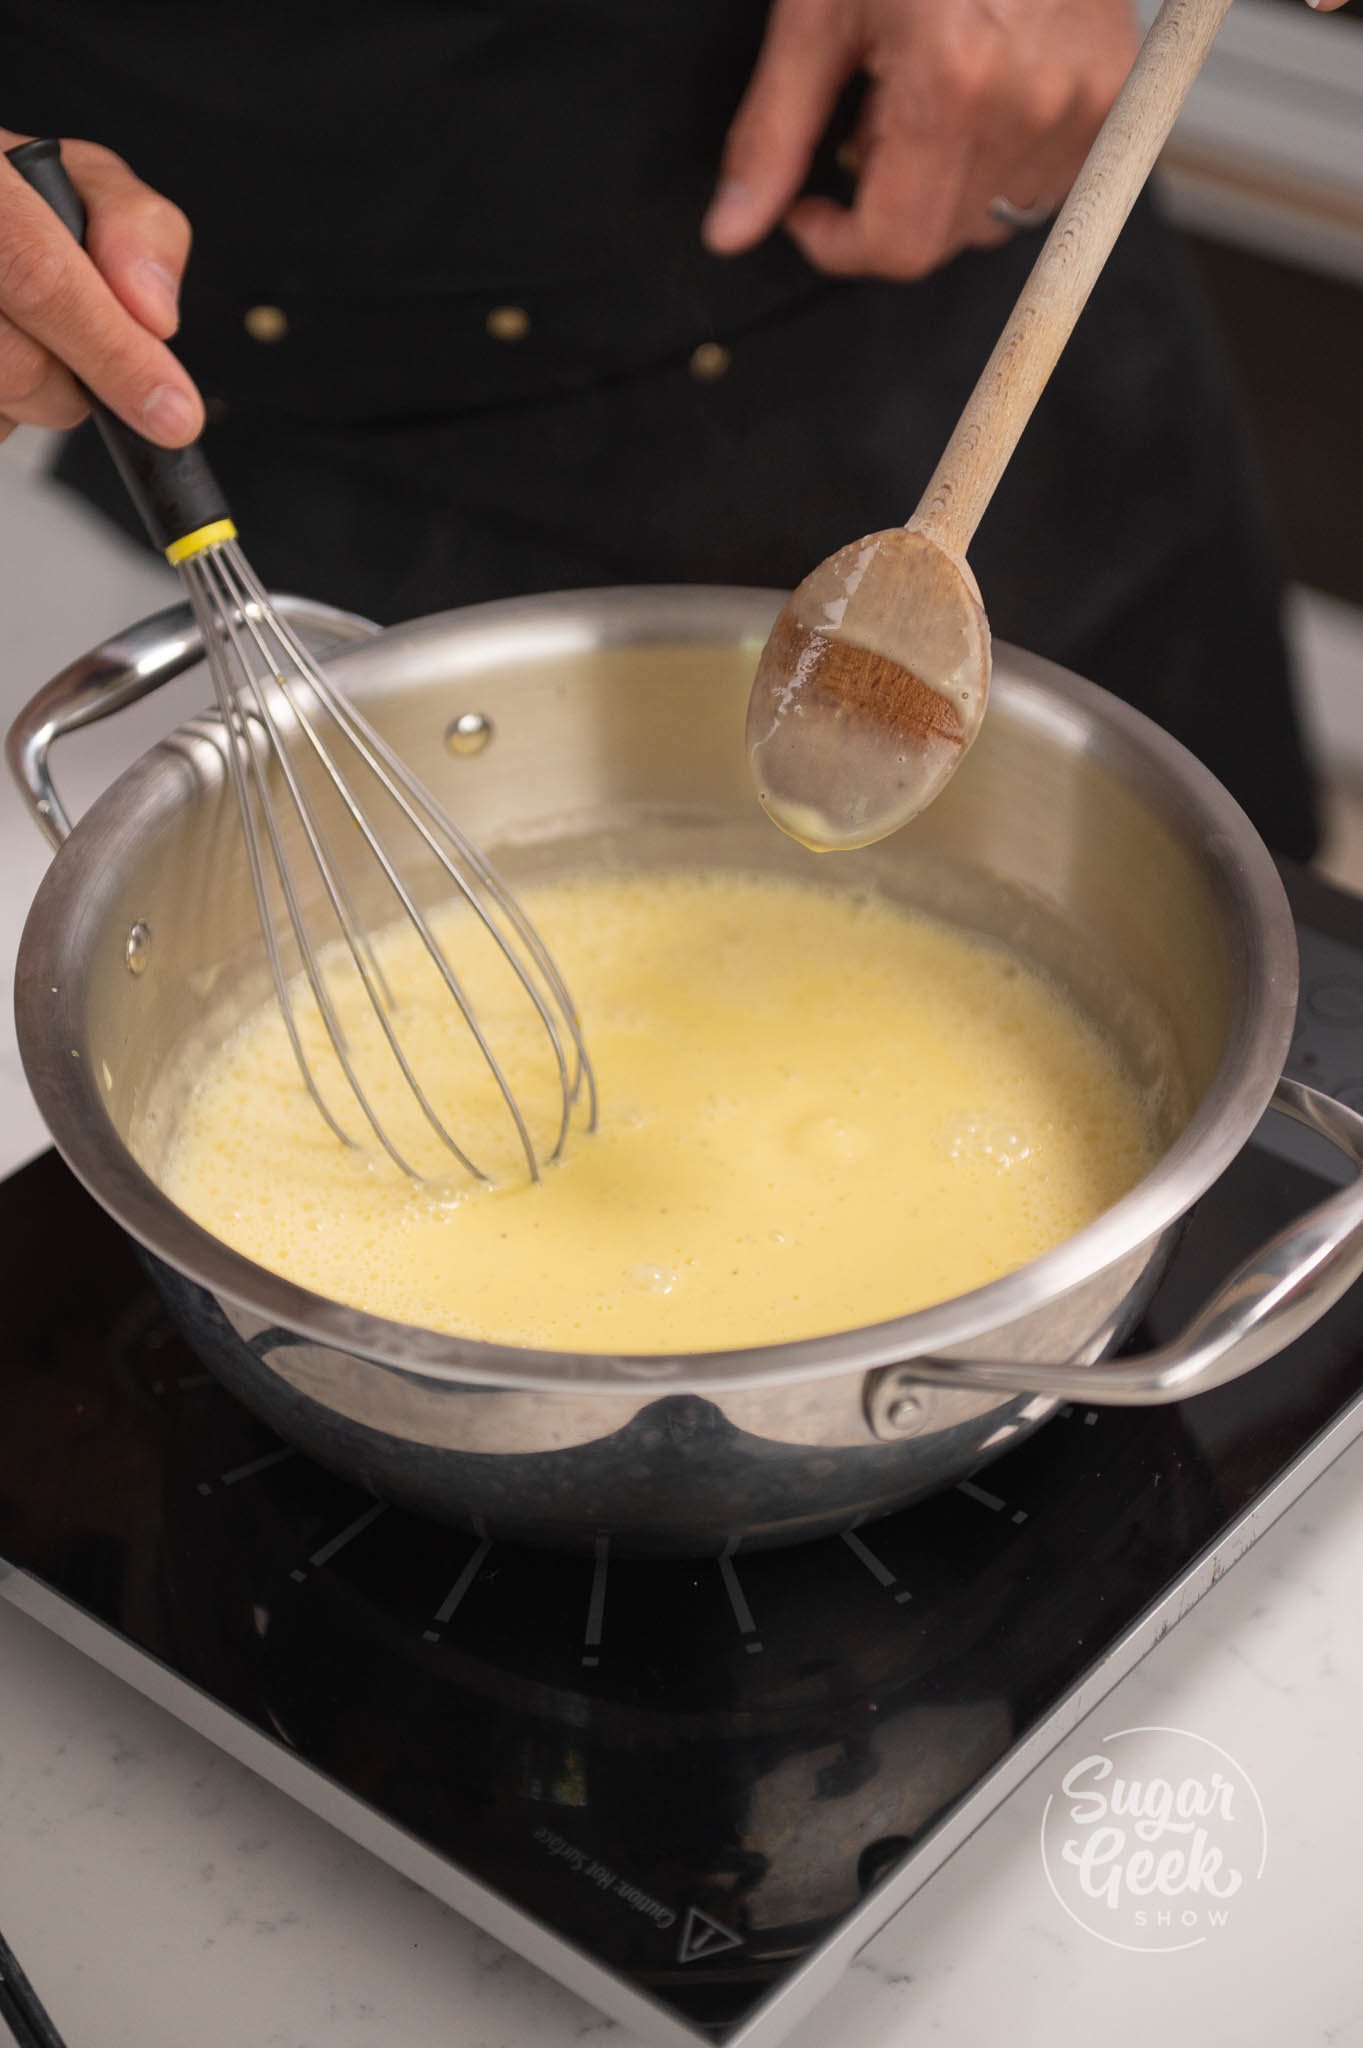
- Cook everything while whisking constantly until it reaches 181ºF (83ºC). About 2-5 minutes or until the mix no longer drips from your whisk.
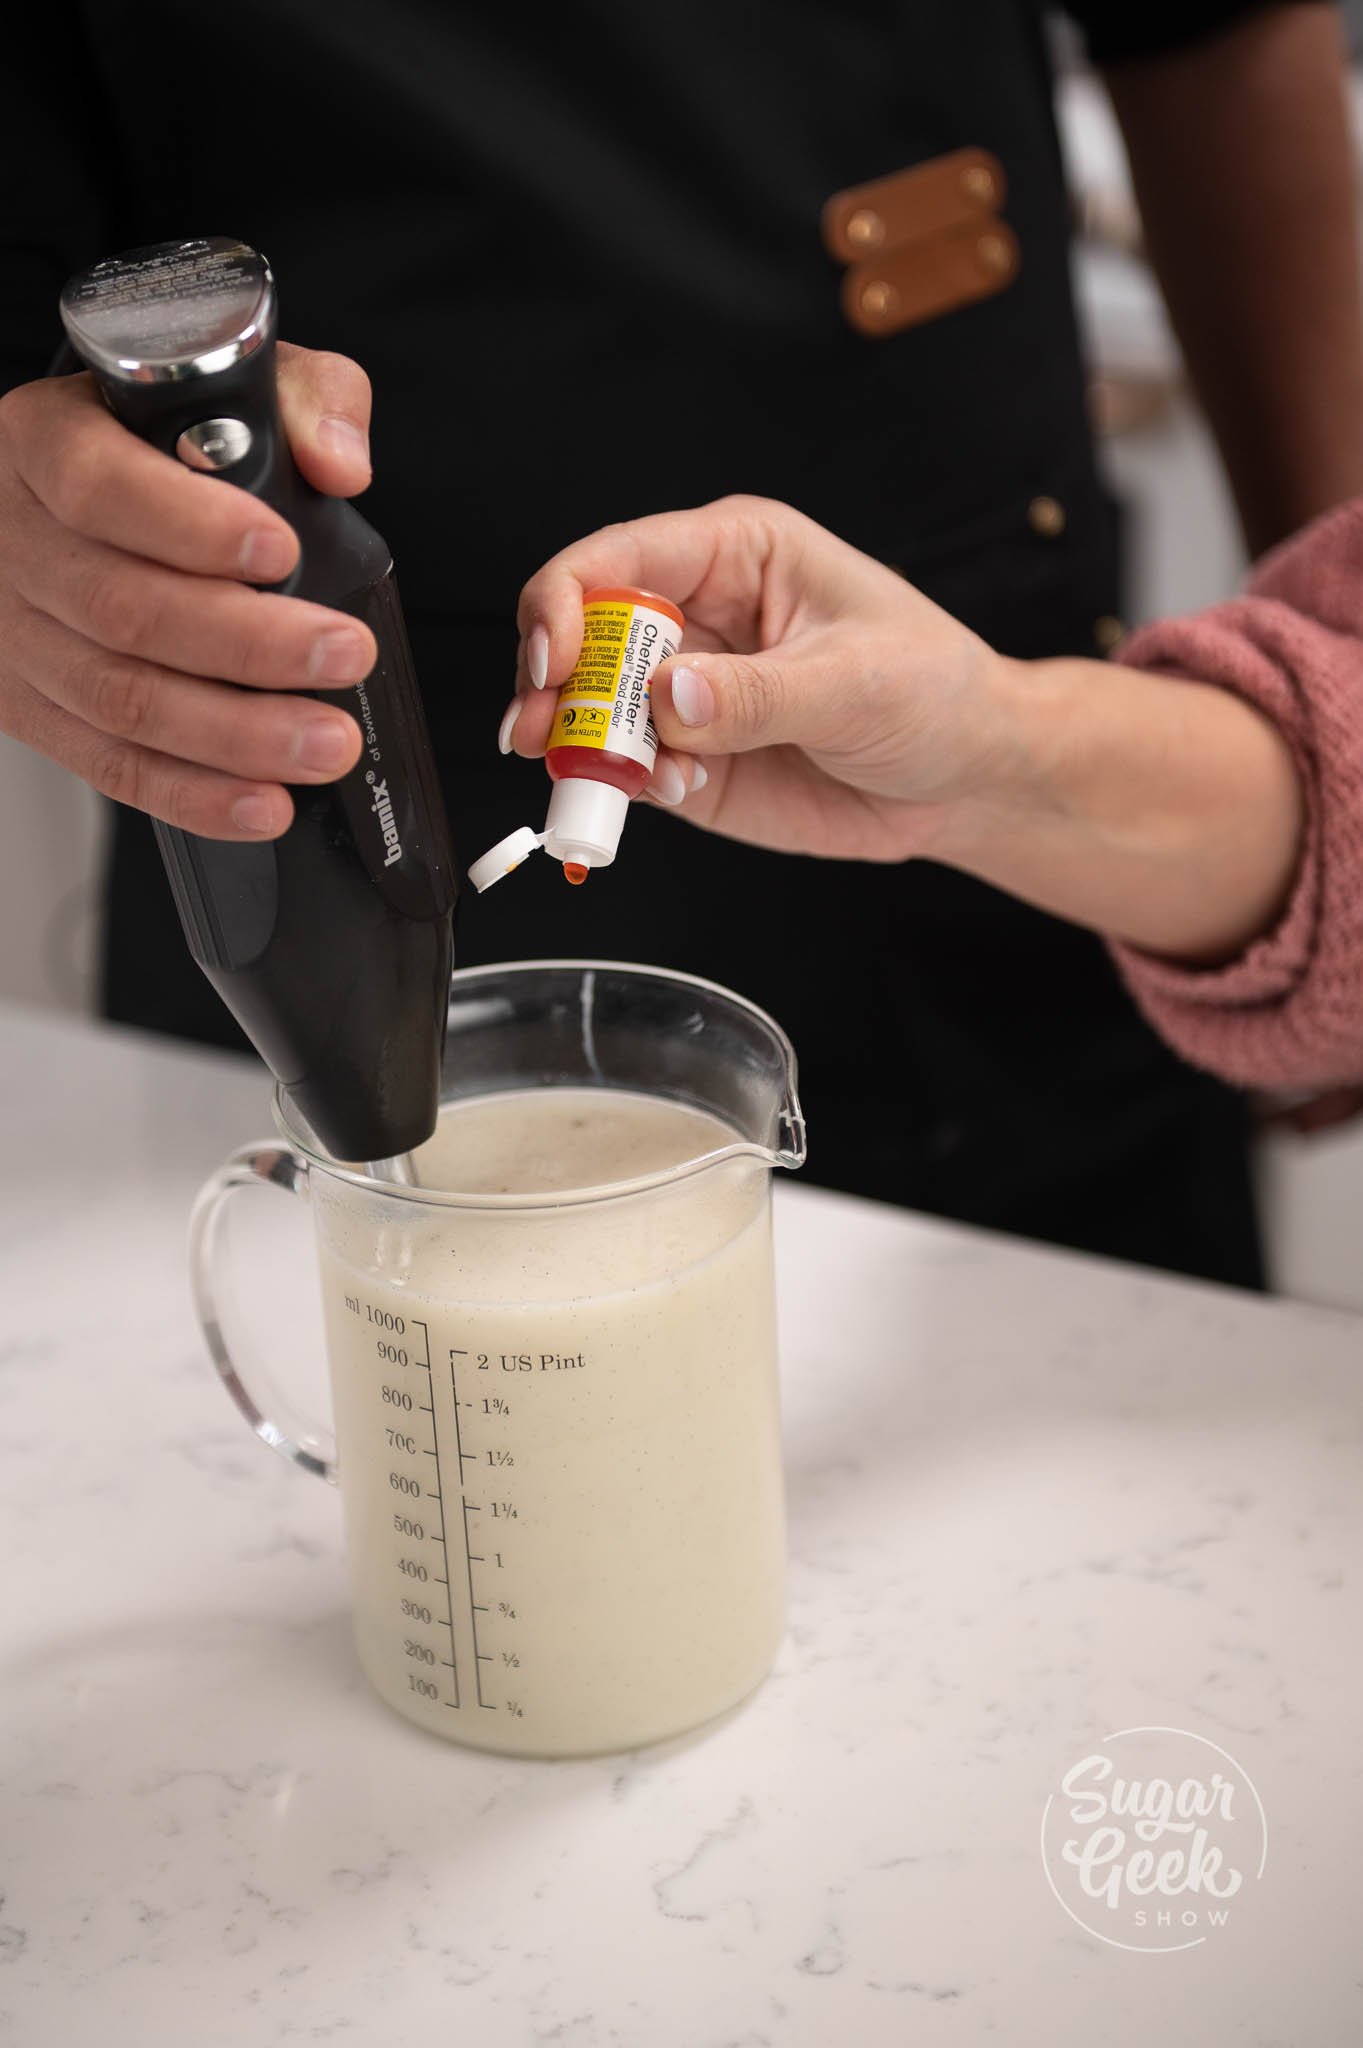
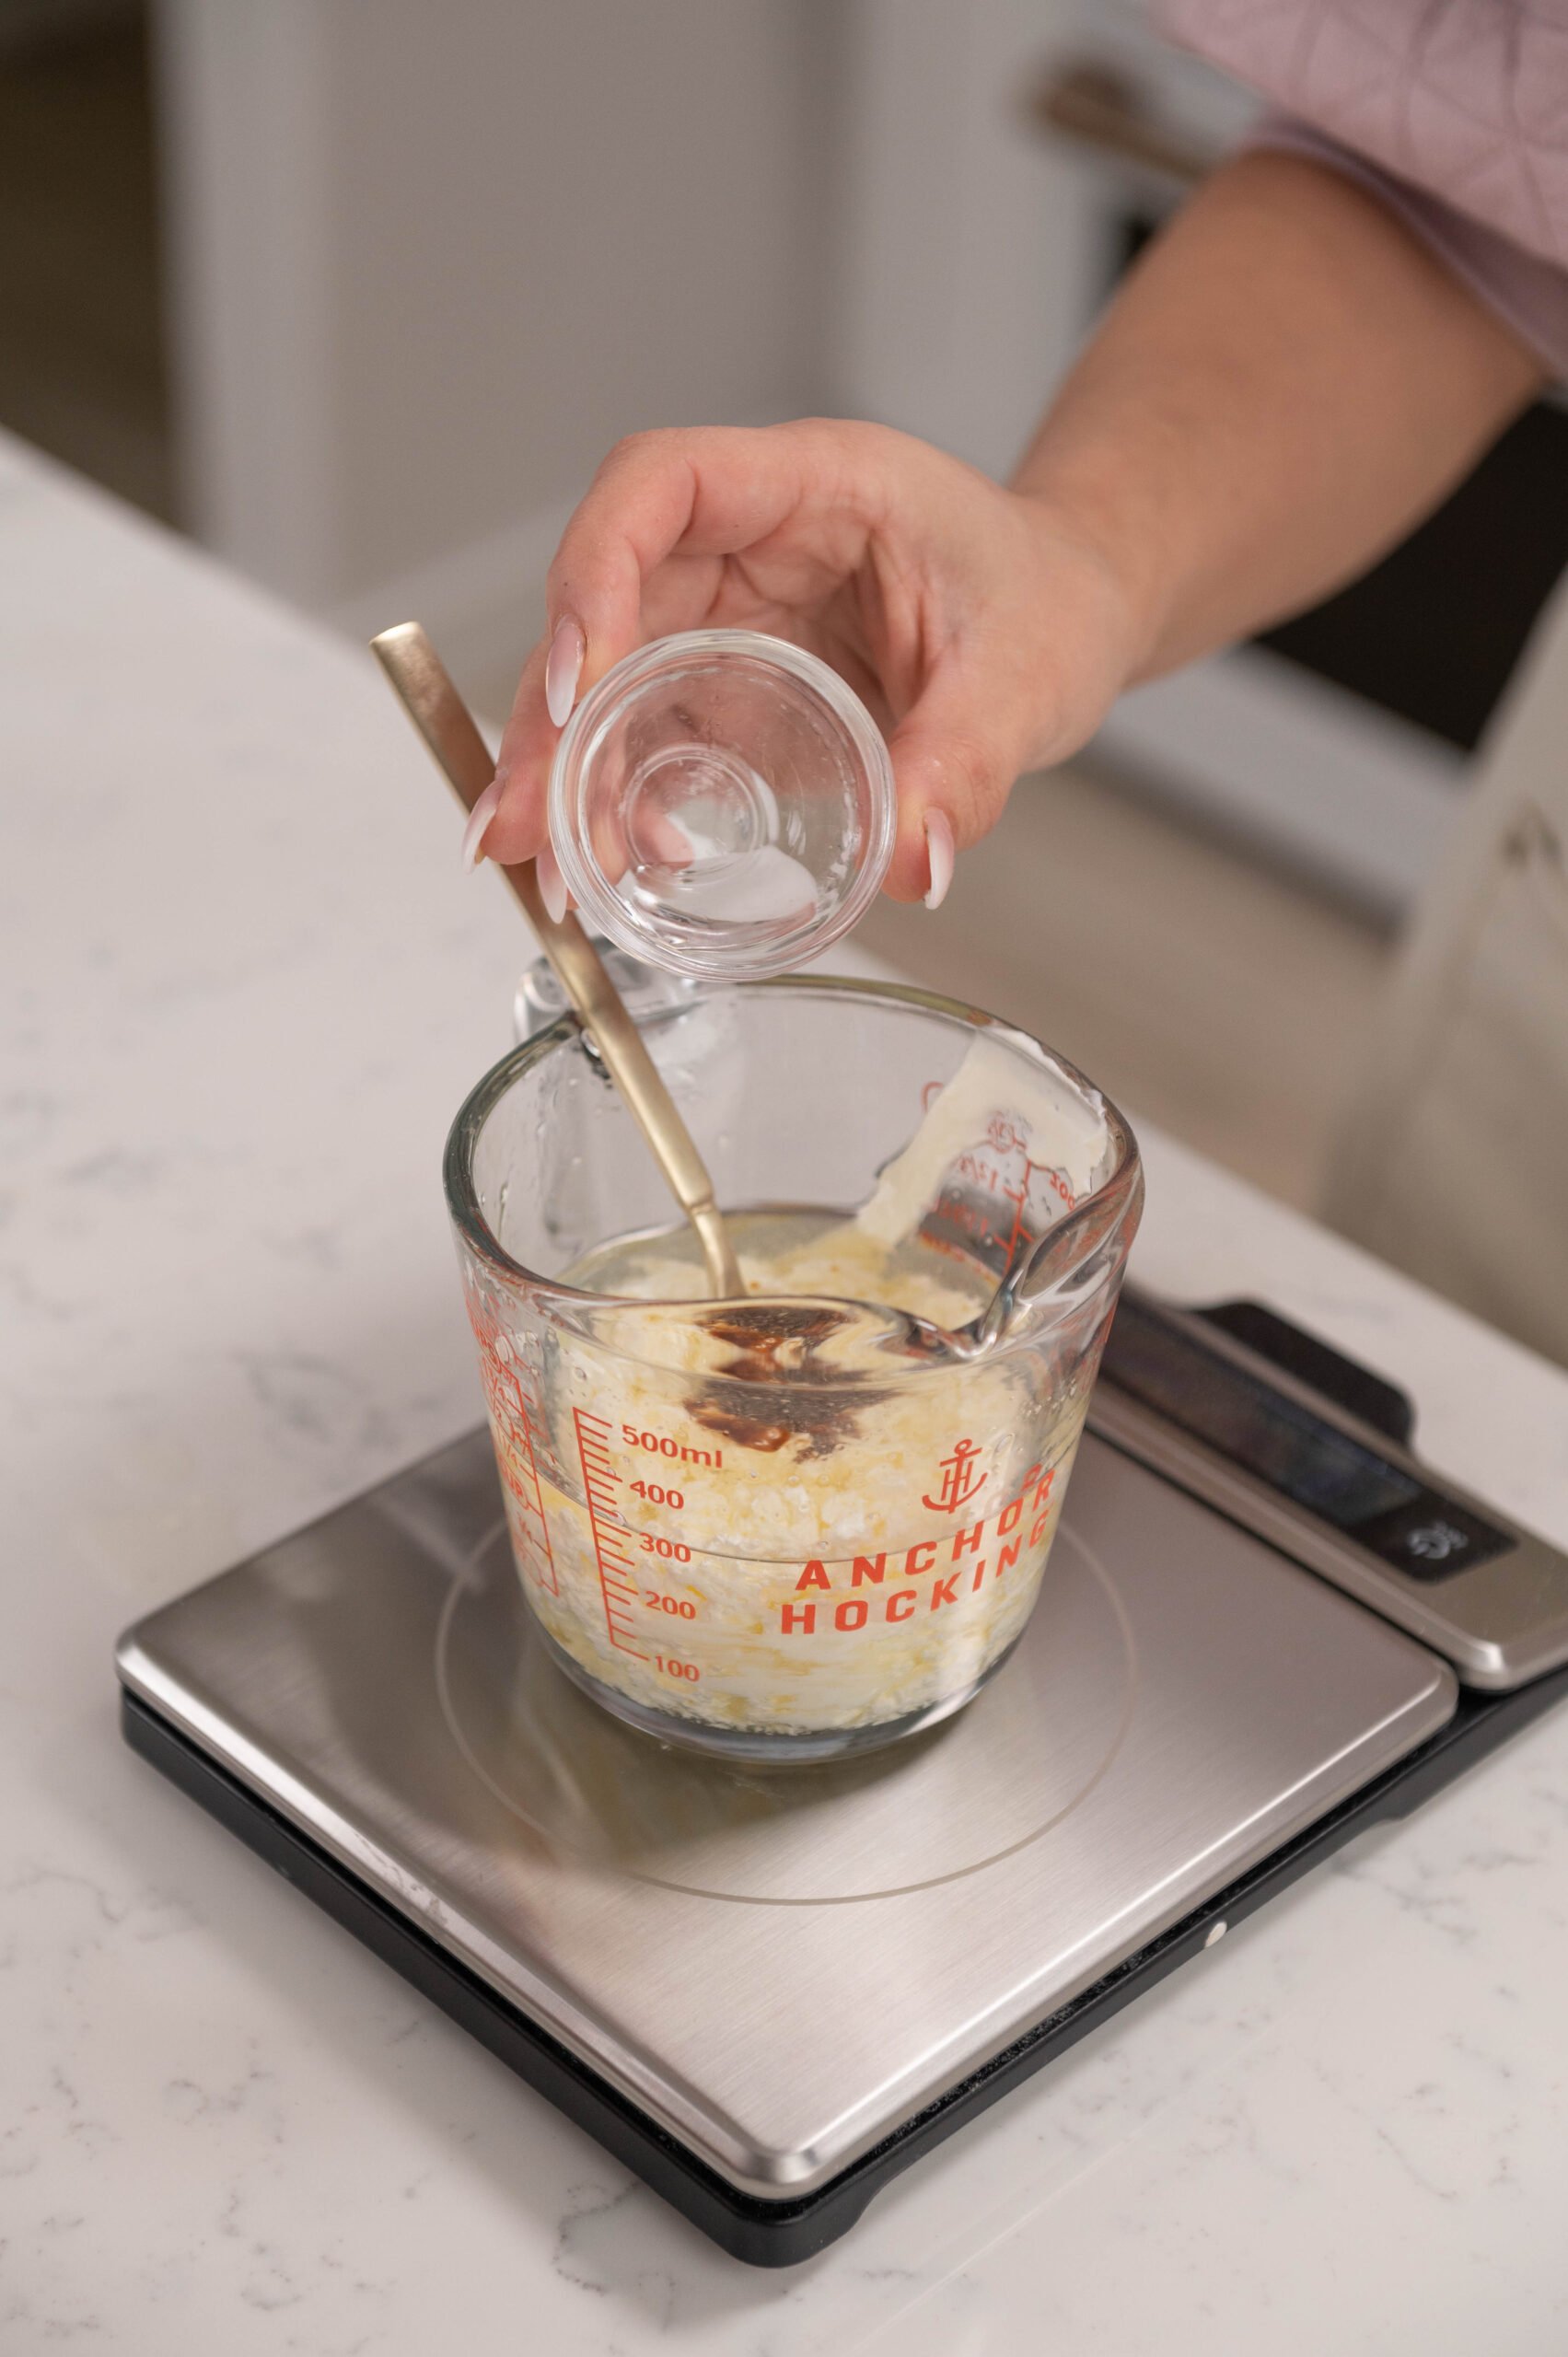
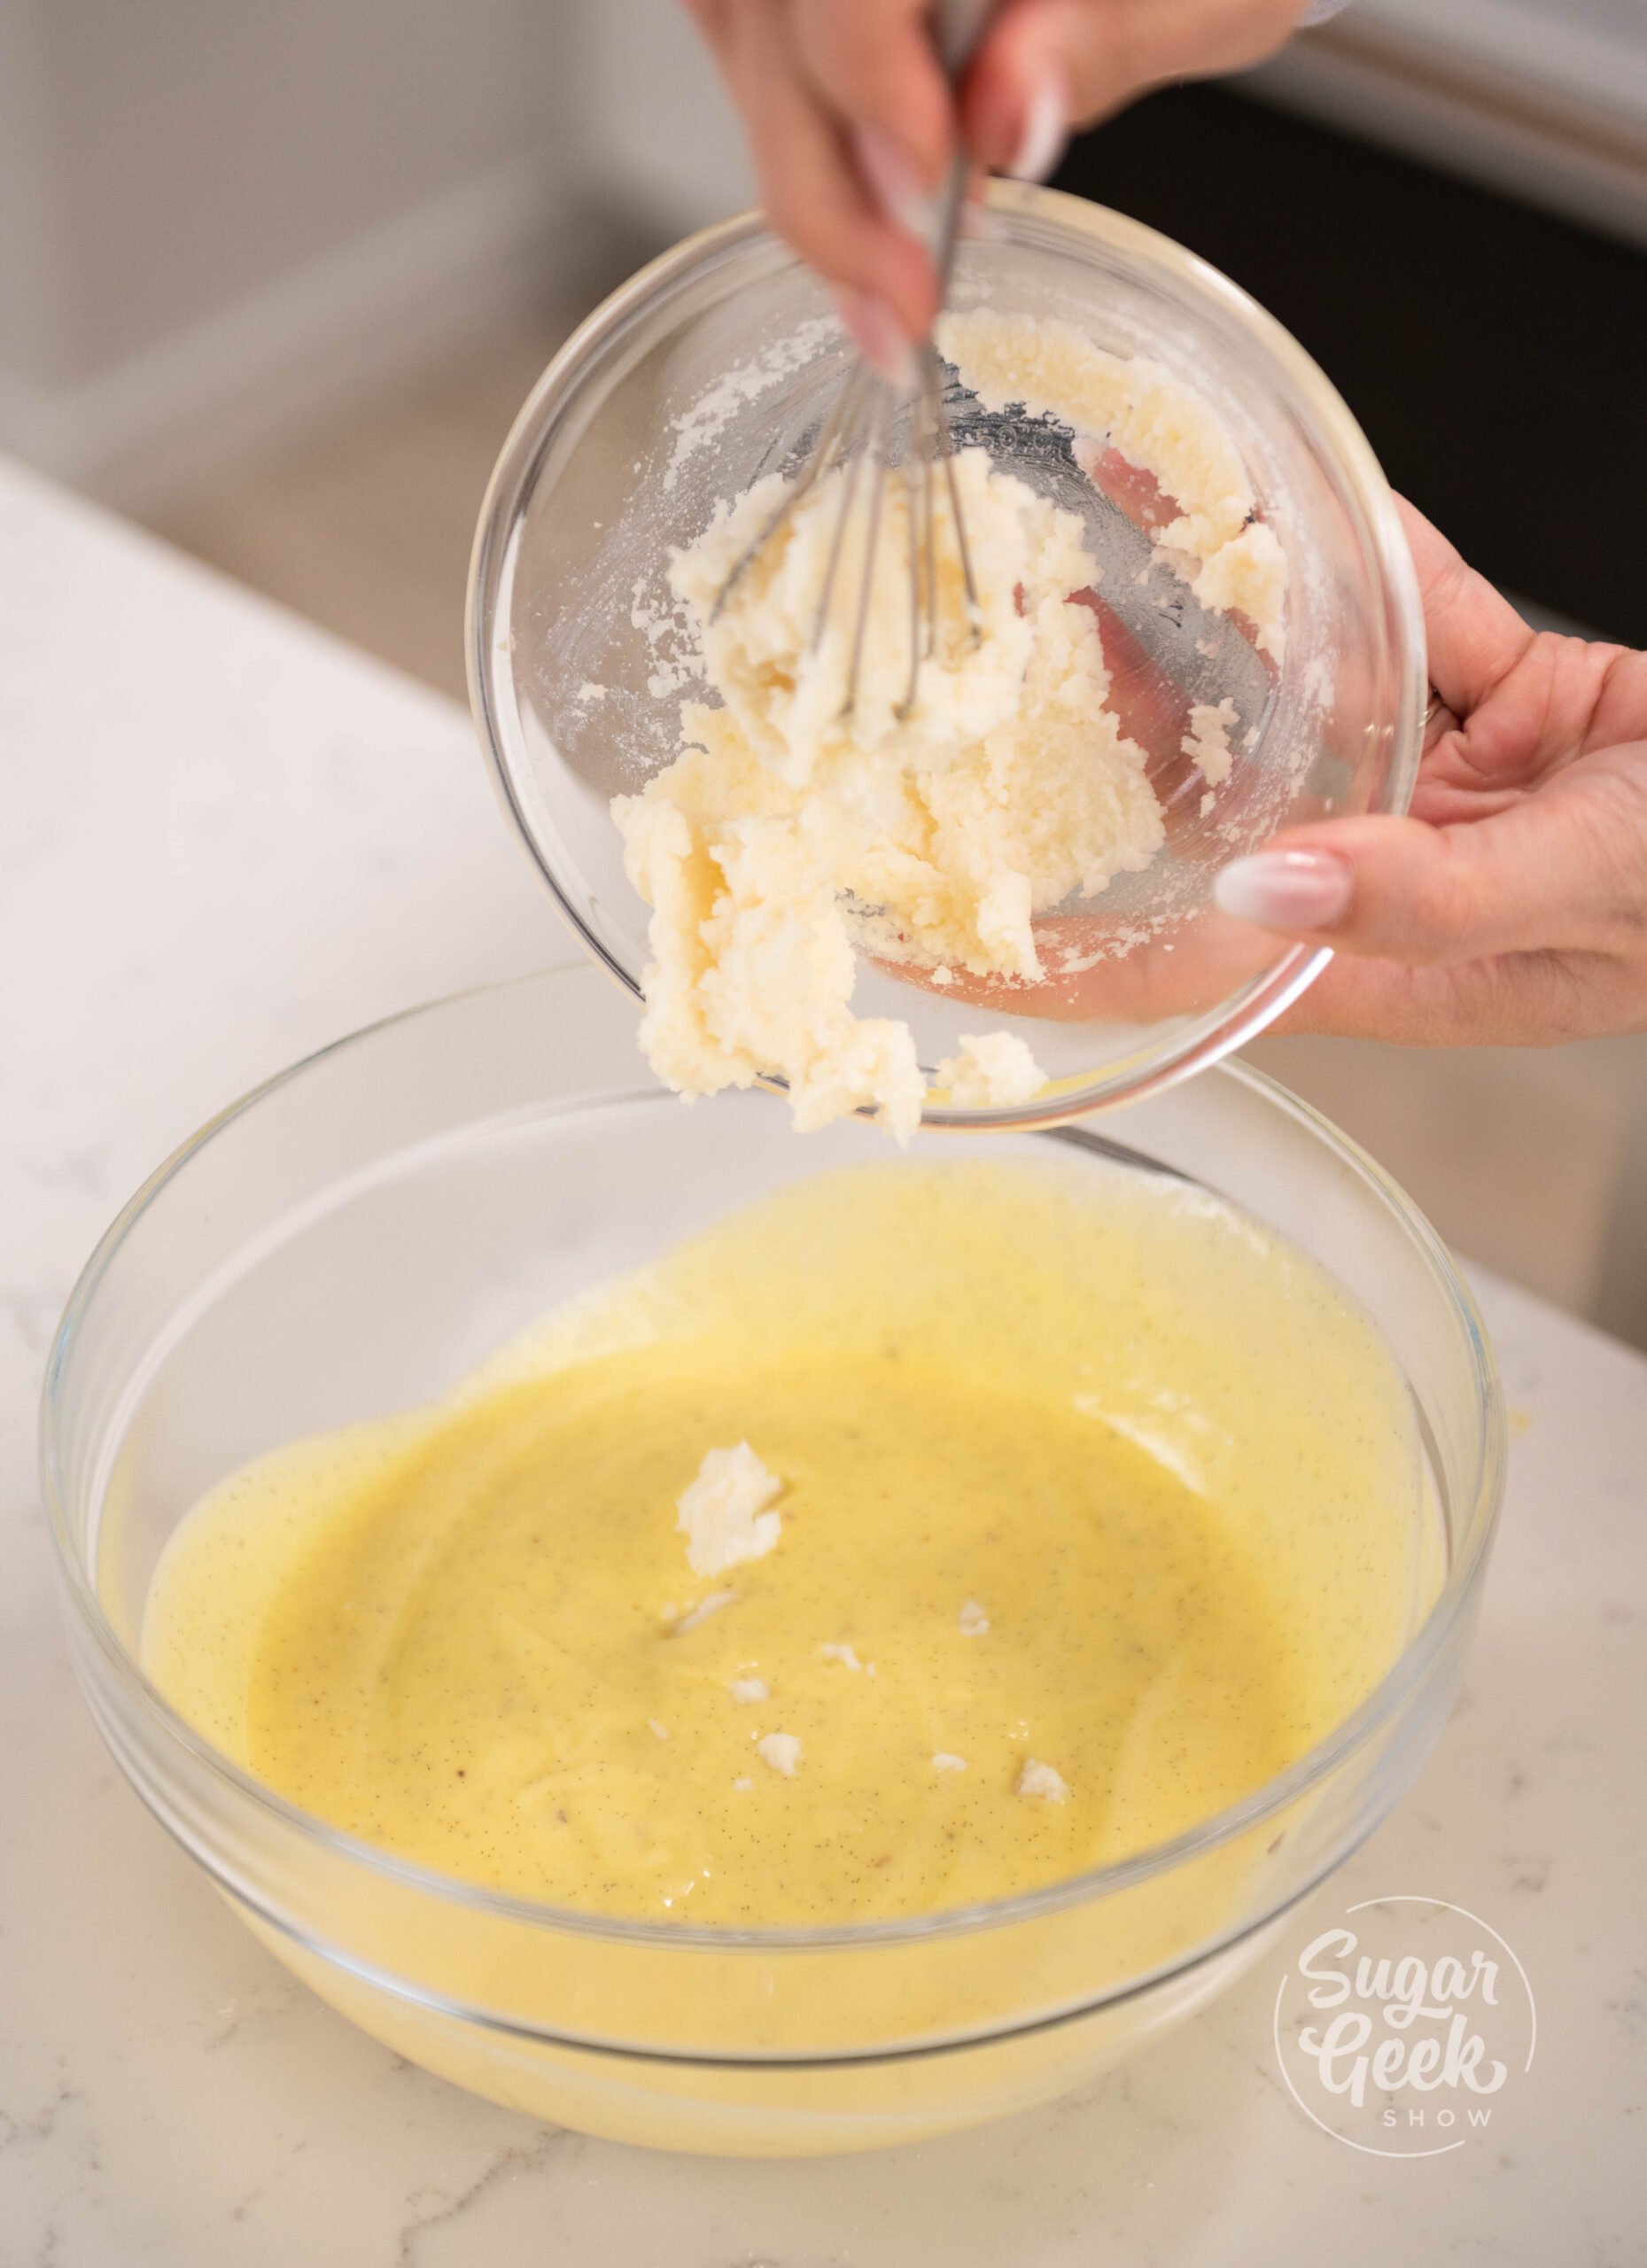
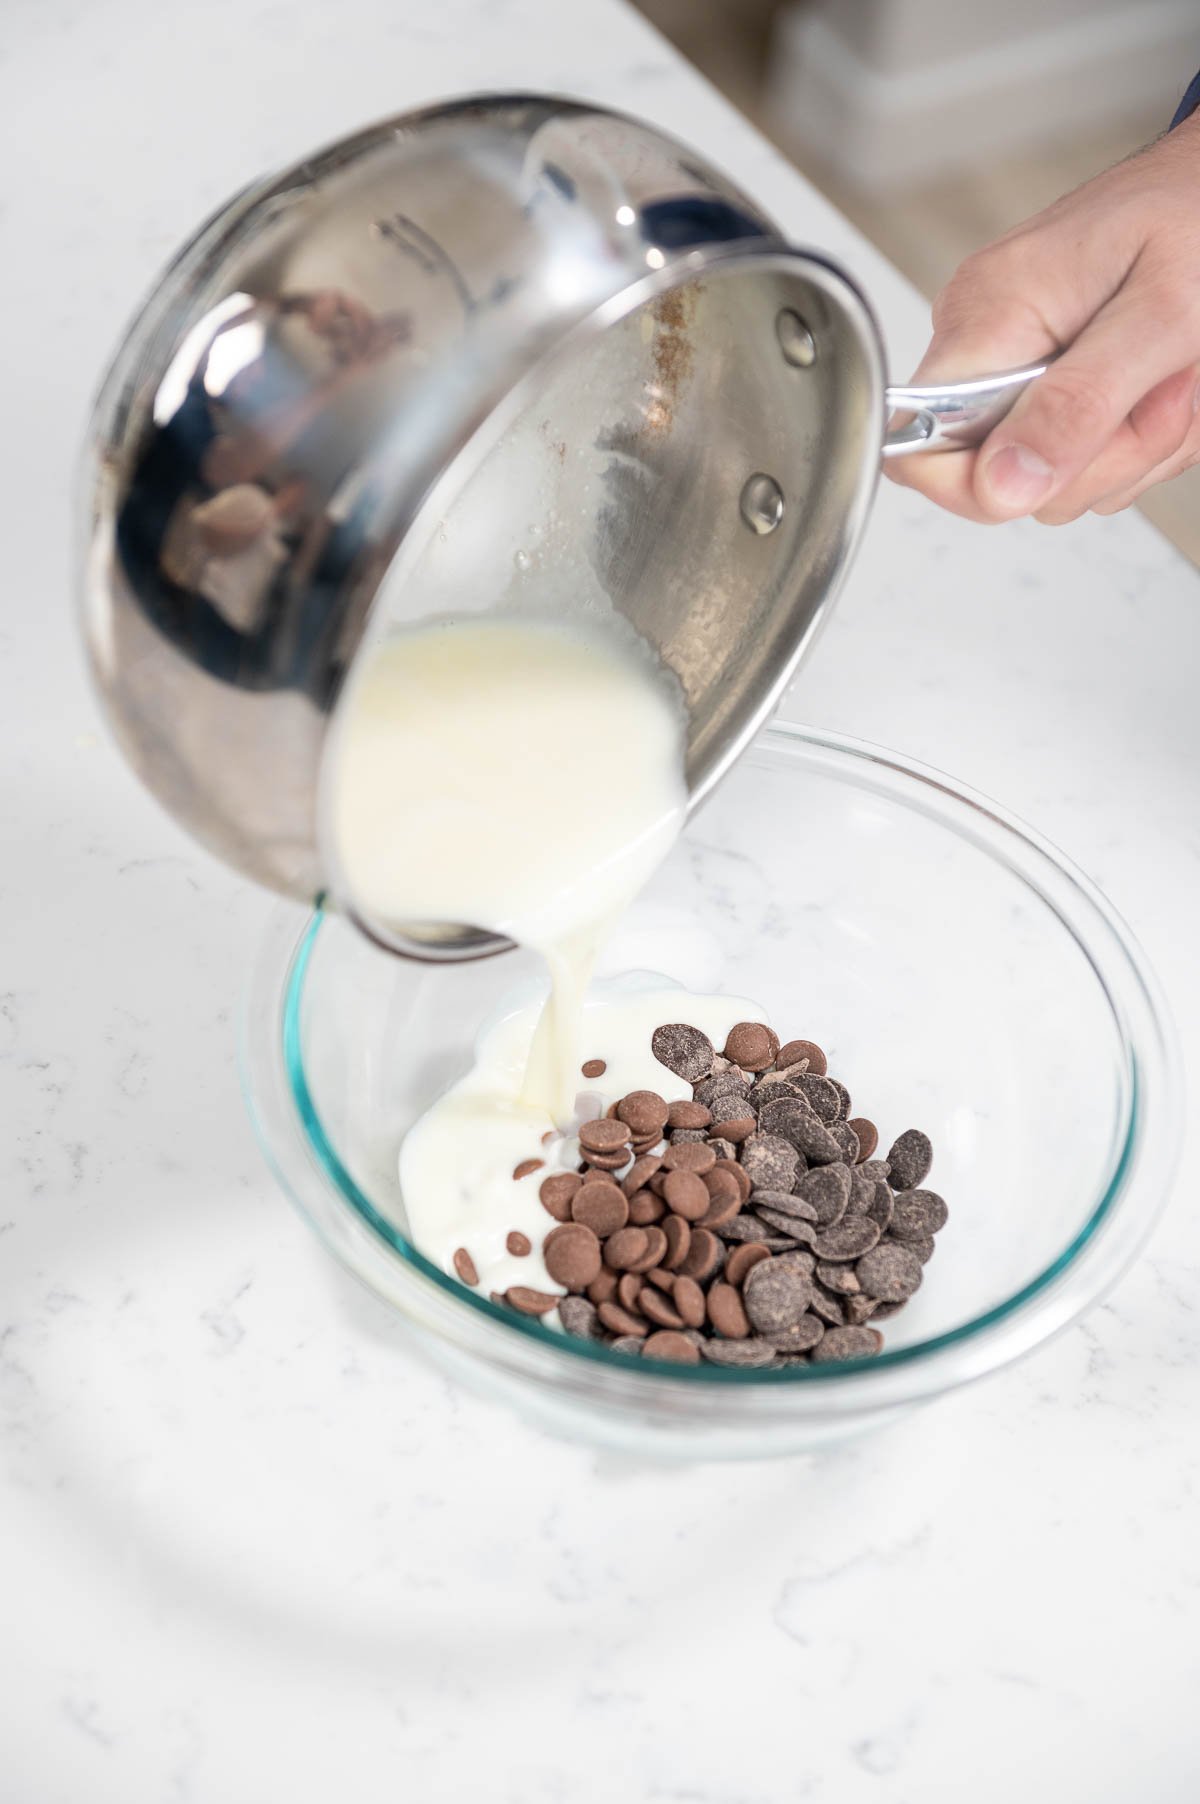
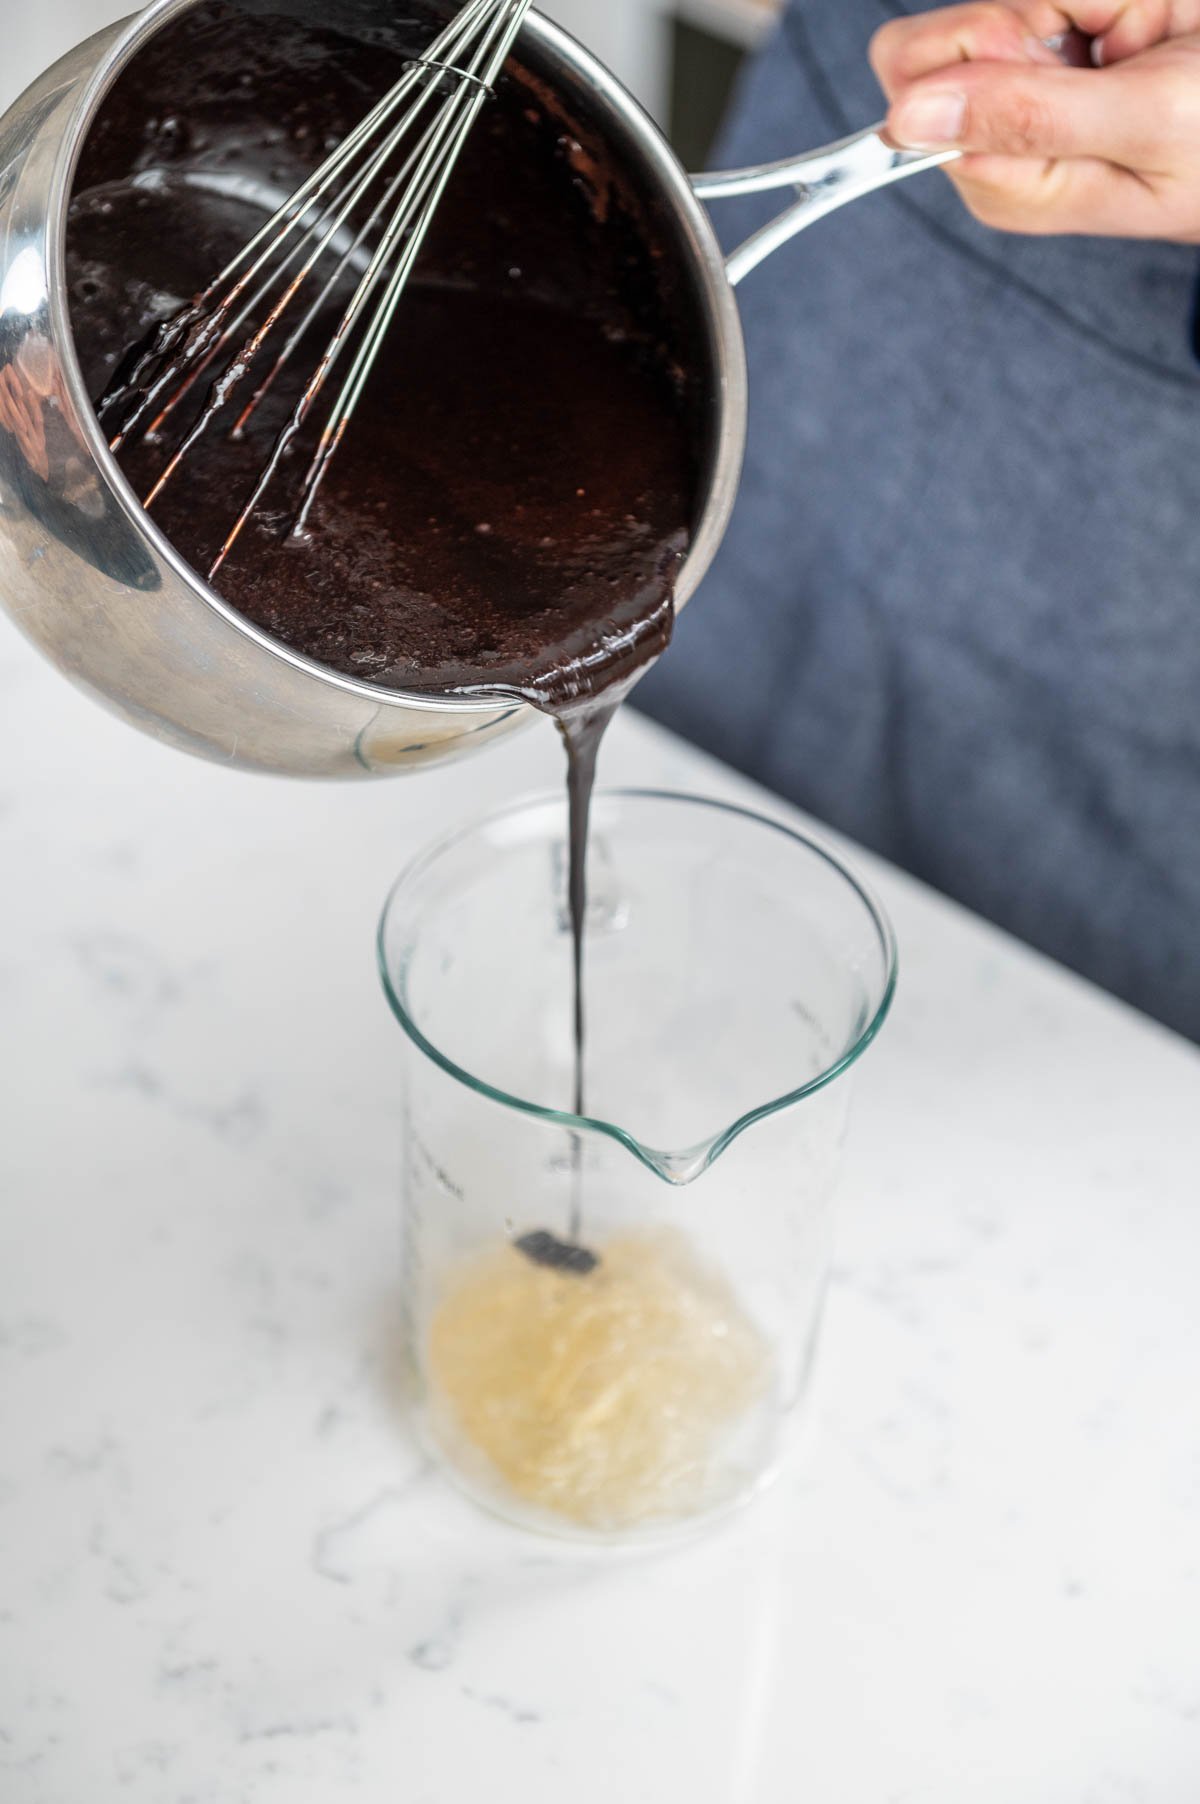
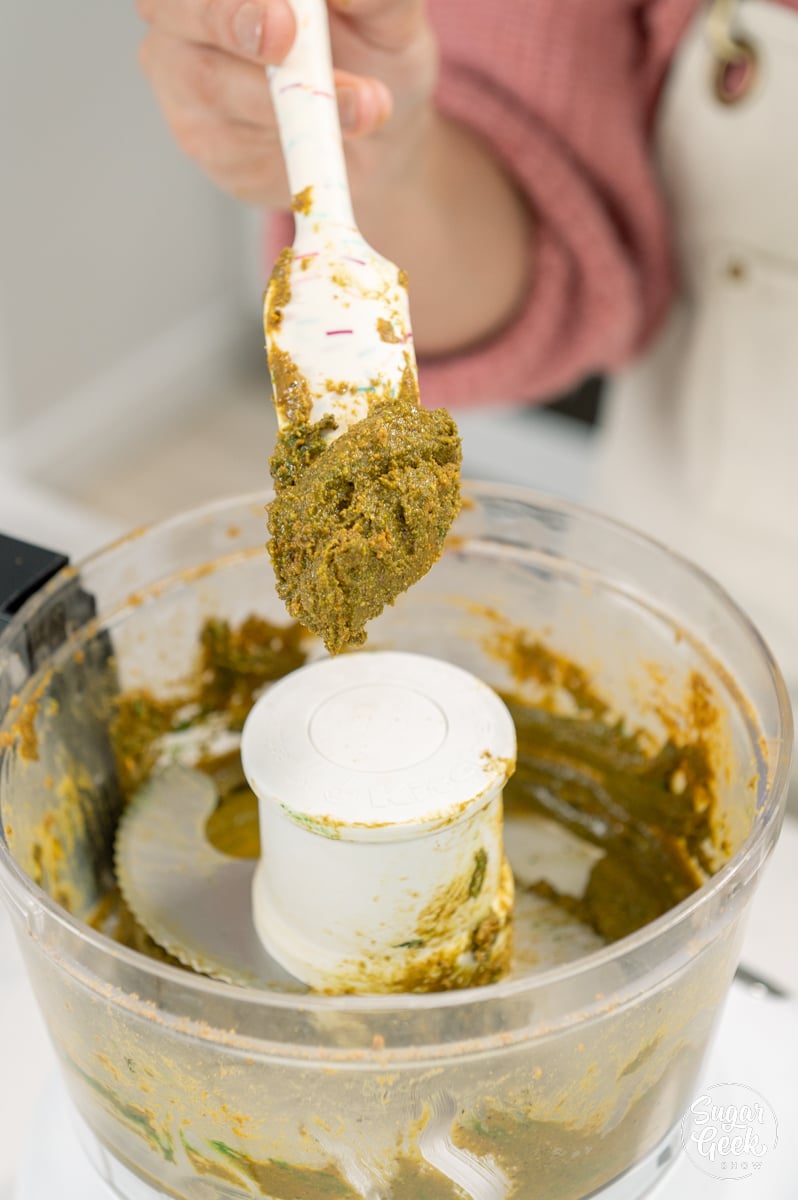
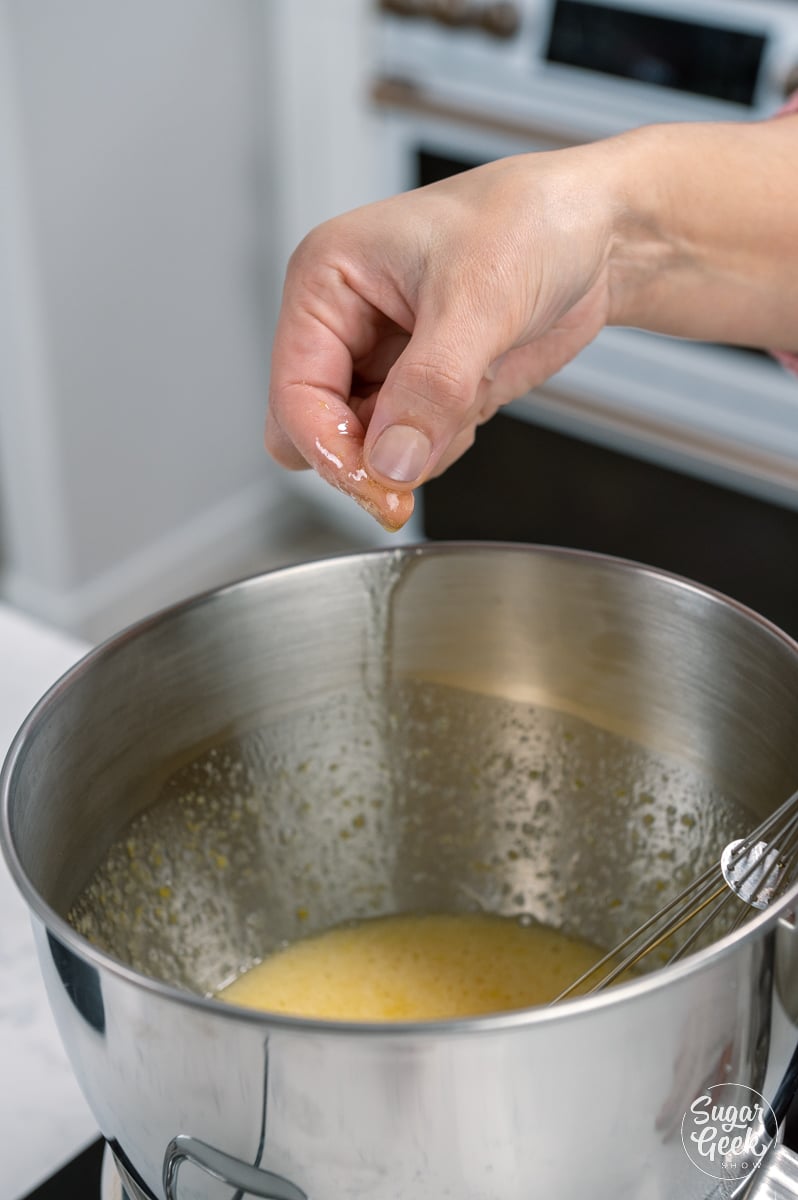
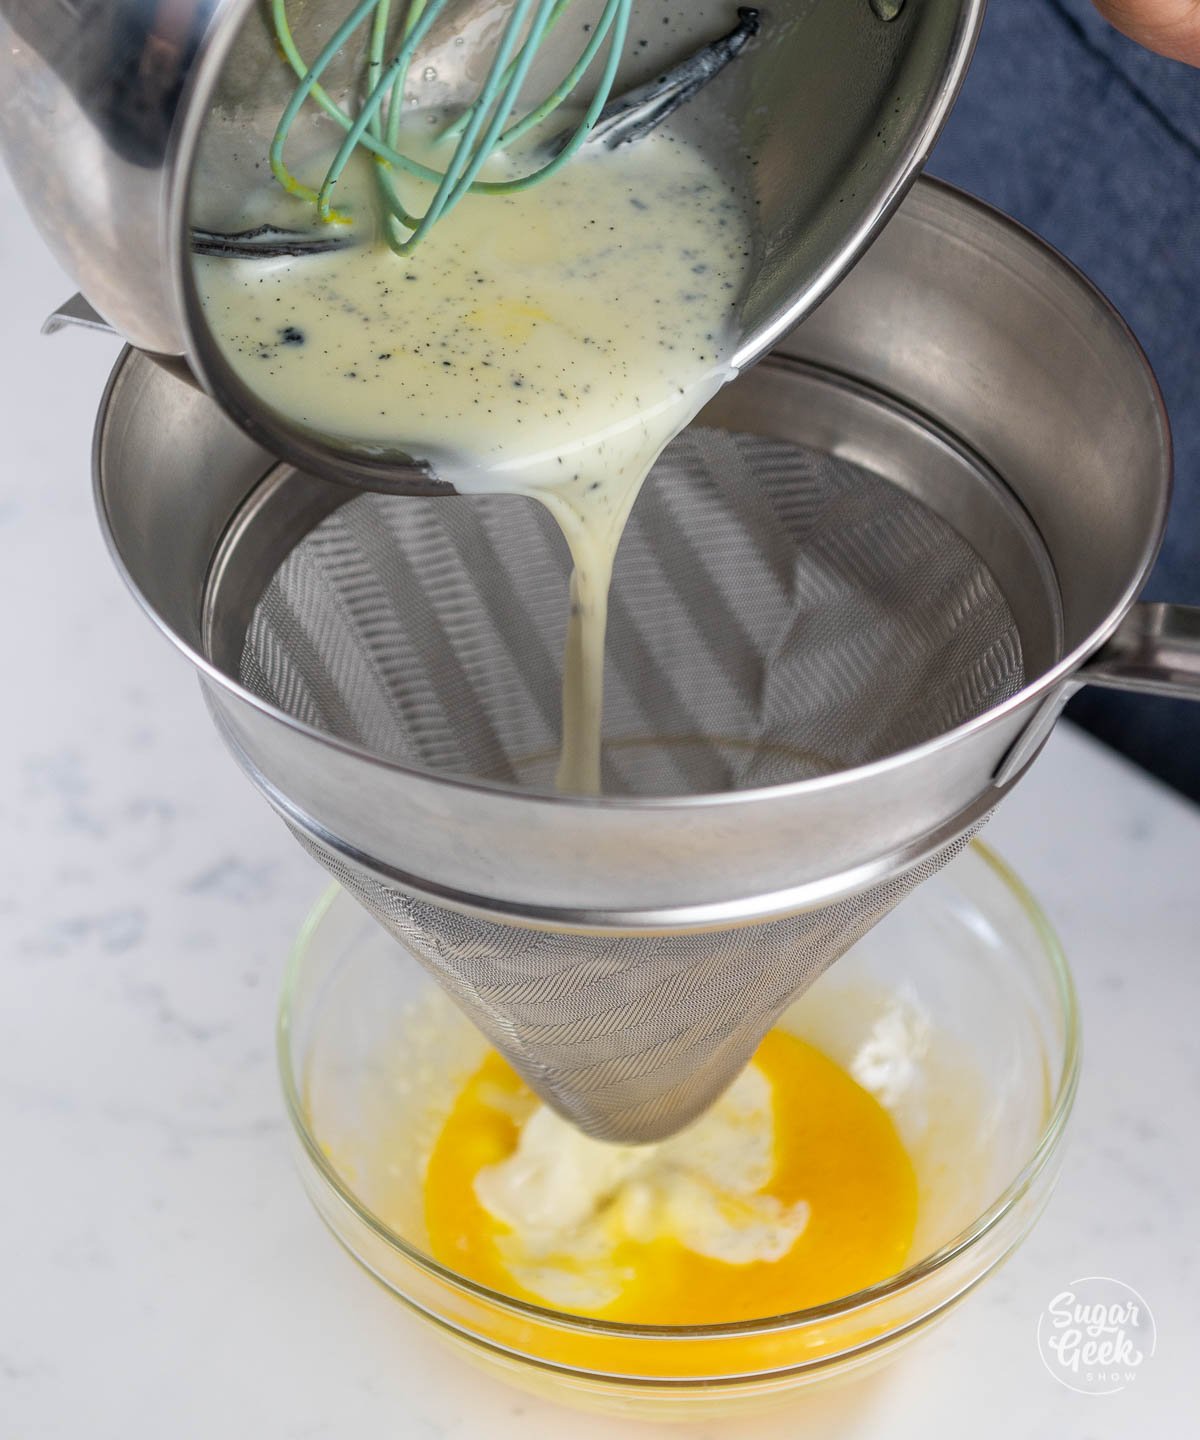
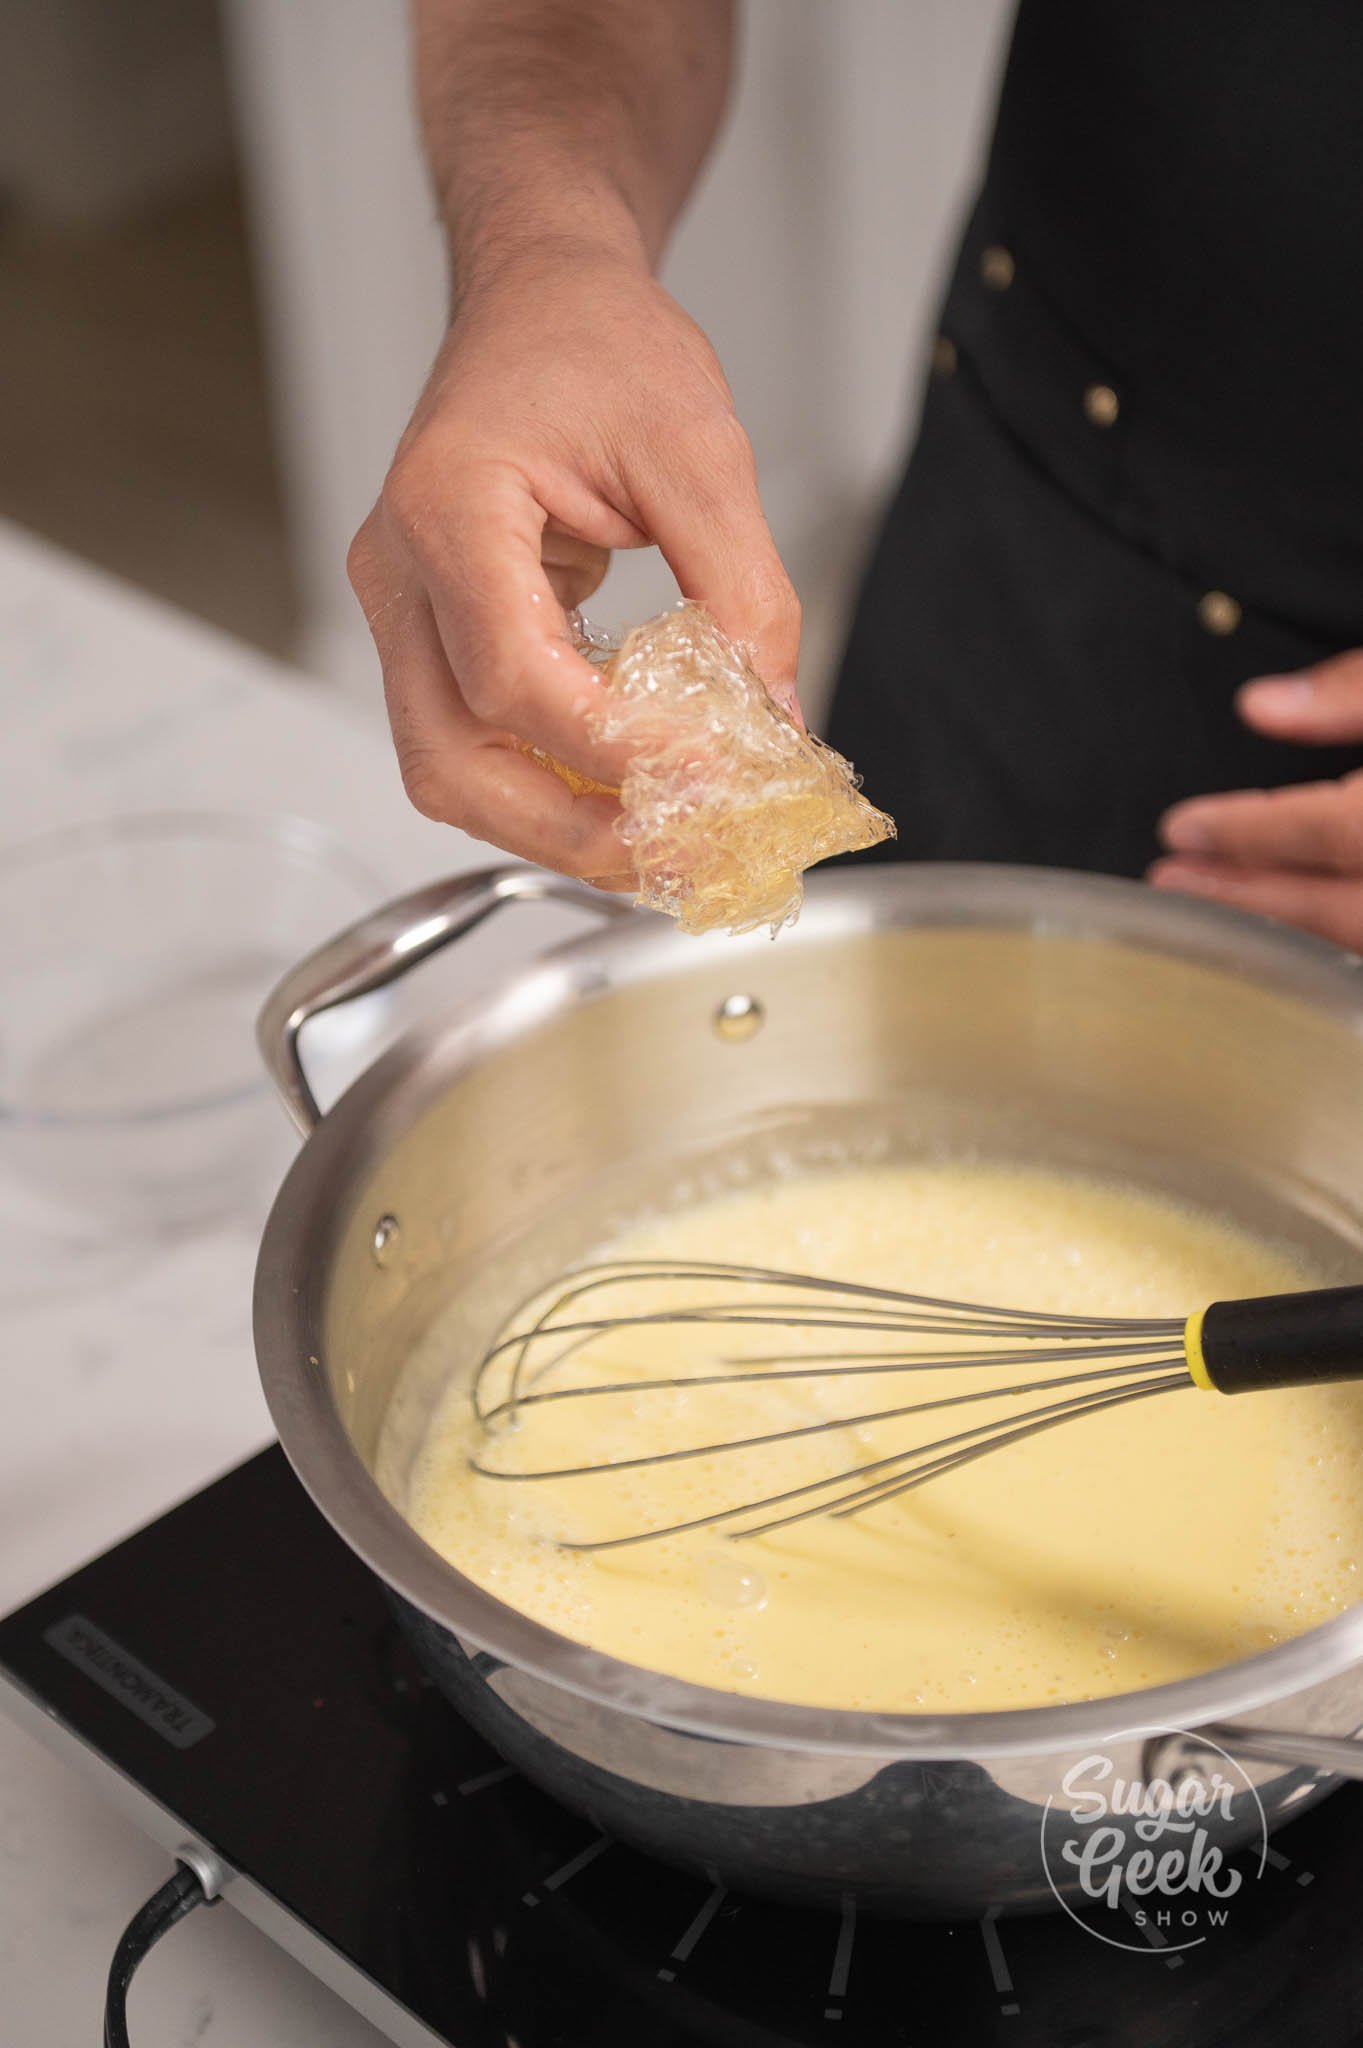
- Add in your gelatin and mix to combine. If you're using gelatin sheets, squeeze out the excess water first.
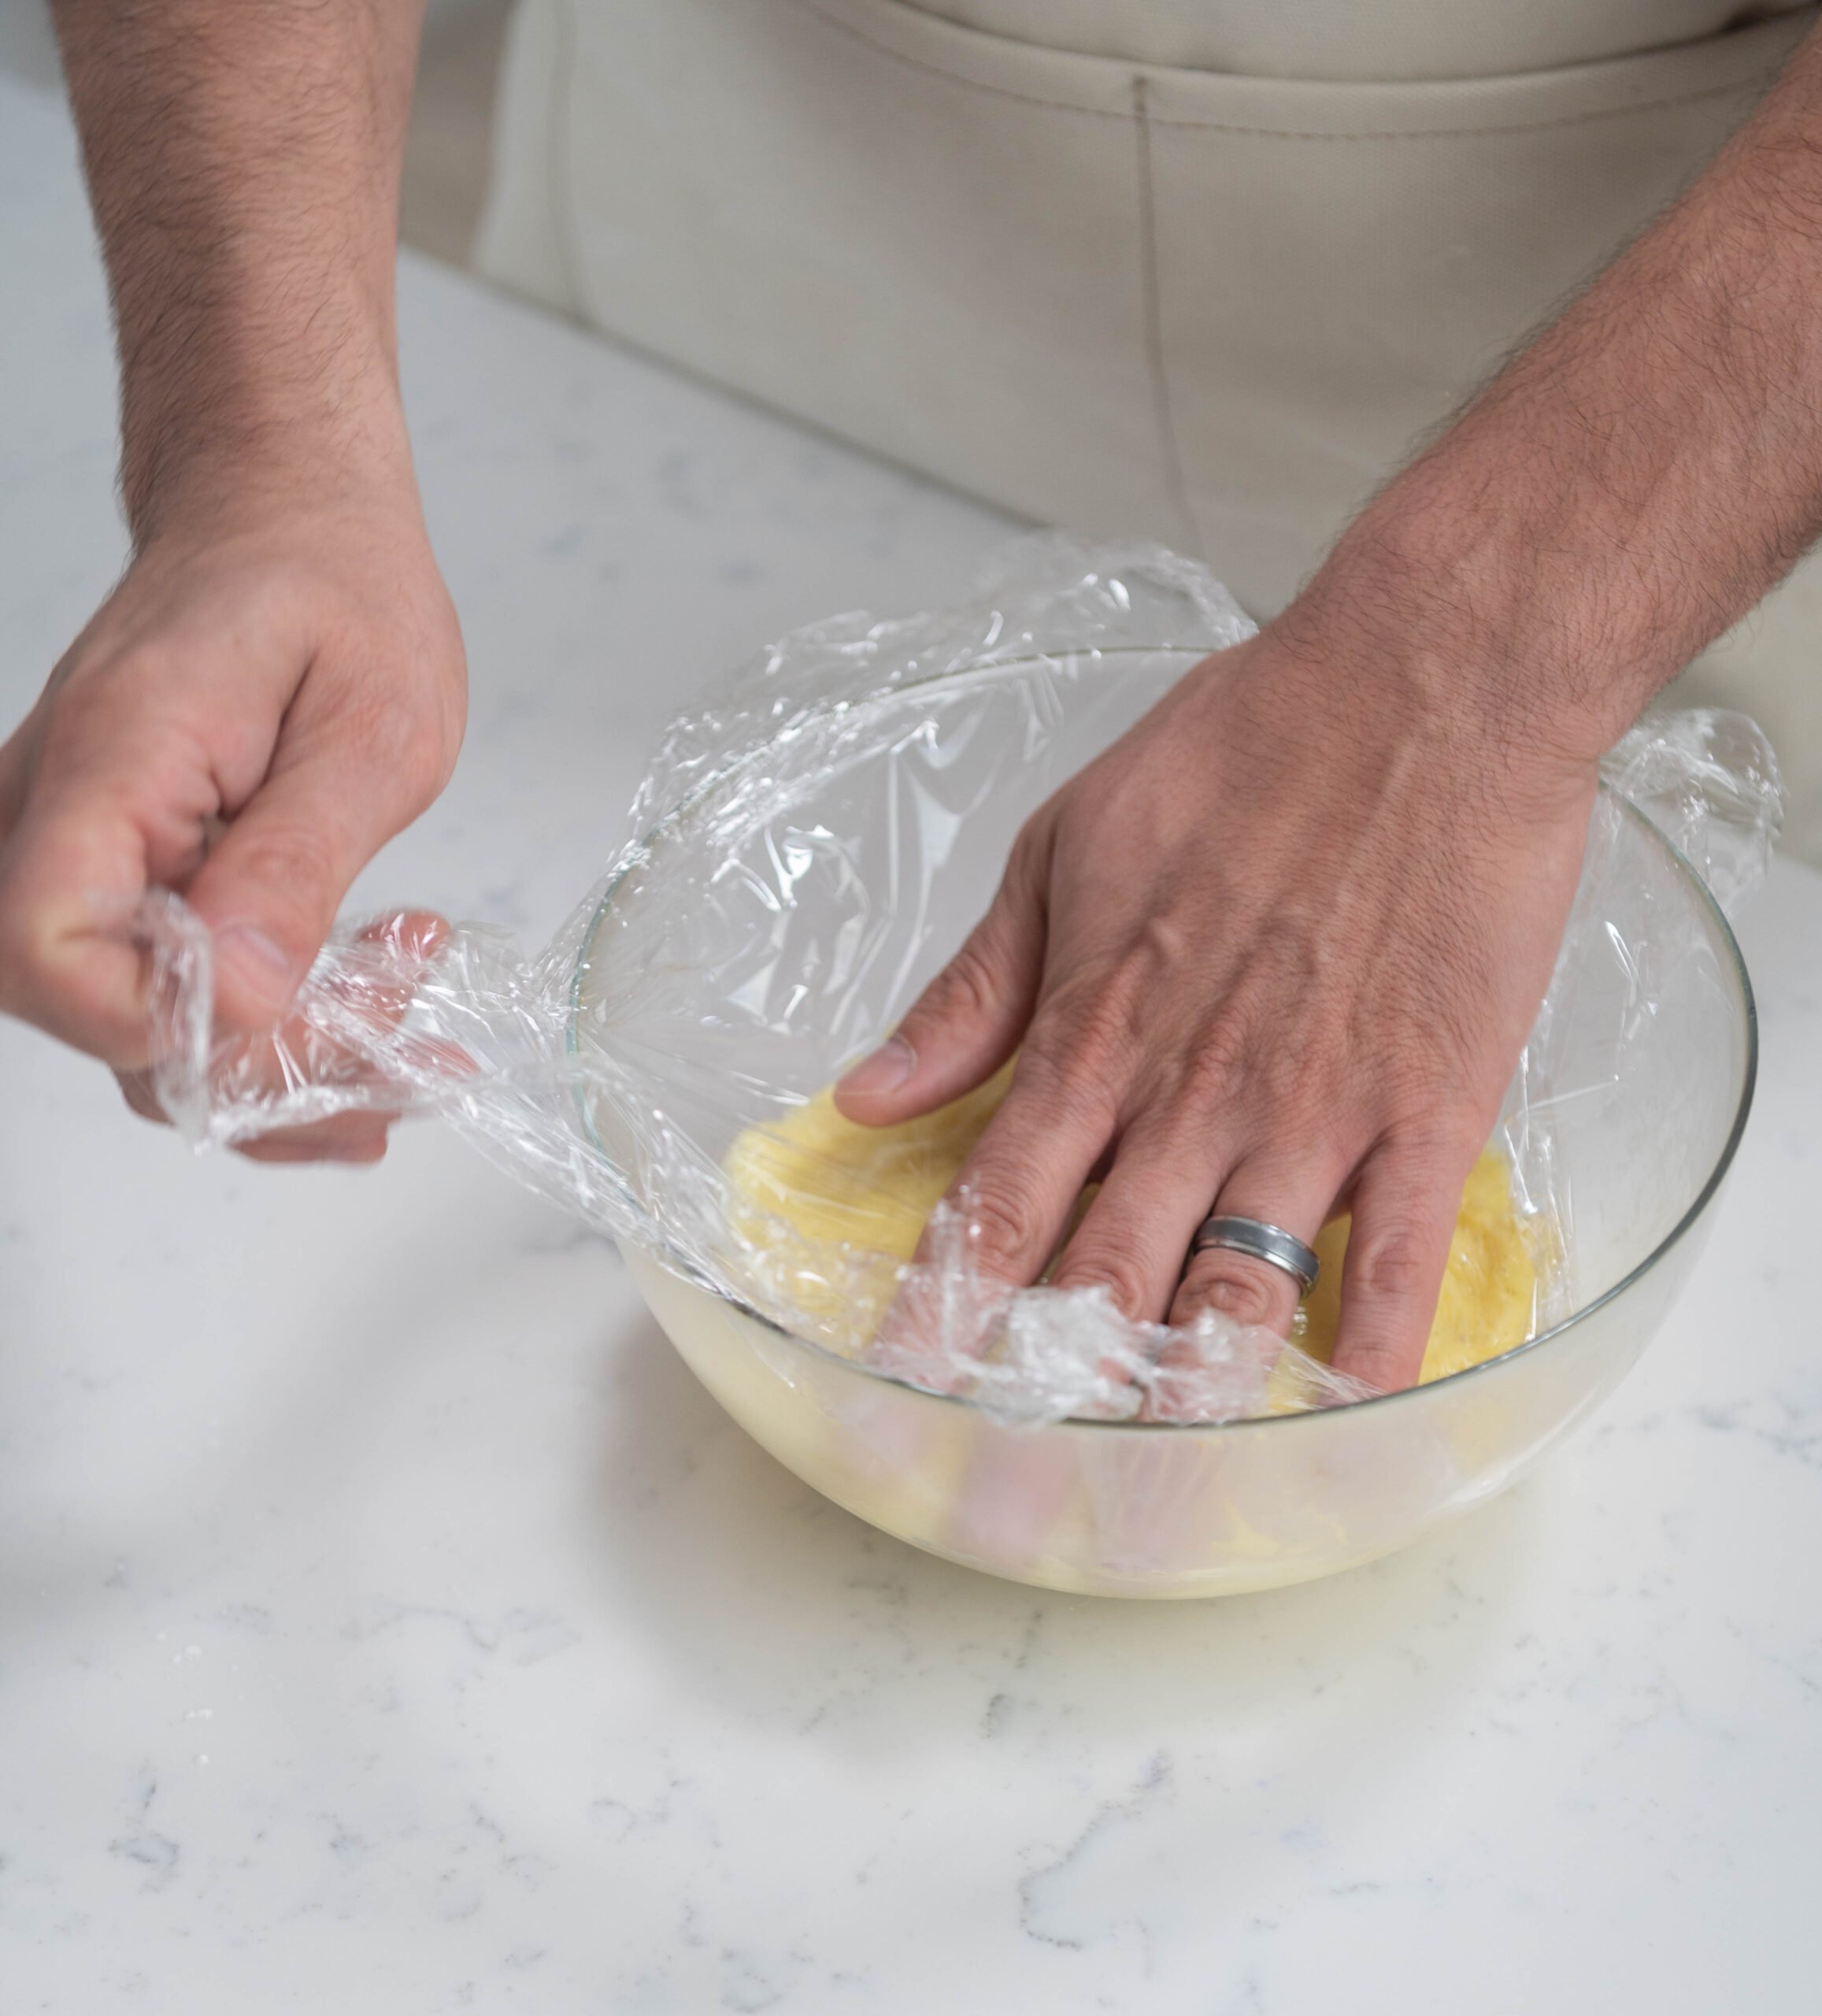
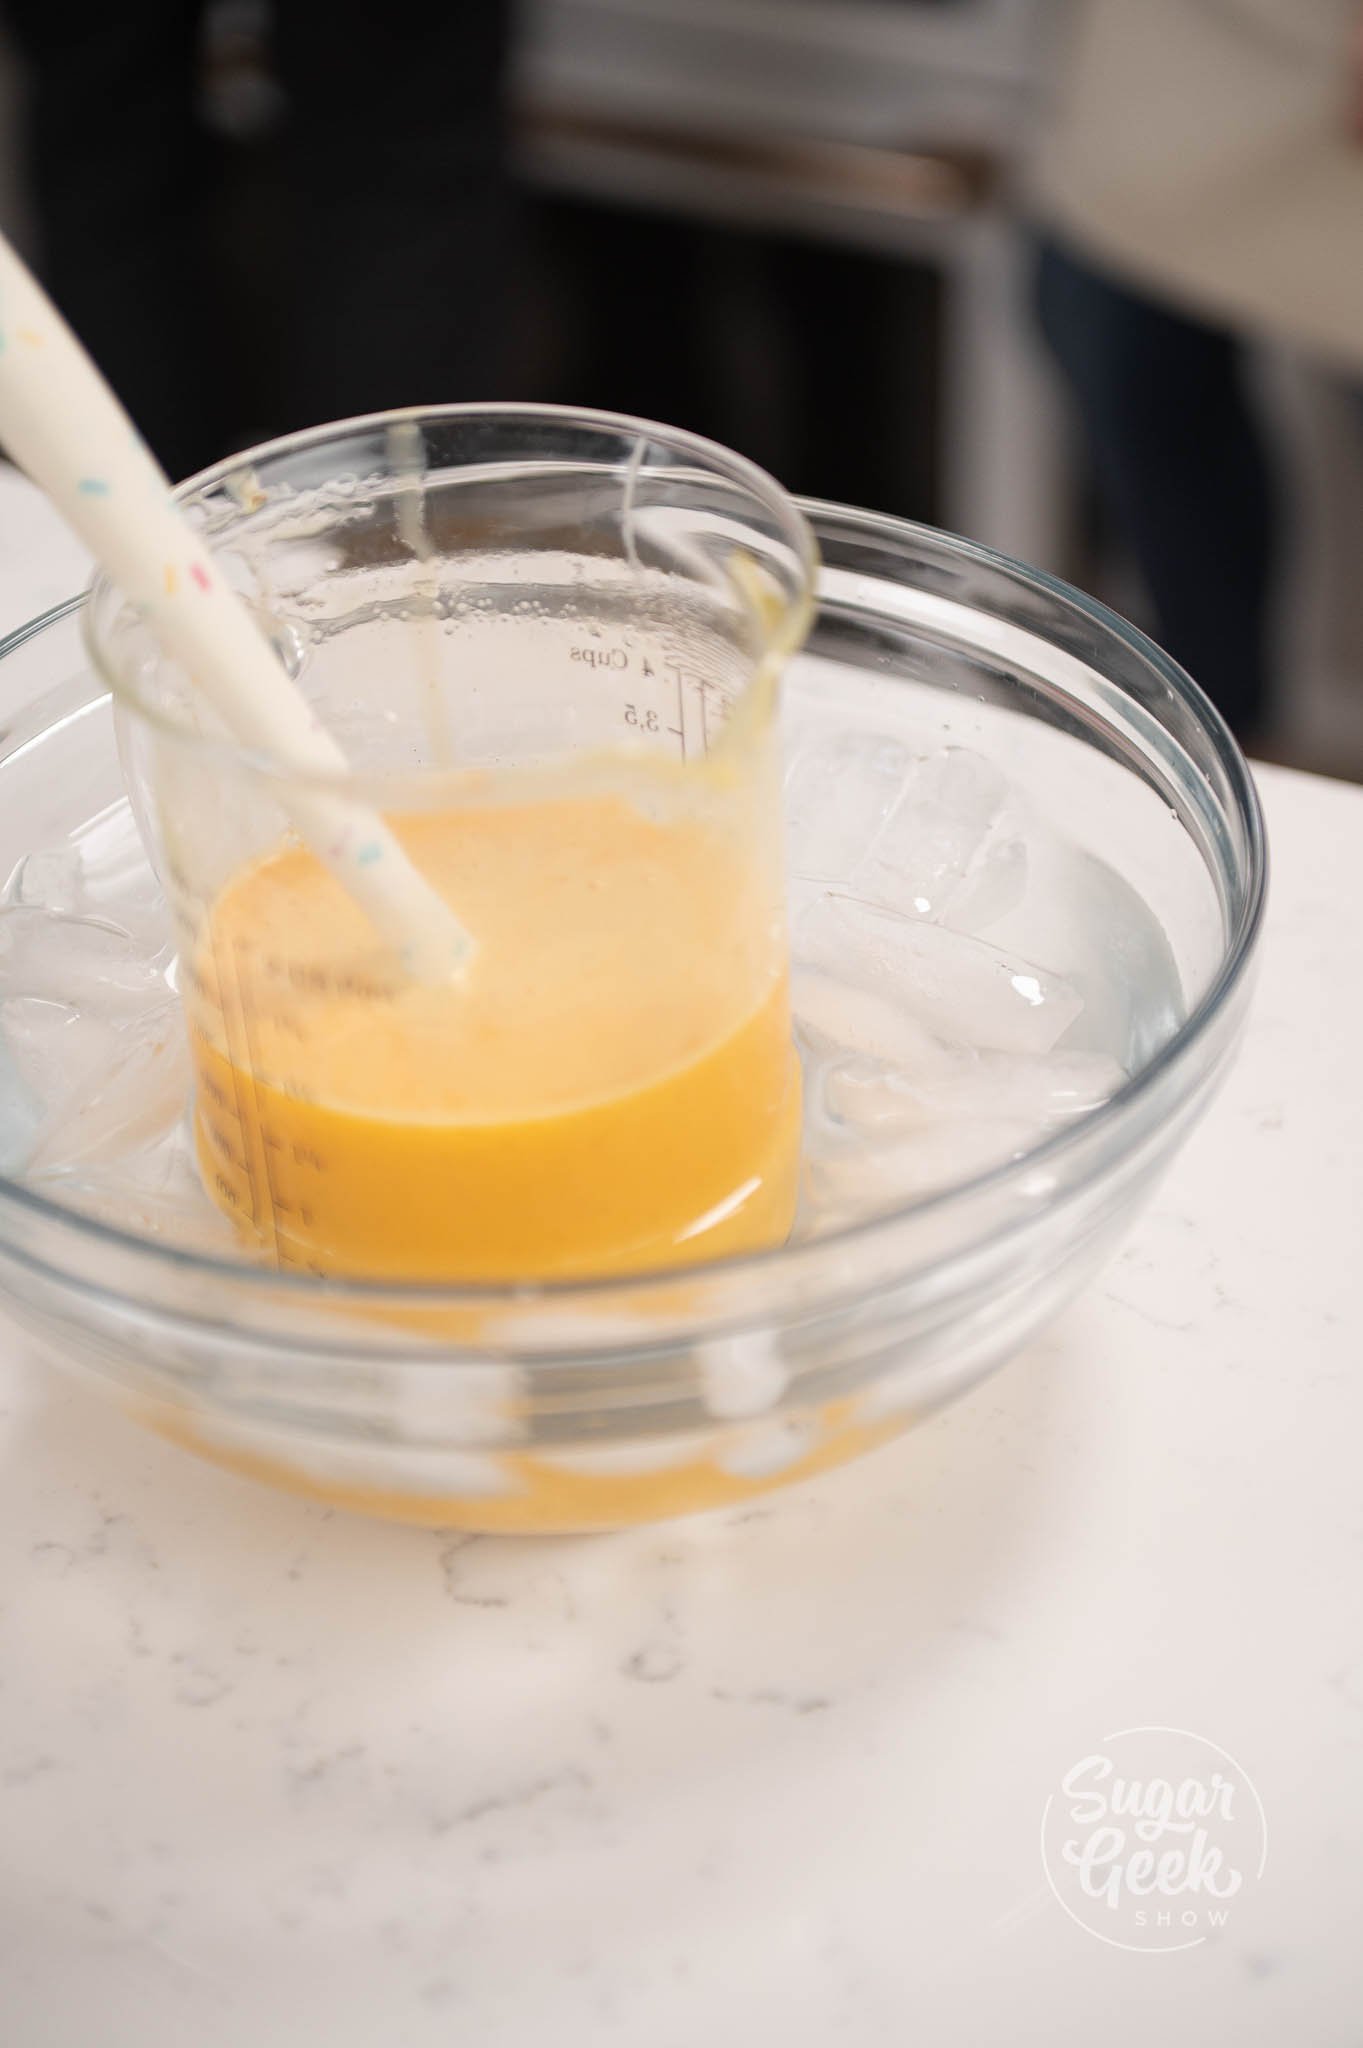
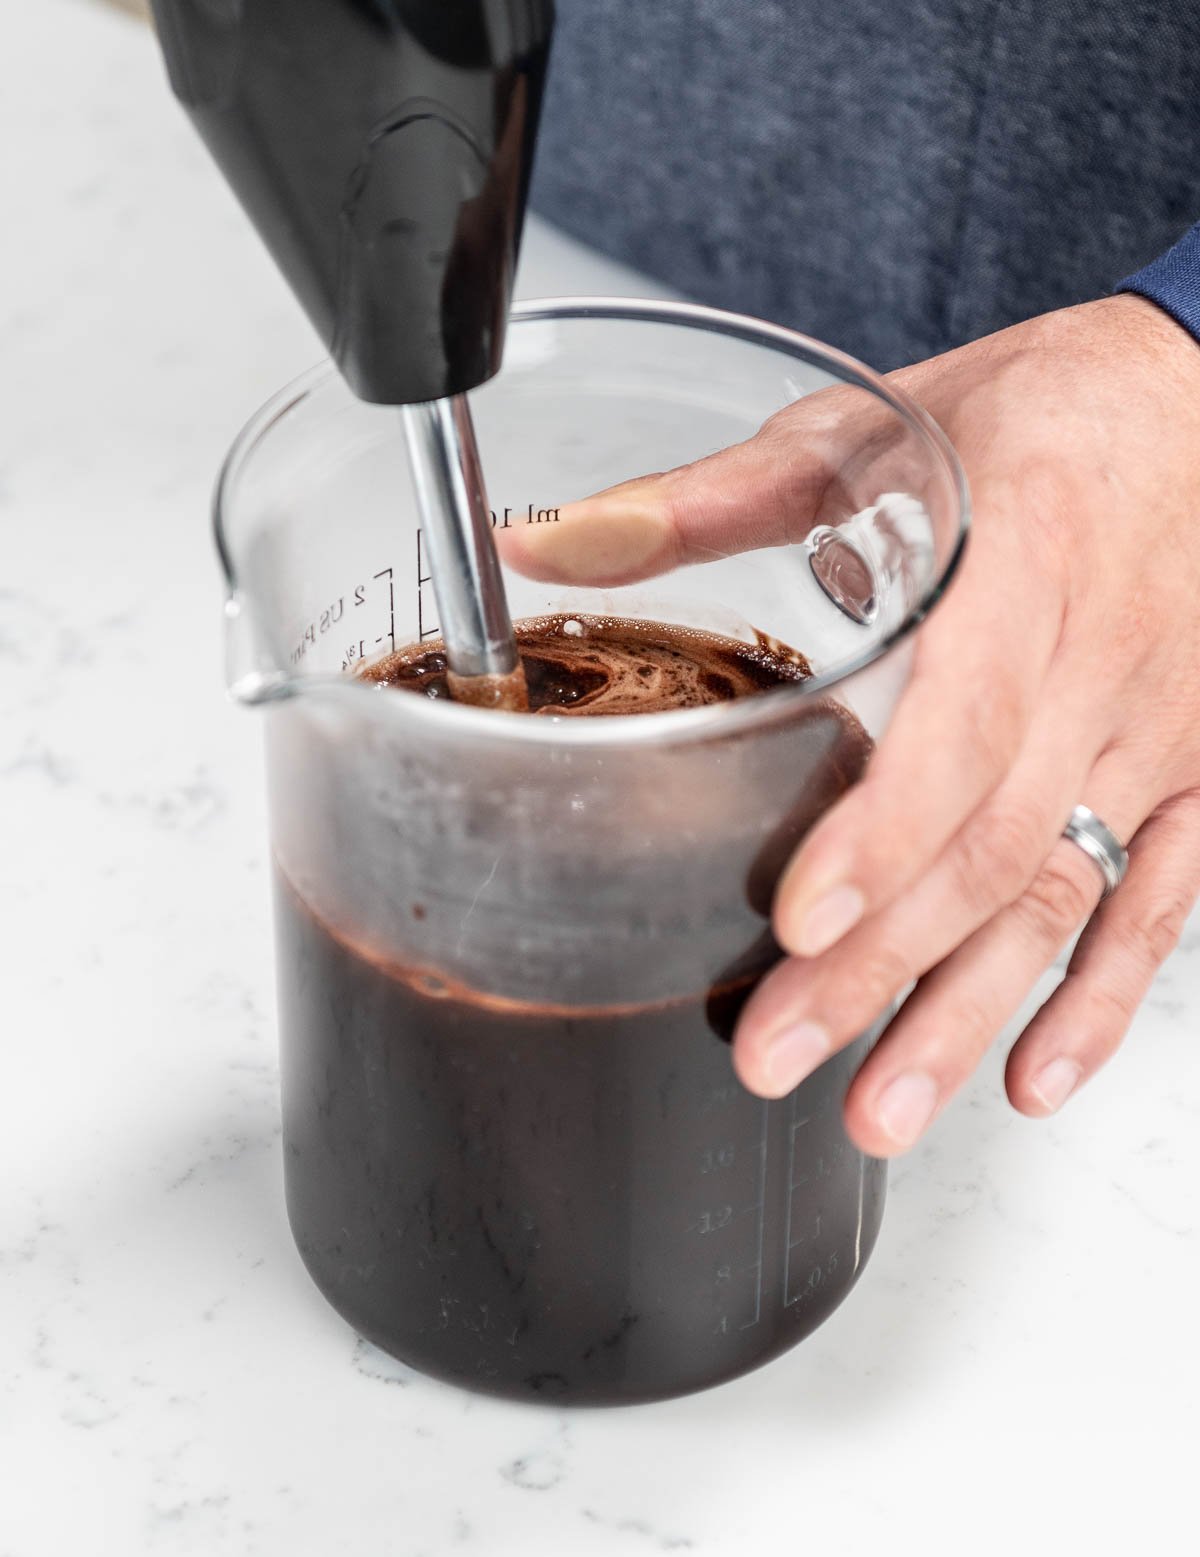
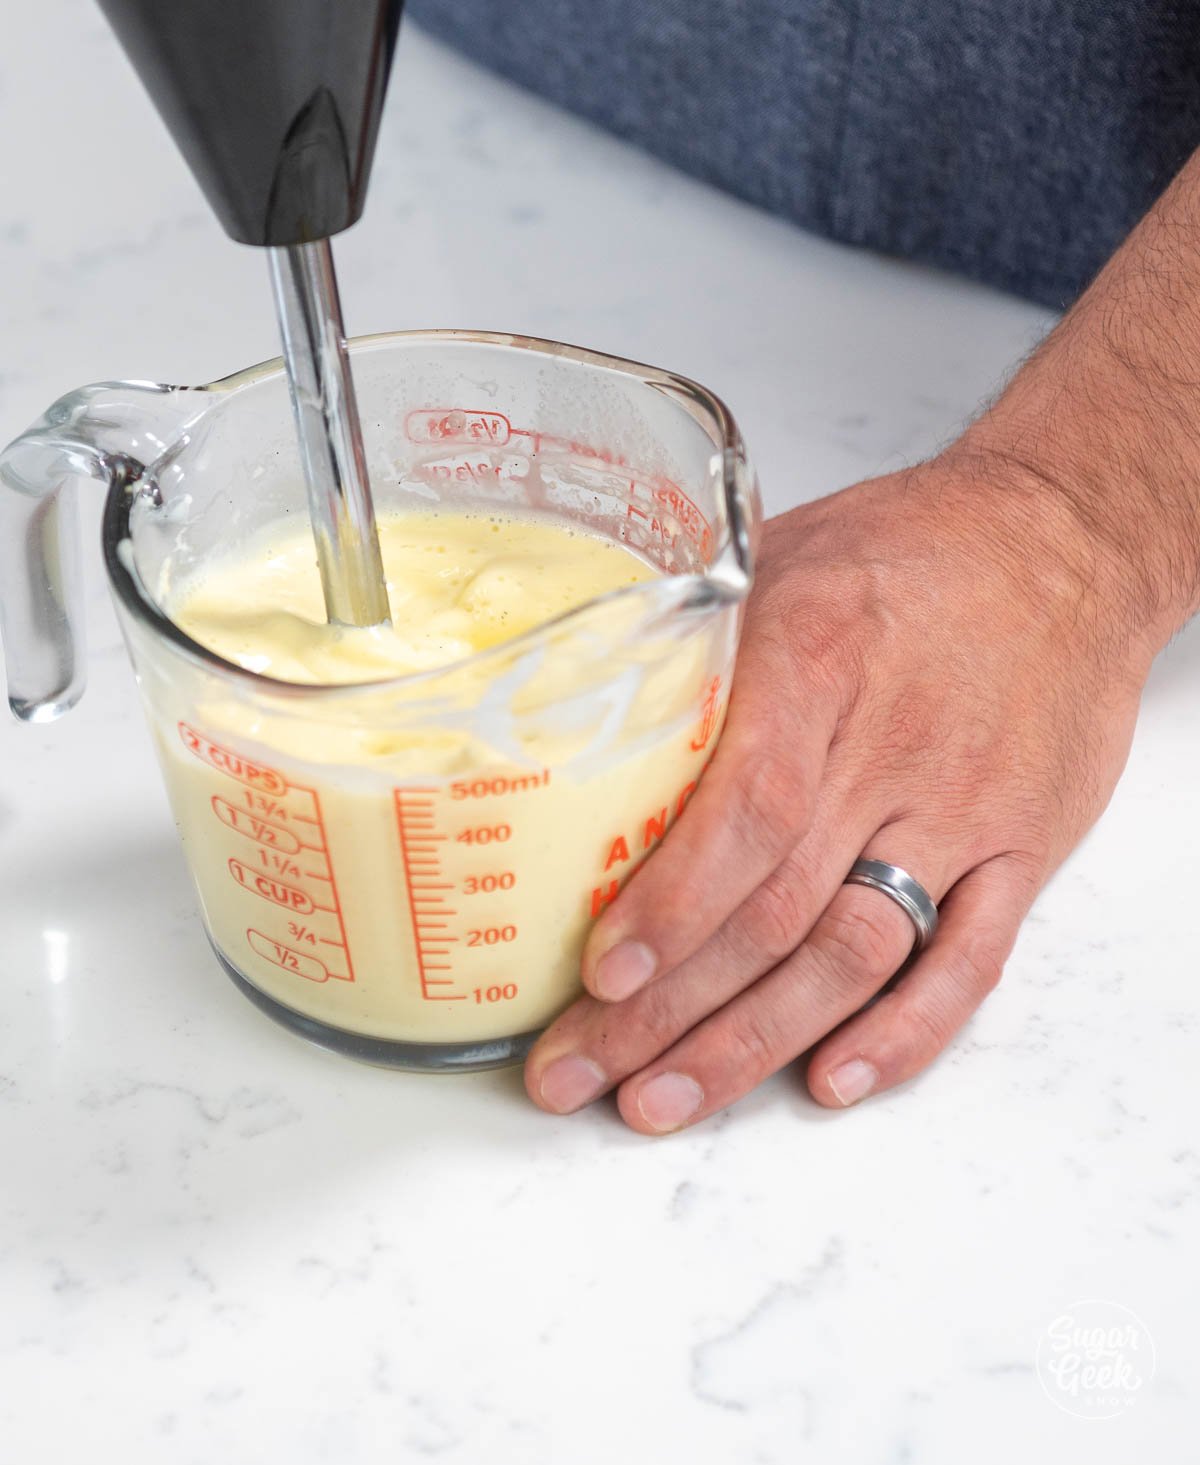
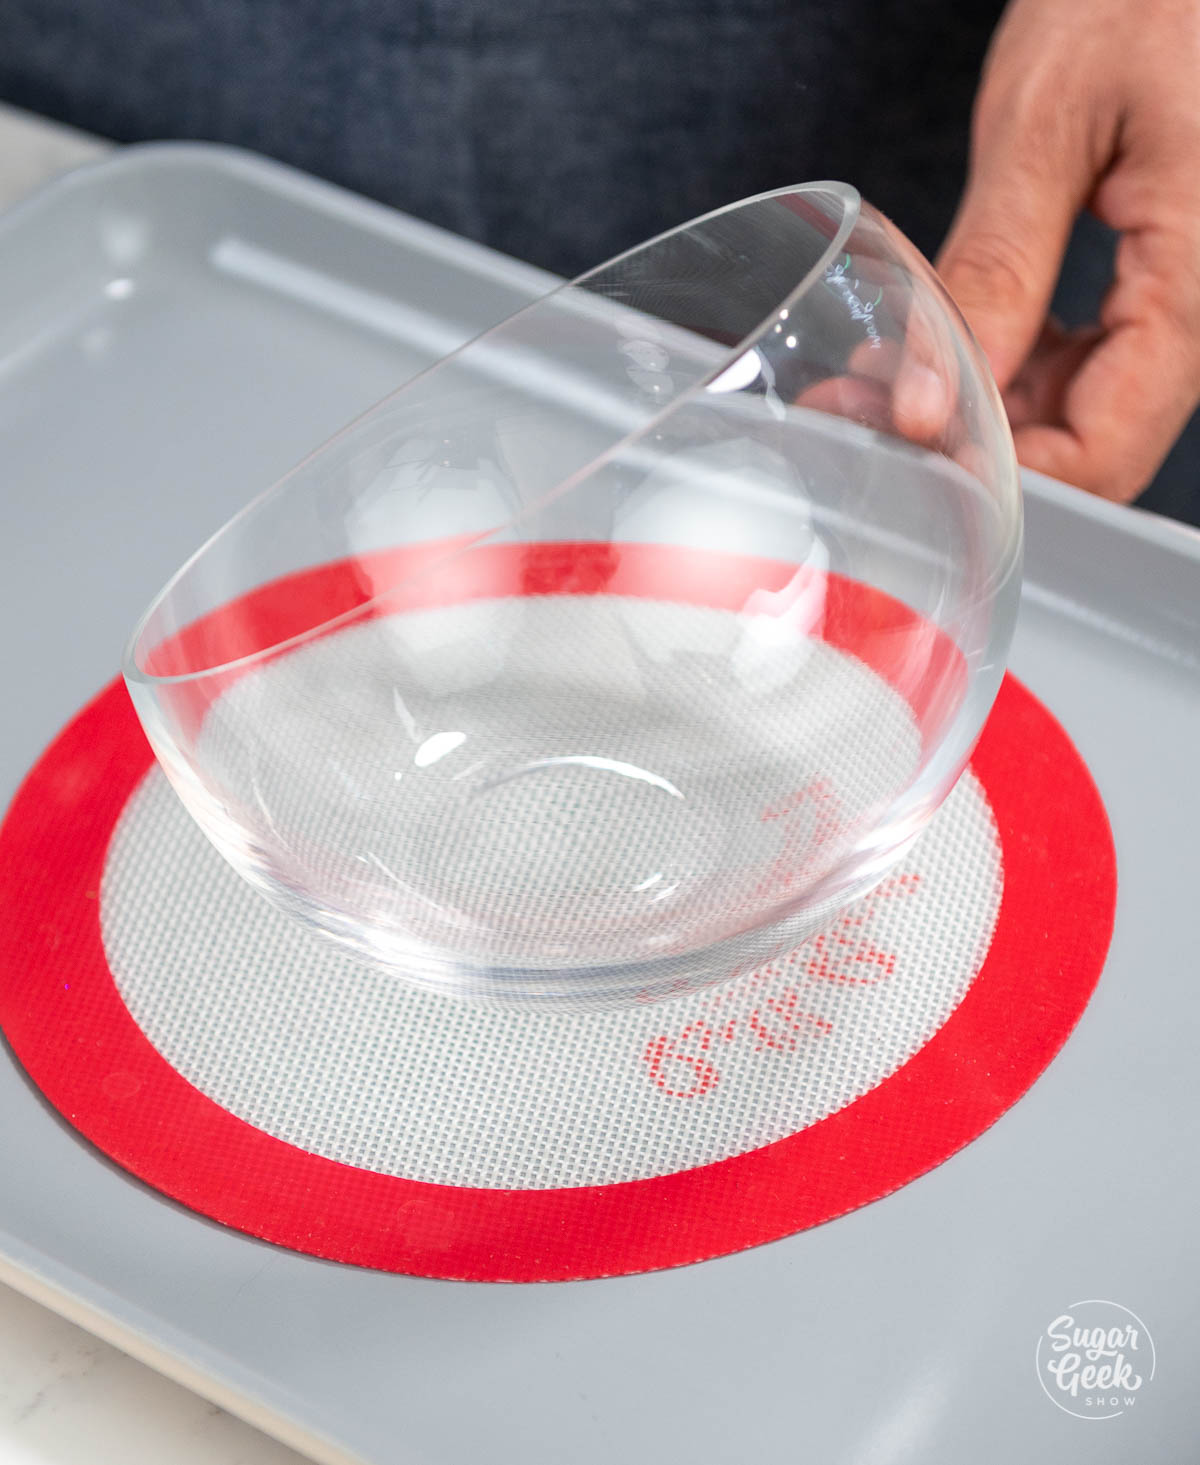
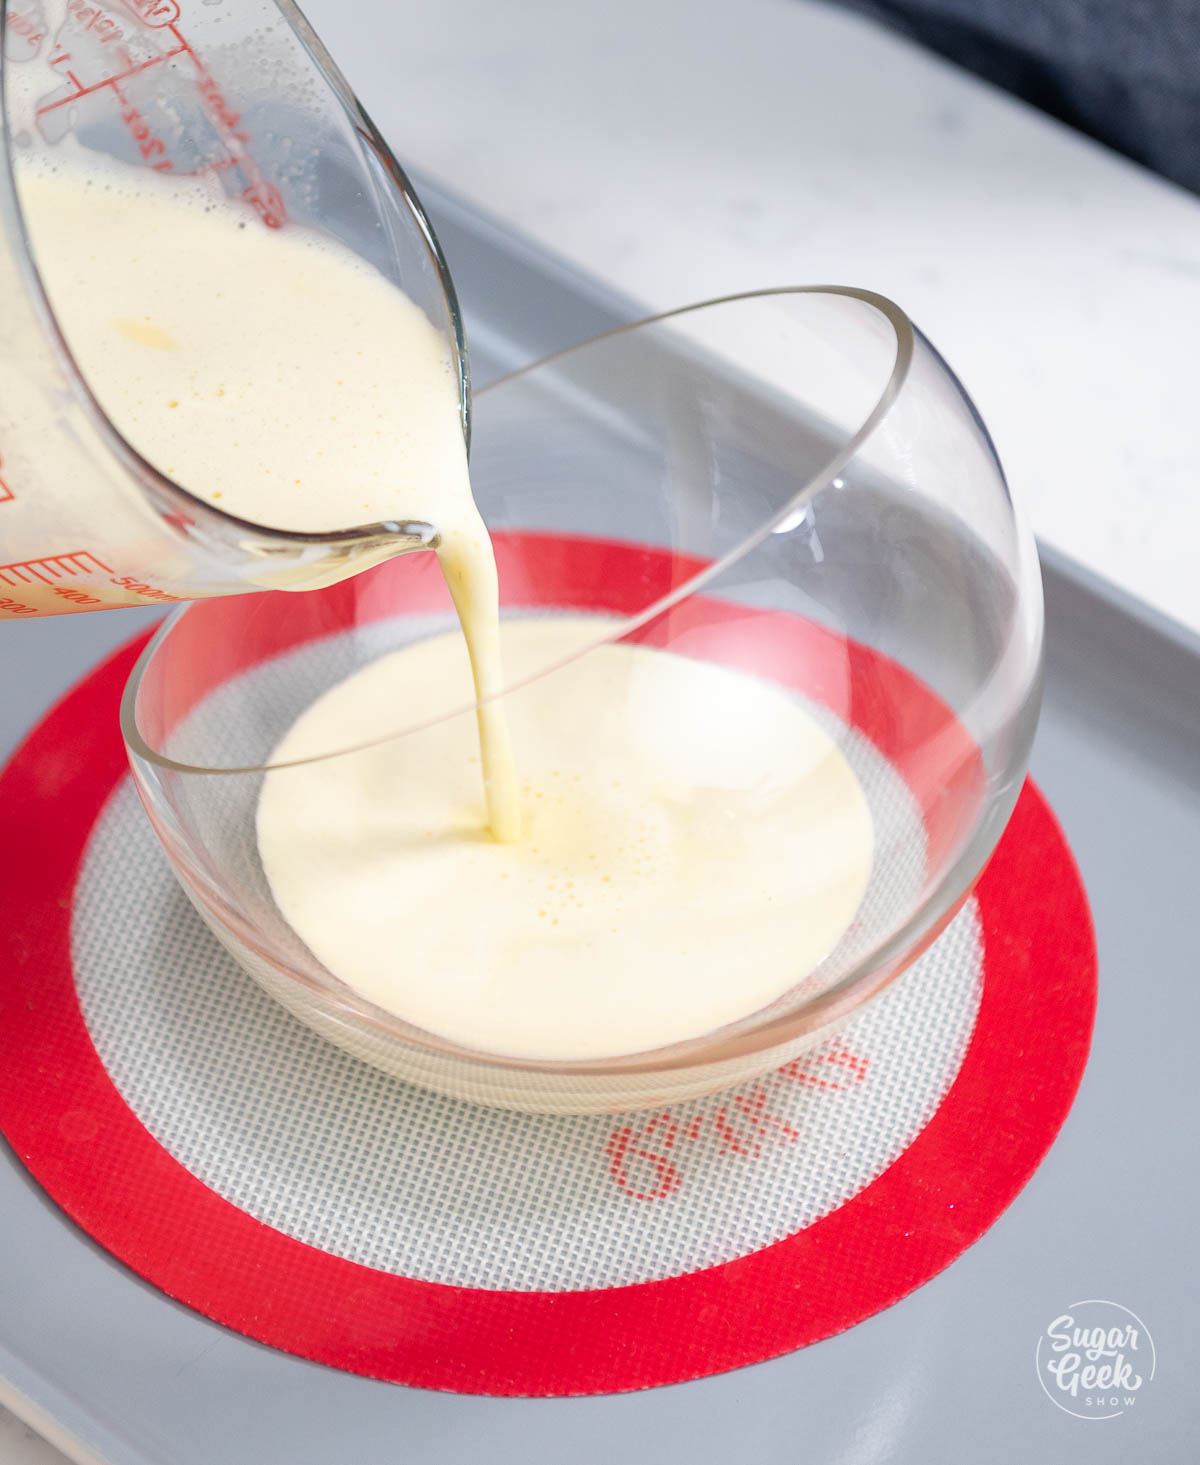
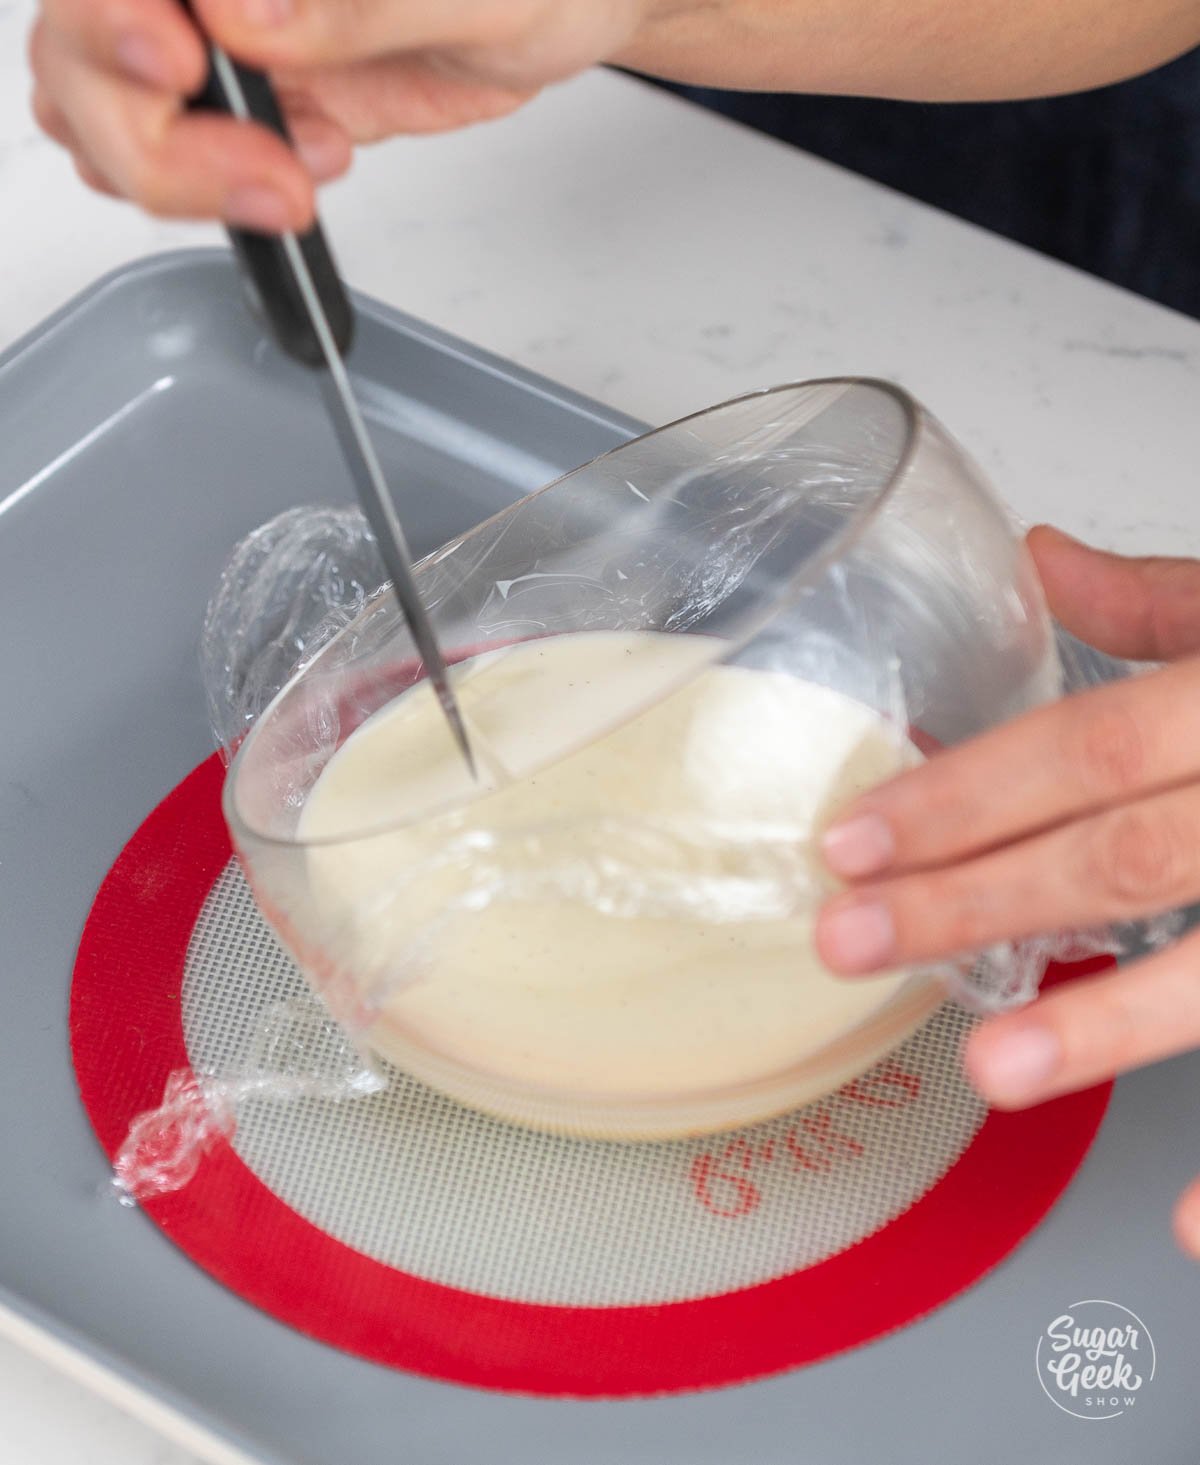
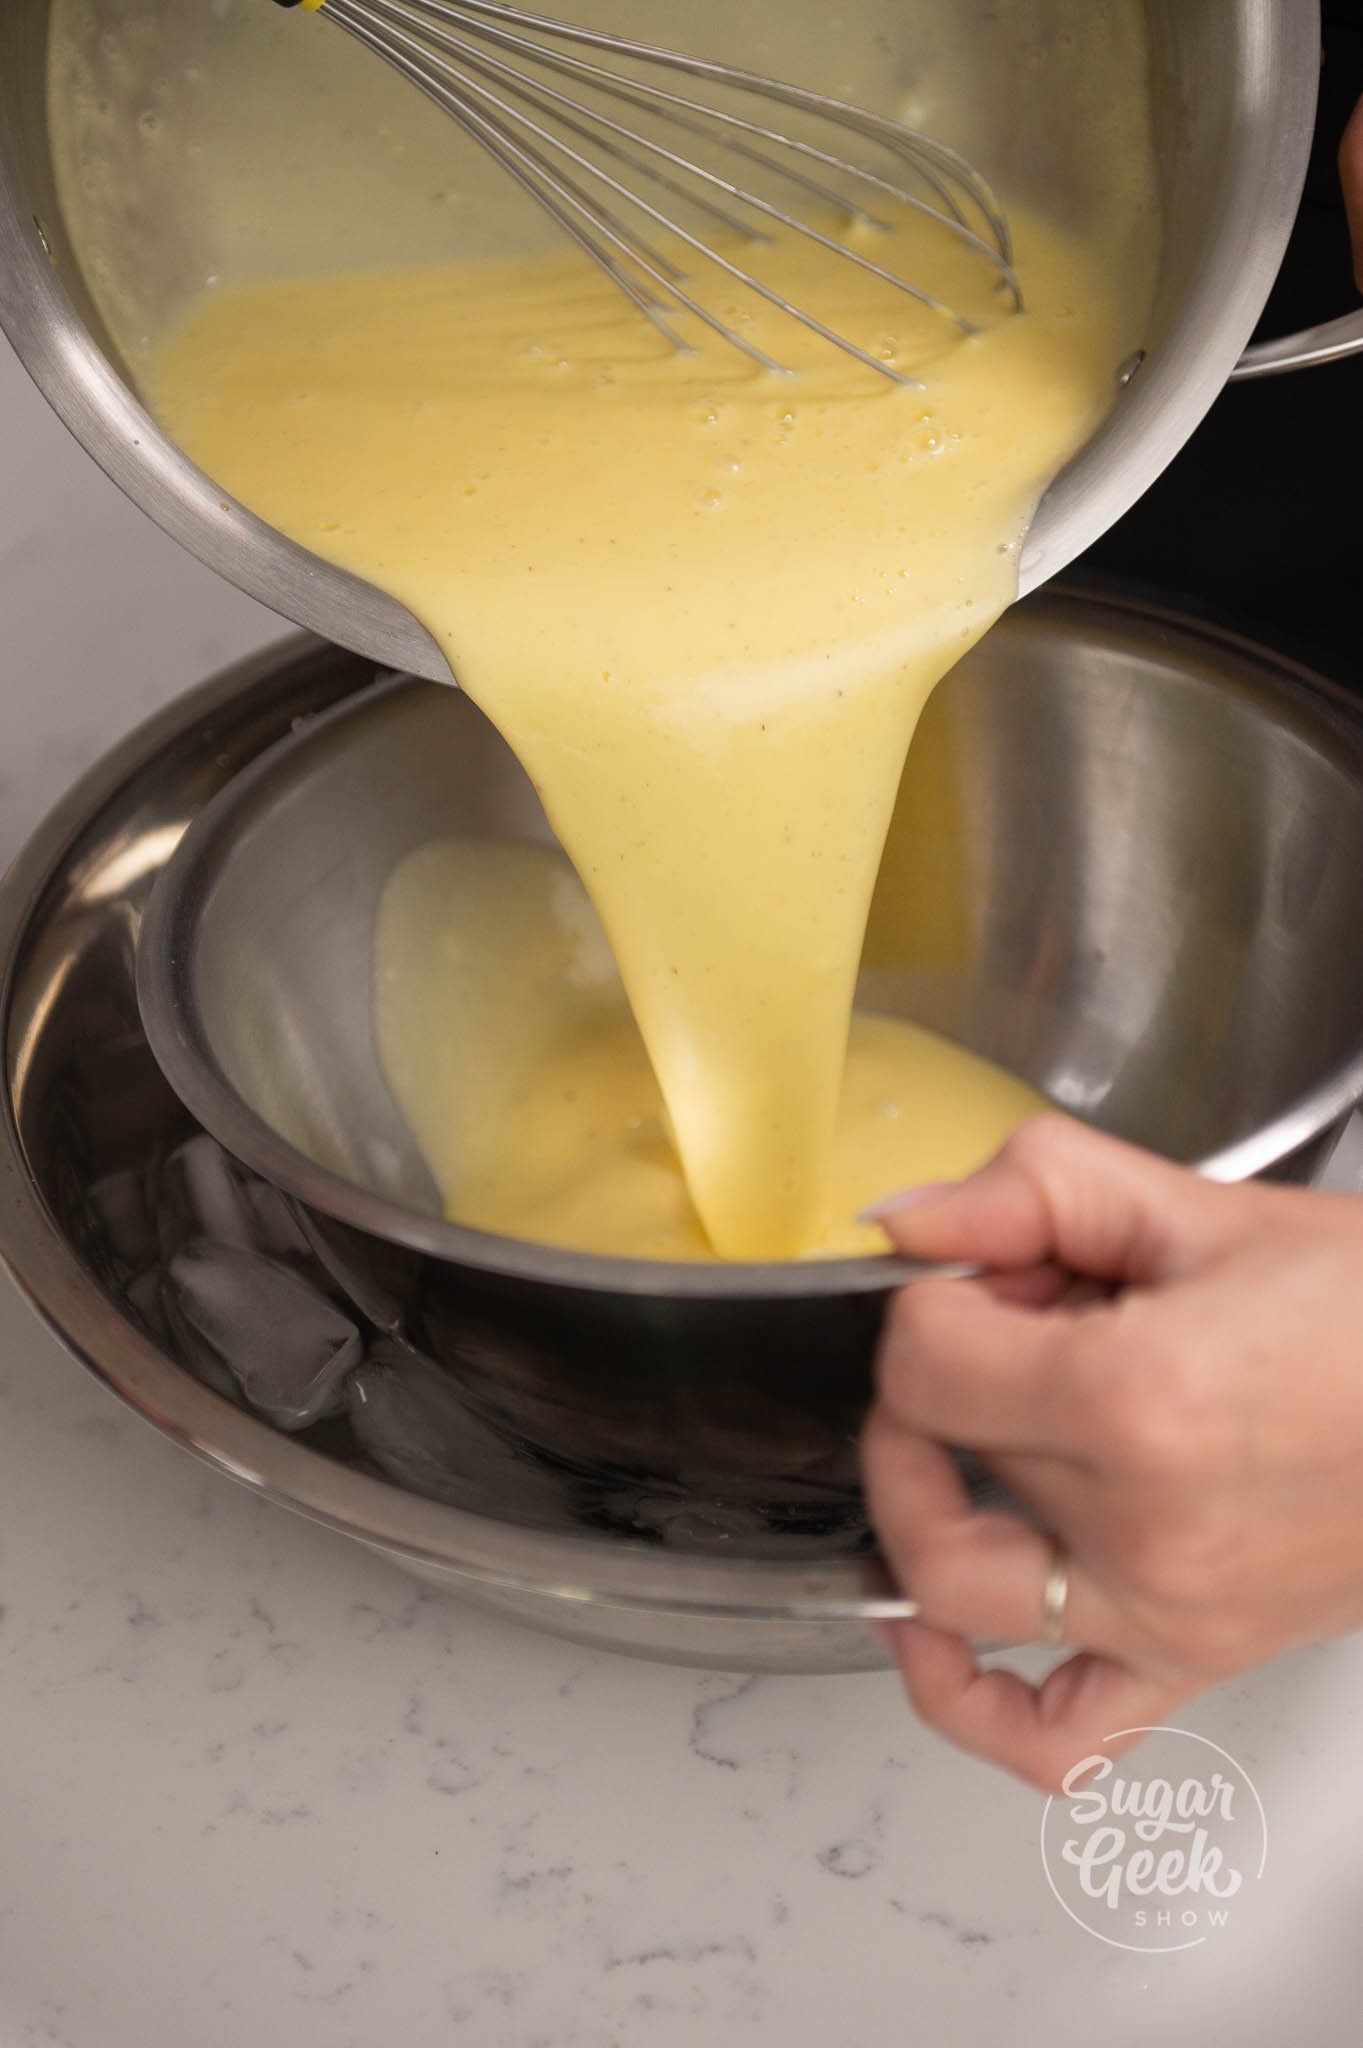
- OPTIONAL: Pour your mix into a separate bowl over ice to cool down the mix quickly to 20ºC-25ºC (Around 70ºC).
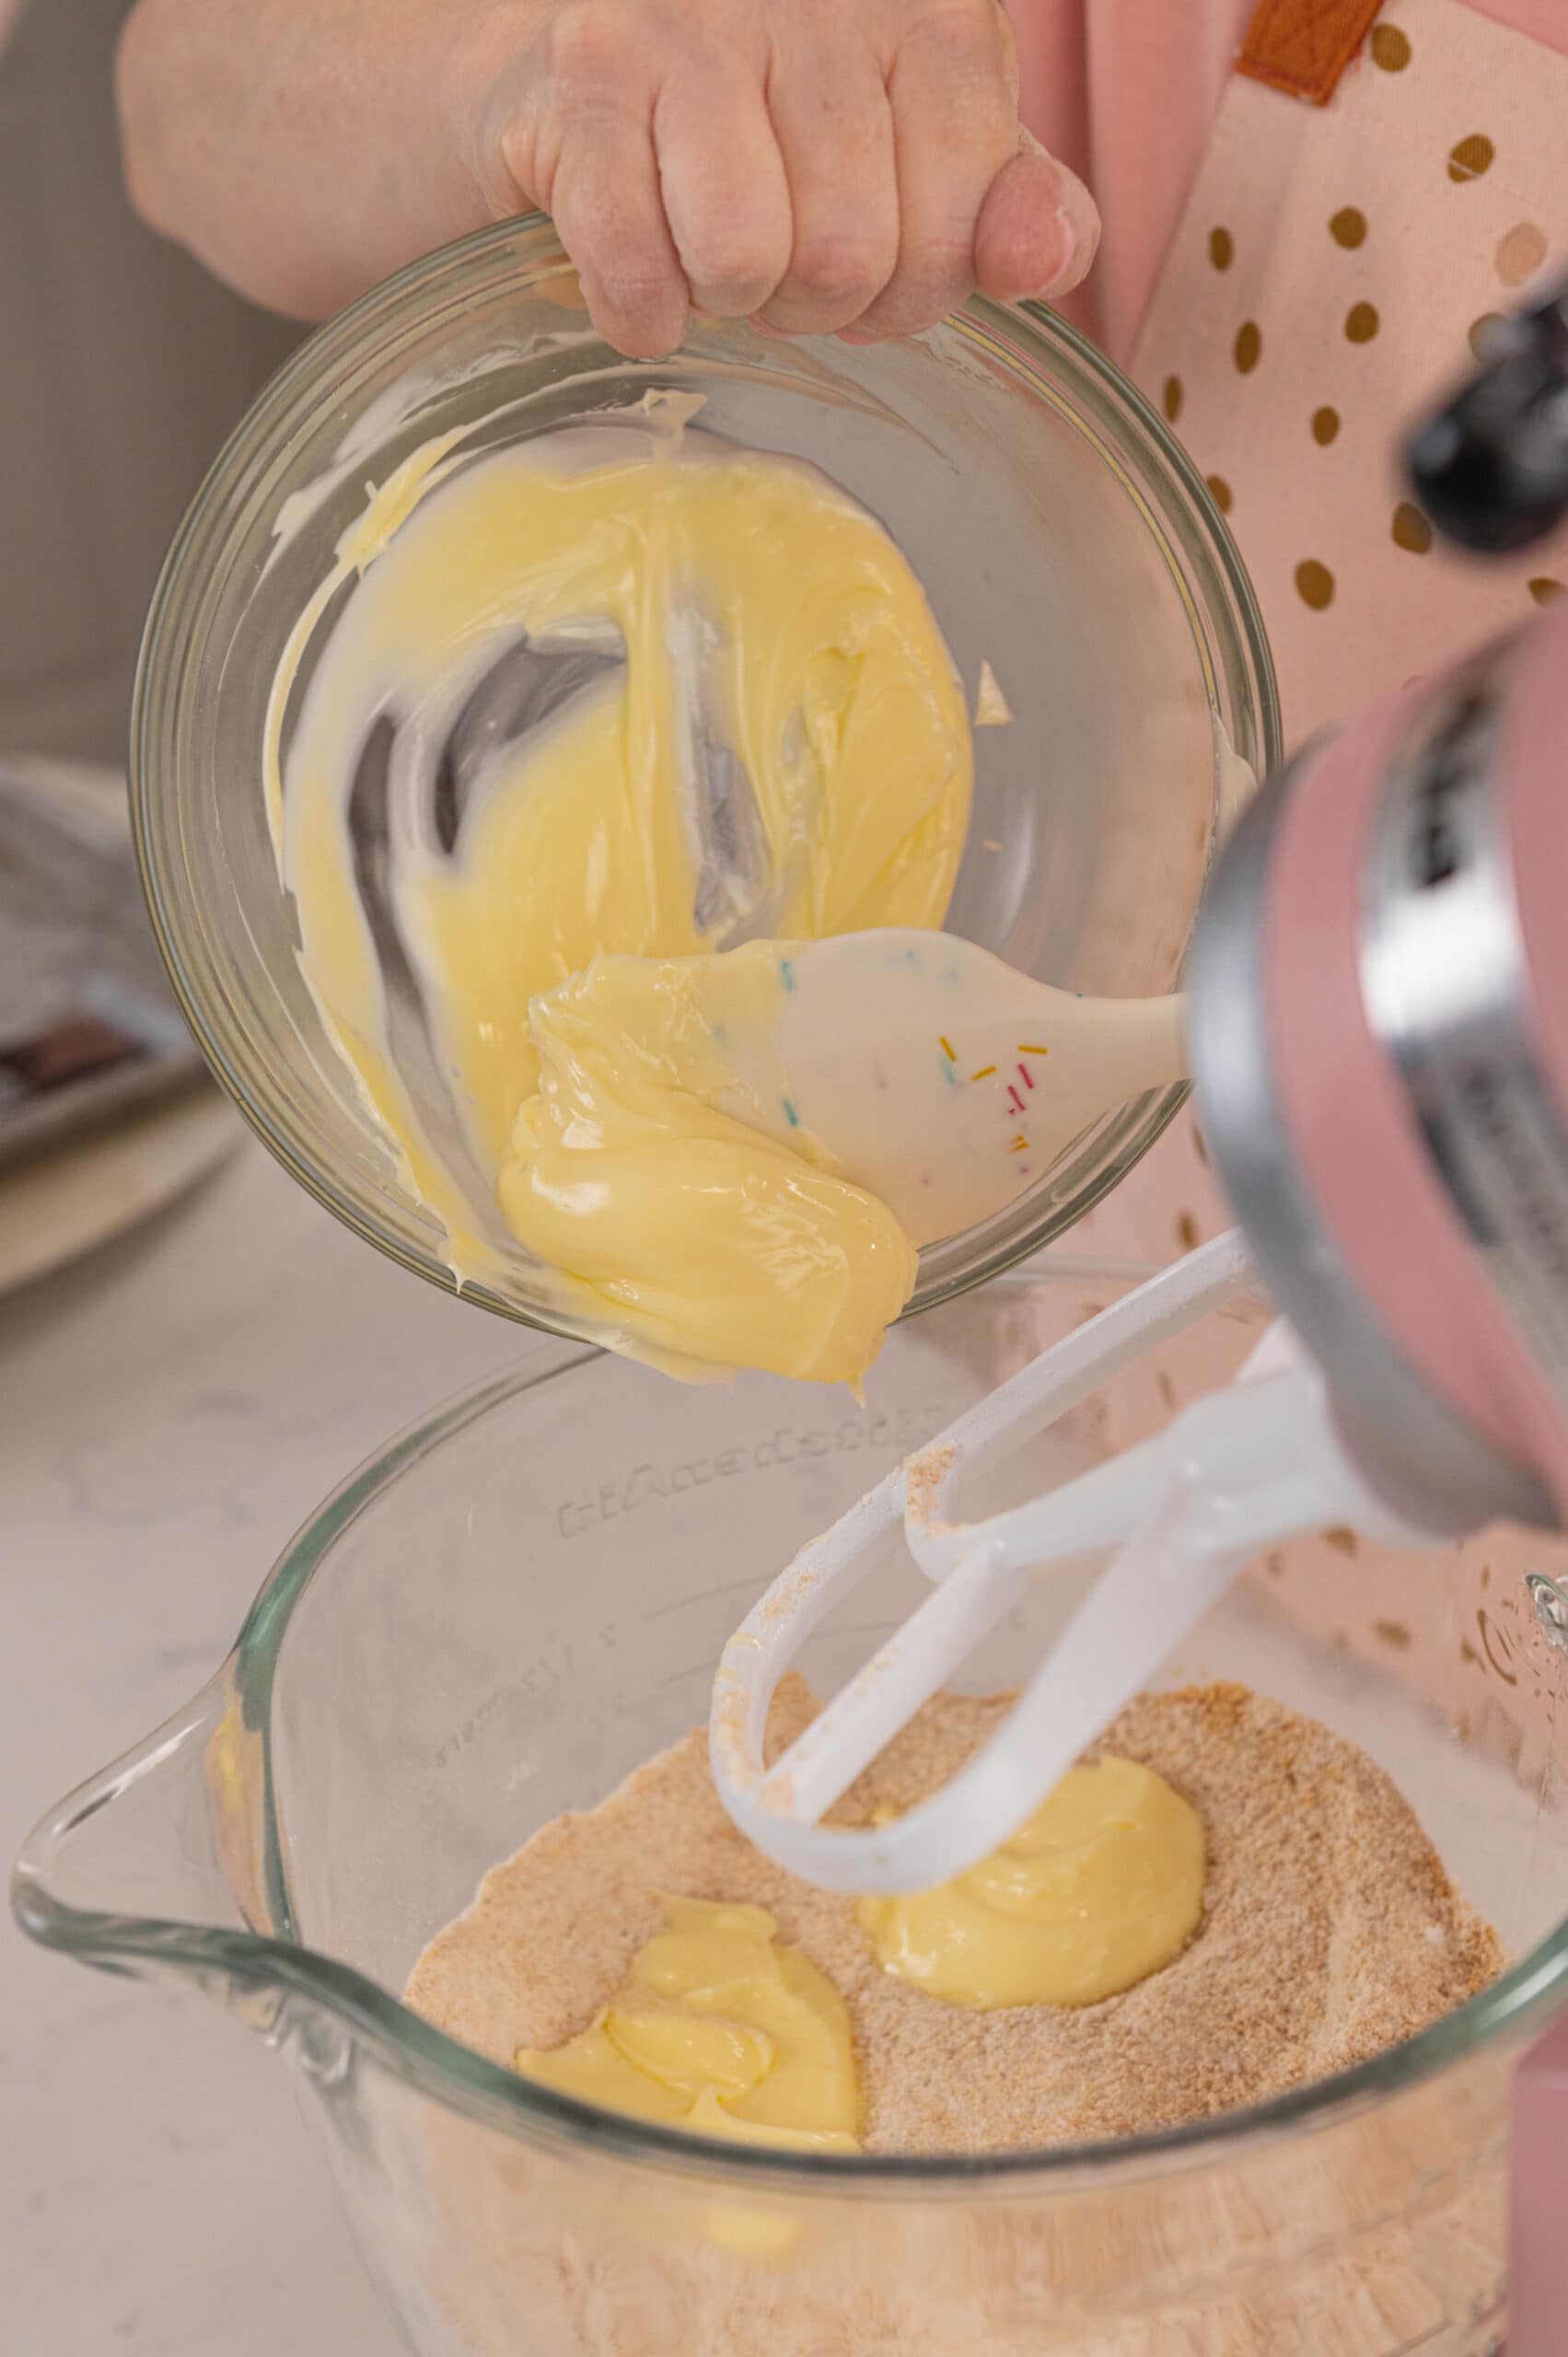
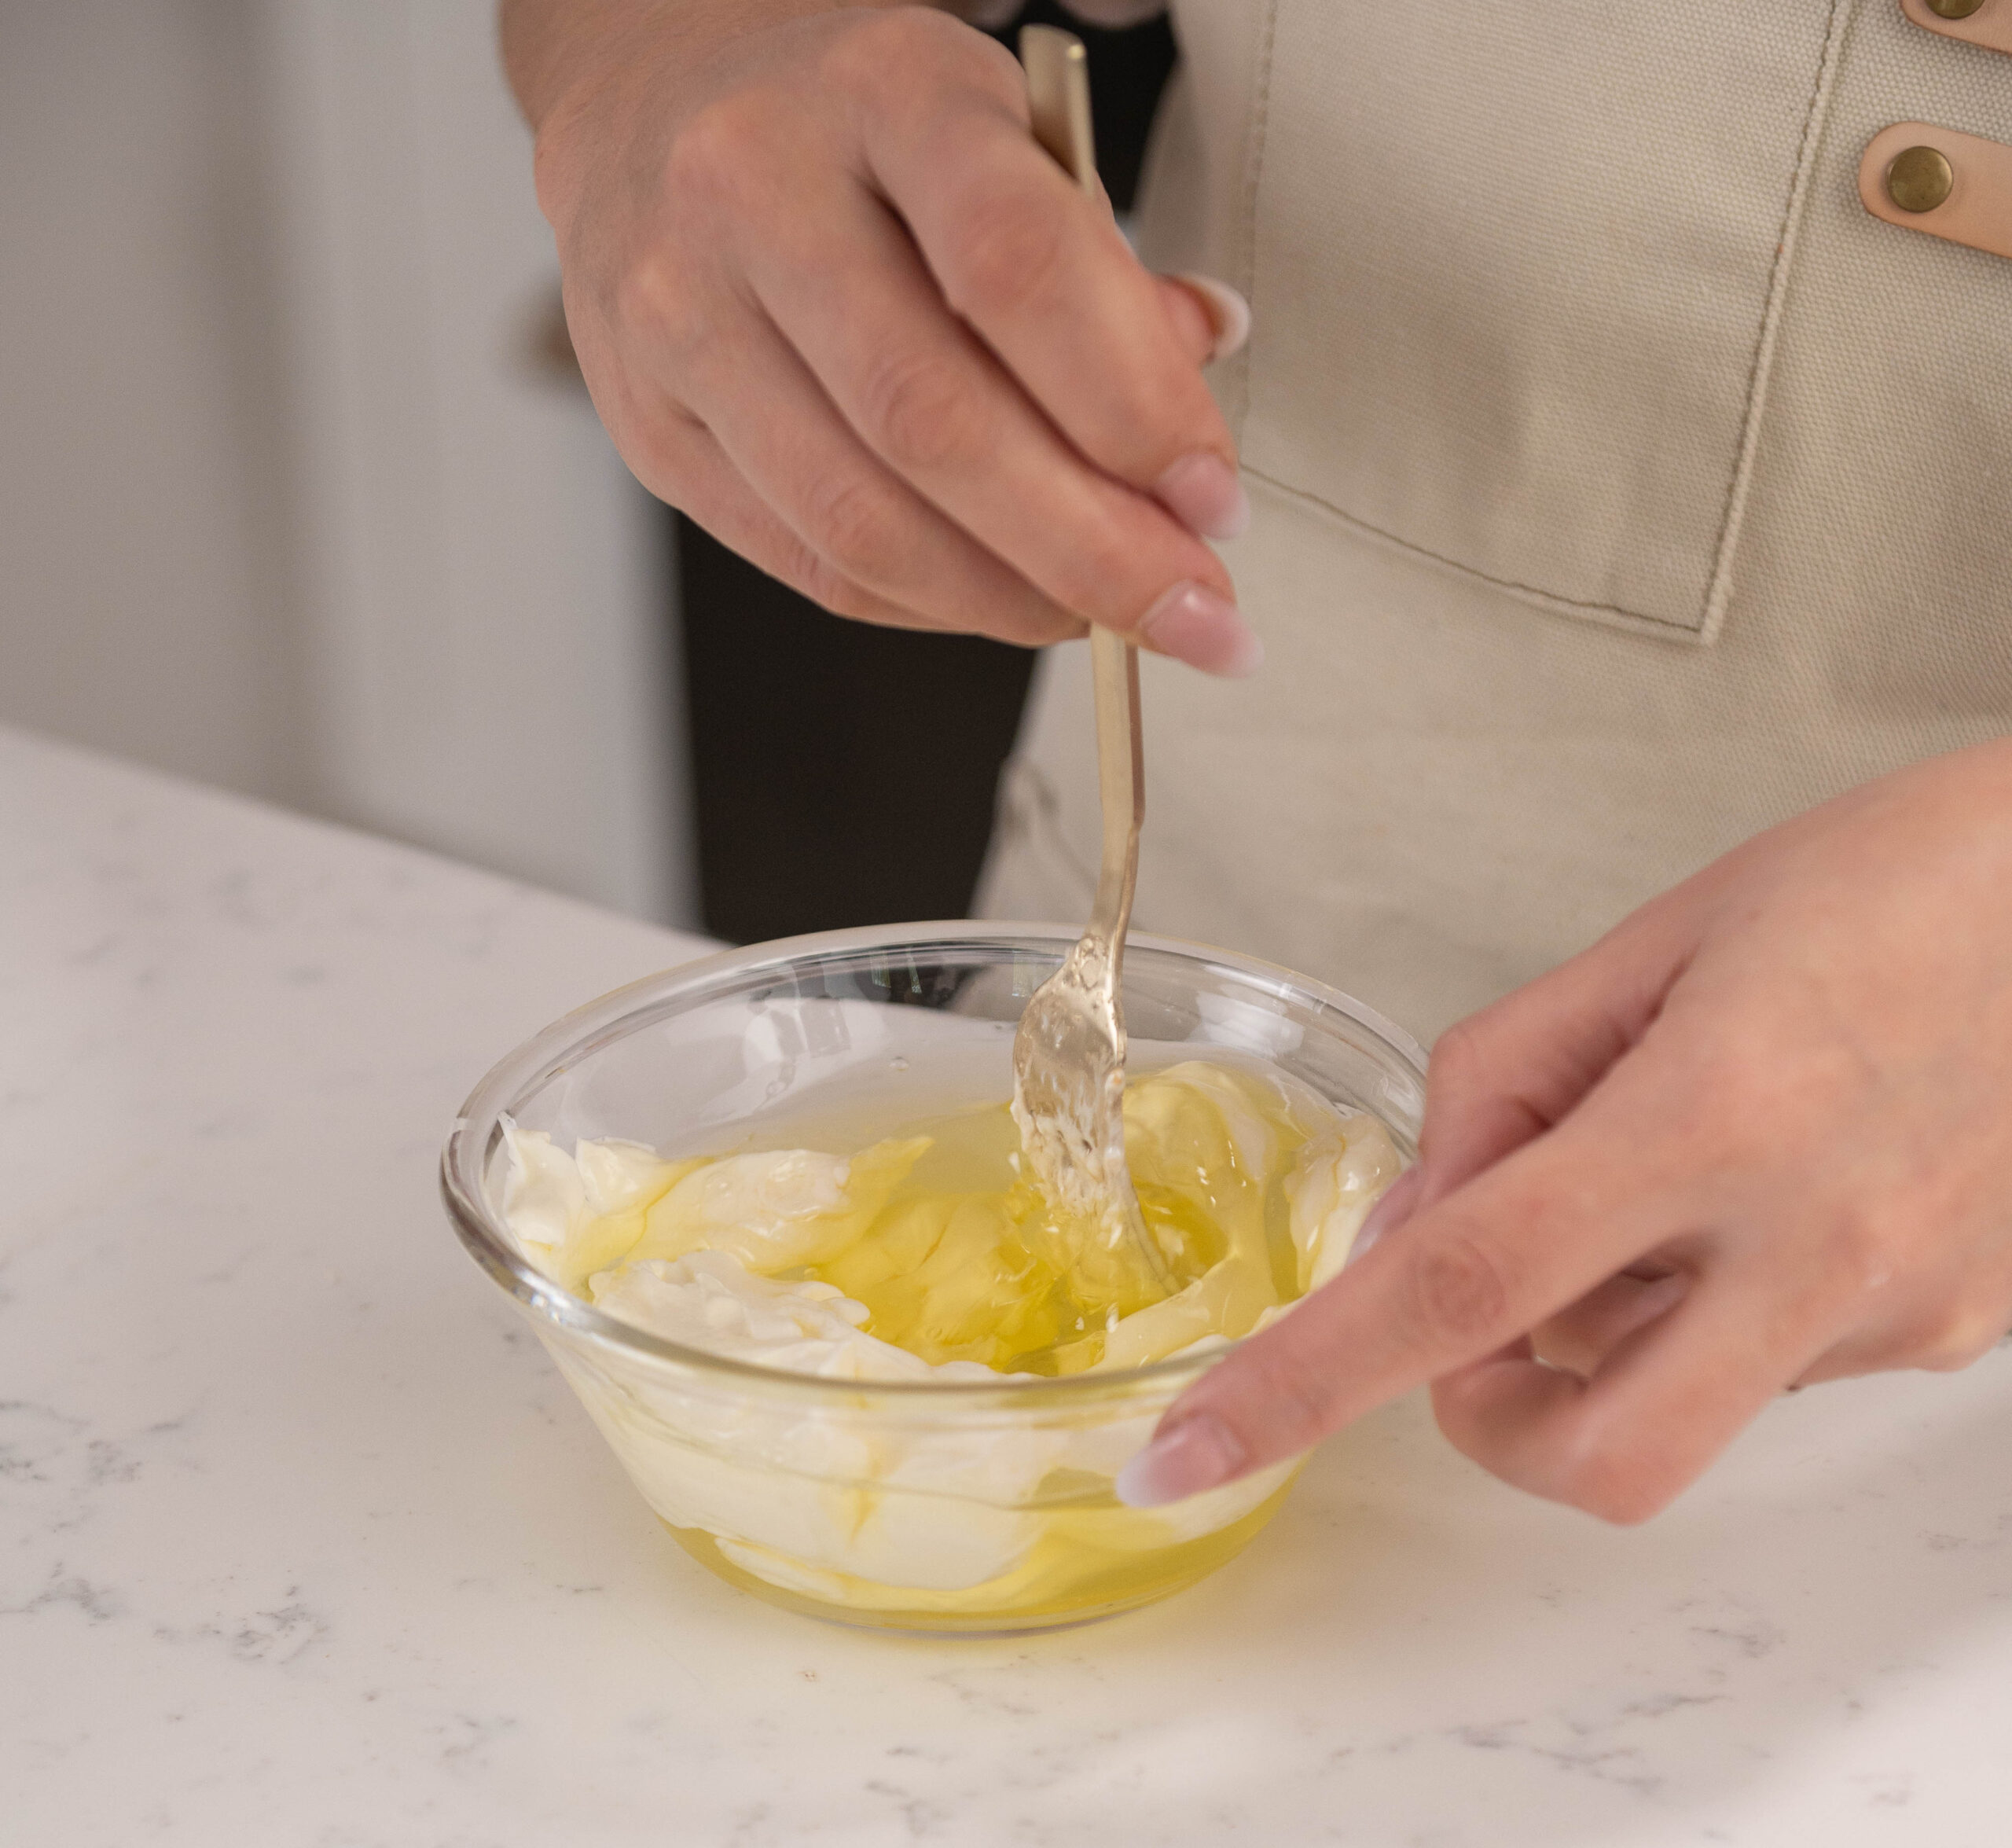
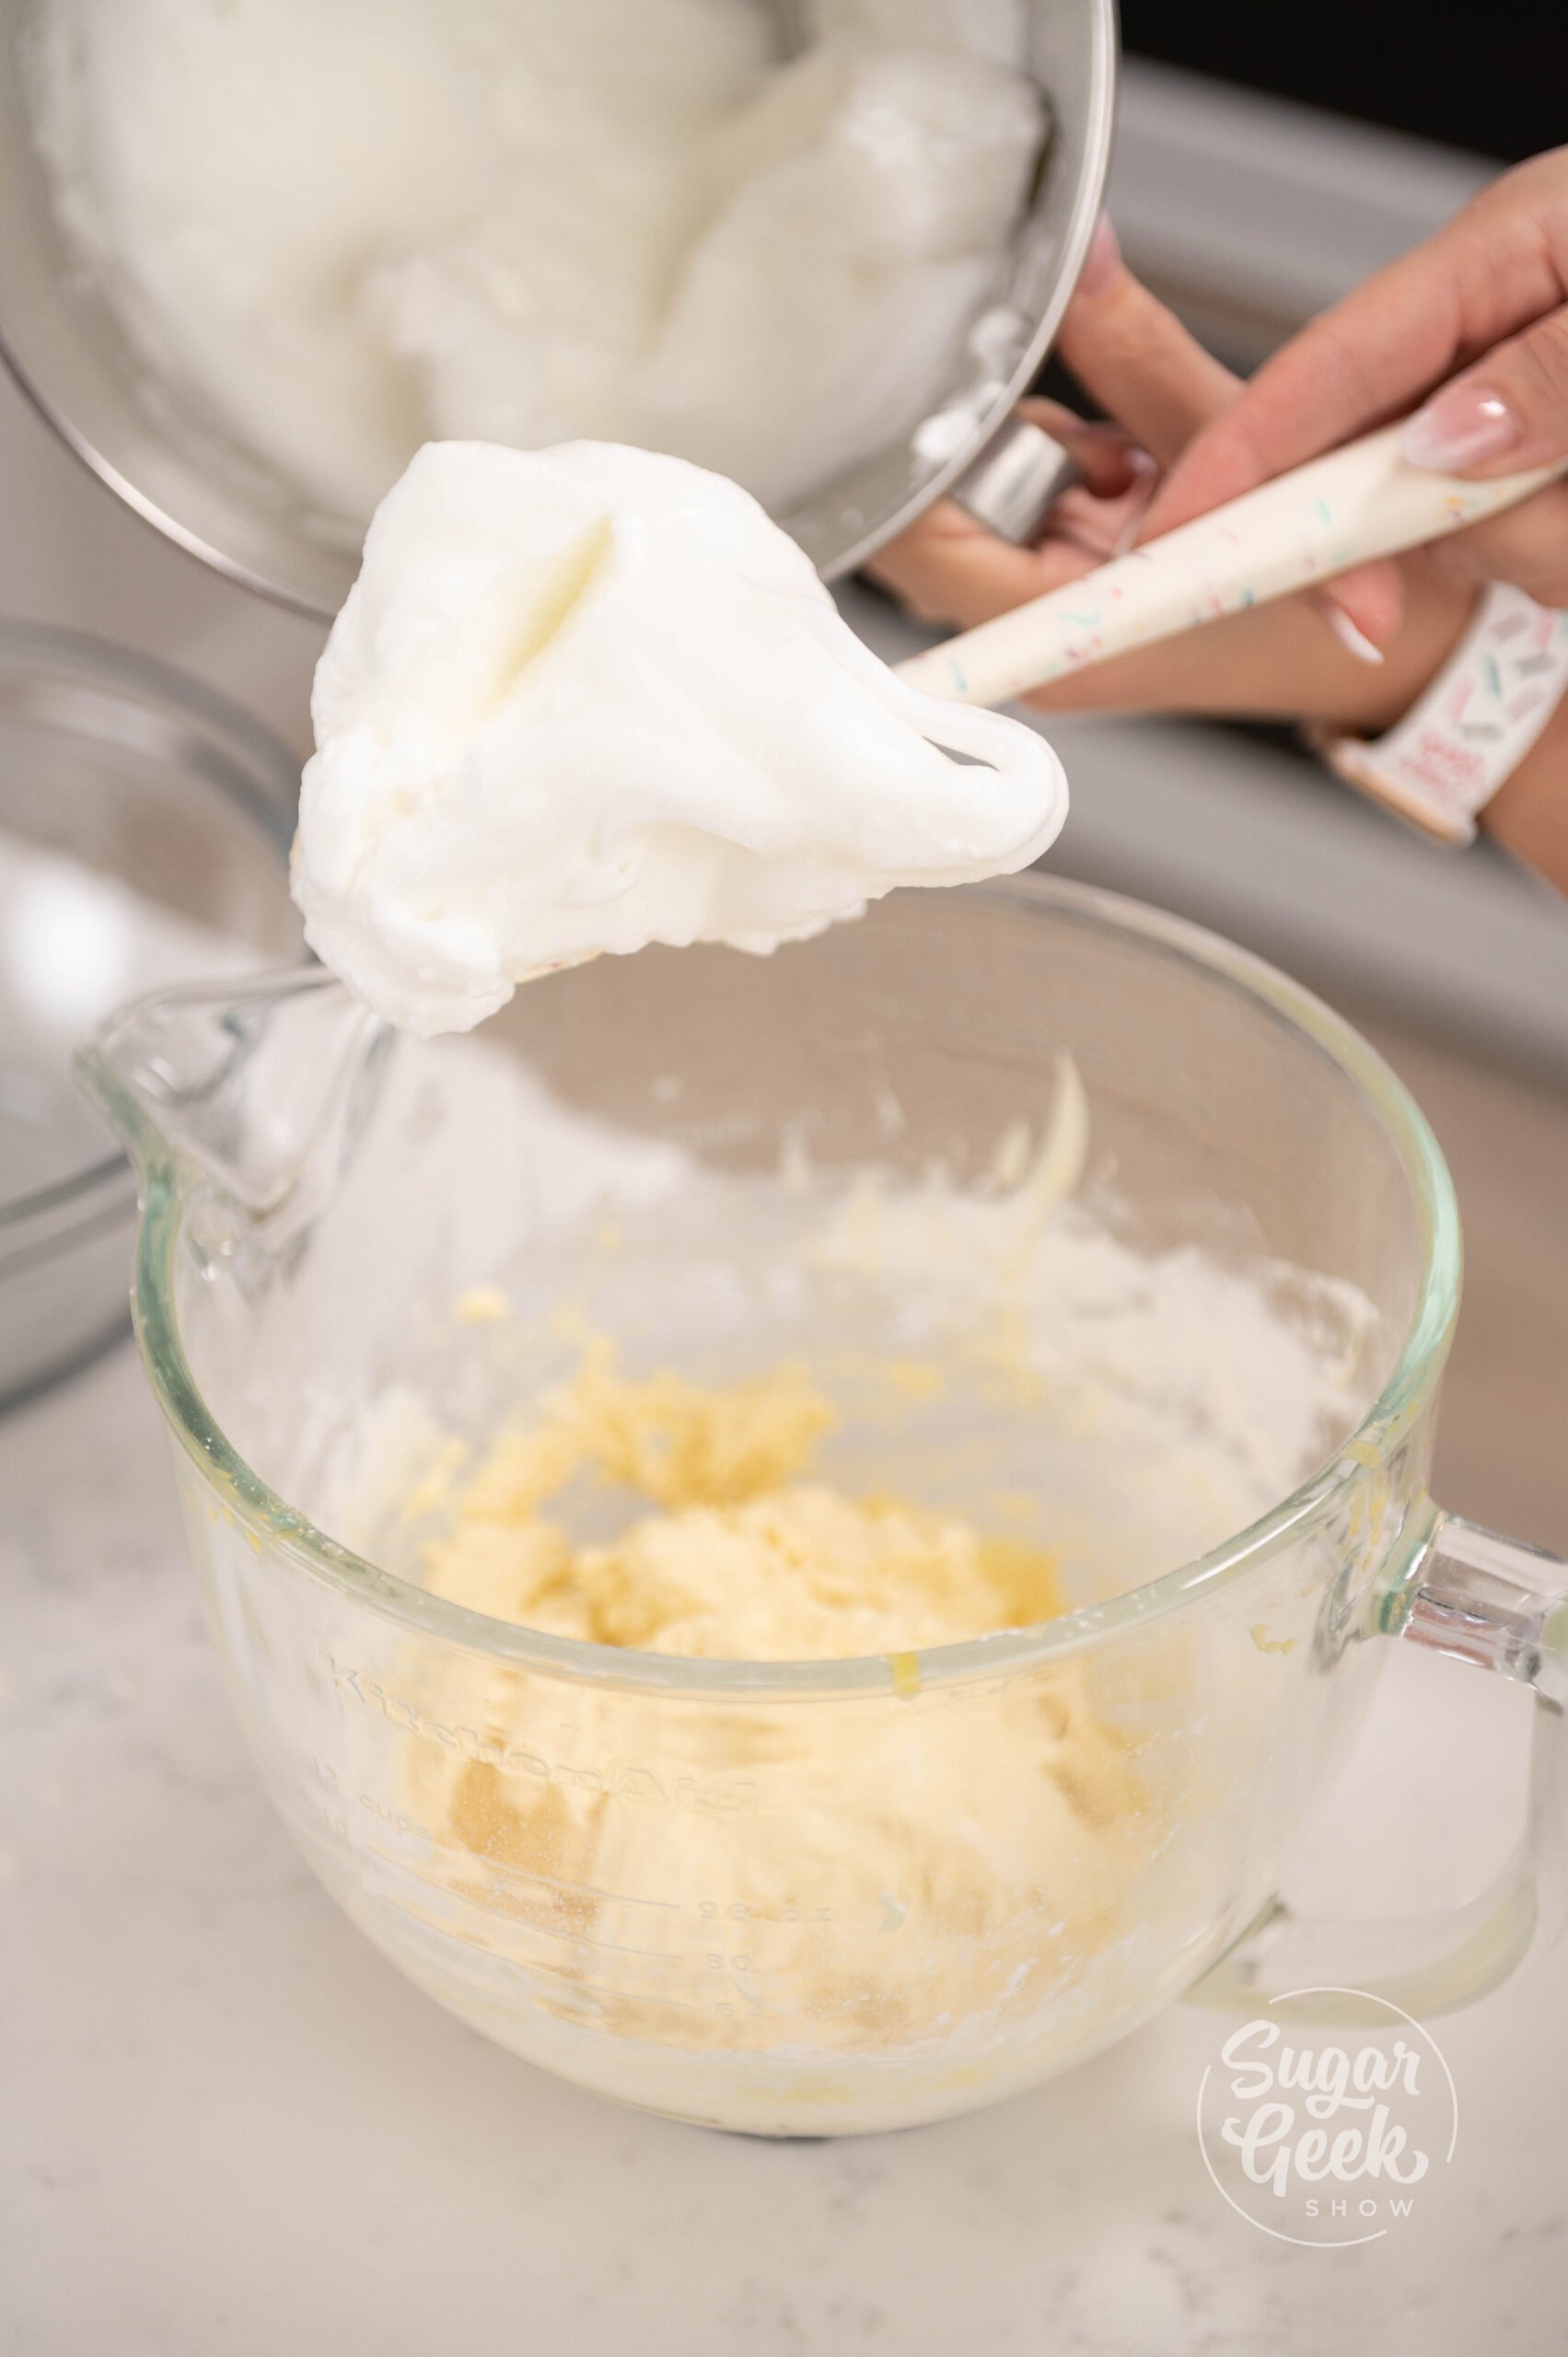
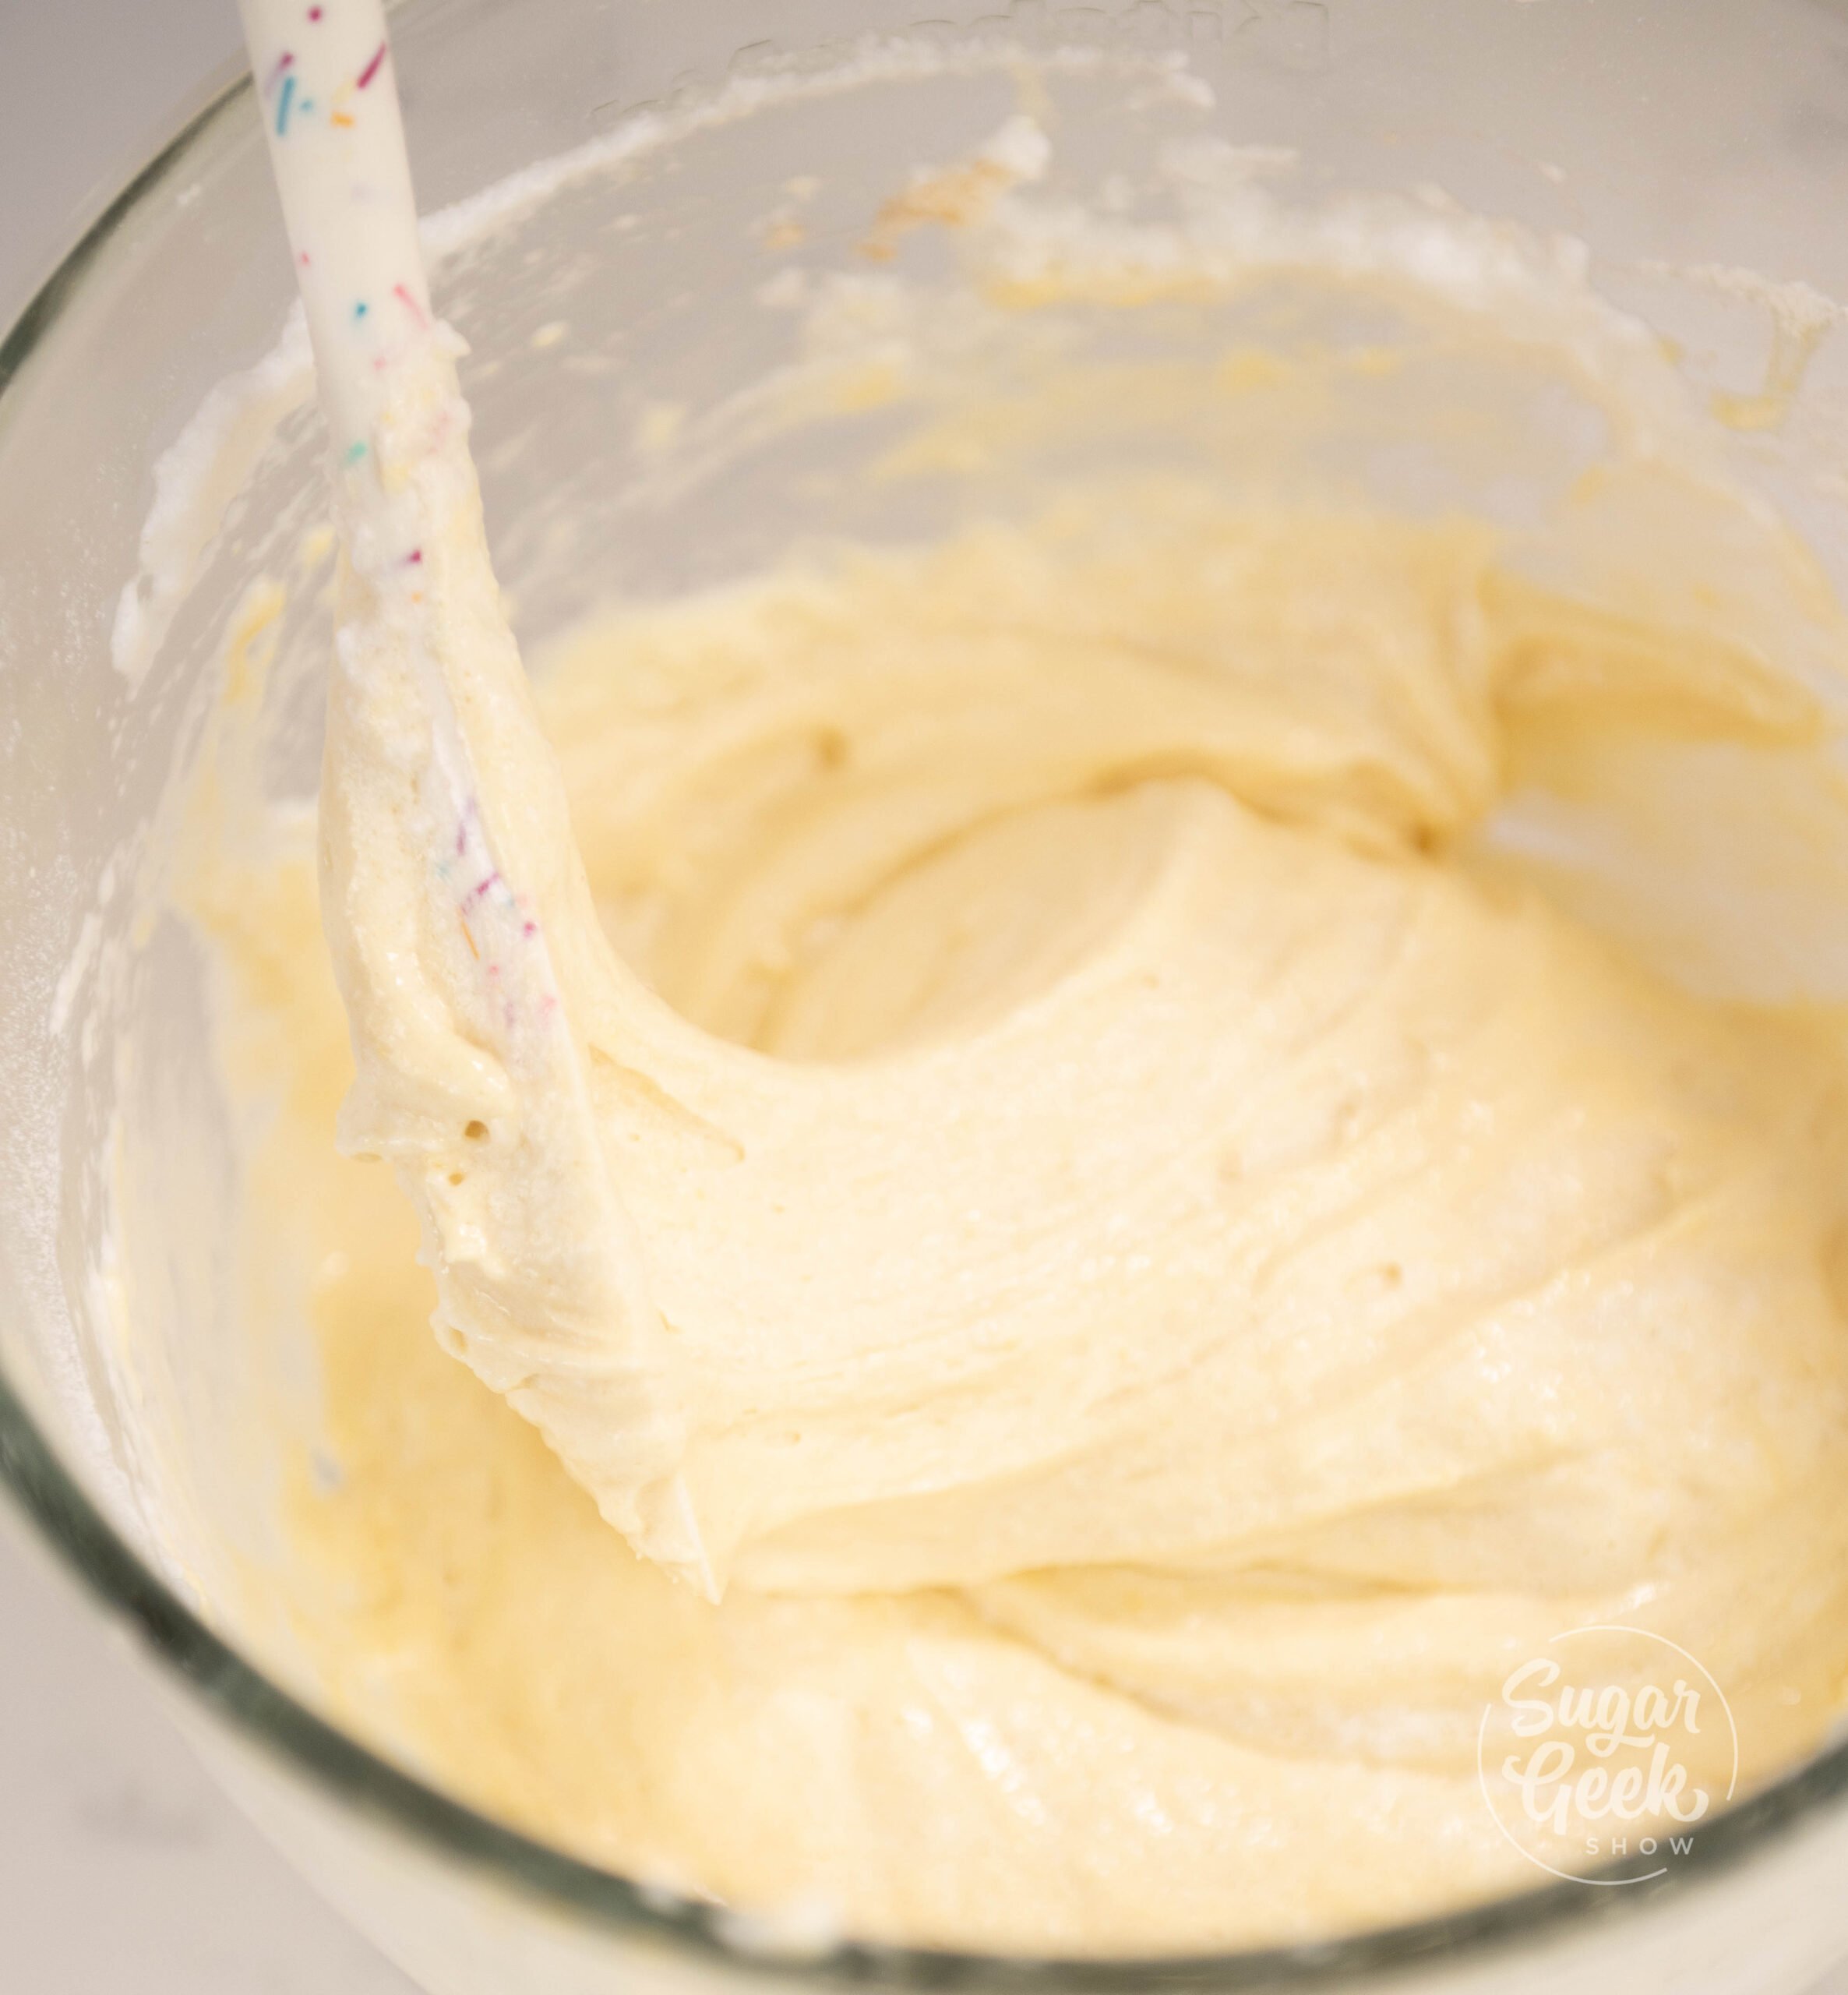
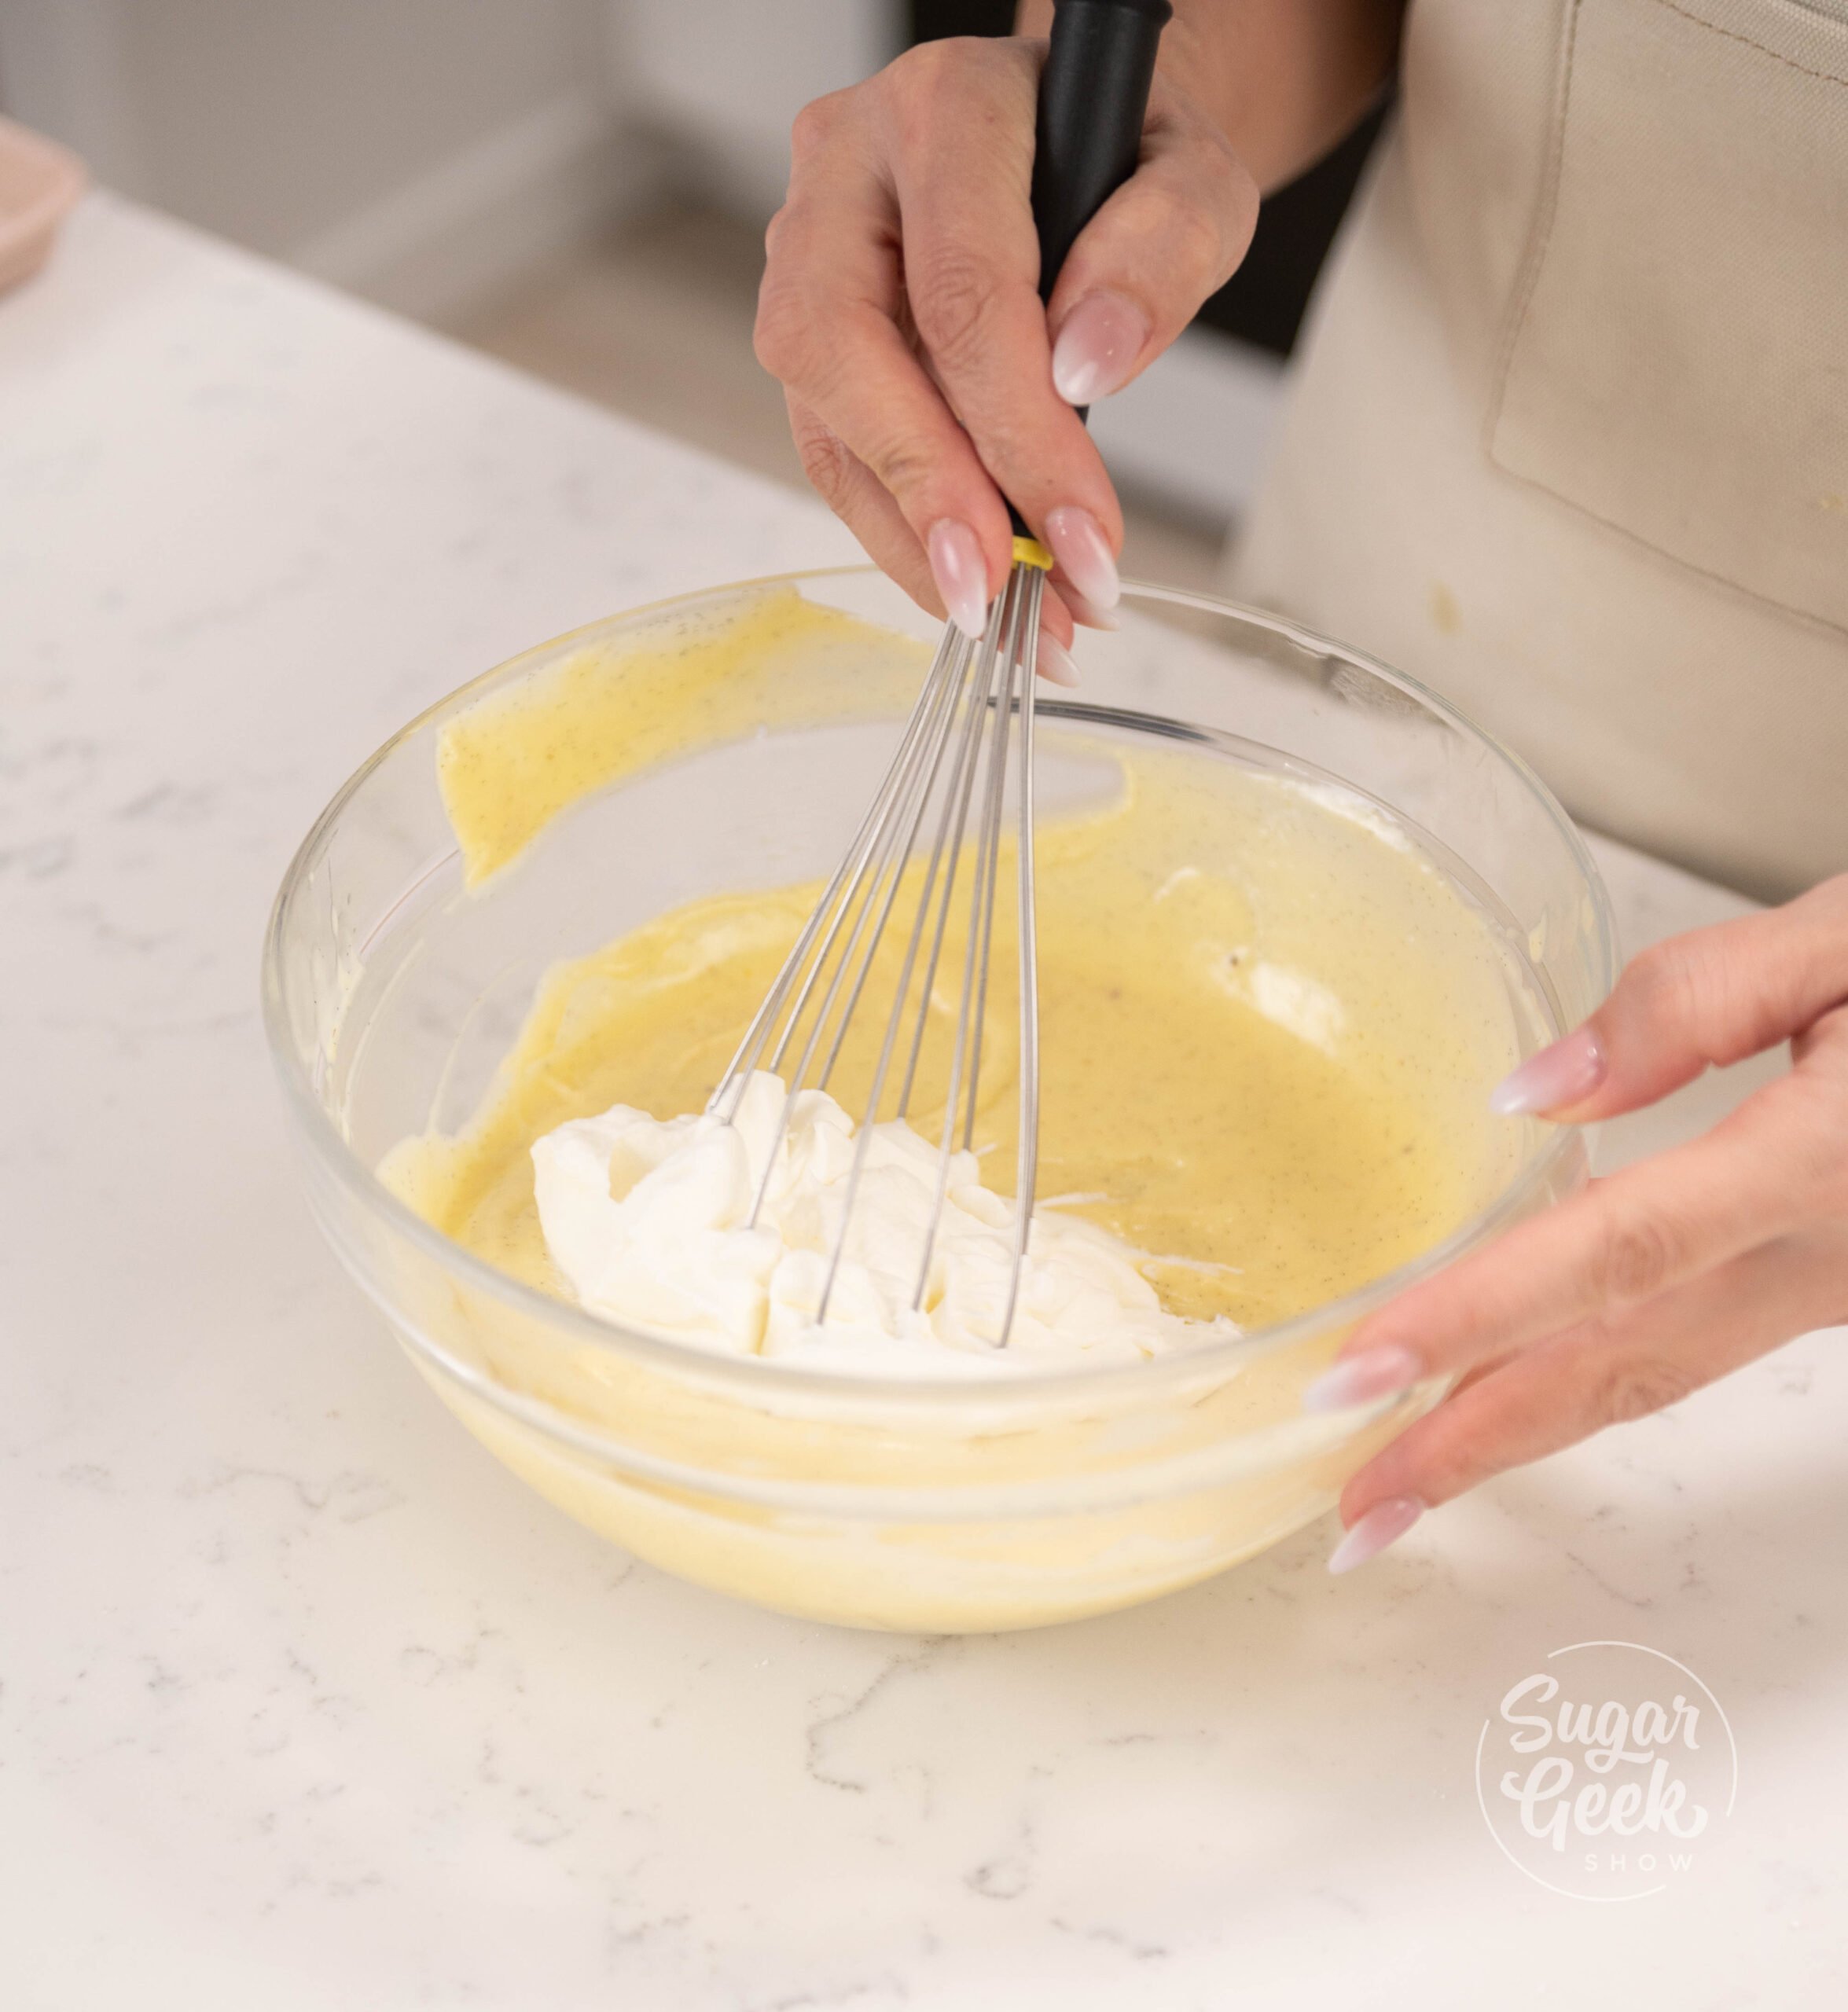
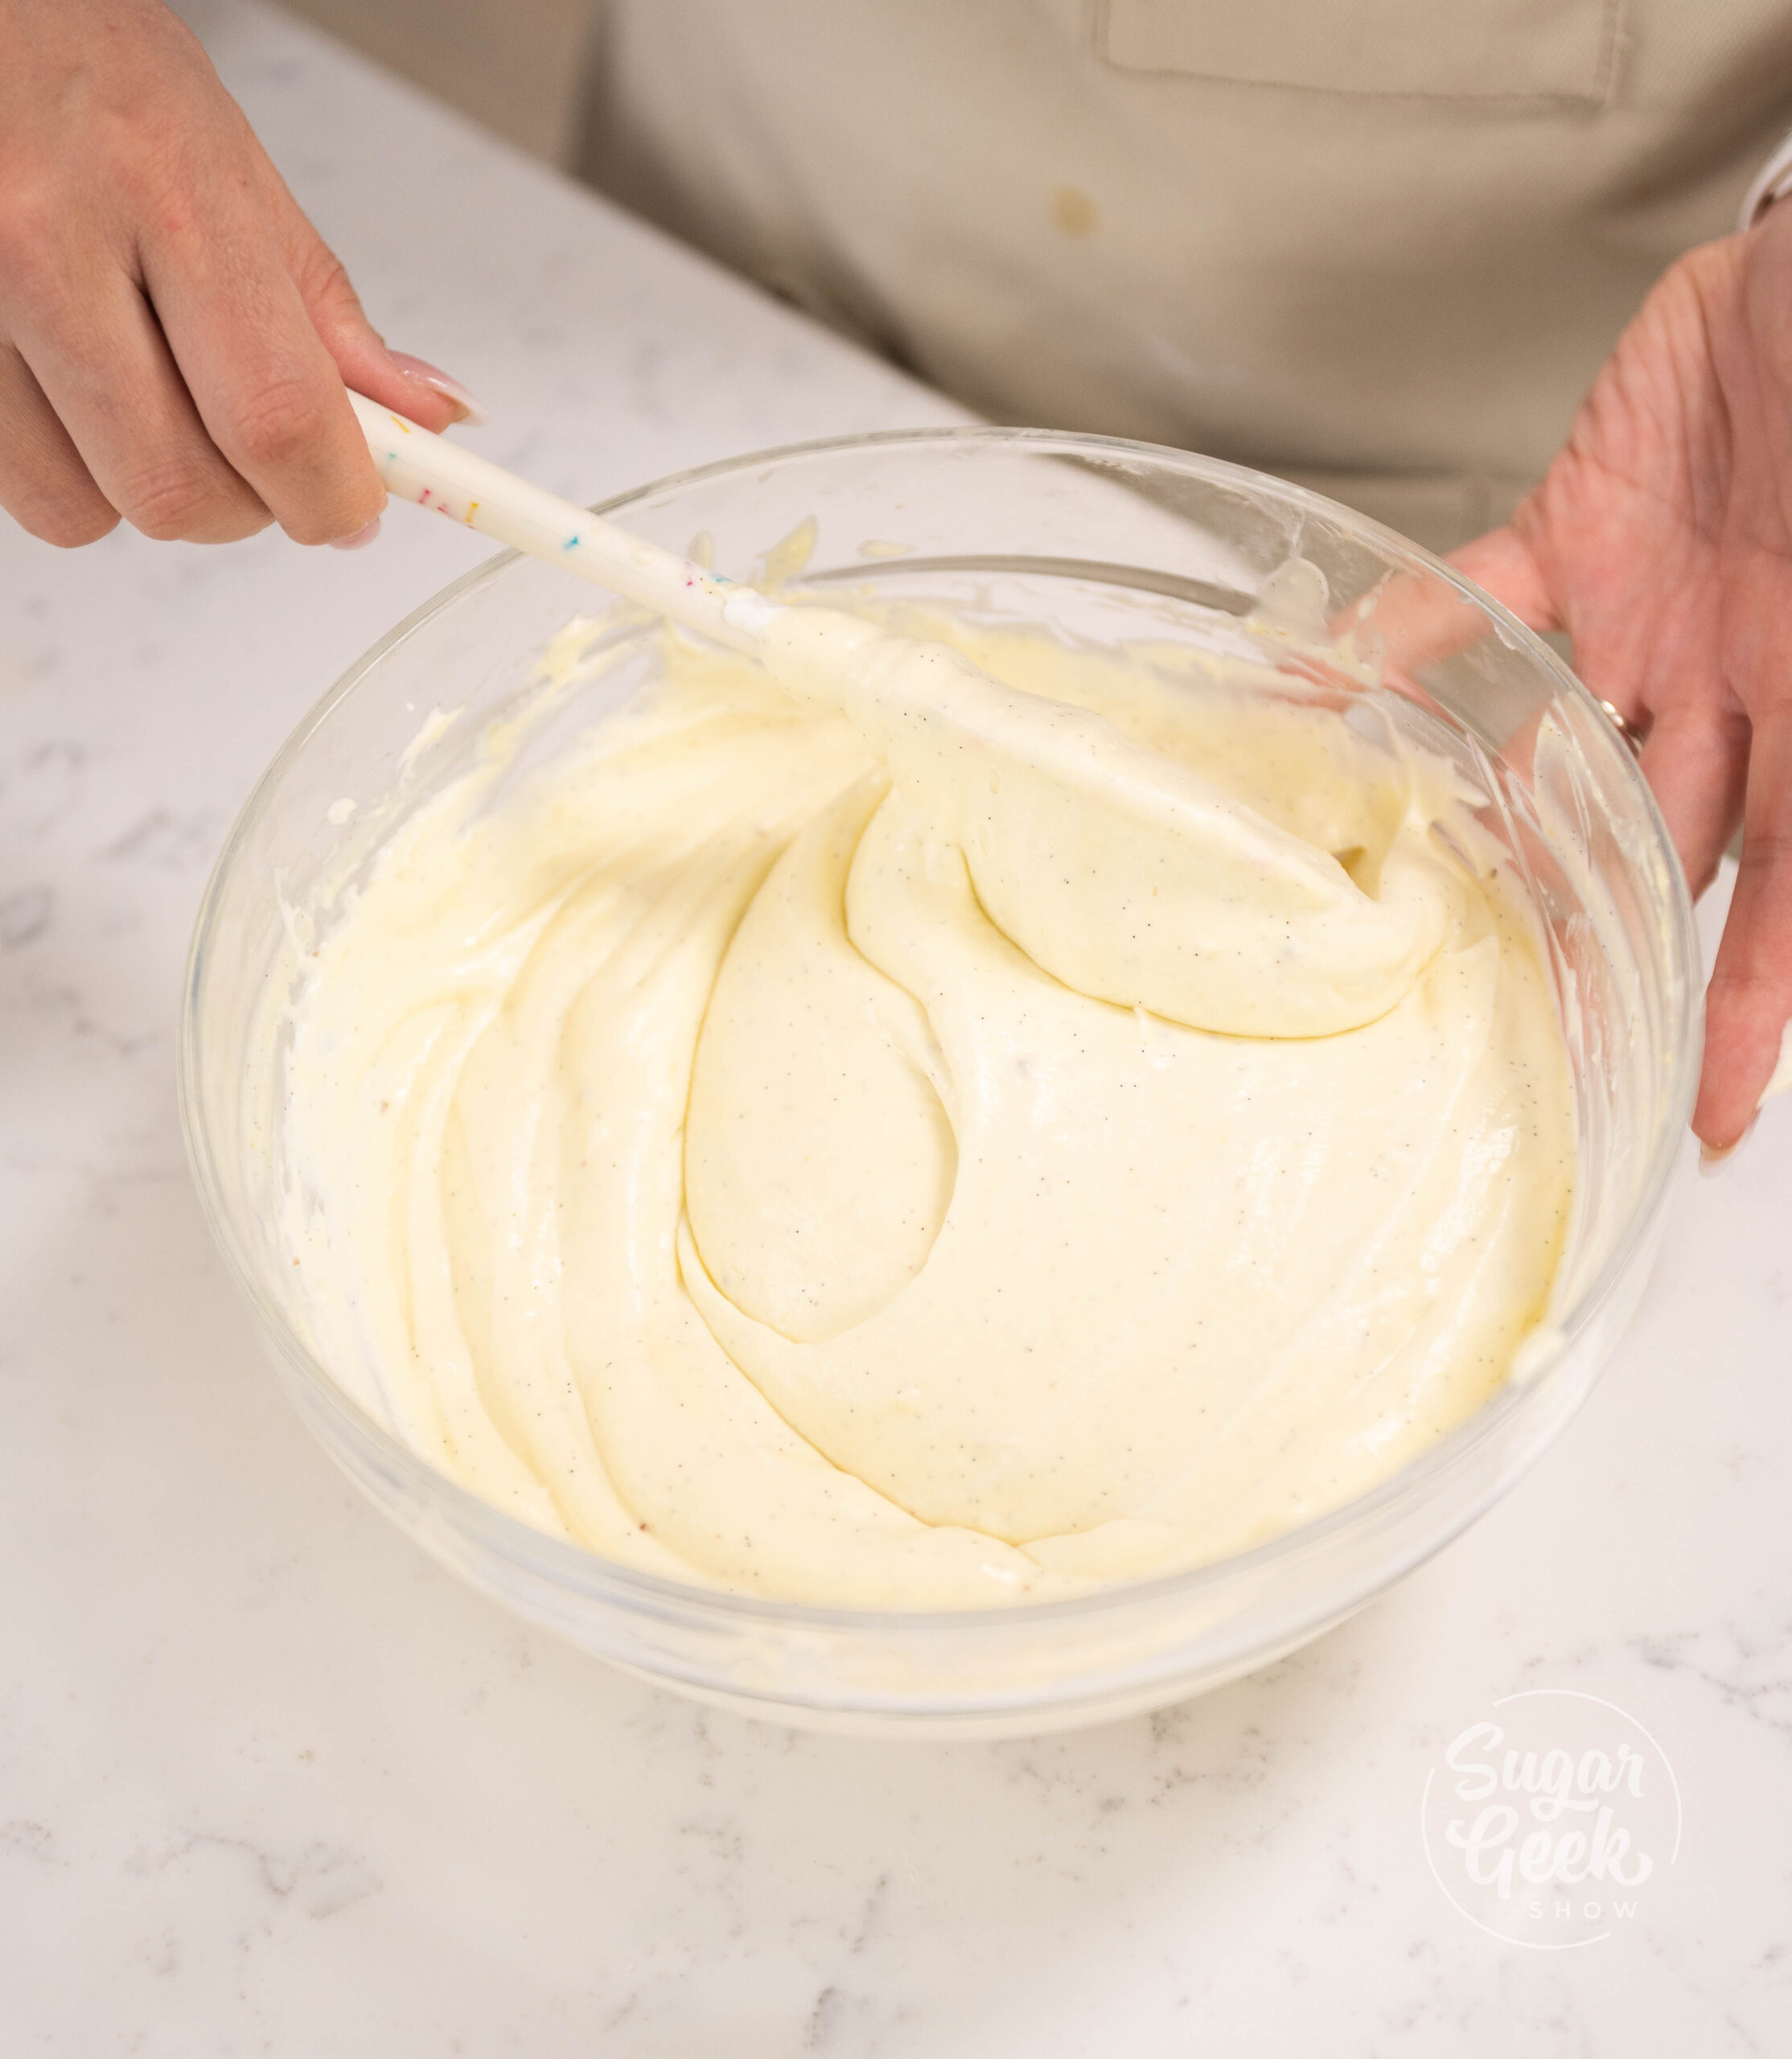
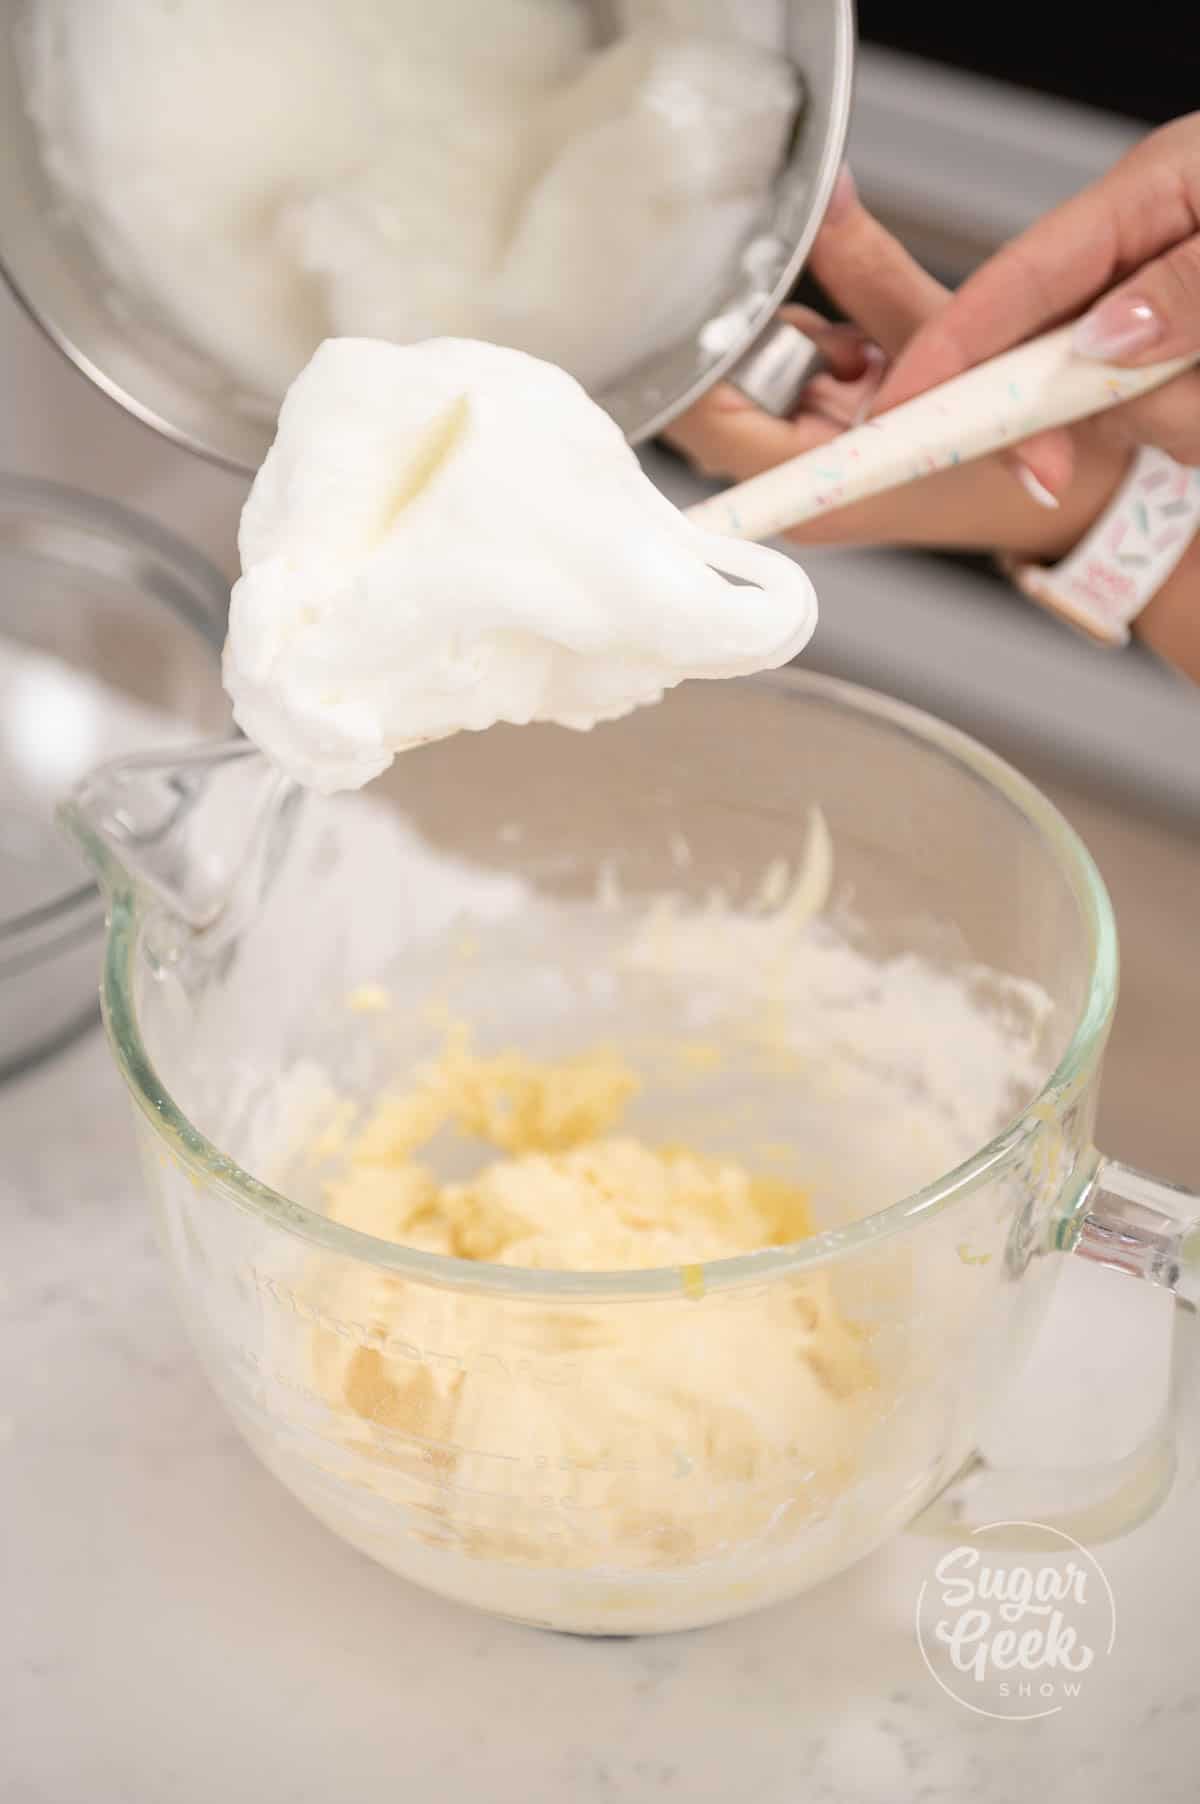
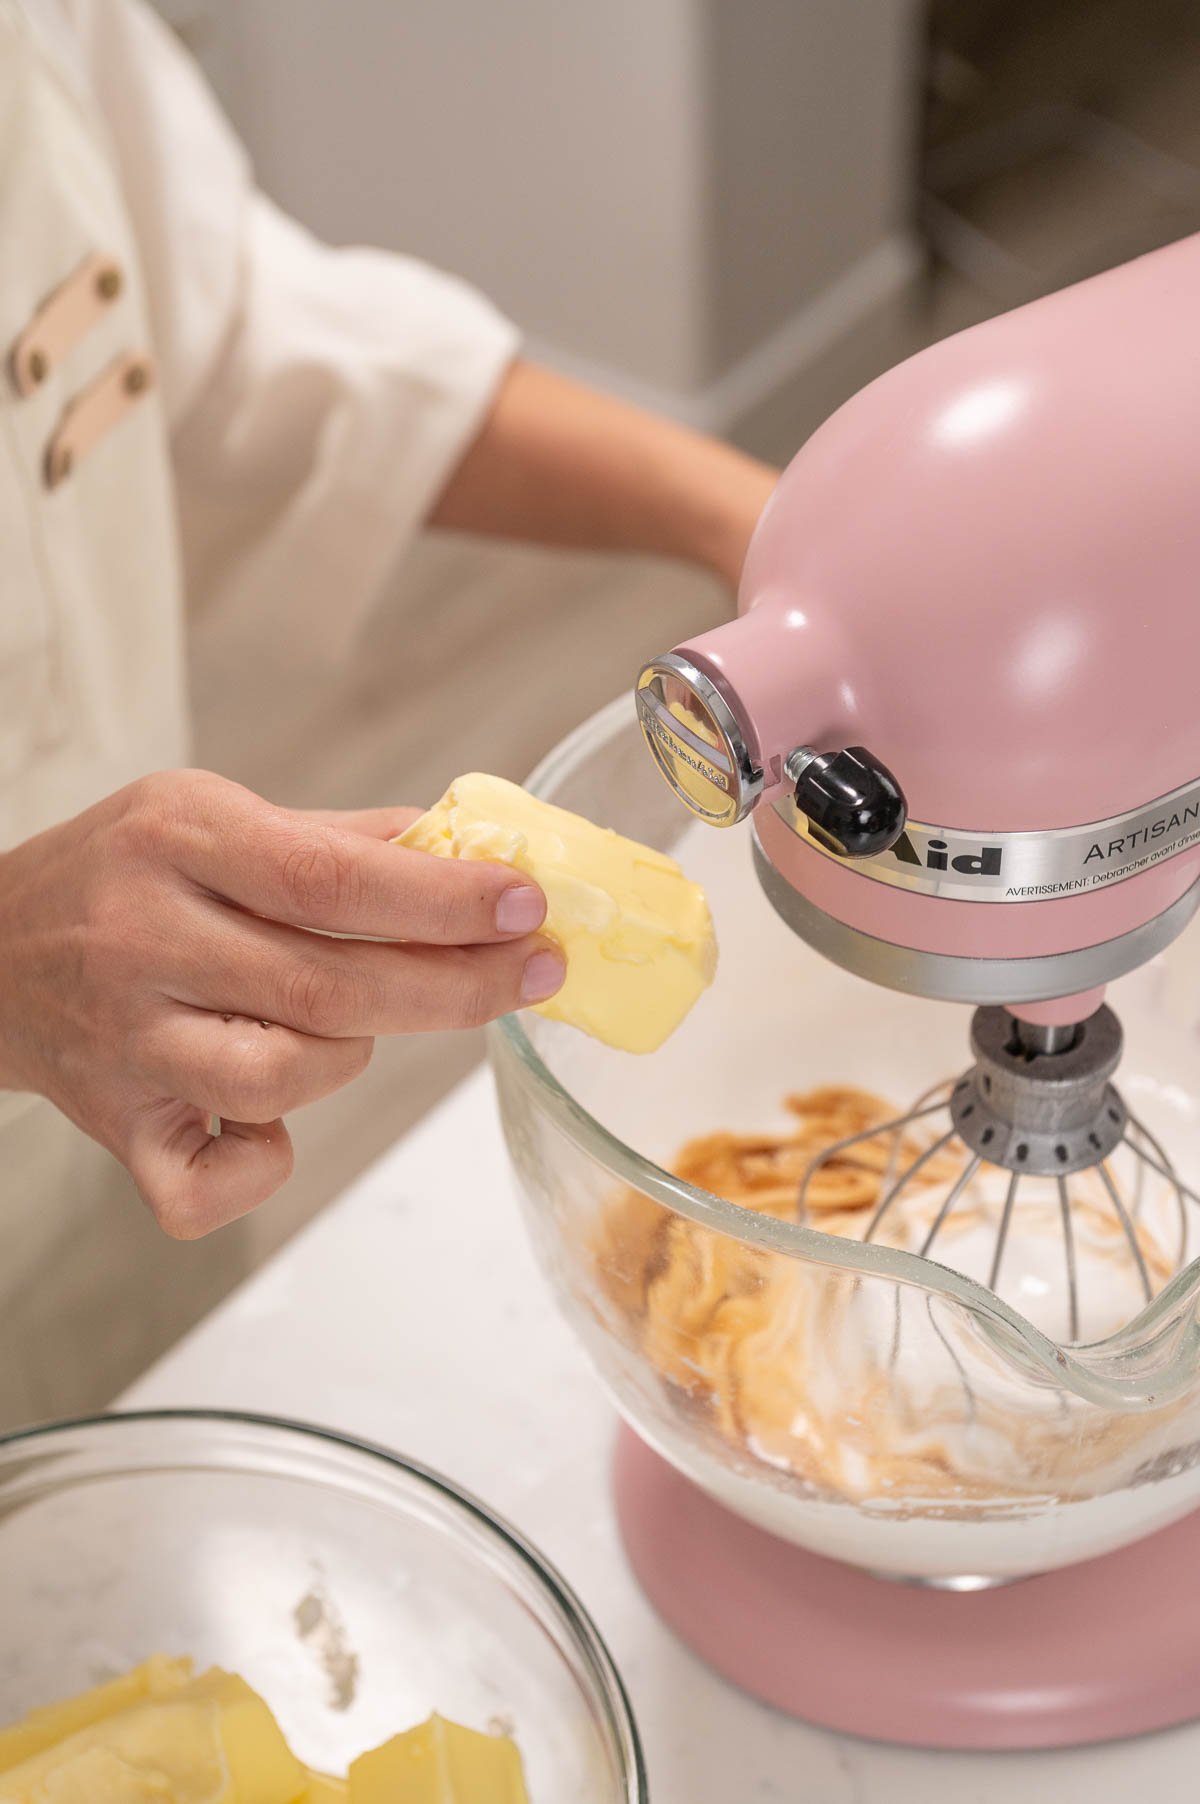
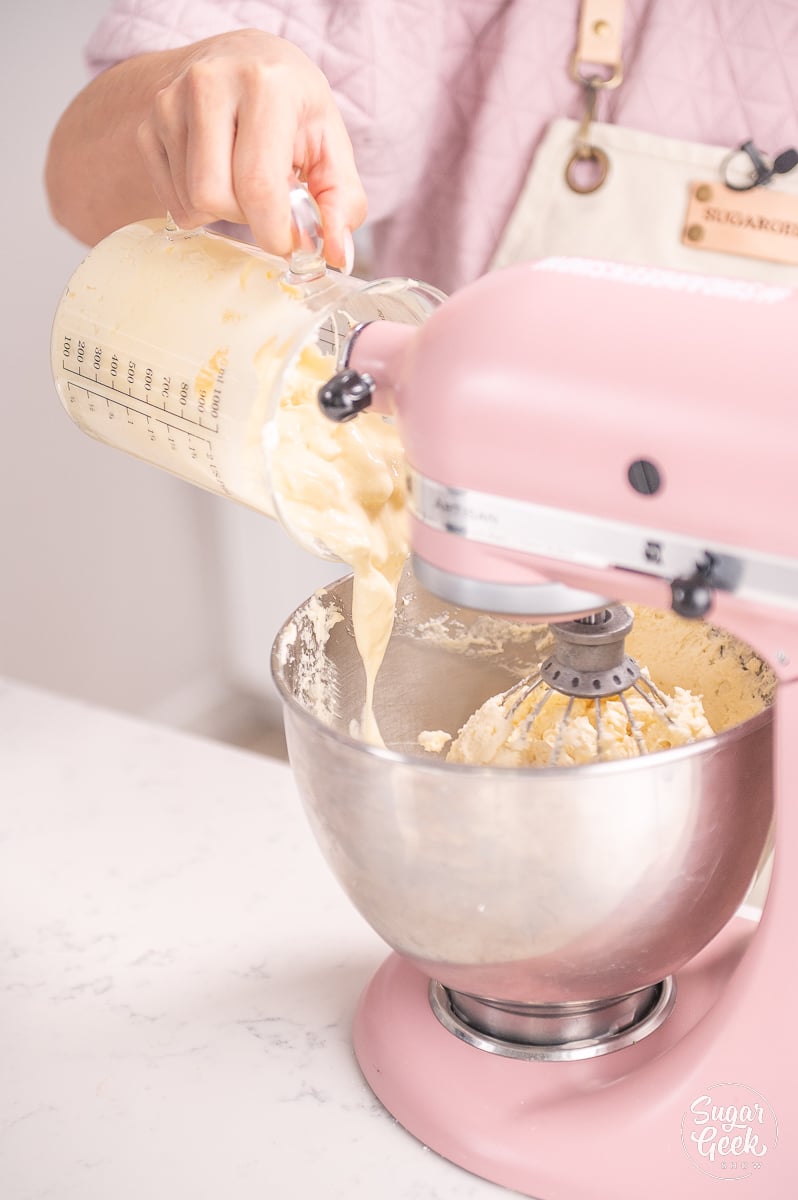
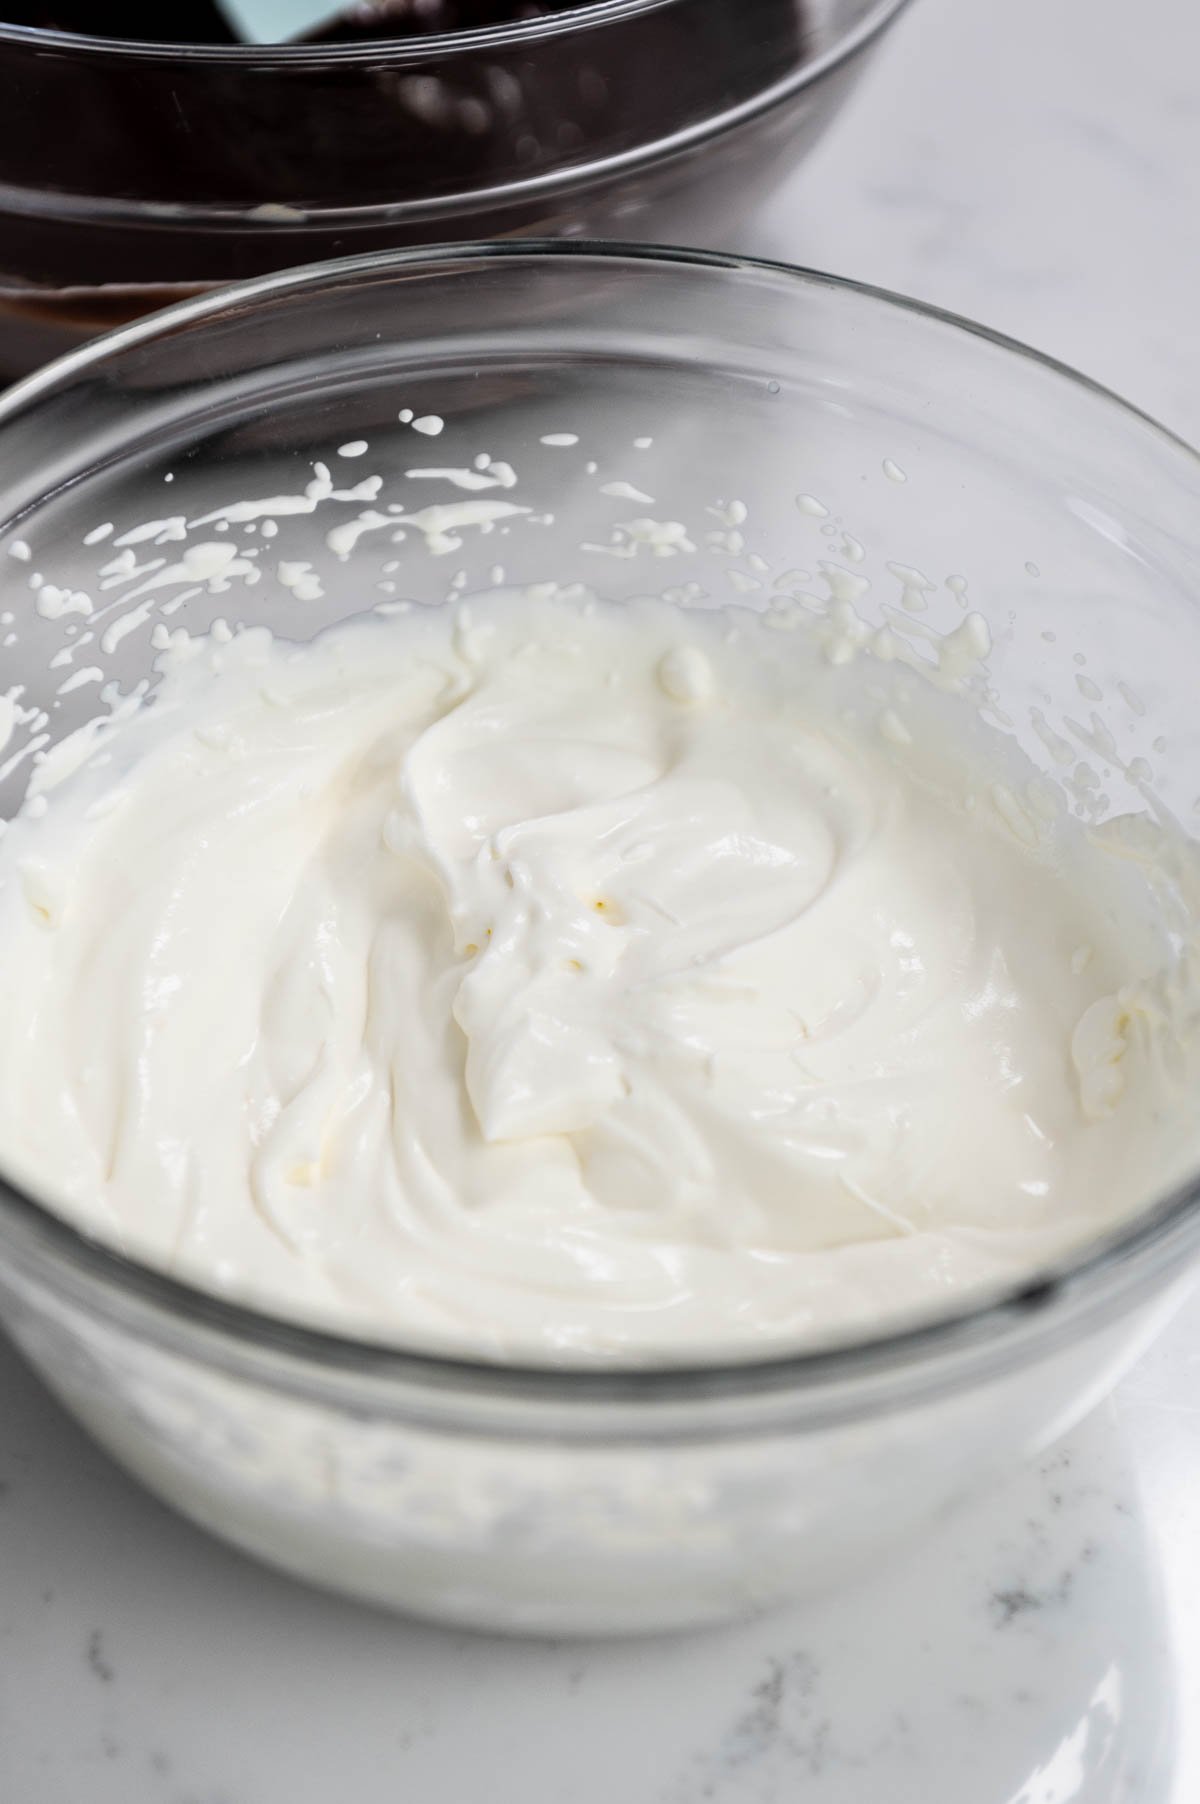
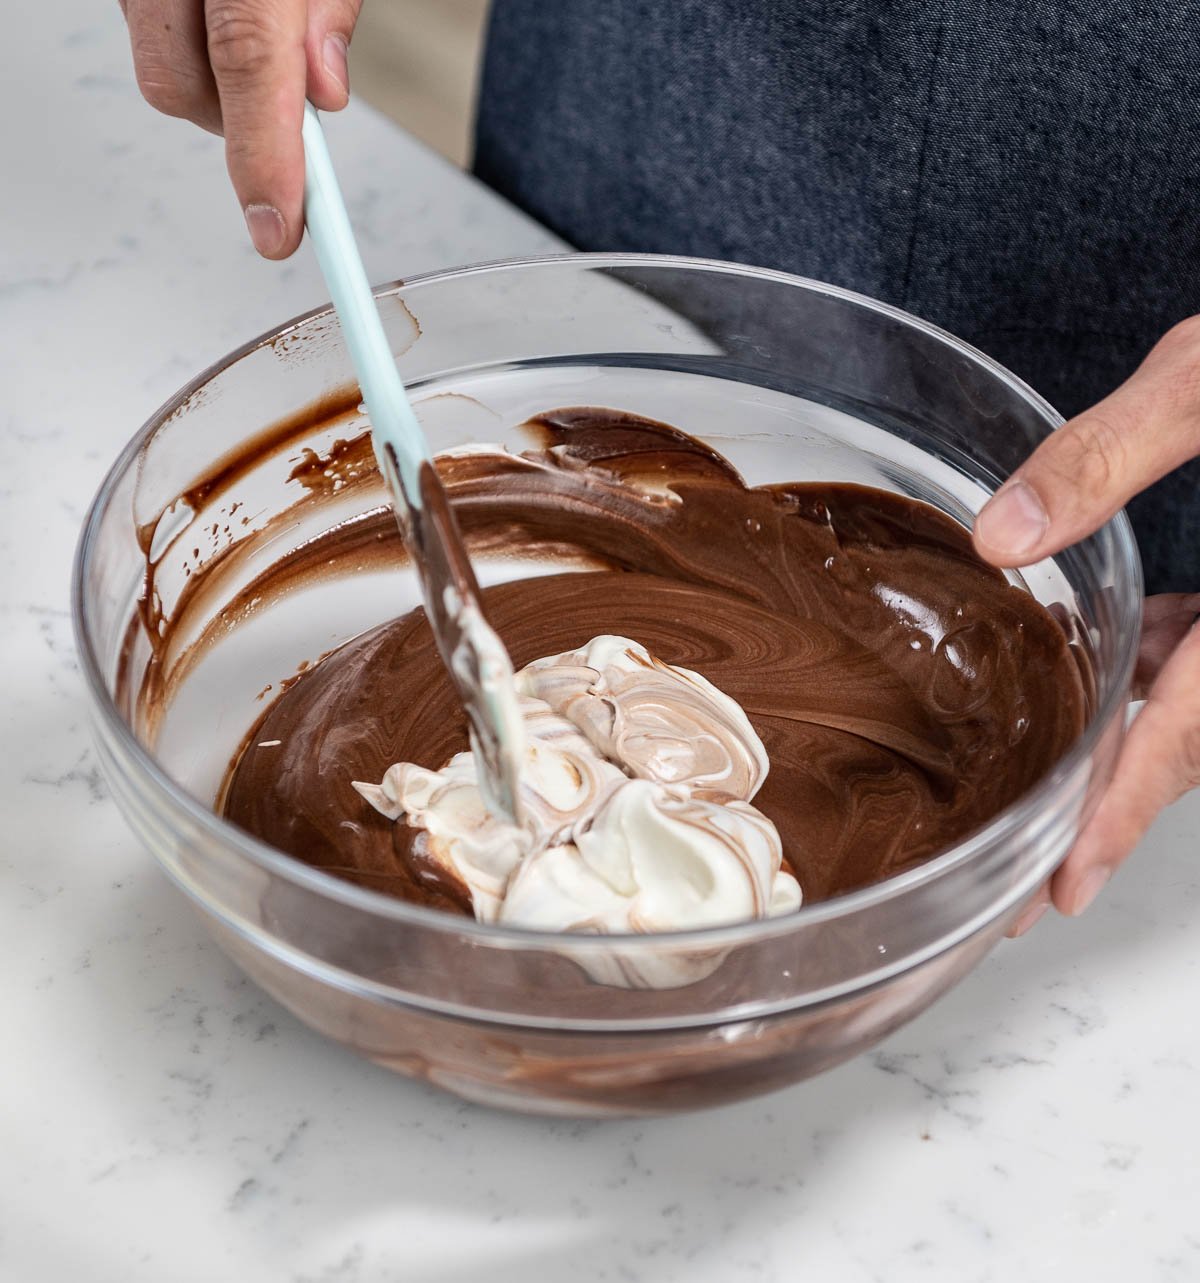
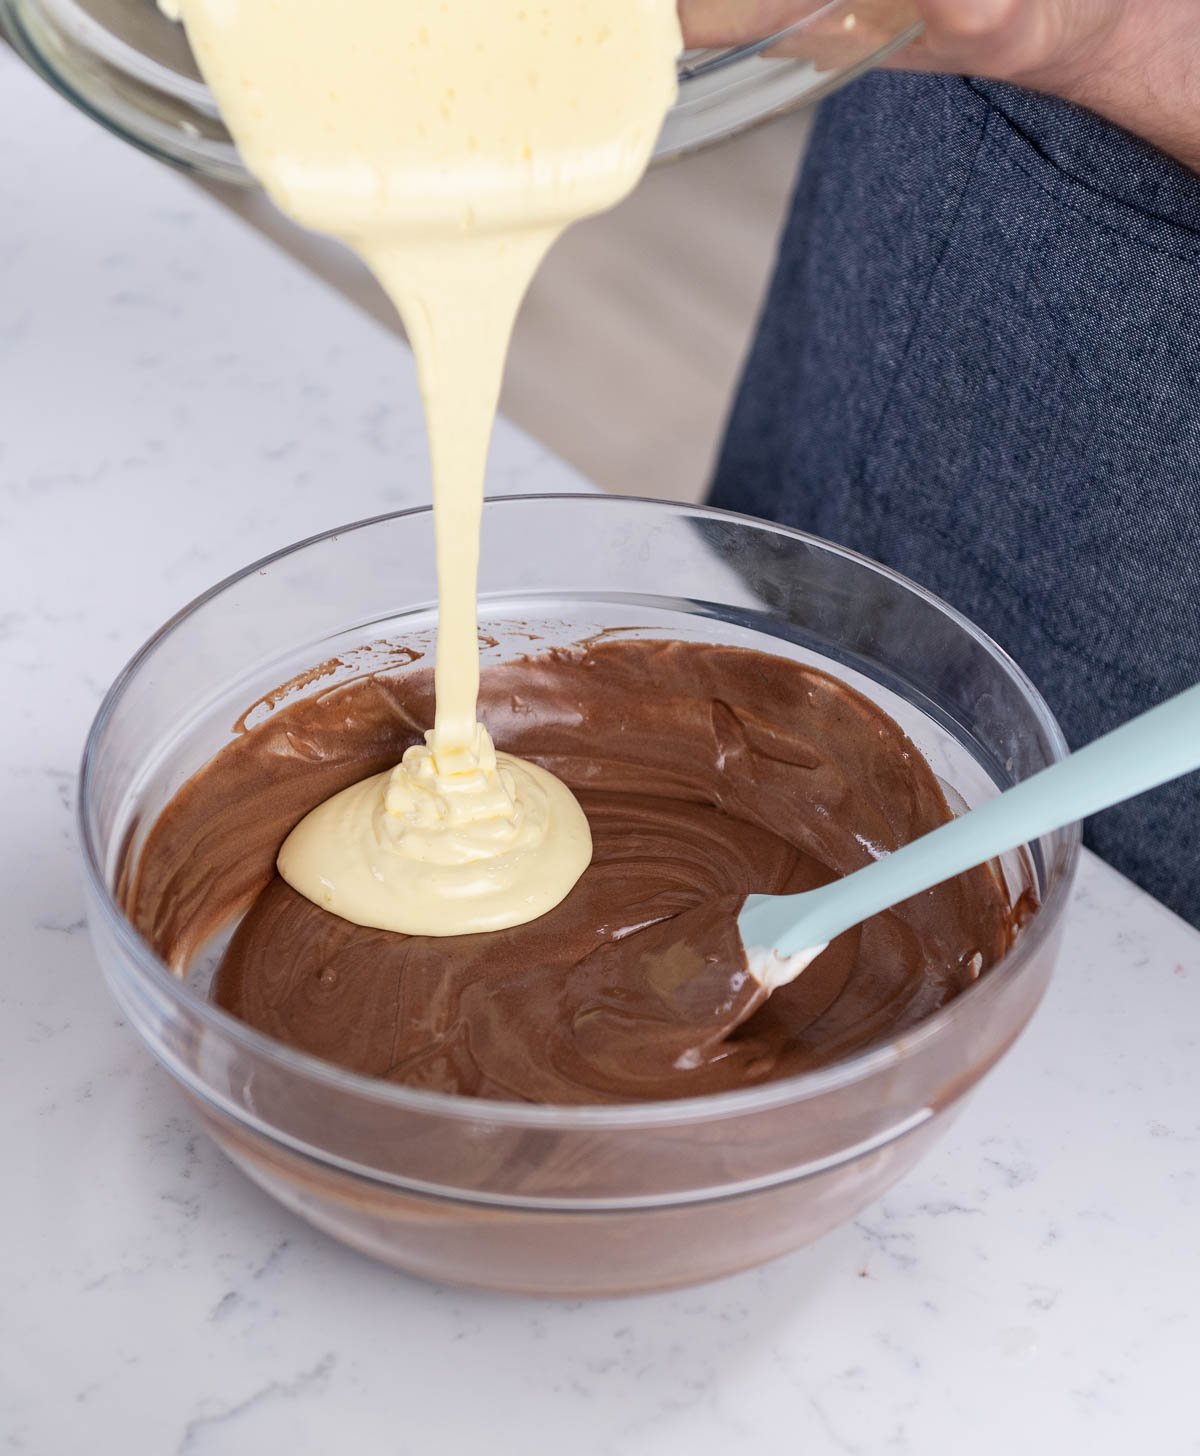
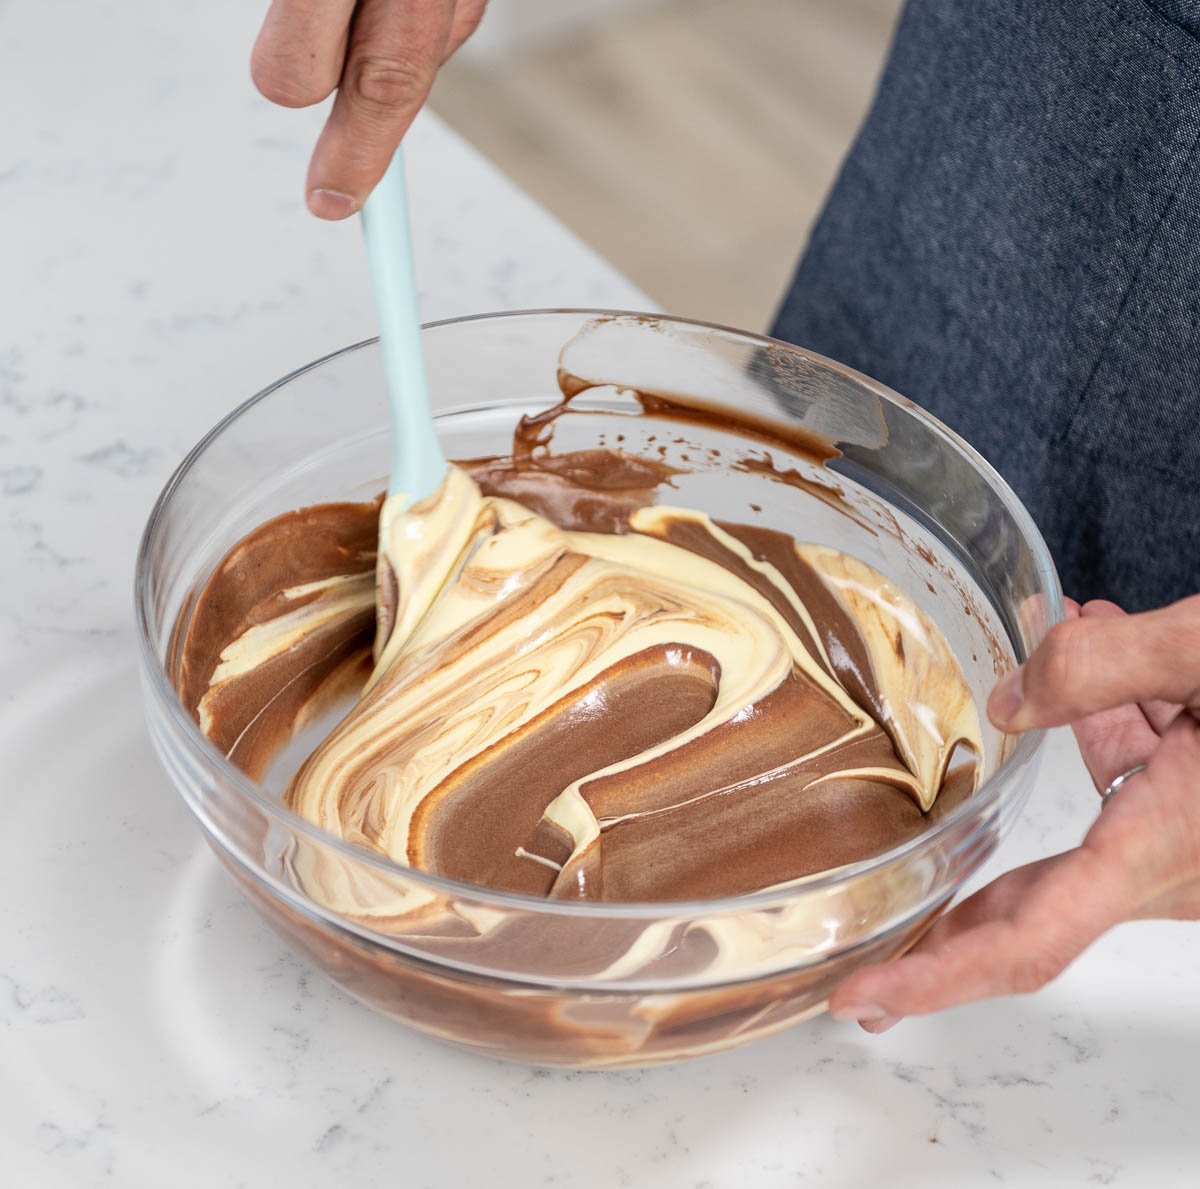
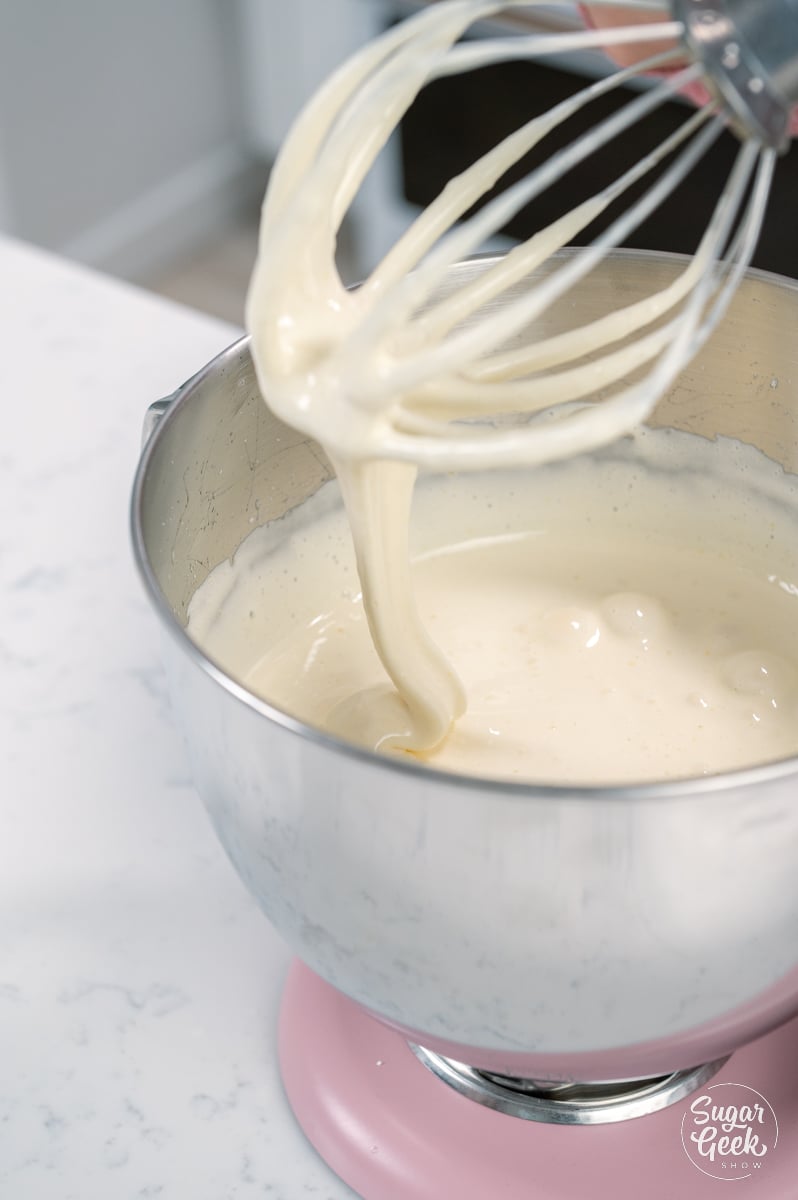
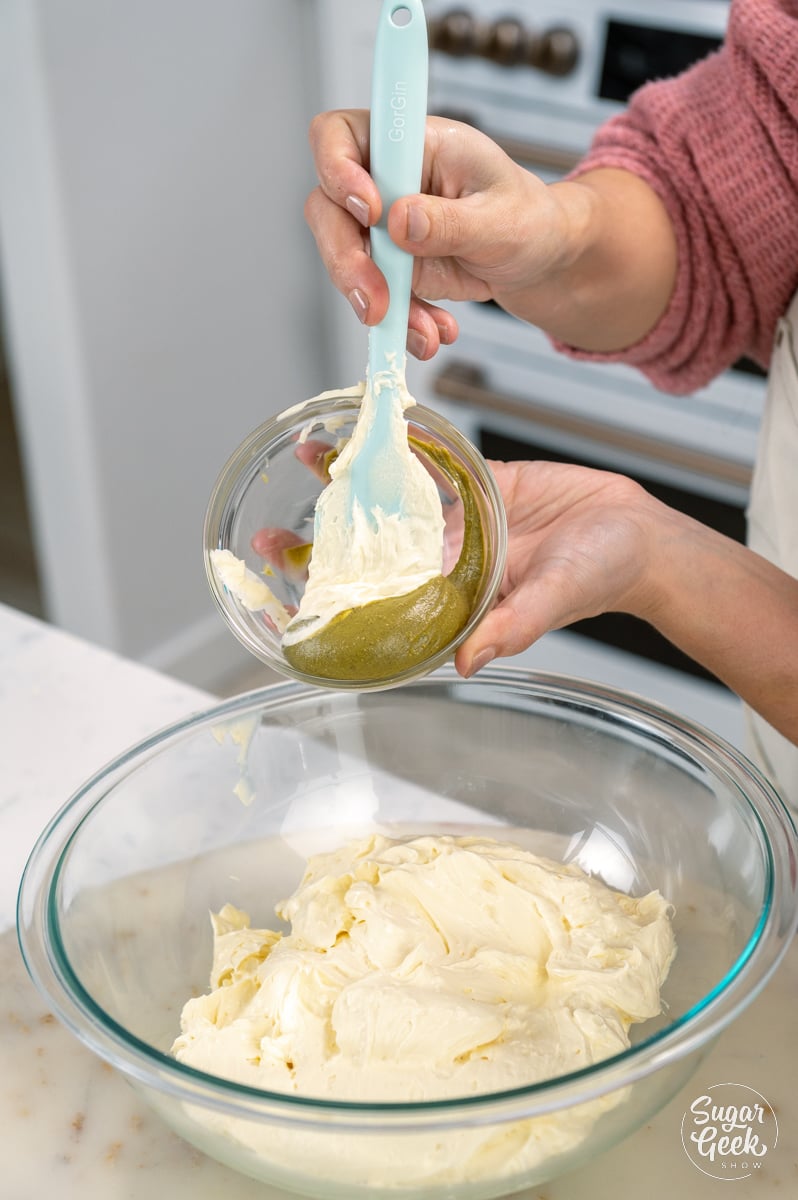
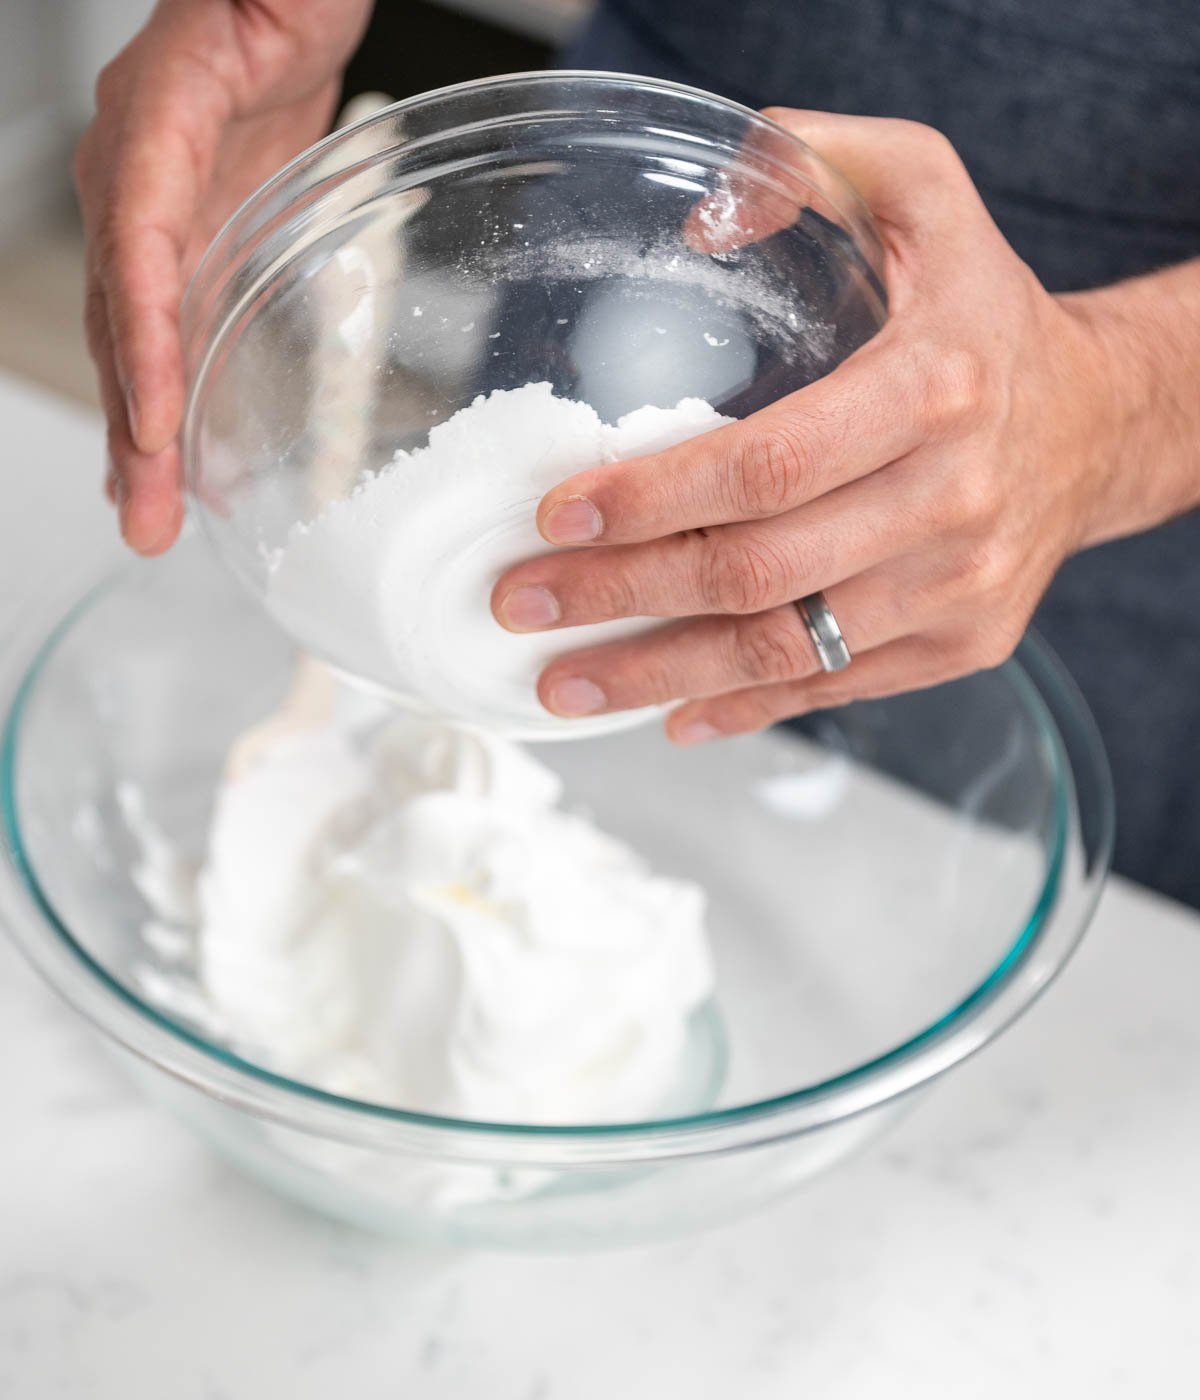
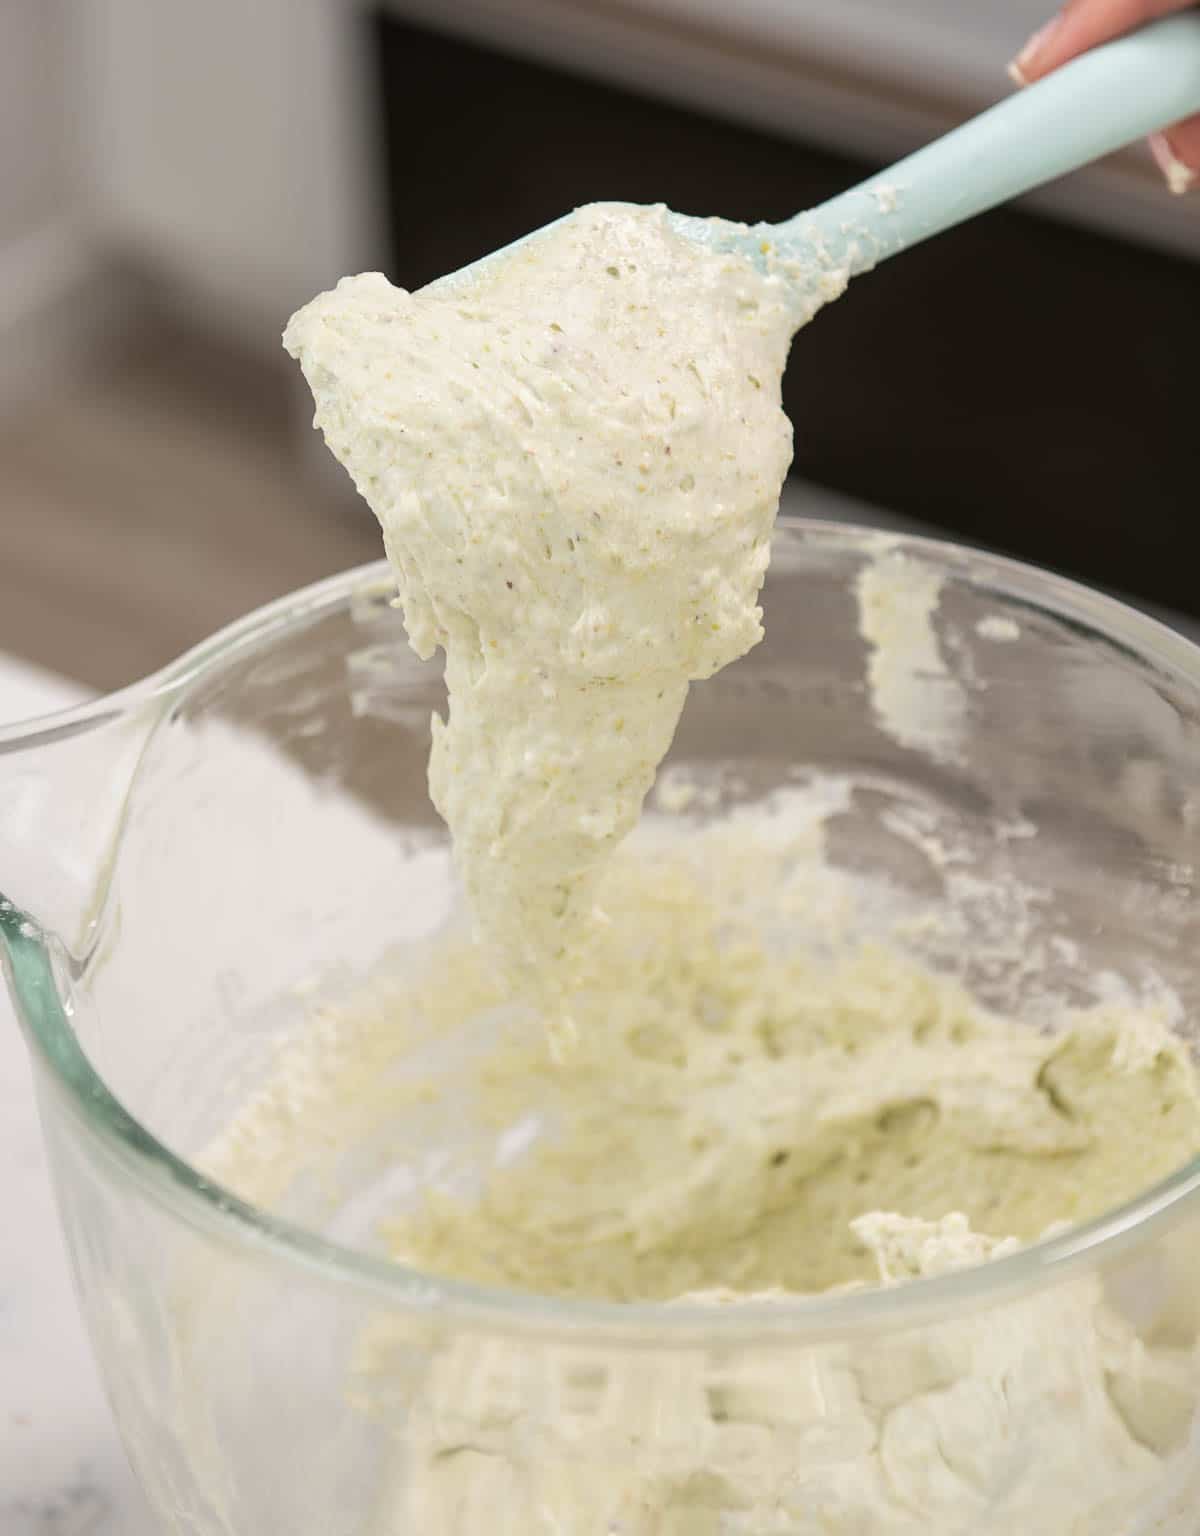
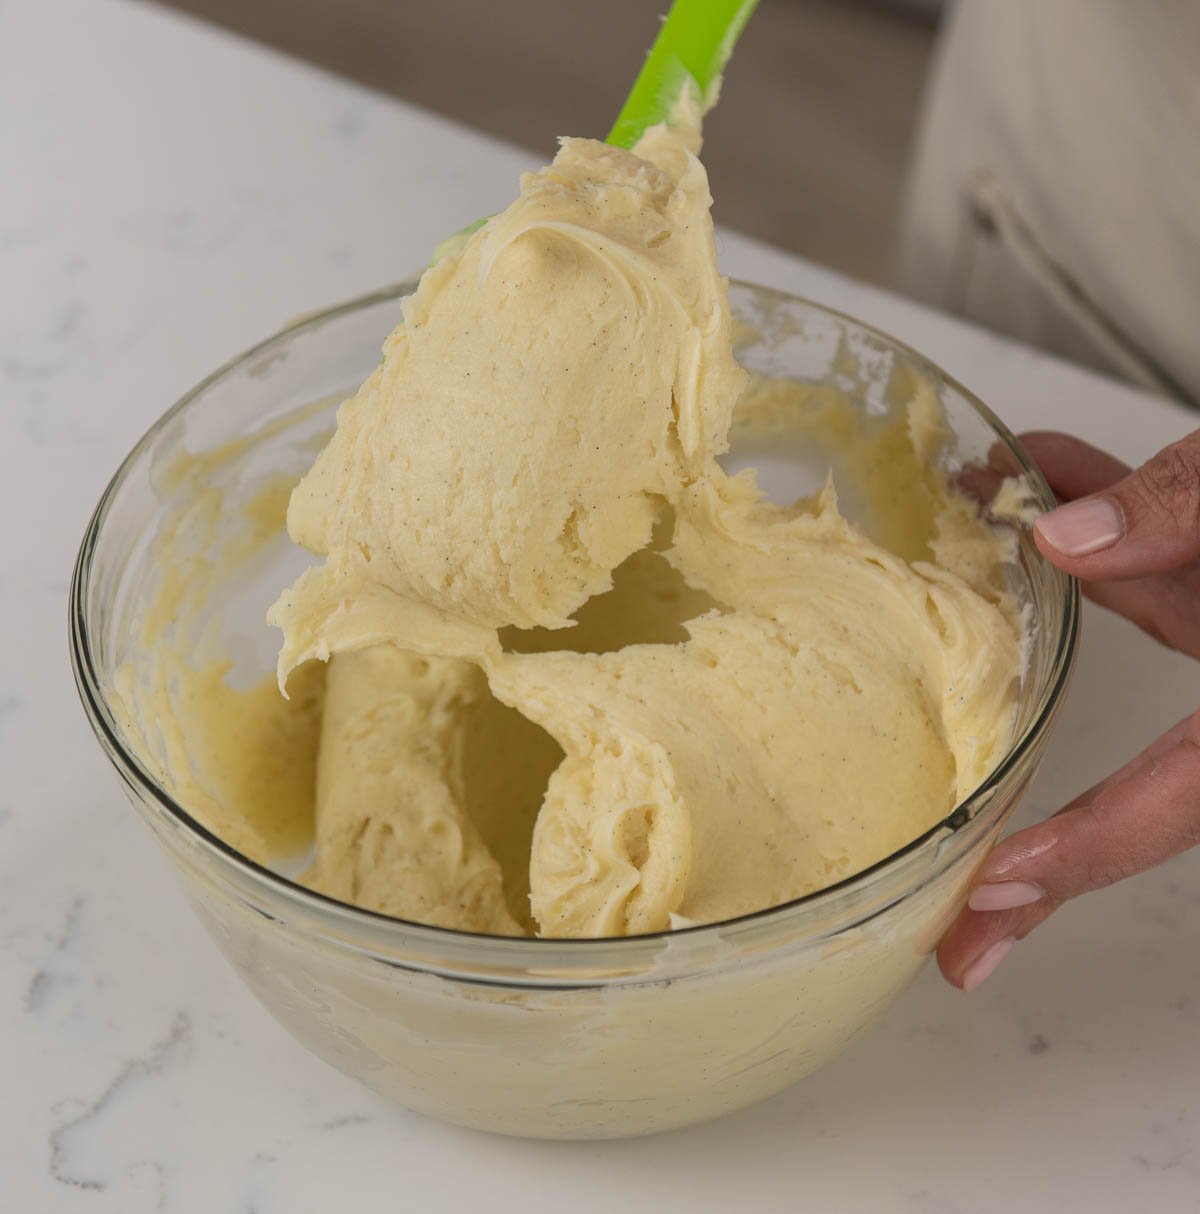
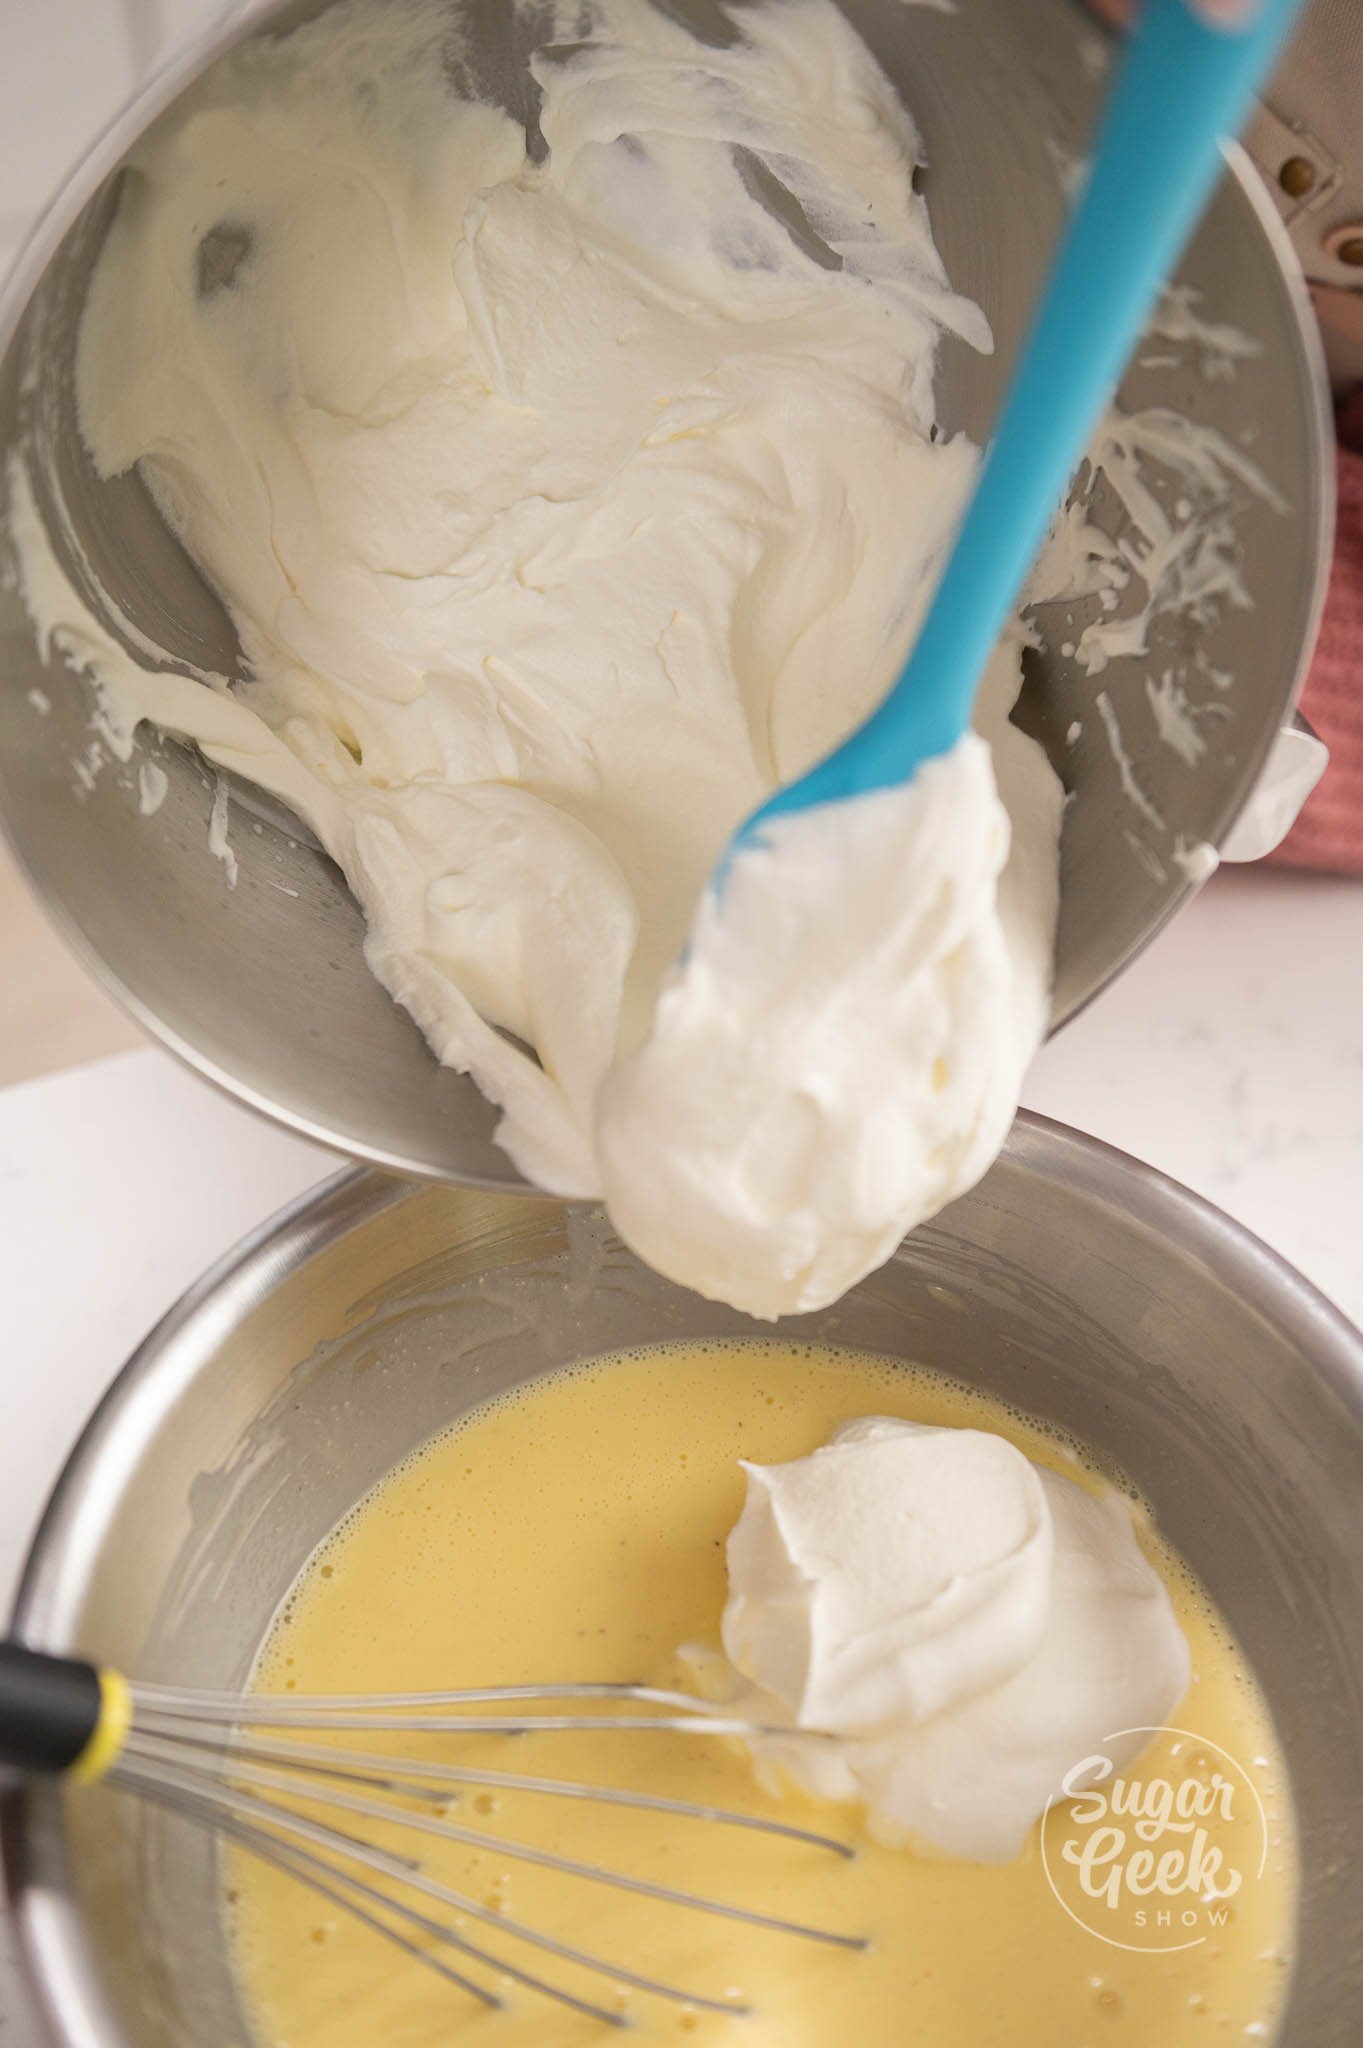
- Add ⅓ of your whipped cream into your cooled coconut milk mix to make the mixture lighter. Whisk together.
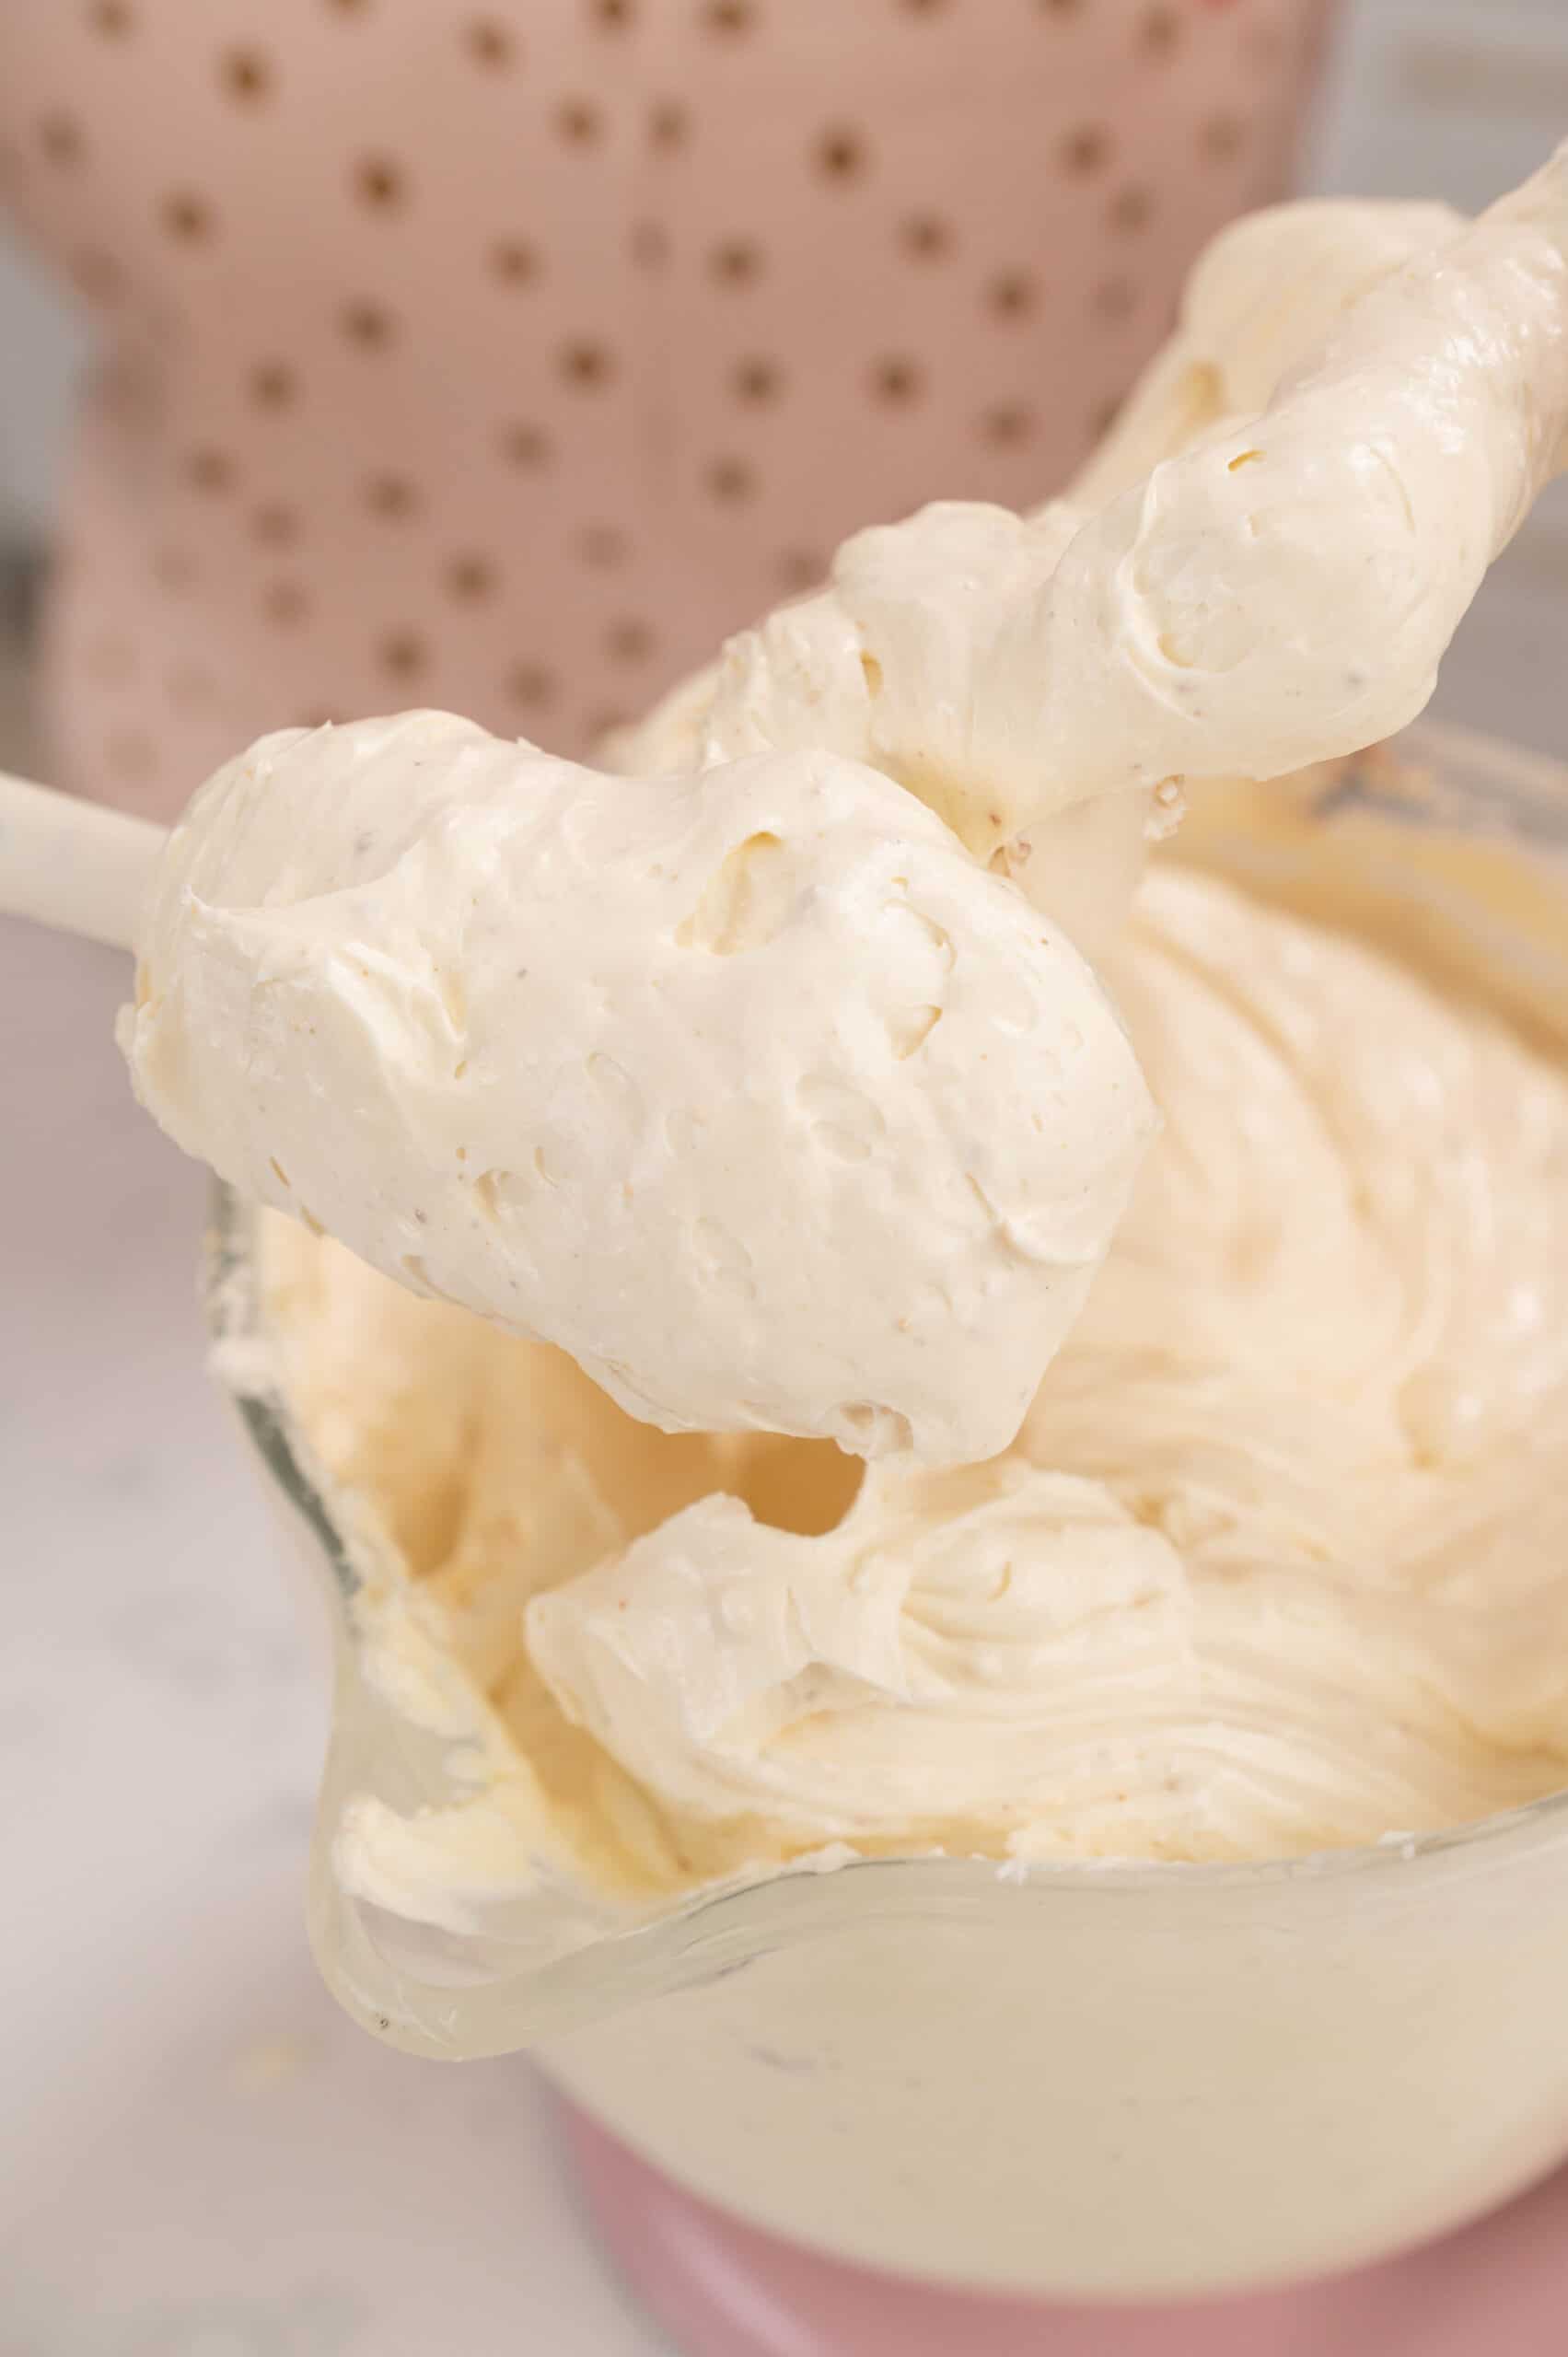
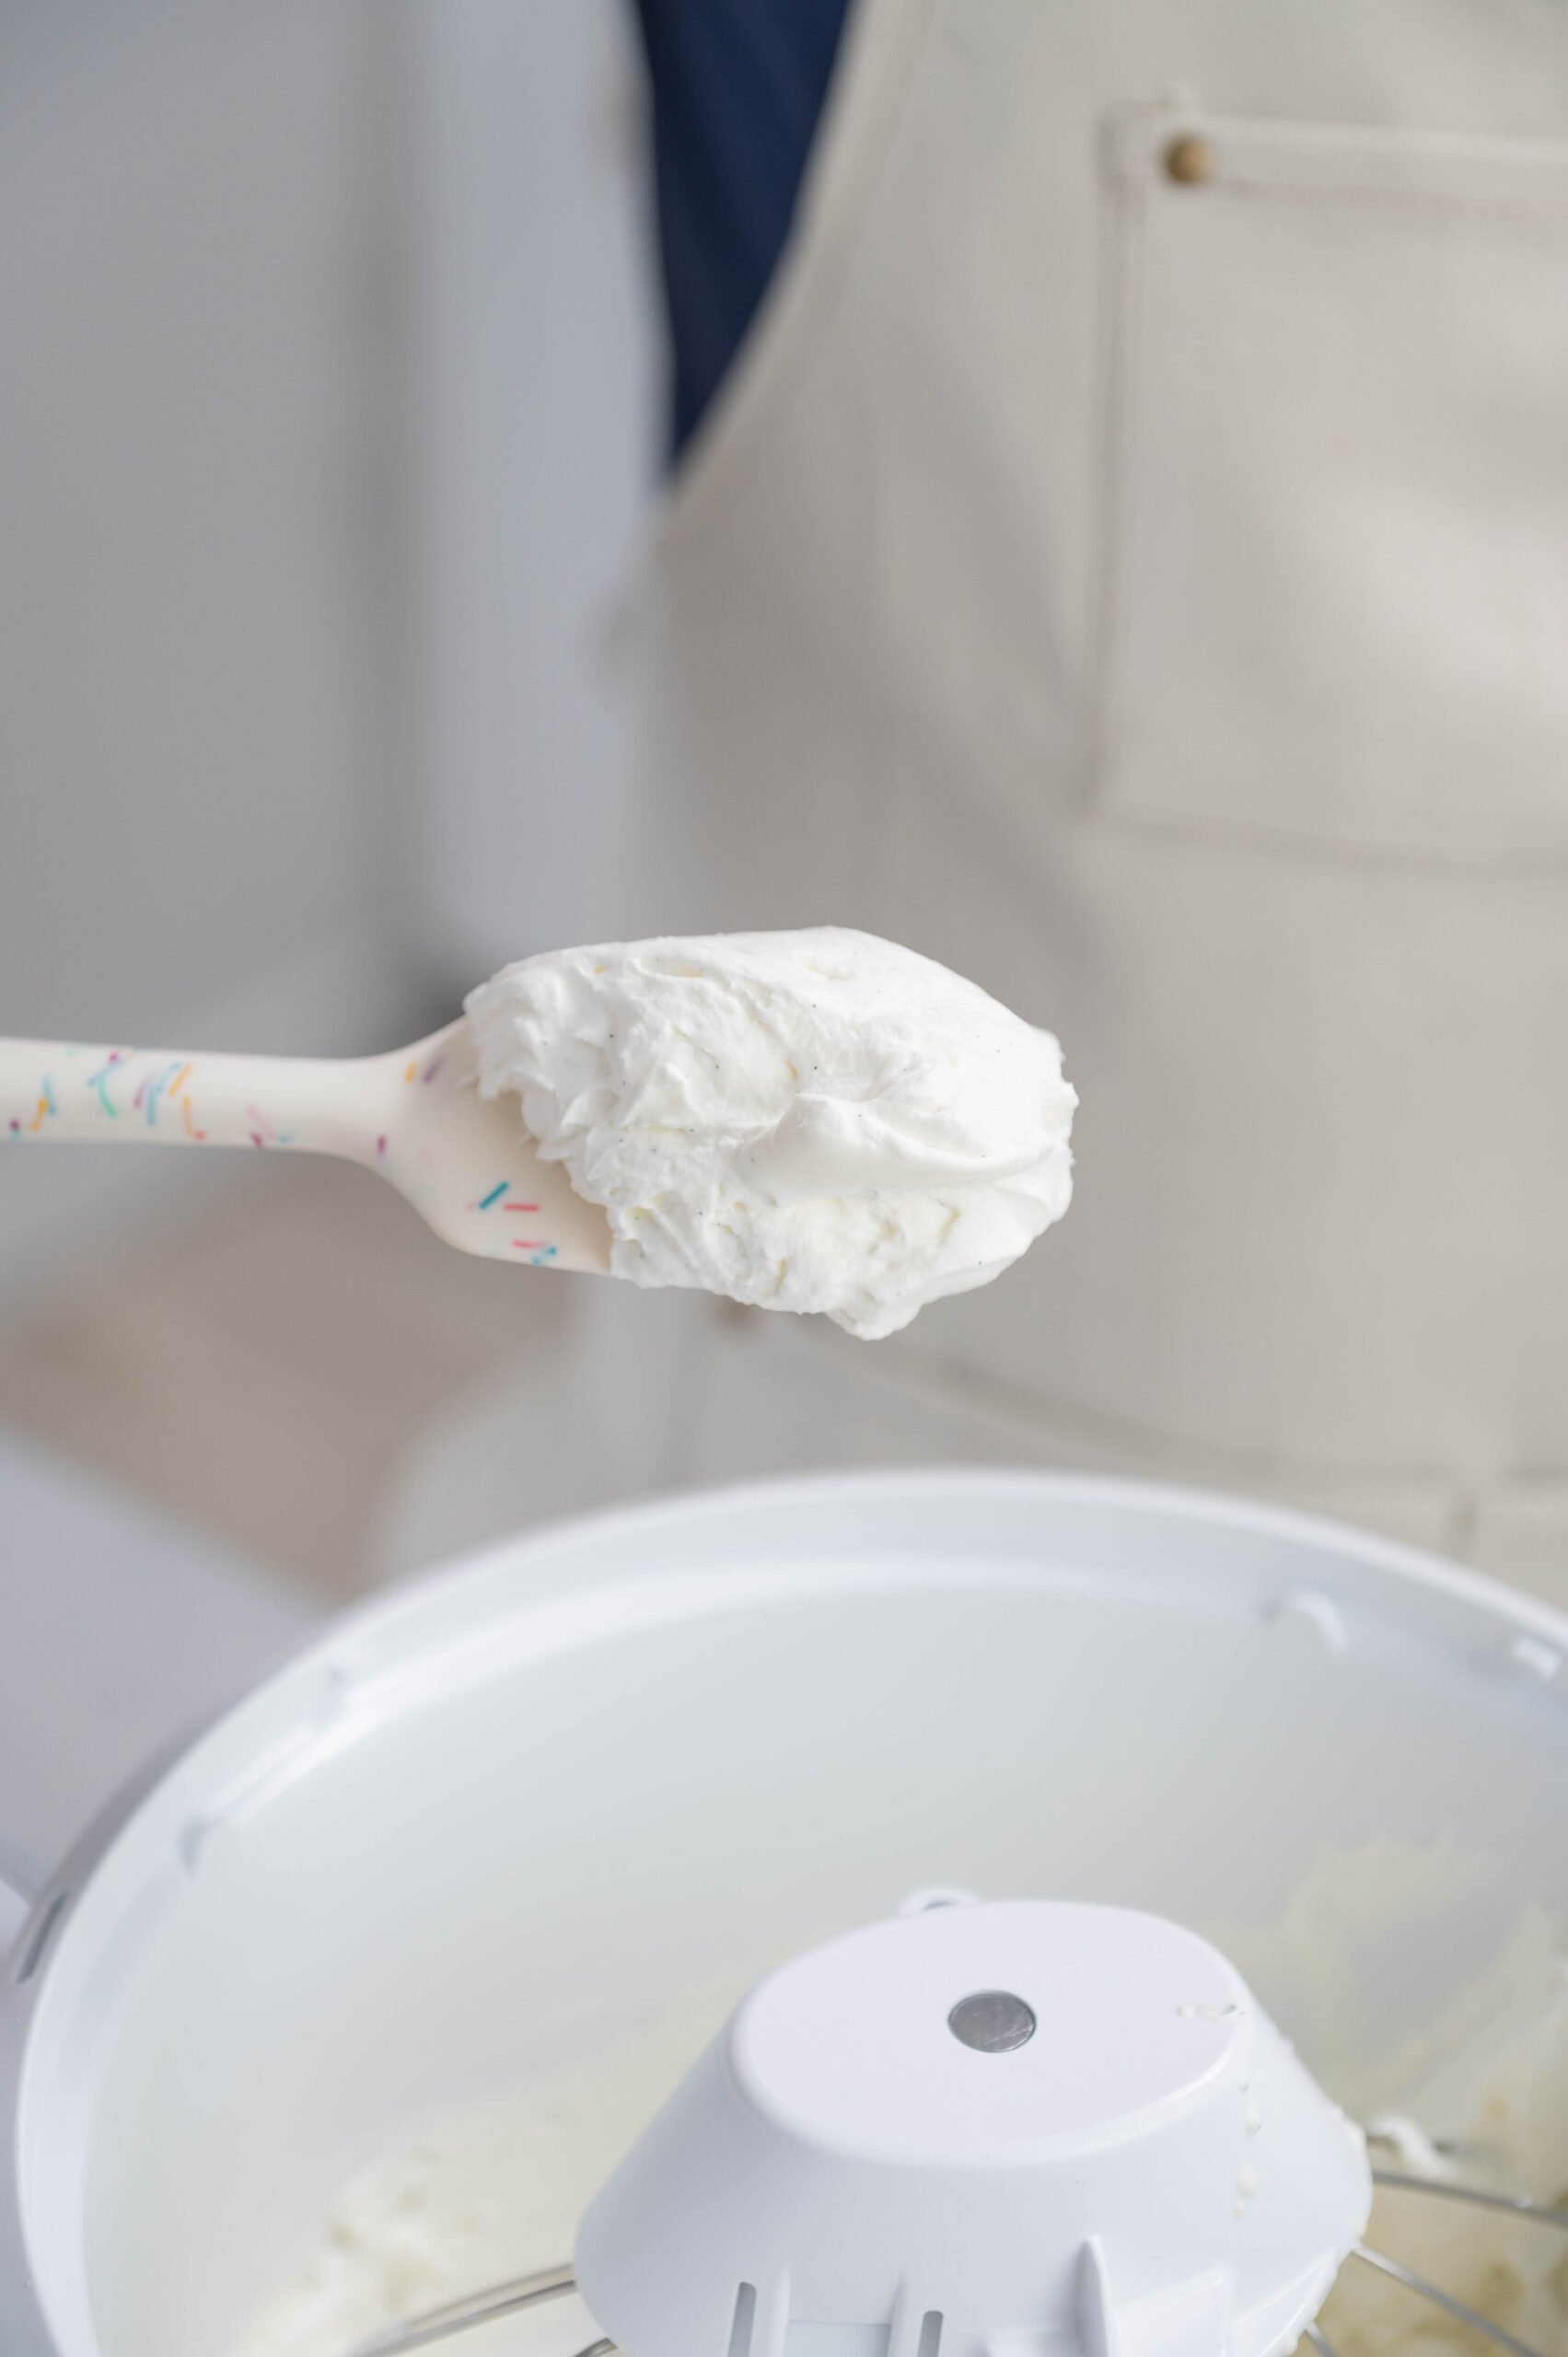
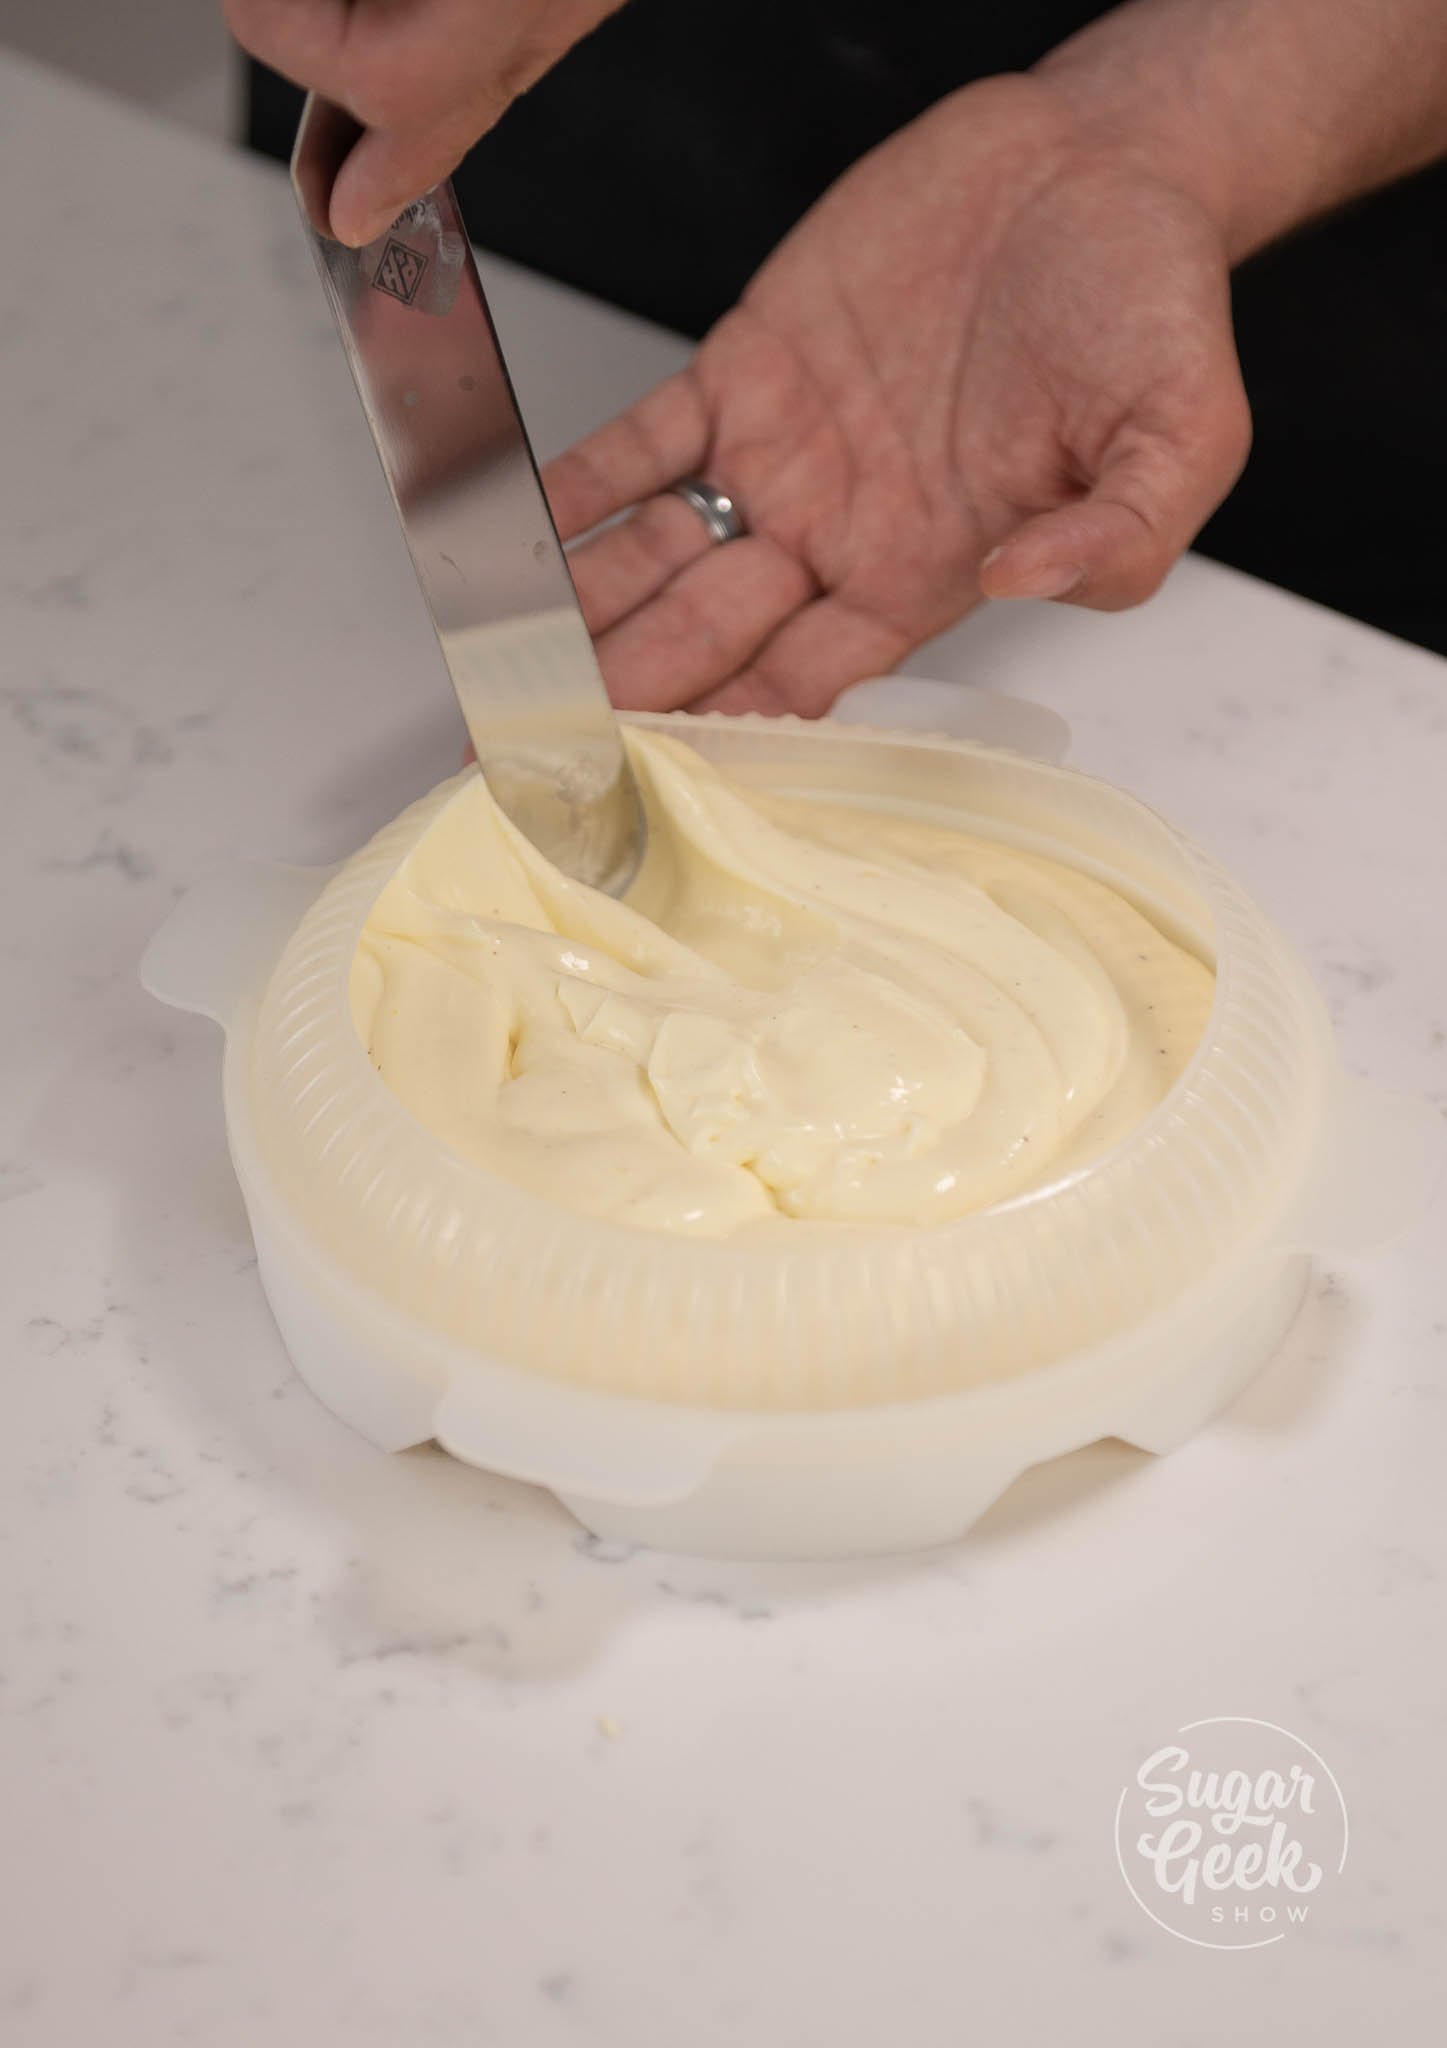
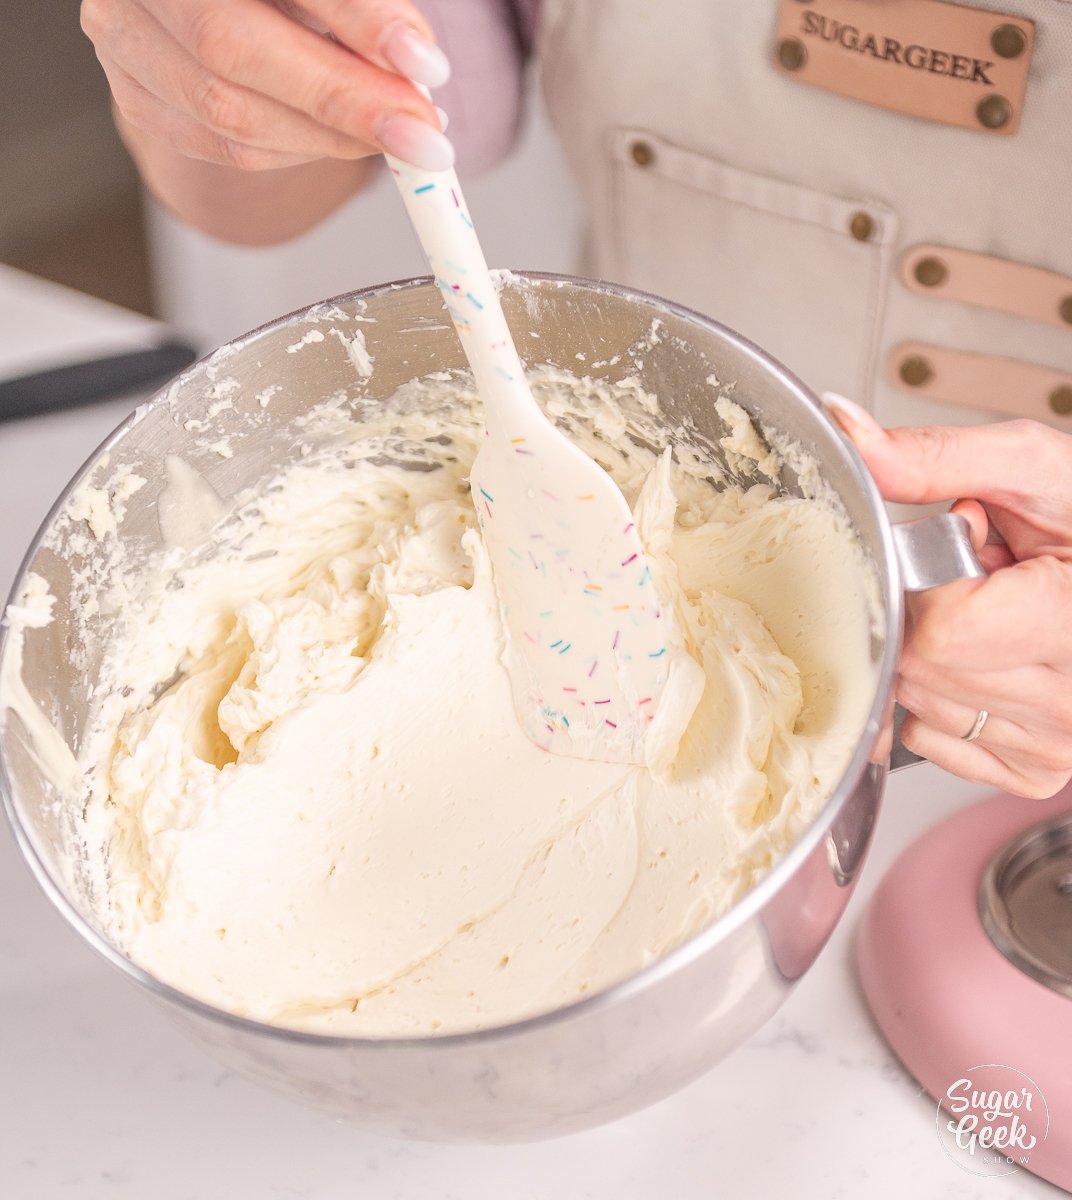
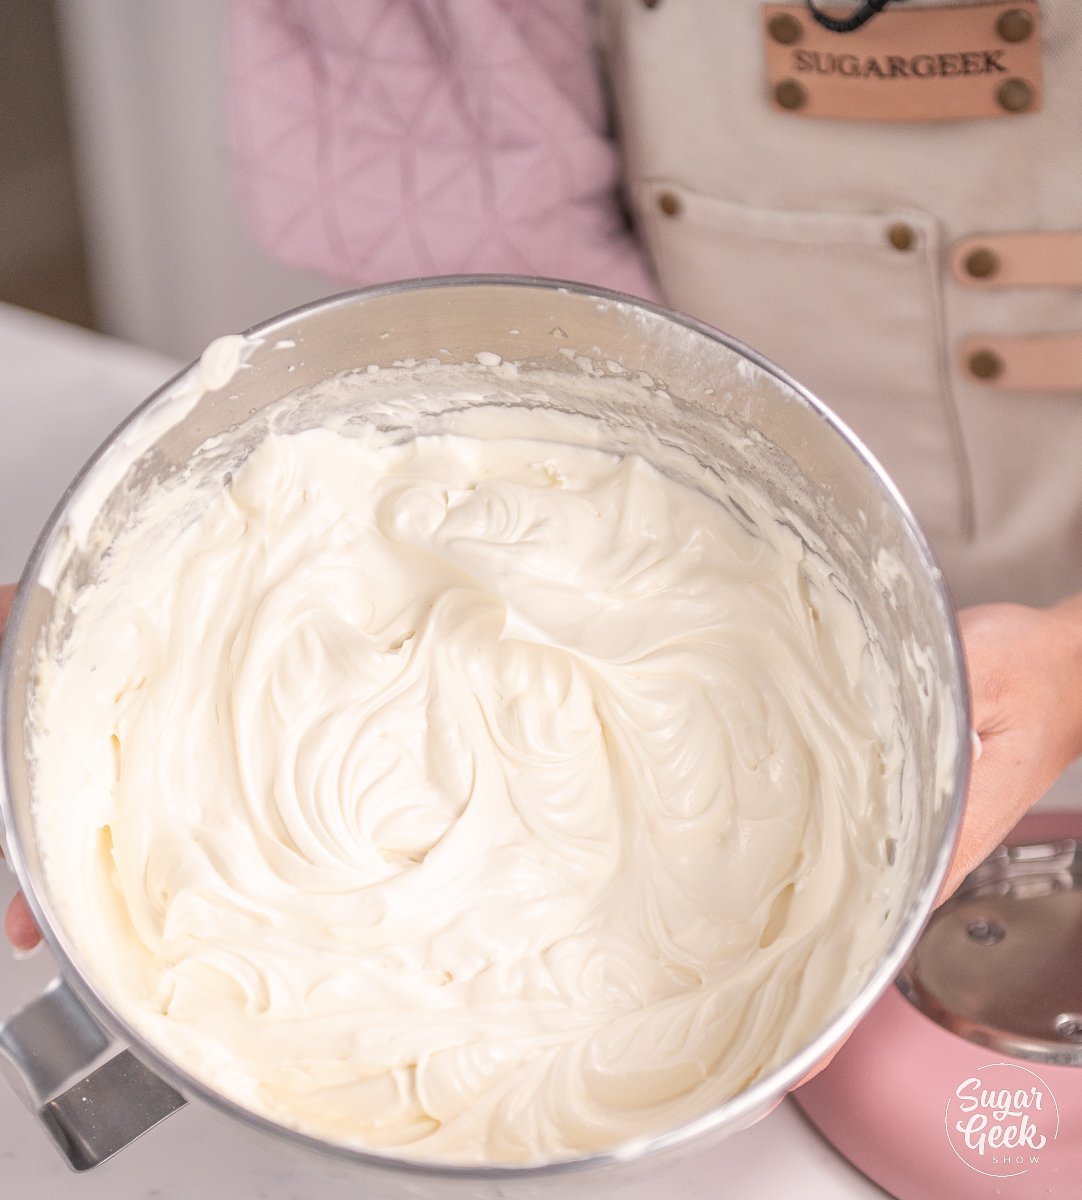
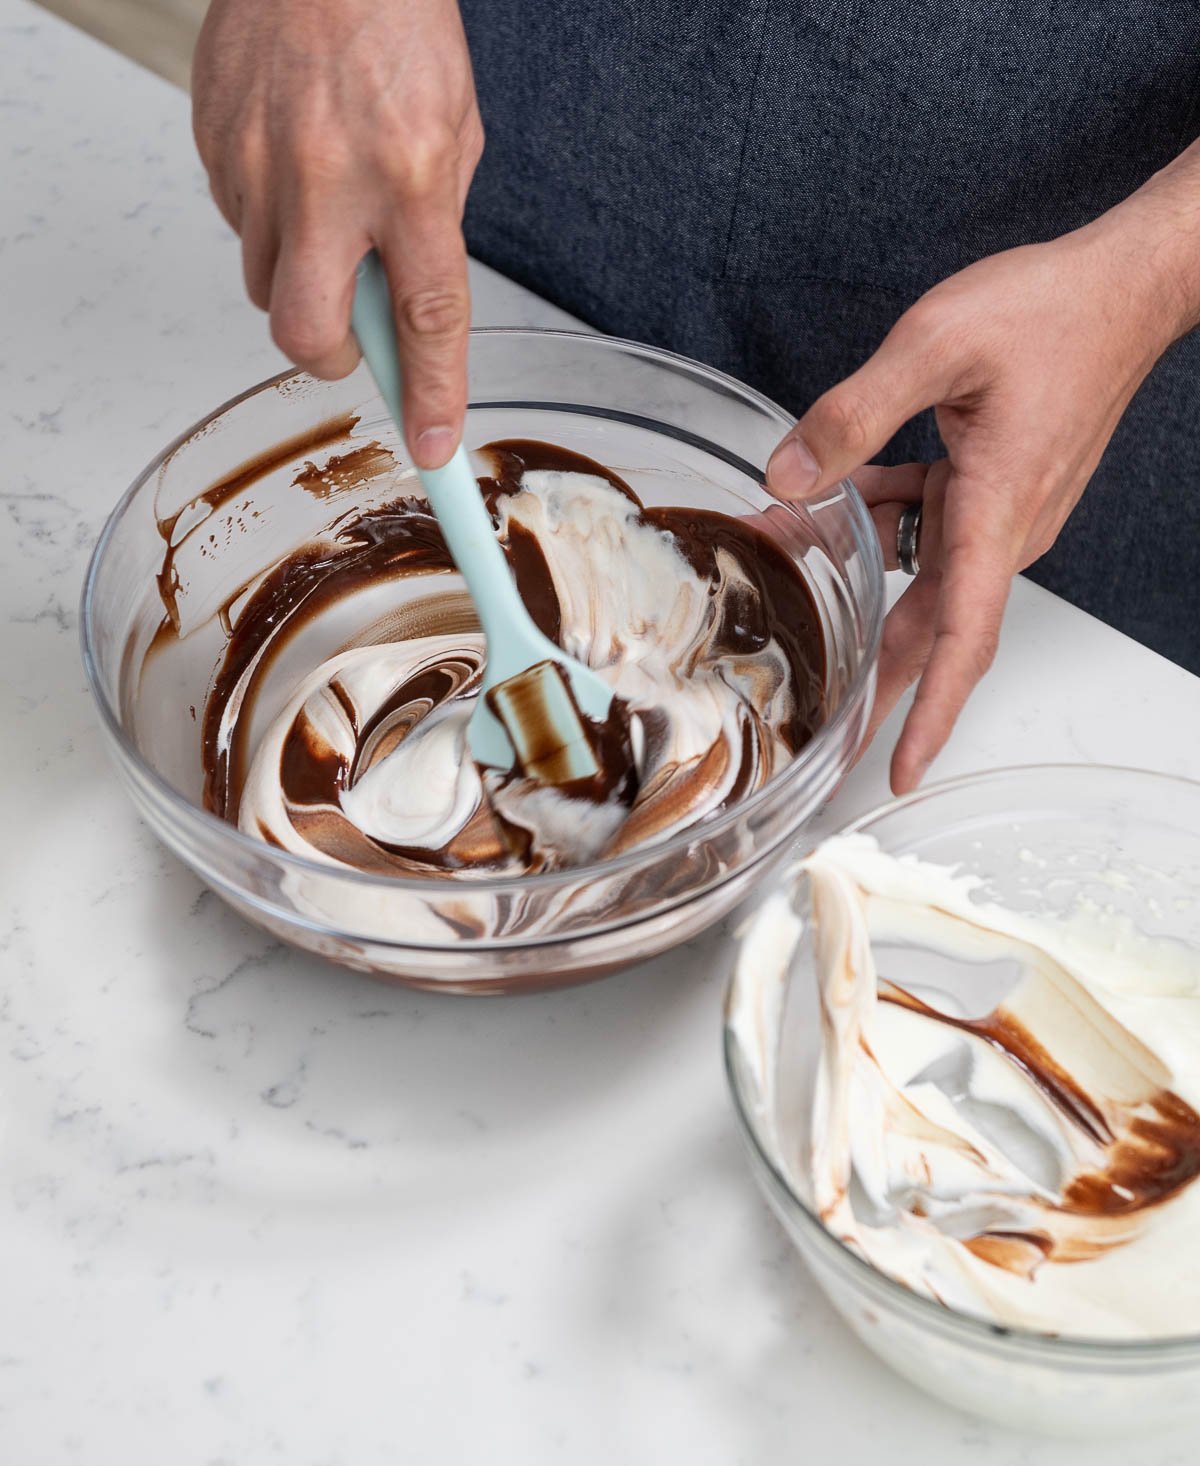
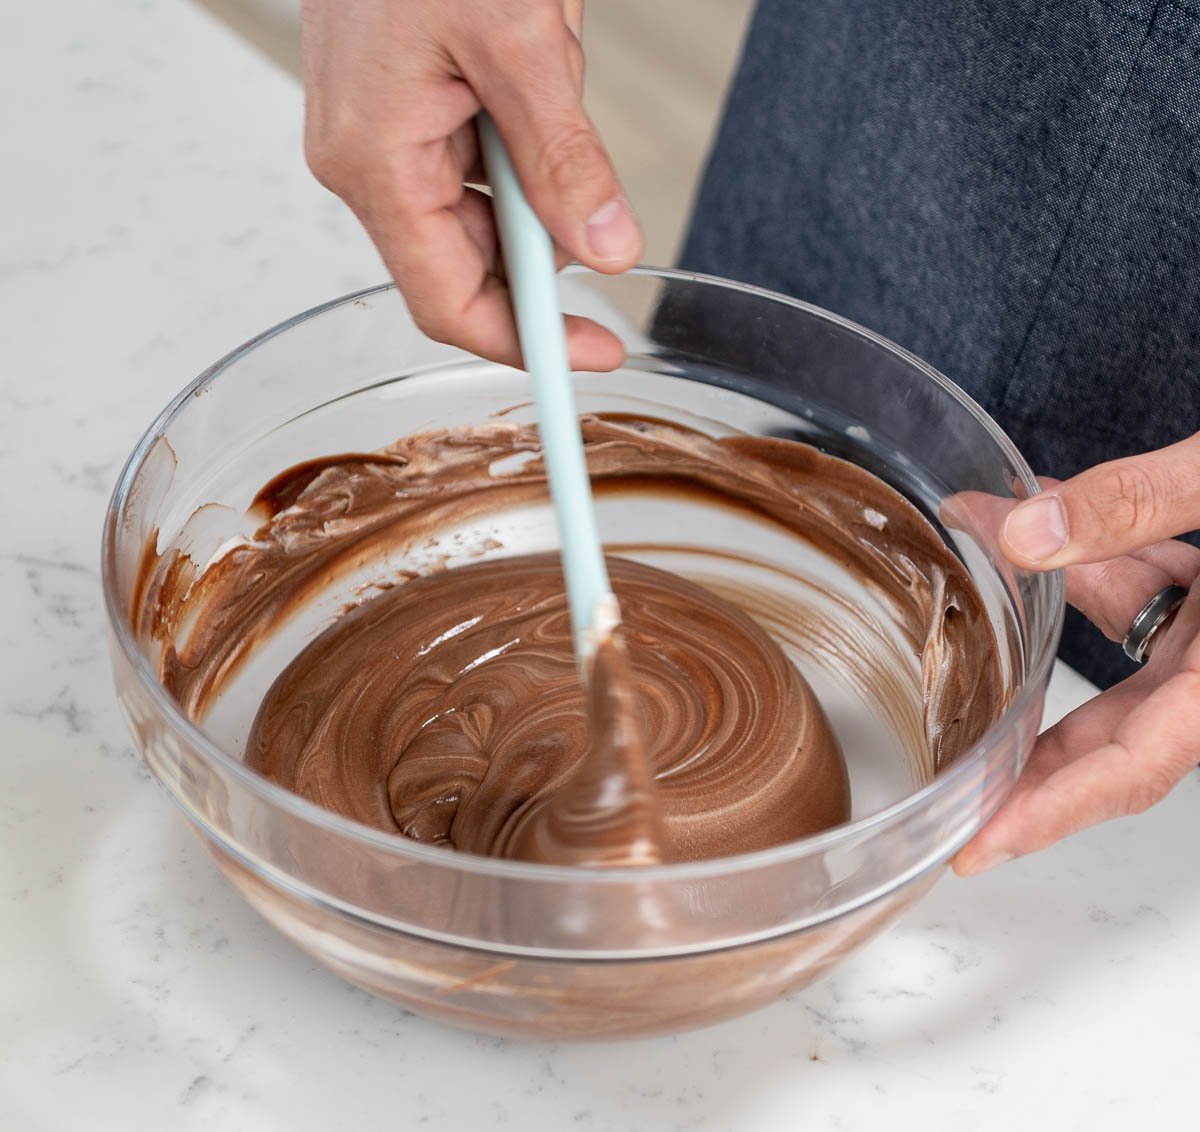
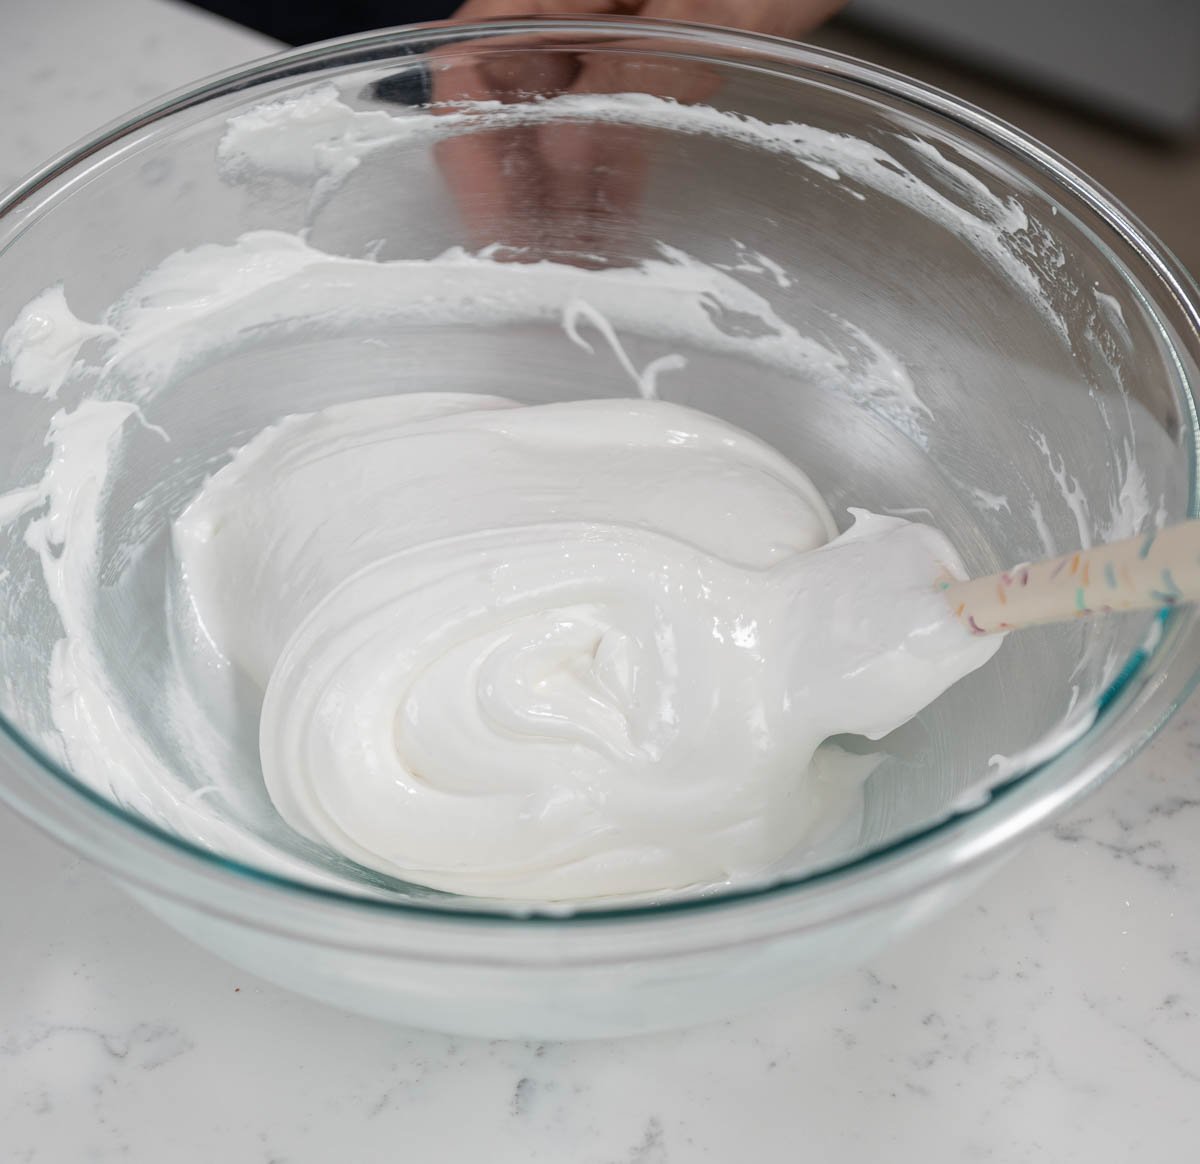
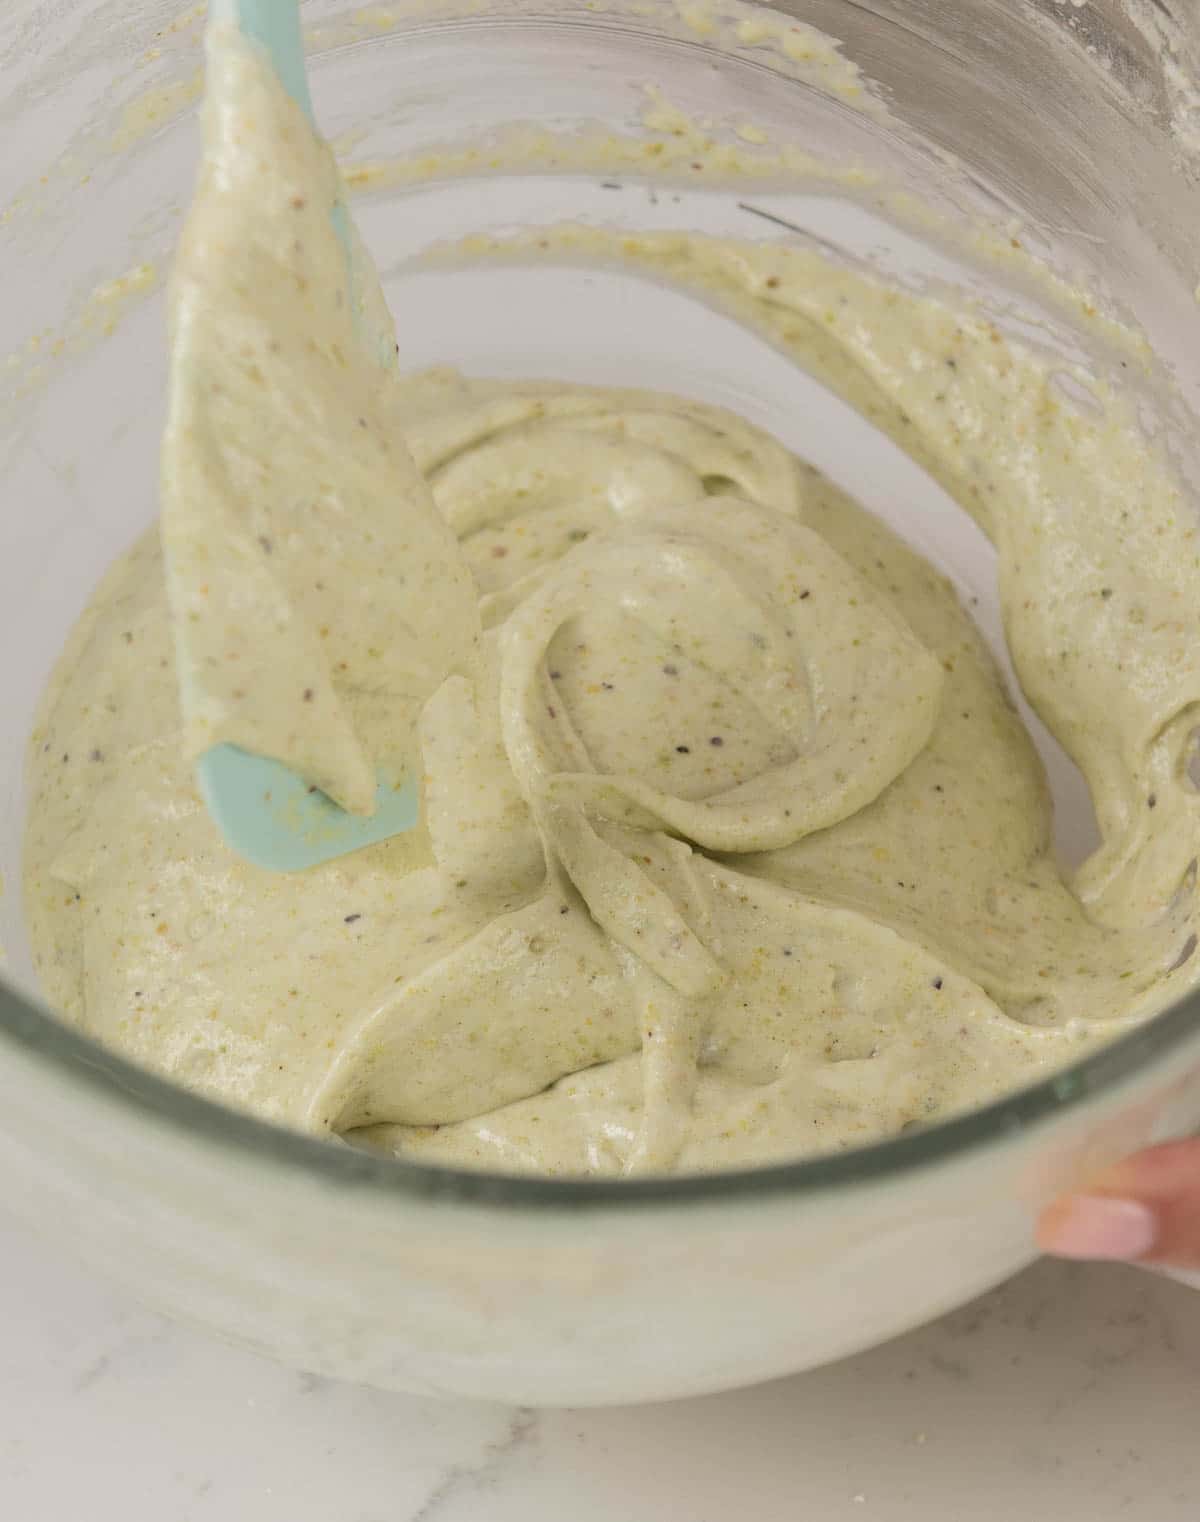
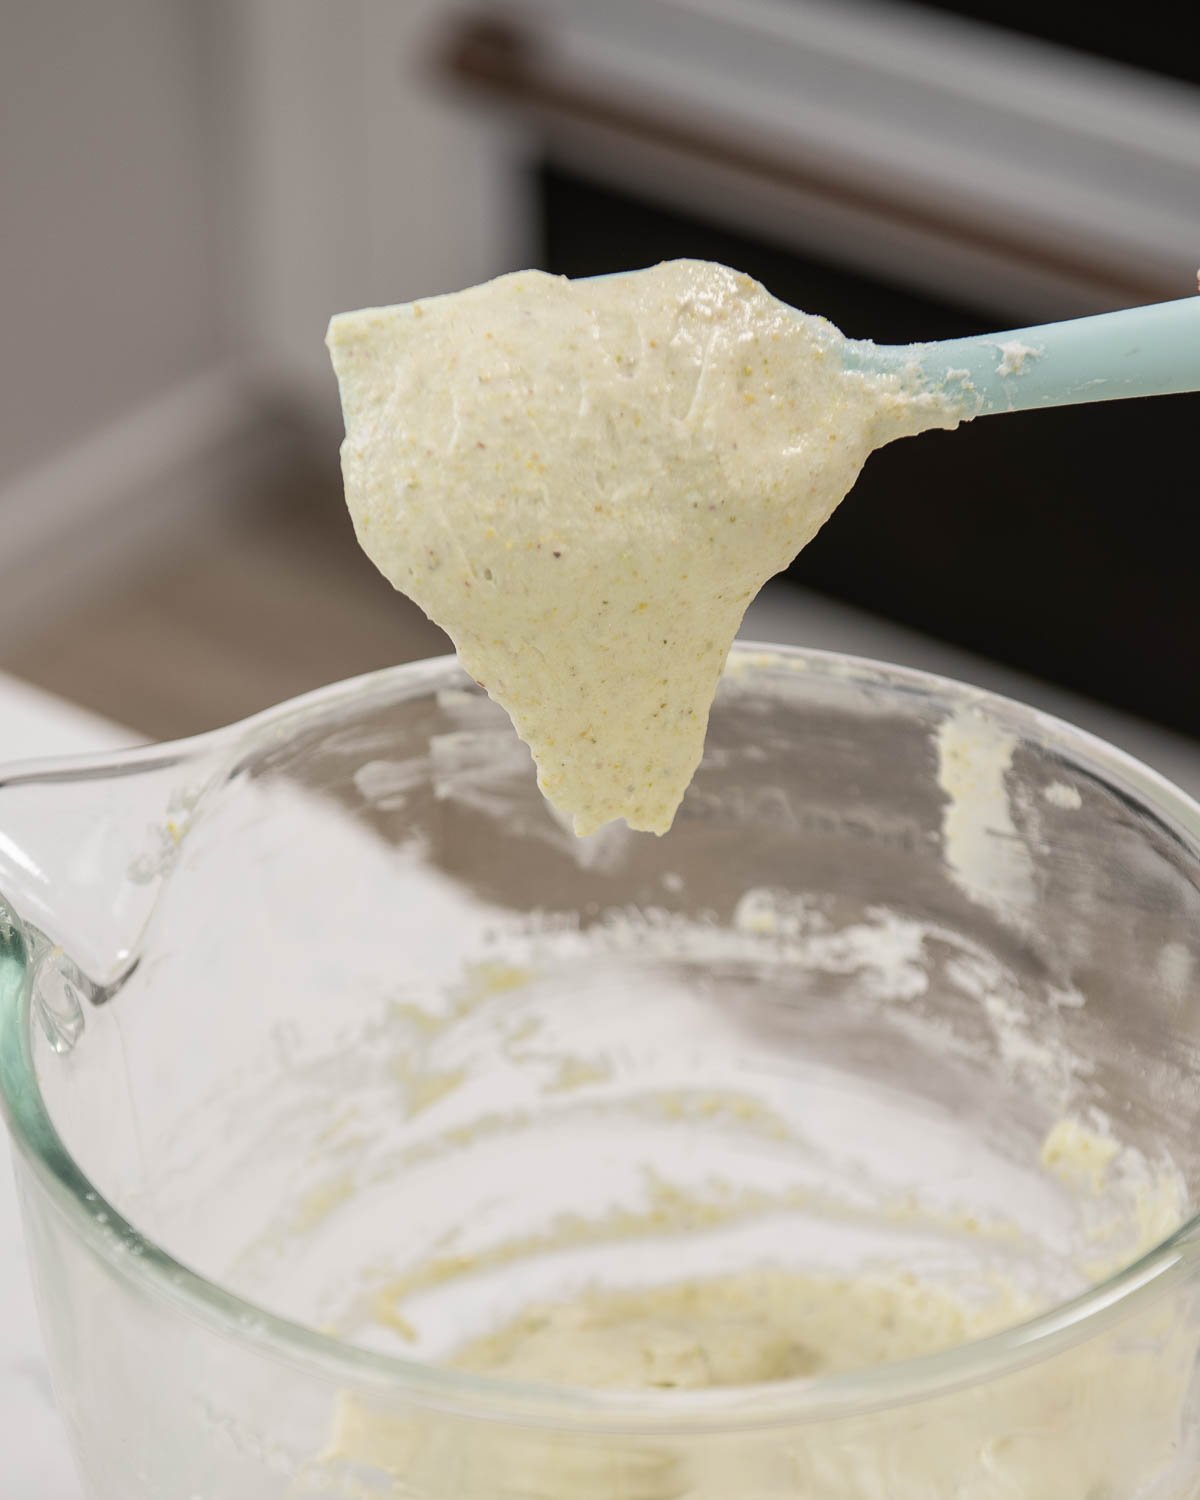
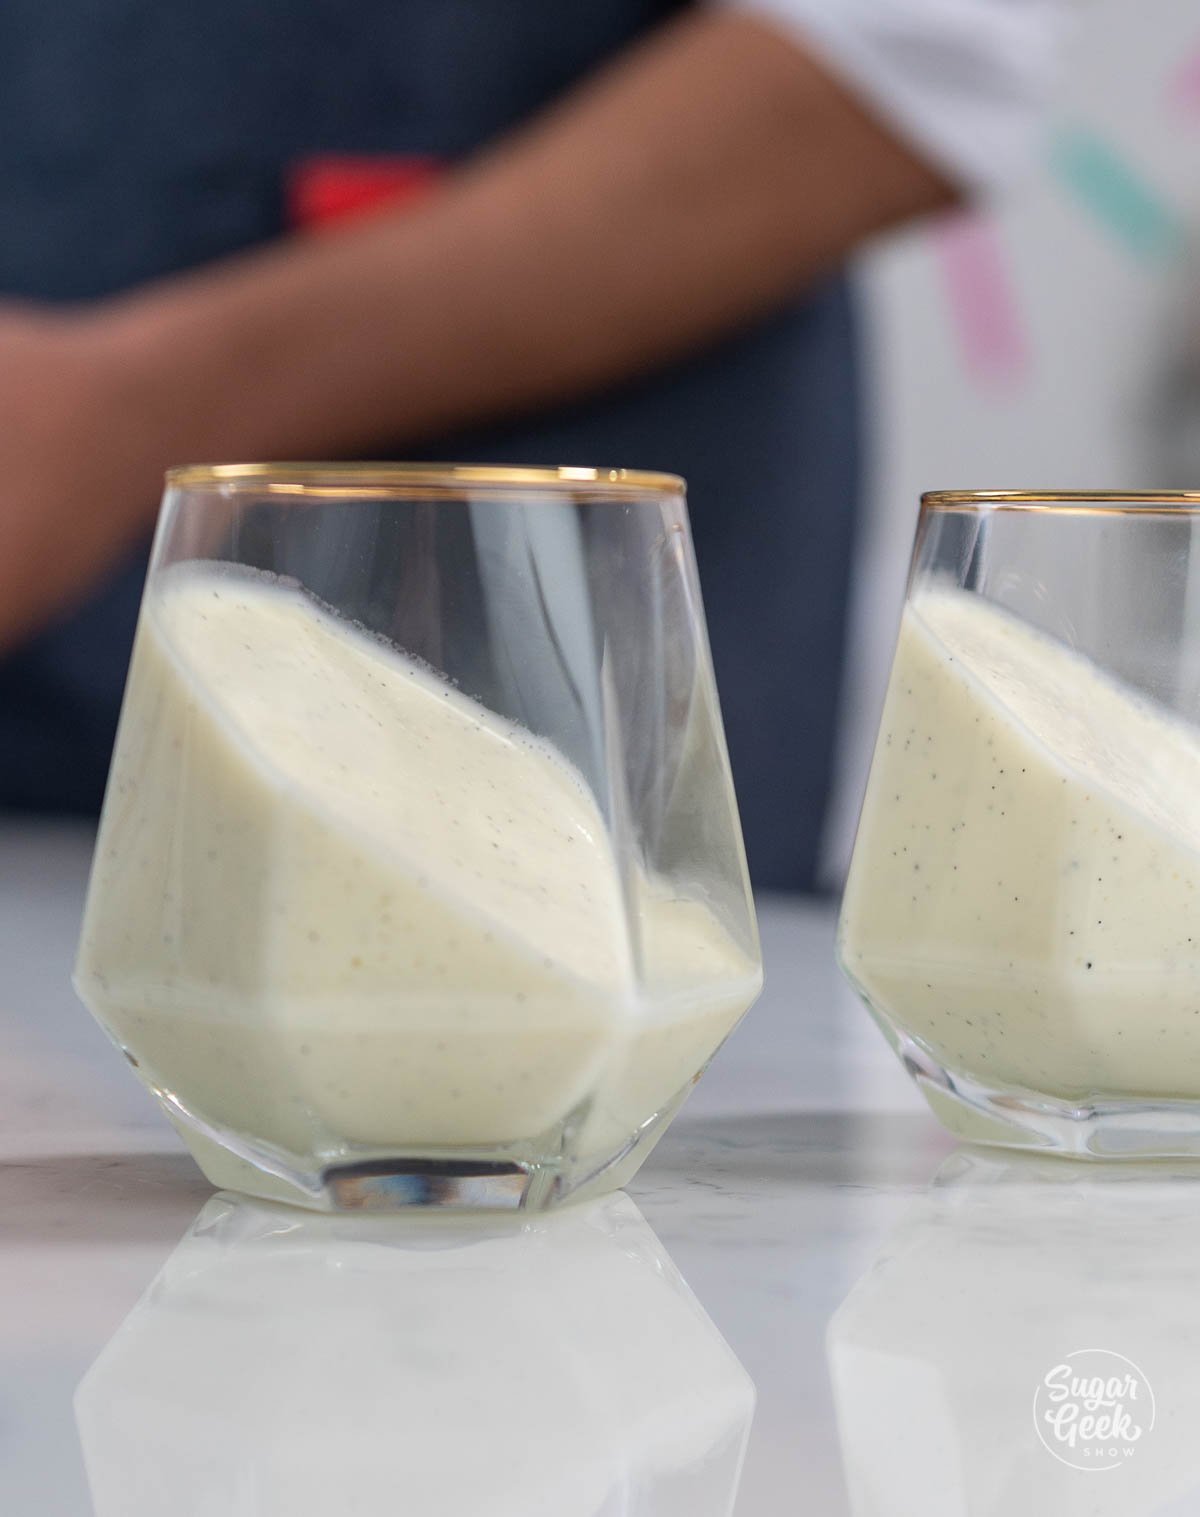
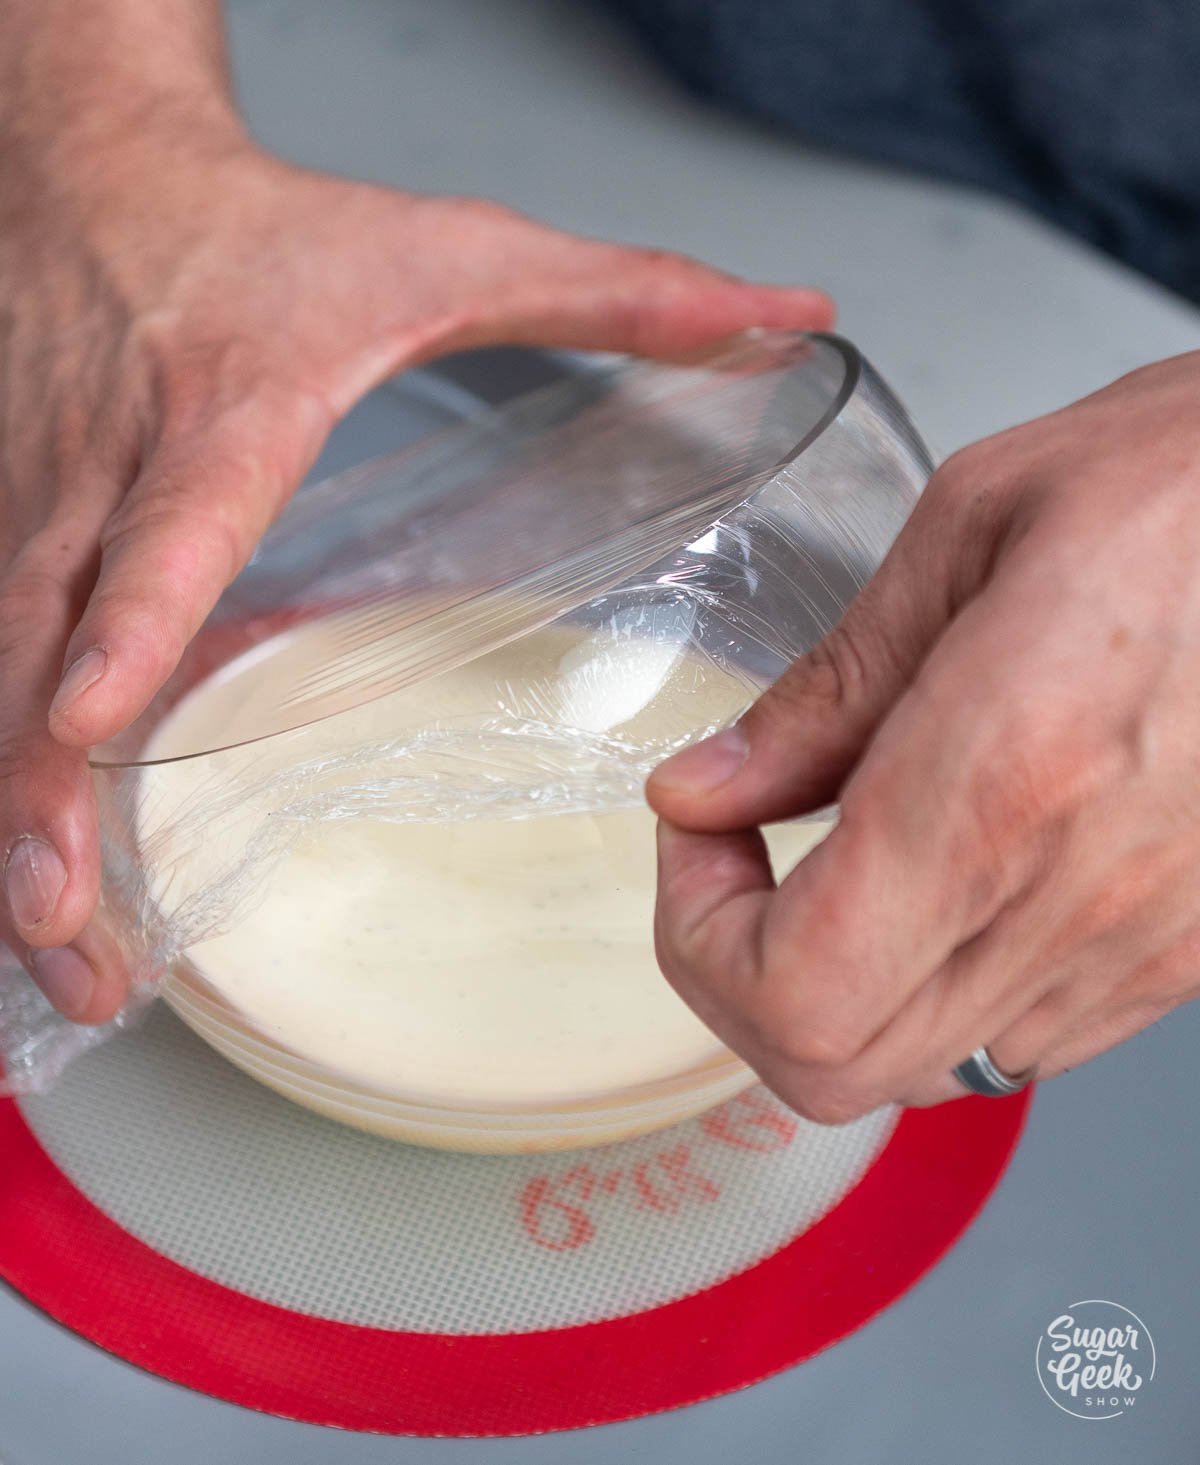
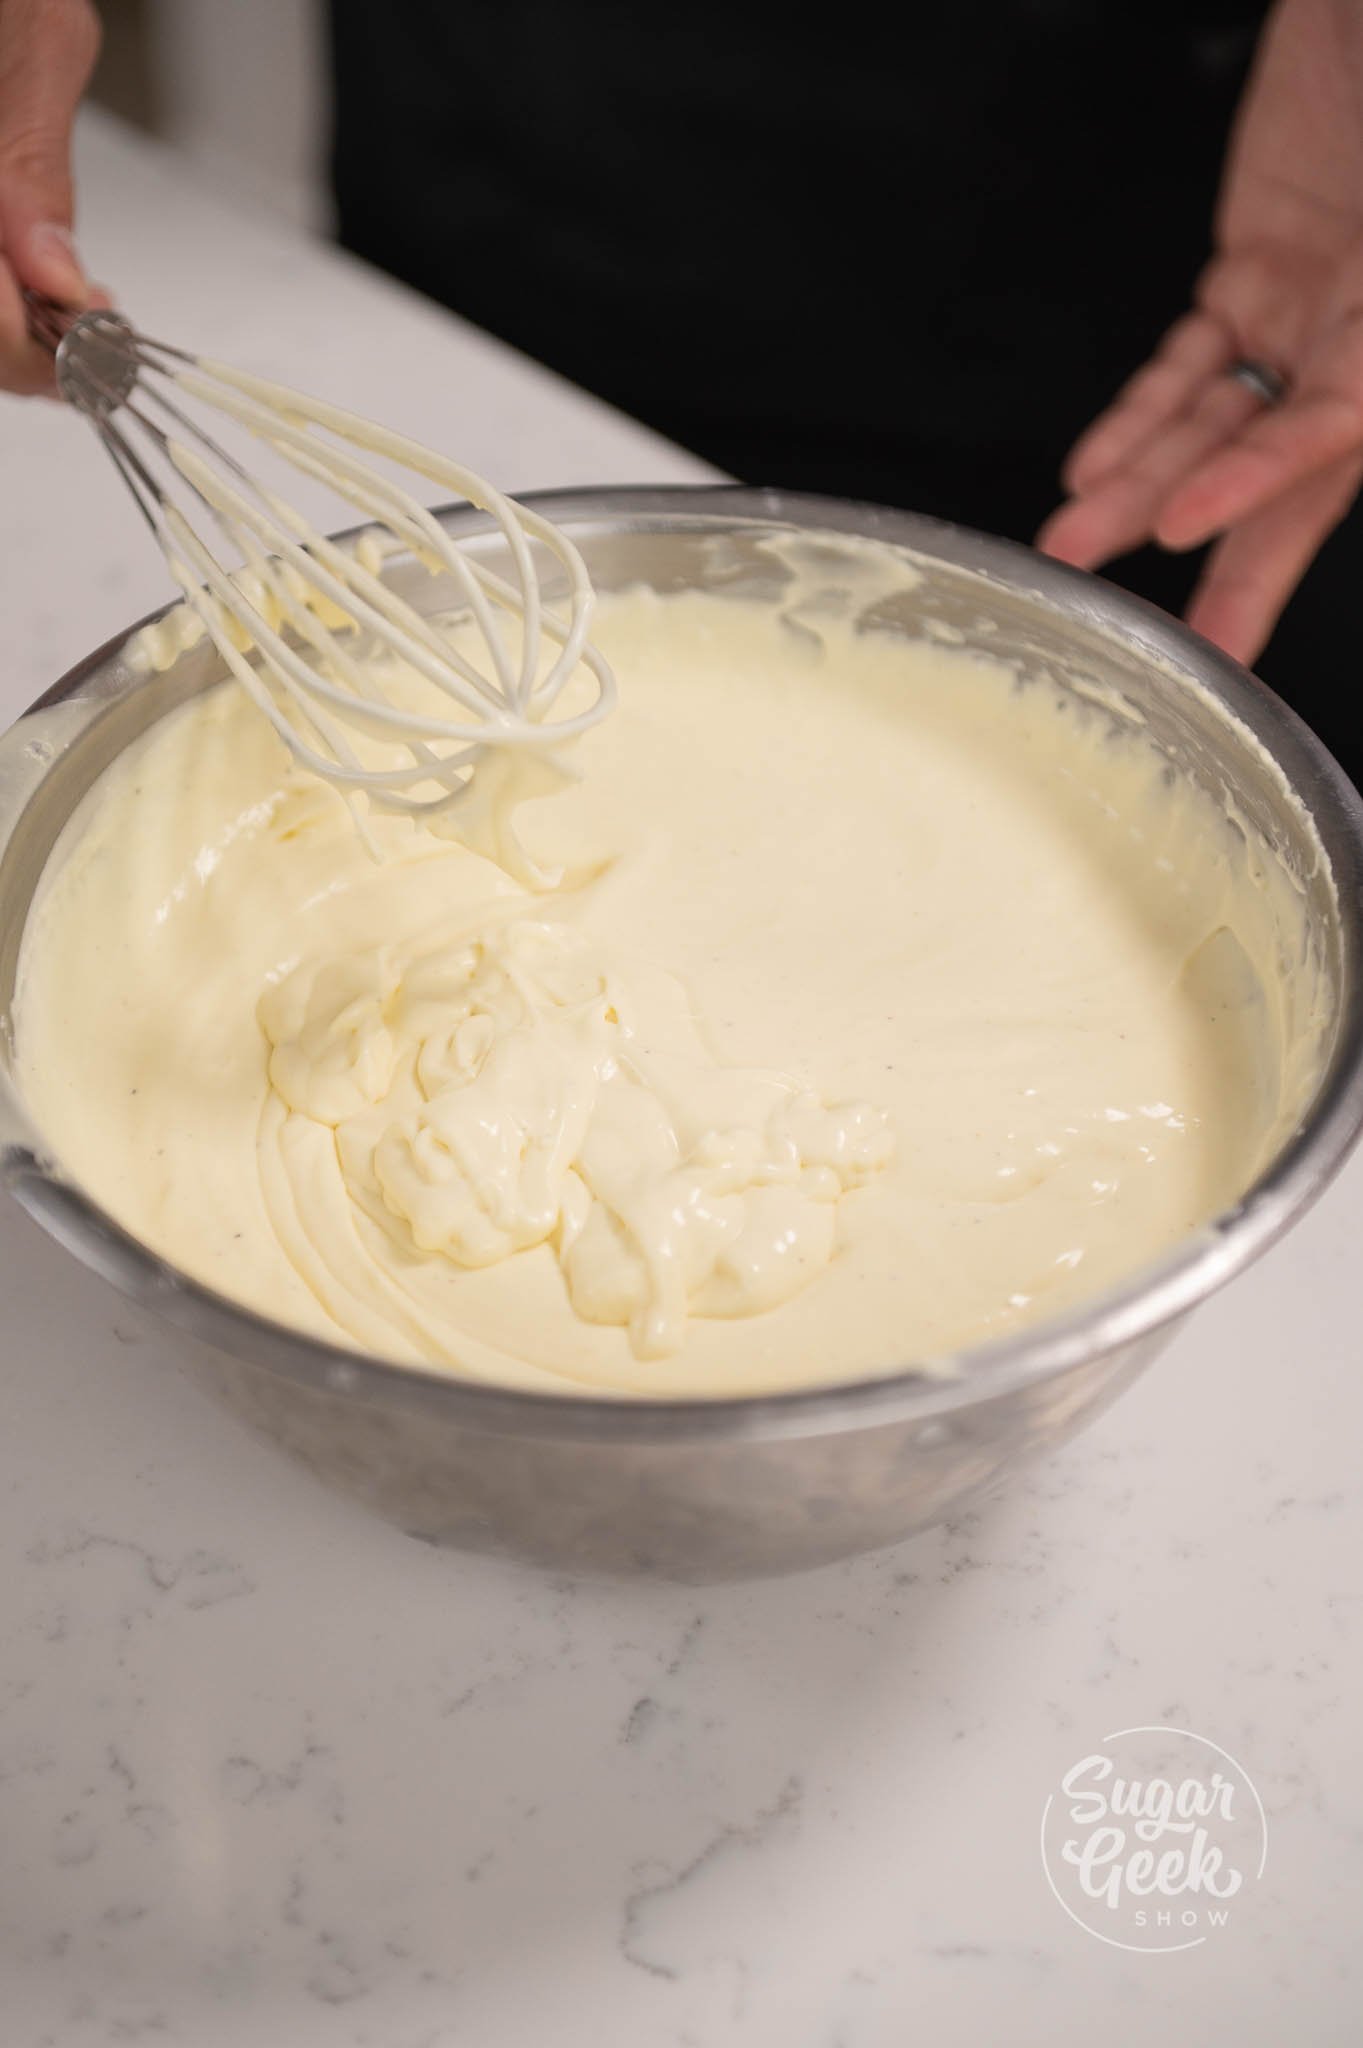
- Lightly fold in the rest of your whipped cream using a spatula. Set it aside for about an hour so the mousse can thicken. Once it becomes thick and fluffy it's ready to use. Don't let it completely set up before you pipe it into your cups.


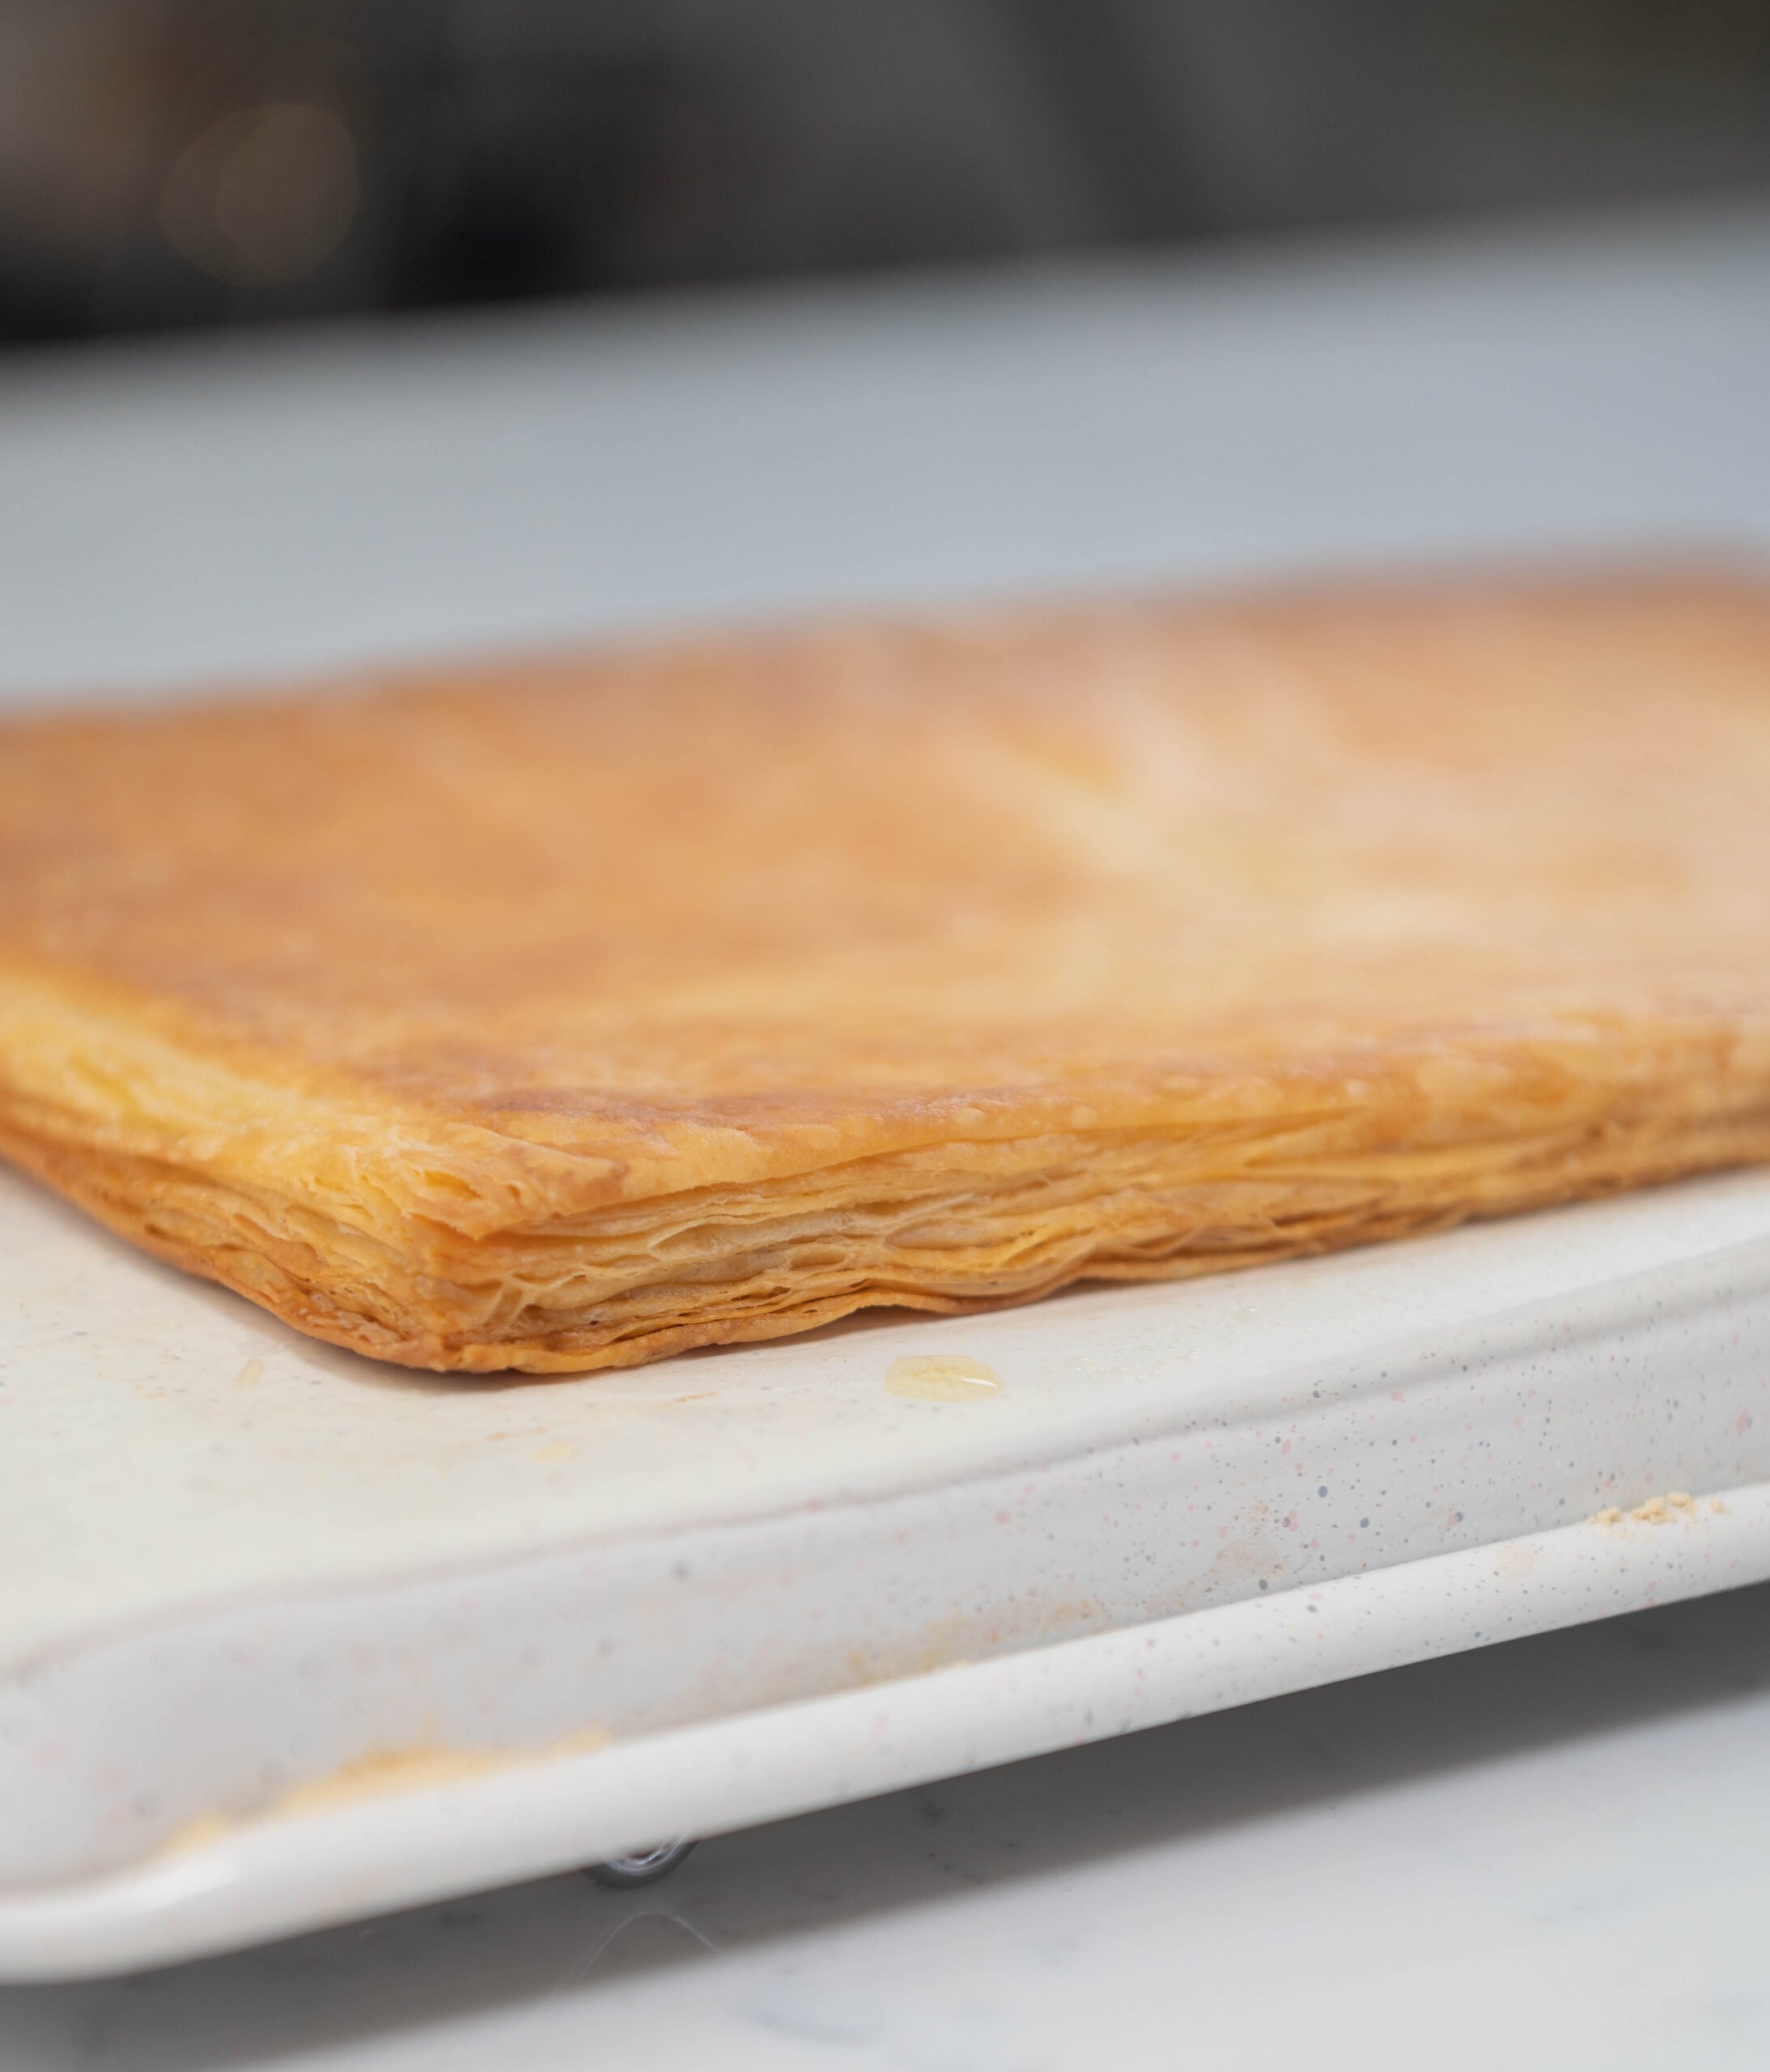
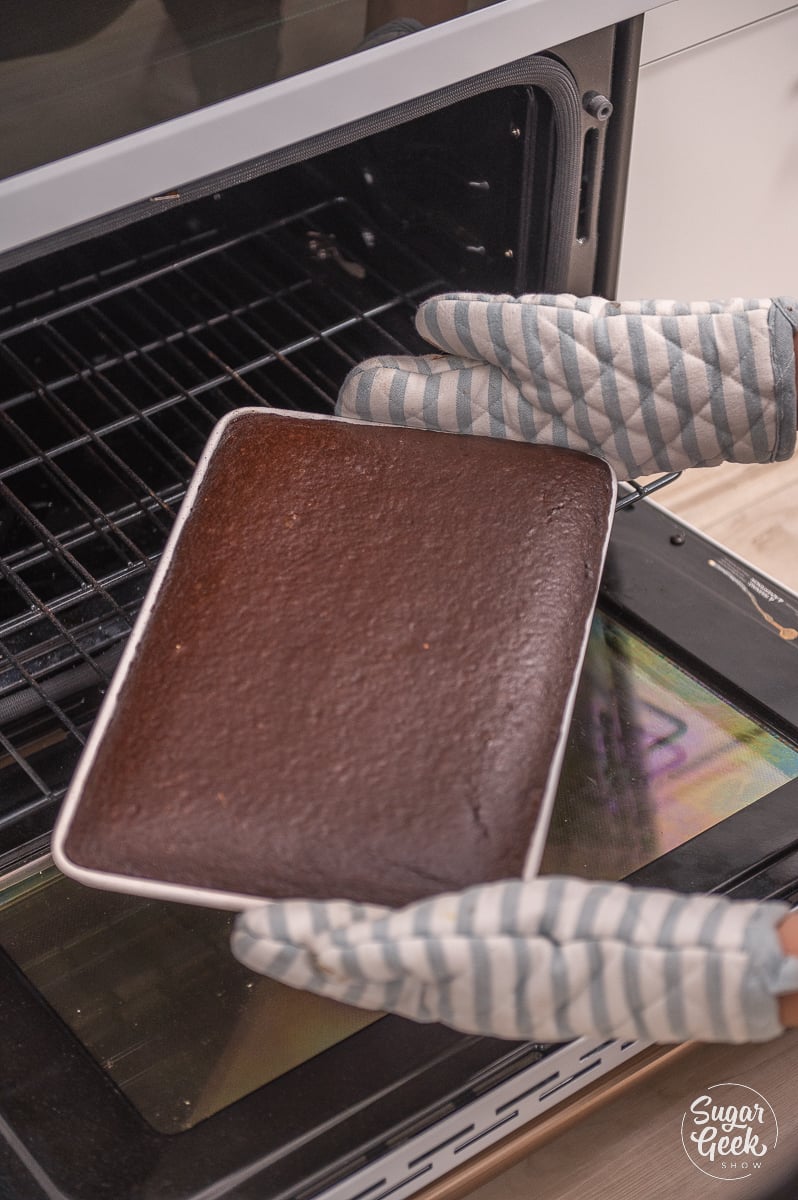
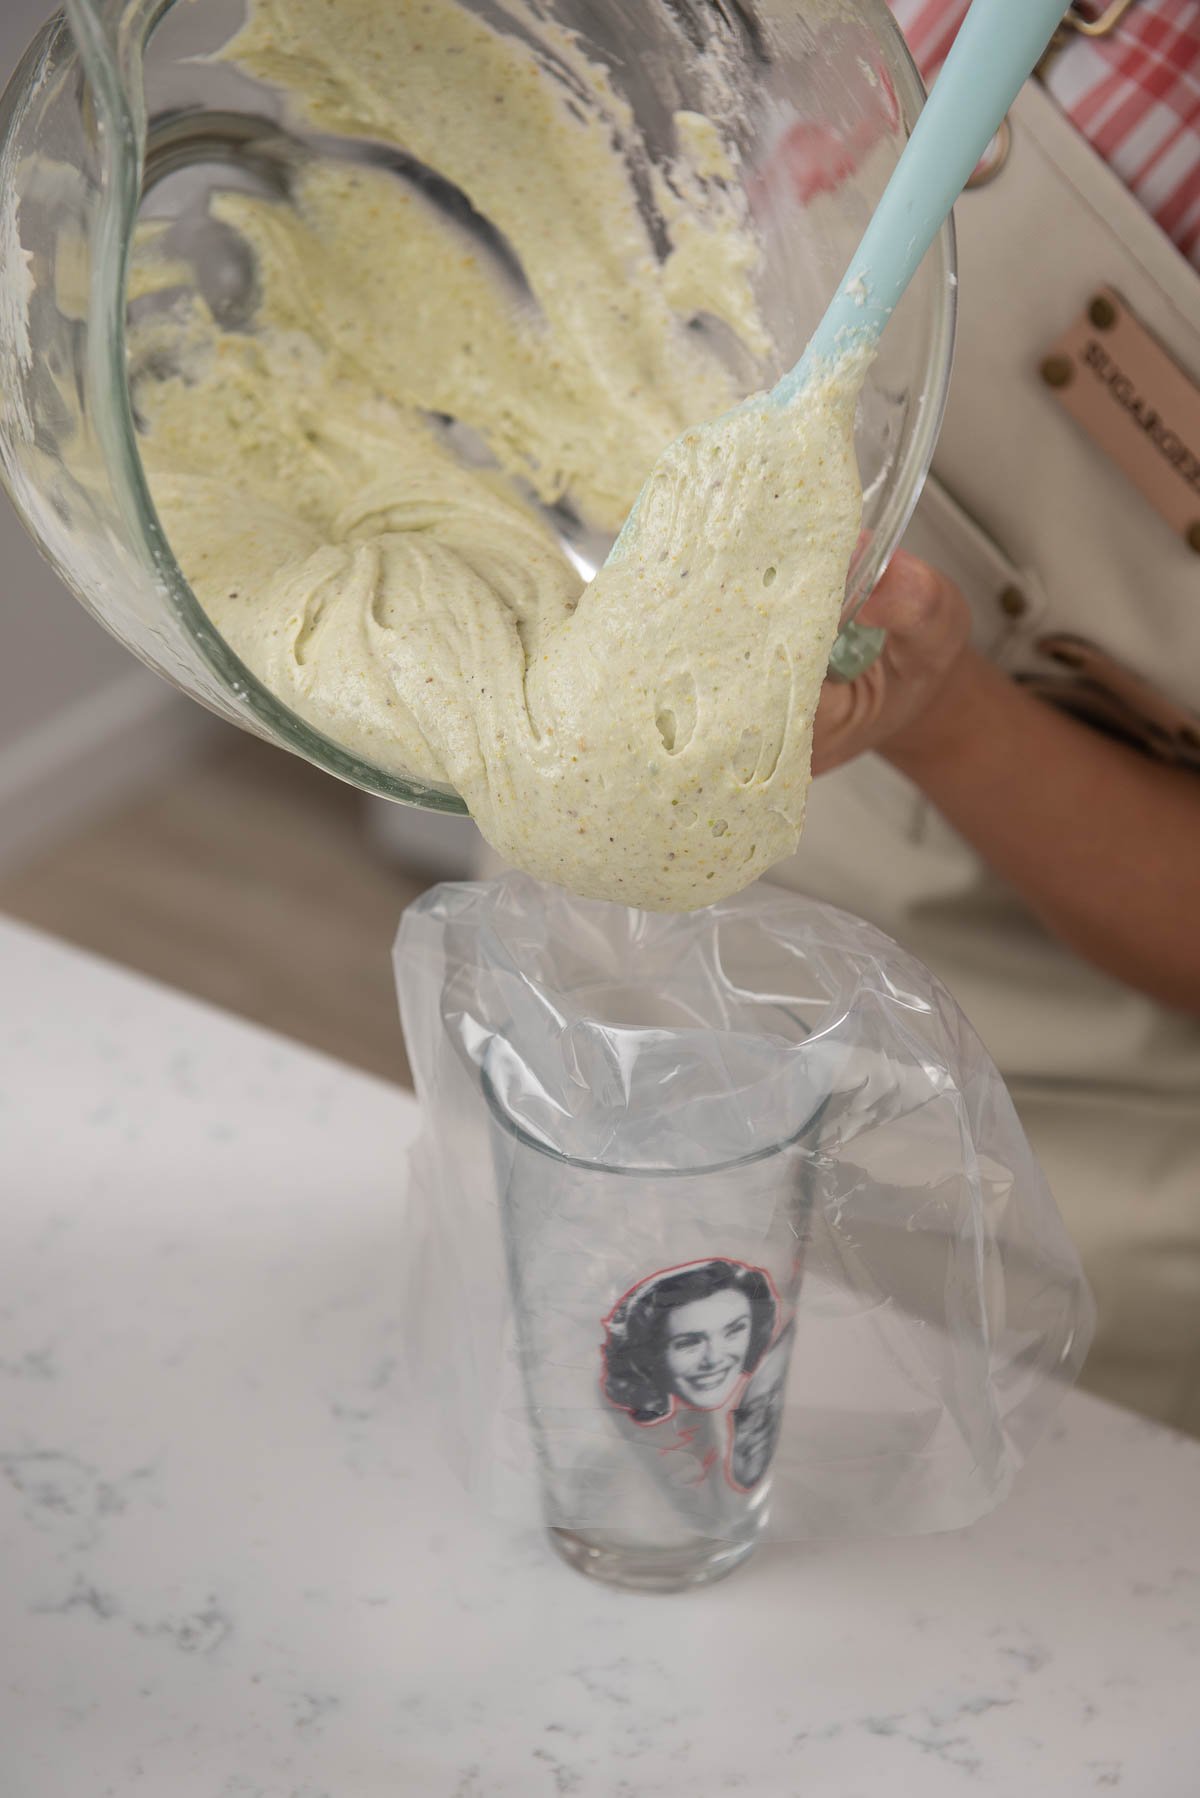
Making The Coconut Nougatine
- Preheat your oven to 325º F (162ºC).
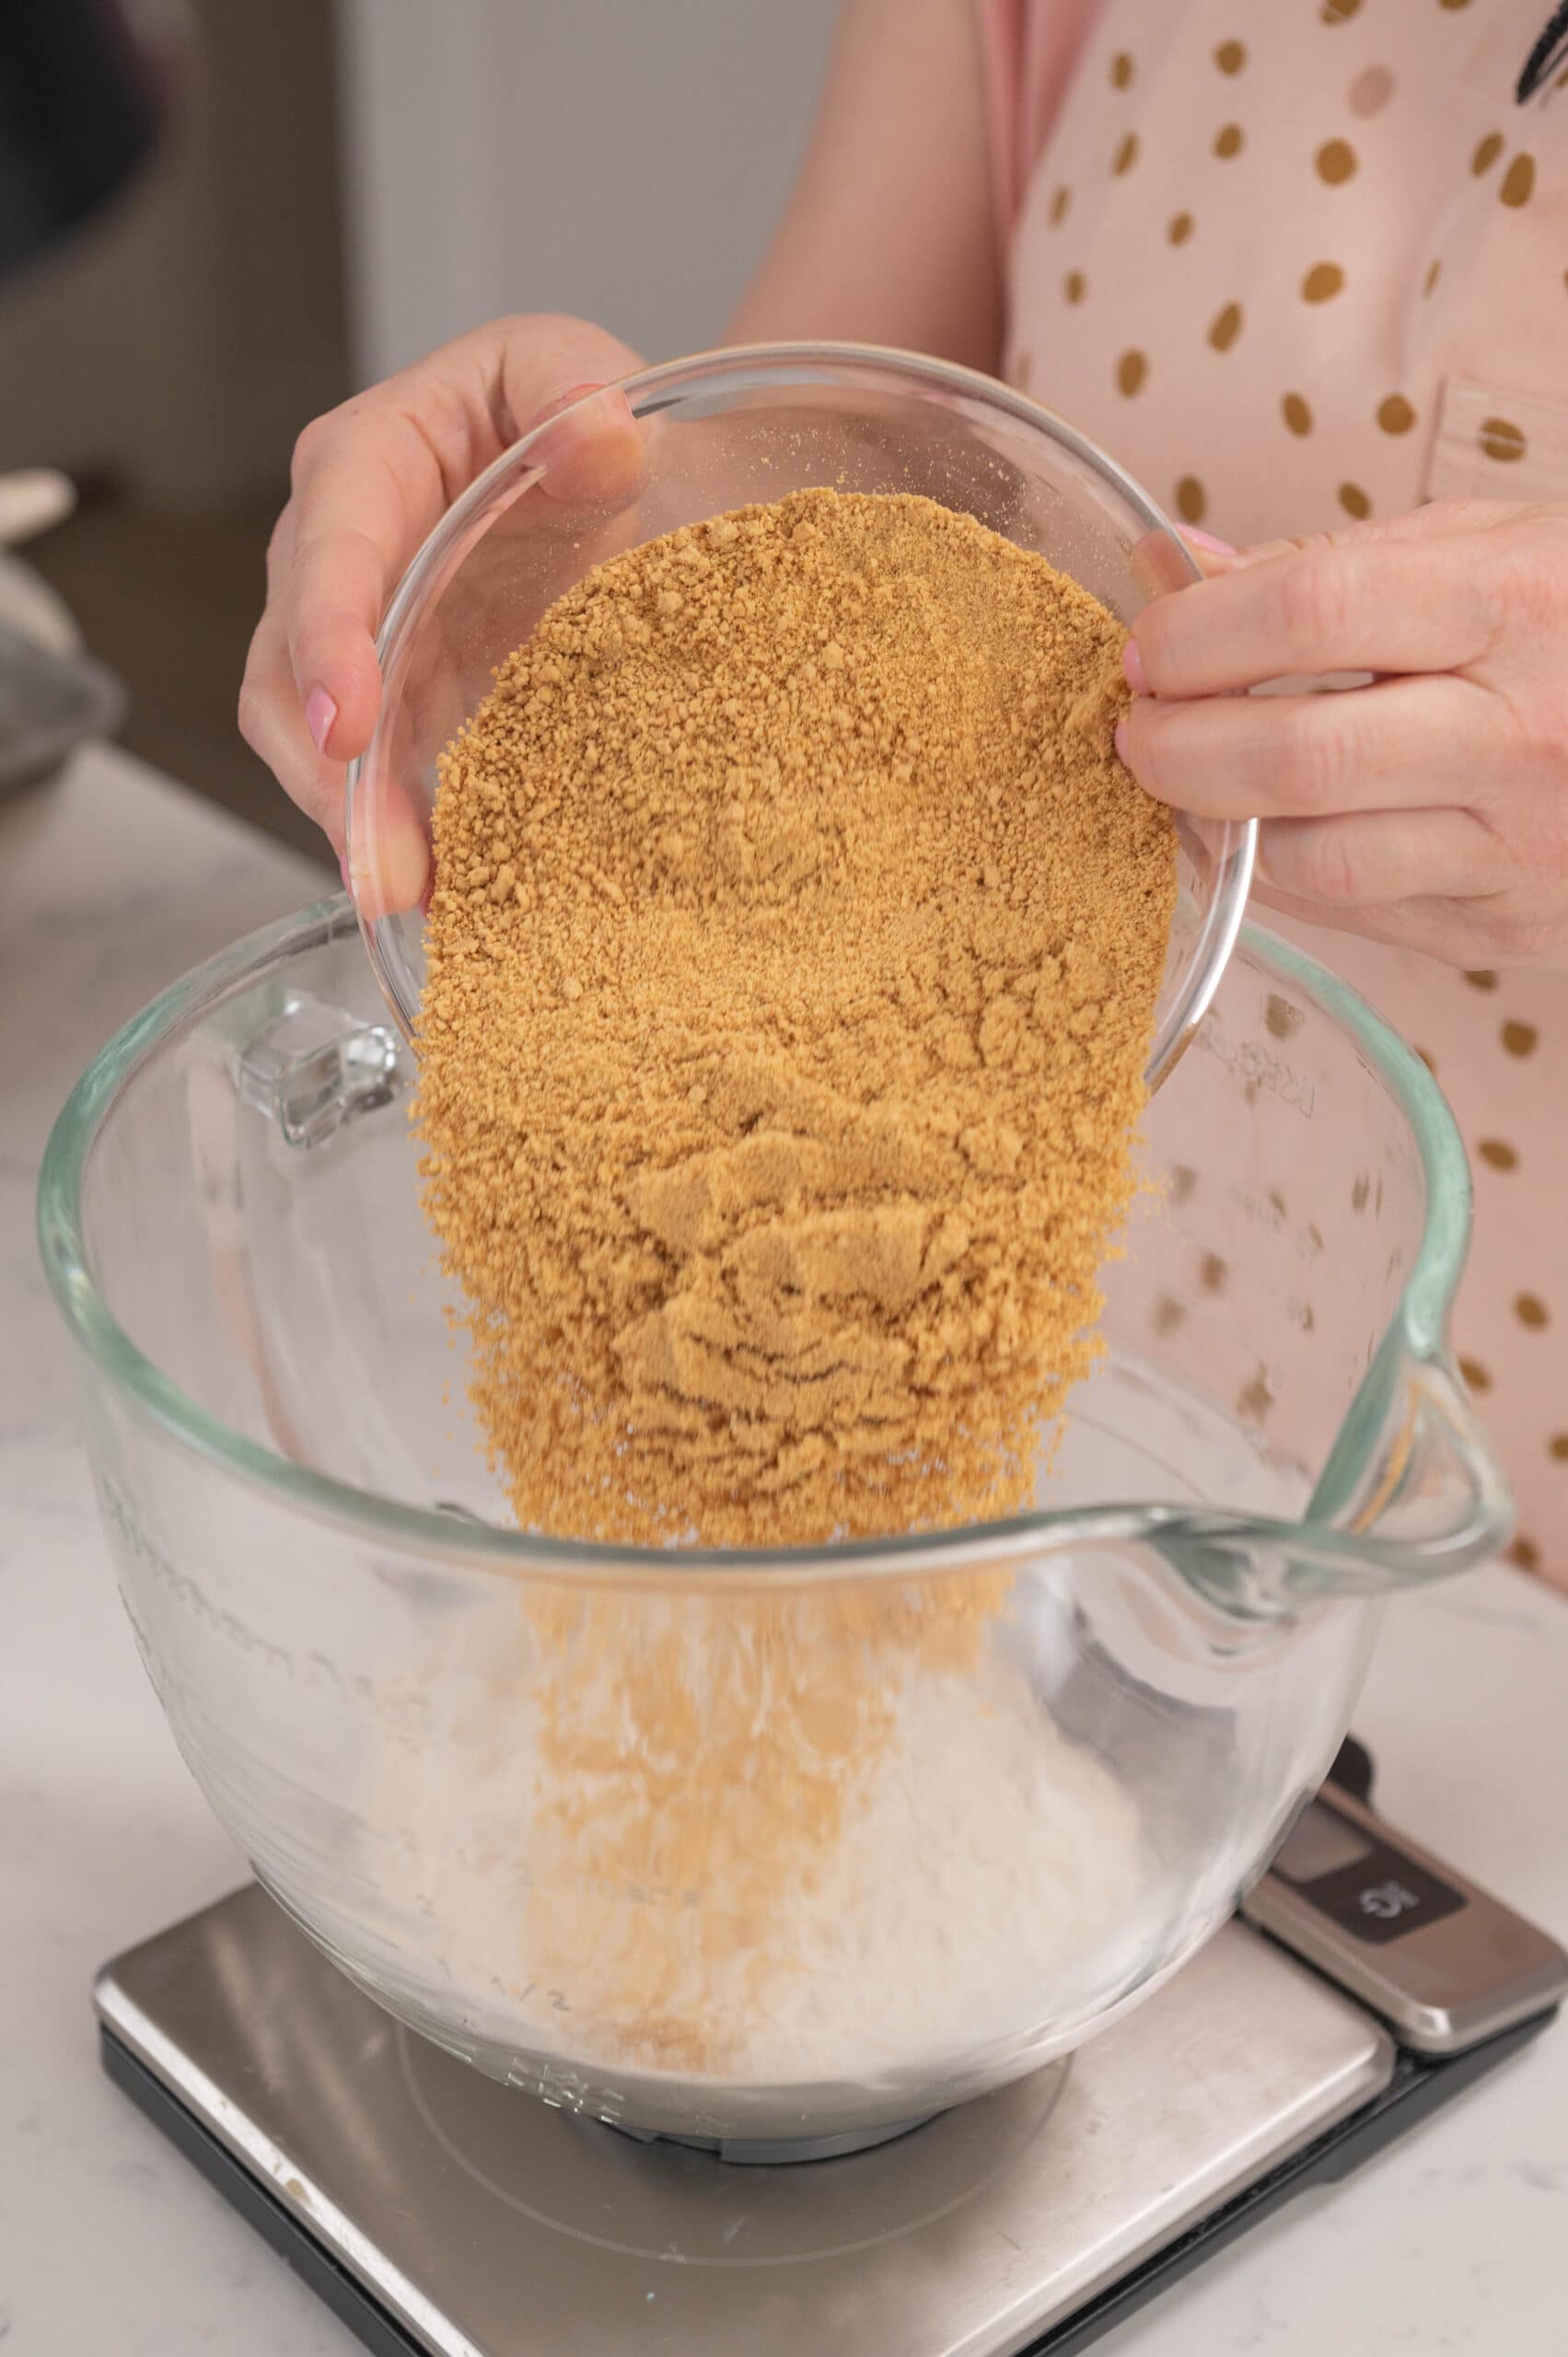
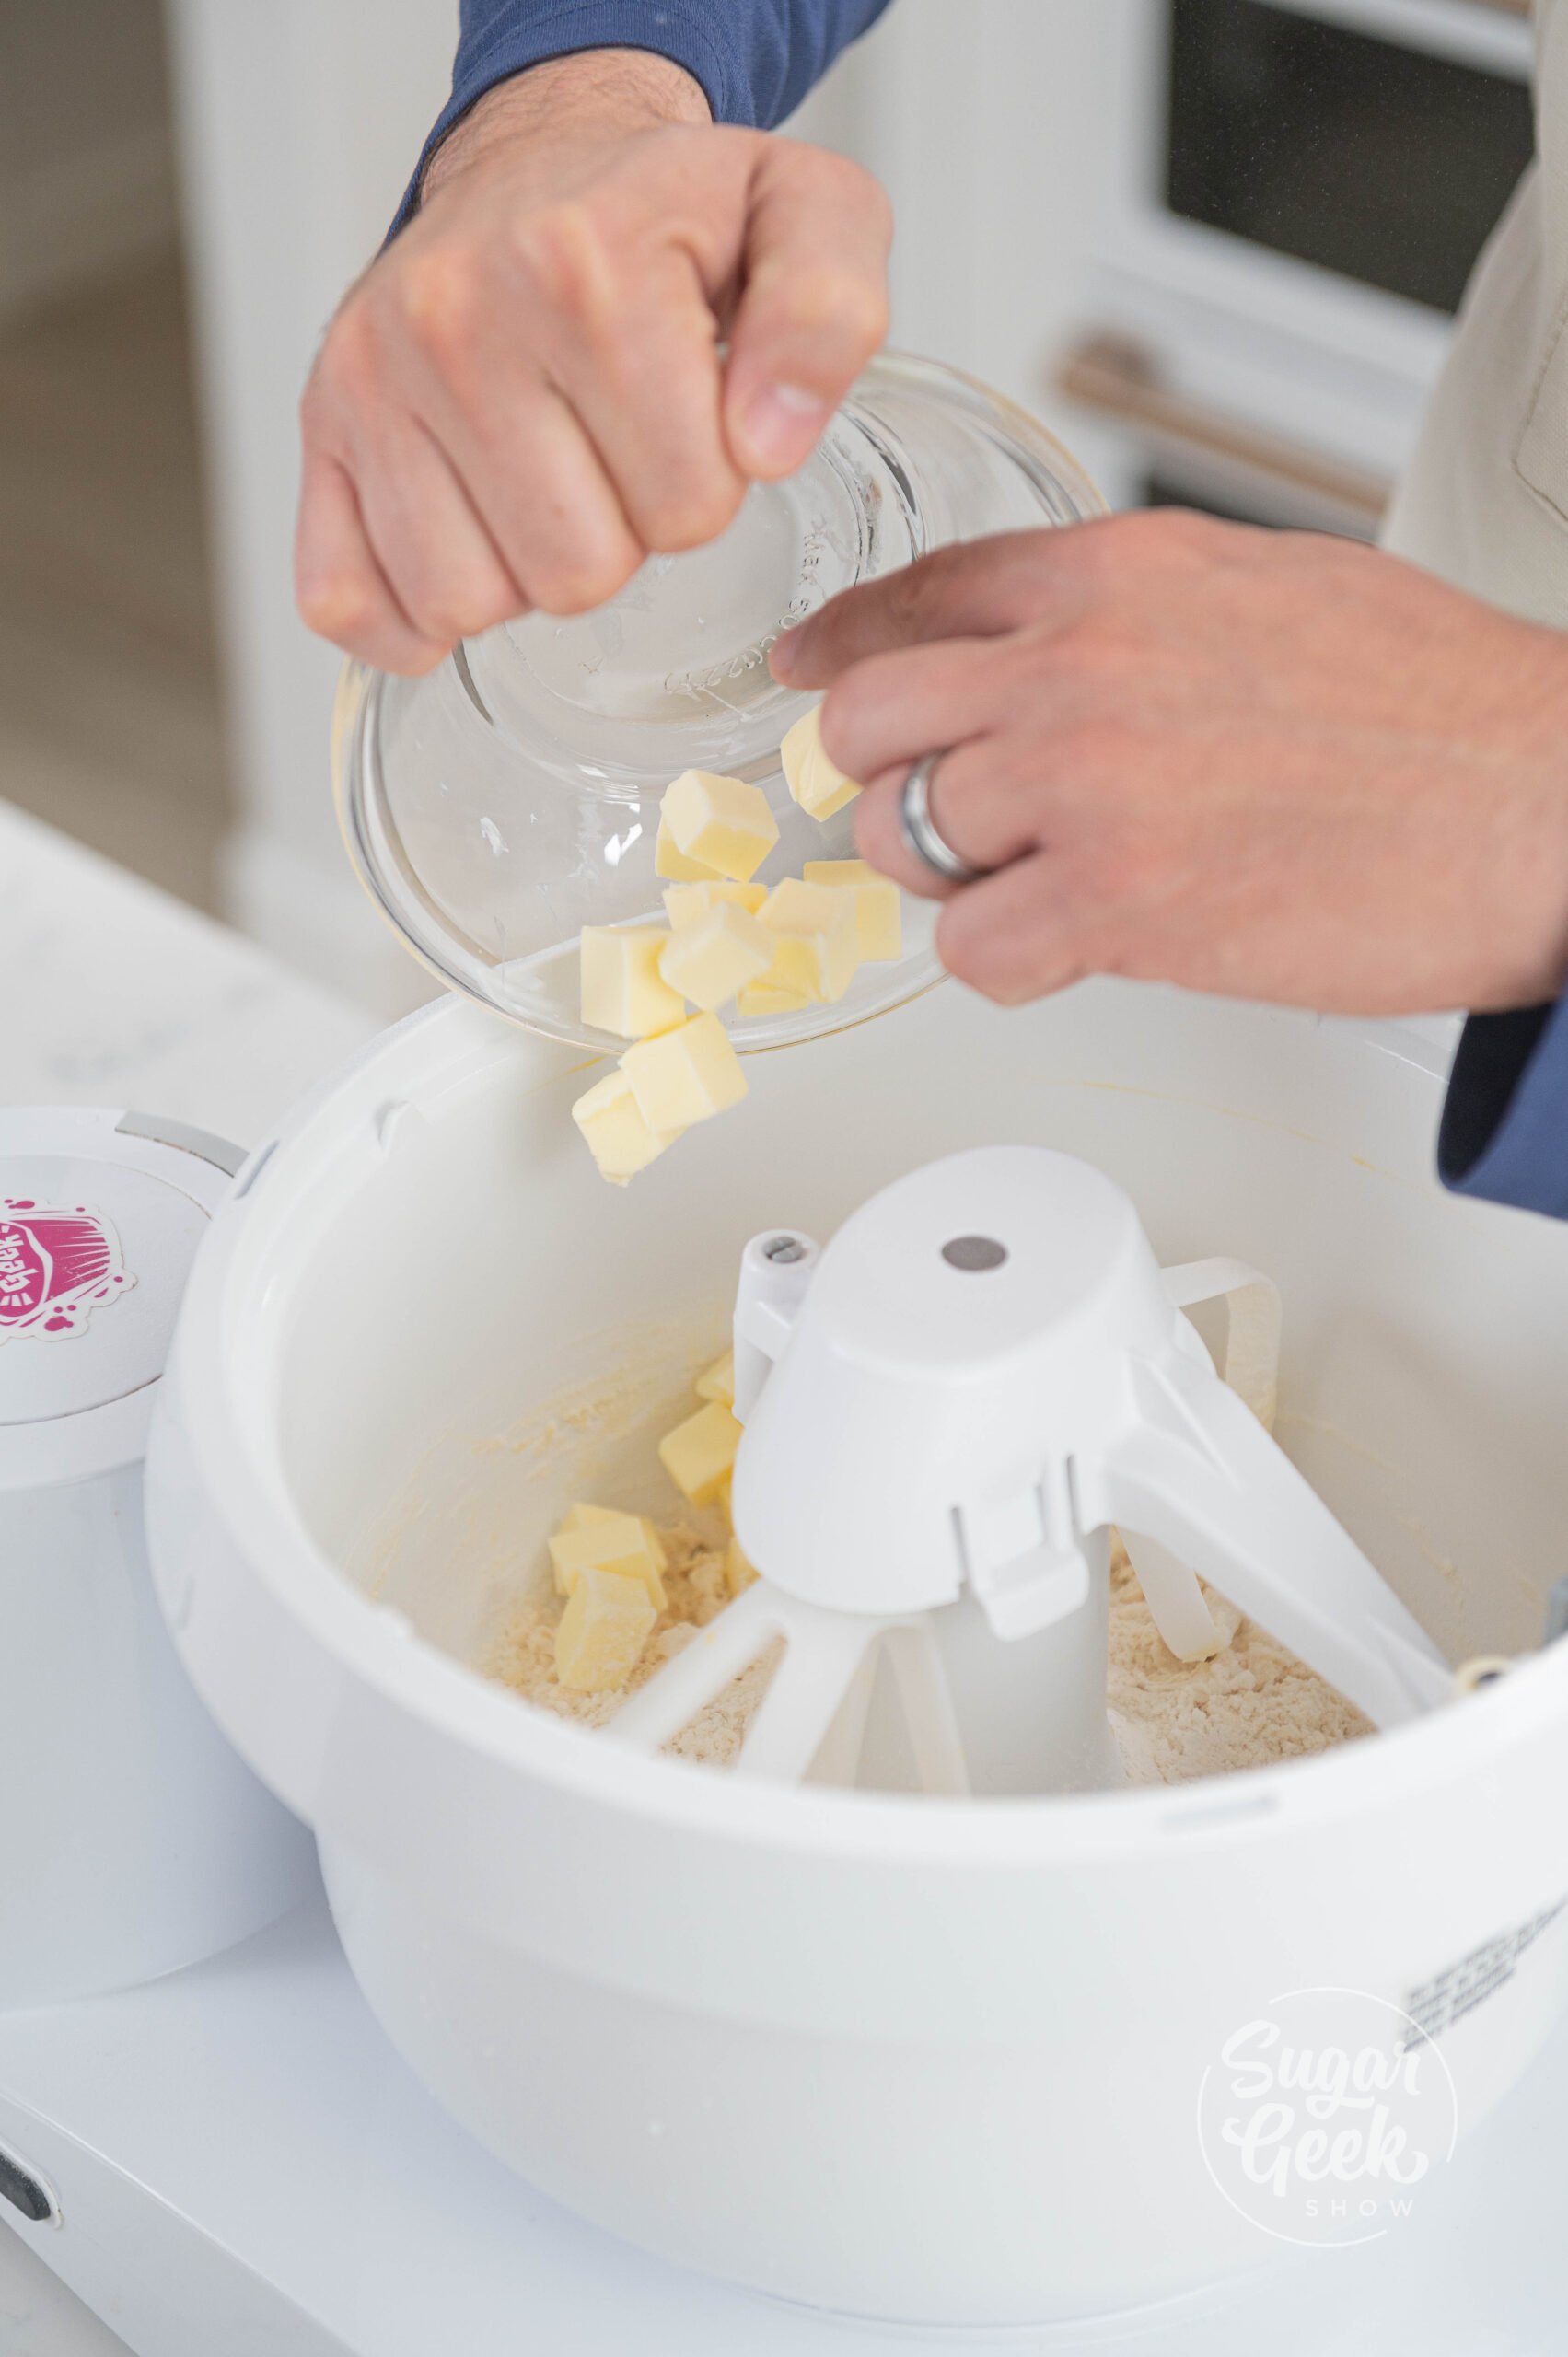
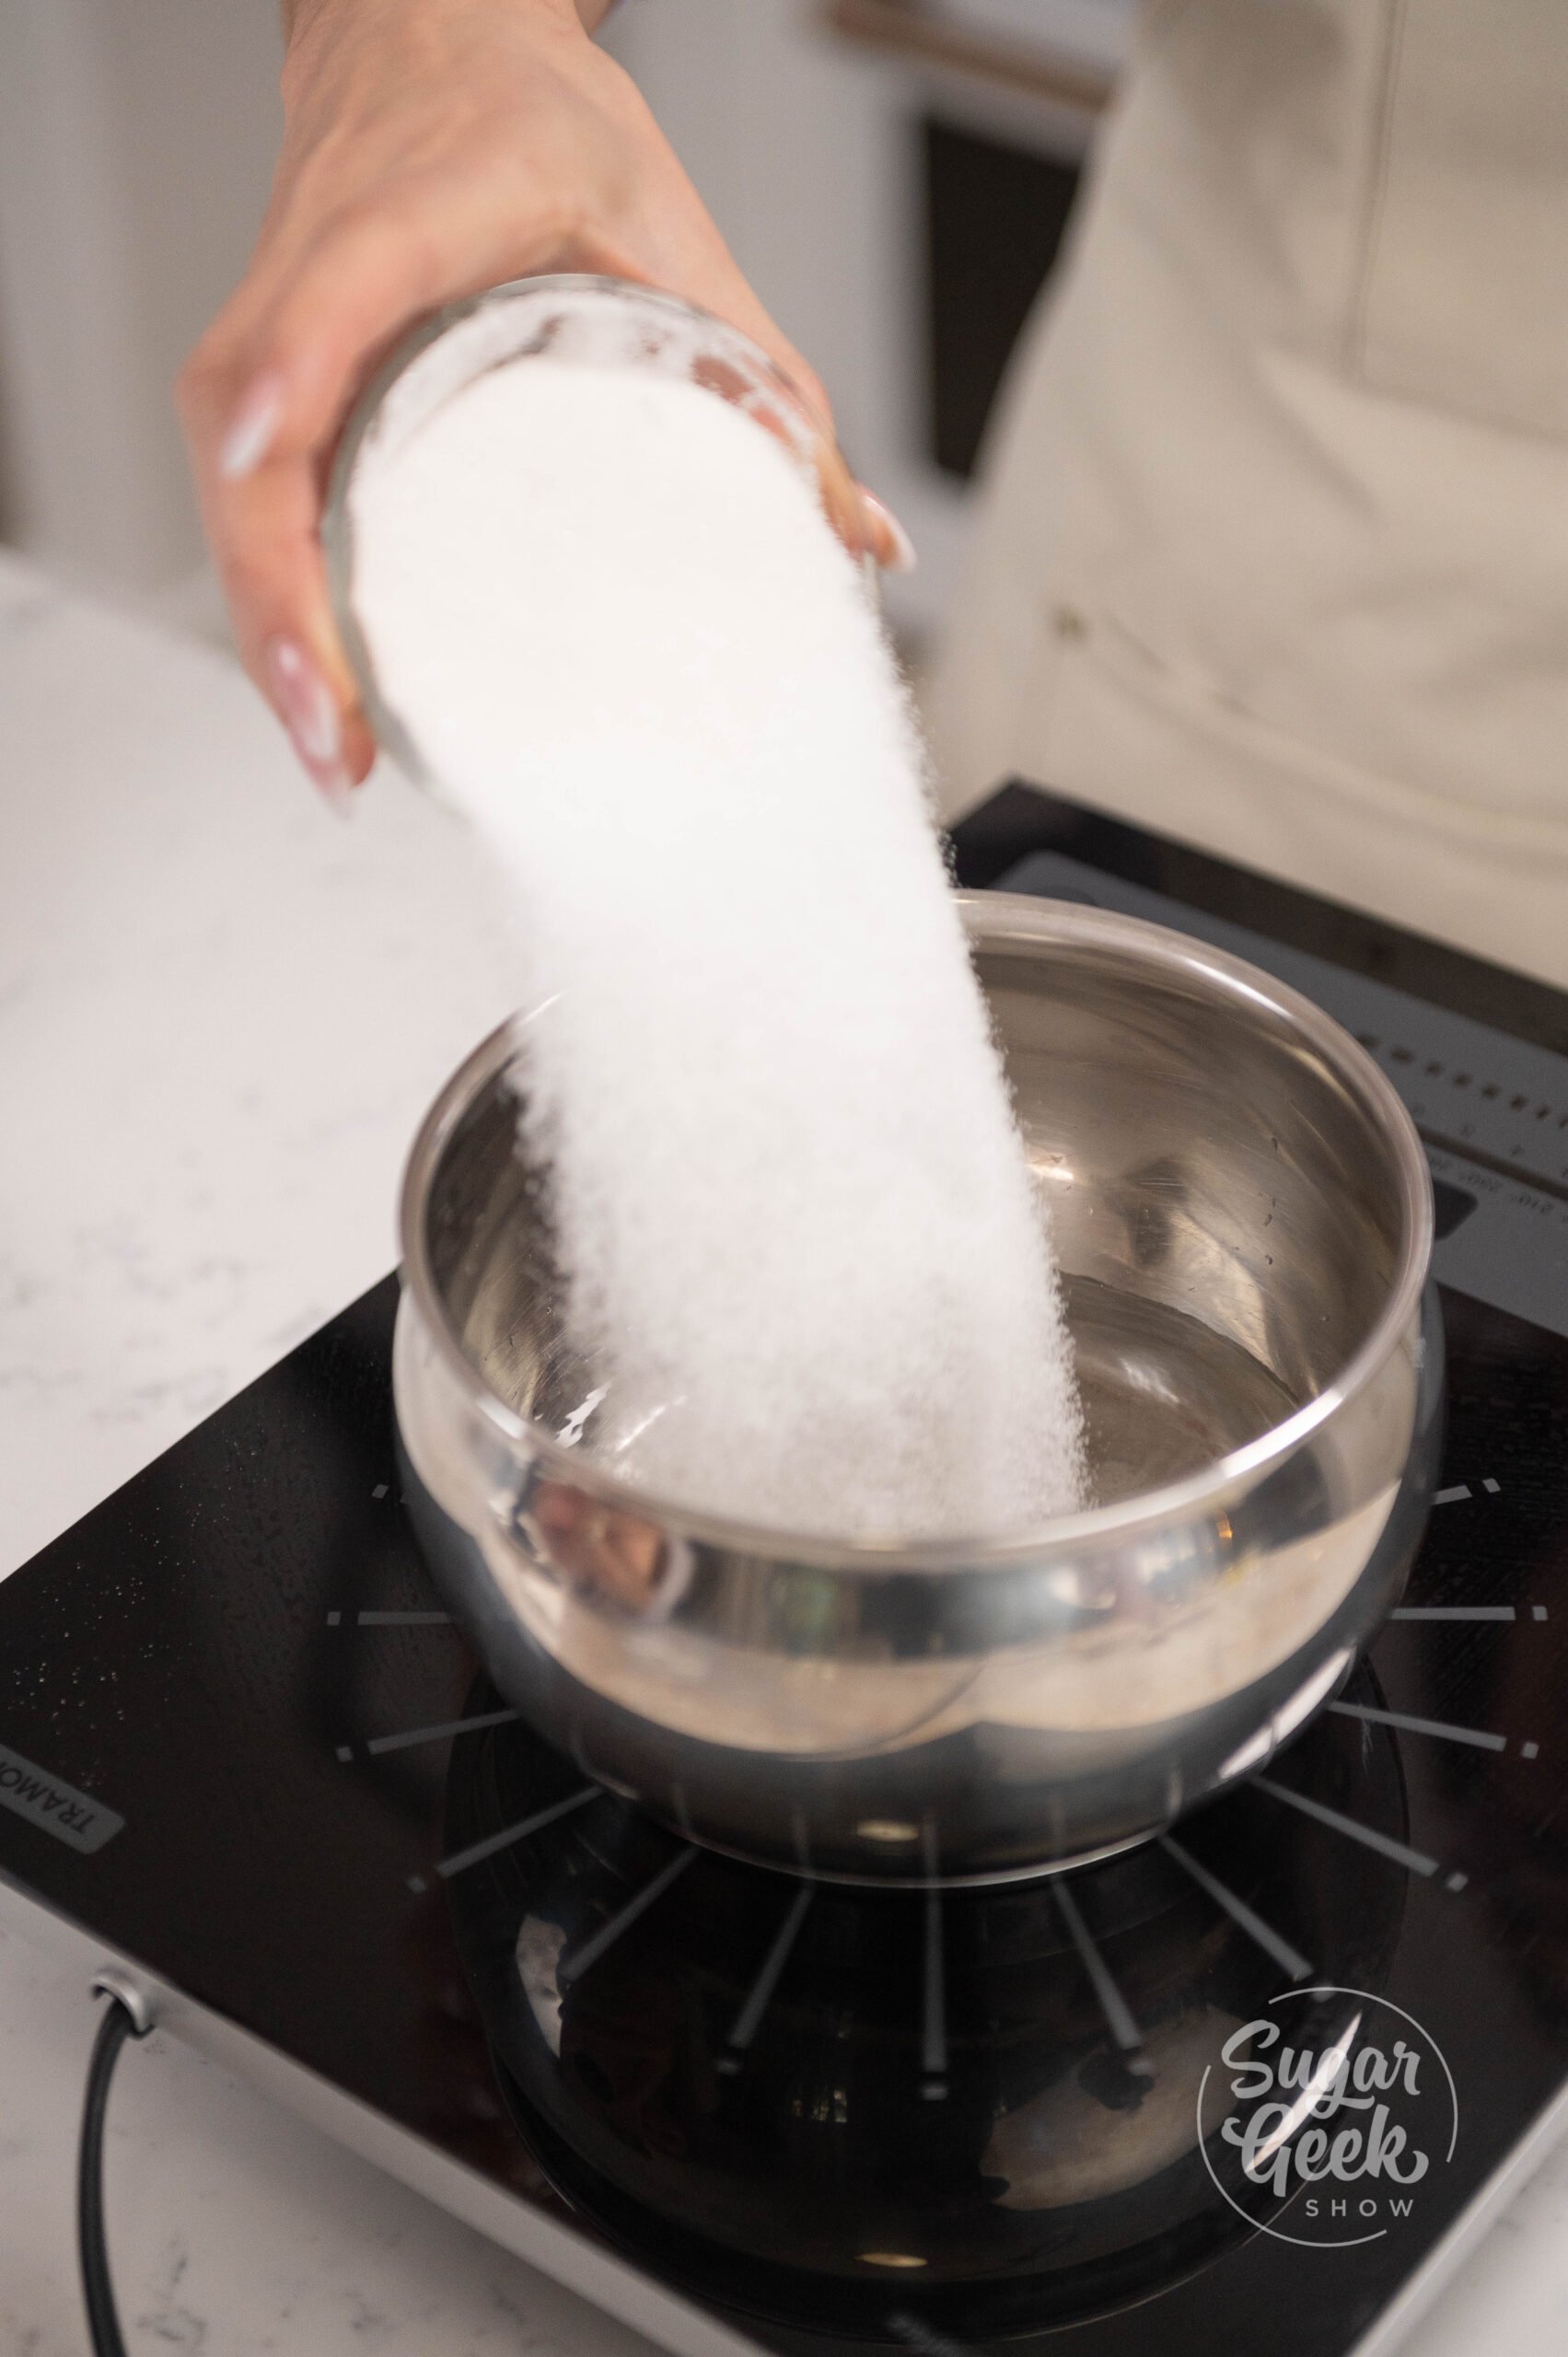
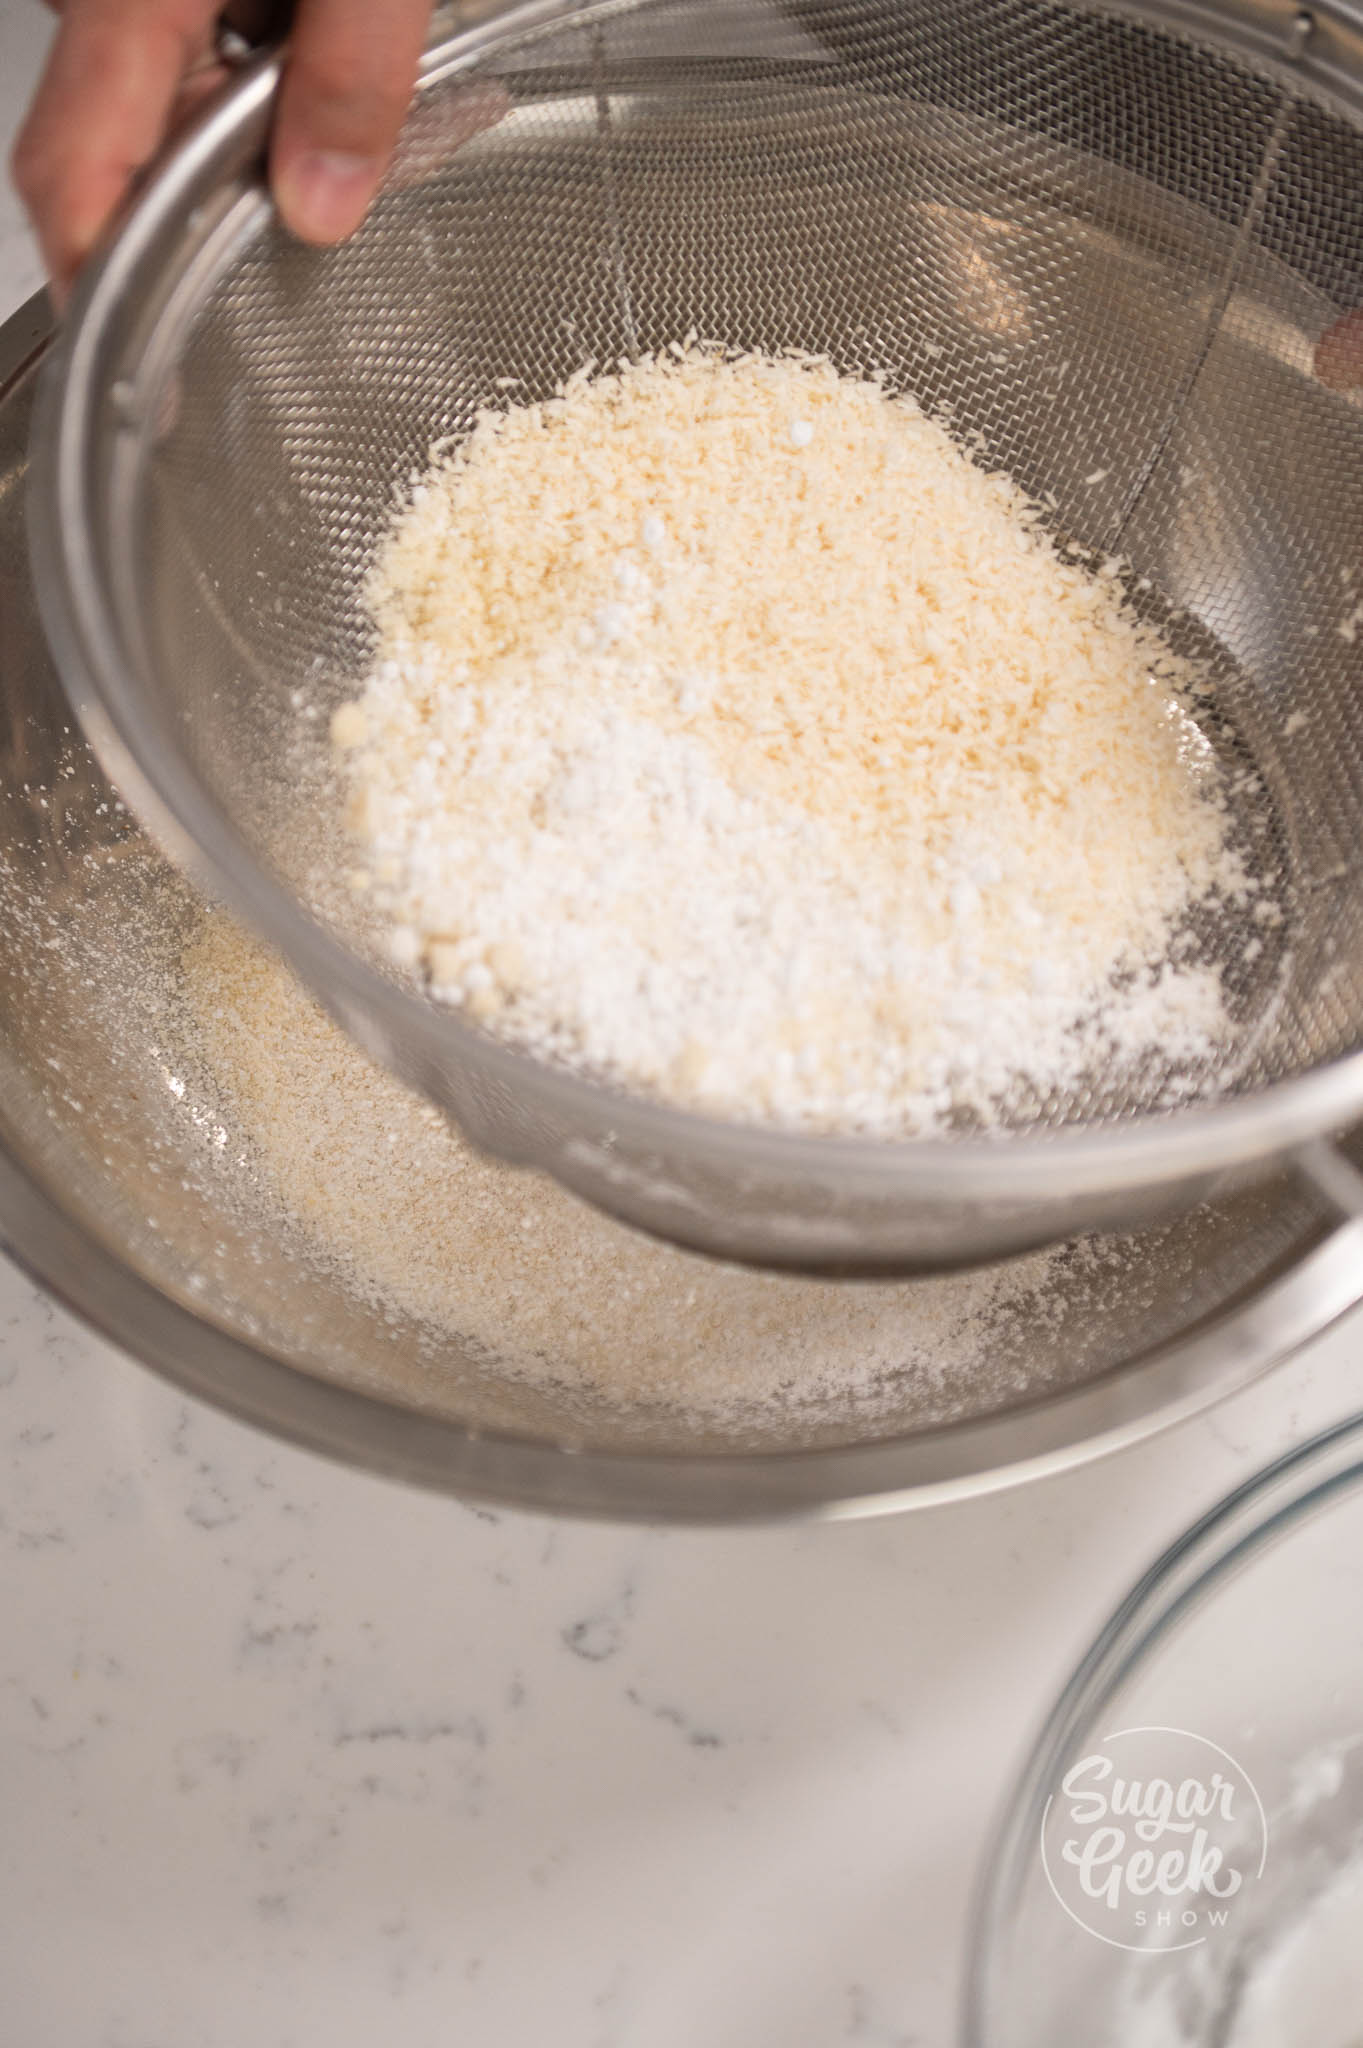
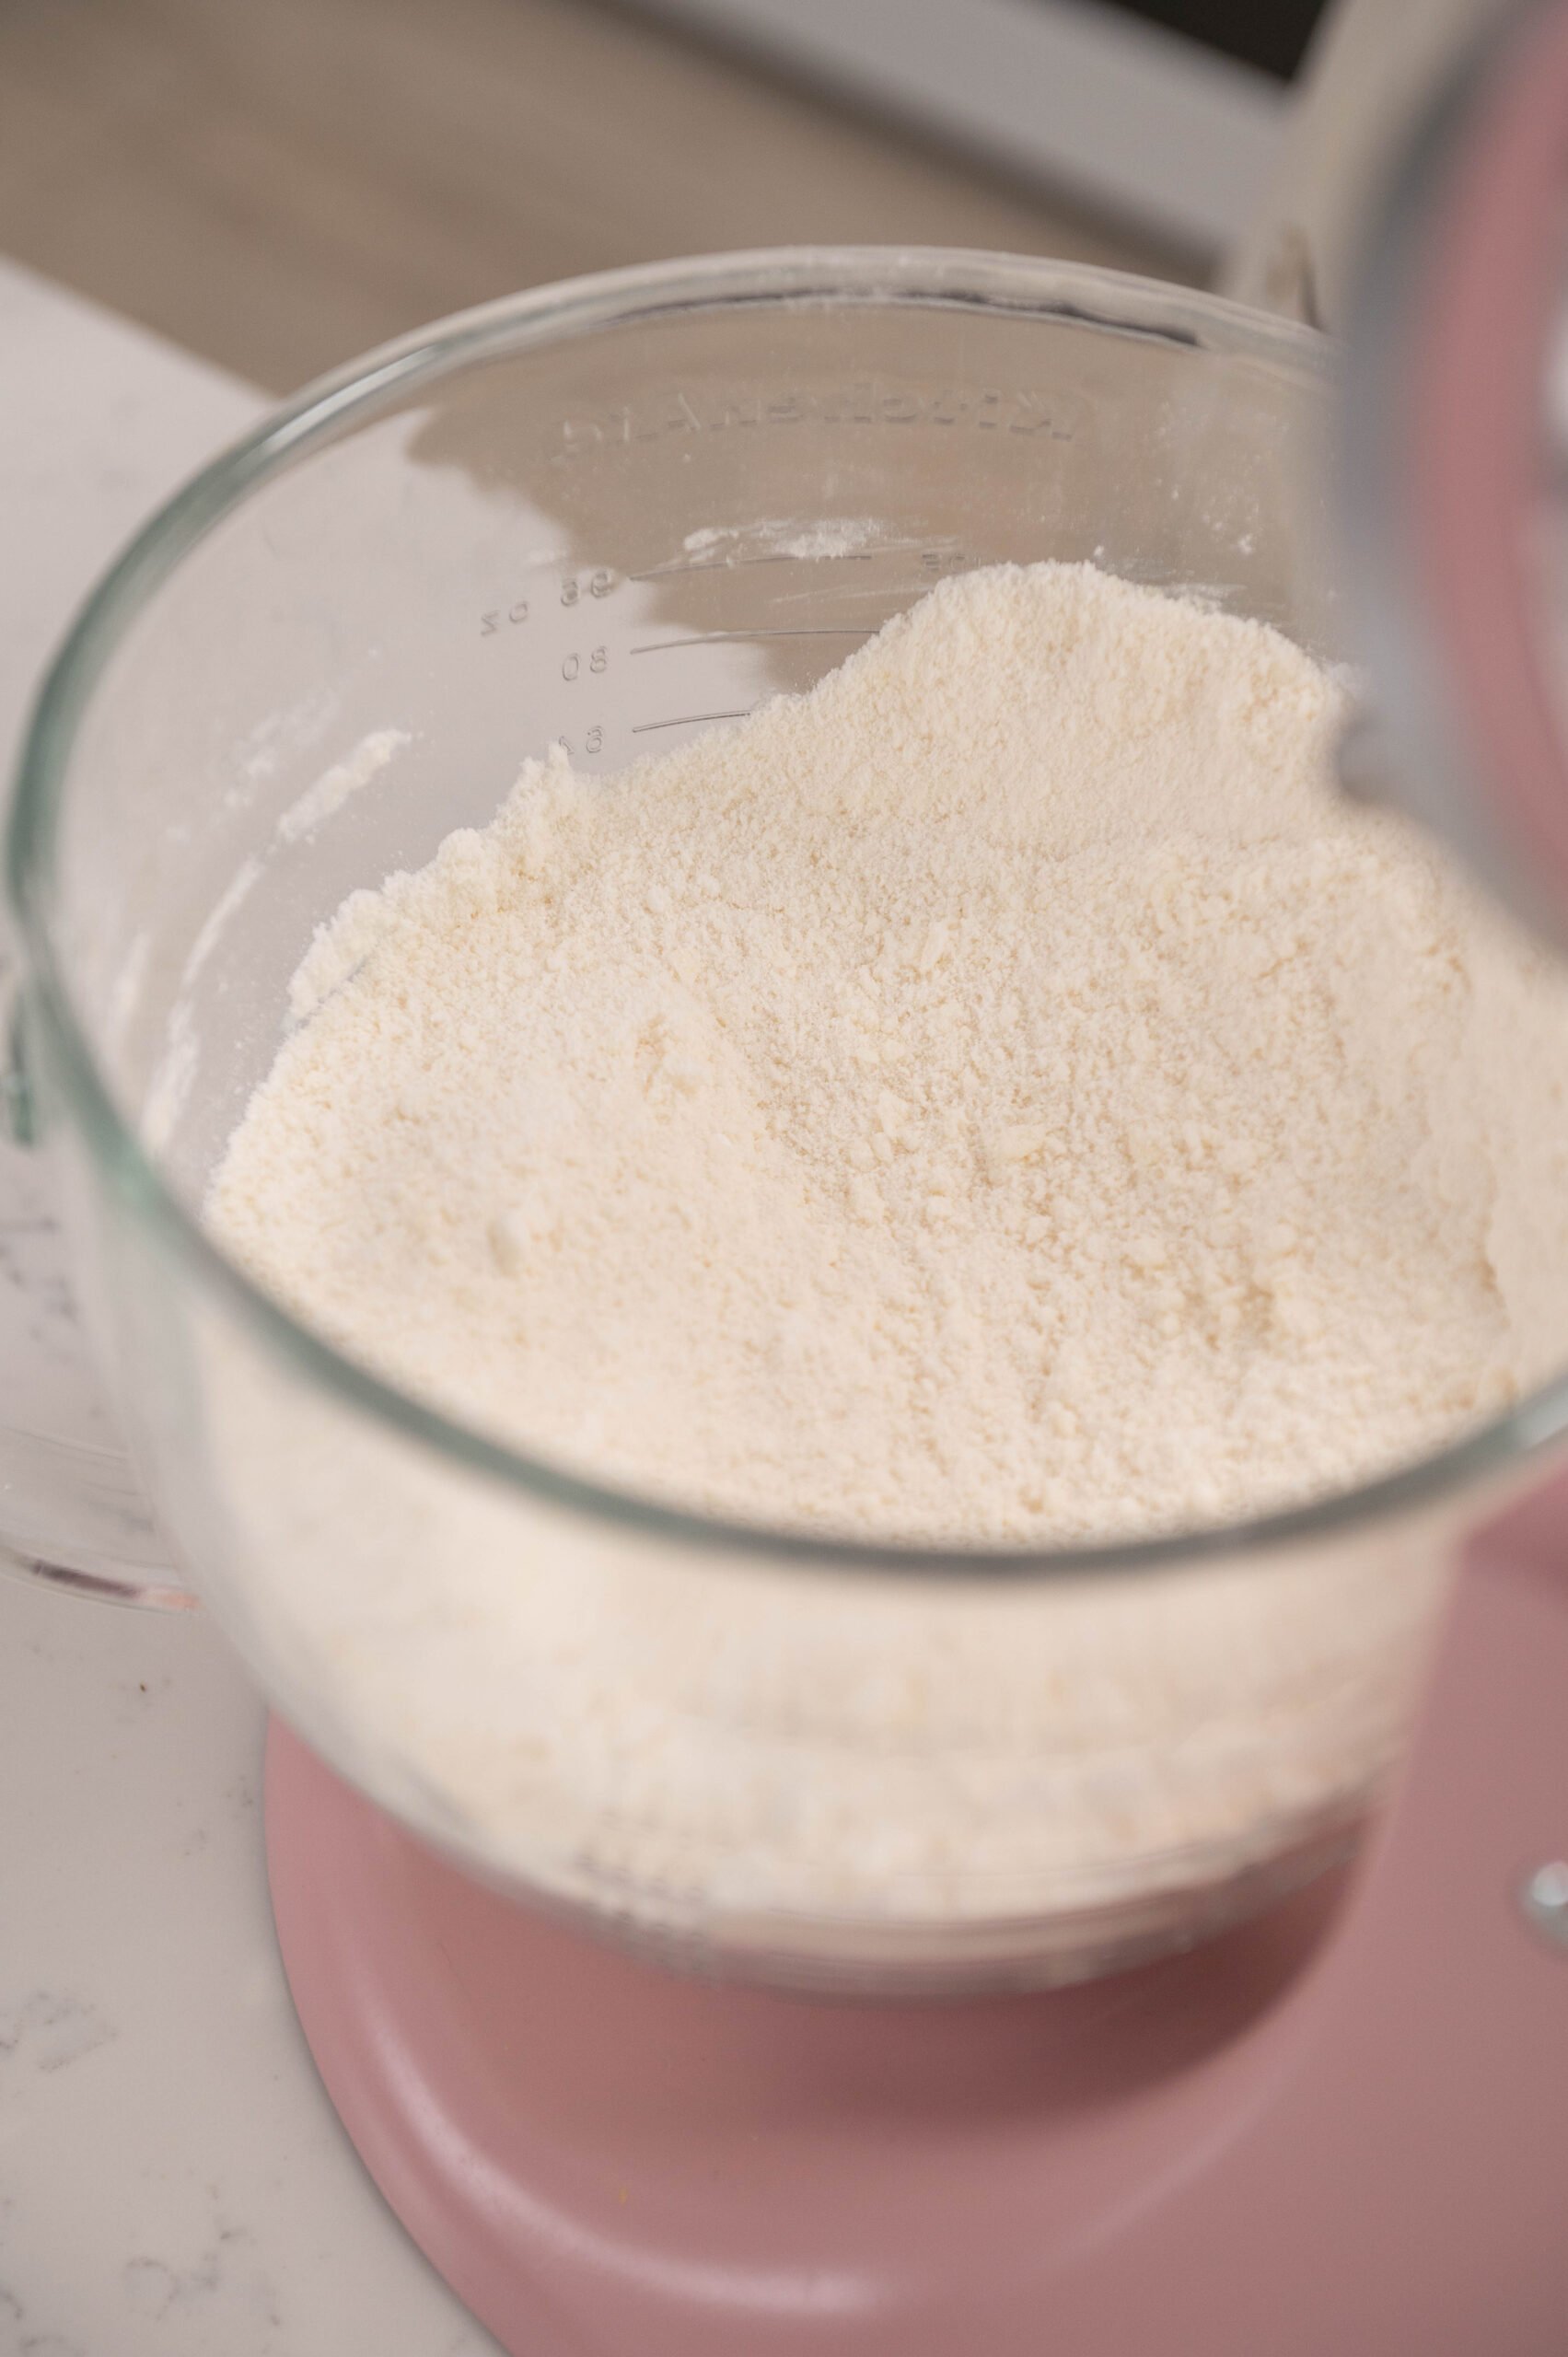
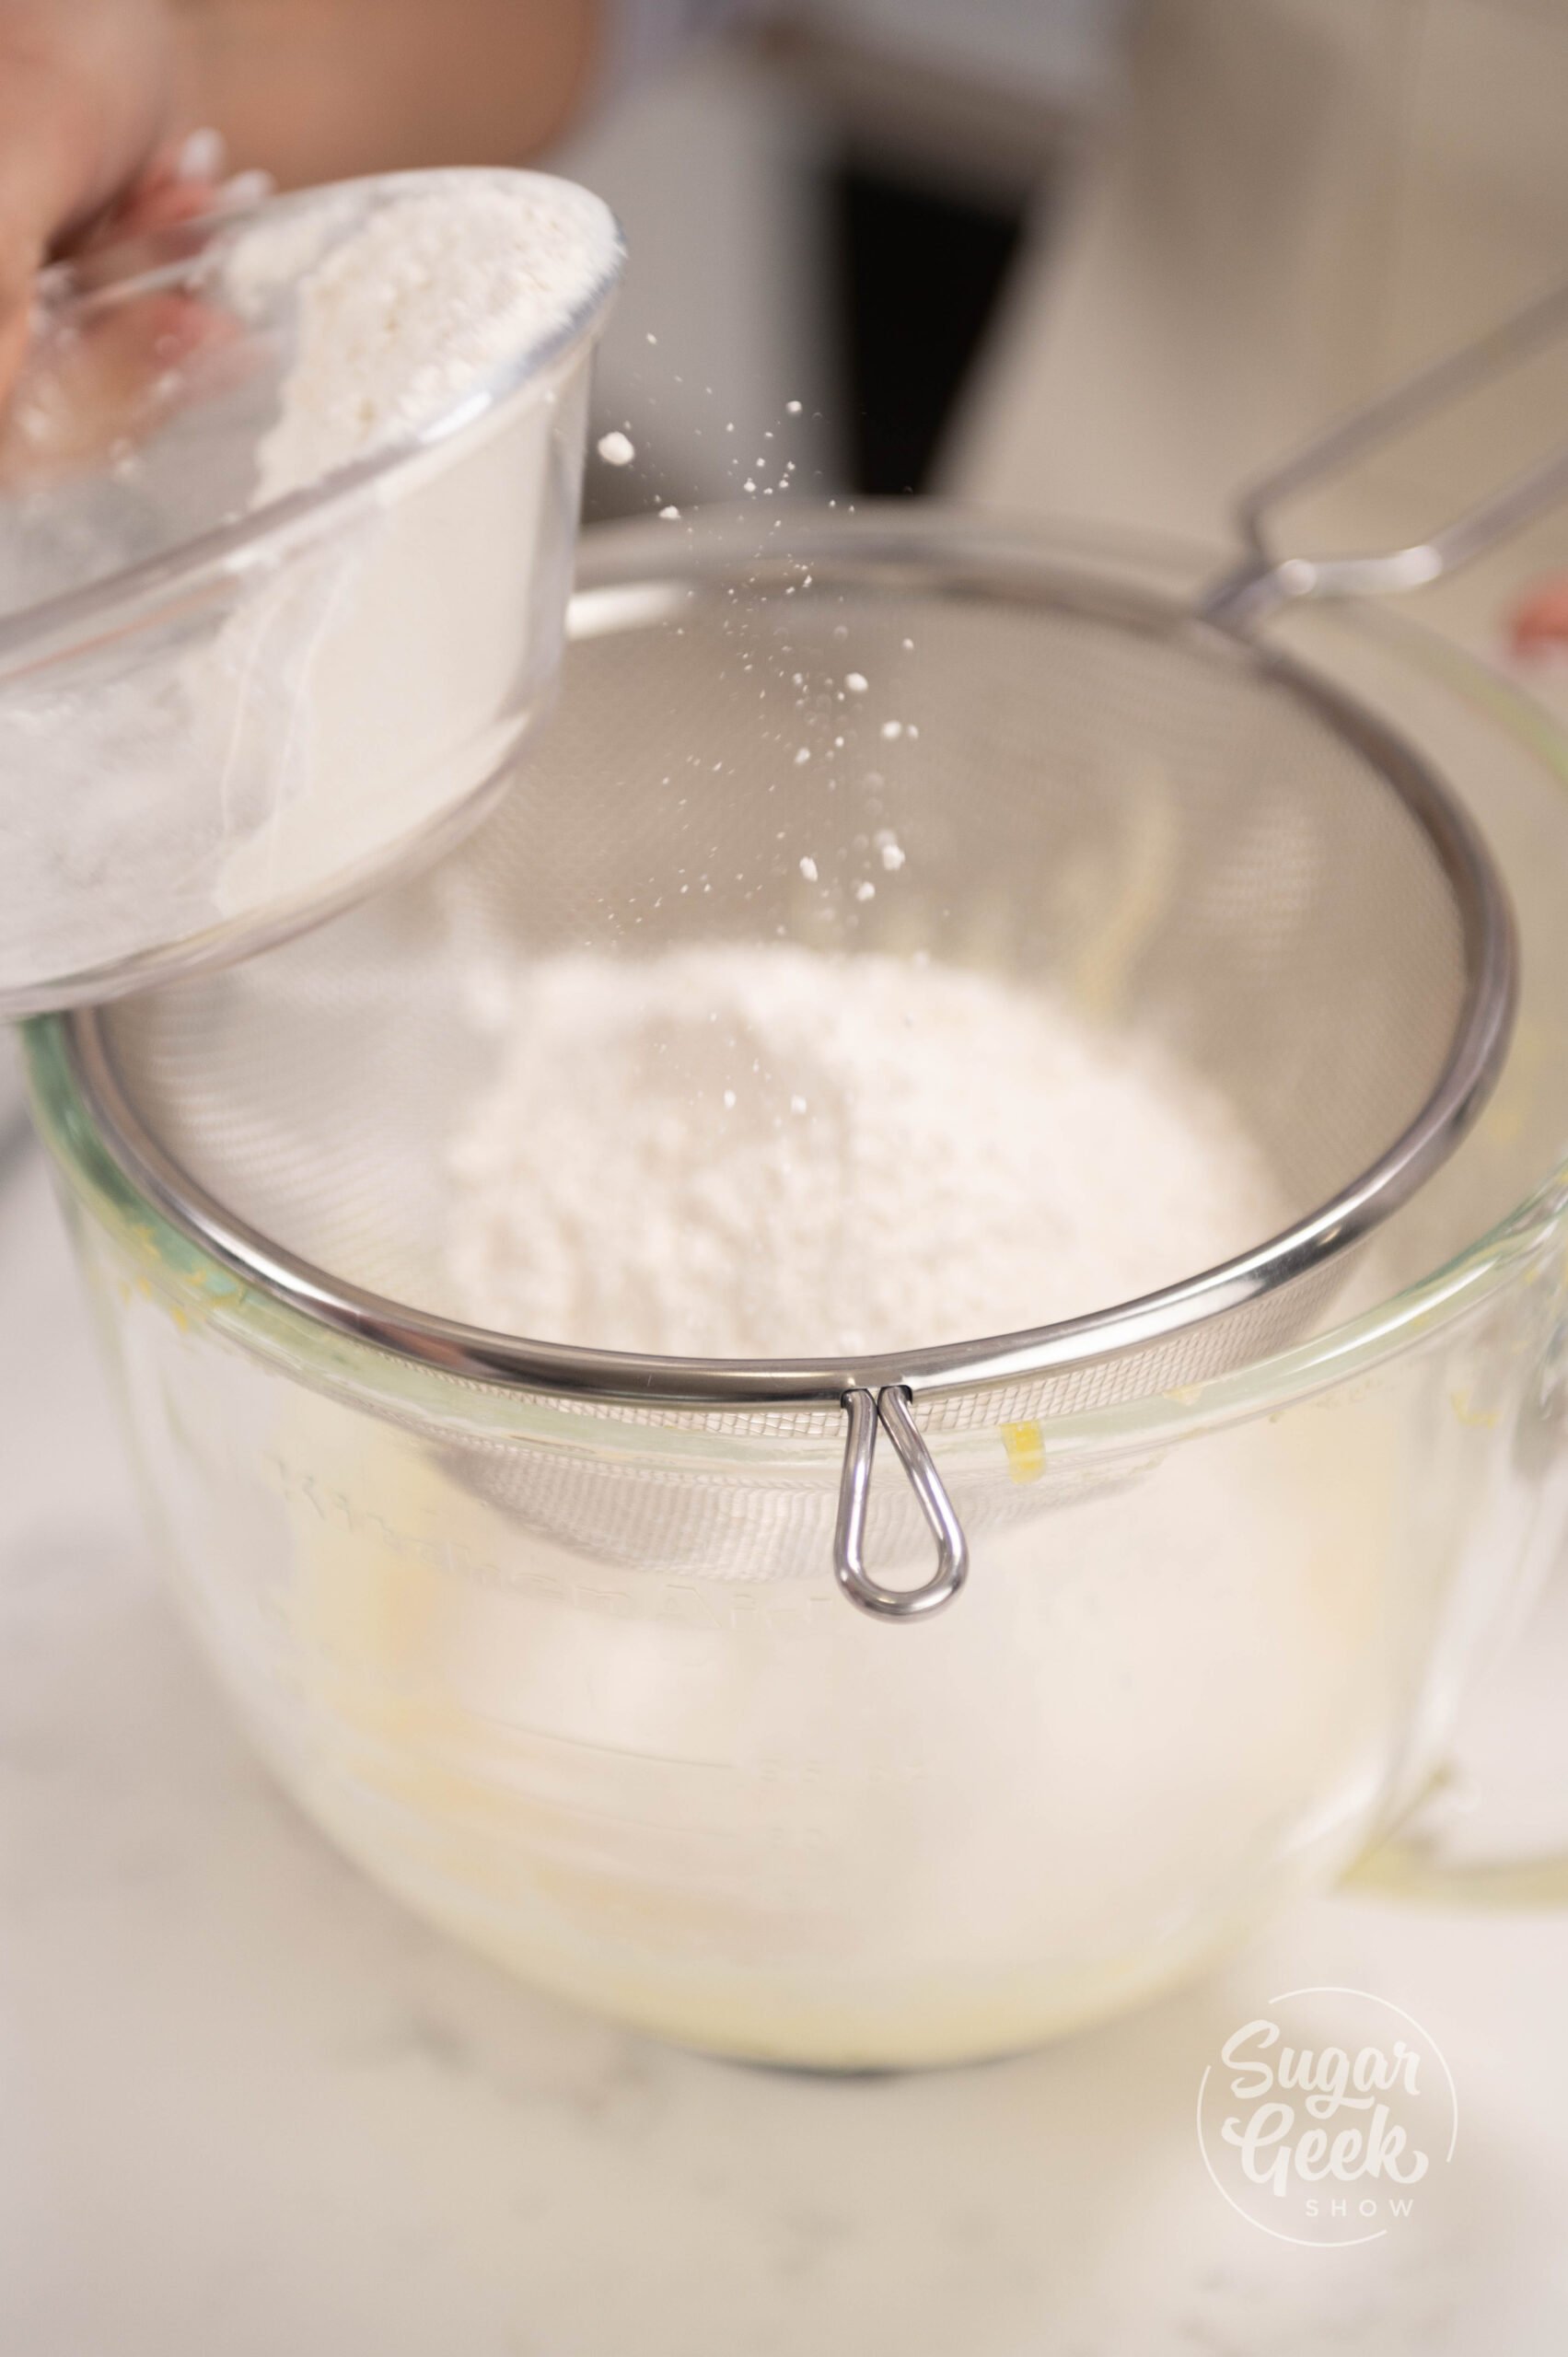
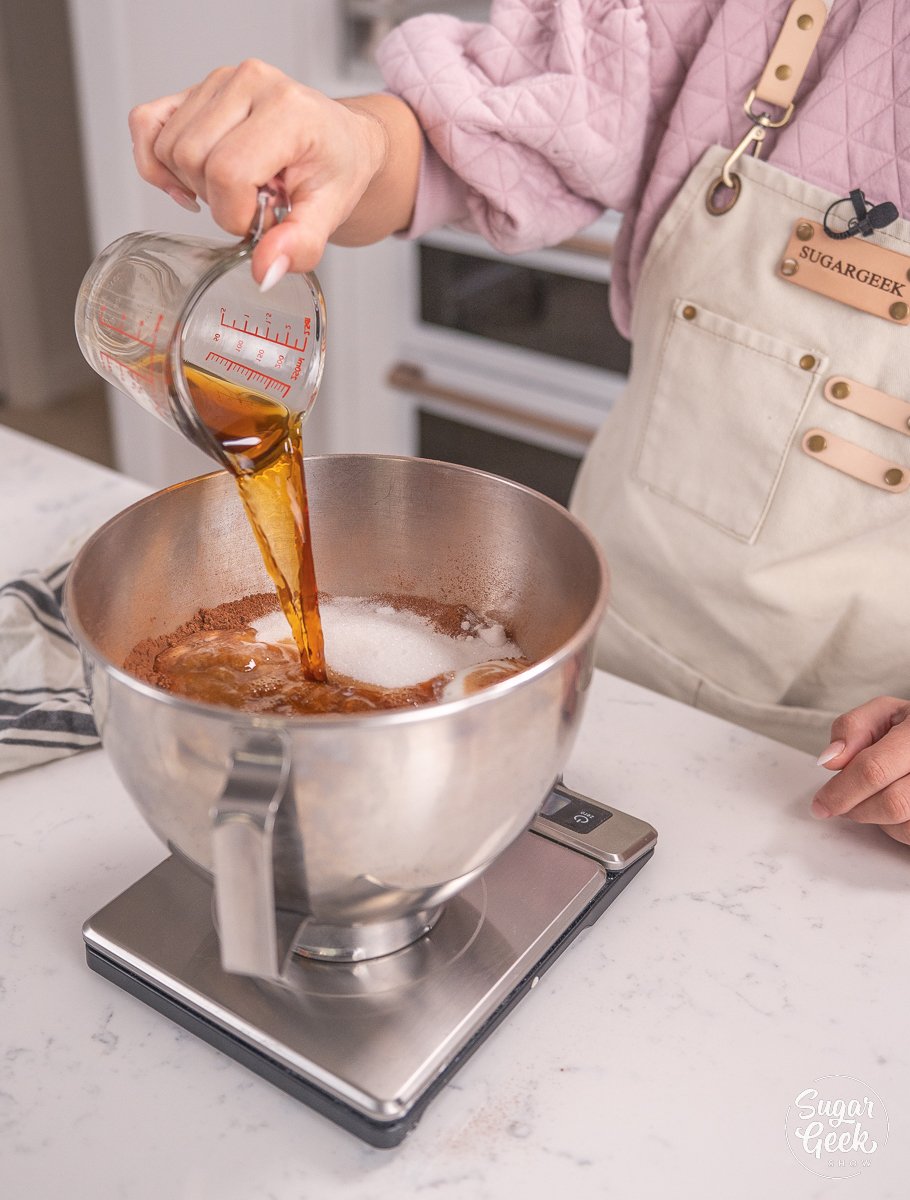
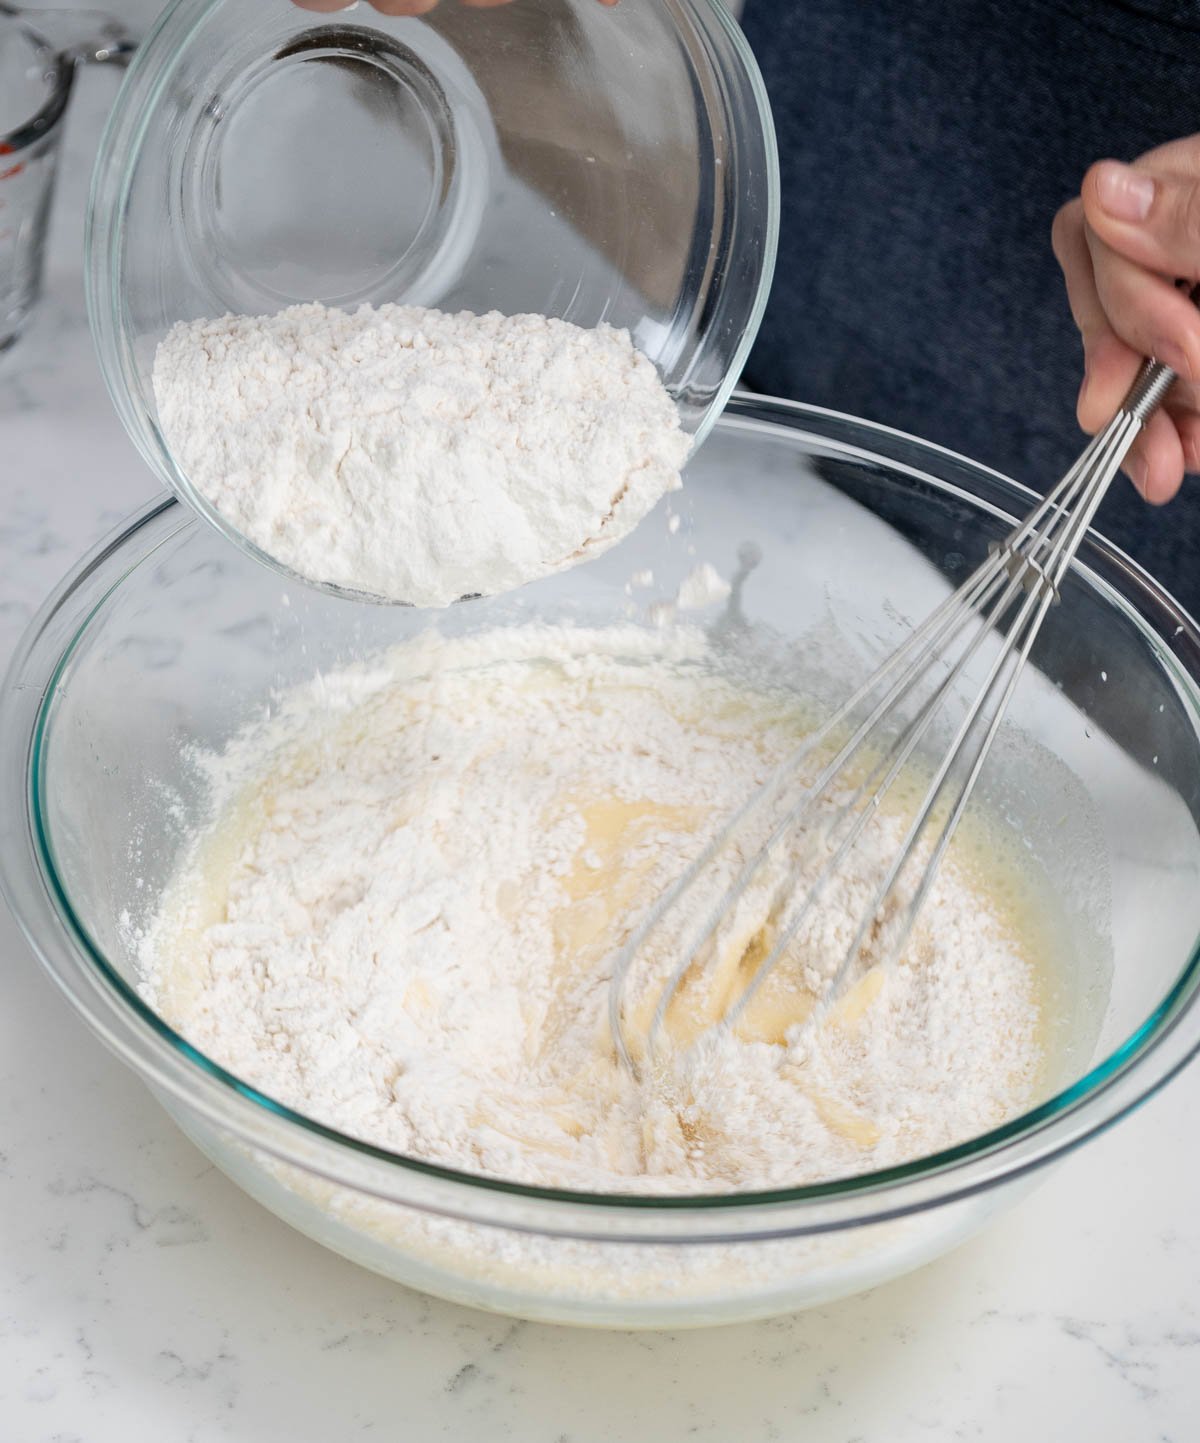
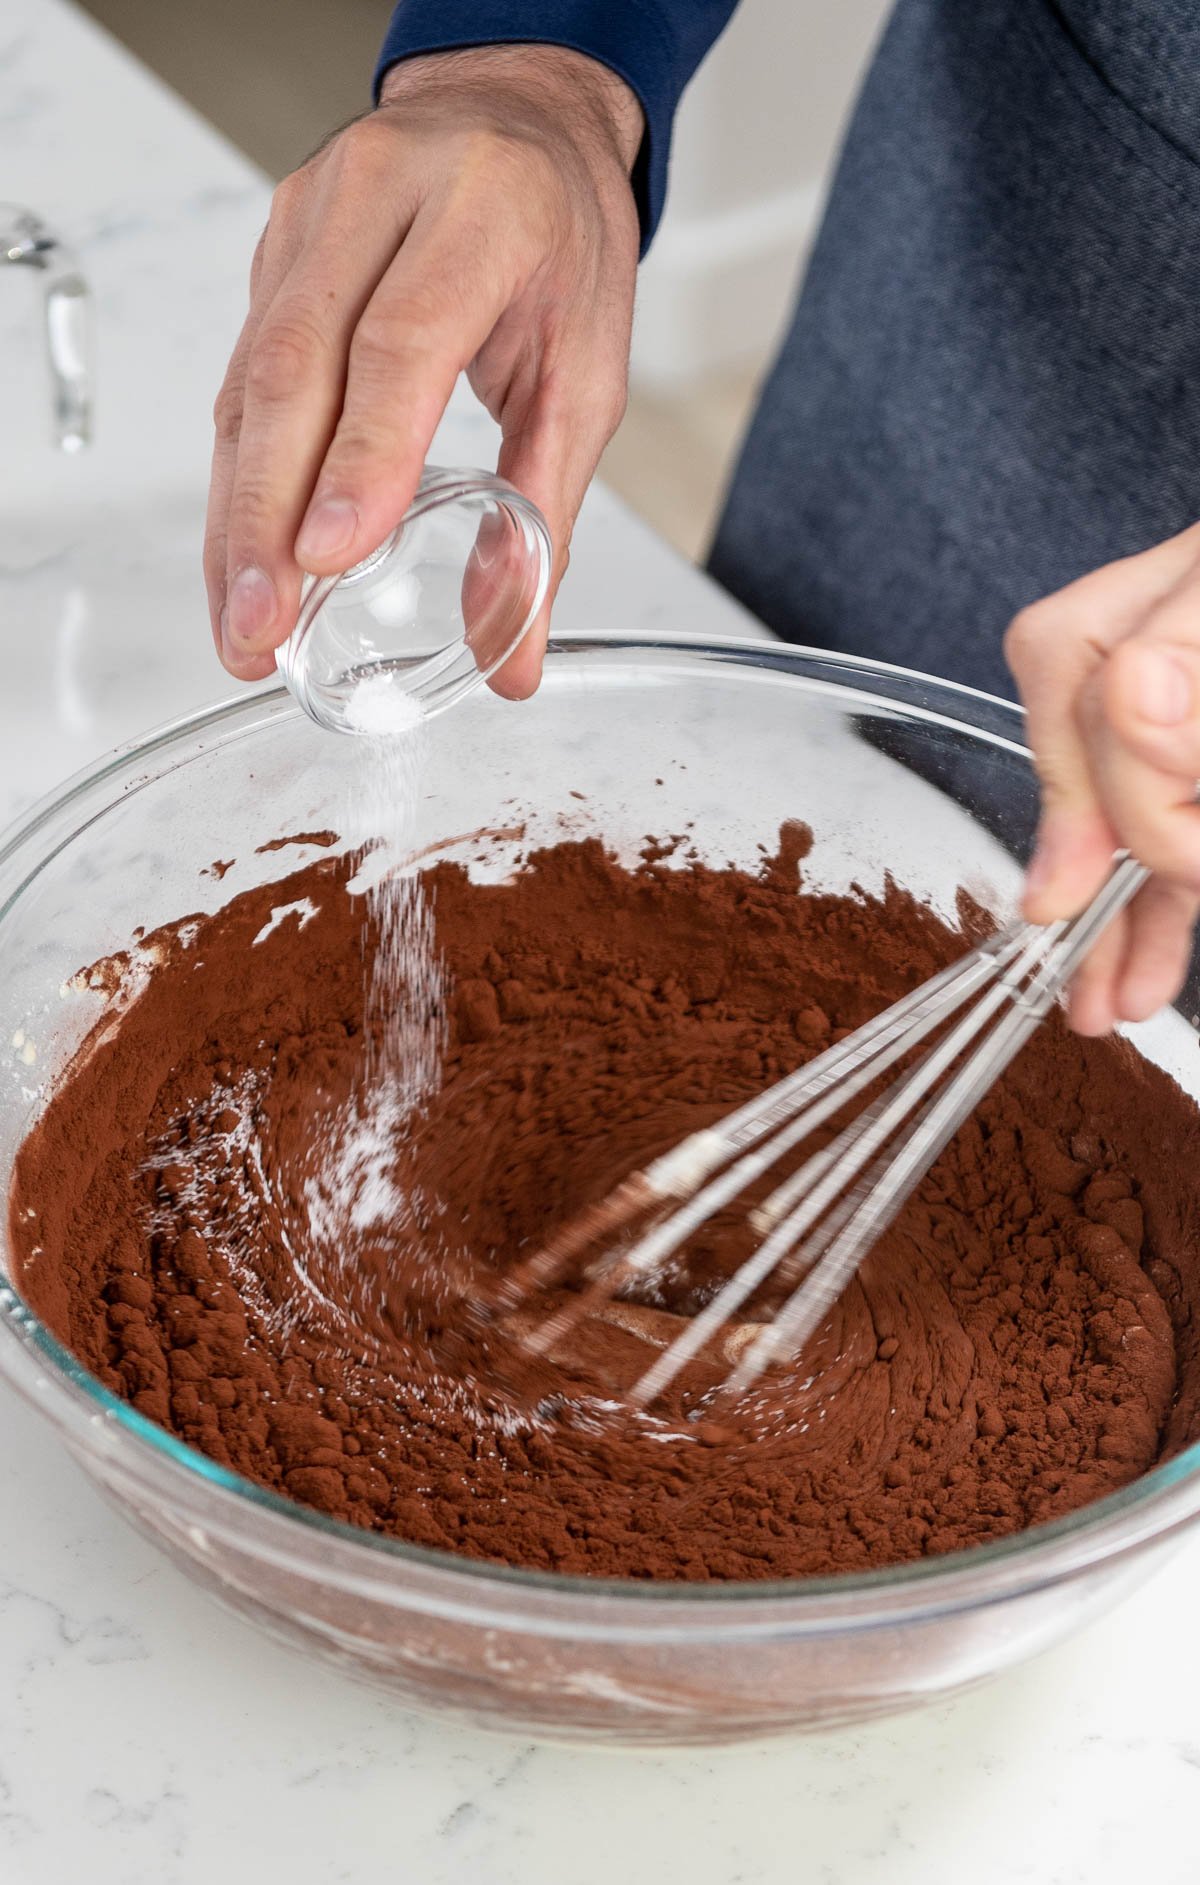
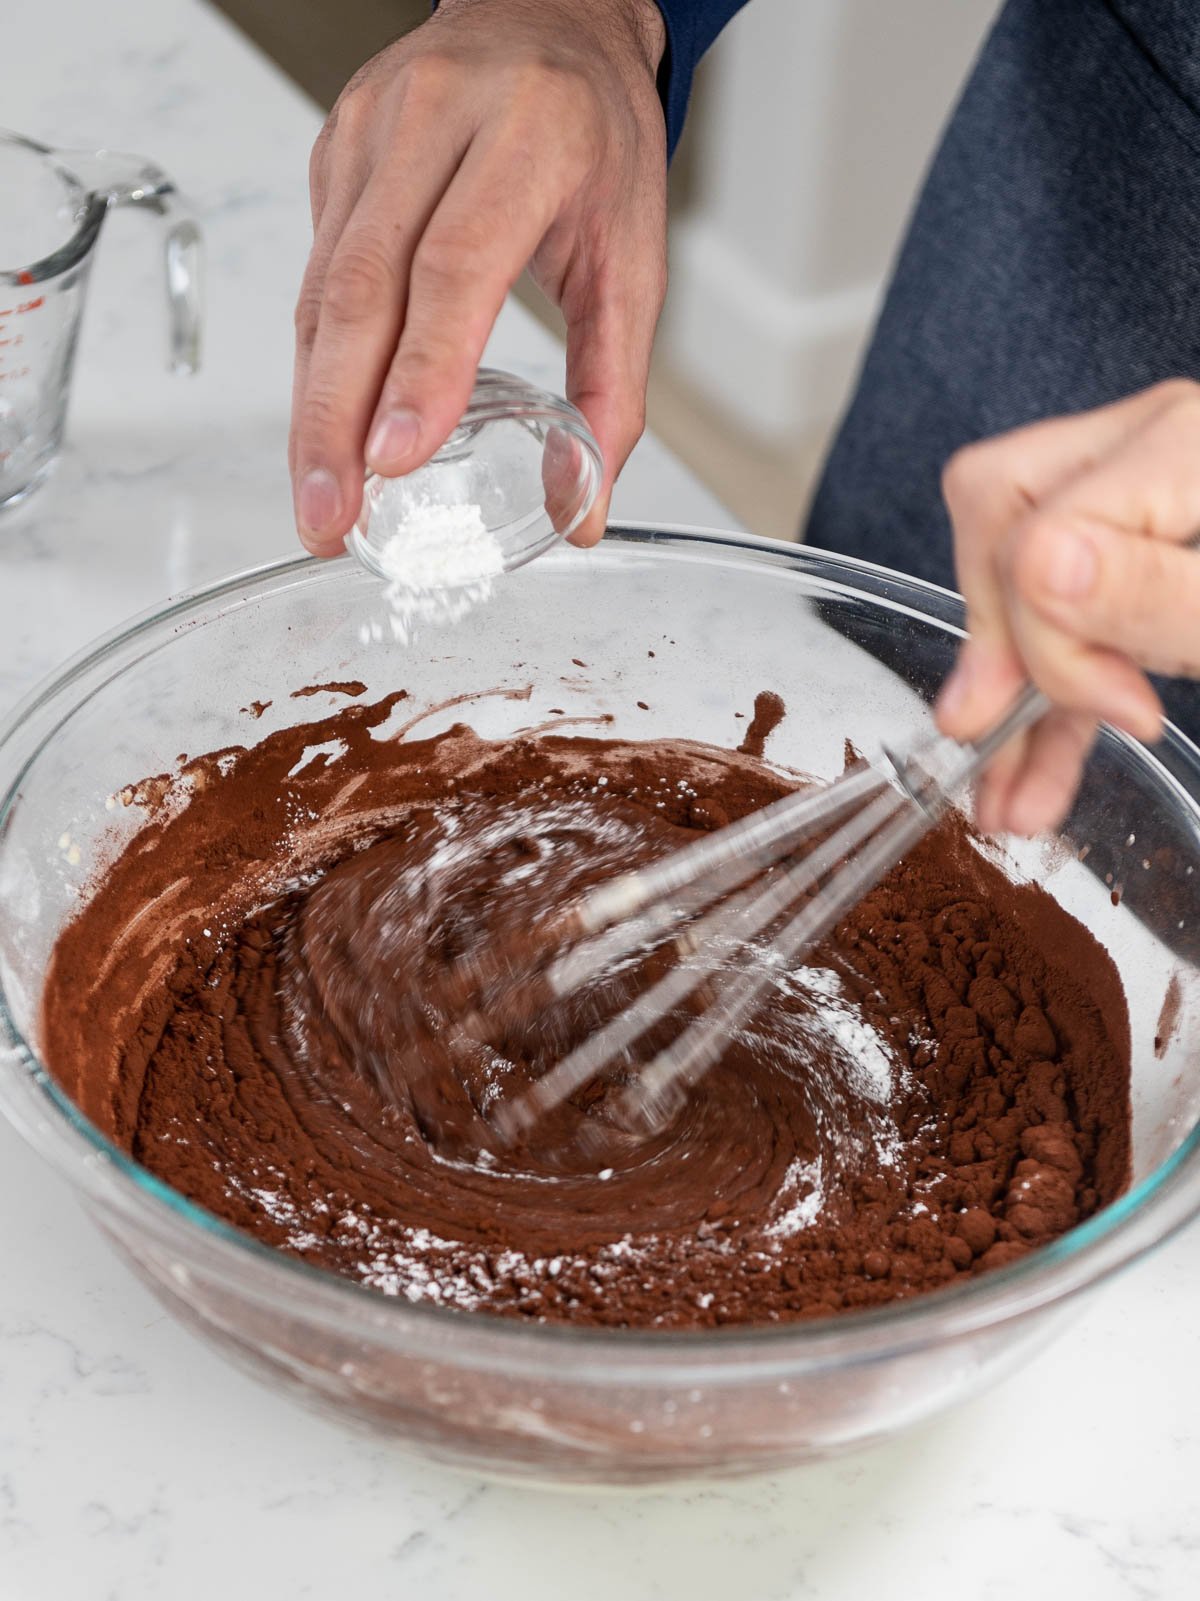
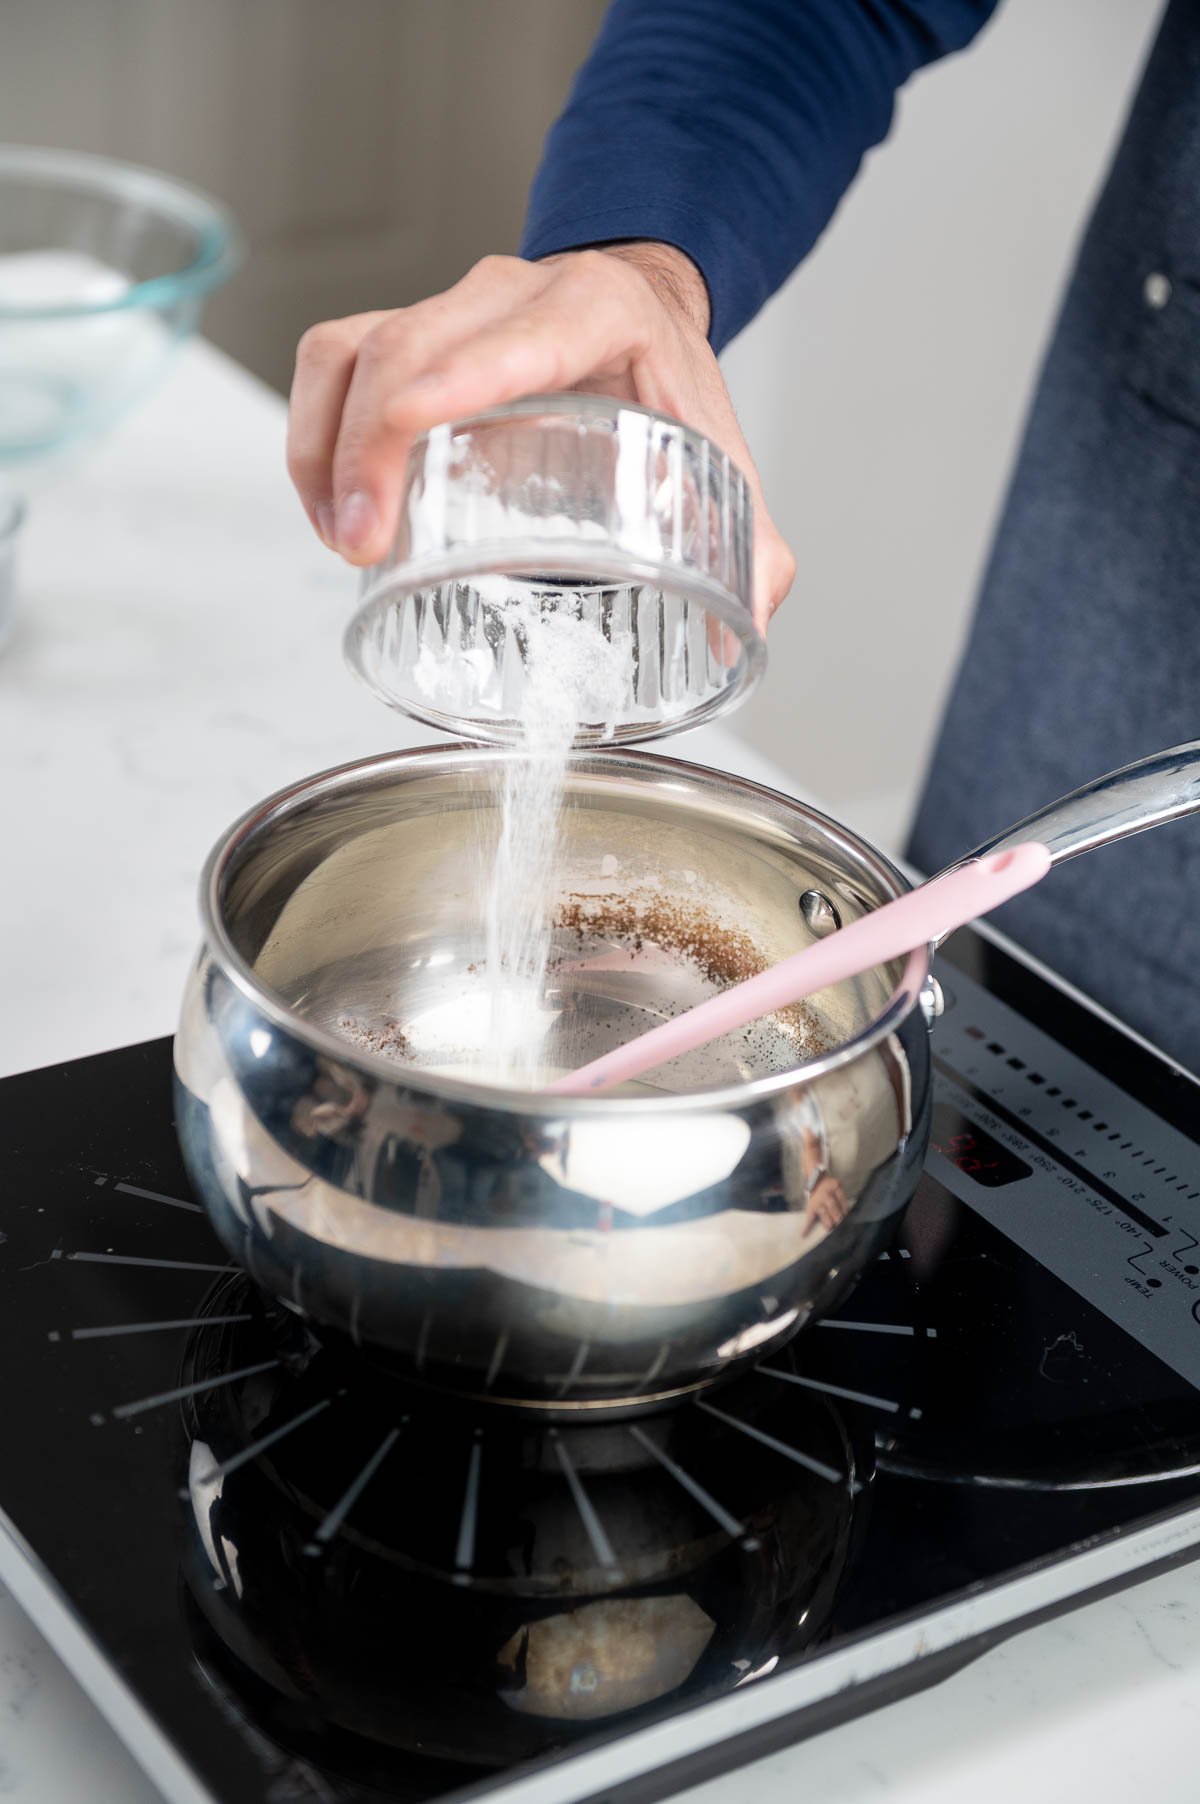
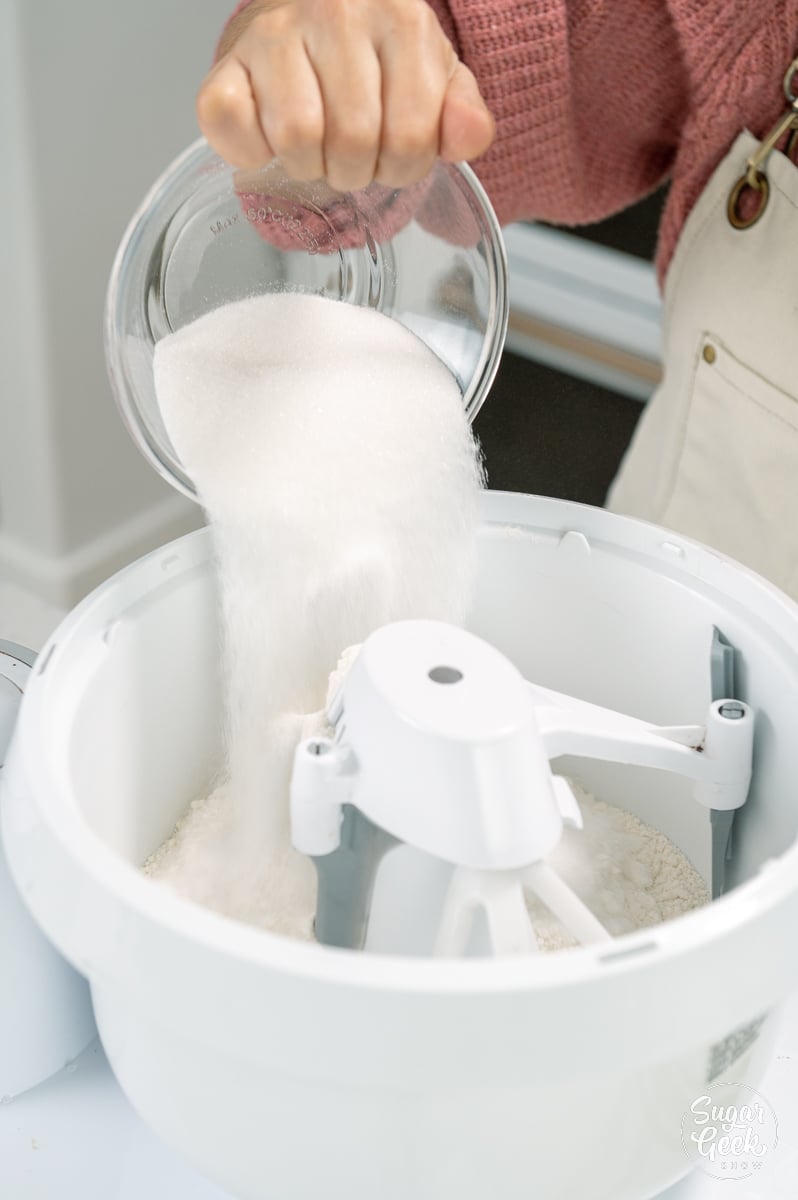
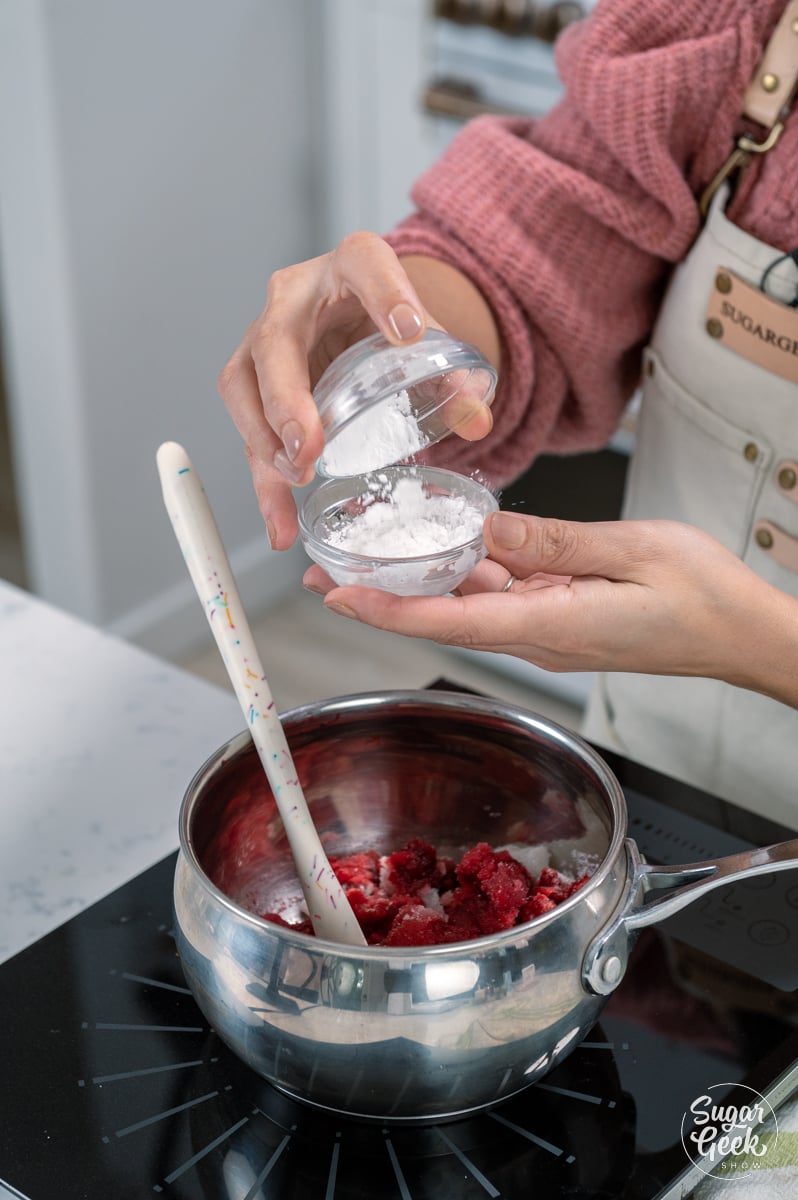
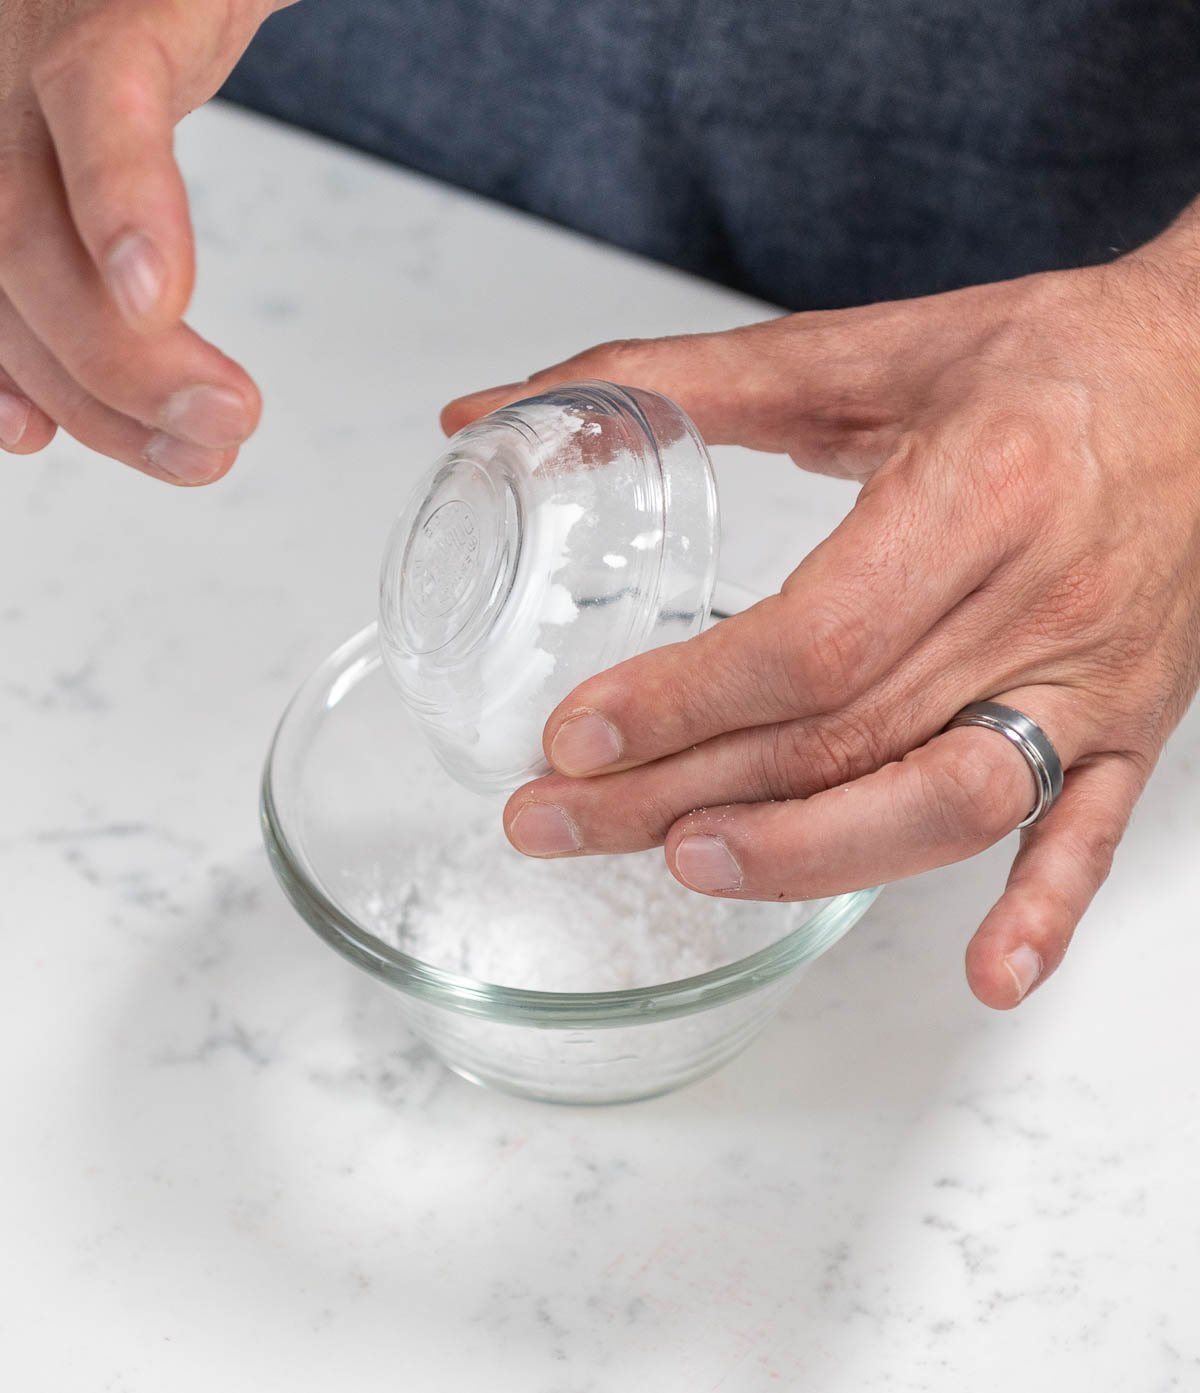
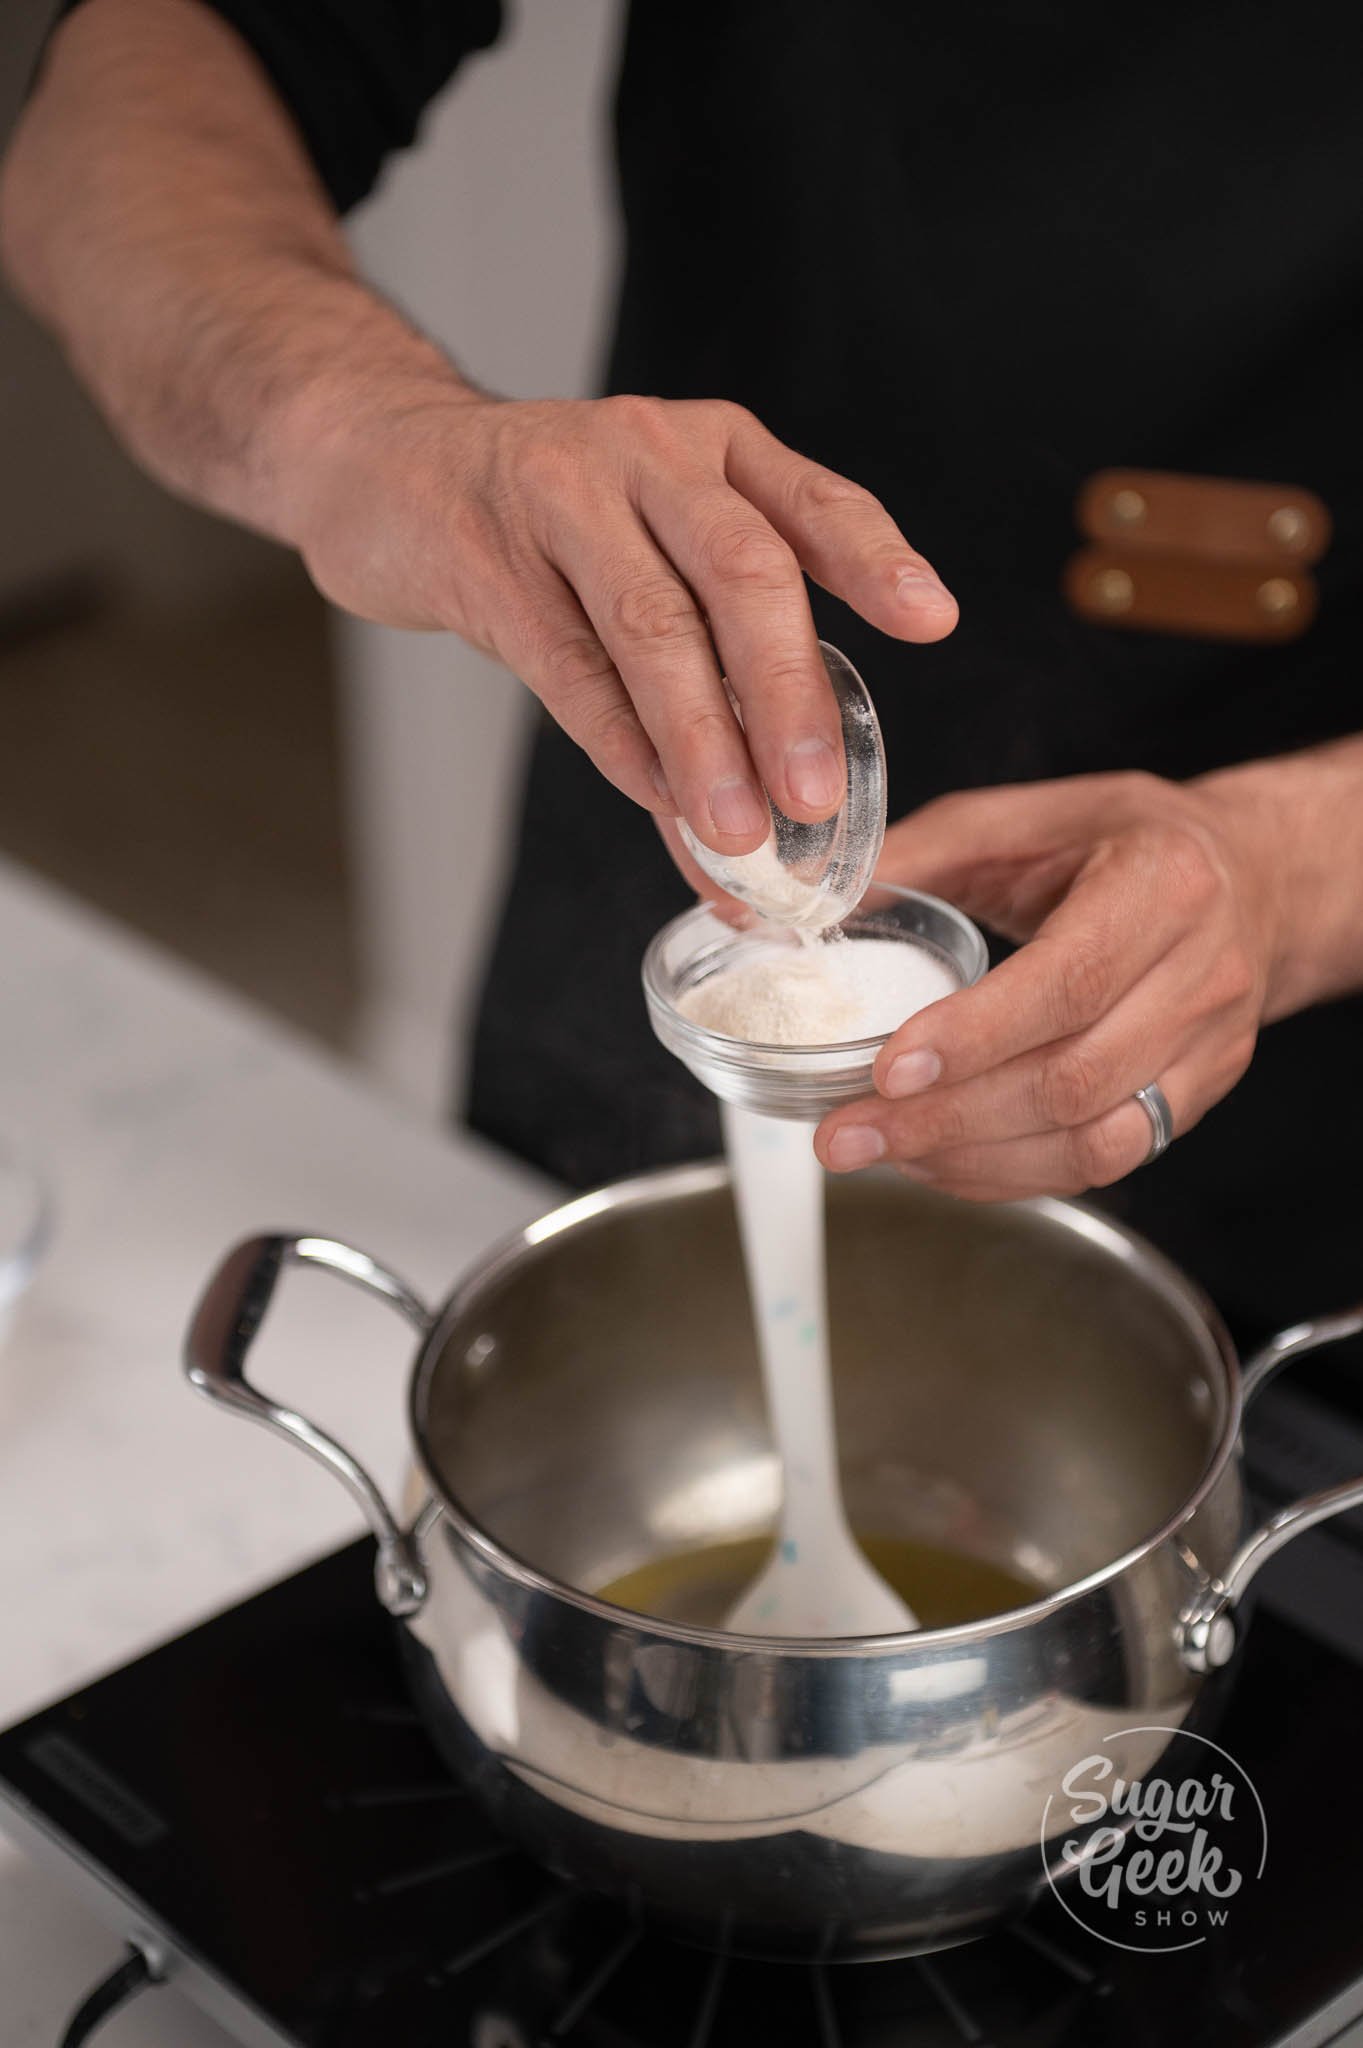
- Combine your sugar and pectin in a small bowl. Mix together.
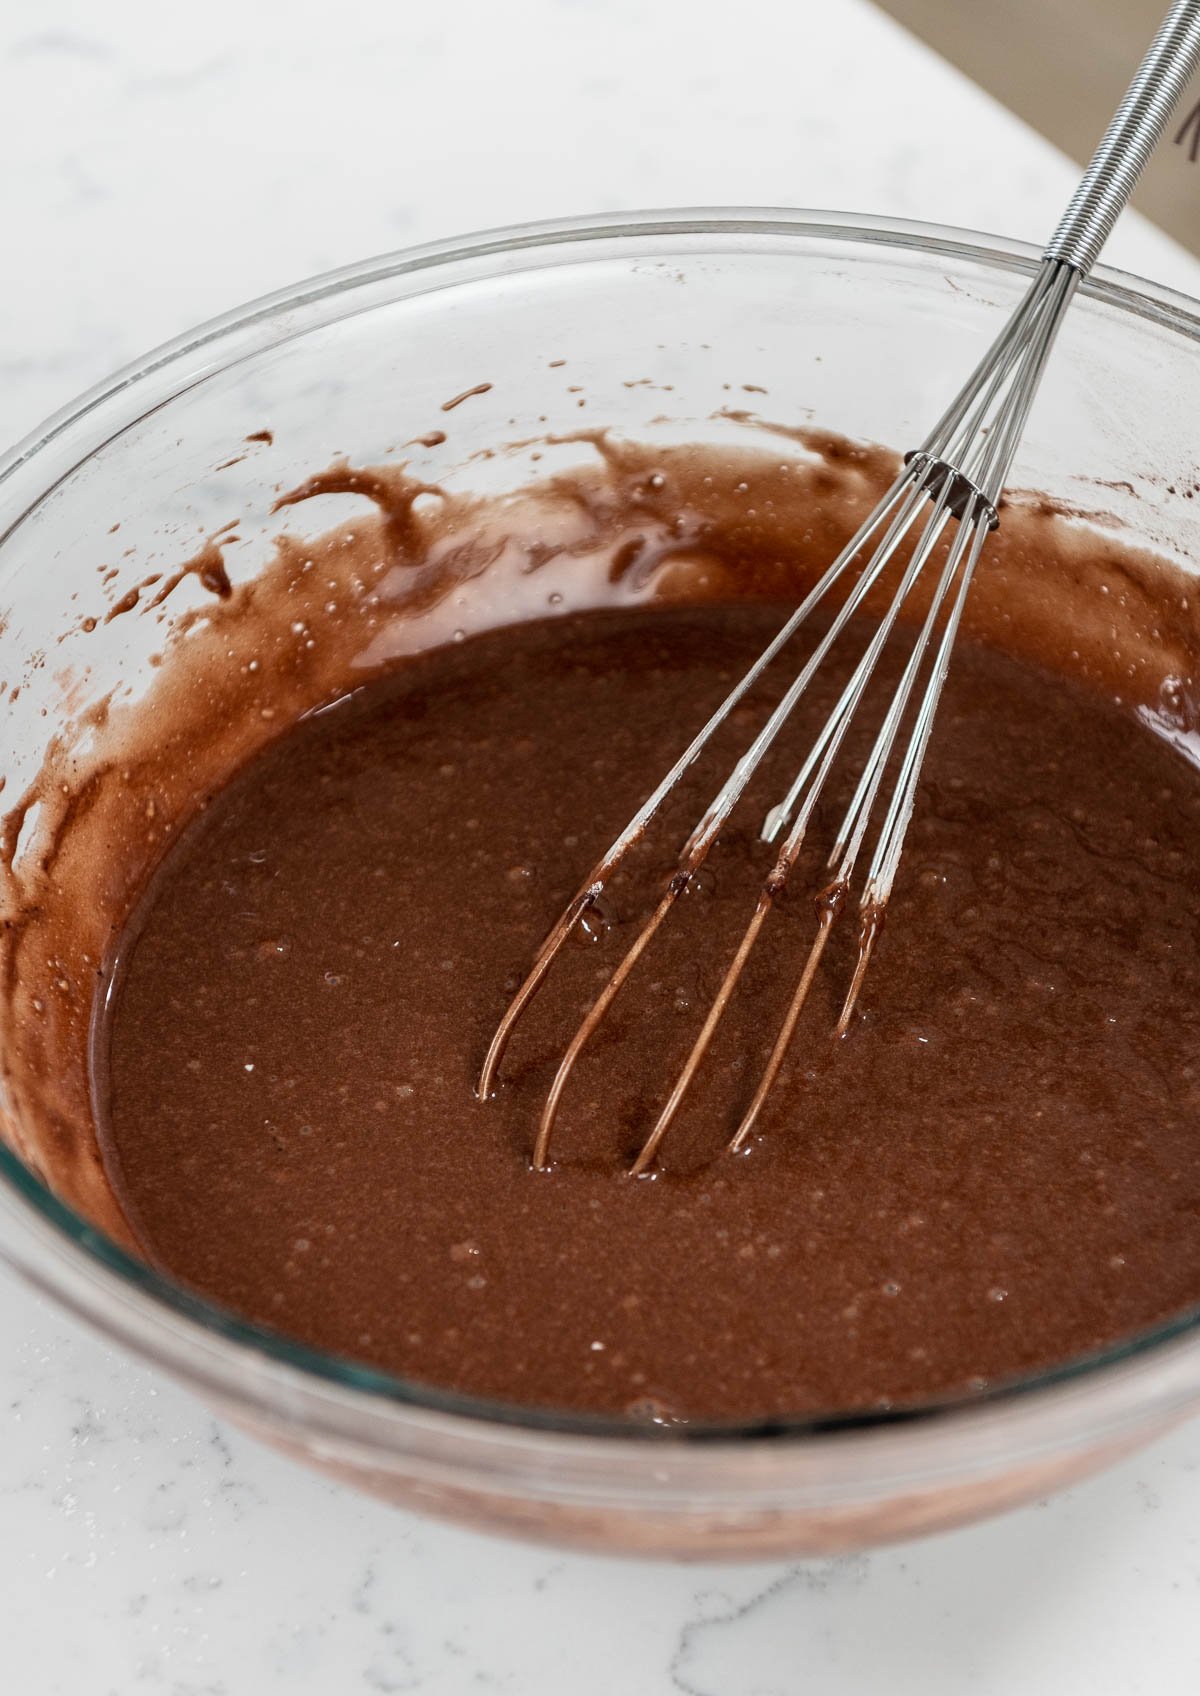
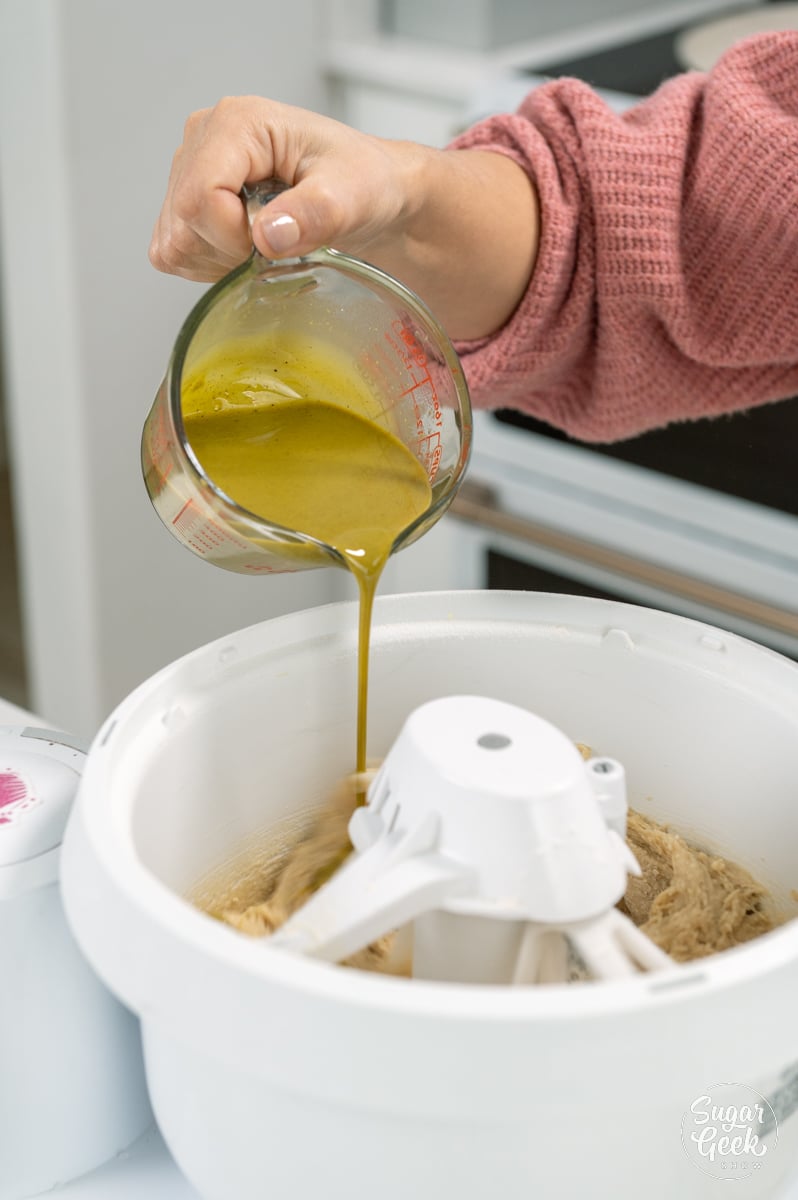
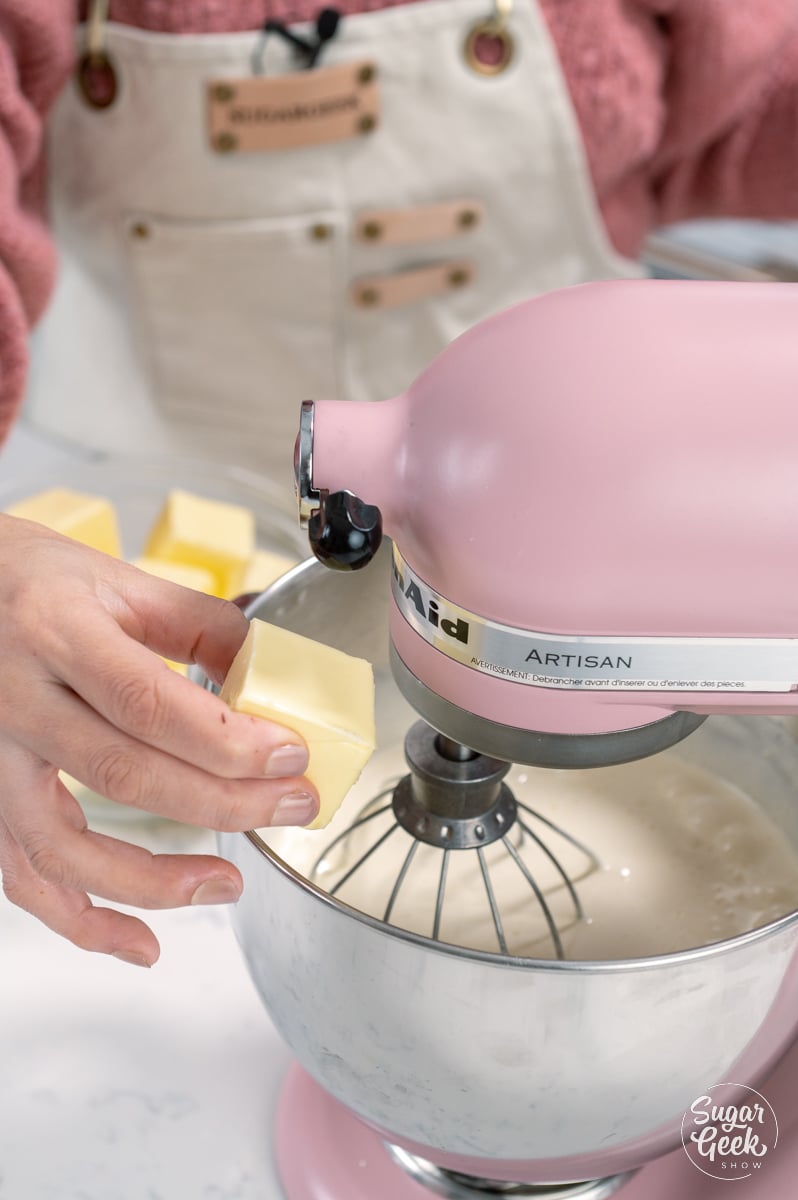
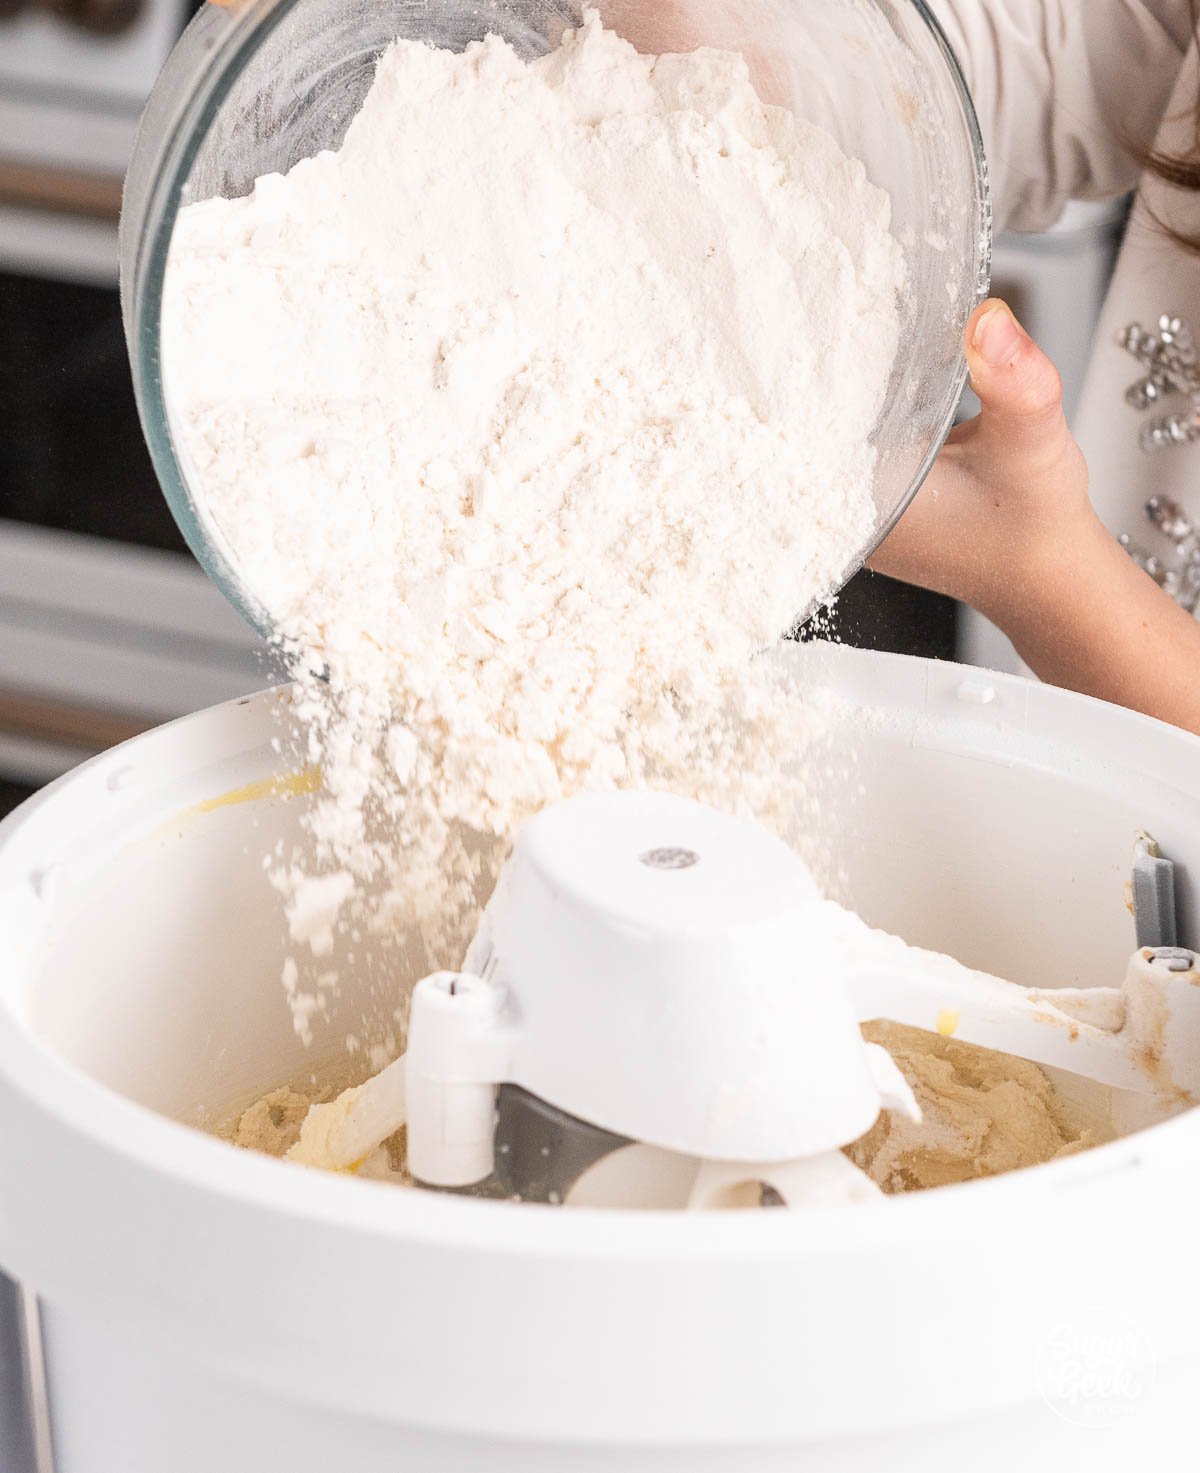
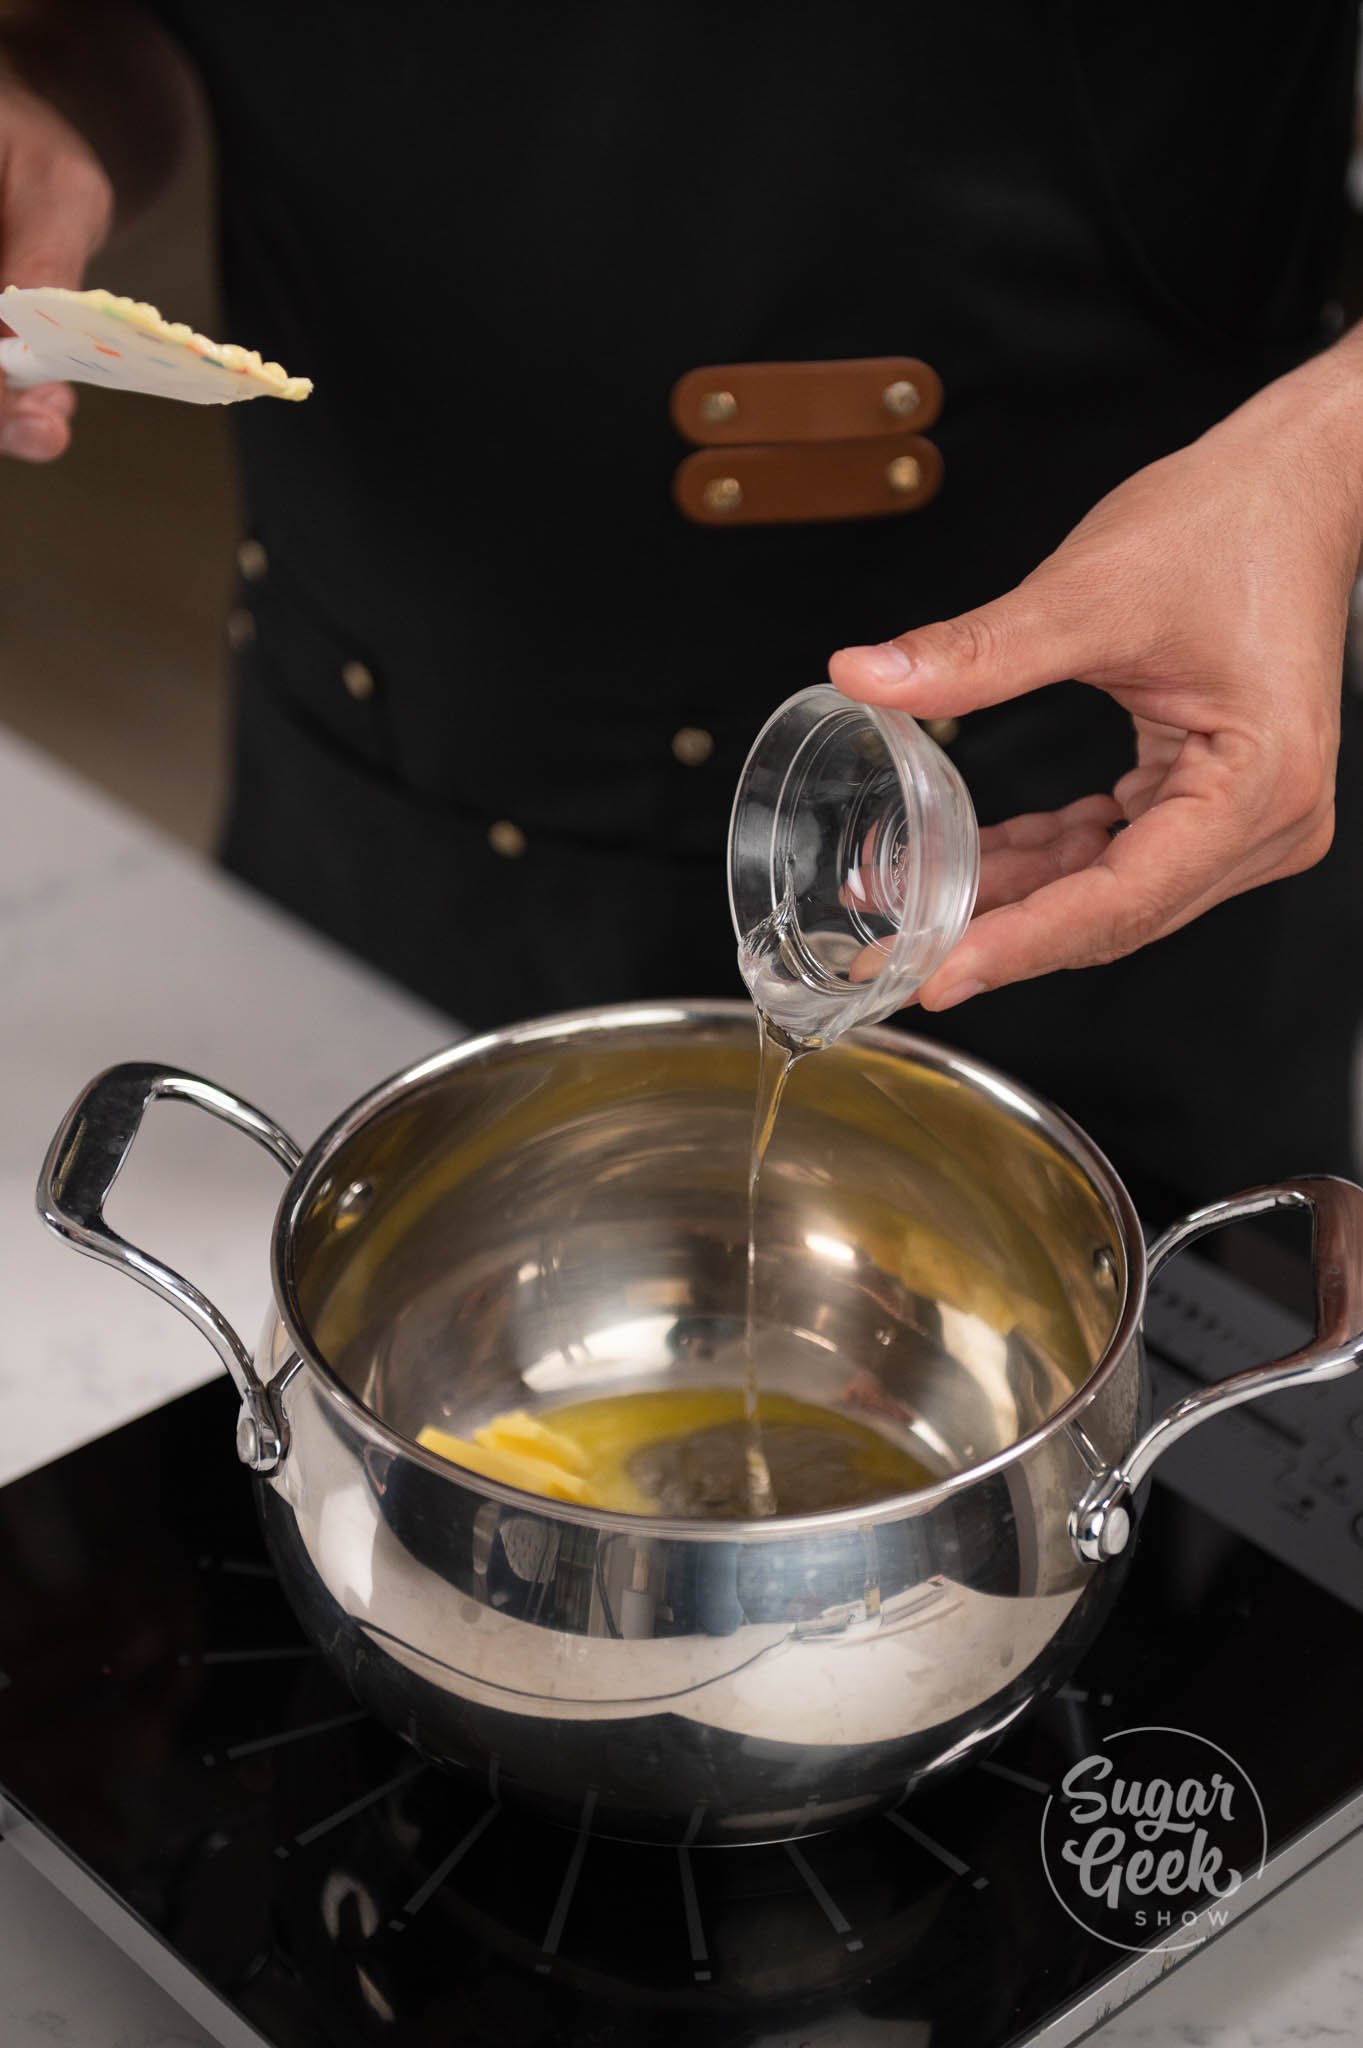
- Add your butter, corn syrup, and sugar/pectin mixture into a medium-sized pot over medium heat until it begins to simmer
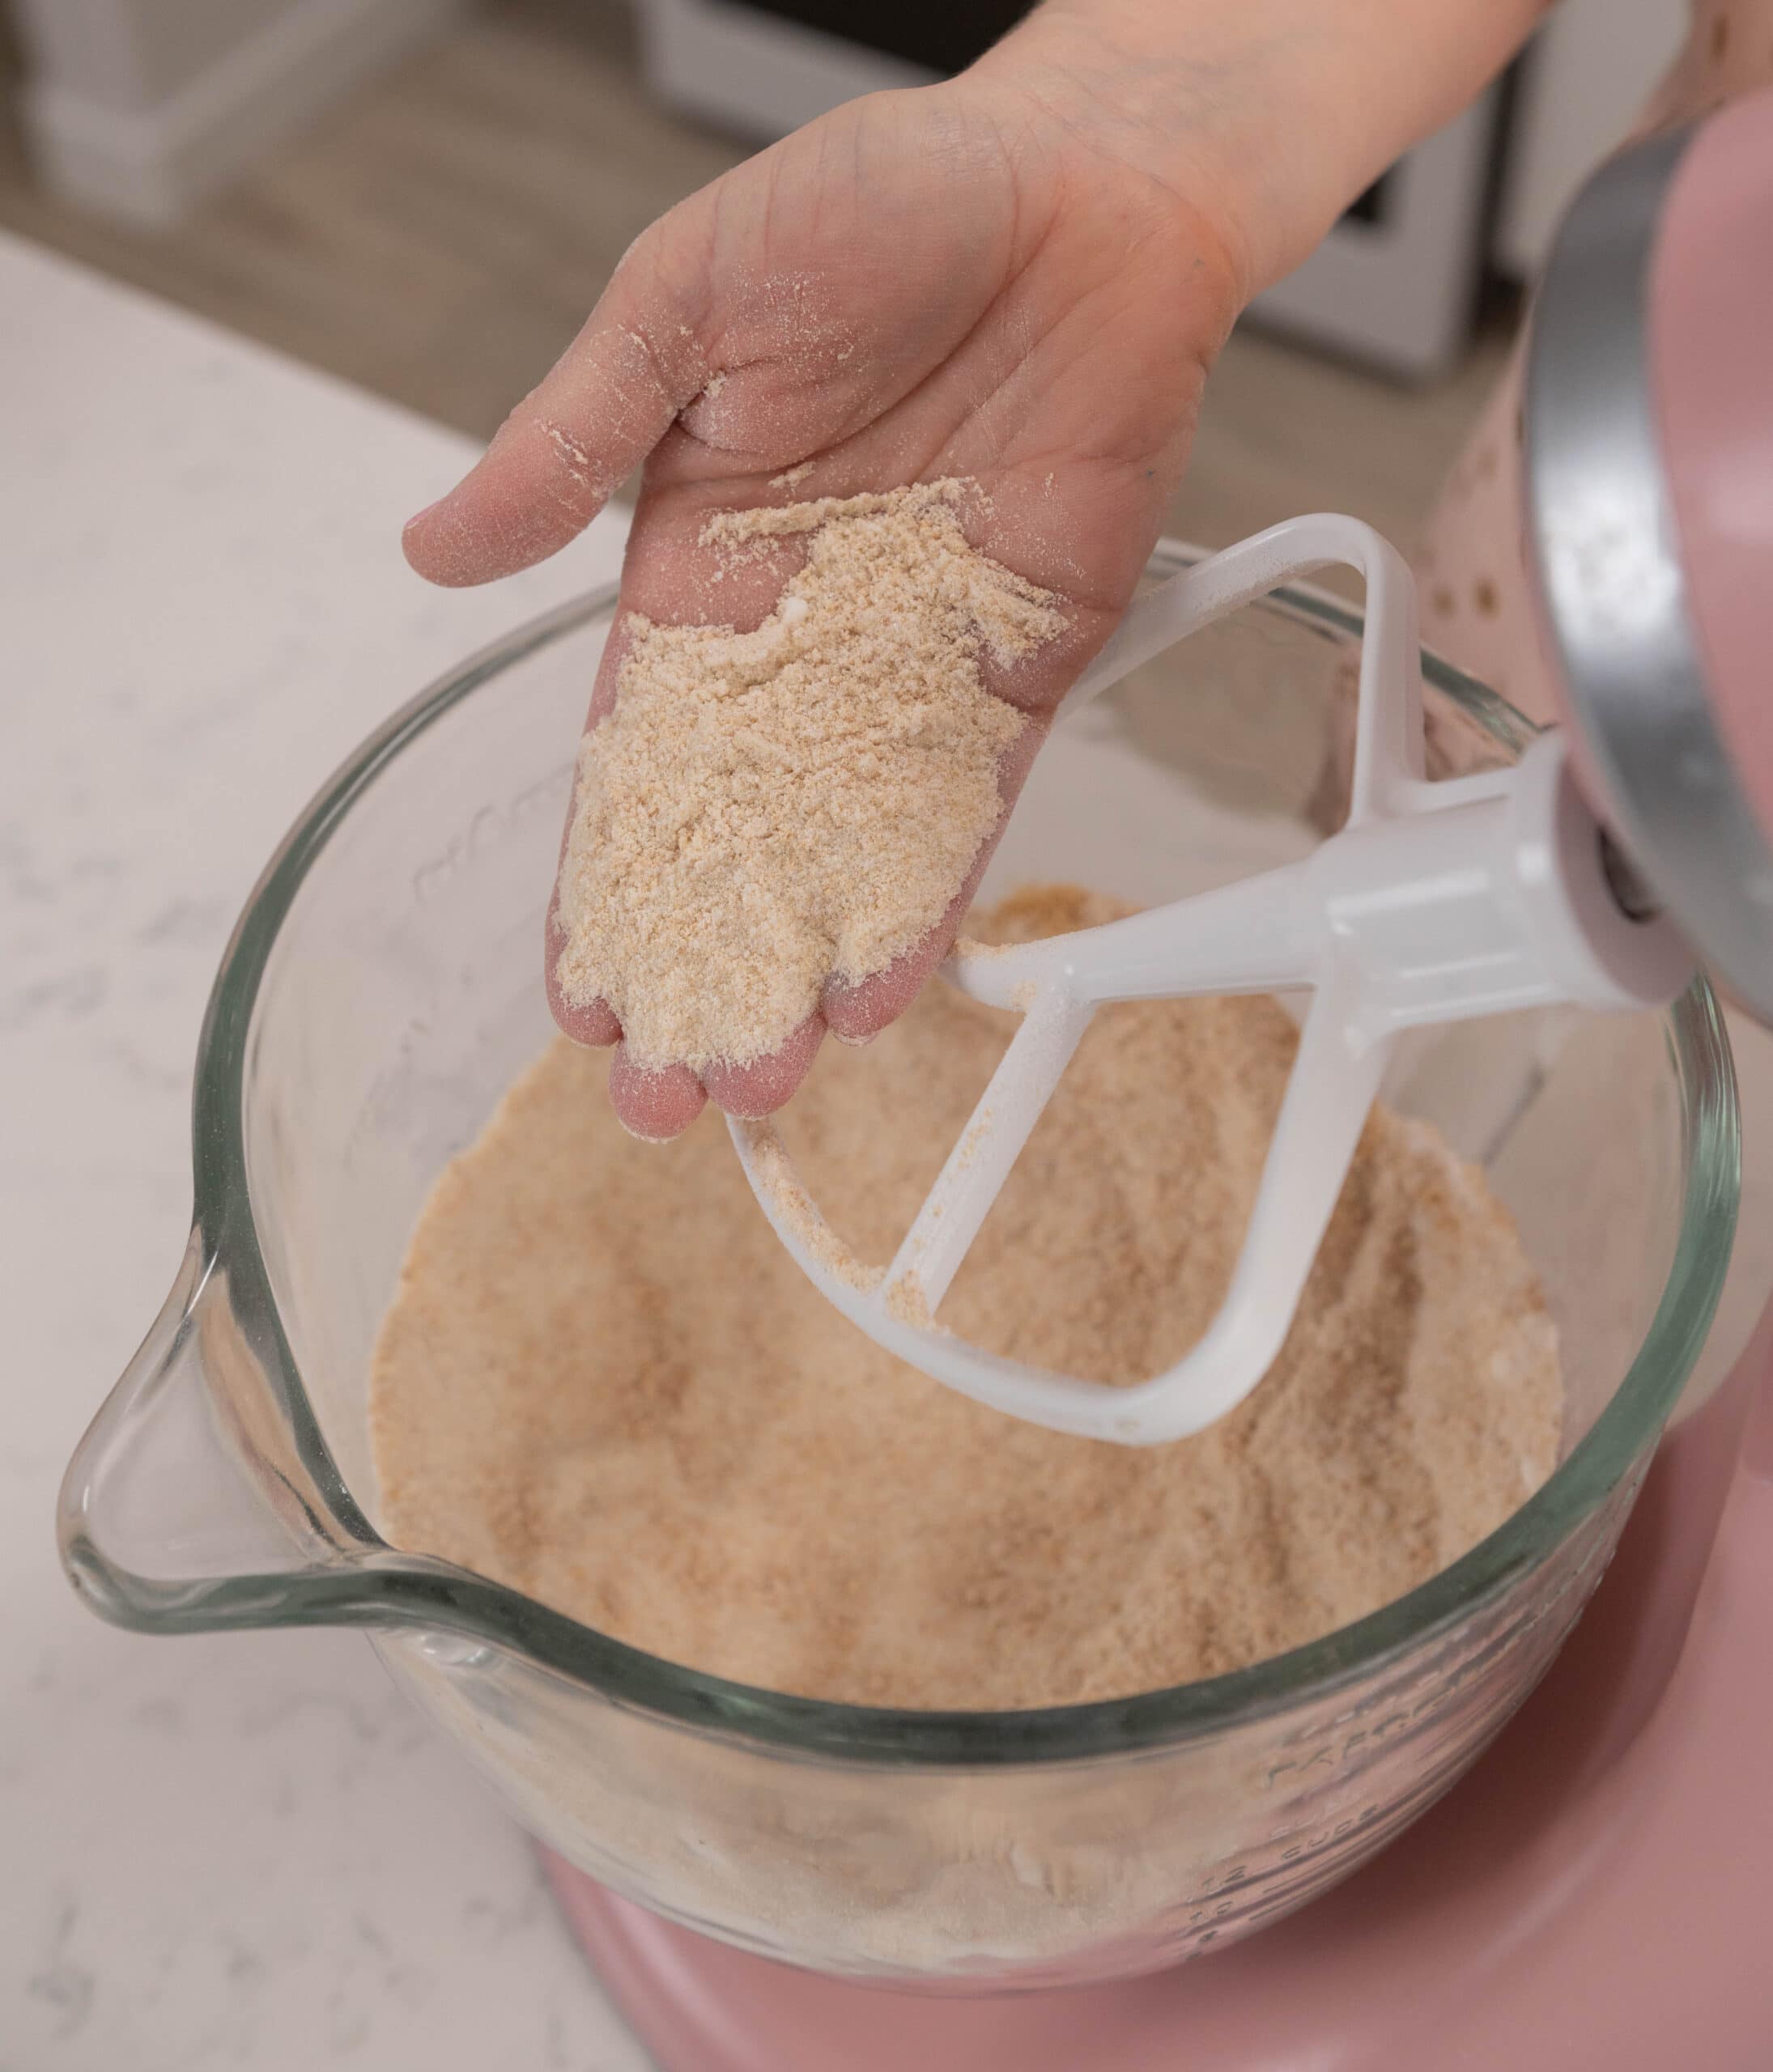
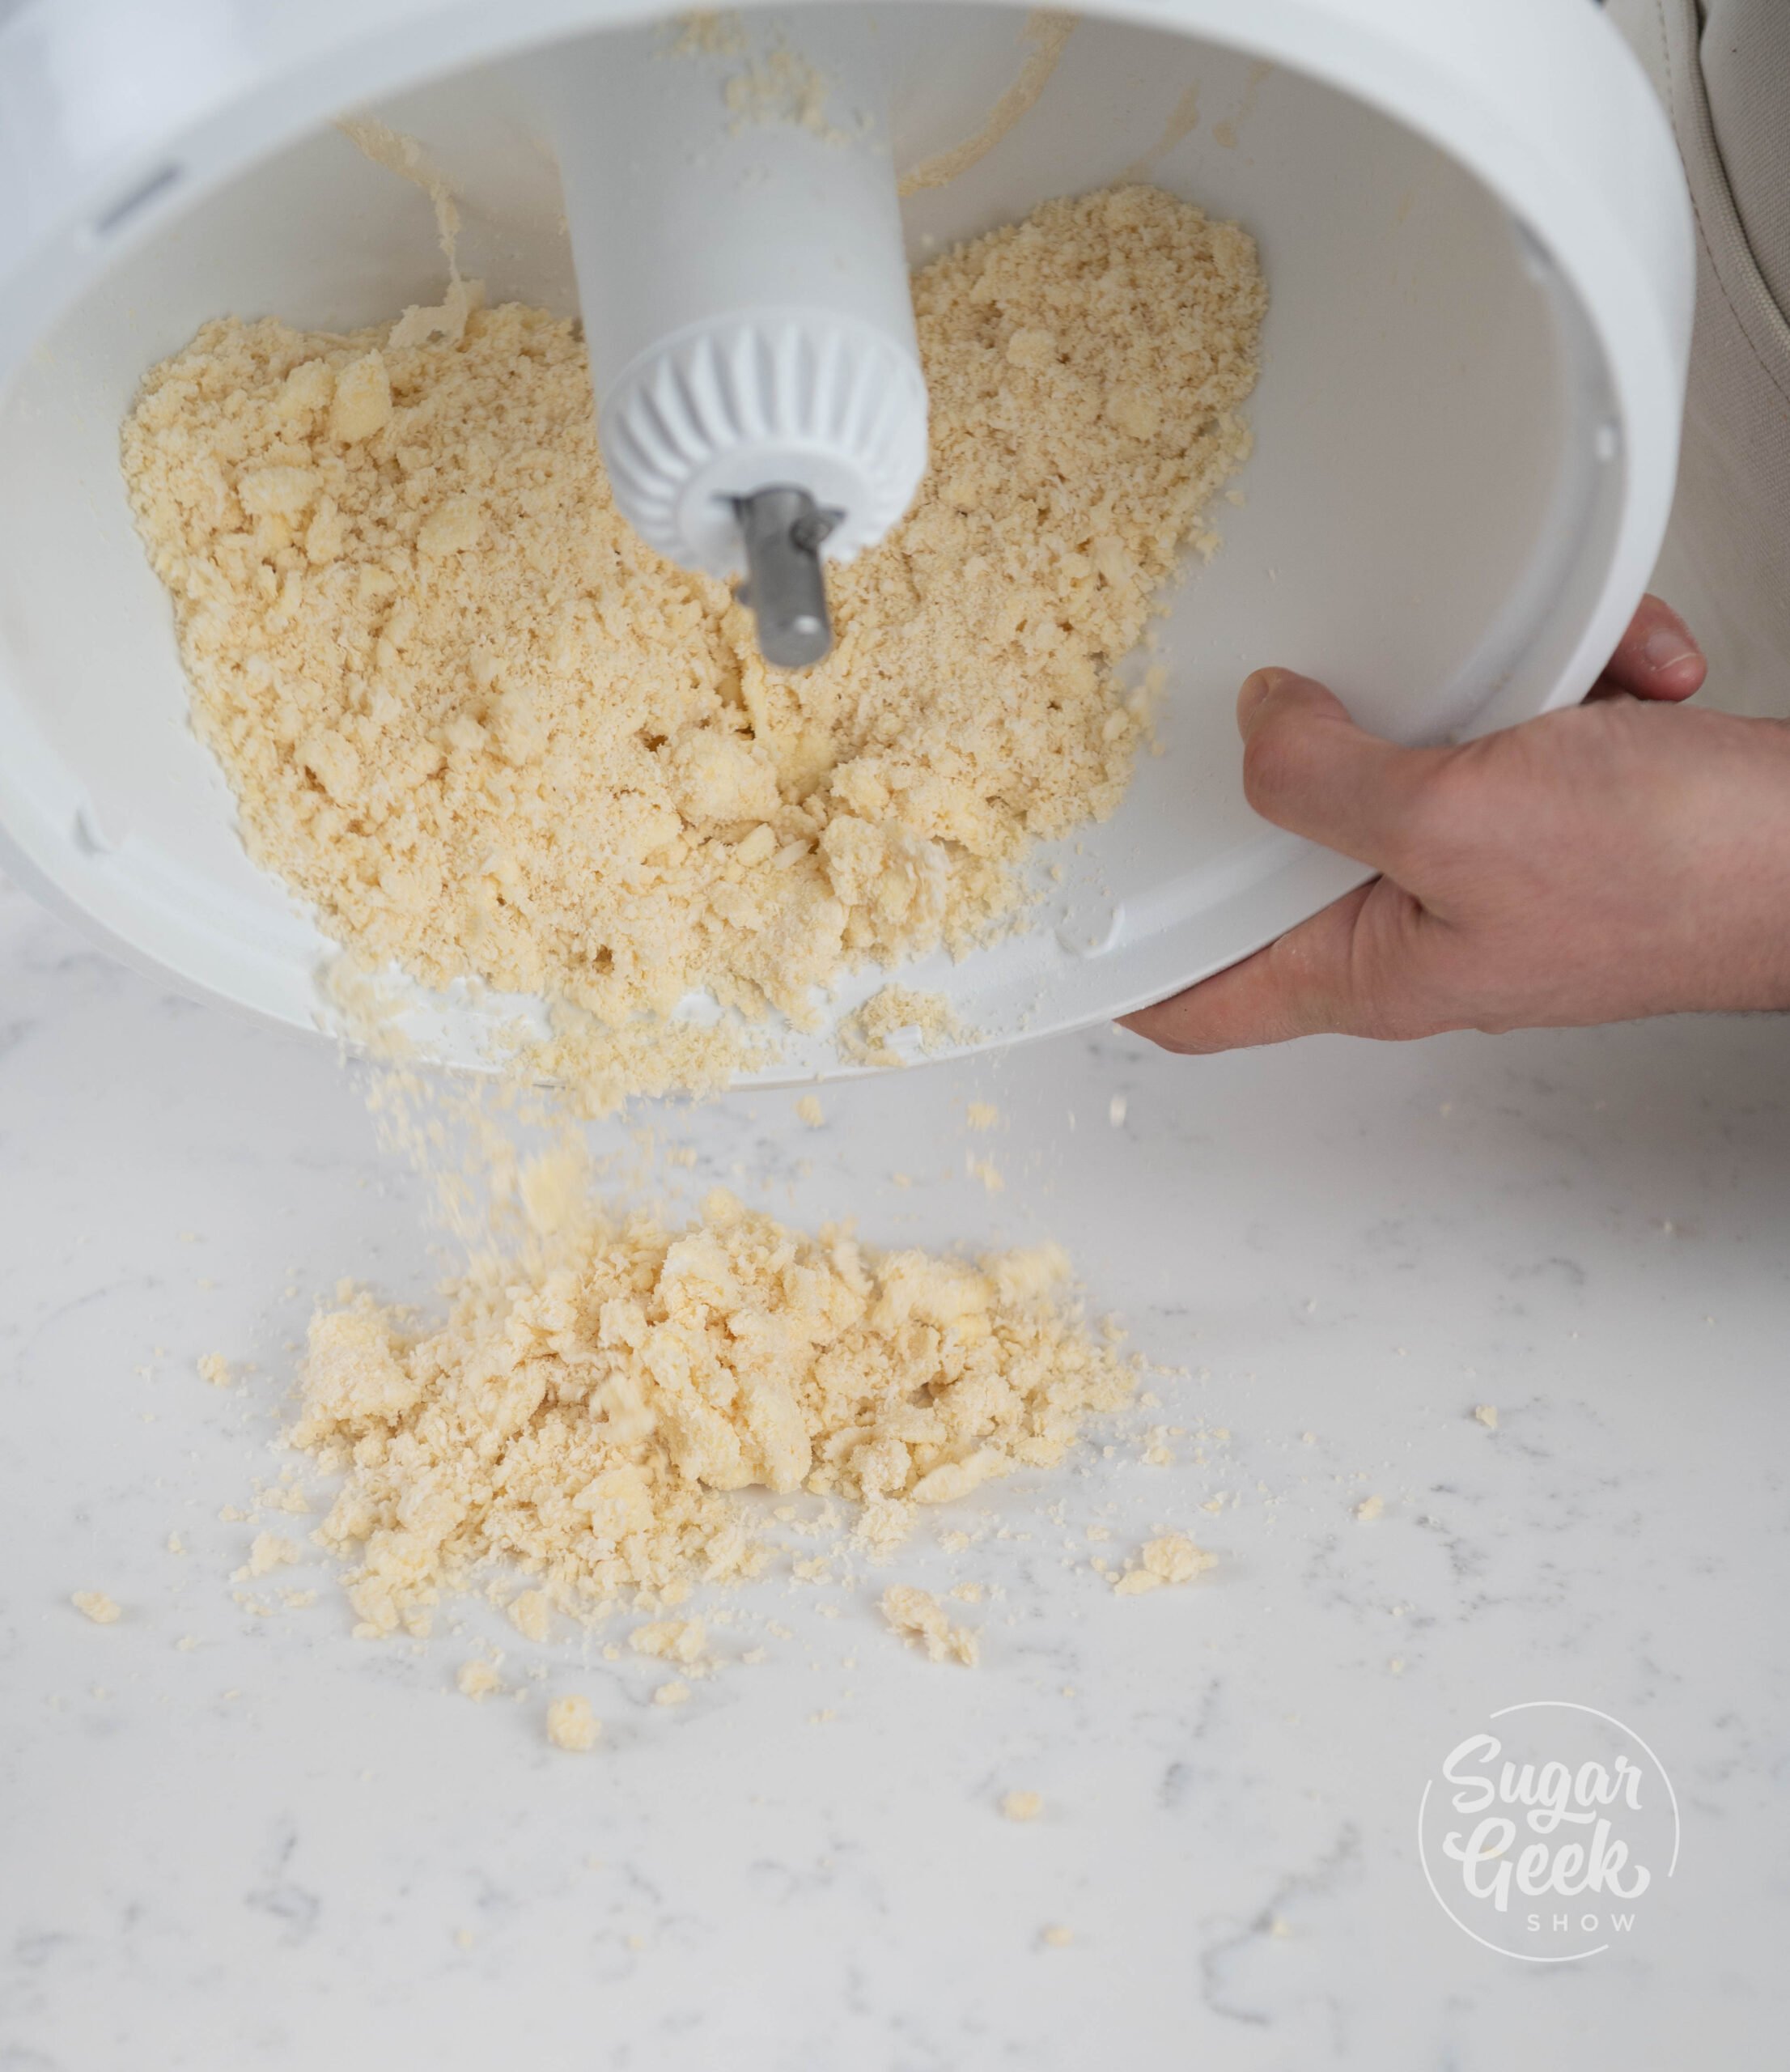
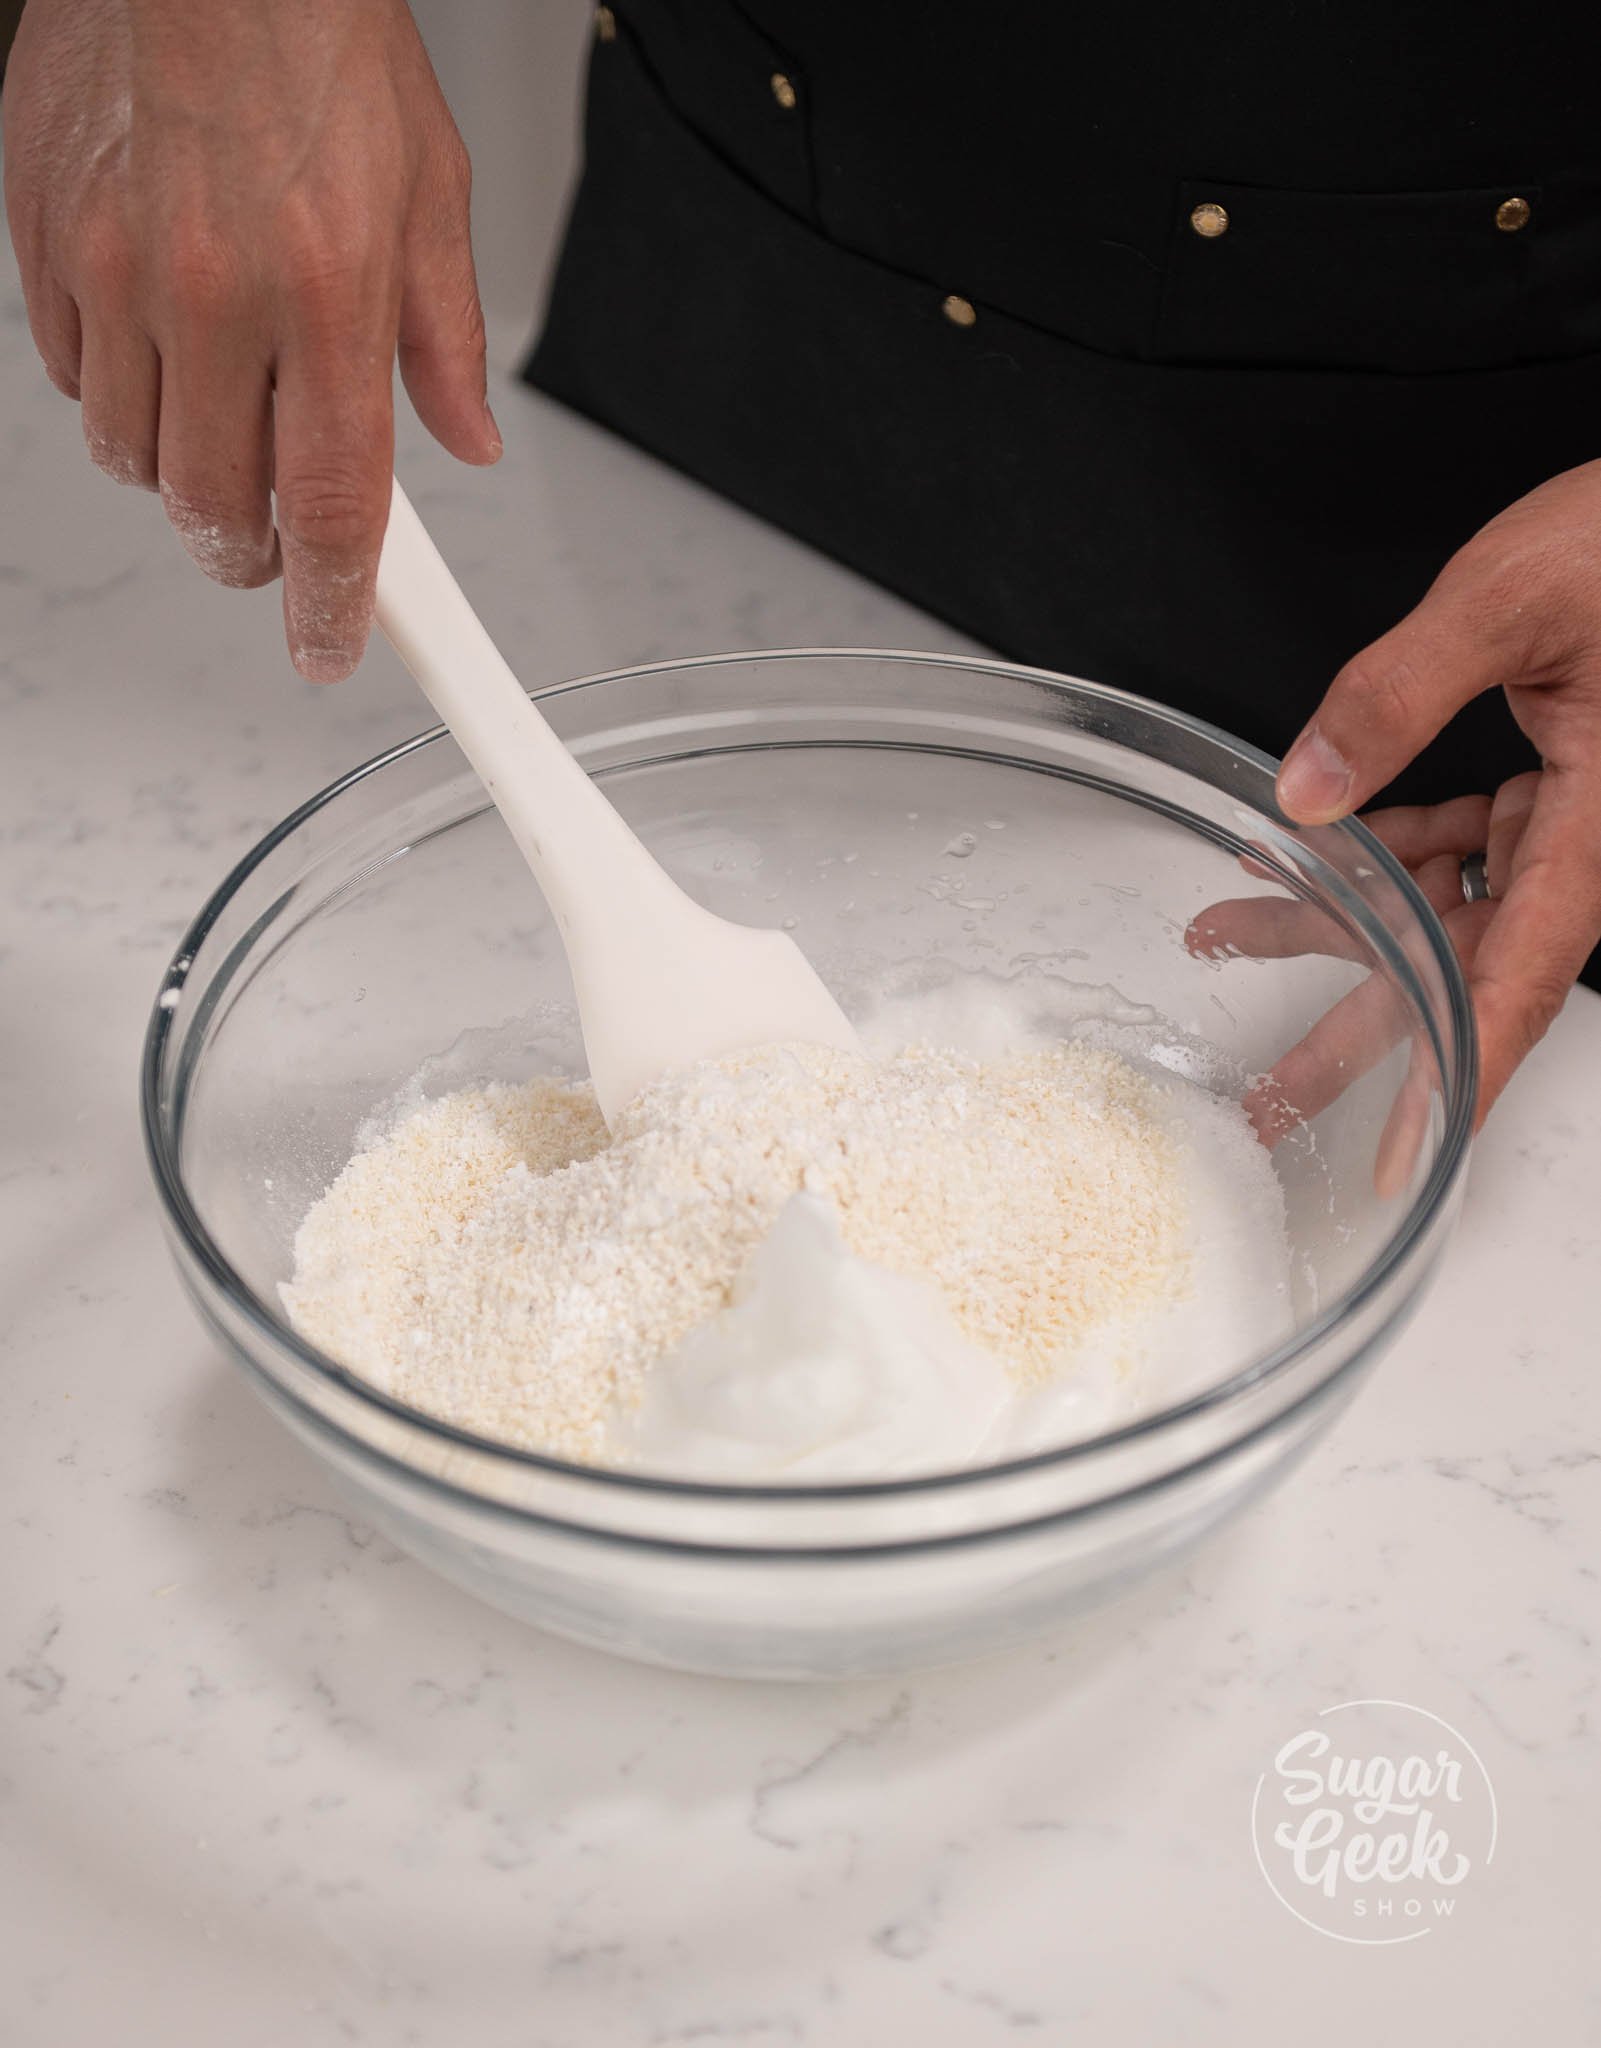
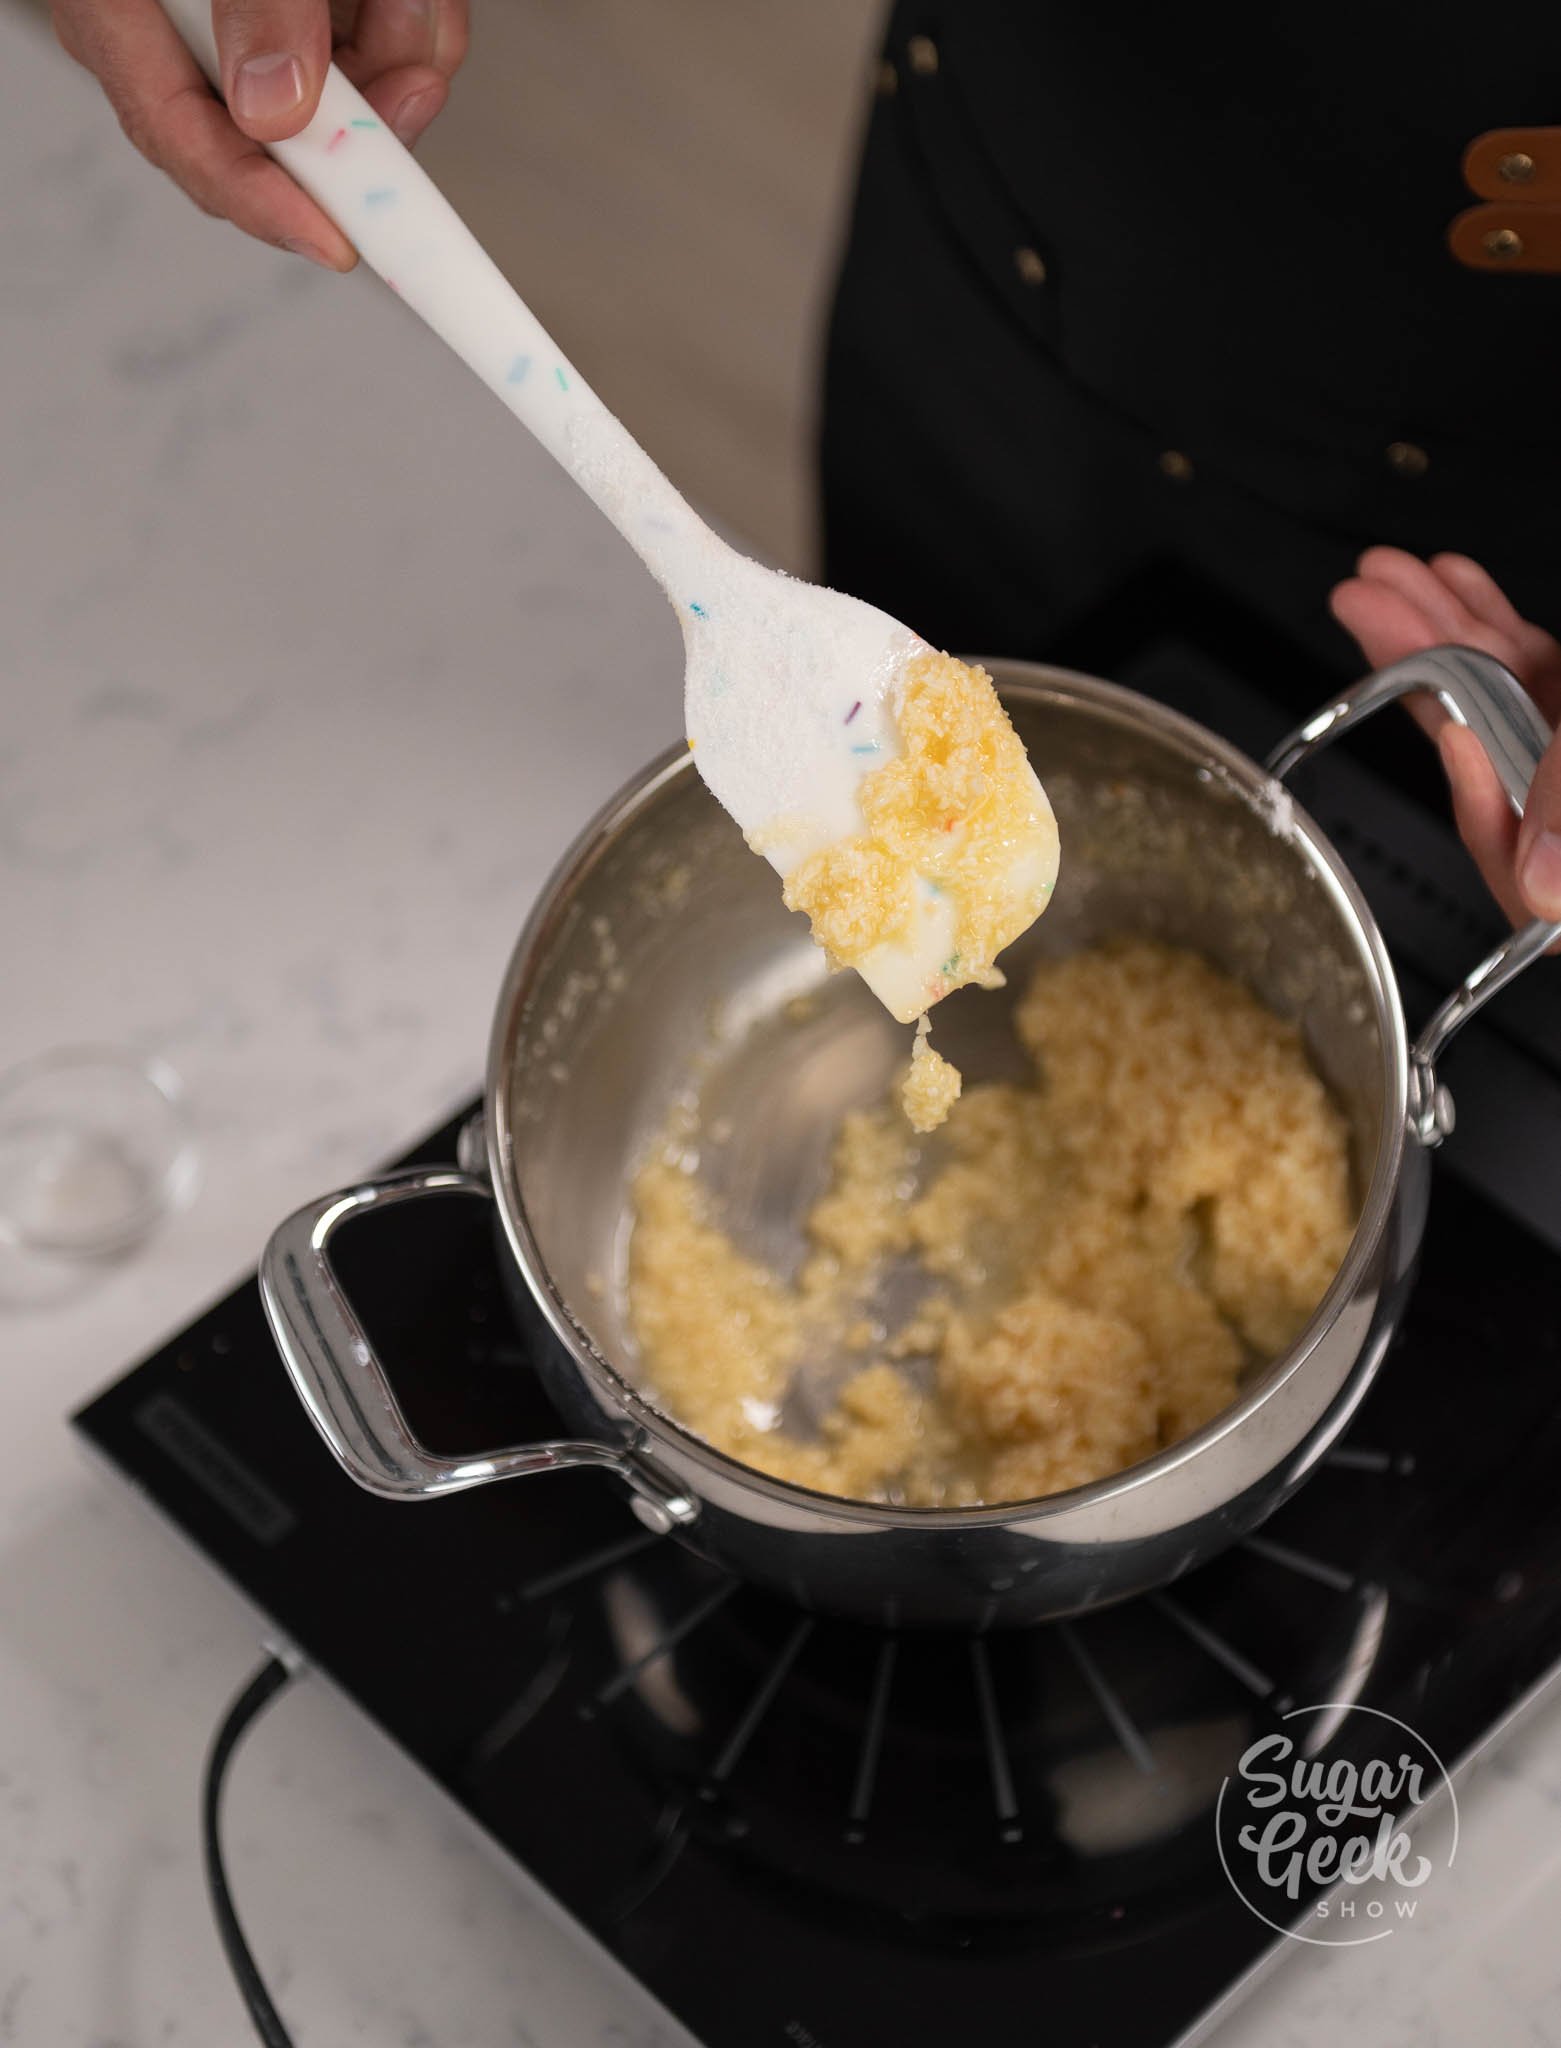
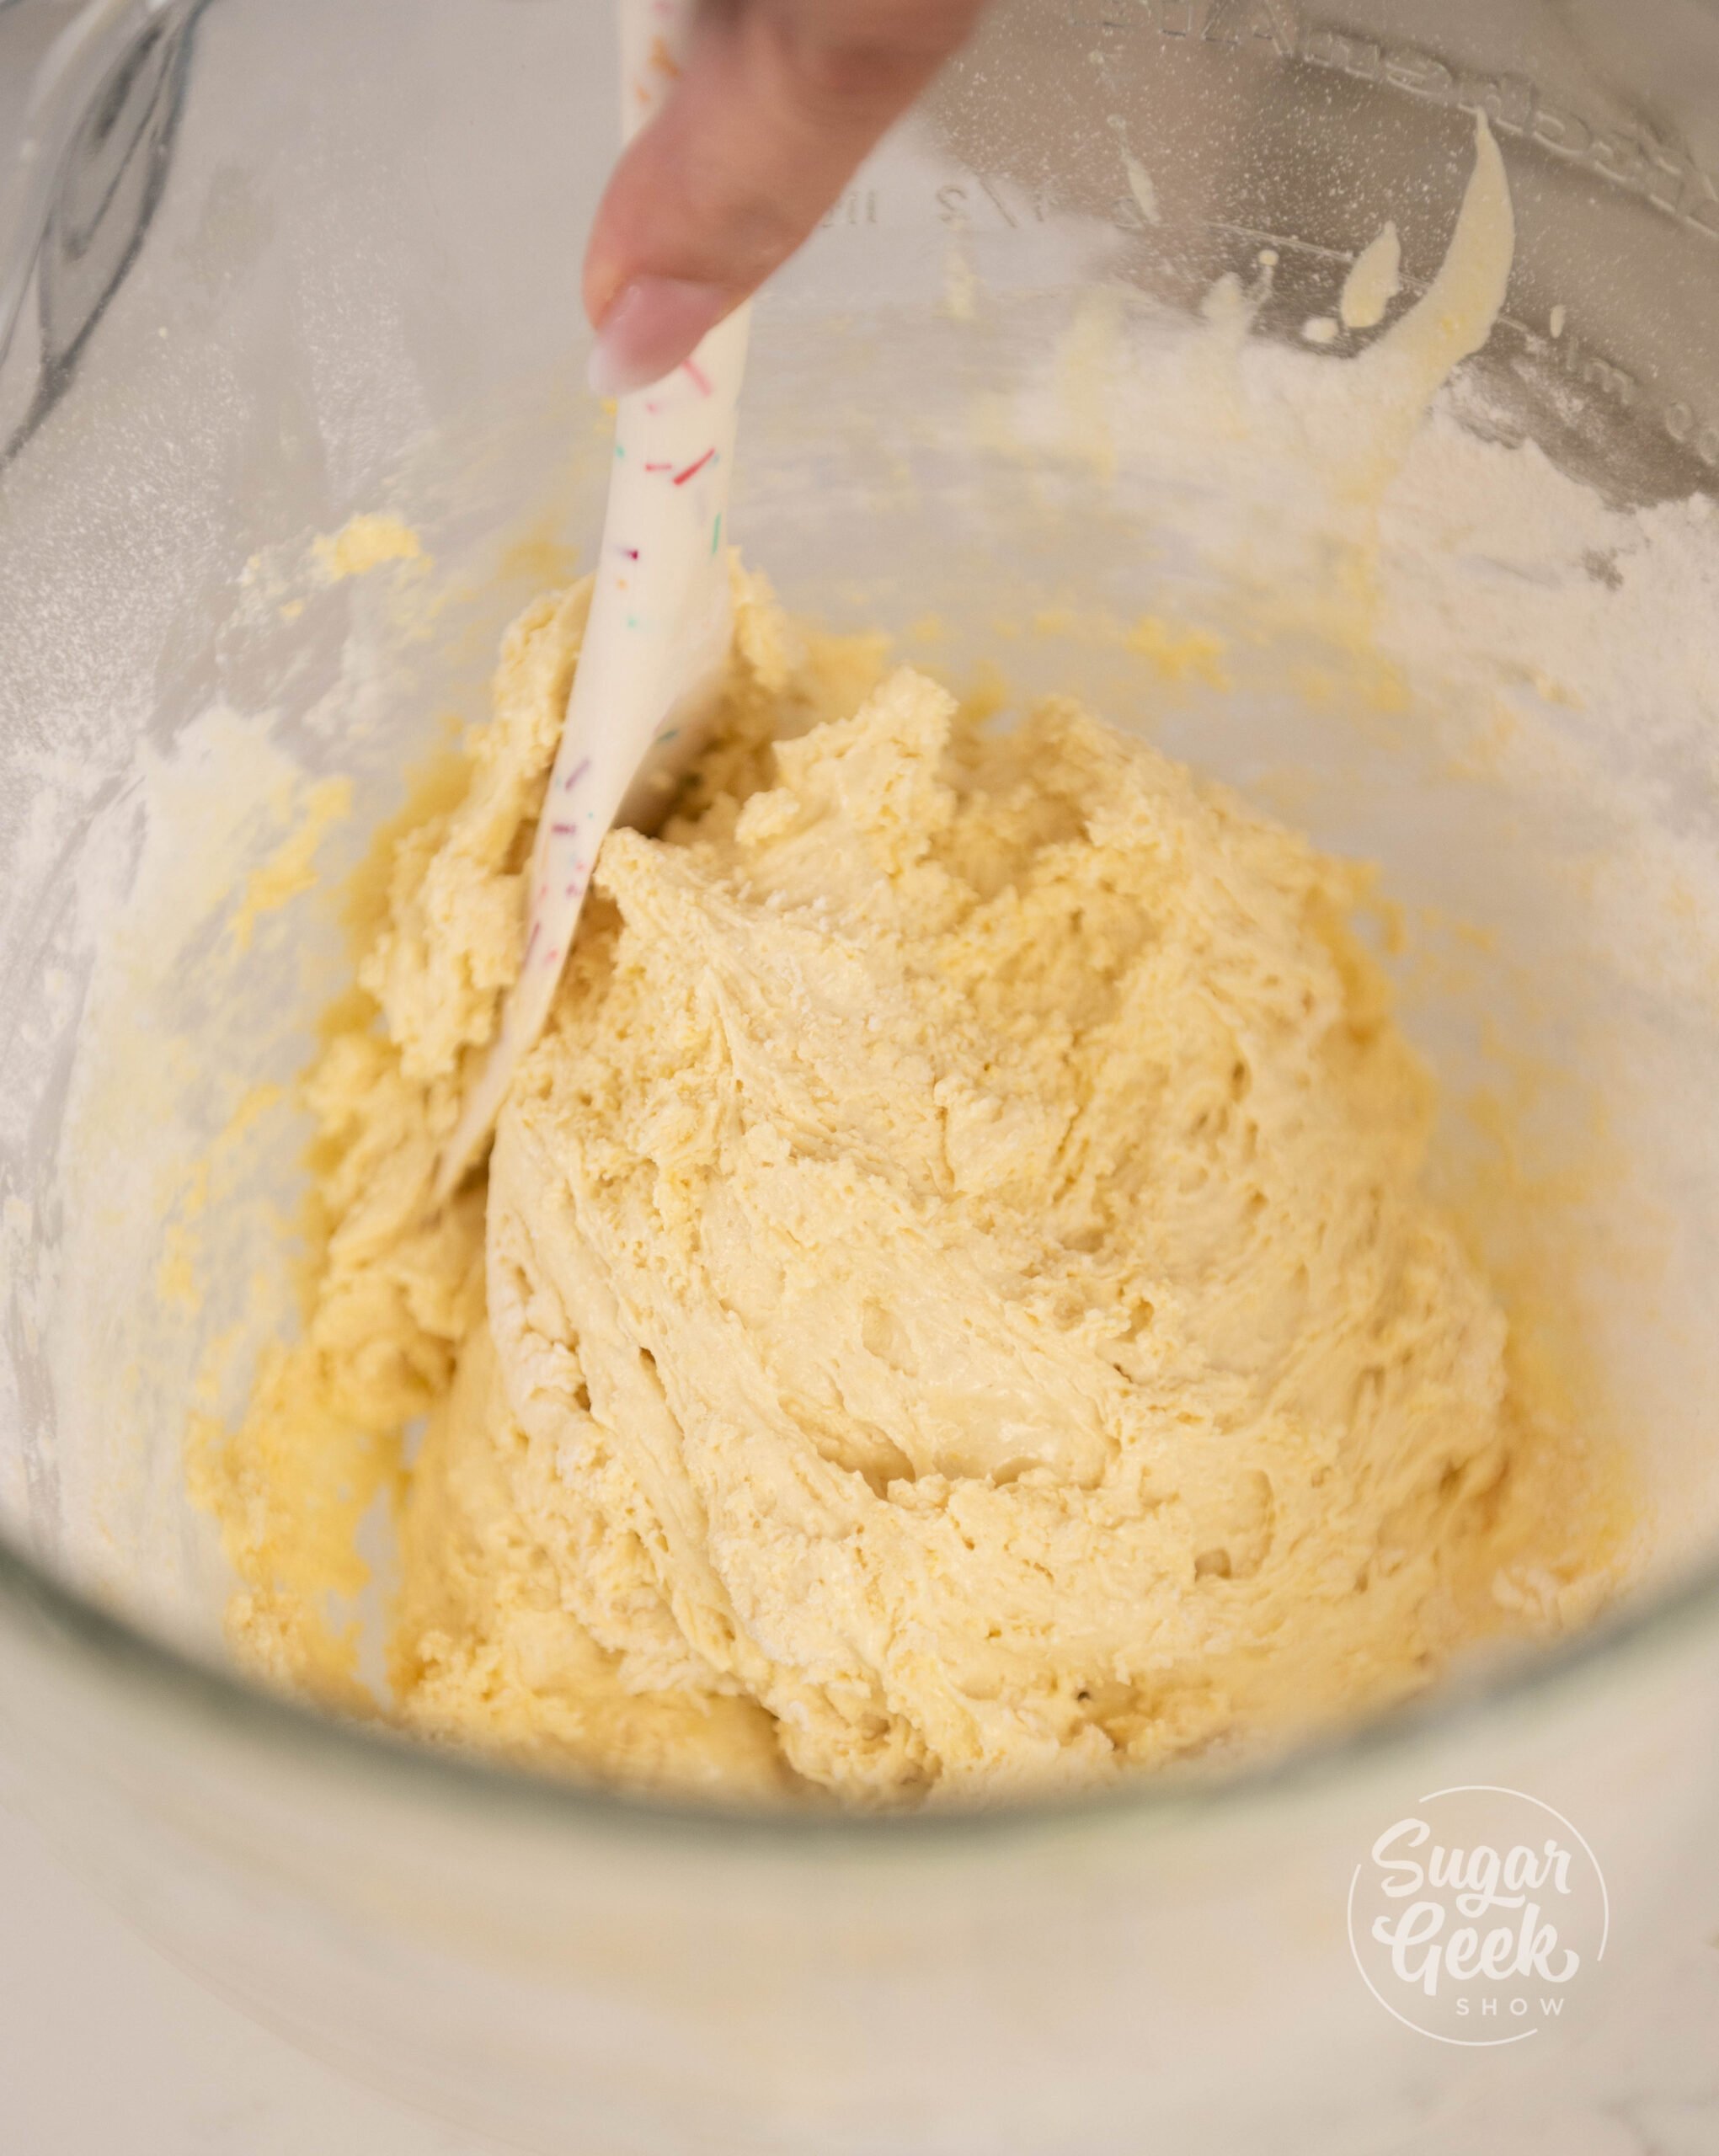
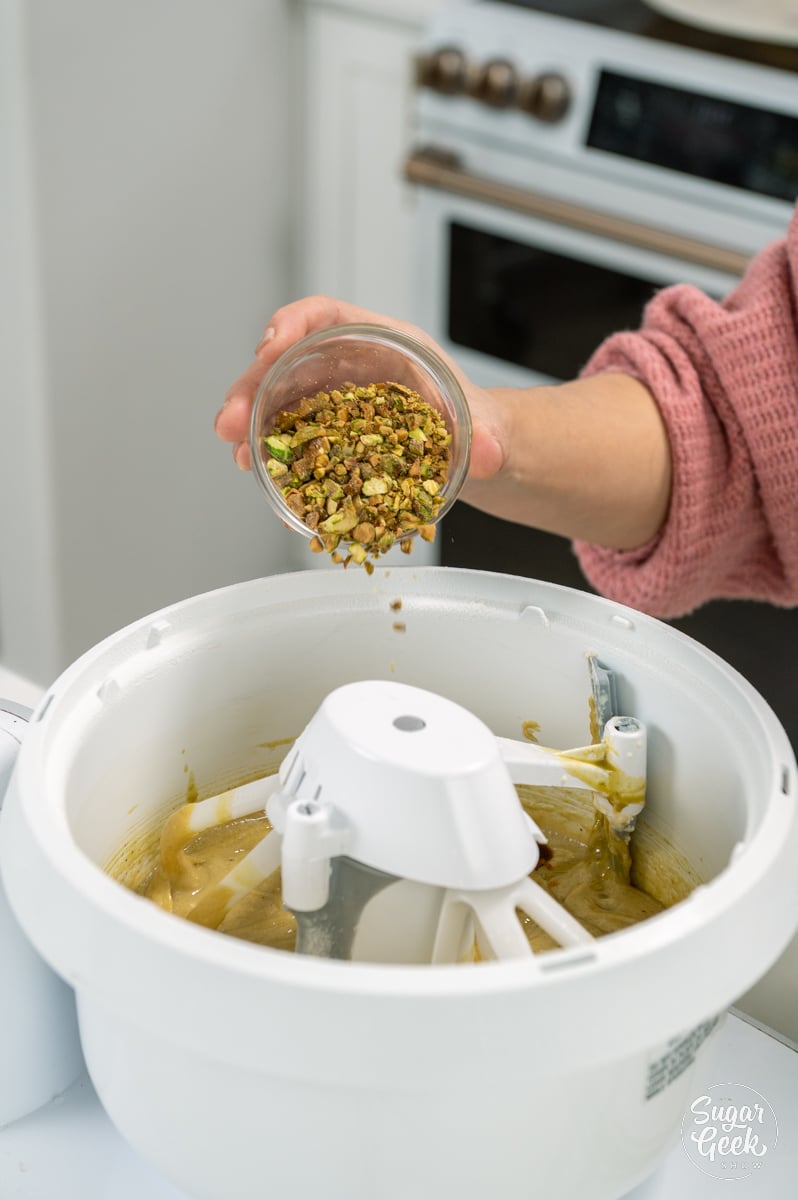
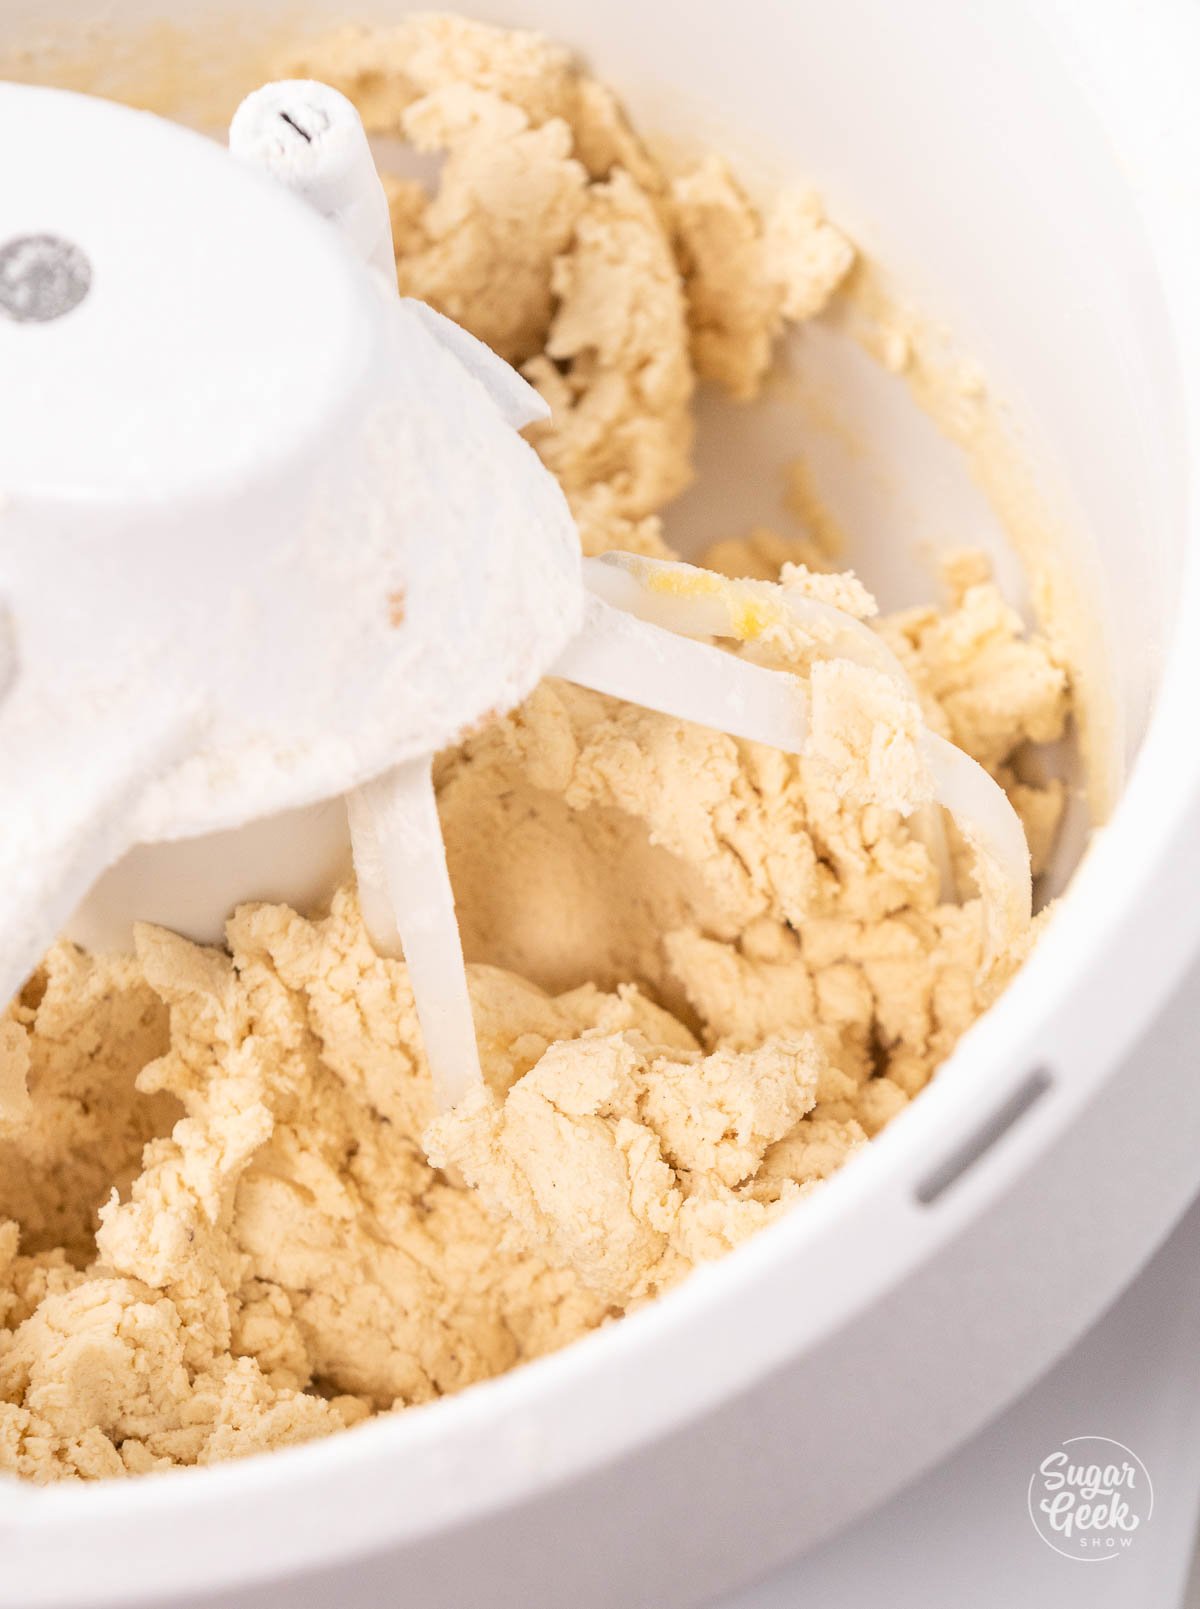
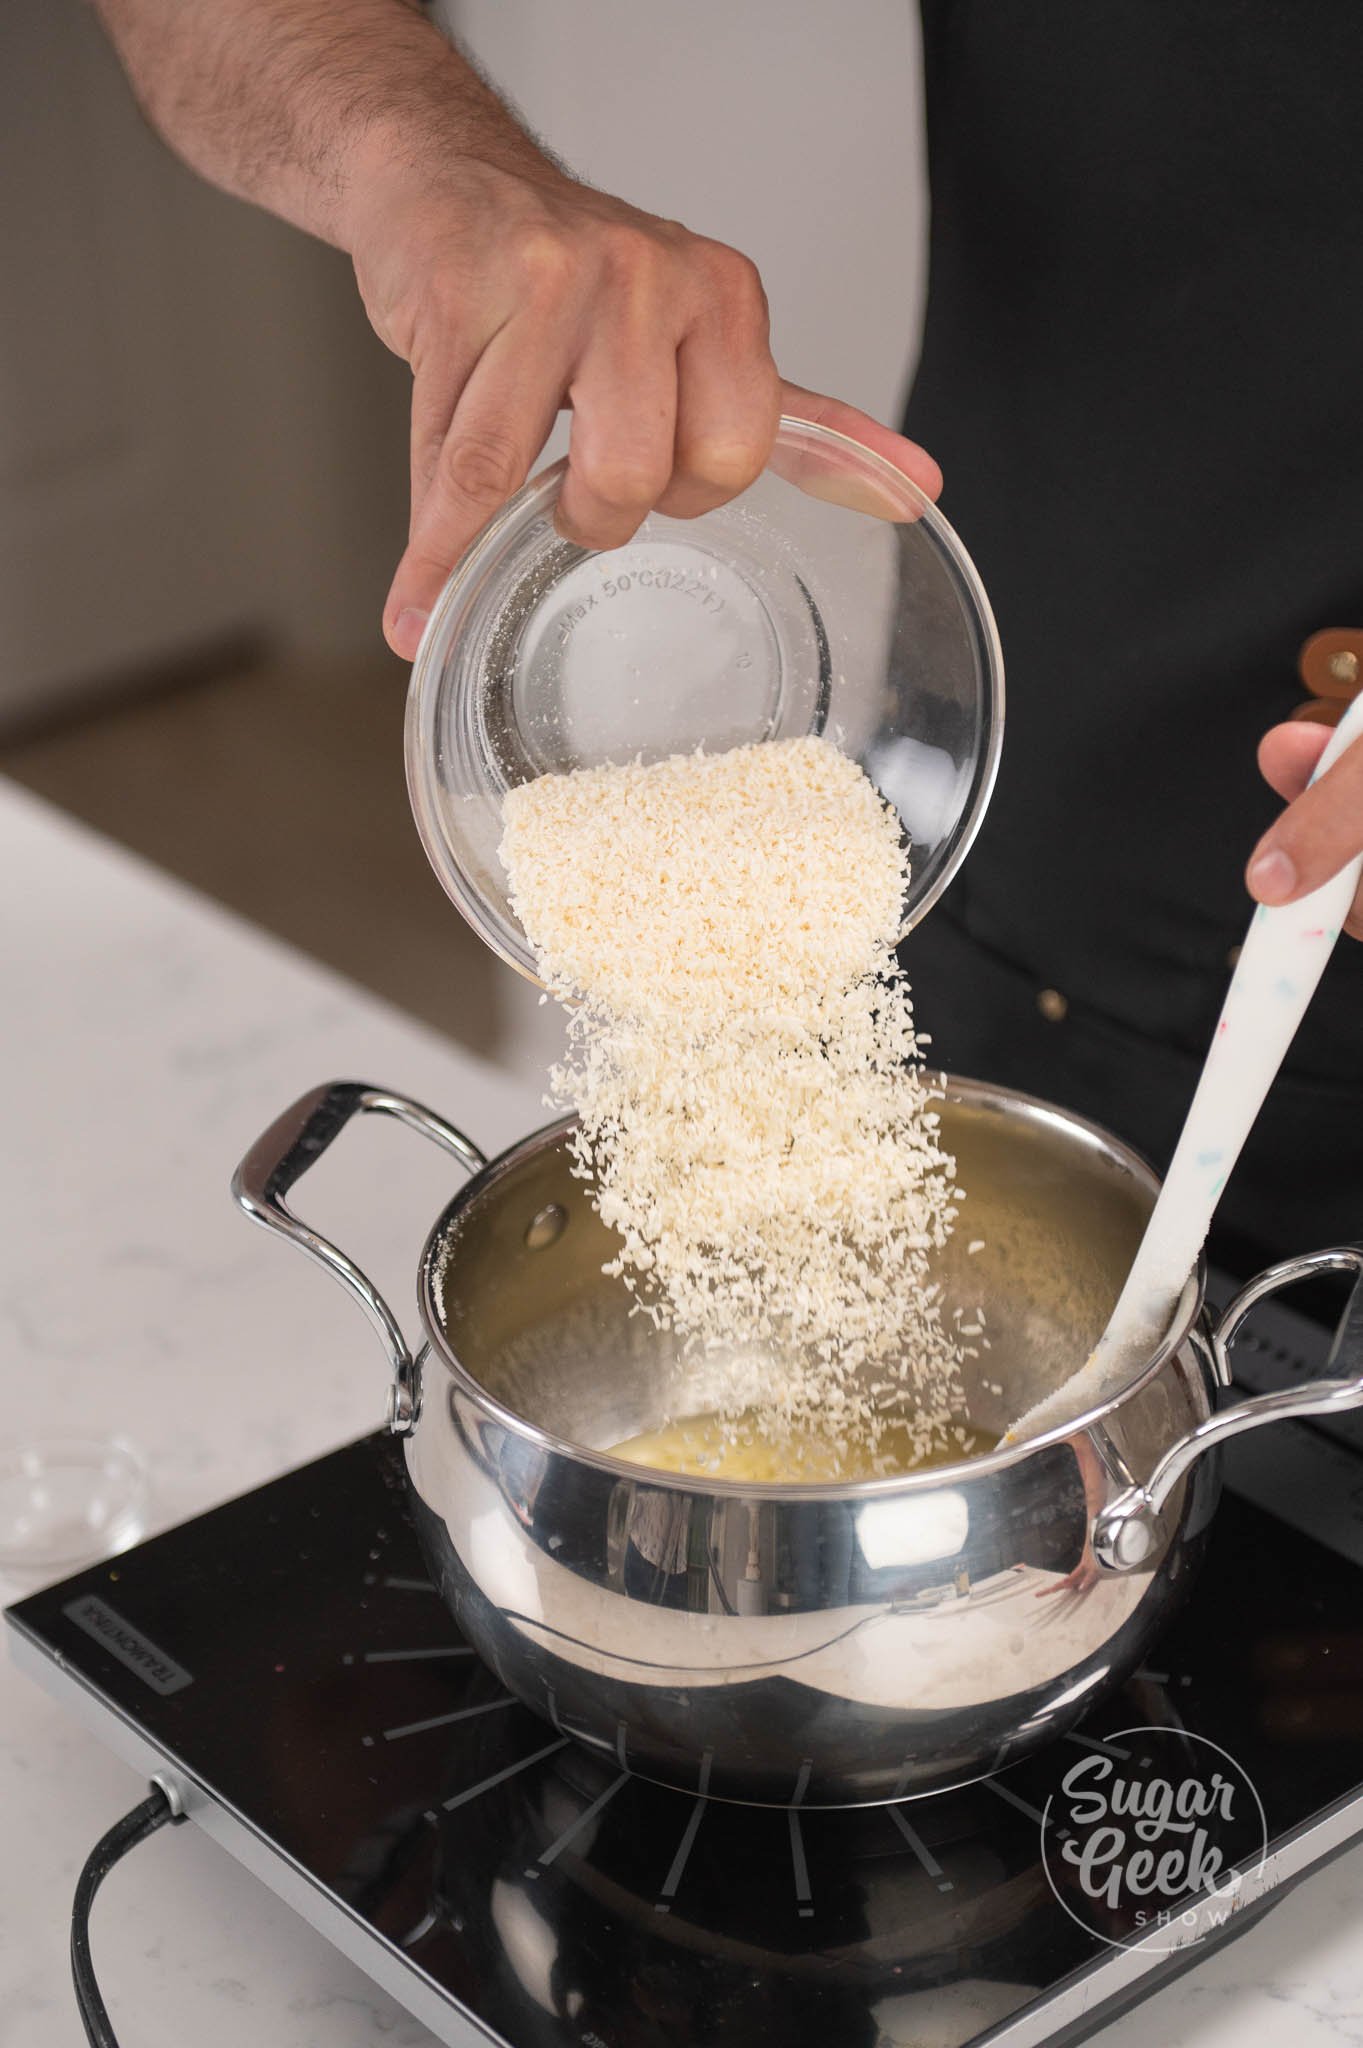
- Reduce your heat to low, then add in your coconut. Mix with a spatula until combined.
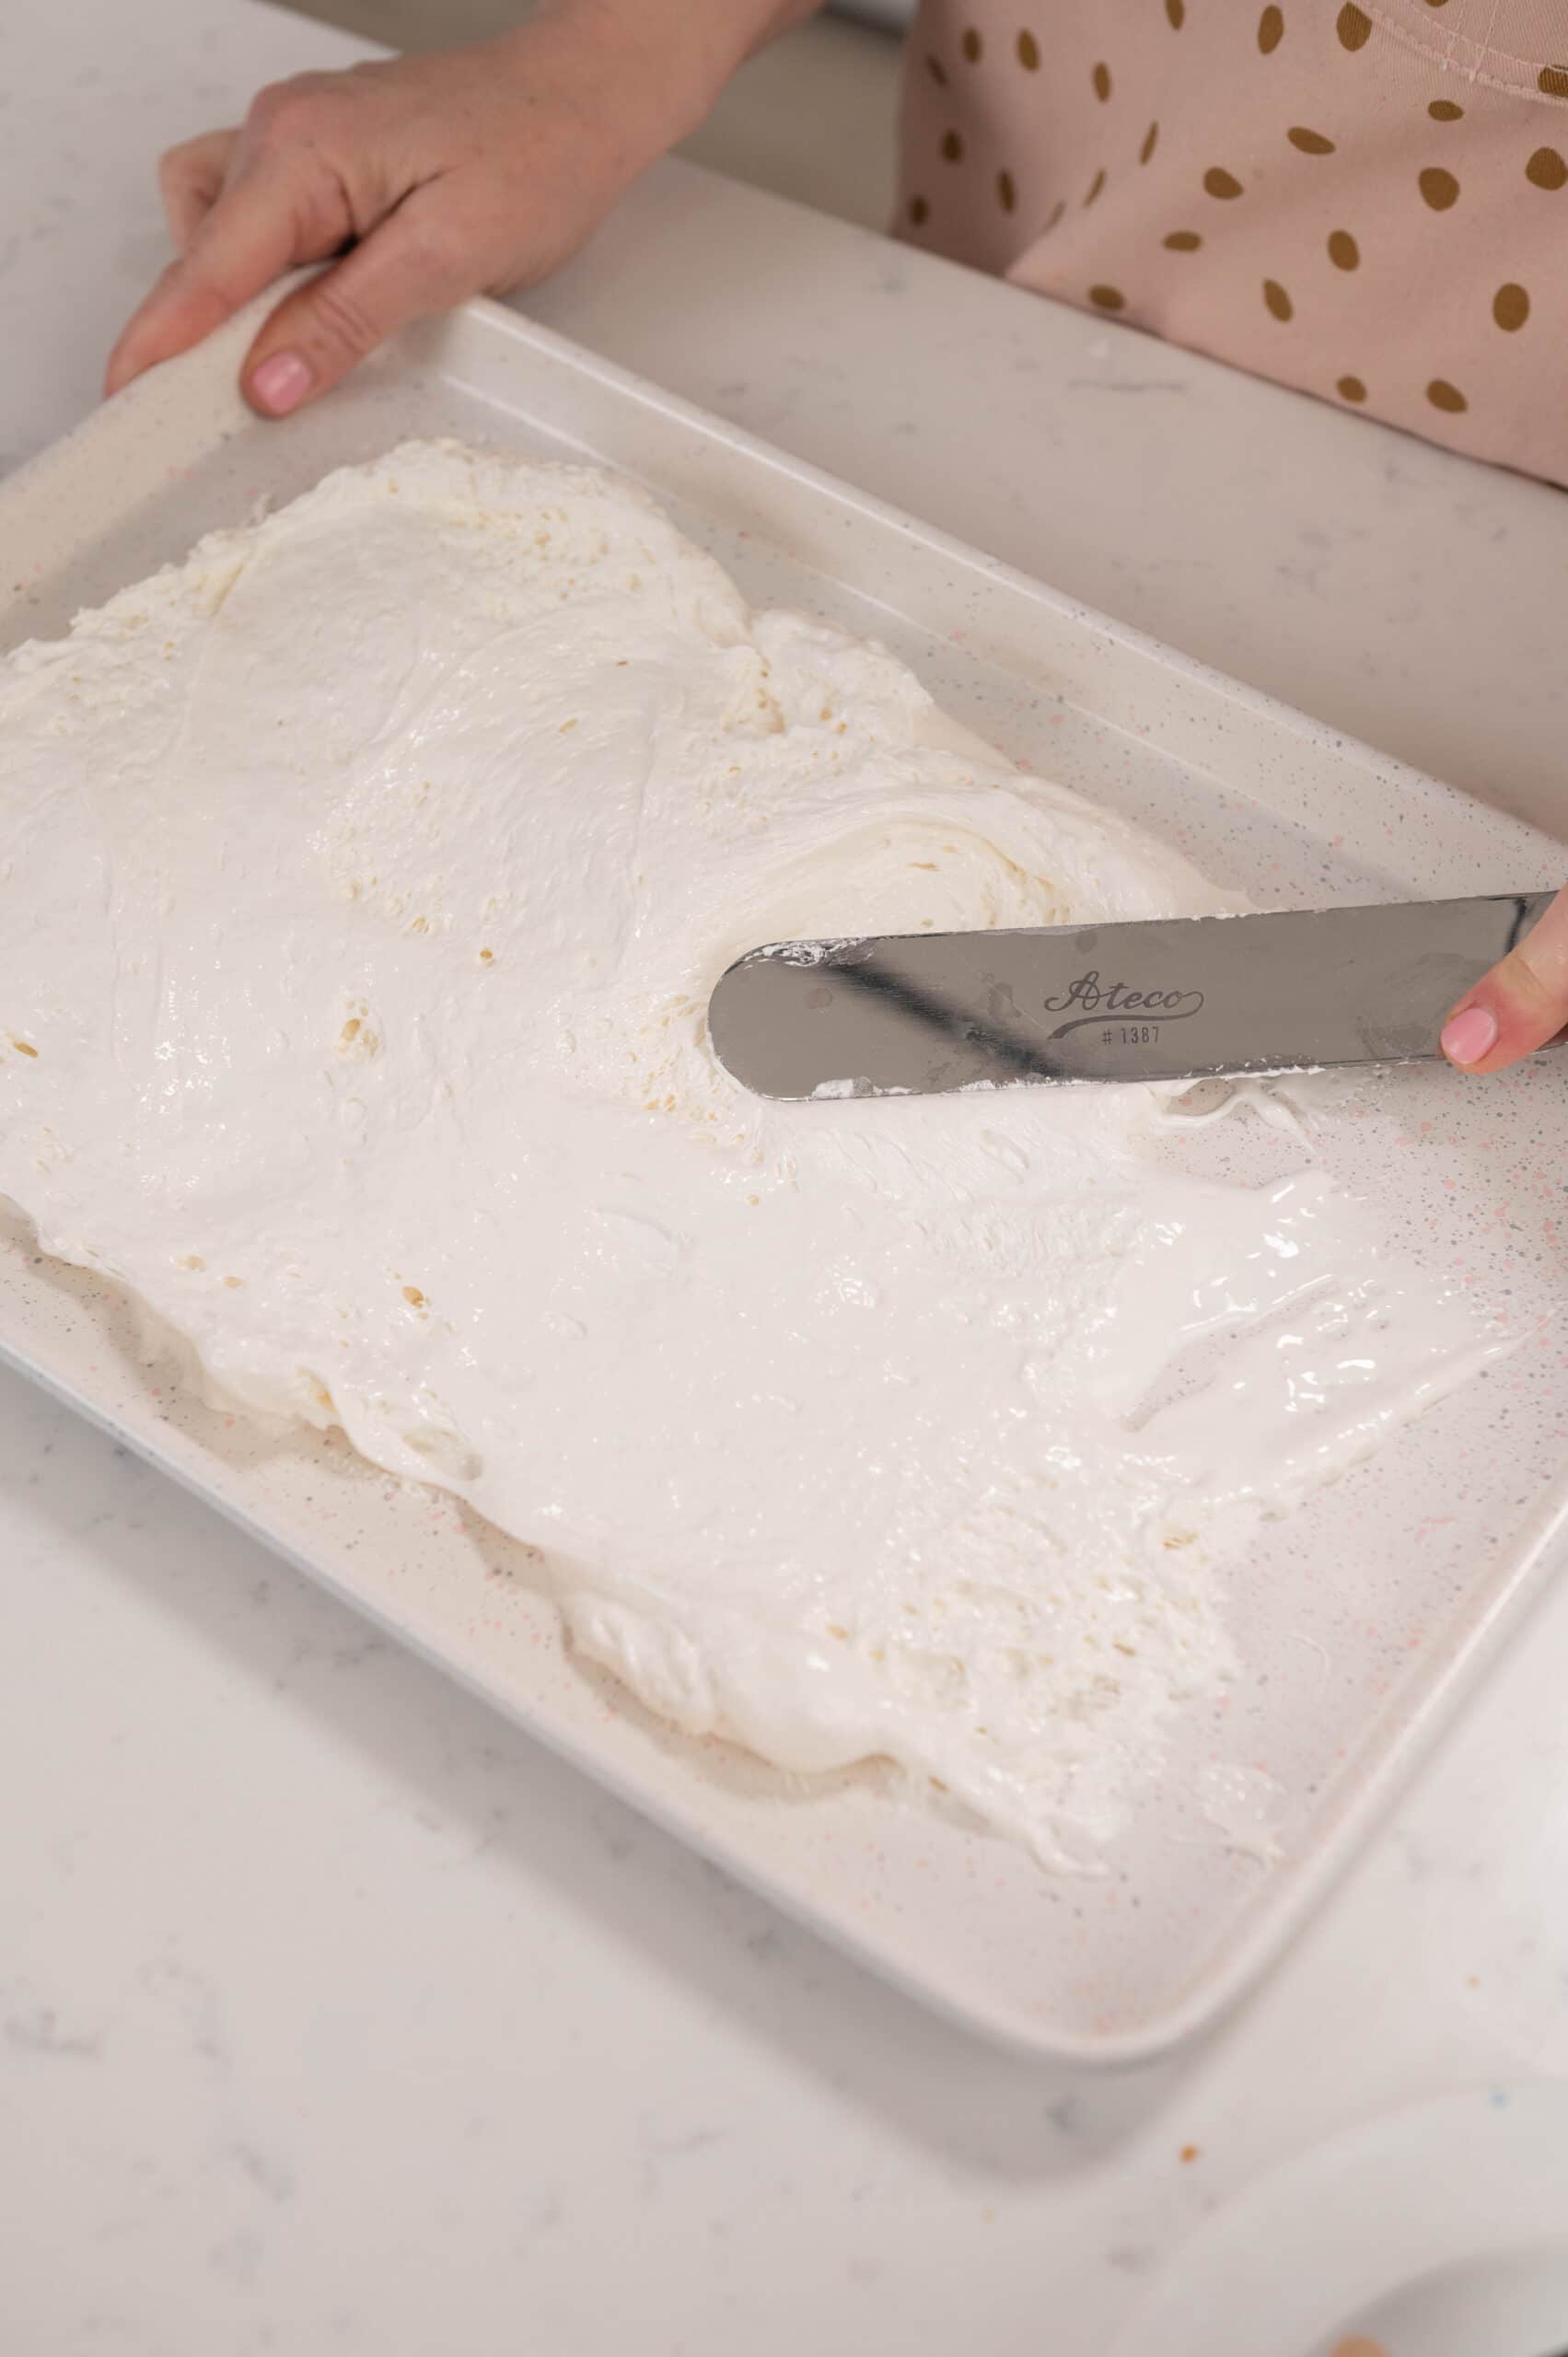
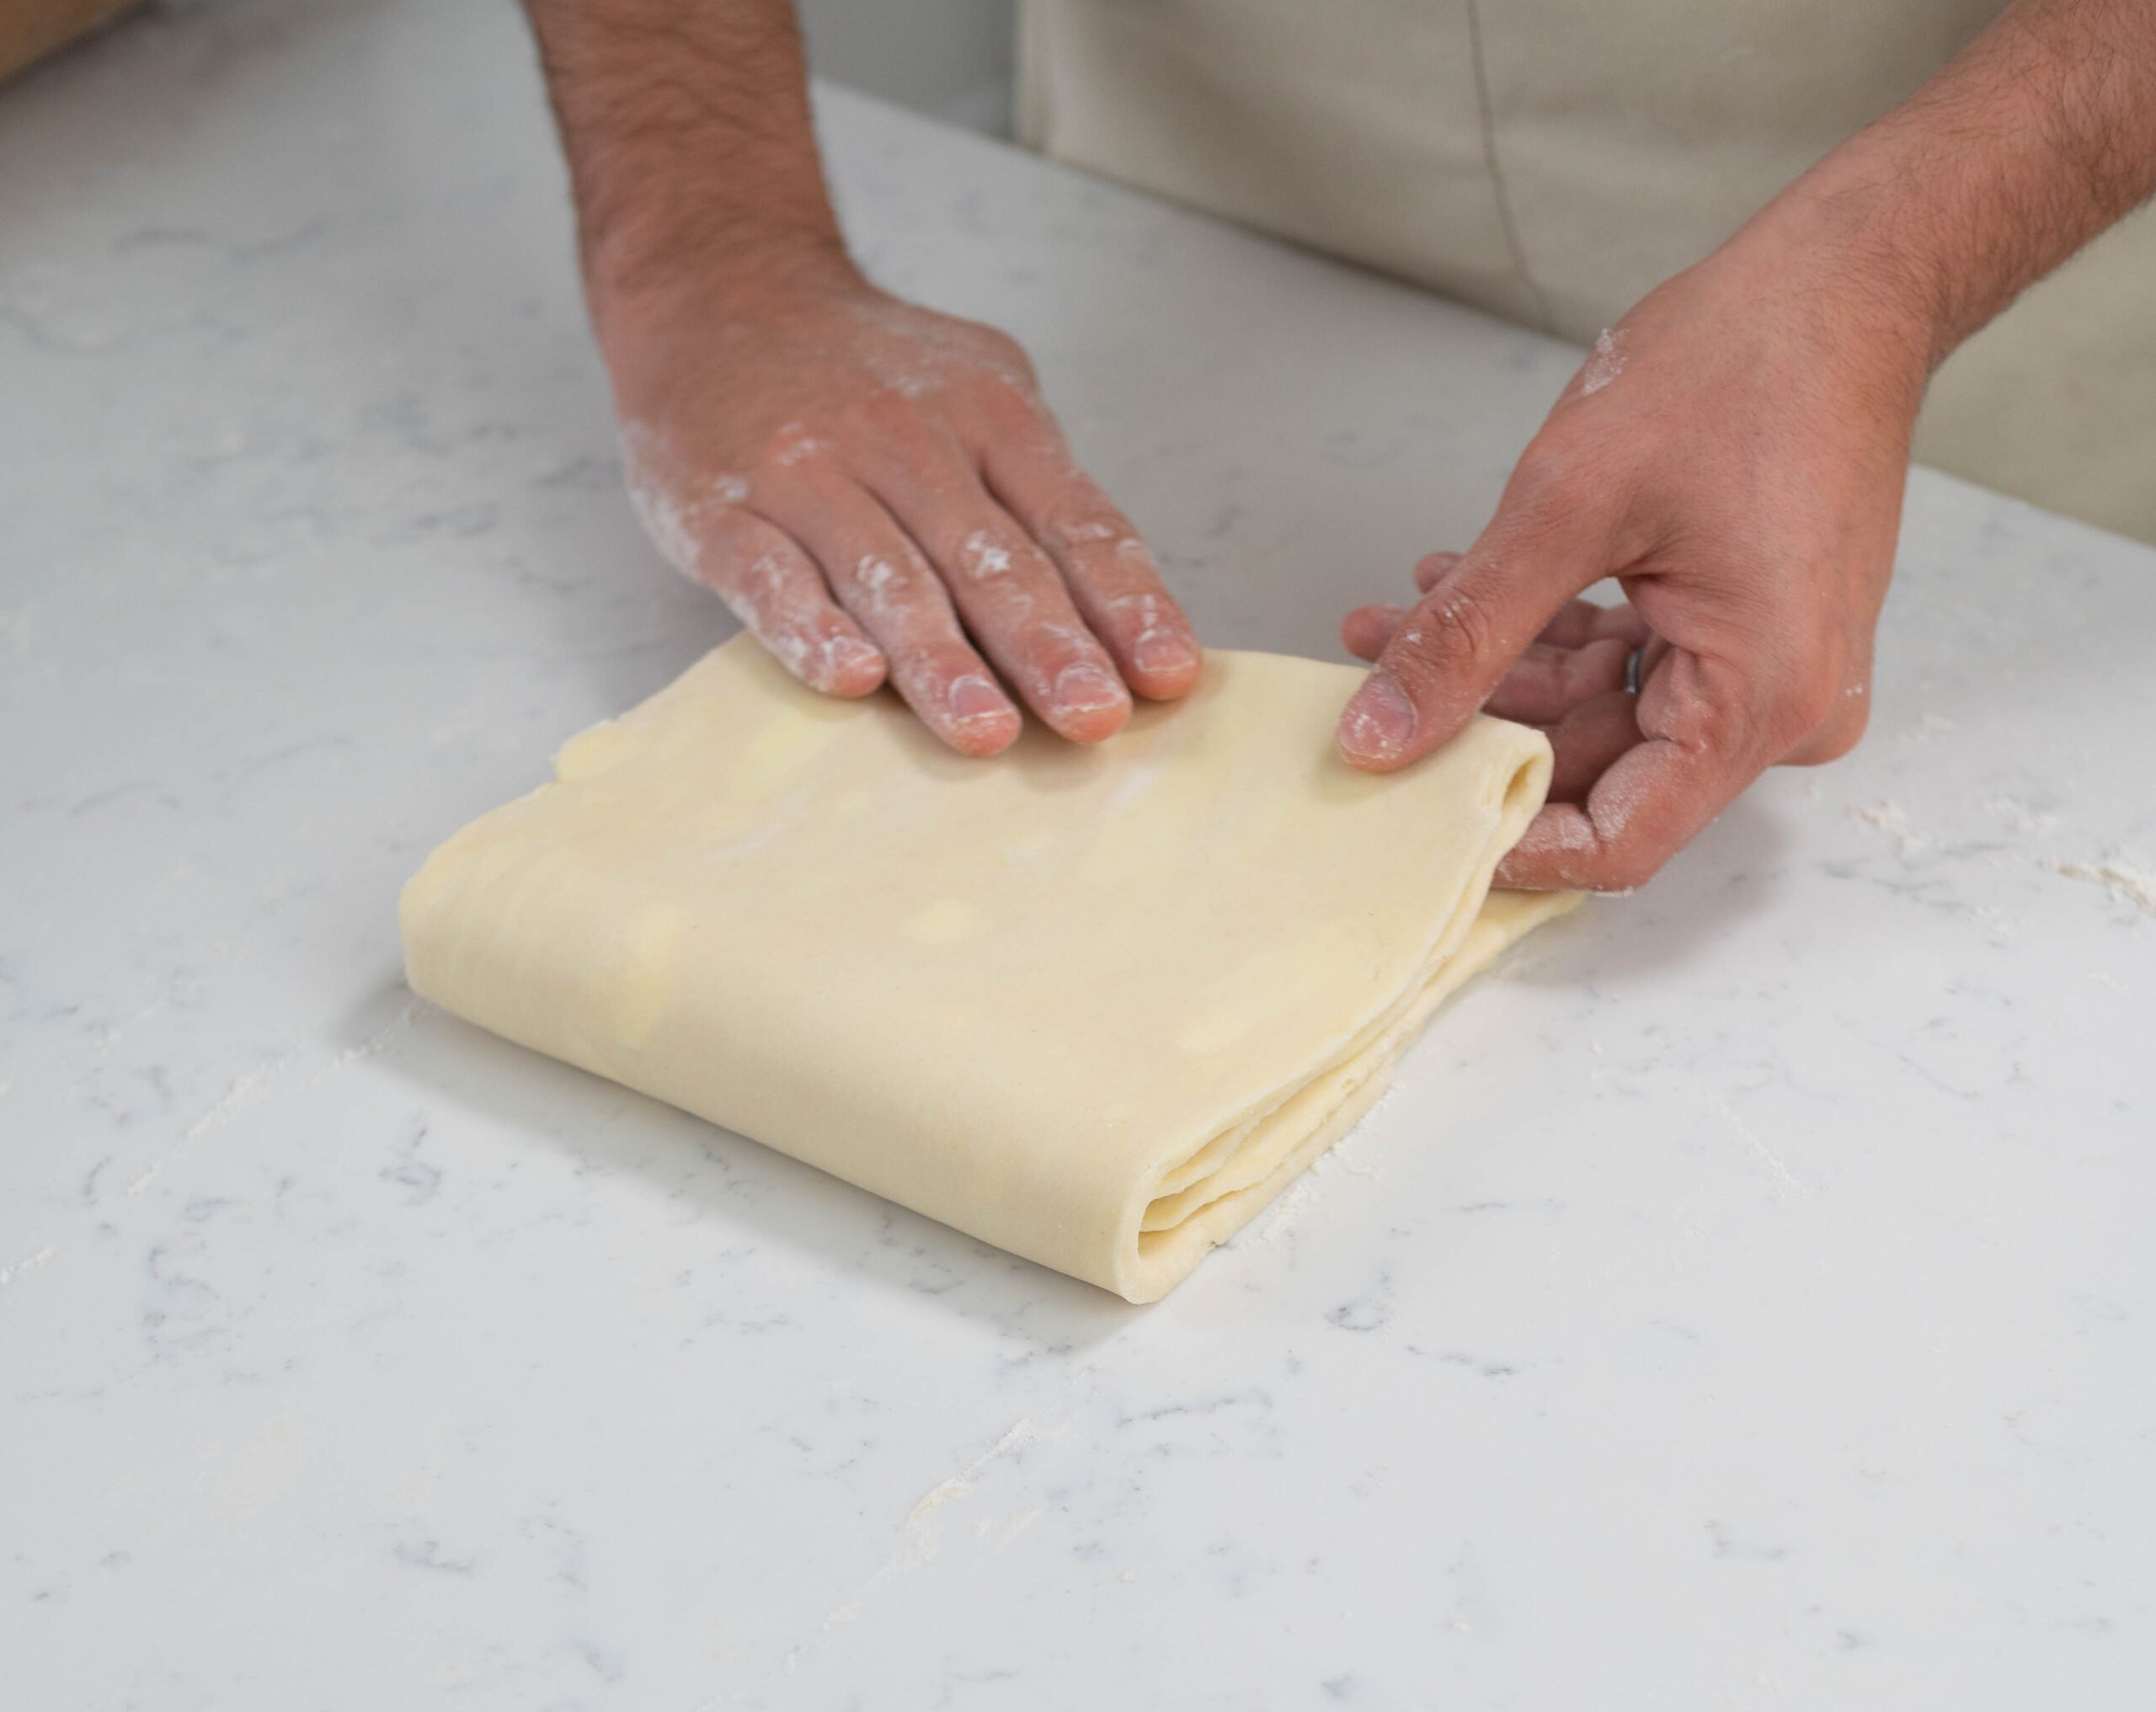
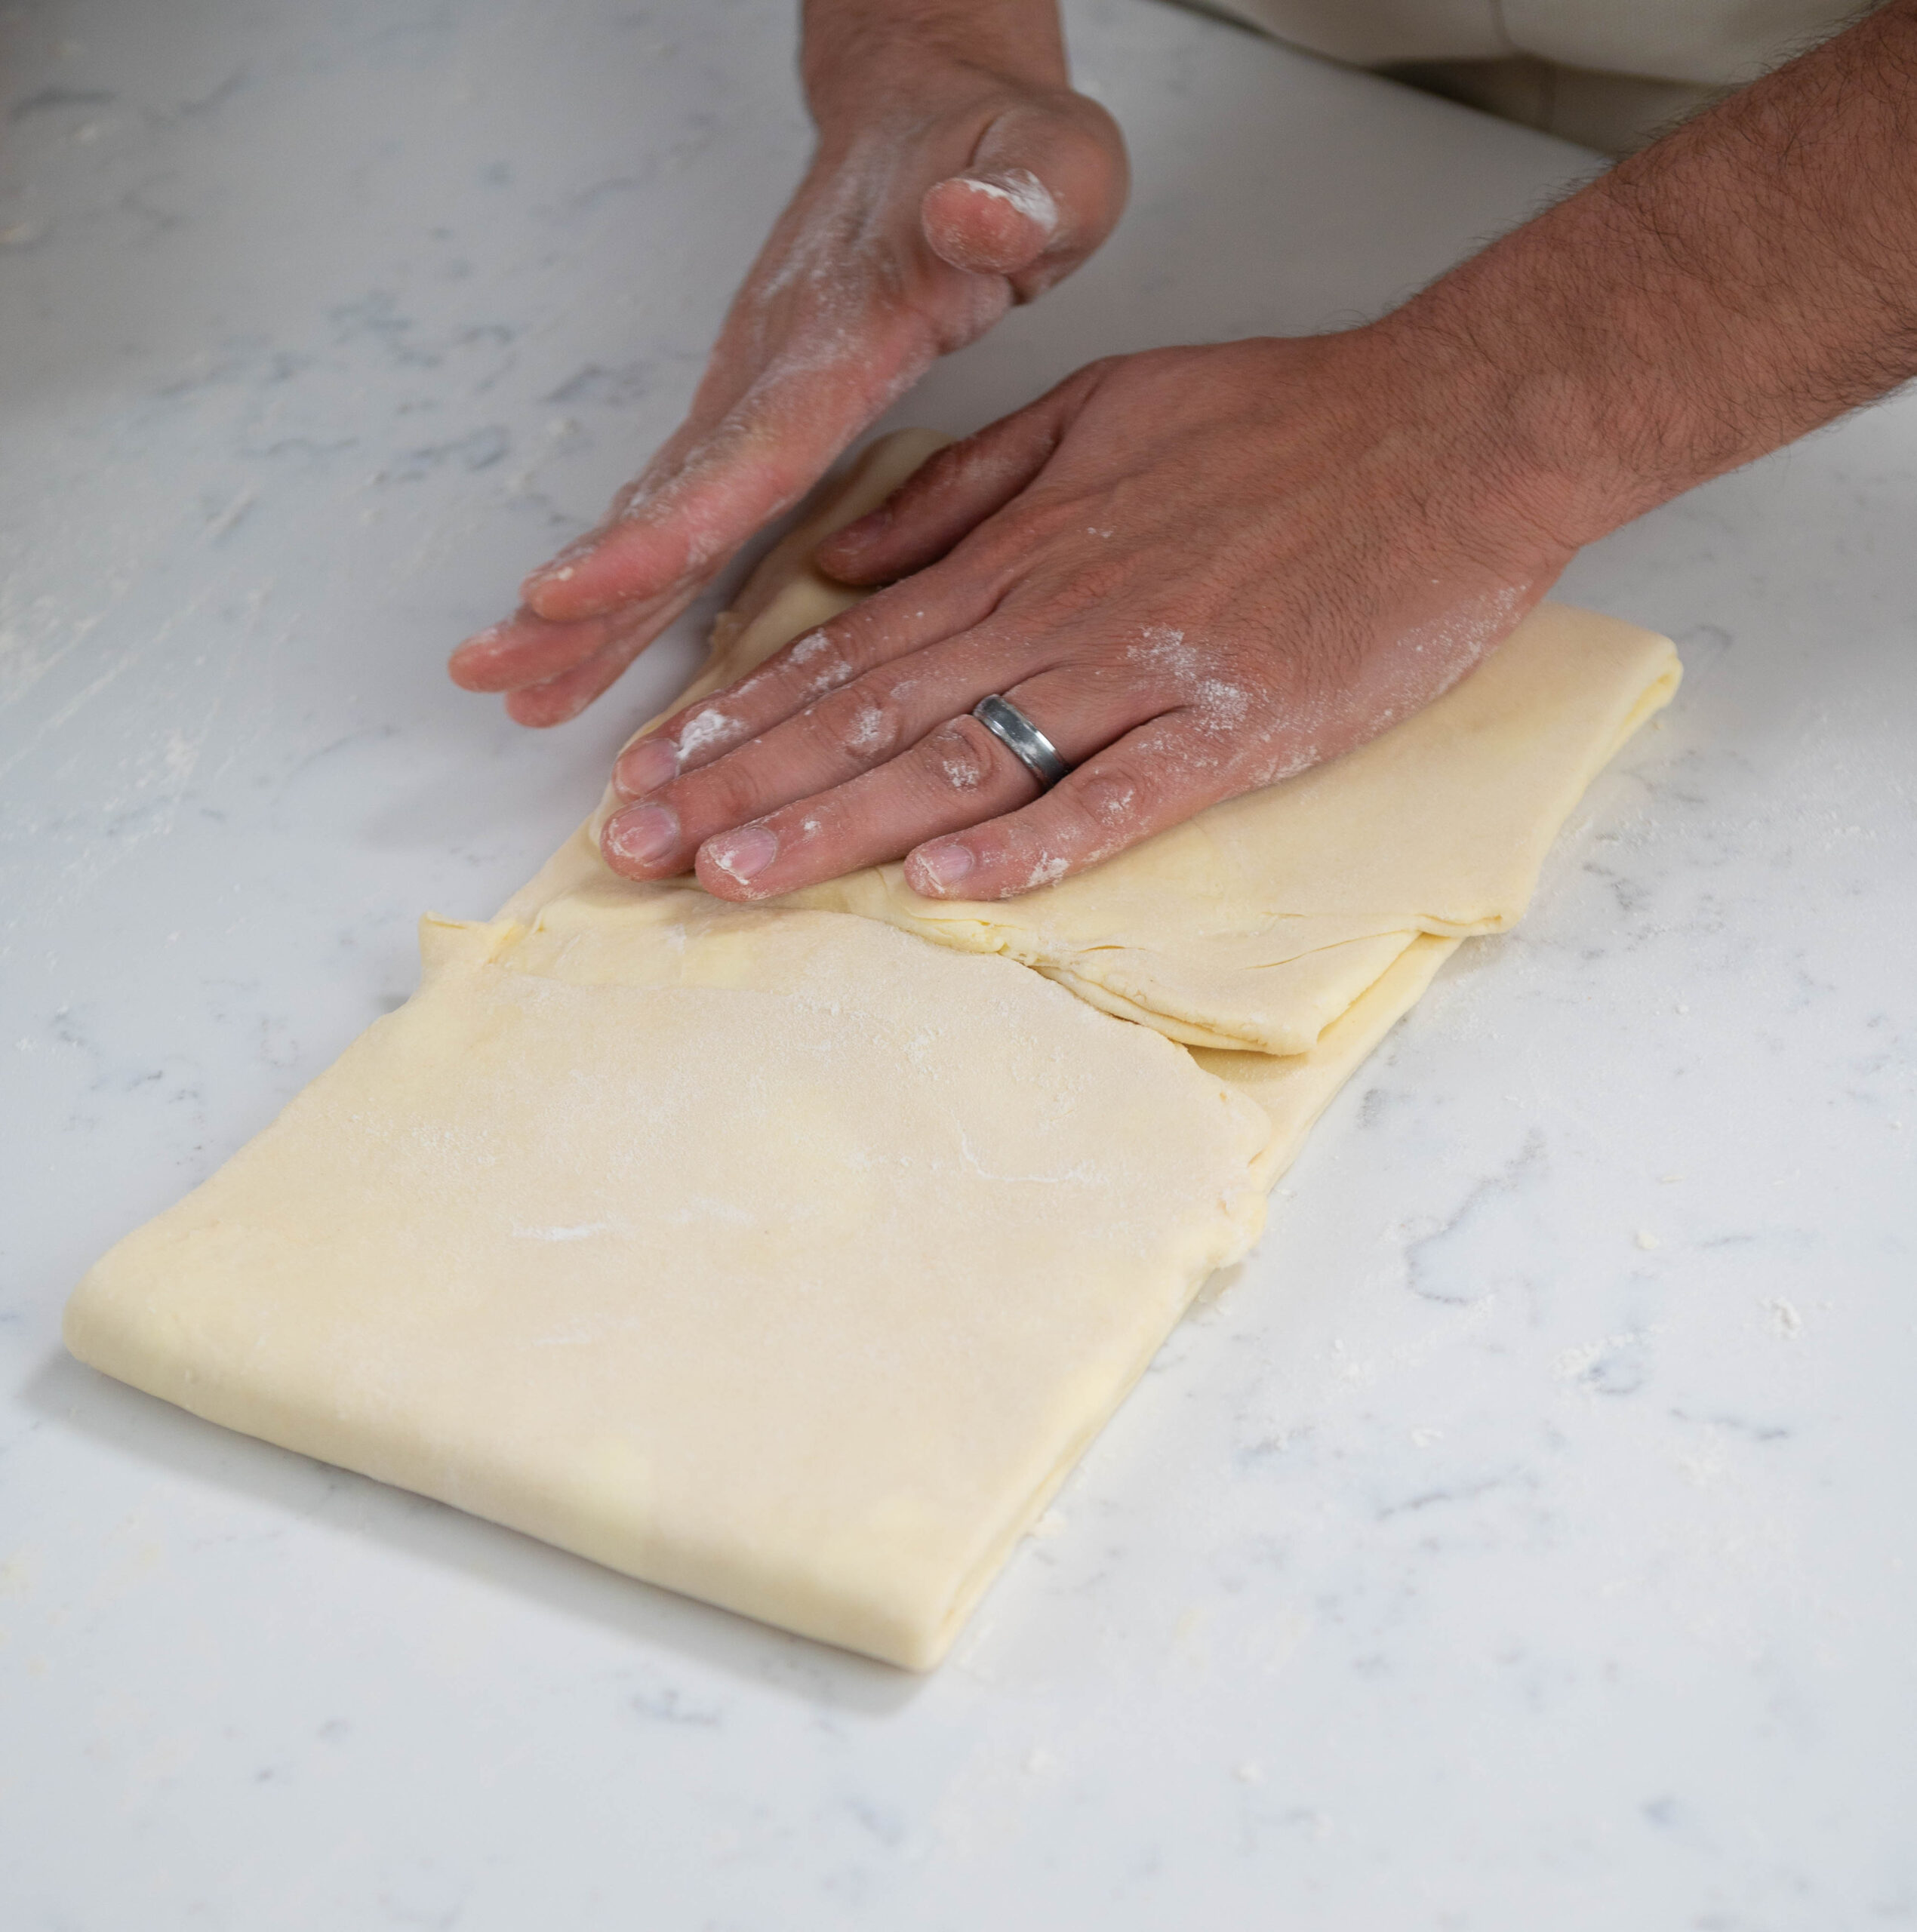
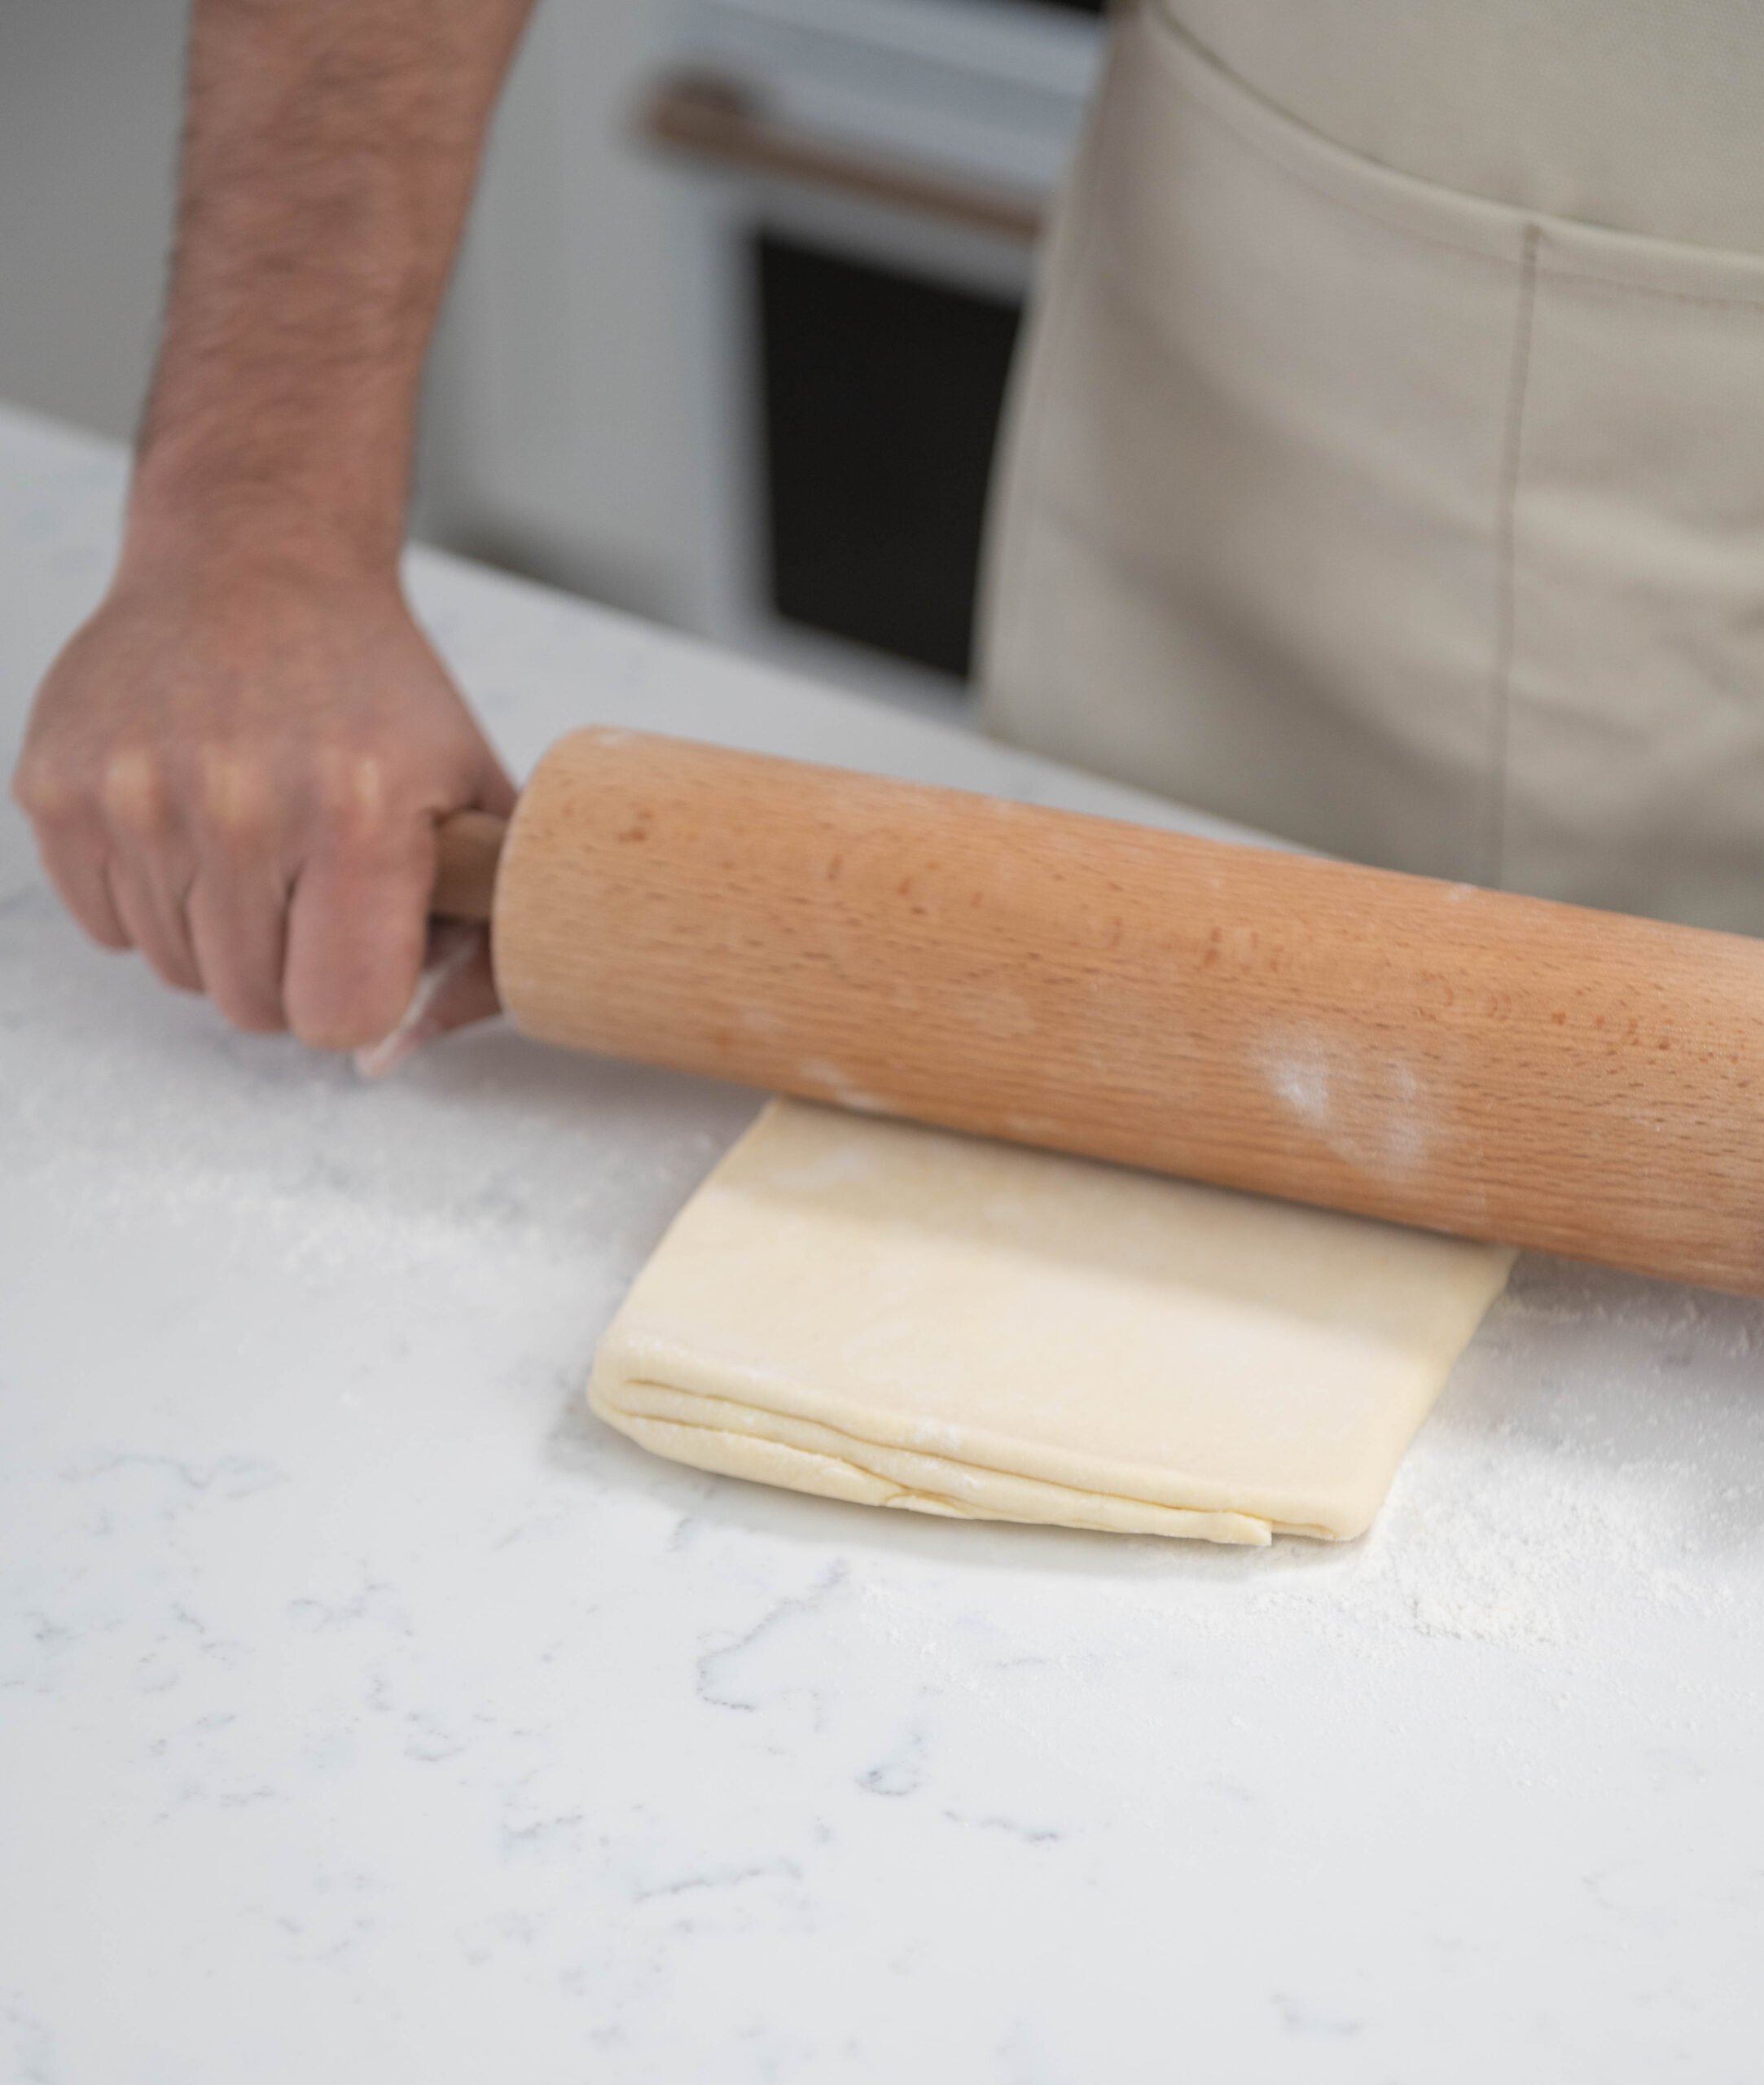
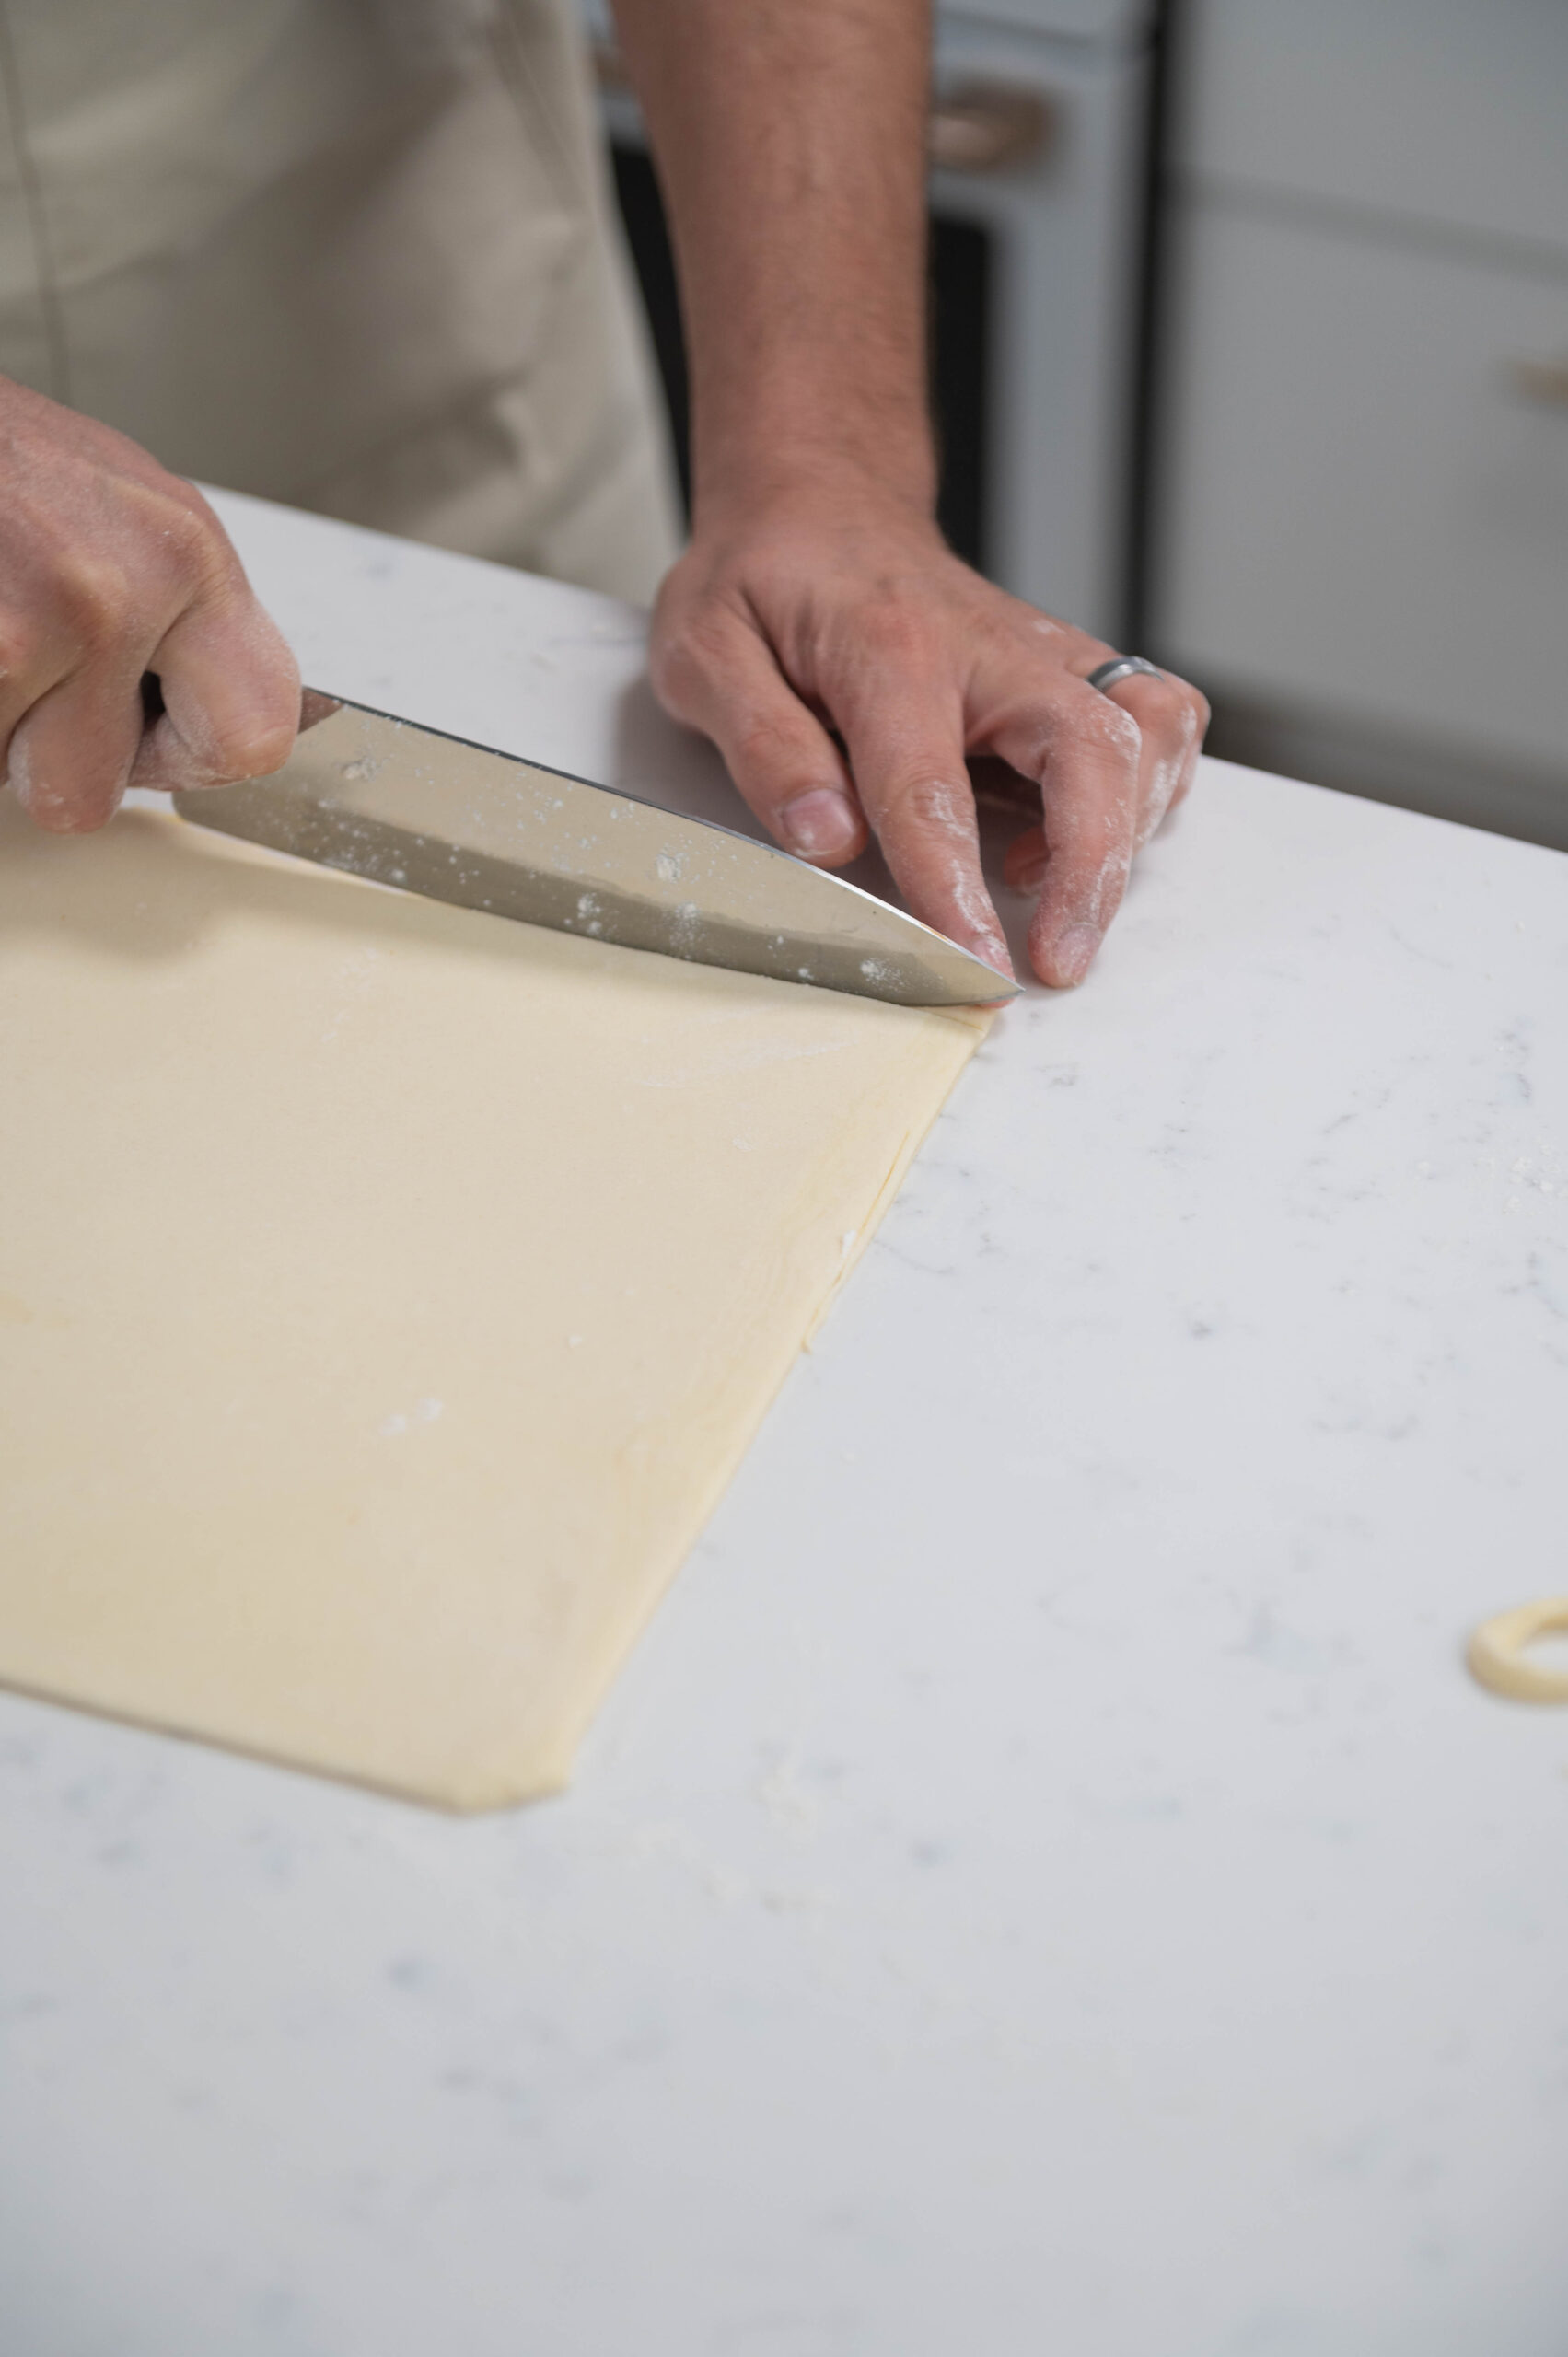
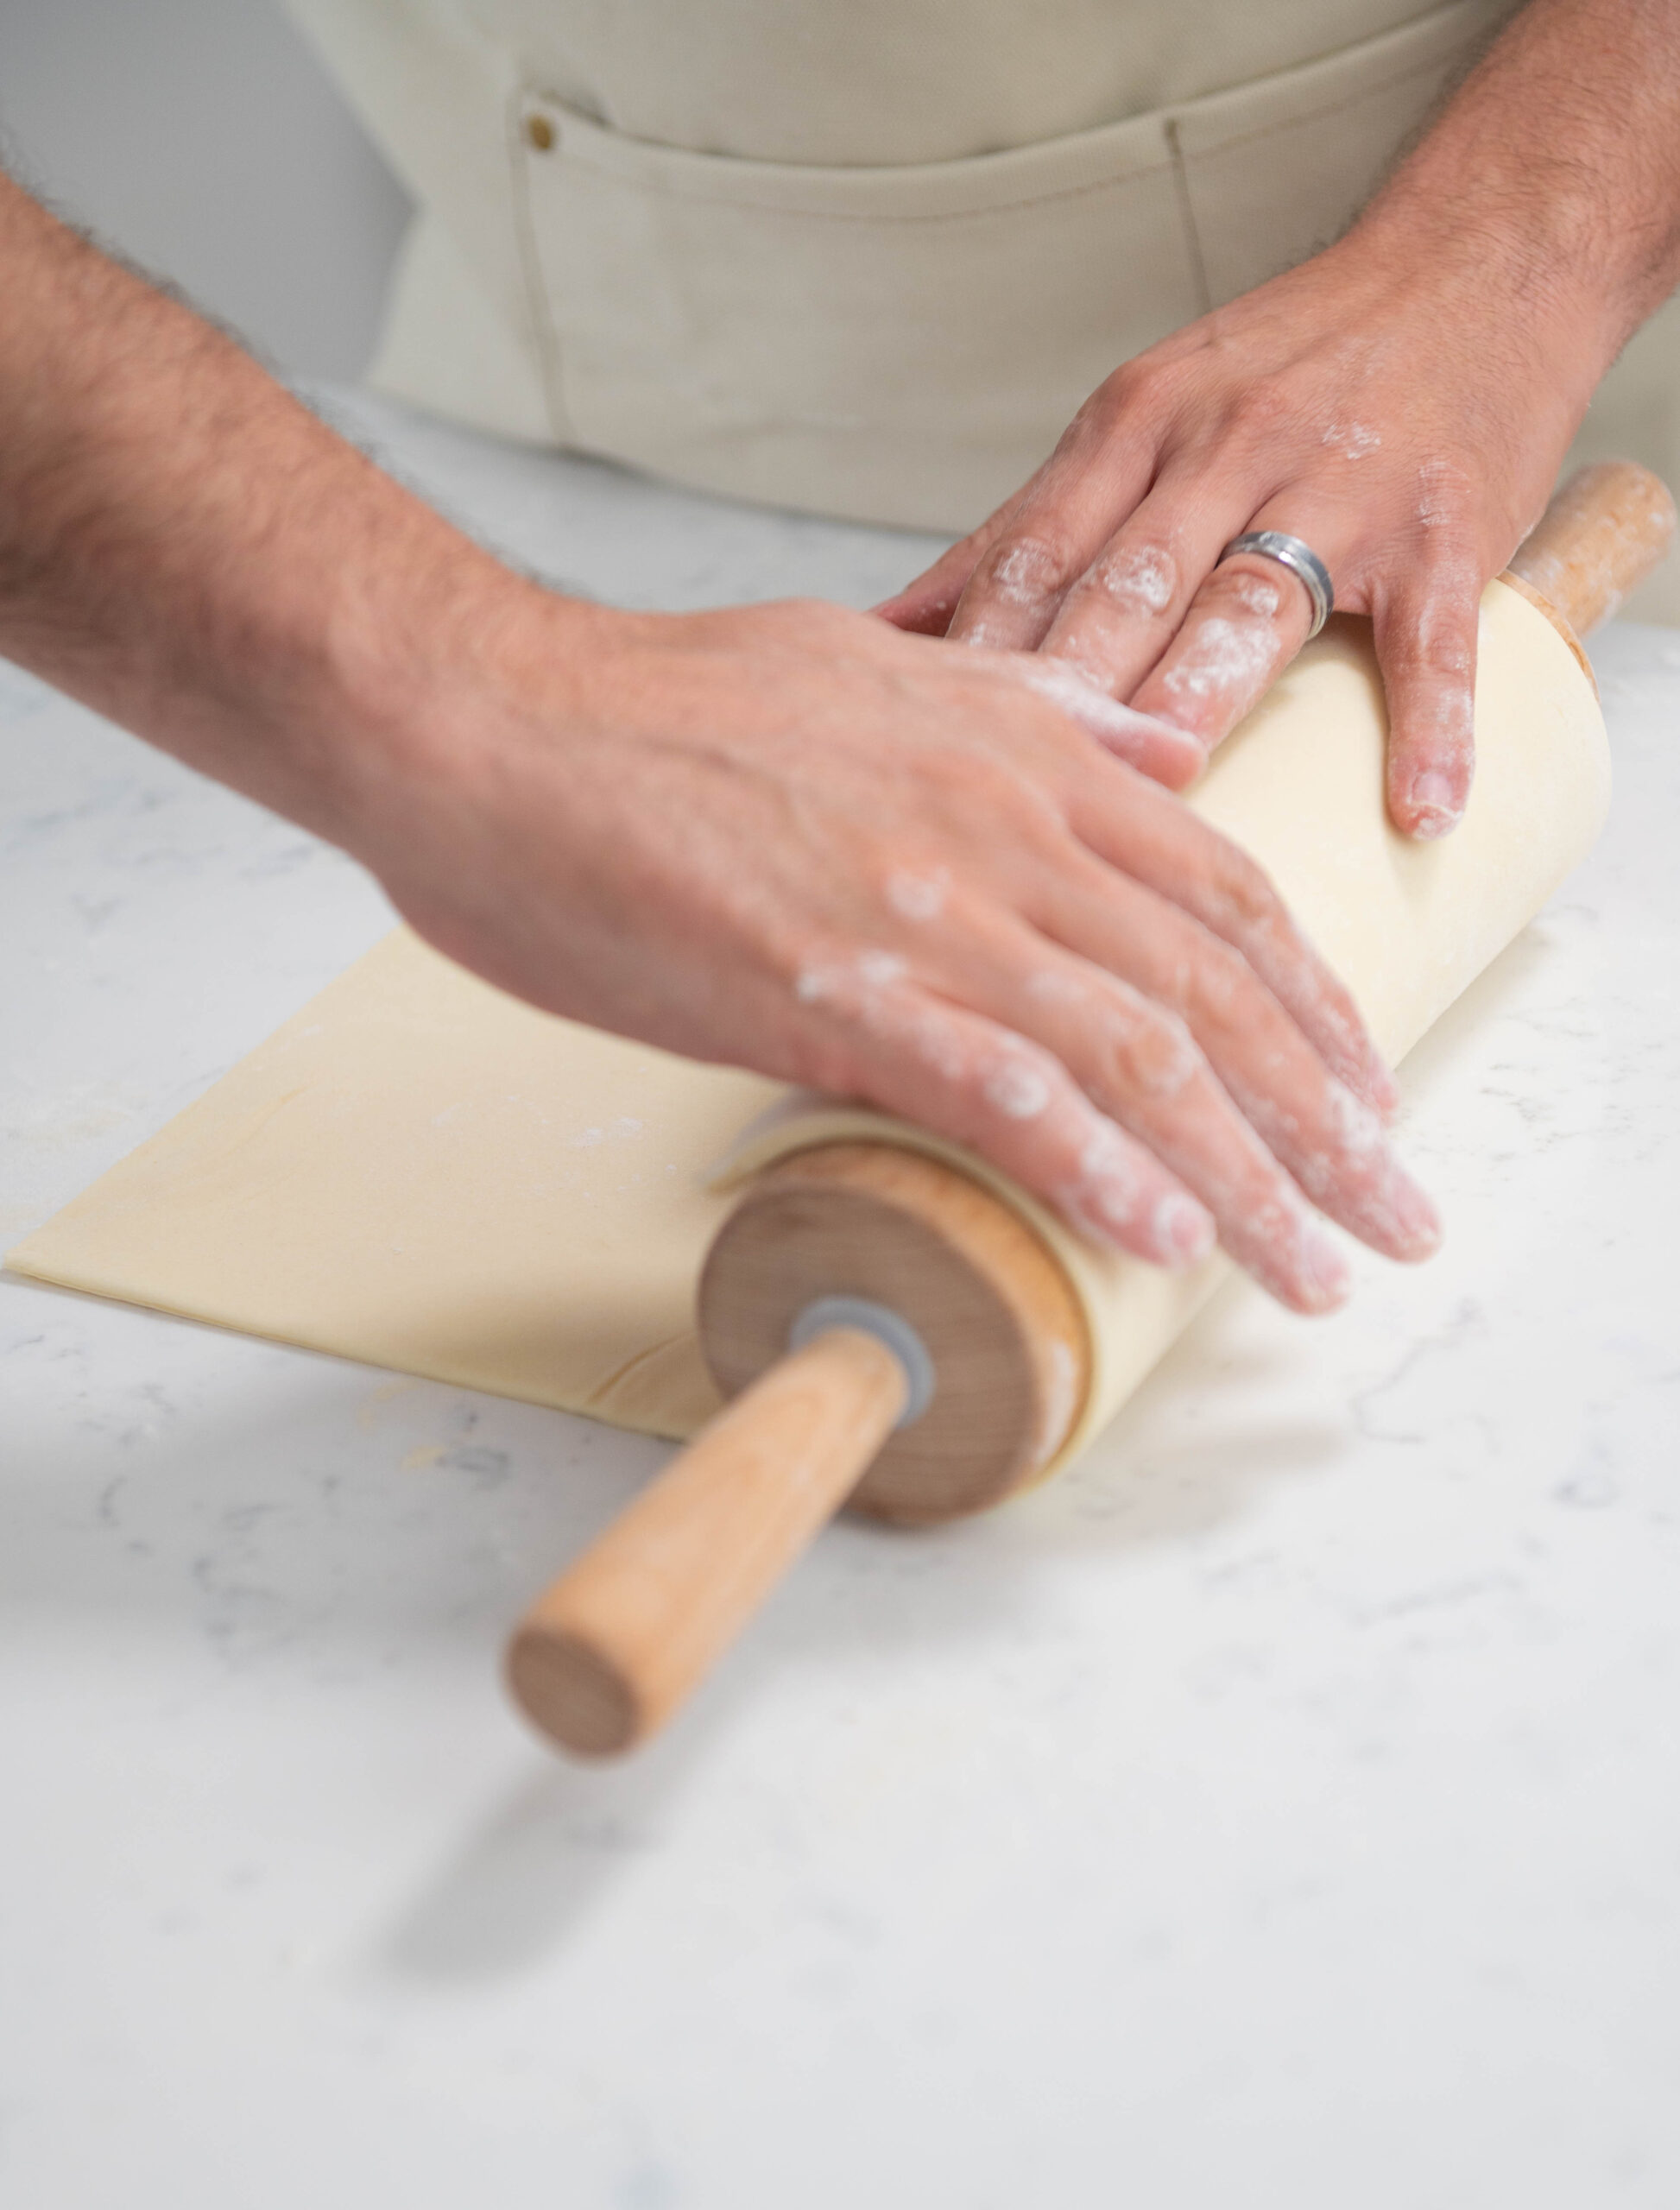
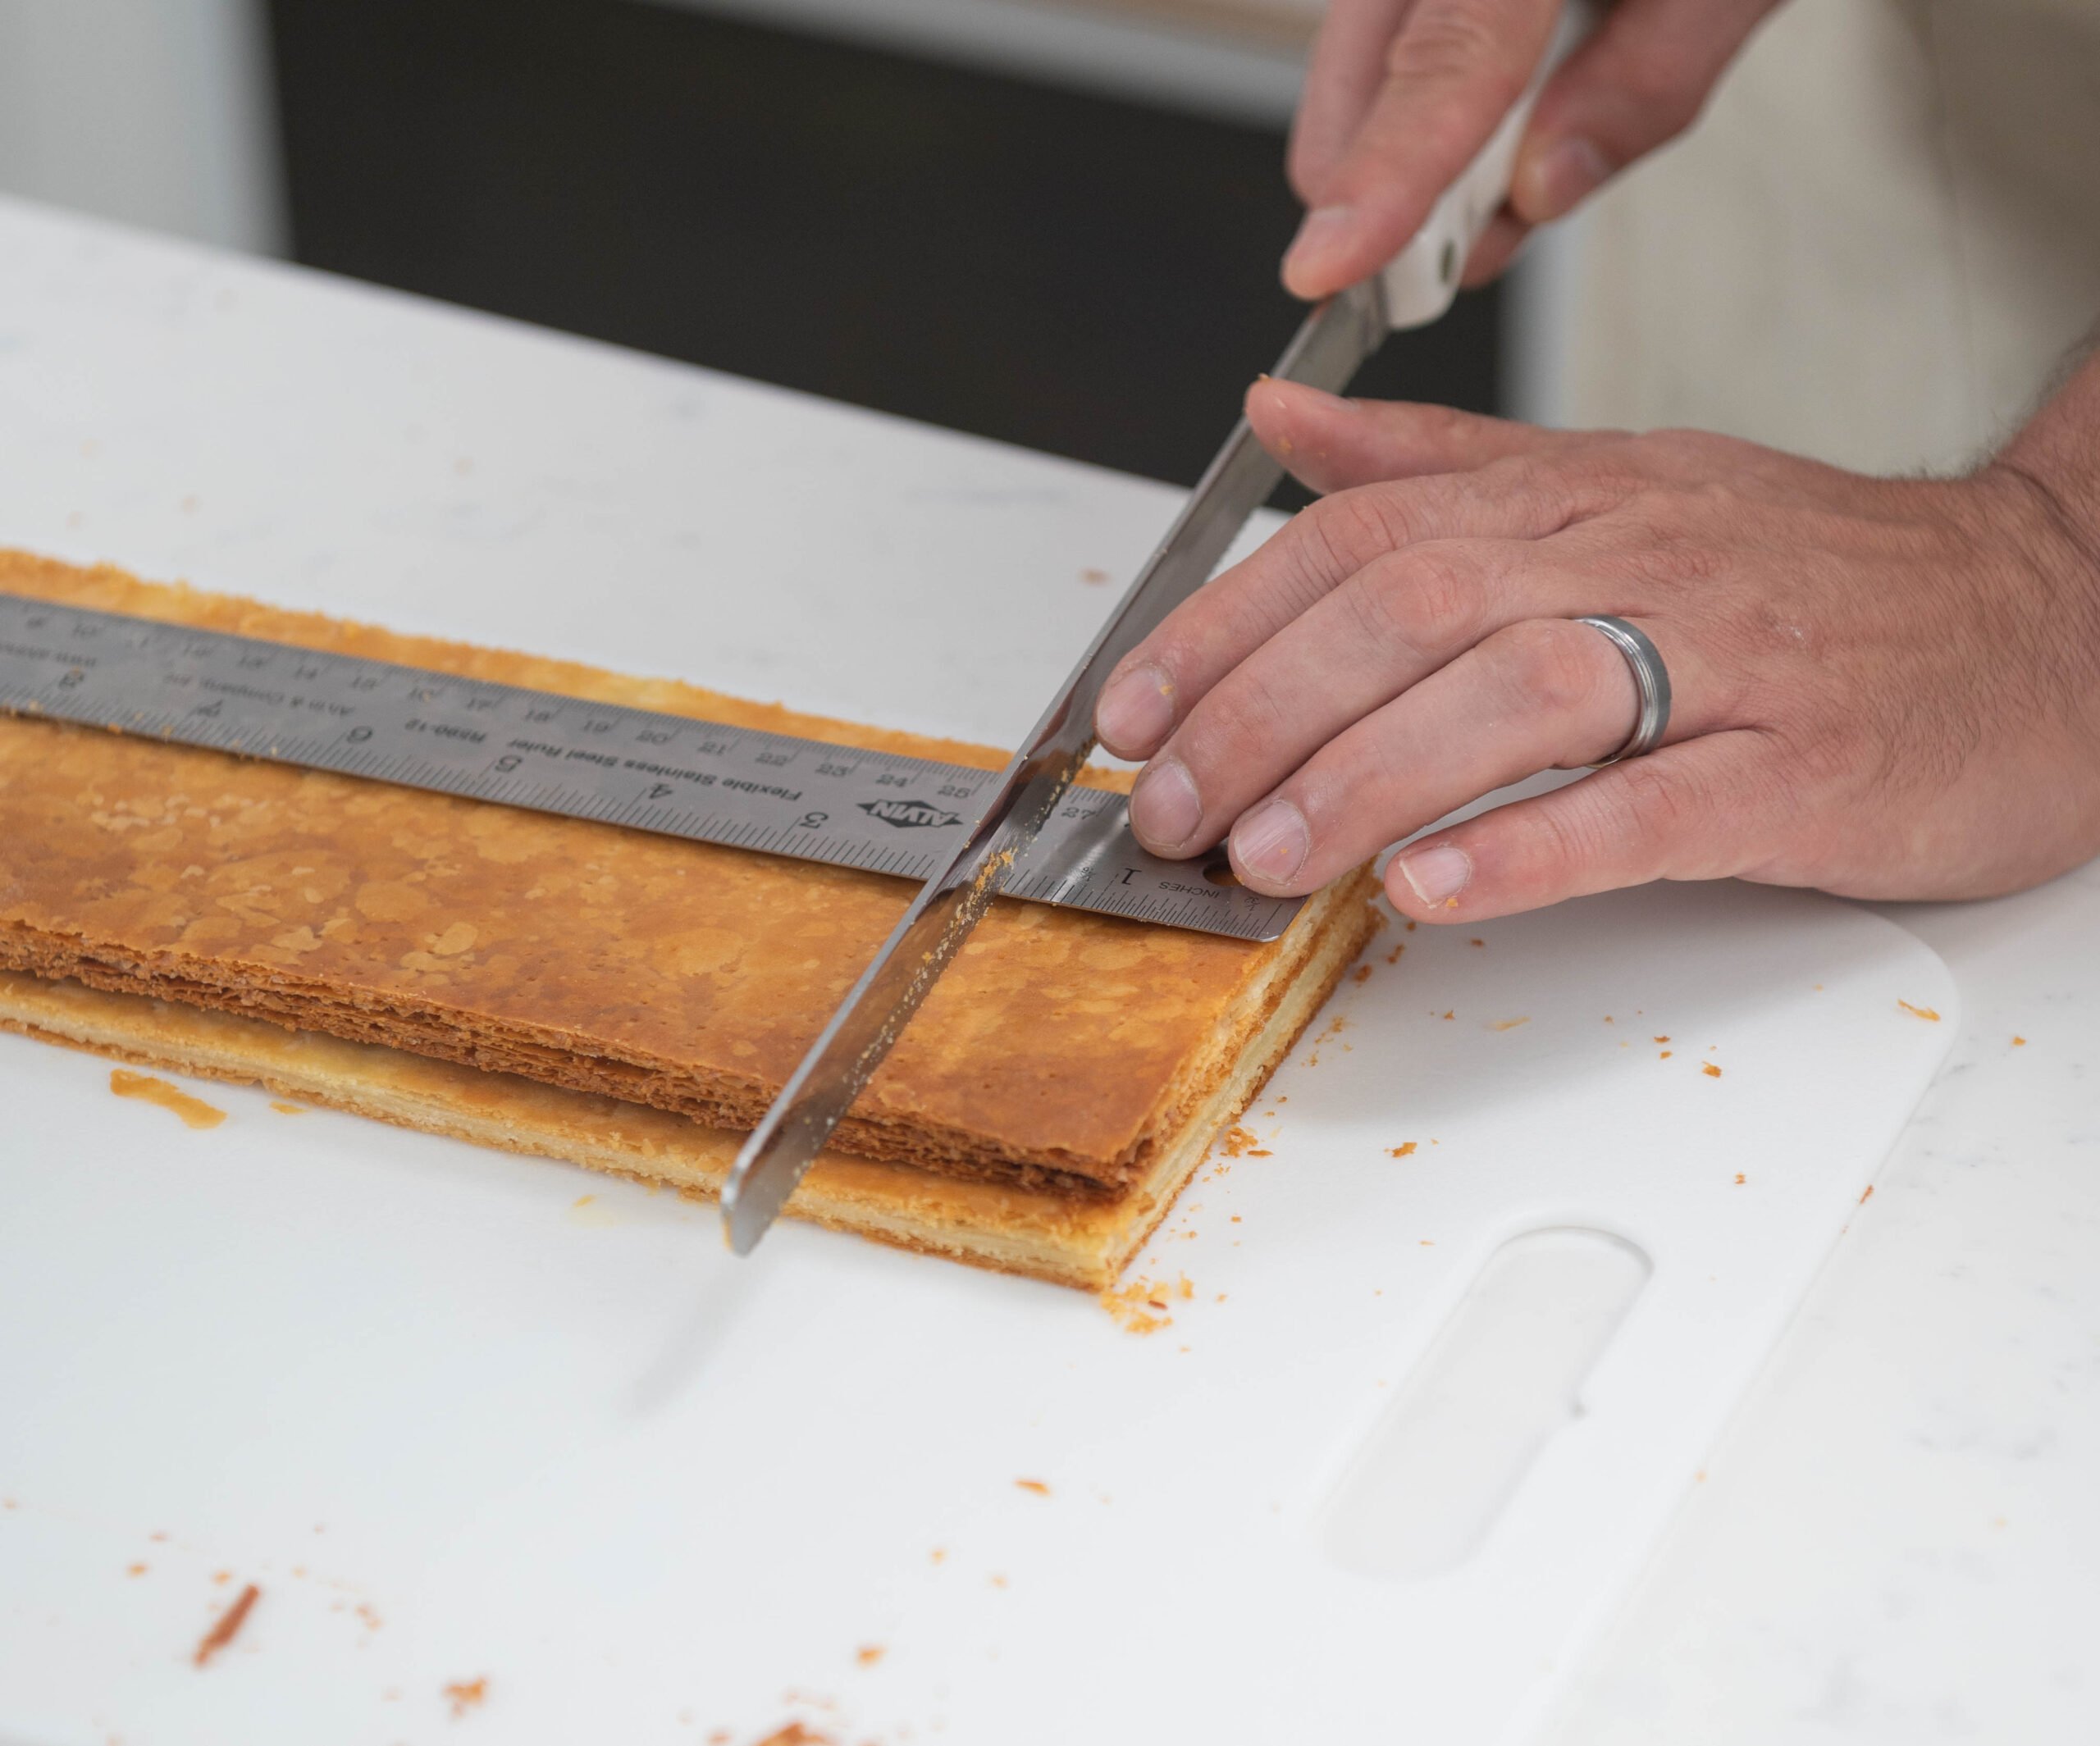
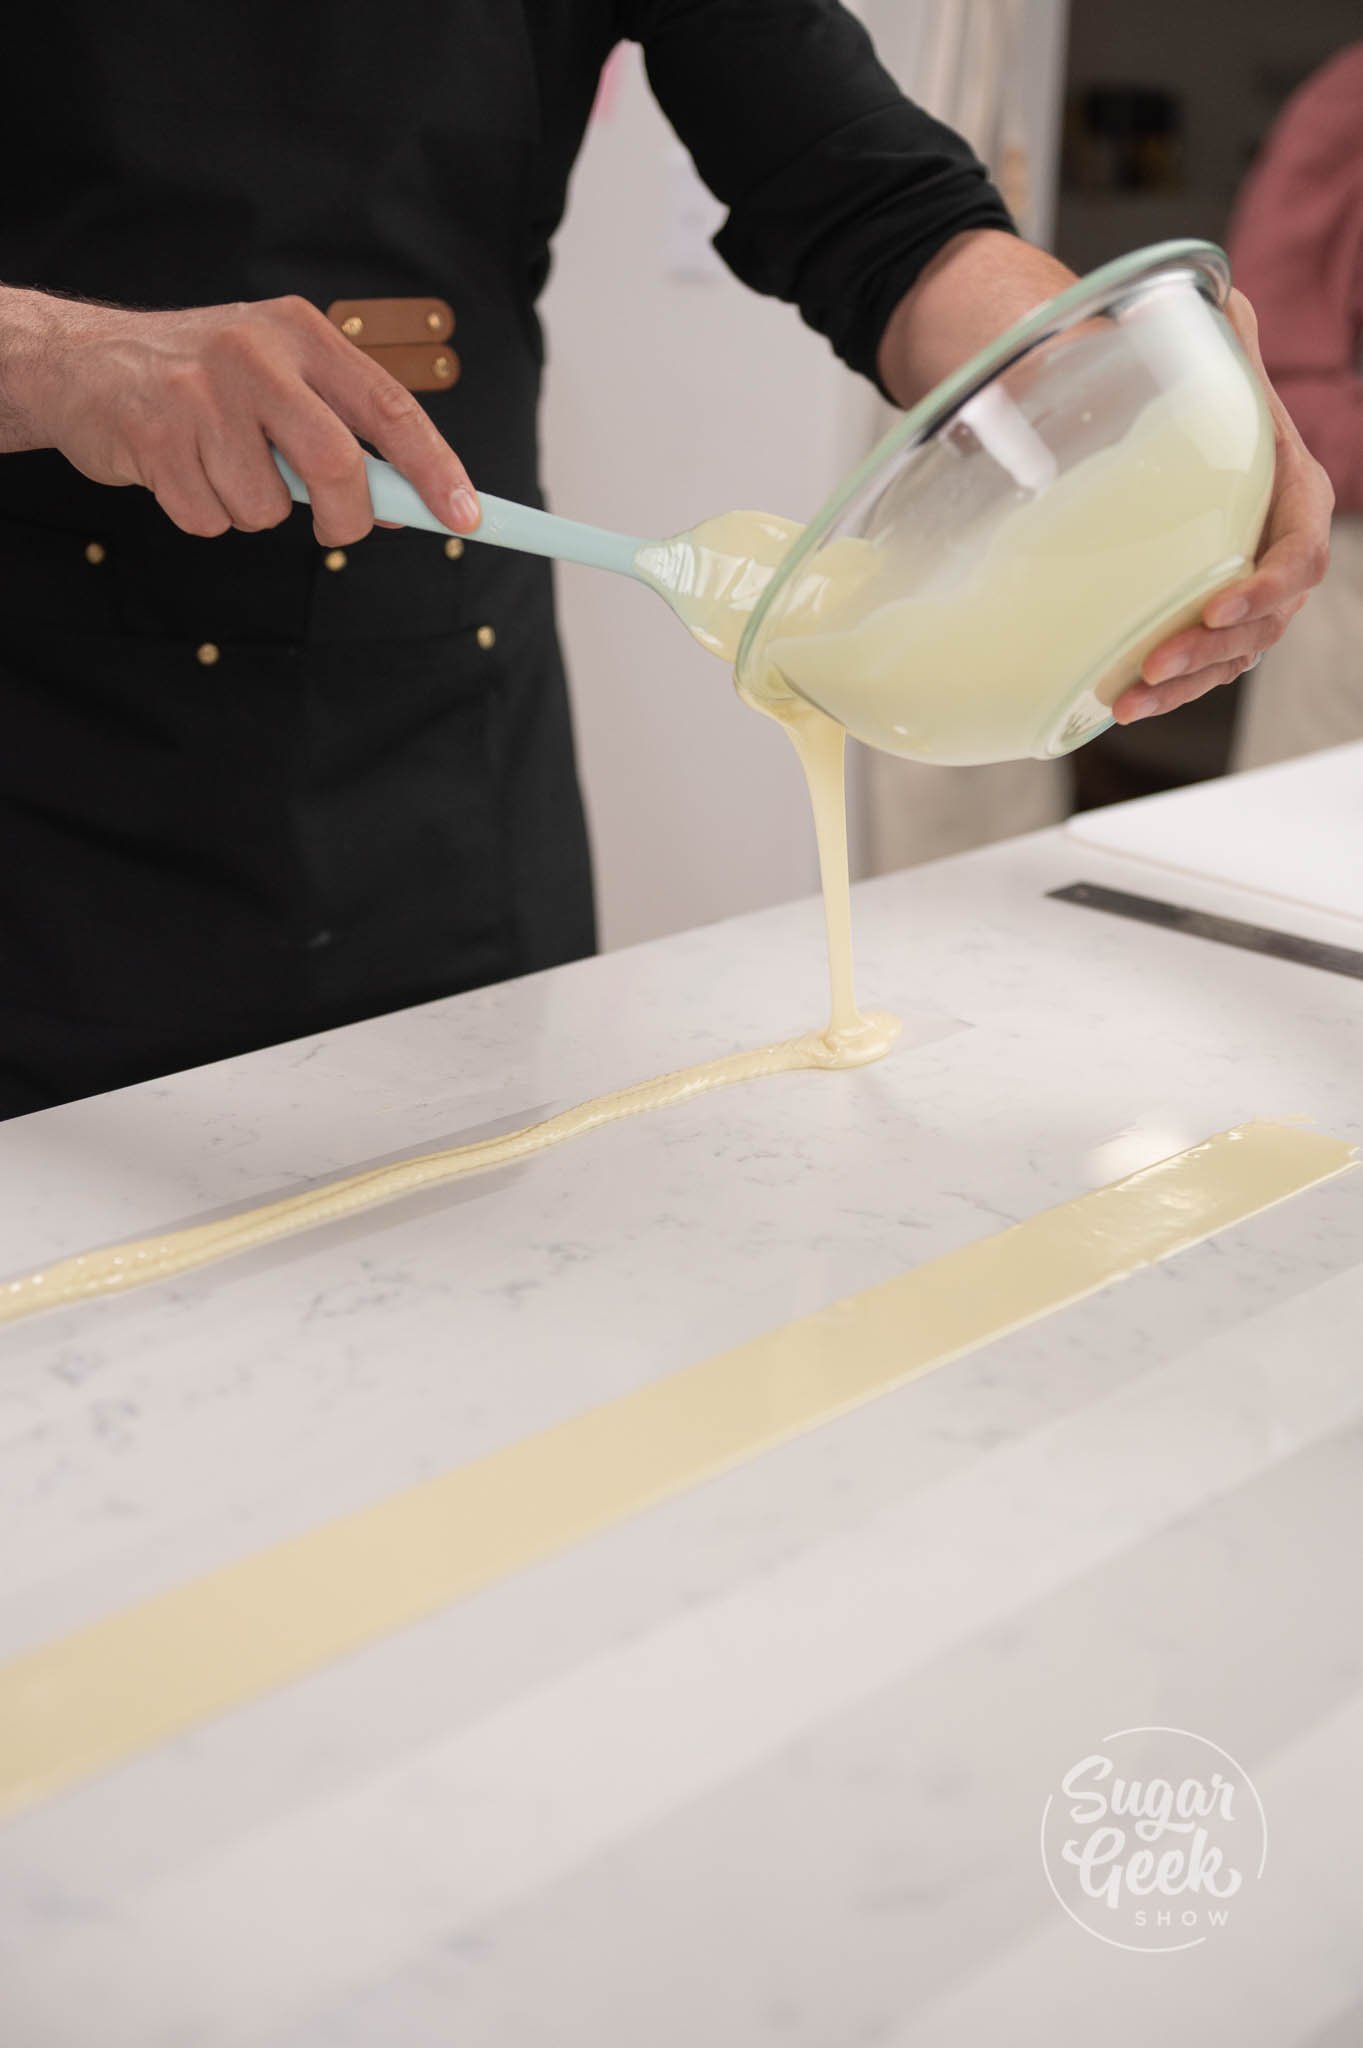
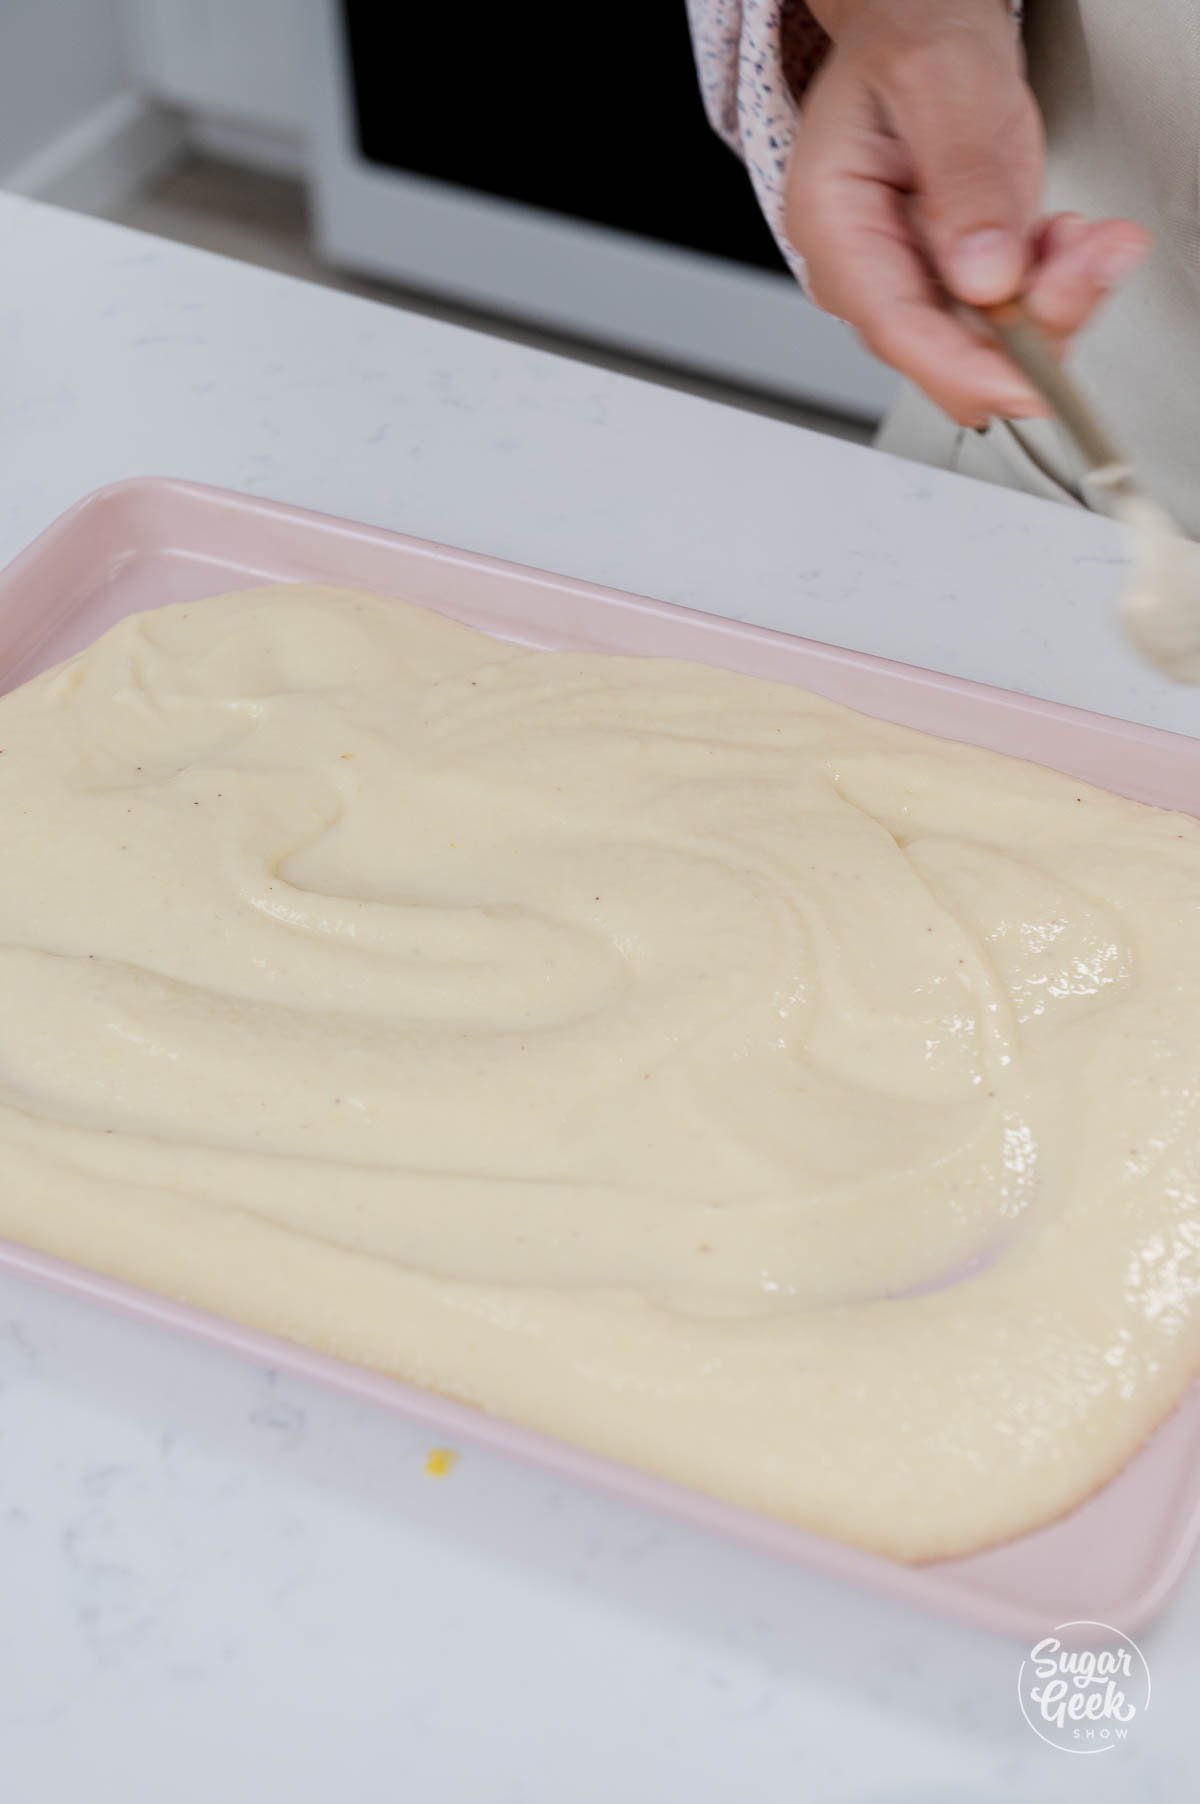
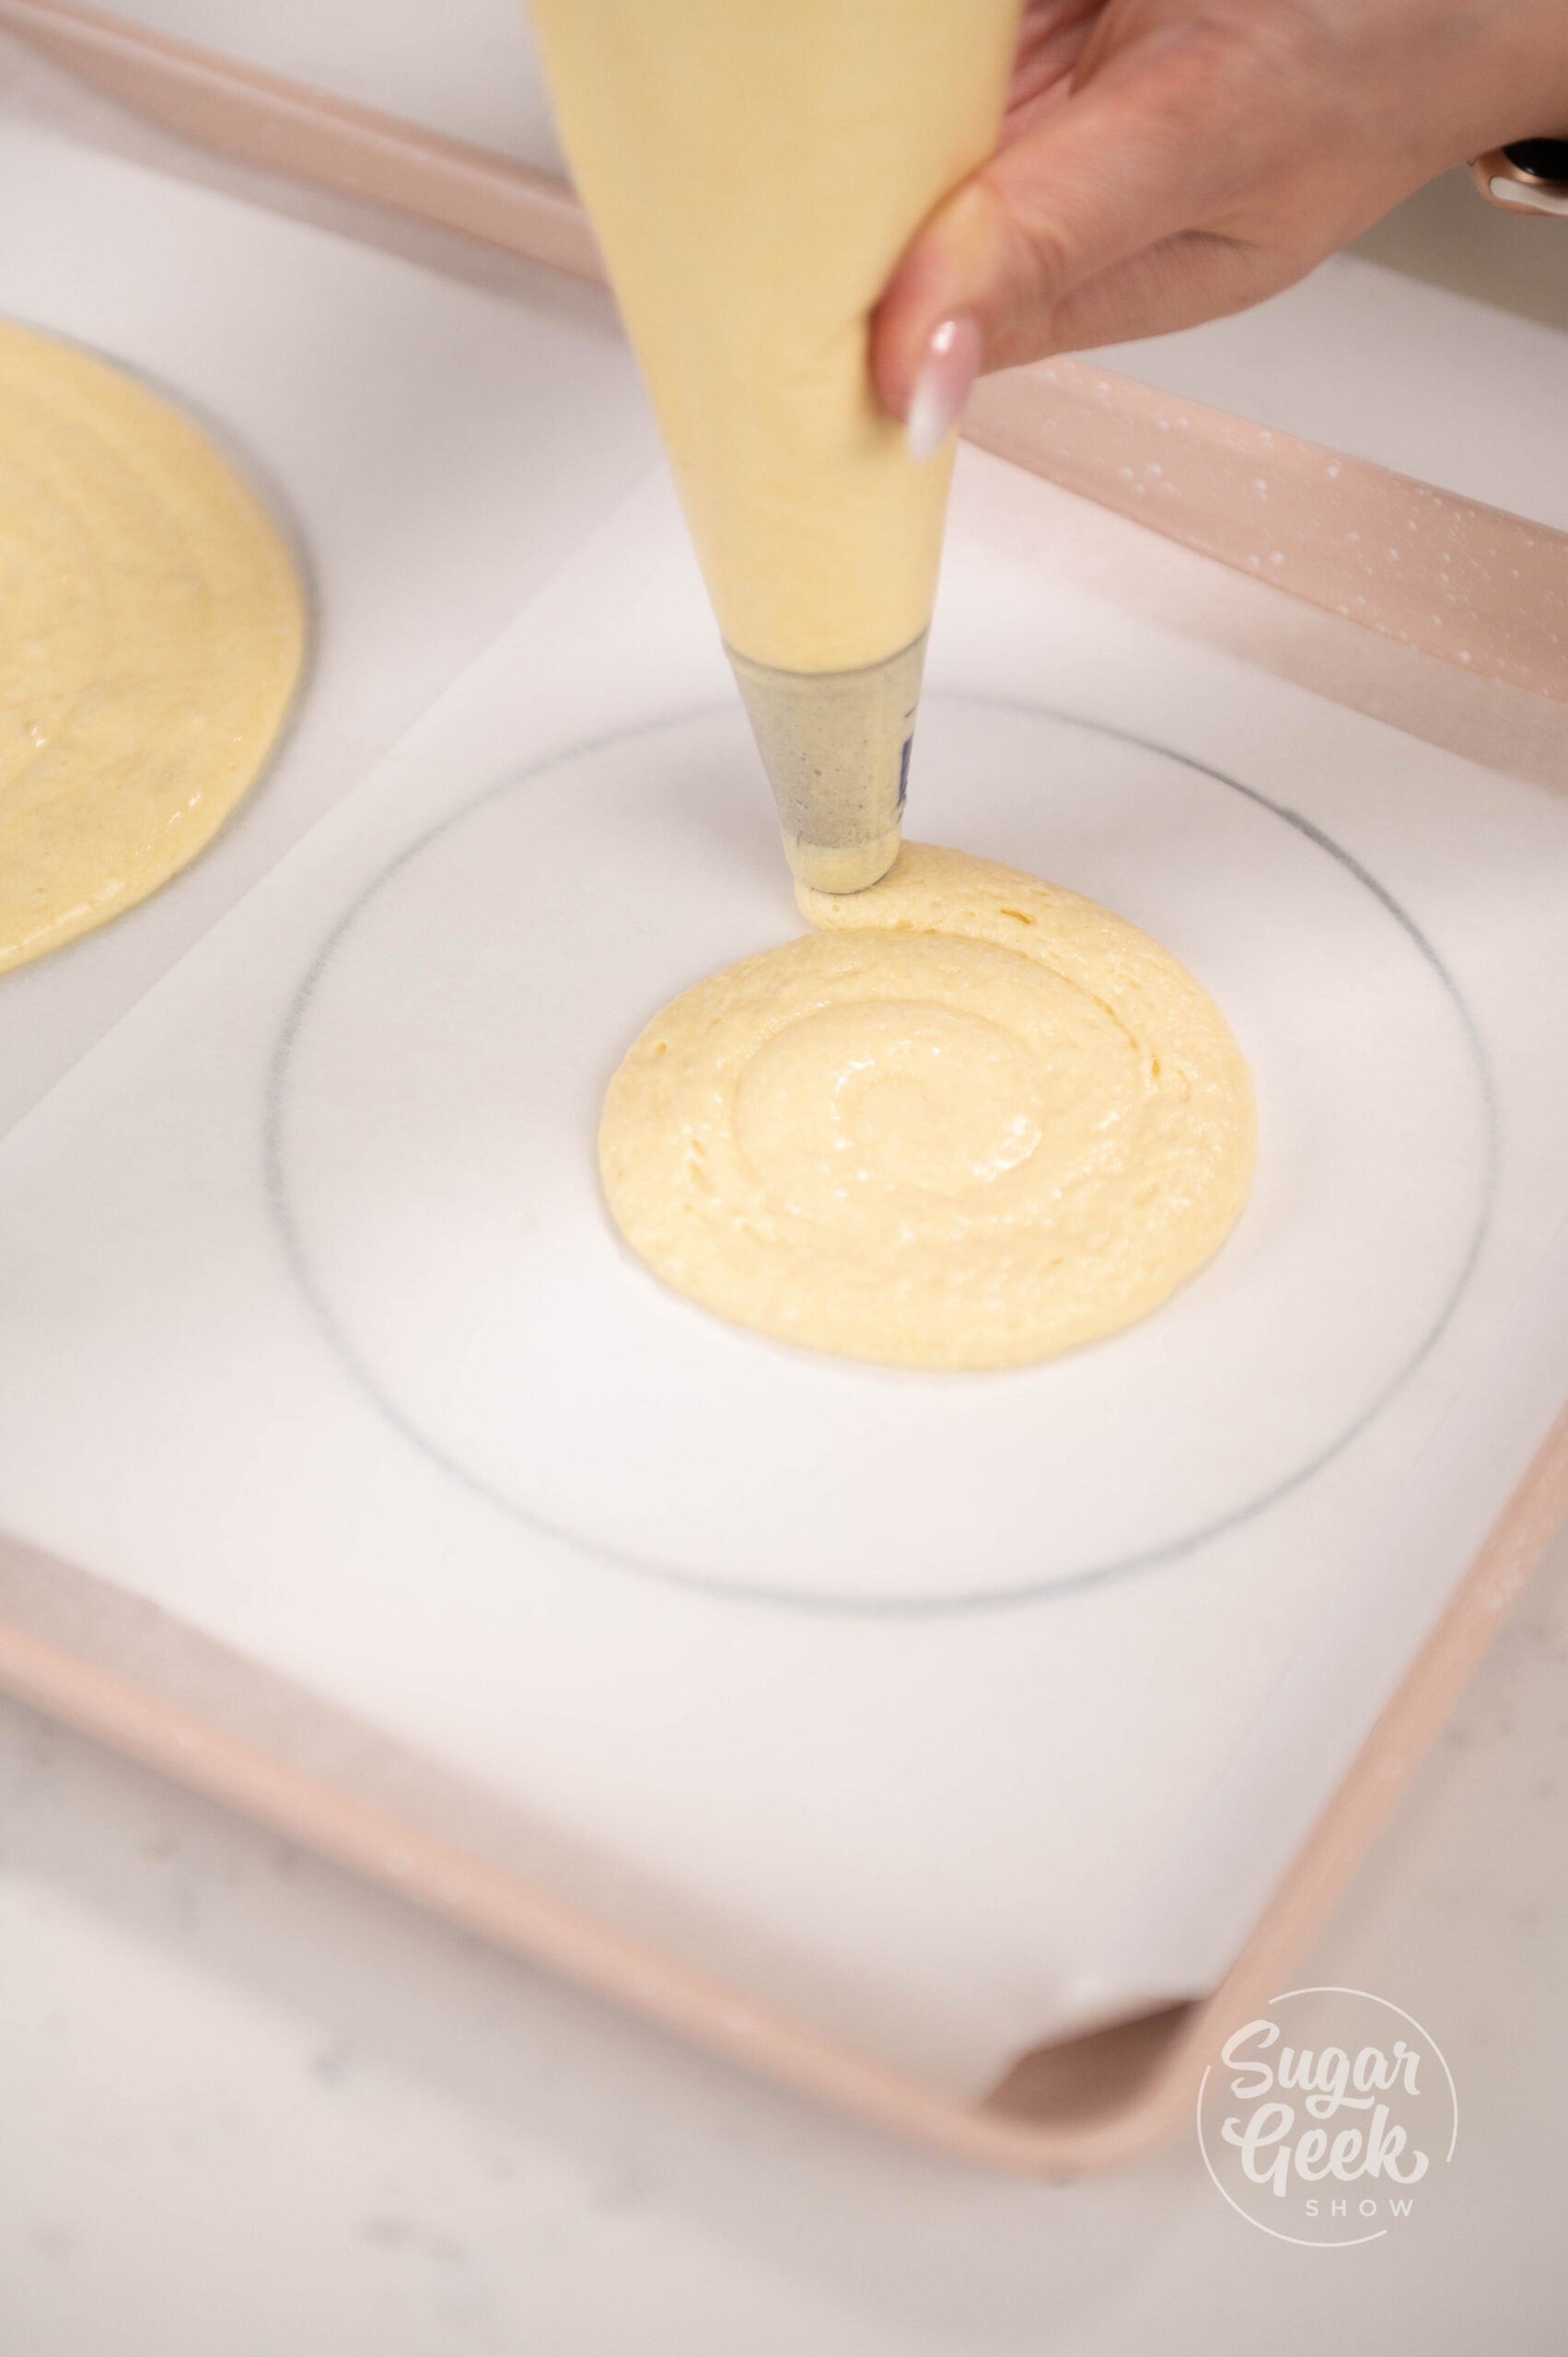
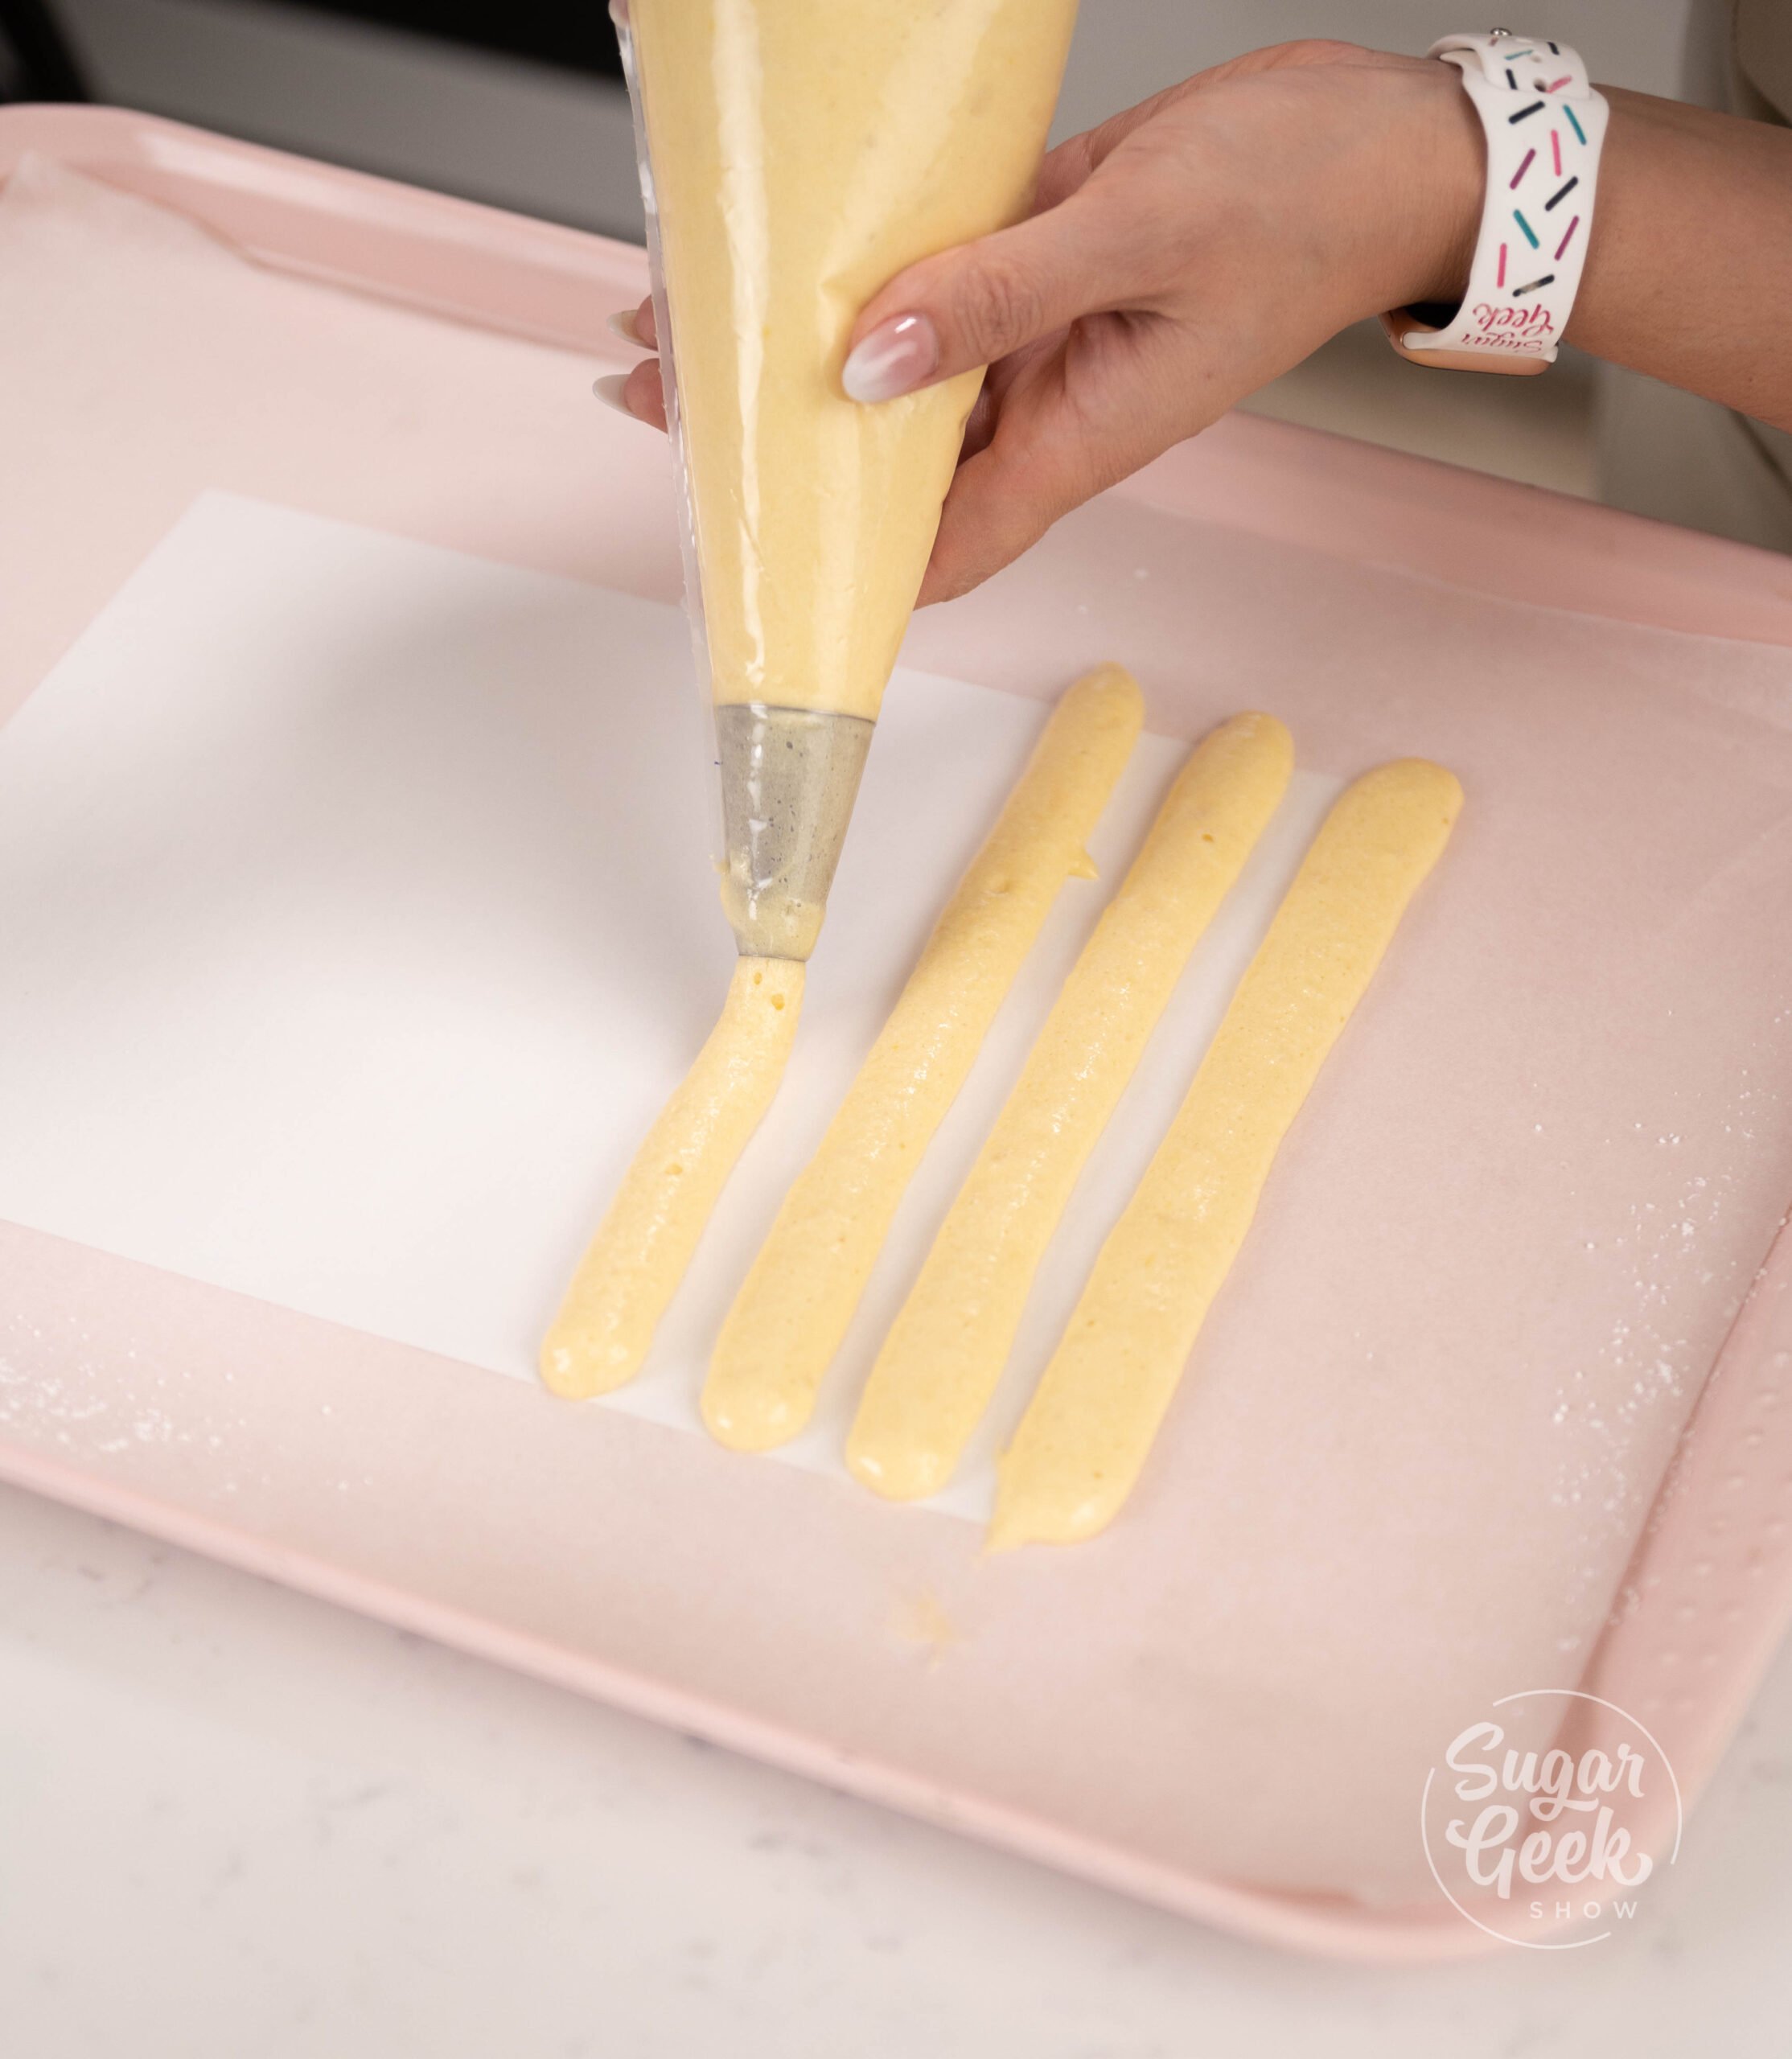
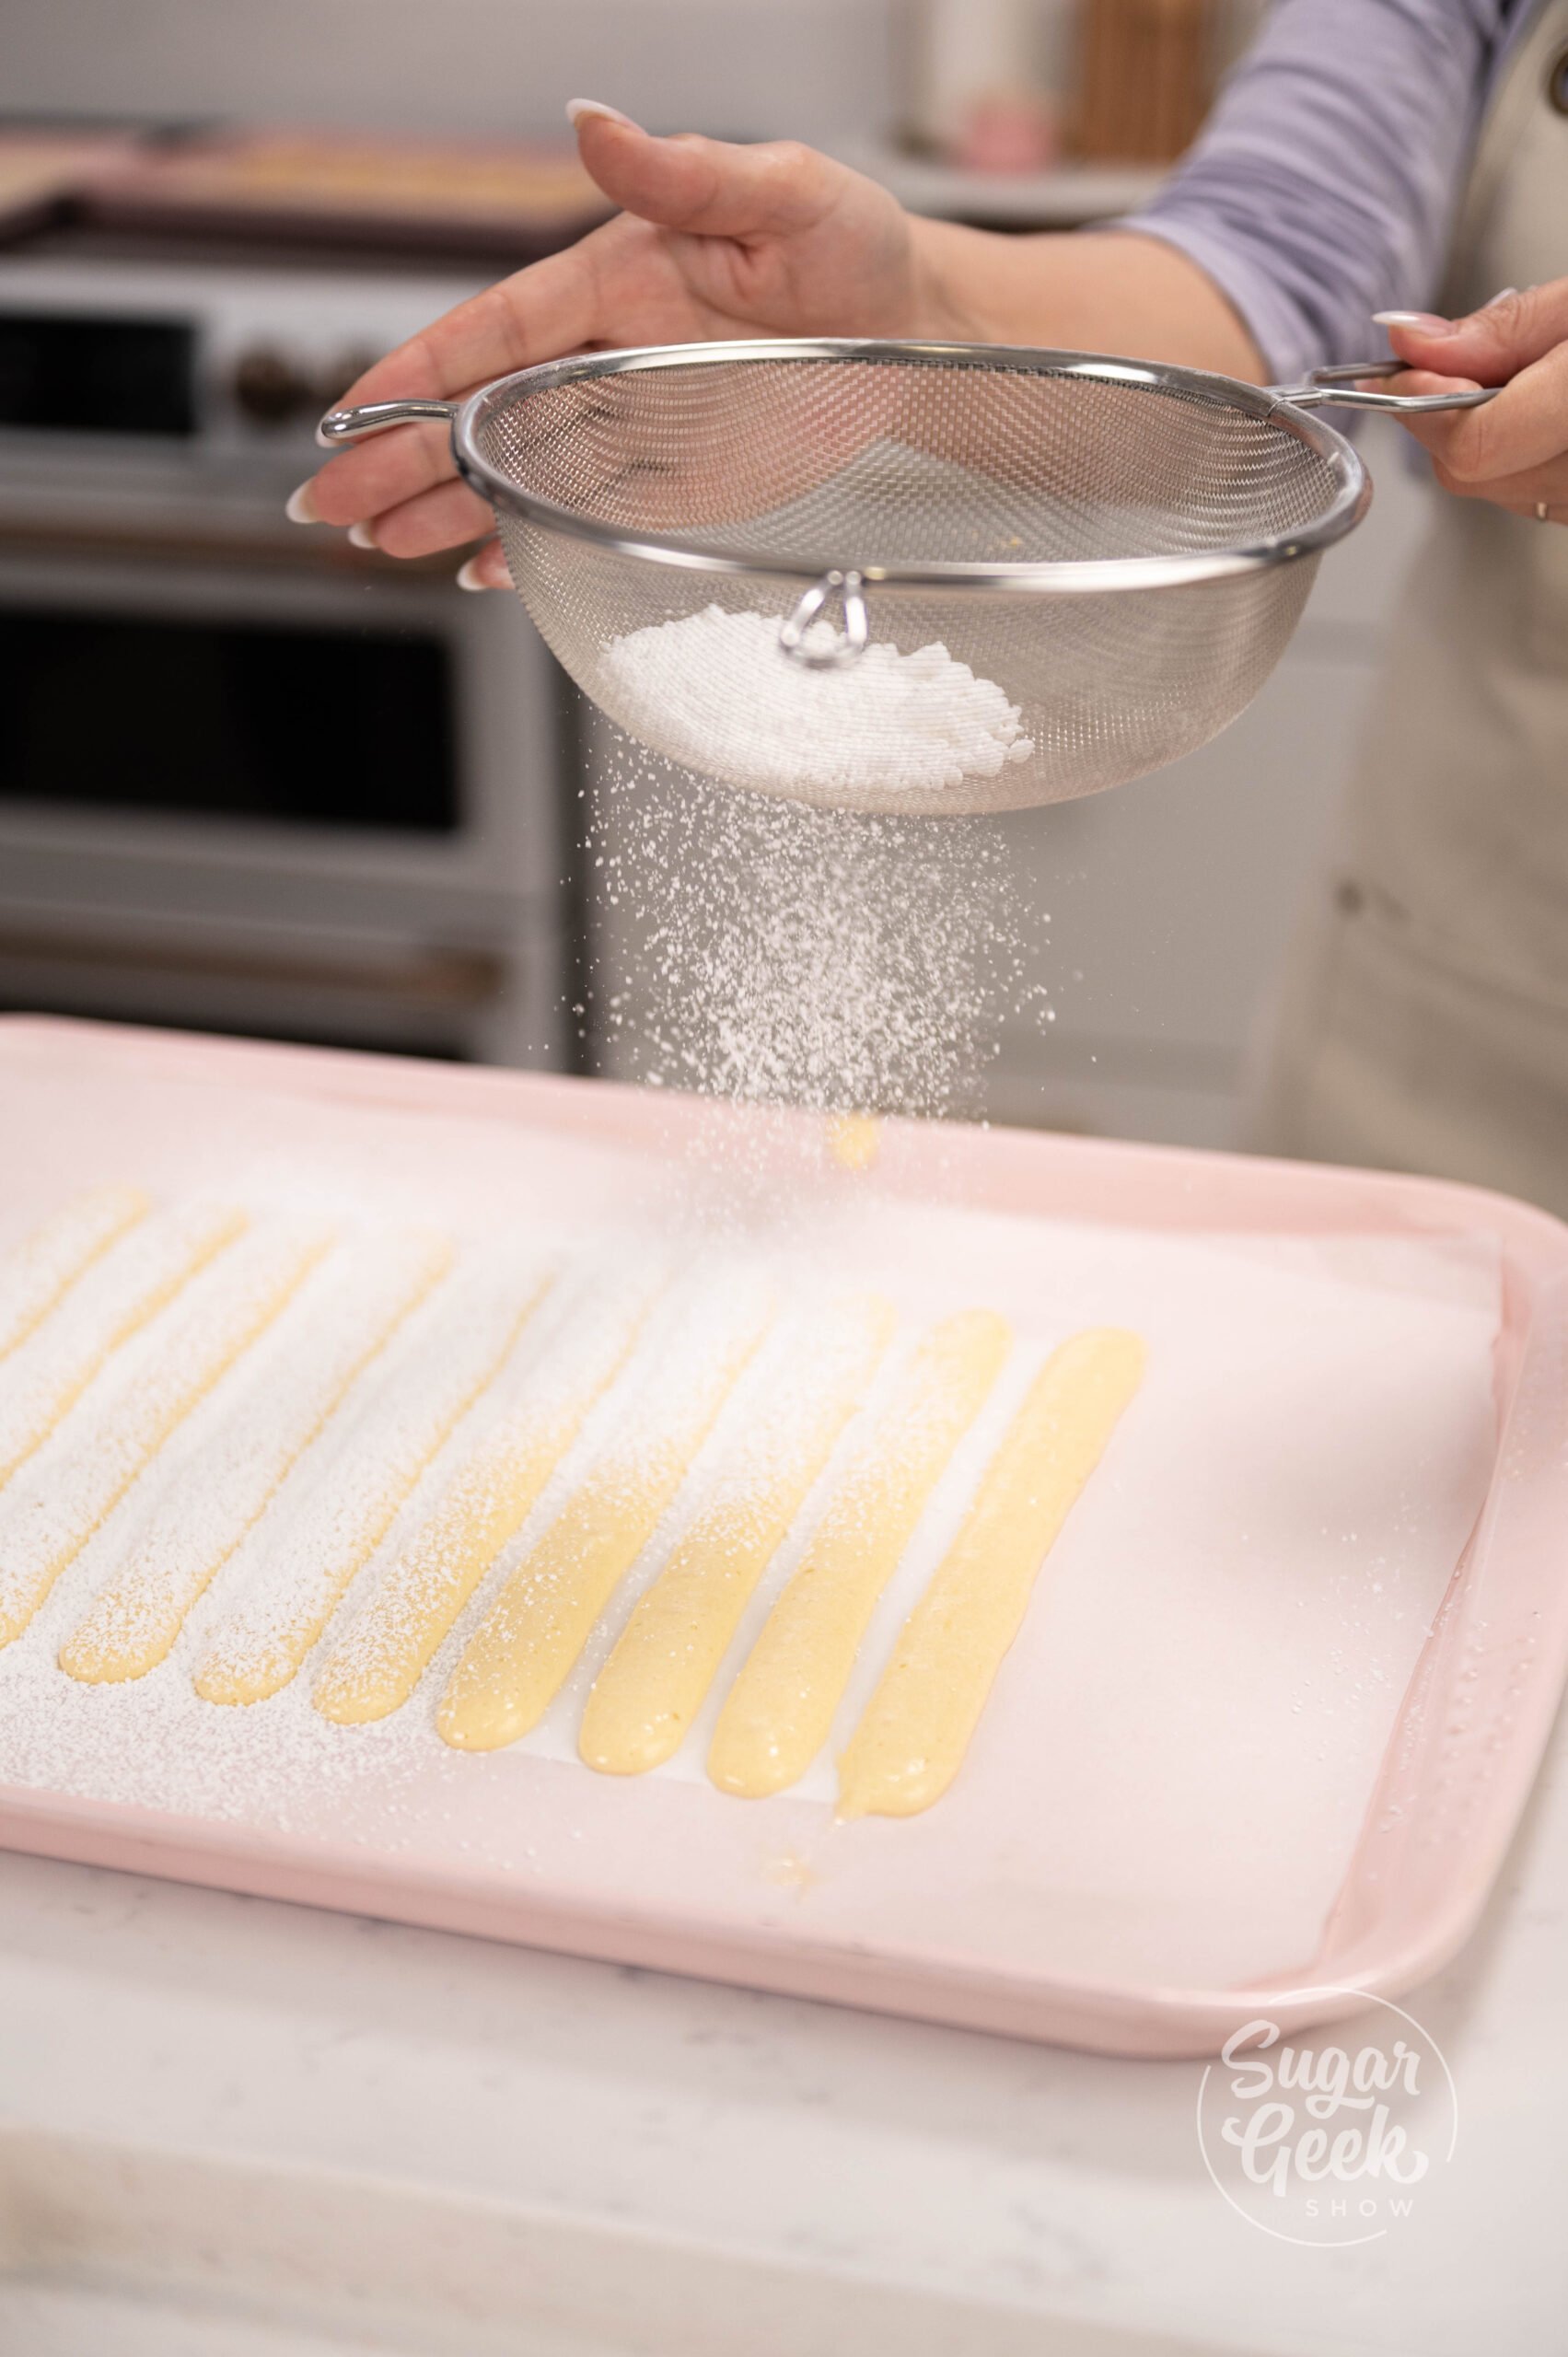
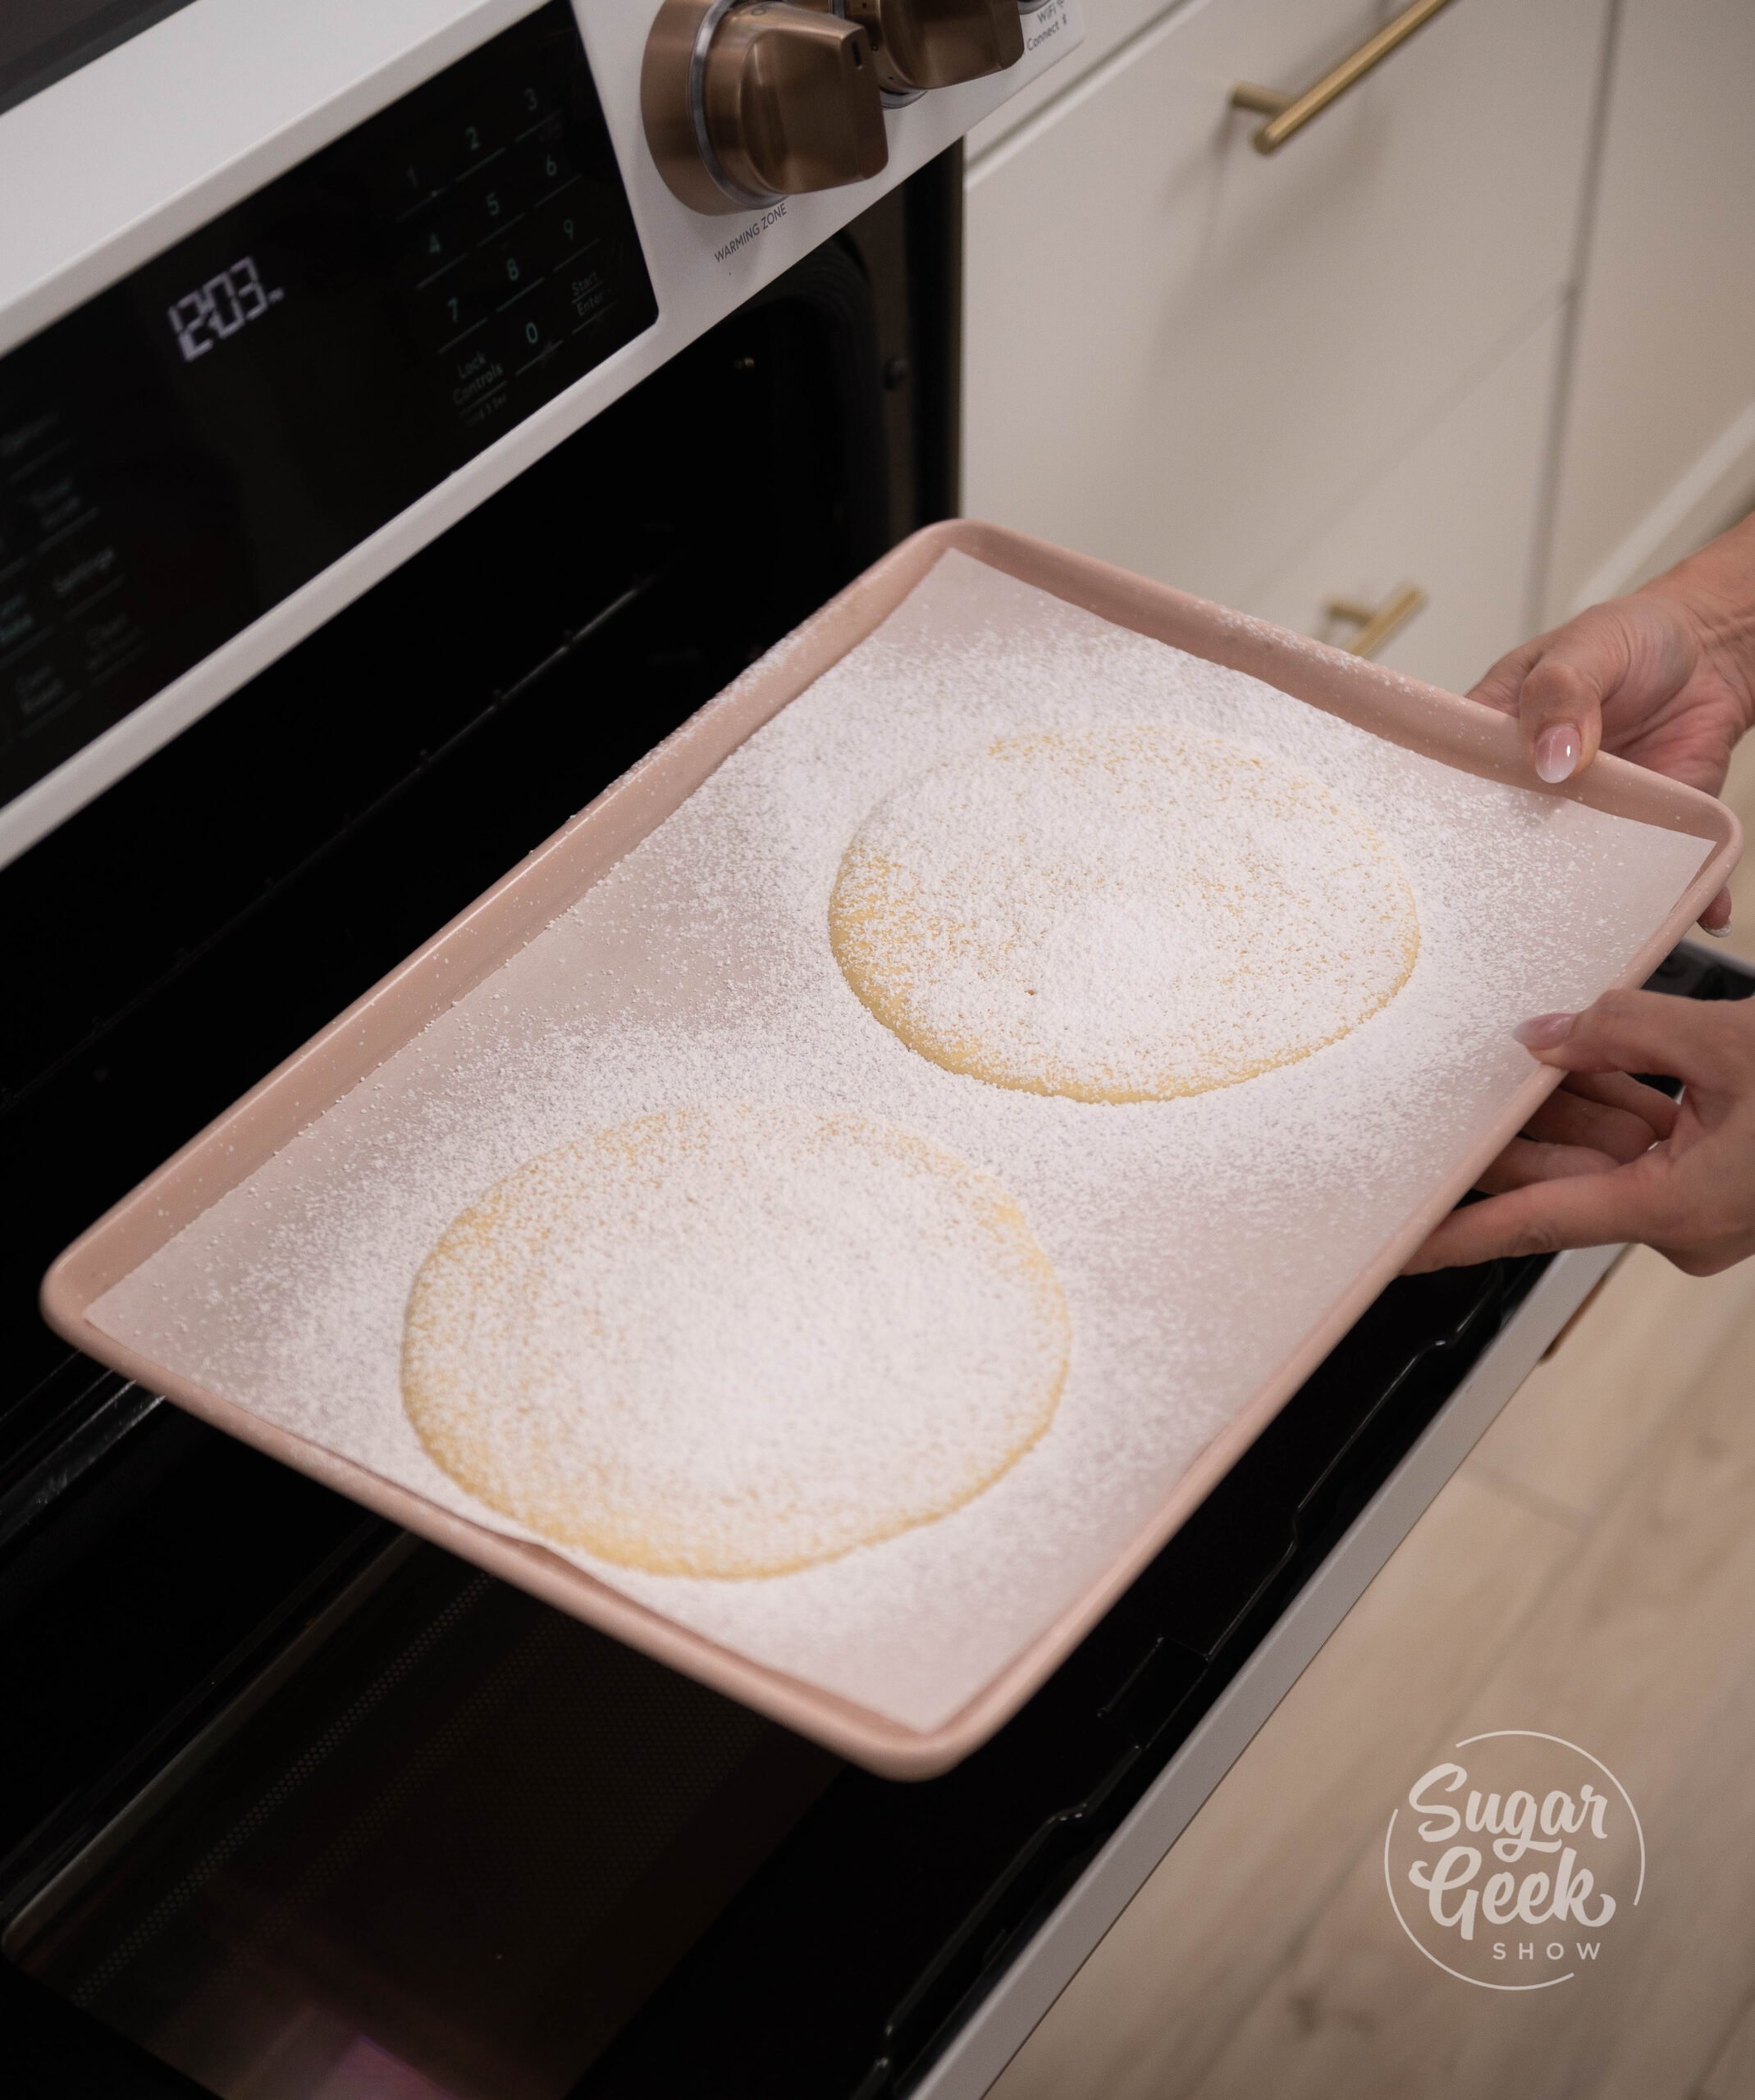
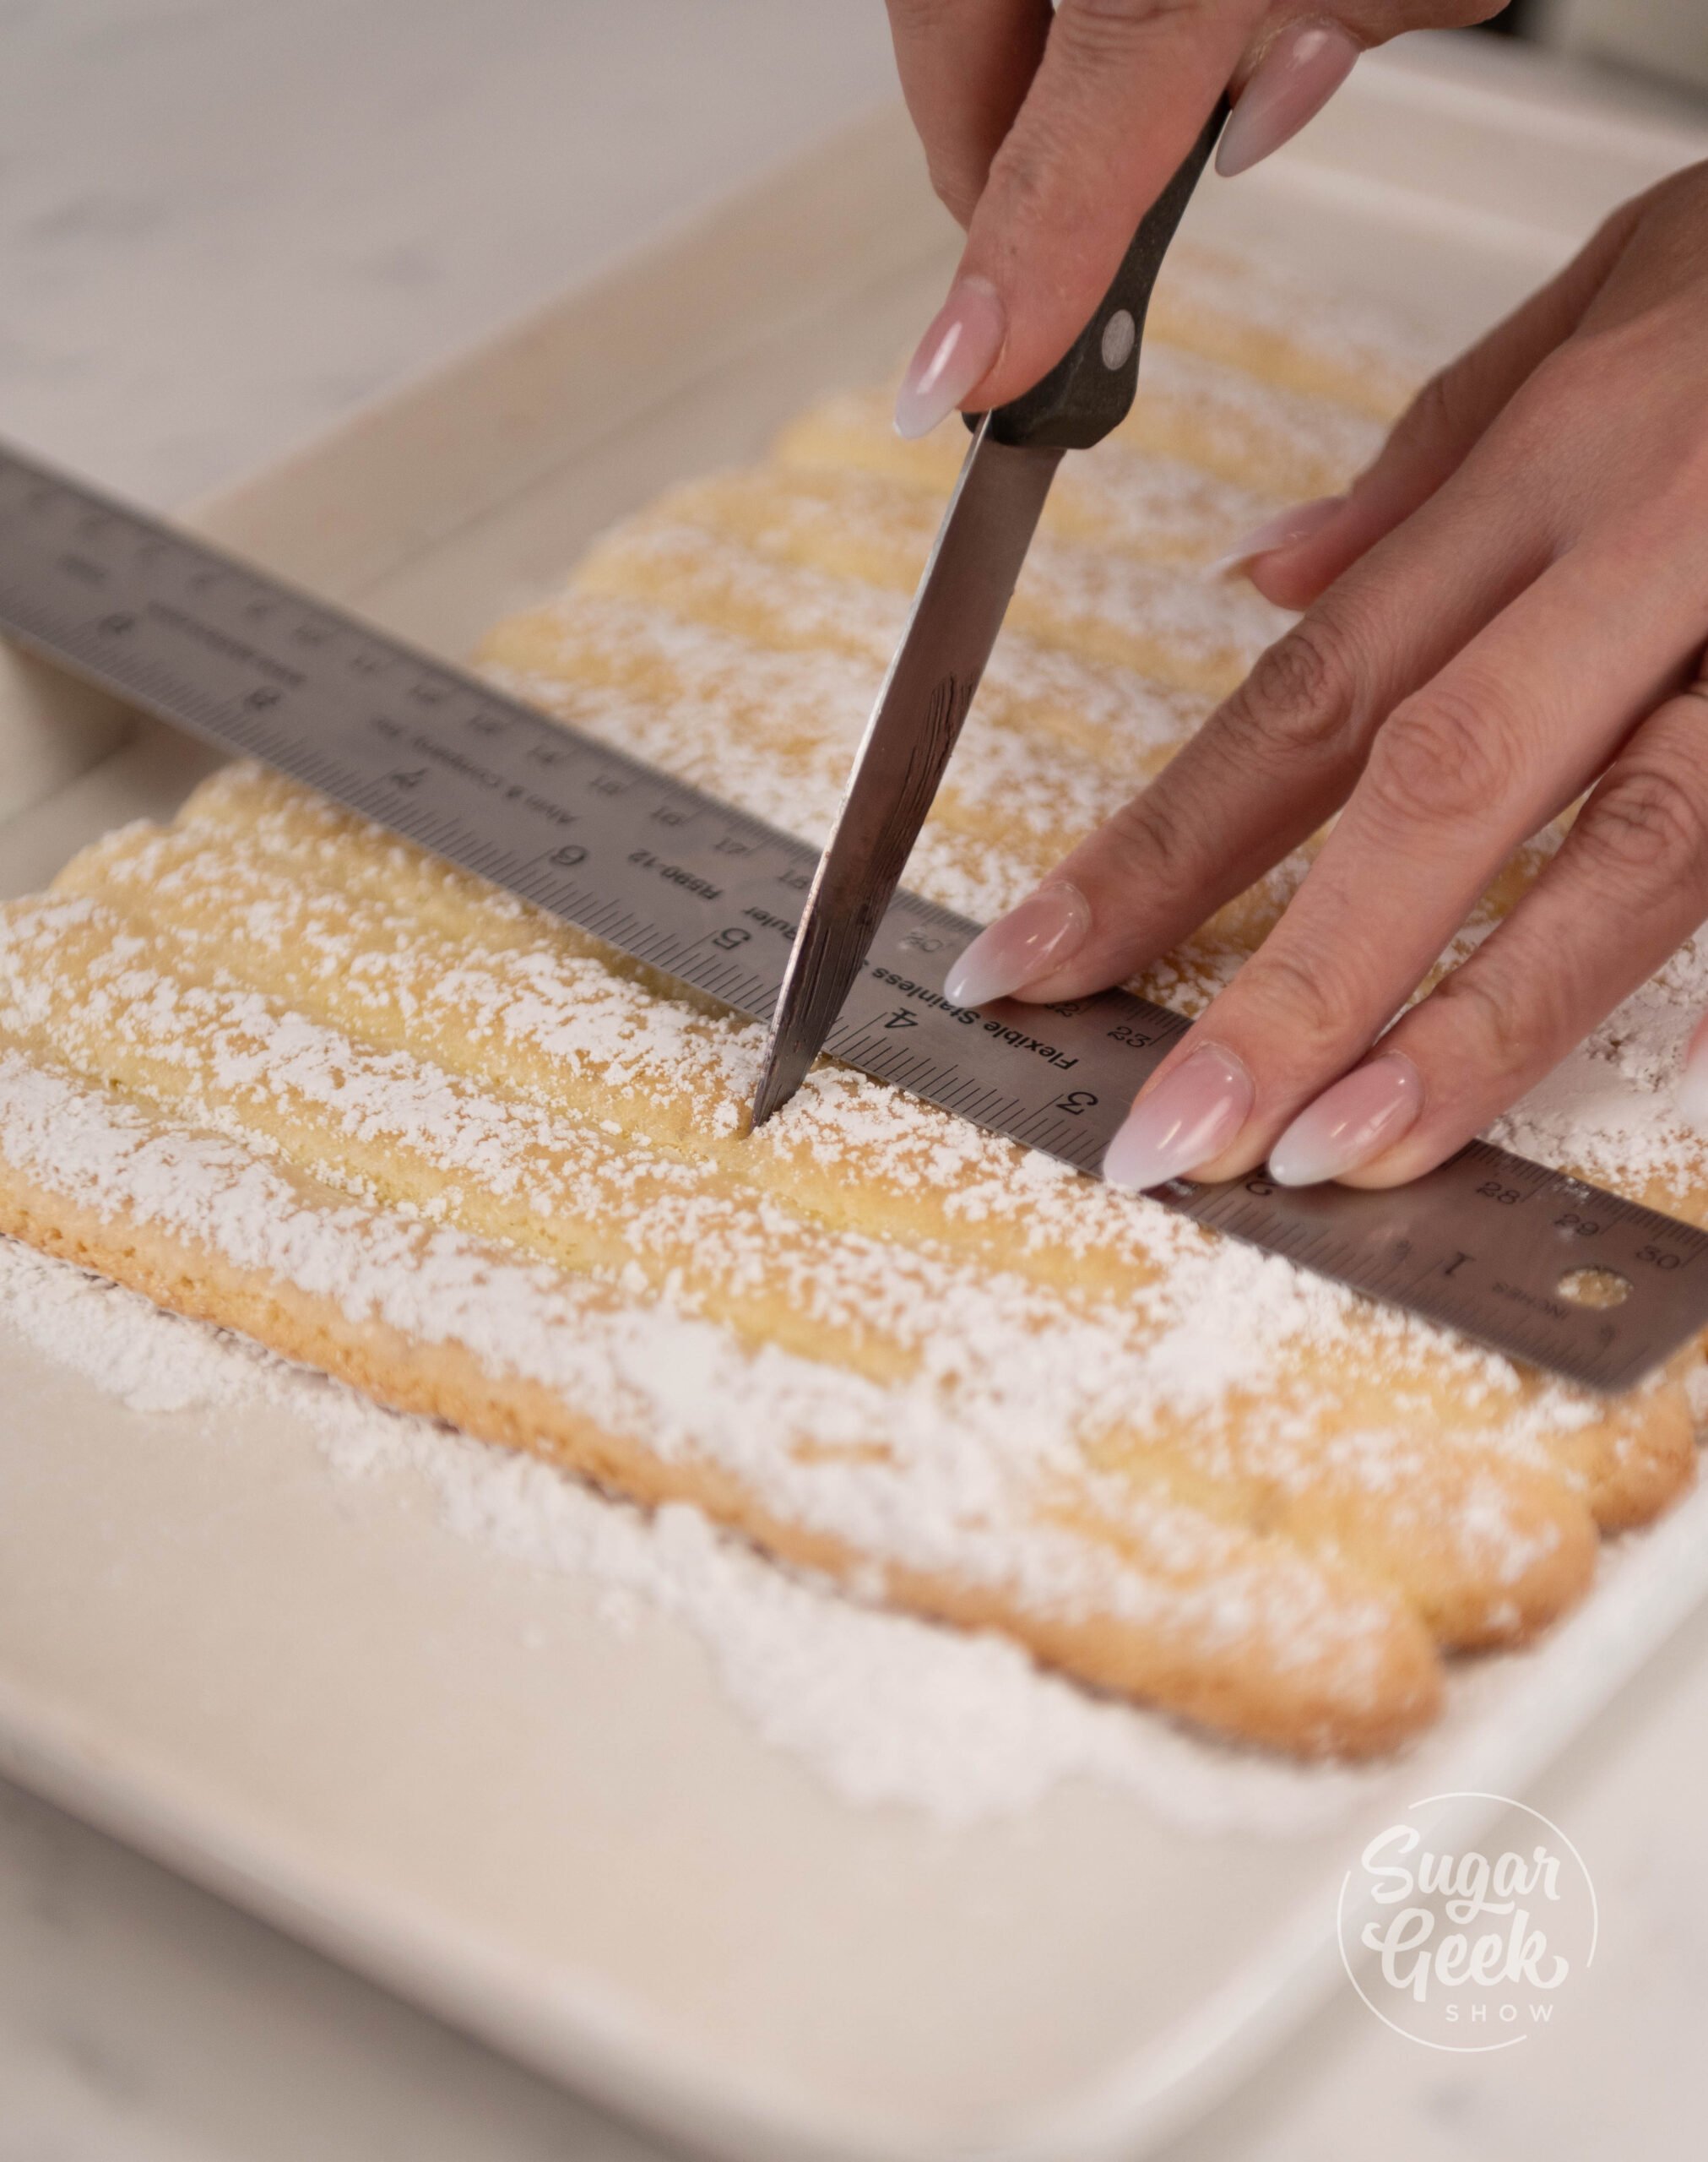
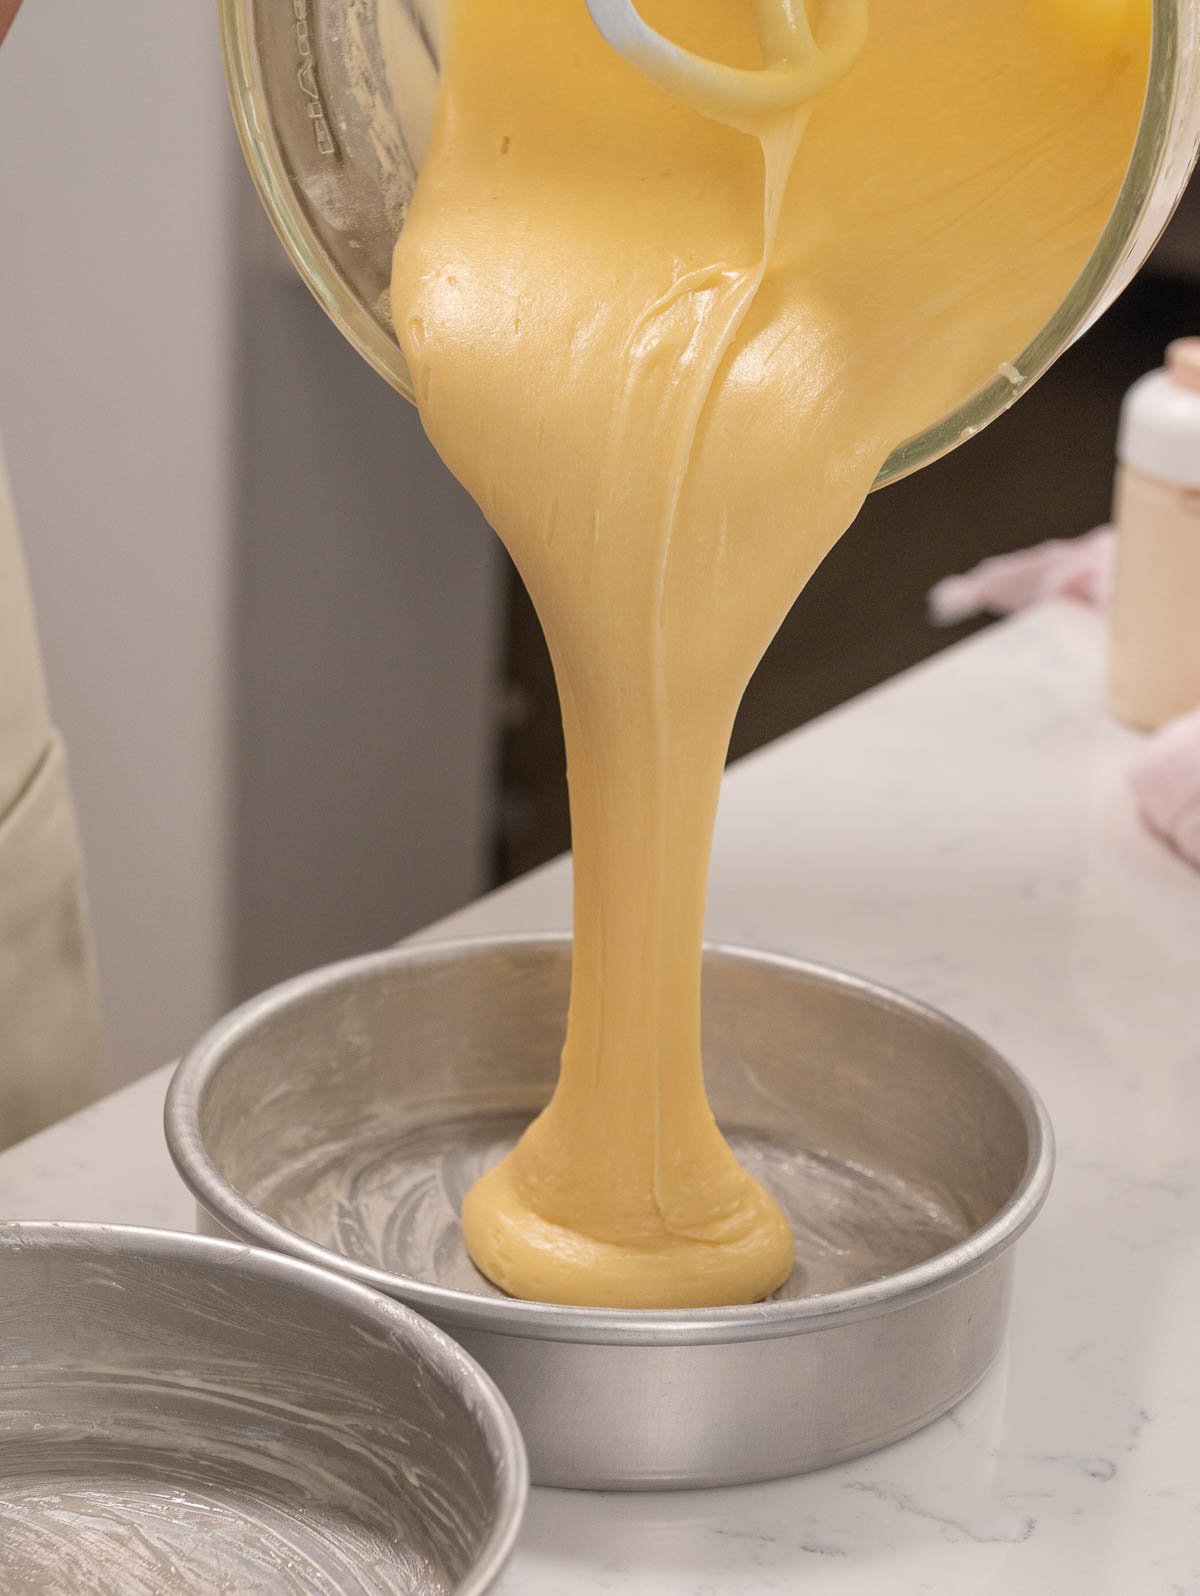
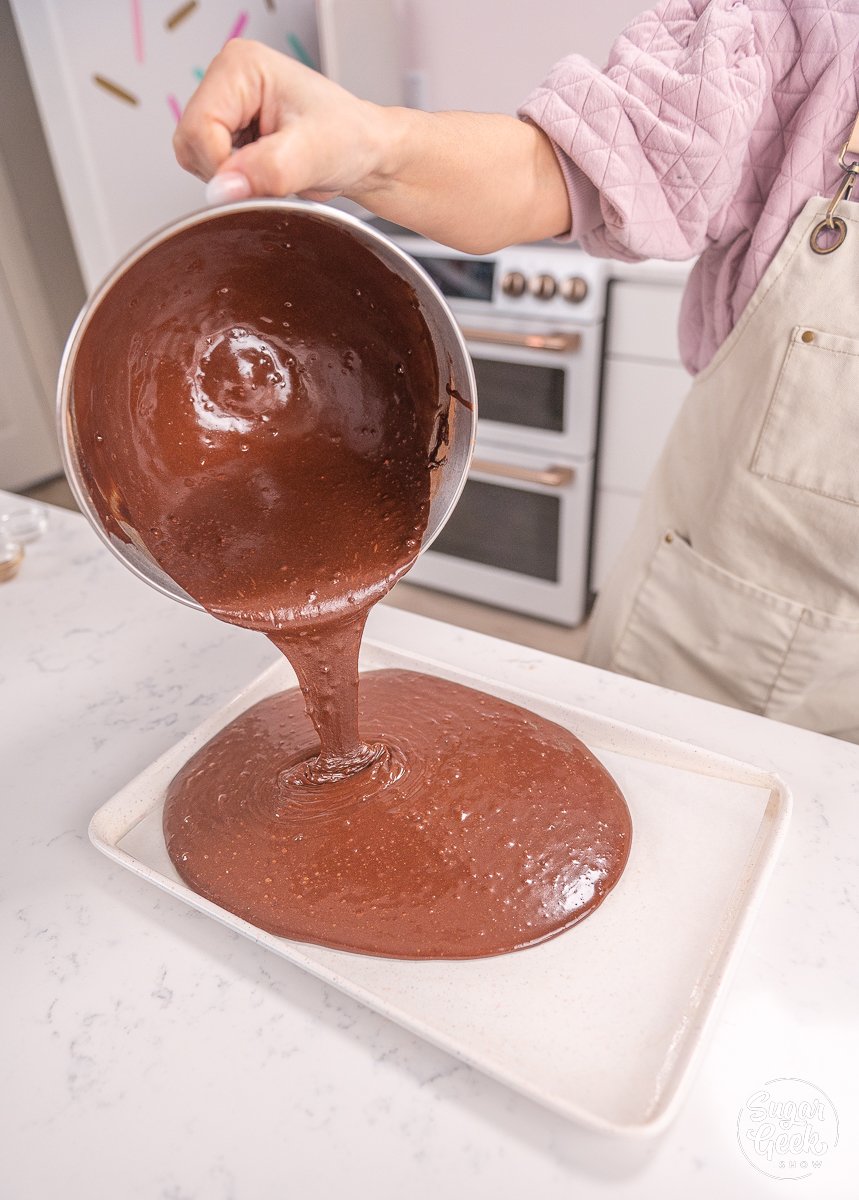
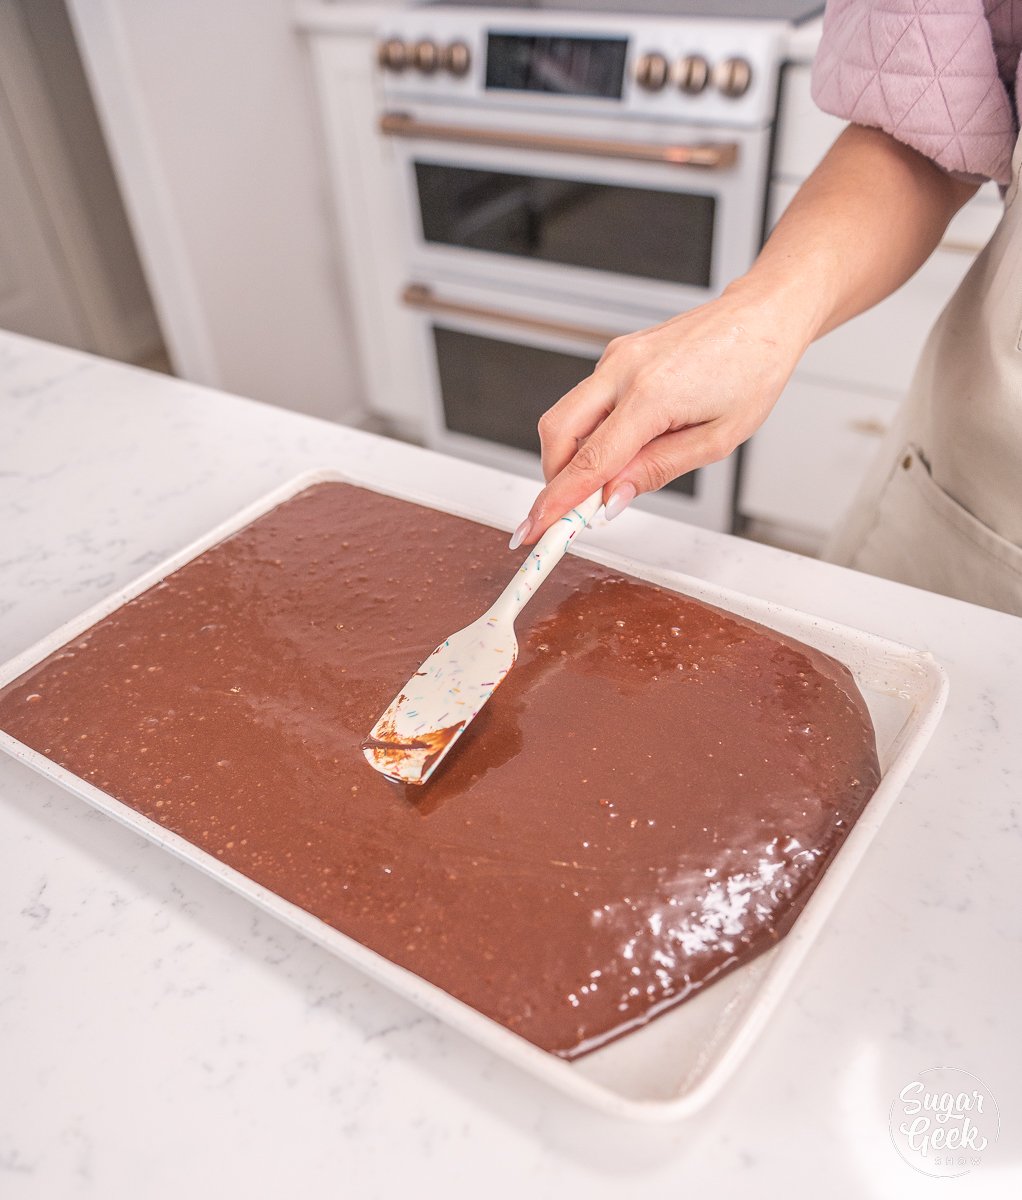
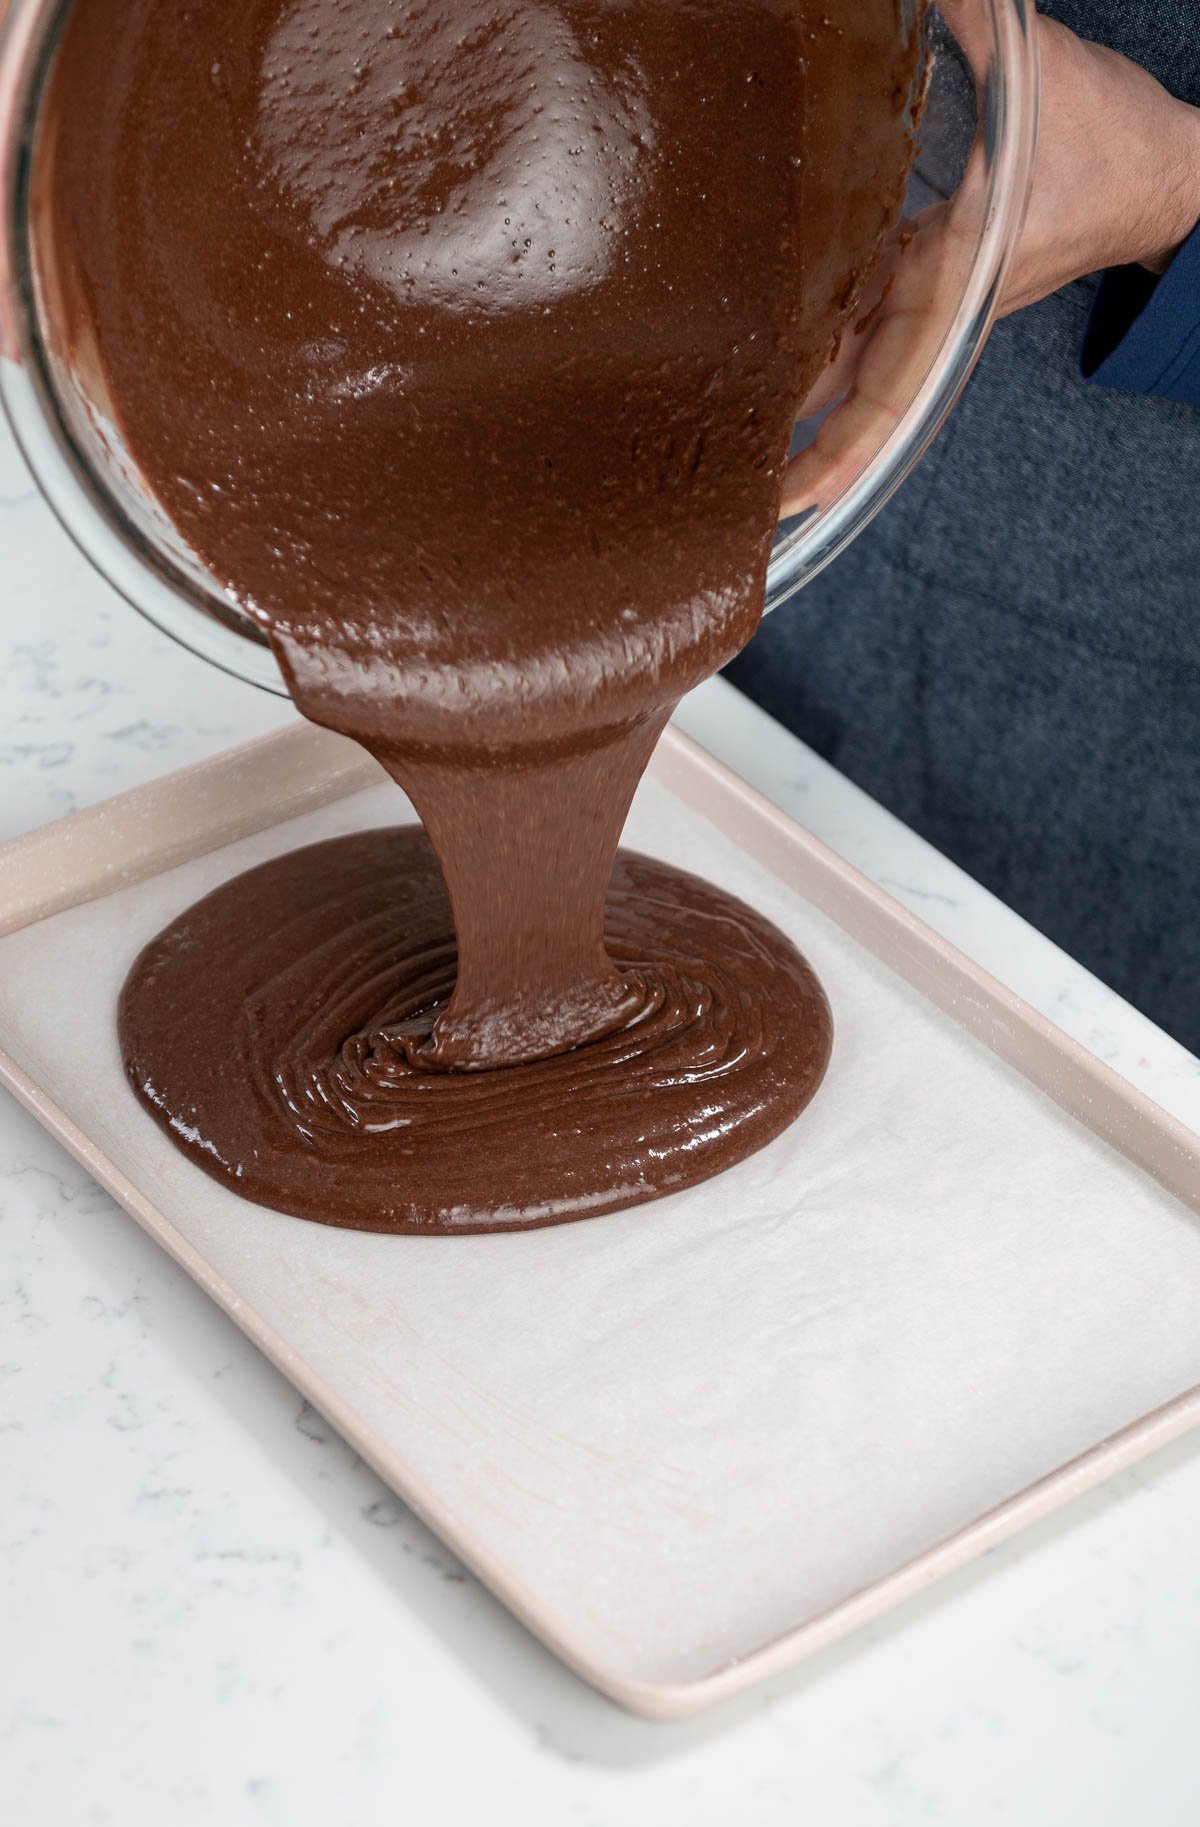
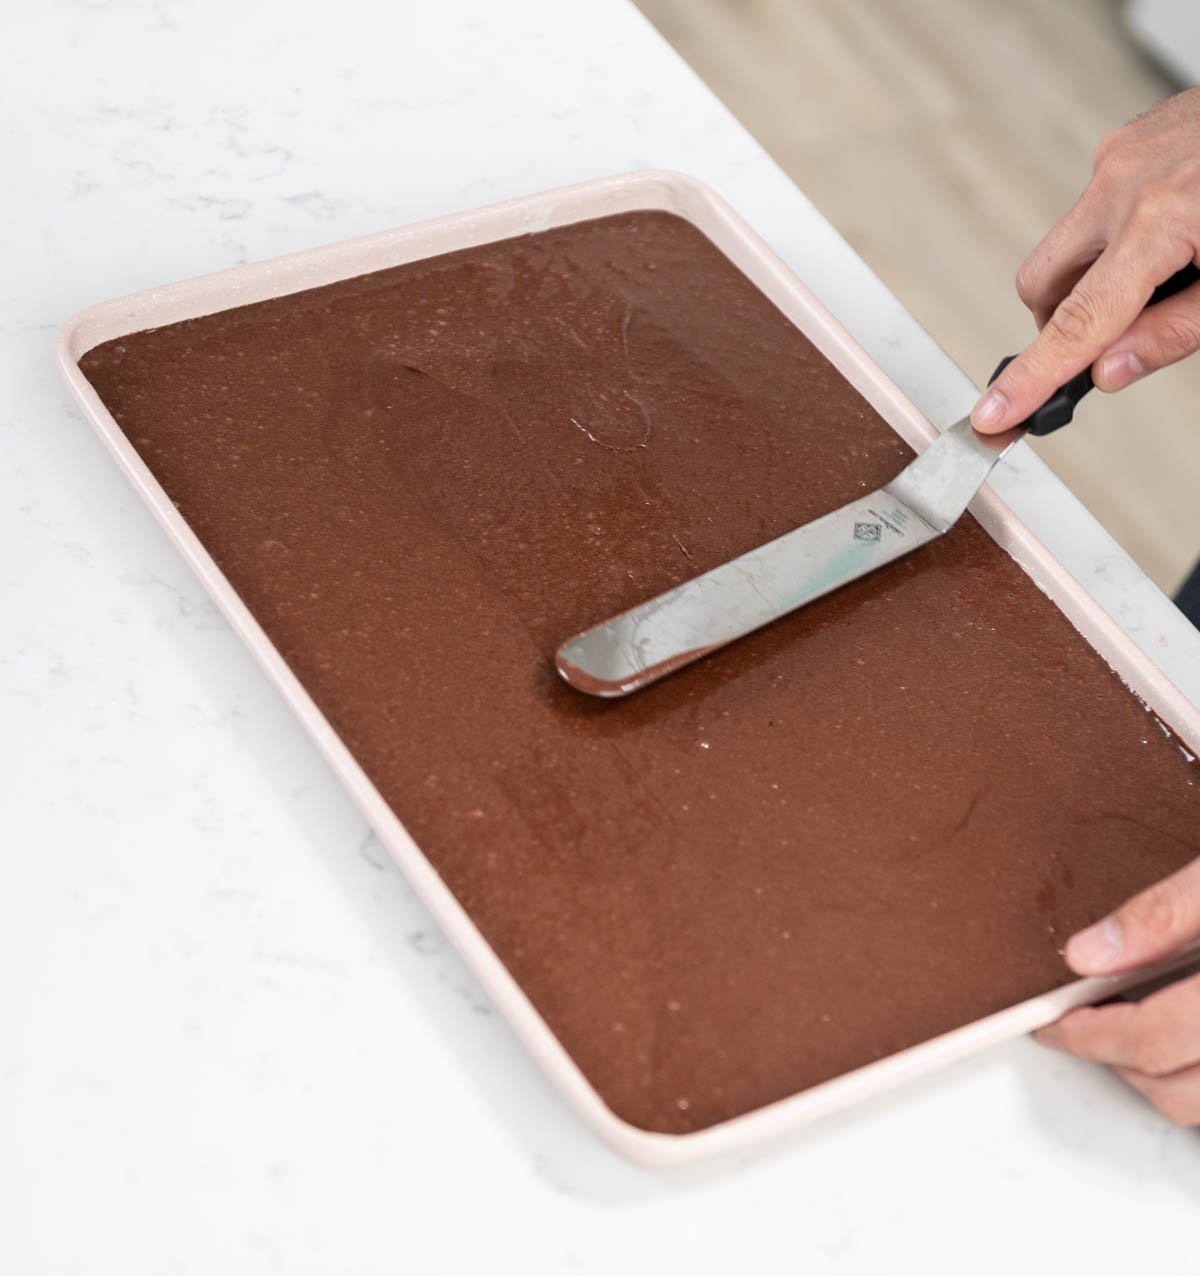
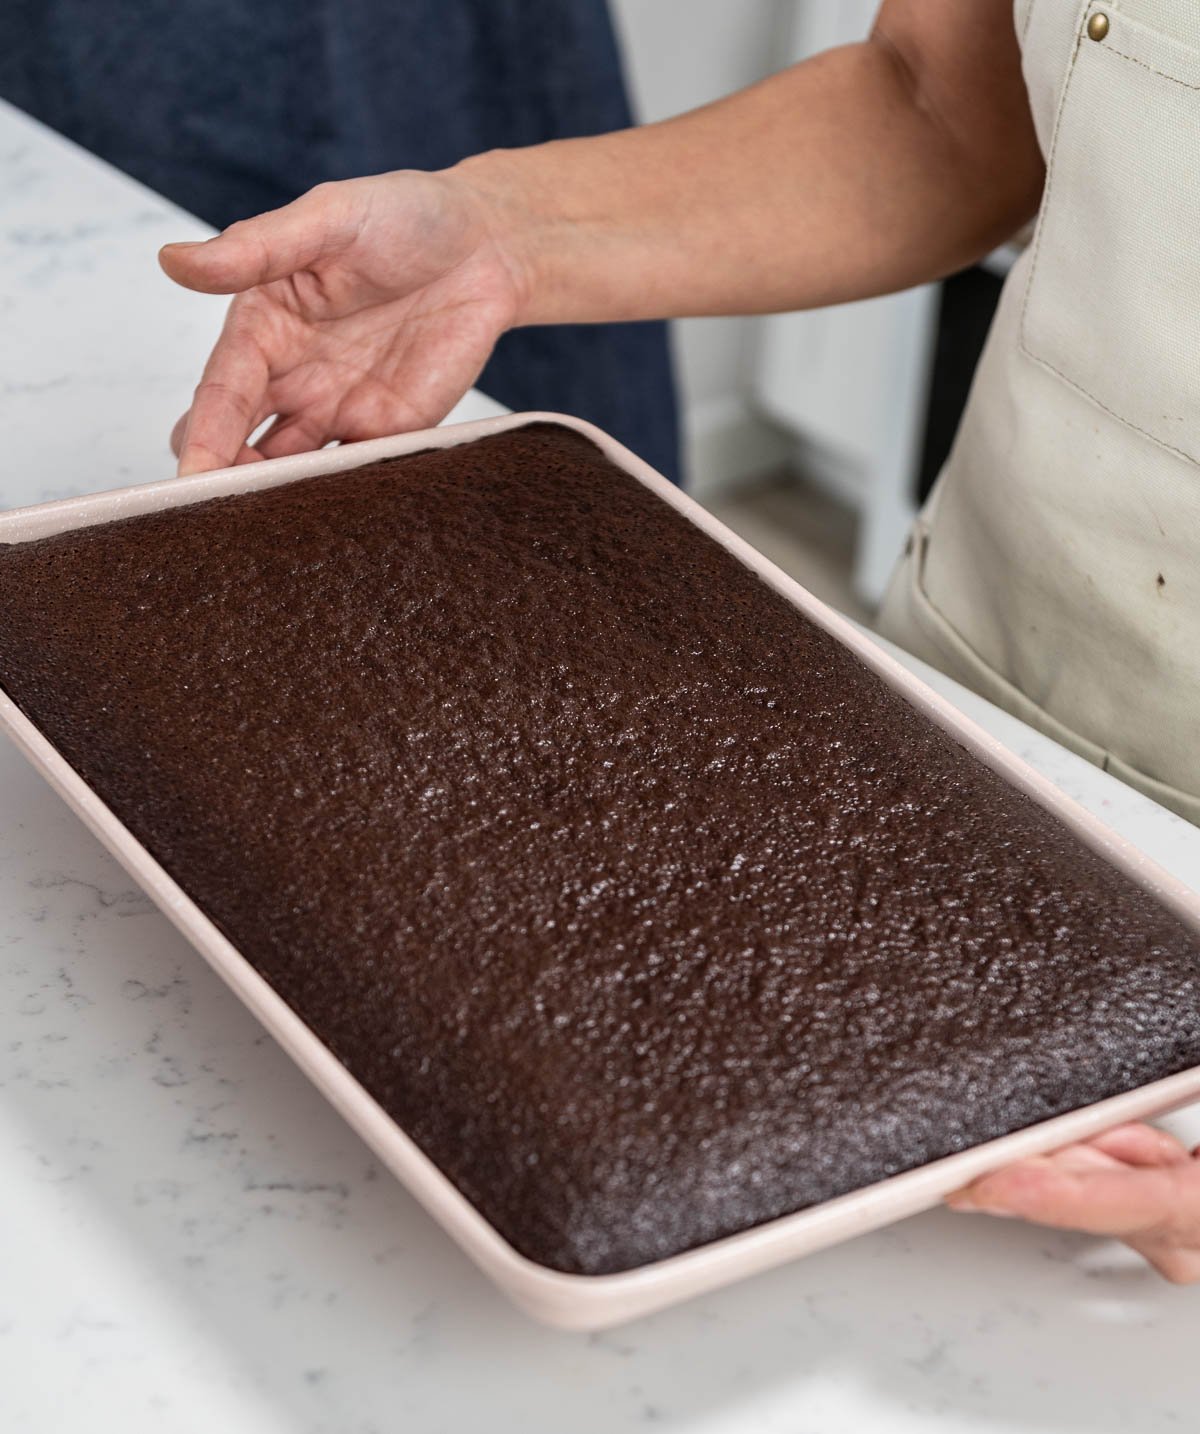
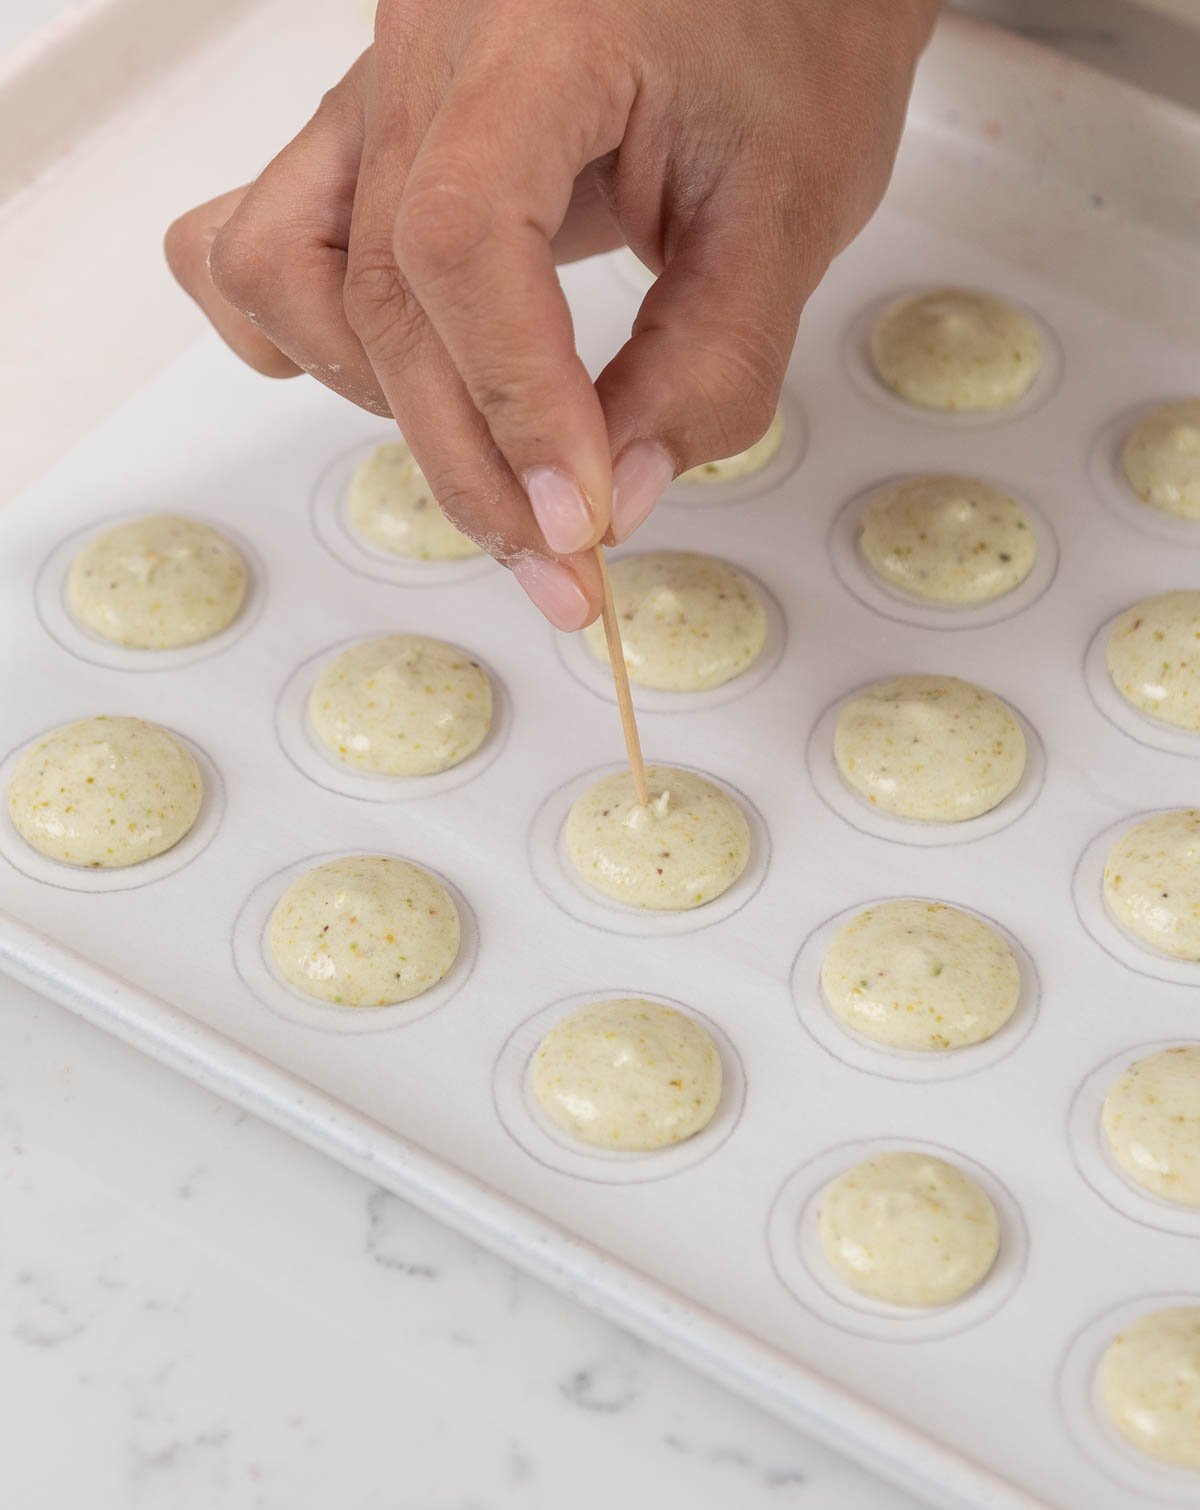
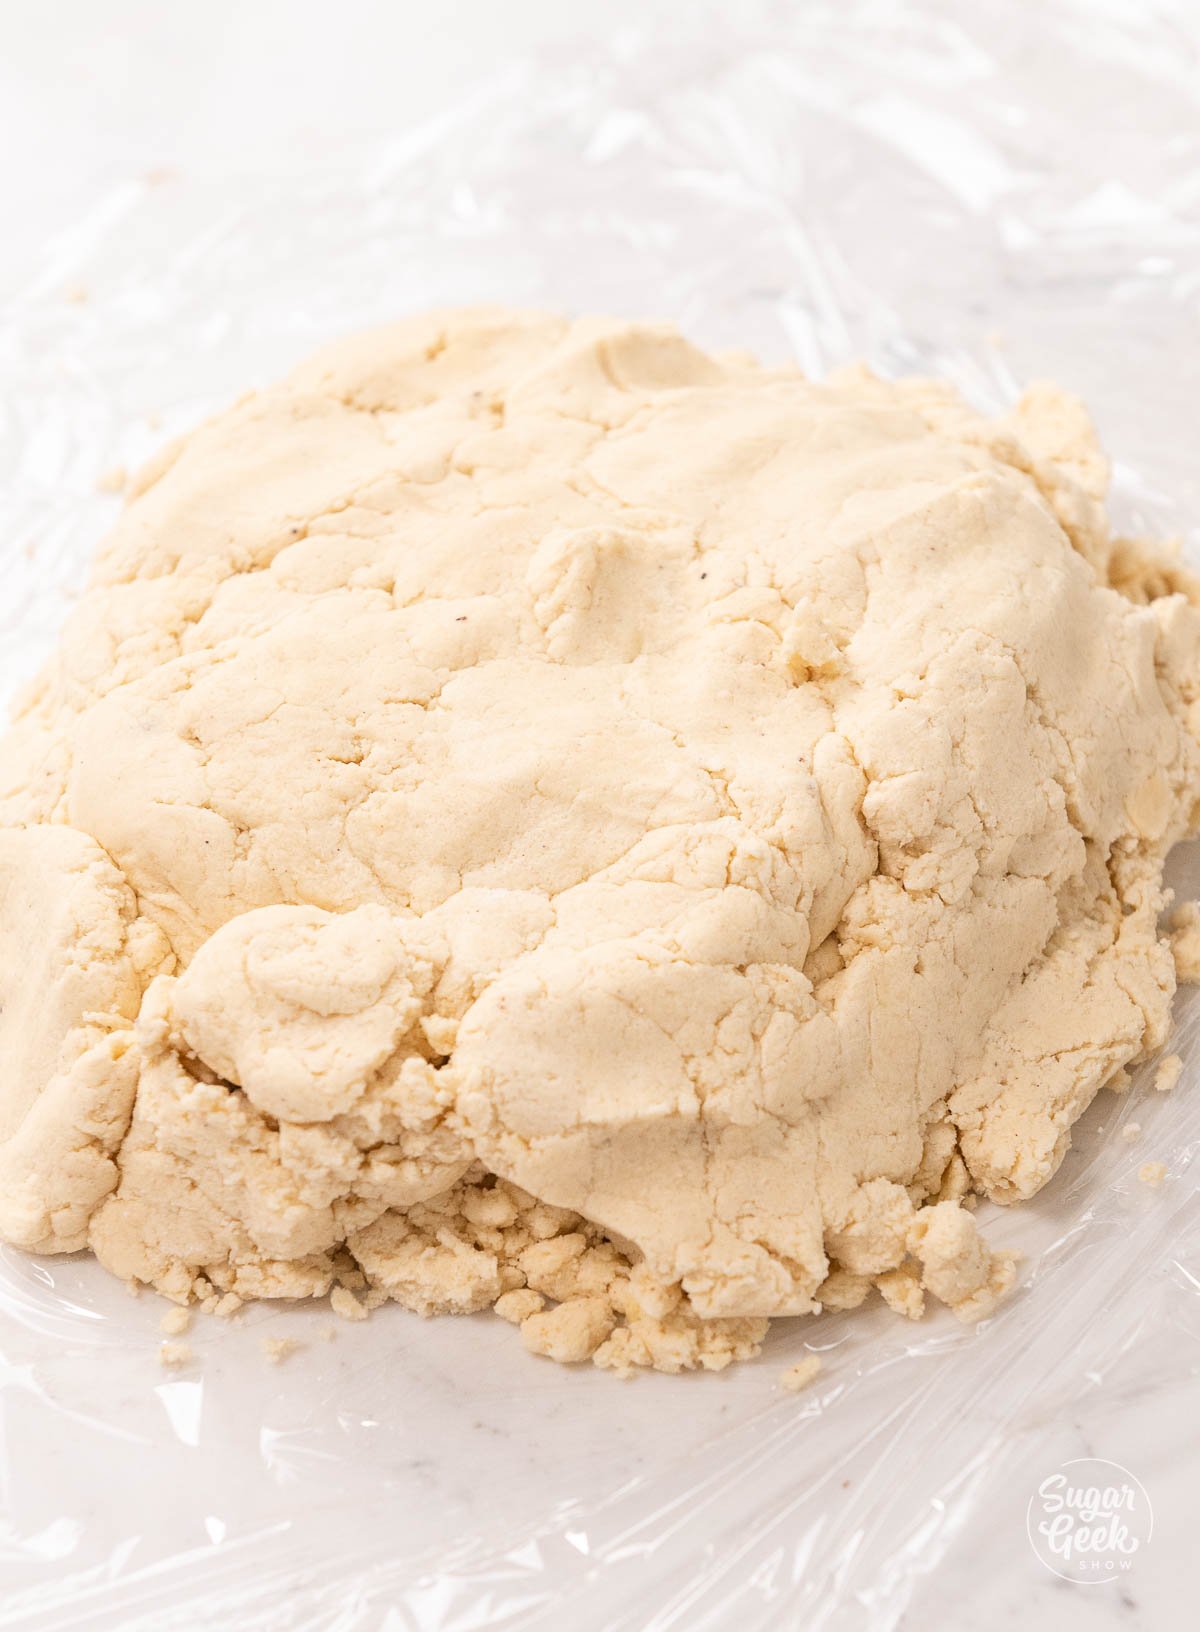
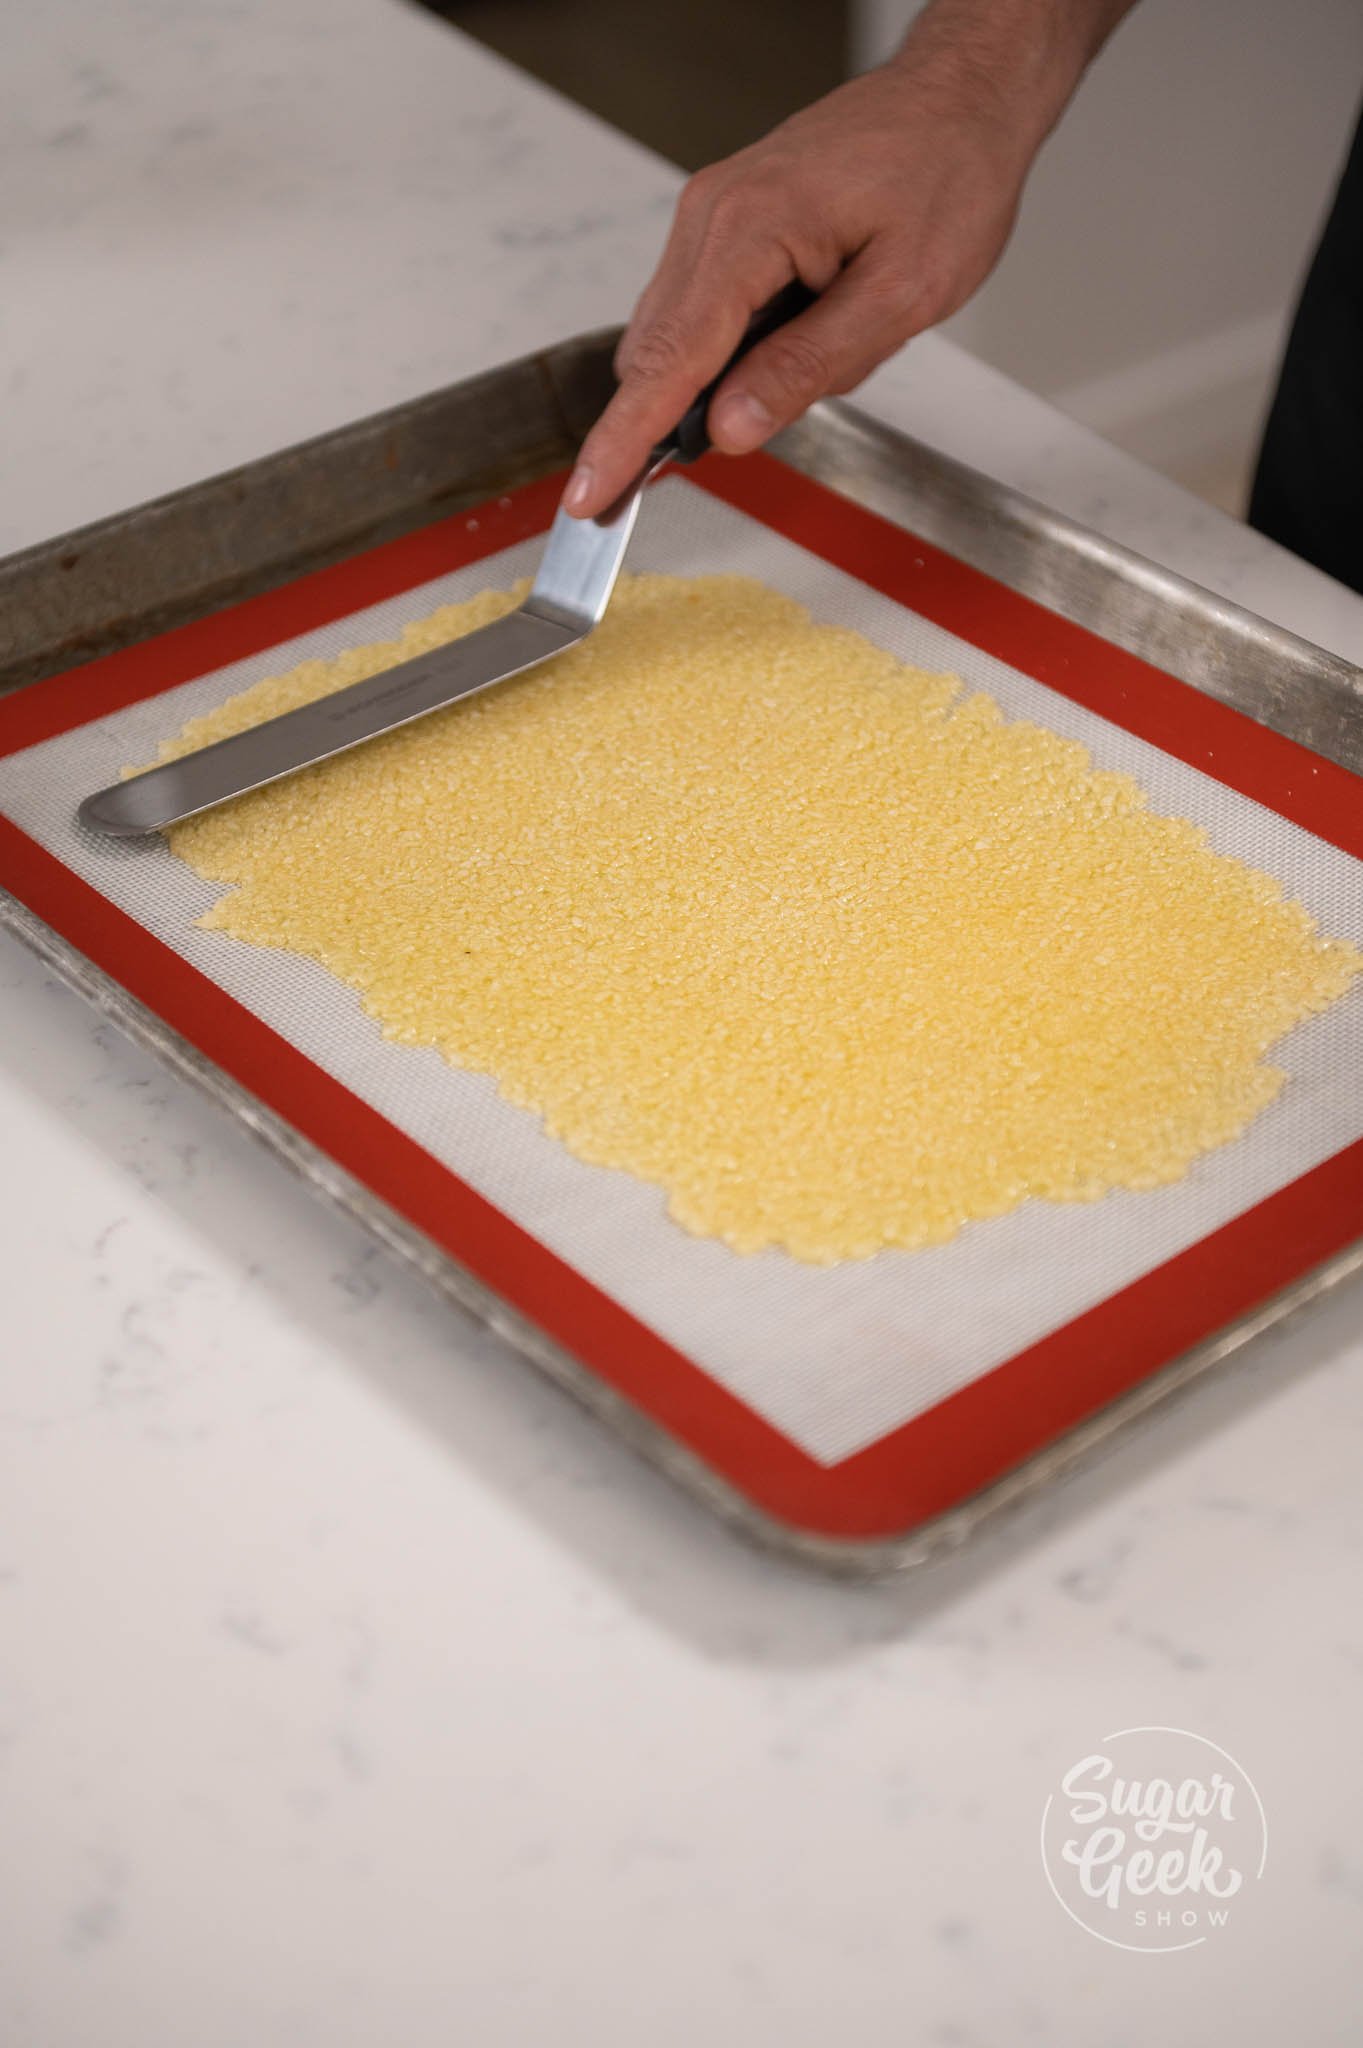
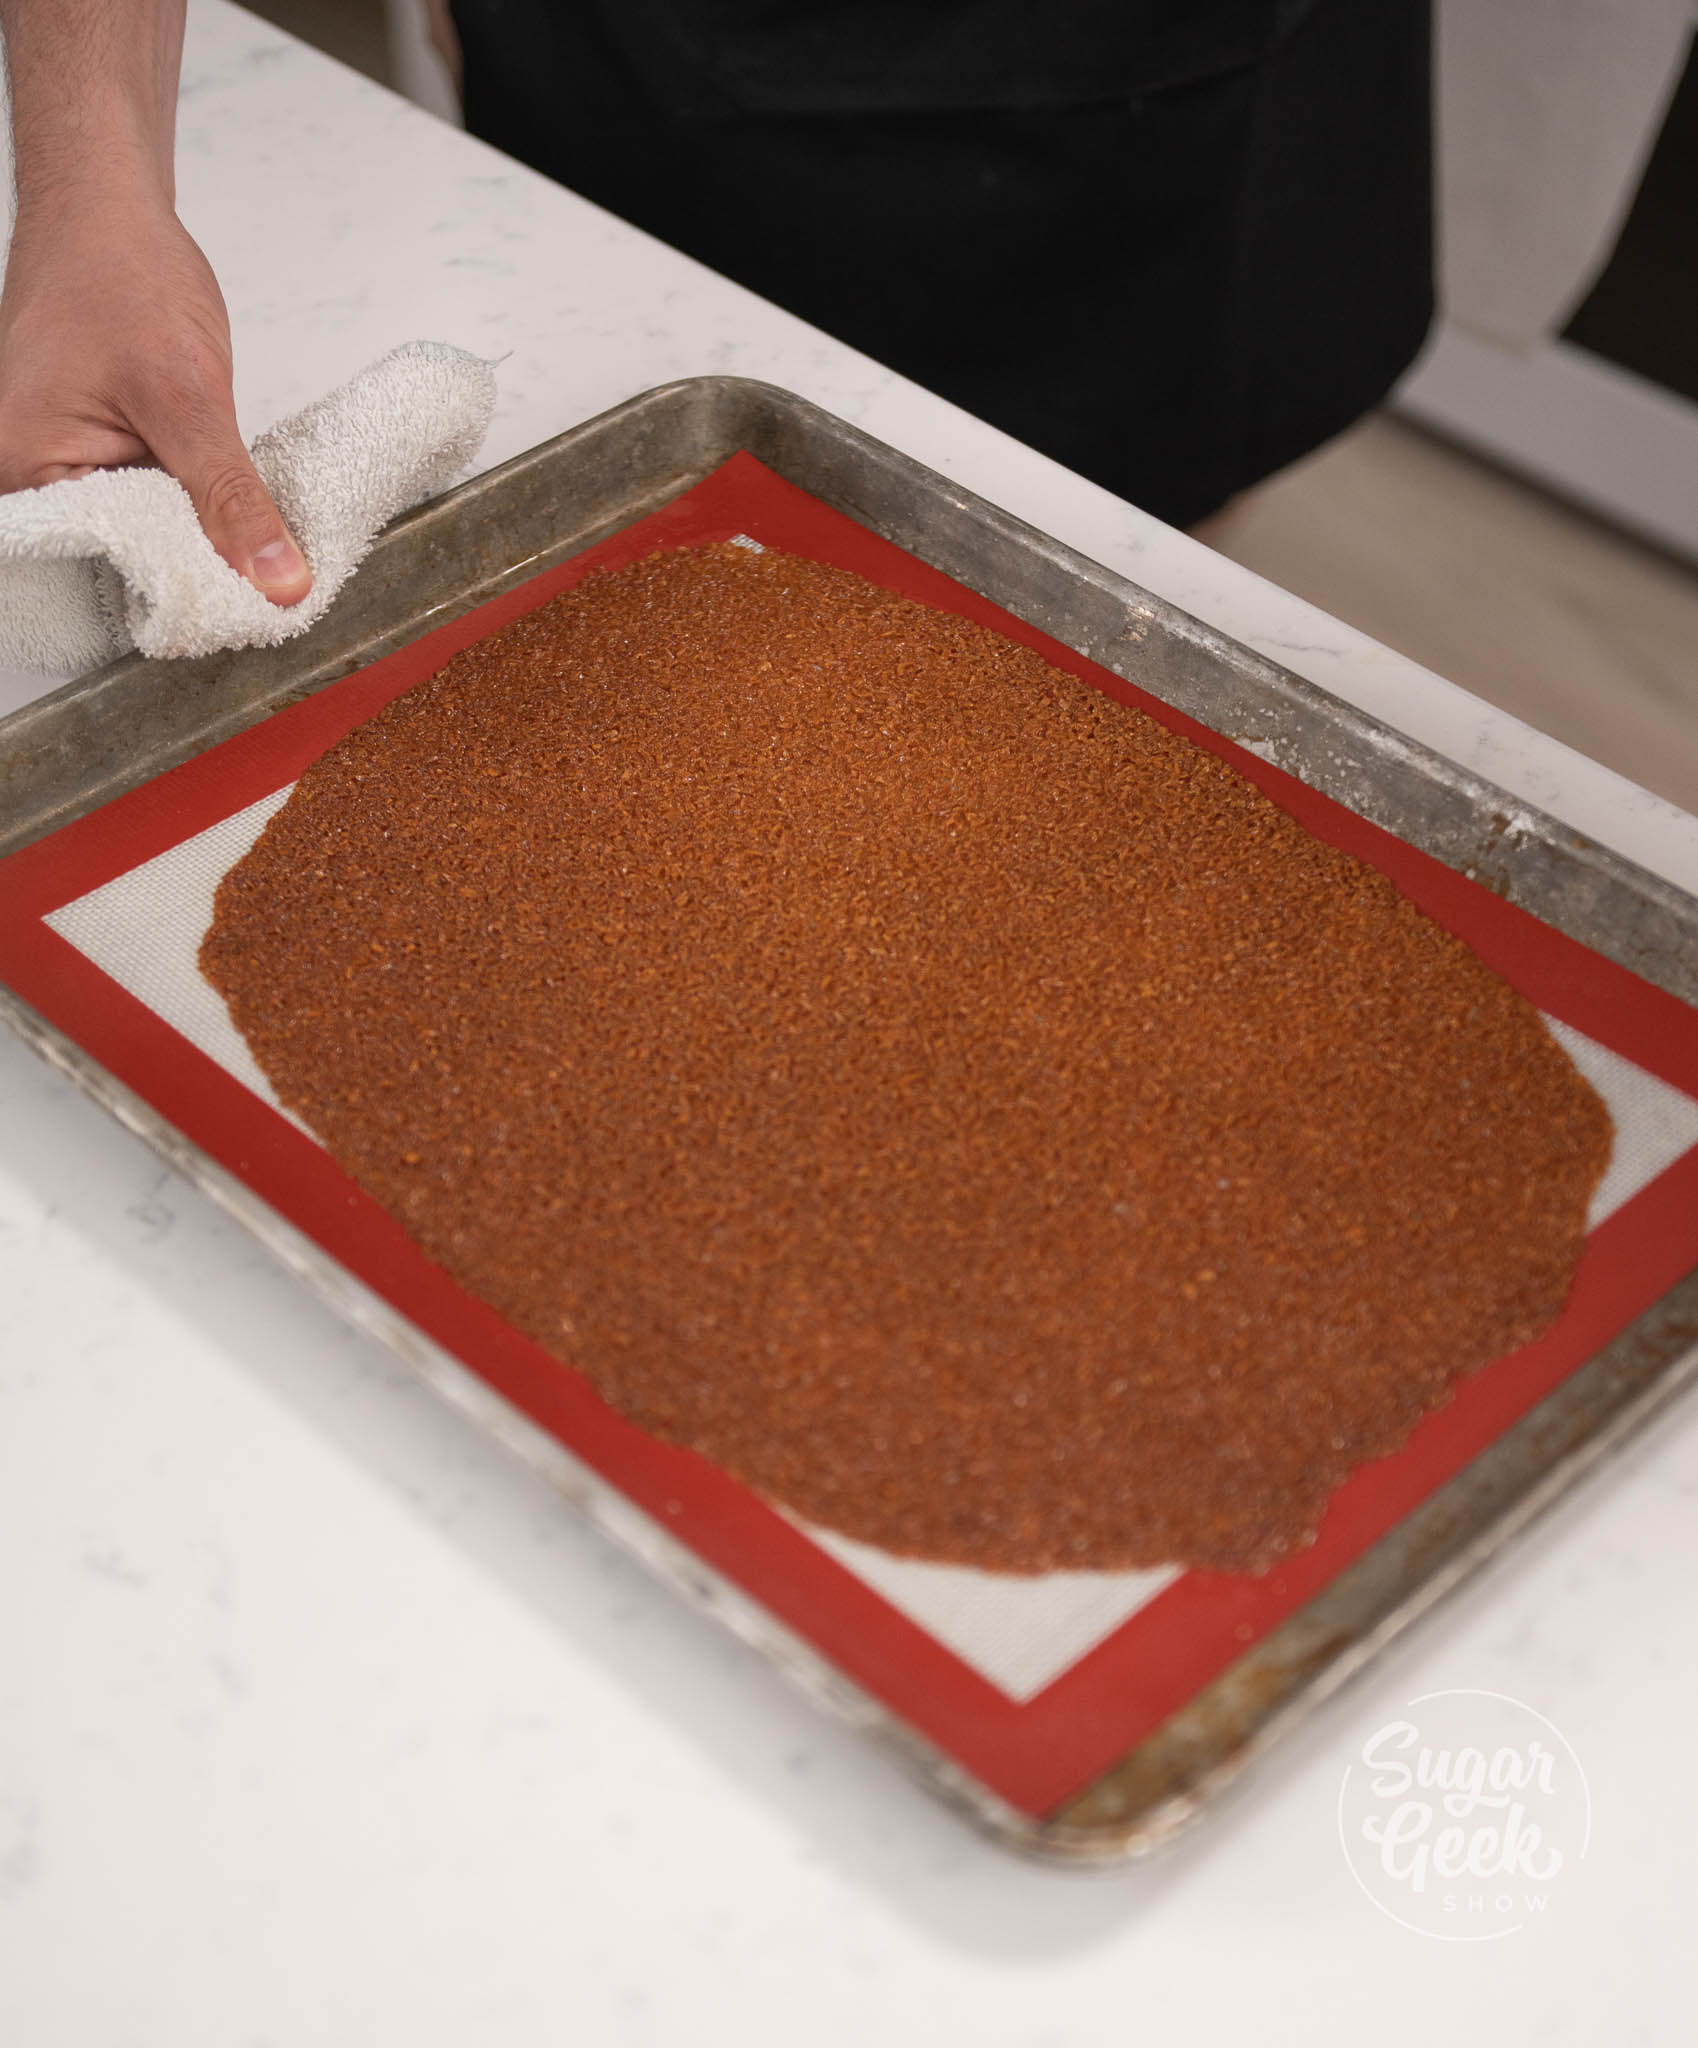
- Pour the nougatine onto a silicone mat over a sheet pan and spread out with an offset spatula as thin as the coconut flakes are. You can use parchment if you don't have a silicone mat.
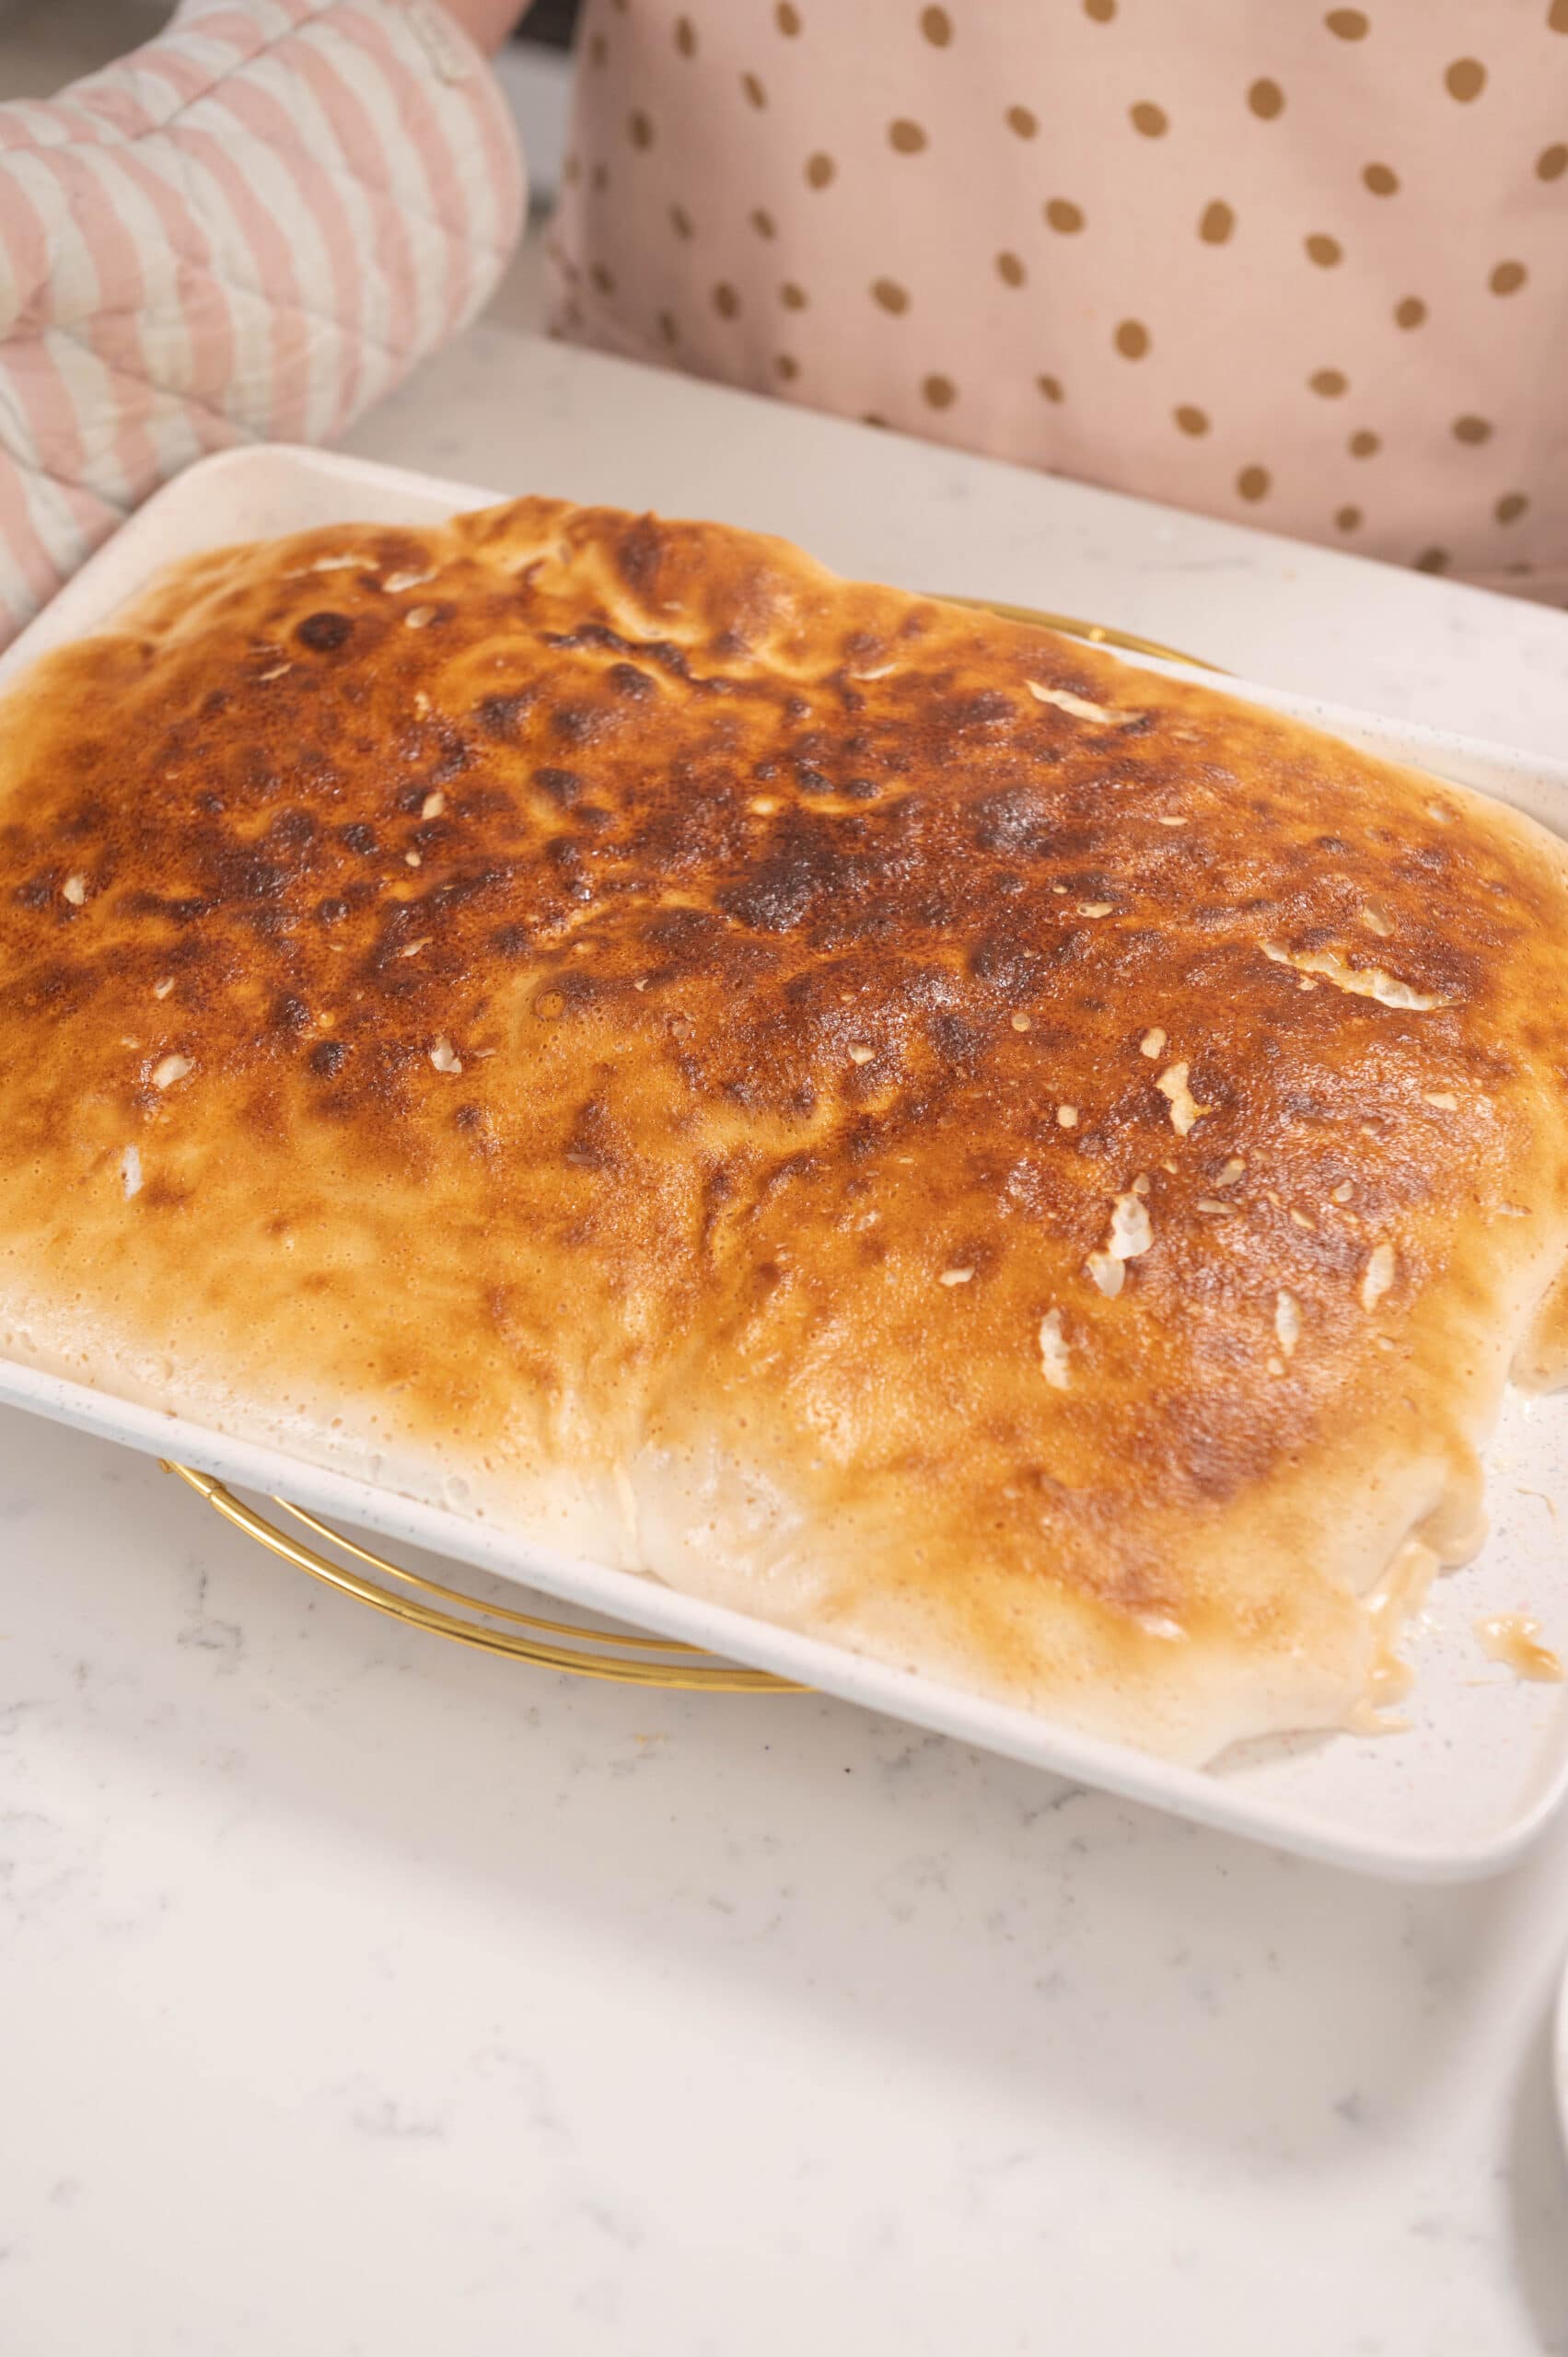
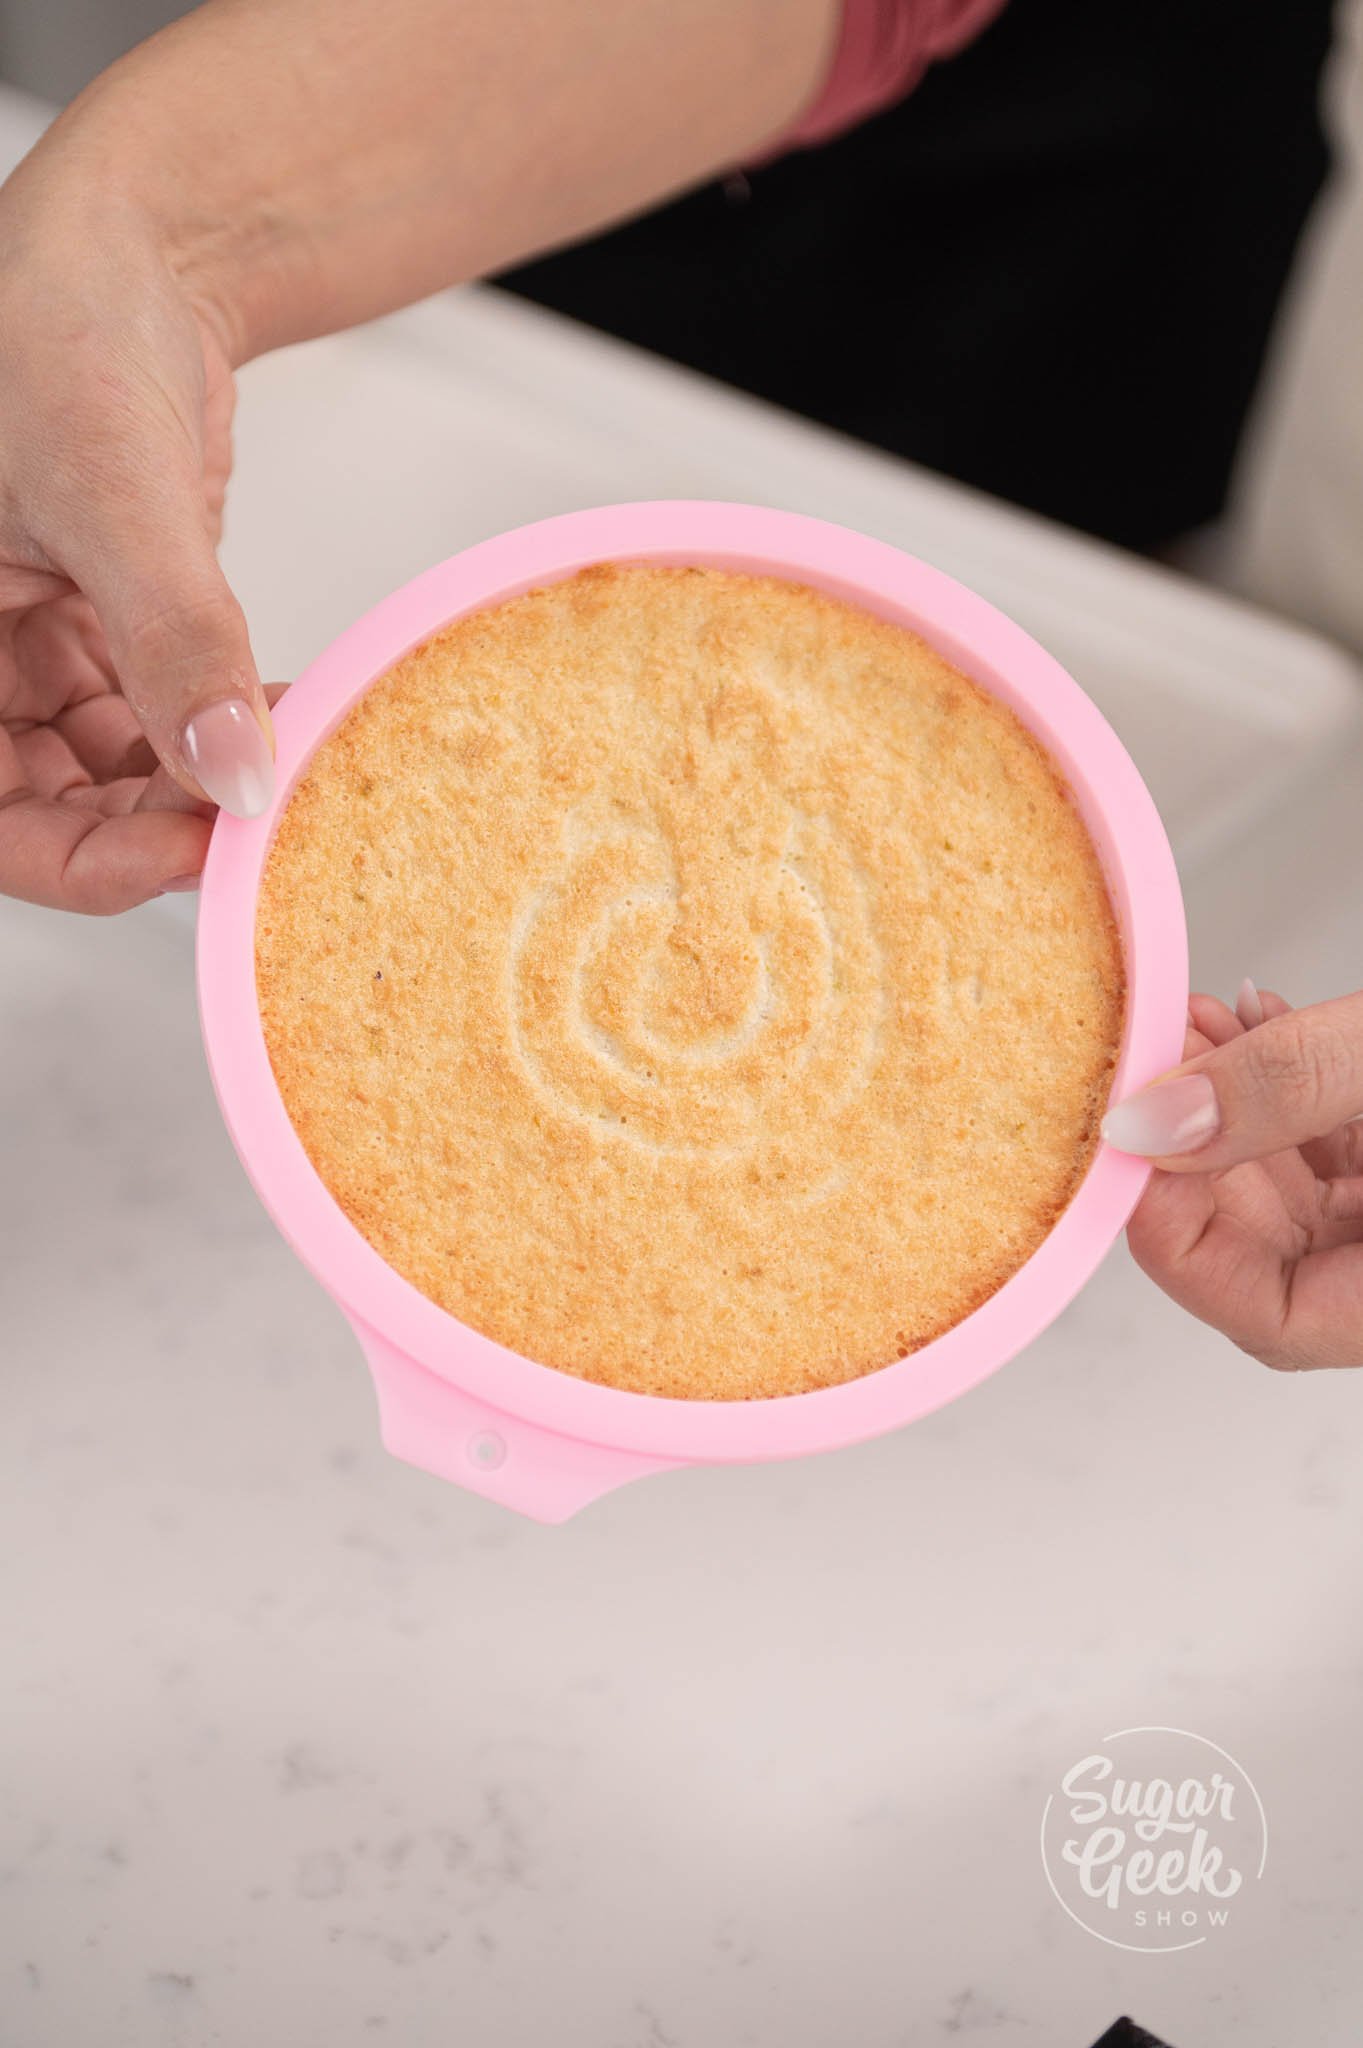
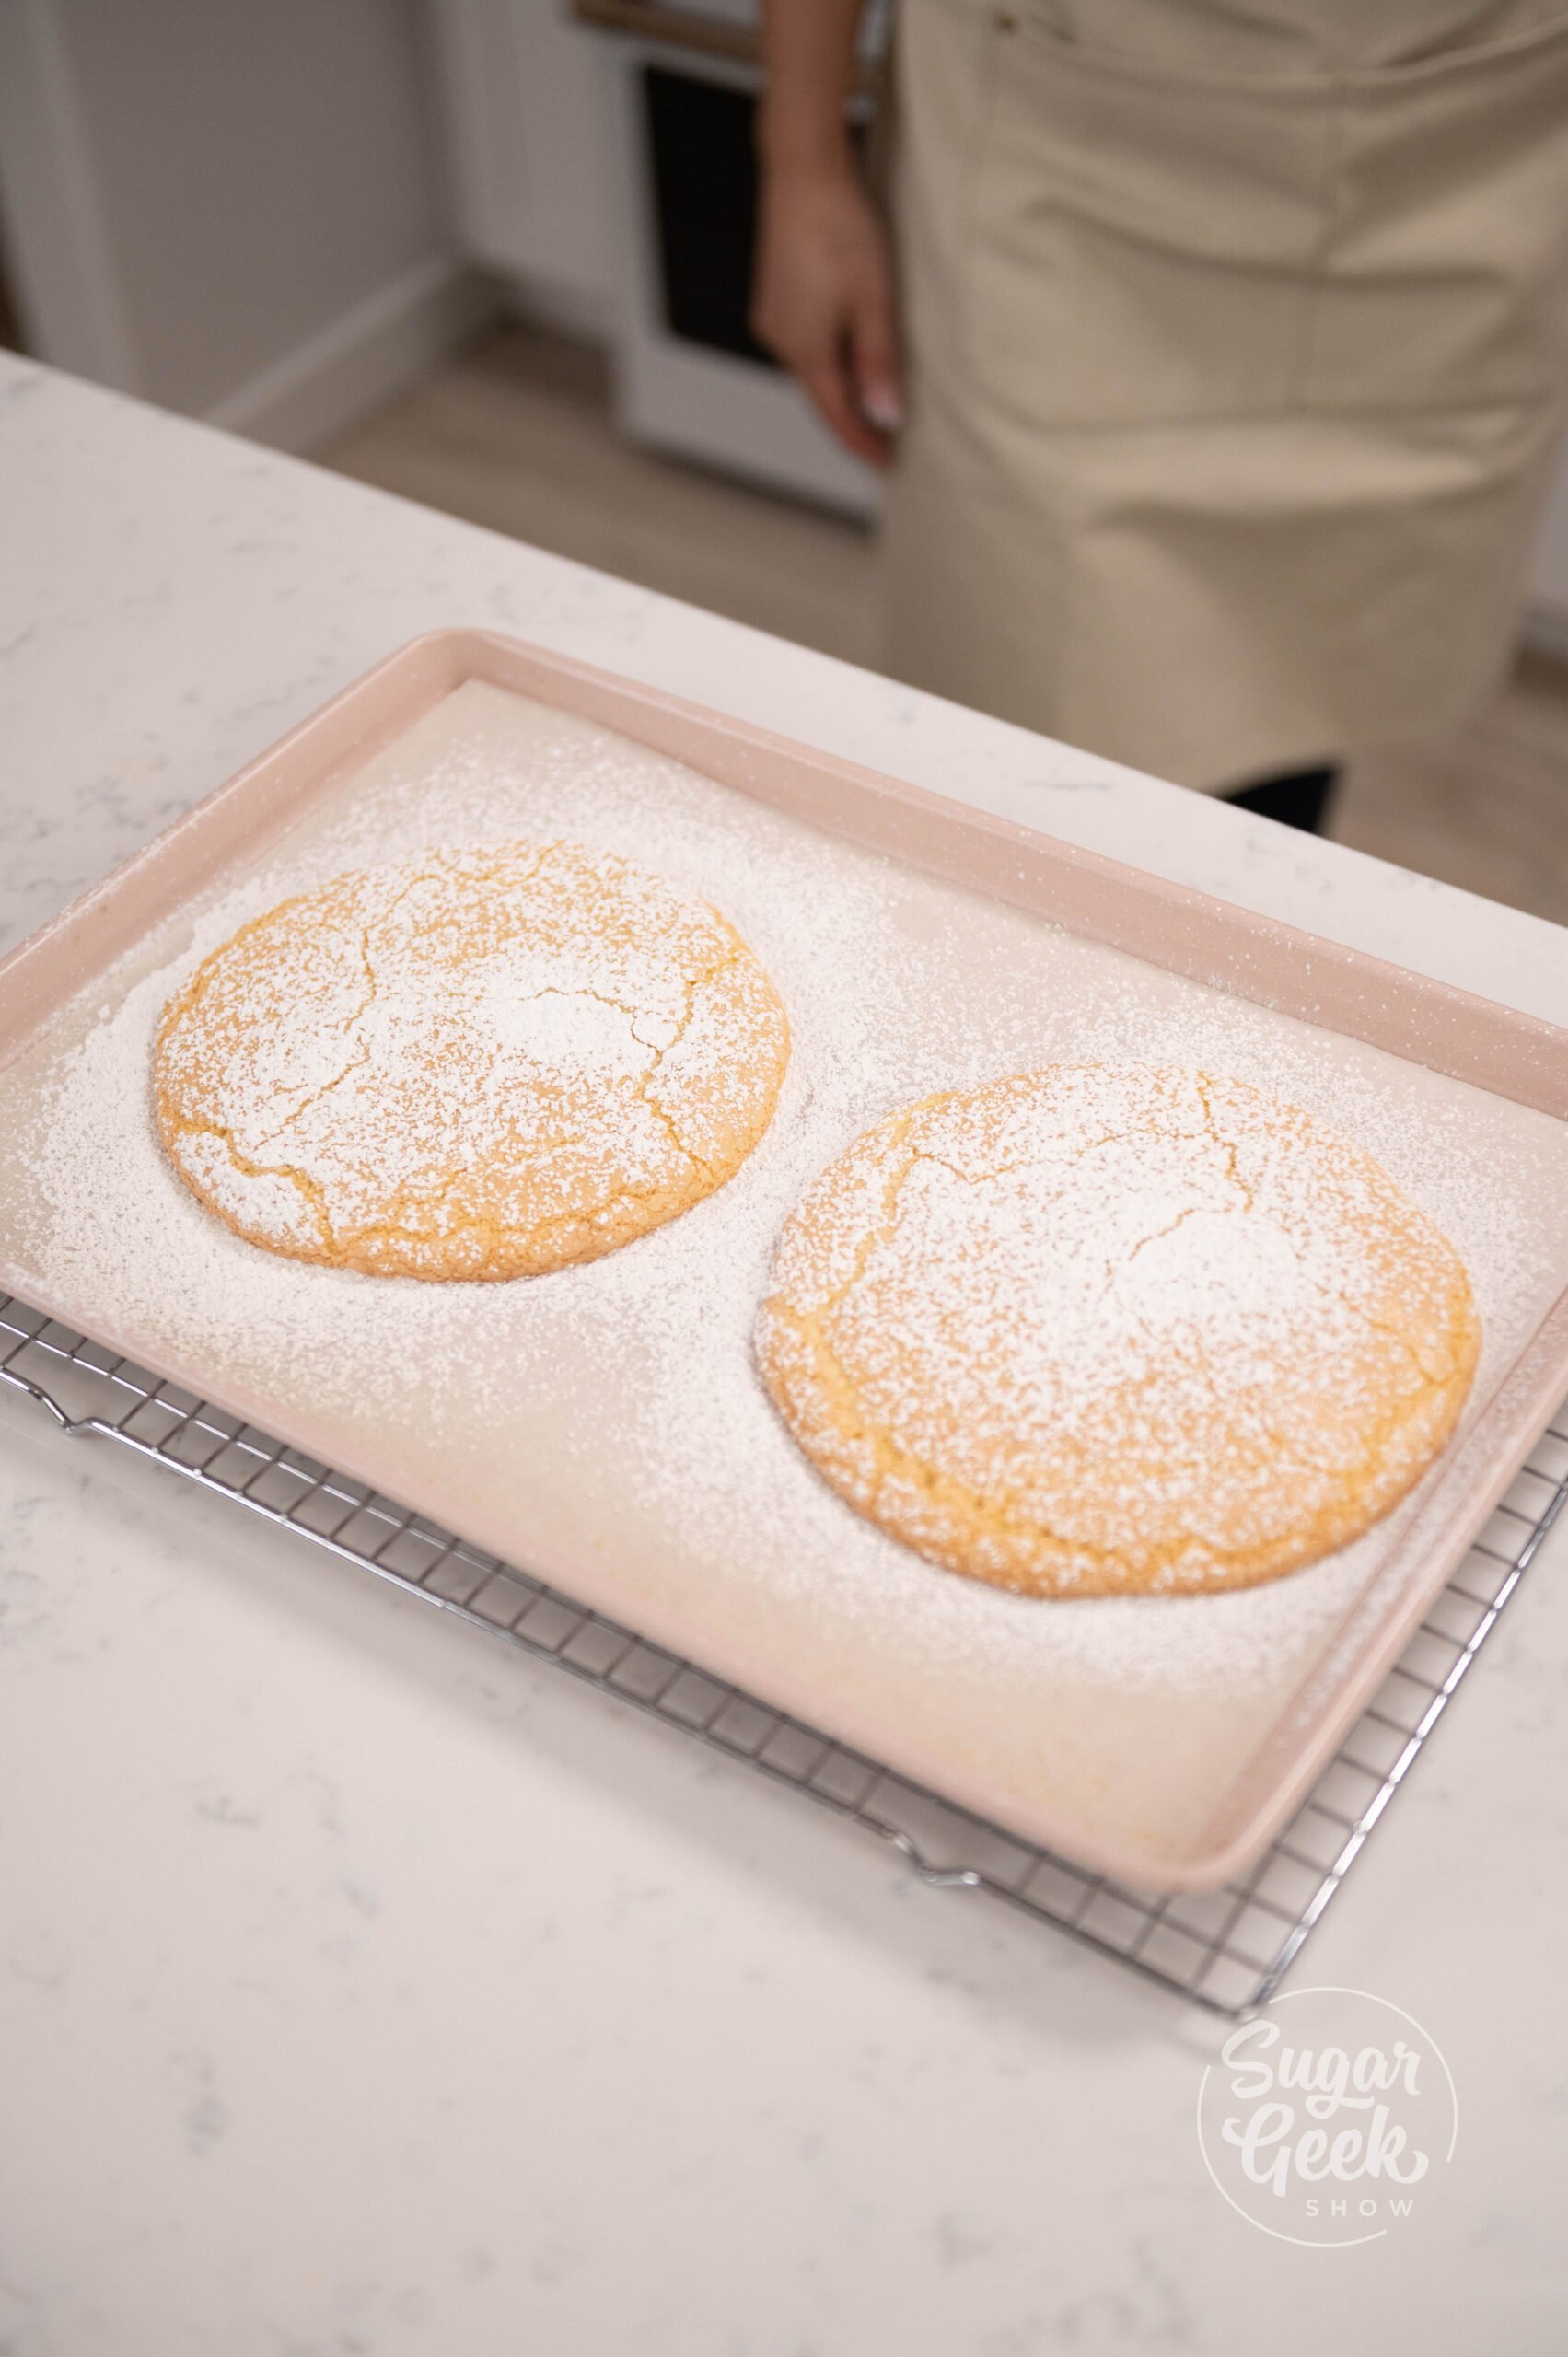
- Bake in the oven for about 10 minutes or until golden brown.

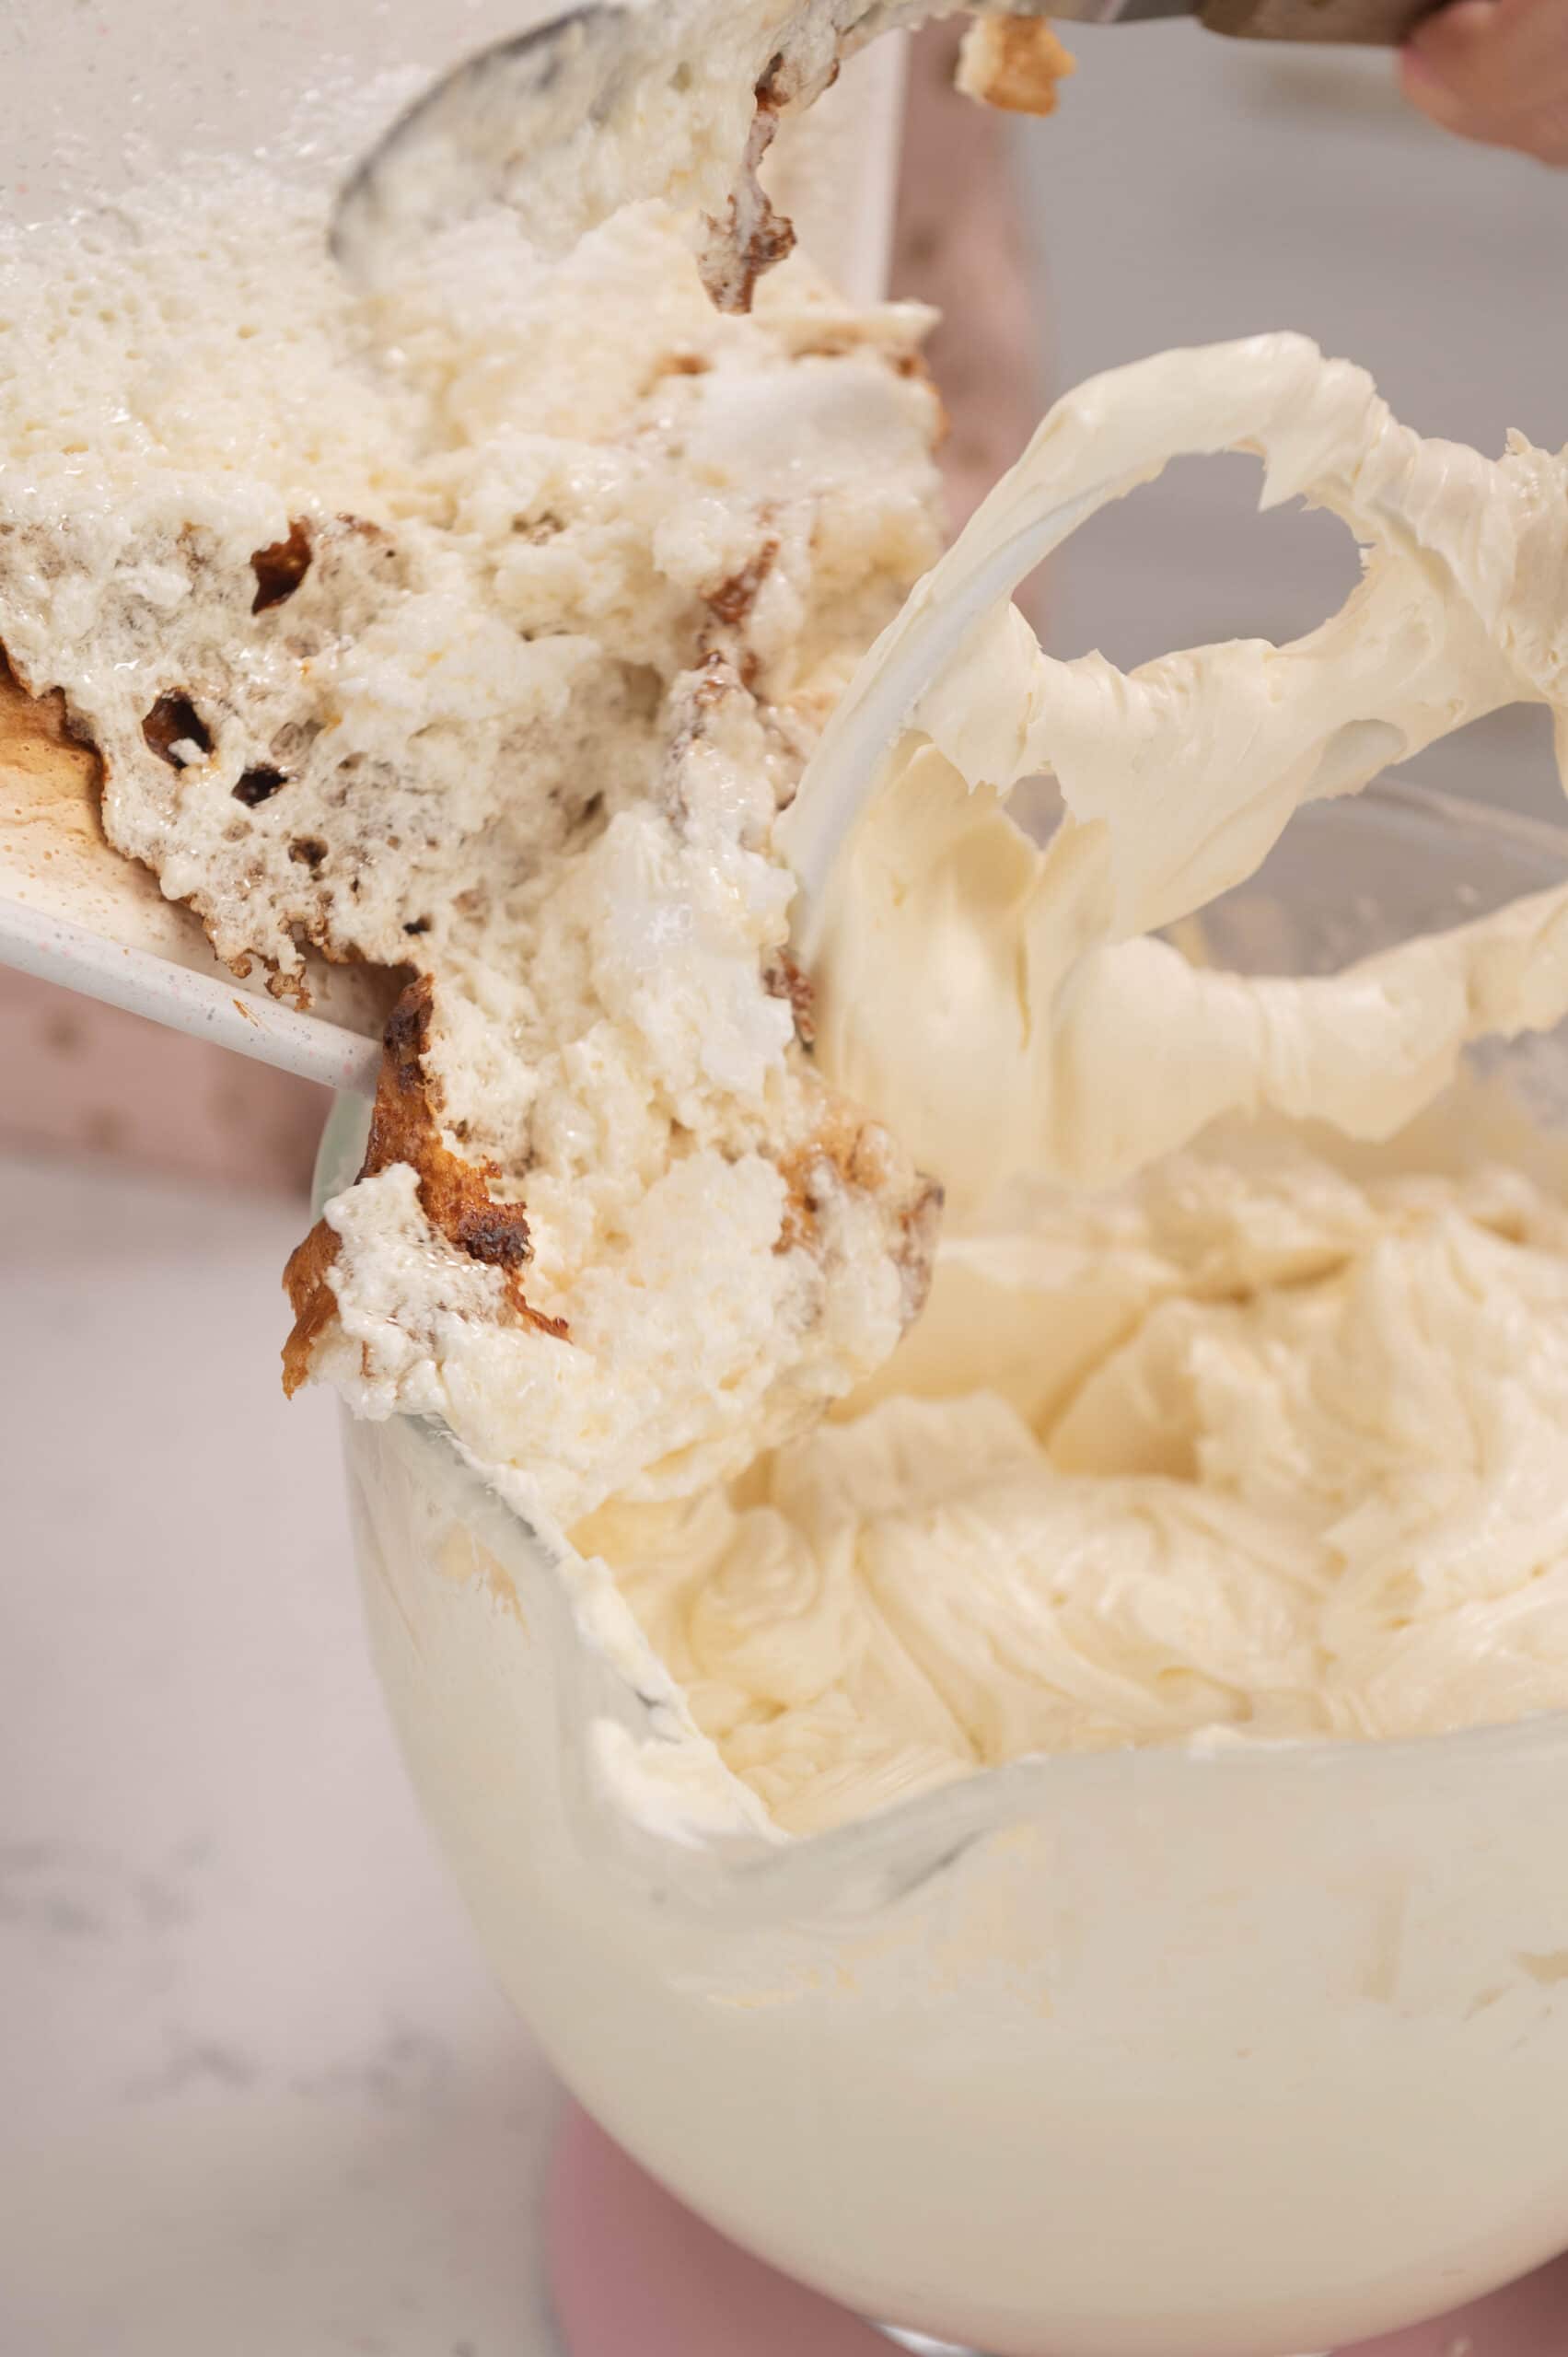
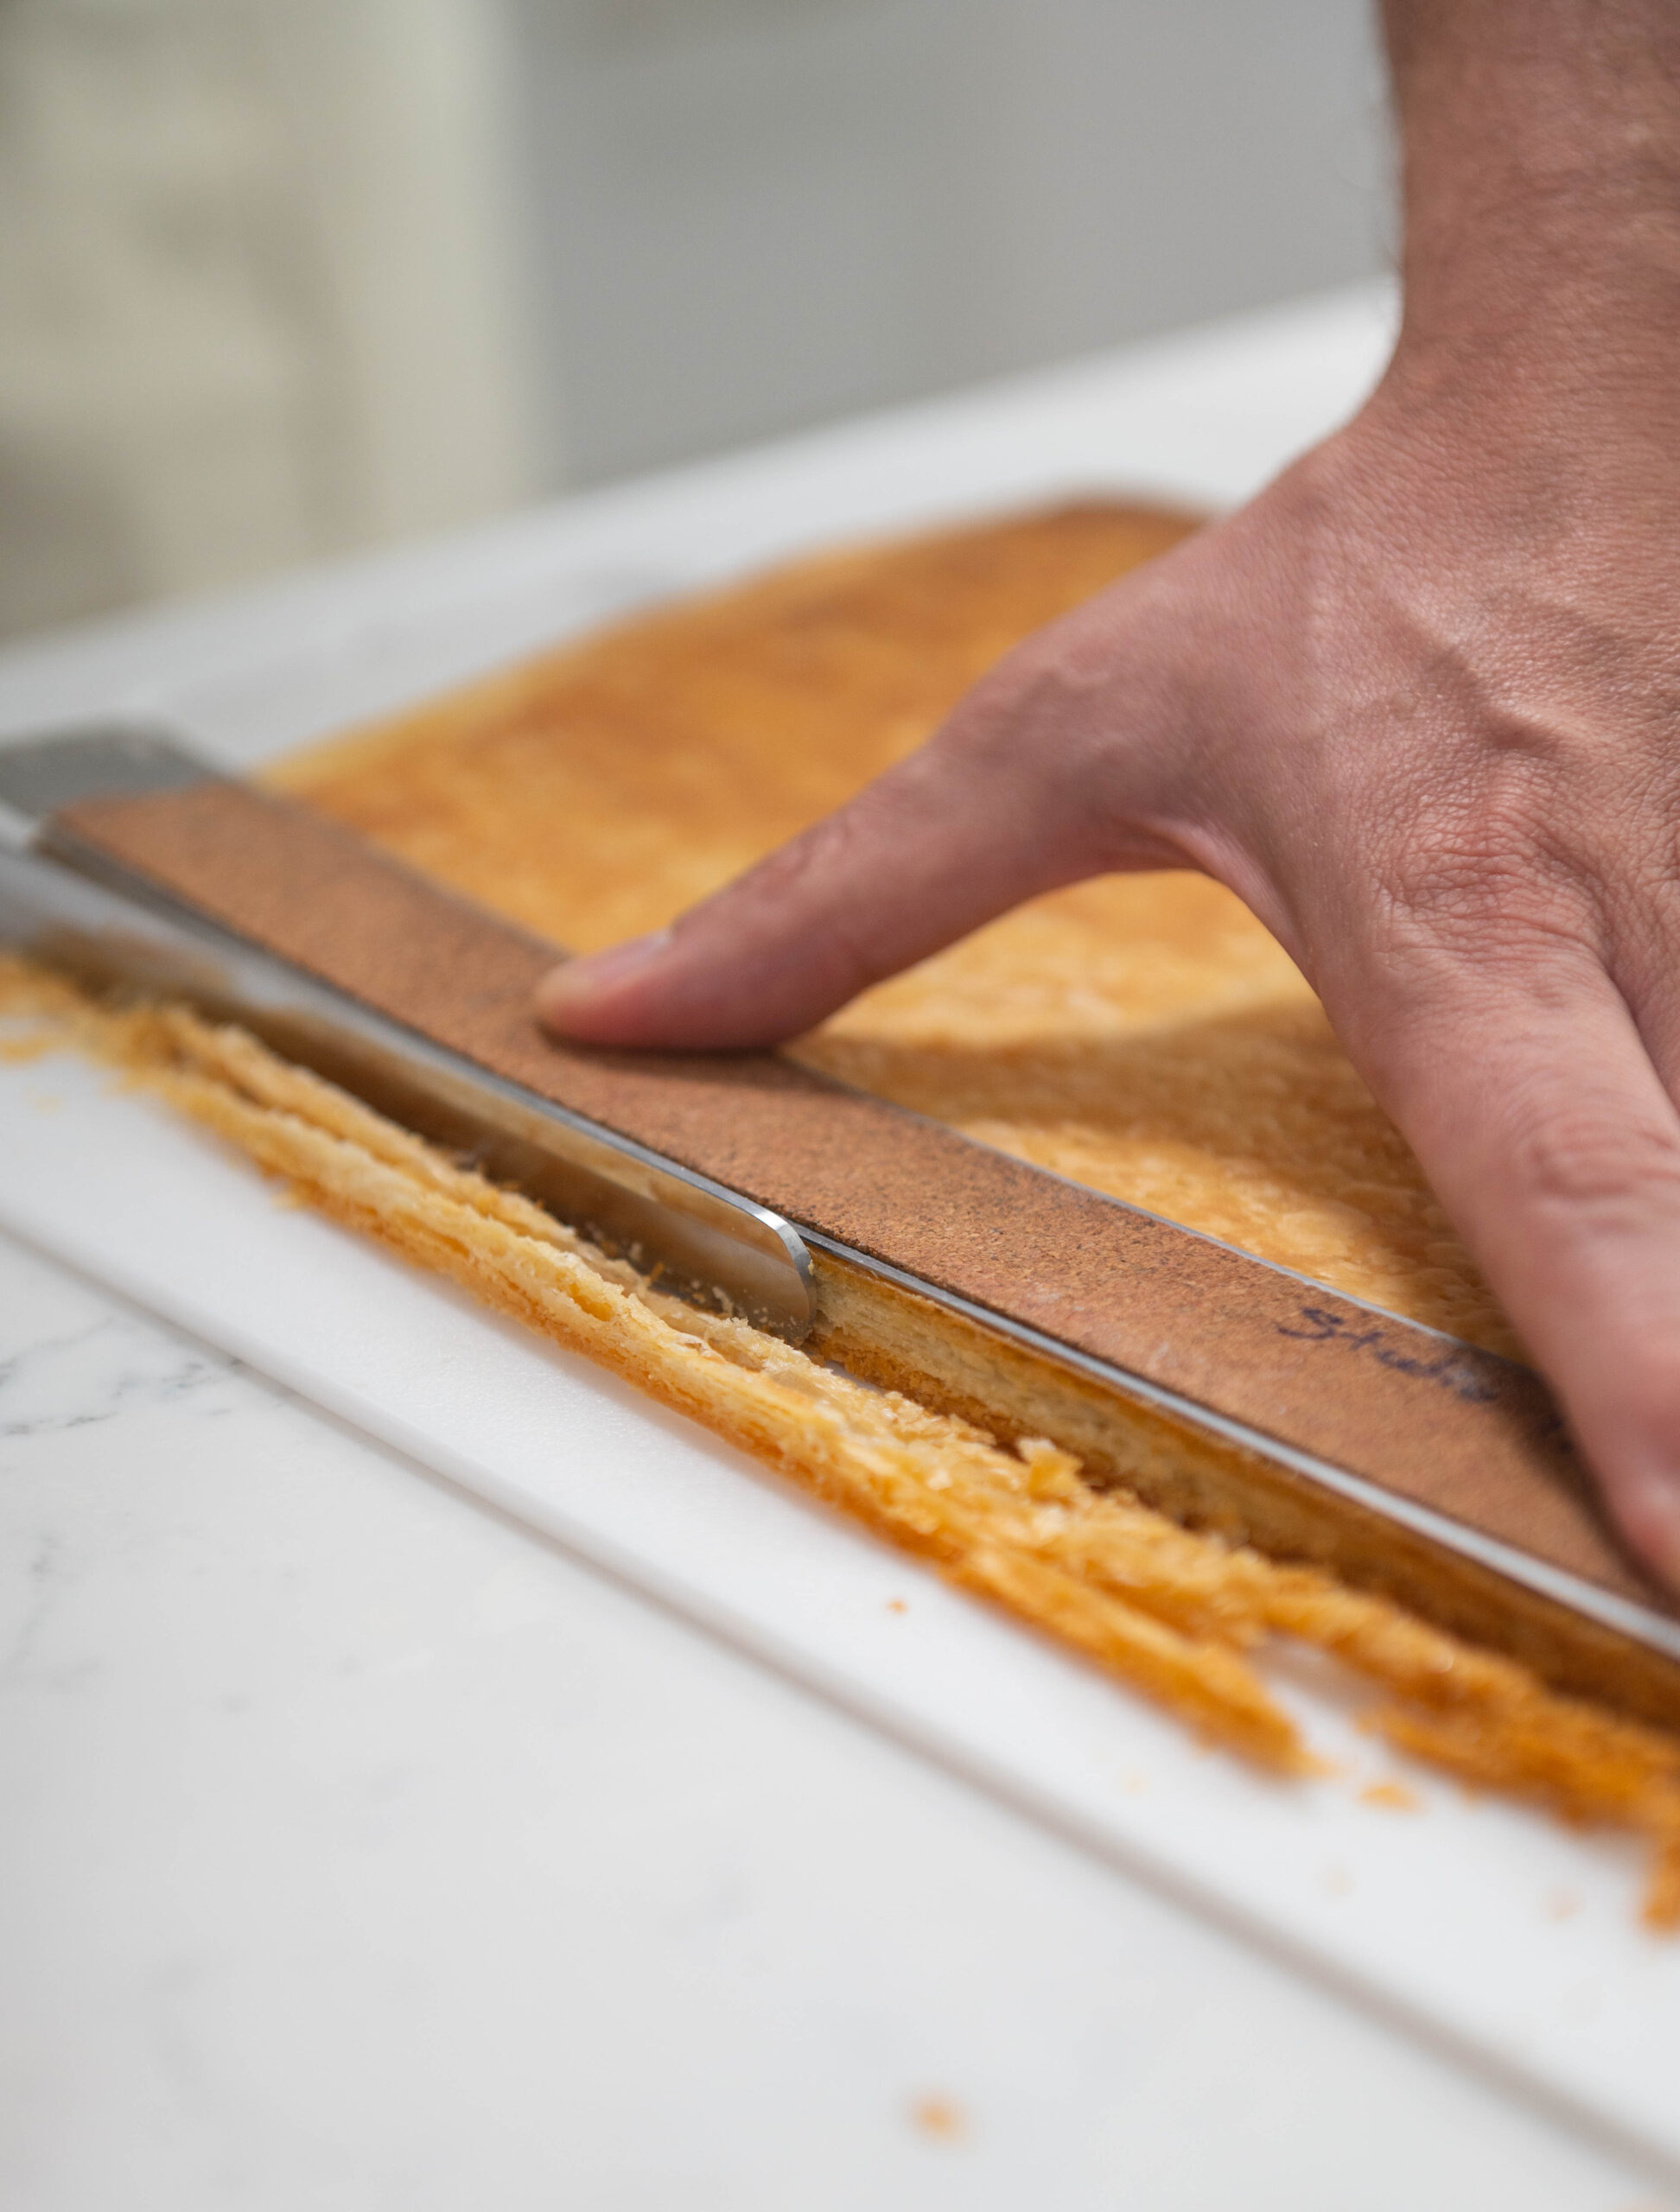
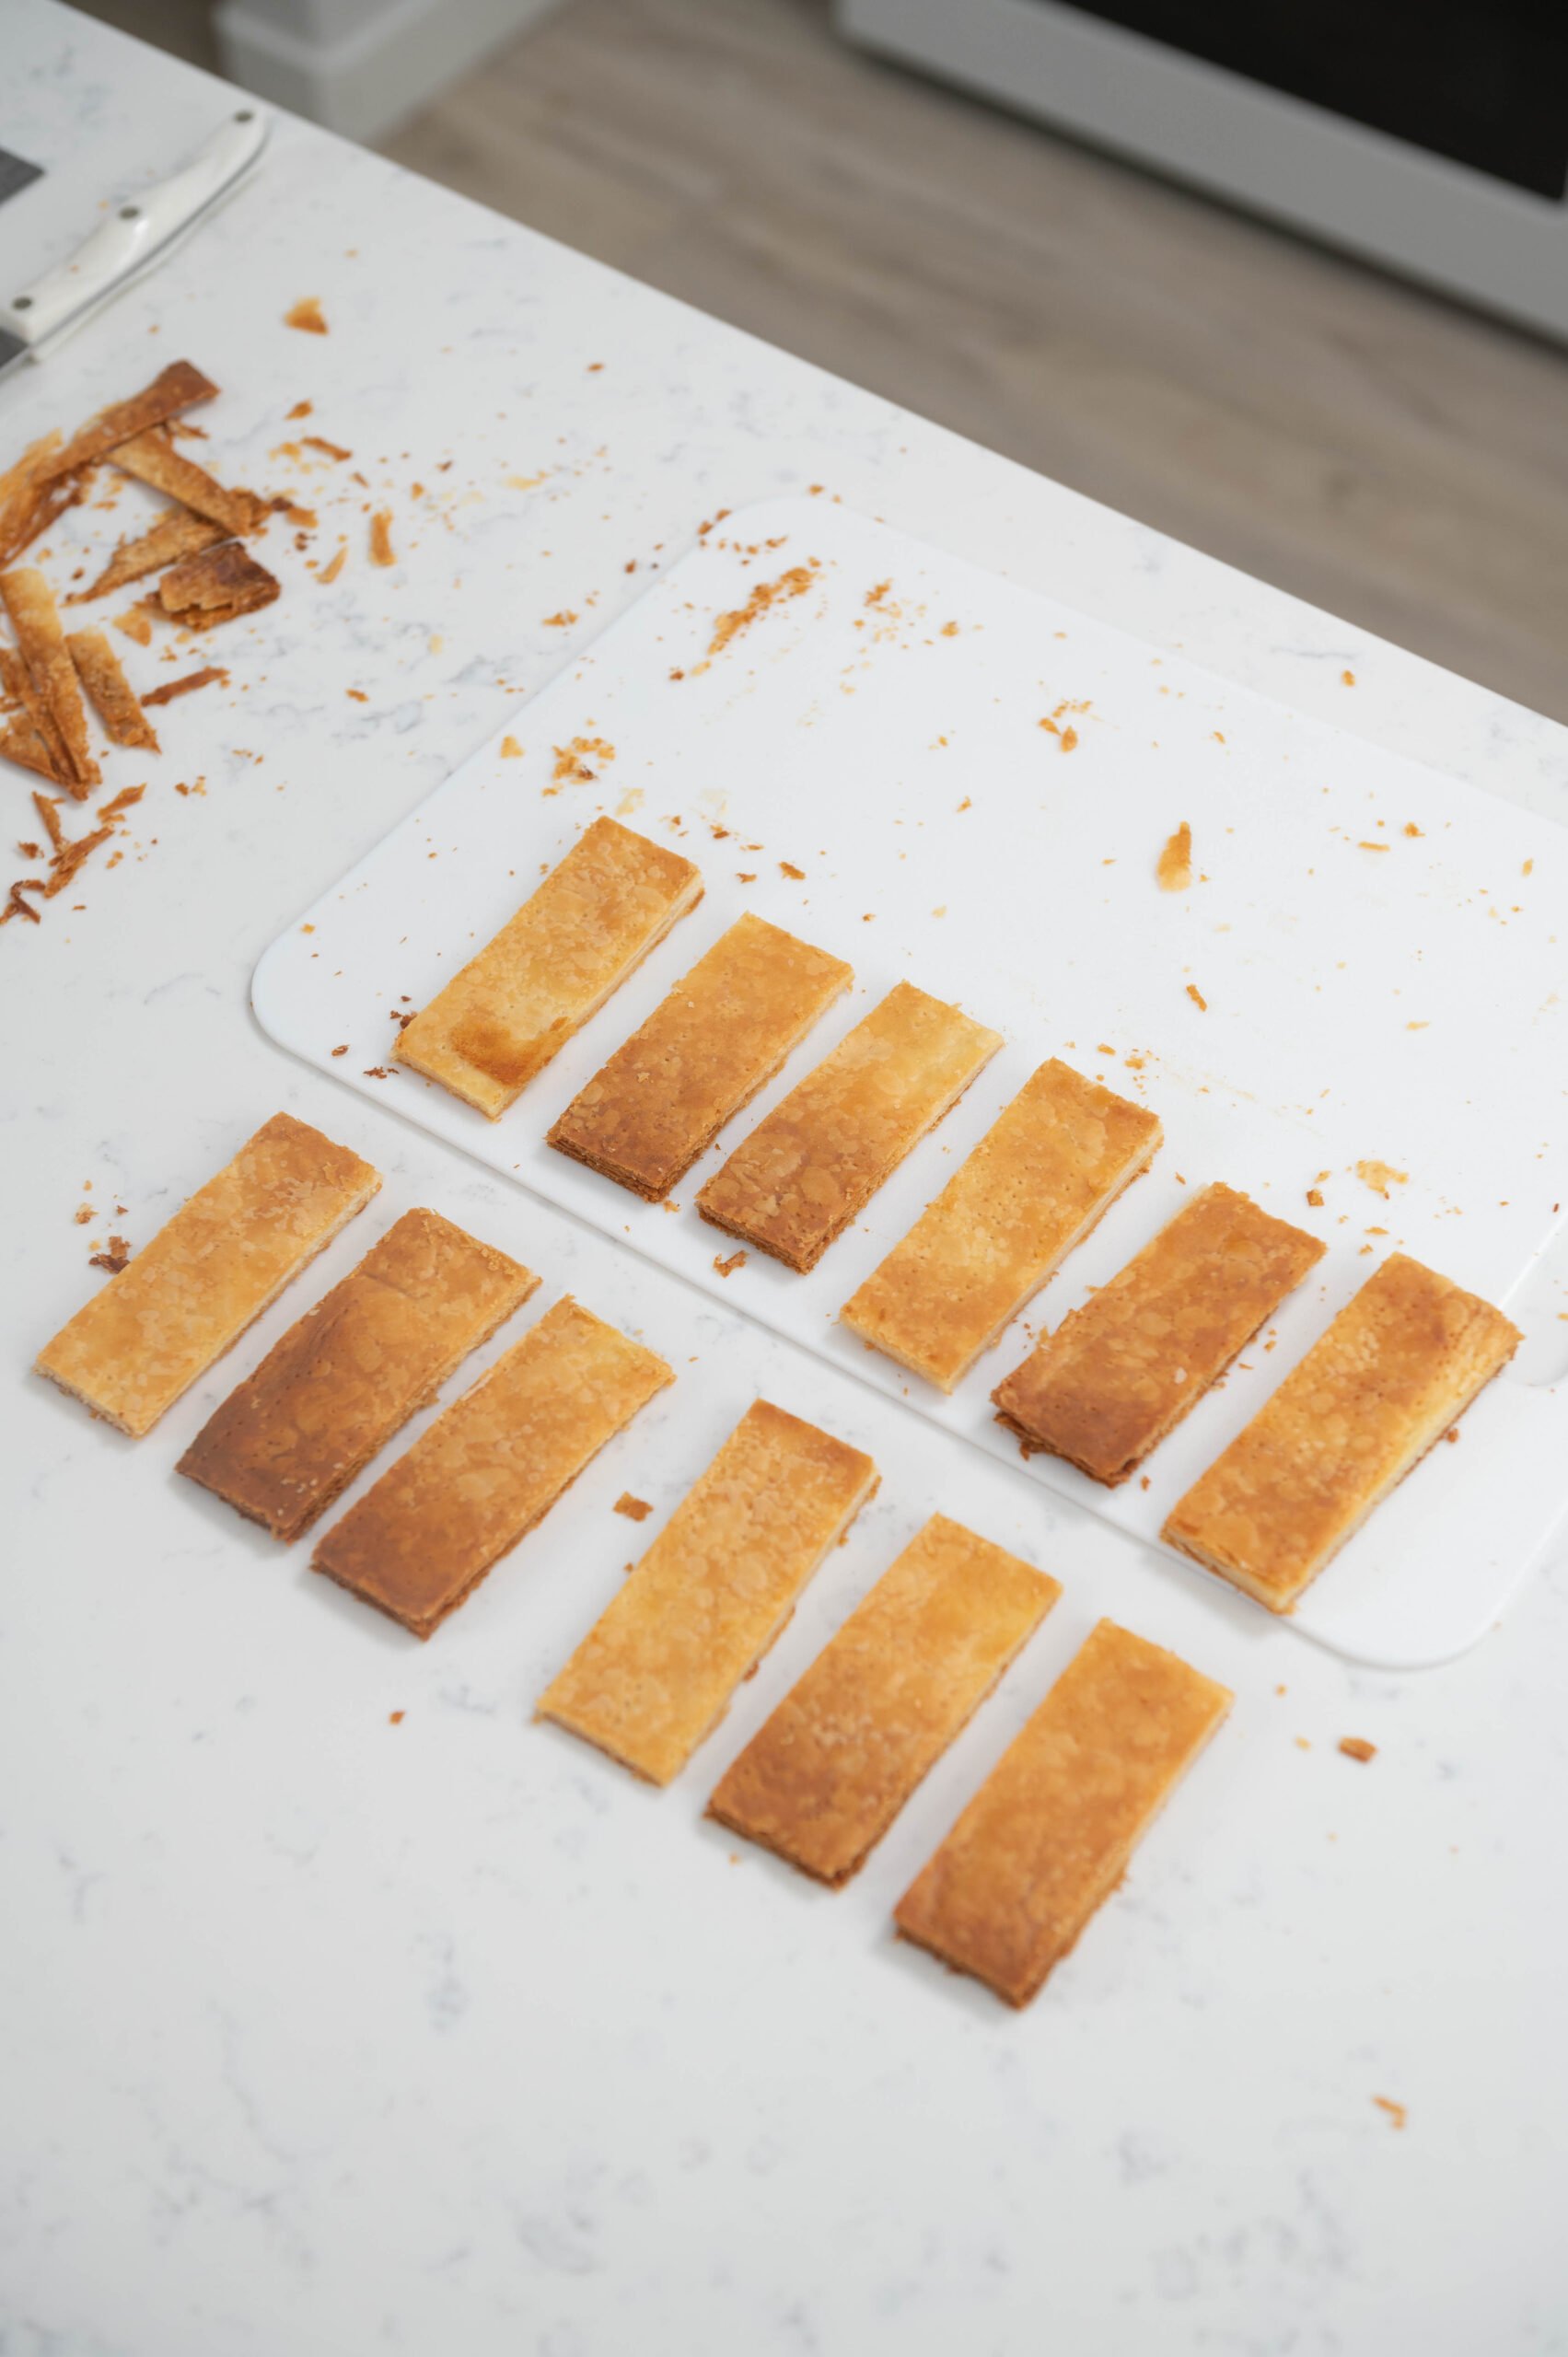
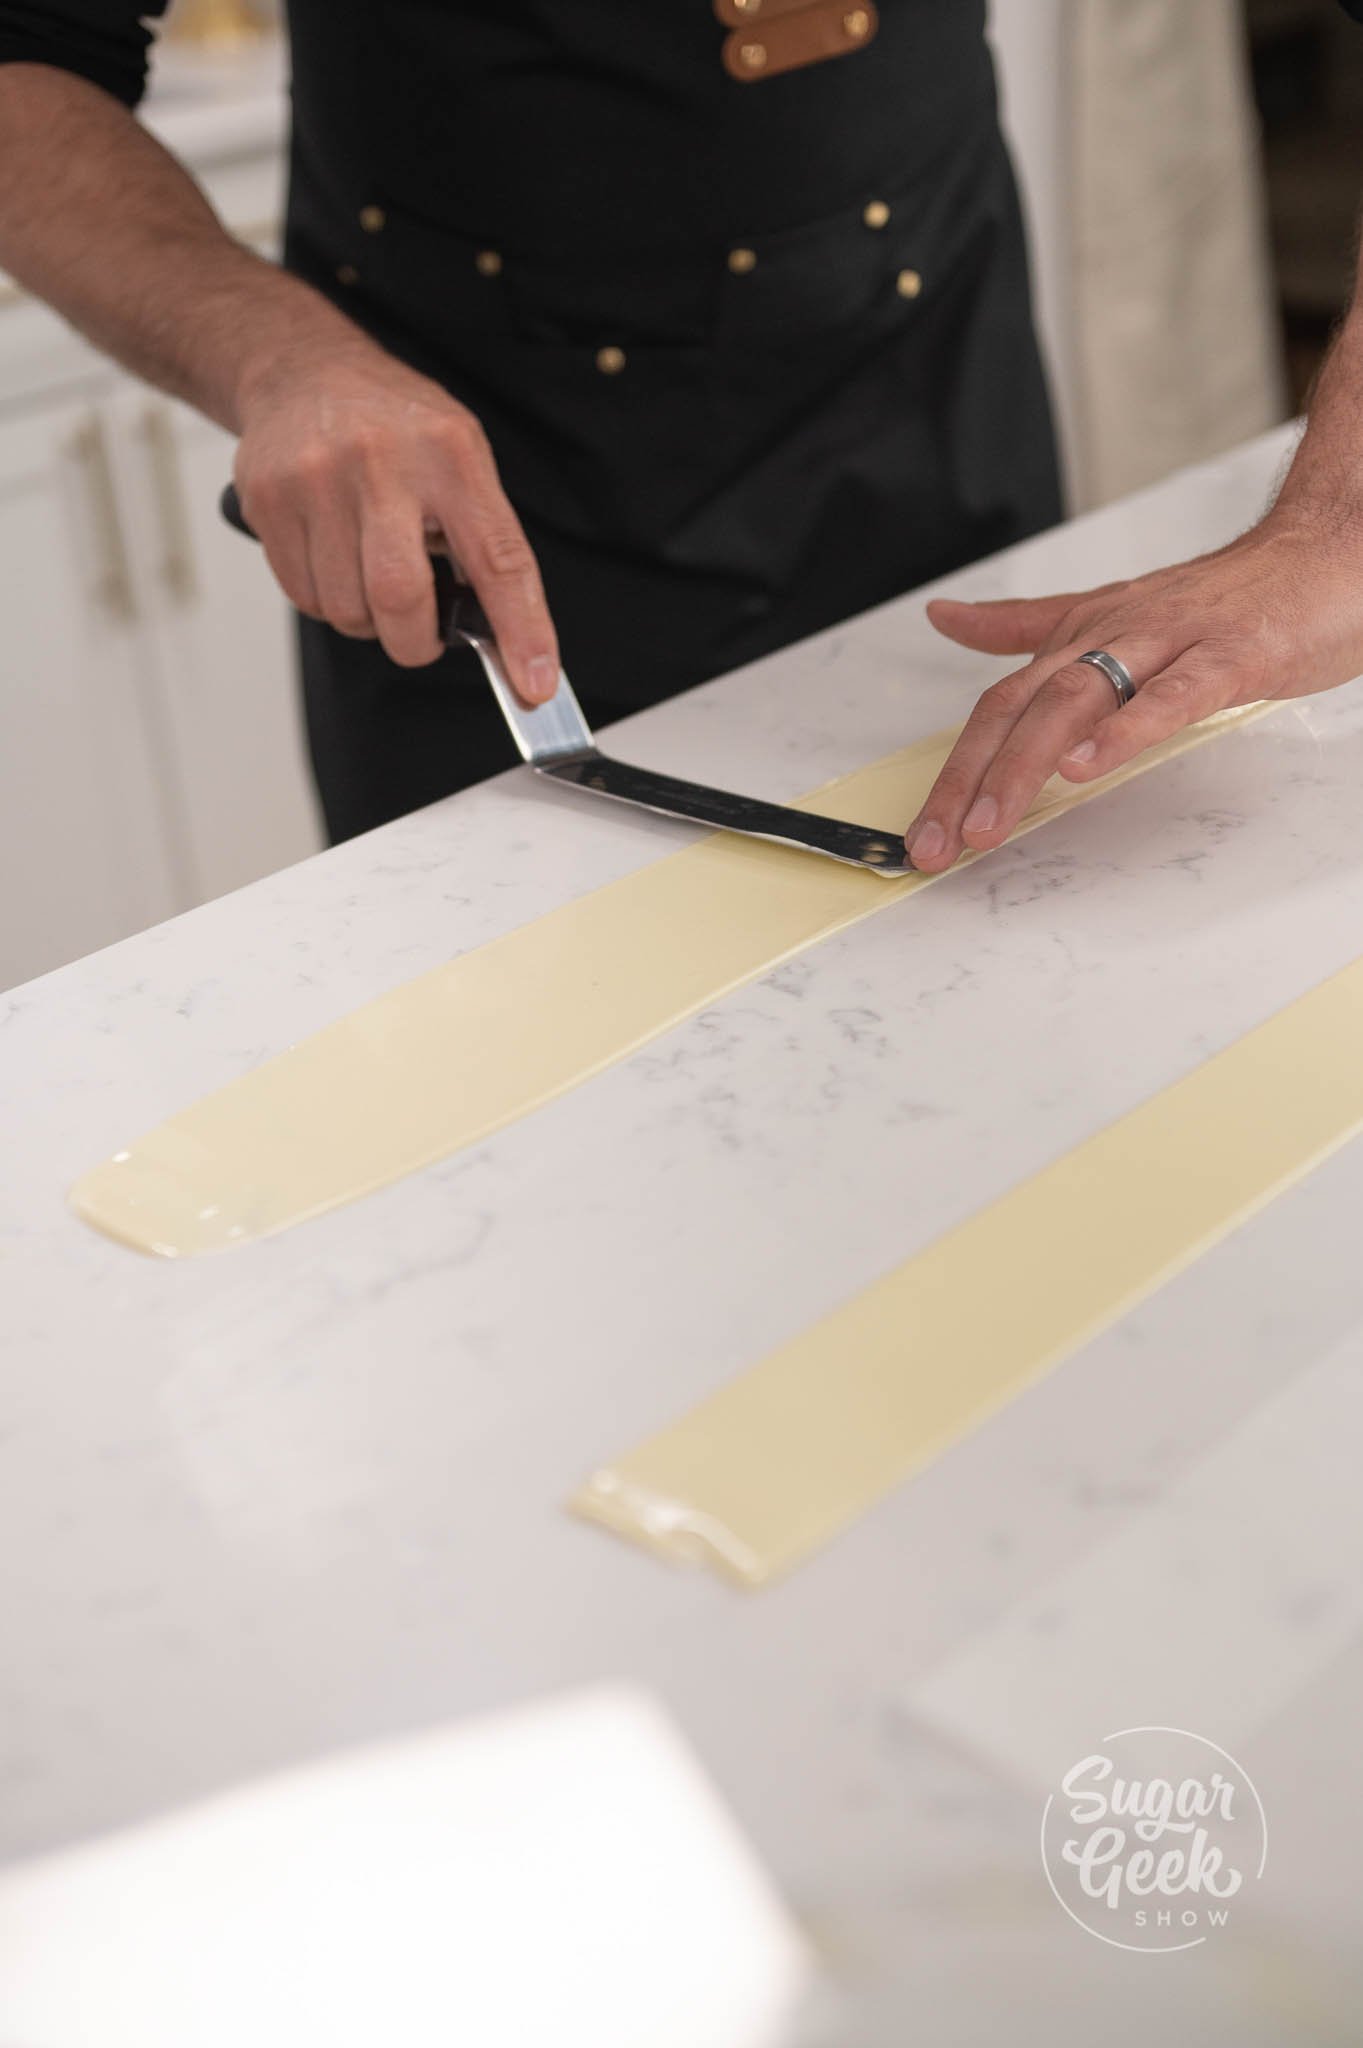
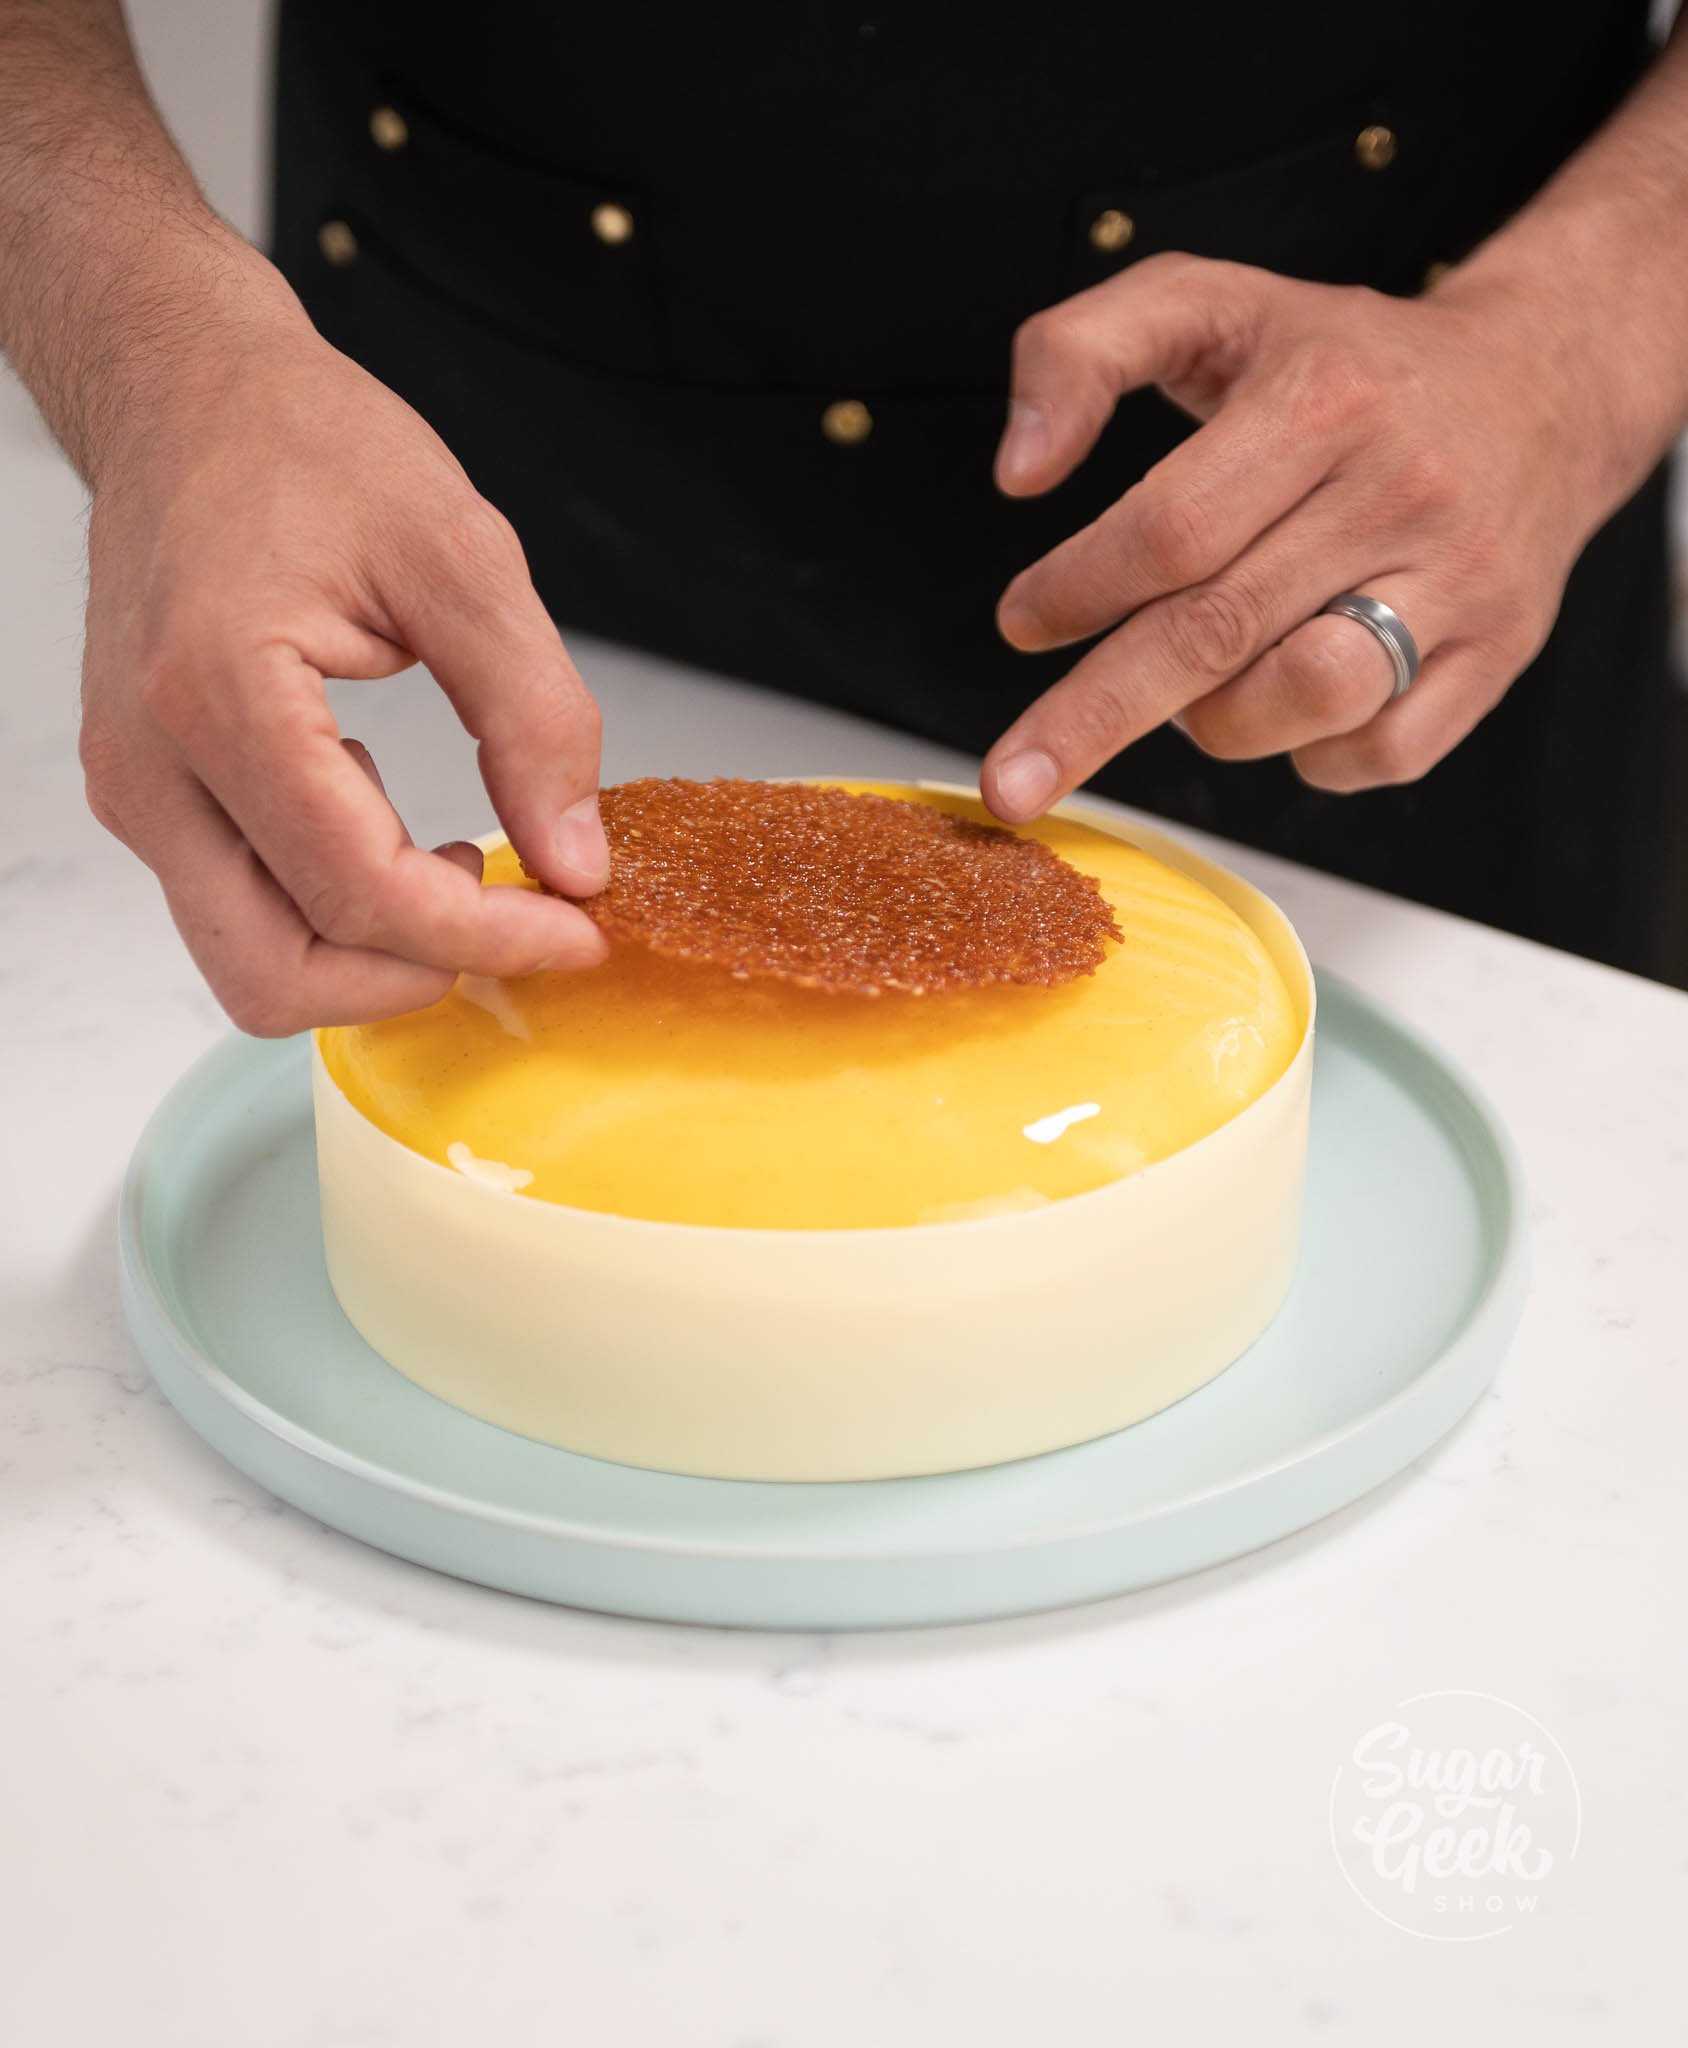
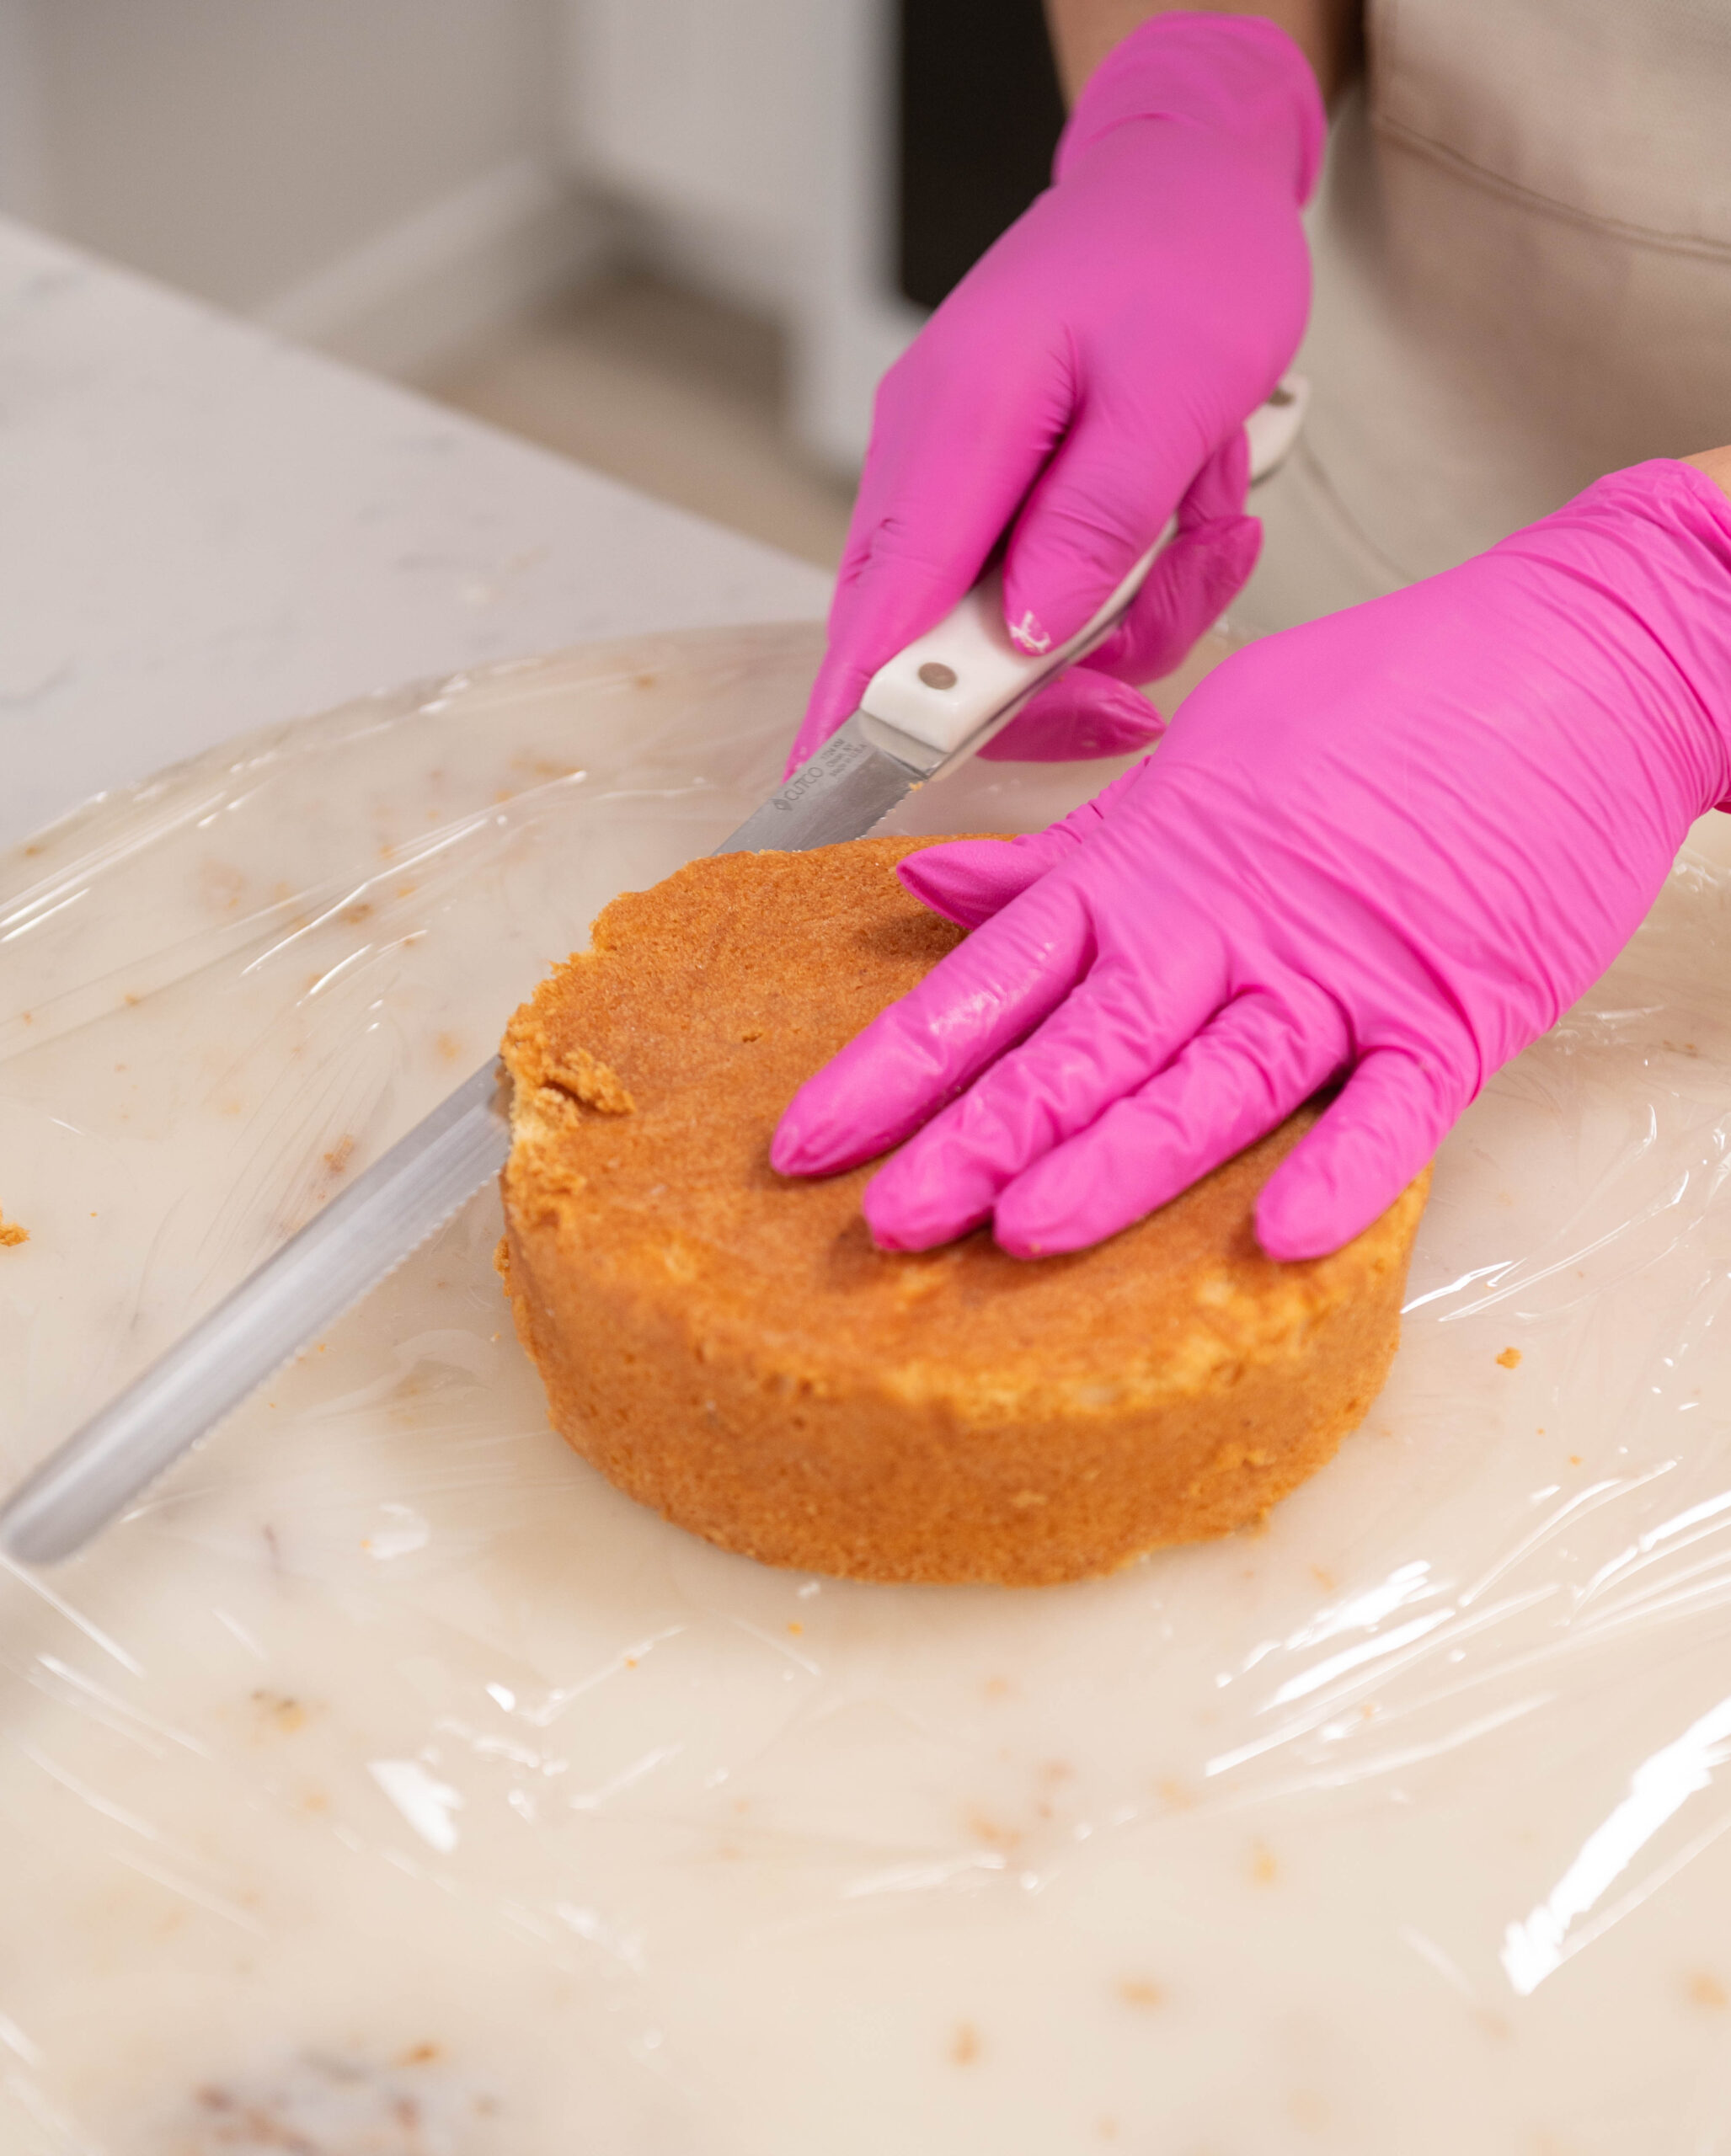
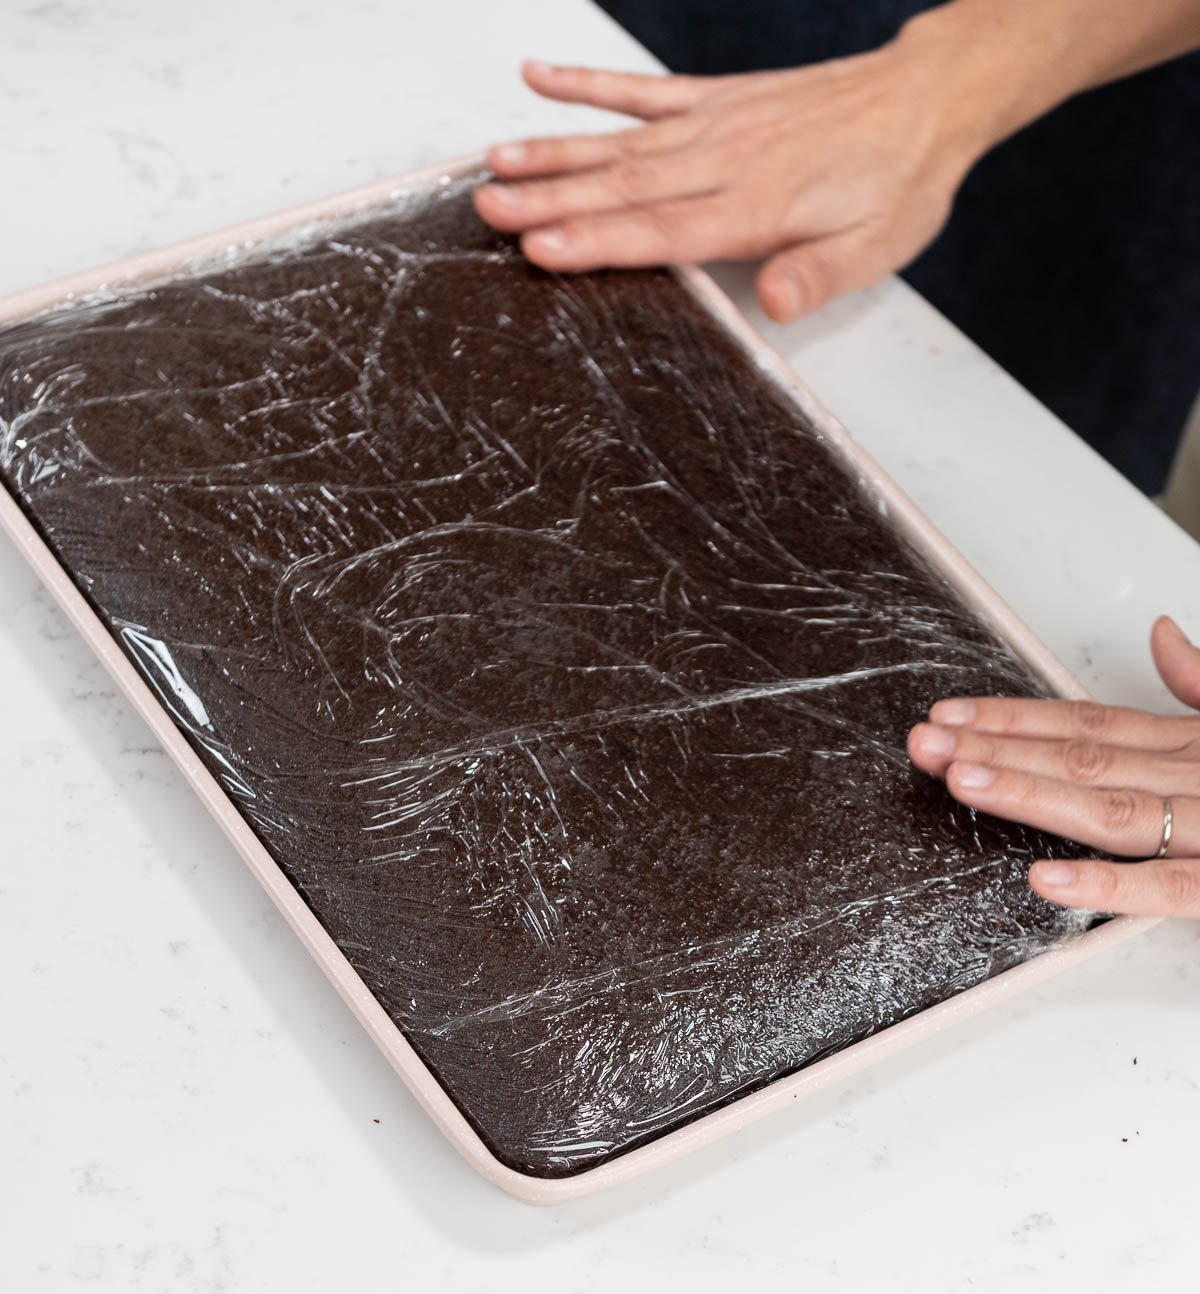
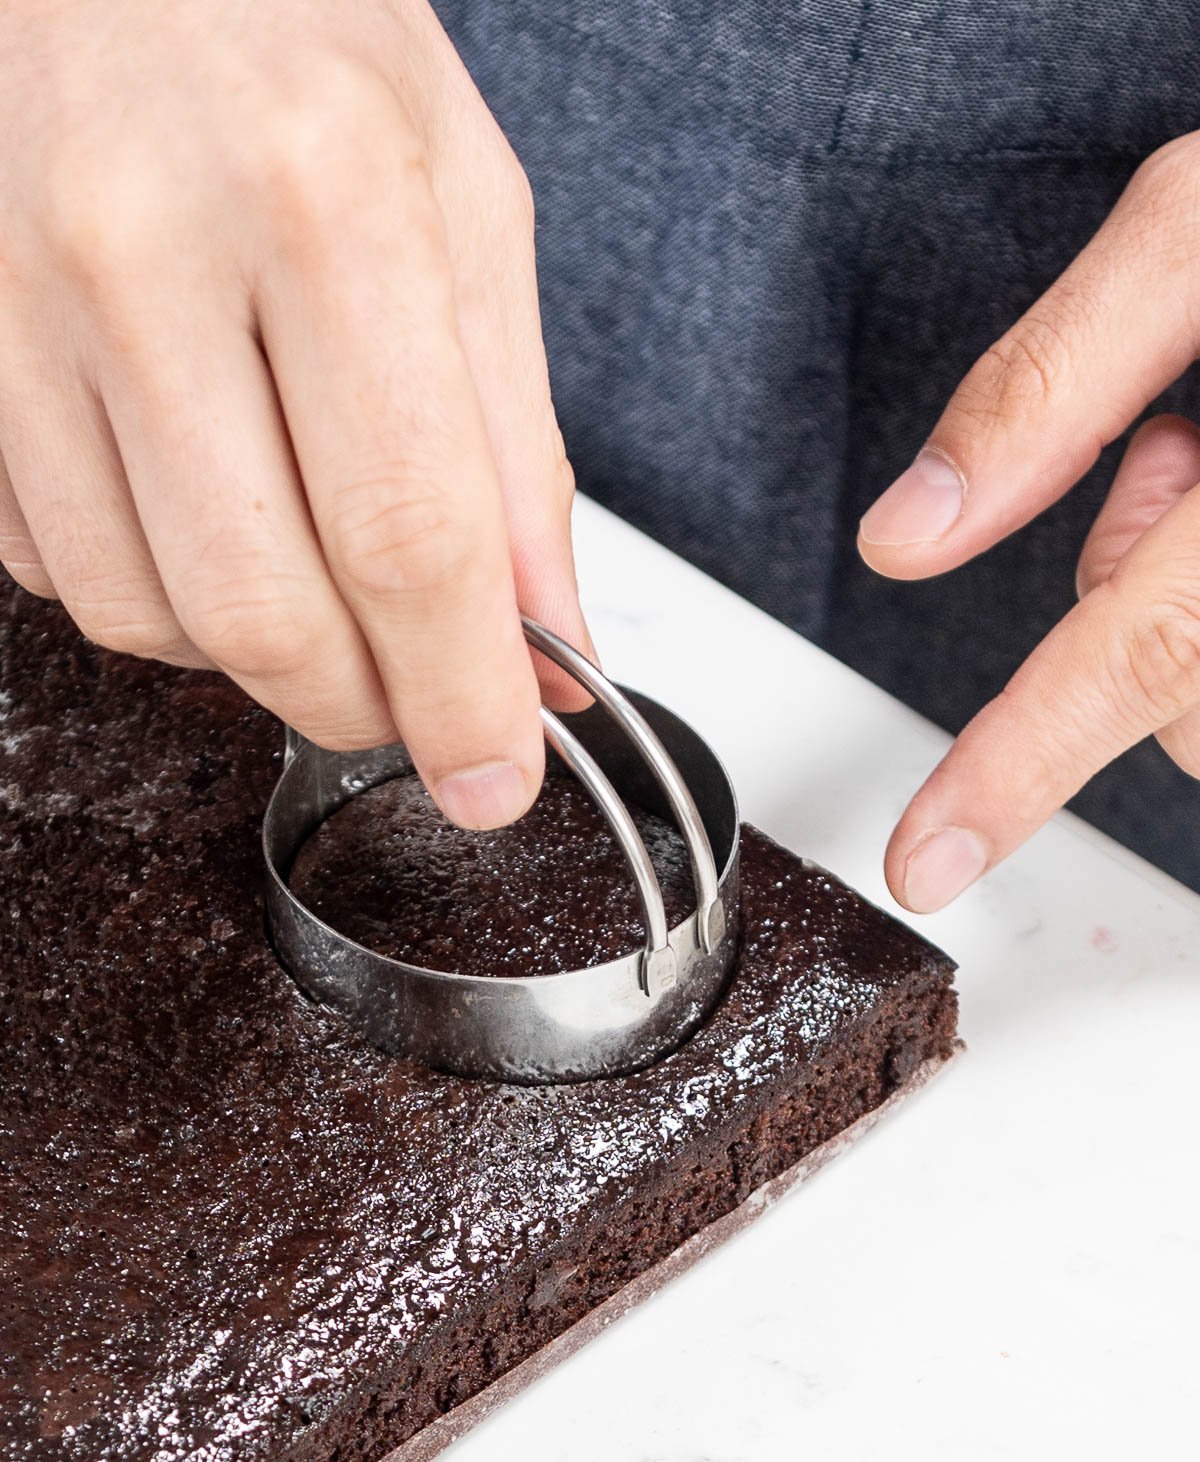
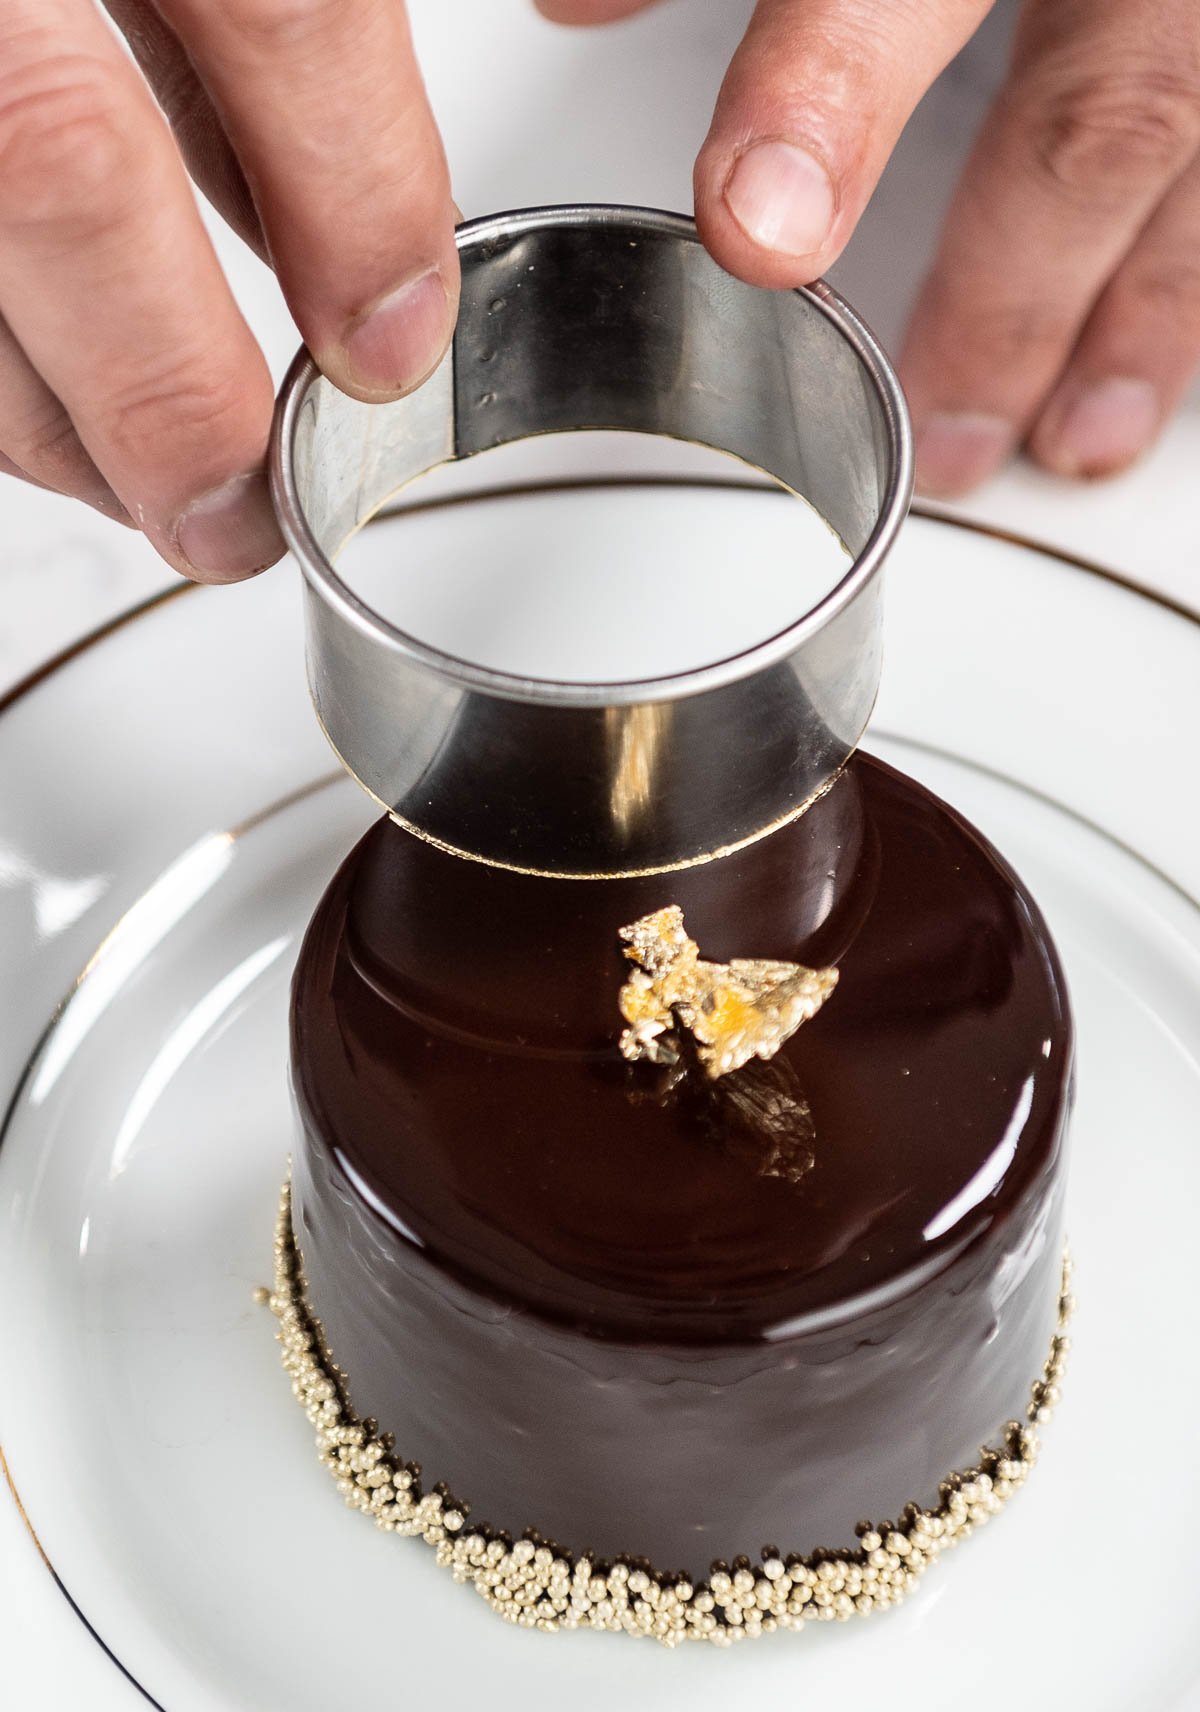
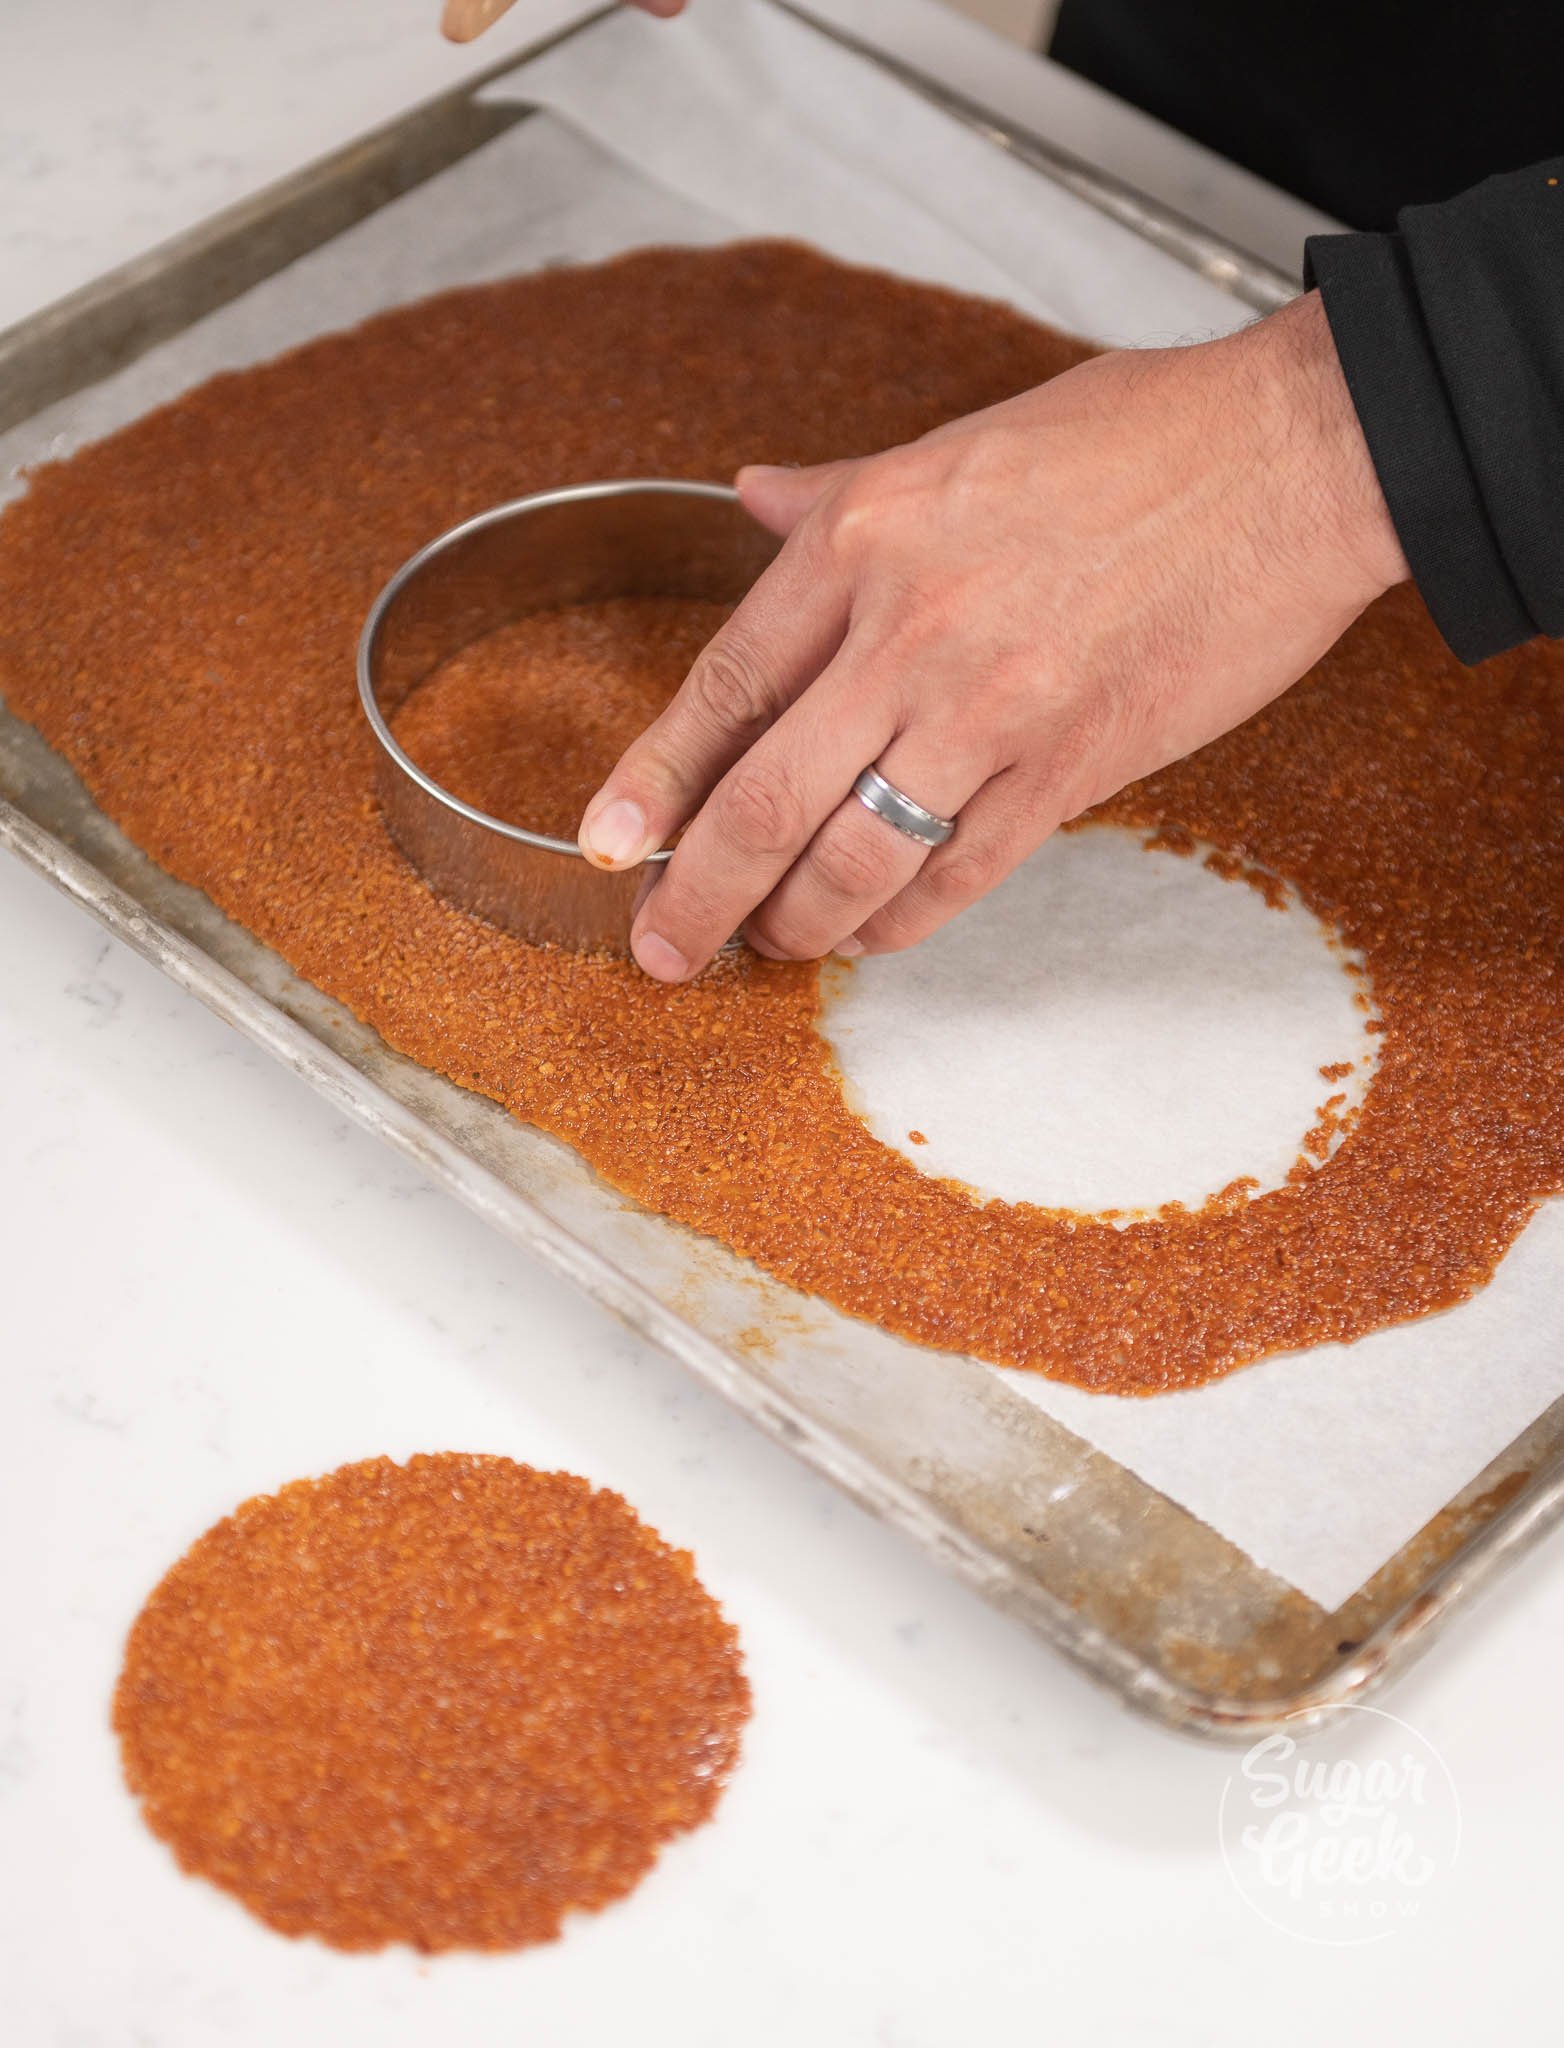
- Using a circle cutter or a knife, cut the nougatine right away. (Once it cools down it will set and be too hard to cut.)

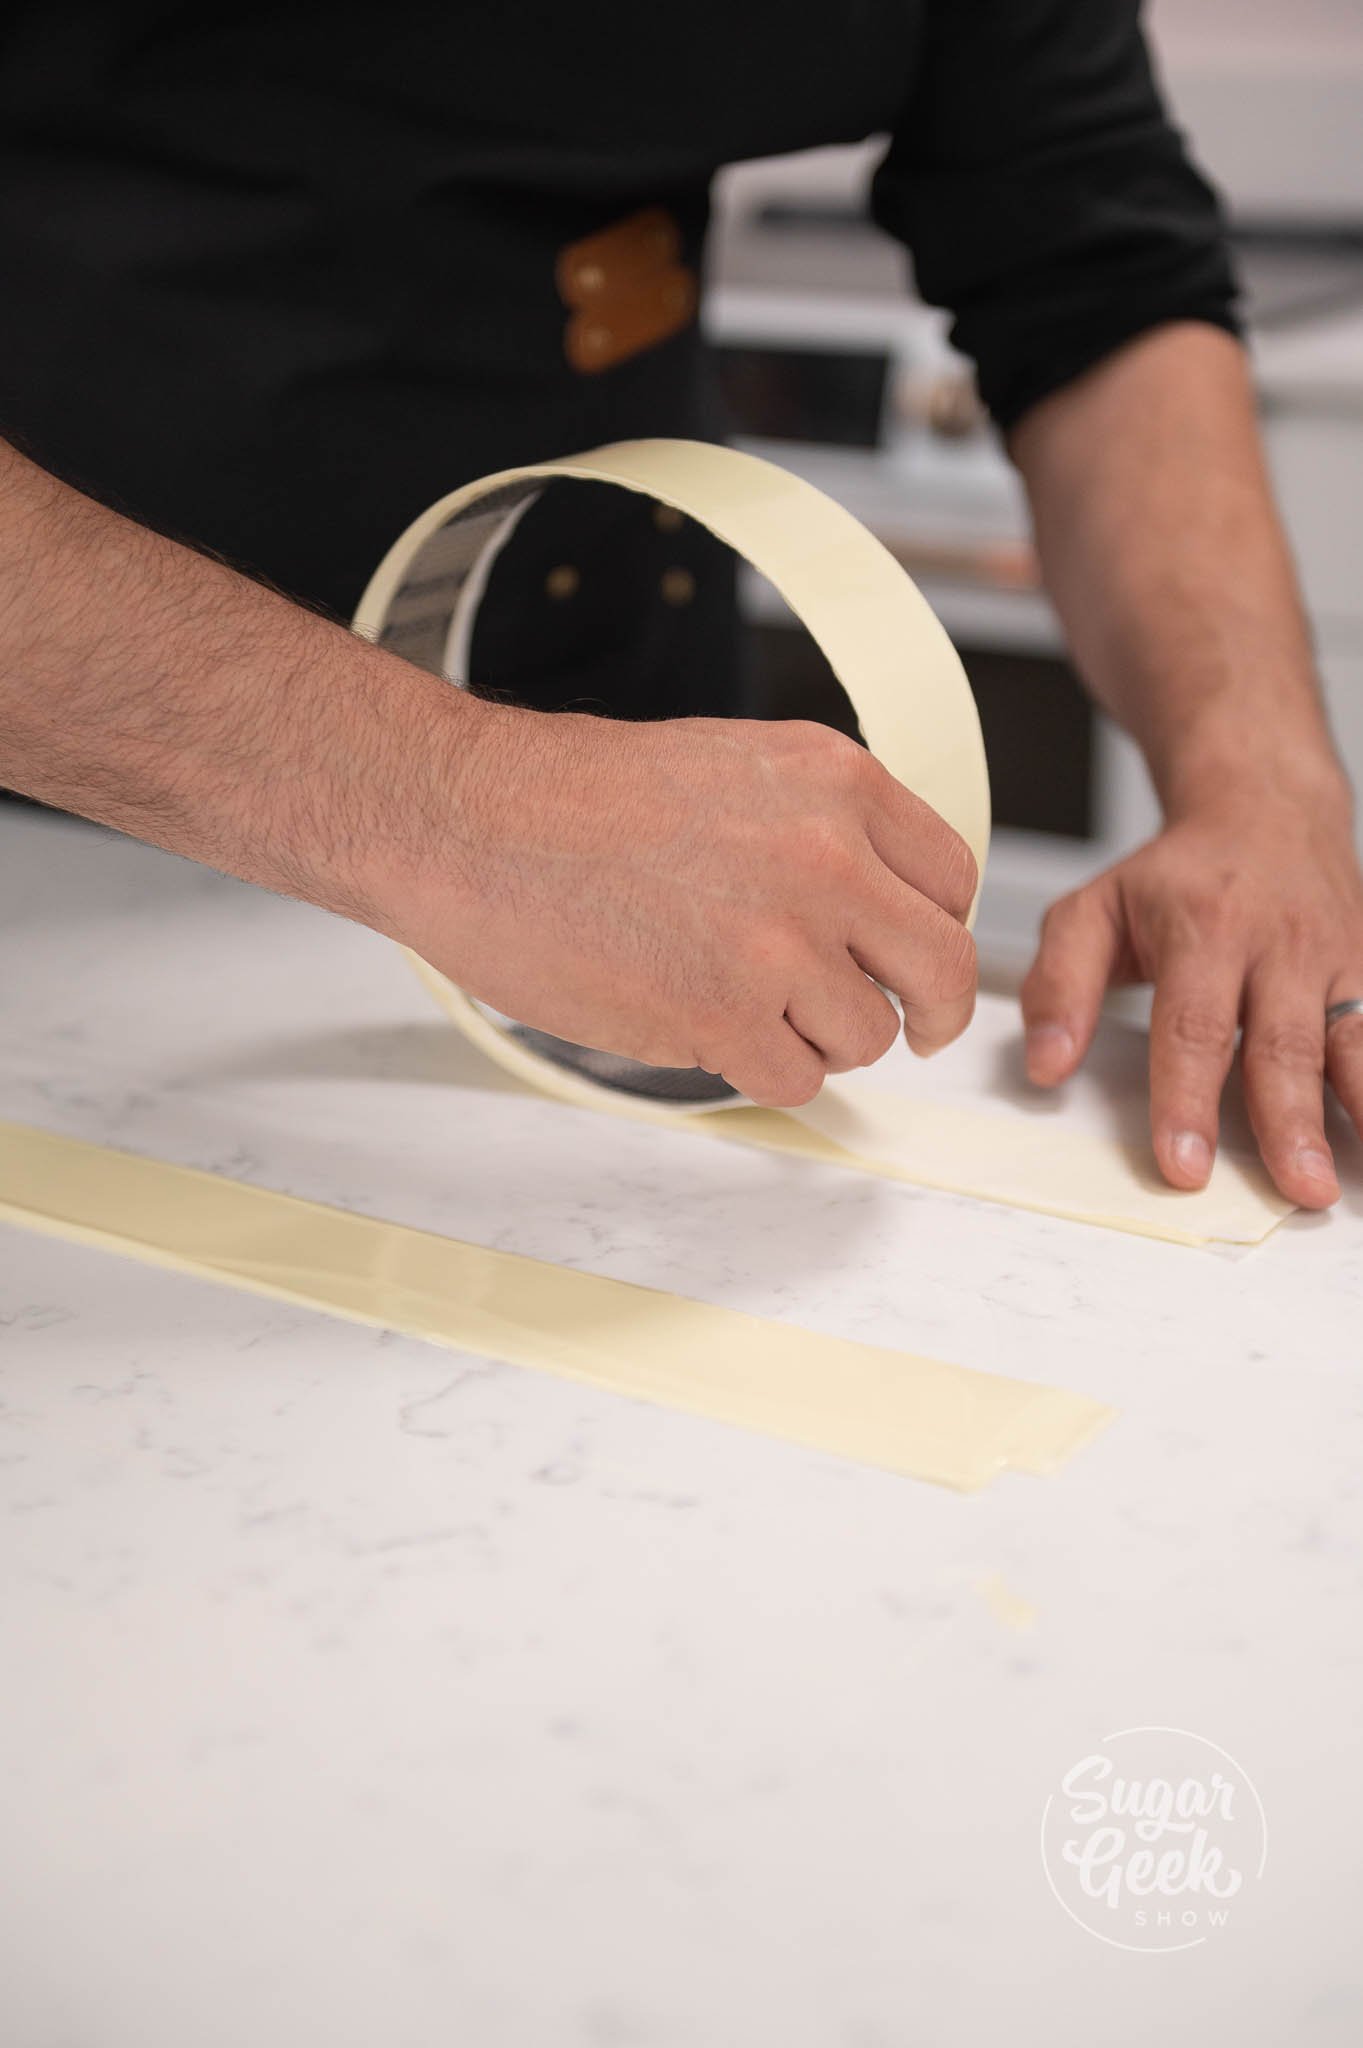
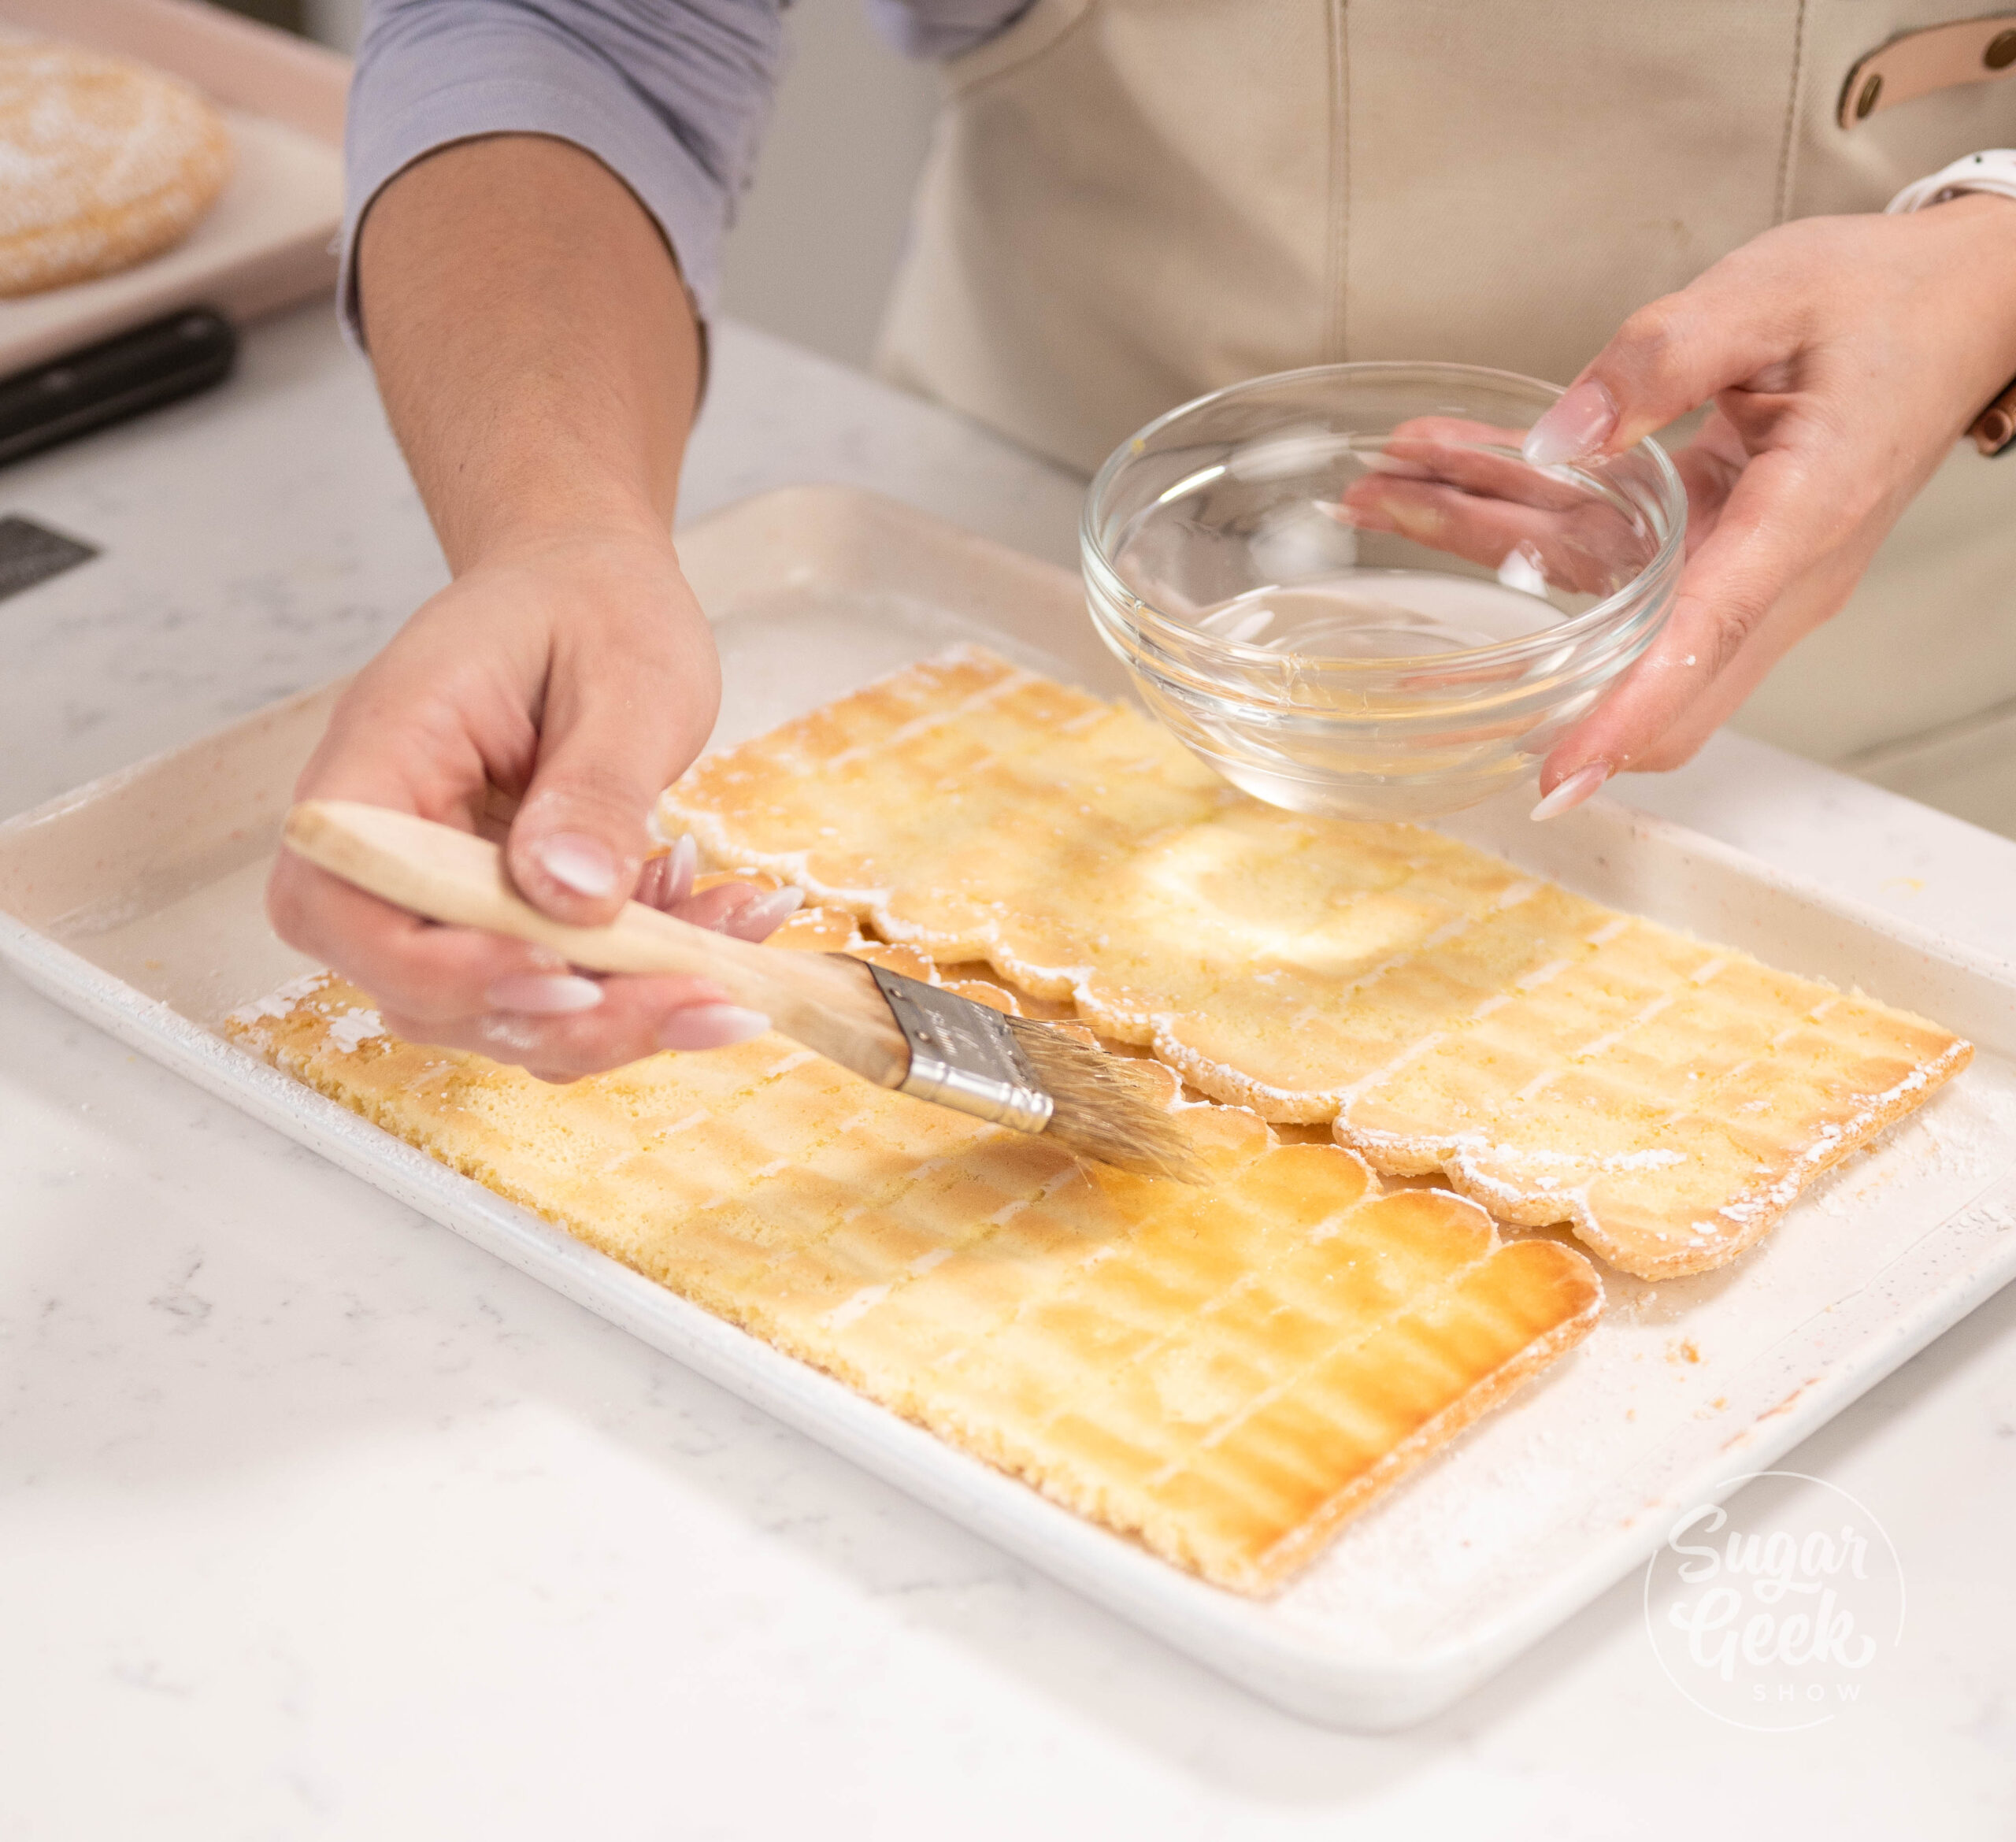
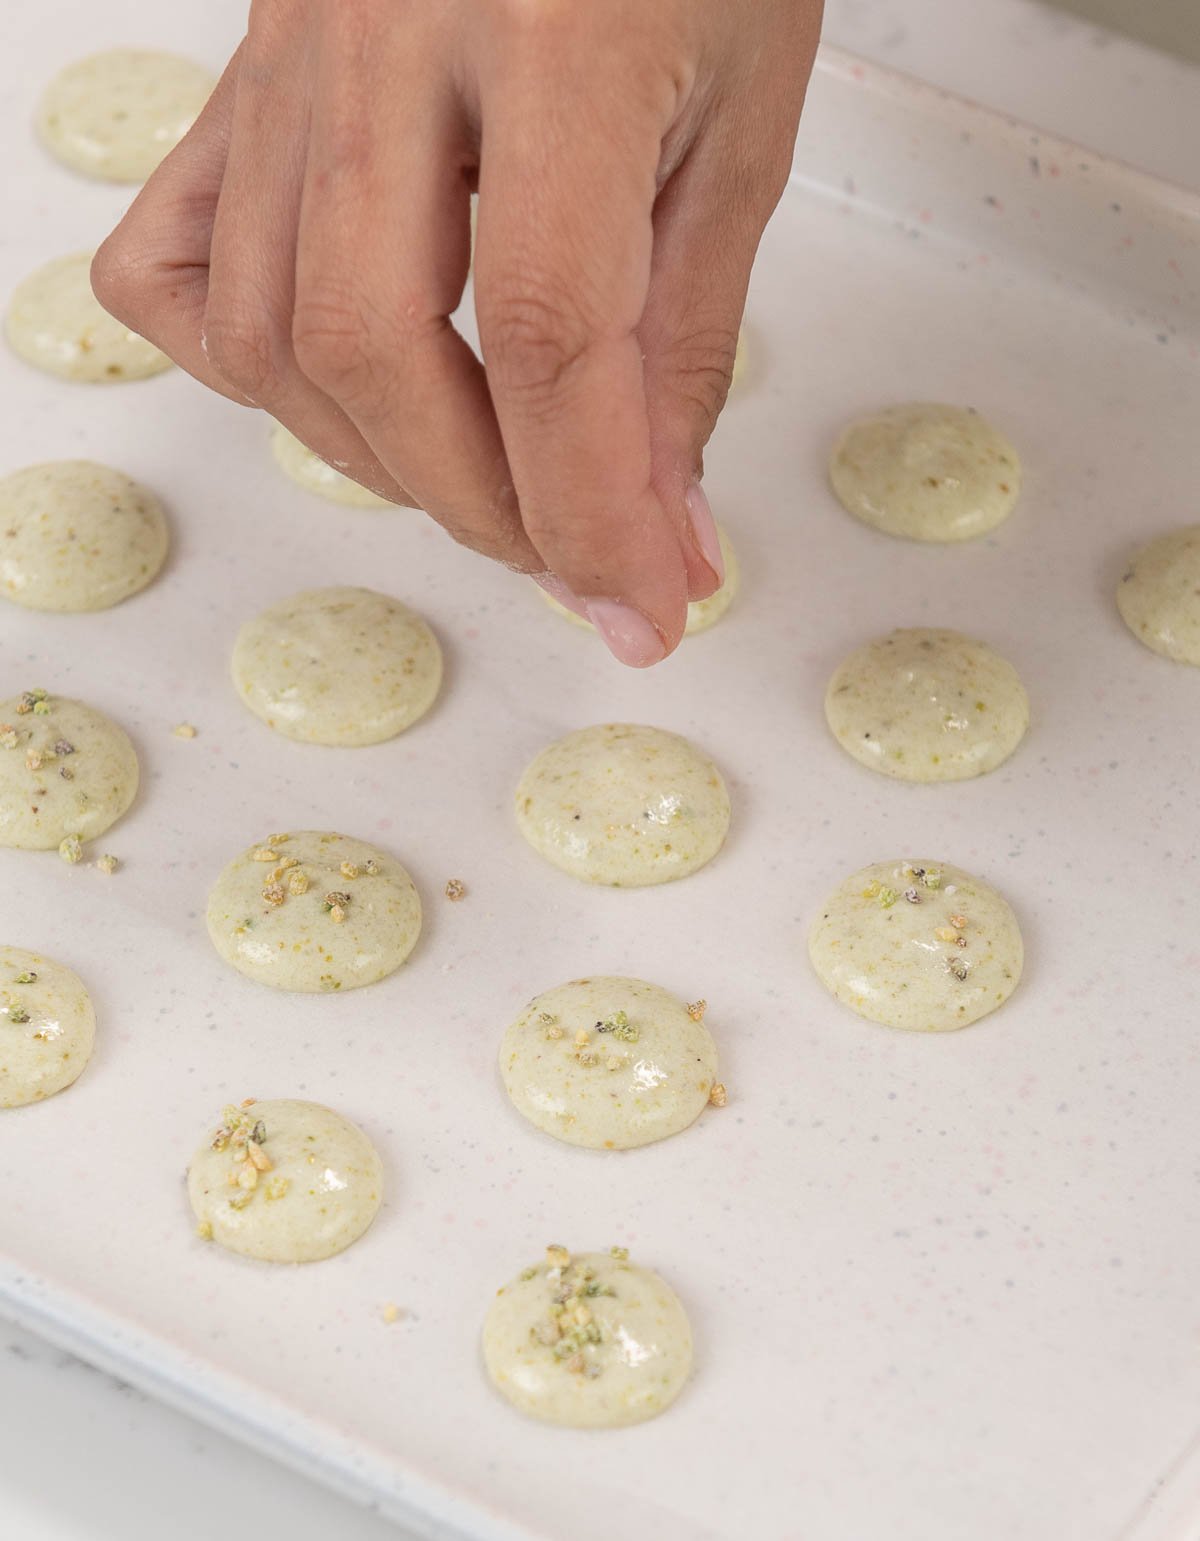
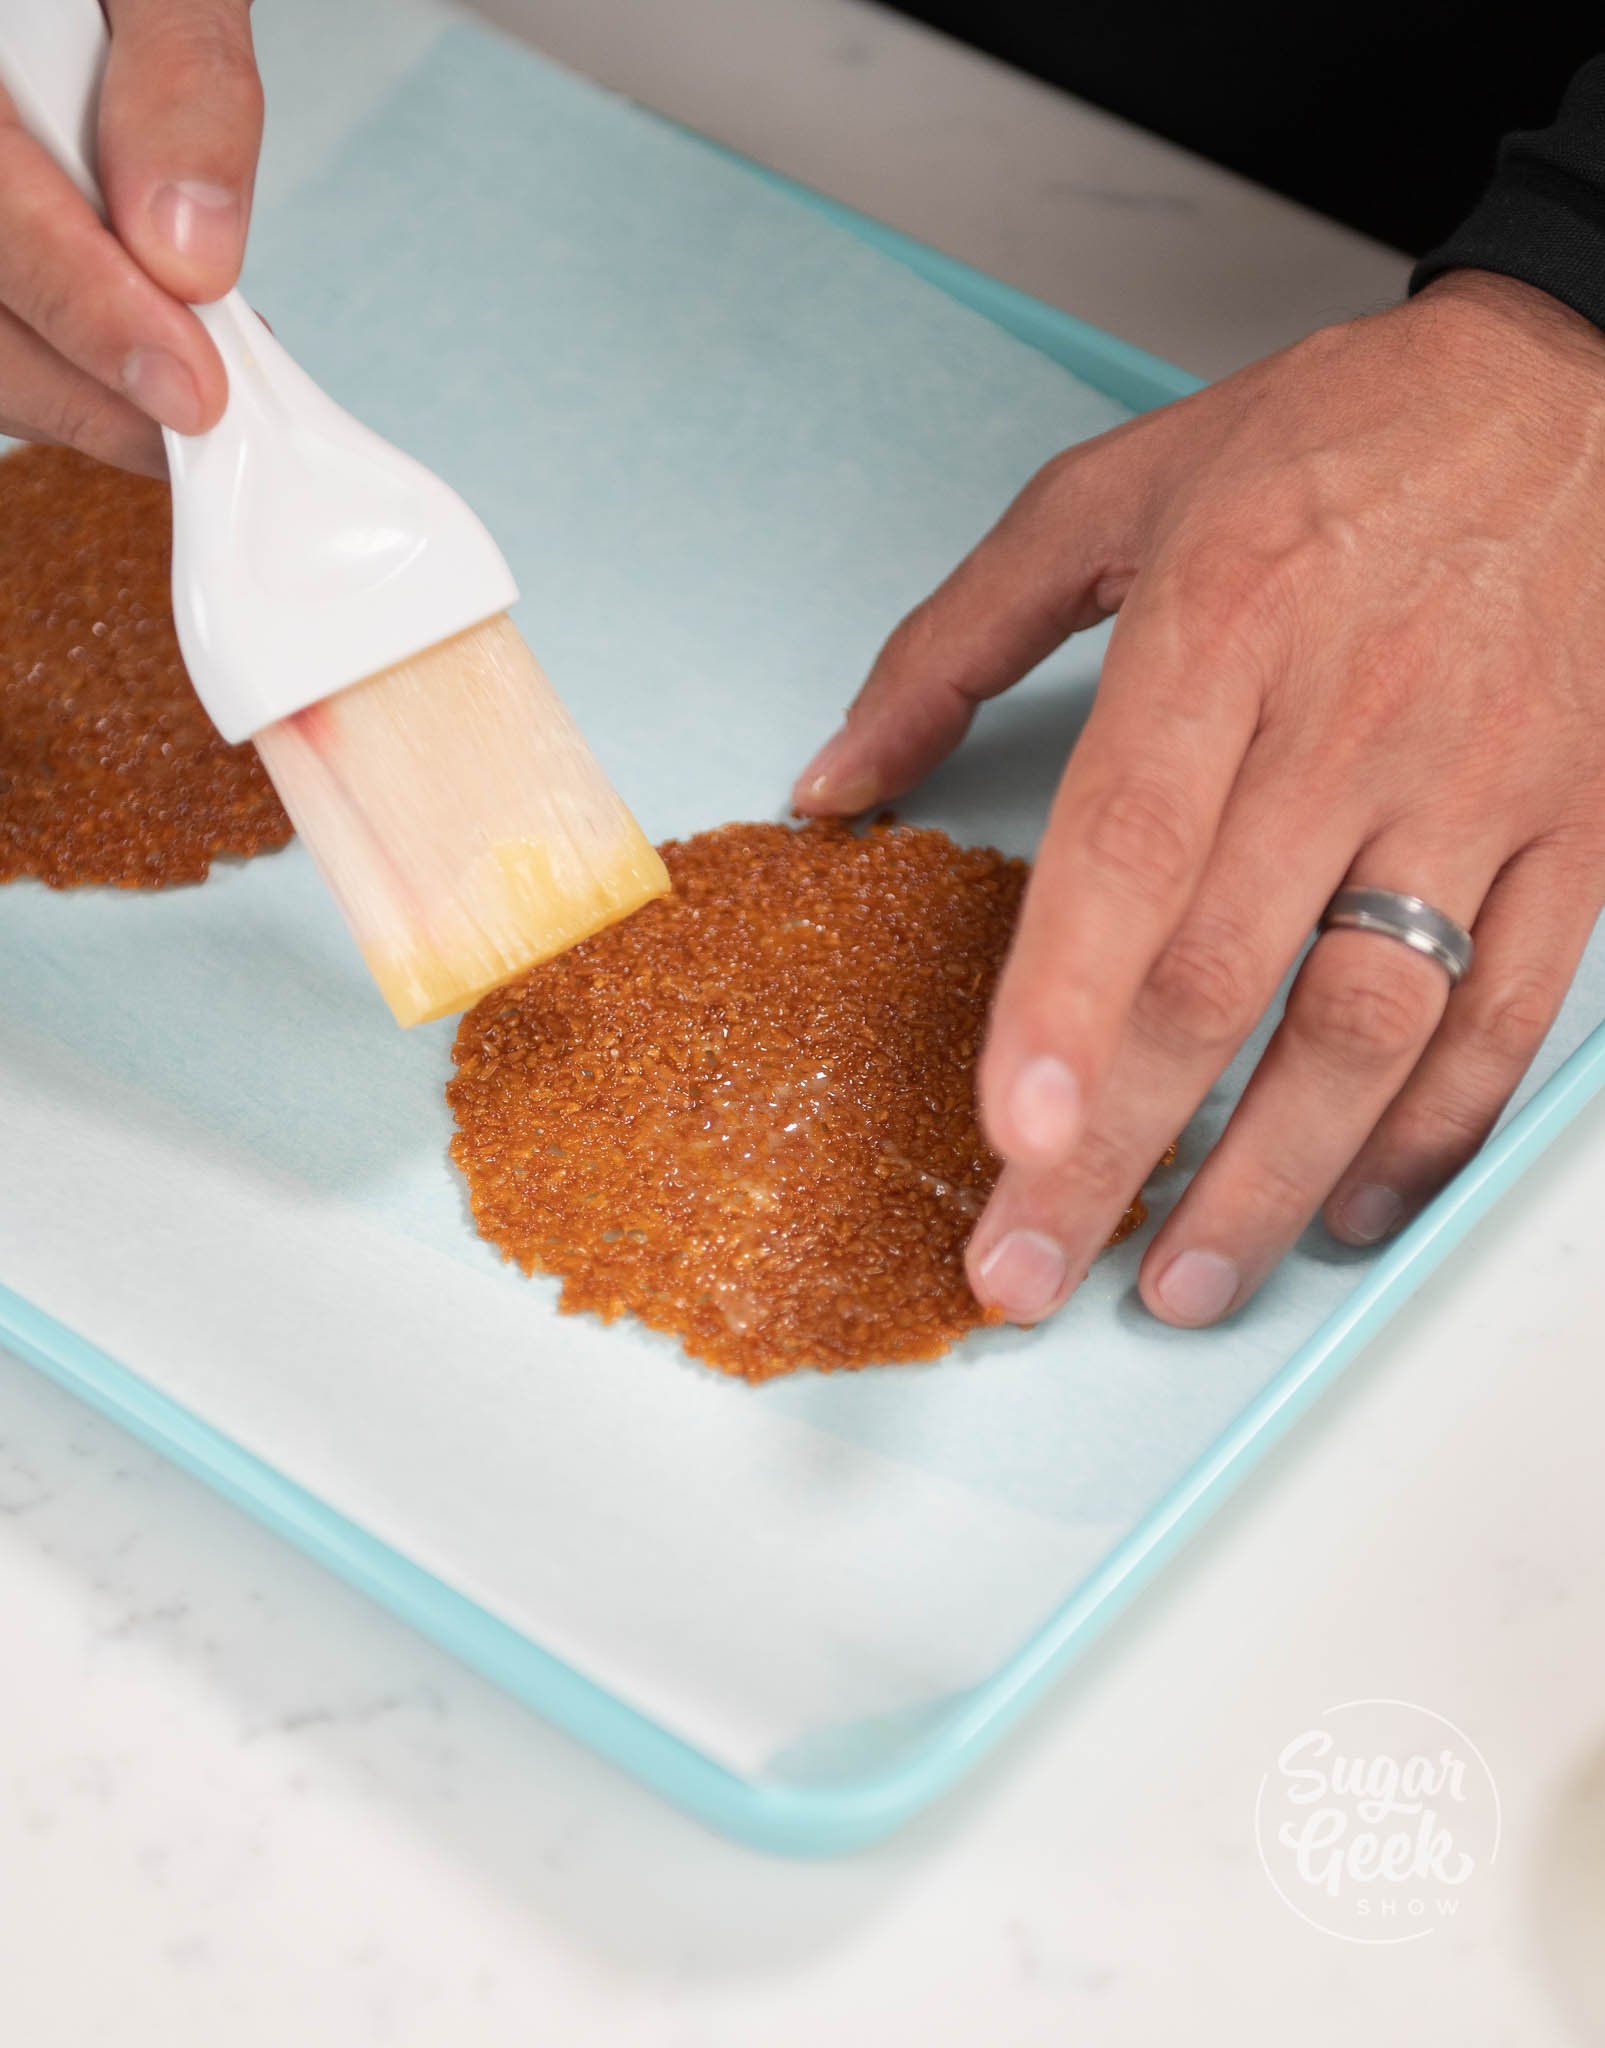
- (Optional) Brush the nougatine with a thin layer of melted cocoa butter using a pastry brush. This protects the nougatine from getting soggy. Set aside for decoration later.

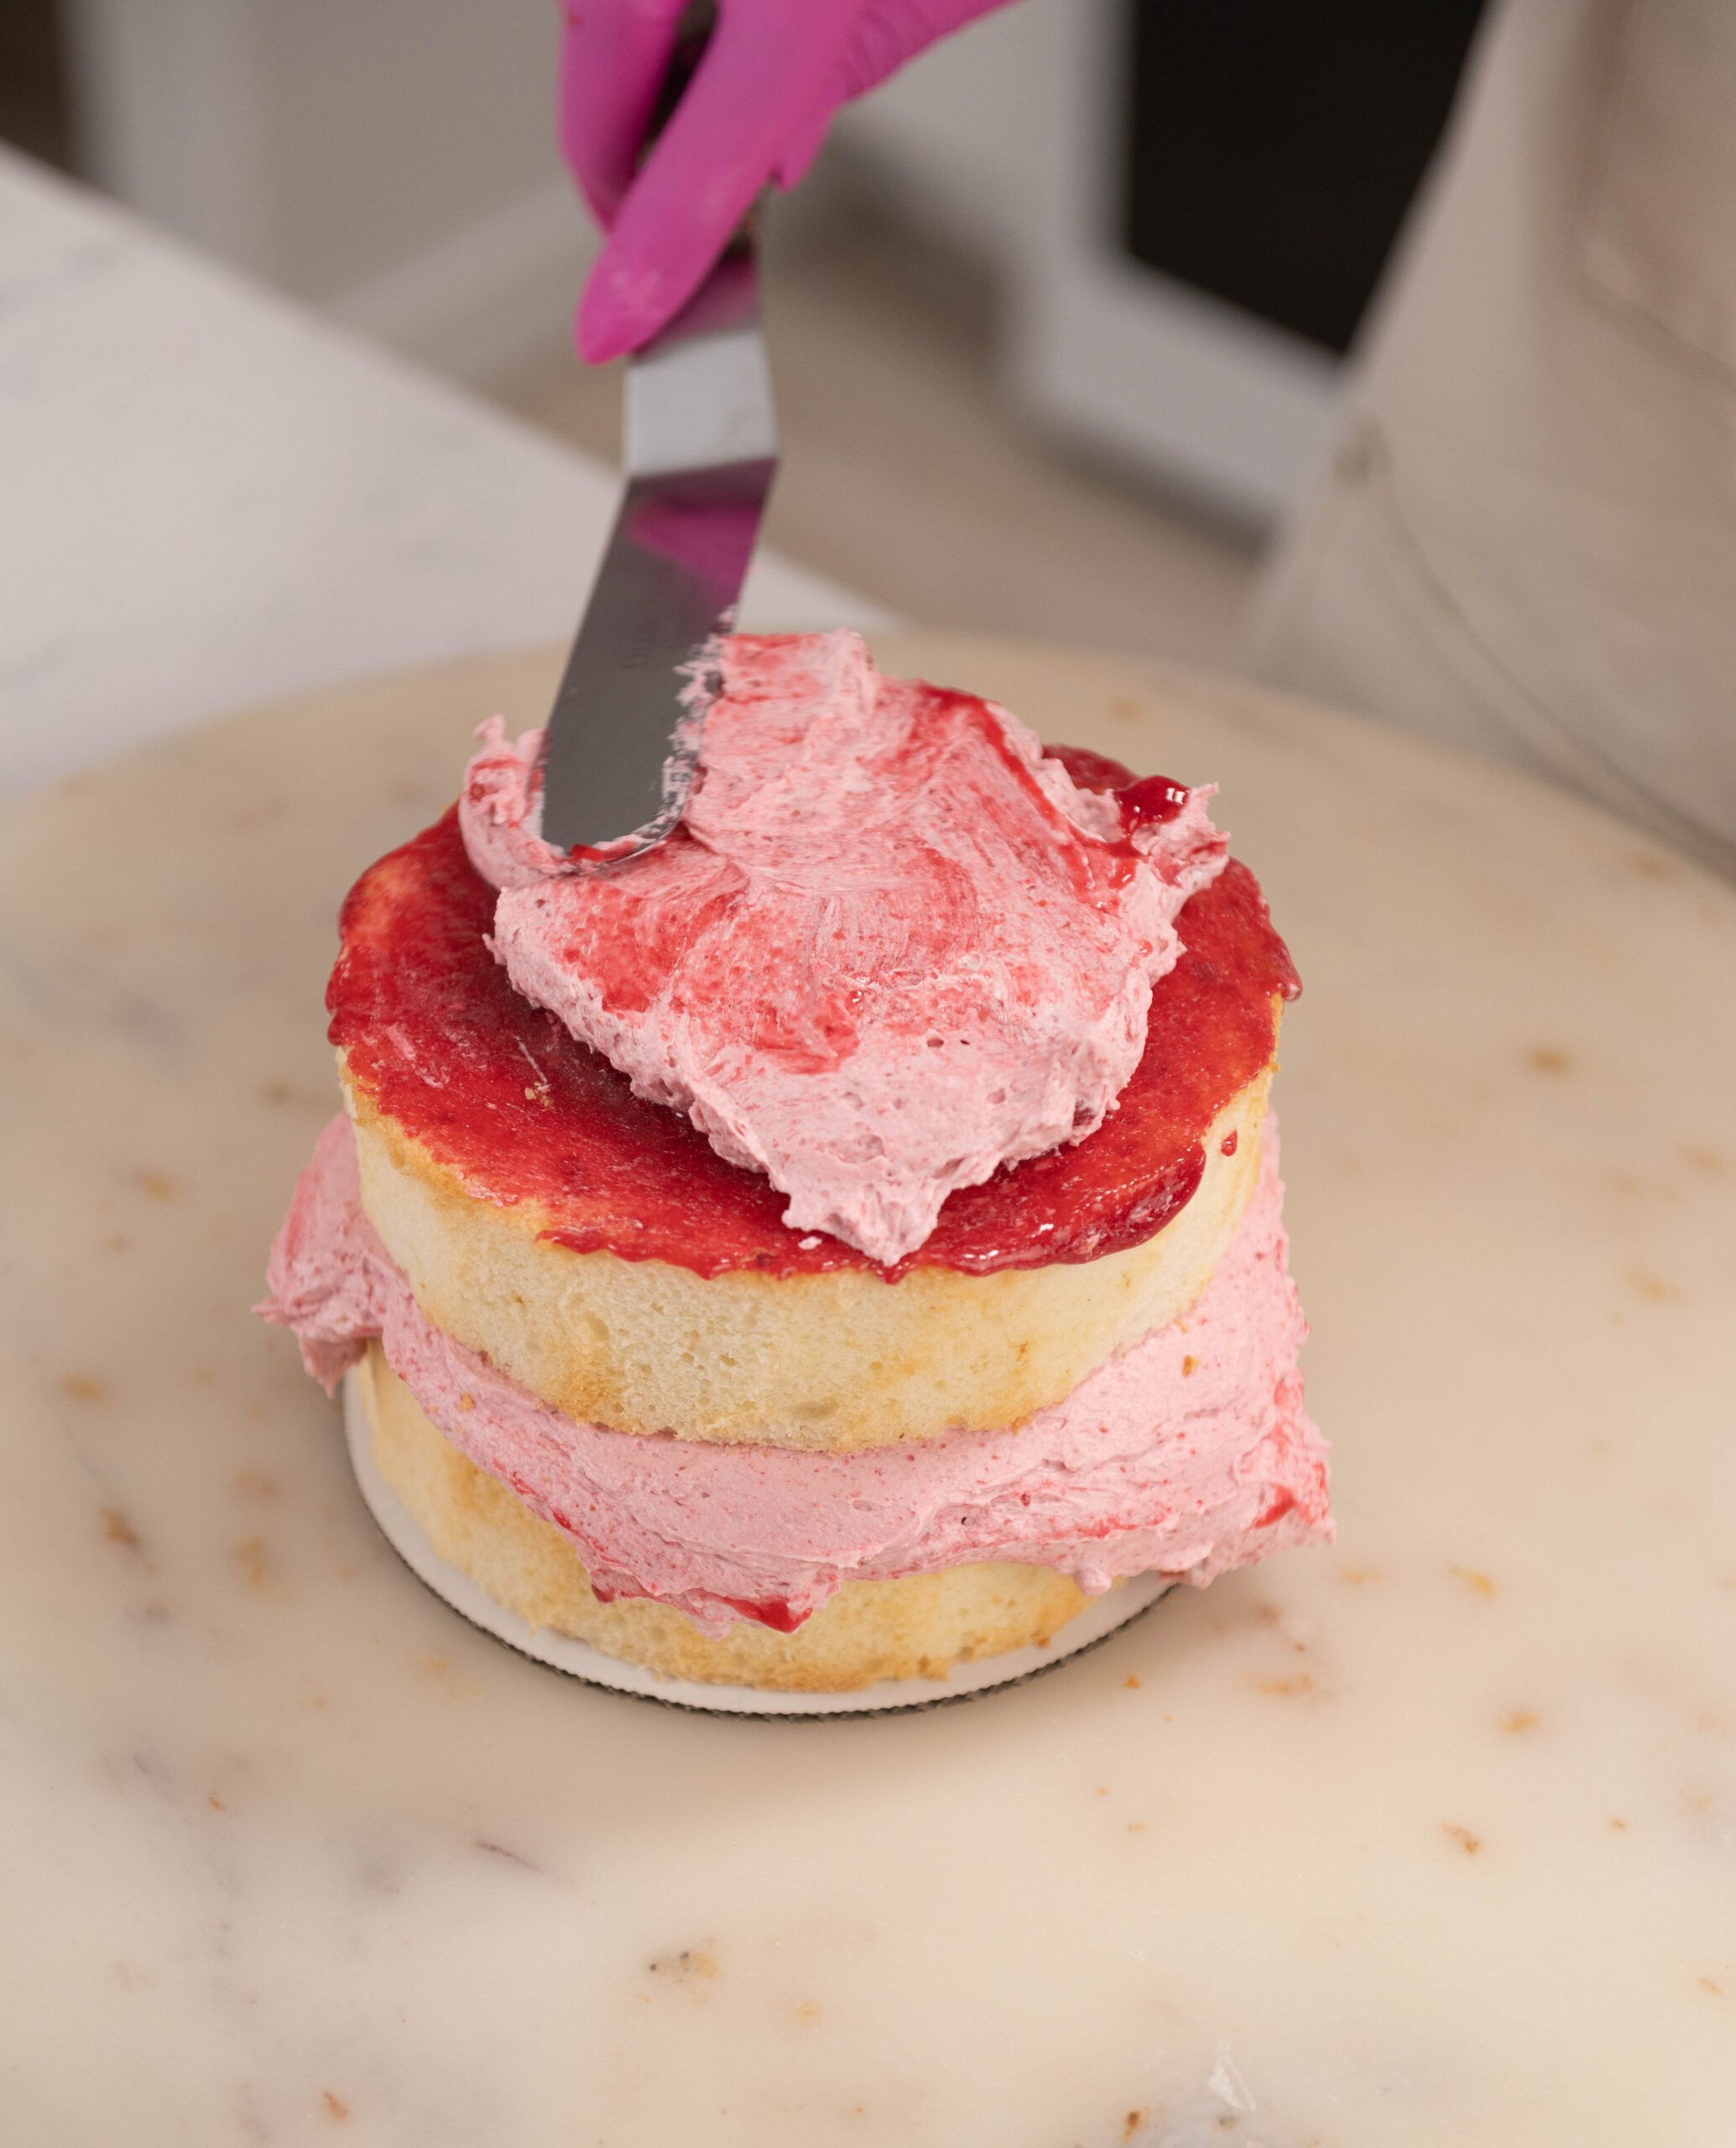
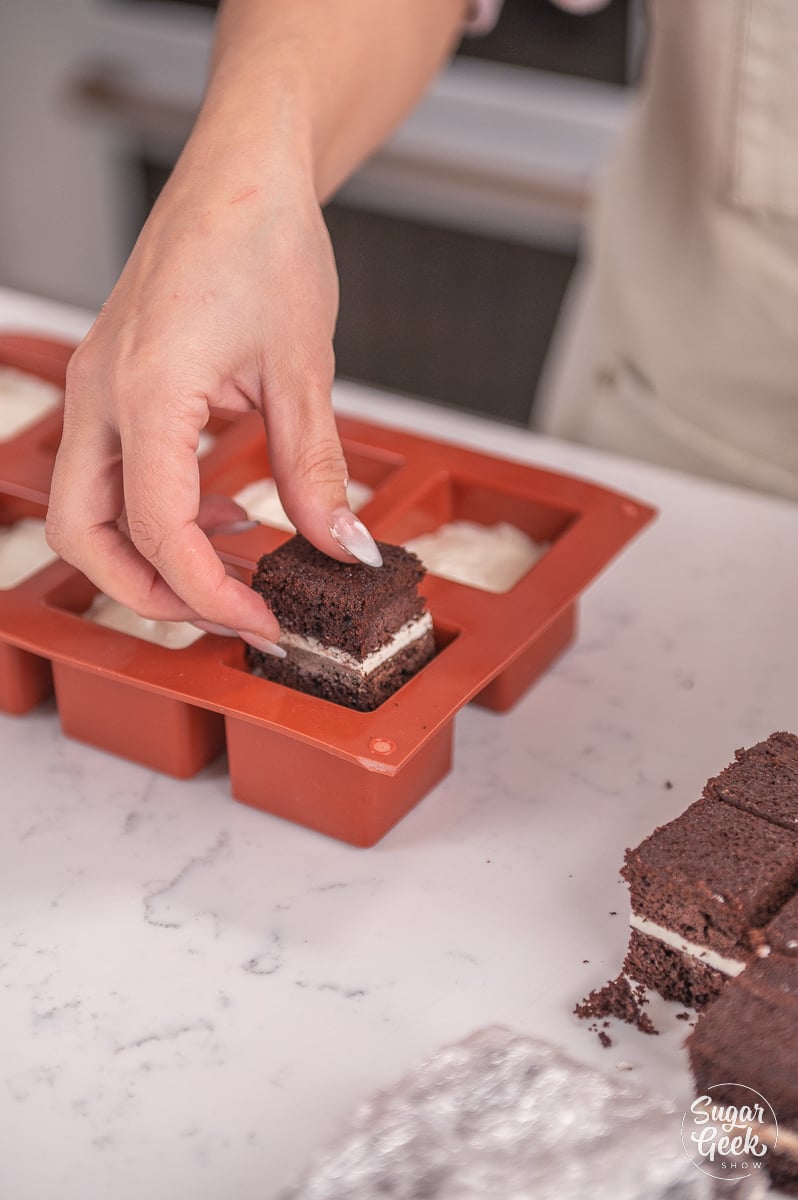
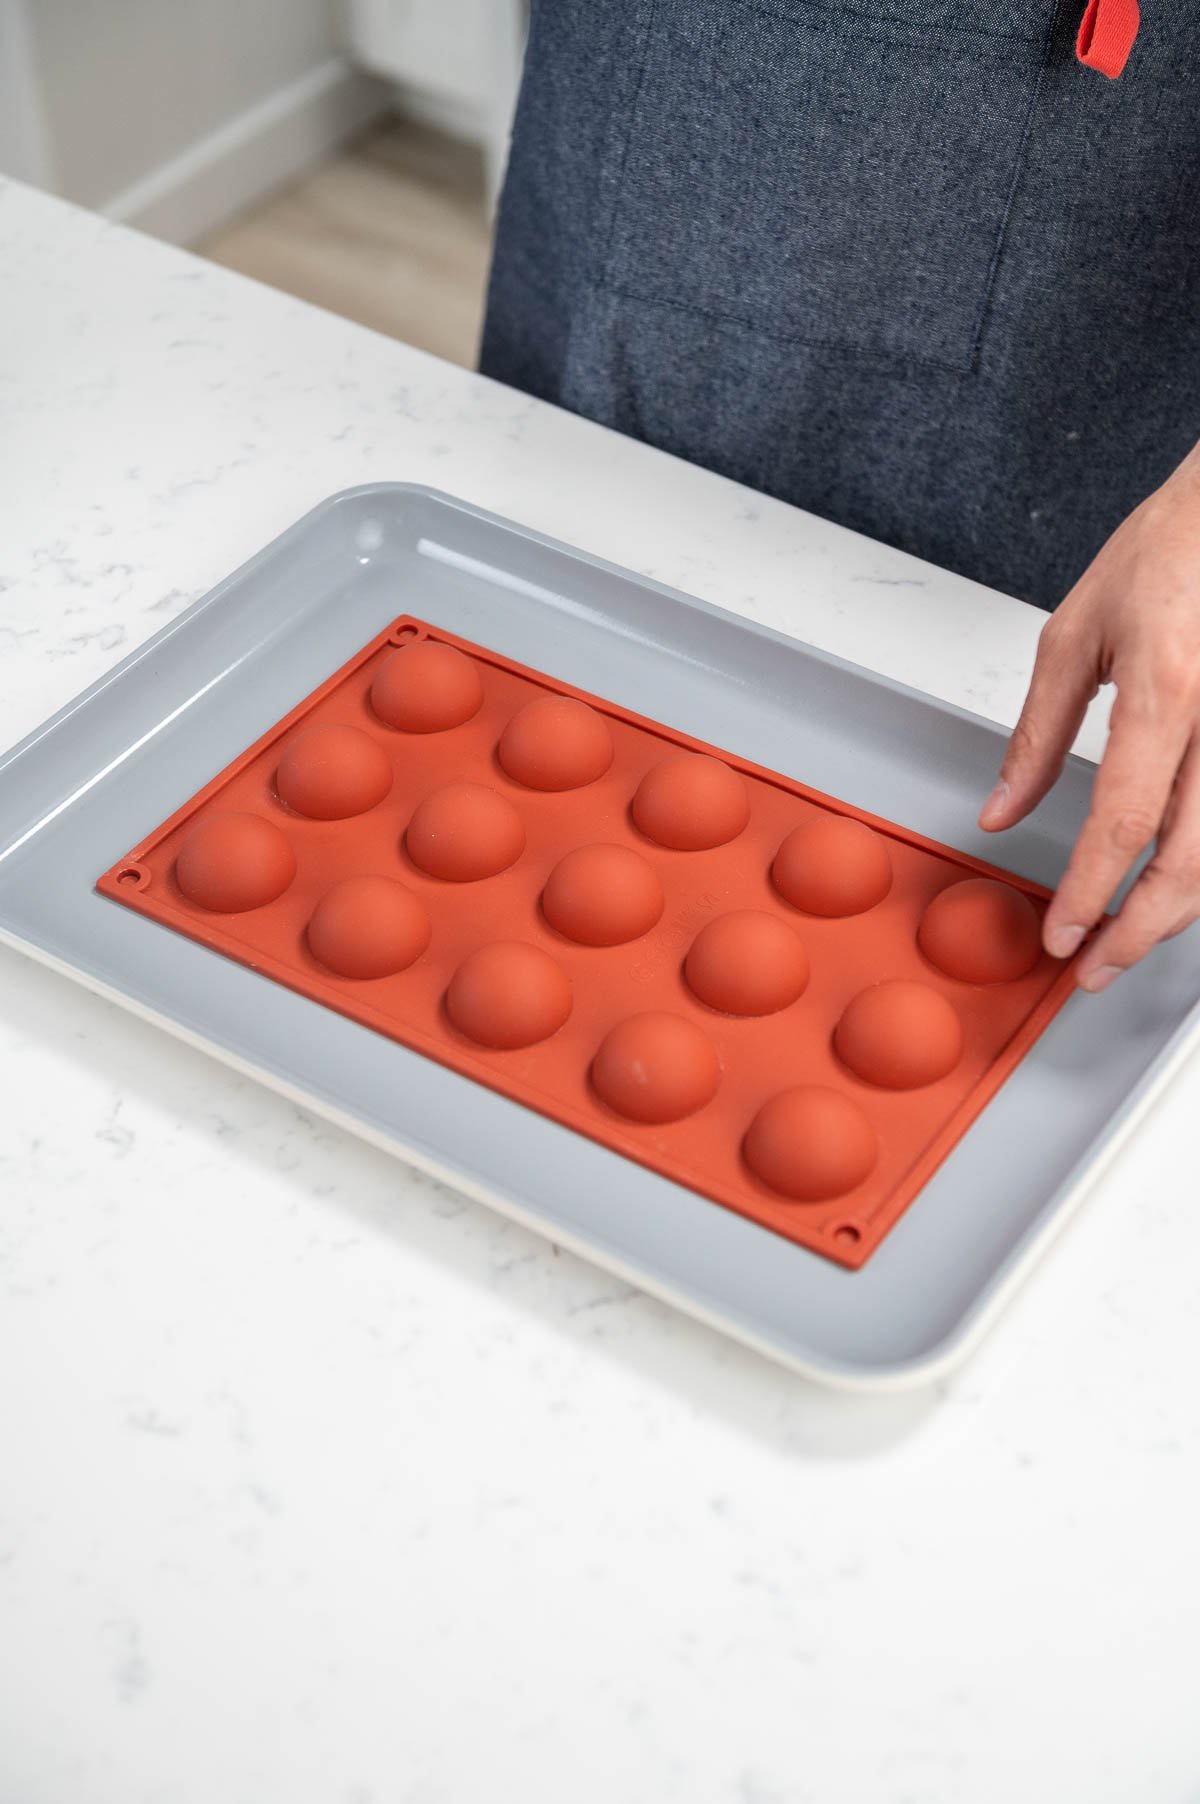
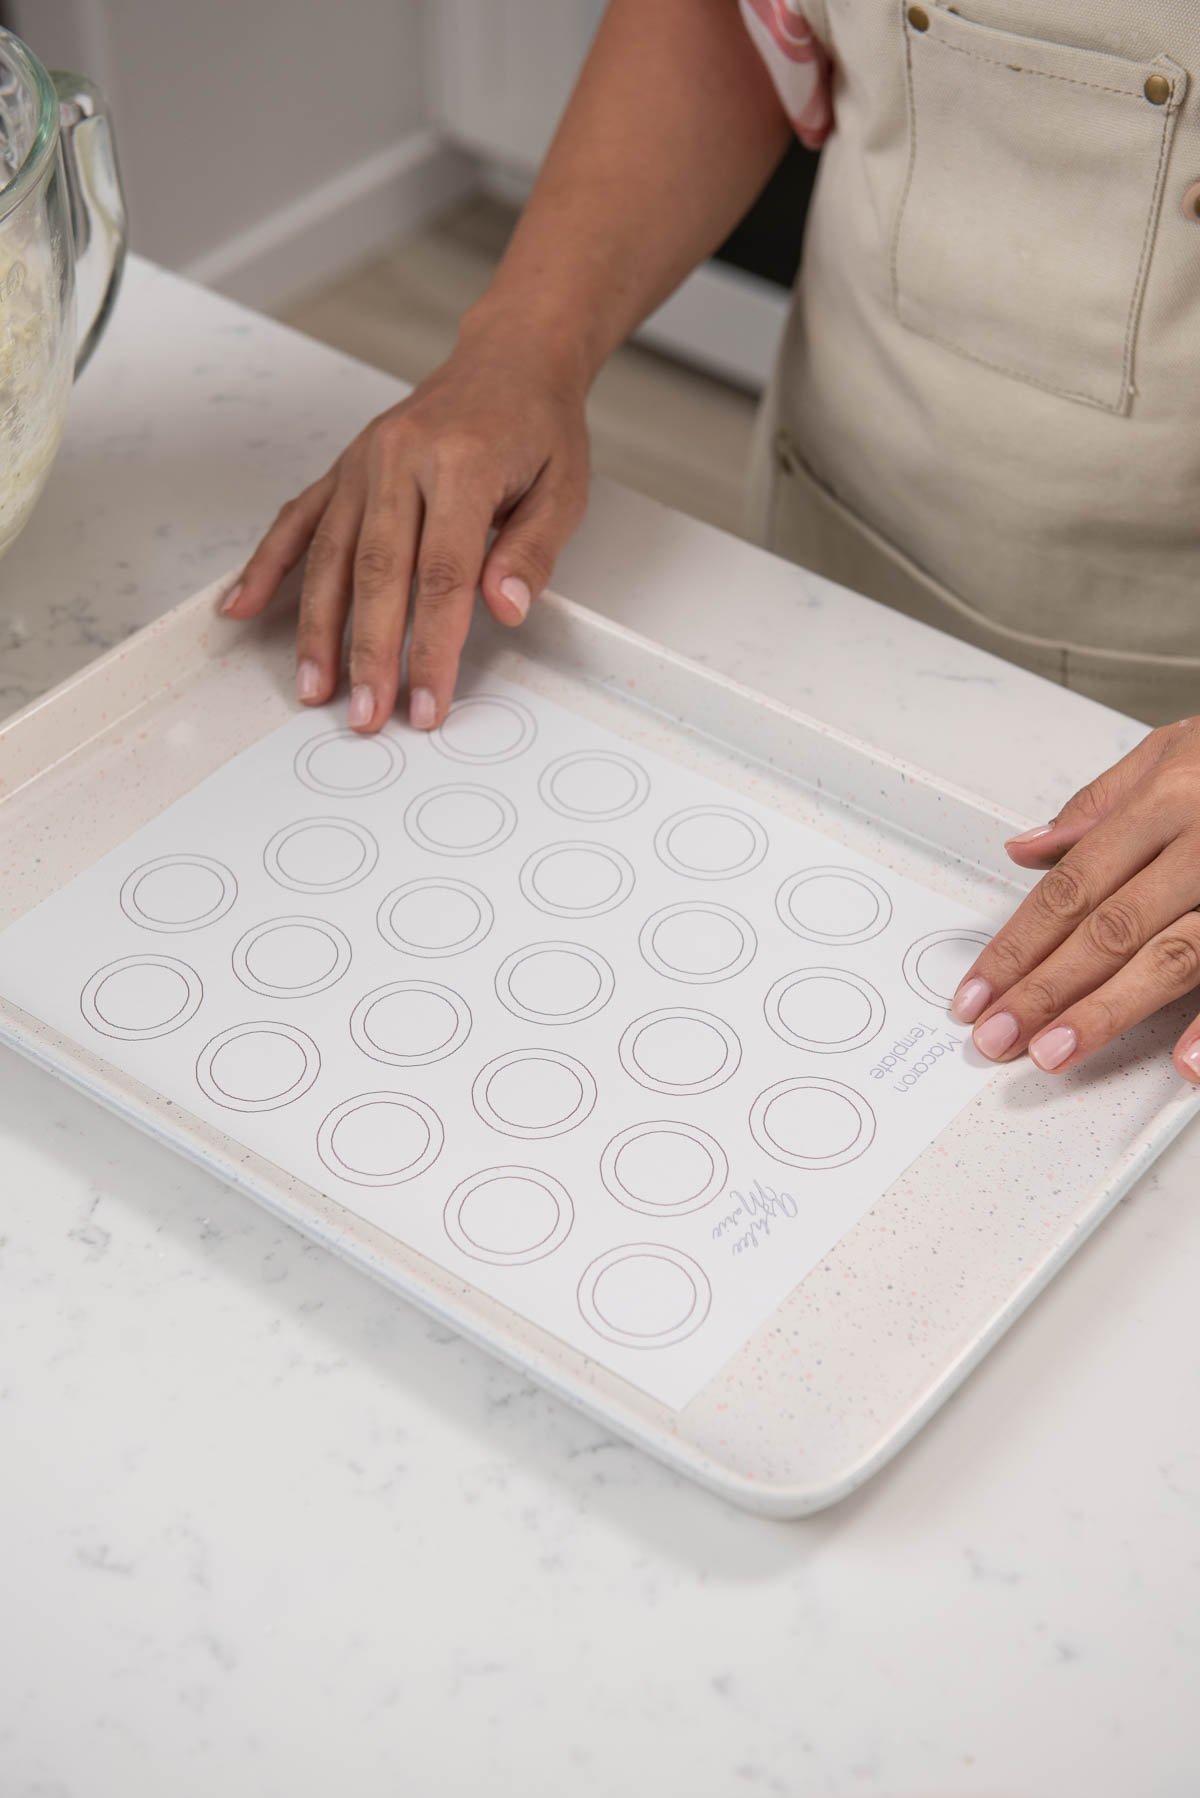
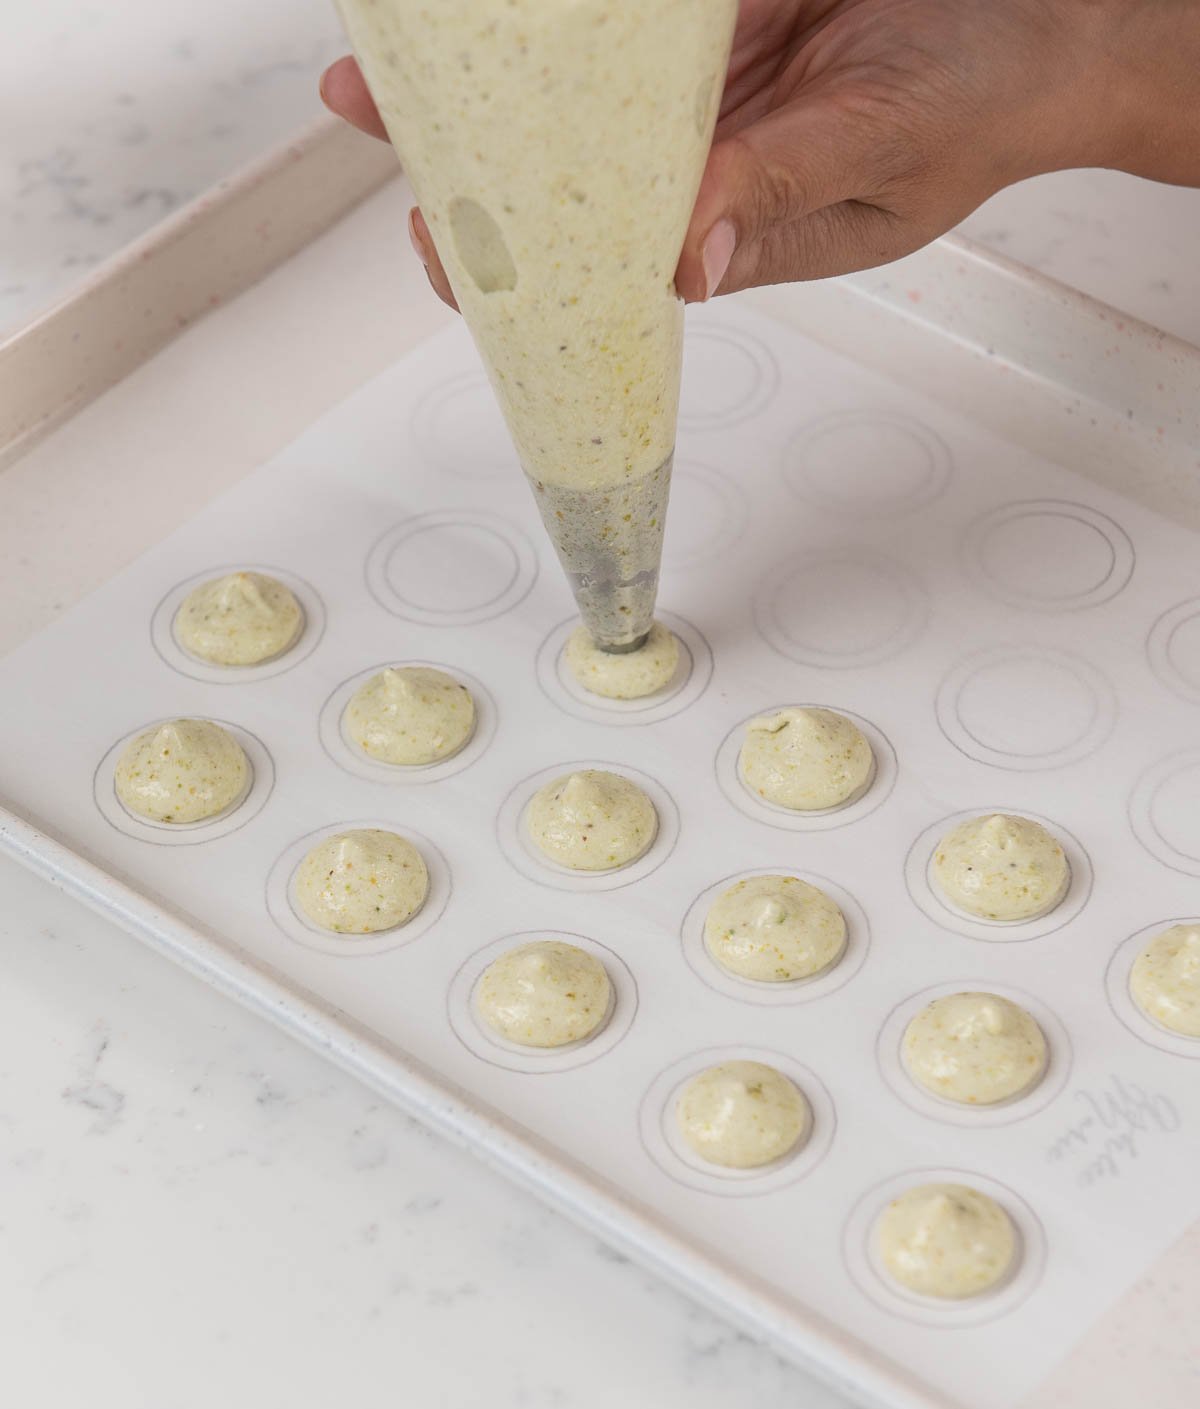
Assembling The Dessert Cups
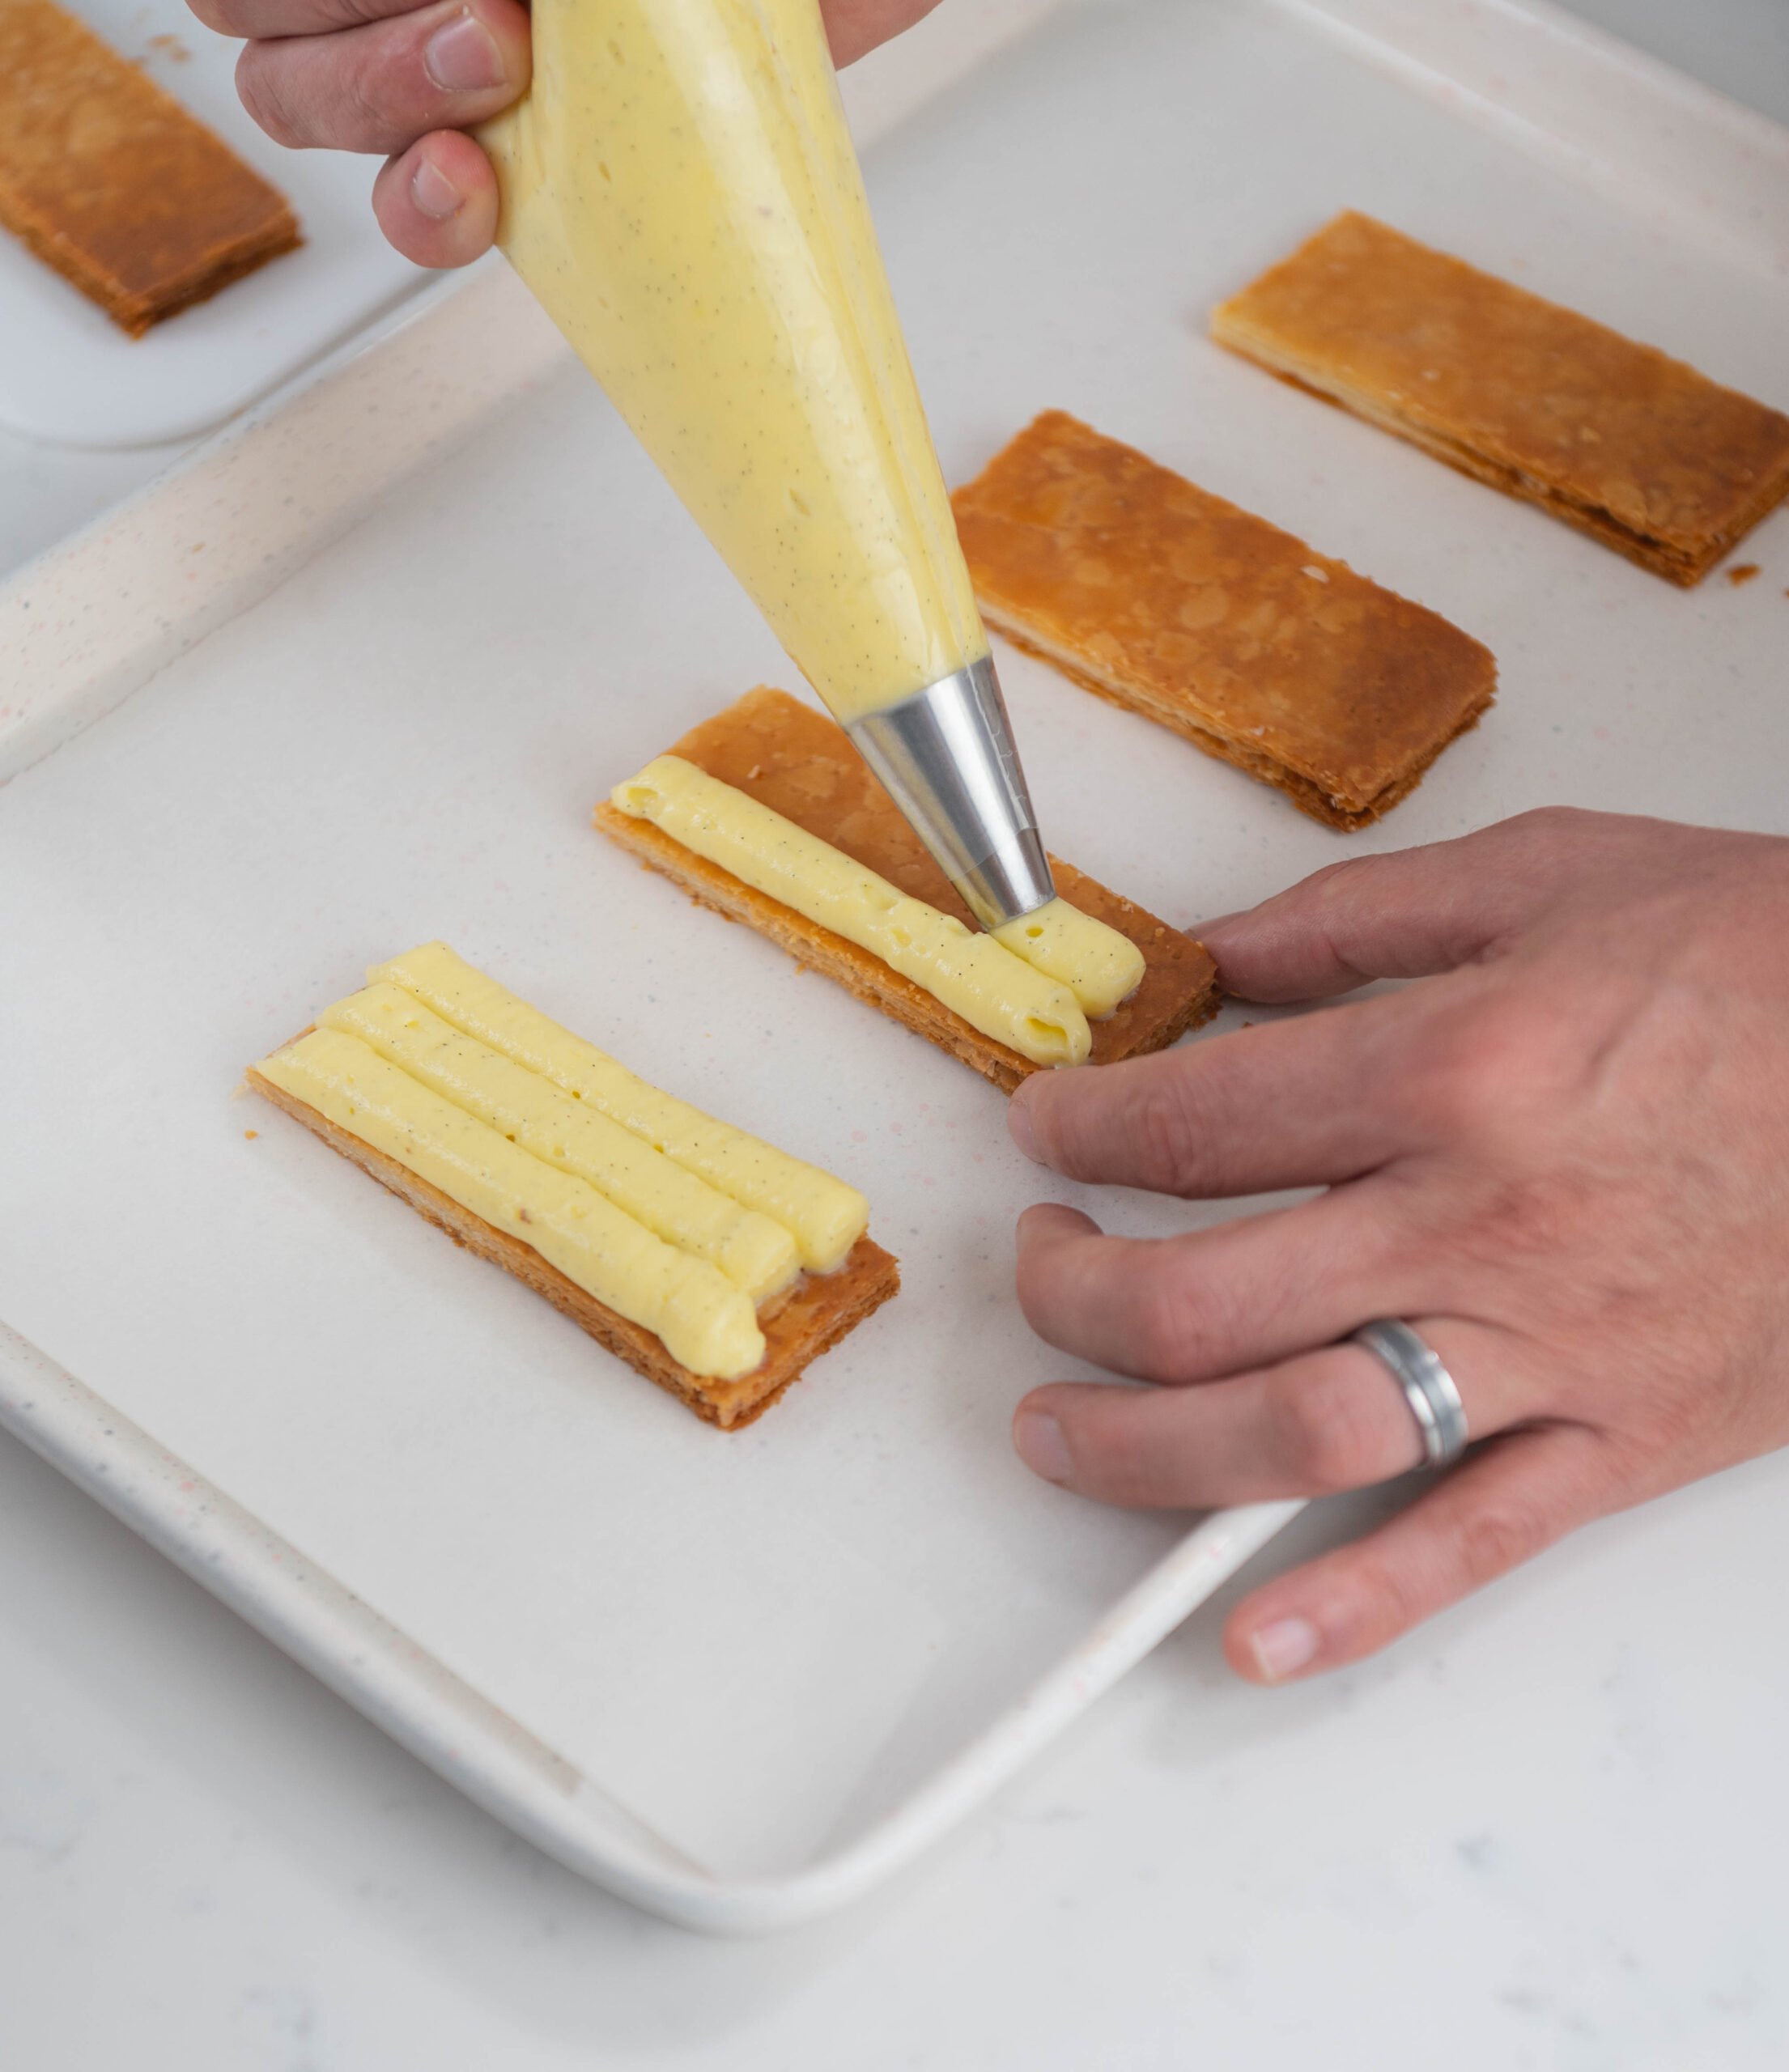
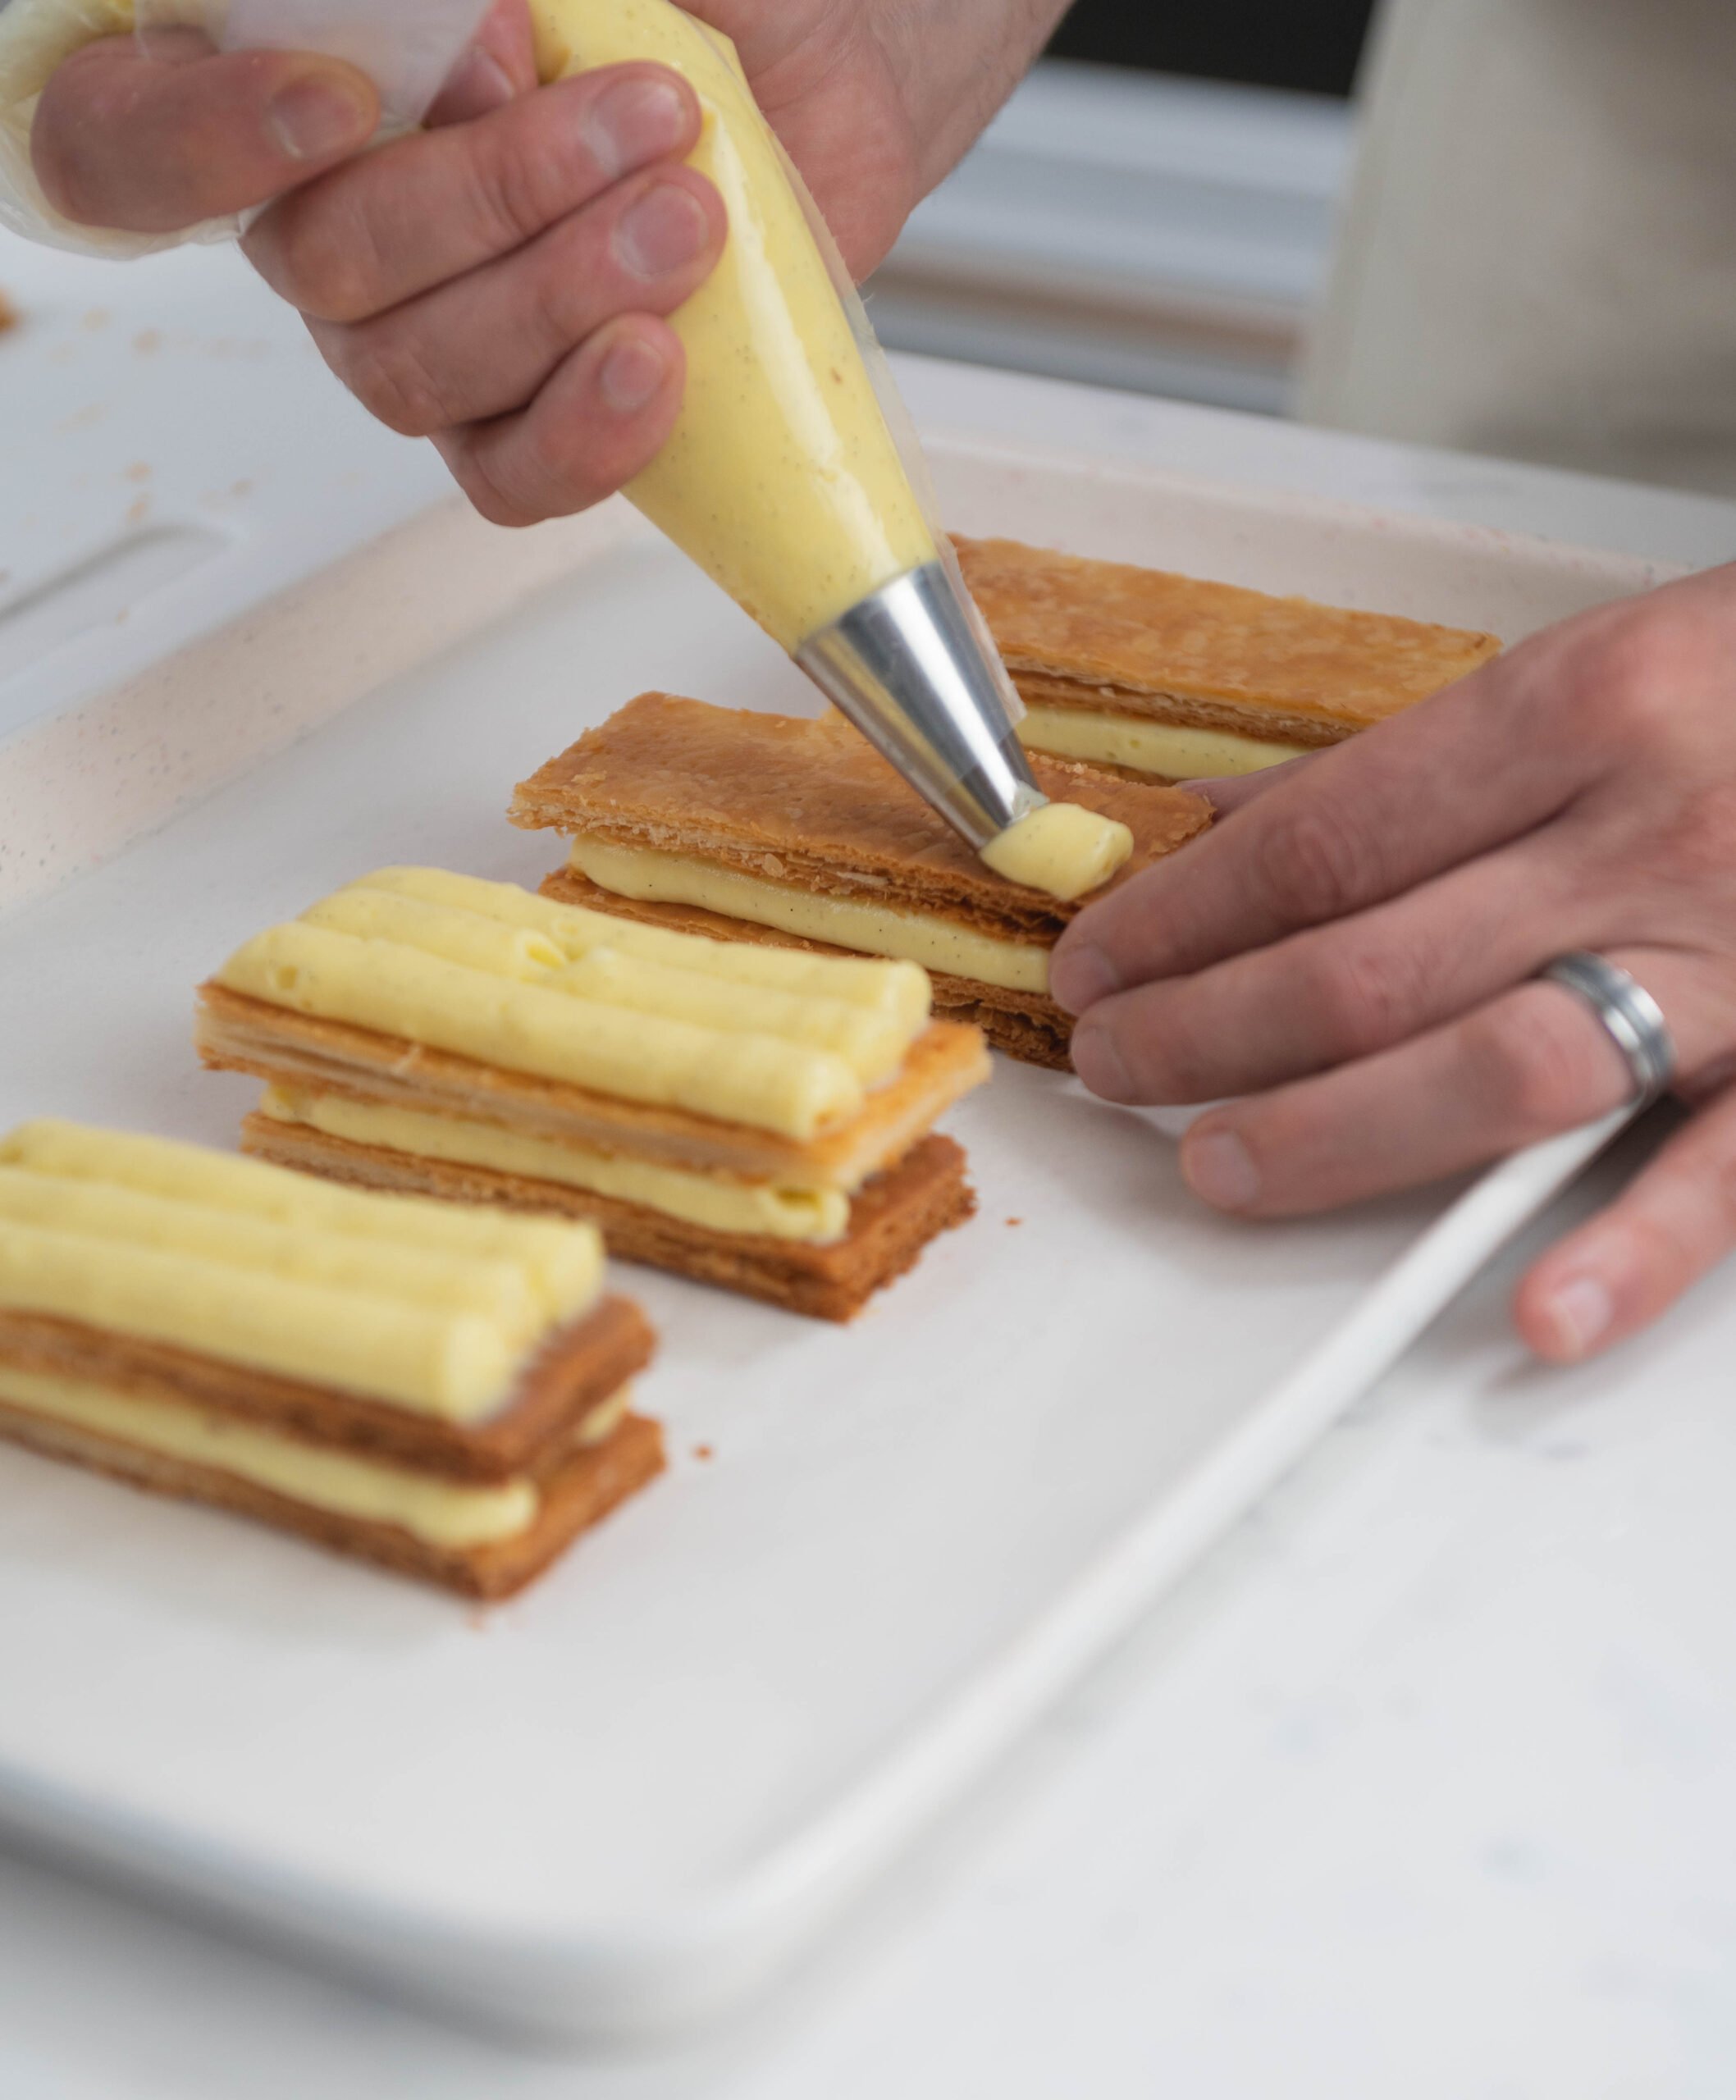
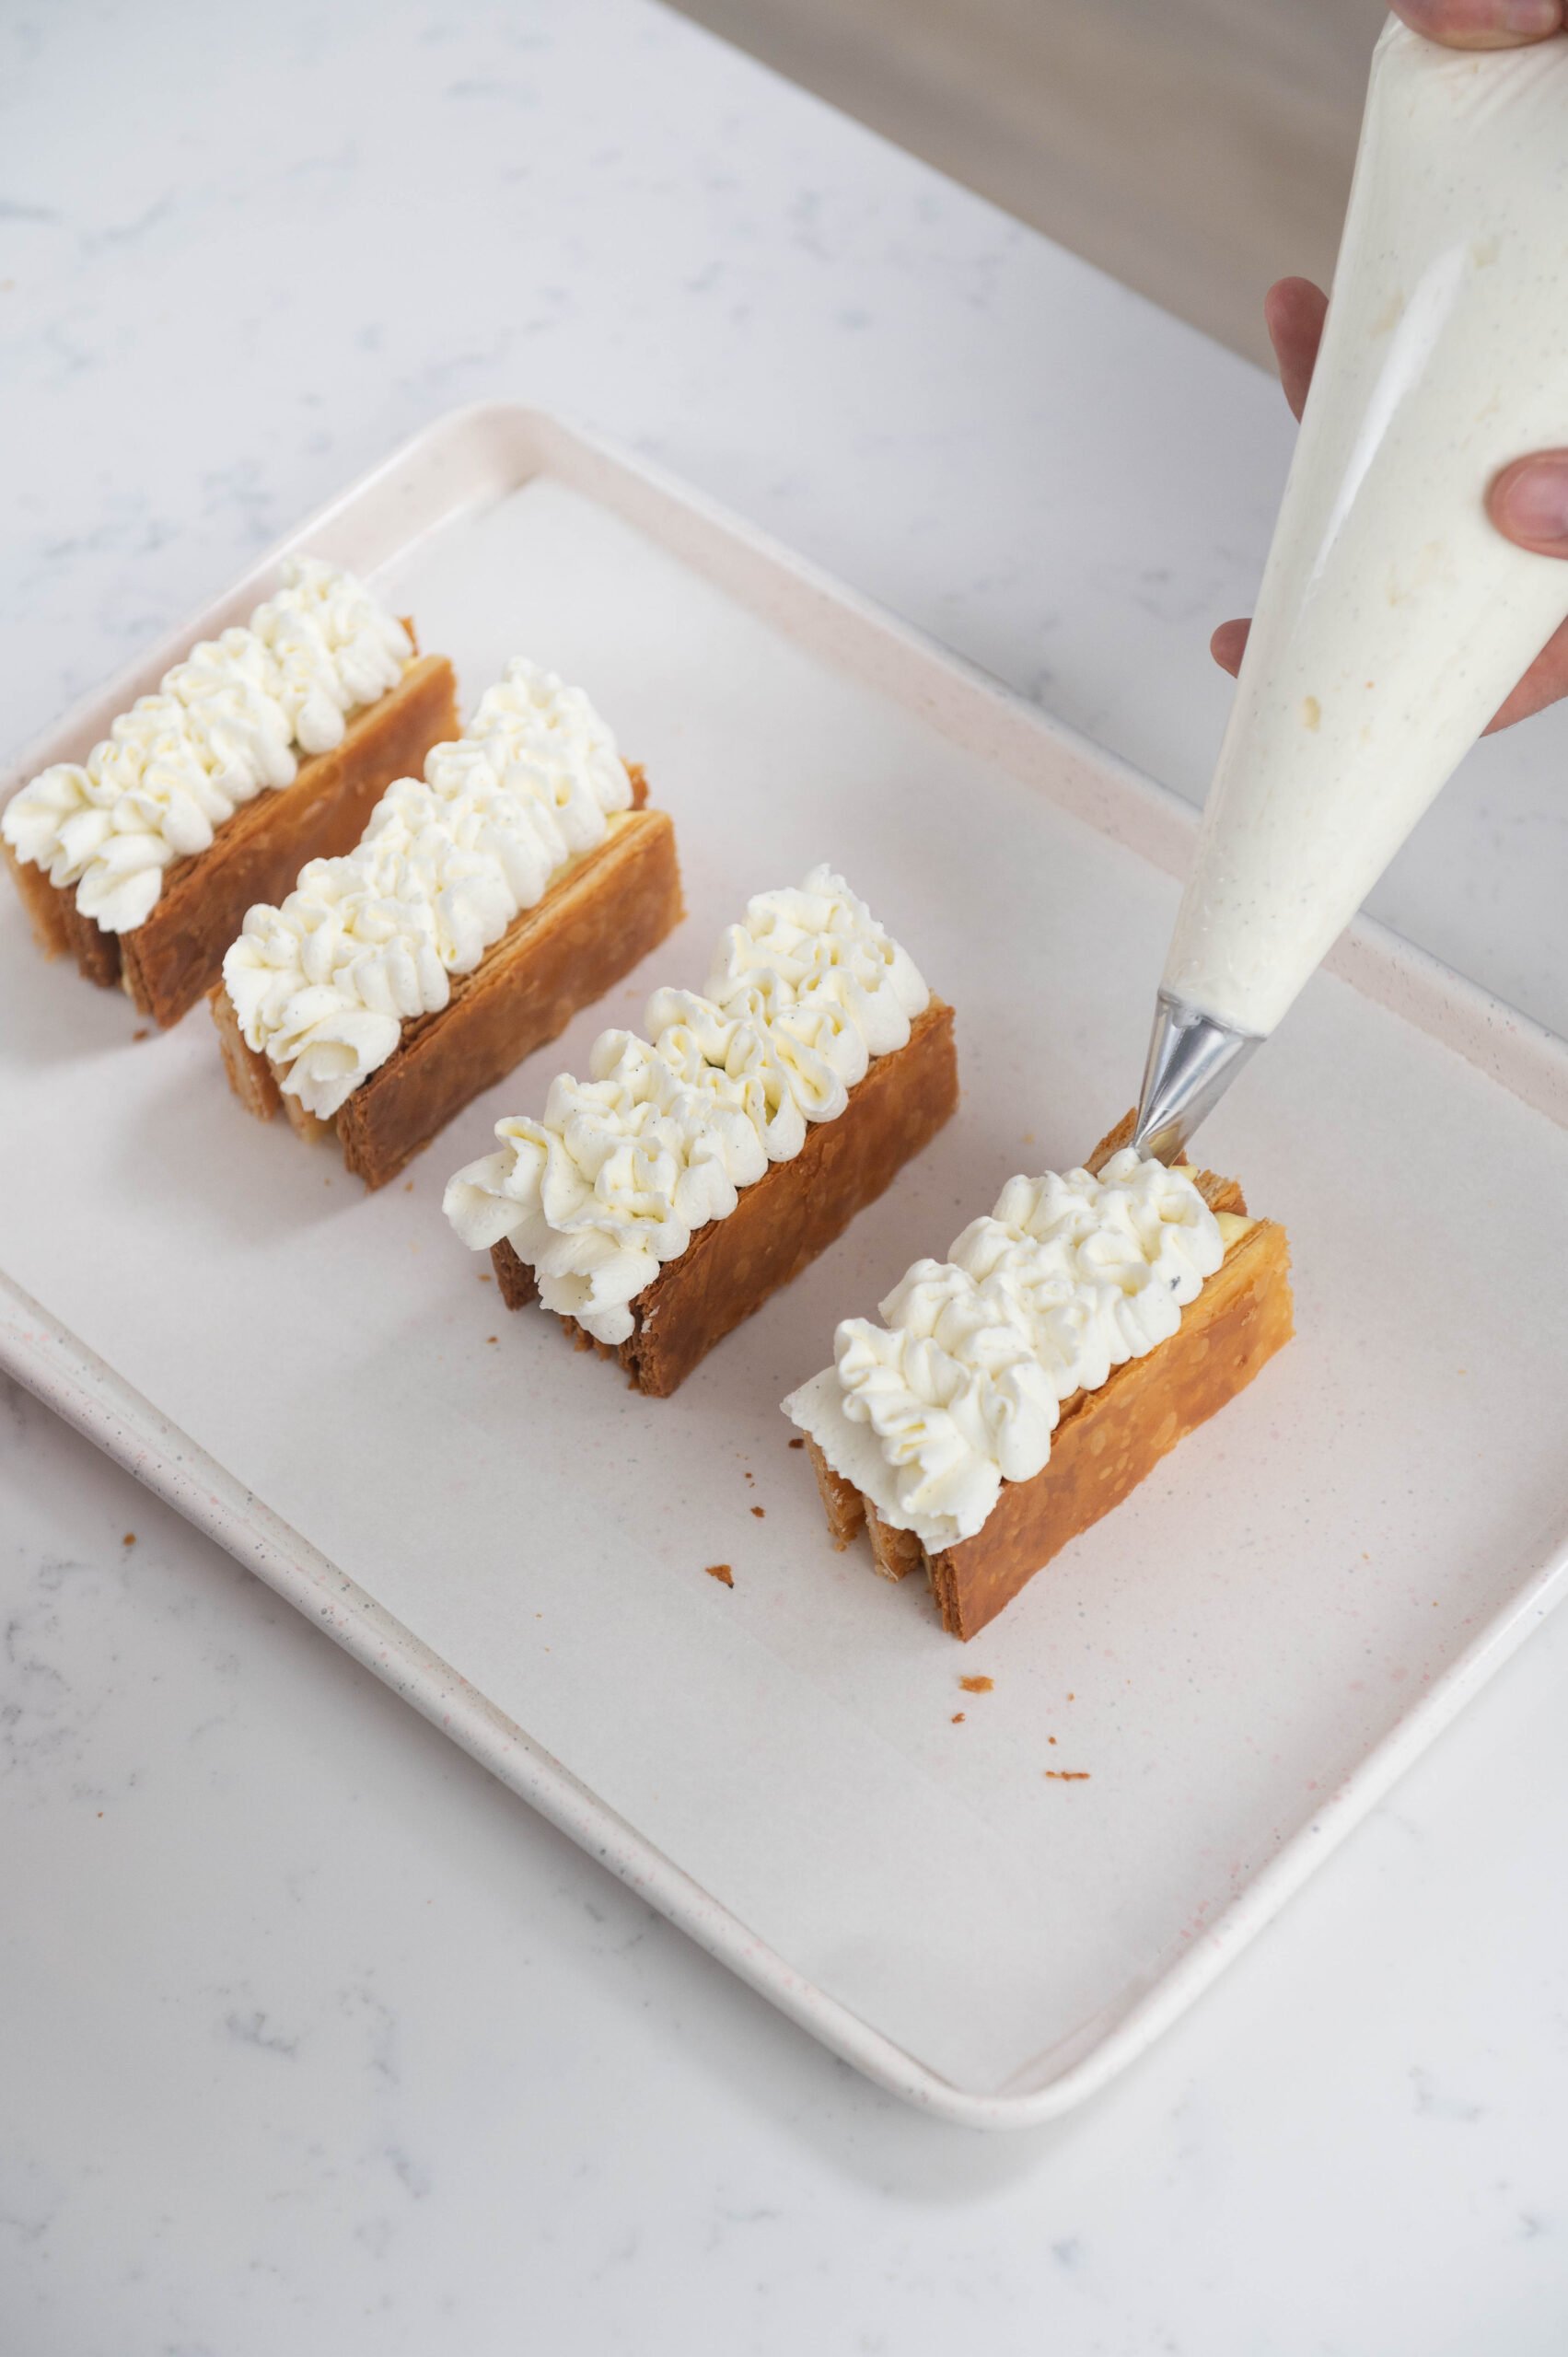
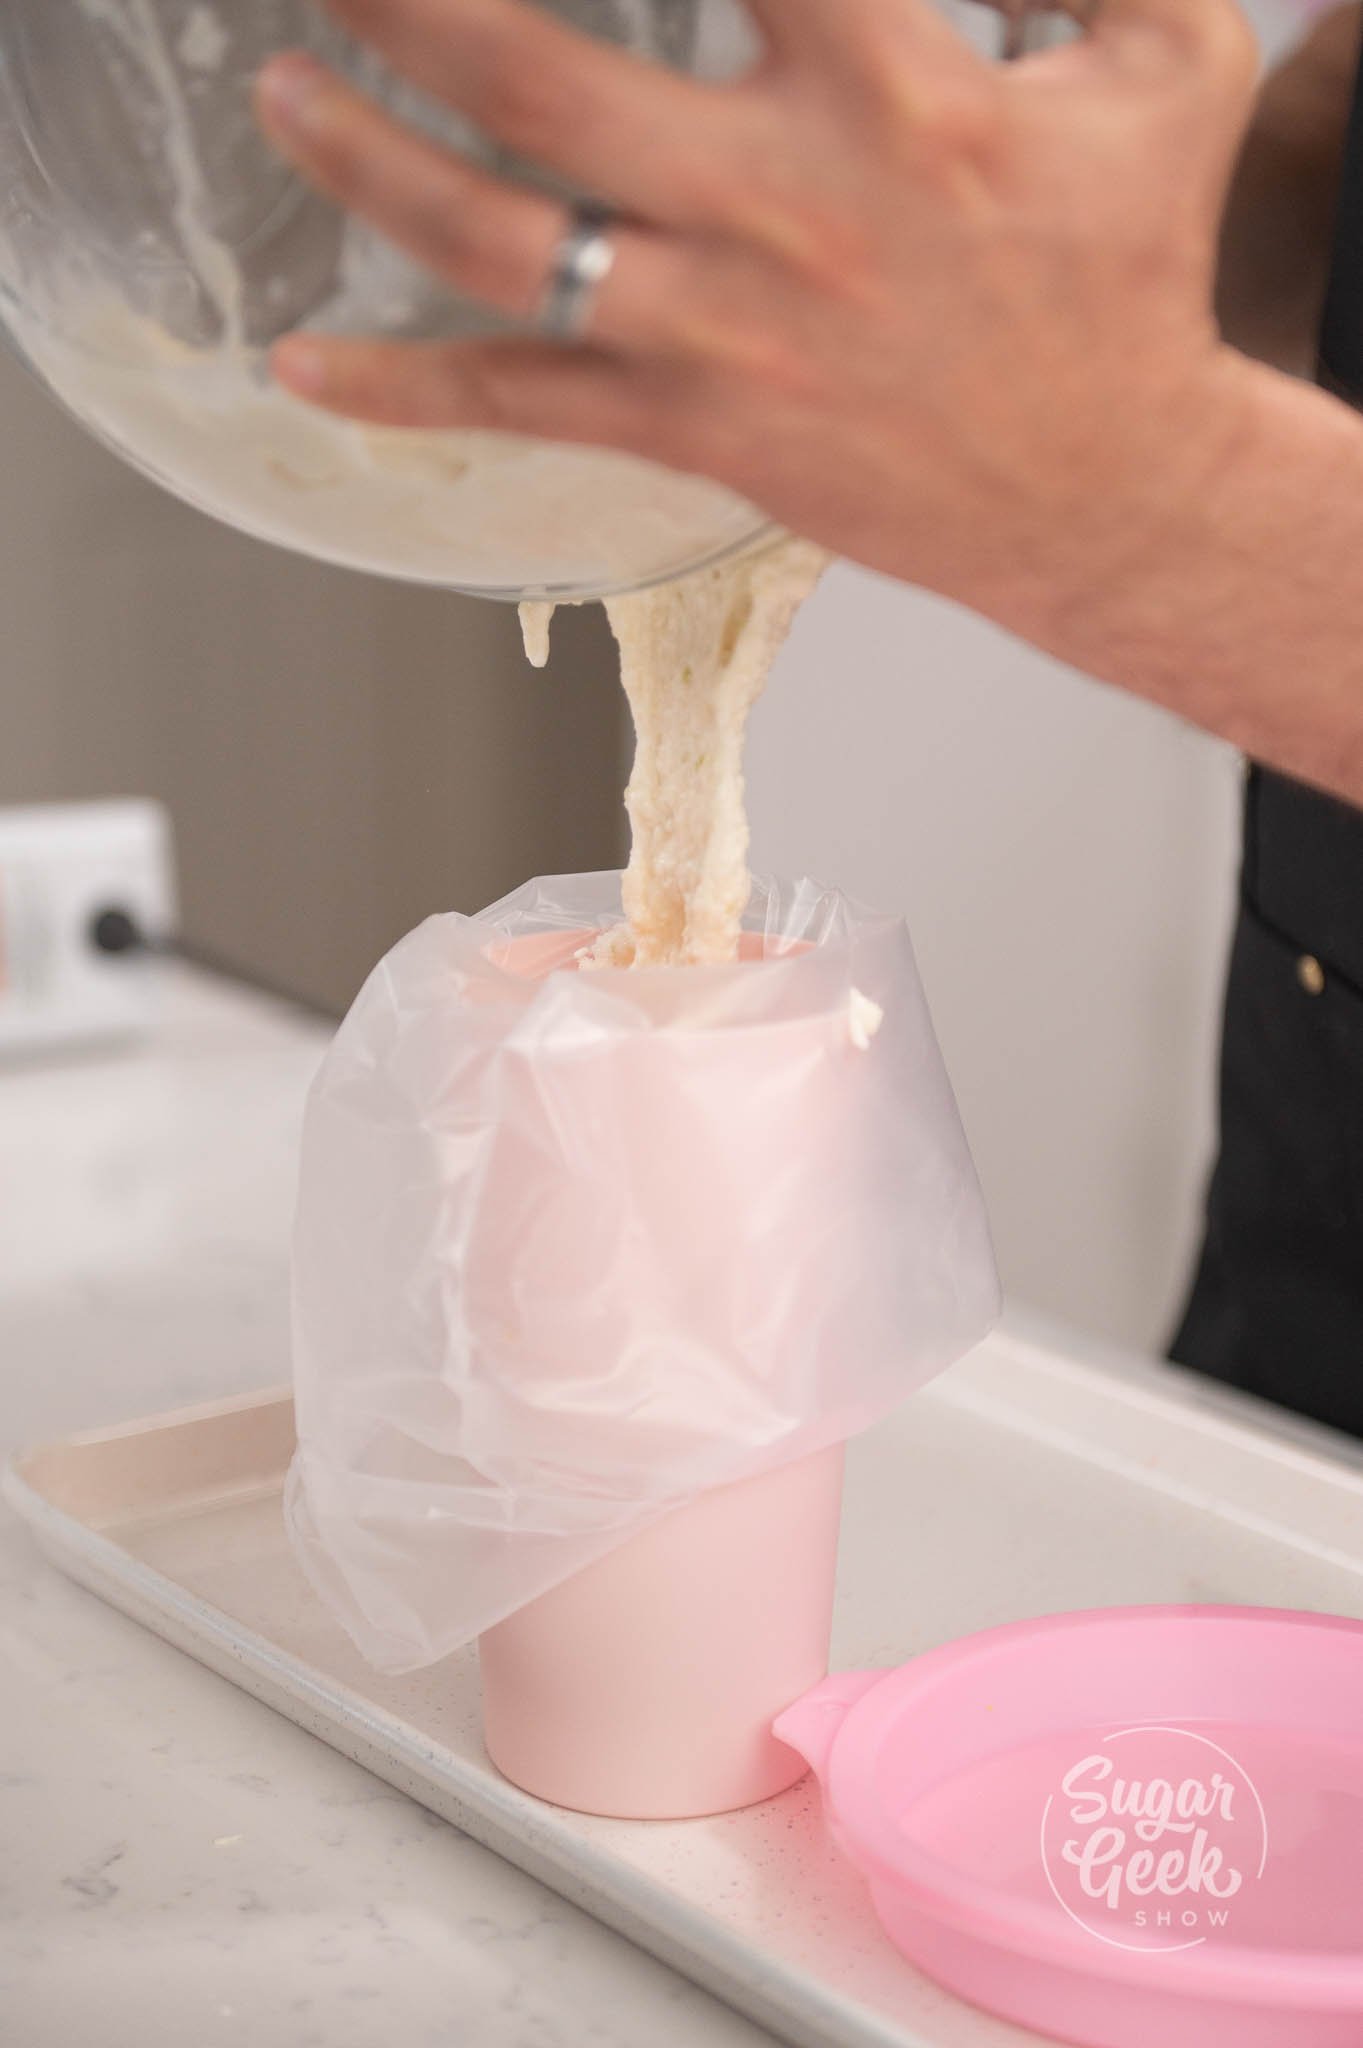
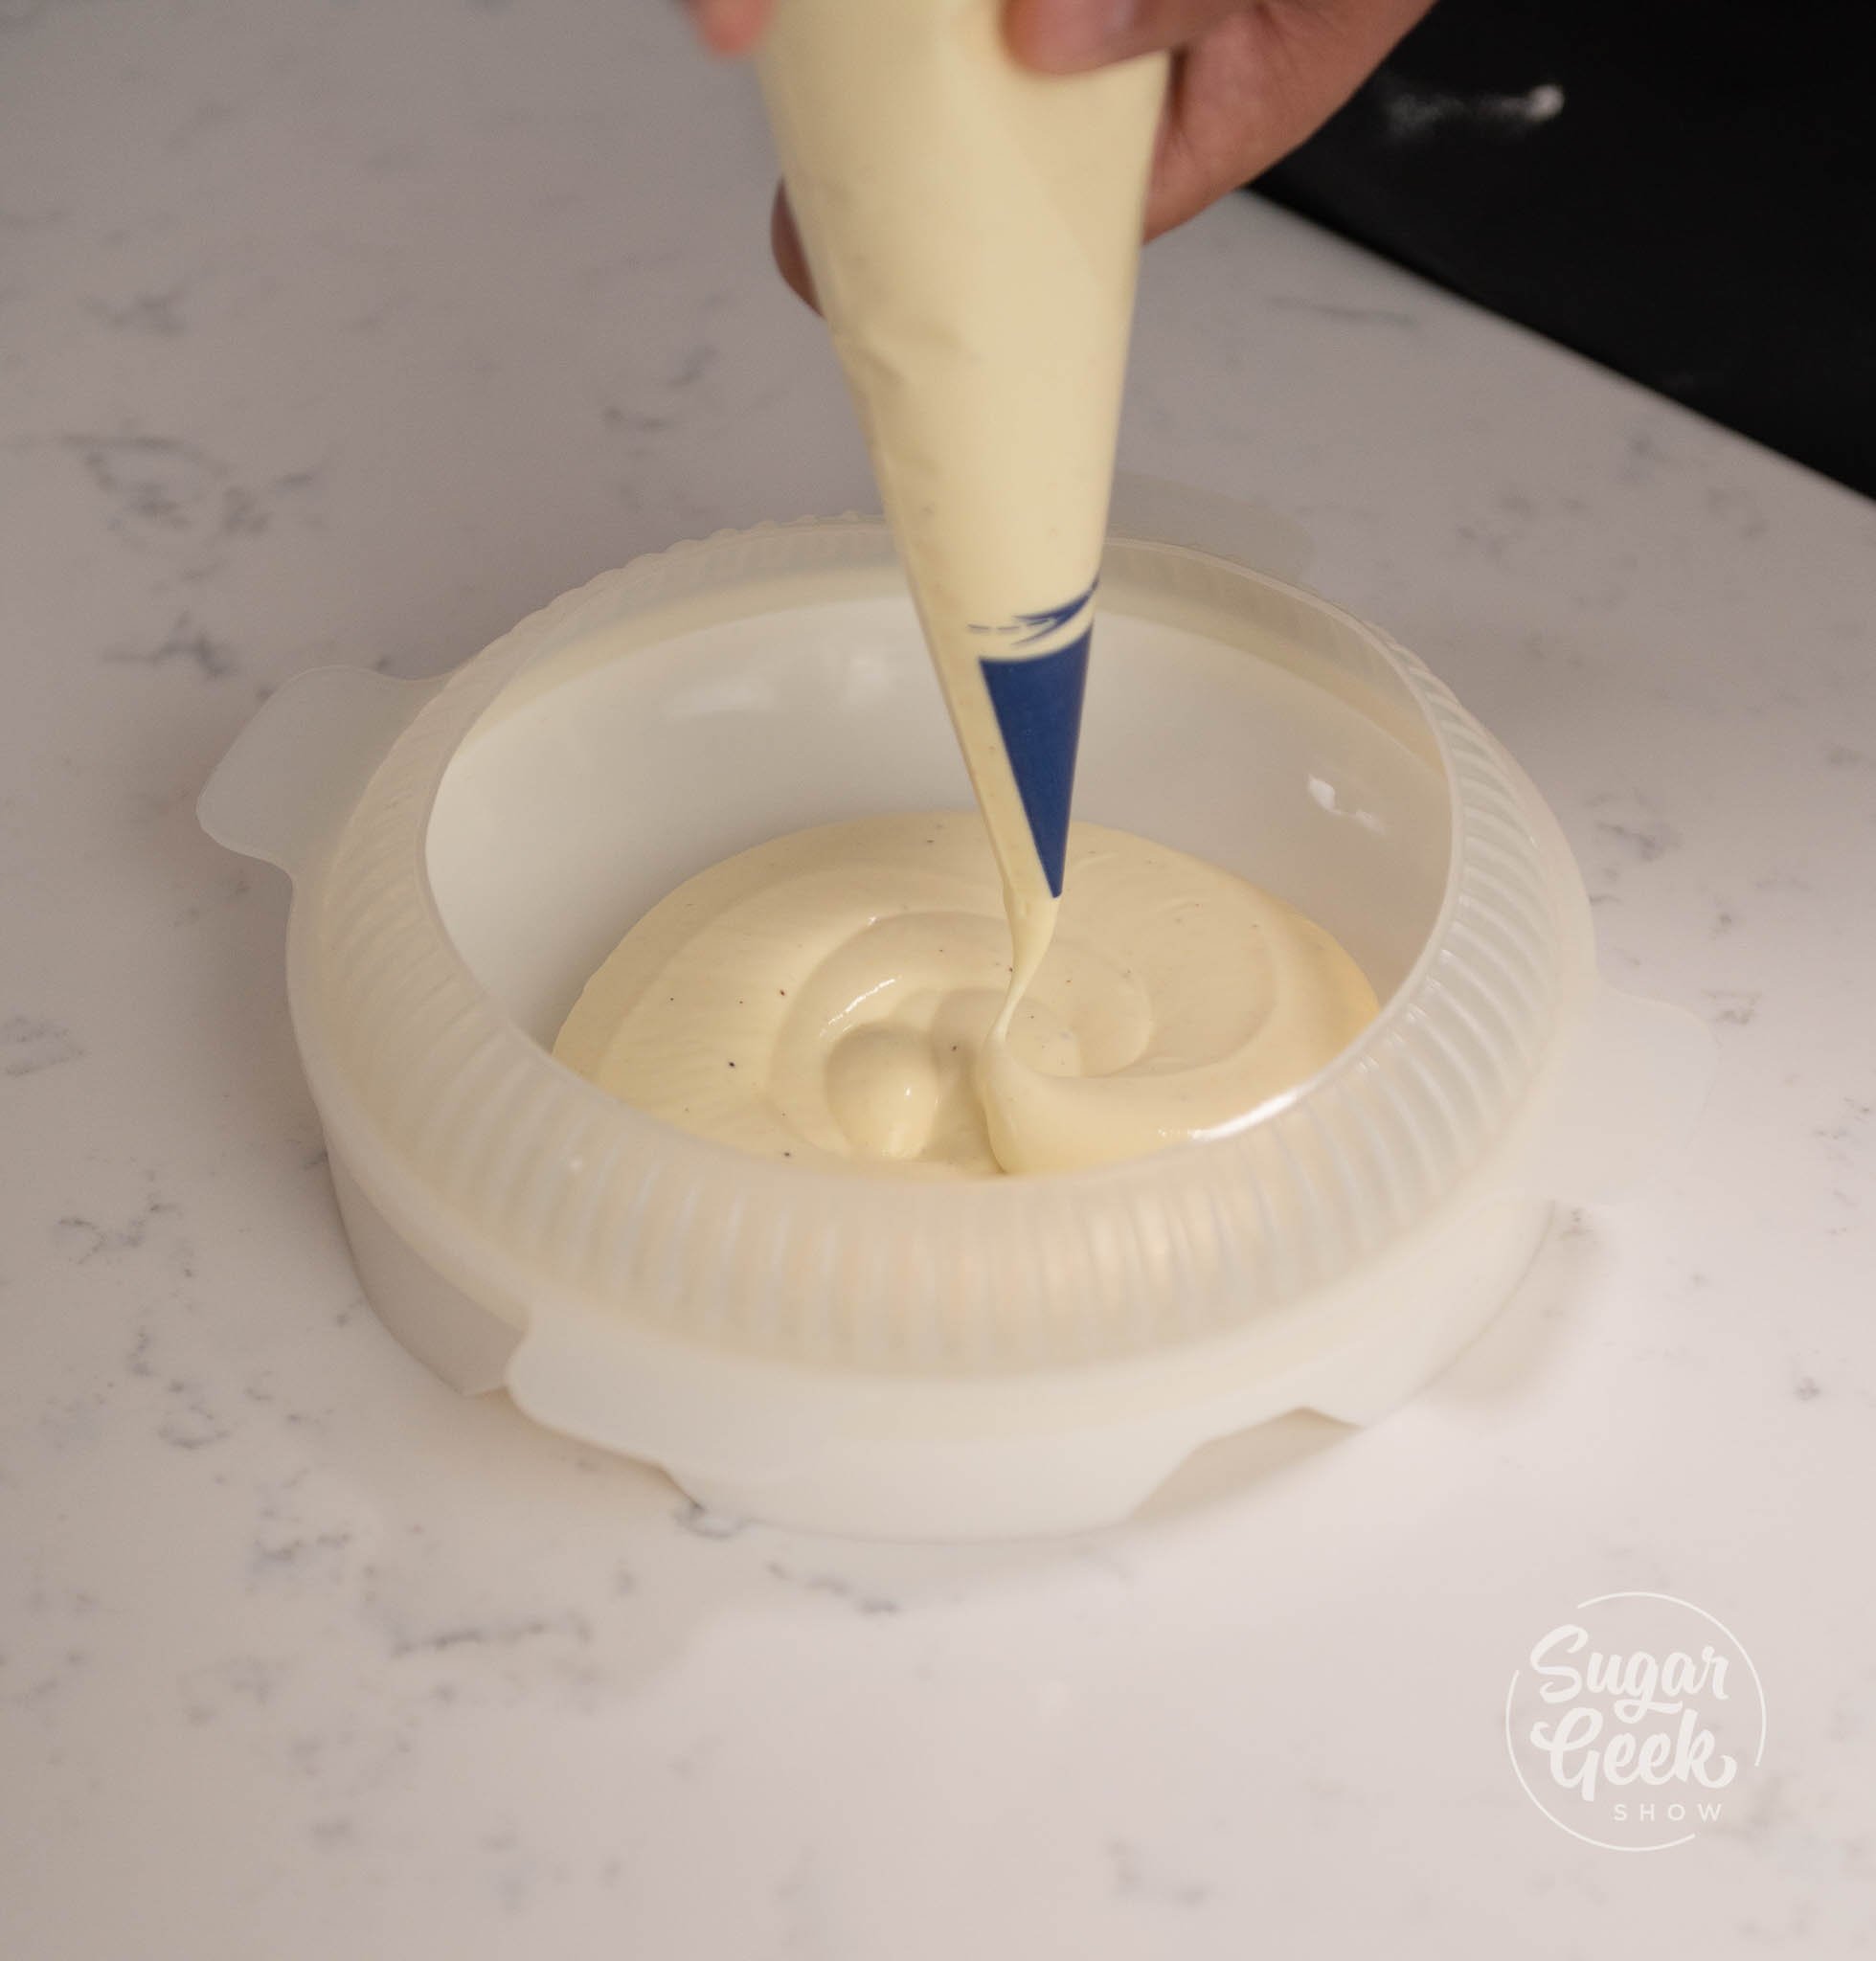
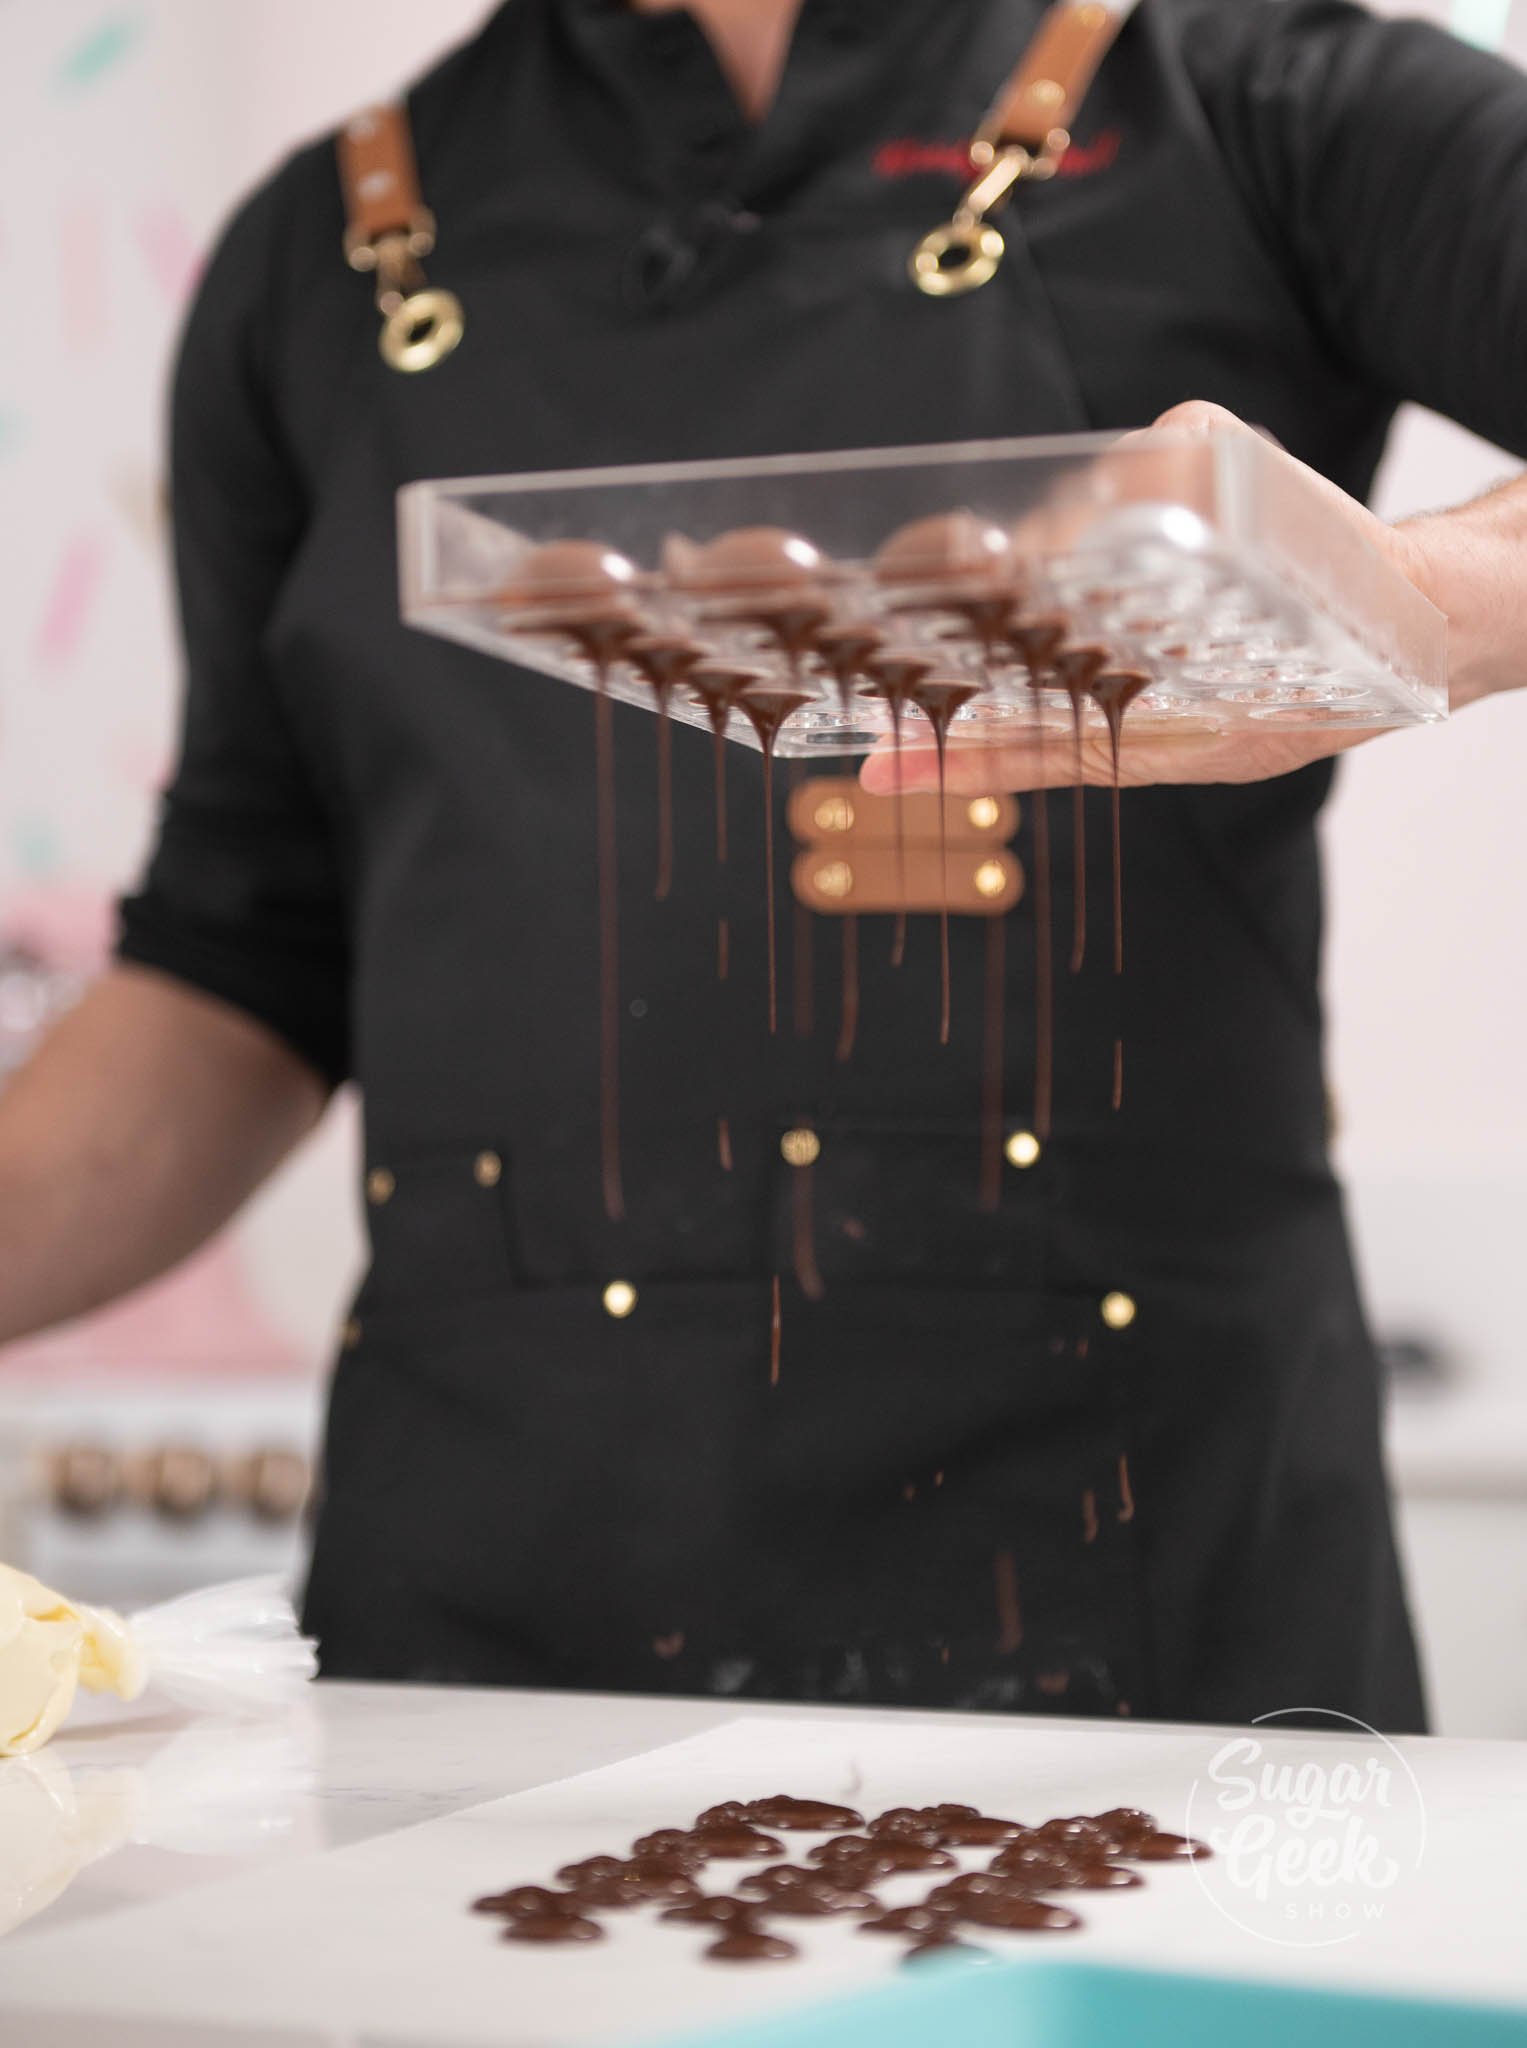
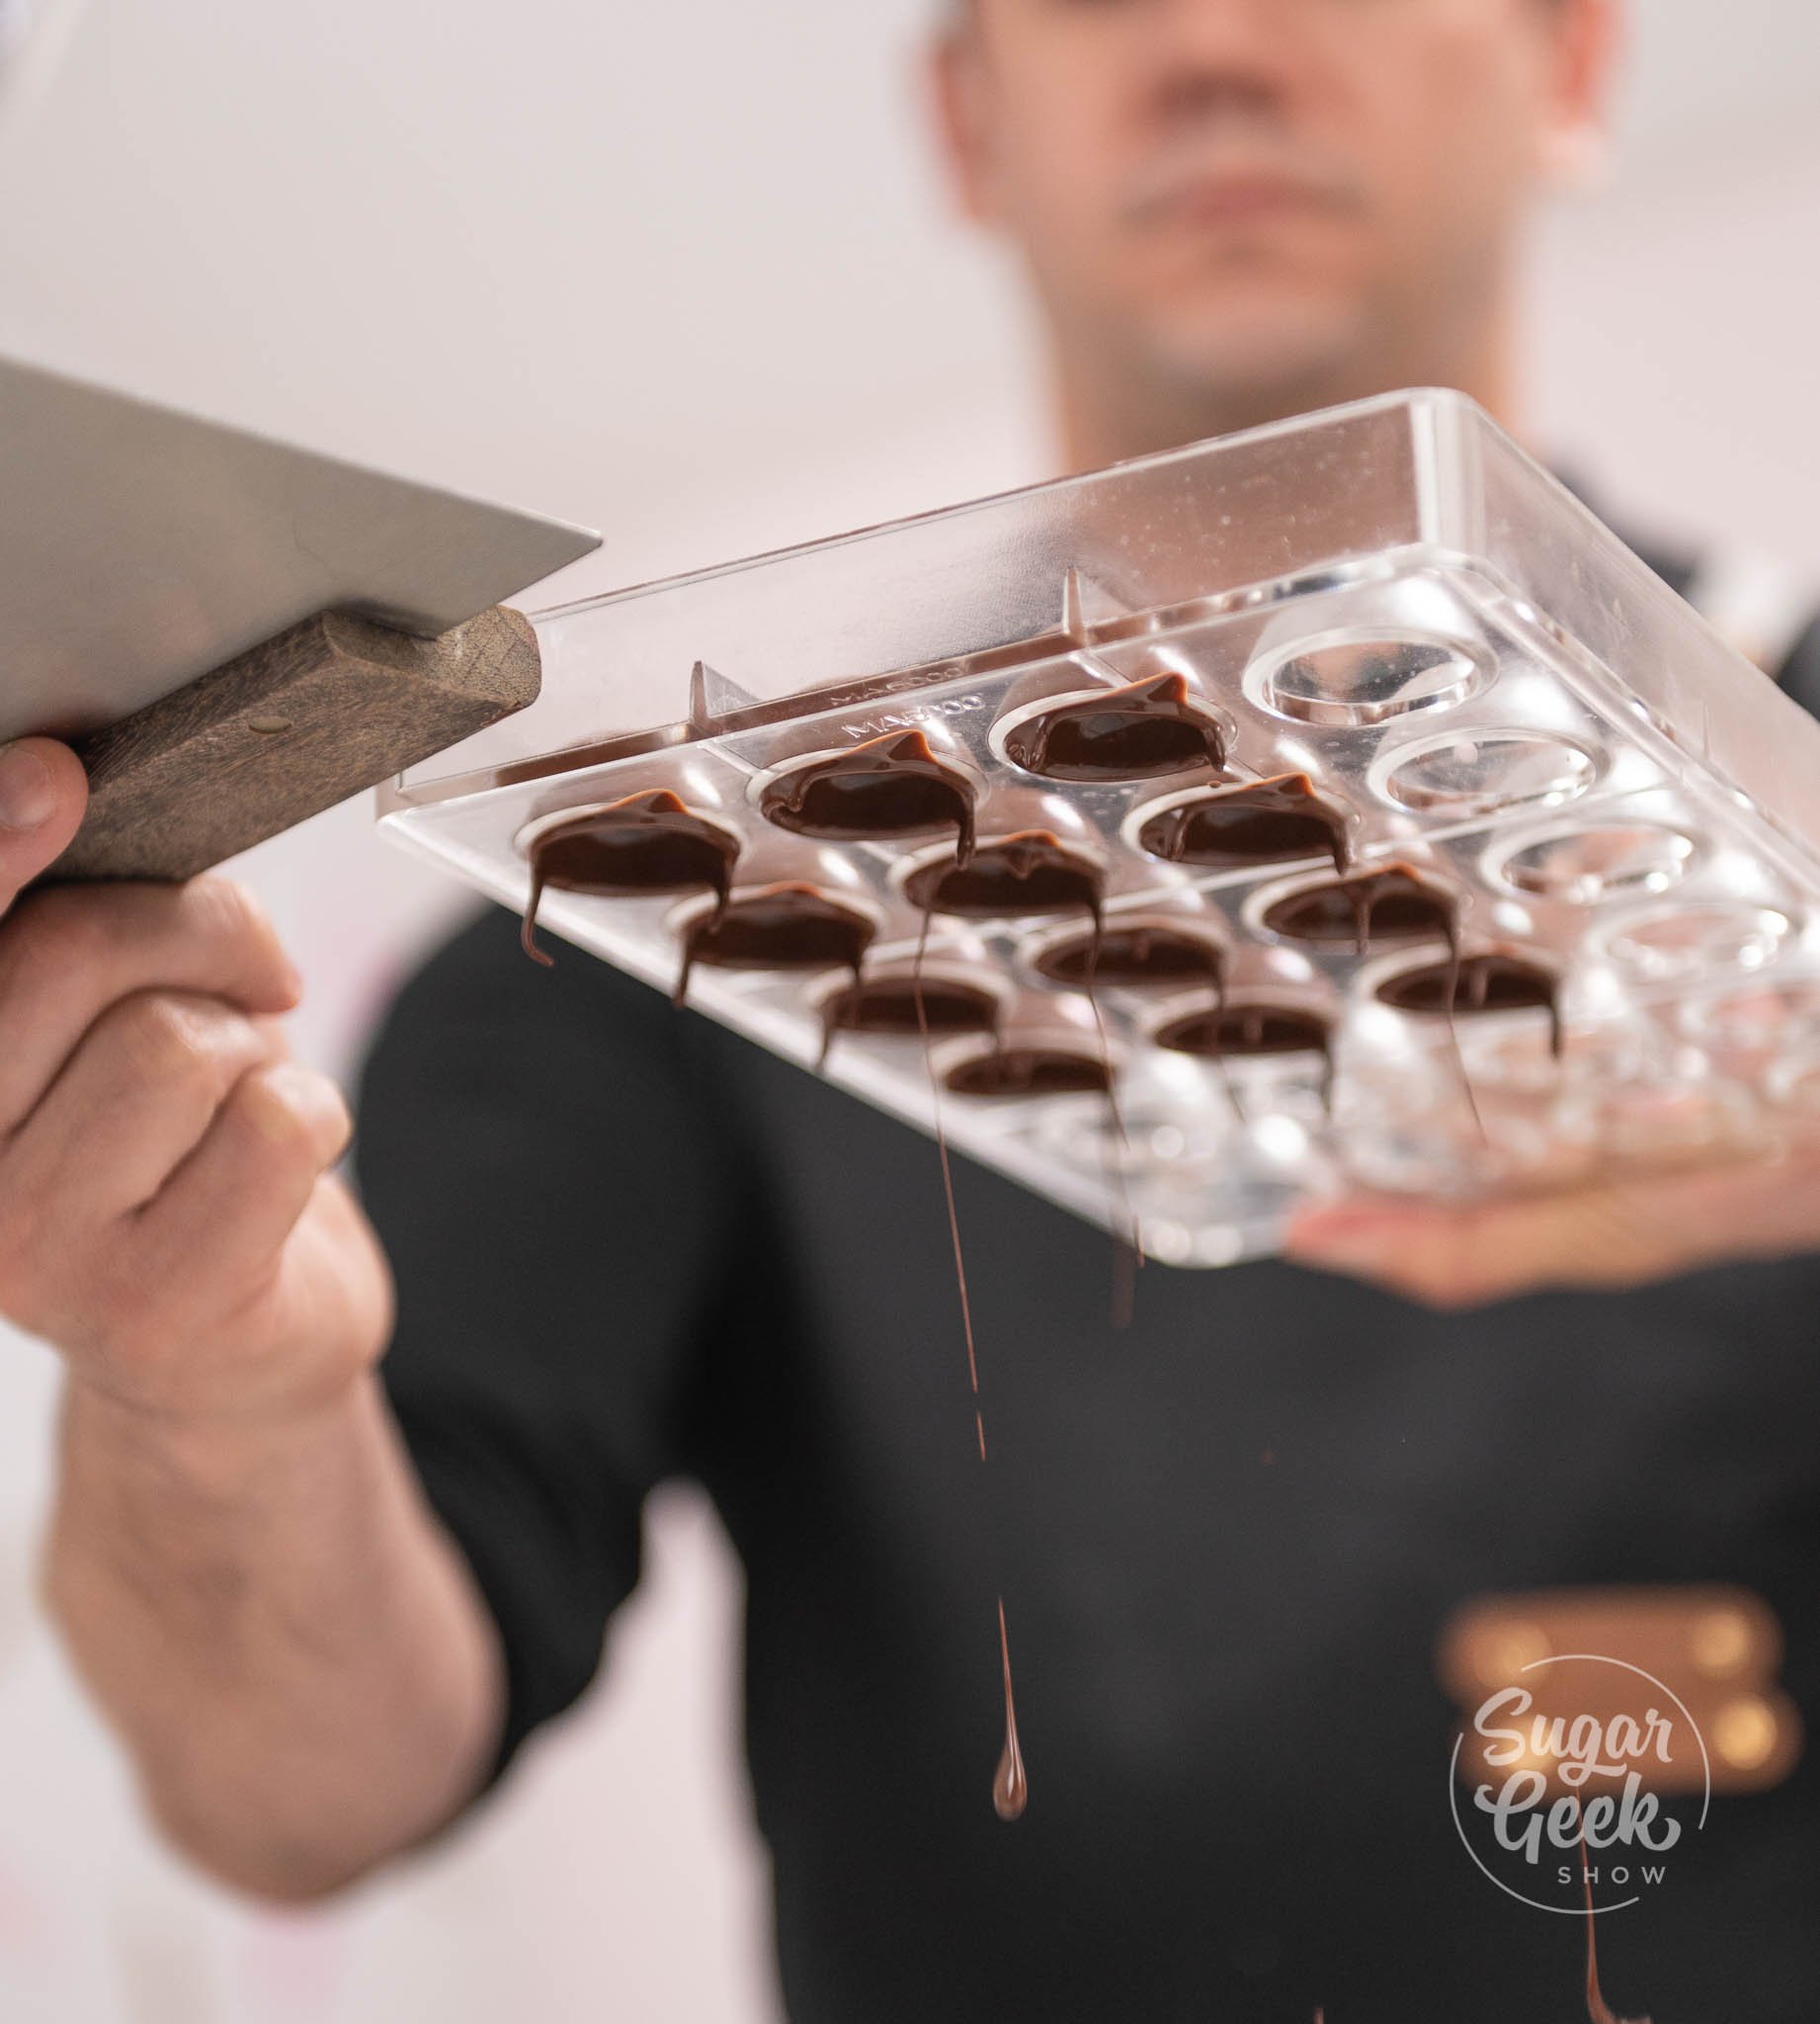
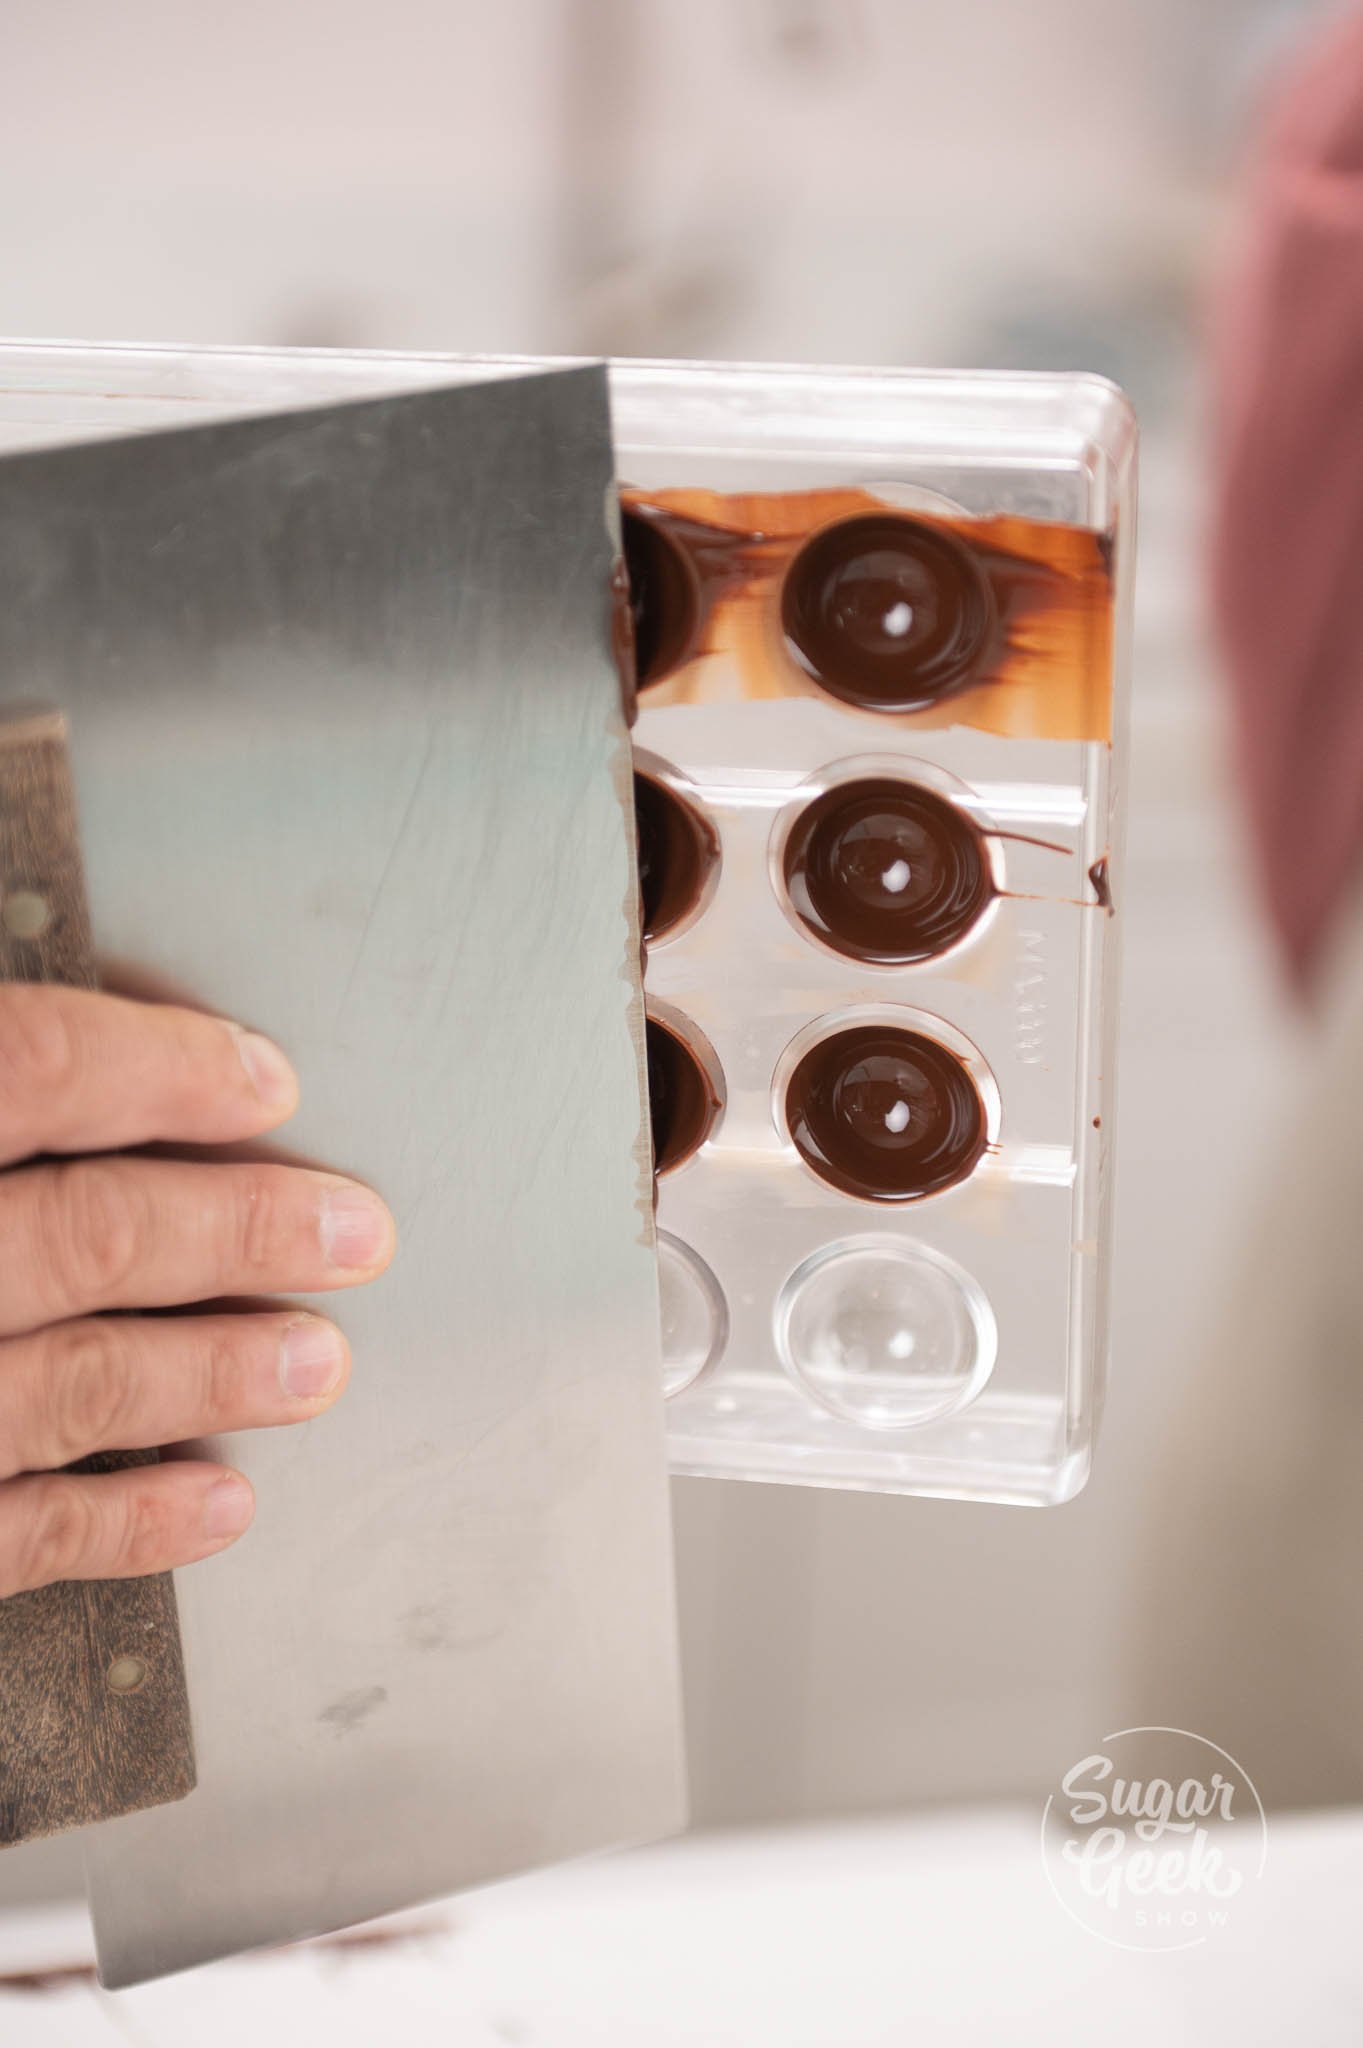
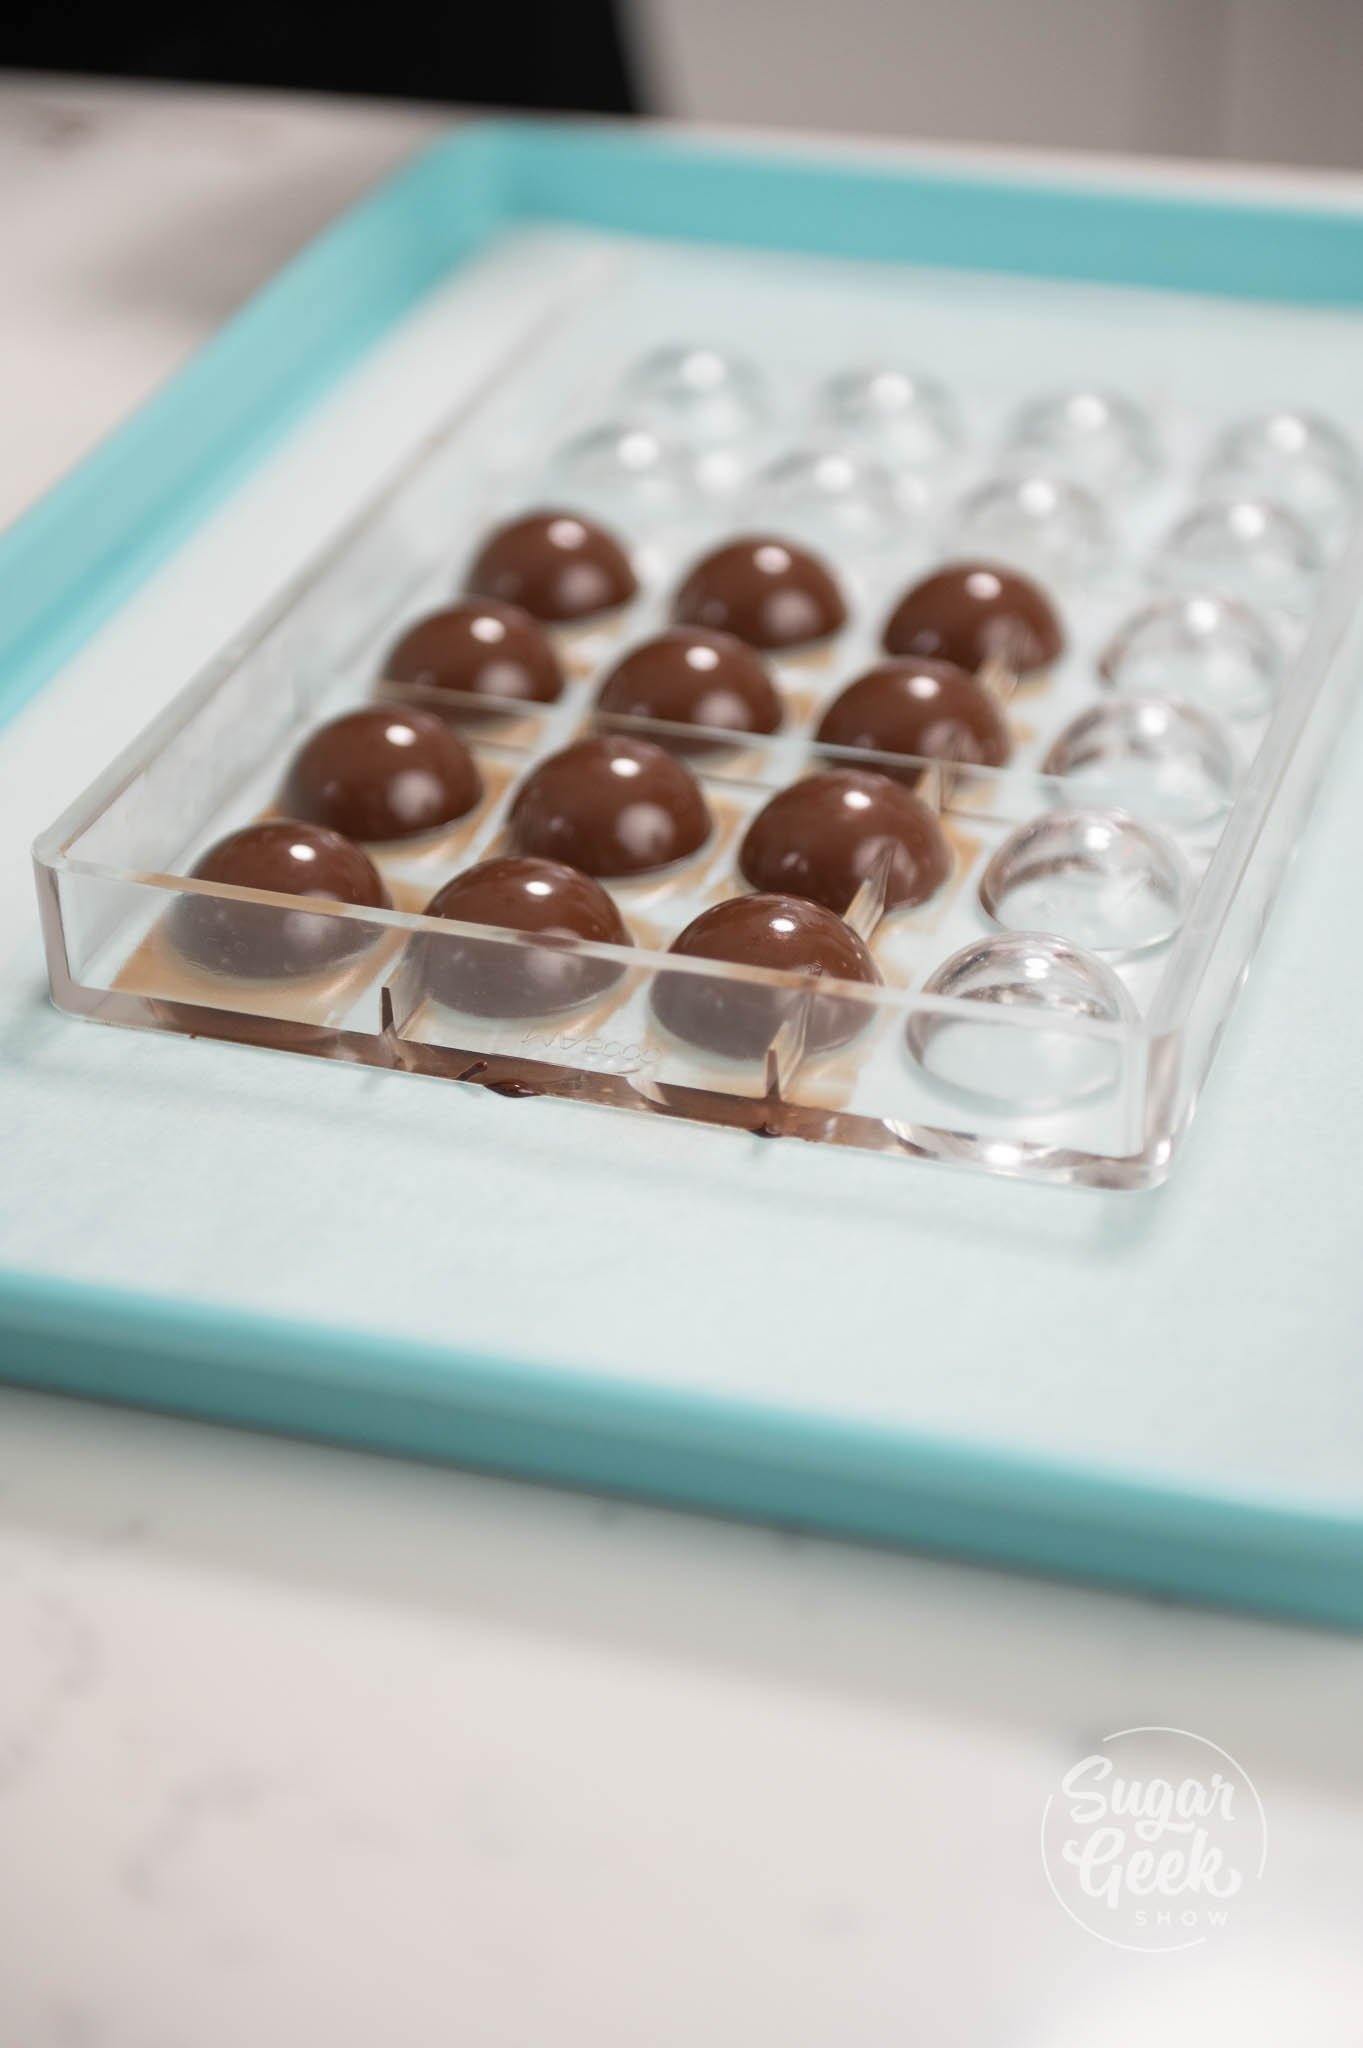
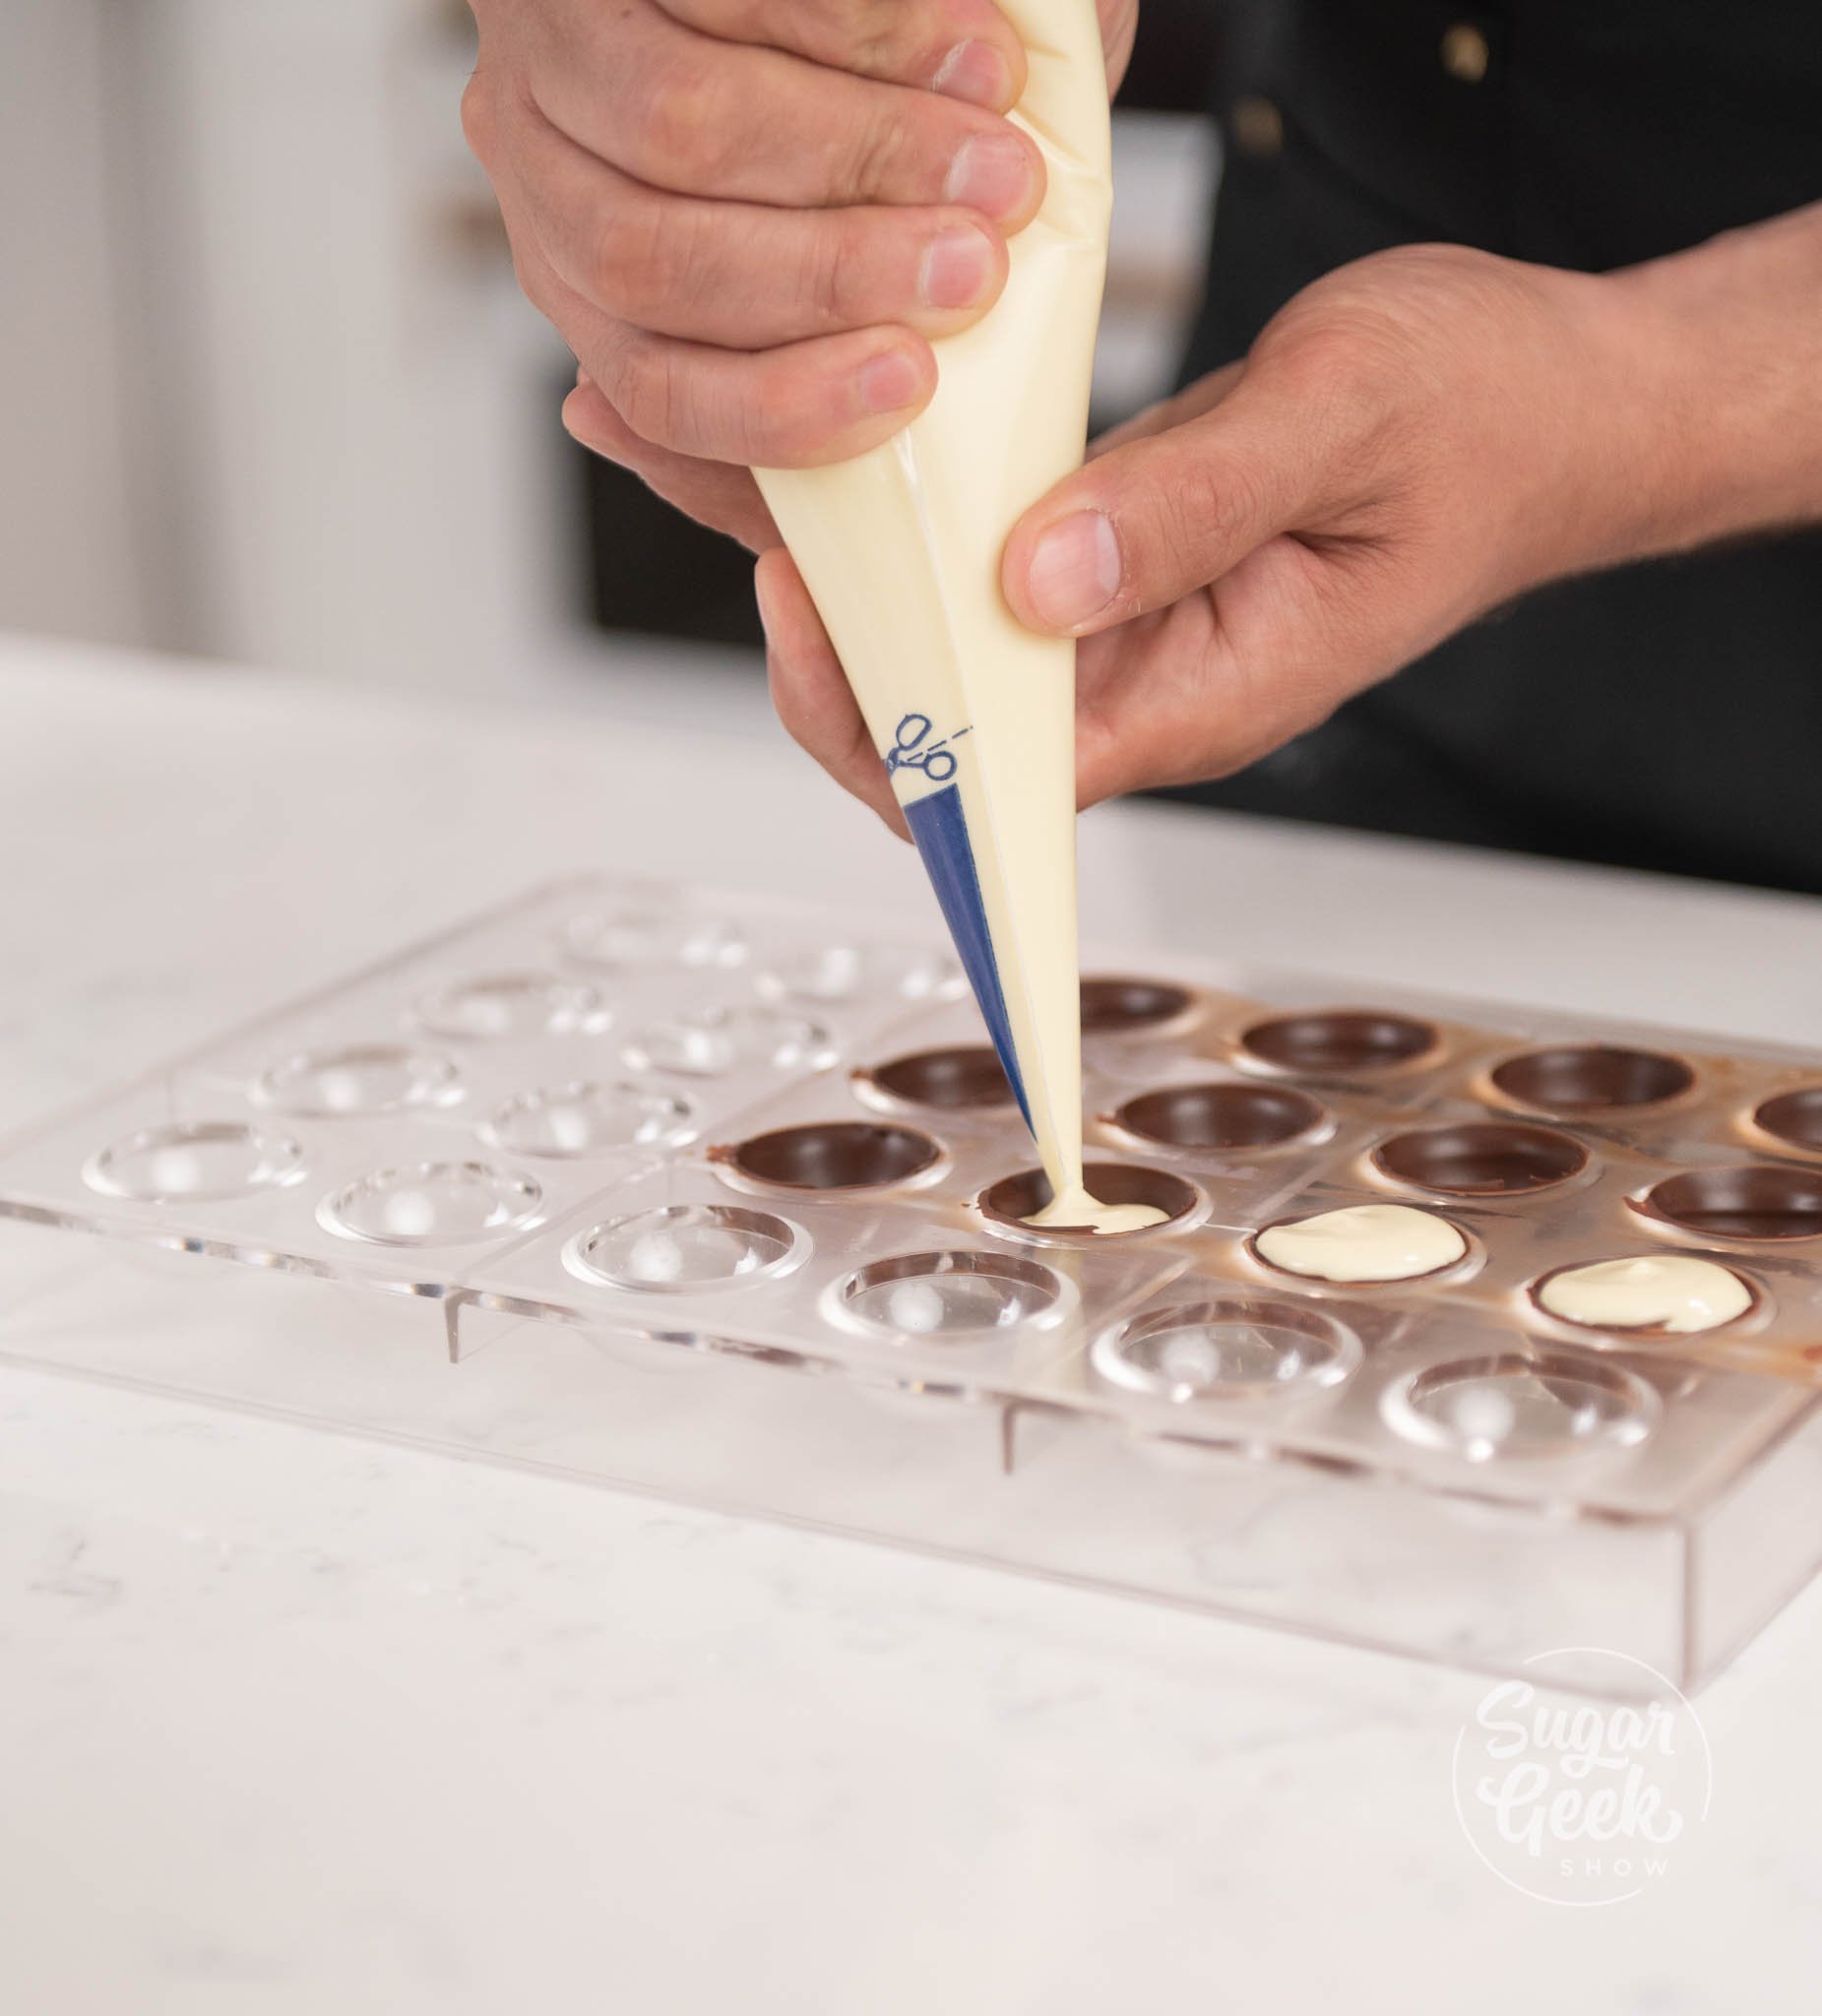
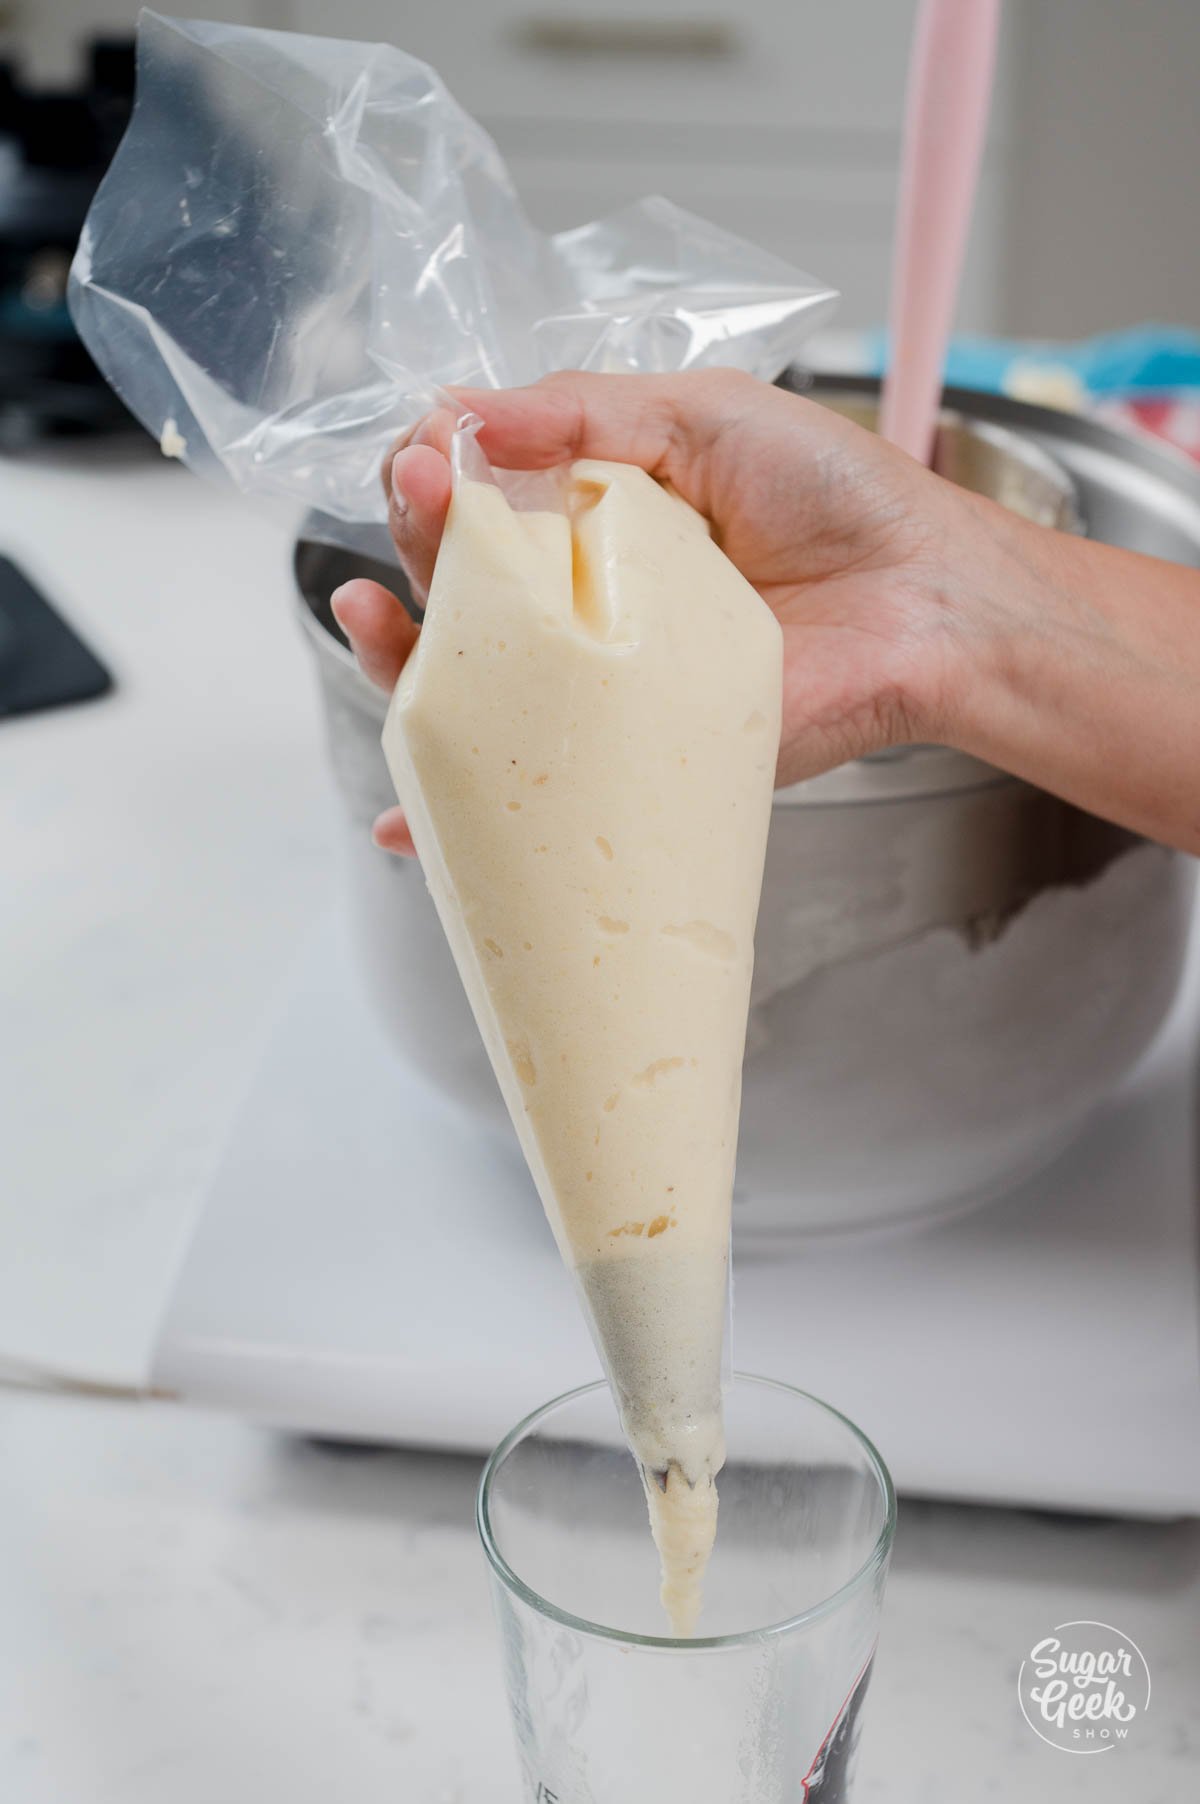
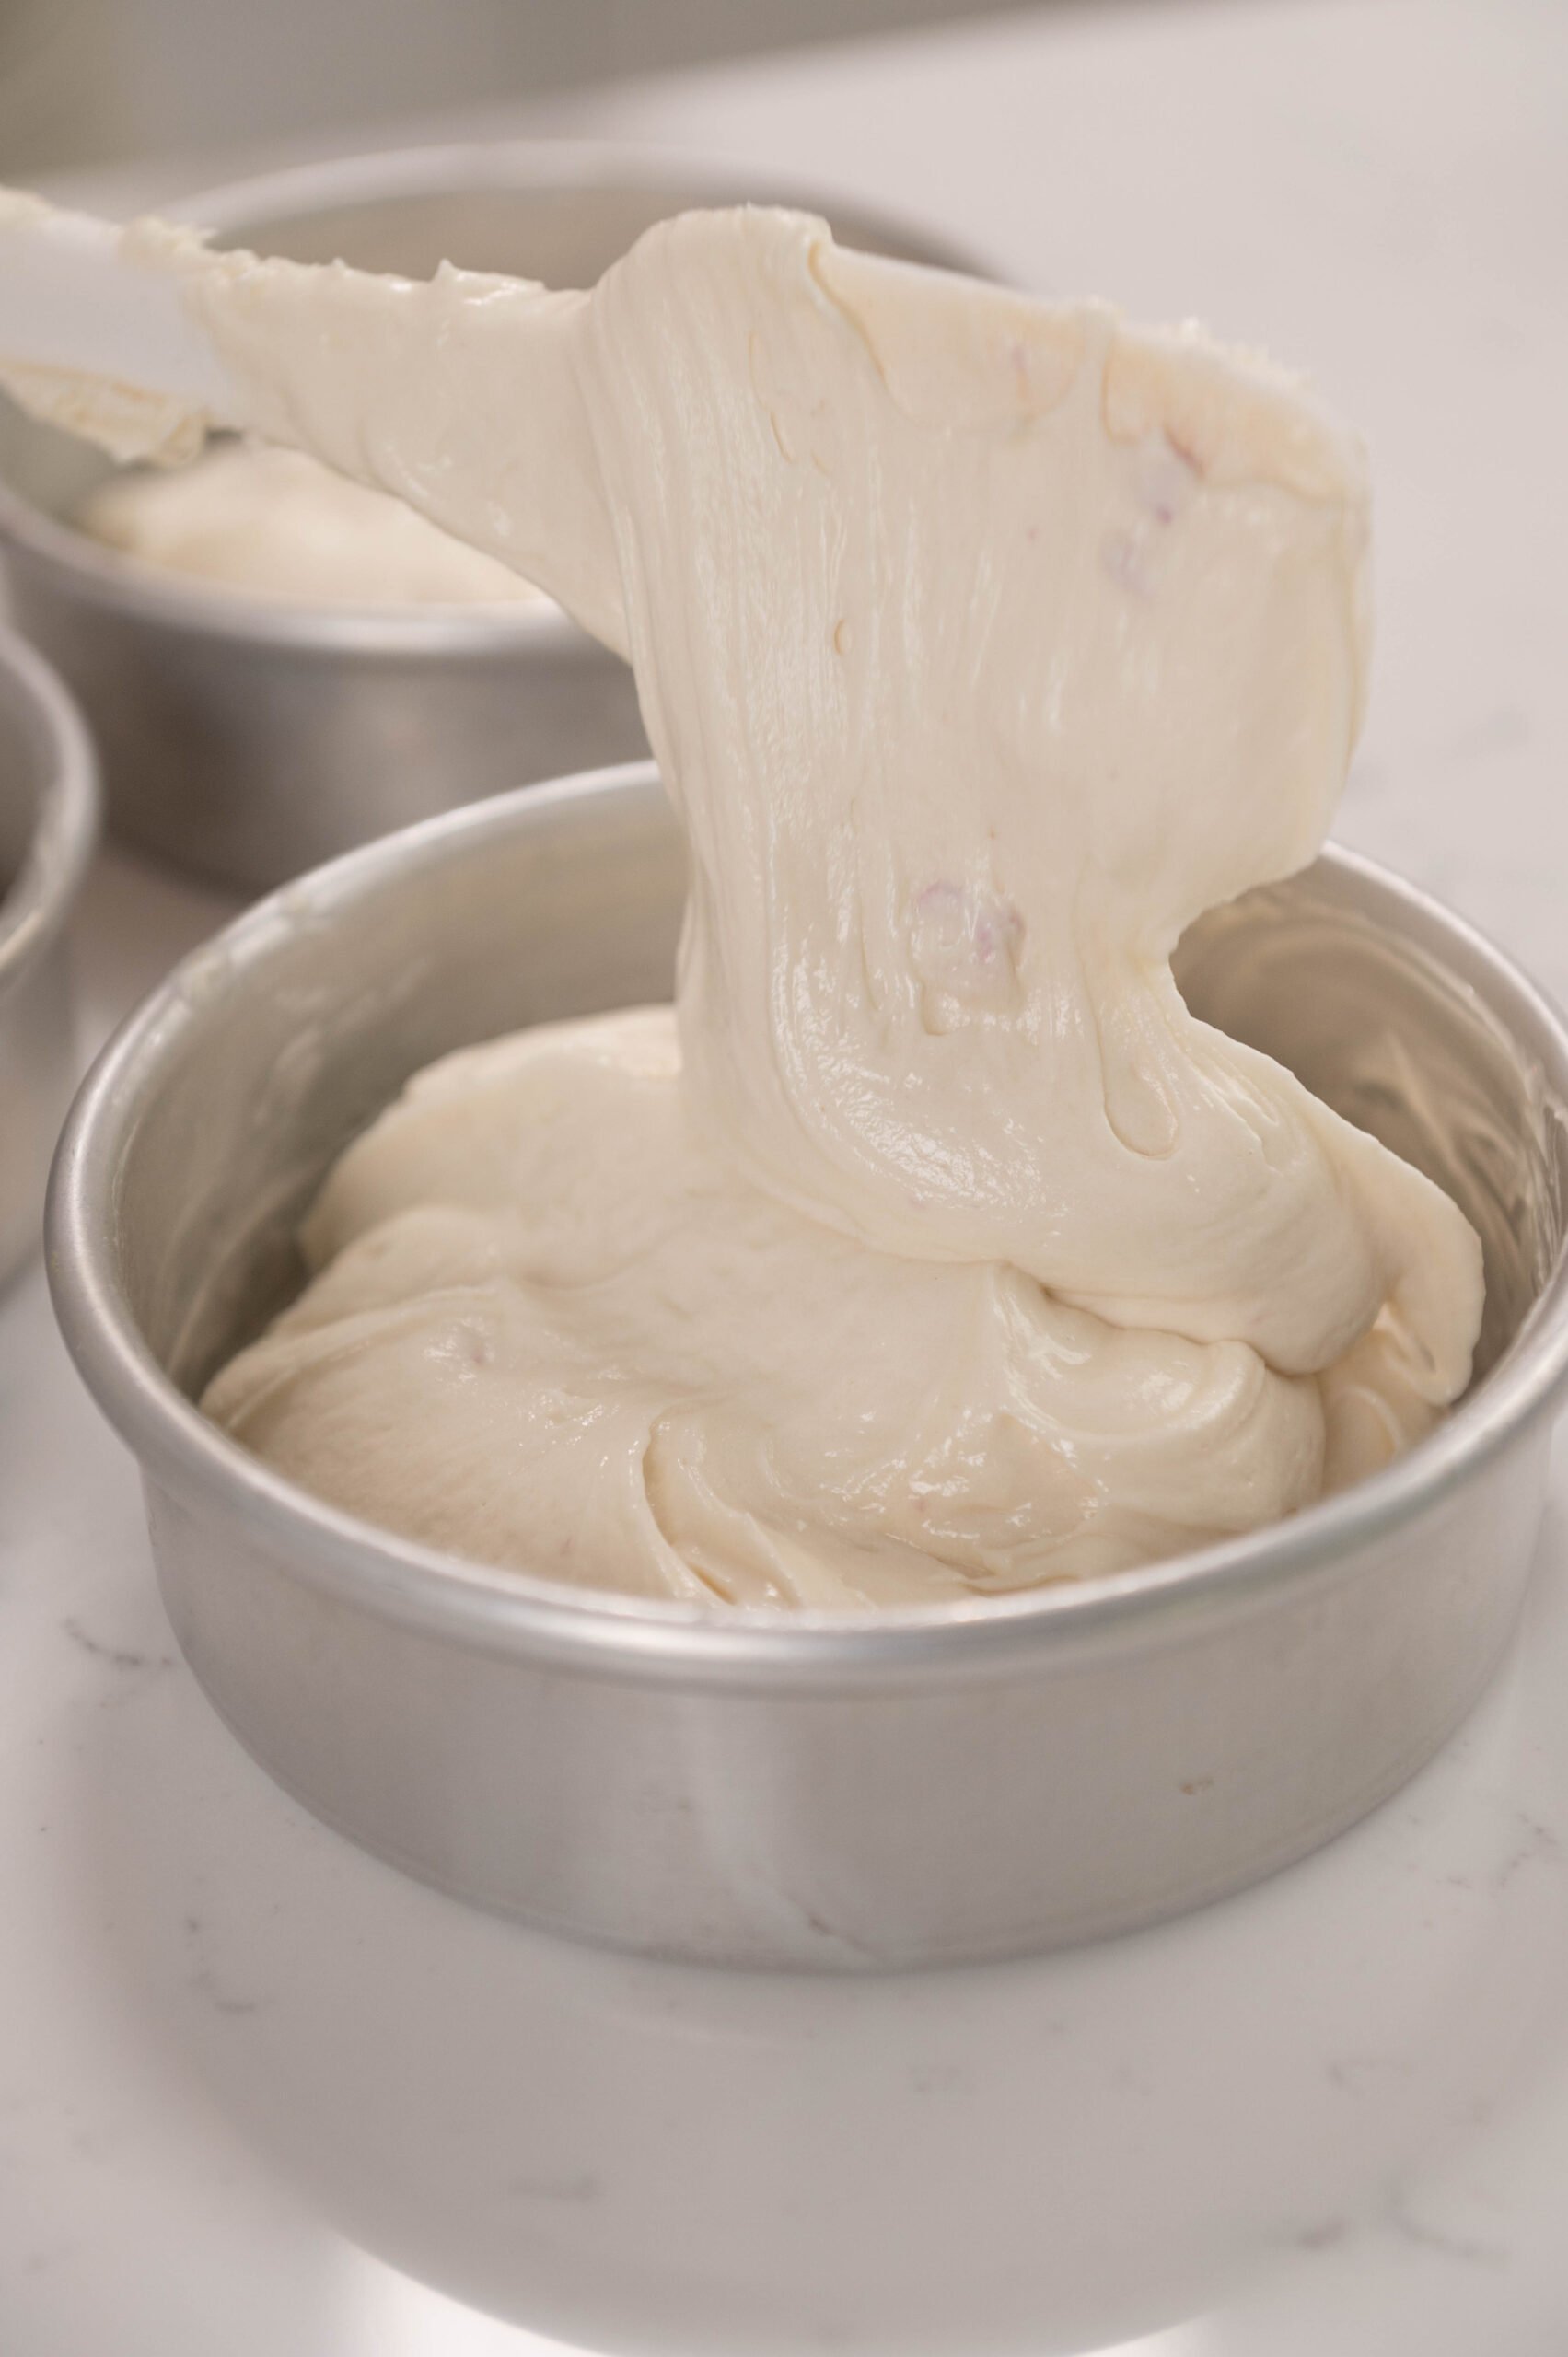
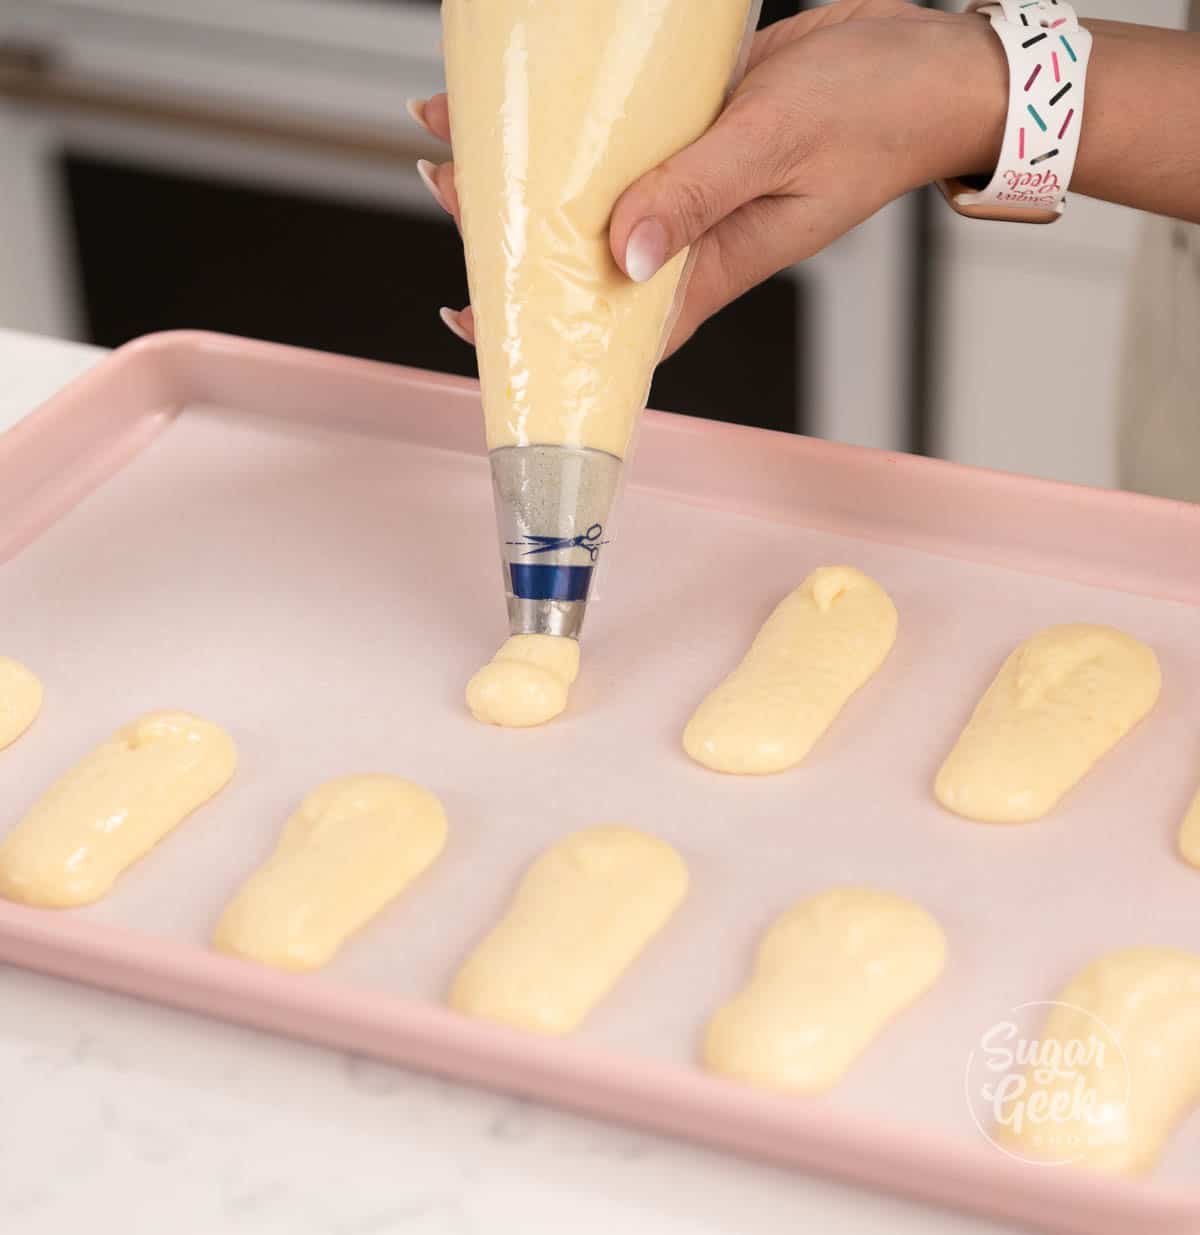
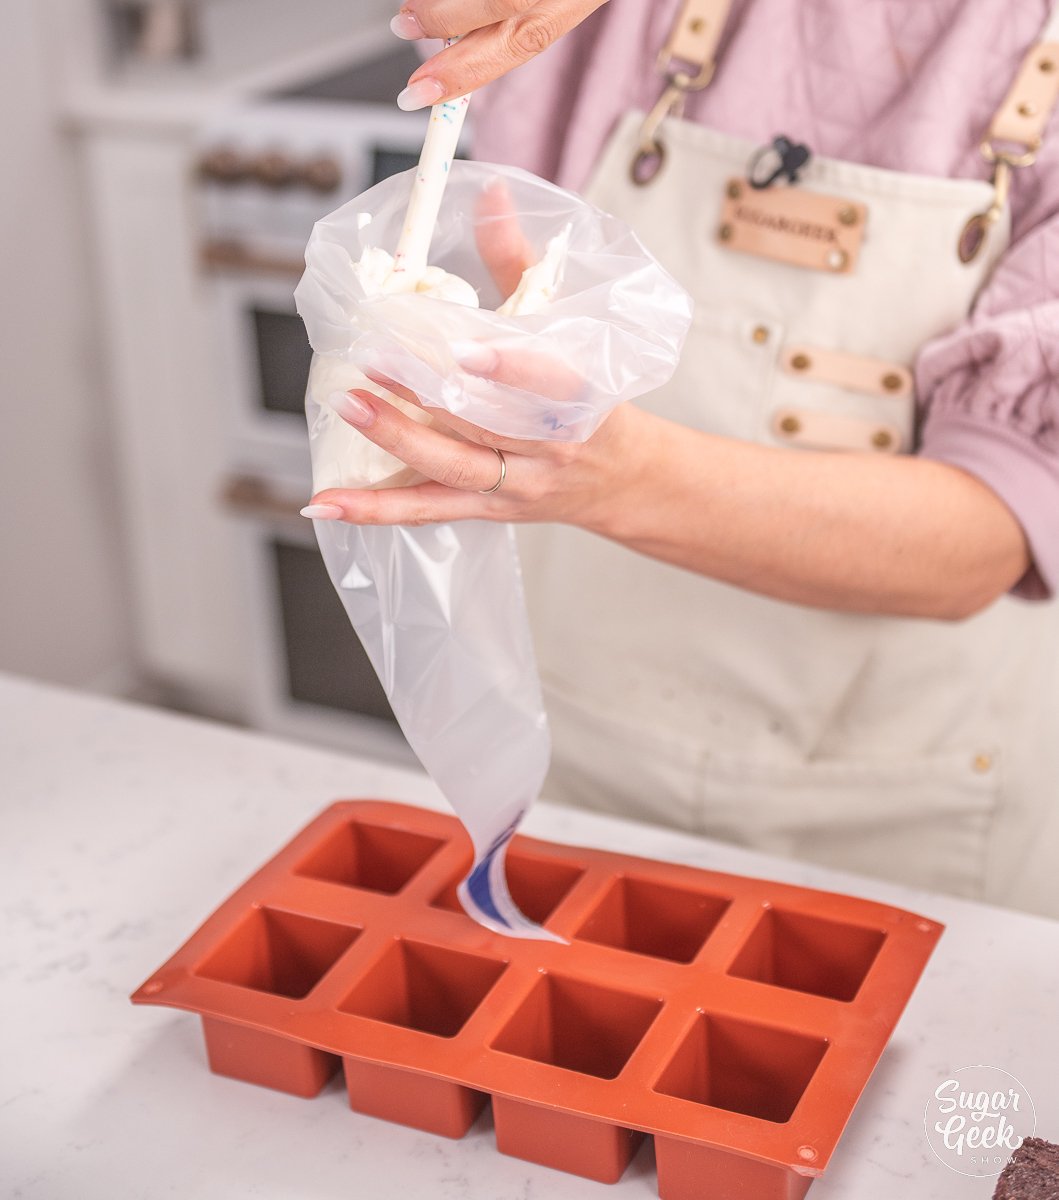
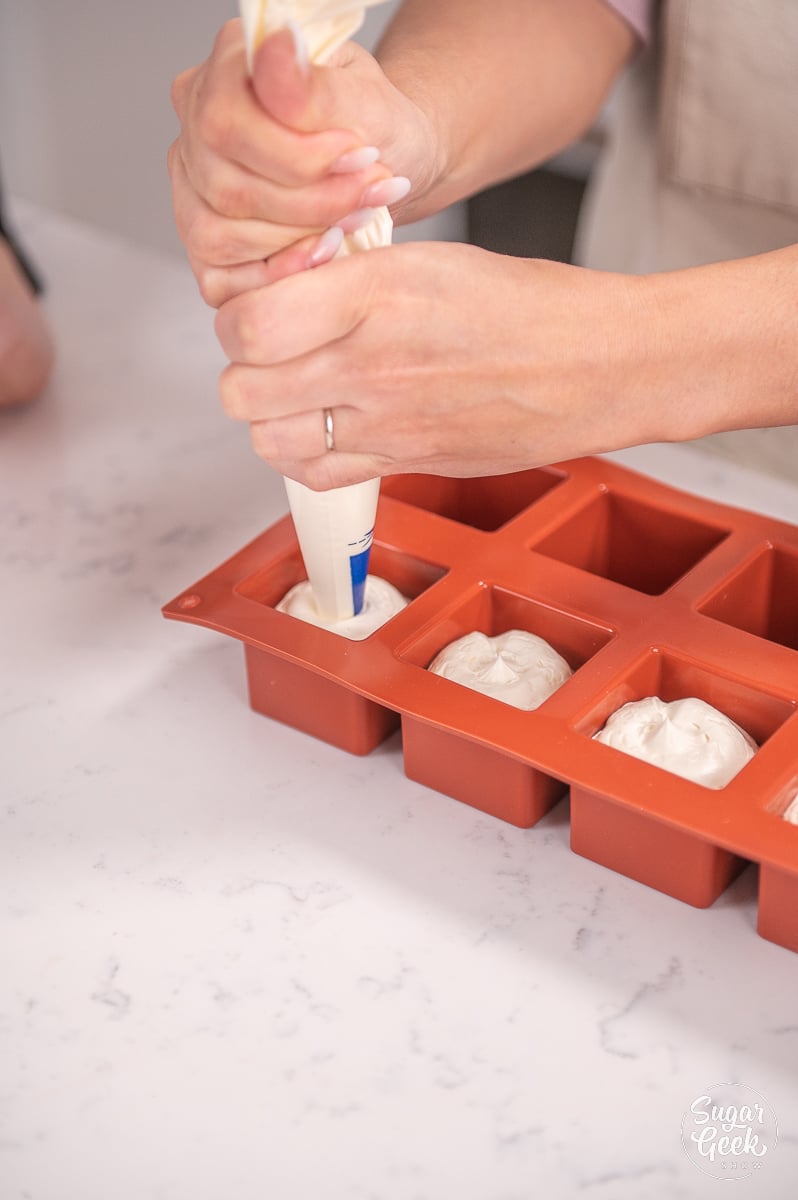
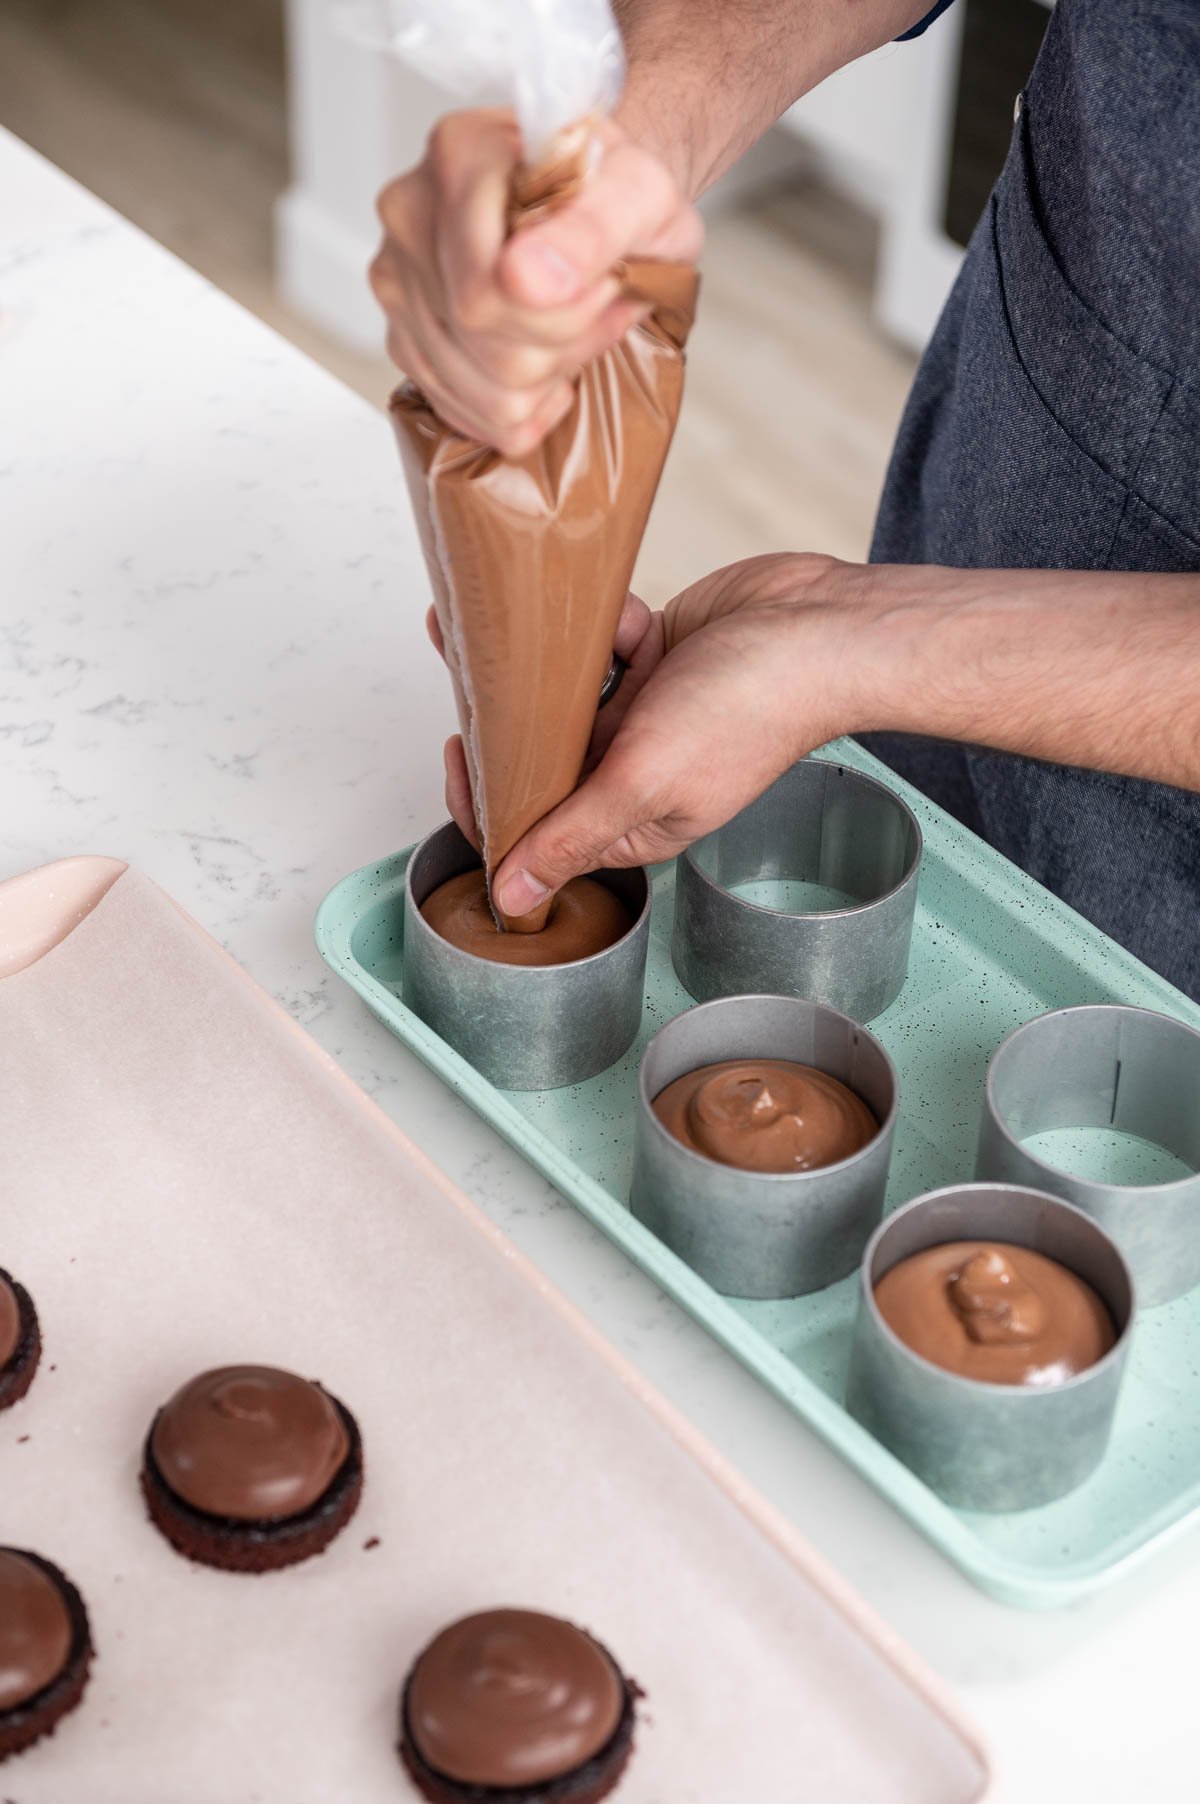
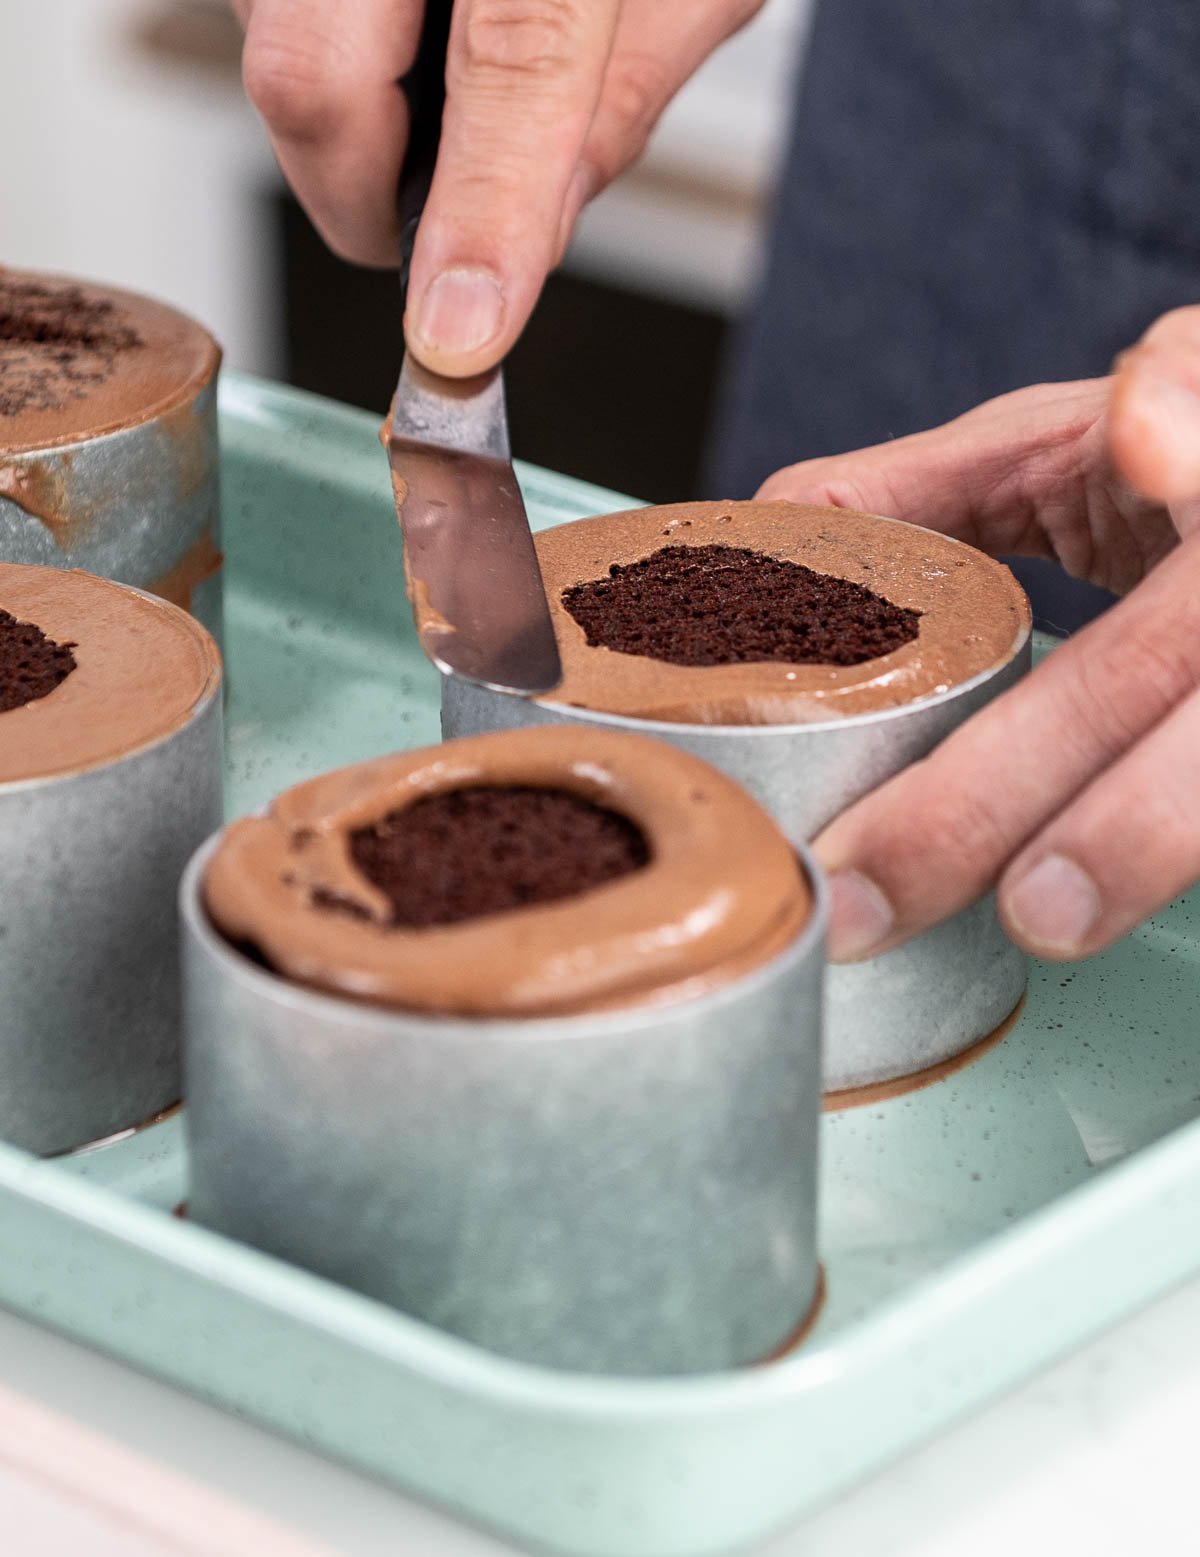
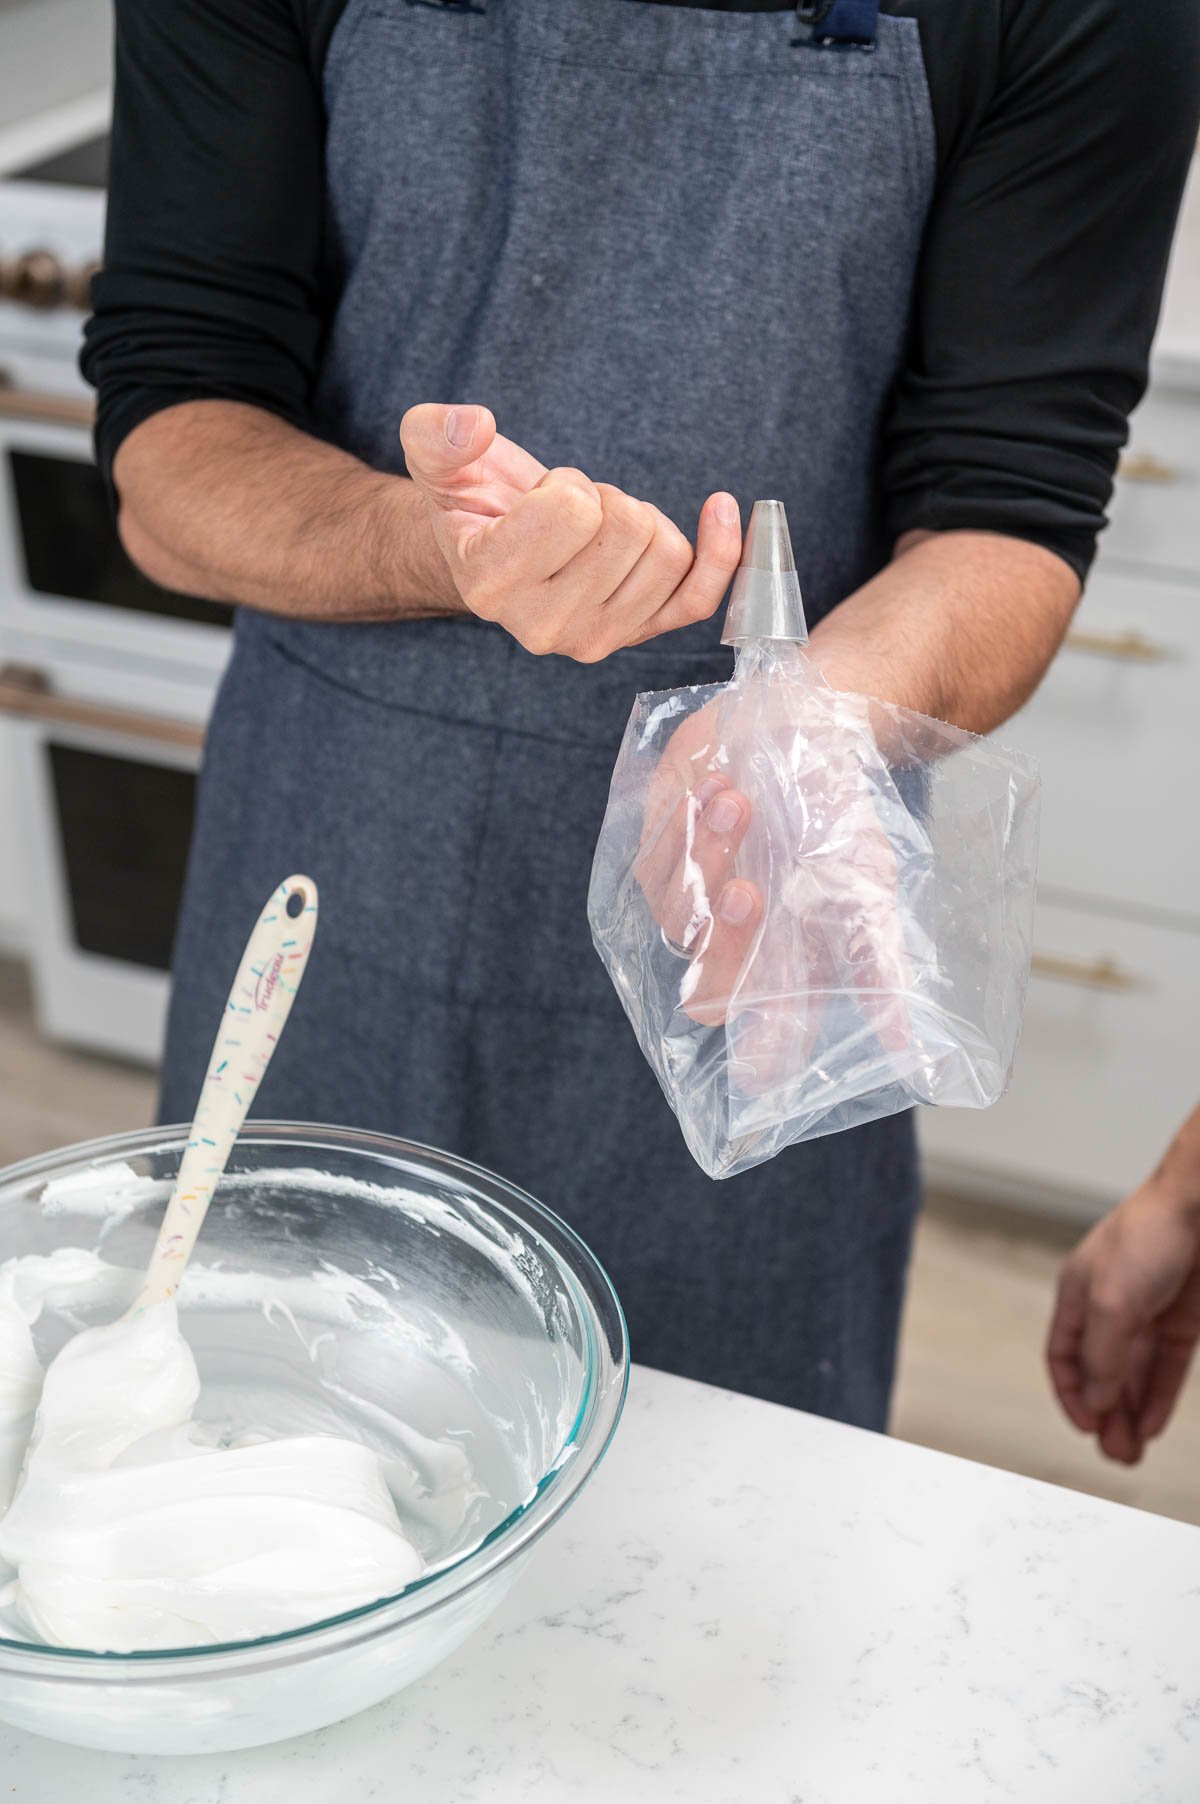
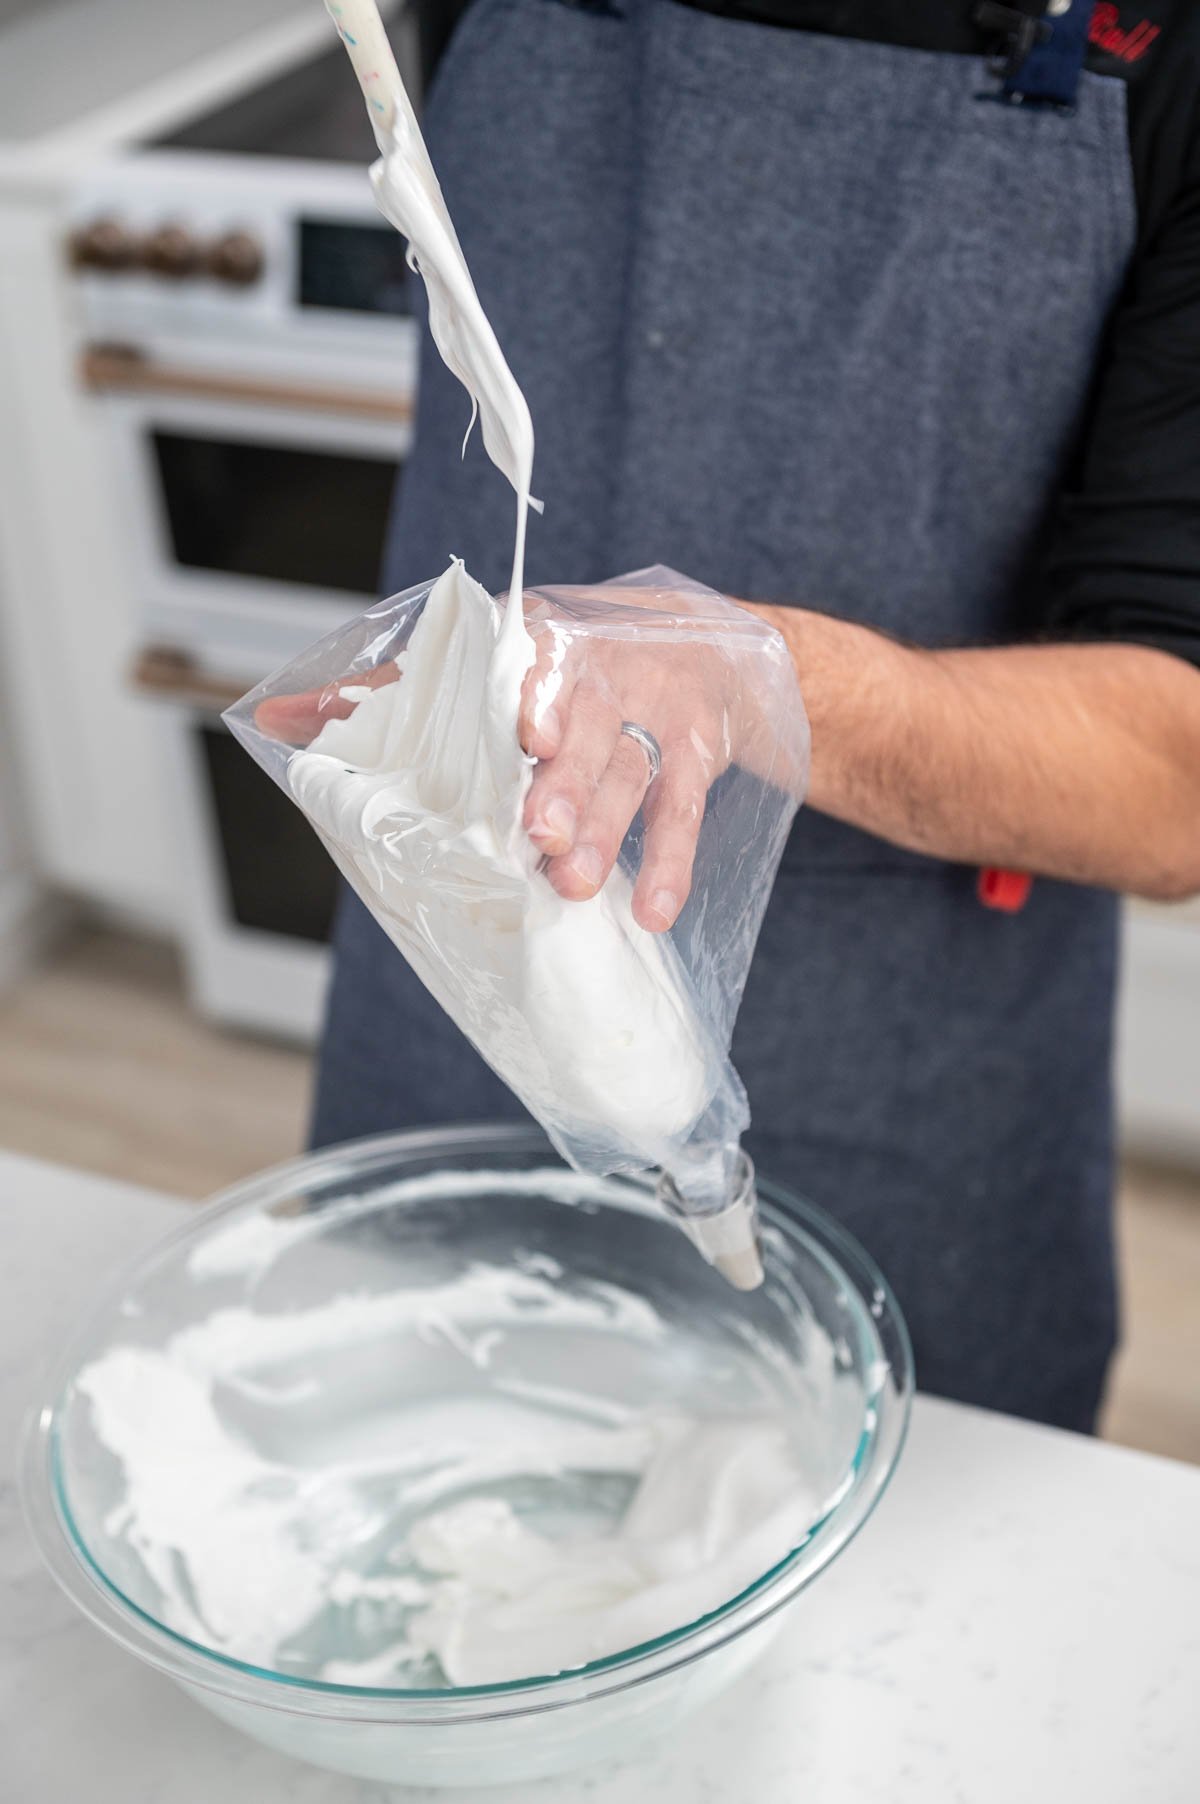
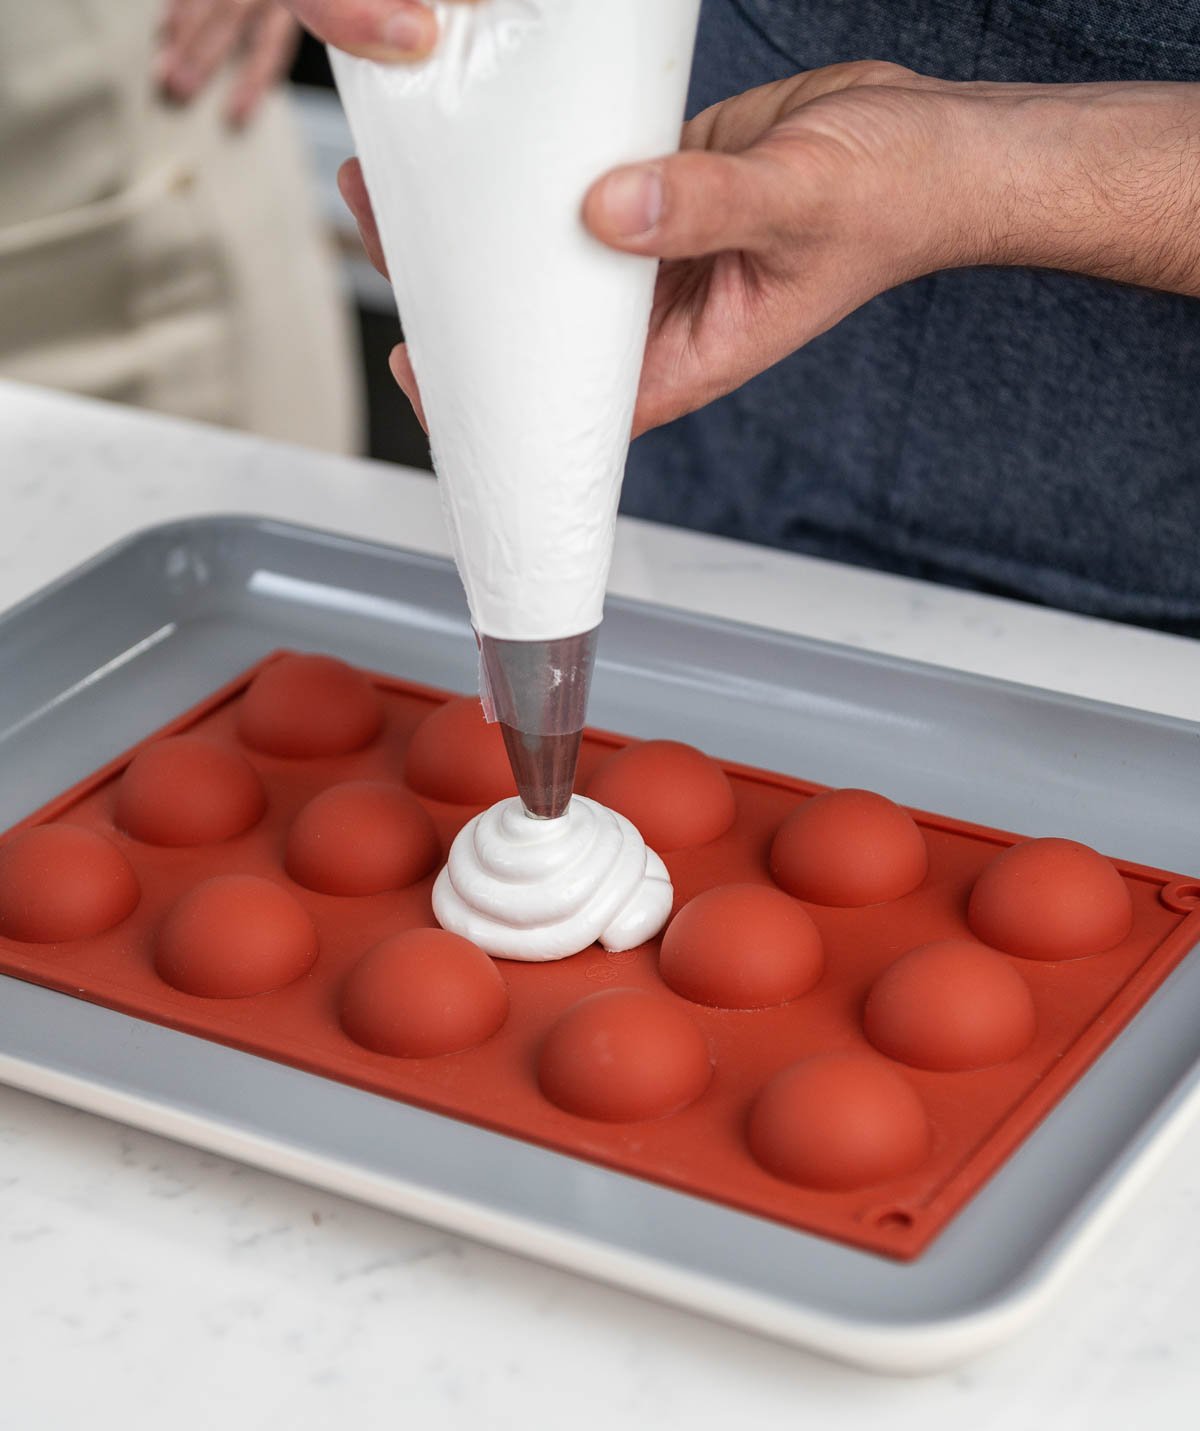
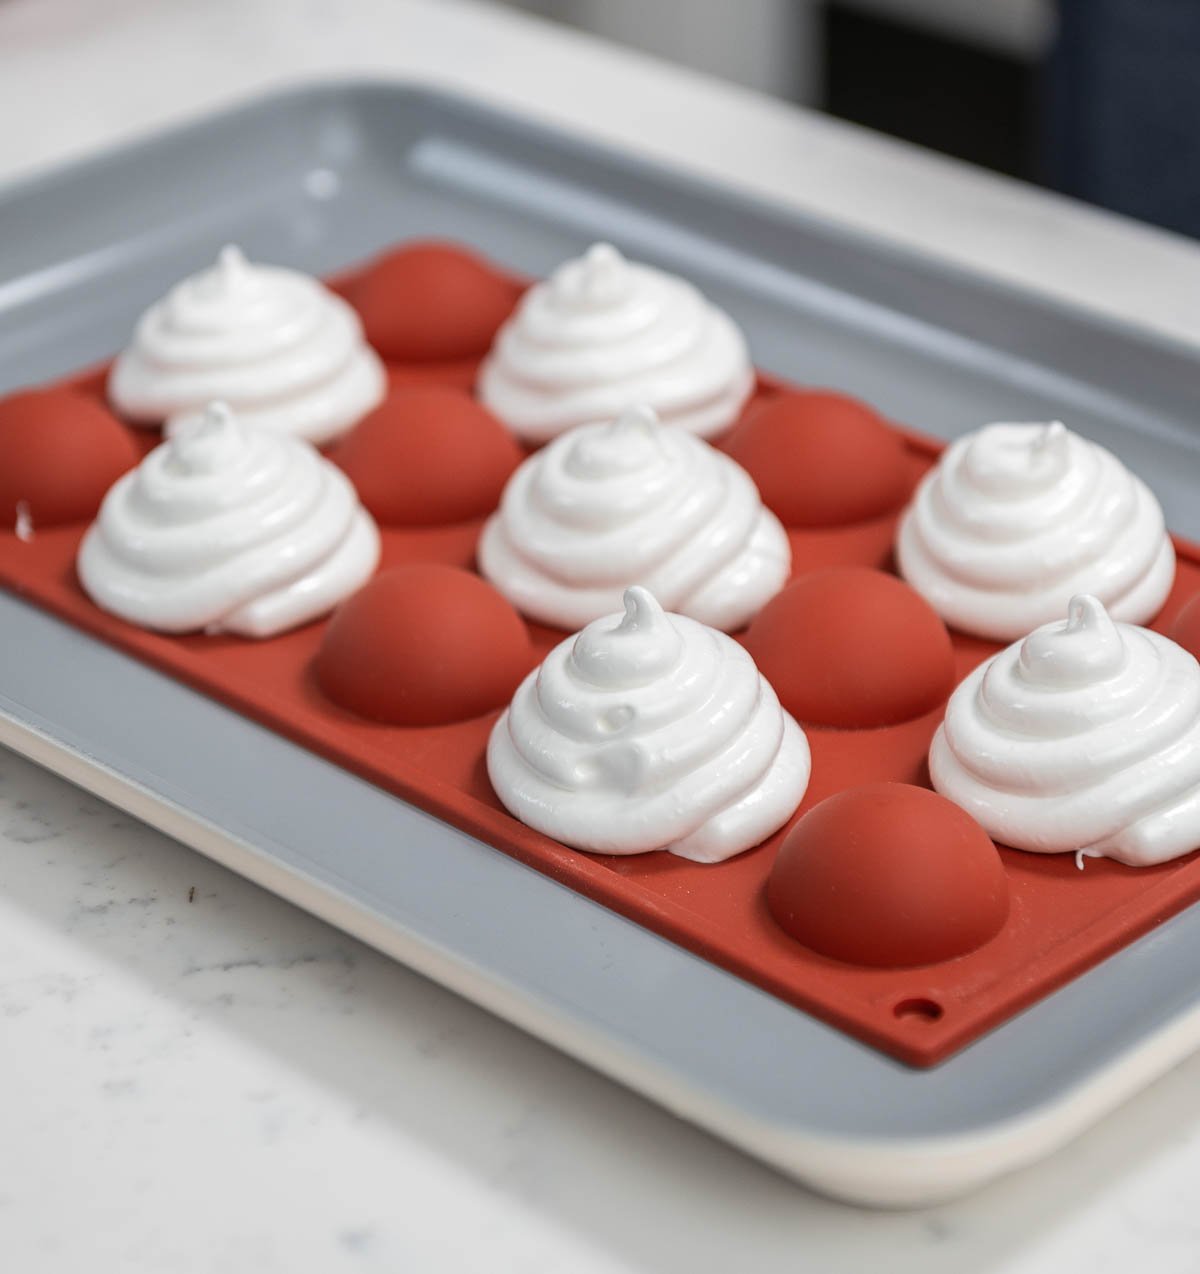
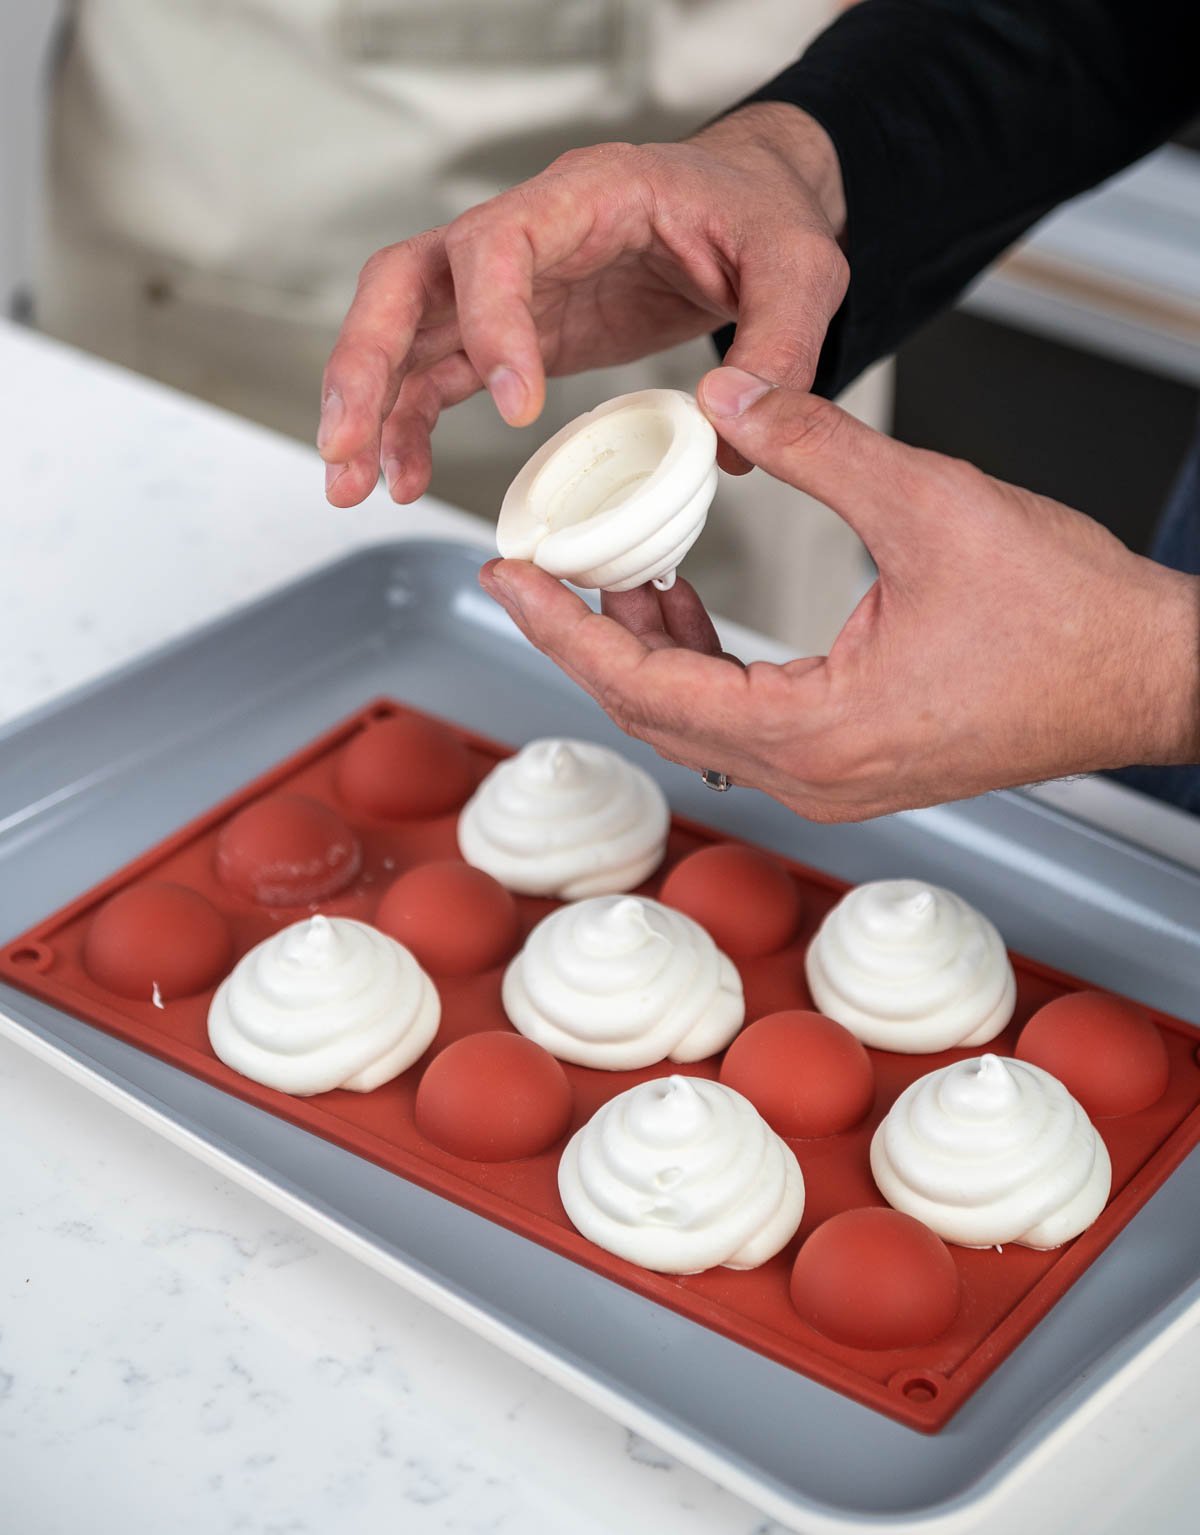
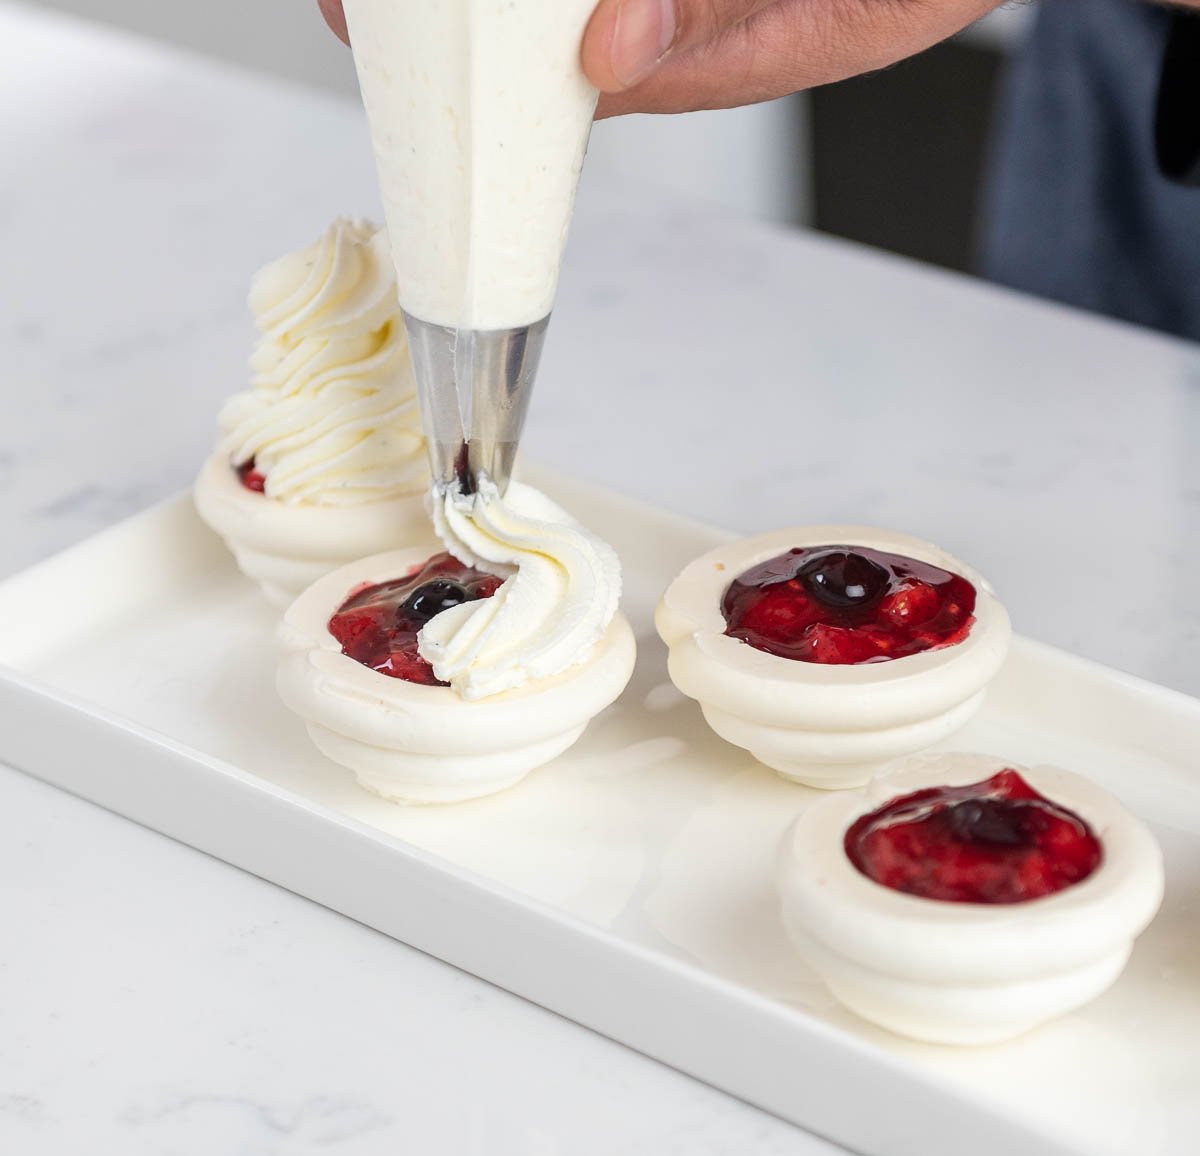
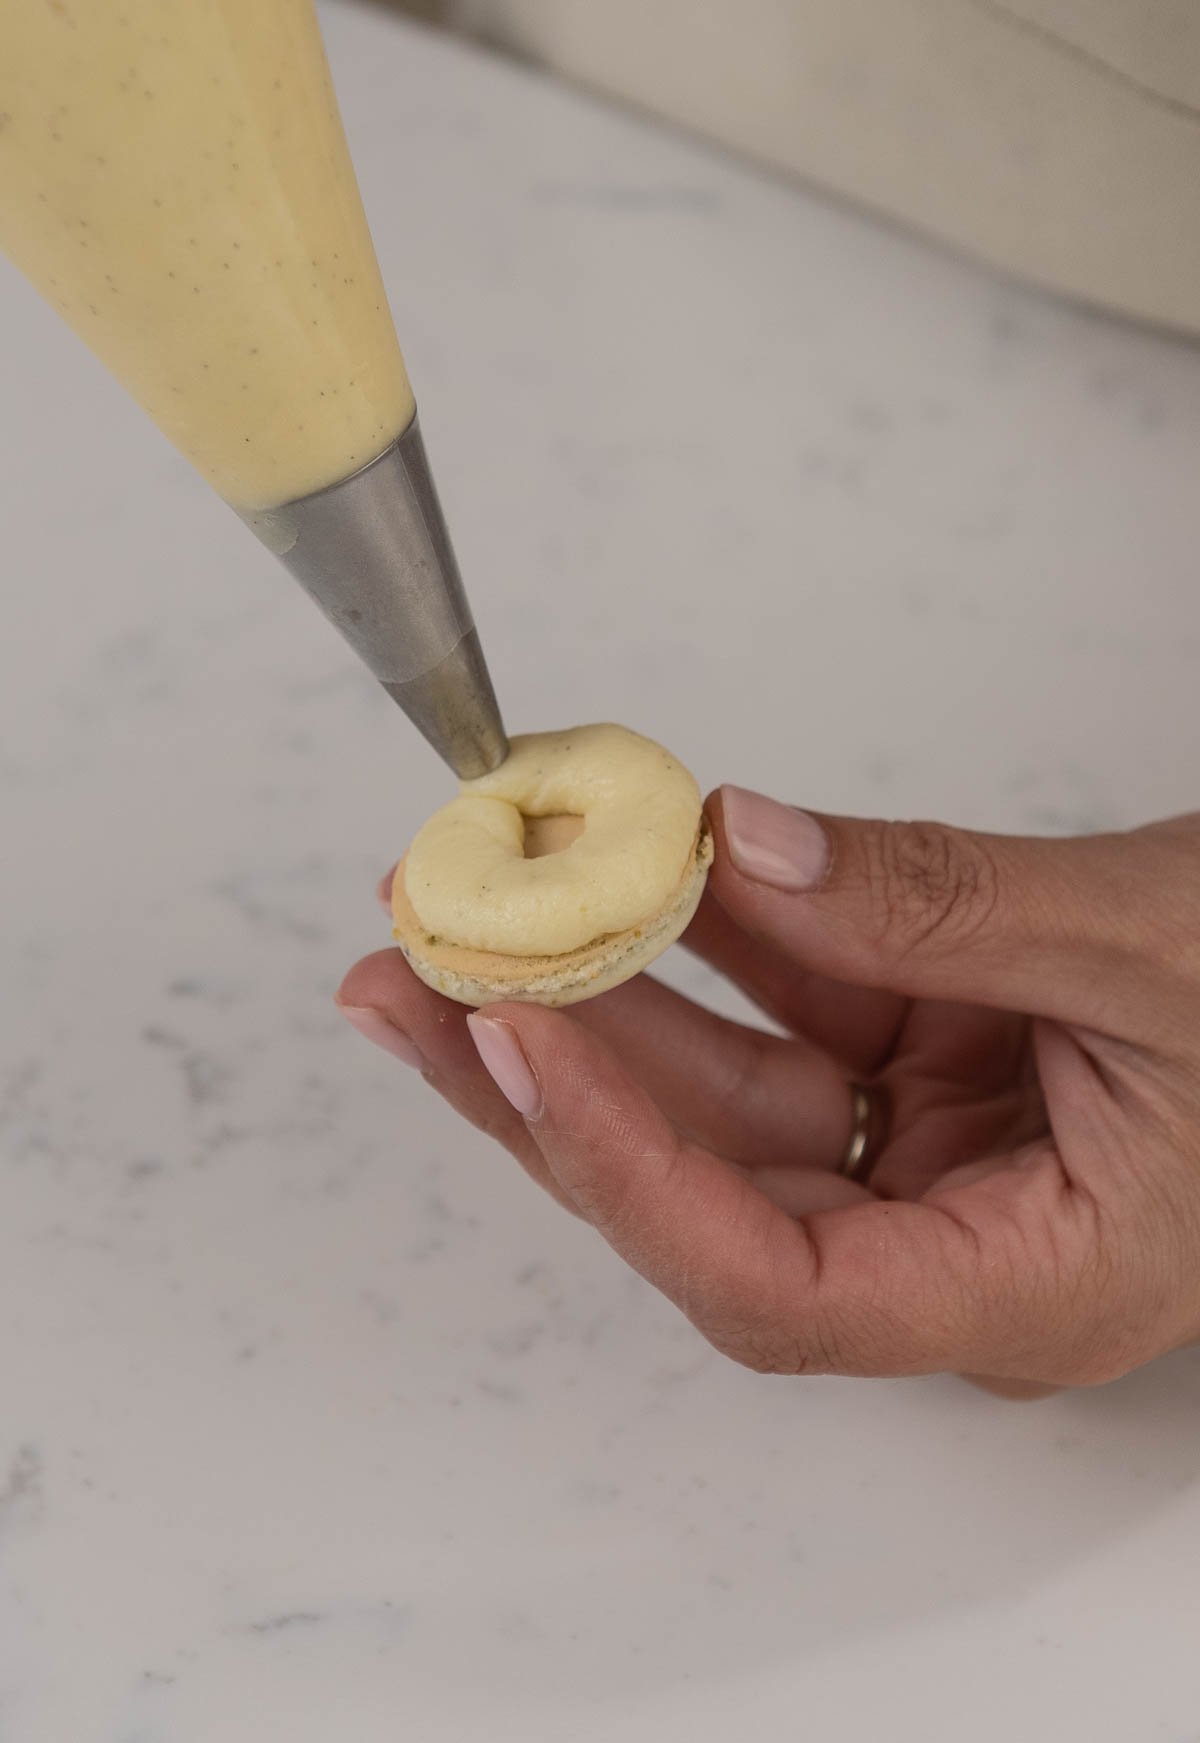
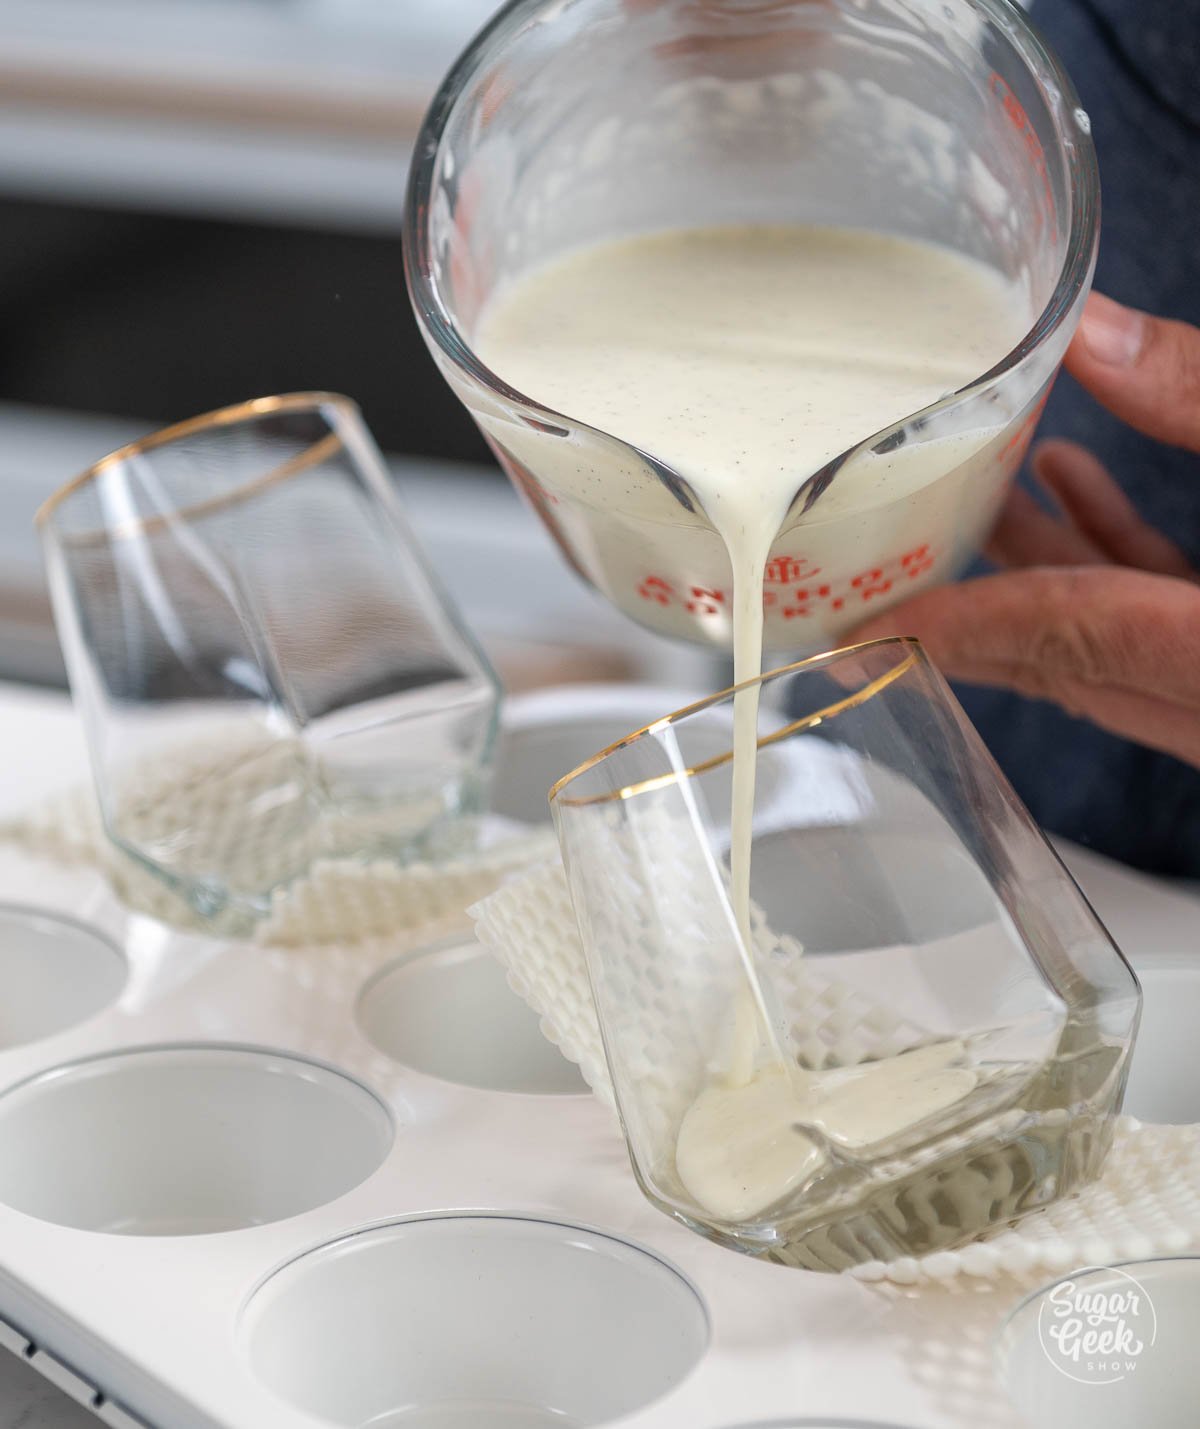
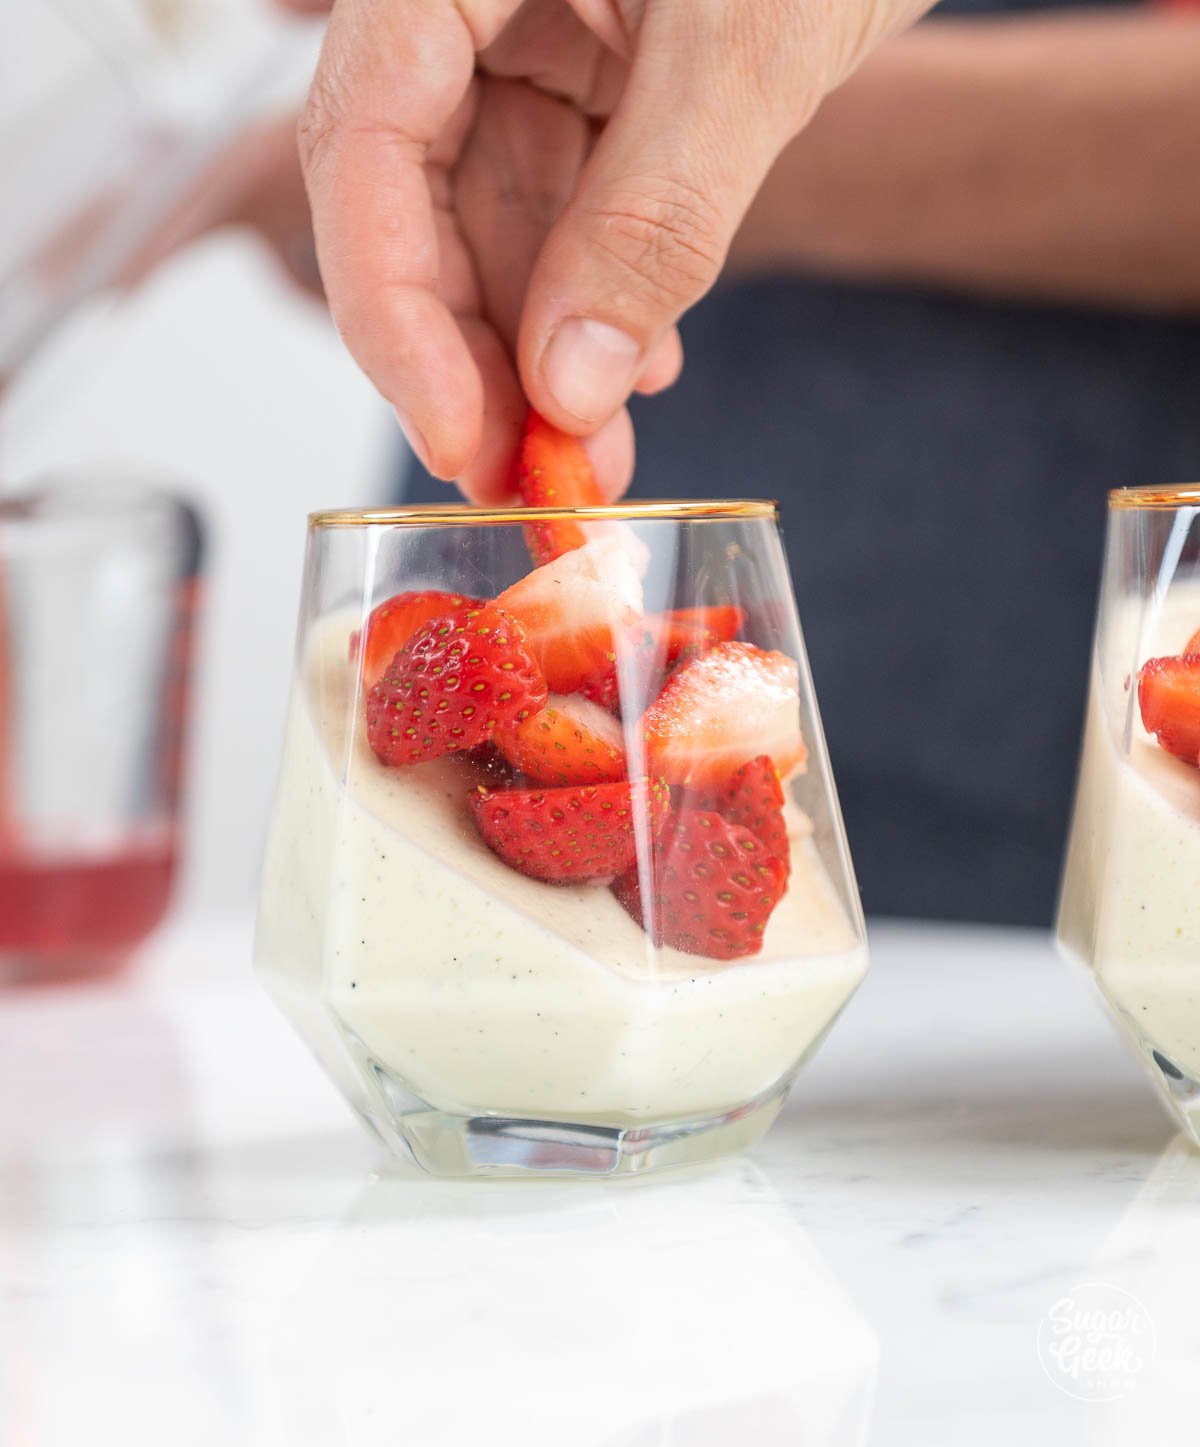
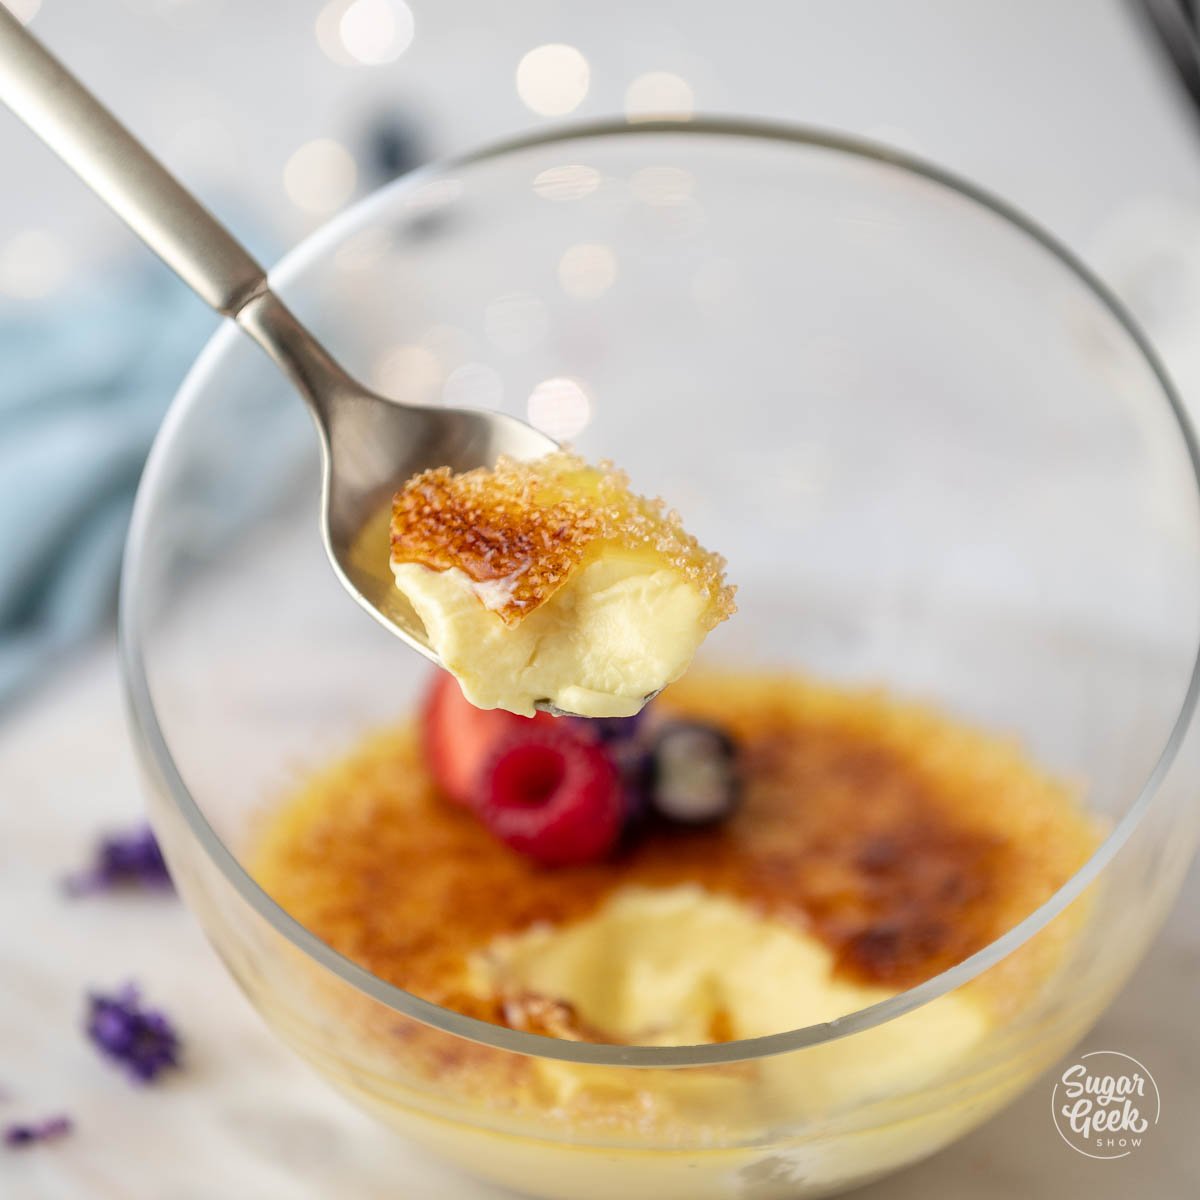
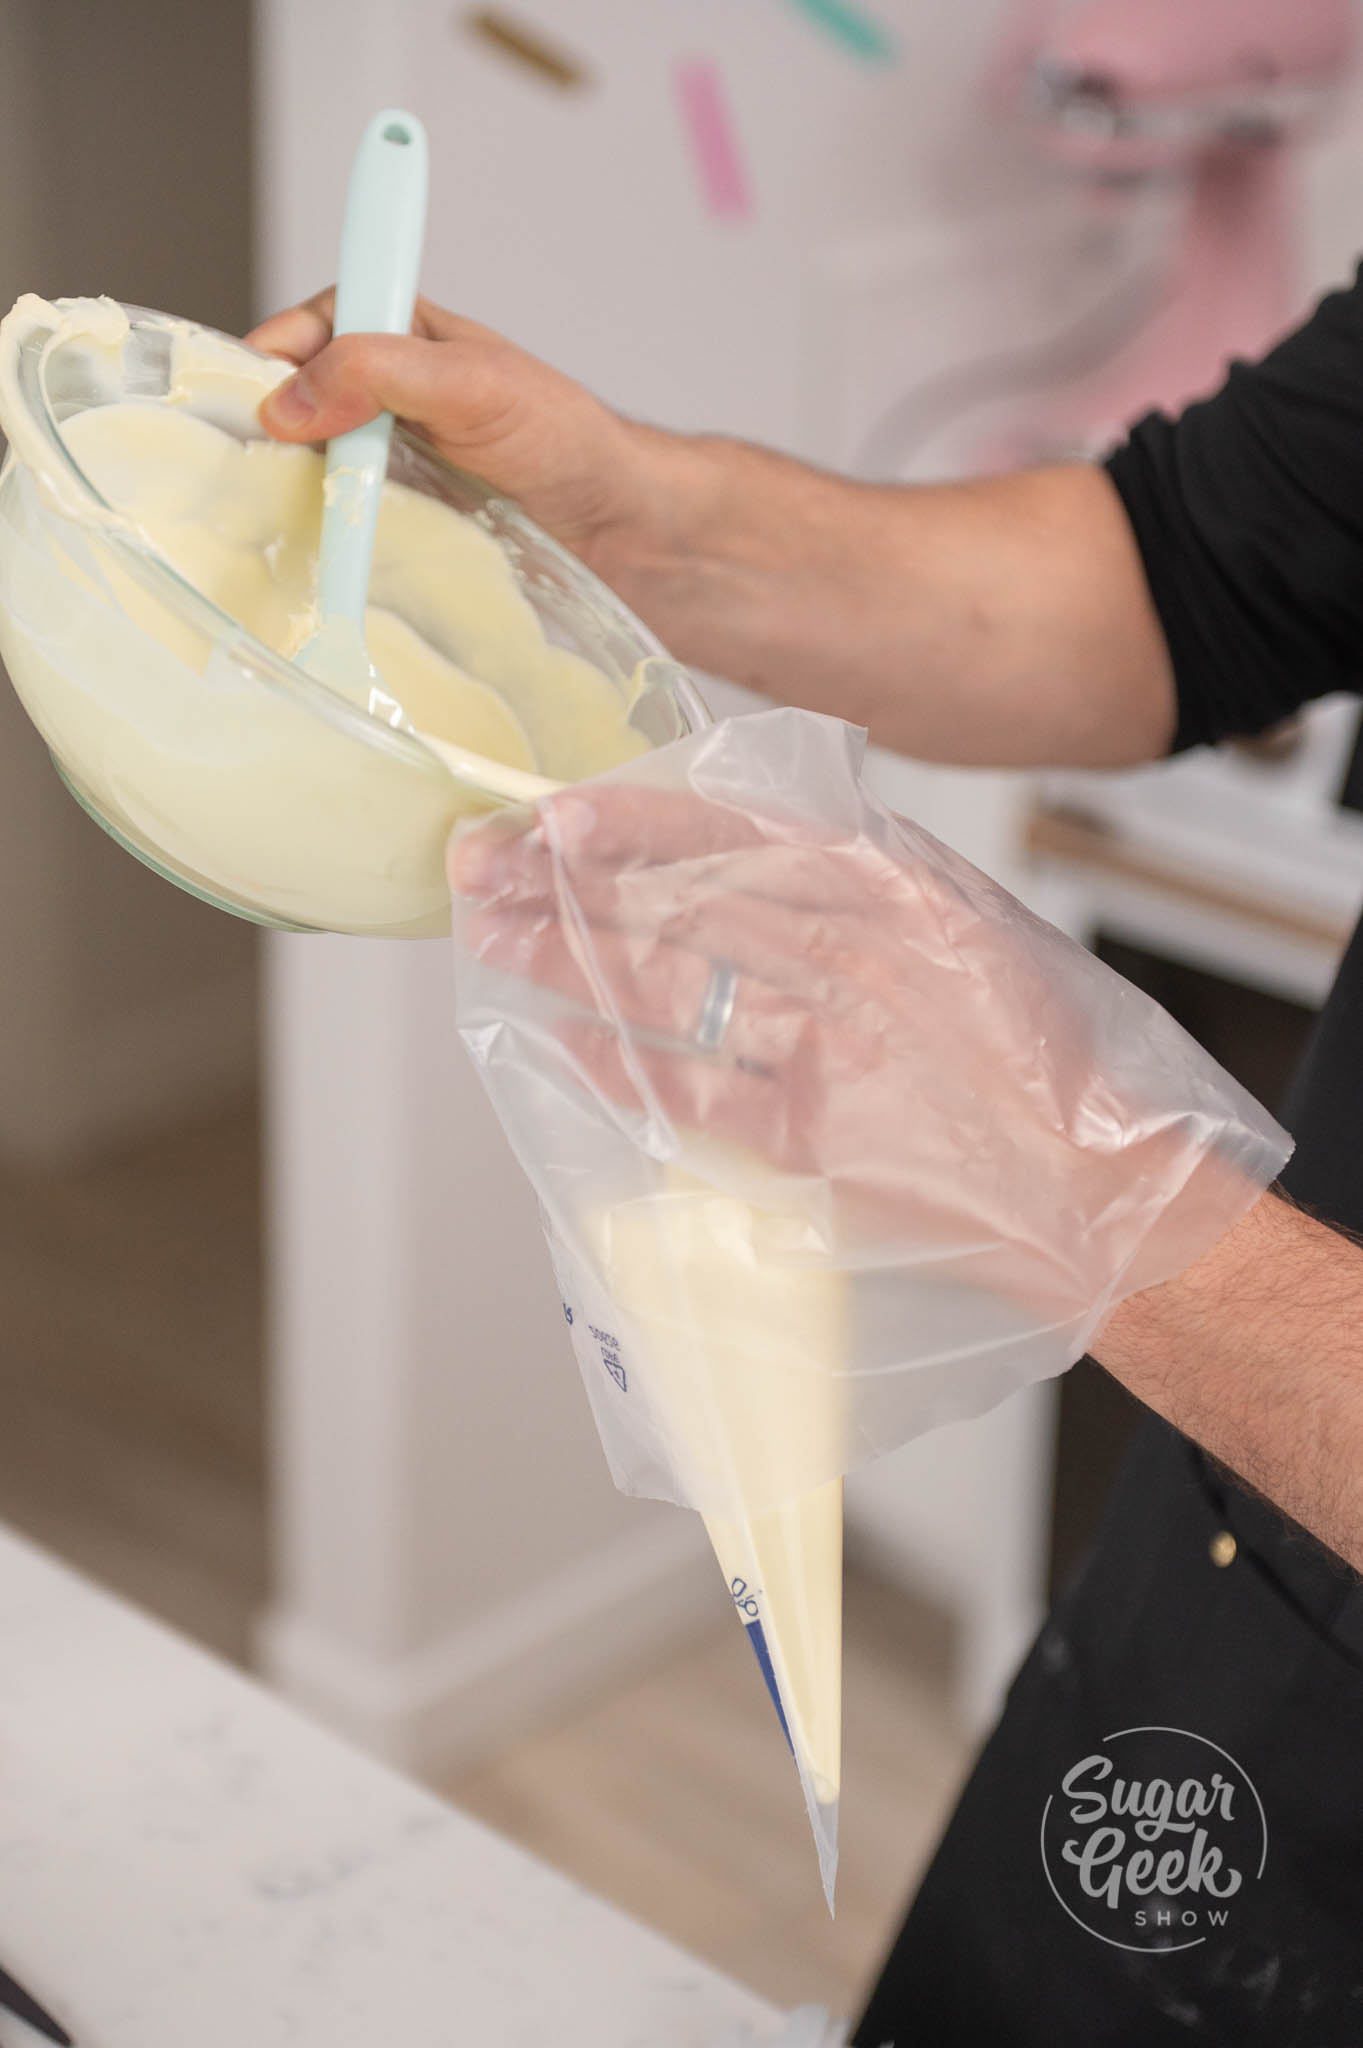
- When the mousse has thickened, pour it into a piping bag fit with a medium piping tip or just cut the end of your bag.
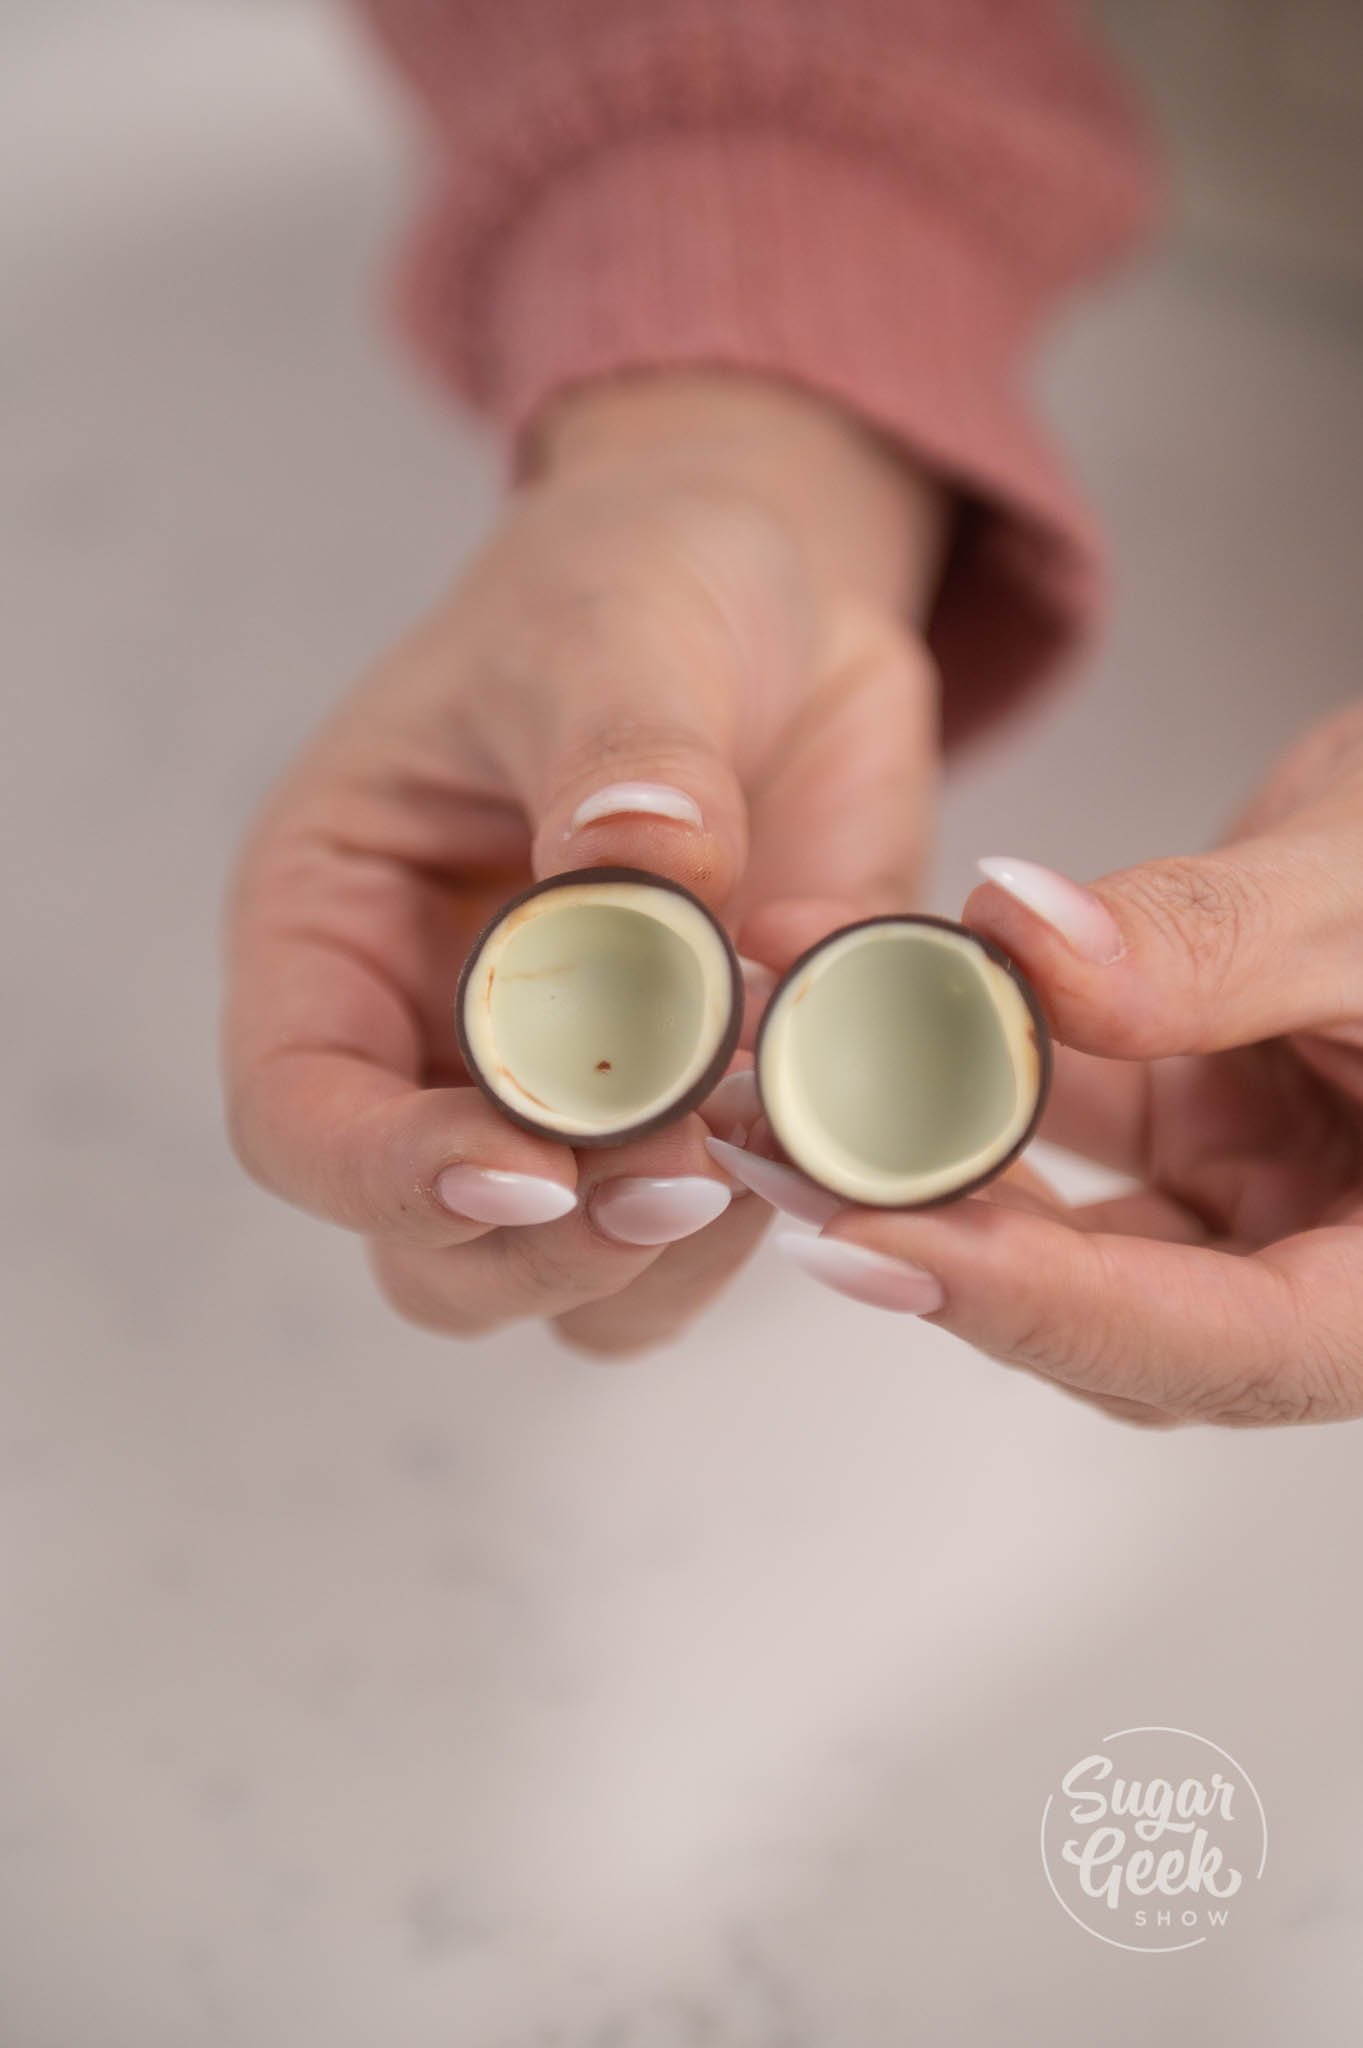
- Pipe the mousse into your cups about ¾ of the way full.
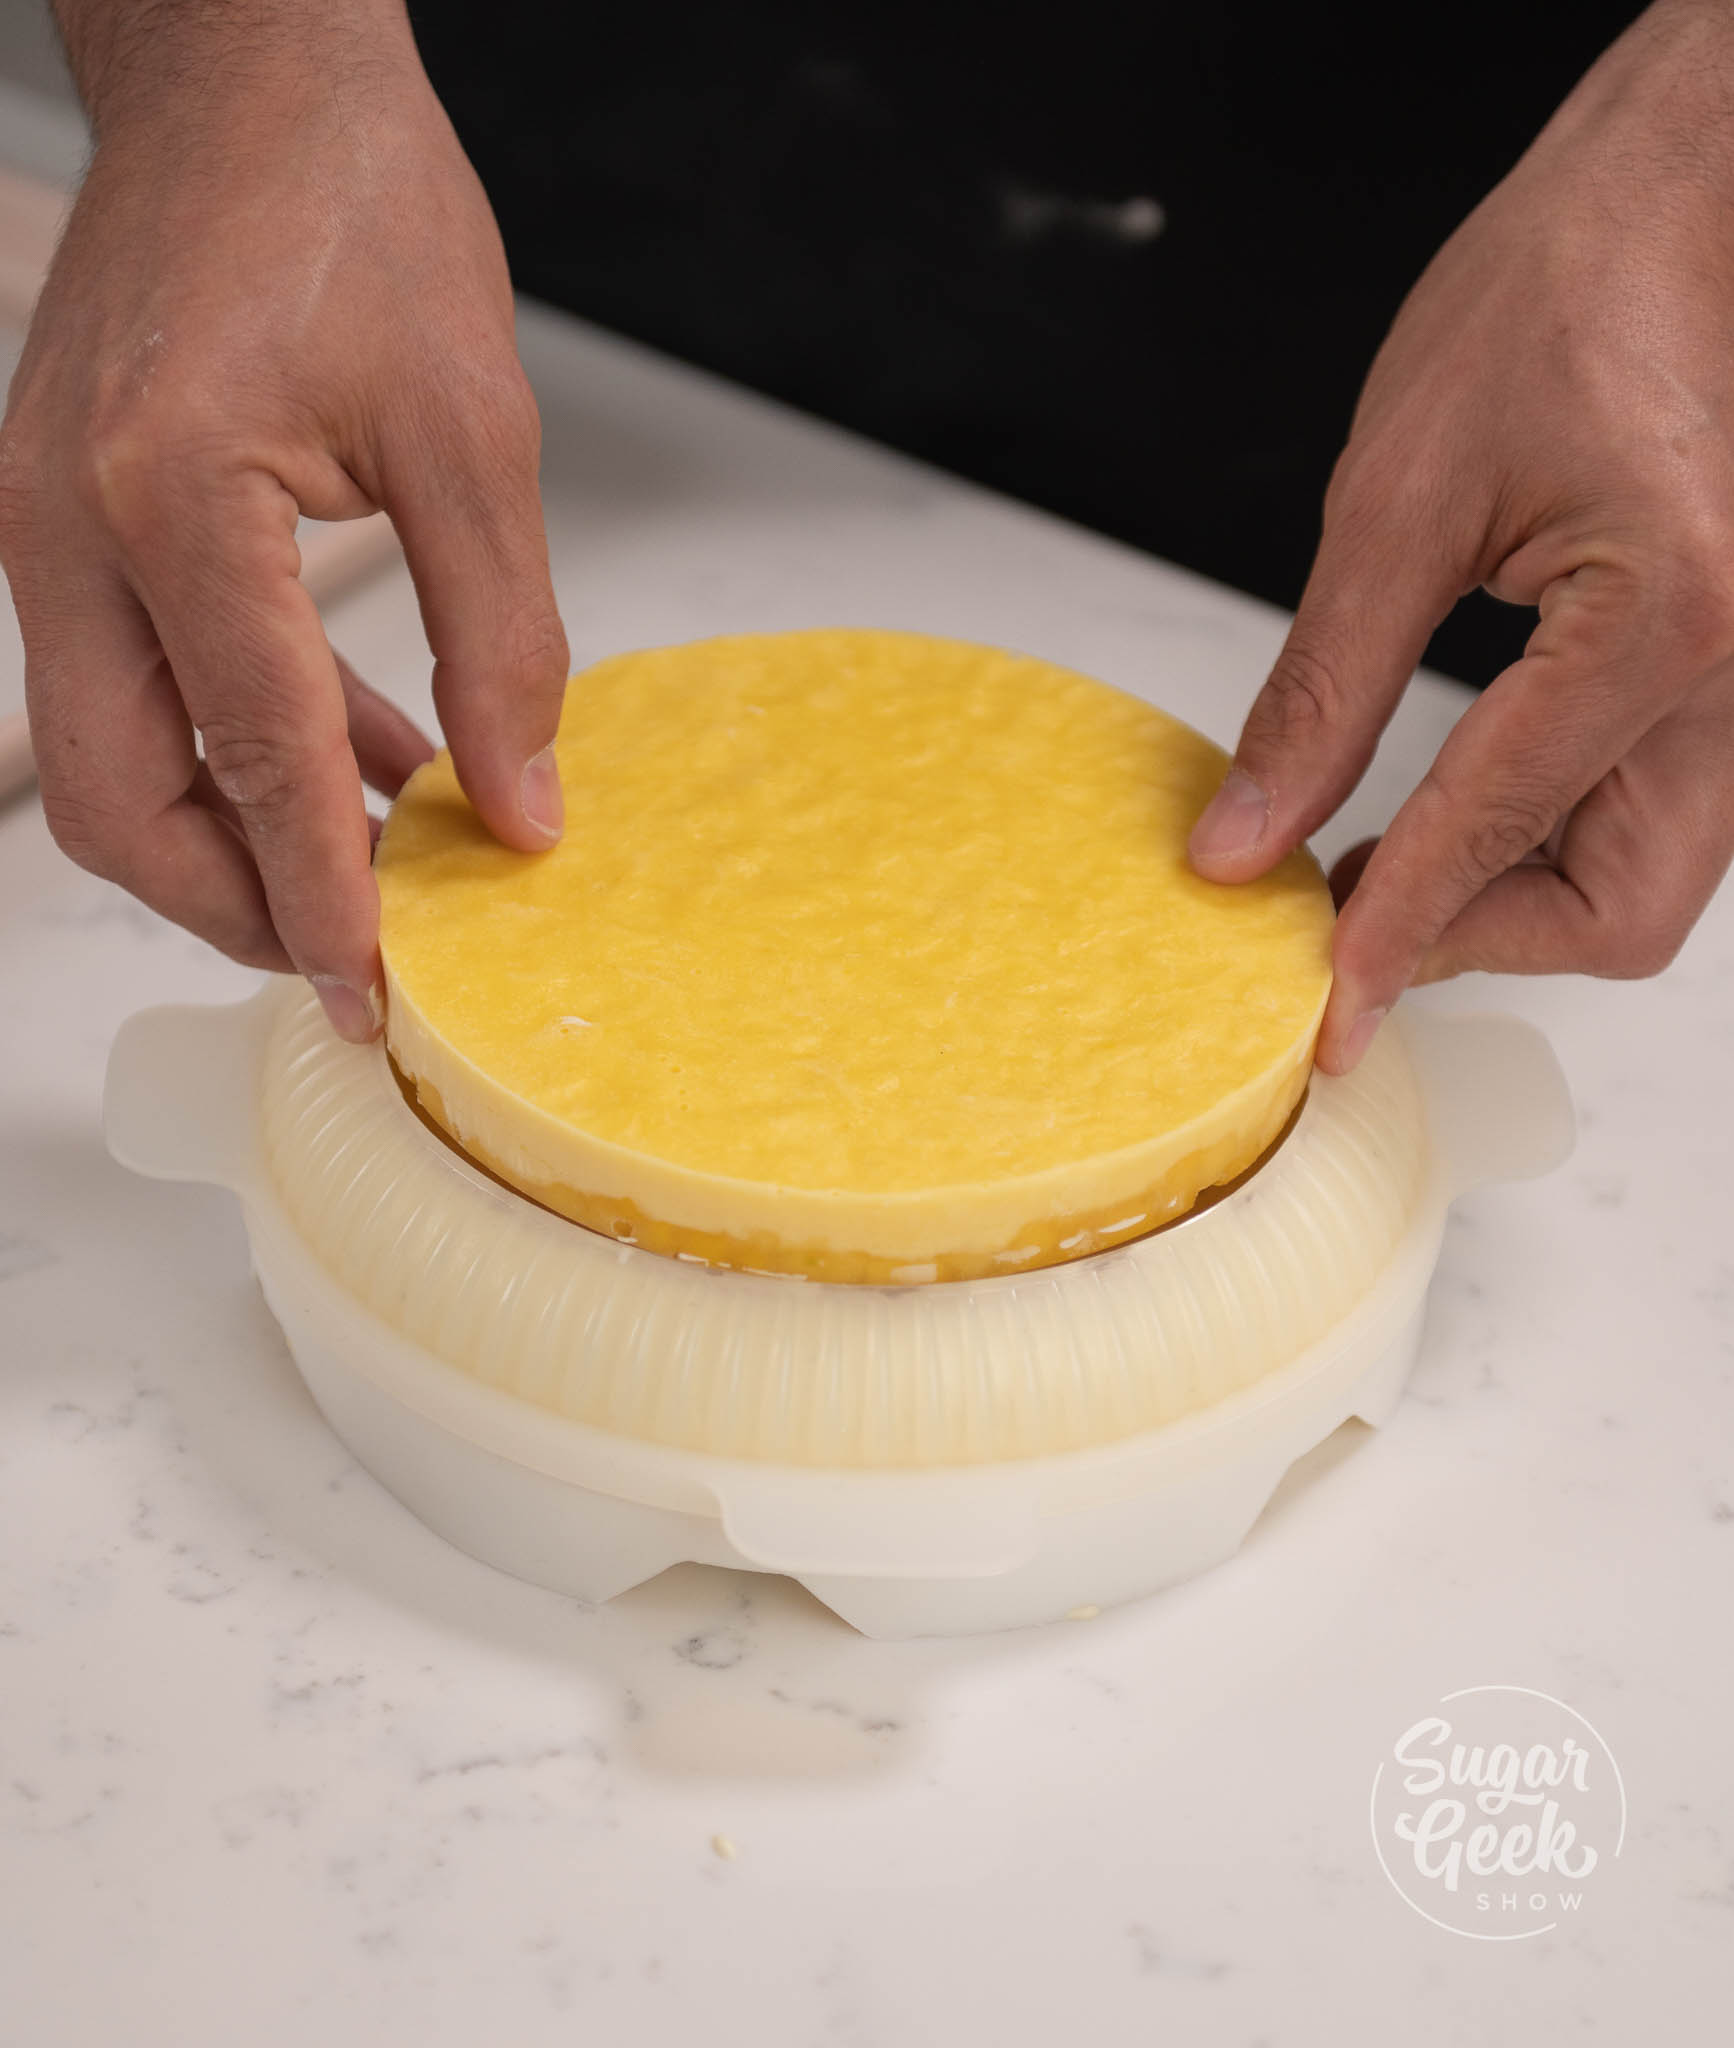
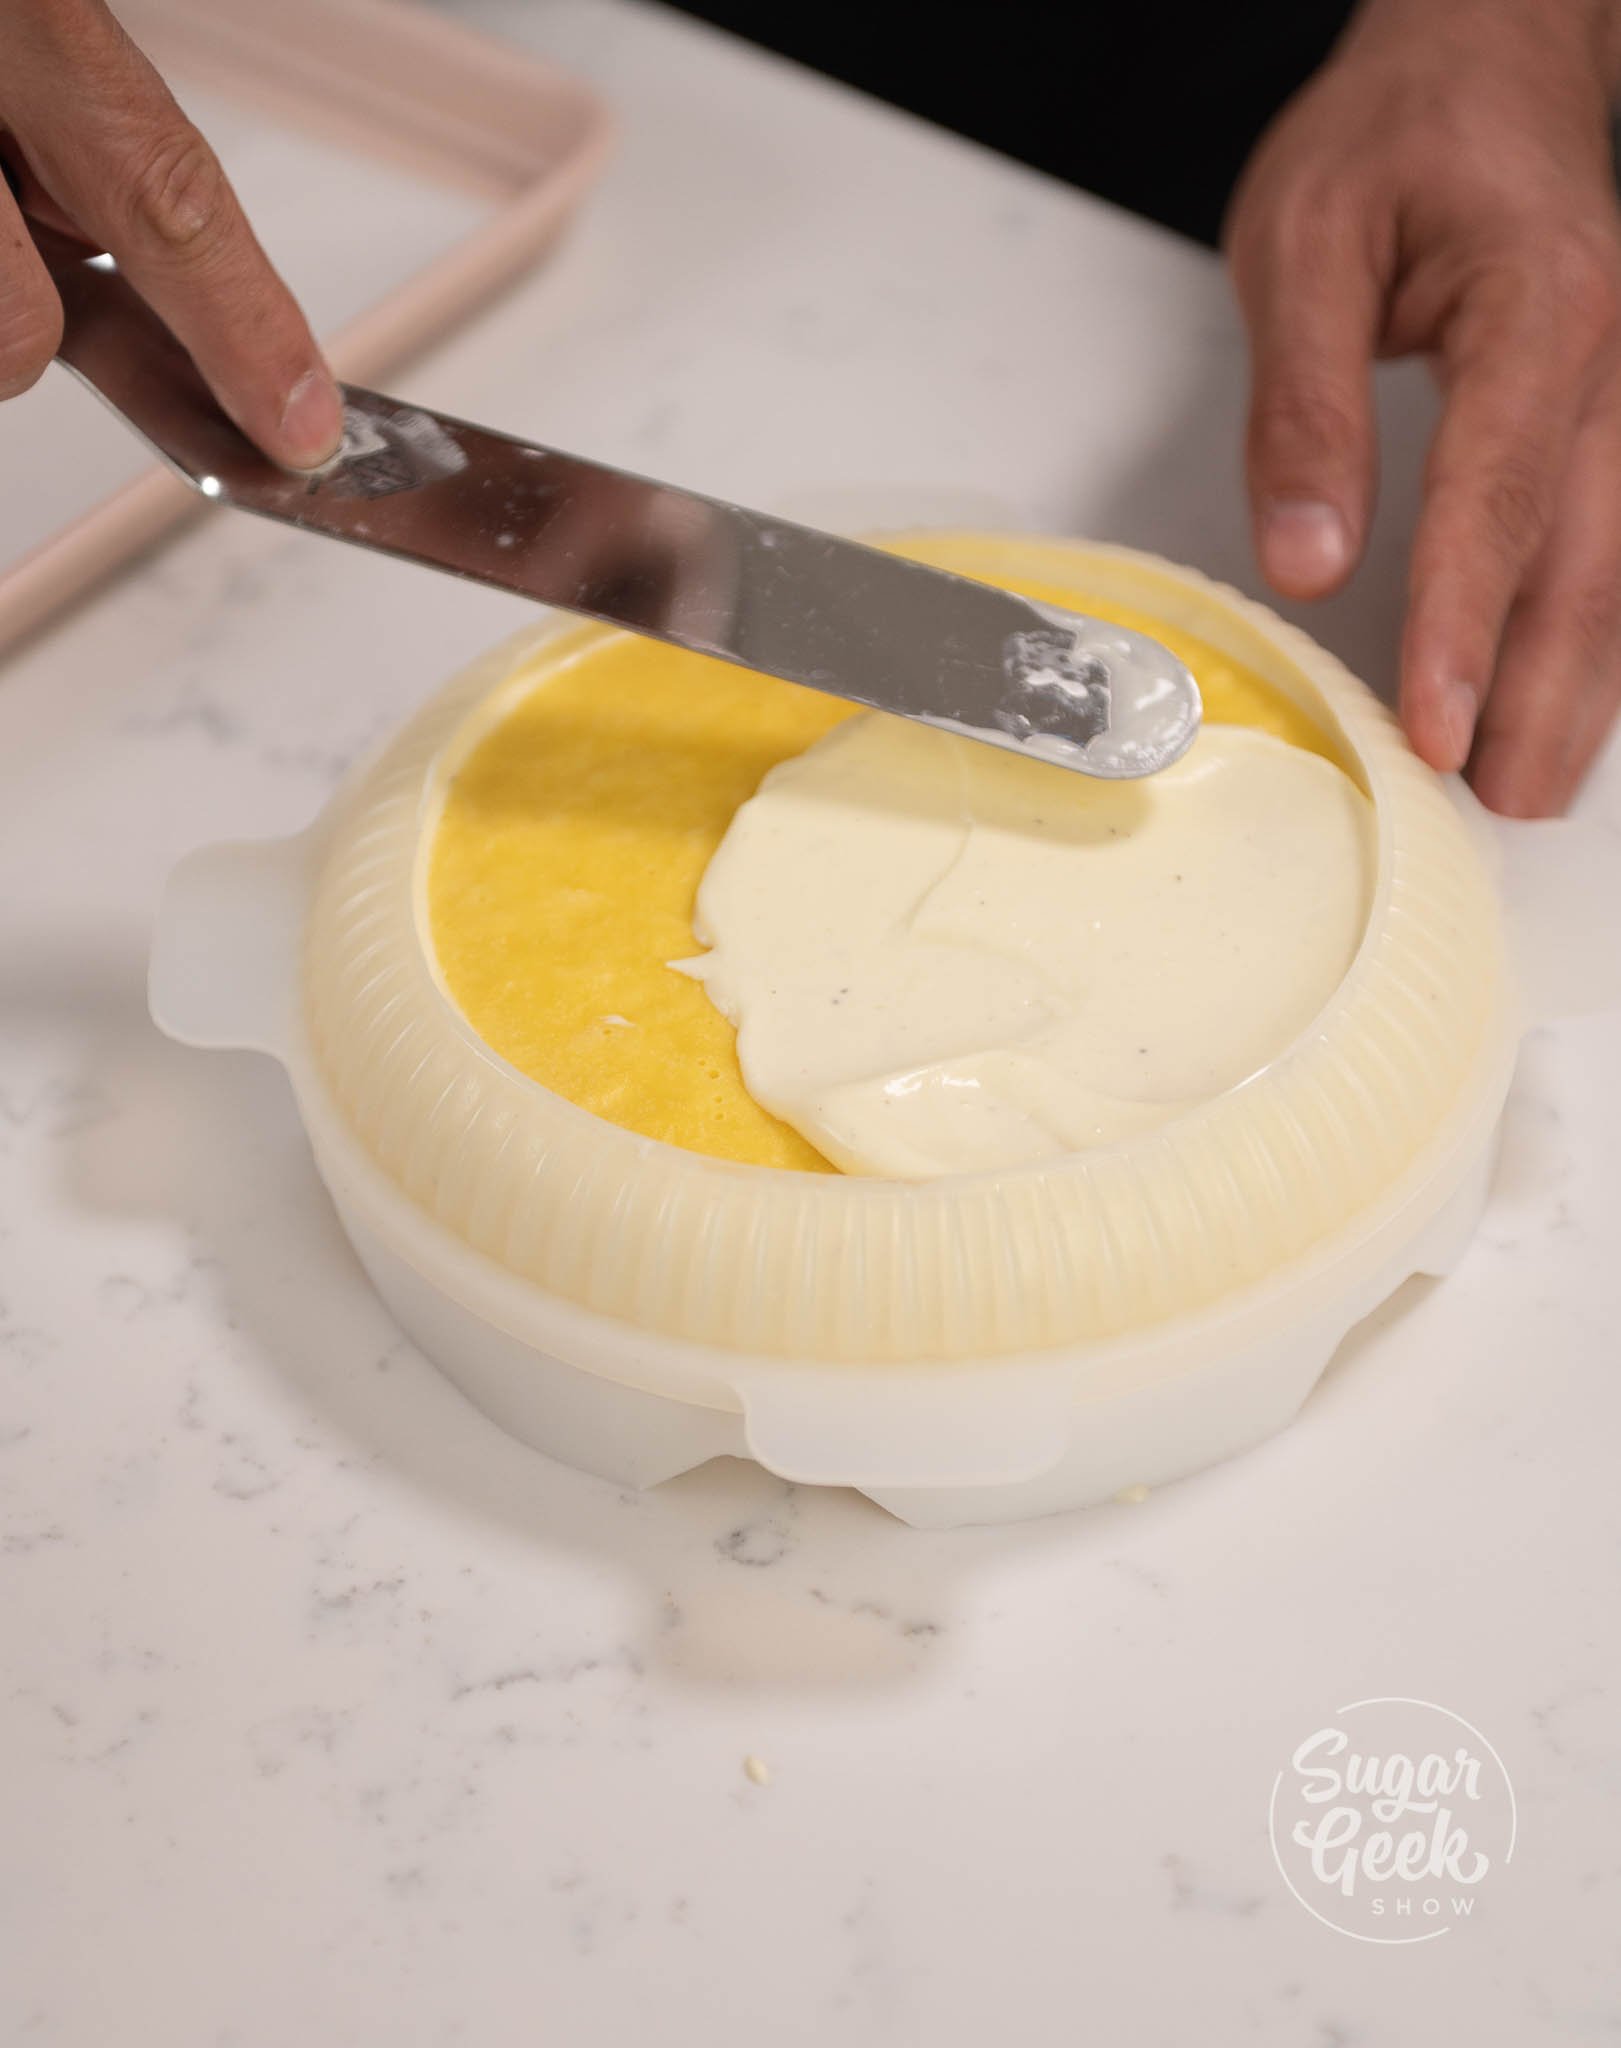
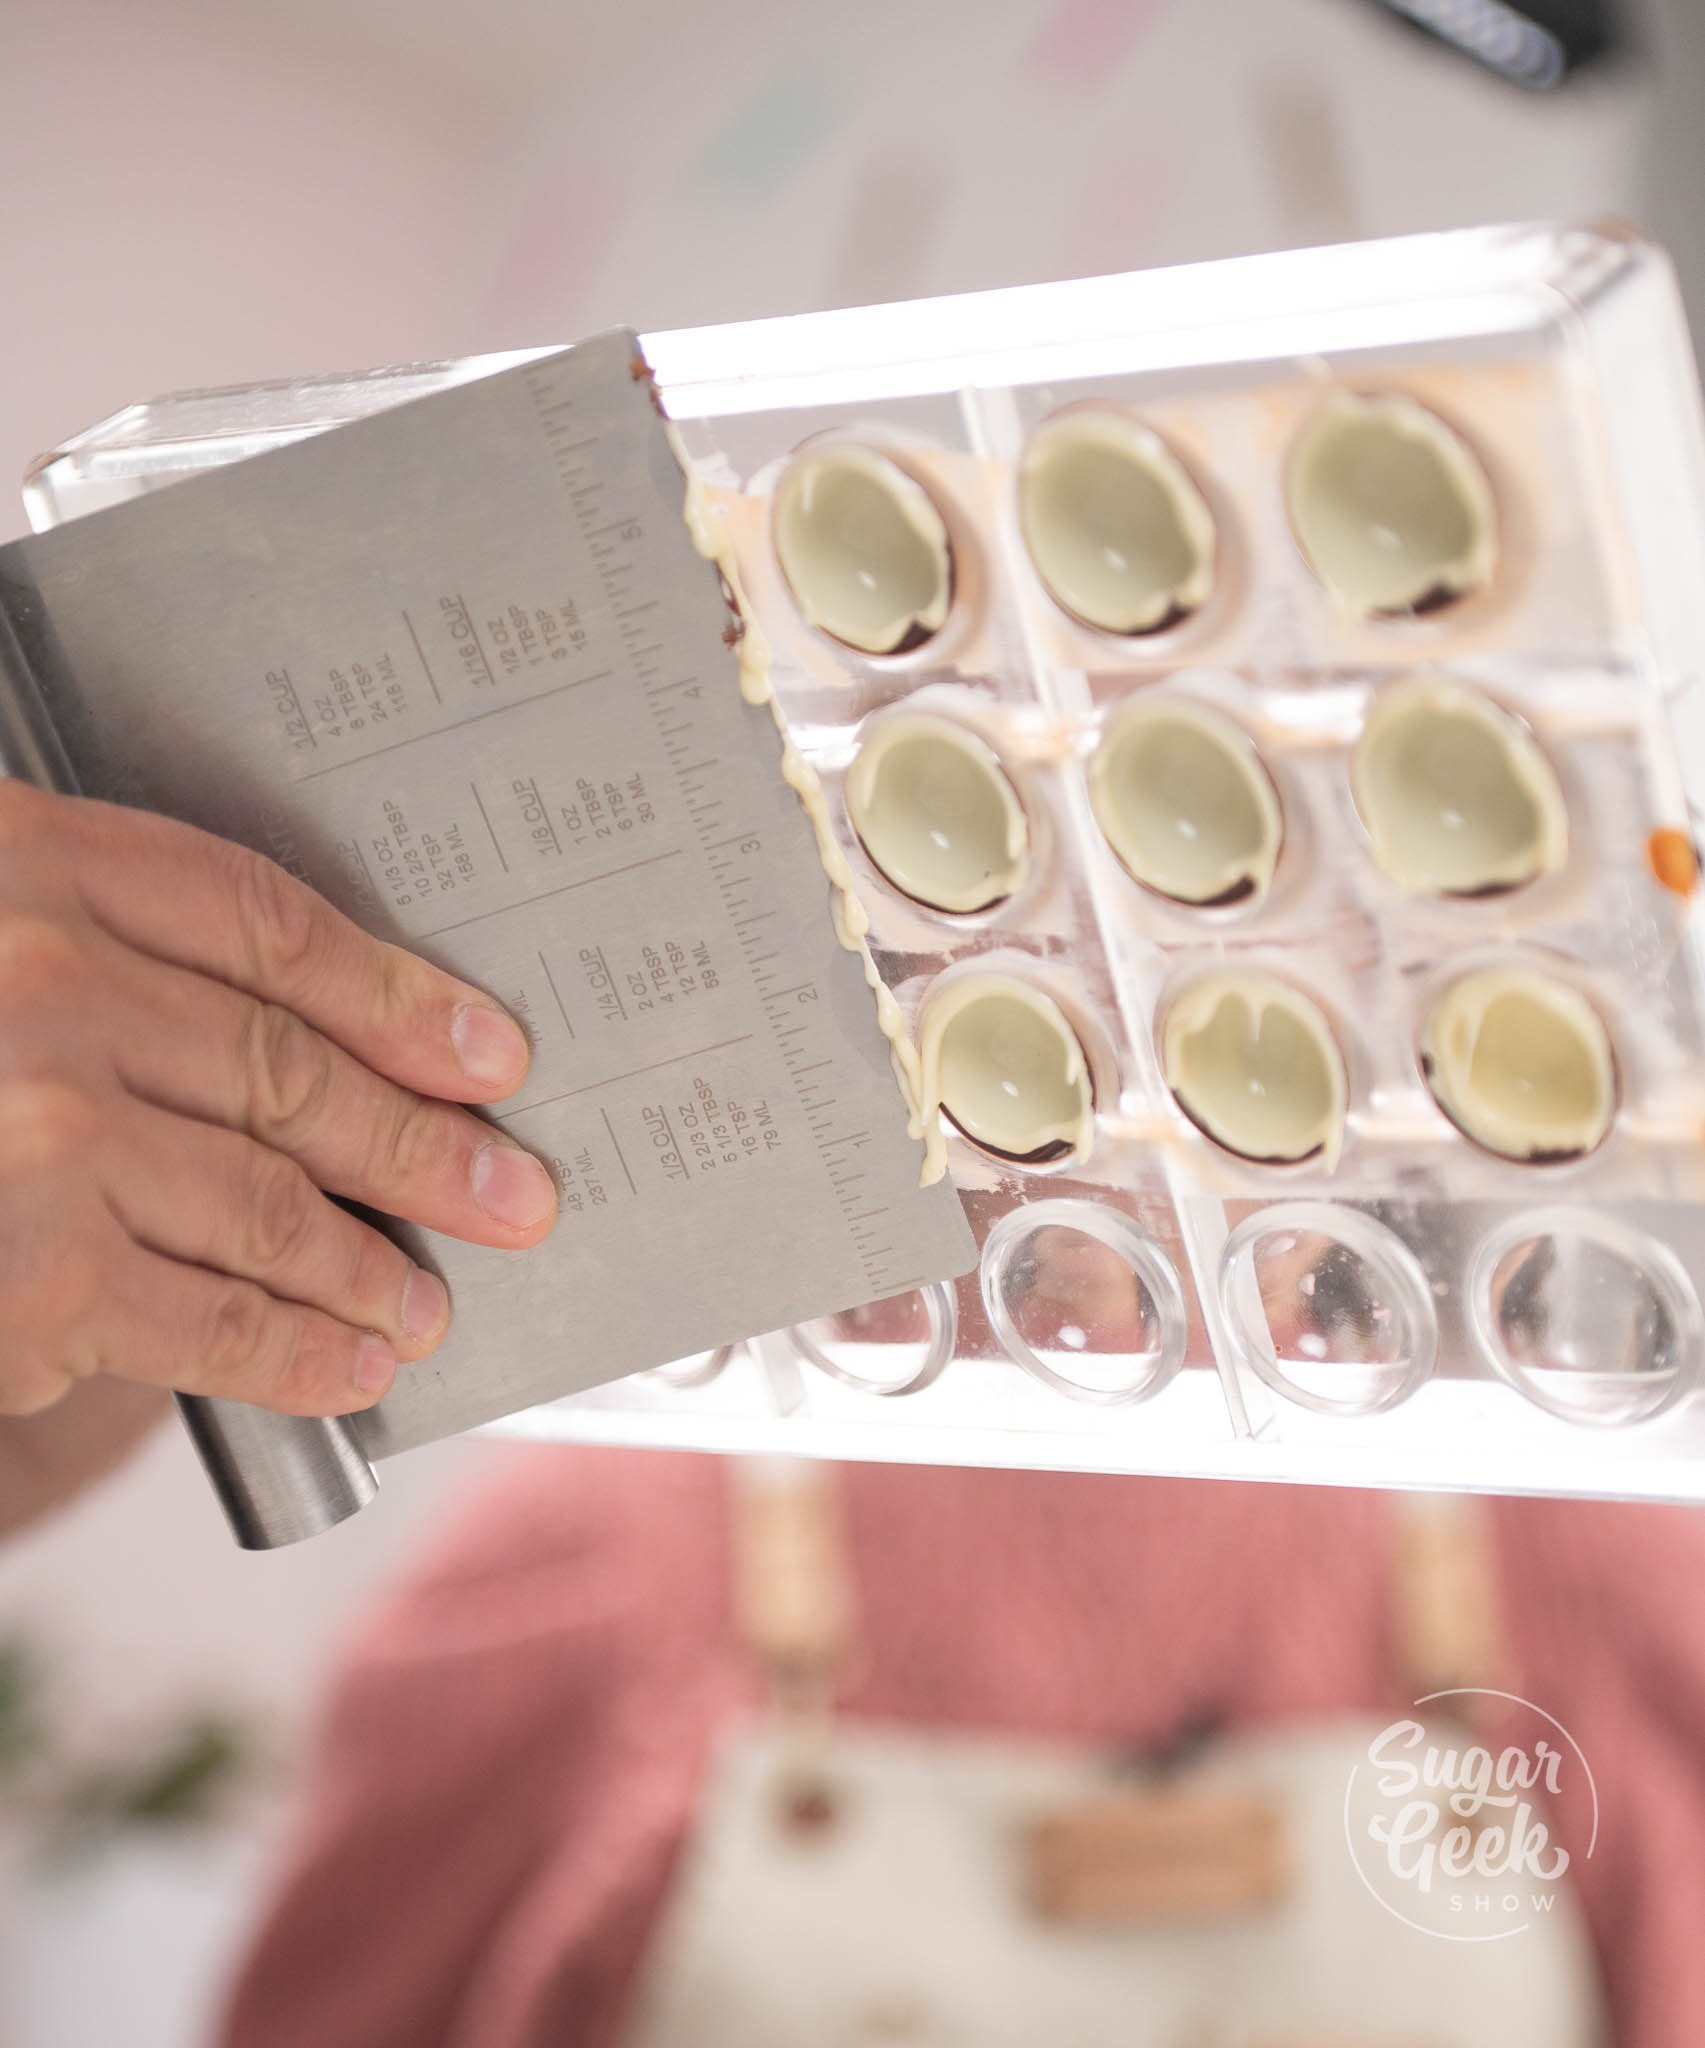
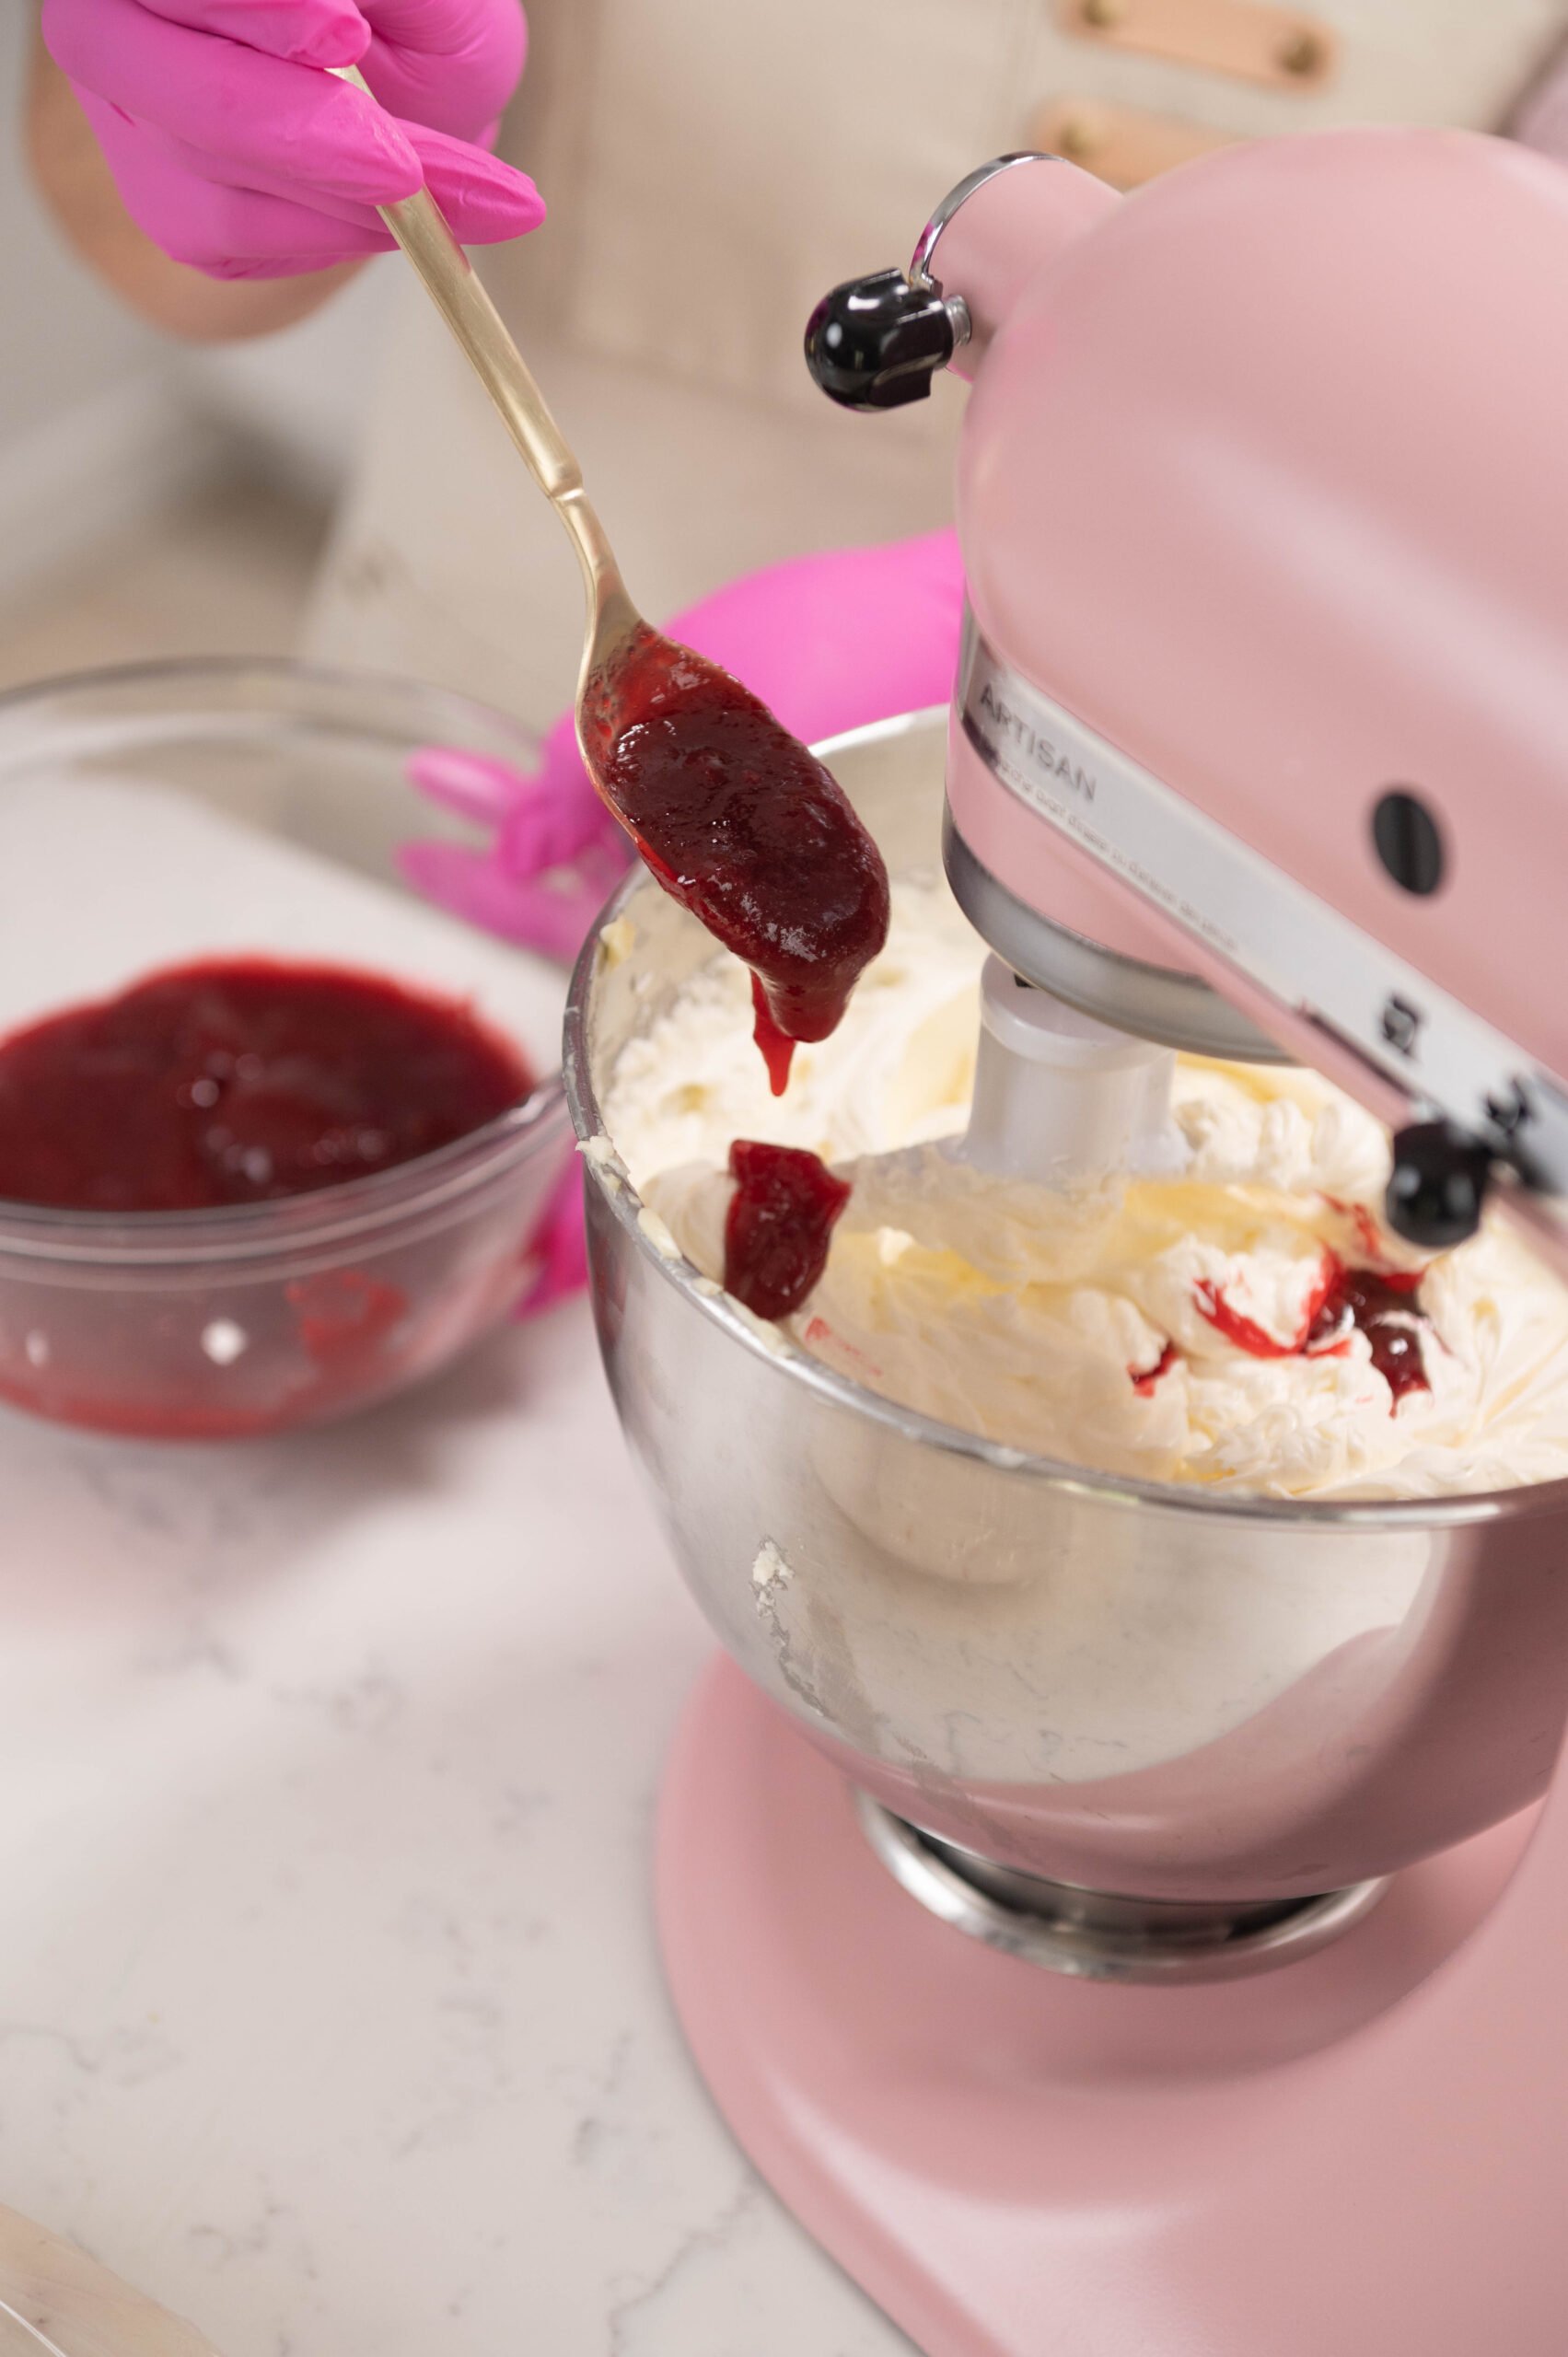
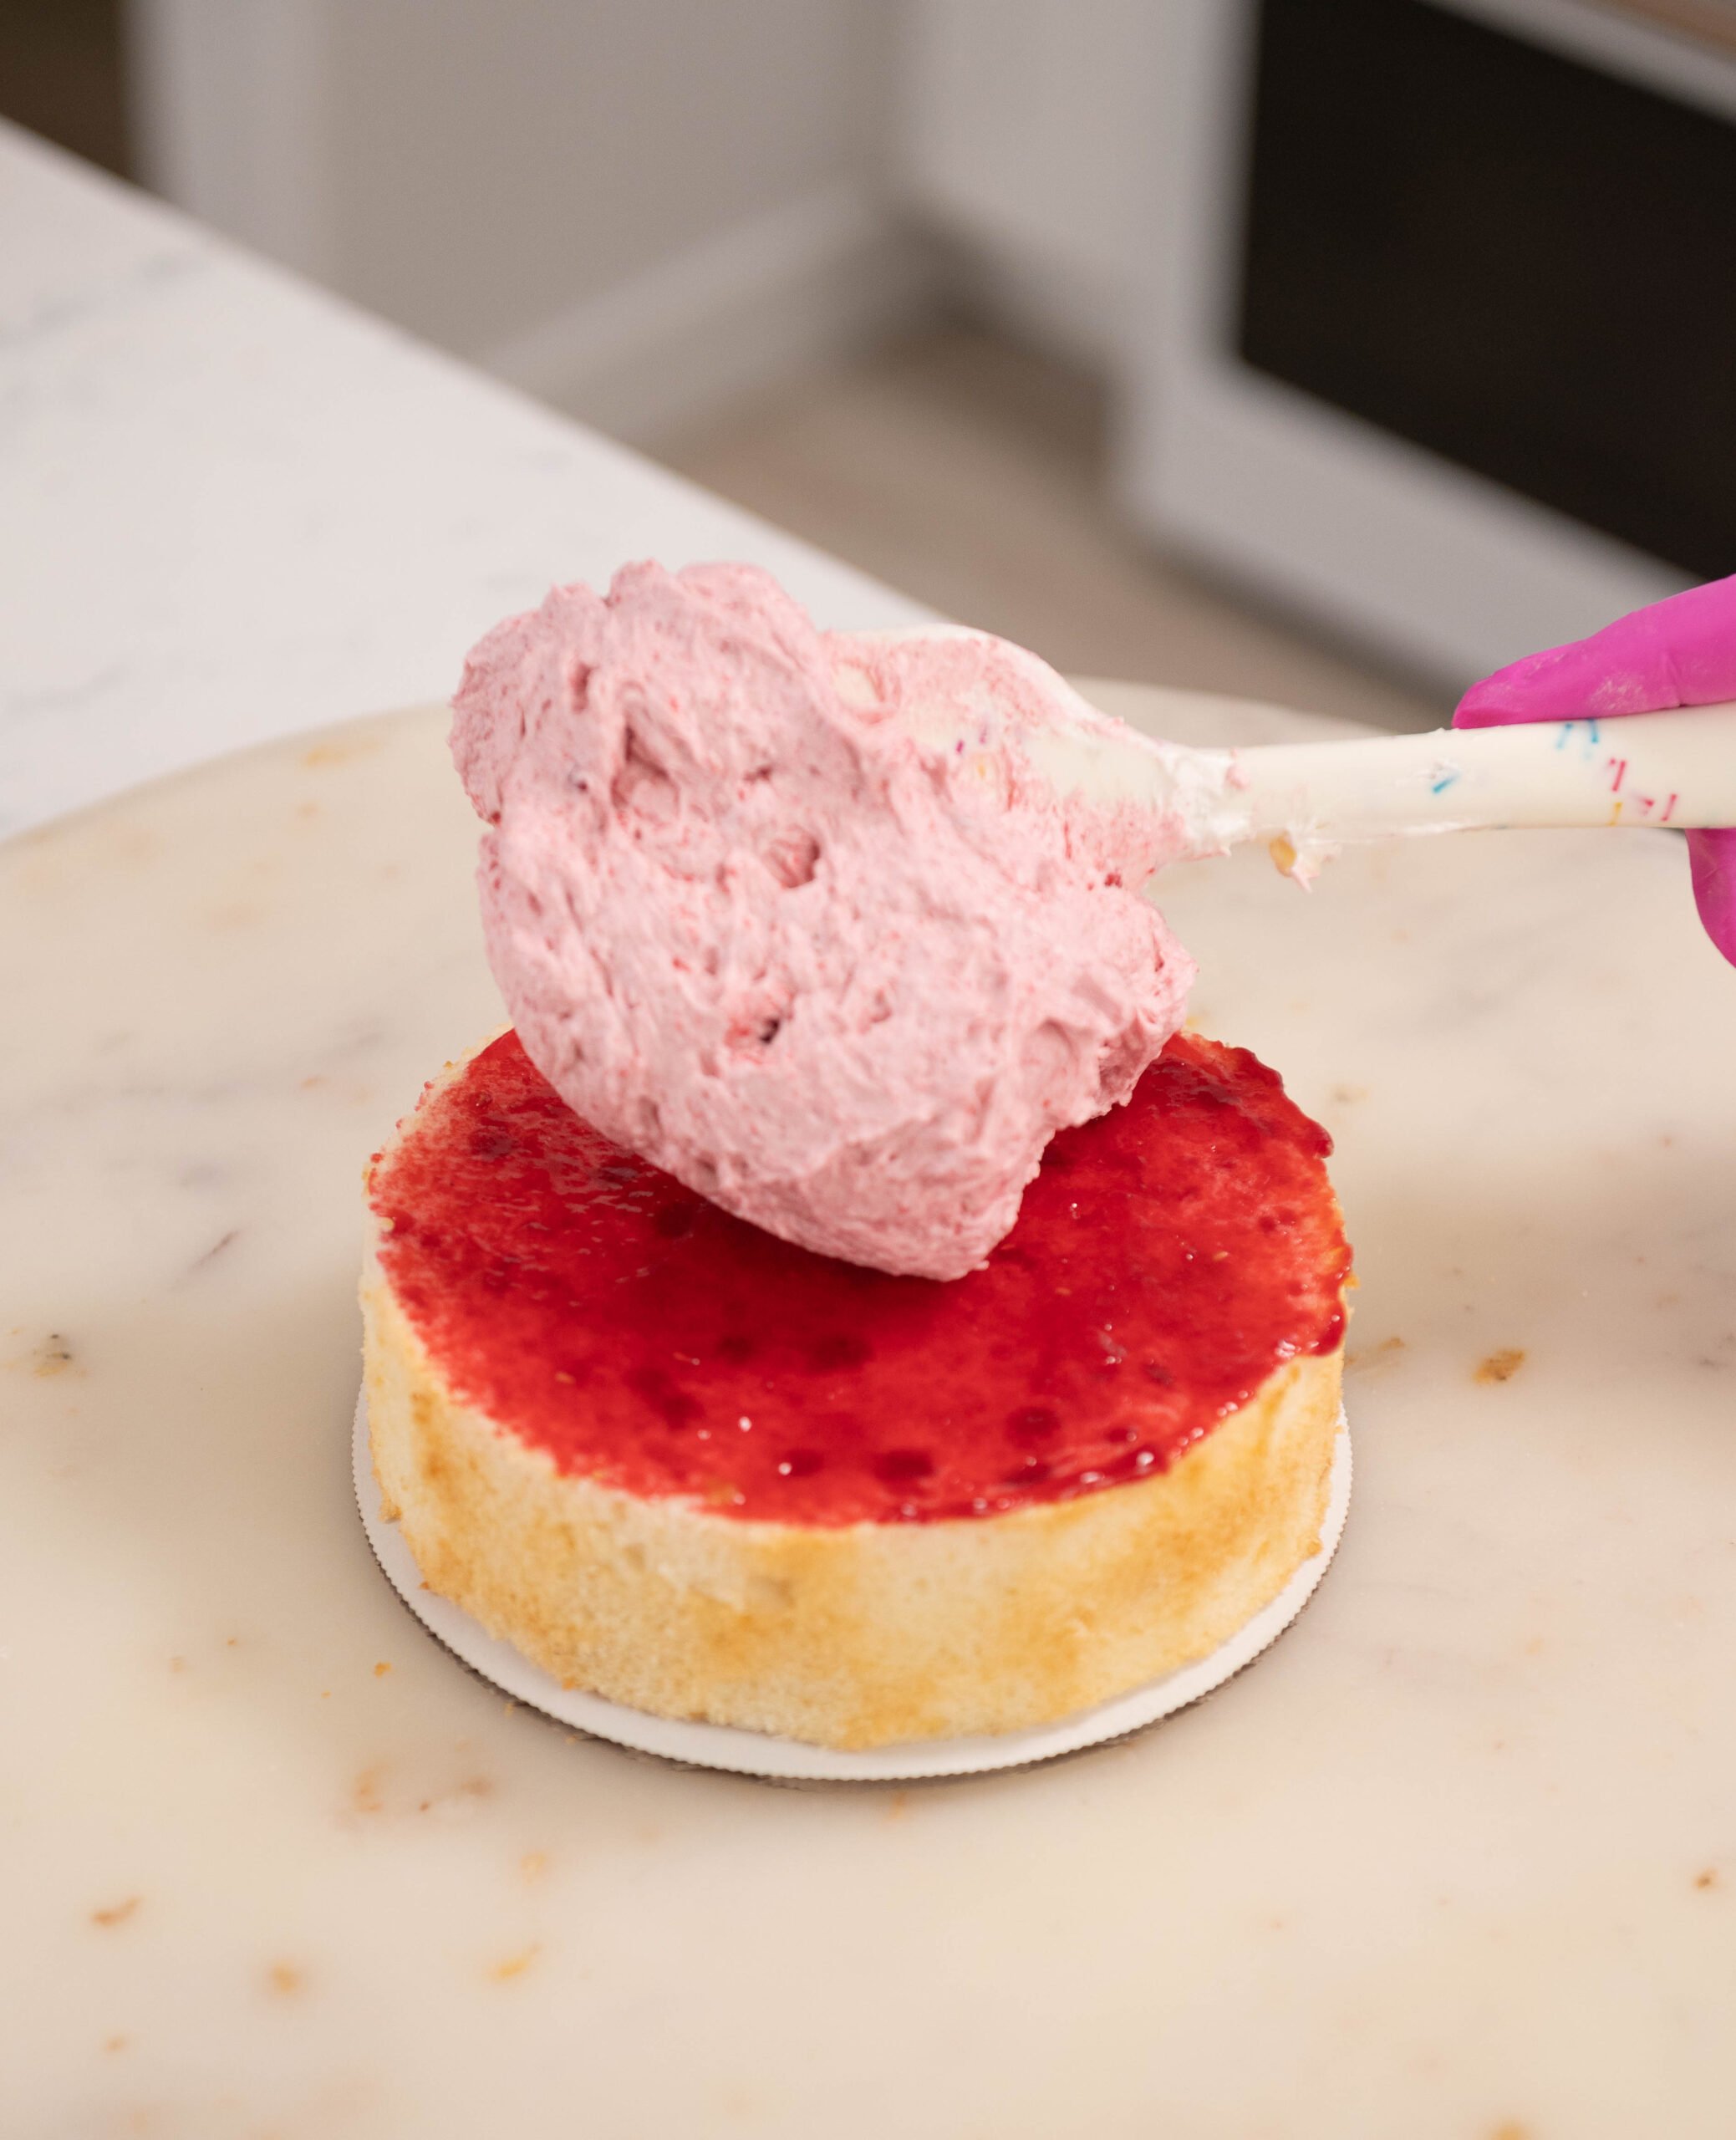
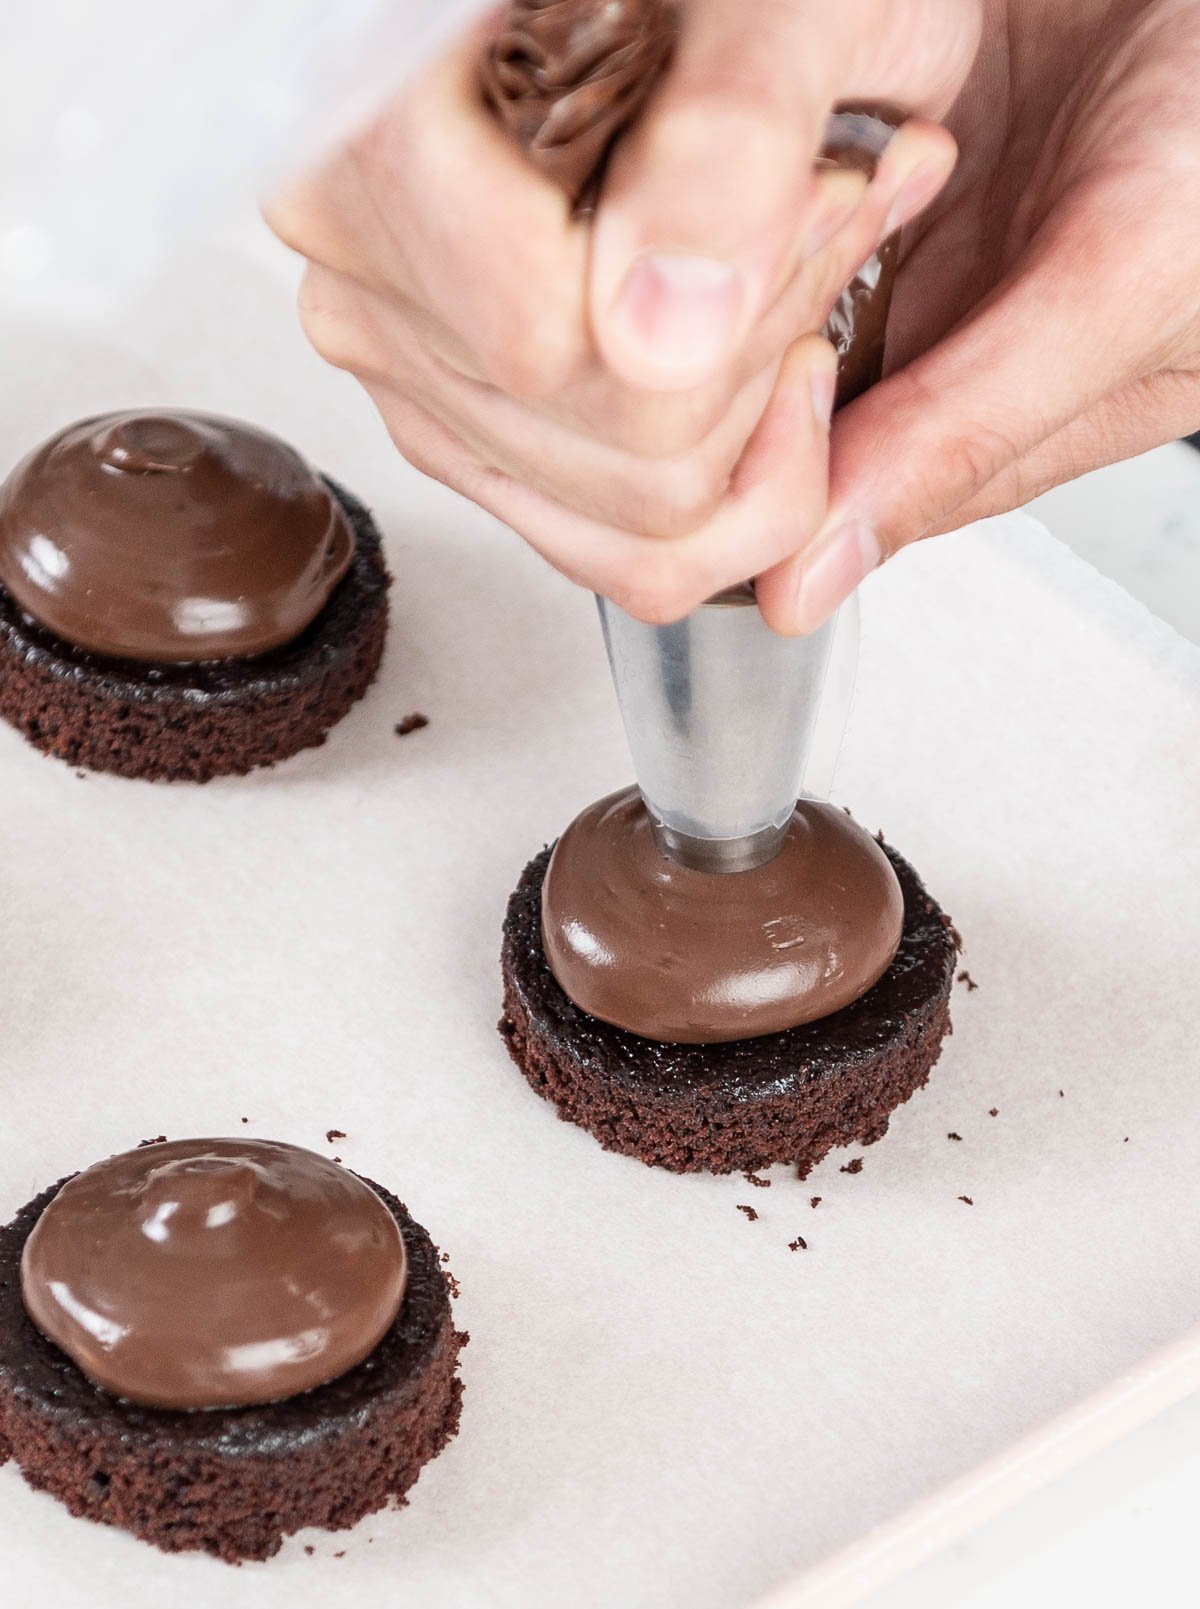
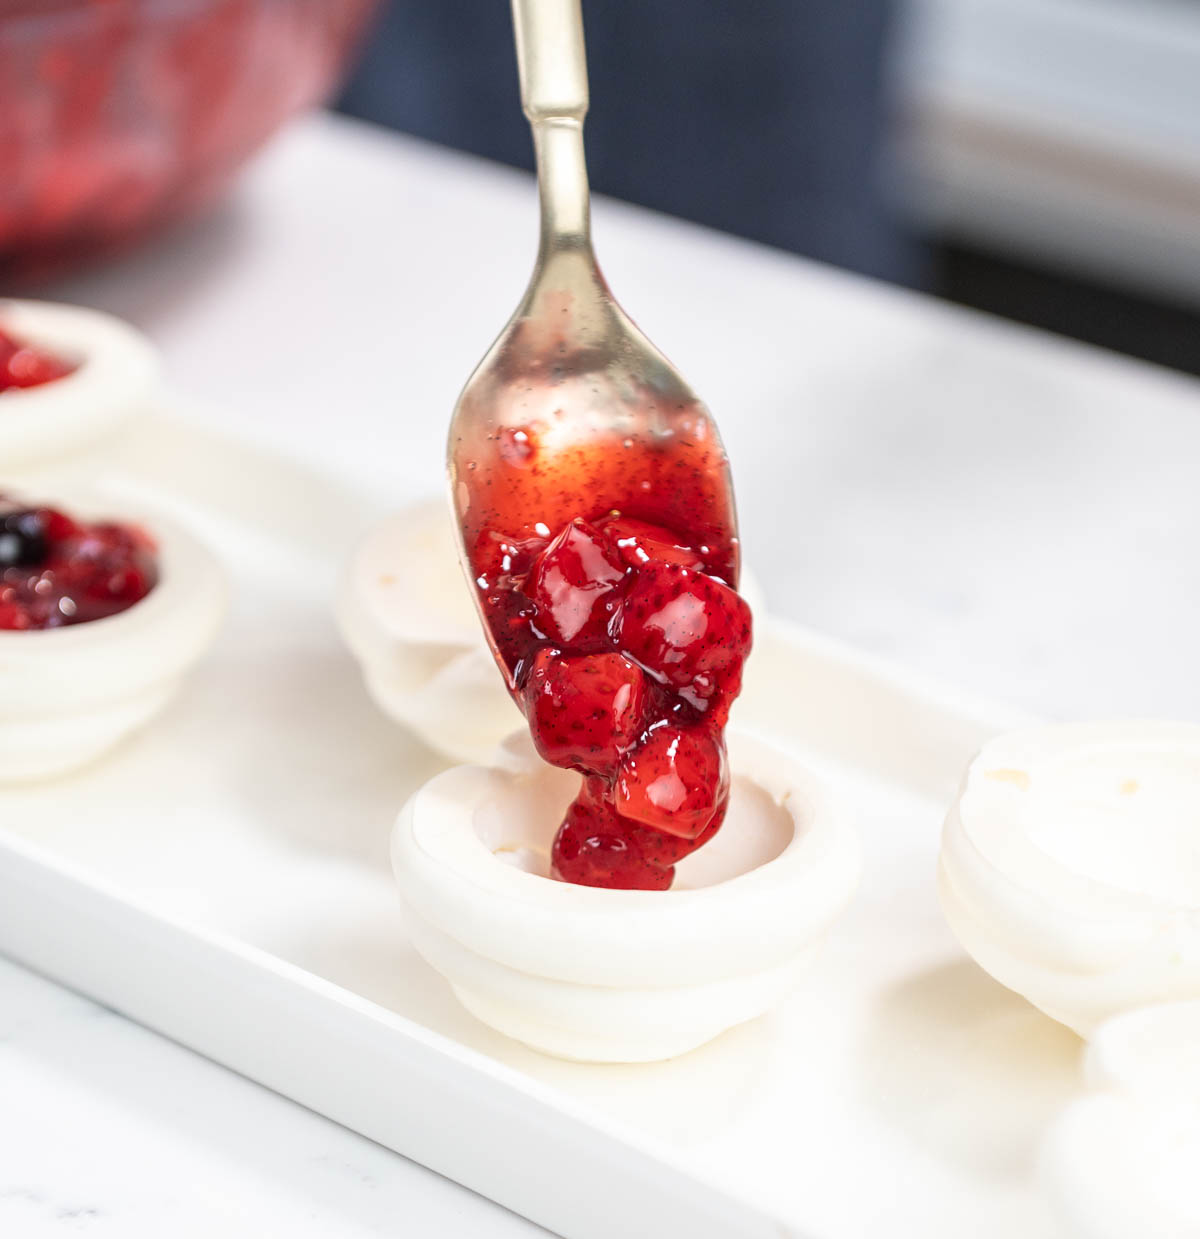
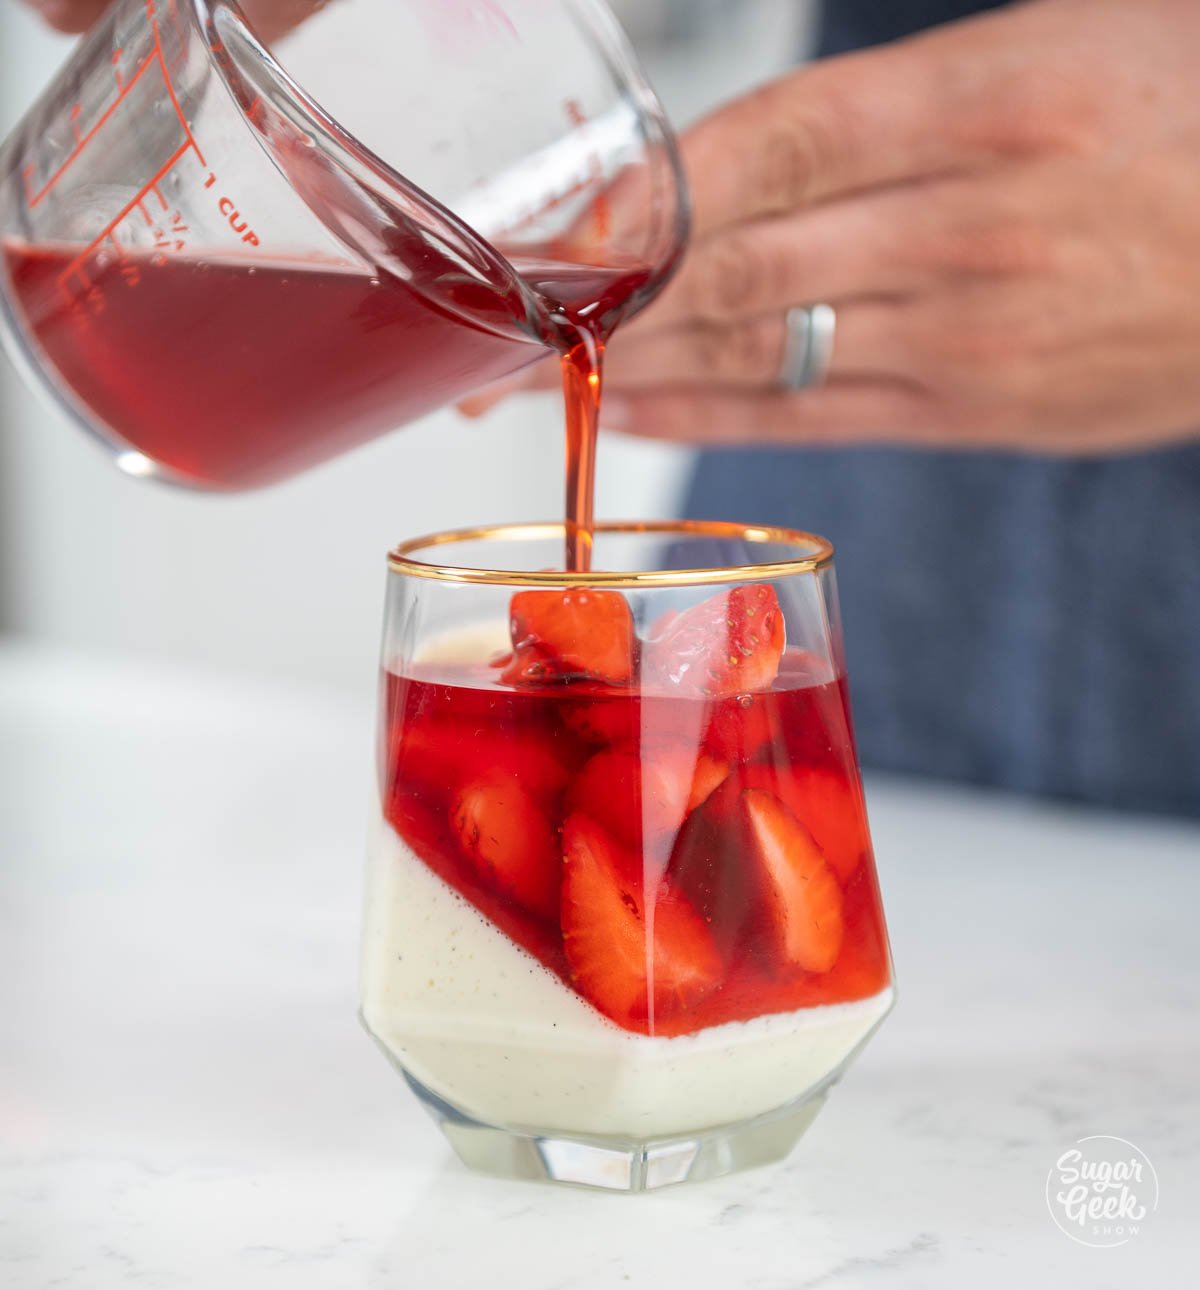
- Put your mango puree into a piping bag and pipe a thin layer on top of the mousse.
- Refrigerate the cups for a minimum of 1 hour to set up the mousse and puree.

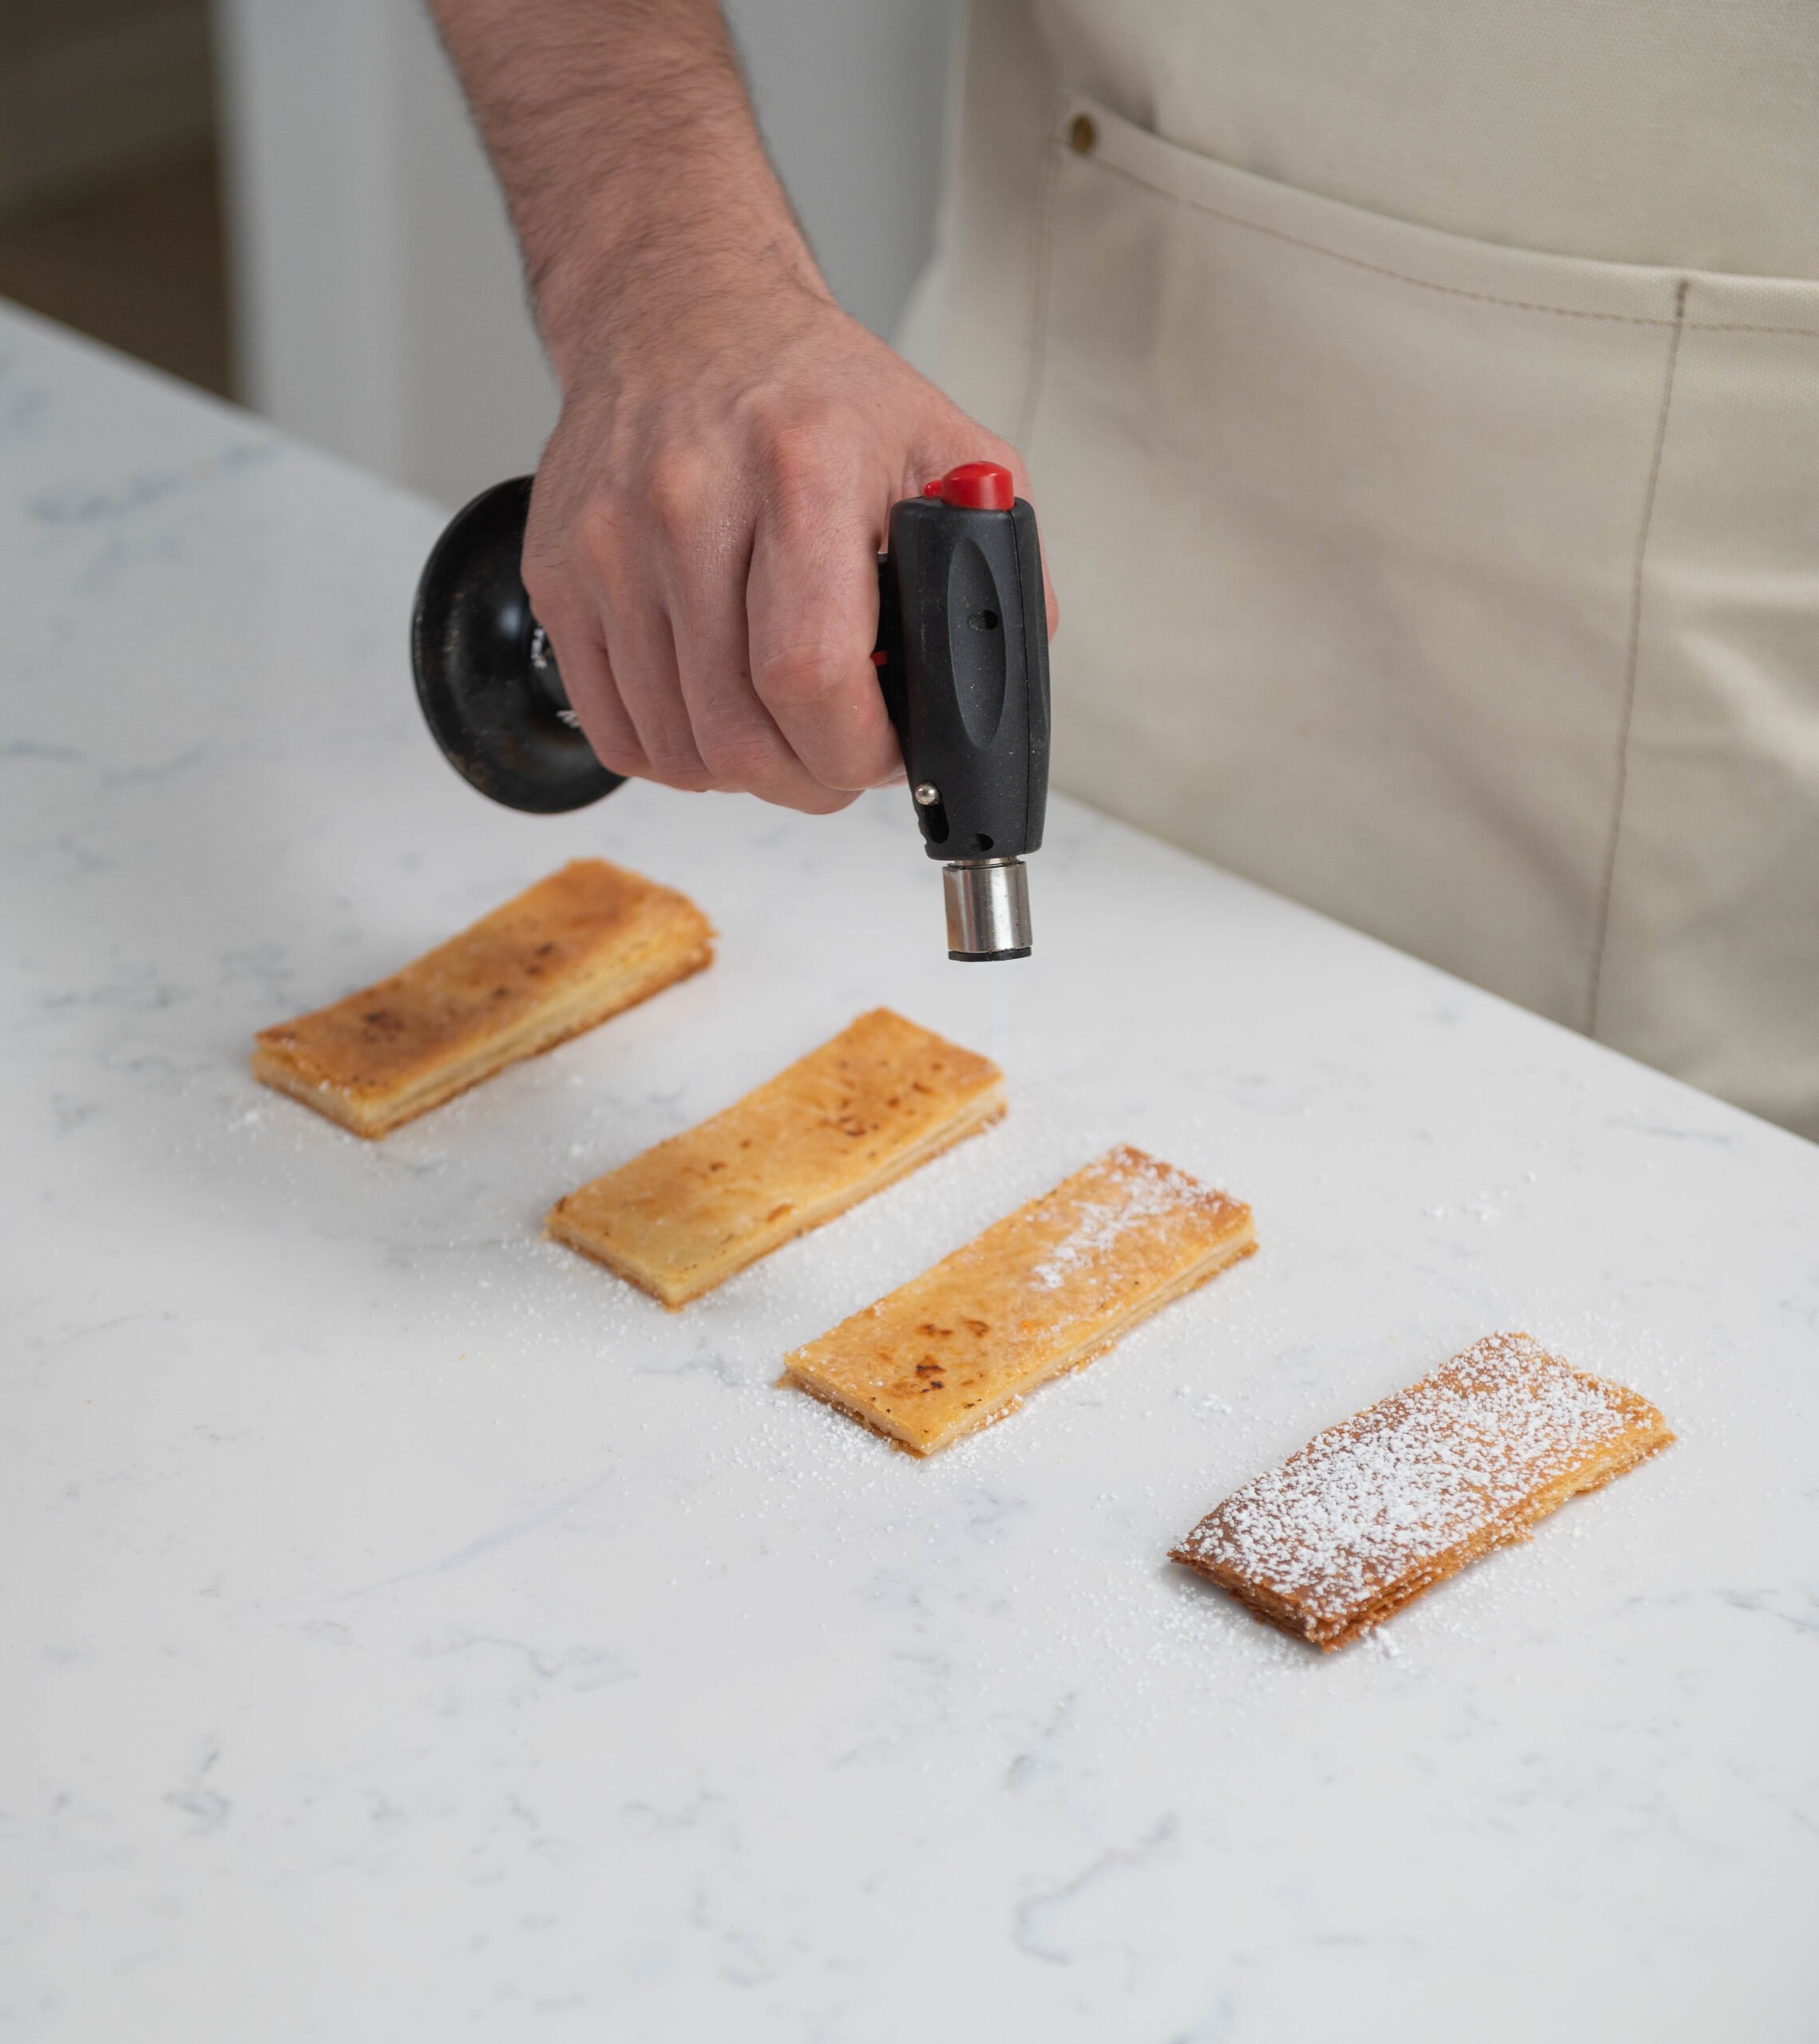
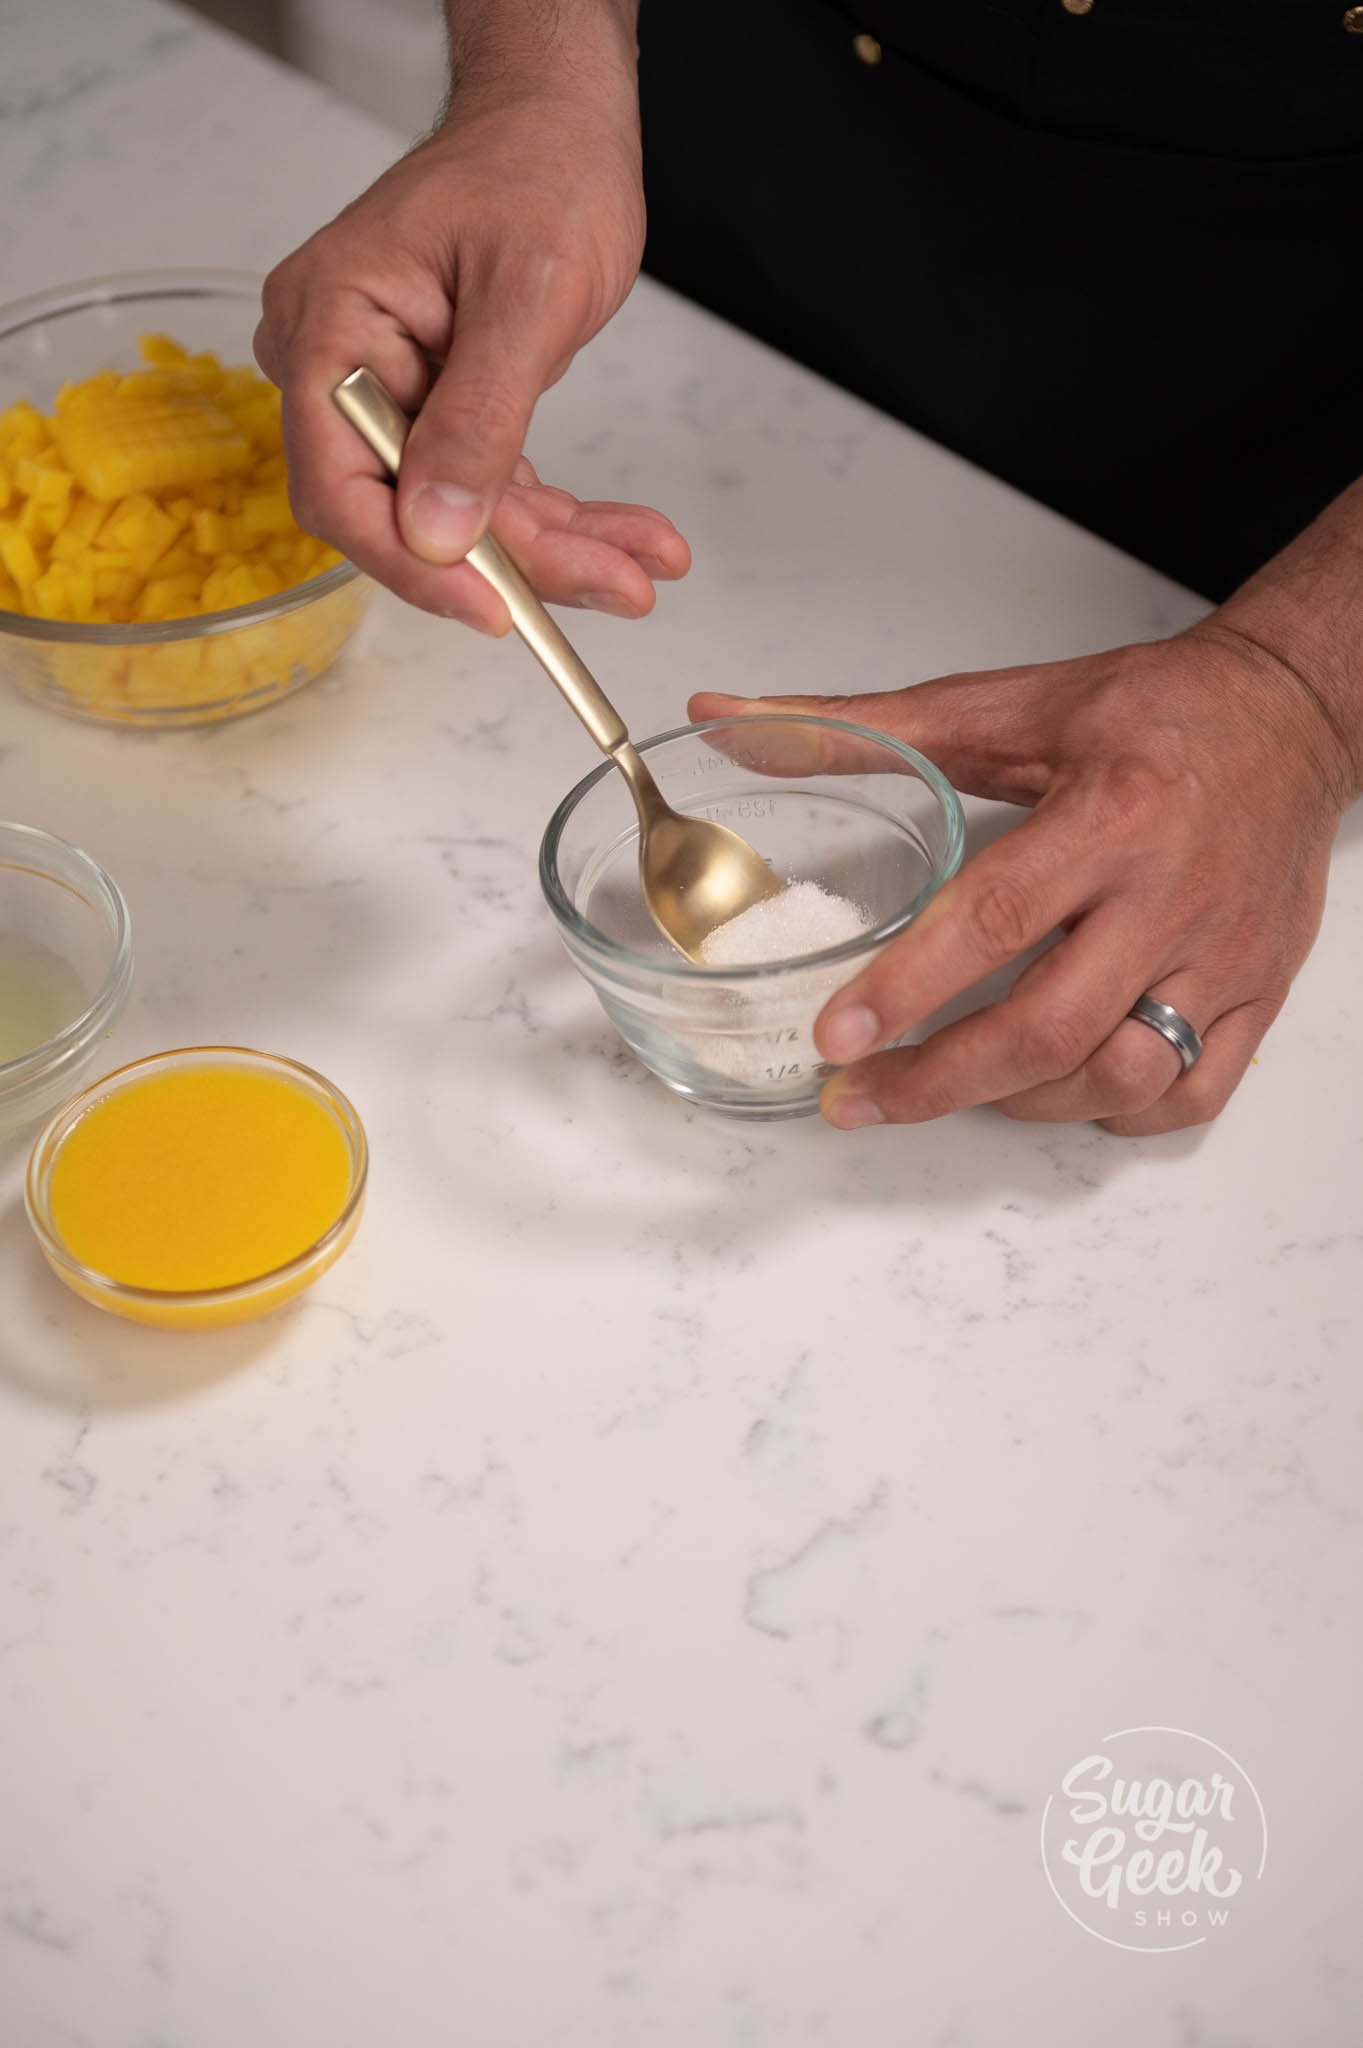
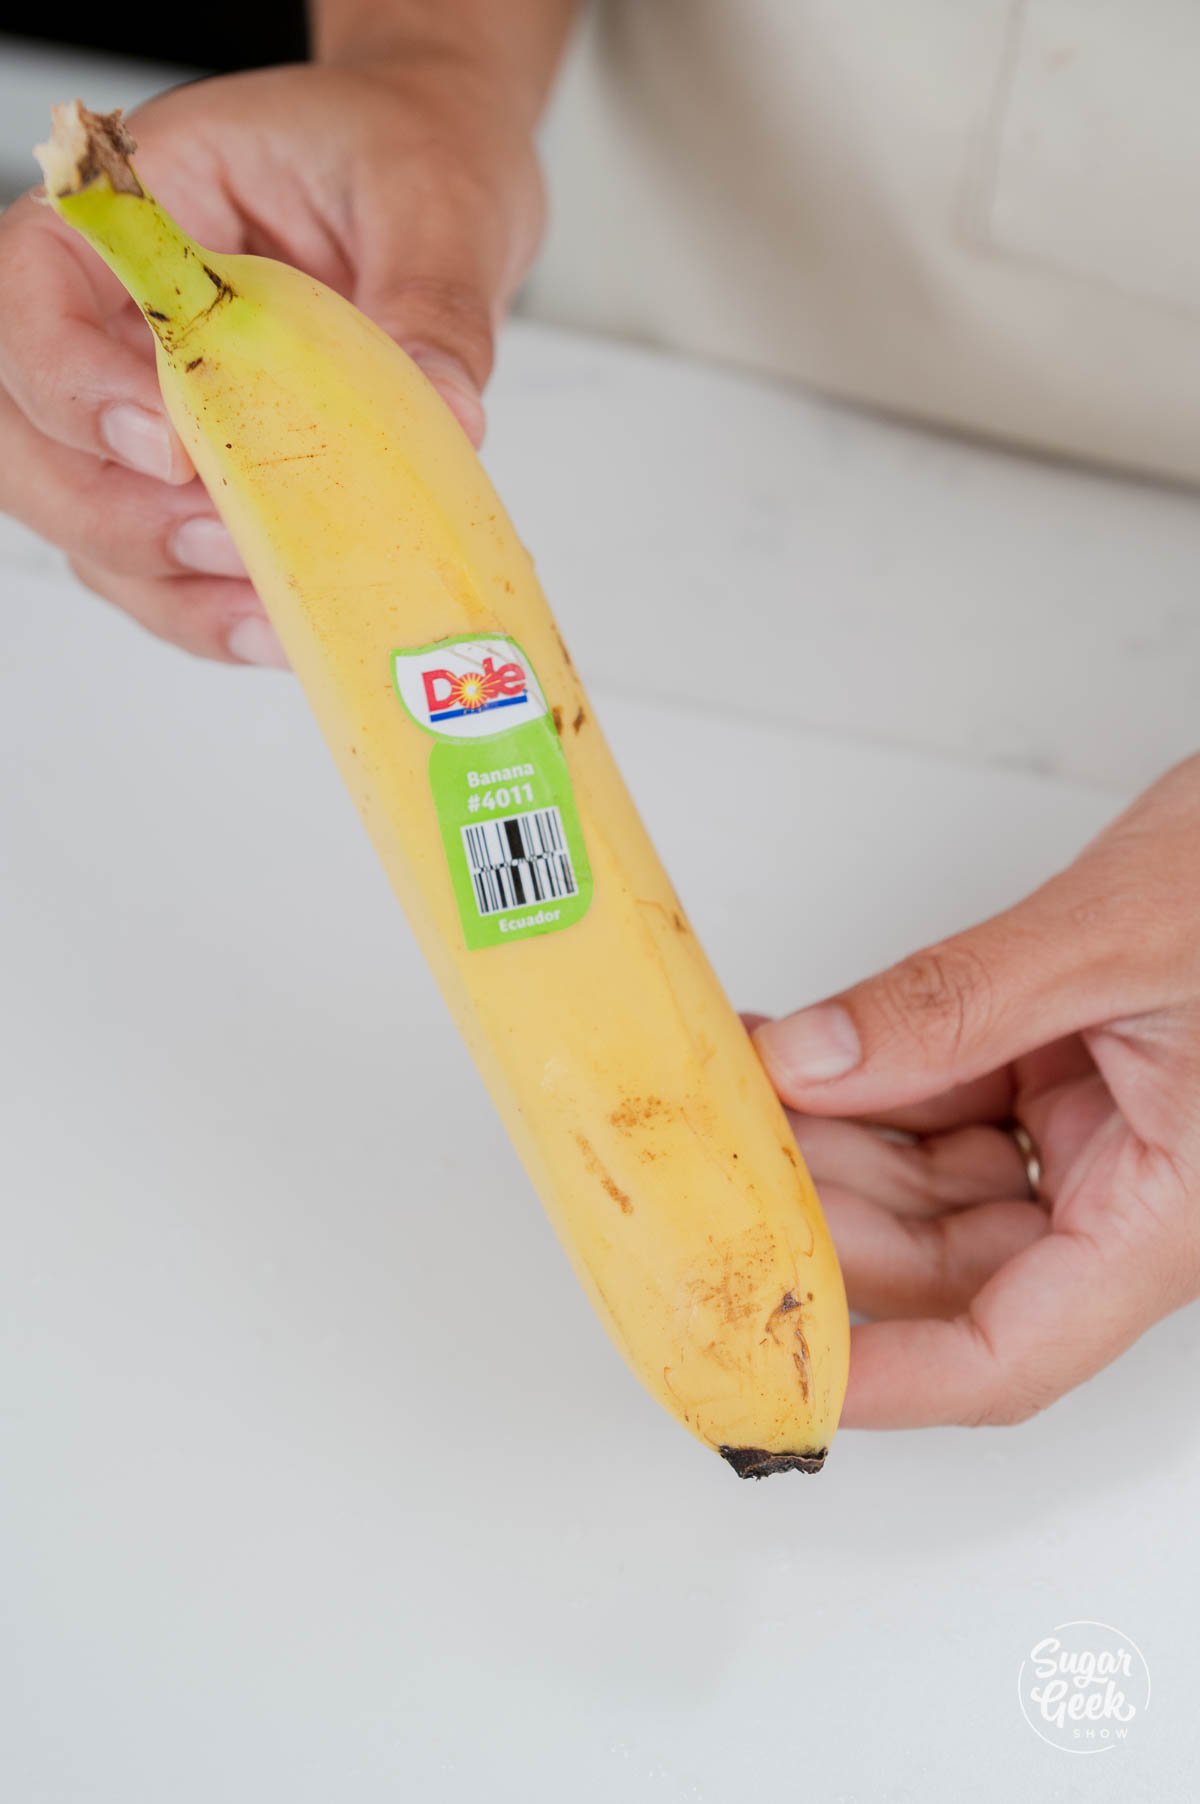
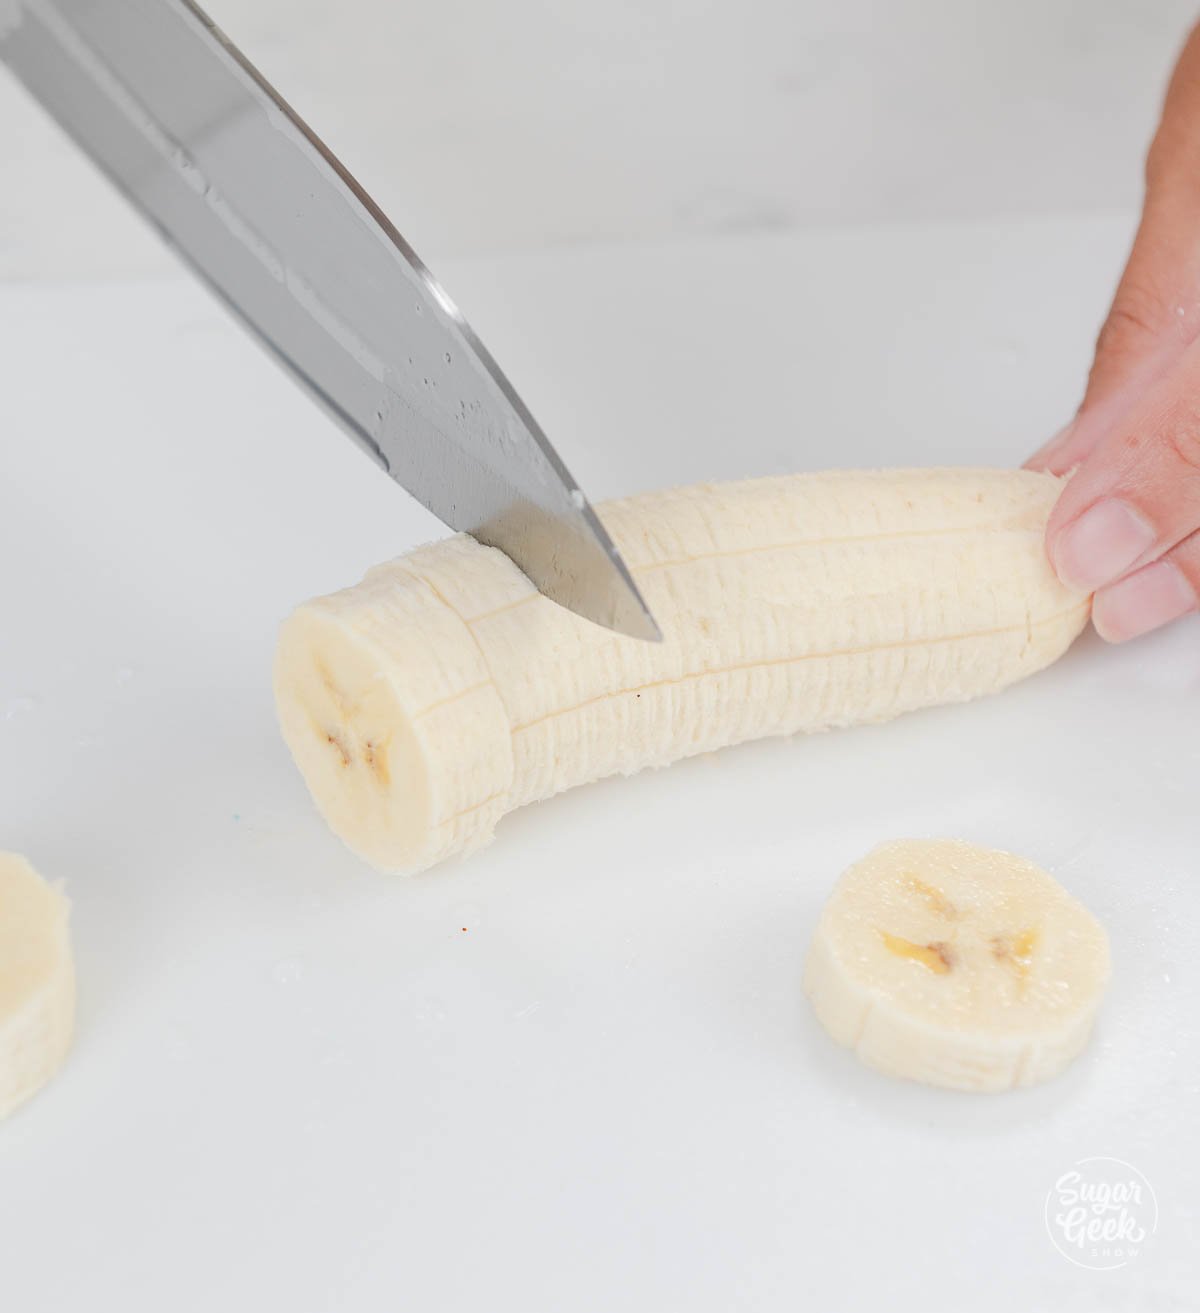
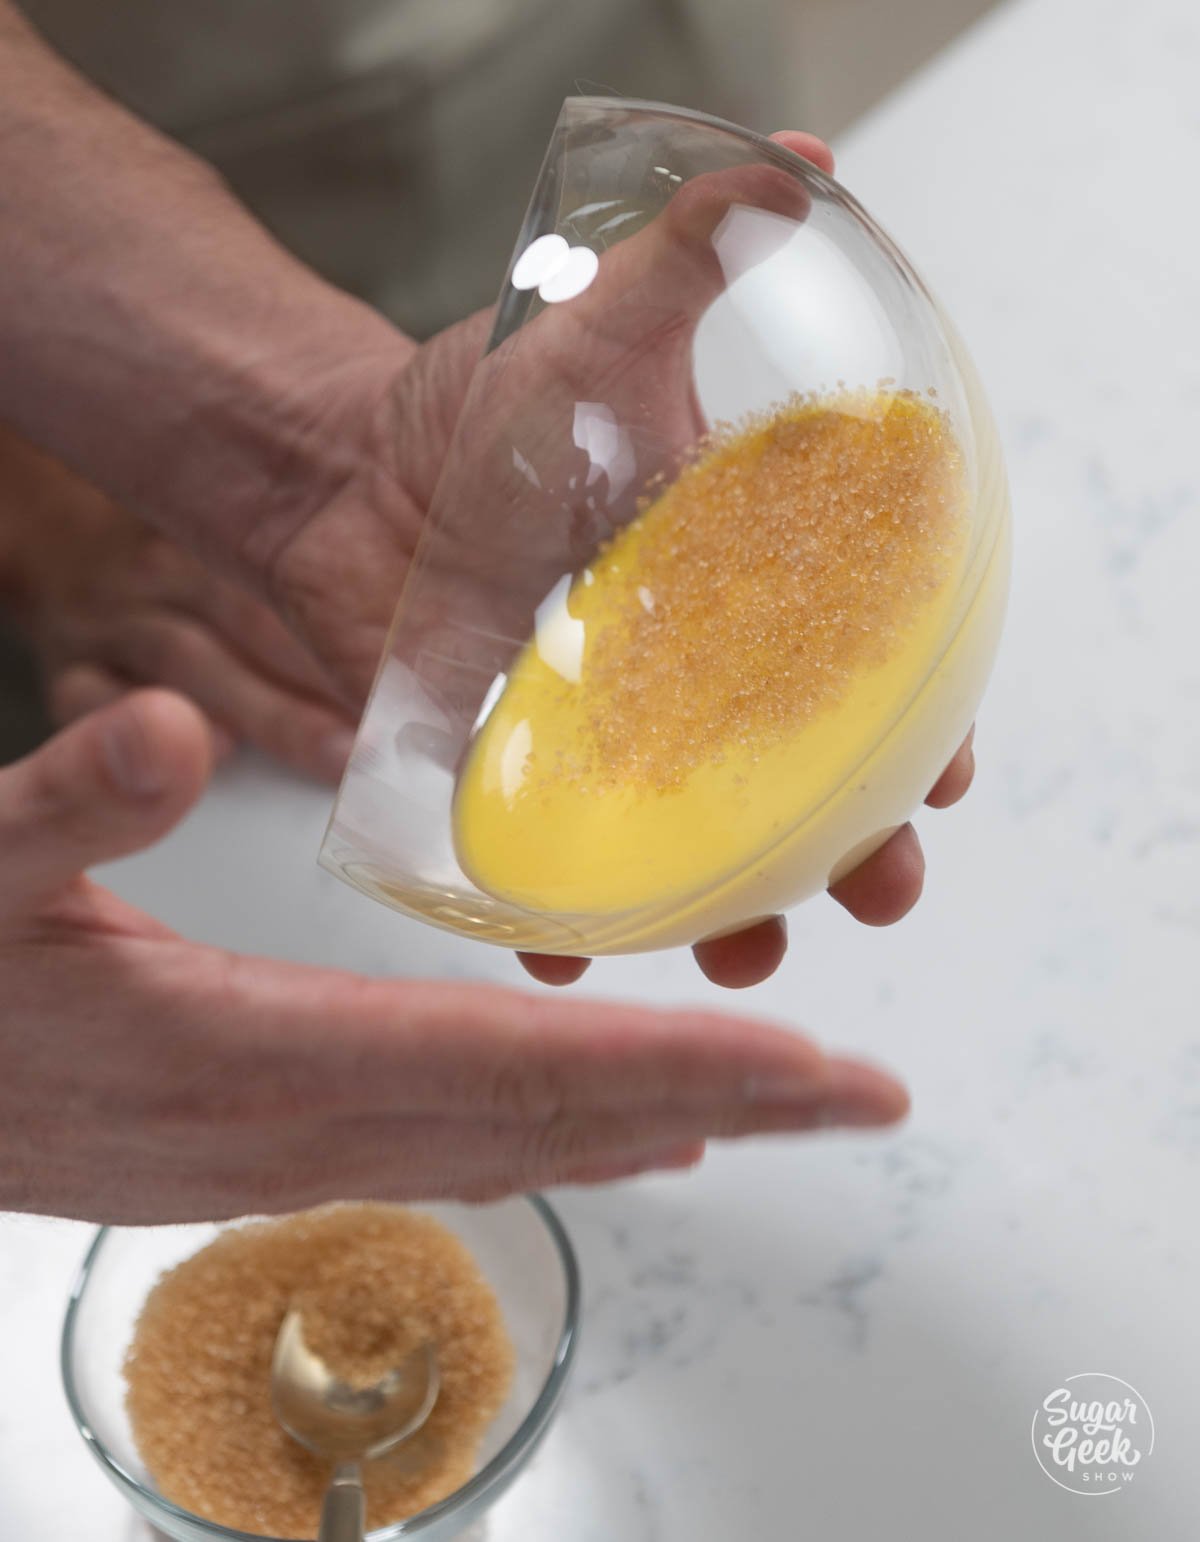
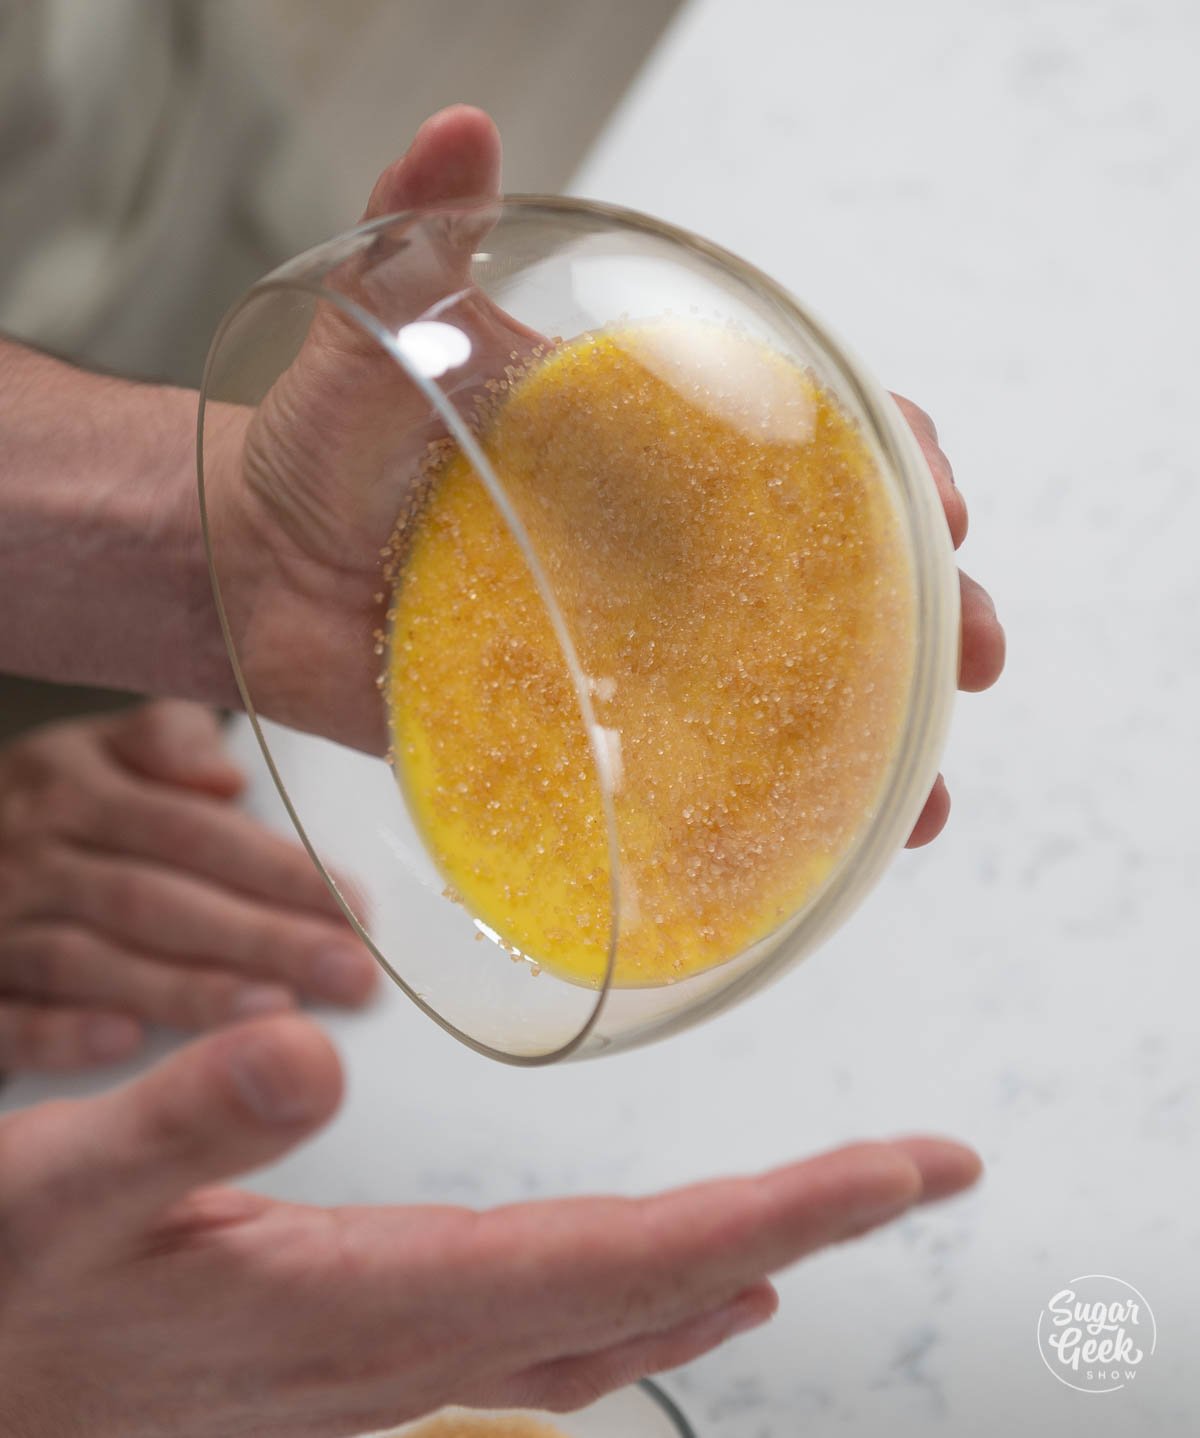
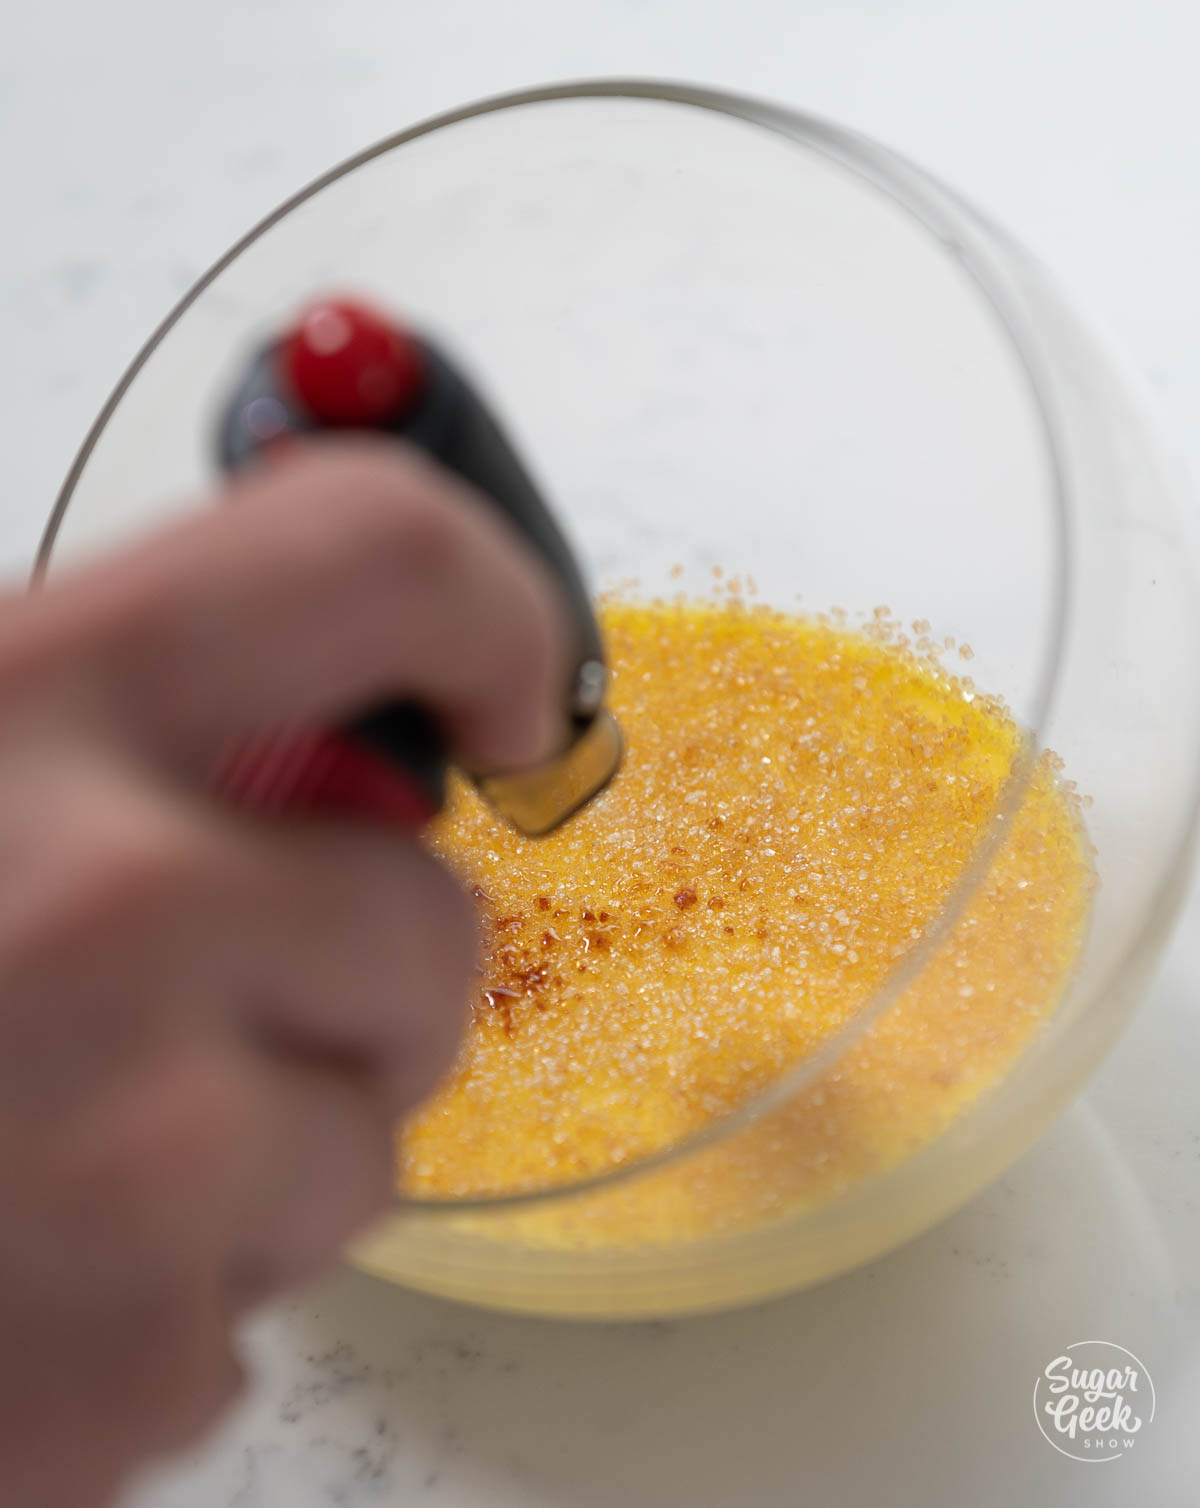
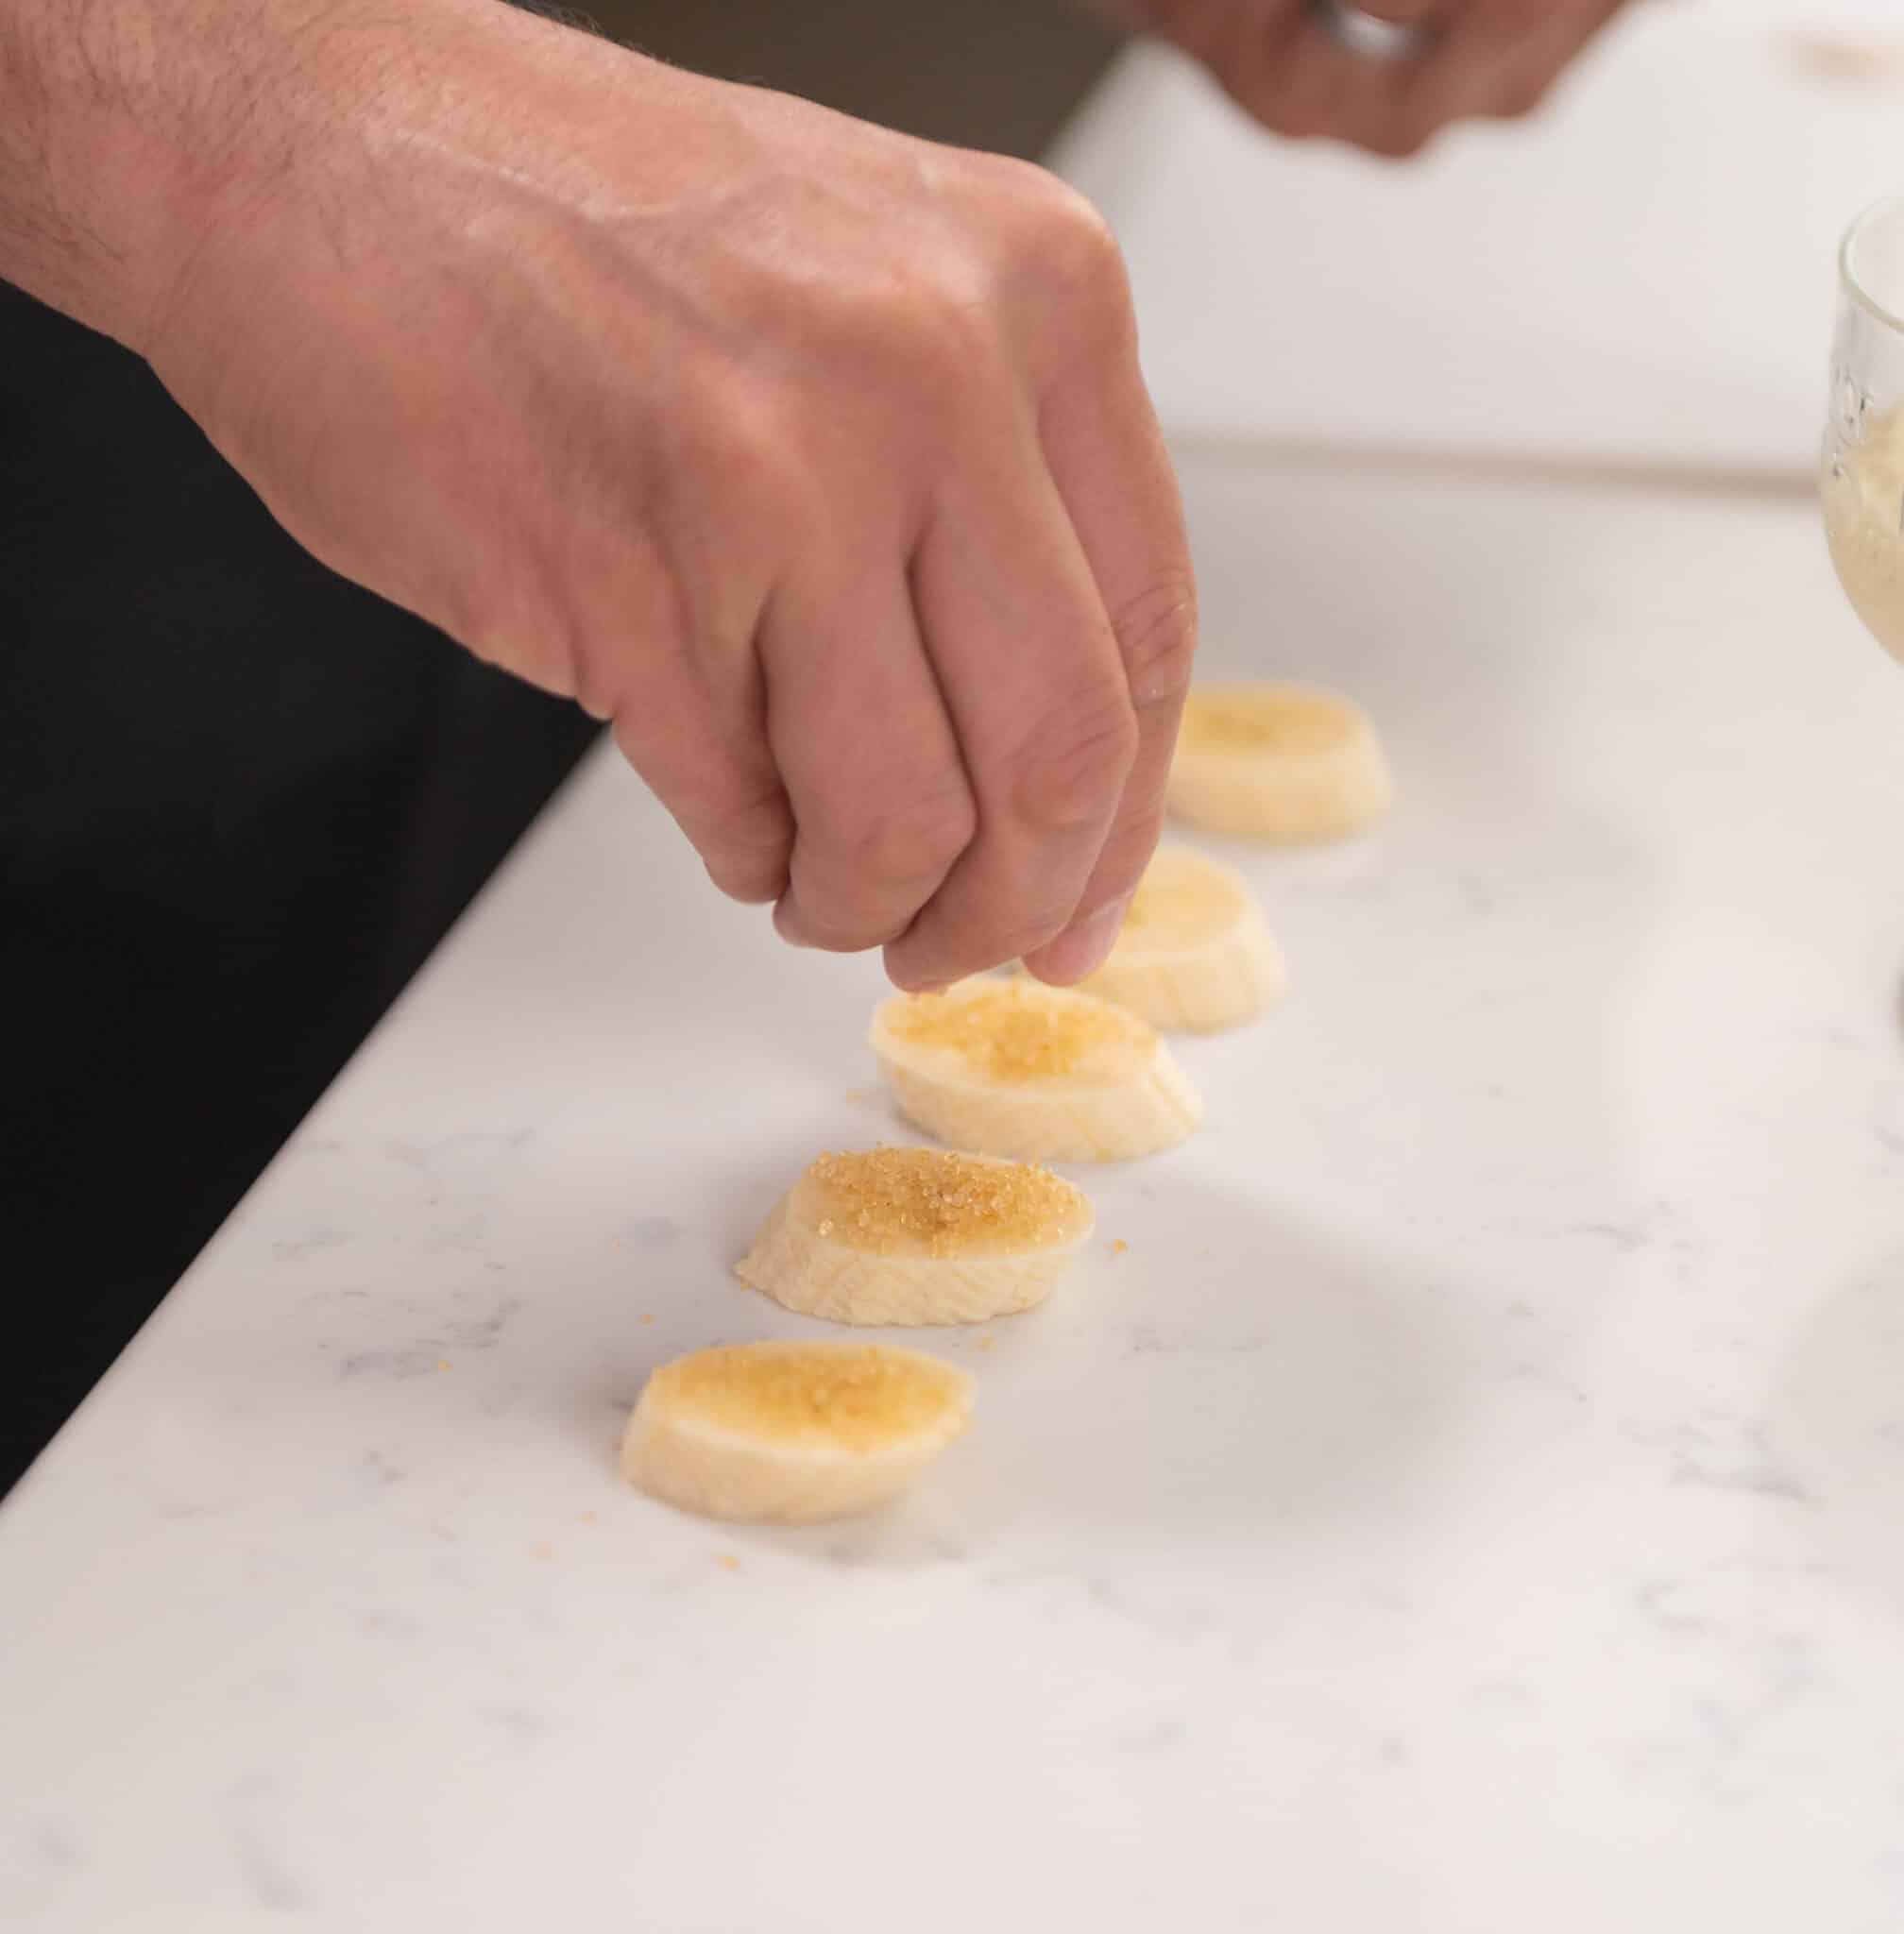
- (Optional) Cut a banana into slices and top them each with a pinch of sugar in the raw.

- Lightly caramelize the sugar on top of the banana with a culinary torch.
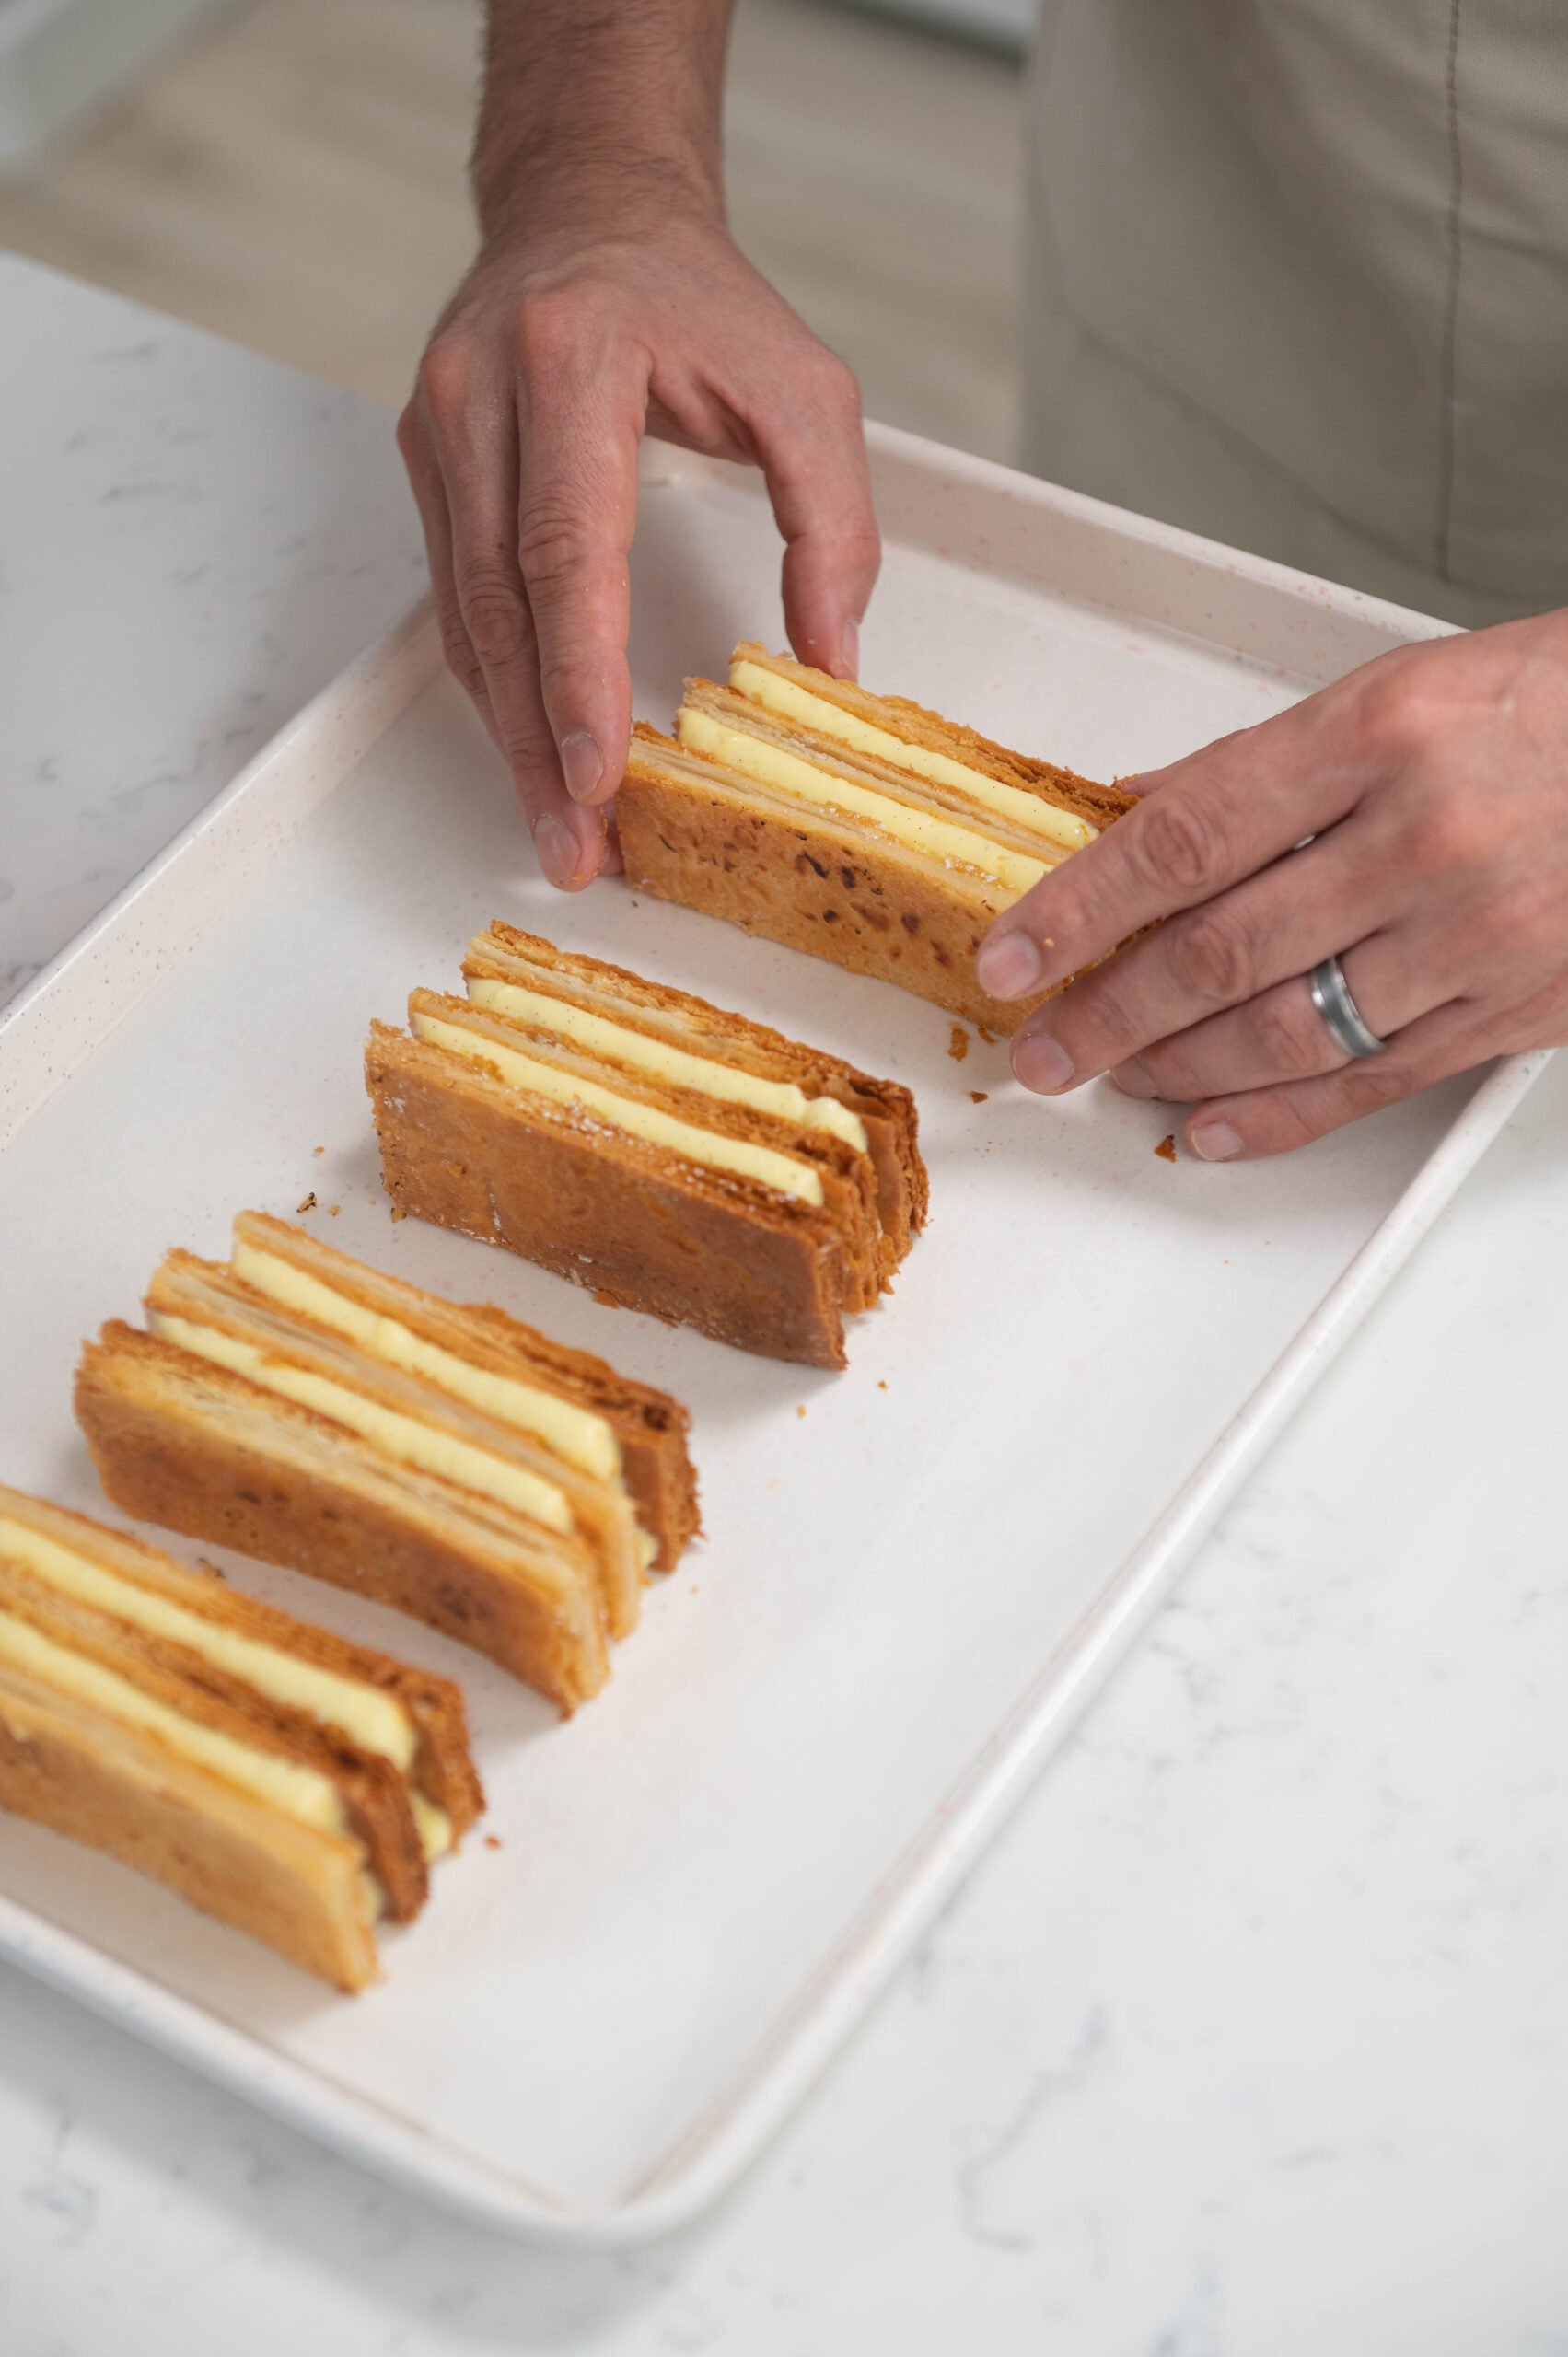
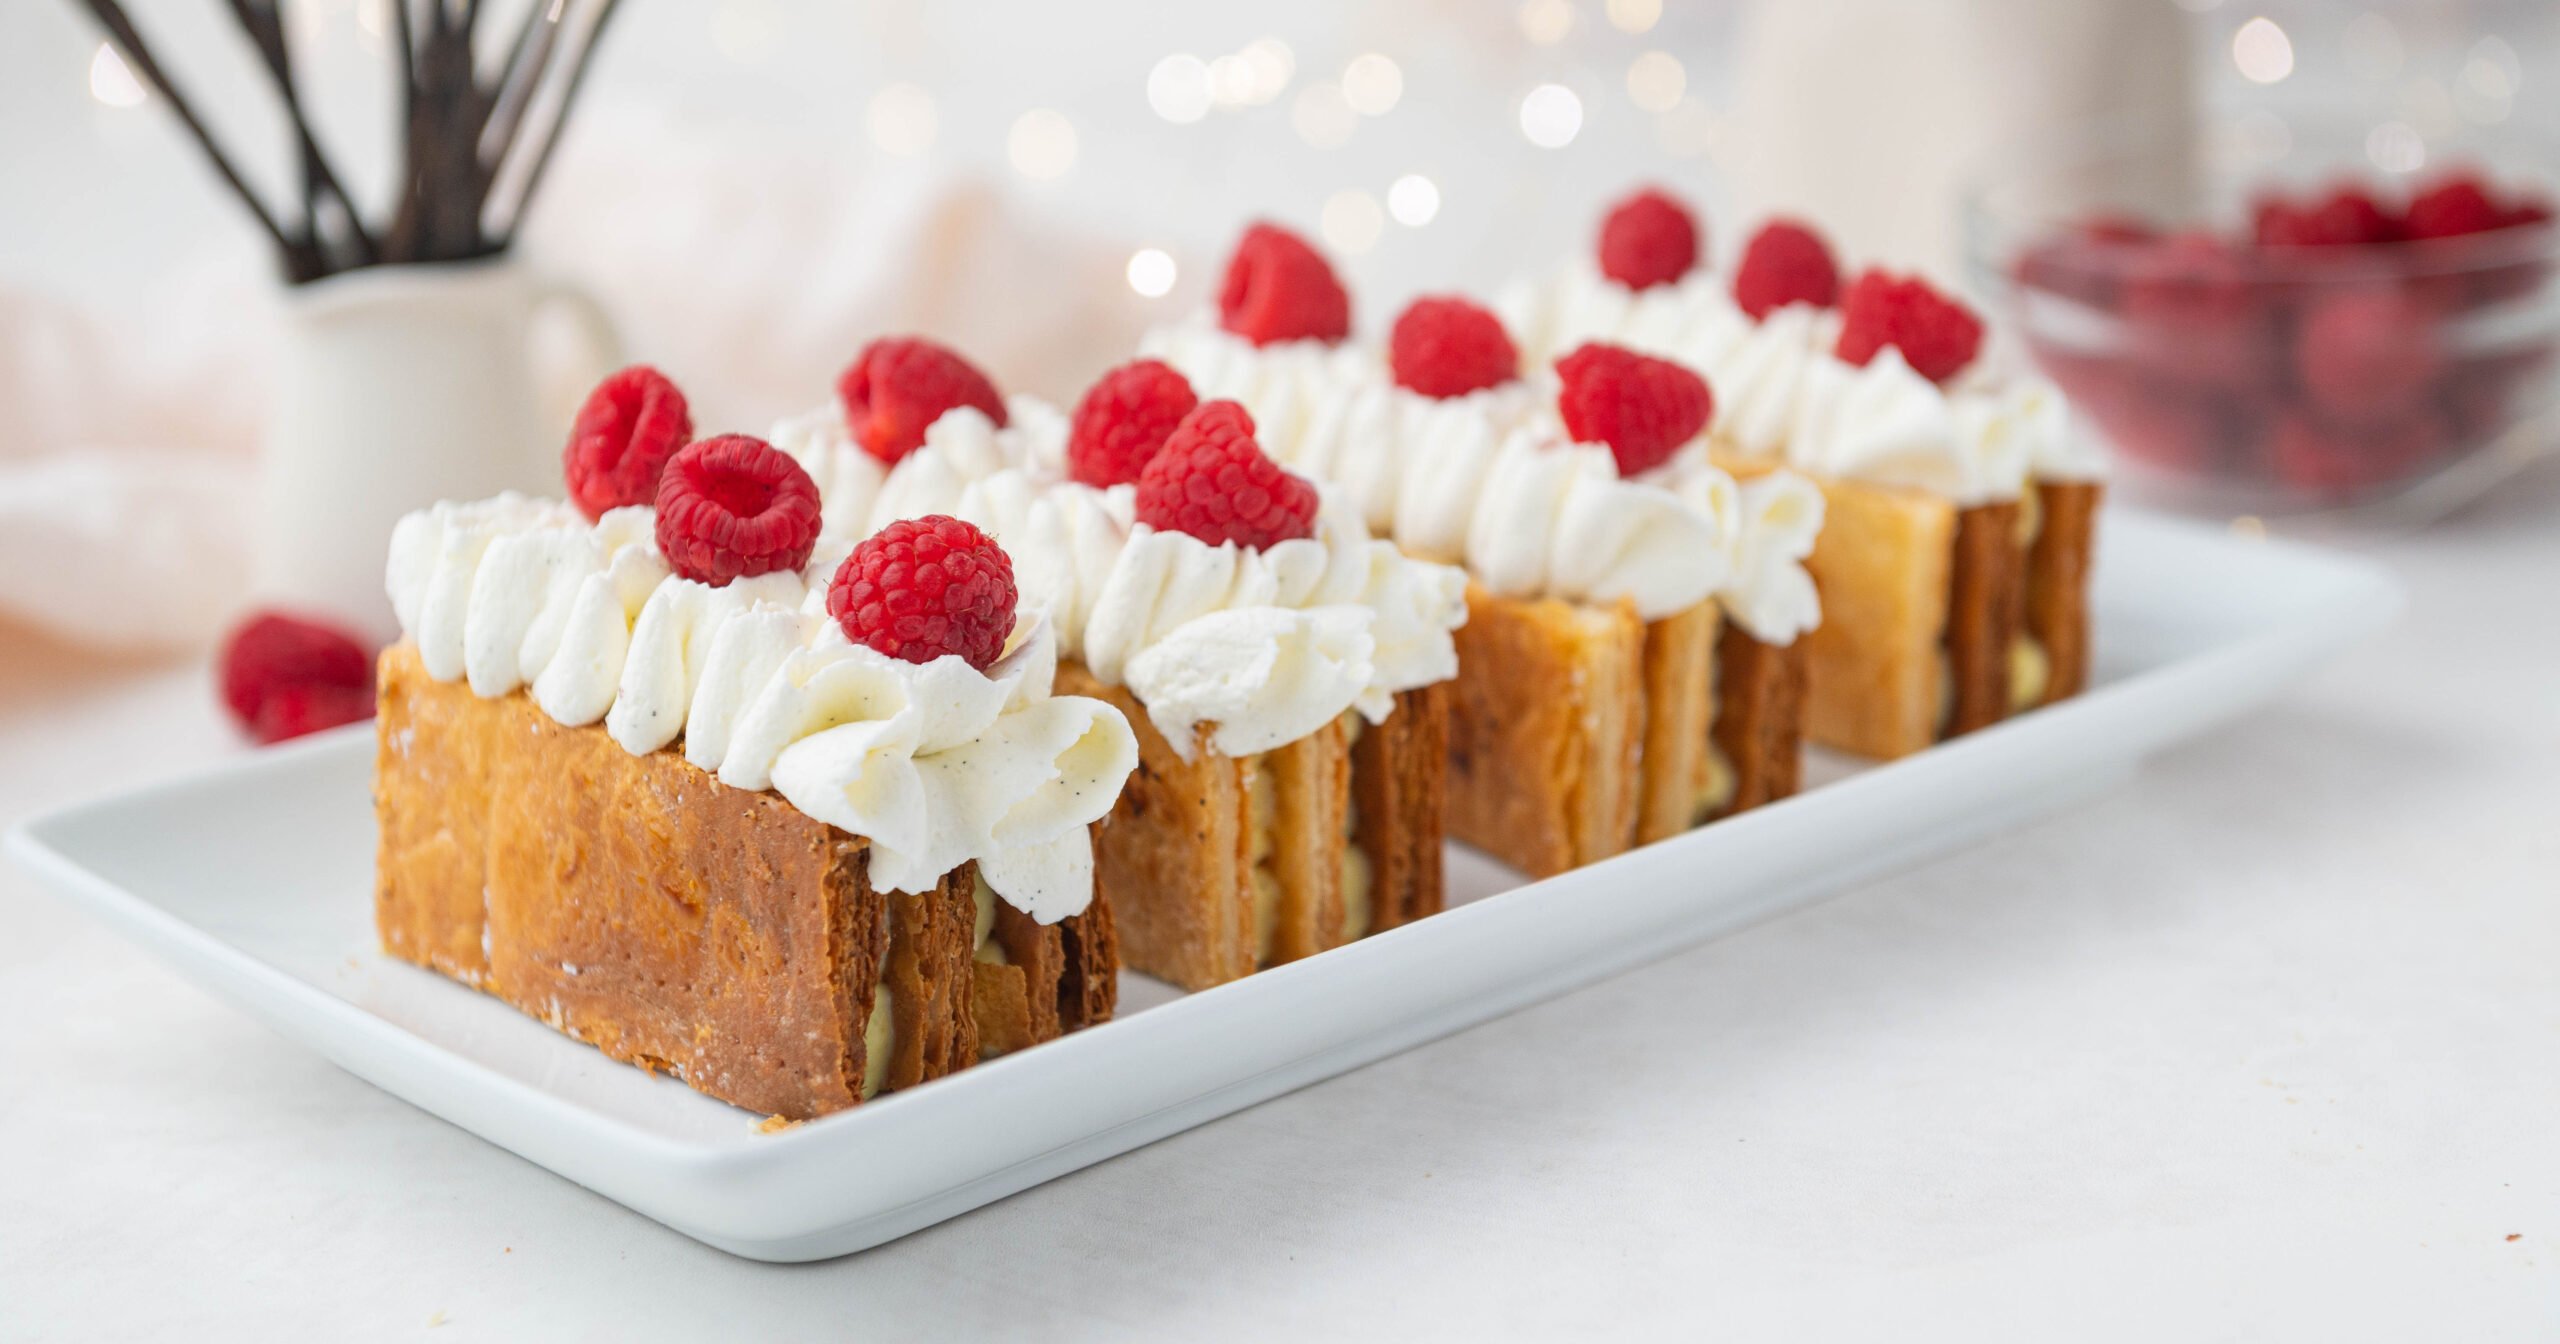
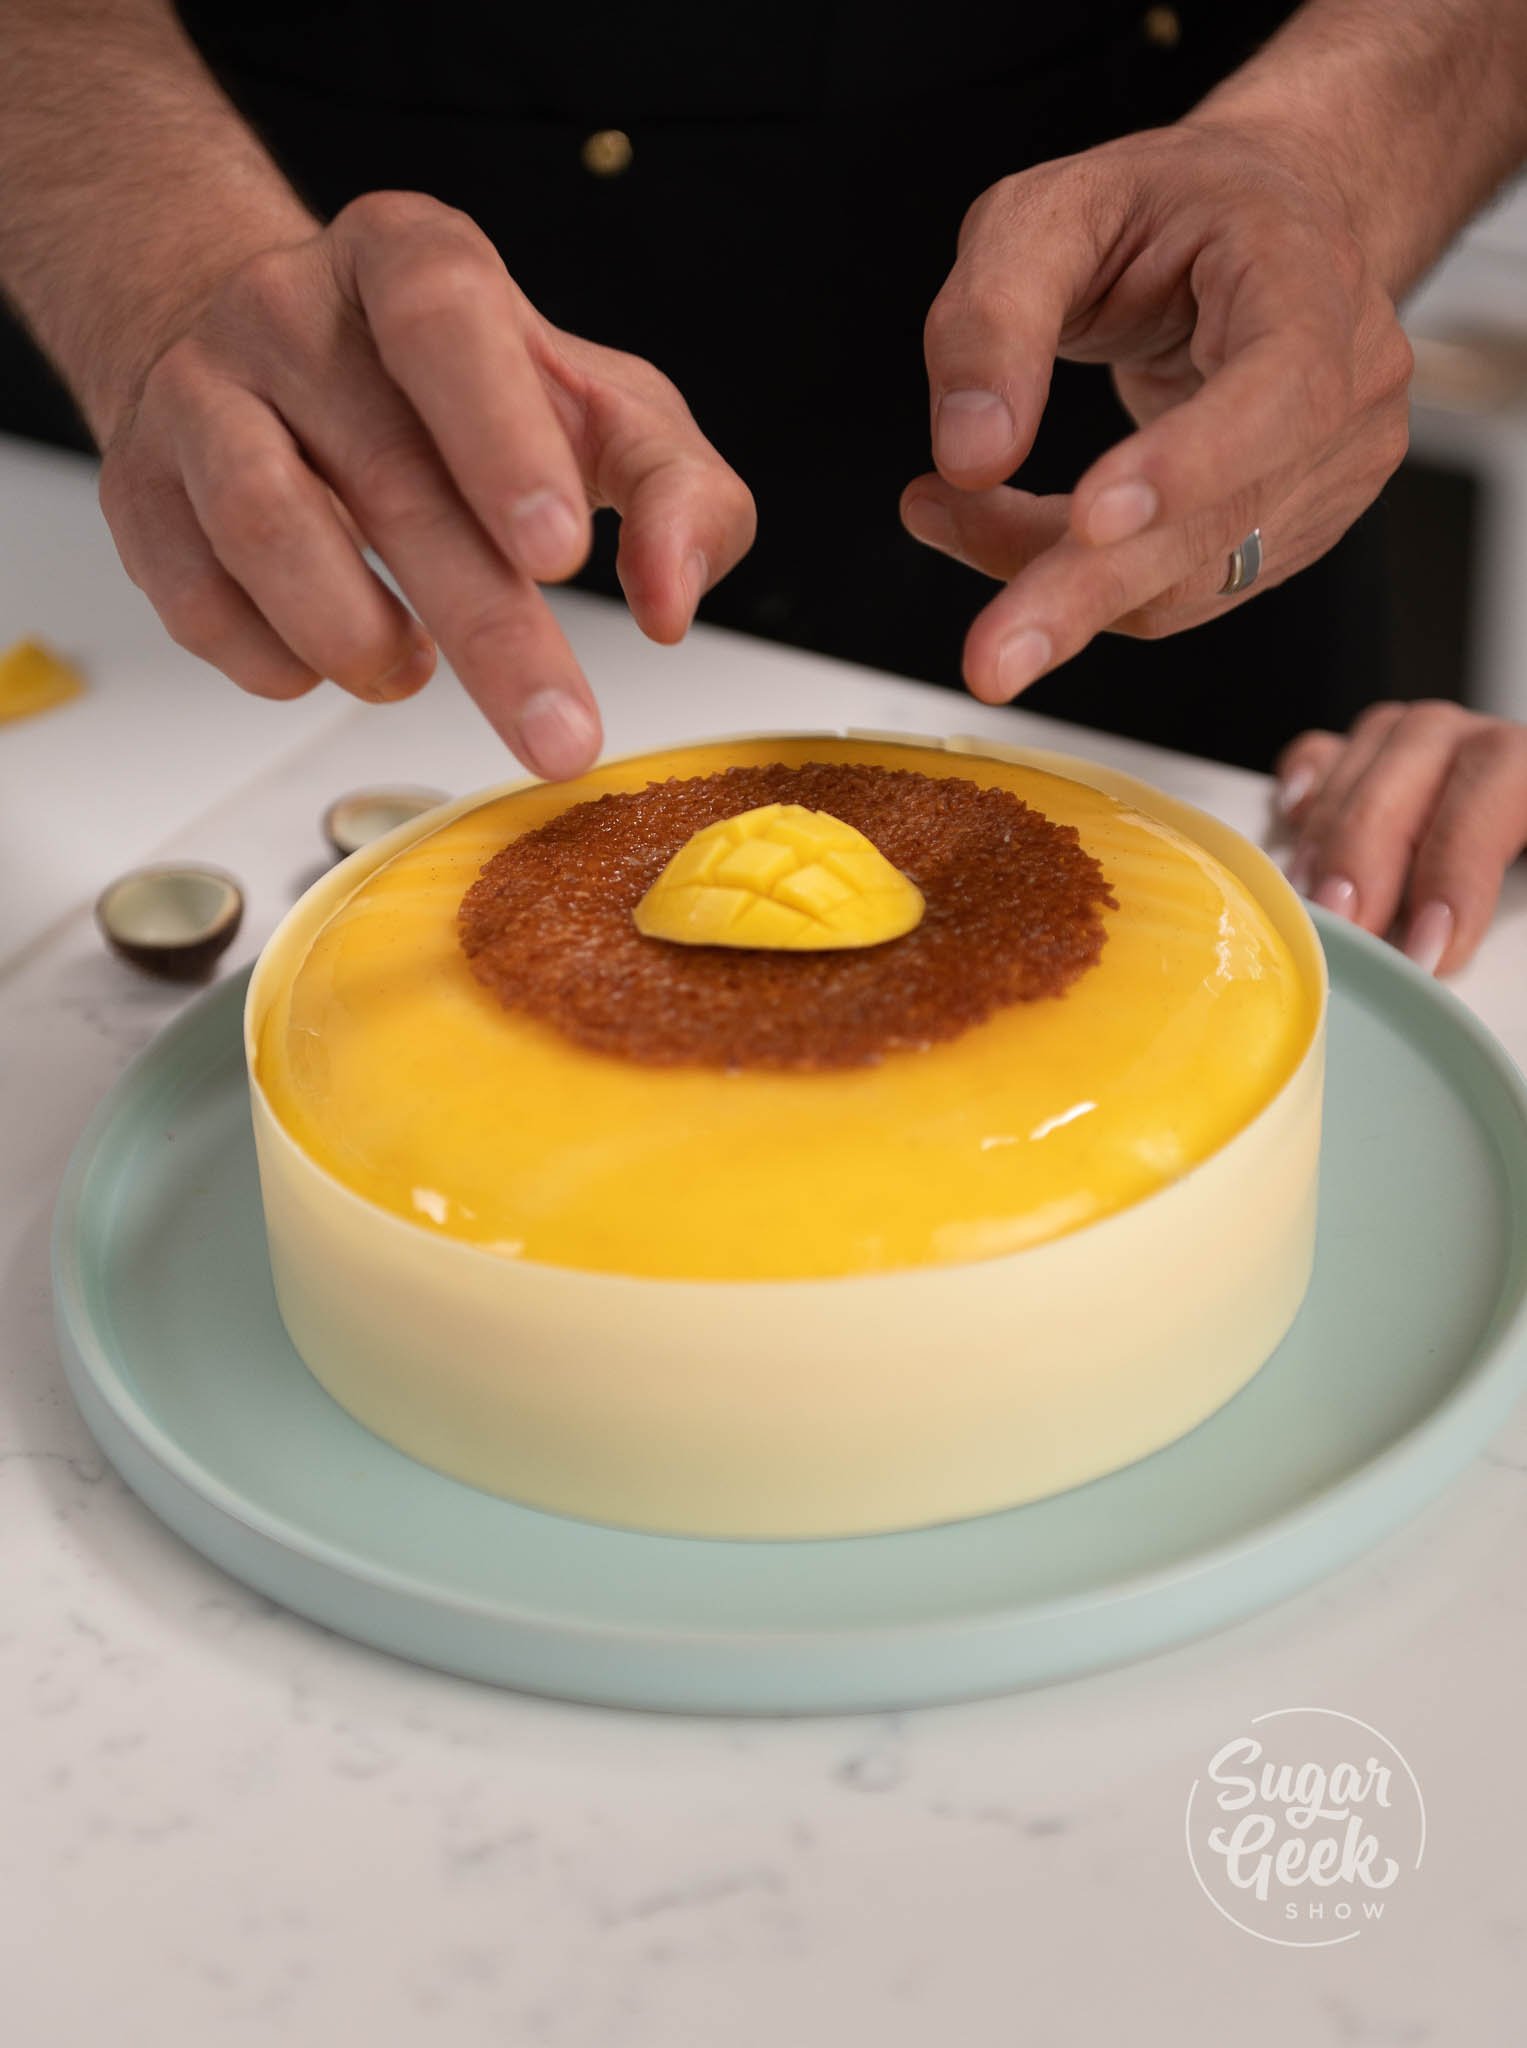
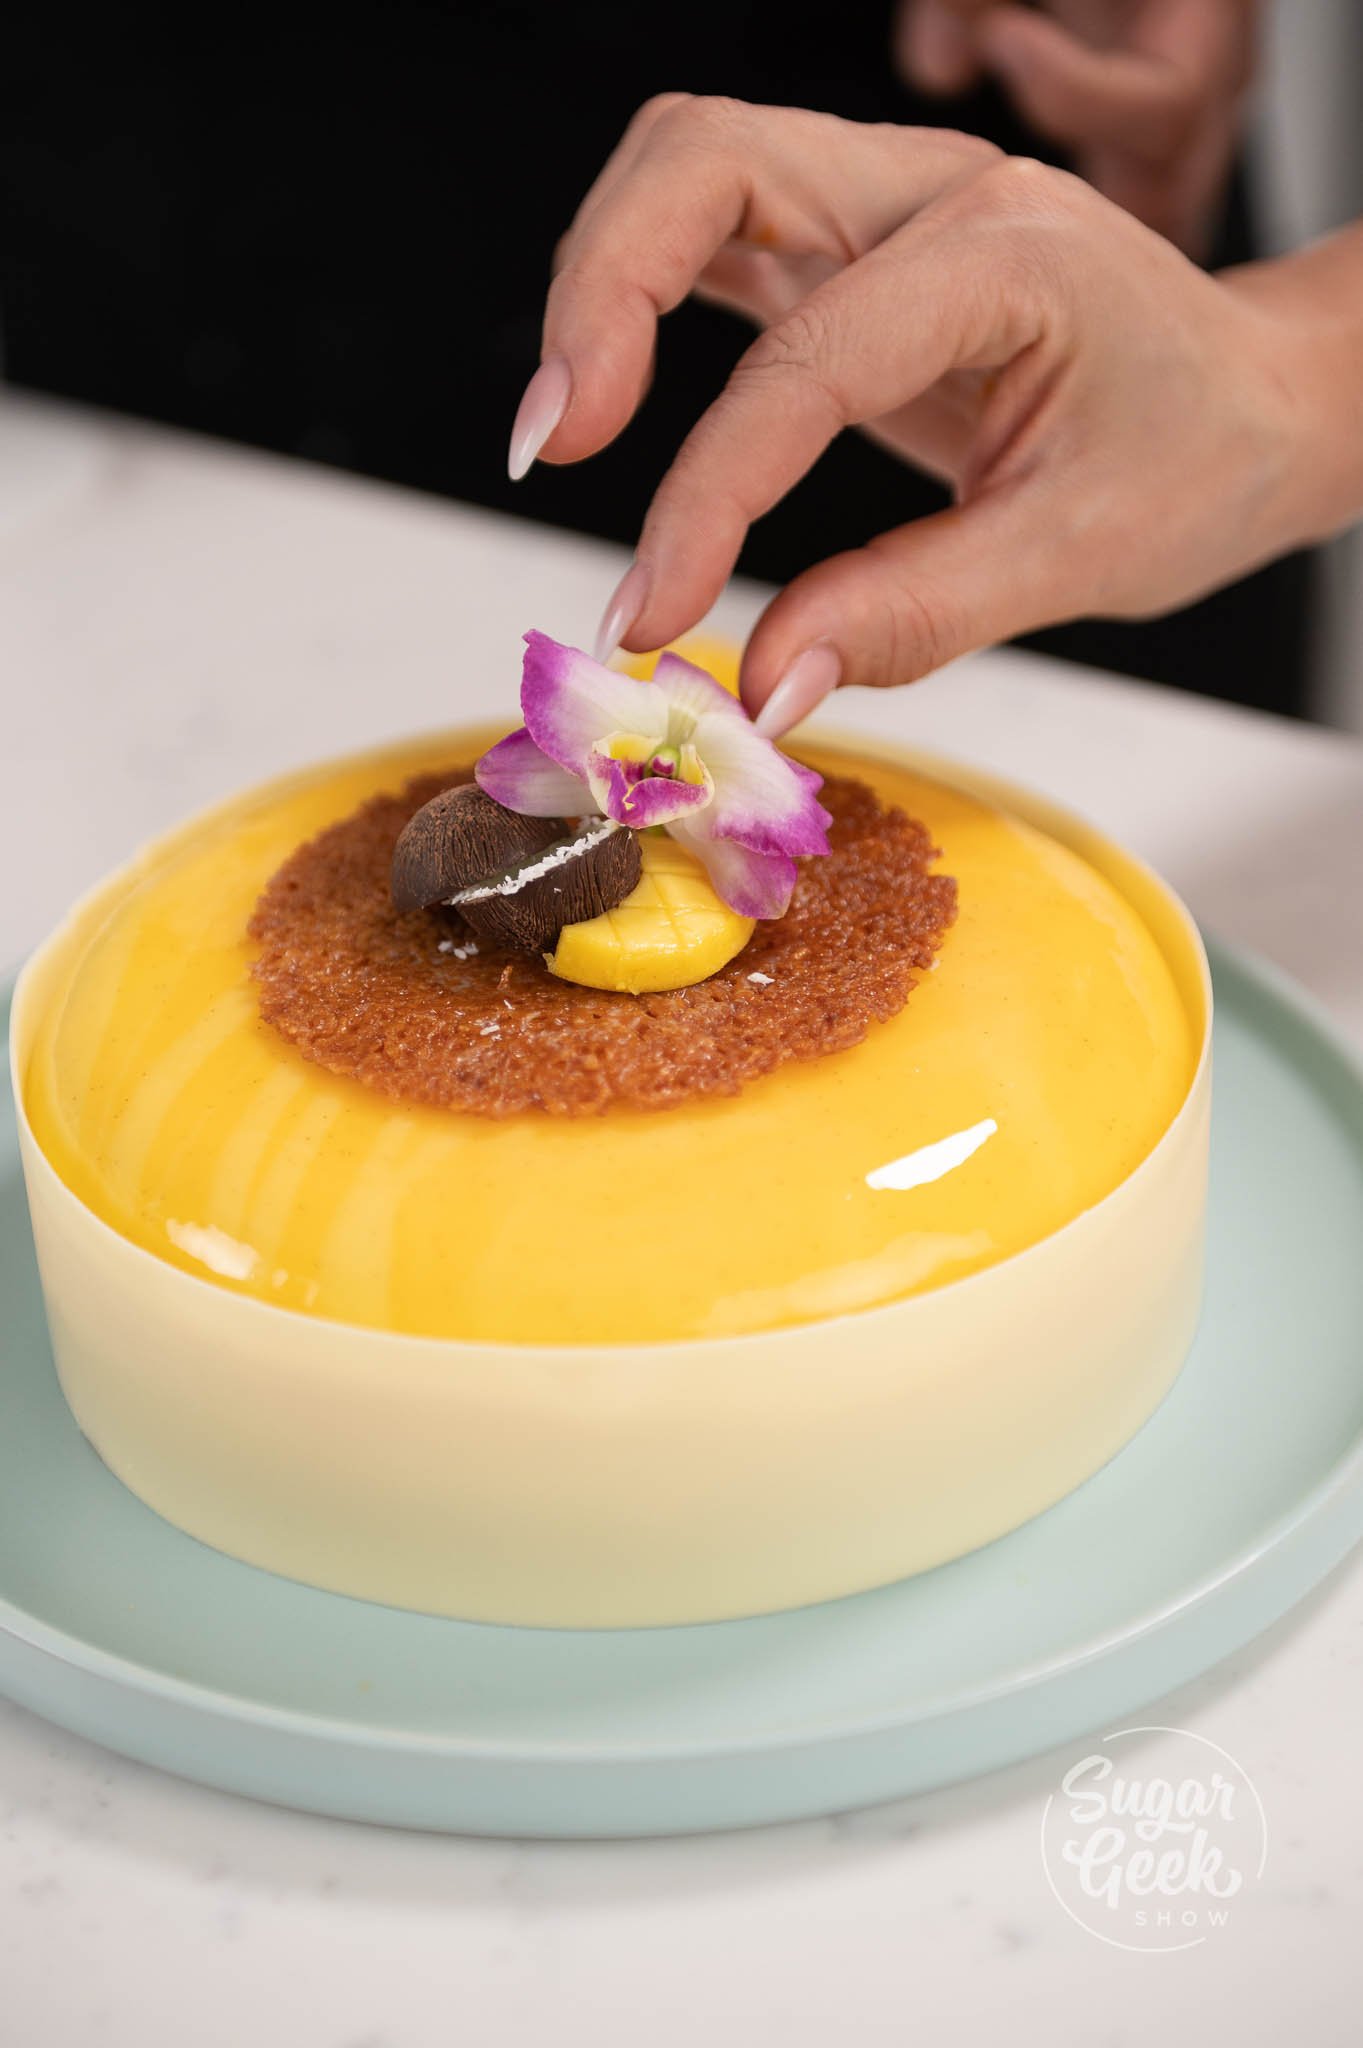
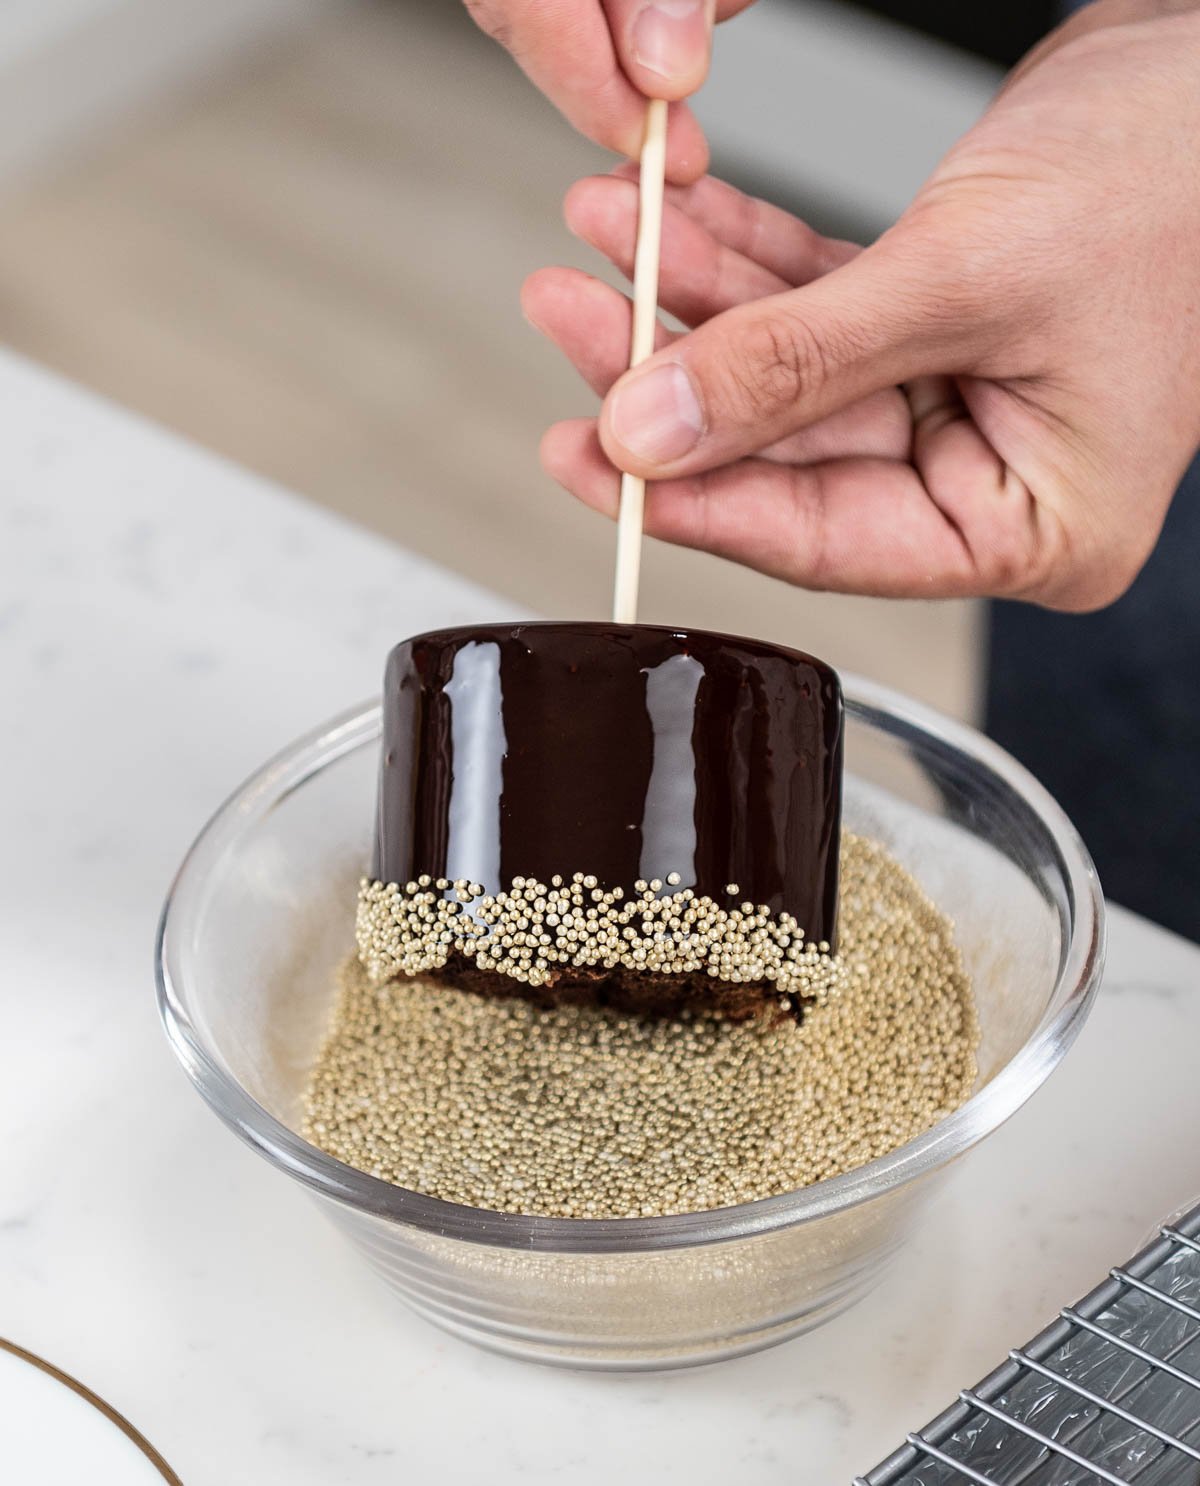
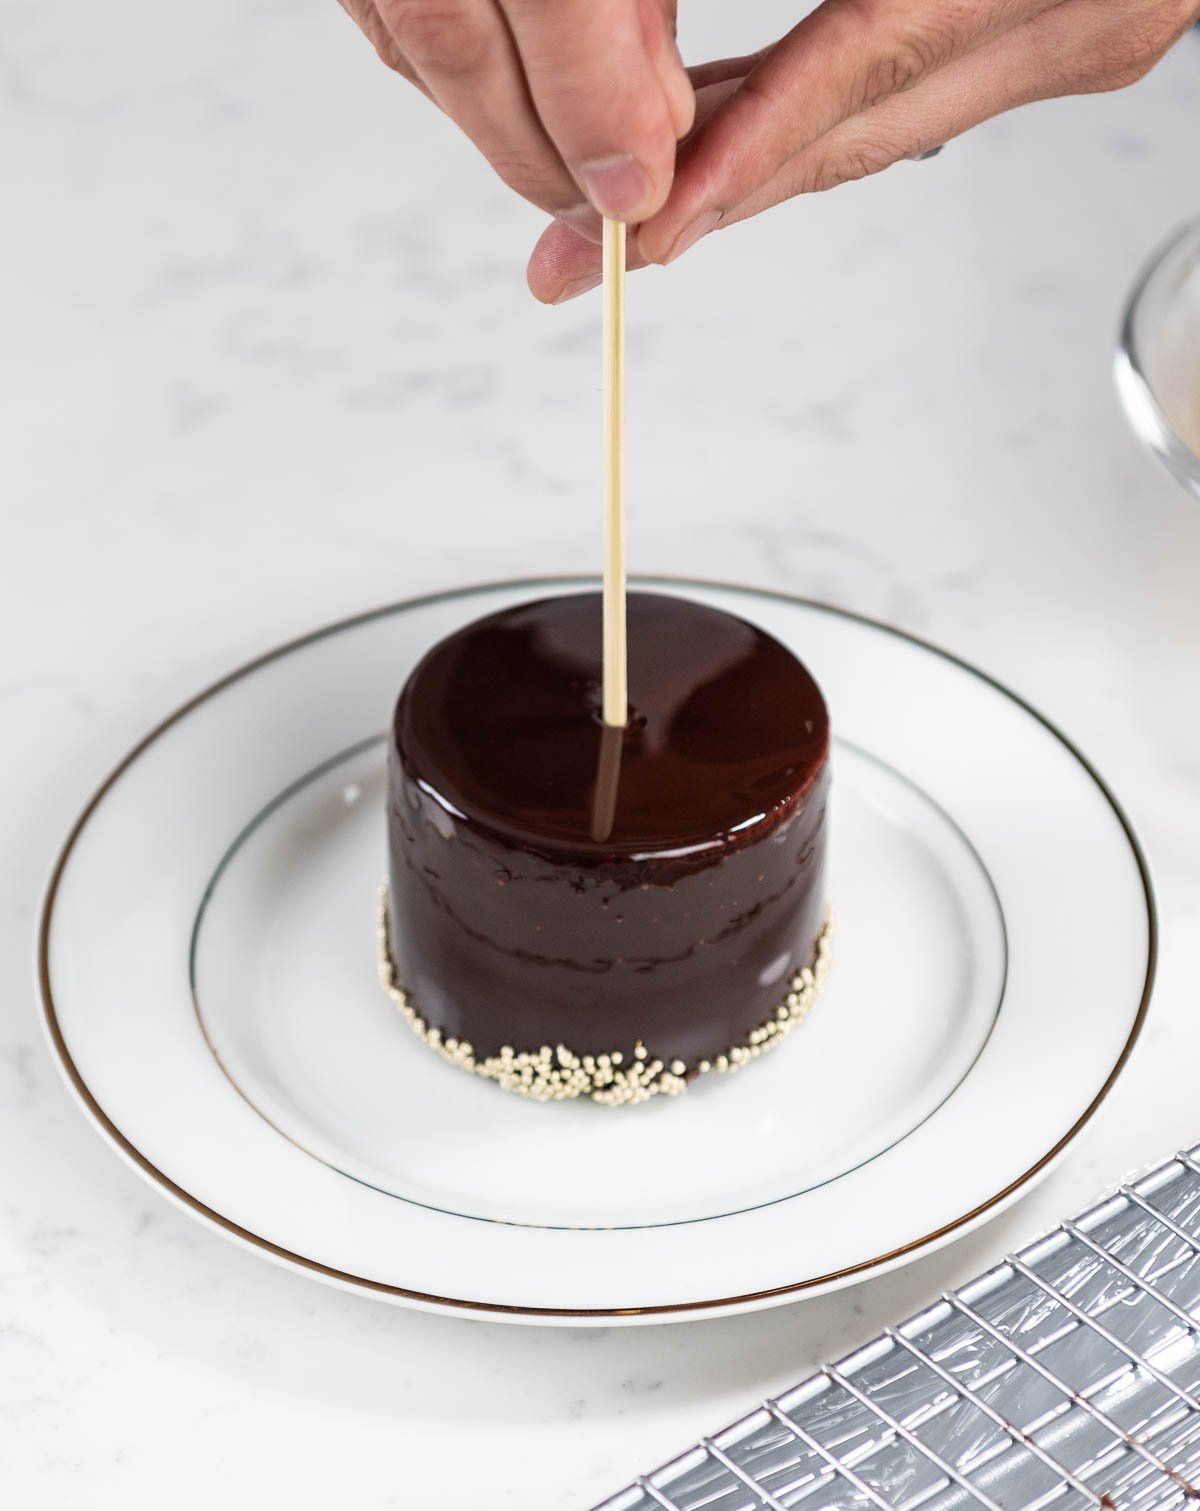
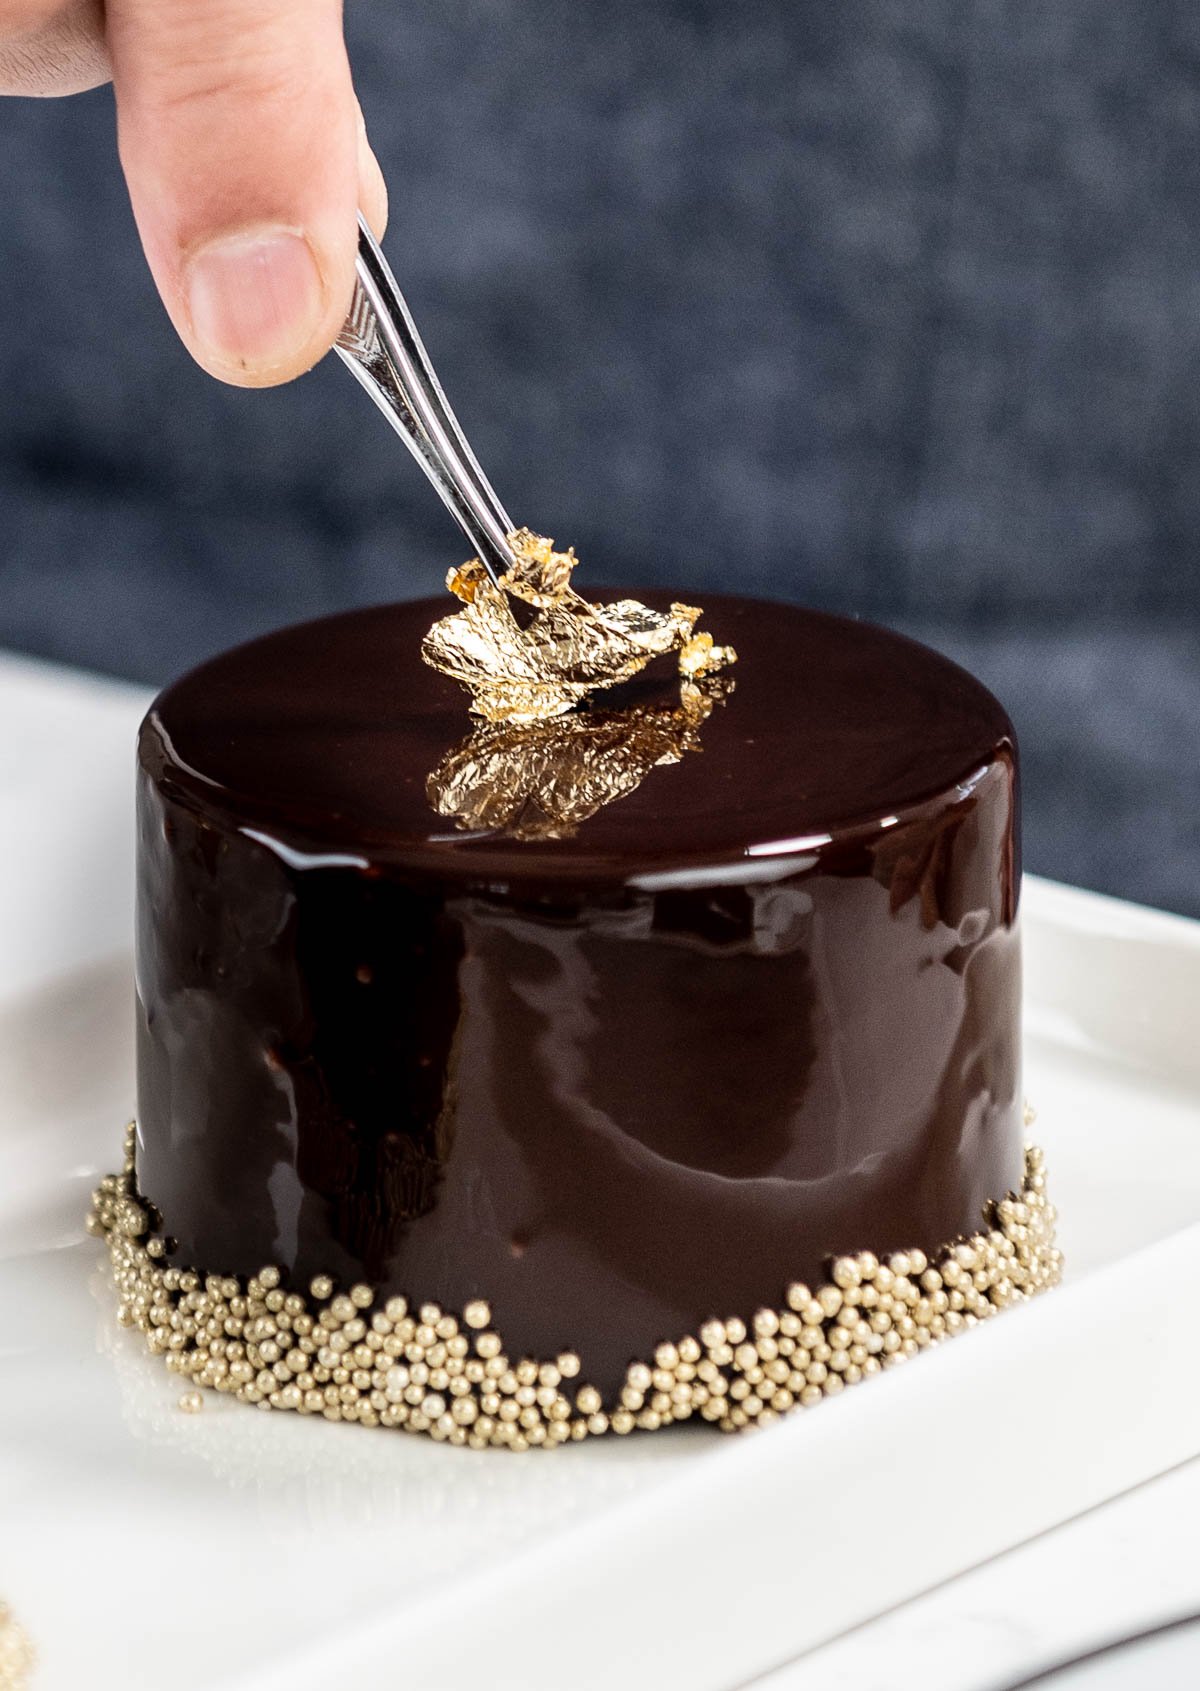
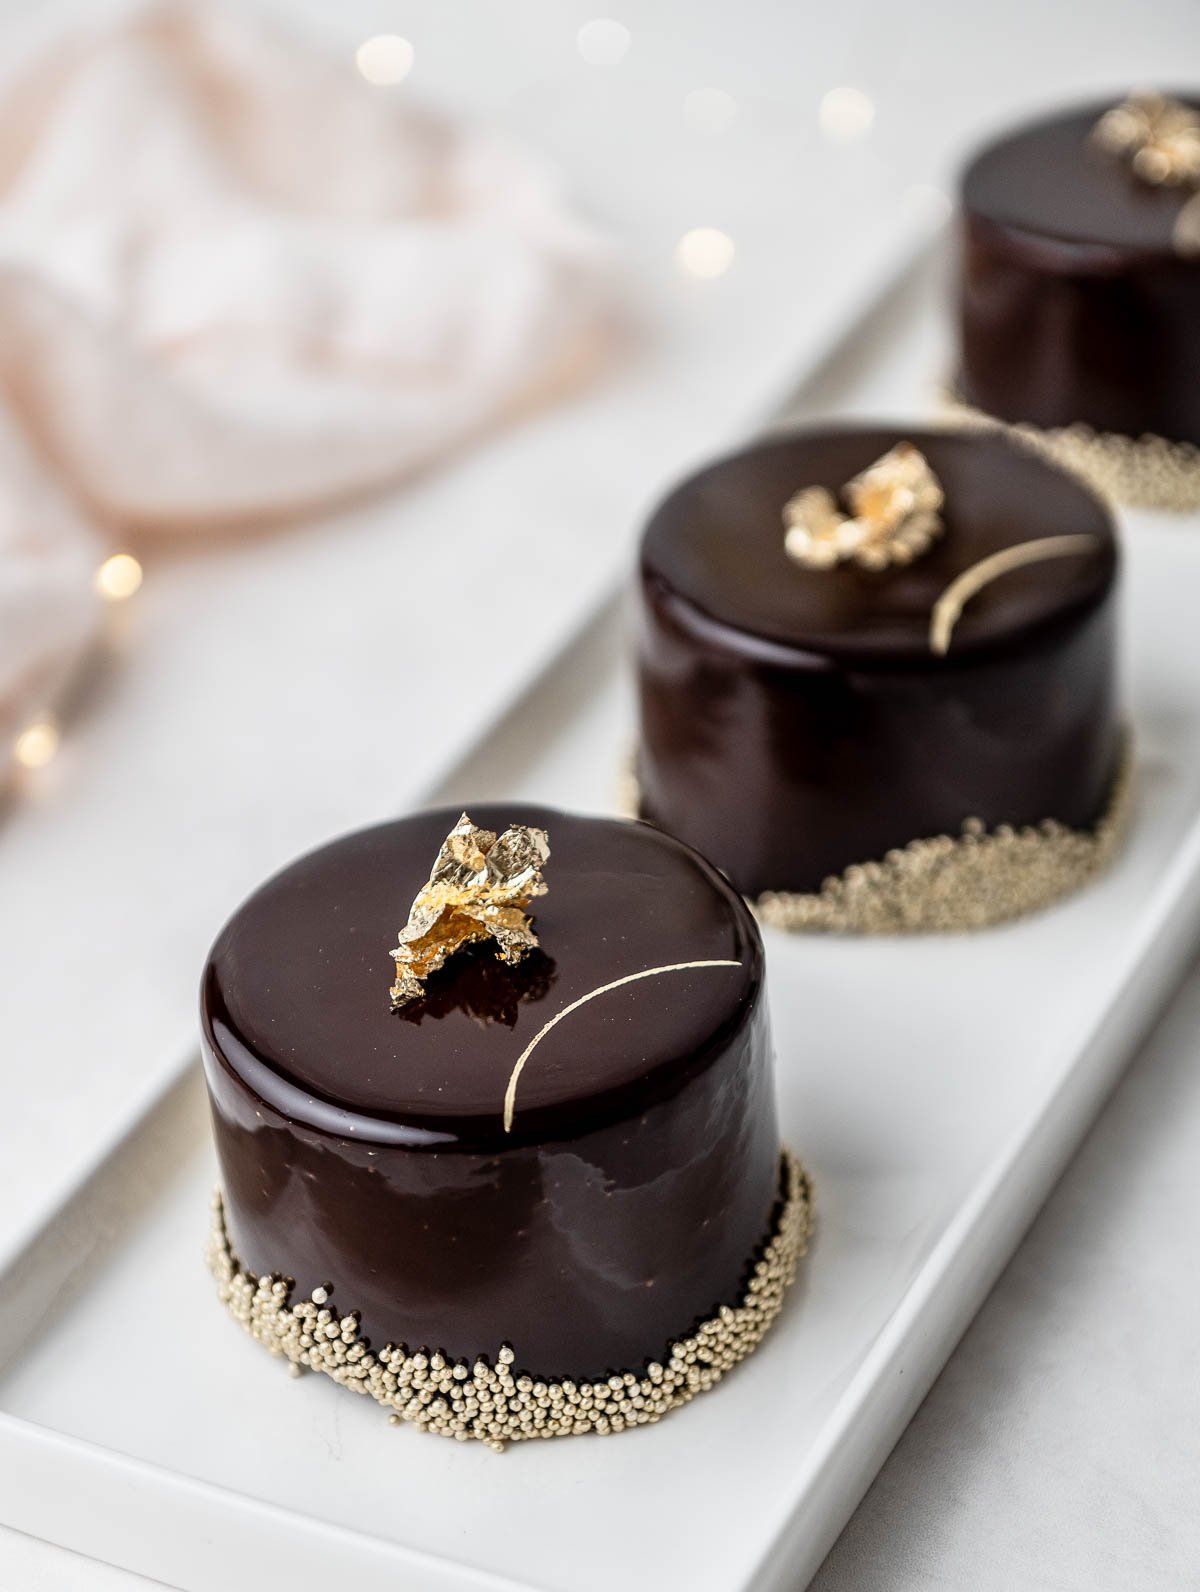
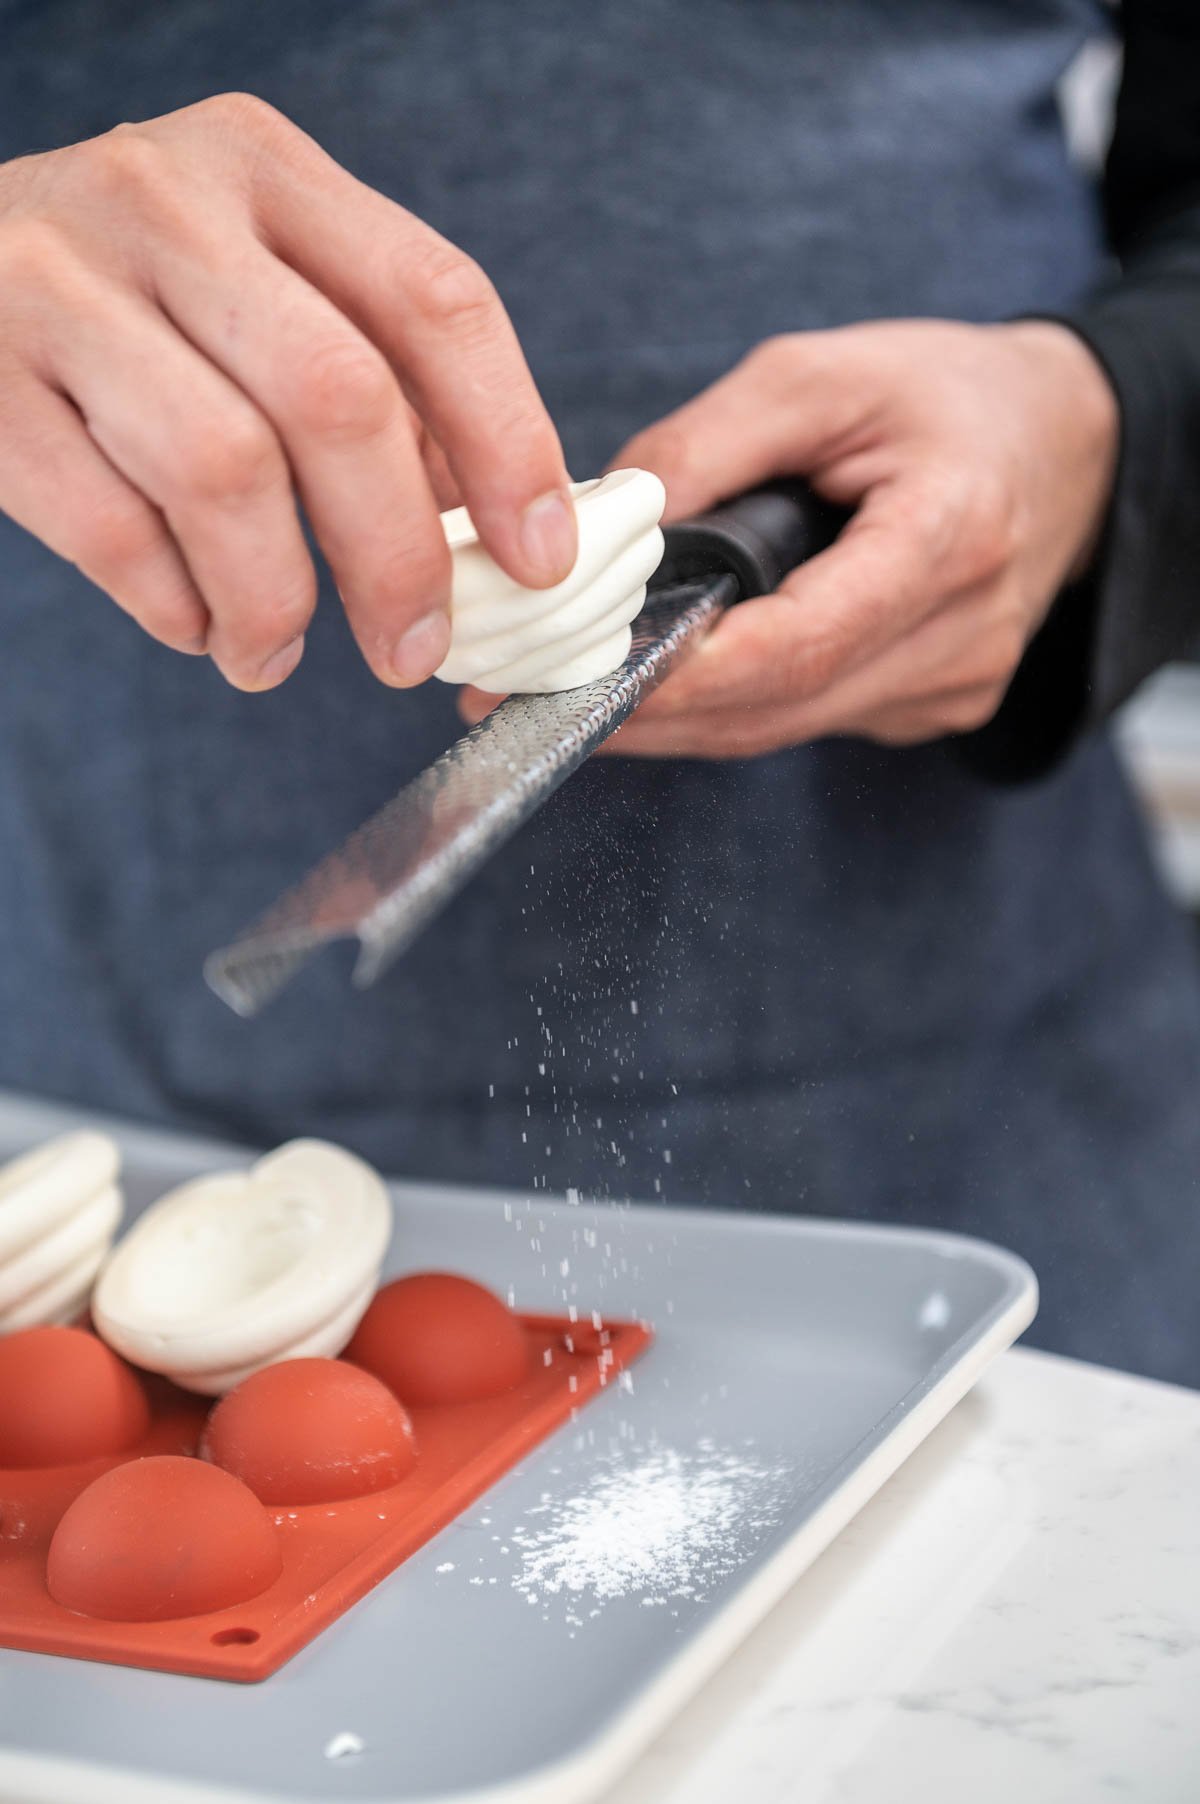
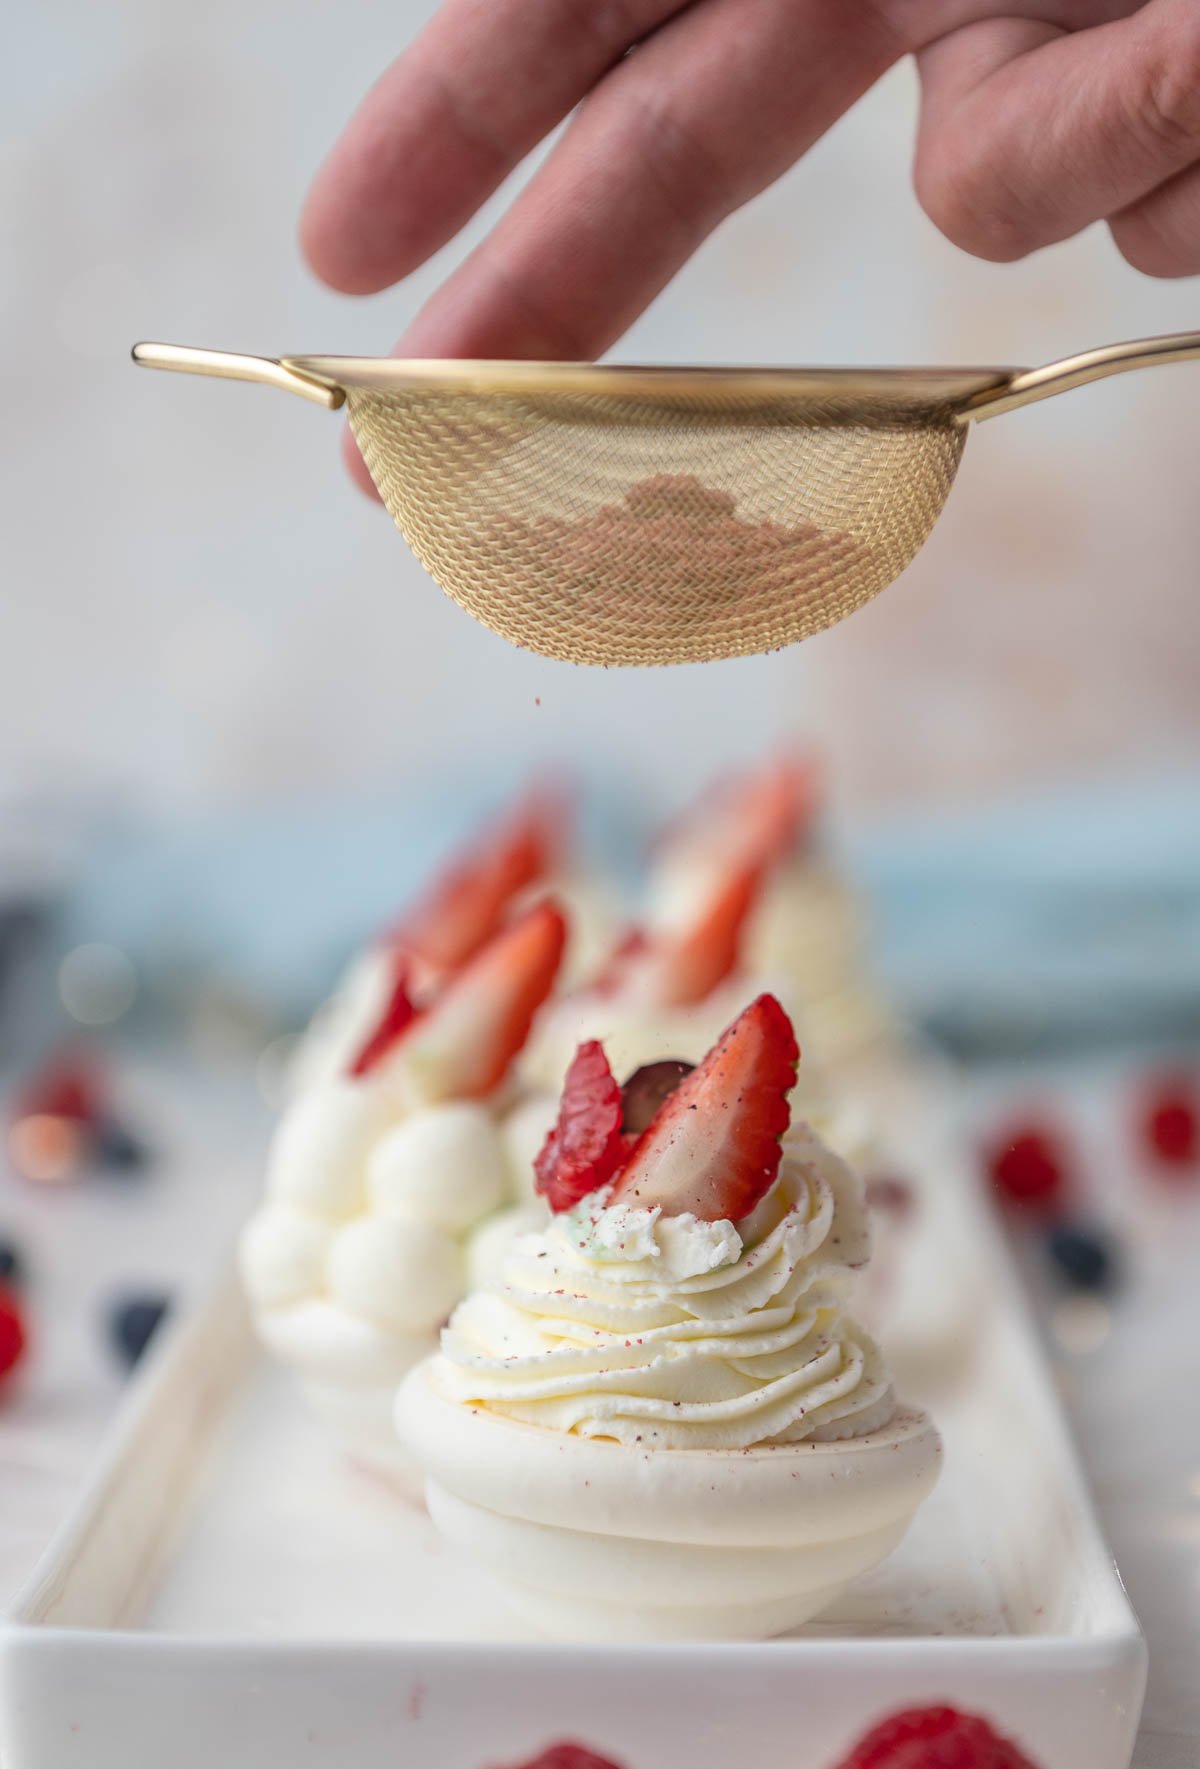
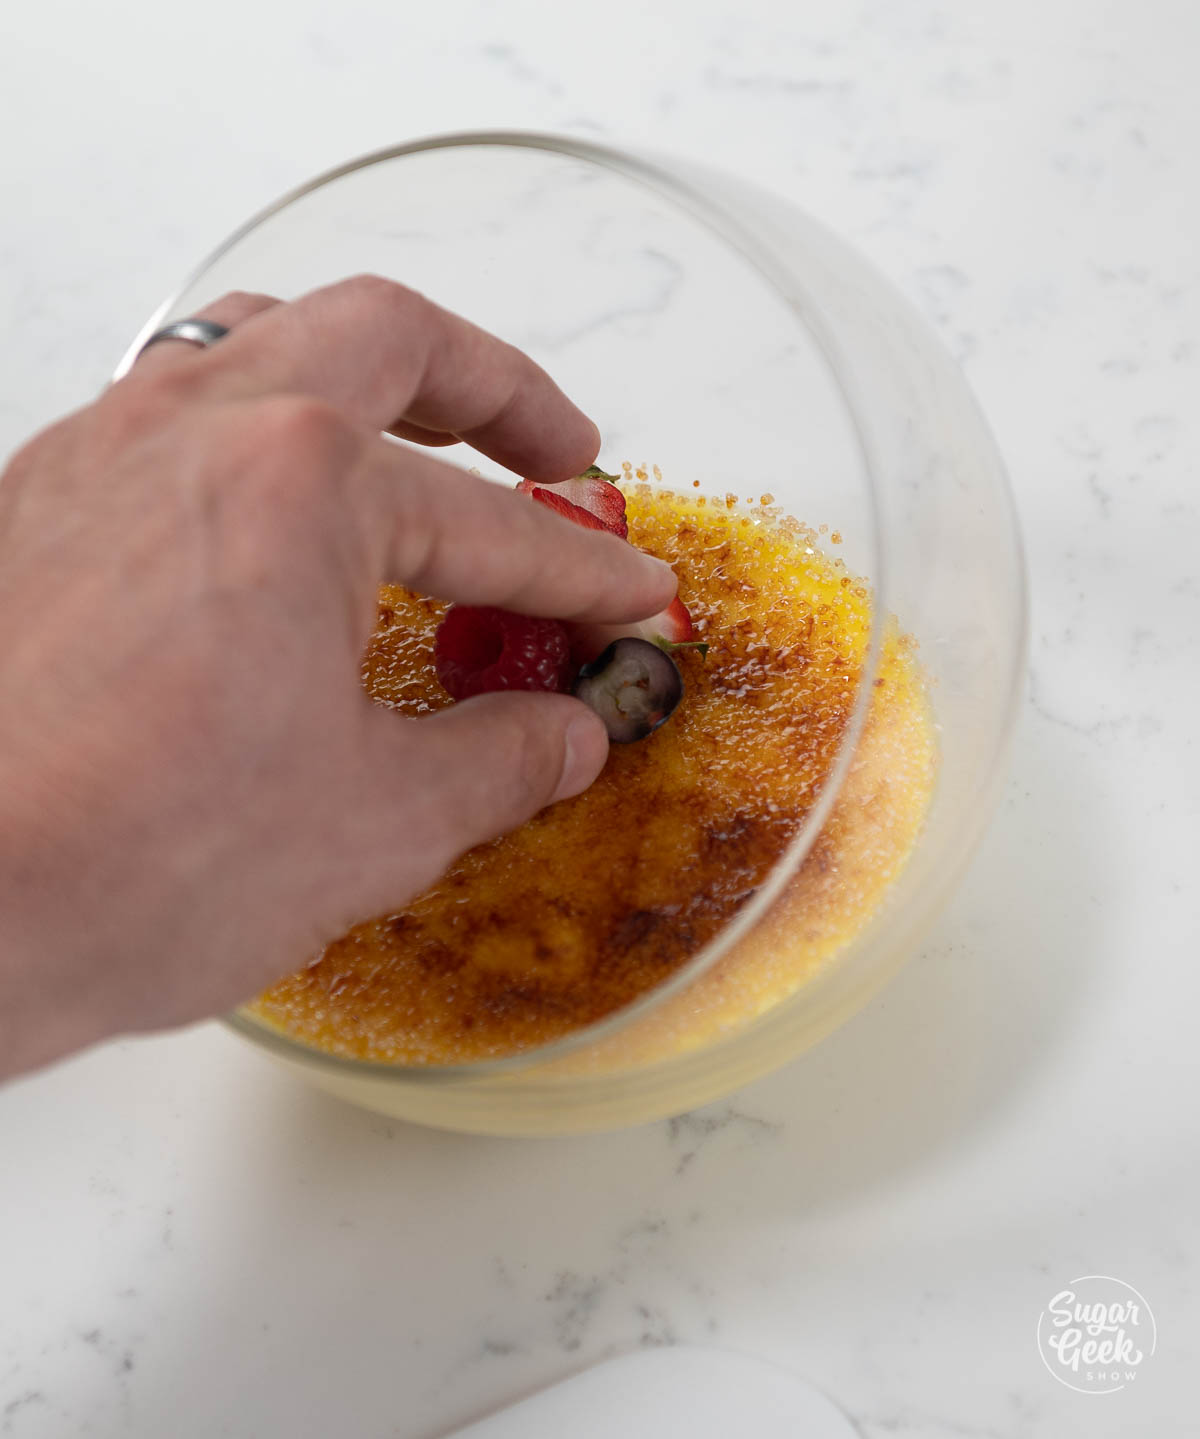
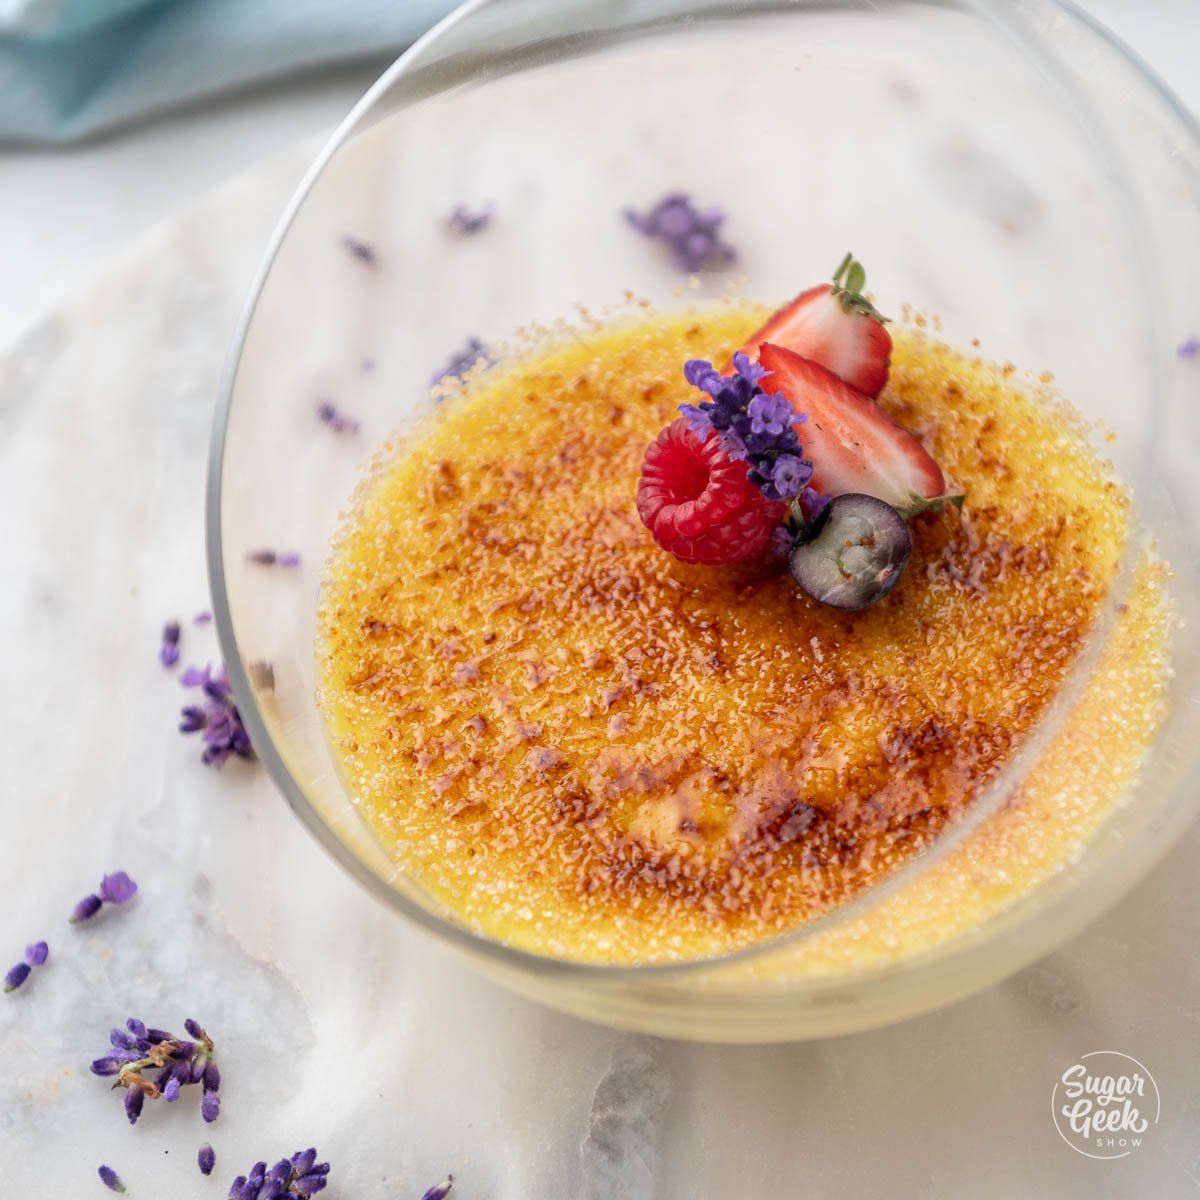
- Place the banana on top of the mango puree and add a slice of the coconut nougatine on top. You can decorate your Coconut Mango Dessert Cups how you'd like. Chef Christophe added some gold leaf and lime zest for an extra touch.

FAQ
What can I use coconut mousse for? This mousse is great for piping into a mold to use for an entremet cake, or for dessert cups like this. It's not immediately as stable as some other types of mousse, so I wouldn't pipe it directly onto a layer of cake, but let it set up in a mold, and then add it to your dessert.
Can I make the mousse without gelatin? Gelatin is the thickening agent so I'd recommend not skipping it out entirely. However, you can substitute any gelatin for vegetarian gelatin.
What is the shelf life of these dessert cups? These can last for about 1 week in the fridge and up to a month in the freezer
How do you store coconut mousse? These coconut mousse dessert cups must be refrigerated after a few hours. Cover them in plastic wrap or store them in an airtight container. To prevent the coconut crisp from getting soggy, store it at room temperature and add it to the mousse when you're ready to serve.
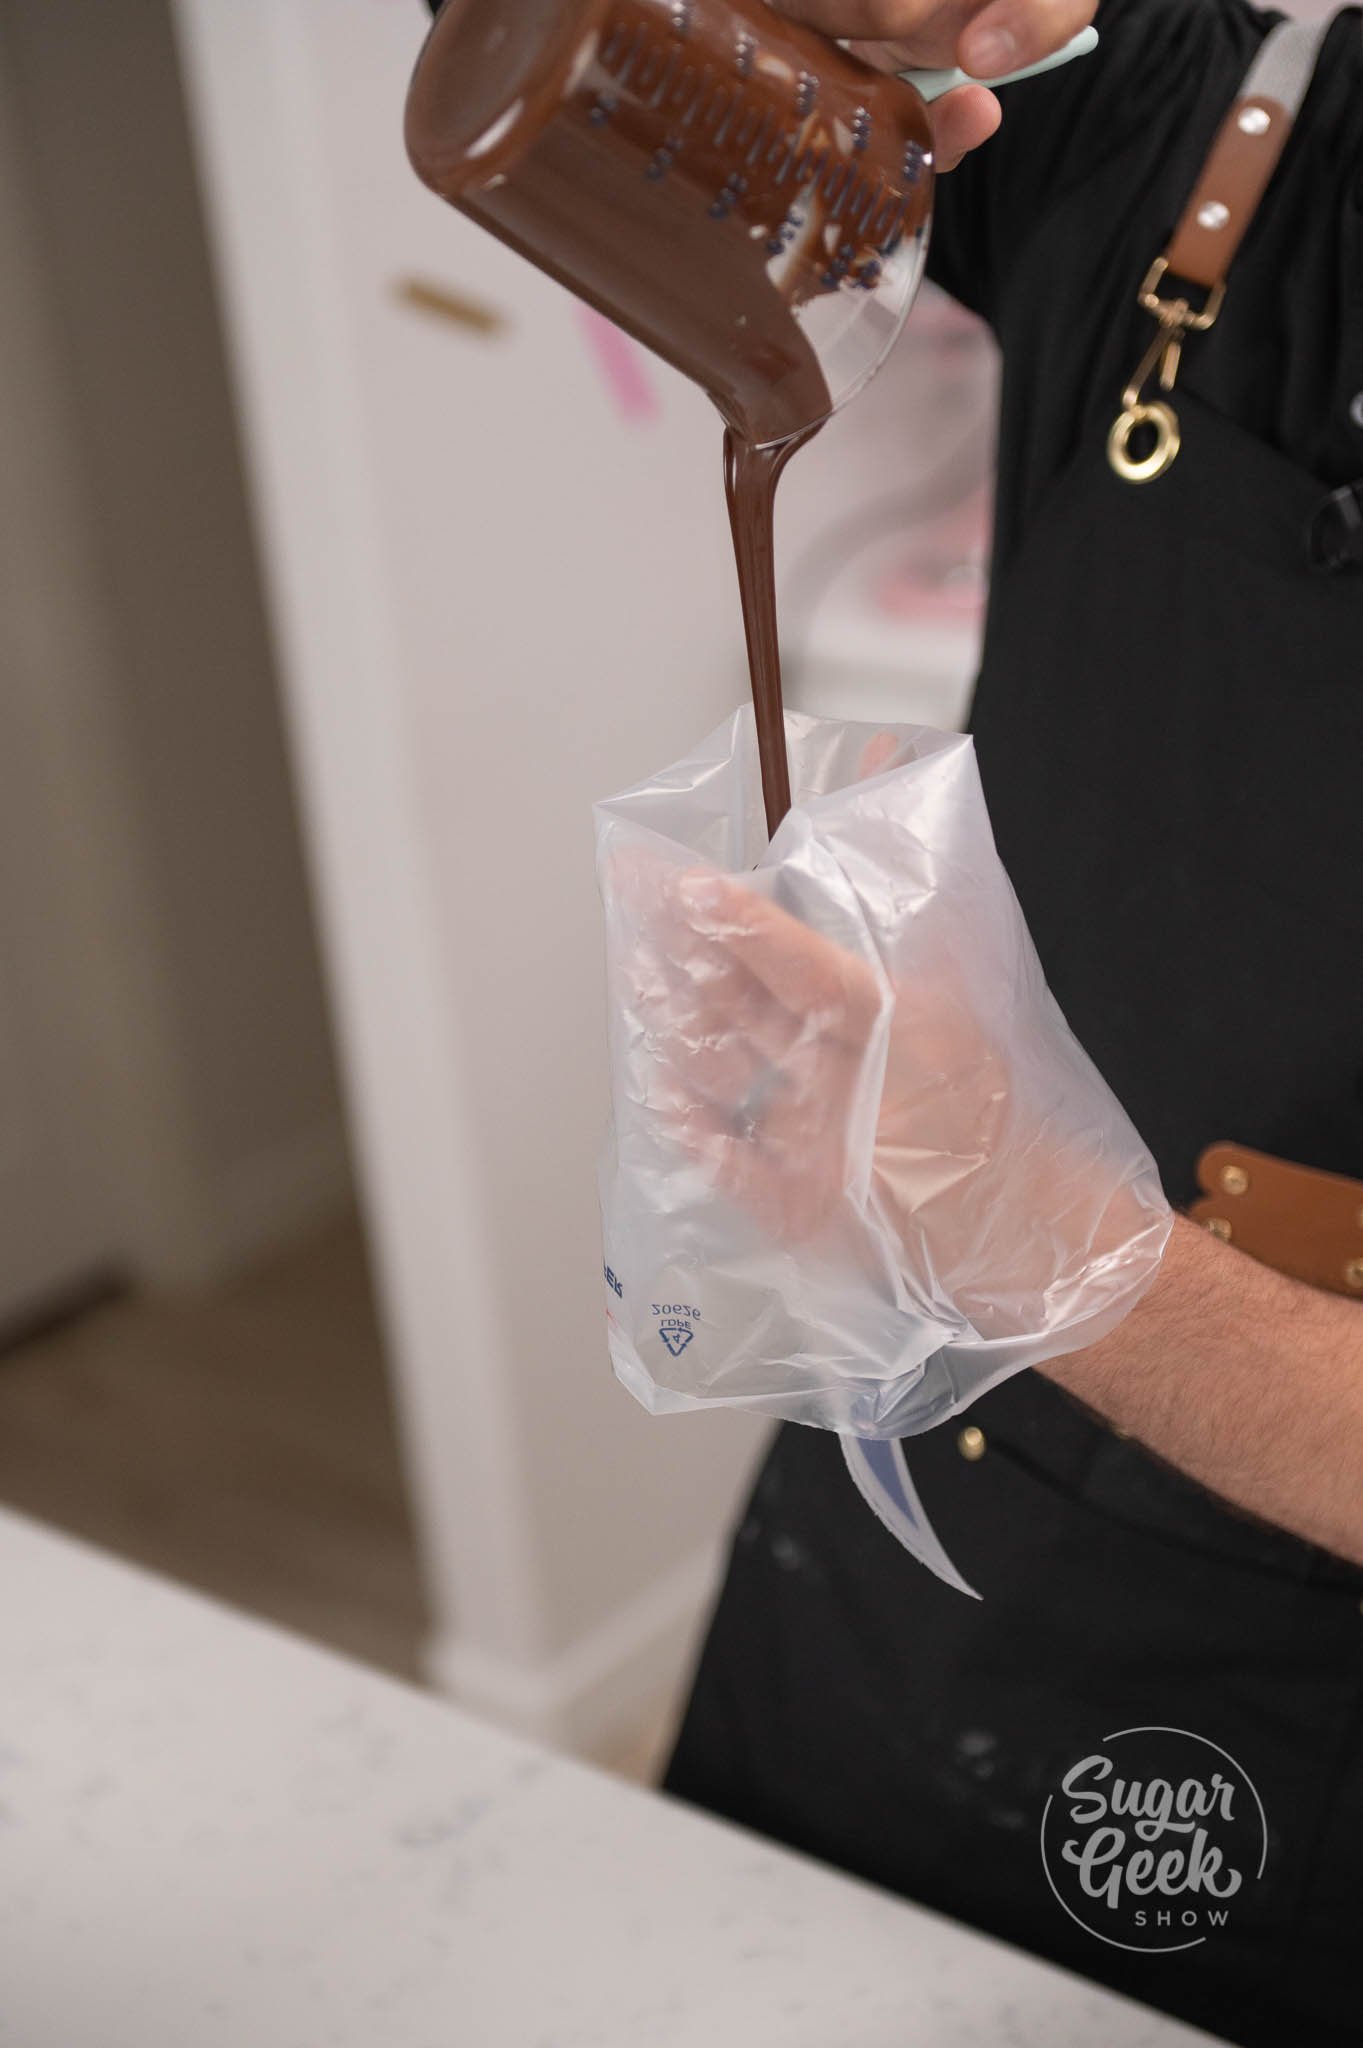
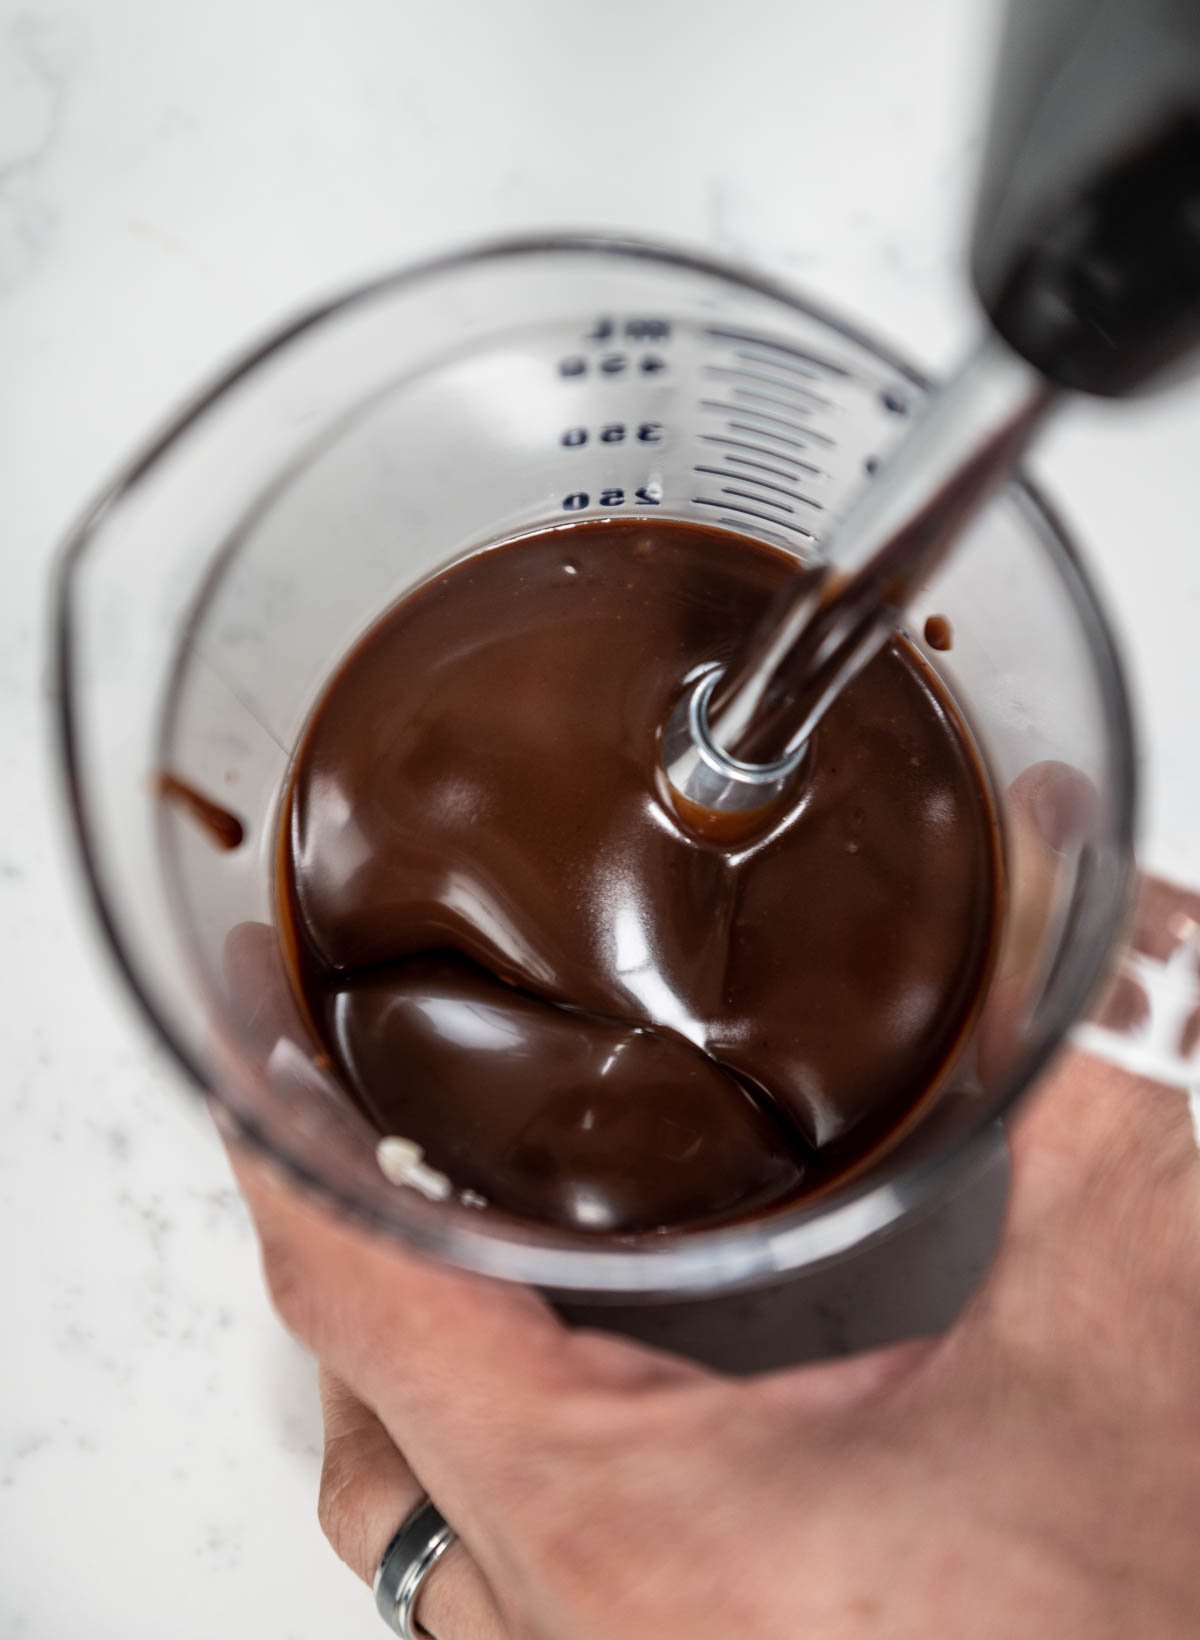
Can I add flavors to this mousse? This recipe would be delicious as a chocolate coconut mousse or strawberry coconut mousse. Just add some chocolate ganache, white chocolate shavings, or strawberry puree on top.
More Recipes You'll Love
FAQ
This mousse is great for piping into a mold to use for an entremet cake, or for dessert cups like this. It's not immediately as stable as some other types of mousse, so I wouldn't pipe it directly onto a layer of cake, but let it set up in a mold, and then add it to your dessert.
Gelatin is the thickening agent so I'd recommend not skipping it out entirely. However, you can substitute any gelatin for vegetarian gelatin.
These can last for about 1 week in the fridge and up to a month in the freezer
These coconut mousse dessert cups must be refrigerated after a few hours. Cover them in plastic wrap or store them in an airtight container. To prevent the coconut crisp from getting soggy, store it at room temperature and add it to the mousse when you're ready to serve.
More Recipes You'll Love
Recipe

Coconut Mango Dessert Cups
Equipment
- 1 Blender or food processor
- 1 medium saucepan
- 1 silicone mat optional, can use parchment
- Parchment Paper
- 1 Sheet pan
- 1 Whisk
- 1 Spatula
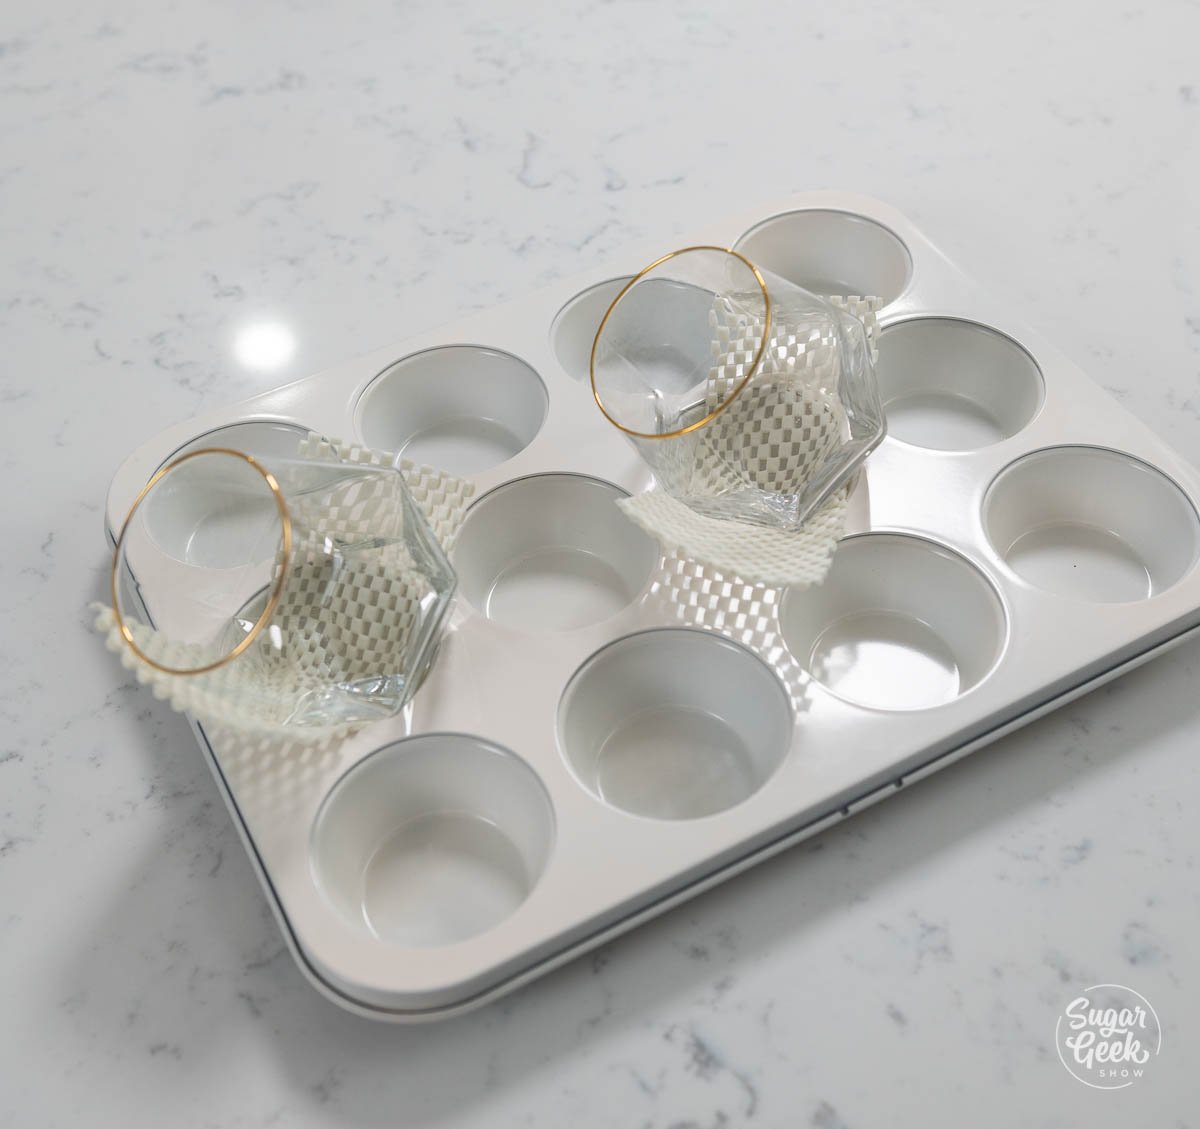
- 8 Dessert cups for serving
- Food Scale for weighing ingredients
Ingredients
Mango Puree
- 400 grams fresh or frozen mango diced
- 2 tablespoons simple syrup ½ cup water + ½ cup sugar
Coconut Mousse
- 7.5 grams gelatin sheets if using powder add 45 grams of water to soak in
- 62 grams egg yolks
- 45 grams sugar
- 312 grams coconut milk
- 300 grams heavy whipping cream
- 1 teaspoon vanilla
Coconut Nougatine
- 15 grams sugar
- 0.5 grams pectin NH
- 15 grams glucose or corn syrup
- 27.5 grams unsalted butter
- 27.5 grams coconut flakes unsweetened
Instructions
Mango Puree
- To make your simple syrup, add your sugar and water into a small pot over medium heat. Bring it to a boil and cook until the sugar dissolves. Pour into a glass container to cool and store in the fridge.
- Once the sugar syrup boils, take it off the heat and set it aside to cool down to room temperature.
- Once it's at room temperature, pour your syrup into a container and set it aside. You can also store this on your shelf for many months, so it never hurts to make a lot and keep it stored.
- Cut up your mangoes and dice them into chunks. Place the diced mangoes into a blender or food processor.
- Add your simple syrup and blend everything together until it becomes a thin smoothie-like texture.
- Strain the mix into a bowl or container to get rid of lumps and extra pulp. This makes the puree super smooth. Set this aside to use later. If you want to make this ahead of time, you can refrigerate it for a week or freeze it for up to a month.
Coconut Mousse
- Add your cream into the bowl of a stand mixer with the whisk attachment. Whip to a soft-medium peak. Do not overmix, I recommend finishing the mixing by hand.
- Soak the gelatin in cold water (blooming). Let them absorb for 1-2 minutes.
- Add the coconut milk, and half of the sugar into a small pot over medium heat. The sugar prevents the coconut milk from burning.
- Add in the vanilla. Whisk the mix in the pot and bring it to a boil.
- Add the egg yolks and the other half of the sugar into a separate bowl.
- Whisk together until you reach a smooth texture and the sugar is dissolved.
- Once your coconut milk mixture is boiling, temper your yolks with some of the milk by pouring ⅓ of the hot mixture into the yolks while whisking constantly. Pour everything back into the pot.
- Cook everything while whisking constantly until it reaches 181ºF (83ºC). About 2-5 minutes or until the mix no longer drips from your whisk.
- Add in your gelatin. If you're using gelatin sheets, squeeze out the excess water first.
- OPTIONAL: Pour your mix into a separate bowl over ice to cool down the mix quickly to 20ºC-25ºC (Around 70ºC).
- Add ⅓ of your whipped cream into your cooled coconut milk mix to make the mixture lighter. Whisk together.
- Lightly fold in the rest of your whipped cream using a spatula. Set it aside for about an hour so the mousse can thicken. Once it becomes thick and fluffy it's ready to use. Don't let it completely set up before you pipe it into your cups.
Coconut Nougatine
- Preheat your oven to 325º F (162º C).
- Combine your sugar and pectin in a small bowl. Mix together.
- Add your butter, corn syrup, and sugar/pectin mixture into a medium-sized pot over medium heat until it begins to simmer.
- Reduce your heat to low, then add in your coconut. Mix with a spatula until combined.
- Pour the nougatine onto a silicone mat over a sheet pan and spread out with an offset spatula as thin as the coconut flakes are. You can use parchment if you don't have a silicone mat.
- Bake in the oven for about 10 minutes or until golden brown.
- Using a circle cutter or a knife, cut the nougatine right away. (Once it cools down it will set and be too hard to cut.)
- (Optional) Brush the nougatine with a thin layer of melted cocoa butter using a pastry brush. This protects the nougatine from getting soggy. Set aside for decoration later.
Assembling the Dessert Cups
- Pipe the mousse into your cups about ¾ of the way full.
- Put your mango puree into a piping bag and pipe a thin layer on top of the mousse.
- Refrigerate the cups for a minimum of 1 hour to set up the mousse and puree.
- (Optional) Cut a banana into slices and top them each with a pinch of sugar in the raw.
- Lightly caramelize the sugar on top with a blow torch.
- Place the banana on top of the mango puree and add a slice of the coconut nougatine on top. You can decorate your Coconut Mango Dessert Cups how you'd like. Chef Christophe added some gold leaf and lime zest for an extra touch.
Notes
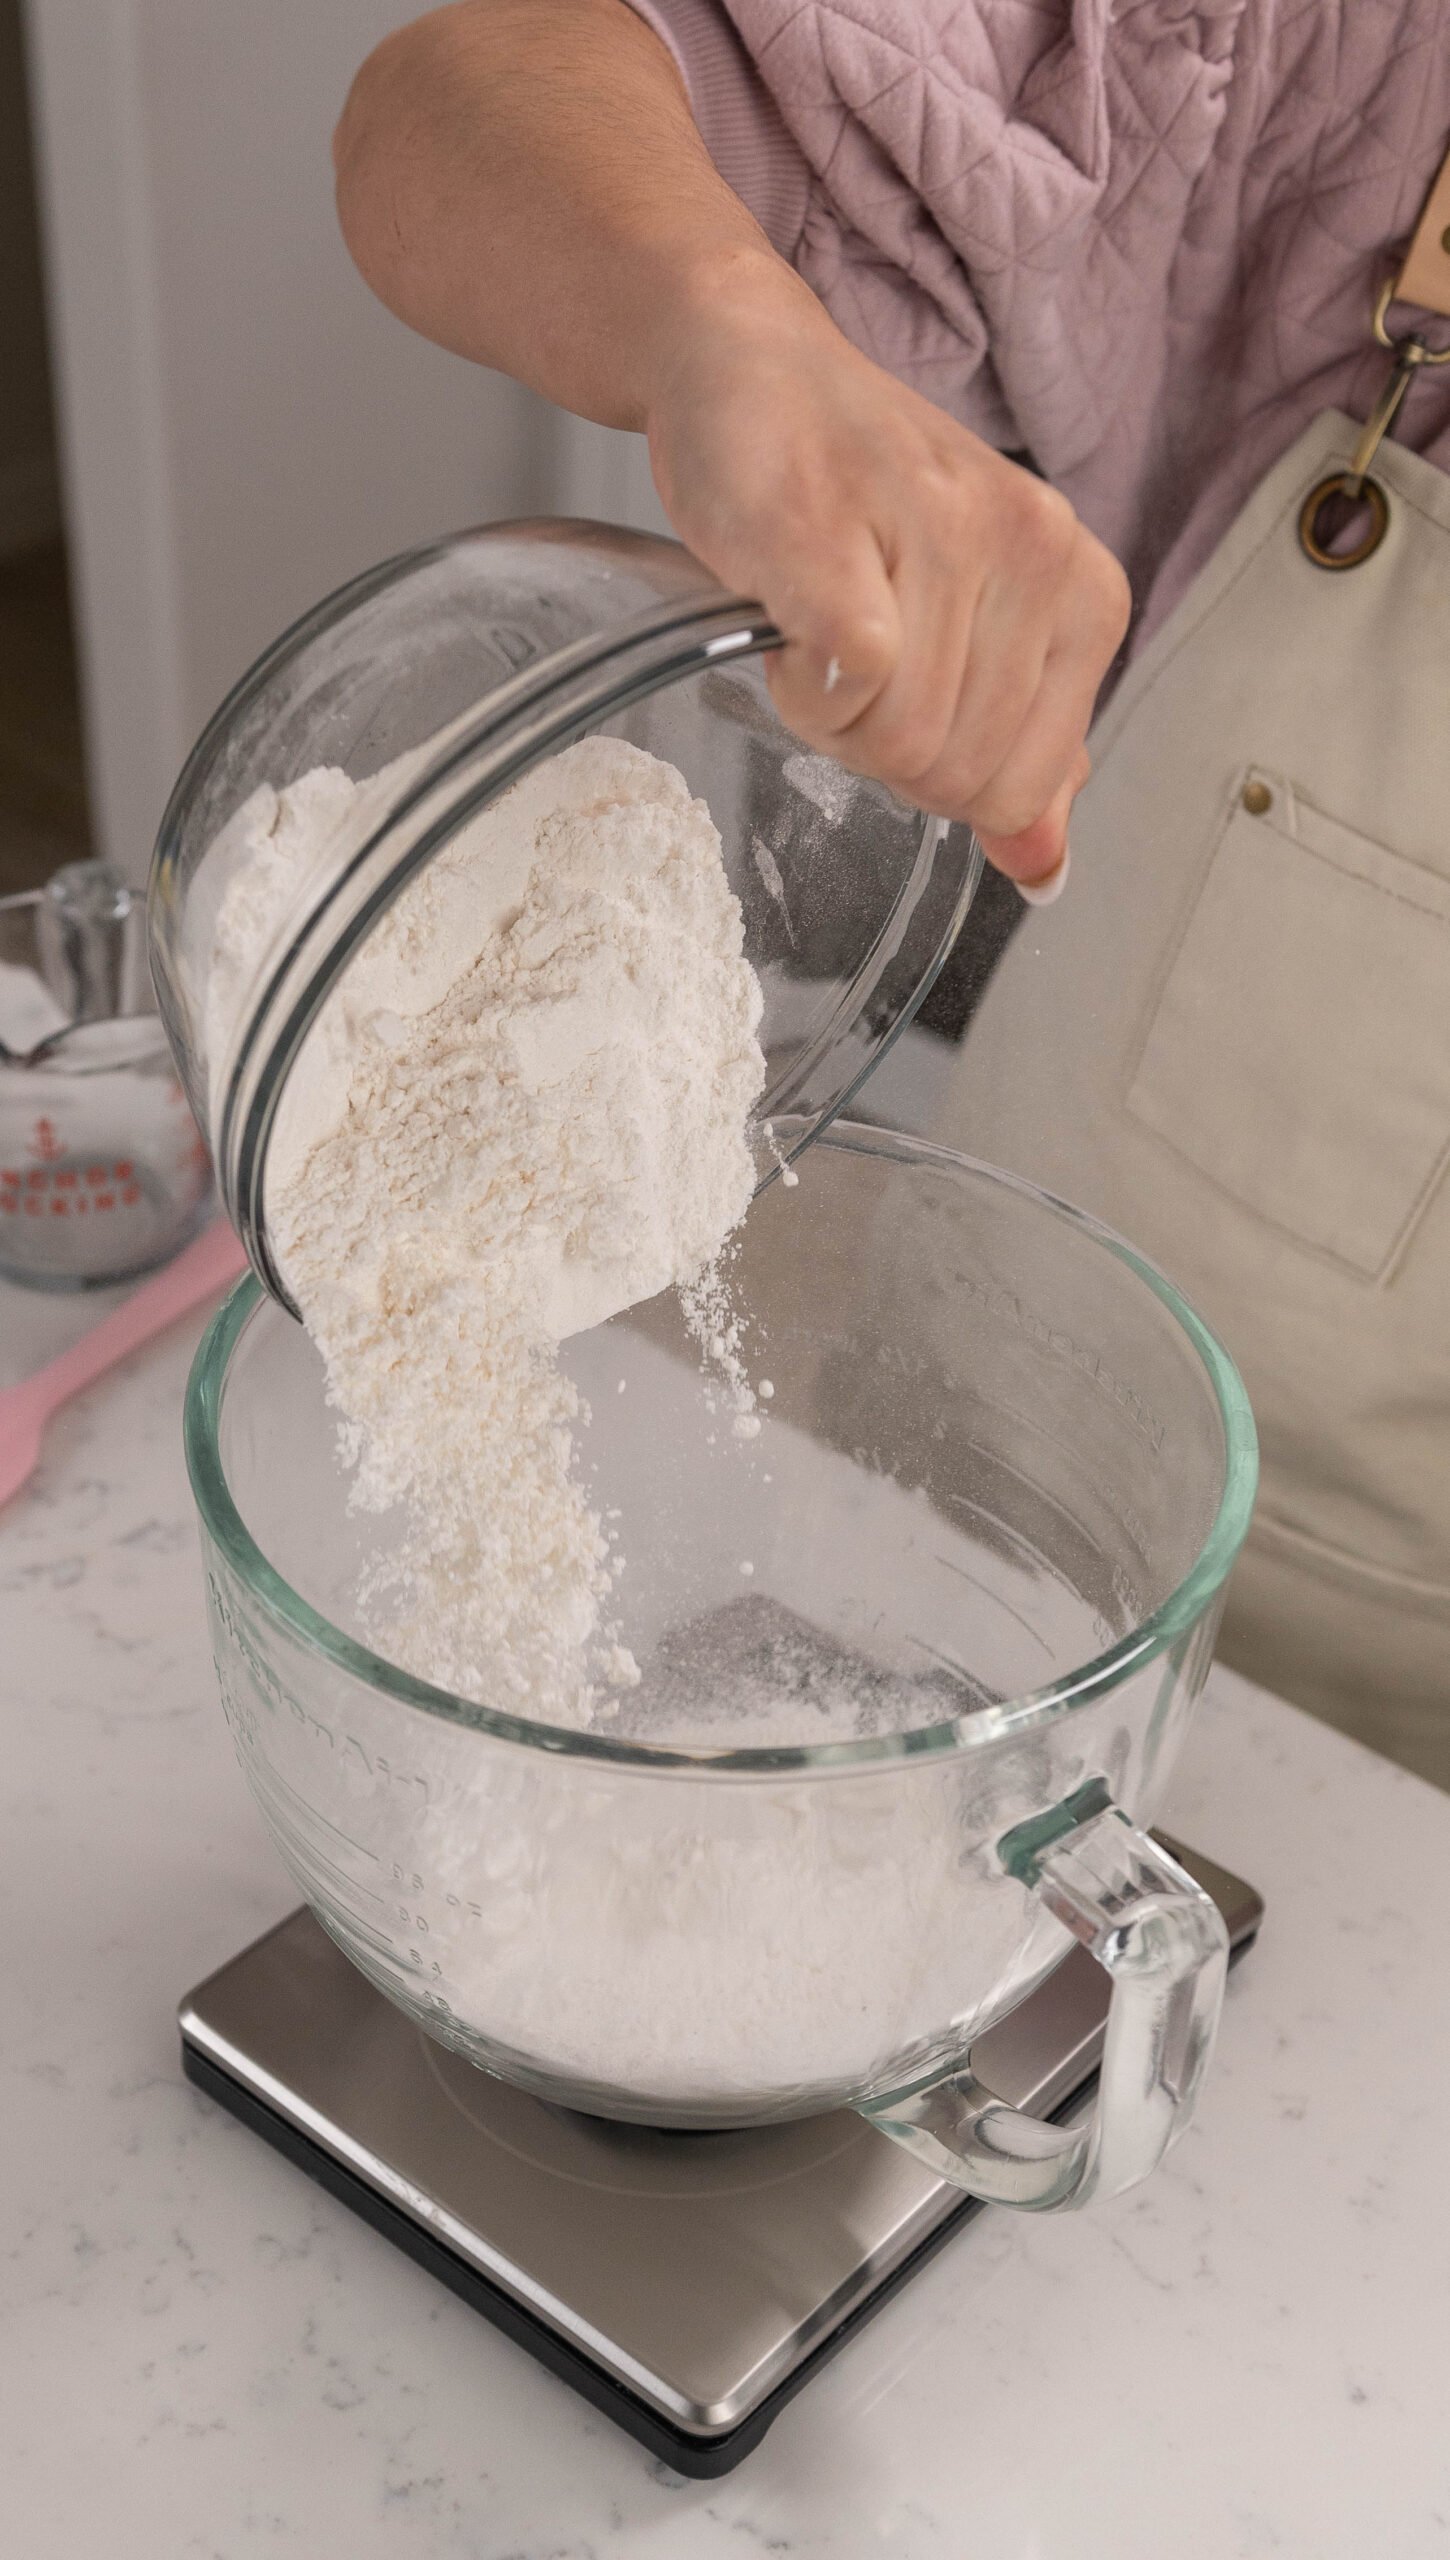
- Weigh your ingredients to avoid failure. Using a kitchen scale for baking is super easy and gives you the best results every single time.
- Make sure all your cold ingredients are room temperature or slightly warm (butter, milk, eggs, to create a cohesive batter. Curdled batter causes cakes and fillings to collapse or split.
- Practice Mise en Place (everything in its place). Measure out your ingredients ahead of time and have them ready before you start mixing to reduce the chances of accidentally leaving something out.