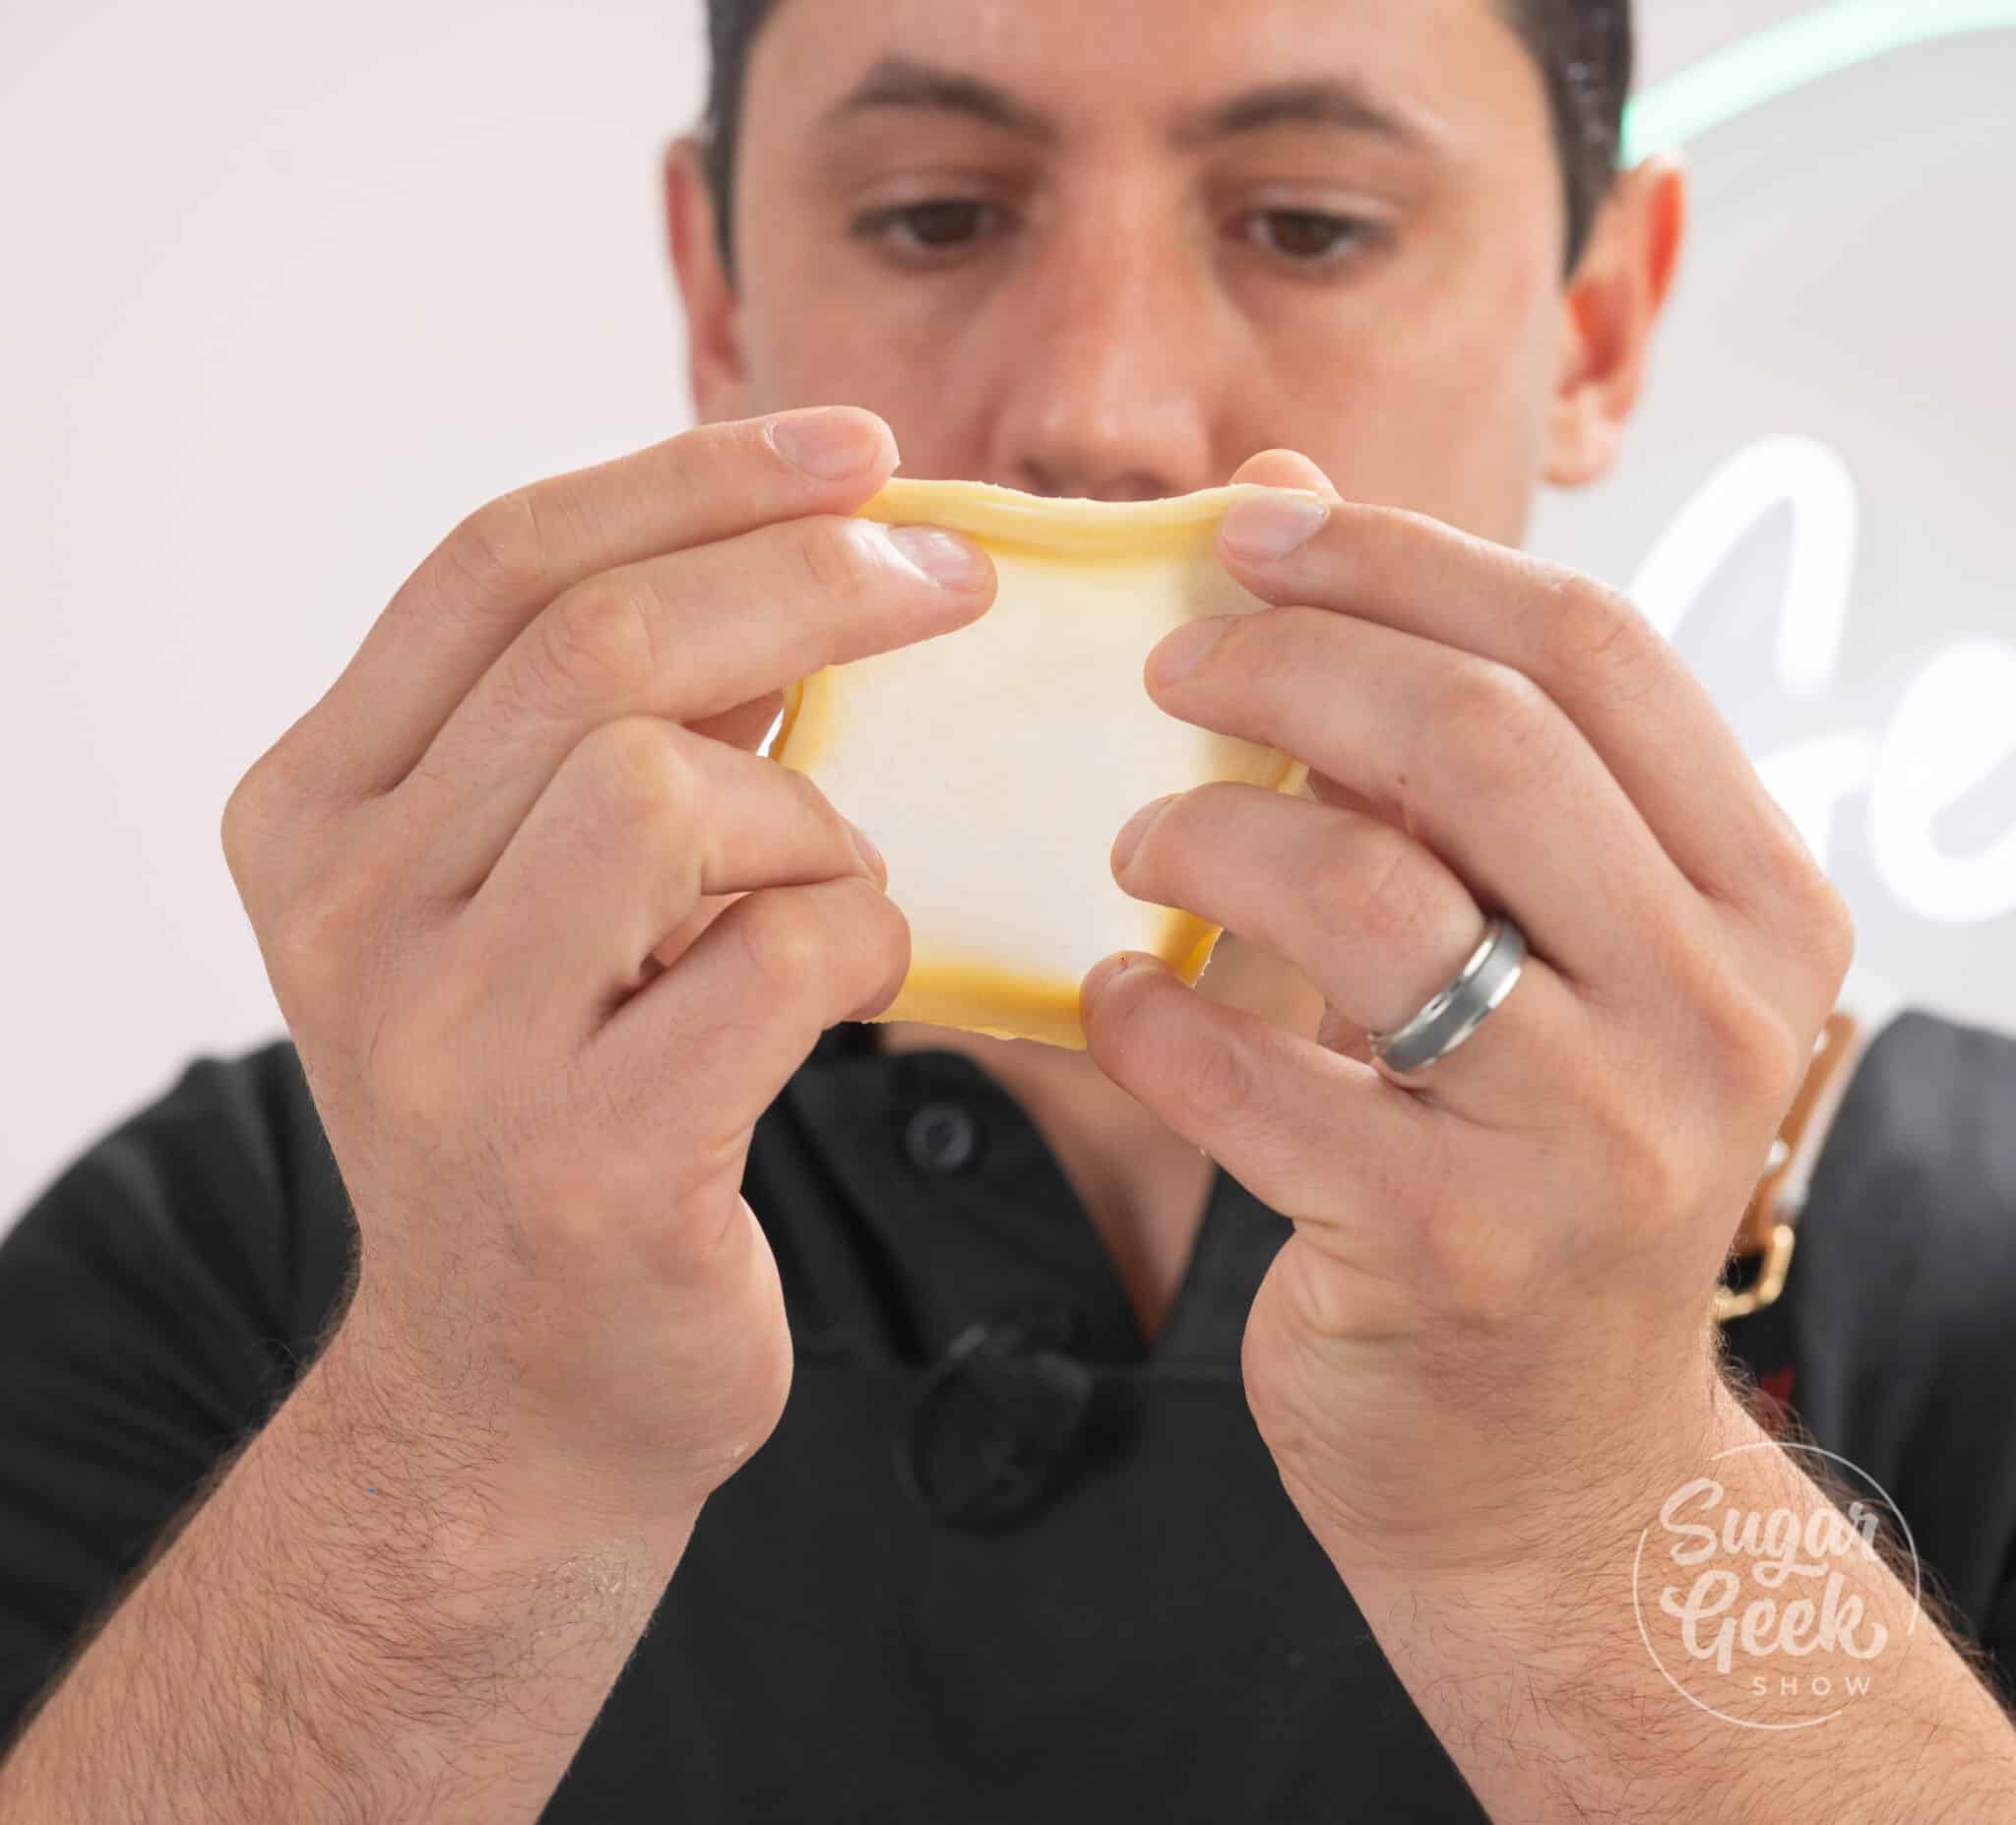
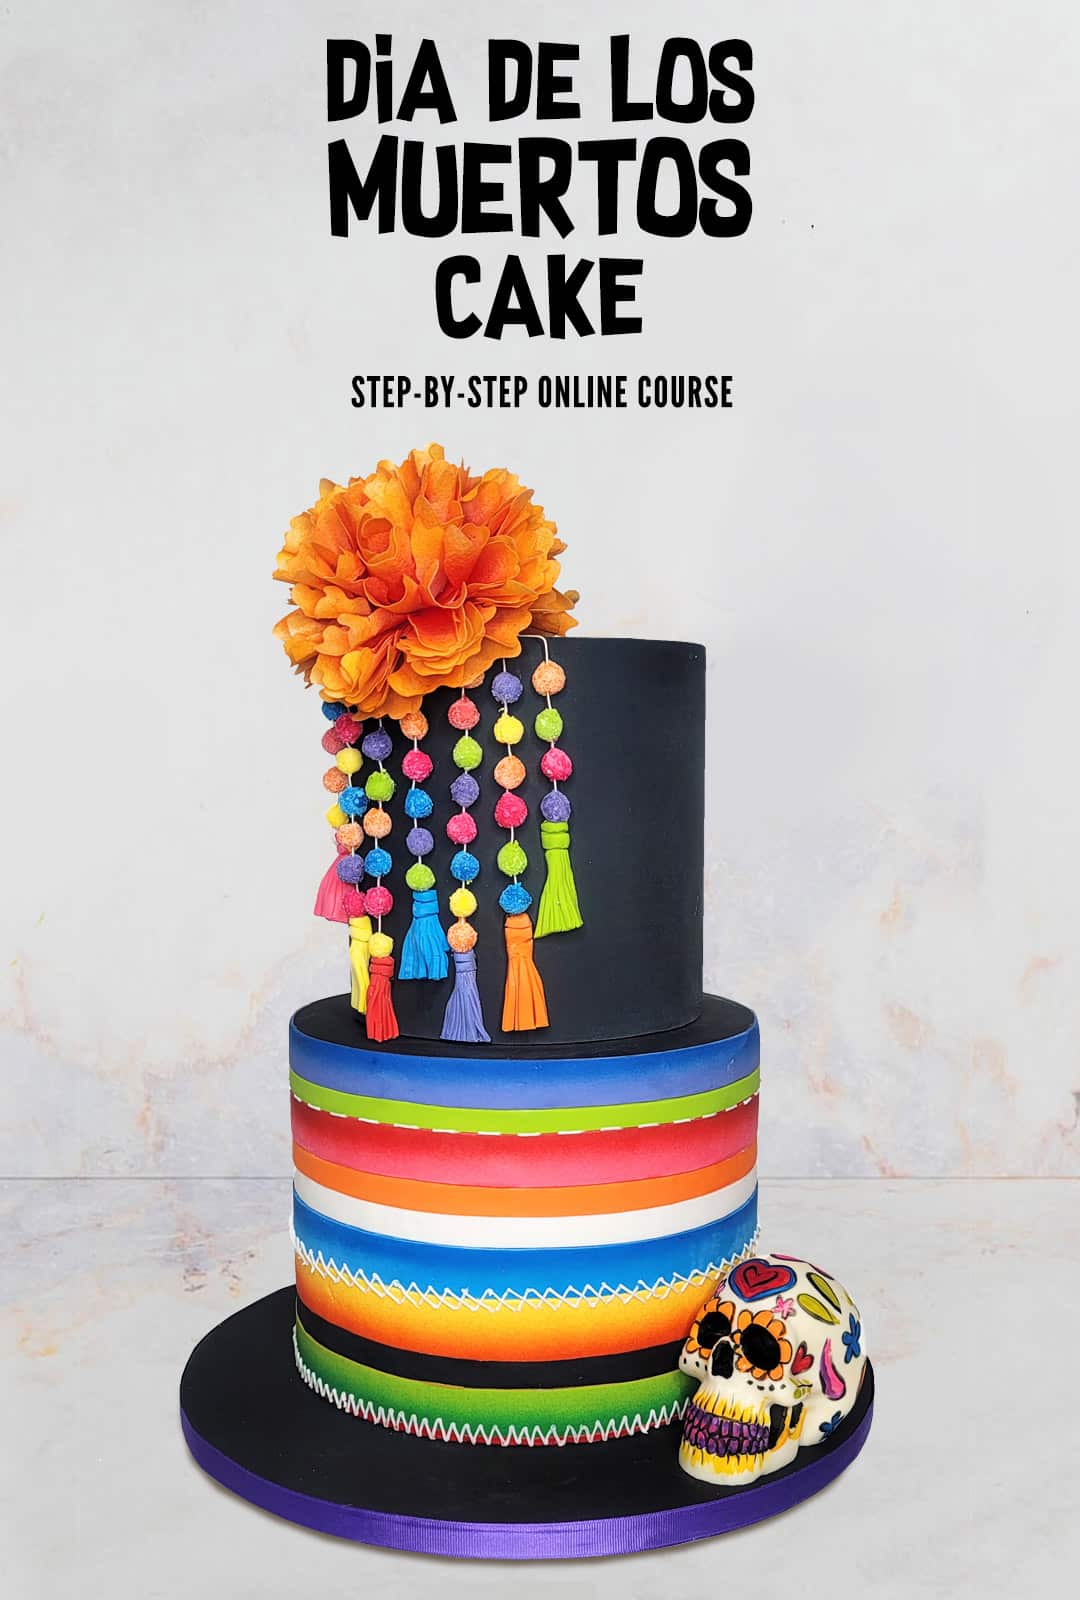
Skill level: Intermediate
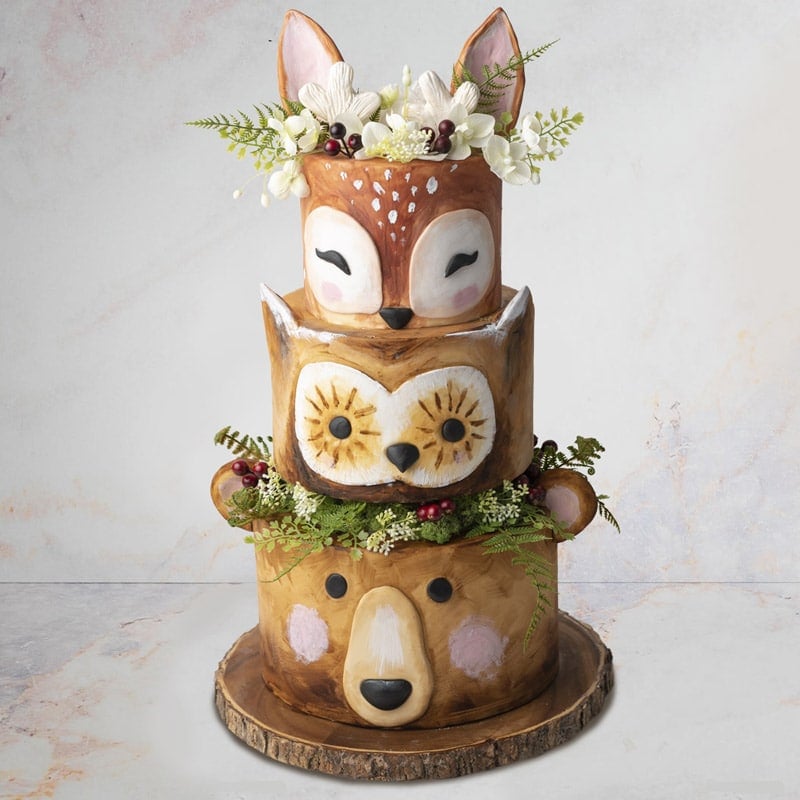
Learn how to create this wonderful woodland animal baby shower cake! Liz Marek breaks down all the steps in the process of making each tier, including how to make the bear, owl and deer's details, how to create the cake topper ears and how to trim and arrange the foliage.
40:20 Minutes of Instruction
What You Will Learn
- How to make a Woodland-themed baby shower cake
- Learn how to easily sculpt and detail the bear, owl and deer faces
- How to trim and arrange artificial foliage and how to work with cake dummies
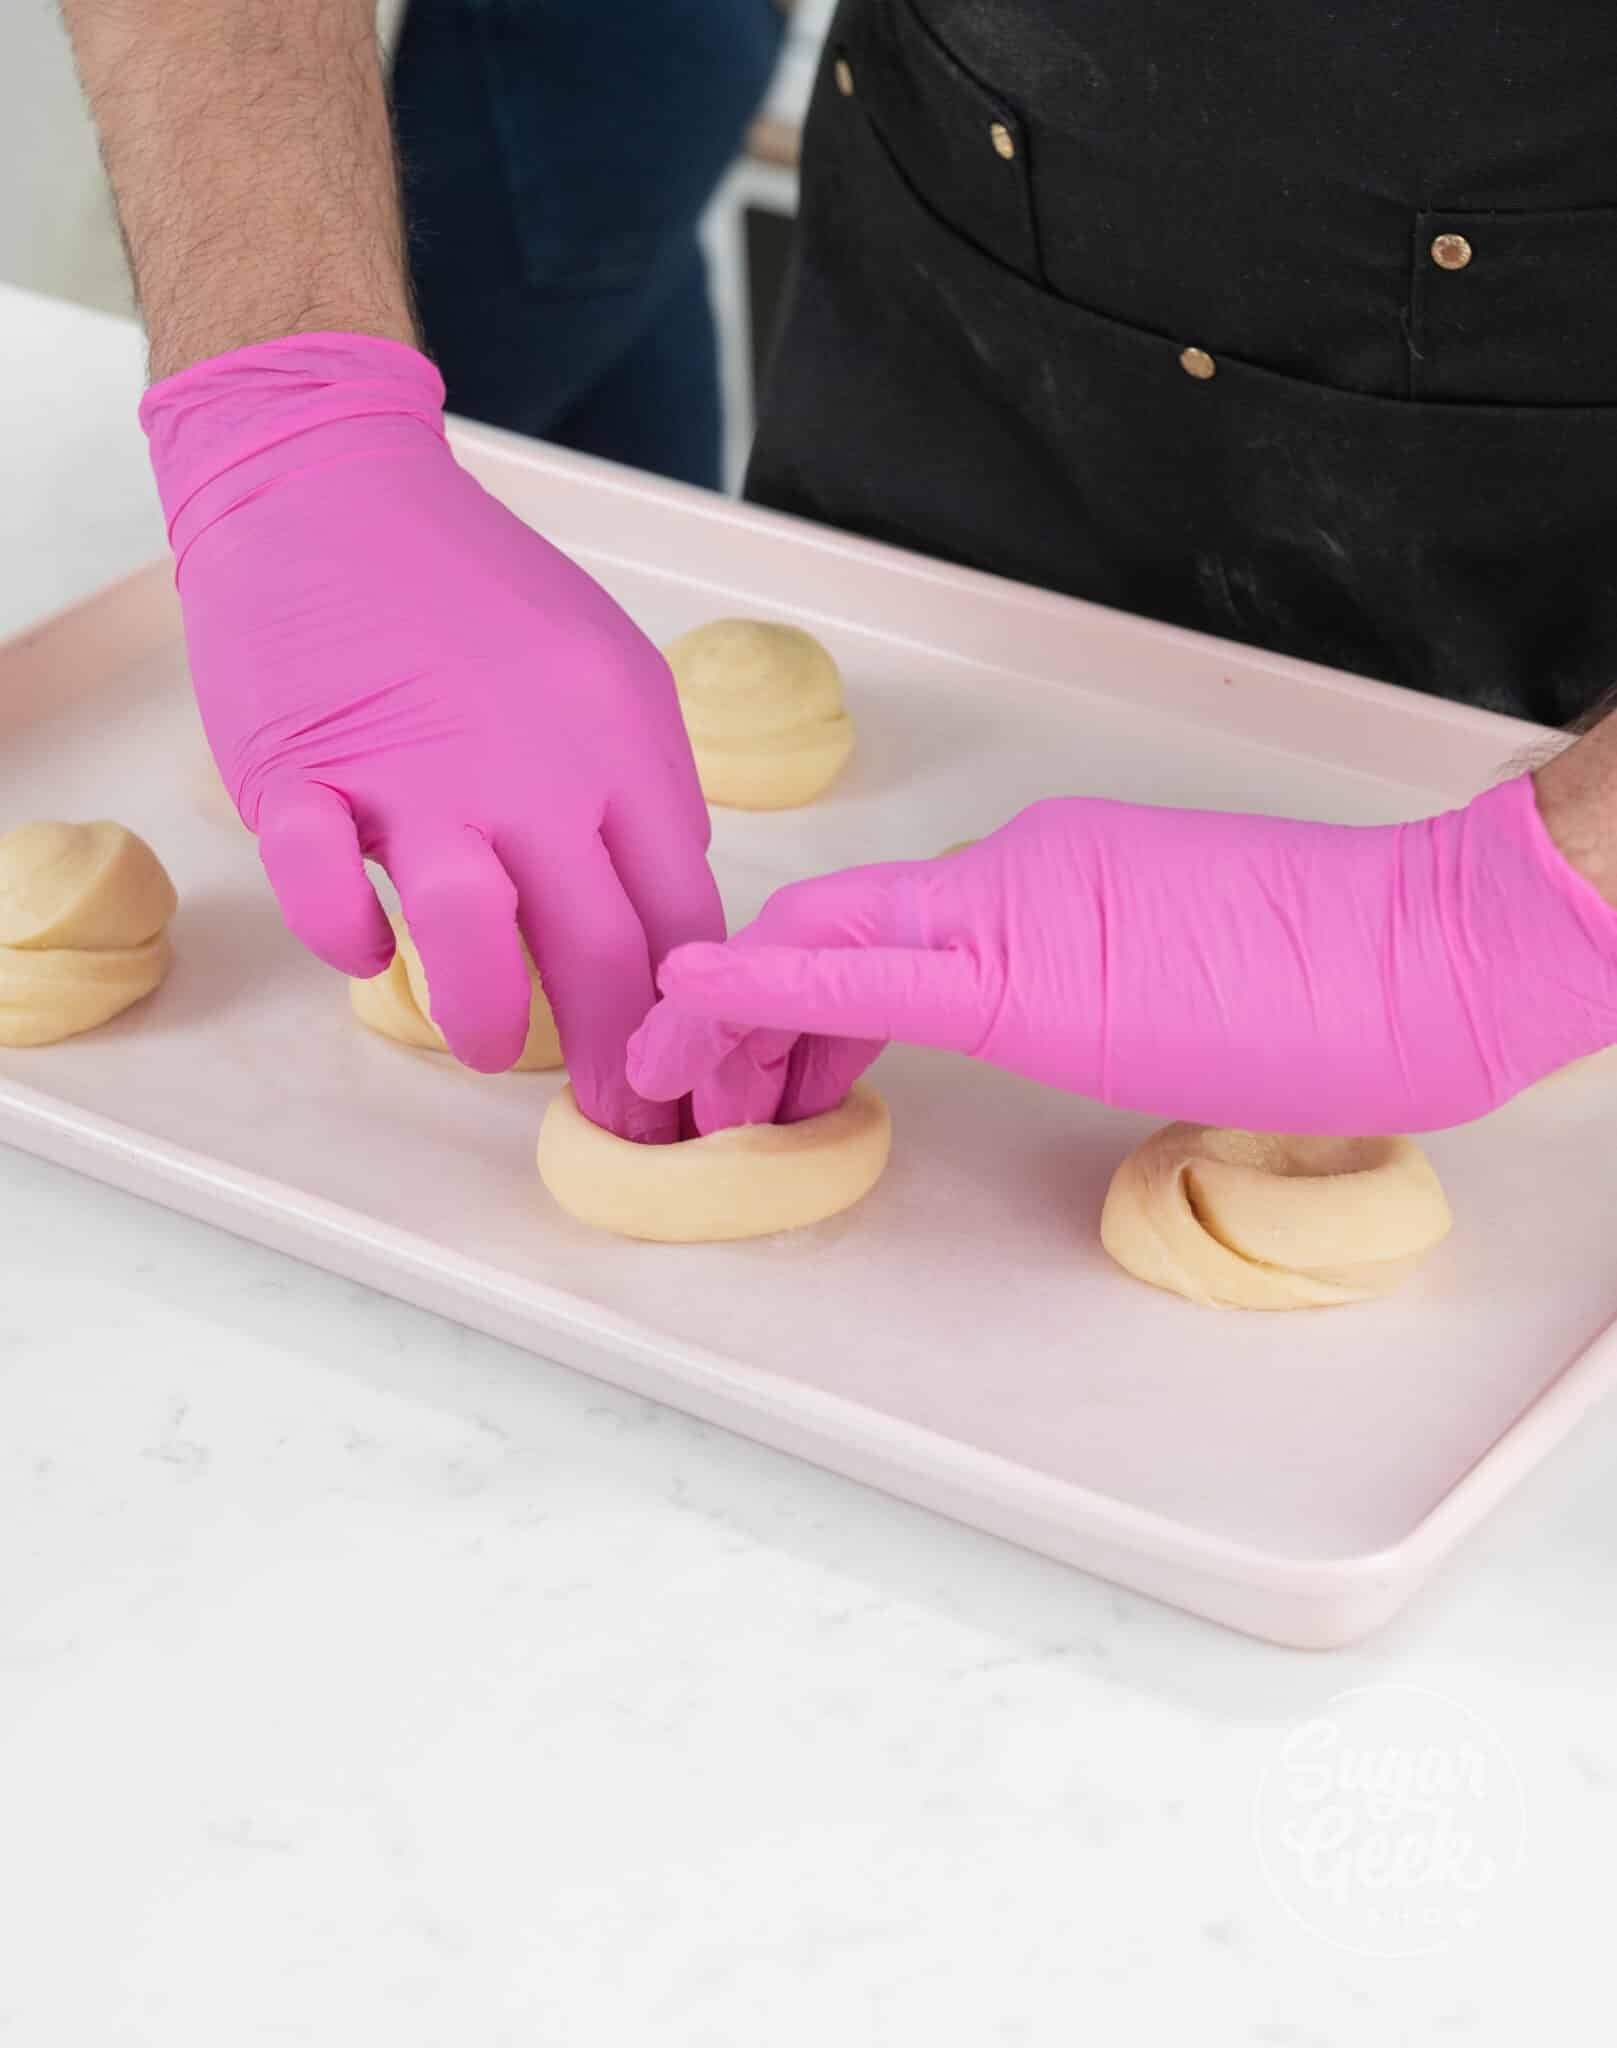
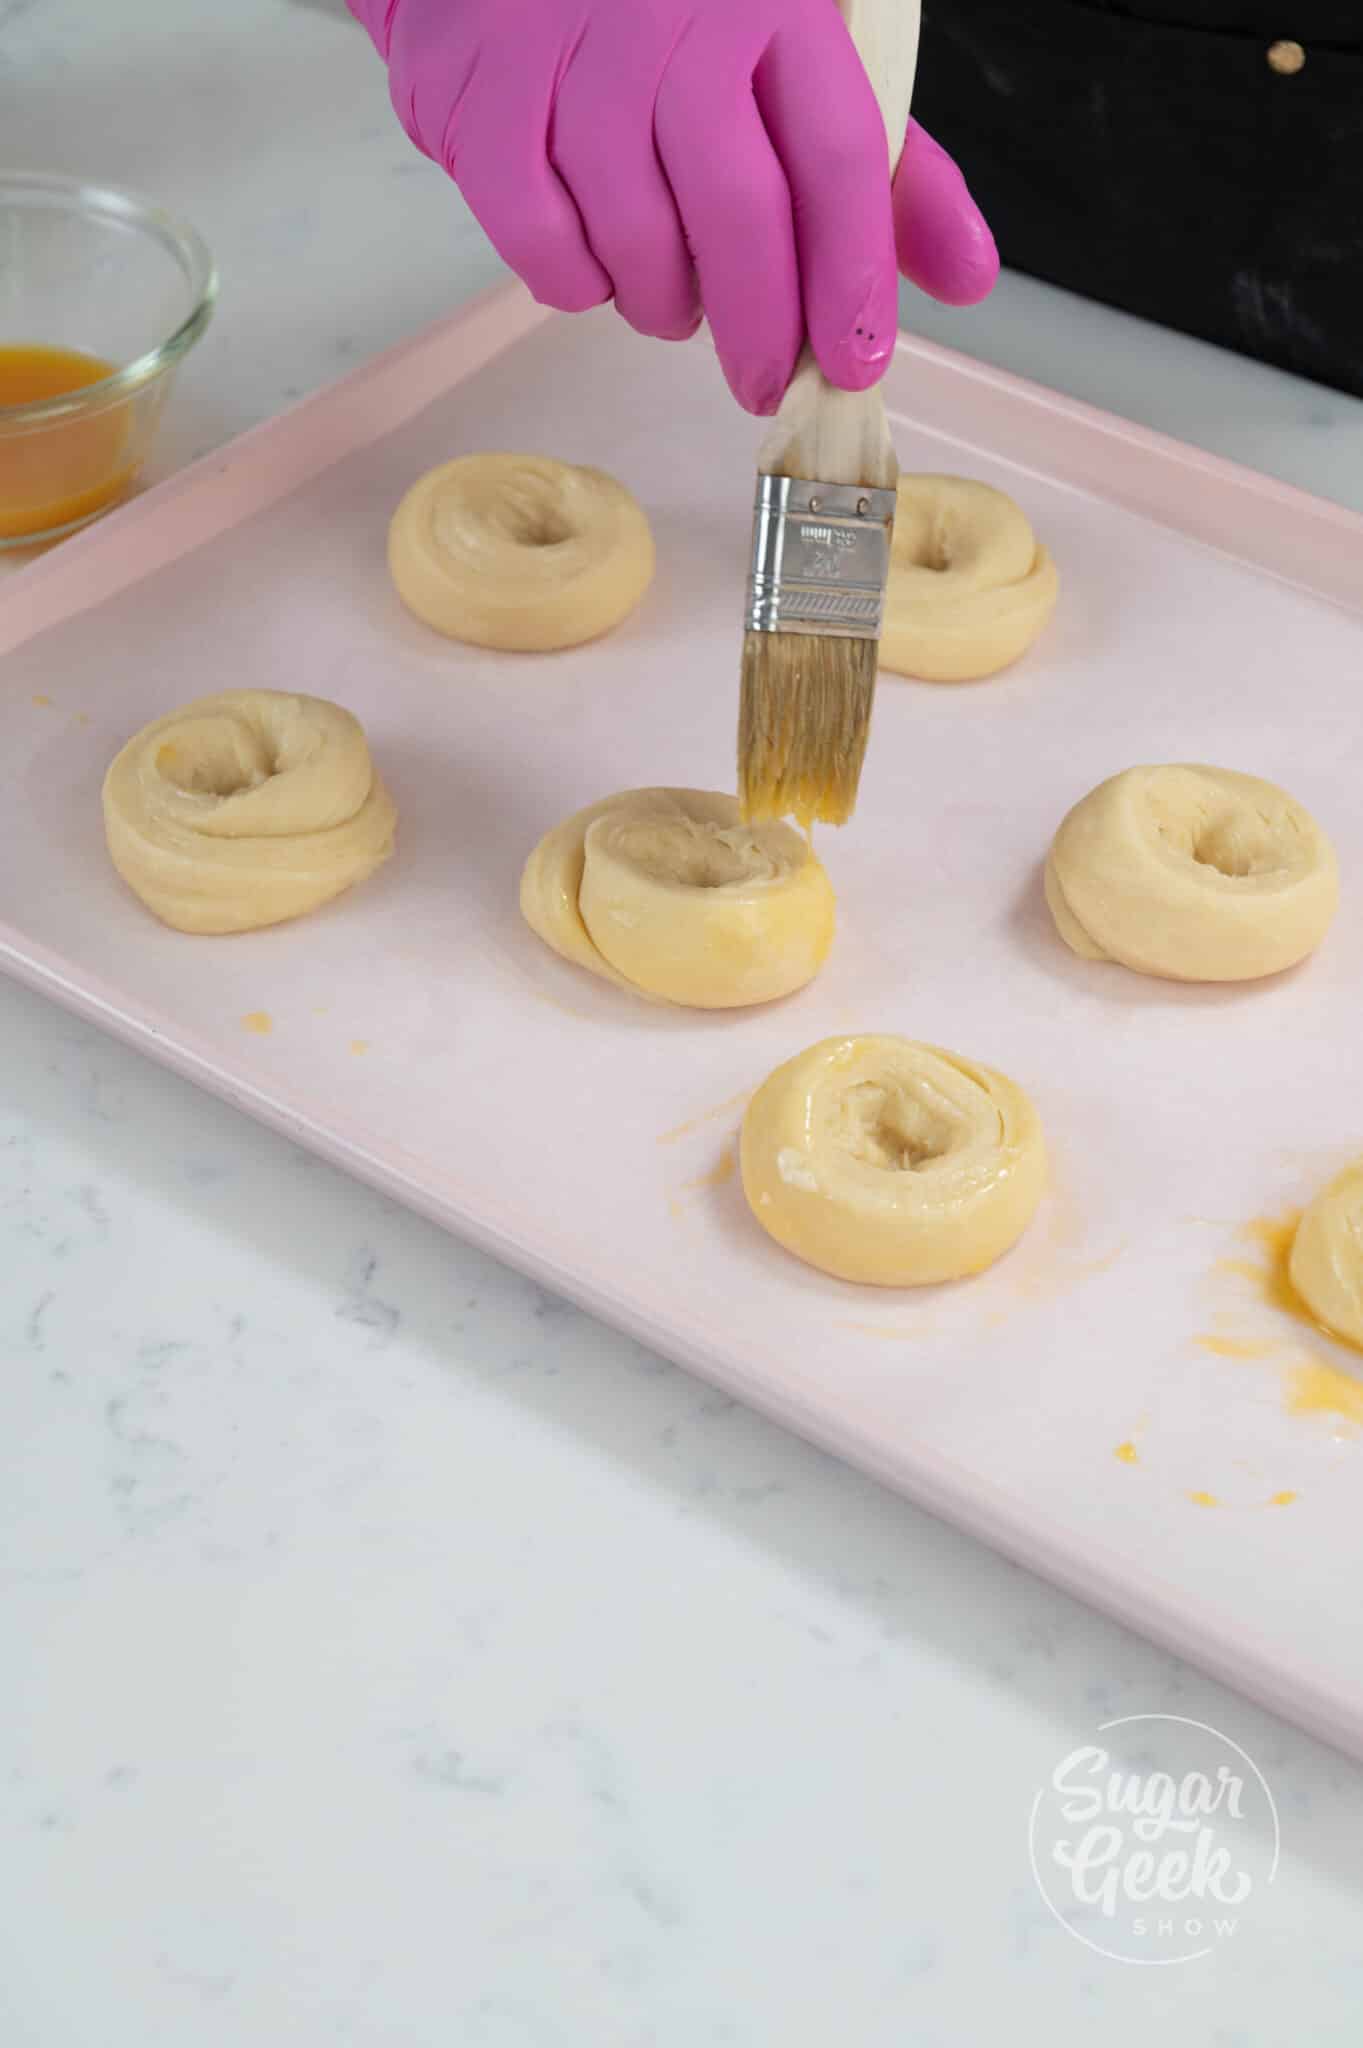
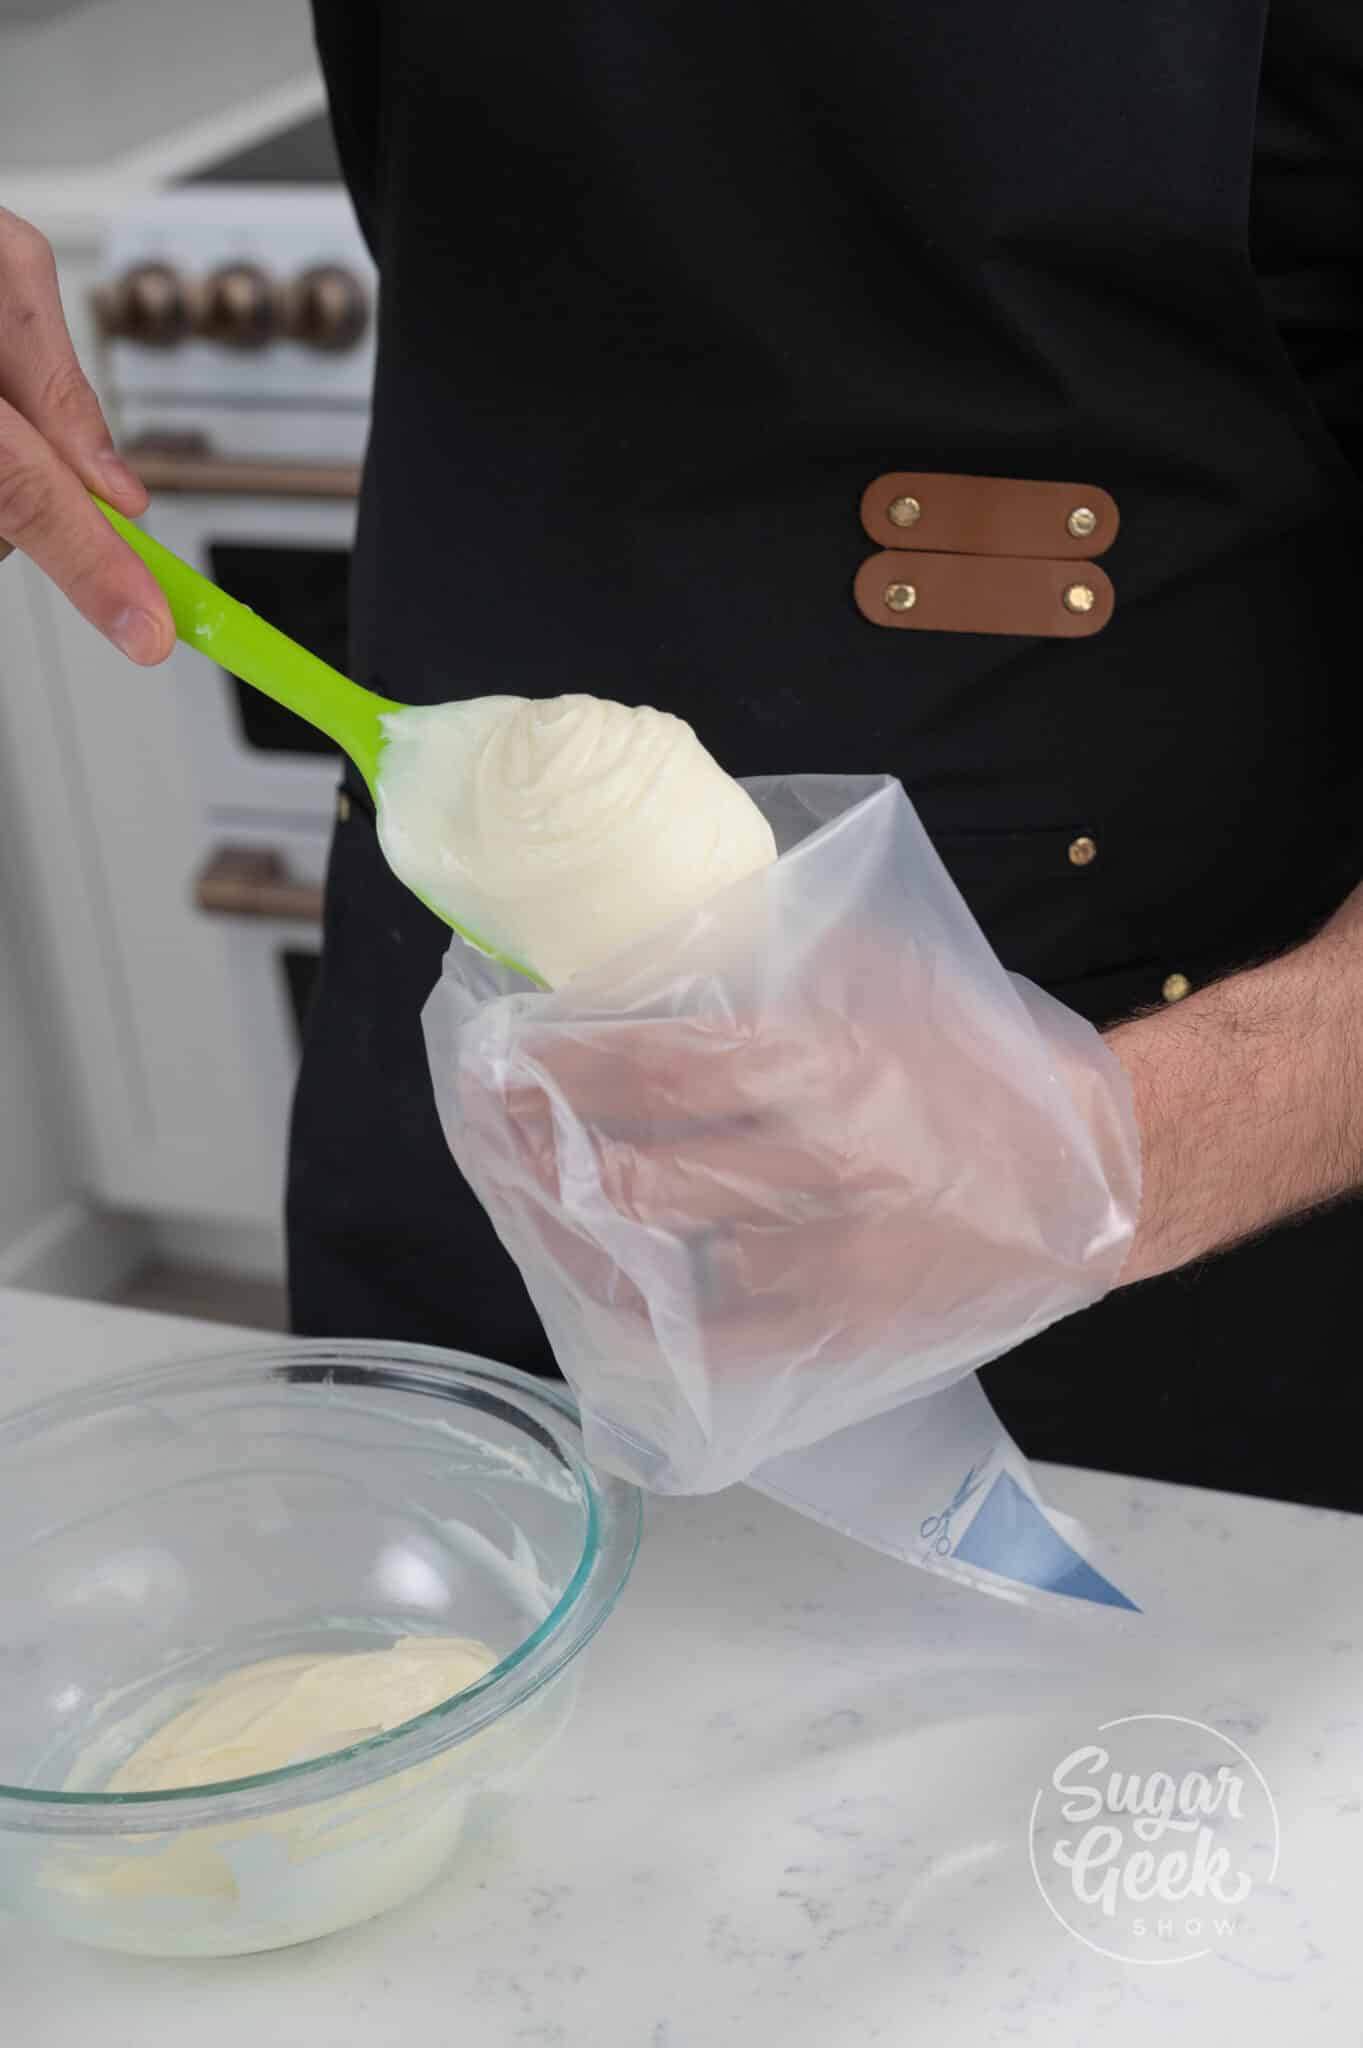
Tutorial Chapters
- Covering The Bottom Tier In Fondant
- Making The Bear Ears
- Painting The Bear Tier
- Adding The Bear Ears
- Making The Bear's Face
- Covering The Owl Tier In Fondant
- Making The Owl Ears And Face
- Decorating The Owl Tier
- Making The Deer Ears
- Decorating The Deer Layer
- Making & Adding The Antlers
- Making The Spacer
- Stacking & Decorating
- Finishing Touches


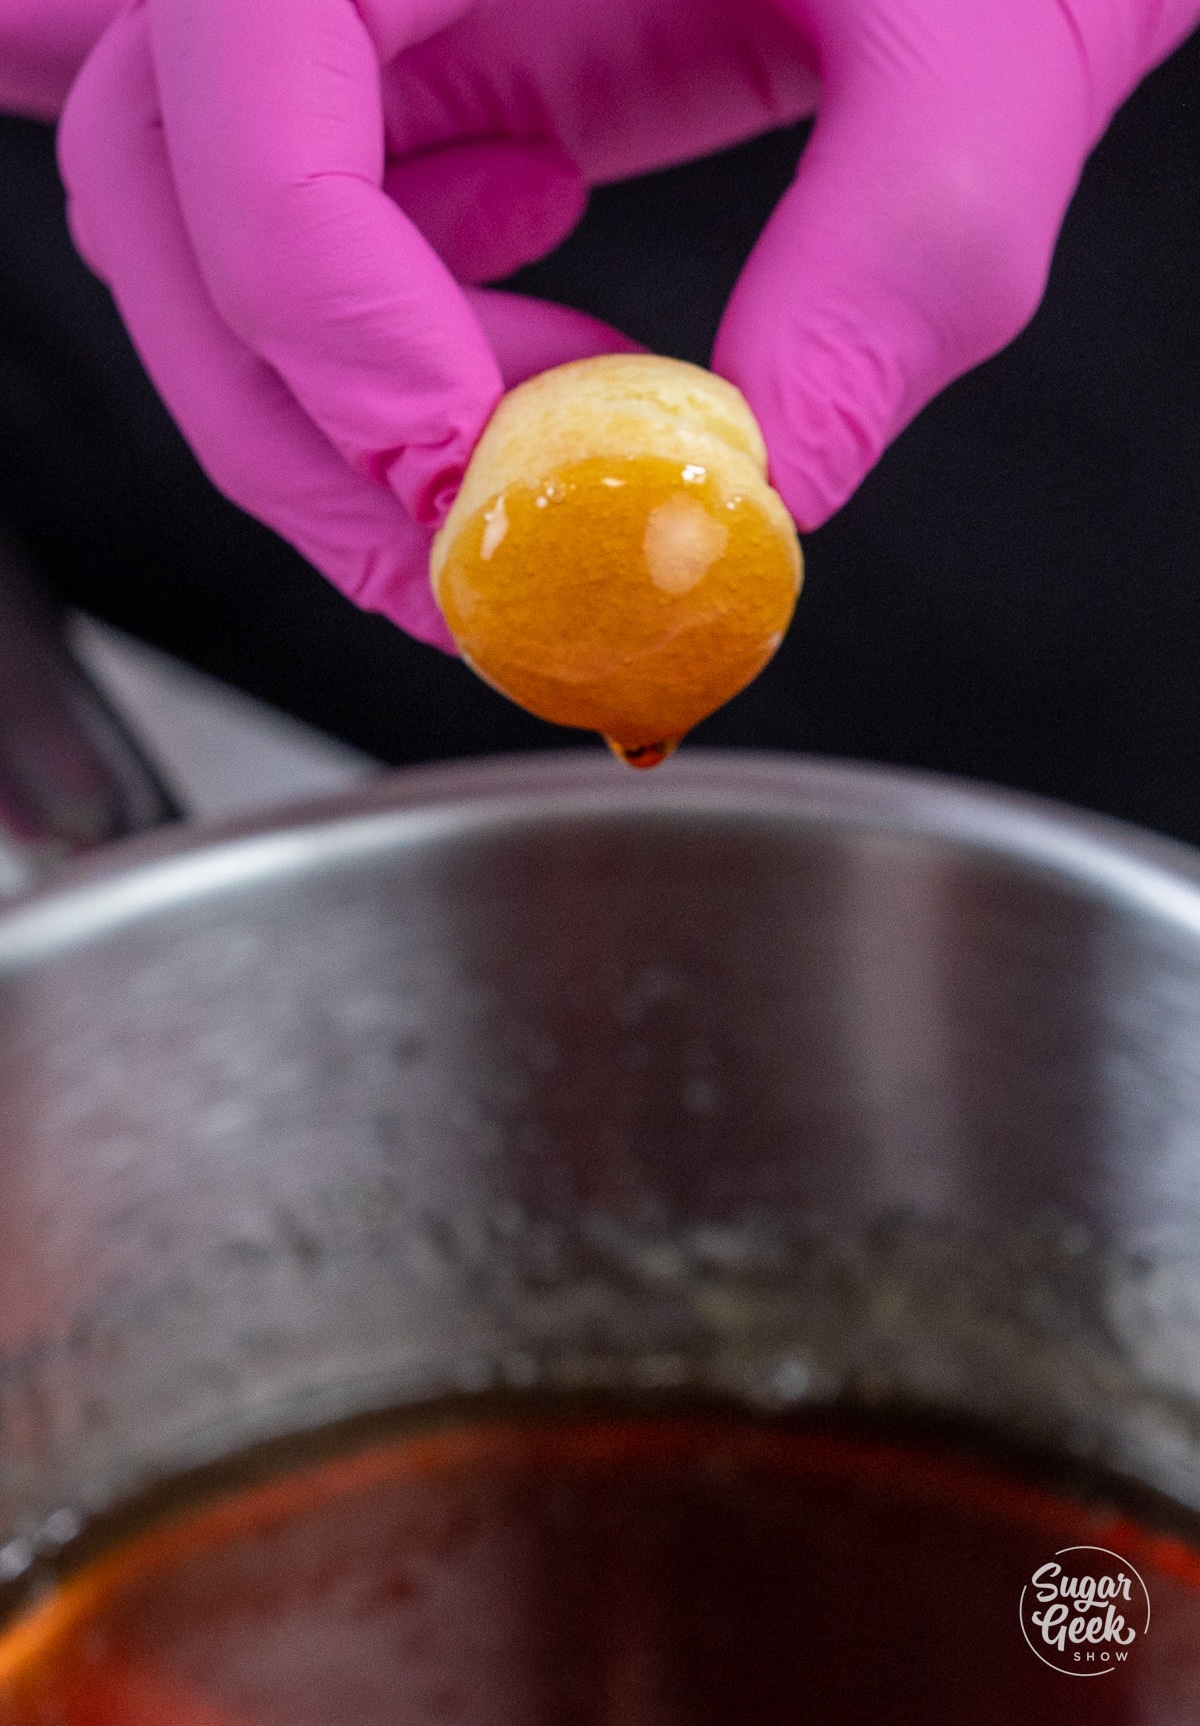
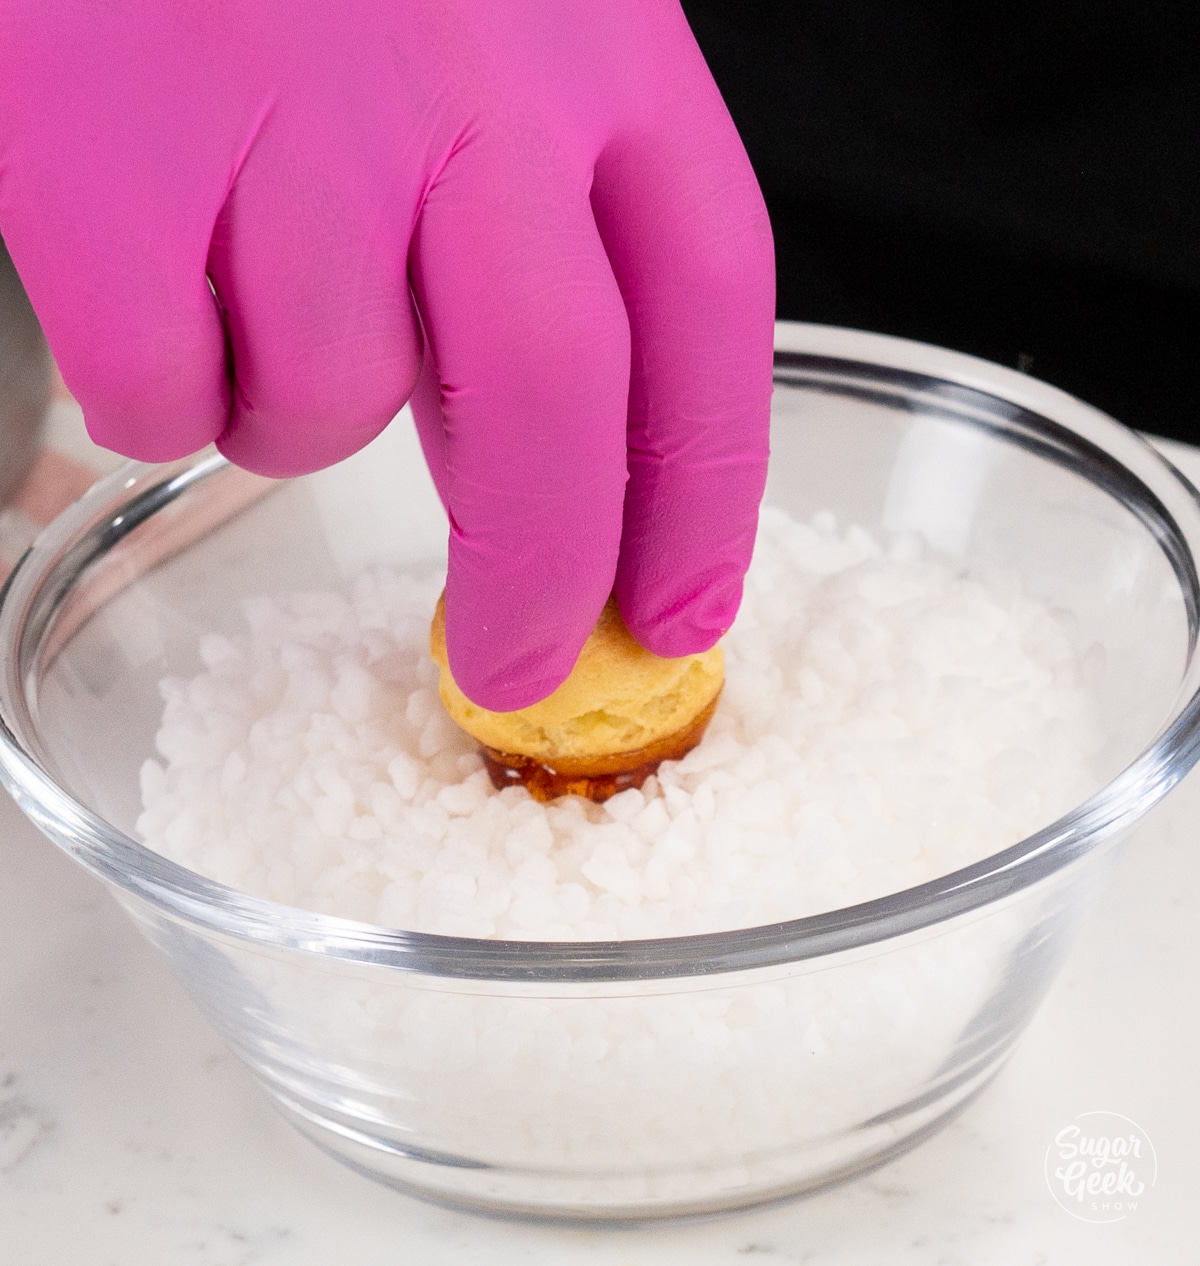
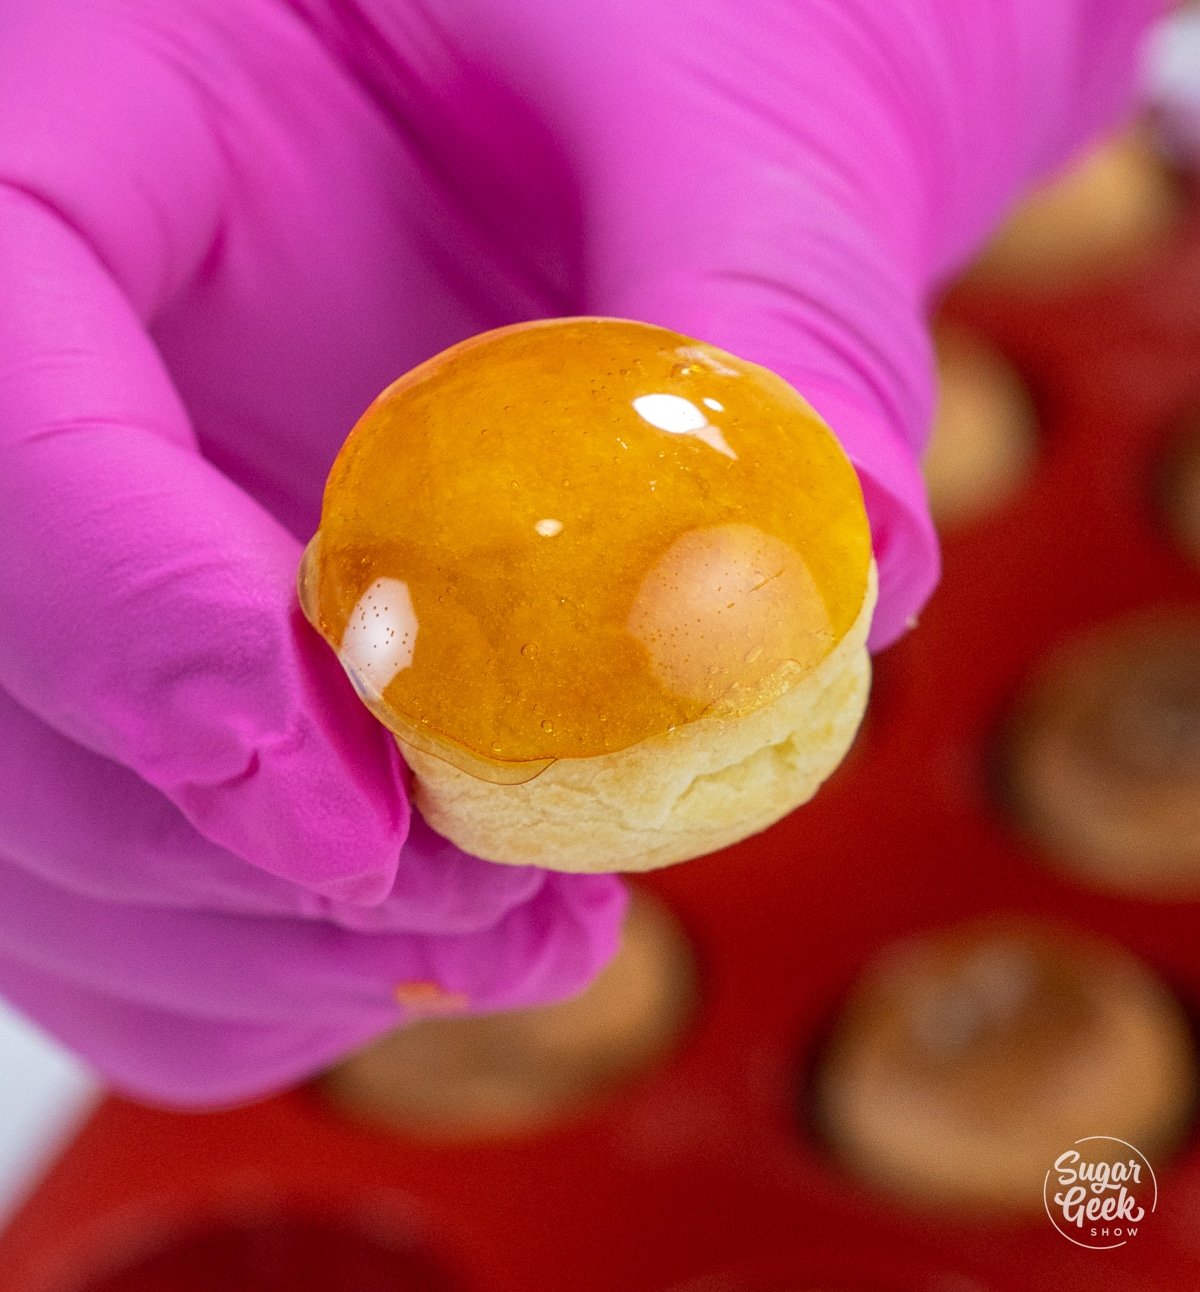

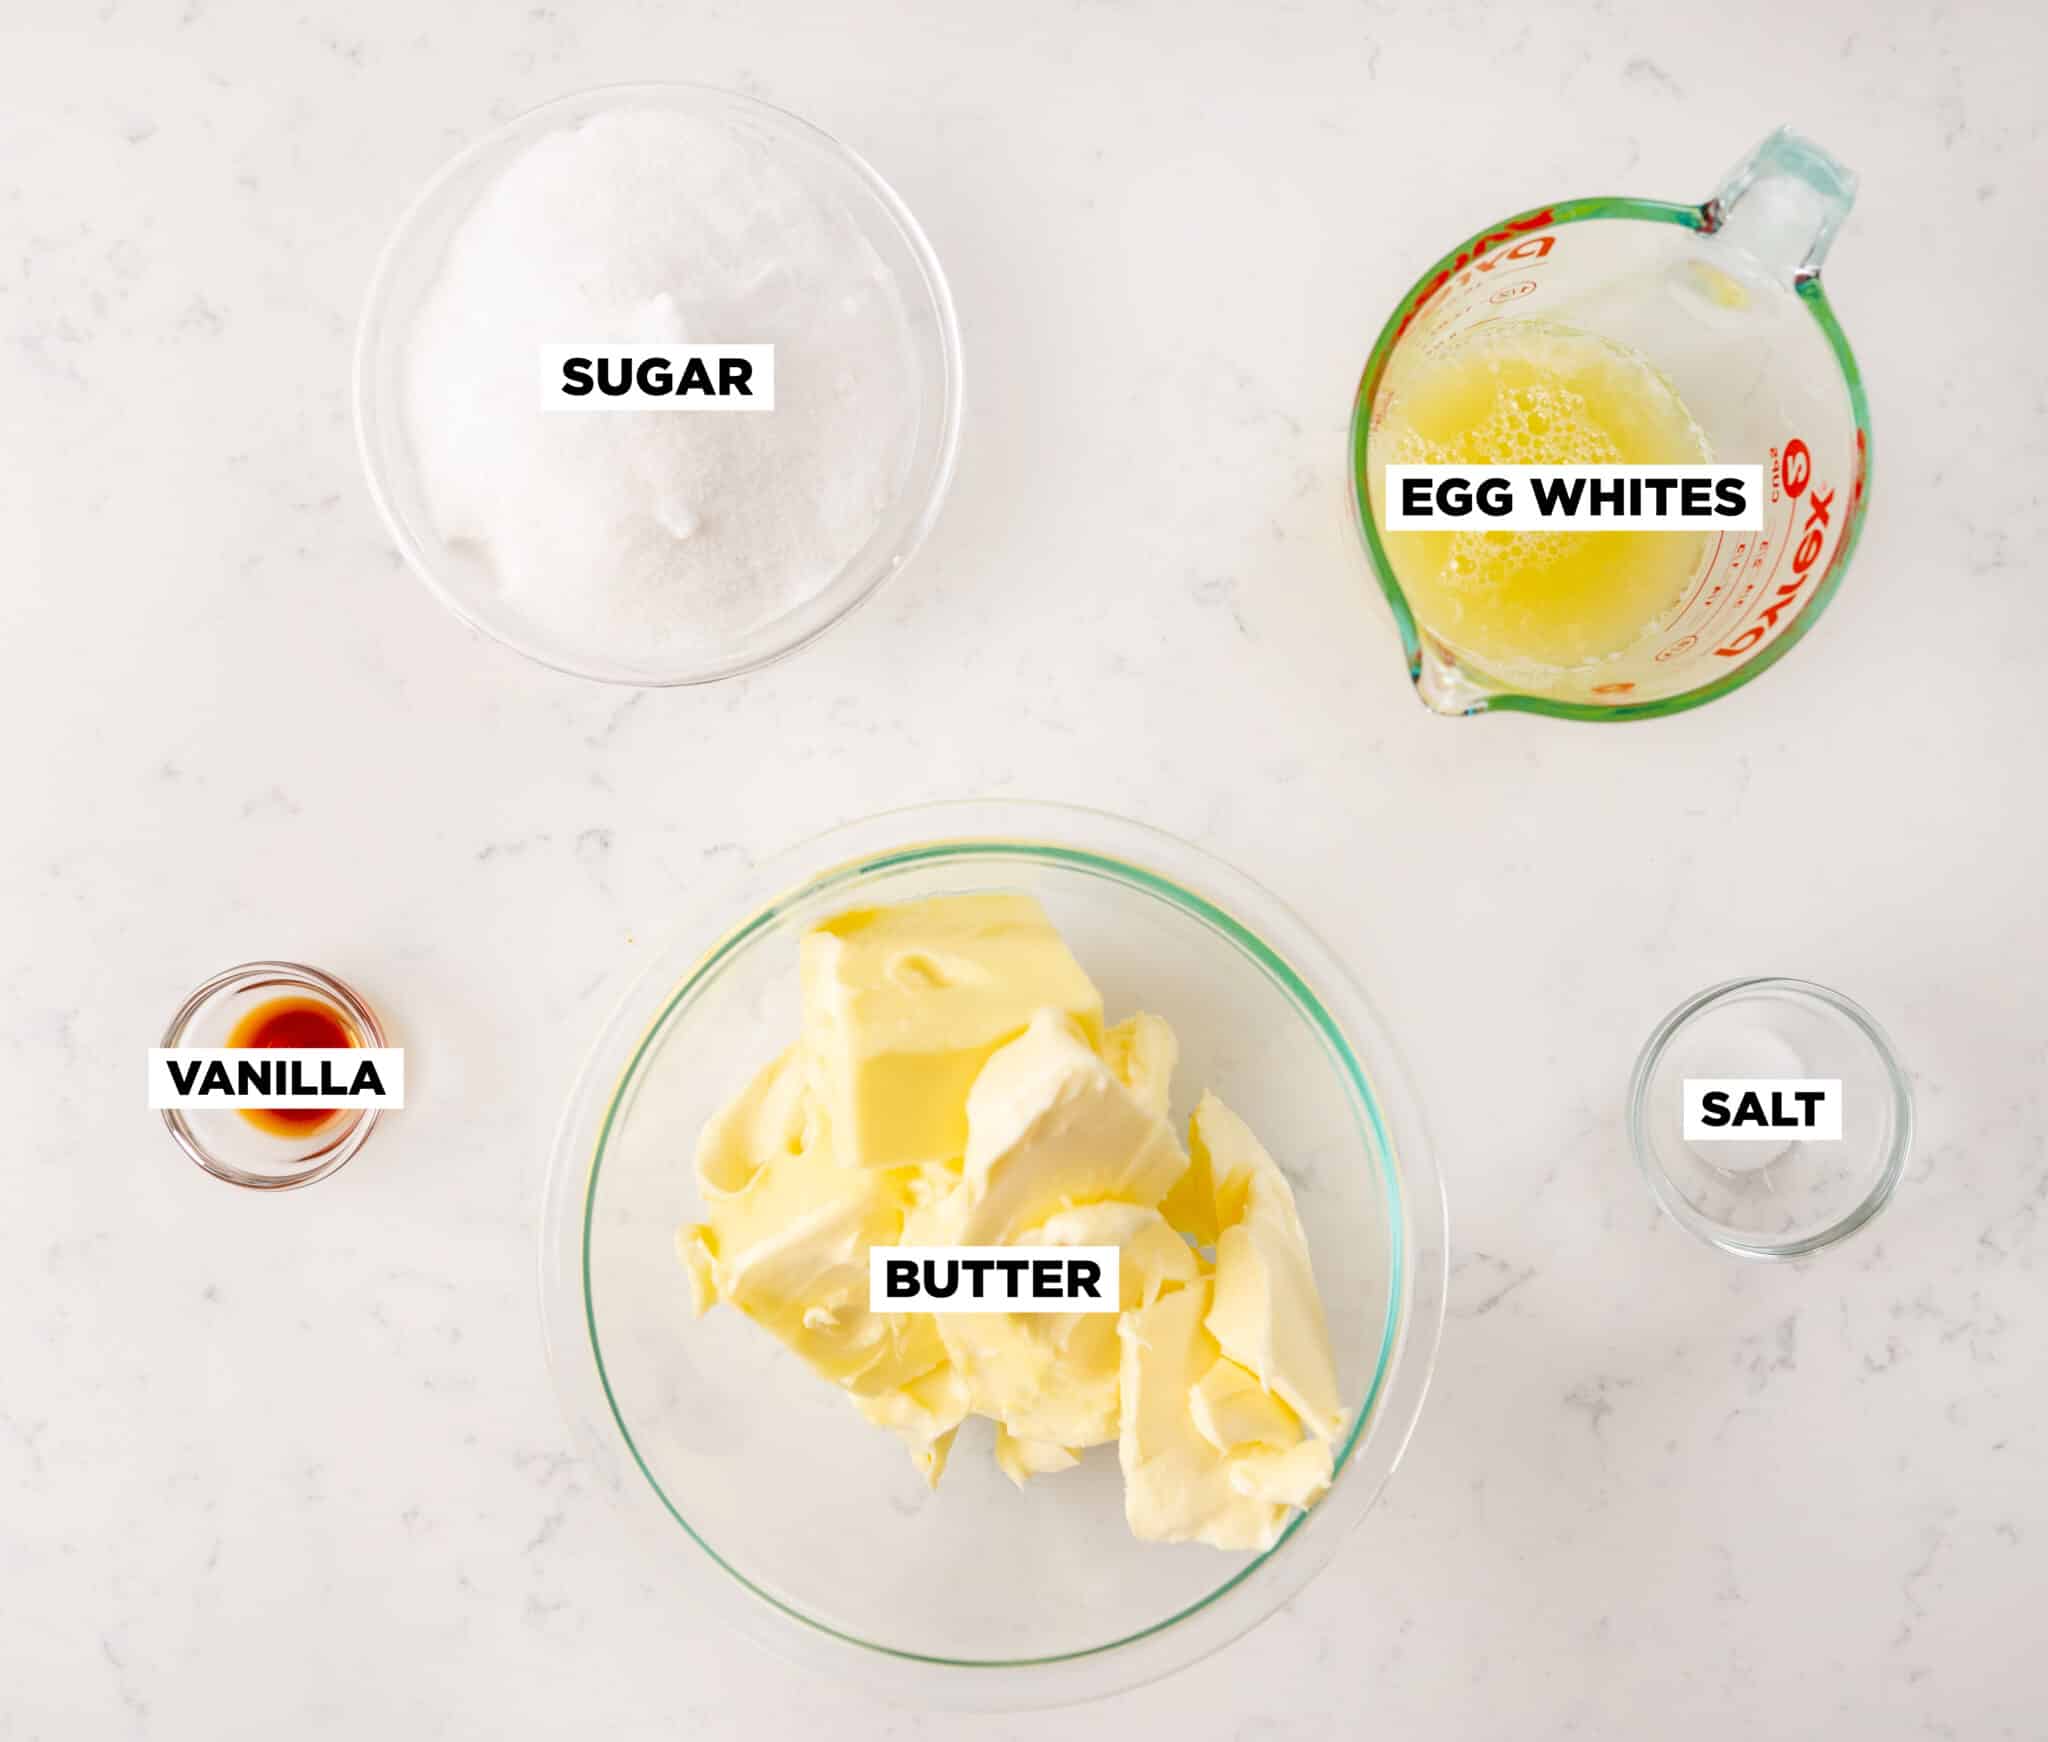

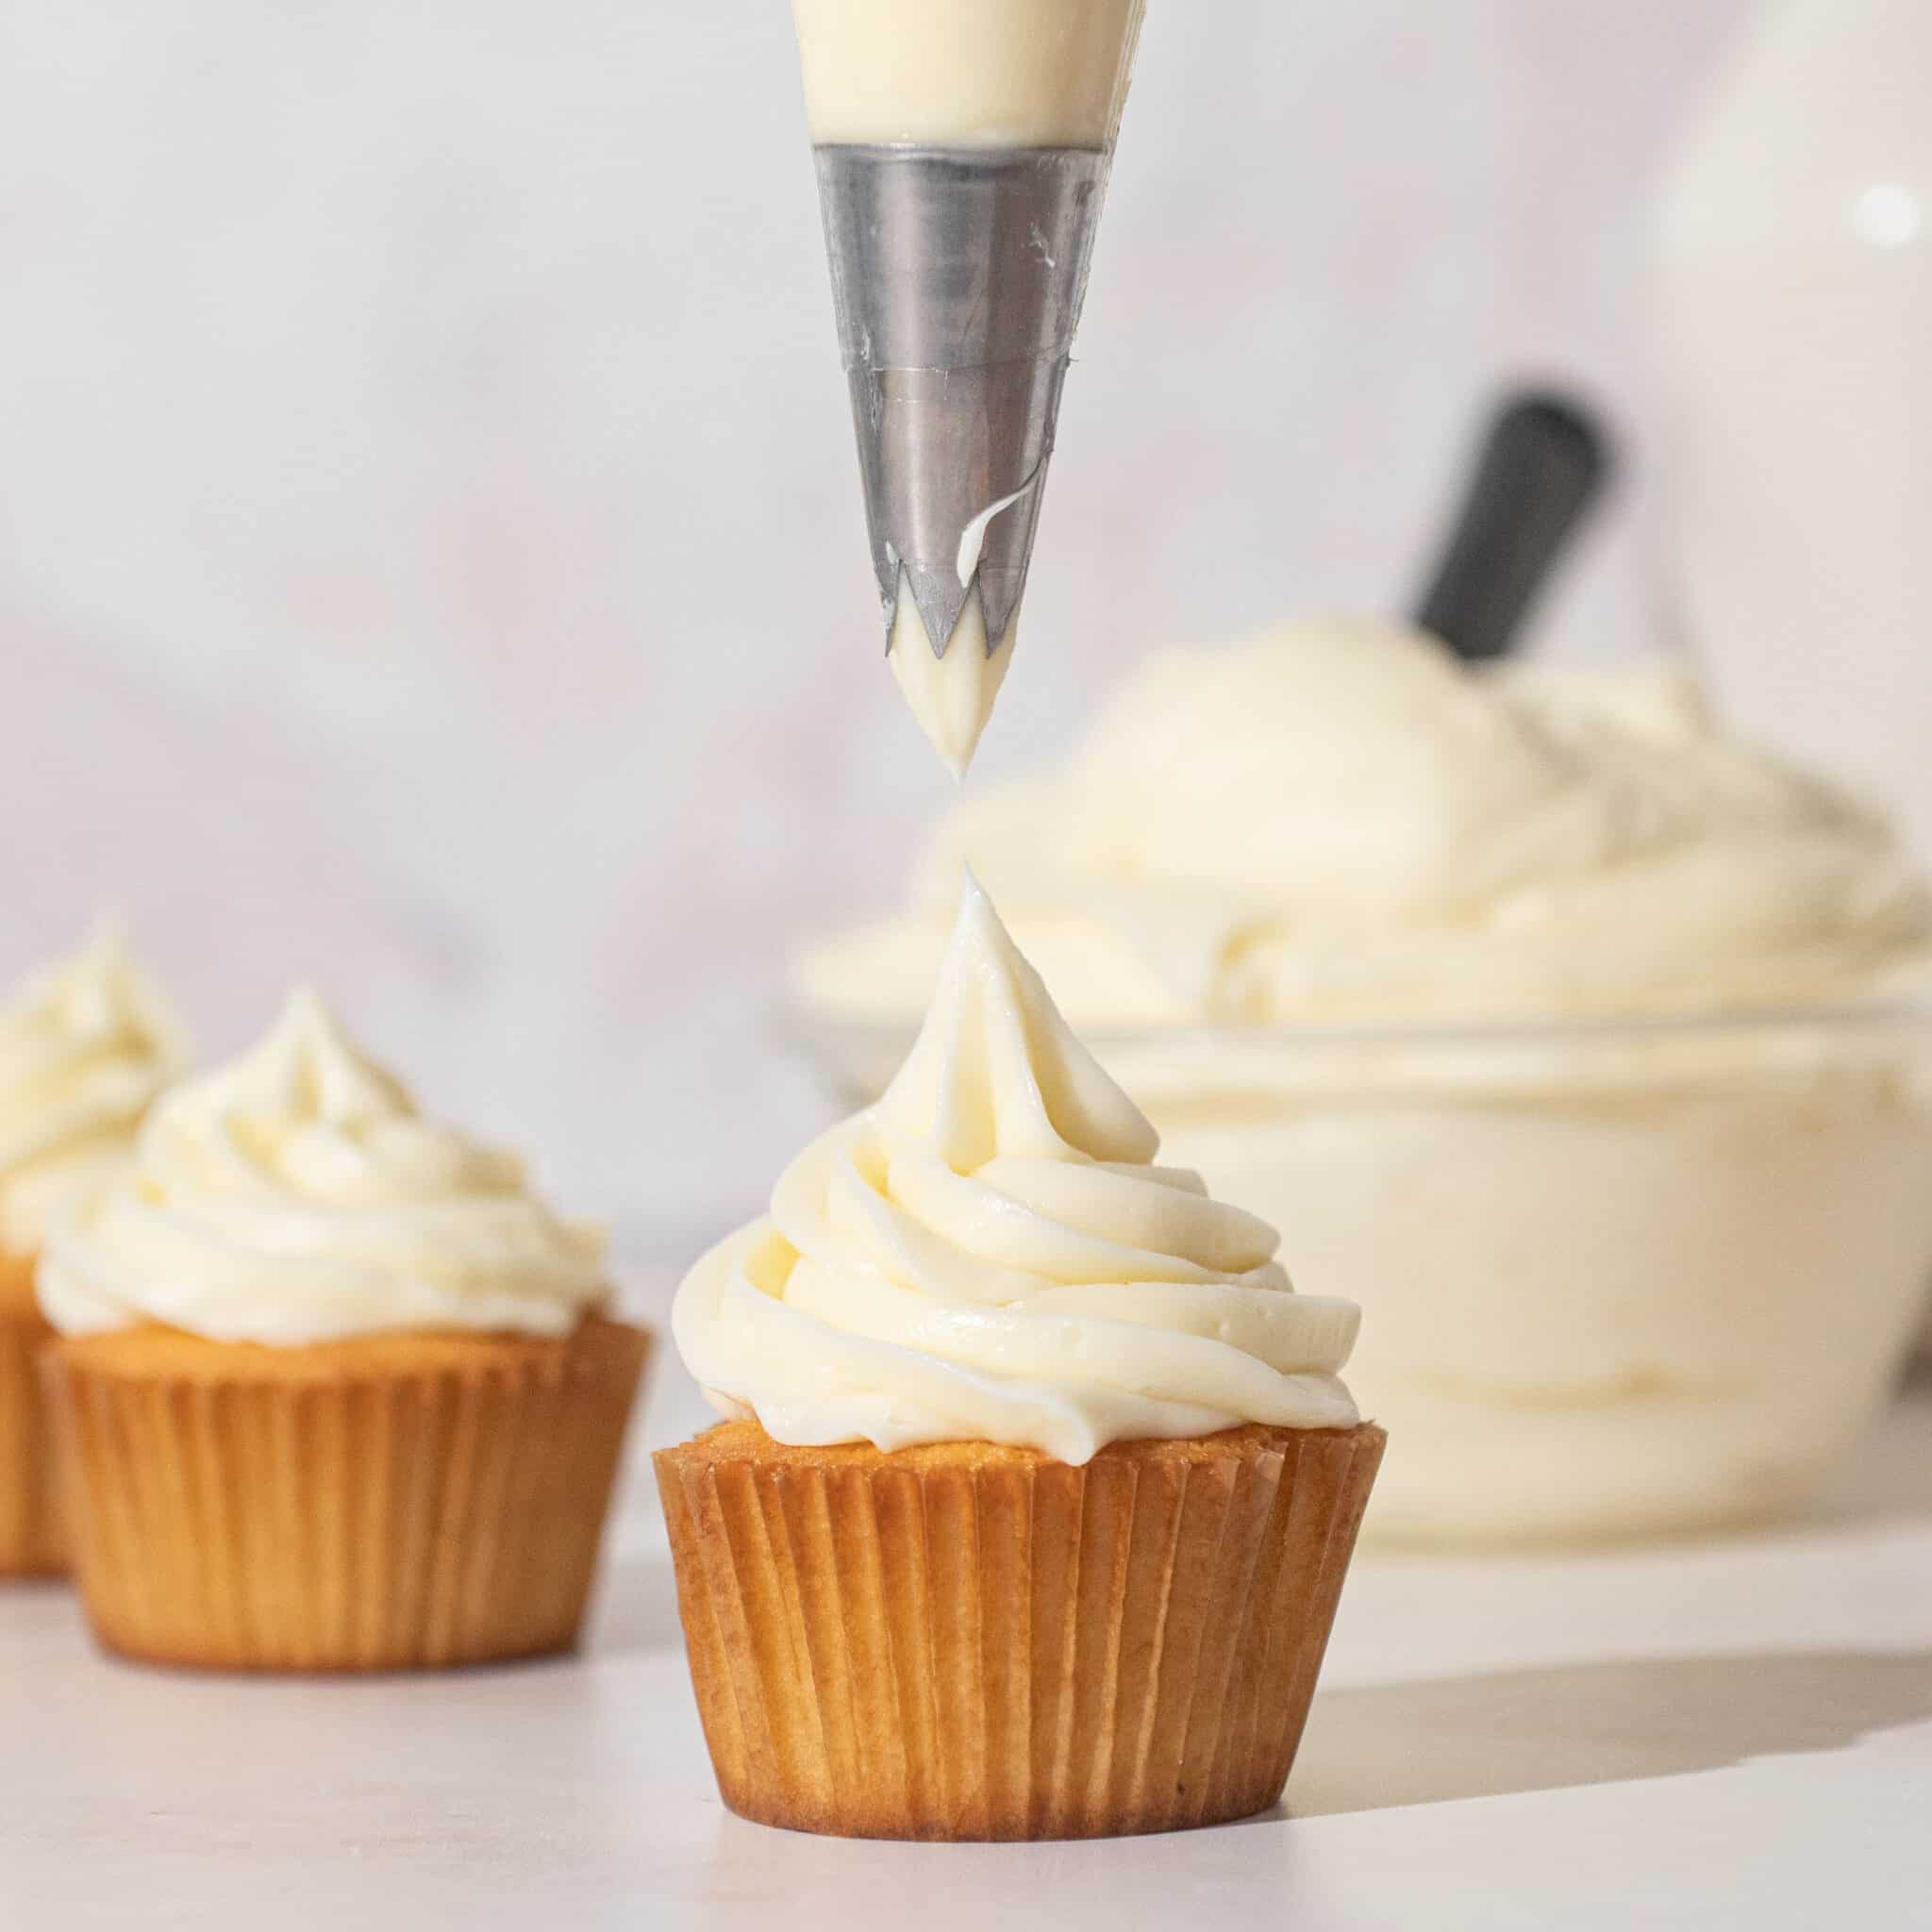


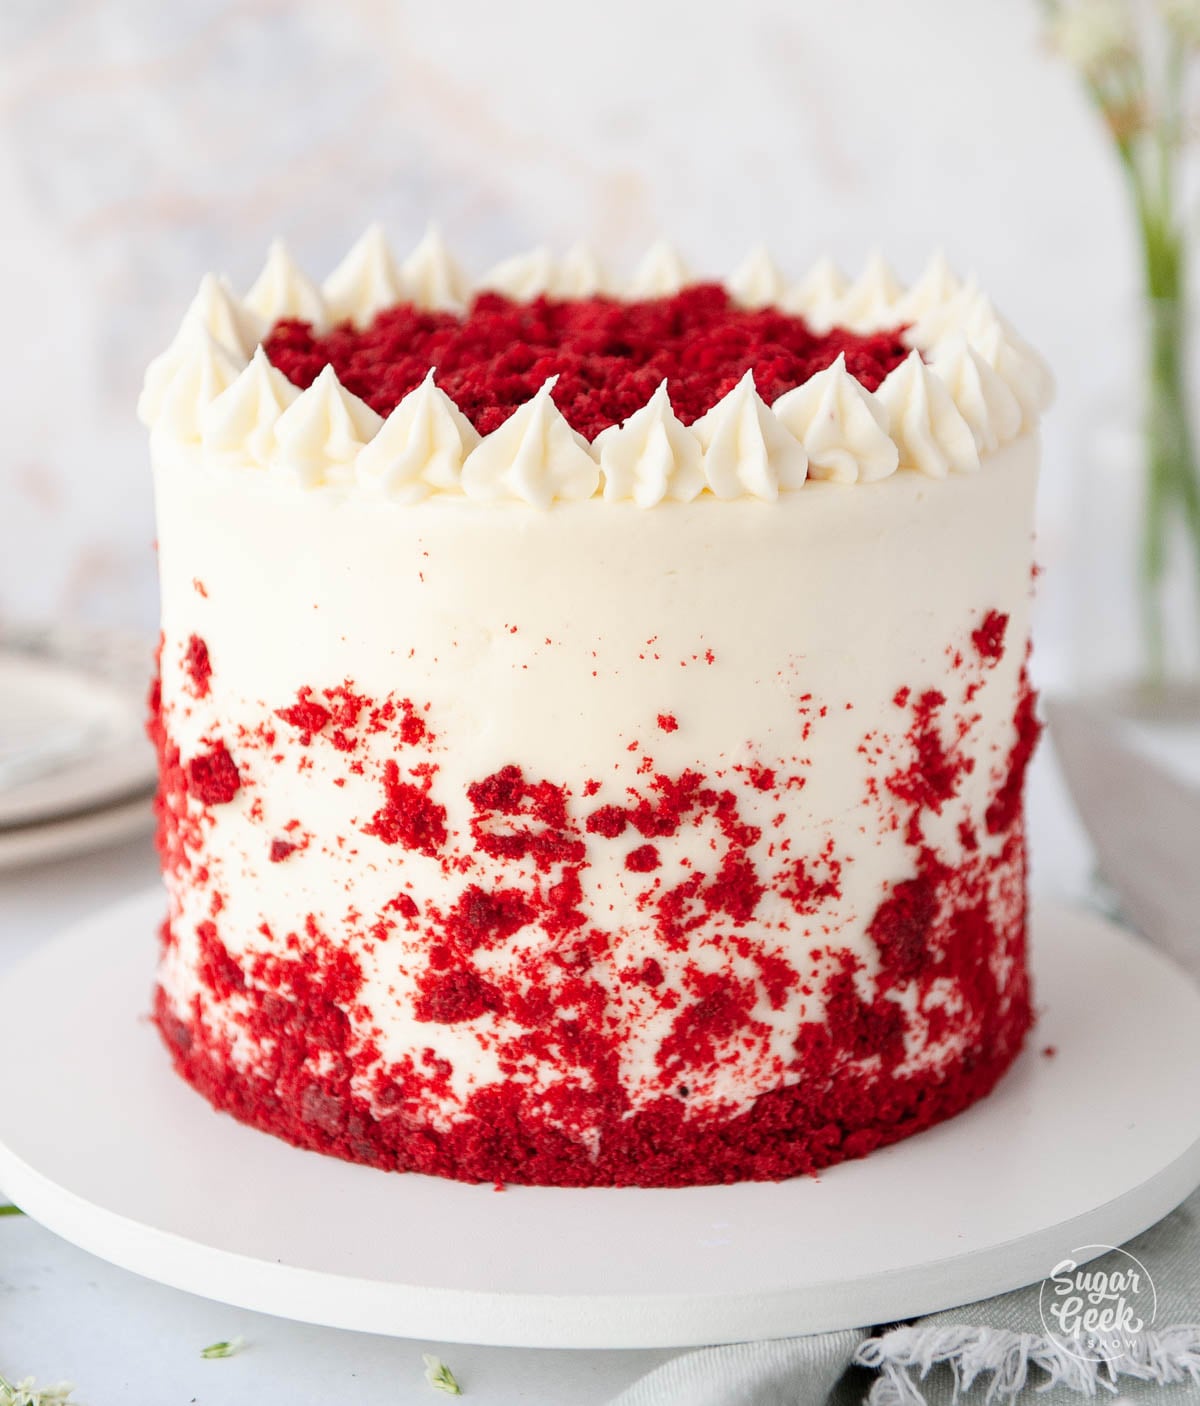
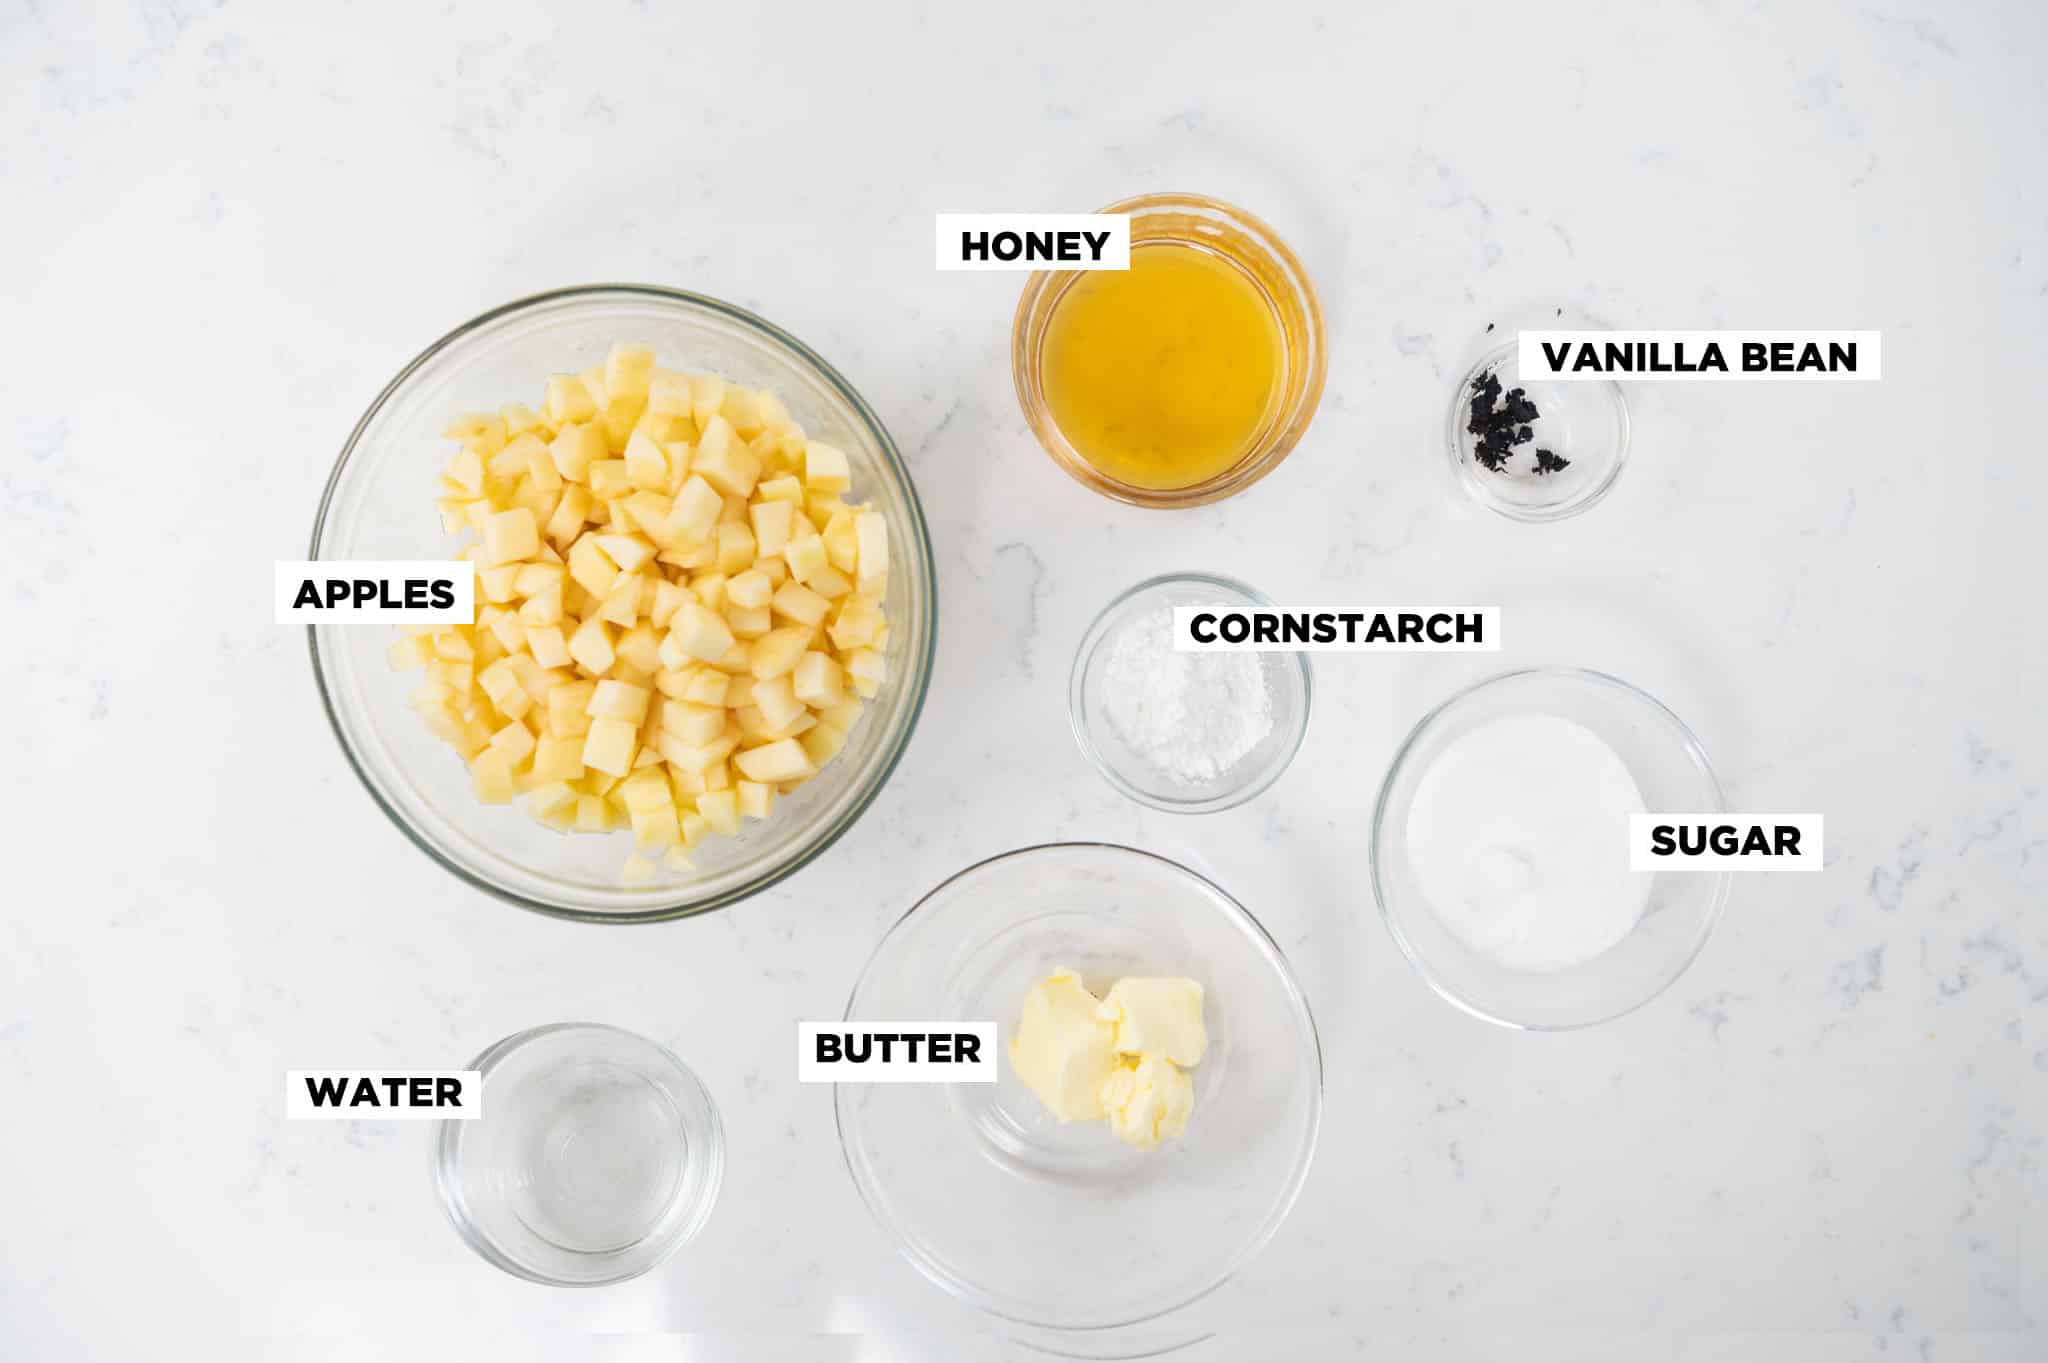
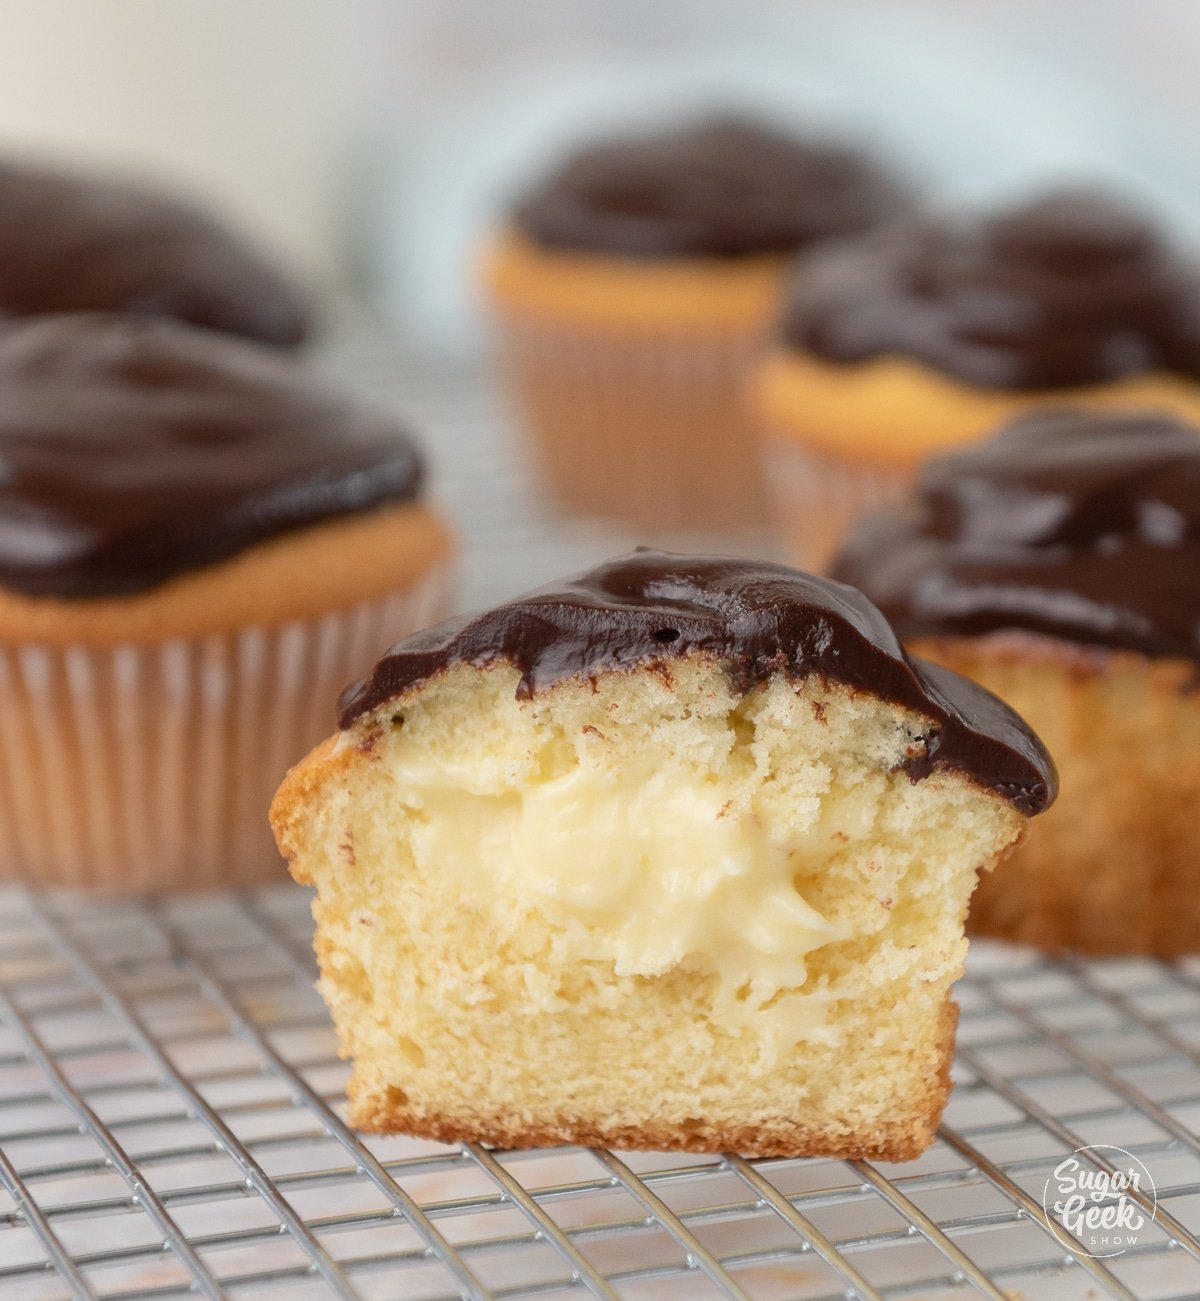
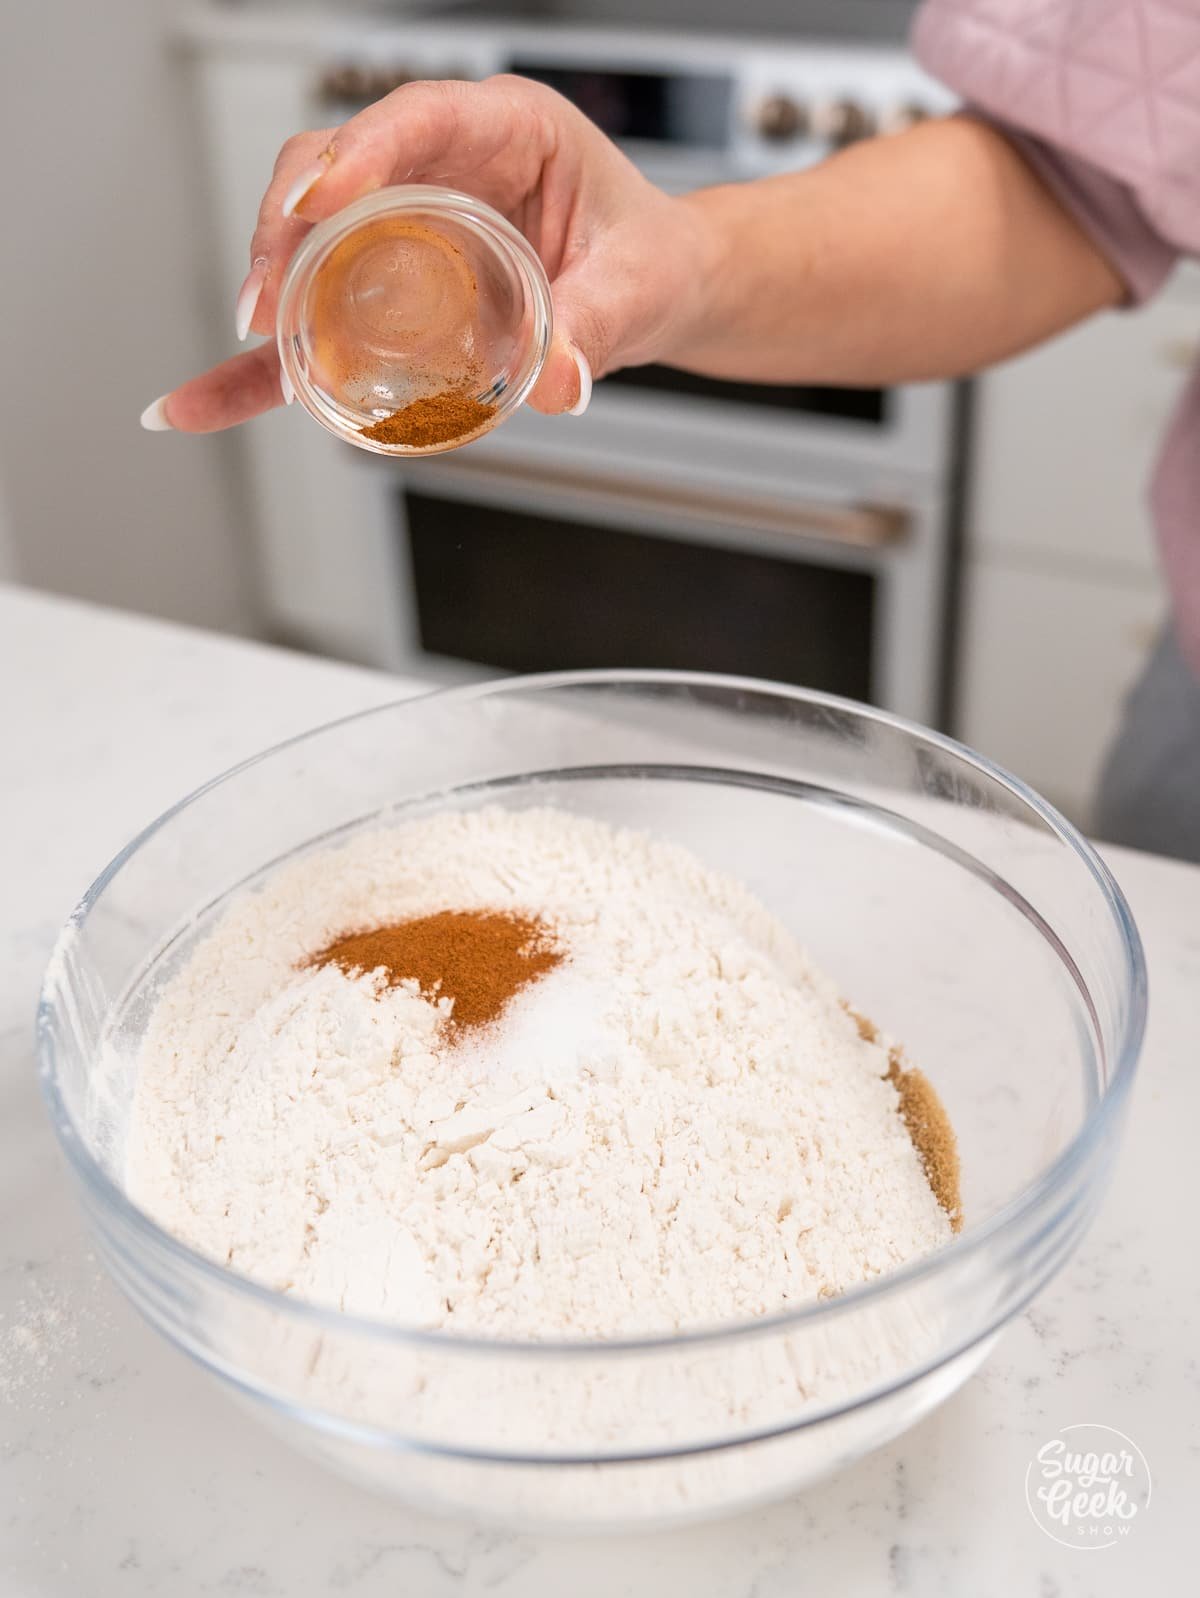
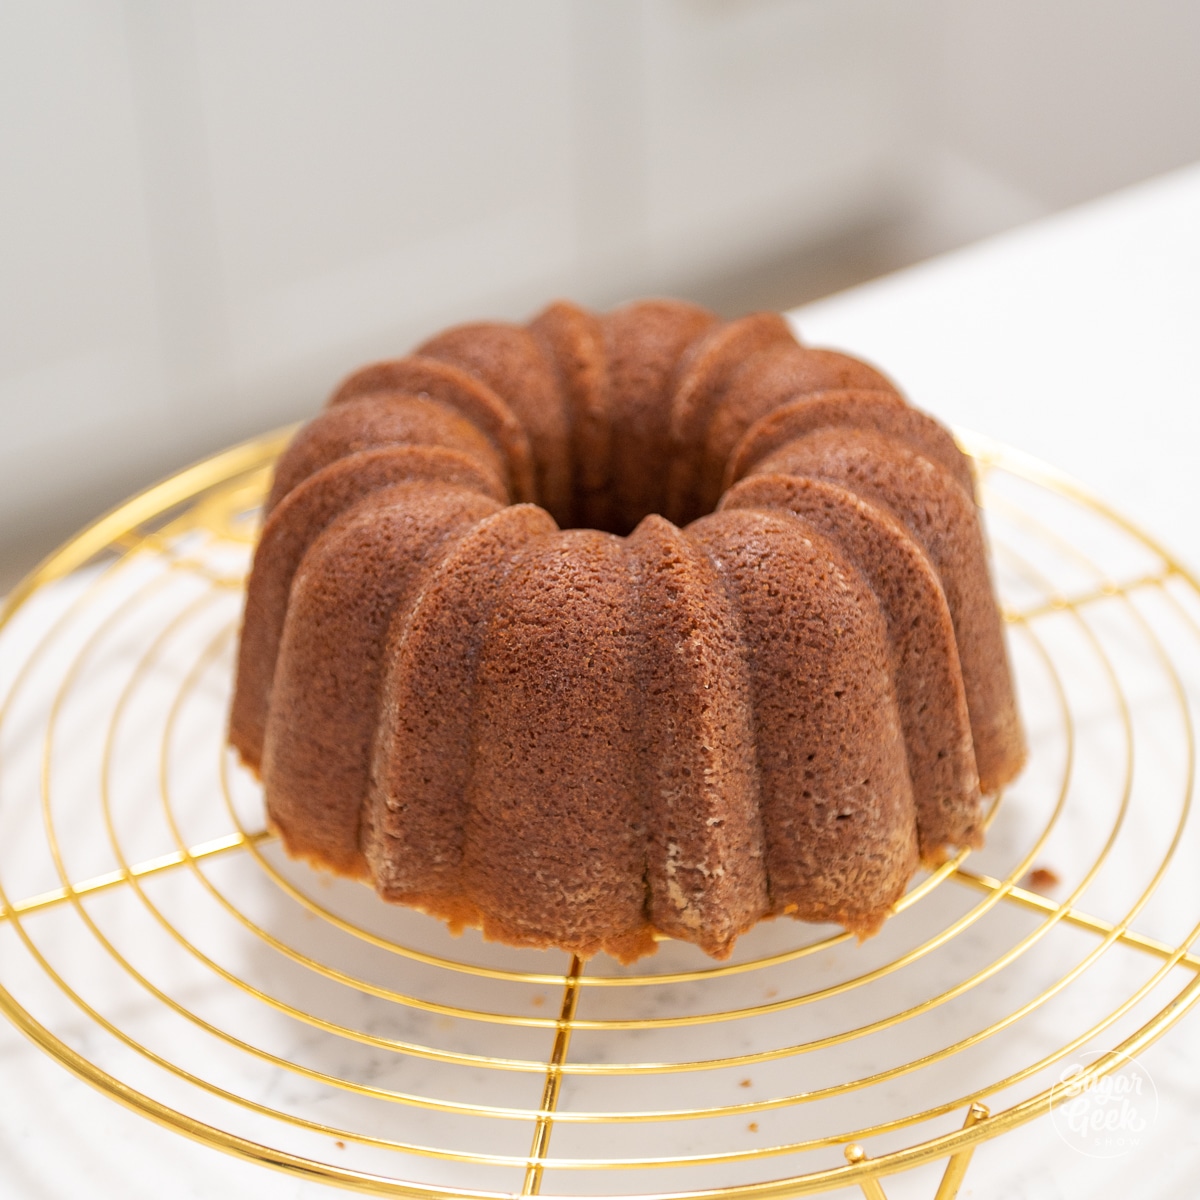
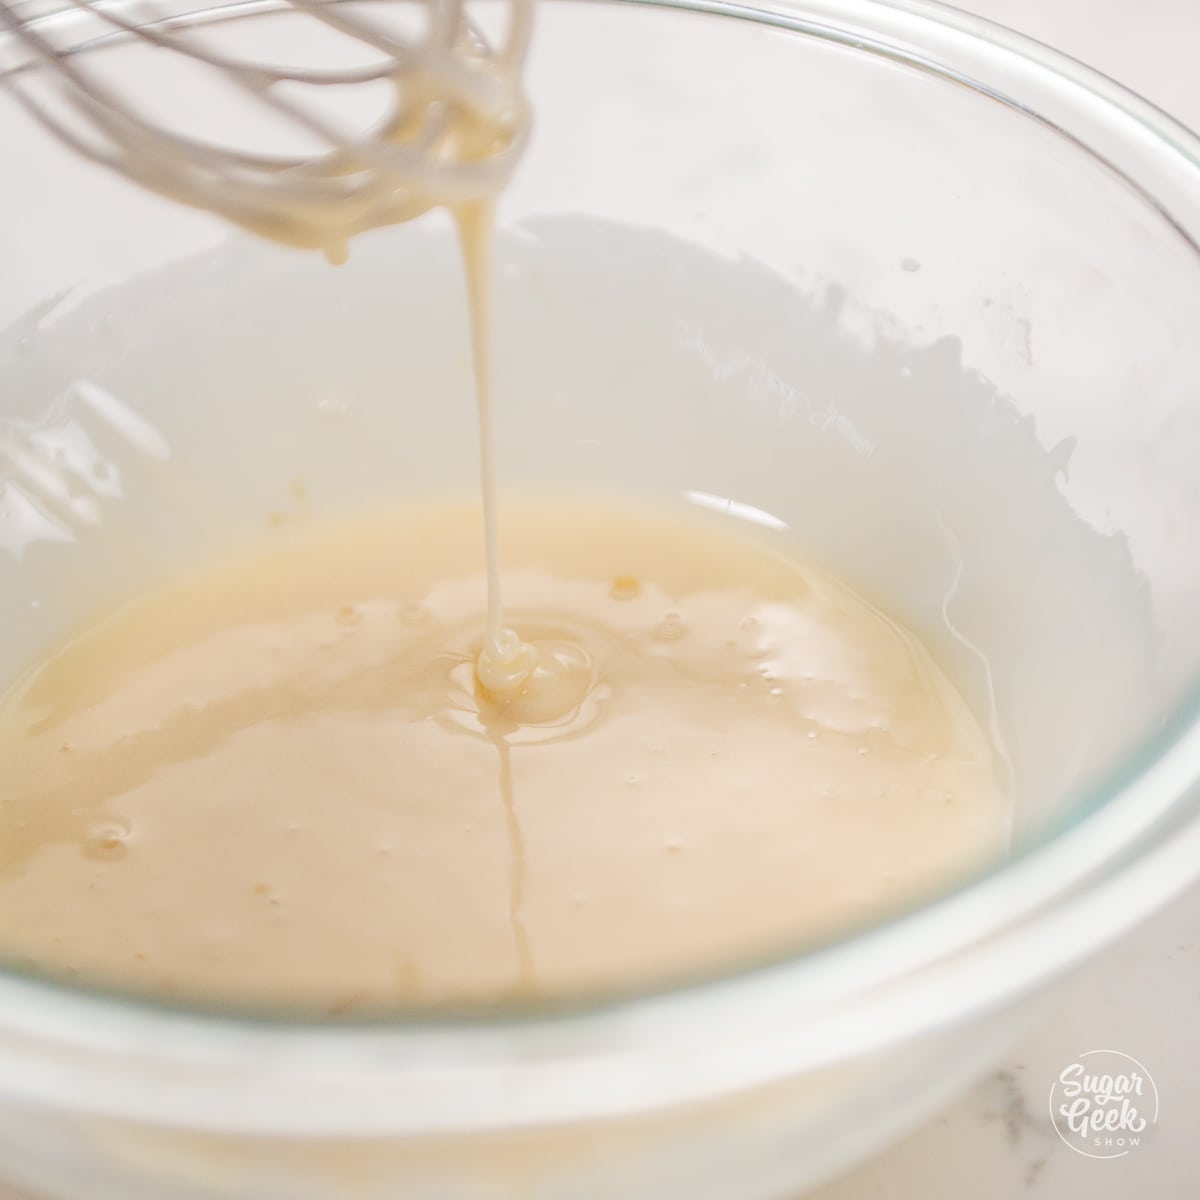
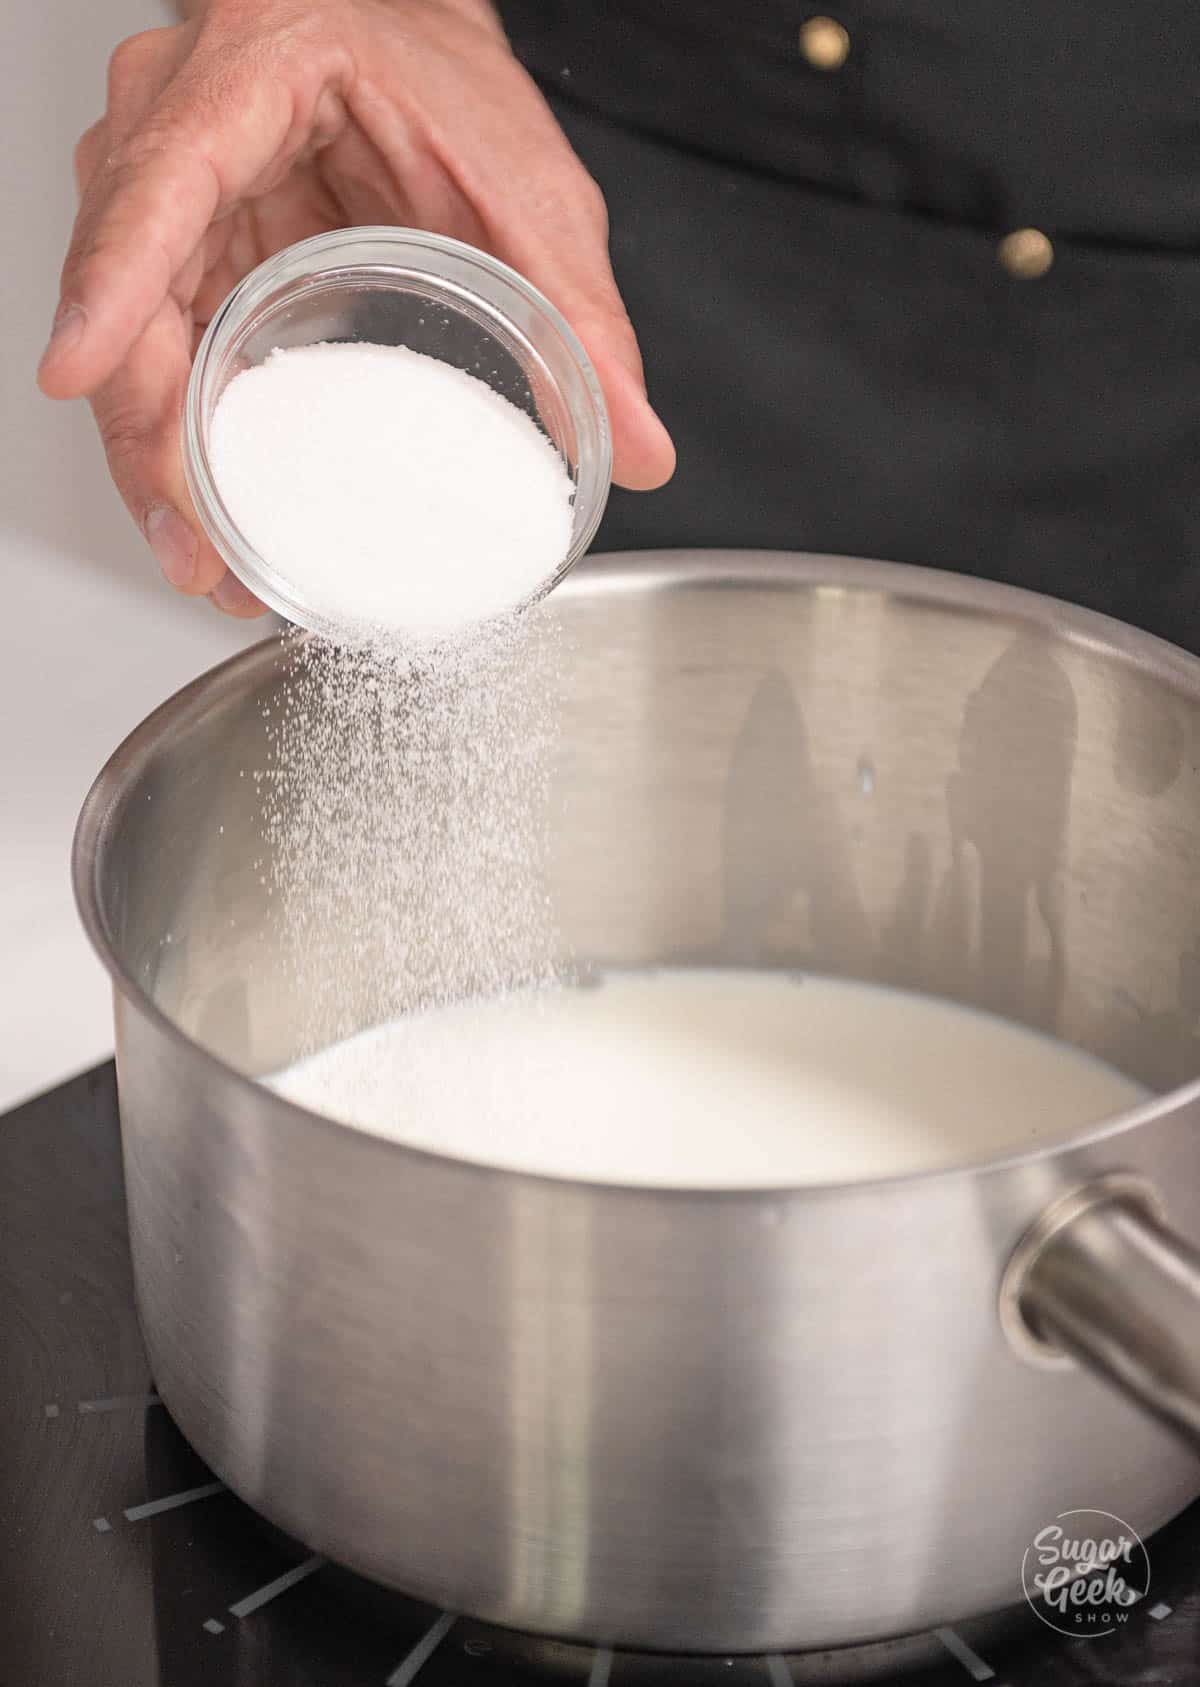
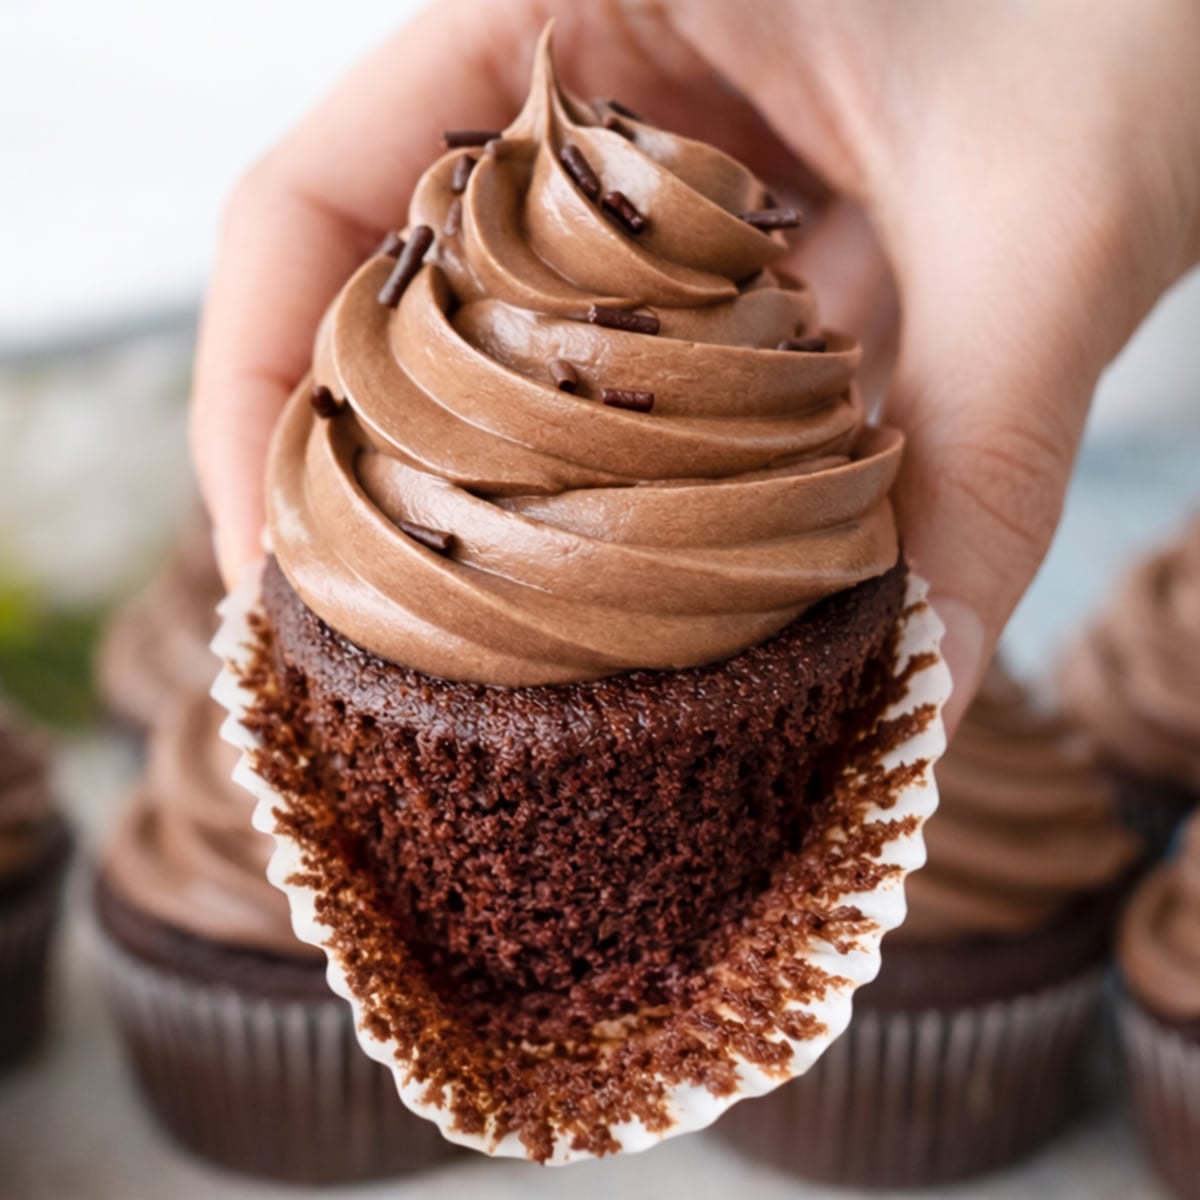
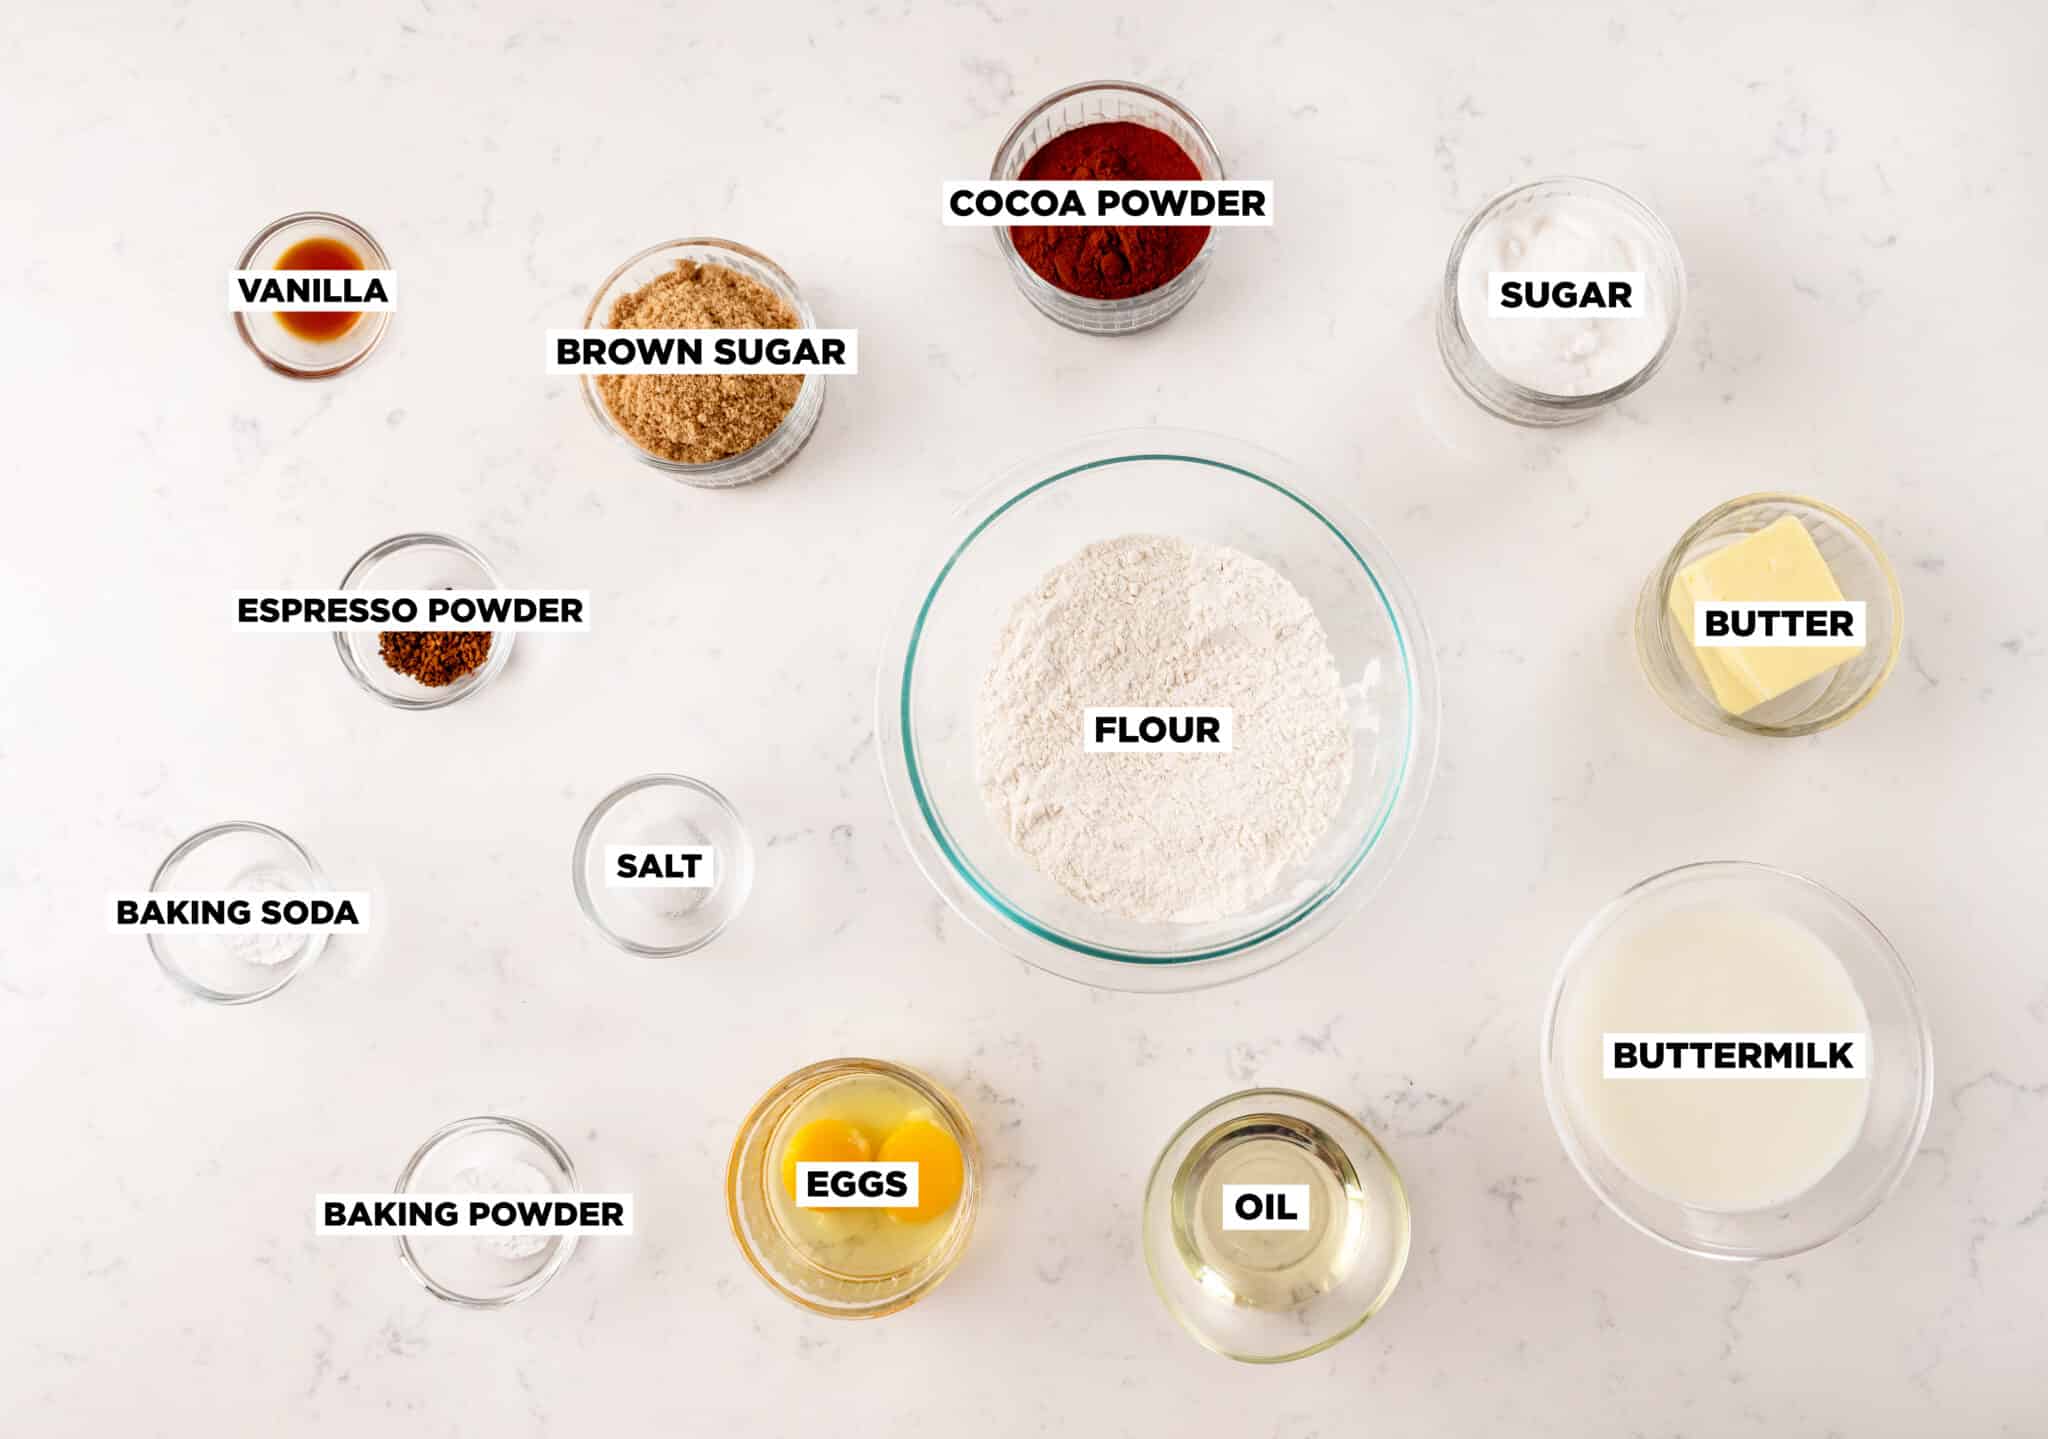
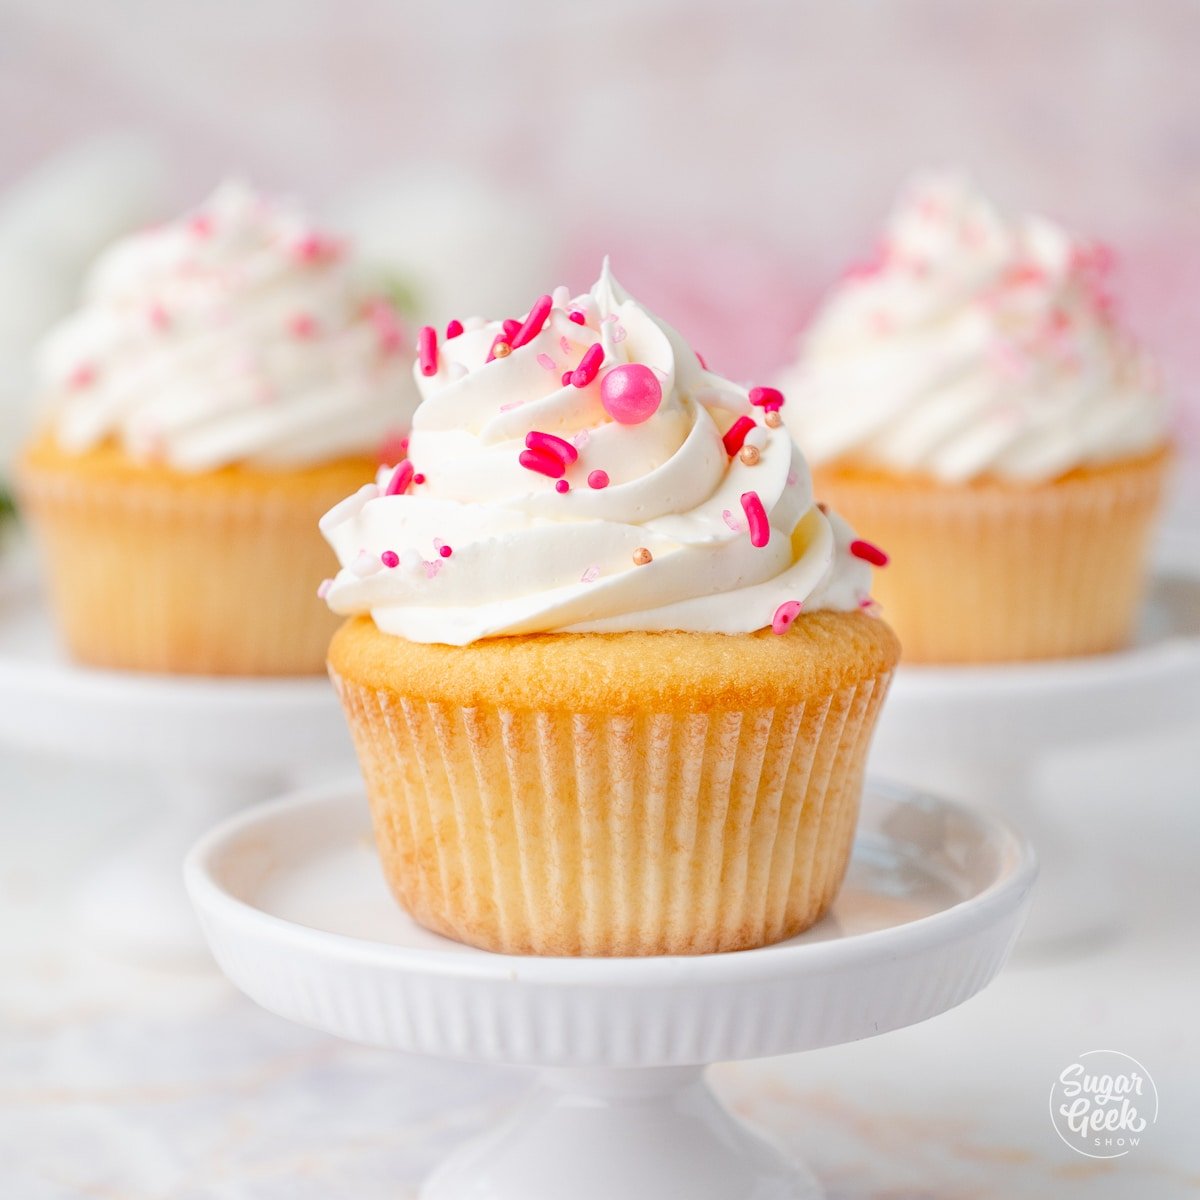
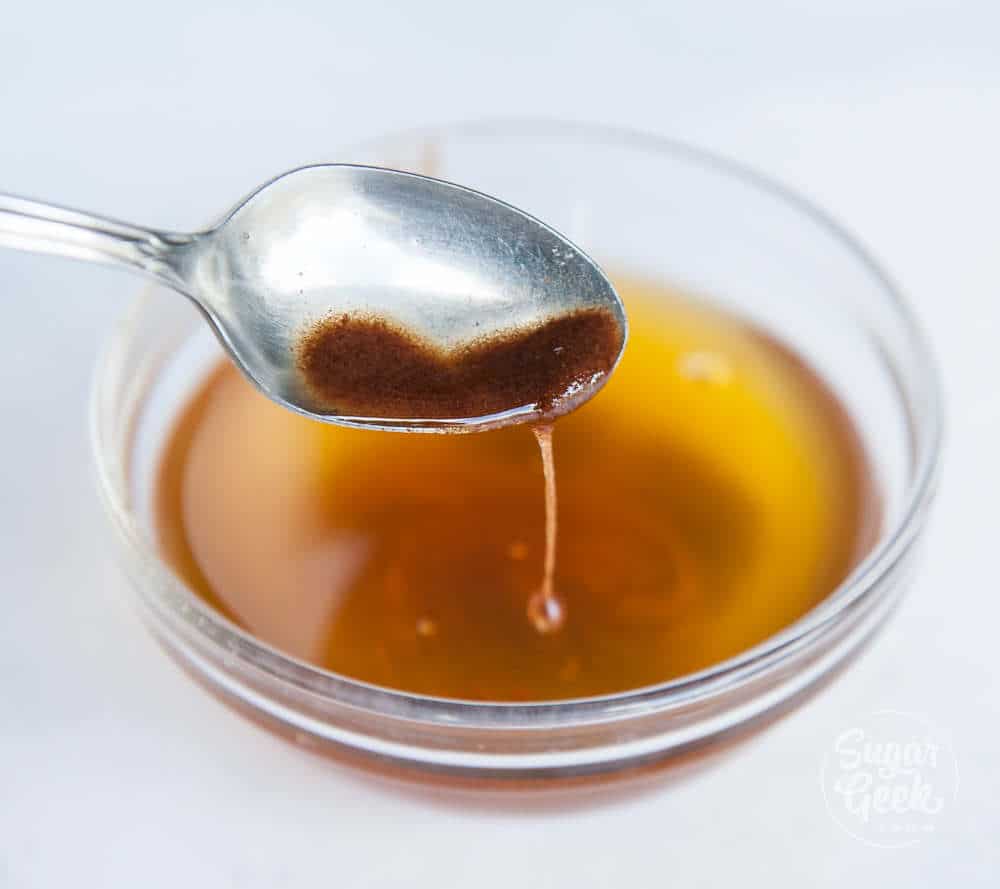
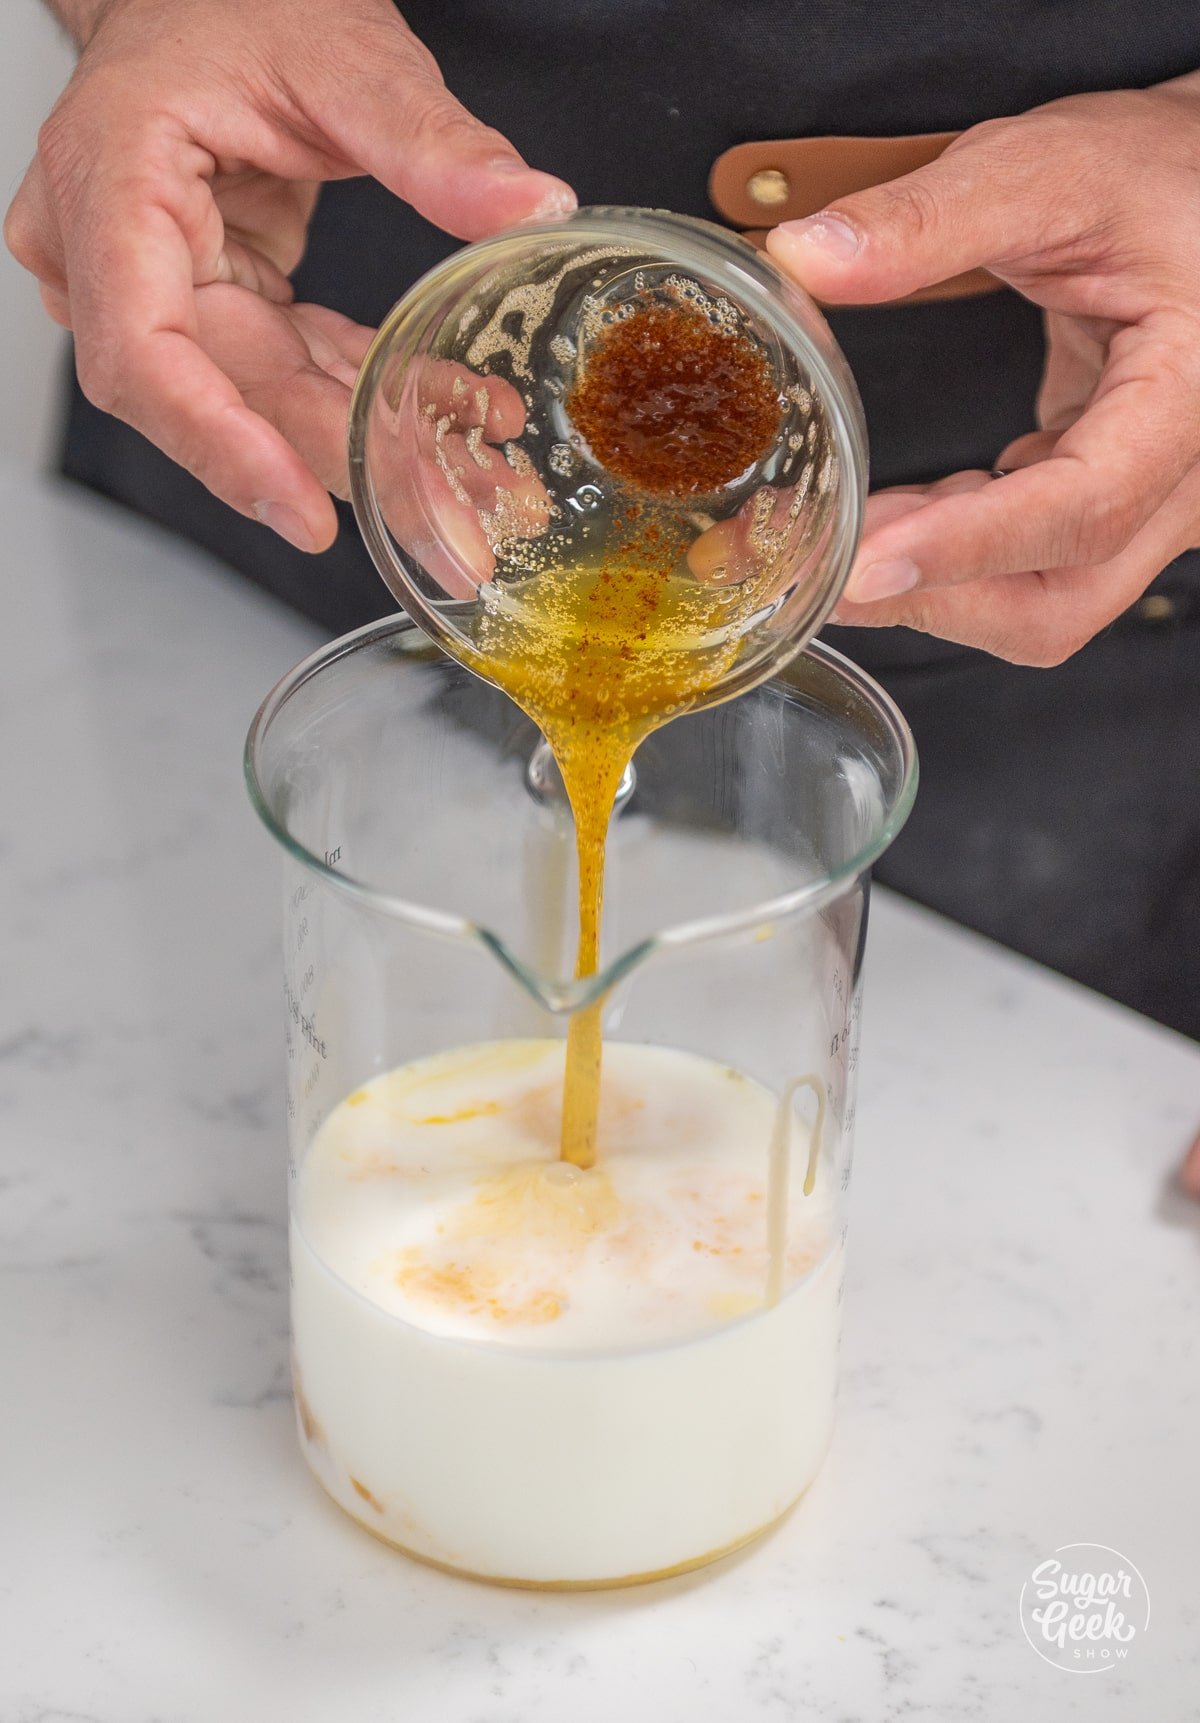
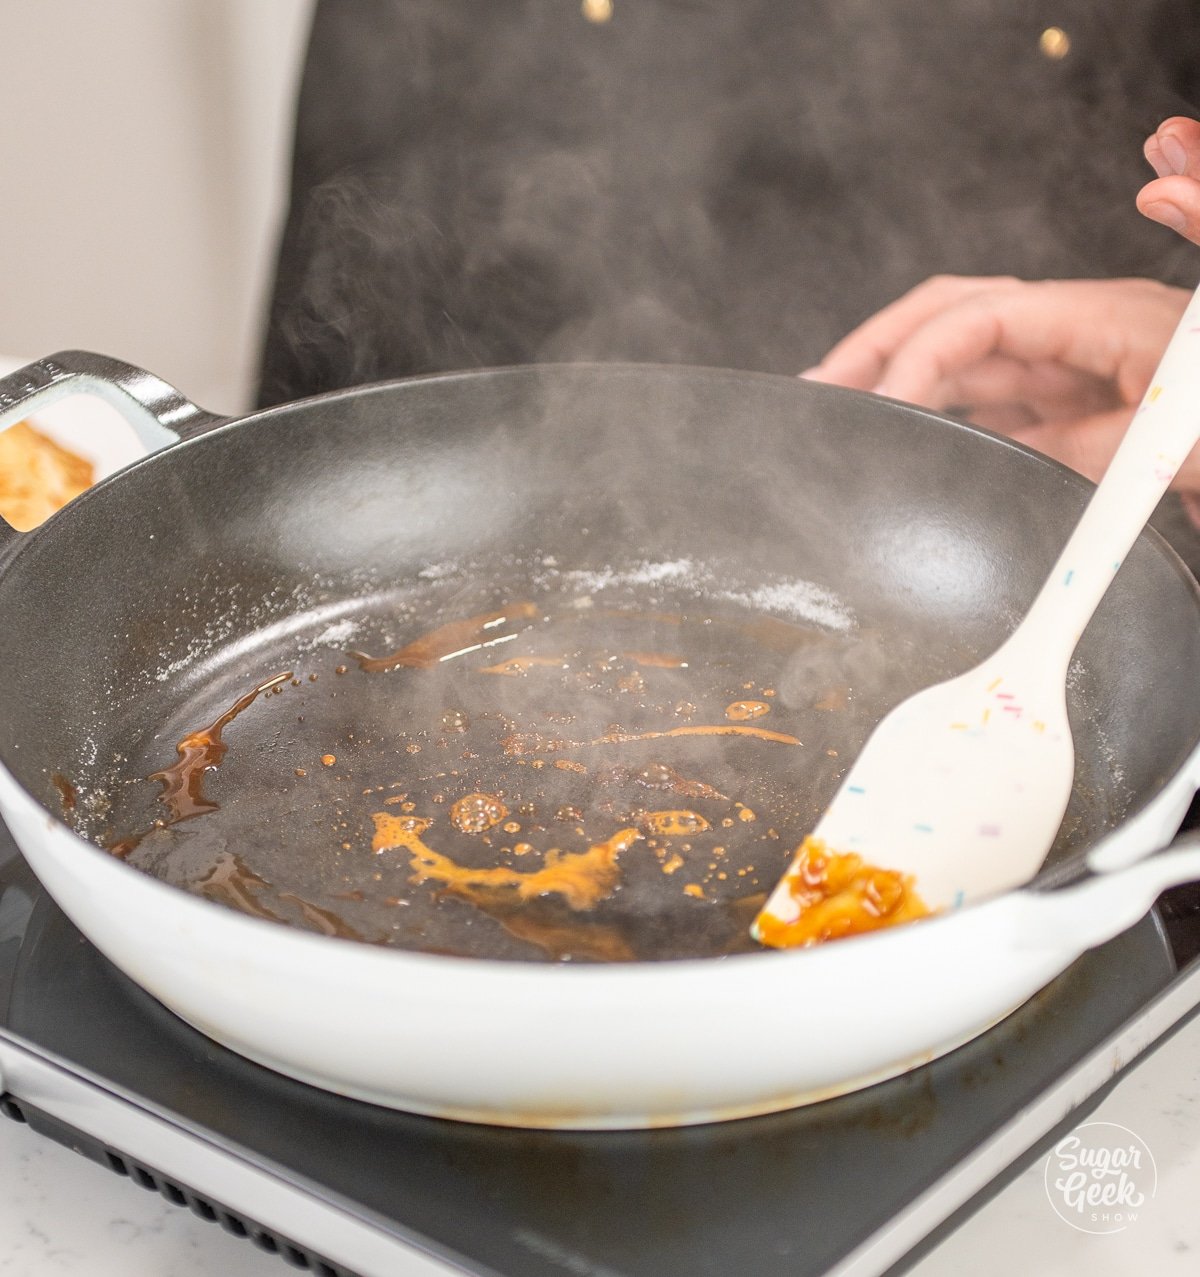
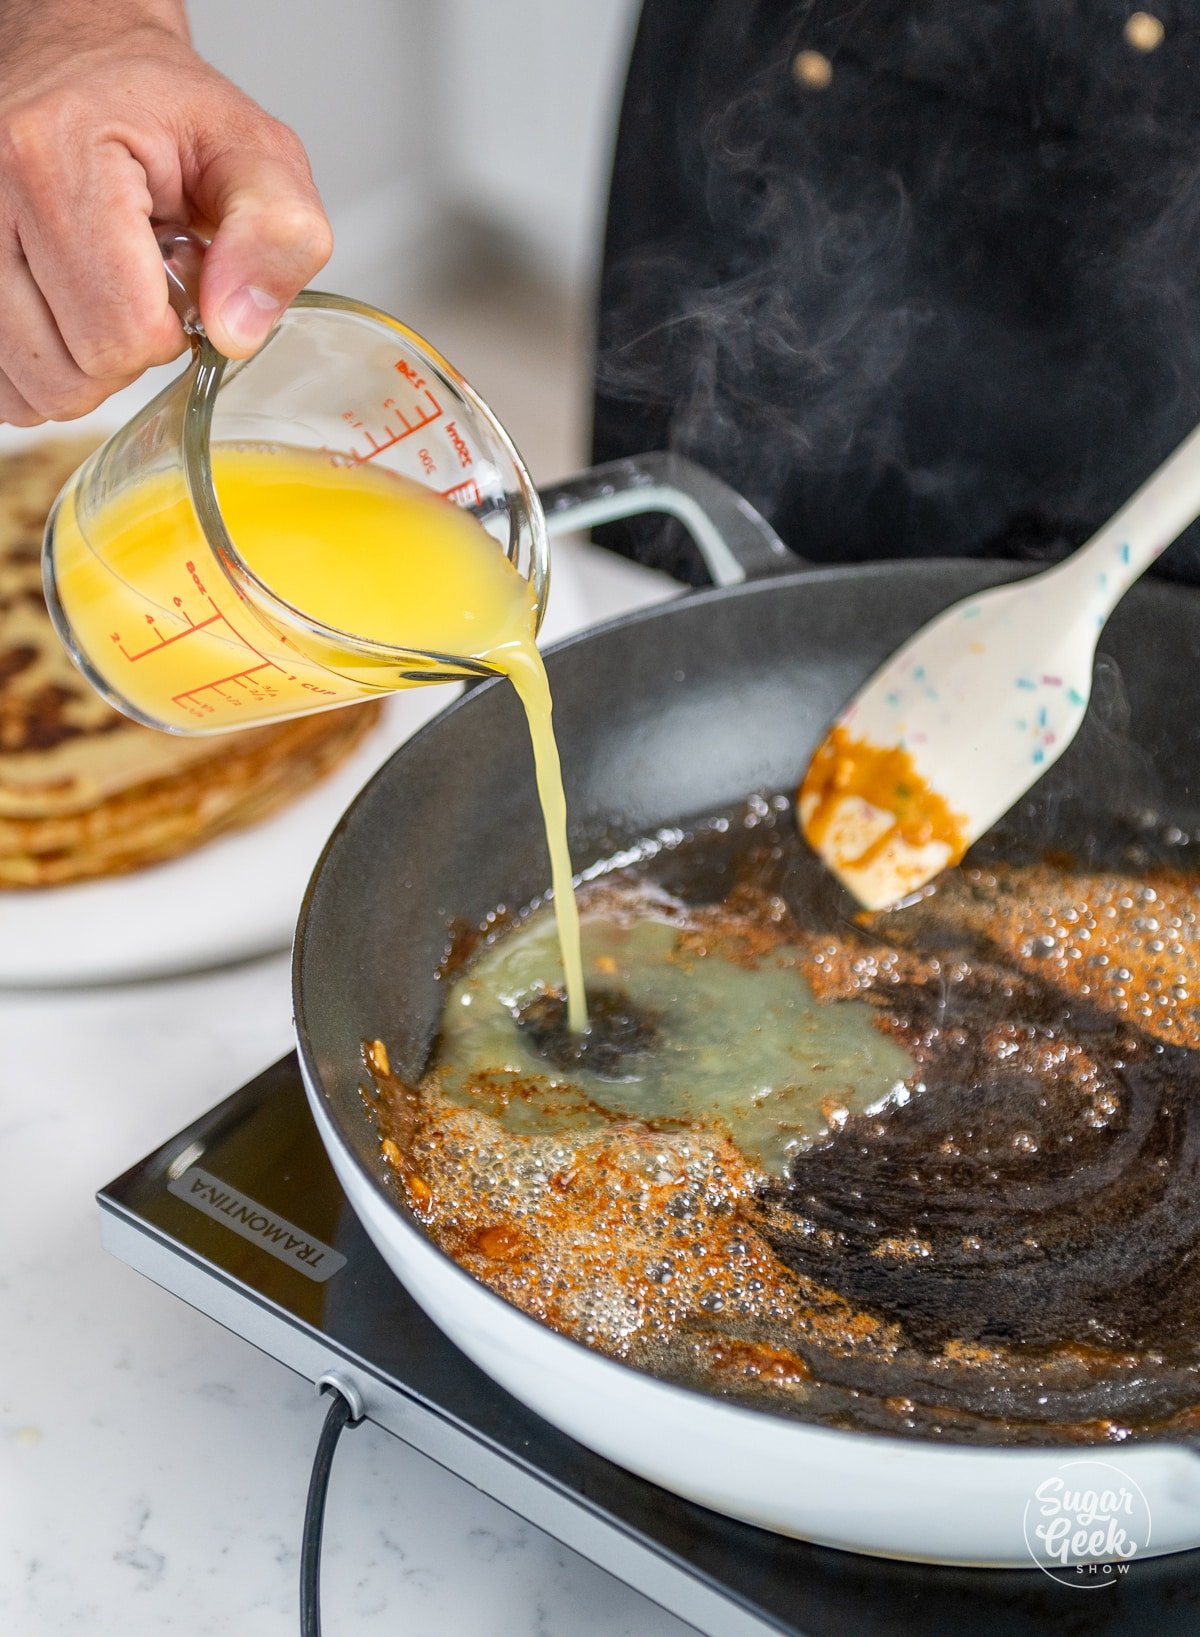
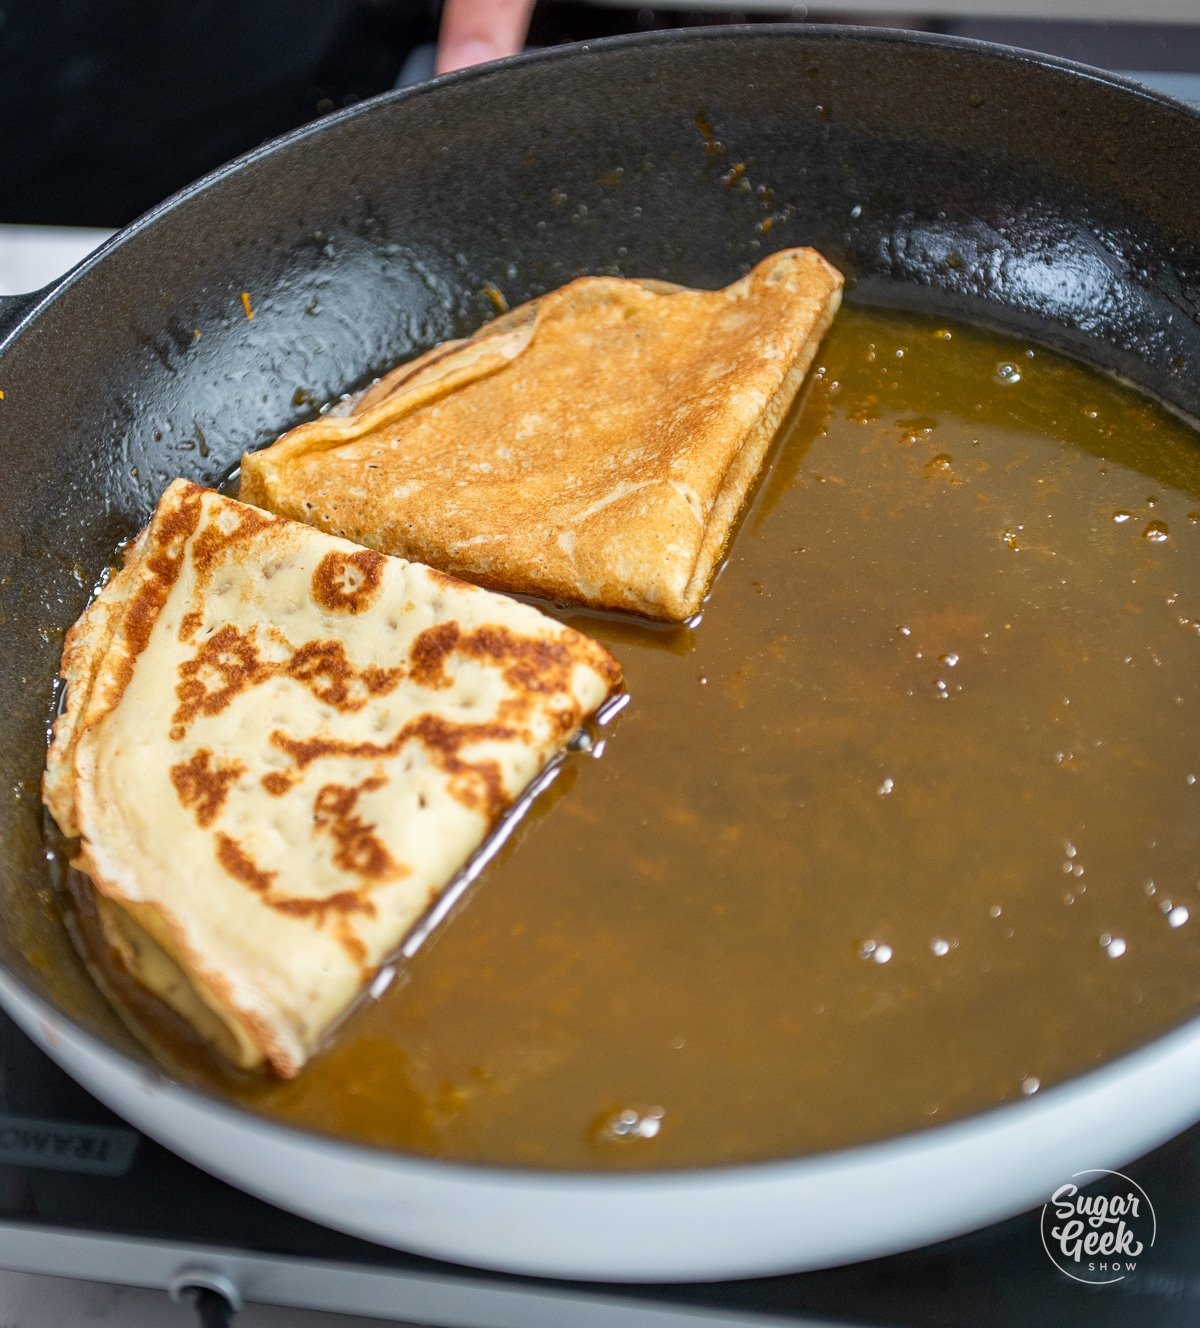
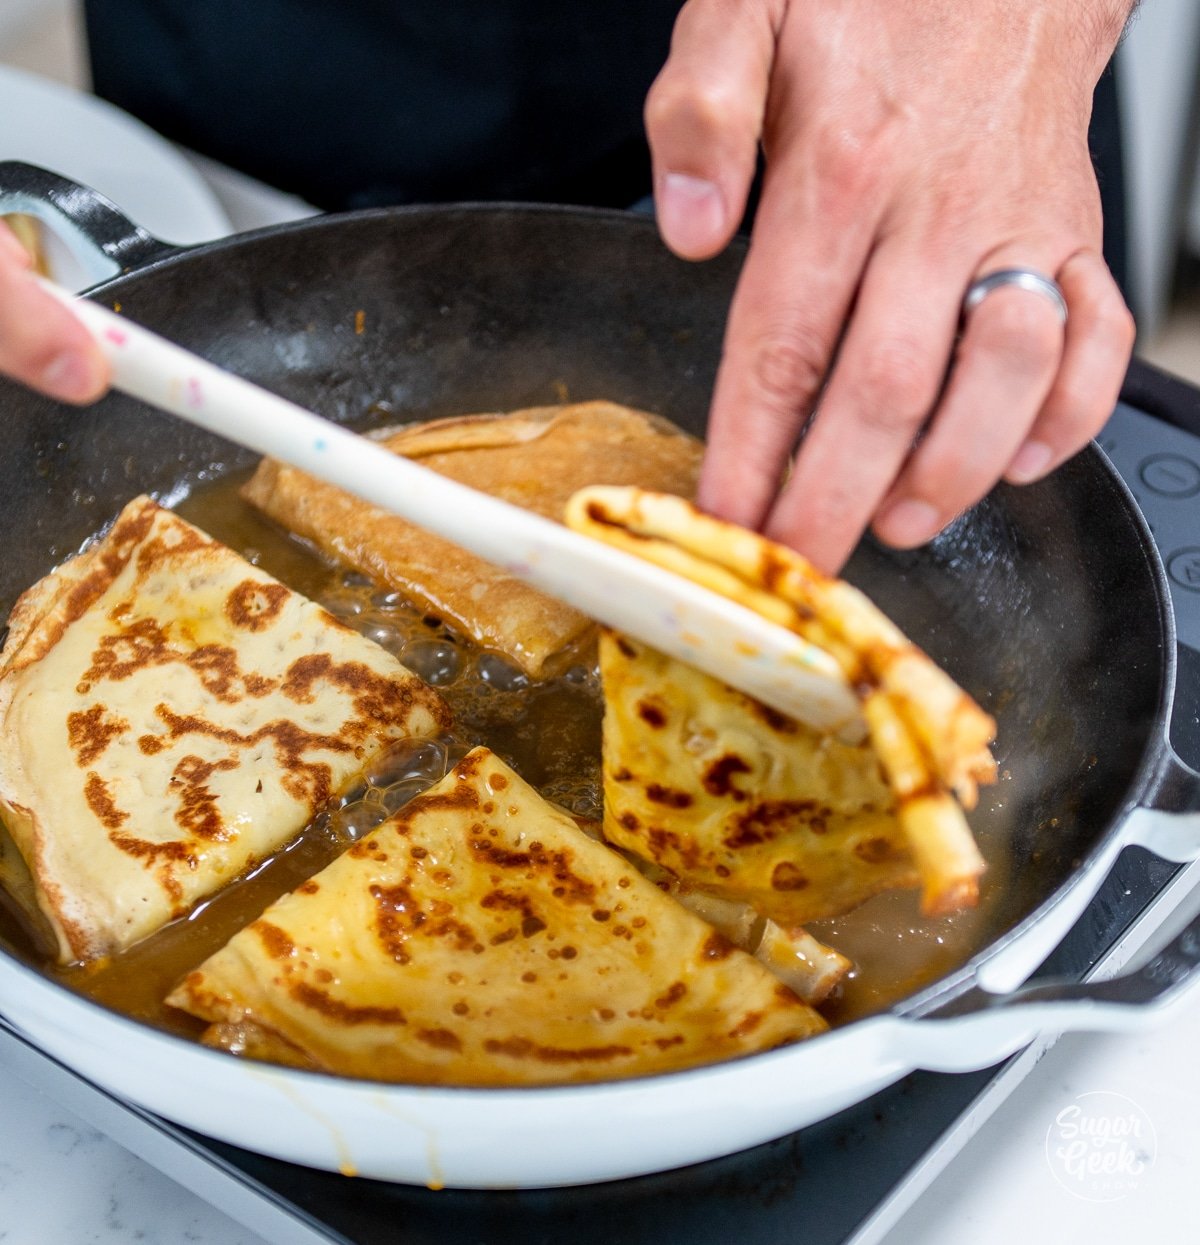
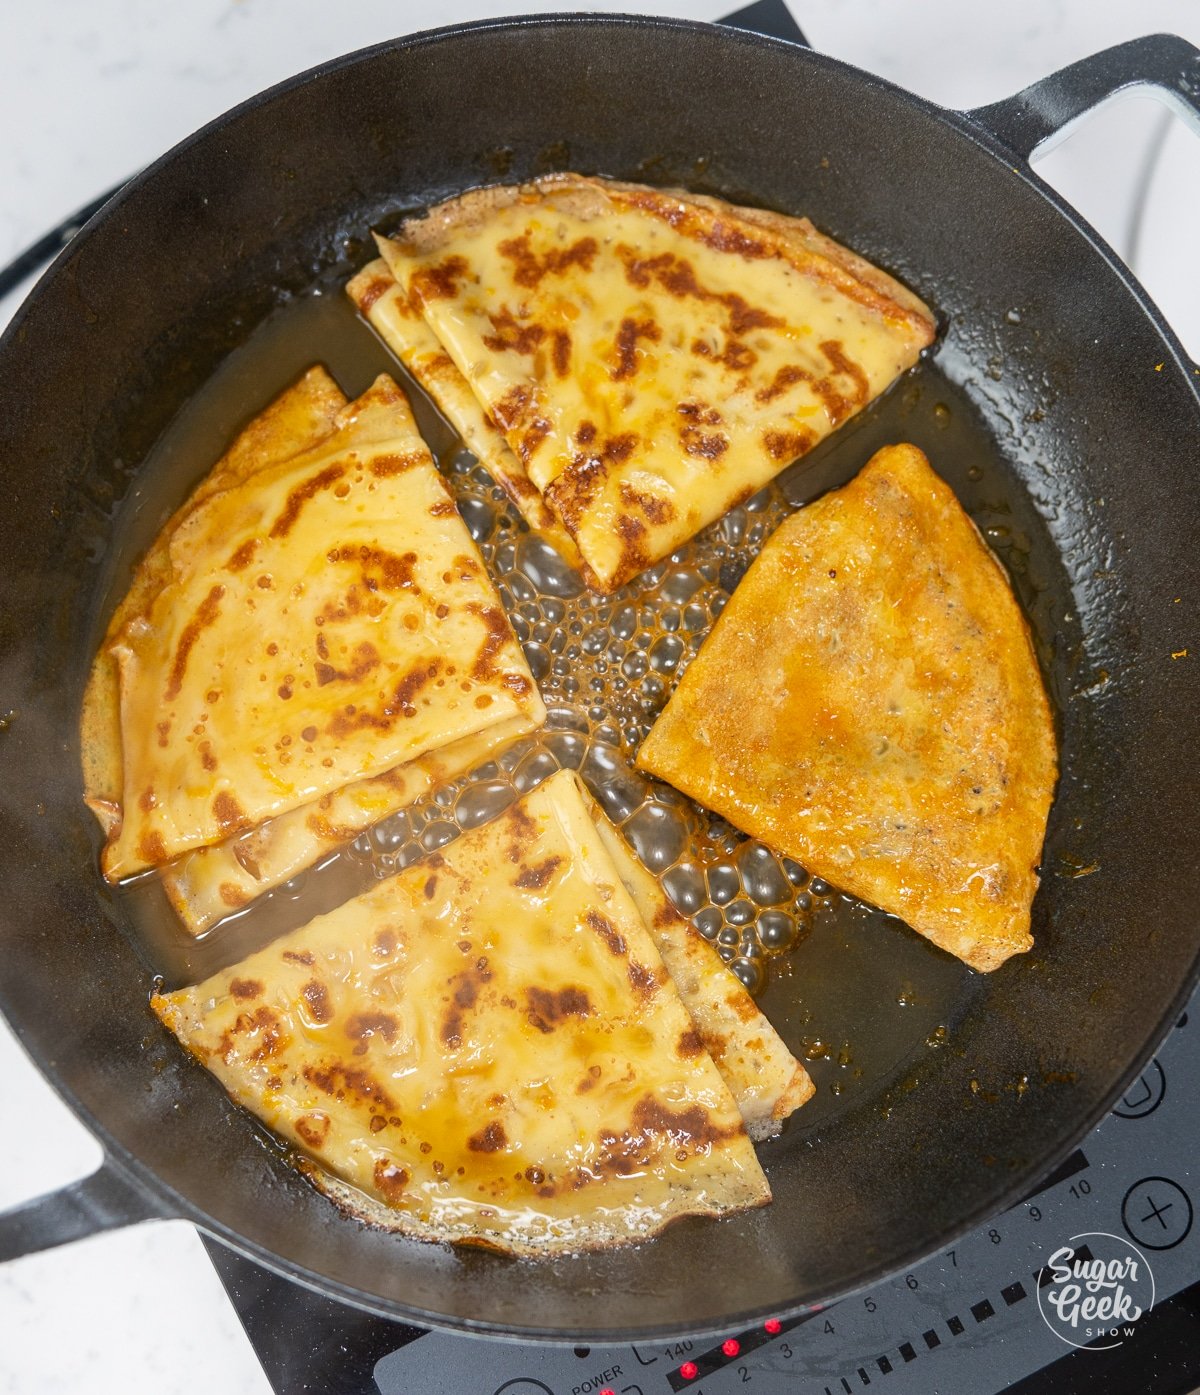
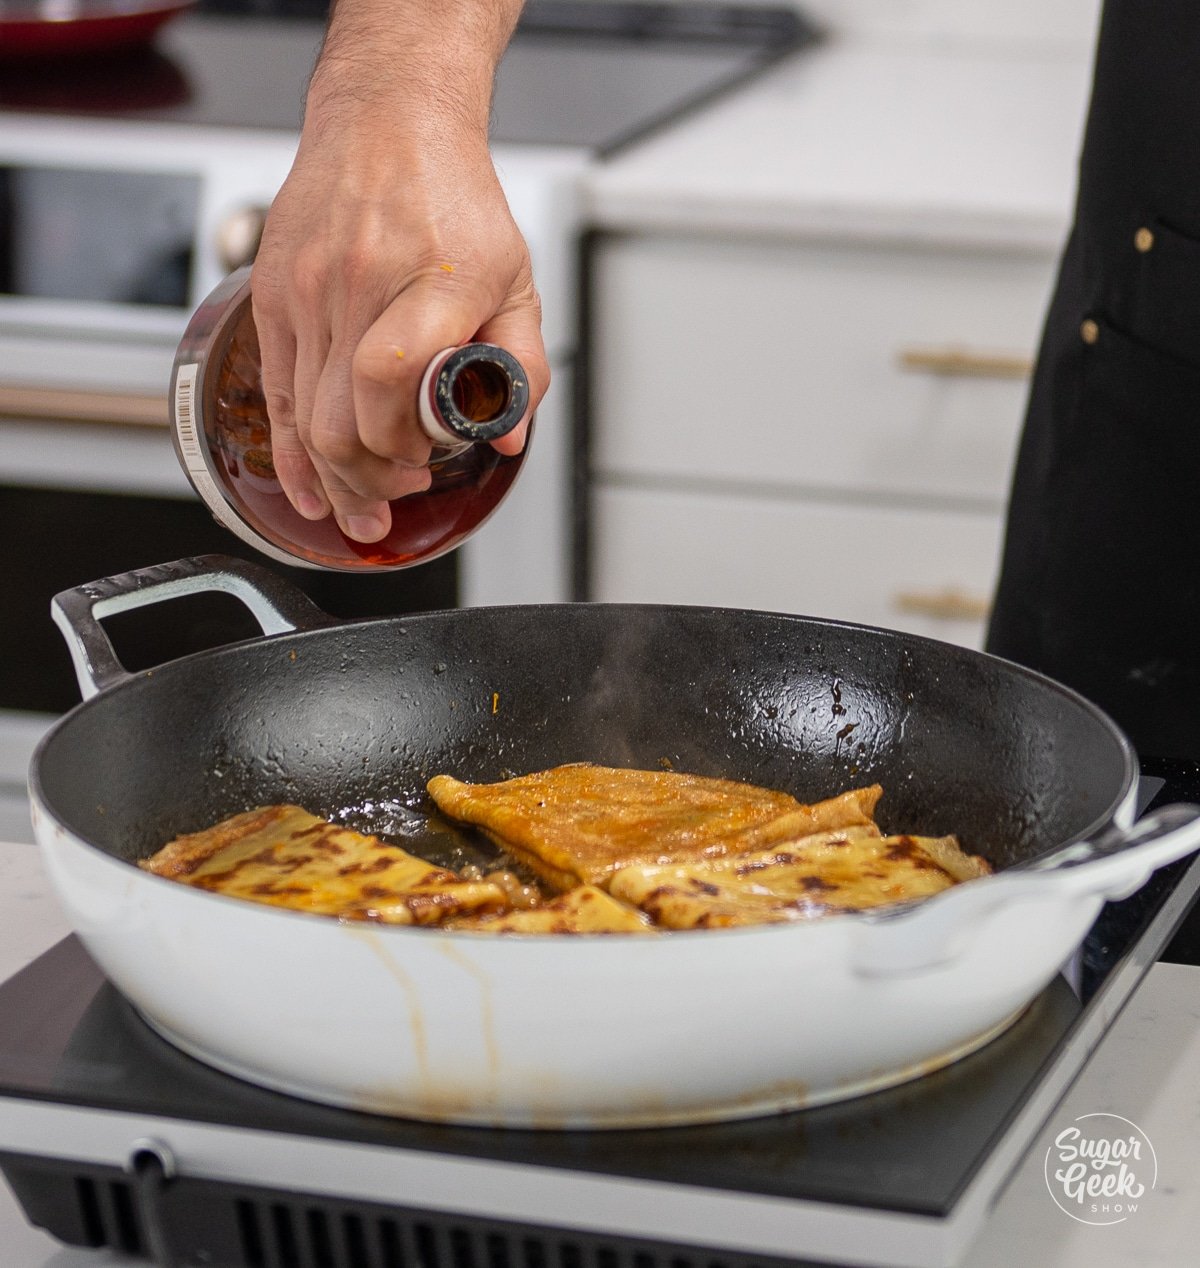
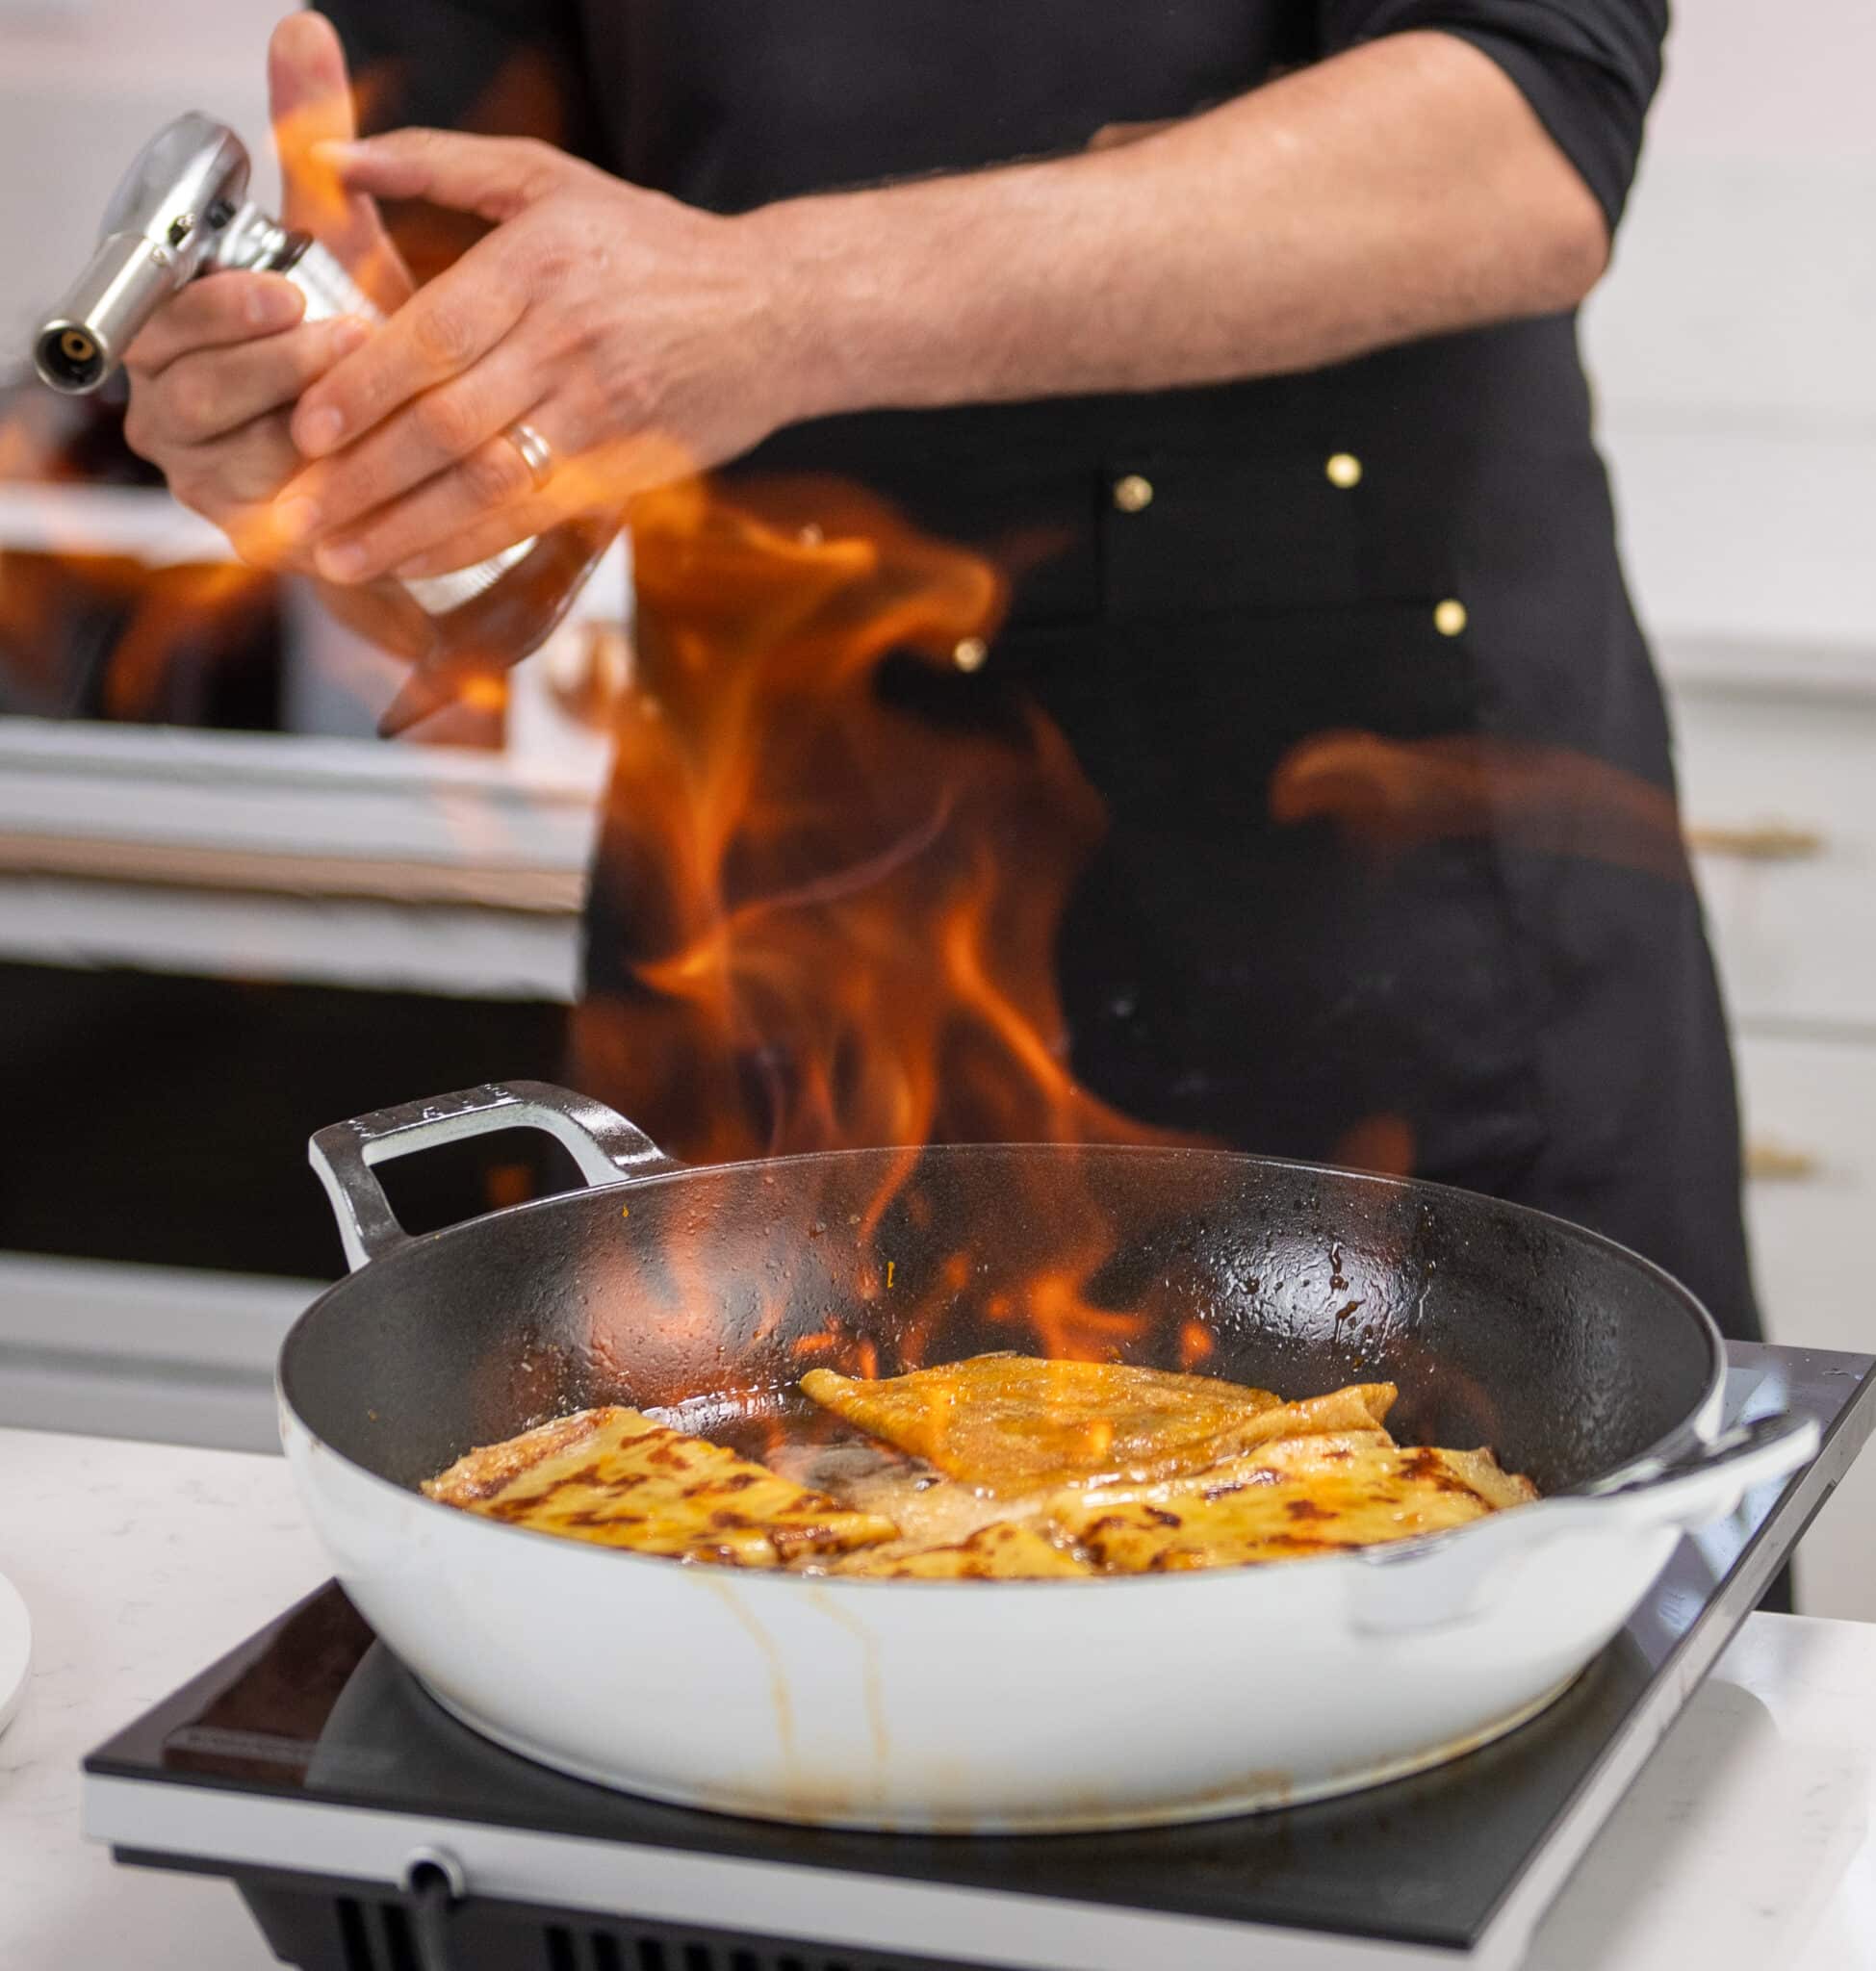
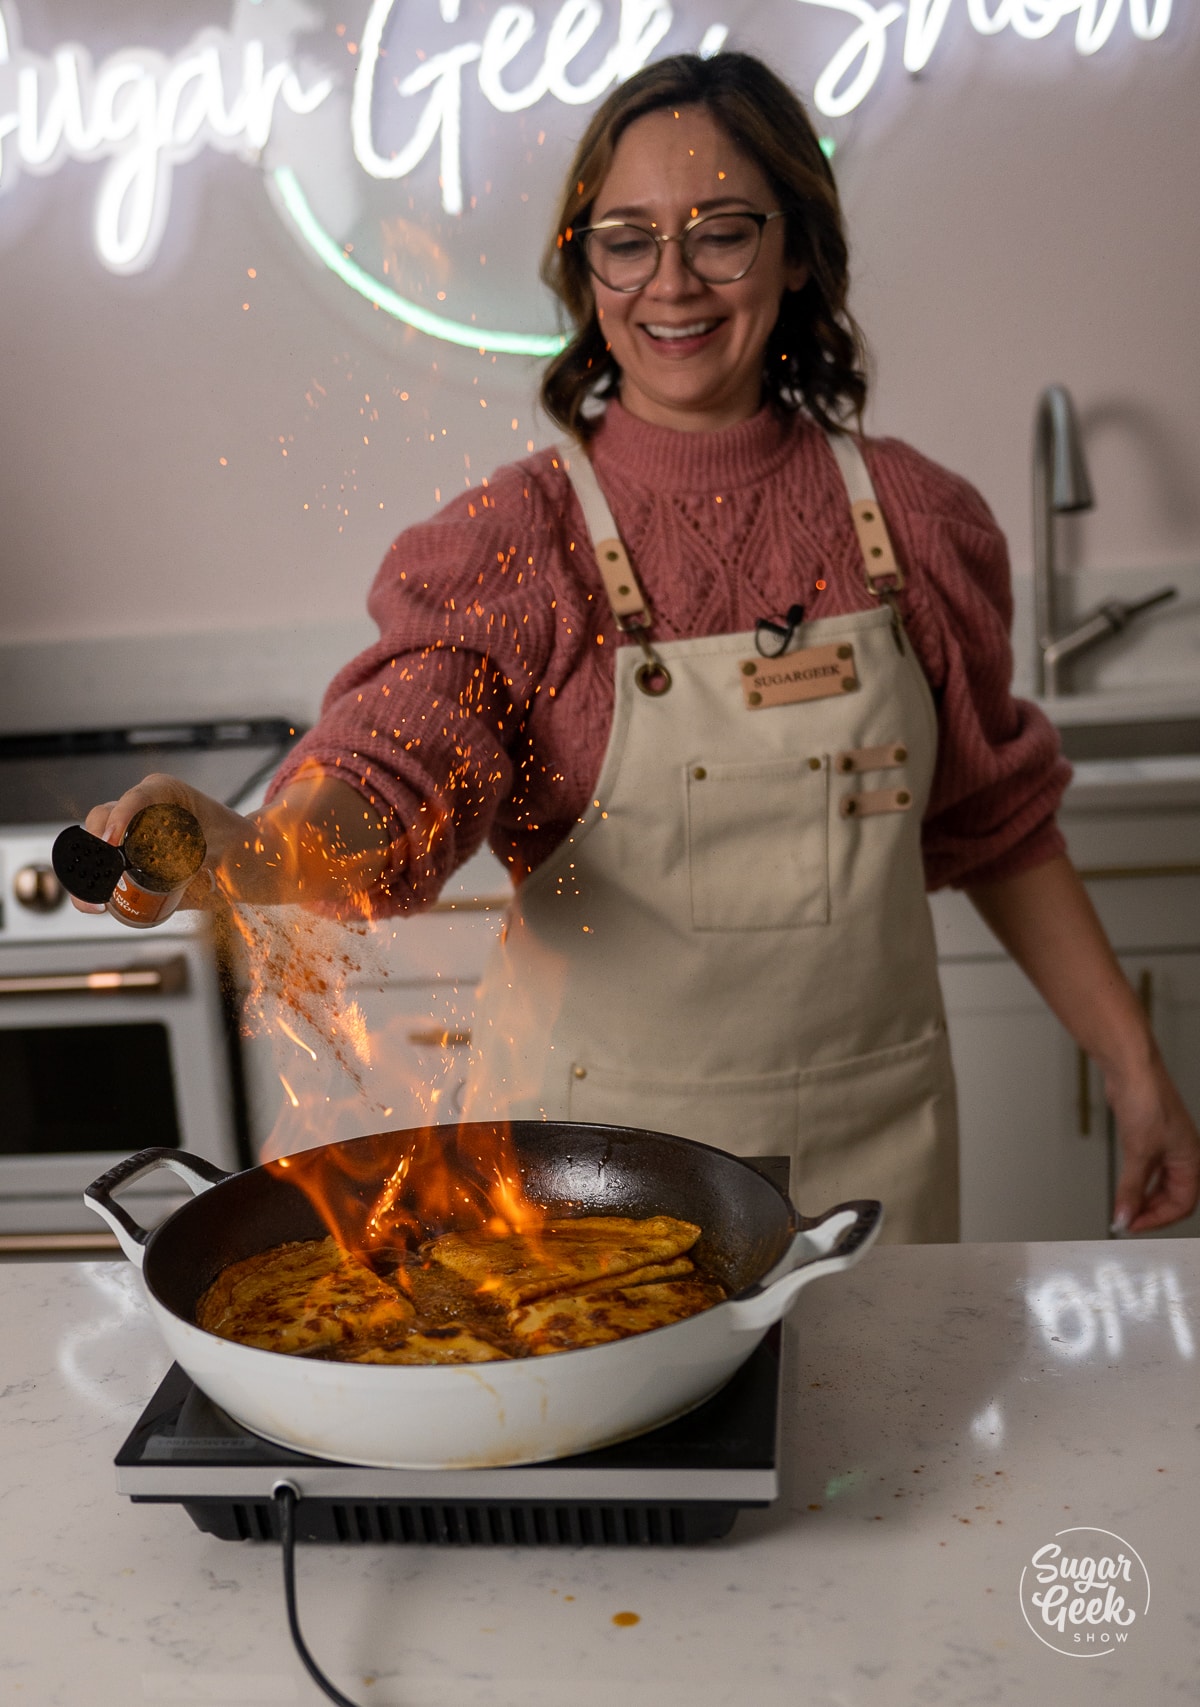
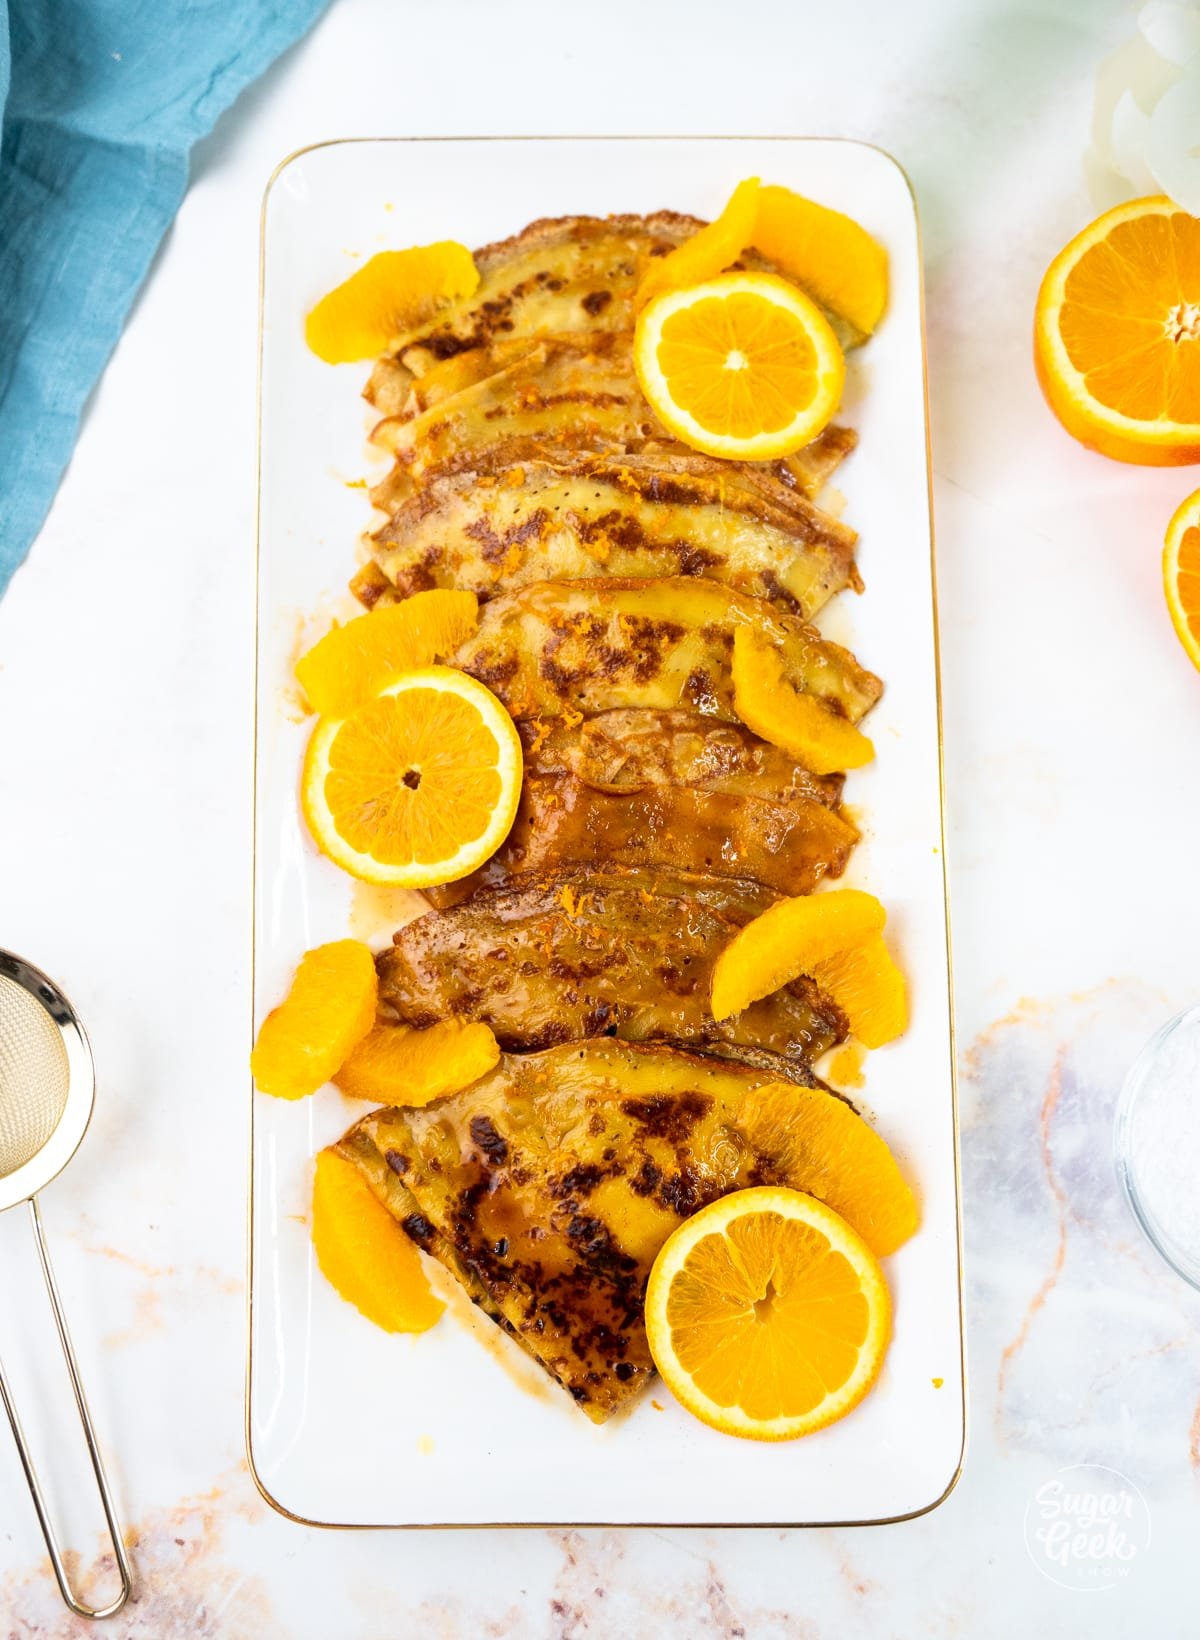
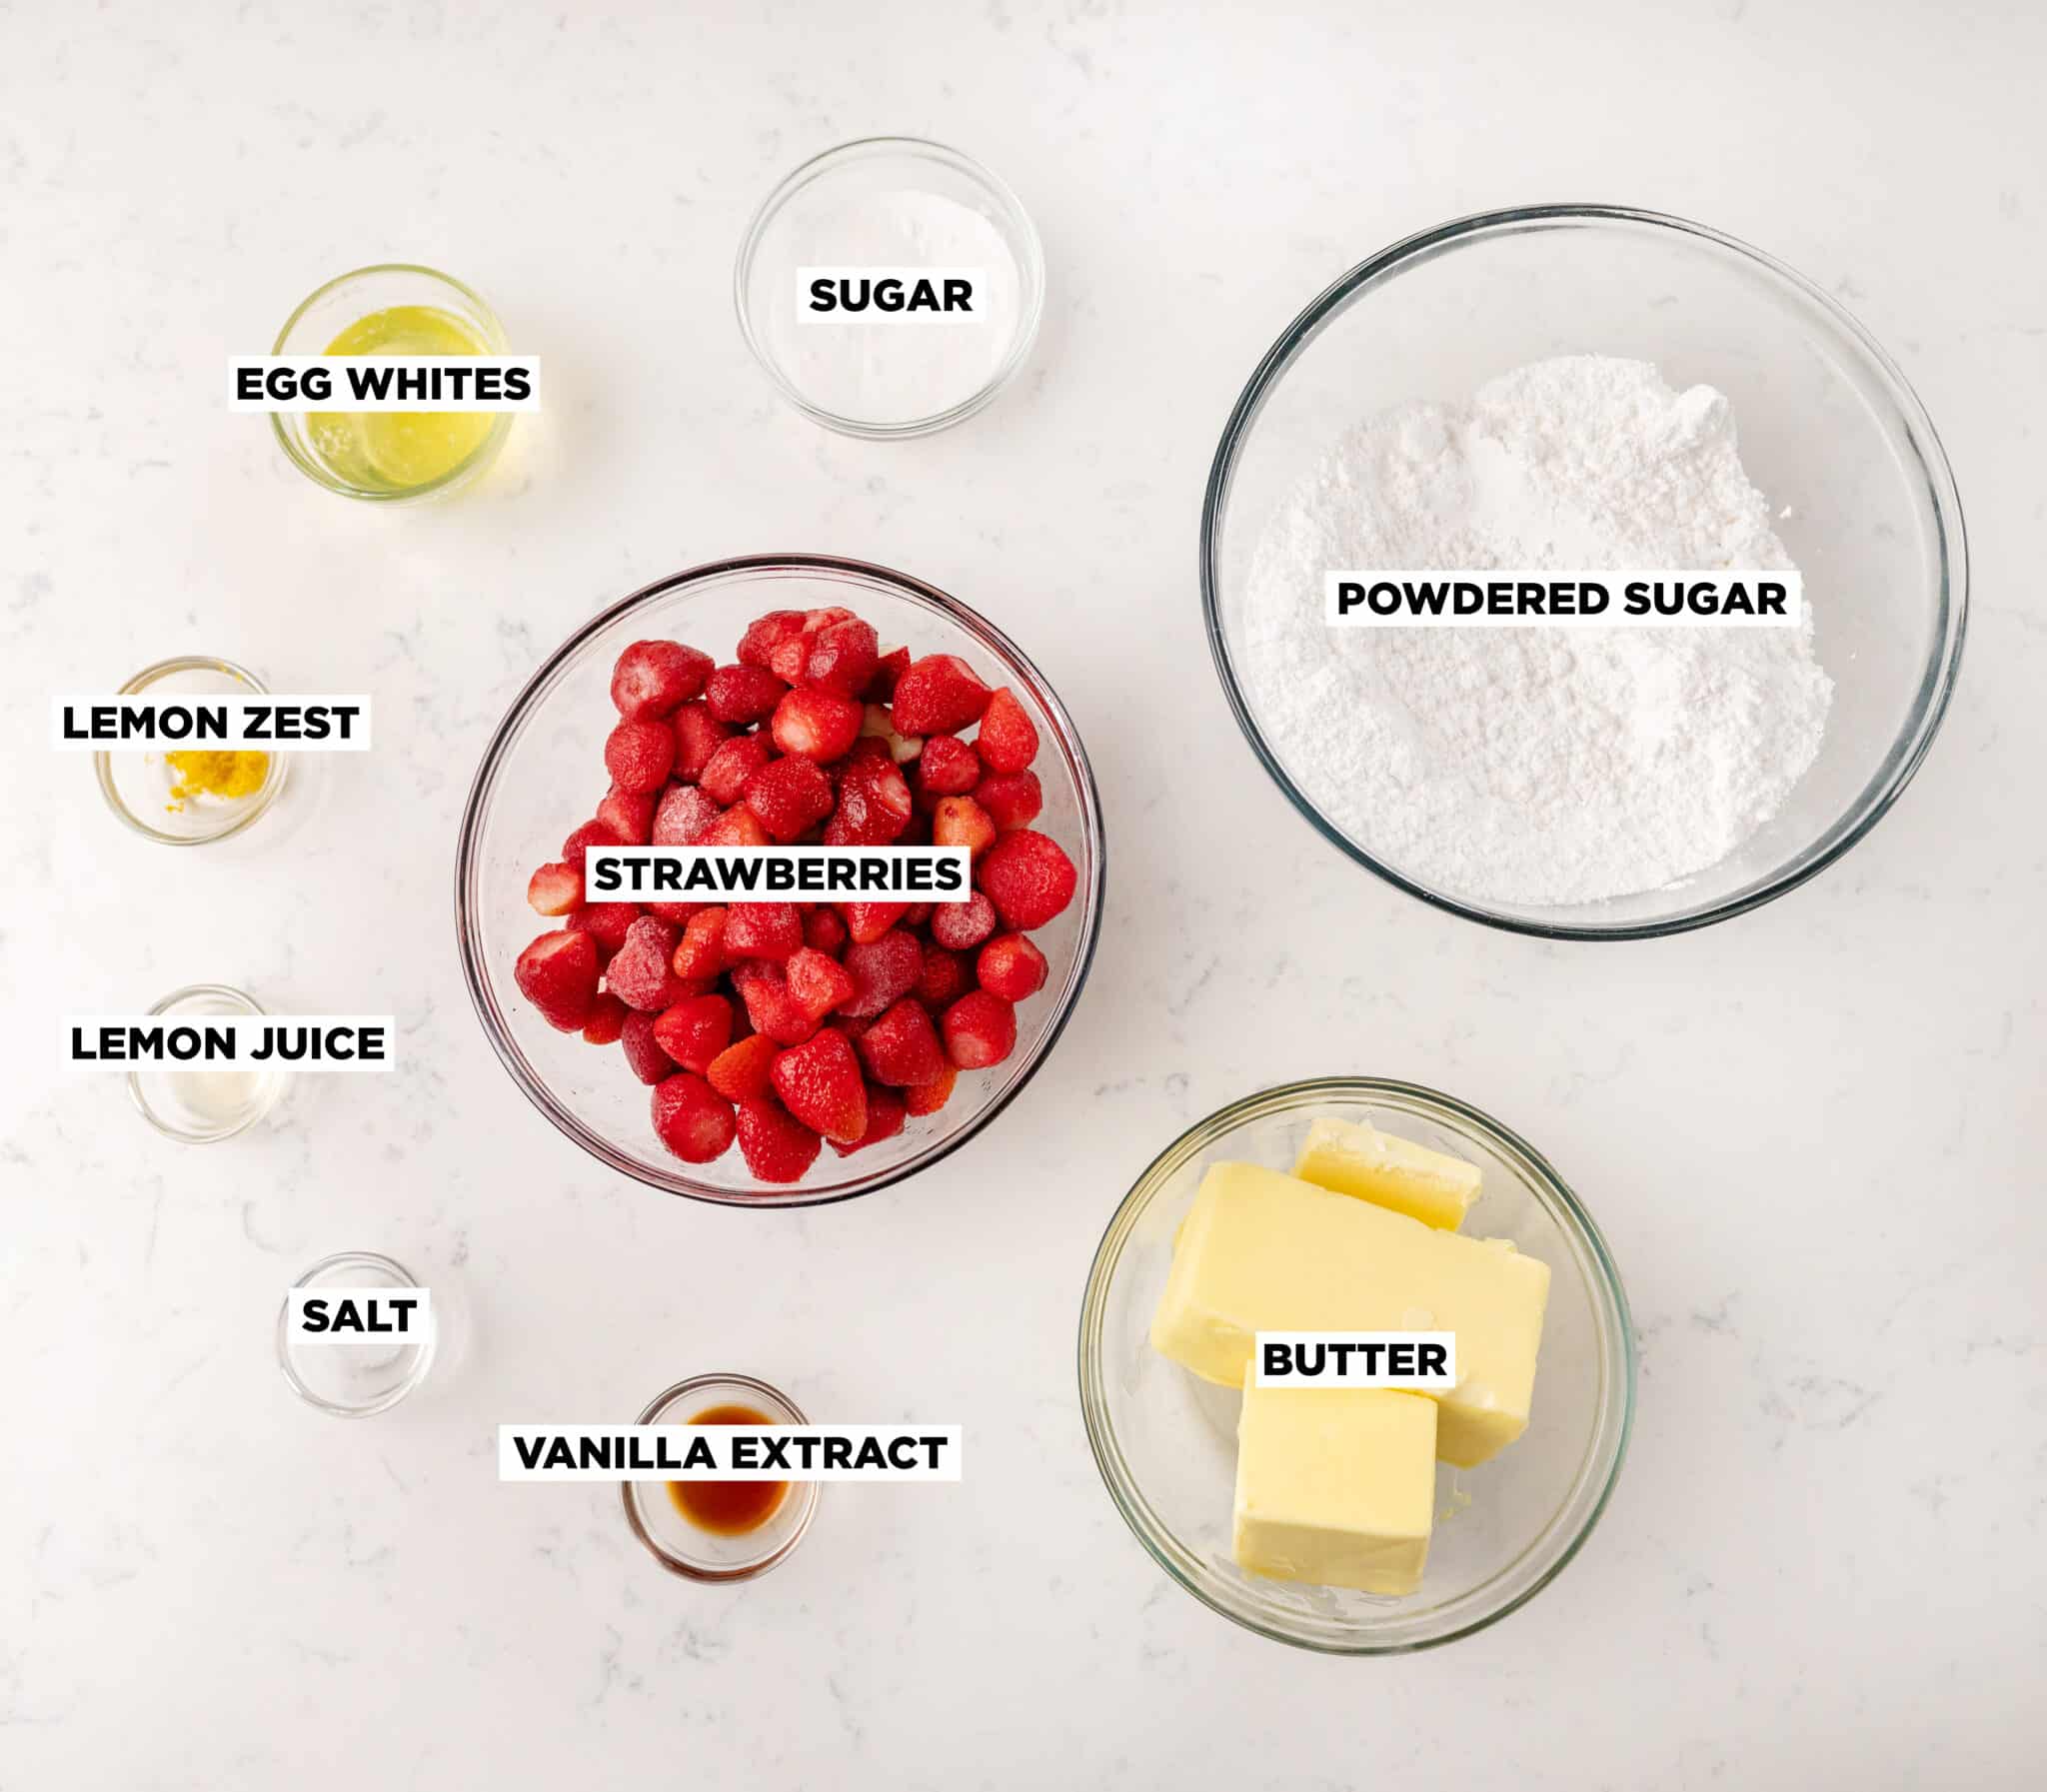
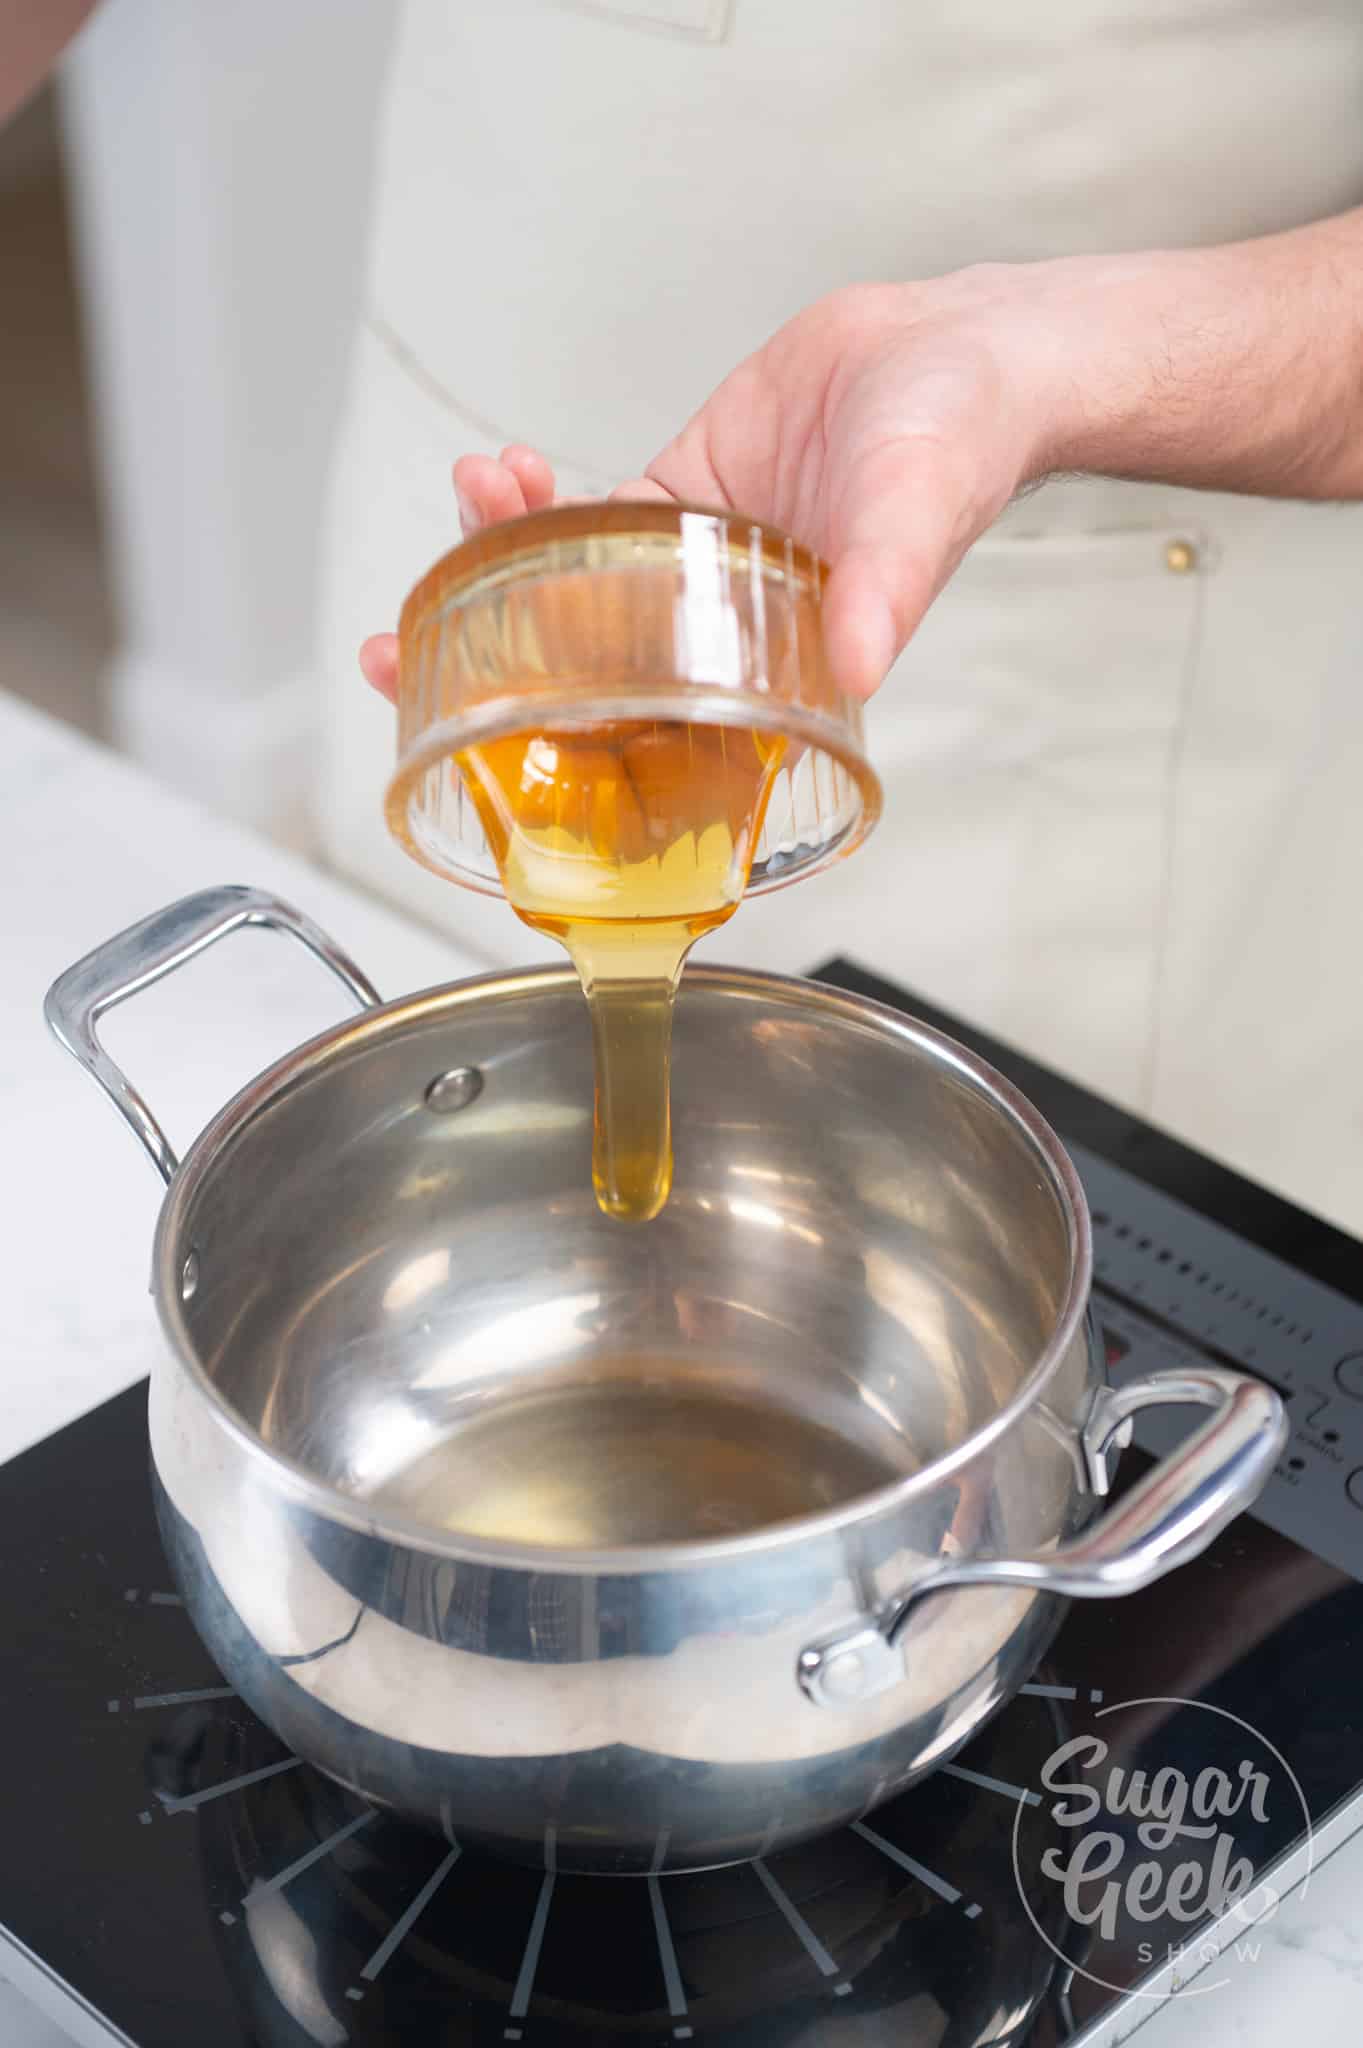
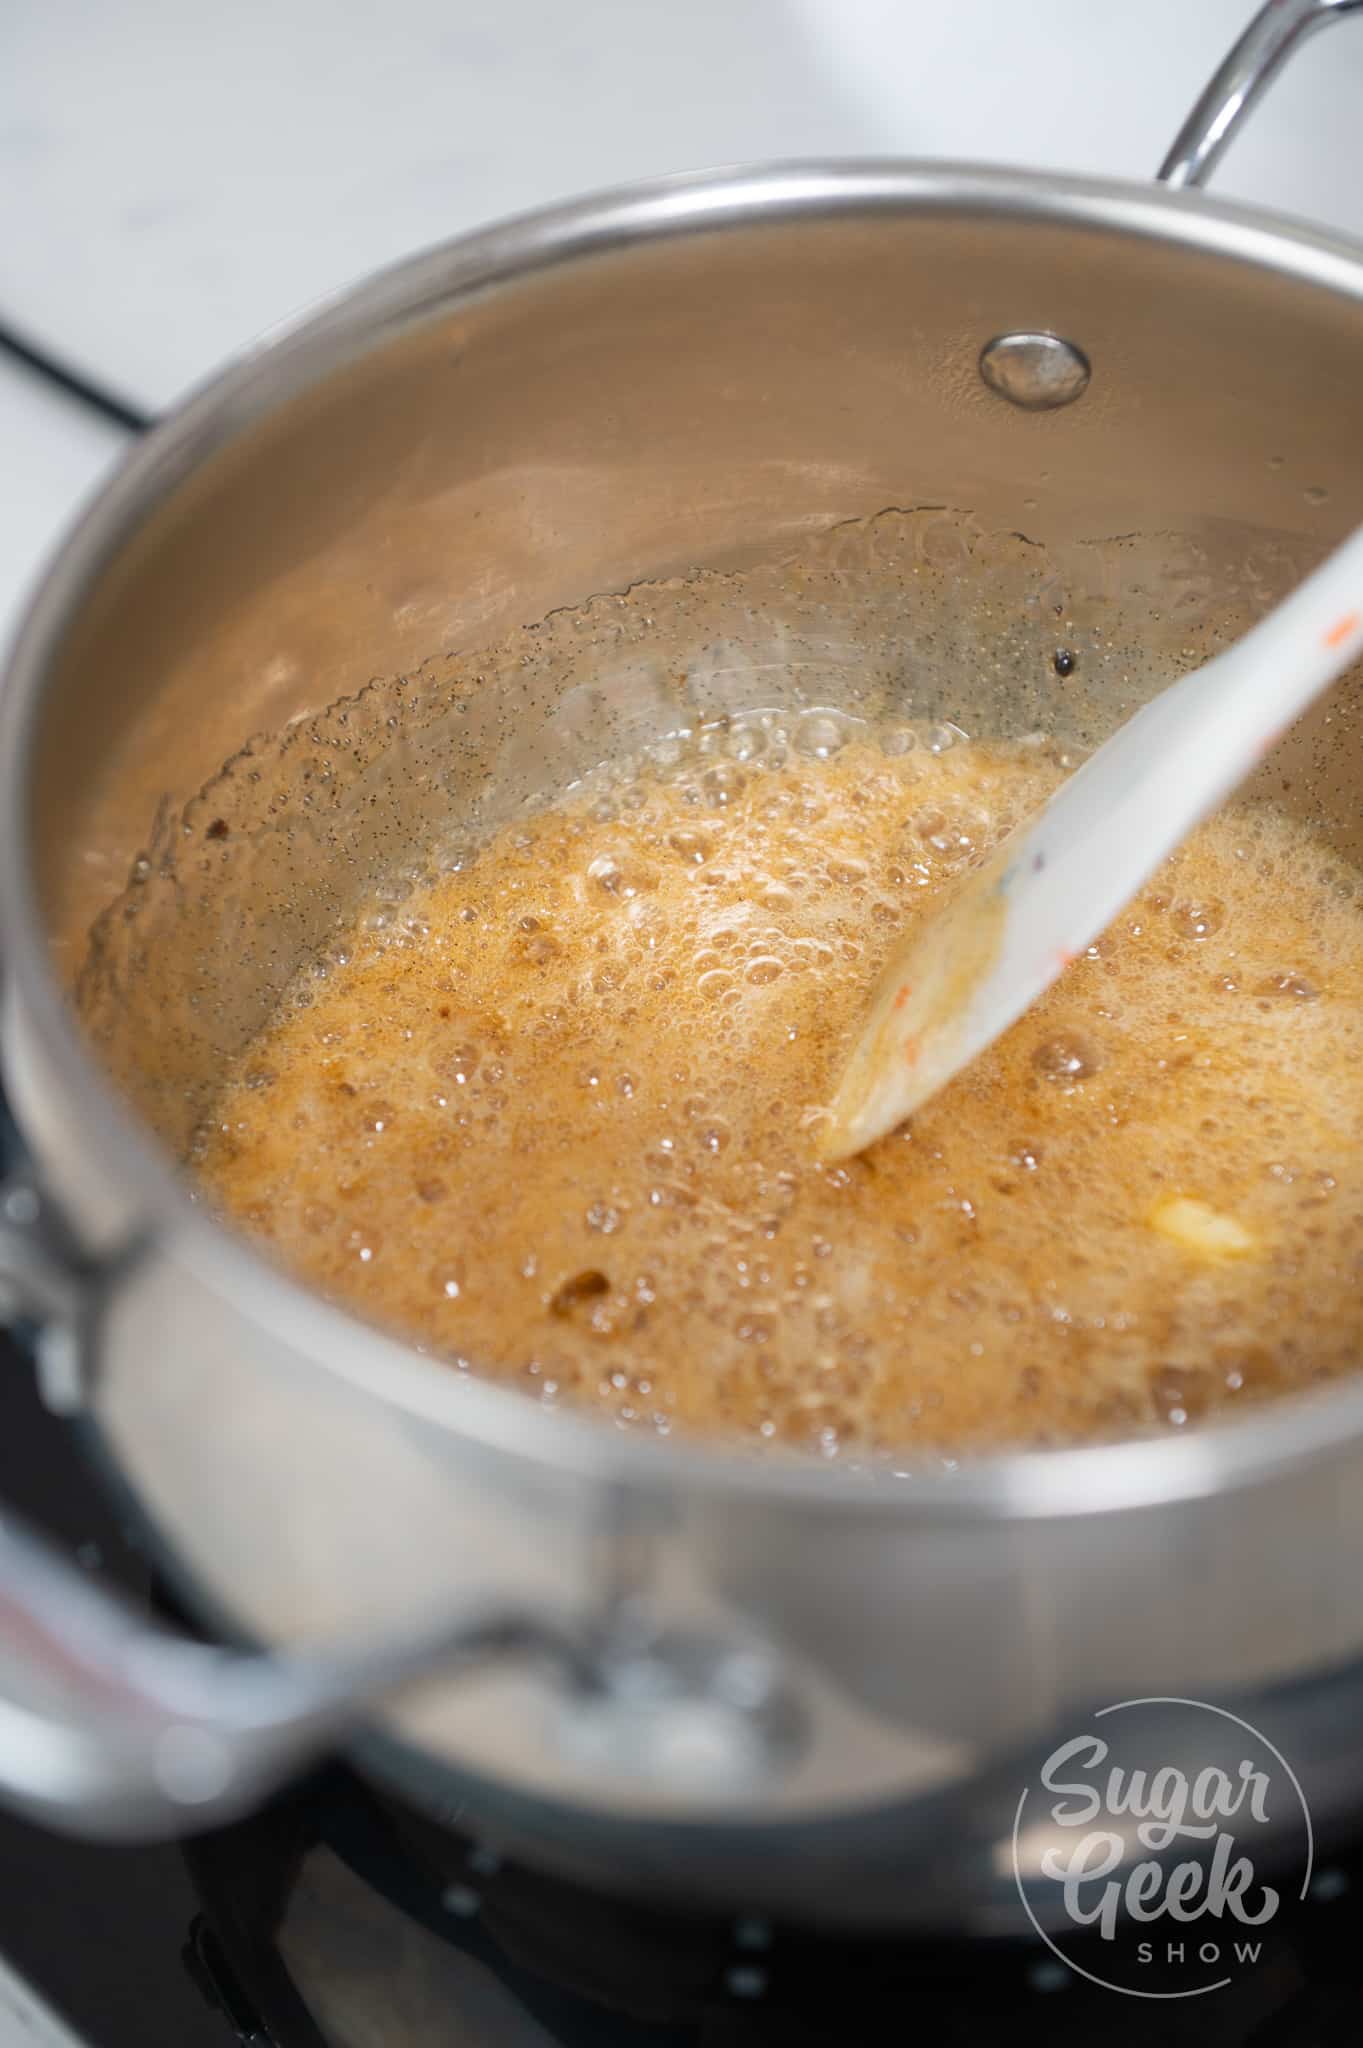
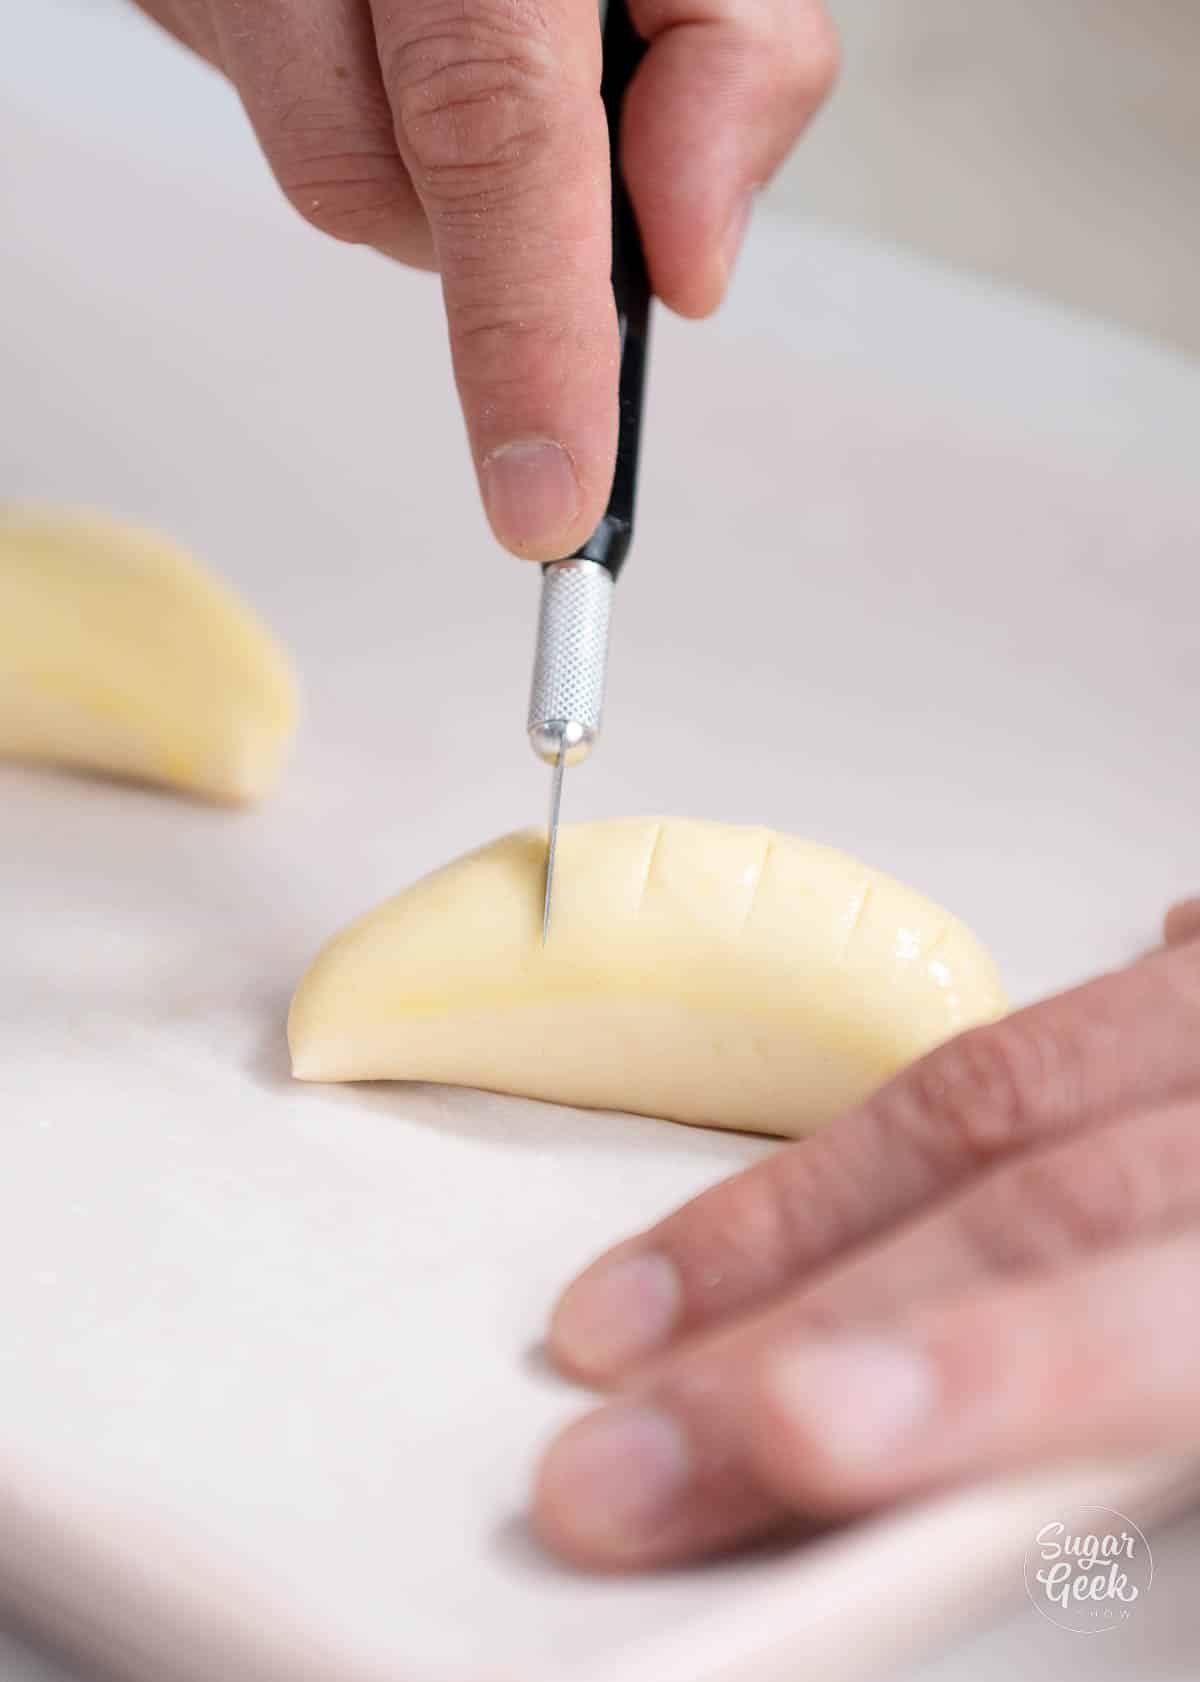
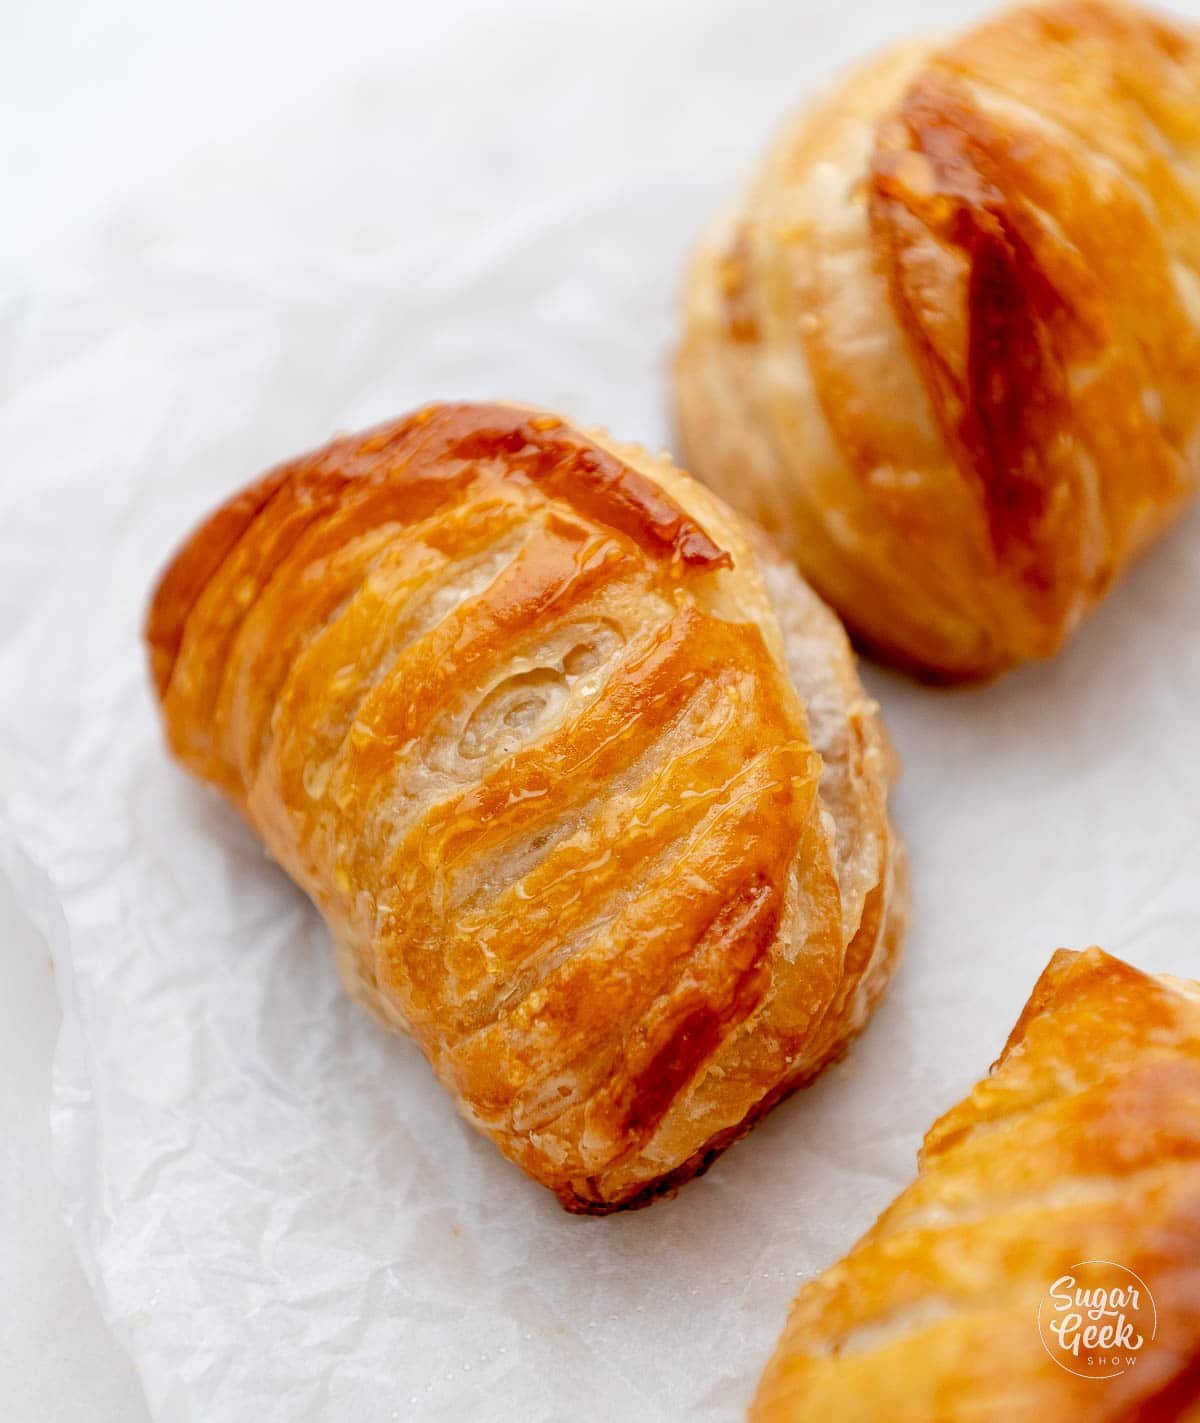
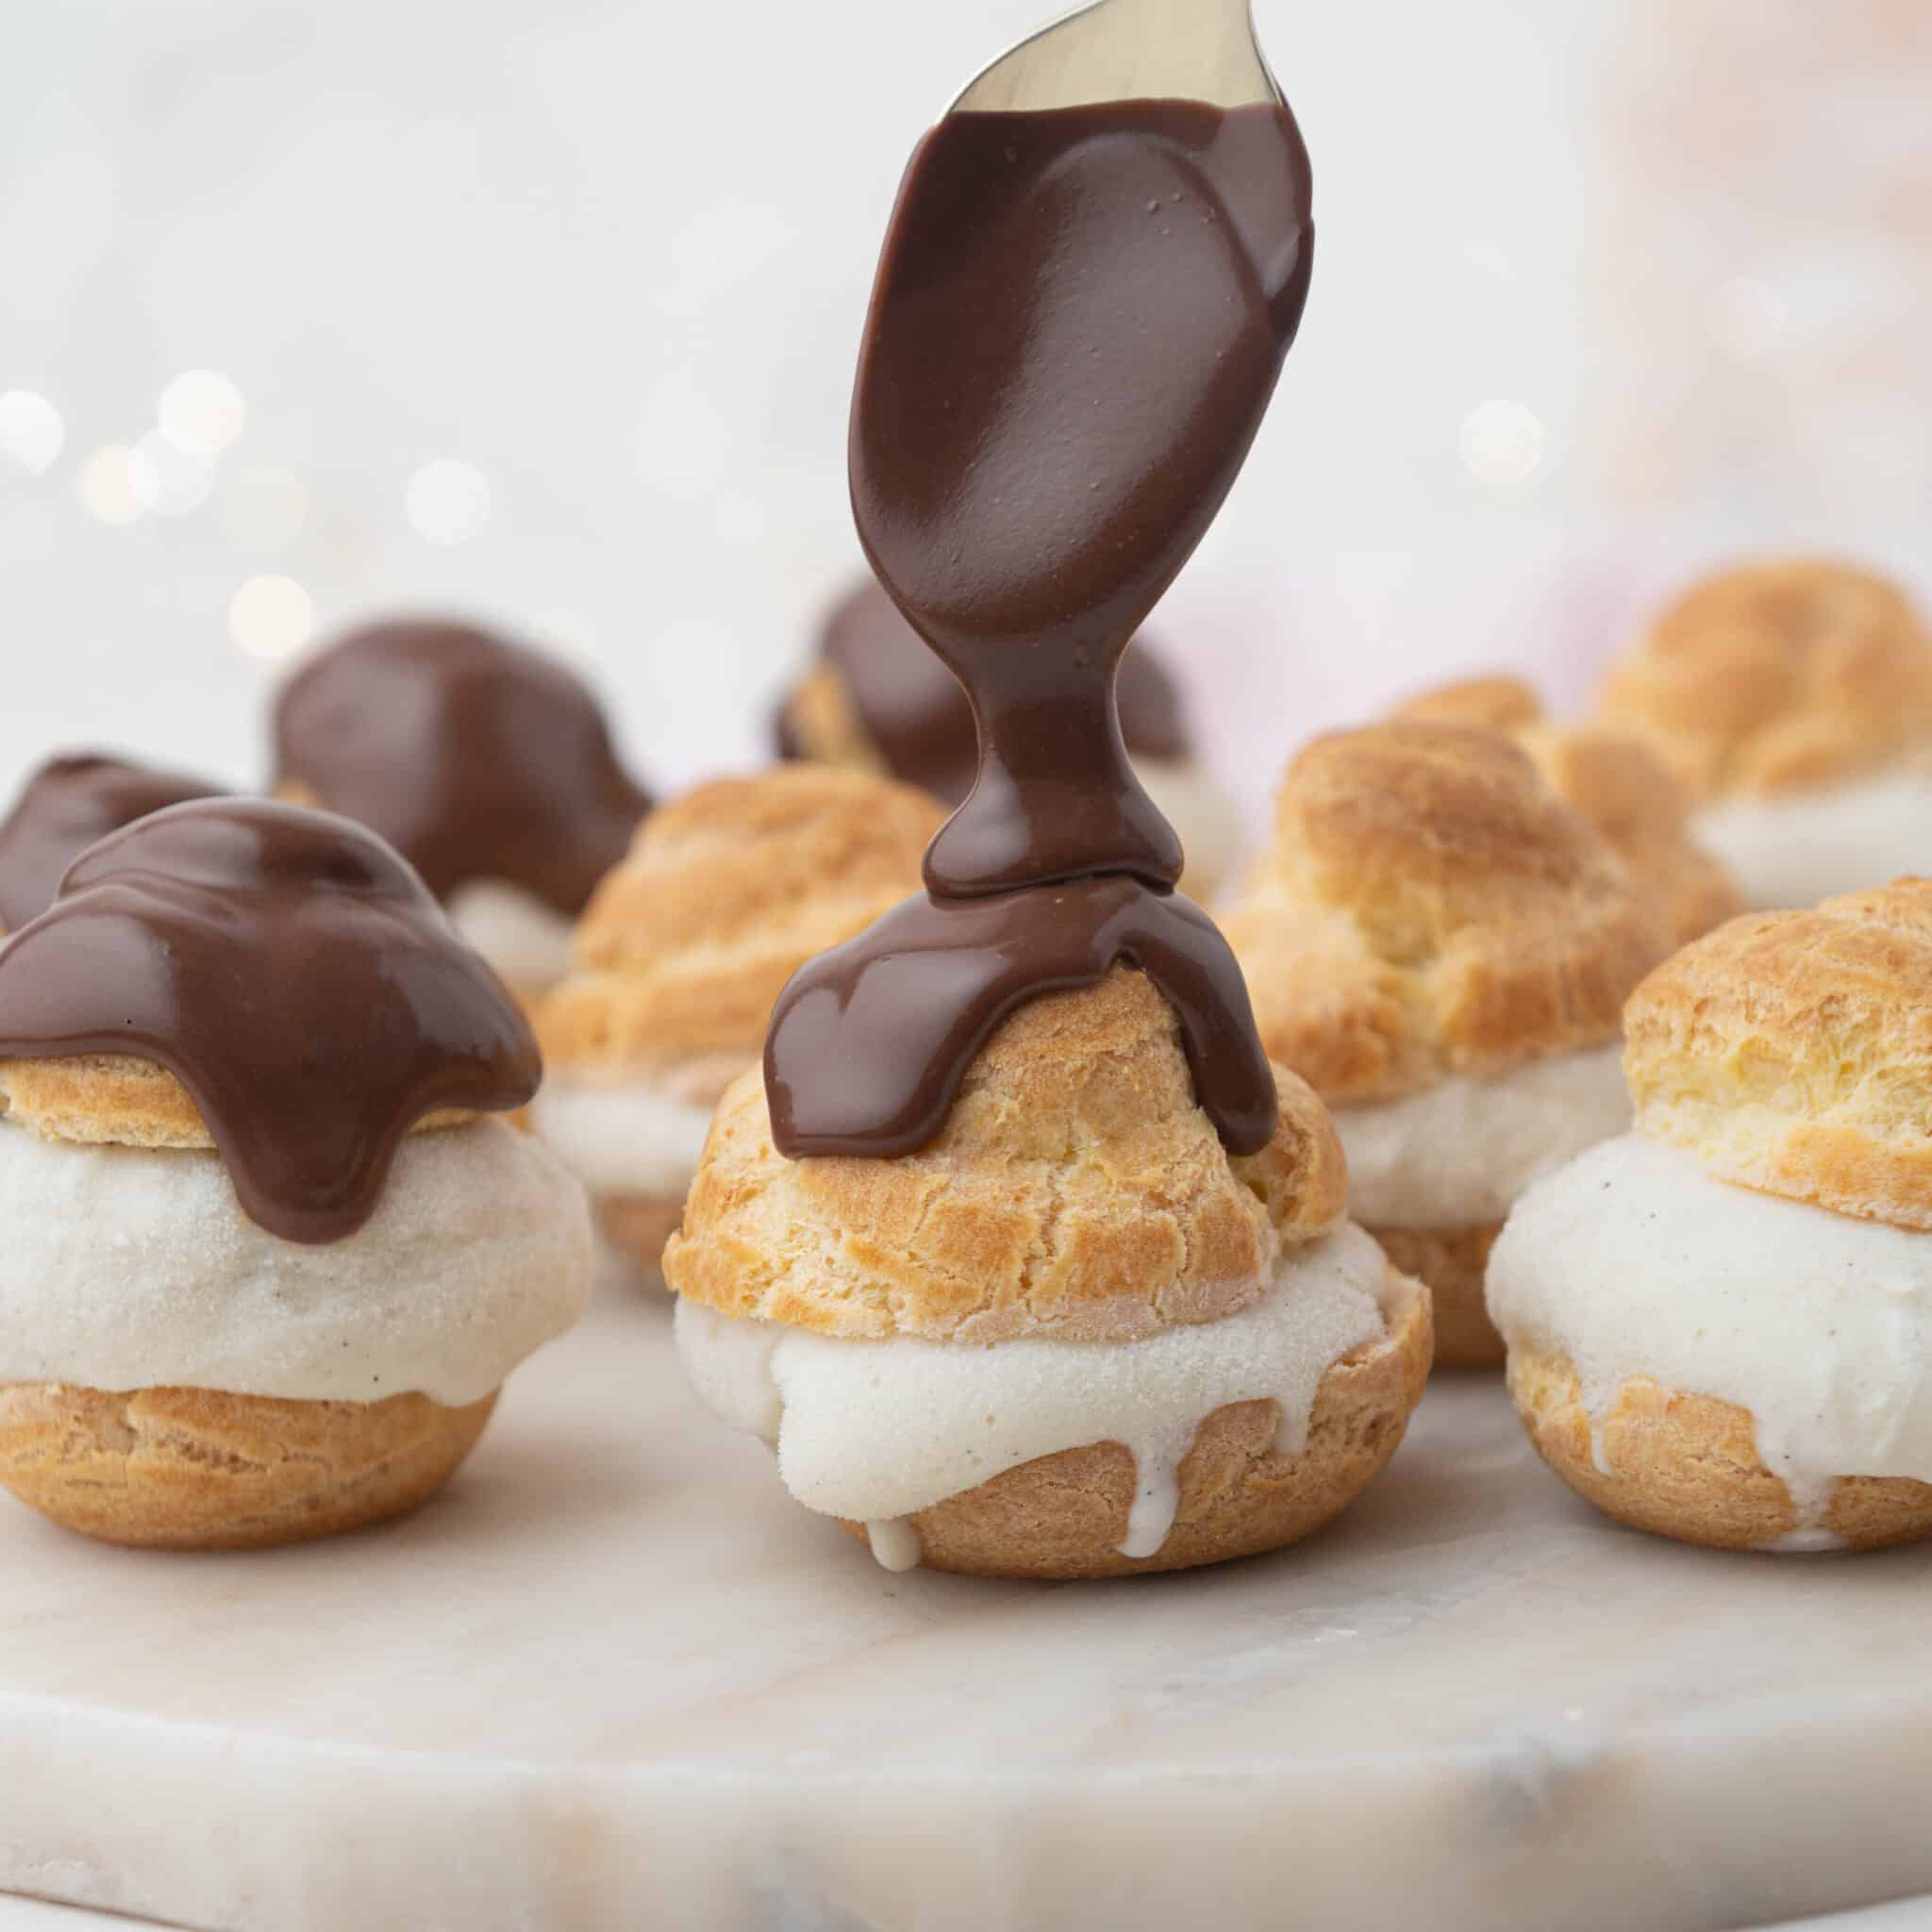
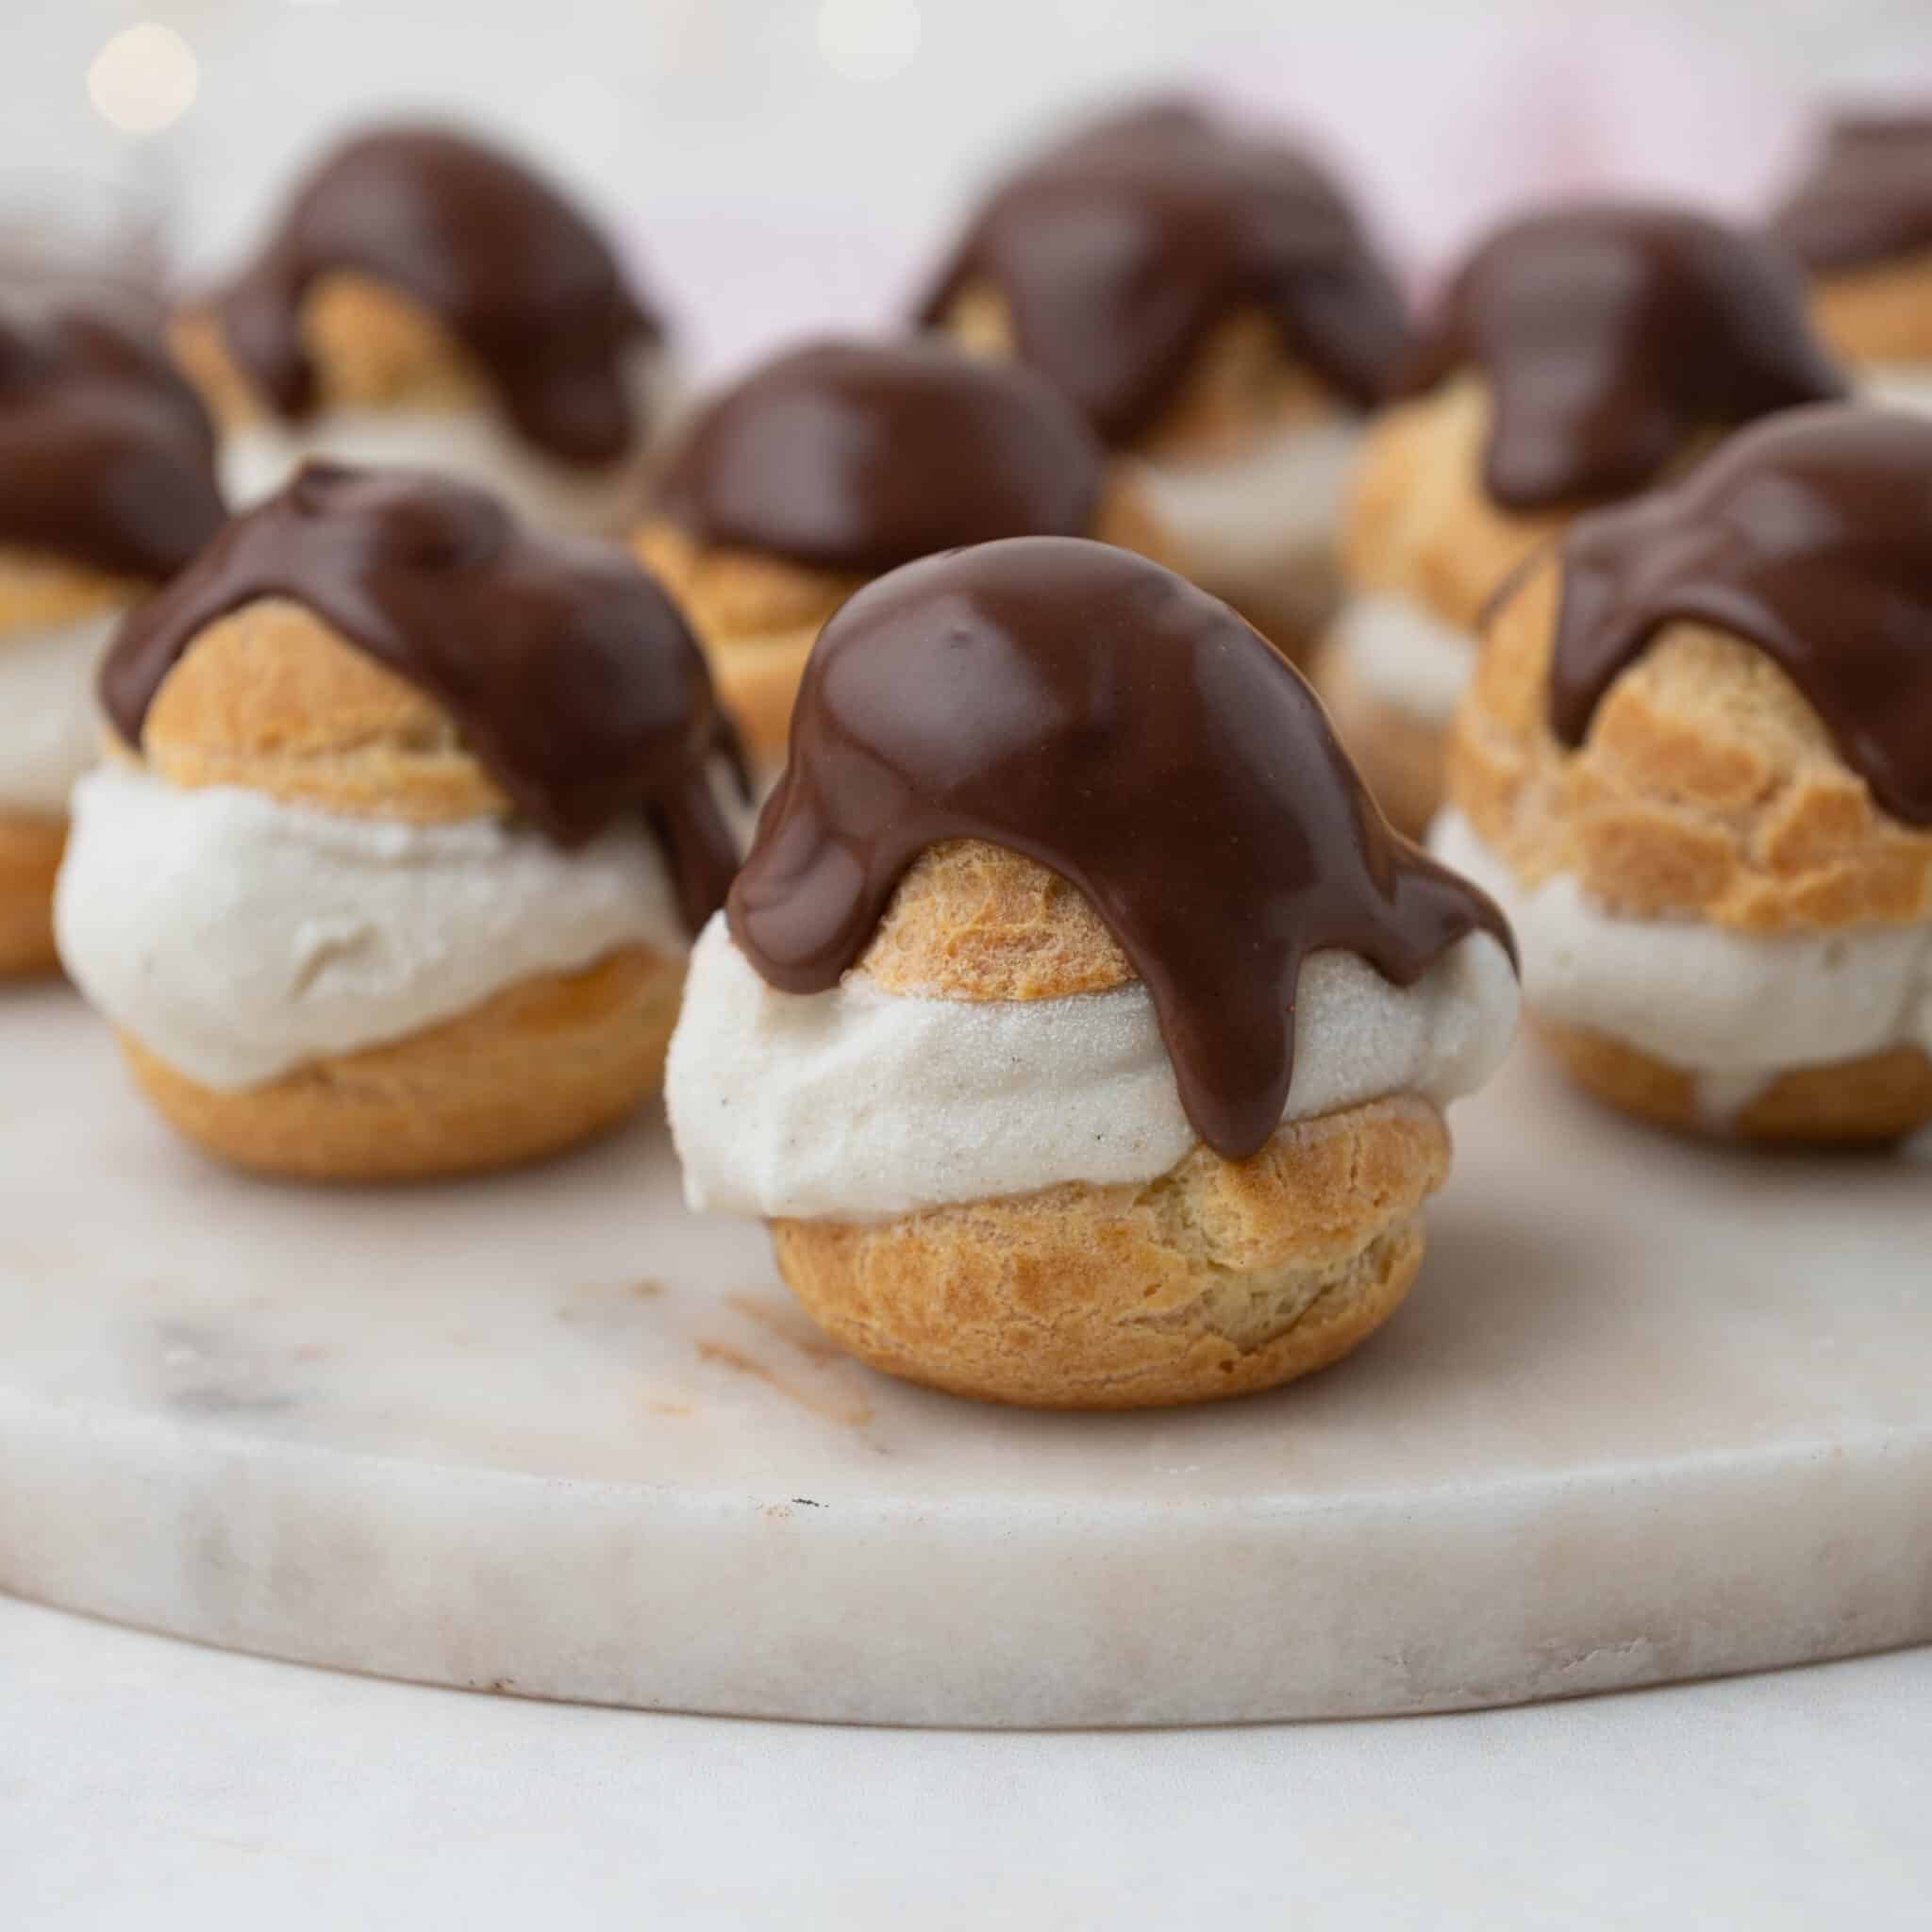
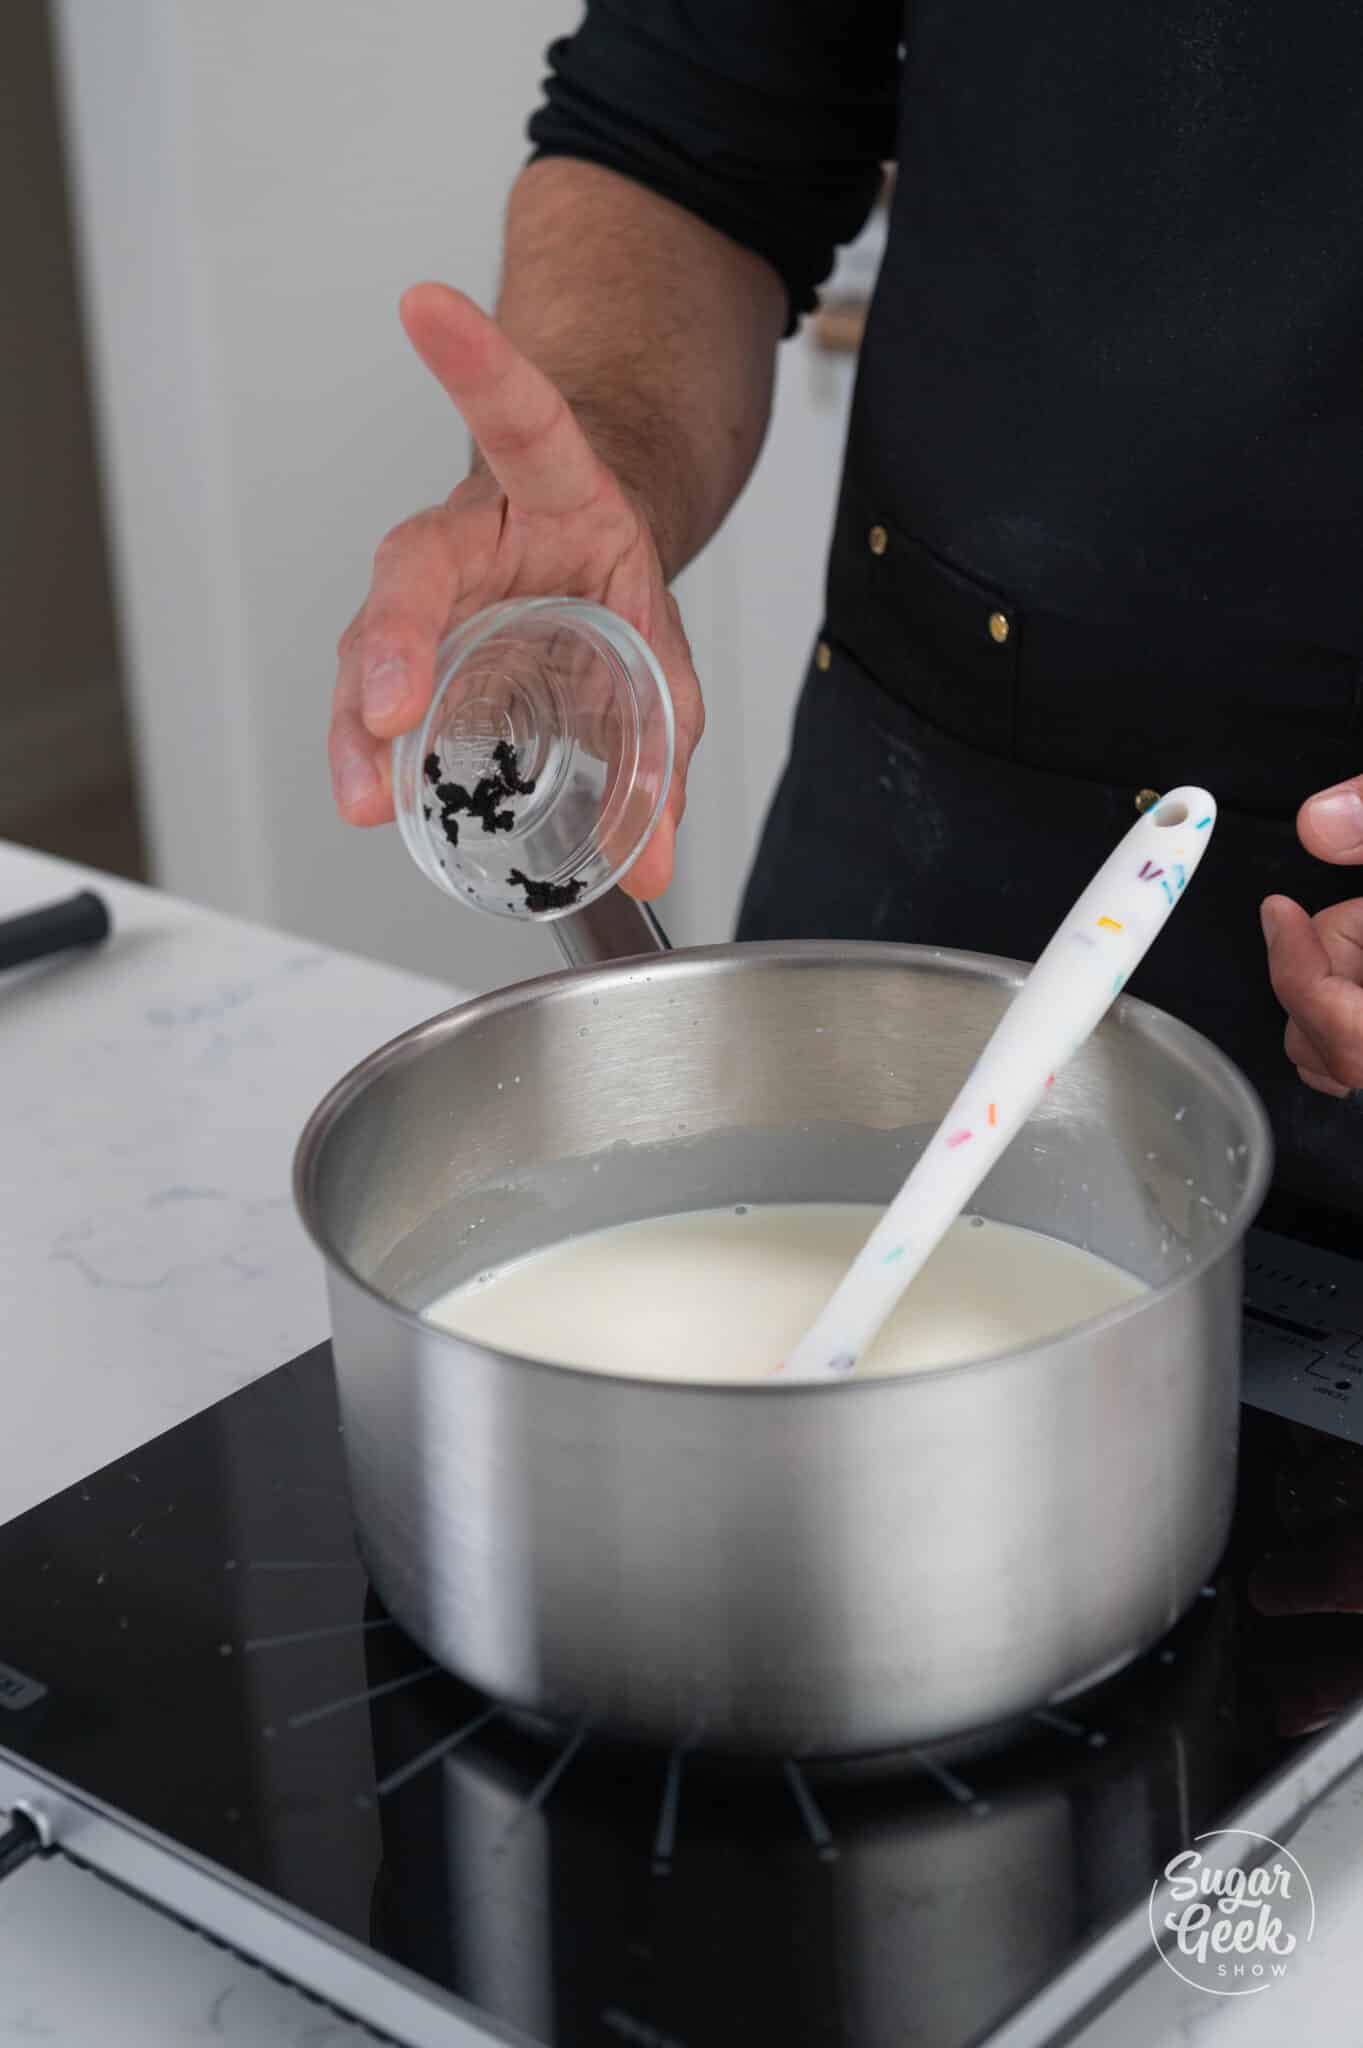
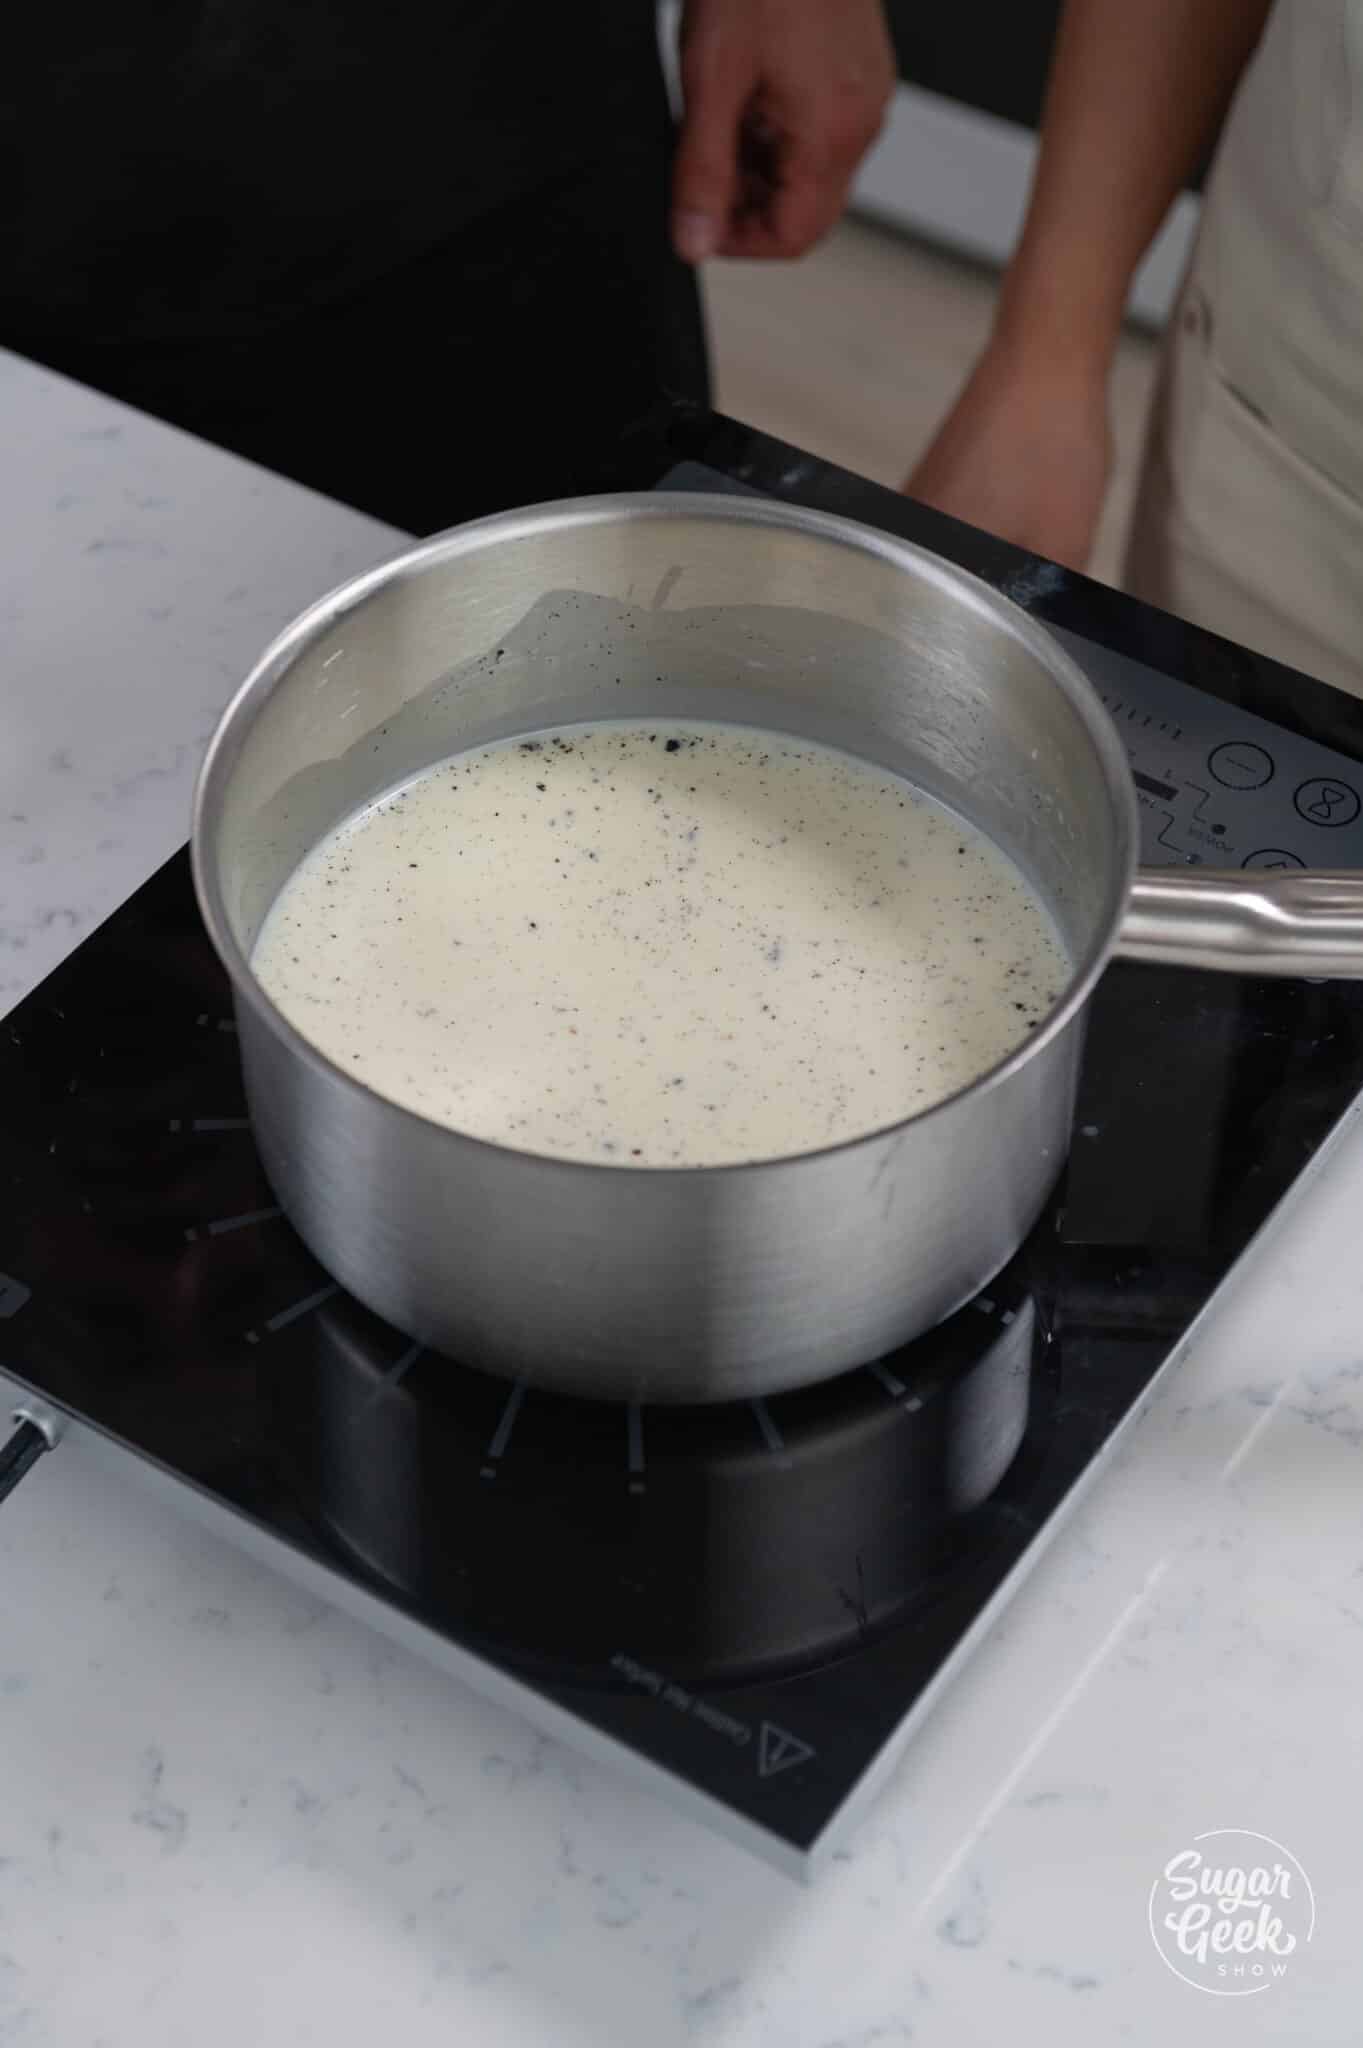
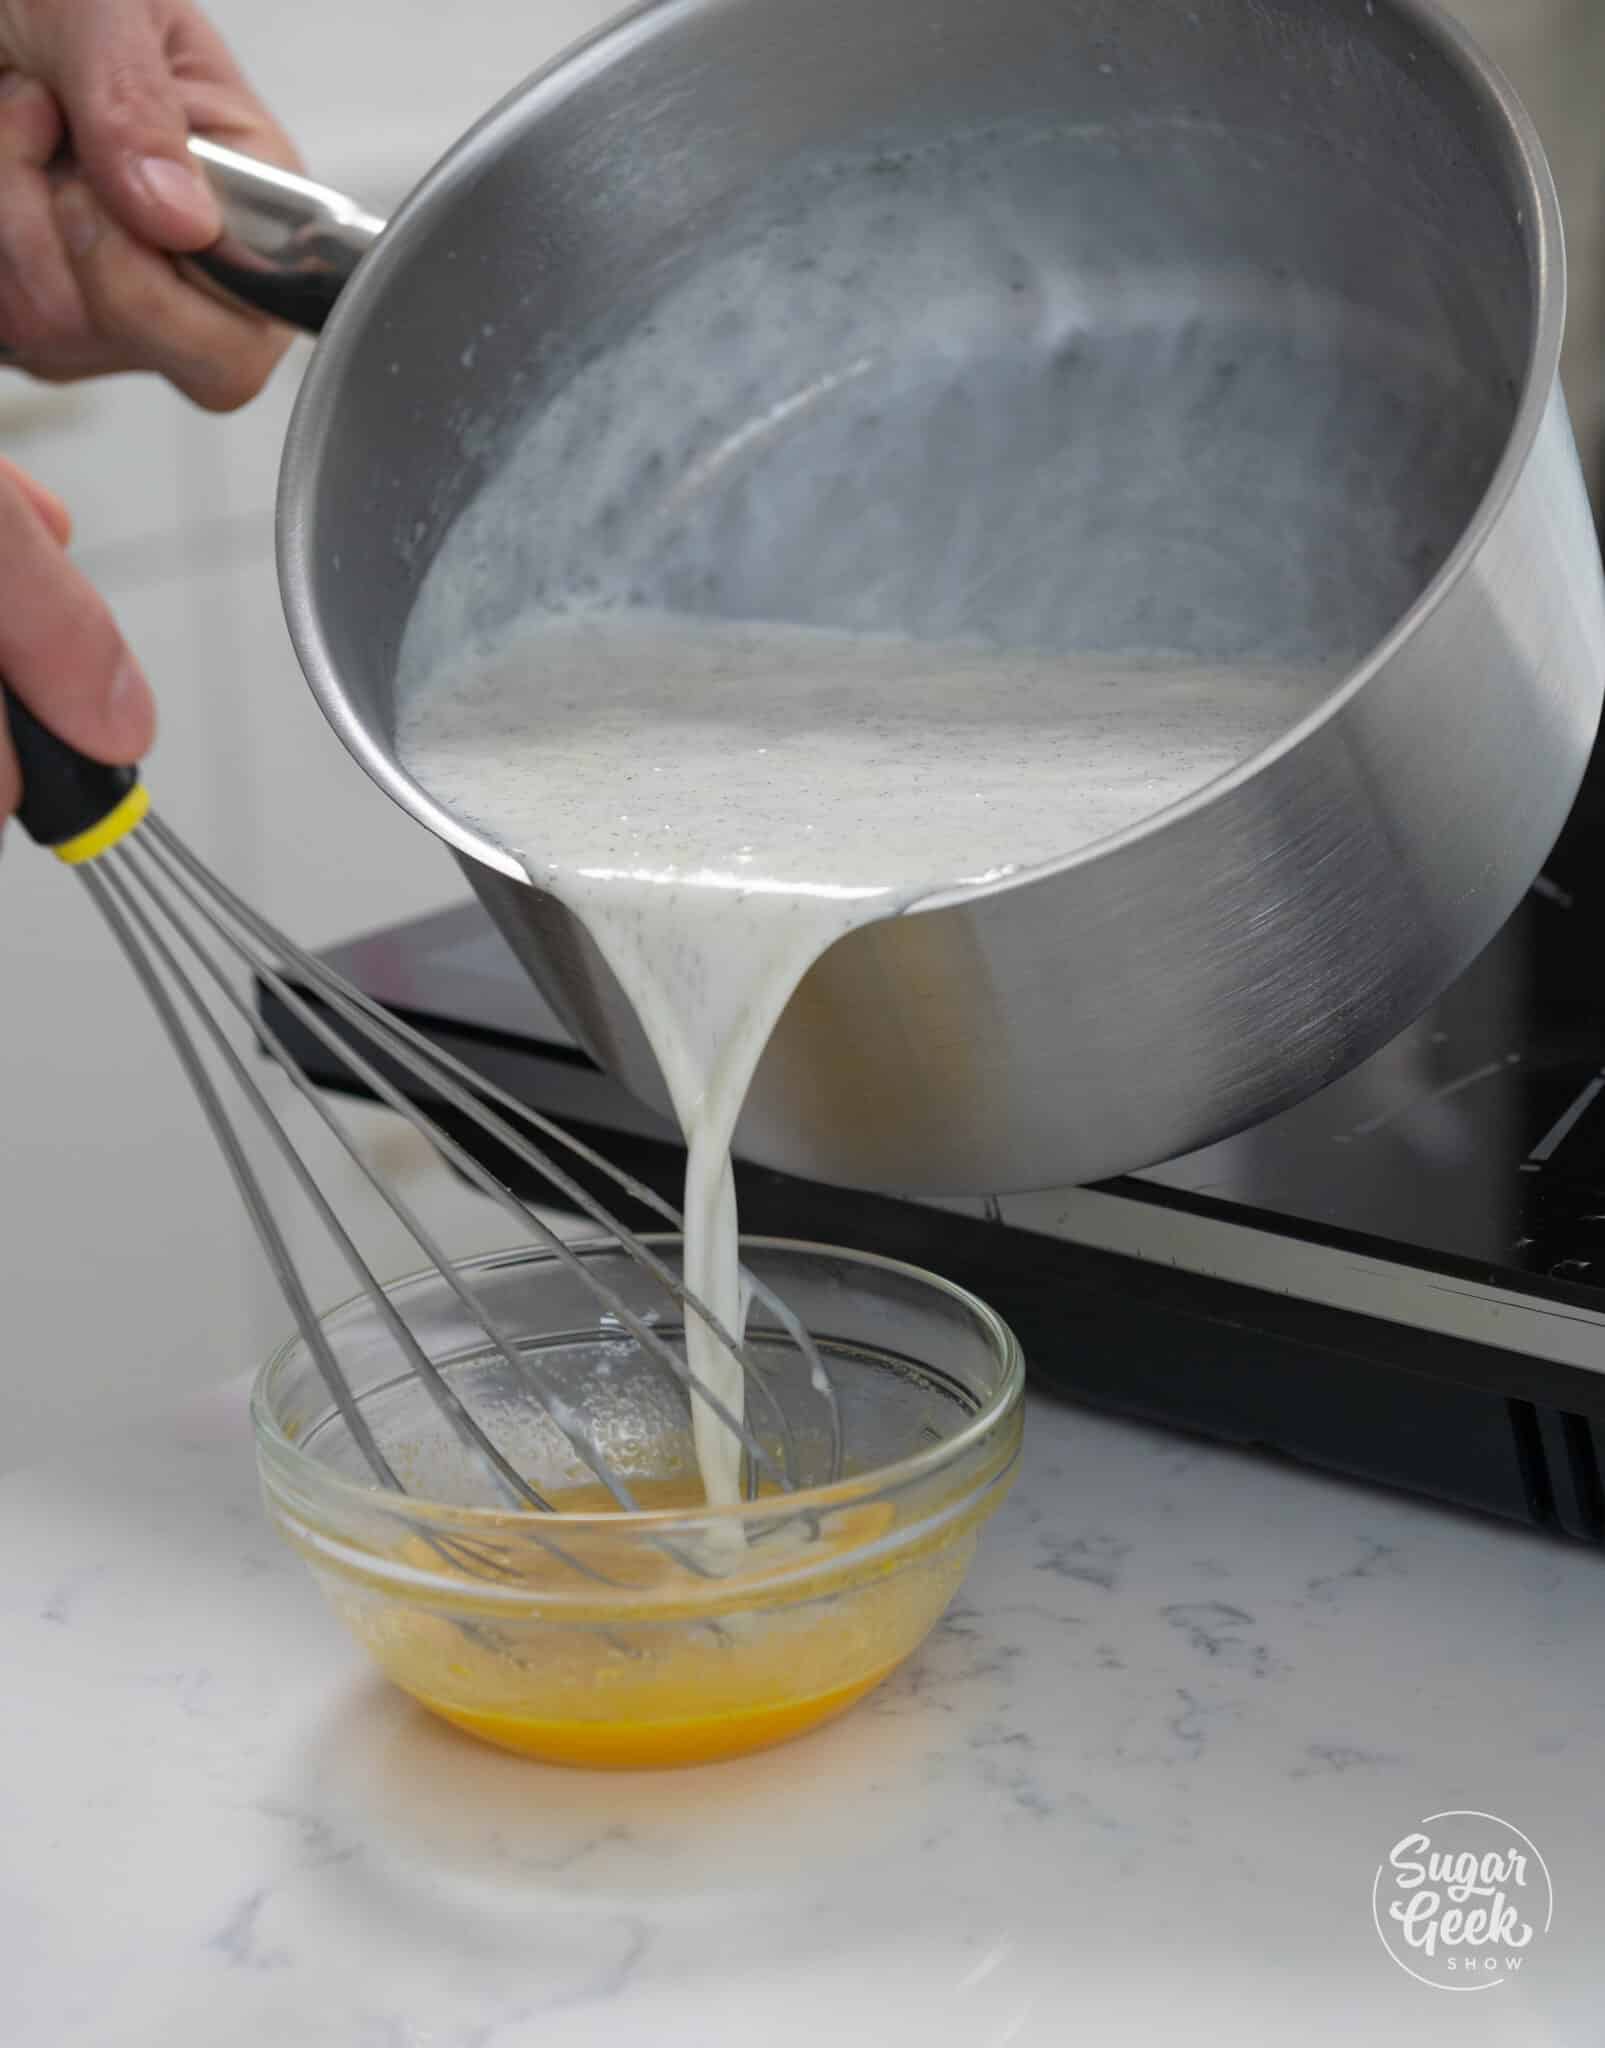
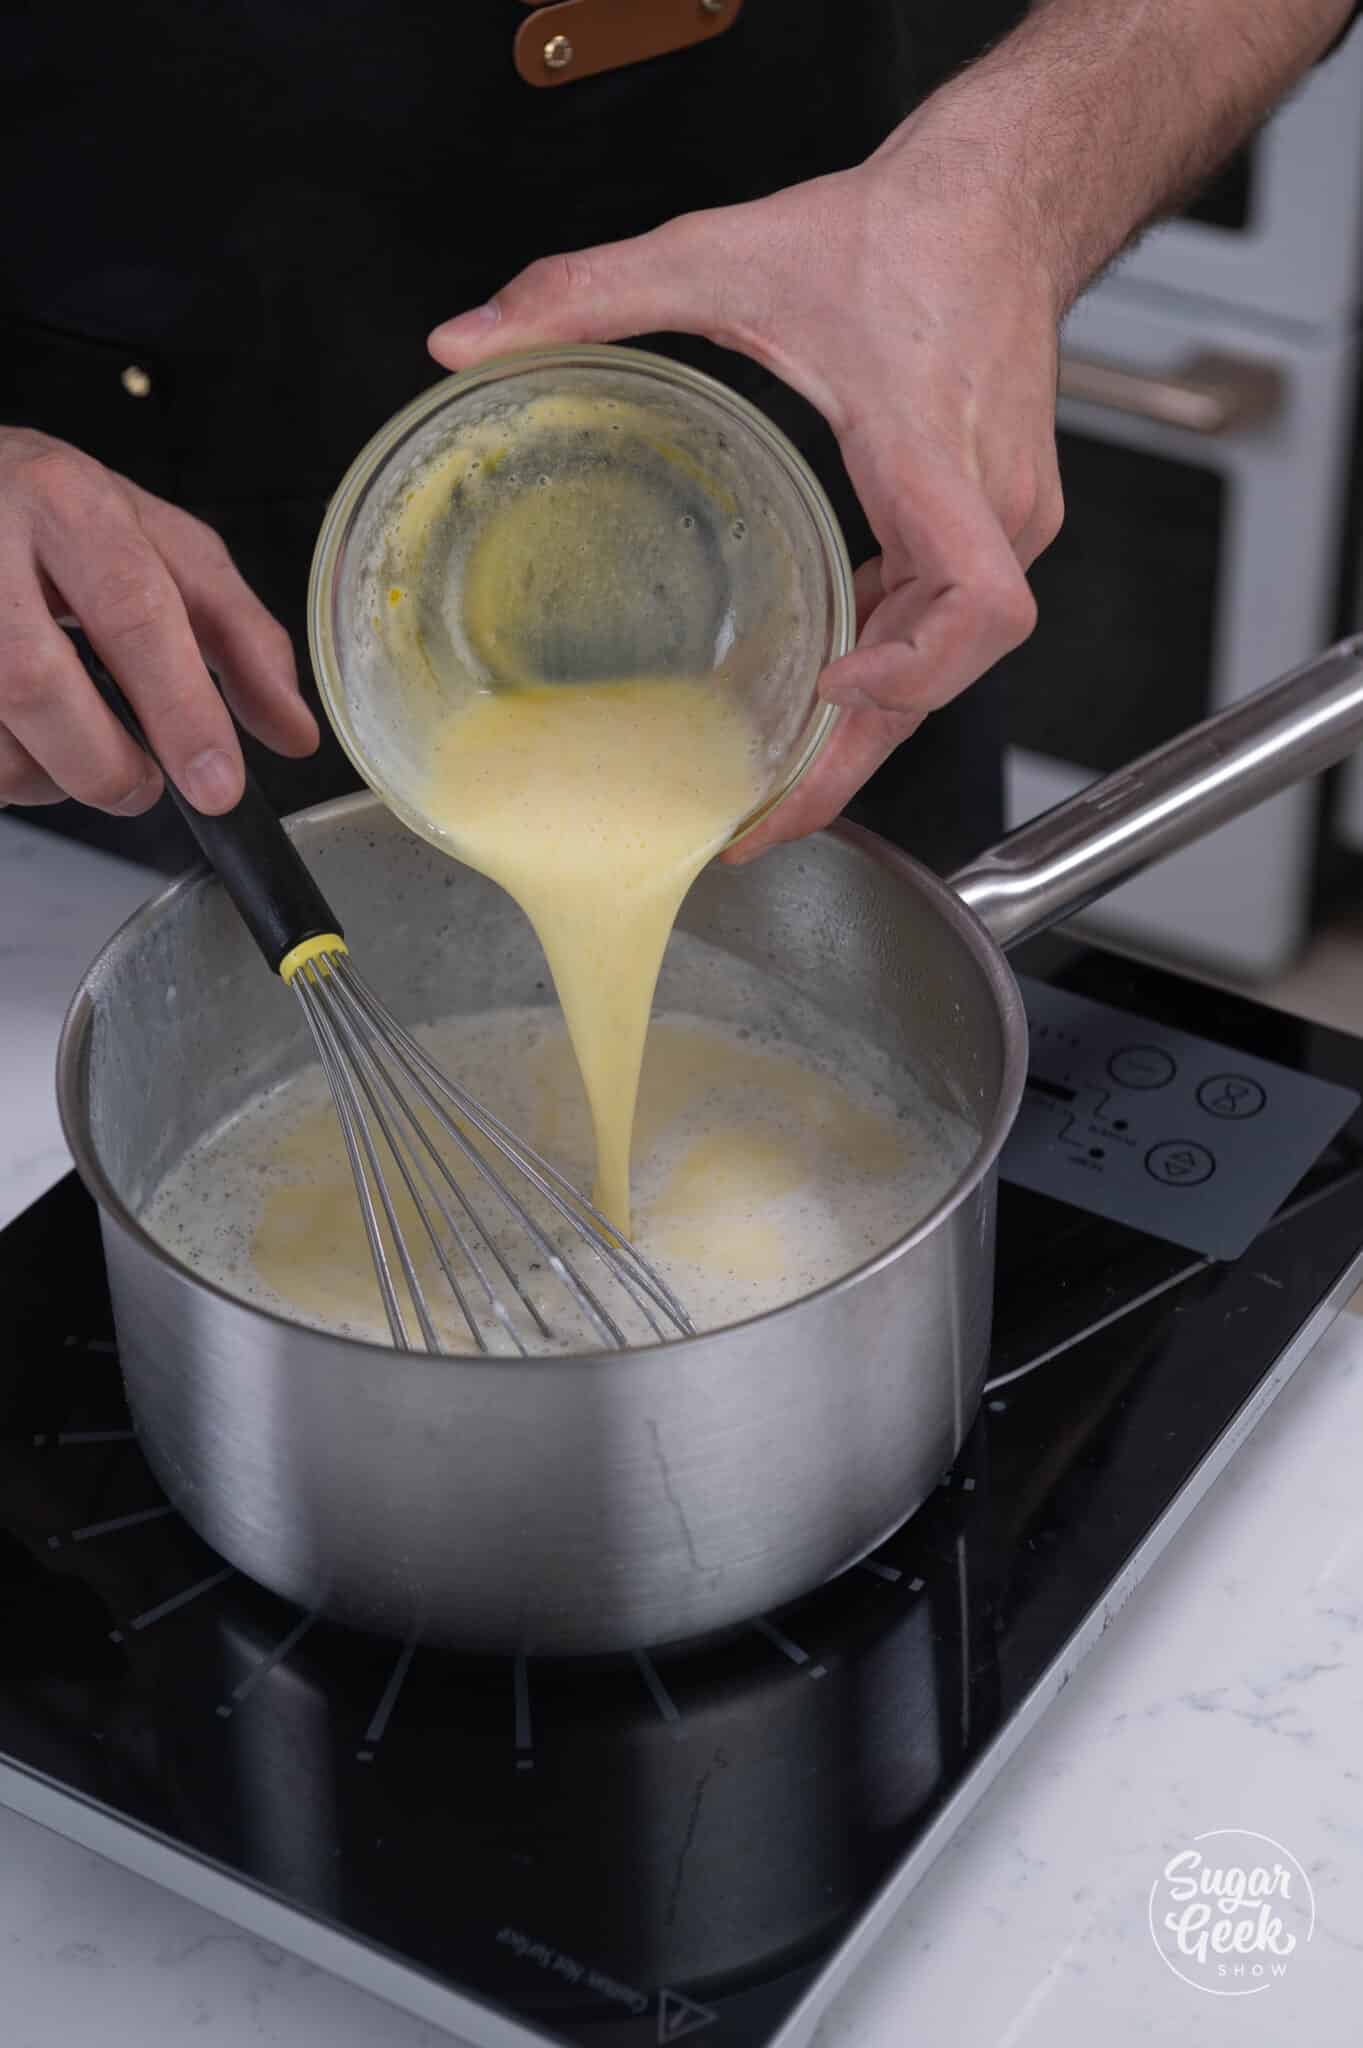
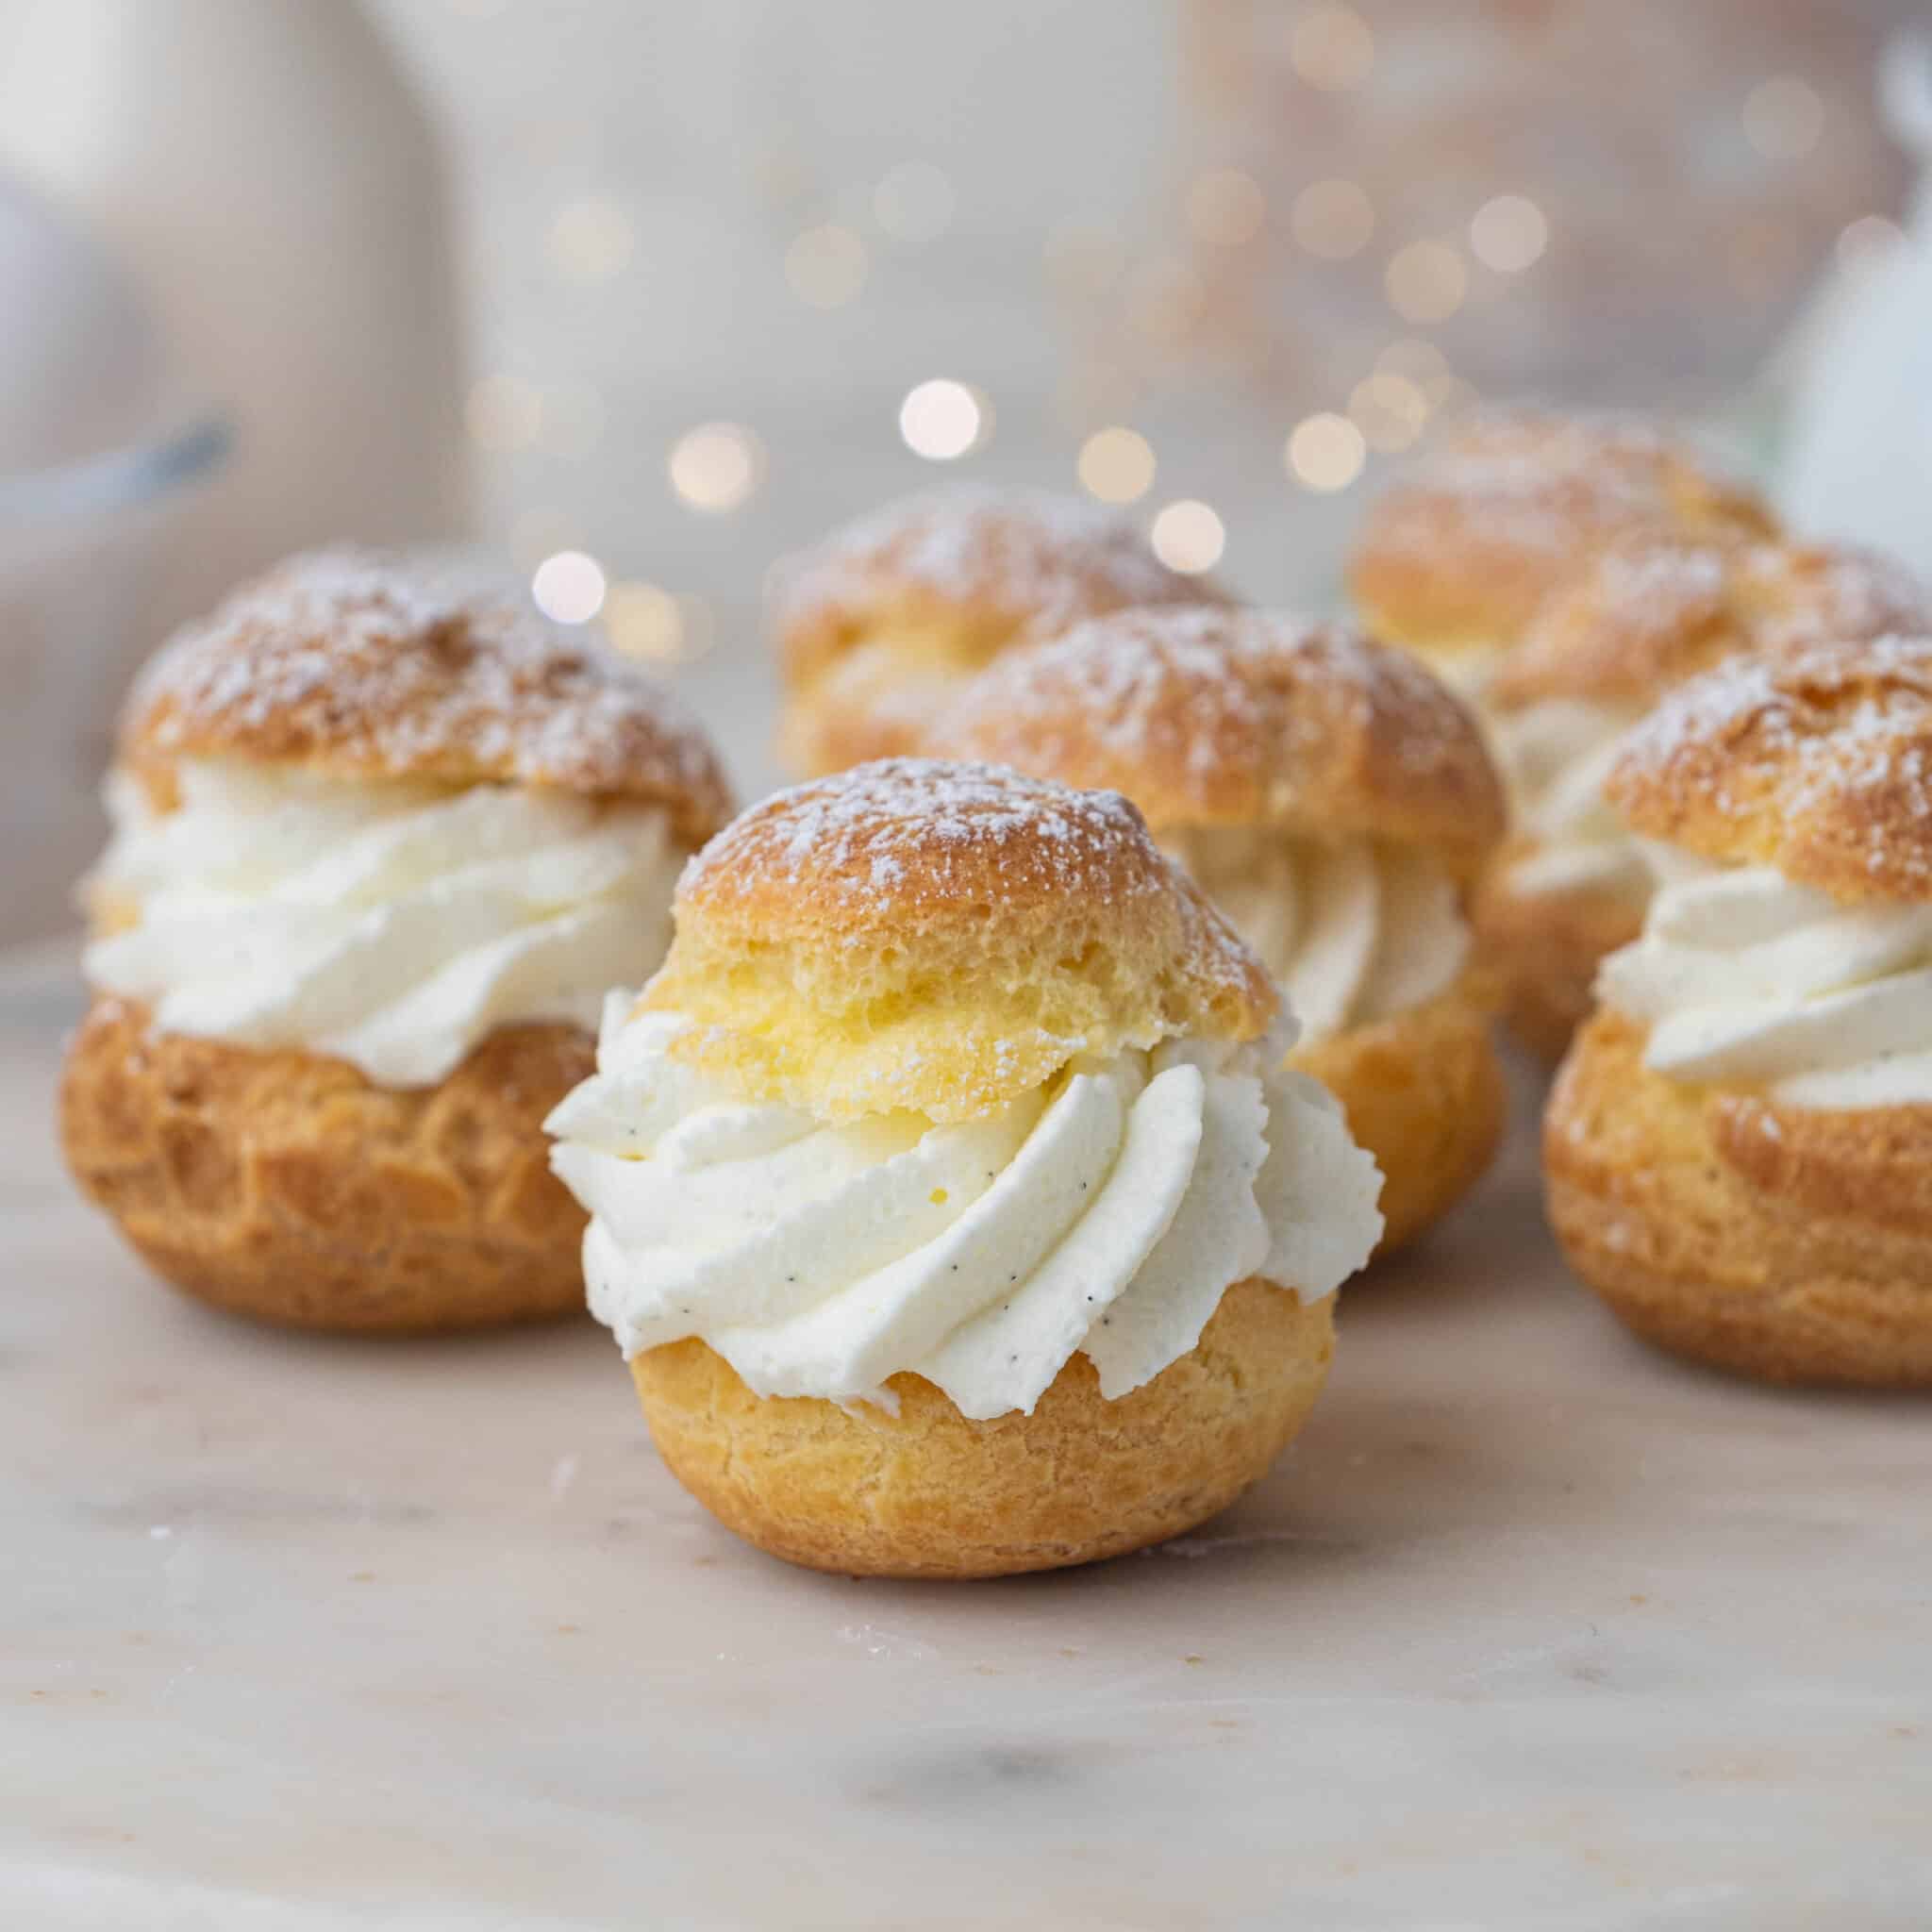
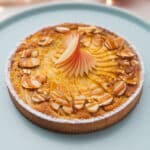
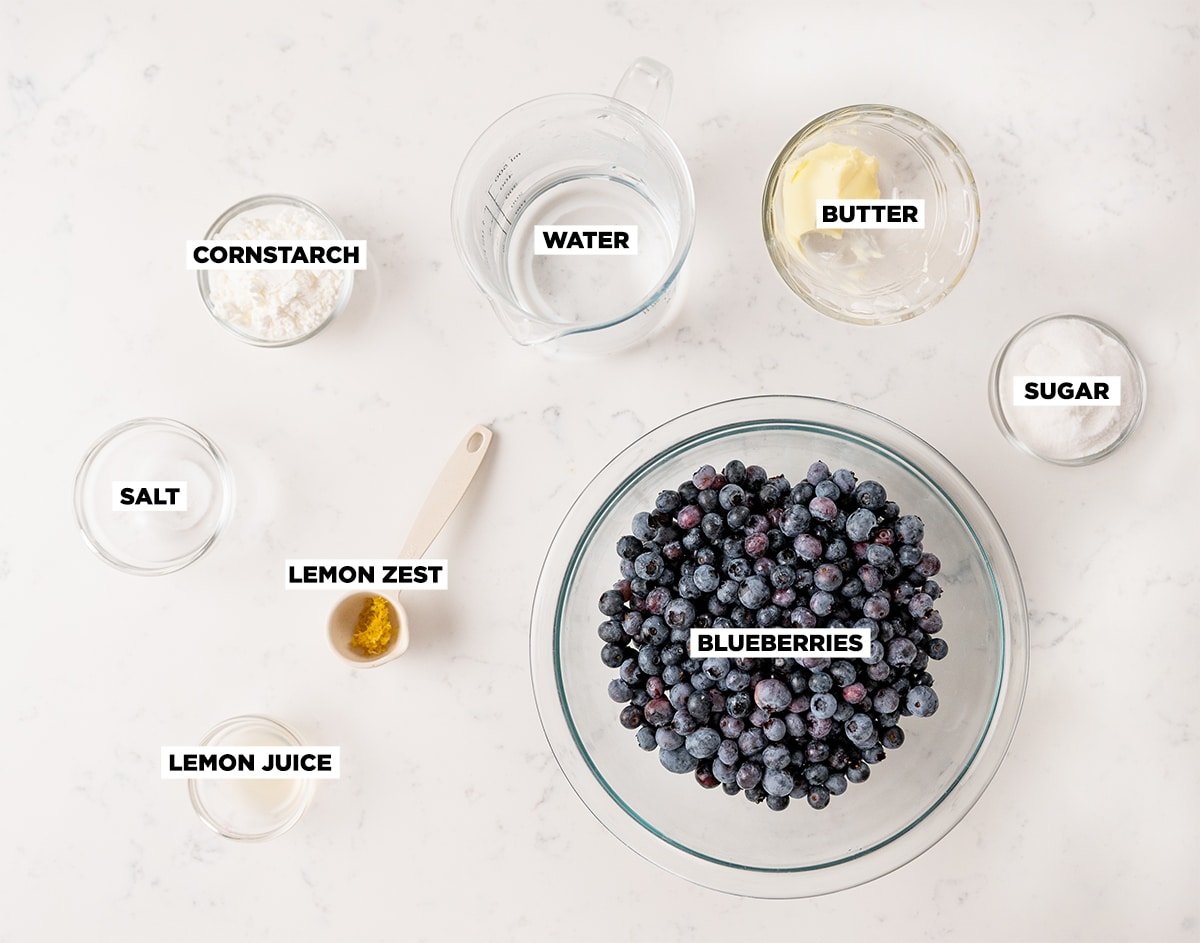
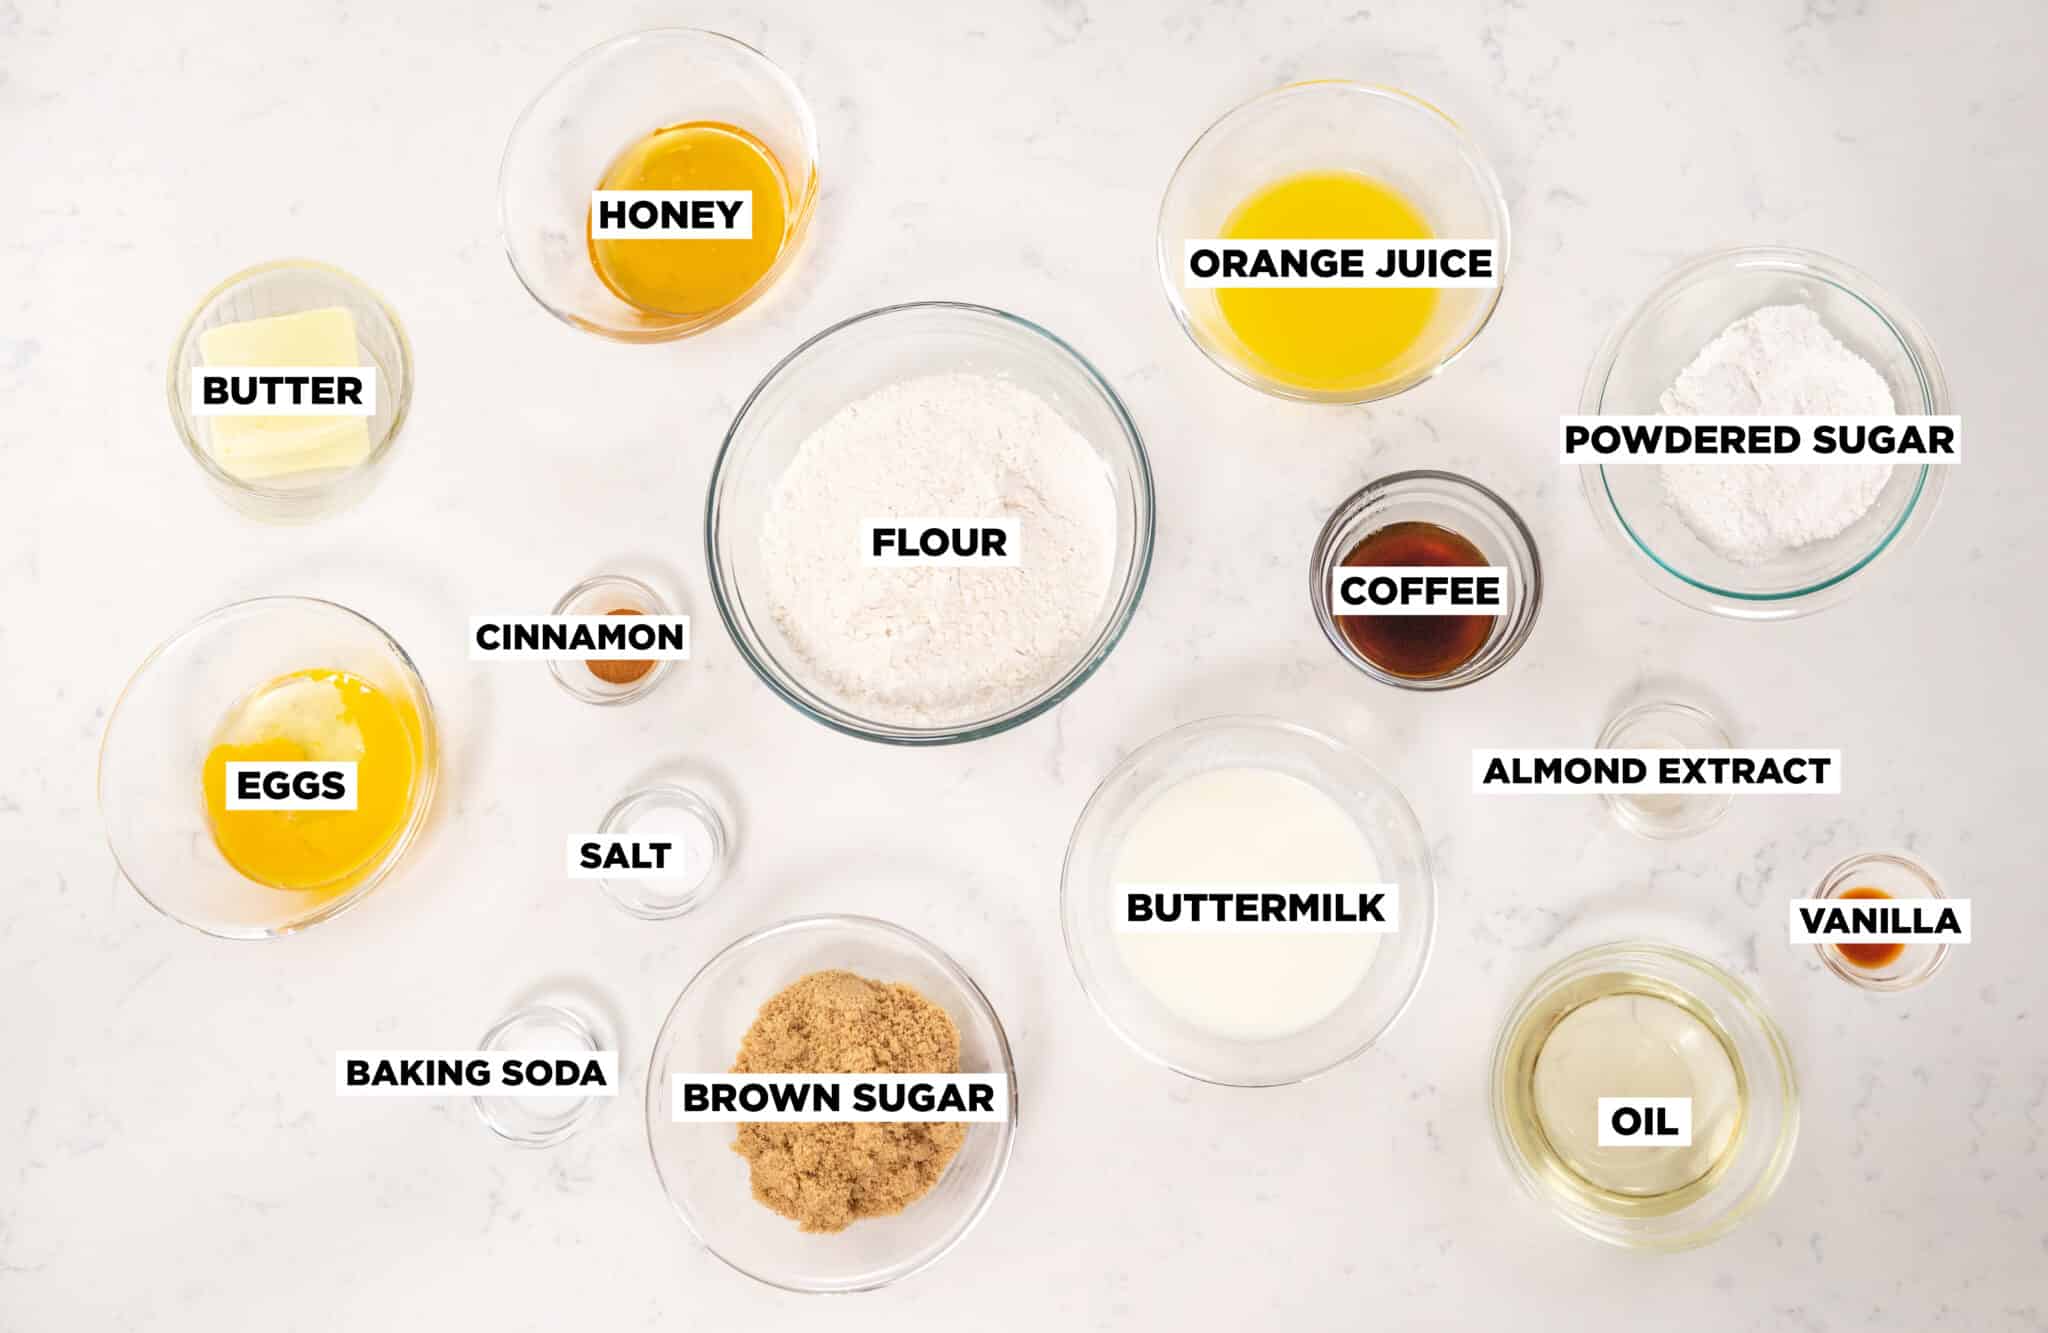 Honey is the most important ingredient, of course! I like using wildflower honey or raw unfiltered honey for the richest flavor.
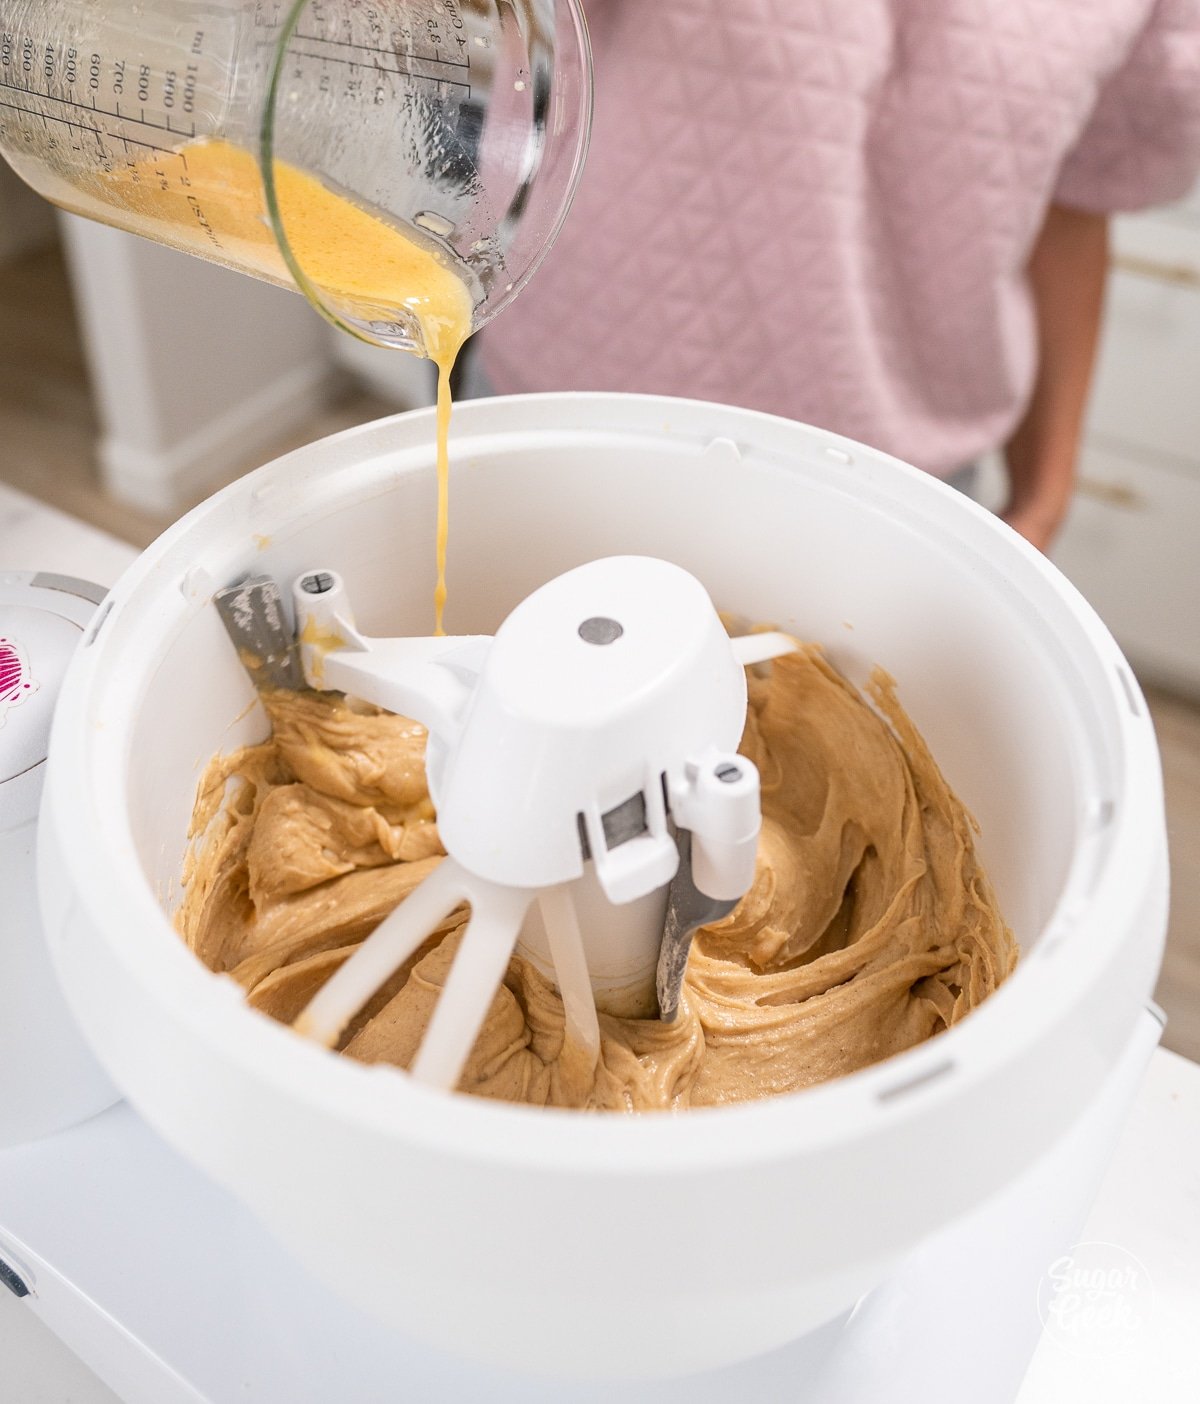


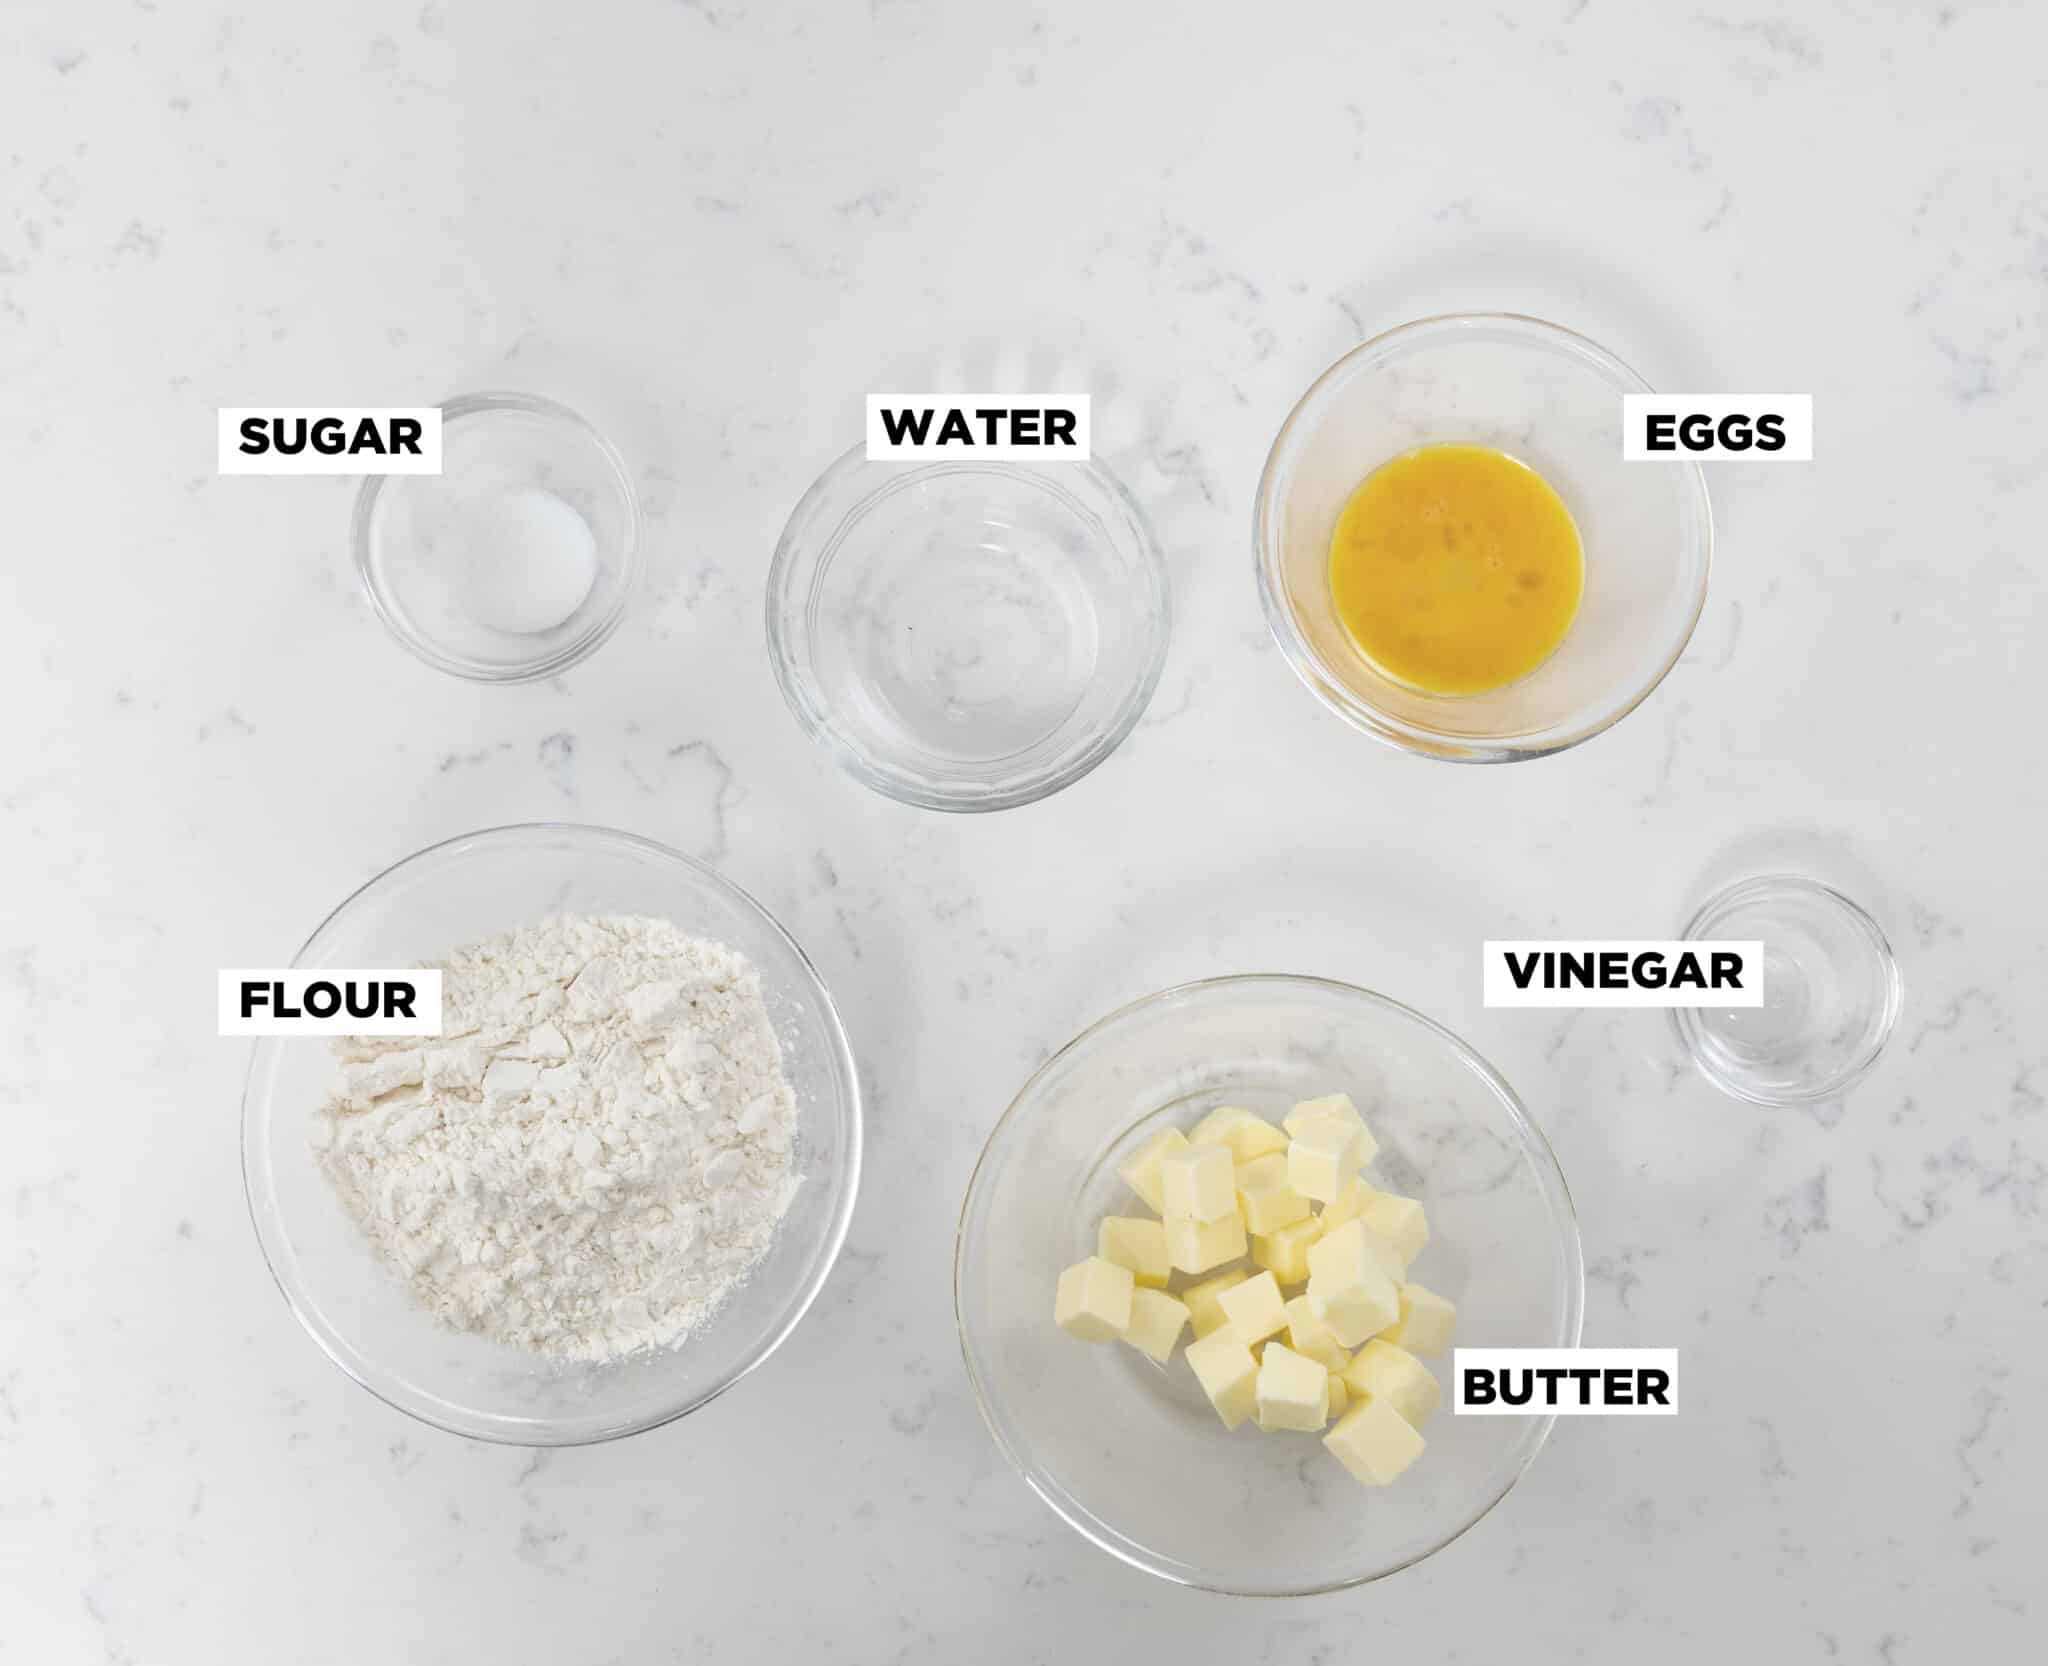
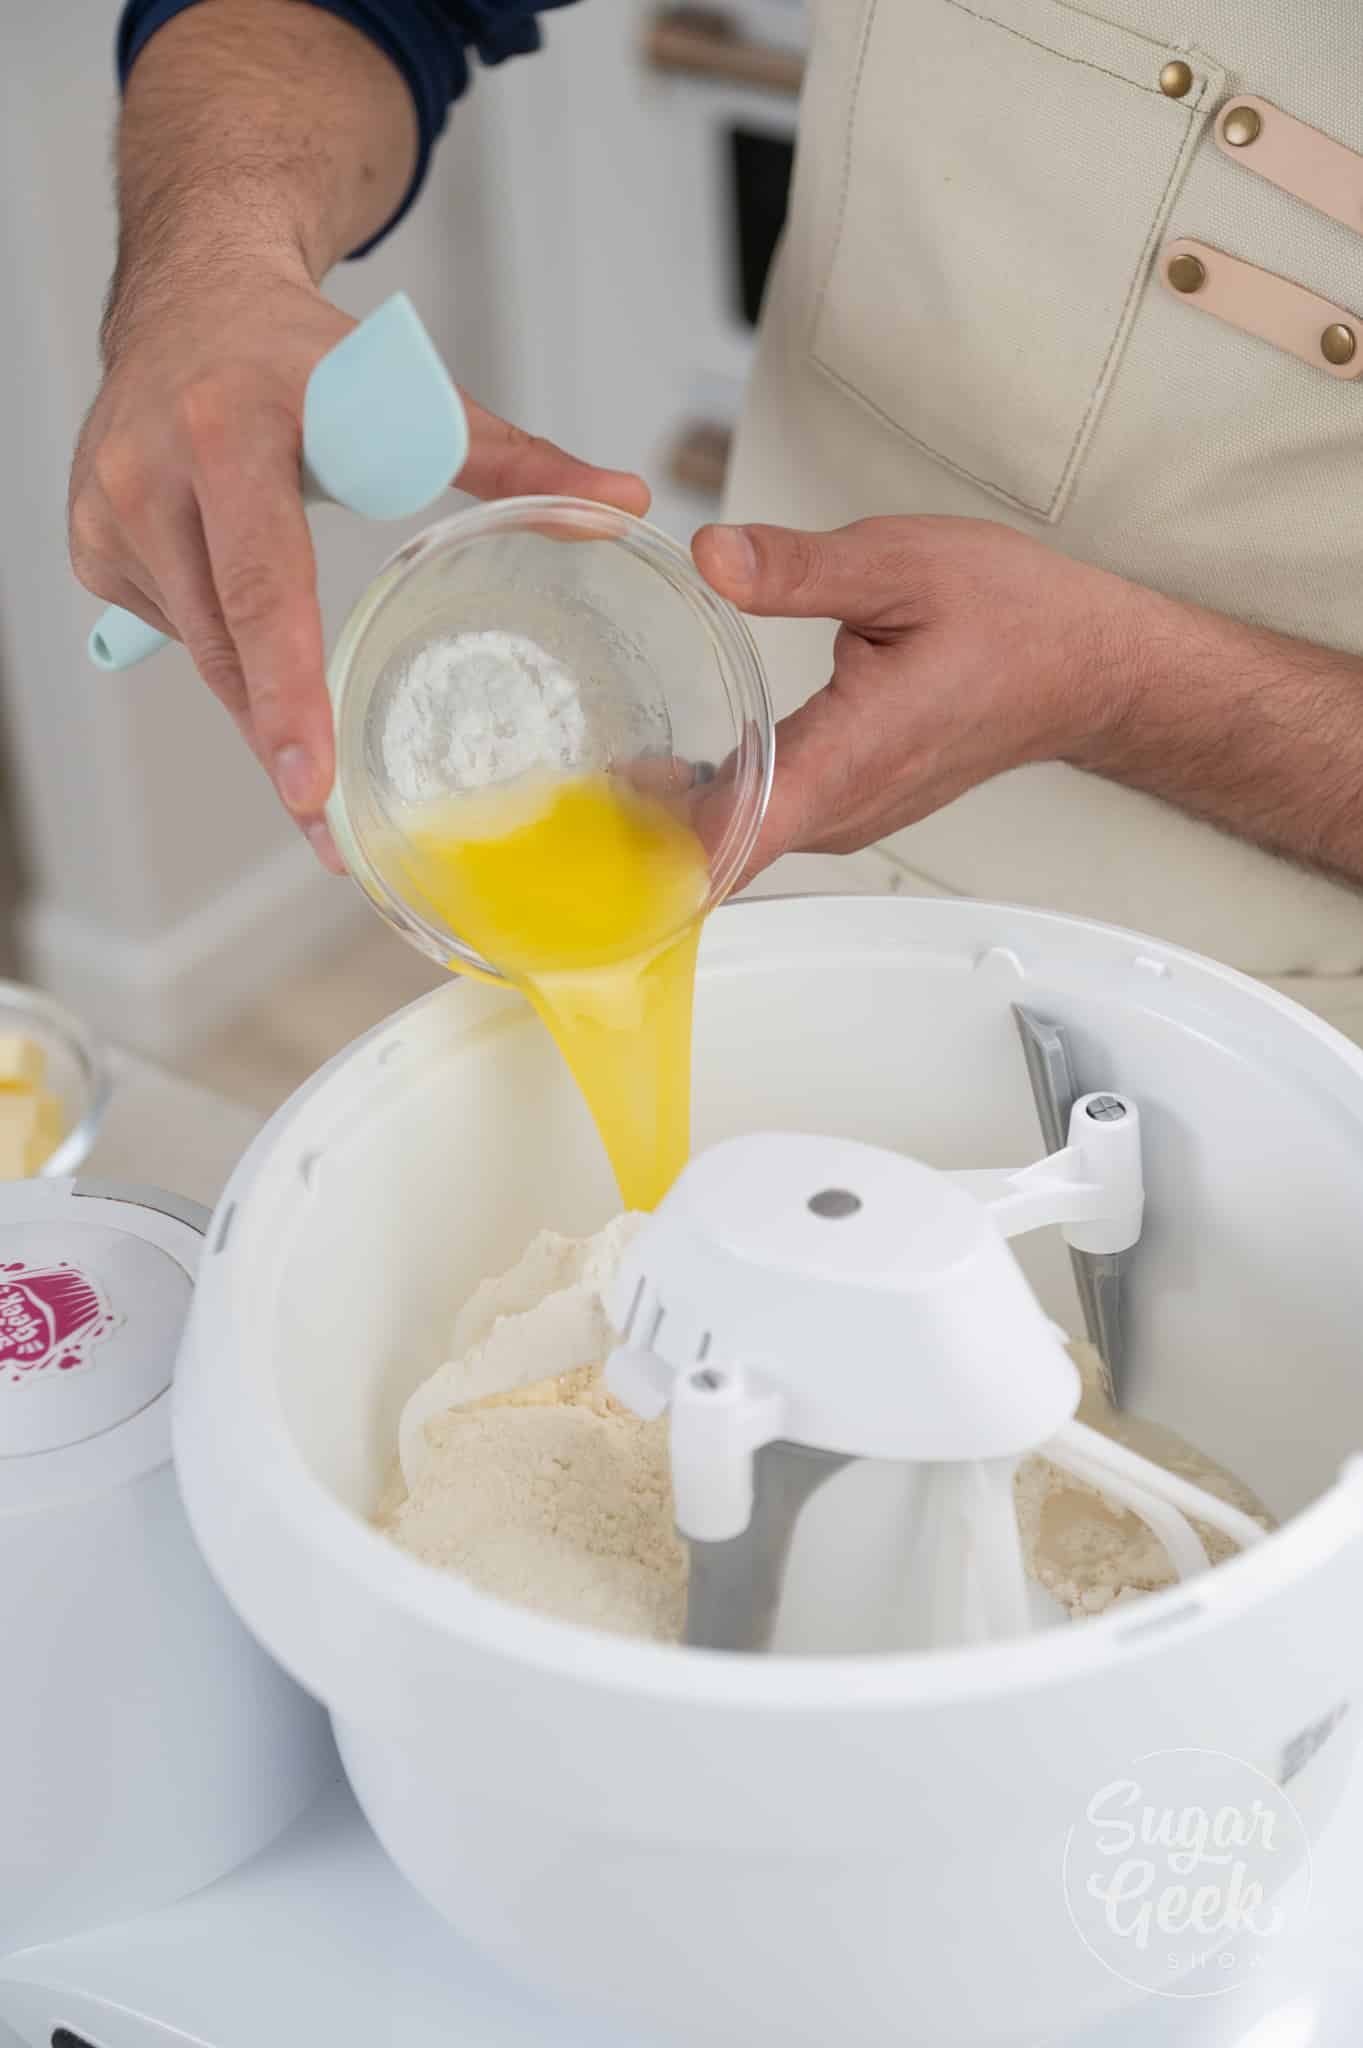
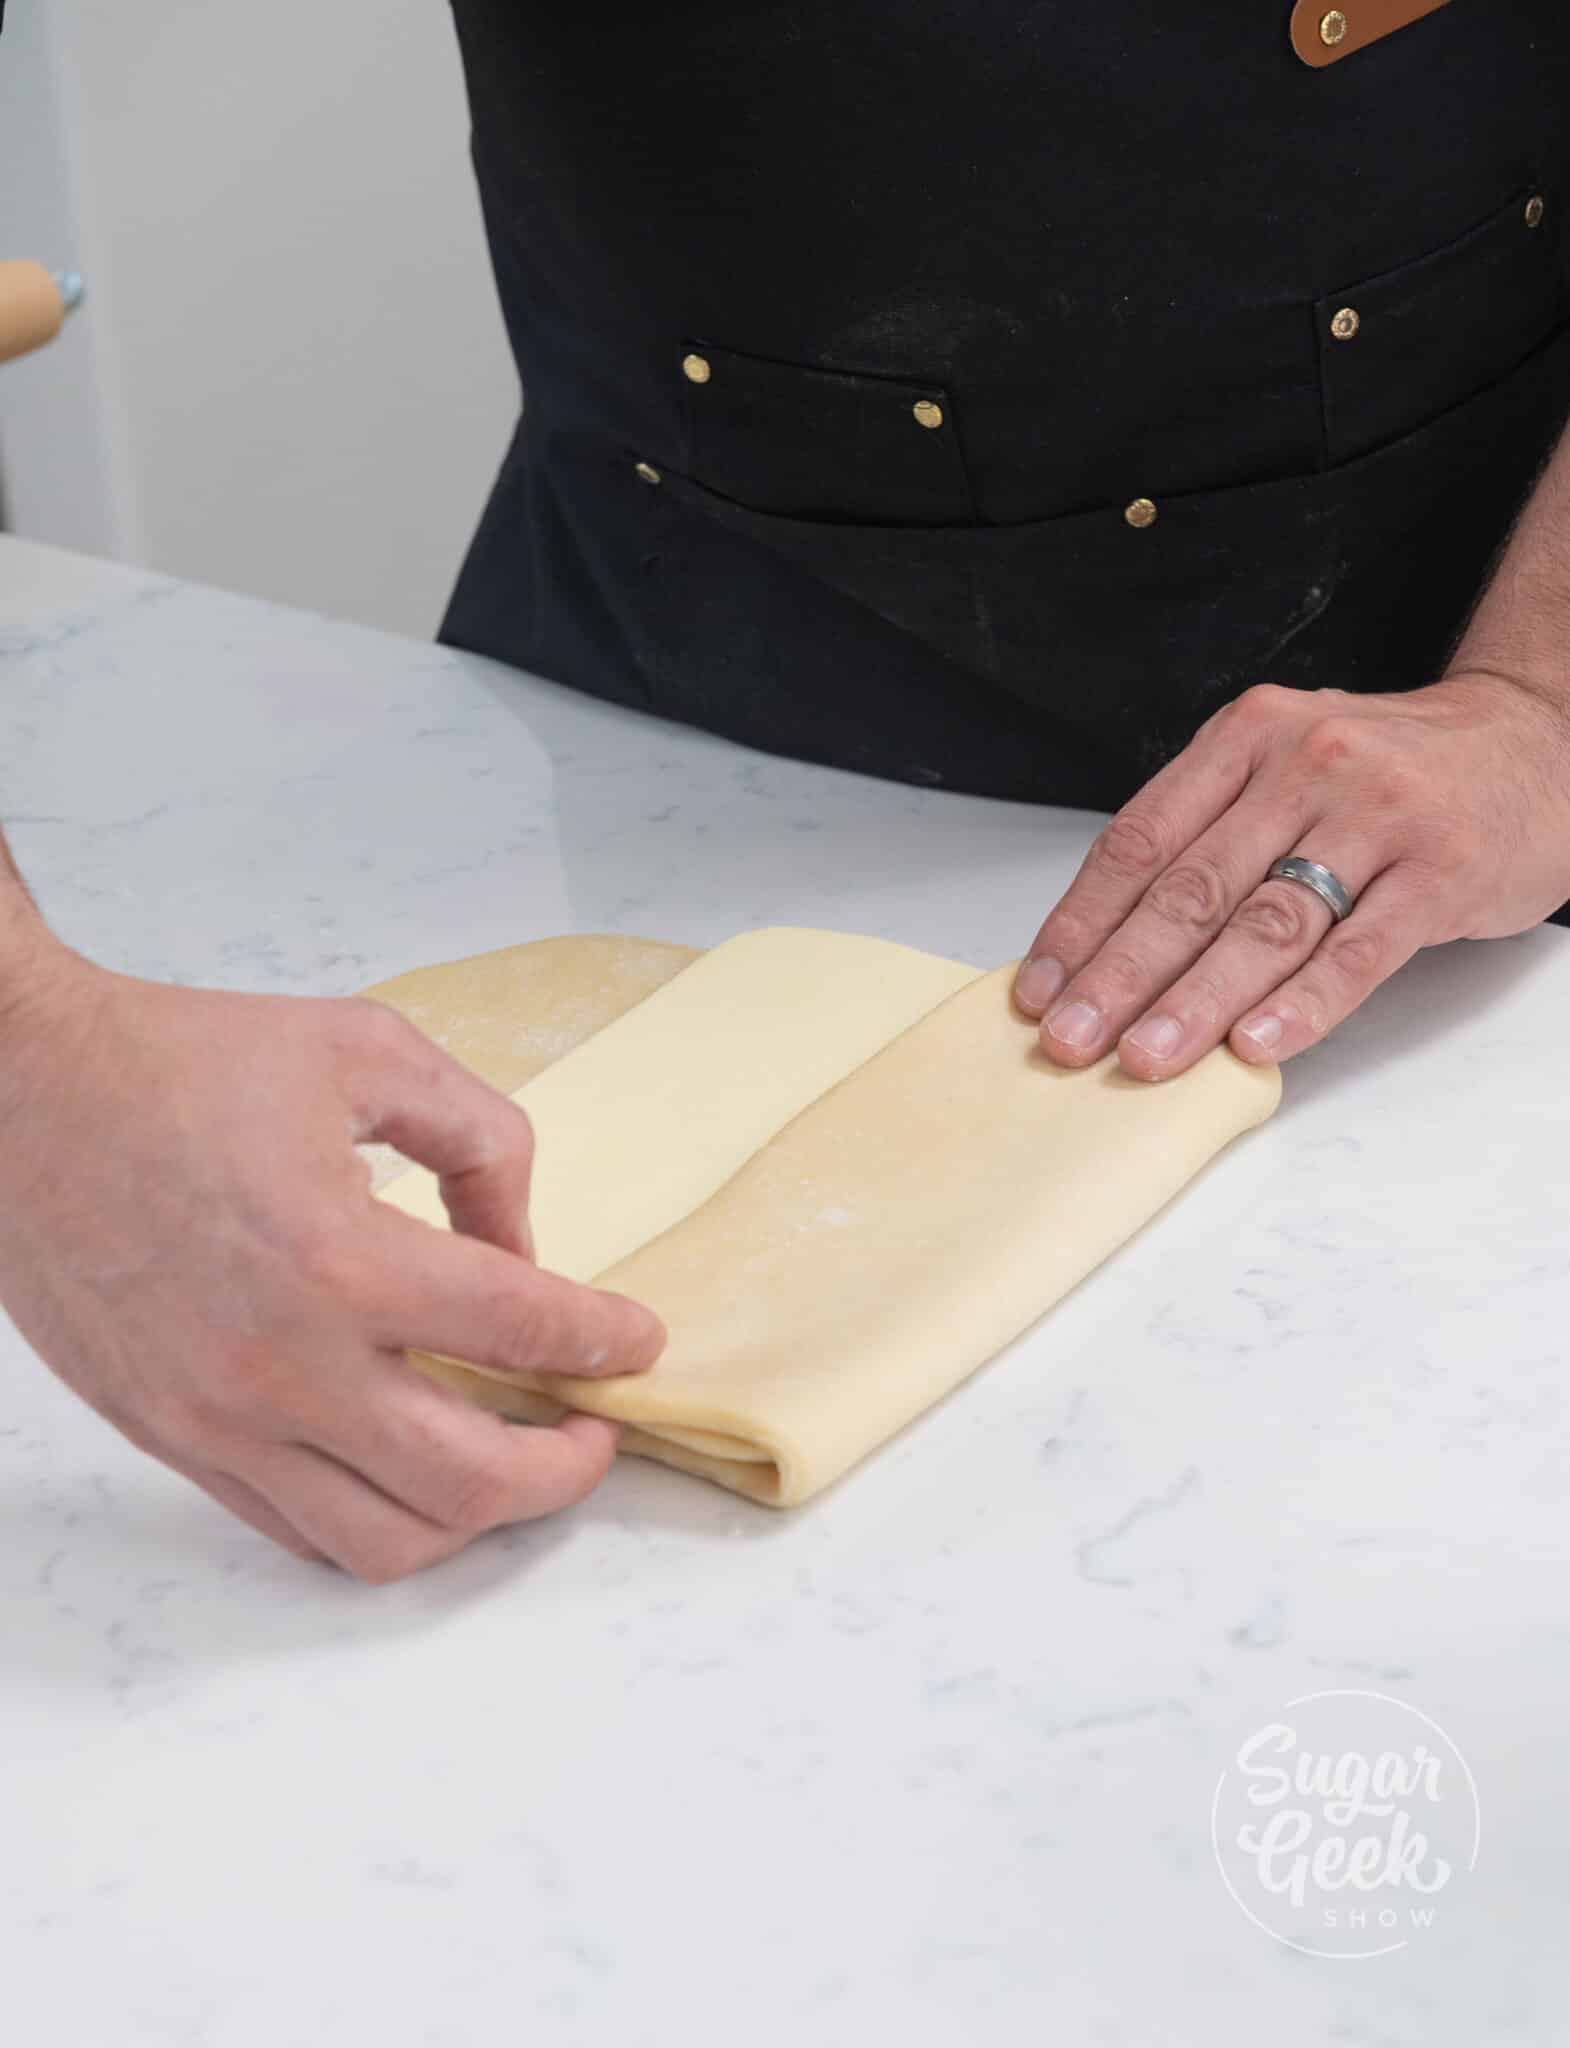
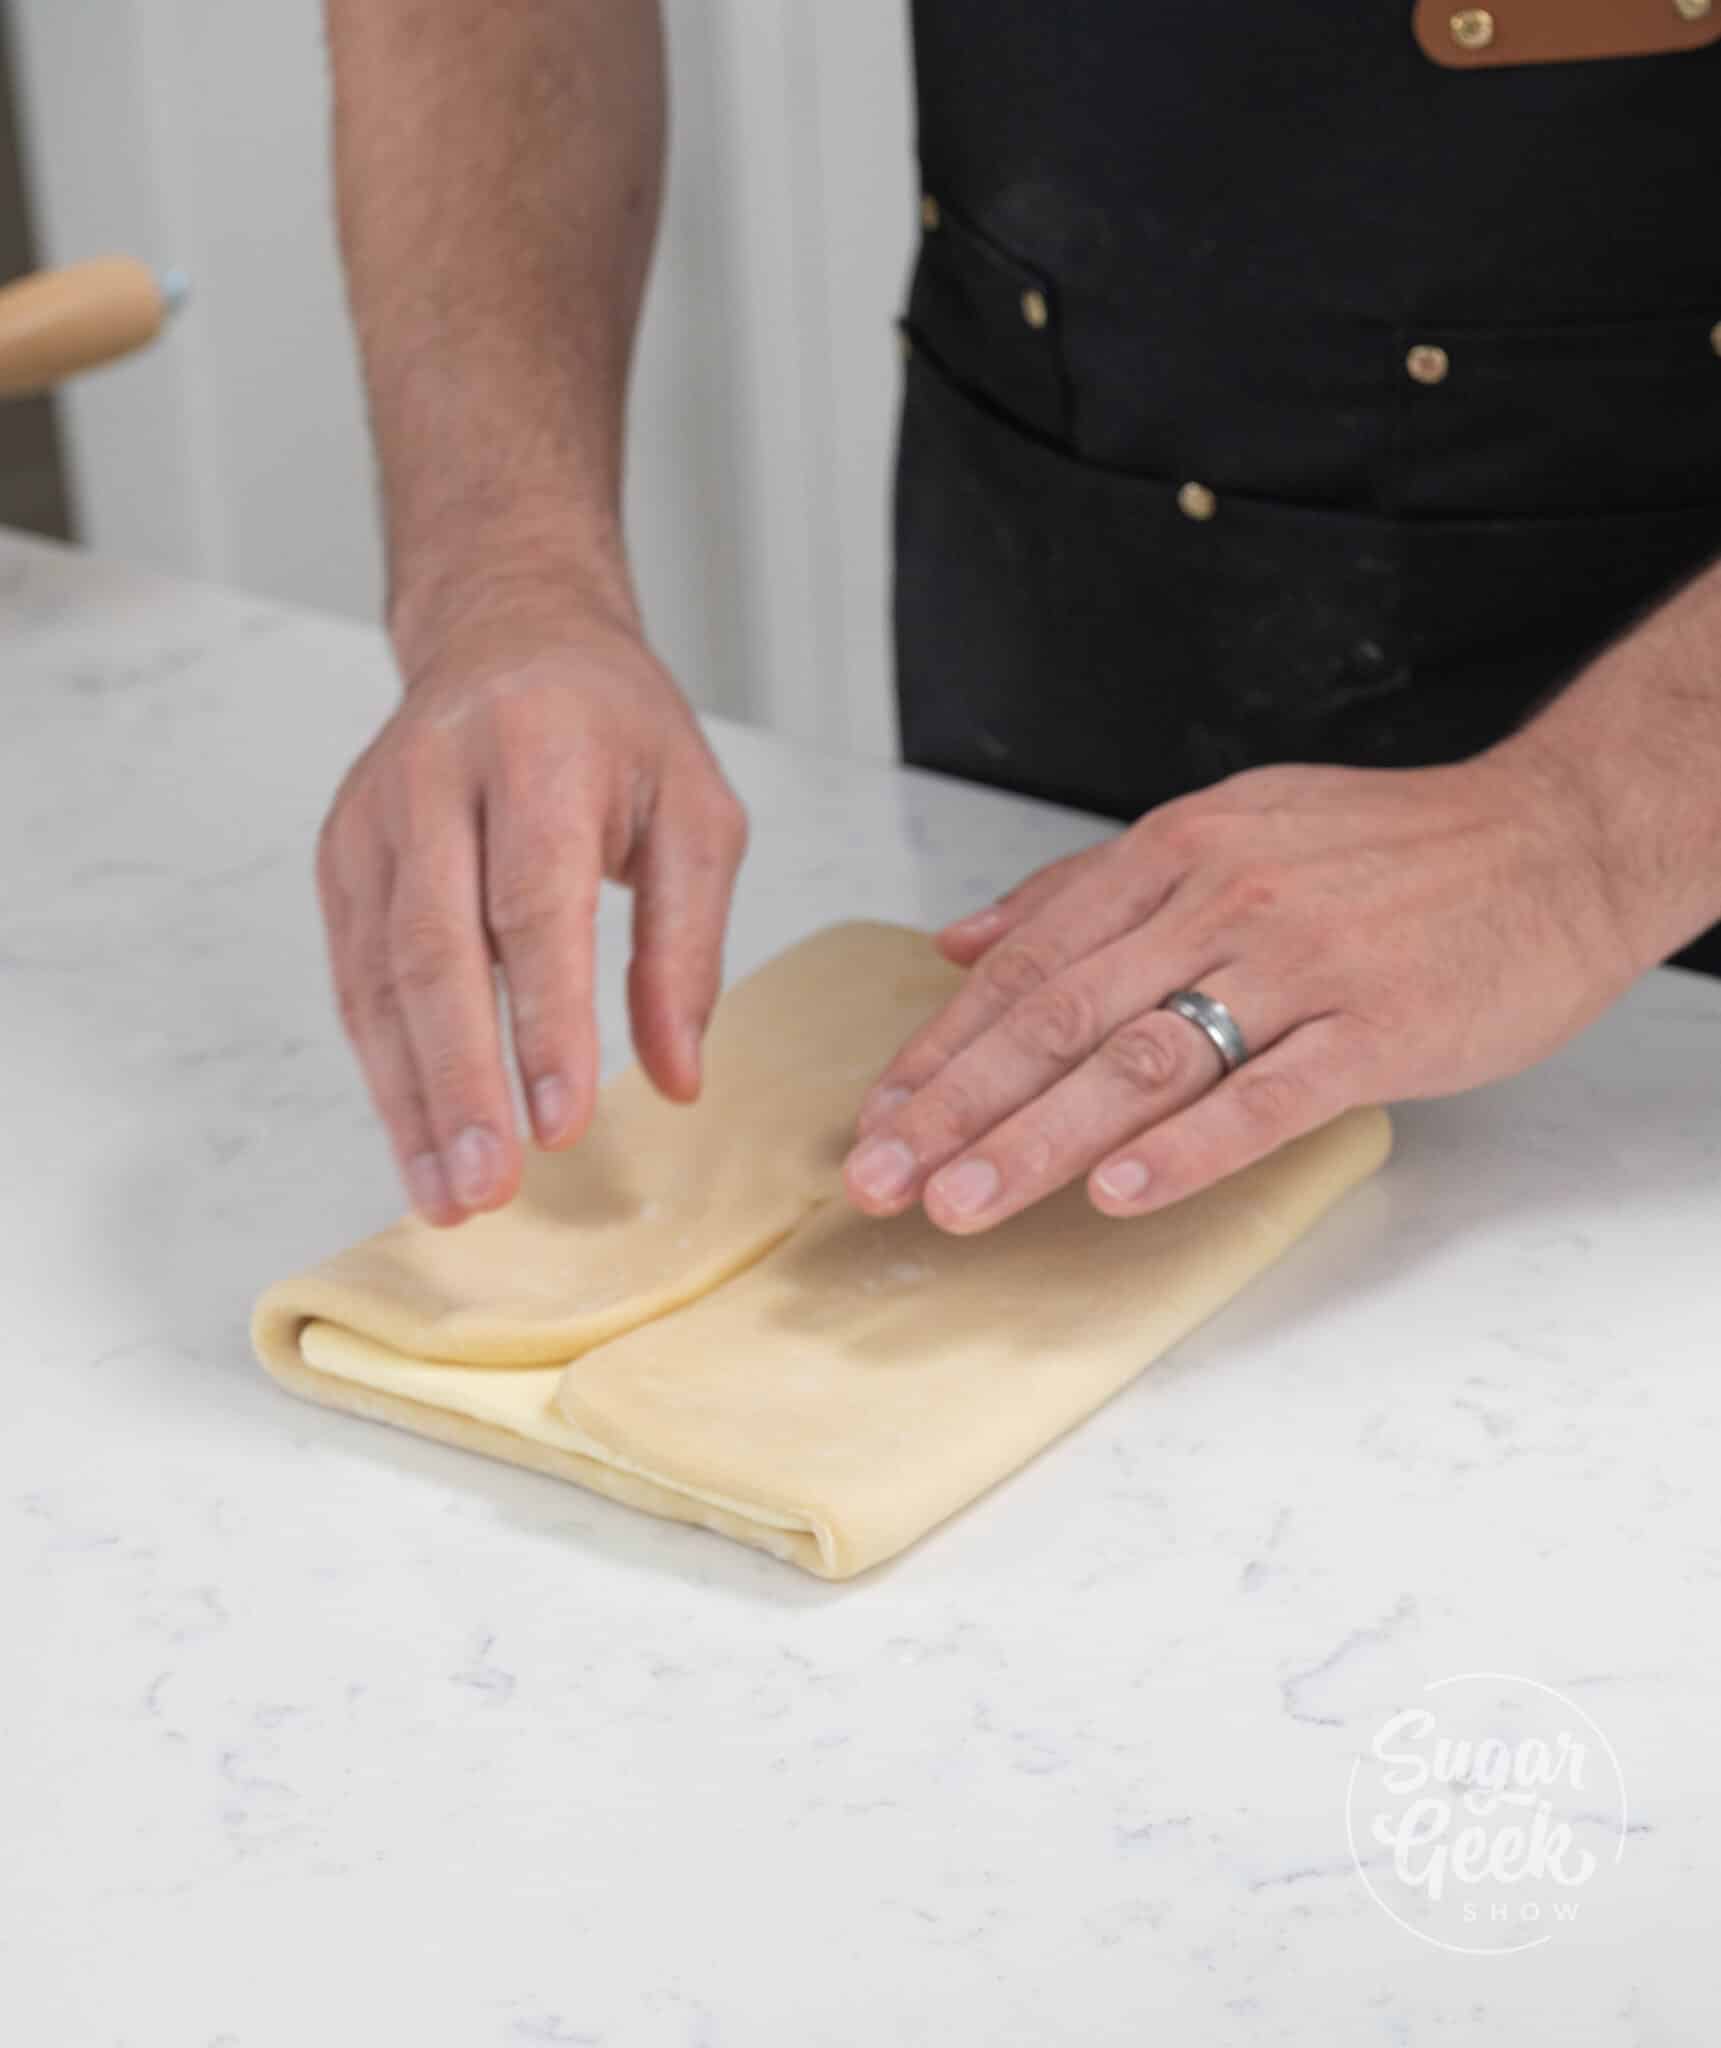
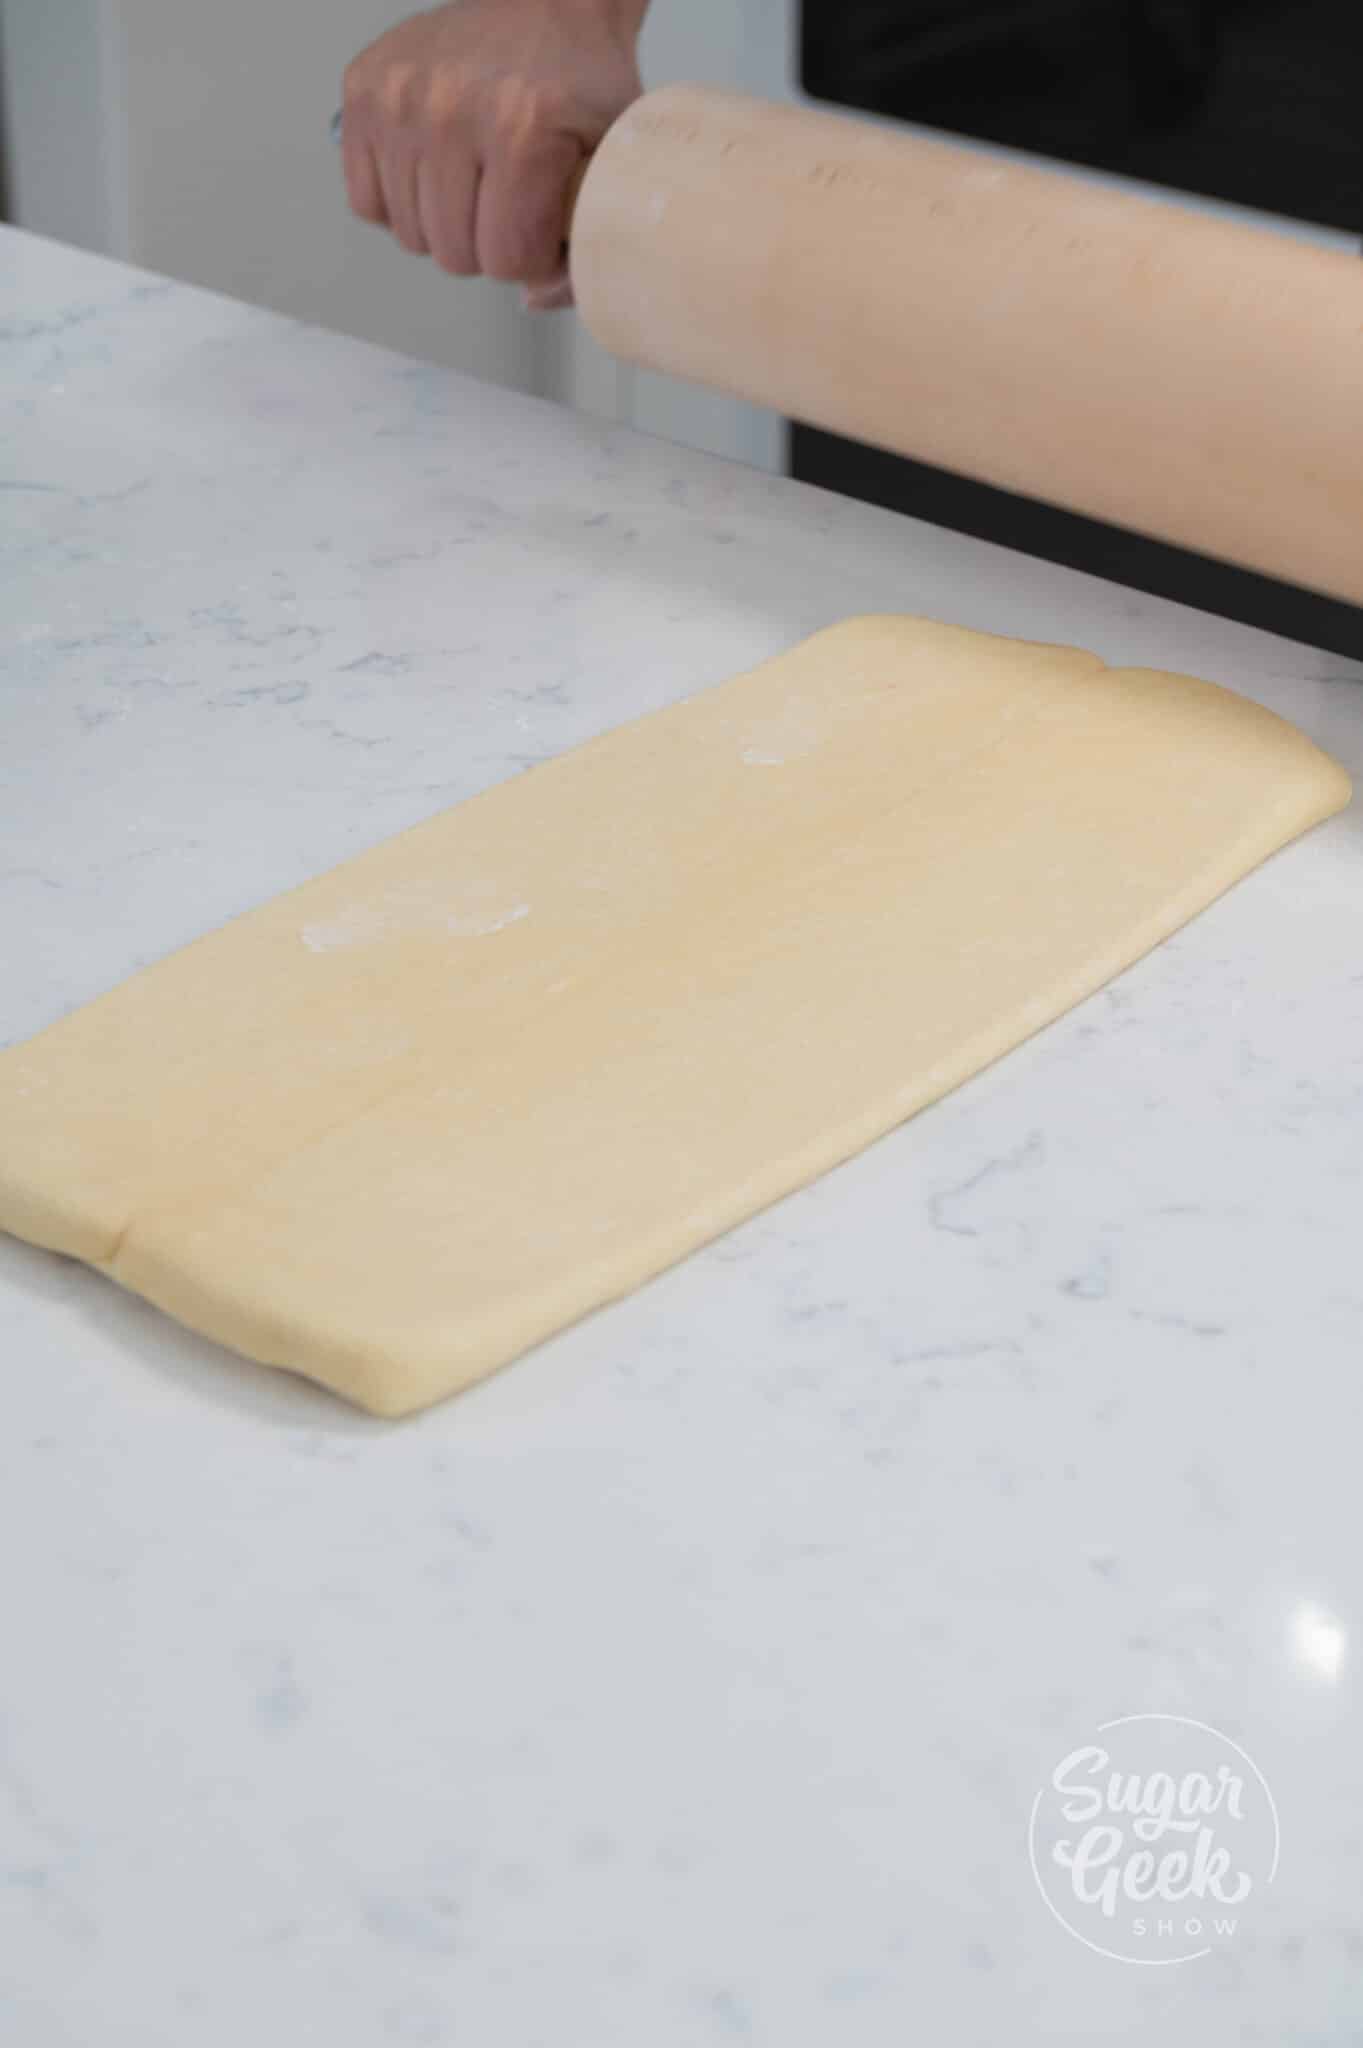
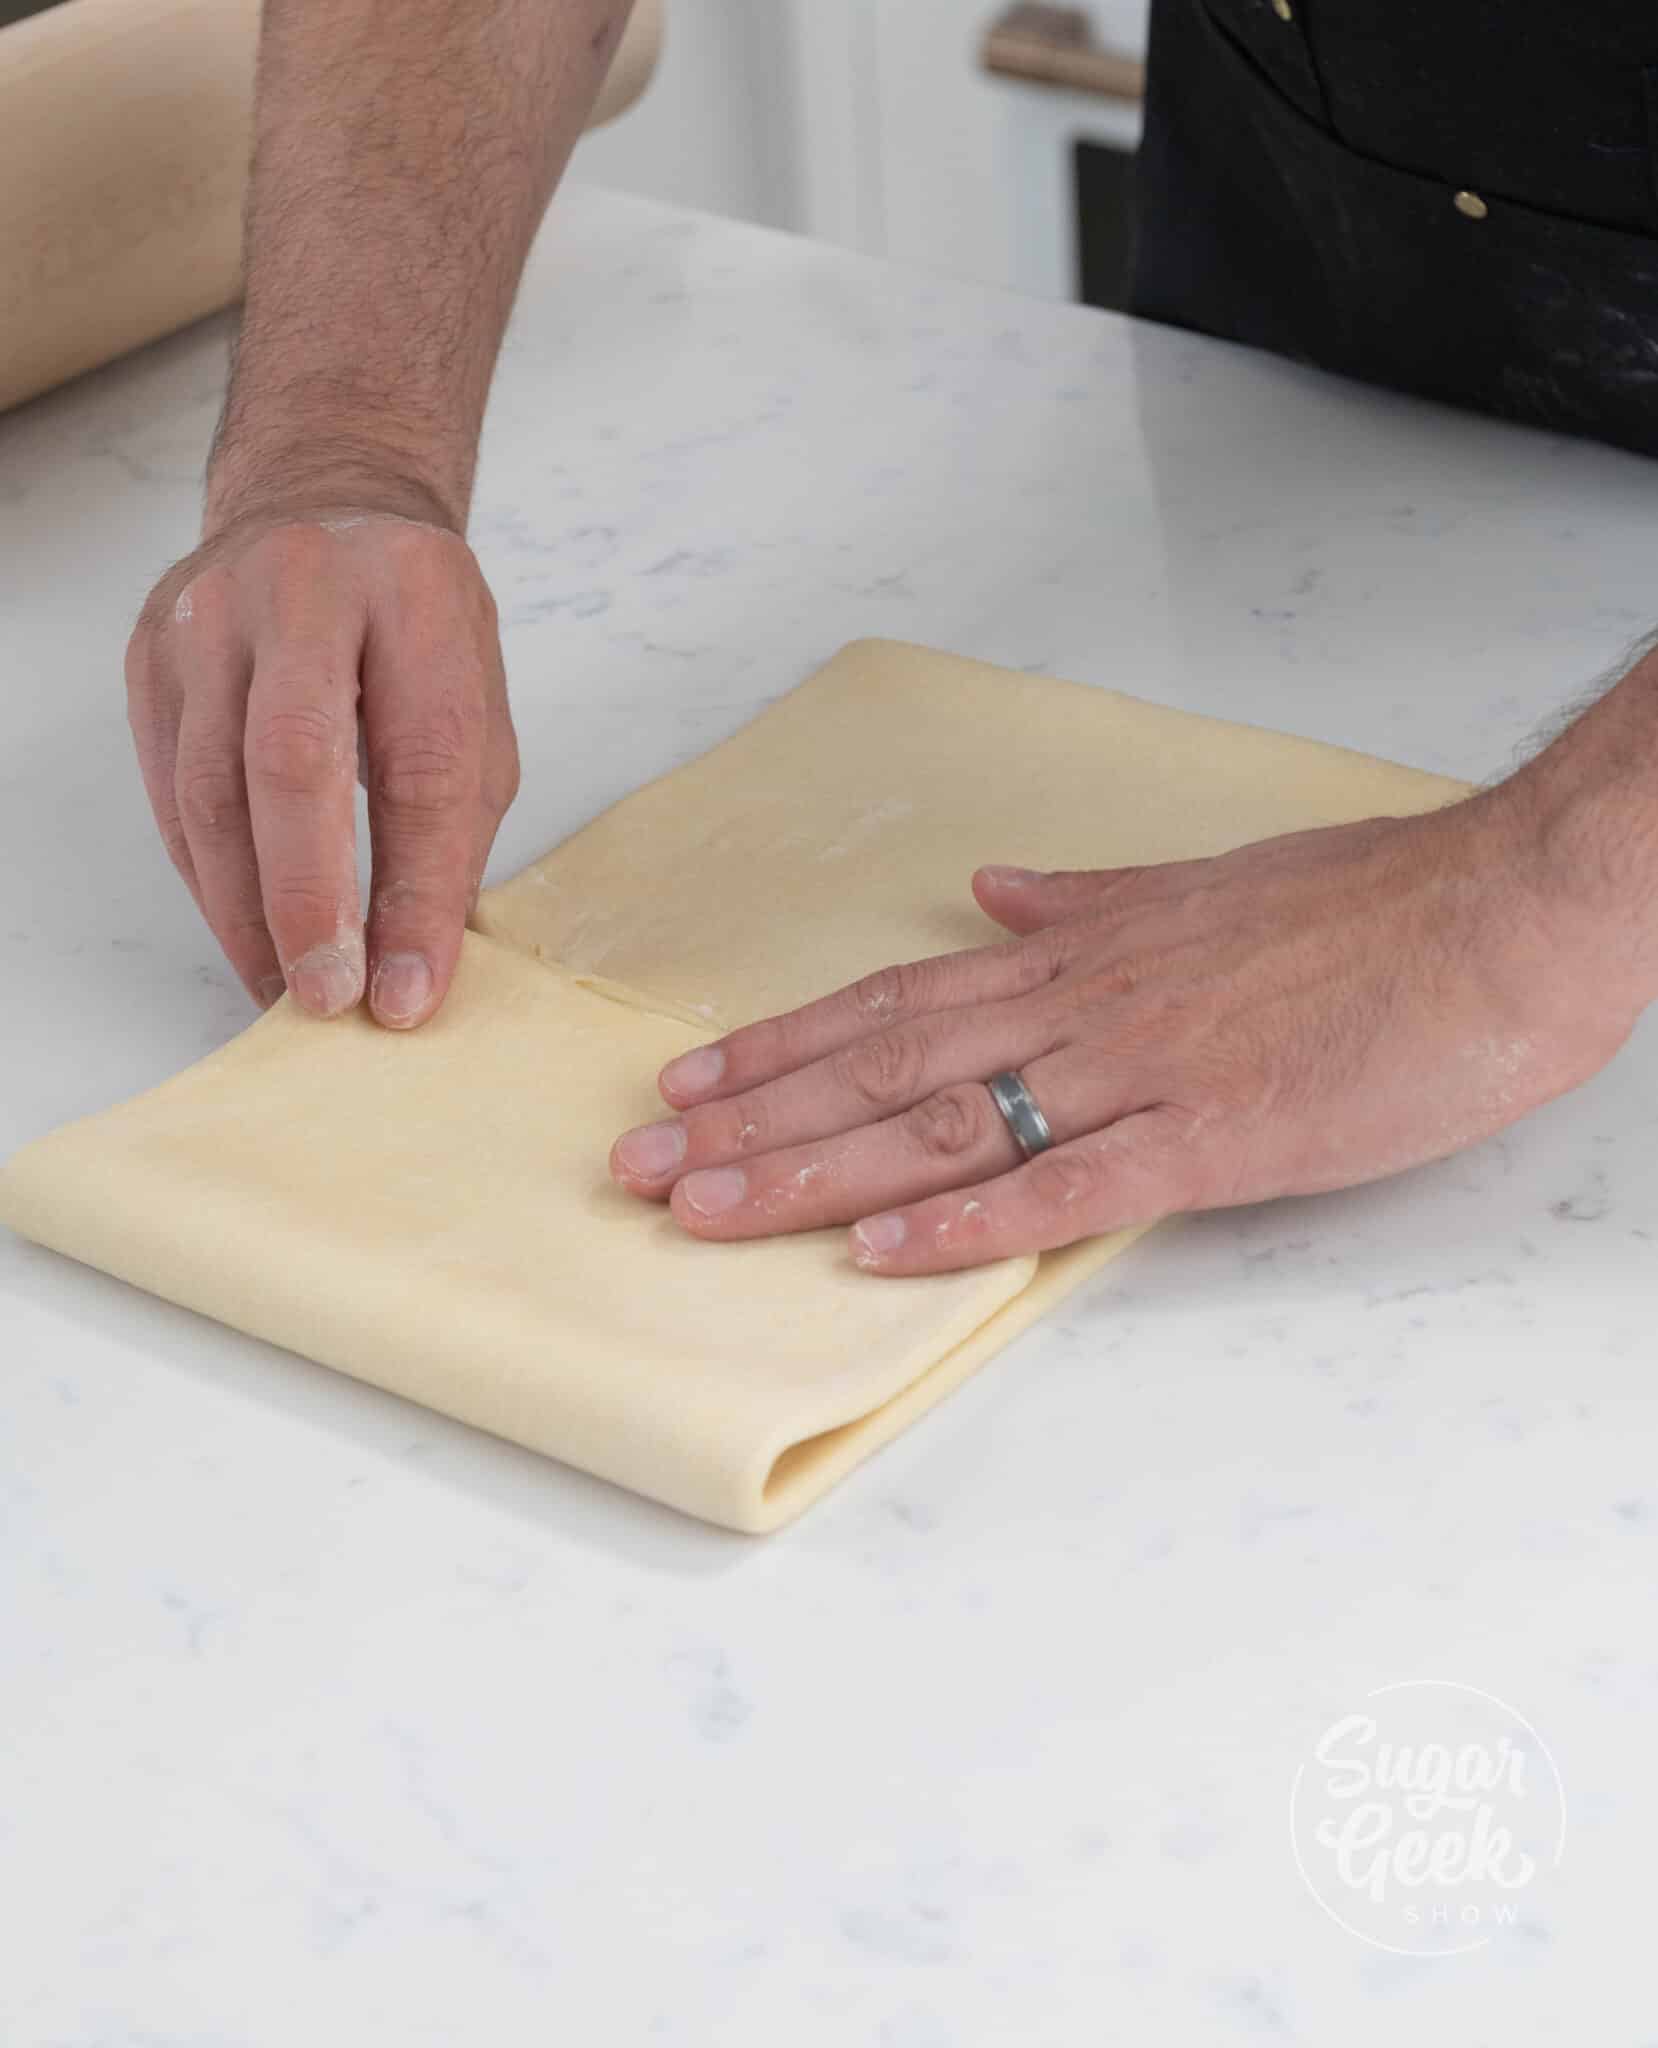
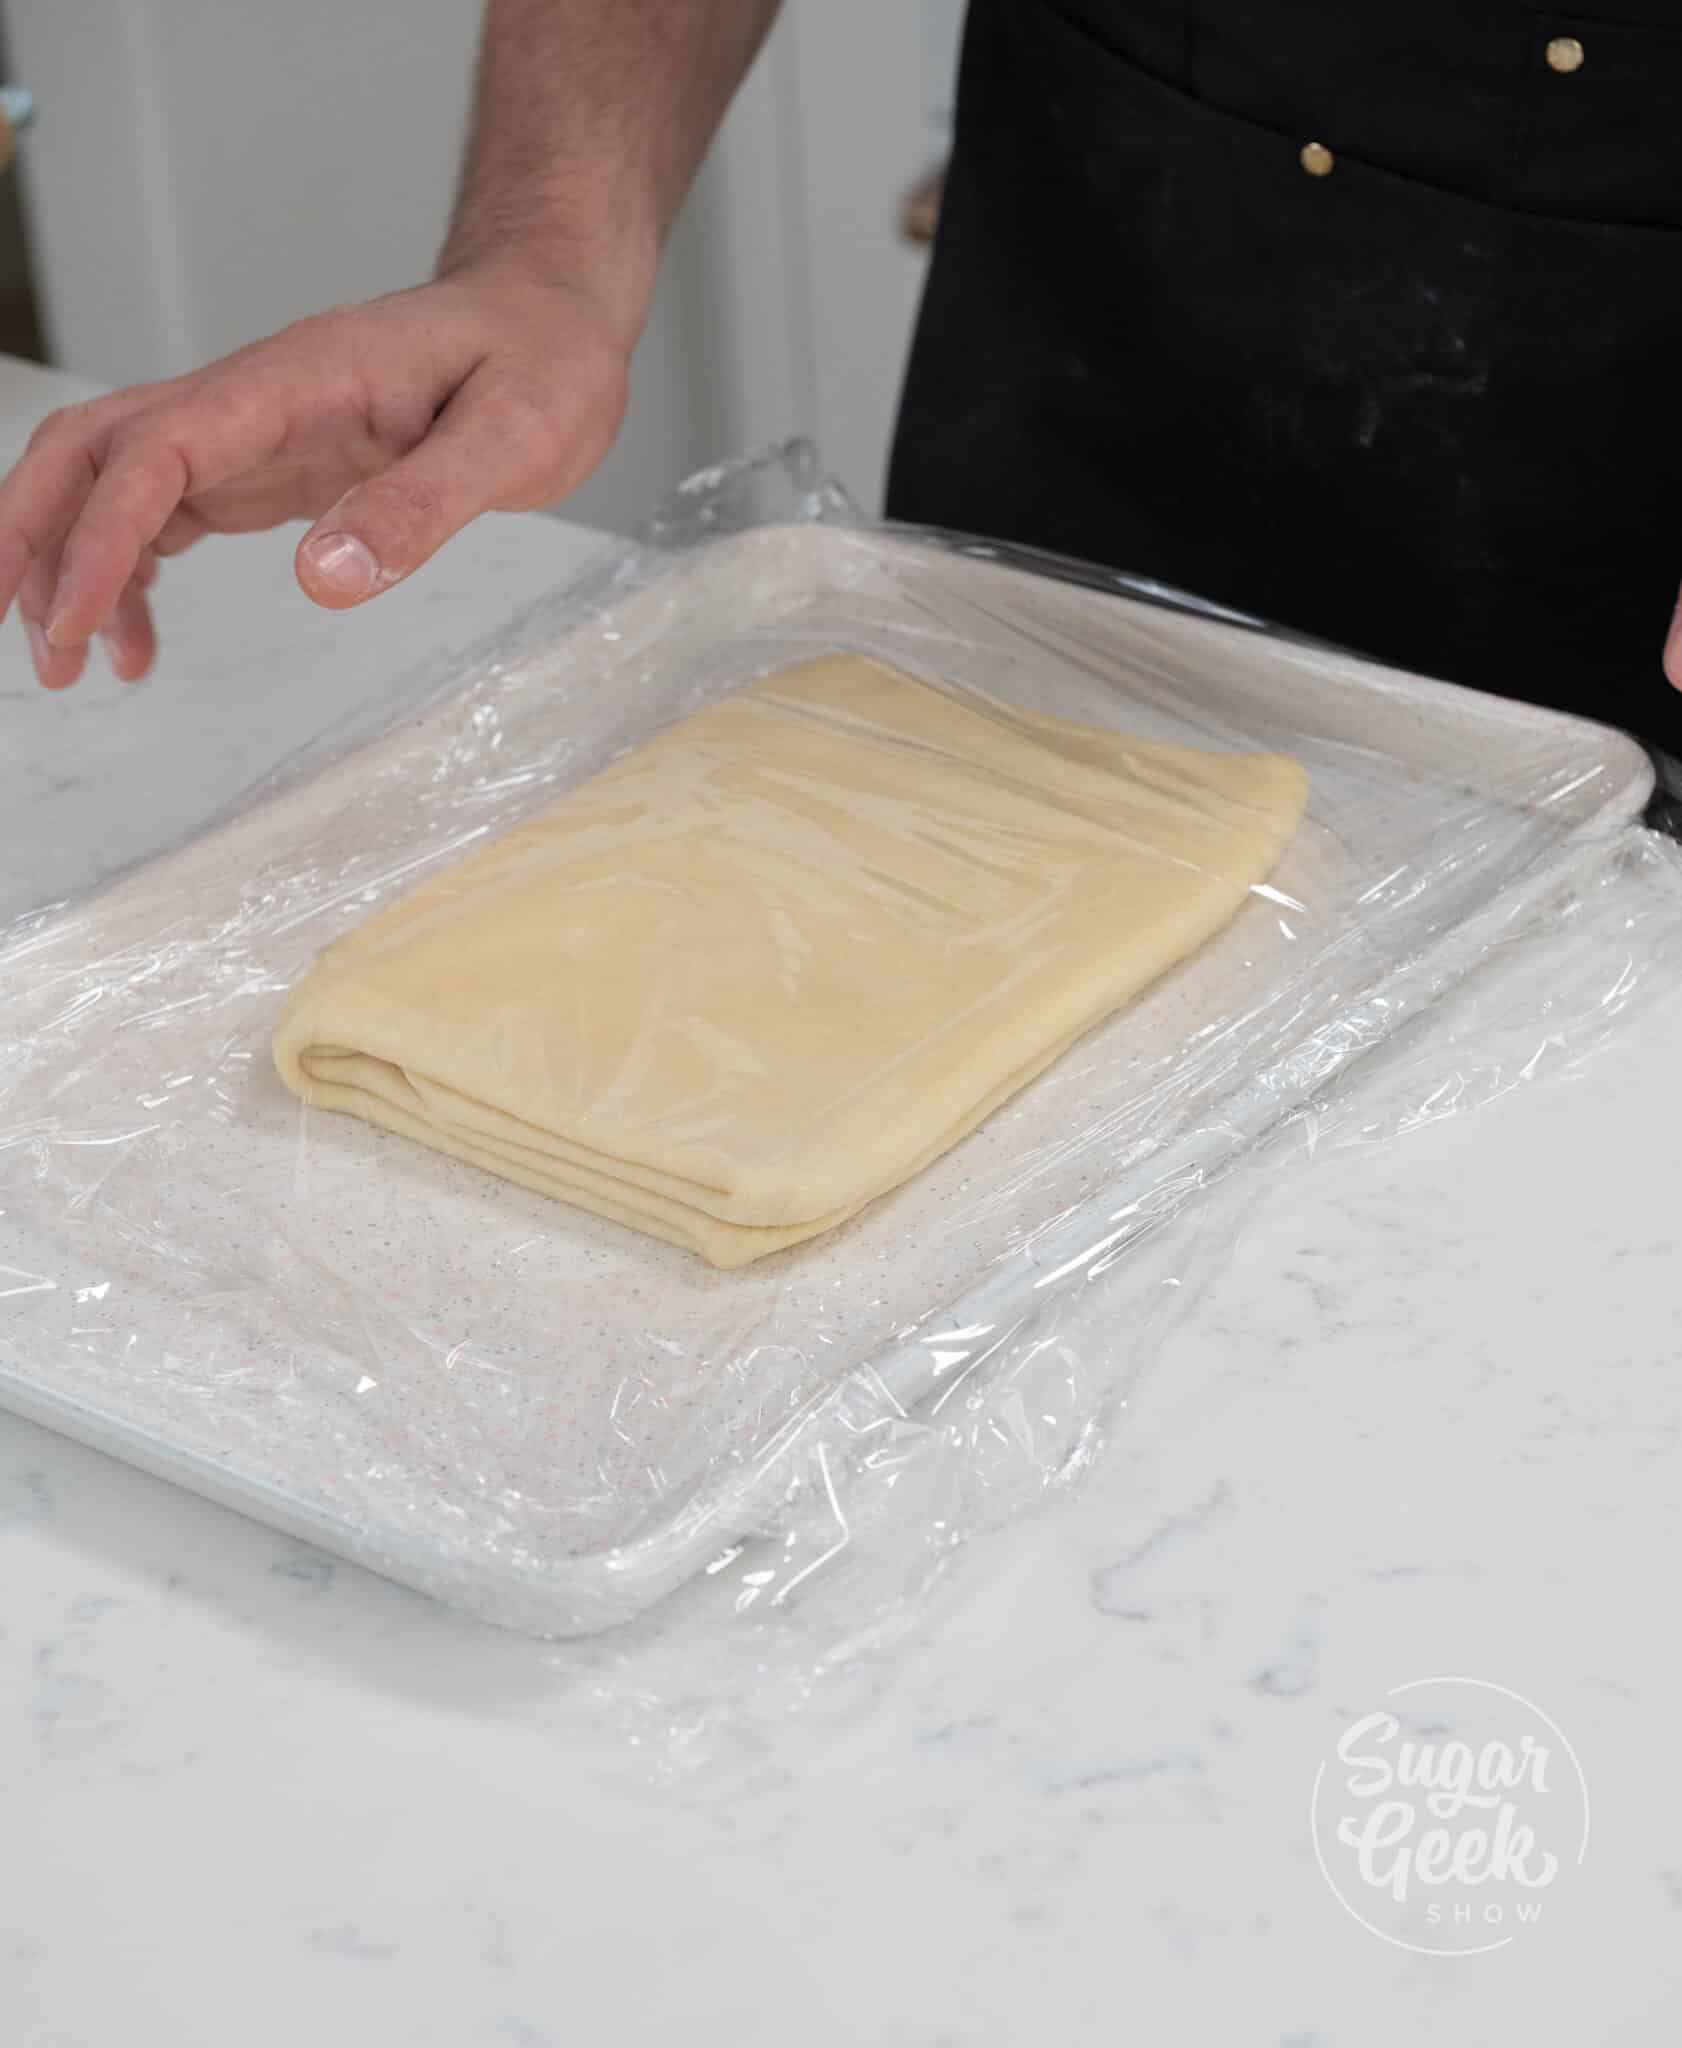
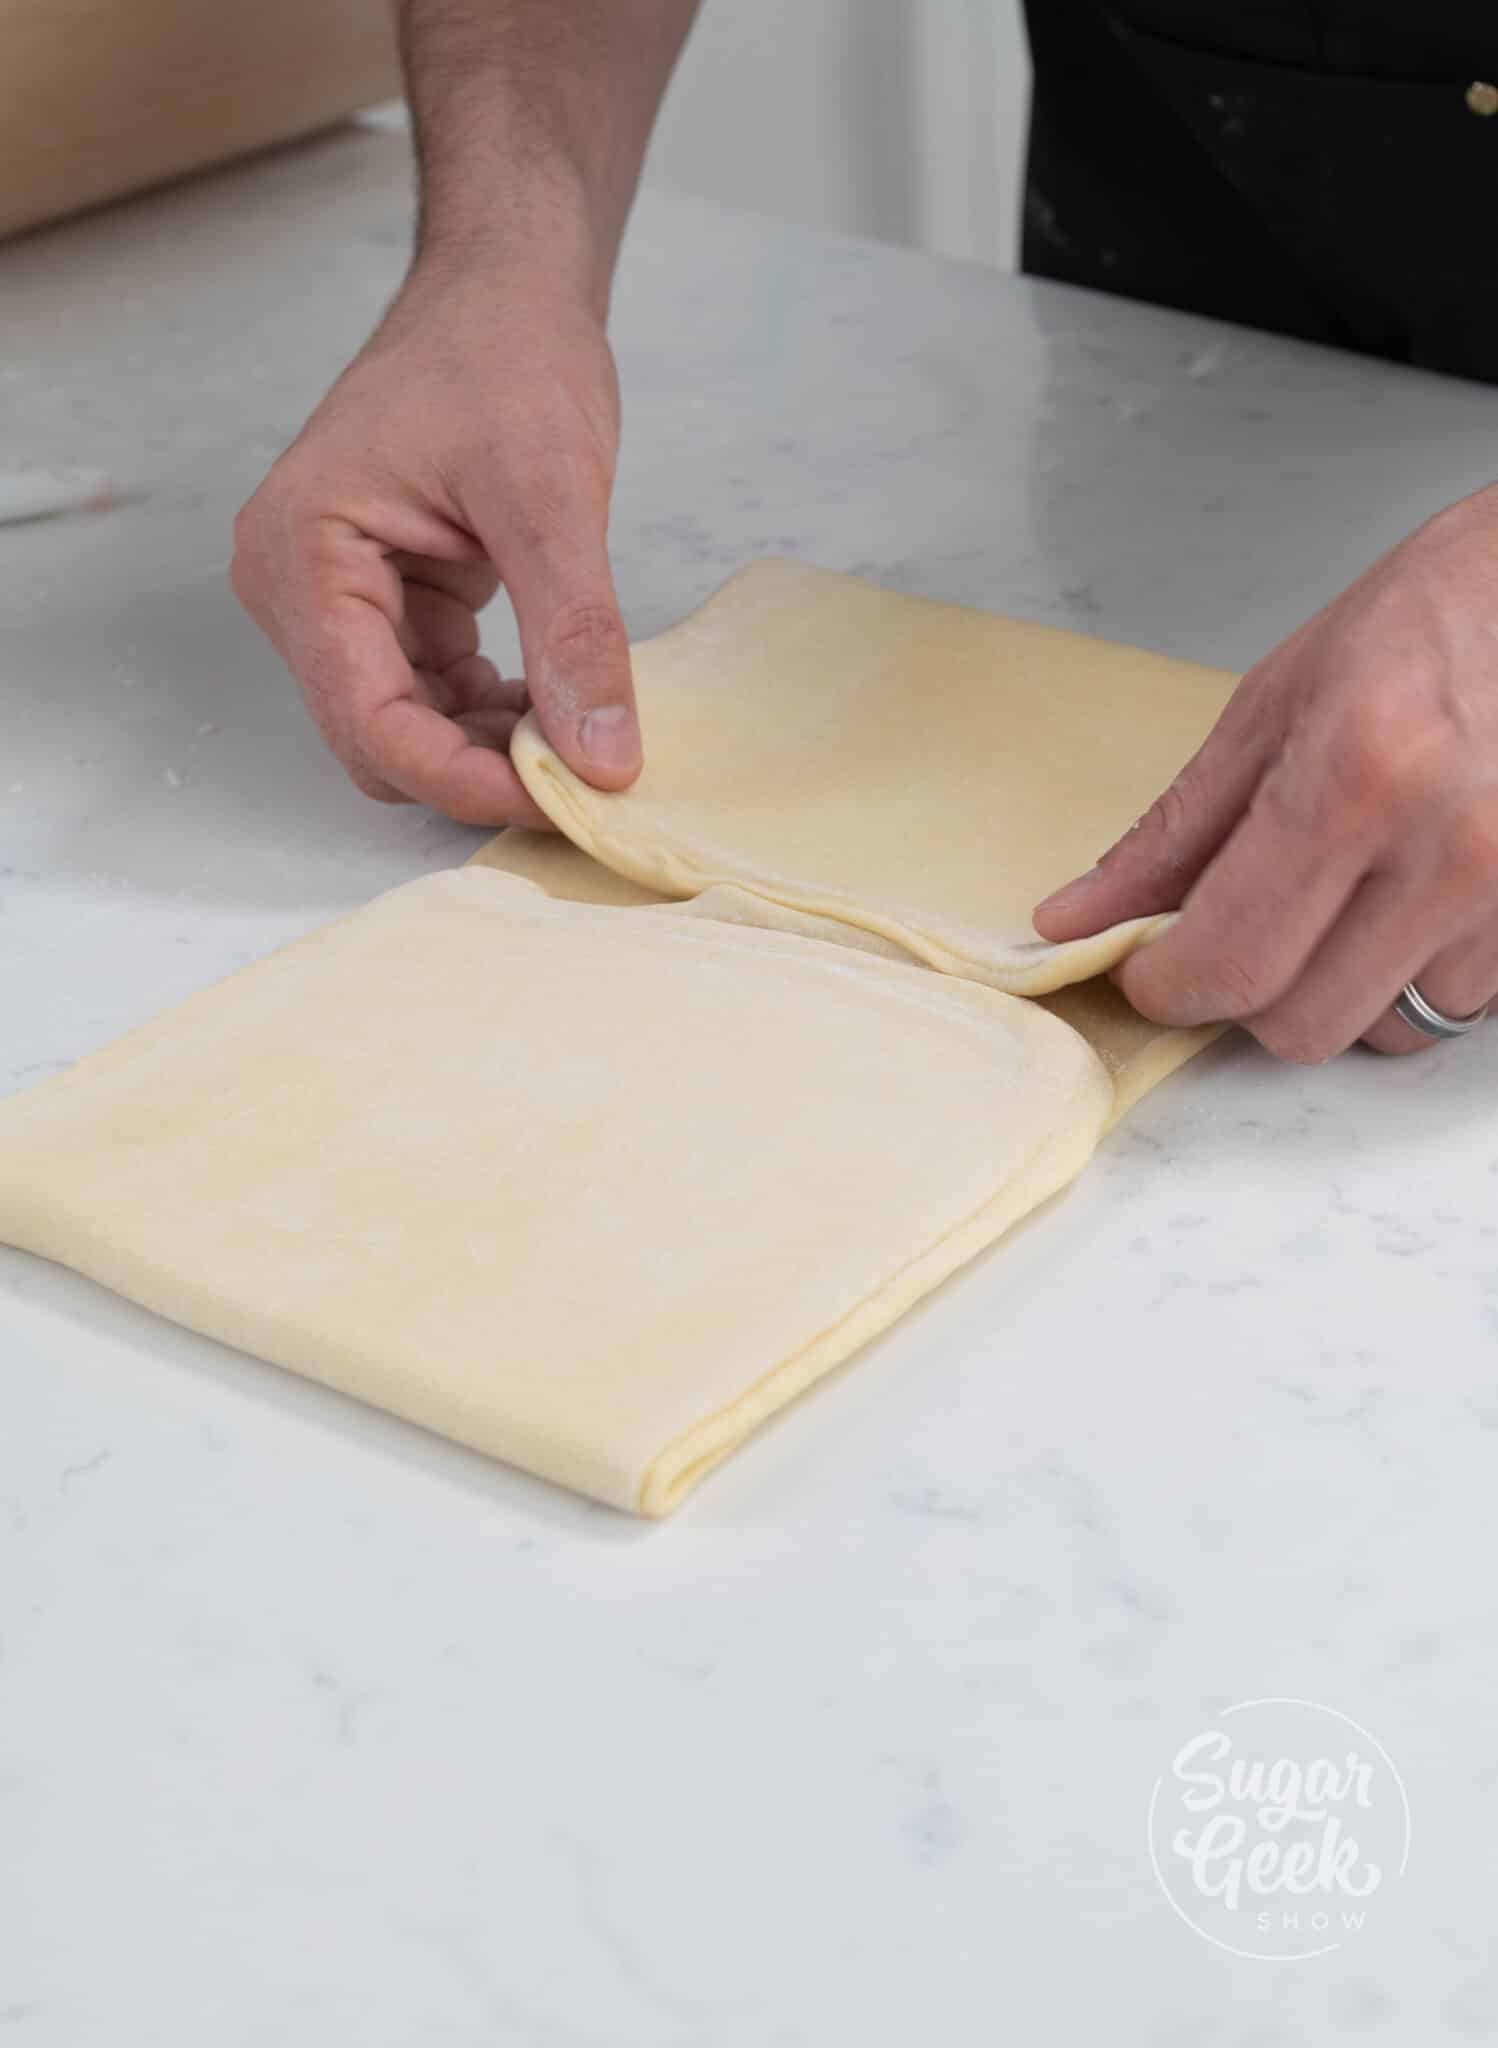
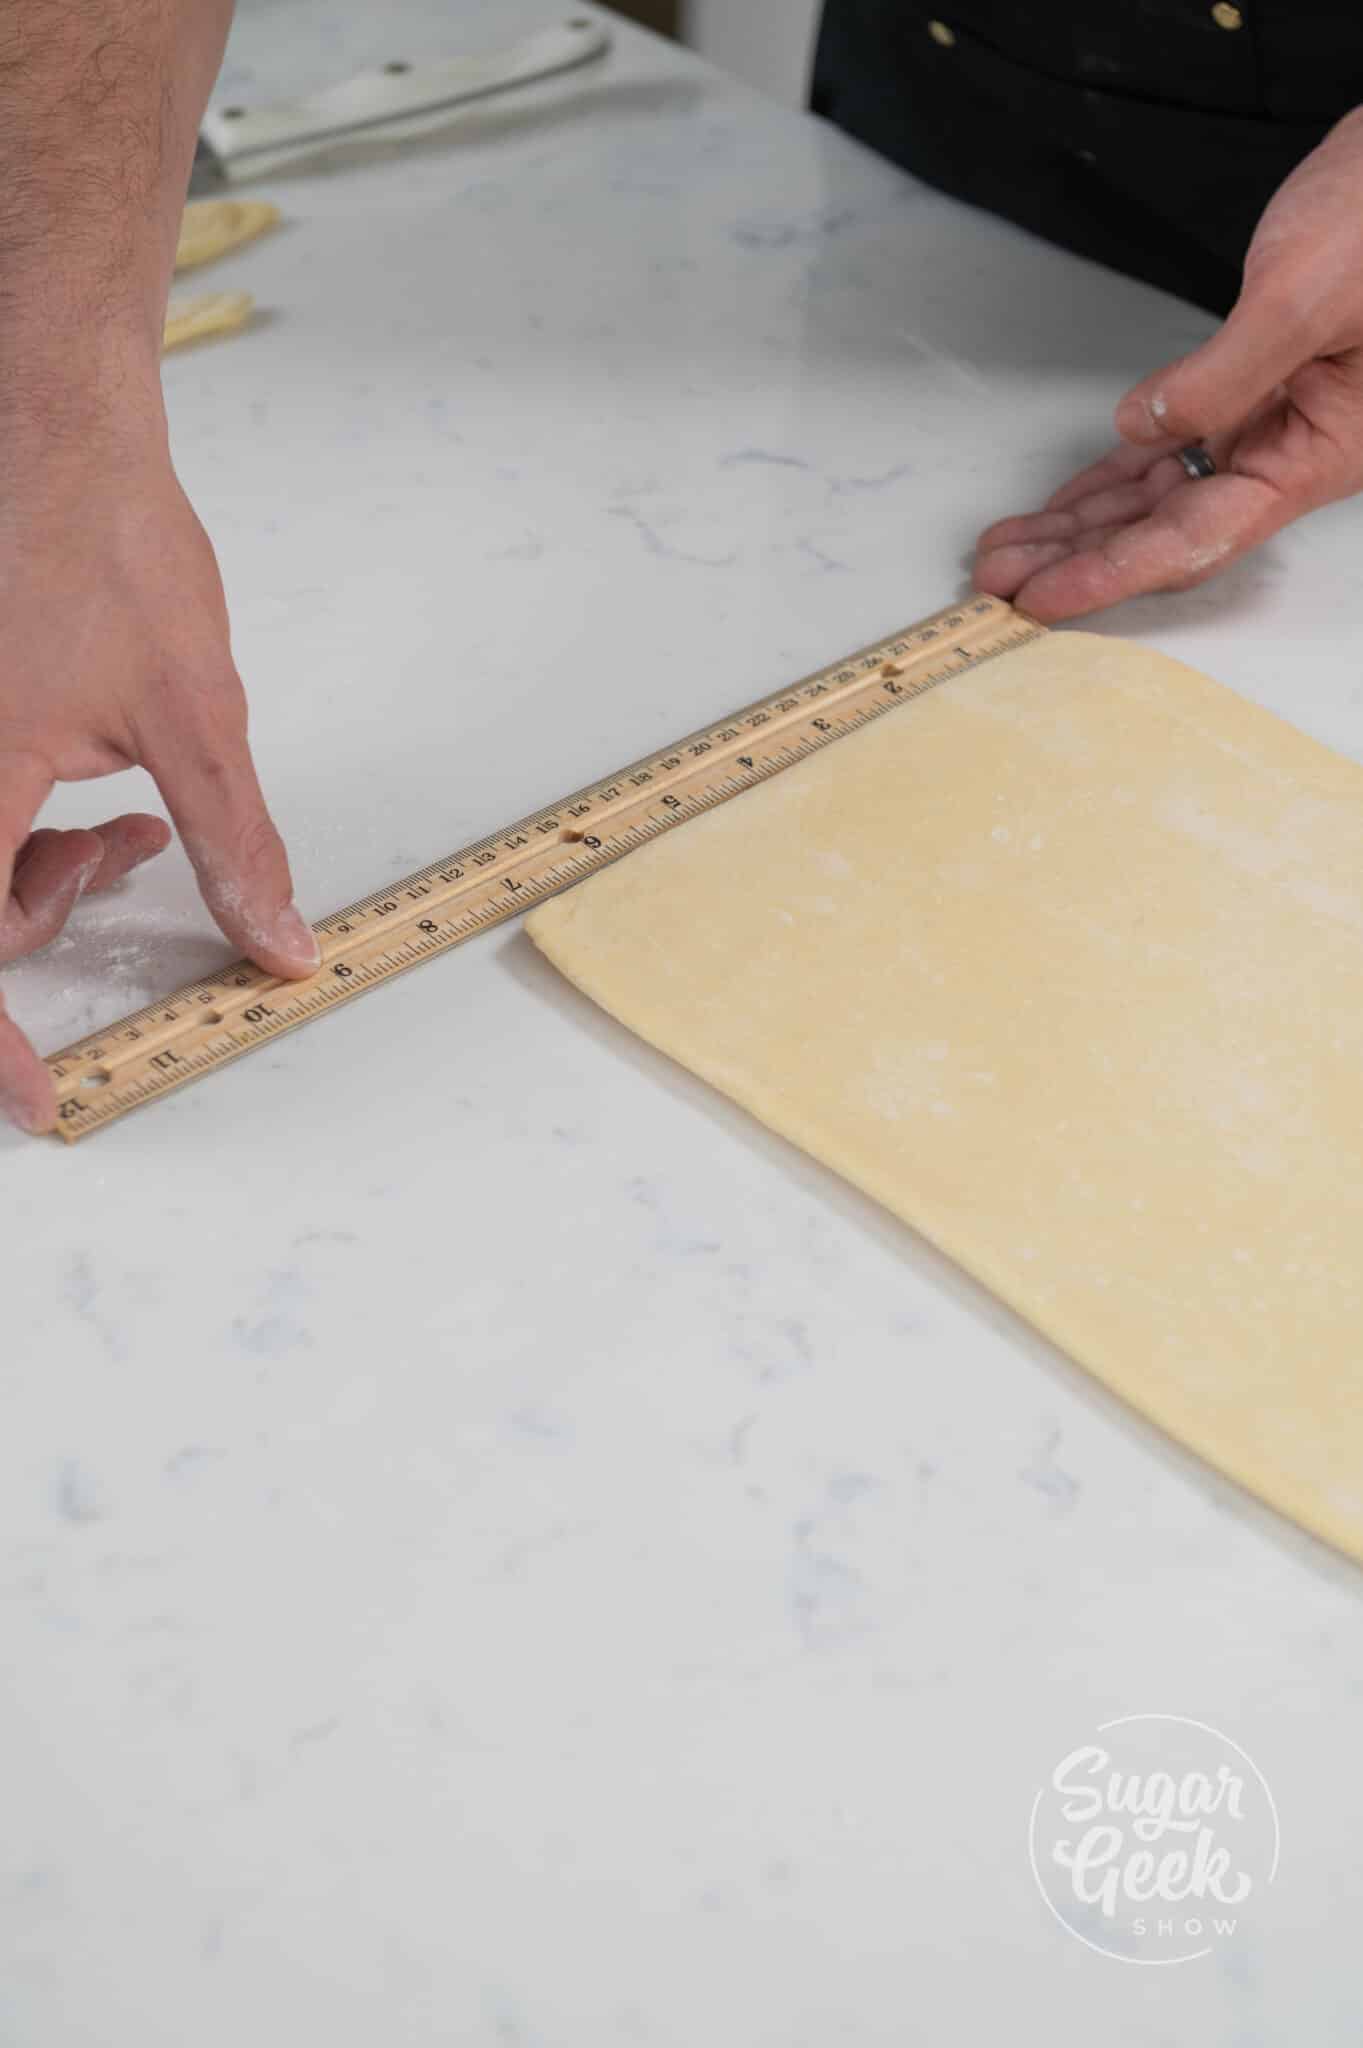
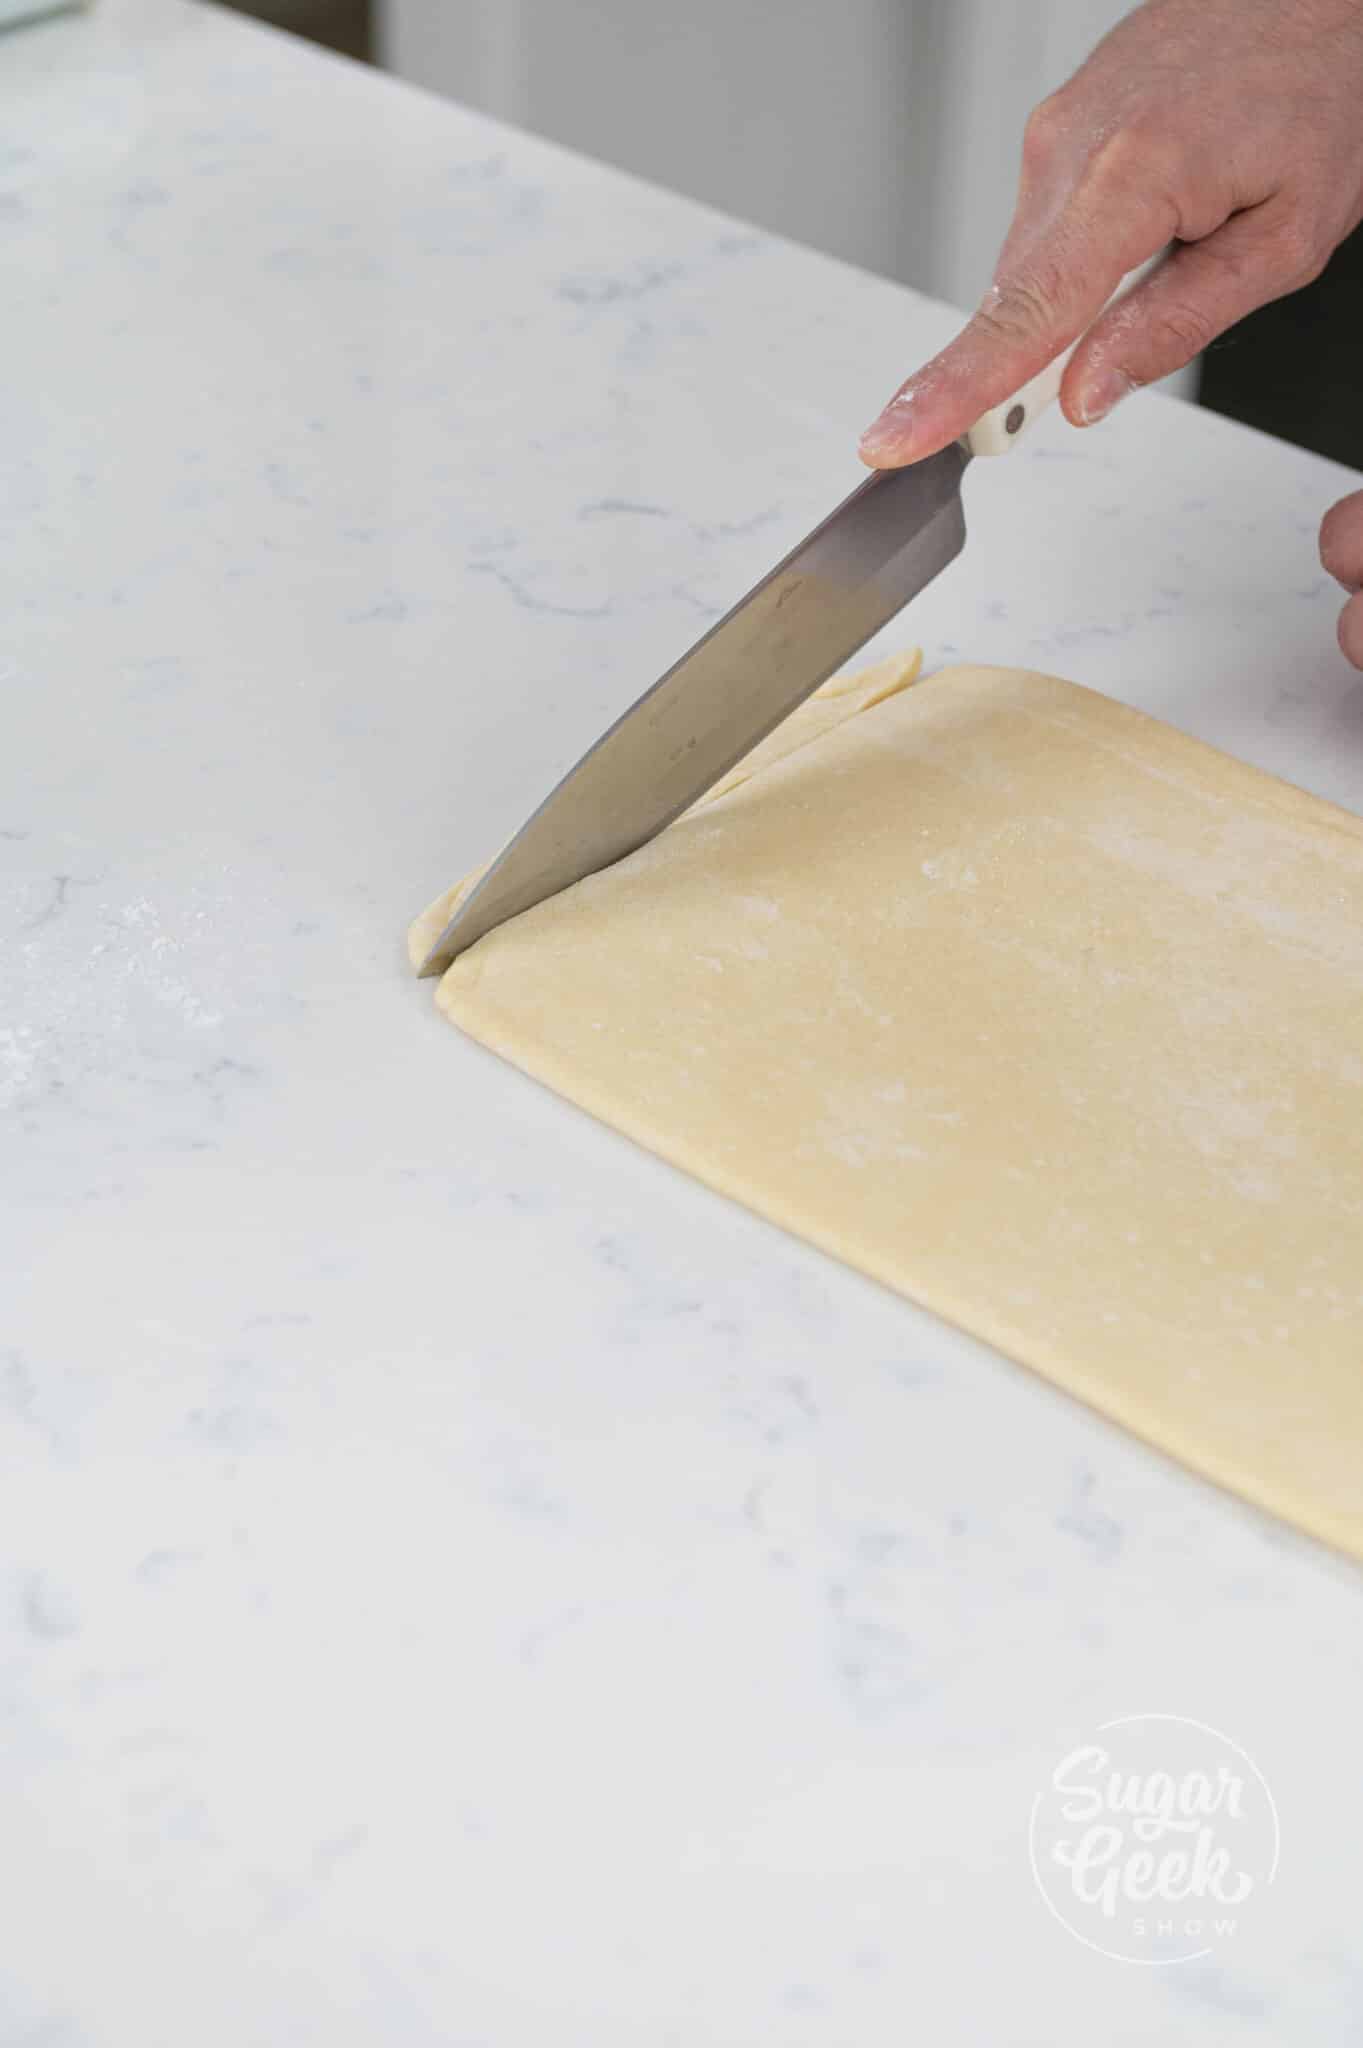
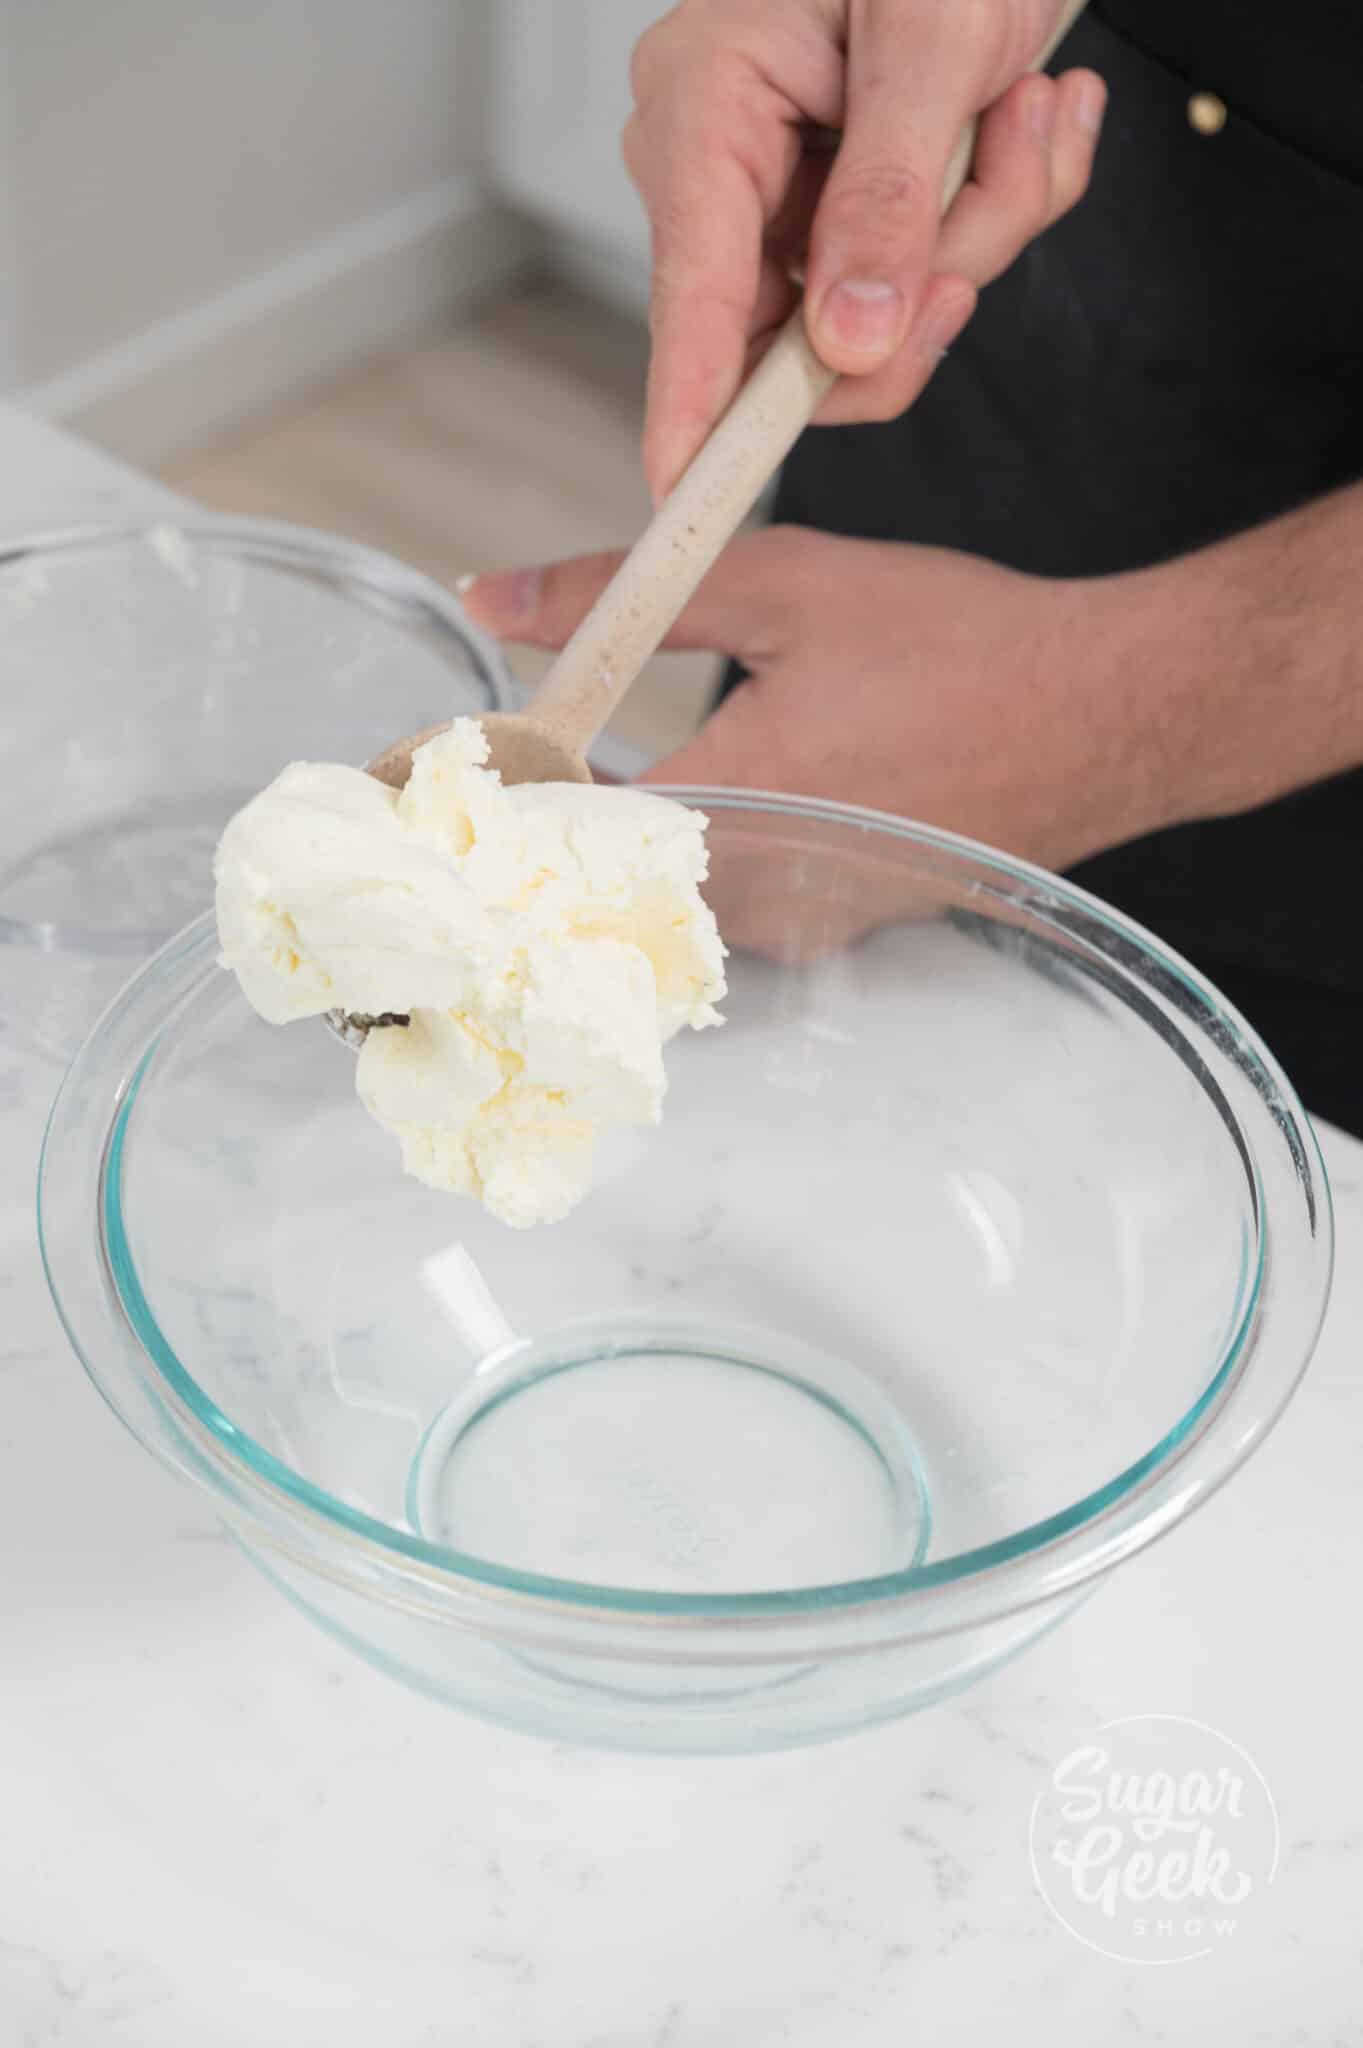
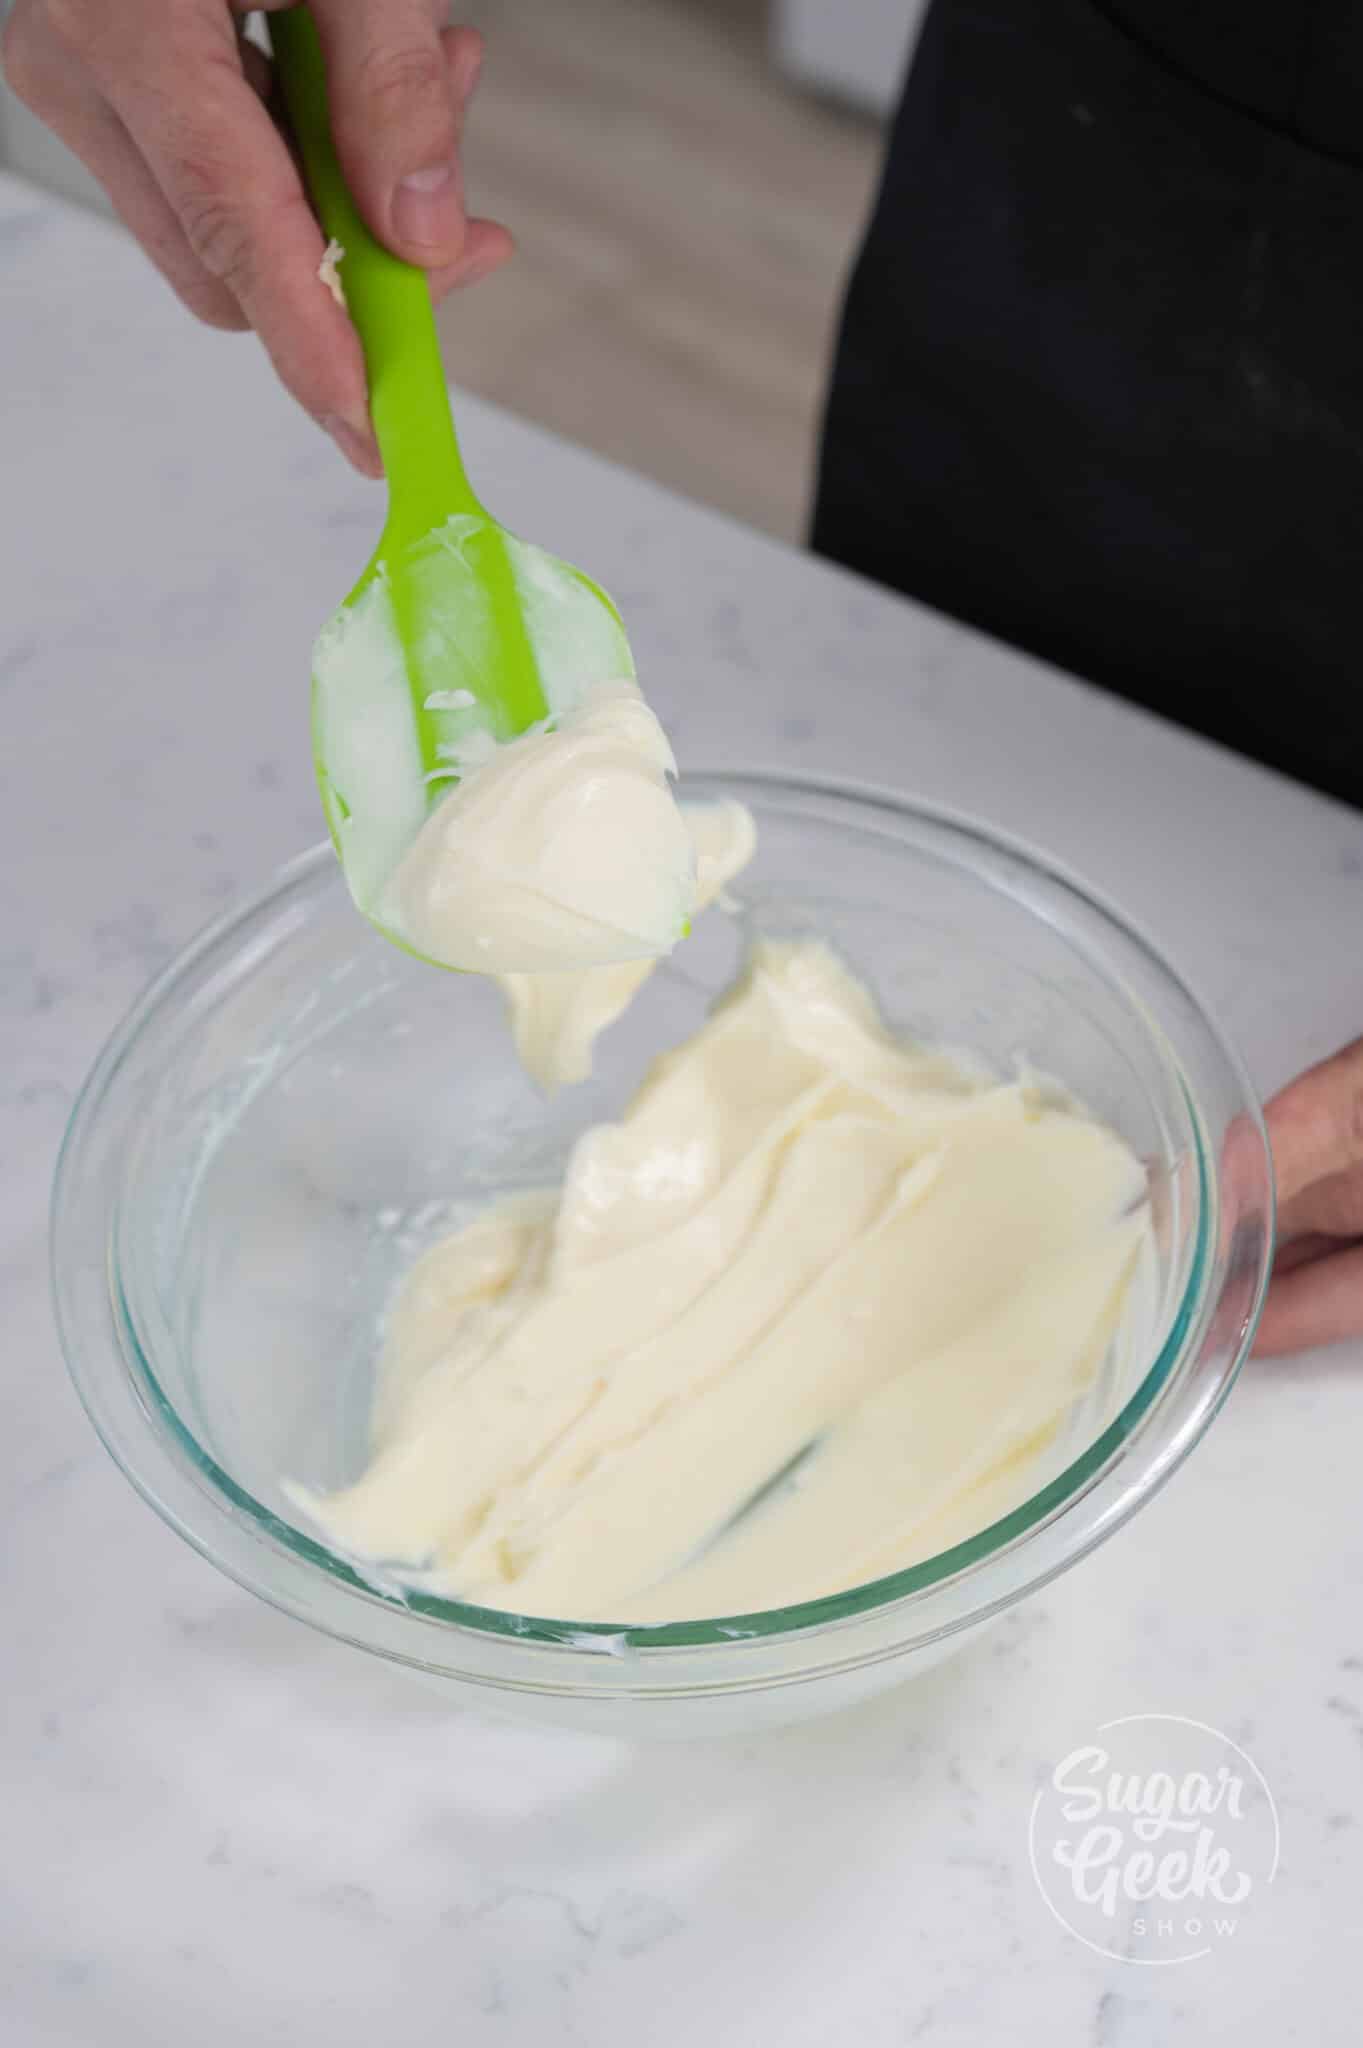
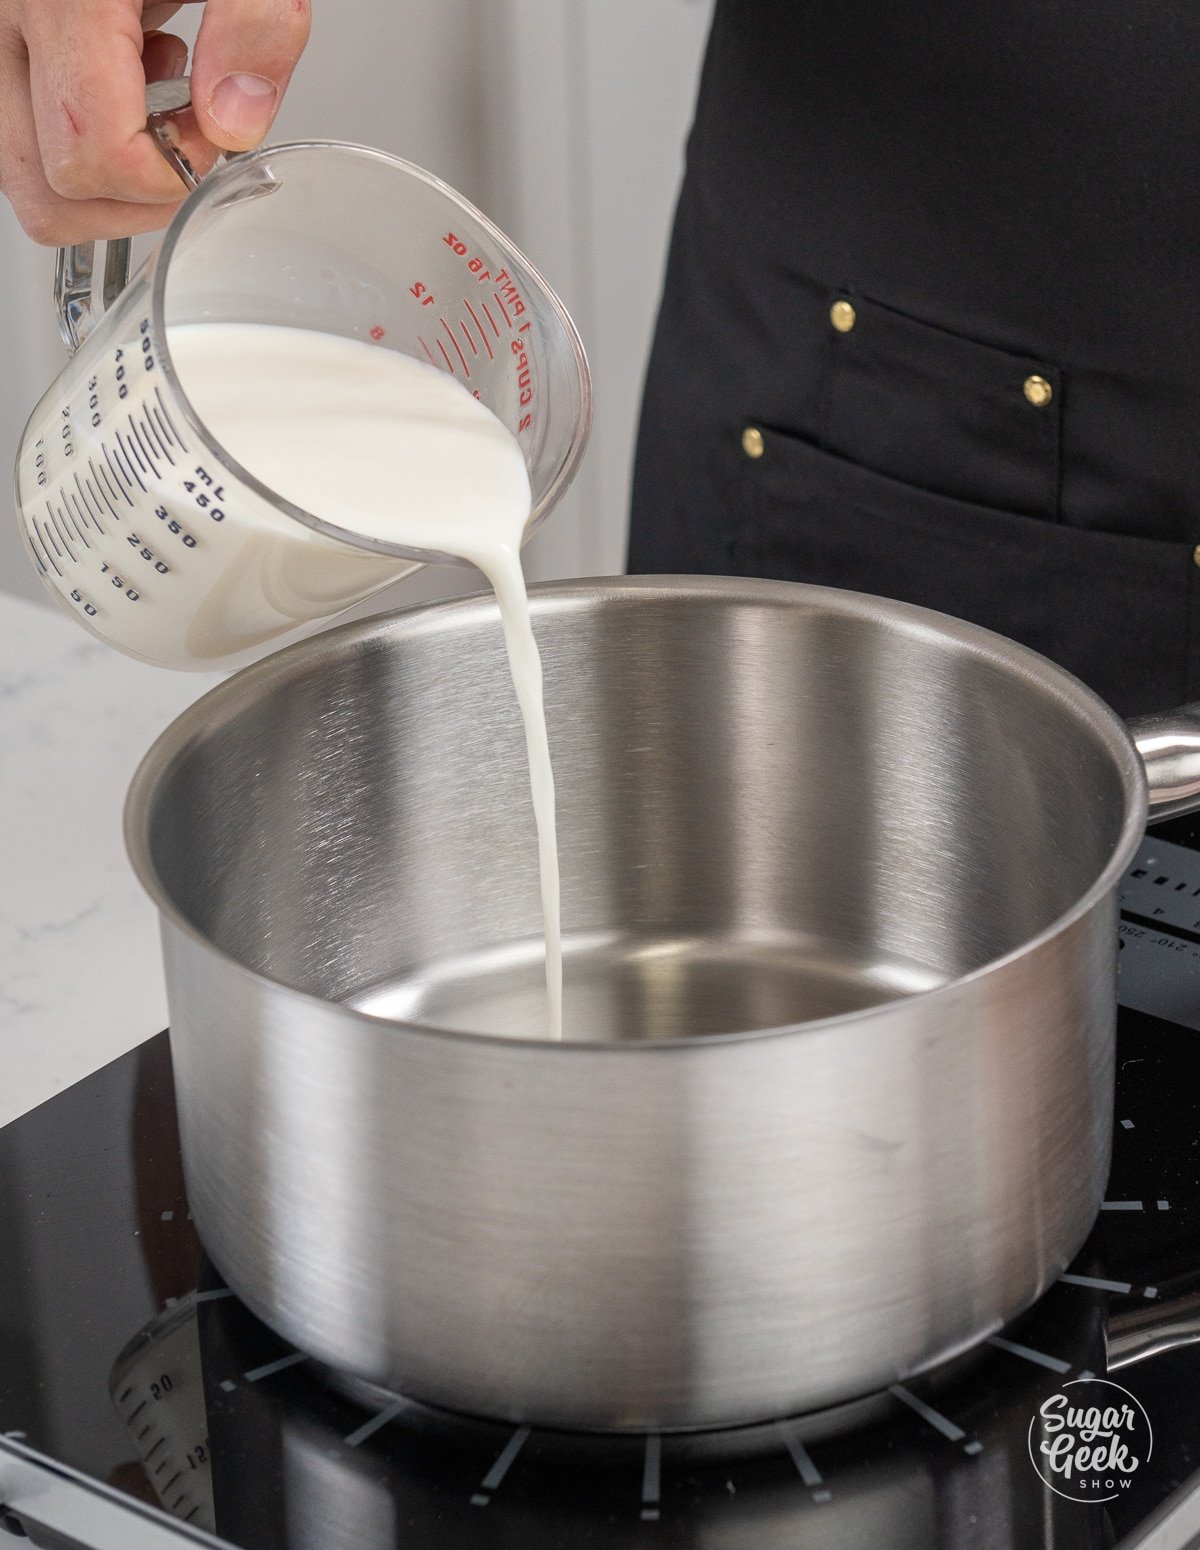
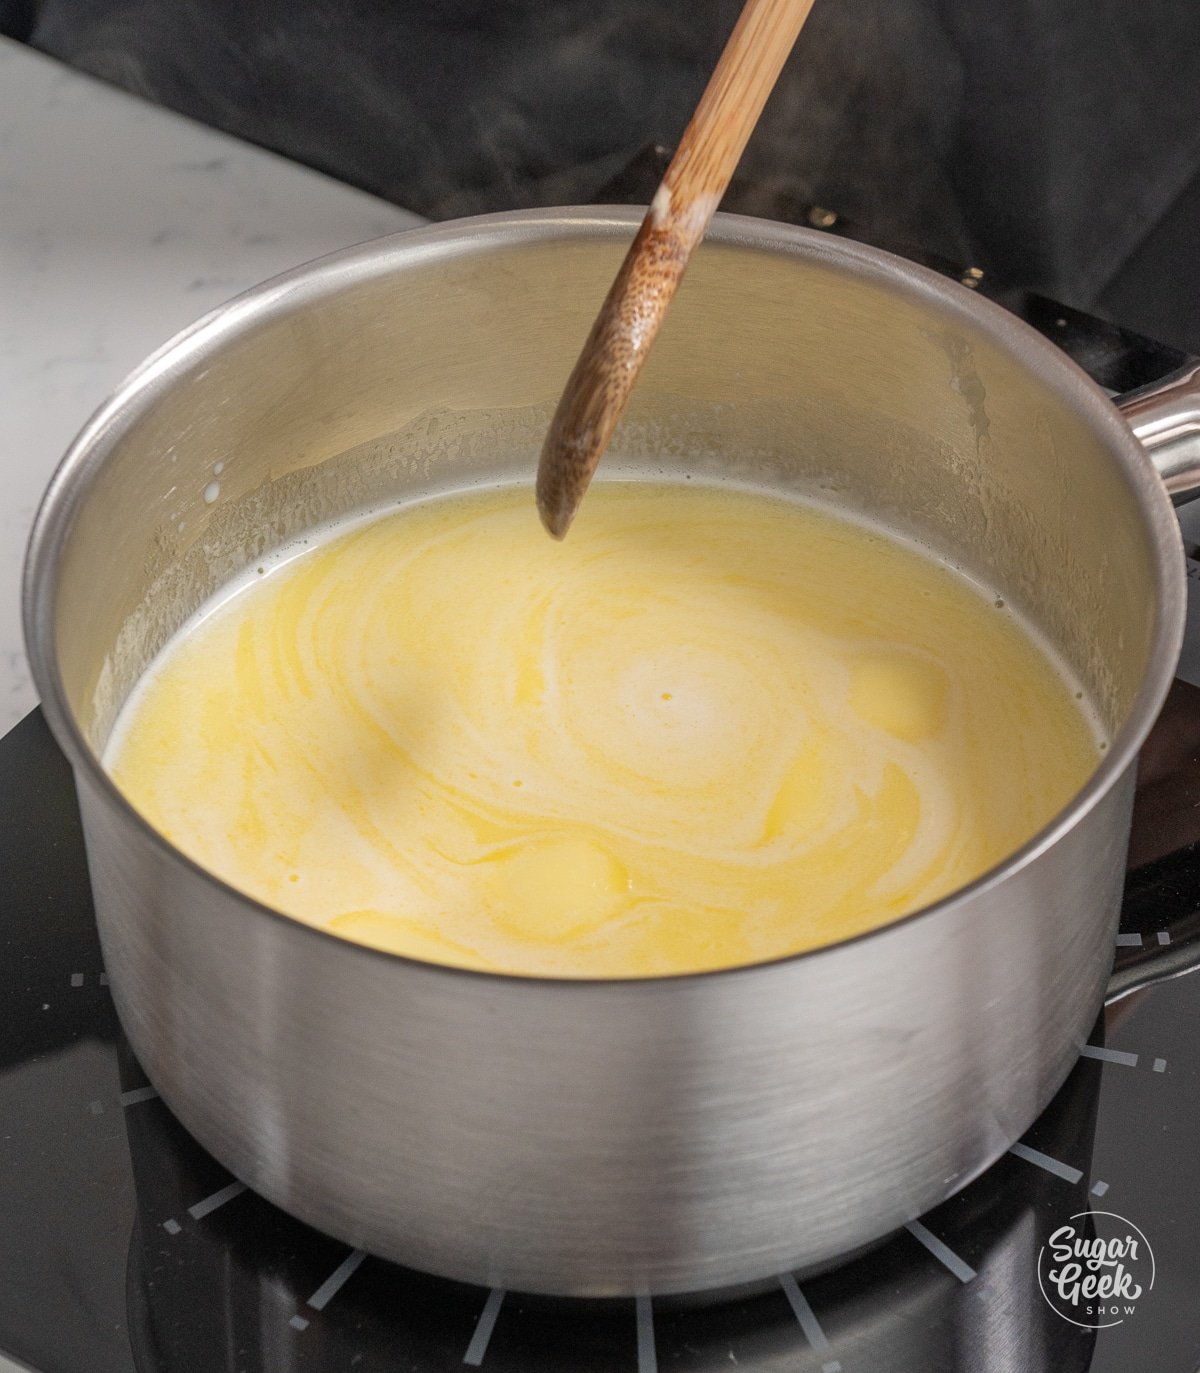
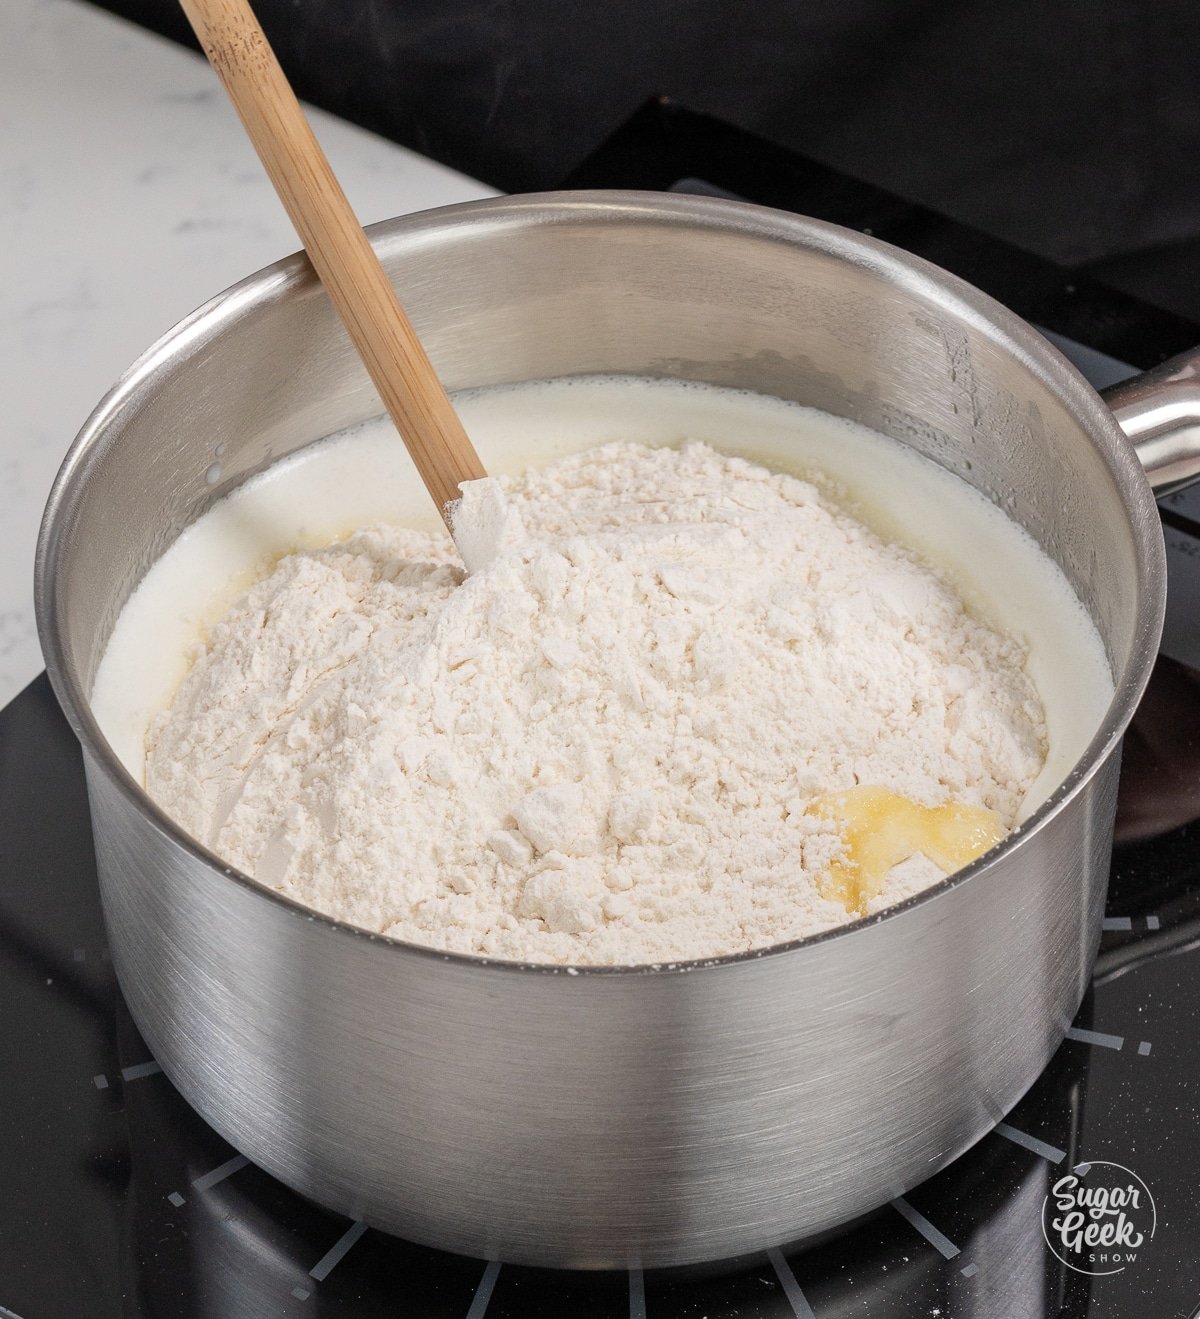
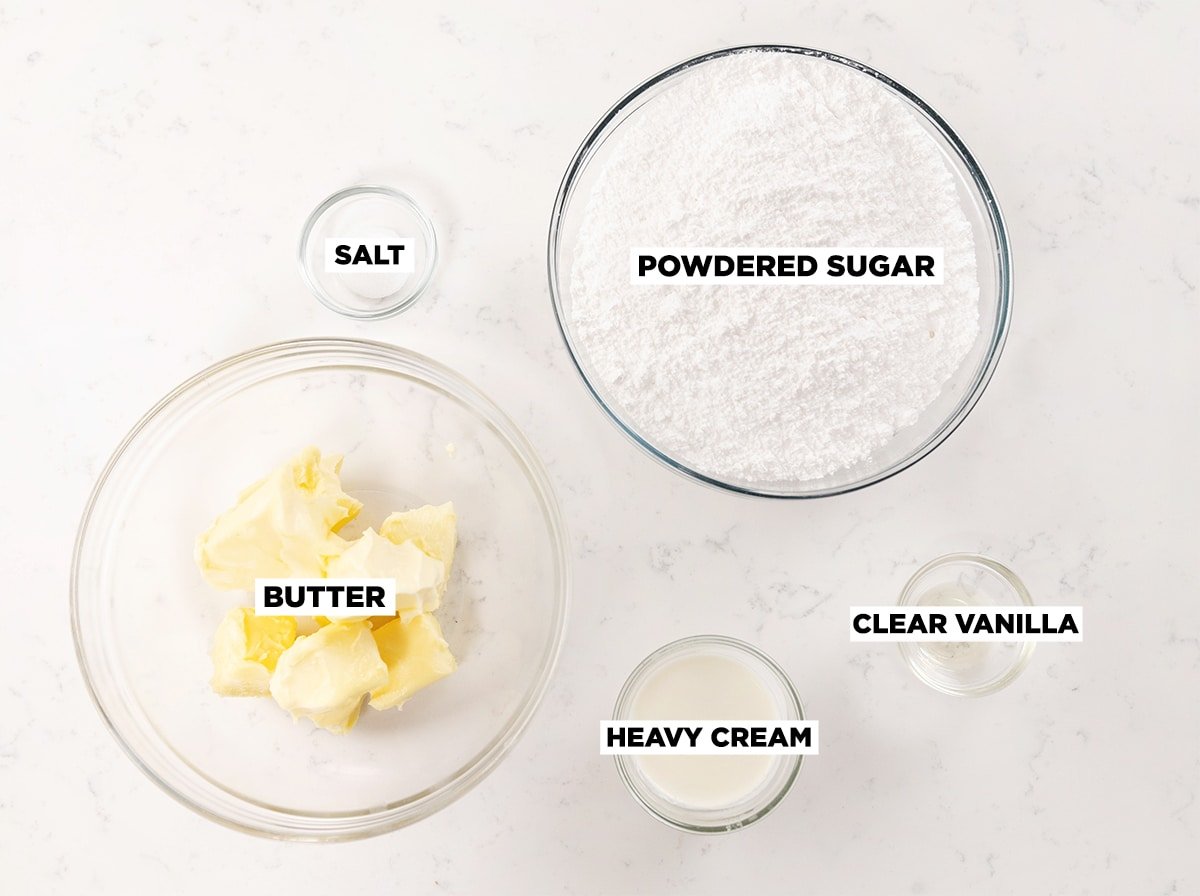
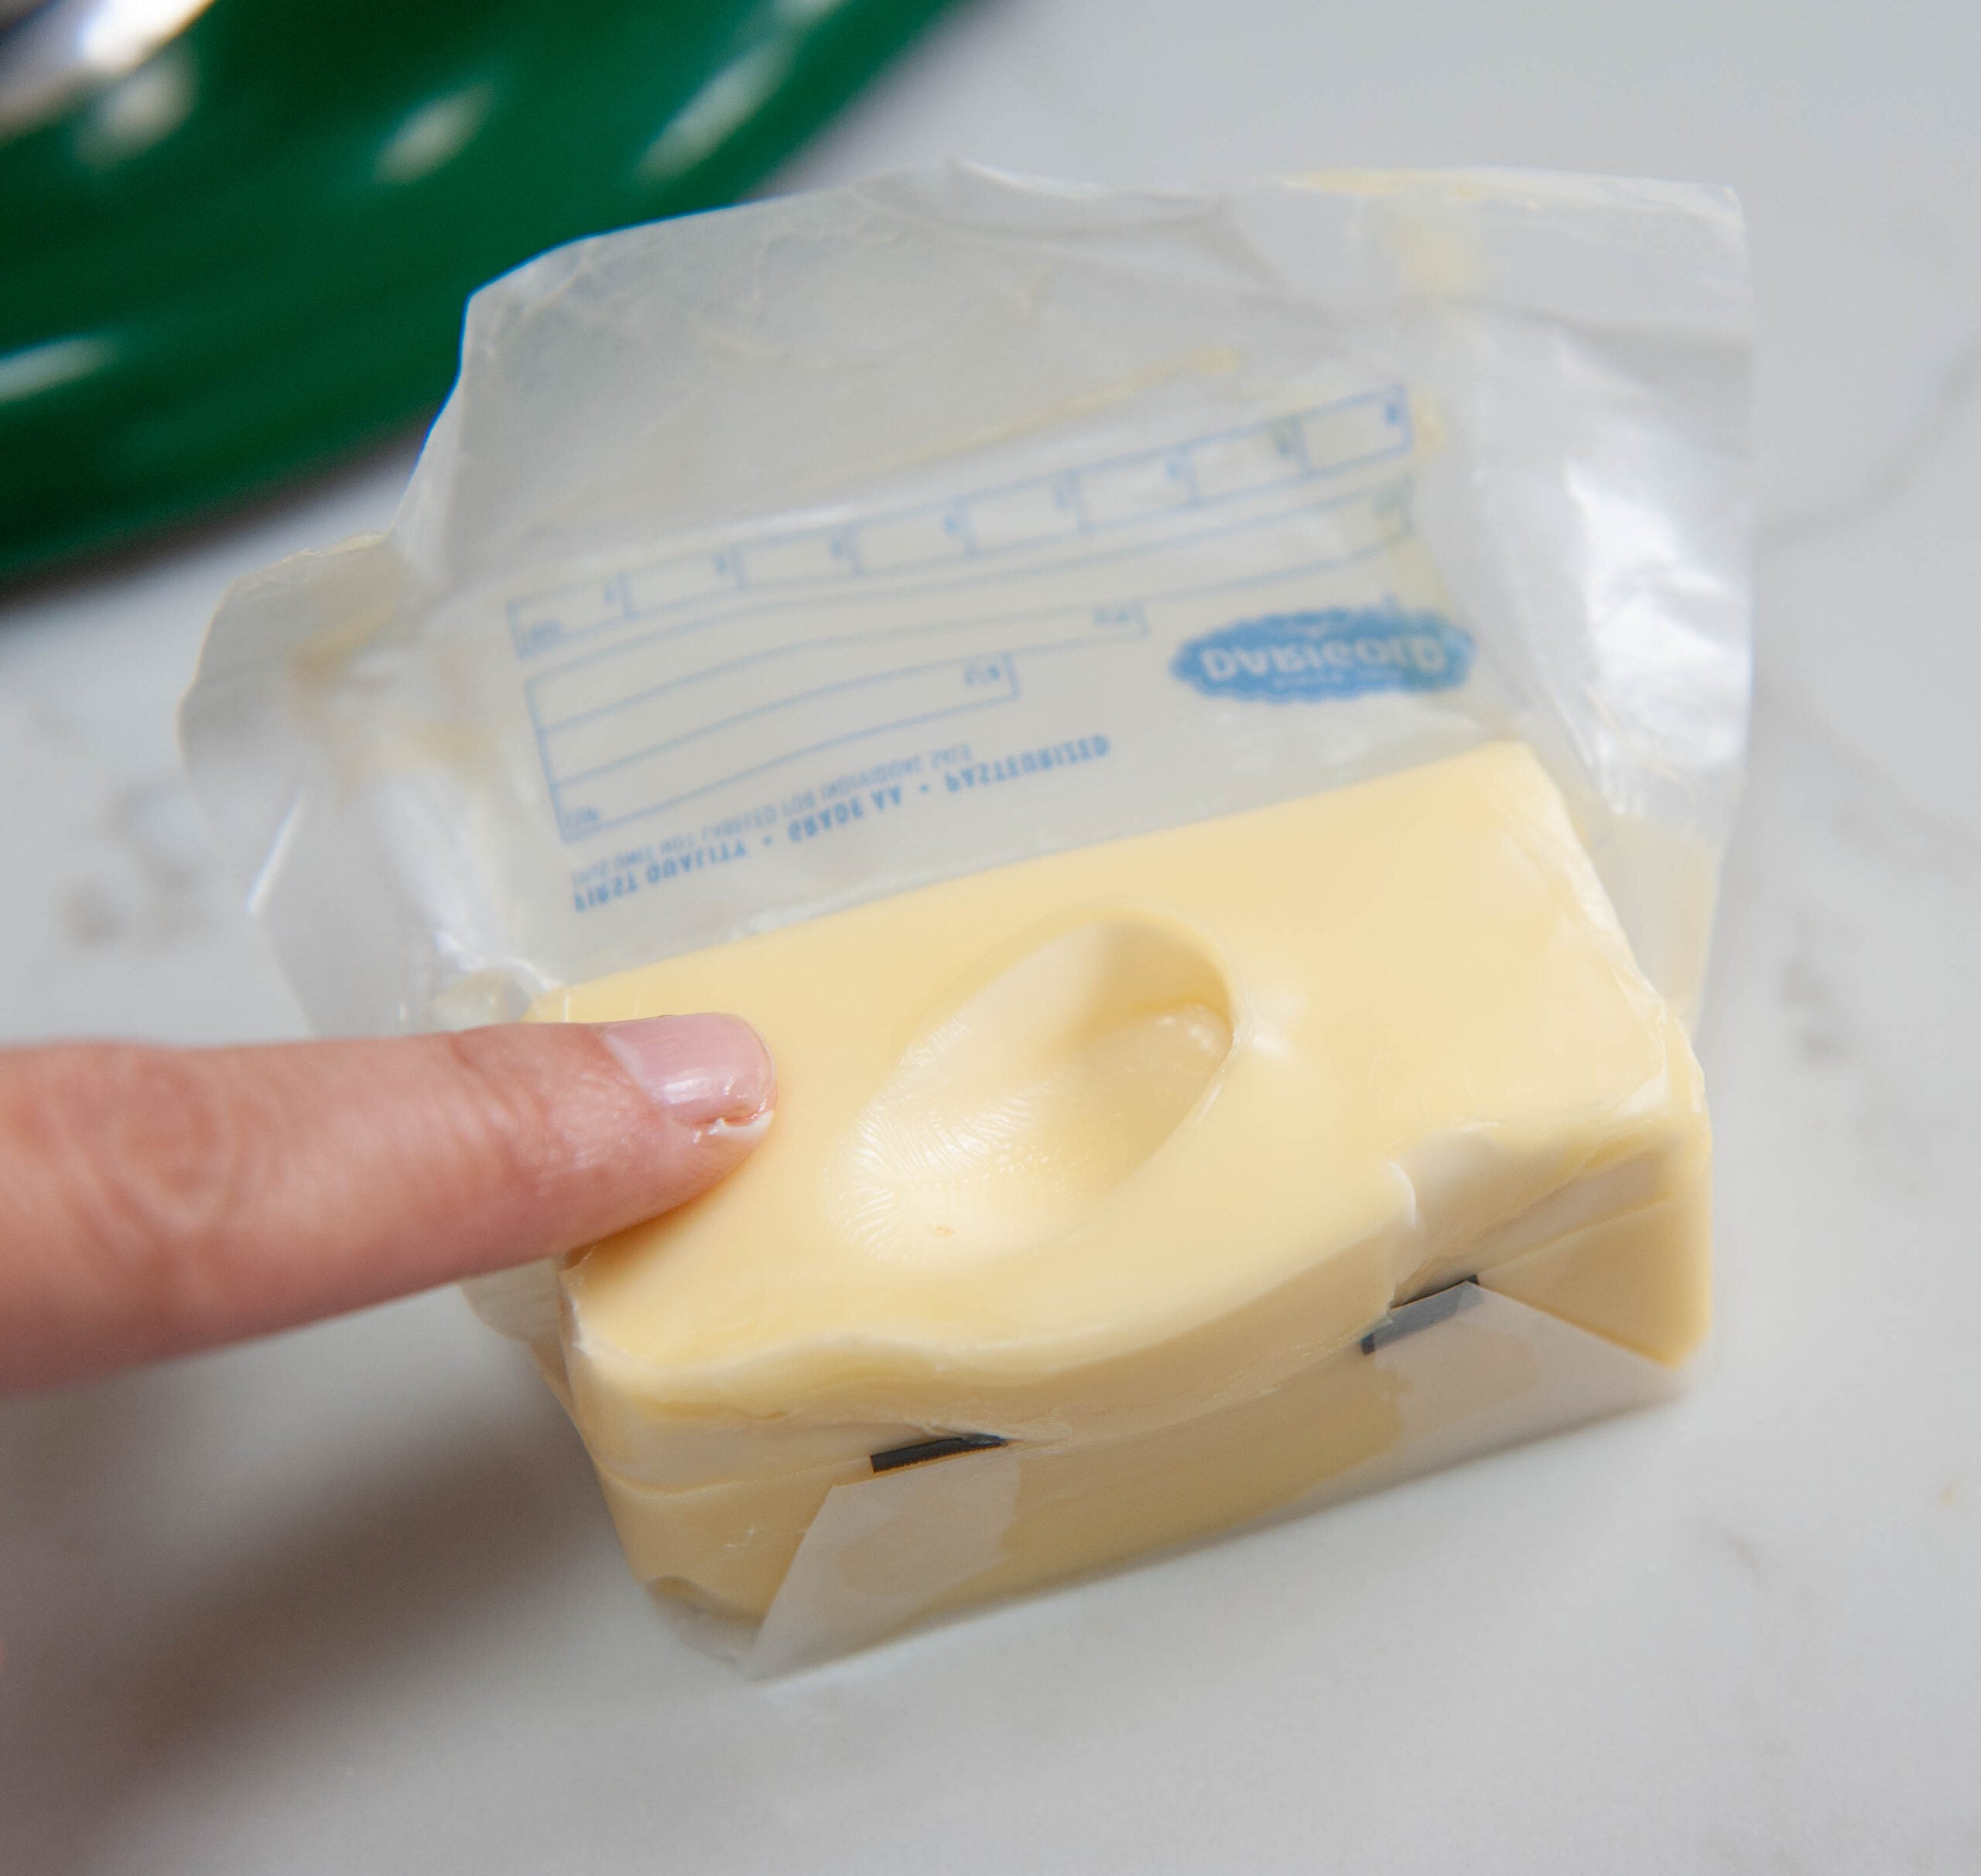
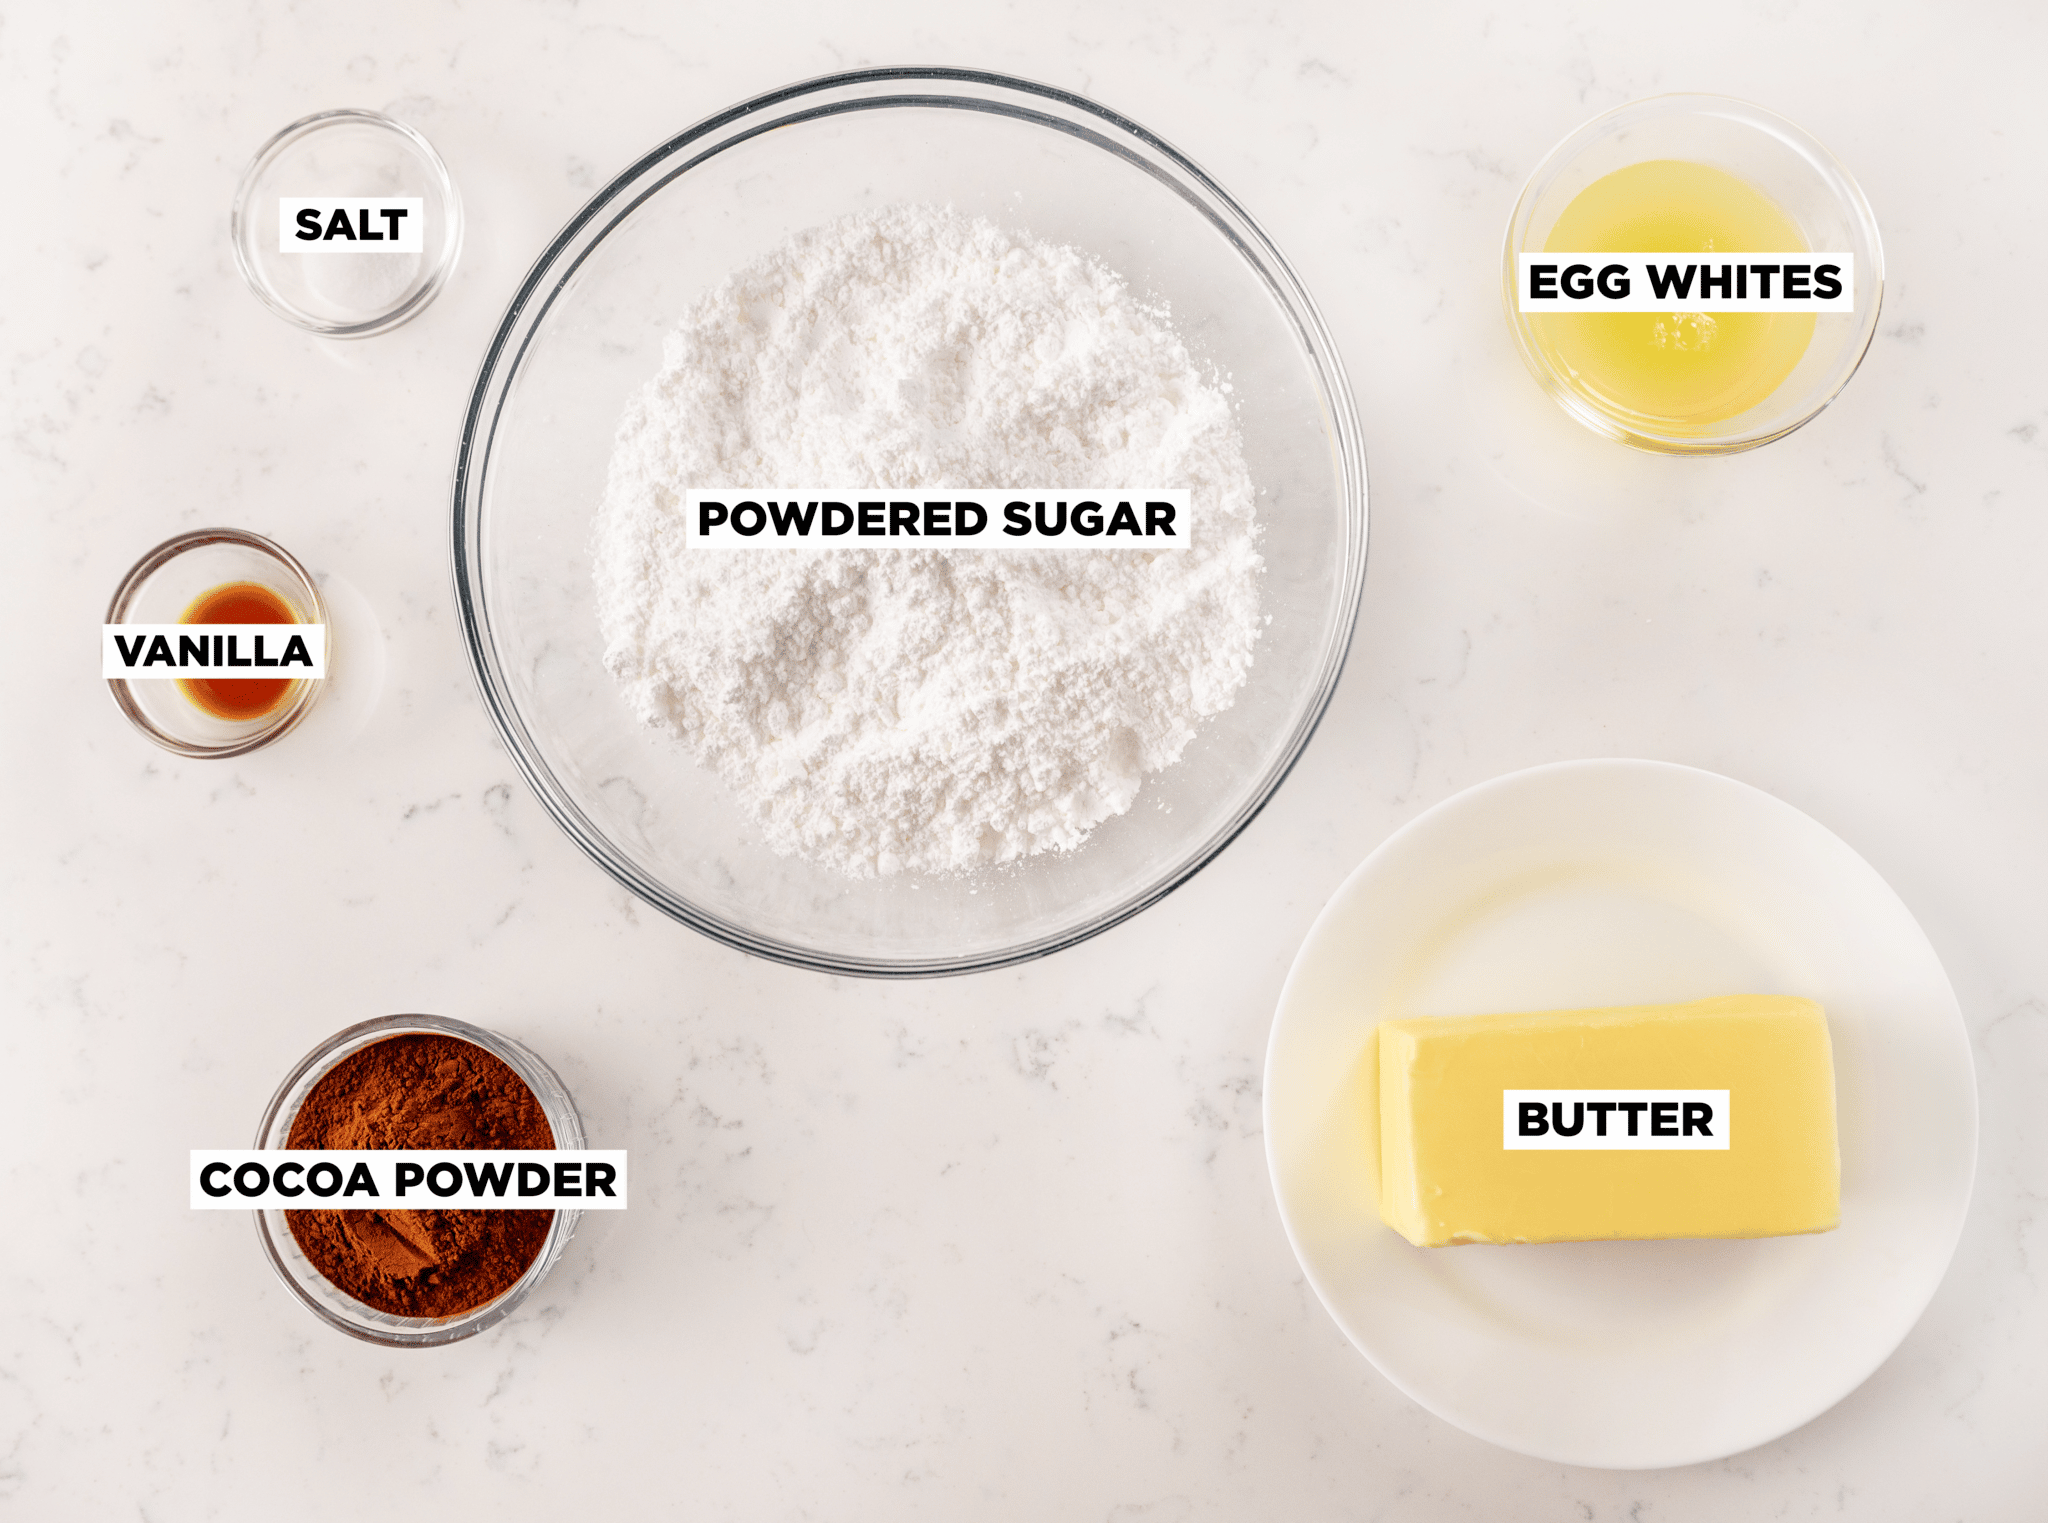
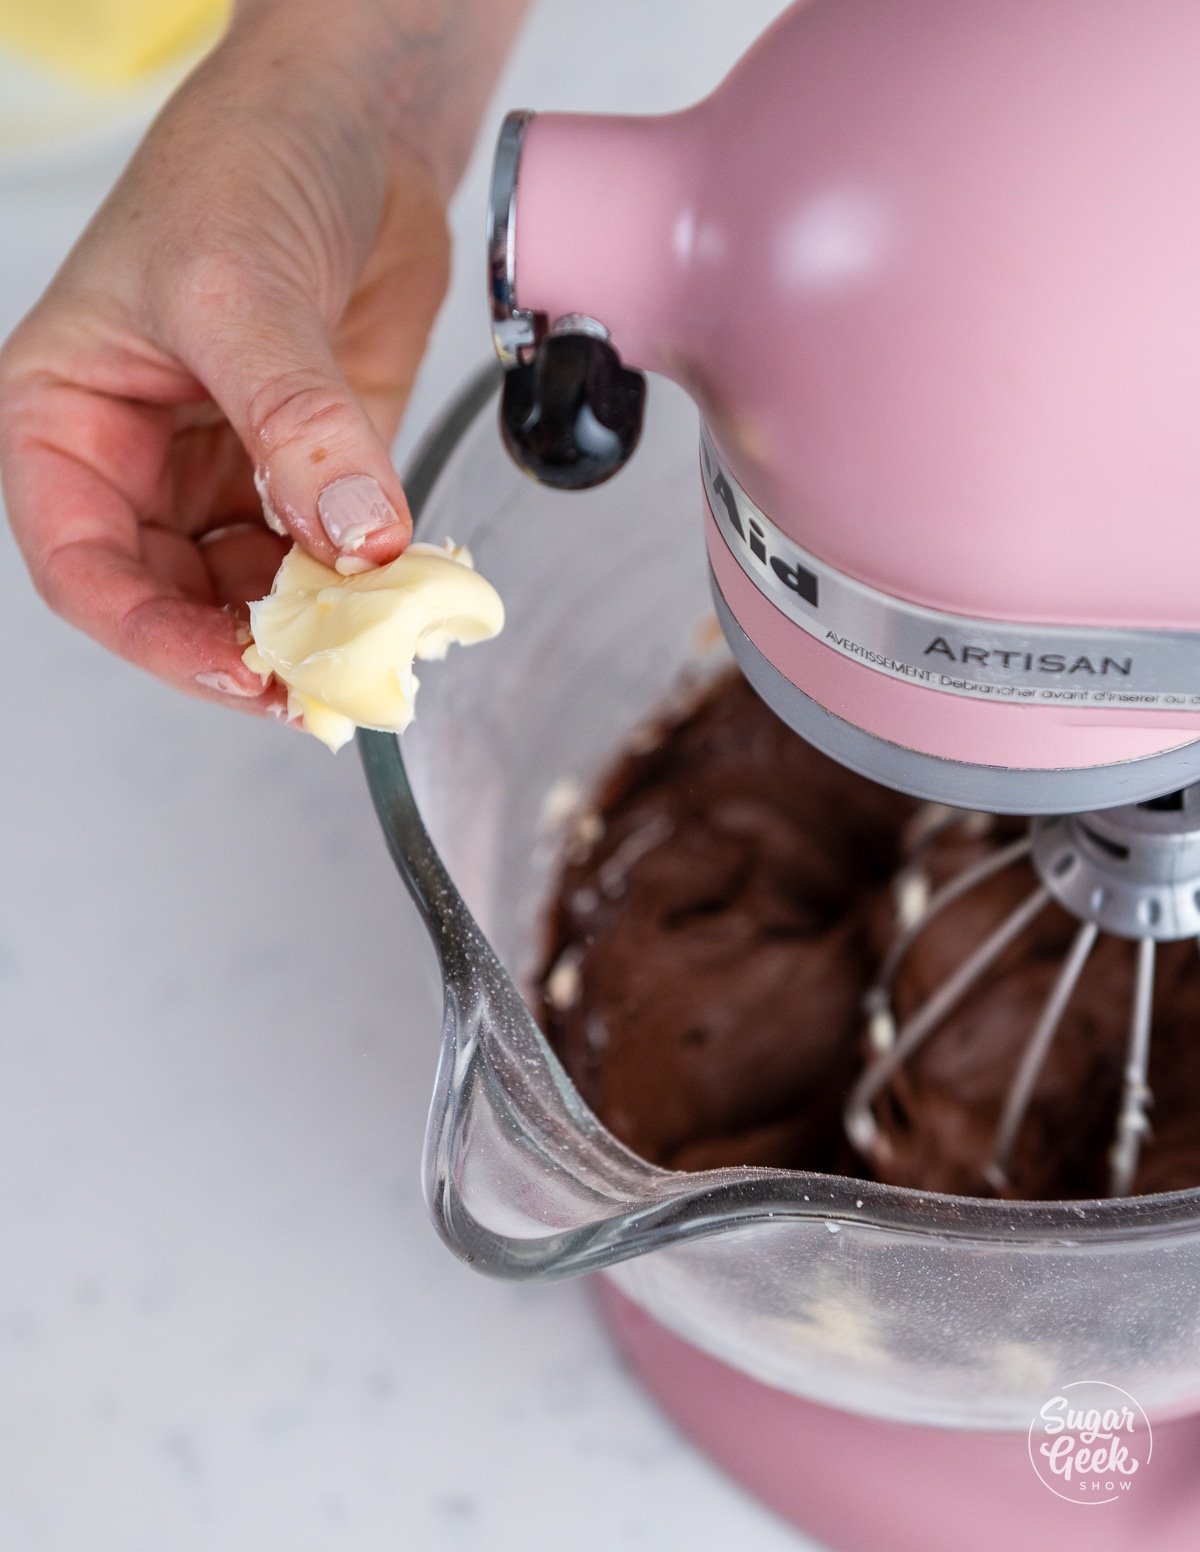
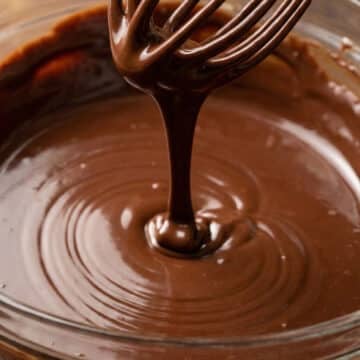
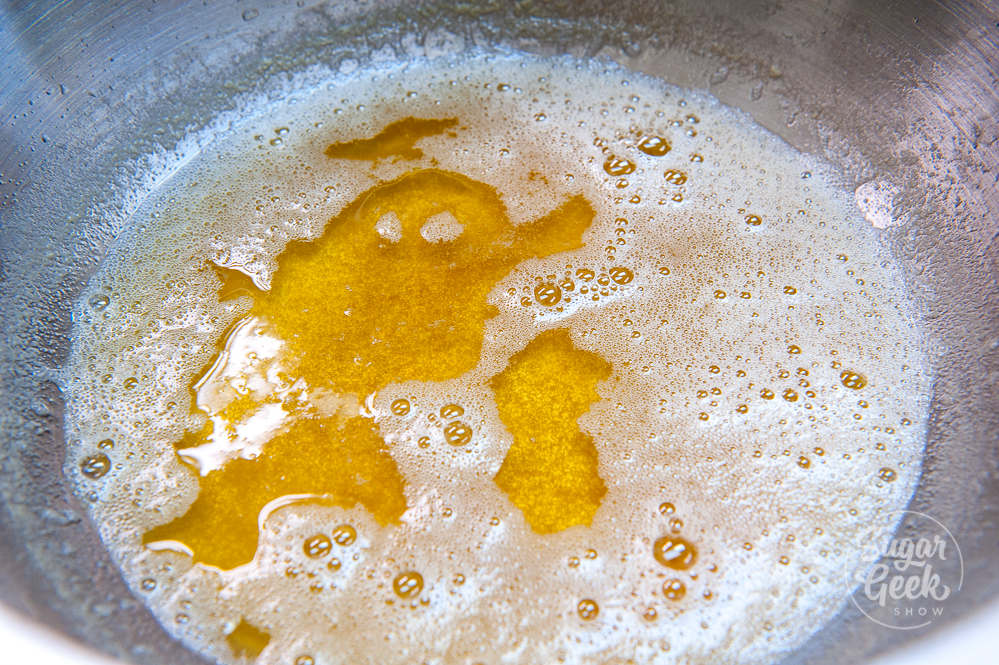
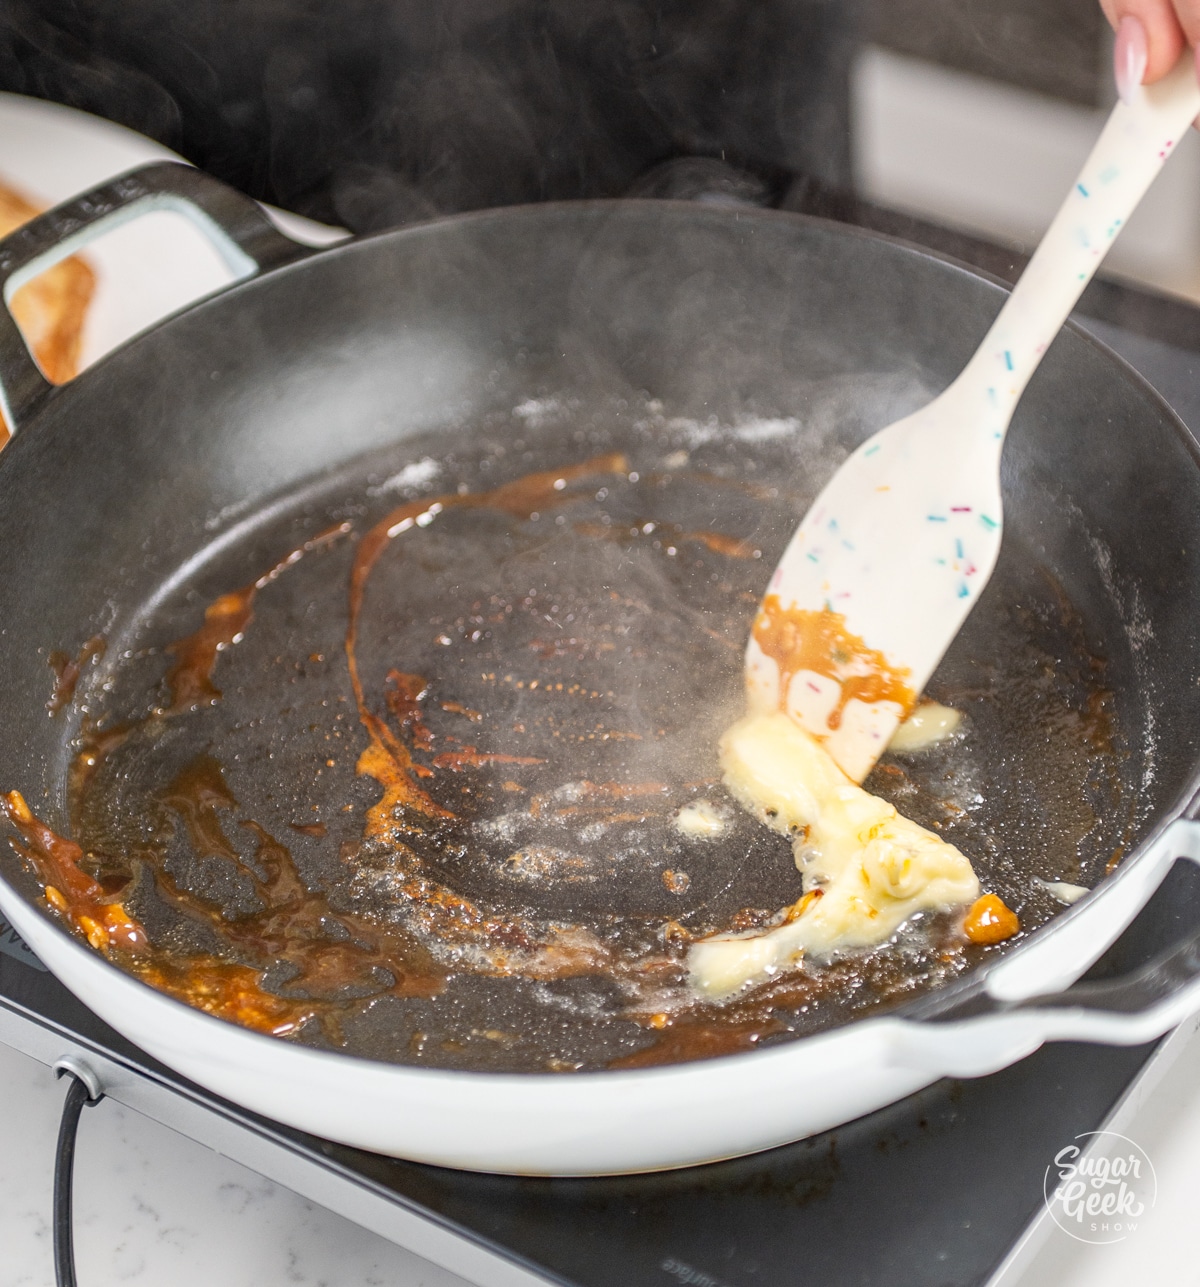
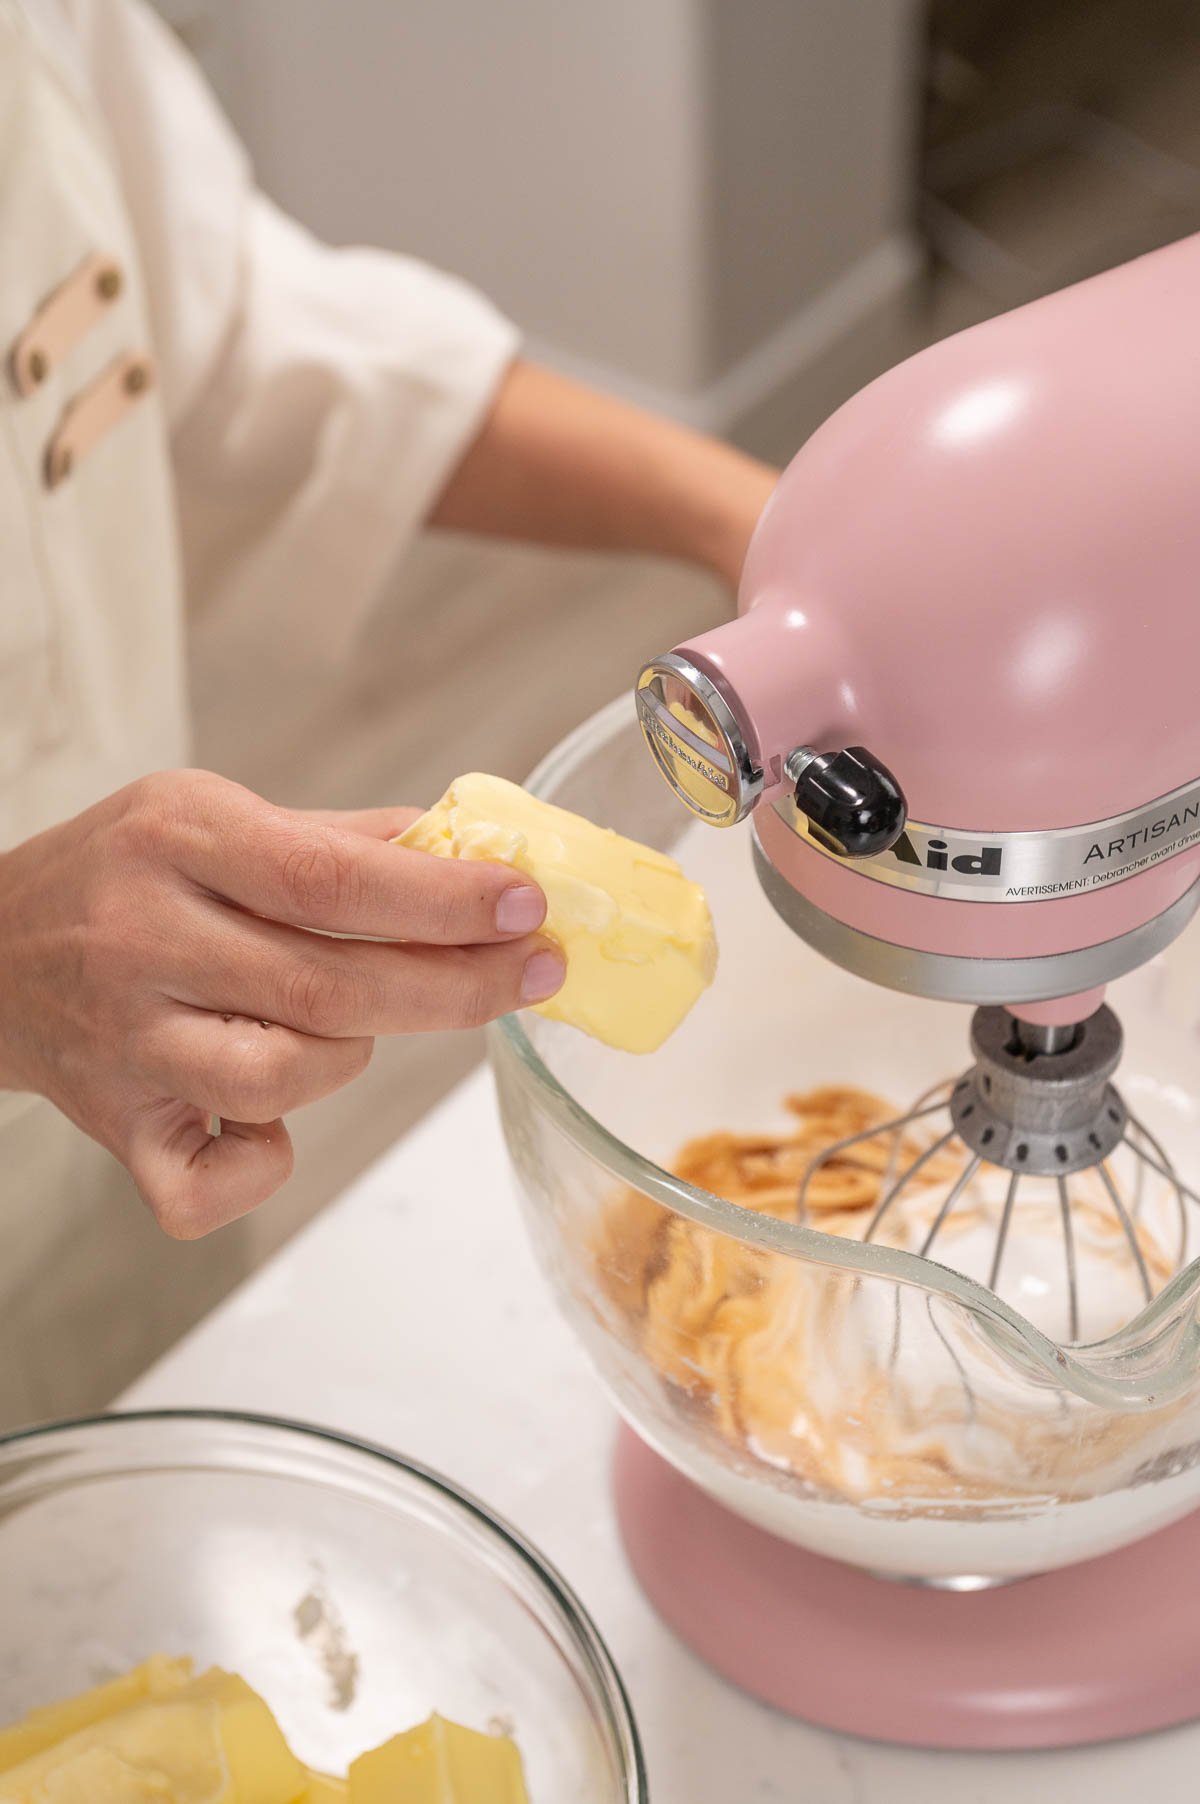
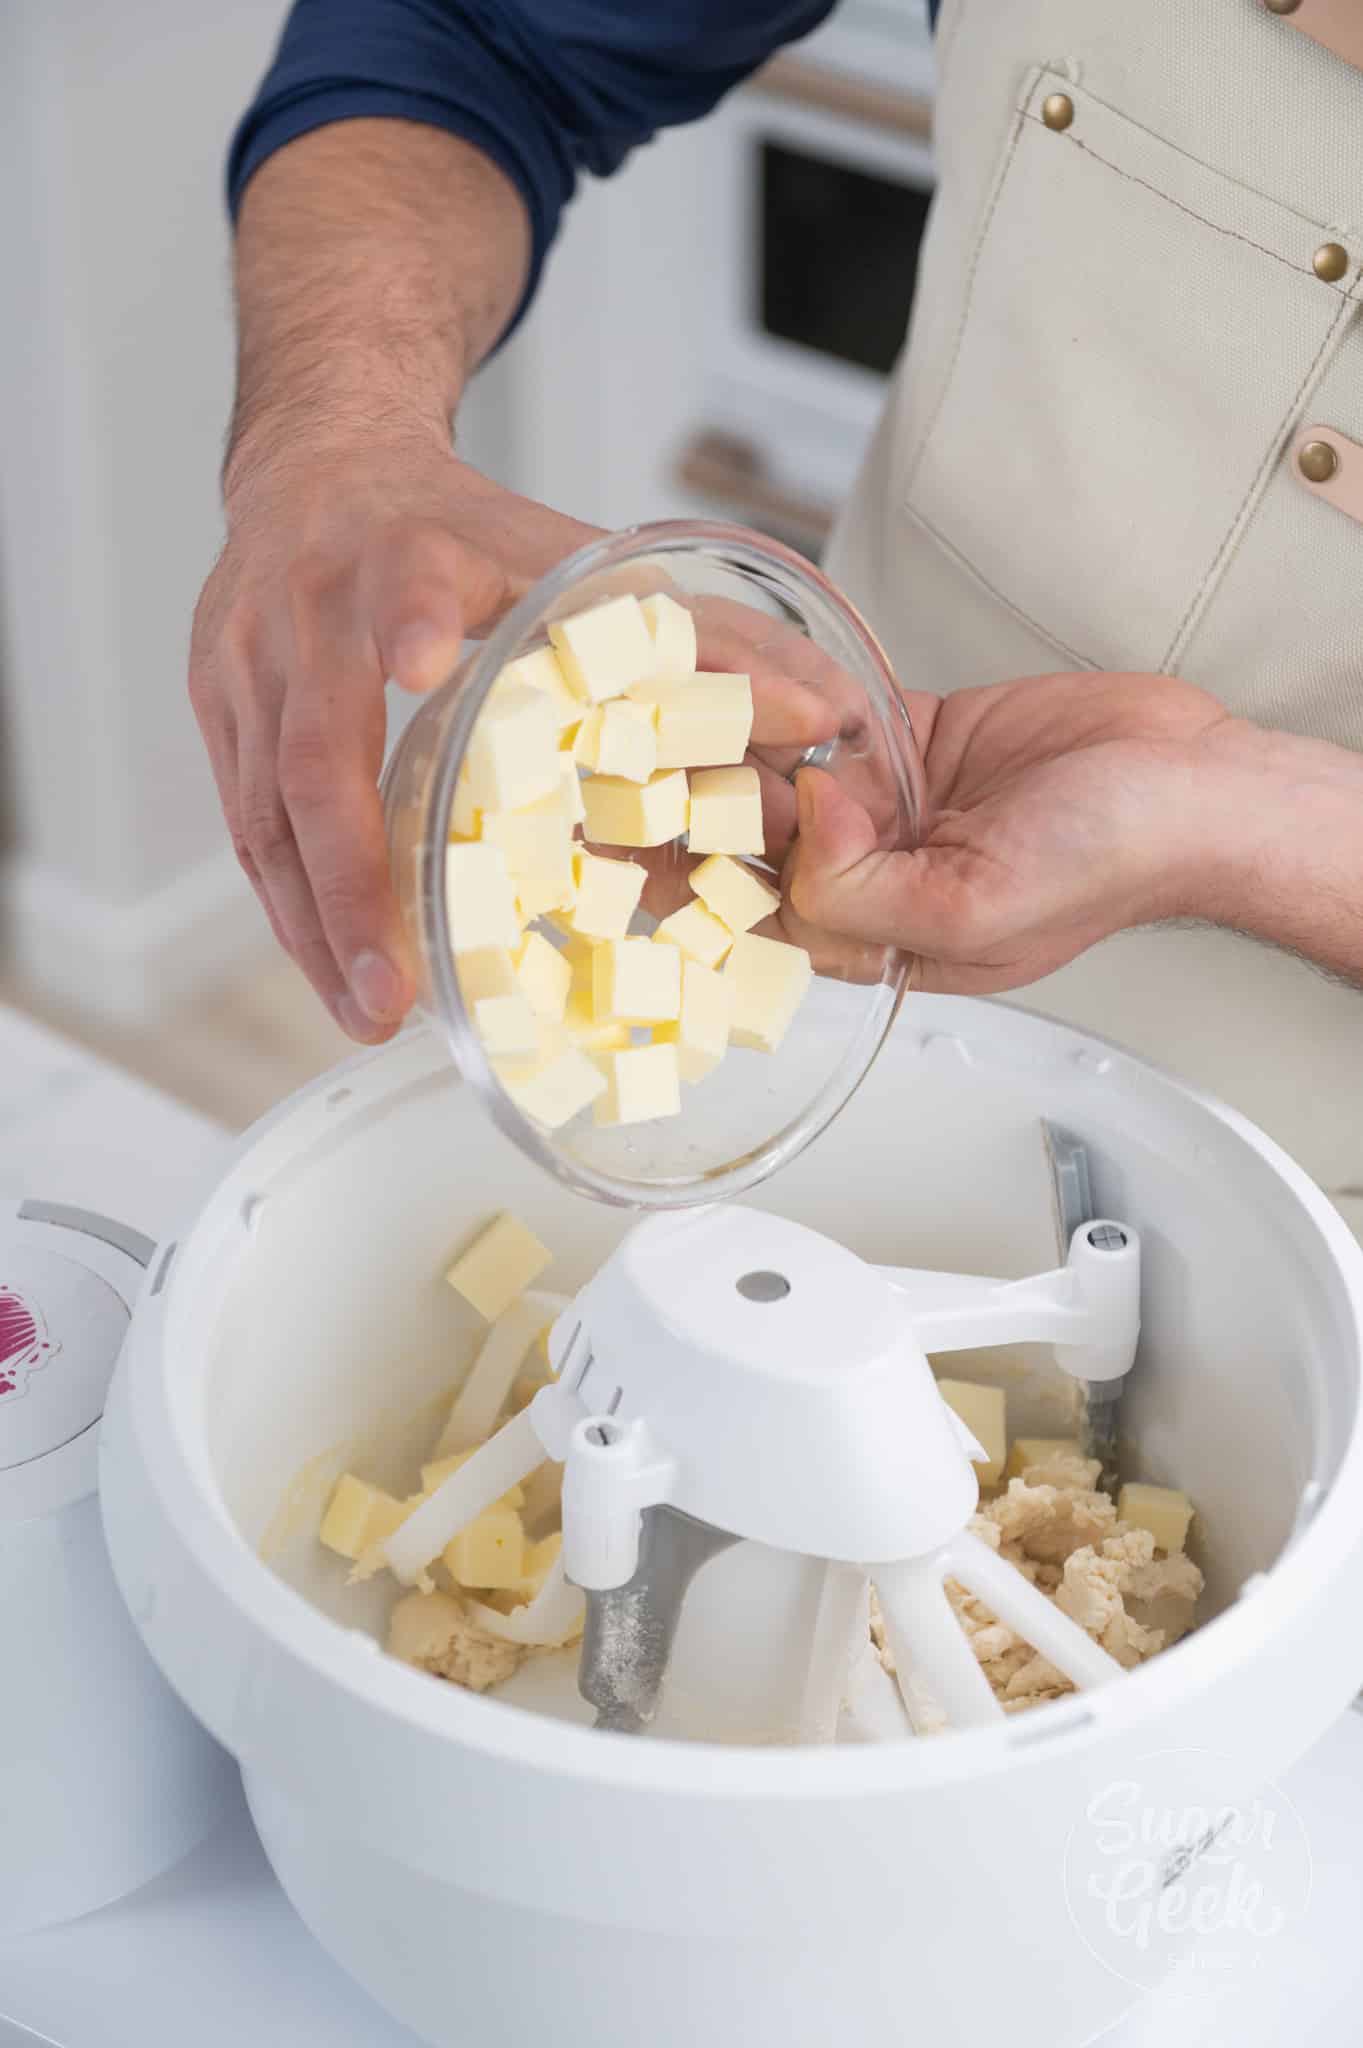
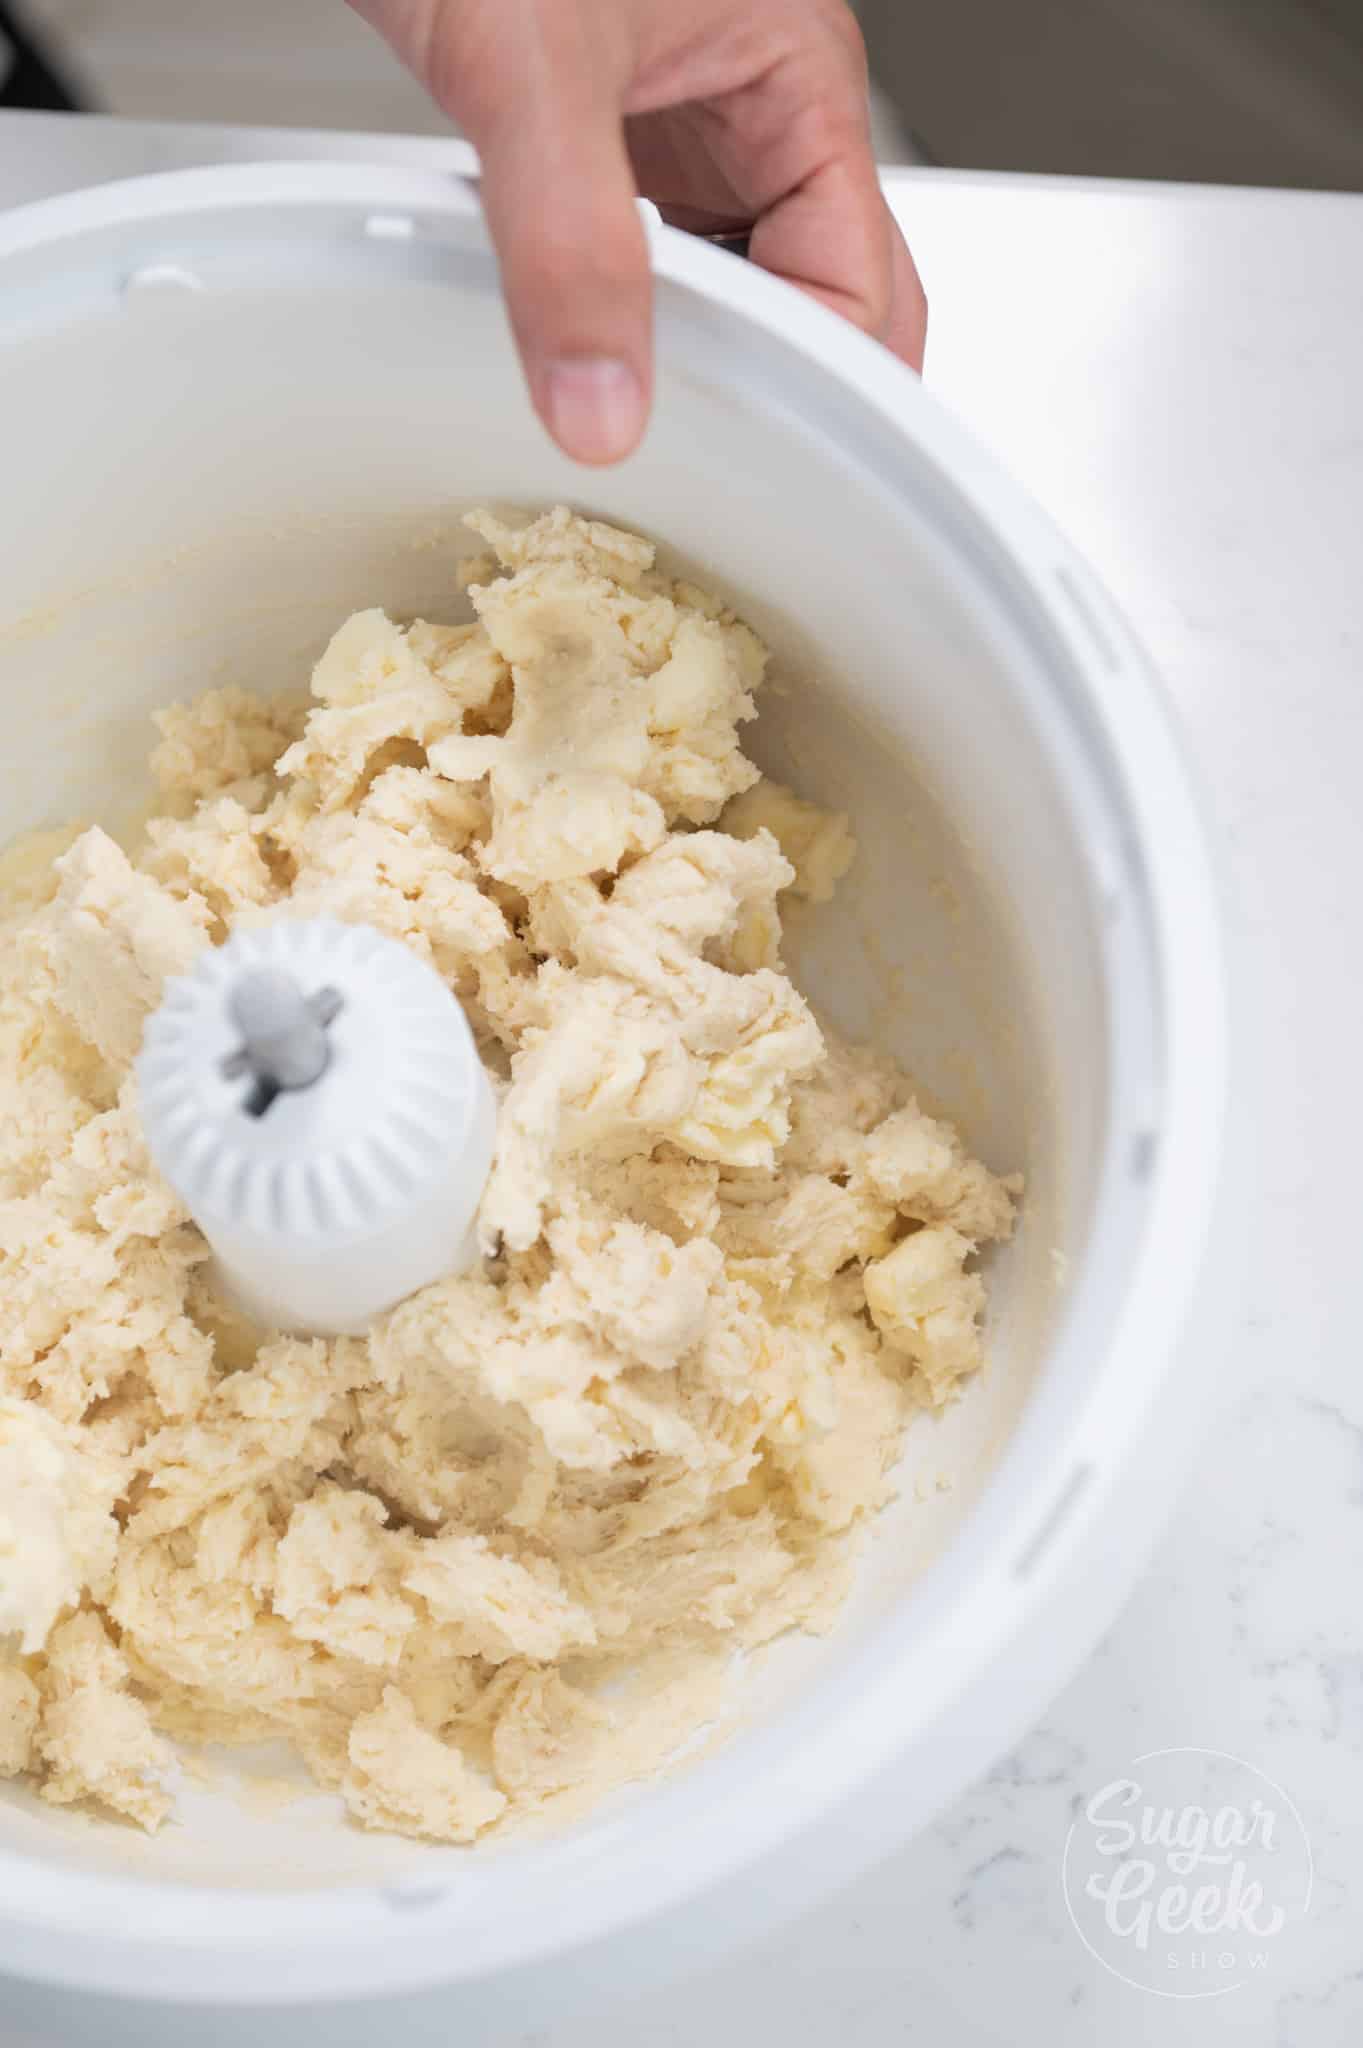
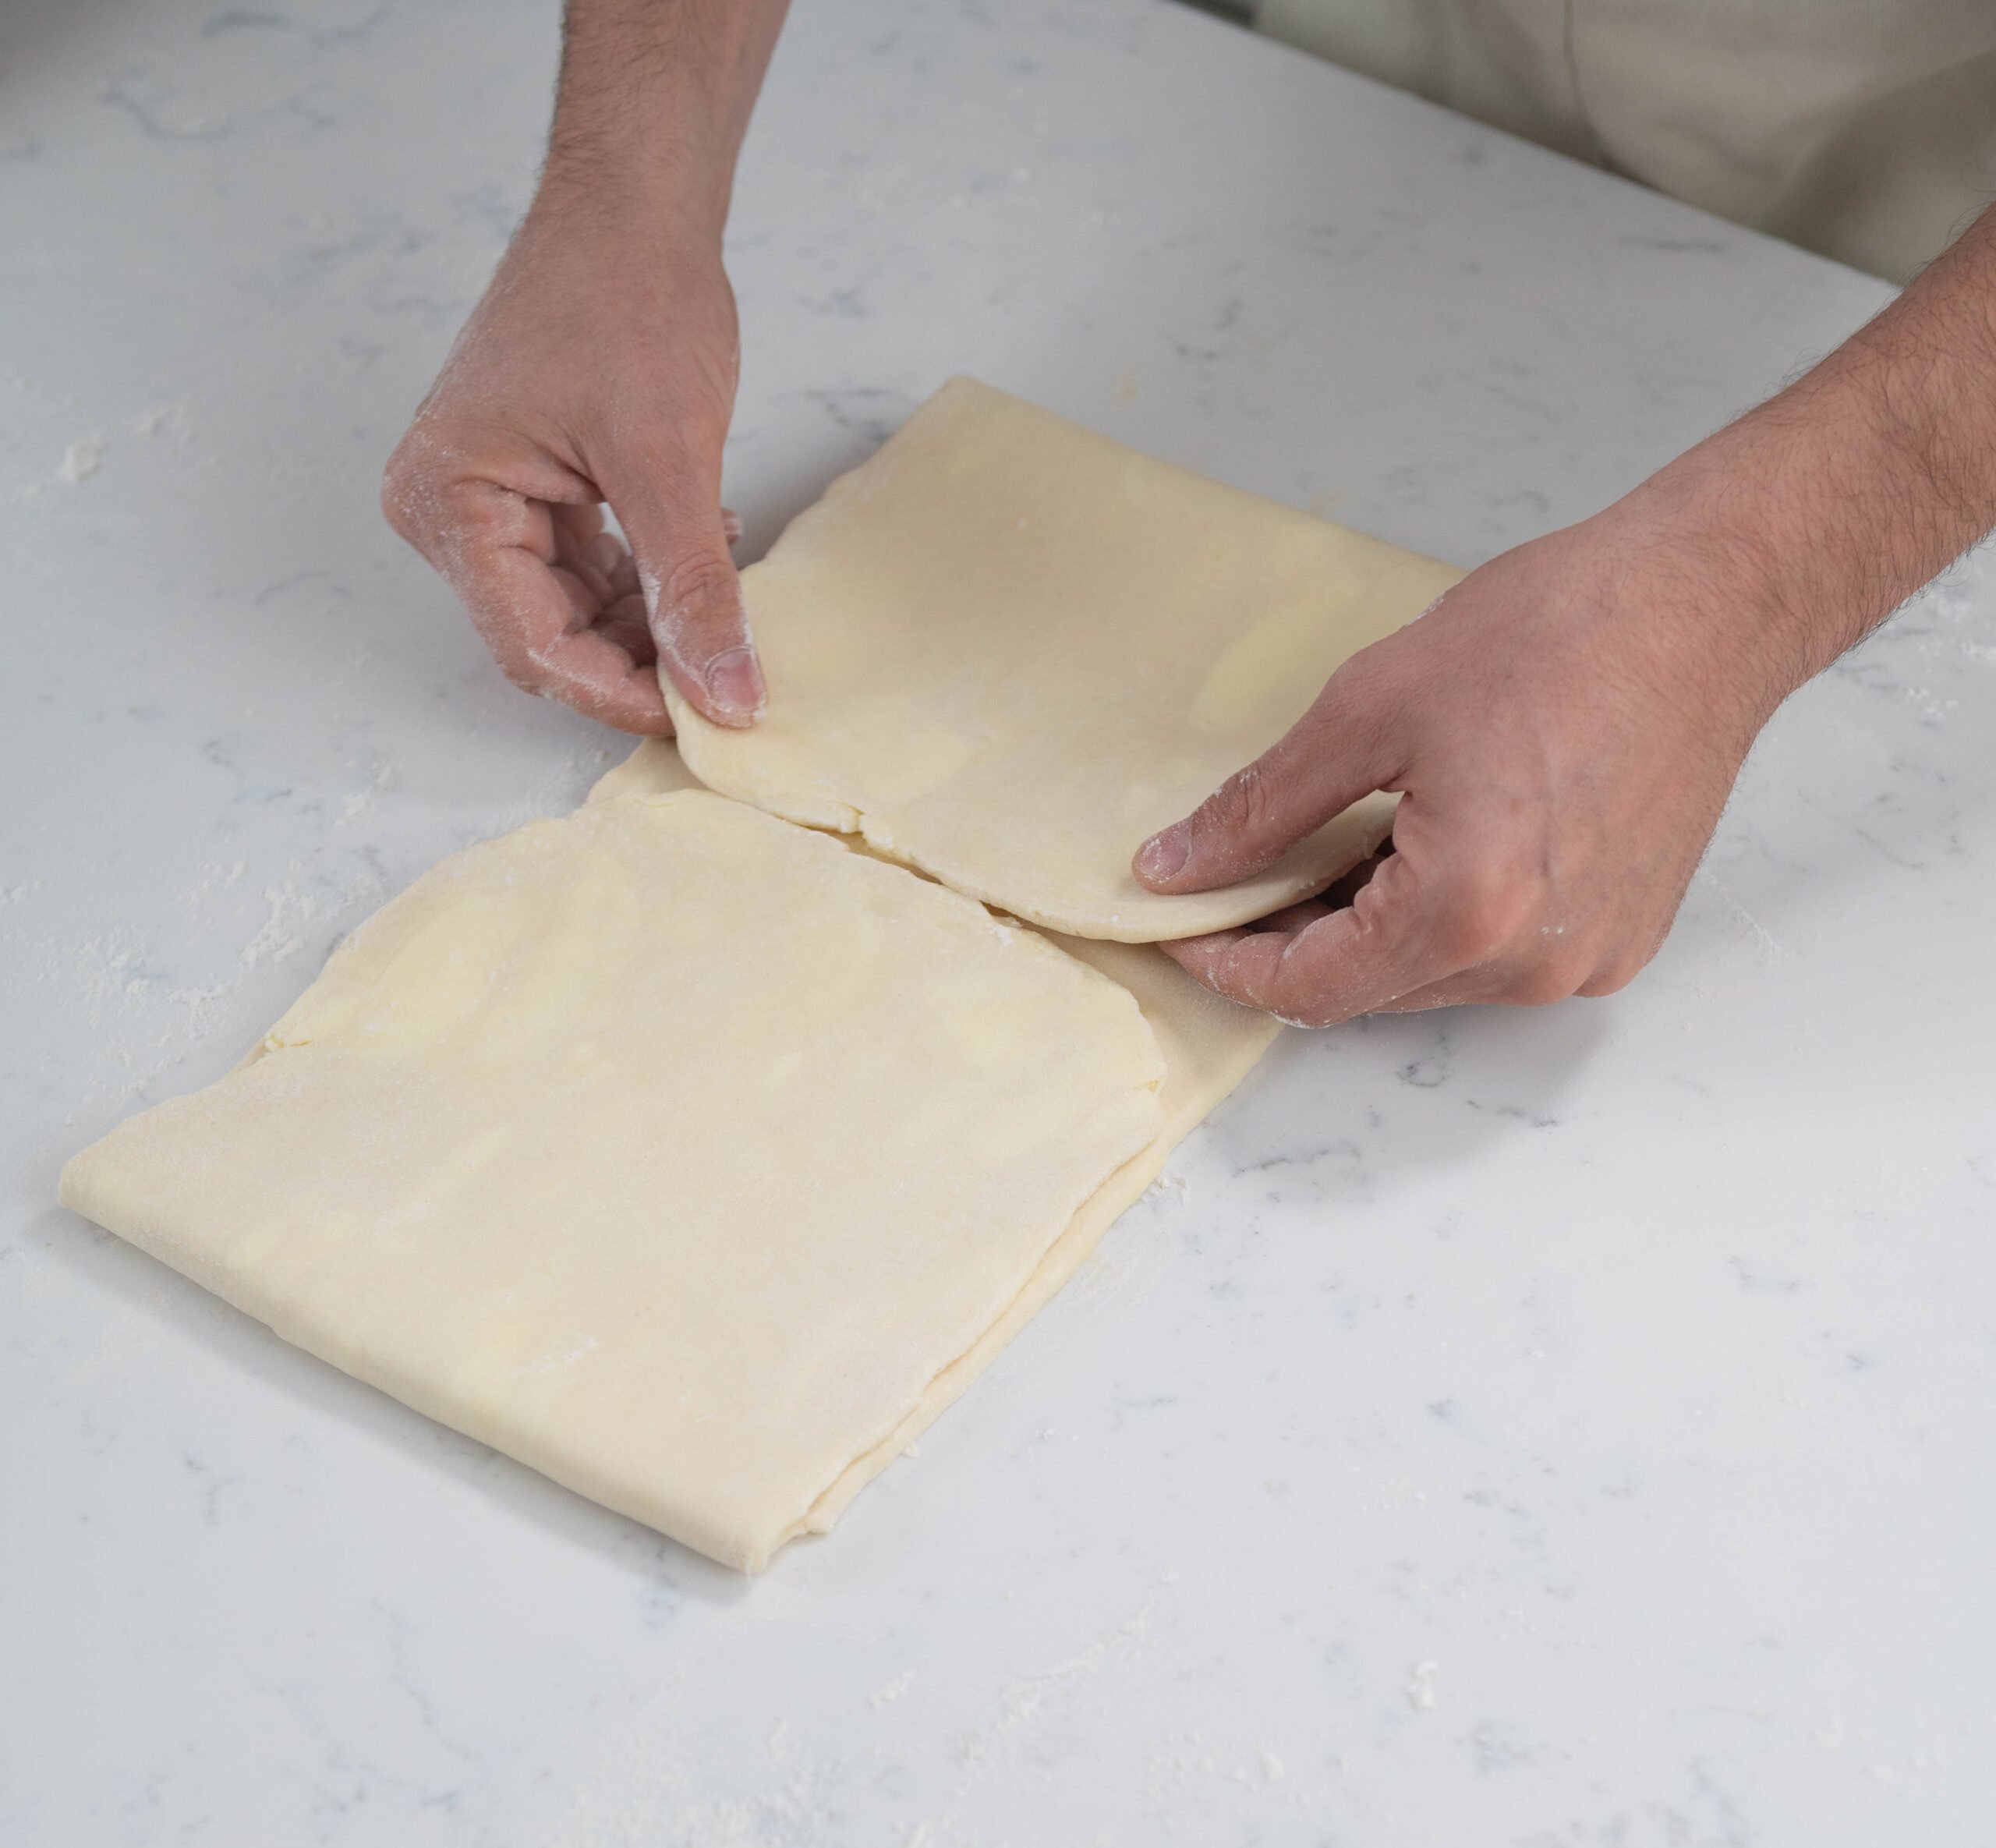
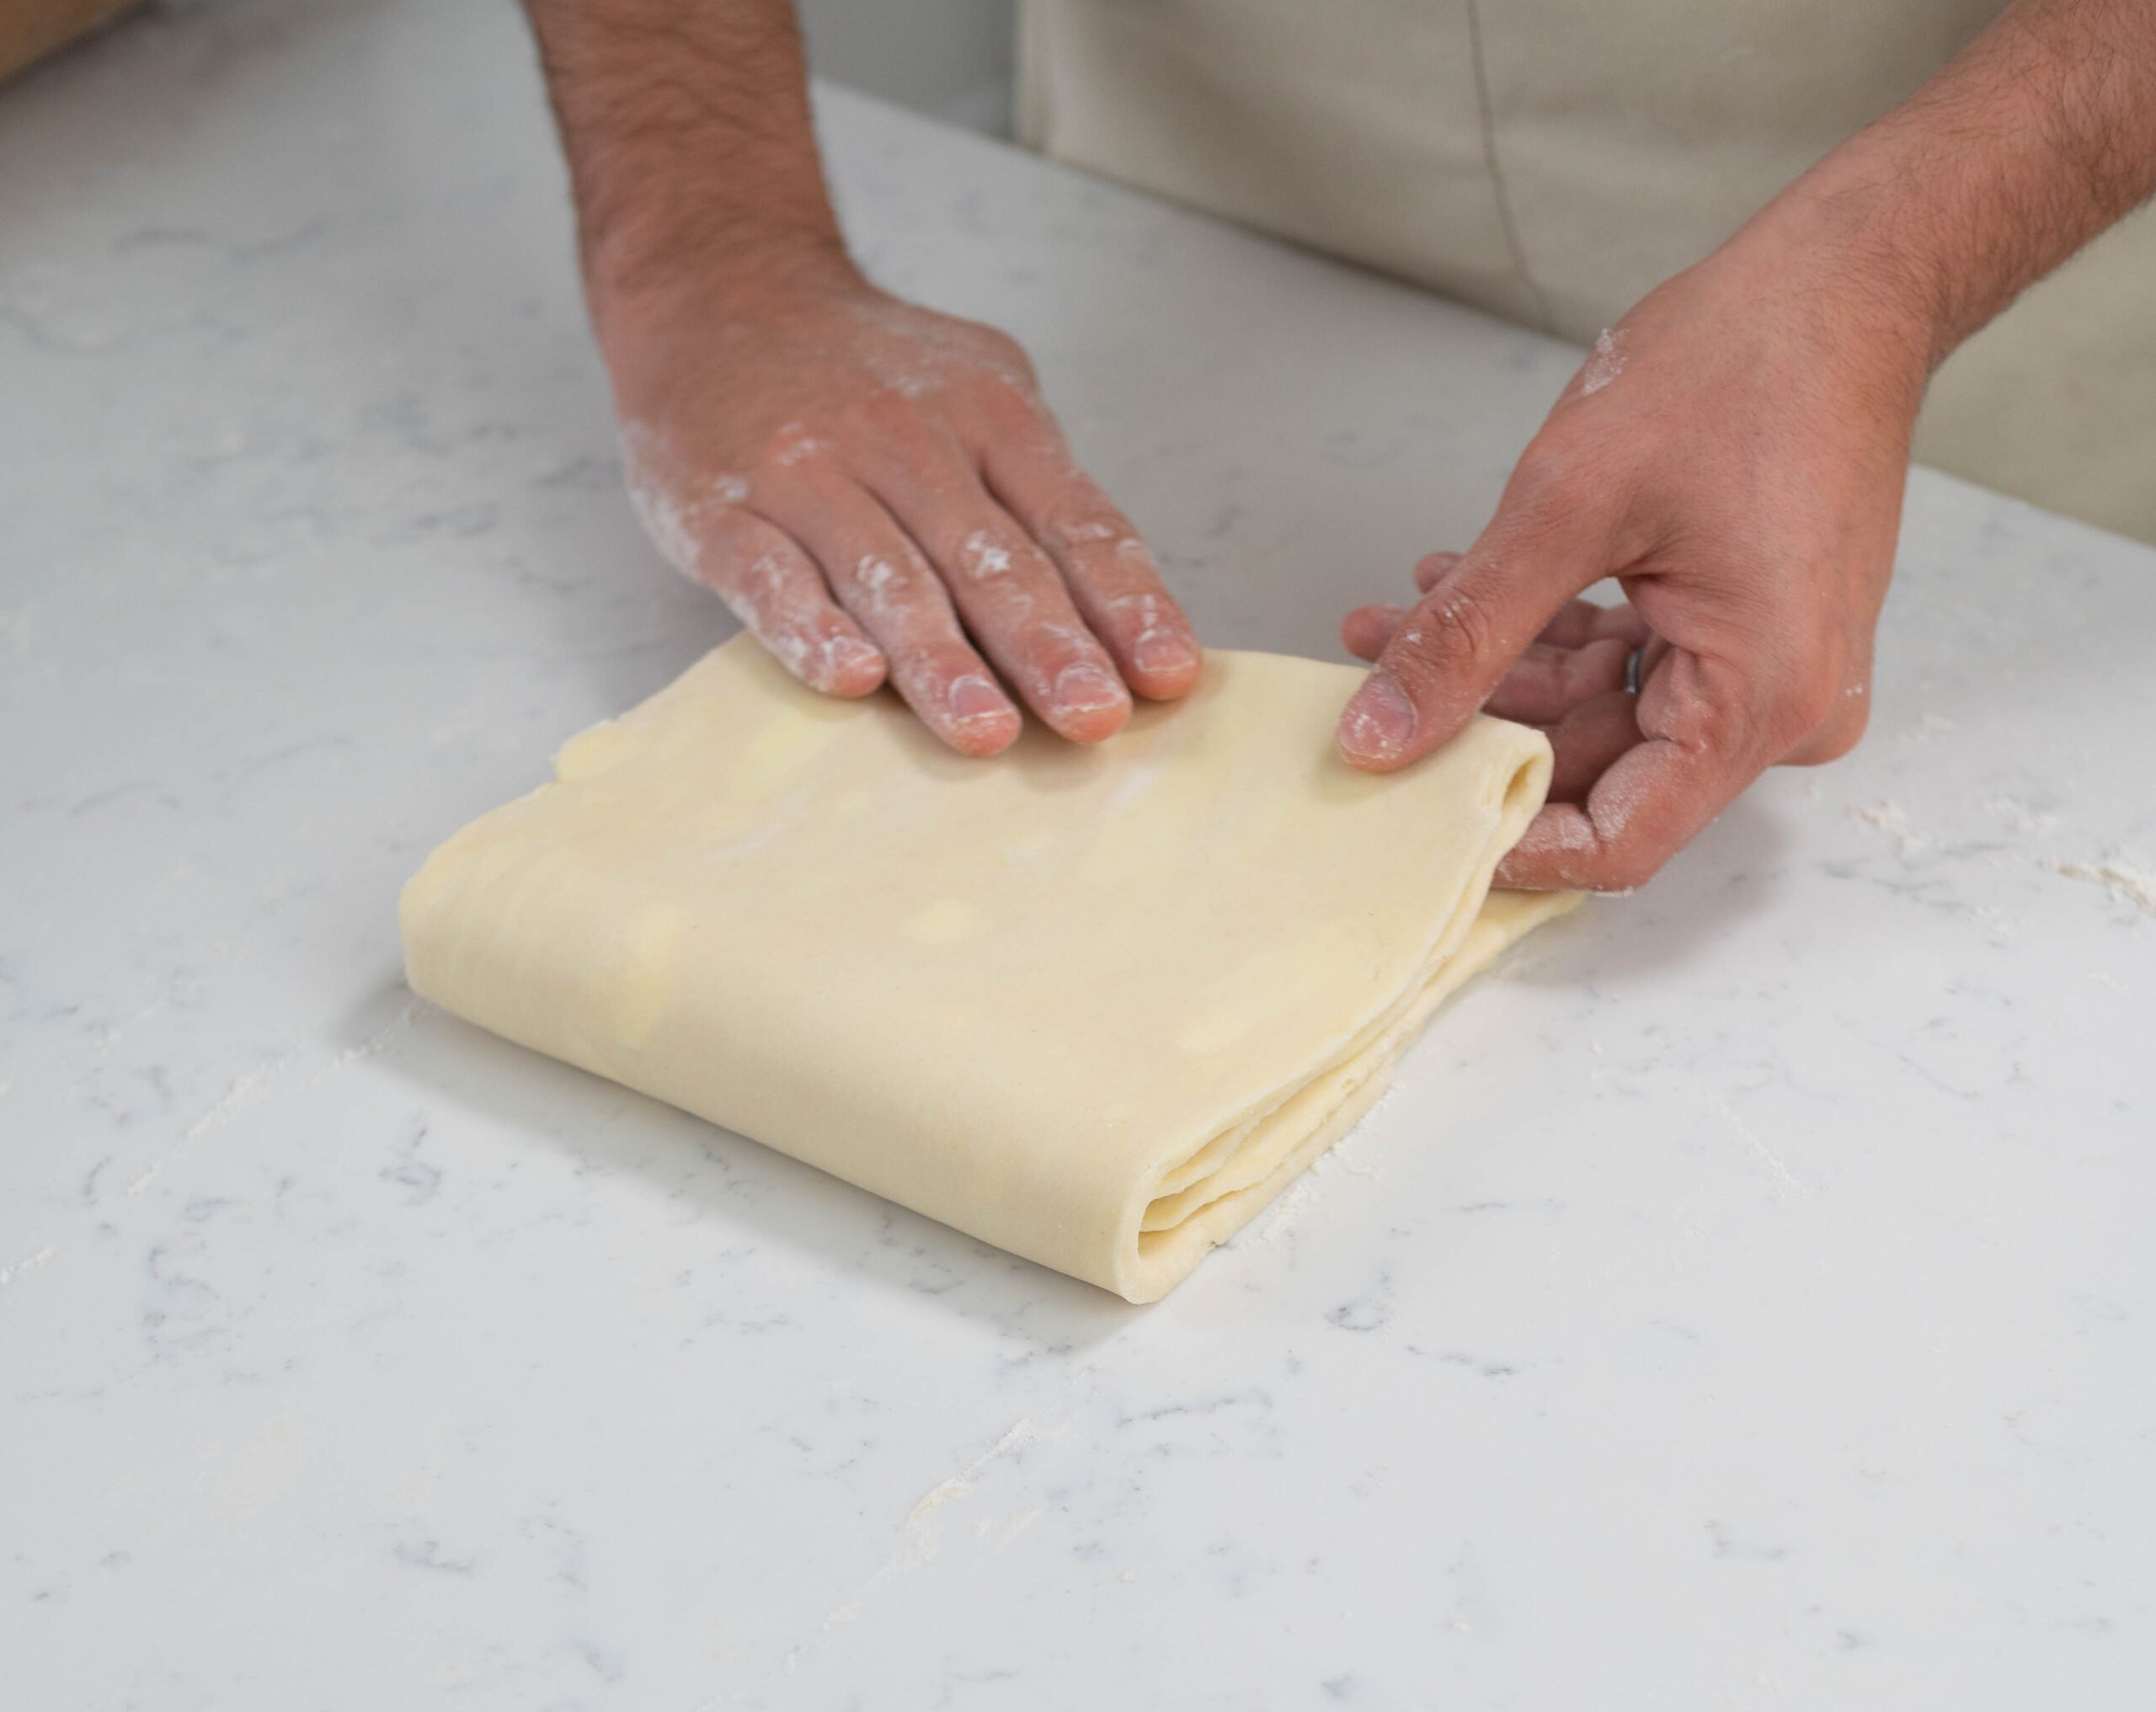
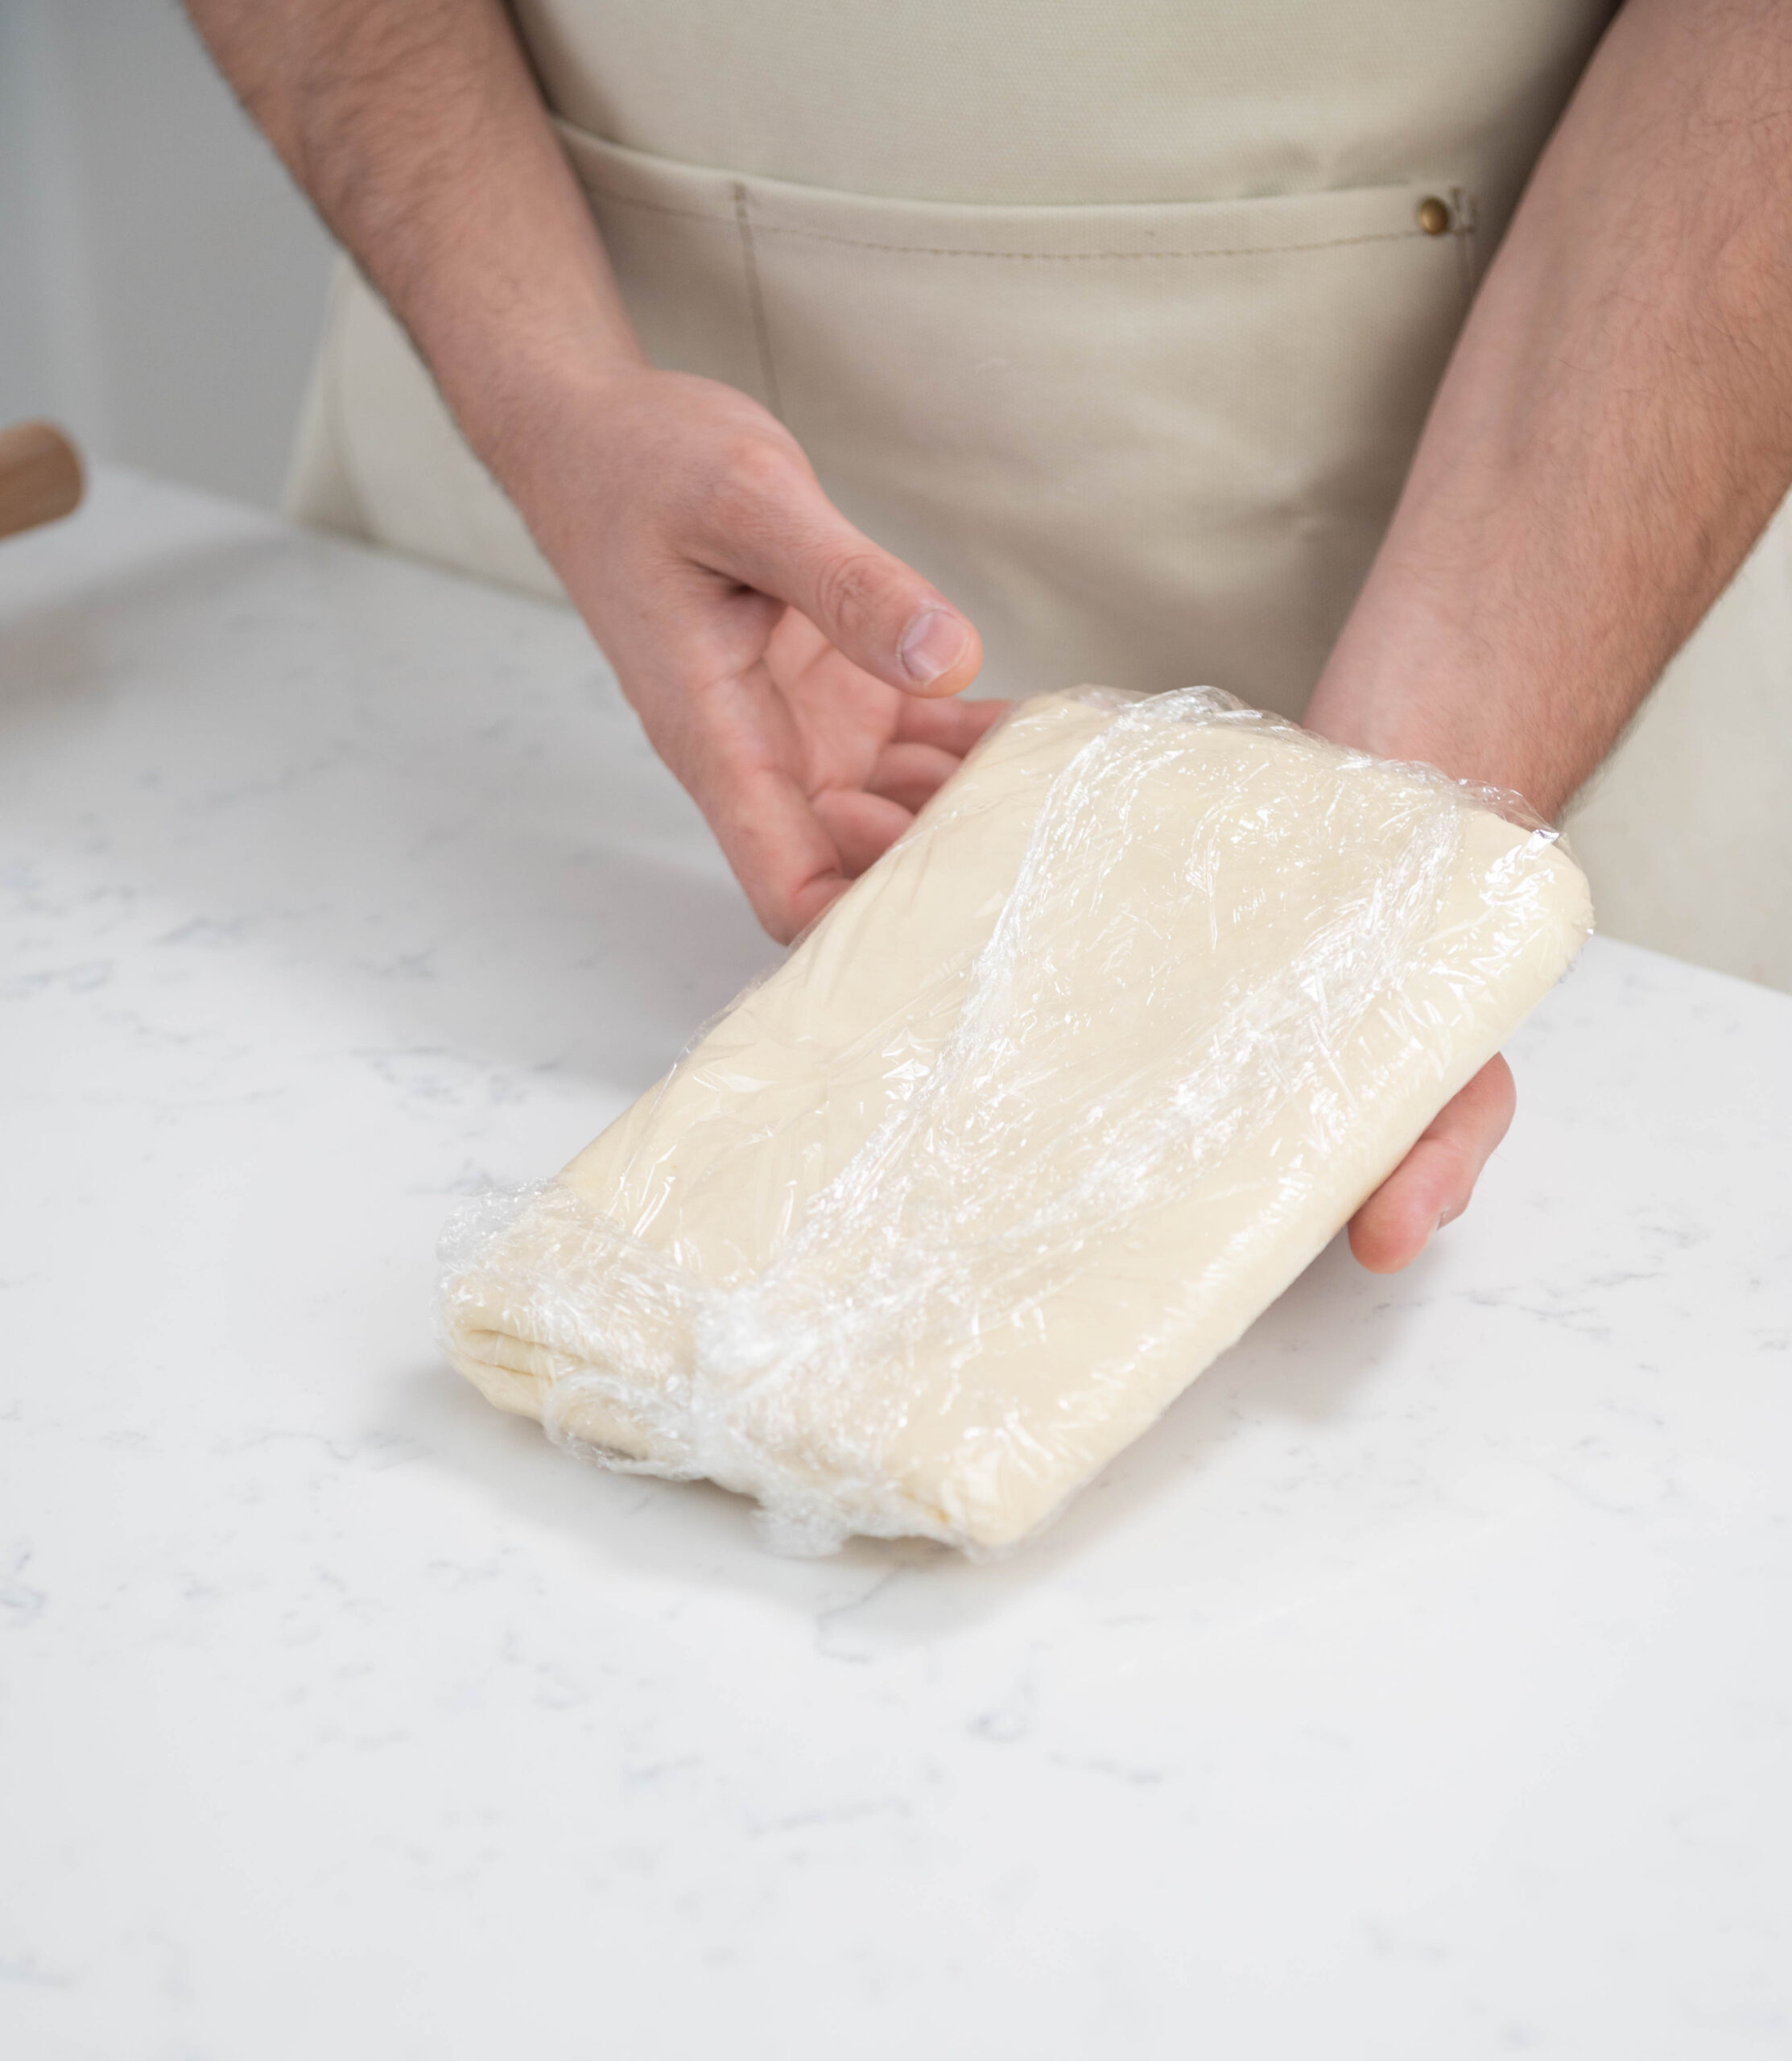
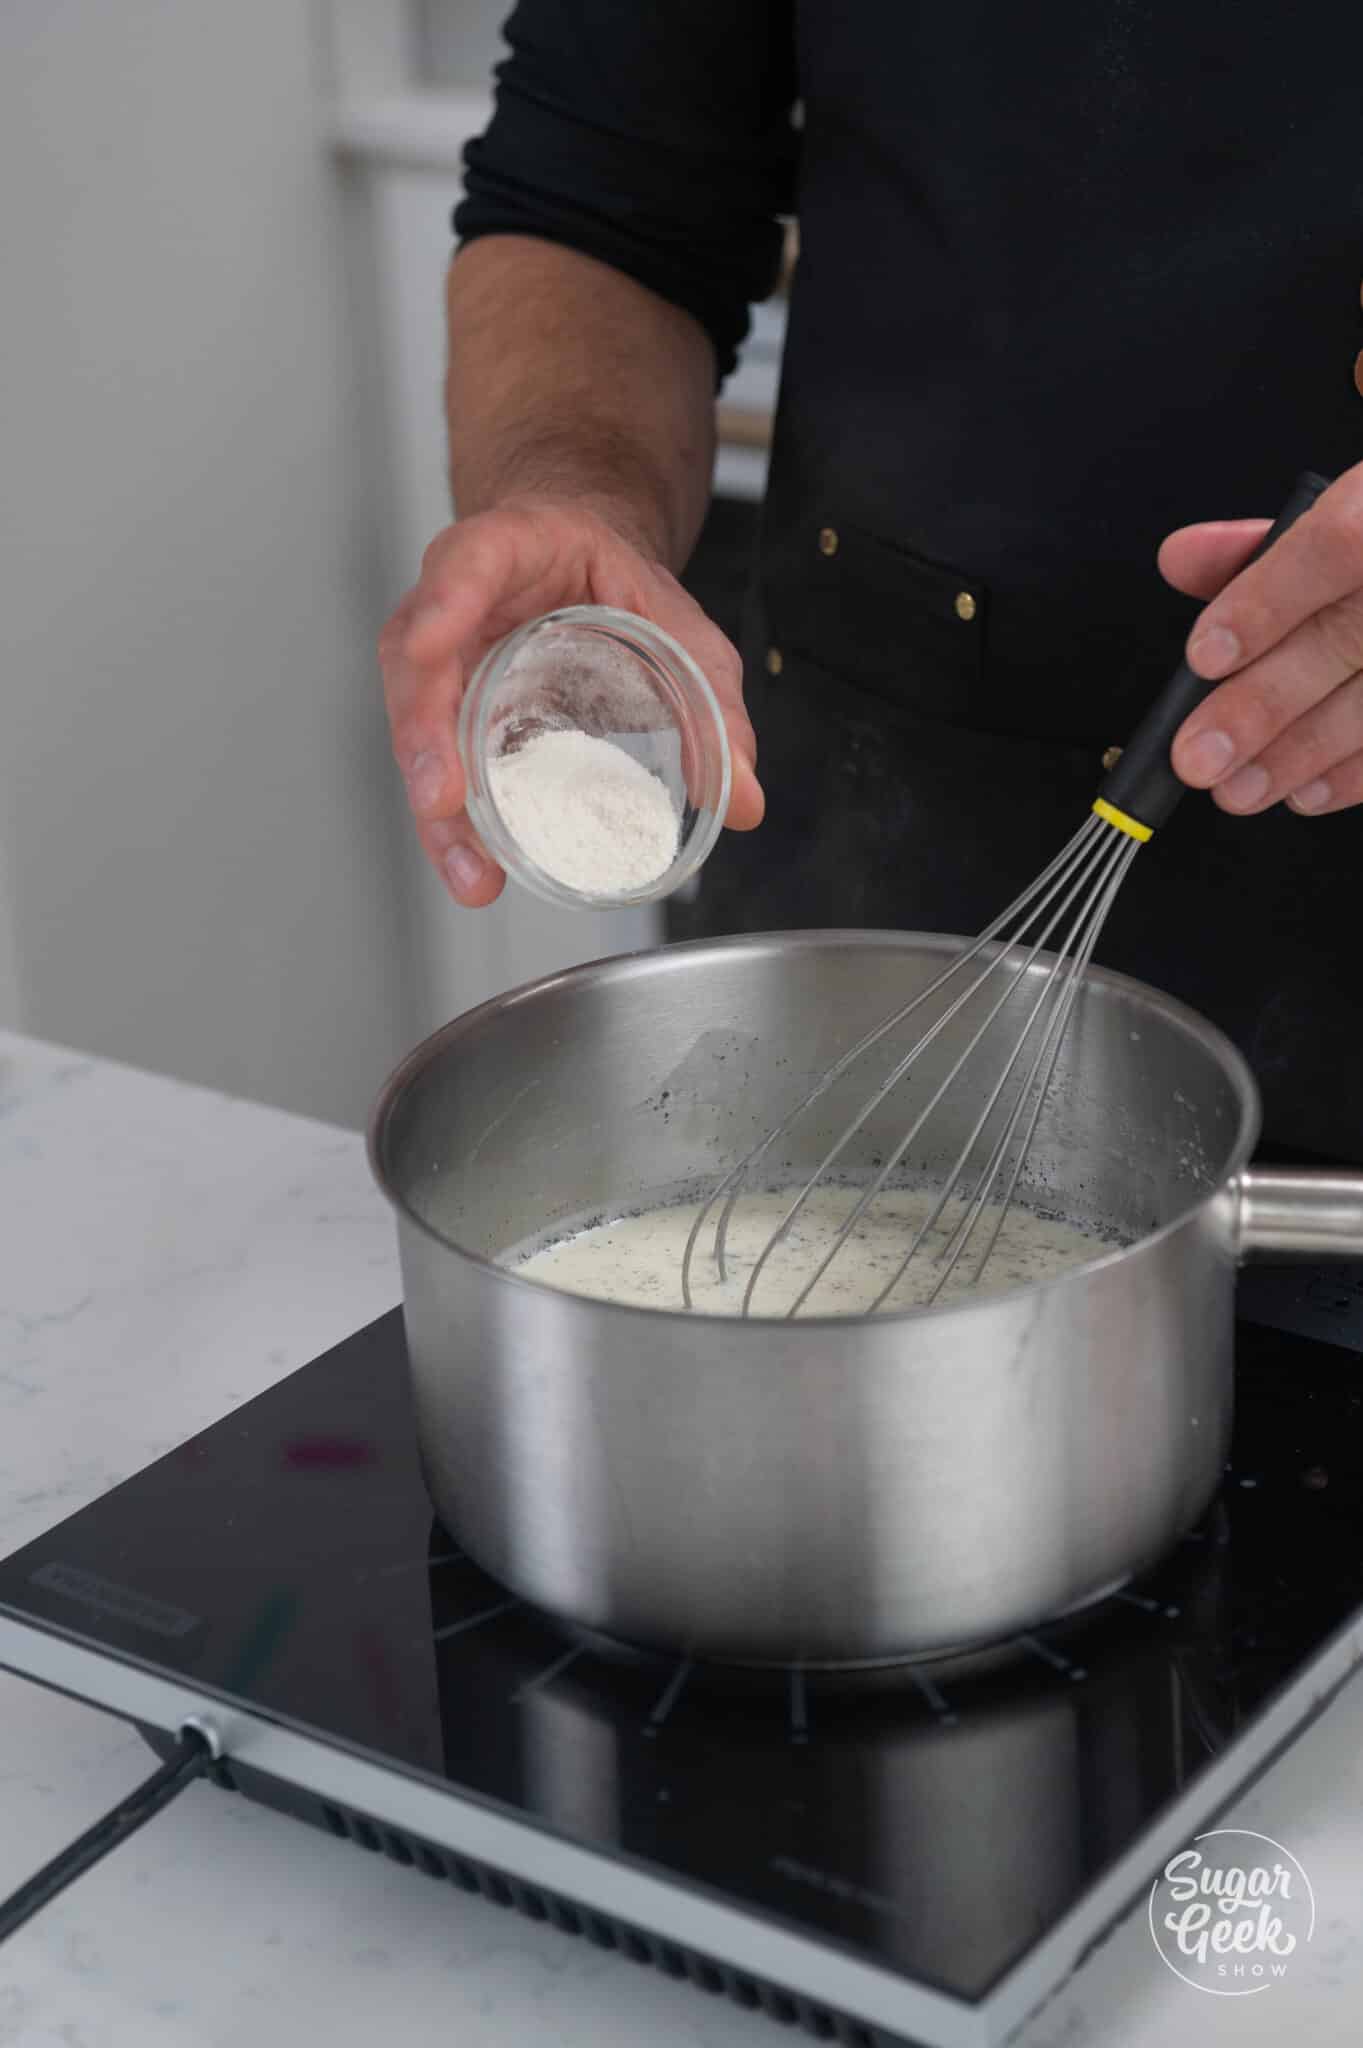
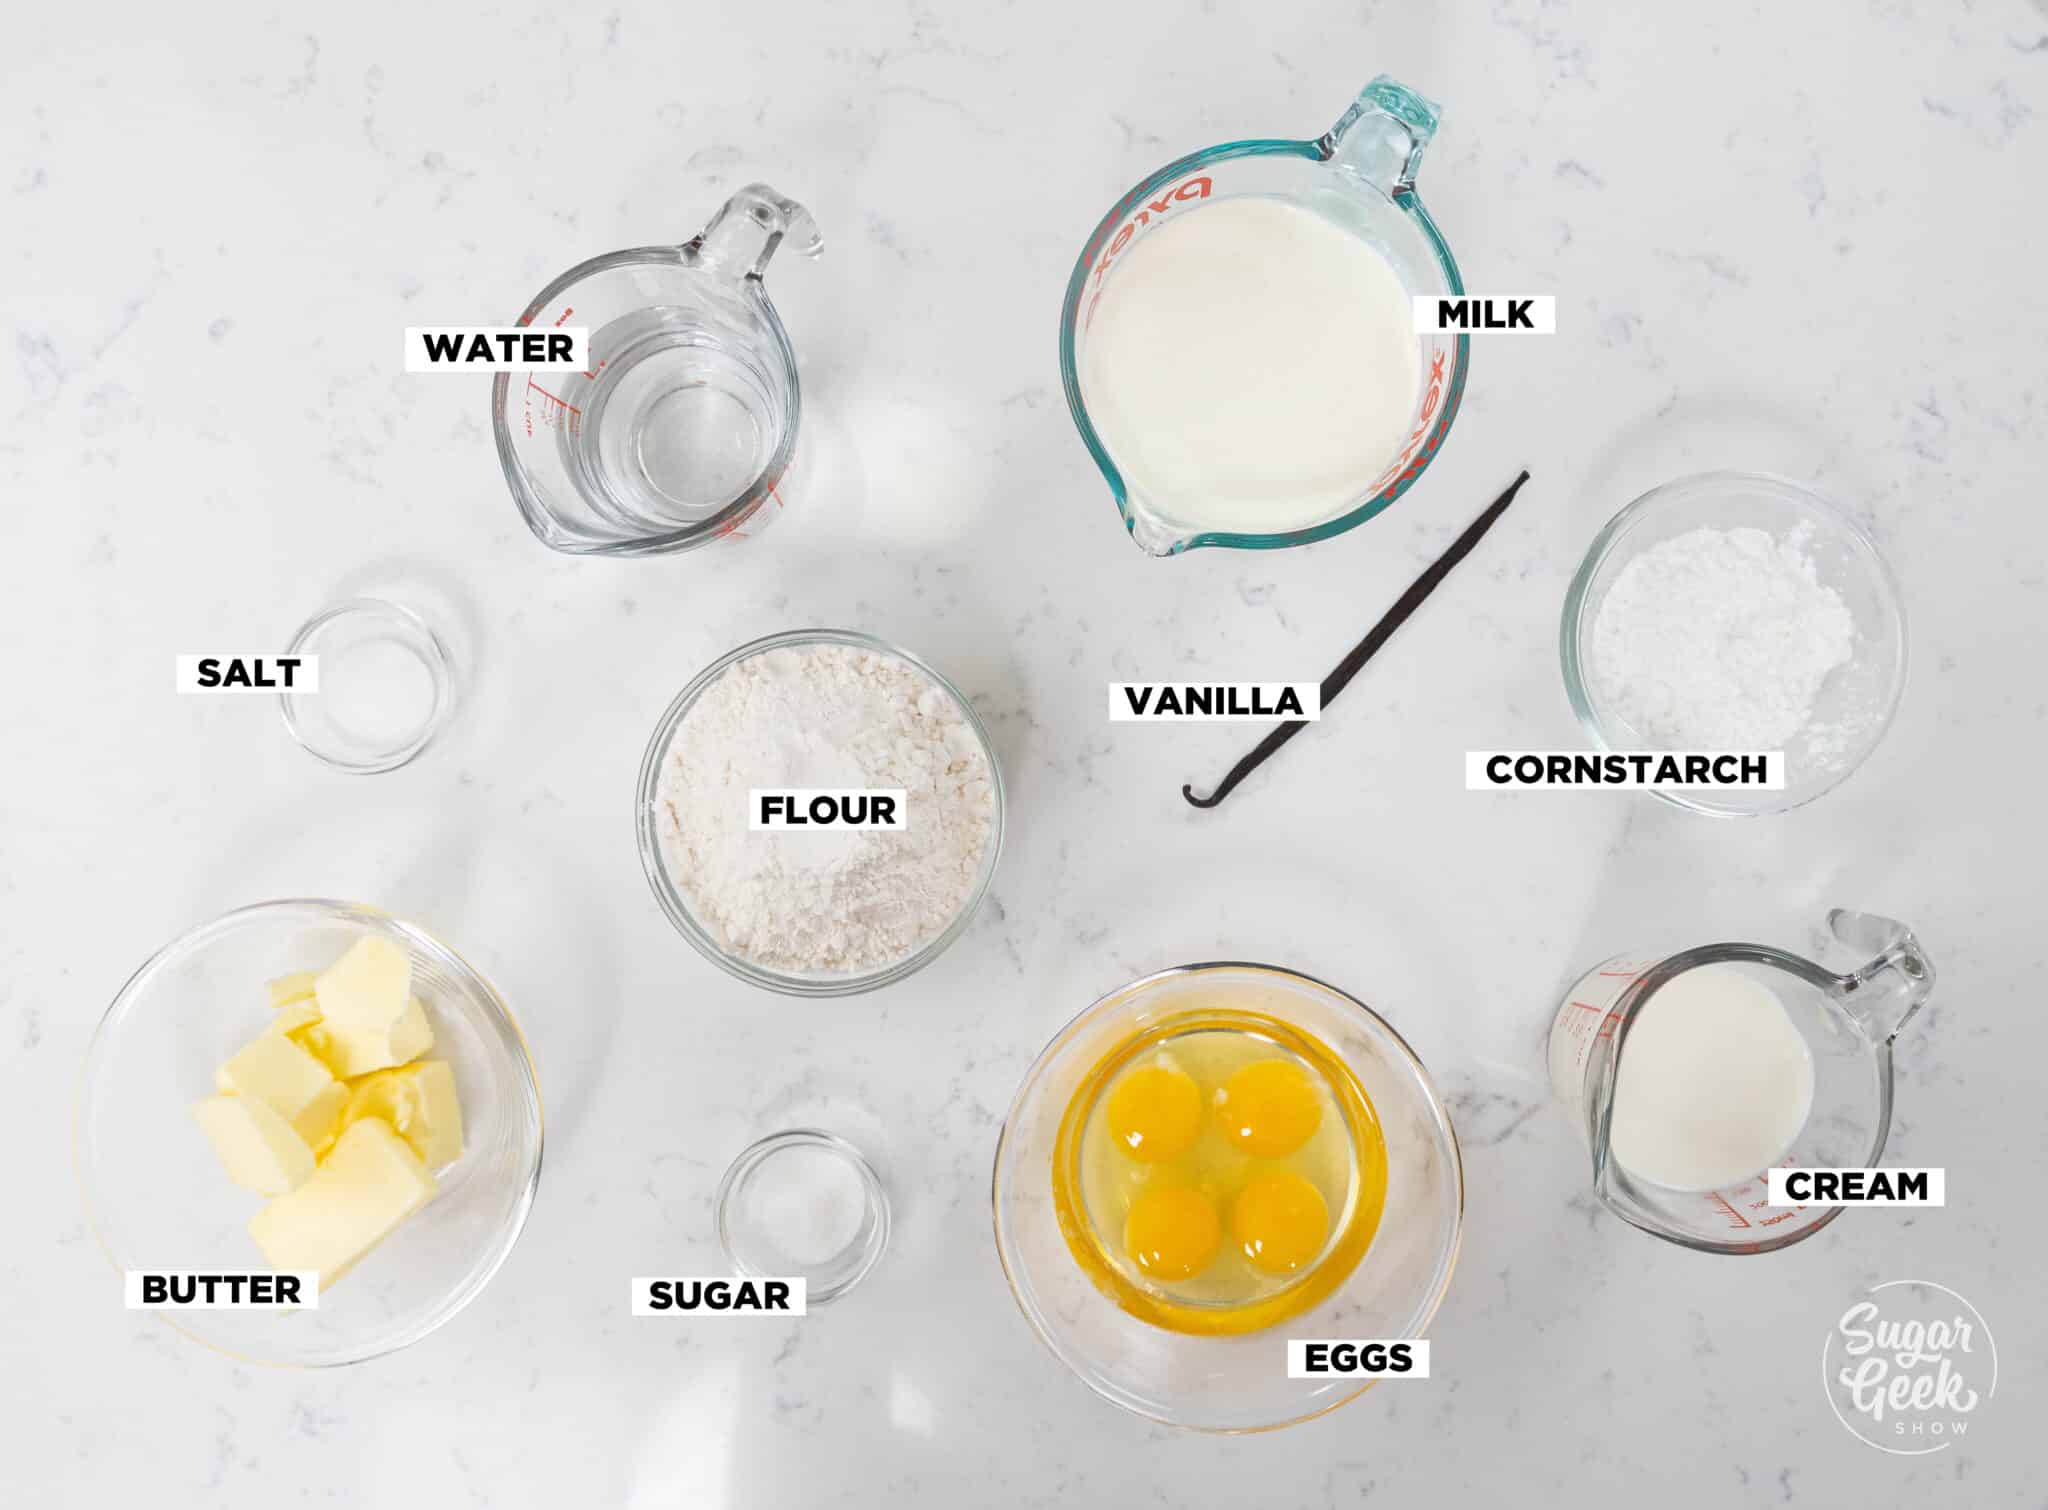
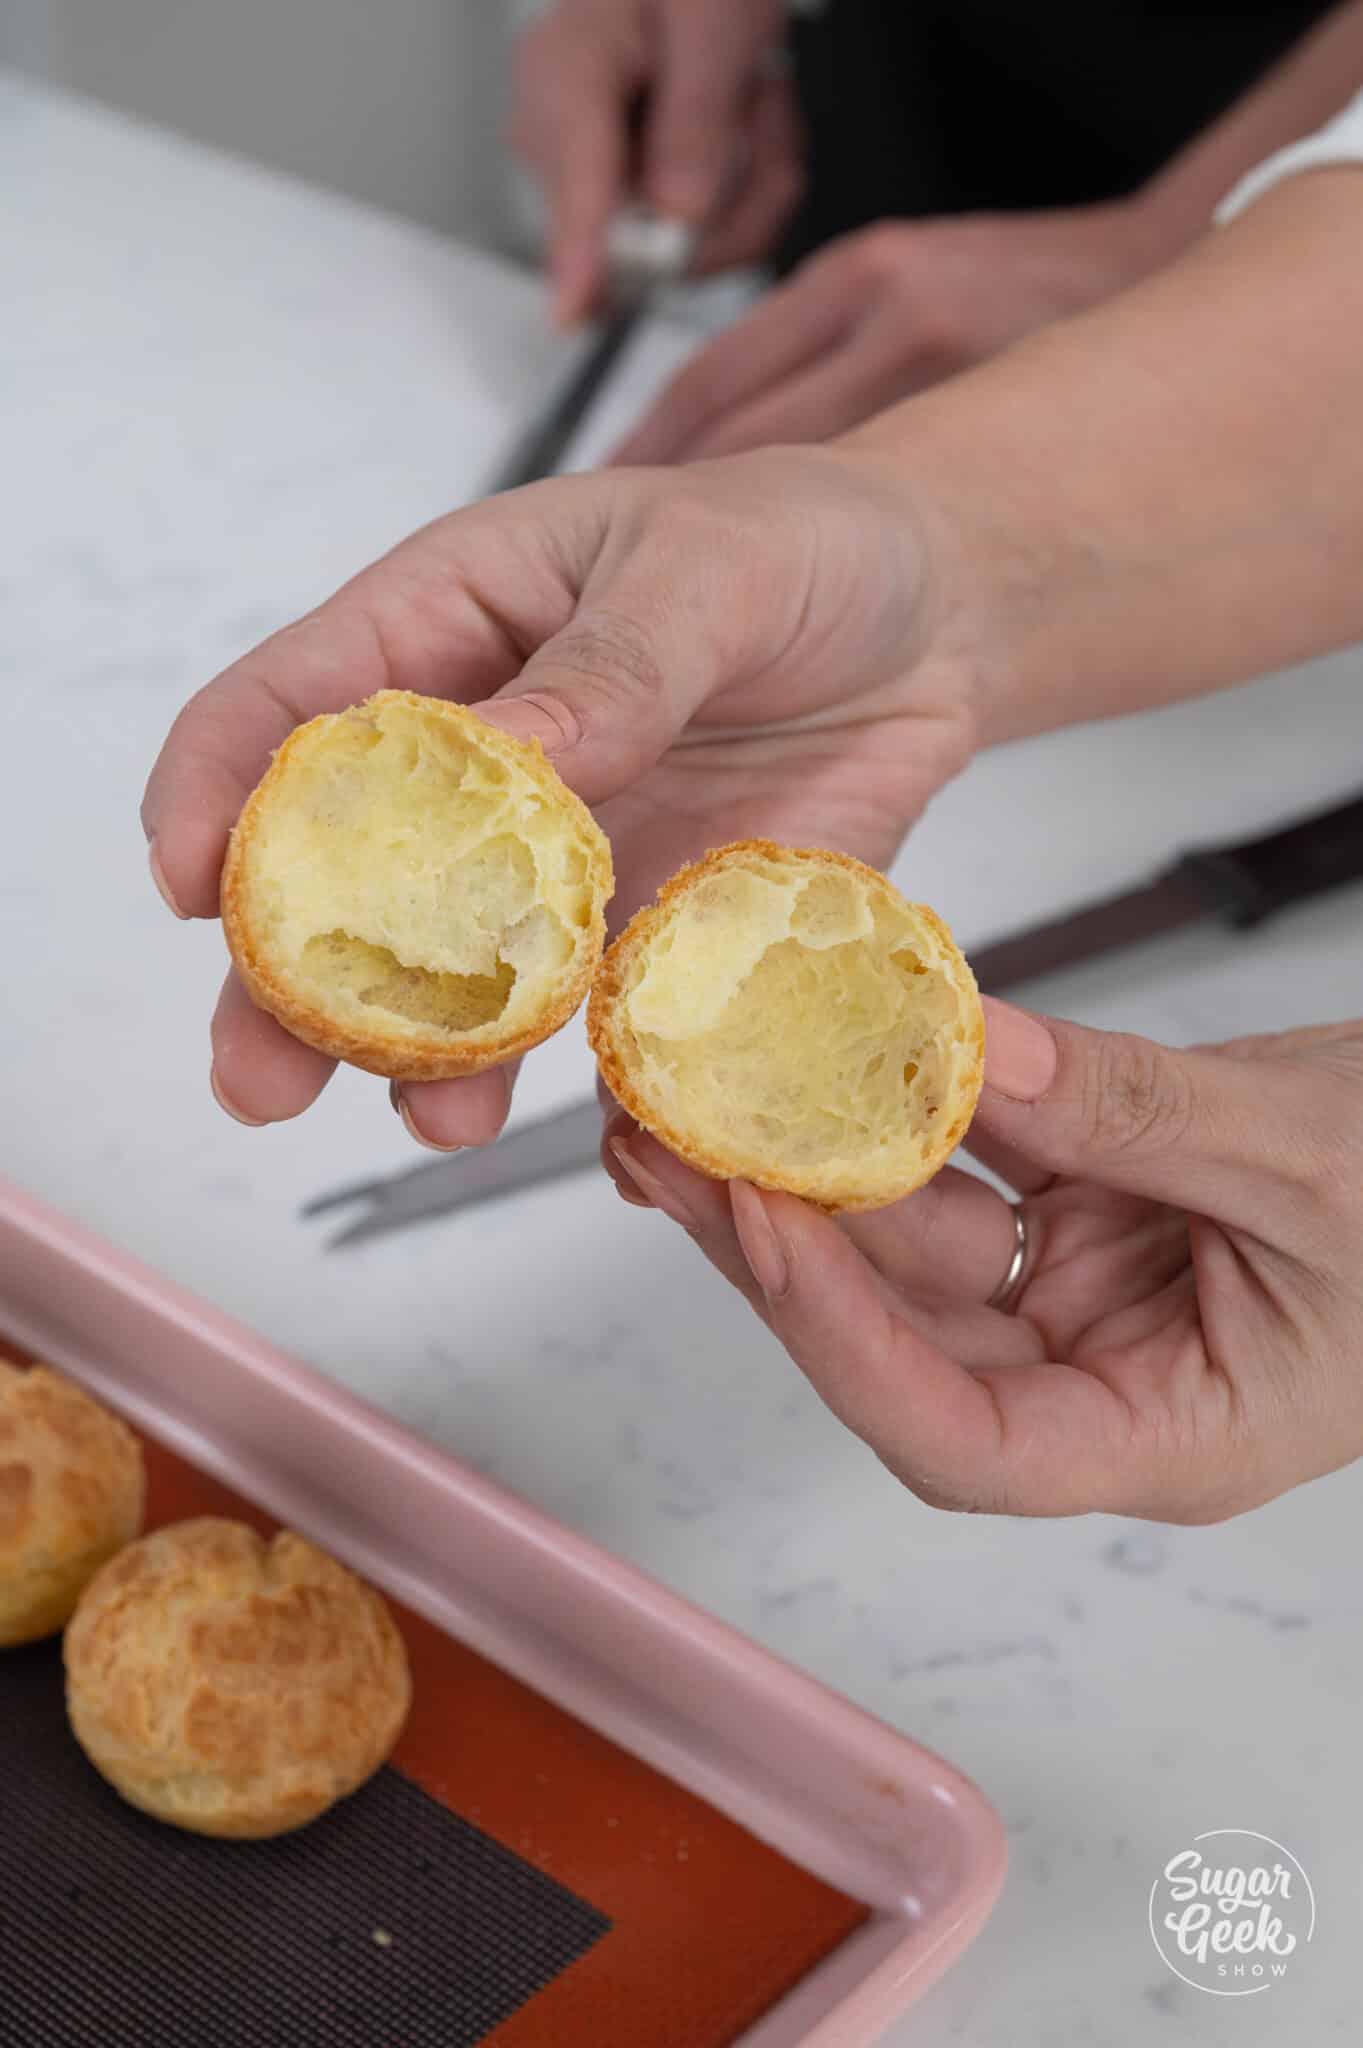
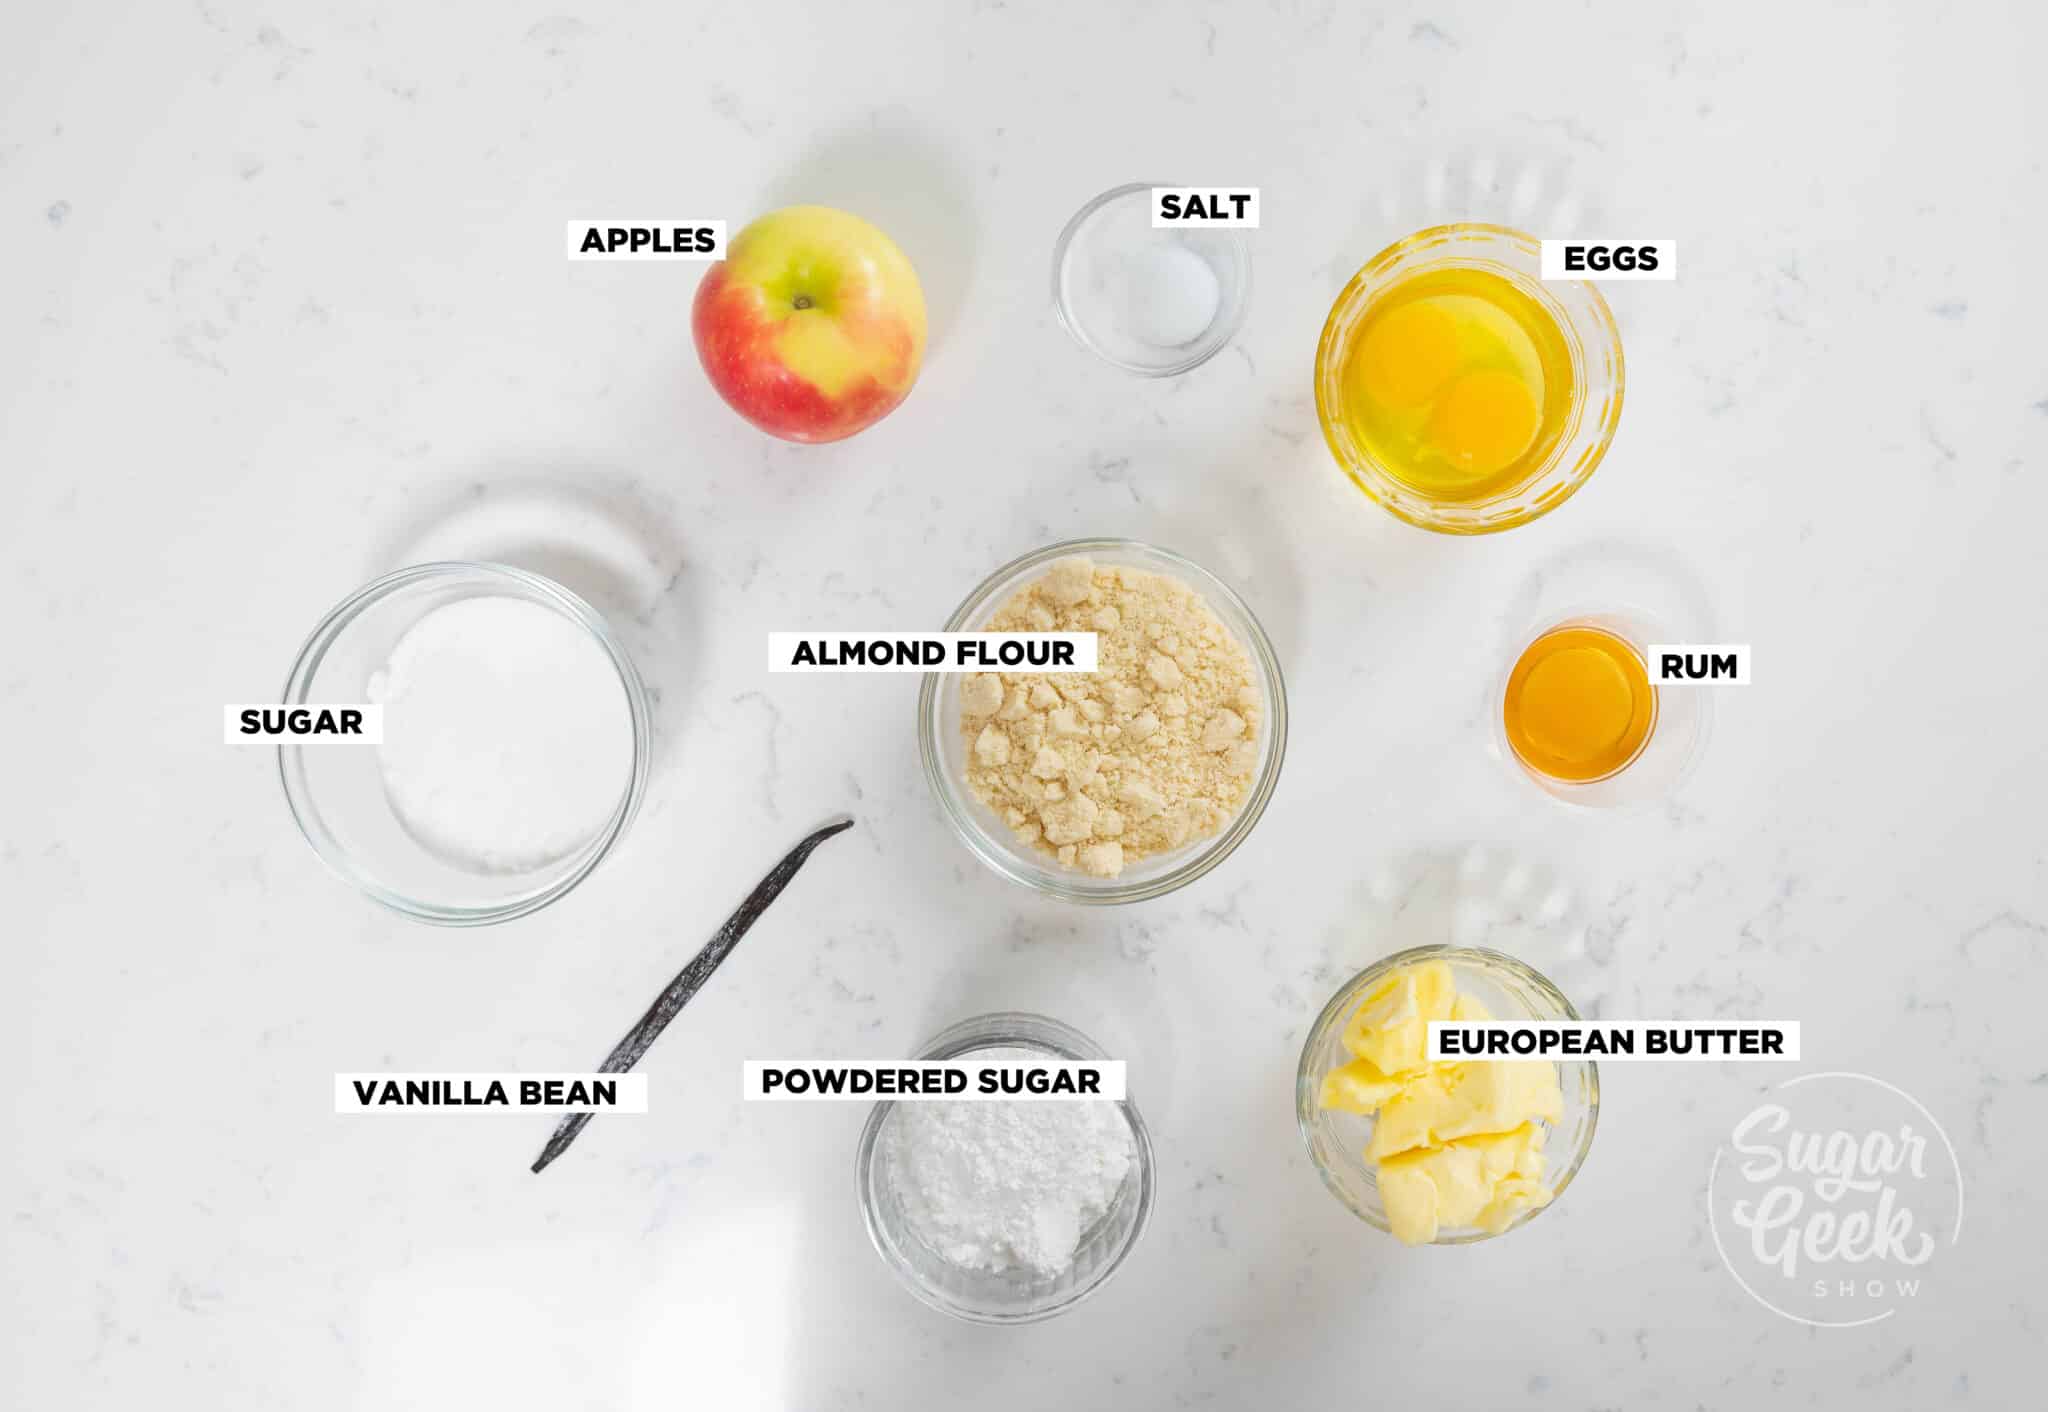
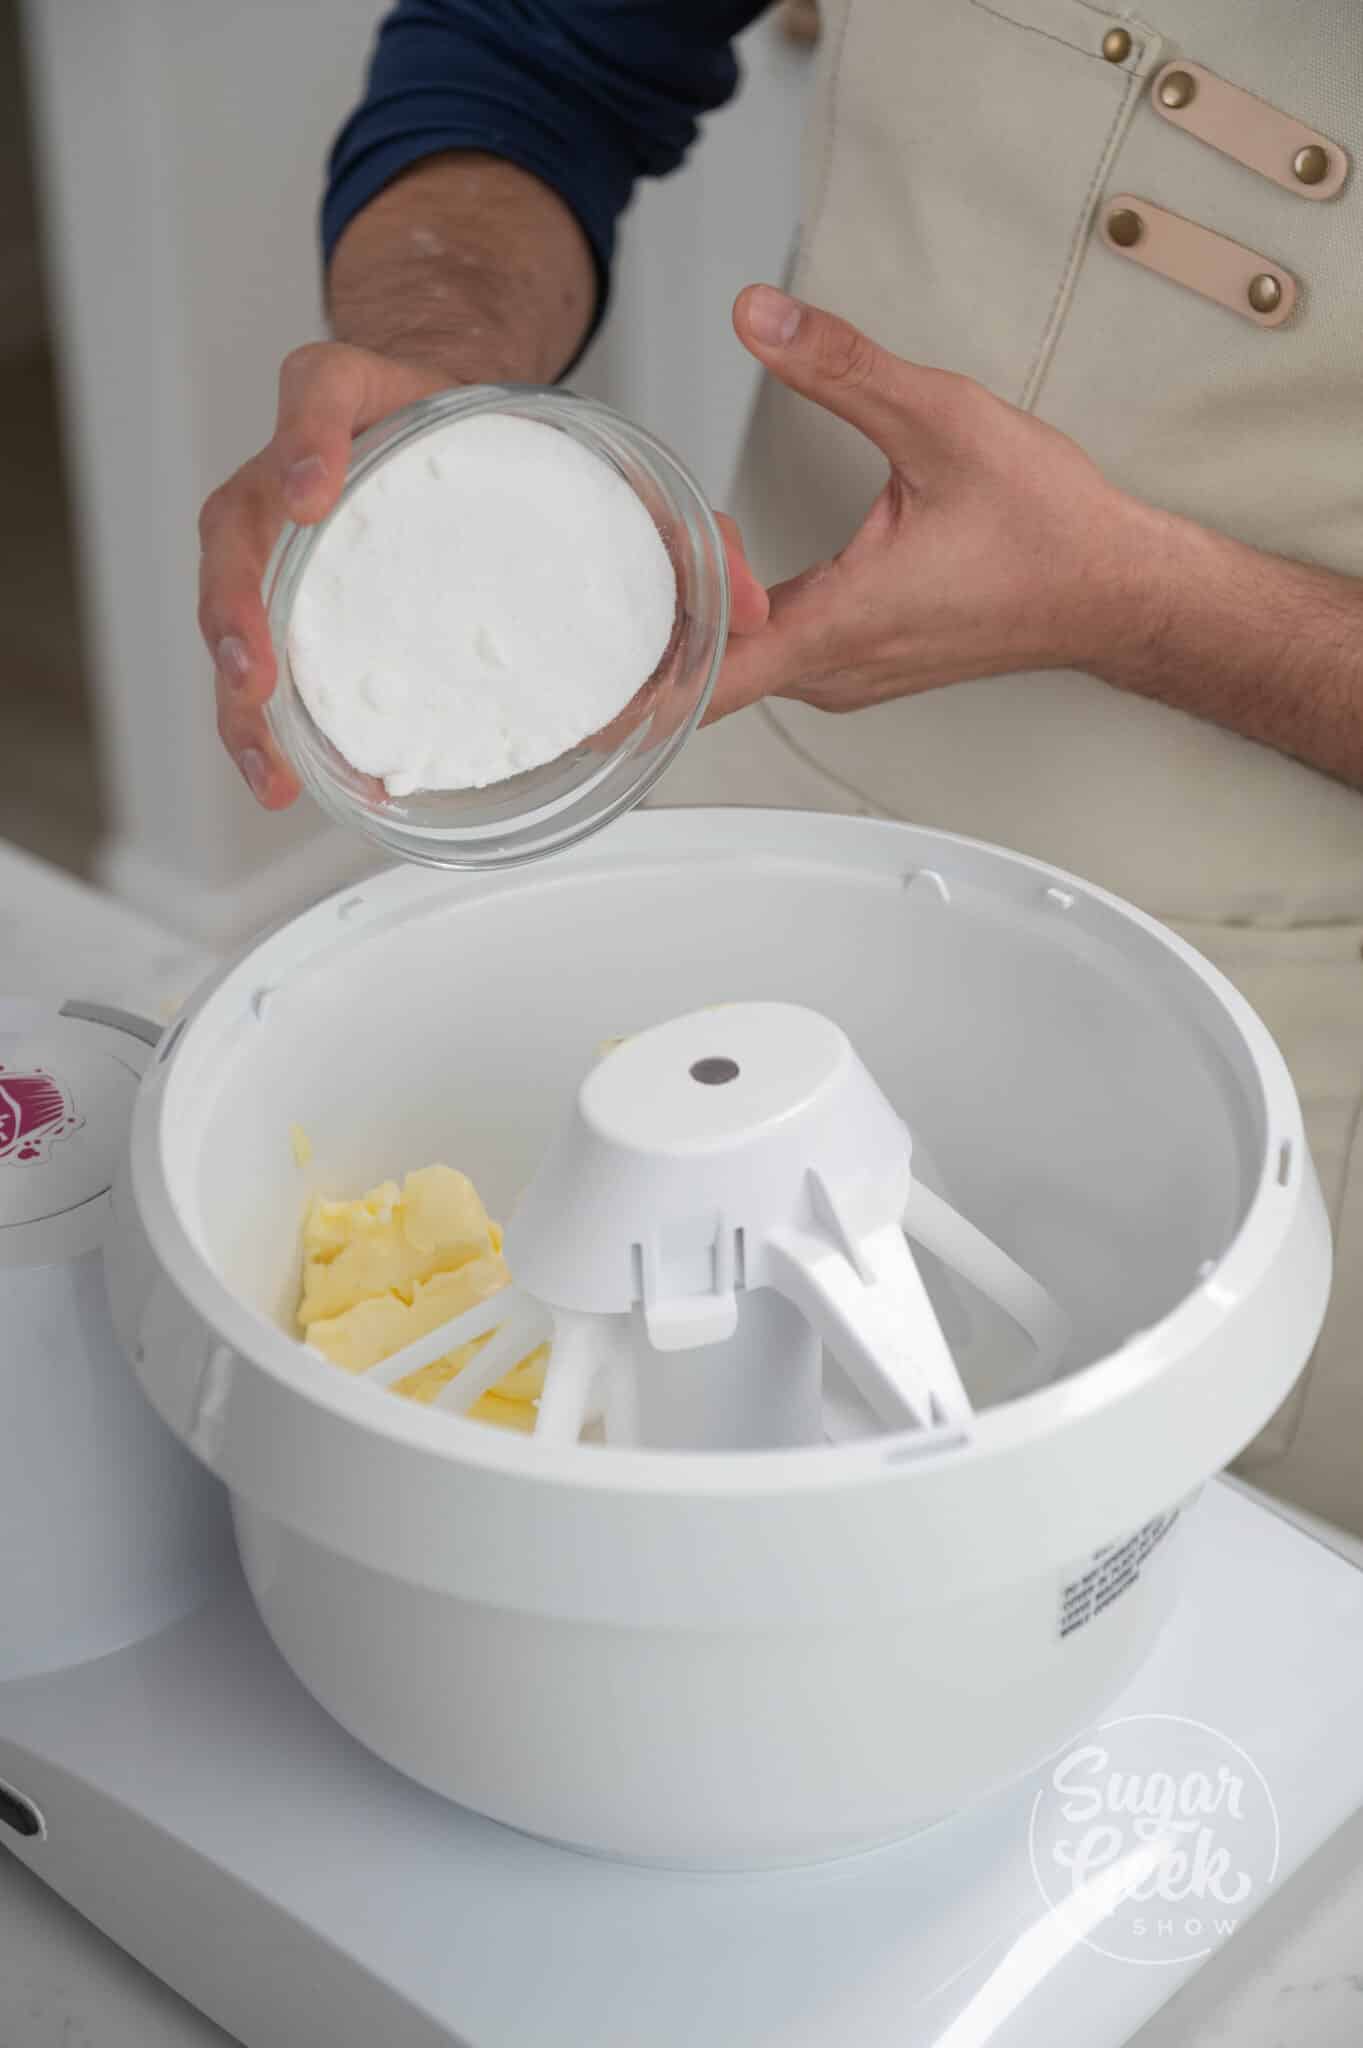
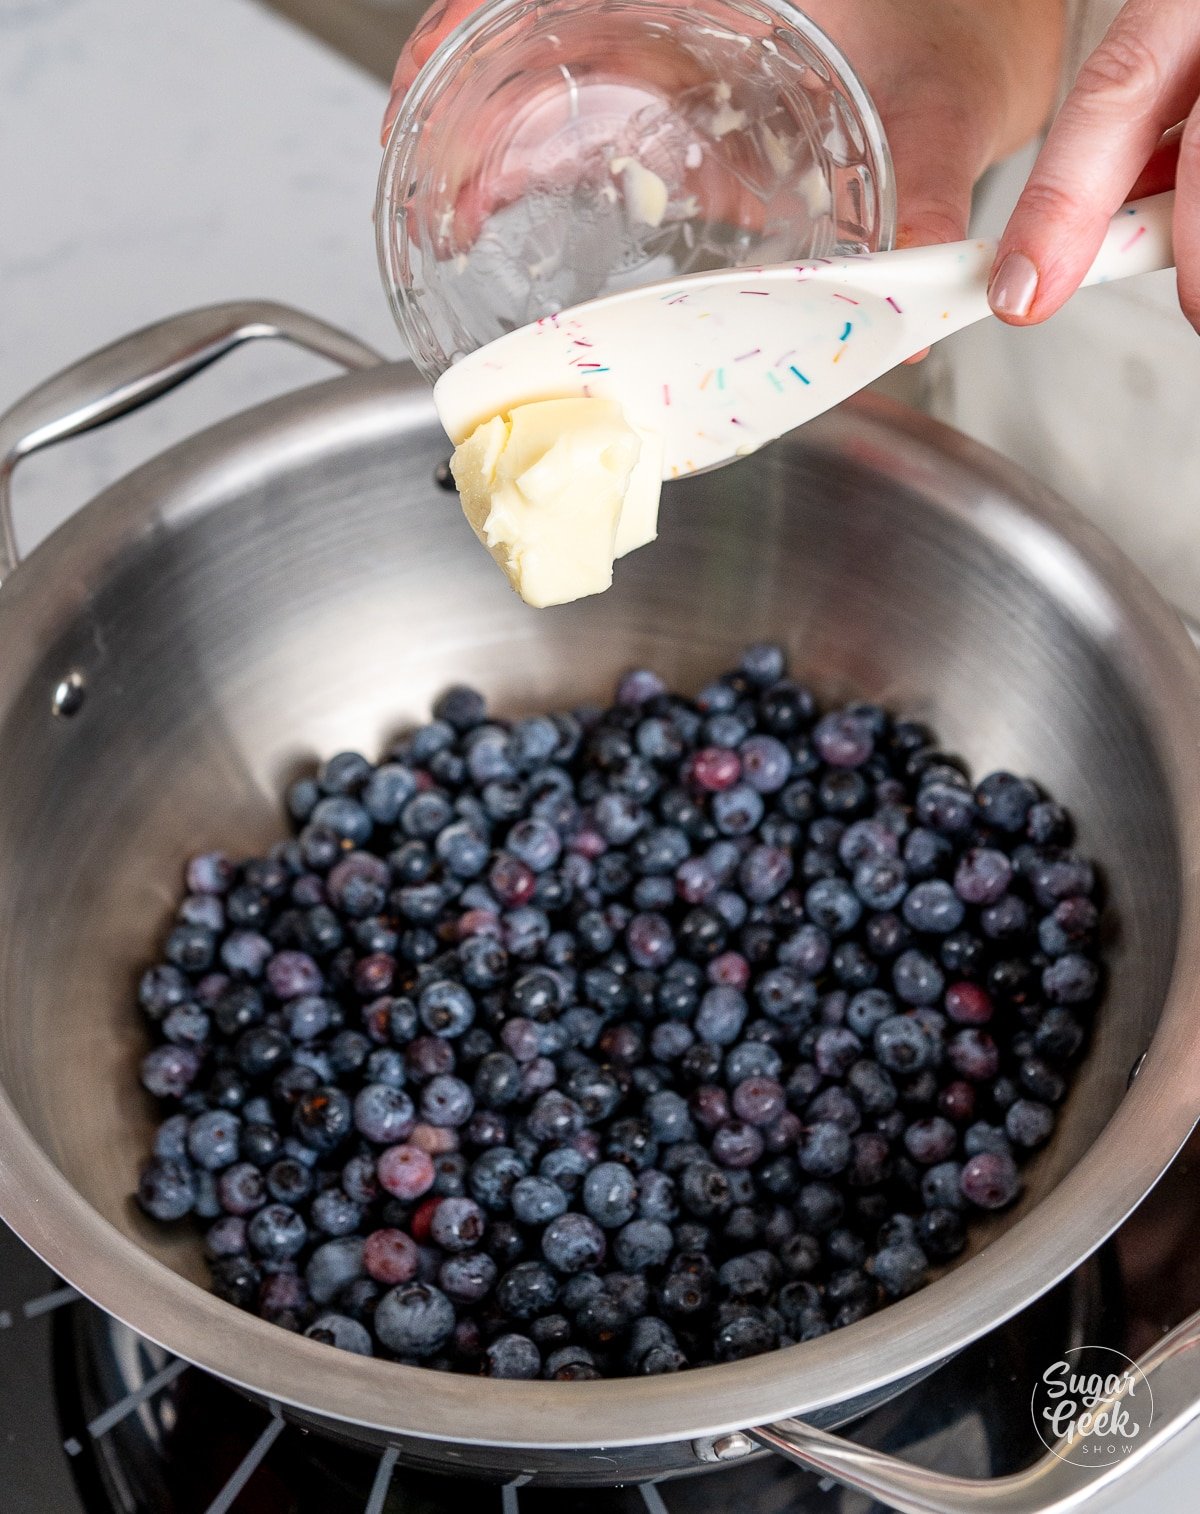
 Butter: European butter will result in better pastries and flavor because it has a higher fat content (83%) than American butters. More fat, less water equals more flavor and better baking results. Regular grocery stores usually carry one brand or another of European butter, even some of your more common American brands will have a line of butter that has a higher fat content, those are usually labeled "European style", just check the back of the package for the fat percentage. In this recipe Chef Christophe prefers to use Plugra brand European butter.


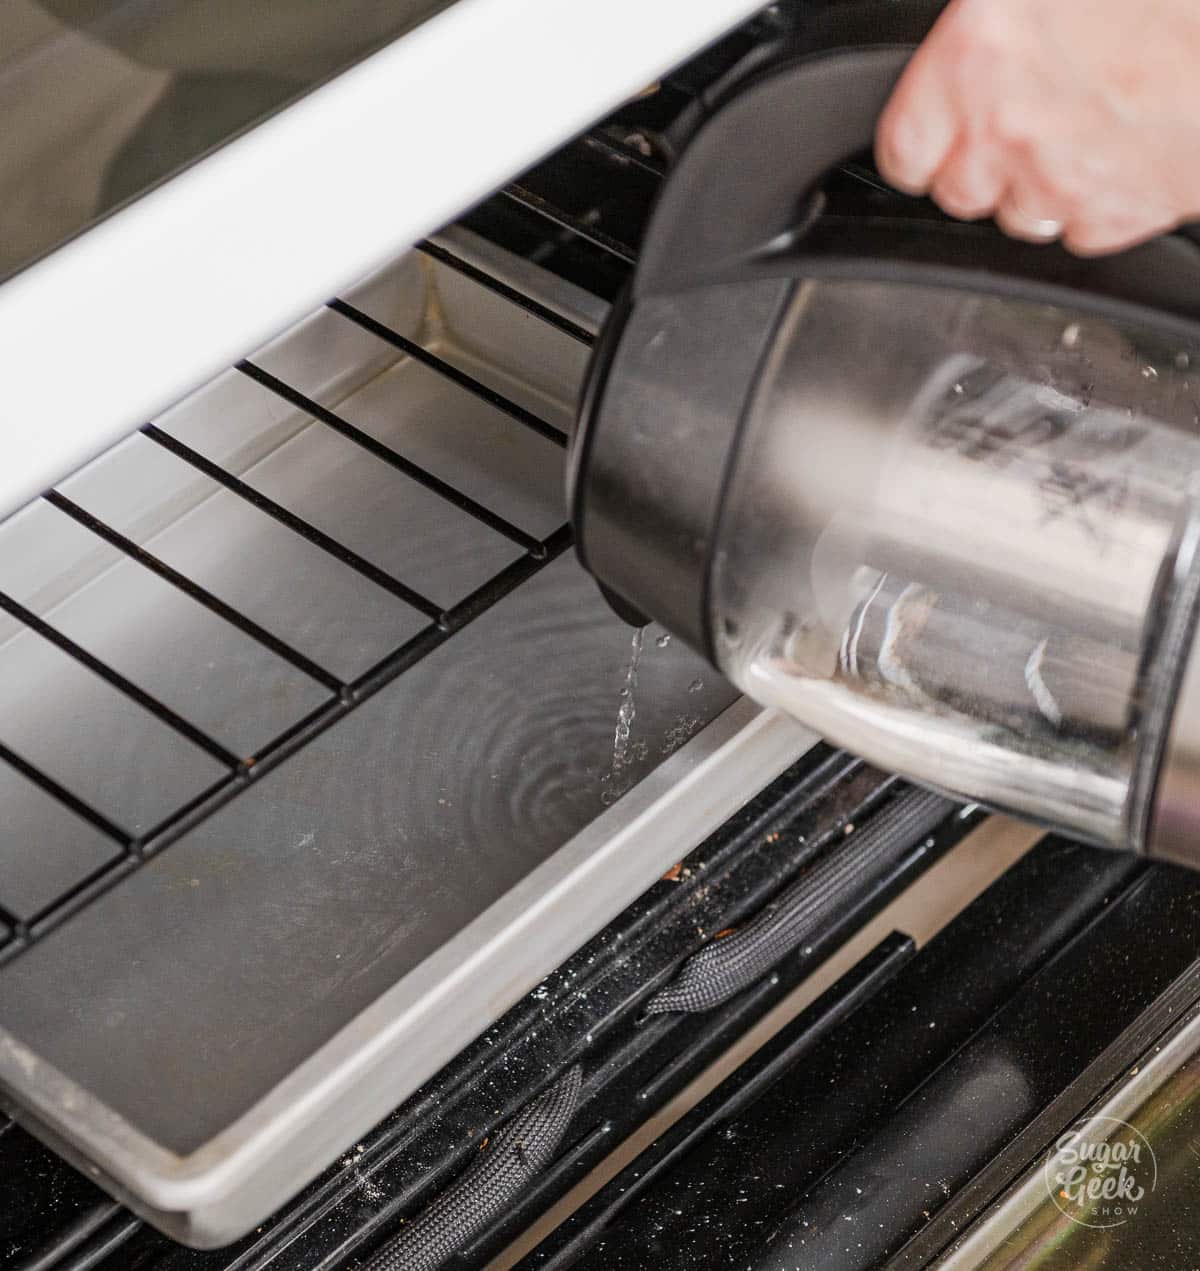
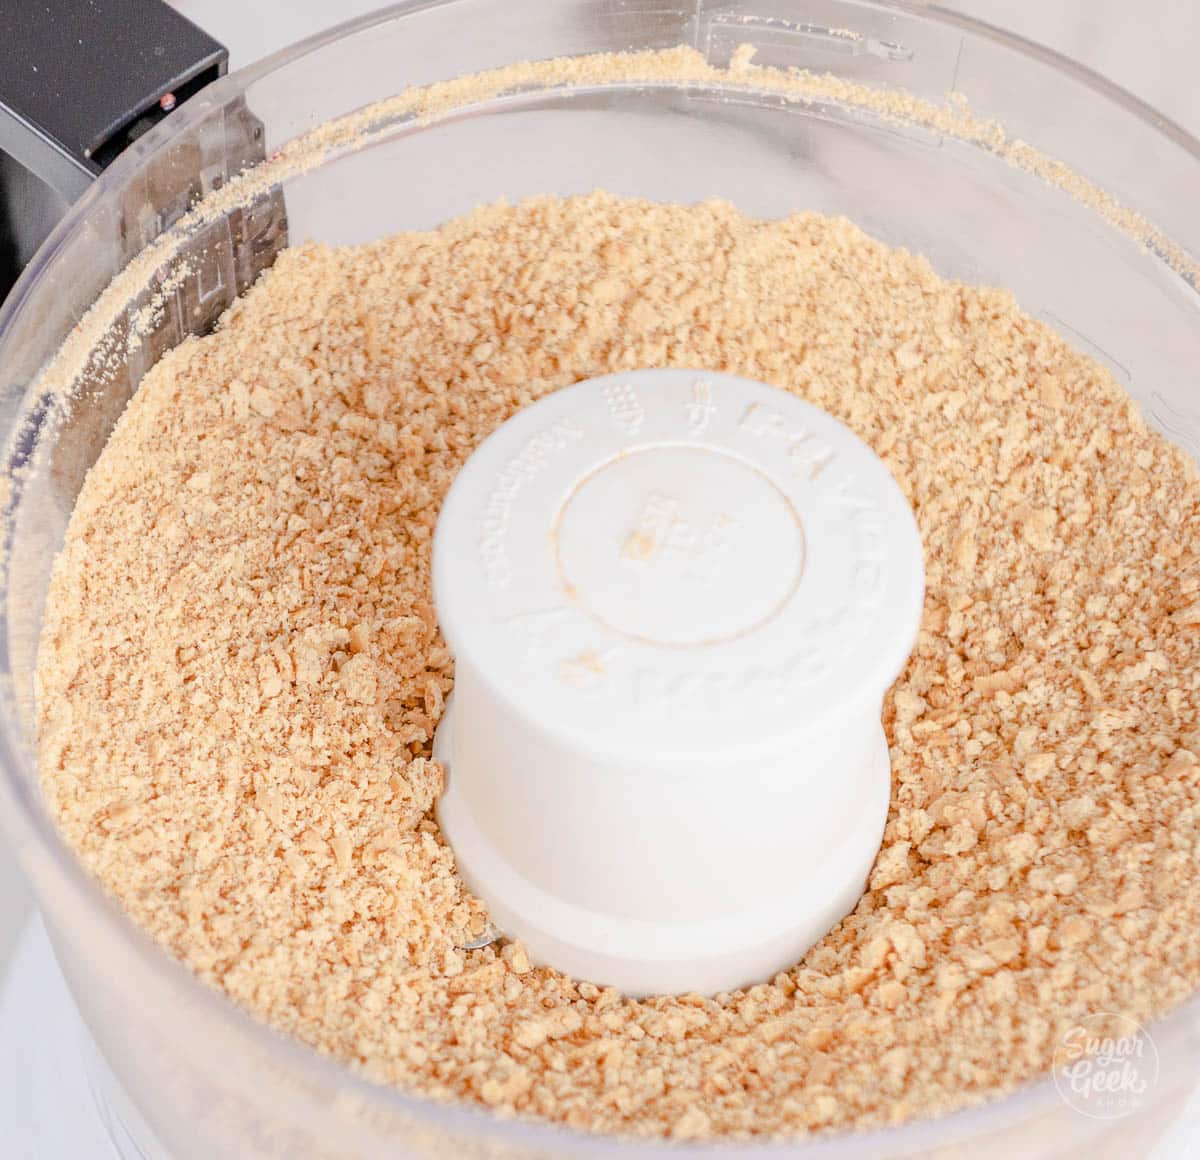
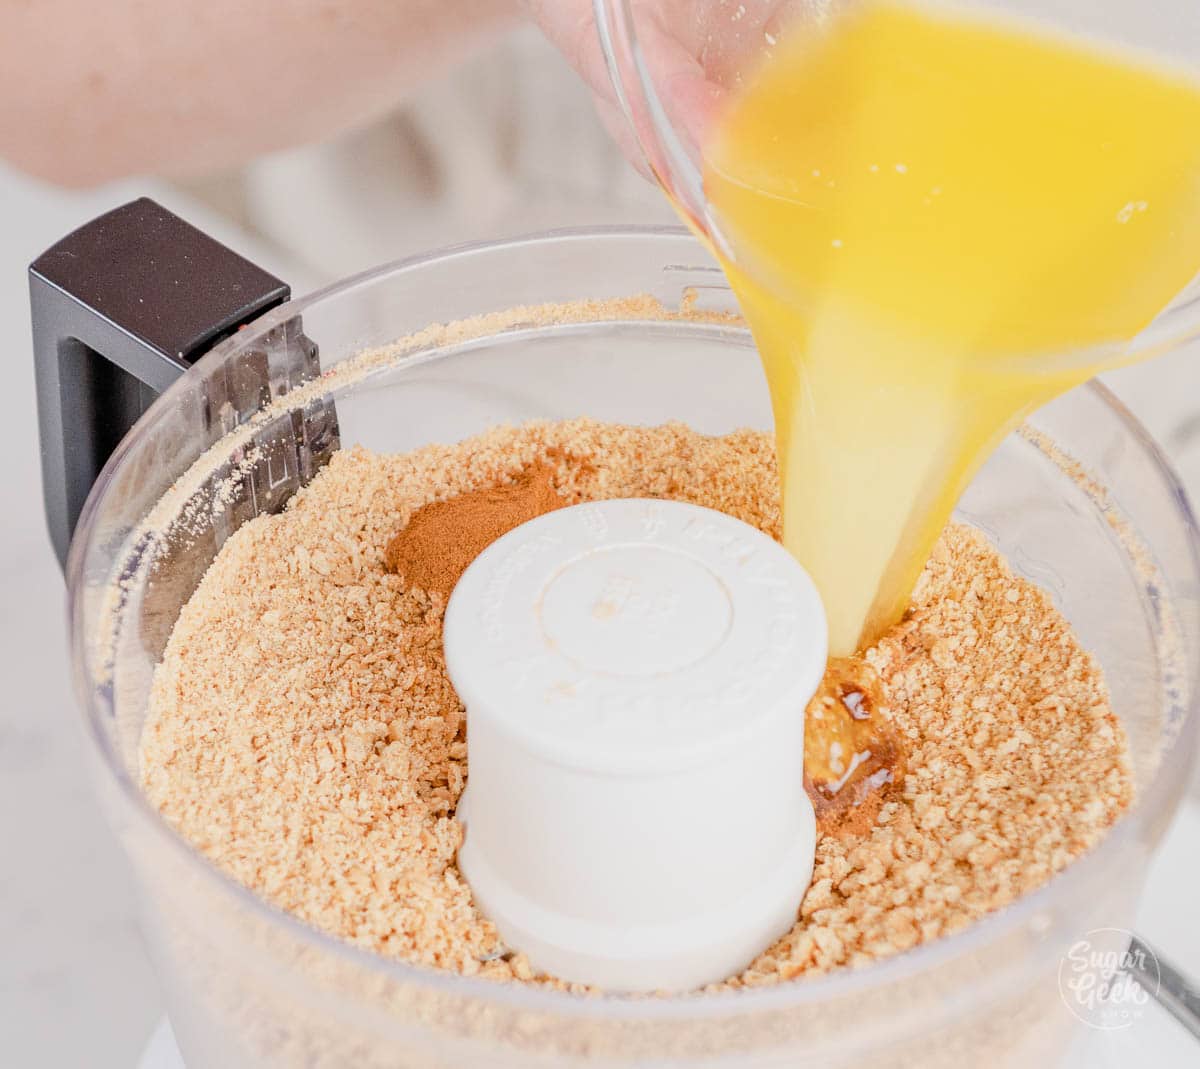
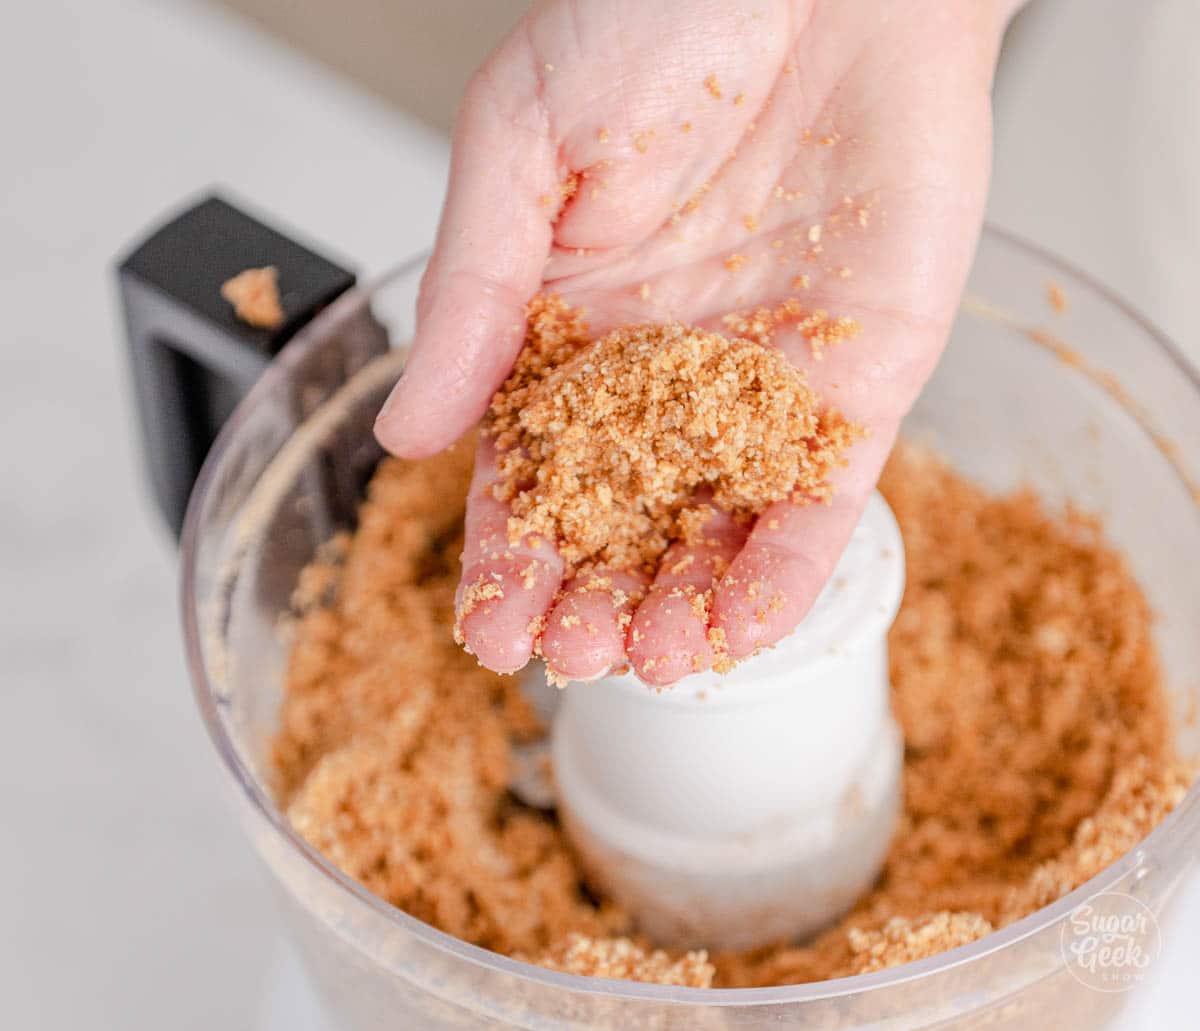

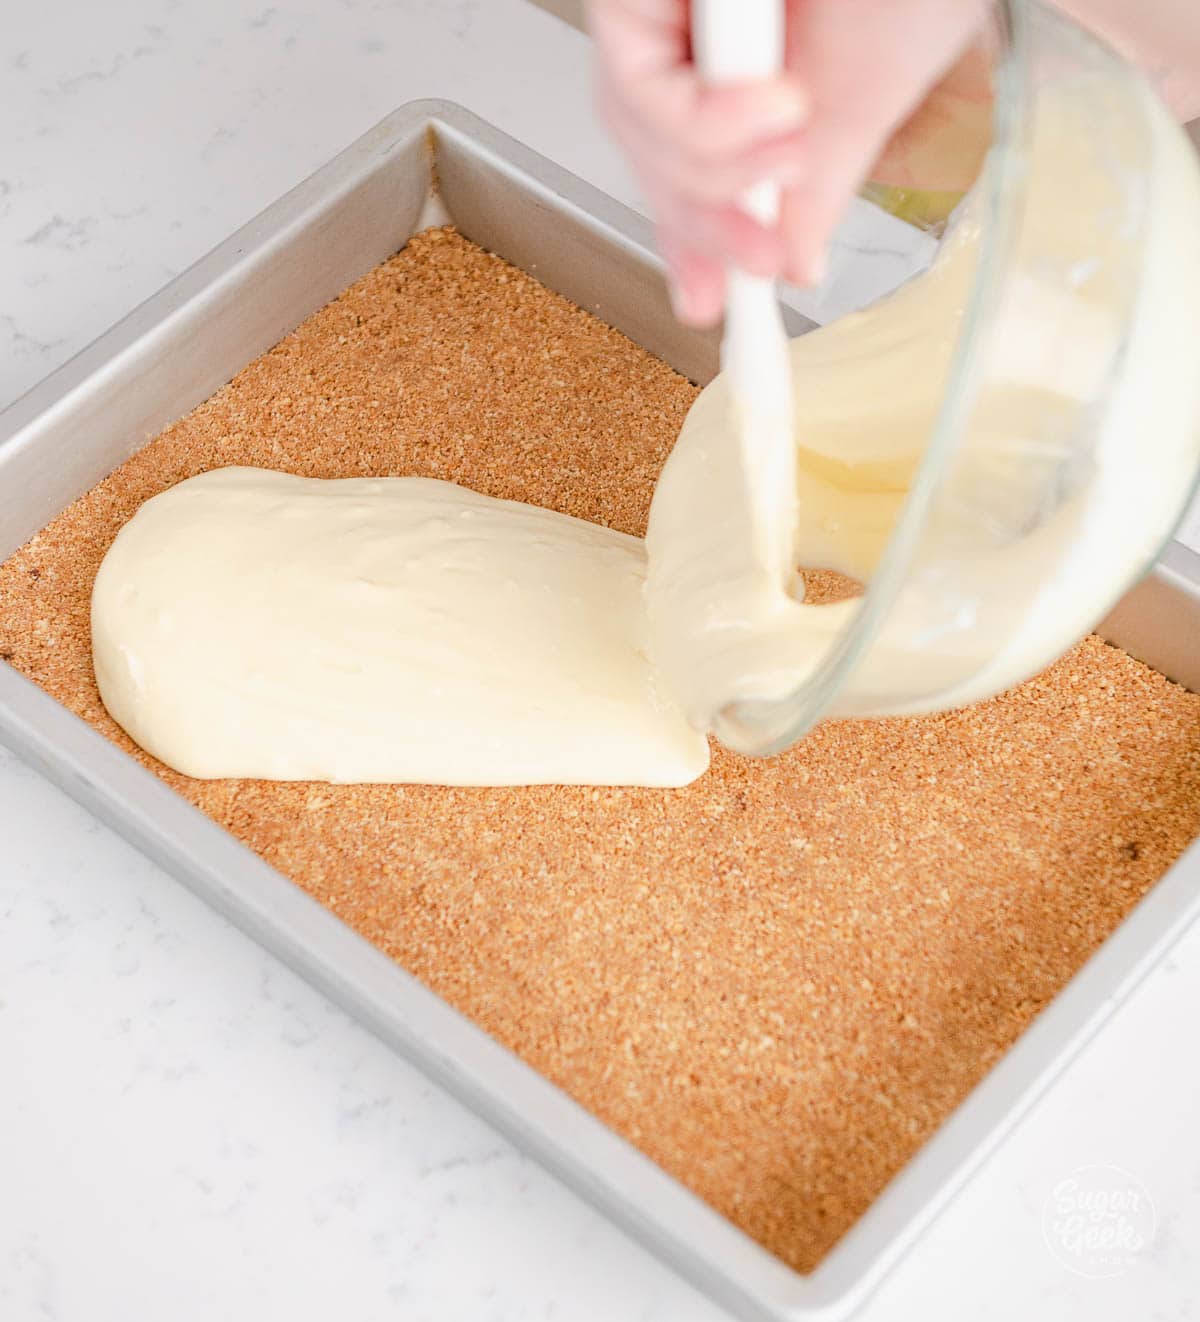


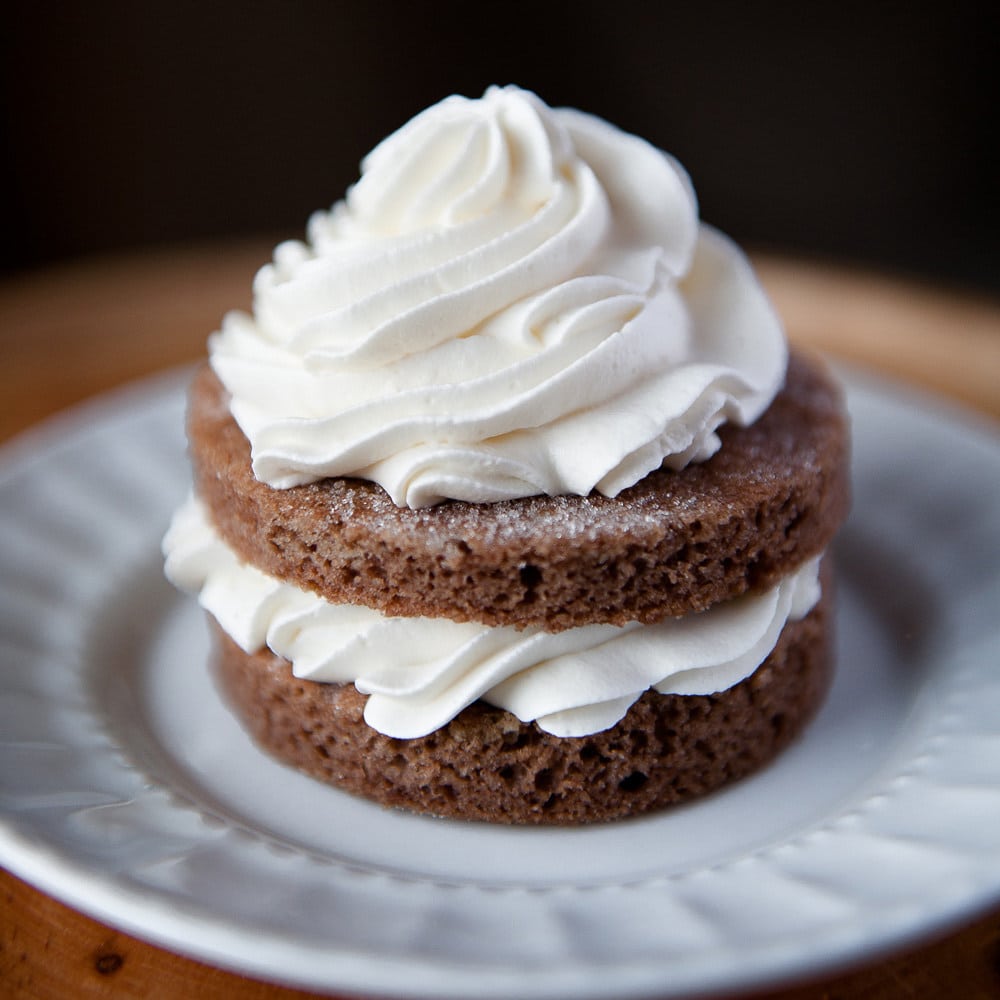


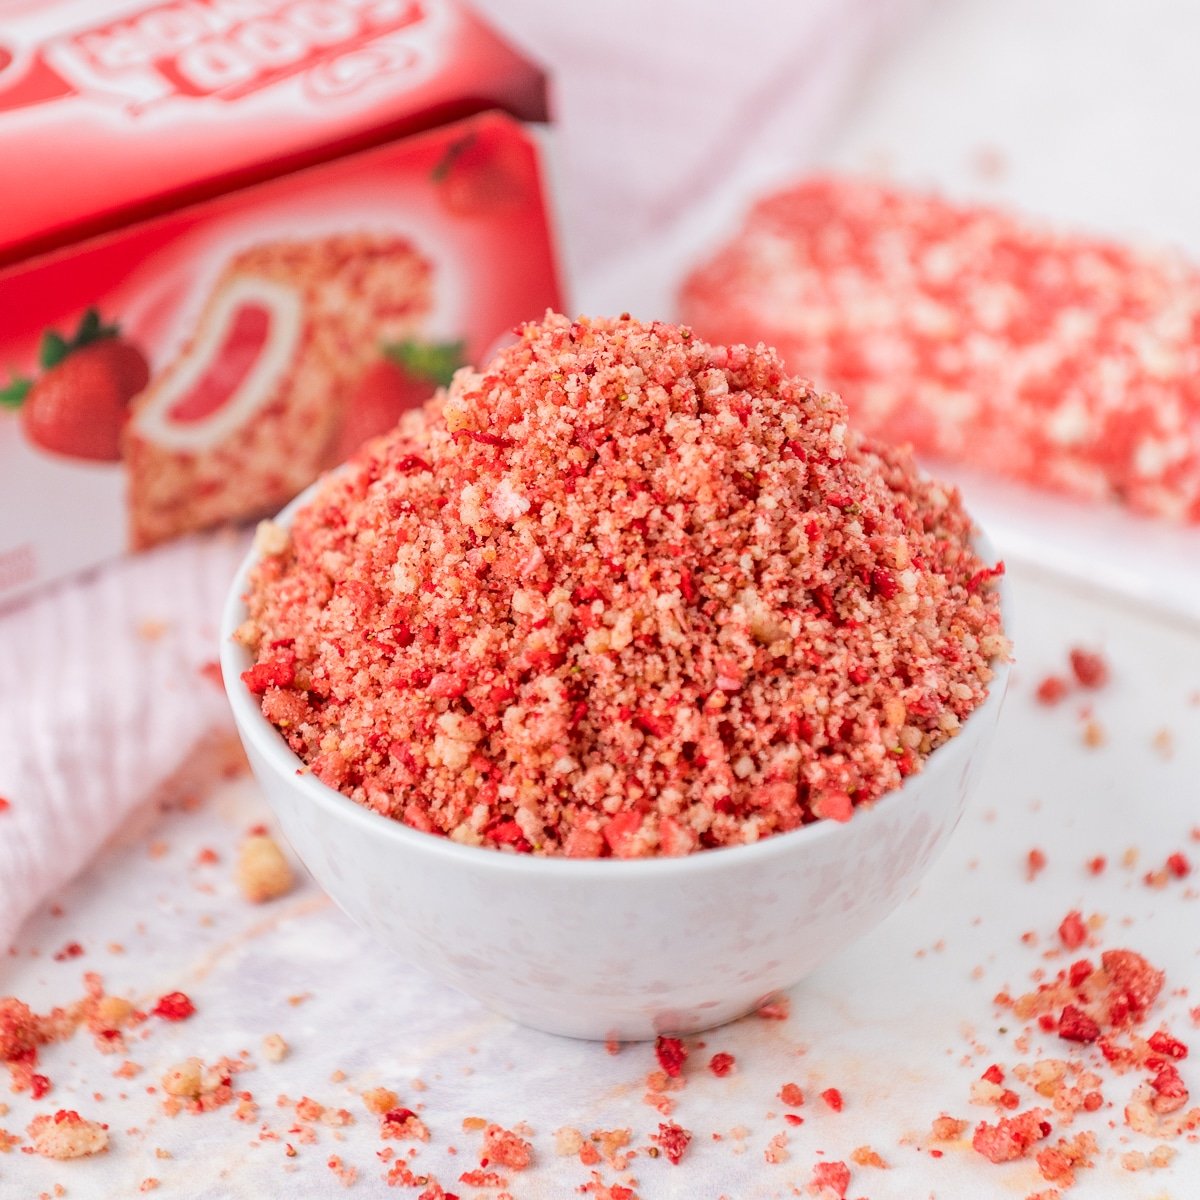
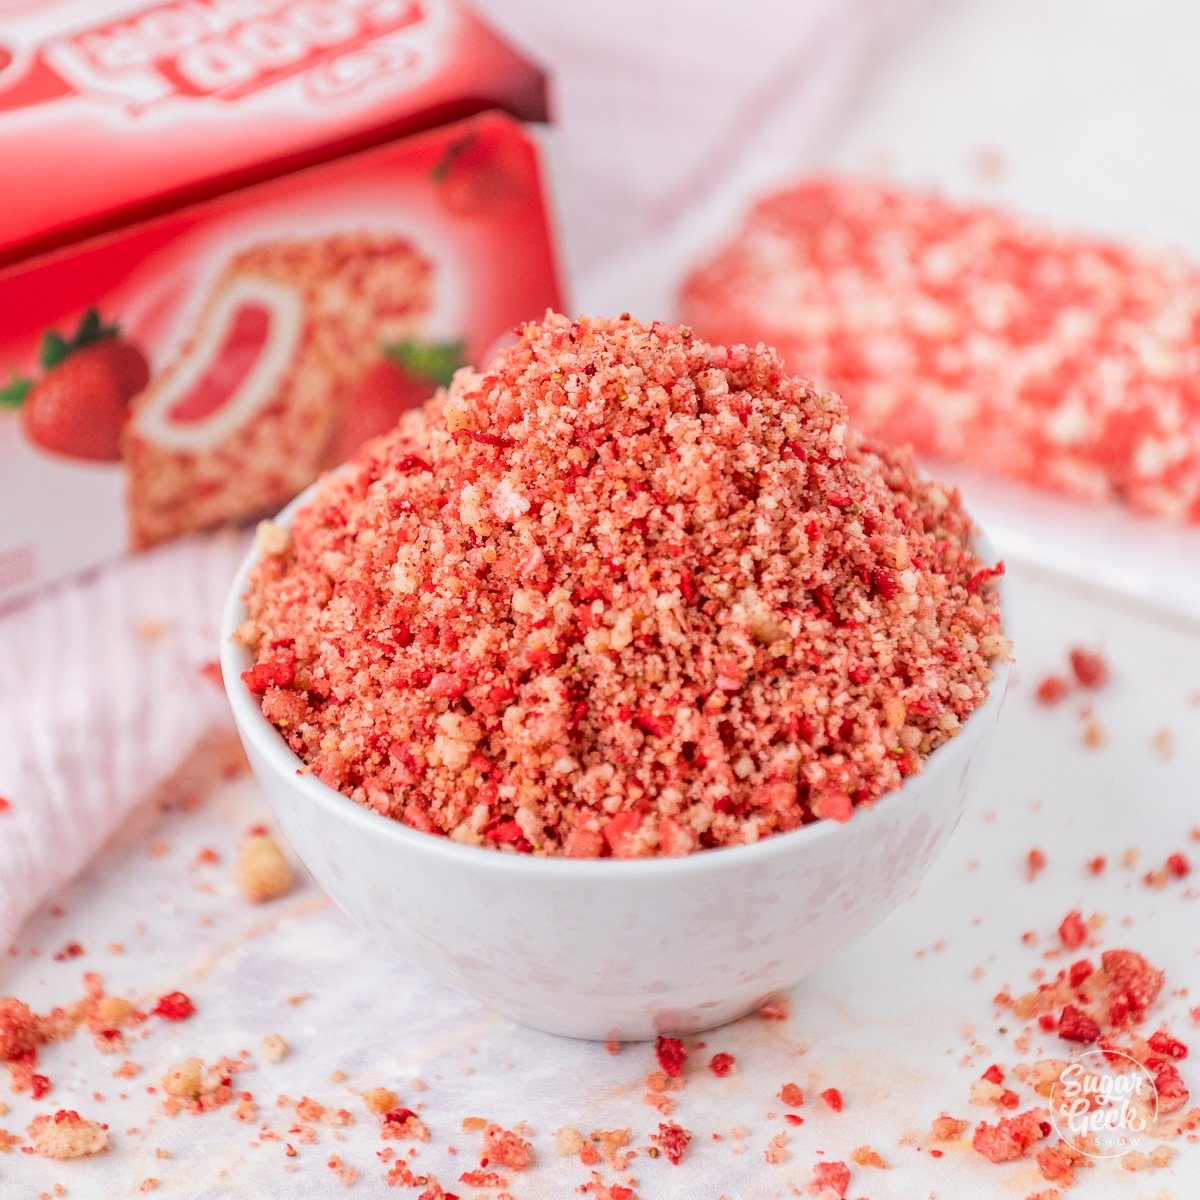
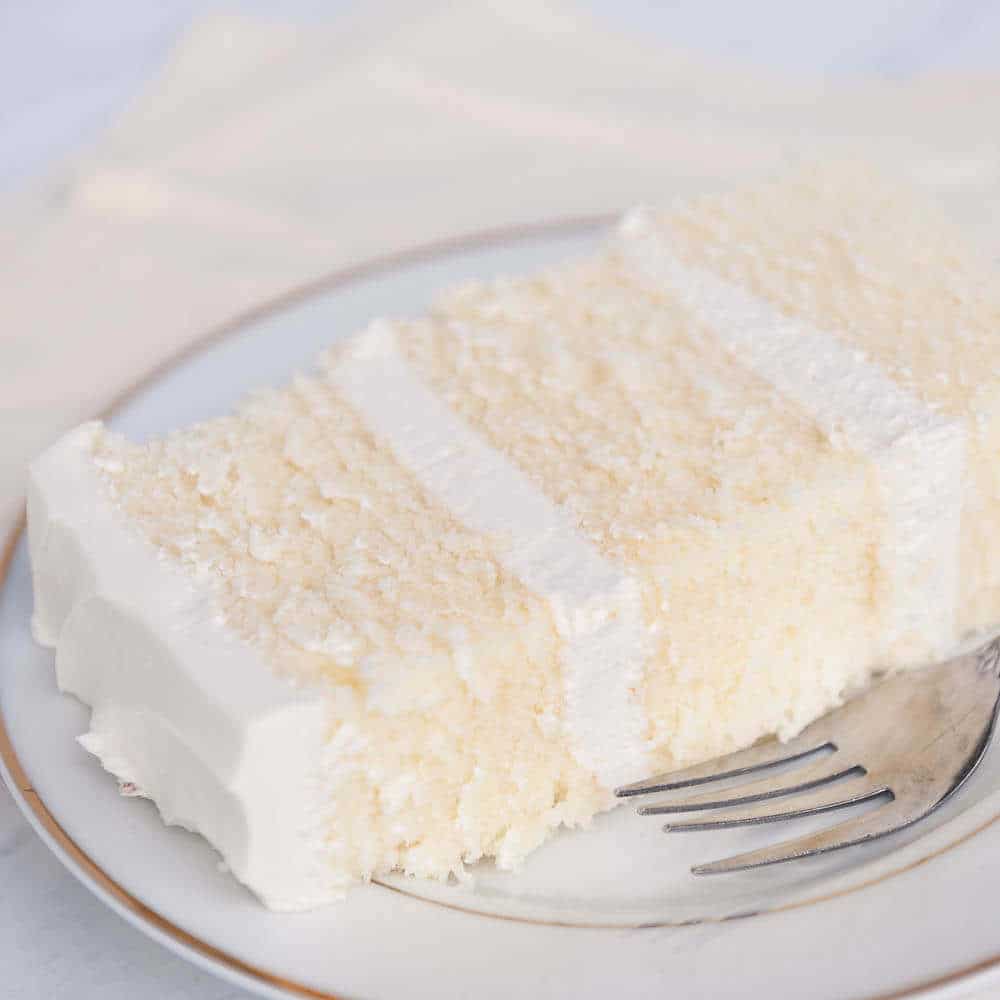
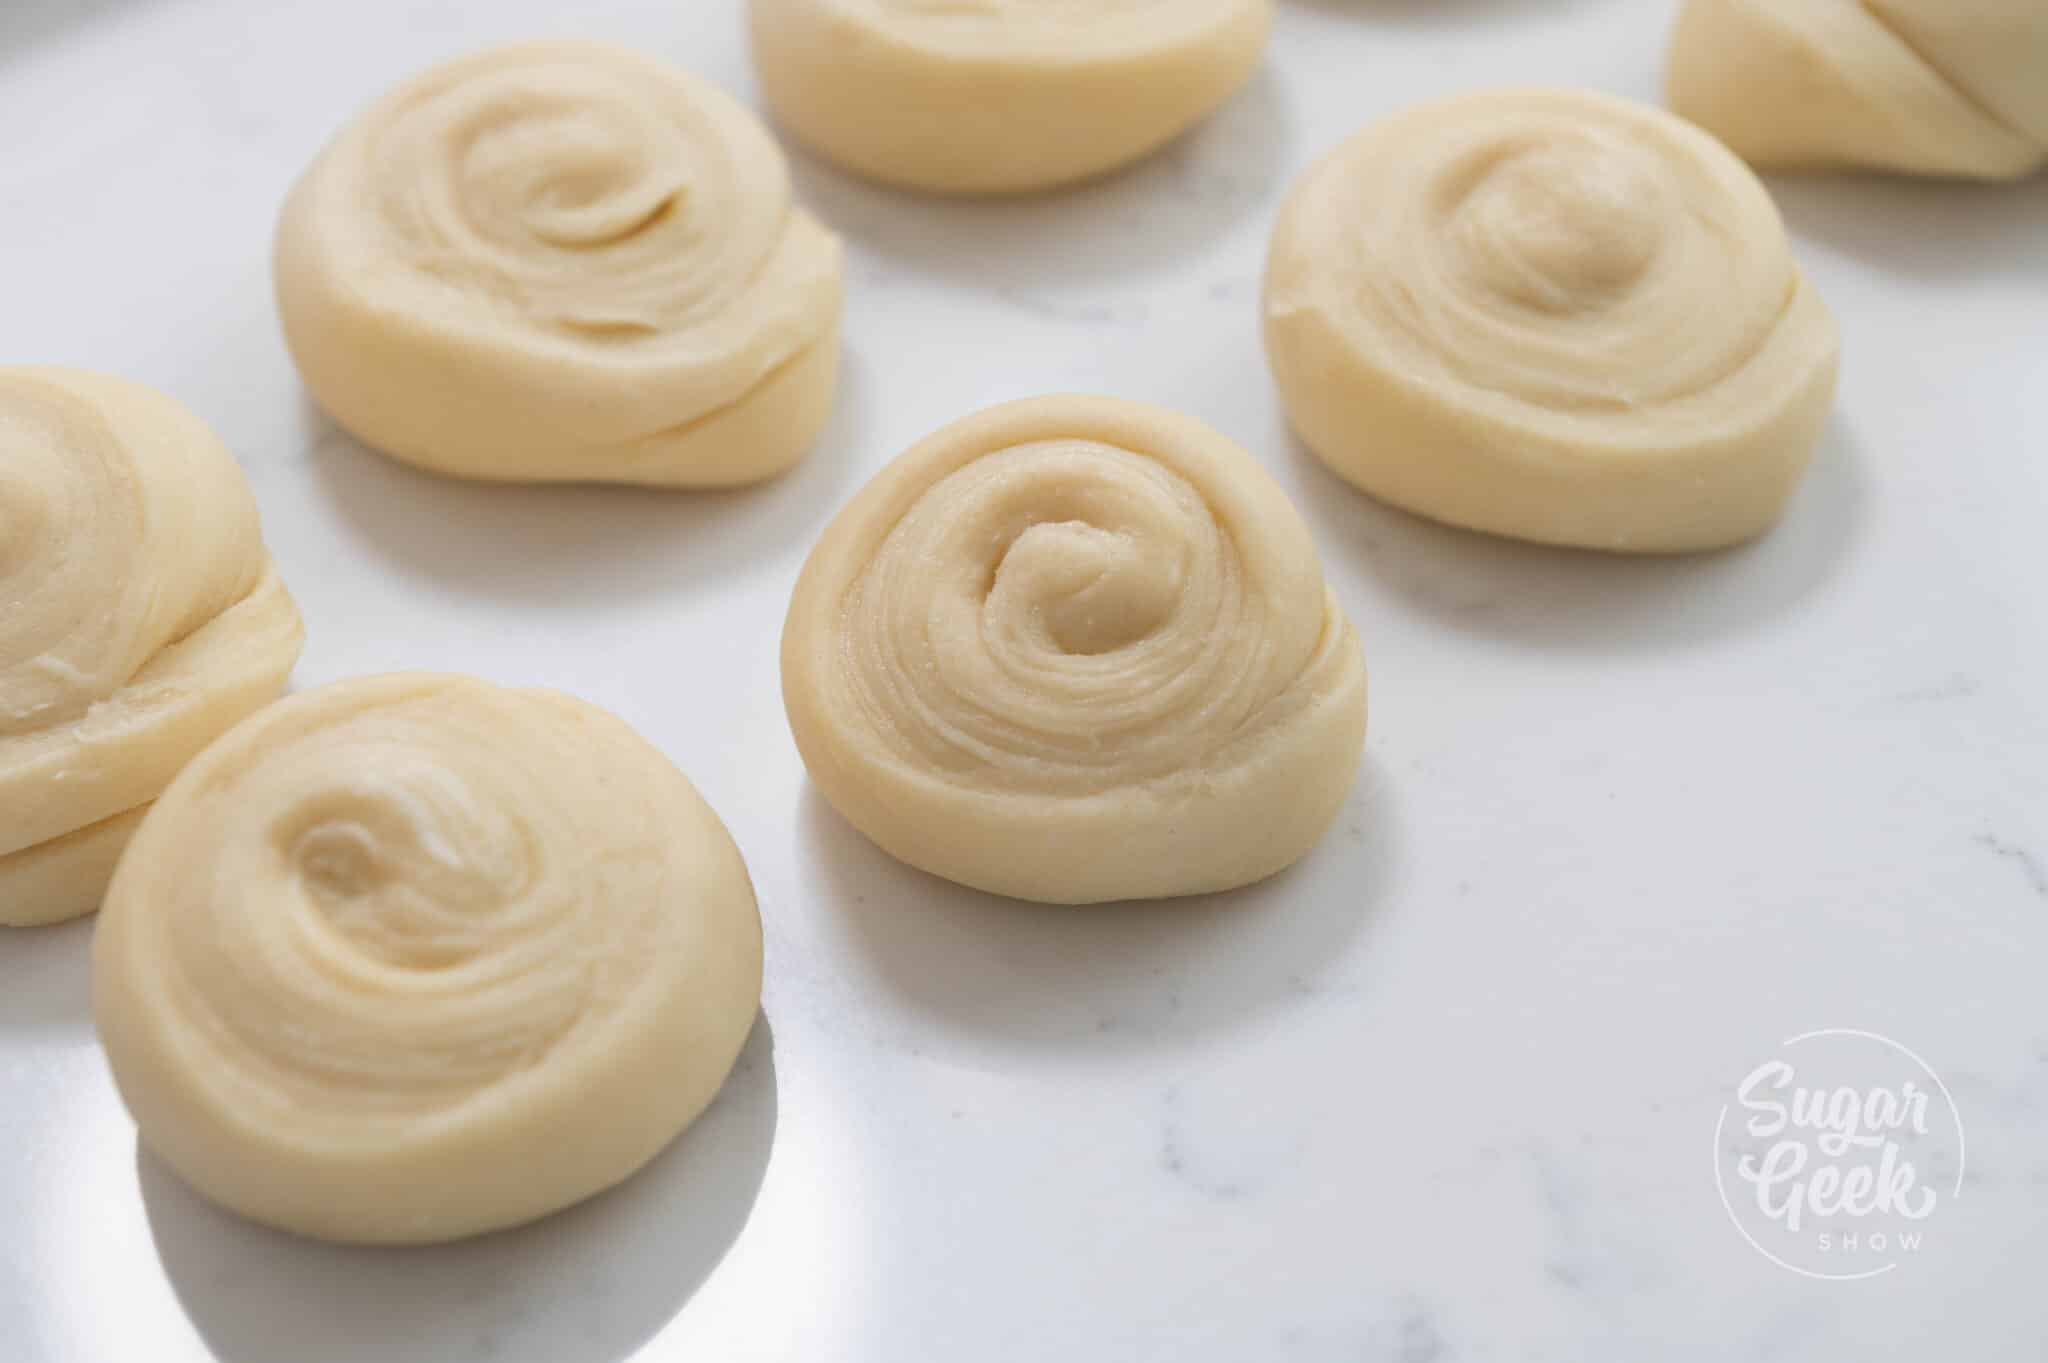
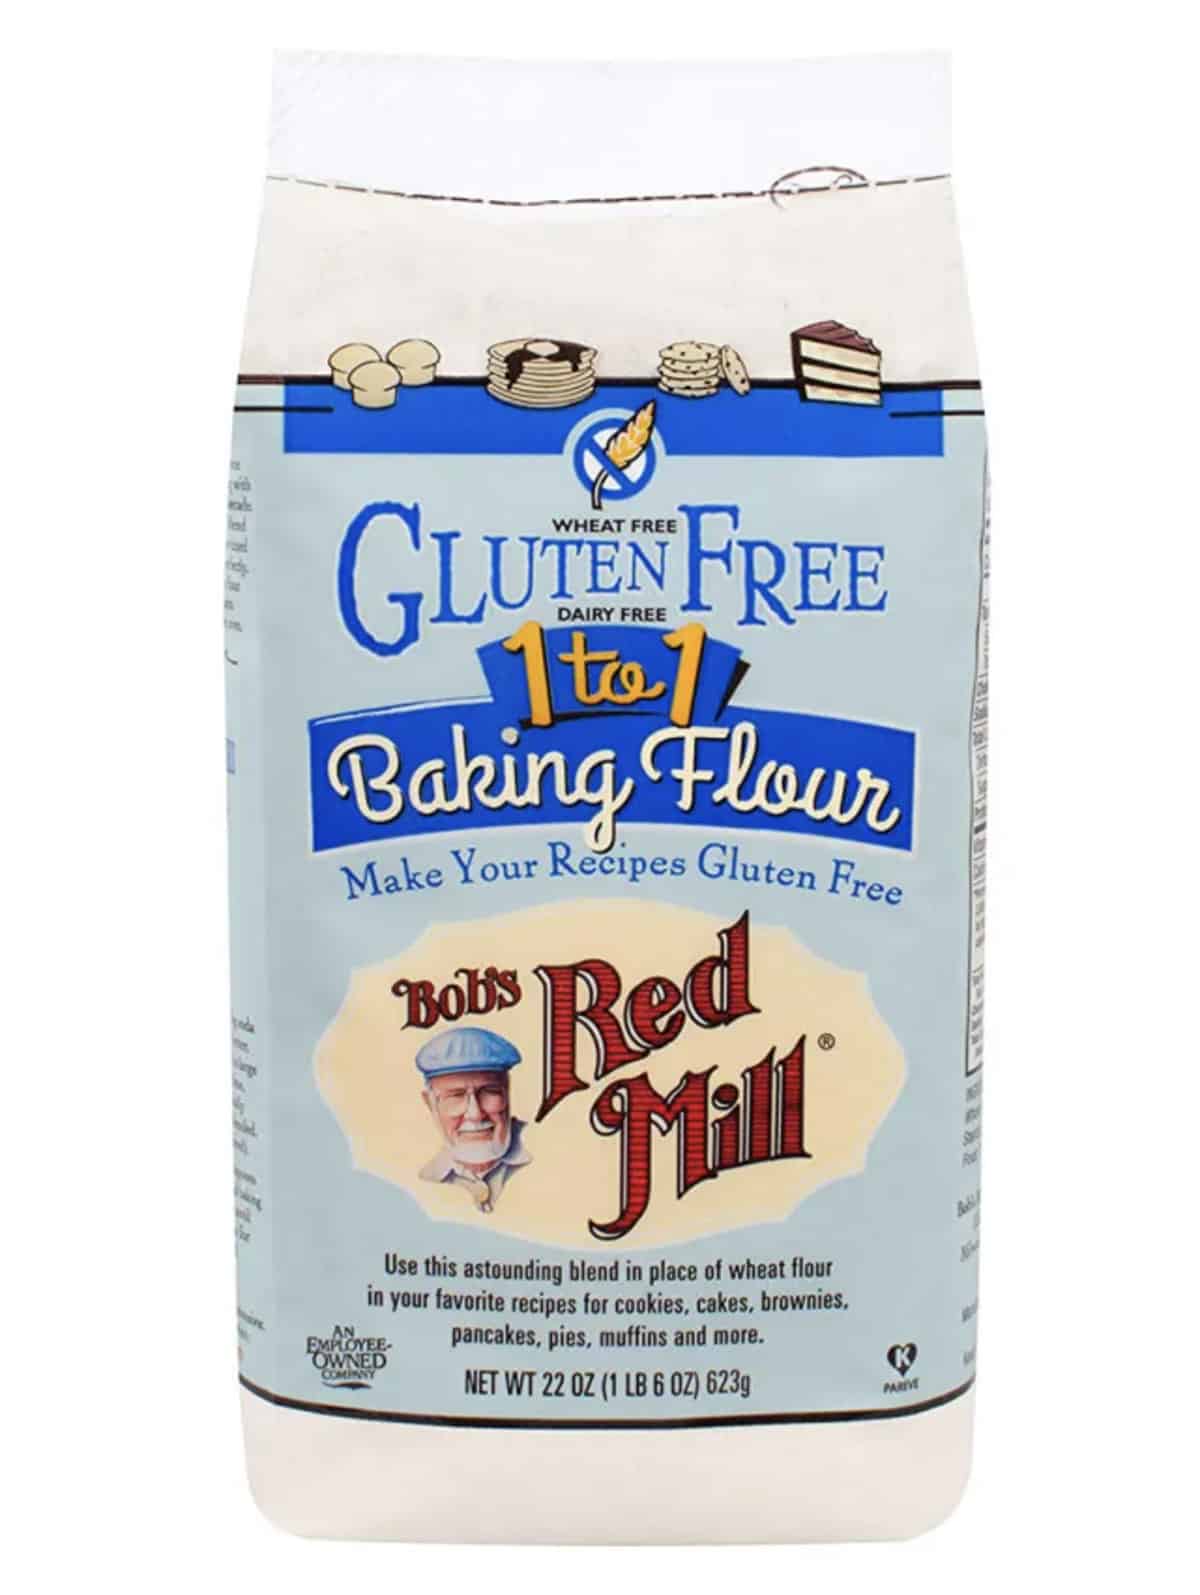
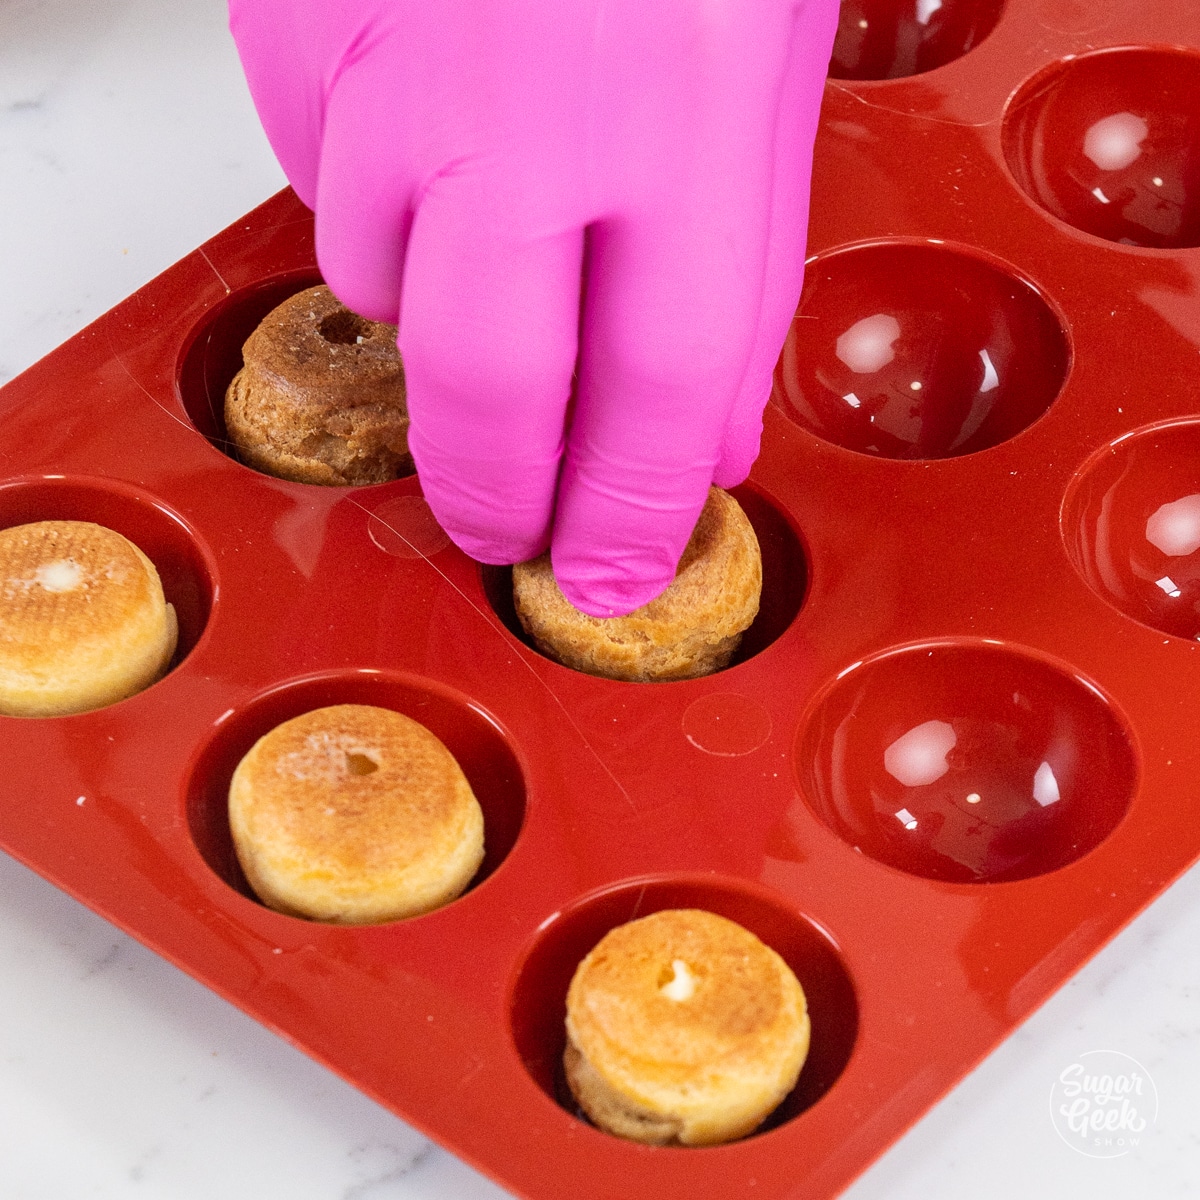
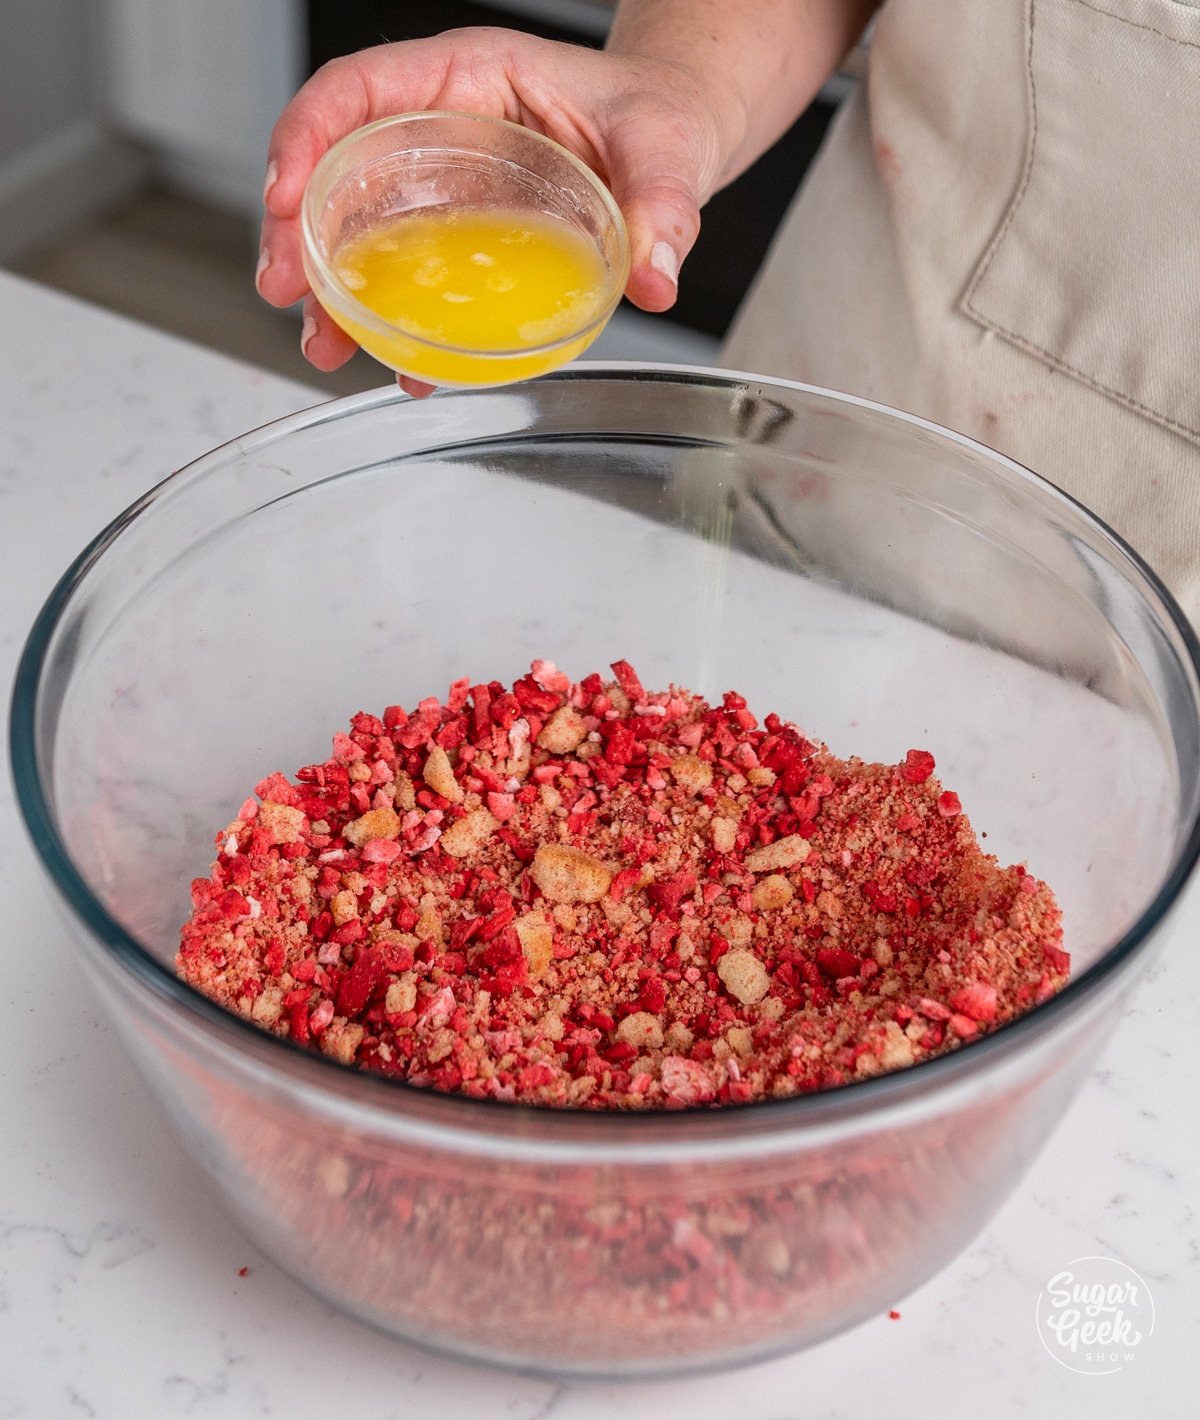
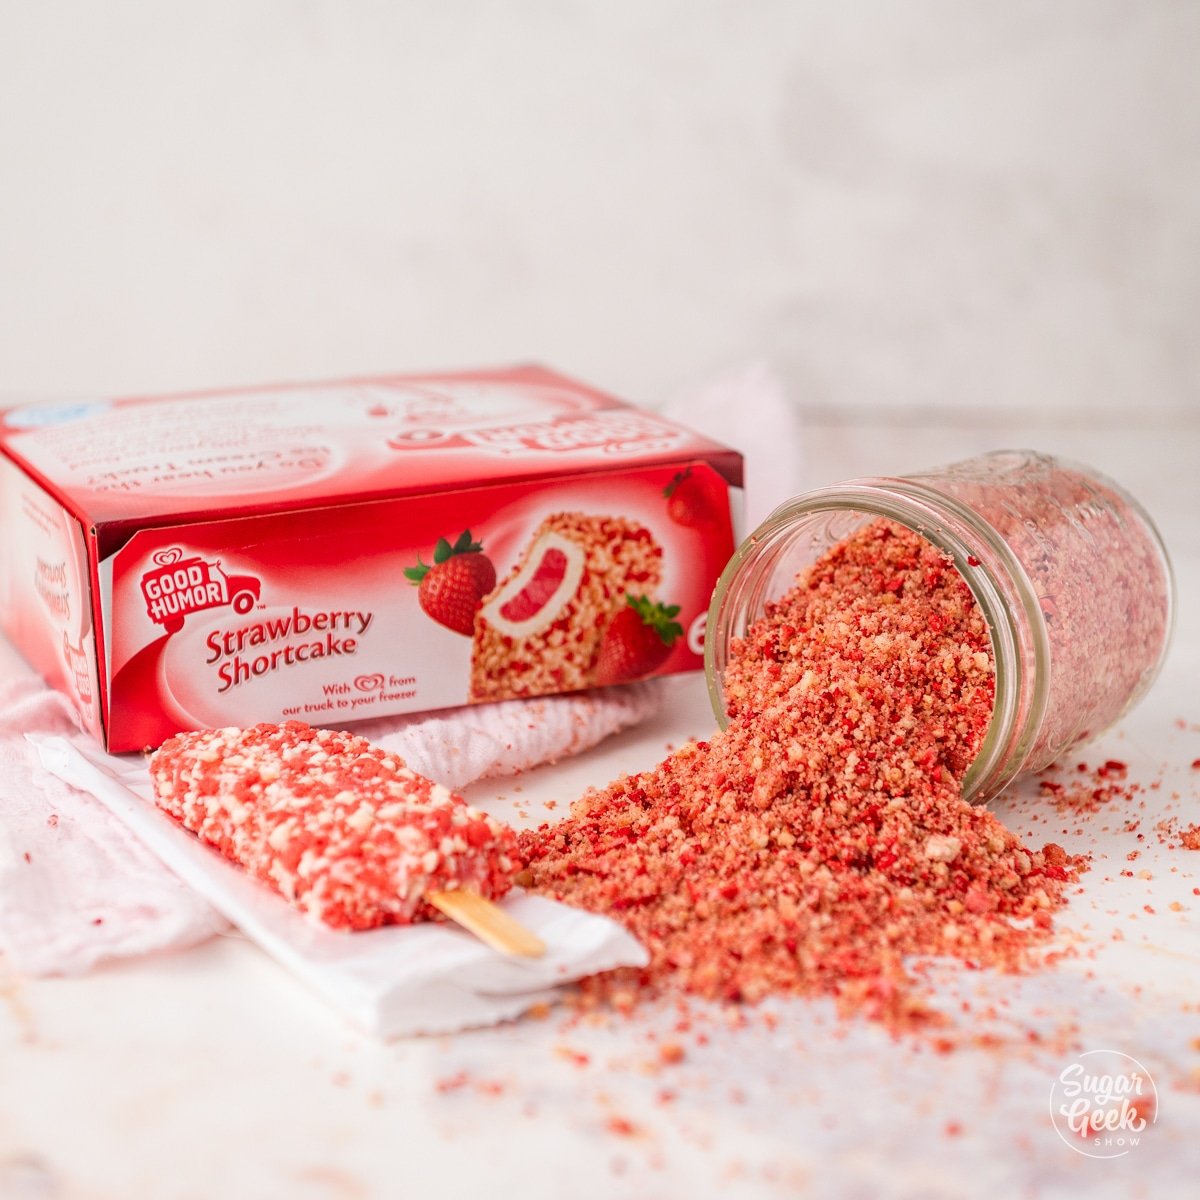
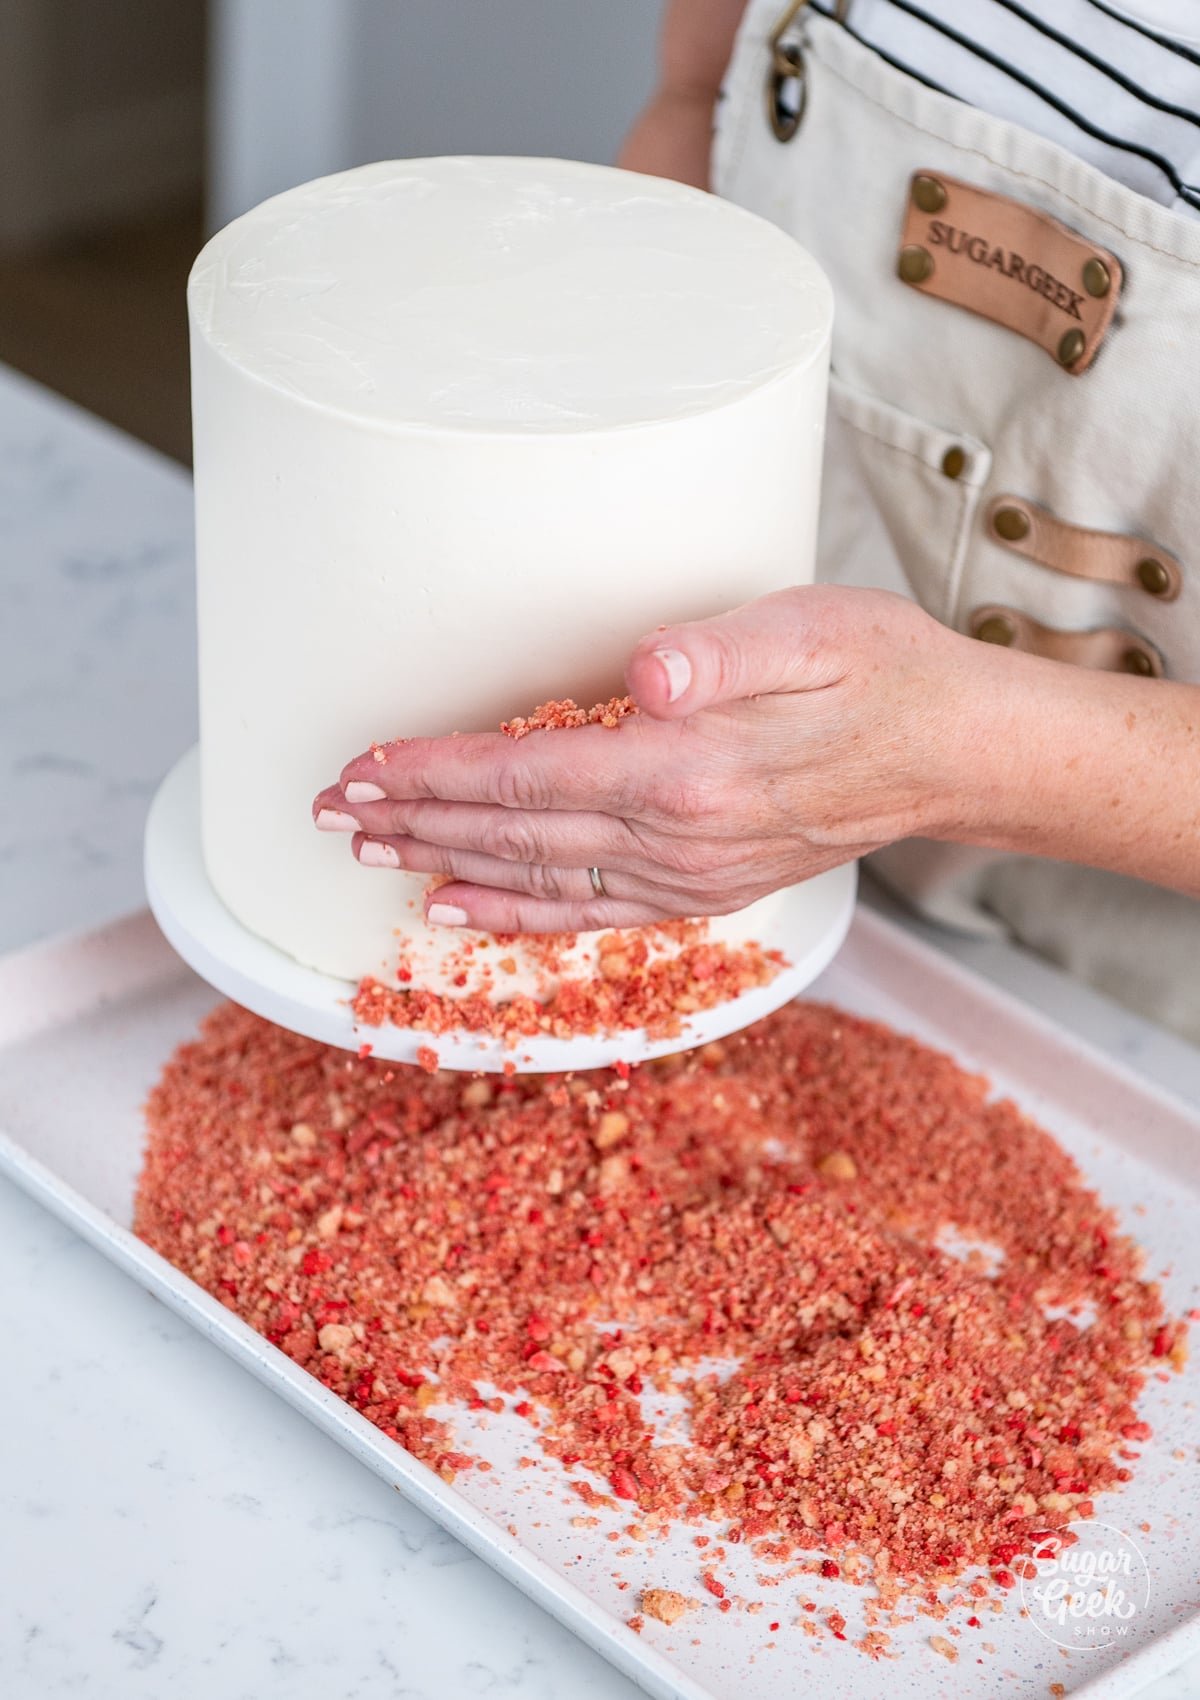
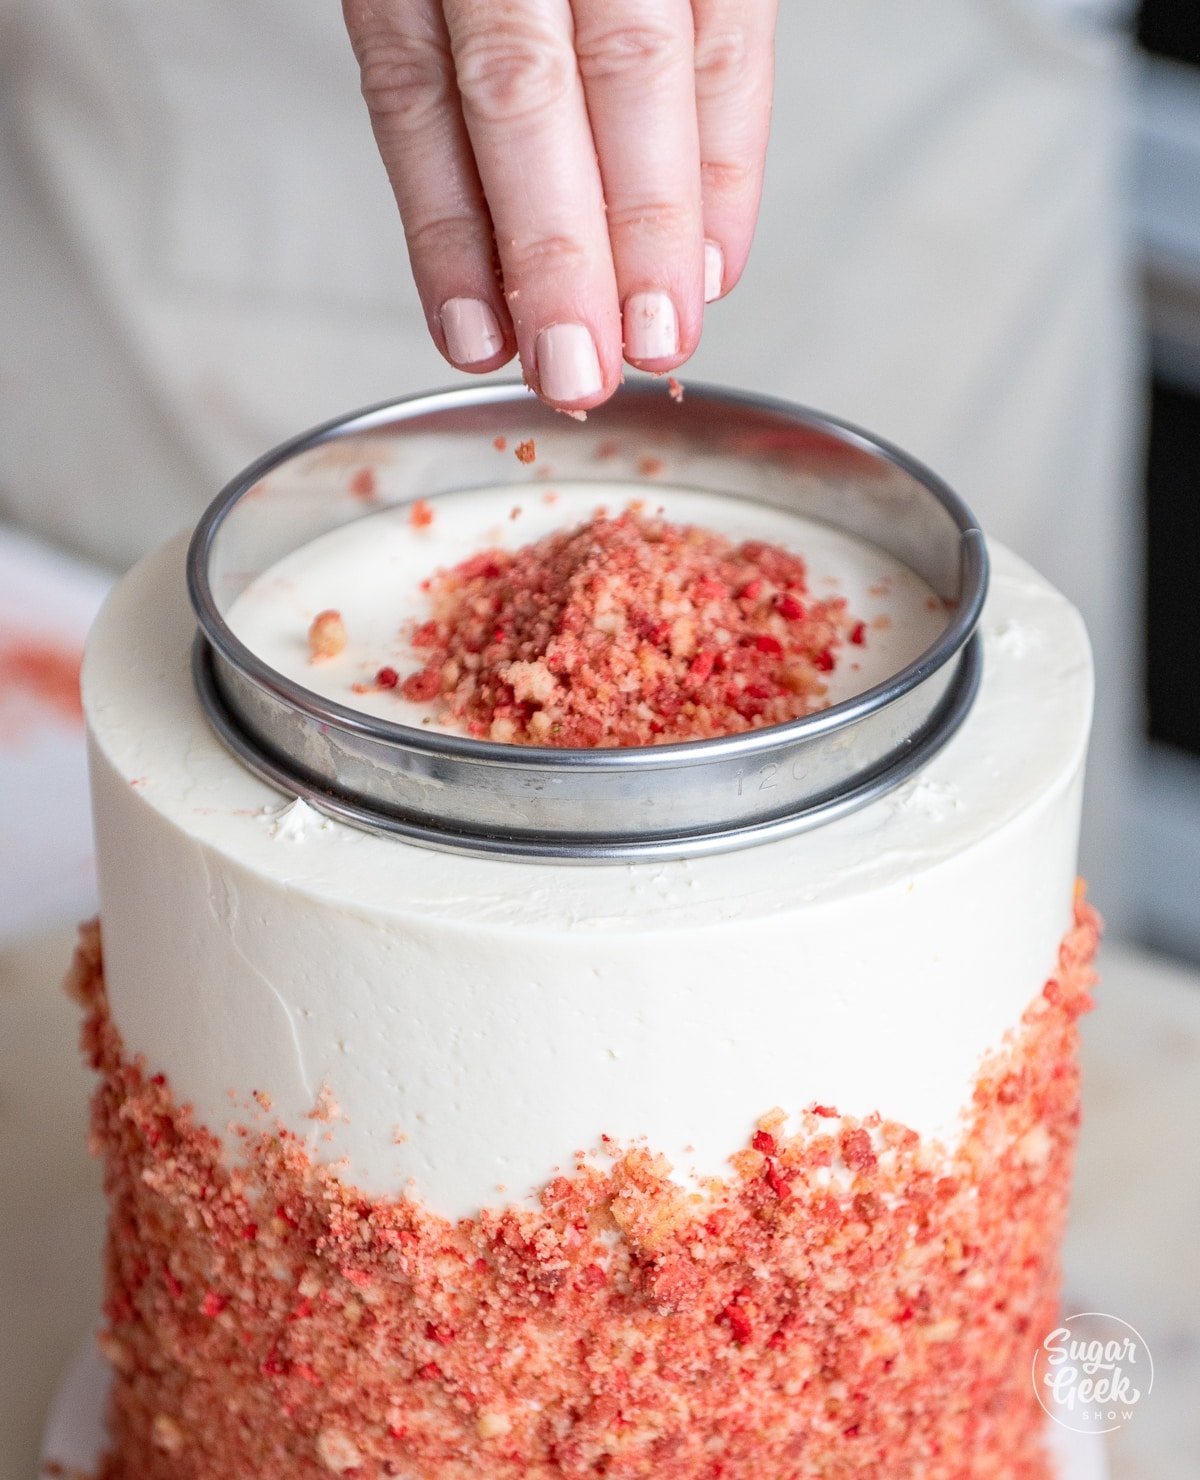
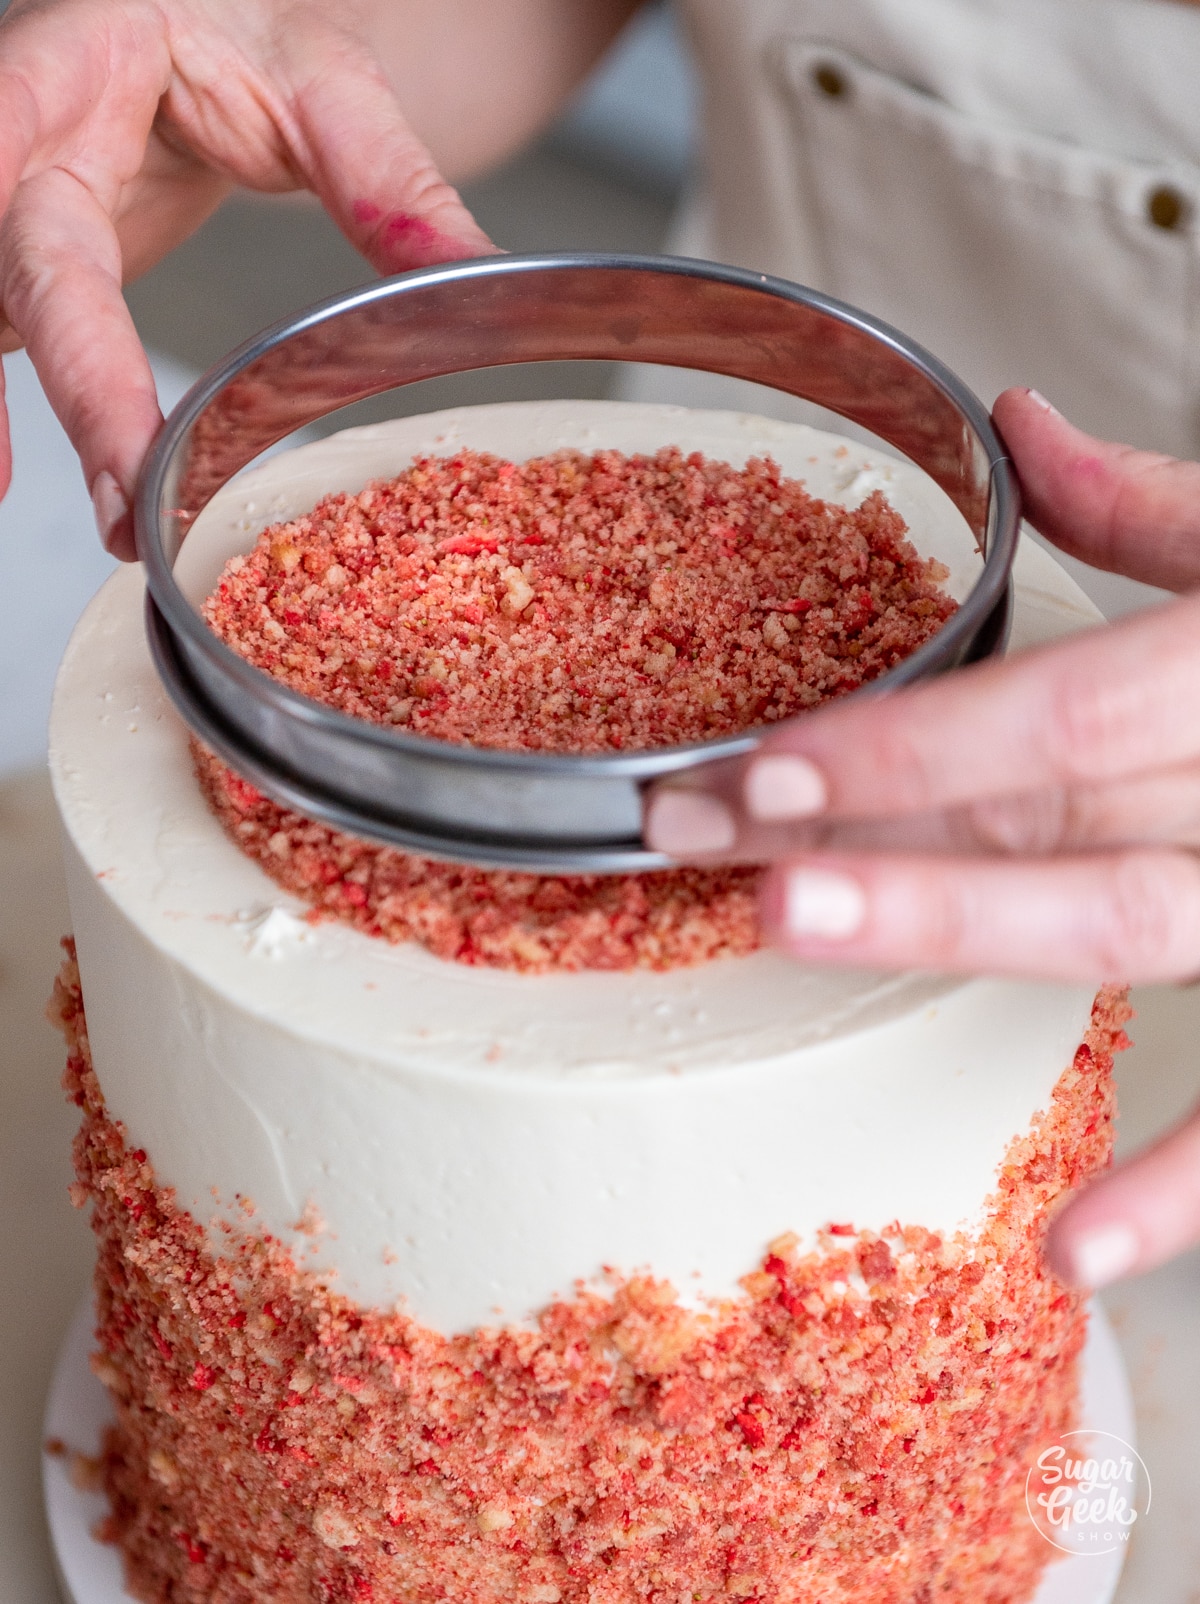
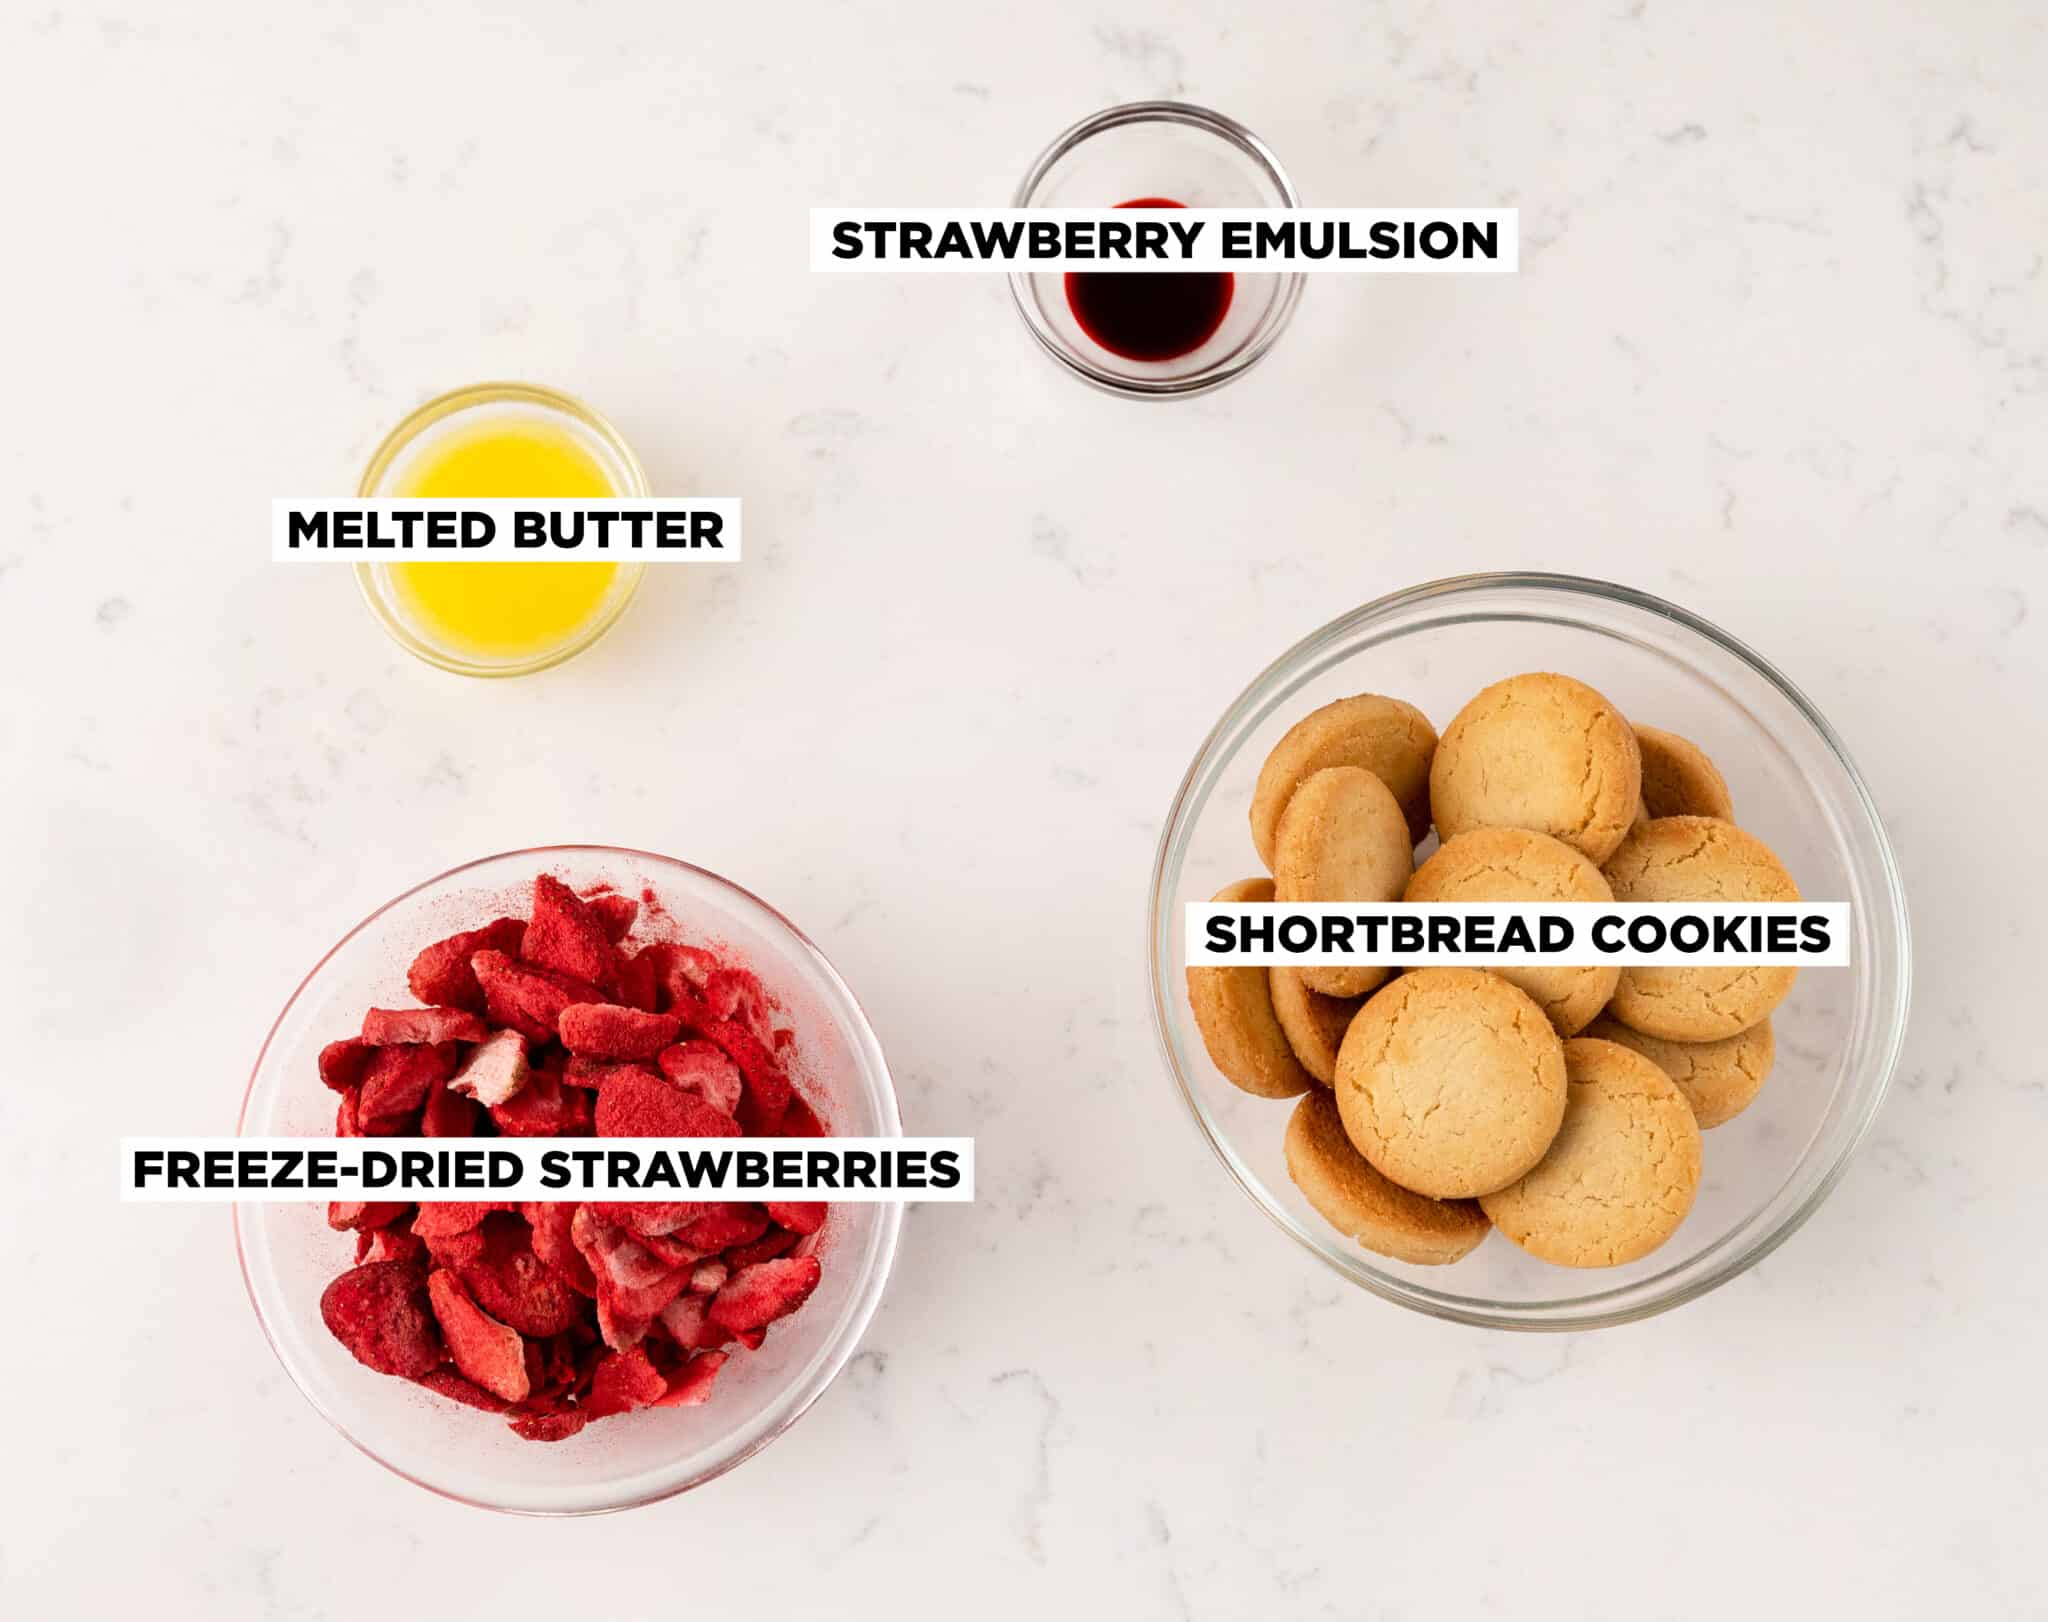 Vanilla shortbread cookies have a high butter content and stay crunchy while they stick to the cake. Many other recipes use golden Oreos and vanilla pudding mix, but I like the flavor of shortbread or vanilla wafers. I use Keebler because they're easy to buy at the grocery store, but you can use your preferred brand of cookies. Or you can make your own
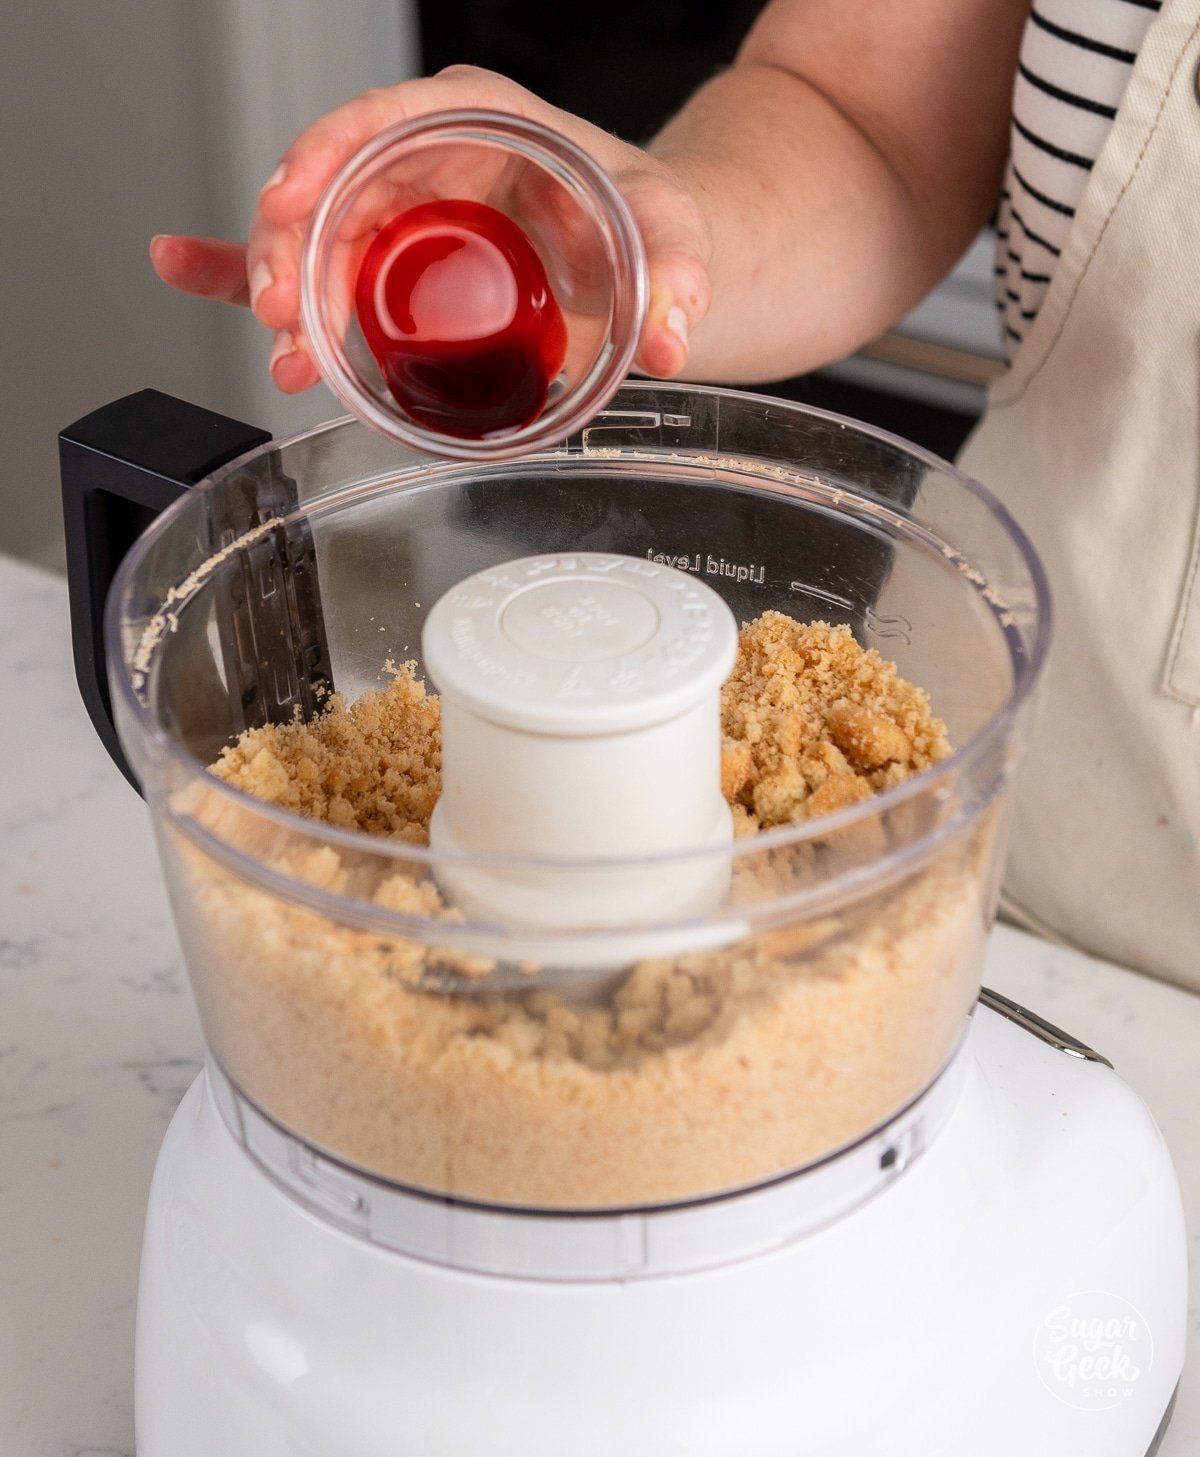
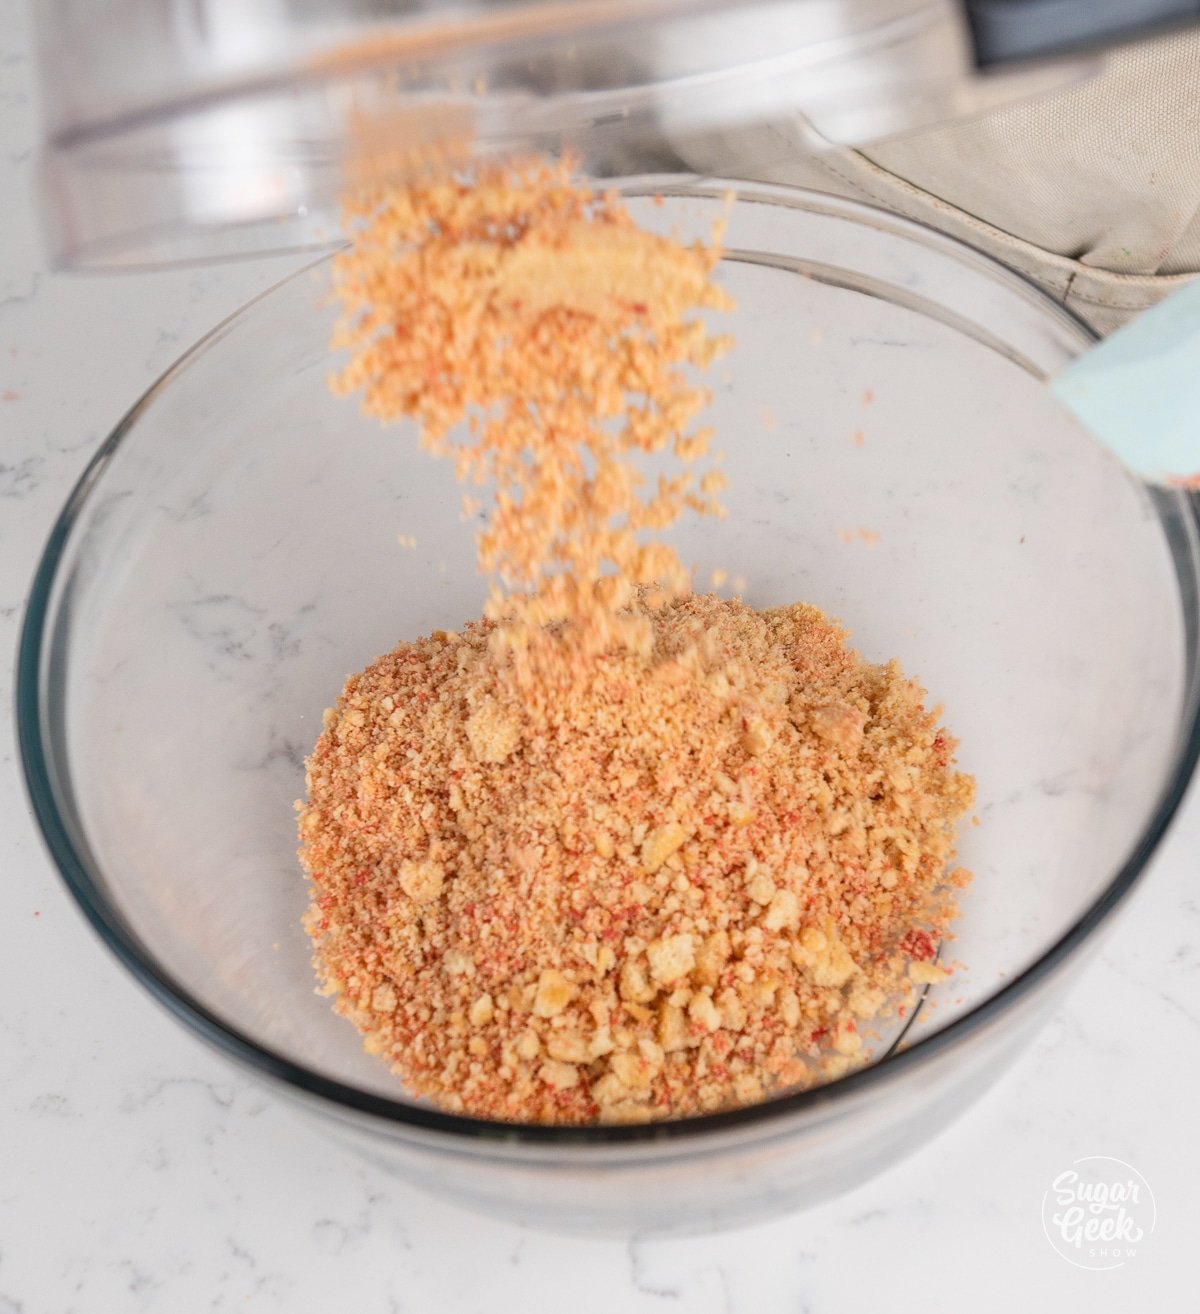
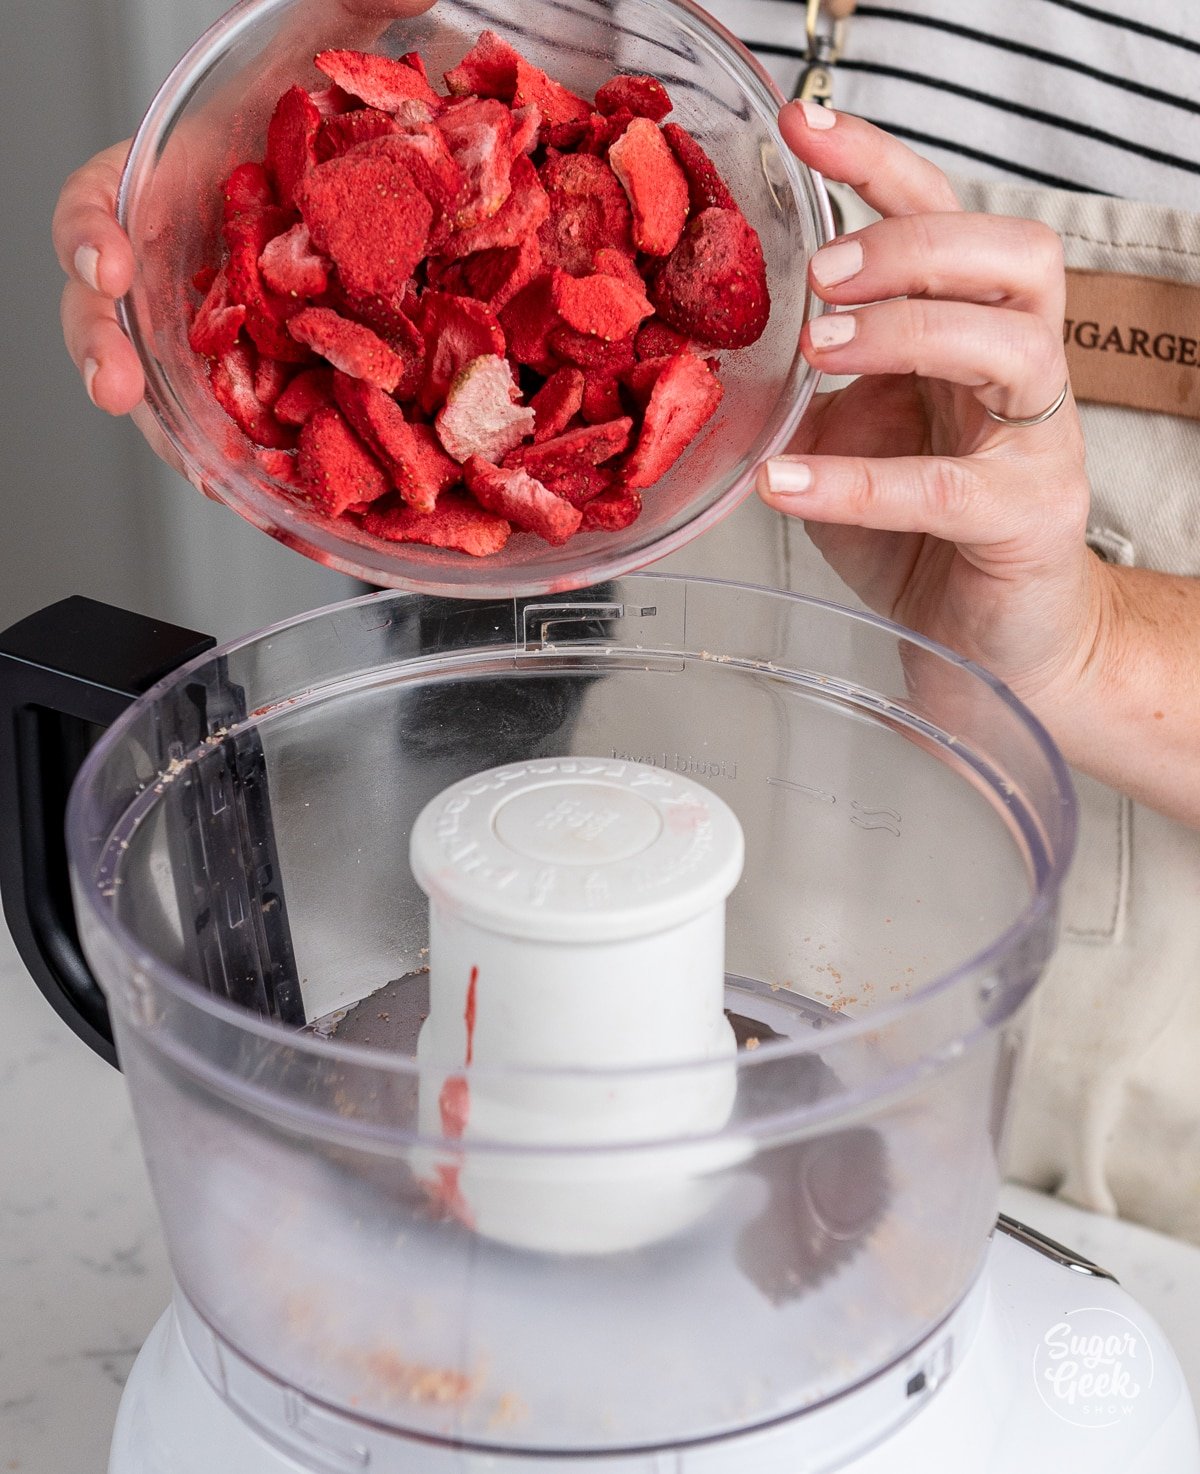


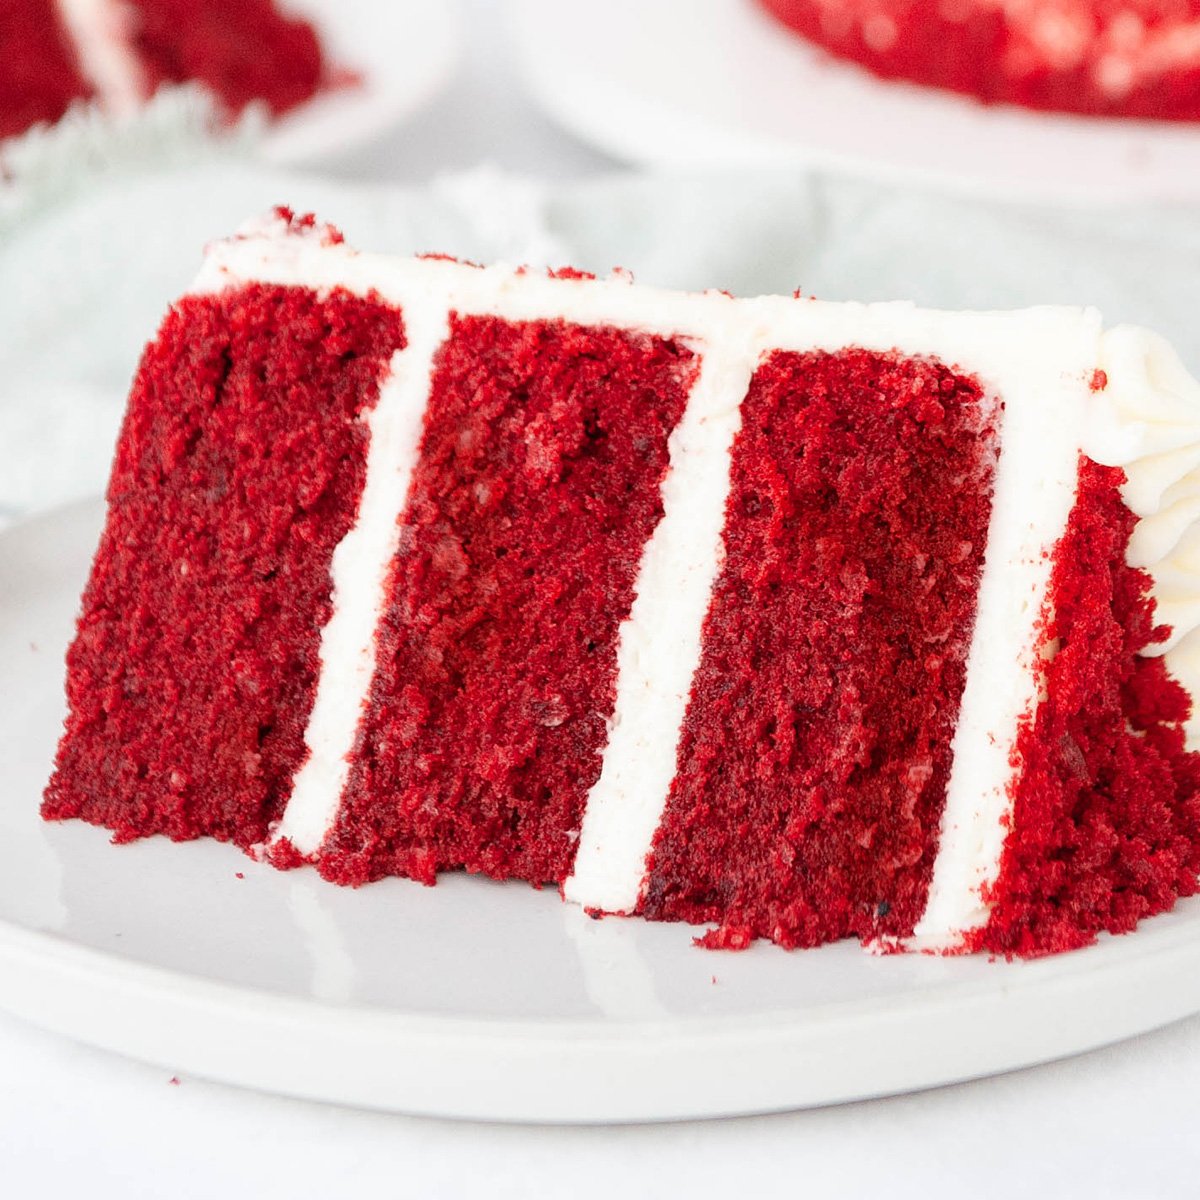
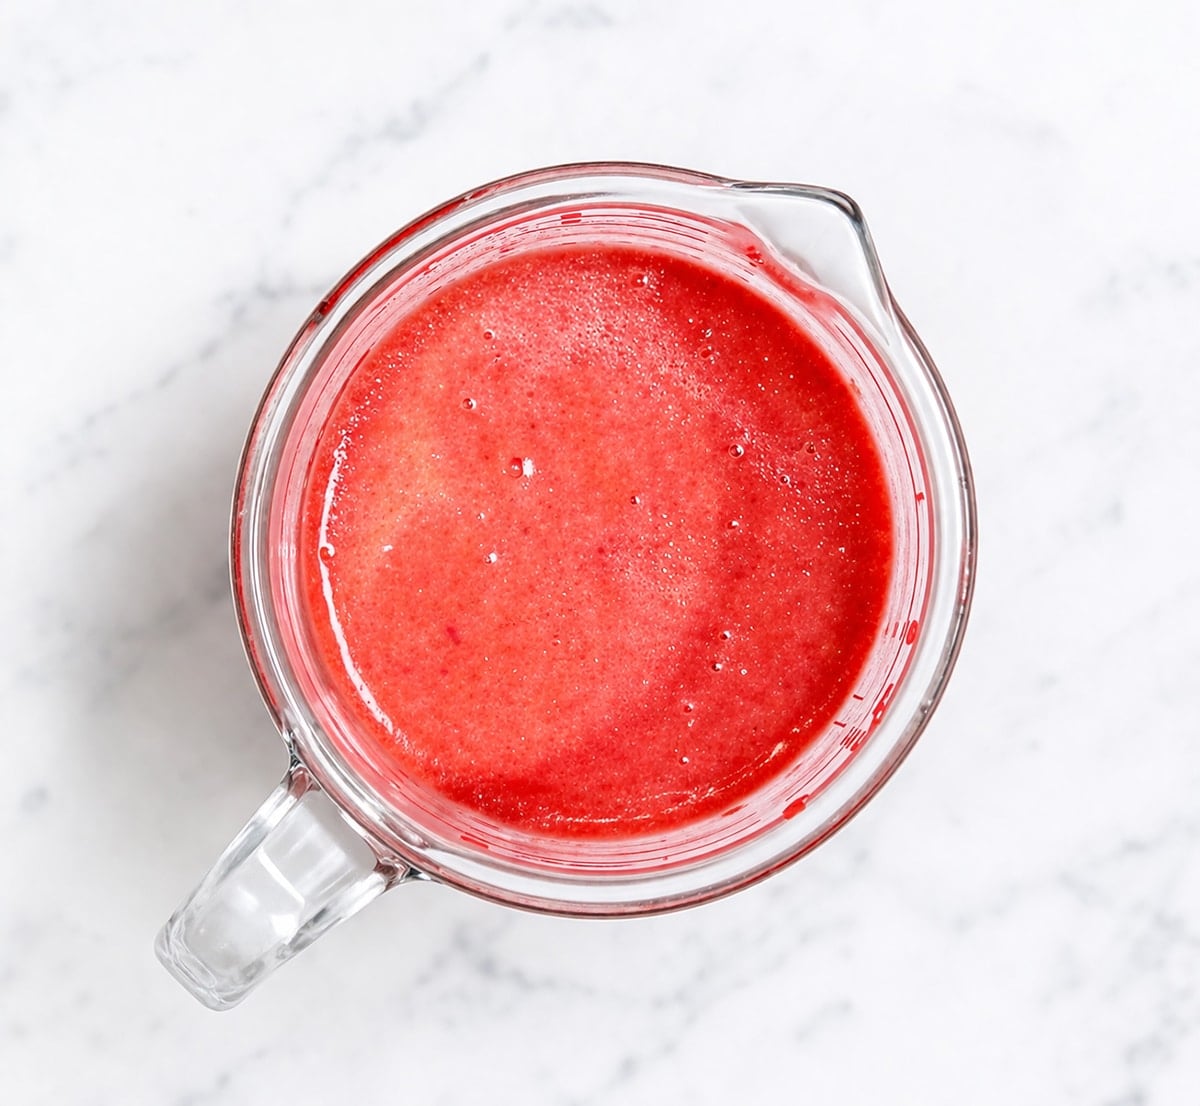
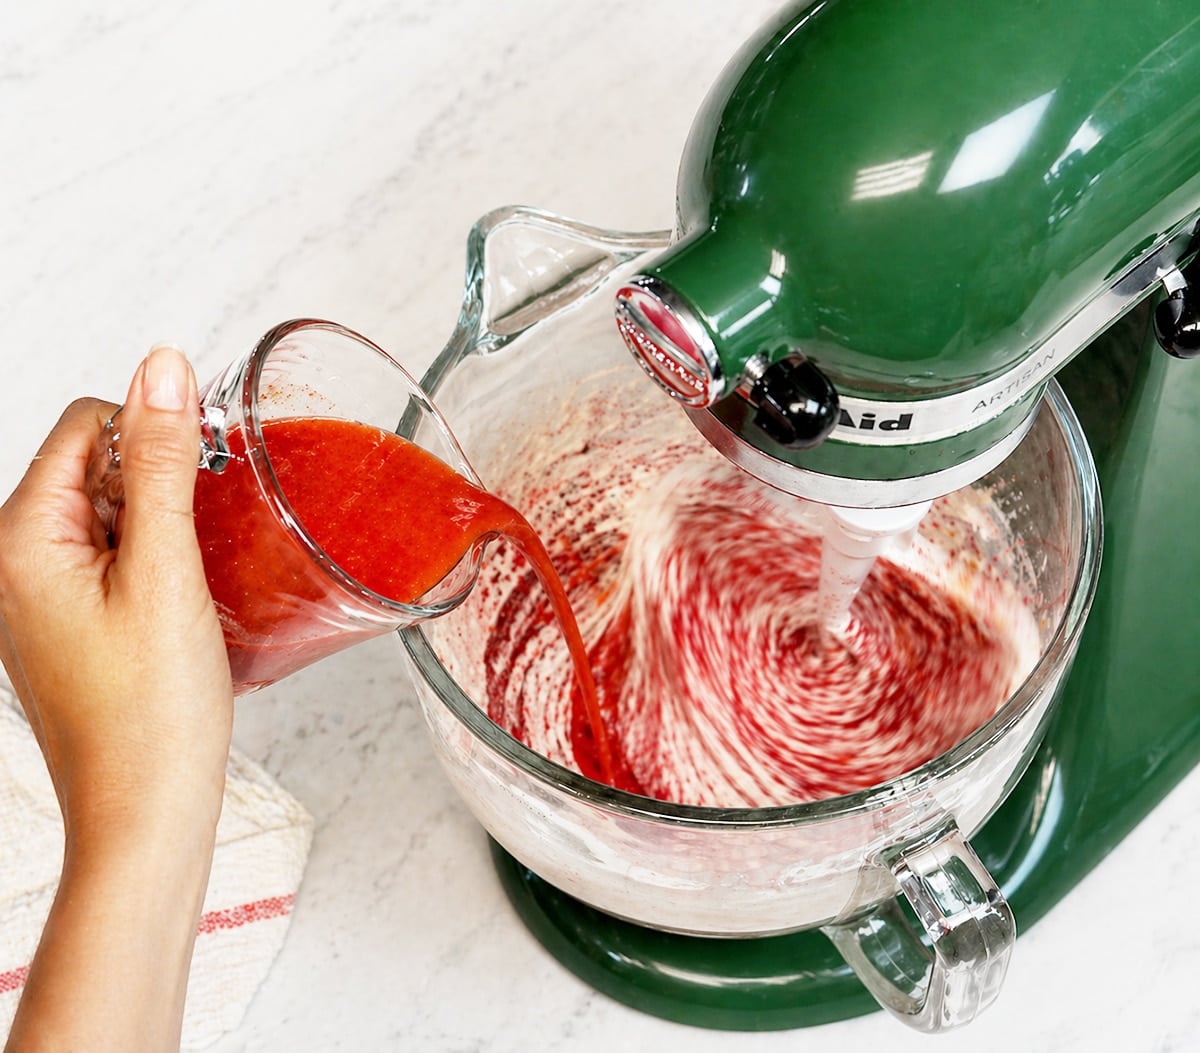
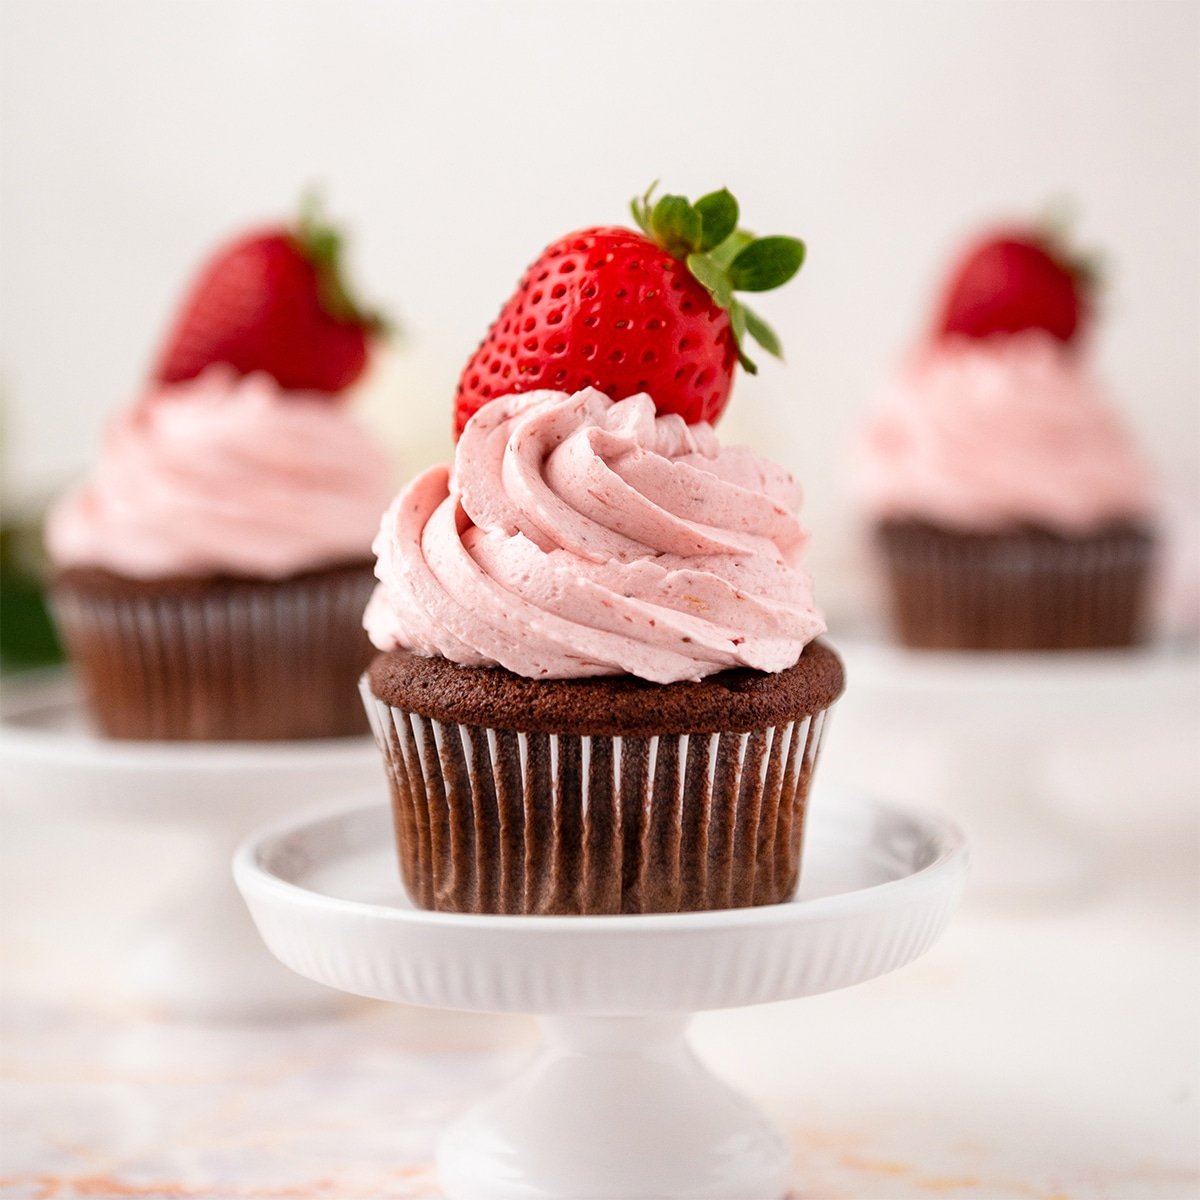
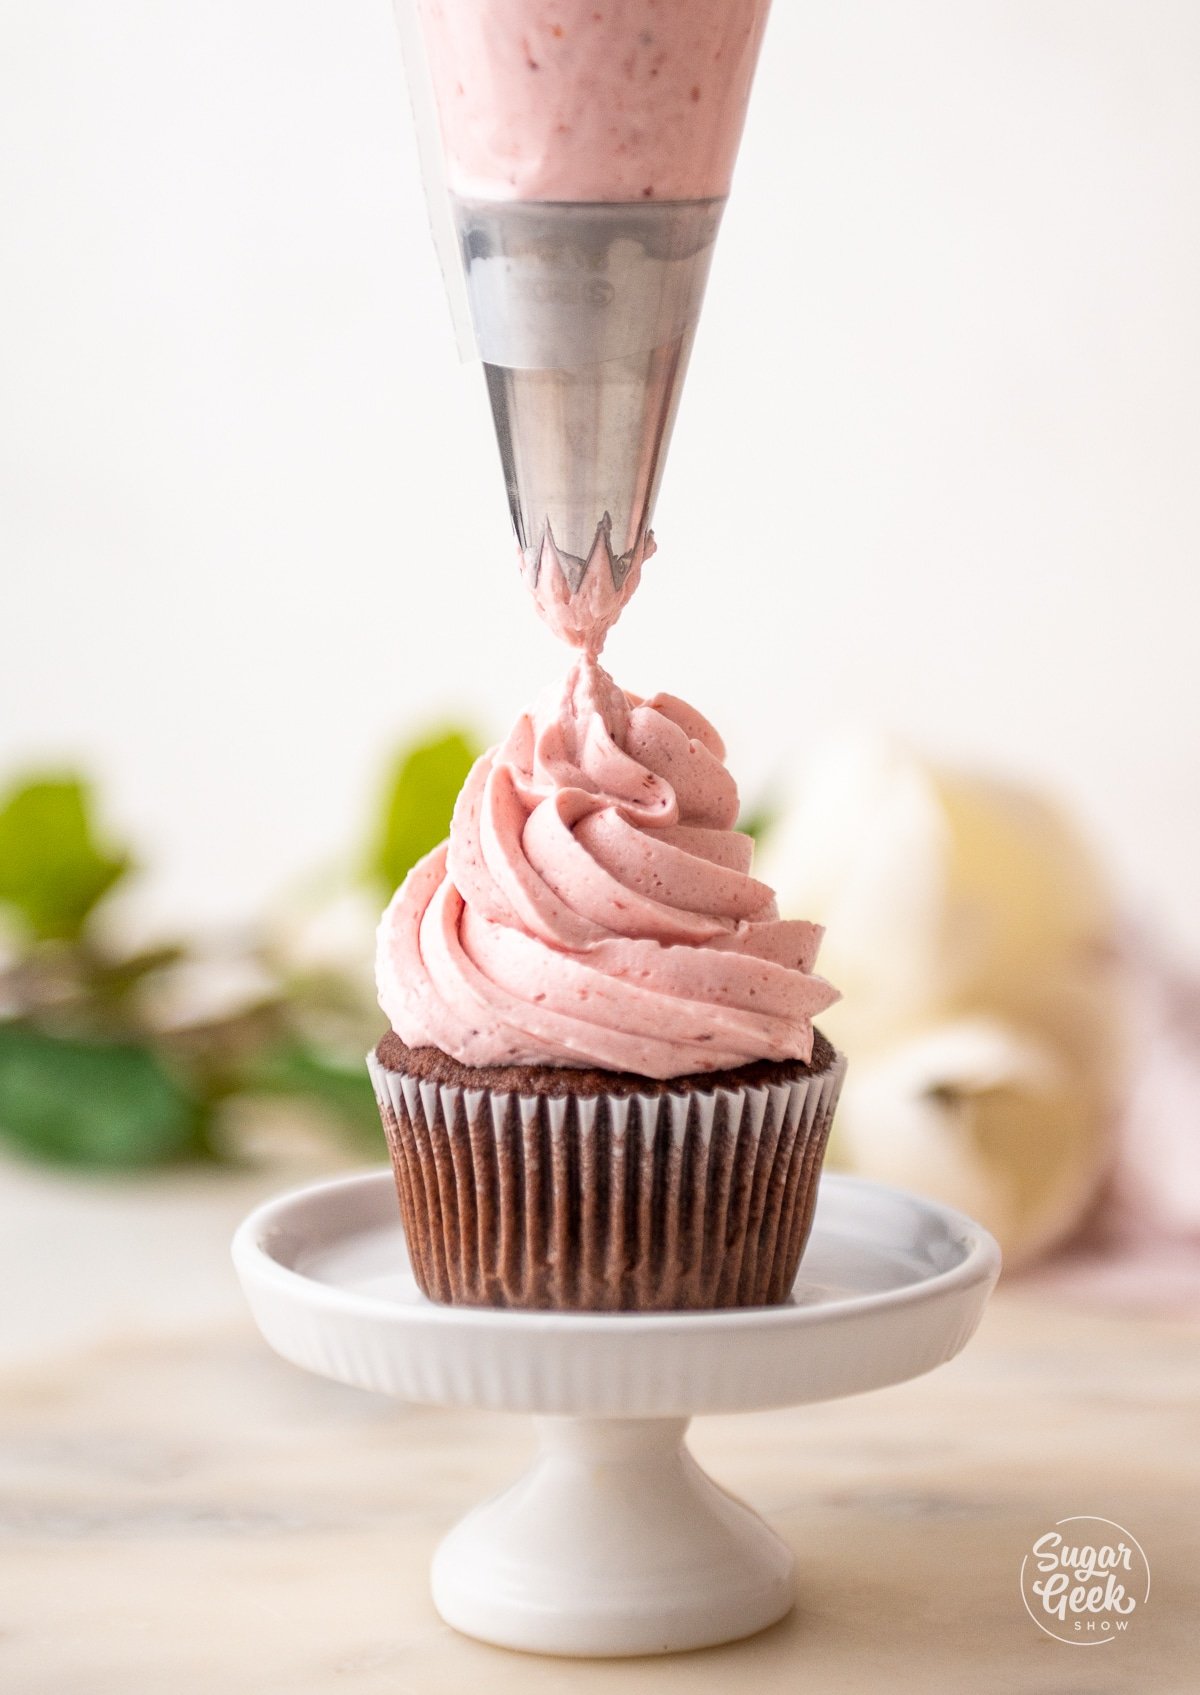
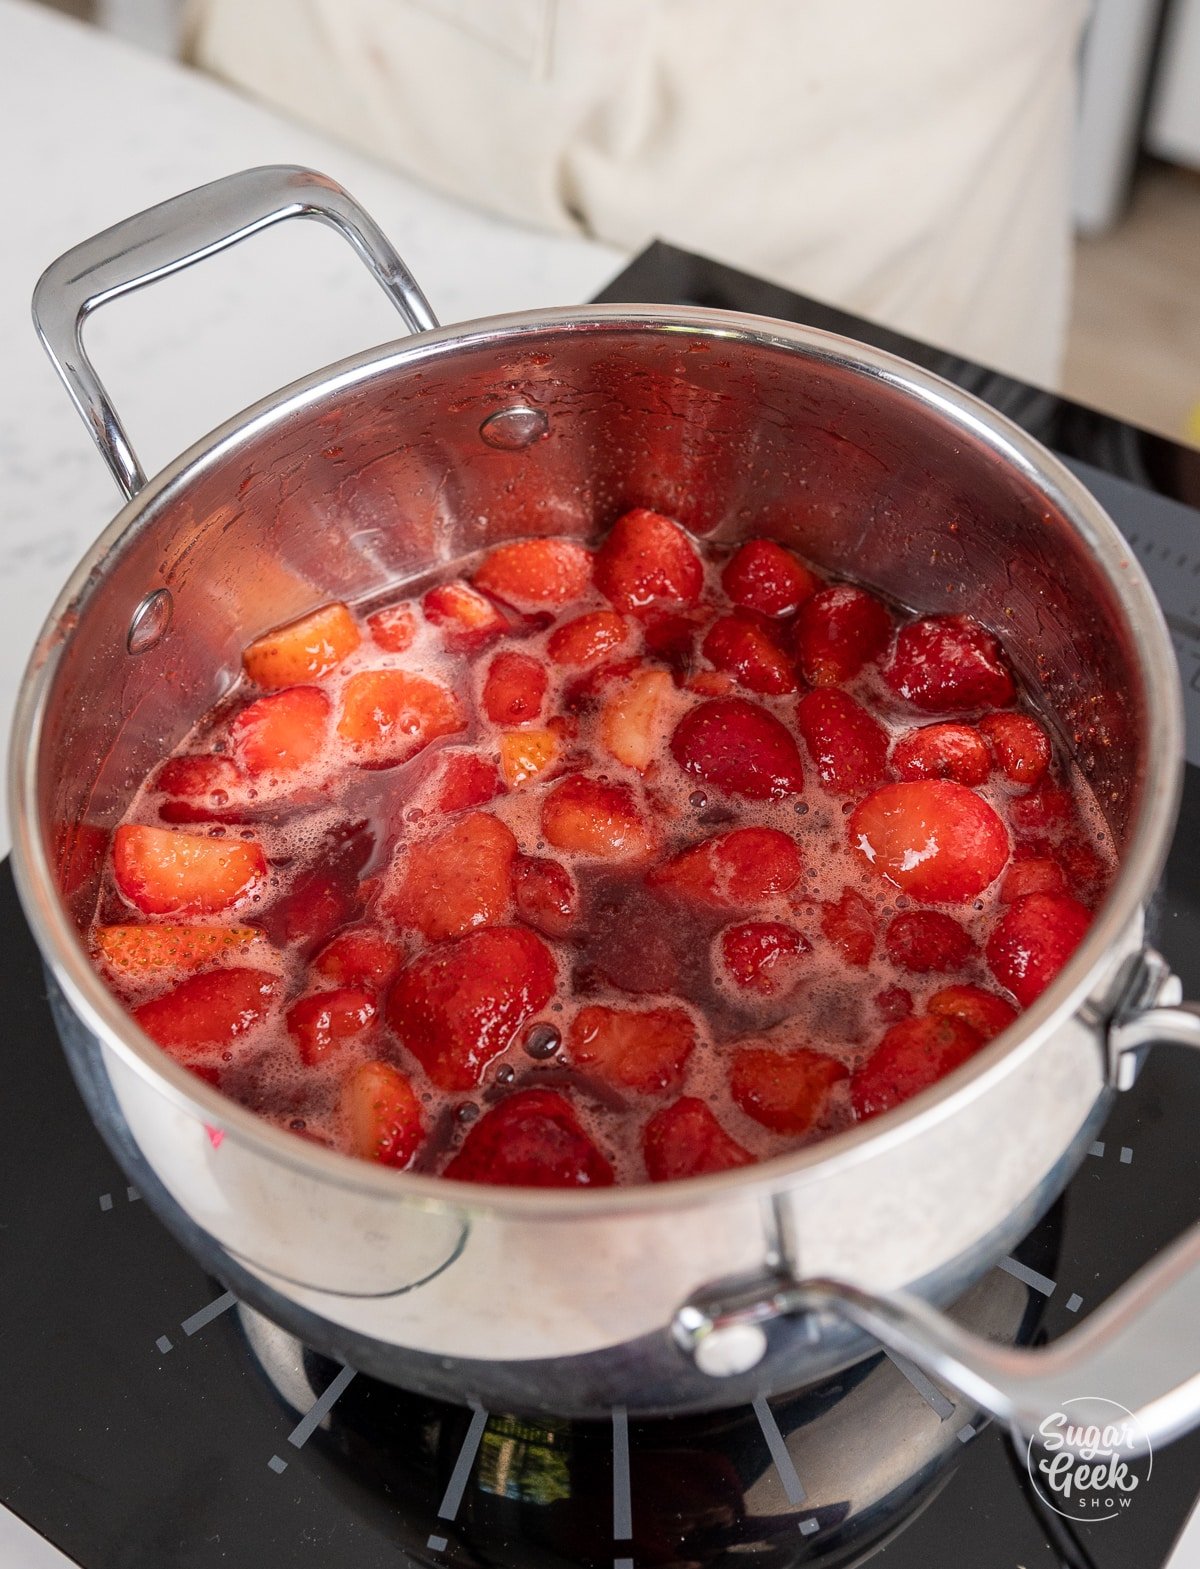
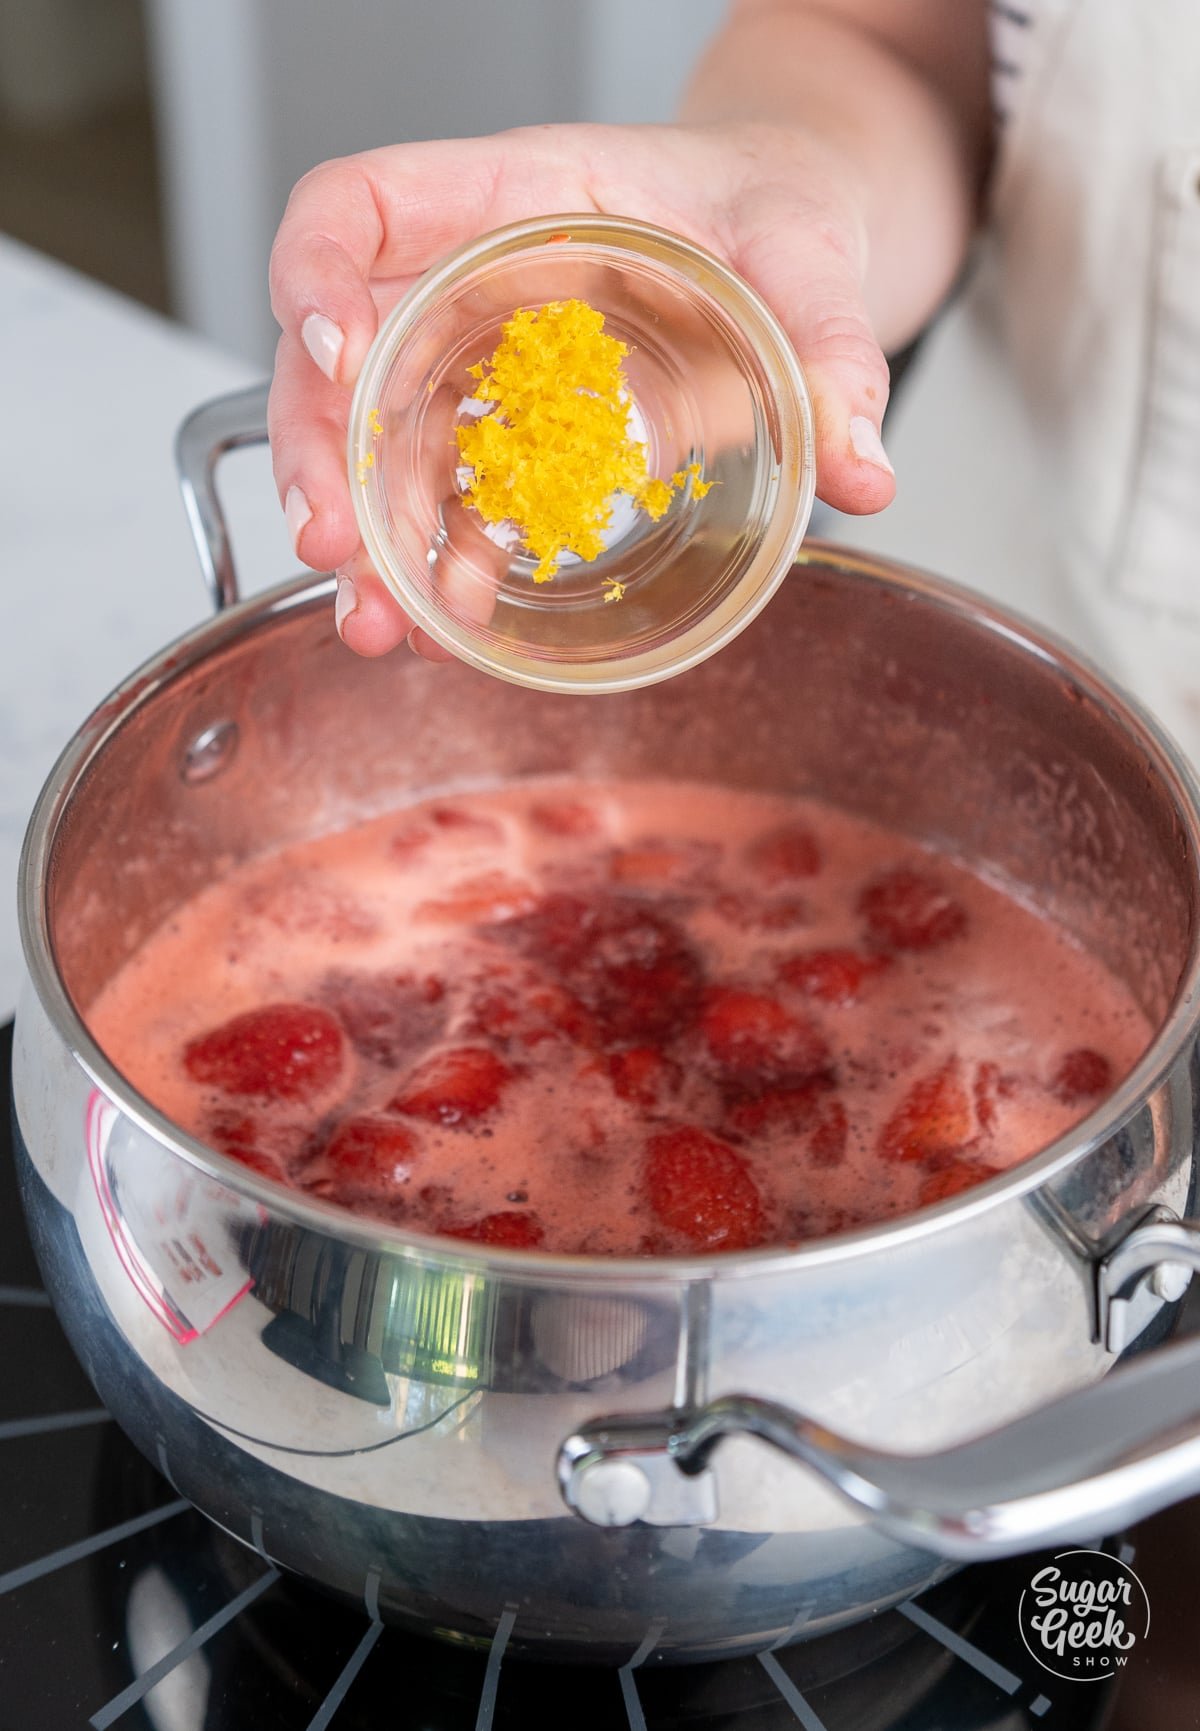
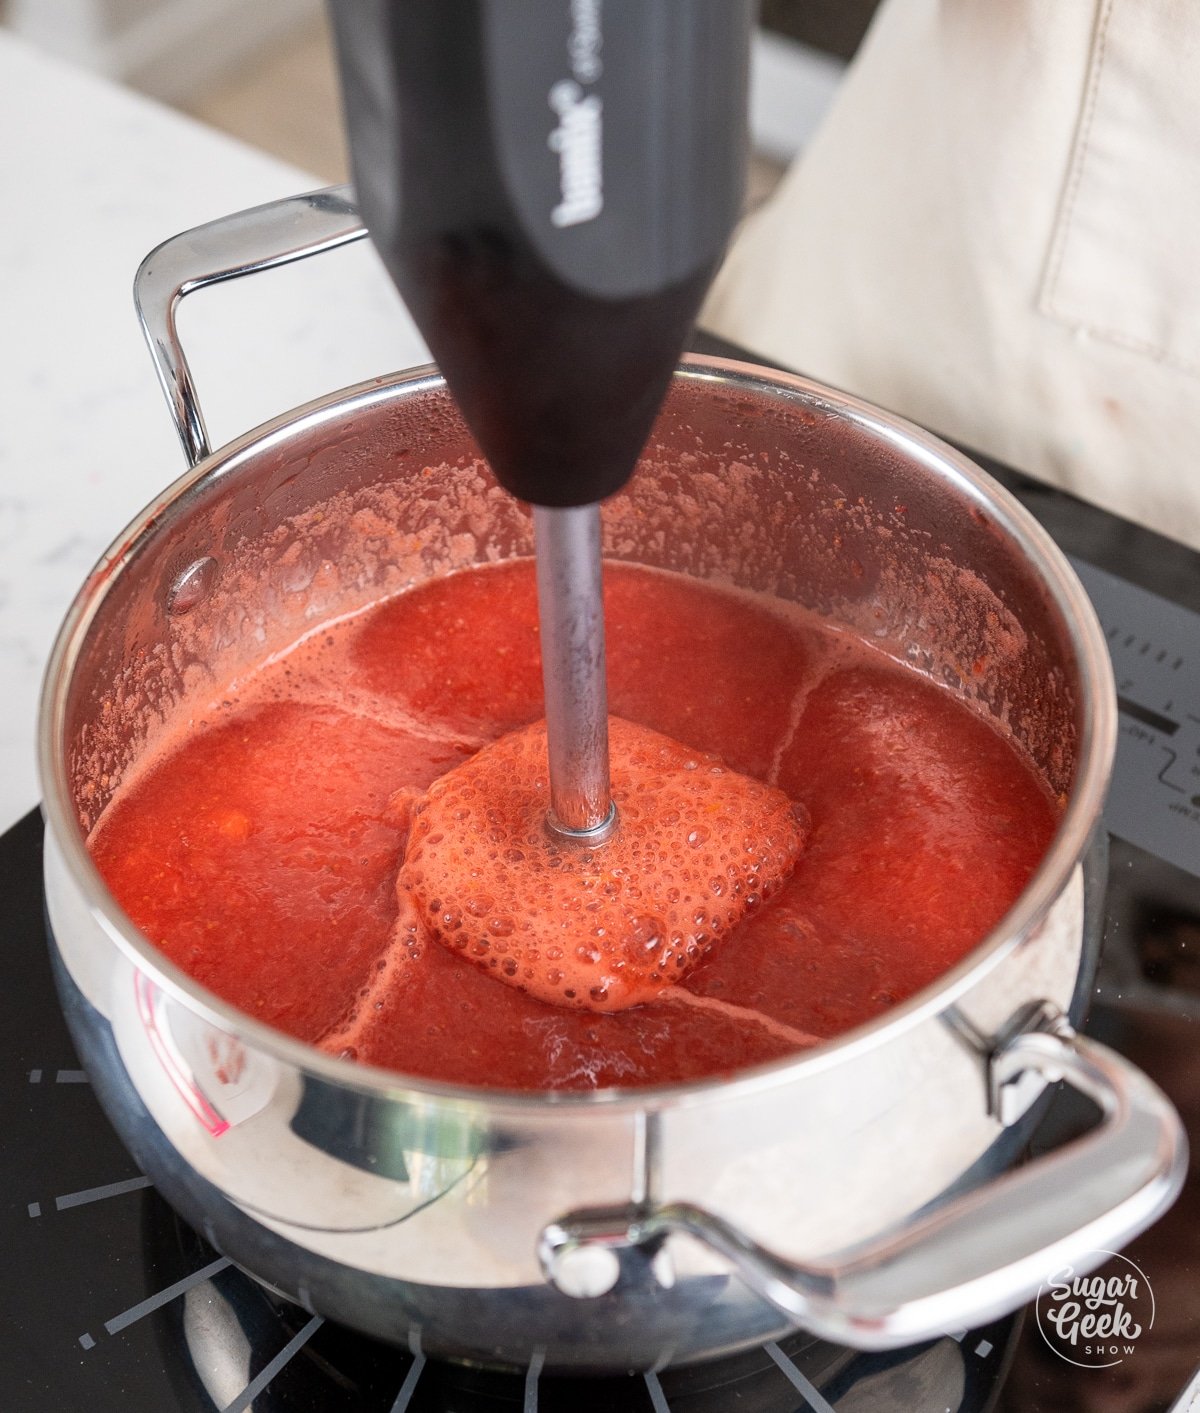
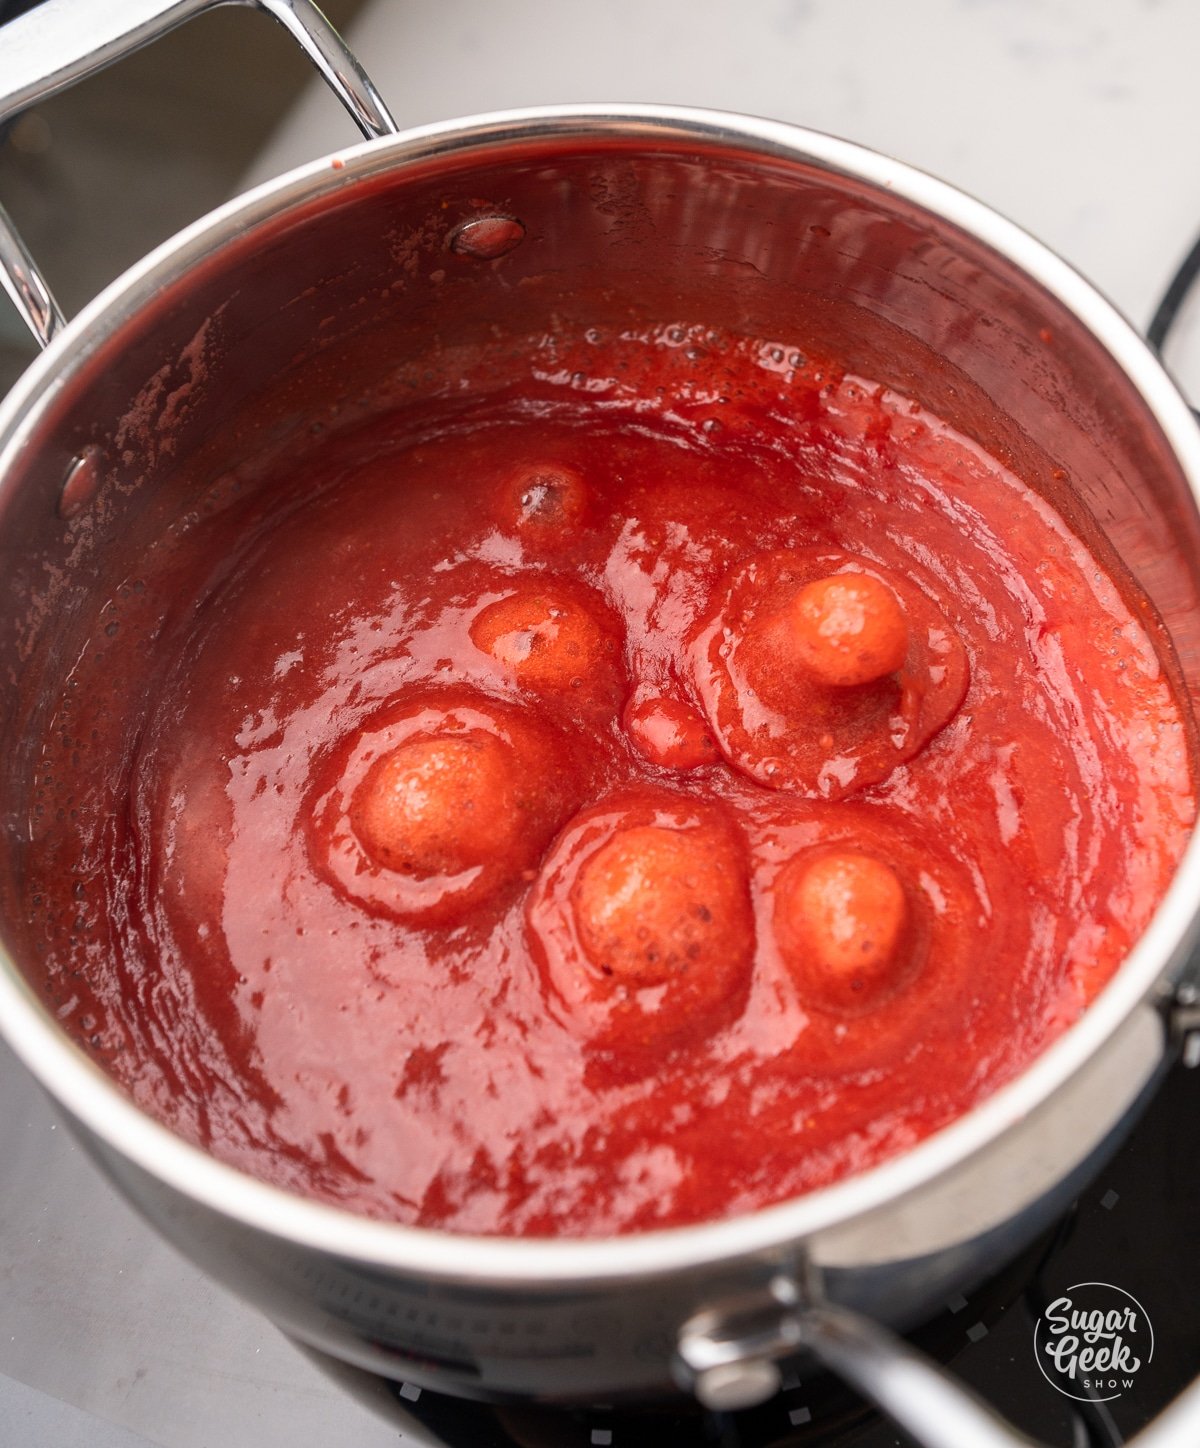
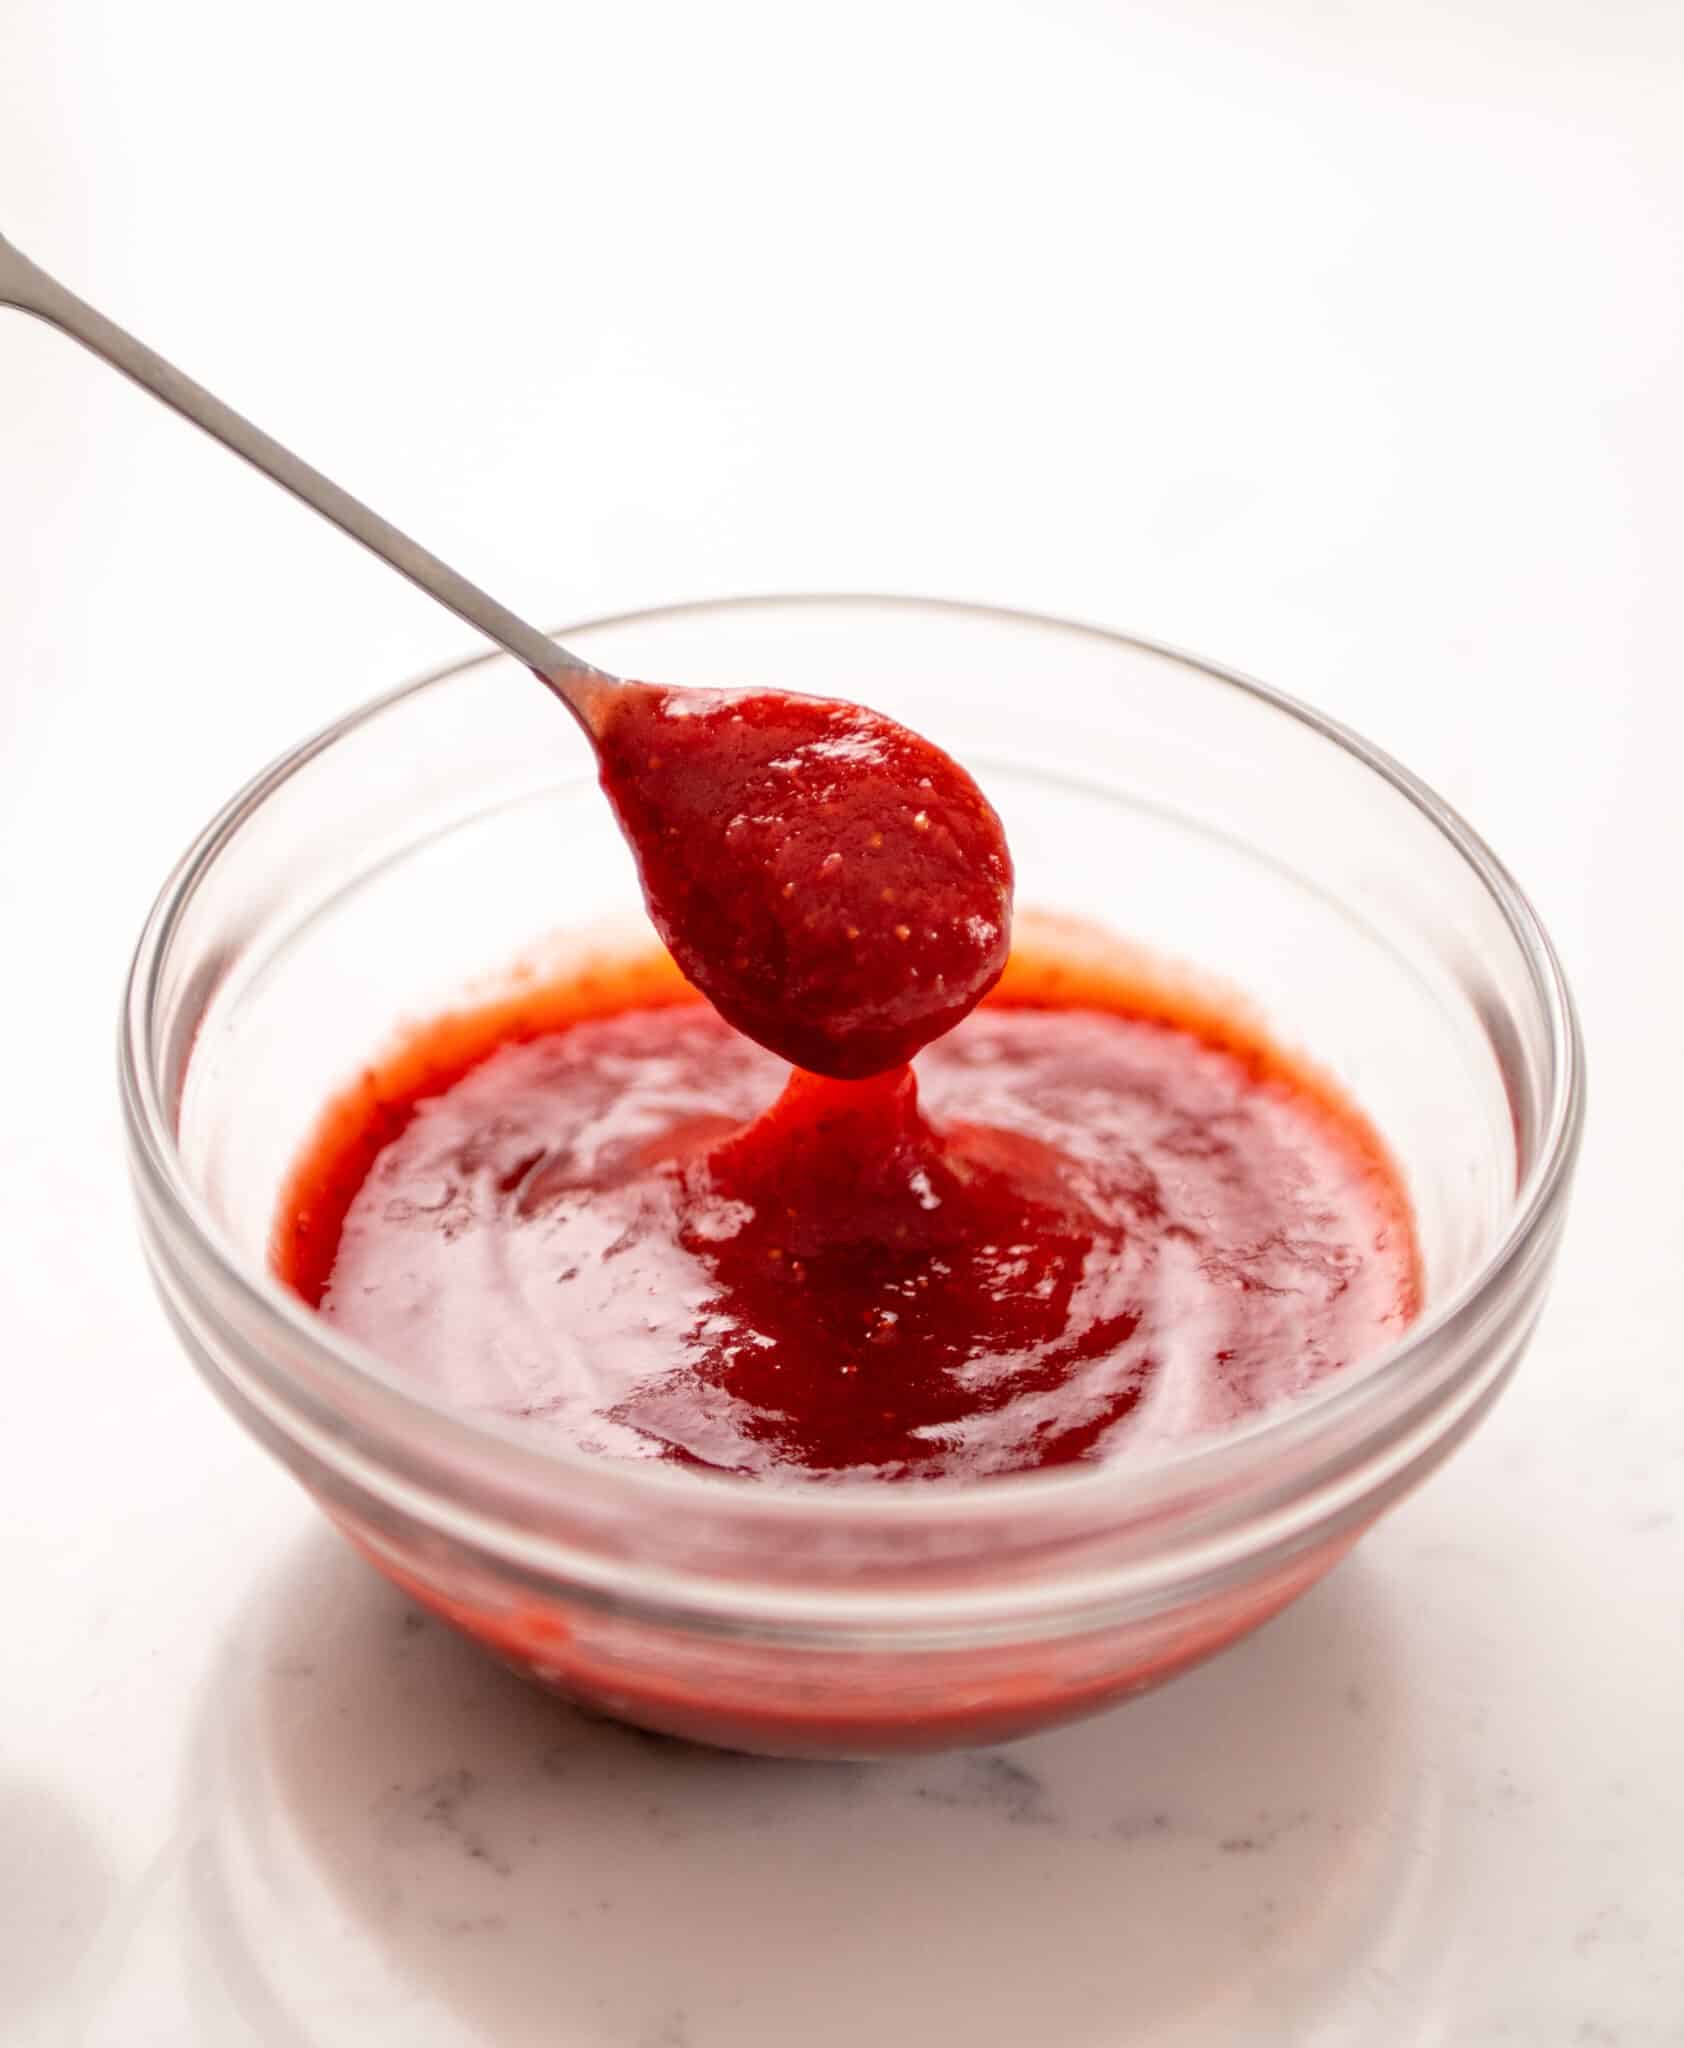
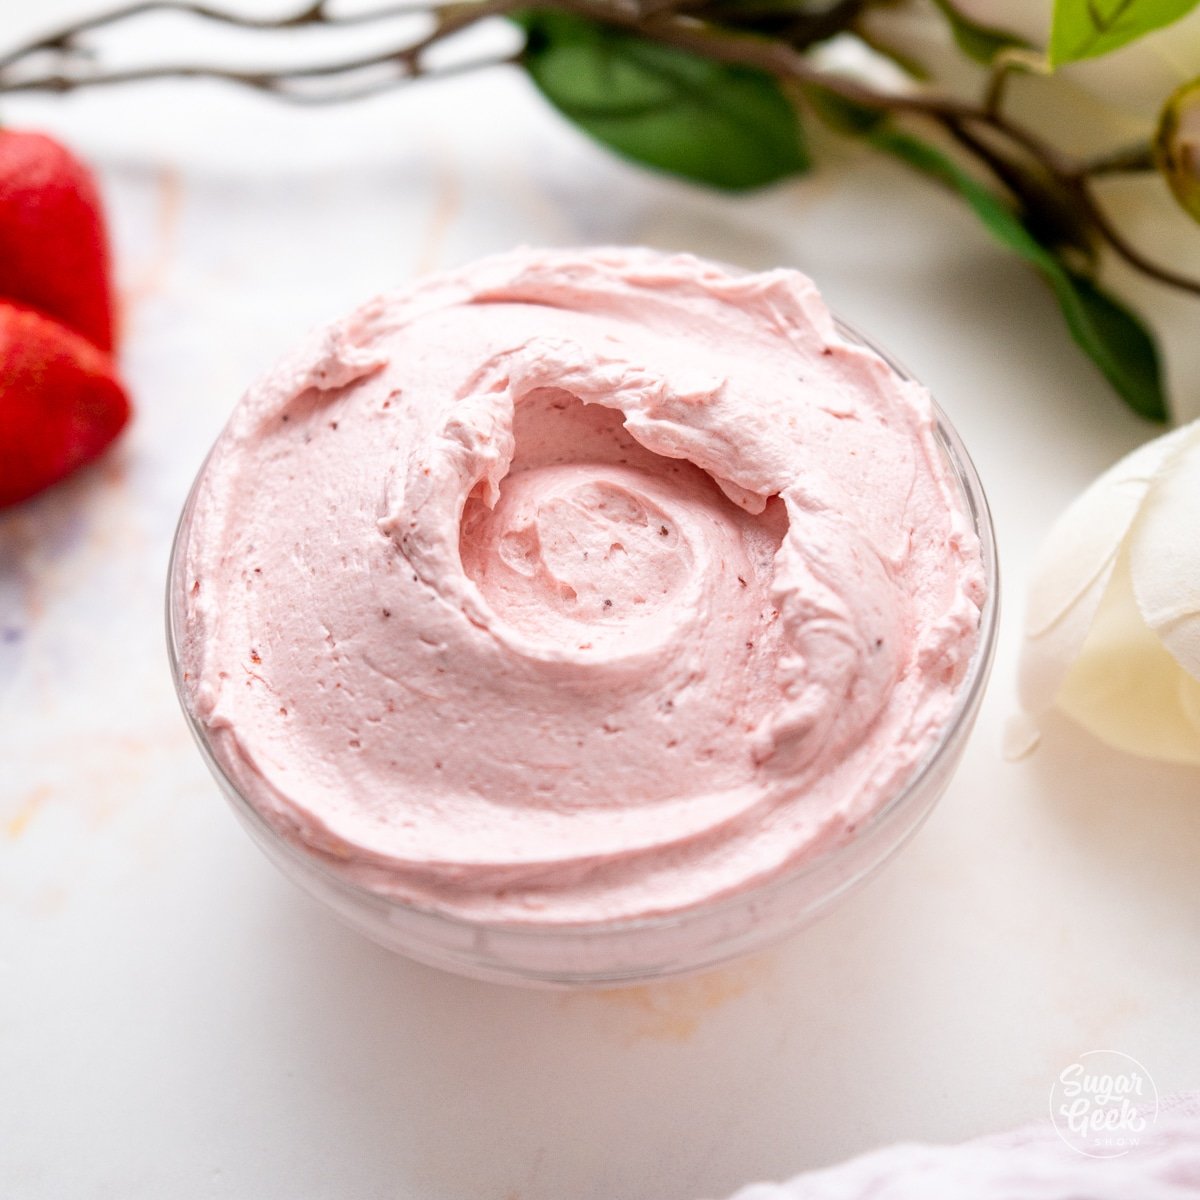
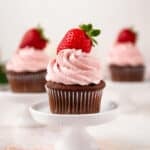
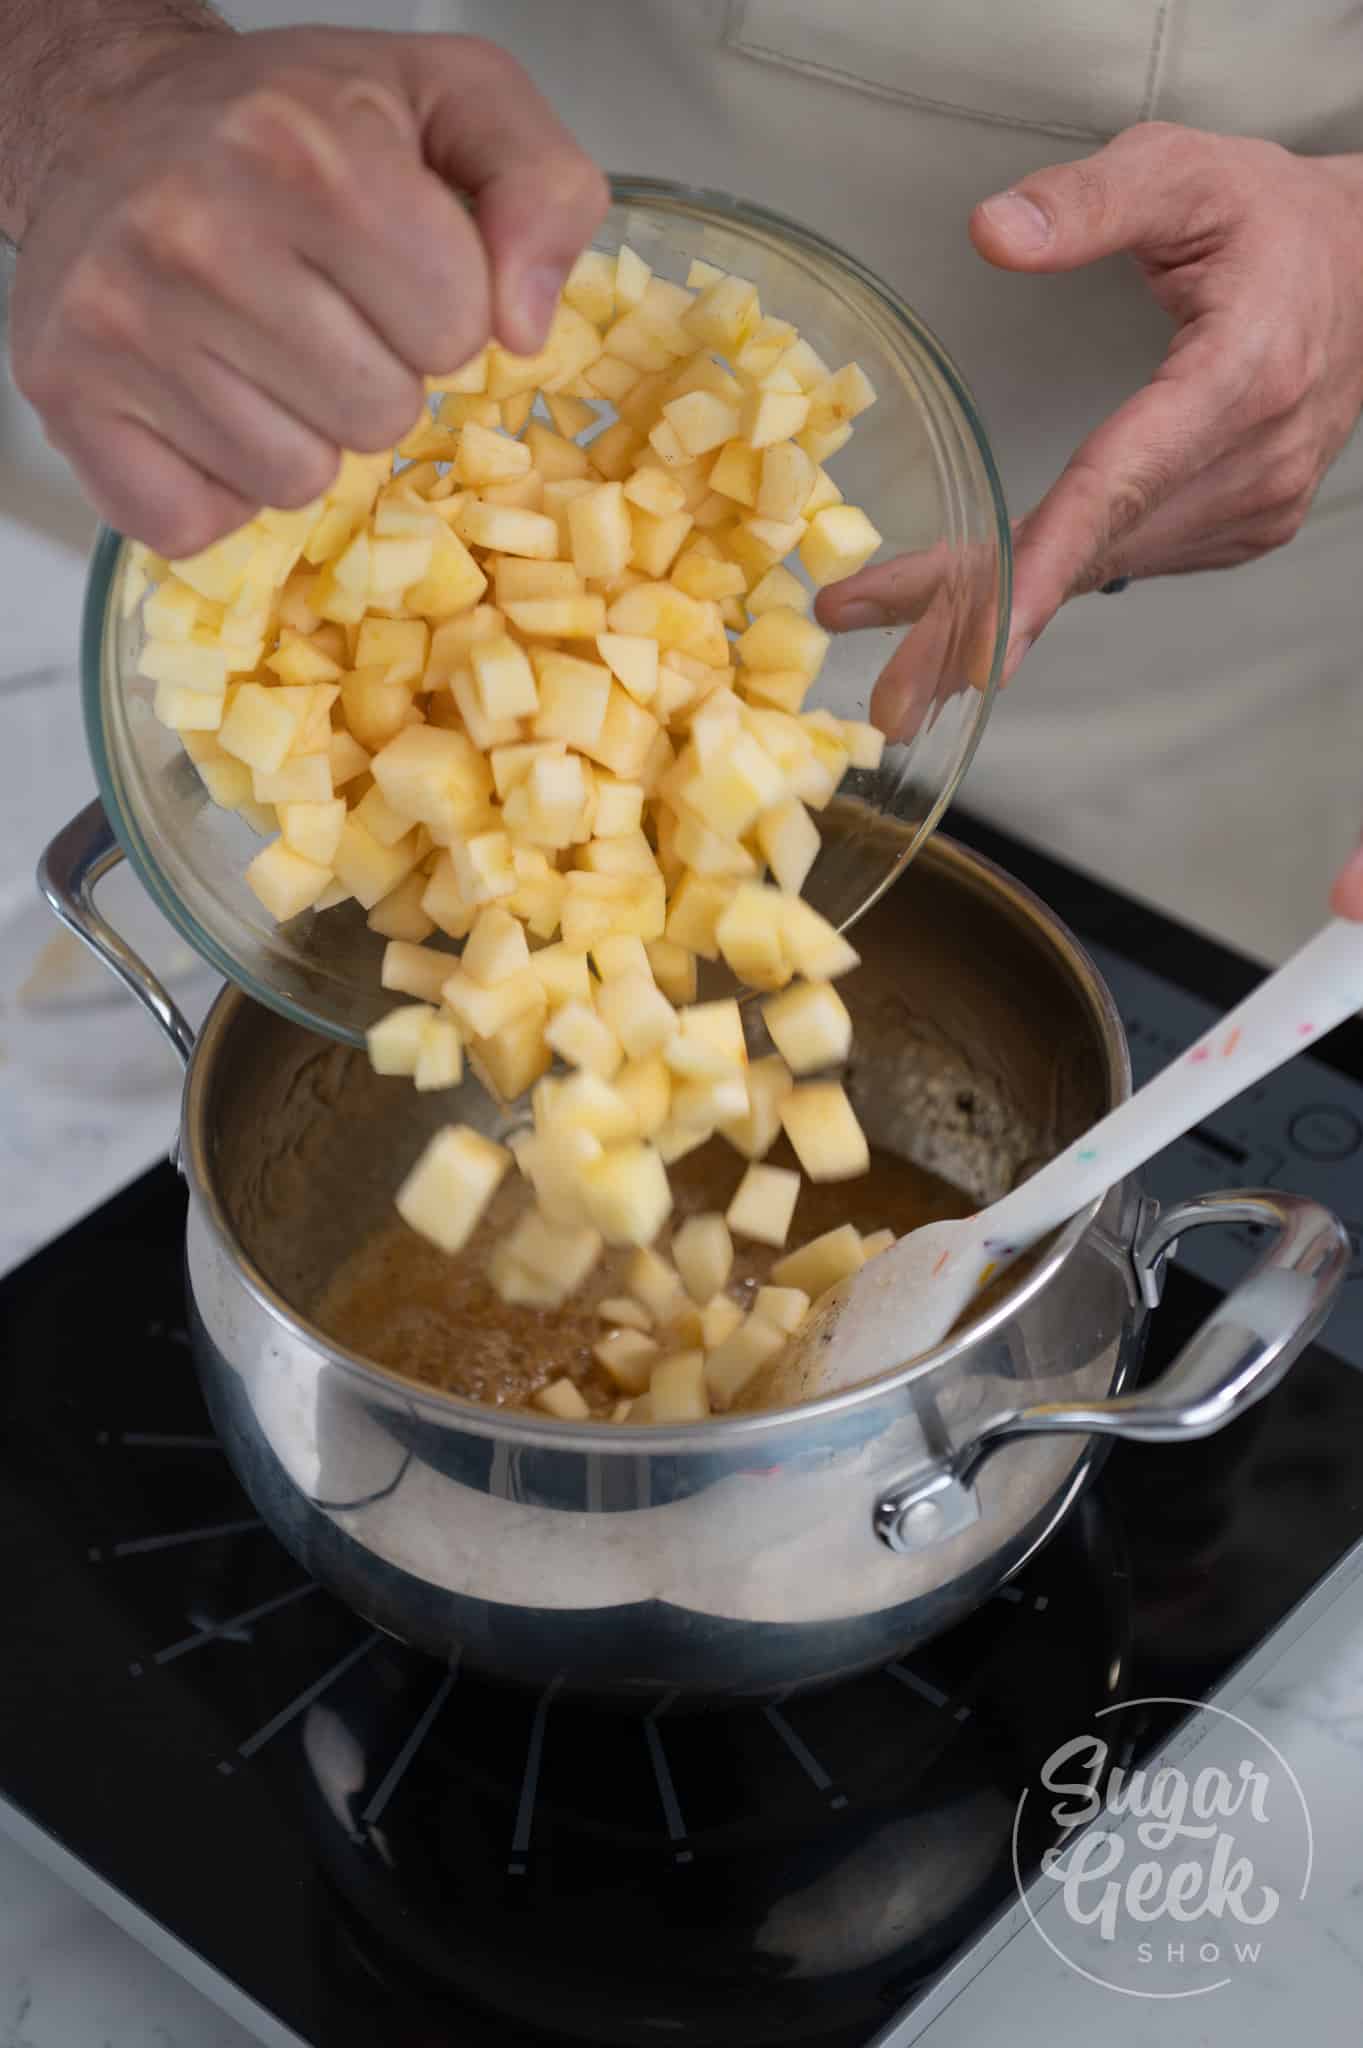
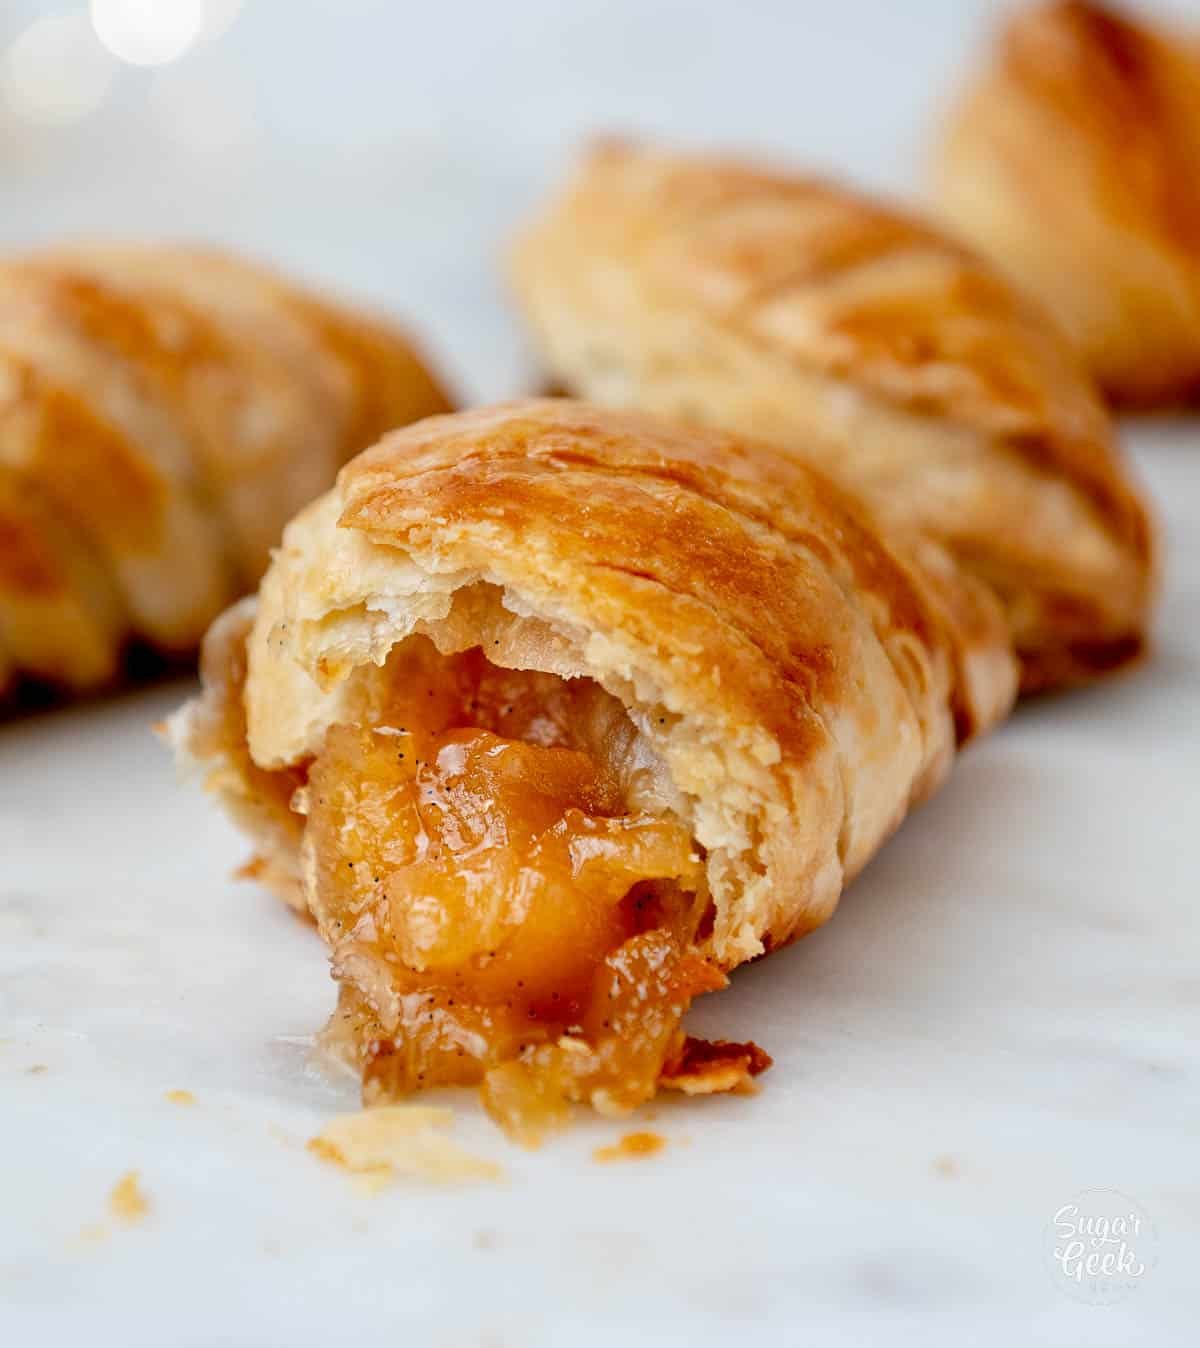
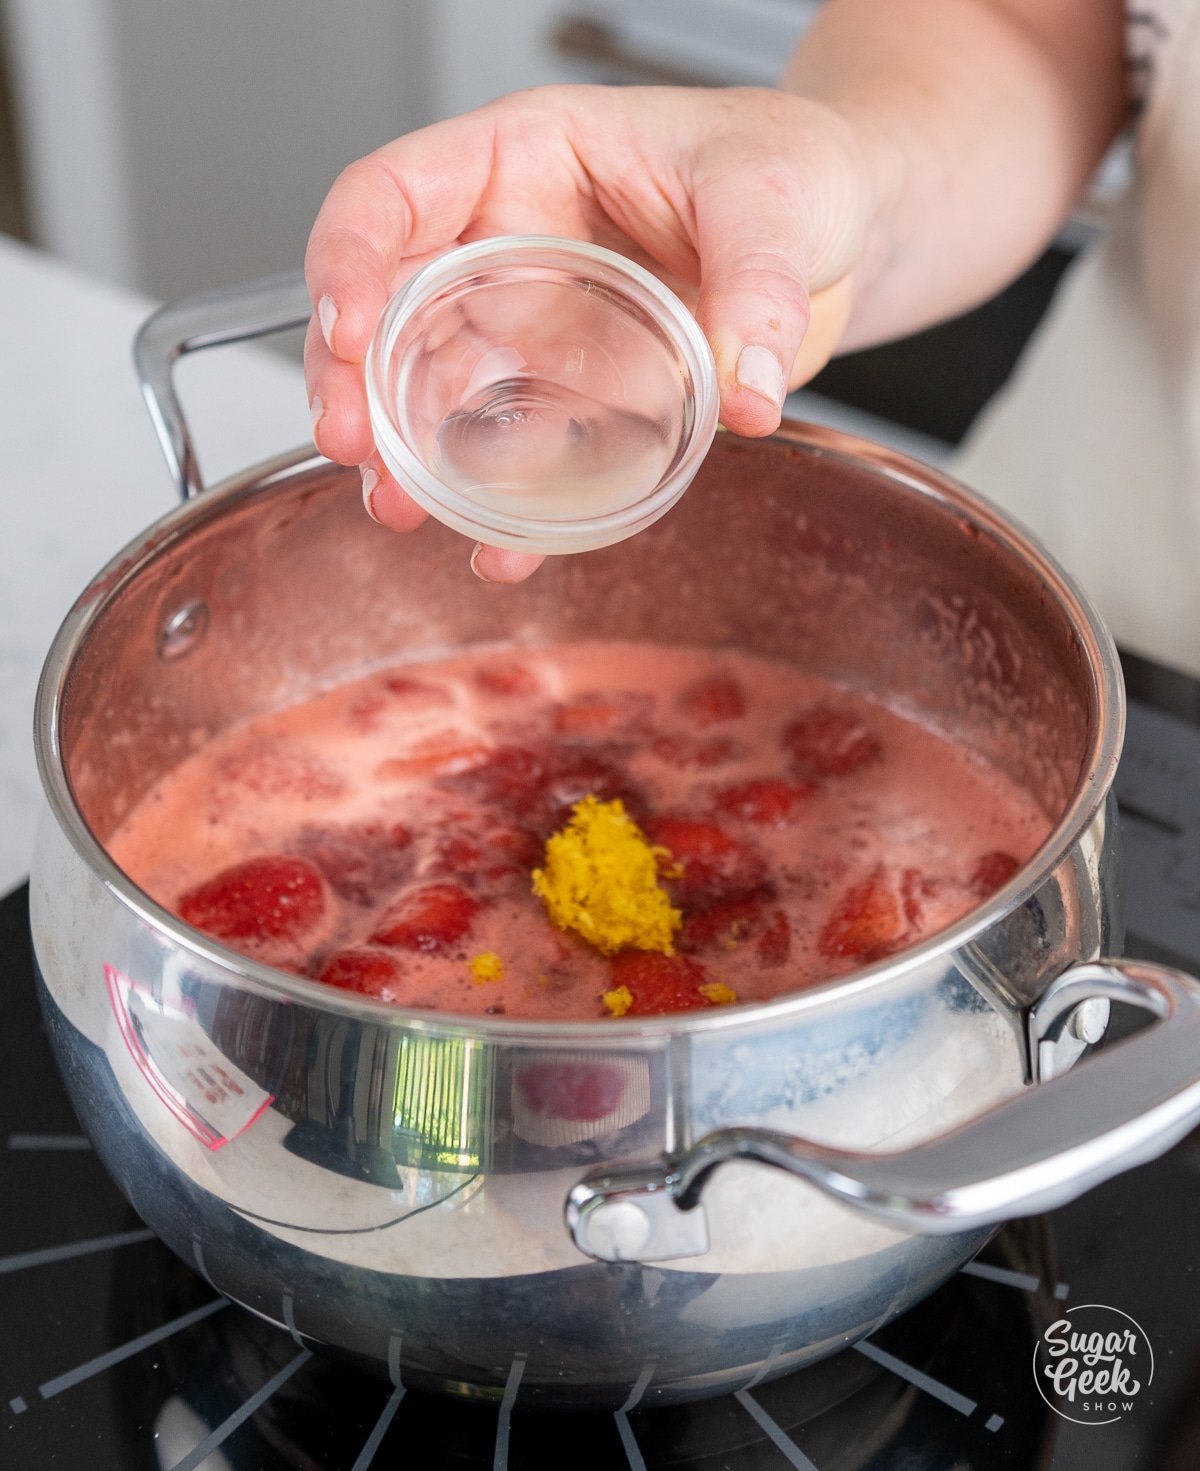
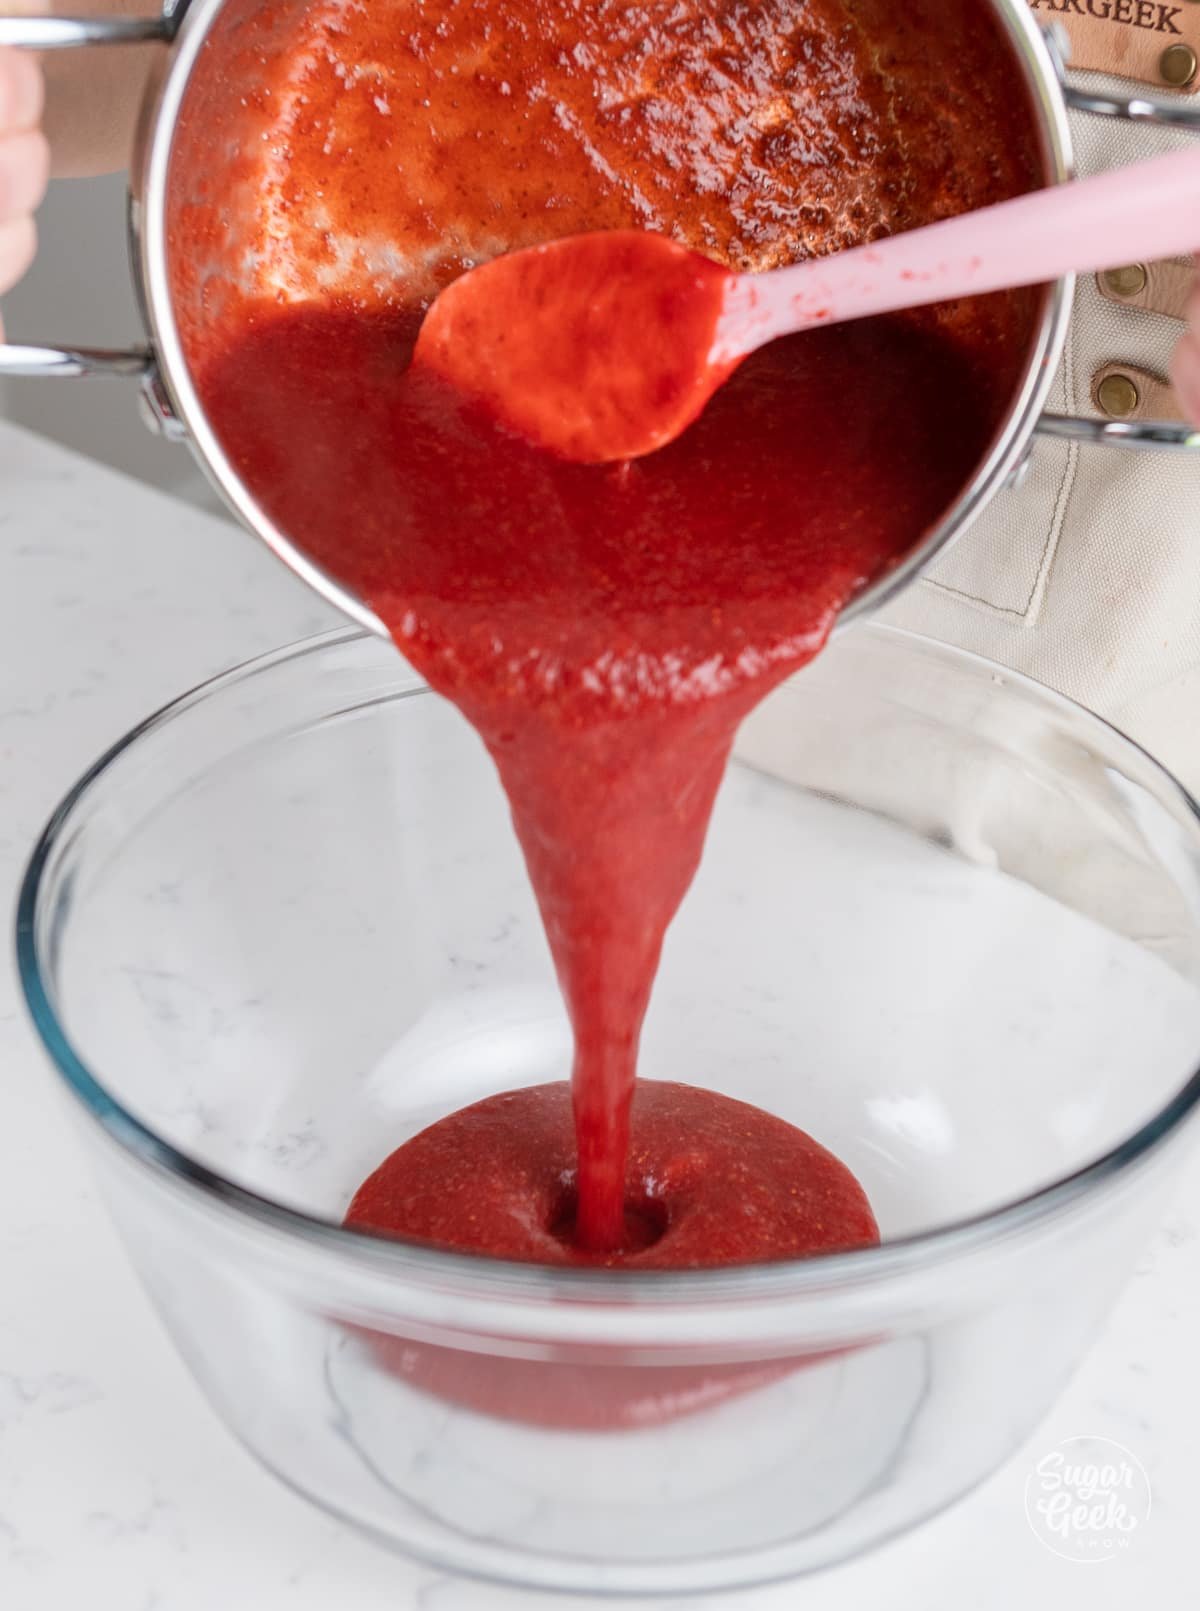
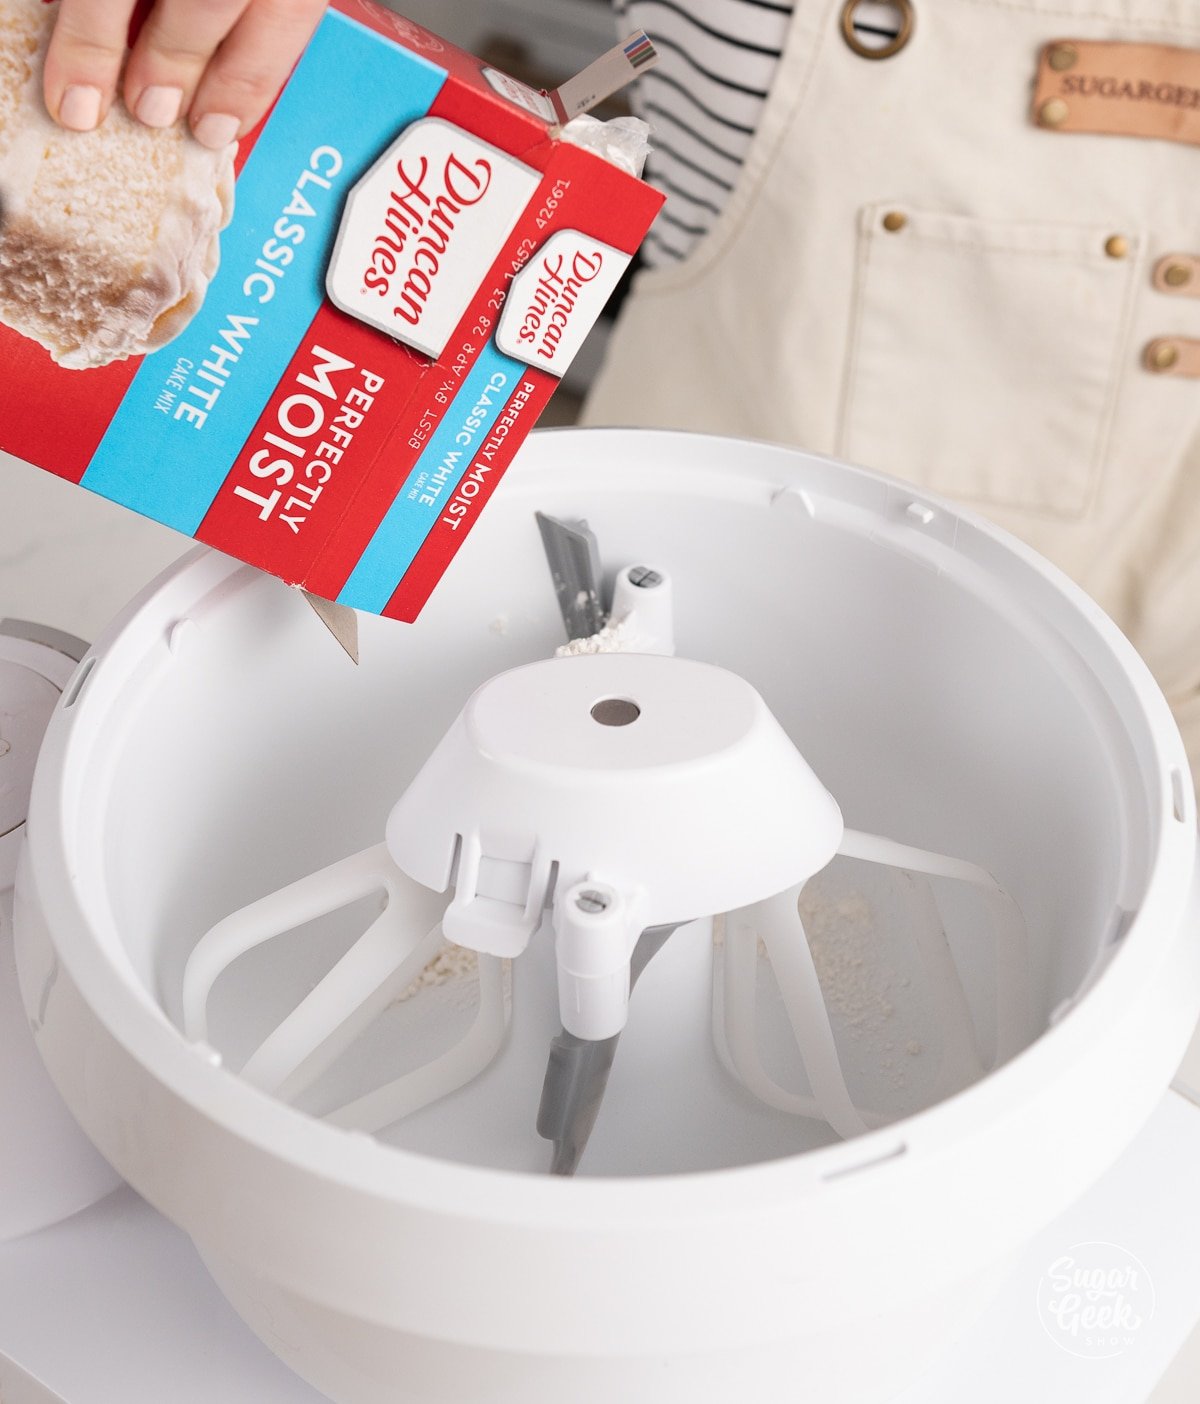
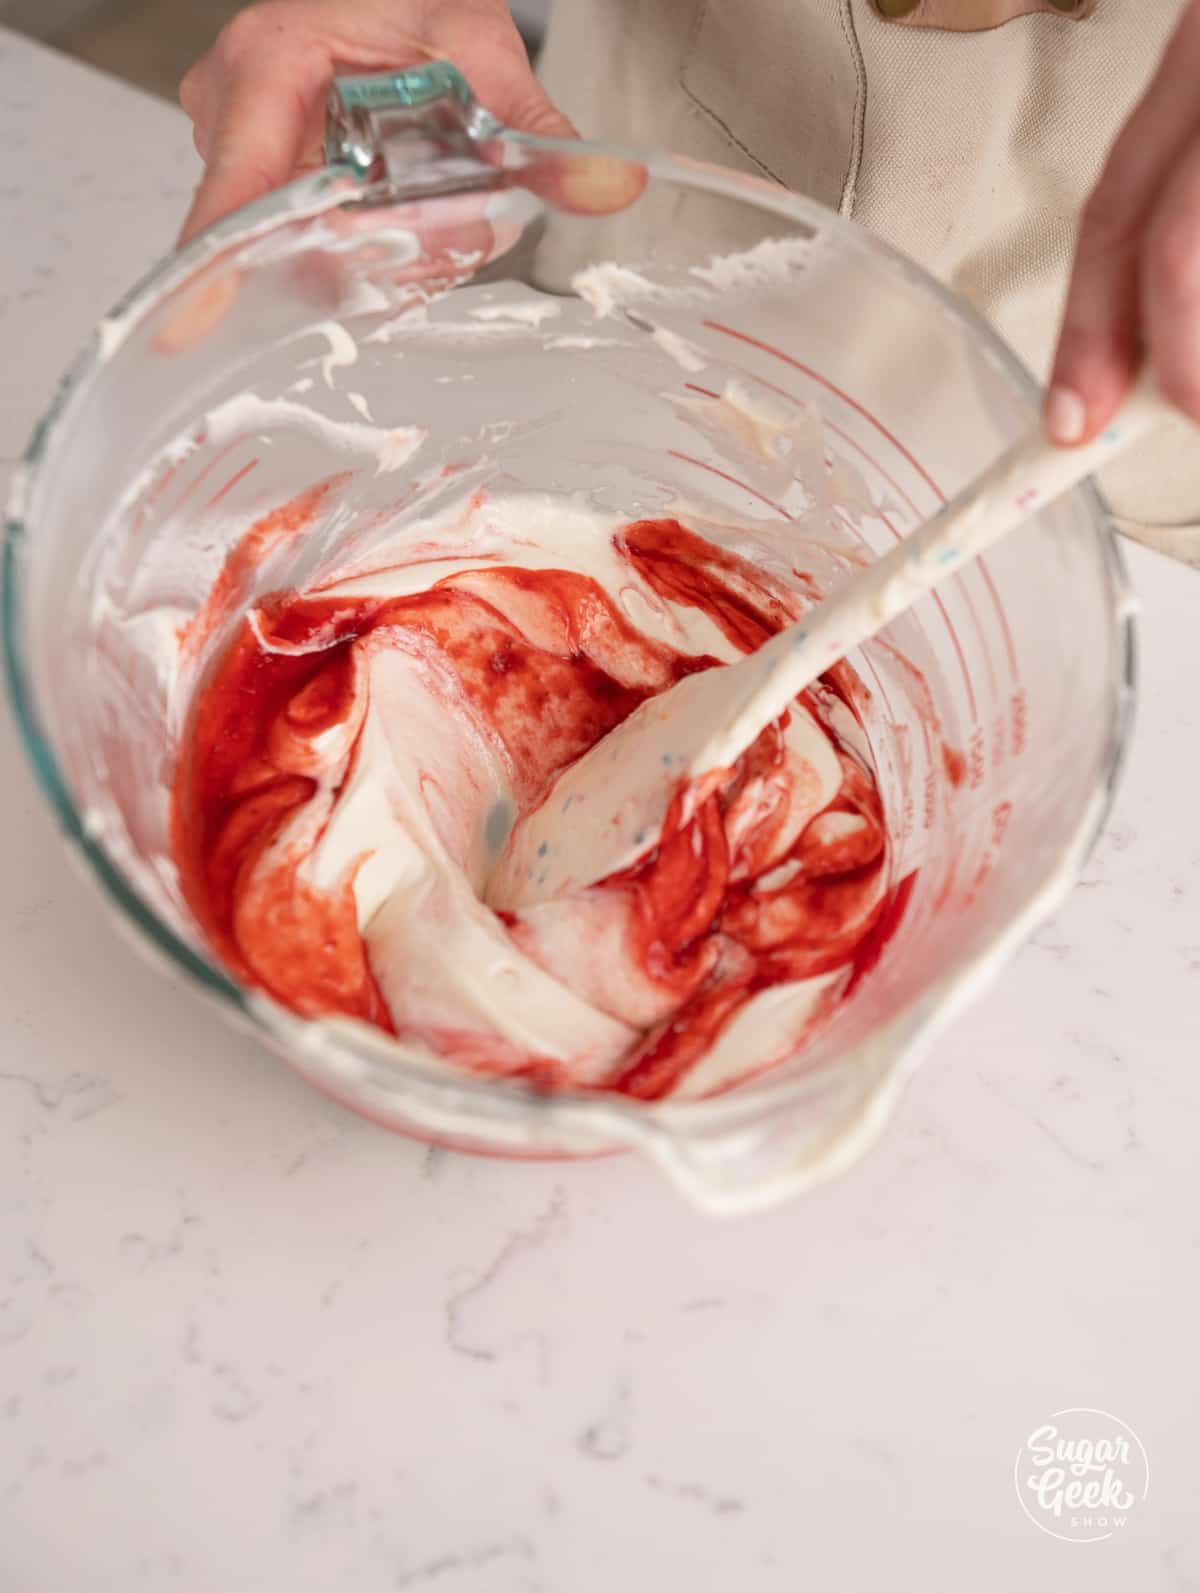
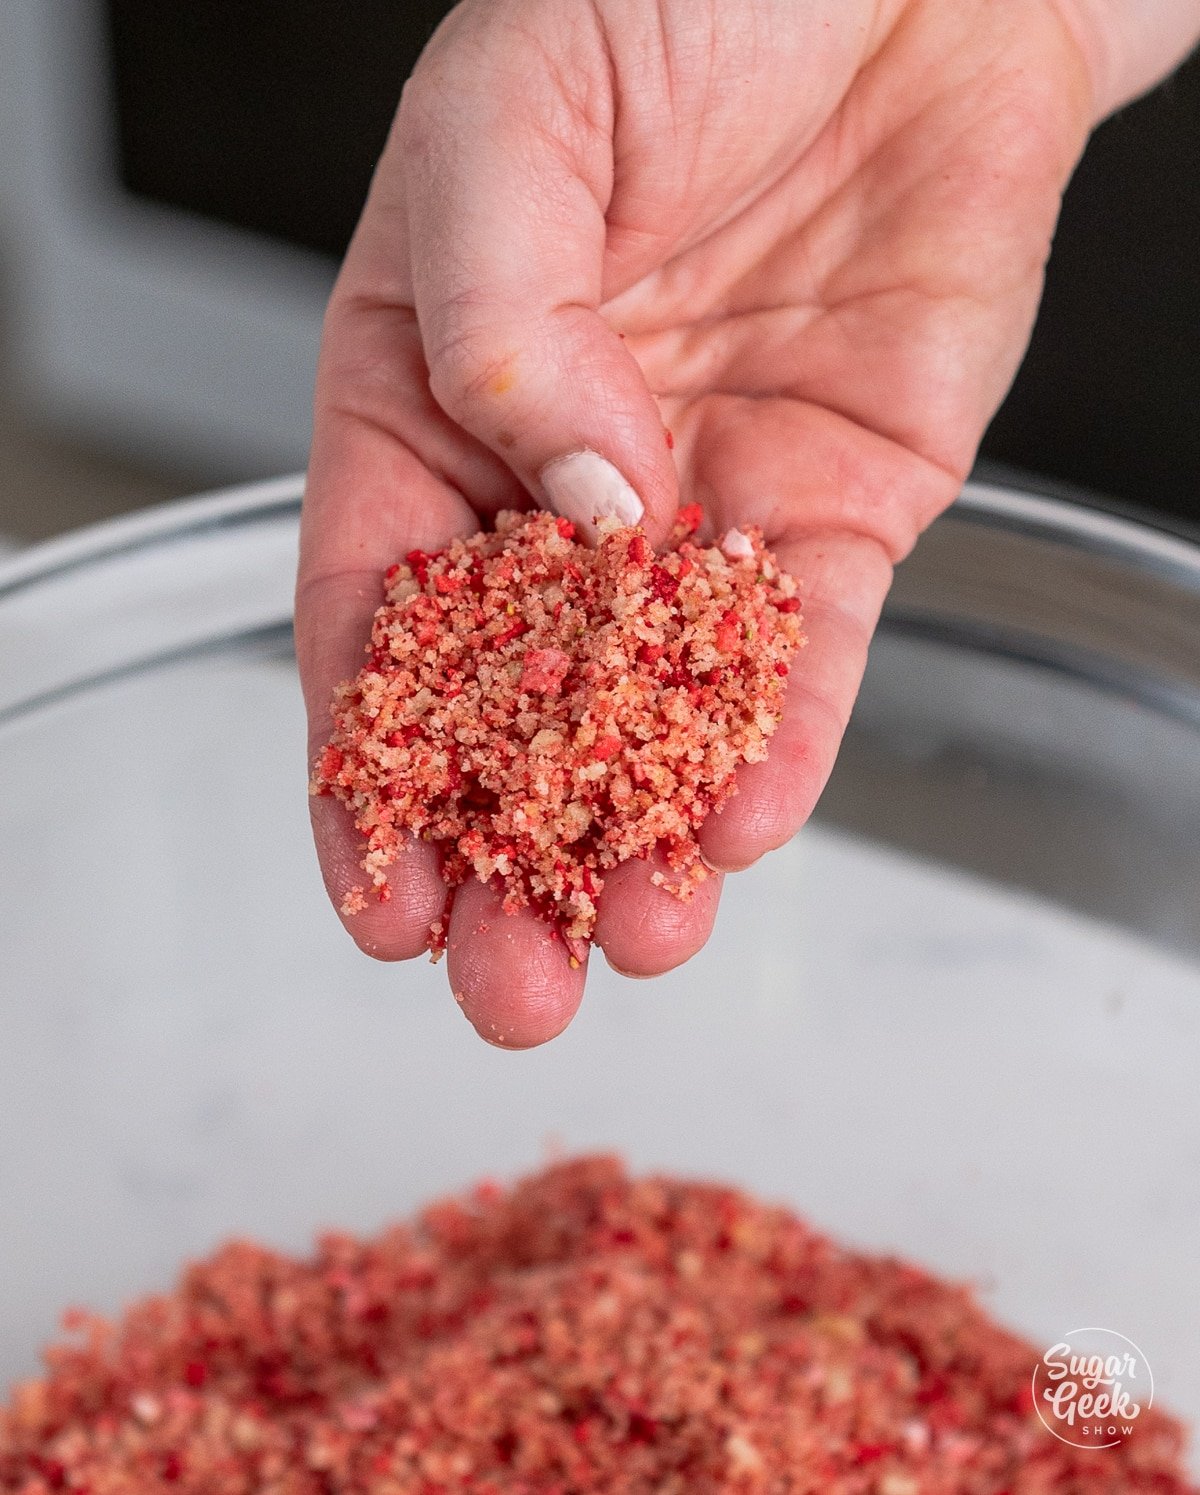
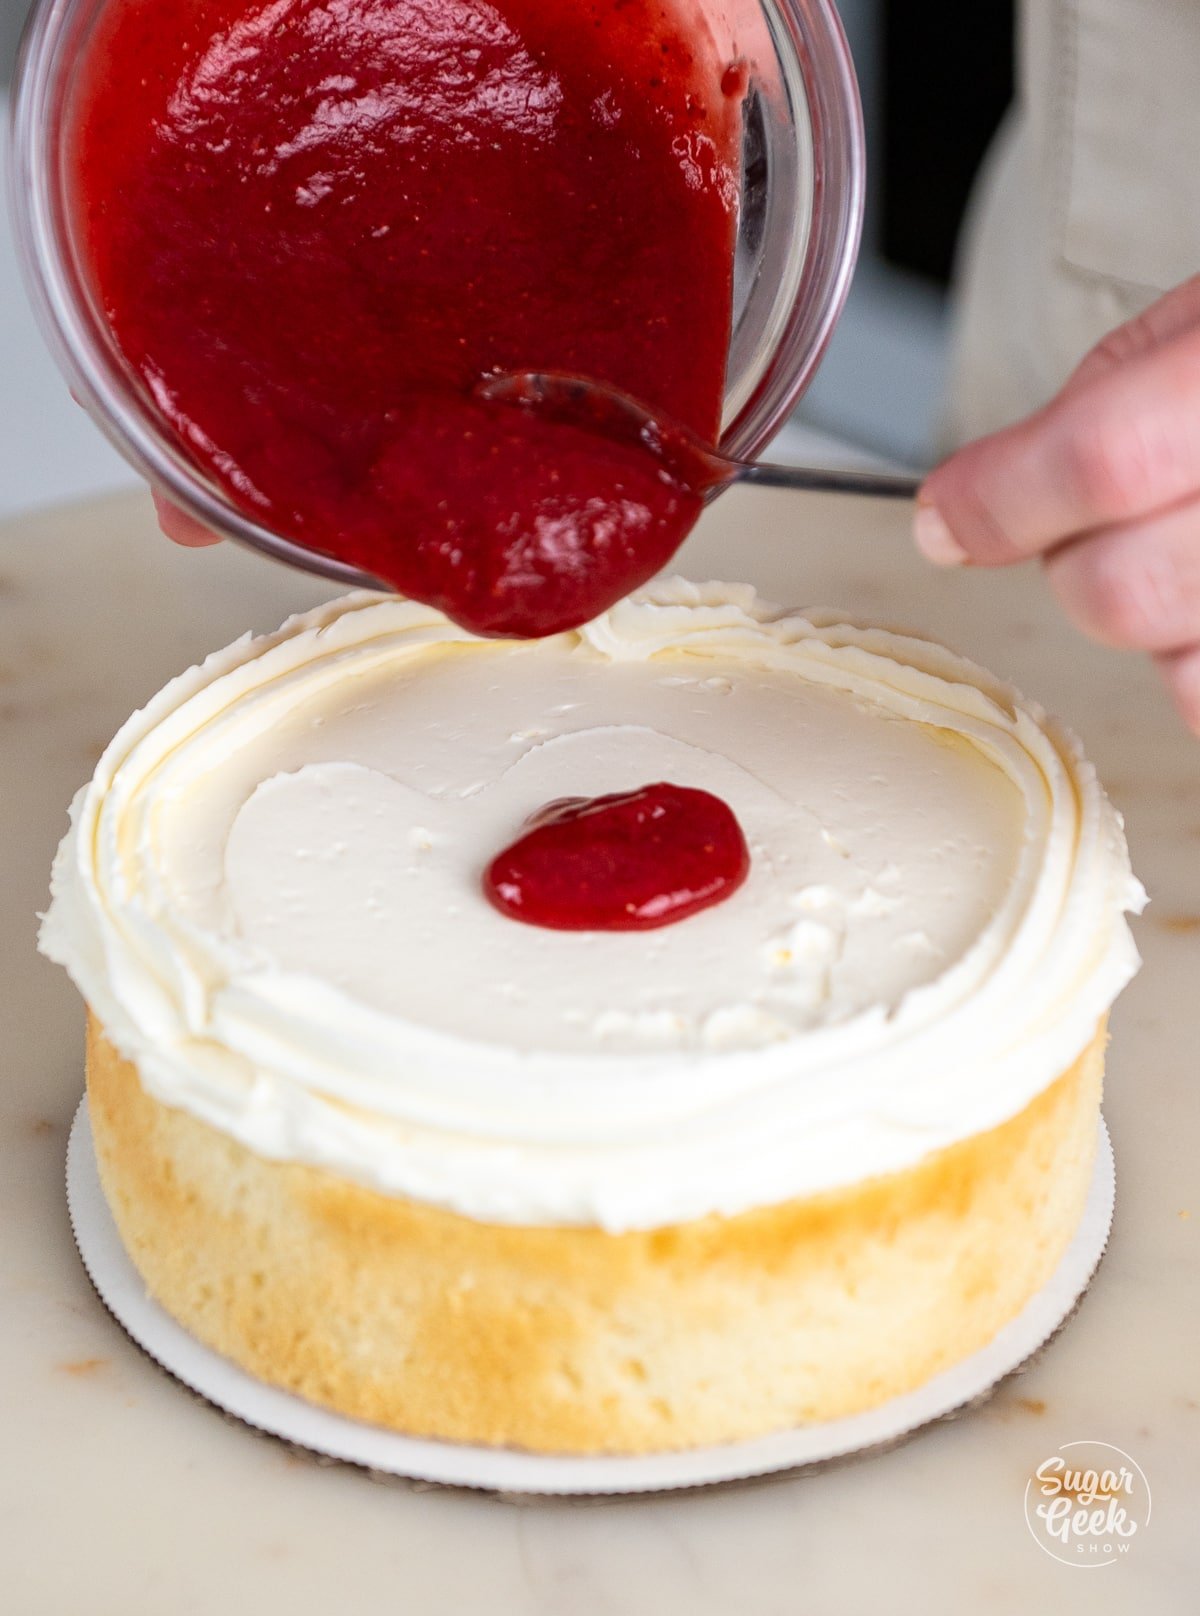
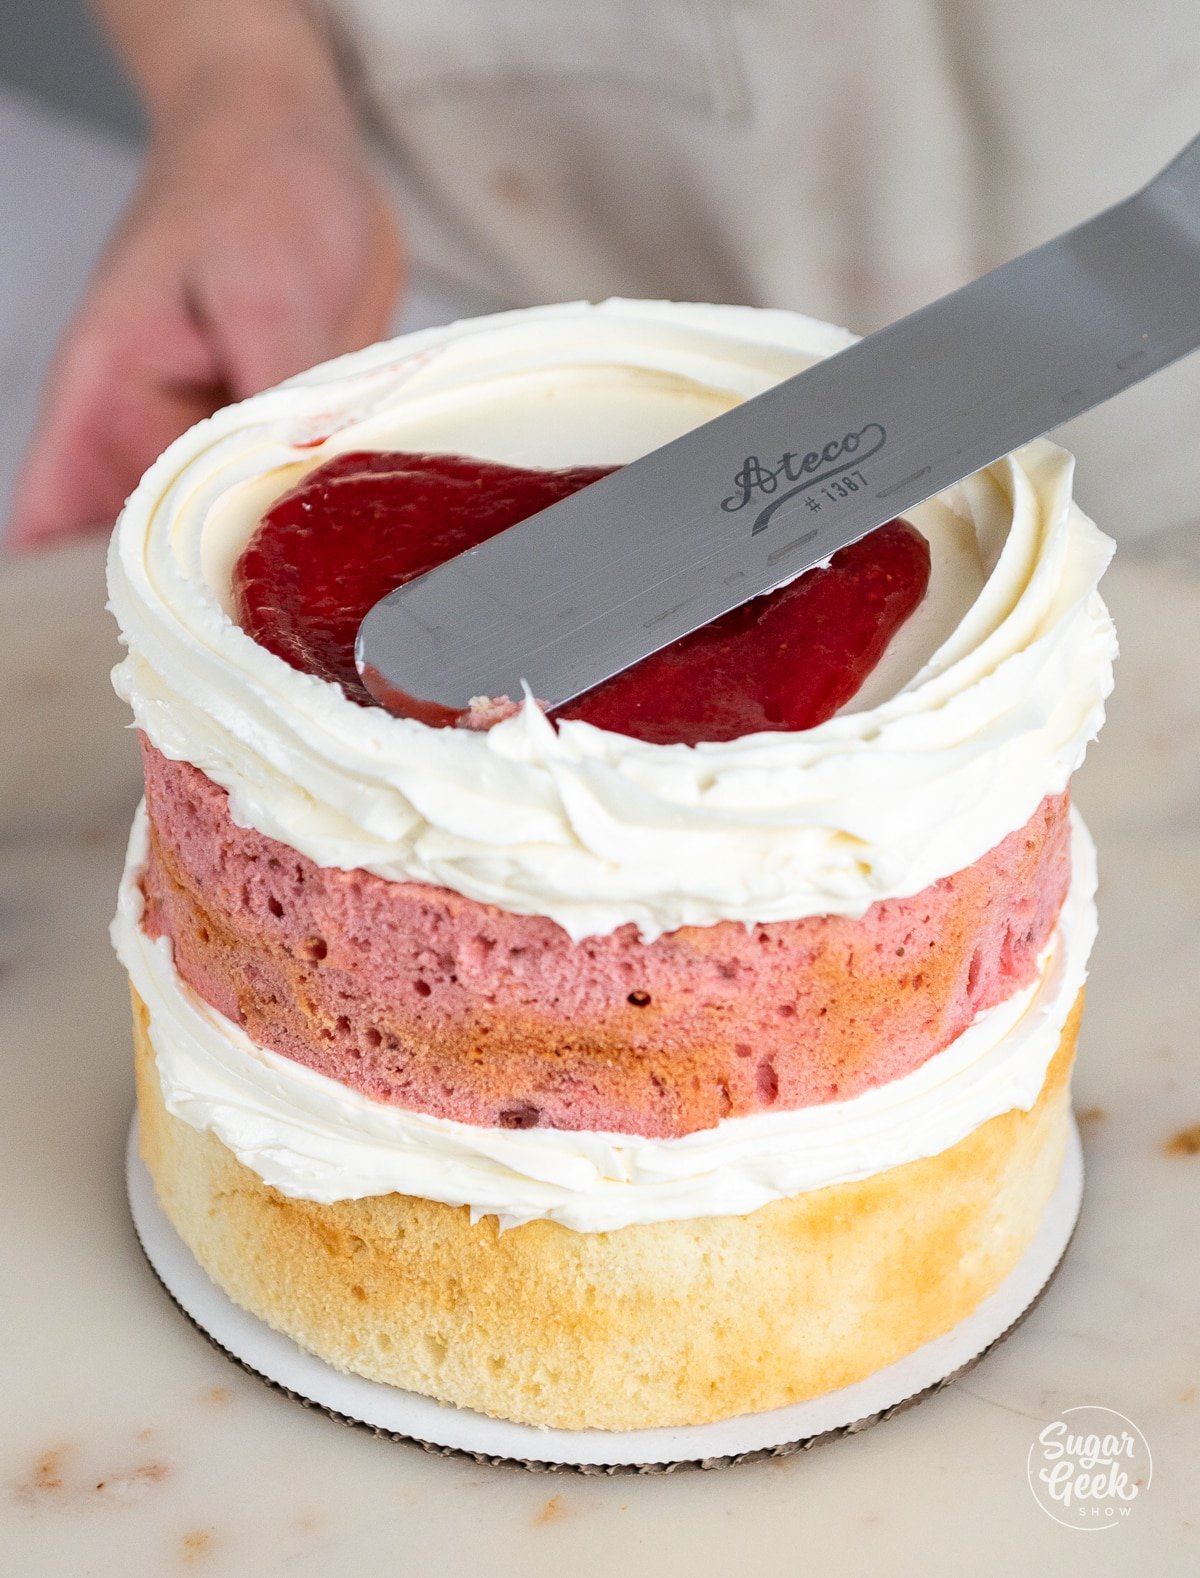
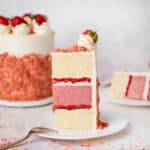
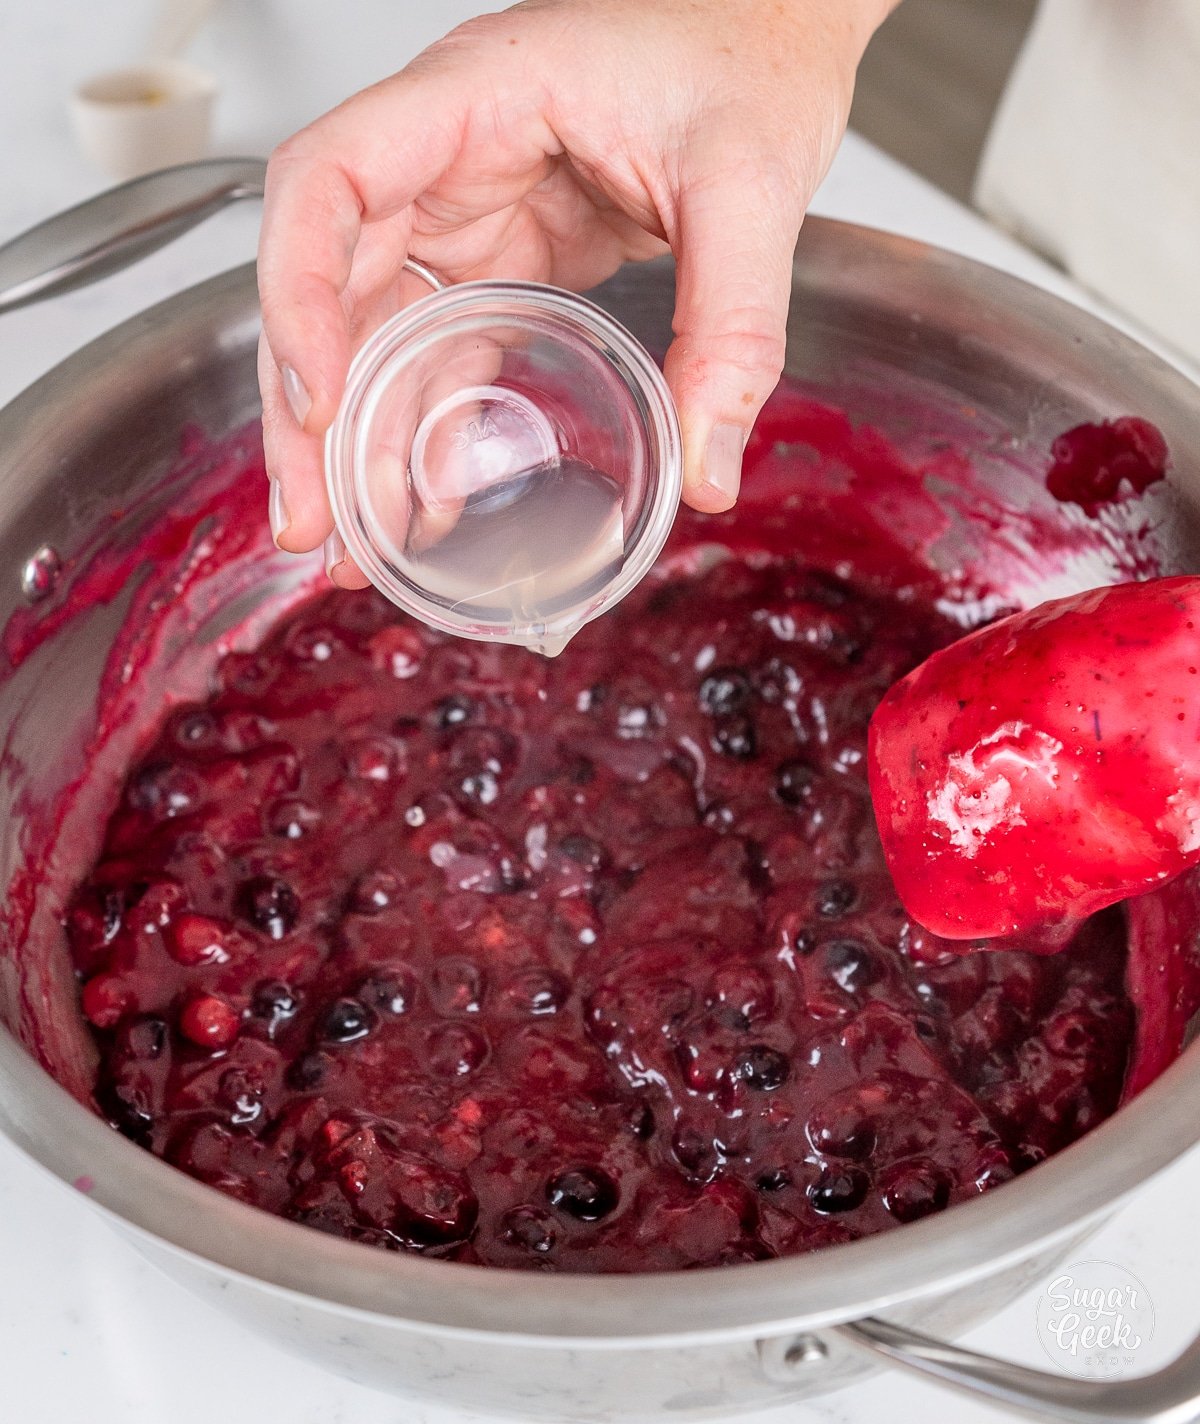
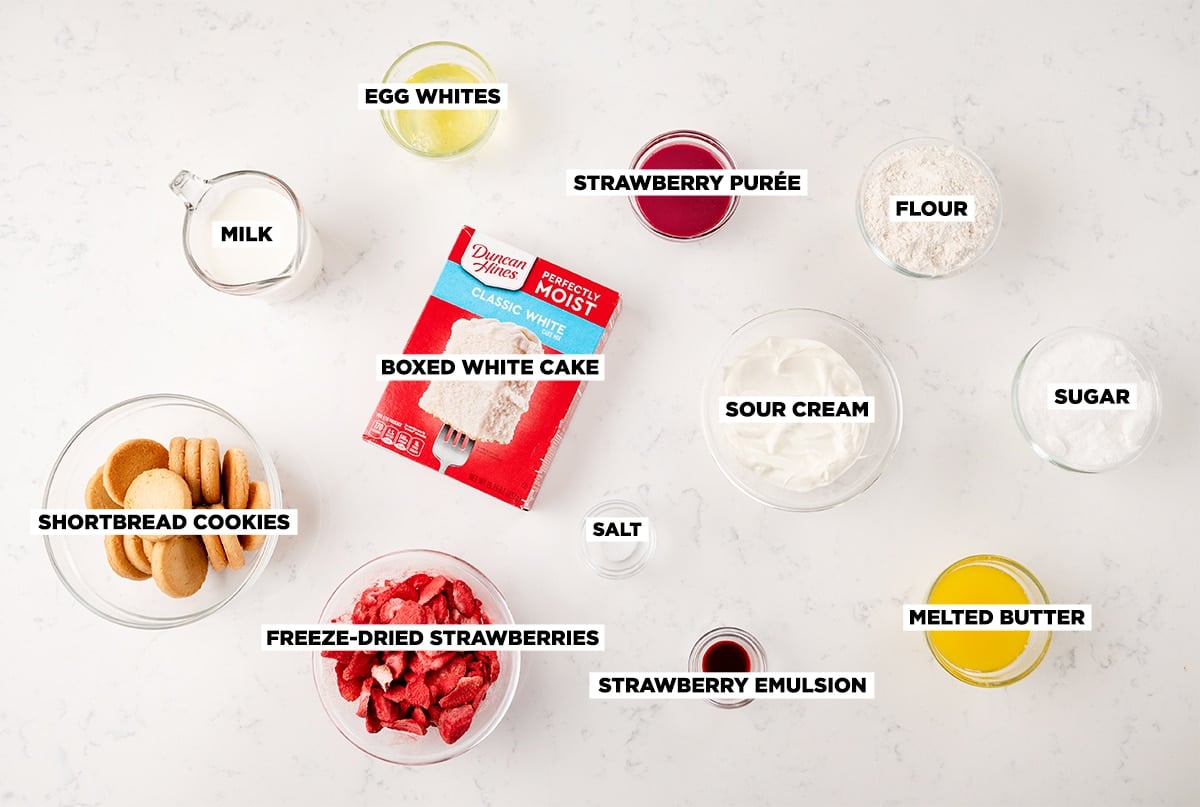 Strawberries: I am using strawberries in 3 ways for this recipe. Fresh (garnish), frozen (reduction), and freeze-dried (crunch). I use thawed frozen berries to slightly speed up the reduction process. The cell walls of the frozen berries have already broken down, so once the heat is applied it can get right to evaporating water and intensifying flavor.
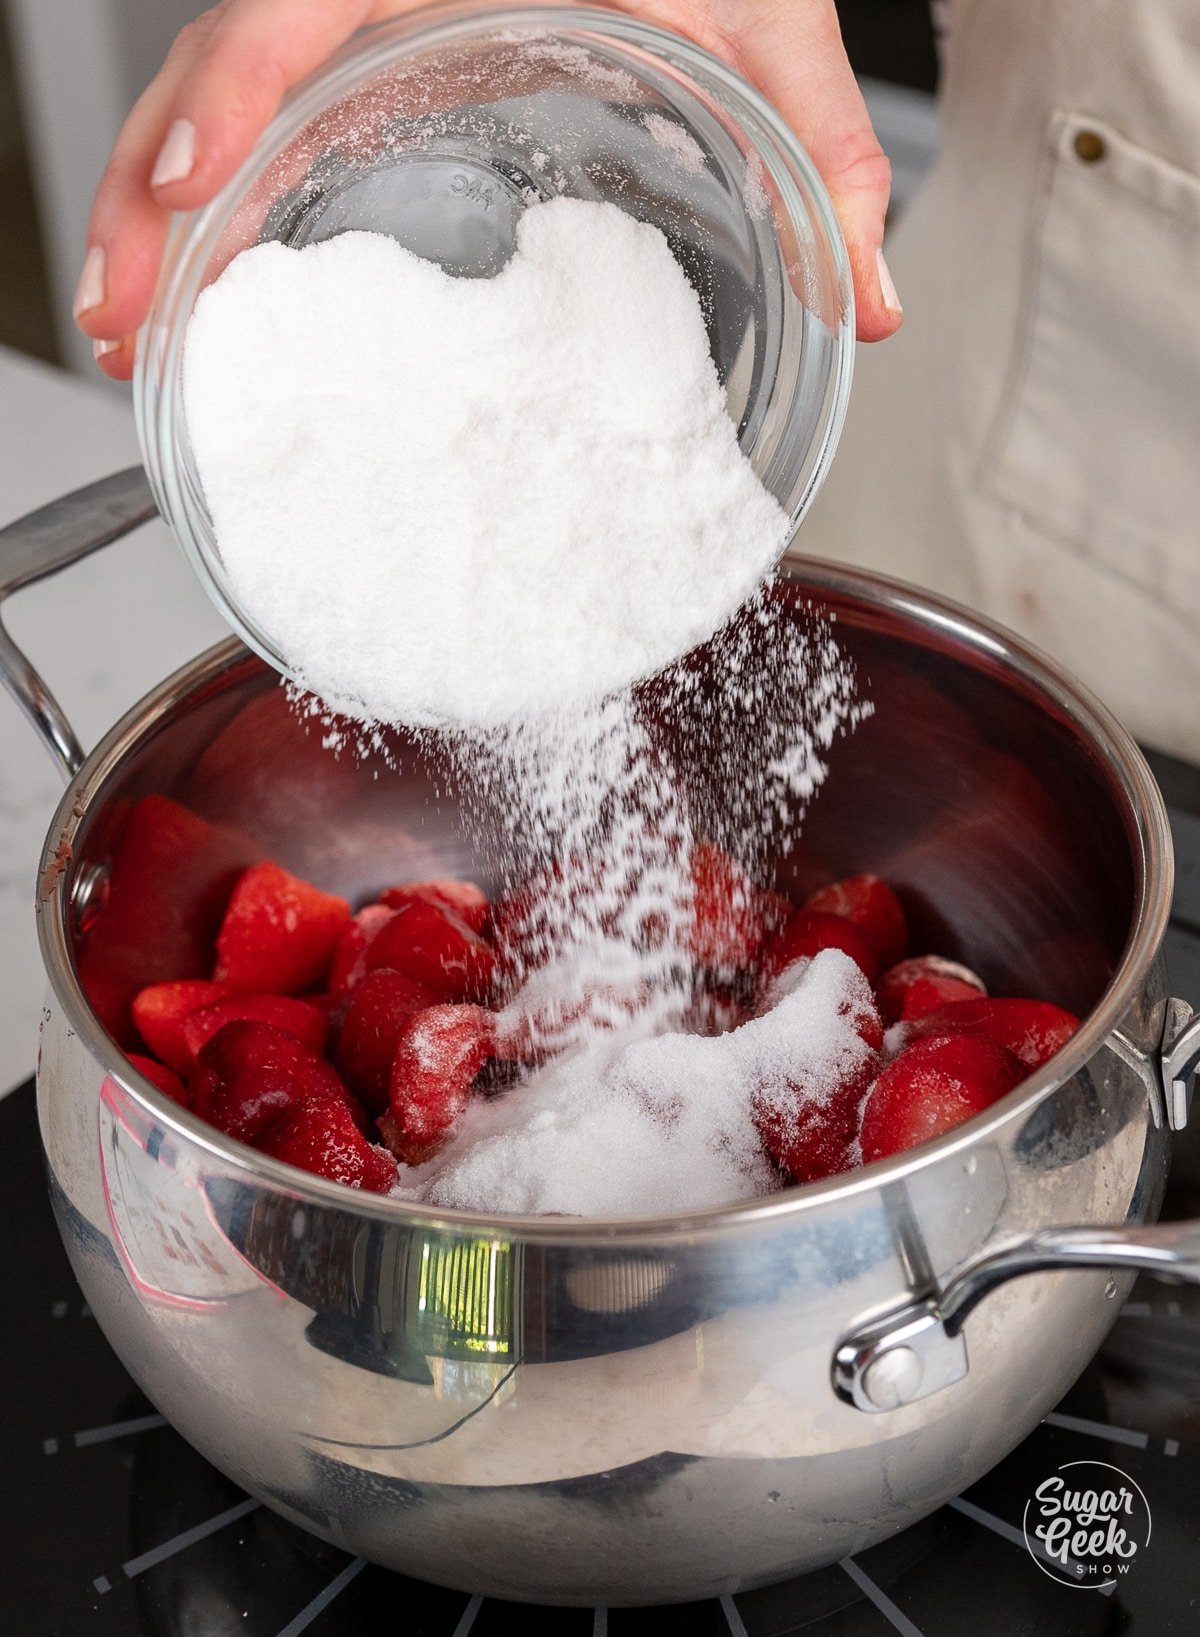


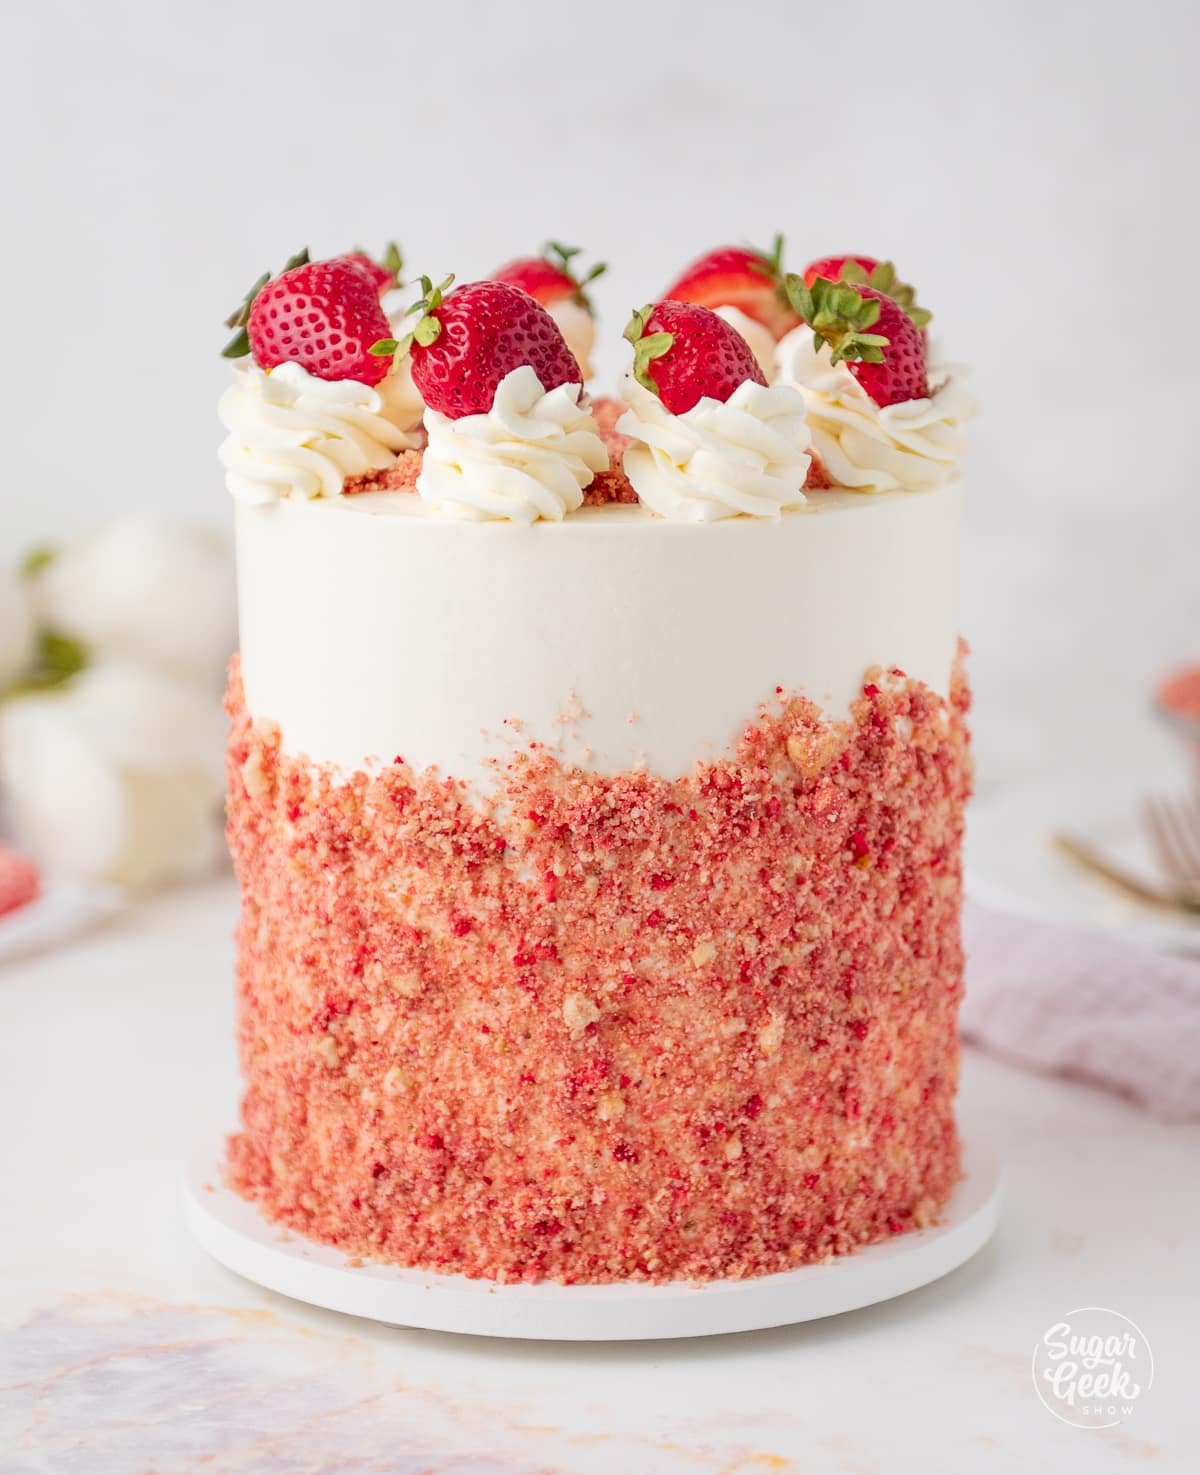

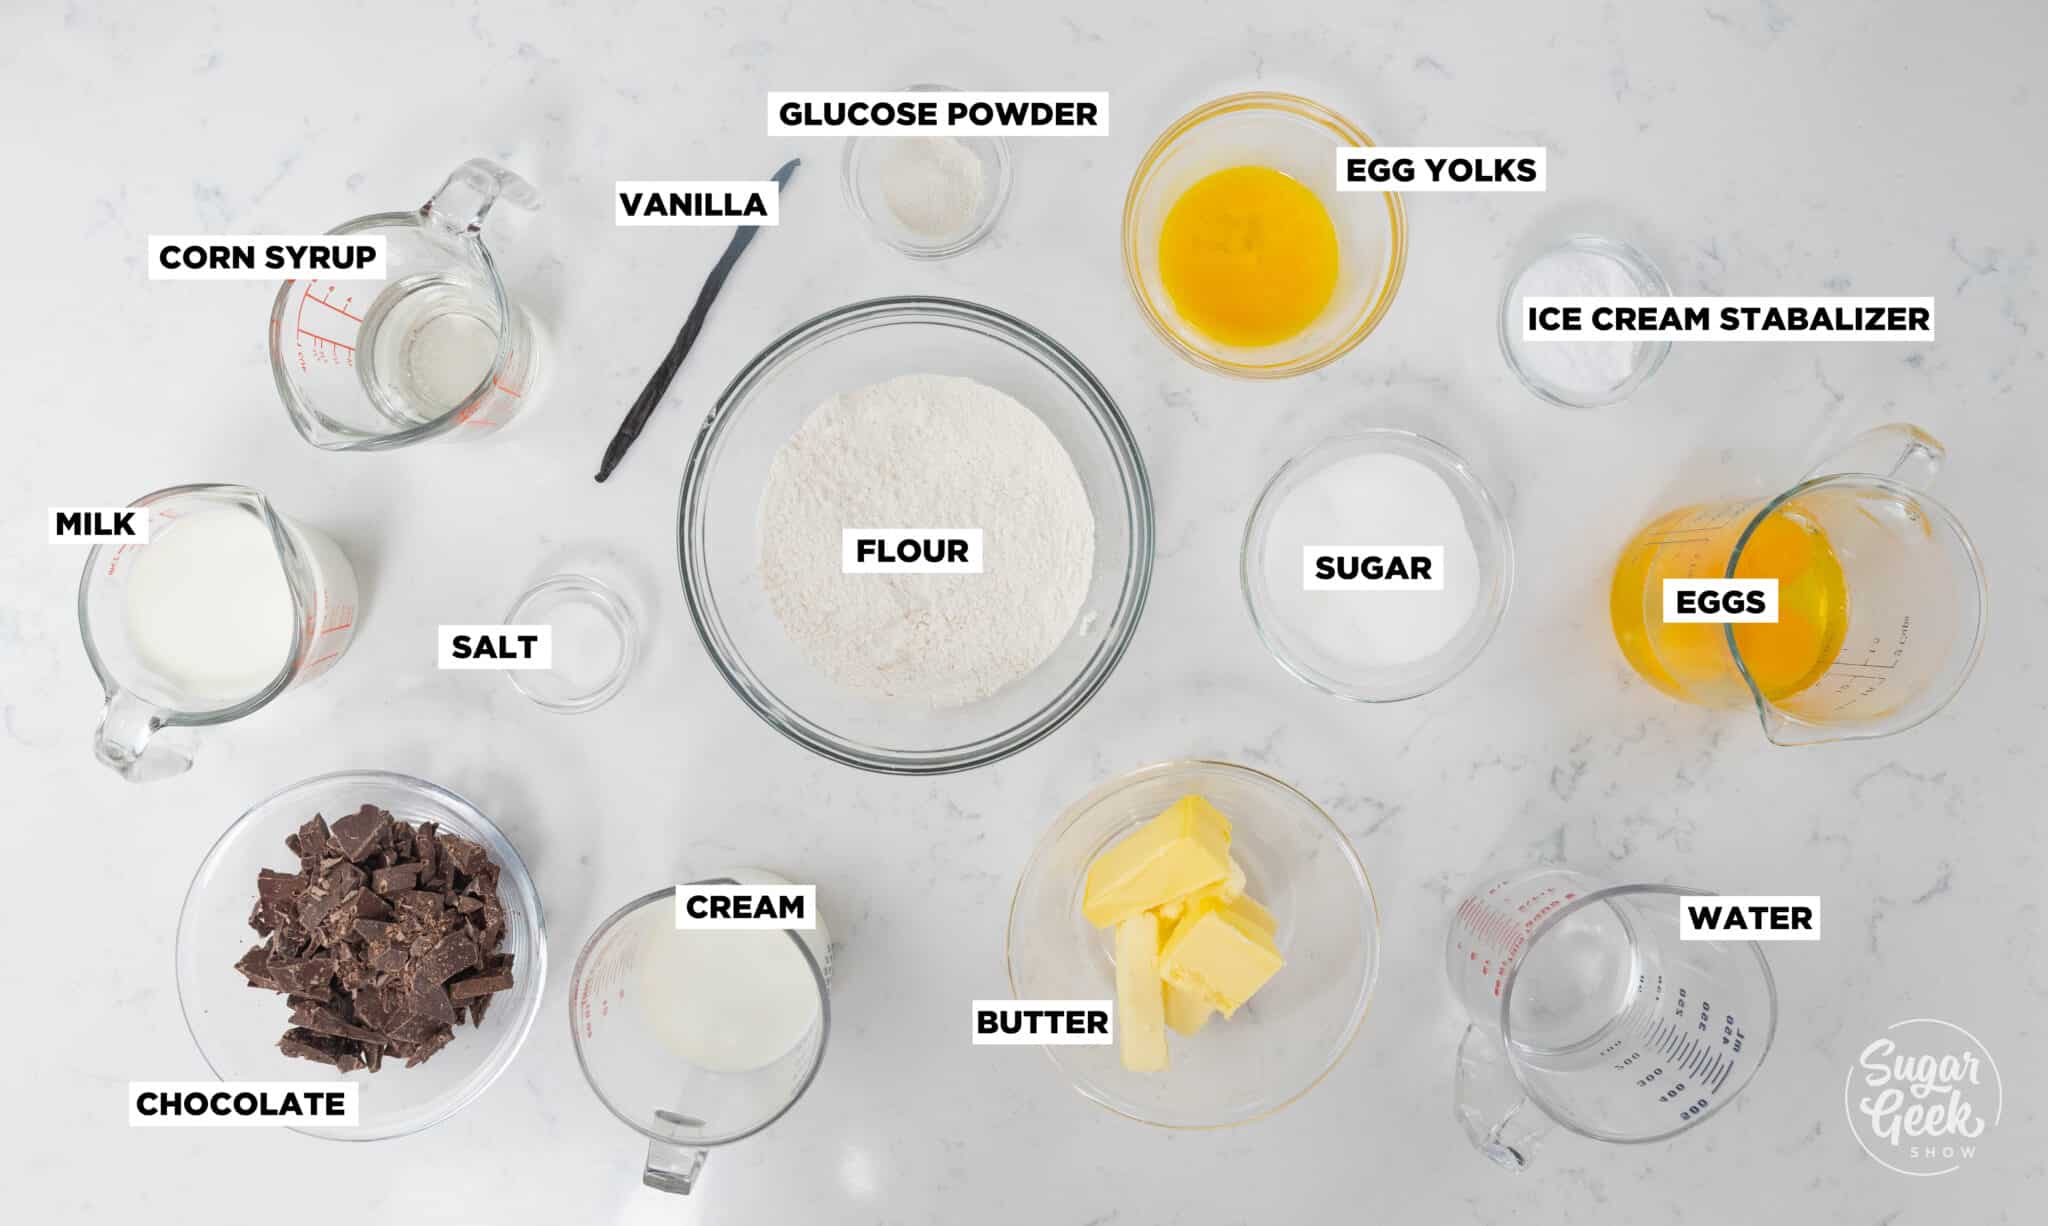


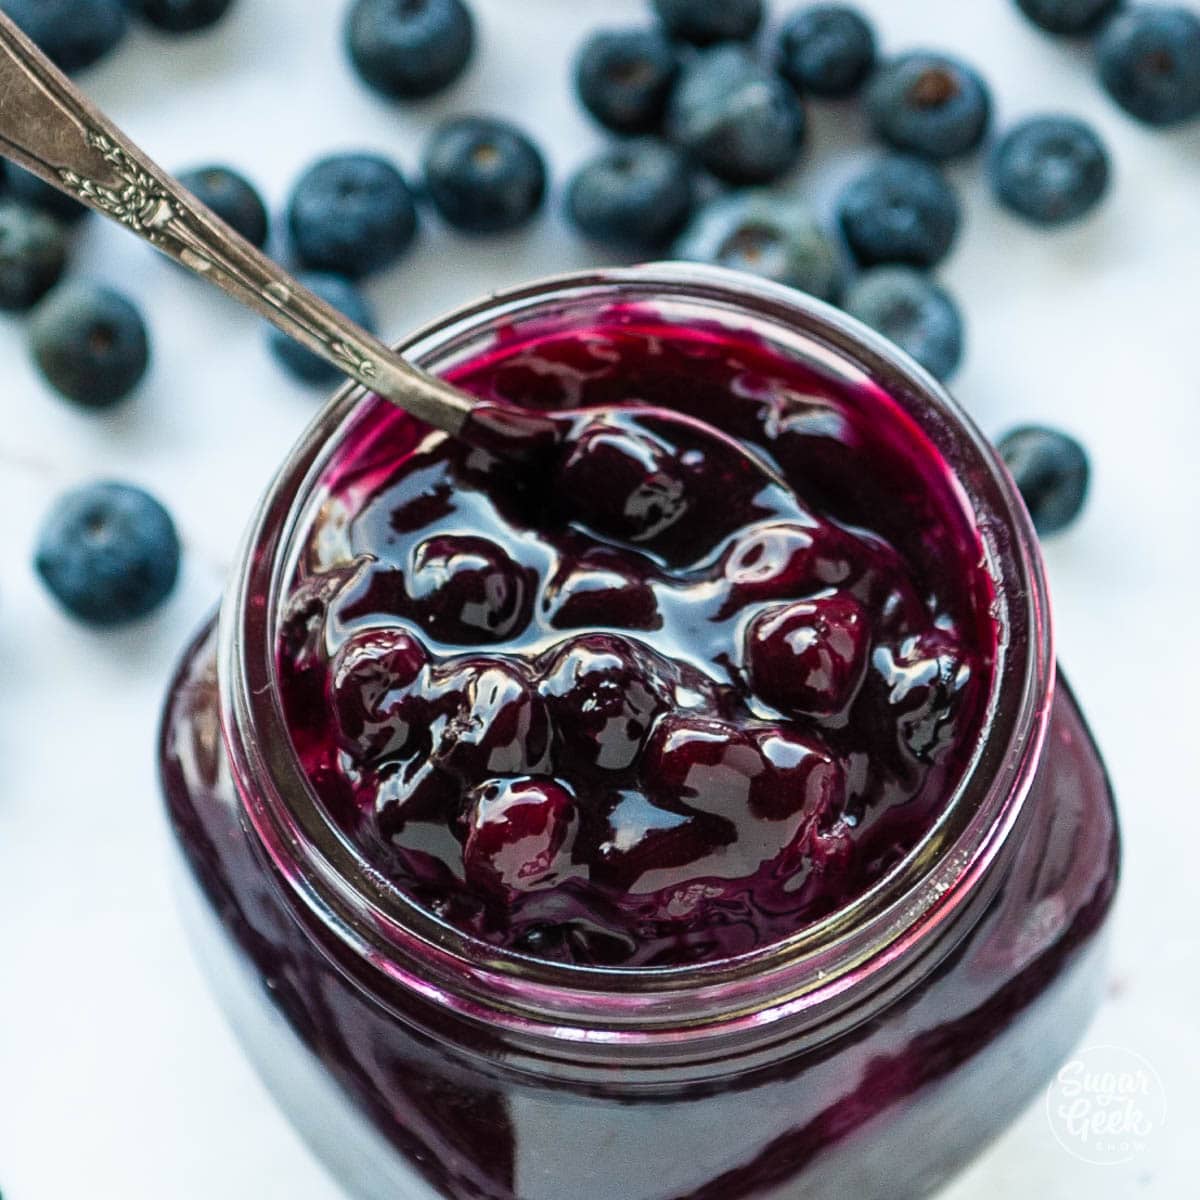
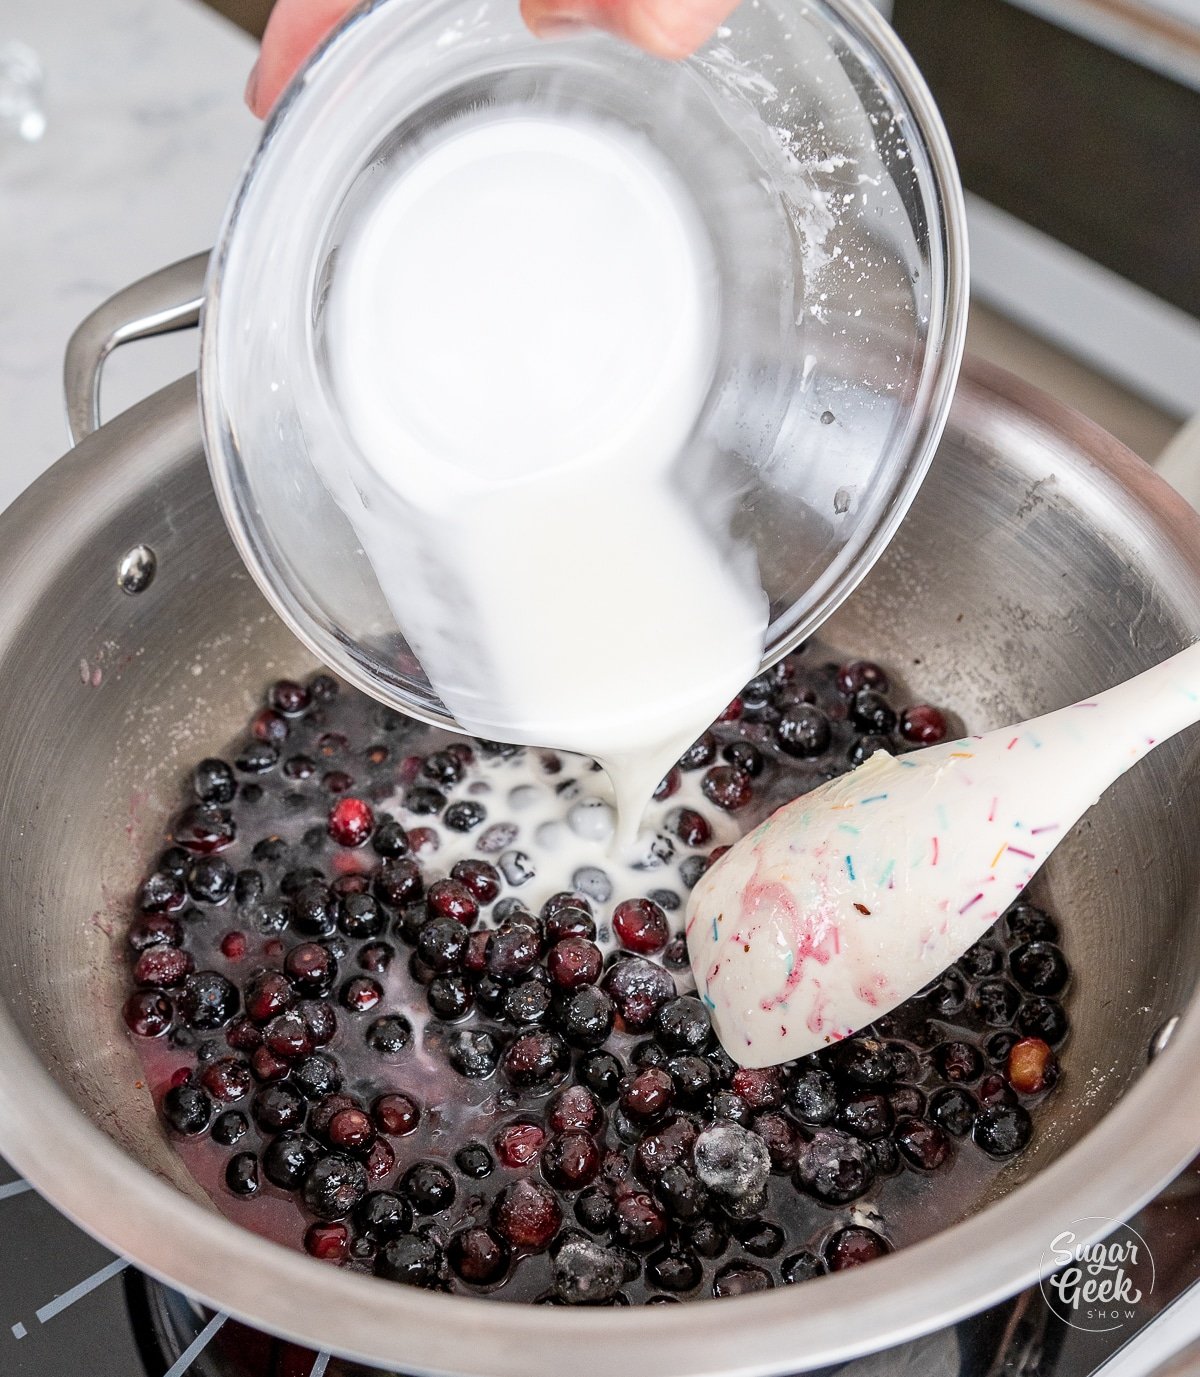
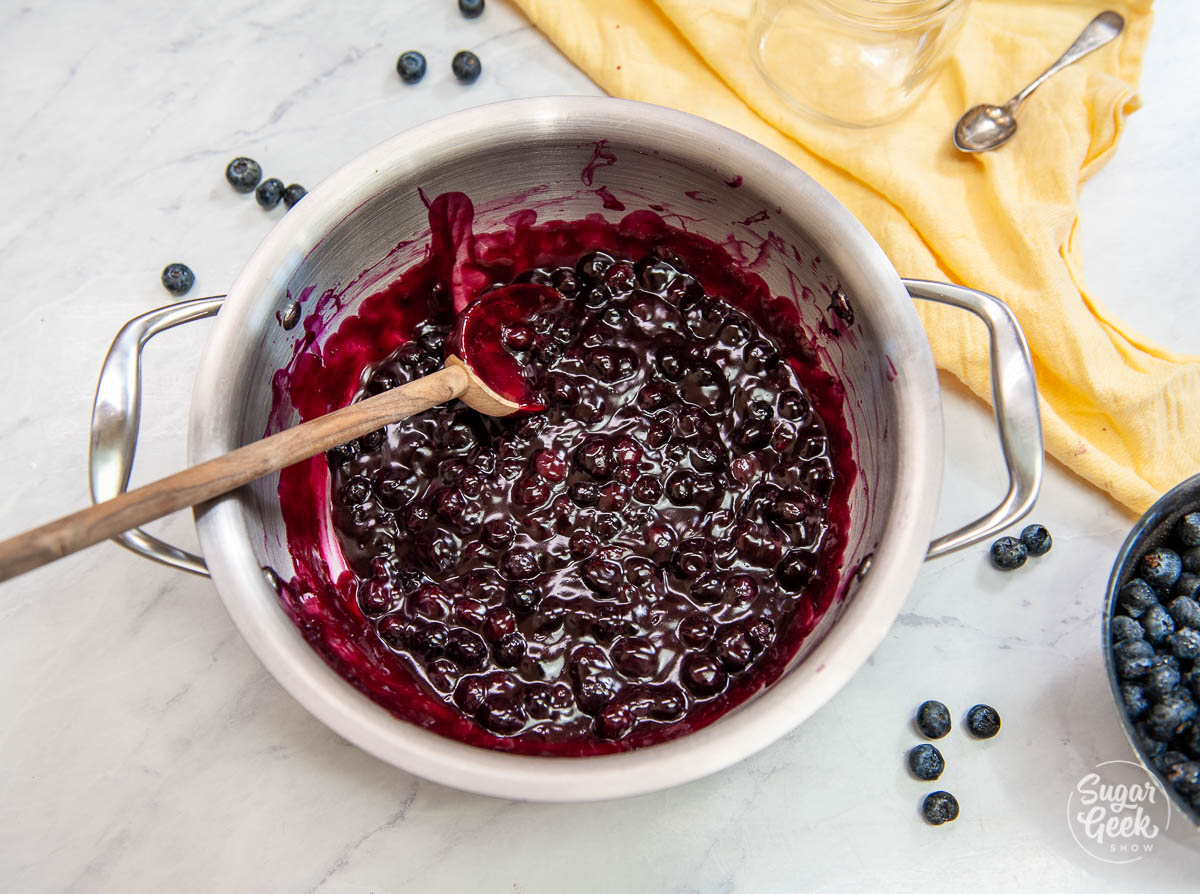
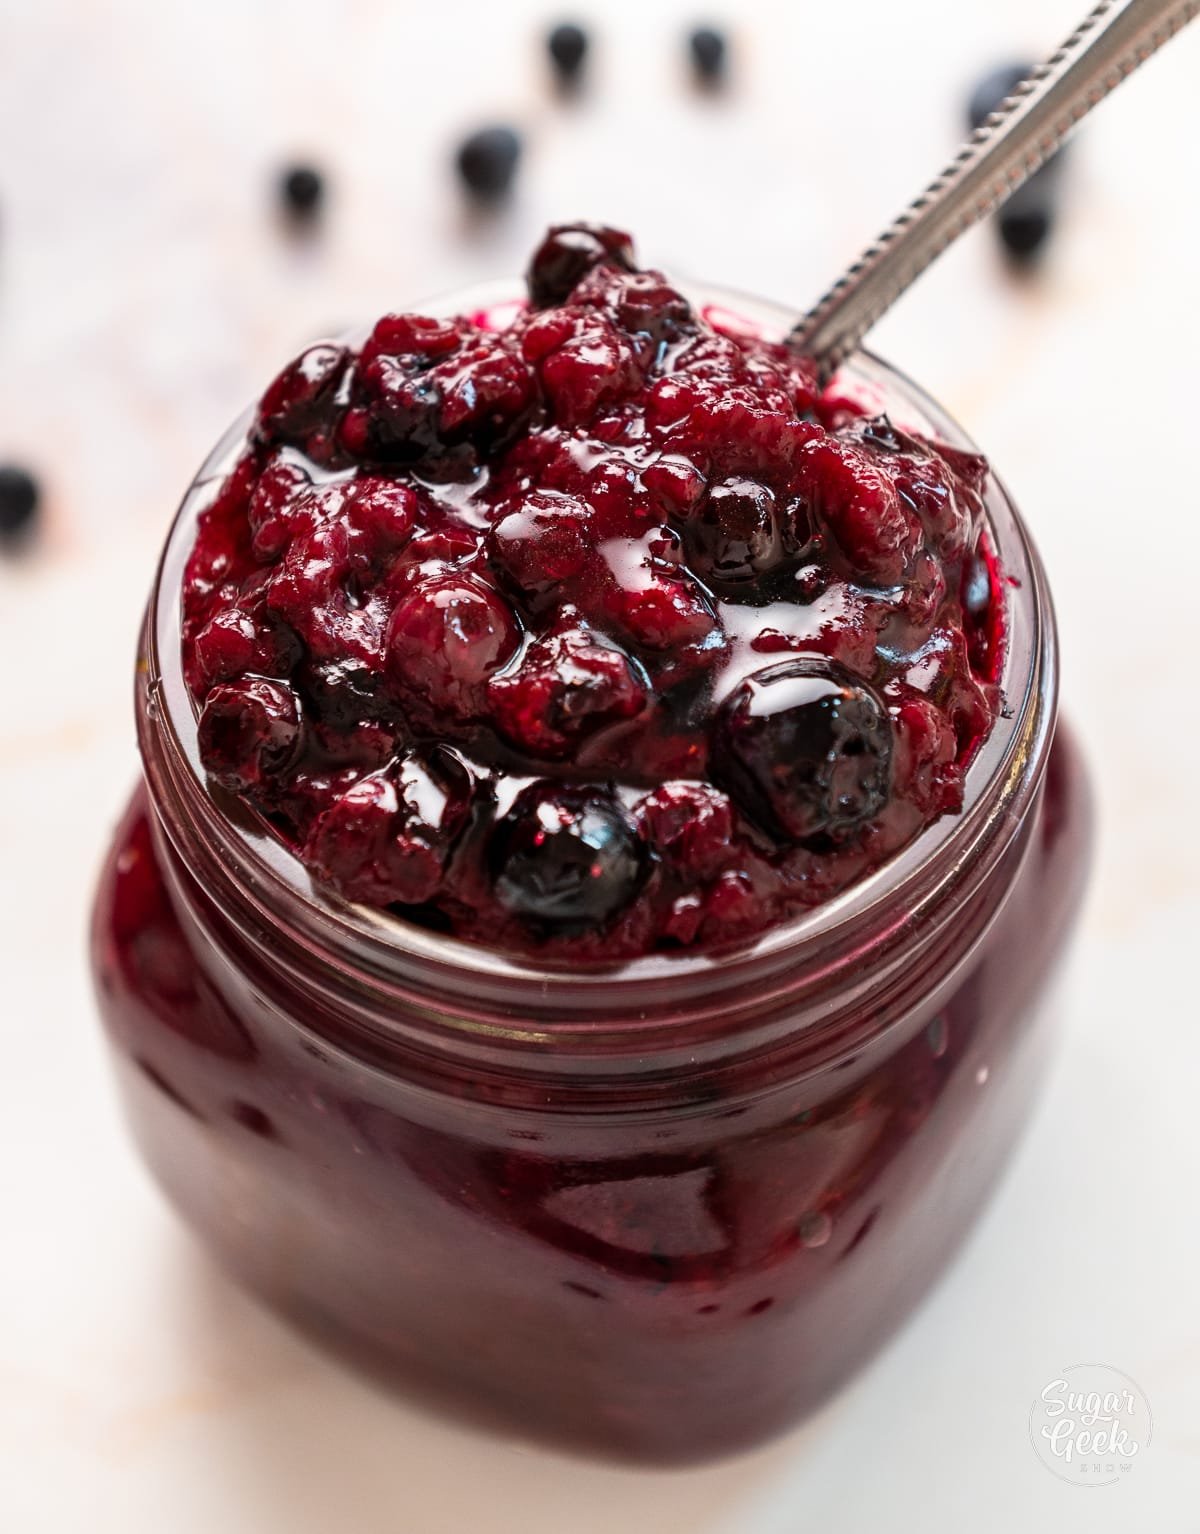
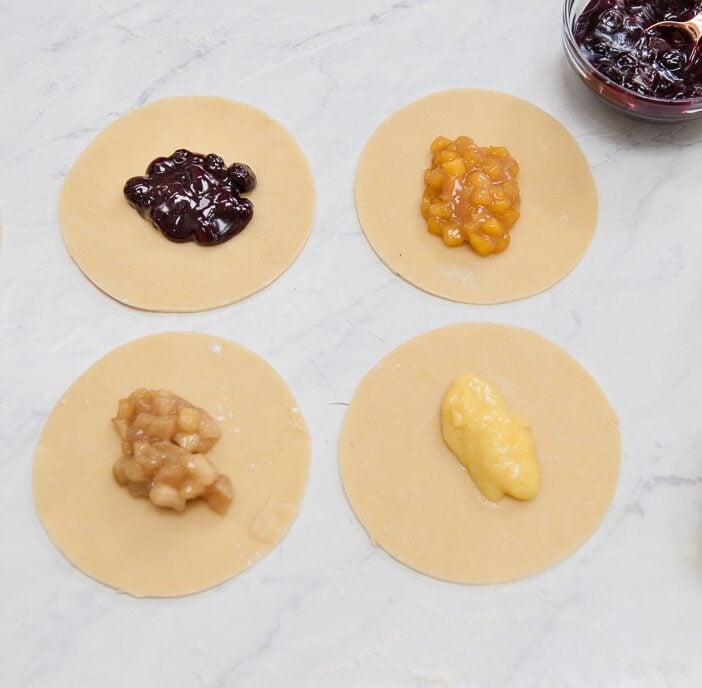

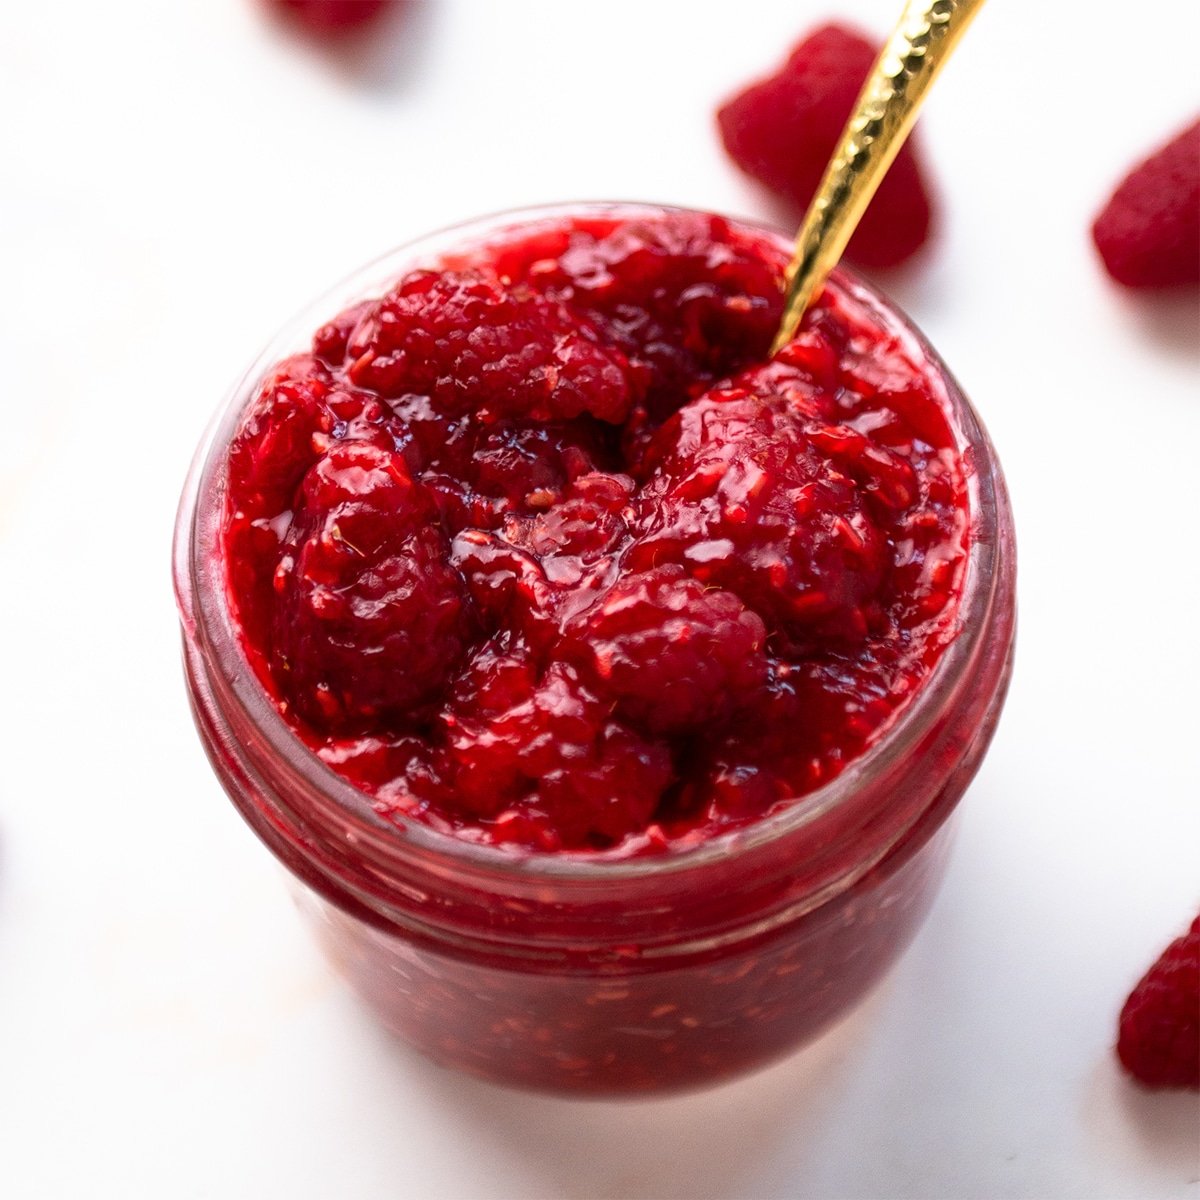
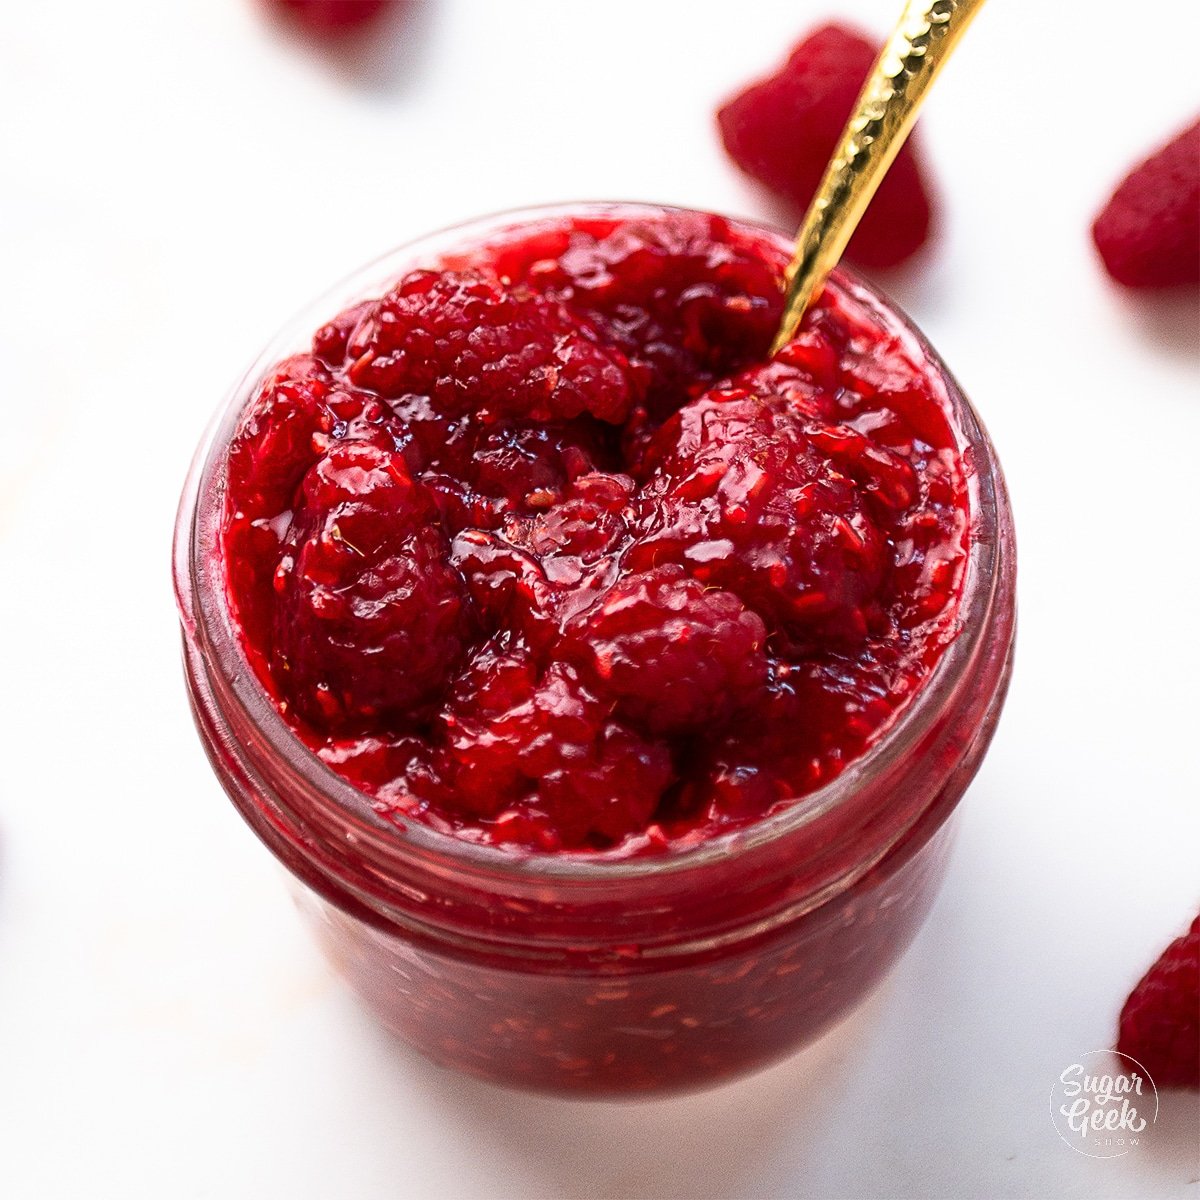
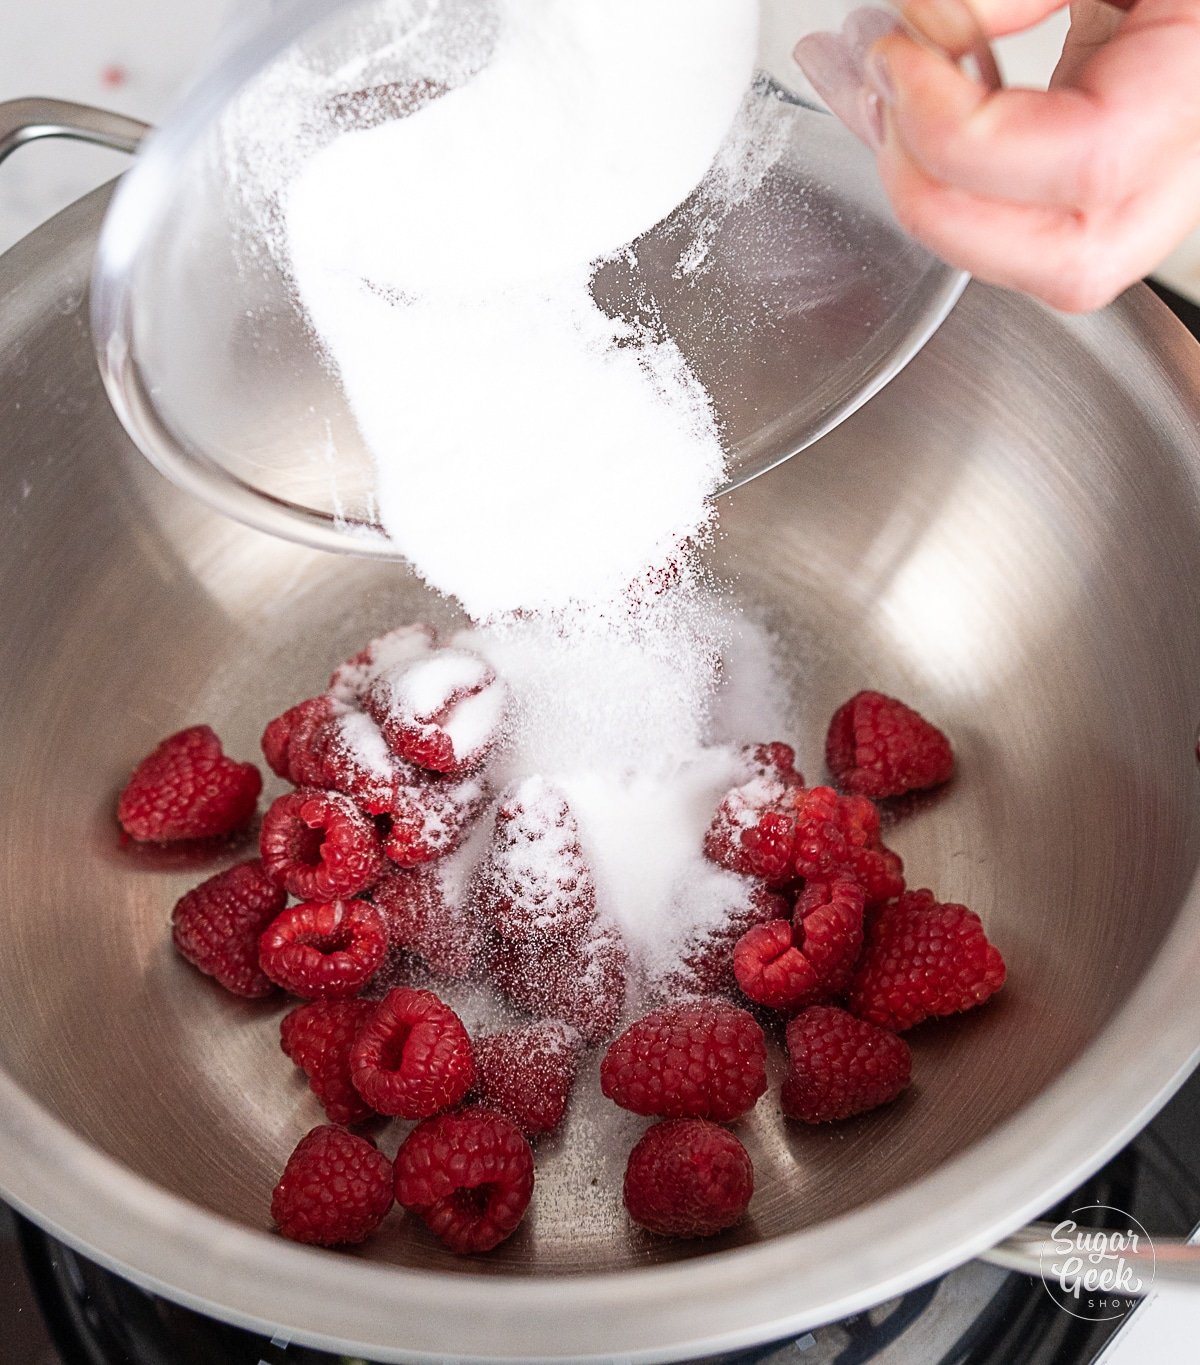
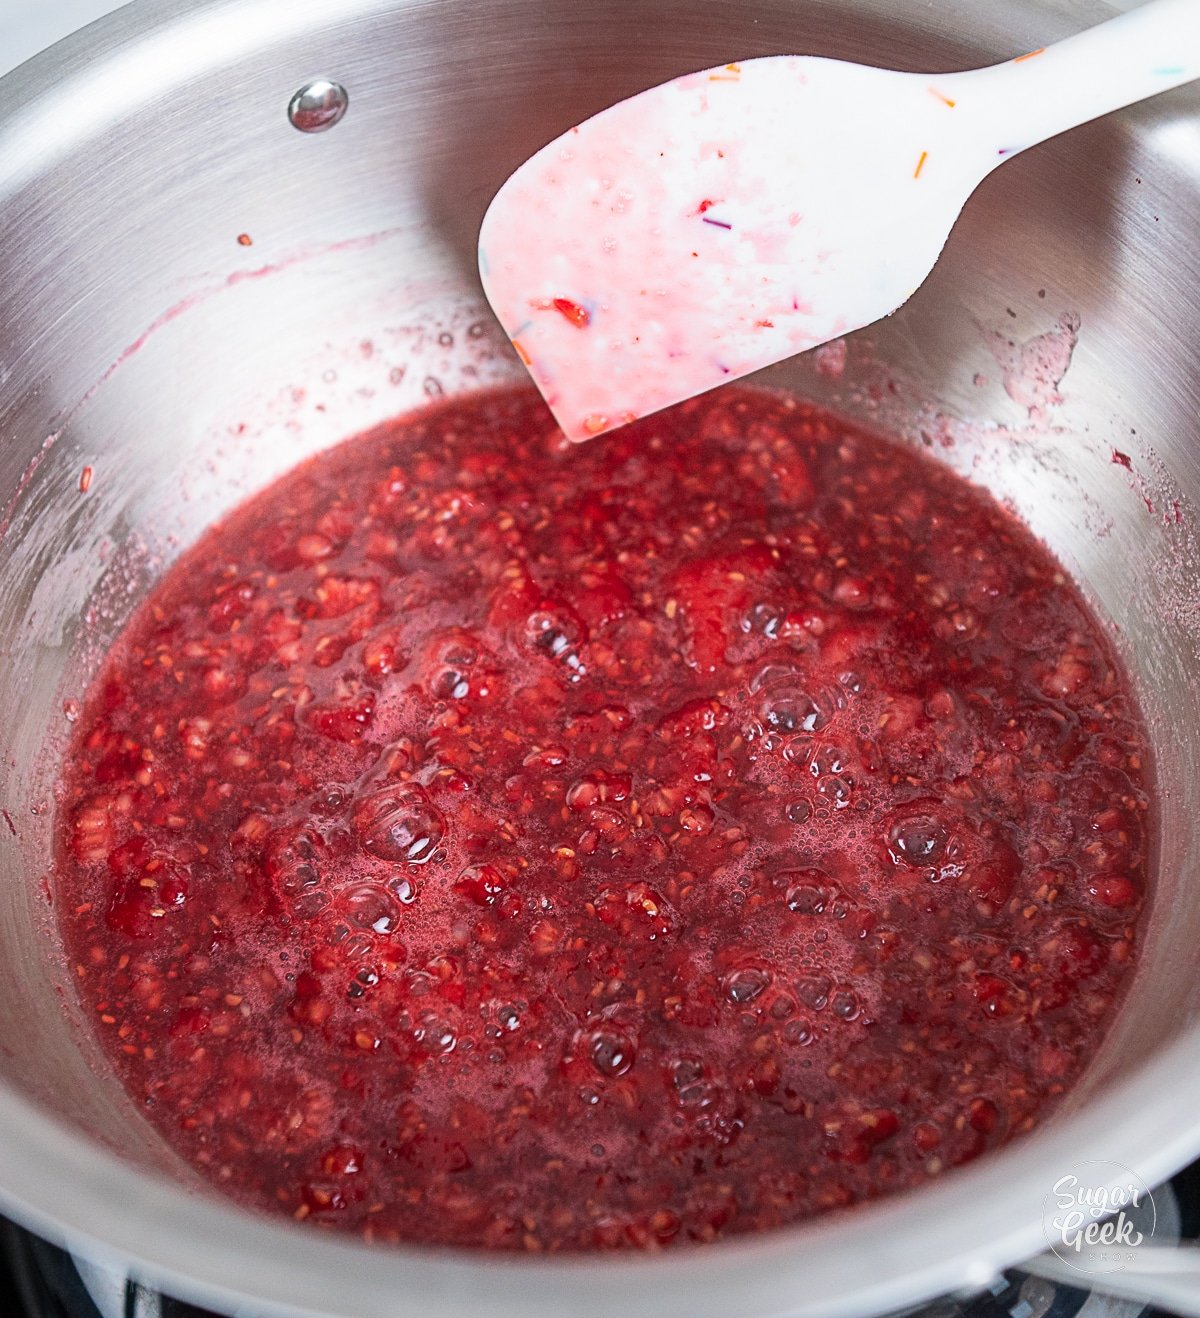
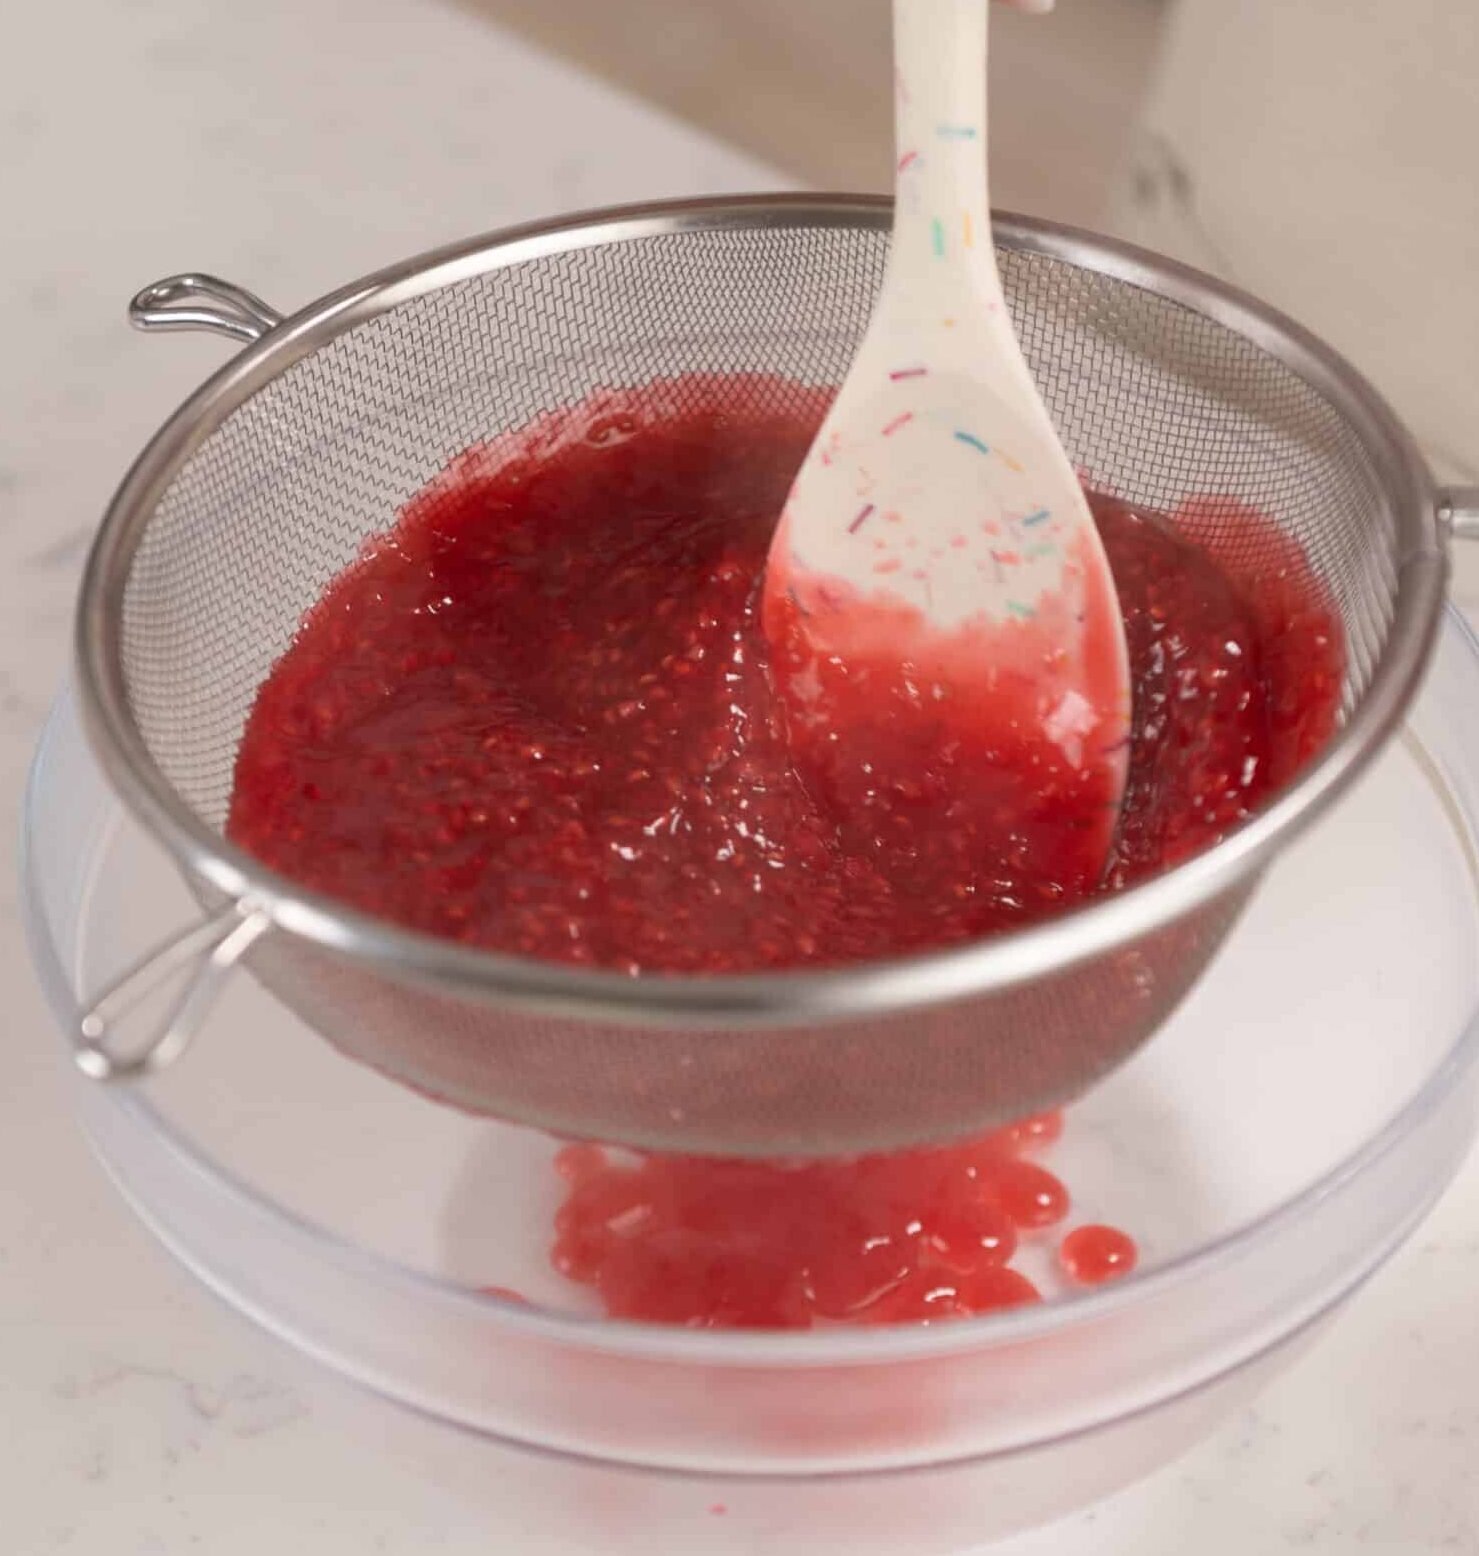
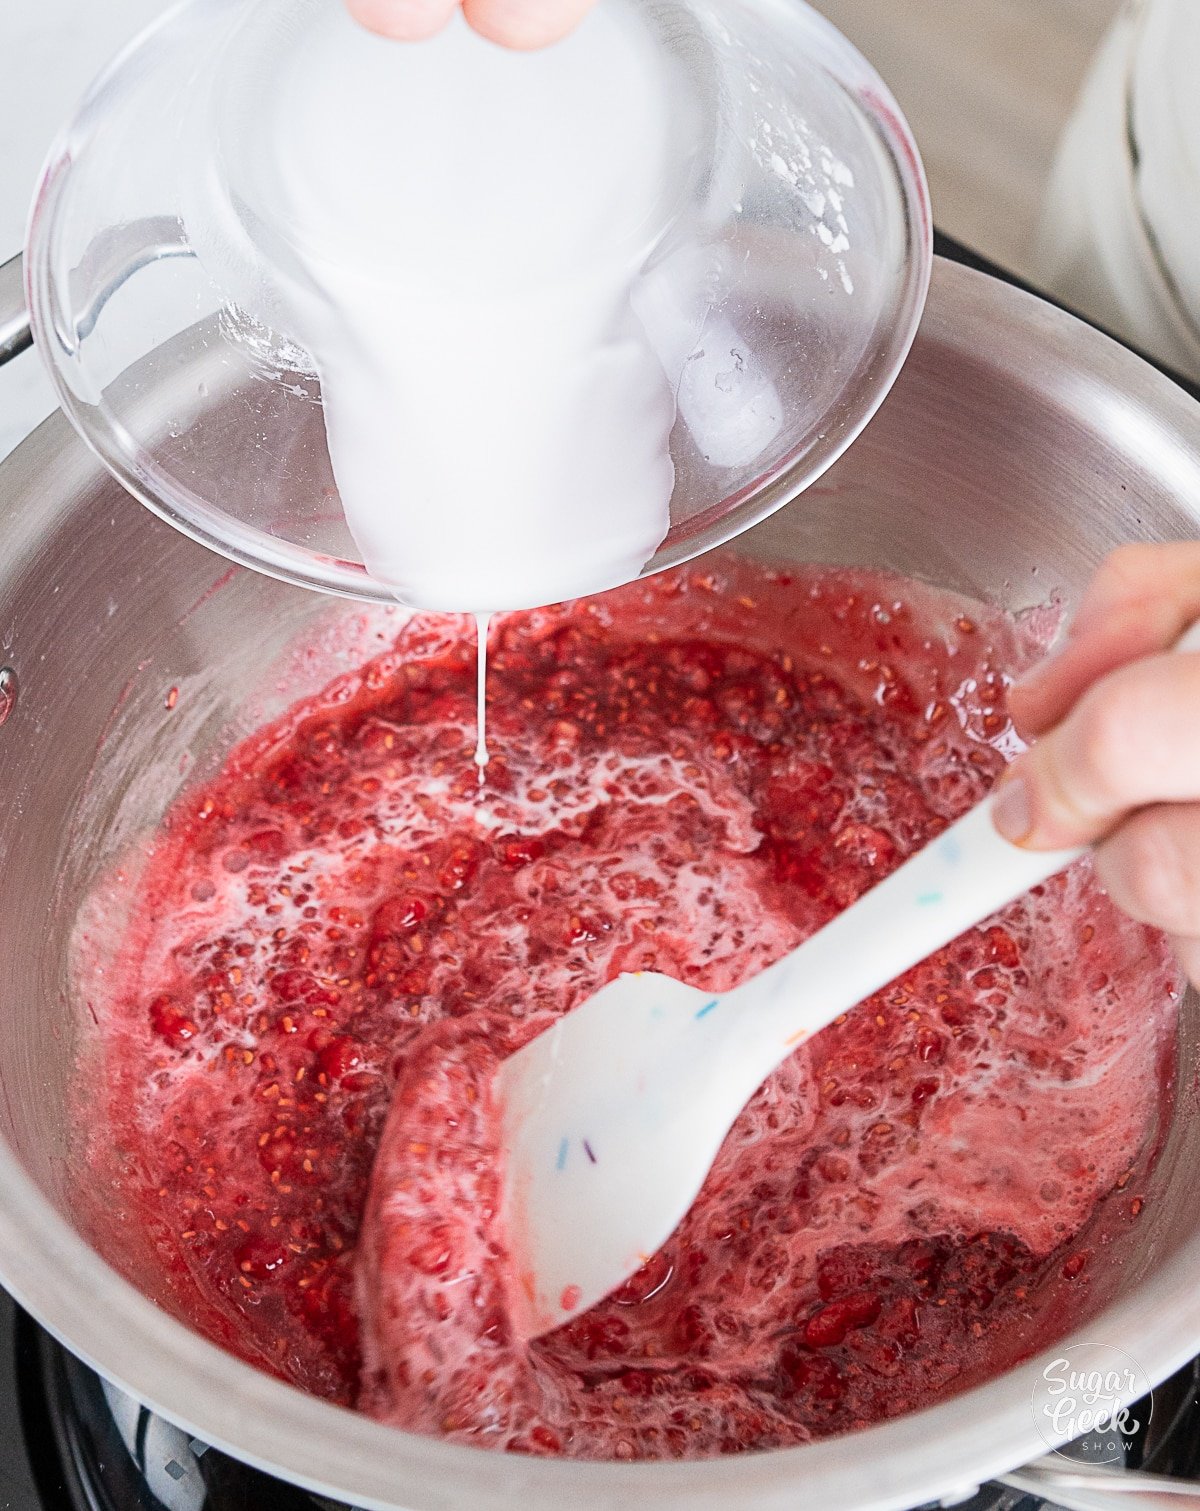
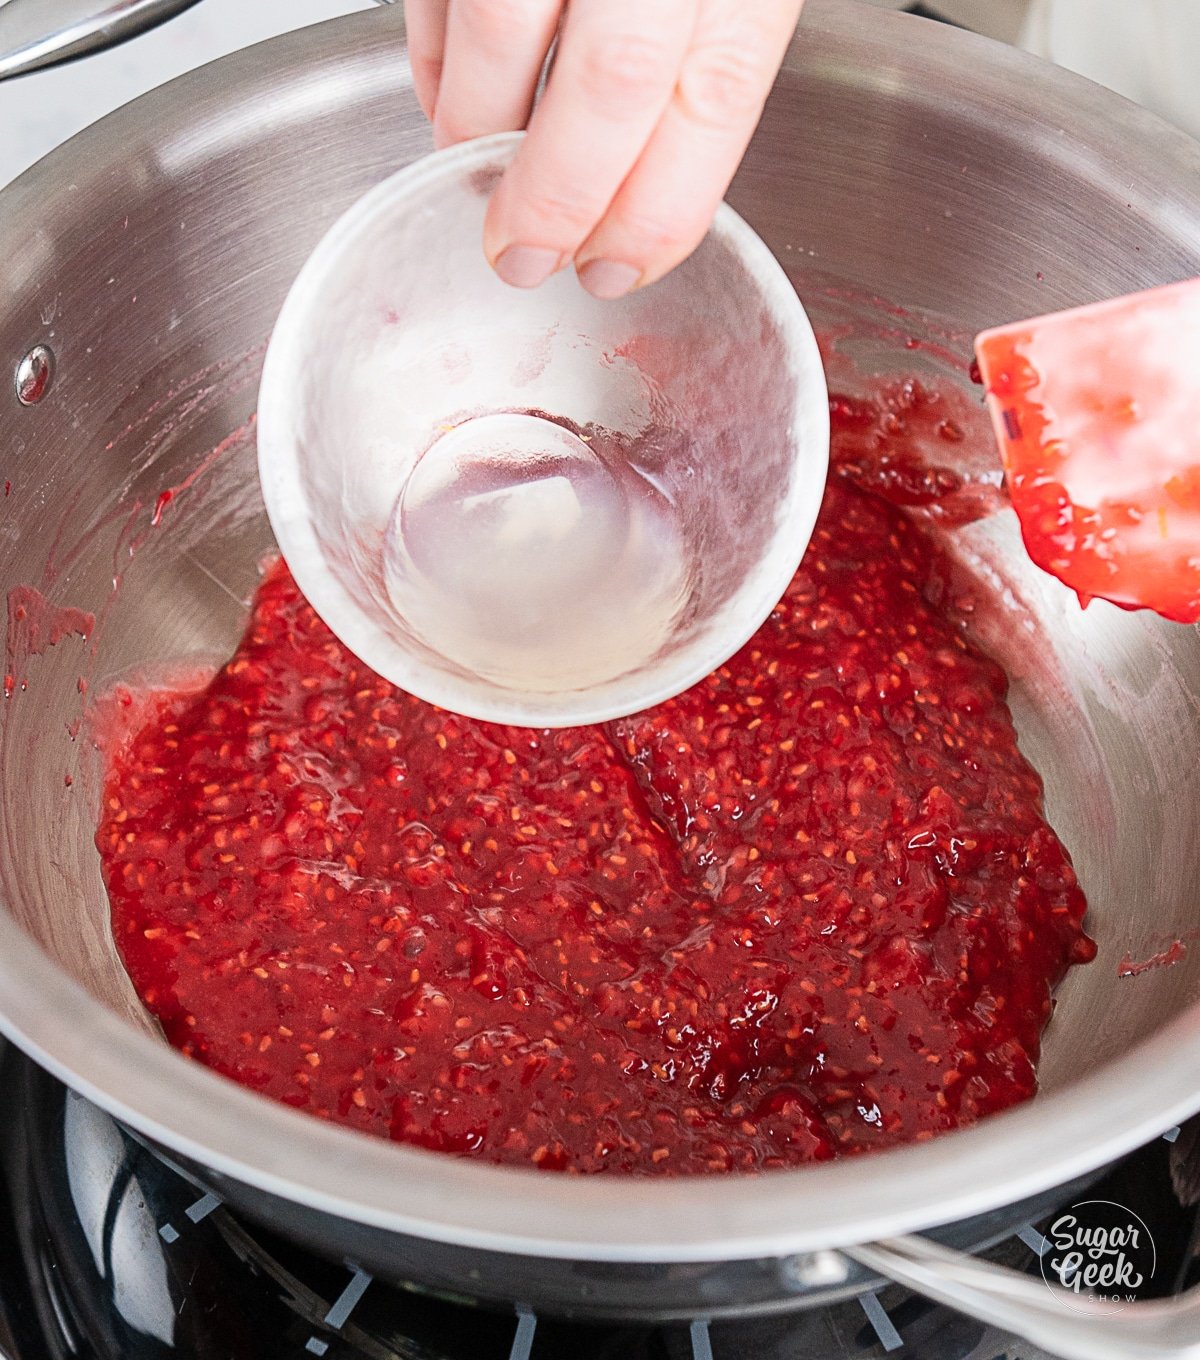
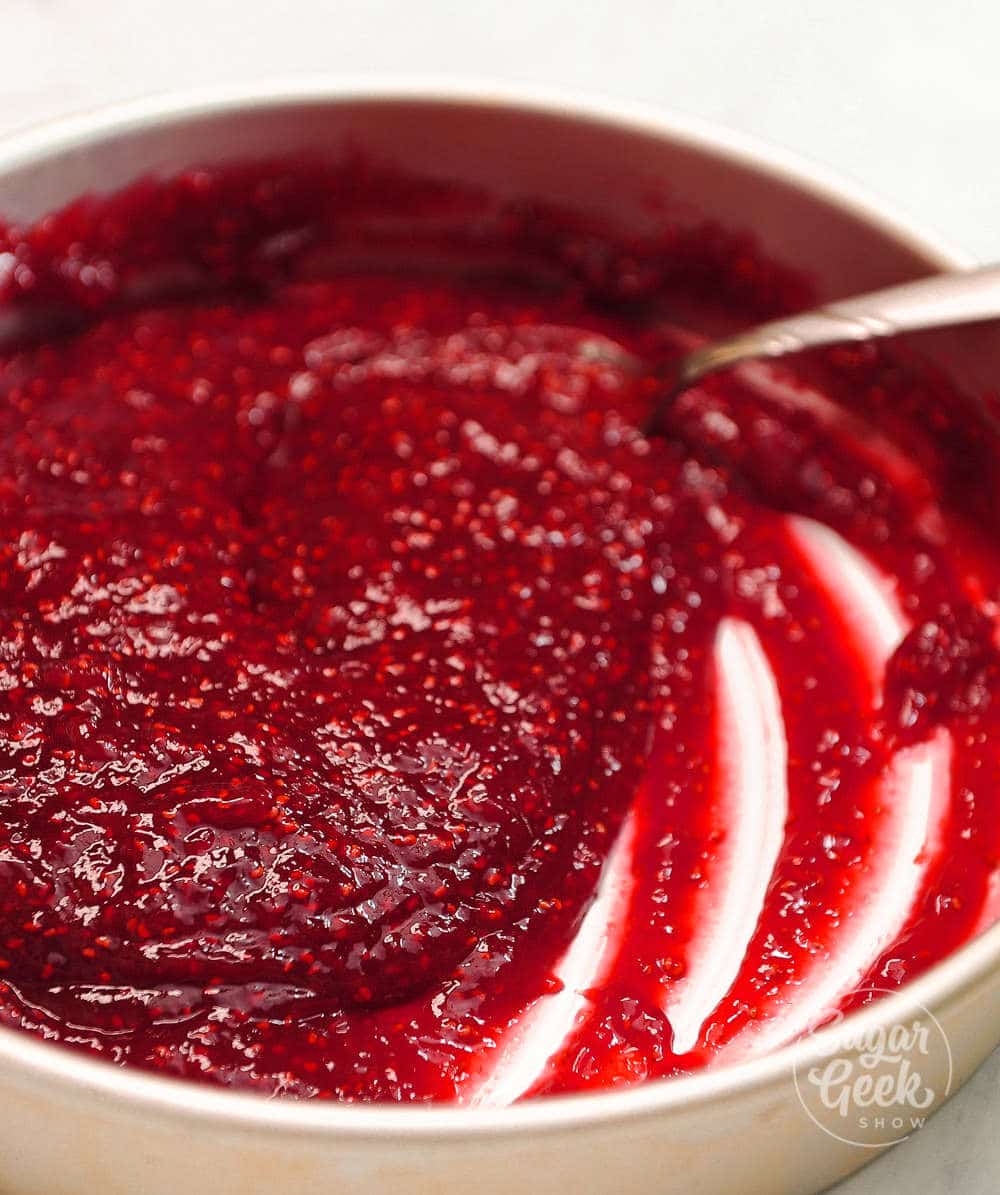
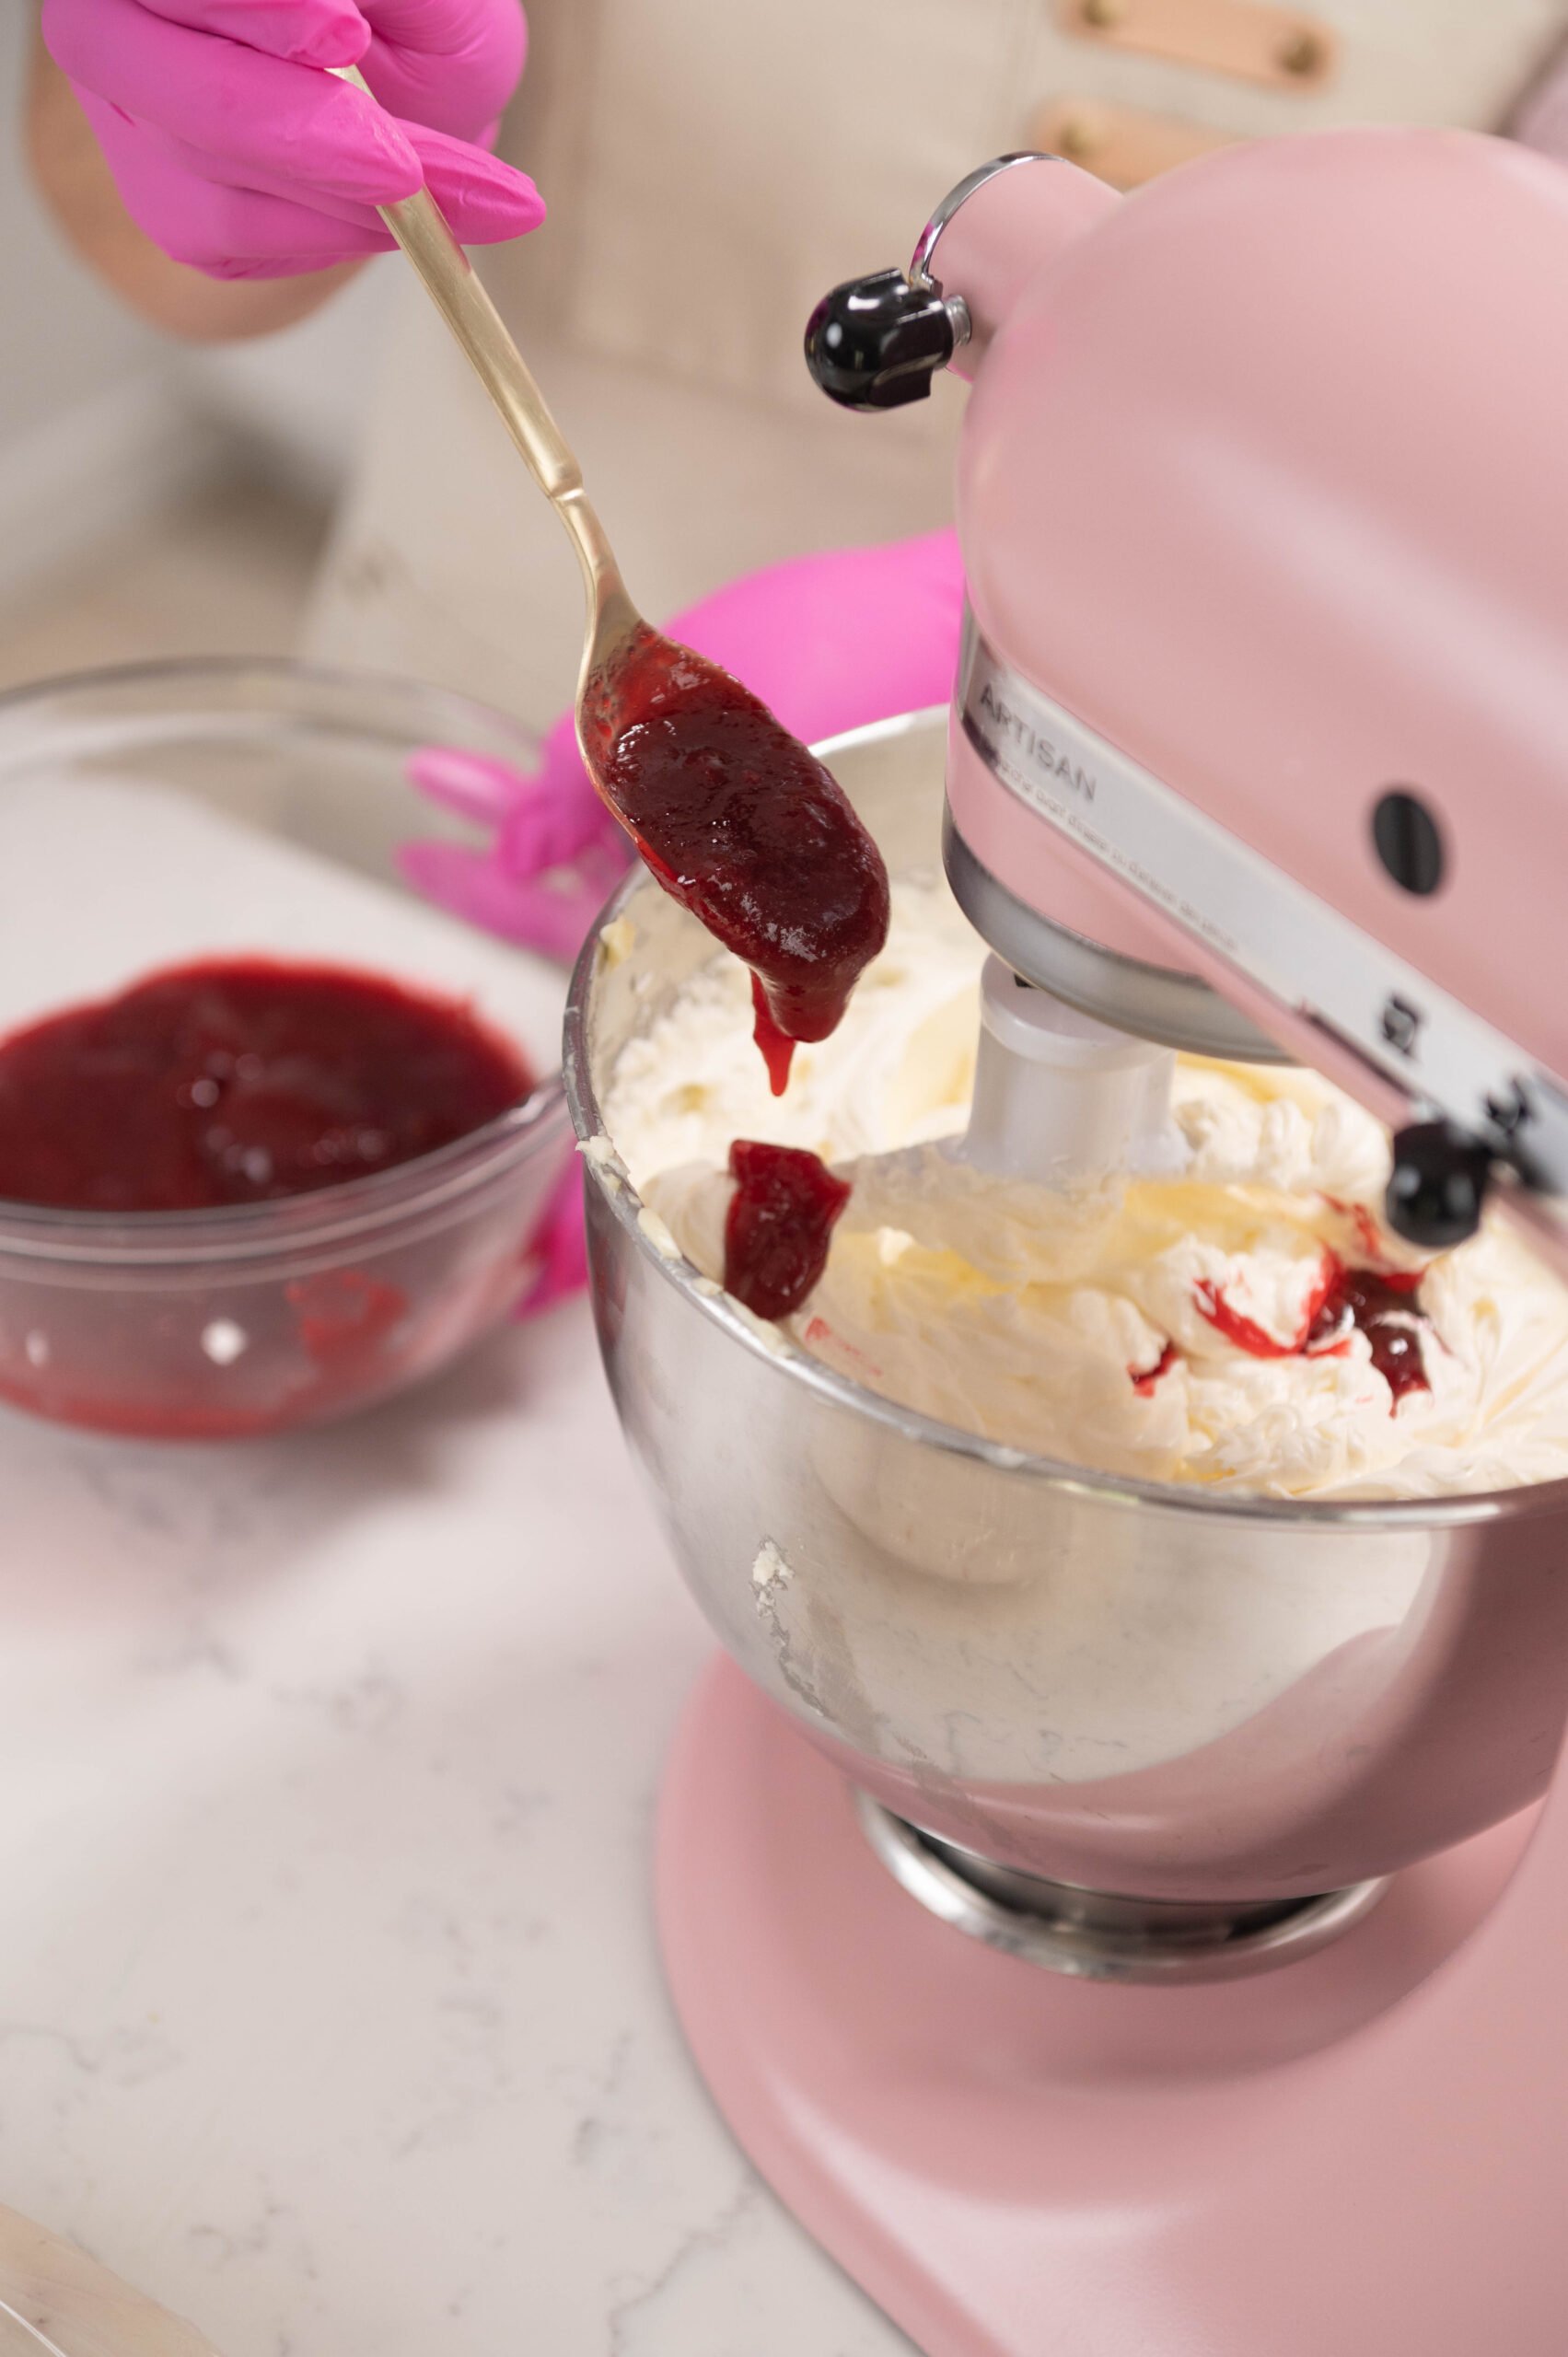
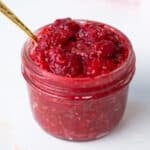
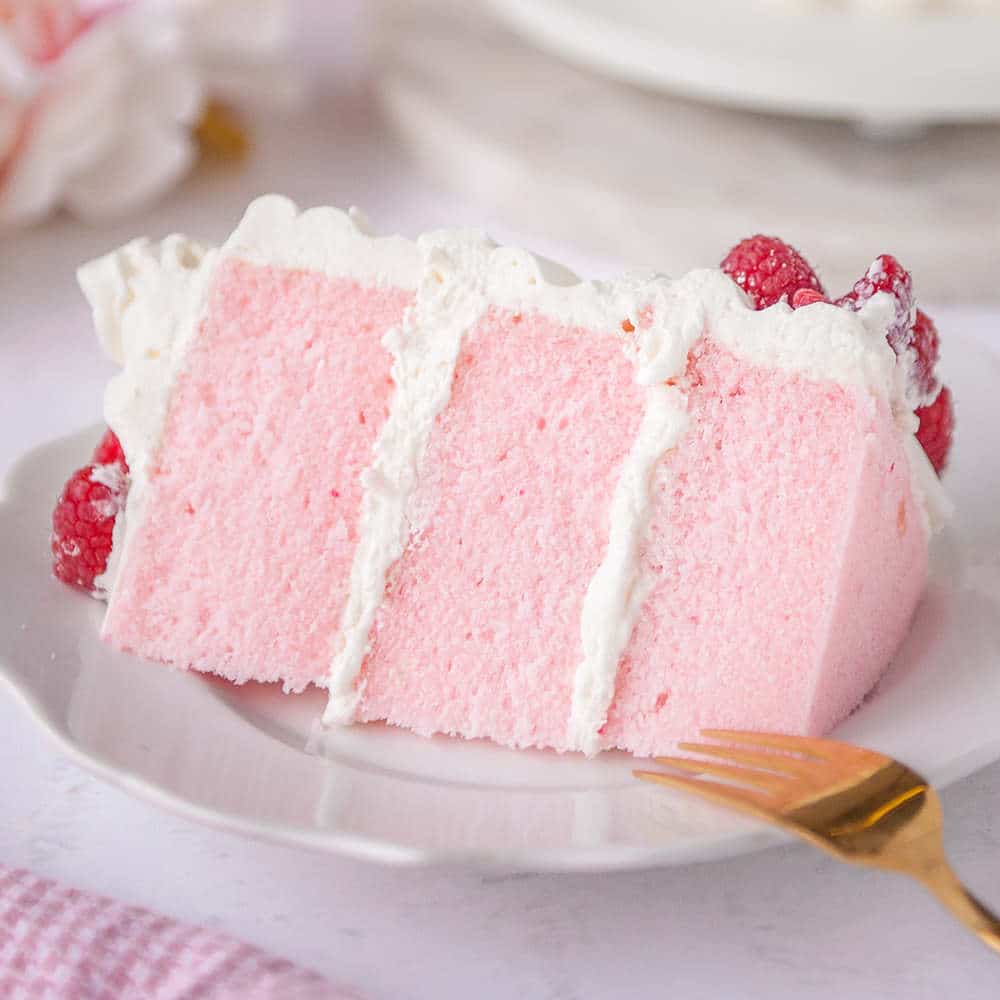
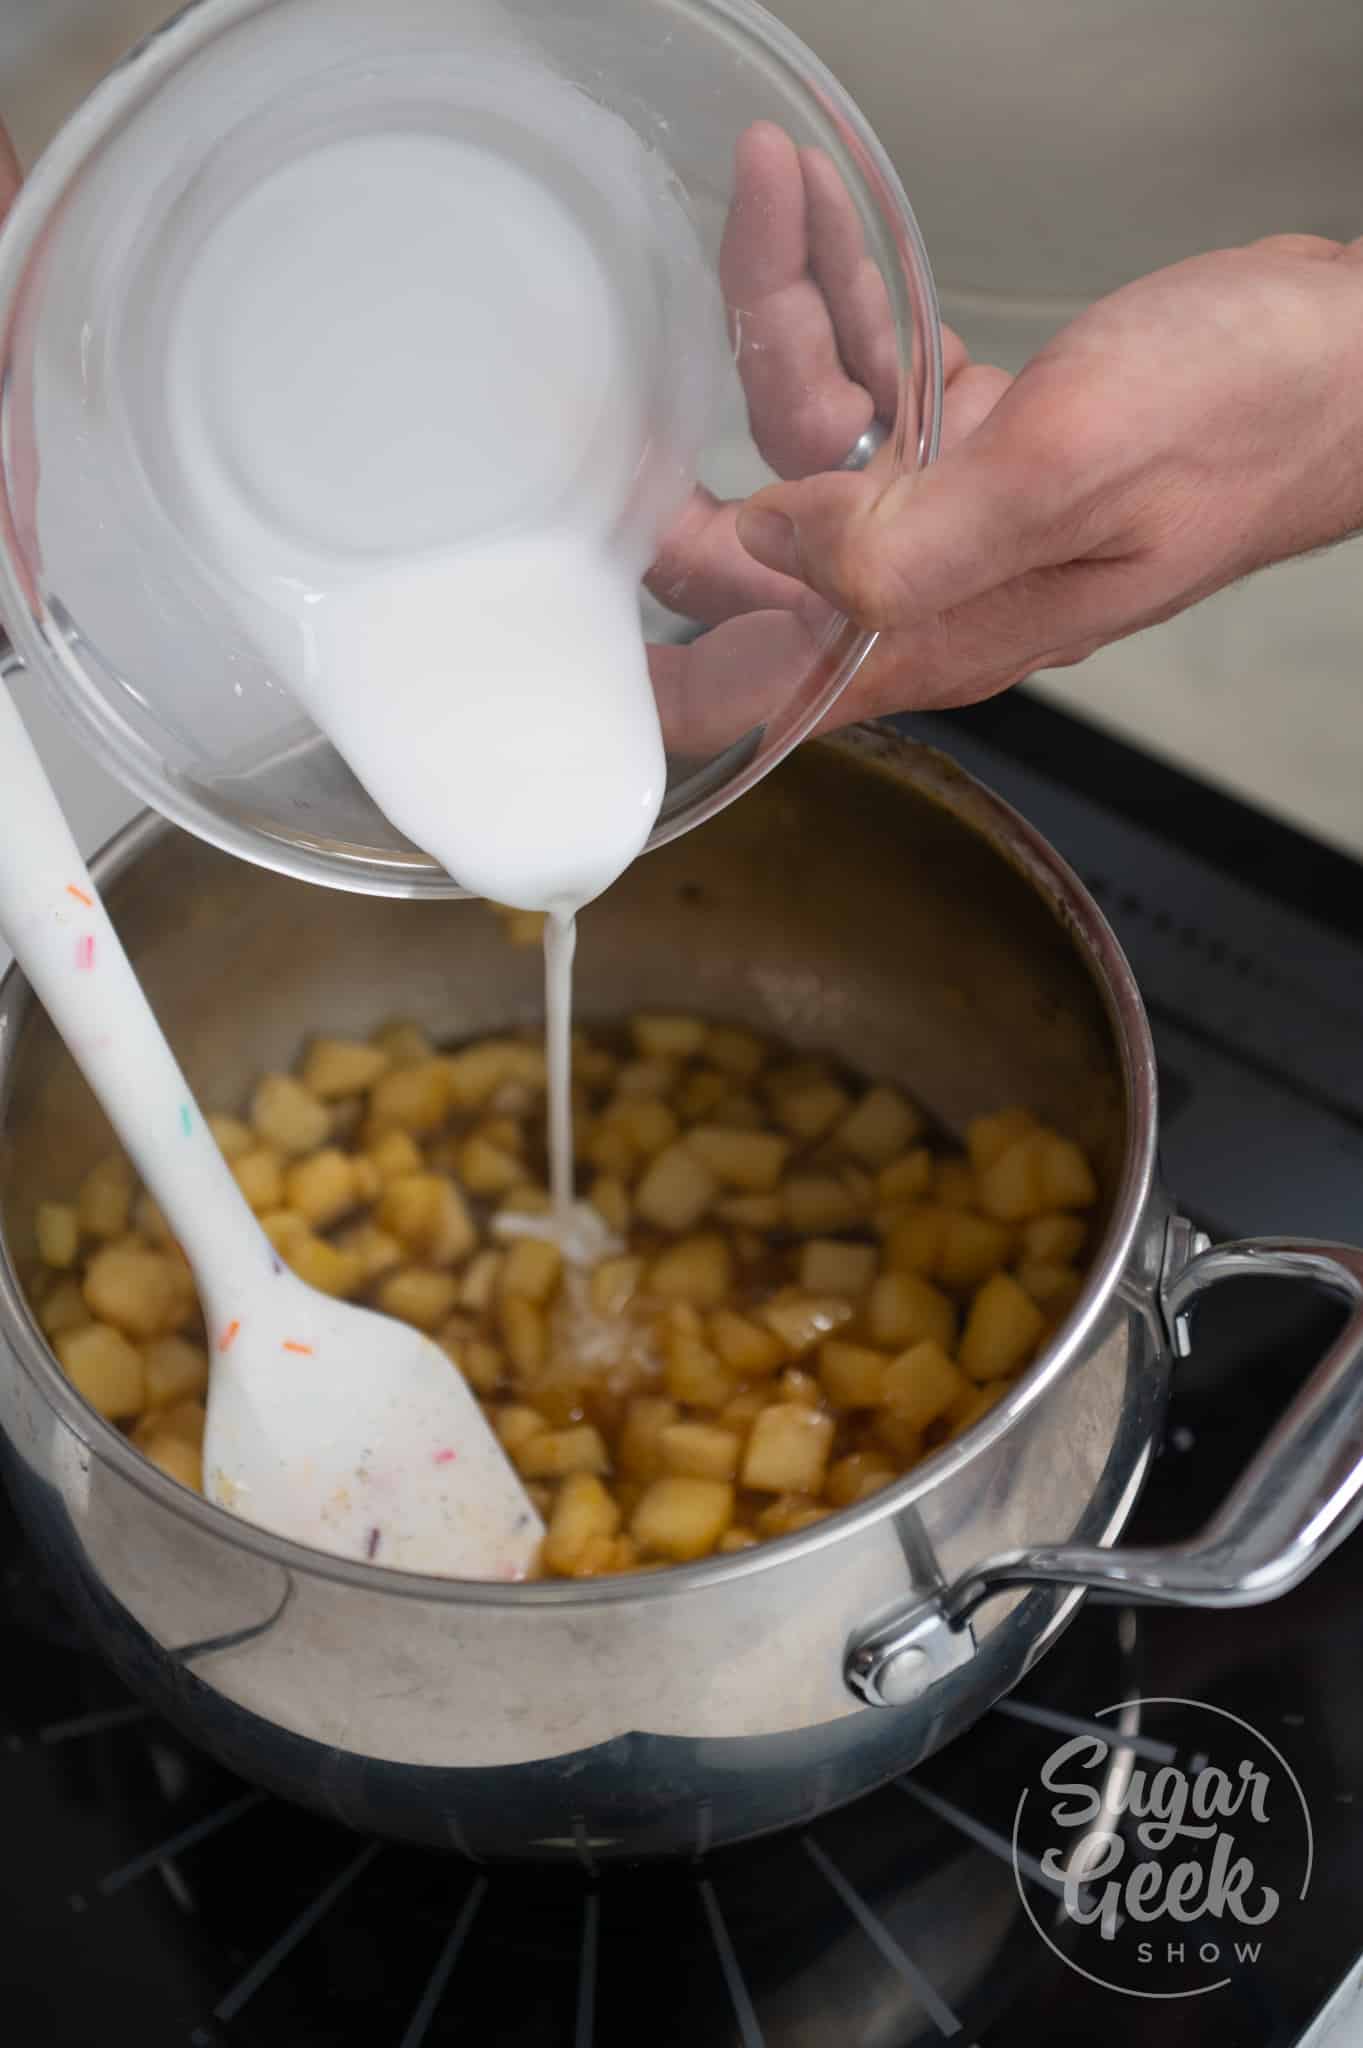
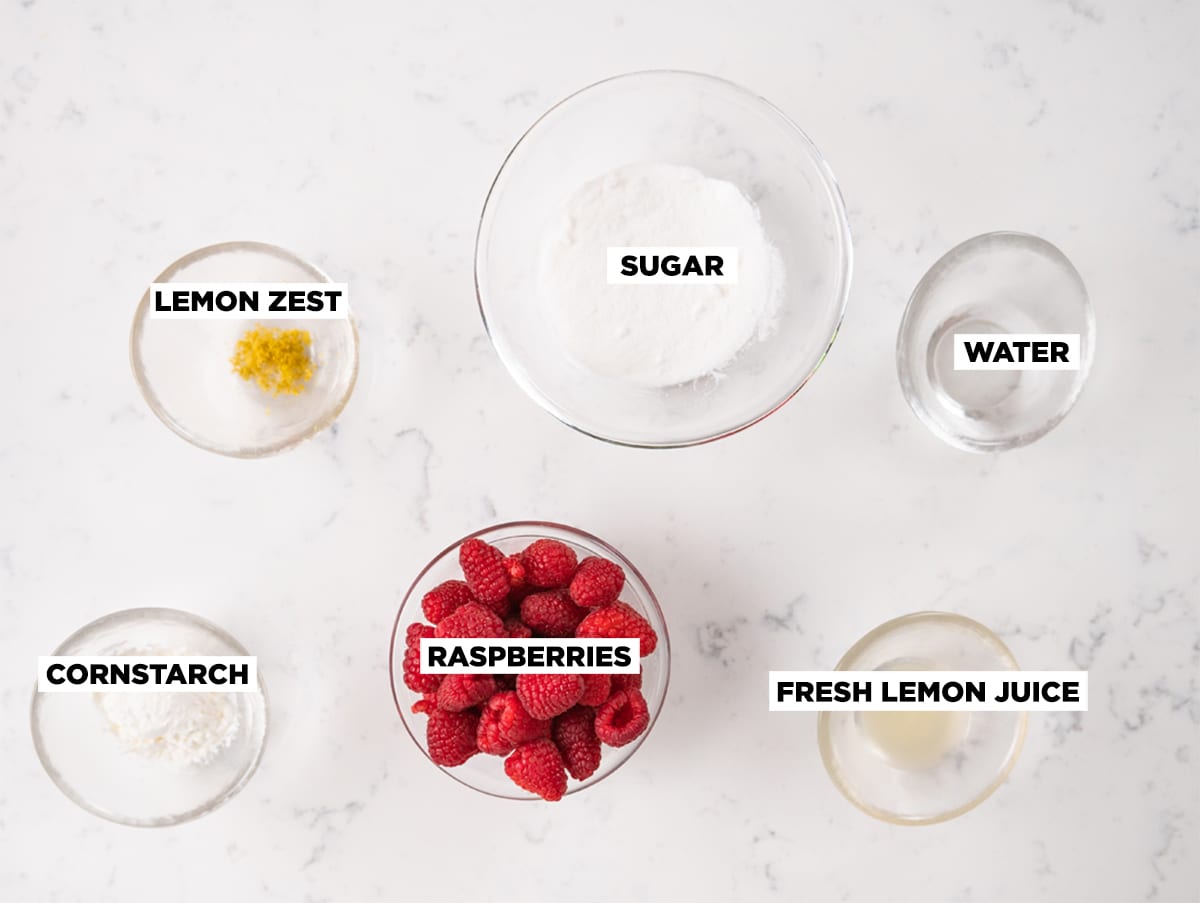 Fresh or frozen raspberries will work for this recipe! If you've got a lot of fresh raspberries to use up, make a big batch of this fruit filling and freeze it to use later. If you don't have fresh raspberries then it's really more cost-efficient to buy them frozen. Bonus: frozen berries are picked at the peak of ripeness and are always very sweet and delicious!