Skill level: Intermediate
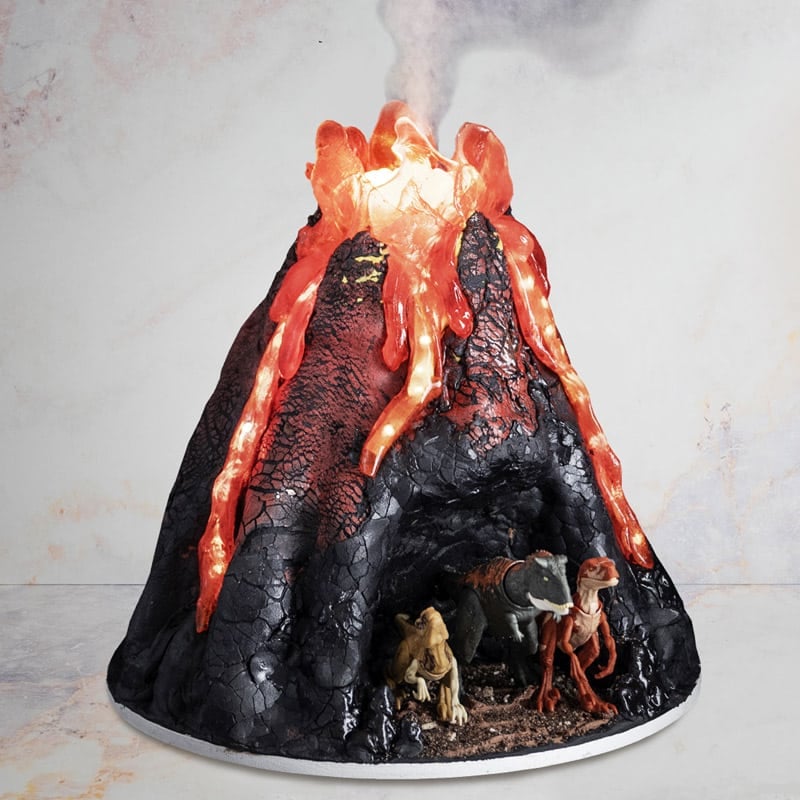
In this tutorial, you will learn how to create a realistic sculpted volcano cake, complete with special effects and a real smoke-like effect!
You will learn how to sculpt and create a realistic looking volcano mountain, how to create the glowing lava effect, how to work with isomalt and incorporate in LED lights, a realistic smoke-like effect and how to carve out the dinosaur cave.
40:43 Minutes of Instruction
What You Will Learn
- How to create a realistic volcano cake
- Learn how to work with isomalt and LED lights to create flowing lava
- How to create a realistic smoke-like effect
Tutorial Chapters
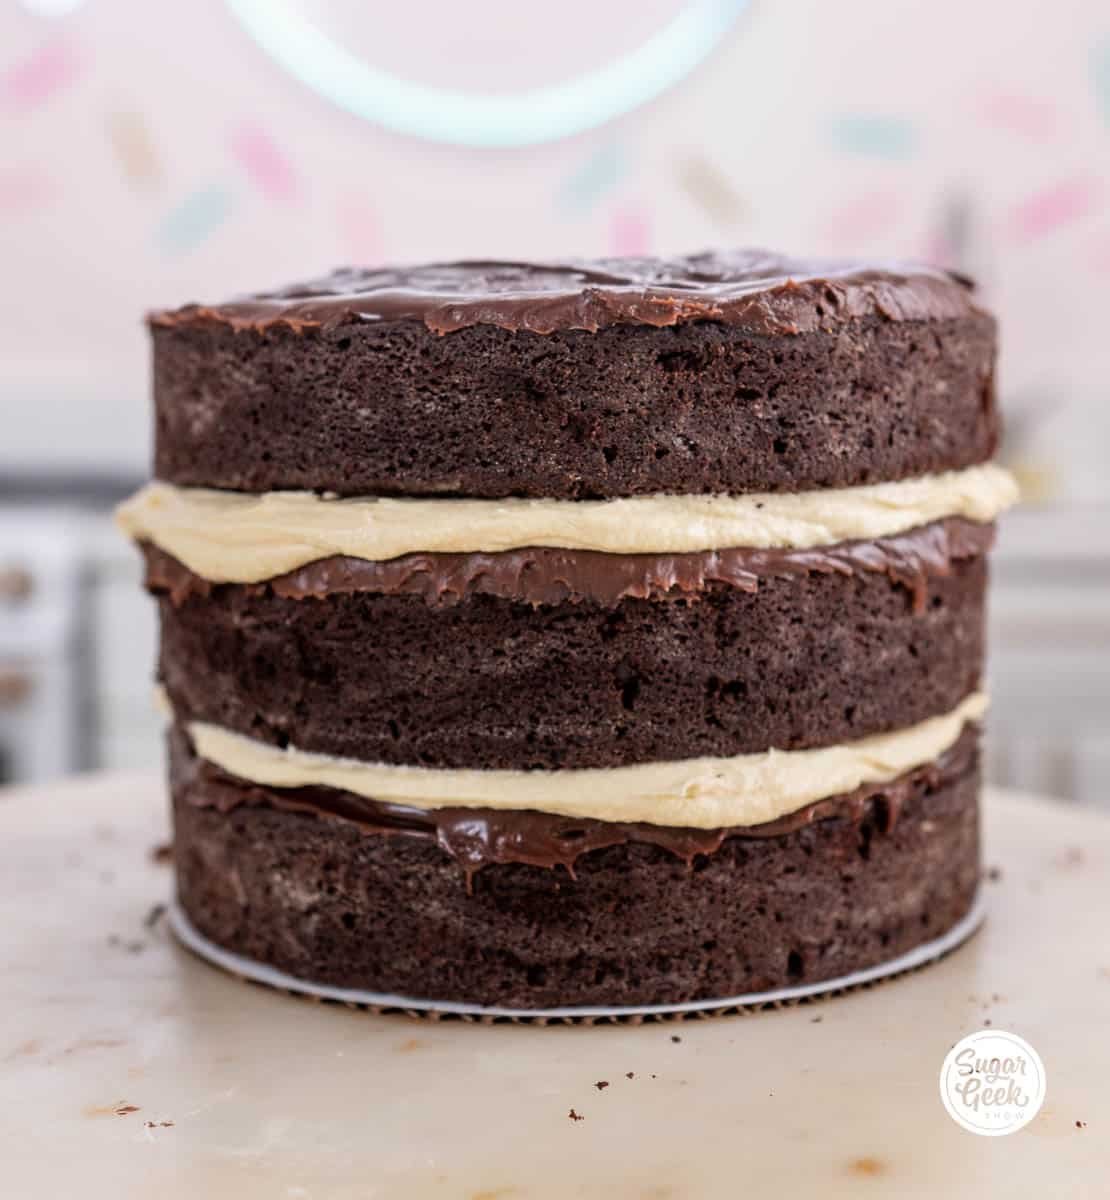
- Stacking The Cakes
- Carving The Cakes
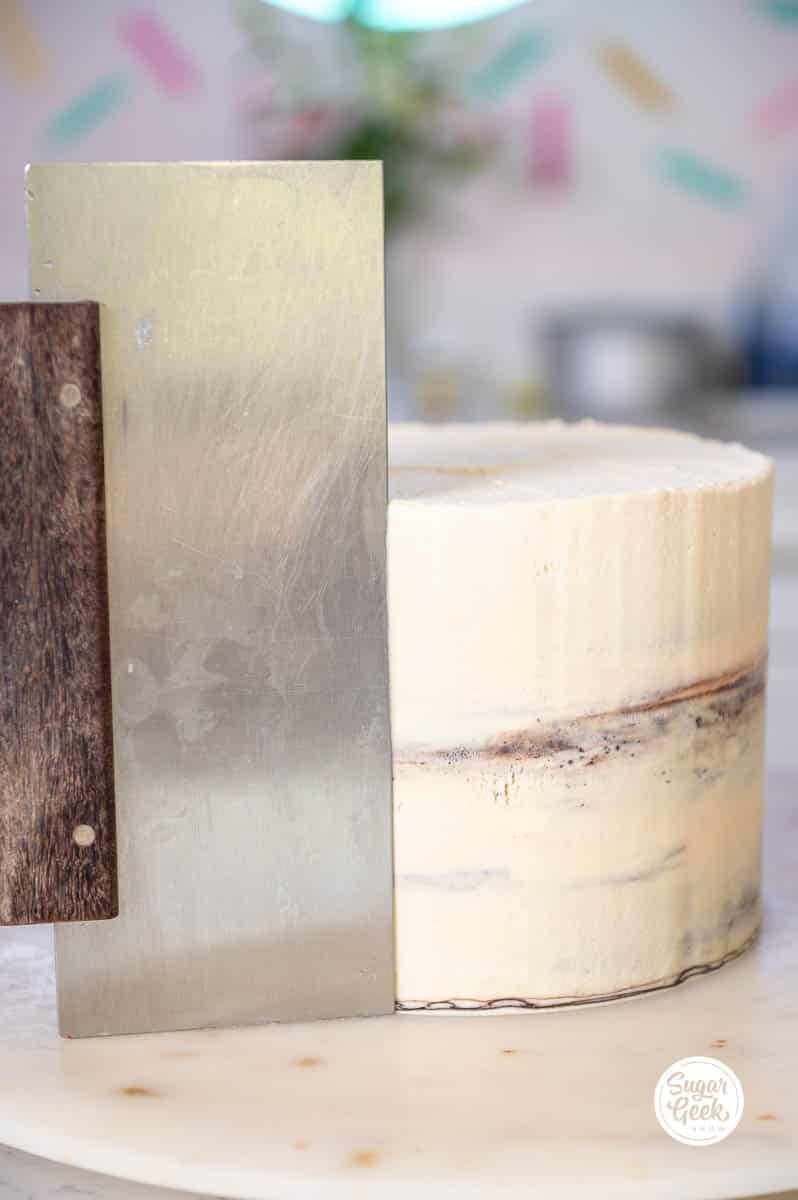
- Crumb Coating And Sculpting
- Setting Up The Lights
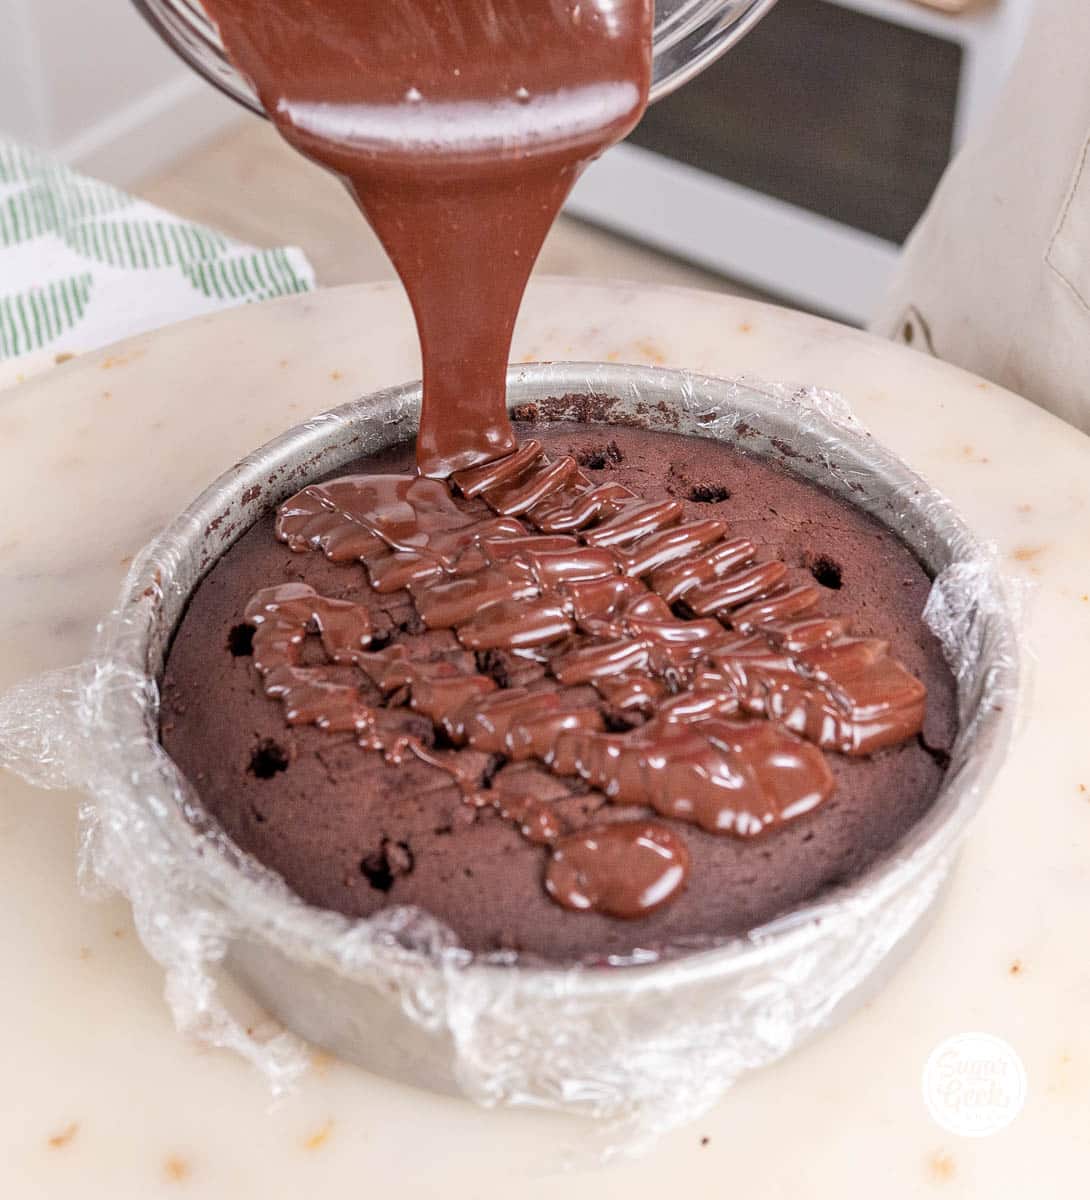
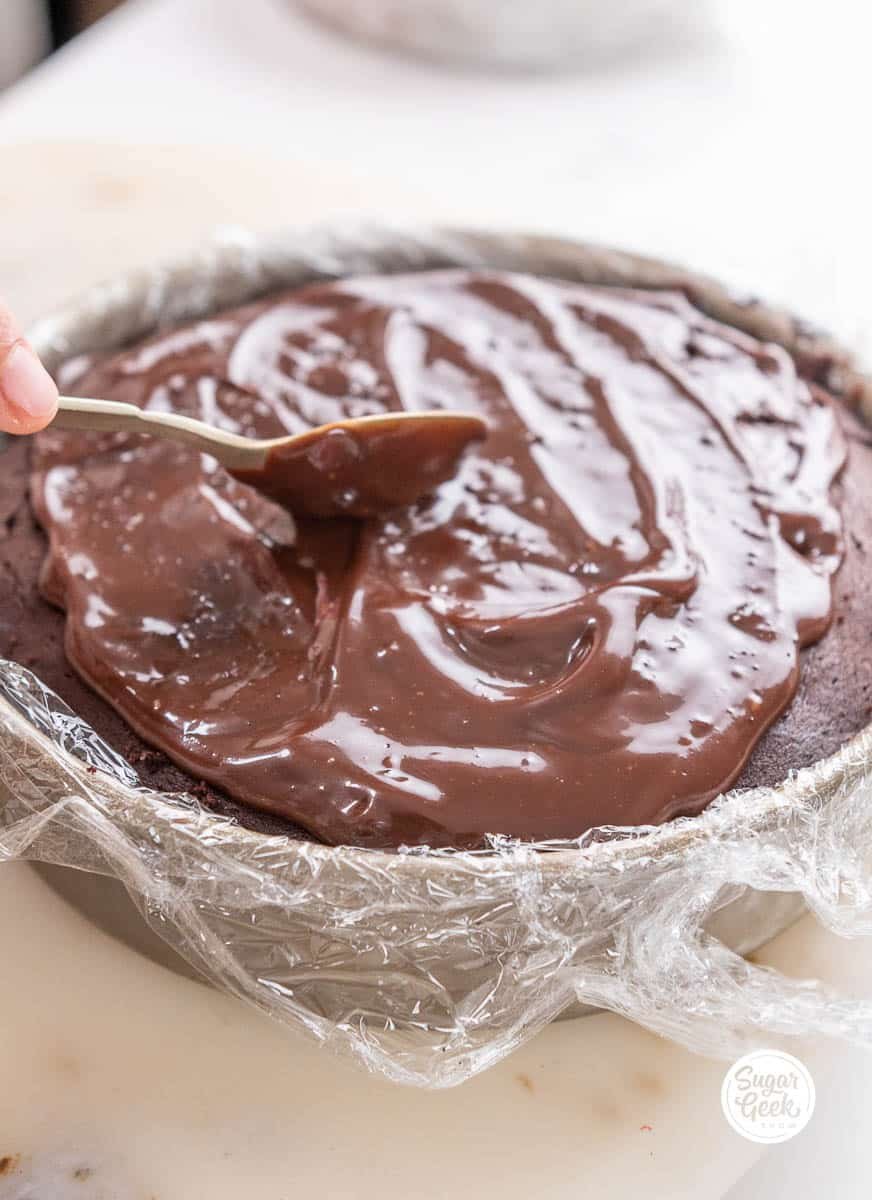
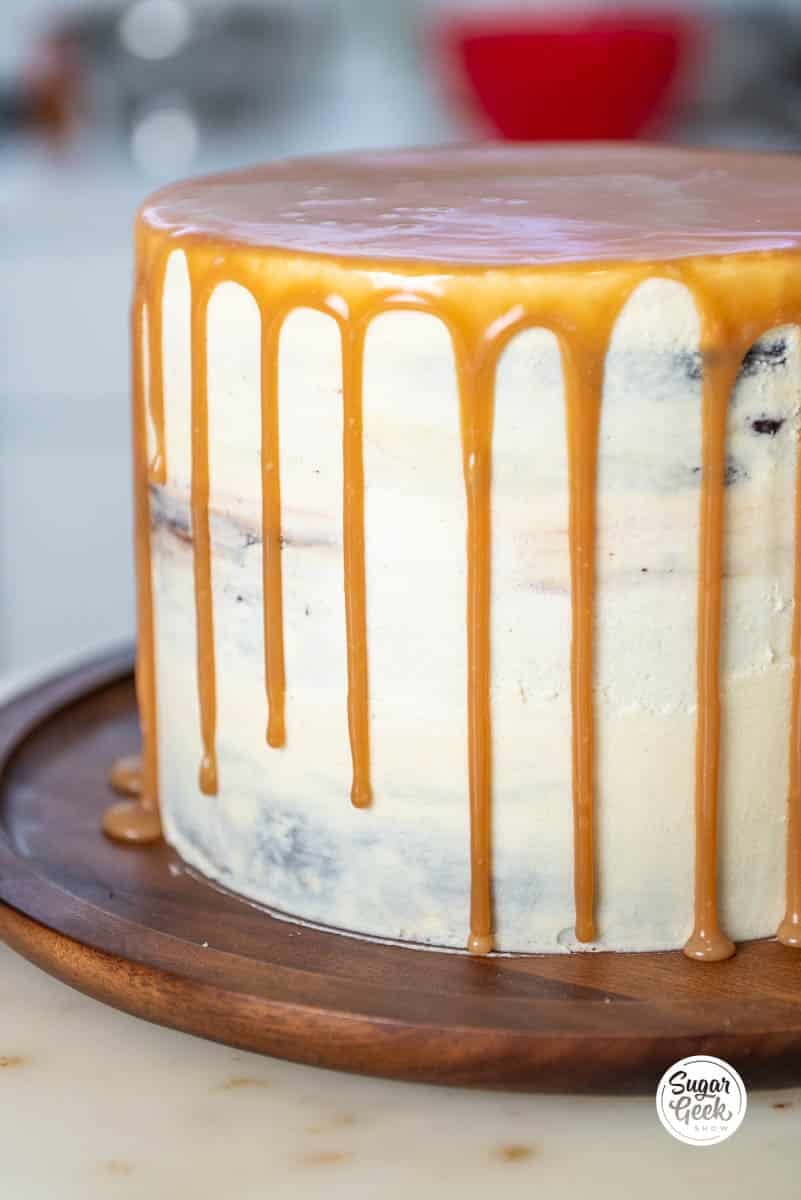
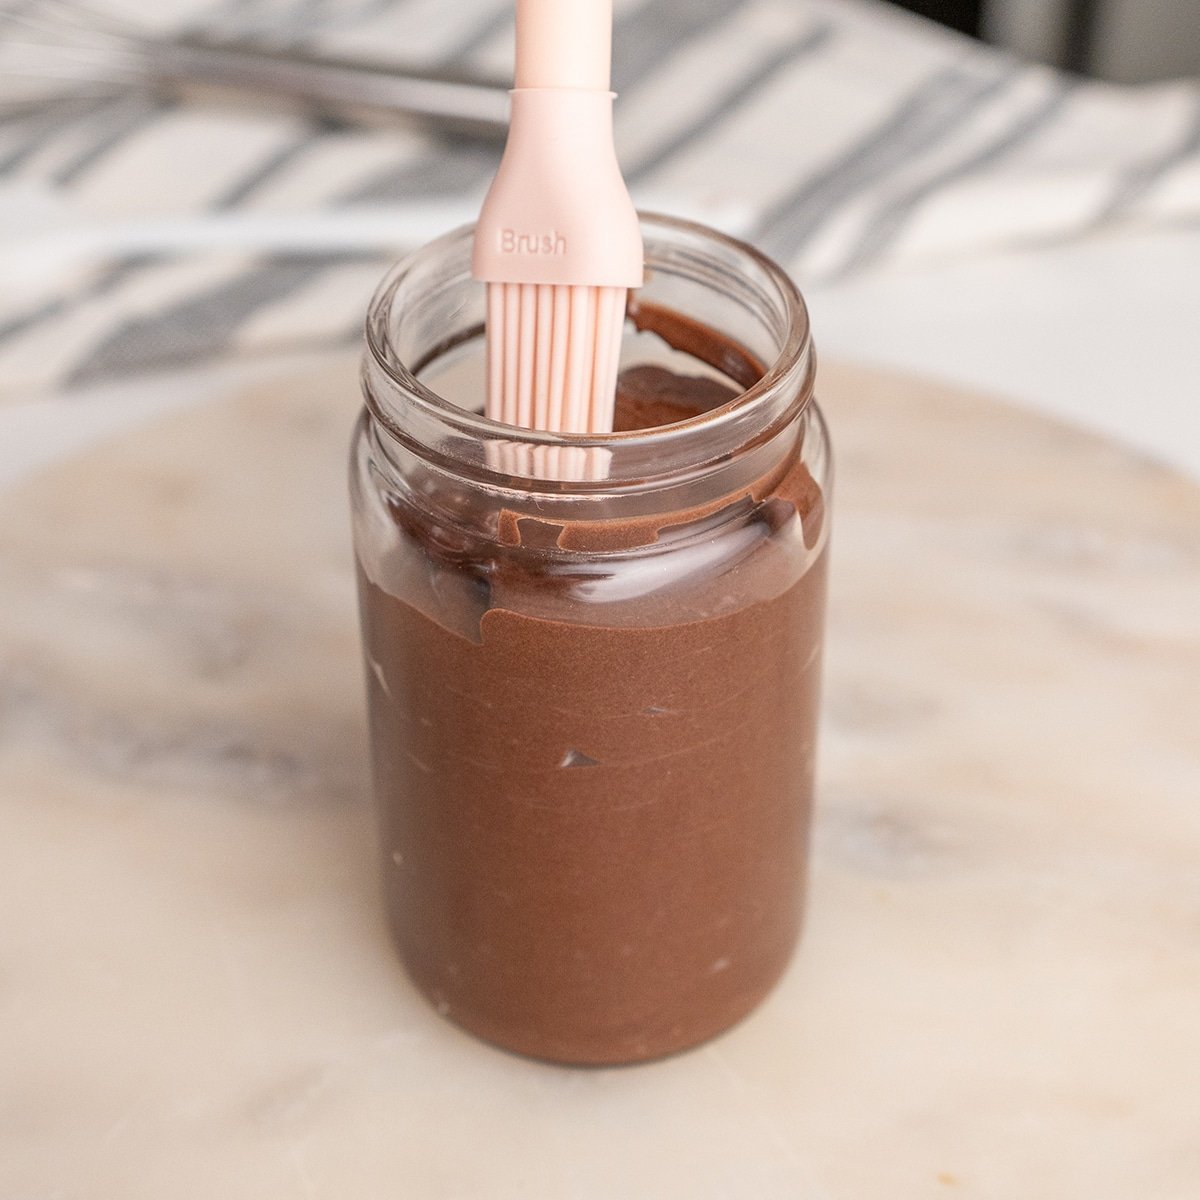
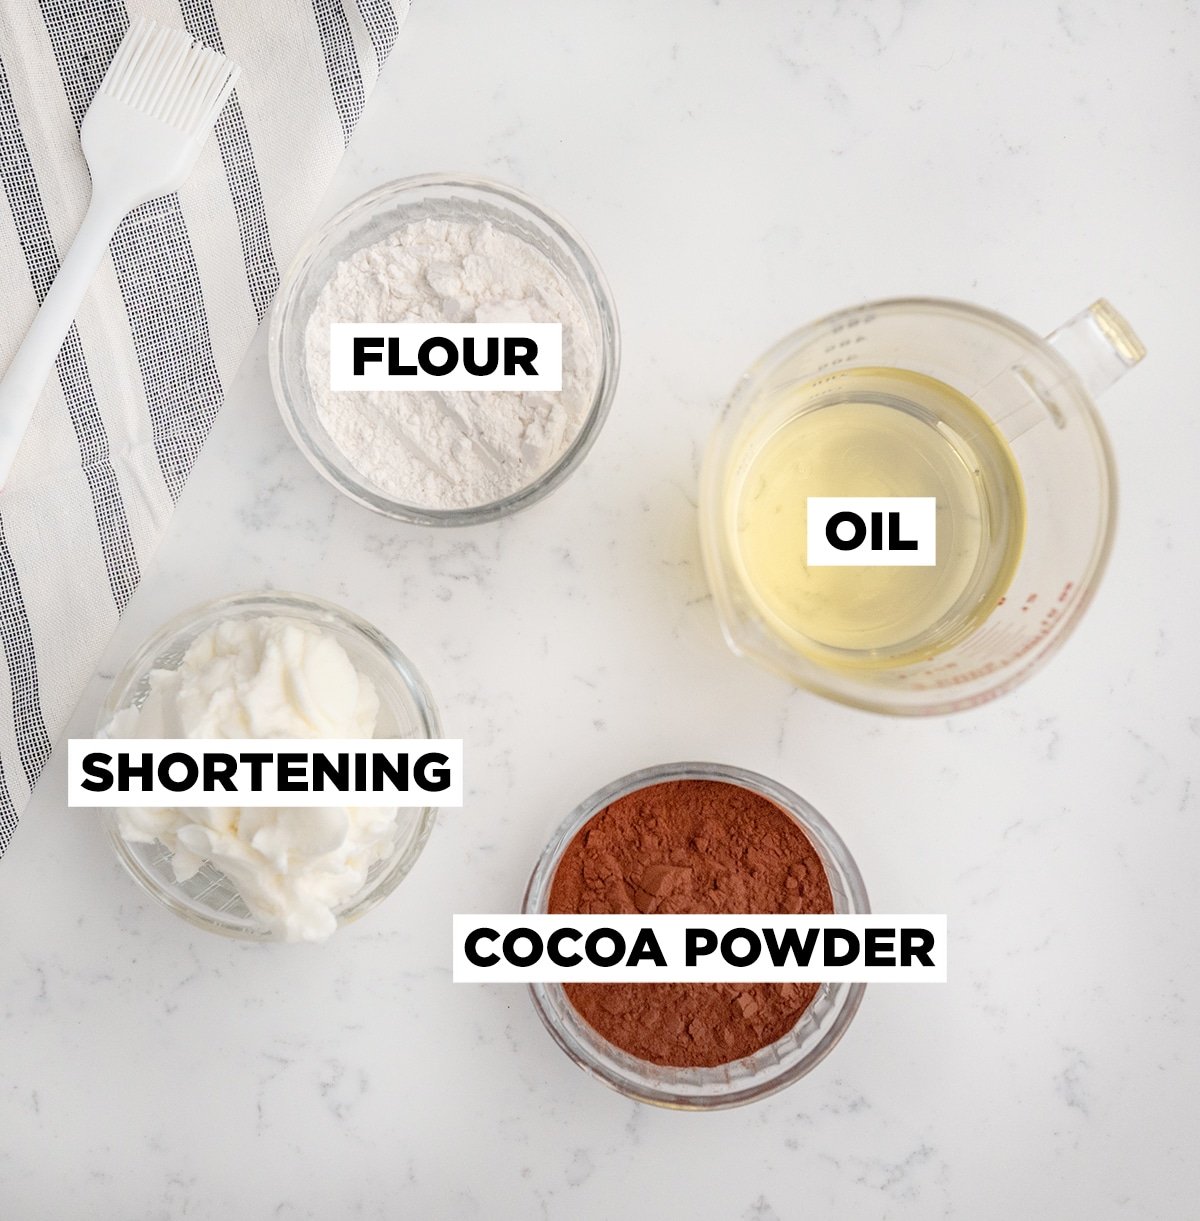
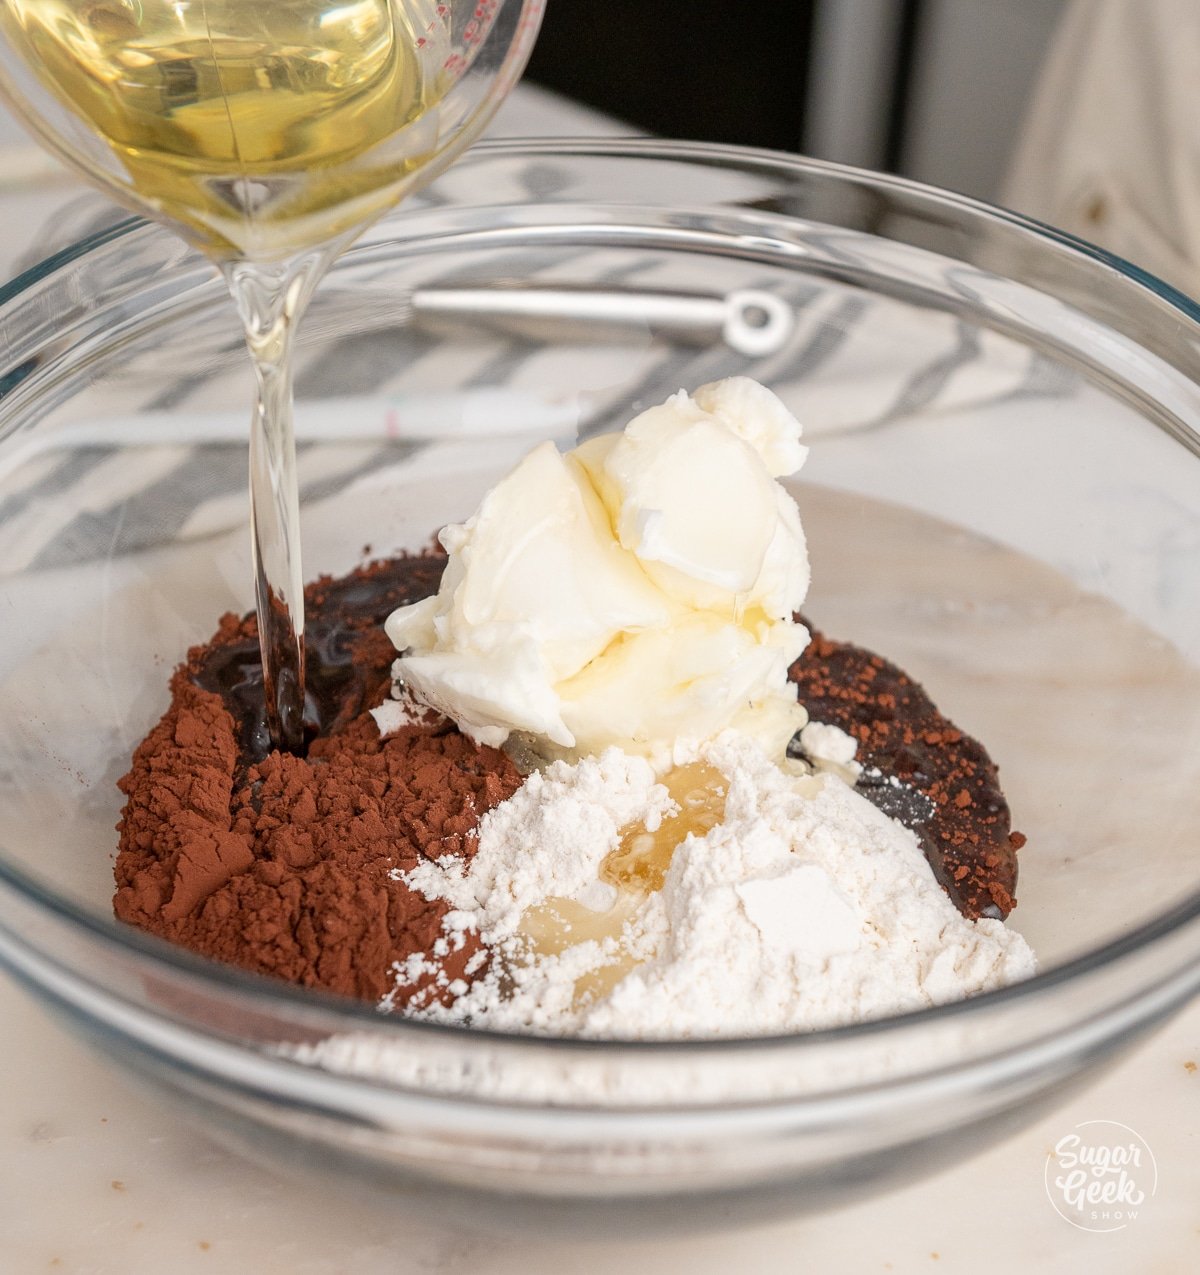
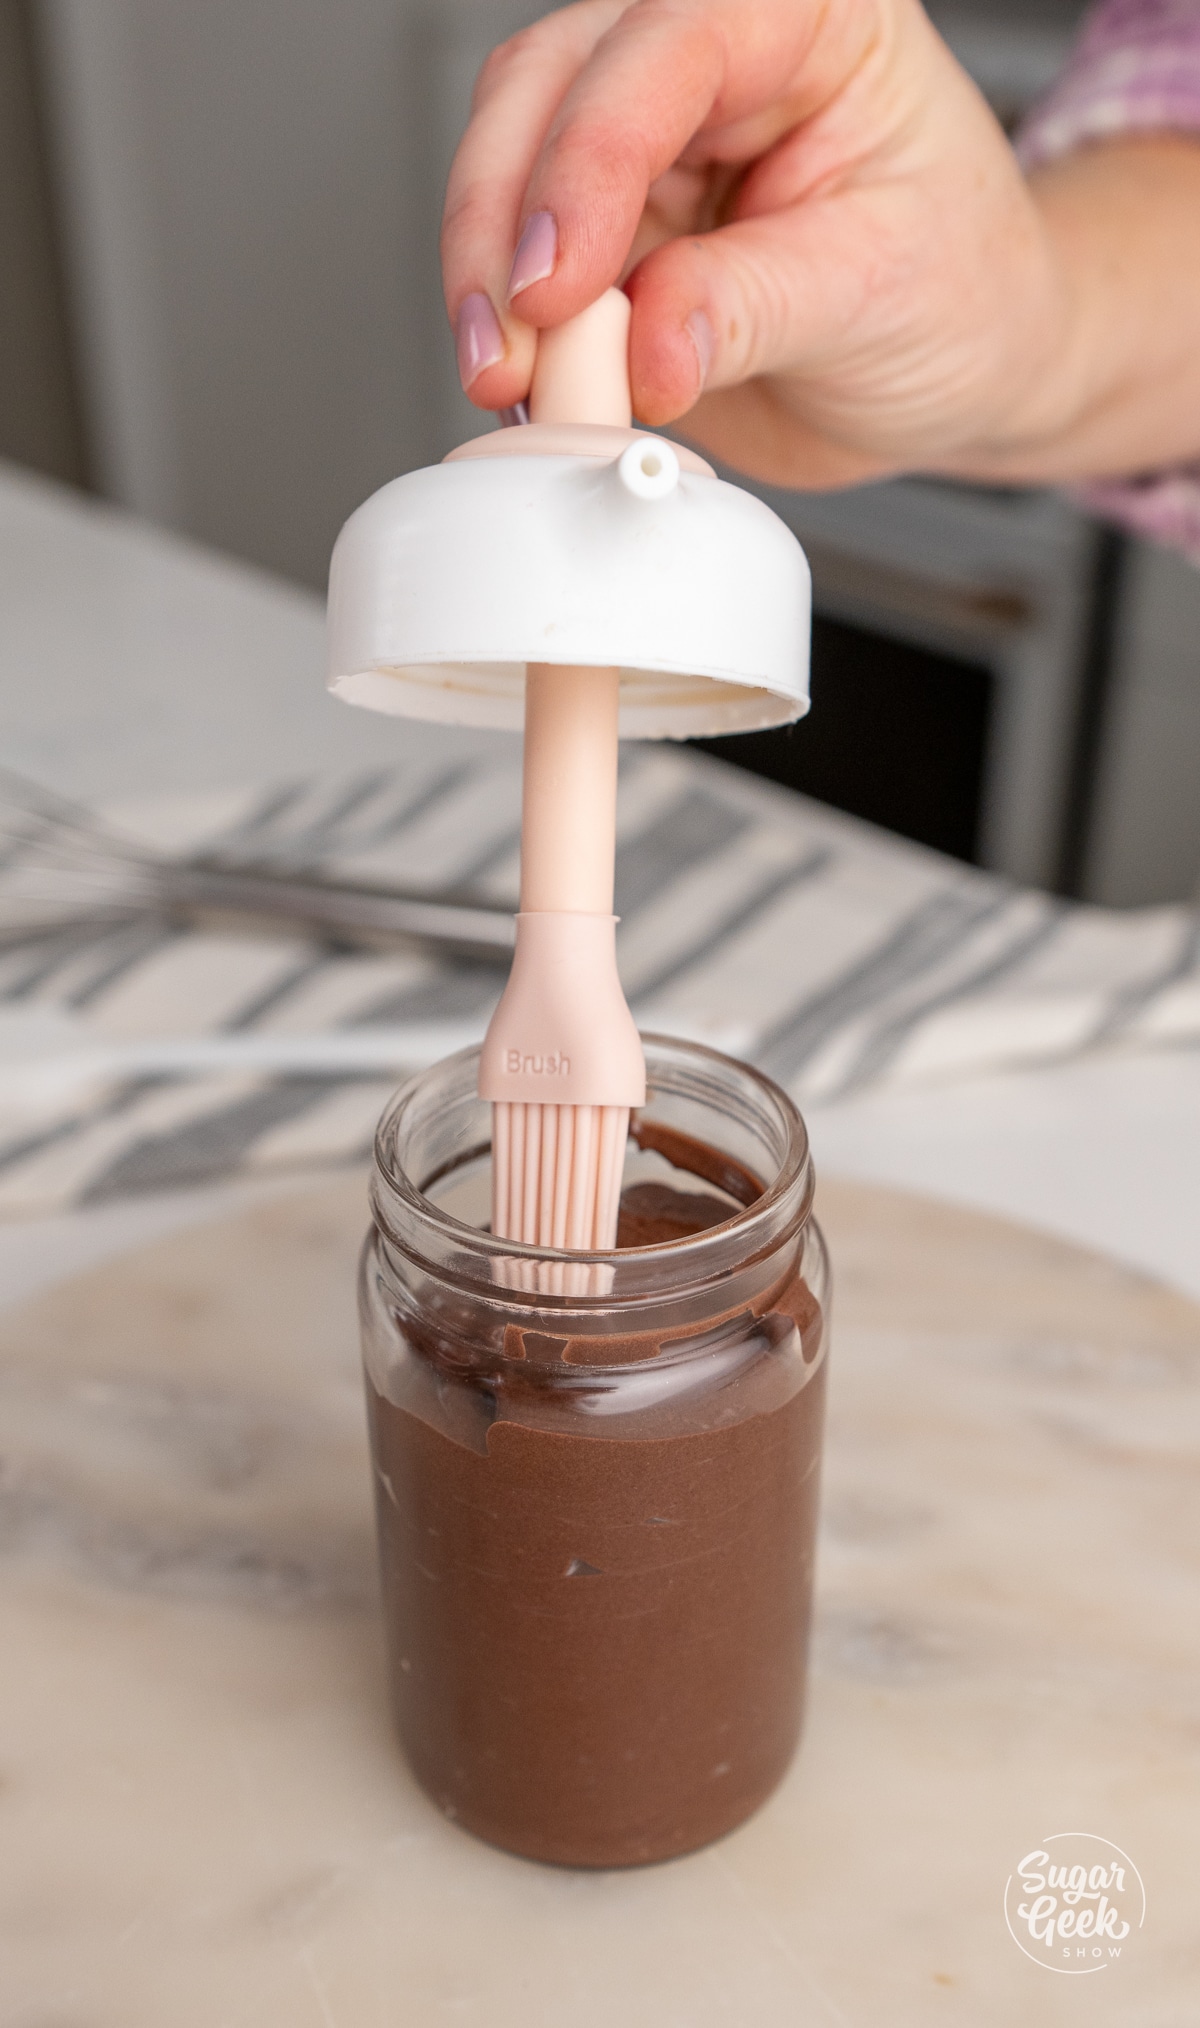
- Covering The Cake In Chocolate
- Paneling The Cake
- Adding The Isomalt Lava
- Adding The Final Details


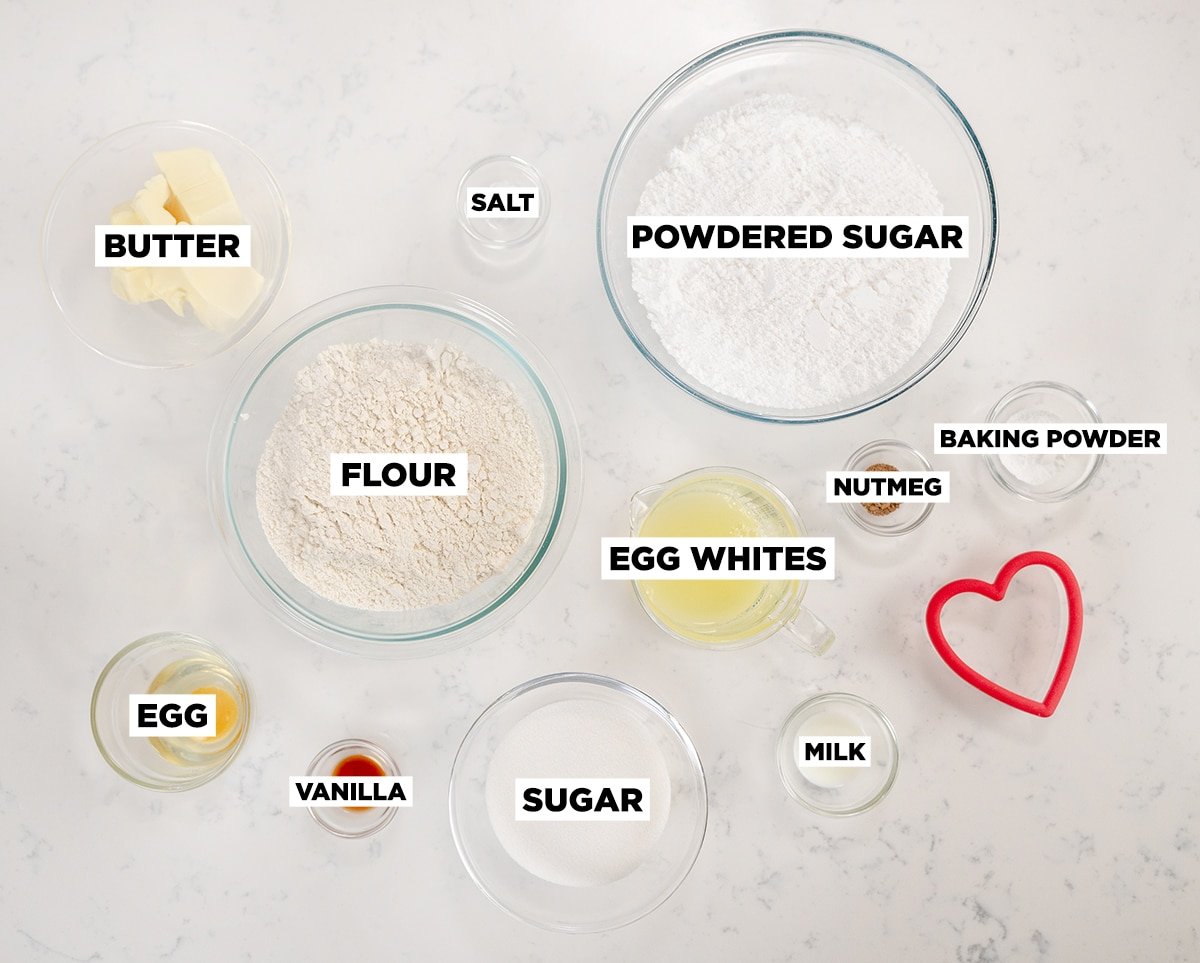


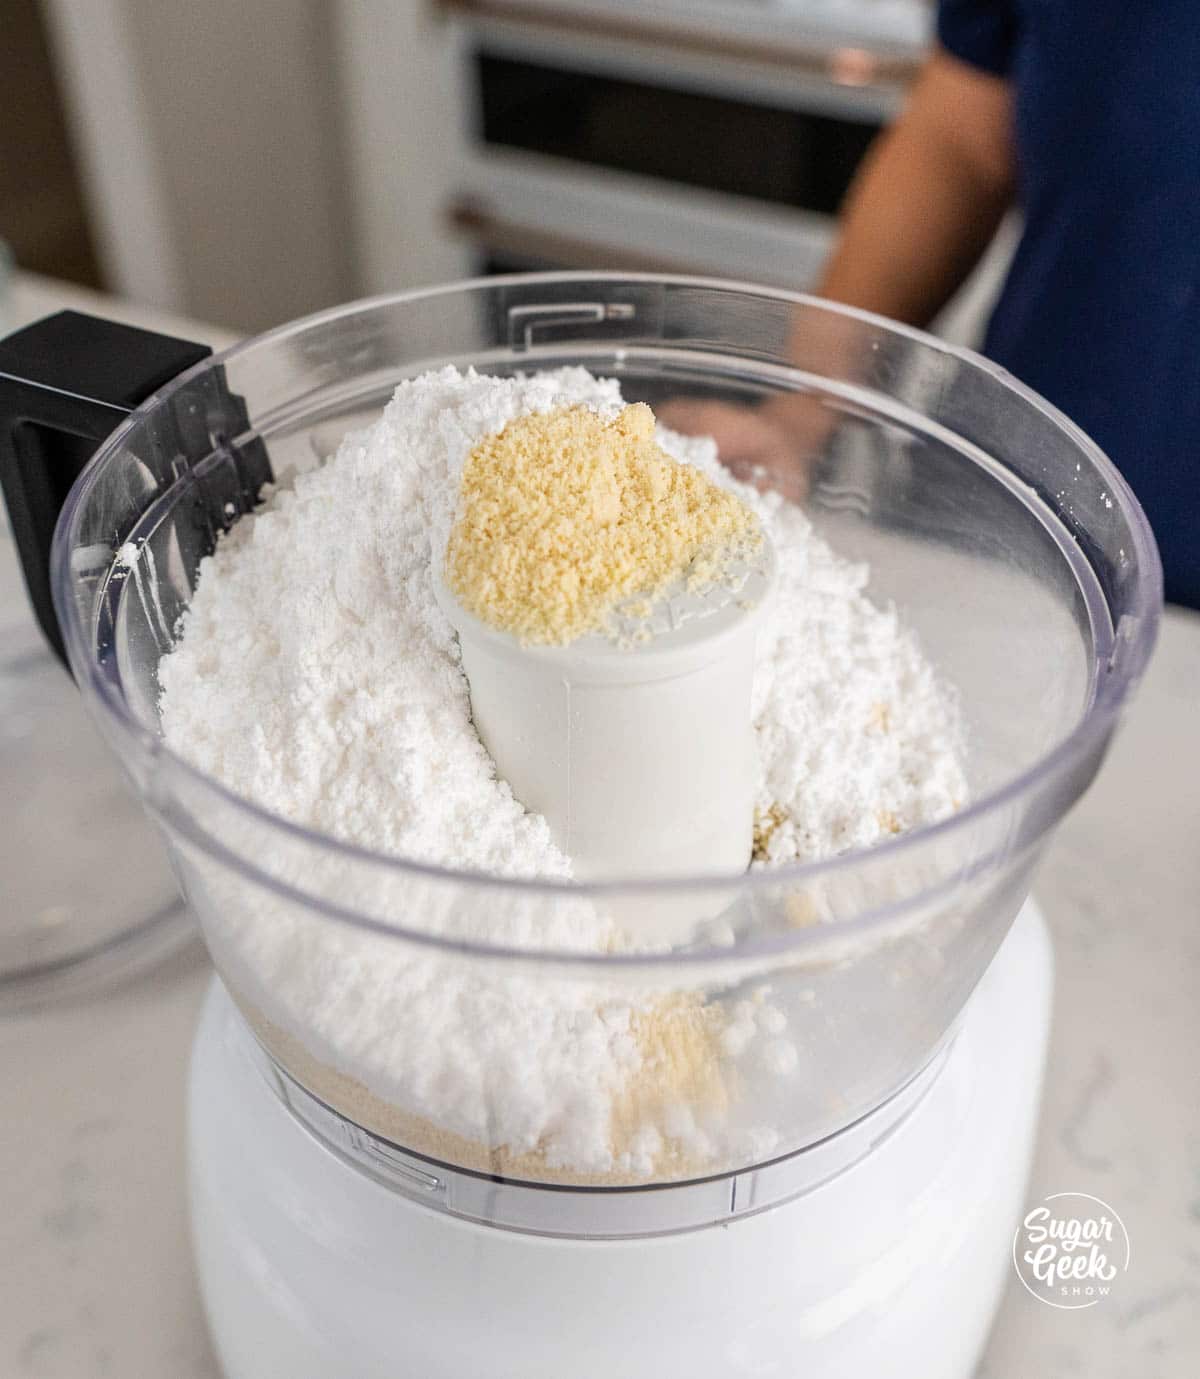
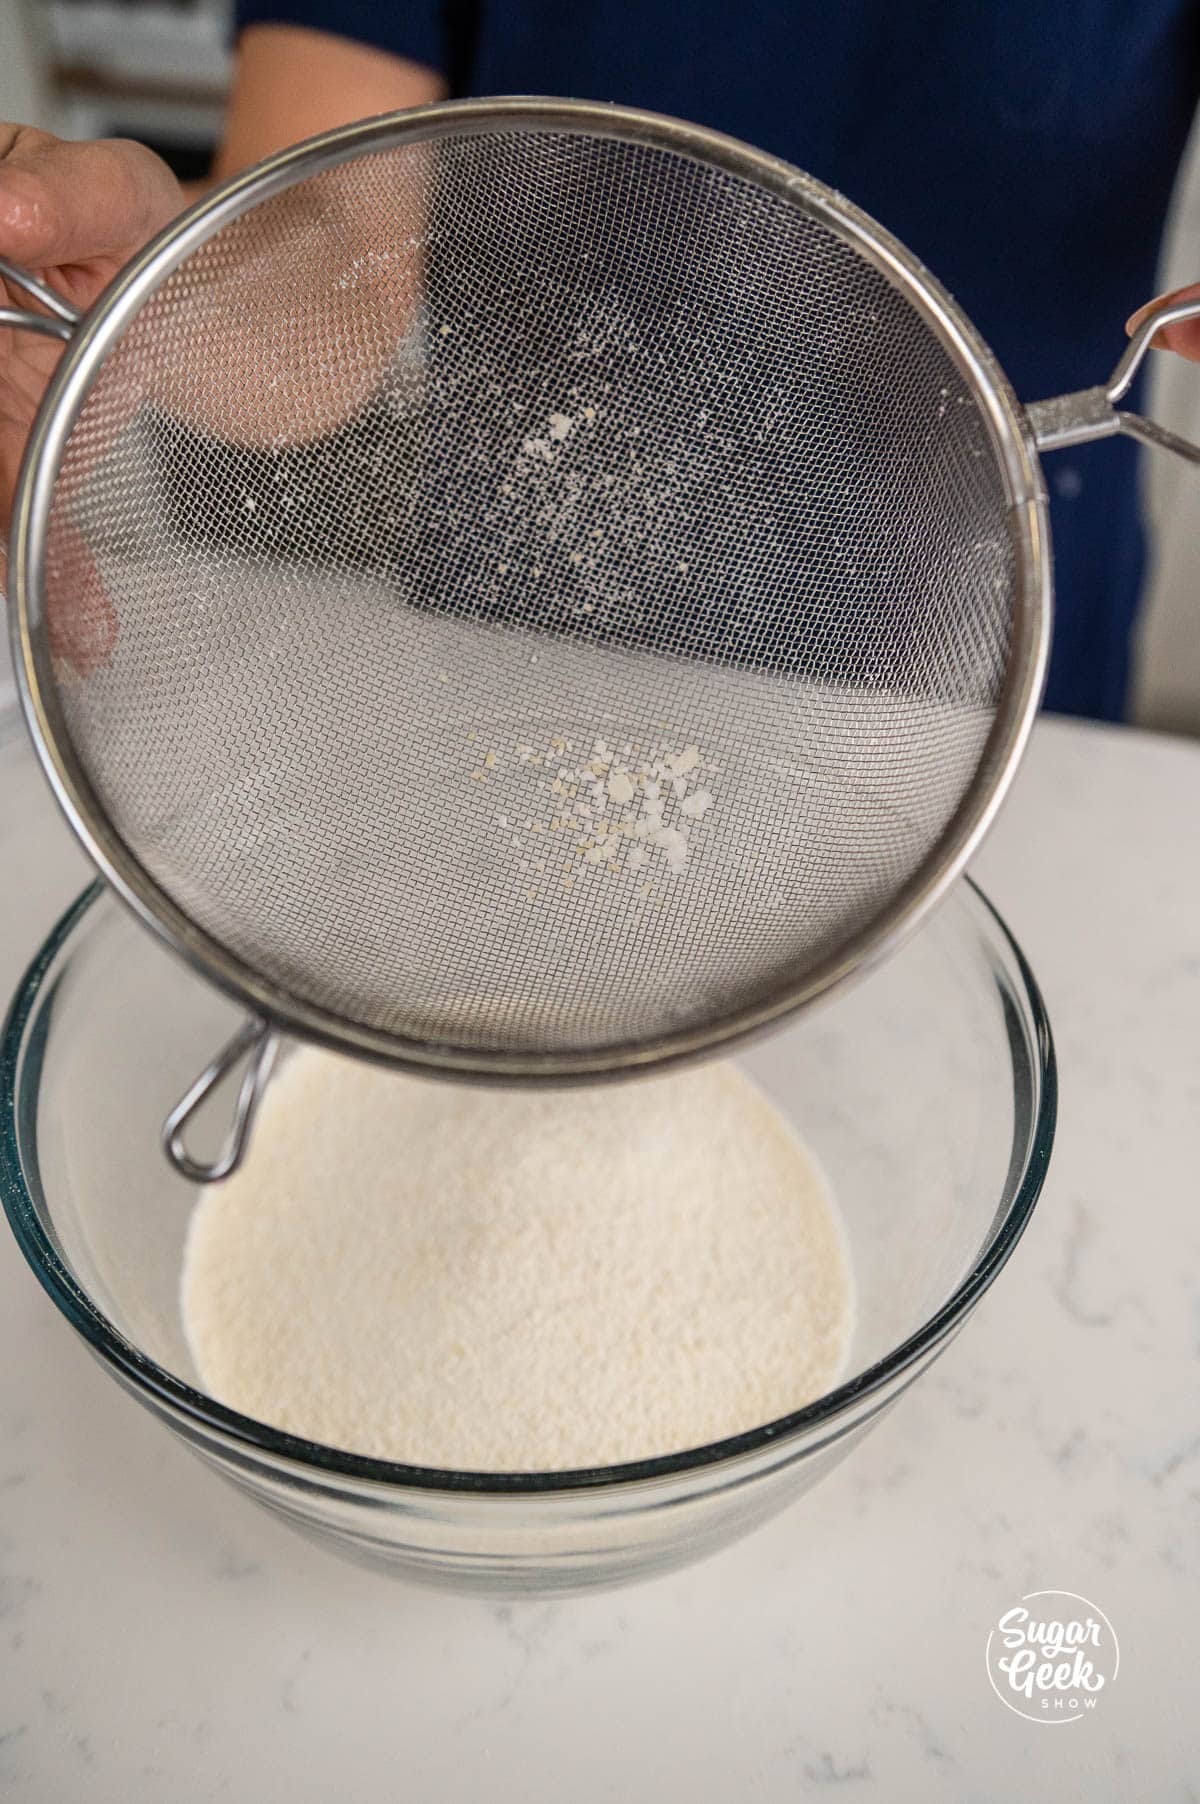
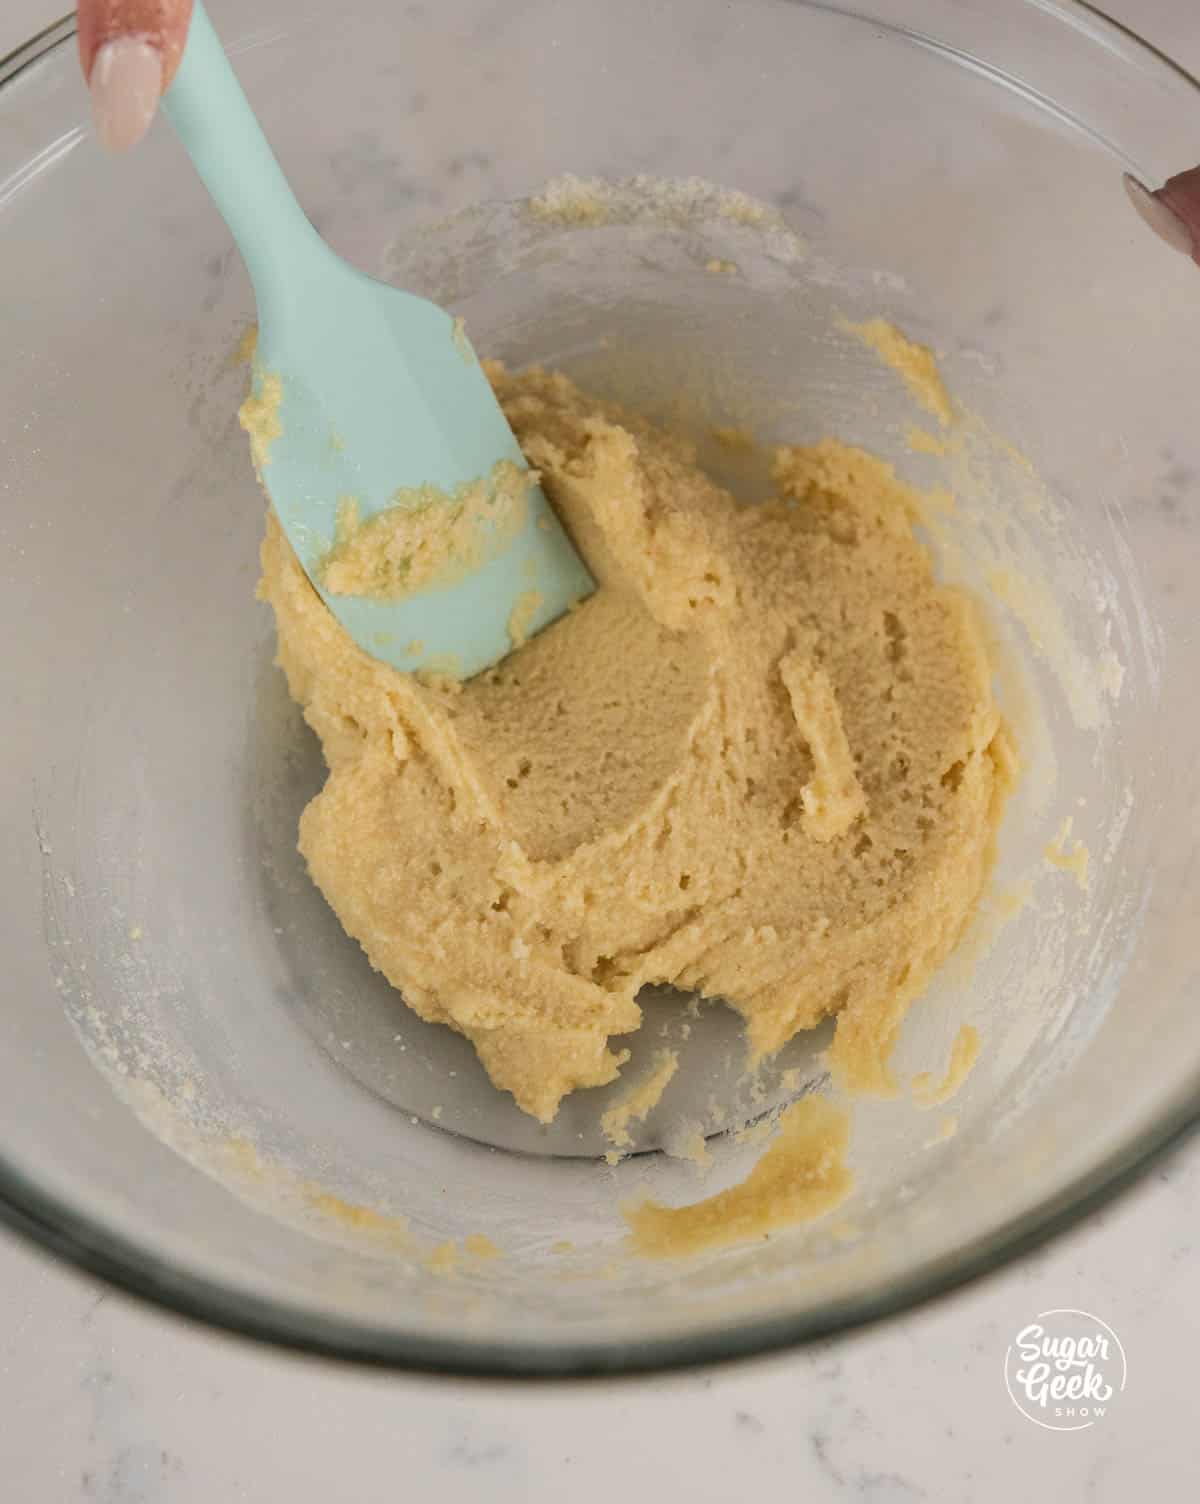


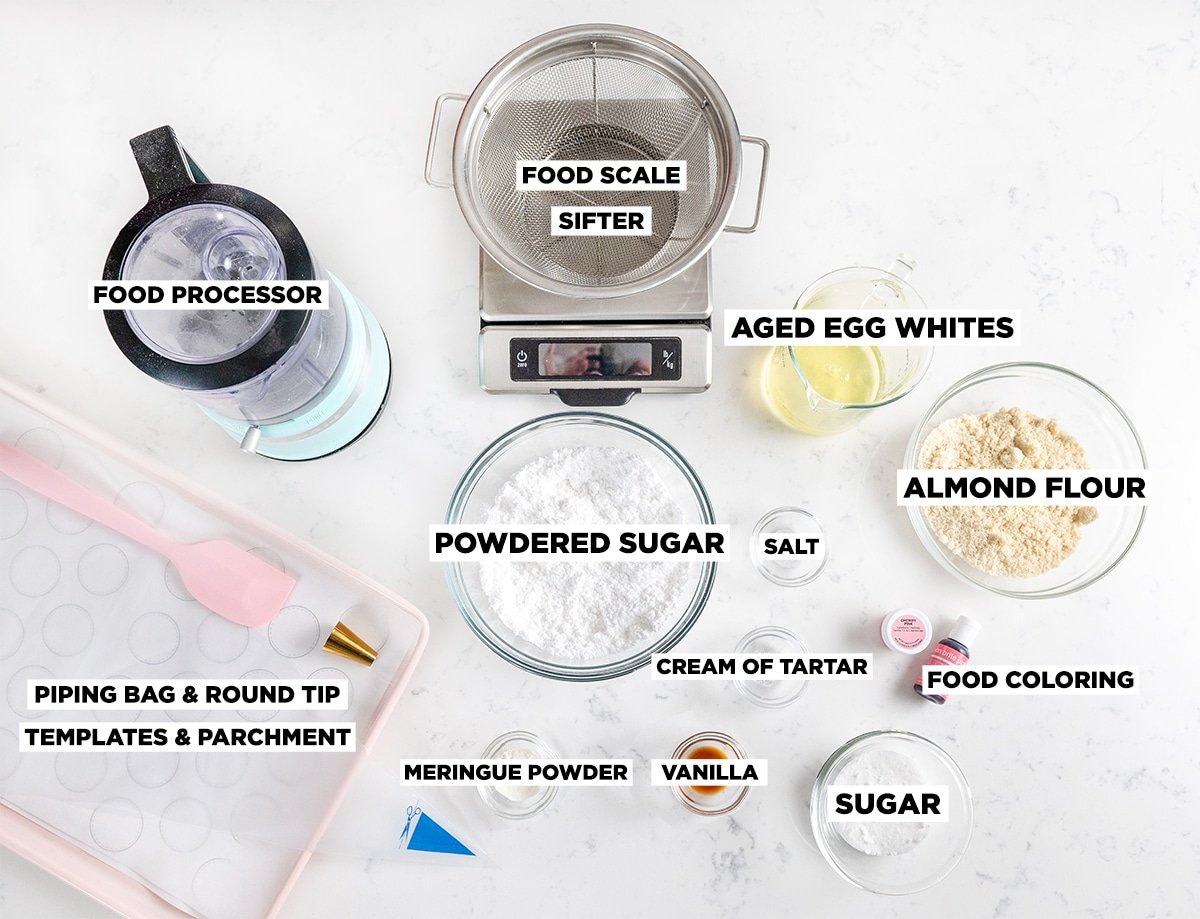


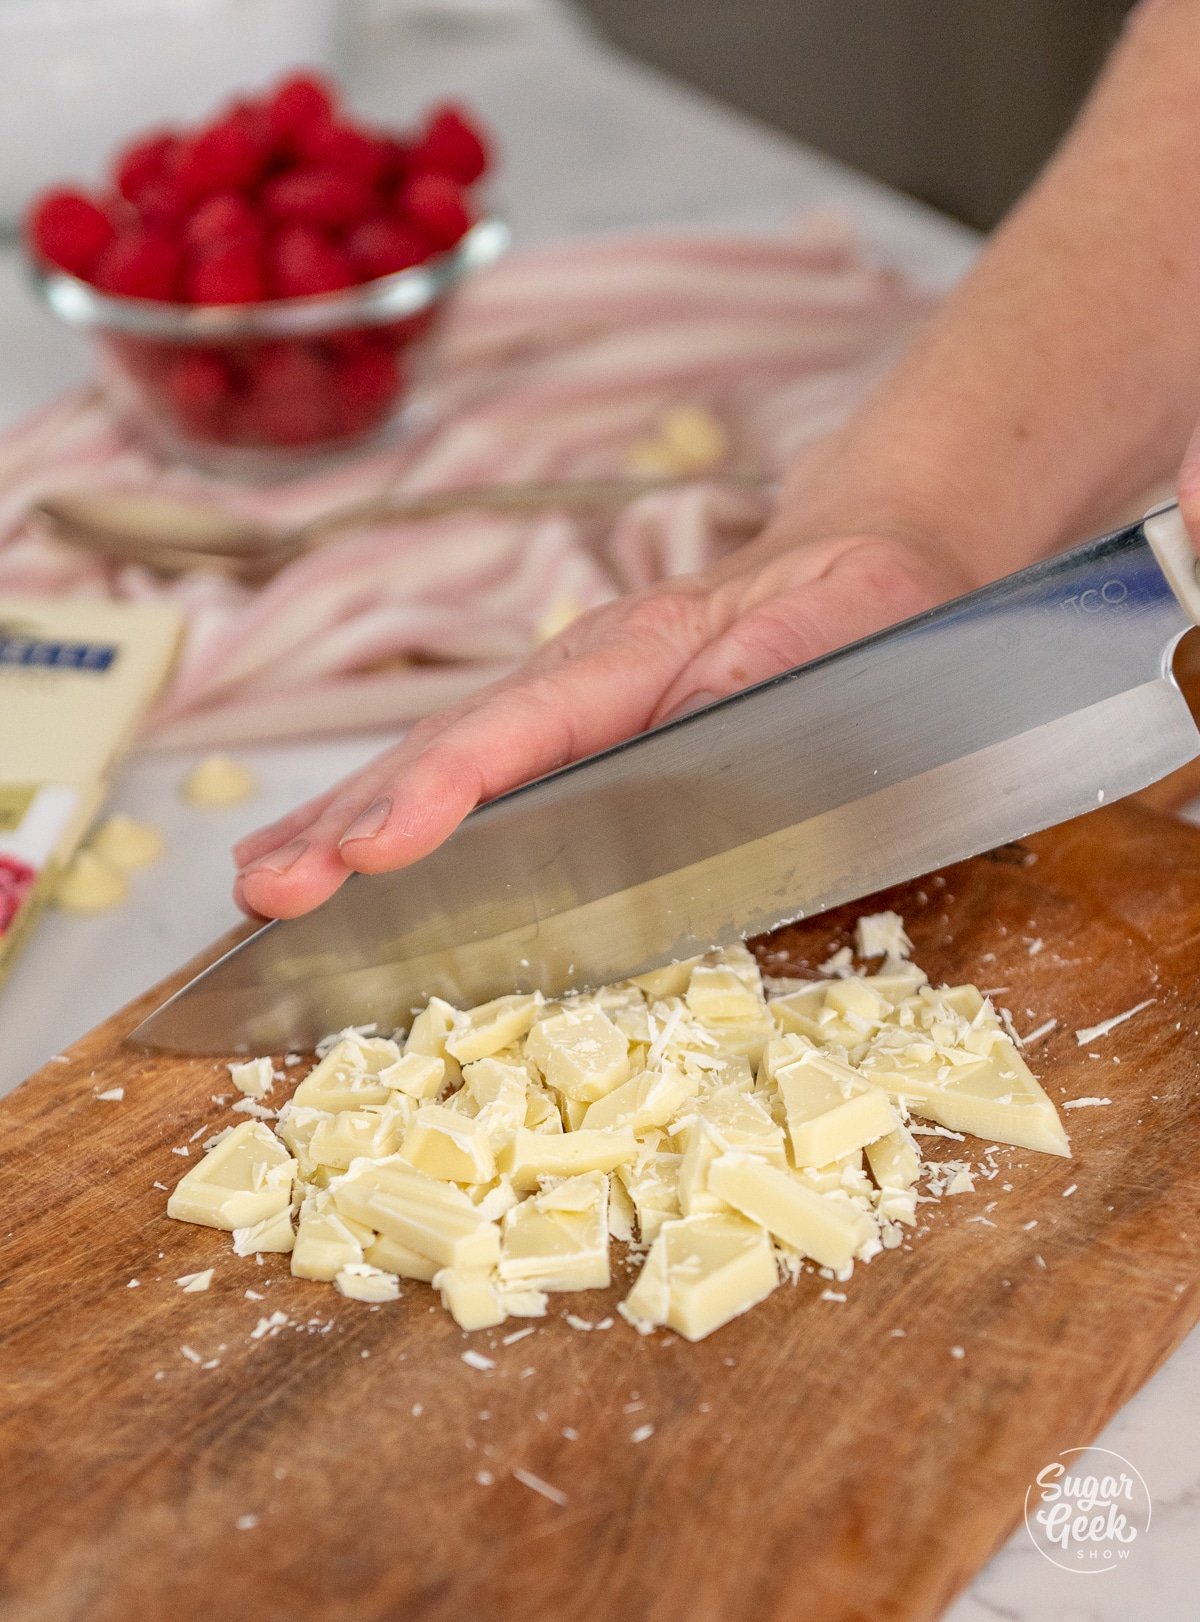


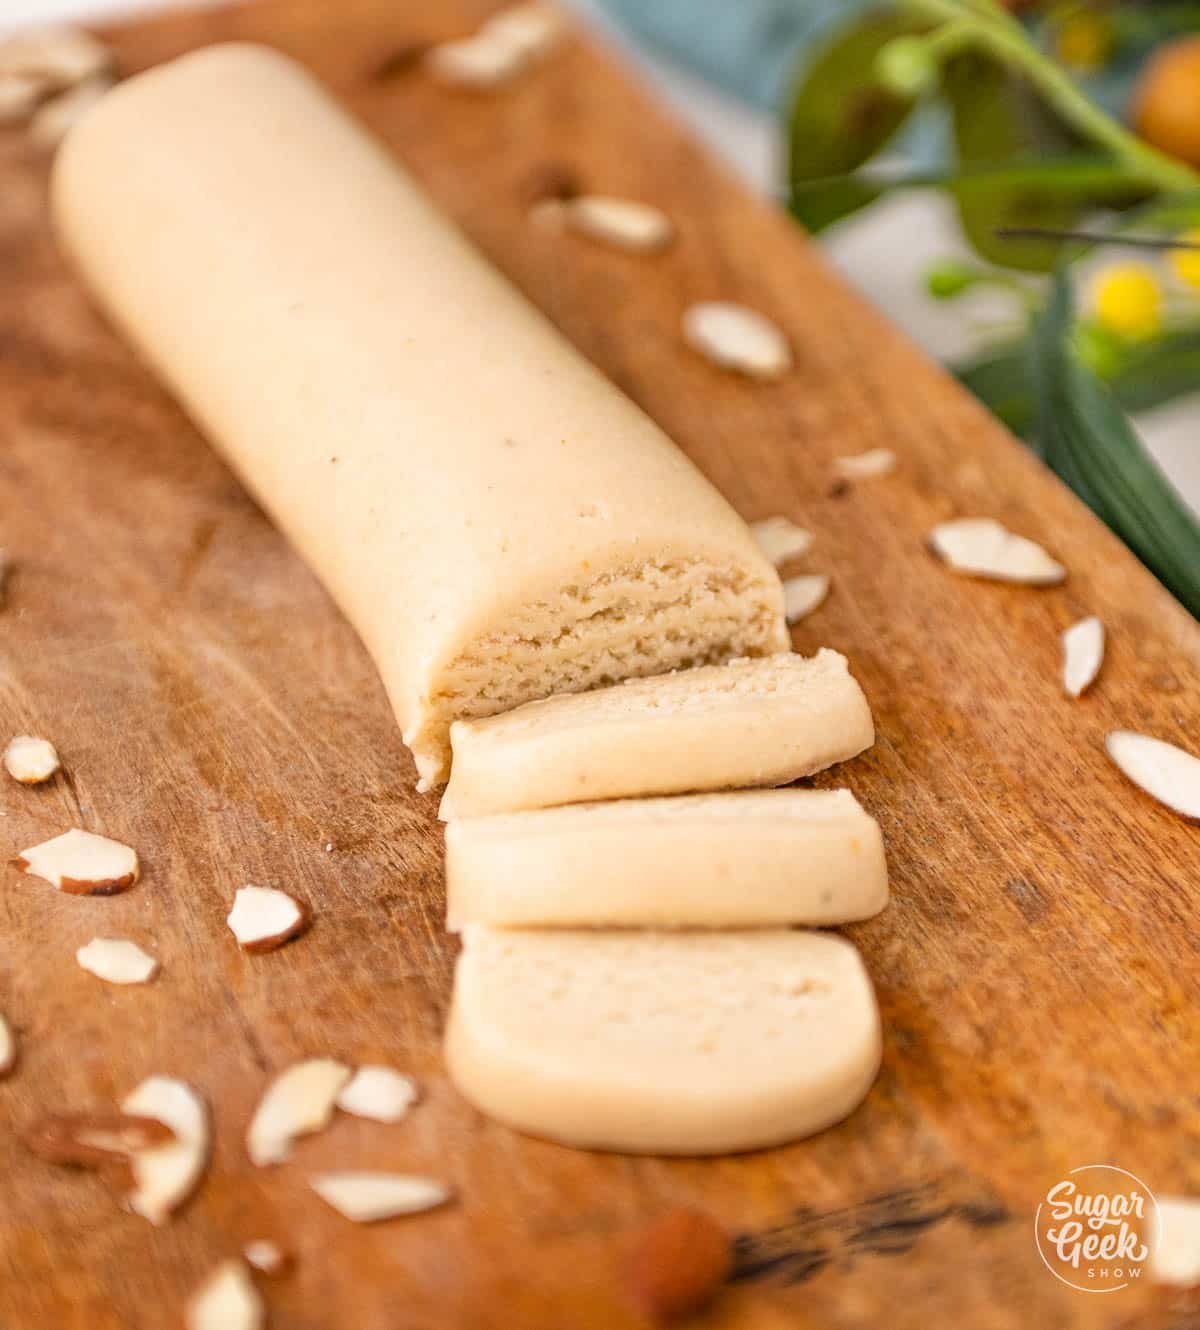
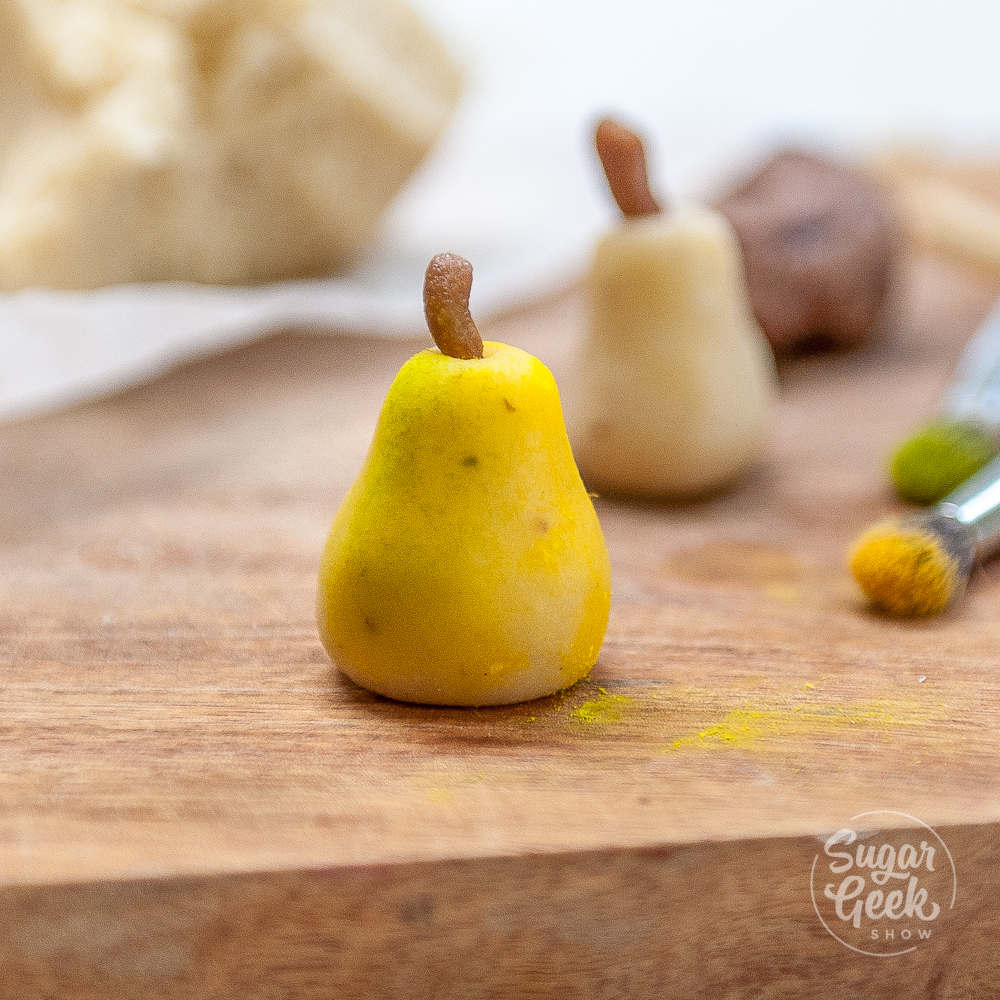
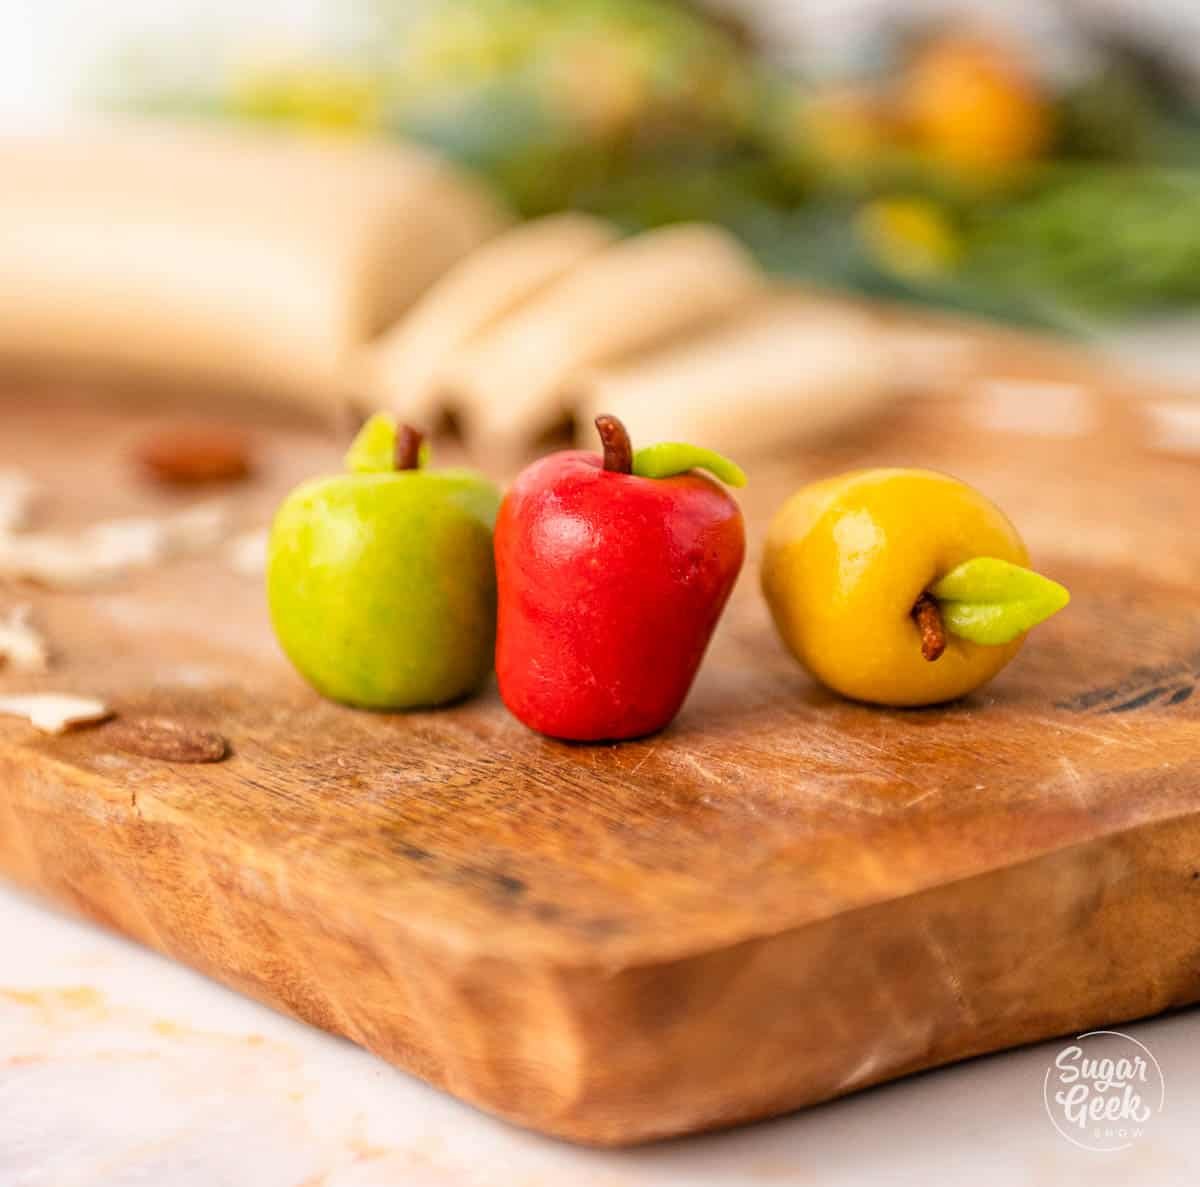
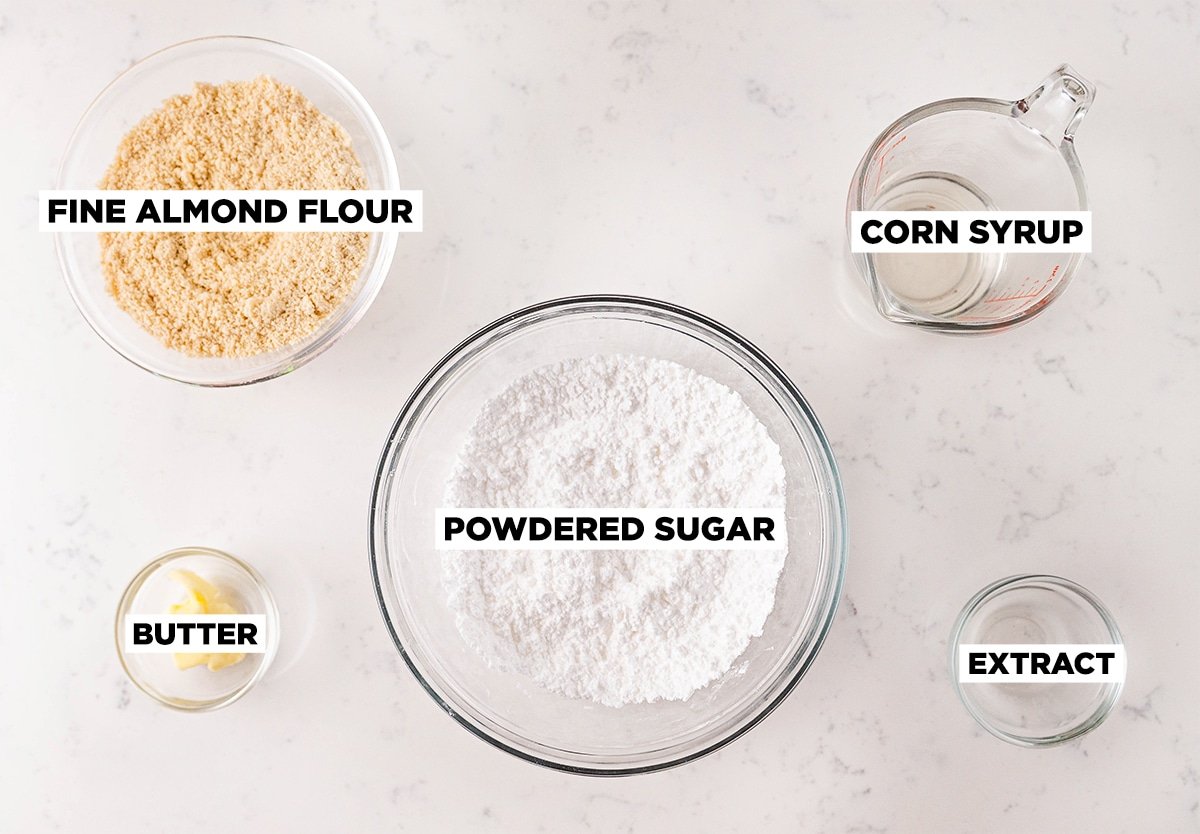 Blanched (peeled) almonds or finely ground almond flour are the main ingredient in homemade marzipan and will result in a smoother texture than raw (unpeeled) almonds. It's more cost-effective to grind your own whole almonds but to save time you can buy finely ground almond flour.
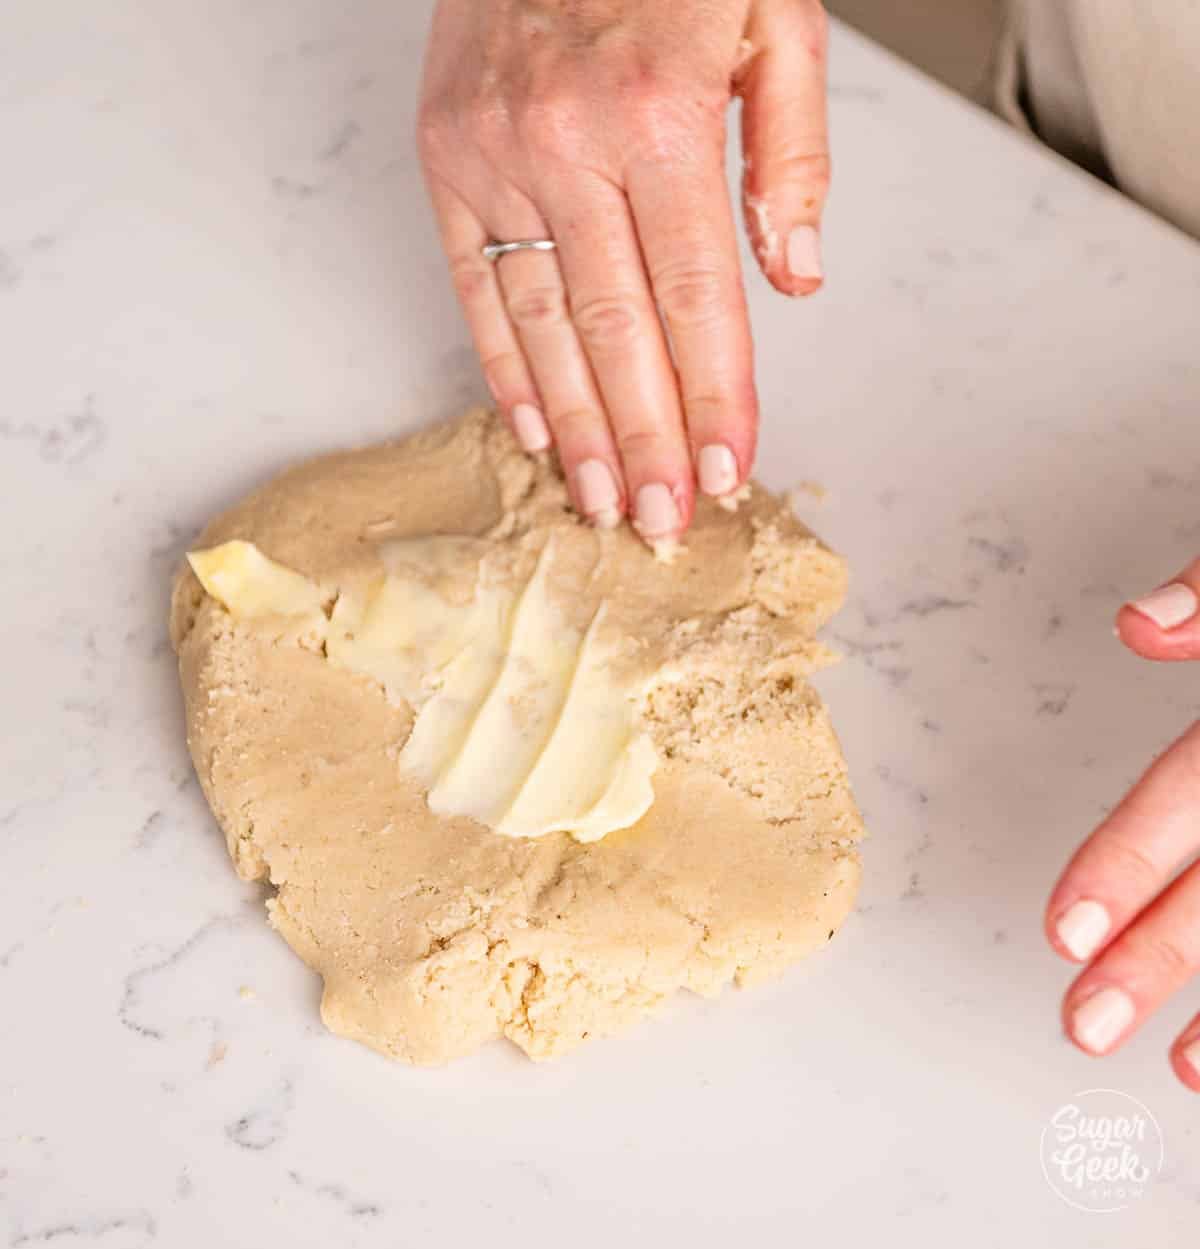
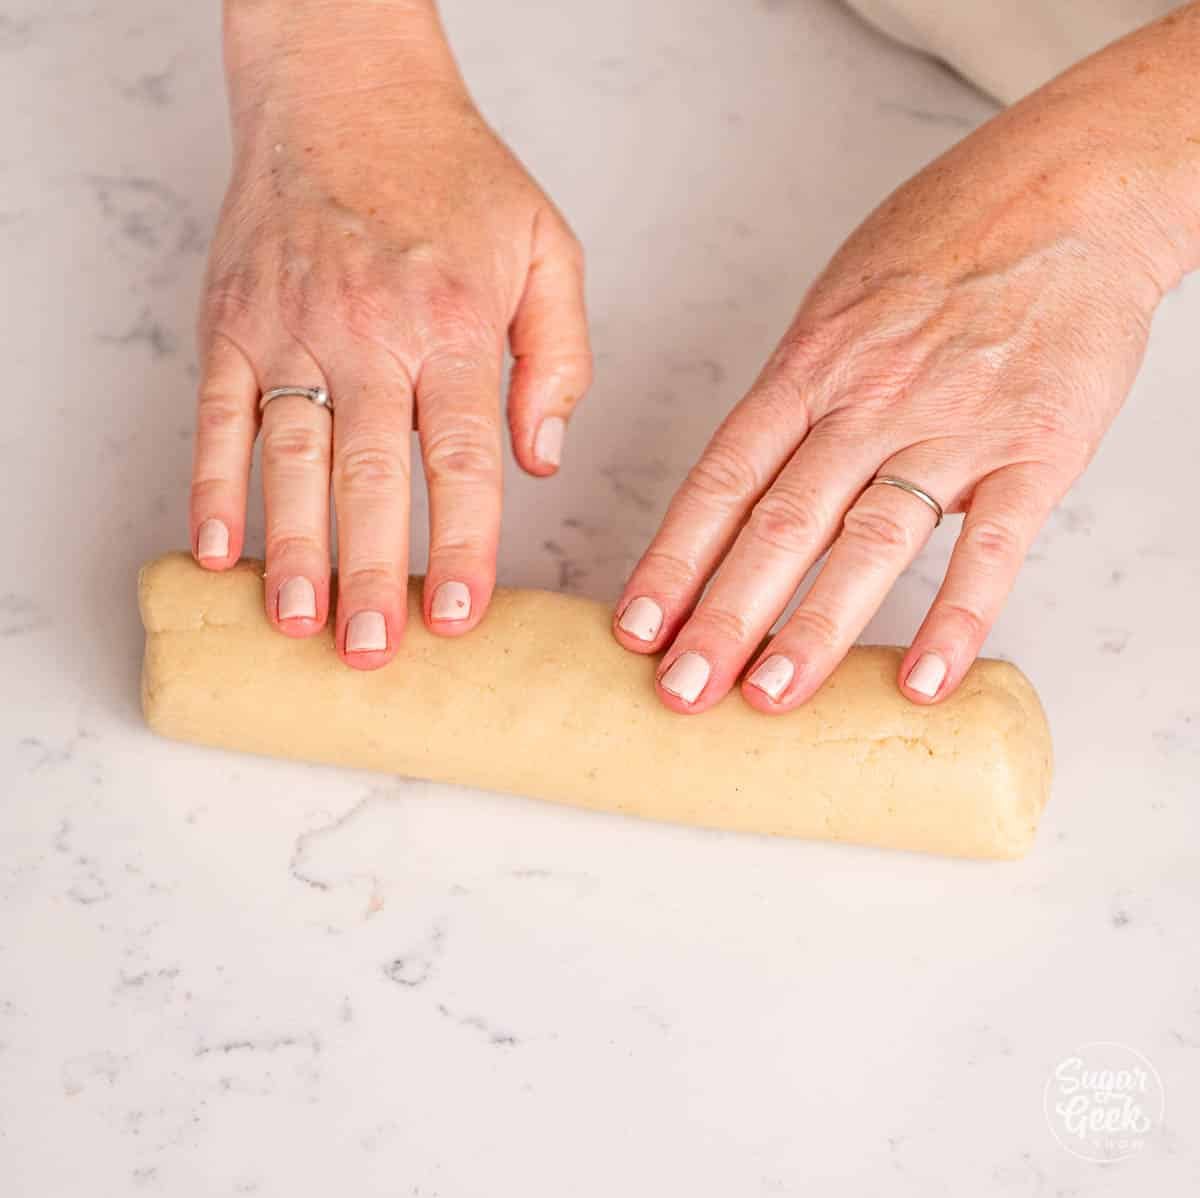
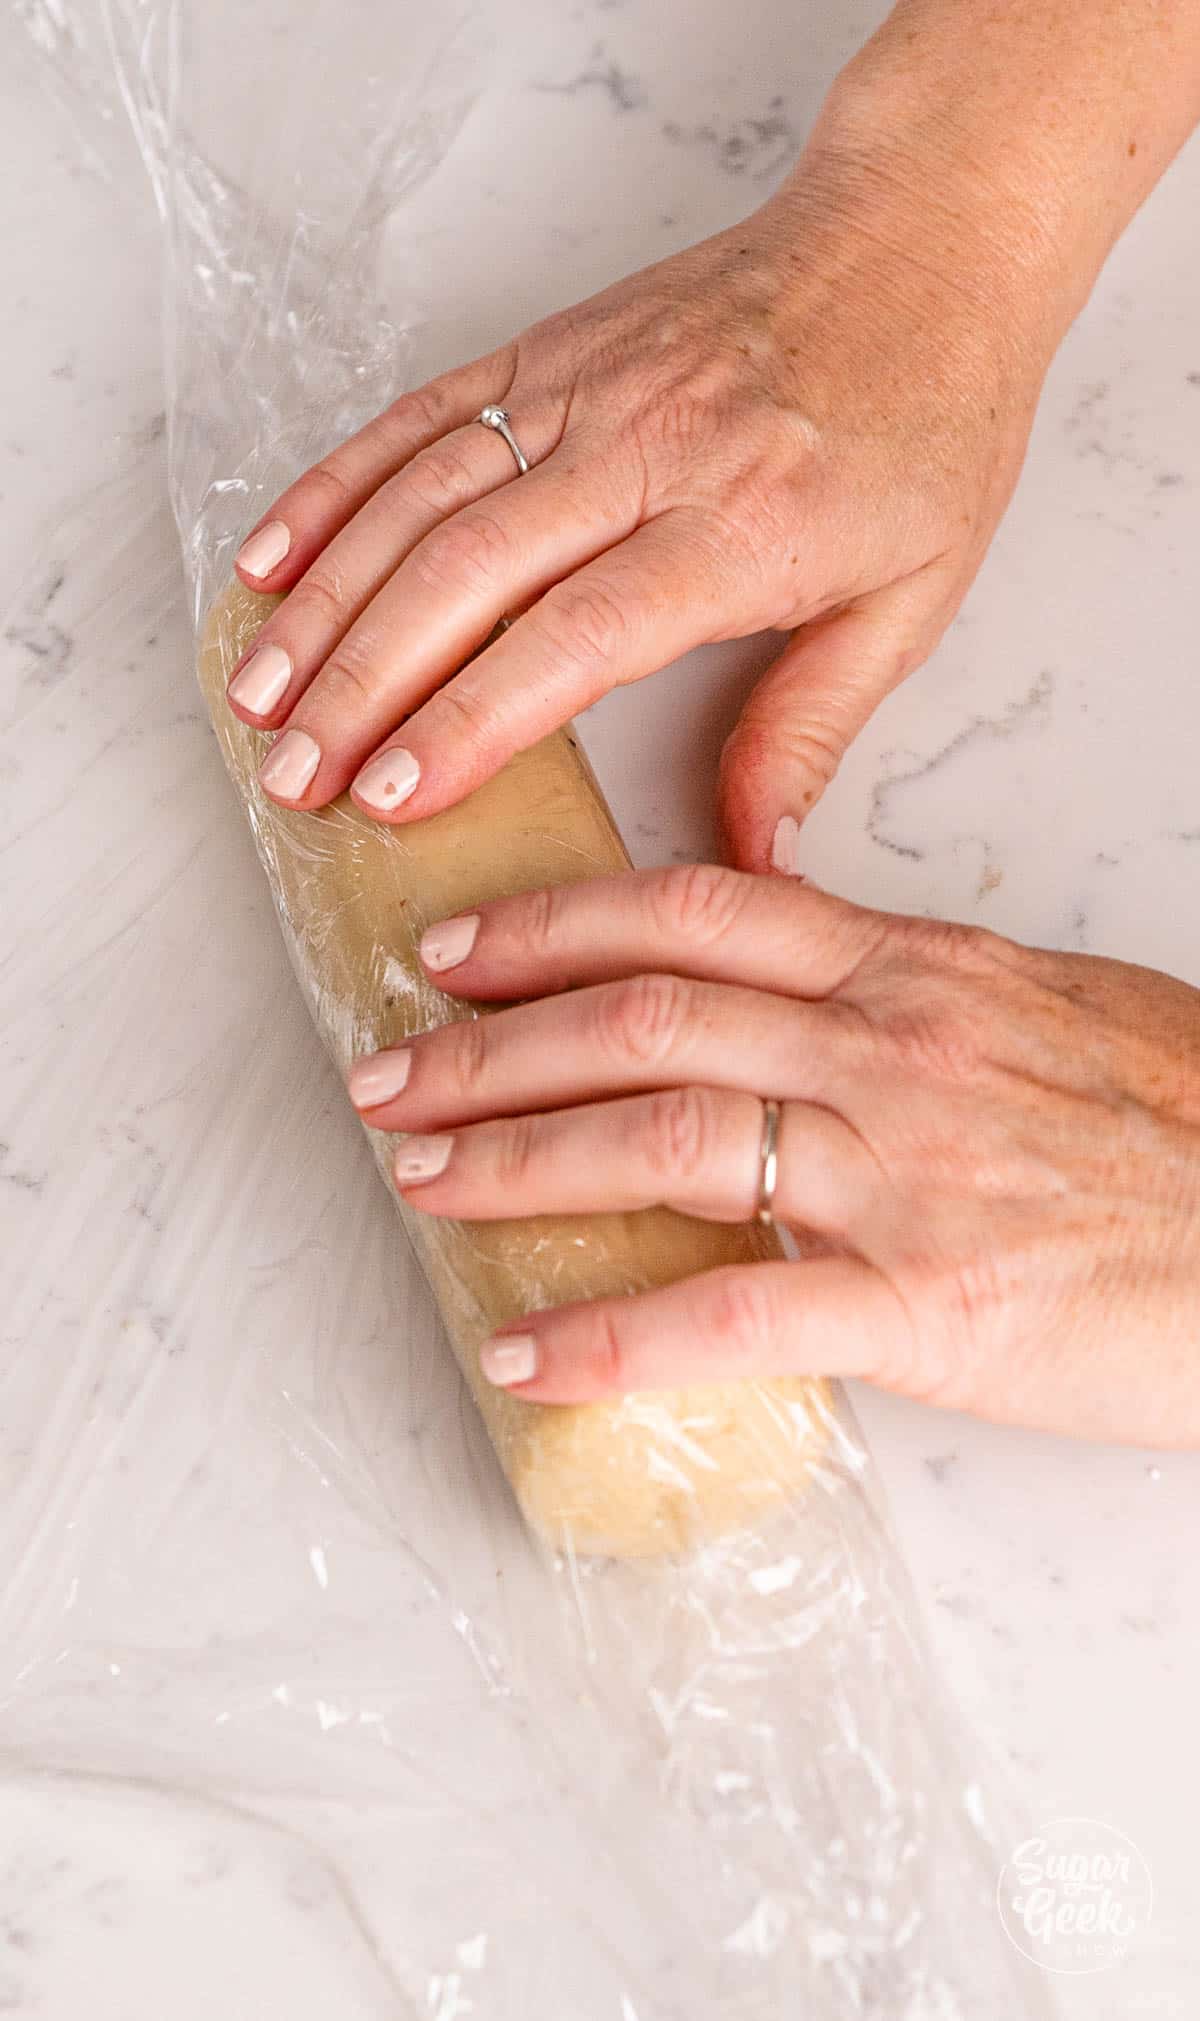
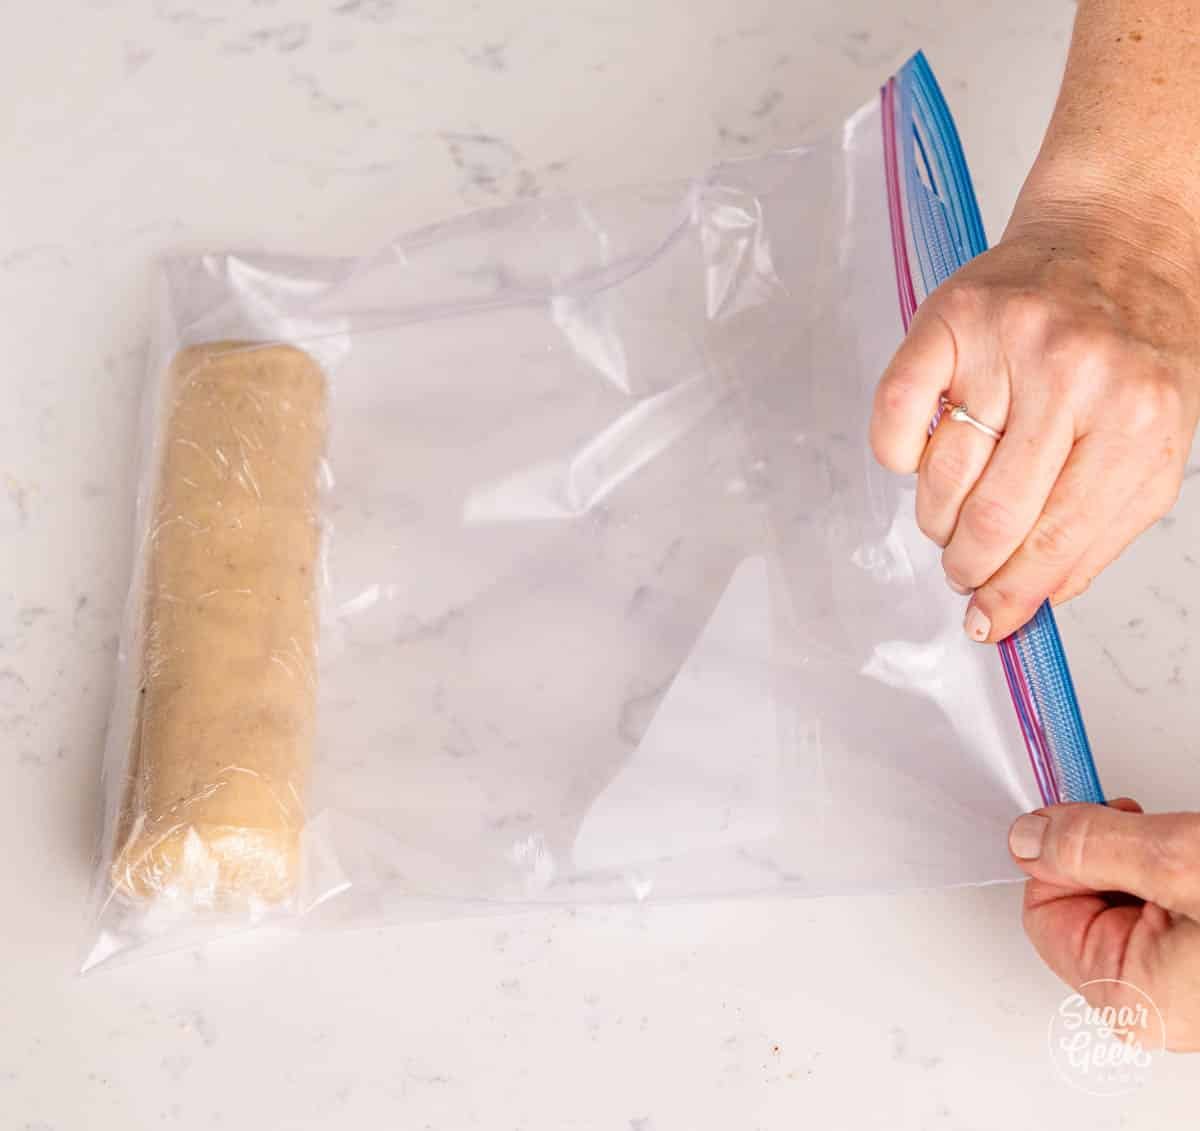

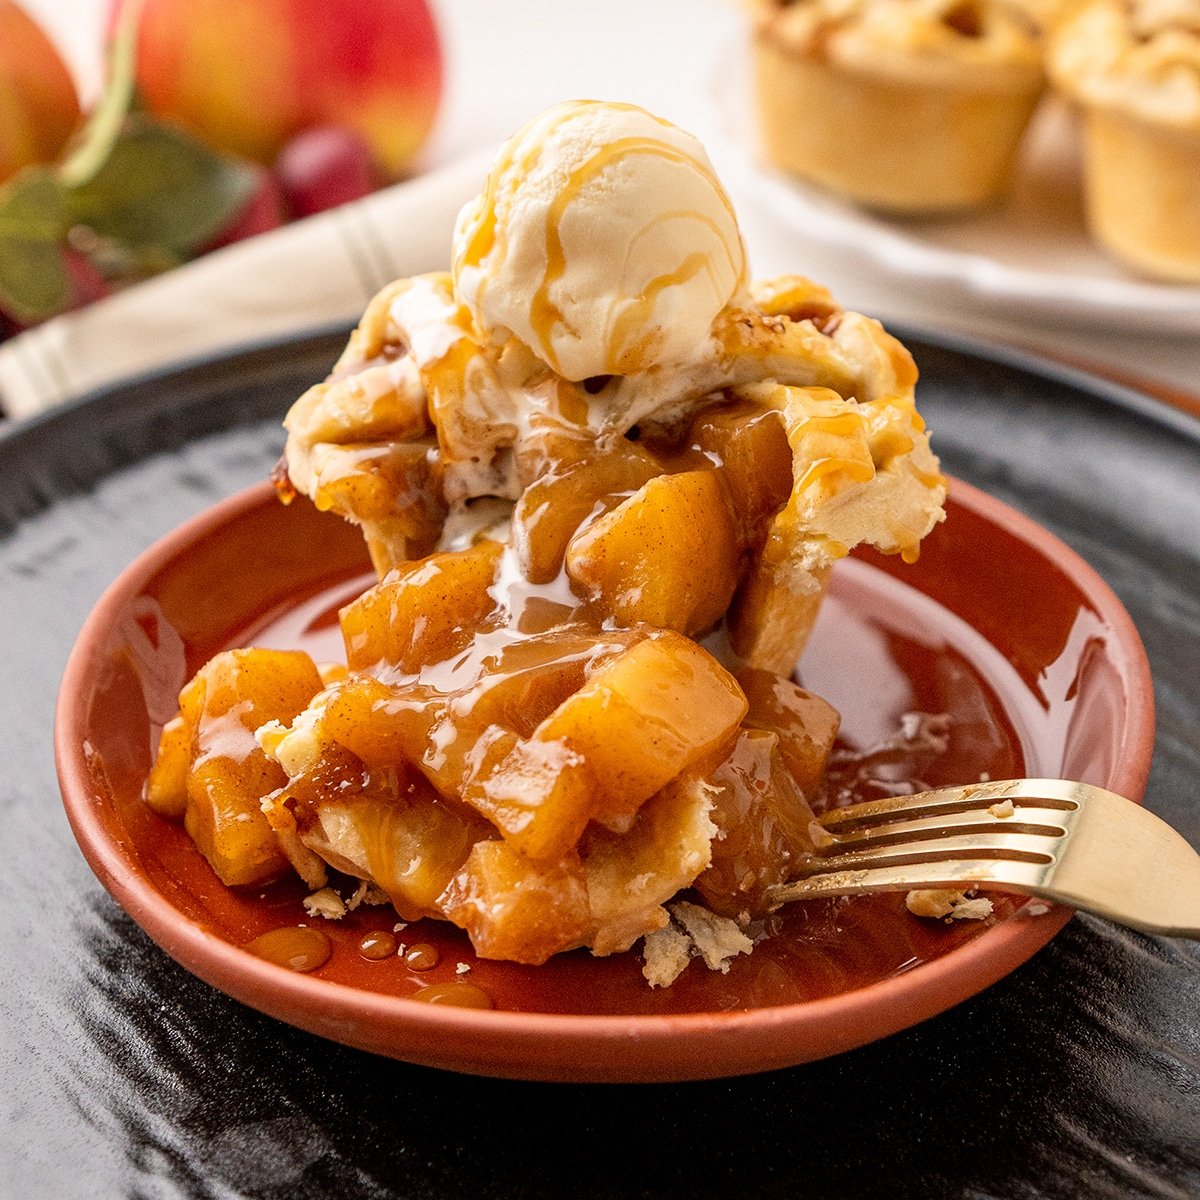
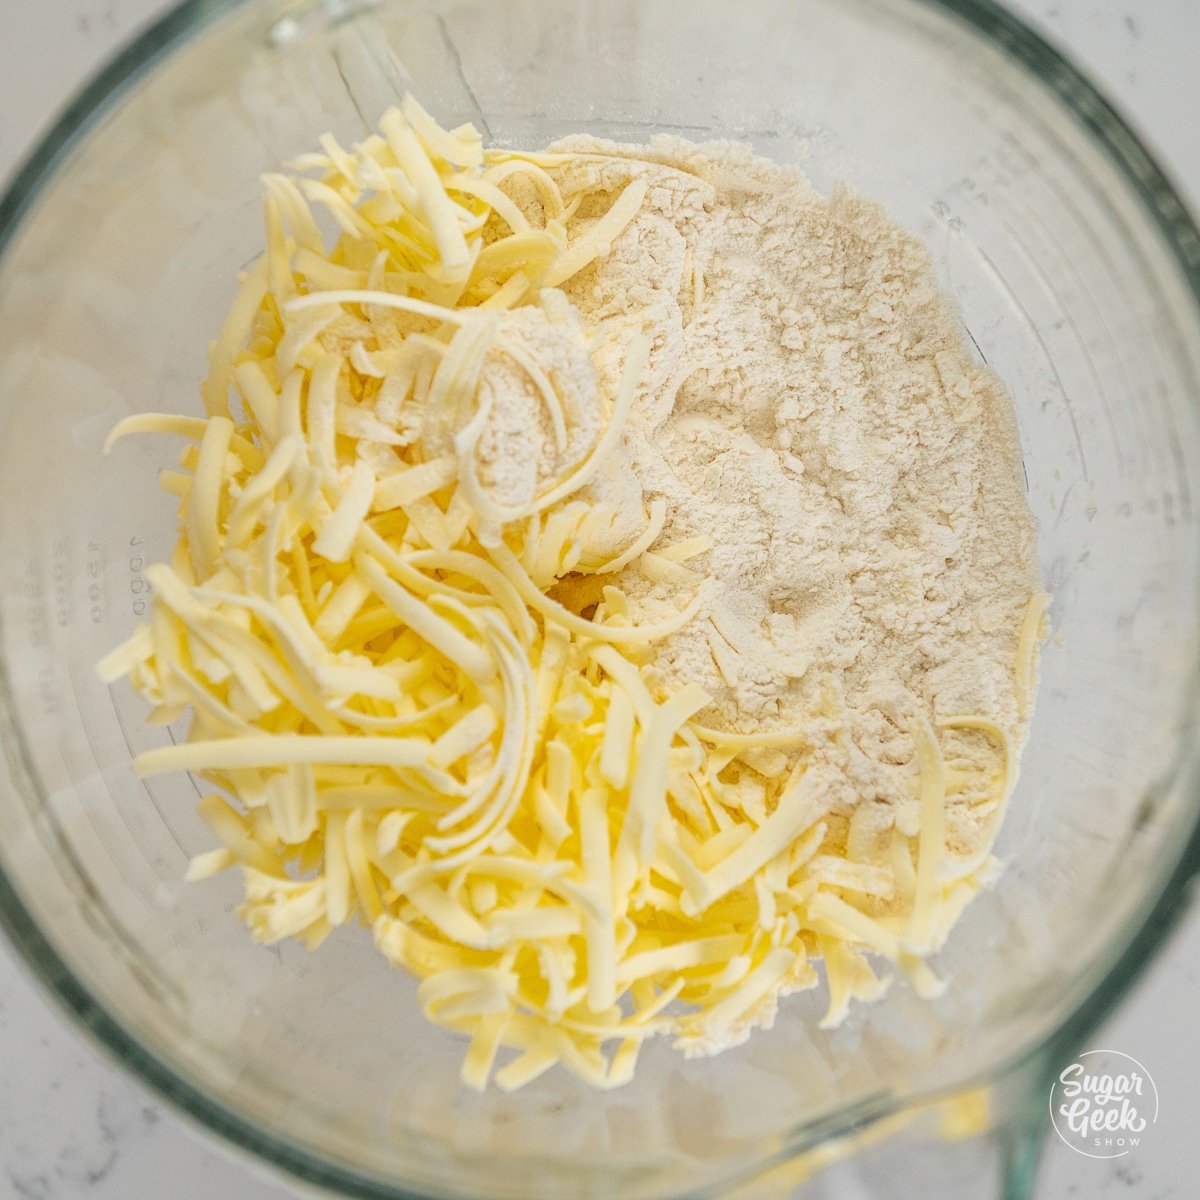
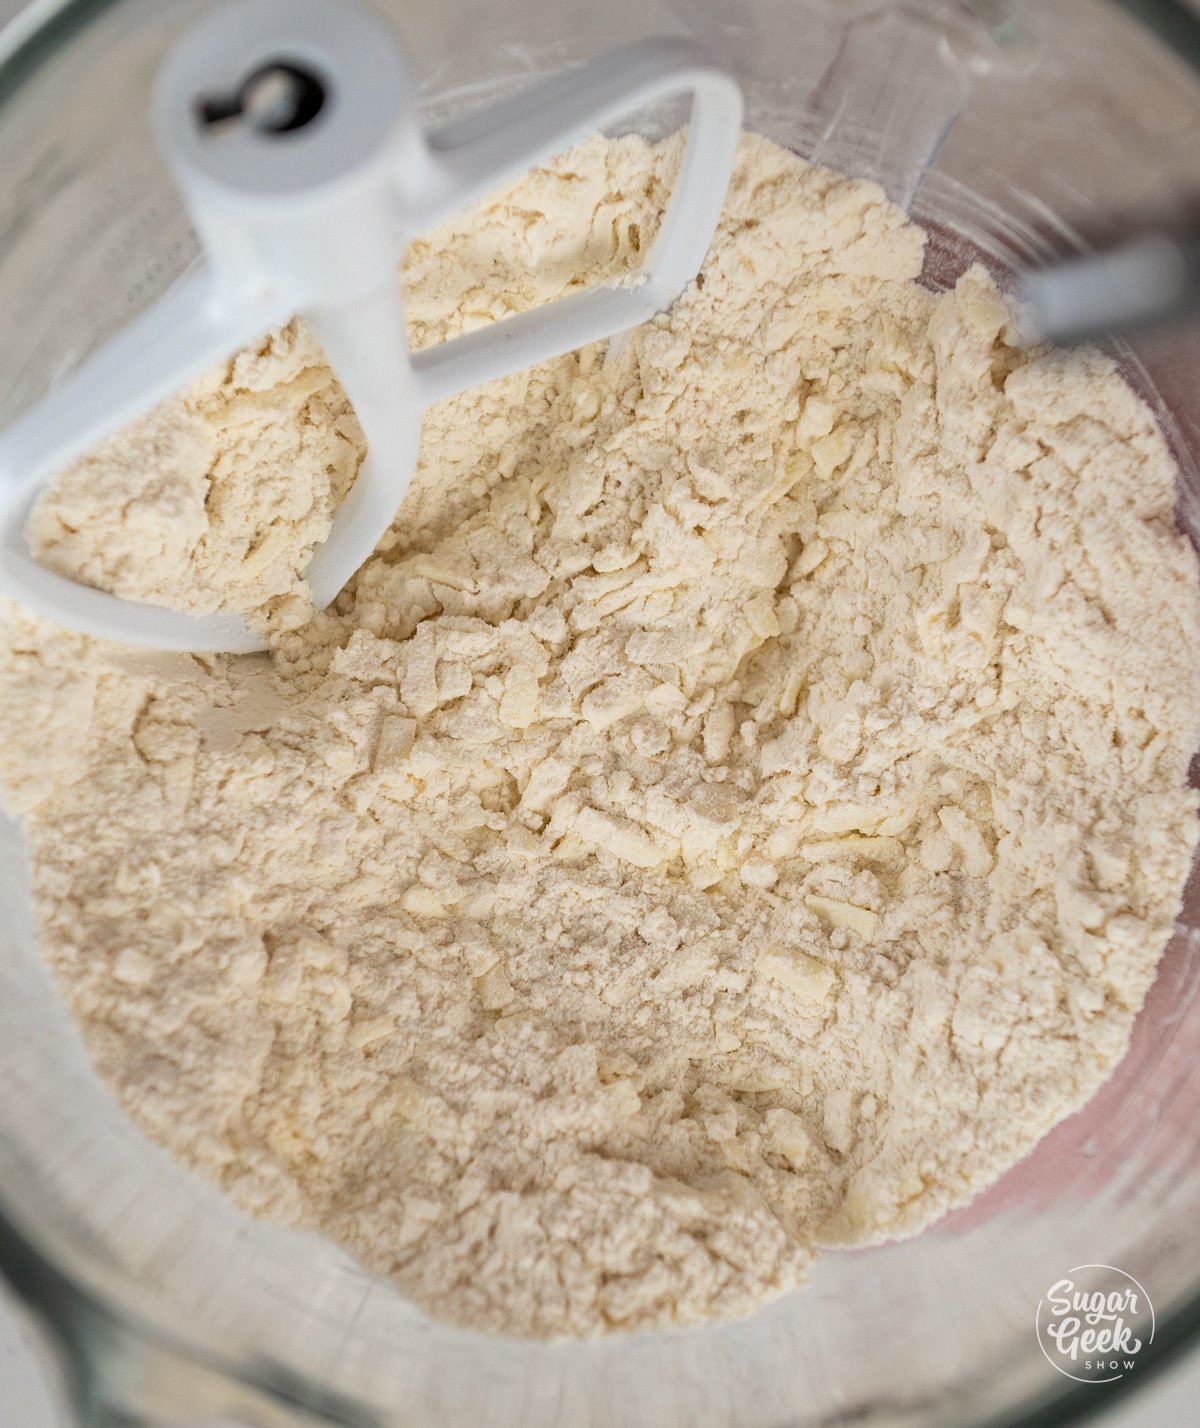
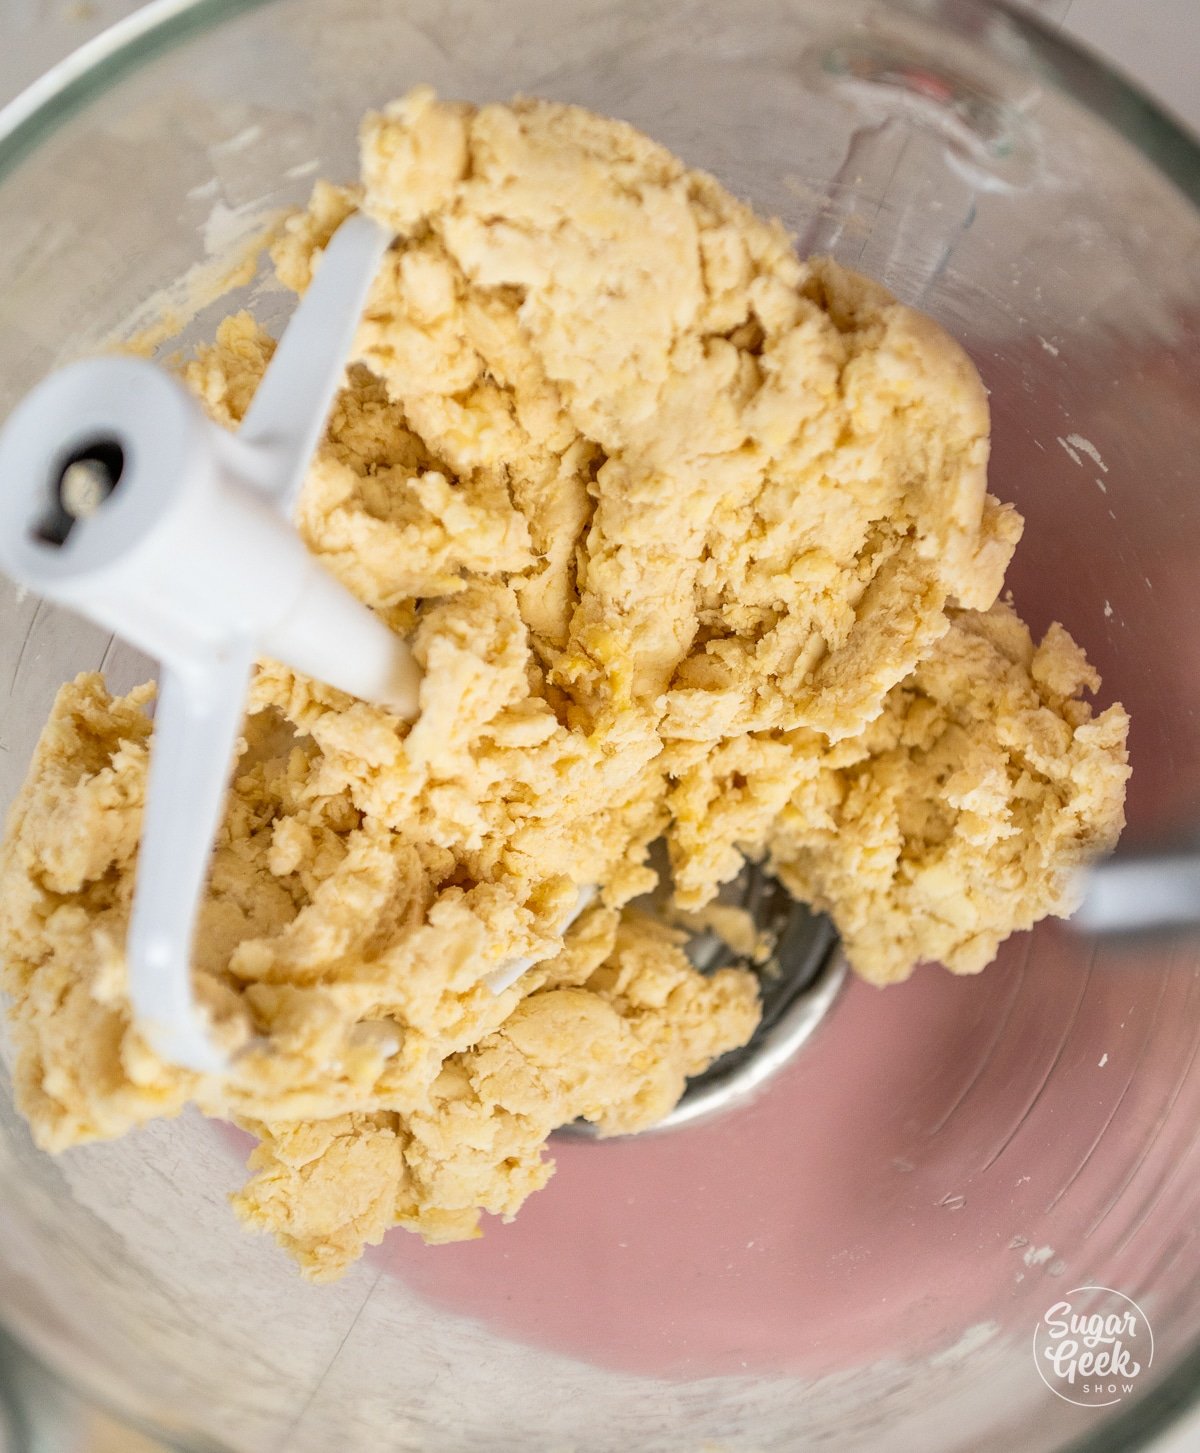
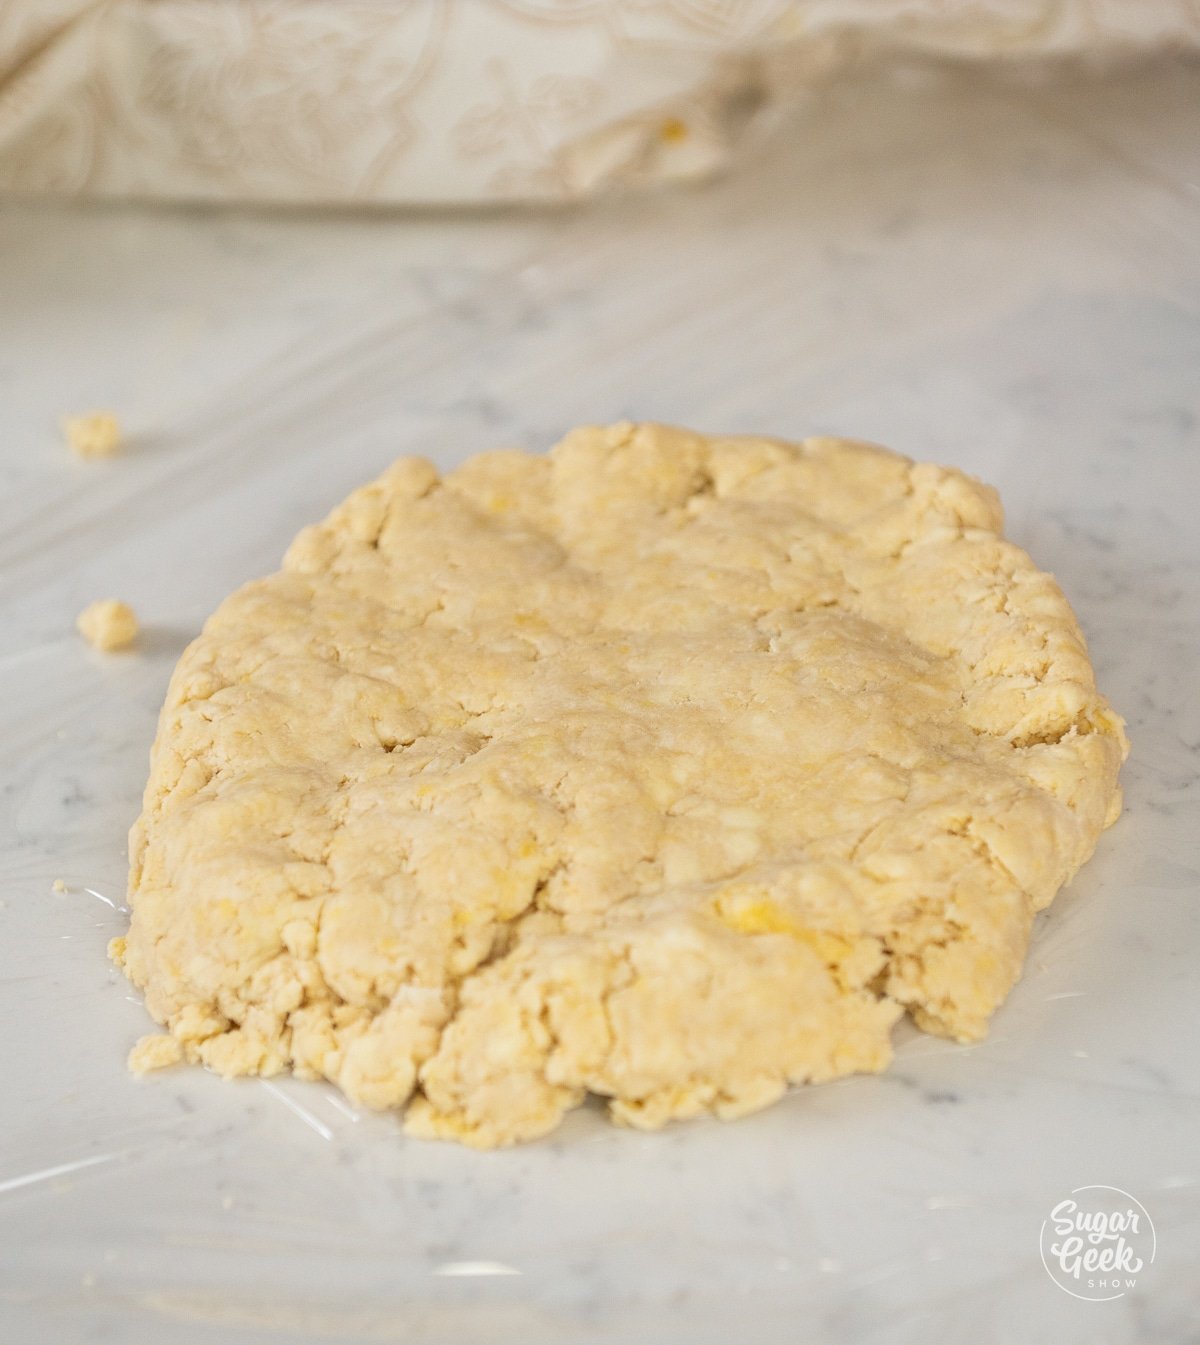
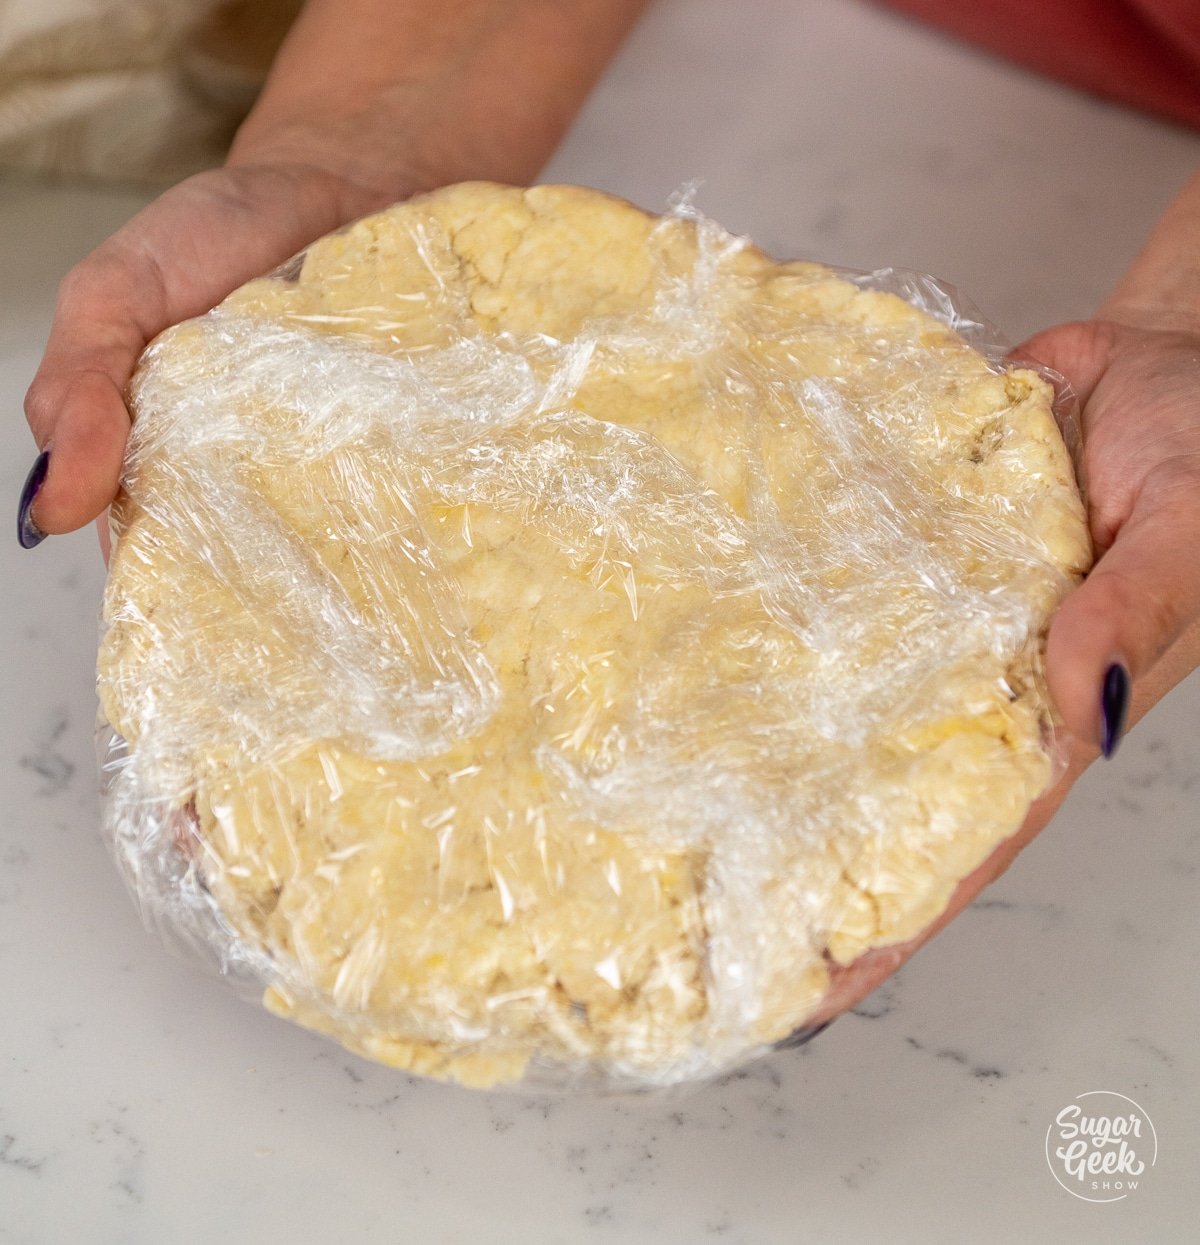
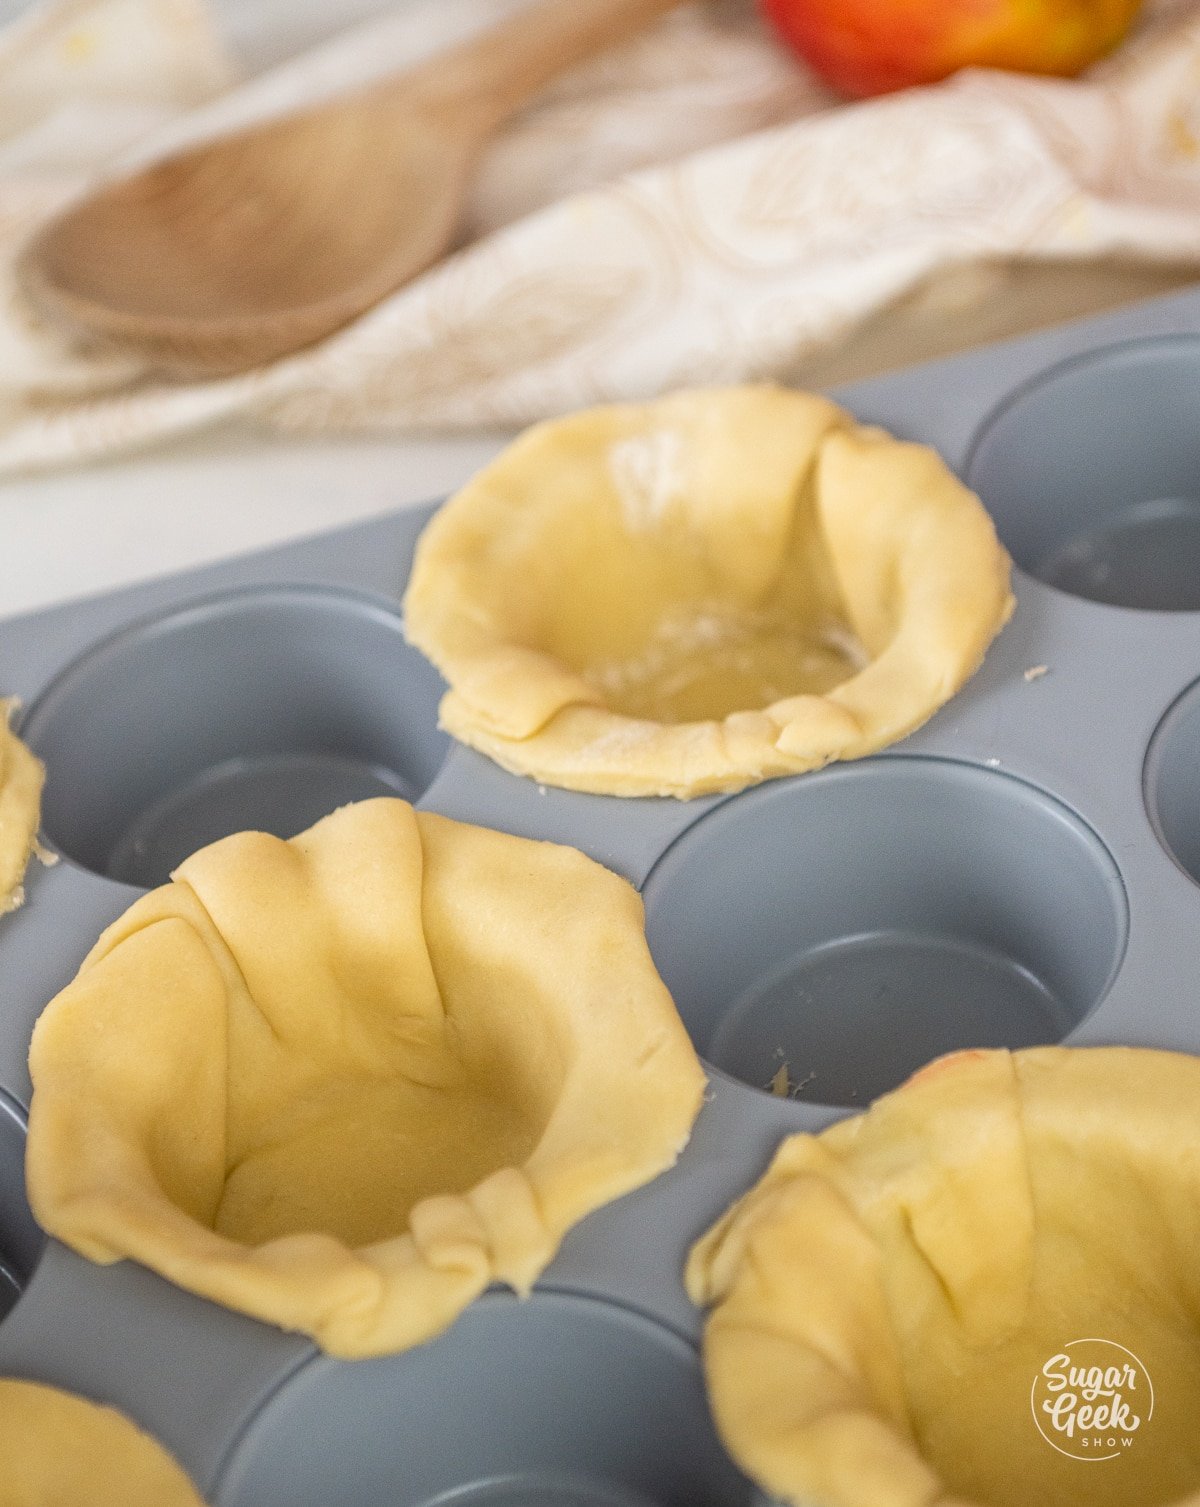
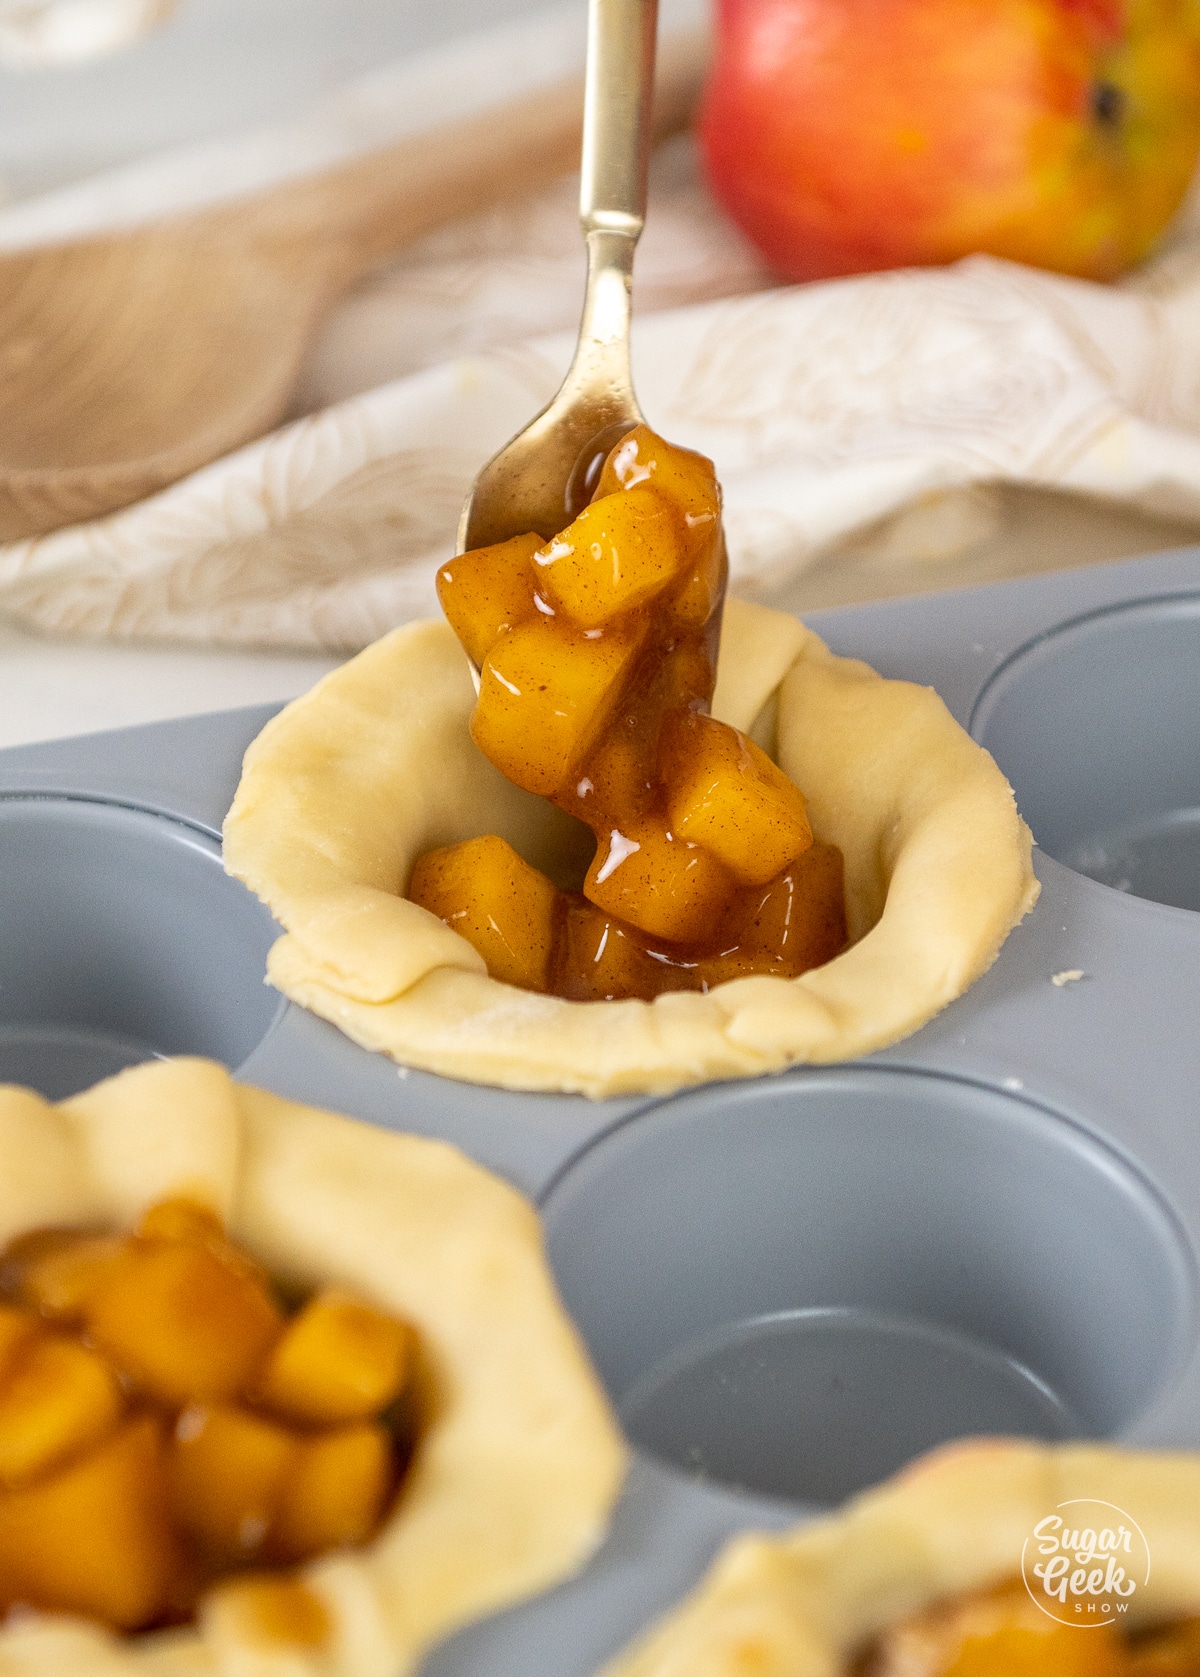
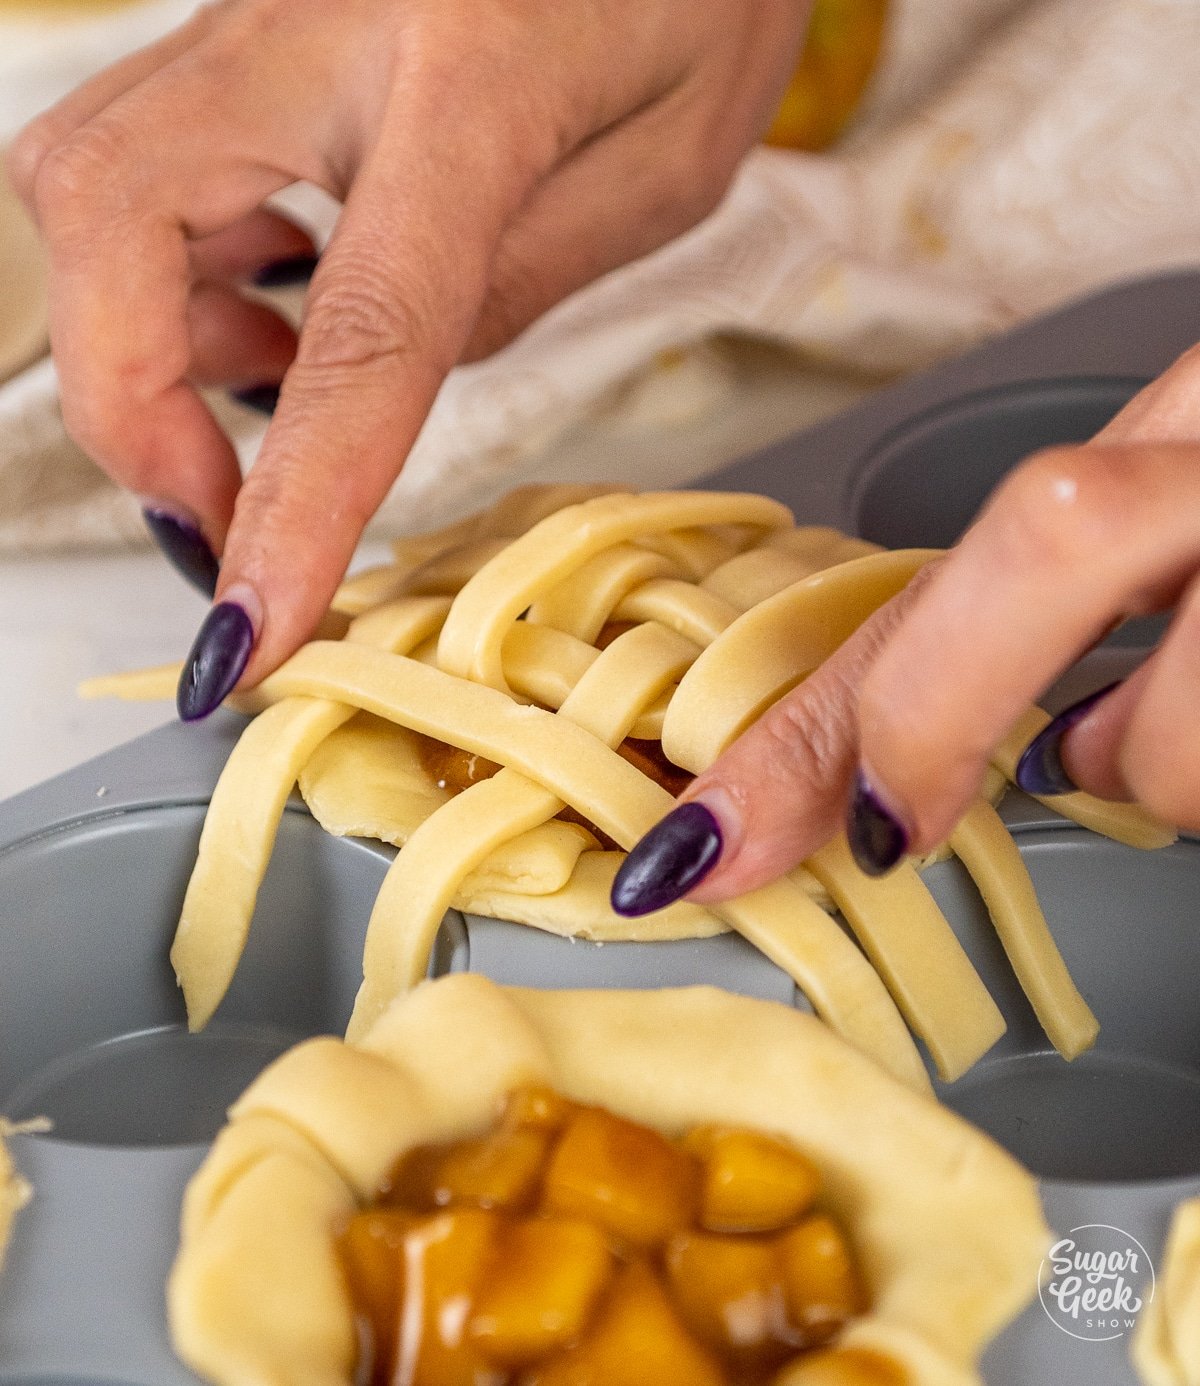
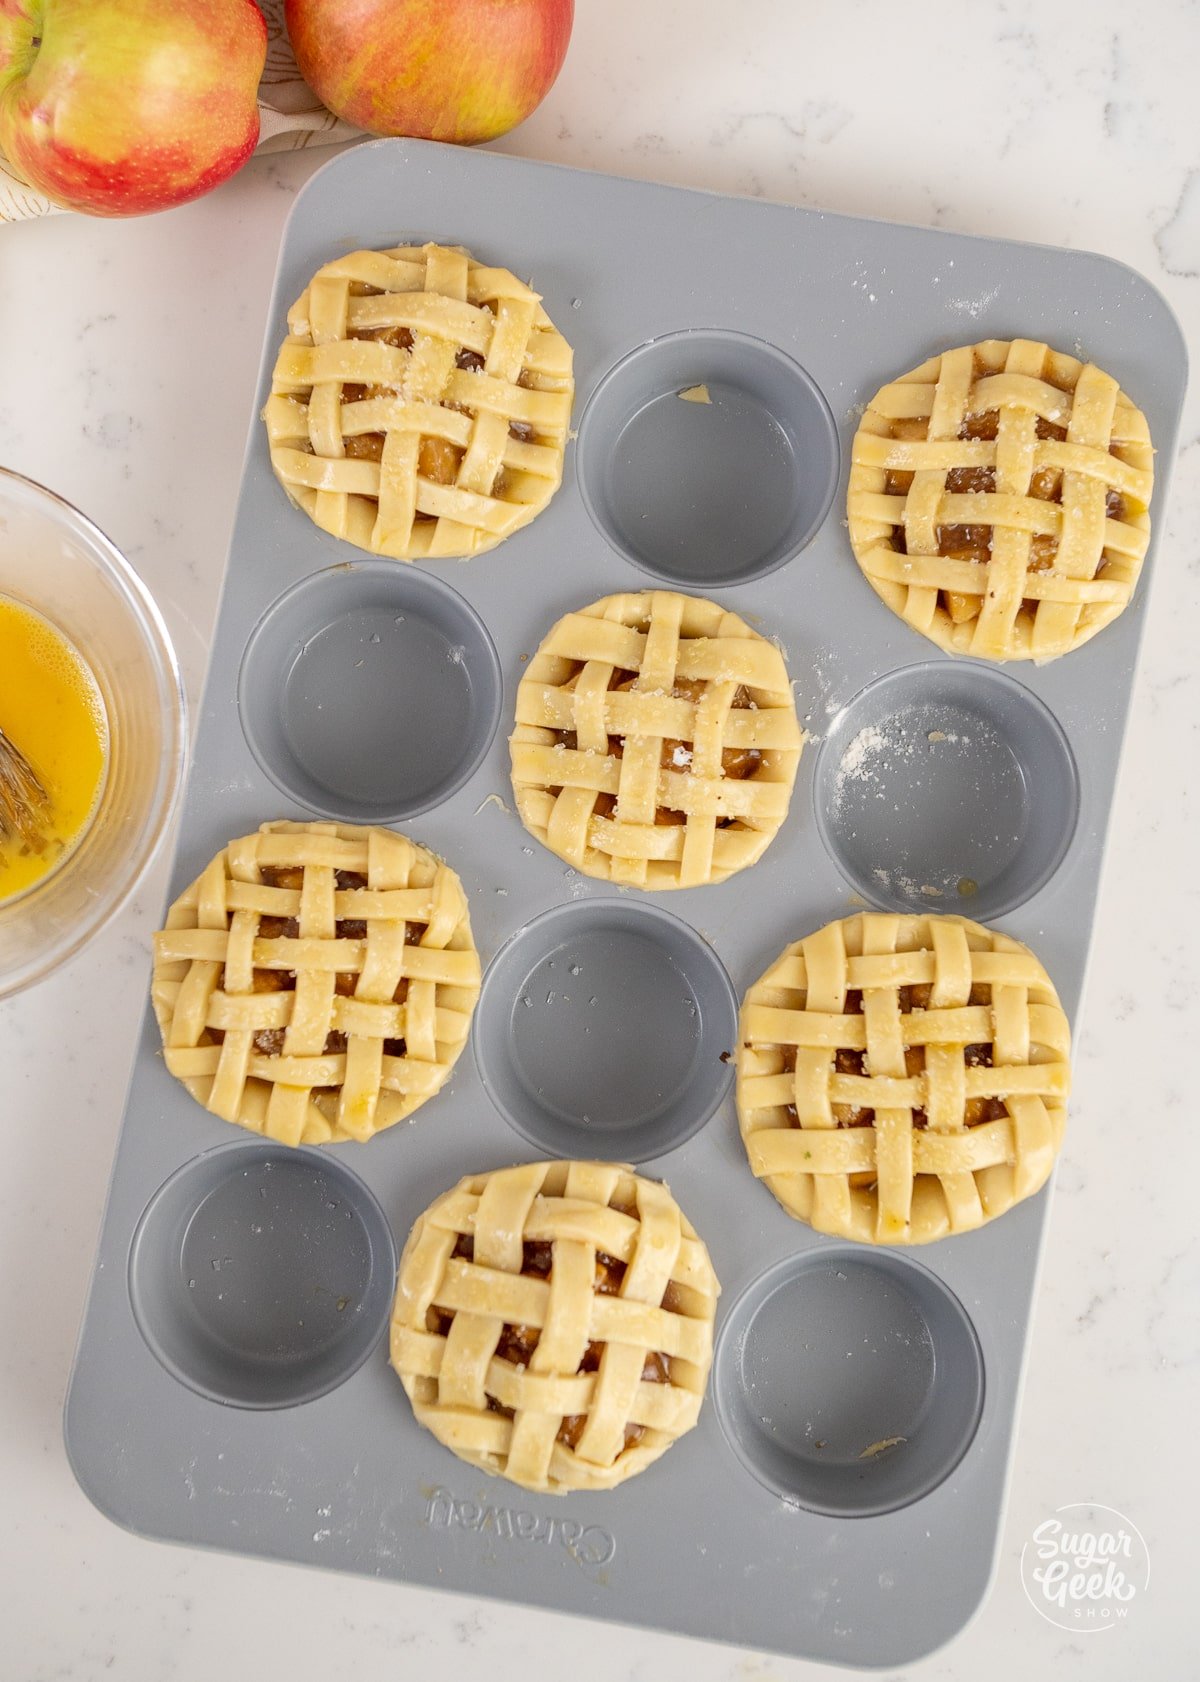
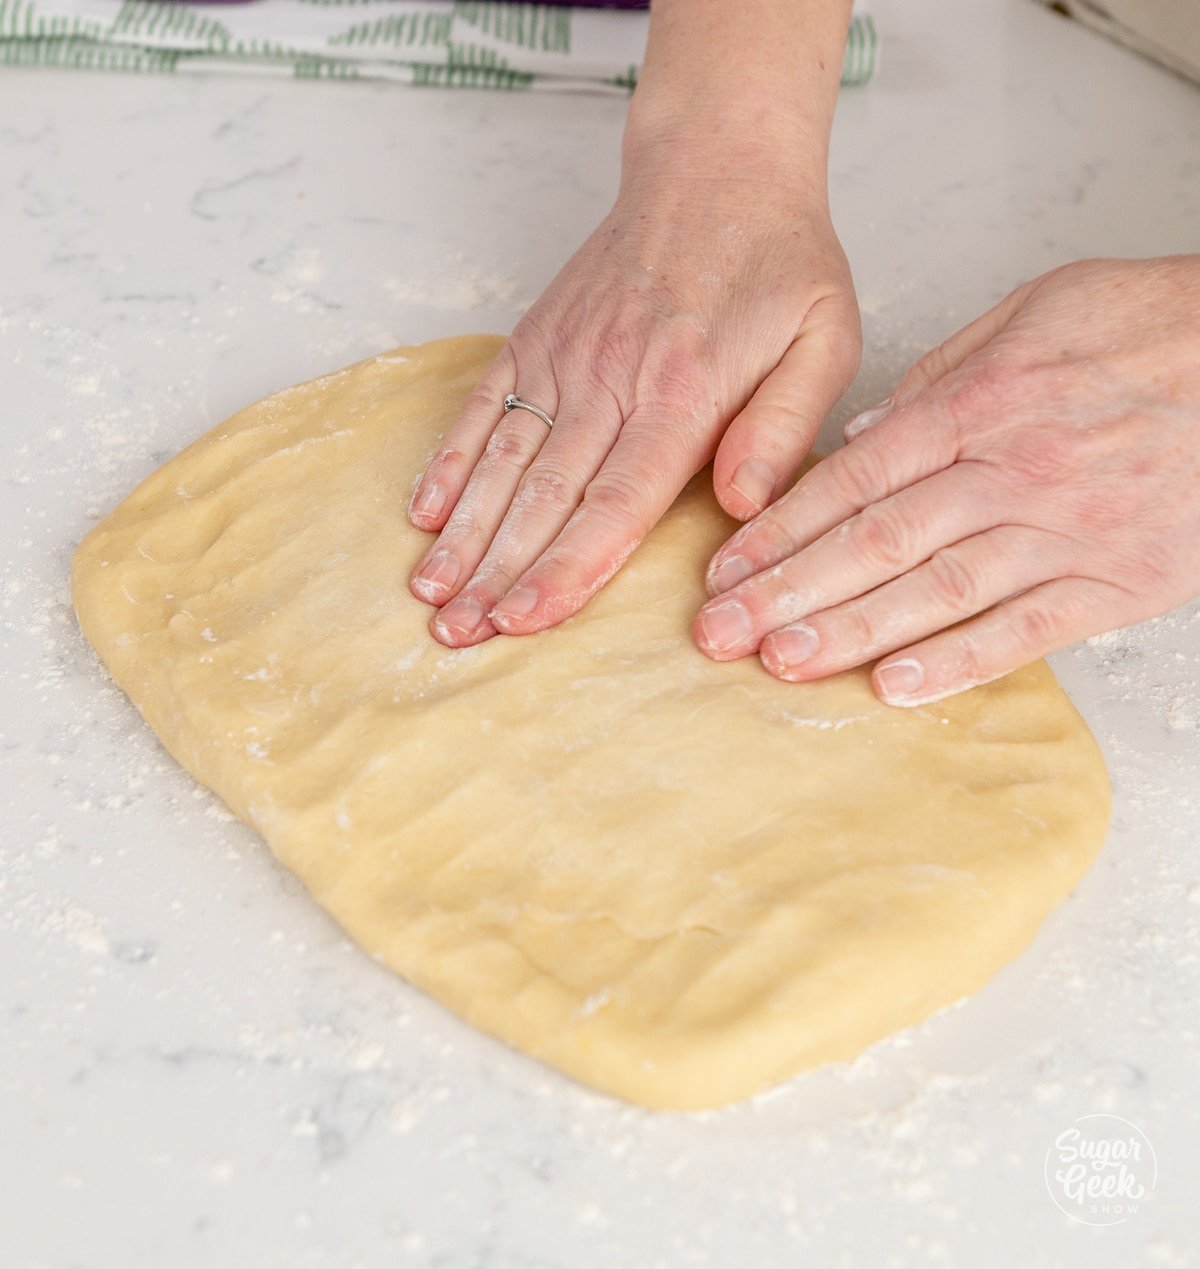
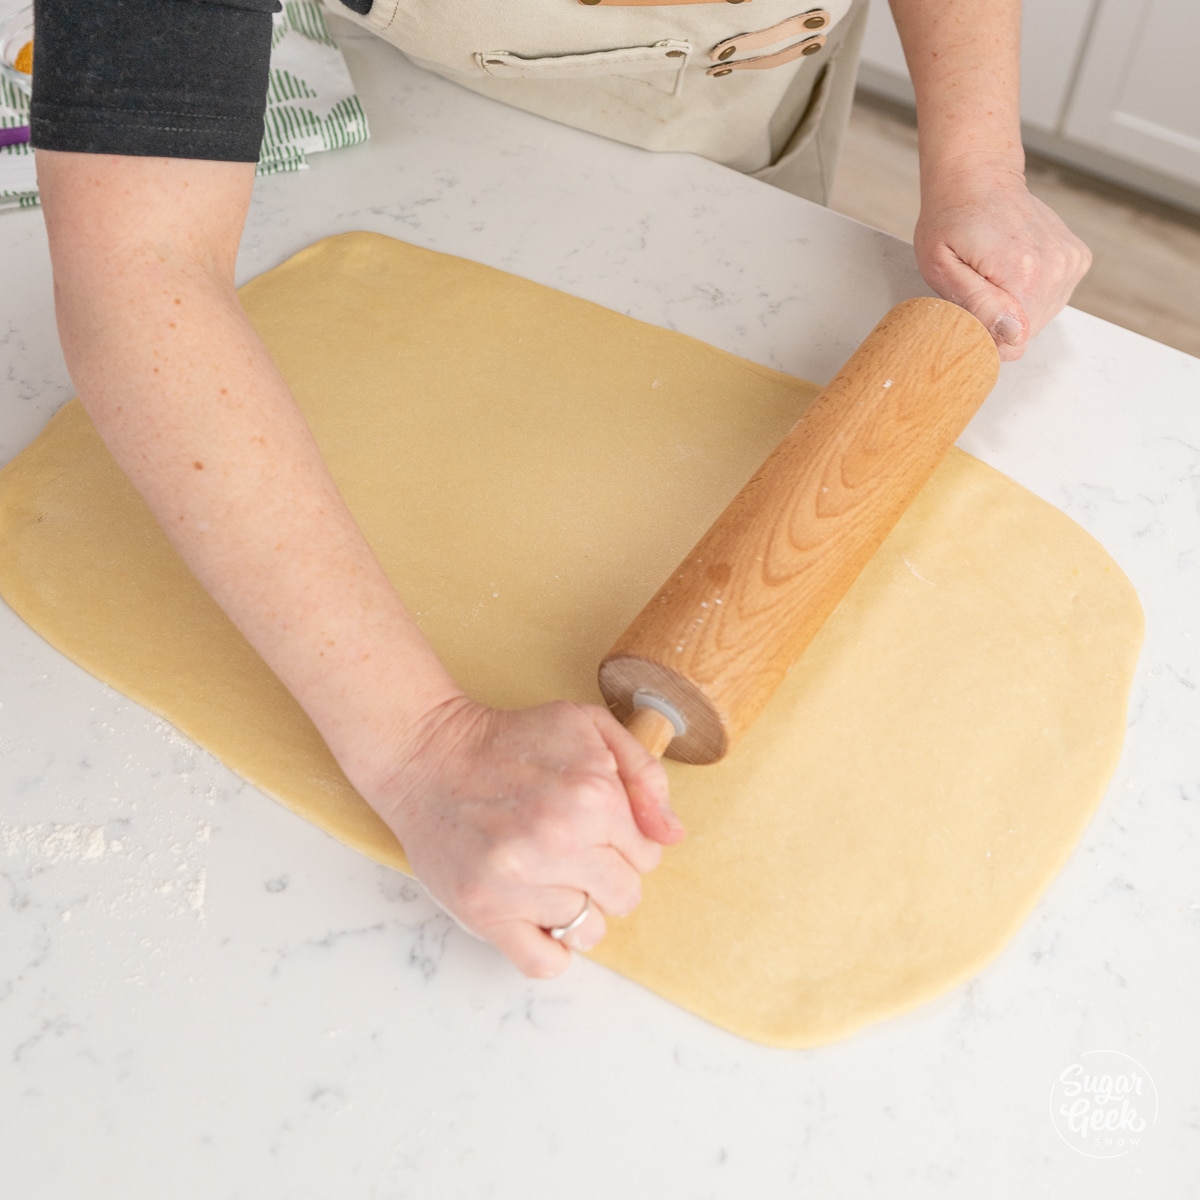
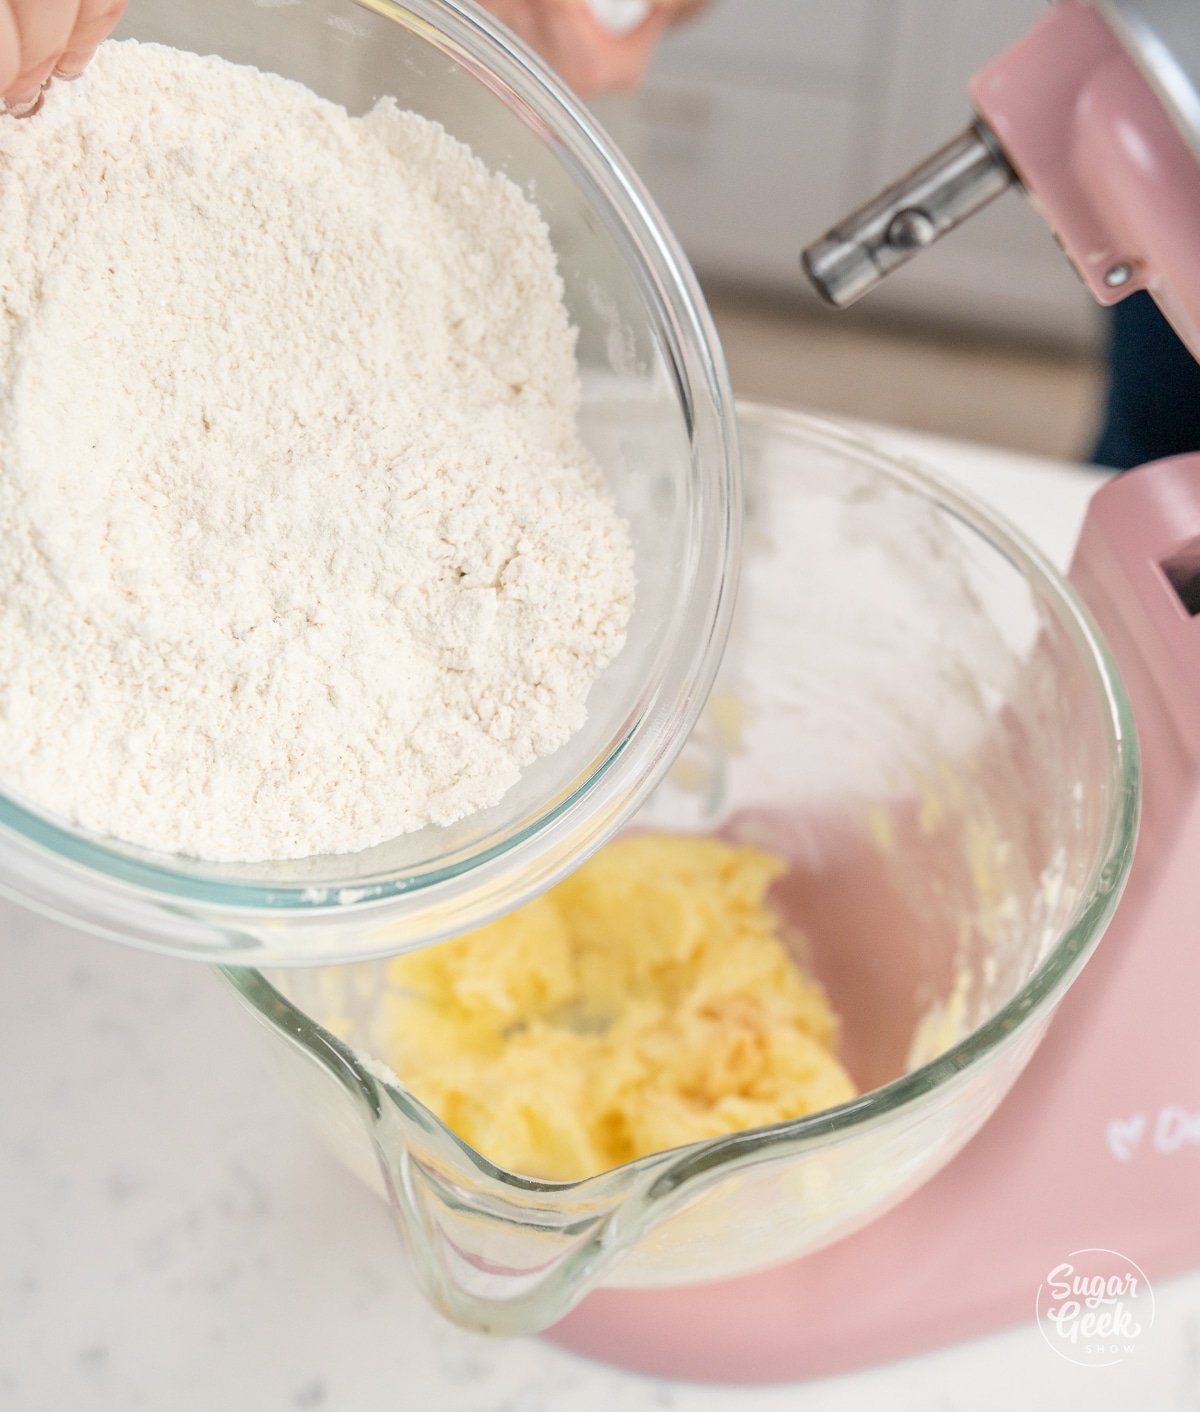
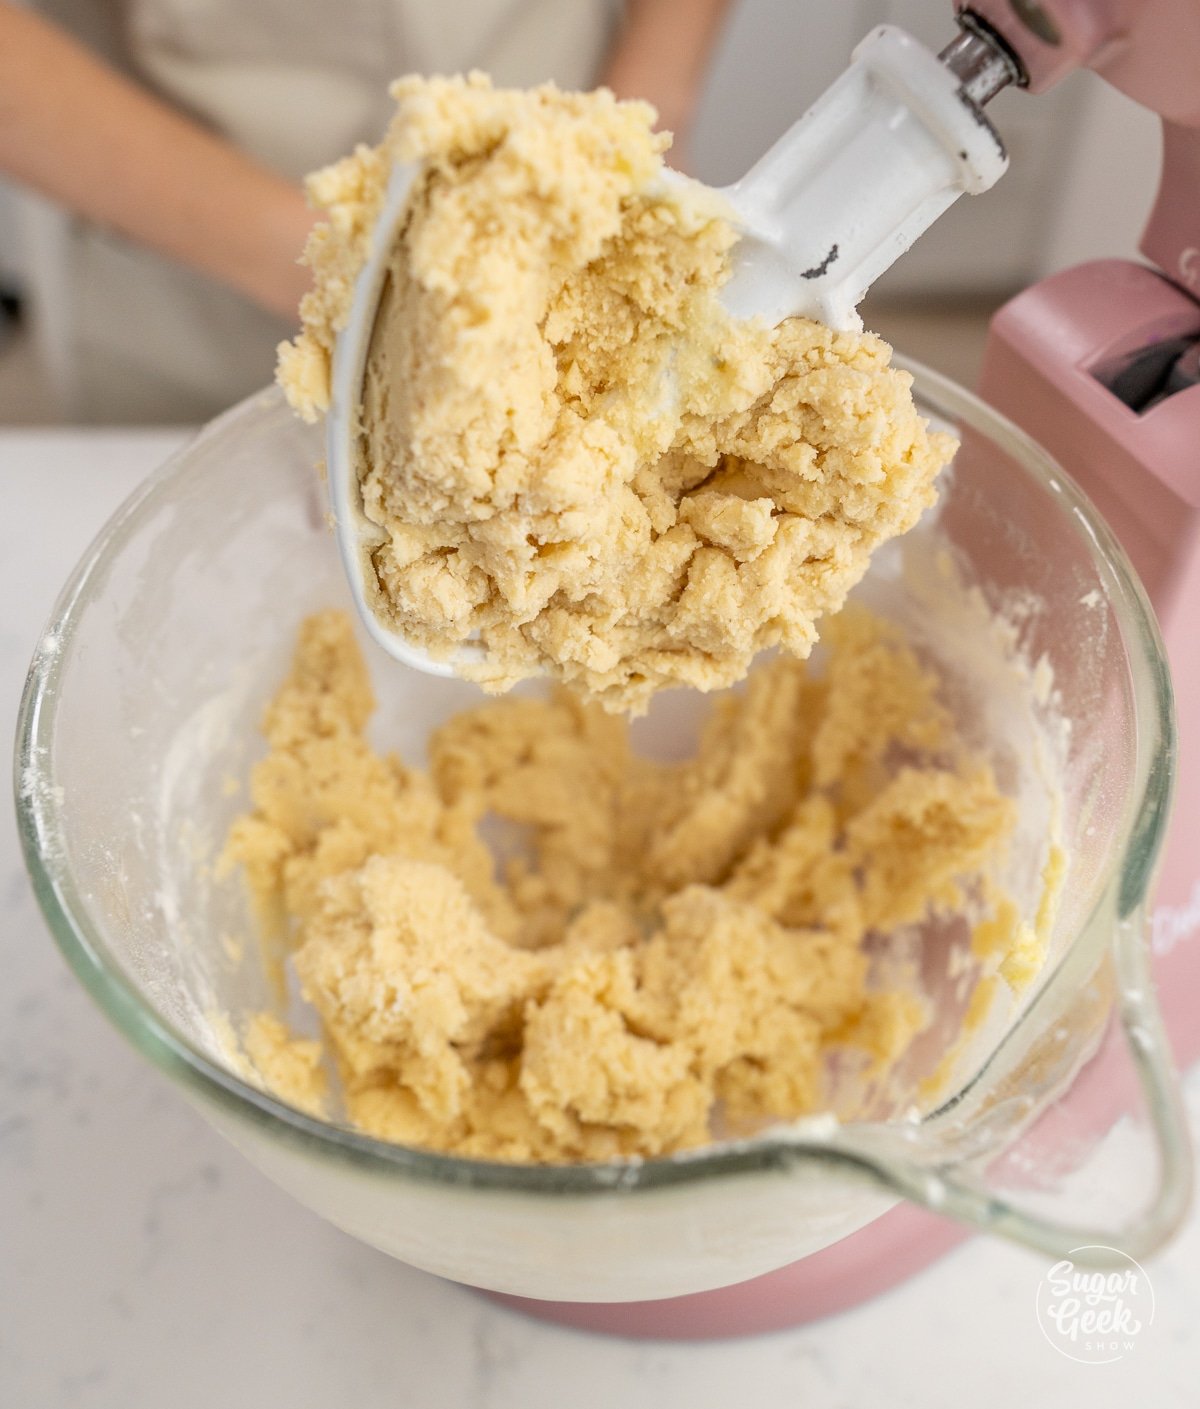
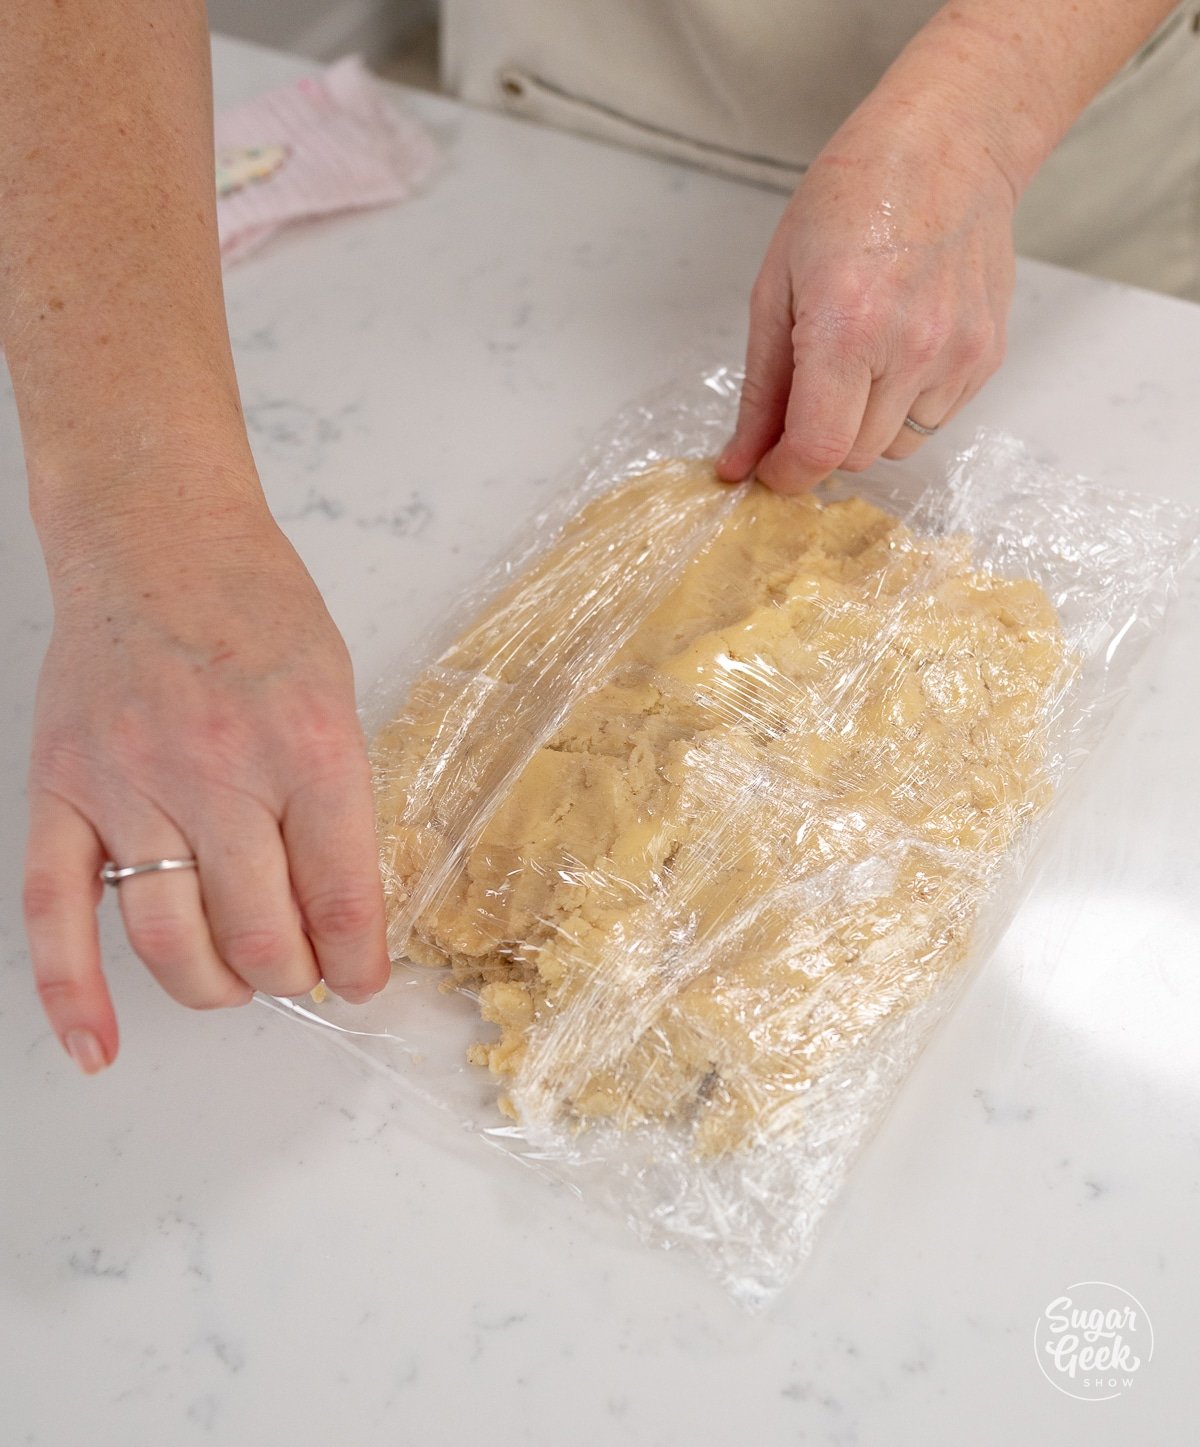
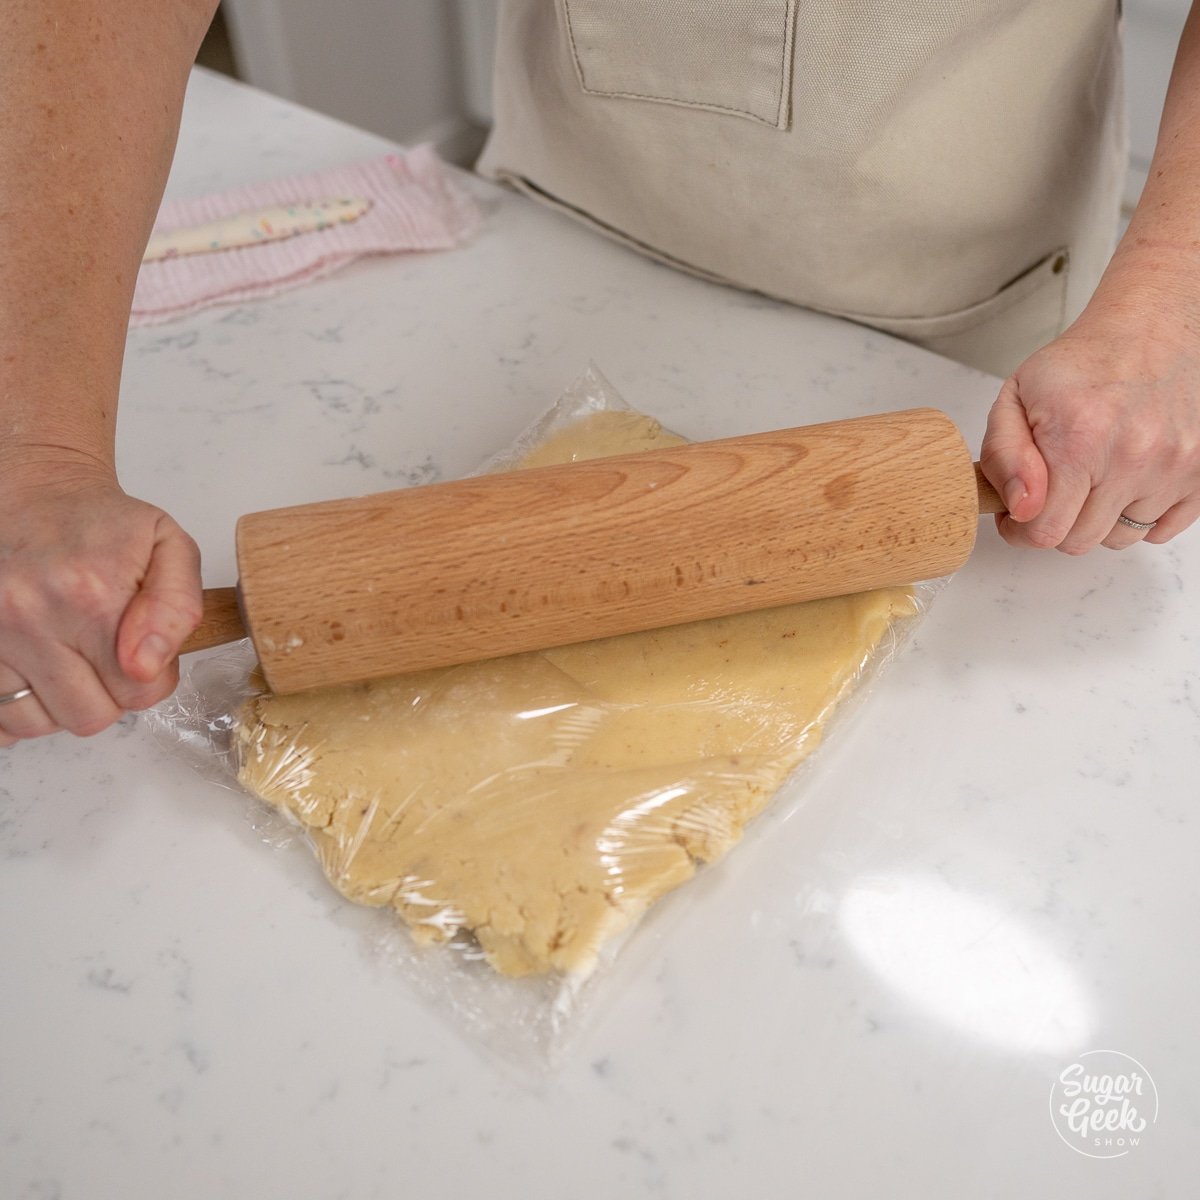
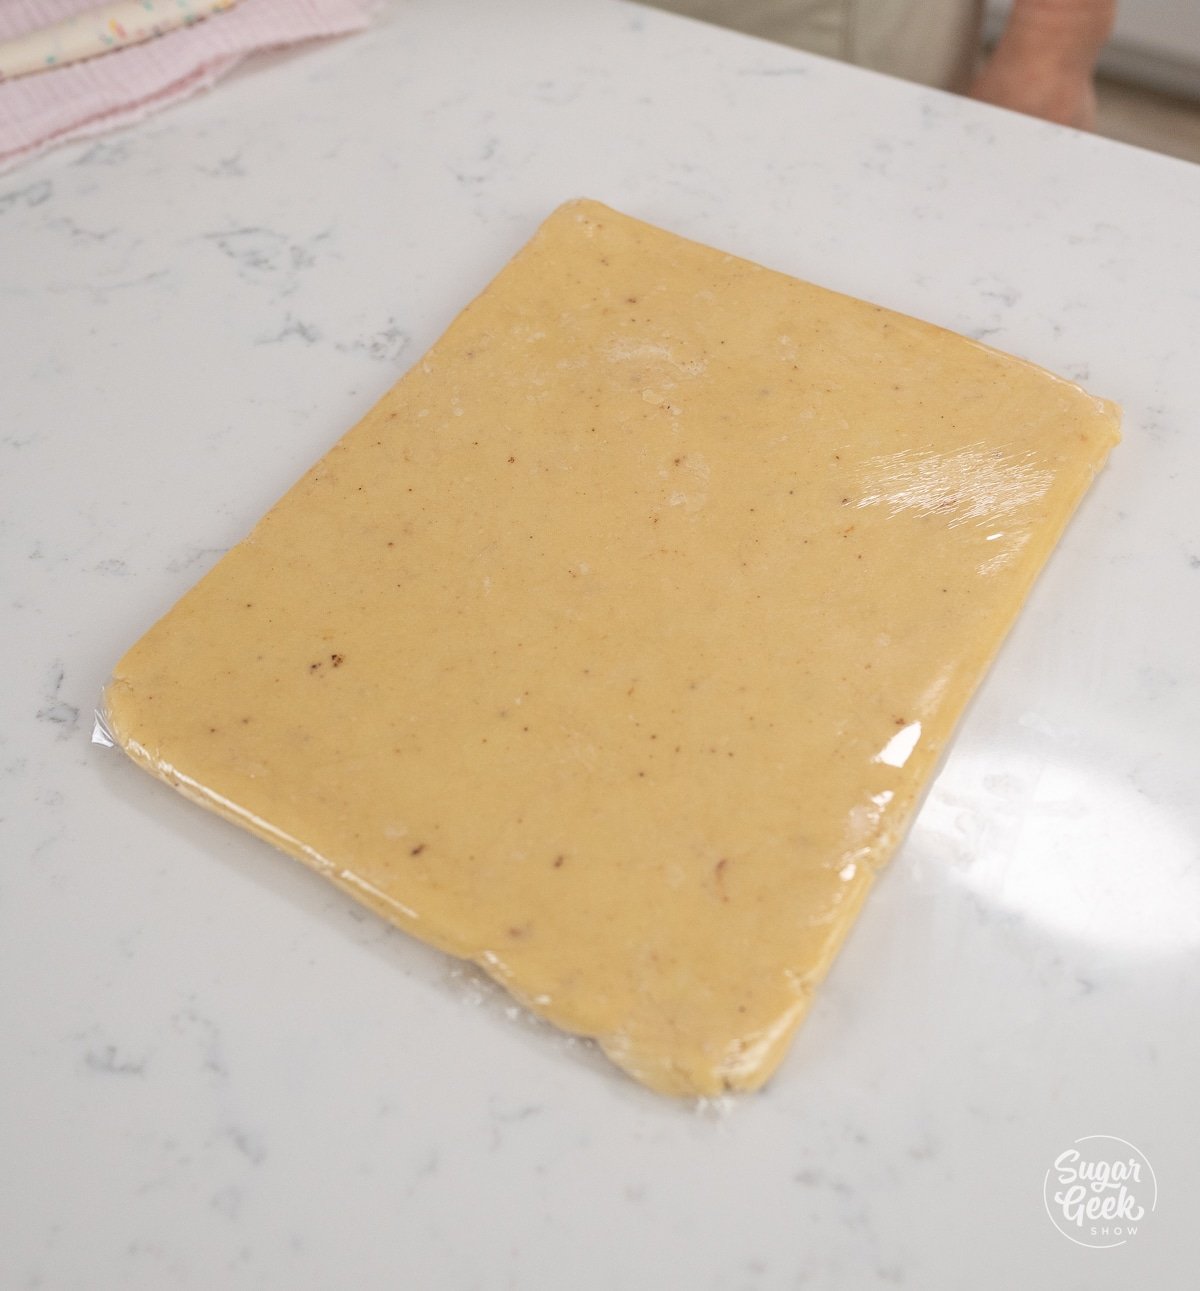
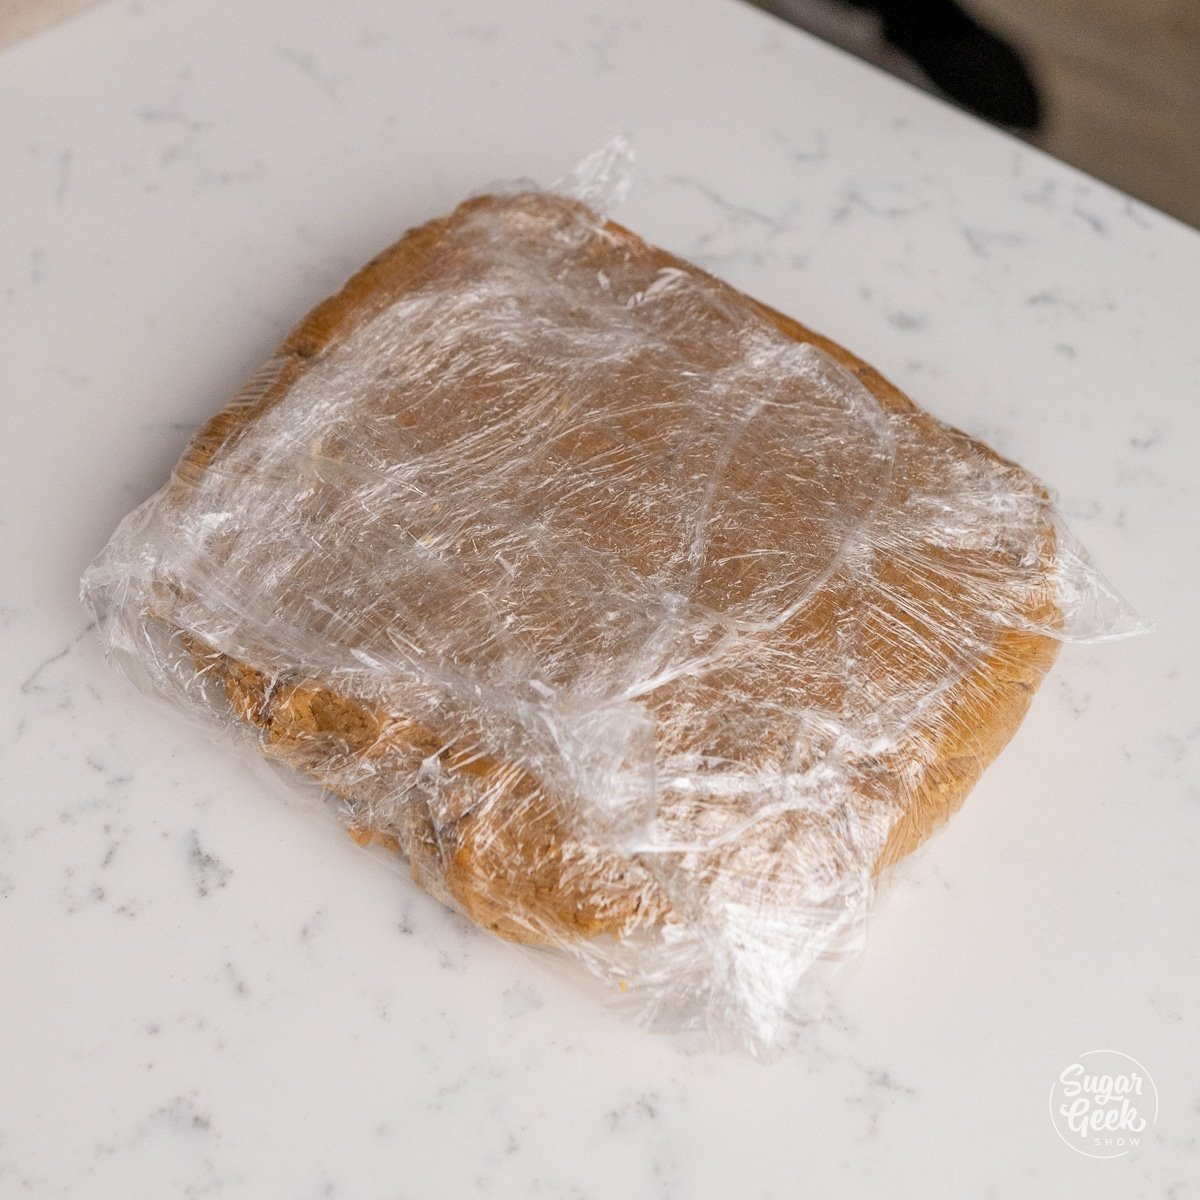
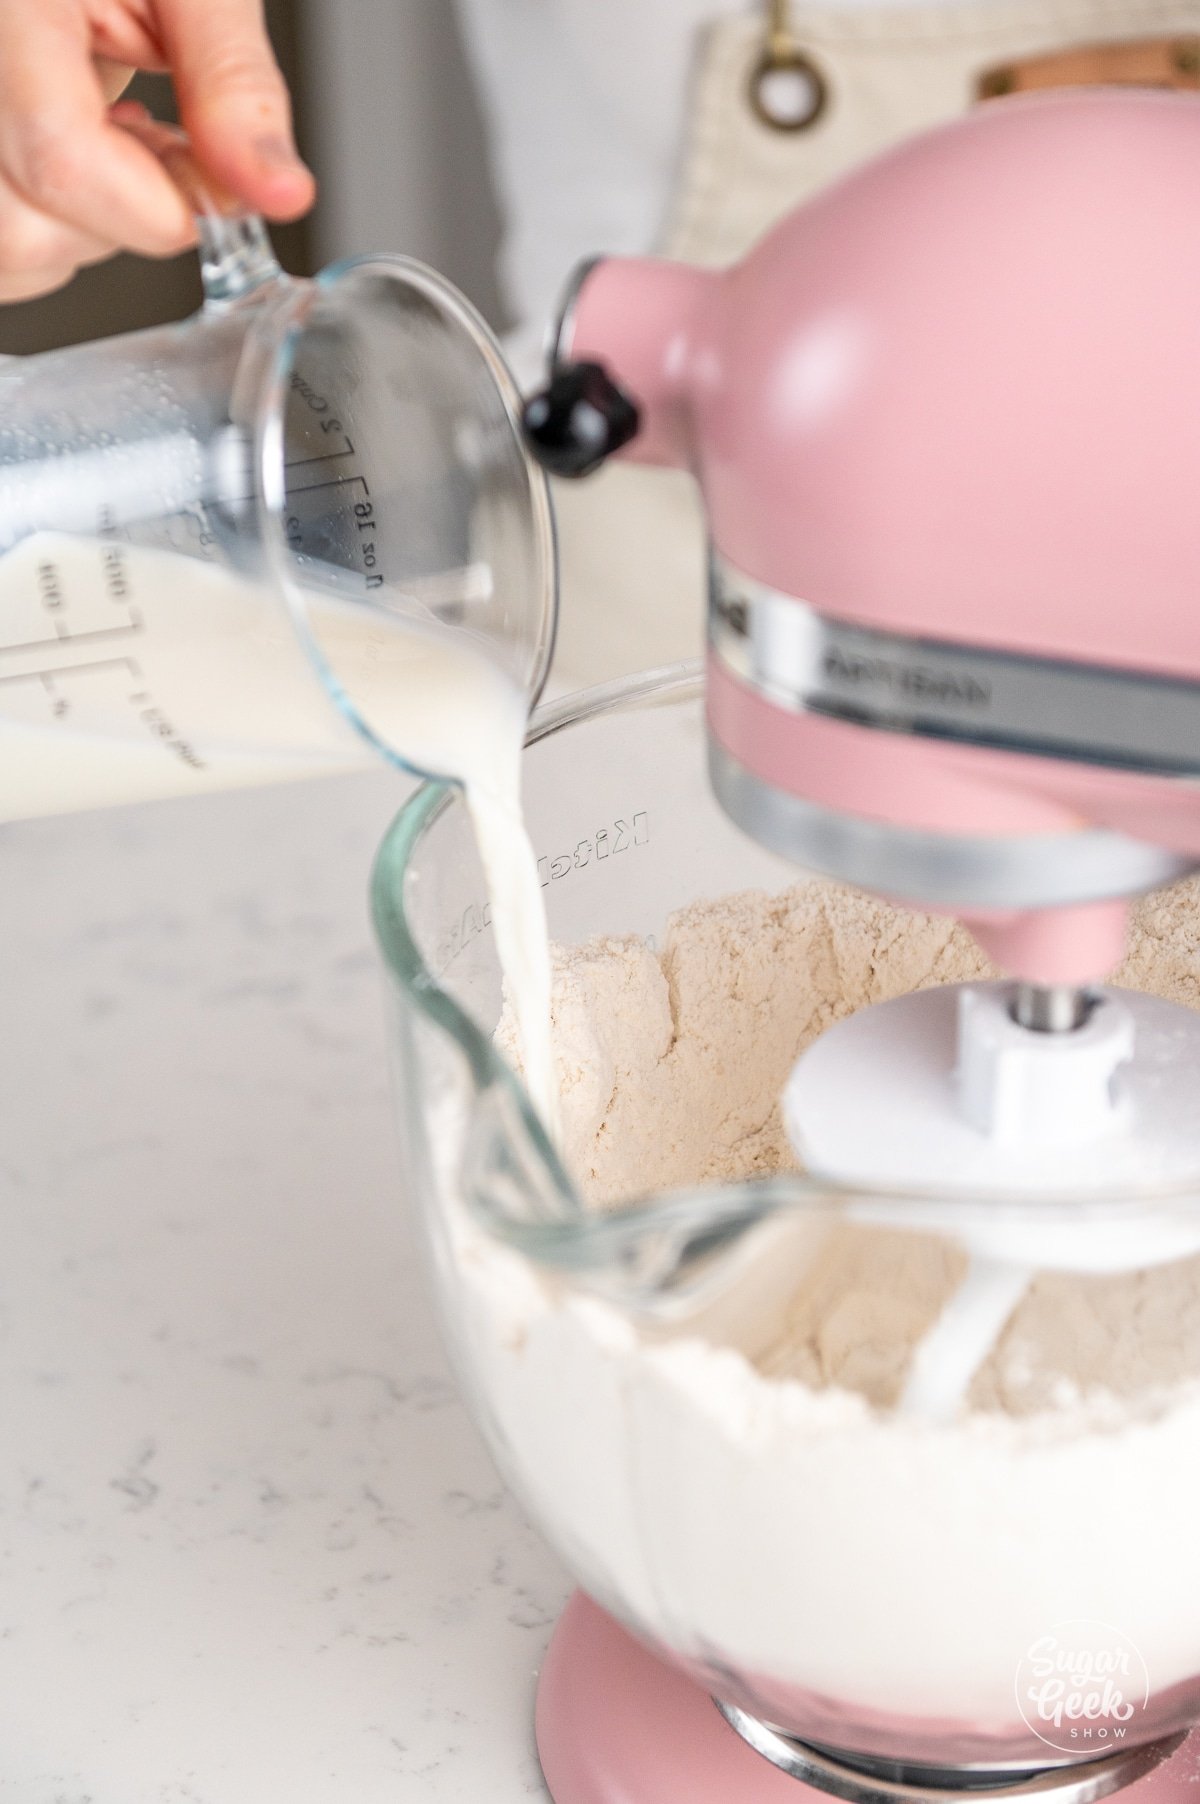
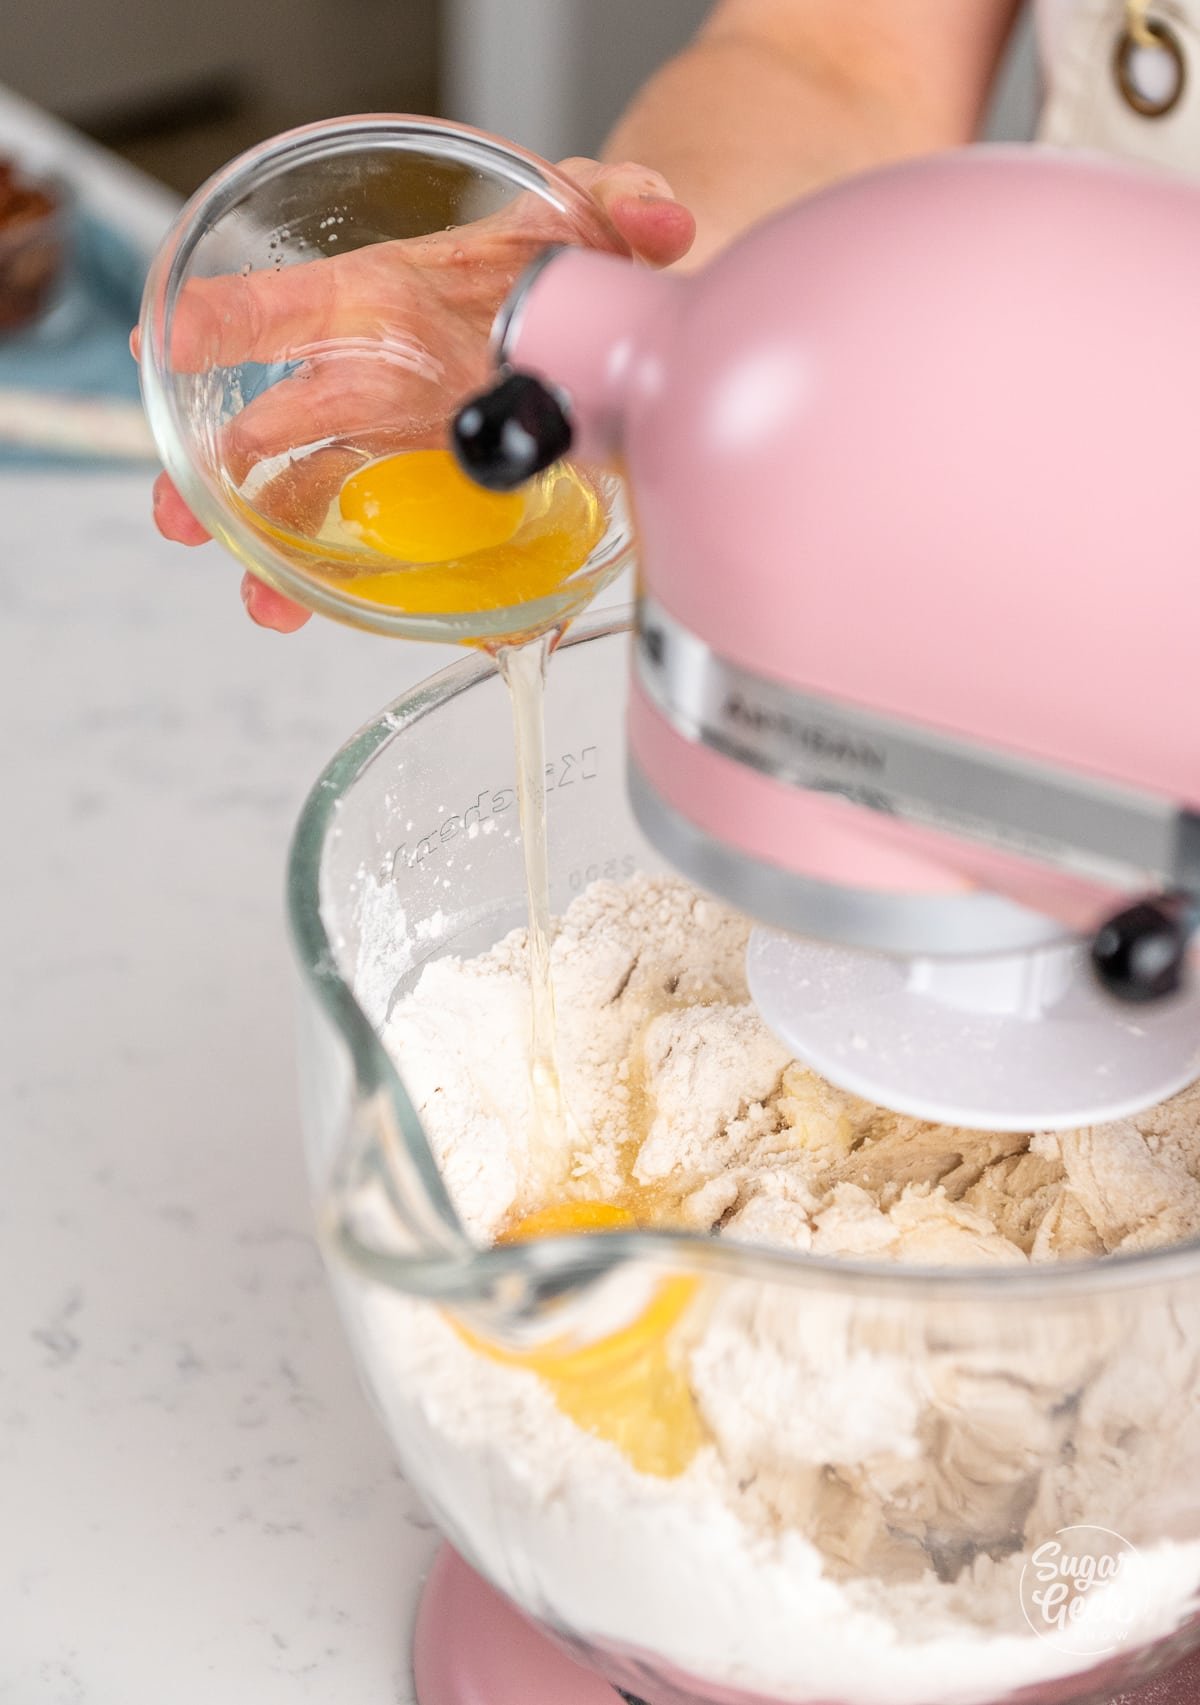
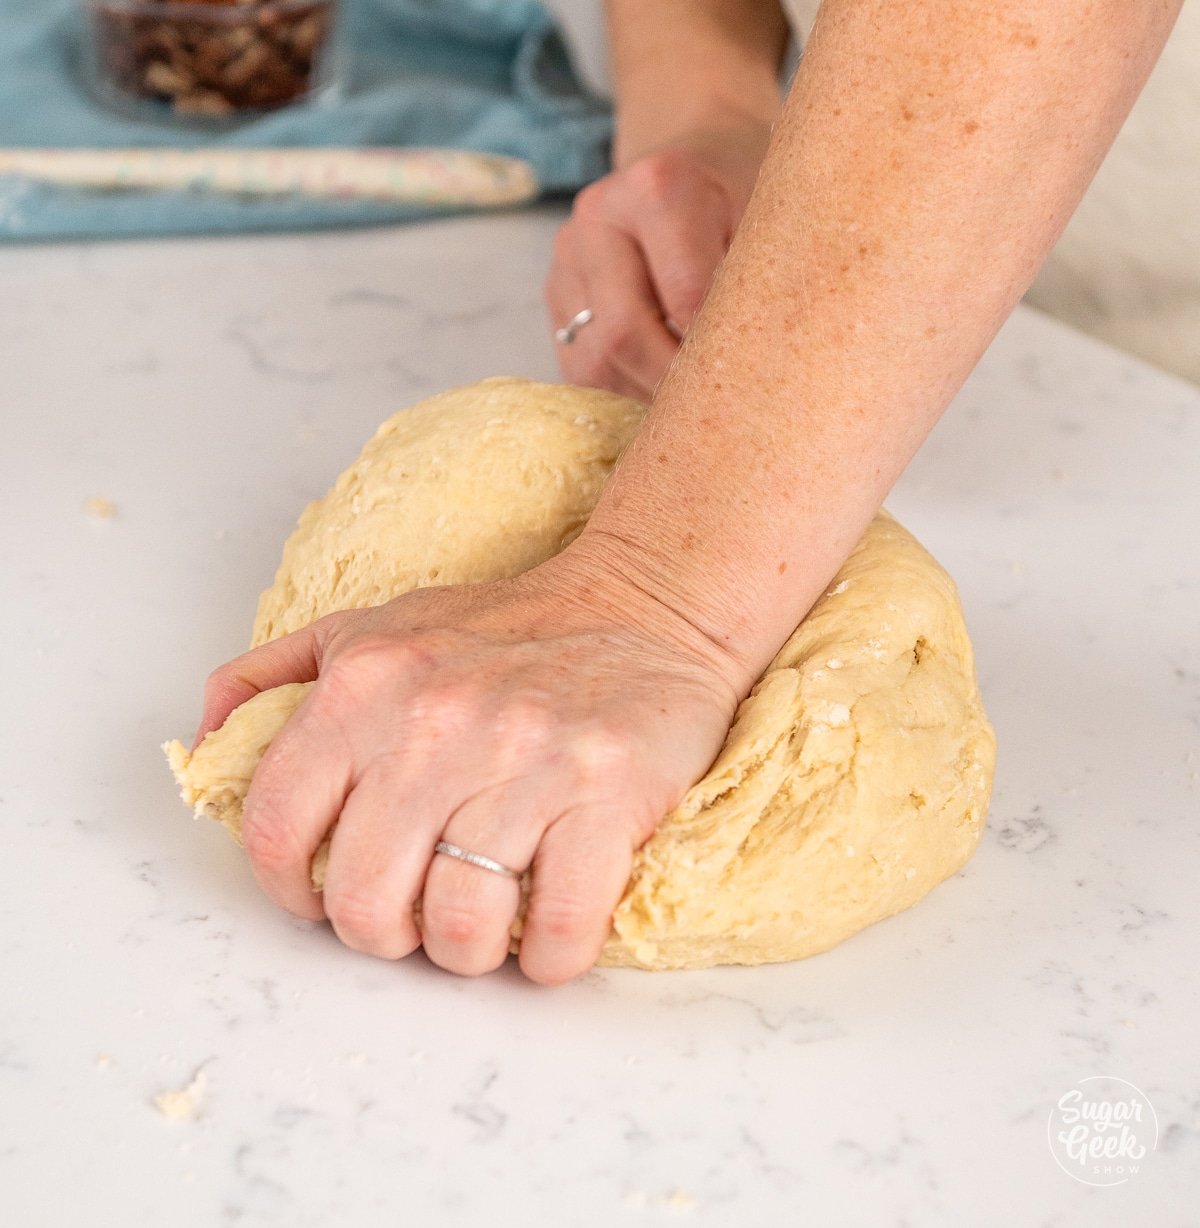
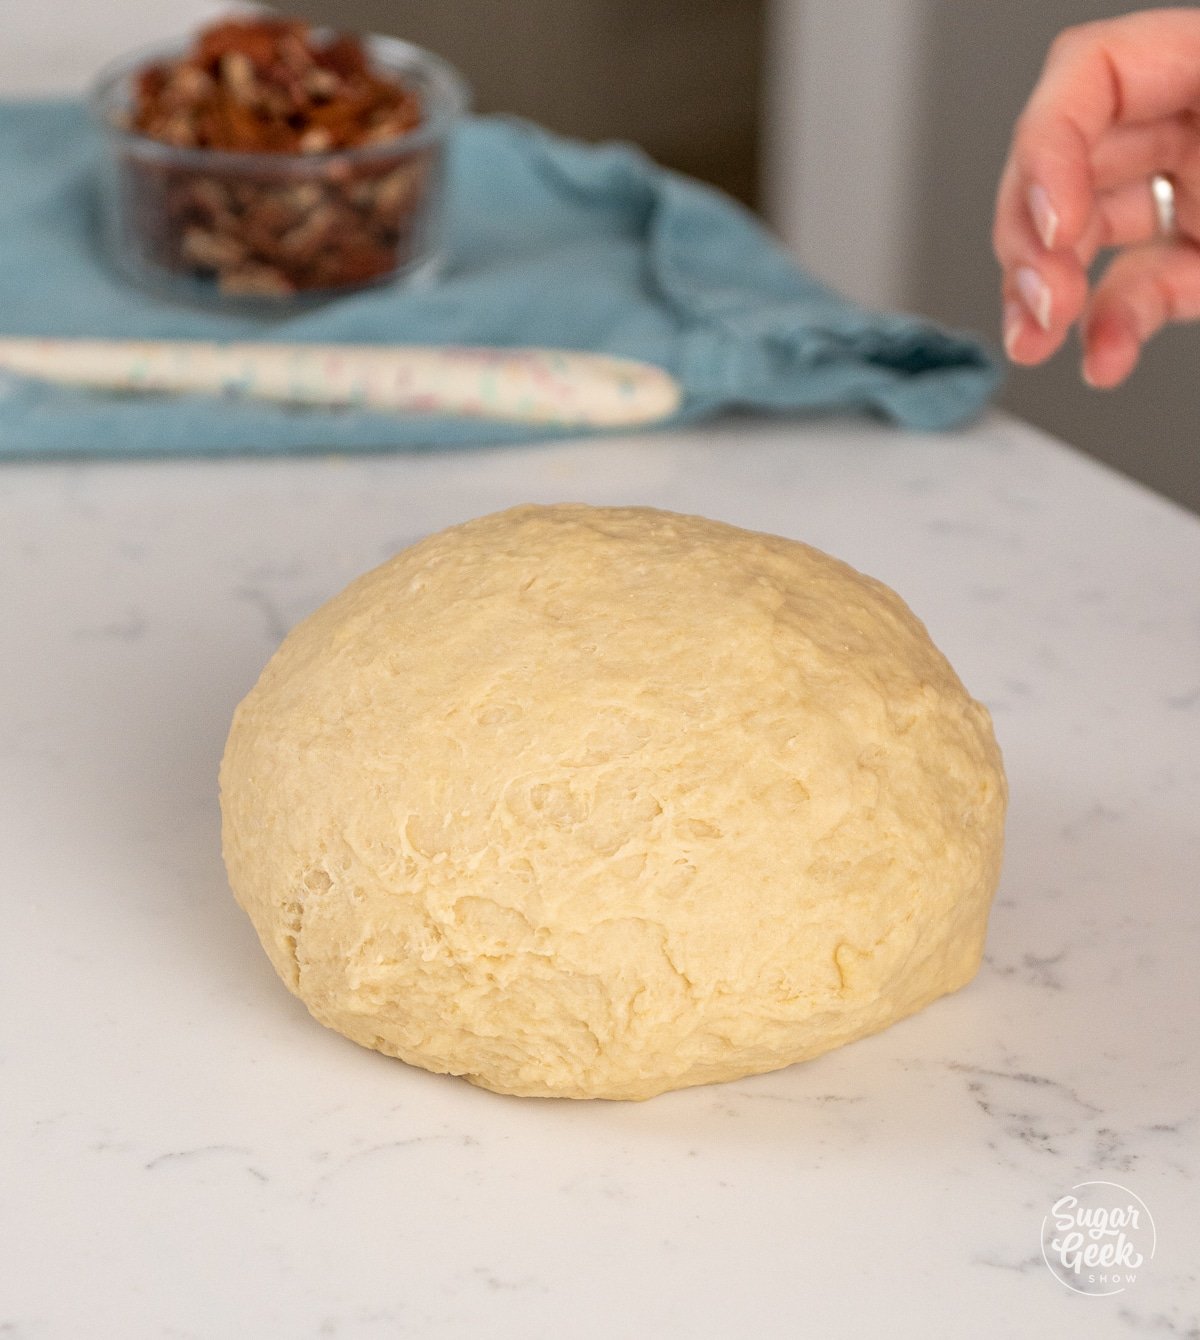
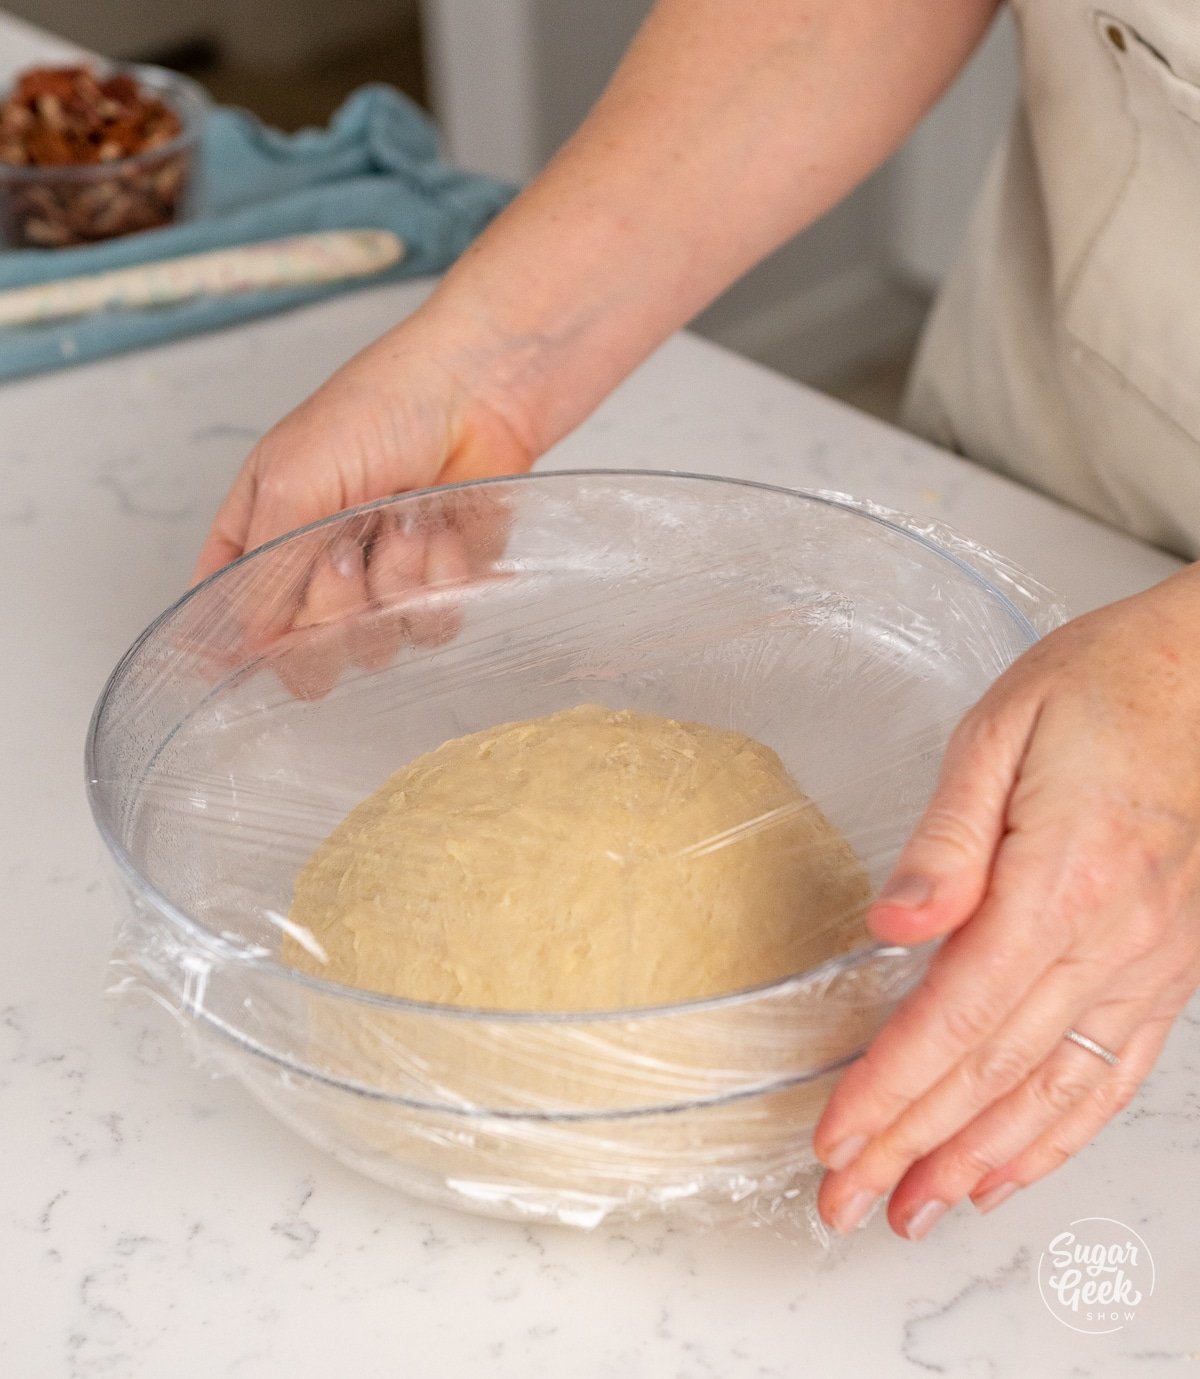
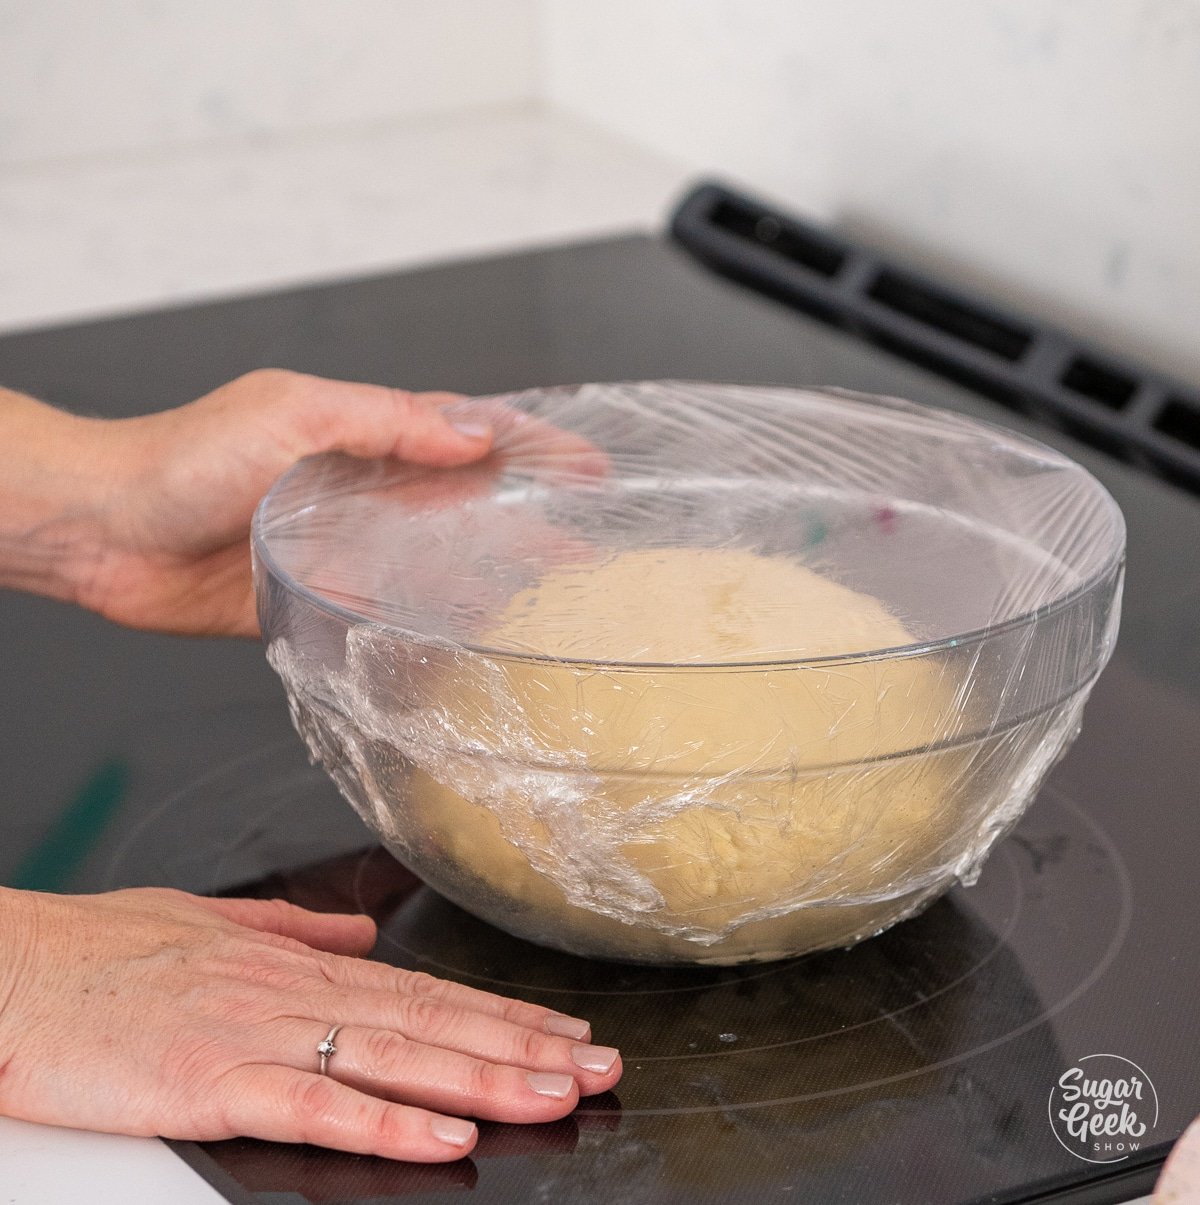
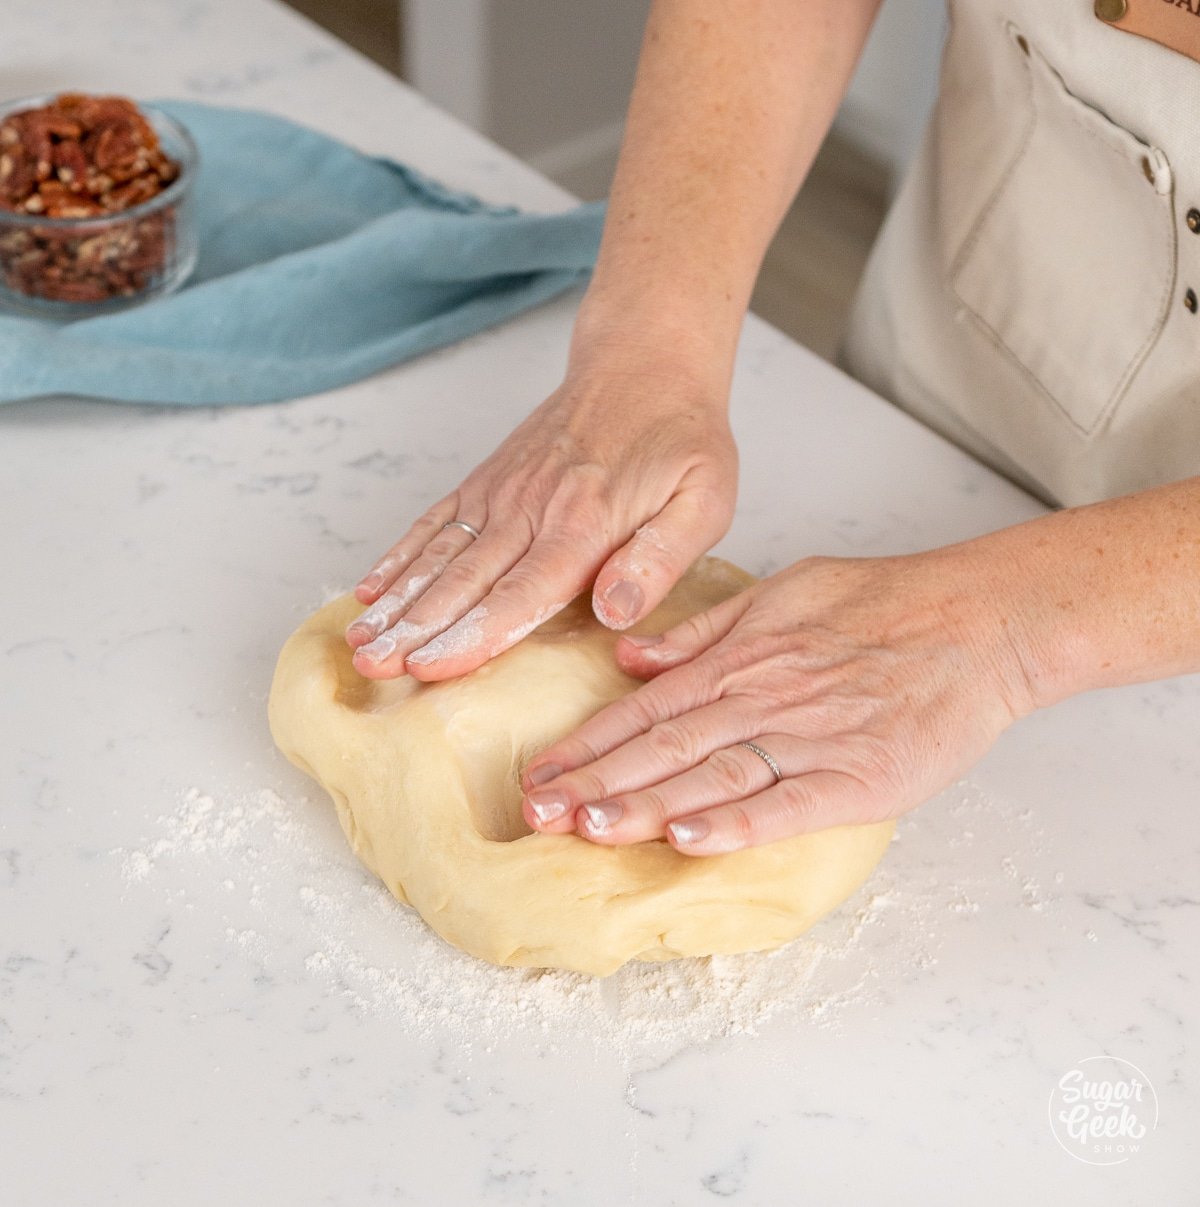
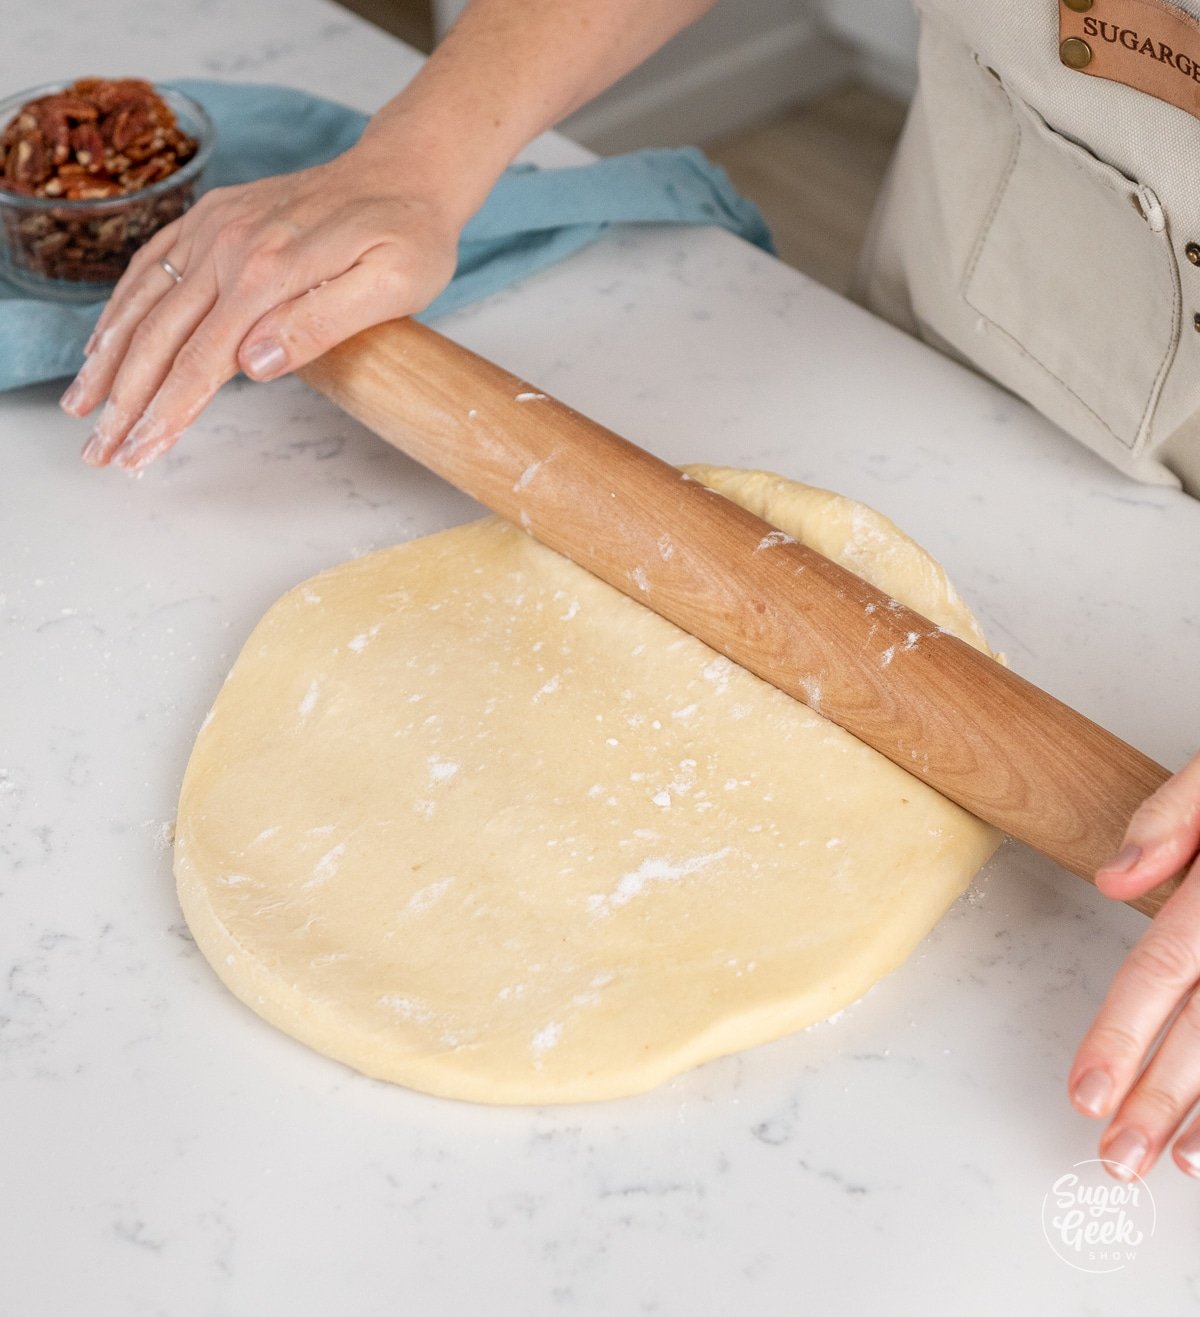
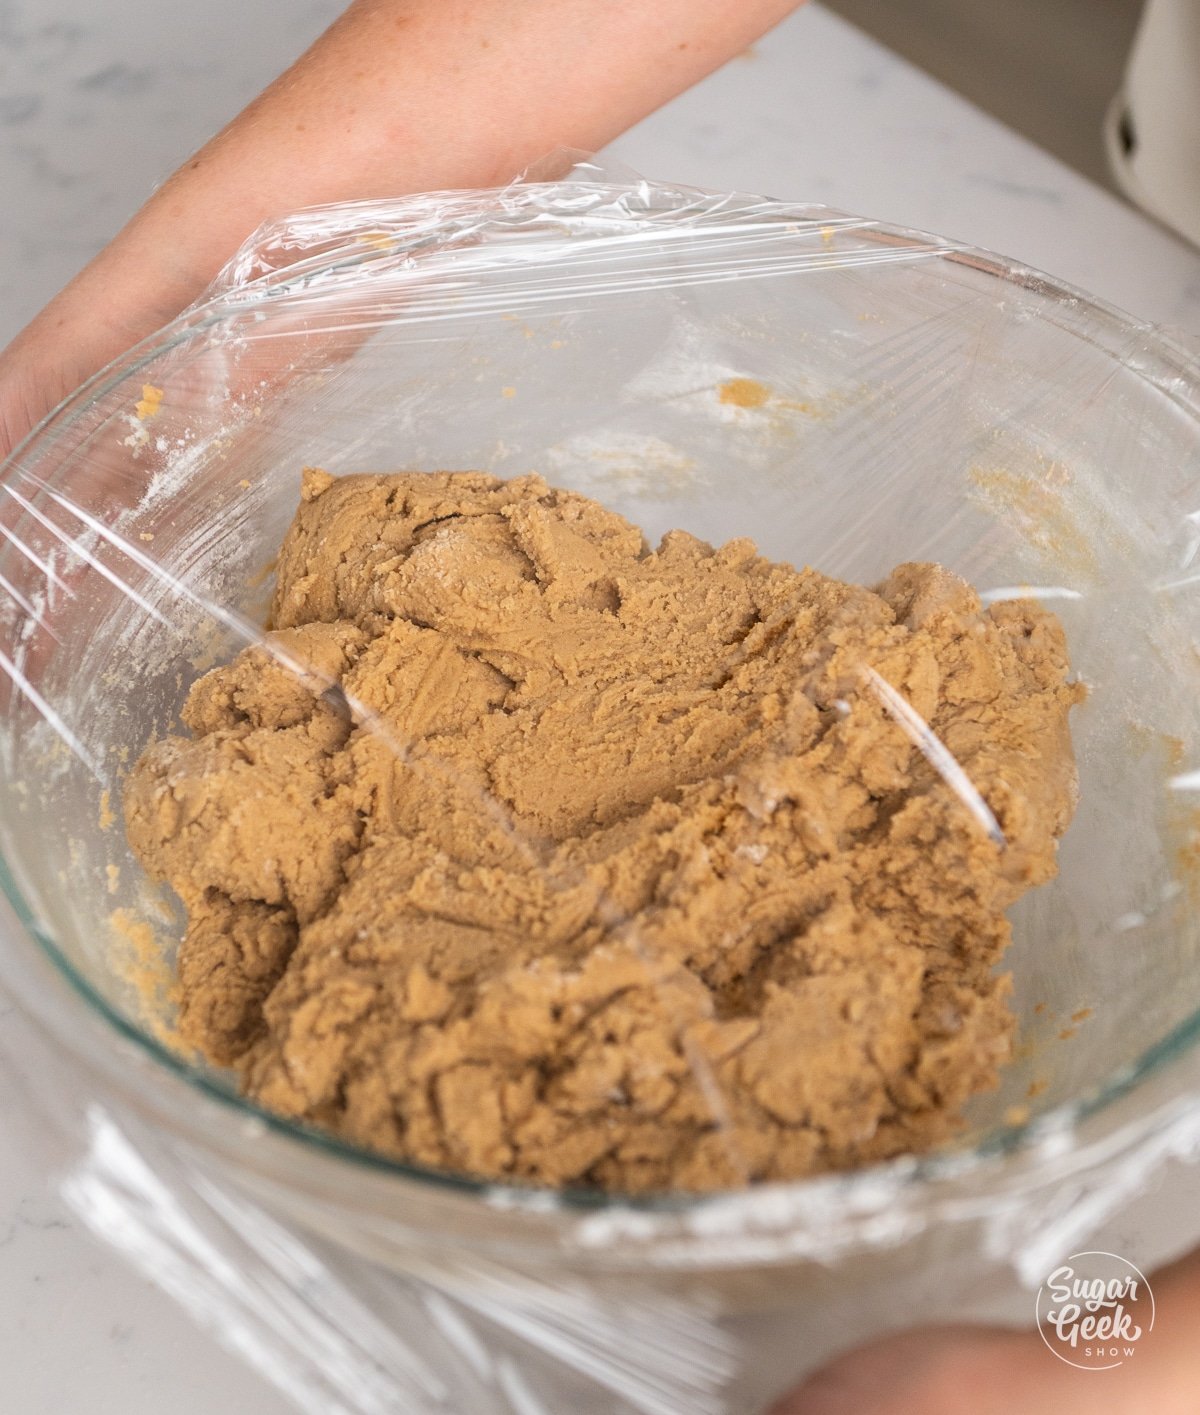
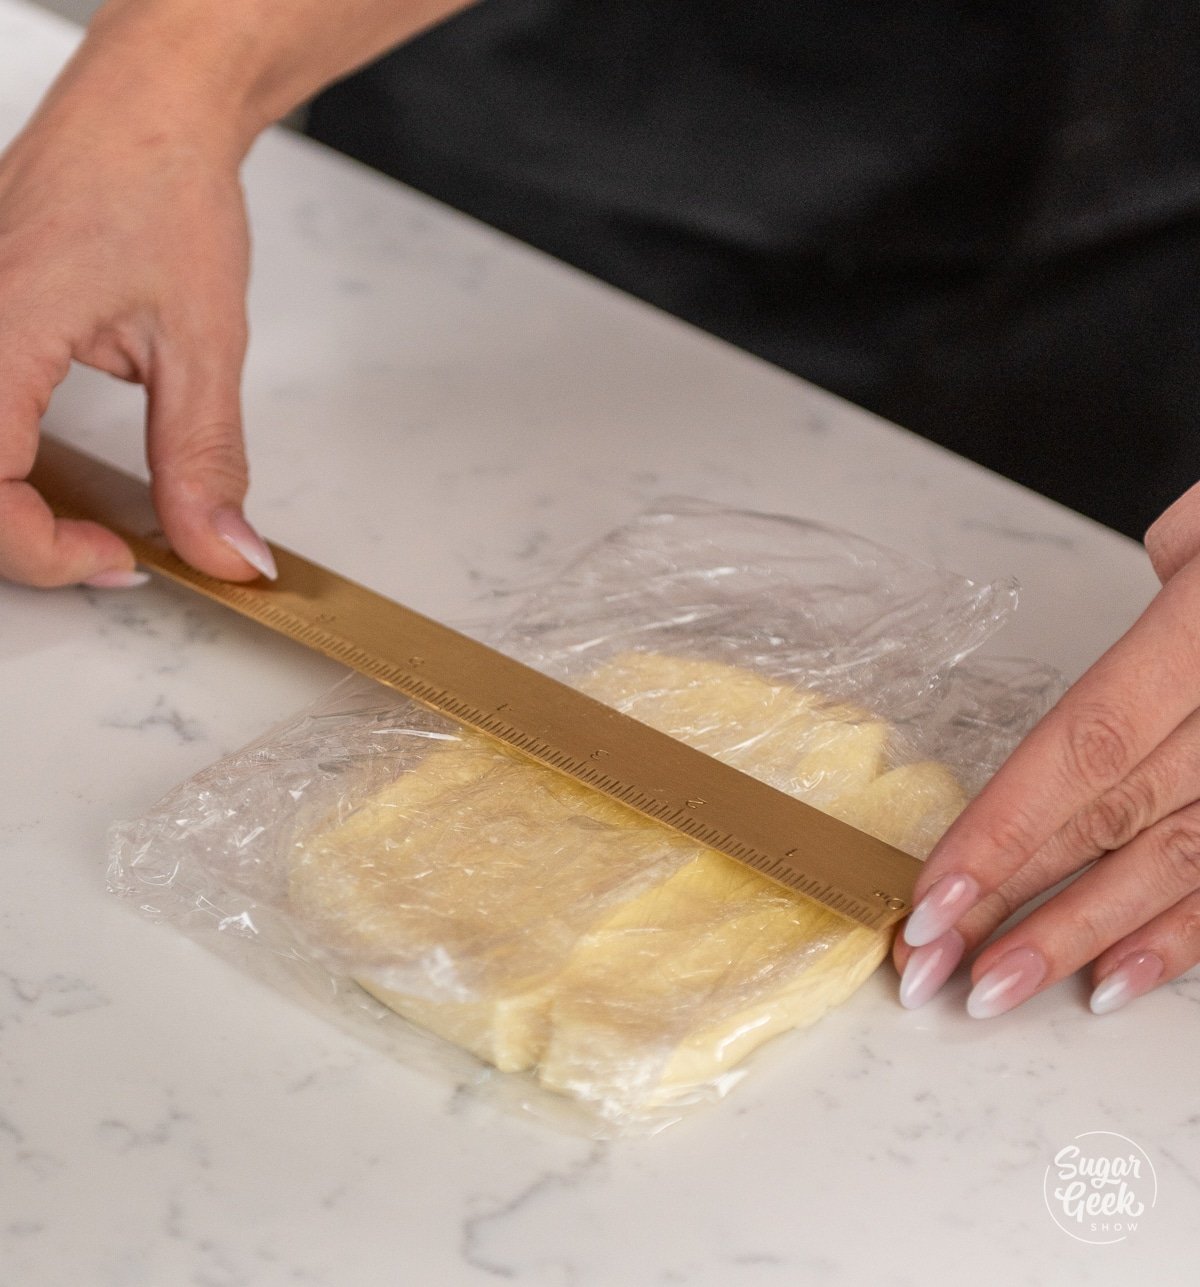
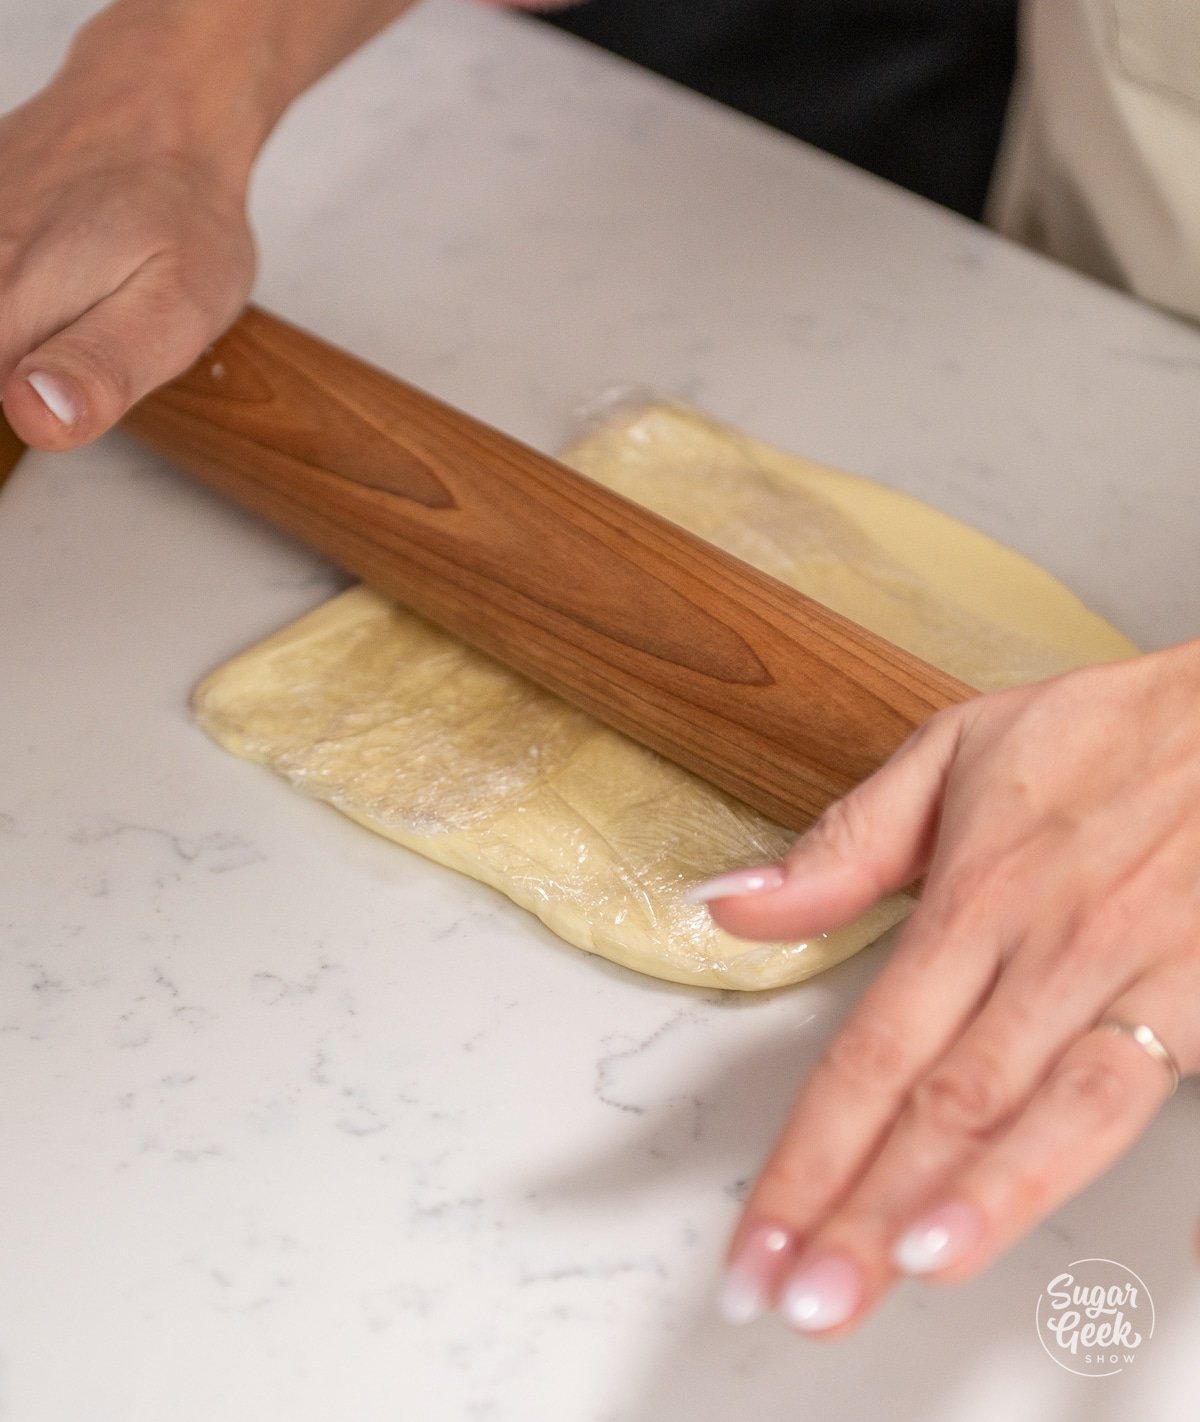
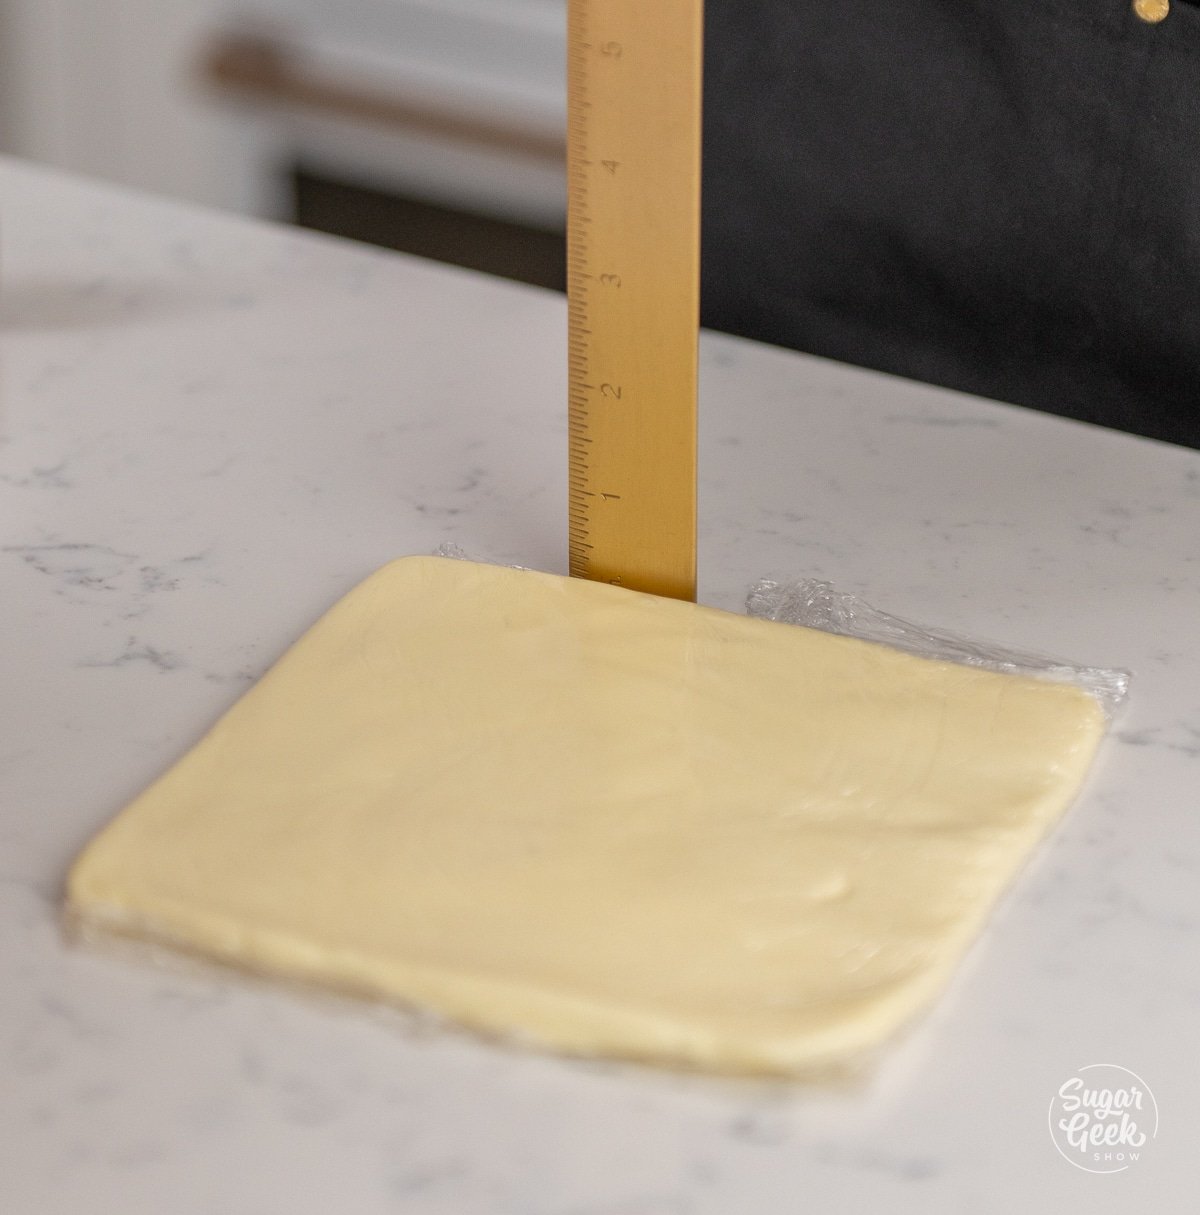
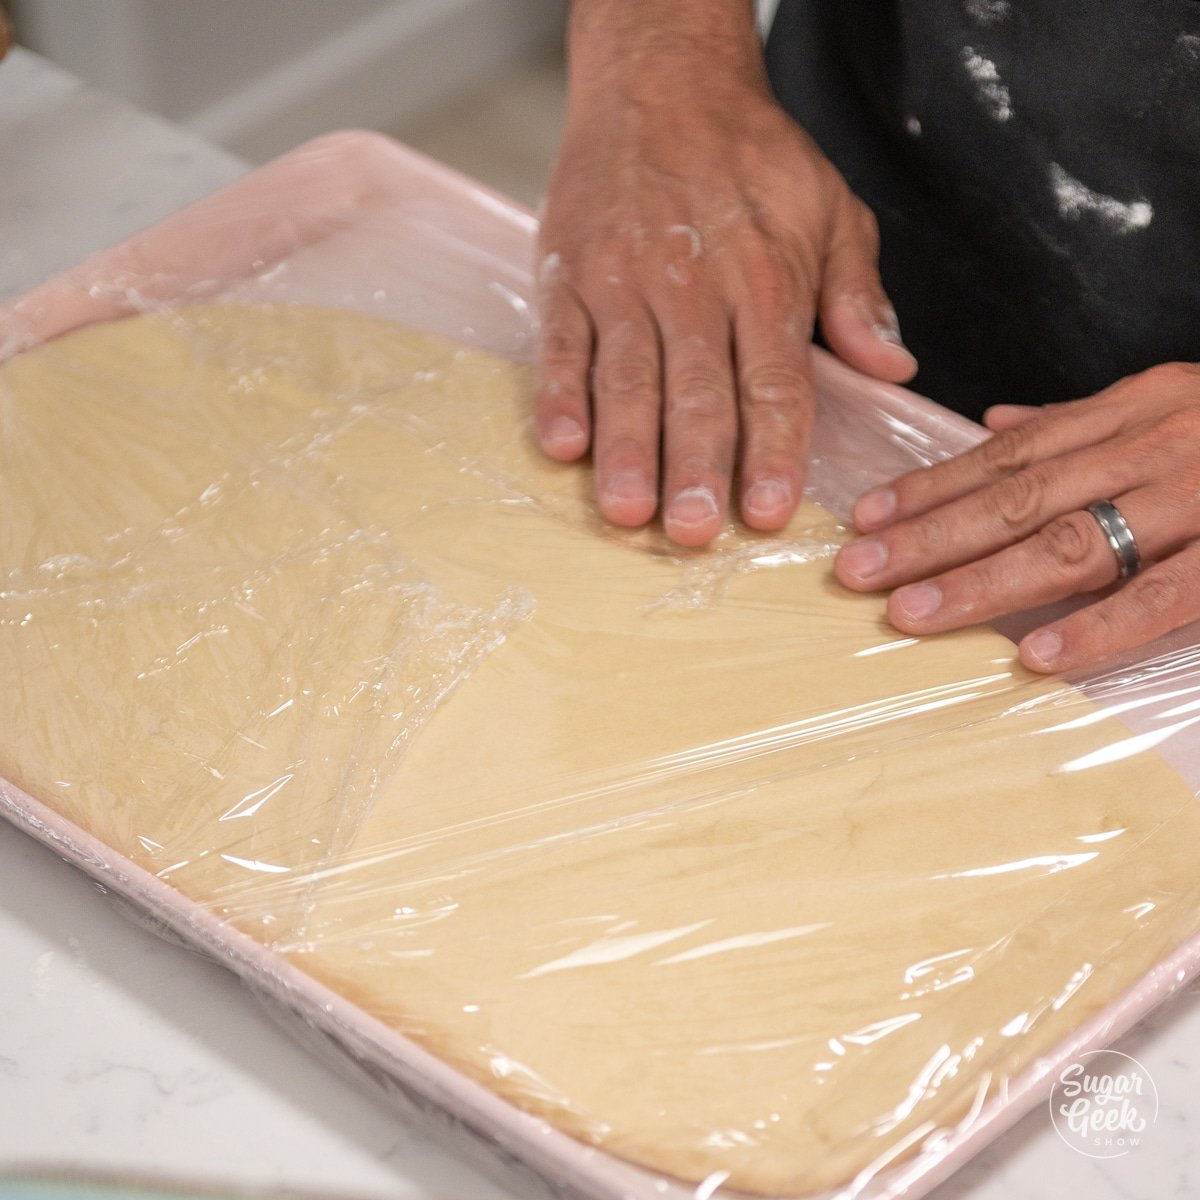
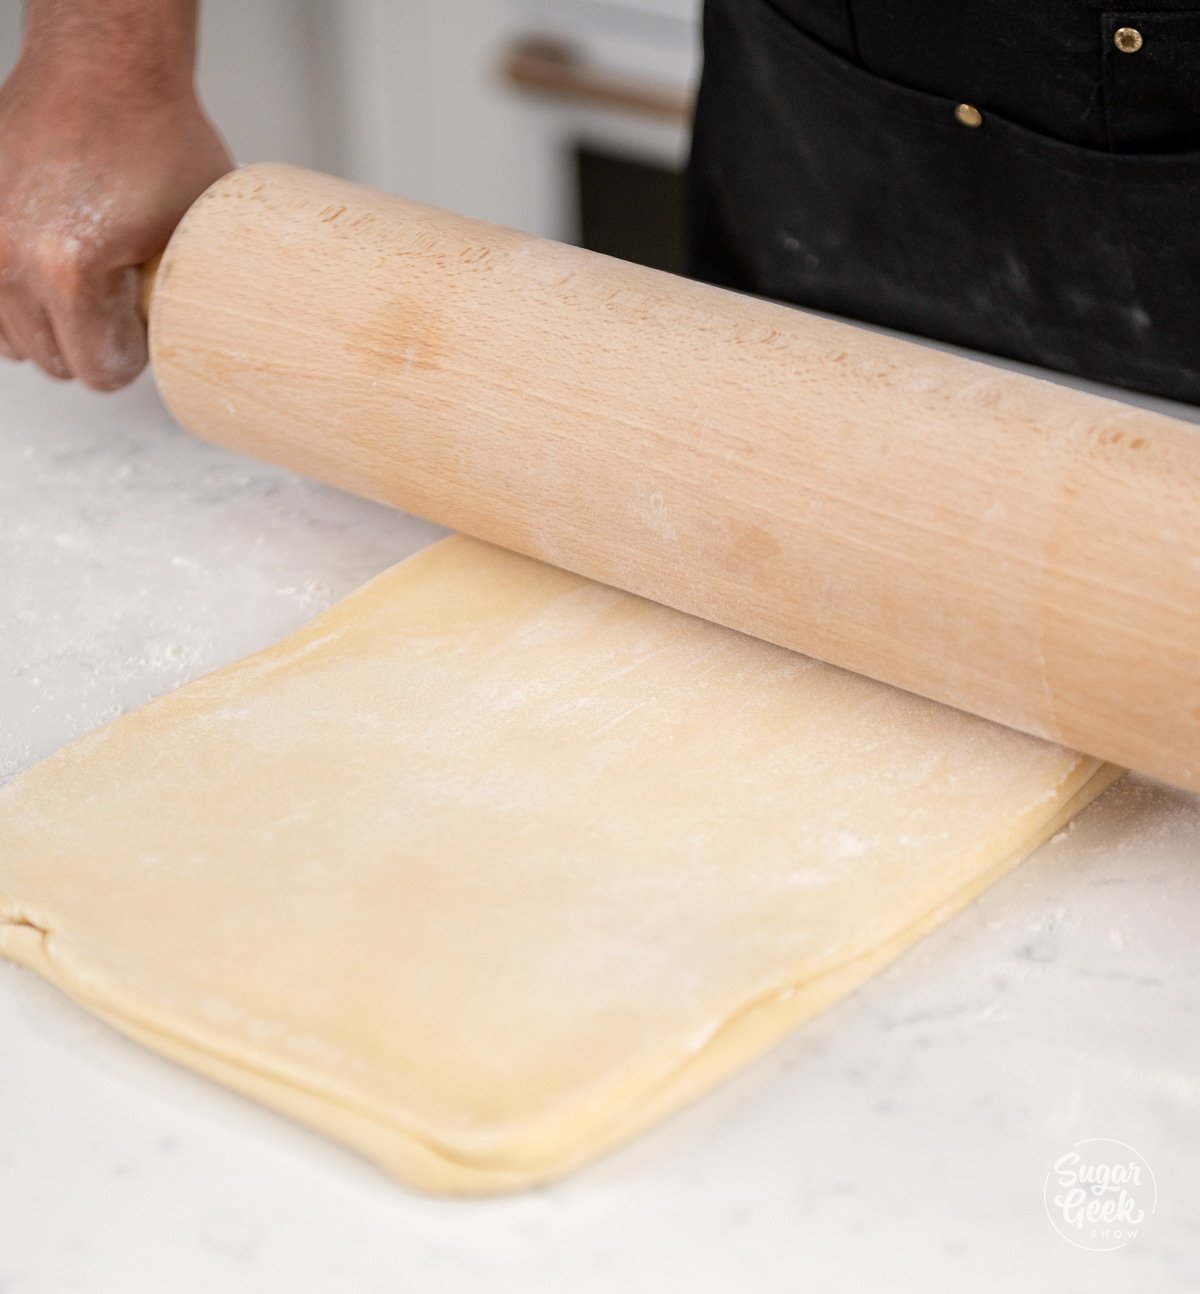
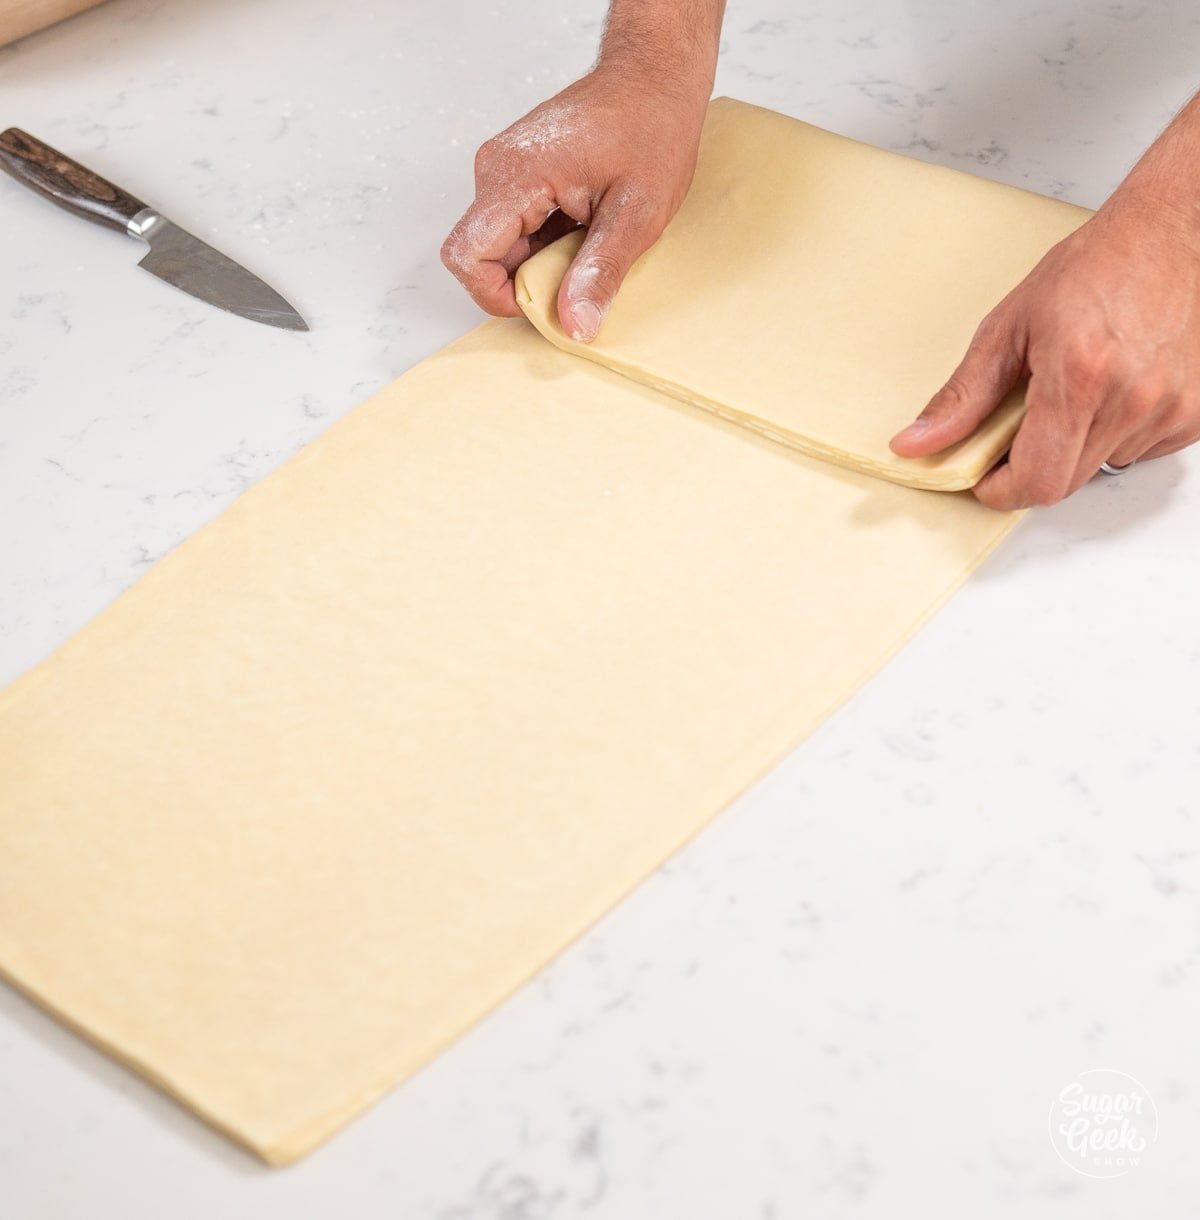
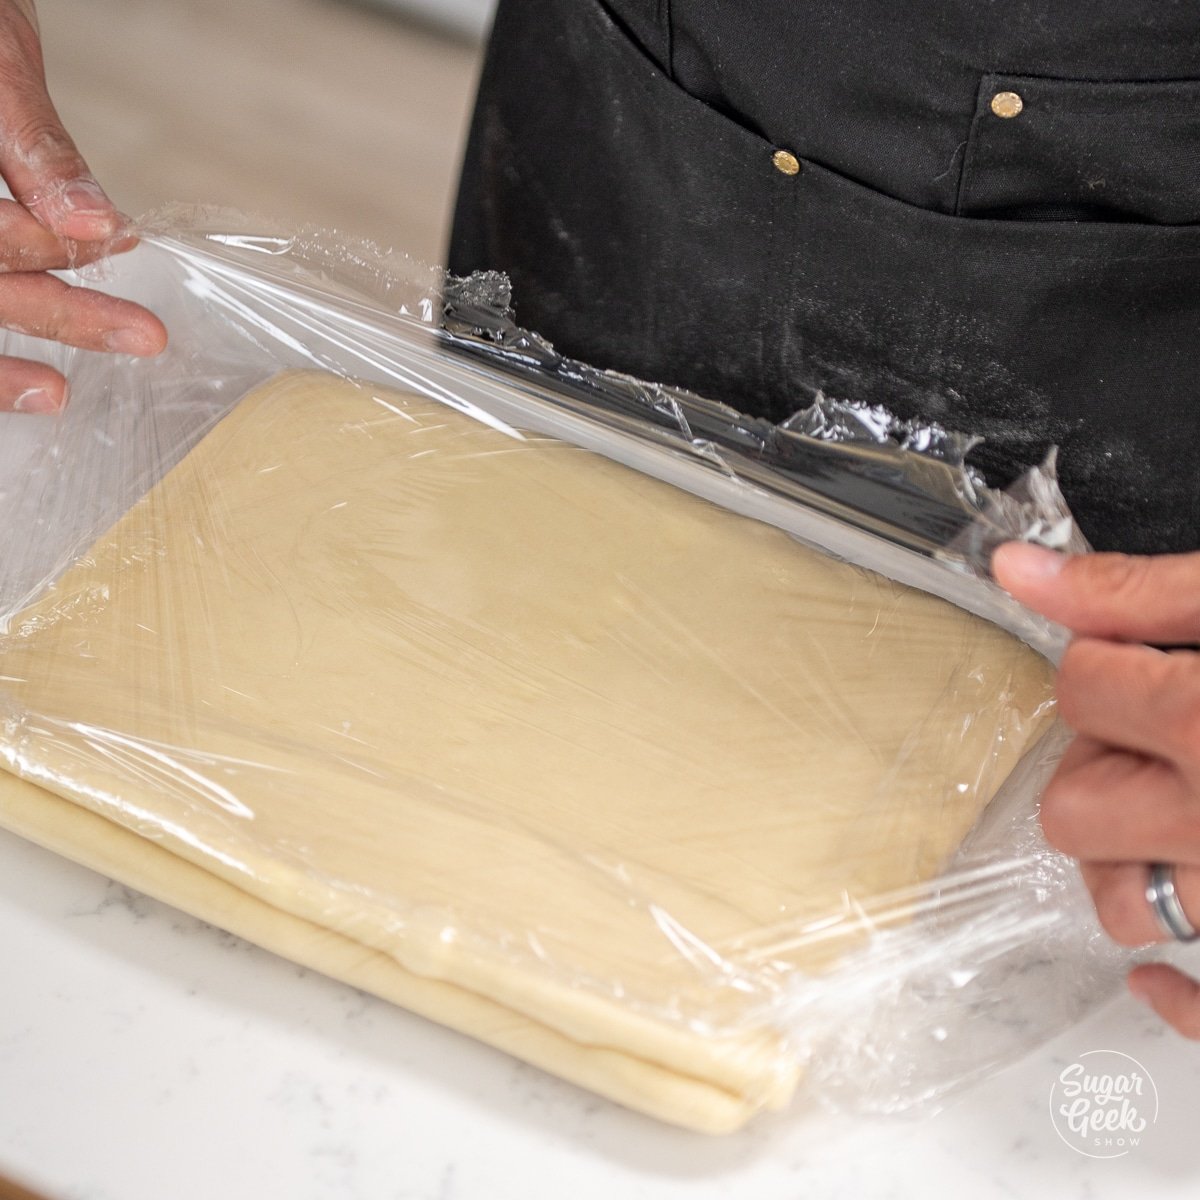
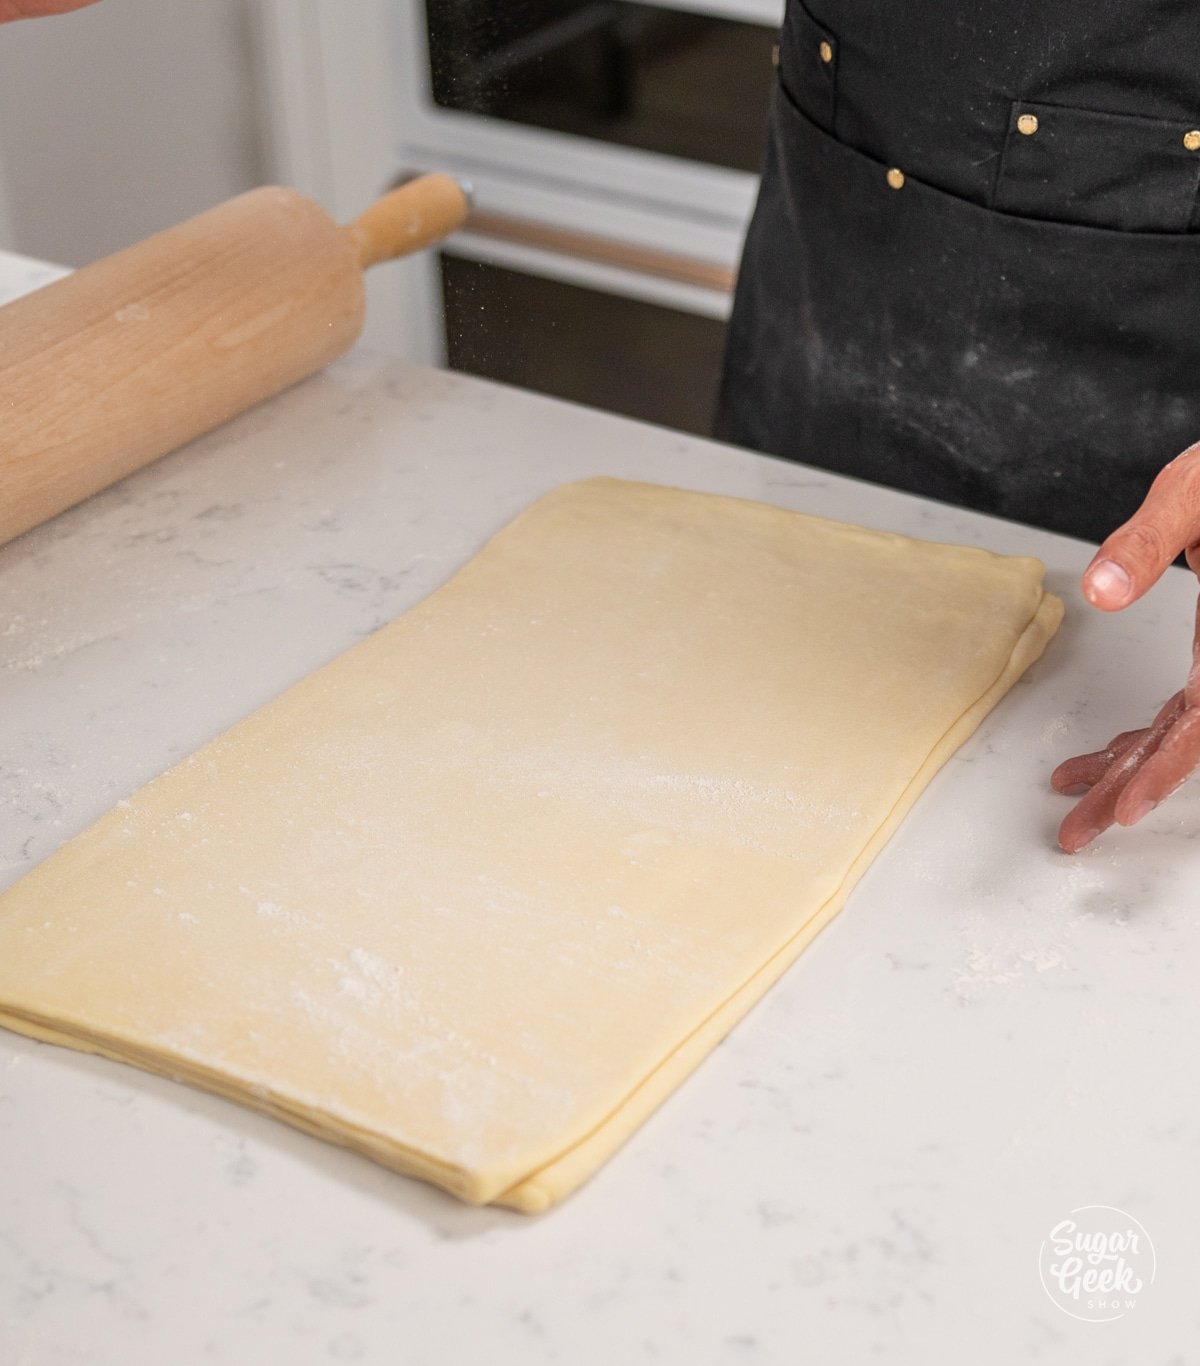
 This recipe includes a homemade pie crust recipe from scratch, but there is nothing wrong with using a store-bought pie crust! Especially if you have to make a bunch of pies, this can be a real time saver. The great thing about pie crust is you can make it ahead and freeze it, you can freeze rolled and cut rounds or press it into a disc shape and wrap it in plastic wrap.