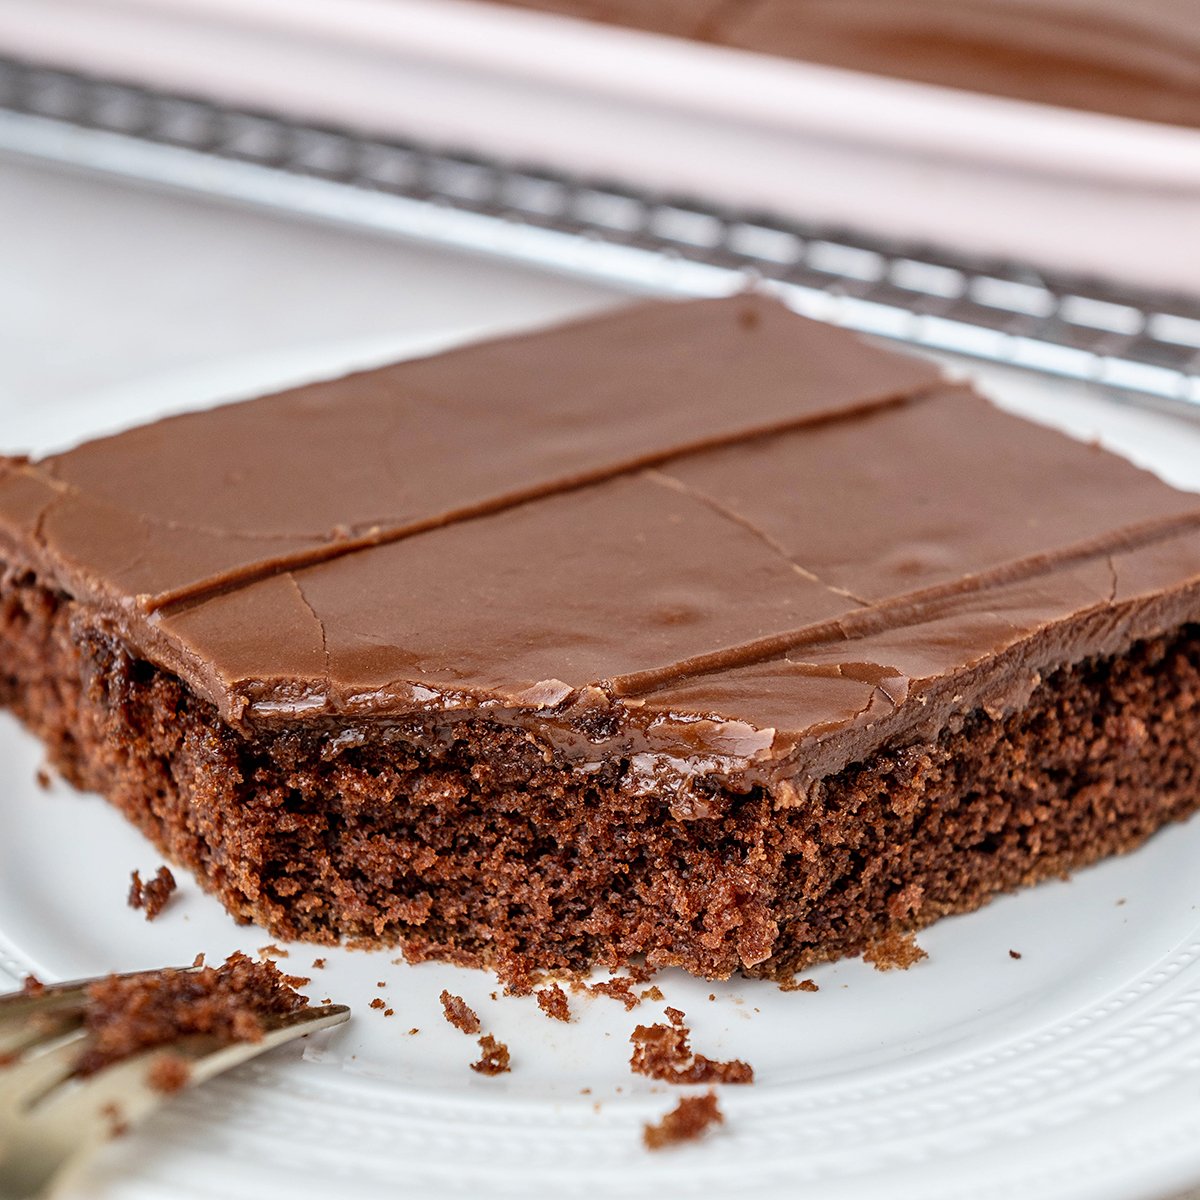
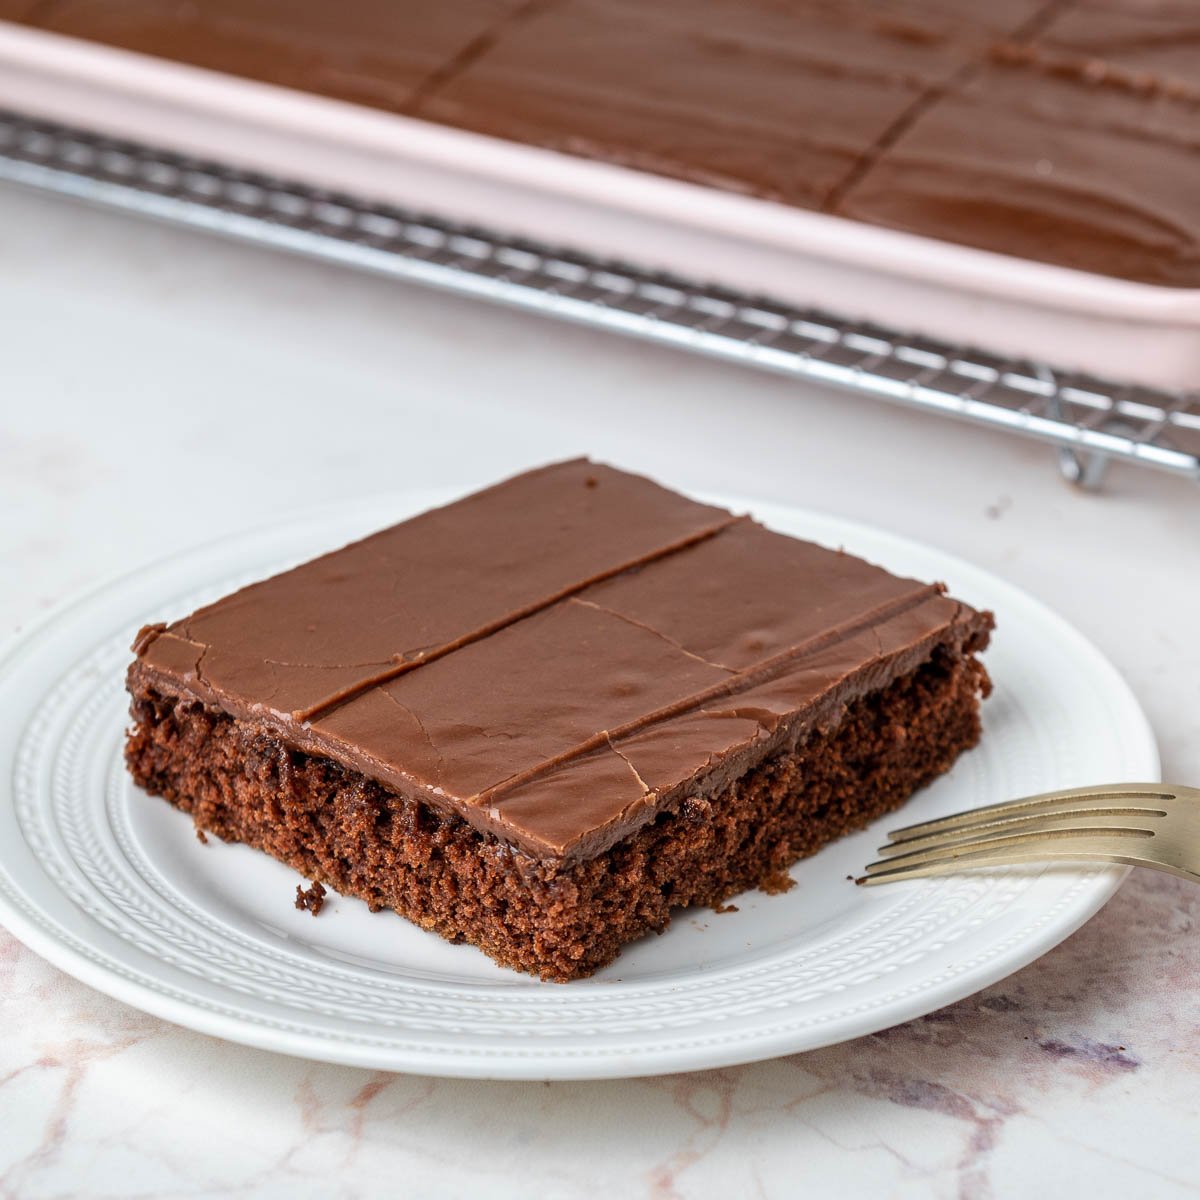
Texas sheet cake isn't your typical chocolate cake. It's rich, decadent, and HUGE because you bake it in a sheet pan and then cover it in warm and gooey chocolate glaze. This cake only takes 30 minutes to make so it's perfect for large gatherings, parties, or a BBQ.
Texas sheet cake is one of my favorite go-to easy recipes just like my easy chocolate cake, Chocolate WASC, brownies, and double chocolate chip cookies!
What's In This Blog Post?
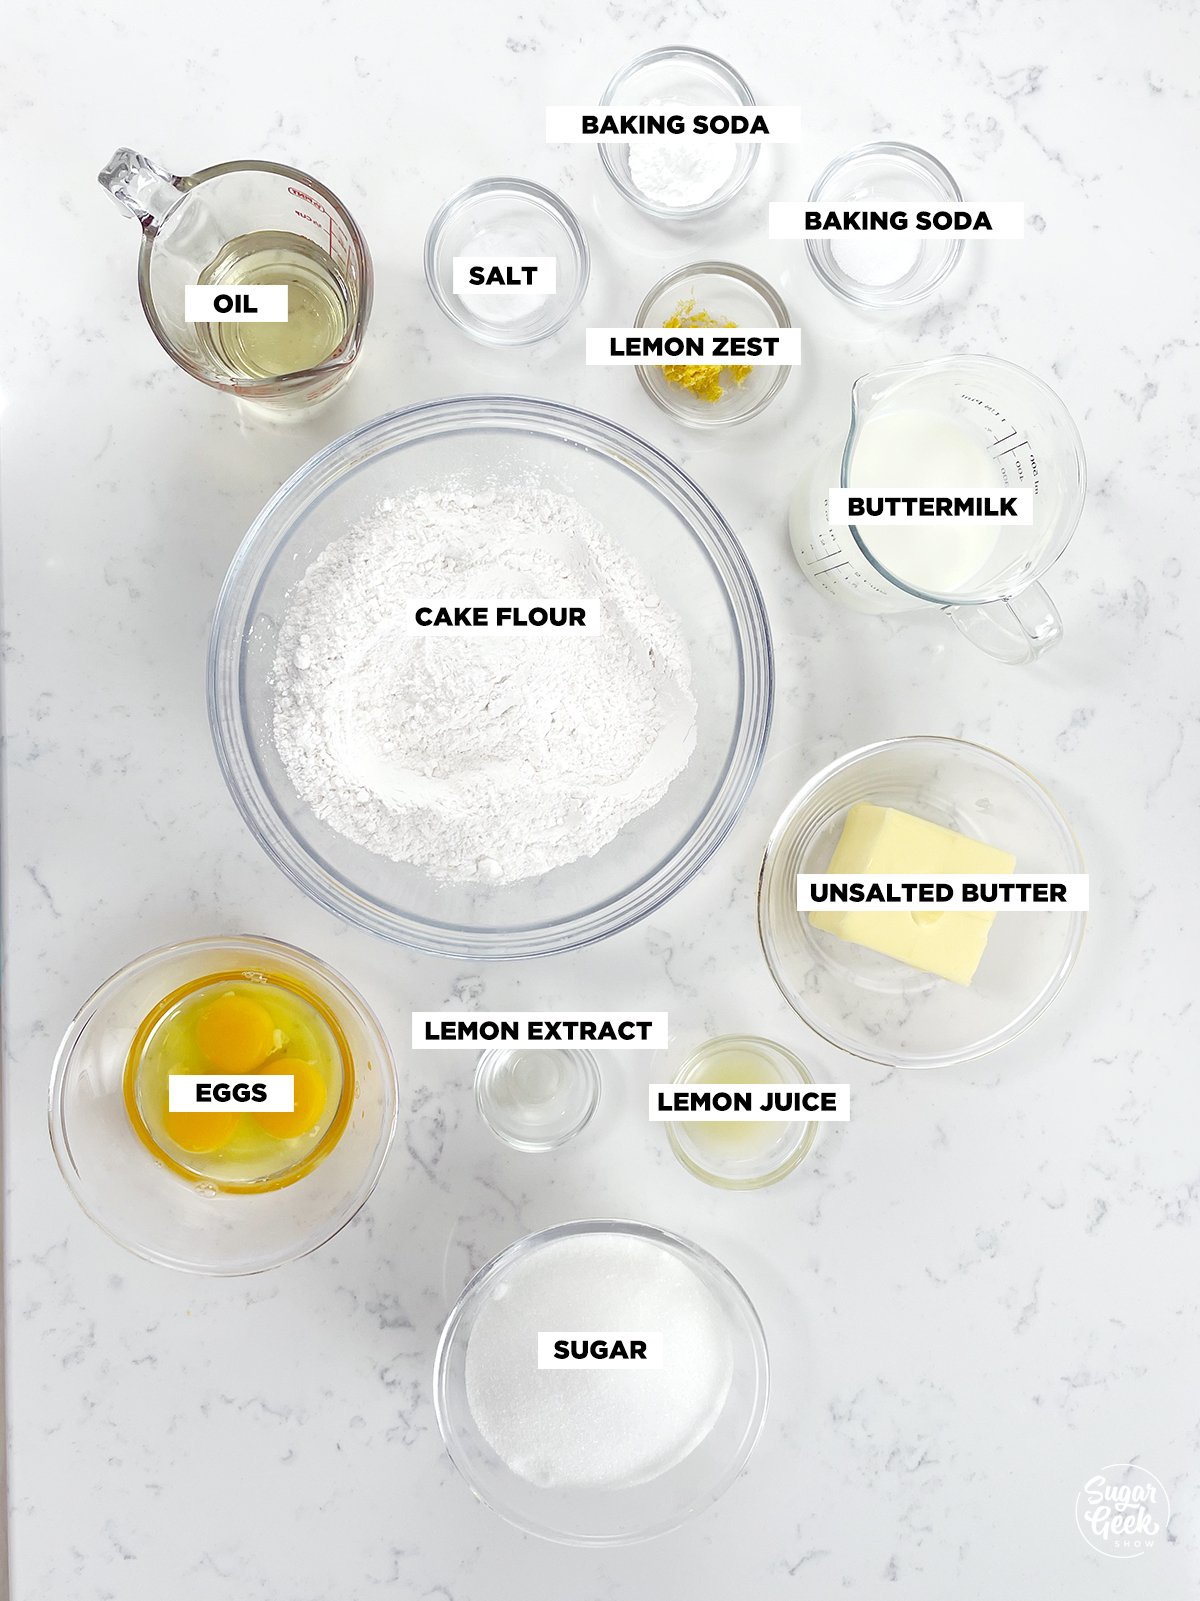
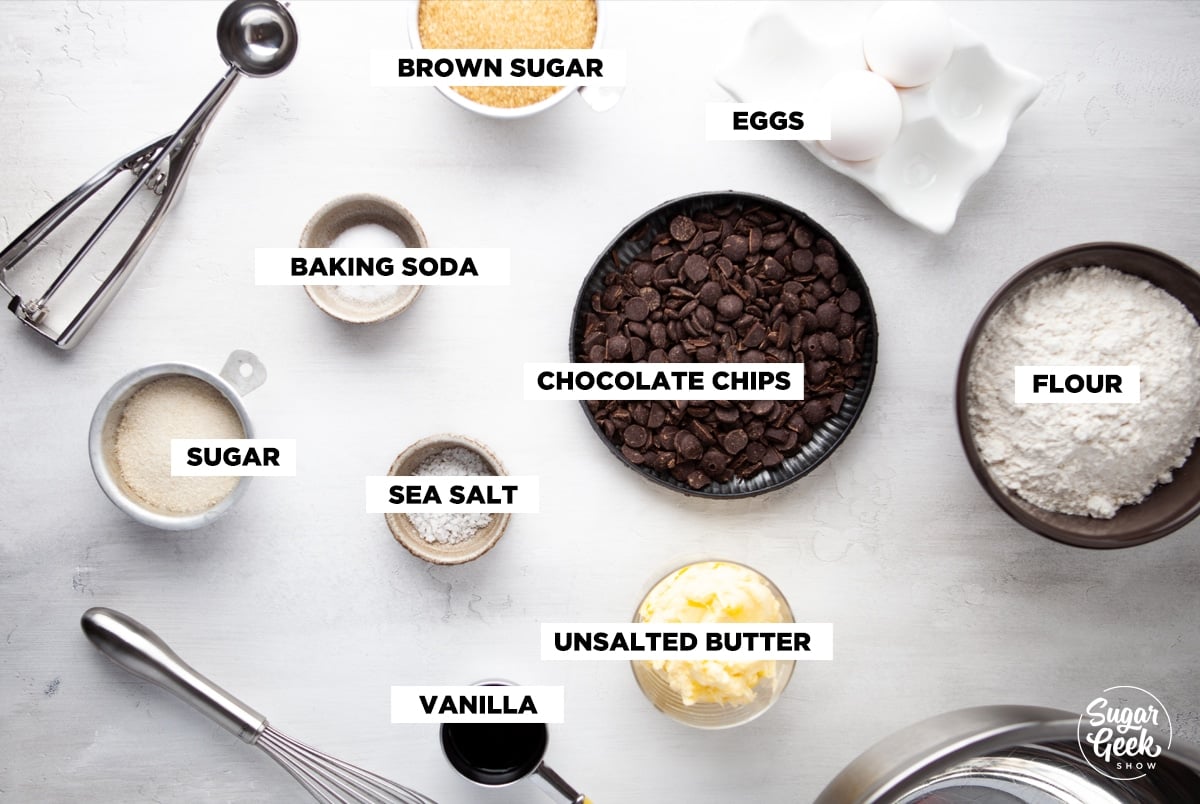
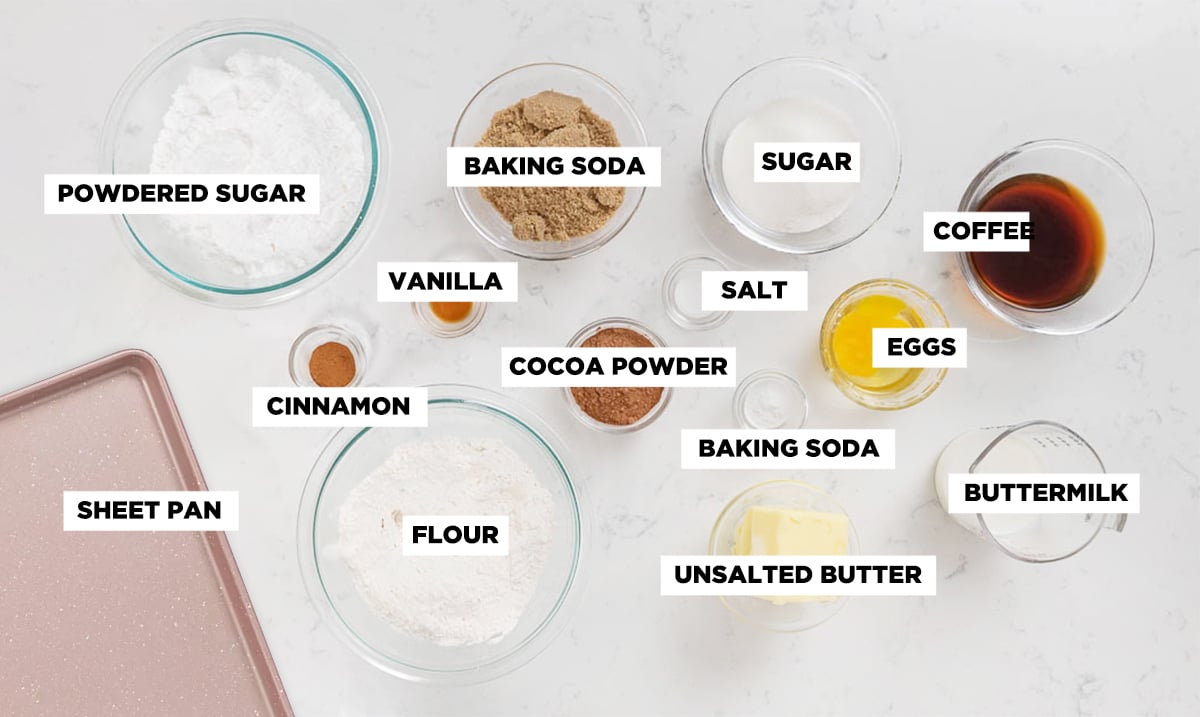
Ingredients & Equipment Needed
The most important thing to have to make a Texas sheet cake is a Texas-sized pan! AKA a half sheet pan. Typically the pan is 13"x18" and about 2" tall. If you're an avid baker, you might already have one on hand but if not, don't fret, you can use a cookie sheet or jelly roll pan pretty much the same way as long as it has sides. You may have to slightly adjust your batter recipe or bake leftover batter as cupcakes (YUM!) if your pan is slightly smaller.
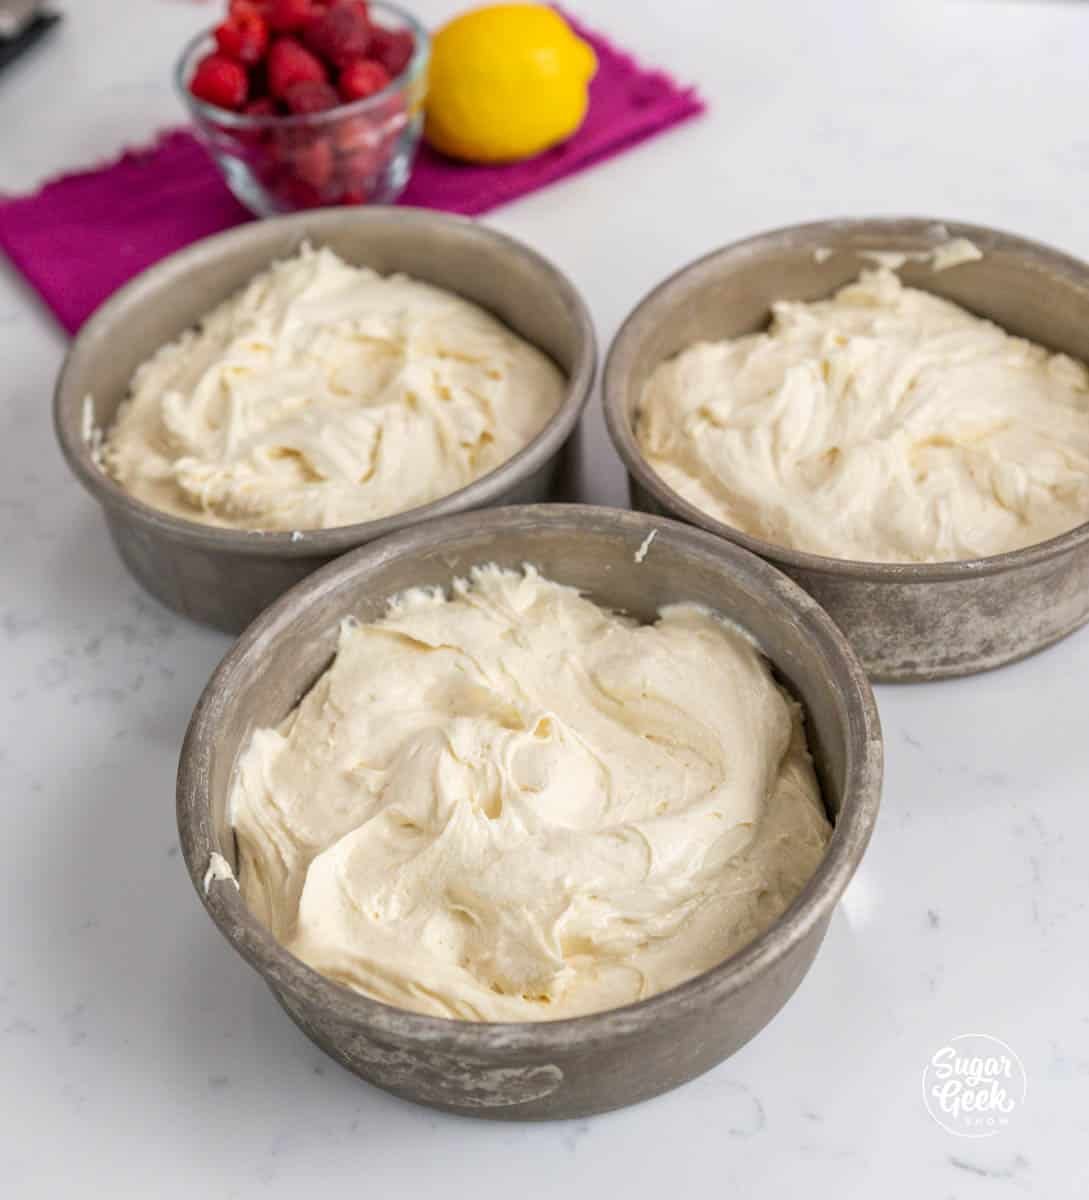
You can even bake this recipe in traditional cake pans or cupcakes! So many options!
How To Make Texas Sheet Cake Step By Step
Texas Sheet Cake
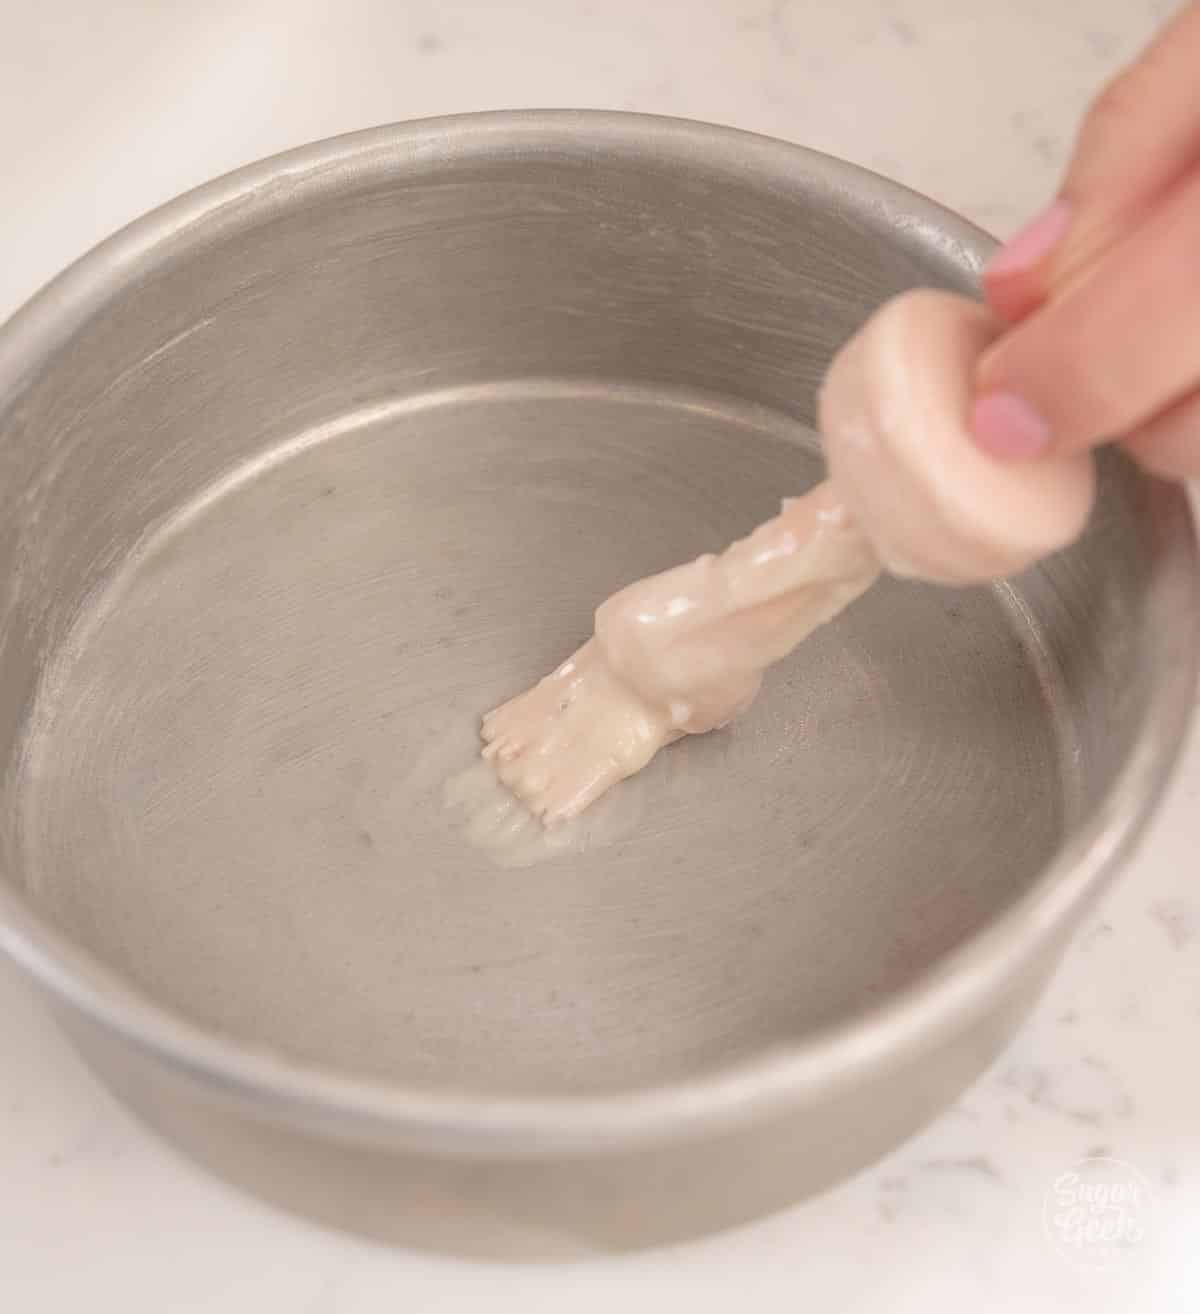
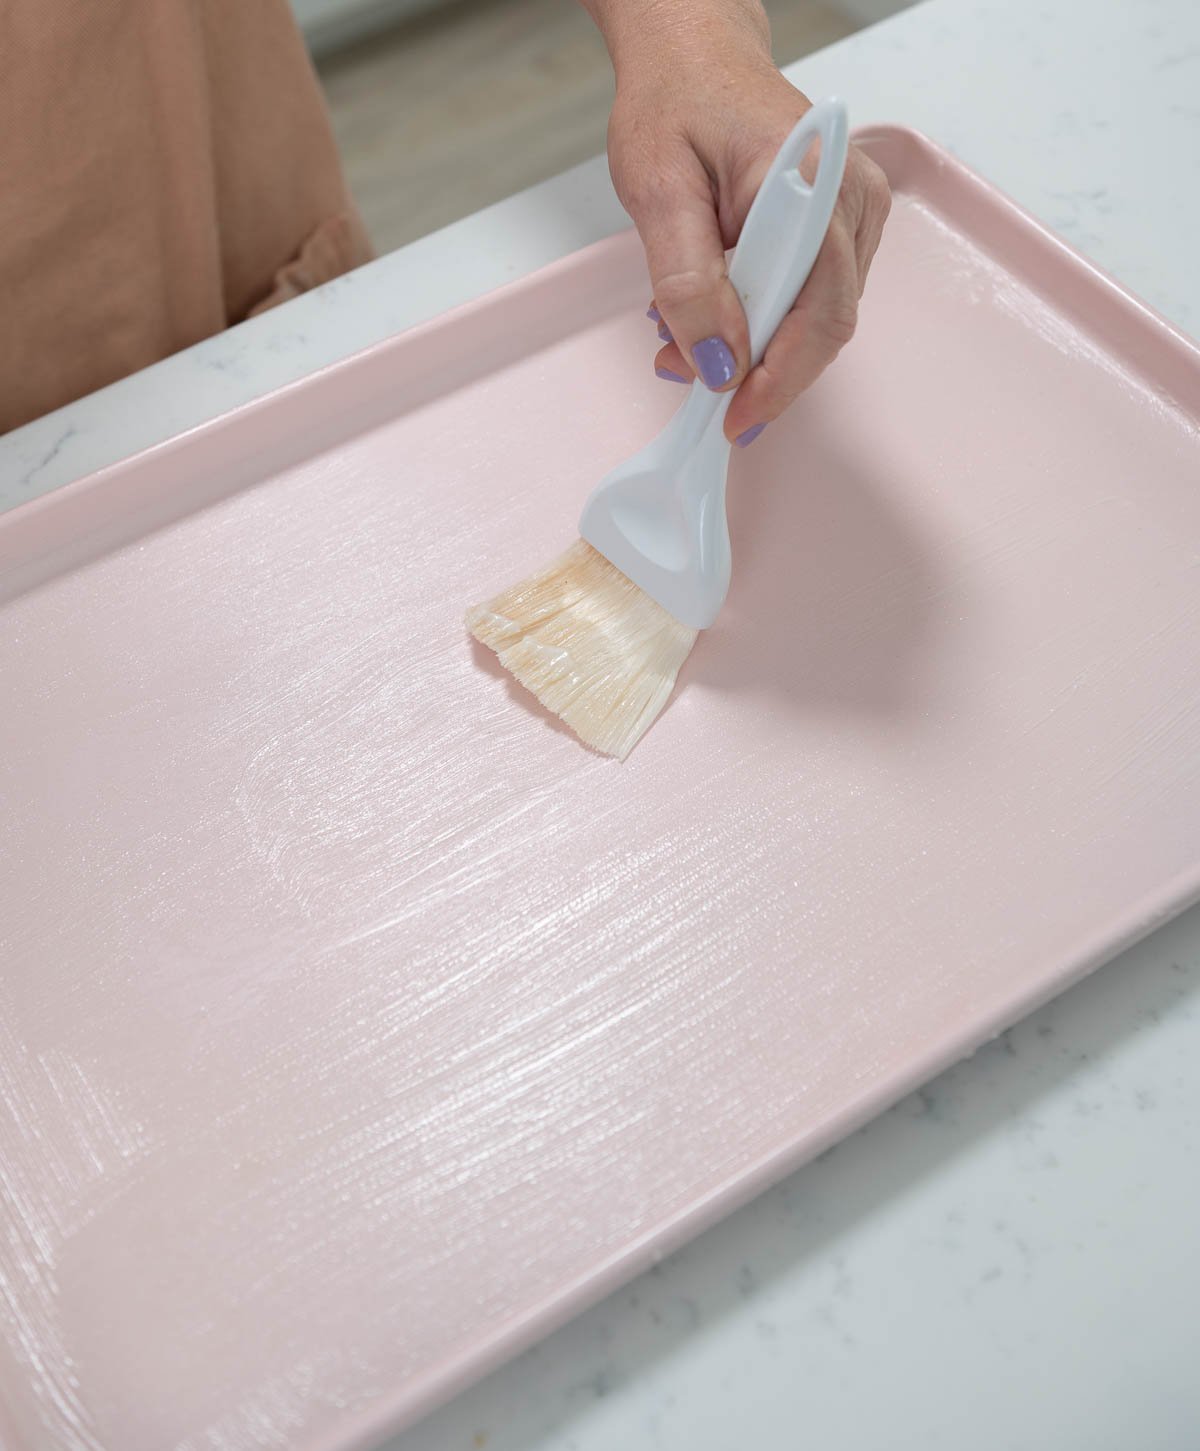
- Preheat your oven to 375ºF and prepare your half sheet pan with cake goop or whatever pan release you like. You can line the pan with parchment if you're worried about sticking.

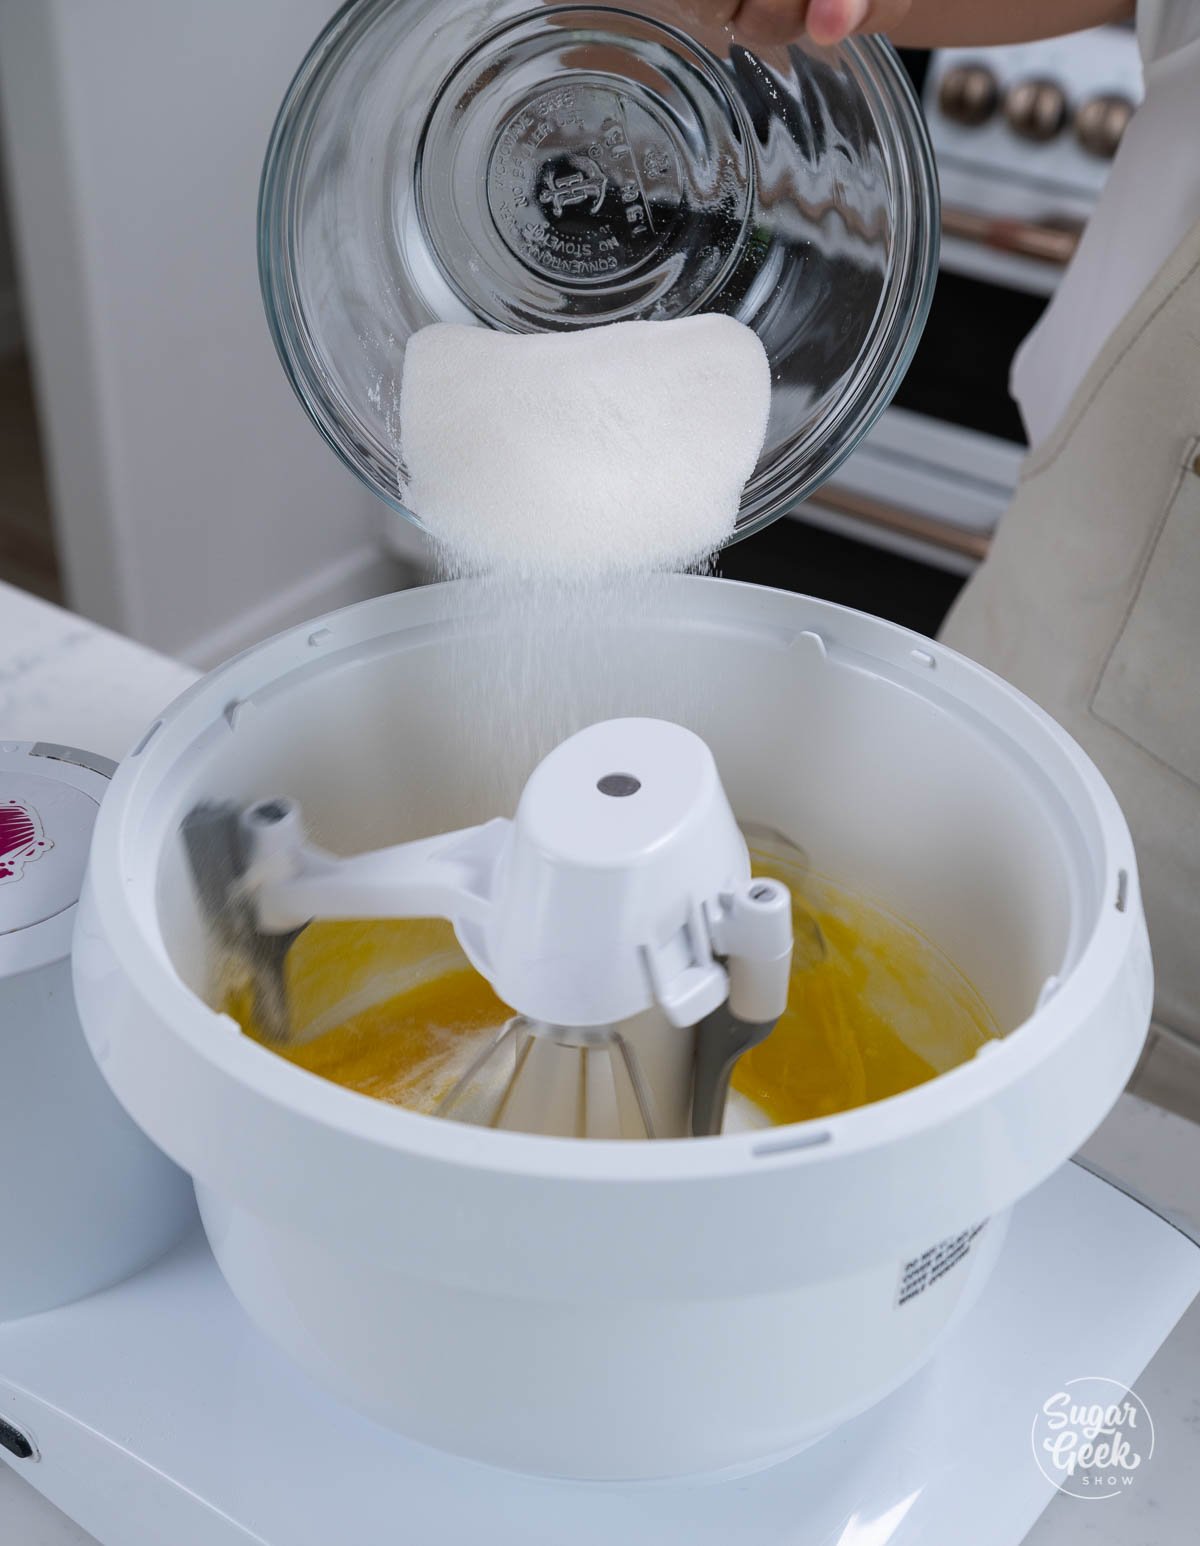
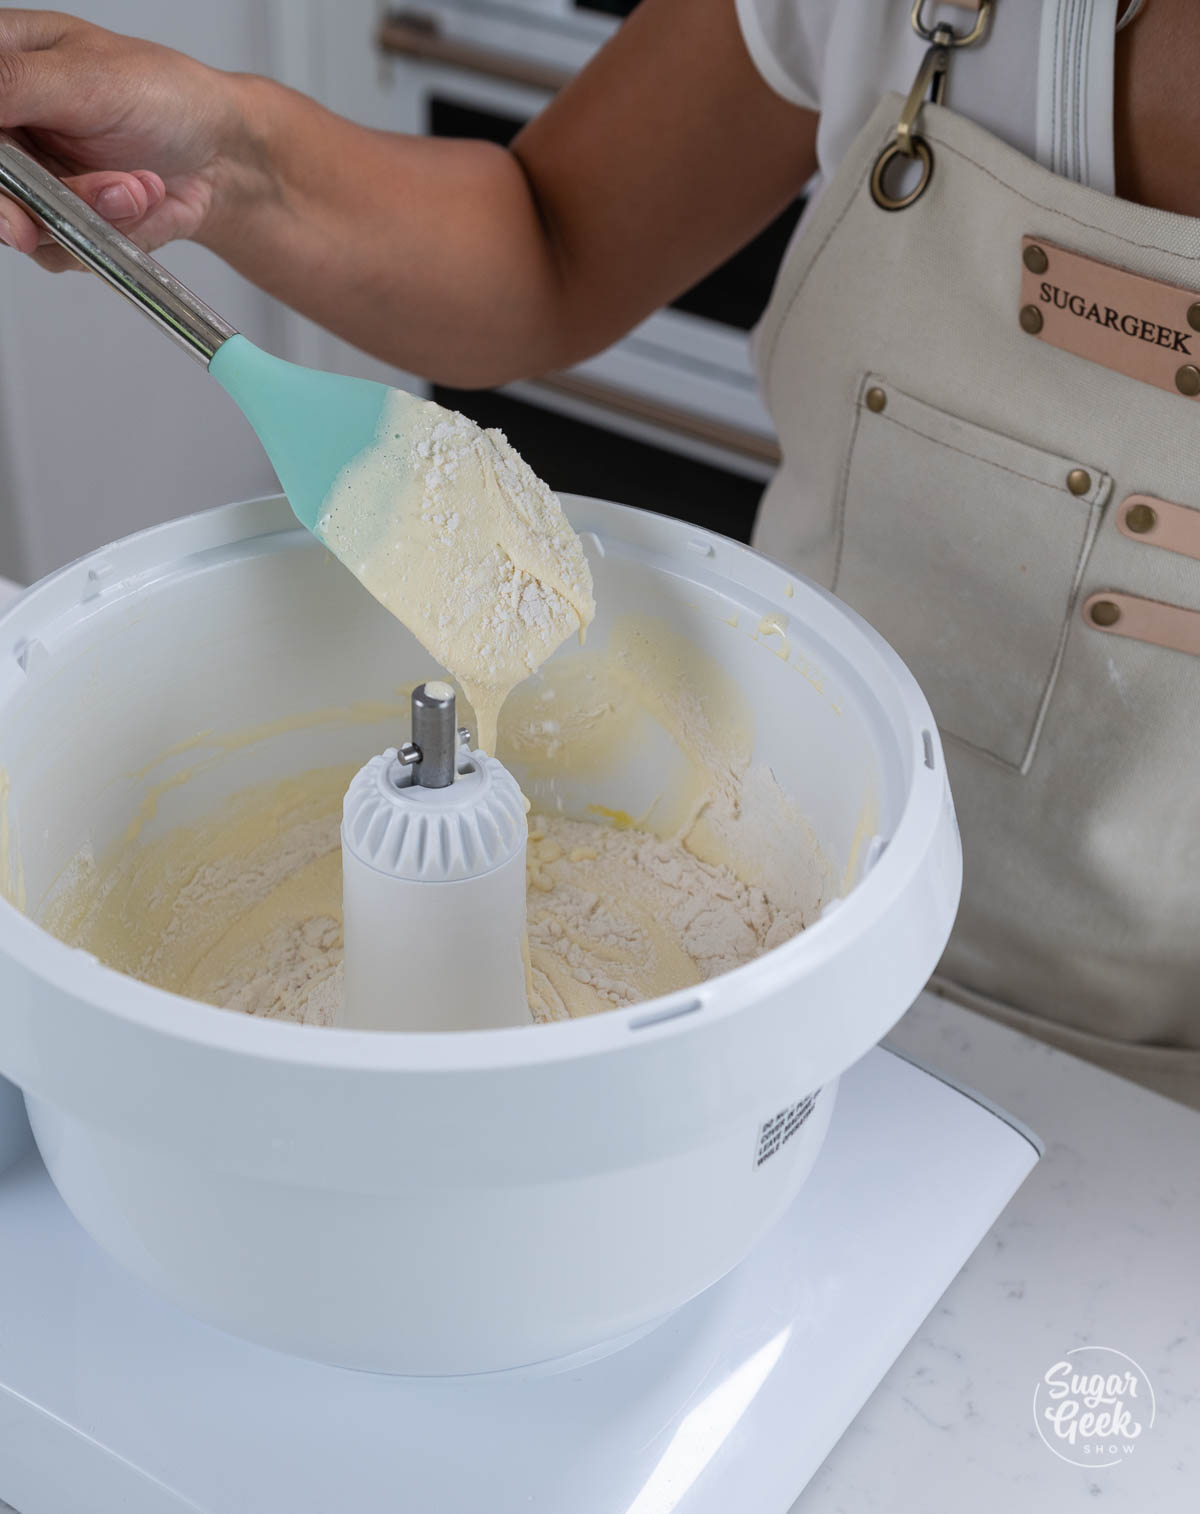
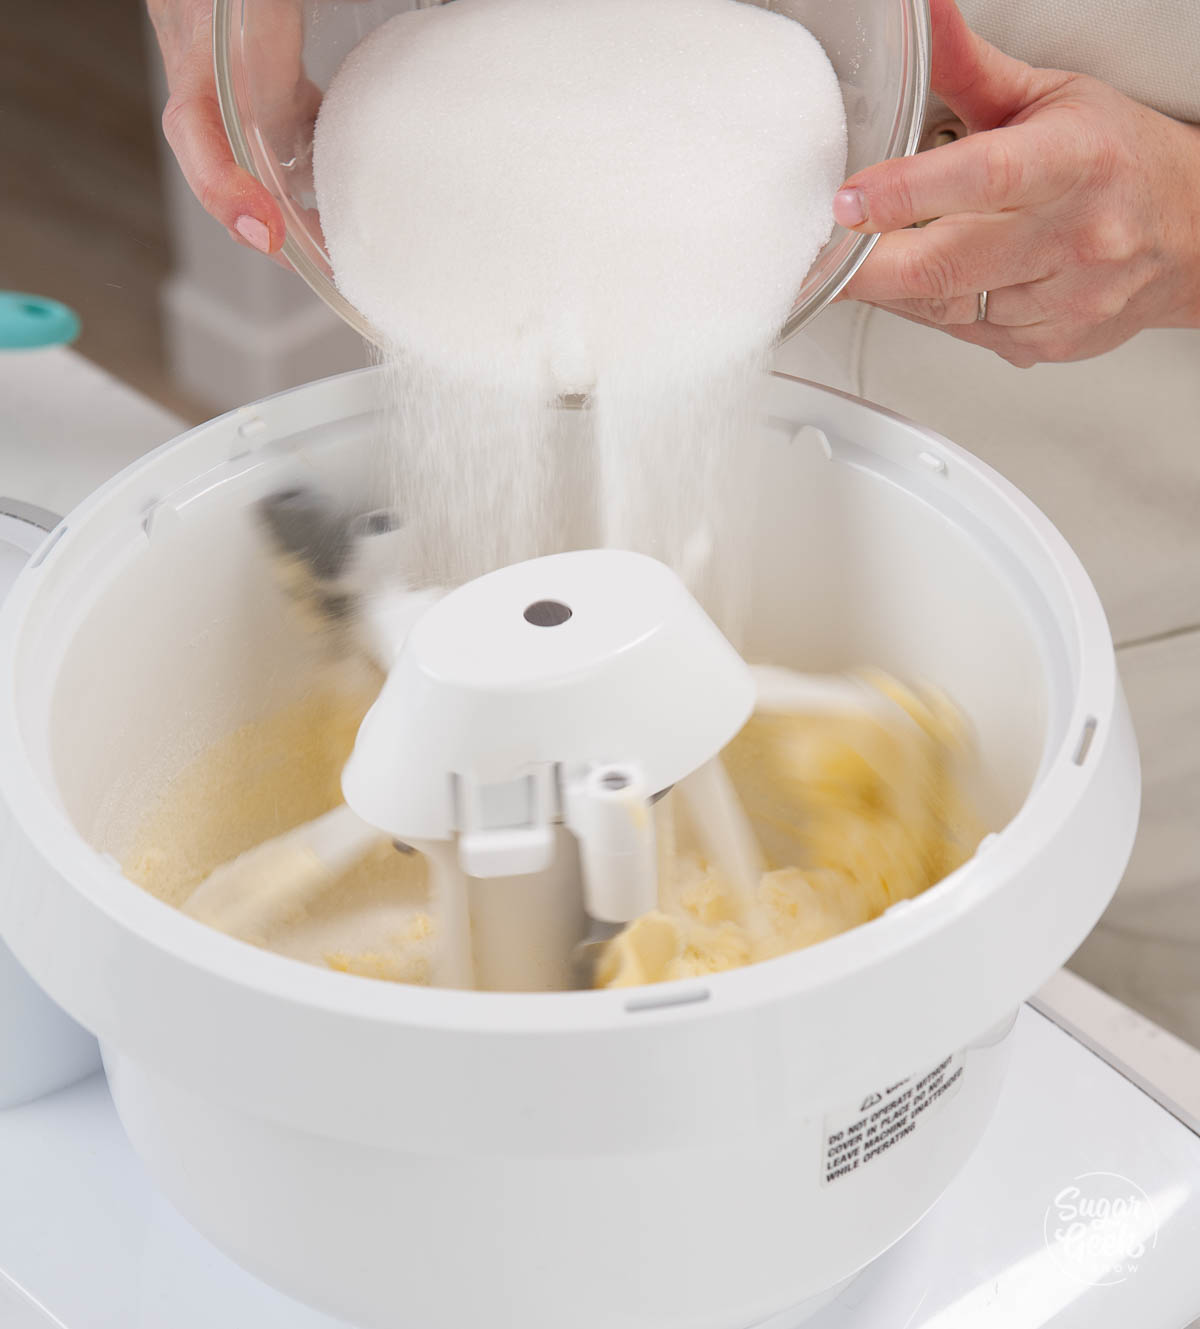
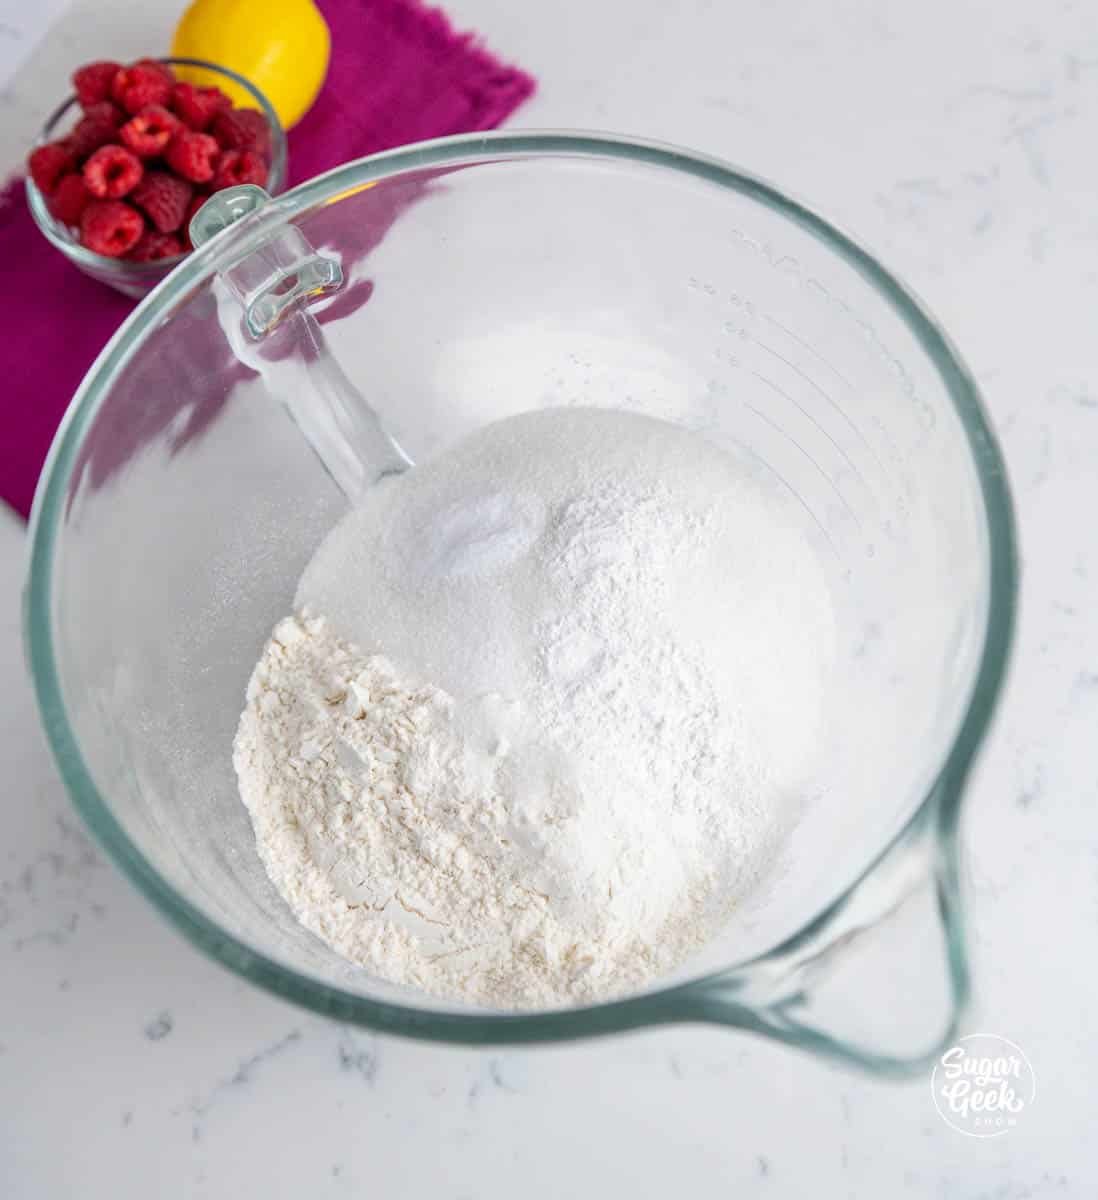
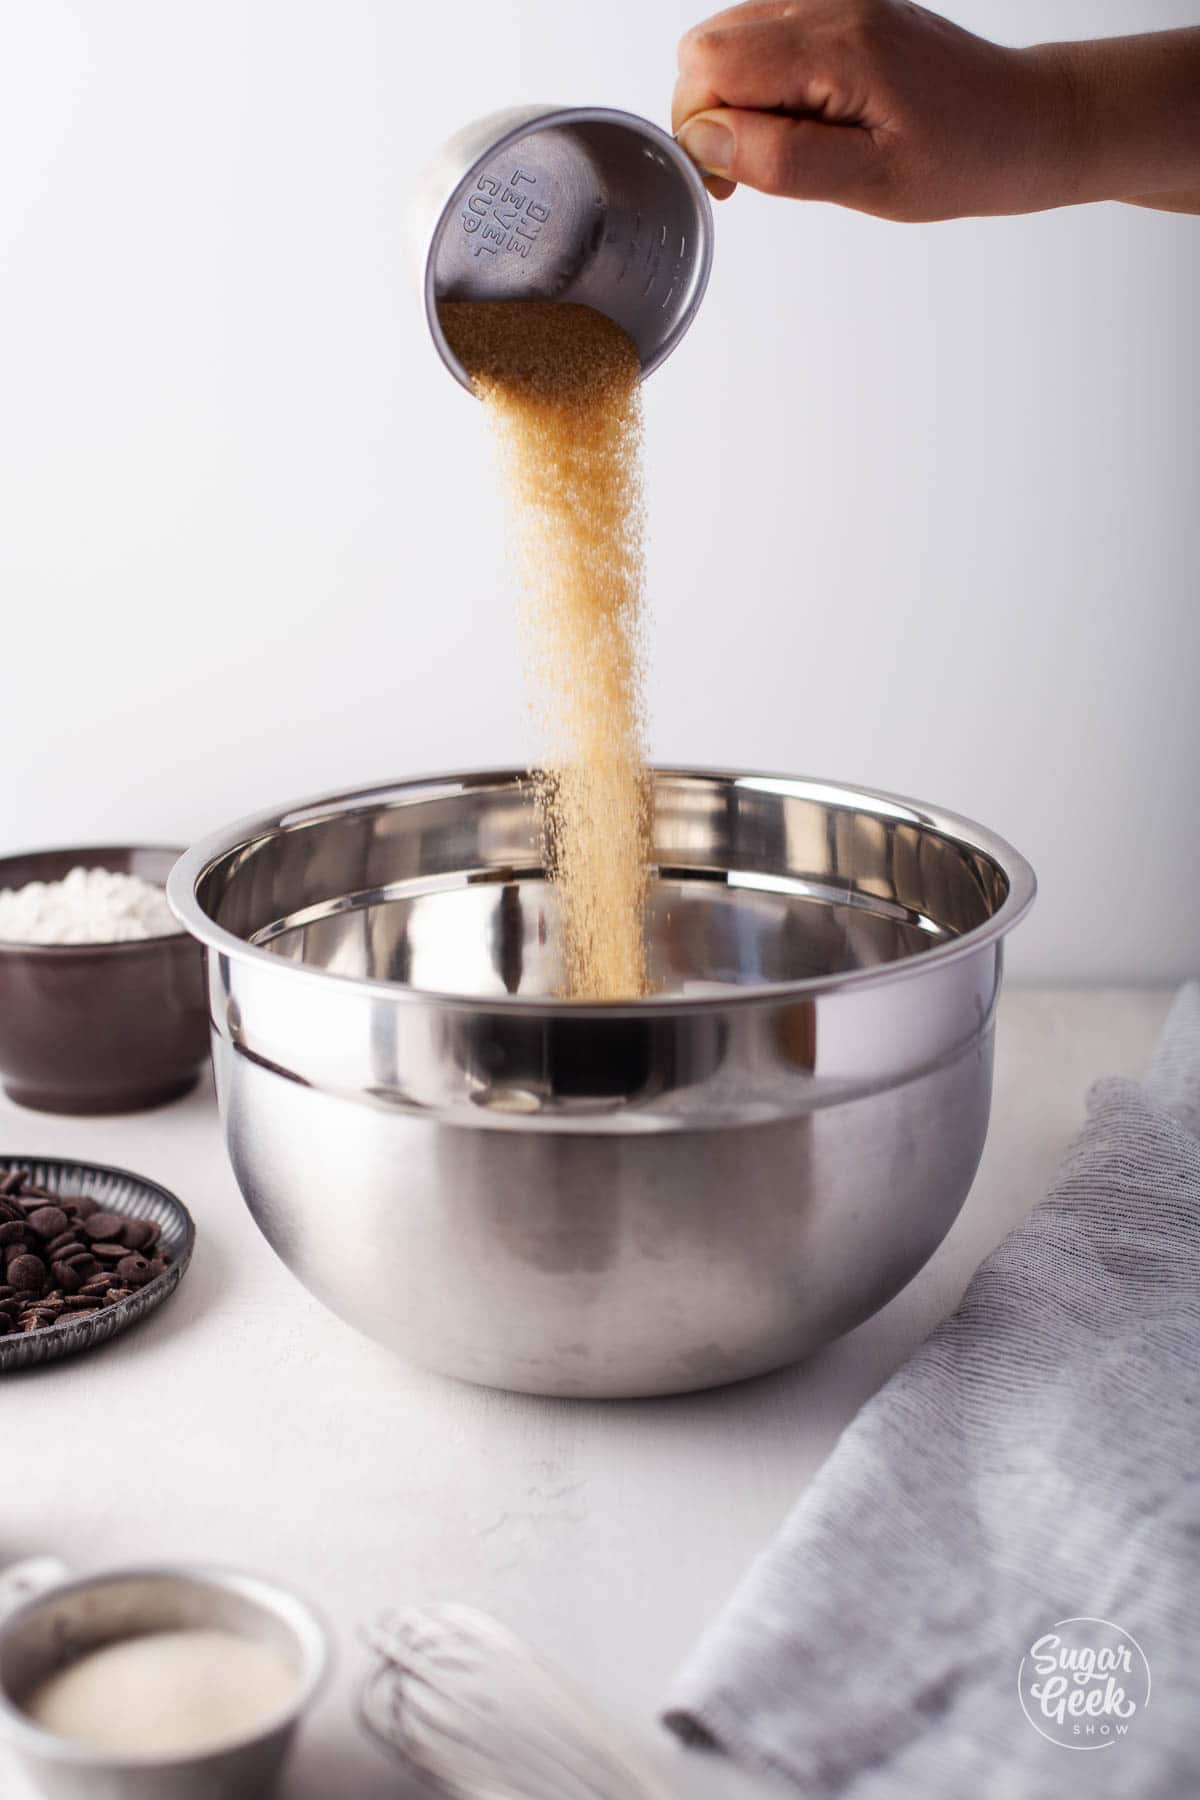
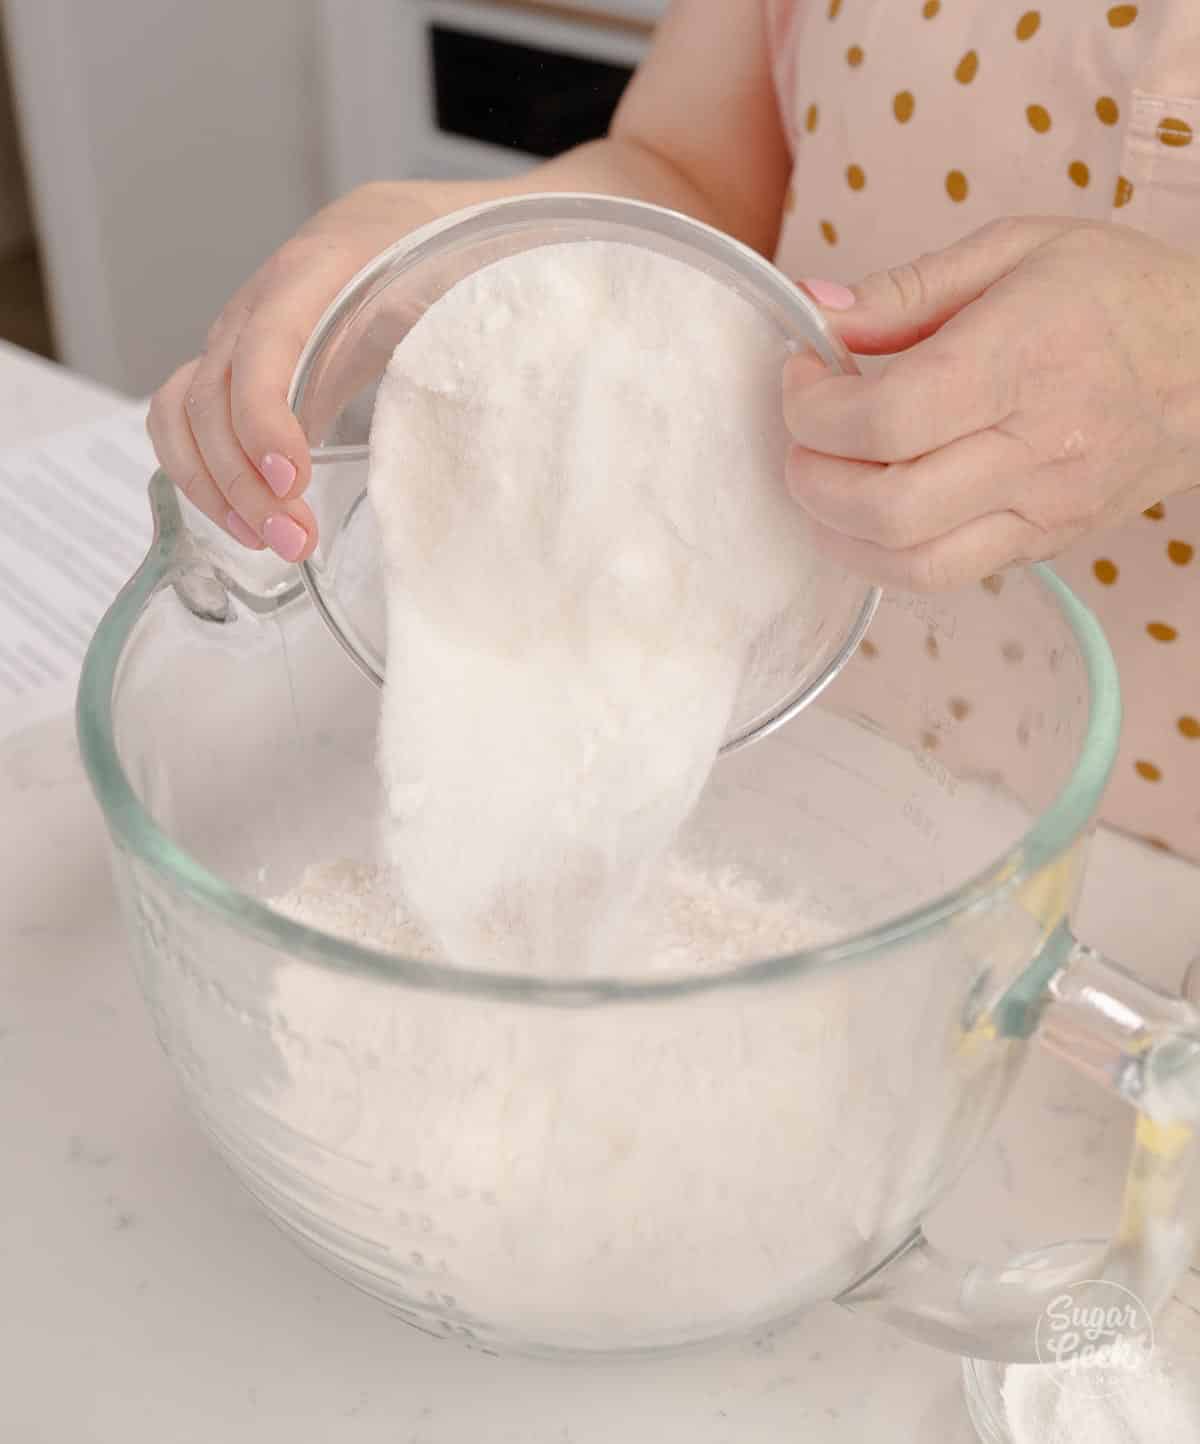
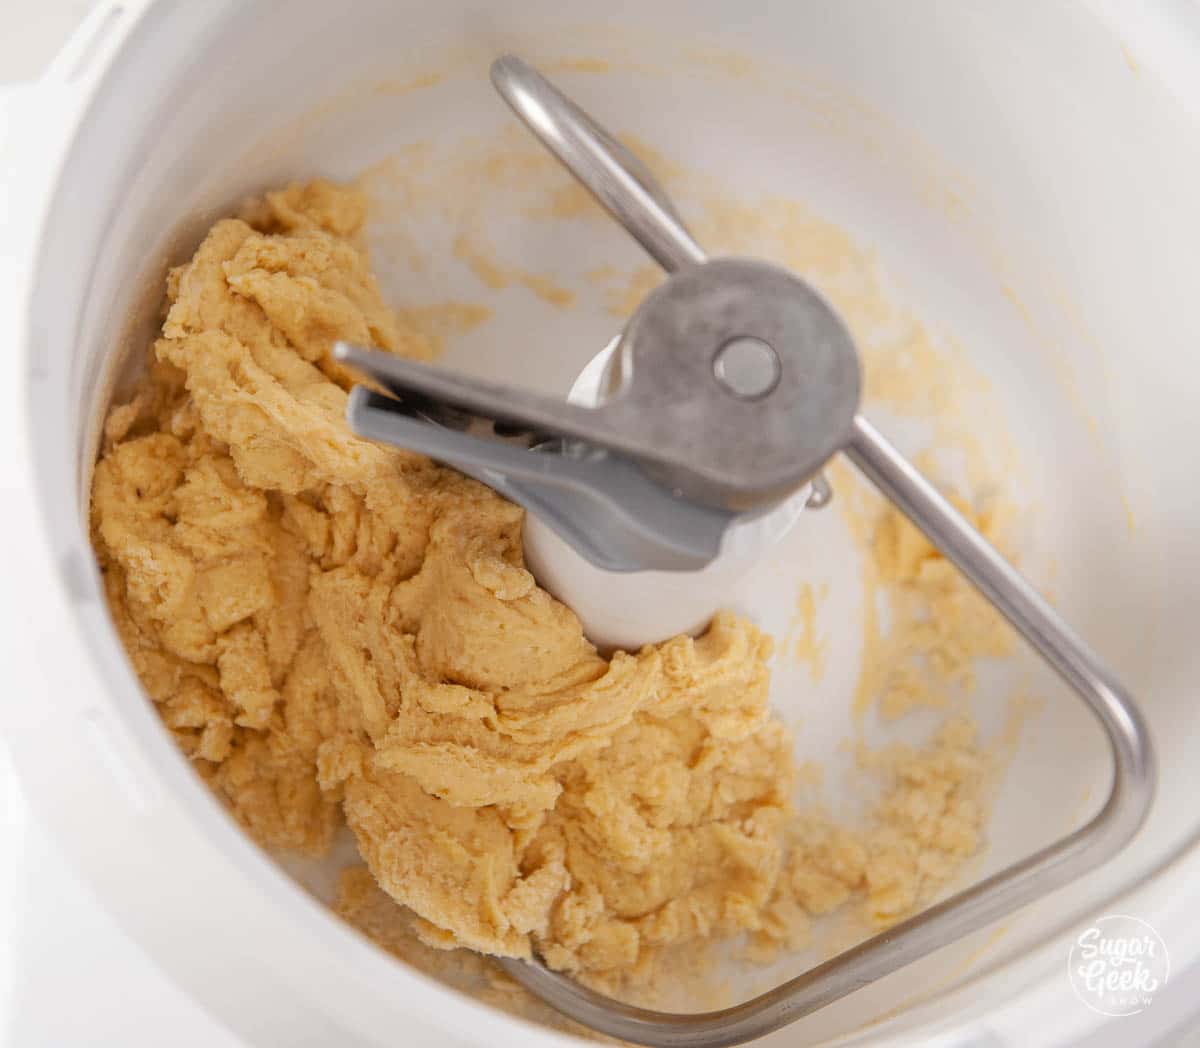
- In a large mixing bowl, combine the flour, white sugar, brown sugar, cinnamon, baking soda, and salt, and set aside.

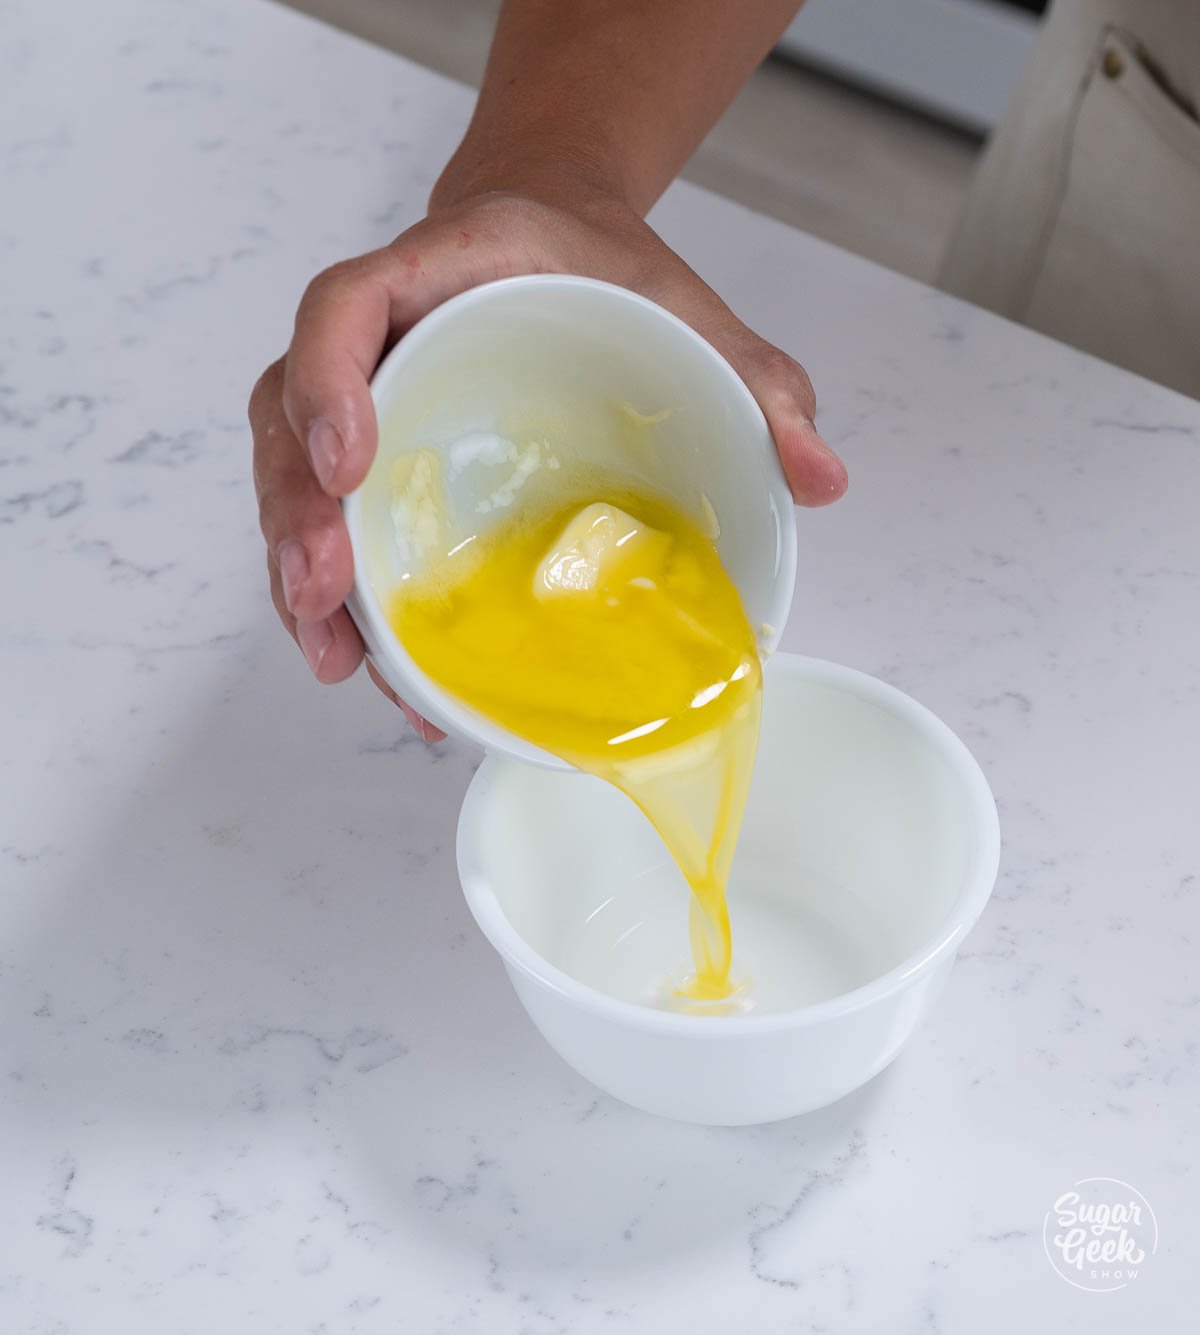
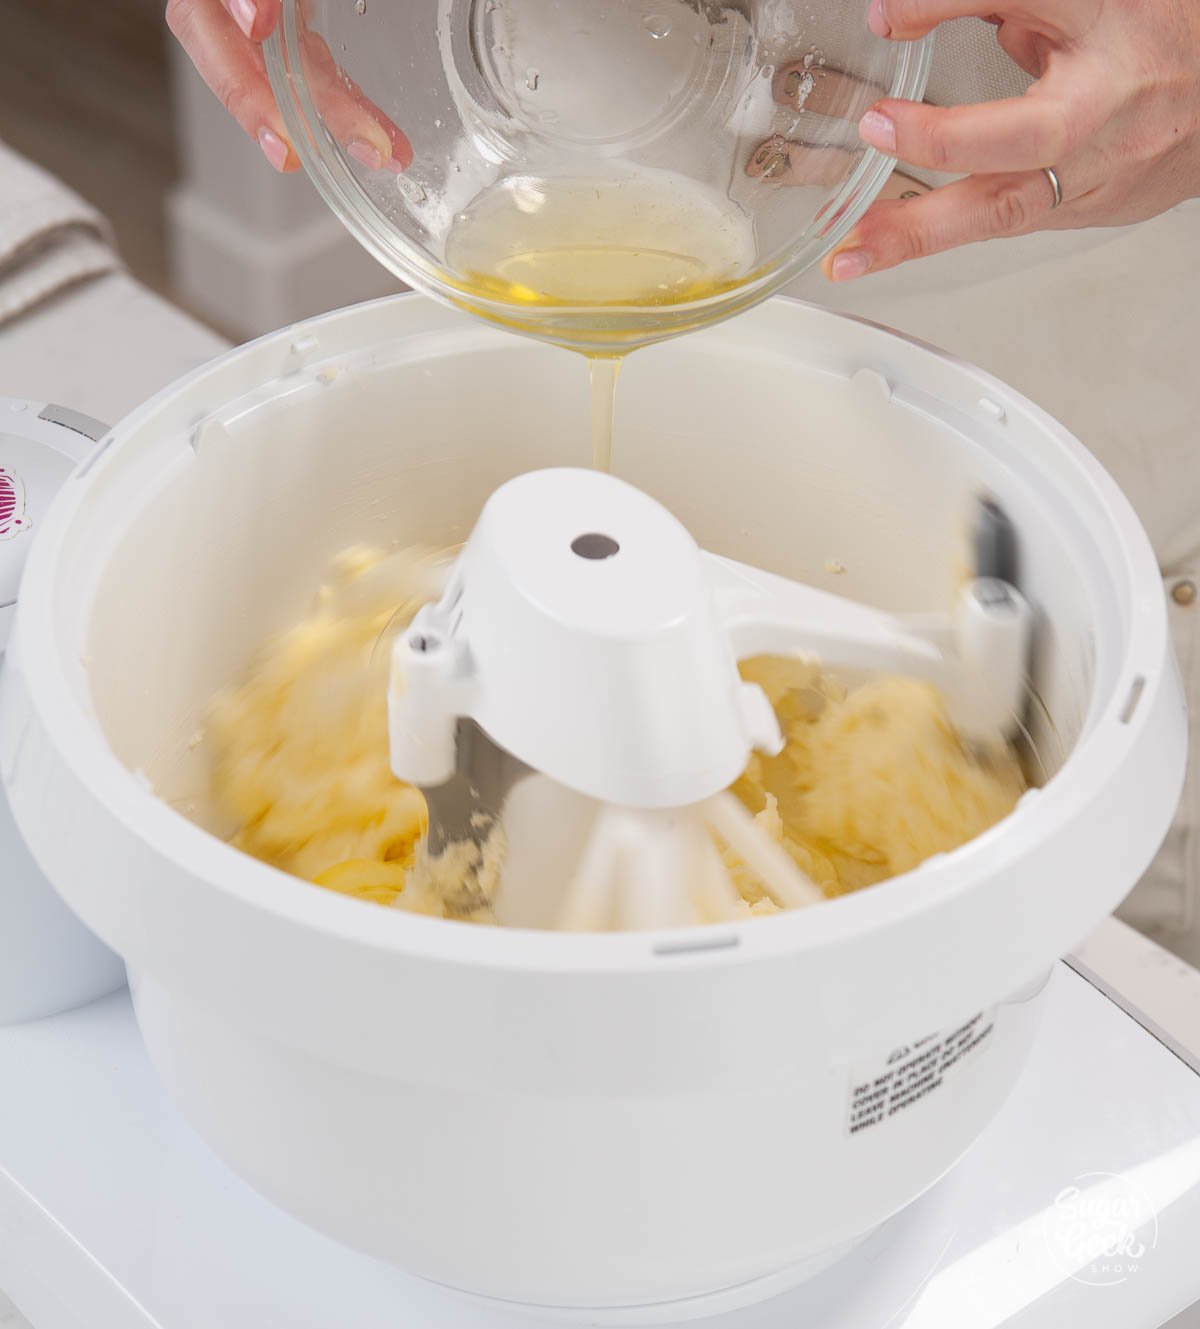
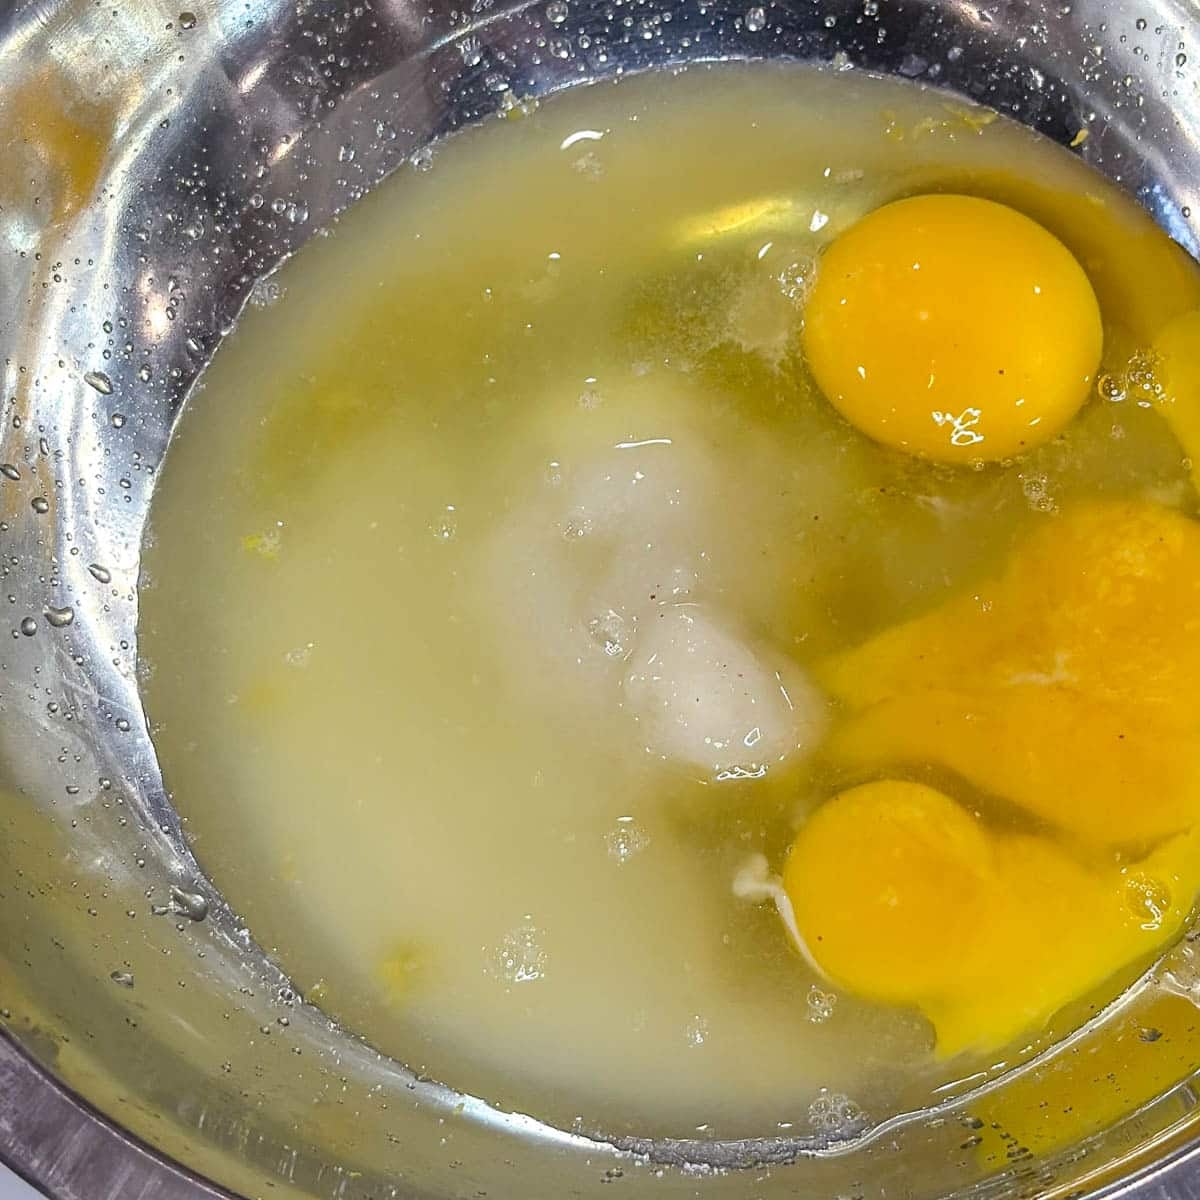
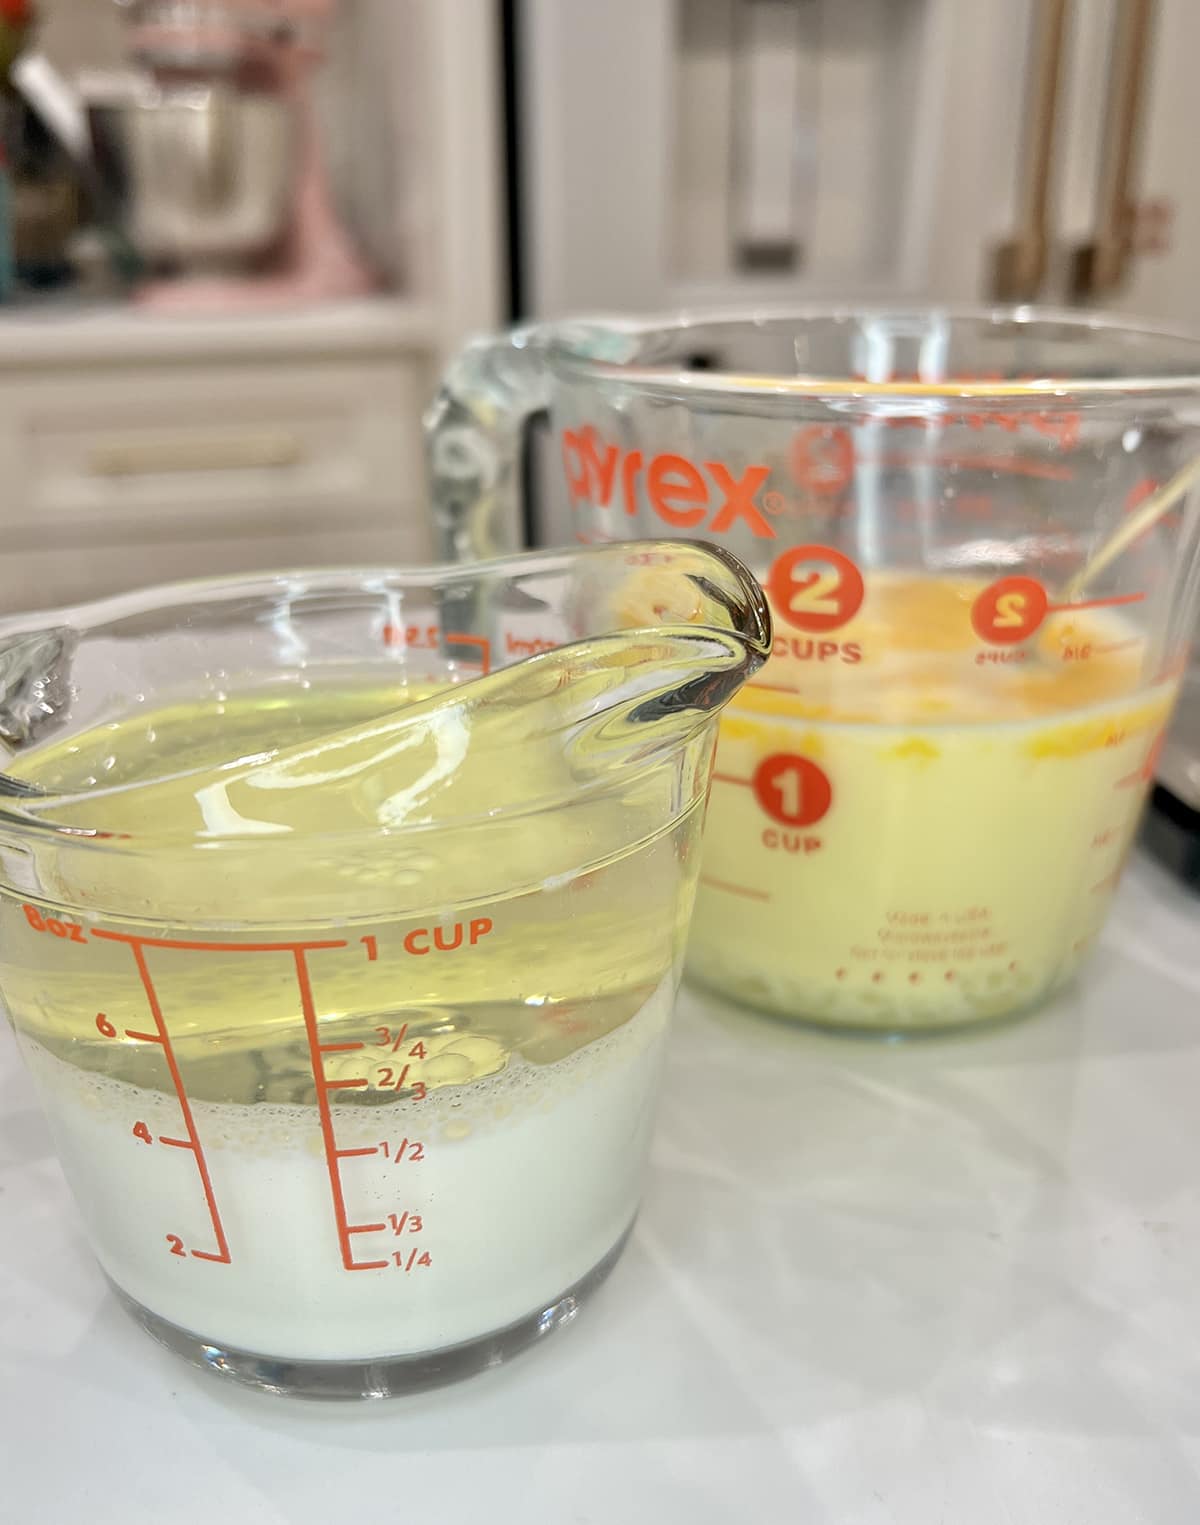
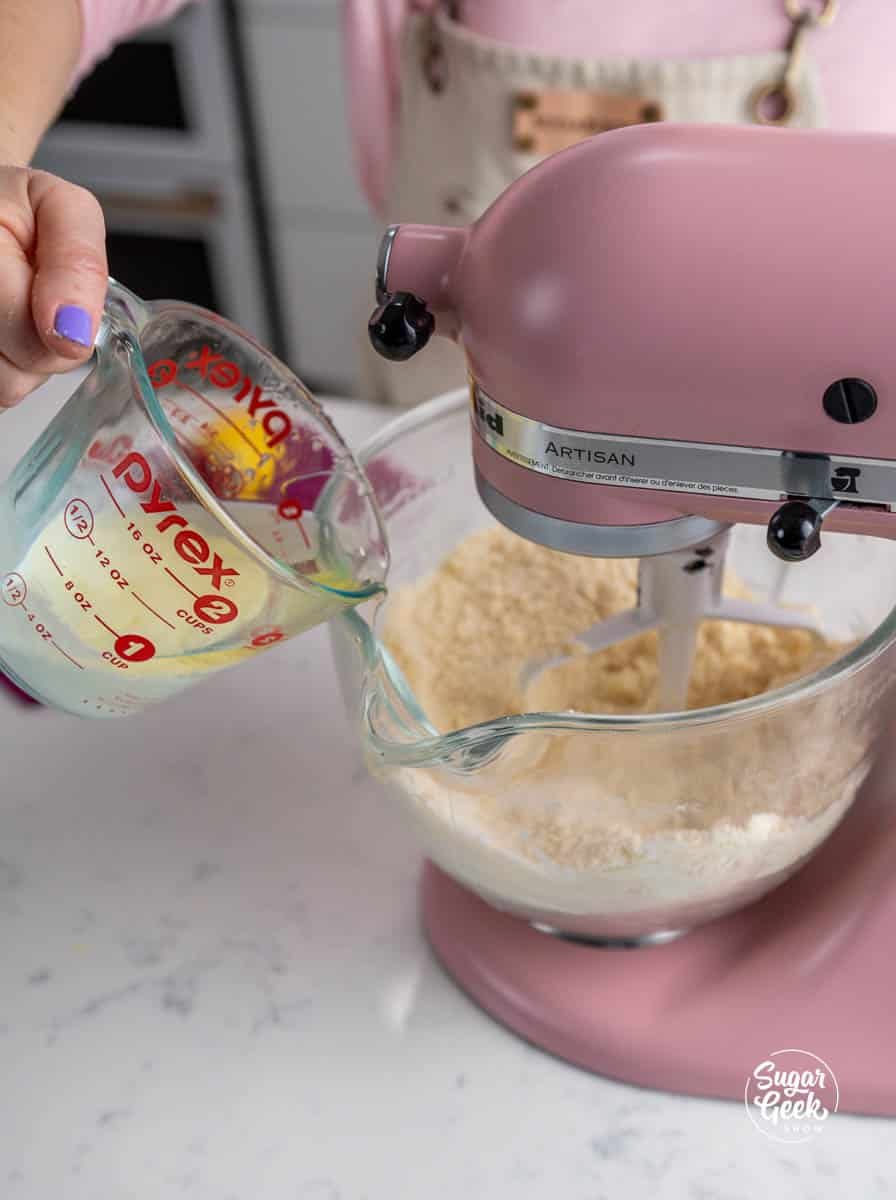
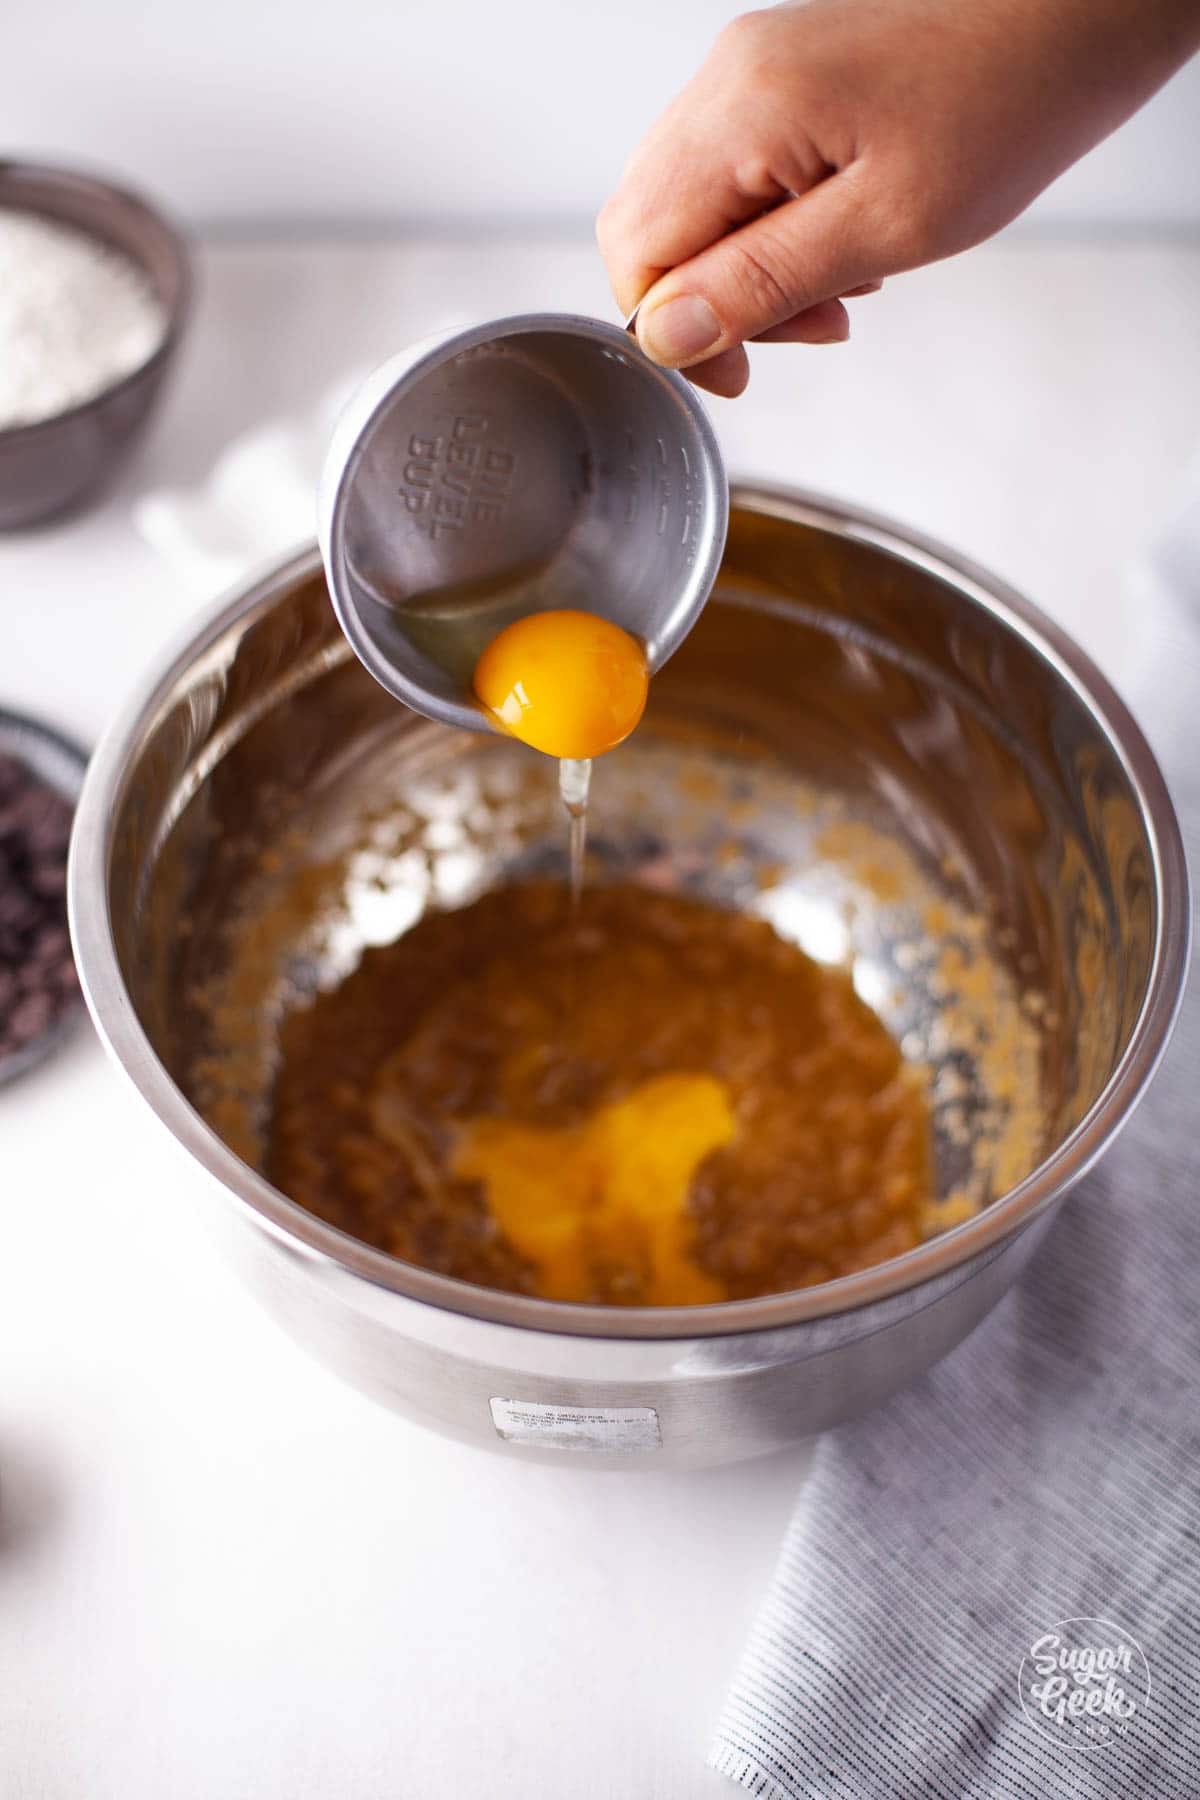
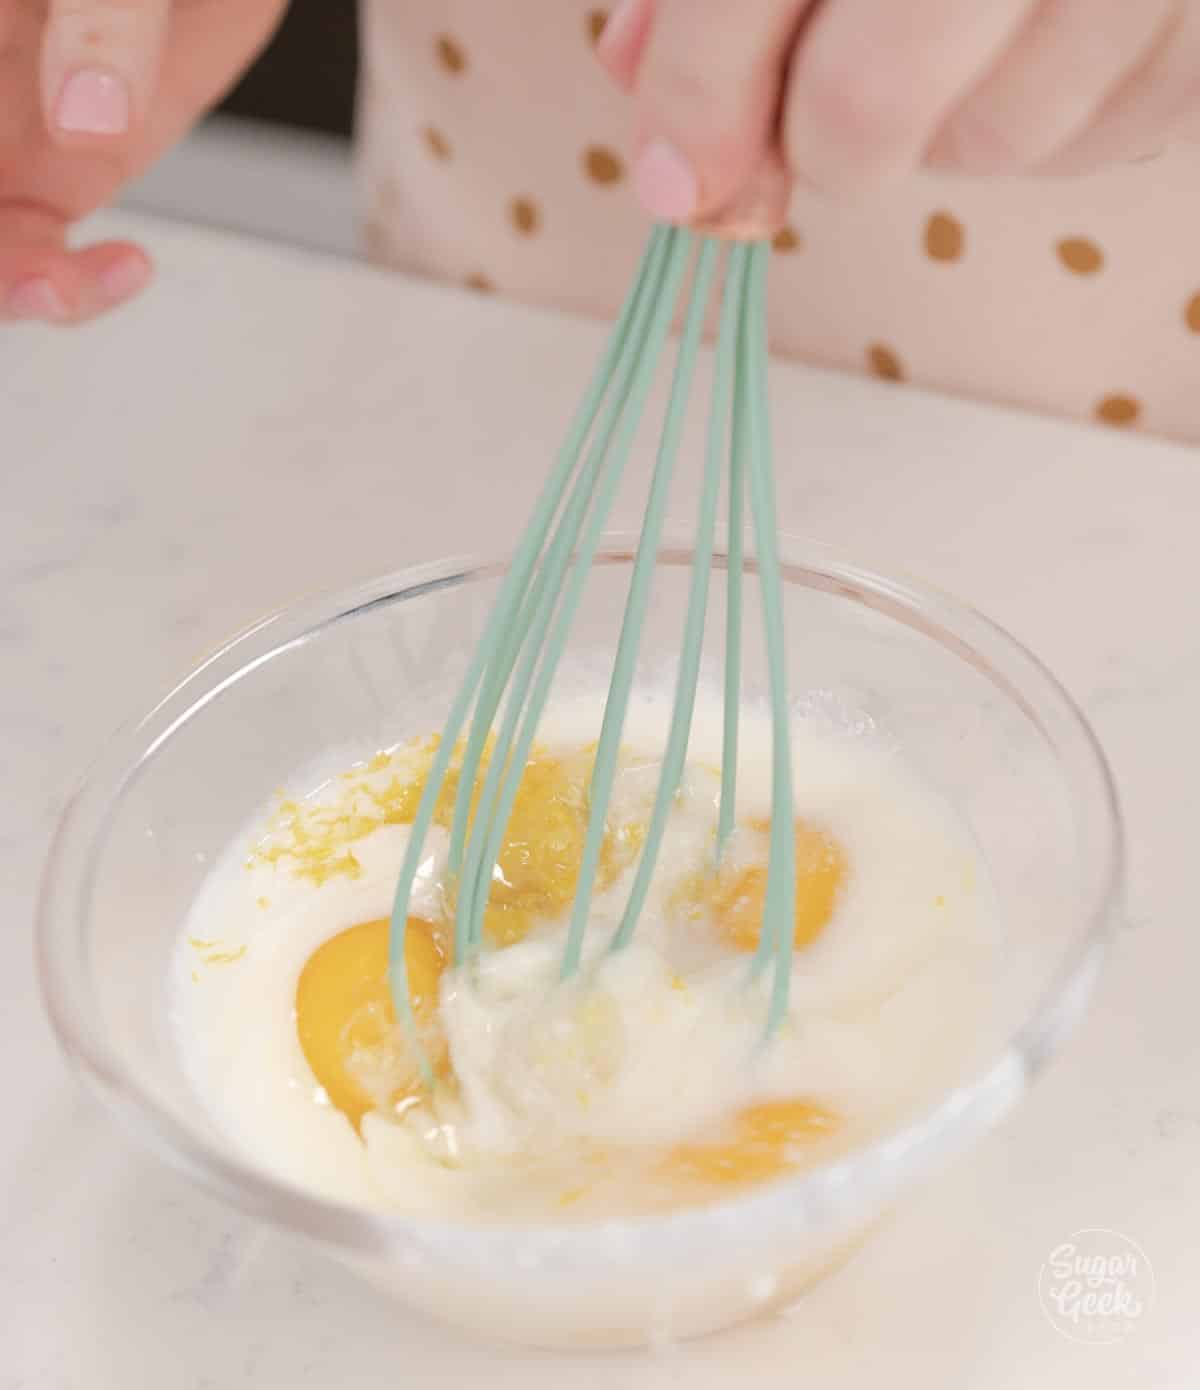
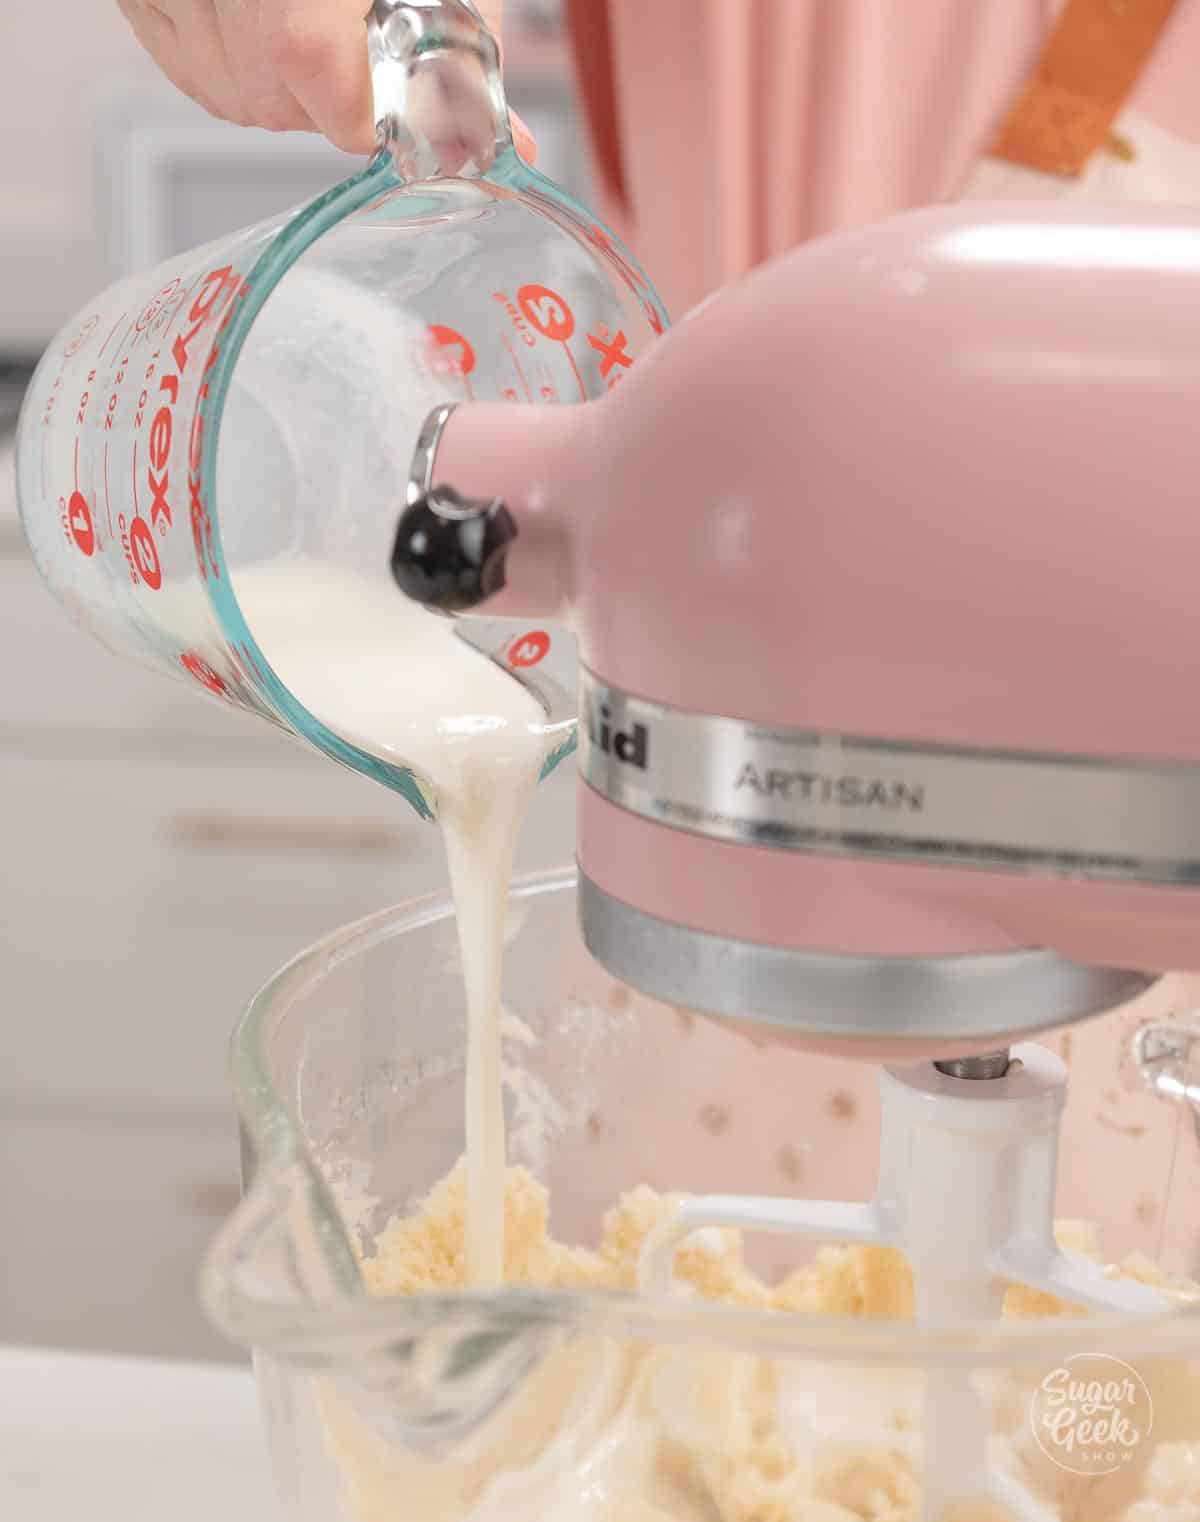
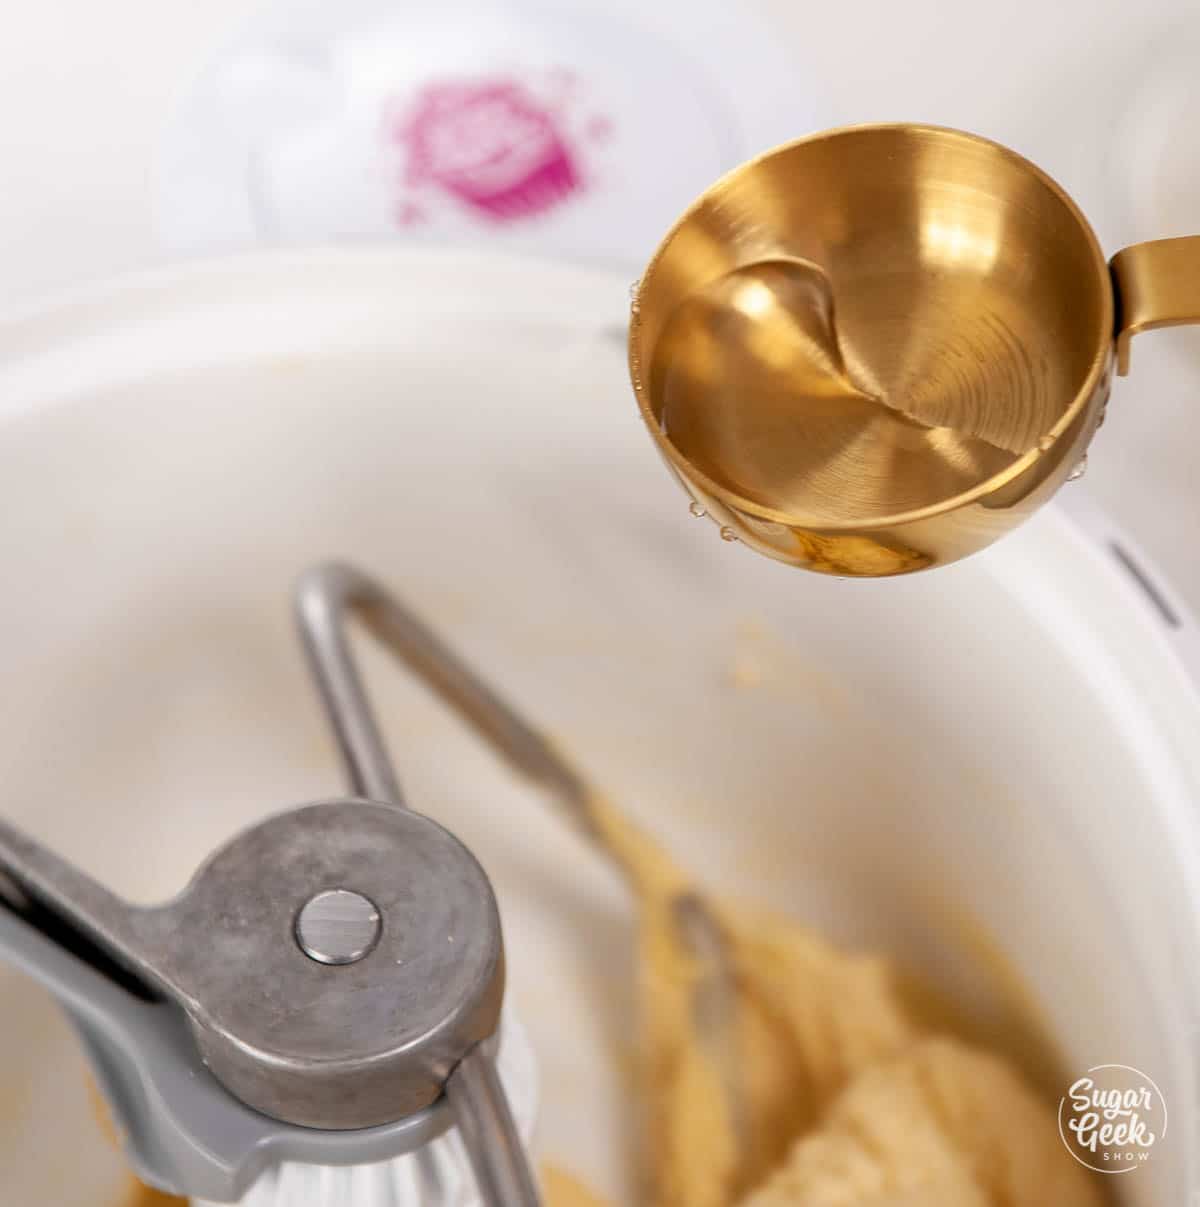
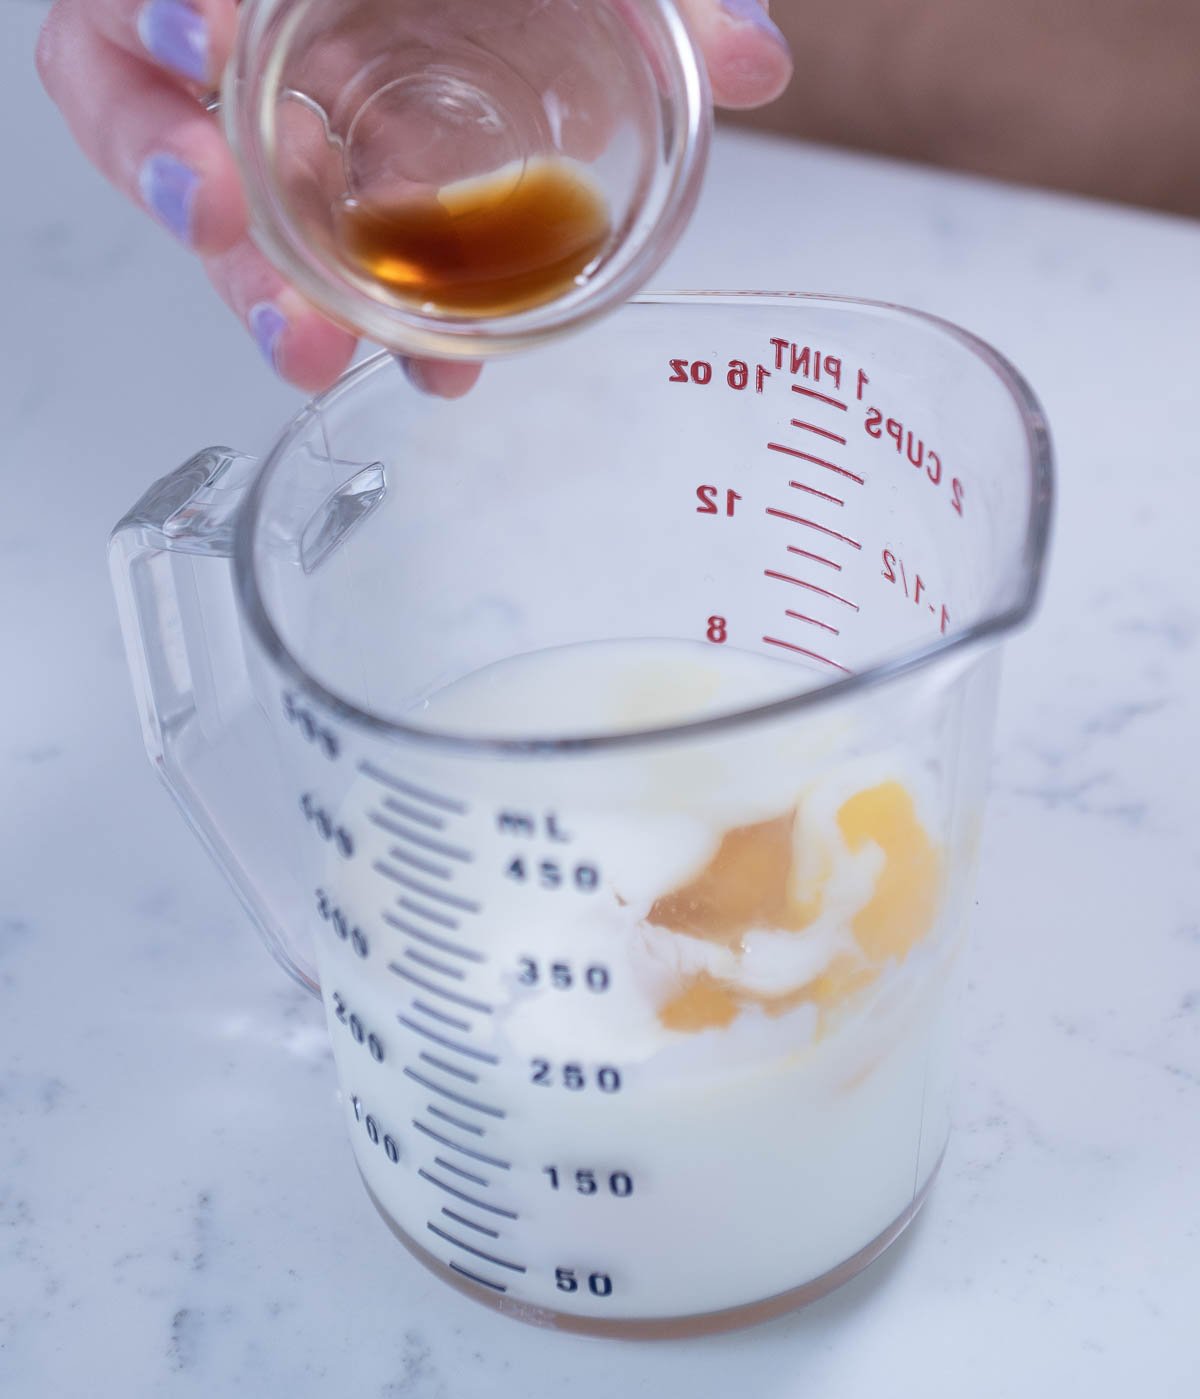
- In a separate bowl, combine the eggs, buttermilk, and vanilla and set aside.

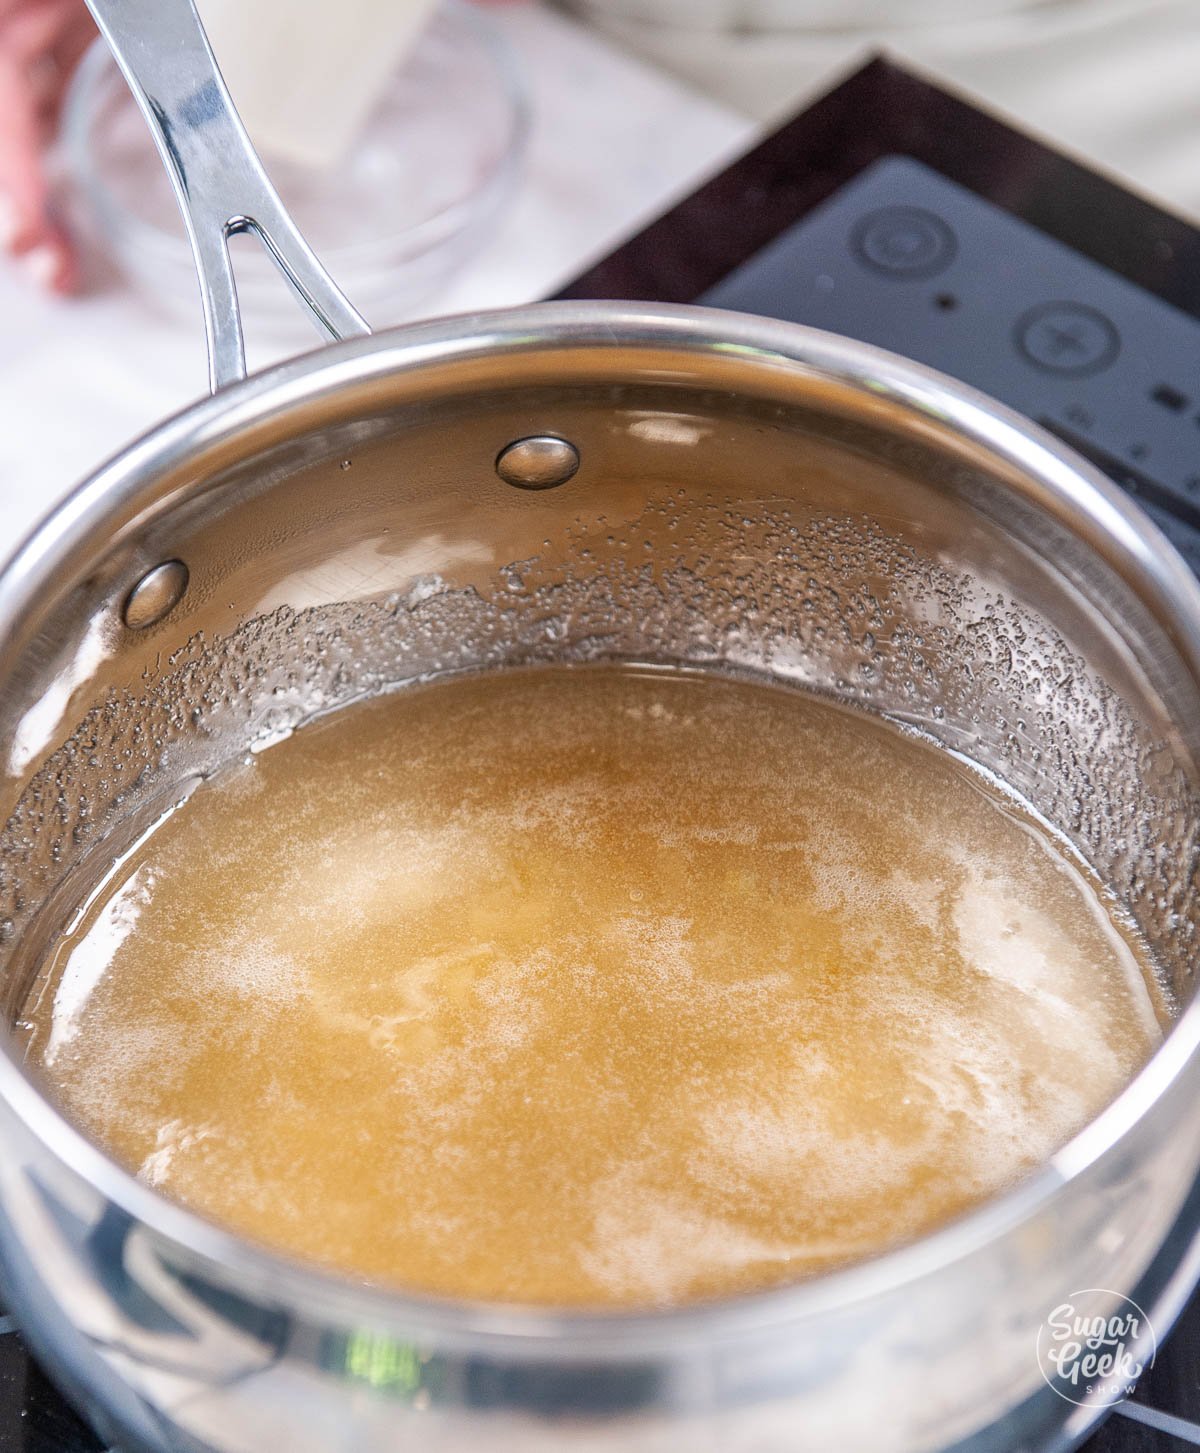
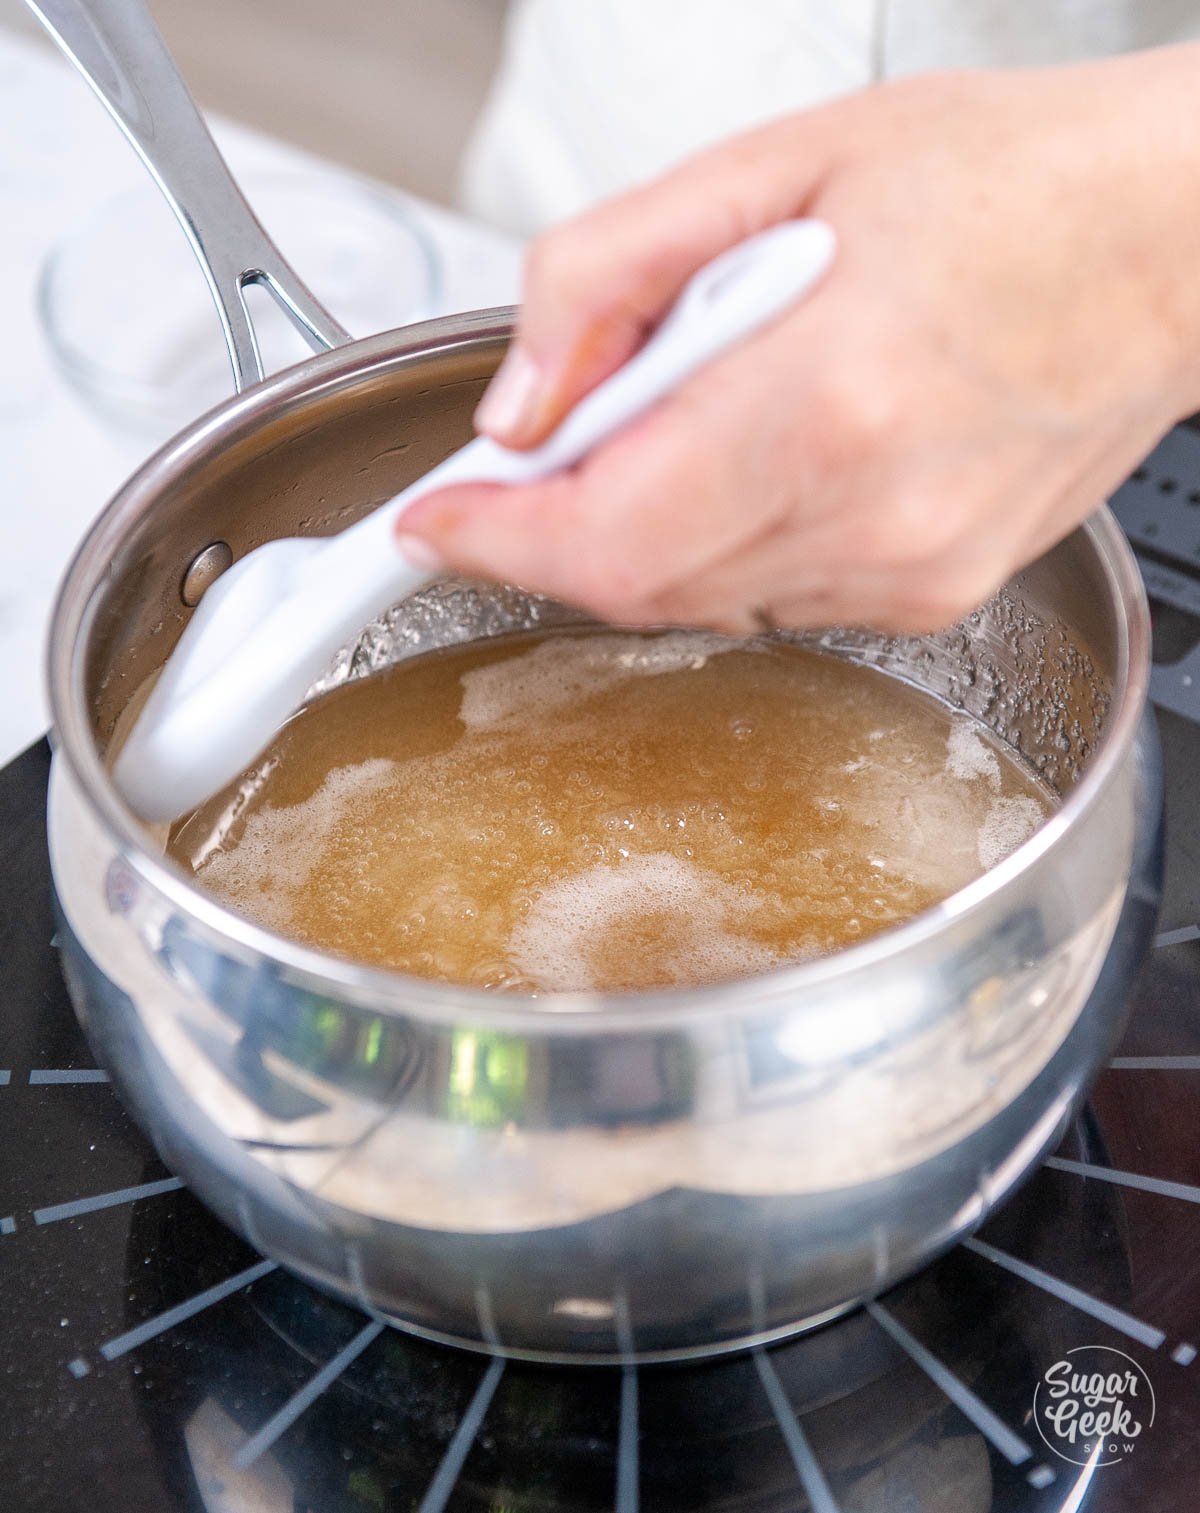
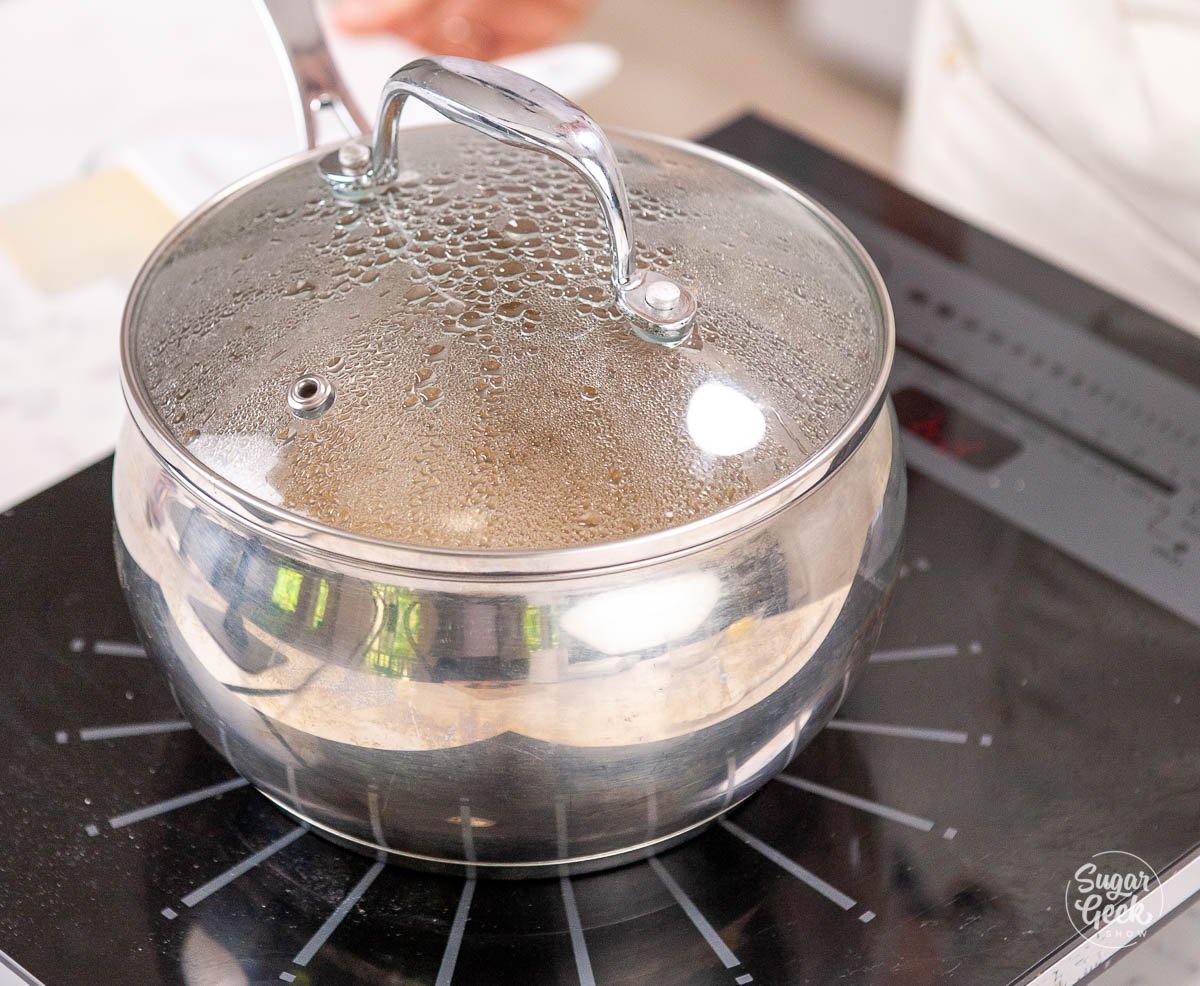
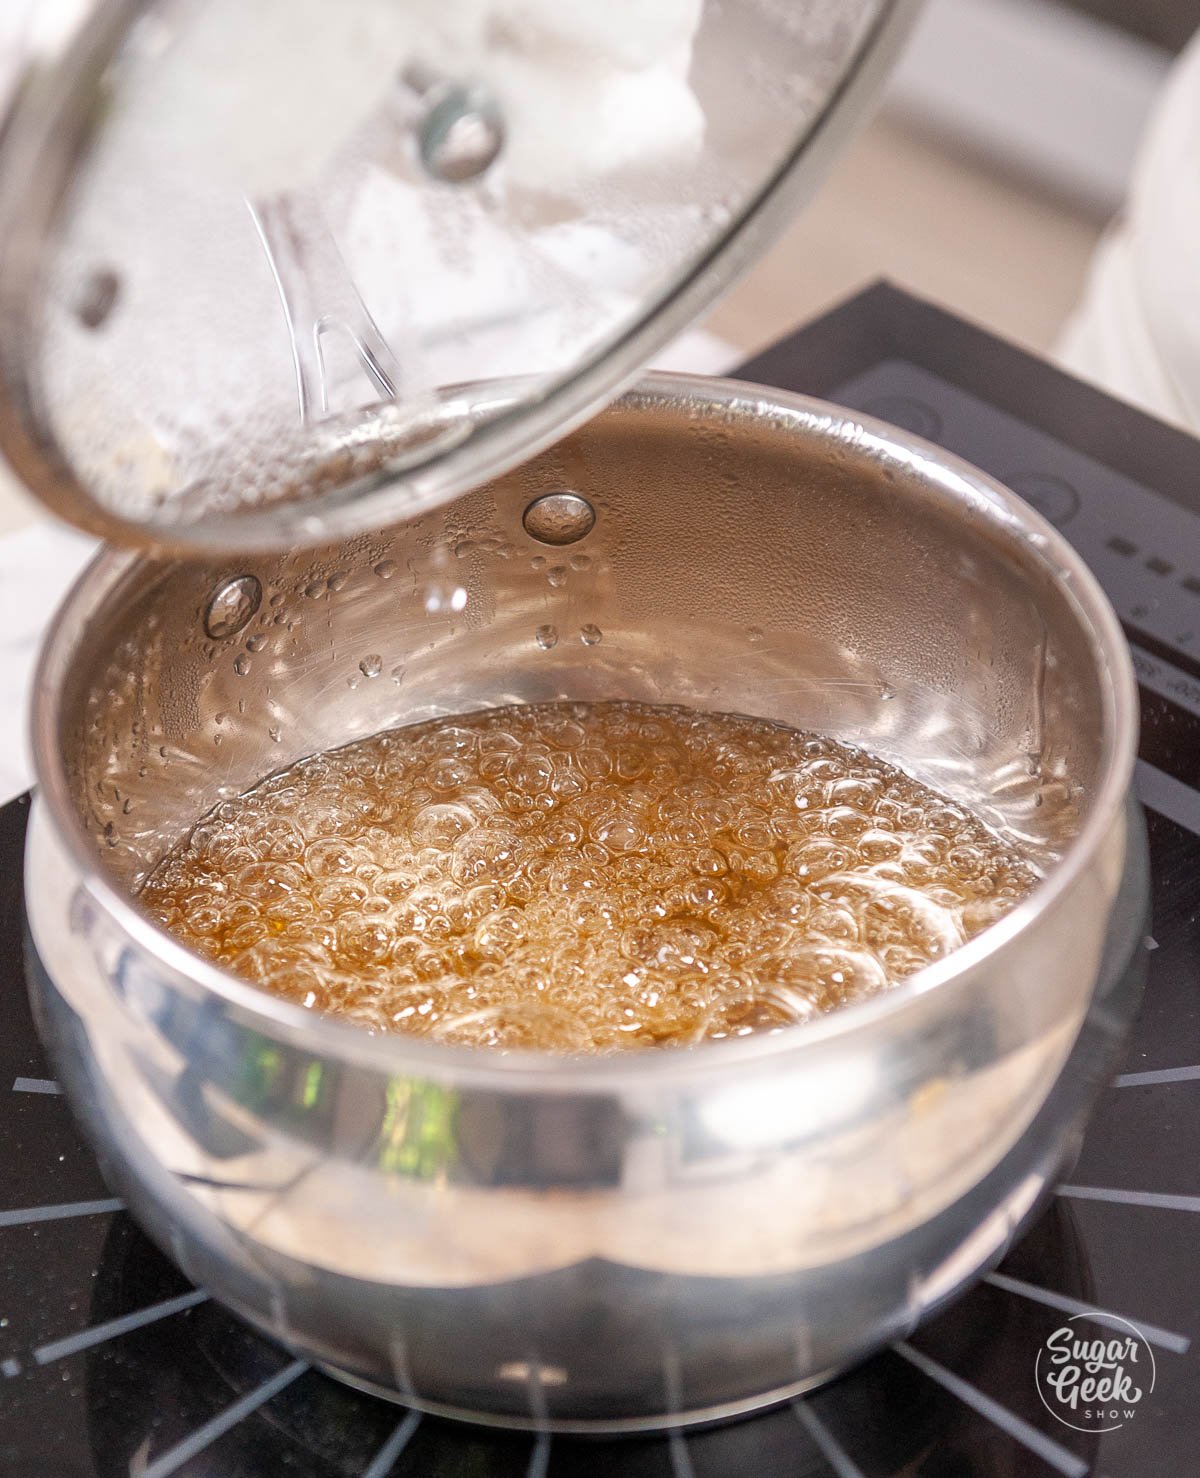
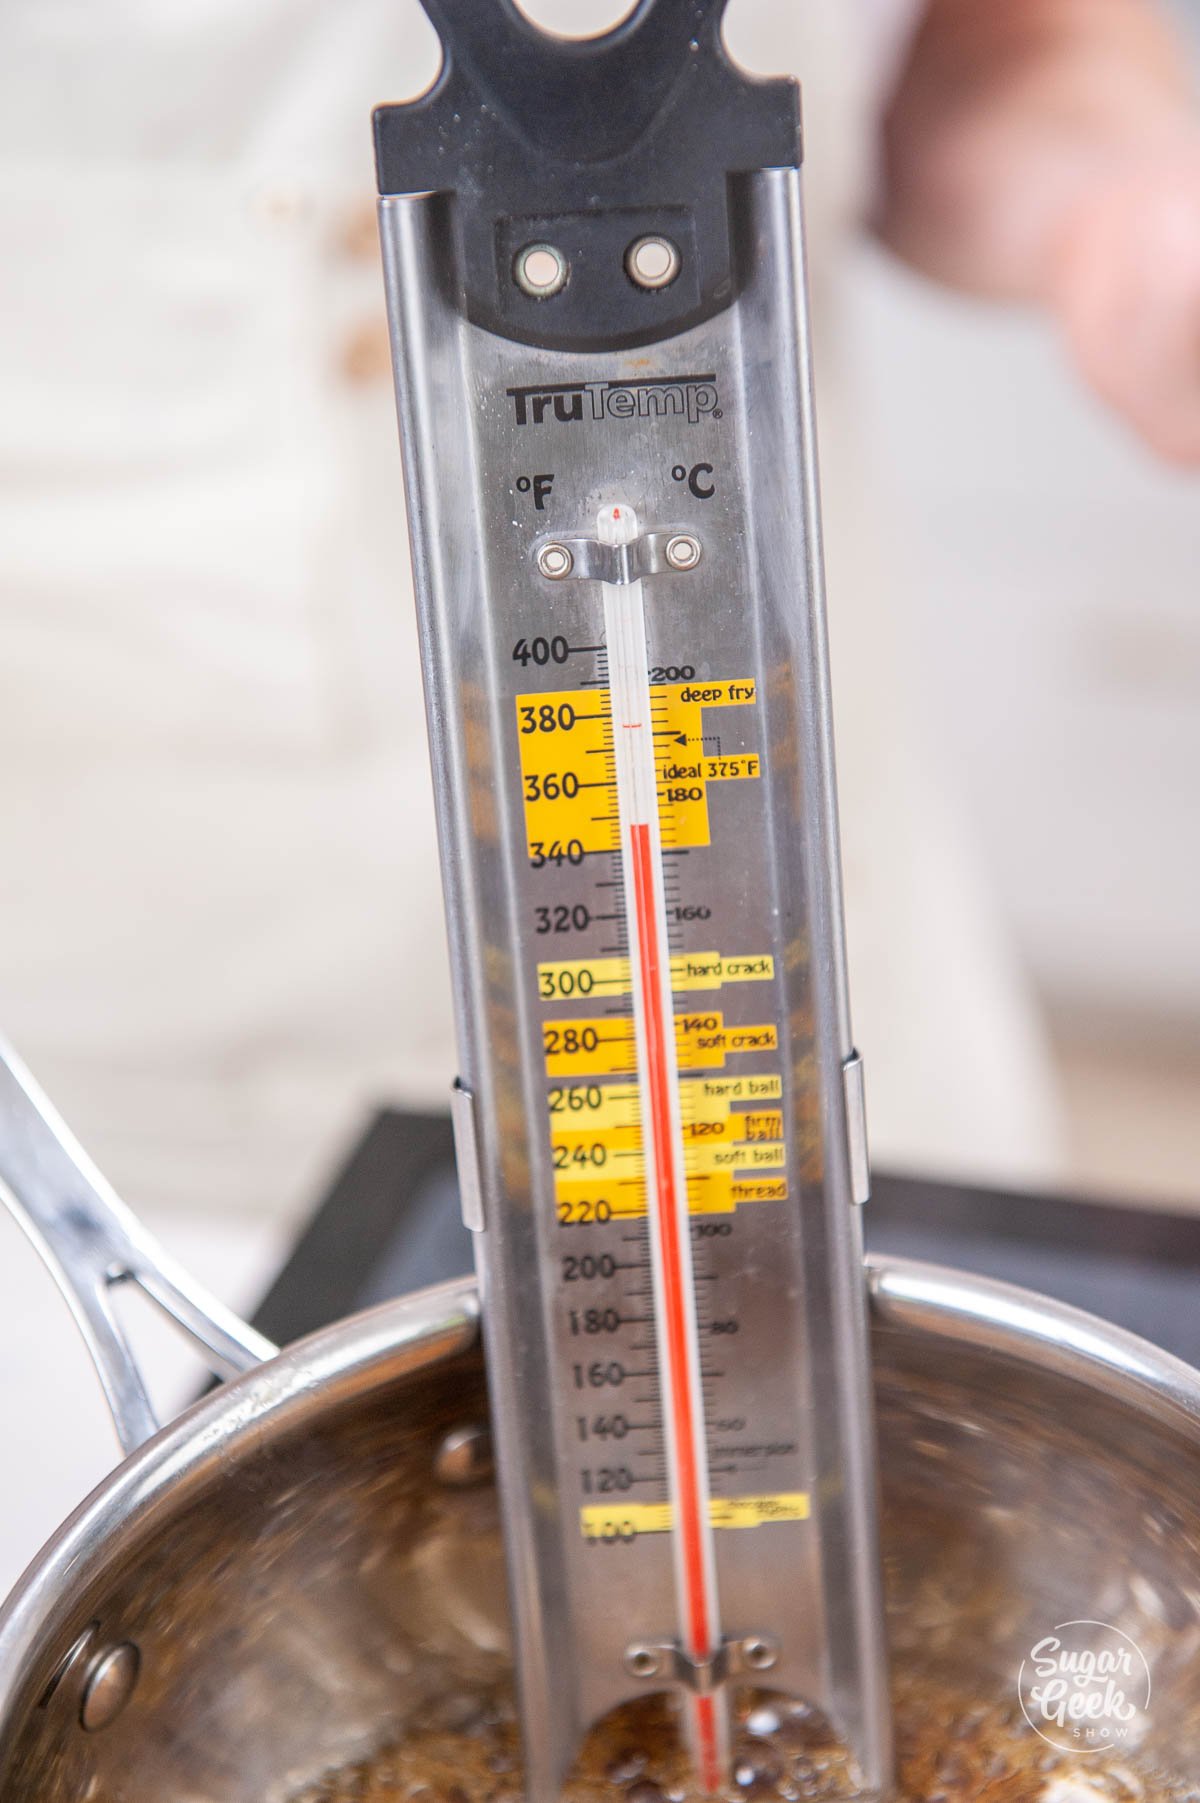
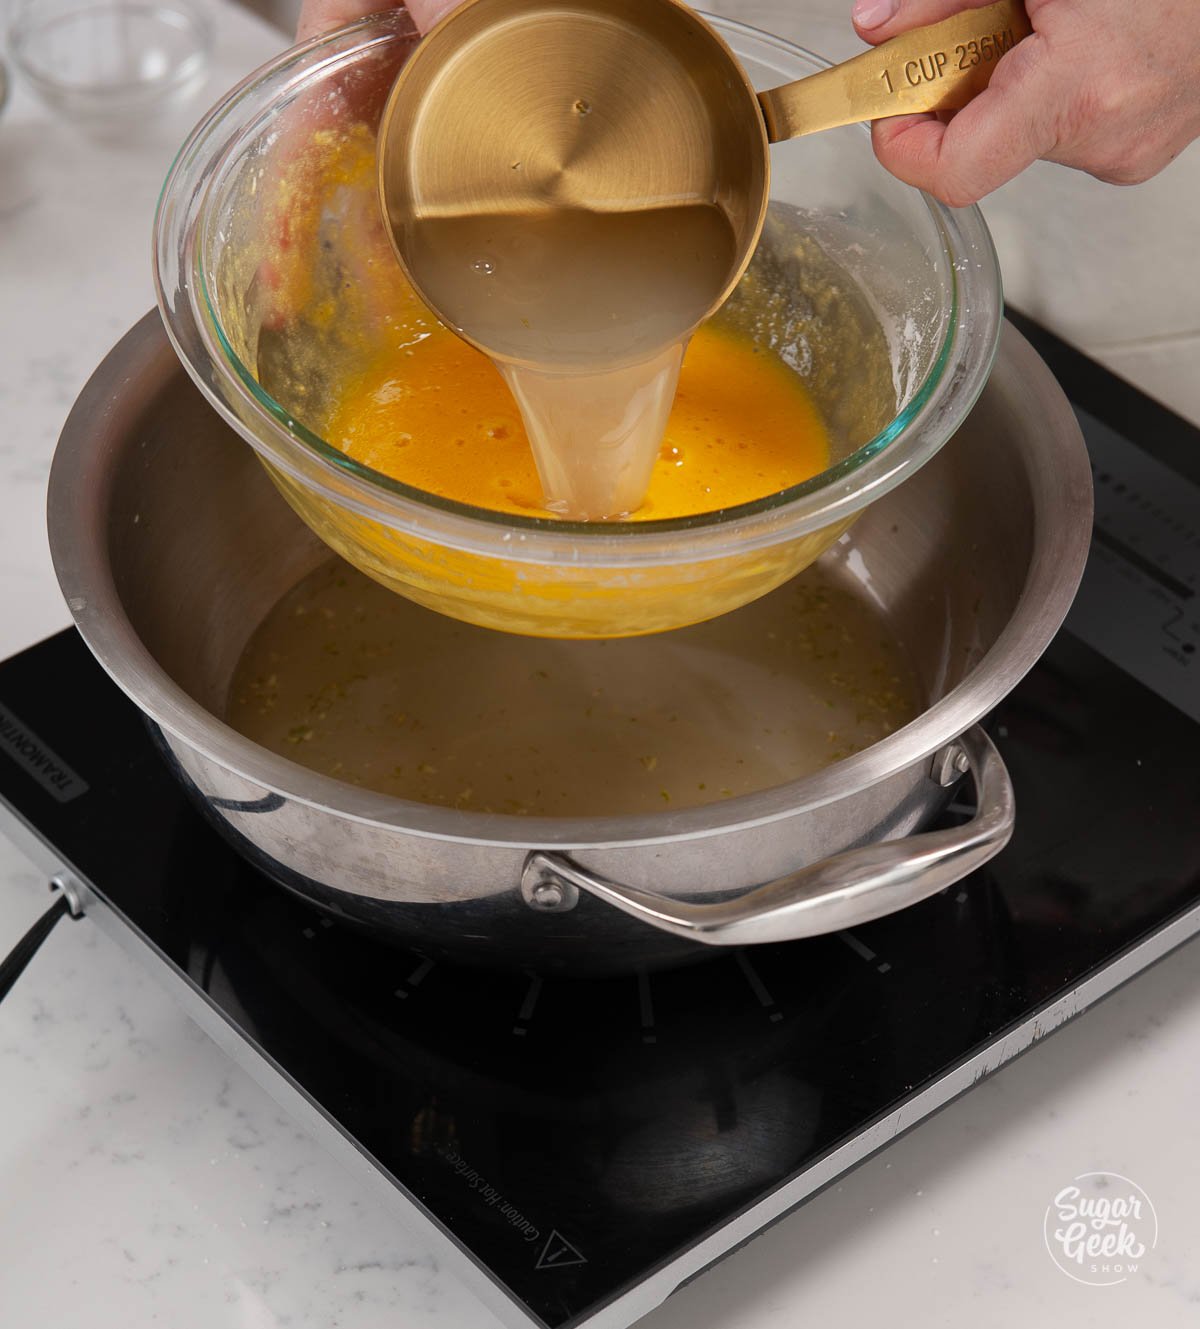
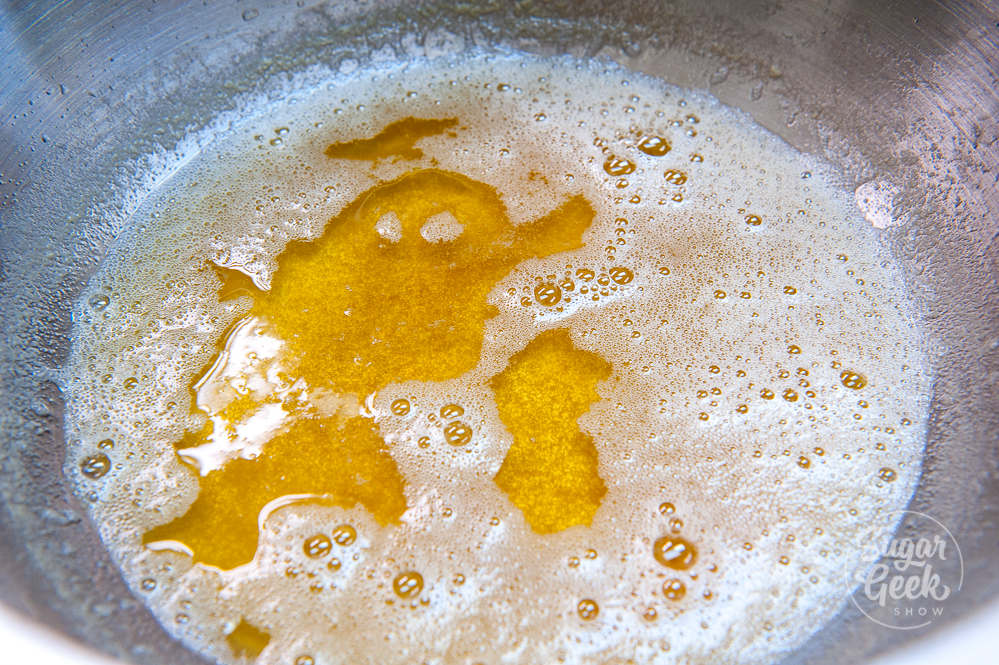
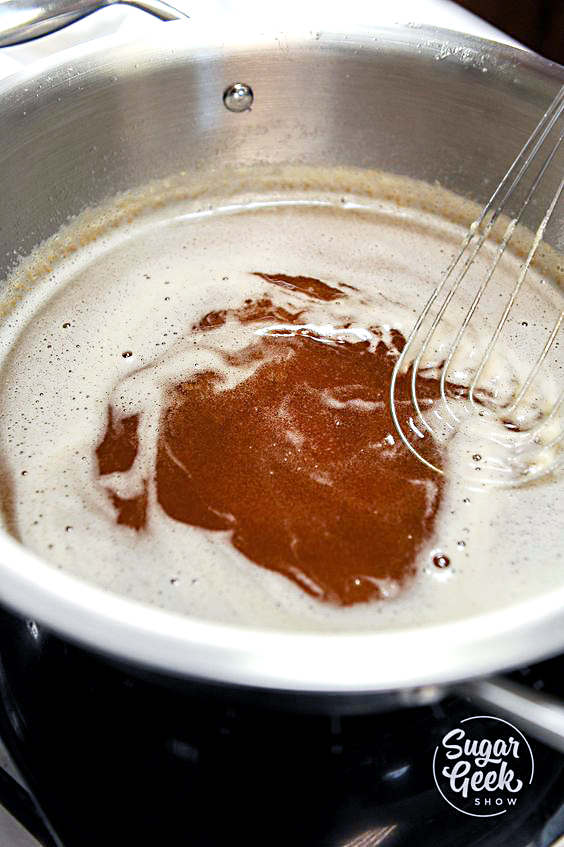
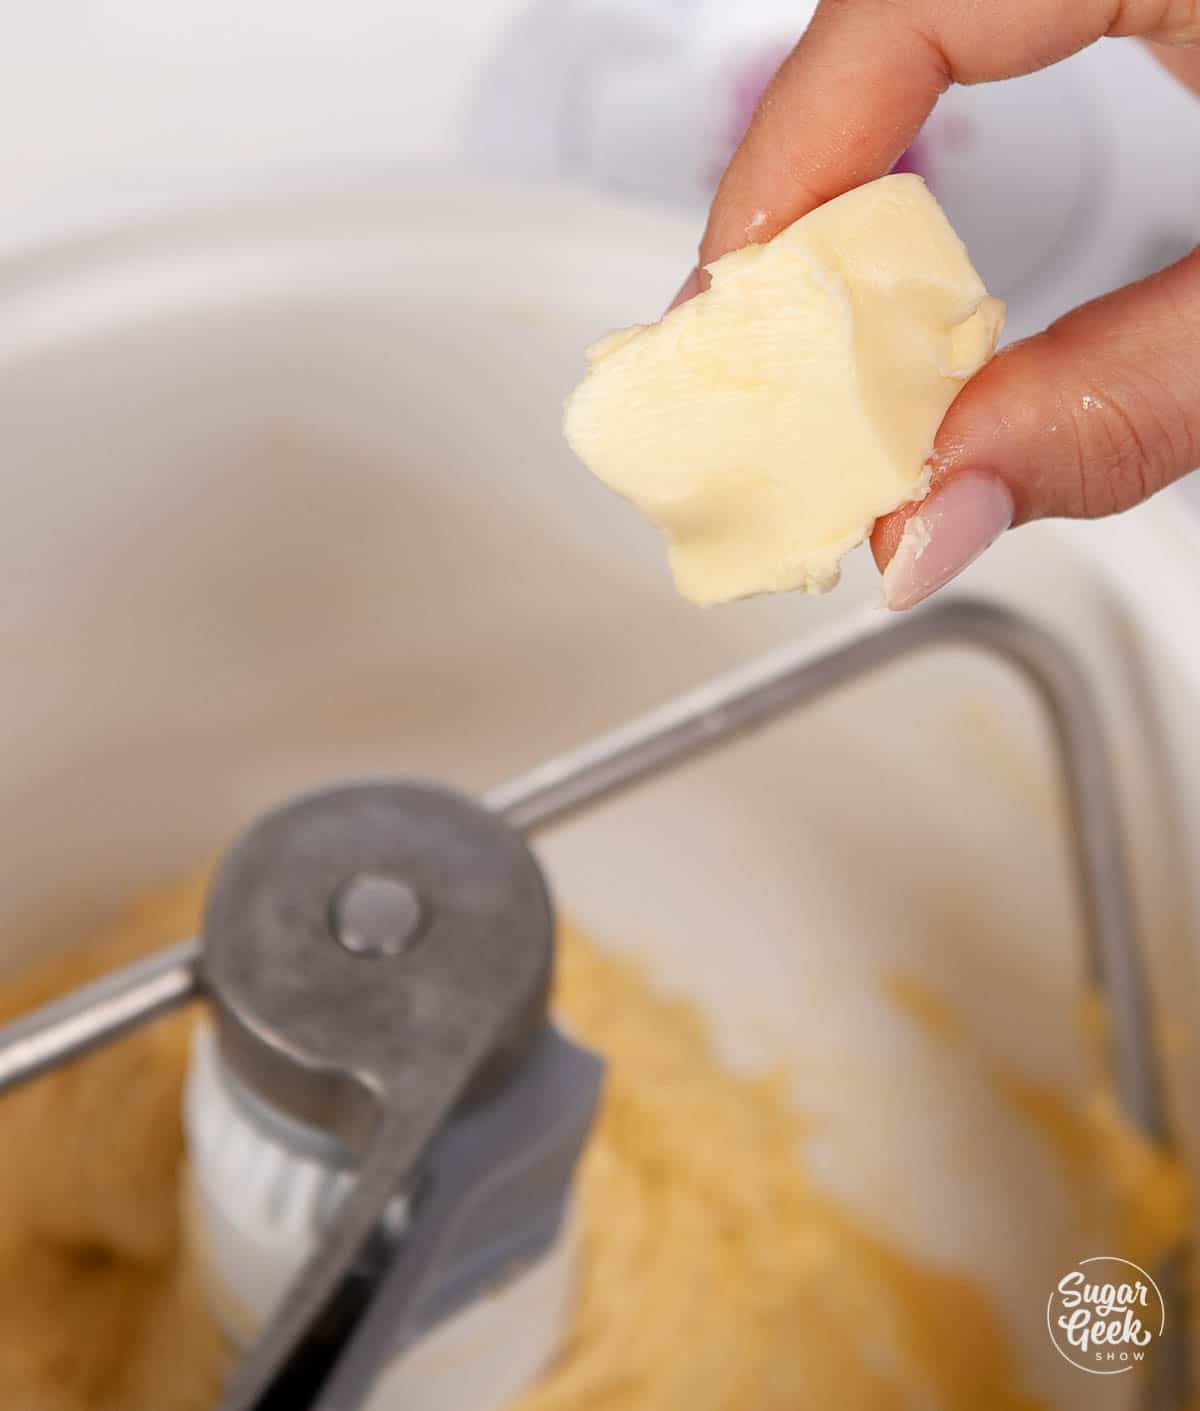
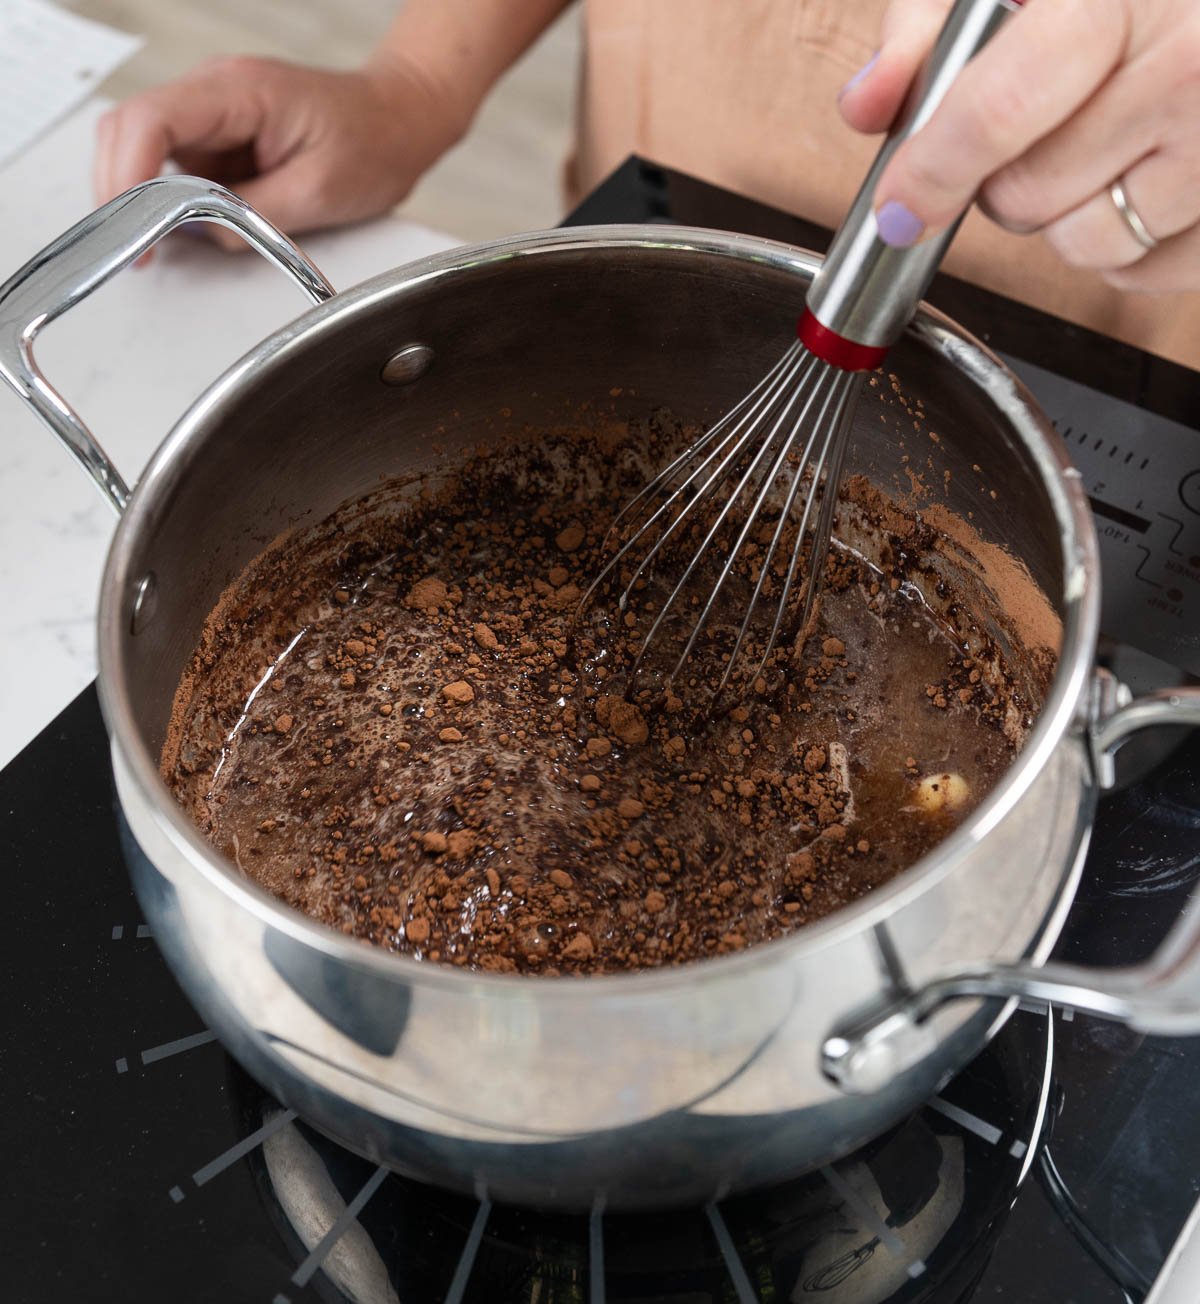
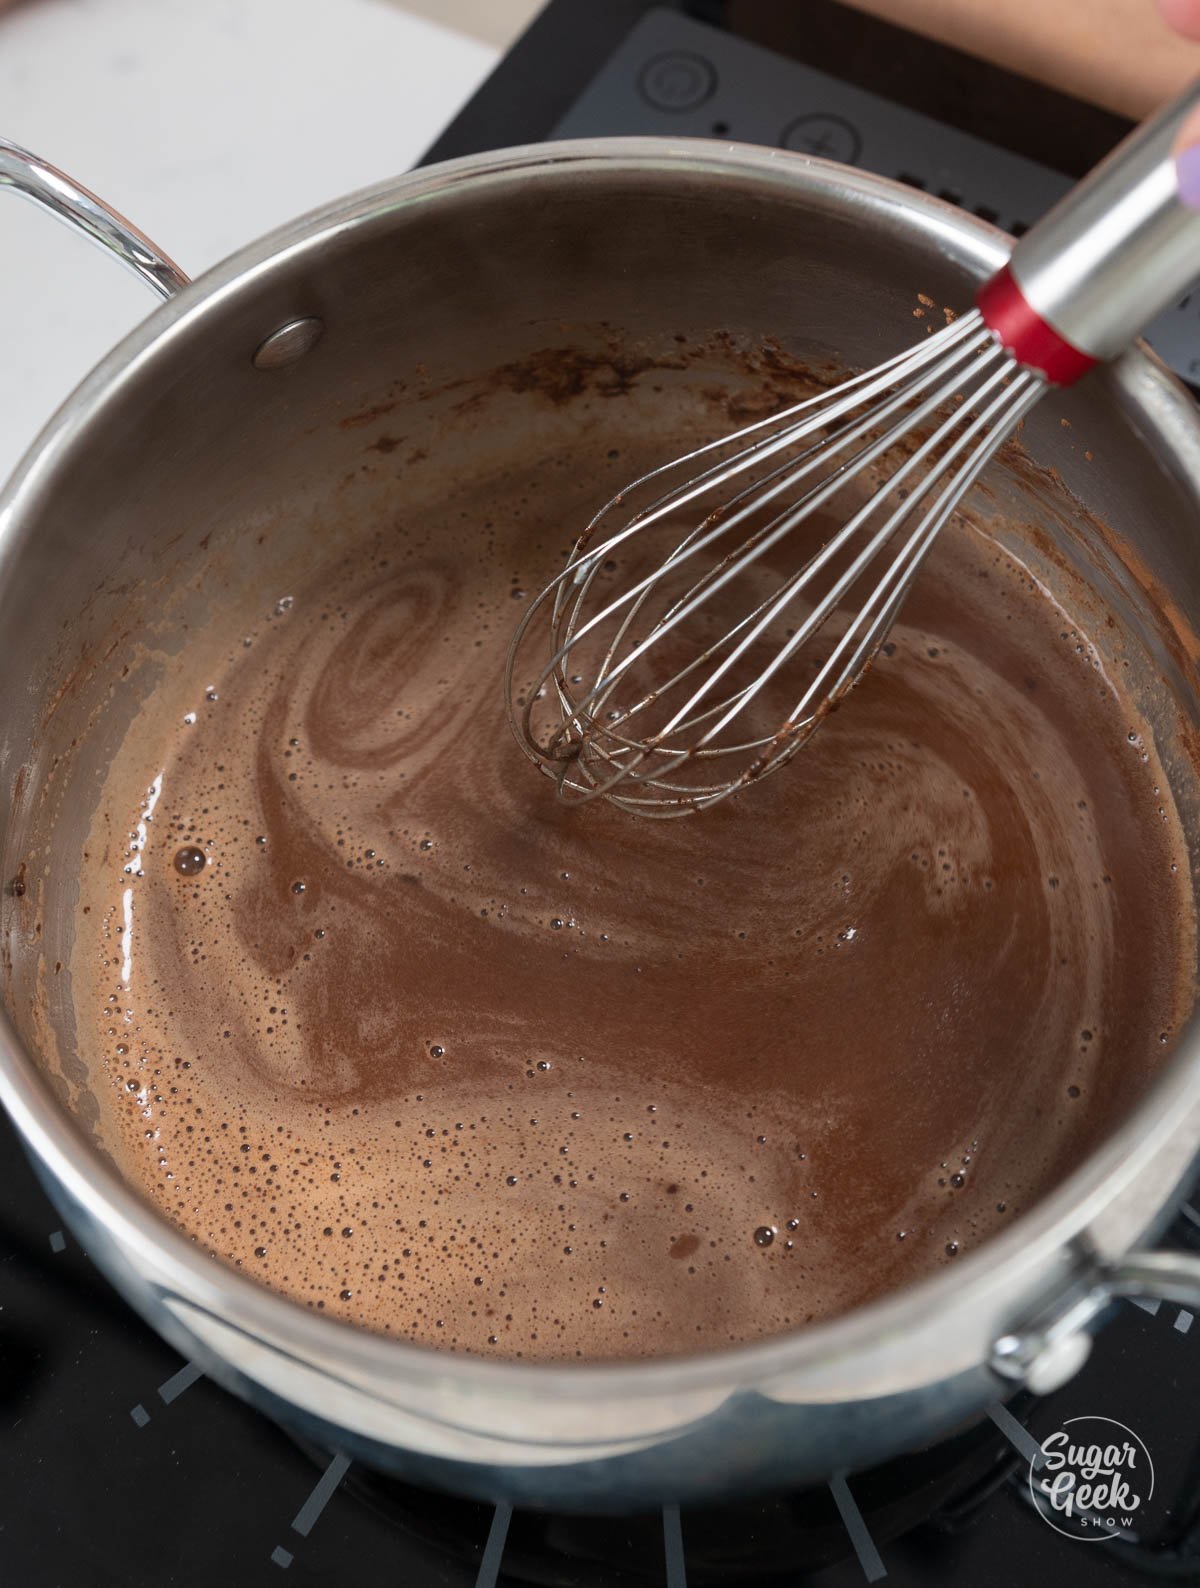
- In a saucepan, combine the cocoa powder, butter, and coffee over medium heat. Heat until the mixture begins to simmer, stirring occasionally to prevent burning.

- Once the chocolate mixture begins to boil, remove it from the heat.

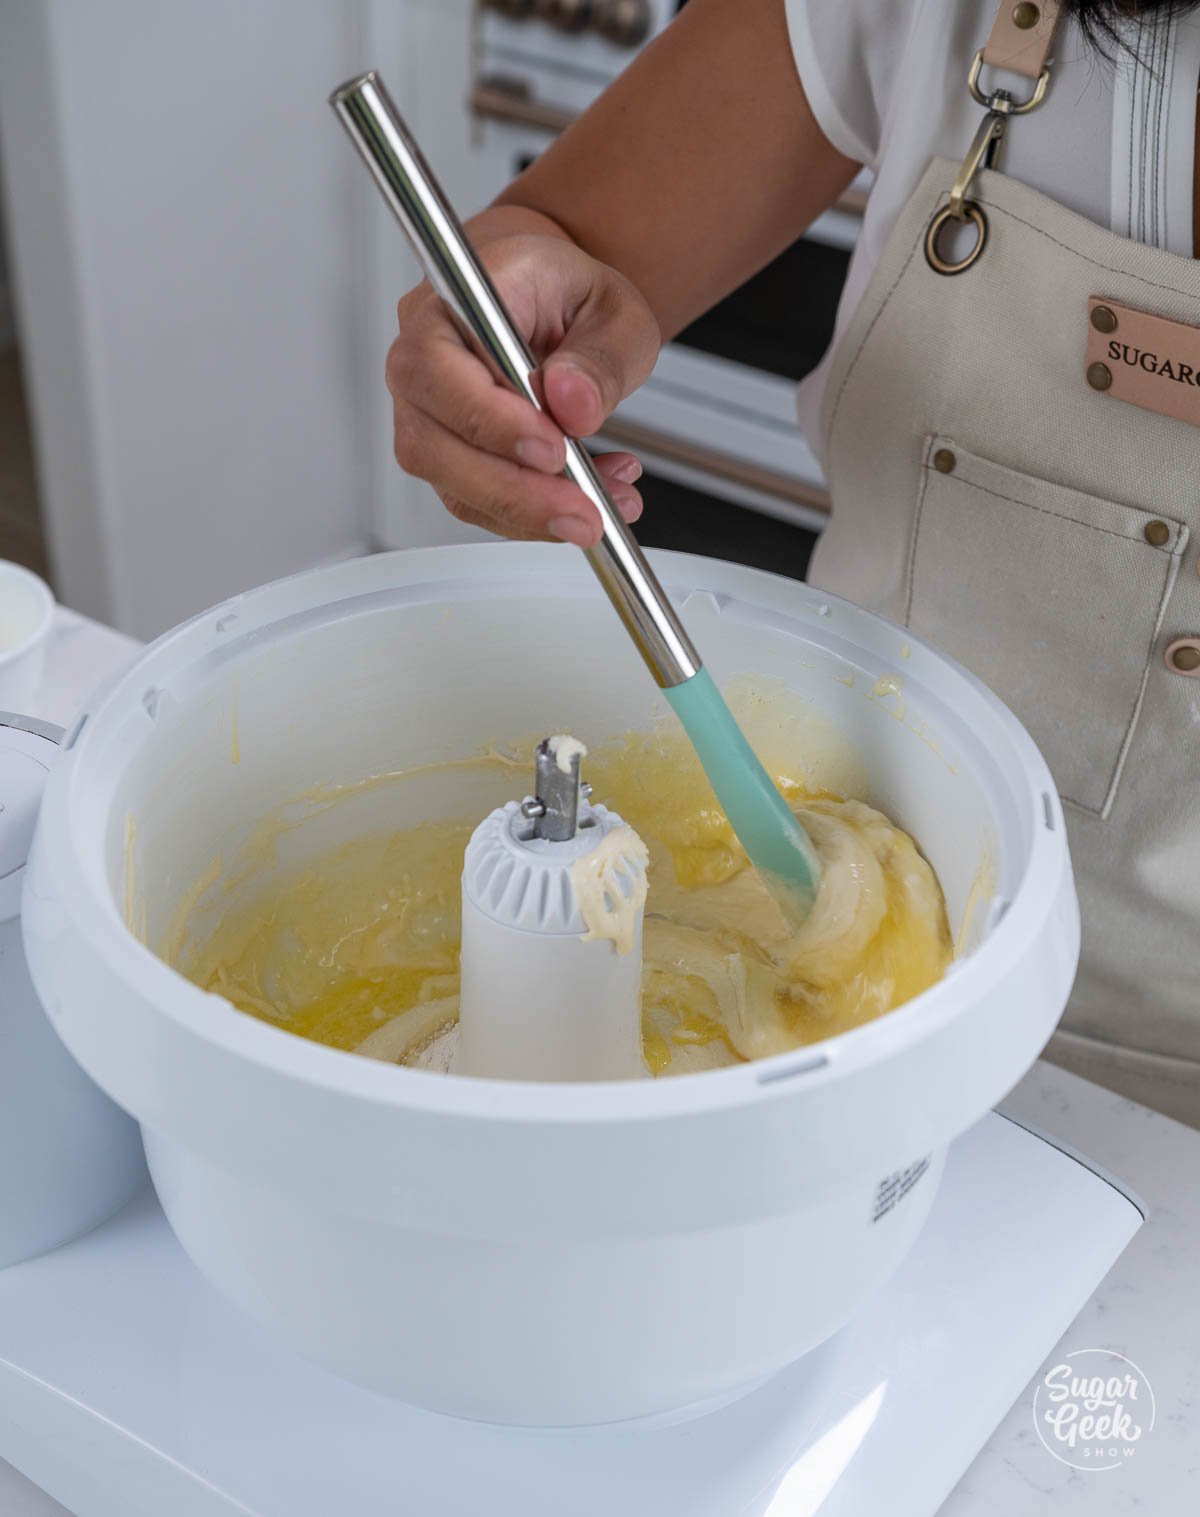
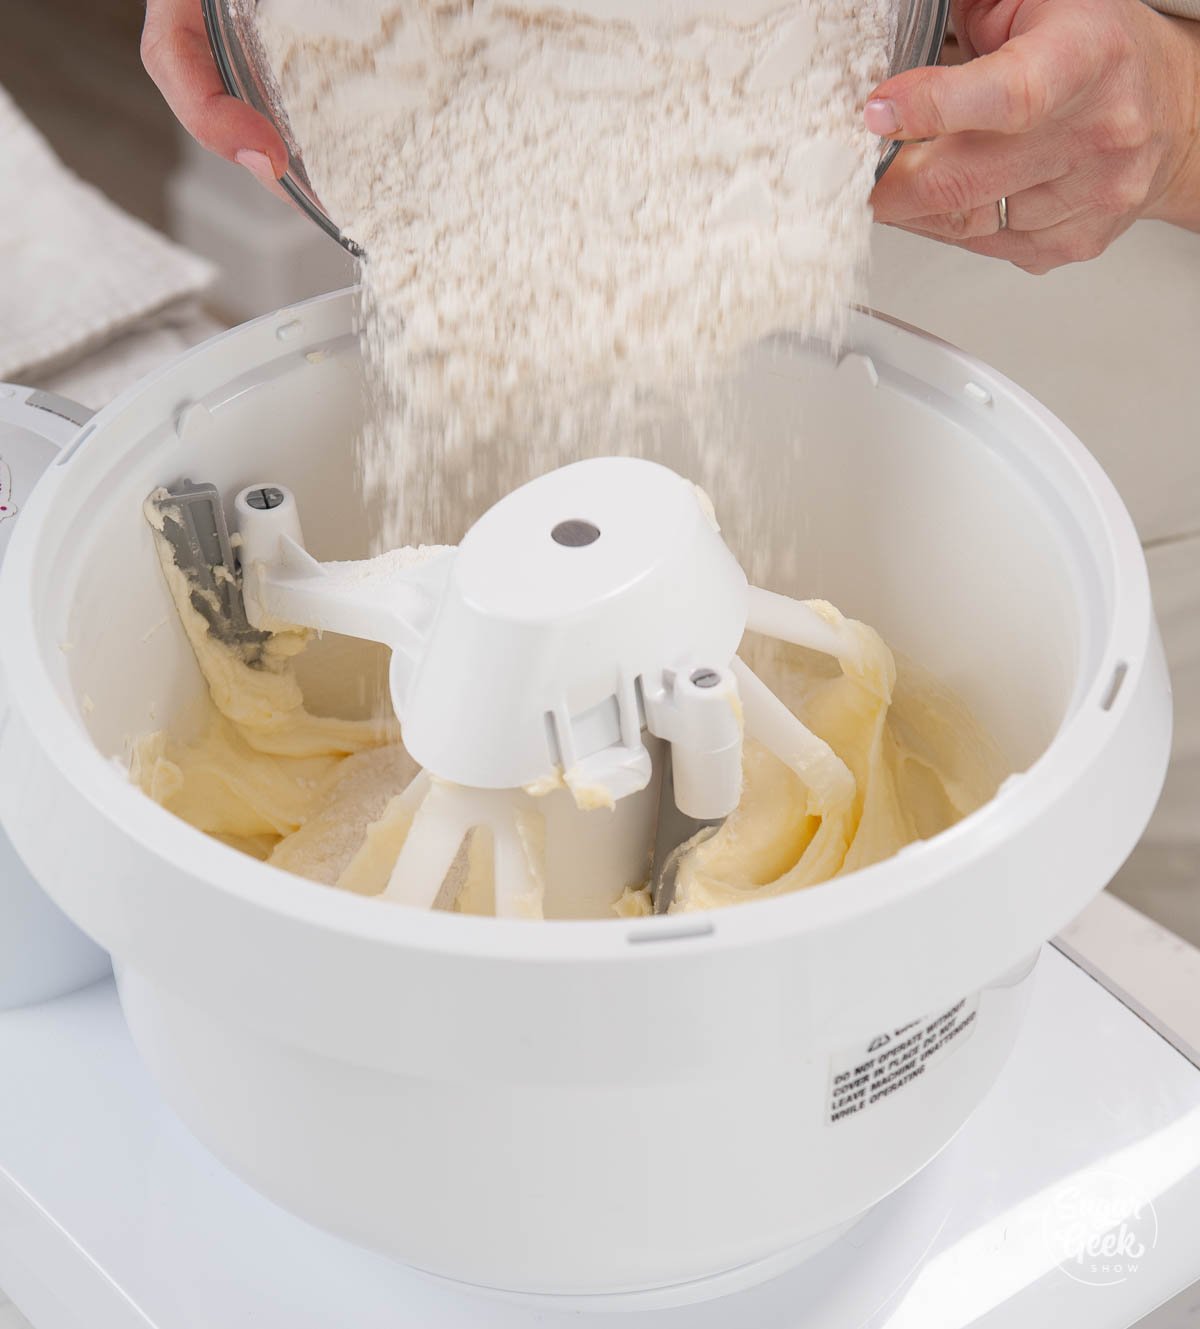
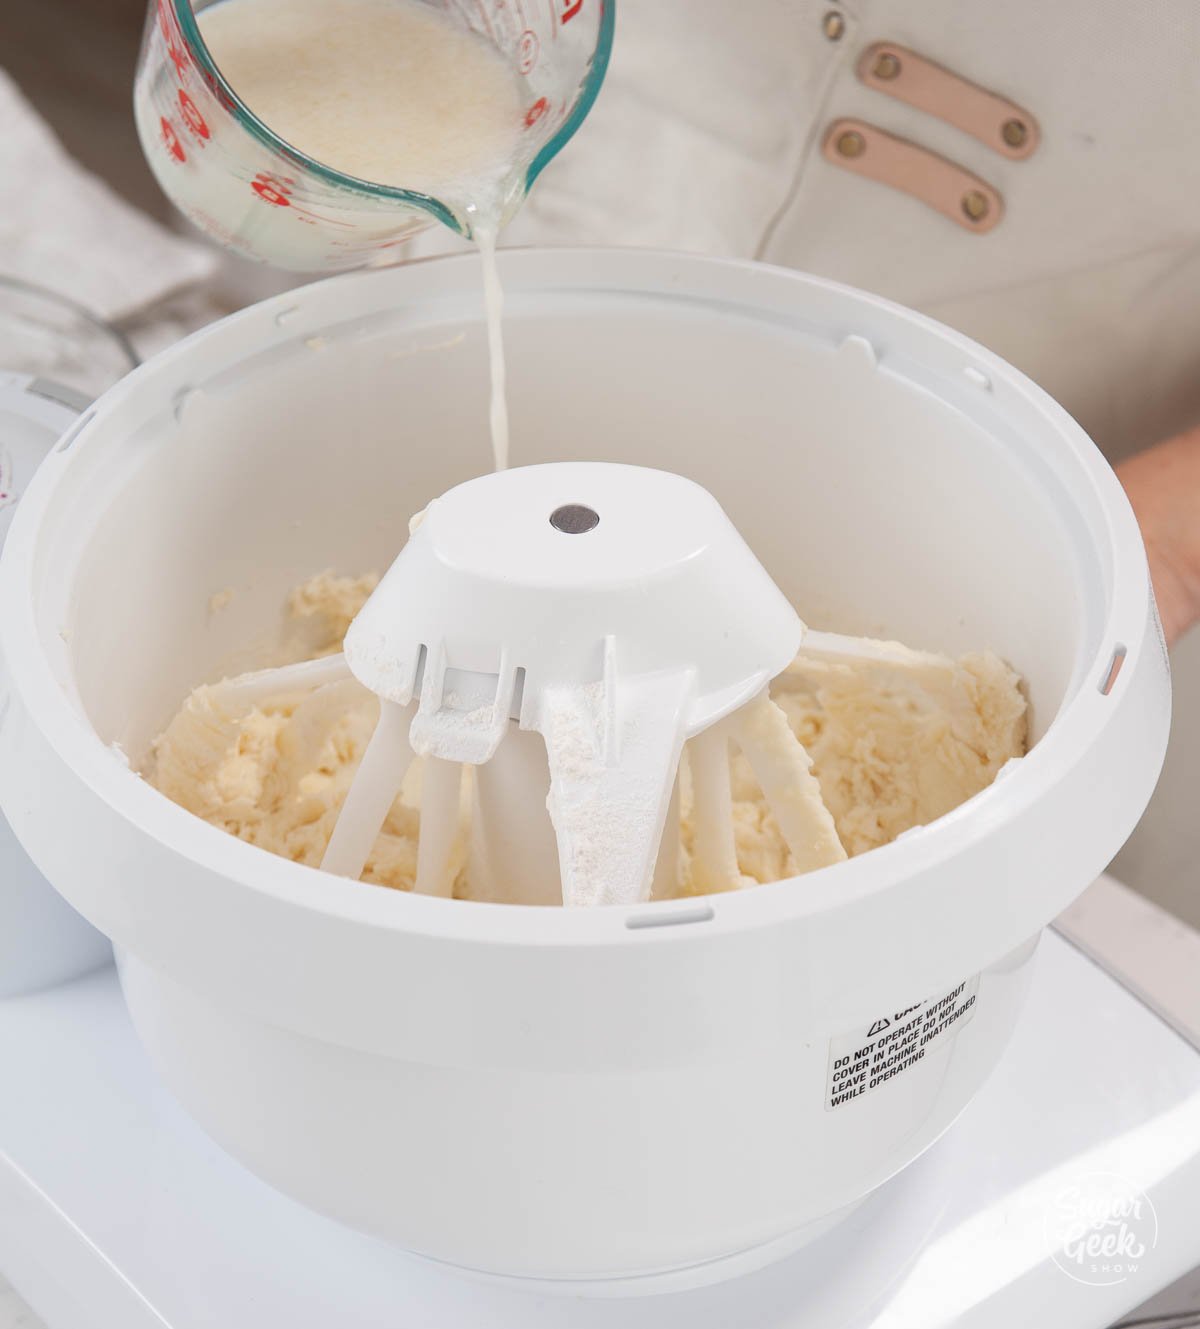
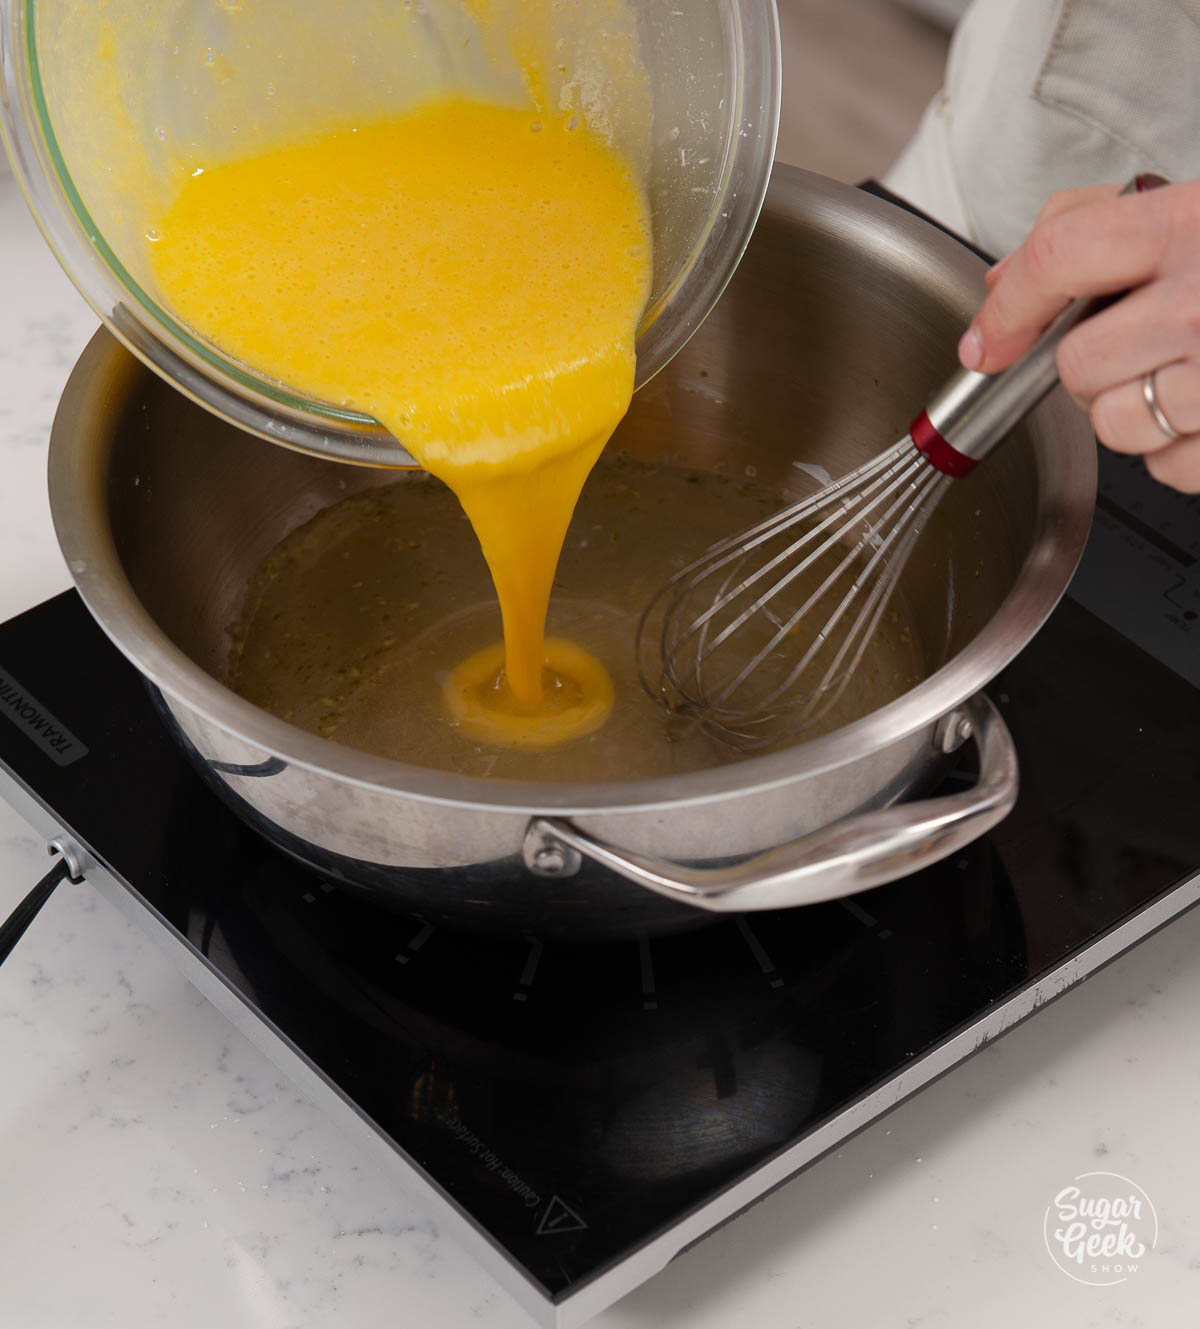
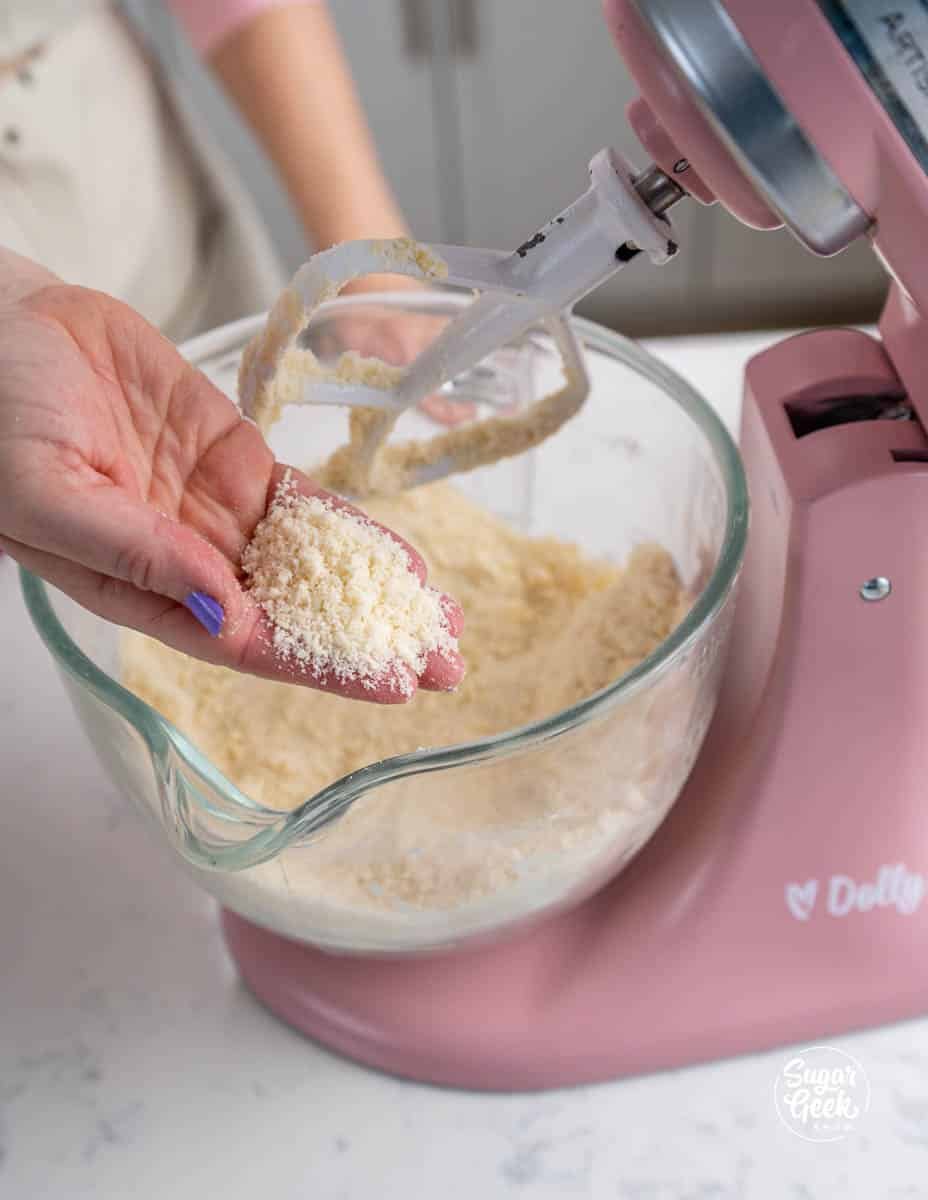
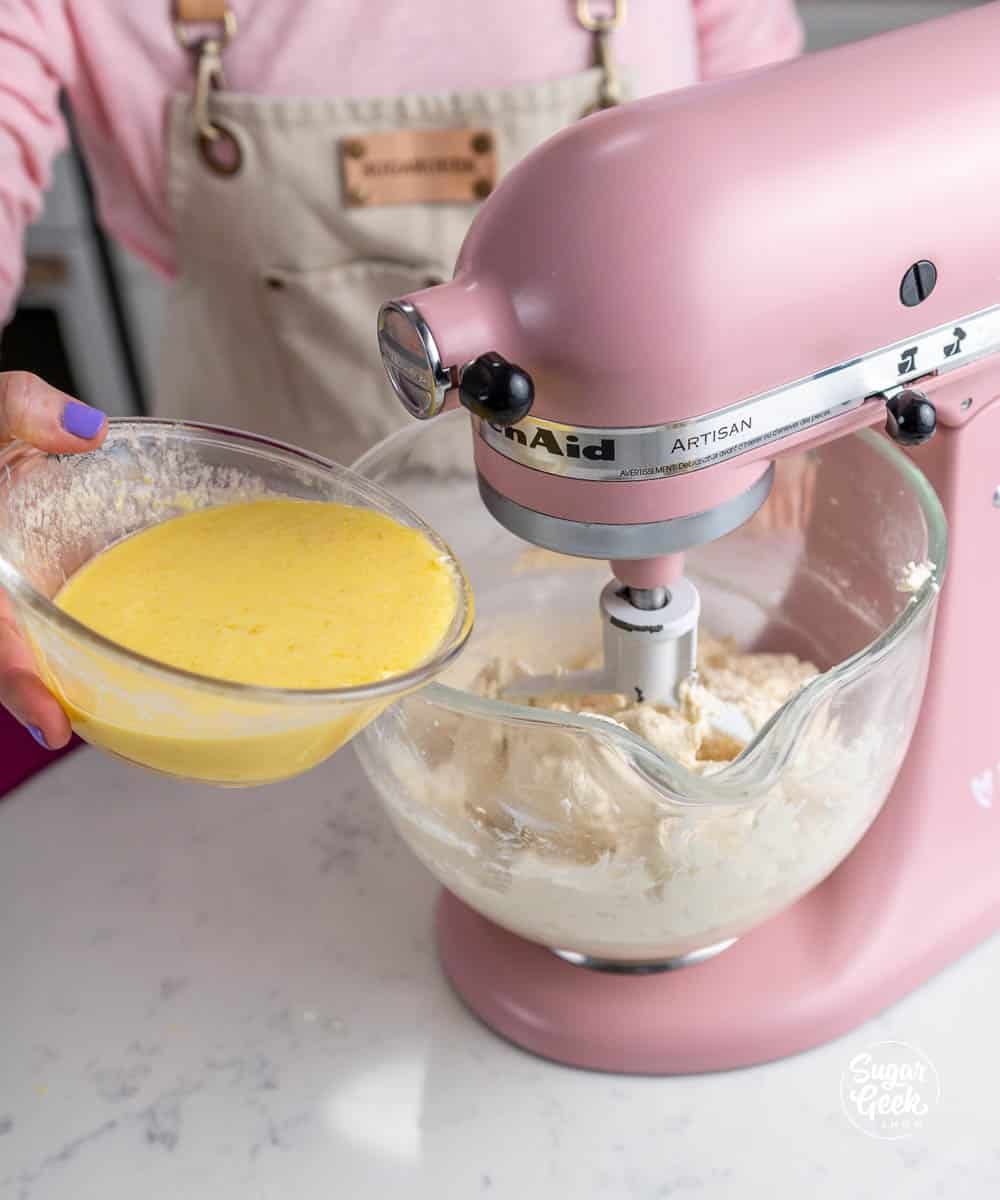
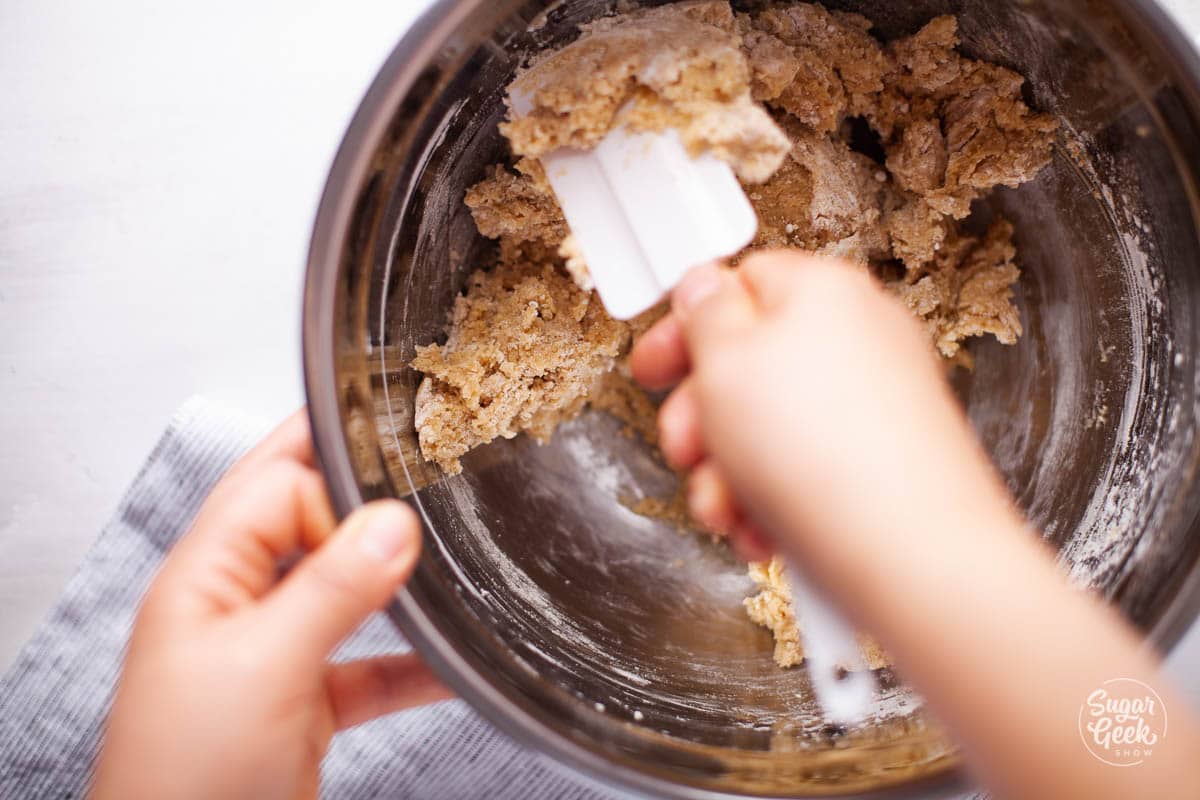
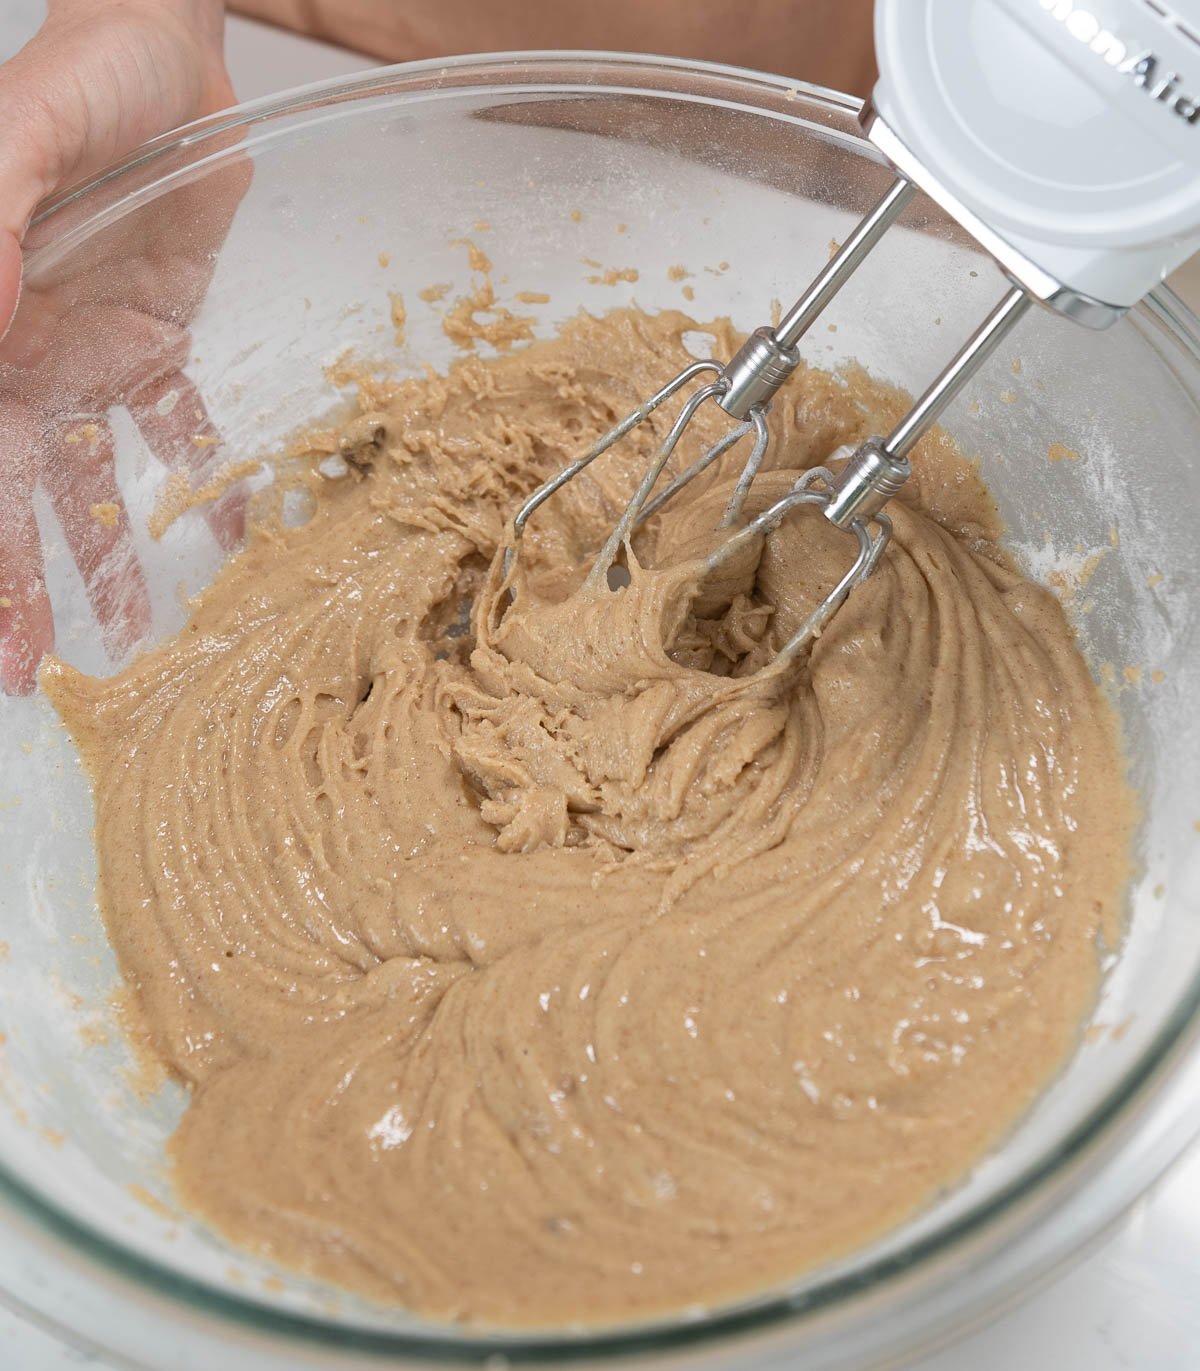
- Add the buttermilk mixture to the flour mixture and mix until combined.

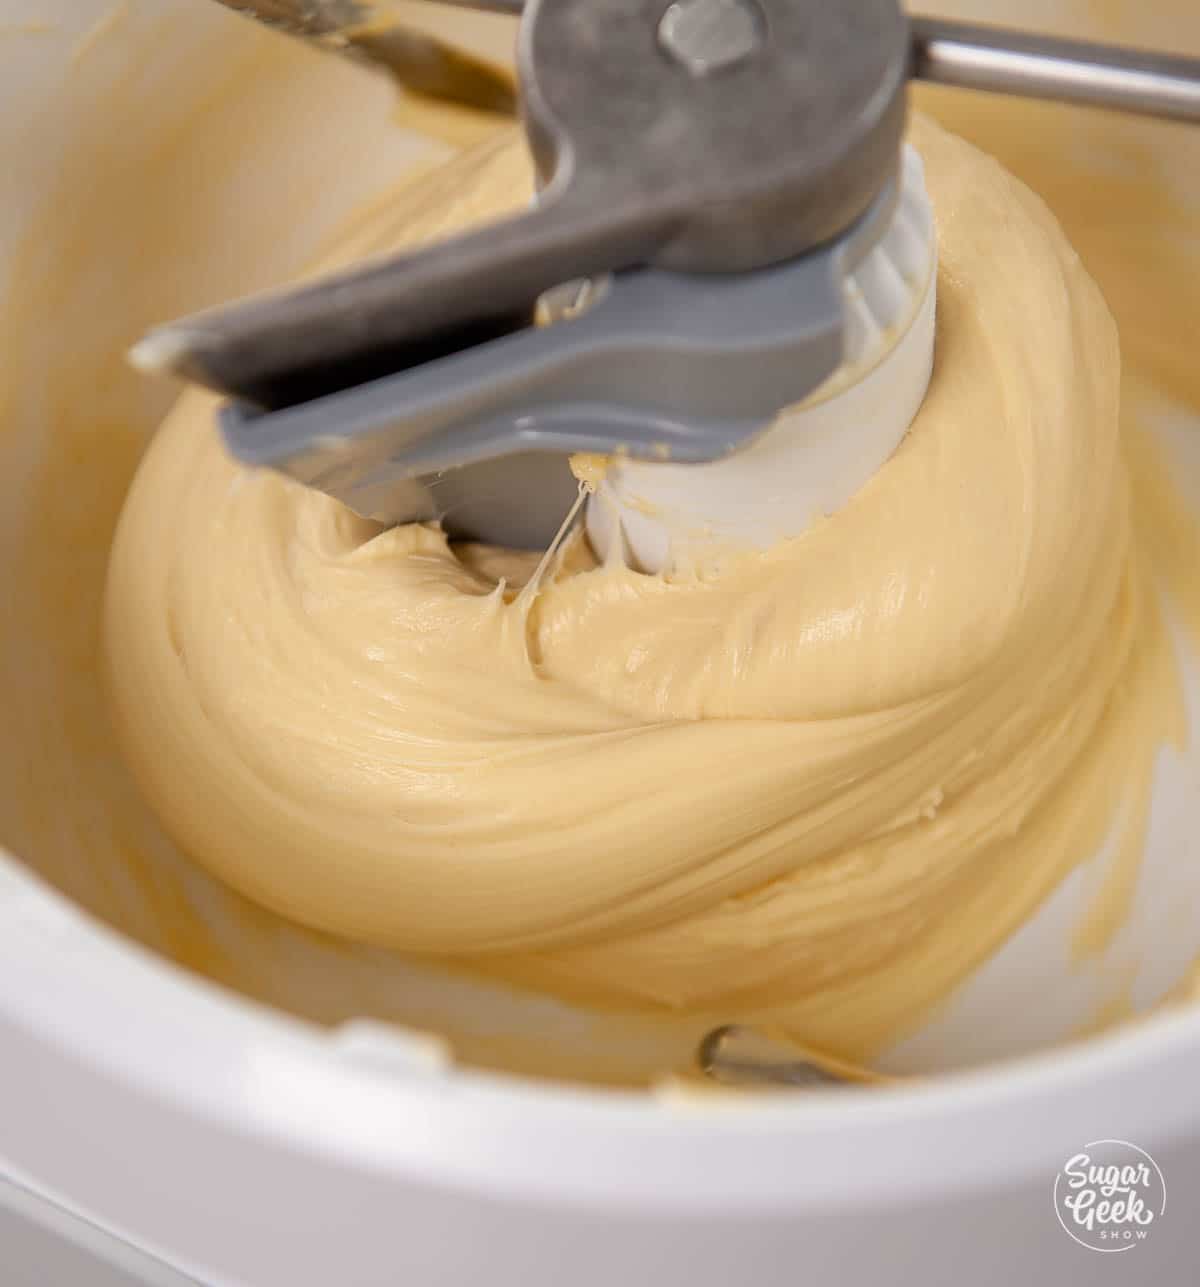
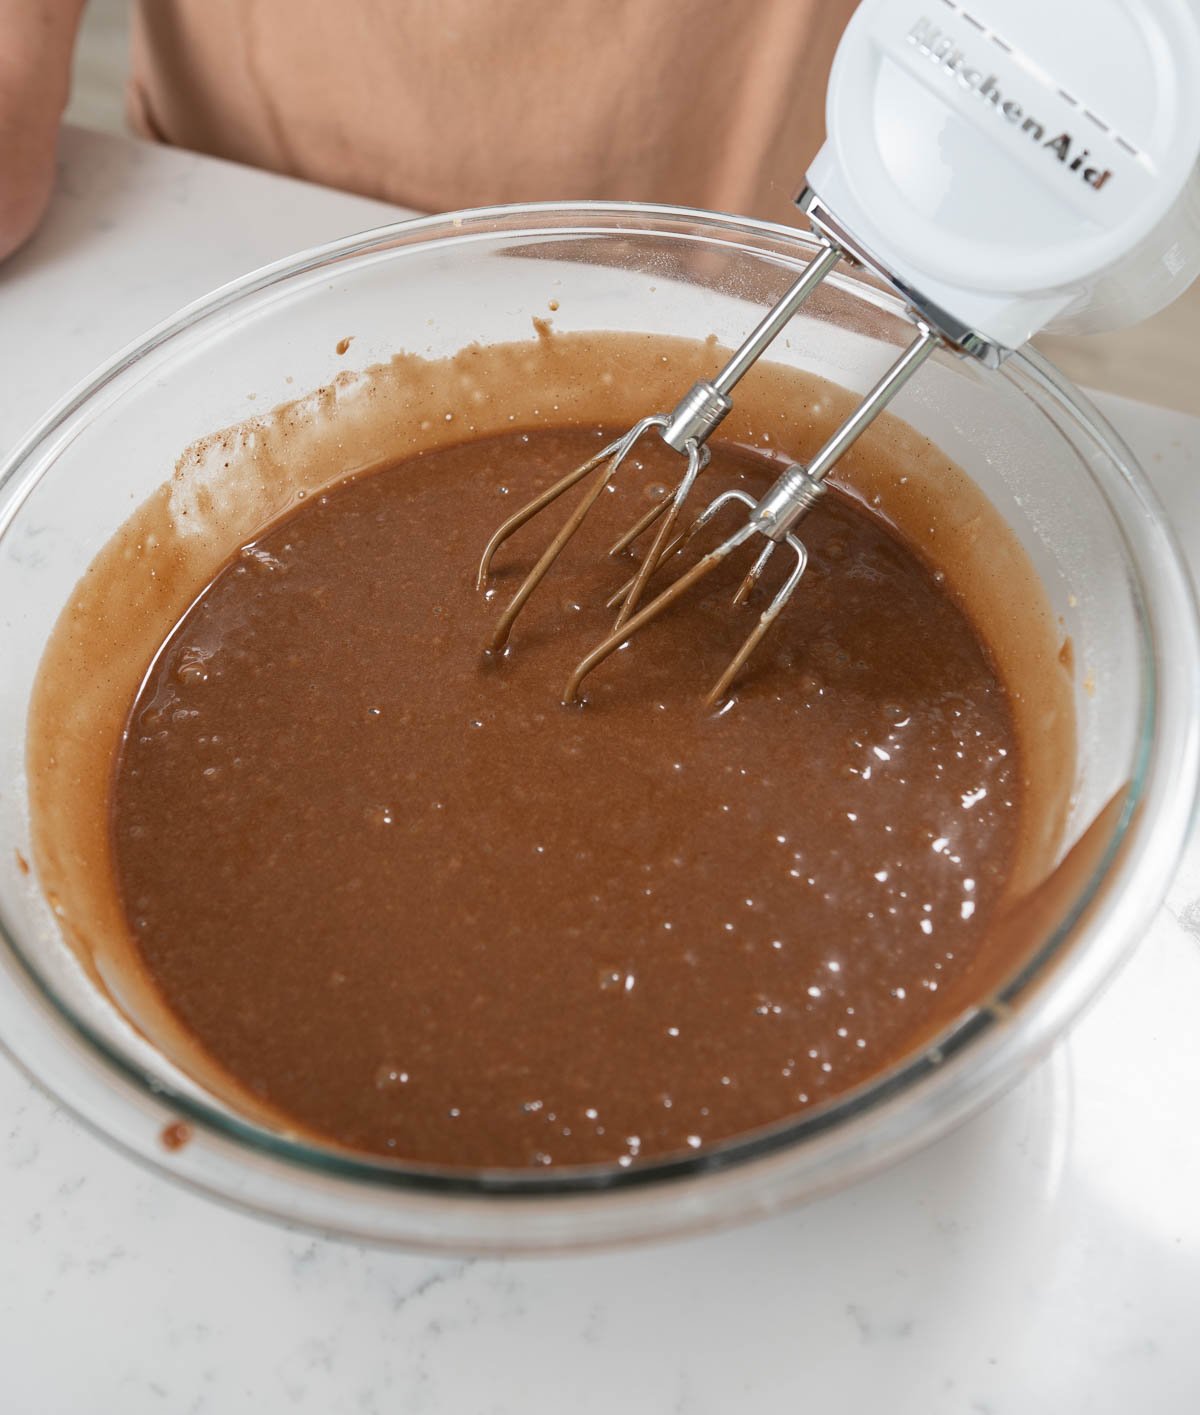
- Add the cocoa mixture to the flour and milk mixture and mix until combined.

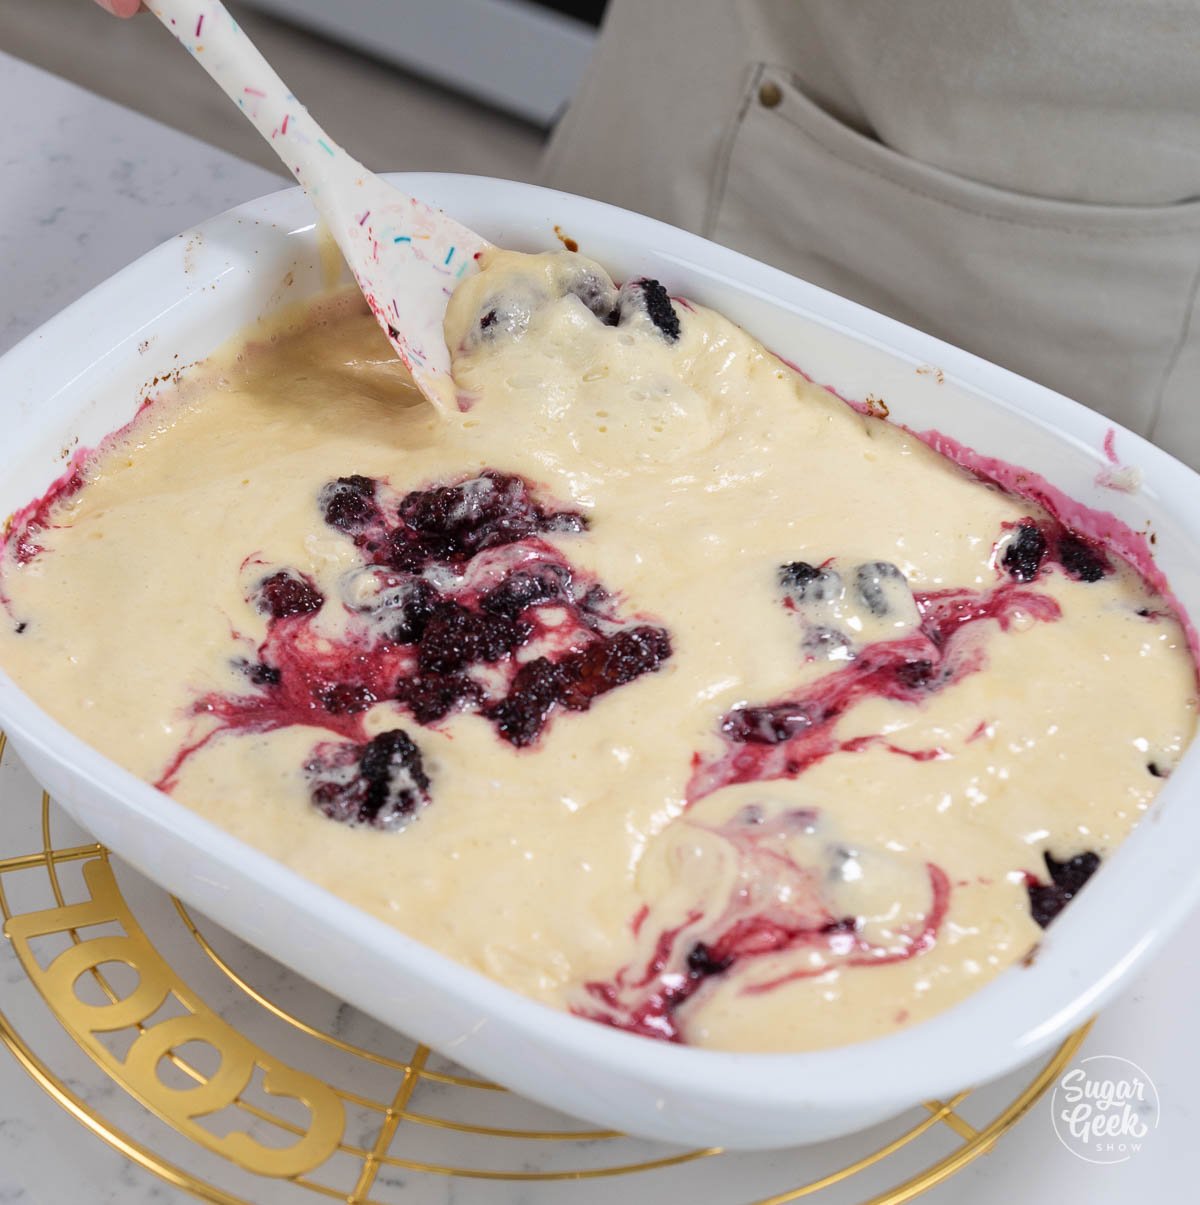
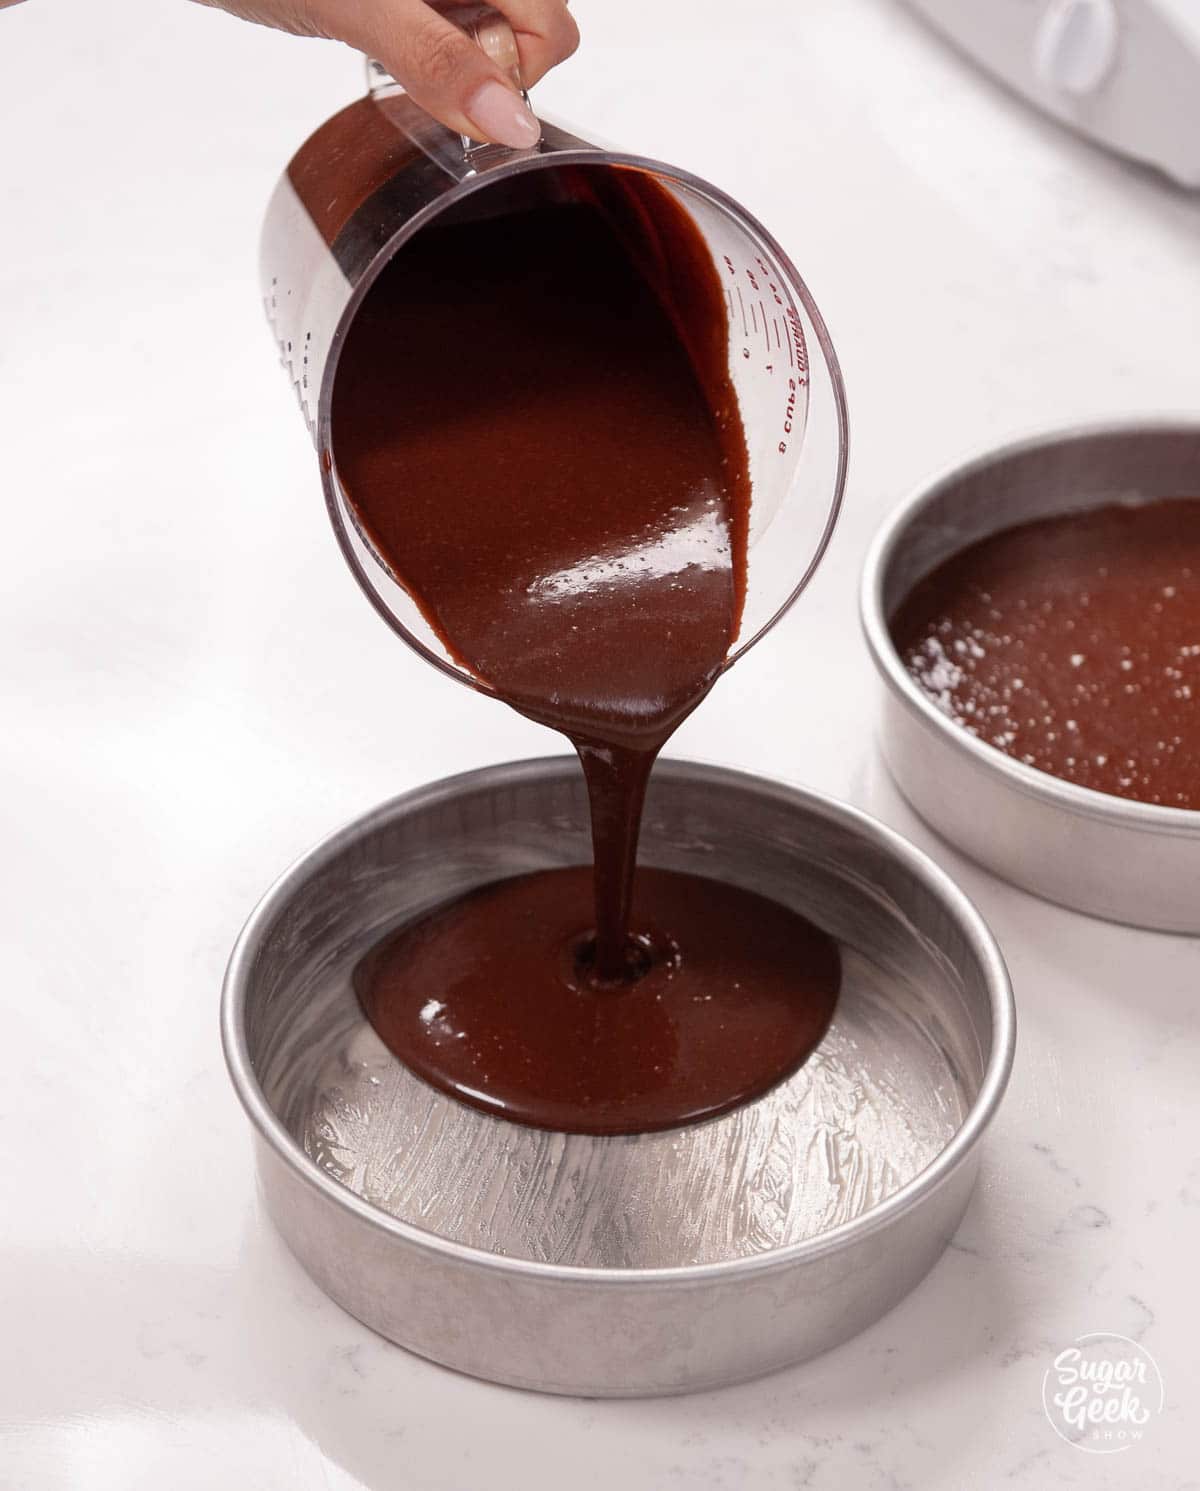
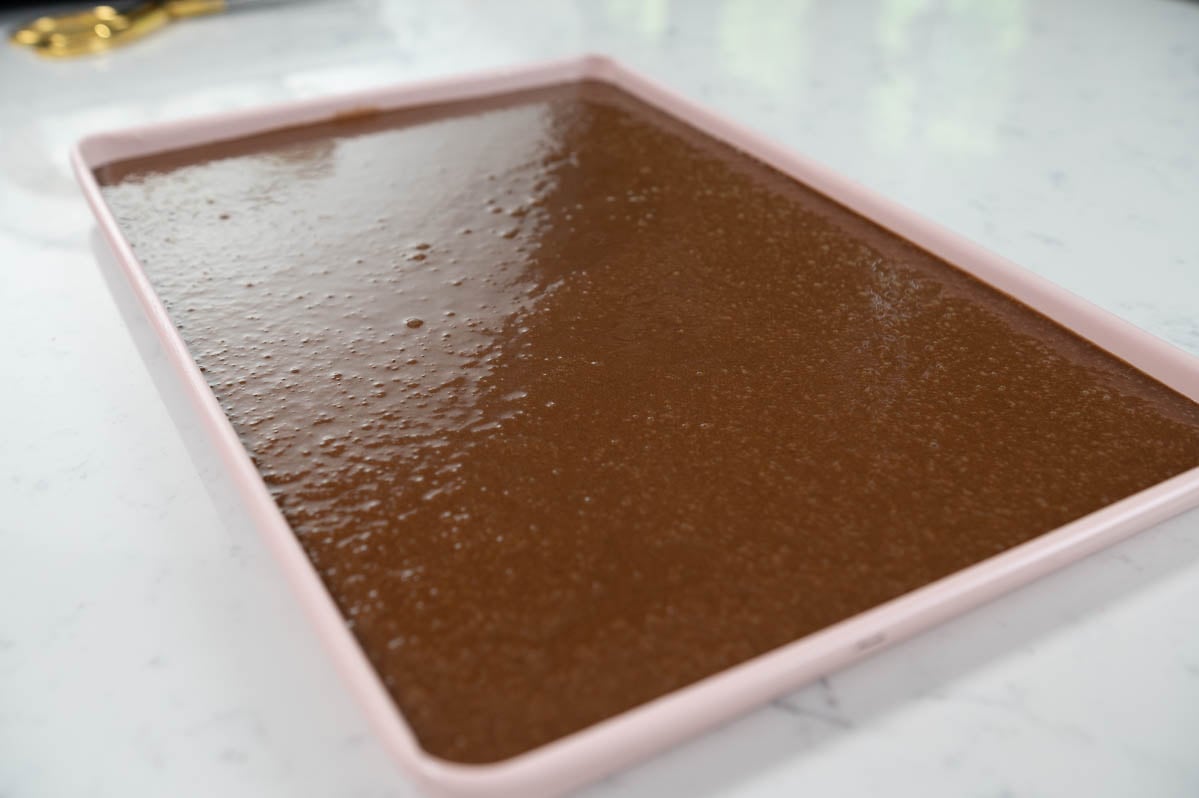
- Pour the cake batter into your prepared sheet pan.

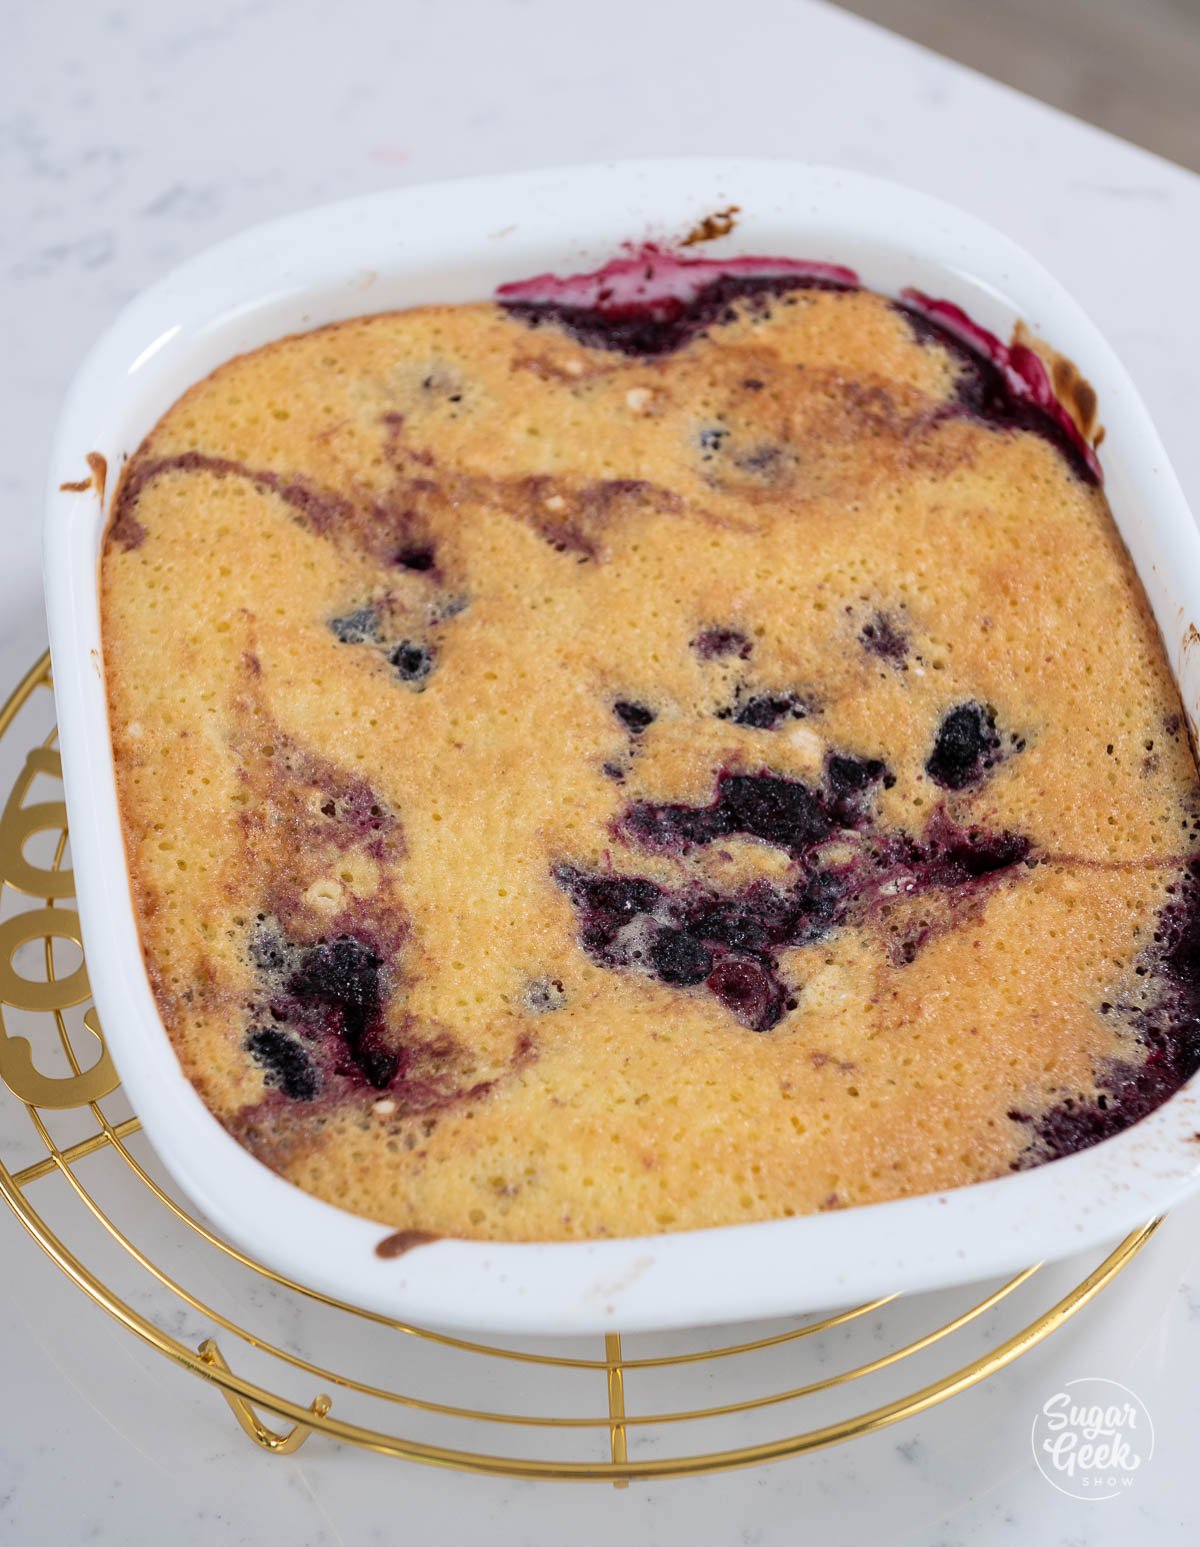
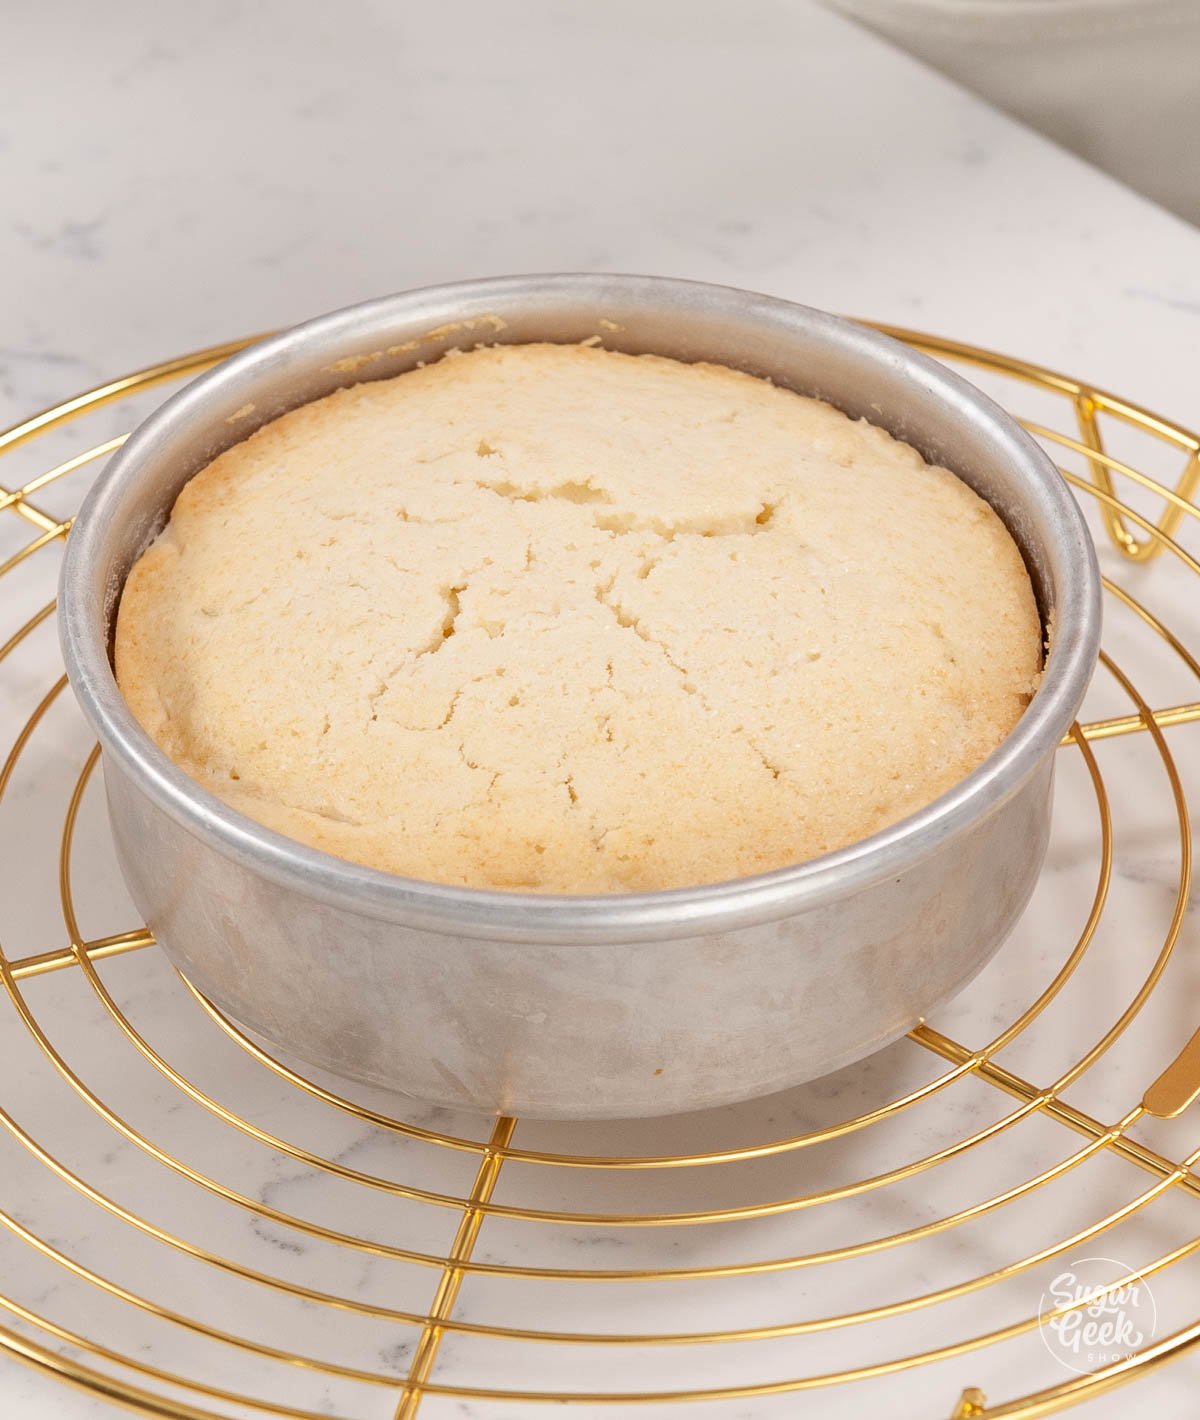
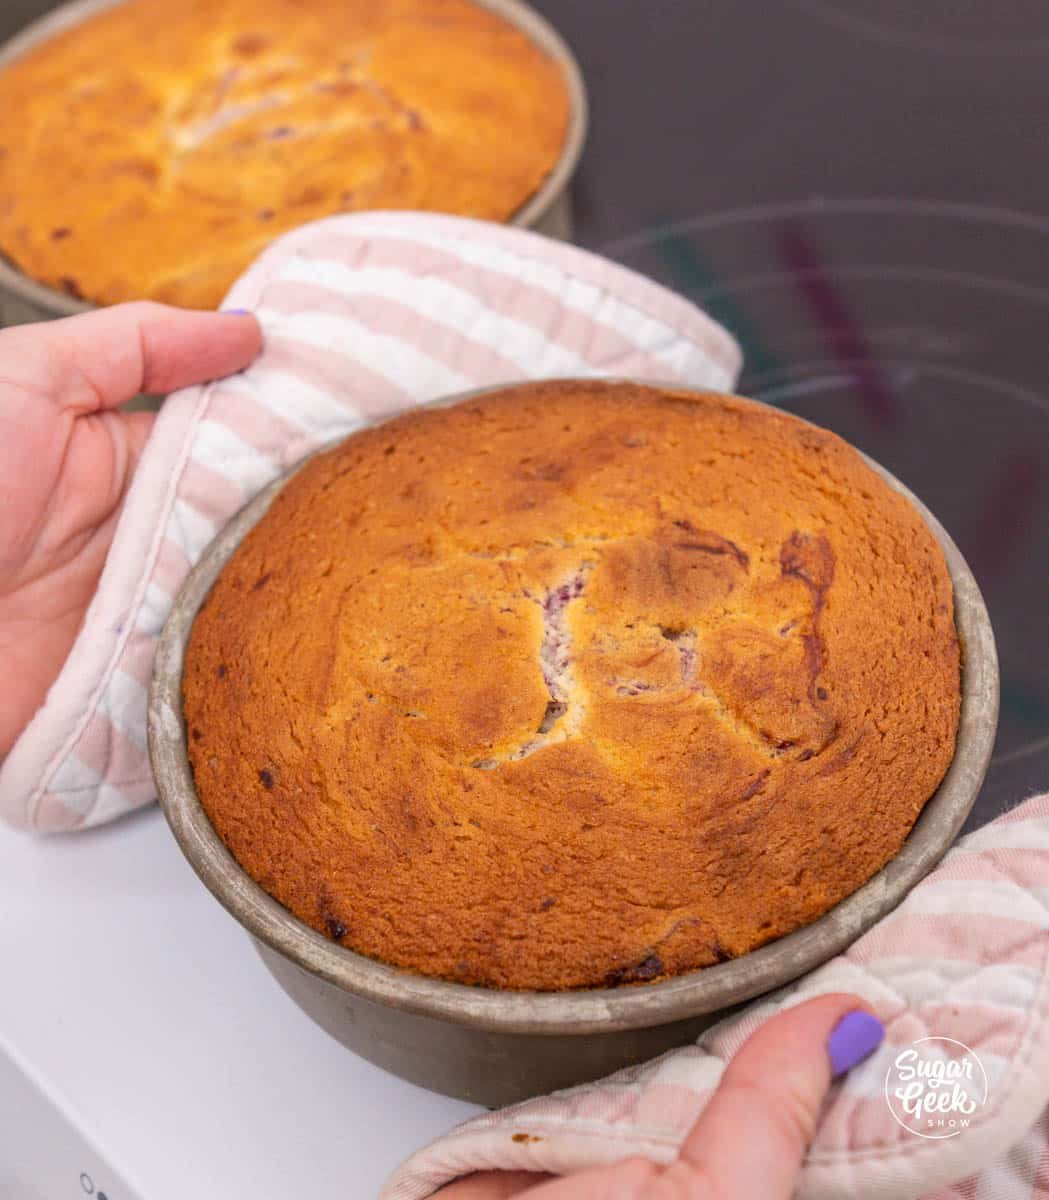
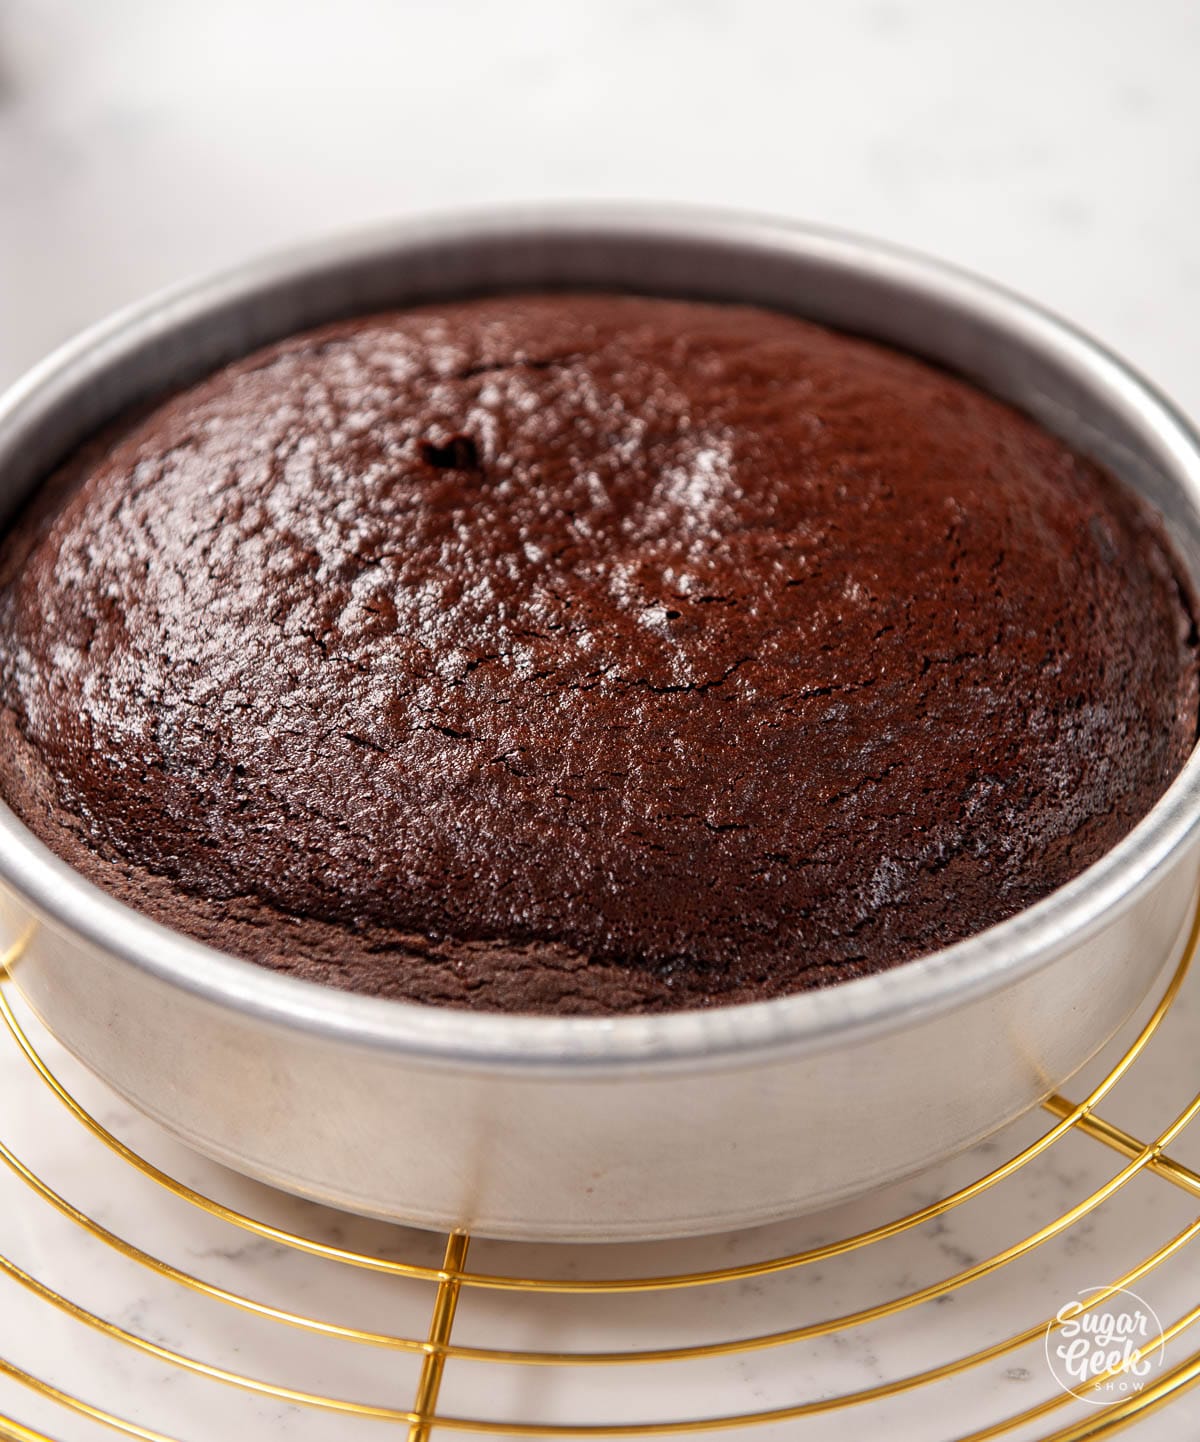
- Bake for 15-20 minutes or until a toothpick inserted comes out from the center with just a few sticky crumbs.
- While the cake is baking, prepare your glaze.

Texas Sheet Cake Glaze
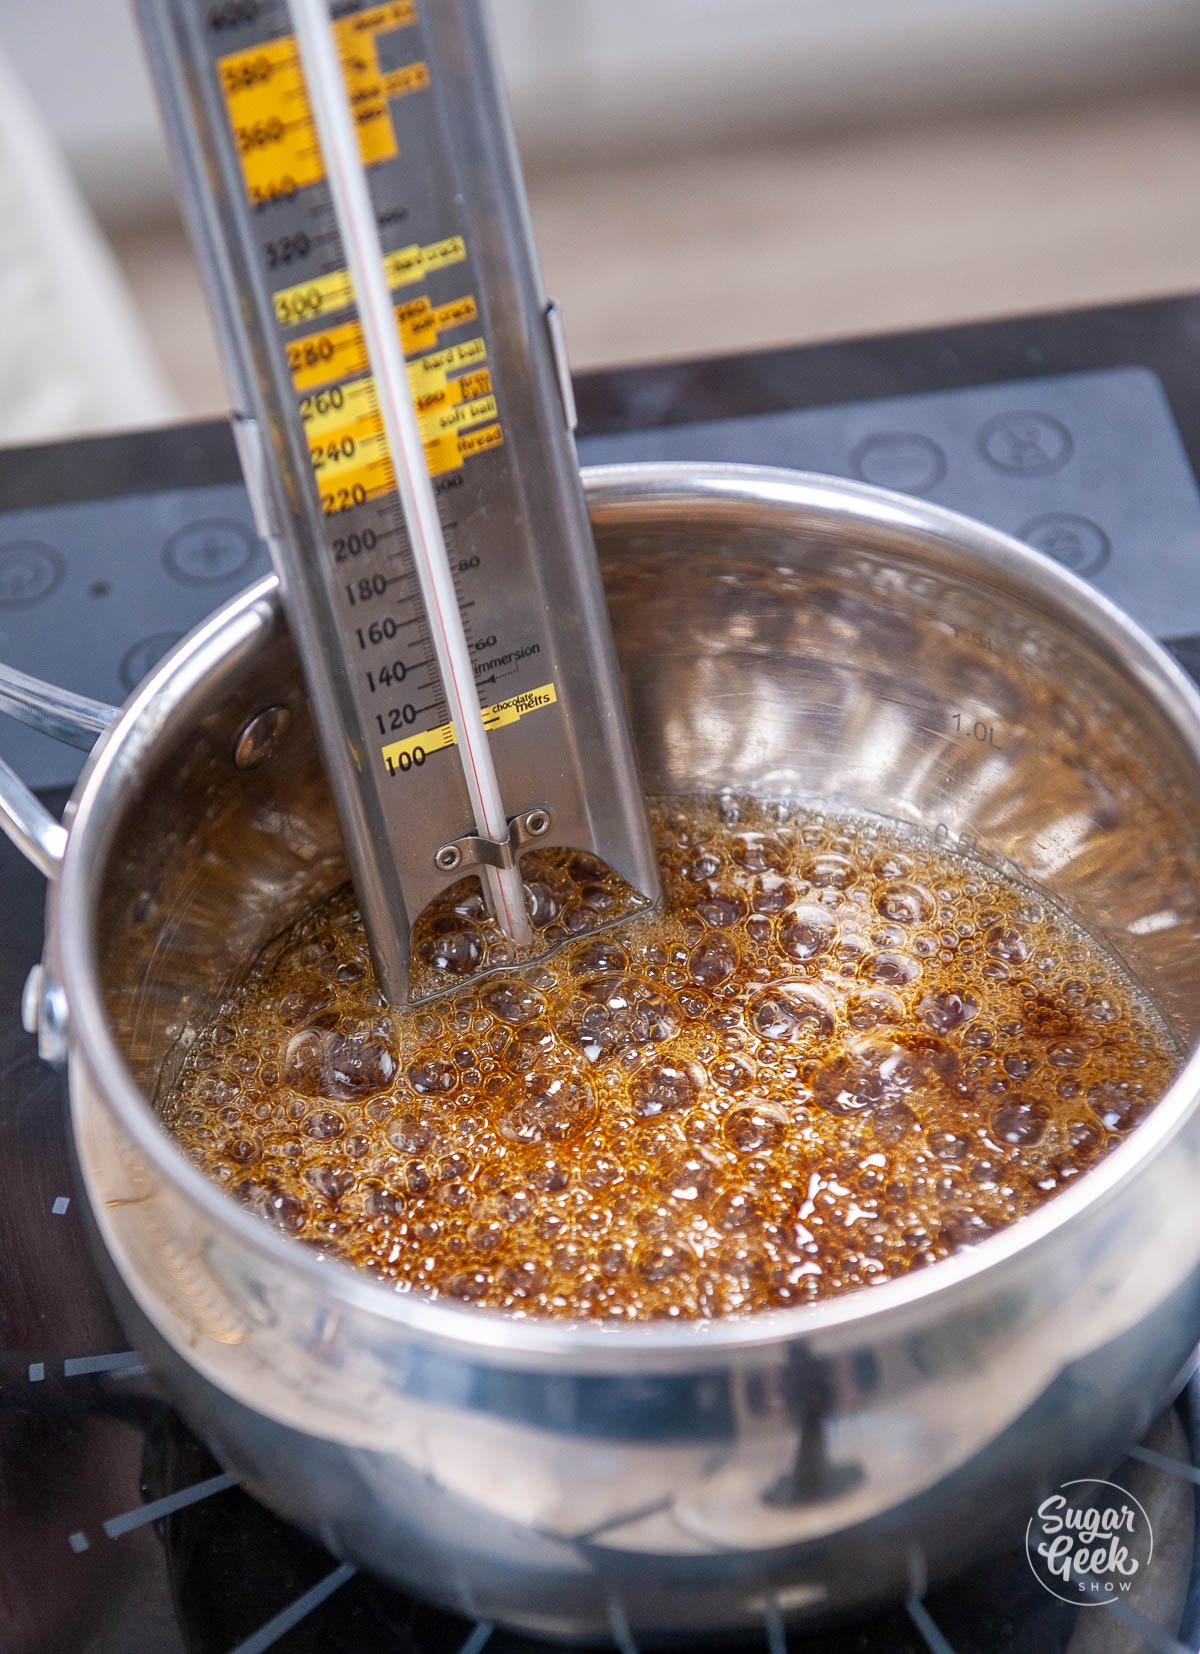
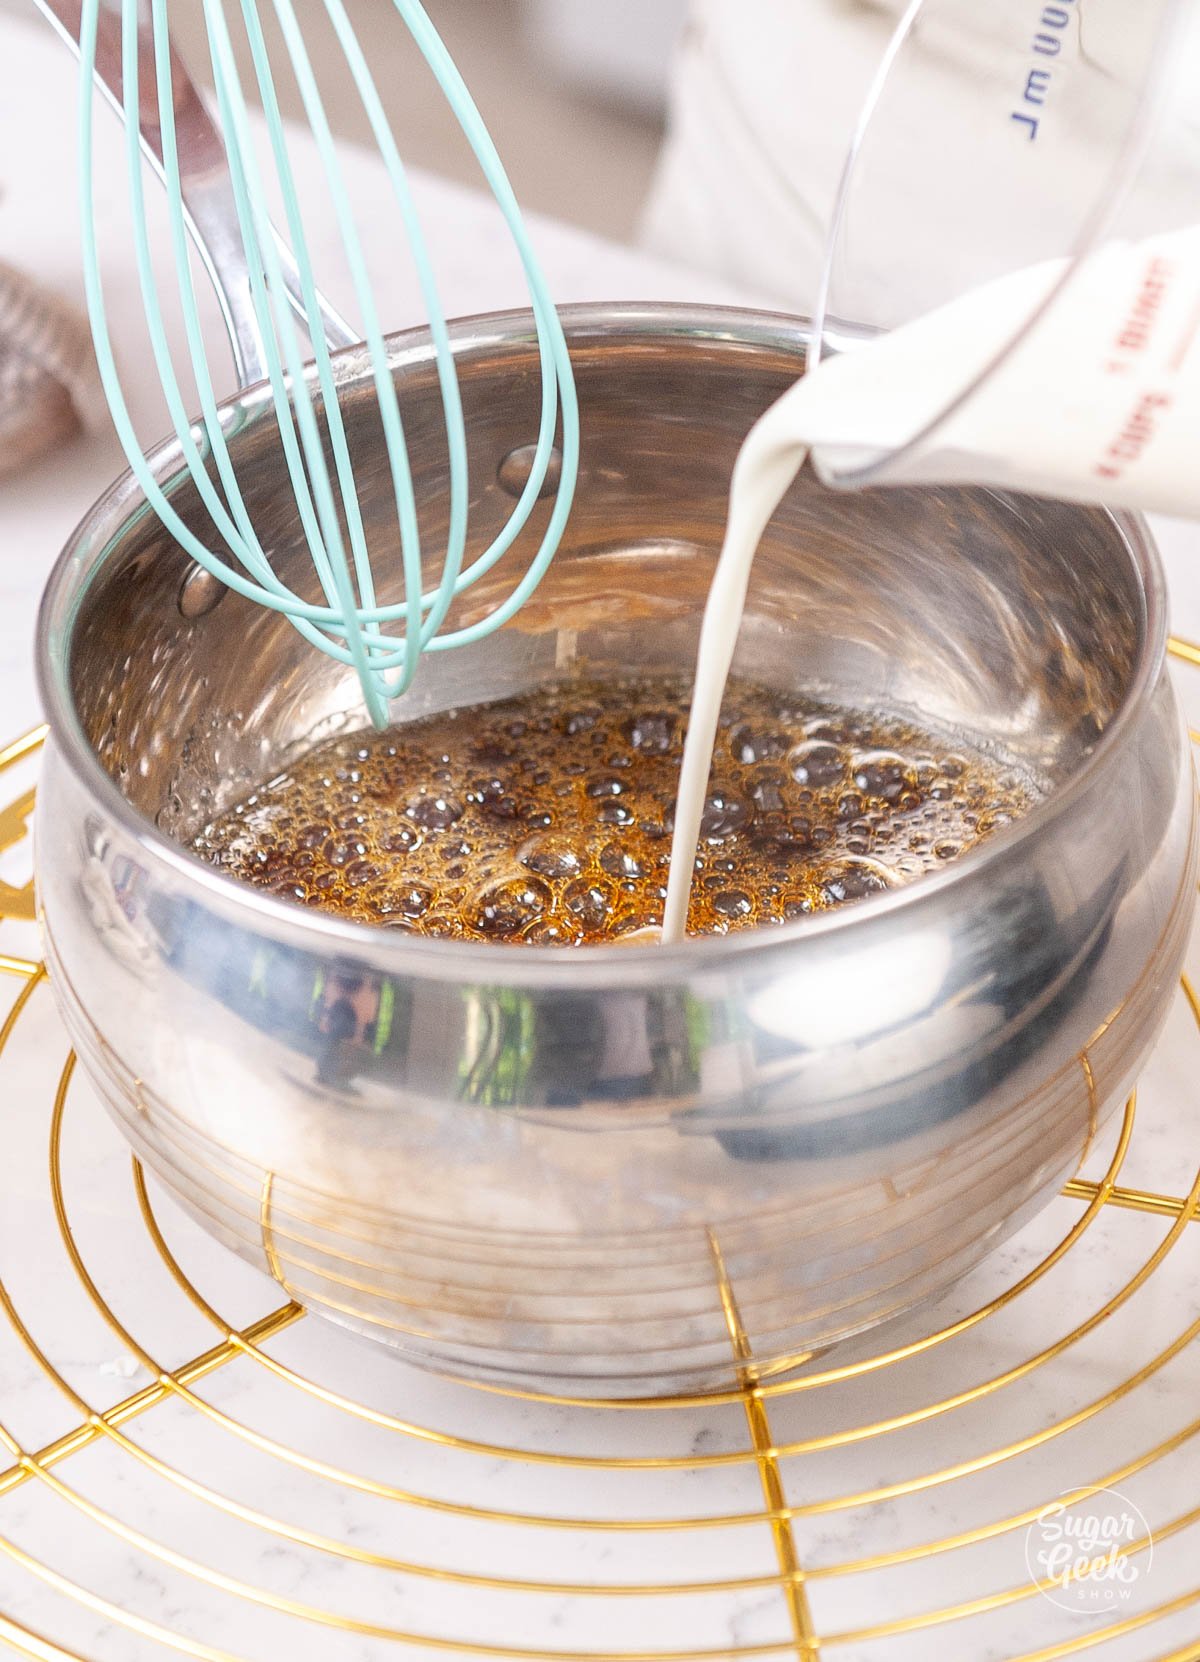
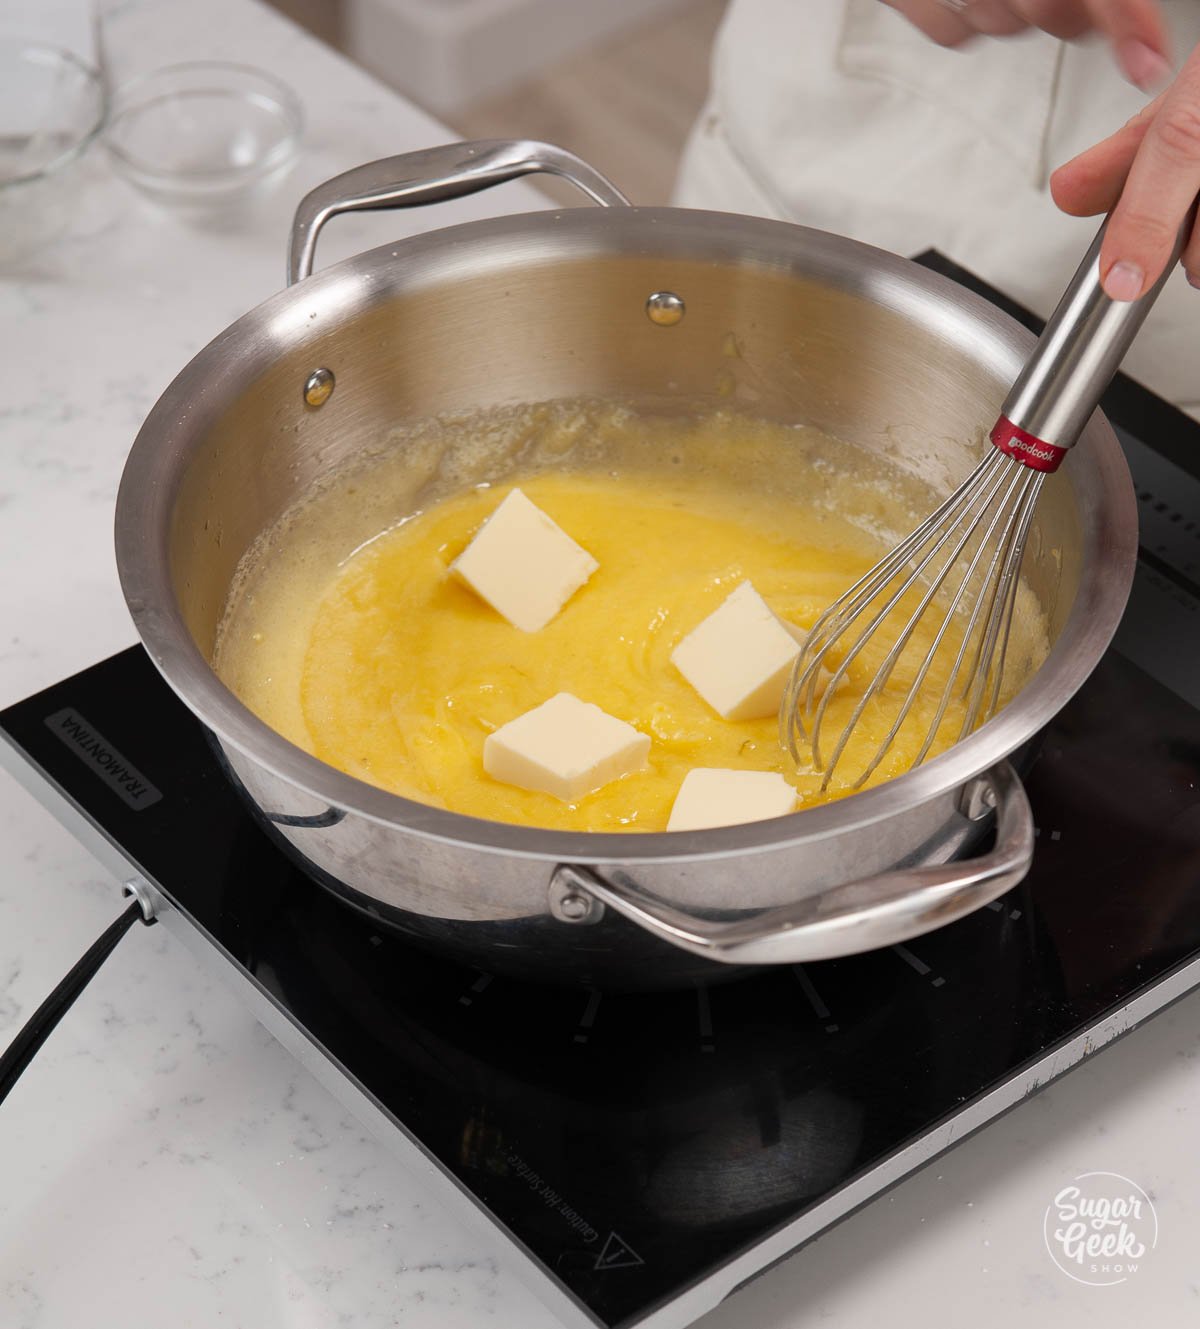
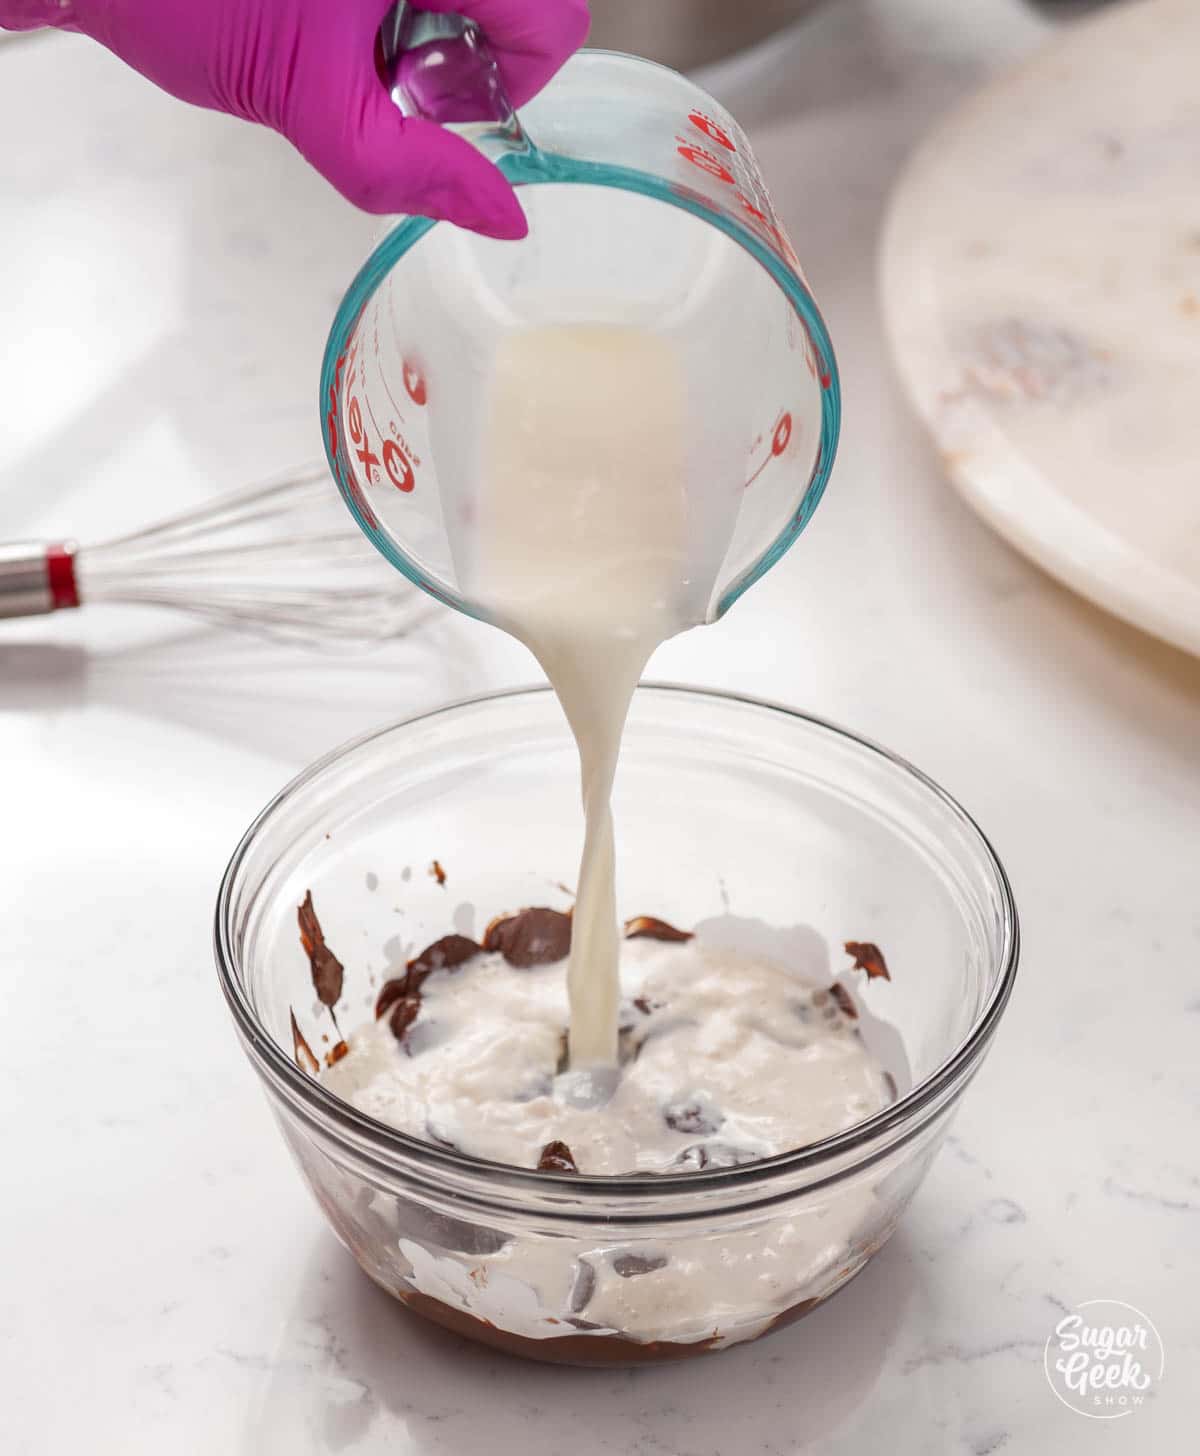
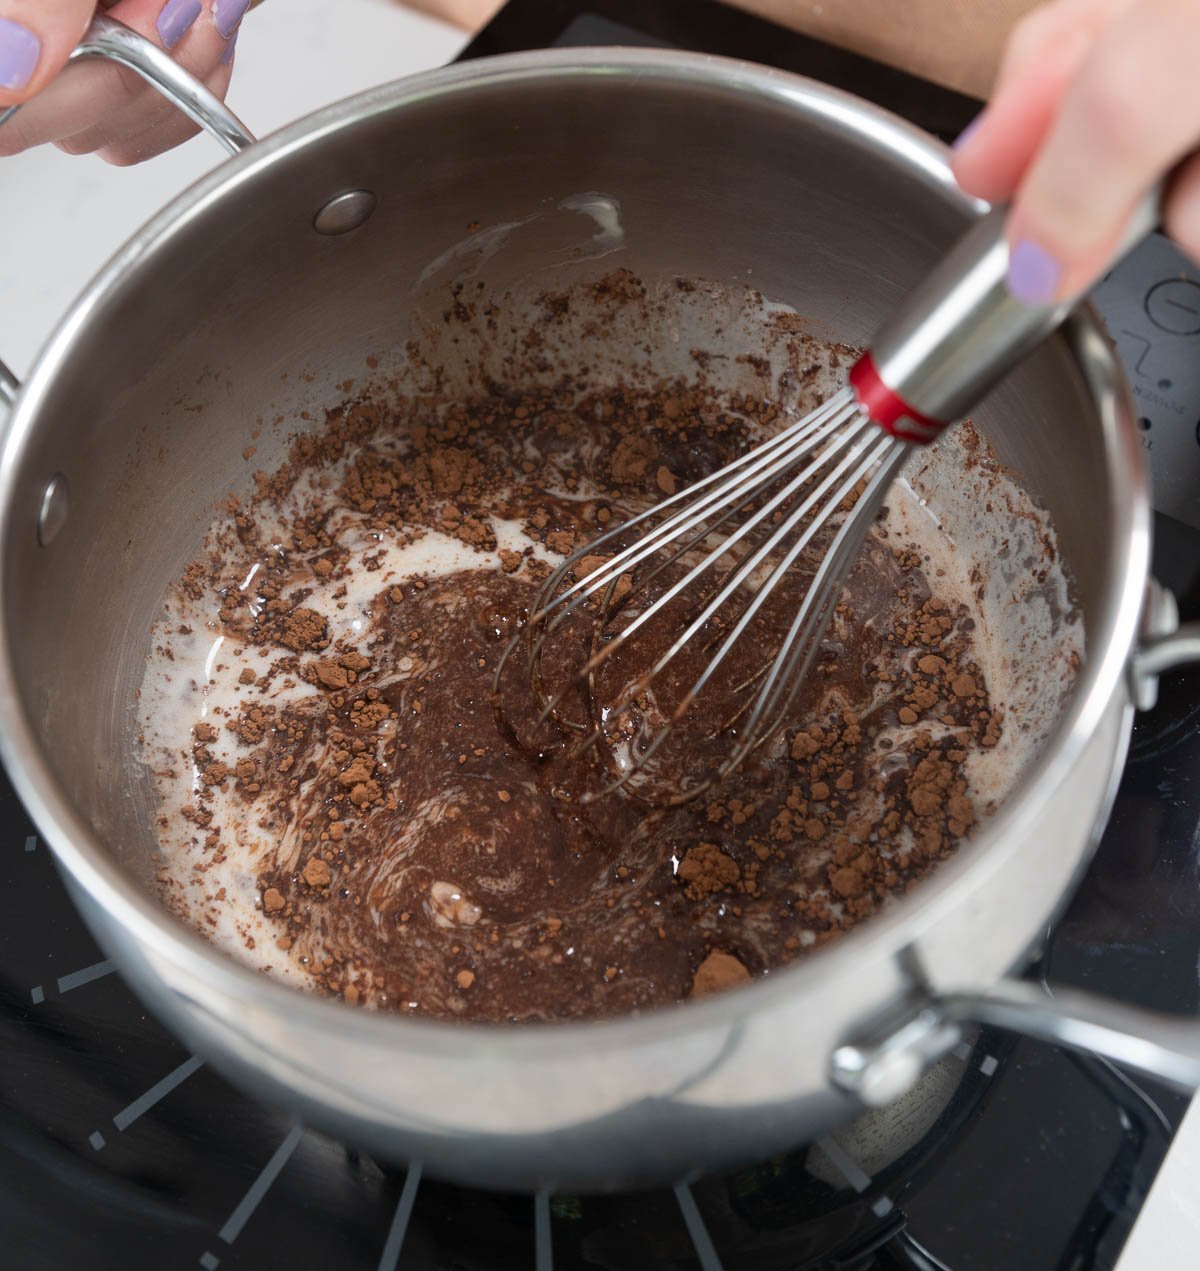
- In a saucepan, combine the butter, cocoa, and buttermilk. Whisk them together and bring them to a boil over medium heat. Stir occasionally to prevent burning.

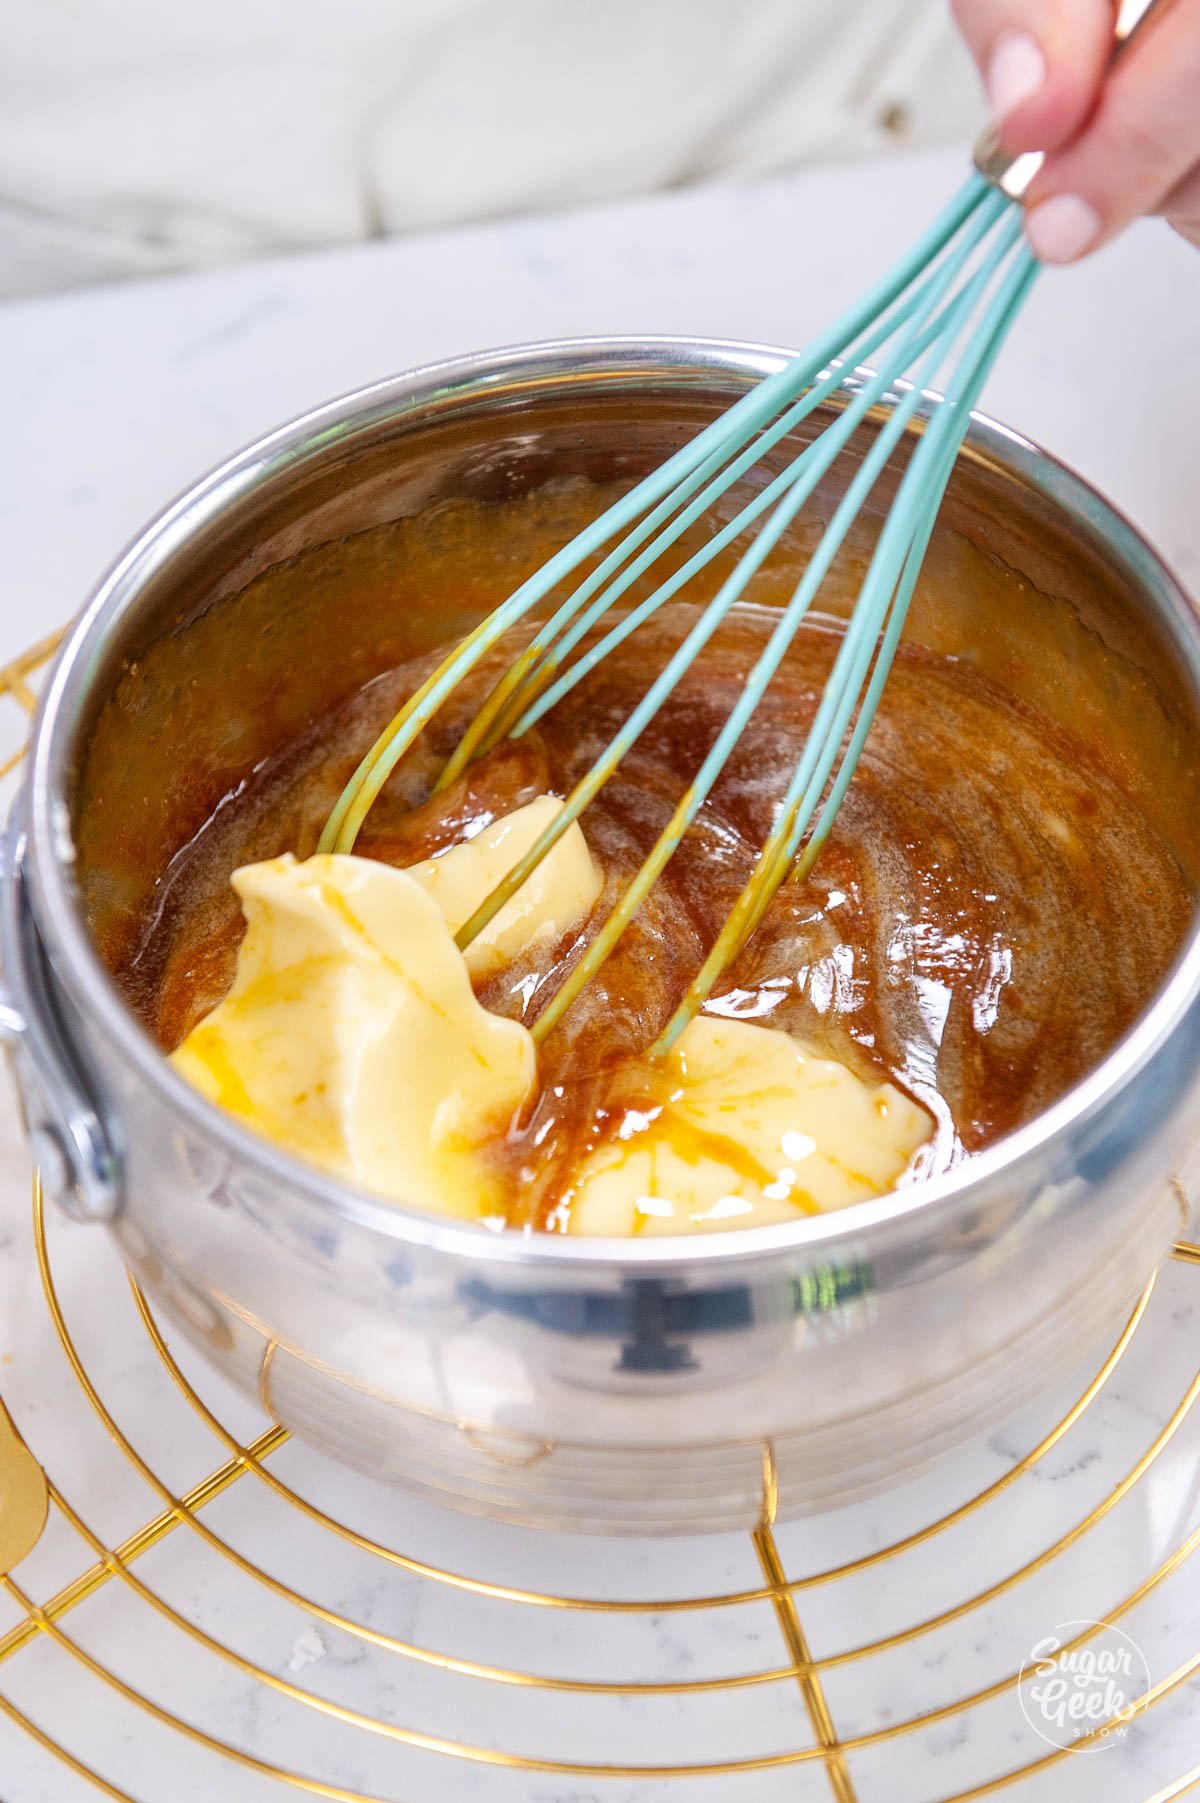
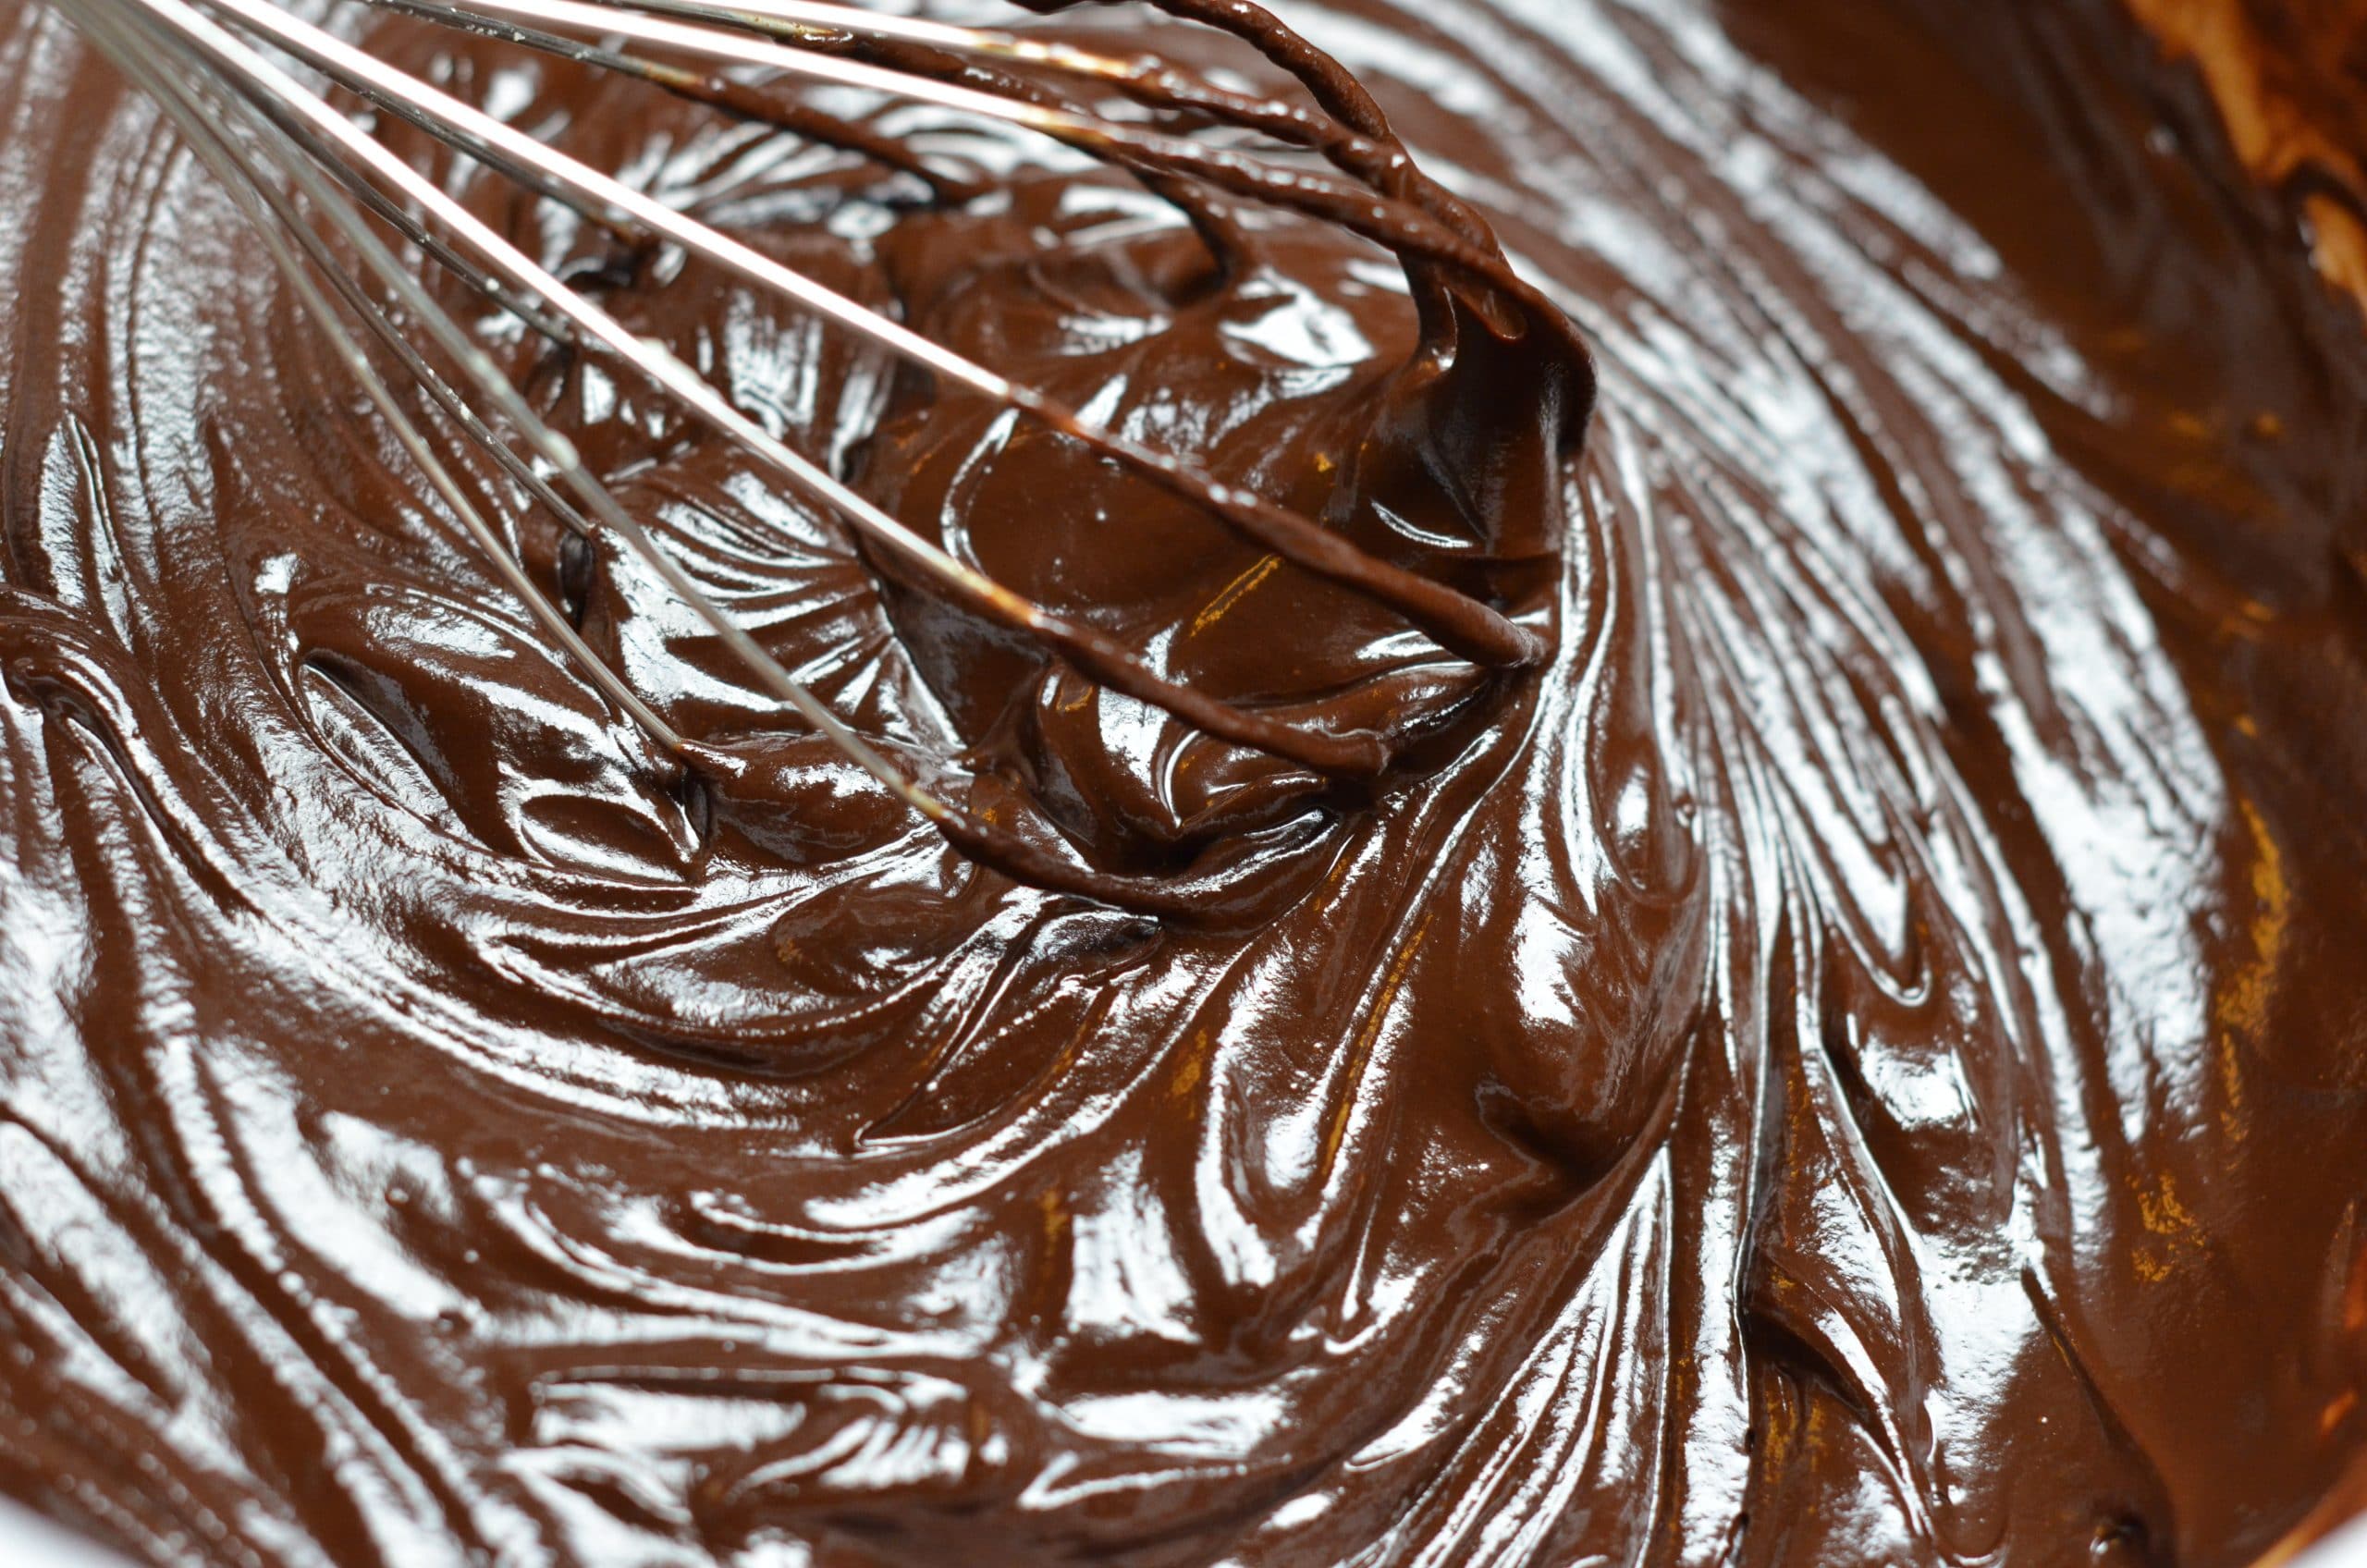
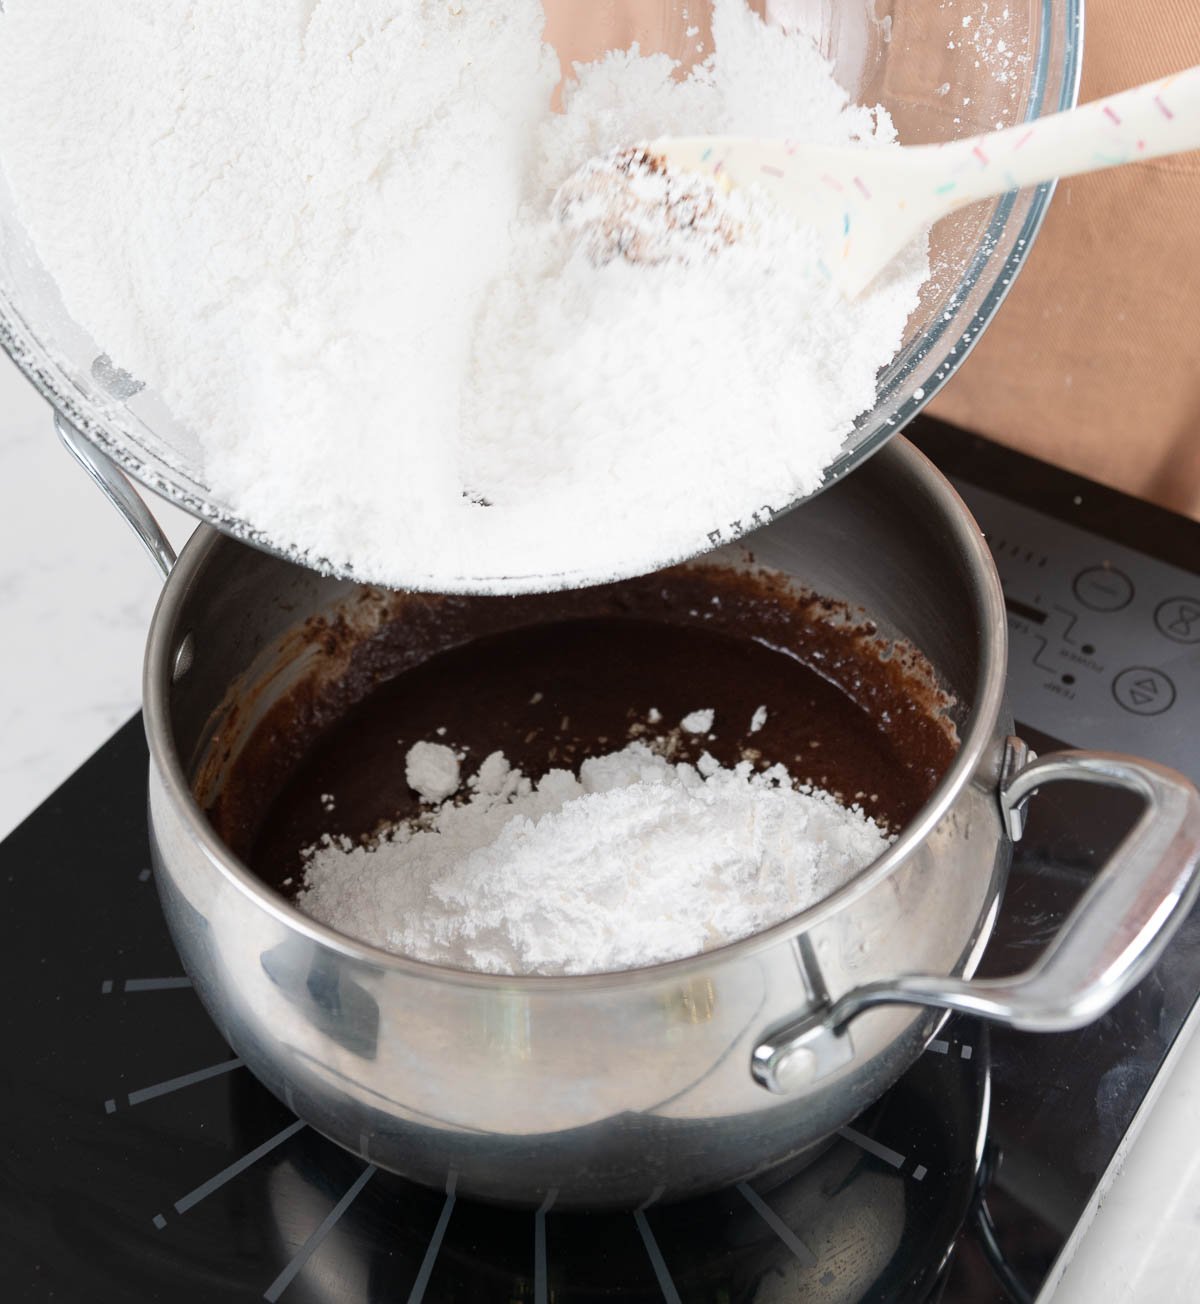
- Add the powdered sugar, salt, and vanilla to the warm mixture and whisk until smooth. Remove from the heat.
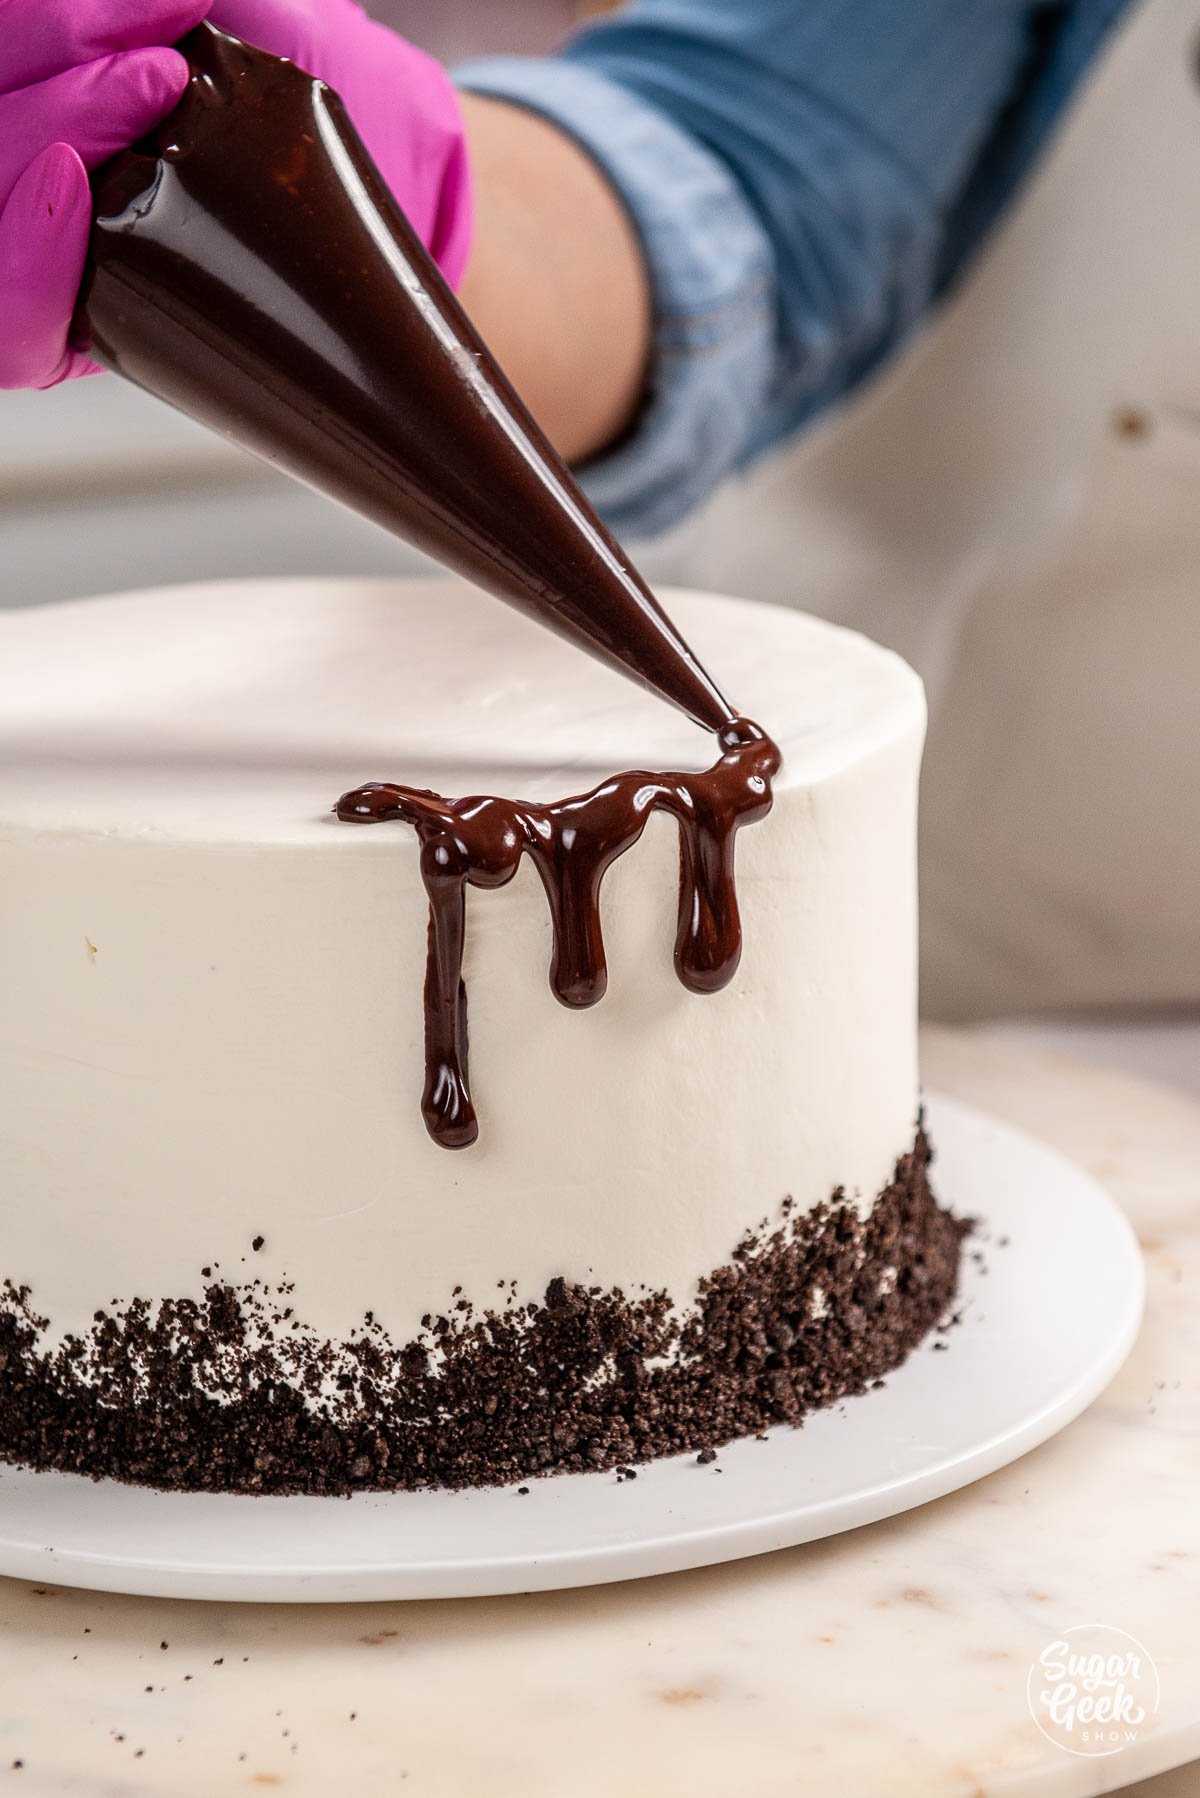
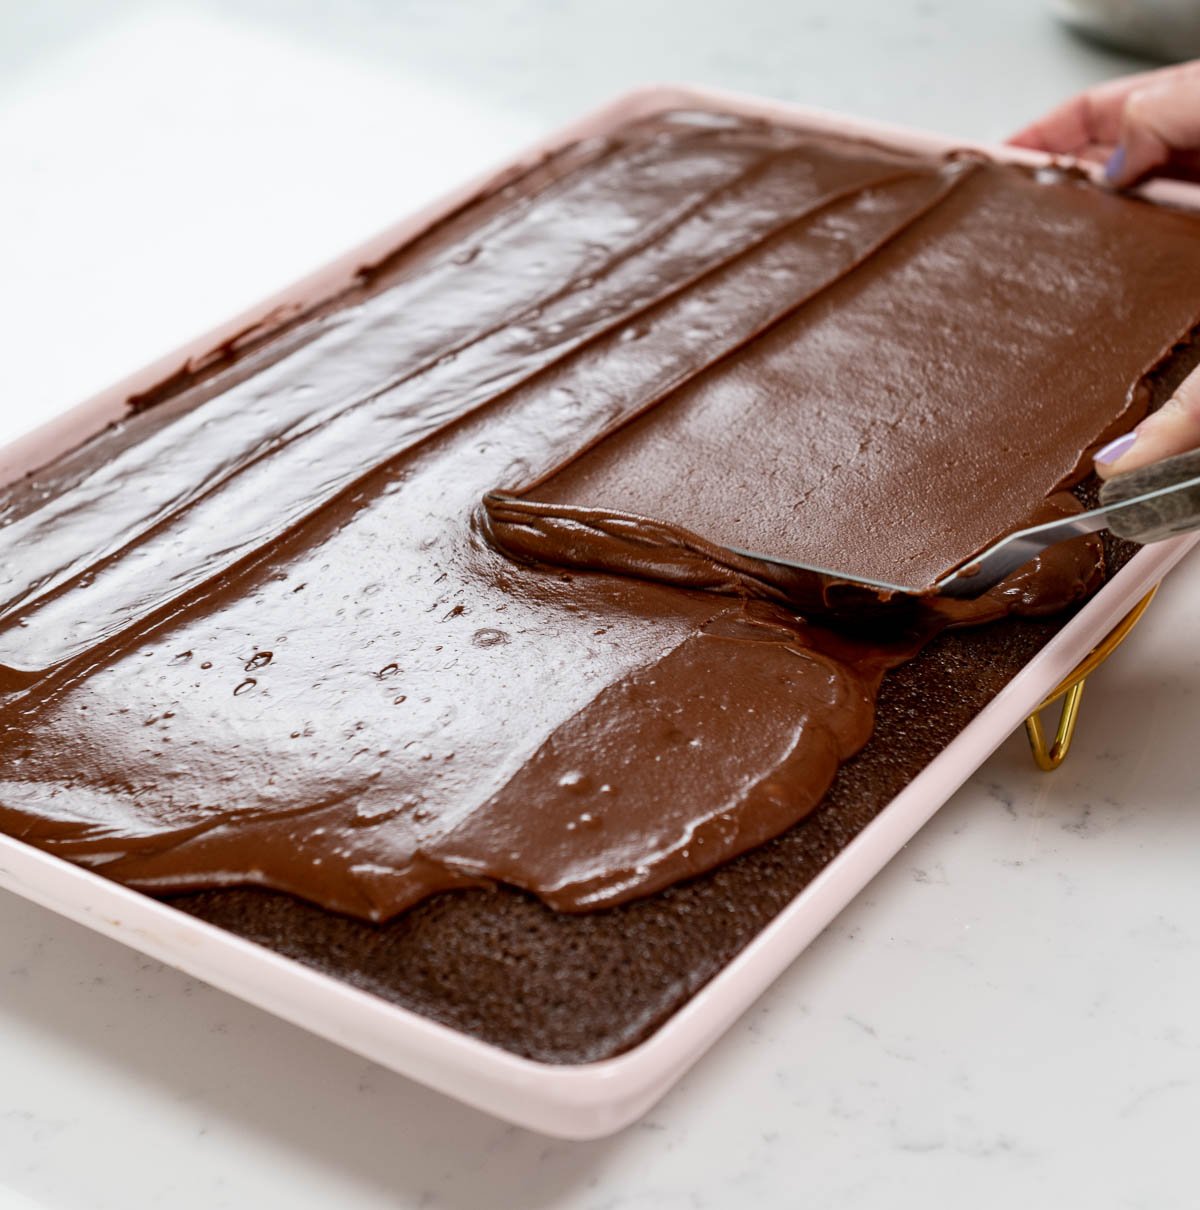
- Once the cake comes out of the oven, let it cool for 5 minutes, and then pour the chocolate glaze over the cake. The cake and frosting should both still be warm. The glaze soaks into the warm sheet cake making it super moist!


Storage
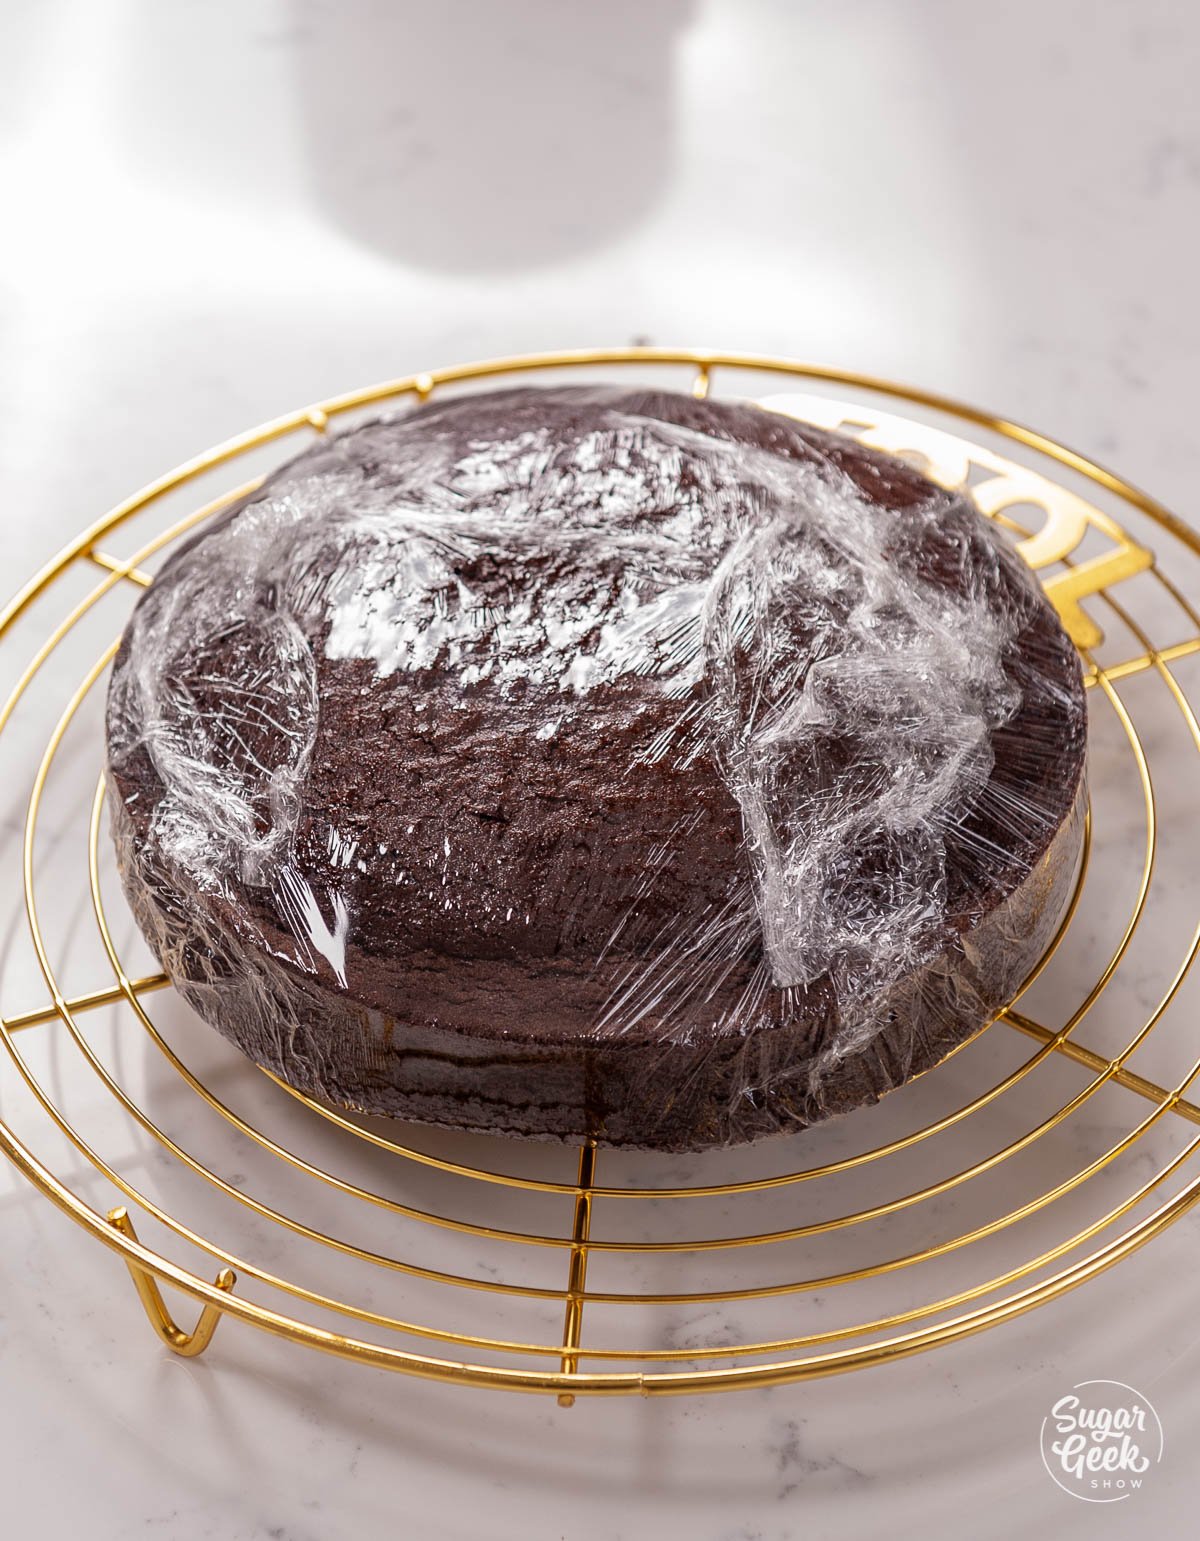
Let the cake finish cooling before serving it. Serve the cake directly on the sheet pan. Store leftovers at room temperature in an air-tight container. If you live in a hot and humid area, the cake will last longer stored in the fridge.
What Makes Texas Sheet Cake Different Than Chocolate Cake?
You may know the Texas sheet cake as a funeral cake (any dessert served at a funeral reception made for a lot of guests), sheath cake (a term that comes from the name sheet cake), or Mexican chocolate cake (a similar recipe but with cinnamon added). 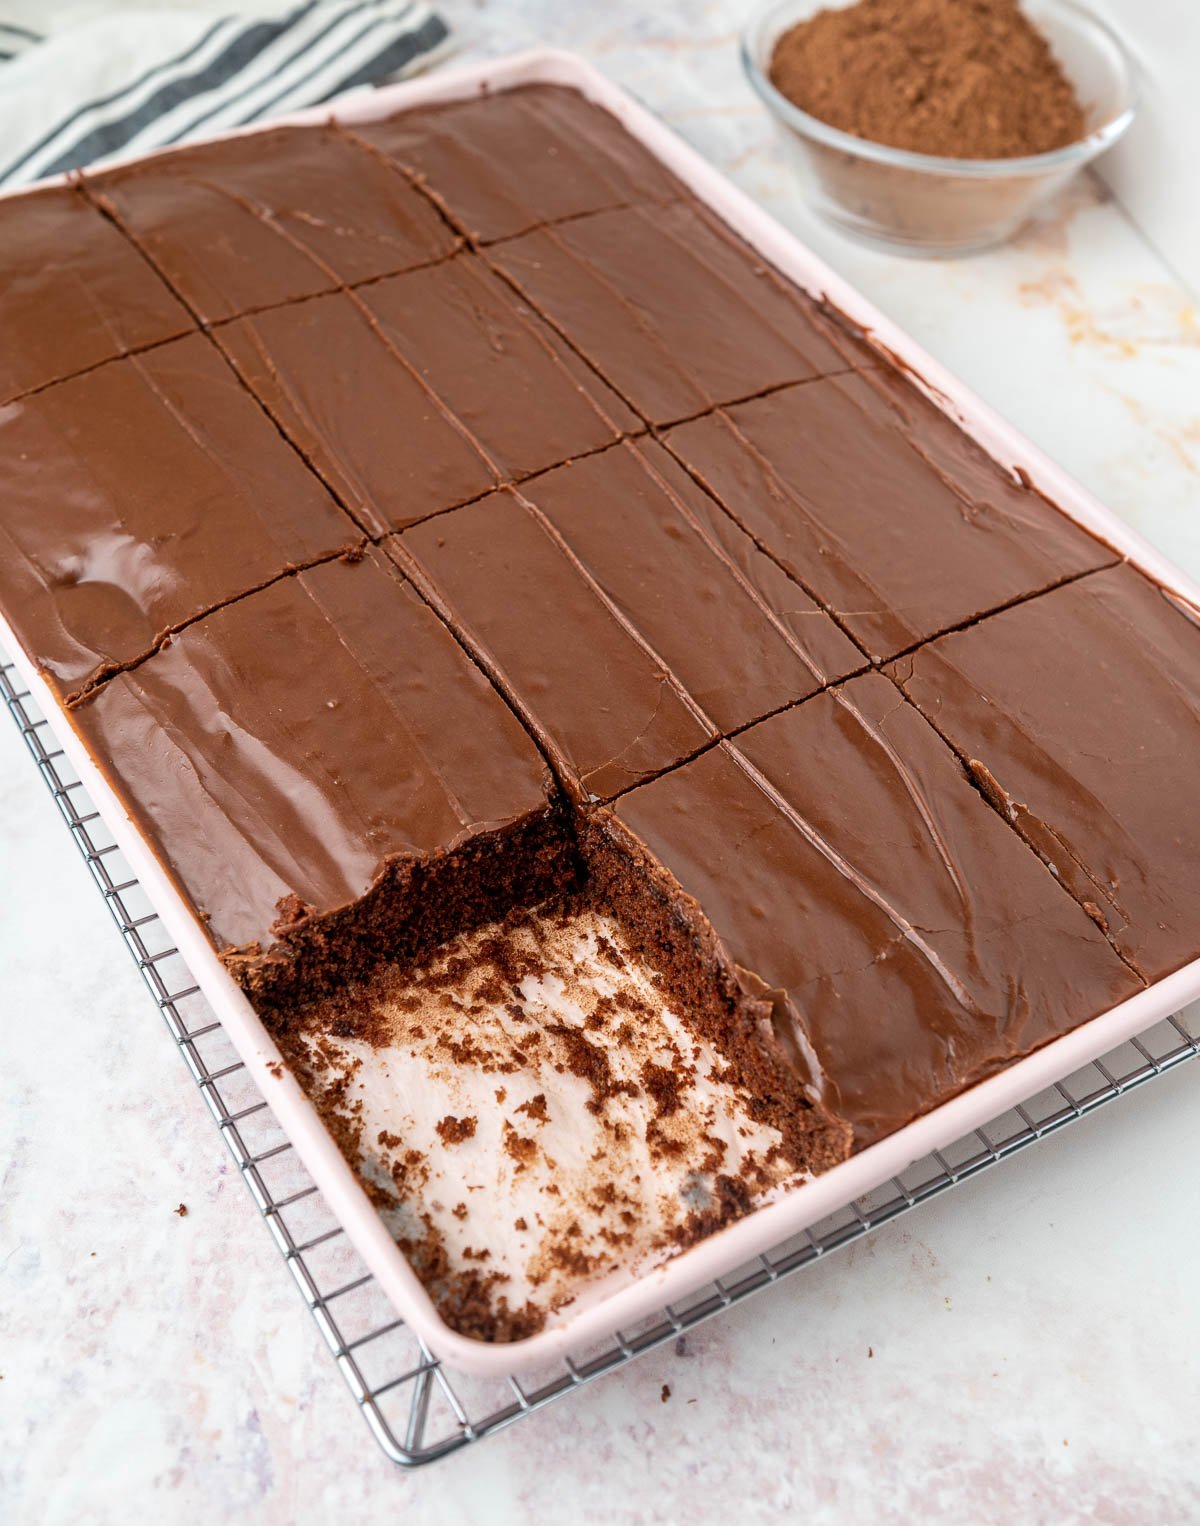
This cake is thinner and larger than a standard chocolate sheet cake and glazed warm out of the oven with a rich, buttery, chocolate glaze mixed with toasted pecans. This glaze makes the cake incredibly moist and darn right delicious.
It is baked in a large sheet cake pan which is perfect for serving big gatherings. If you're looking for more summer dessert recipes, this cake just screams "take me to a barbeque!"
One of the best things about this cake is that you just add the ingredients together in the bowl and mix! Super easy and the perfect cake to bake for a big gathering which is probably why it has gained such popularity.
The original recipe may vary from family to family but whatever the recipe may be one thing is true, Texas sheet cake is forever ingrained in Americana culture as a must-serve dessert at any important gathering.
This recipe was shared with me by our amazing recipe tester, Erin. It was her Mother's recipe that was given to her by a member of their church. Their family grew up serving this dessert at every gathering back in Texas so it's a true family recipe. This recipe does not have pecans but you could totally mix in a cup of toasted pecans with the glaze if that's what you like!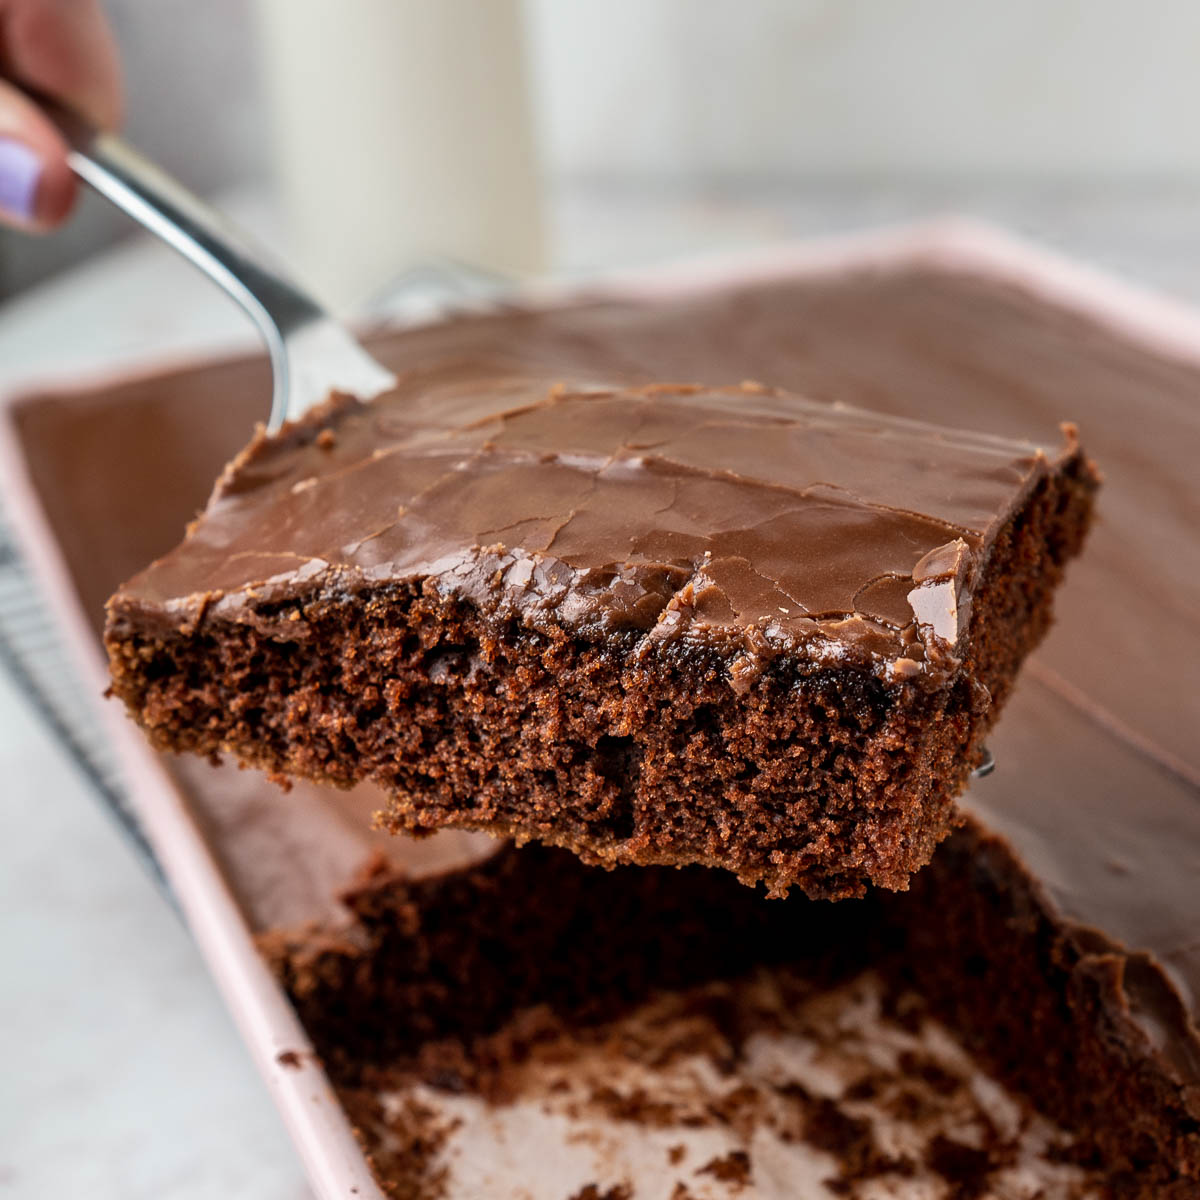
It is unclear whether or not the Texas sheet cake originated in Texas. Some say the recipe first showed up in a Texas newspaper, others say it gets its name from being big like the size of Texas. Either way, this recipe is a real crowd-pleaser and is widely known as a symbol of friendship and hospitality.
A half sheet pan is typically about 13" wide by 18" long and is about 2" tall. You can also use a cookie sheet or jelly roll pan as long as it has sides. You may have to slightly adjust your batter recipe, baking time, or bake leftover batter as cupcakes if you're using a smaller pan.
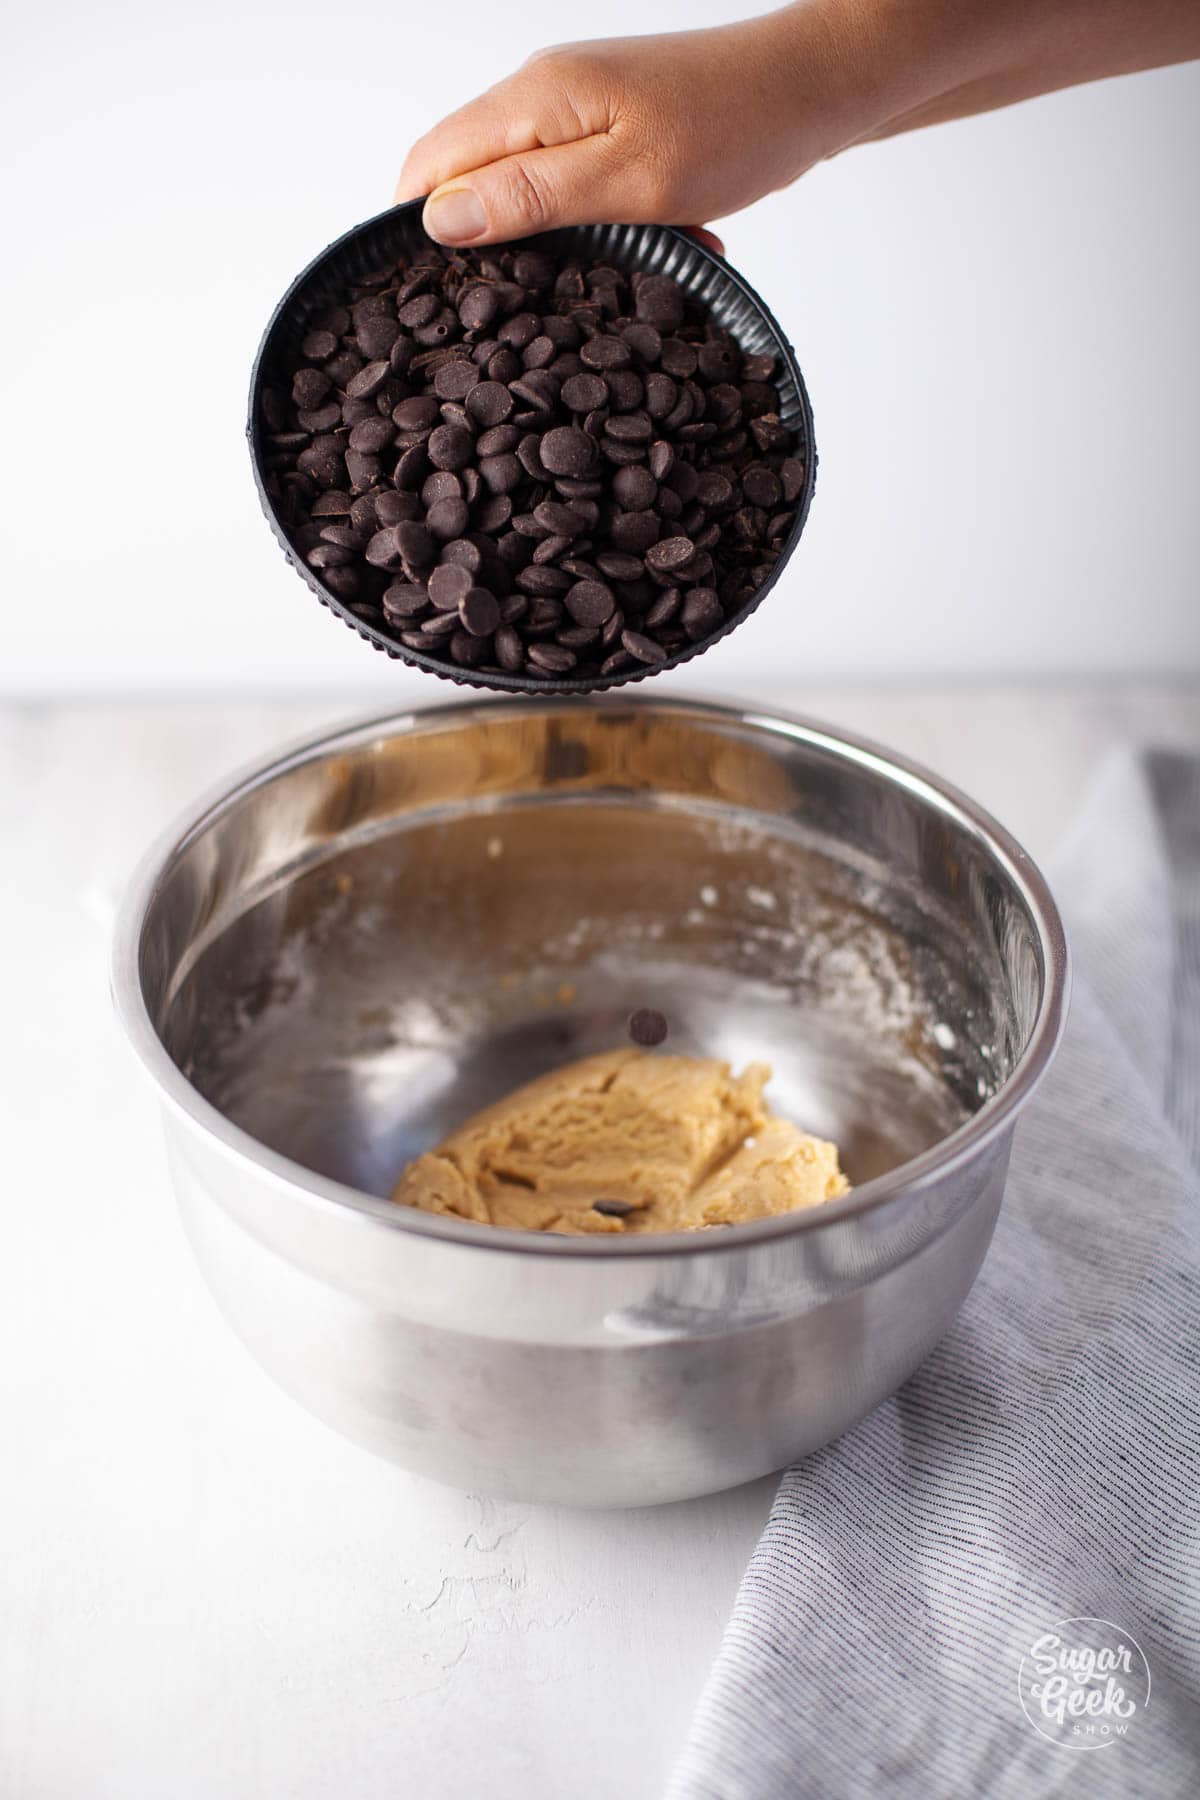
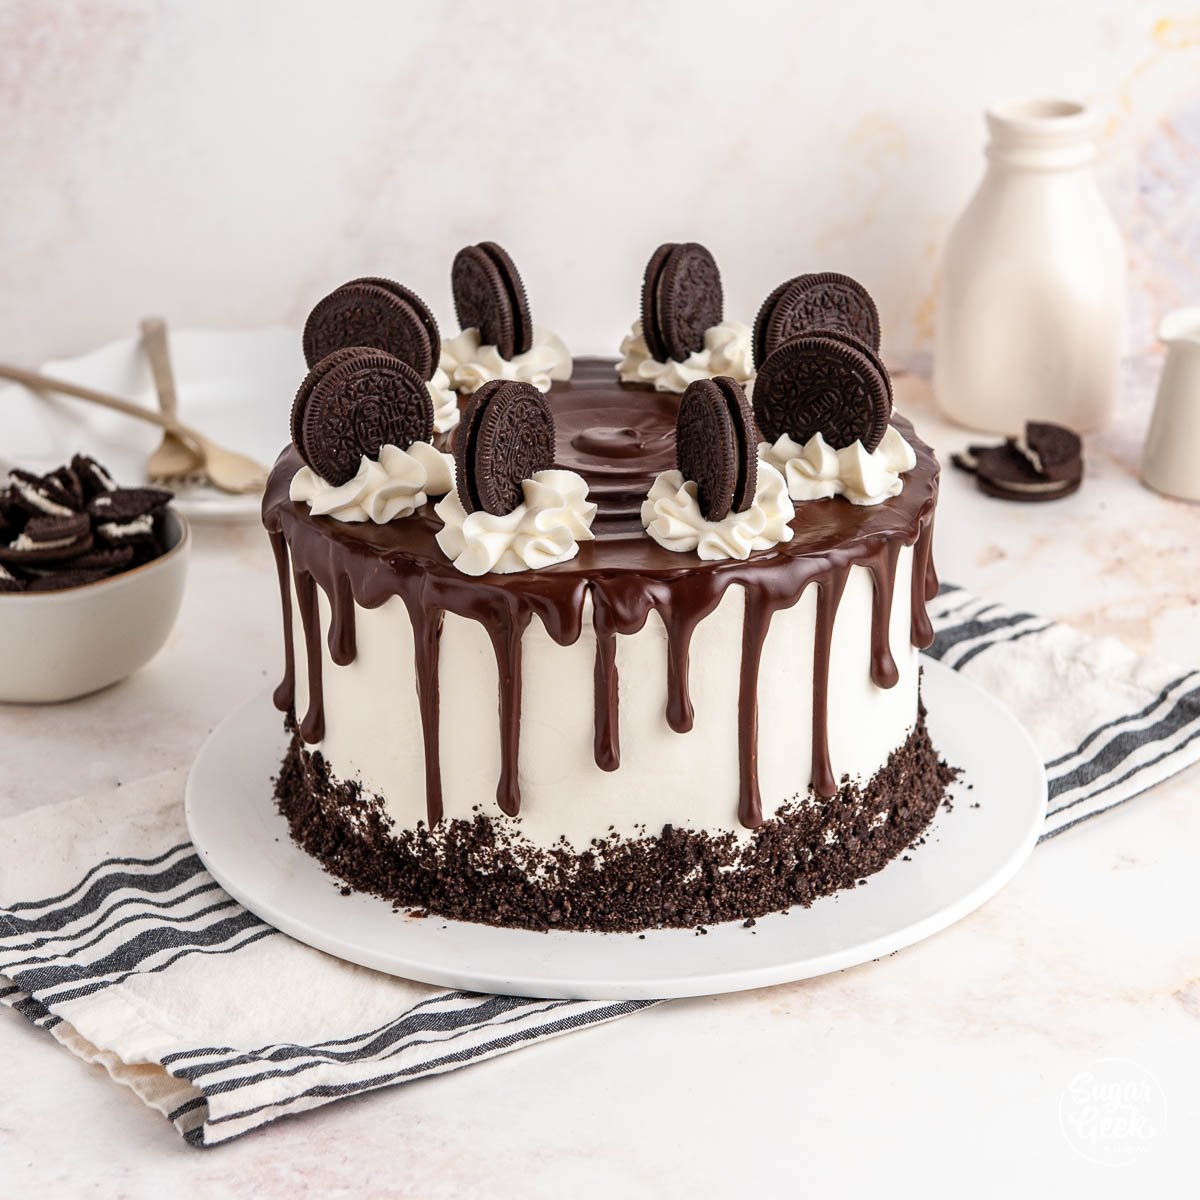
Yes! Some popular toppings include chopped pecans, crushed candy bars, Oreos, almonds, and peanuts.
If you don't have buttermilk, check out my buttermilk substitutes blog post for more info on how to use sour cream, milk and vinegar, or even lemon juice instead of buttermilk.
More Easy Recipes For Gatherings
Recipe

Classic Texas Sheet Cake Recipe
Equipment
- 13"x18" sheet pan with 2" sides
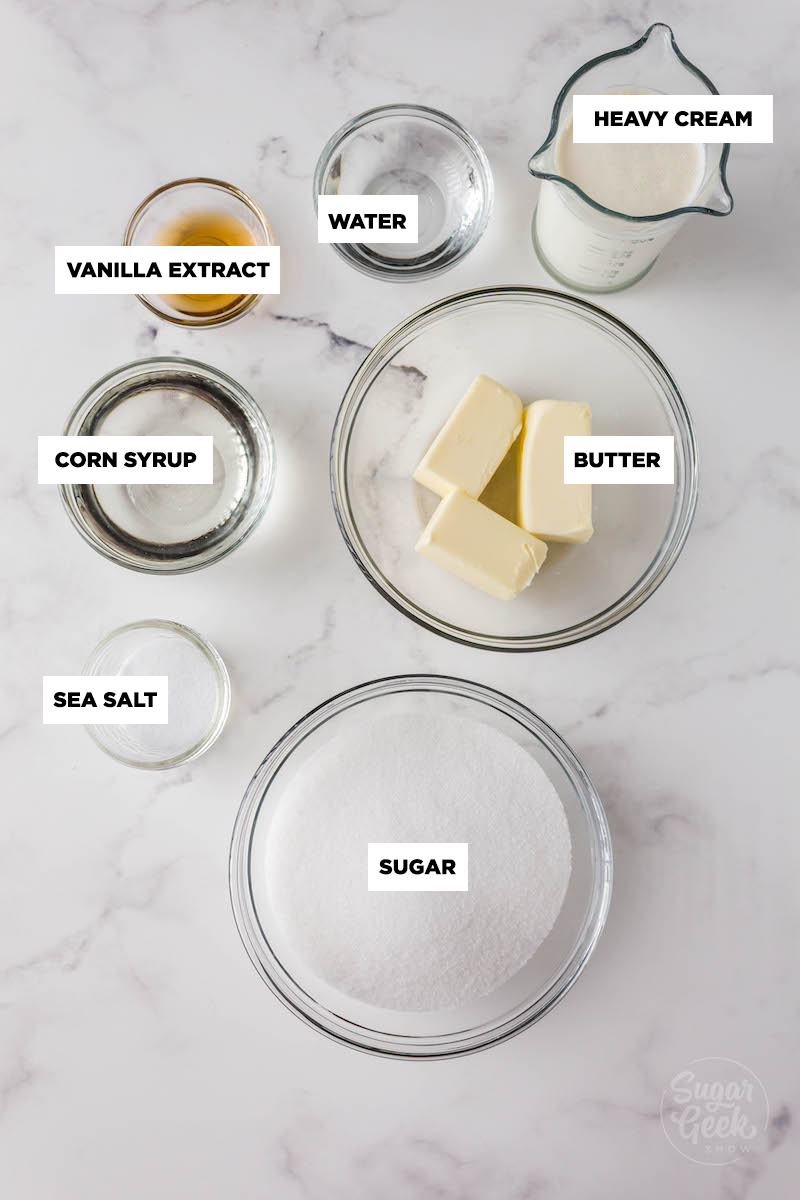
Ingredients
- 10 ounces all purpose flour
- ½ teaspoon salt
- 1 teaspoon baking soda
- 7 ounces sugar
- 7 ounces brown sugar
- ½ teaspoon cinnamon
- 1 ounce natural cocoa powder Like Hershey's
- 8 ounces unsalted butter room temperature
- 6 ounces coffee or water
- 2 large eggs
- 4 ounces buttermilk
- 1 teaspoon vanilla
Chocolate Glaze
- 4 ounces unsalted butter
- 1 ounce natural cocoa powder like Hershey's
- 2 ounces buttermilk
- 16 ounces powdered sugar
- 1 teaspoon vanilla extract
- ¼ teaspoon salt
Instructions
For The Texas Sheet Cake
- Preheat your oven to 375ºF and prepare your half sheet pan with cake goop or whatever pan release you like.
- In a large mixing bowl, combine the flour, soda, cinnamon, white and brown sugar, and set aside.
- In a separate bowl, combine the eggs, milk, and vanilla and set aside.
- In a saucepan, combine the cocoa powder, butter, and coffee over medium heat. Heat until the mixture begins to simmer, stirring ocassionally to prevent burning. Once it begins to boil, remove it from the heat.
- Add the milk mixture to the flour mixture and mix until combined.
- Add the chocolate mixture to the flour and milk mixture and mix until combined.
- Bake for 15-20 minutes or until a toothpick inserted comes out from the center with just a few sticky crumbs.
- While the cake is baking, prepare your glaze.
Texas Sheet Cake Glaze
- In a saucepan, combine the butter, cocoa, and the buttermilk. Whisk them together and bring it to a boil over medium heat. Stir occasionally to prevent burning.
- Add the sugar, salt, and vanilla to the warm mixture and whisk until smooth.
- Once the cake comes out of the oven, let it cool for 5 minutes, and then pour the chocolate glaze over the cake. The cake and frosting should both still be warm. The glaze soaks into the warm sheet cake making it super moist!
- Serve the cake directly on the sheet pan. Store leftovers at room temperature in an air tight container.