
I love making chocolate decorations! Not only are they fun to make but they are so tasty! Chocolate decorations work best if you use tempered chocolate but if you don't want to temper chocolate, you can use chocolate wafers for most projects. If you've been wanting to try your hand at some fun chocolate decorations for your cakes or desserts, you'll want to check these out!

* This post contains affiliate links, which means I get paid a few pennies if you buy from my link, but it doesn't cost you anything*
What's in this blog post
- Ingredients needed
- What's the difference between real chocolate and compound chocolate?
- What does tempering mean?
- How to temper chocolate (the easy way)
- 1. How To Make Chocolate Sphere Decorations
- 2. Chocolate Sail
- 3. Chocolate Cups
- 4. Chocolate Honeycomb decoration
- 5. Chocolate Butterfly decorations
- 6. Drippy Chocolate Dessert Bowl
Ingredients needed
For these chocolate decorations, we will be using tempered dark chocolate at 86ºF, which is the optimal working temperature. I use a chocolate thermometer and a silicone mixing bowl to temper my chocolate in the microwave. Quick and easy for these small projects!
If you don't want to temper chocolate, you can use compound chocolate. I like Guittard brand because it melts well and tastes pretty good. If you want to color your candy melts, you will have to use chocolate food coloring or you can use pre-colored candy melts like the Wilton brand. You can't use regular food coloring to color chocolate.
What's the difference between real chocolate and compound chocolate?
Real chocolate has cocoa butter and needs to be tempered before you can use it in molds or for decorations so that it has a beautiful shine and snap when you bite into it.
Compound chocolate (like Wilton candy melts), sometimes referred to as coating chocolate, does not have cocoa butter in it. It typically has a cocoa butter substitute like palm oil or wax and does not need to be tempered but suffers in taste.
The upside of using real chocolate is that the flavor is far superior, the chocolate melts in your mouth, and has a creamy texture, and when it is tempered correctly, it is very strong and has a beautiful shine. Using real chocolate is not as beginner-friendly but learning to temper is not difficult.
The upside of compound chocolate contains other fat substitutes that don't require tempering. It has a much higher melting point, is less expensive, and is more stable in warm environments. The downside is that it doesn't taste as good as real chocolate and does not contract, so you can't use it in some types of chocolate molds. It also does not melt in your mouth and leaves a kind of waxy taste in your mouth. It can be easier to use for beginners.
What does tempering mean?
As soon as you melt chocolate, it loses its temper (crystal structure). The crystal structure is what gives chocolate its shine and snap when you bite into it and makes it strong so it will hold its shape at room temperature.
Tempering chocolate means you are controlling the temperature as you heat and cool to create strong crystals that make the chocolate strong and shiny.
If you don't temper real chocolate, it will be soft, dull, and lose its shape easily.
How to temper chocolate (the easy way)
Tempering chocolate in the microwave doesn't require a thermometer, but it can definitely help! The key is LOW AND SLOW heating and constant stirring for perfectly tempered chocolate.
- Start with the right size + shape
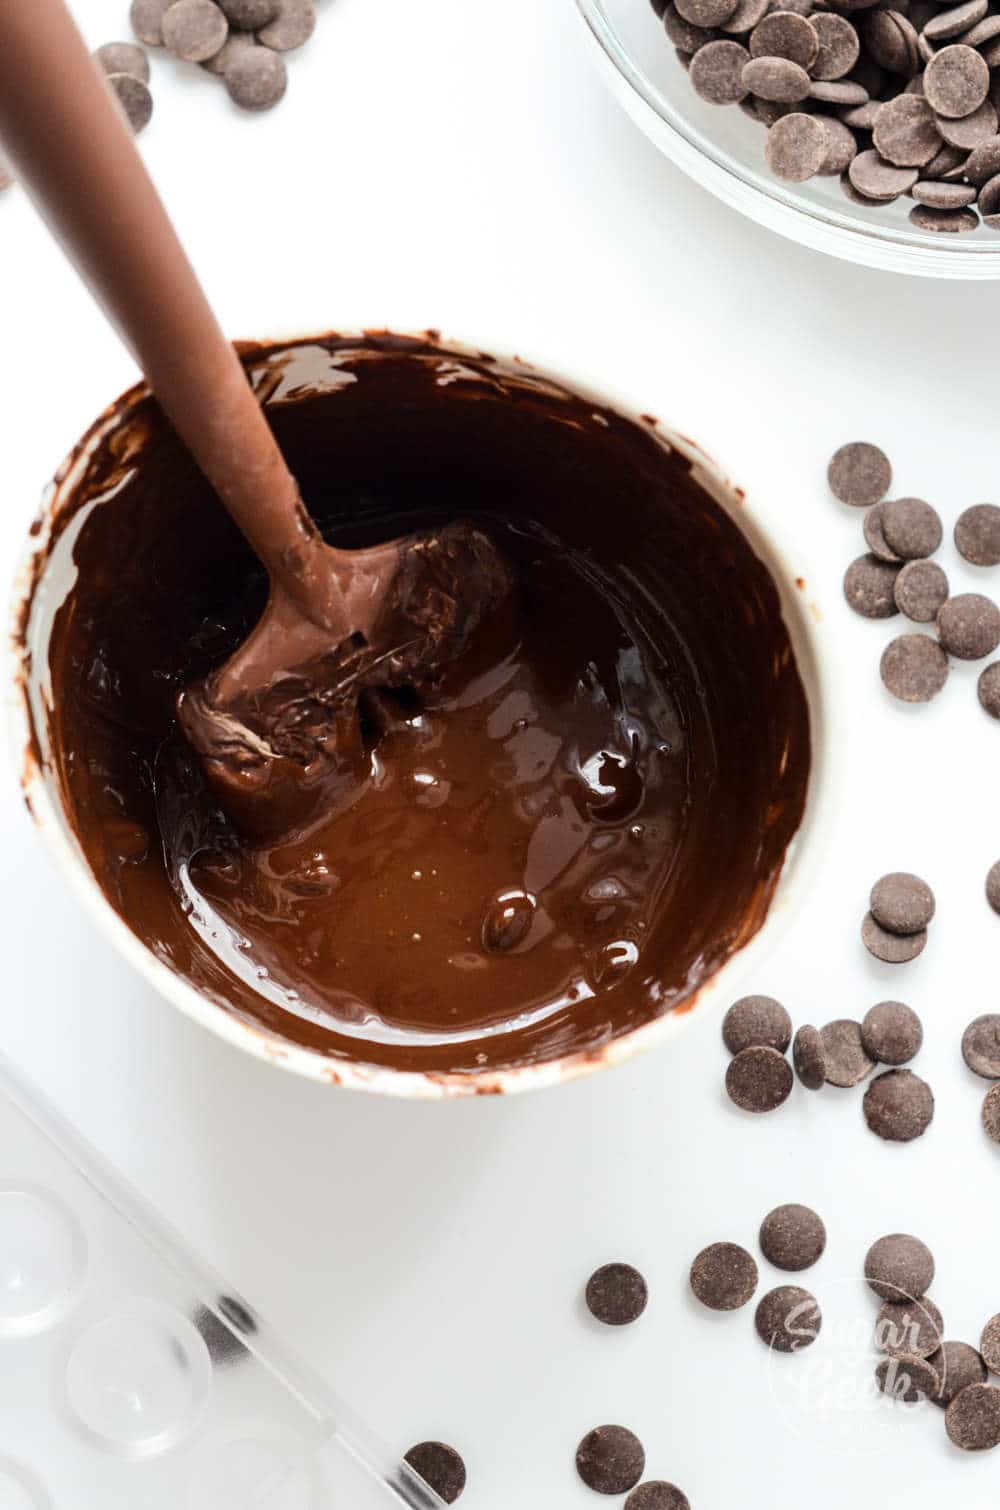
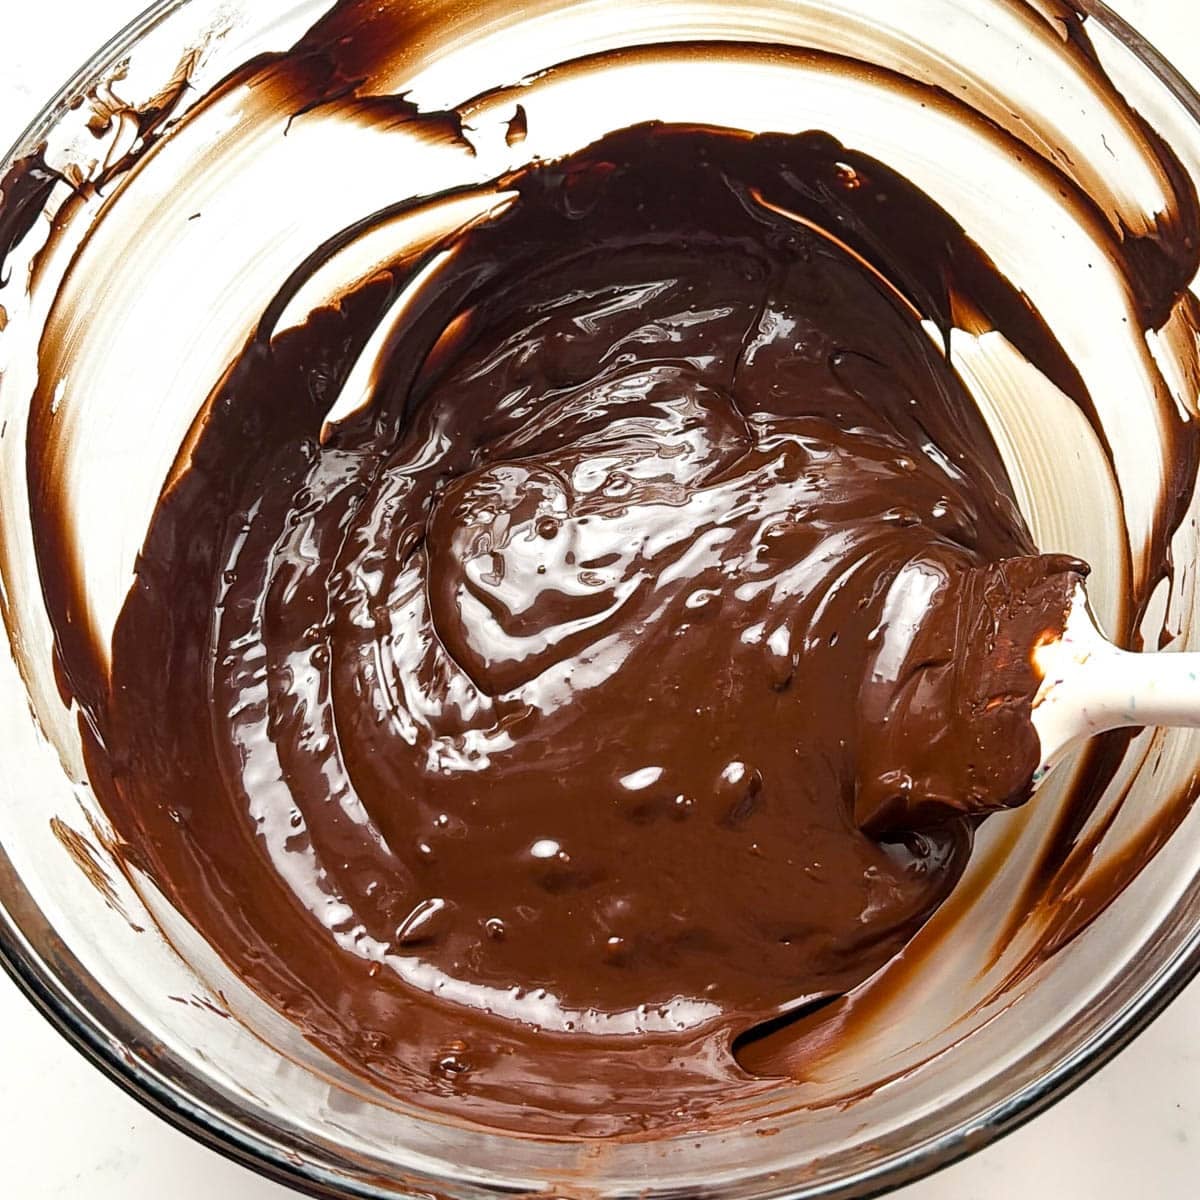
If you're using a large chocolate bar, chop it into small, even pieces so it melts evenly and doesn't overheat. If you're using chips or callets, give them a rough chop to help them melt more evenly. - Begin heating the chocolate (check below for chocolate-specific temperature limits)
Place the chocolate in a plastic or silicone bowl. Microwave on high for 30 seconds, then stir well. White chocolate will melt faster than dark chocolate. As long as you melt in very short bursts and stir between every burst, you should be ok and not accidentally overheat your chocolate.
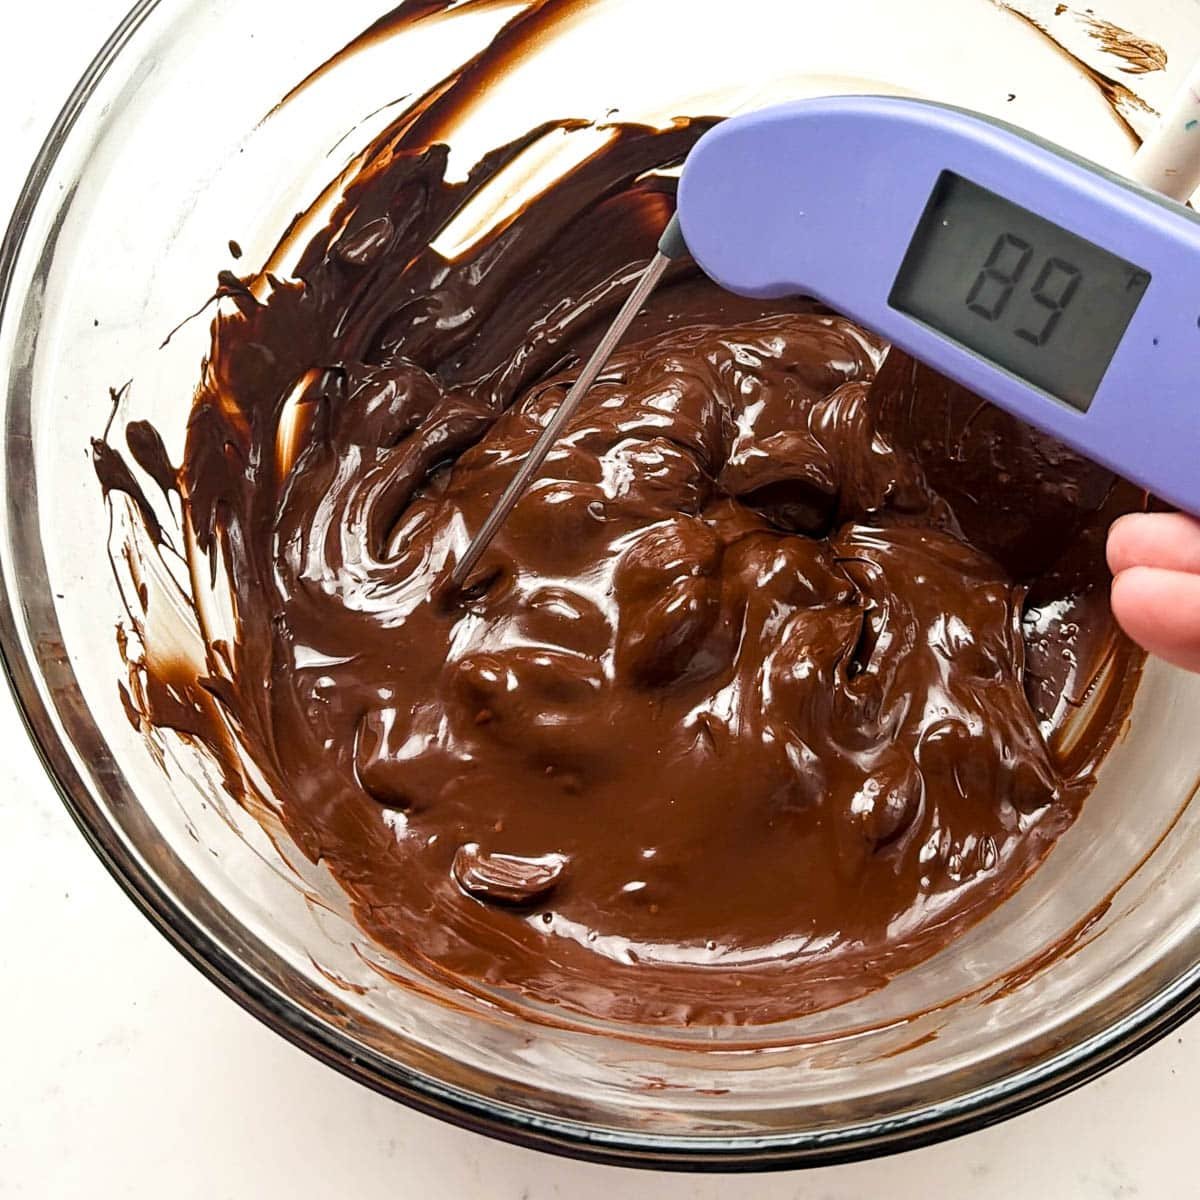
Check the temperature every time you stir and make sure you do not exceed:
90°F for dark chocolate
86°F for milk chocolate
84°F for white or colored chocolate - Continue heating in short bursts
Return the bowl to the microwave and heat in the following sequence, stirring well after each interval.
15 seconds, stir
10 seconds, stir
Continue using very short bursts only if needed. Do not rush this step. - Finish melting by stirring, not heating
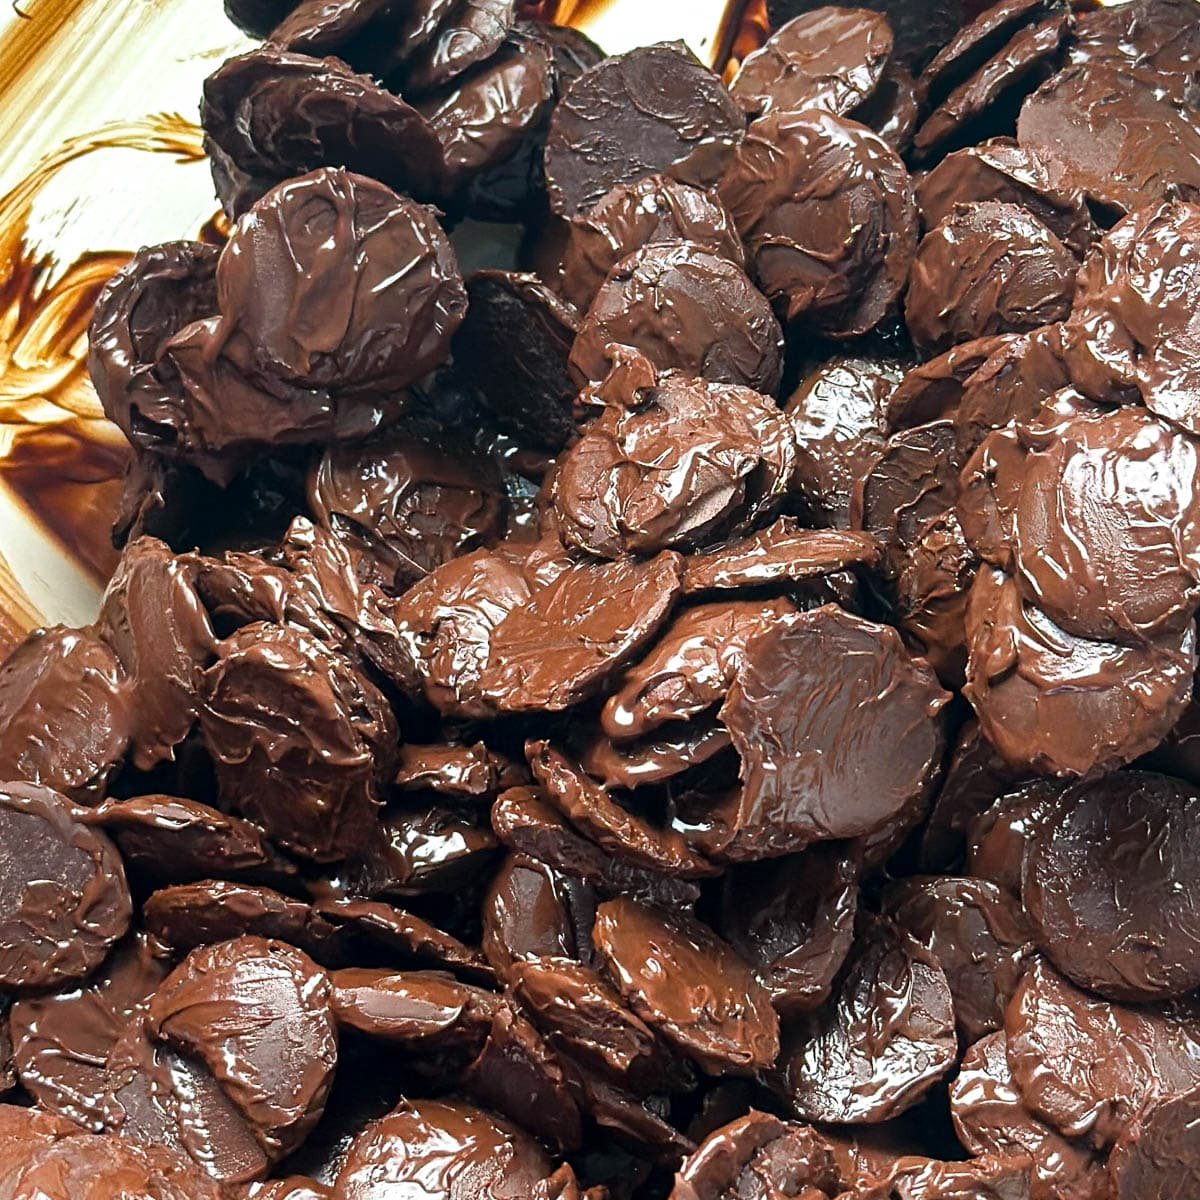
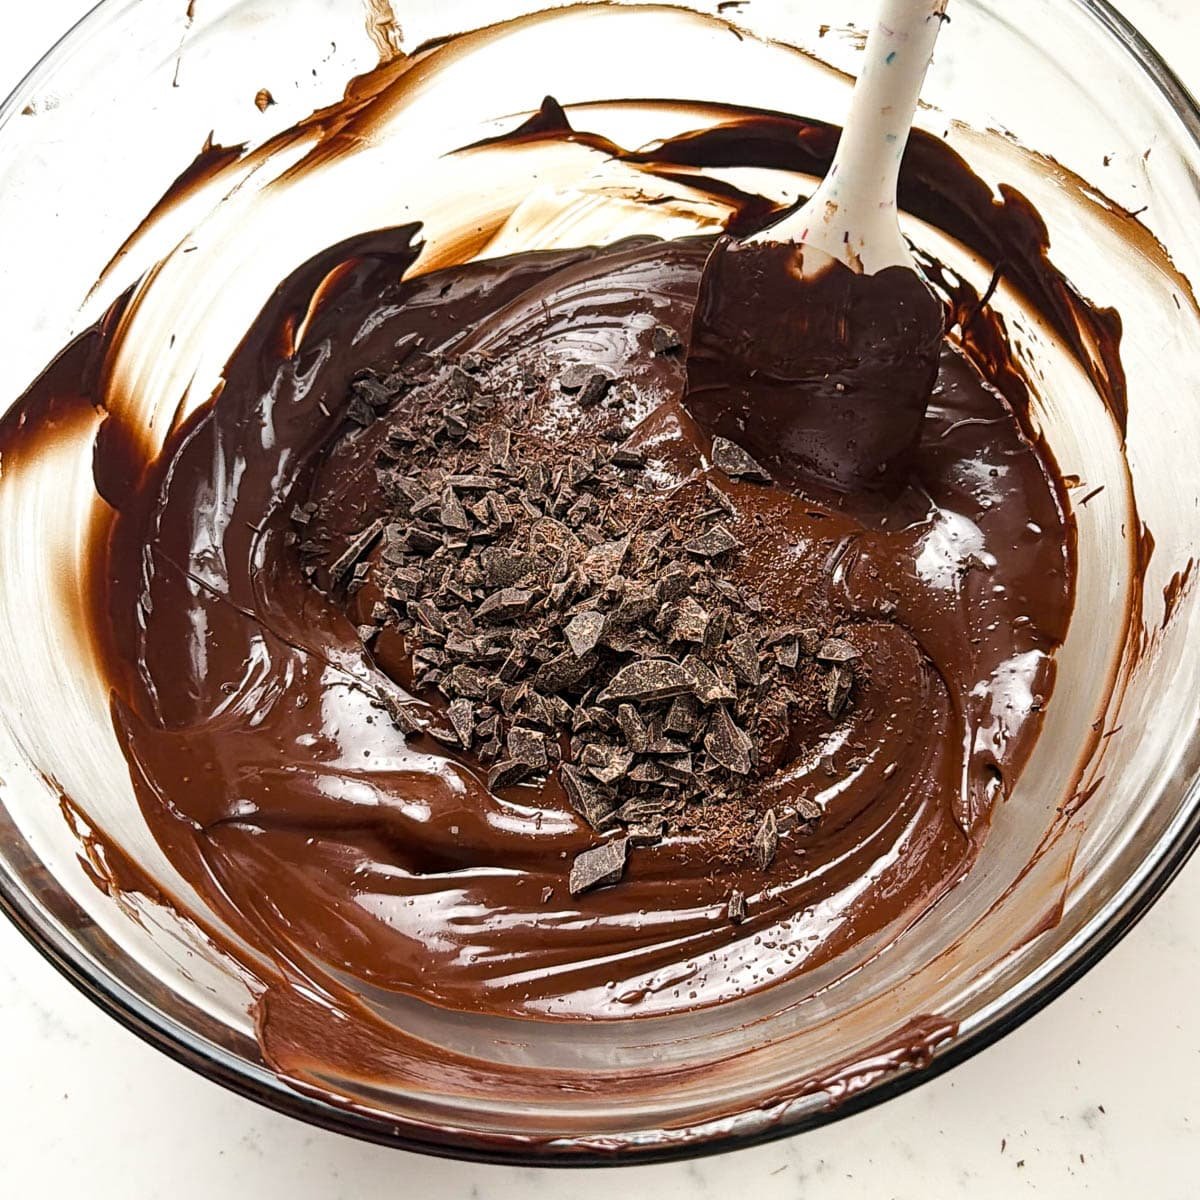
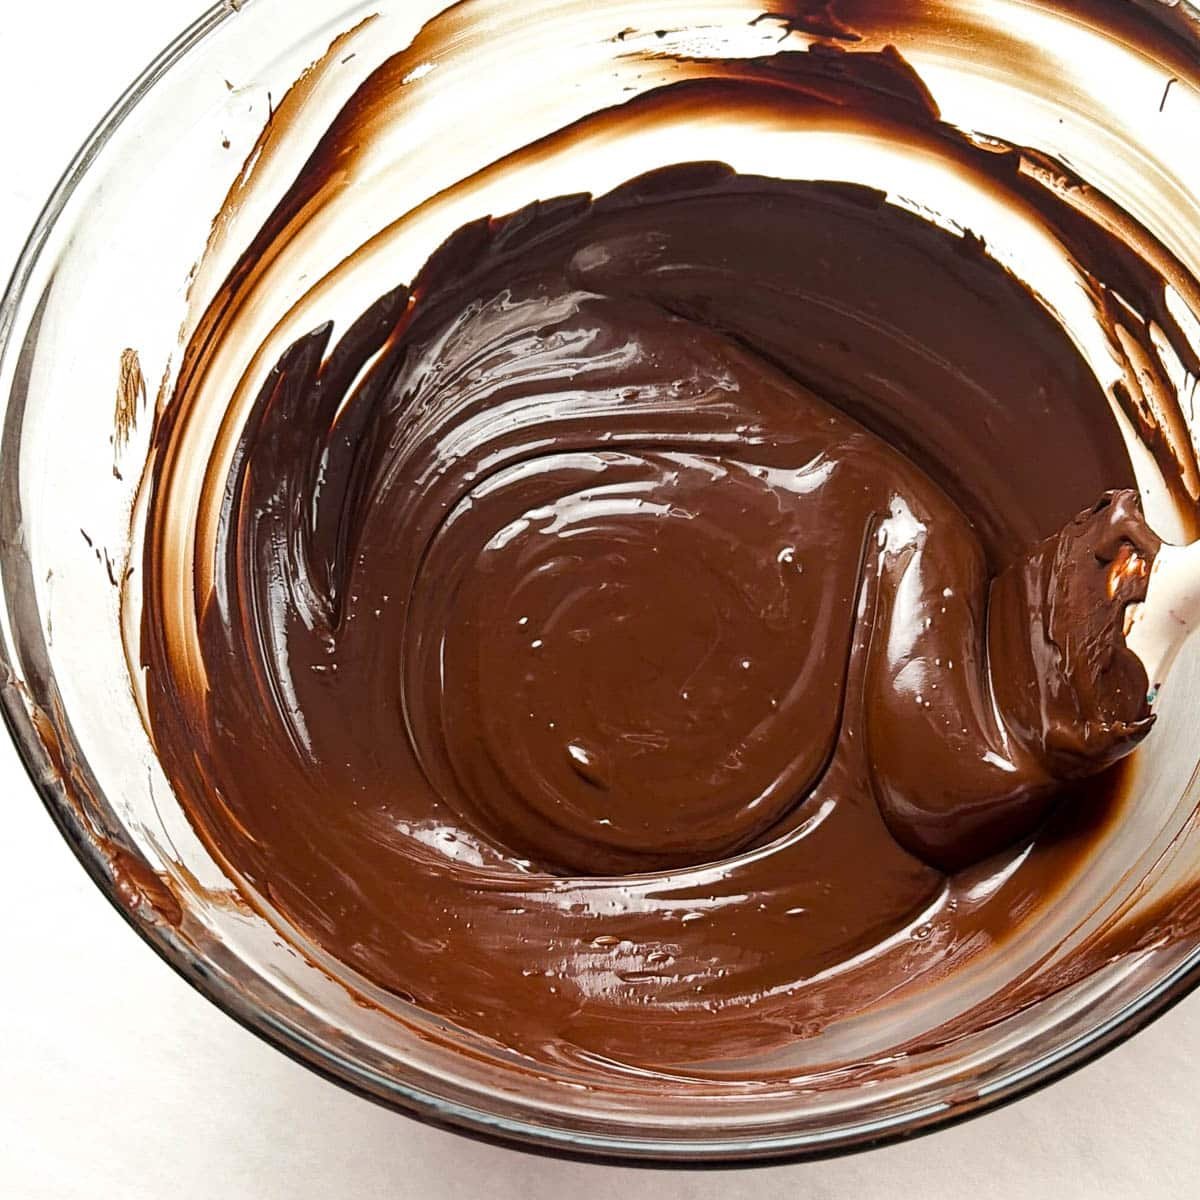
When the chocolate is 75% melted, stop microwaving. Use residual heat and constant stirring to melt the remaining pieces so you don't overshoot the temperature. The unmelted chocolate will temper the melted chocolate. If you accidentally melted the chocolate too much and you're over the max temperature for your type of chocolate (see above) then add in ¼ cup of finely chopped chocolate at 90º to seed the chocolate. - Use the chocolate immediately
Once the chocolate is fully melted and still under the correct temperature, it is tempered and ready for molding, dipping, decorating, or drizzling. - Test the temper
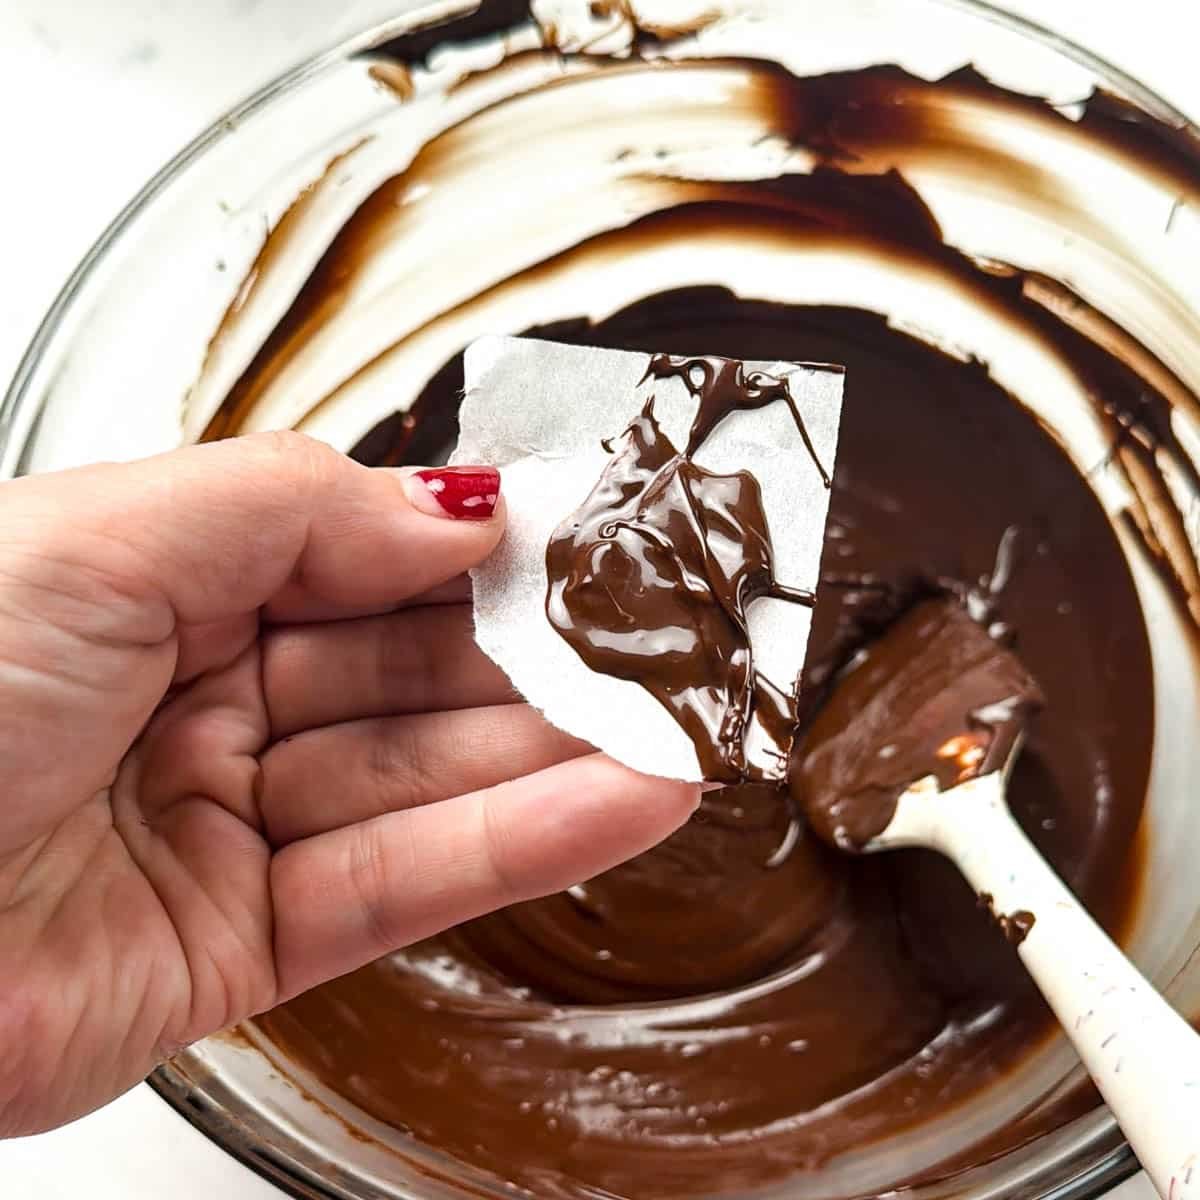
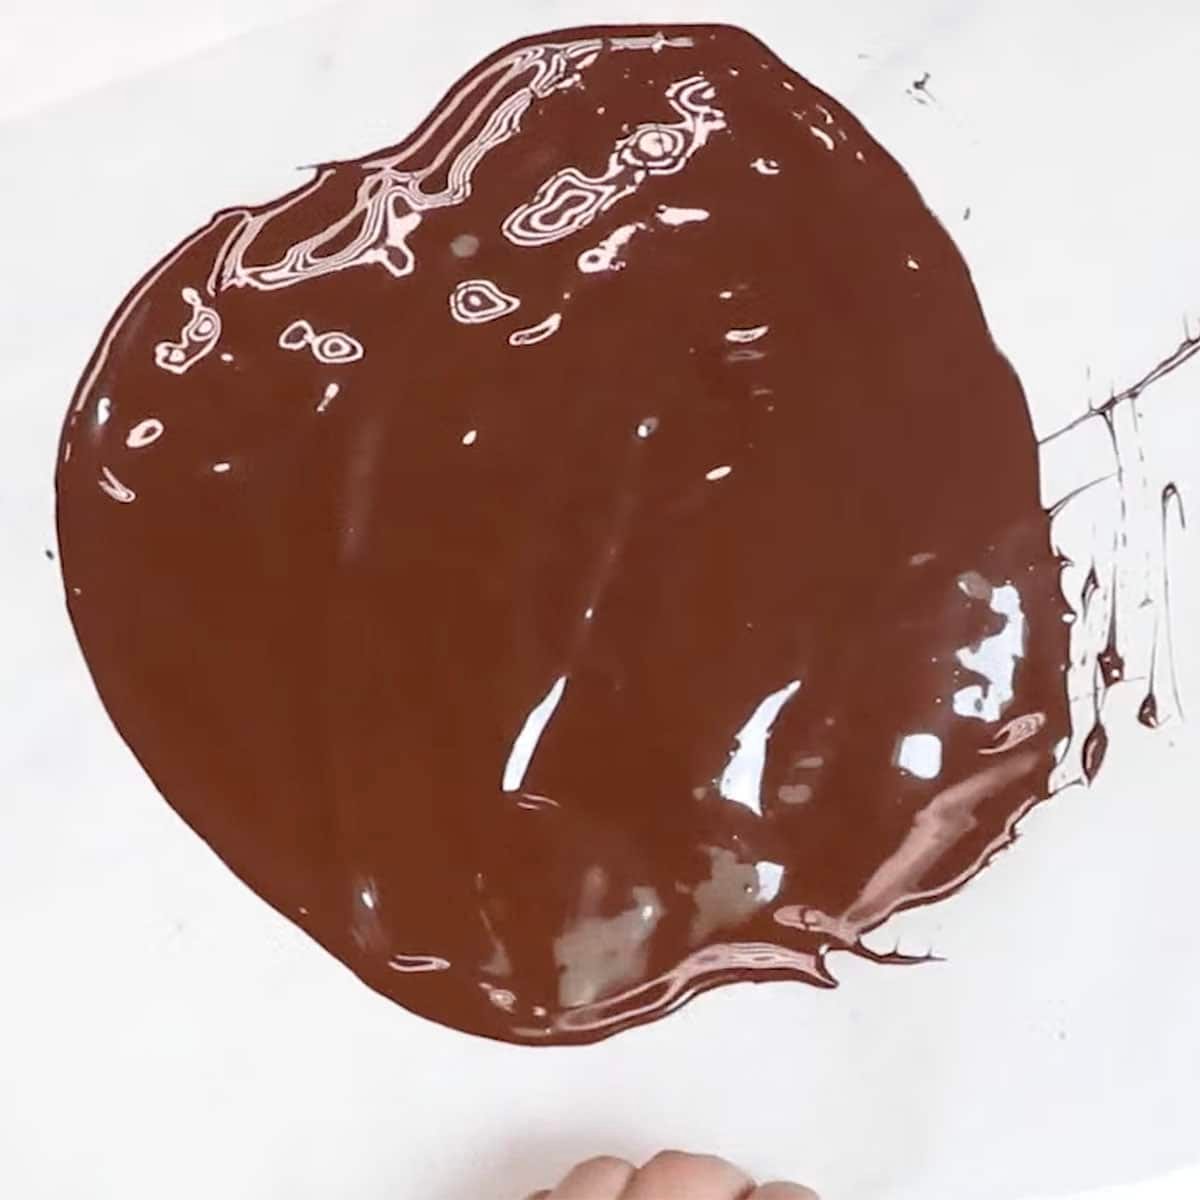
Spread a small smear of chocolate onto a piece of parchment paper. Place the parchment in the refrigerator for about 5 minutes, or until the chocolate is set. Break the chocolate. Properly tempered chocolate will be shiny and snap cleanly. If it bends, looks dull, or has streaks, it is not in temper. - Re-warm as needed
Put the bowl back in the microwave and heat in 5-10 second increments if your chocolate starts to get hard to keep it at a working temperature.
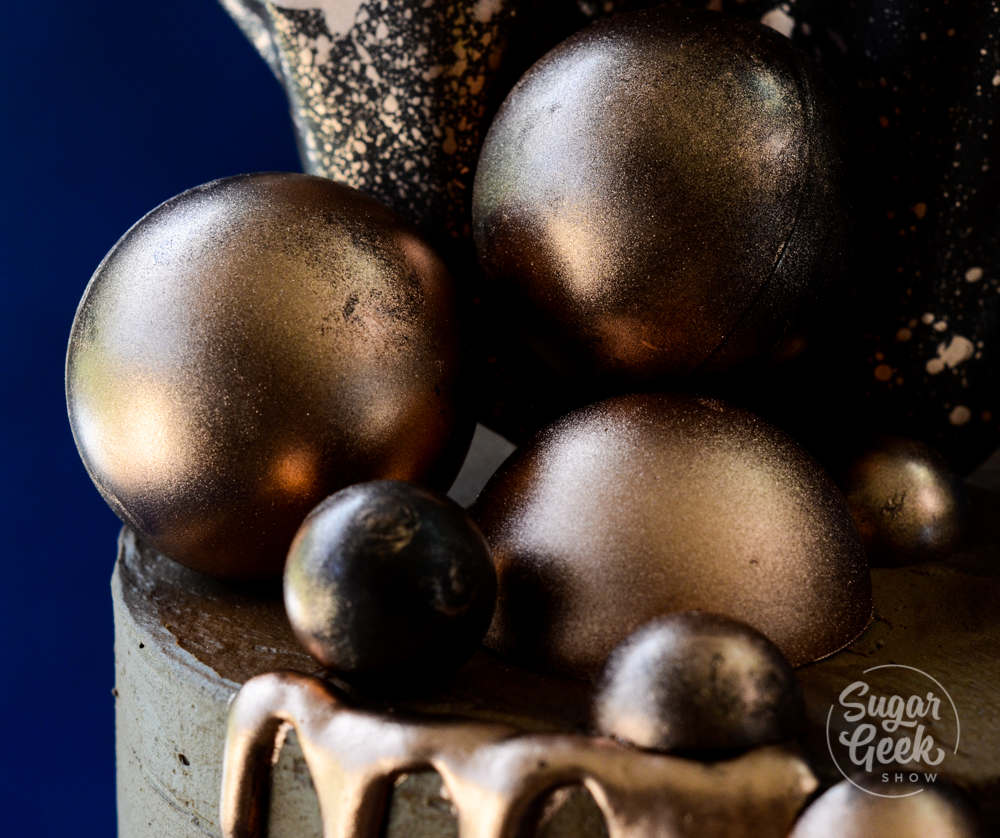
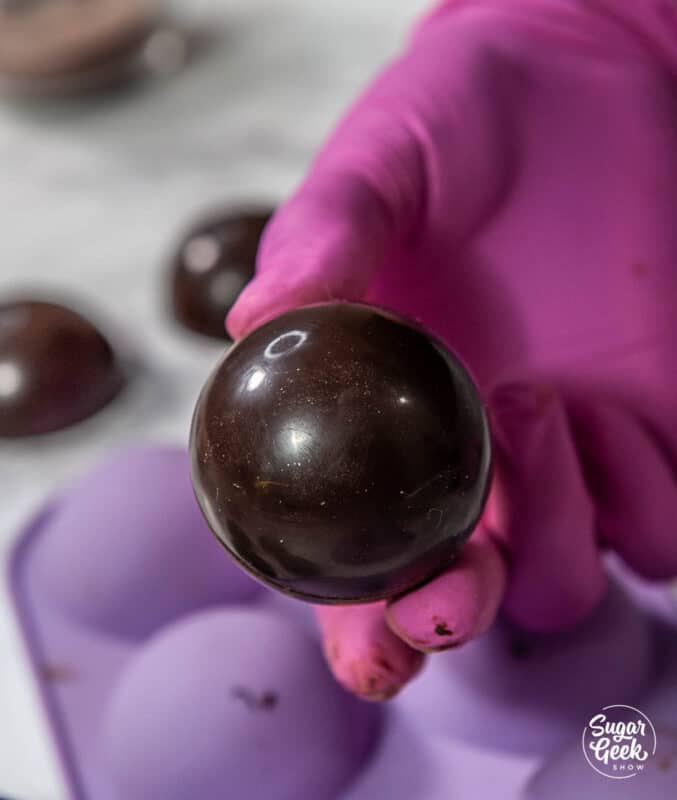
1. How To Make Chocolate Sphere Decorations
Cakes with chocolate spheres are everywhere right now. From colored swirls resembling planets to shiny metallics atop modern designs. Making a chocolate sphere can be a super impressive topper.
To make chocolate spheres, you are going to need some tempered chocolate and a polycarbonate sphere mold or a silicone sphere mold. This is the same technique I use to make my hot chocolate bombs!
If you don't want to bother with tempering chocolate, you can use melting wafers and a silicone sphere mold. The melting wafers won't release from the polycarbonate mold. The reason I like using the polycarbonate mold is that the spheres are very shiny. These are the common tools and materials I use for chocolate spheres.
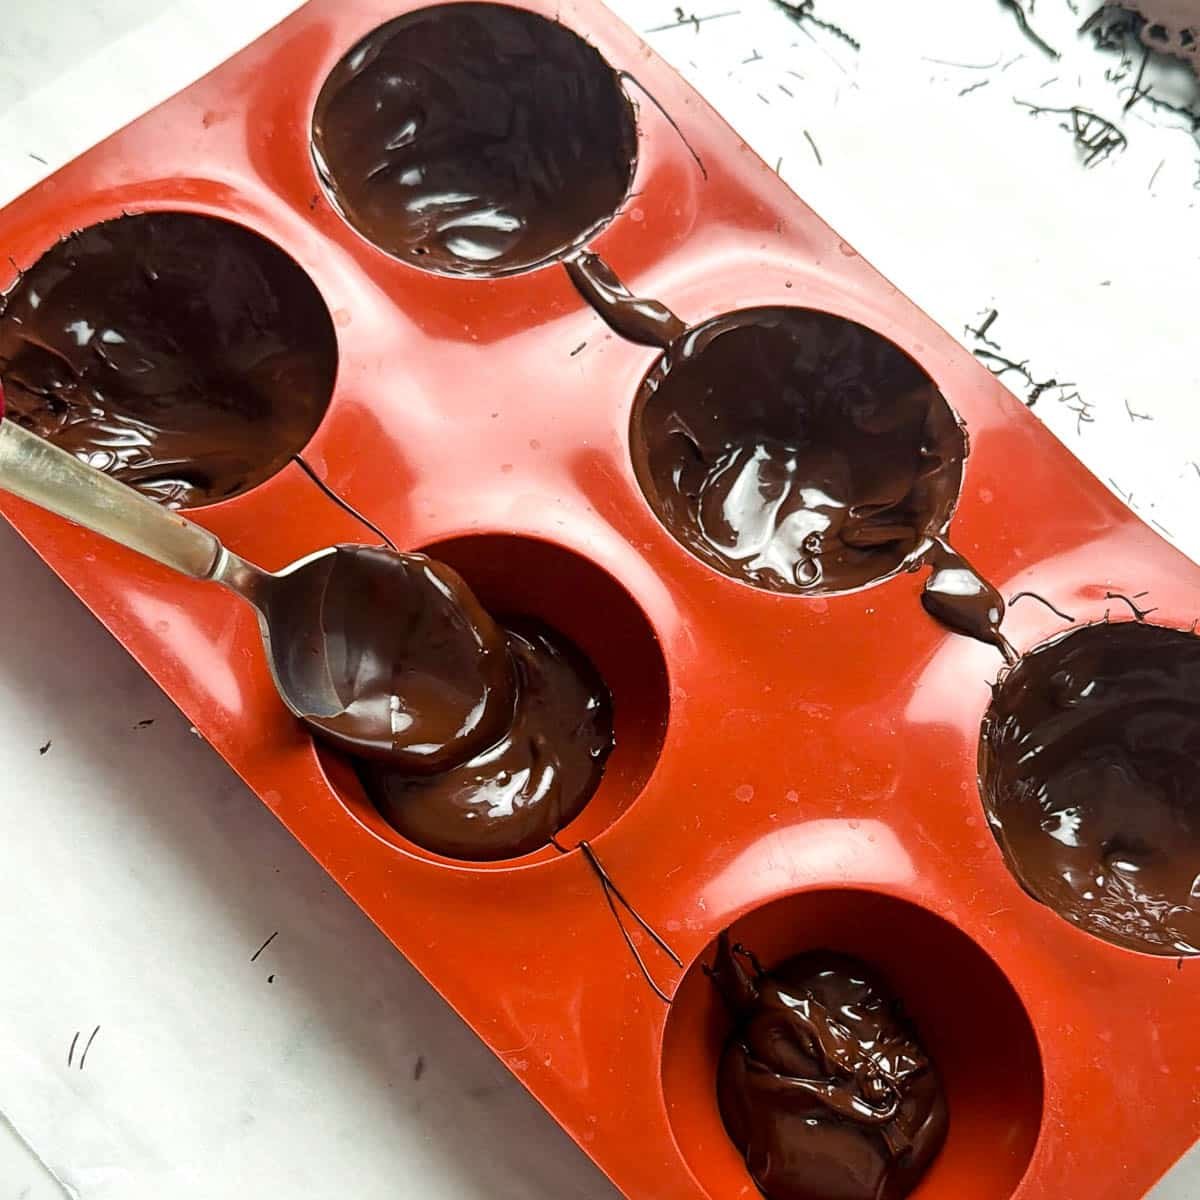
- Pour your tempered chocolate into your sphere mold at 86ºF and scrape off the excess chocolate with a bench scraper
- Tap the side of the mold to remove any air bubbles.
- After 30 seconds, pour the chocolate out of the molds, tapping with your bench scraper to make the shells thin.
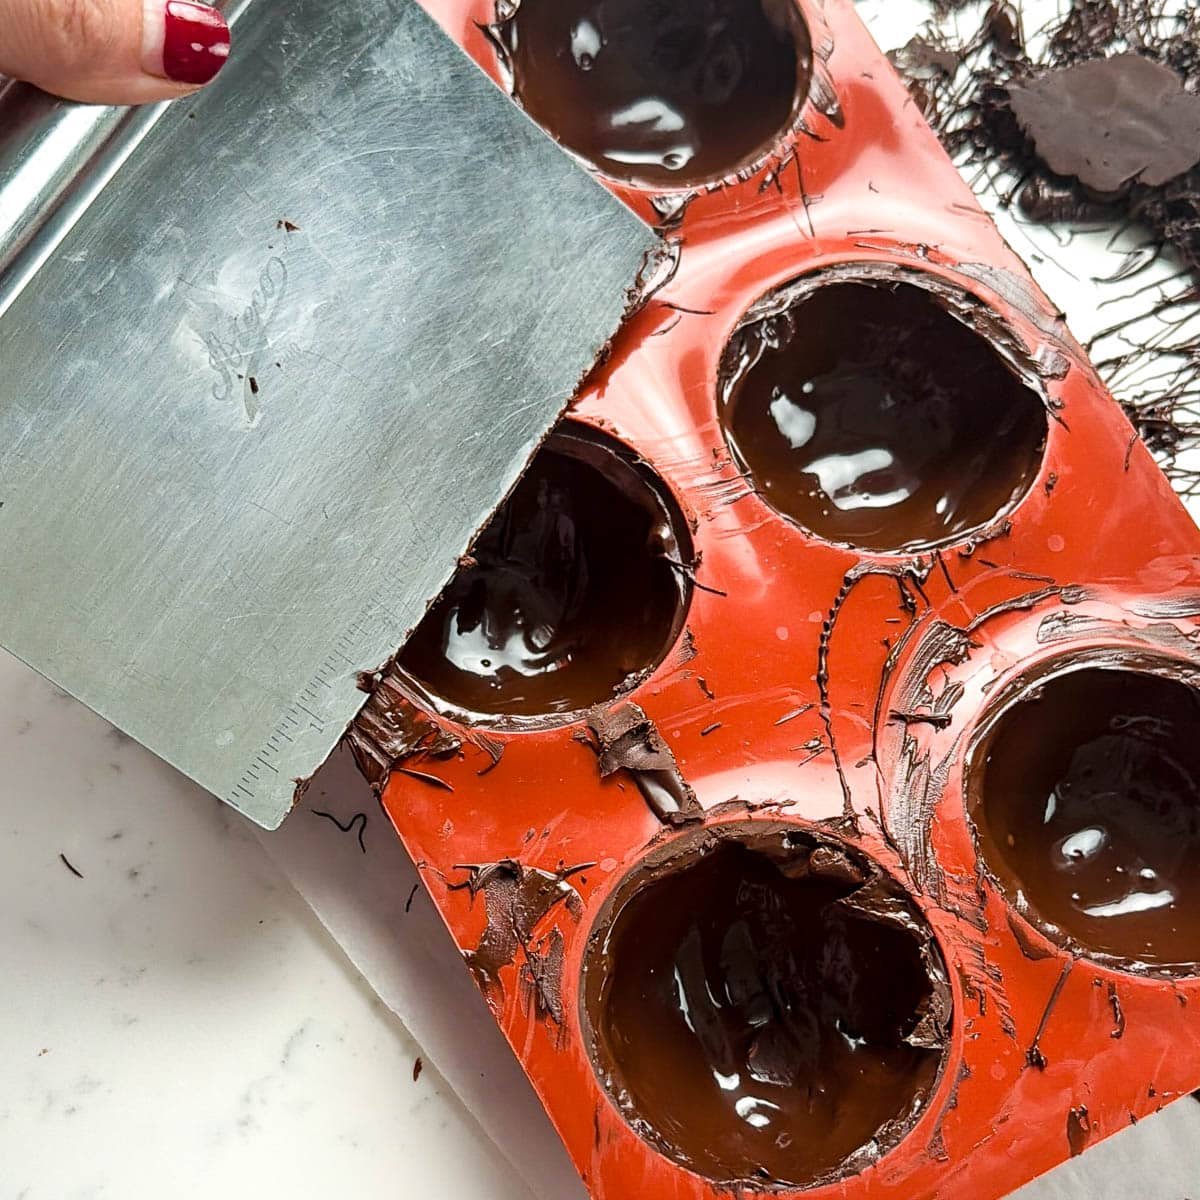
- Place the mold upside down on a piece of parchment paper for 10-15 minutes until the chocolate is not liquid but not fully set.
- Scrape off the excess chocolate to make a clean edge on the spheres.
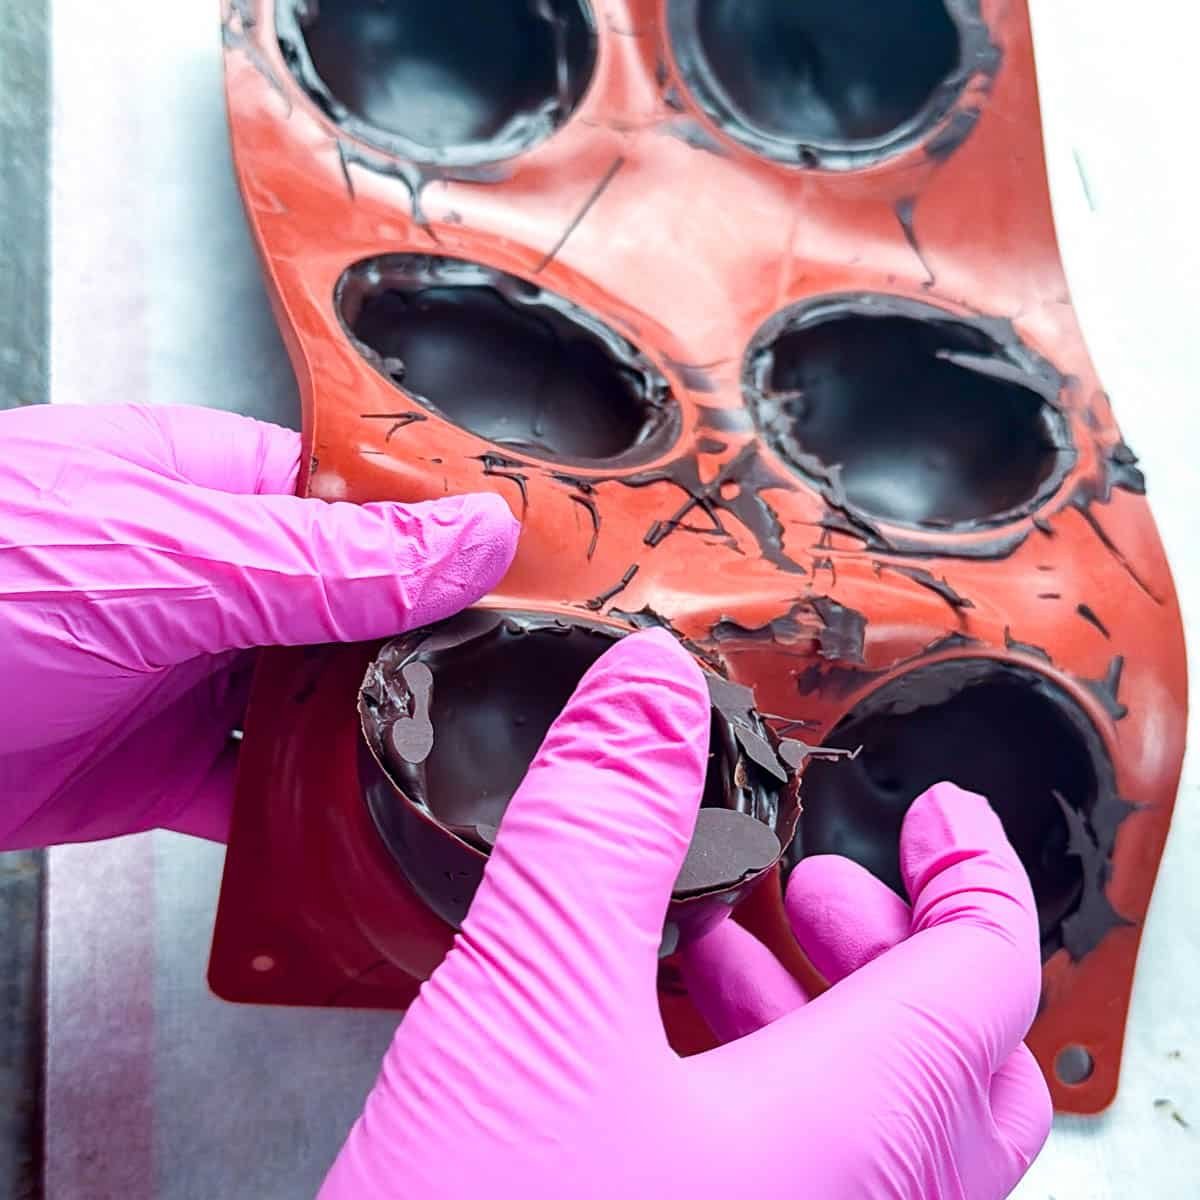
- Place the chocolates into the fridge for 10 minutes or until the chocolate release from the mold easily. Do not freeze or you can cause condensation stains to appear on the chocolate.
- Remove the spheres from the mold.
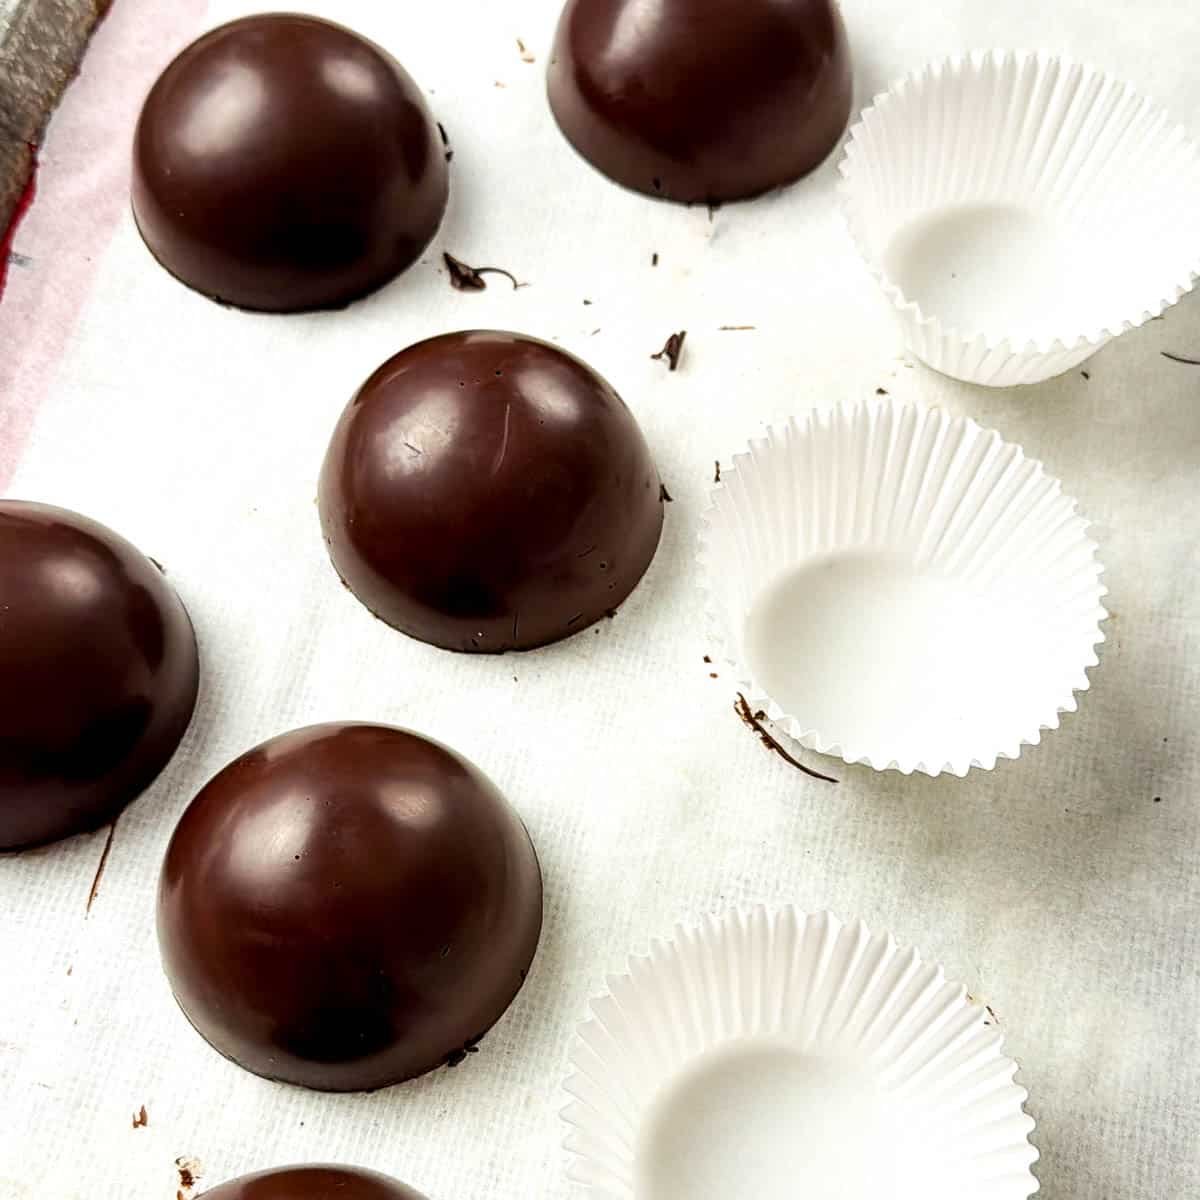
- Melt the edges of each sphere slightly on a hot sheet pan or hot plate and then press together with gloved hands.
- Wipe away any excess chocolate and allow to fully set.
- You can now paint your spheres or use them as is.
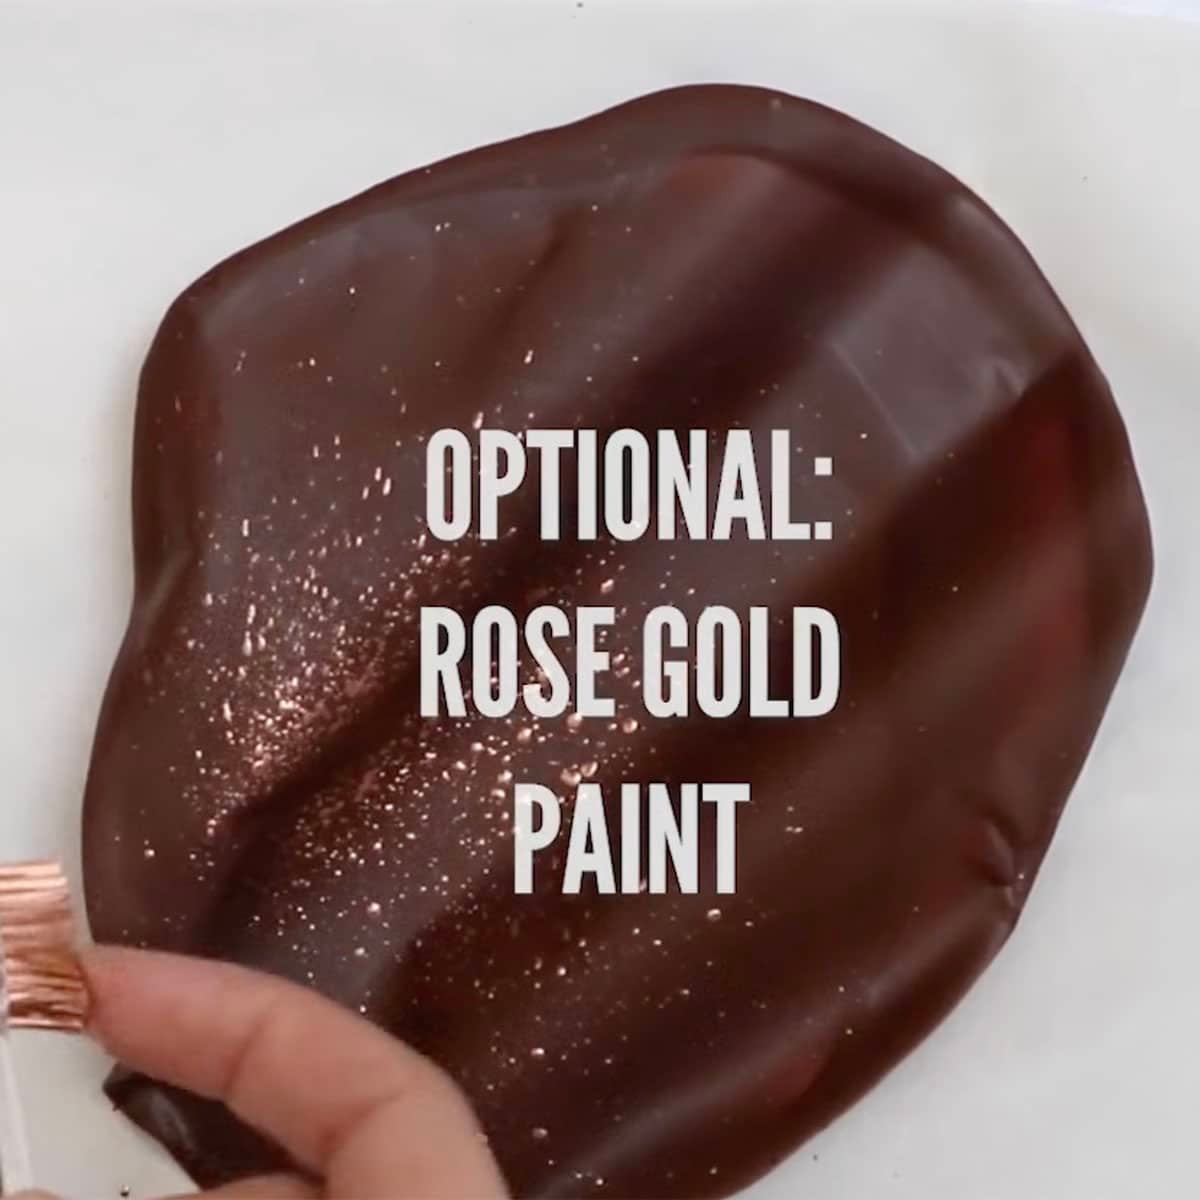
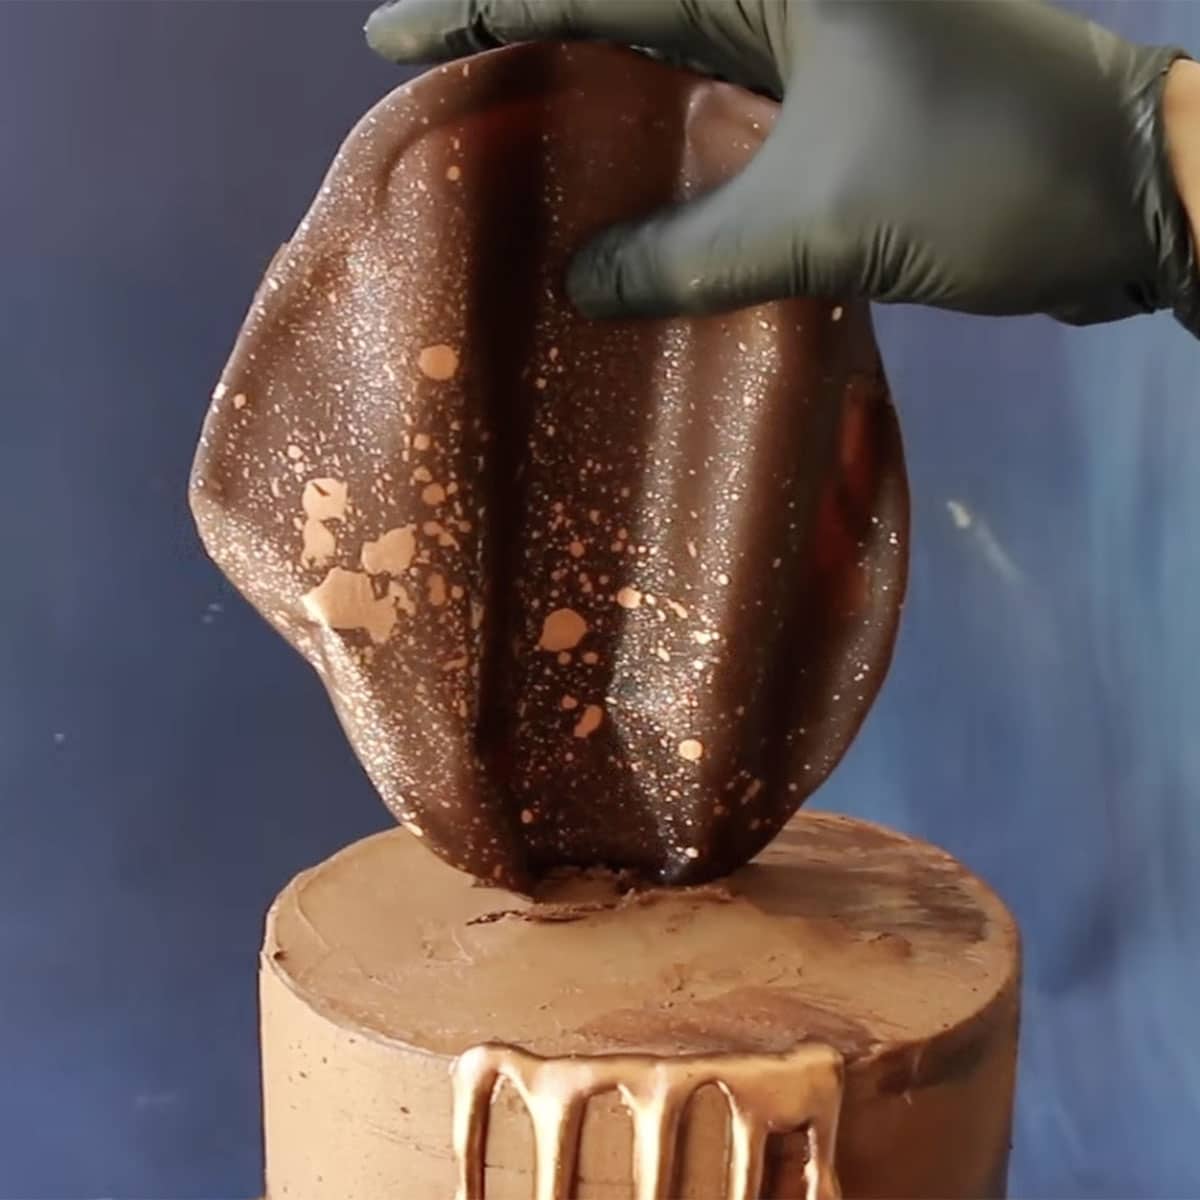
2. Chocolate Sail
Chocolate sails make a really stunning showpiece at the top of your cakes! All you need is tempered chocolate, a piece of parchment paper, and some clothespins or clips of some sort. This works with tempered chocolate or compound chocolate.

- Spread a thin layer of tempered chocolate (86ºF) or candy melts onto a piece of parchment paper.
- Gather the edges at one side of the parchment paper and clip to secure
- Place parchment in the fridge for 10 minutes until set
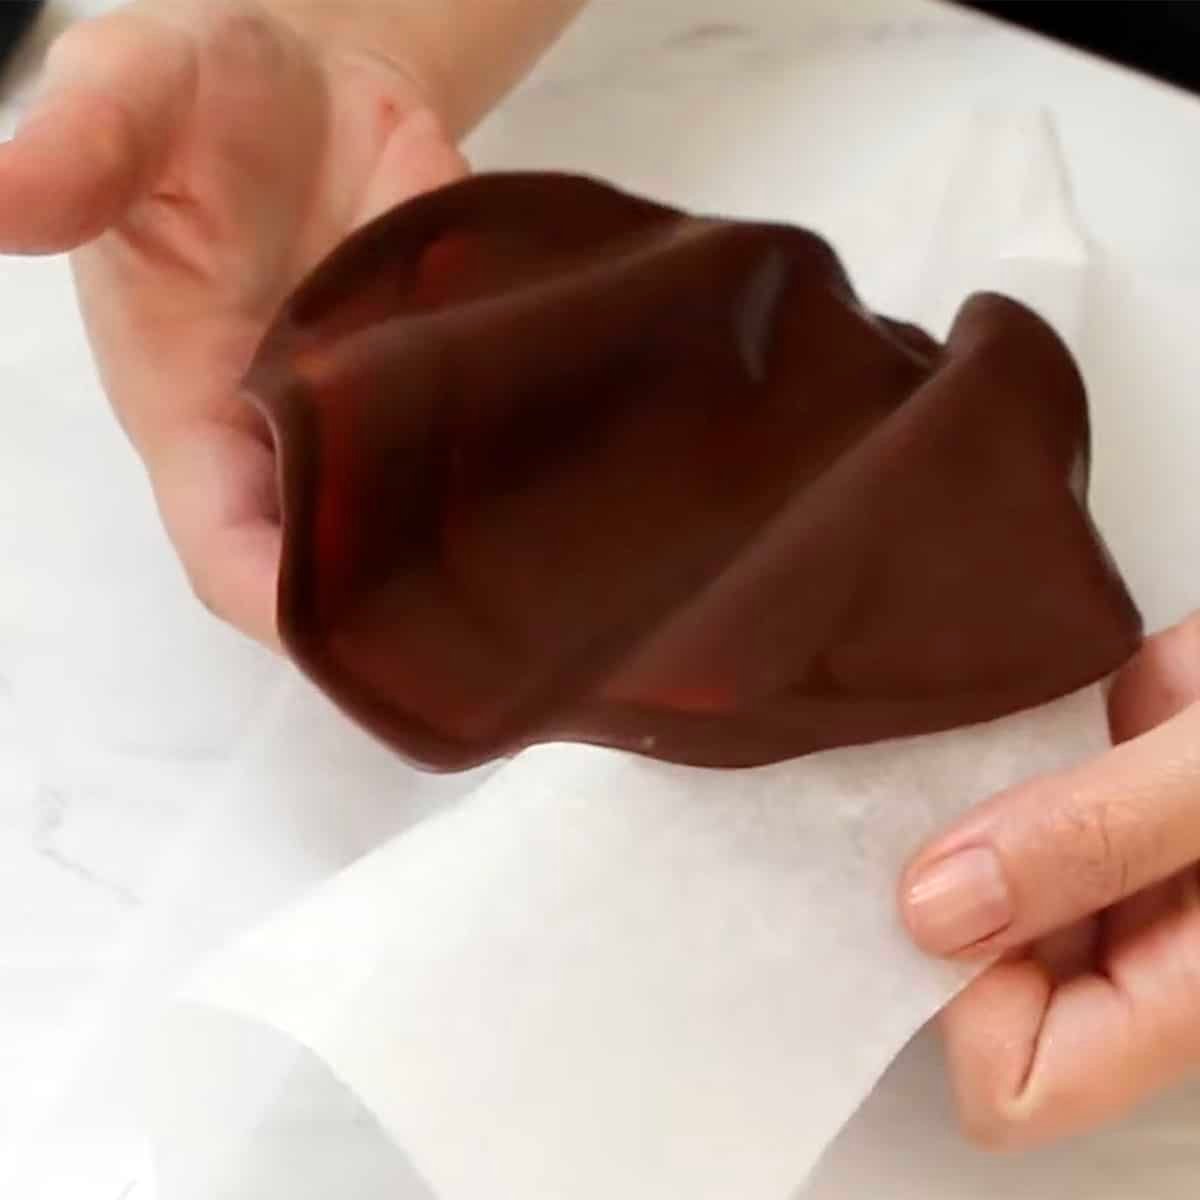
- Remove the parchment from the back of the chocolate carefully
- Clean up the edges of the chocolate if they are rough with a knife
- Now your sail is ready to place on top of your cake!
- I added some simple metallic splatters to my sail using TMP copper and a bit of Everclear.
- Place into the buttercream of your cake.
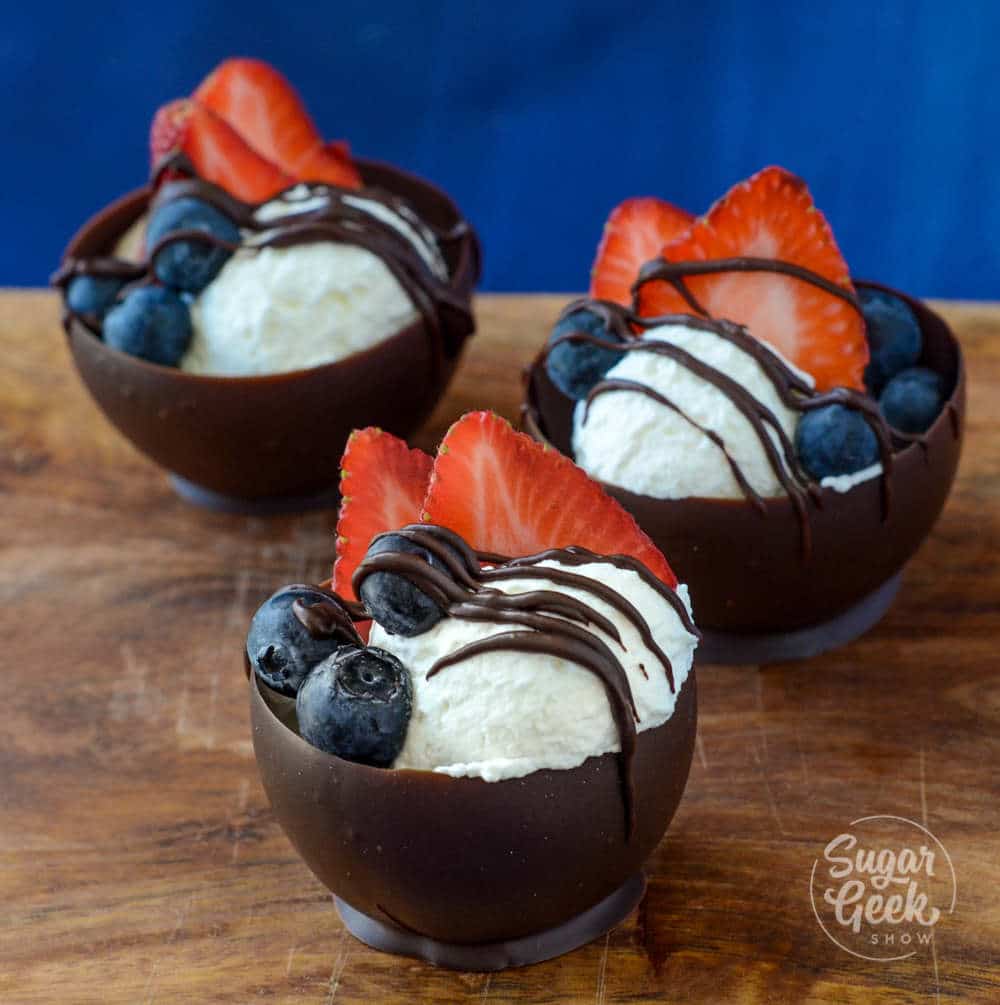
3. Chocolate Cups
I first learned to make these chocolate cups in pastry school and loved how they turned out! They are a fun way to serve up some chocolate mousse, ice cream or other mini desserts. All you need are some water balloons, parchment paper, and tempered chocolate or candy melts. You don't want to use regular balloons; they are too big, and the chocolate does not release well from them. These small water bomb balloons work really well because they are the perfect shape.
- Blow up your water balloons and tie the ends to secure them.
- Place a piece of parchment paper on a cookie sheet to place your cups onto.
- Pour your tempered chocolate into a large bowl. The temperature should be 86ºF
- Dip your balloon into the chocolate and then onto the parchment paper.
- Once you have all your balloons dipped, place the pan into the fridge for 10 minutes or until the chocolate has set.
- Pop the balloons with a pin and let the balloon pull away from the chocolate naturally.
- Peel off the balloon, and now your cups are ready to fill with delicious treats!
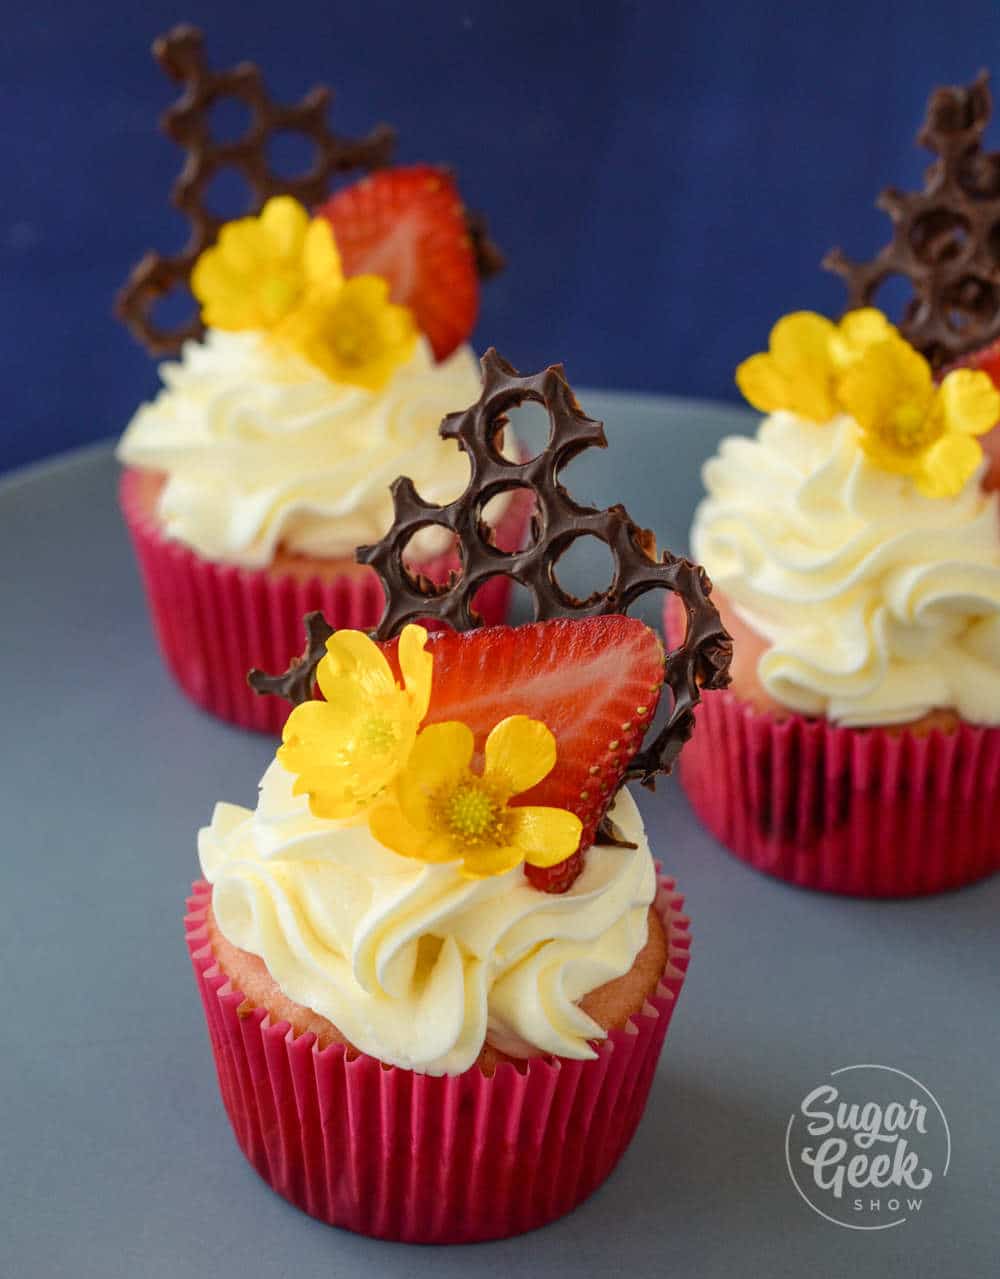
4. Chocolate Honeycomb decoration
I love how these honeycomb chocolate decorations look on top of cupcakes! All you need is some bubble wrap (washed) and some tempered chocolate or melted candy melts.
- Spread some tempered chocolate (86ºF) or melted candy melts onto your bubble wrap.
- Smooth the chocolate out. The thinner you spread it, the more holes that will be visible.
- Shake the bubble wrap to make the chocolate settle and smooth out.
- Place the bubble wrap into the fridge for 10 minutes until set.
- Turn your chocolate upside down and gently pull off the bubble wrap.
- Now you can break up your honeycomb into pieces and decorate your desserts!
[optin-monster slug="kggswsvzqcbqjcqfyoir"]
5. Chocolate Butterfly decorations
Chocolate butterfly decorations are SO impressive looking on top of your desserts! You can even color the insides with more colored melted chocolate after the outline has set. All you need is my free chocolate butterfly template, some acetate or parchment paper, a piping bag, and a thick book. You can also use this technique with all kinds of decorations. Print out a cool design, put it under your parchment paper, trace, cool, and done!
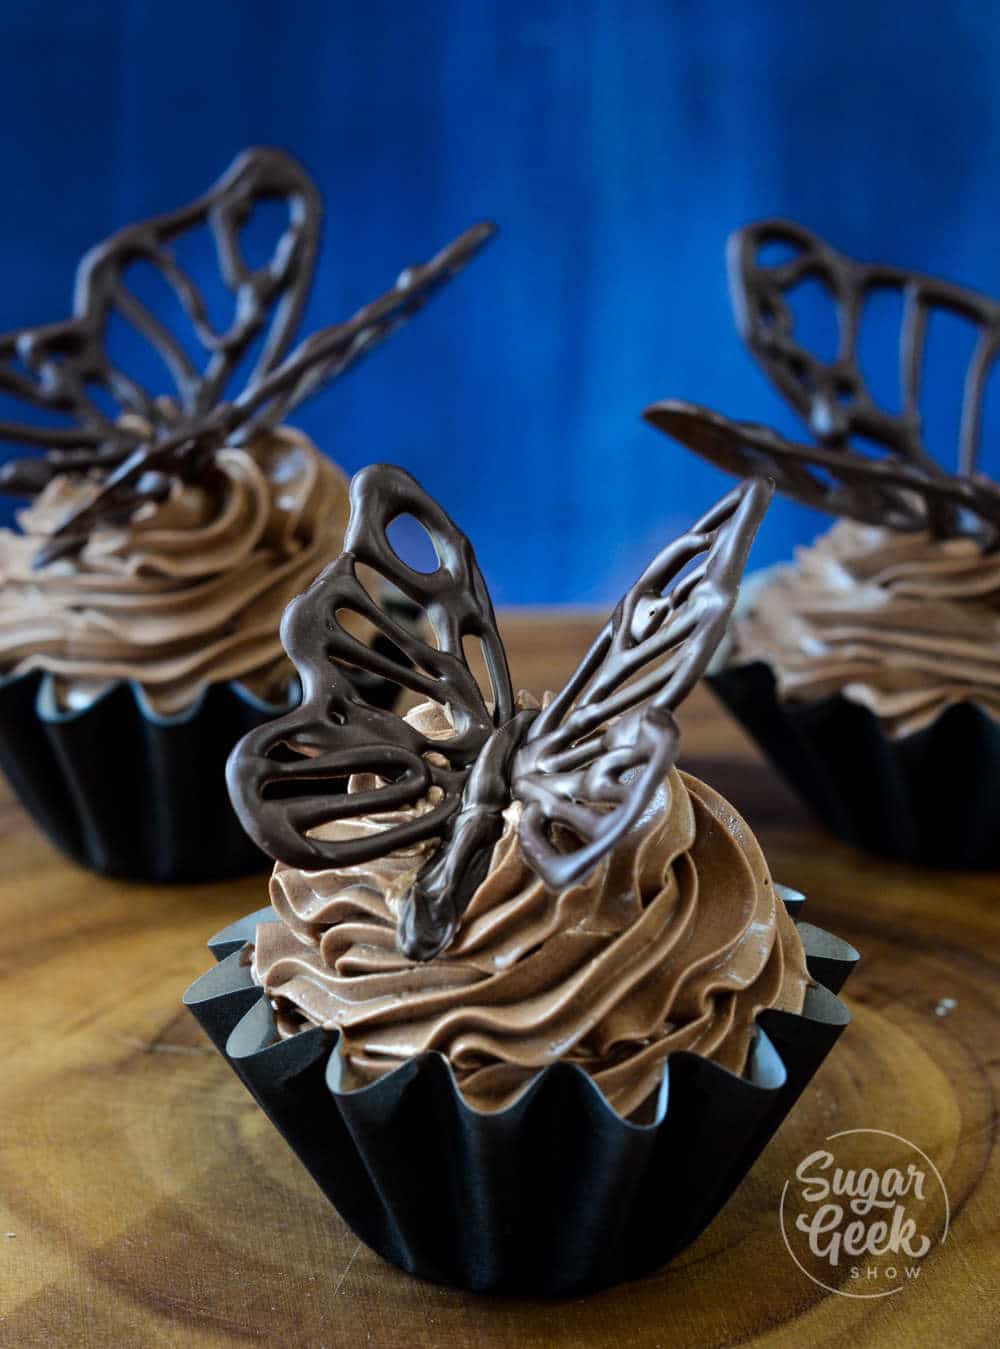
- Place some of your tempered chocolate (86ºF) into a piping bag. Cut the tip of the bag off. Not too big, about the width of a toothpick.
- Print out your butterfly template and place your parchment paper or your acetate over the top. I taped mine down onto a cookie sheet keep it from wiggling around and to make it easy to pick up.
- Trace the outline of the wings (not the body) with your chocolate.
- Place the chocolate in the fridge for 10 minutes to let it set up.
- Once your wings are set, carefully remove the wings from the acetate. Fold the acetate in half and place in the middle of a thick book (see video for demo).
- Place the wings on either side of the crease and pipe some more chocolate in between the wings to be the body.
- Chill once again until the chocolate is set.
- Your butterflies are now ready to be placed on cupcakes or a cake!
6. Drippy Chocolate Dessert Bowl
This drippy chocolate bowl decoration is a great centerpiece for a dessert table. Fill the inside with heaps of whipped cream and fruit or ice cream and cake! Share the dessert and in the end, you can eat the bowl too!
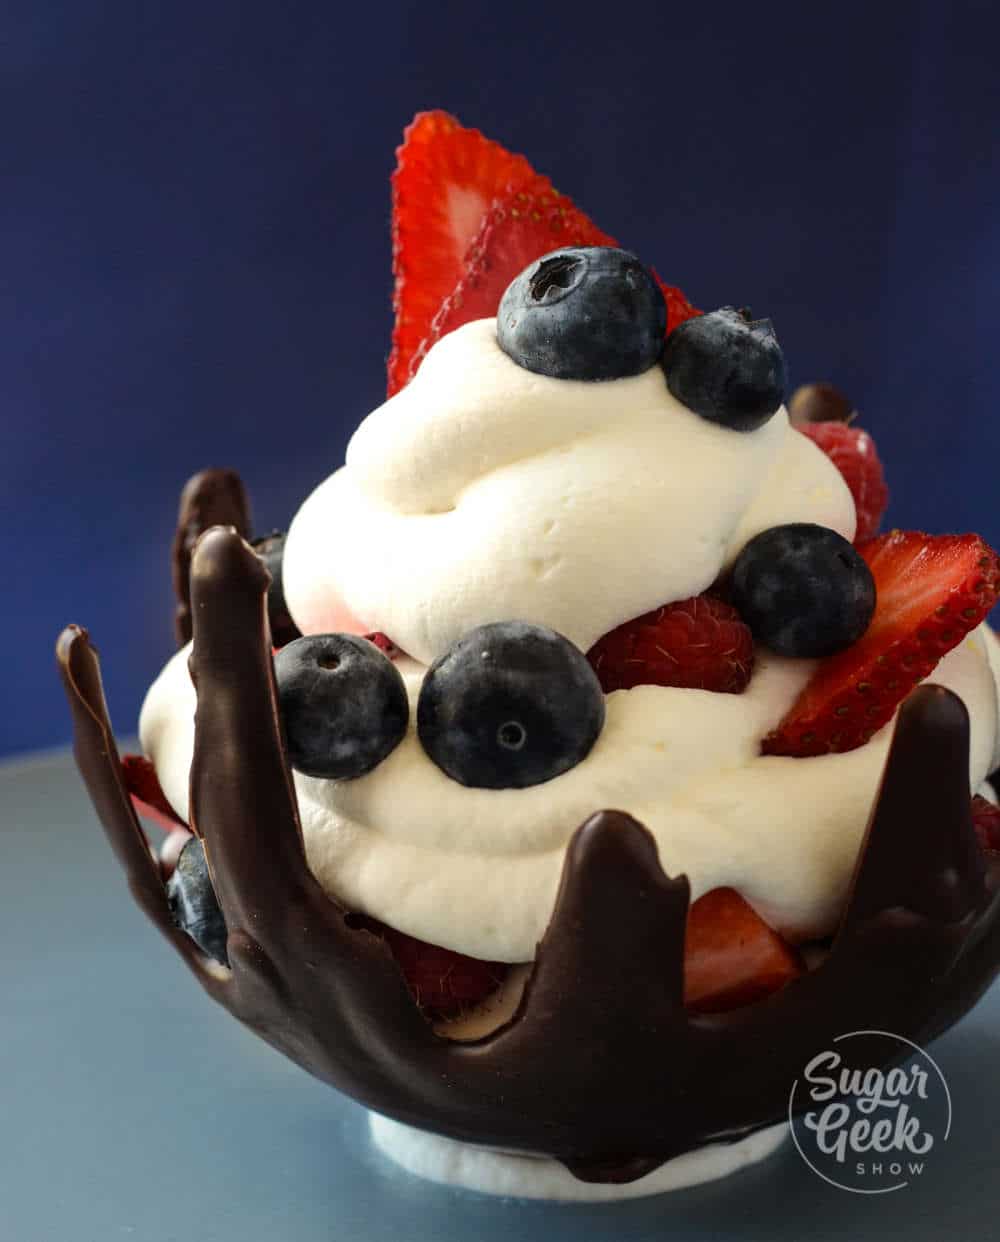
- Inflate the small balloon and place it in a bowl or cup upside down to keep it steady.
- Place some plastic wrap over the top of the balloon.
- Place your tempered chocolate (86ºF) or candy melts into a piping bag and pipe over the top of the plastic wrap.
- It's ok to let some of the chocolate drip down the sides.
- Place the balloon and the cup into the fridge to set for 10 minutes.
- Carefully remove the balloon and plastic wrap from the chocolate.
- Your chocolate decoration is now ready to be filled with sweet treats!
I hope you enjoyed learning how to make these chocolate decorations! As always you can ask me questions in the comments if something isn't clear. If you tried this tutorial, let me know!
If you want some more fun chocolate decorations to make, check out this tutorial from Chef Christophe Rull on how to make even 4 easy chocolate decorations!
Recipe
Equipment
- 1 Thermometer
Instructions
Tempering Chocolate Instructions
- Place your chocolate in a plastic or silicone bowl in the microwave and heat on high for 30 seconds. Then stir
- Heat again for another 30 seconds, stir, then 15 seconds, stir, then 10 seconds, stir. Make sure your temperature never goes above 90ºF for dark chocolate. 86F for milk chocolate and 84F for white chocolate. DO NOT RUSH THIS
- If your chocolate is not fully melted then only do another 5 seconds until it is melted
- Now your chocolate is in temper and ready to use!
- Check out the video or blog post for ideas on decorating
Nyesha says
I wish the butterfly template was still available 😞. These tips are great though!!!!!
Elizabeth Marek says
Thanks for letting me know the link to the butterfly template was broken, I fixed it for you. There is now a form within the blog post where you can put in your email and the template will be sent to you.
Lauren says
Hello. Thank you for this post. What do I do with the leftover temper? How long does it last once heated and cooled?
Elizabeth Marek says
You re-use it by heating it up again (only 5 seconds or it might get too hot) or pour it onto plastic wrap, let it set and put it away until you need it again.
Judith Marshall says
Awesome advice. Am making a special cake next week and will hopefully do your ideas justice.
Thank you.
Chan says
Hi Liz, thank you for these wonderful tips. If I make the chocolate spheres in advanced, do I store them in the fridge? Thank you.
Elizabeth Marek says
You don't need to, but it wont hurt if you do