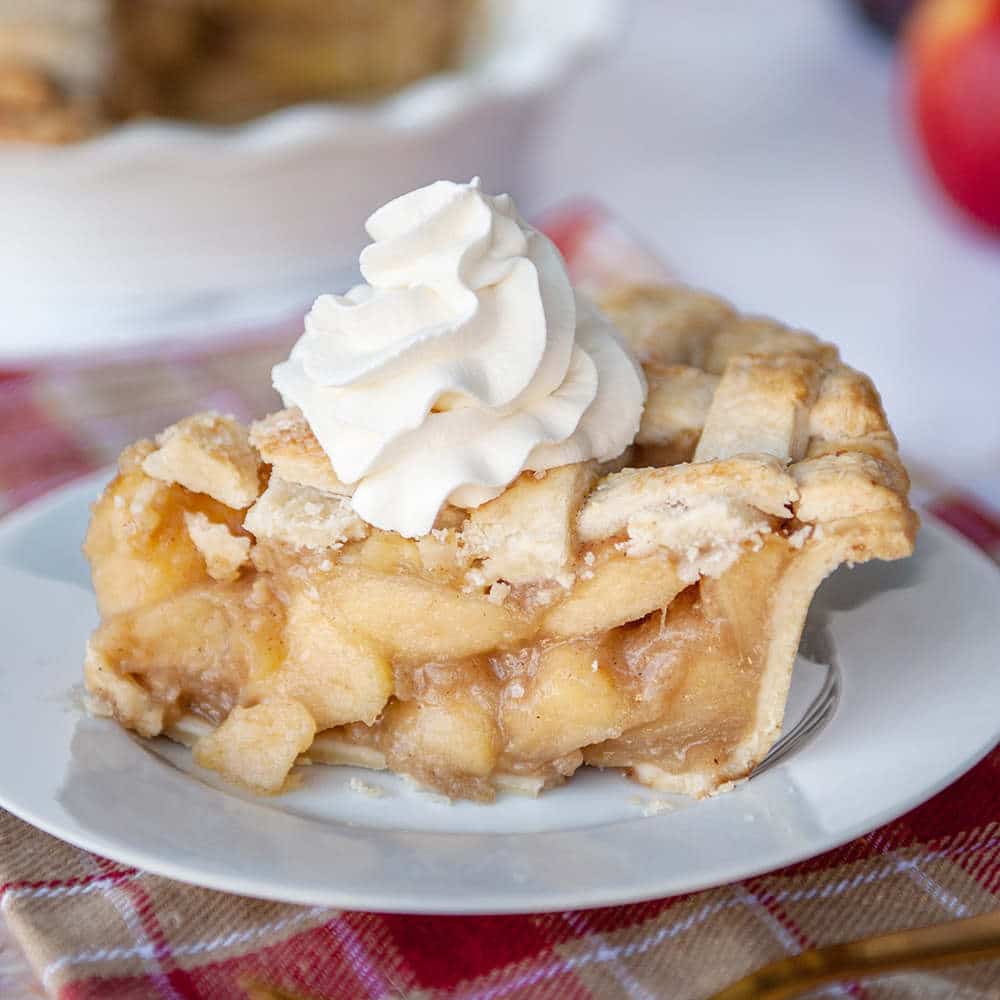
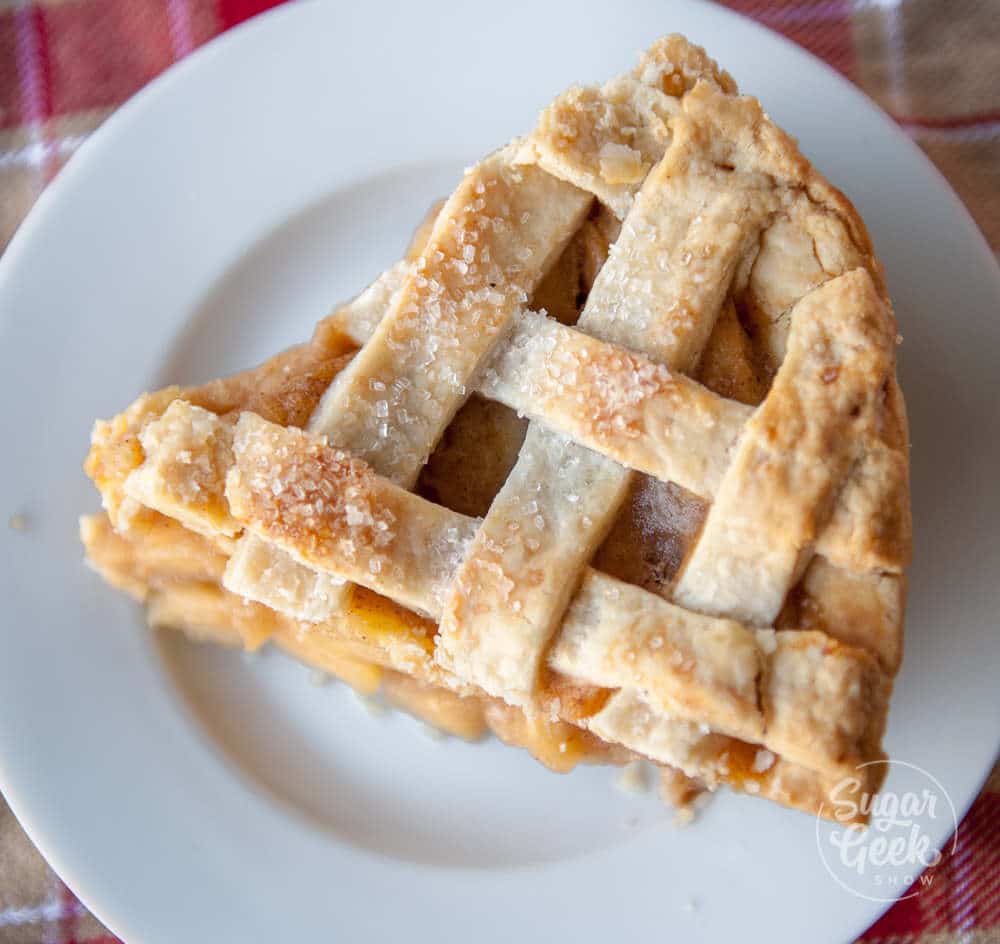
The perfect apple pie recipe filled perfectly cooked apples and topped with a flakey all-butter lattice crust
This apple pie recipe is the best! I'm not just saying that. Why is it the best? Because it has all the things an amazing apple pie should have. Tons of tender (never mushy) apples, a thick and creamy caramel sauce (not watery) and the flakiest all-butter crust you've ever tasted. No soggy bottoms, no cracked crusts. Keep reading to find out how!
What's In This Blog Post
- The perfect apple pie recipe filled perfectly cooked apples and topped with a flakey all-butter lattice crust
- Should you pre-cook apples for apple pie?
- What kind of apples are best for apple pie?
- How do you make the apple pie filling?
- What pie crust is best for apple pie?
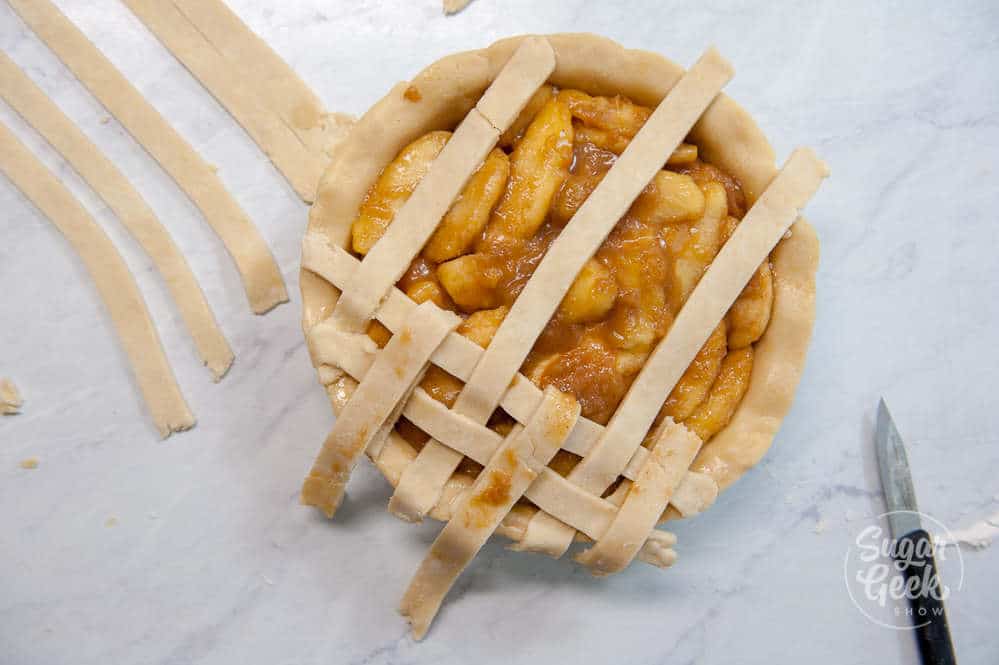
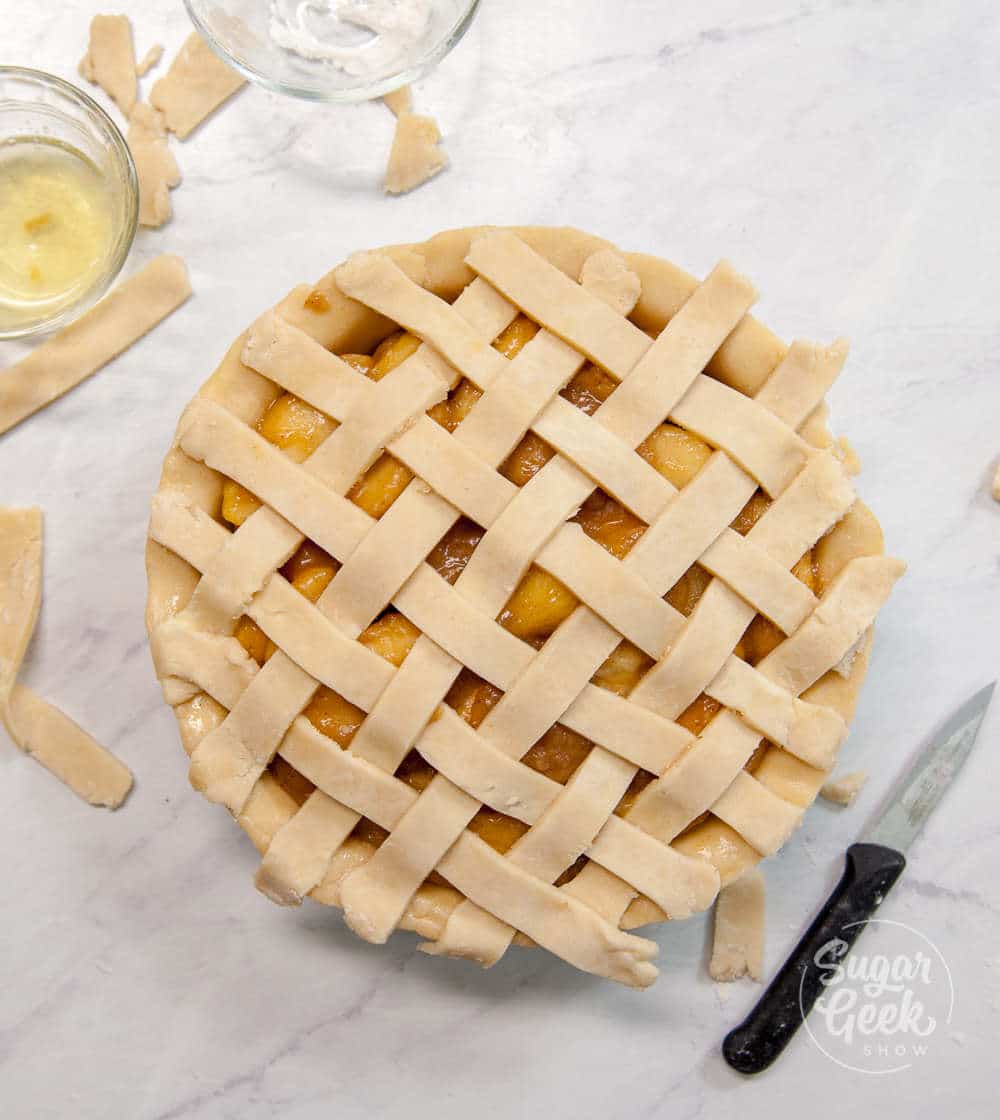
- How to make a lattice crust
- How to assemble your apple pie
- How do you know when an apple pie is done baking?
- How do you store apple pie?
Want to learn more about the basics of making pie? Watch my pie crust tutorial
Should you pre-cook apples for apple pie?
For this apple pie recipe, we are going to pre-cook our apple filling. This ensures our apples are perfectly cooked, the filling is nice and thick and our crust doesn't get soggy. If you don't pre-cook your apples, they shrink inside the pie and then you get that gap between the filling and the top crust. Also, all the water releases from the apples as they cook, resulting in that soggy bottom.

What kind of apples are best for apple pie?
You can use any apple that you want but try to choose apples that are good for baking and will hold their shape. Here are a few of my favorites.
- Jonagold – Slightly tart, crisp and holds it’s shape well after baking.
- Honeycrisp – Crisp, sweet, holds it’s shape well after baking.
- Braeburn – Crisp, sweet and very juicy. Holds its shape well for baking.
- Mutsu – Sweet, firm and great for baking
- Pink Lady – Sweet, crisp and firm. Great for baking.
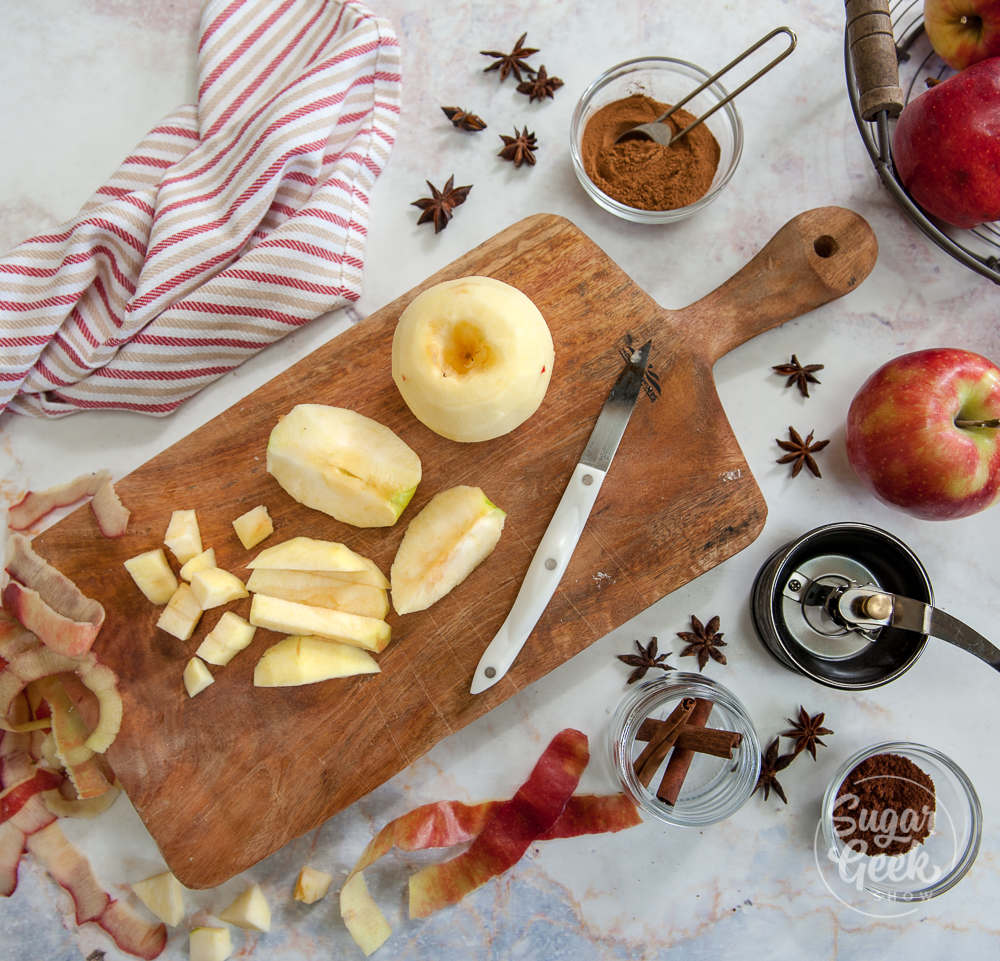
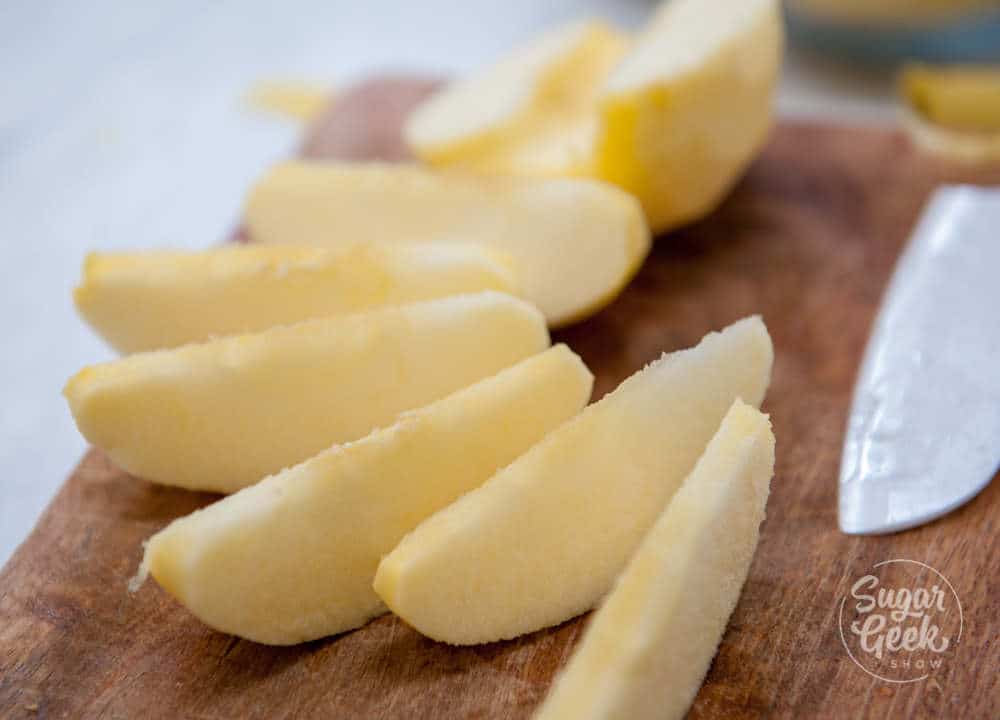
I like to core my apples first, peel off the skin and then slice them into thin wedges. I'm using cornstarch to thicken my filling but you can also use clear jel if you want a clearer filling. You can also do cubes if you prefer. It's best to make your filling the same day as your crust and let both chill overnight.
How do you make the apple pie filling?
Making apple pie filling is really easy to do and will ensure your apple pie isn't a watery mess.
- Peel your apples. Apple's skin doesn't taste good in apple pie.
- Core your apples using an apple corer or knife.
- Slice into ½" wedges.
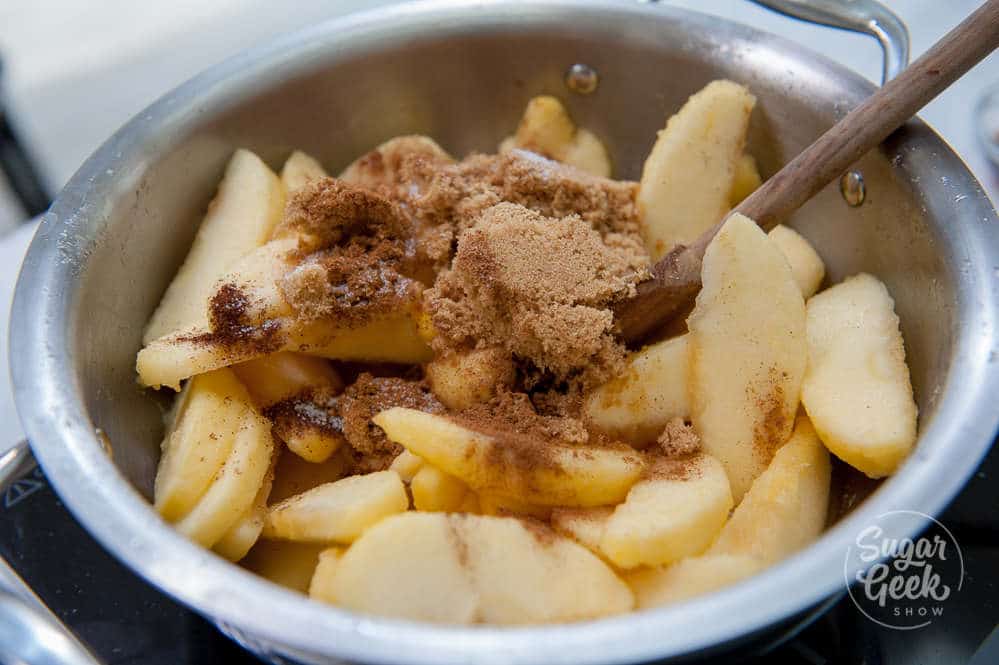
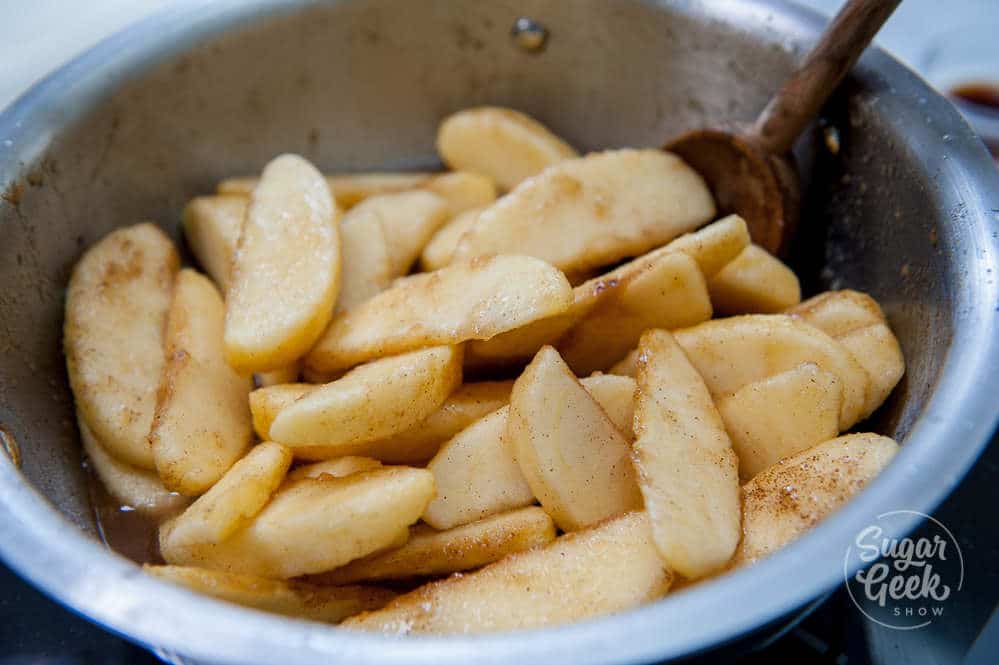
- Combine your apples in a large saucepan with the butter and saute until the apples are warm. For extra flavor, you can brown your butter first then add in the apples.
- Add in the first quantity of cider, sugar, honey, lemon juice and spices and saute until the apples are al dente
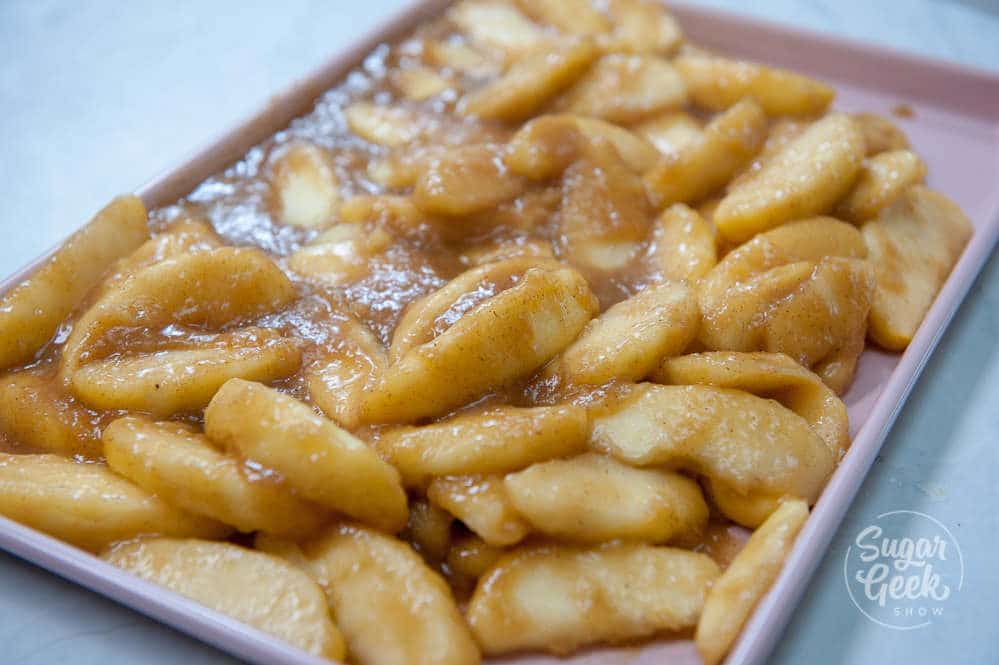
- Combine your cornstarch with the cider to make a slurry. Add it to the mixture and continue cooking until thickened (2-3 more minutes).
What pie crust is best for apple pie?
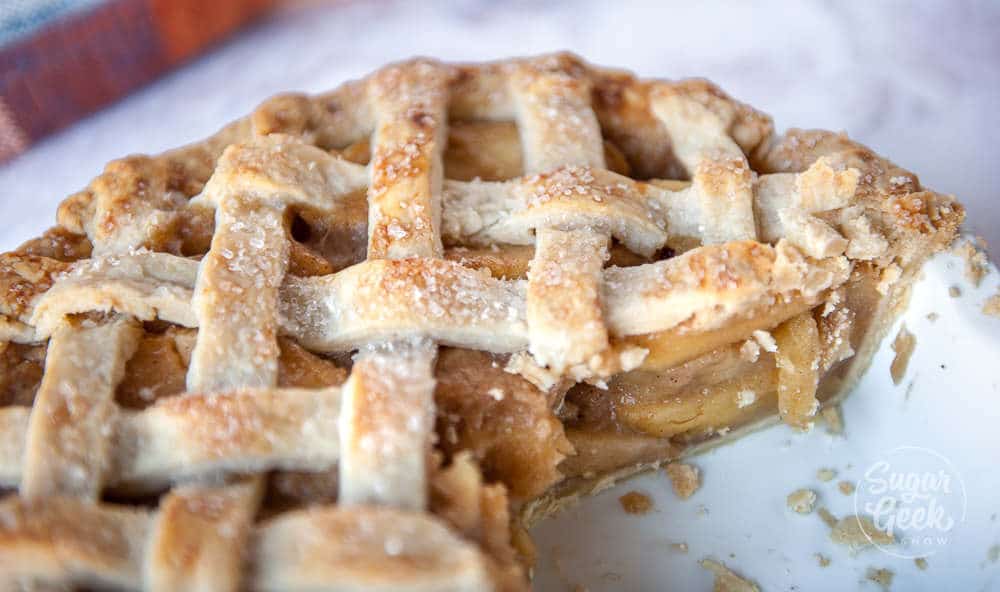
For the pie crust, you want to use two different types of pie crusts. Mealy dough, which is perfect for resisting liquids and baking up nice and crisp in the oven and flakey pie dough which is more tender, puffs up more and looks beautiful for the top crust.
You can use mealy dough for the top crust if you want to but it will not flake as much or look as pretty but it will still taste delicious.
Make both of your doughs the day before you need them or at least one hour. They need time to rest and allow the gluten to relax and the water to absorb into the flour before you roll it out.
How to make a lattice crust
How to assemble your apple pie
Let your chilled mealy pie dough warm at room temperature for 20-30 minutes before you try to roll it out. It should be firm enough that the butter isn't sticky and melted but soft enough that it can be rolled out with a rolling pin.
- Place the dough into the pie tin and cut off the excess. Leave about ¼" around the outside edge to account for shrinkage.
- Fill the pie crust with your cooled apple filling.
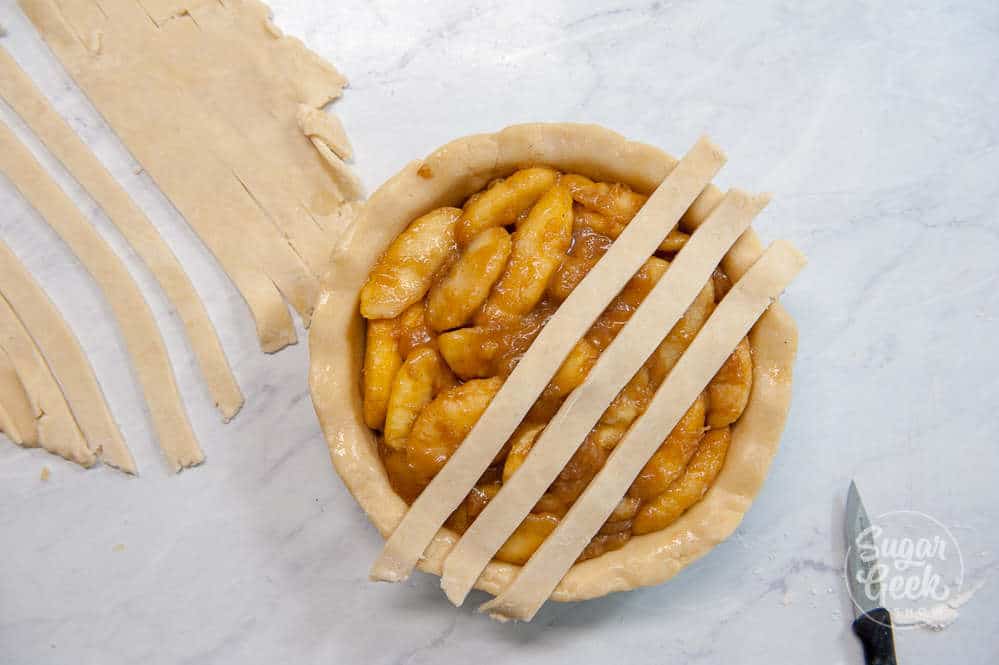
- Roll out your flakey pie dough and cut into 1" strips
- Brush your egg wash to the outer edge of the pie crust
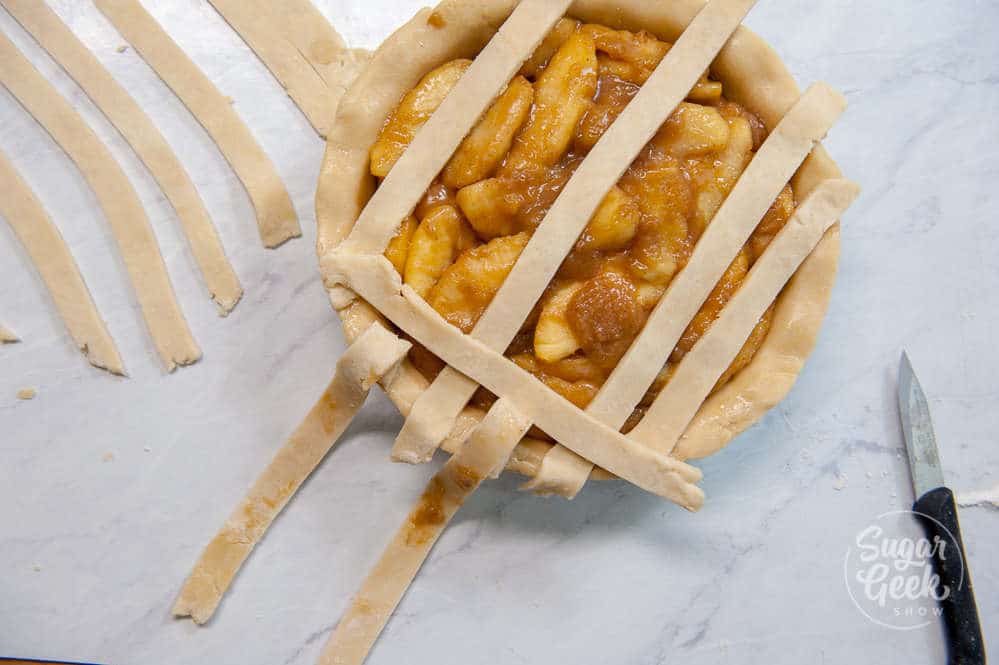
- Assemble your lattice weave and trim off the excess edges to match the bottom crust
- Pinch the edges and flute if desired
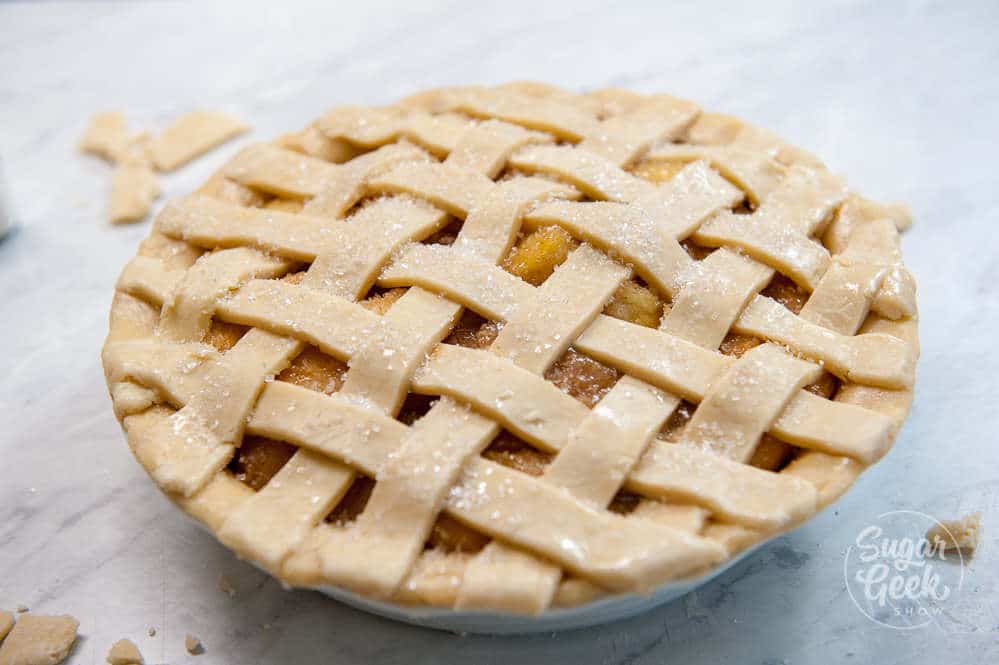
- Brush the surface with more egg wash and sprinkle with sanding sugar for texture and flavor
- Chill for 30 minutes in the fridge before baking.
How do you know when an apple pie is done baking?
Move the oven rack to the lowest setting. Place your apple pie into the oven at 425ºF. Bake for 15 minutes then reduce the temperature to 375ºF and bake for another 30-45 minutes until the crust shrinks away from the sides of the pie plate. If you take the pie out before it shrinks from the sides then you can be sure that the very center of the dough of the bottom crust is still going to be raw.
If your crust is browning too much, cover it with tinfoil to protect it from browning although a deep golden brown is preferred for taste and texture. Only cover if you see something turning black.
How do you store apple pie?
It's best to let your apple pie cool for about an hour before serving so the crust has time to set and the filling has time to solidify but what's better than warm pie and ice cream? You can also store the pie in the fridge for the next day and then warm it before serving if you want. Store the leftovers in the fridge covered with plastic wrap for up to two days.
Want more apple? Check out these other recipes
Fresh apple cake
Applesauce spice cake
Stabilized whipped cream recipe
Caramel Sauce Recipe
Shiny Candy Apple Recipe
Apple Cake Recipe
Recipe

Equipment
- pie weights
Ingredients
Flakey Pie Dough
- 10 ounces all-purpose flour
- ¼ teaspoon salt
- 8 ounces very cold butter grated or cut into small cubes
- 3 ounces ice water
Mealy Pie Dough
- 12 ounces all-purpose flour
- ¼ teaspoon salt
- 6 ounces cold butter grated
- 1 large egg cold
- 1 ounce ice water
Apple Pie Filling
- 2 lbs apples about 6 medium-sized apples
- 1 tablespoon lemon juice
- 1 ounce unsalted butter
- 4 ounces brown sugar
- 2 teaspoons cinnamon
- ¼ teaspoon cloves
- ¼ teaspoon salt
- 12 ounces apple cider (juice not vinegar)
- 1 ounce cornstarch
- 2 ounces apple cider (juice not vinegar)
- 1 Tablespoon honey
- 1 Tablespoon vanilla extract
- 1 teaspoon orange extract
Instructions
For the flakey dough
- Place flour and salt into a medium bowl
- Add grated cold butter and toss lightly with your hands to coat the butter with the flour
- Sprinkle half the water onto the mixture and make your hand into a "claw" stir the flour together to get the mixture to start sticking. Do NOT knead
- Keep adding in little drizzles of water until your flour and butter mixture is mostly stuck together. Press everything together and wrap in plastic wrap to chill for one hour. Flatten, do not store in a ball.
- Chill for at least one hour or overnight. Let warm for 20 minutes on the counter or until dough is pliable but still firm before rolling out.
For the mealy dough
- Combine together the flour and salt in the bowl of your stand mixer with the paddle attachment.
- Add in your cold butter and mix on low until the mixture resembles a coarse mealy sand
- Add in the egg and water and mix on low until the dough sticks together
- Flatten and wrap in plastic wrap. Let the dough chill for 20 minutes or overnight before using it. Let warm for 20 minutes or until pliable but still firm before rolling out.
For the apple filling
- Peel, core and slice apples into ½" wedges
- Place apples in a large pan over medium heat with butter. Saute until apples are warm. About one minute.
- Add the first quantity of apple cider juice, cinnamon, cloves, and sugar, honey, salt, and lemon juice and stir to combine.
- Stirring occasionally, cook until the apples have softened. They should still have a little bit of firmness, but not be mushy.
- Whisk second quantity of apple cider juice and cornstarch together in a separate cup to make a slurry, then add the slurry to the apples while gently stirring over medium-high heat.
- Cook and stir for 2 to 3 minutes until the mixture begins to bubble to make sure the cornstarch is fully cooked.
- Add in orange extract, vanilla, salt, lemon juice, and honey. Stir to combine. Remove from the heat and let cool.
Pie Assembly
- Preheat your oven to 425ºF
- Let mealy pie dough and flakey pie dough warm up at room temperature until you can roll it out easily but butter is still firm and not sticky
- Fill the pie crust with your cooled apple filling
- Roll out to ⅛" thick and place into your pie dish. Trim off the excess, leaving ¼" of space around the pie dish to account for shrinking.
- Roll out your flakey pie dough and cut into 1" strips.
- Brush the edges of the pie crust with your egg wash (one egg whisked together with 1 tablespoon of water)
- Weave the pie dough on top of the apple filling to form the lattice design.
- Pinch the lattice and the bottom crust together and flute the edges if desired
- Brush the entire pie with egg wash and sprinkle with sanding sugar if desired
- Place the pie on the bottom rack of the oven. Bake for 15 minutes at 425ºF then reduce the temperature to 350ºF. Bake for another 35-45 minutes or until the crust shrinks away from the sides of the pie plate.
- Let cool one hour before serving. Store leftovers in the fridge for up to two days.



Jenny says
Hey...... I love your recipes. I did try out the mealy and flakey dough for an apple pie. The flakey broke up a lot on the top but it tasted delicious. Don't know if I did something wrong. I think I will use the mealy dough for the top next time. Keep posting your recipes.
The Sugar Geek Show says
You didn't do anything wrong, the flakey layers are very delicate which makes them delicious. You could try give it a couple of folds next time to make it hold together a tad more but don't overwork it. I wouldn't suggest using mealy dough for the top 🙂
Cindy McClintock says
The recipe says drop oven temp to 350 degrees; but the video says 375 degrees. Which is best?
The Sugar Geek Show says
350 is correct
Cindy McClintock says
Thank you for a great apple pie recipe with two easy and tasty pie doughs! I rolled out the bottom one a bit thicker than I wanted, but it was still good! I wanted to ask if you heard of brushing the bottom crust (before filling) with either egg or using apricot jam? It's to act as a barrier and does not alter the taste of your pie, supposedly. Have you tried and your thoughts?
The Sugar Geek Show says
Hi Cindy, I haven't tried that one but it definitely sounds interesting! So glad you enjoyed the recipe
Dee says
Hey, Steps are missing in the apple pie filling part it didn’t say when to add the salt or the 2 extracts
The Sugar Geek Show says
Its after you add in the cornstarch slurry
Dee says
It says 12 ounces of apple cider but it looks like you only put a little bit of it
The Sugar Geek Show says
12 ounces is correct.
Cindy Kuo says
Hi, I tried only your mealy dough making my own apple pie filling and top with my flacky dough, it was definitely better than using also flacky dough at the bottom. It has a better cooked result. I used to use flacky dough for the bottom and the top, but always hard to cooked all the way through with the bottom crust, so when I found out your recipe and explaining why use mealy dough instead, I know I had to try it out! Thank you so much for posting this recipe and also other fantastic recipes! Can't wait for other great recipes to come!
Sharon B says
I’m assuming the filling can be made far in advance and refrigerated? Thanks!
Sugar Geek Show says
yes it can!
Deedee says
How far in advance can we make the doughs and store? It’s Sunday and I want to make the pies on Wednesday or Thursday (Thanksgiving 2020). Is that too long? Fridge or freezer? Thanks, Liz!
Elizabeth Marek says
I would roll out the dough and put it in the pie pans and freeze them. Then they will be ready to bake with the filling when you need them.
S. Rowley says
This filling is incredibly delicious!!! I can’t wait to make my pie tomorrow! I’ve had my favorite apple pie recipes through the years but this beats them all. Liz, you work magic in the kitchen!!! Thank you for sharing you’re recipes, skills and baking secrets!