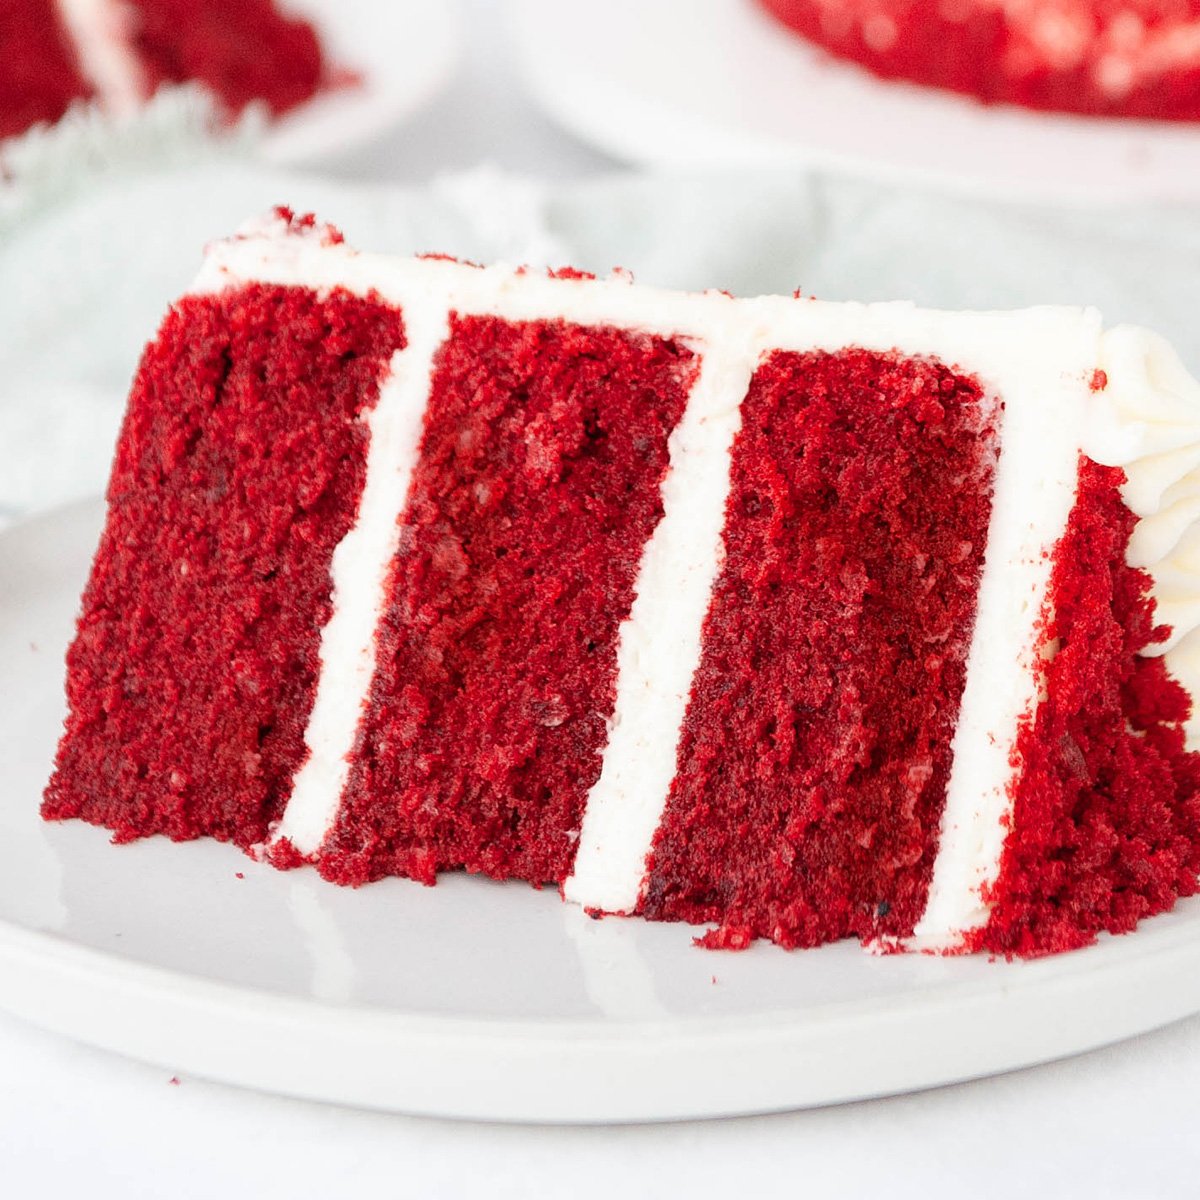
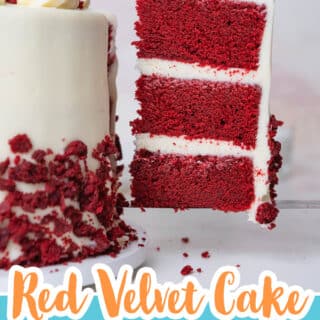
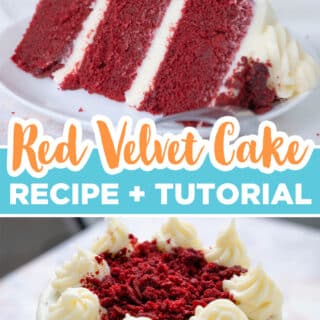
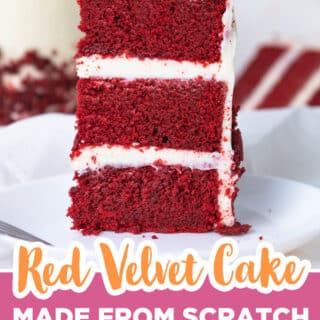
This is what a TRUE authentic classic red velvet cake with cream cheese frosting tastes like. Soft, moist, buttery, and far better than any grocery store cake! This recipe is a true Southern classic perfect for weddings, birthdays, holidays, or for that red velvet-obsessed person in your life.
What's In This Blog Post
Why This Is The Best Red Velvet Cake Recipe
I spent a lot of time researching the history of American red velvet cake and how it was originally made. I also tested many different mixing styles until I perfected the best red velvet cake recipe that was super moist, soft, and had that perfect red velvet cake flavor.
Red velvet cake does NOT taste like chocolate cake. Although it does have some hints of chocolate, it's really a mixture of chocolate, vanilla, and buttermilk. It should taste a little tangy and is most often times paired with cream cheese frosting or ermine frosting.
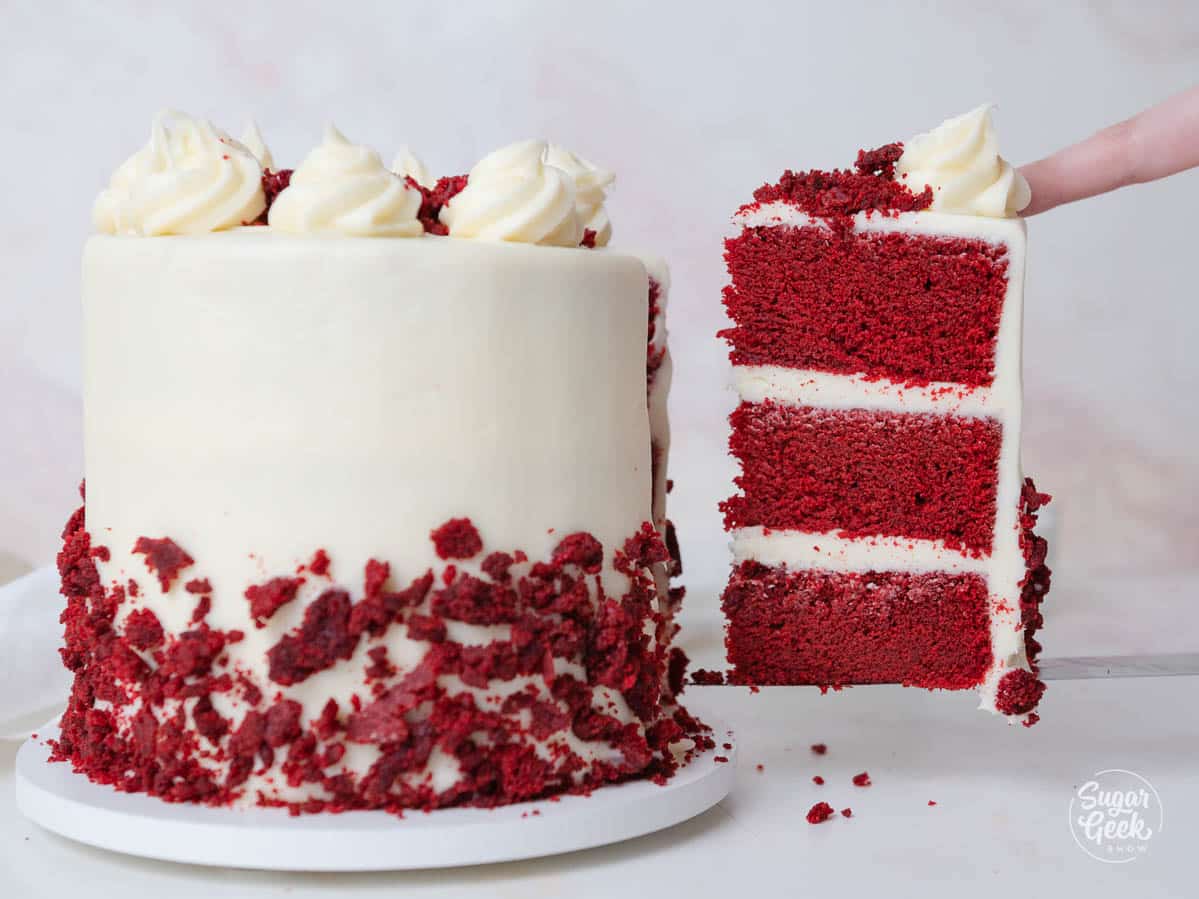
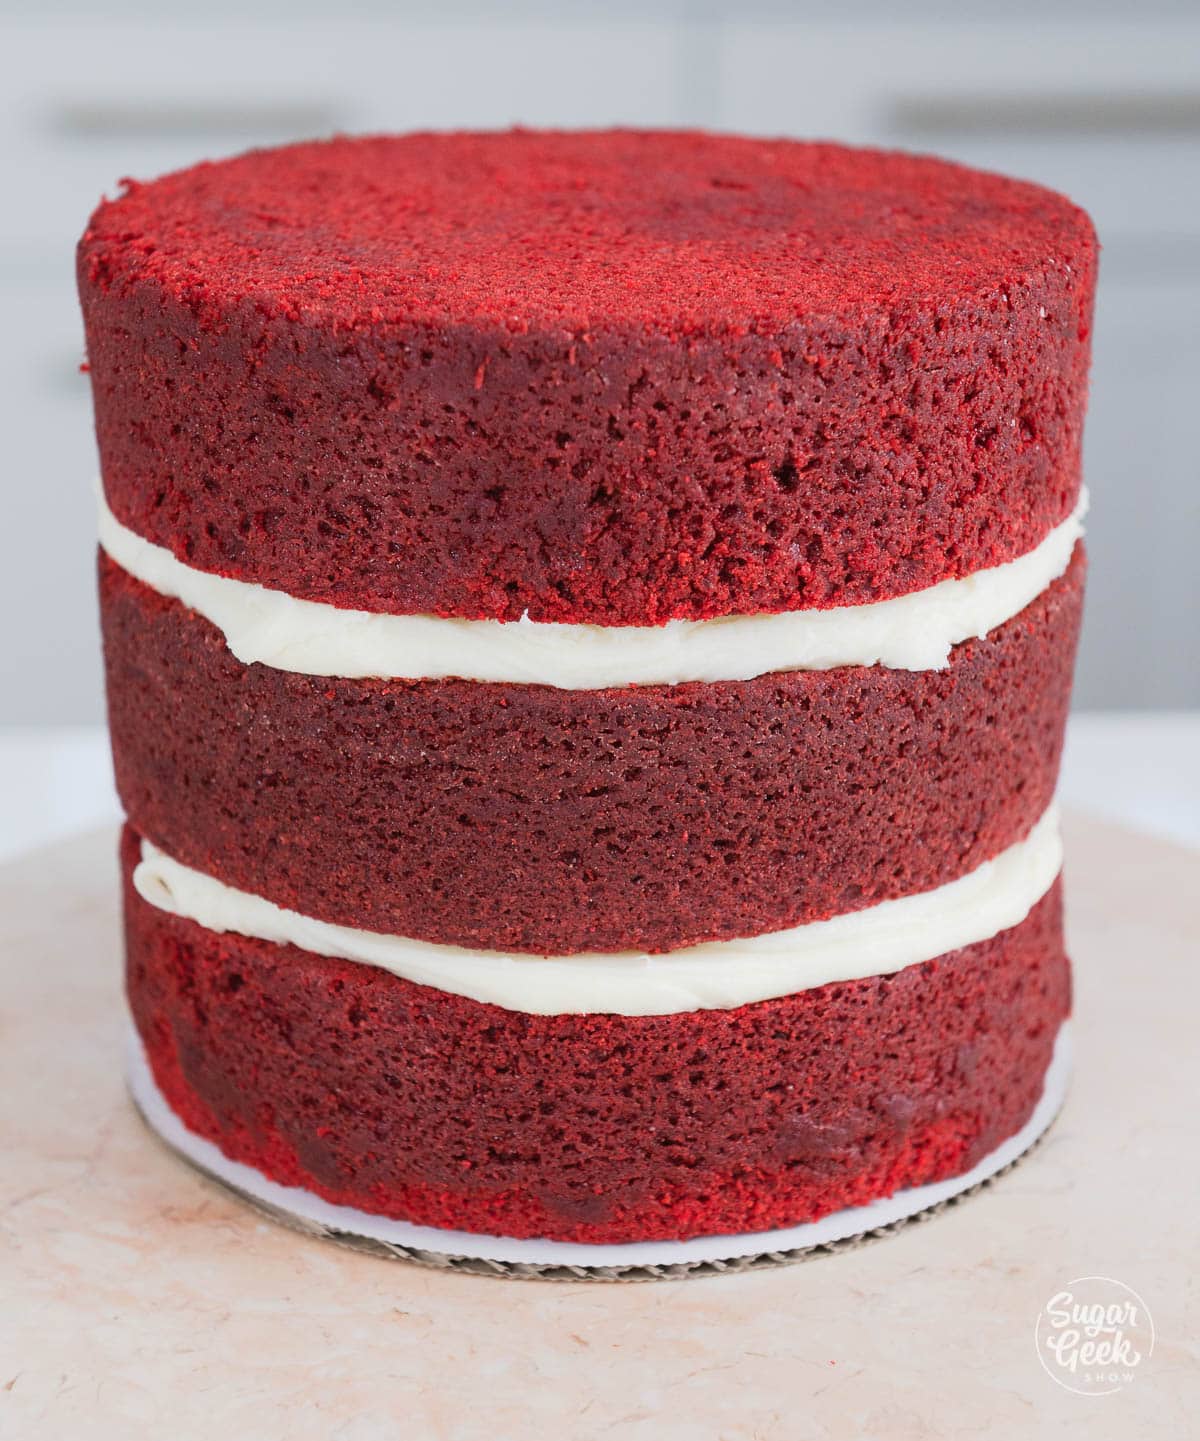
- Velvet texture that is soft and moist
- True red velvet flavor from a combination of buttermilk and cocoa powder
- Beautiful red color without using too much due to the concentrated nature of super red gel
- An easy homemade cream cheese frosting that is the perfect compliment to this cake or you can make a classic ermine frosting which is also a traditional frosting combo.
- One bowl method! Anyone can make this cake.
Red Velvet Cake Ingredients
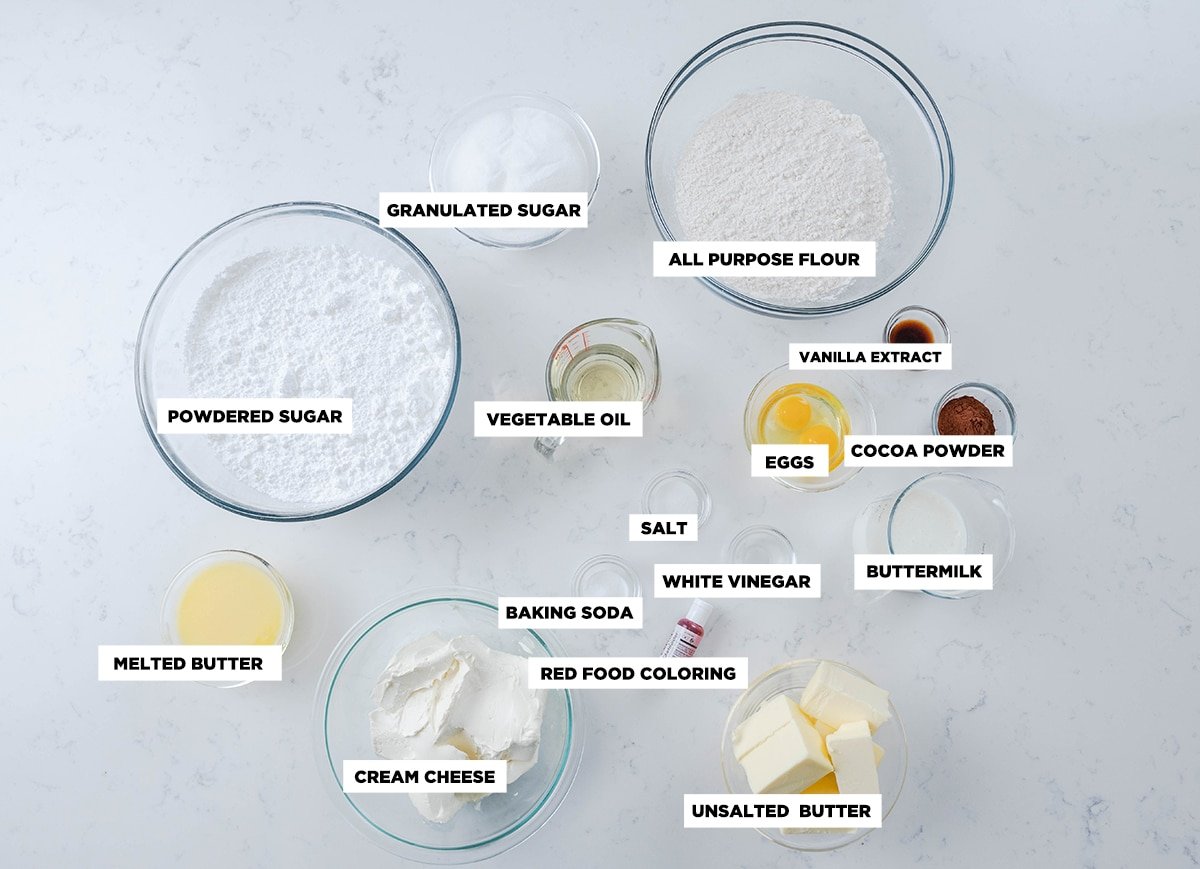
Authentic red velvet cake ingredients include vinegar, a small amount of cocoa powder, and food coloring which creates a true Southen red velvet cake flavor.
My favorite aspect of this perfect red velvet cake recipe is its simple mixing method. Scale the dry ingredients, scale the wet ingredients, and then mix them together! You have to work hard to mess up this cake. There are so many versions of red velvet cake, but to get to make the best version I referred back to these authentic ingredients that always make this classic cake a success.
Buttermilk: This is a key ingredient to achieving the tender “velvety” texture of this cake. The lactic acid (which is milder than lemon juice or vinegar) breaks down the long strands of gluten, and it thickens the buttermilk, giving it a creamy quality. I recommend using real cultured buttermilk for this cake to give it that distinct “red velvet” flavor. If you don’t have any buttermilk on hand, learn how to make it with my buttermilk substitute recipe.
White Vinegar: It sounds like a strange ingredient in a cake, but it is essential in a red velvet cake. This recipe calls for baking soda to leaven the cake (make the cake rise). The small amount of added vinegar allows the soda to do its best work.
Food Coloring: Originally Red Velvet cake was colored with beet juice for a reddish color. Additionally, the chemical reaction between natural cocoa powder and the vinegar would also make a reddish tinge. However nowadays a small amount of red food coloring is typically used and a lot easier to get. If you don't want to use food coloring you can definitely still use beet juice or look for natural food coloring available in most grocery stores.
Cocoa Powder: The purpose of cocoa powder in this recipe might not be what you think it is! The natural cocoa powder works alongside the buttermilk and vinegar to tenderize the flour and create a softer, finer, velvety crumb with just a touch of flavor.
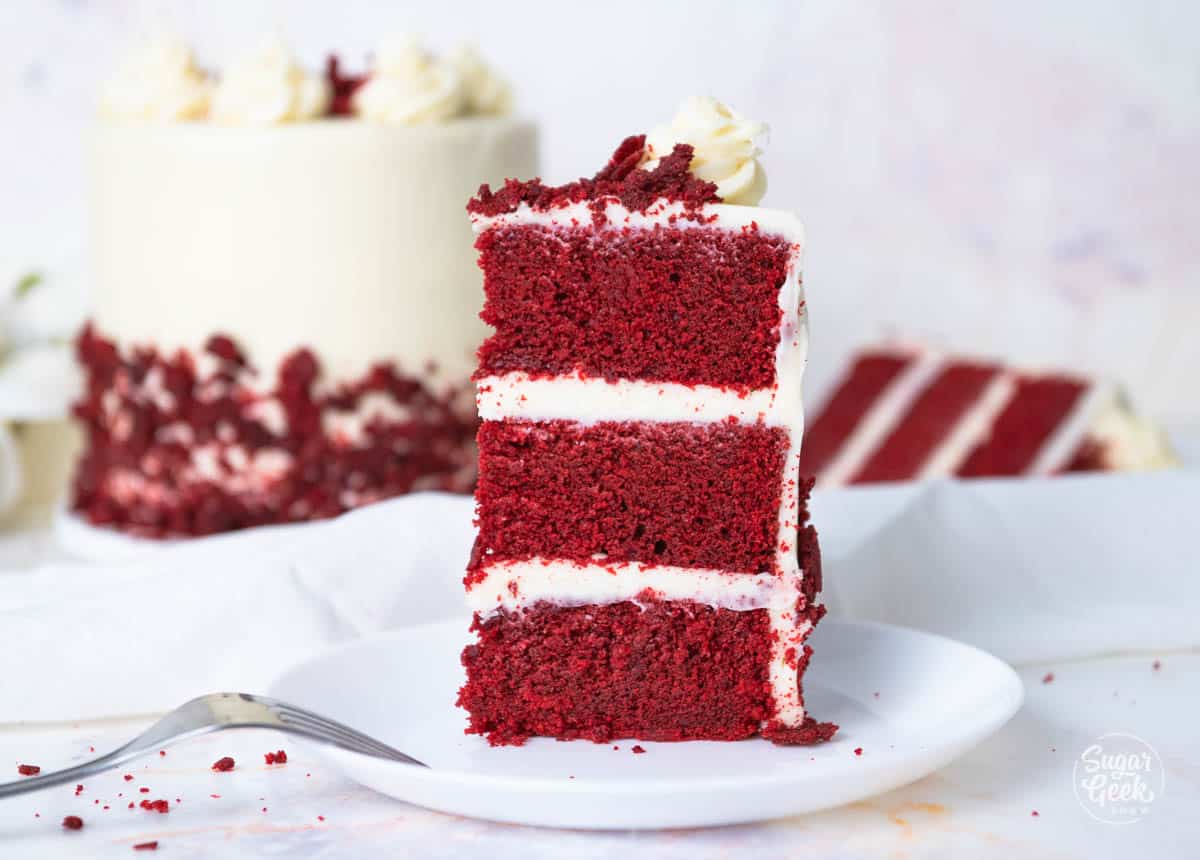
How To Make Red Velvet Cake
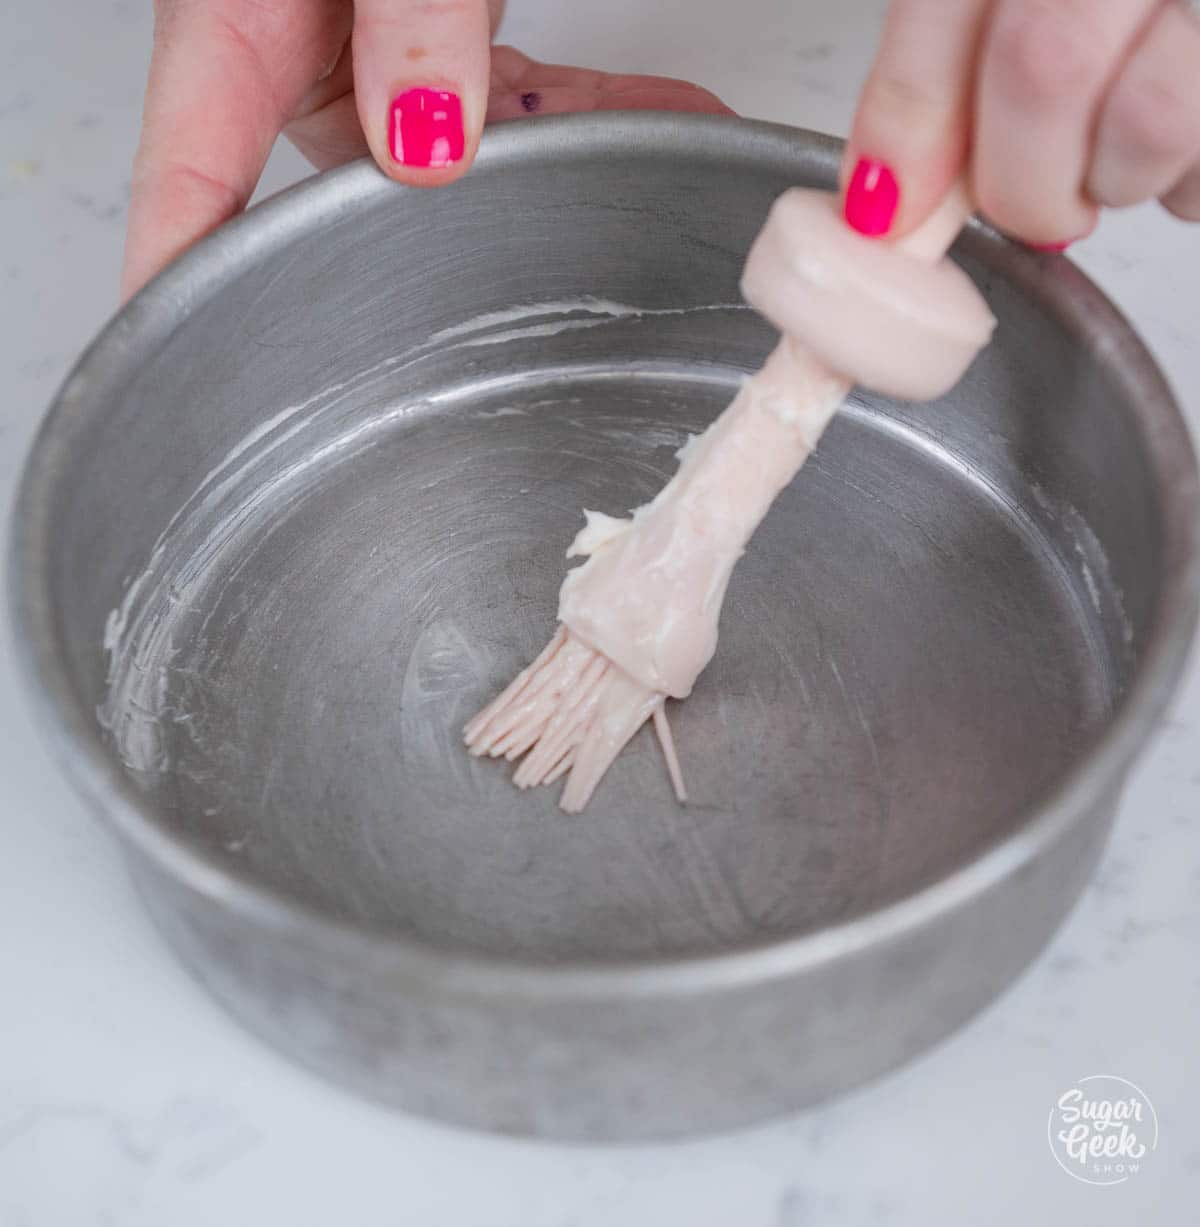
- Preheat your oven to 335*F (168ºC) and prepare two 8" x 2” cake pans with cake goop or your preferred pan release.
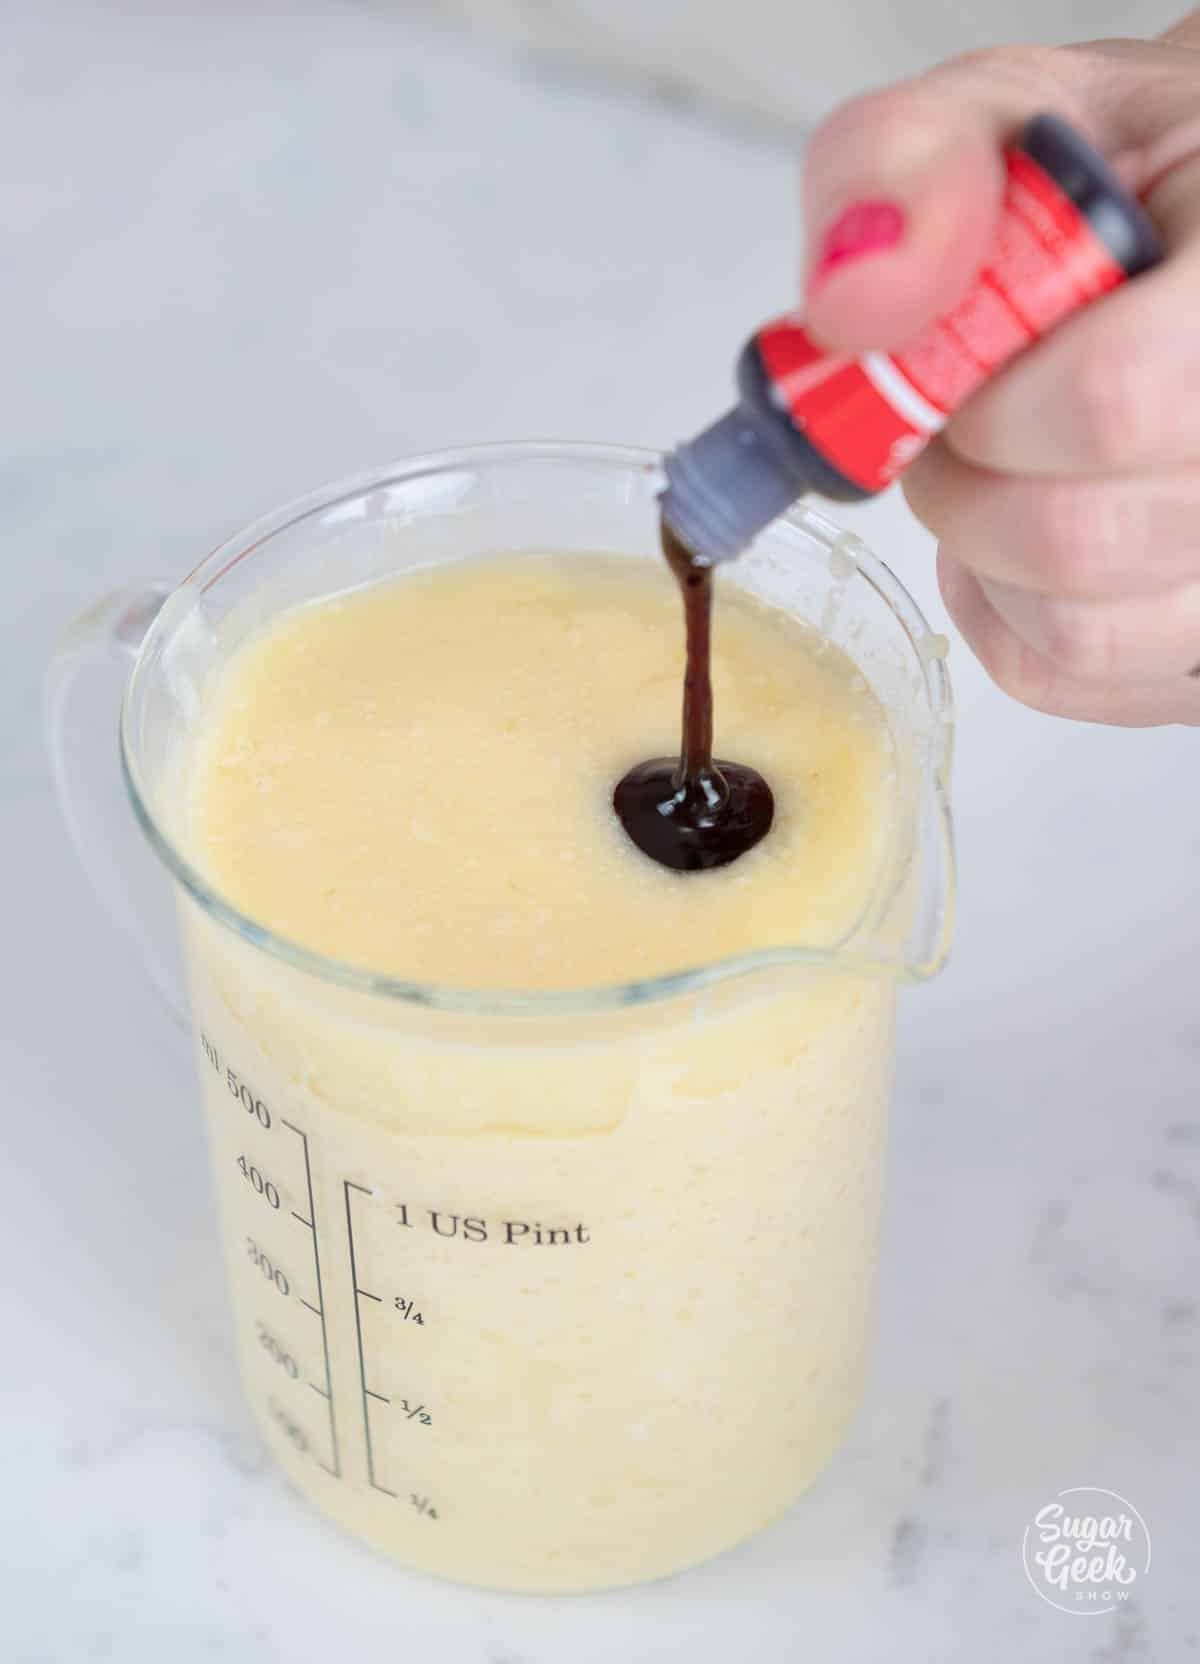
- In a medium bowl, combine the eggs, vegetable oil, buttermilk, vinegar, butter, vanilla, and red food coloring and set it aside. I like using food coloring gel instead of liquid food coloring for a more vibrant color. My favorite brand is Americolor Super Red.
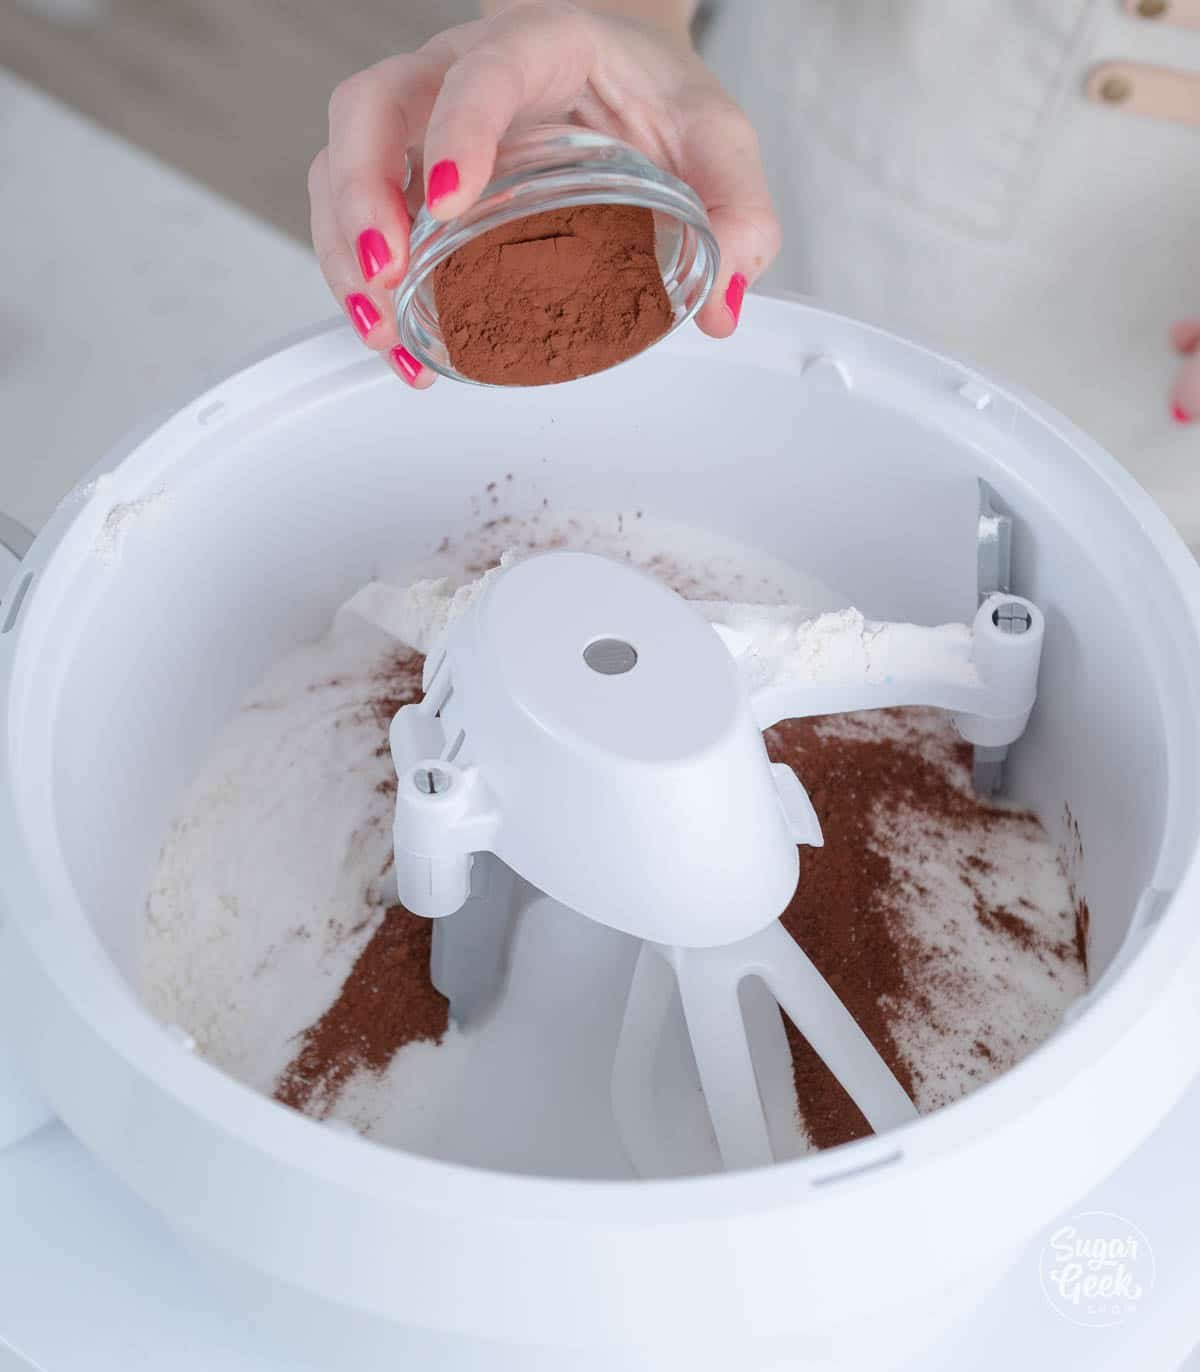
- In the bowl of your stand mixer combine the flour, sugar, cocoa powder, salt, and baking soda. Mix this on low speed for a few seconds to combine.
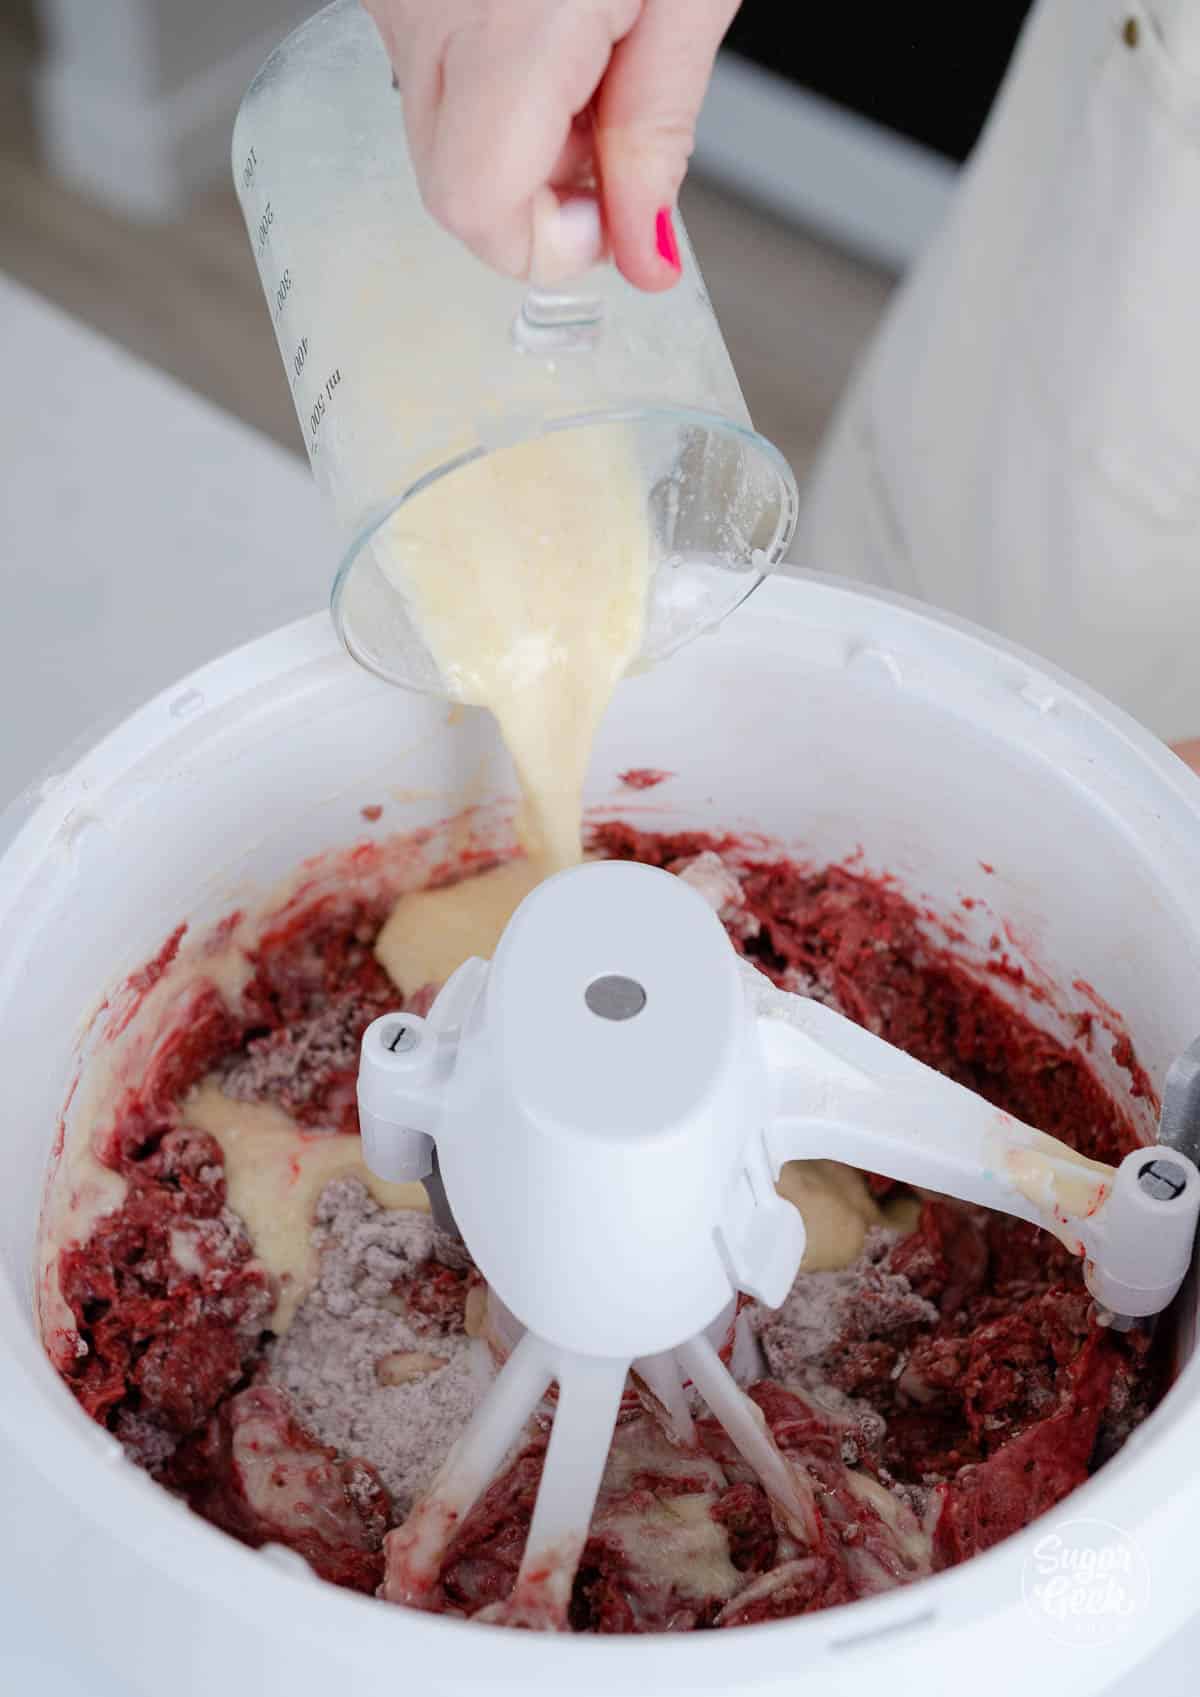
- While mixing on low speed, add the liquid ingredients to the dry and mix on medium speed until the batter is fully incorporated and smooth. Don't forget to scrape the bowl to ensure all the ingredients are evenly mixed. This should take about 30 seconds.
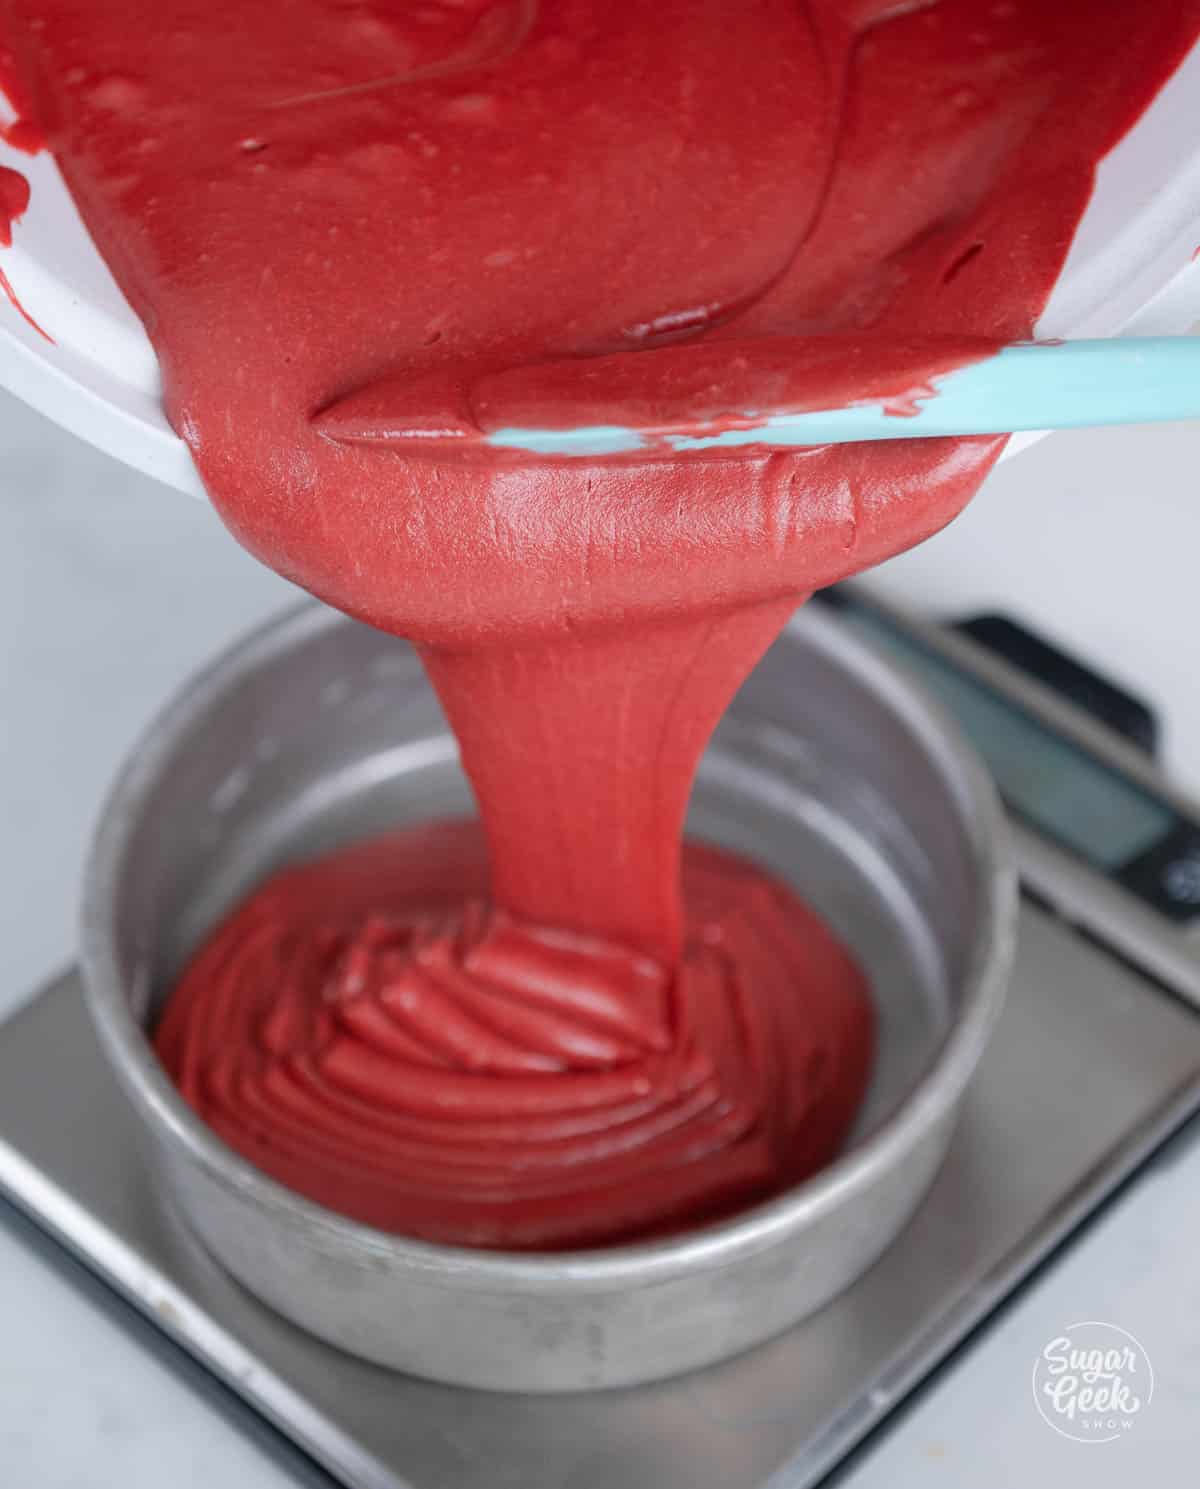
- Divide the cake batter evenly between the prepared cake pans.
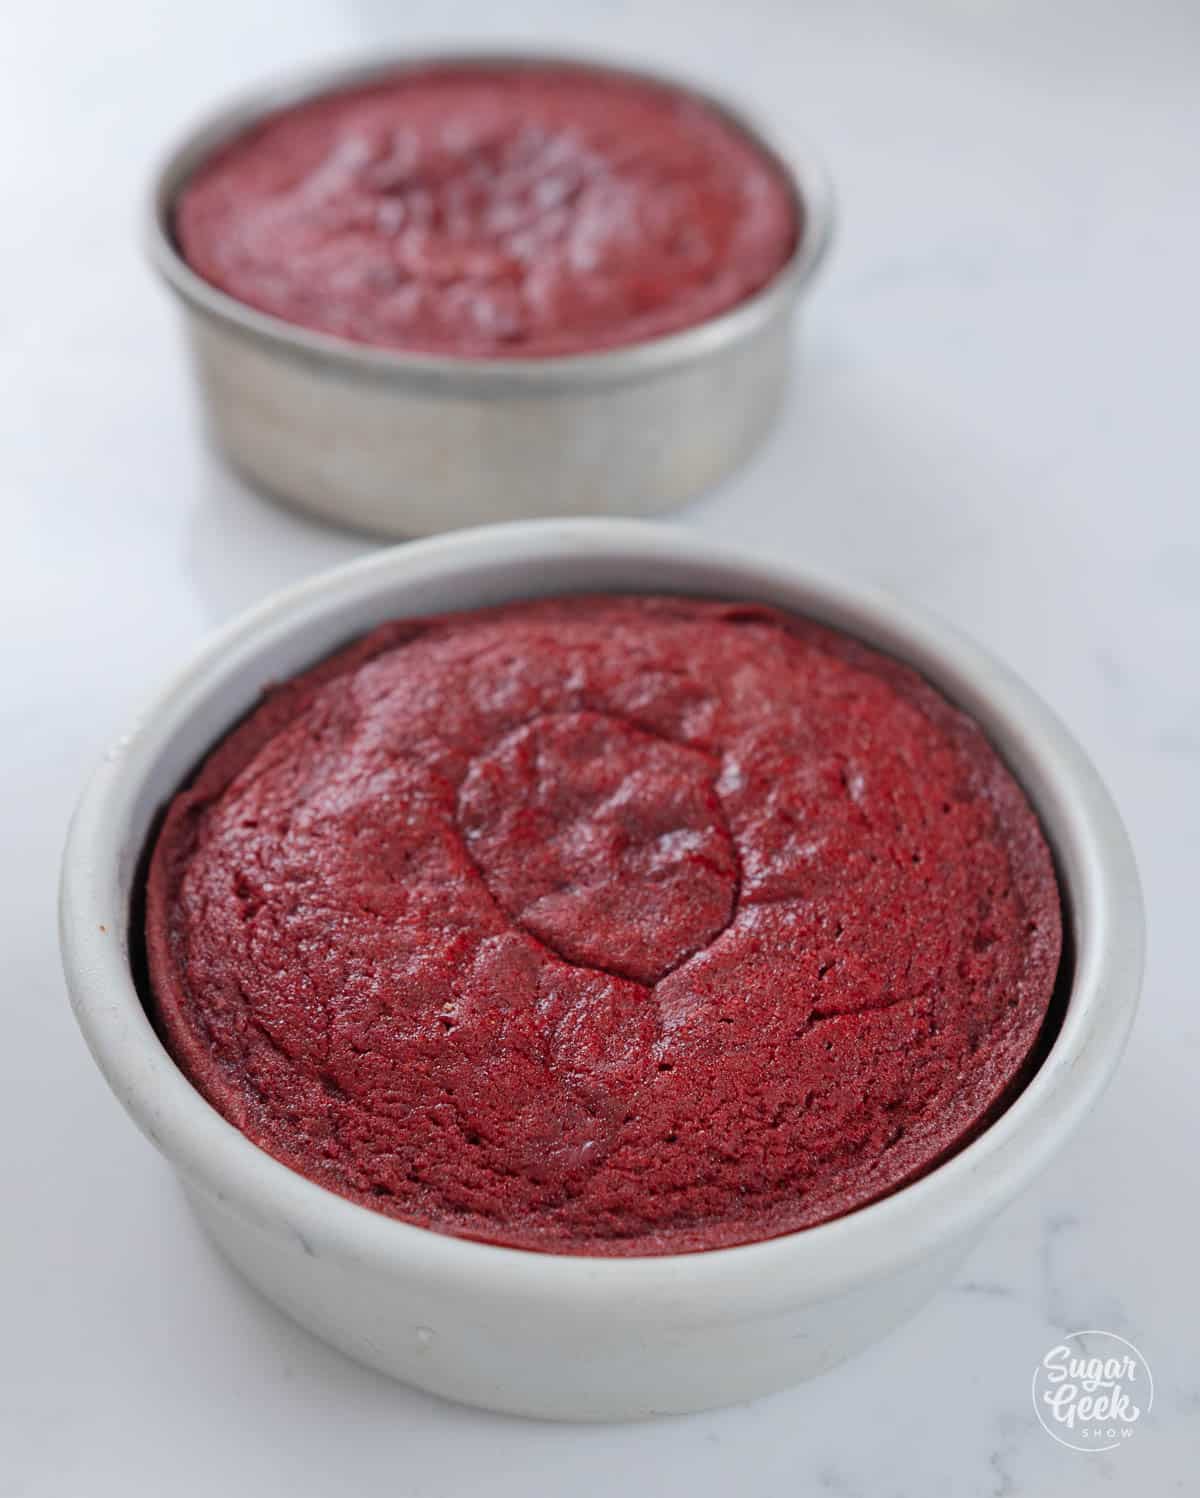
- Bake the cakes for 35-40 minutes or until a toothpick comes out of the center cleanly and the dome bounces back when it is lightly touched.
- Let the cakes cool for about 10 minutes on a cooling rack until you can handle the pan with your bare hands, then flip the cakes out onto the rack to finish cooling.
- If you are going to layer and frost the same day, pop the cake layers into the freezer for about an hour, no need to wrap them. Otherwise, wrap the layers in plastic wrap and place in the freezer for up to a week.
Pro-Tip: Wrapping the cakes while they’re still warm seals in all of the moisture.
How To Make Cream Cheese Frosting
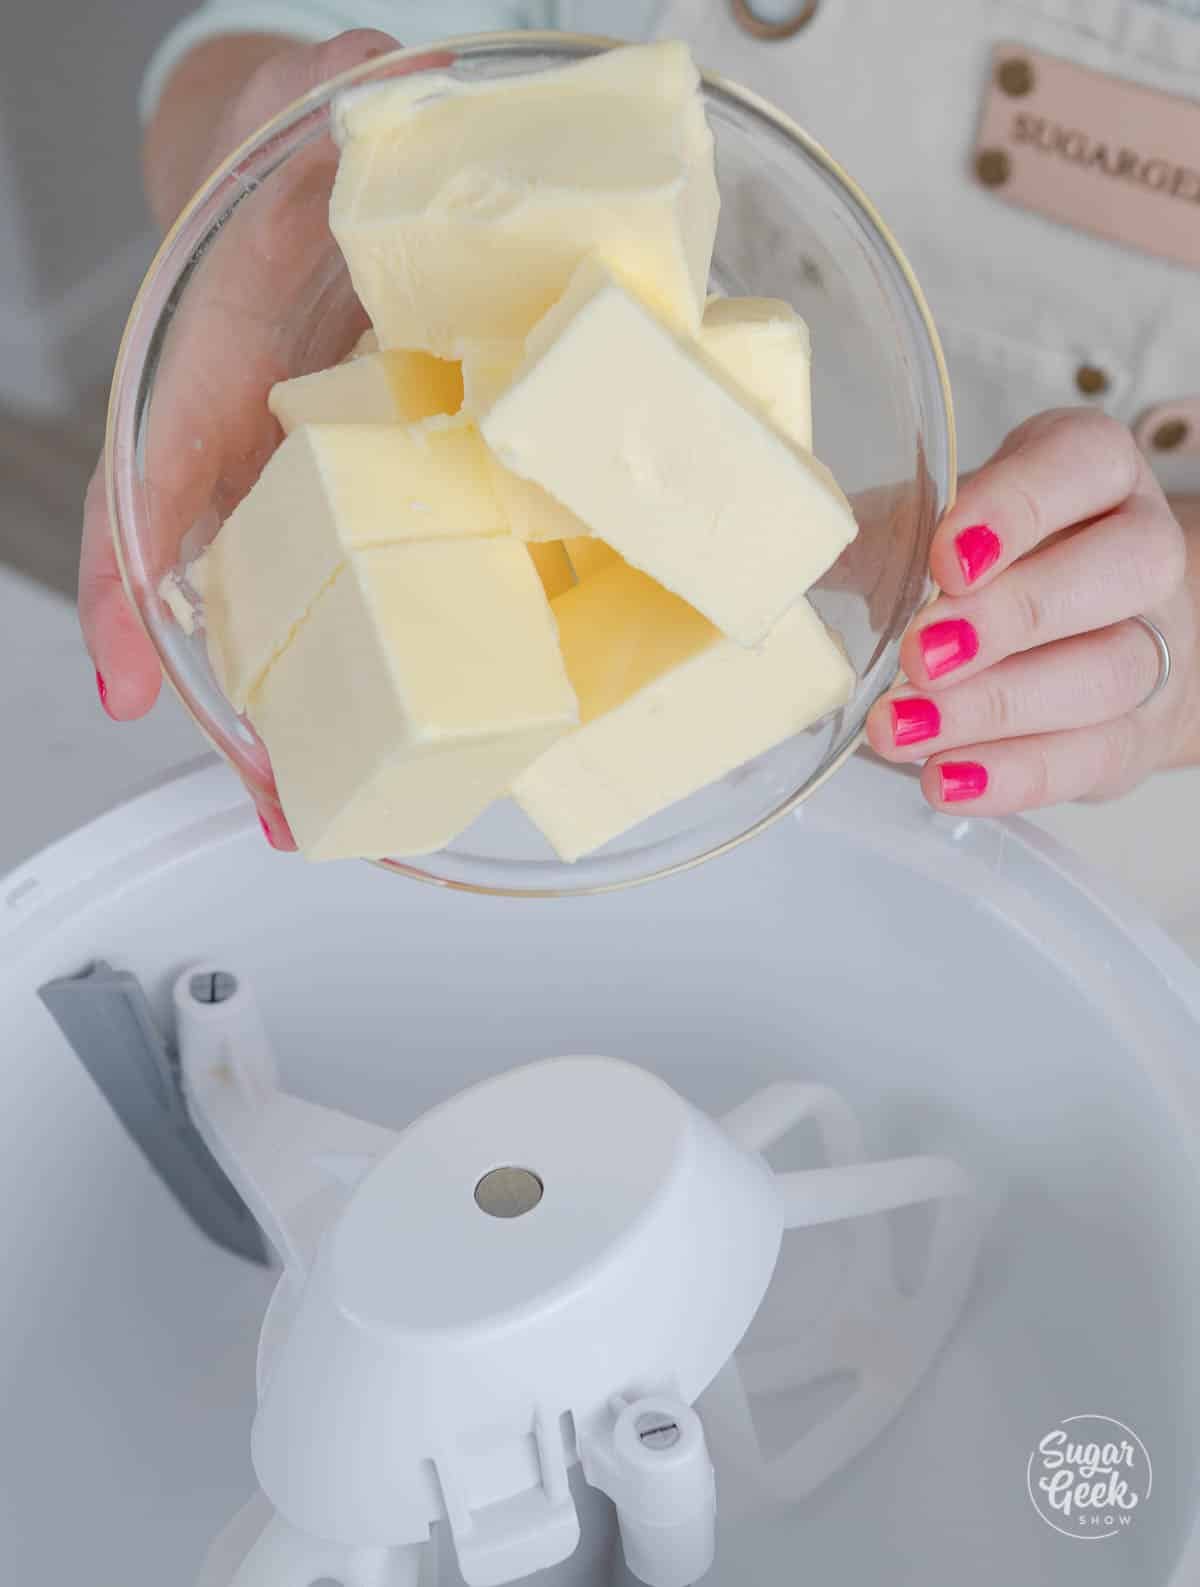
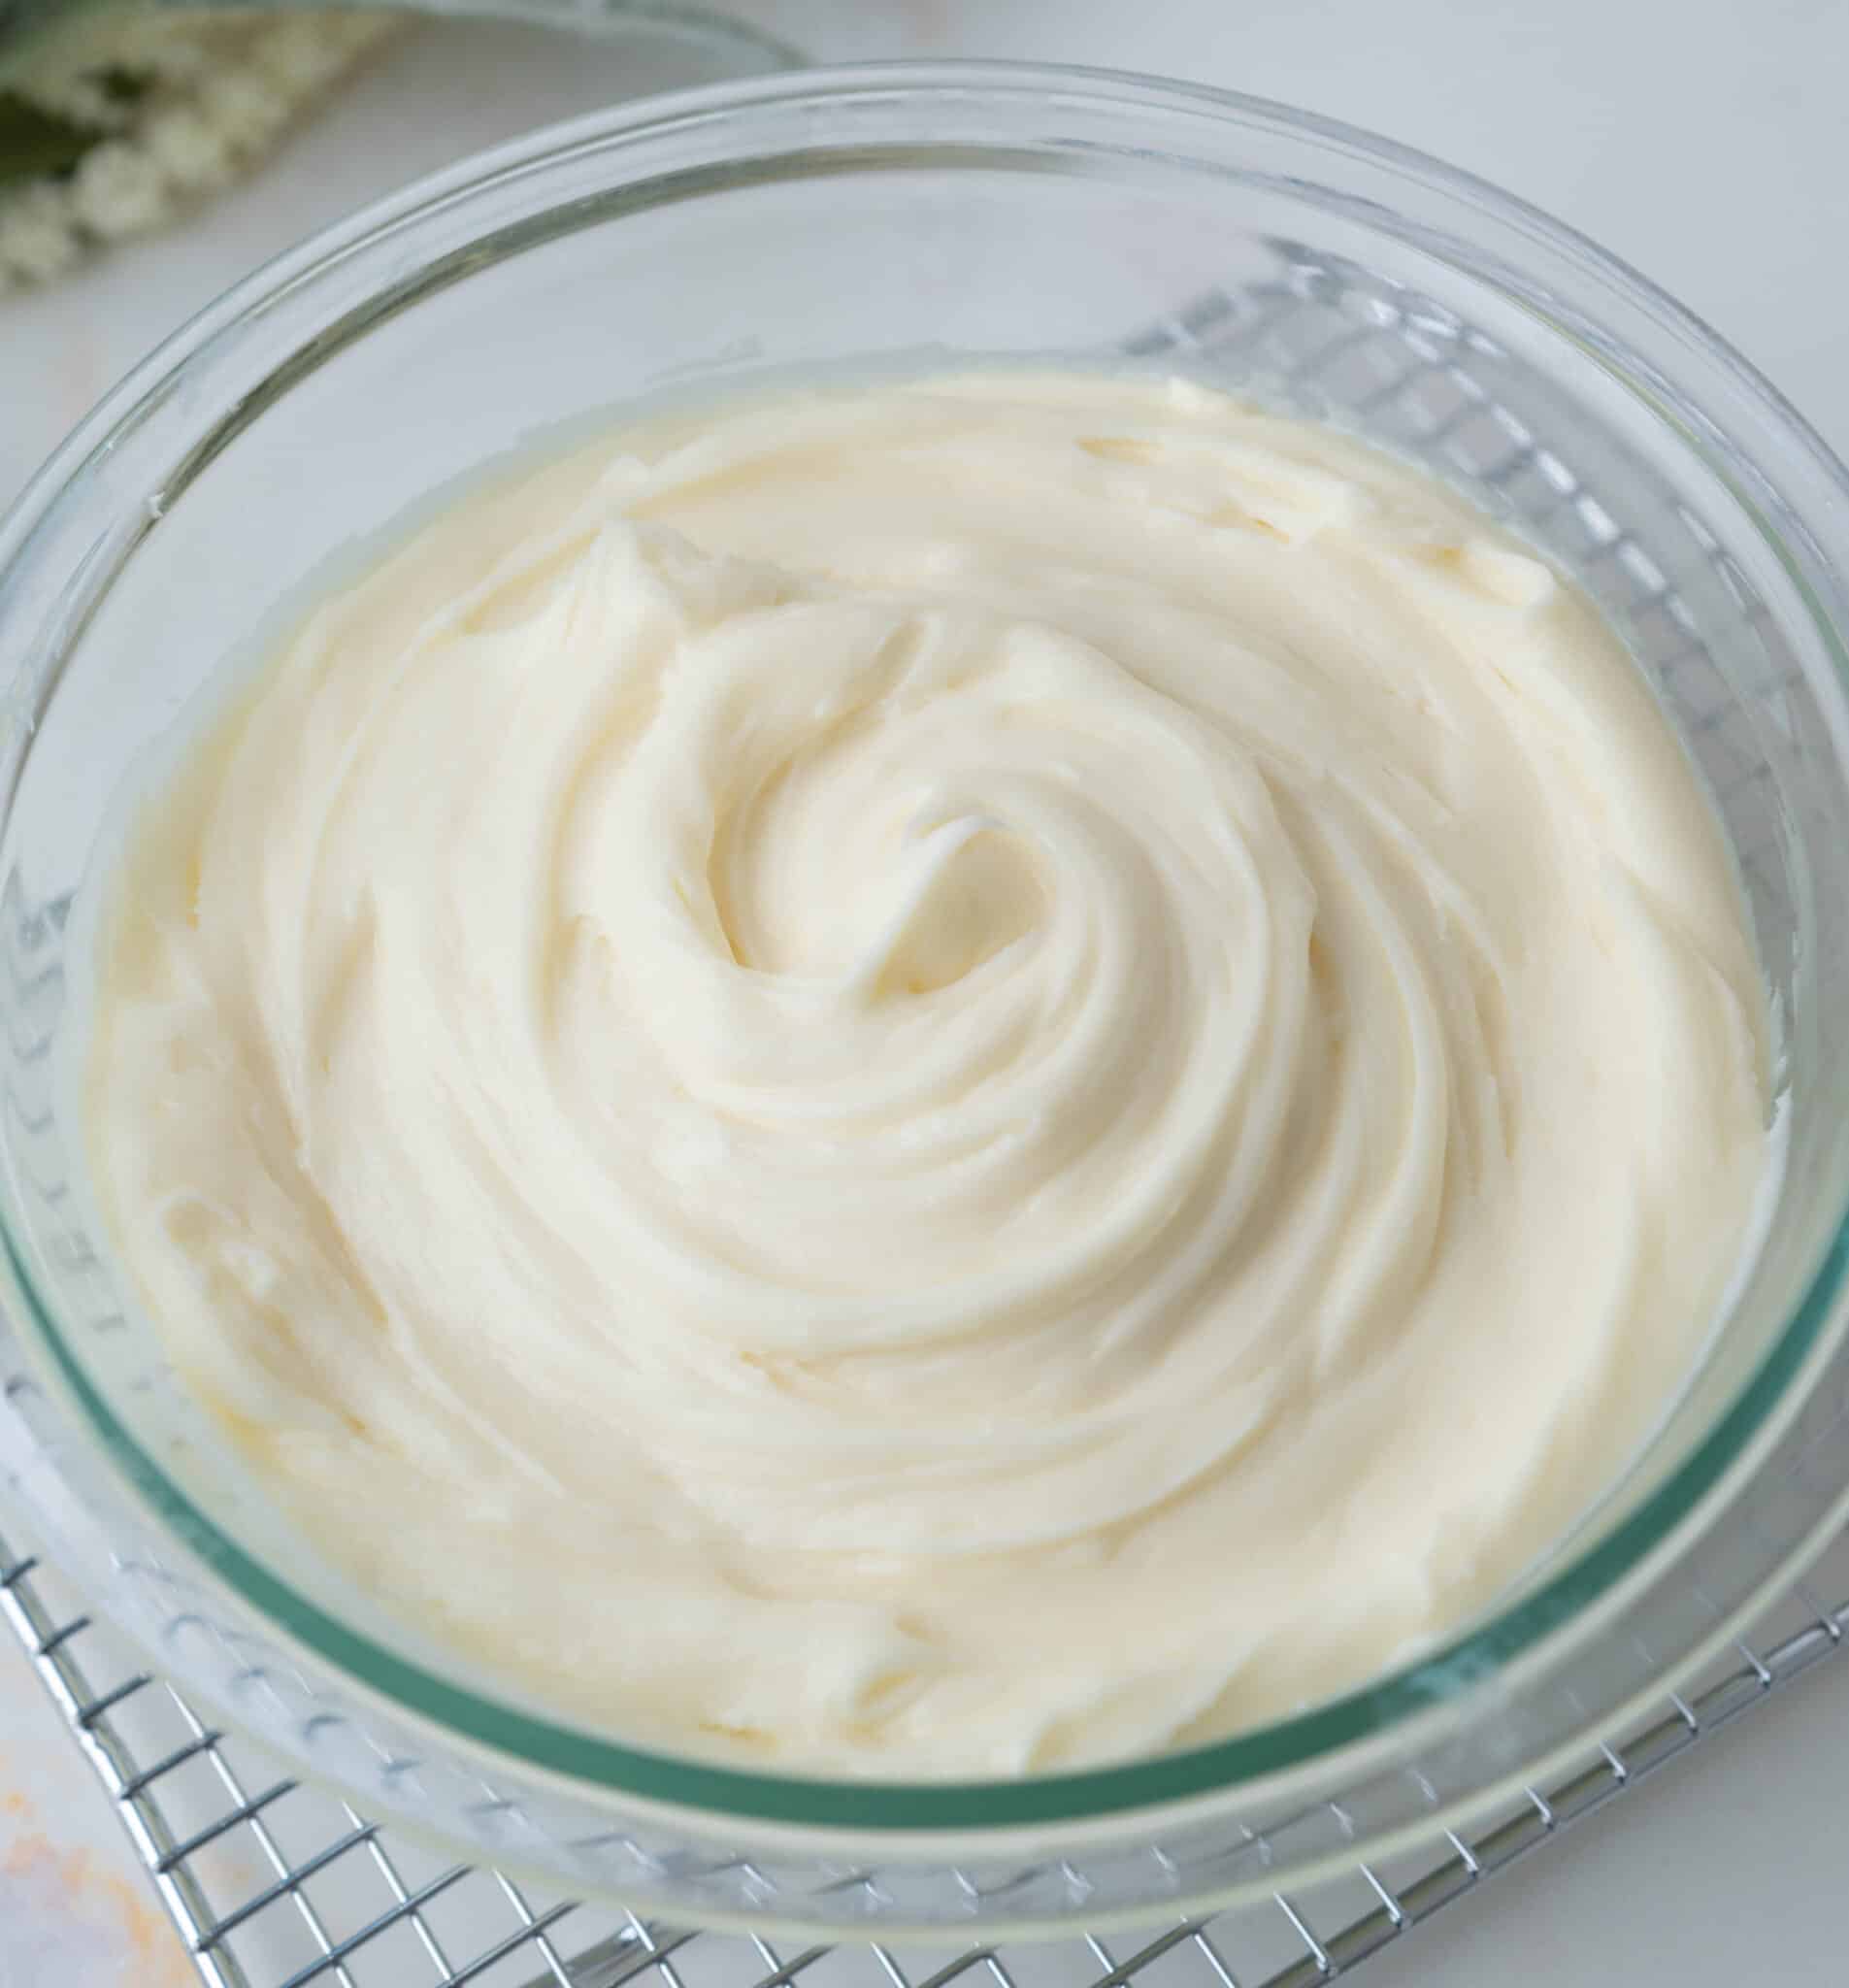
- Place the softened butter in the bowl of your stand mixer with the whisk attachment. Mix on low until it is smooth and lump-free.
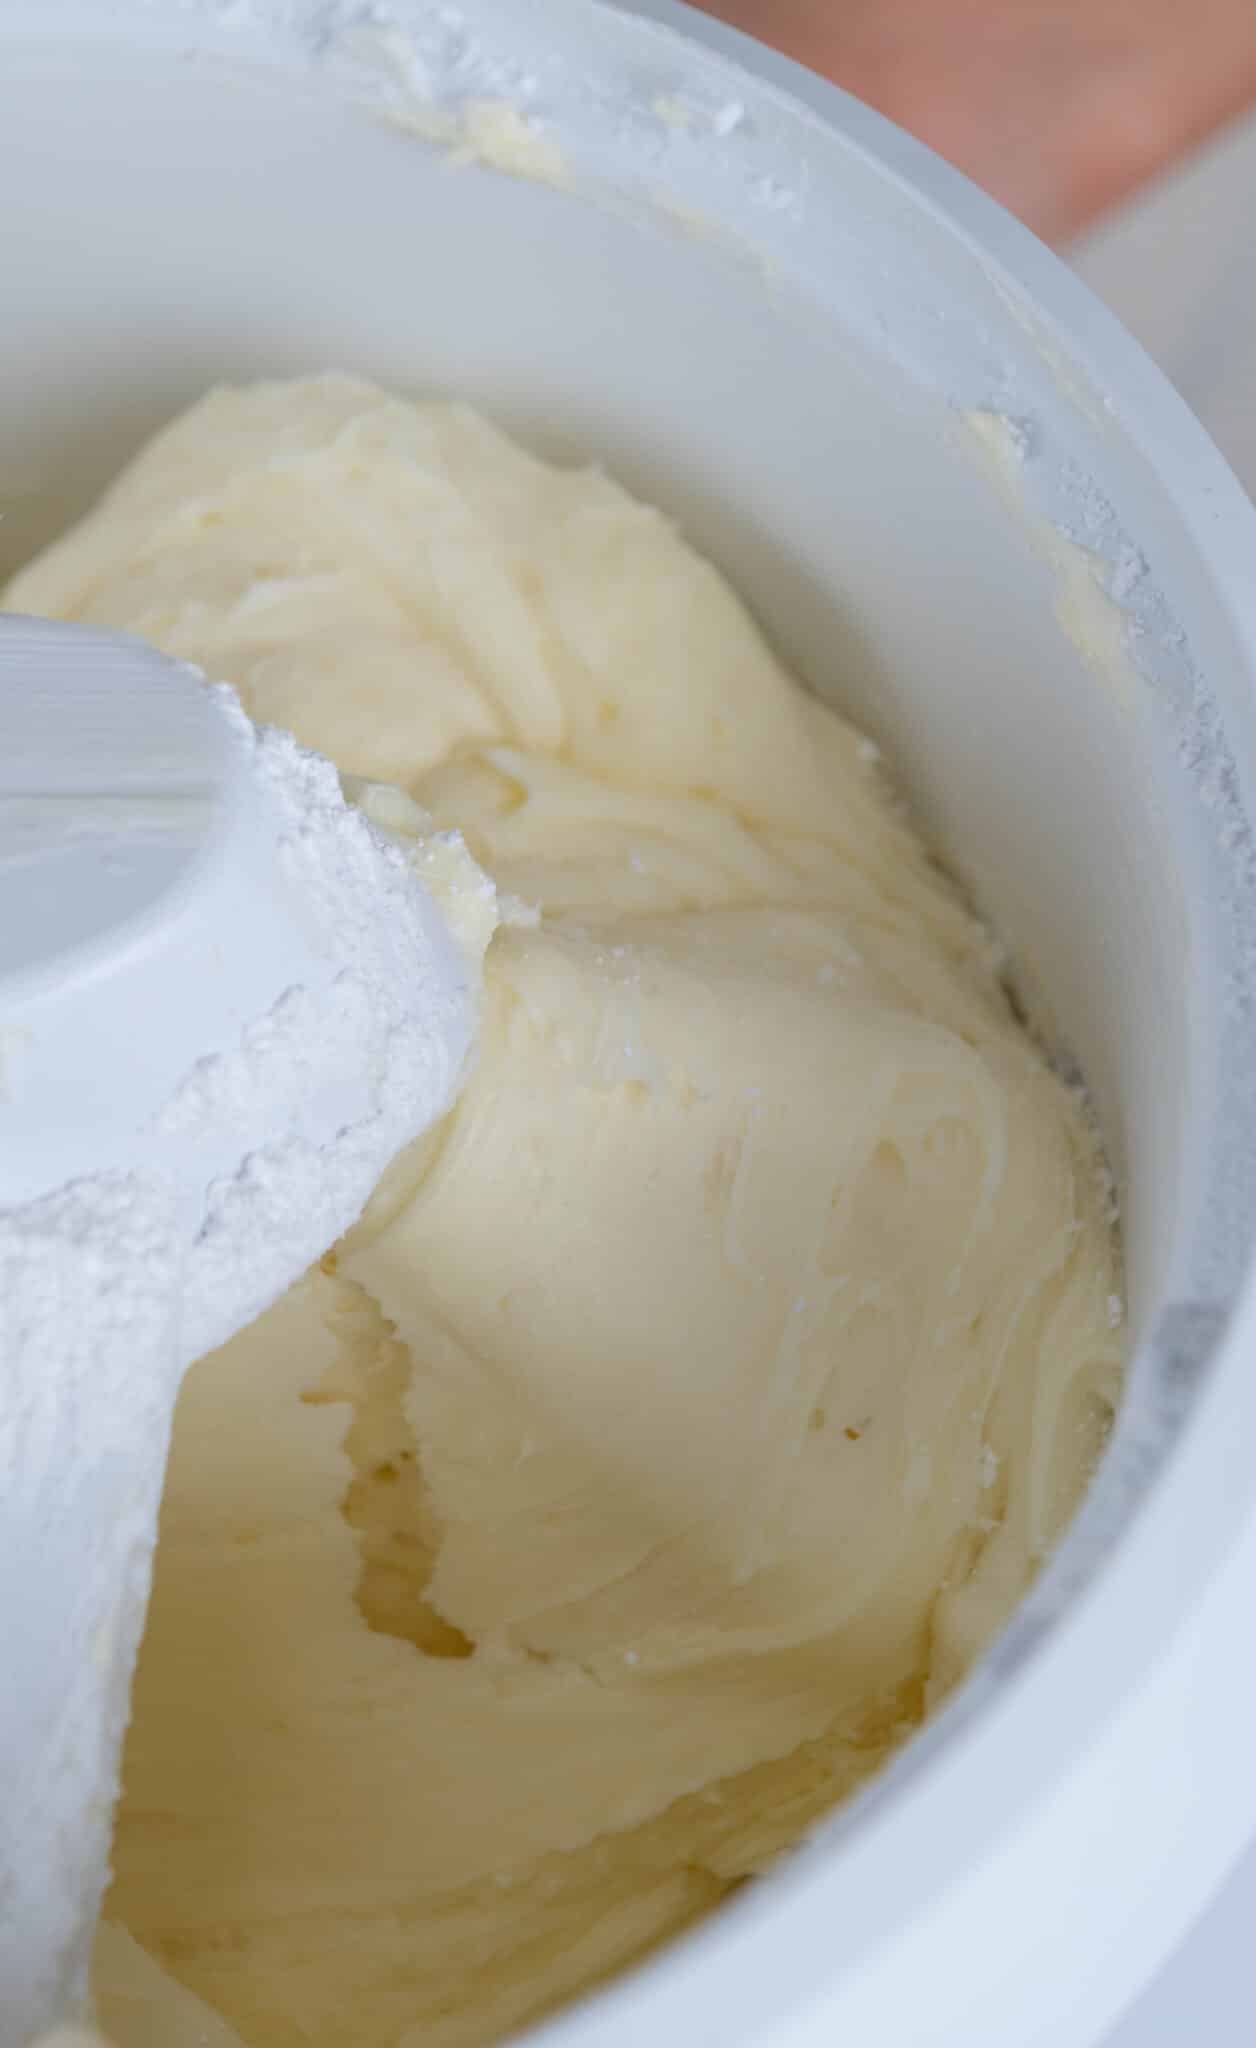
- Add in the softened cream cheese and combine on low until smooth and completely homogeneous. Scrape the bowl to make sure it is all incorporated.
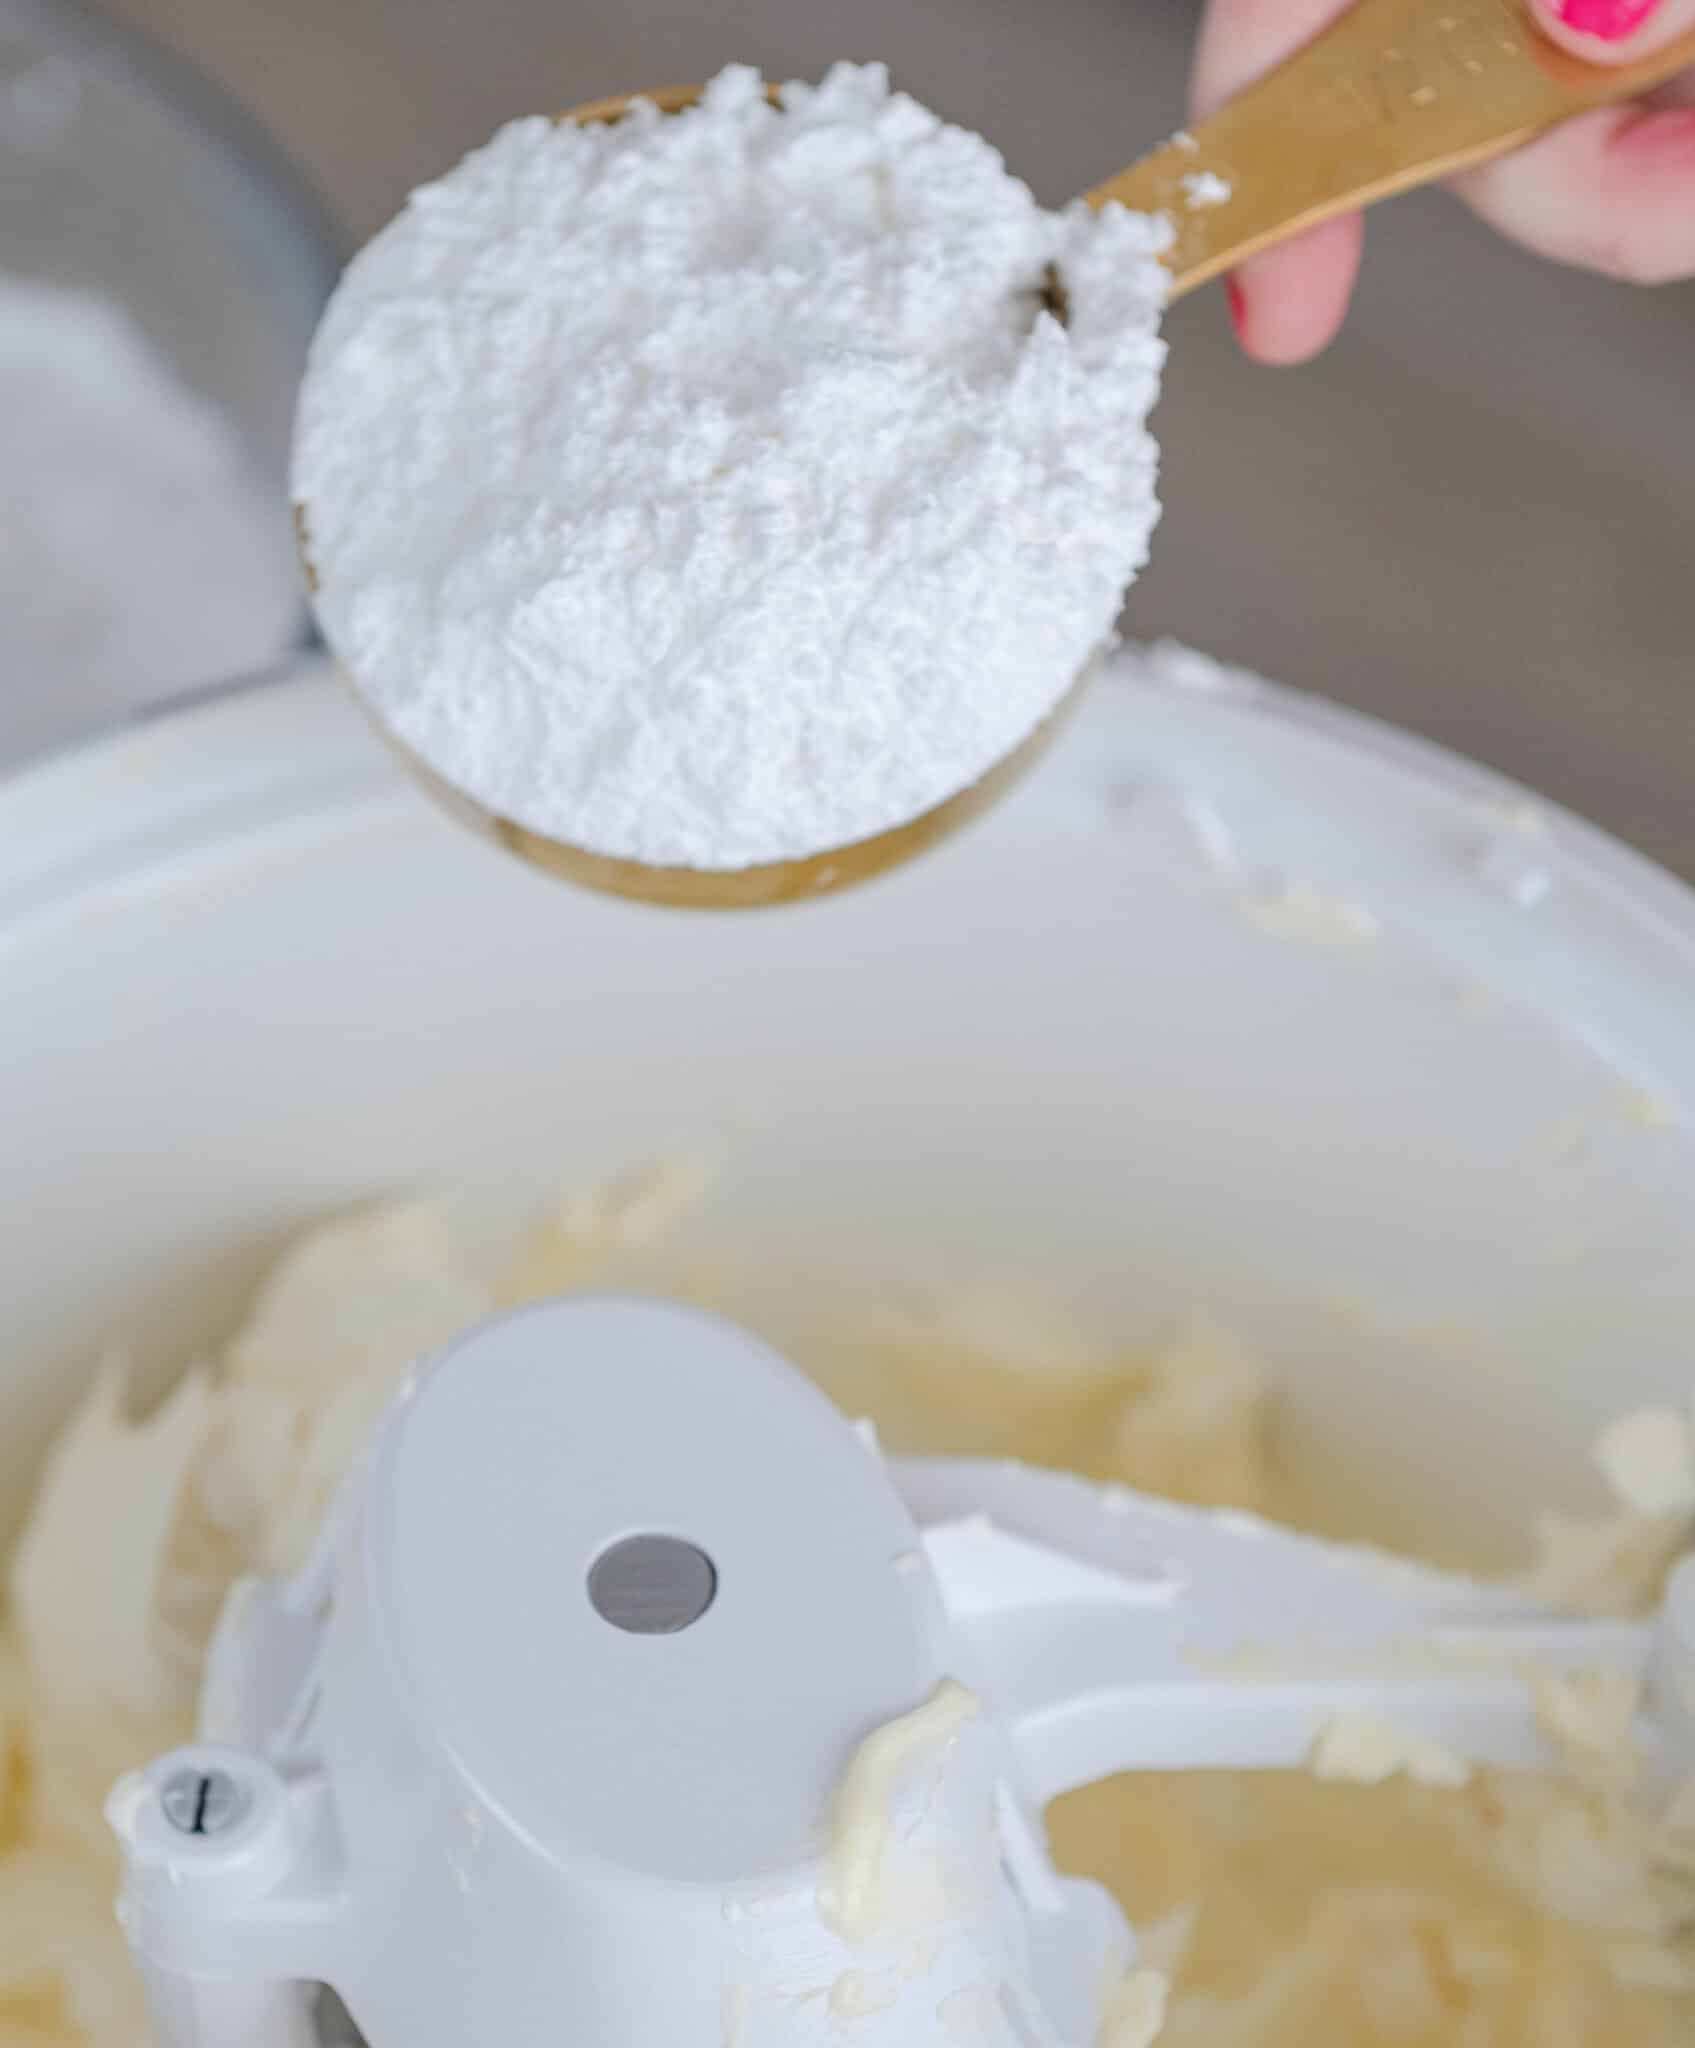
- Add in the sifted powdered sugar one cup at a time, mixing on low to avoid throwing powdered sugar out of the bowl.
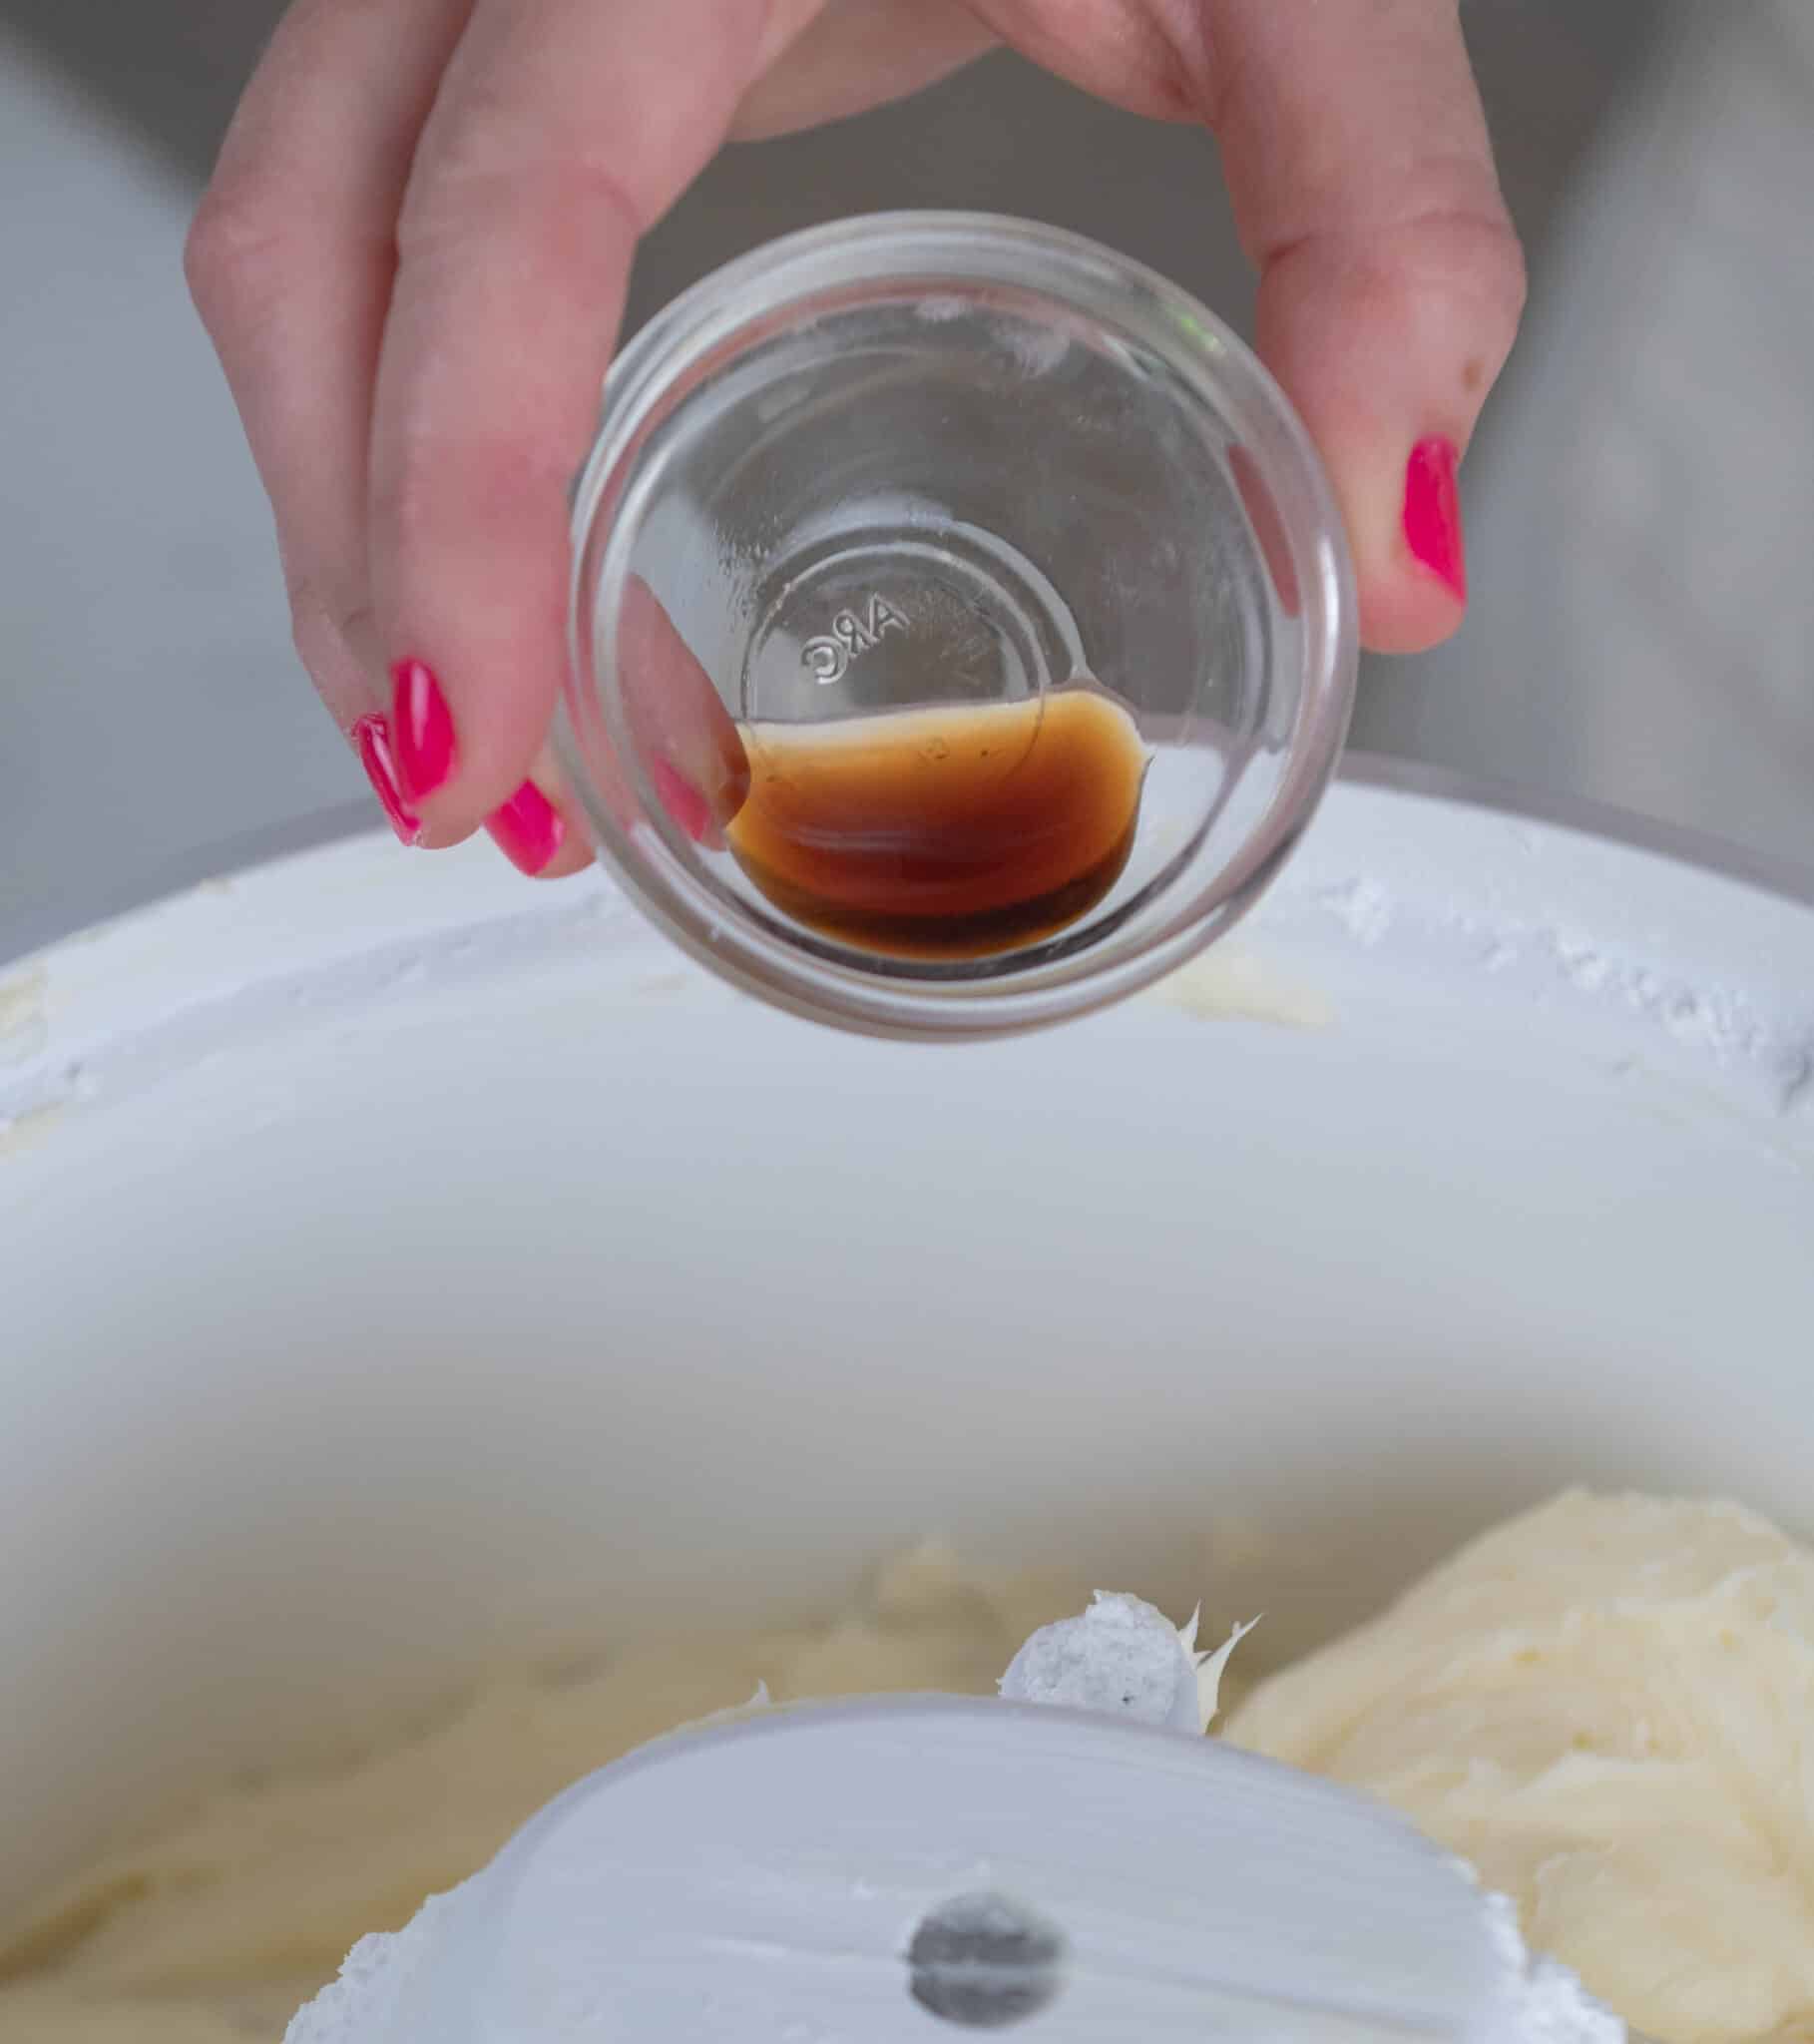
- Add the vanilla extract and salt. Mix until smooth. Do not over-mix.
- Mix until just combined, over-mixing could cause the frosting to curdle and separate.
Tips For Success
Is this your first time decorating a cake? Watch my free video tutorial on how to decorate a cake for the first time.
- Use a kitchen scale to weigh your ingredients for the best results. Baking is a science!
- I used a stand mixer to make my cakes but you can also use a hand-held electric mixer. If you use a hand-mixer then you may need to mix for longer to achieve the same batter consistency.
- Room temperature ingredients are important. Make sure your buttermilk and eggs are slightly warm and your butter is soft but not melted so that your ingredients mix together properly.
FAQ
Yes you can but the cake will not be very red on the inside.
I don't recommend it, of course, it will still make a red cake, but it will not have the flavor and texture of a classic red velvet cake.
Classic Red Velvet Cake is far more complex than a chocolate cake with red food coloring. The tenderizing buttermilk and vinegar create a texture that's soft, velvety, and full of tangy-rich flavor. The small amount of cocoa allows the other flavors to come through and not be masked with the deep richness that is in a traditional chocolate cake.
You can replace buttermilk with regular milk 1:1 plus 1 Tablespoon of white vinegar or lemon juice per cup.
Do you need more cake inspiration? Check out my other tried-and-true cake recipes
Related Recipes
If you love this red velvet recipe, try my other velvet cakes next!
Recipe

Ingredients
Red Velvet Cake Ingredients
- 14 ounces all-purpose flour
- 14 ounces granulated Sugar
- 2 Tablespoons cocoa powder
- 1 teaspoon salt
- 1 teaspoon baking soda
- 2 large eggs room temperature
- 4 ounces vegetable oil
- 8 ounces buttermilk room temperature
- 1 Tablespoon white vinegar
- 6 ounces unsalted butter melted but not hot
- 1 teaspoons vanilla
- 1 Tablespoon red food coloring gel food coloring
Cream Cheese Frosting Ingredients
- 12 ounces cream cheese softened
- 8 ounces unsalted butter softened
- ½ teaspoon vanilla extract or orange extract
- ¼ teaspoon salt
- 26 ounces powdered sugar sifted
Instructions
Red Velvet Cake
- Preheat your oven to 335°F and prepare two 8" x 2” cake pans with cake goop or your preferred pan release.
- Combine the eggs, vegetable oil, buttermilk, vinegar, butter, vanilla, and red food coloring in a medium bowl and set it aside.
- Combine the flour, sugar, cocoa powder, salt, and baking soda in the bowl of your stand mixer with the paddle attachment. Mix this on low speed for a few seconds to combine.
- Add the liquid ingredients to the dry and mix on medium speed until the batter is fully incorporated and smooth (about 1 minute). Don't forget to scrape the bowl to ensure all the ingredients are evenly mixed.
- Divide the cake batter evenly between the prepared cake pans.
- Bake the cakes for 35-40 minutes until a toothpick inserted in the center comes out clean and the tops bounce back when lightly touched.
- Cool the cakes in the pans for about 10 minutes, then flip them out onto a cooling rack to finish cooling.
- If you are going to layer and frost the same day, pop the cake layers into the freezer for about an hour, no need to wrap them. Otherwise, wrap the layers in plastic wrap and freeze them for up to a week. Pro-Tip: Wrapping the cakes while they’re still warm seals in all of the moisture, making them safe to freeze.
Cream Cheese Frosting
- Place the softened butter in the bowl of your stand mixer with the whisk attachment. Mix on low until it is smooth and lump-free.
- Add in the softened cream cheese and combine on low until smooth and completely homogeneous. Scrape the bowl to make sure it is all incorporated.
- Add in the sifted powdered sugar one cup at a time, mixing on low to avoid throwing powdered sugar out of the bowl.
- Add the vanilla extract and salt and mix until just combined and smooth. Do not over-mix.
- After your cakes are fully cooled, decorate as desired.



Dana says
Hi Liz, I don’t see my question from yesterday, but the cakes turned out beautifully! If I need a recipe, I always check your site first! Merry Christmas
Mushili says
Hi Liz, Thank you so much for this recipe, best Red velvet cake I've ever made! so moist and flavourful!
Only thing is I struggle to pipe cream cheese frosting as its very soft. Do you think your swiss meringue buttercream would go well with the red velvet cake?
Elizabeth Marek says
Swiss meringue is a great frosting that goes with any flavor
Nan says
I wanted to love this recipe, yet my first go at it was not successful. I’m an experienced baker, and this recipe was incredibly easy! I had very high hopes! The layers both fell at the 30 minute mark. No open doors, and my oven is the correct temp. I’m not giving up, and am going to try this again.
Elizabeth Marek says
Try mixing a little bit more. If your cakes fell then they might not have enough structure.
Dahlia says
I've tried many RV recipes and this is the best!! 😍
Almas Shekasan says
Hi , the recipe looks s0 interesting. I have 2 questions
1. I do not have buttermilk what is the alternative
2. Can I half this recipe? use 2 6" pans
Sugar Geek Show says
Hi! You can make your own buttermilk (here's the recipe: https://sugargeekshow.com/recipe/buttermilk-substitute/) and yes you can half this recipe and use two 6" pans or one 8" pan. Just keep an eye on the baking time, it might differ with the varying amounts of batter.
Abby says
My cake came out delicious but the color was not on the bright red side can you tell me what I did wrong?
I used a cheap brand of red food color
Sugar Geek Show says
The cheap brand is most likely the issue, I use Americolor gel colors in my cakes for the best color.
Kathe says
Made this for Valentine's Day. It was my first time making a Red Velvet Cake. It was easy to follow and I love that you have the amounts in grams as I only try to bake now using a scale. The cake was delicious and the cream cheese frosting was so good. I had Orange Oil, not extract so used half the amount. What a amazing flavor it gave not only to the frosting but to the overall cake eating experience. This will definitely be made again. I did have on hand the deep red no taste food coloring your suggested and it worked well.
Angela says
Hi, I love cake and this is the best tasting red velvet ever!! I made this for Valentine’s Day and used red. My daughters 3rd birthday is coming up and she wanted a mermaid cake. I wanted to use electric purple and turquoise from americolor. If I switched out the colors would it be bright, should I use less coloring to have it kind of like your rainbow cake or would it be really dull and off putting? I don’t want it to be too deep of a color. I made your rainbow cake for my sons birthday and it came out soo beautiful!! Thank you for sharing your recipes with us!! I also use your fondant recipe and the kids thinks it’s delicious marshmallow candy, I have to wait for them to sleep otherwise they keep asking for one “last piece” and I won’t have enough to finish covering the cake. Thank you, Angela.
Elizabeth Marek says
It will not be bright with this recipe because of the cocoa powder. For bright colors check out my rainbow cake and I would use that recipe
Ness says
You are such a blessing! I'm a proud chef and I know I can always count on your recipes. Full proof every time! Love the conversion table for different cake sizes!
So thankful for you!
Ngozi Asika says
Just made this recipe now. It came out great. Easy to follow. Thanx a lot. Now I have a red velvet recipe I can trust
Ducky says
It came out amazing! Thanks so much
Jodie says
I see you mentioned using Americolor food gels, do you use the amount in the recipe? I thought the gel colors are more concentrated?