

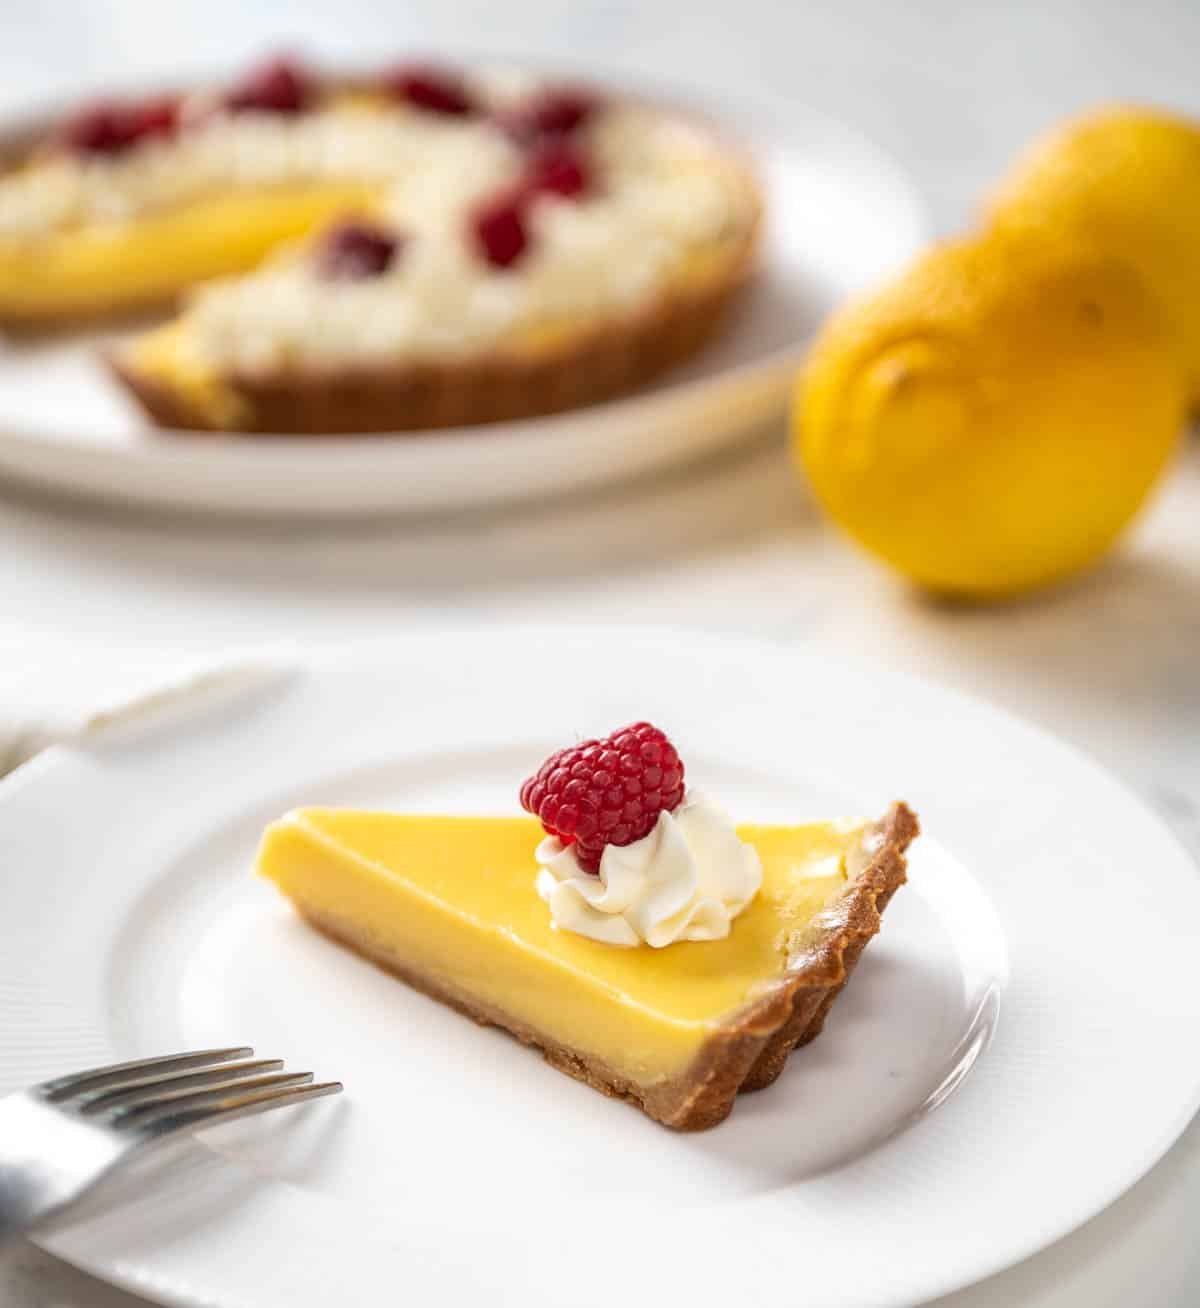
This truly is the best lemon tart recipe (tarte au citron) you'll ever make! The tart crust (pâte sucrée) is buttery and crisp and the mock crème fraîche is super creamy with a hint of tang. The lemon custard filling is the perfect amount of tart and sweet and has the texture of Crème Brûlée. The secret ingredient is heavy cream resulting in the smoothest, creamiest, dreamiest lemon tart you've had outside of the South of France.

To make a true classic lemon tart you begin by making the tart shell which is extremely simple. Just blend up everything in a food processor or stand mixer, let it chill for an hour, roll it out, then bake it in the tart pan. Baking the tart shell ahead of time (blind baking) will ensure the crust is nice and crisp before you add in the lemon custard filling for the final bake which only takes 20-30 minutes.
You can top your lemon tart with some homemade crème fraîche or use the mock crème fraîche in this recipe and some freshly sliced lemons, strawberries, raspberries or even just a dusting of powdered sugar if you prefer. 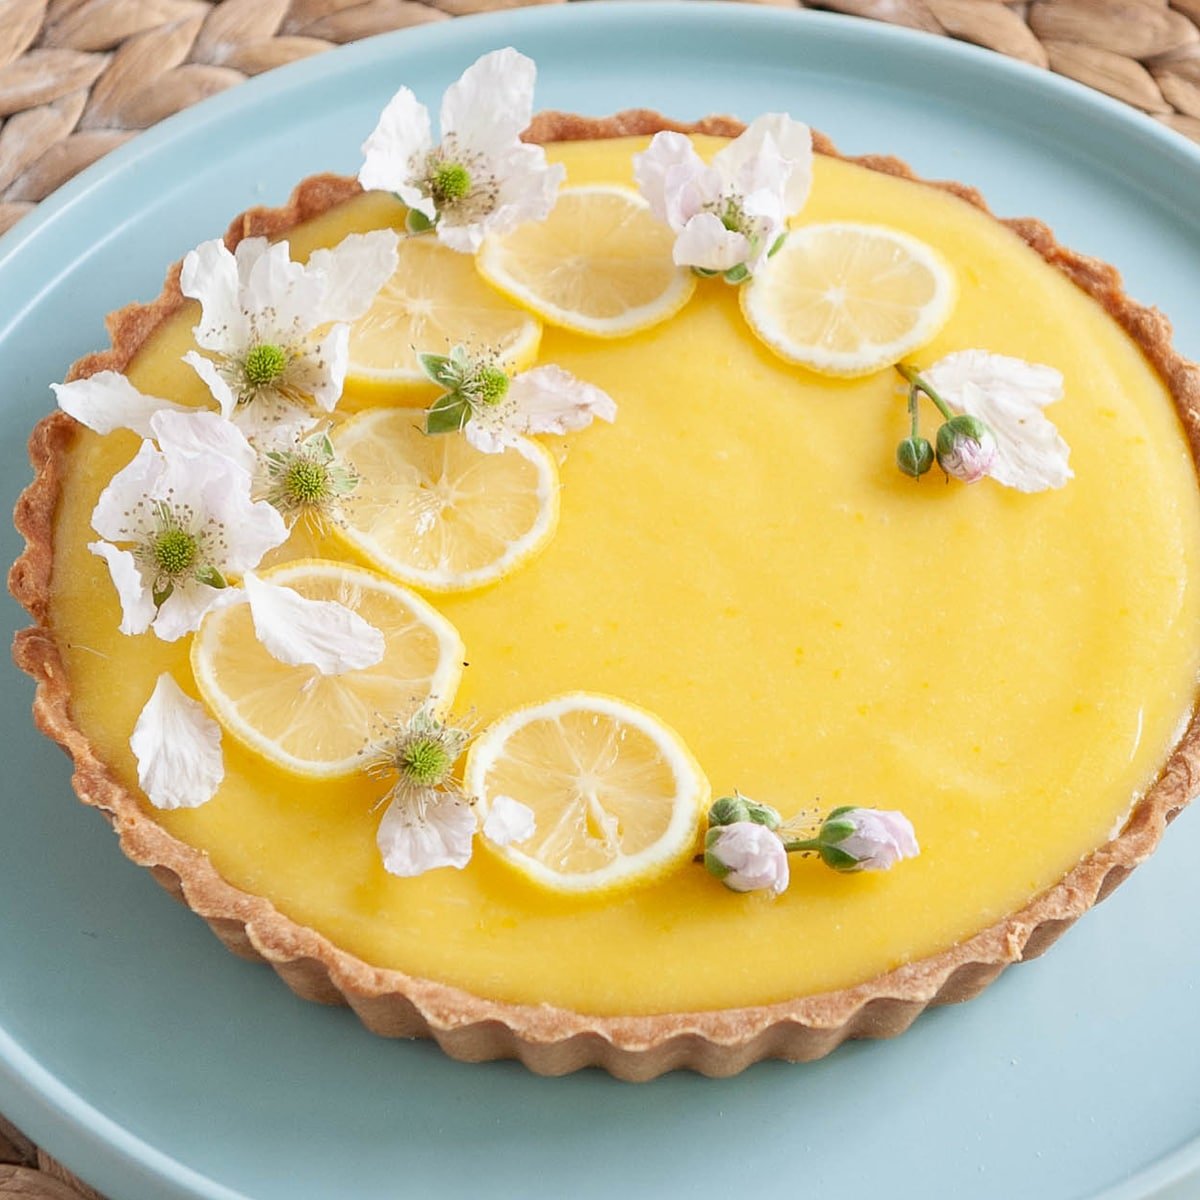
I brought two of these lemon tarts to my neighbor's Bastille Day celebration and I was so happy when it received rave reviews! Truly one of the most impressive lemon desserts you can make.
Lemon Tart Ingredients
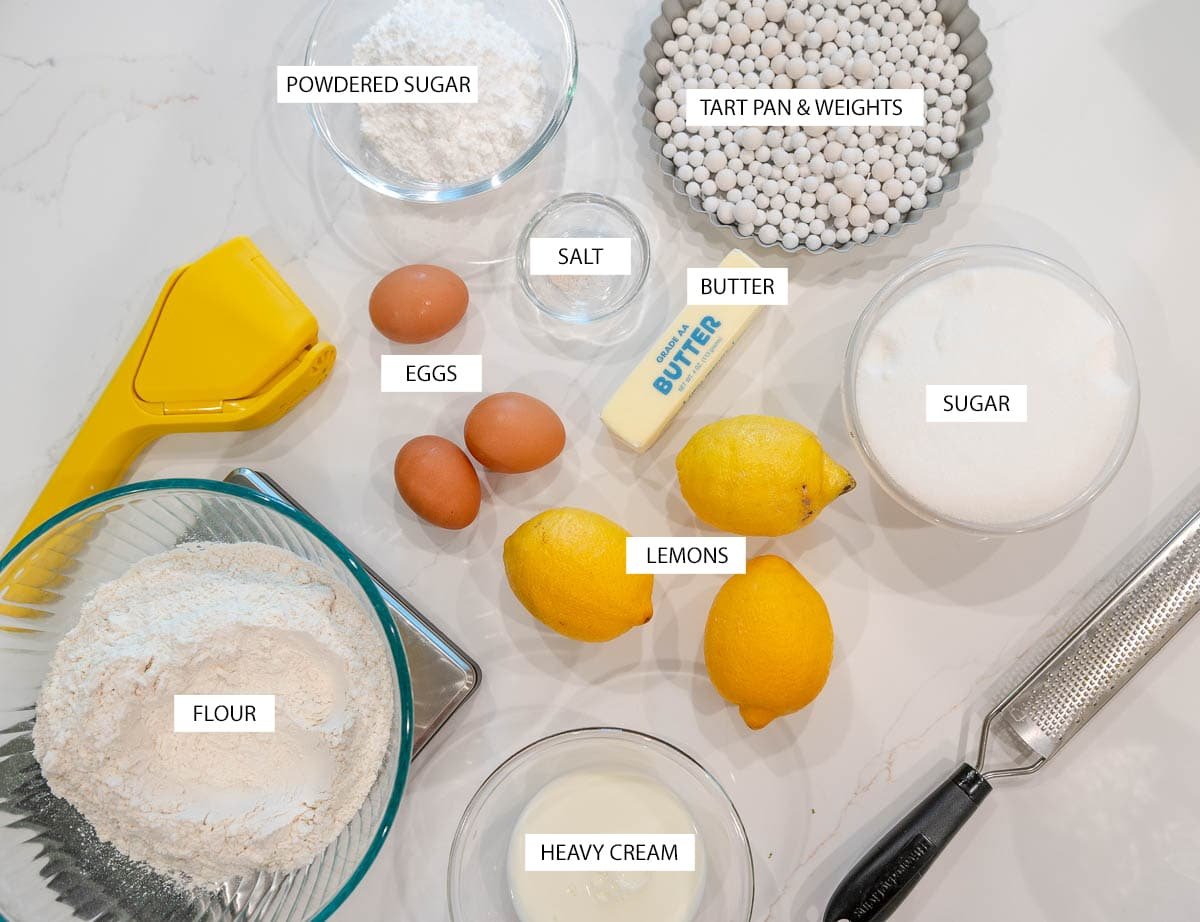
- Organic Lemons - I learned on a recent trip to the Amalfi coast that using organic lemons can greatly improve the taste of your recipes if you are using the zest. Some grocery store lemons have wax and sometimes left over pesticides or other sprays on the skin of the lemon that can not only taste bad but be harmful if eaten.
- European Style Unsalted Butter - Buy the good stuff! Cheap butter contains more water and less butter solids resulting in a wet and sticky dough that can get tough instead of puffing up and becoming the crispy buttery crust you want. Go with unsalted so you can control the salt level in your crust.
- Heavy Whipping Cream - The addition of cream takes the lemon custard filling to another level! Sometimes, it is also referred to as double cream. We will also use some to make the mock crème fraîche.
- Yogurt - This adds a little tanginess to the whipped cream but is easier to make than standard crème fraîche.
- Whole Eggs - We're using whole eggs to set our custard. If you can find some farm fresh eggs then your tart will have a beautiful yellow color. The darker the yolks, the more yellow your tart will be since the lemon juice doesn't really have a color.
Making the Tart Dough
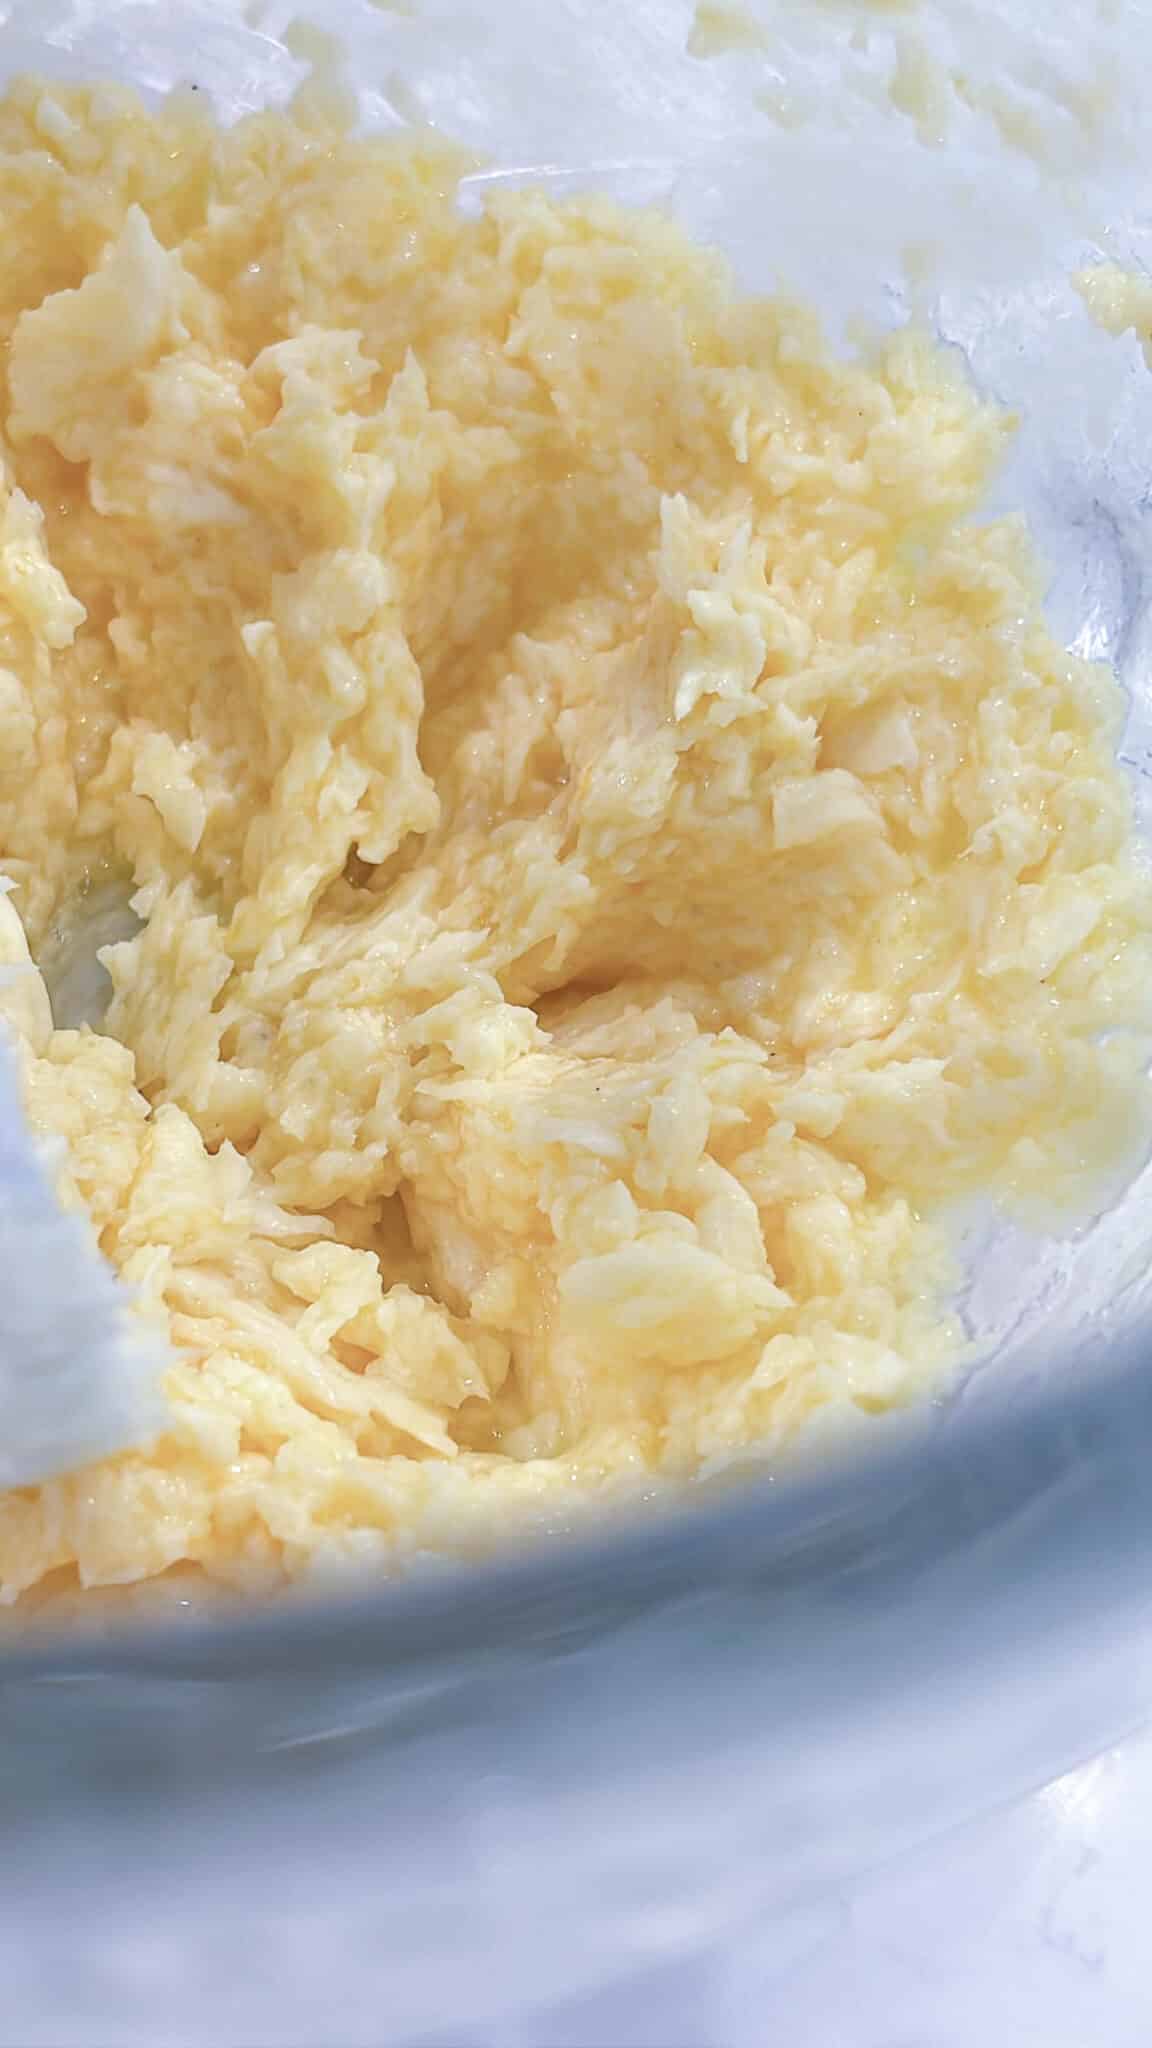
- First, in the bowl of your stand mixer with the paddle attachment attached, mix the room temperature butter, salt, and powdered sugar until it's smooth.
- Next, add in the room-temperature eggs and lemon zest and mix until smooth. If your mixture looks curdled, don't worry, just keep mixing until it comes together.

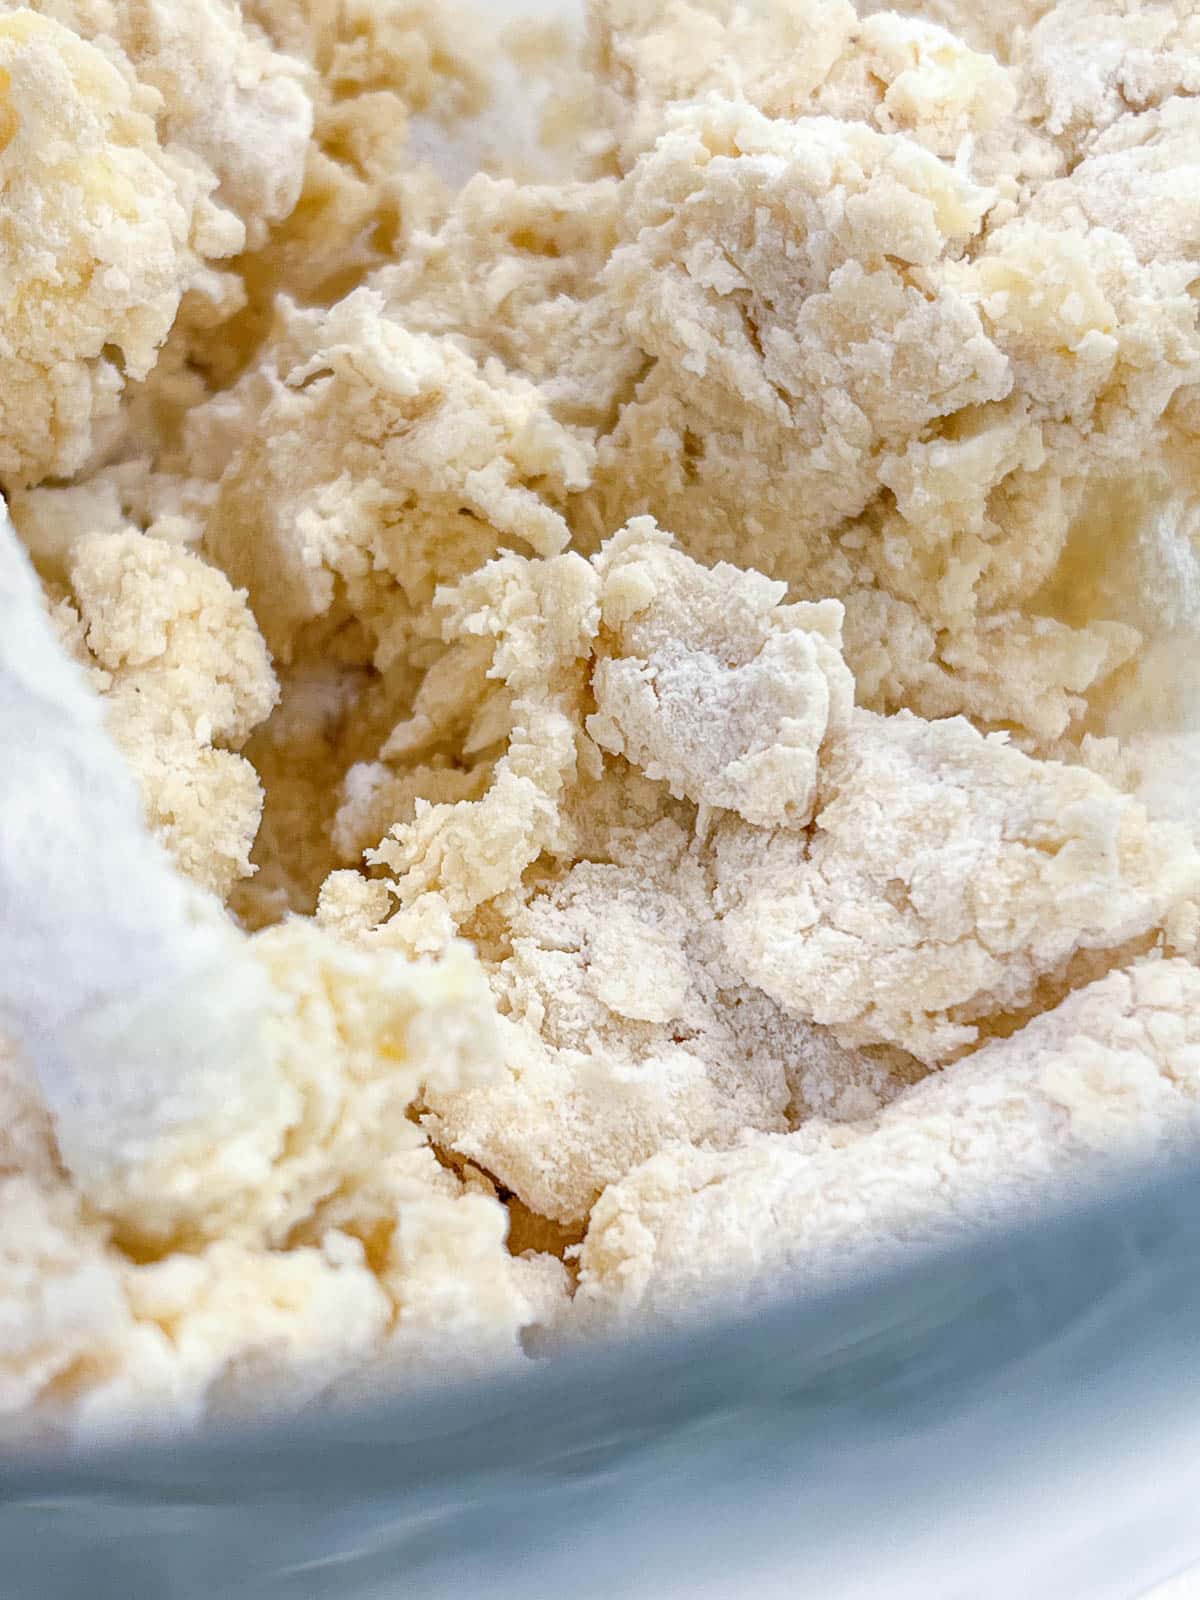
- Add in the flour in thirds until the mixture just begins to come together. Do not over-mix.

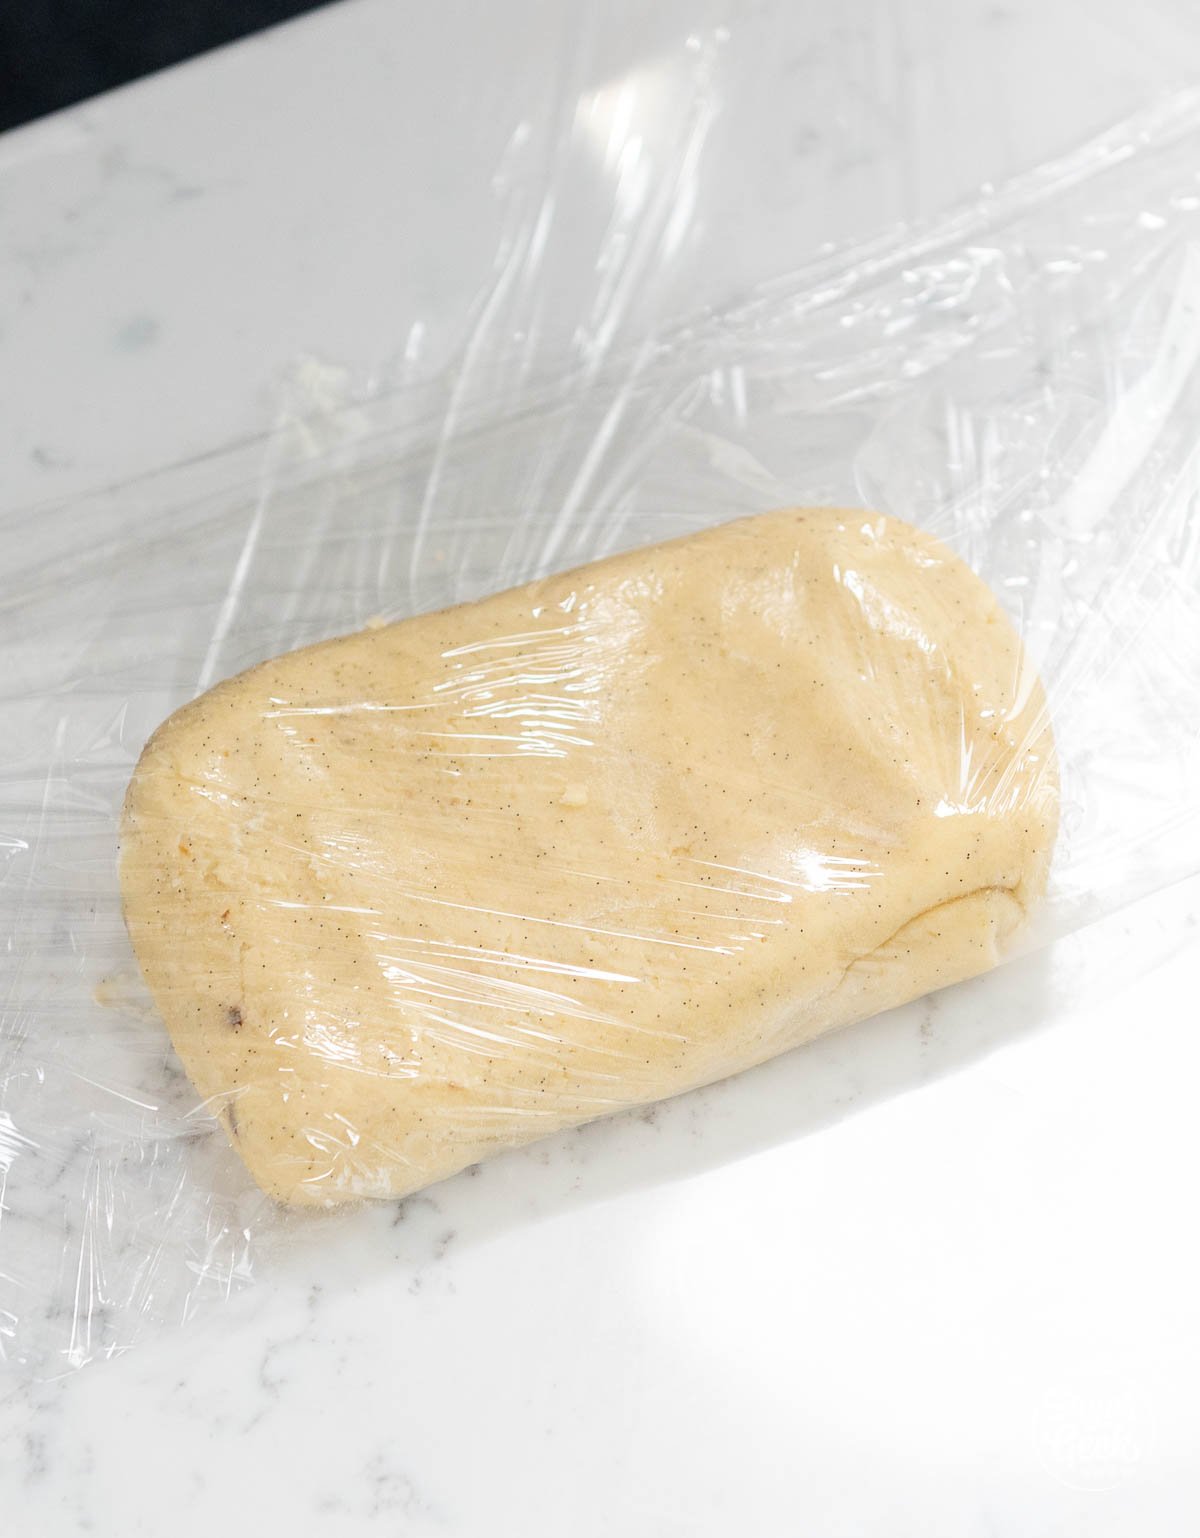
- Form the dough into a flat disk and then wrap the dough in some plastic wrap and refrigerate it for one hour. If you skip this step your tart dough will sink down the sides of the pan during baking.

Preparing the Tart Shells
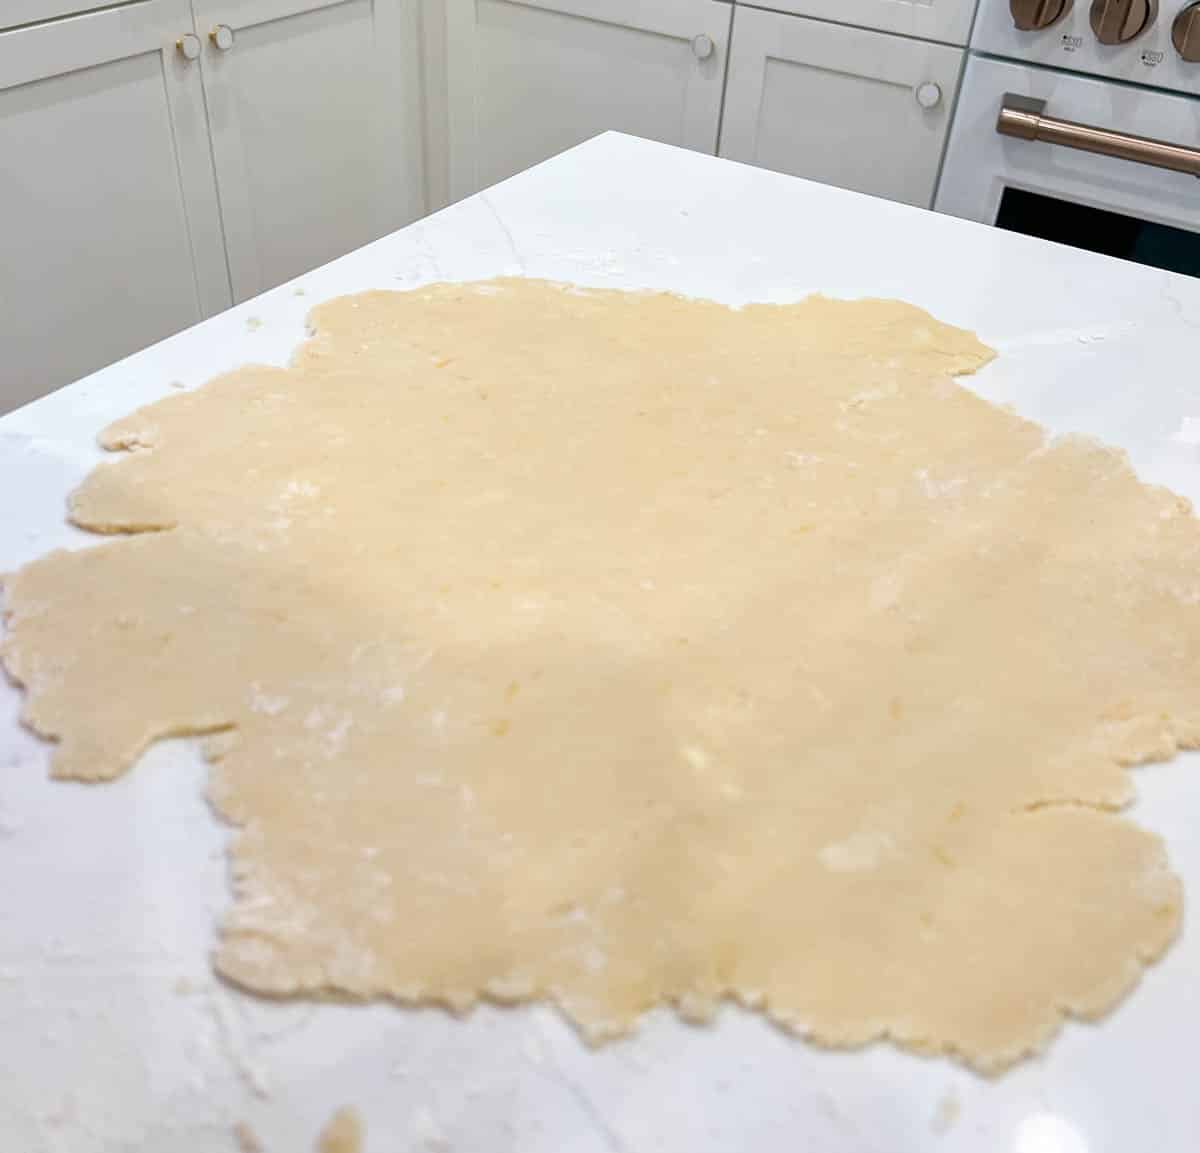
- Lightly dust the surface of your workbench and your rolling pin with flour.
- Roll the tart dough out to ⅛" thick, moving the dough every 1-2 rolls to make sure it's not stuck to the surface of the workbench.

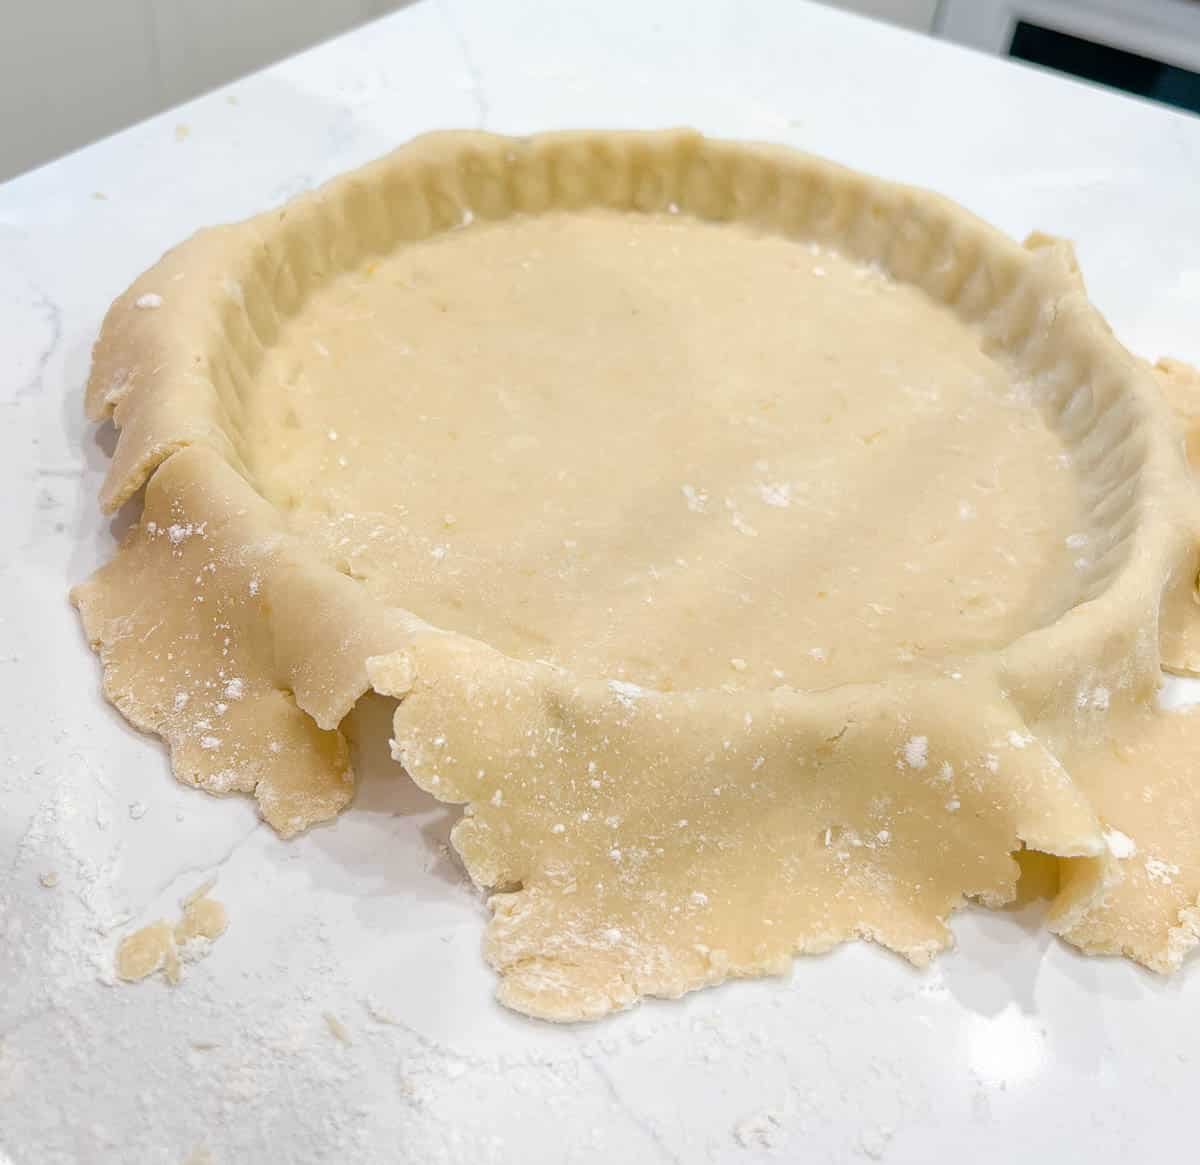
- Carefully lift the dough up with your hands or roll it gently onto your rolling pin and place it inside your 9" tart tin (make sure it is the kind with a removable bottom).

- Use your fingers to press the dough into the edges of the tart pan. These ridges help keep the tart dough from falling down the sides of the tart tin while baking.
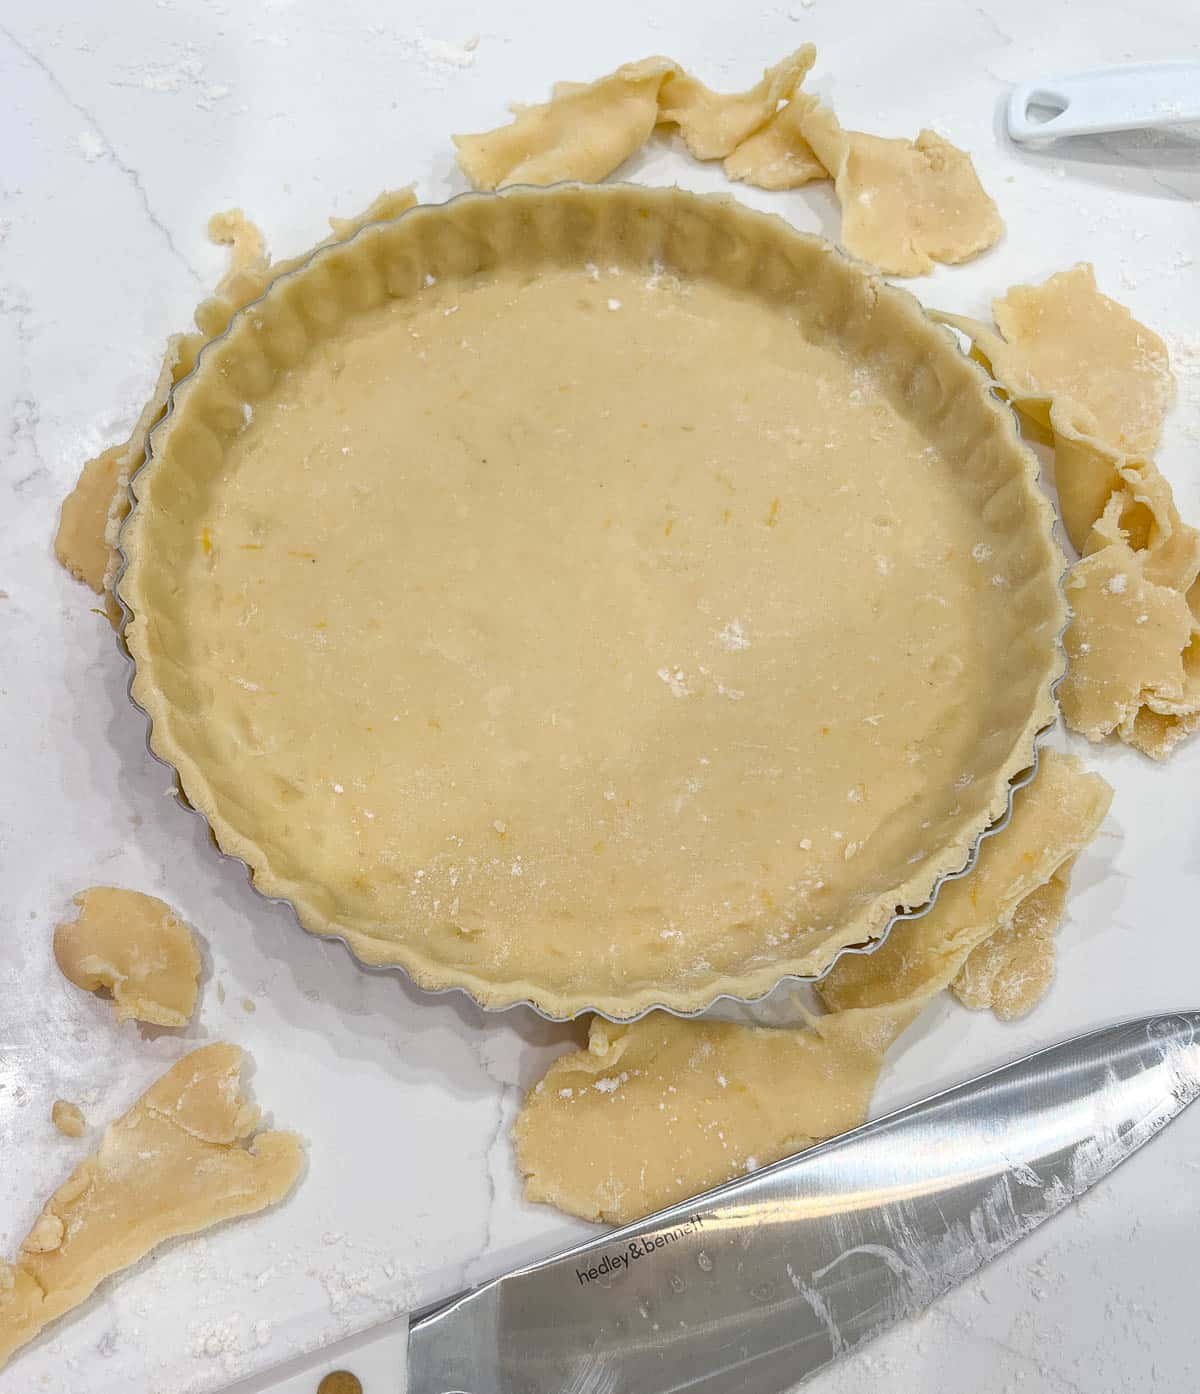
- Trim off the excess dough with a knife and set it aside to use in another tart or you can freeze the dough to use later.

- Place your tart shell in the freezer for 30 minutes.
How To Blind Bake Your Tart Shell
Blind baking ensures the tart shell will be crisp and buttery instead of soggy which can happen when baking desserts with very liquidy fillings.
- Preheat the oven to 350ºF (176ºC)
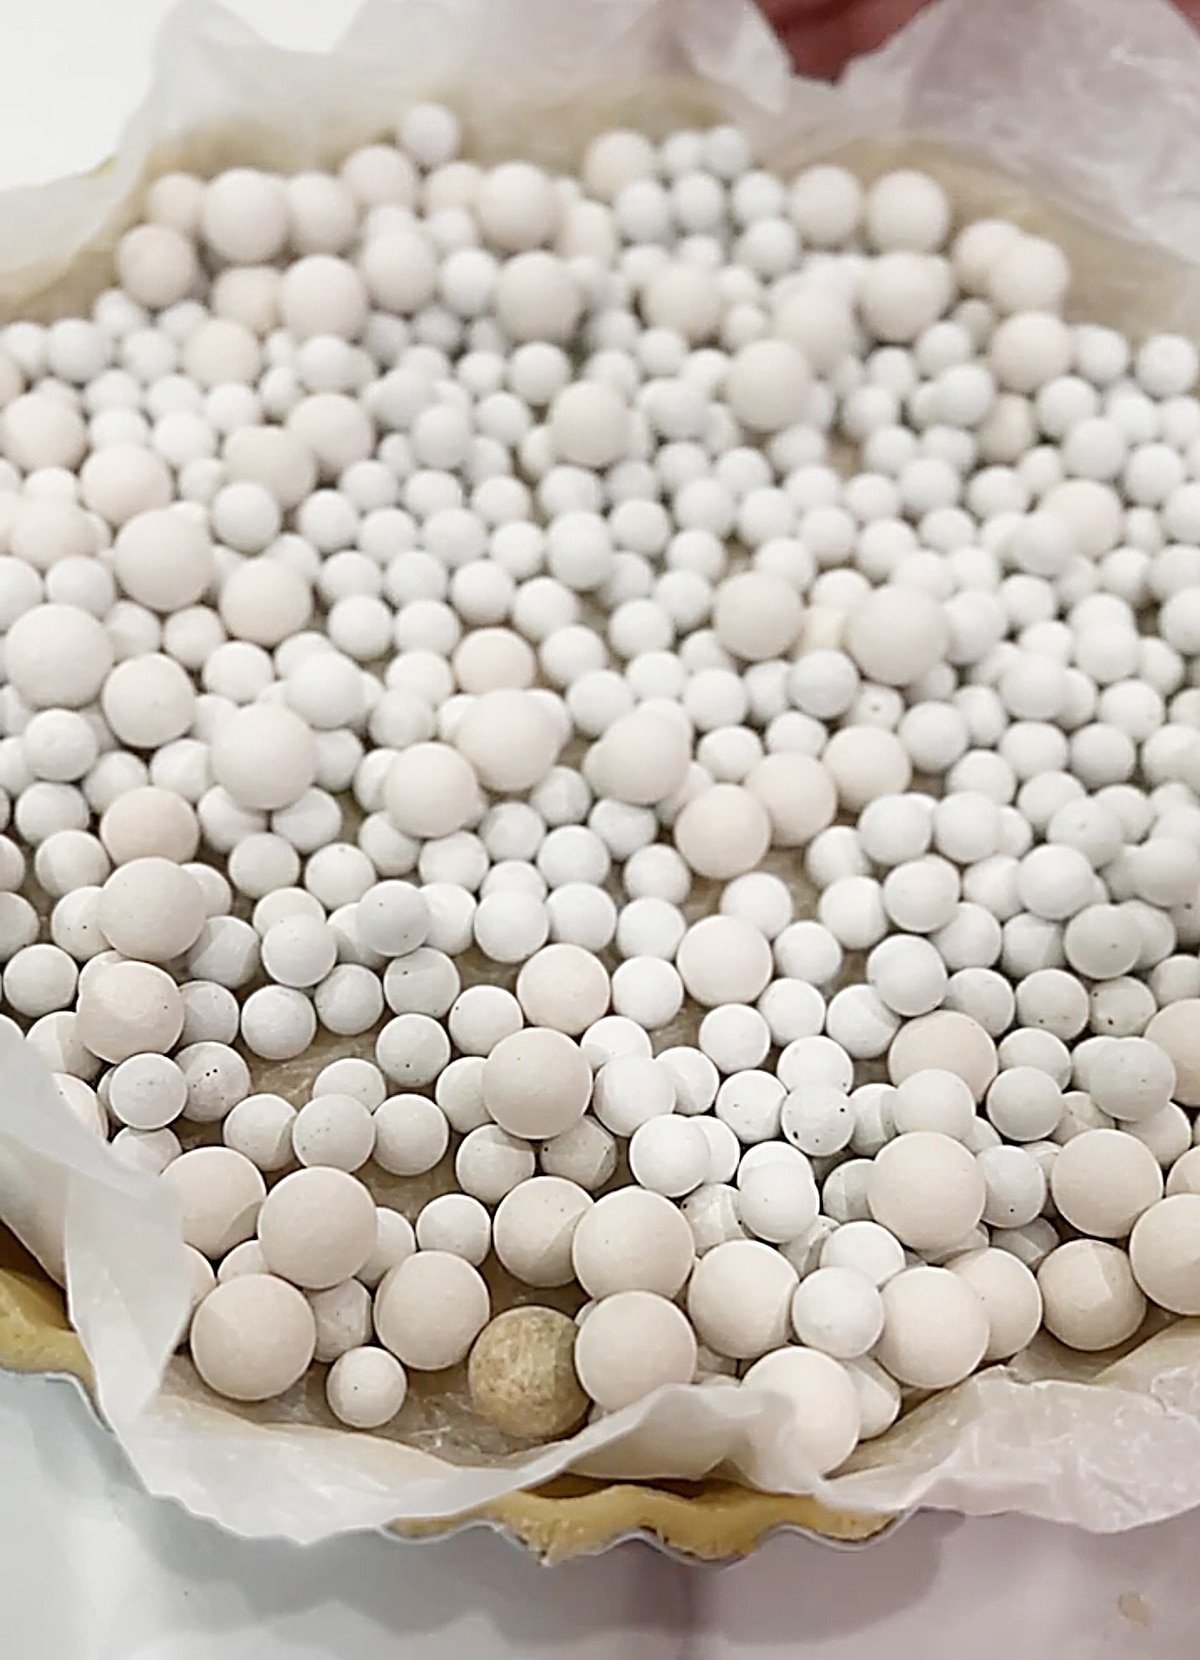
- Crumple up a piece of parchment paper (not wax paper) and place it into the tart shell.
- Fill the parchment up with pie weights or dry beans. This will hold the shell down and keep it from puffing up during blind baking.

- Place the tart shell on a sheet pan and bake it for 25 minutes.
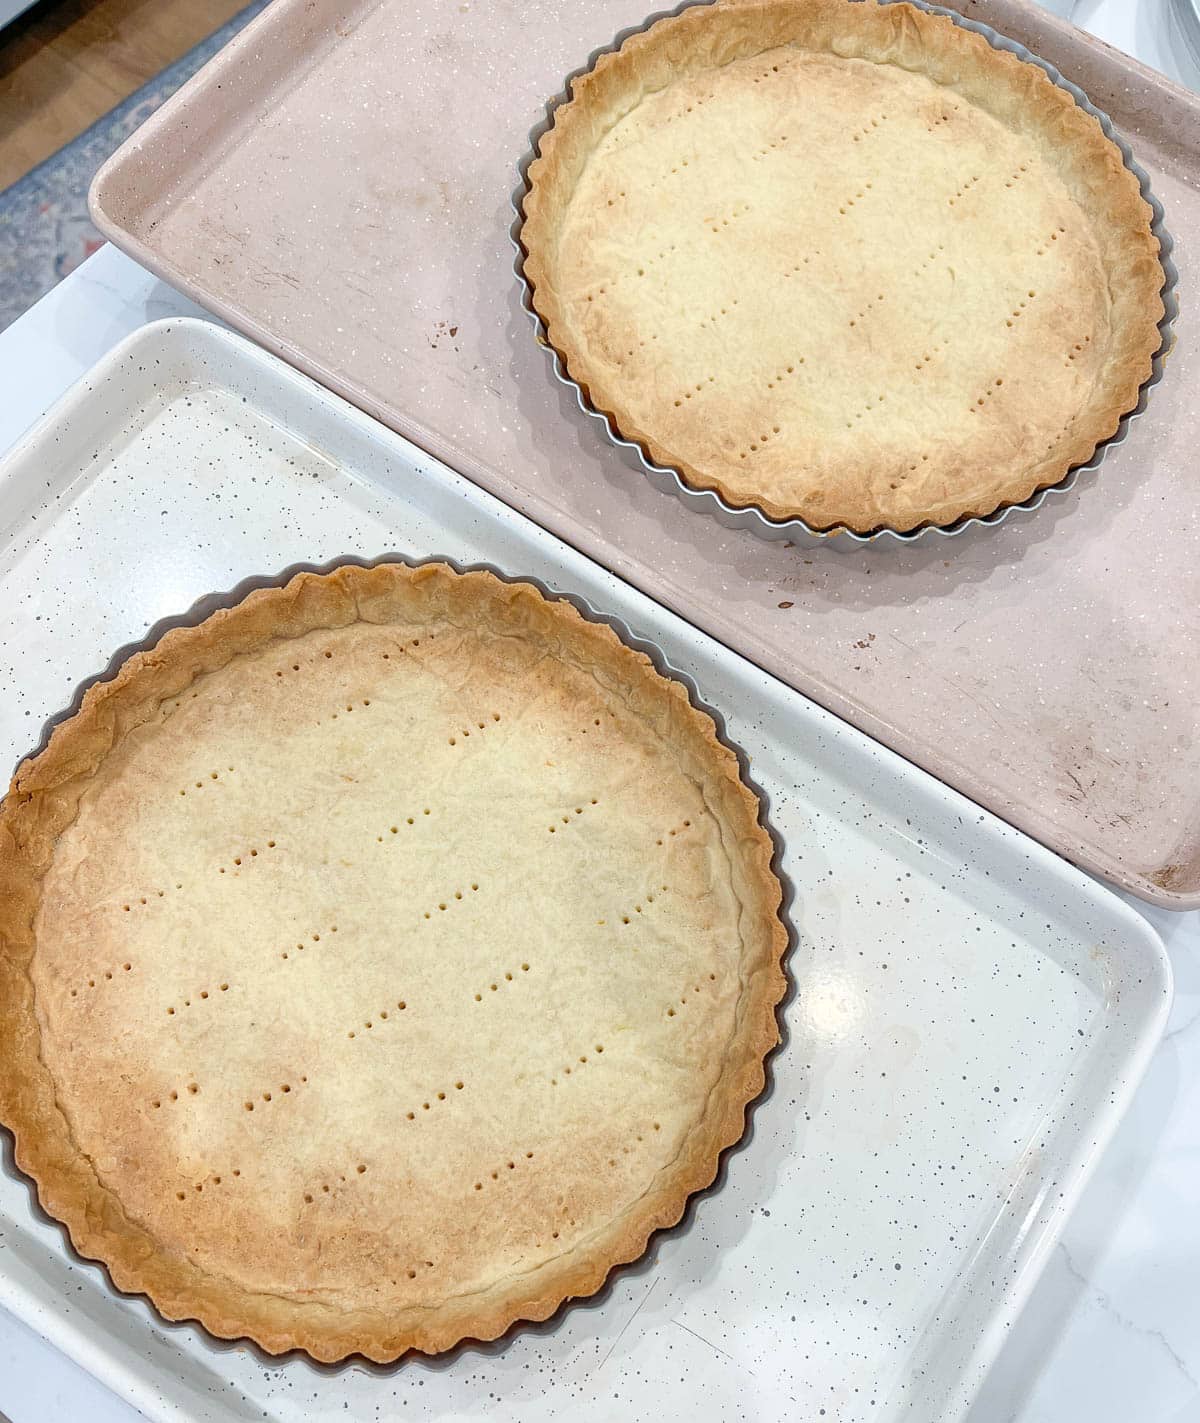
- After 25 minutes, remove the parchment paper will pie weights and continue baking for 10 more minutes. If the top edge of the tart starts to get too brown you can place a pie crust protector on top.

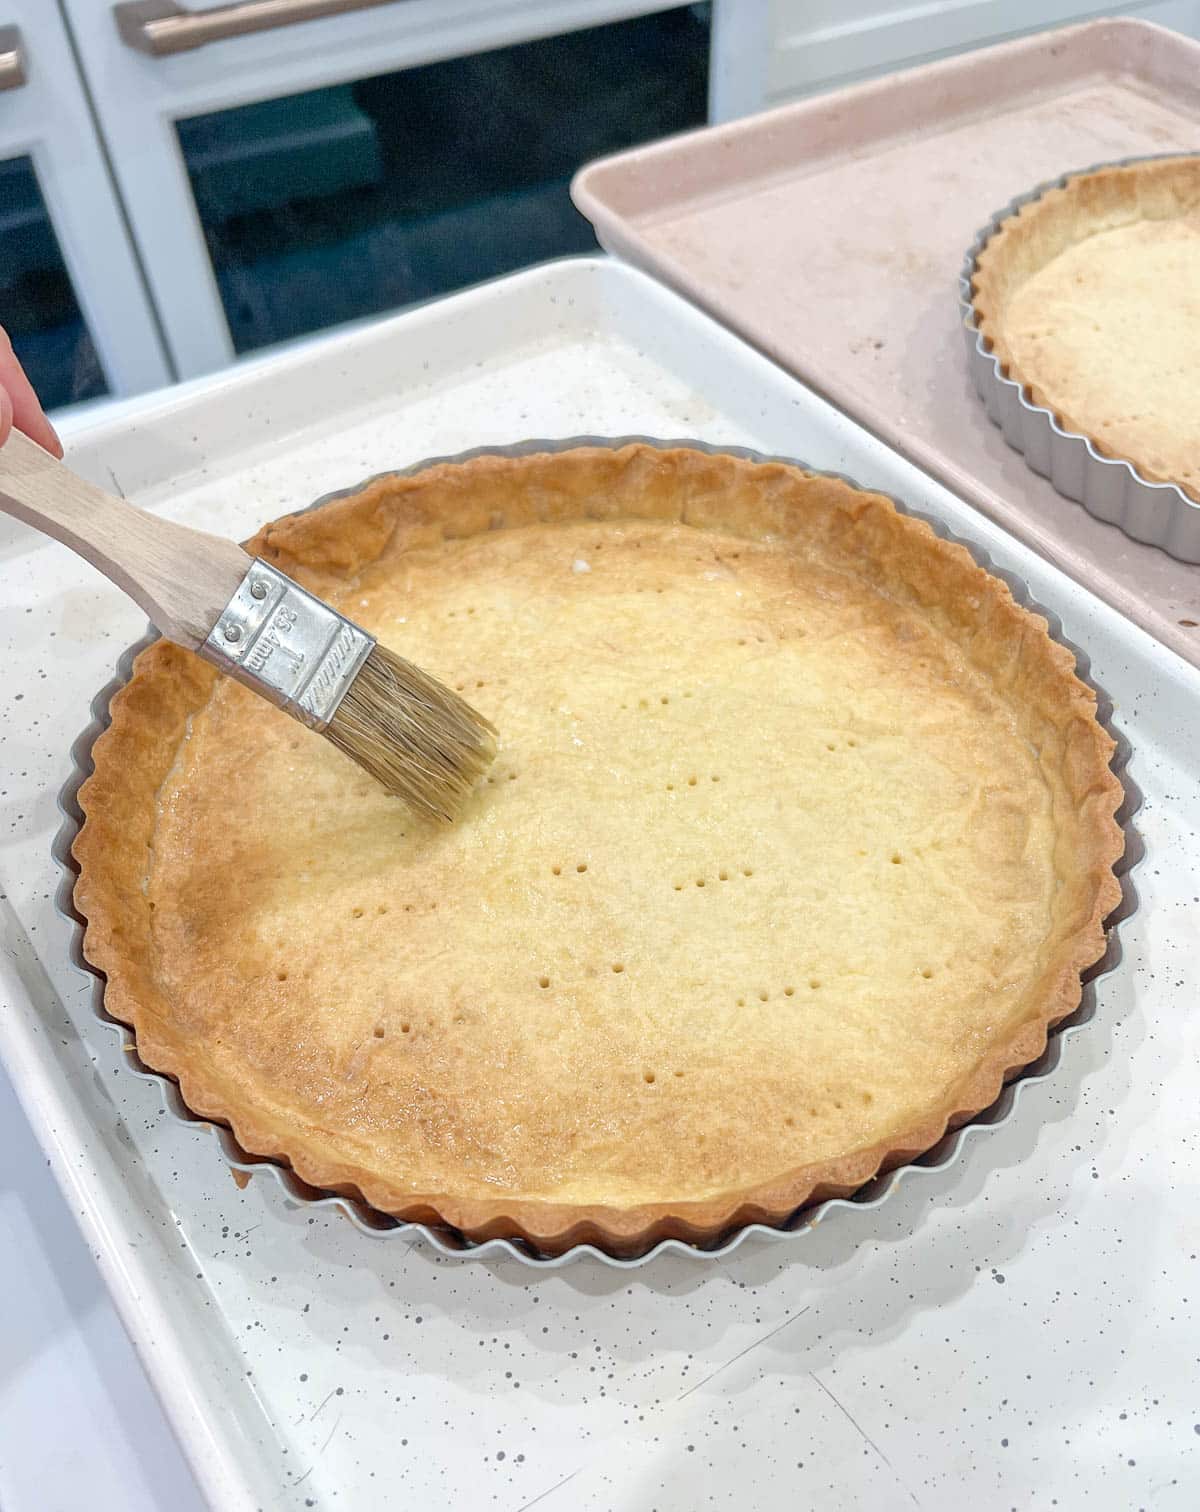
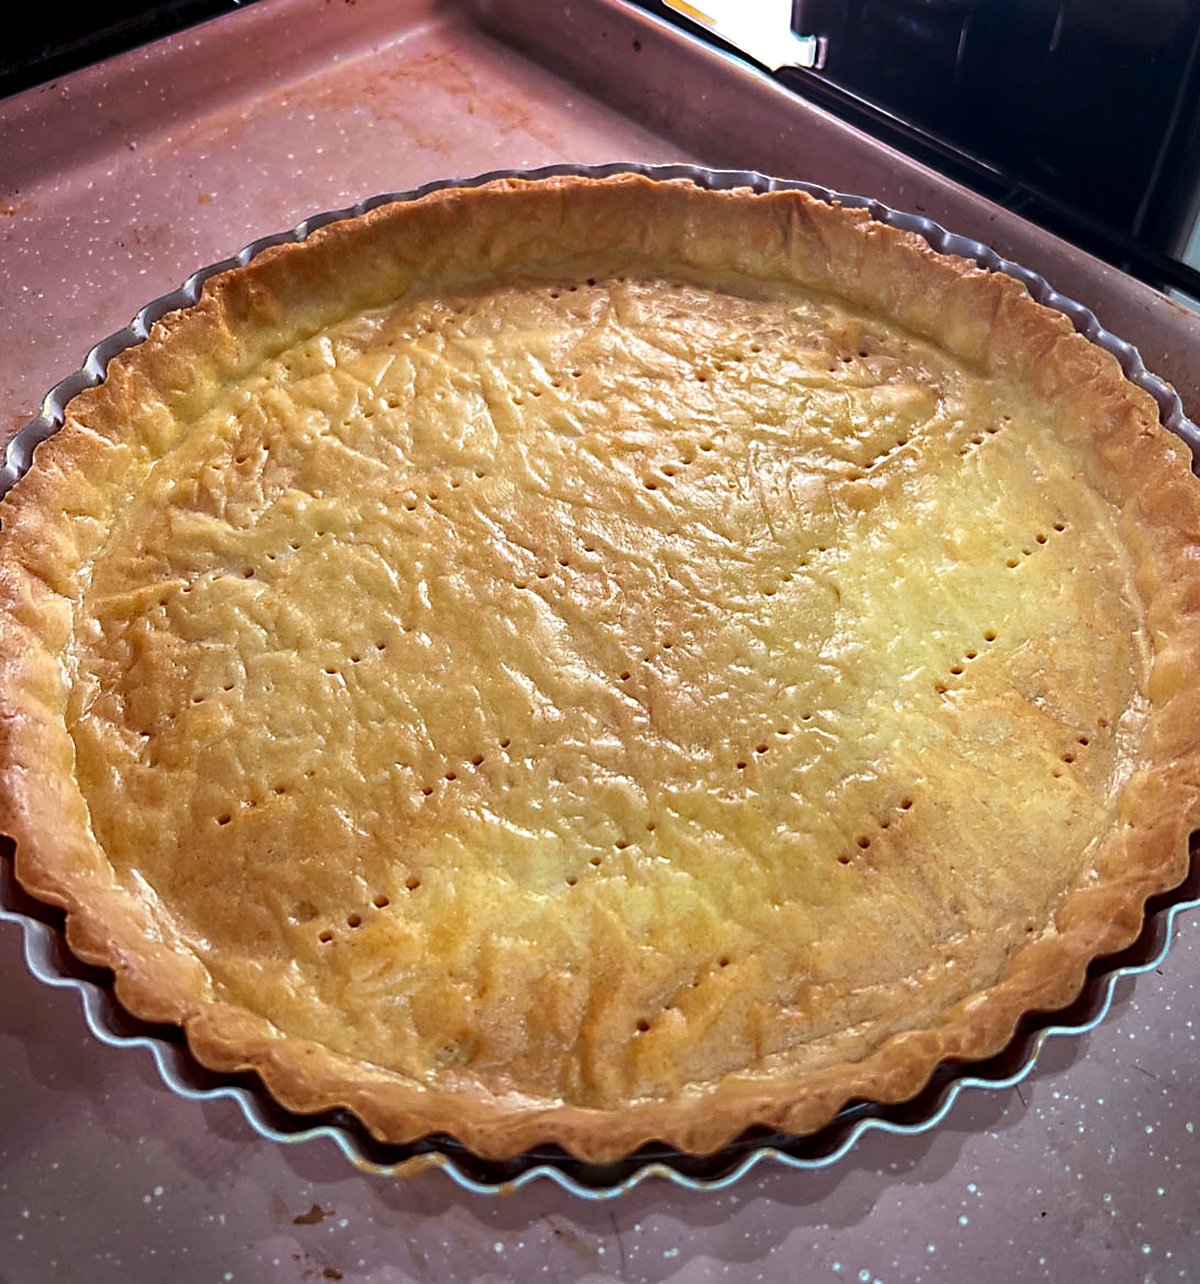
- Remove the tart shell from the oven and lightly egg wash the inside of the crust. This helps to seal the shell from the moisture of the liquid filling. Continue baking for 5 more minutes or until the interior is an even golden brown.

- Set the tart aside to cool on a wire rack while you make the filling.

How to Make the Lemon Tart Filling
- For best results, use fresh lemon juice, not bottled. Zest and juice your lemons, taking care to make sure no lemon seeds are in the juice.
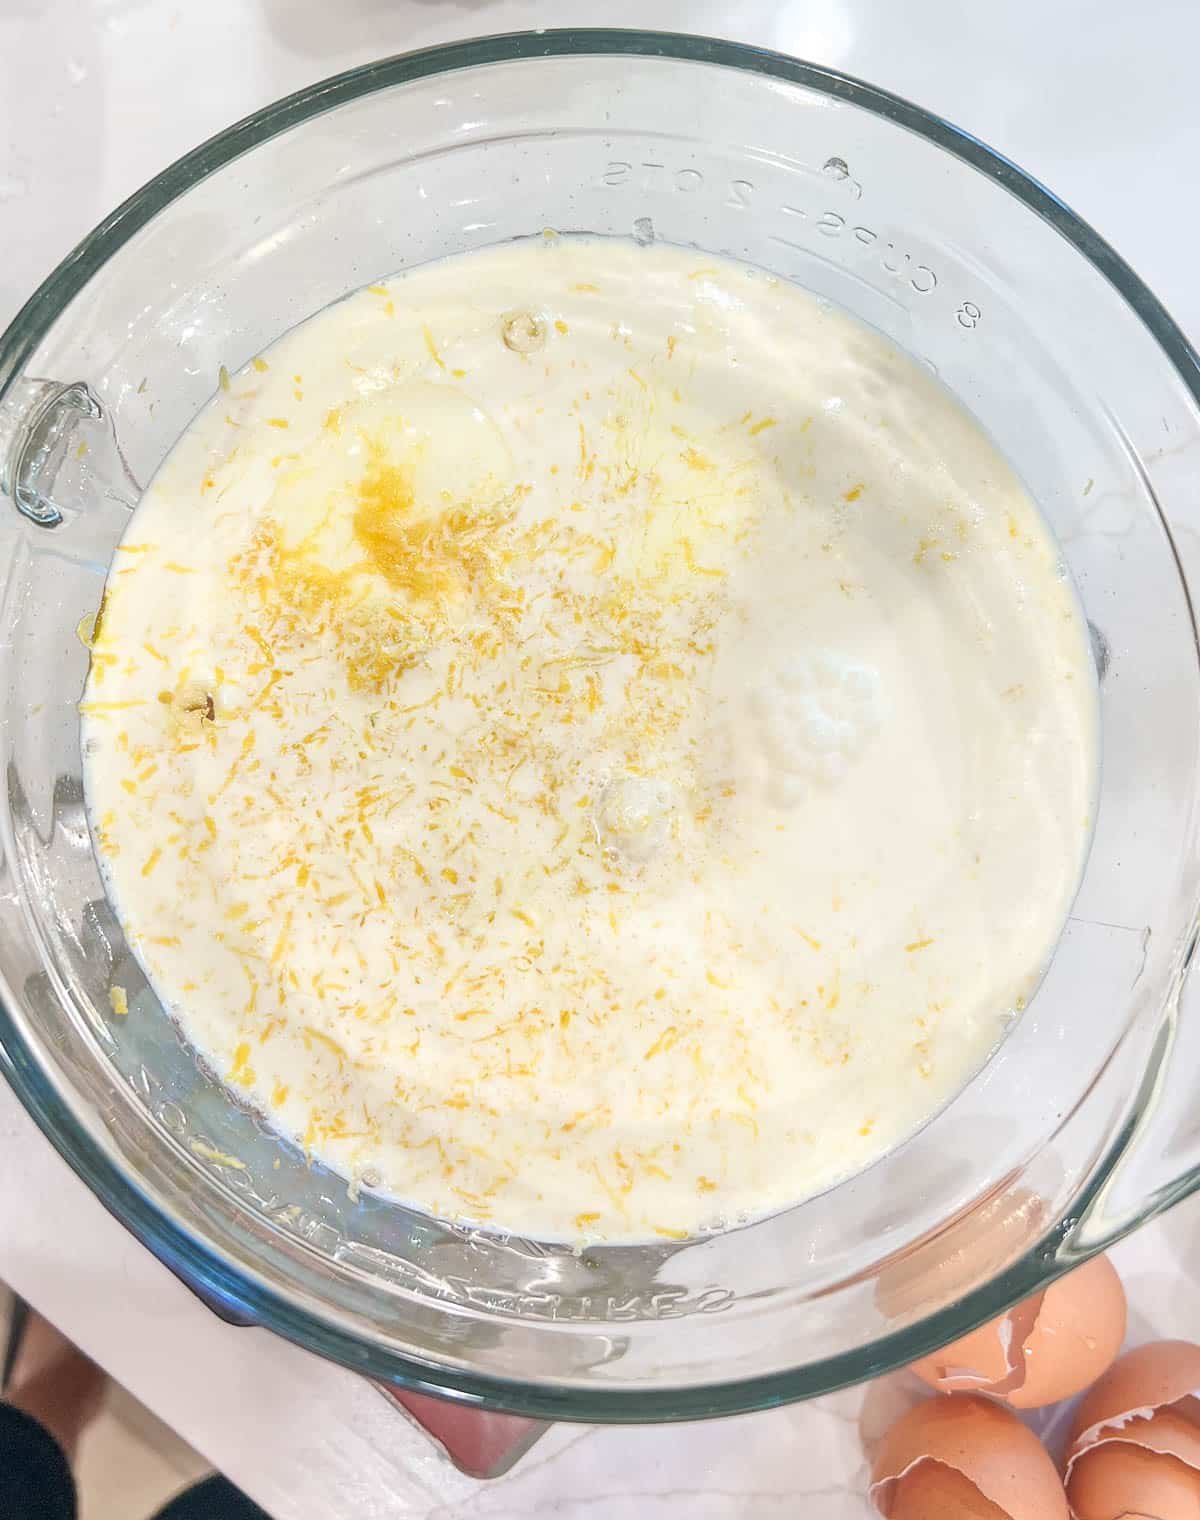
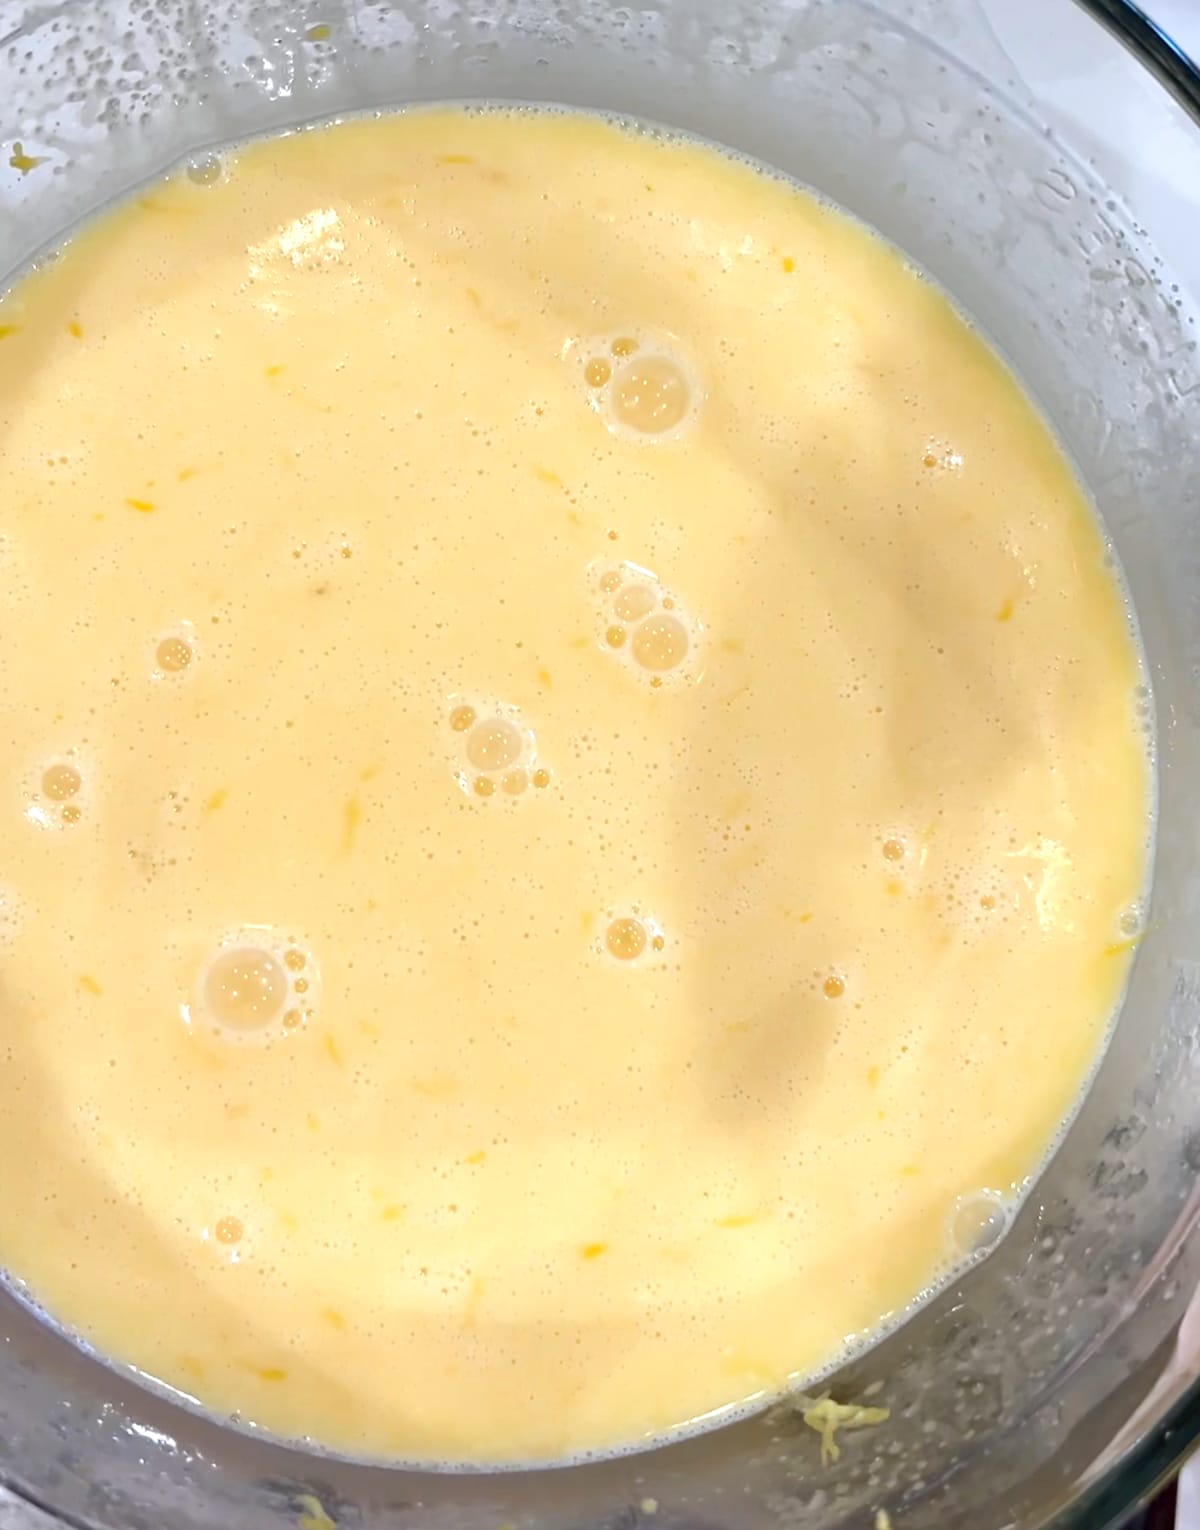
- Combine the heavy cream, eggs, and sugar in a large measuring cup and blend until smooth using an immersion blender (or you can use a regular blender if needed) until its smooth.

- Slowly stream in the lemon juice and lemon zest while blending until smooth. I used an immersion blender for this but you could use a regular blender.

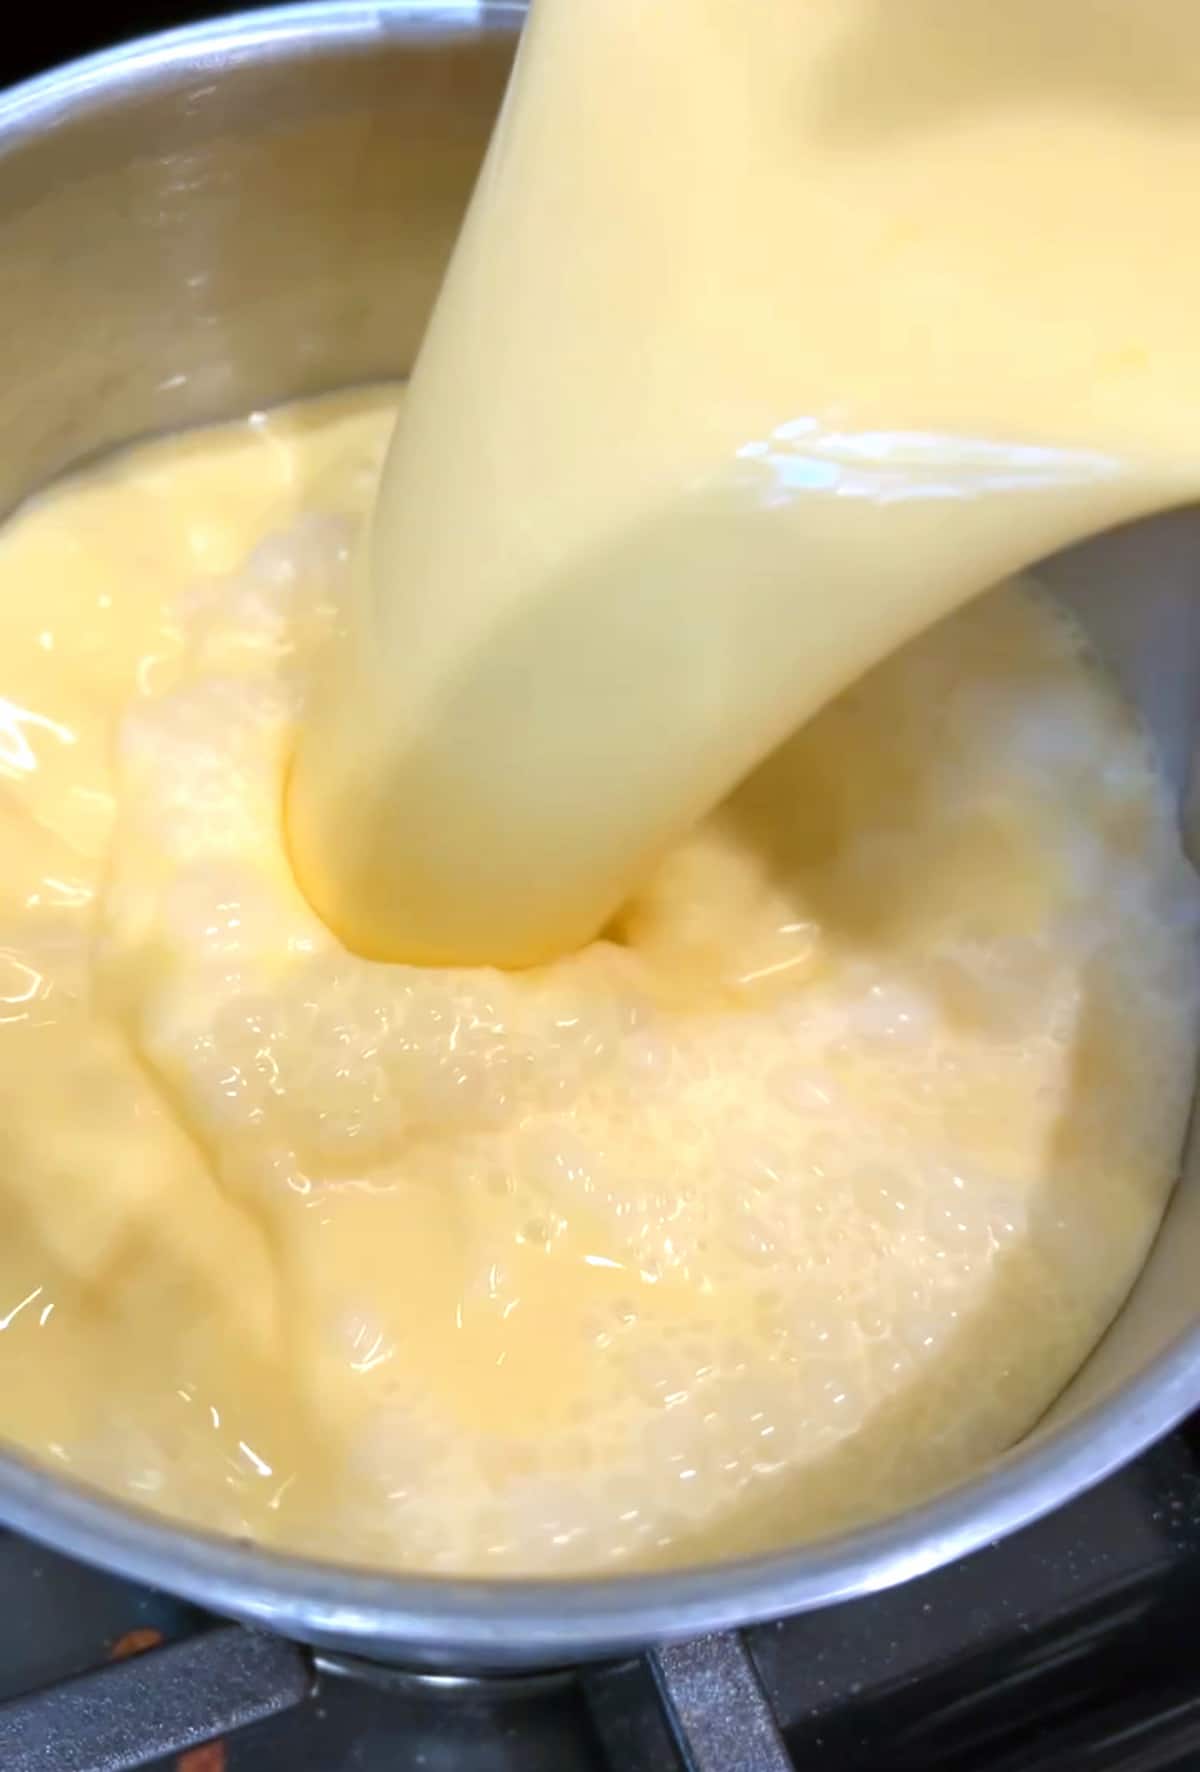
- Pour the mixture into a heavy-bottomed medium-sized sauce pan and heat over medium heat while whisking constantly to prevent scalding. Heat the mixture to 120ºF (48ºC) then remove it from the heat. Heating the mixture helps dissolve the sugar and helps the custard set faster in the oven.

- Pour the filling through a fine sieve back into the measuring cup and allow it to rest for about 15 minutes so that any bubbles and foam can rise to the top. Scoop the foam off from the top before pouring the filling into the tart shell.
Assembling the Lemon Tart
- Reduce the oven heat to 250ºF.
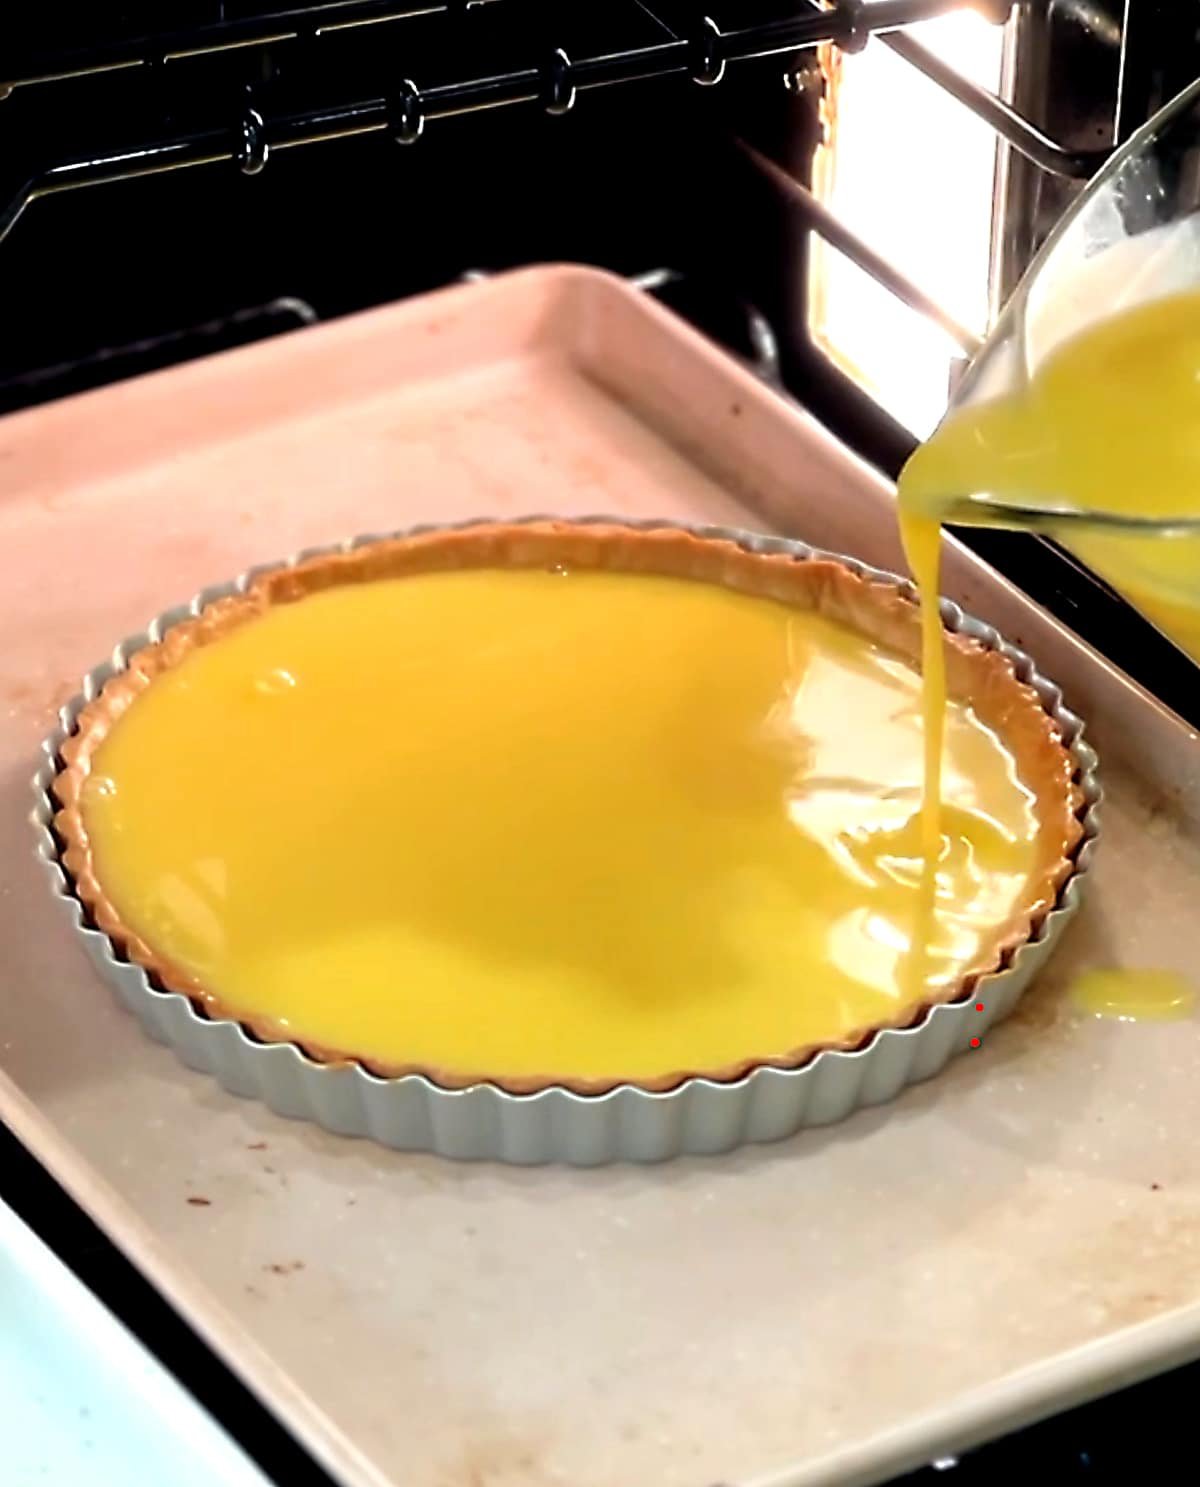
- Place the lemon tart shell onto a sheet pan and into the middle of the oven on a sheet pan.
- Carefully pour the lemon curd filling into the tart shell until it reaches the top edge of the tart shell. It's much easier to do this in the oven than try to move the full tart shell into the oven after filling it.

- Bake the tart for 25-30 minutes or until the center of the tart has a very slight wiggle when you tap the edge of the tart tin but the edges do not move. Make sure you do not over-bake your tart or it will begin to curdle and be very dry instead of having that perfect creamy texture.
- Remove the lemon tart from the oven and place it into the fridge to chill for 3-4 hours before topping with mock crème fraîche and fresh fruit if desired.
Making the Mock Crème Fraîche
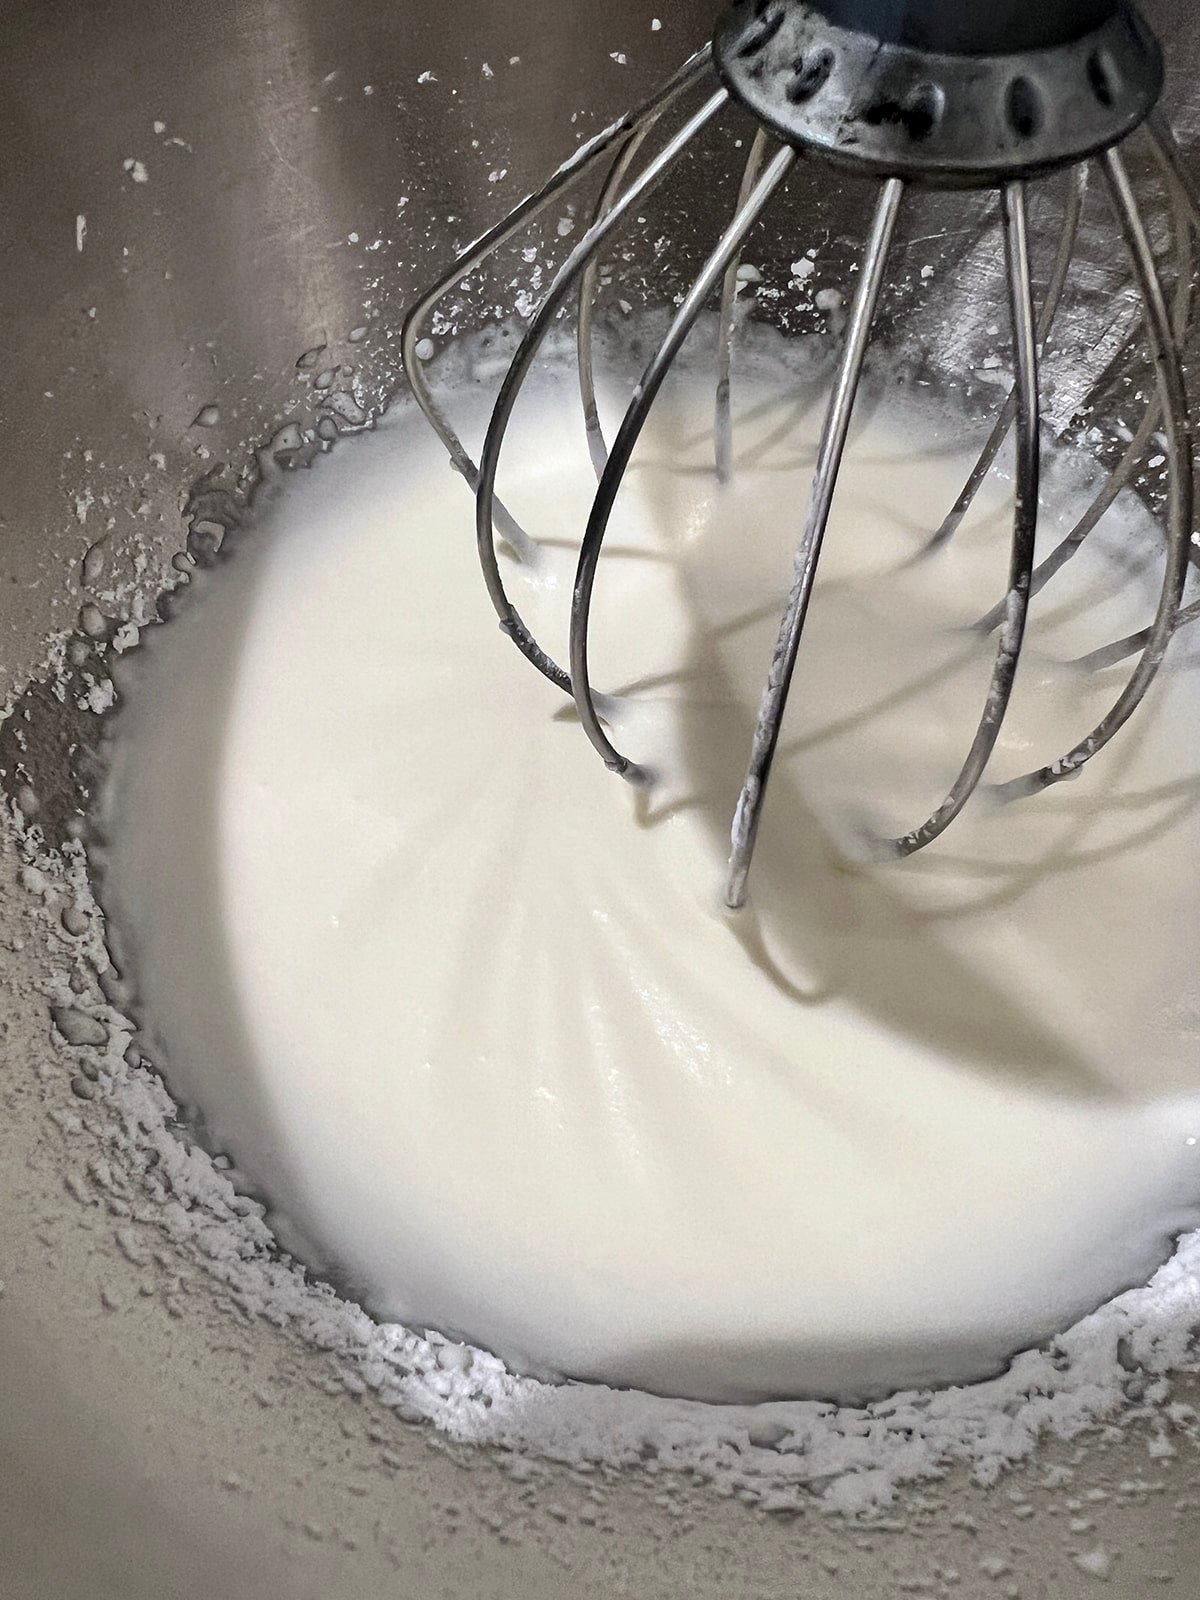
- Place the whipped cream and powdered sugar into the bowl of your stand mixer with the whisk attachment attached.
- Whisk on medium speed until soft peaks form.
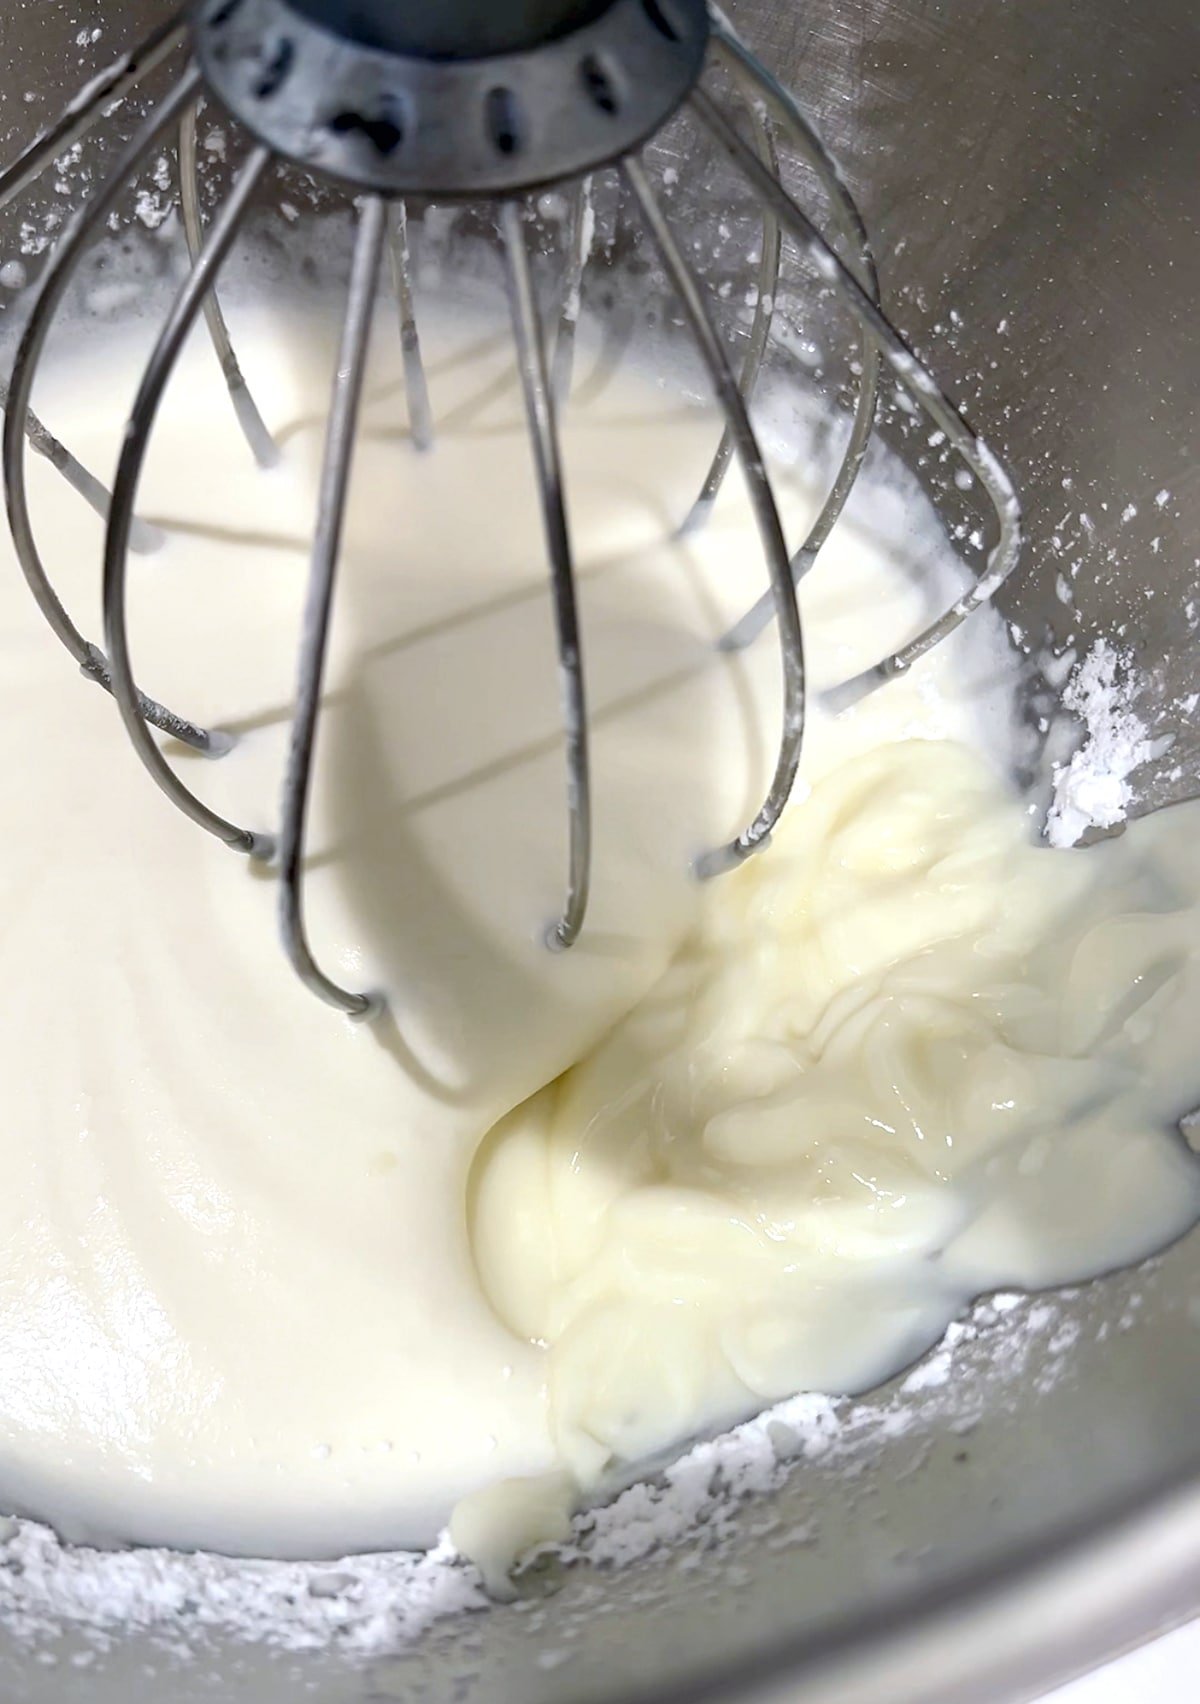
- Add in your yogurt (I used lemon yogurt for extra flavor) and mix until firm but soft peaks form.

- The cream should hold it's shape but don't over-do the mixing or it will look curdled.
- Serve the lemon tart with freshly piped cream, fresh berries, and enjoy!


FAQ
The tart shells will be medium brown in color. A white or light brown shell indicates that it is underbaked. Allowing your tart shell to get darker in color will bring out all of the caramelization of the butter and sugar together which is what gives your tart shell flavor!
Chef Christophe Rull recommends checking on your tart shell's progress every 10 minutes while baking. Depending on the oven you are using, the back of the oven may distribute more heat than the front. For instance, if you notice that the shells on the back of the oven are darker in color than the tarts on the front, rotate the baking sheet to distribute more heat to the underbaked shells.
Pâte sucrée is French for "sugary dough."
It can be either from the oven being too hot or for over-baking. It's best to bake a custard-style lemon tart at a lower temperature for longer to avoid cracking and to stop baking when the center is still jiggly and the edges of the tart are set.
Lemon tarts will stay fresh for 1-2 days if you store them in an airtight container in the refrigerator.
The biggest difference between lemon tarts and lemon meringue pies is that lemon meringue pies will be topped with a mountain of meringue. Lemon meringue pie topping is made using eggs, cream of tartar, sugar, and vanilla extract that is whipped on high speed to produce fluffy, creamy peaks of light and creamy meringue.
The tart shells will be medium brown in color. A white or light brown shell indicates that it is underbaked. Allowing your tart shell to get darker in color will bring out all of the caramelization of the butter and sugar together which is what gives your tart shell flavor!
More Recipes You'll Love
Pâte sucrée (tart dough recipe)
Recipe
Equipment
- 9" Tart Pan
- 1 Lemon Zester
- 1 Lemon Juicer
Ingredients
Pâte Sucrée
- 8 ounces unsalted butter
- 4 ounces powdered sugar
- ½ teaspoon salt
- 1 large egg
- 12 ounces Flour all purpose
- 1 teaspoon lemon zest
Lemon Tart Filling
- 5 ounces lemon juice freshly squeezed
- 1 Tablespoon lemon zest
- 7 large eggs
- 8 ounces sugar
- 6 ounces heavy cream
Mock Crème Fraîche
- 4 ounces heavy cream
- 6 ounces yogurt
Instructions
Tart Shell
- First, in the bowl of your stand mixer, mix the room temperature butter and powdered sugar with the paddle attachment. Mix until it is smooth.
- Next, add in the eggs, and lemon zest and mix until combined.
- Mix in the salt and and flour until just combined.
- Wrap the dough in plastic wrap and press into a disc shape. Refrigerate for 1 hour.
- Divide the tart dough in half (the other half can be used for another tart or be frozen for later use).
- Roll the tart dough out to ⅛" thick
- Place the dough into the 9" tart pan and press firmly against the bottom and sides.
- Trim off the excess dough and freeze the tart for 30 minutes.
- Place some crumpled up parchment paper and pie weights into the tart pan.
- Place the tart pan on a sheet pan and bake in the oven at 350ºF for 25 minutes.
- Remove the parchment and pie weights and continue baking for 10 minutes.
- Brush the tart with egg wash and continue baking for 7-8 minutes or until golden brown.
- Remove the tart pan from the oven to cool and reduce the temperature to 280ºF
How to Make the Lemon Filling
- Zest and juice your lemons, being sure to remove any seeds and set aside.
- Place your eggs, sugar, cream, and zest into a large container and blend using an immersion blender (or regular blender) until smooth.
- Slowly add in the lemon juice while blending and mix until smooth.
- Add the mixture to a medium sized saucepan over medium heat and warm the mixture to 110-120ºF then remove it from the heat and set it aside for 15 minutes.
- Skim any bubbles that arise to the surface before filling your tart shells.
Assembling the Lemon Tart
- Place your tart shell (still in the pan) onto the sheet pan in the oven in the middle of the rack.
- Carefully pour the lemon filling into the tart pan up to the brim of the shell.
- Bake the tart for 25-30 minutes or until the center is still wobbly but the outer edges of the tart are set.
- Remove the tart from the oven and refrigerate for 3-4 hours before decorating with fresh fruit and creme fraiche.
Mock Crème Fraîche Instructions
- Whip your heavy whipping cream in the bowl of your stand mixer until soft peaks form.
- Add in the yogurt
- Continue mixing on low until firm but soft peaks form and it can hold it's shape.
Notes
- Practice Mise en Place (everything in its place). Measure out your ingredients ahead of time. Then, have them ready before you start. This will reduce the chances of accidentally leaving something out.
- Use a scale to weigh your ingredients (including liquids) unless otherwise instructed (Tablespoons, teaspoons, pinch, etc). Scaled ingredients are much more accurate than using cups and ultimately help ensure the success of your recipe.
- Wash your lemons well so no wax or residue is left on the lemon zest.

Sadie says
How long will the creme fraiche keep its shape.
Adam Bufano says
Very good, but for the crust I would leave the dough in the fridge for longer than an hour to garden, maybe an hour and a half and it’s a little unclear what temp to bake the filled tart on. It says 250° and 280°. I cooked mine on 350° for about 13 minutes.