
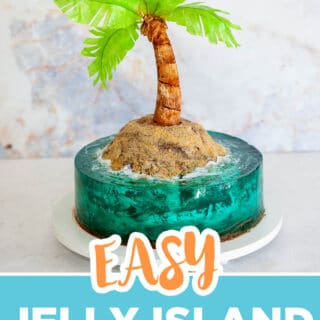
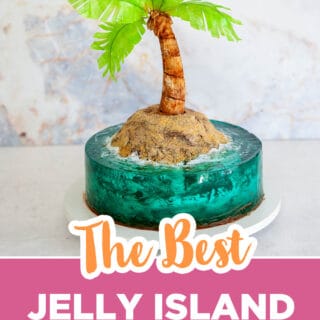
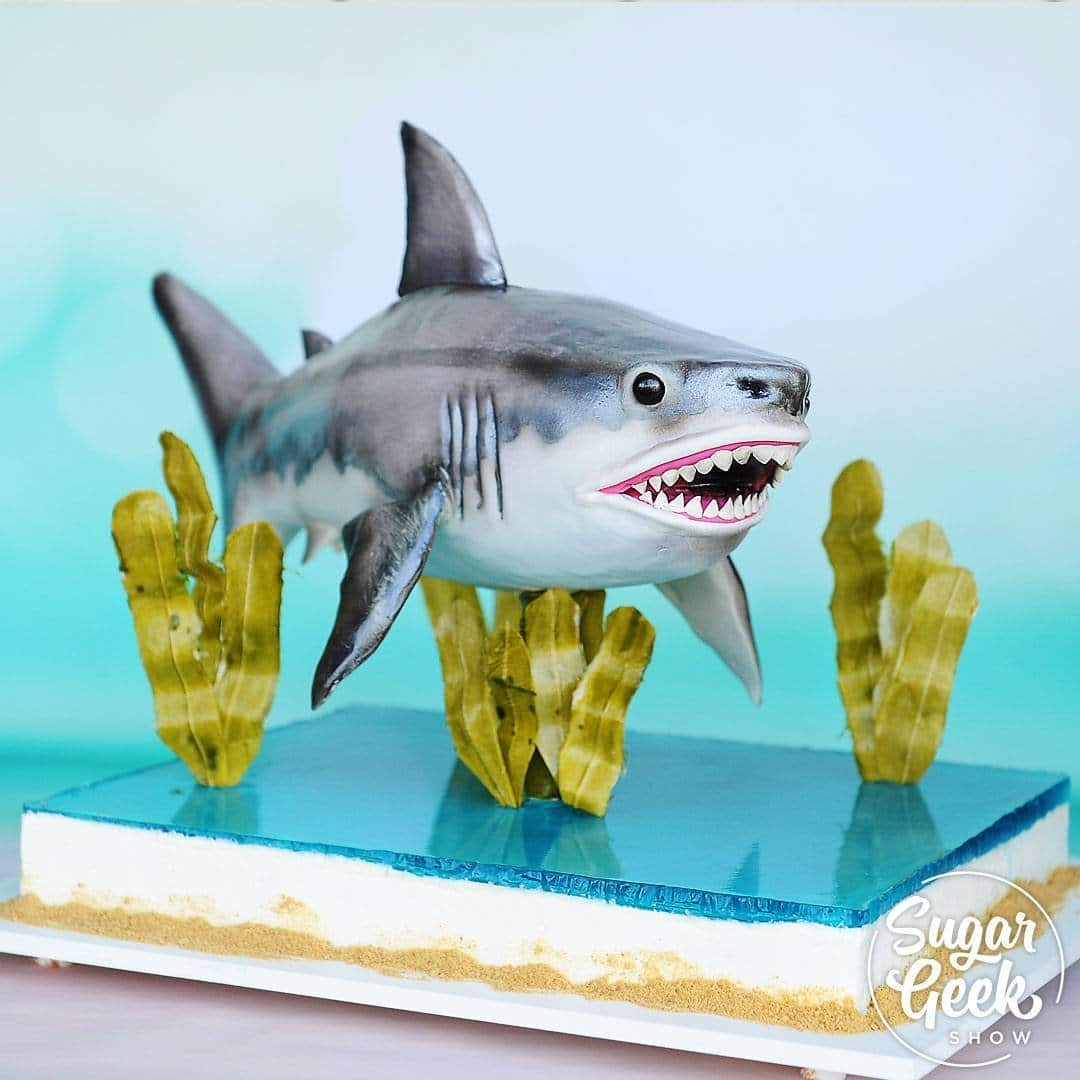
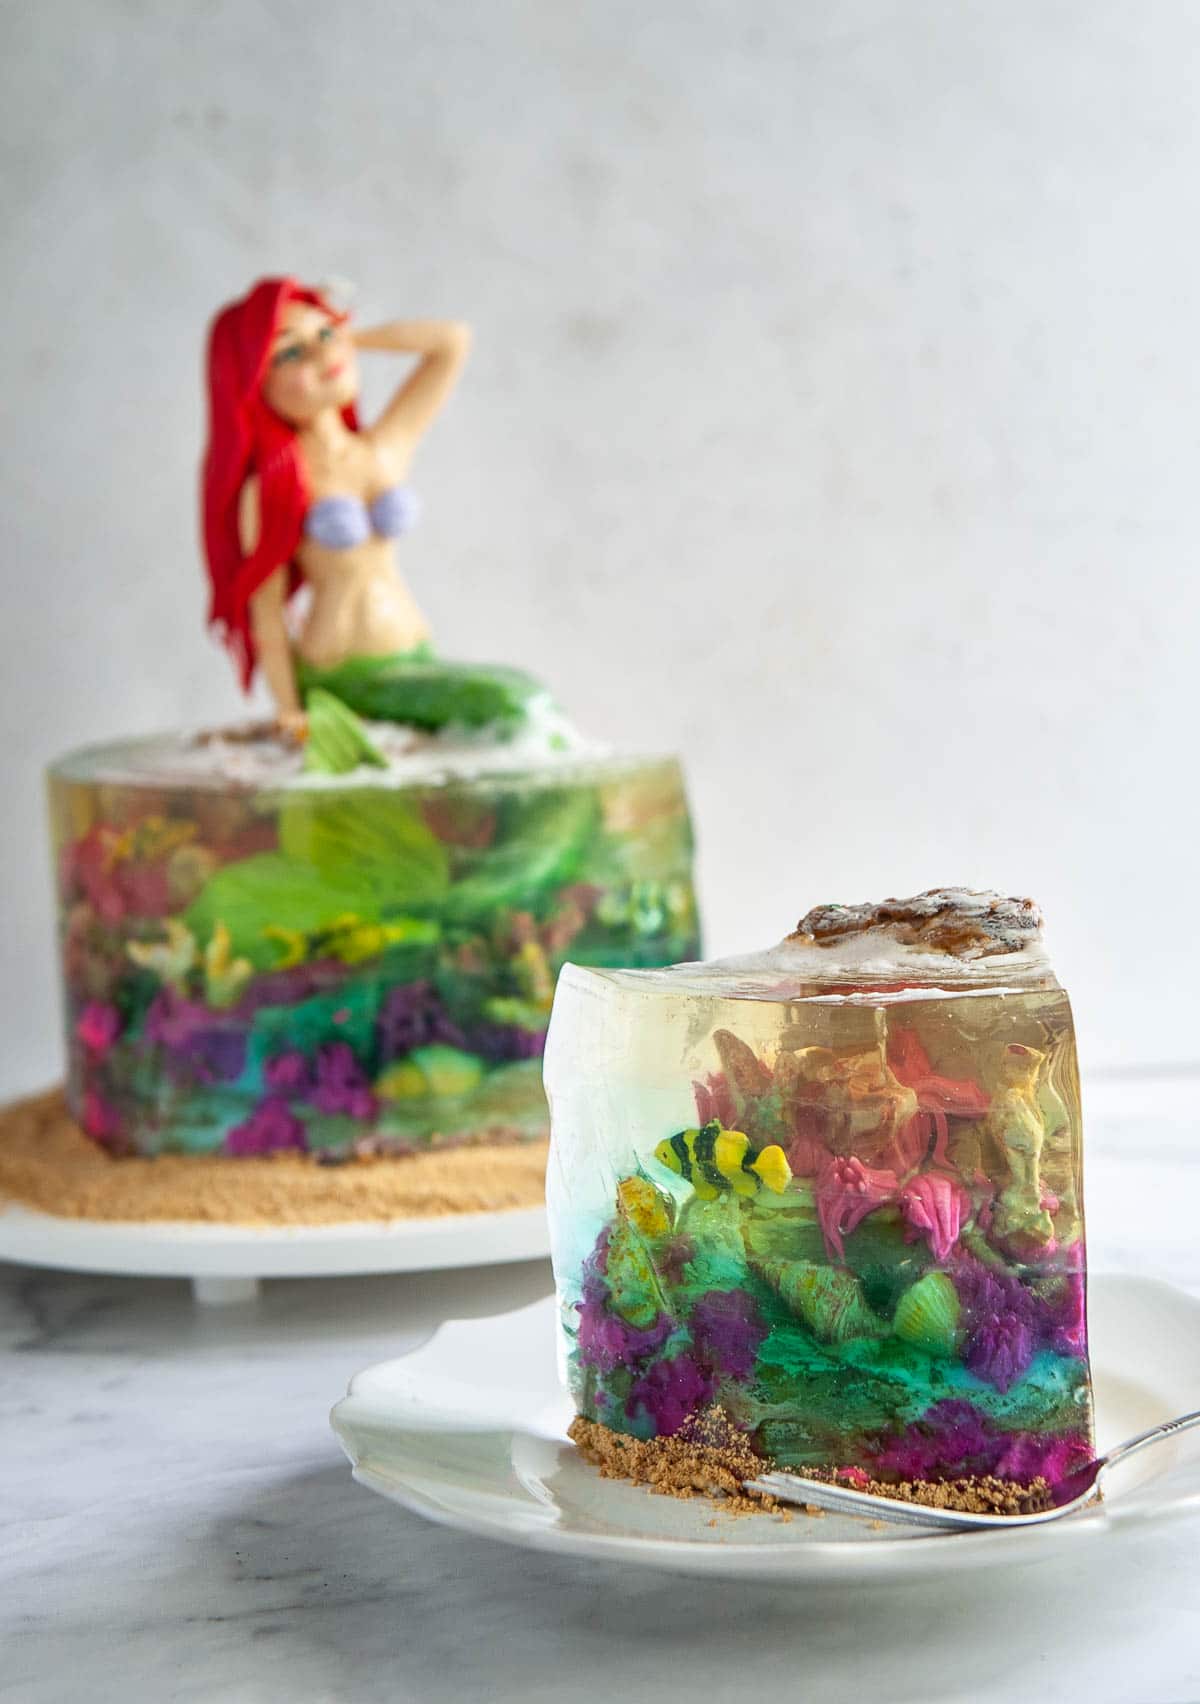
You may have seen these amazing jelly island cakes (sometimes called magic cakes) trending on Instagram. I am obsessed with them! I love the use of gelatin as water. The first time I used gelatin as water was in my shark cake tutorial. Since then, I've also made a mermaid cake and an Animal Crossing cake using gelatin for the water.
One question I get a lot (A LOT!) is how does the gelatin taste?
I know there are a lot of tutorials out there on YouTube on how to make the basic jelly island cake but the recipe for the gelatin is lacking in my opinion. Water plus gelatin is not going to taste very good!
For my shark cake, I used regular blue Jell-O with a little extra added gelatin to make it really firm. That worked really well and tastes really good but you can't make it very thick or the blue becomes too dark.
For my mermaid cake, I used 7-up as the liquid and added in some gelatin to make it set. I did add a little electric blue food coloring and a tiny bit of that blue Jell-O to make it the right color. The taste was pretty good, very mild lemon-lime flavor but I wasn't fully satisfied with the taste just yet.
Finally, when I was making Avalons Animal Crossing birthday cake, I made a recipe I was really really happy with! I started with regular water, added some sugar, and then some strawberry extract for flavor. Isn't that what Jell-O is basically made of? Sugar water, flavoring, and gelatin right? I also added a tiny bit of citric acid (basically powdered lemon) to give the Jelly that tart flavor that you associate with candy.
Oh my gosh it tasted so good! I even surprised myself a little I admit.
The best part about making the jelly from scratch to make your jelly island cakes is that you can control the color. If you want your jelly to all have the same color, you can add a drop or two of some blue food coloring or you can use some blue Jell-O like I did. I just really like the color!
If you want your Jell-O to have a gradient, you can divide your jelly into three containers and color one dark blue, one medium and one light. Then layer them up, letting them chill until JUST barely set before adding the next layer of jelly.
Ingredients for making a jelly island cake
NOTE: This cake takes about three days to make so plan ahead!
Day 1: Bake cakes and make your ganache
Day 2: Stack your cakes, carve, and make your jelly water. Chill overnight to set the jelly.
Day 3: Unmold the cake, finish the cake with graham crackers and decorations. Enjoy!
2 - 6" round cakes (any flavor you want)
16 ounces (2 cups) chocolate ganache or easy buttercream
40 oz cool water
14 ounces (4 cups sugar)
100 grams clear gelatin (or knox)
20 grams blue Jell-O (or 1-2 drops liquid blue food coloring)
3 teaspoon strawberry extract (or any flavor you want really!)
2 teaspoon citric acid (you can find this in the canning section of the grocery store!)
2-3 Tablespoons Crushed graham crackers for sand
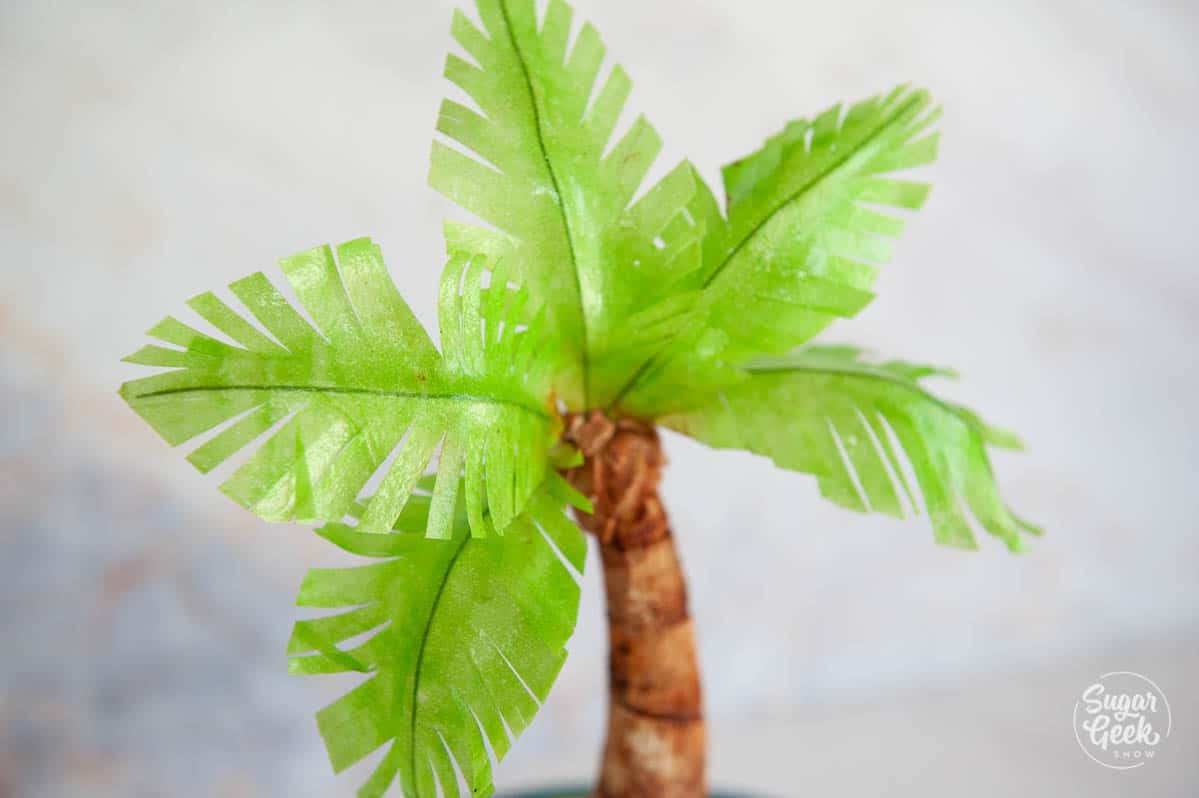
Modeling chocolate palm tree (tutorial is from my animal crossing cake)
White food coloring for waves
Clear packing tape
How to make jelly for a jelly cake
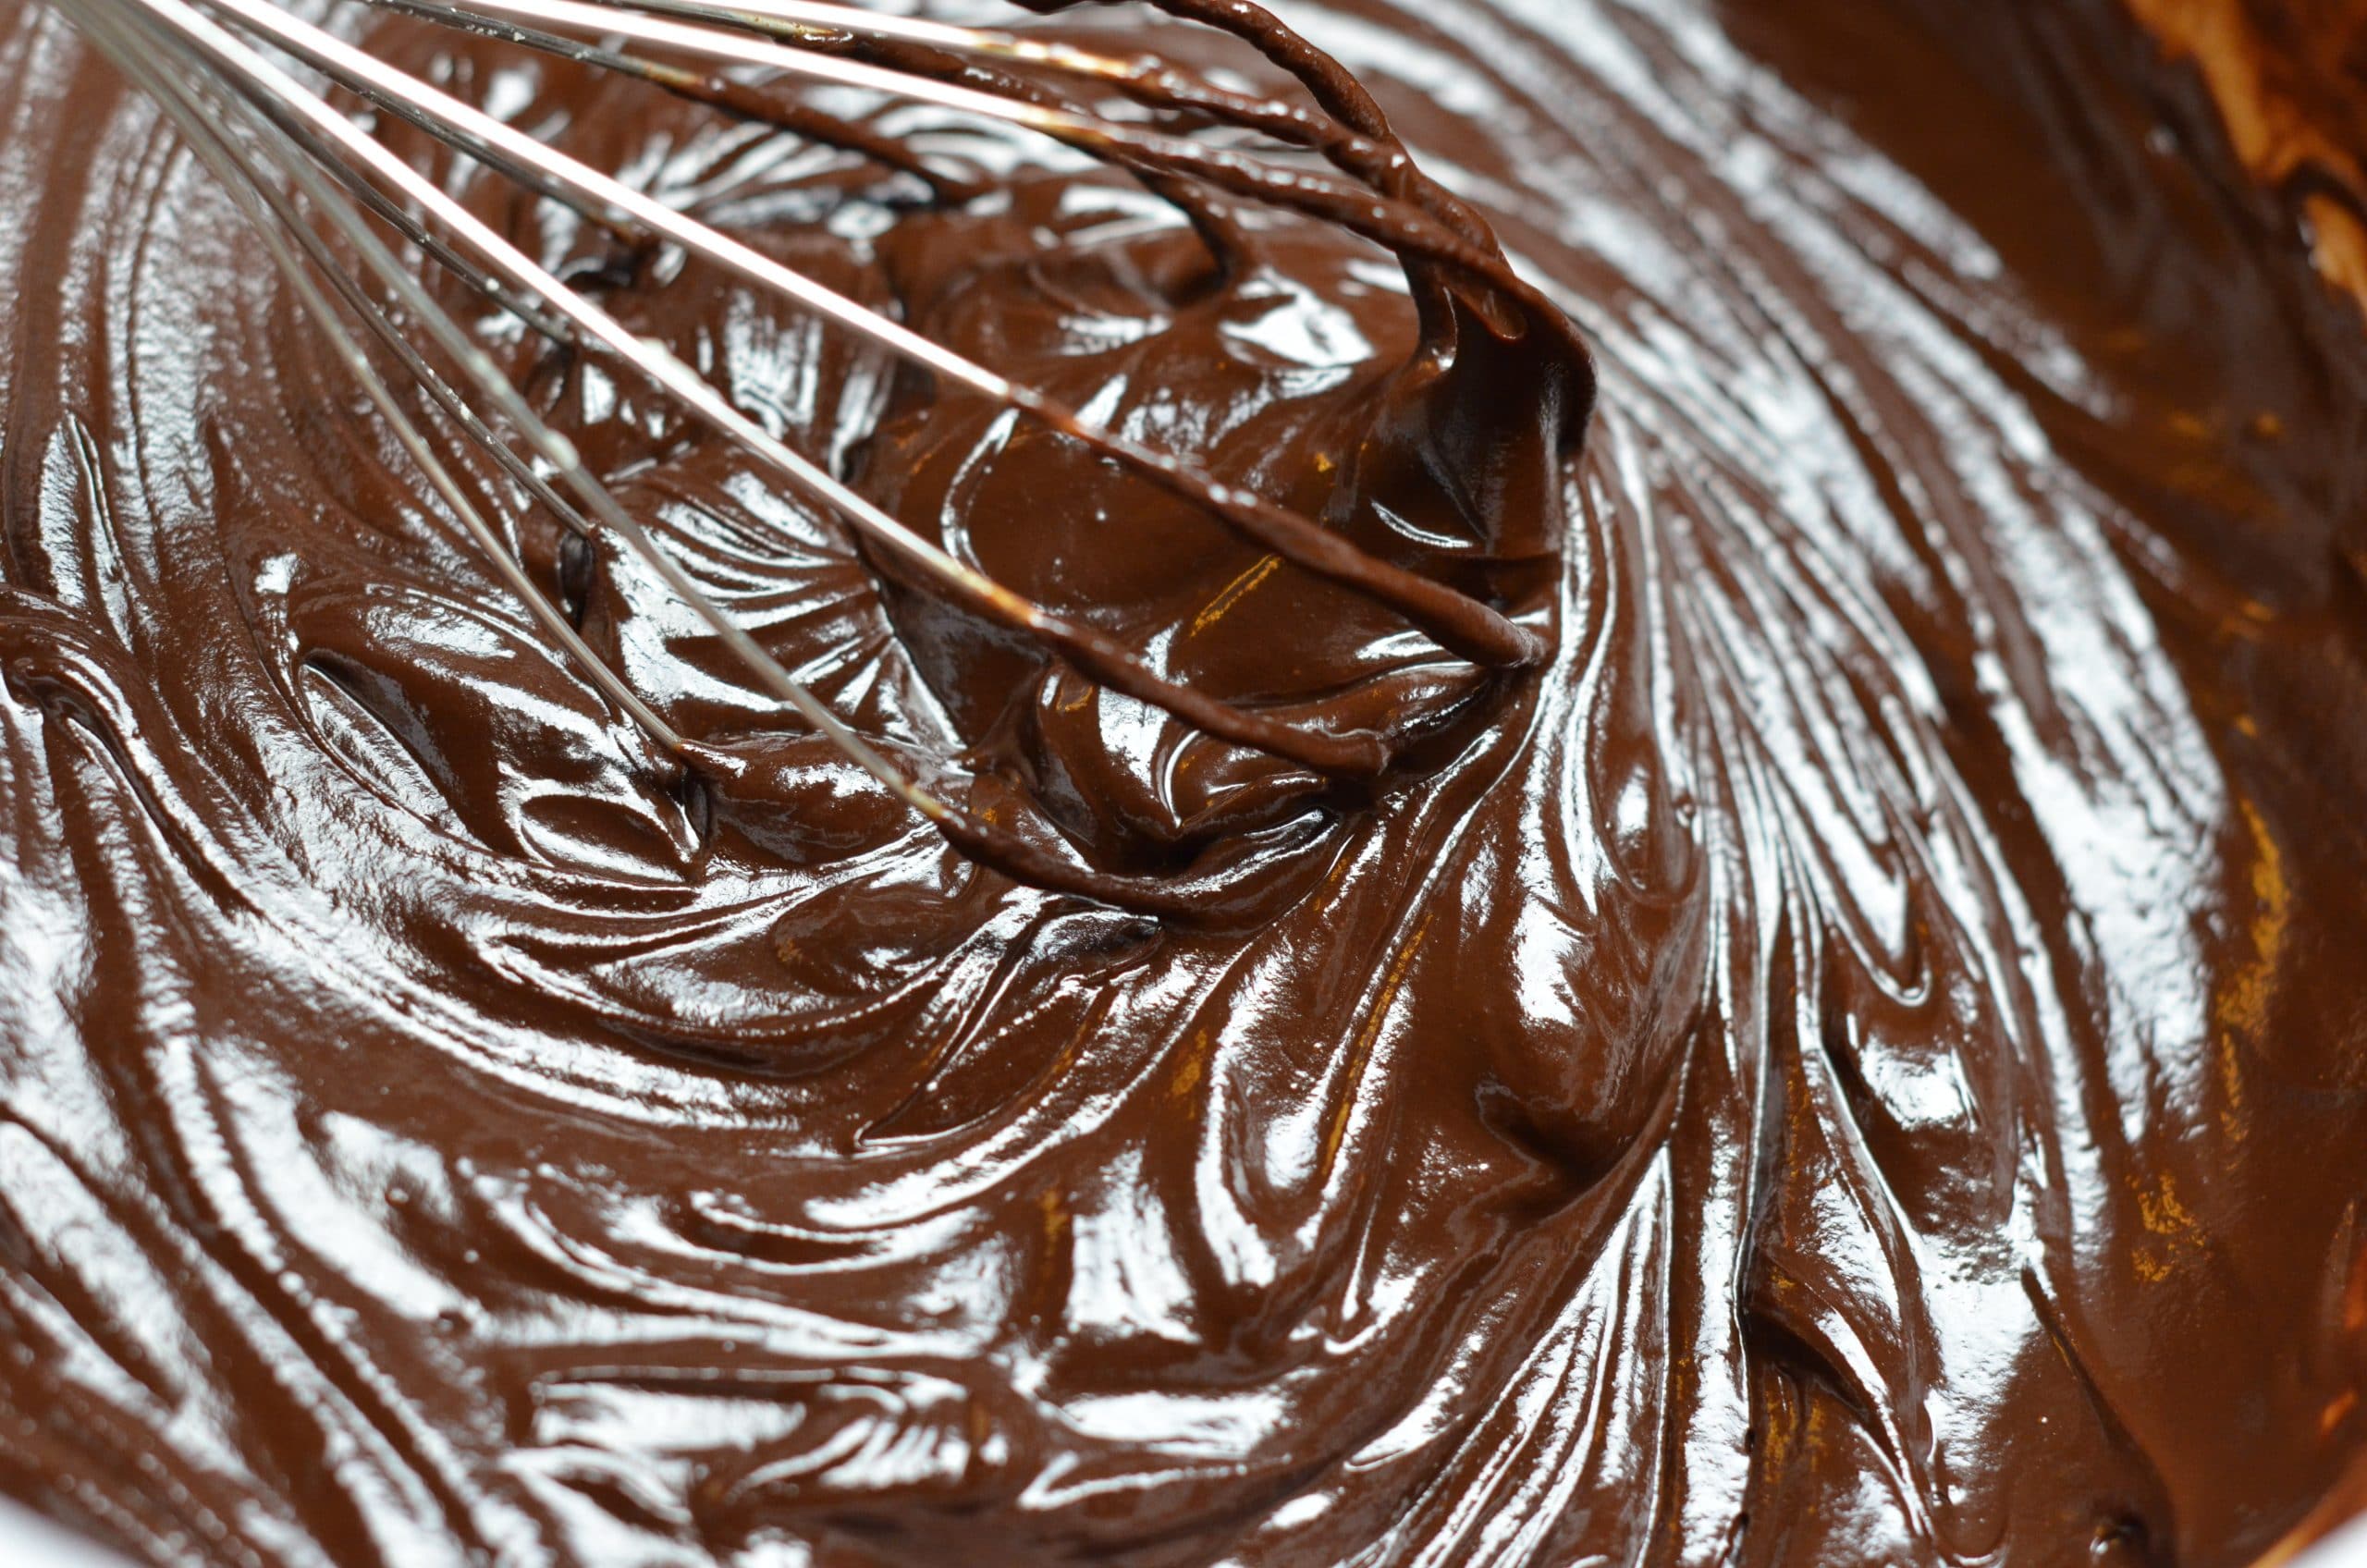
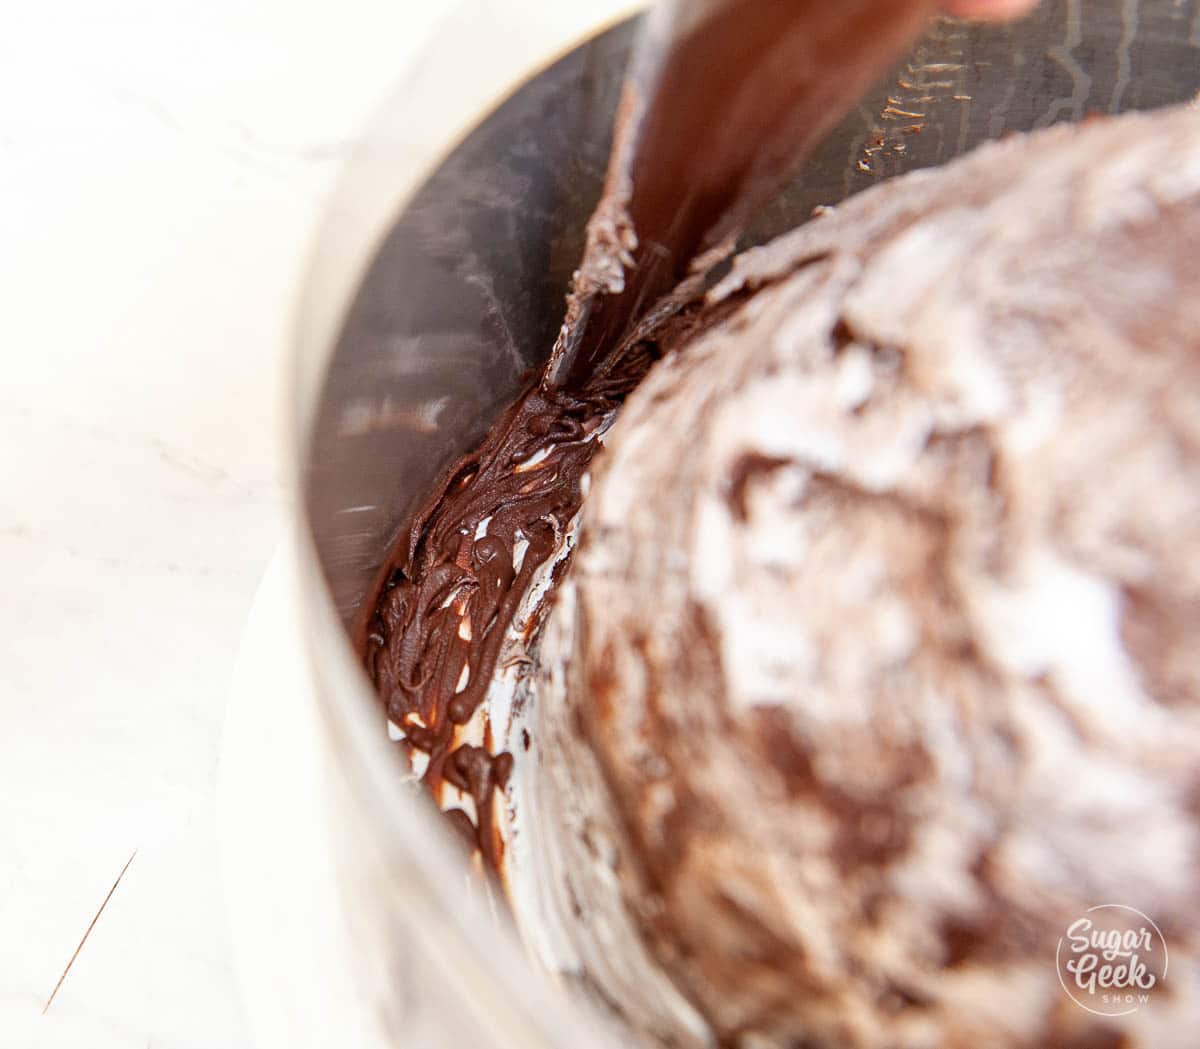
Step 1 - Make your ganache. I'm using the 1:1 ratio. Heat 8 ounces of heavy whipping cream until it's steaming (not boiling) then poured it over semi-sweet chocolate. Let it sit for 5 minutes then whisk until it's smooth. Cover with plastic wrap and let it cool overnight at room temperature.
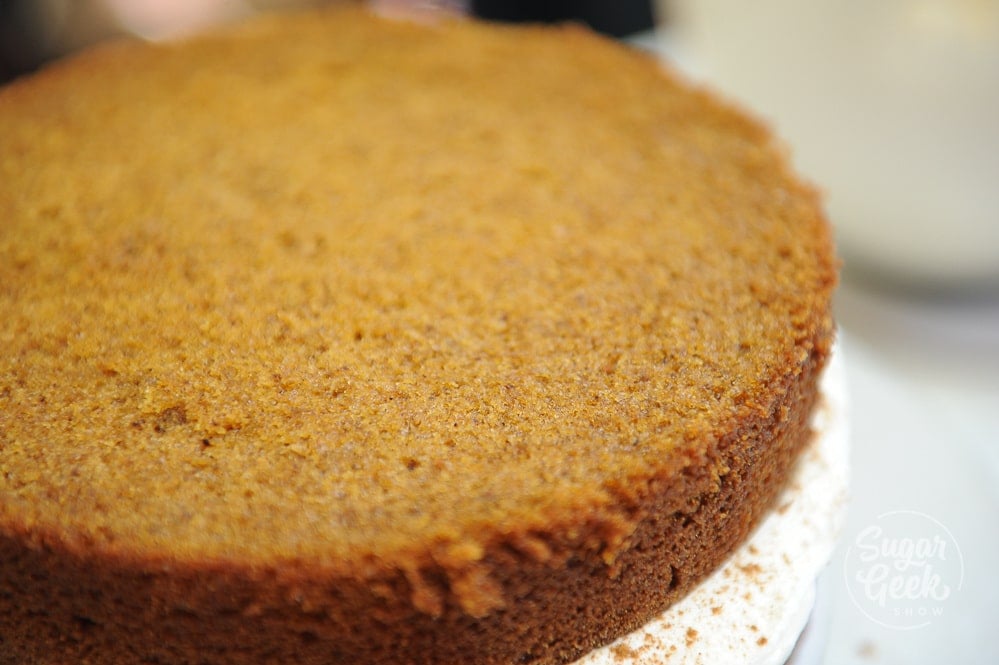
Step 2 - Bake your cakes. I'm using my applesauce spice cake recipe but you can use any flavor you want. You don't need a lot of cake, two 6" rounds will be plenty. Use the cake calculator above the cake recipe card to adjust the recipe to make two 6" rounds.
Step 3 - Stack your cakes together with your cooled ganache. Carve the sides down so the cake is slightly rounded on top. You can use the cut-off pieces to make some cake pop dough and build up the island a bit more. Just add a little ganache to the cake pieces and smoosh them together until it forms a dough. Place the dough on top and smooth it with your spatula.
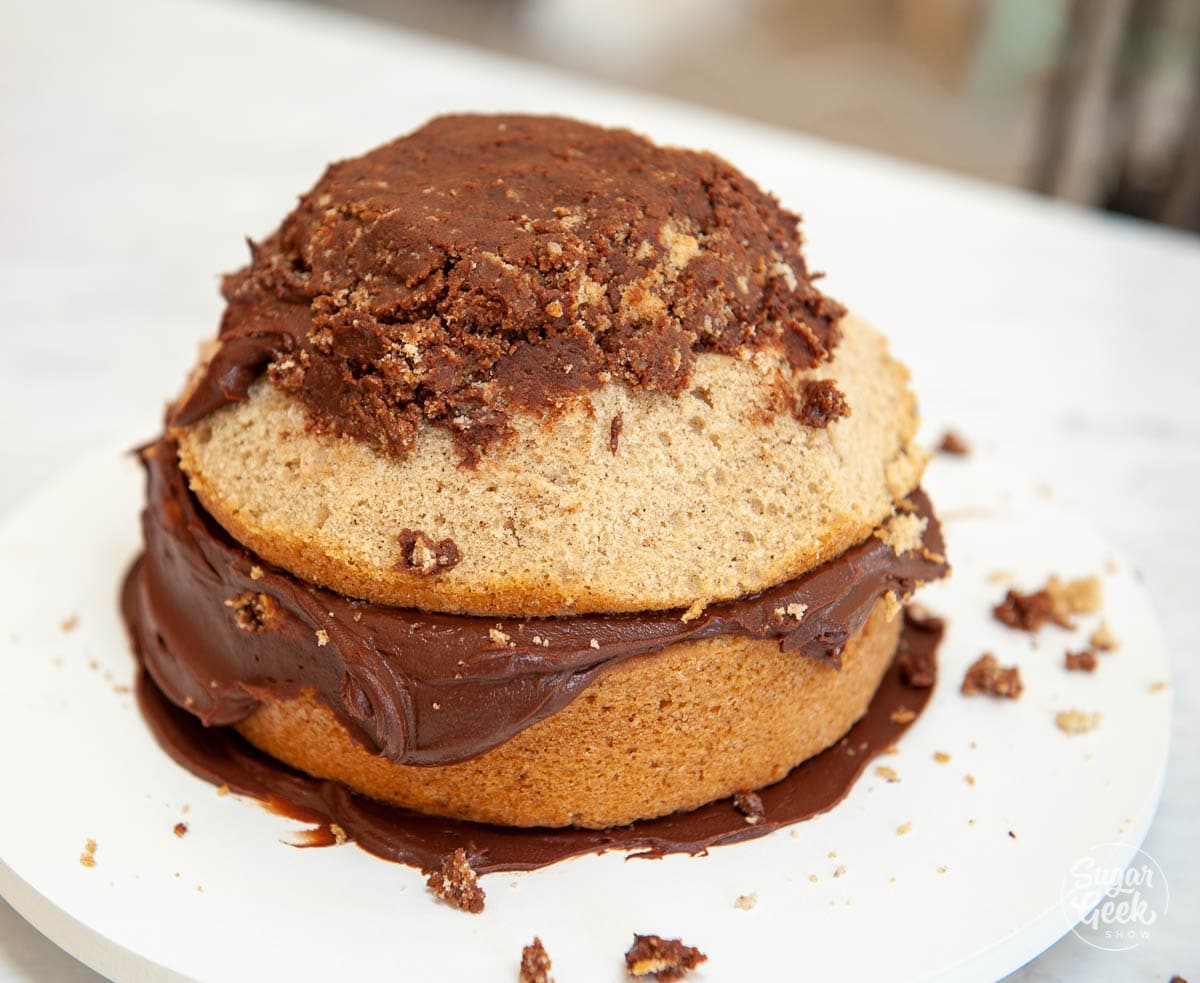
Cover the whole cake with a layer of ganache and place it into the fridge to chill.
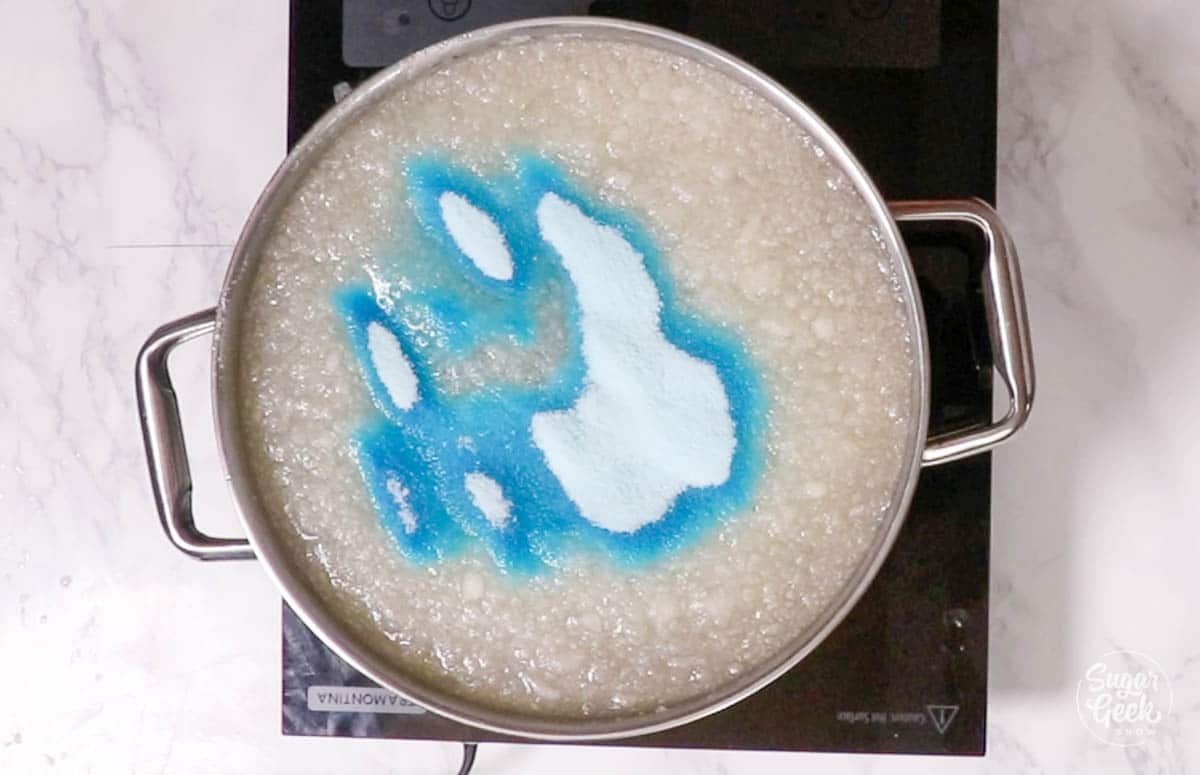
Step 4 - Make your jelly for the jelly island cake. This part is really easy. Just combine your cool water, gelatin, sugar and blue Jell-O in a large saucepan. Let the gelatin absorb for 5 minutes before you start heating it. This makes the gelatin stronger.
*NOTE: these photos are of a 6x batch that I used for my animal crossing cake, your amounts will be much smaller for single jelly cake.
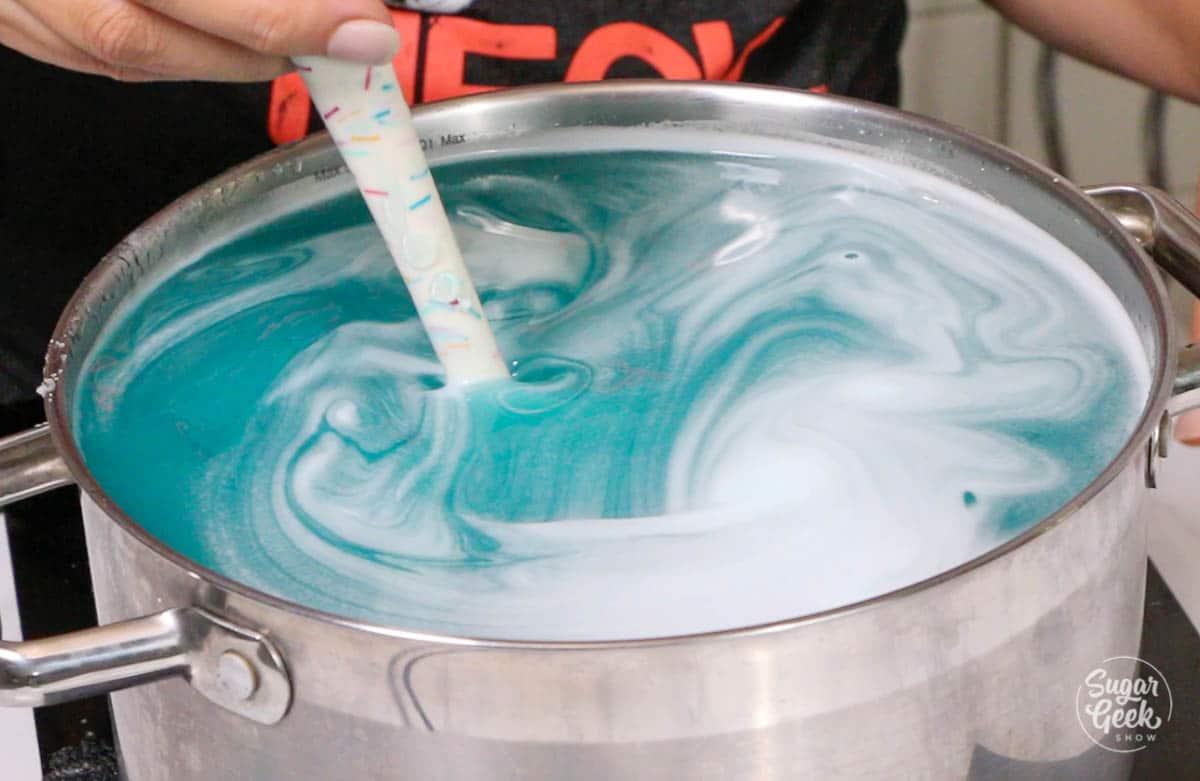
Turn your heat up to medium-high and stir occasionally to keep the mixture from burning. DO NOT BOIL! Remove the mixture from the heat once you start to see steam rising from the gelatin mixture. Boiling will weaken the gelatin.
Remove the mixture from the heat, add in the extract and the citric acid. Stir to combine and then place it into the fridge for about 30 to 60 minutes. I put mine into a new bowl so it cooled faster.
Once the jelly is slightly cooled, you can skim the foam off the top and the leftover jelly will be nice and clear!
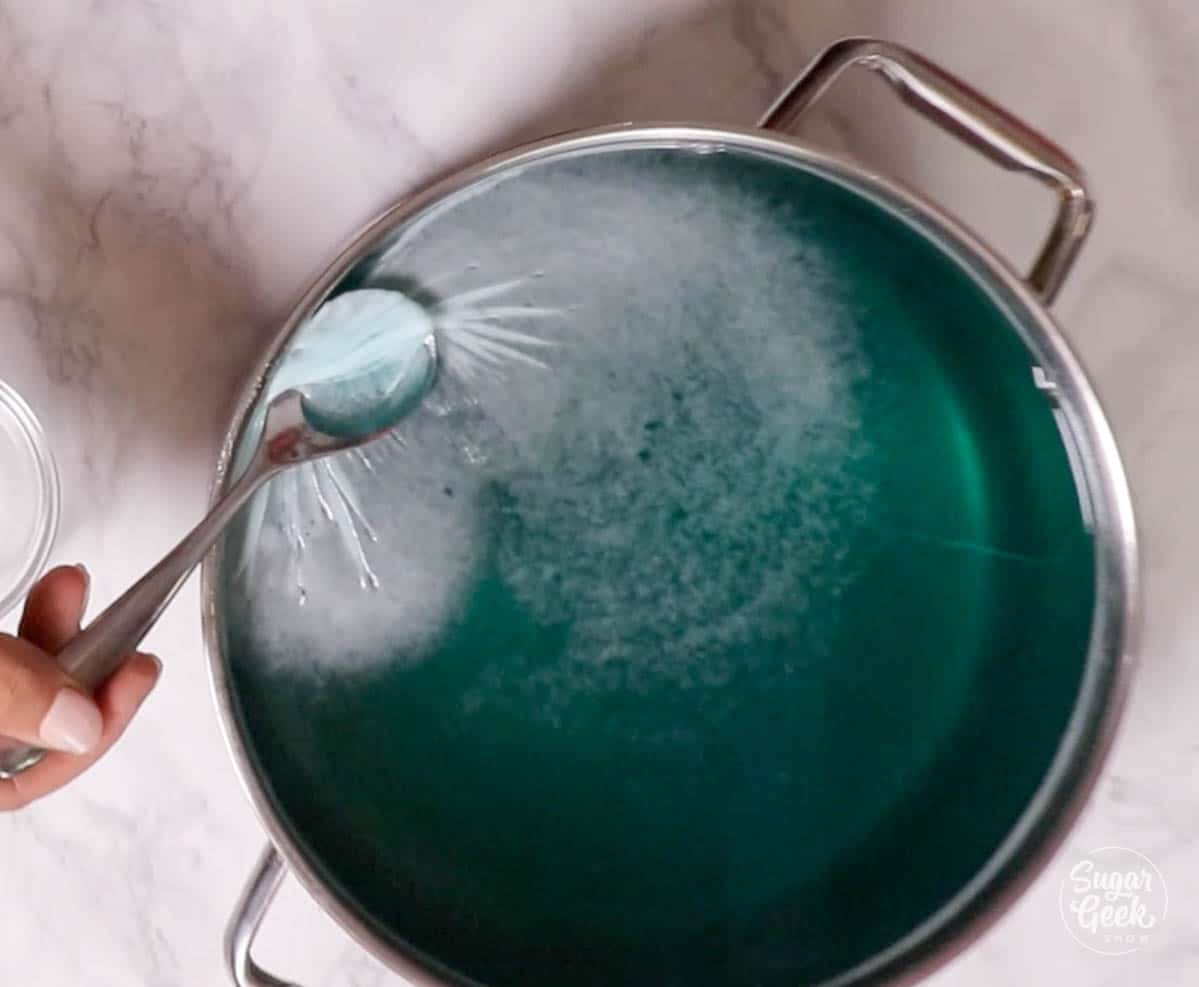
You don't want the mixture to solidify though! Keep your eye on it. You just want it to be cool but not solid. If you forget about it and it gets solid, pop it into the microwave for a few seconds to melt it again.
Step 5 - Paint the ganache with a little white food coloring. I just used a brush and roughly brushed over the surface. You don't want to completely cover the ganache, just create a little texture and visual interest.
Step 6 - Make the island. Place your cooled cake onto a cake board or even a cheesecake springform pan will work for this. Place a cake ring (if you have a springform pan you won't need a cake ring) around the cake. Line the cake ring with some cake acetate and tape the seam.
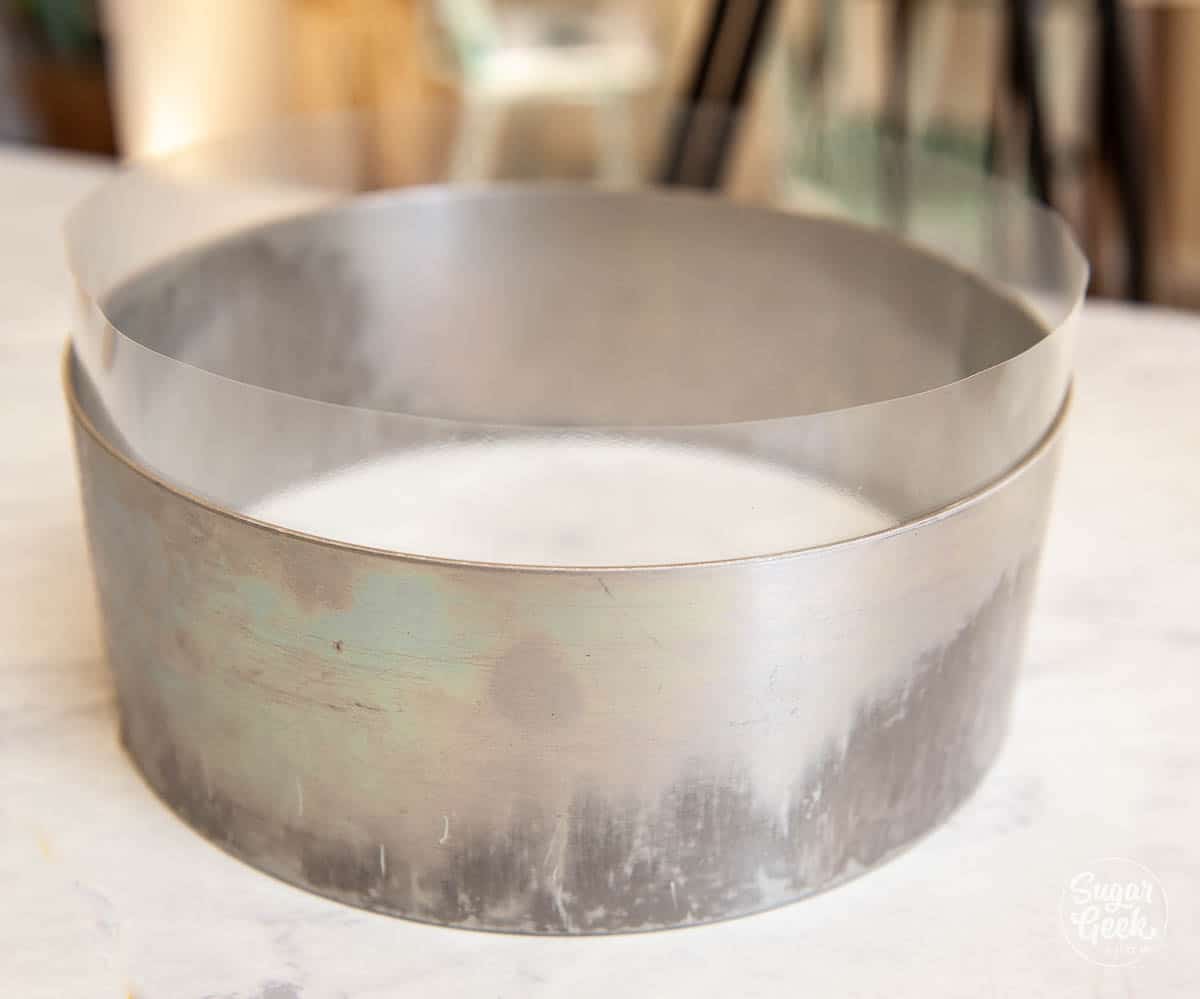
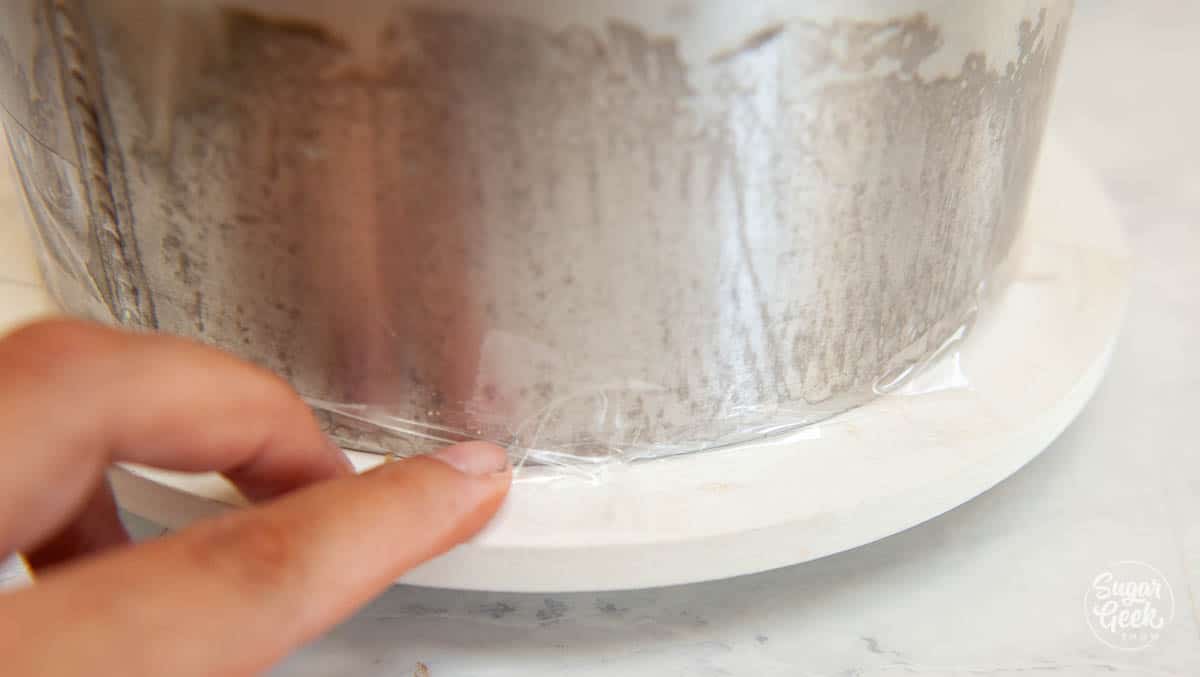
Seal the bottom of the cake ring with some clear tape to keep the jelly from leaking out.
I also pipe a small amount of ganache around the inside of the ring for extra insurance and smooth it down with my finger. I also pipe ganache around the base of the cake so nothing leaks into the cake.
Put the cake back into the fridge for 20 minutes to give the ganache time to set up or until your jelly has cooled down enough to use. The jelly should be about 90ºF or just barely warm to the touch. Be patient! If the jelly is too hot it will melt your ganache and make a big mess.
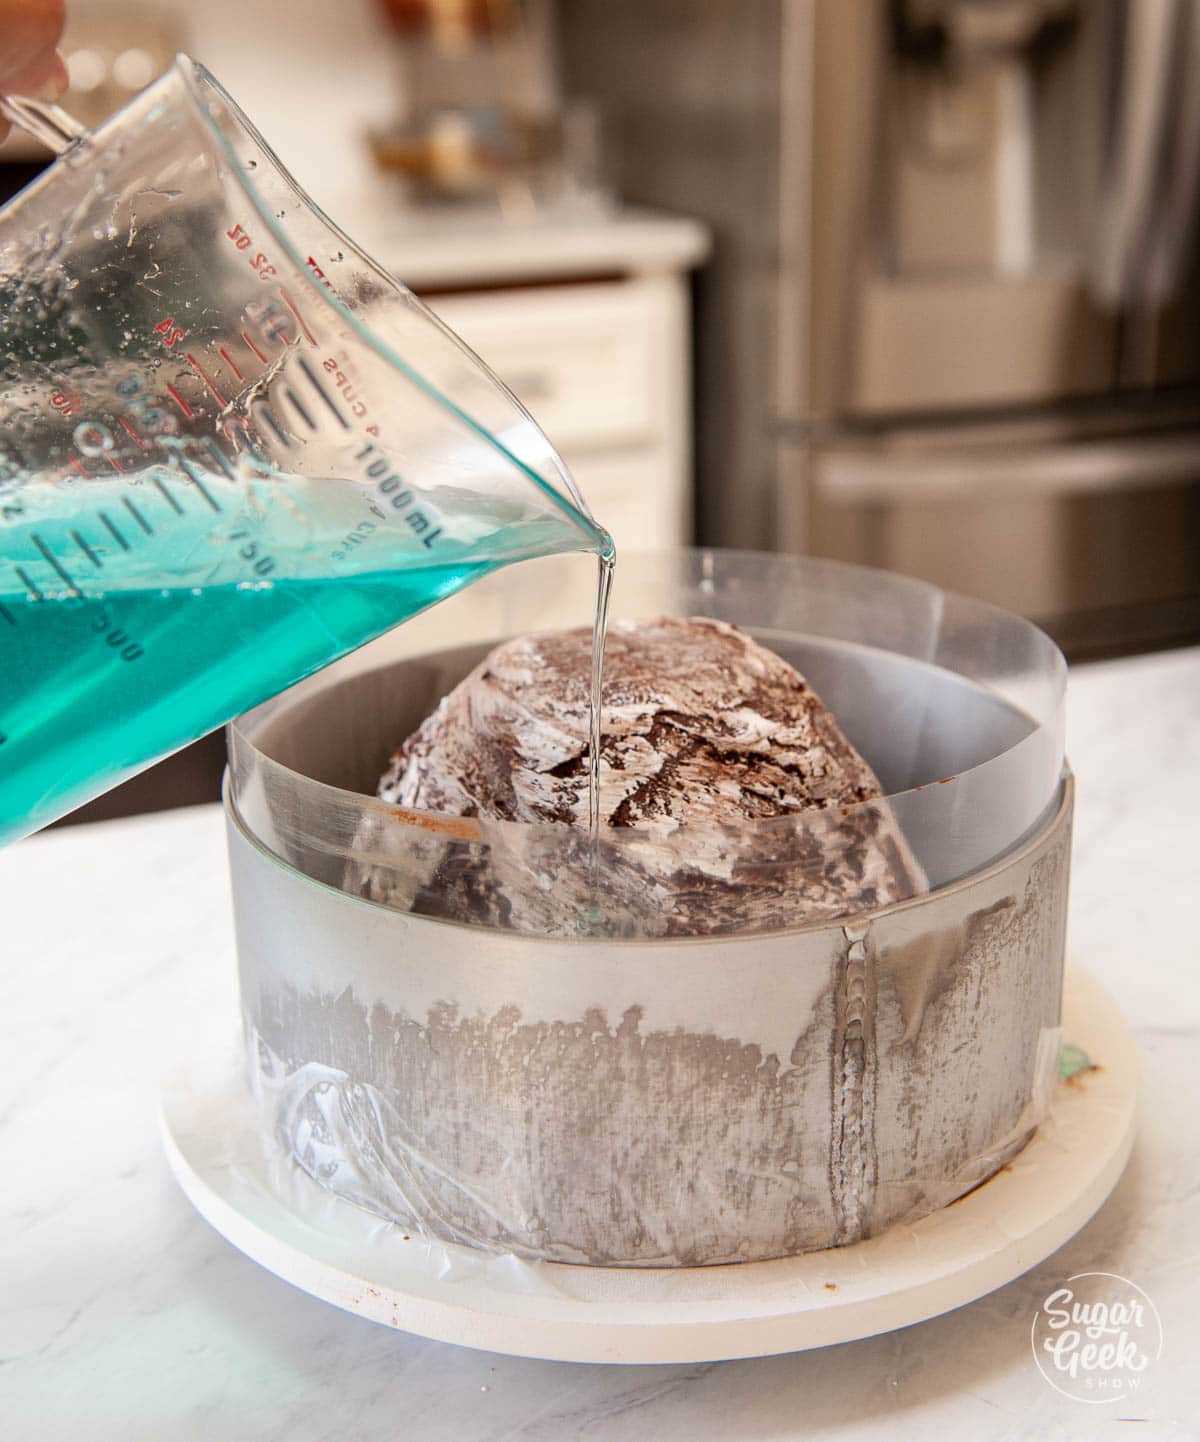
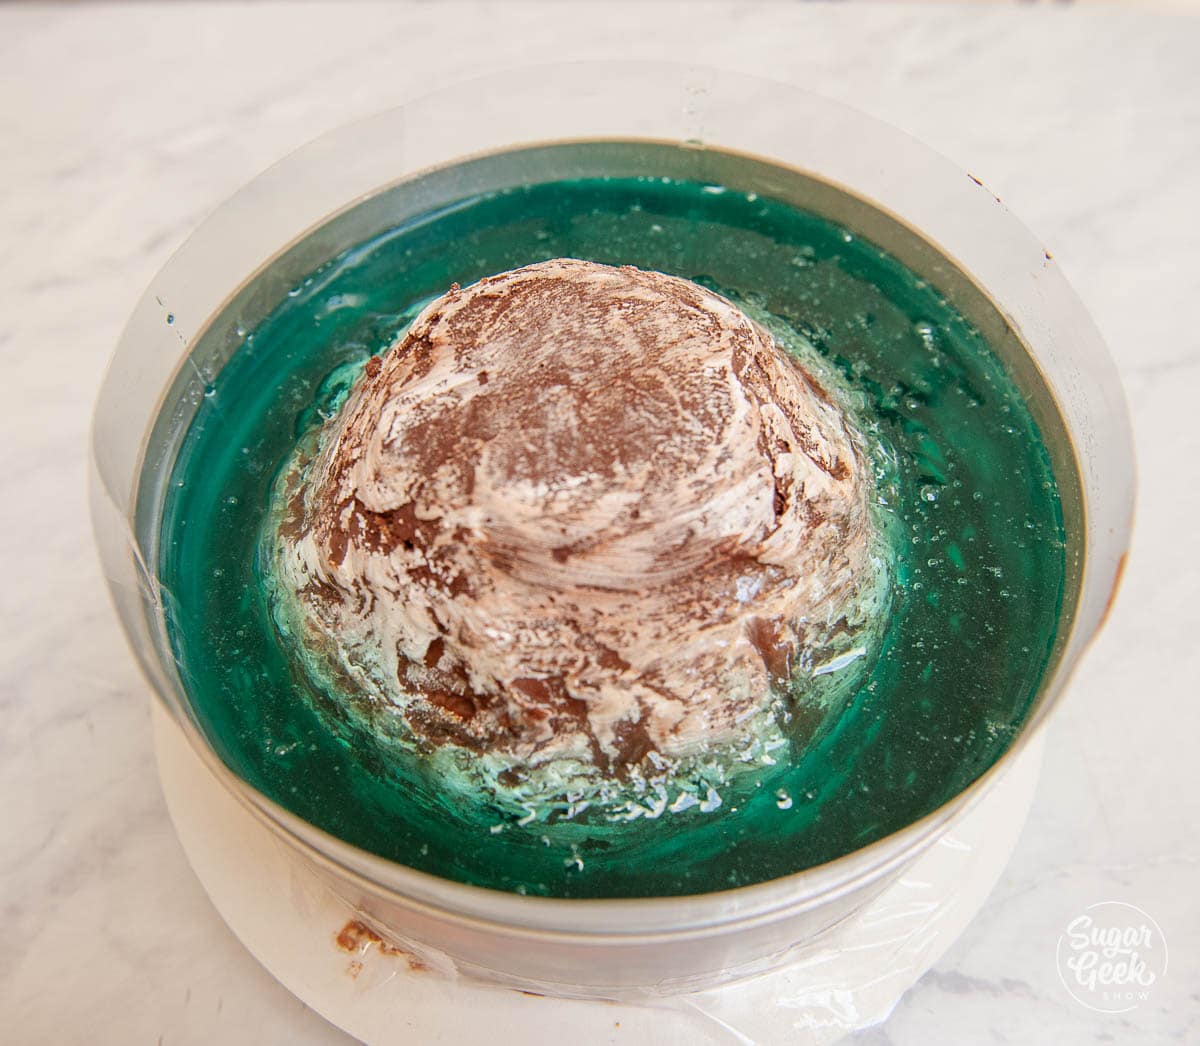
Step 7 - Pour the cooled jelly into your ring. I start with just ¼" and stop just to make sure I don't have any leaks. Allow the jelly to harden up before pouring the rest in. This should only take about 5 minutes.

Once the thin layer of jelly is firm, go ahead and pour in the rest of the jelly to the top of the ring.
If you have any major bubbles you can pop them with a paintbrush
Once you have poured the jelly into the ring, the jelly island cake now needs to be refrigerated overnight.
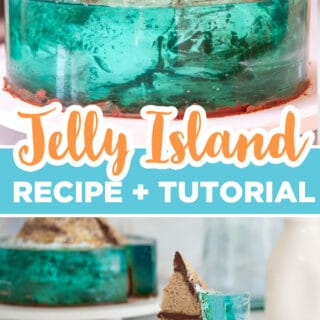
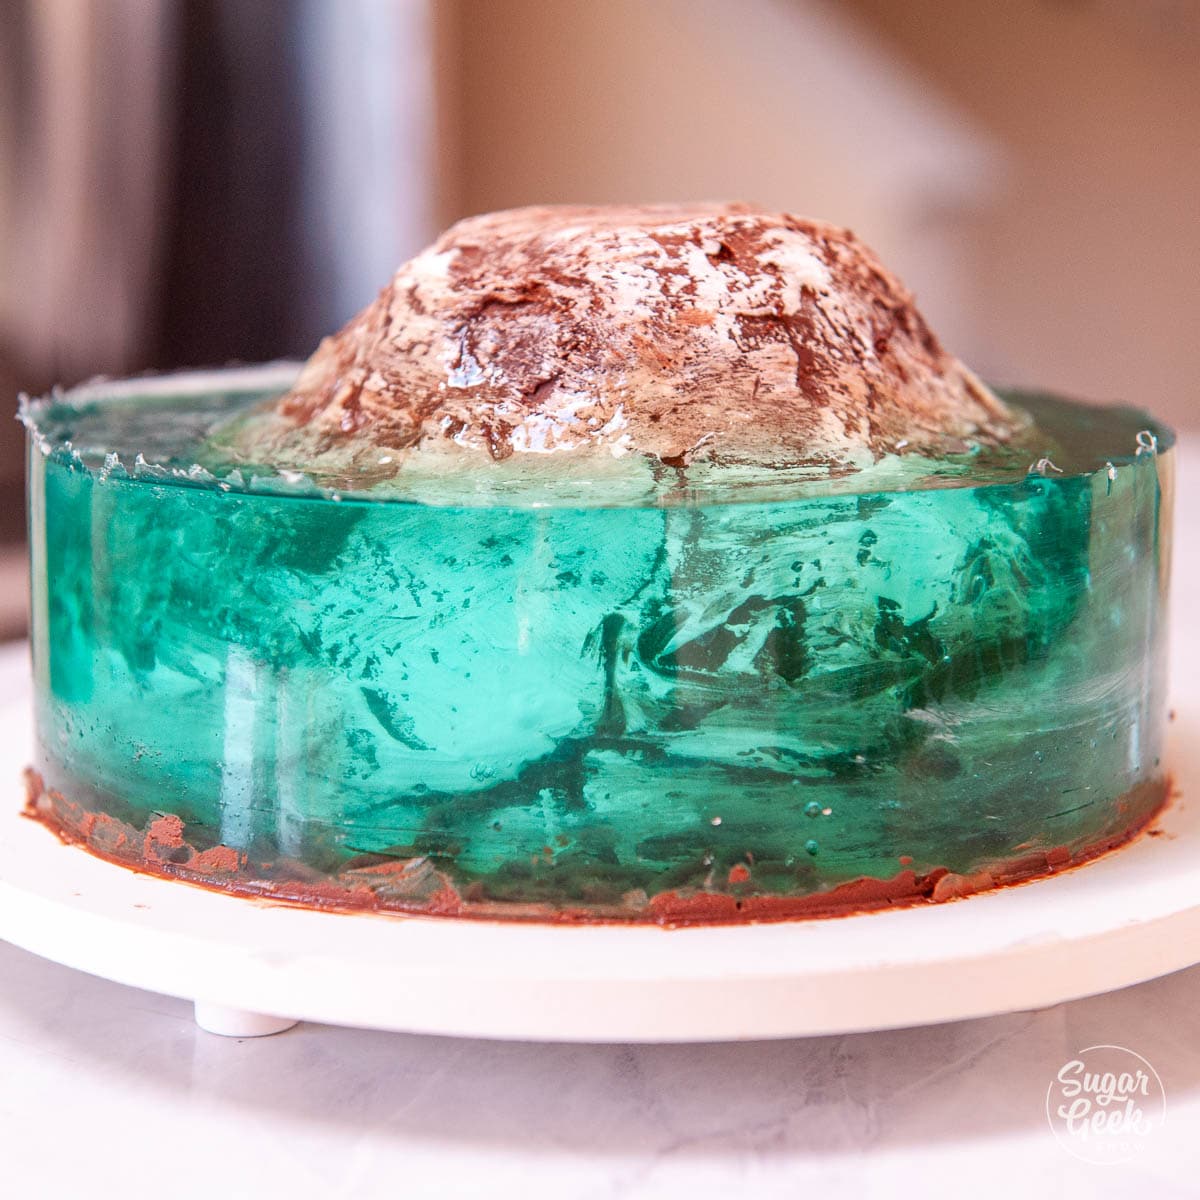
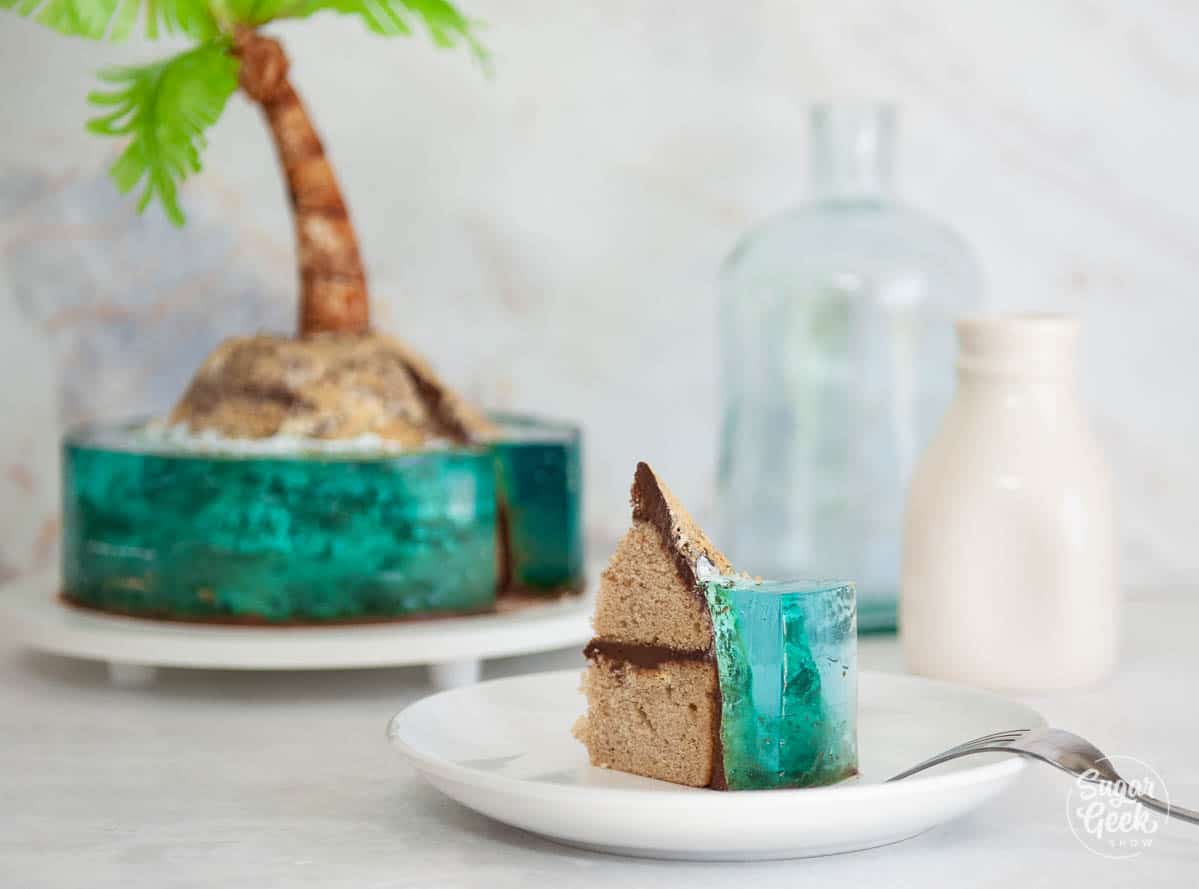
Step 8 - De-molding the jelly island cake! Remove the tape from the cake ring and slide it off the cake. Carefully remove the acetate from the jelly and reveal your beautiful cake!
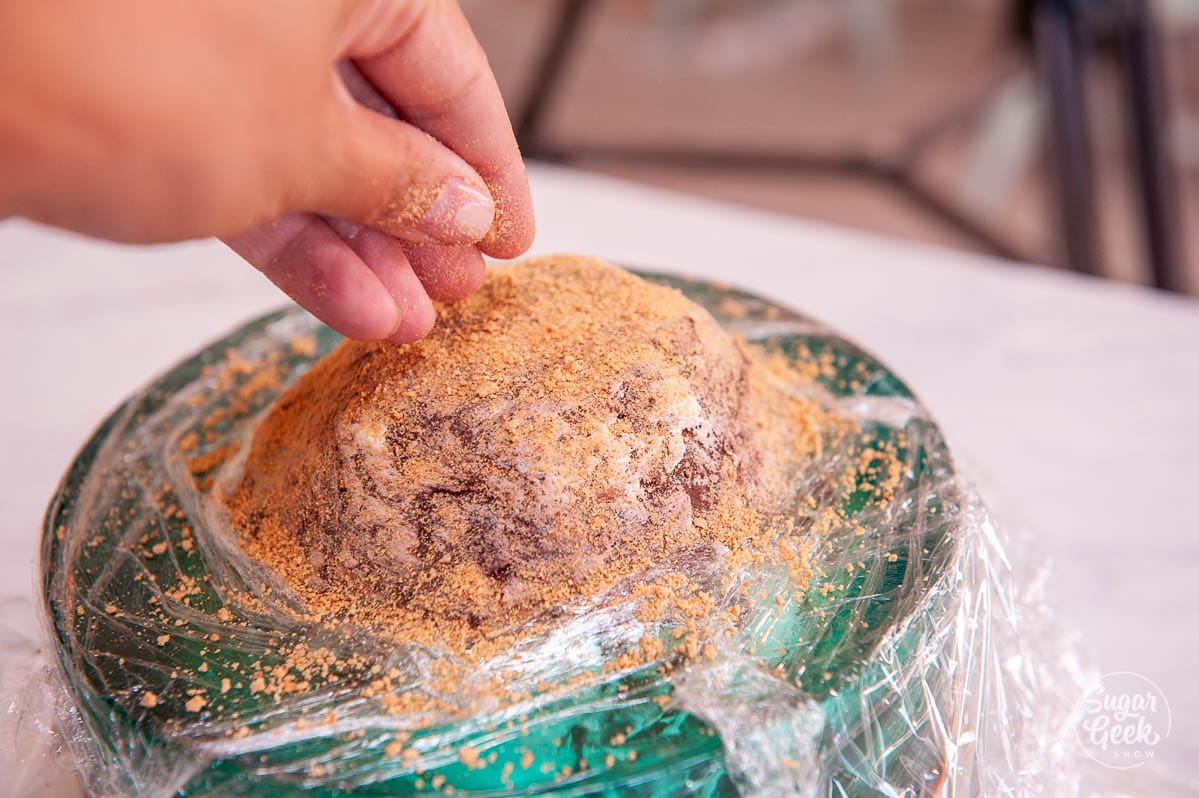
Step 9 - Cover the top of the jelly with plastic wrap to protect it. Add your crushed graham crackers to the top of the island to look like sand. If you have made the chocolate palm tree, you can add that now too.
Step 10 - Adding waves. Now you can add some white food coloring to the edges of the jelly to make it look like waves. I just used a paintbrush!
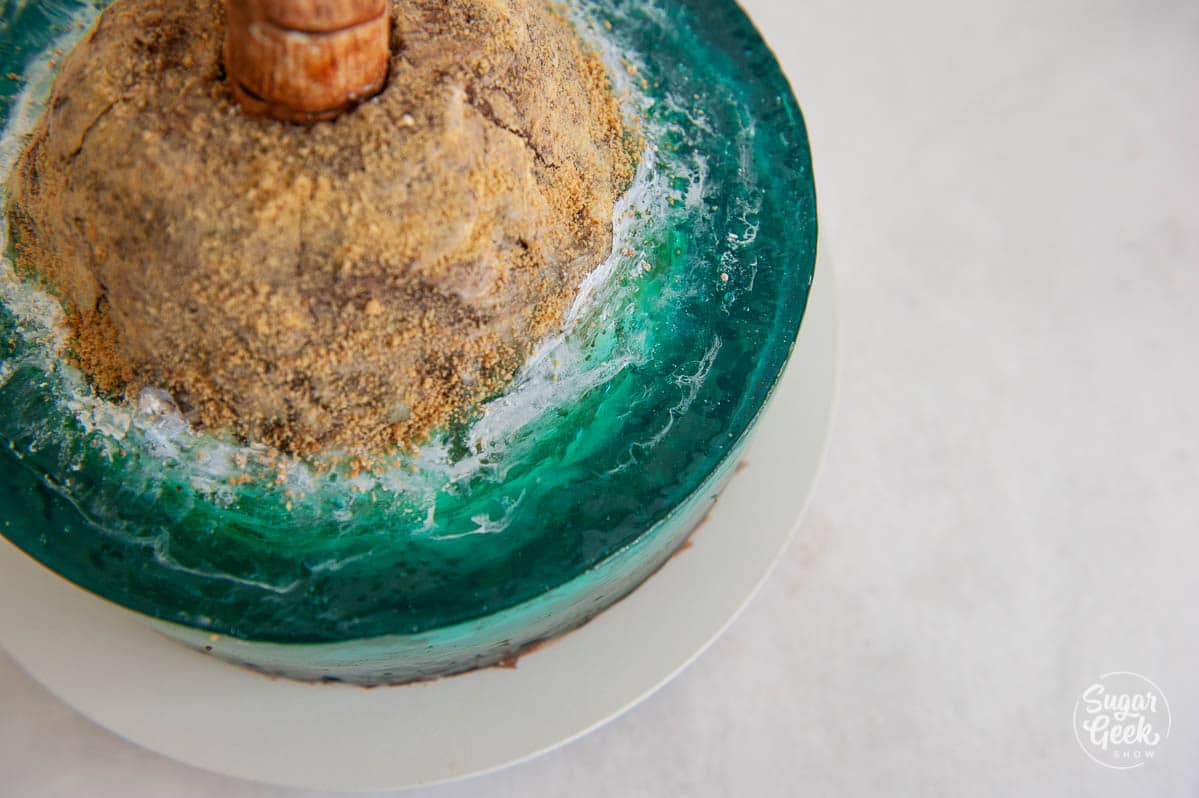
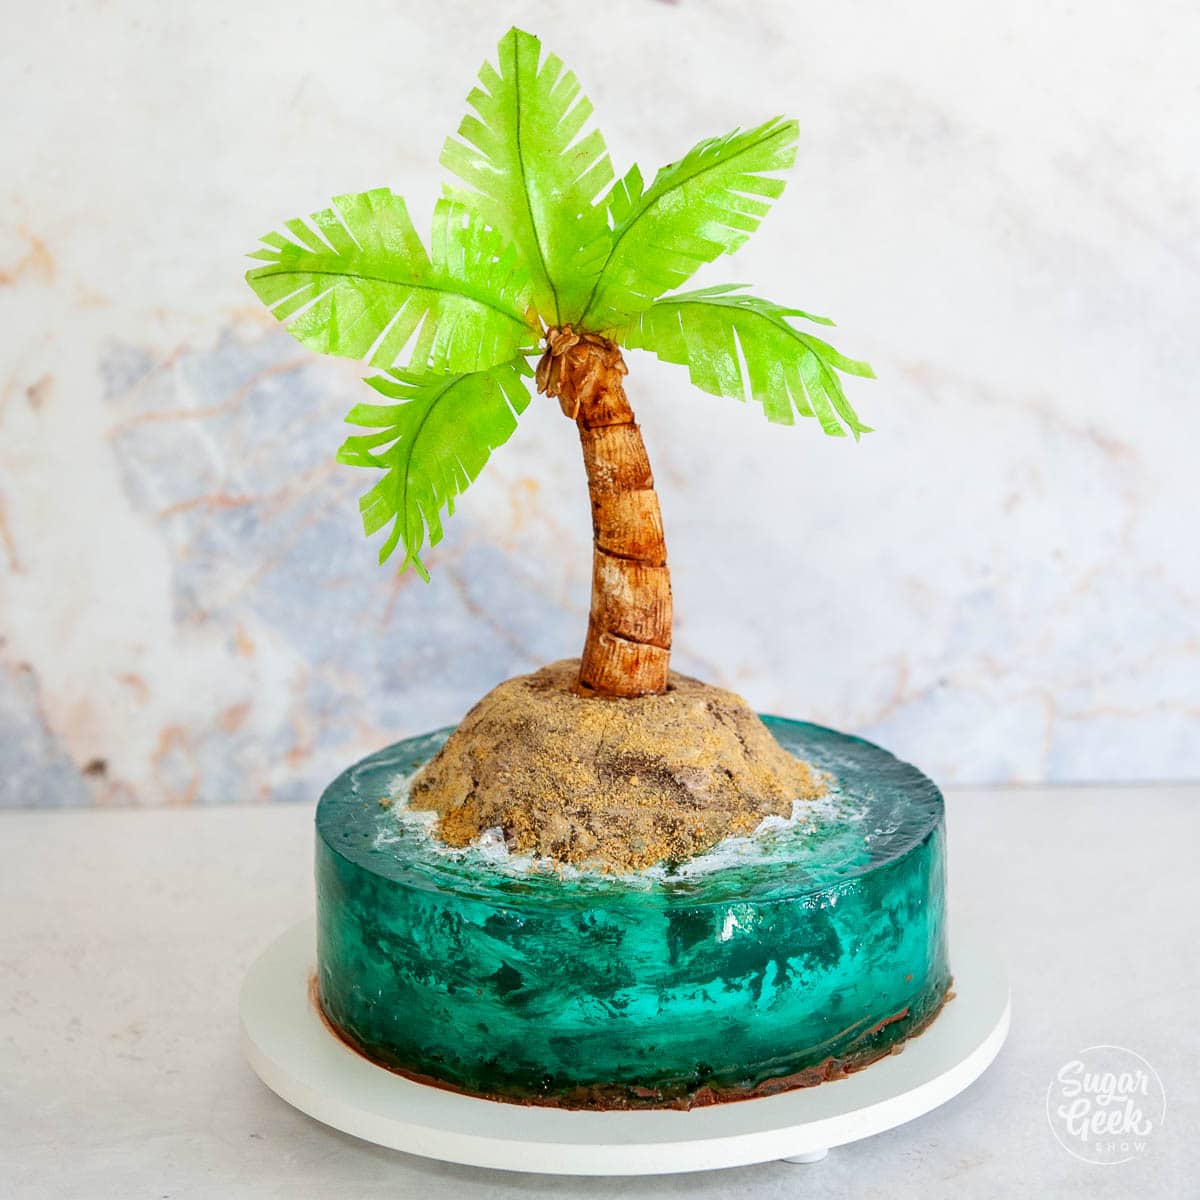
I also added a modeling chocolate palm tree that I had leftover from my Animal Crossing Birthday Cake (tutorial coming soon). It's just modeling chocolate over a cake pop stick and wafer paper leaves that are brushed with a gelatin mixture to make them flexible. I dusted the palm tree with brown petal dust from the sugar art.
Your jelly island is now complete! This will actually be ok at room temperature and the cake tastes better when it's not cold. I suggest taking the jelly island cake out of the fridge the morning of the party and allowing it to warm up before serving it!
Yes this jelly island cake actually tastes good! The strawberry flavor tastes really amazing and my daughter Avalon absolutely loves it. She says it tastes like blueberries but I think that's because she sees the blue and it plays tricks on her tastebuds haha!
Have you made a jelly island cake? Let me know in the comments!
Want More Delicious Recipes?
Beer Gummy Recipe
Real Gummy Bear Recipe
Rose Wine Gummy Recipe
Recipe
Equipment
- Cake ring or springform pan
- Cake acetate
Ingredients
- 40 ounces cool water 5 cups
- 14 ounces sugar 2 cups
- 4 ounces gelatin ¾ cup - I use custom collagen brand but KNOX is ok too
- 4 teaspoons blue Jell-O or a tiny drop liquid blue food coloring
- 3 teaspoons strawberry extract or any flavor you want!
- 2 teaspoons citric acid
Instructions
For the cake
- Bake your 6" round cakes and prepare your ganache. Make sure both are cool before you frost your cakes.
- Add some ganache between the two layers and smooth with the spatula. Use a knife to shape the cake into a rounded island shape. Mix the cutoffs with a little ganache to make cake pop dough and build up the top of the island.
- Frost the entire cake in ganache and put it in the fridge to chill until the ganache is hard.
- Brush the surface of the ganache with a little white food coloring to give it dimension.
- Place the cake onto a cake board (or the bottom of your springform pan). Attach with some ganache.
- Place the ring around the cake and add the acetate. Tape down the seam so jelly doesn't leak out.
- Seal around the cake ring with tape (make sure you don't have any holes!) and pipe a small line of ganache around the inside of the acetate for extra insurance. Also make sure the cake board (if you have one) is totally covered in ganache and the cake is completely sealed to the cake board or pan so jelly doesn't leak inside.
- Refrigerate the cake until its firm or your jelly has cooled down to 90ºF
For the jelly water
- Combine the cool water, sugar, Jell-0 and gelatin together in a medium-sized saucepan. Let the gelatin absorb for 5 minutes.
- Turn the heat up to medium-high, stirring occasionally to prevent burning.
- Once you see steam just begin to rise from the surface, remove the mixture from the heat. DO NOT BOIL! It will weaken the gelatin.
- Stir in your extract and citric acid.
- Allow the mixture to cool at room temperature (or you can place it in the fridge to speed things up) until it's just barely warm. Still liquid but not hot!
- Skim off the foam and discard it.
- Pour the gelatin into your prepared cake ring. Refrigerate overnight.
- Remove the ring and remove the acetate. Cover the jelly with plastic wrap and add crushed graham crackers to the ganache to make sand. Use white food coloring to paint waves around the edges of the jelly. Add decorations if you like!
Video
Notes
Nutrition


Casey says
Amazing!!! I cannot wait to try it. Do you use a clear strawberry extract? Mine is tinted red and I'm afraid it may tinge the blue. What brand strawberry extract do you recommend?
Elizabeth Marek says
Yes I use clear strawberry extract
Michelle says
Thank you for all the tips! Added less sugar for the jelly, but still turned out great! Can't wait try out more jelly island designs!
Emily says
So excited to try this. I’ve seen other tutorials wipe oil on the acetate before pouring the jello so it doesn’t stick but your steps don’t require that part. Is there any risk the acetate won’t come off without it?
Elizabeth Marek says
It can stick a little but I just remove it carefully. I don't like the oil because it can leave marks on the finished jello
Sara says
I want to make this cake for my son's birthday since he is obsessed with the galapagos islands. I'm a little confused though..in one part of the recipe it says 20 oz of blue jell-o but on the receipe card it says 4 teaspoons. Which measurement should I use?
Elizabeth Marek says
Sorry, I'm not seeing where it says 20 ounces of blue Jello, the recipe card is the correct amount.
Puja Gomasta says
Hi, I tried this recipe and it turned out really good. Since I was making it for my family I used the springform pan although I was wondering if I make it for a client what kind of cake boards should I use?
Please suggest.
Elizabeth Marek says
A cake board from Cake Boards Avare or a foil covered cake drum will work great
grace h says
This is awesome! I’m about to try and make this, what if I couldn't find citric acid can I still make this without it?? Thank you!
Elizabeth Marek says
Yes you can, the citric acid just makes the jelly taste better 🙂
Susan says
How long in advance may I unmold the jelly cake?
If my party was at night, can I unmold and finishing decorating the morning of? Or even the night before?
Elizabeth Marek says
Yes you can unmold the day before with no problem.
Grace says
Aloha can I use loranne’s super strength extract? I just want it to be flavored good lol
Elizabeth Marek says
Yes you can
Tam says
Thank you for this recipe- I’m really excited to try it. Can I use a Swiss meringue buttercream frosting, that has been in the refrigerator, in place of a ganache?
Elizabeth Marek says
You sure can!
Jennifer says
Thank you! 😊
Jennifer says
I LOVE this cake and have been dying make one of these gelatin cakes! What size cake ring do I need to put around the island cake? I haven’t bought a ring yet & I was wondering if a solid cake ring would be better or if I can buy an expandable one? Thanks!
Elizabeth Marek says
Mine is 9" and solid but an expandable one is great as well! That way you can make them any size