How to cover your cake in fondant and get sharp edges using the upside-down technique
Covering a cake in fondant can be super intimidating and scary if you've never done it or even more so if you have tried it and failed miserably which I can honestly say is probably everyone when they first start out. If you nailed it perfectly the first time you covered a cake in fondant and have ever since, well then you must be a cake witch and should be burned at the stake. I'm kidding obviously, that's jealousy talking.
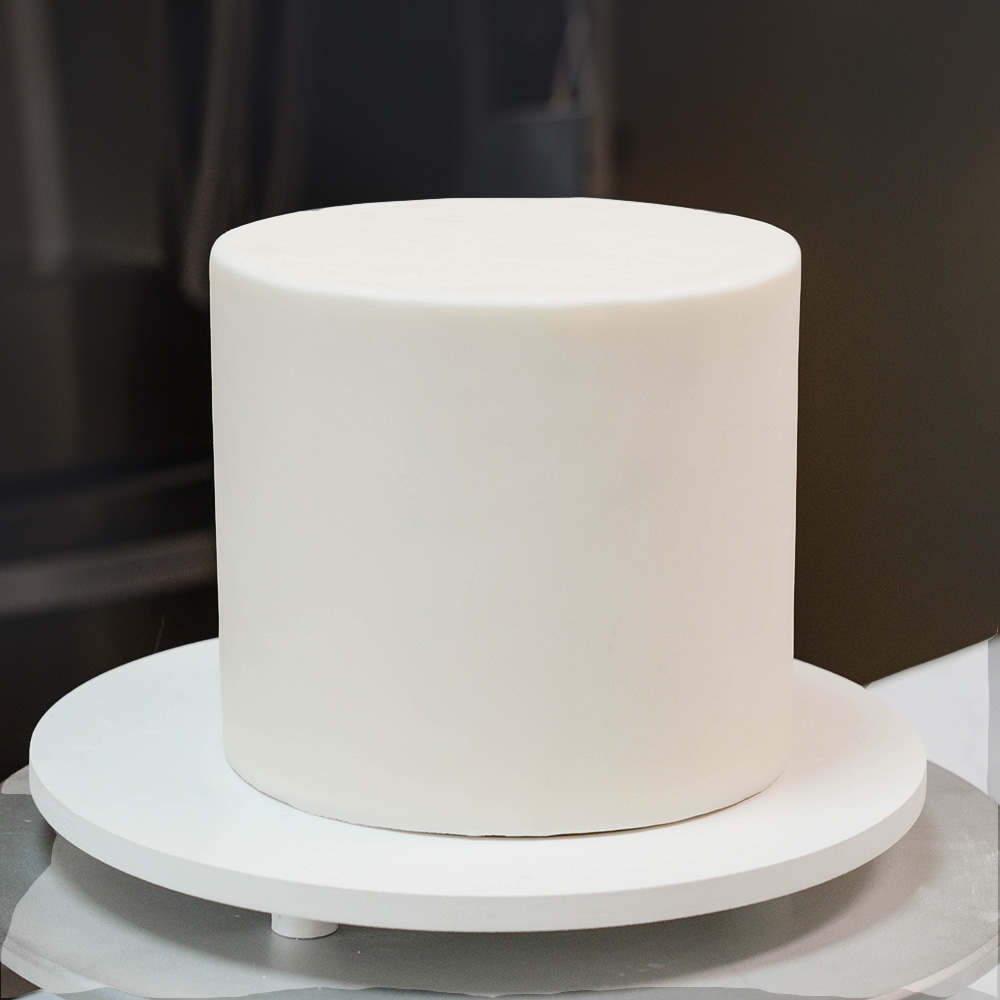
For everyone else though, we're here to show you how it's done and even though we're giving the steps and tips for success, covering a cake in fondant takes a certain finesse and a whole lot of practice so don't give up!
What You Need
- Chilled cake - watch my sharp edges buttercream tutorial
- Turntable
- Buttercream
- Offset spatula
- Bench scraper
- Parchment paper
- Two cake boards larger than your chilled cake
- Fondant
BONUS: Want step-by-step instructions on how to make your first cake? Watch my how to make a cake video tutorial!
Watch the video below on how to cover a cake in fondant
Step 1
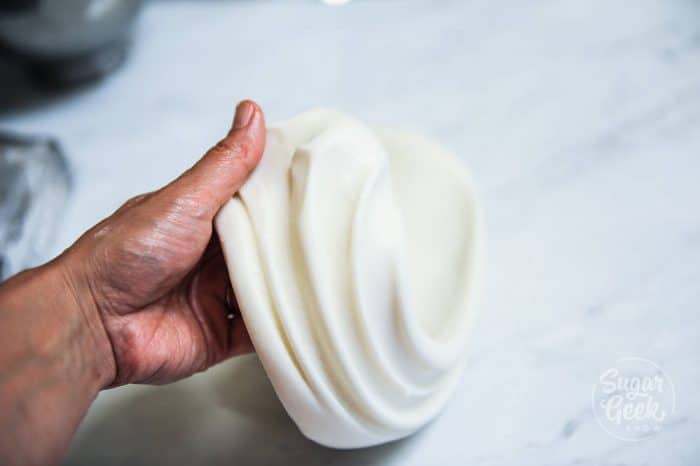
Condition your fondant until smooth and pliable and roll out onto a cornstarch or powdered sugar-dusted (or cornstarch) surface to keep it from sticking. Check out Liz Marek's Fondant Recipe (LMF) for a simple and easy to work with marshmallow fondant that works like high-end store-bought fondant and saves you money!
Tip: Heat your fondant in the microwave for 15-30 seconds when first getting it out to make it easy to work smooth.
Step 2
Flip your fondant at least once while rolling out to further ensure it doesn't get stuck to your surface.
Step 3
Continue rolling your fondant until it's anywhere from 1/16" to ⅛" thick. LMF is really easy to roll thin so 1/16" isn't a problem, if you're using a different kind of fondant try to make it no thicker than ⅛" thick. Nobody likes a super thick layer of fondant.
Make sure your fondant is PLENTY big. The rule is to add the height of your sides and top together and add a couple of inches to that so a 5" tall 6" round cake would be 5+5+6+2= 18". That's a good rule of thumb but honestly, the larger the piece of fondant the easier your cake will be to cover. If you barely have enough fondant your wrinkles and pleats will be worse and much harder to open up and smooth out.
Step 4
Pop any air bubbles you can see with an acupuncture needle.
Step 5
Roll your fondant up onto your rolling pin. You may want to lightly dust the top of your fondant to keep it from sticking to itself.
Step 6
Gently transfer the fondant to the cake and drape it over top.
Step 7
Using a fondant smoother, smooth down the top of your fondant first, pushing out any air from underneath.
Step 8
Quickly smooth down the top edge of the fondant. The quicker you get the top edge adhered to the cake the better so that you don't have any tearing on the edge where it's the most common. Adhering the top takes the weight off of your fondant and keeps it from pulling and tearing.
Step 9
Begin pulling out the pleats and pressing the fondant to the cake. Beginners tend to pull down on the fondant here which is not what you want. You are simply pulling apart the pleats and folds and then pressing the fondant against the cake. Think of fluffing out a dress. If your body was a cake and you wanted to stick the dress to yourself without wrinkles.
Step 10
Once you've smoothed out all the pleats, smooth down all along the bottom of your cake to get a nice seal.
Step 10
Cut off the excess fondant with an Exacto blade. You will likely have a lot of extra fondant if you rolled it out nice and big and by the time it has stretched and that's perfectly normal! Don't throw that fondant away because it can still be used even if it got a little bit of buttercream on it. Just knead it in and it will be fine.
Step 11
Use your fondant smoother to sort of "polish" your cake. Smooth out any lumps, bumps or wrinkles until it's nice and purdy.
Use two smoothers to help steady your cake so you can apply more pressure to smooth without making a handprint in your cake.
Pop any additional bubbles you see with your acupuncture needle.
Step 12
Smooth the bottom edge of your fondant all the way down to make sure your board is covered.
Now you should have a beautiful, smooth fondant covered cake ready to decorate or put back in the refrigerator until you are ready to decorate or stack it. Easy peasy right?
BONUS - Step 13 - Upside Down Technique
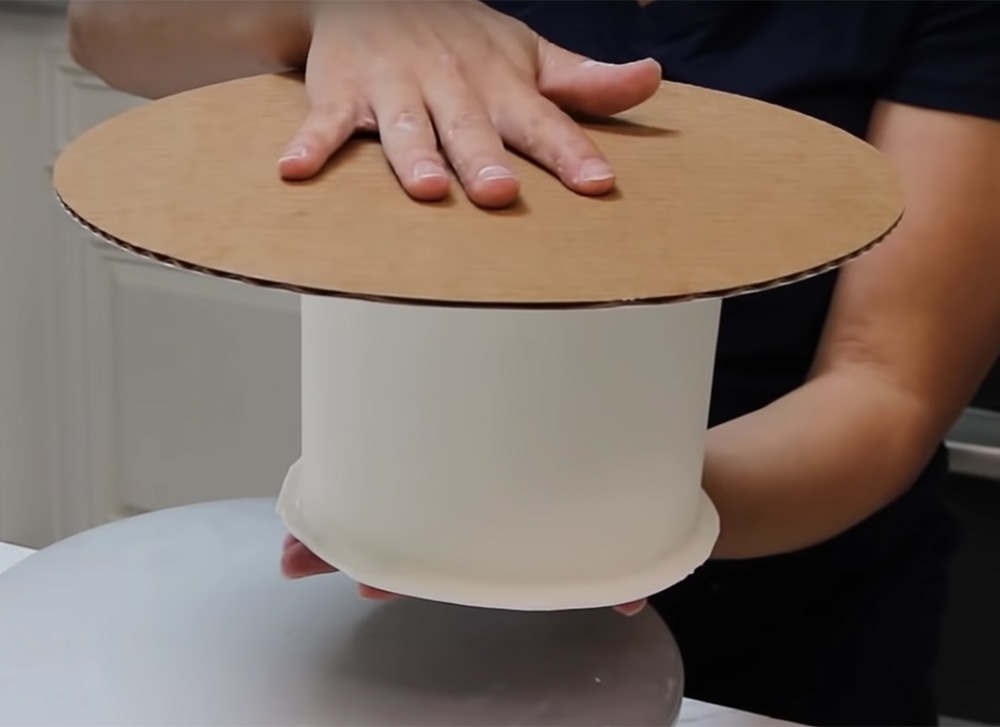
If you want your cake to have SUPER sharp edges, you can flip the cake upside-down (don't worry, this doesn't hurt the cake). Place a piece of parchment paper on top of the cake and then a cake board.
Slide your hand underneath the bottom of the chilled cake and the top of the cake board and hold firmly and turn over slowly.
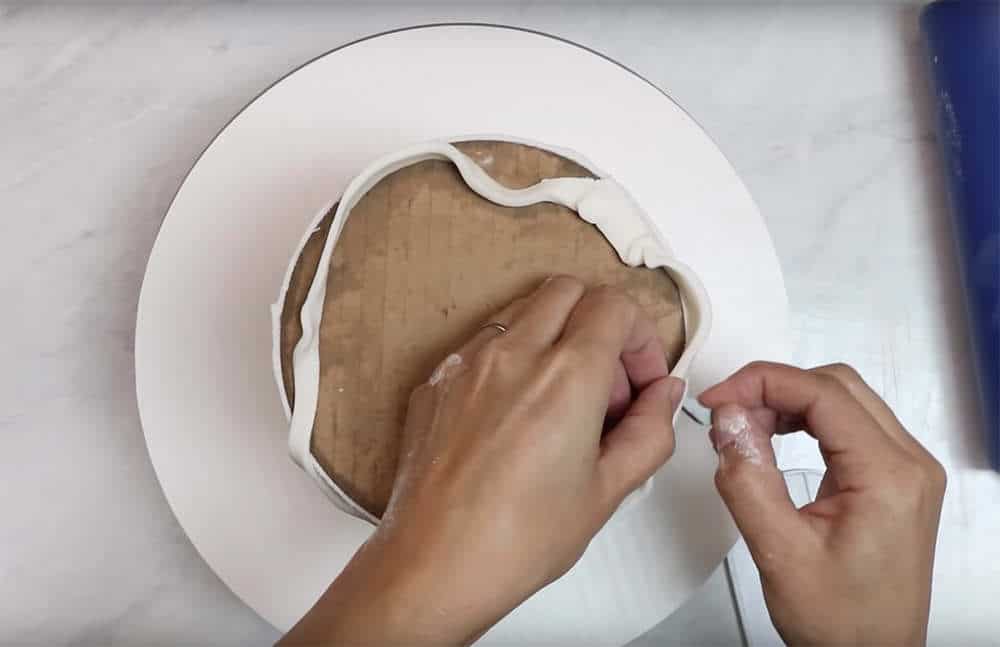
Push the fondant around the base of the cake board up with a fondant smoother and trim off the excess. This helps hide the cake board when you turn it back over.
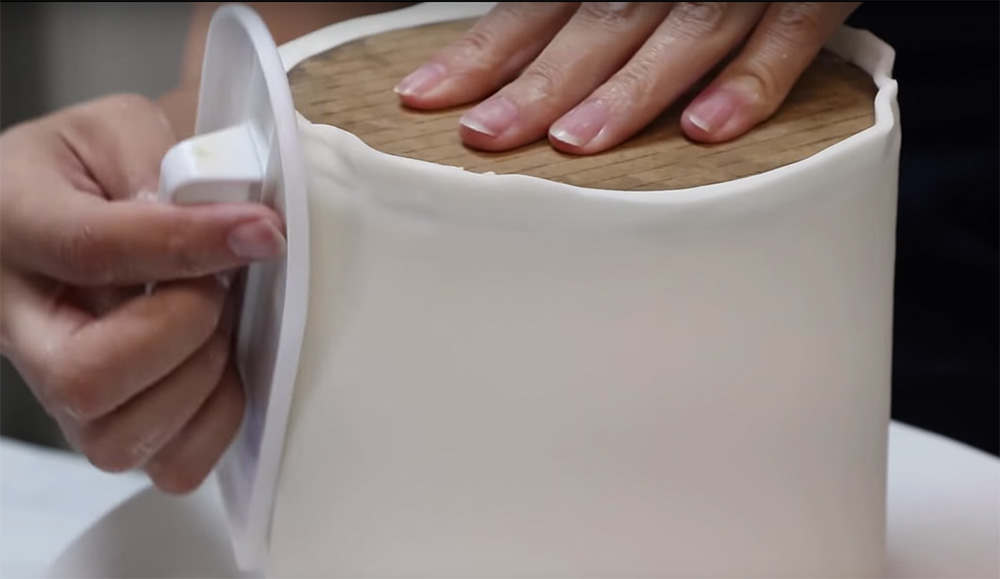
Use the fondant smoother to smooth out the fondant and create a nice sharp edge by moving the fondant smoother in small circles with firm pressure. You should see the shadow from the rounded edge slowly disappear as you smooth.
And that's how you get super sharp edges on your fondant covered cakes!


