
How To do the upside down method to get super sharp buttercream edges
If you've been frustrated with the traditional way of icing a cake then you are going to want to give the upside down method a shot. I literally cannot go back. This way yields a PERFECT result so much faster than doing it the regular way. Just as long as you can put aside the fear of flipping your cake upside down, you're golden.

Step 1
Cover a turntable or cake drum with a layer of shortening.

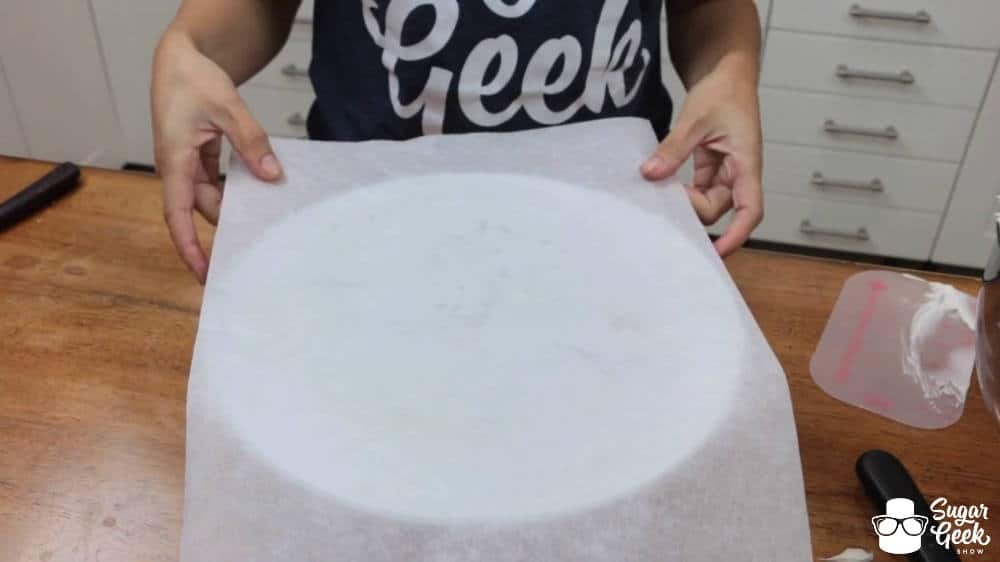
Step 2
Place a piece of parchment paper onto your surface.
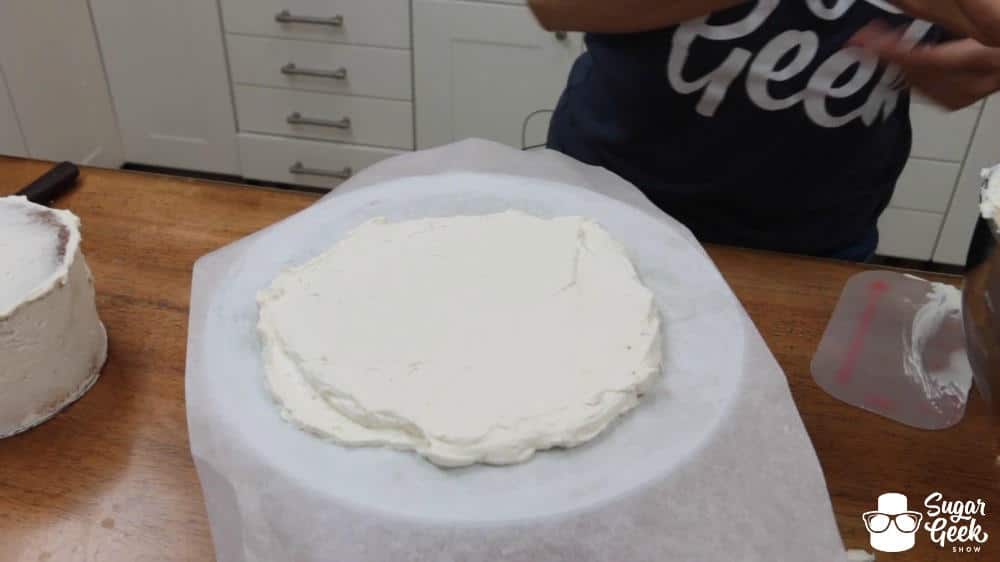
Step 3
Schlop a generous amount of buttercream onto the parchment and smooth it out just as you would a fill layer. You want this to be about a ½" thick to give you some wiggle room for adjusting your cake to be perfectly level.
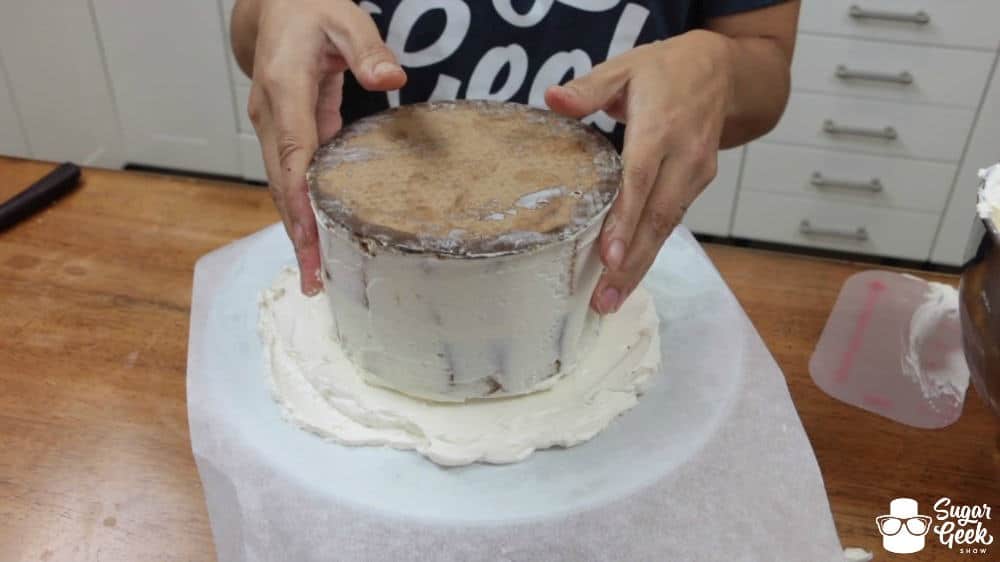
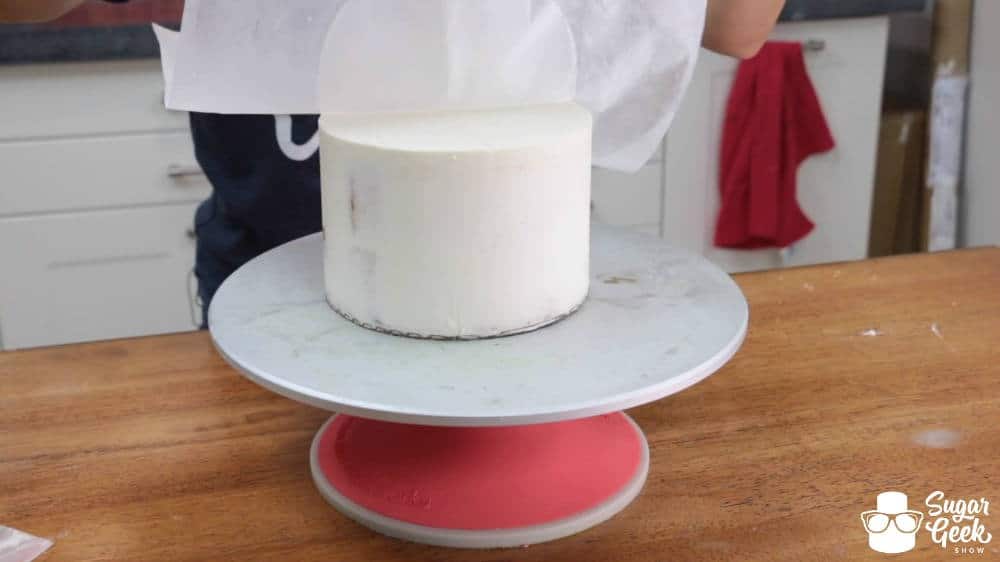
Step 4
Take your chilled, crumb coated cake out of the fridge and flip it upside down onto your buttercream. CAUTION: Do not attempt this with a room temperature cake! As long as your cake is nice and firm there is absolutely no risk in doing this. You can also just stack the cake directly on the buttercream (see video) to do the upside down method
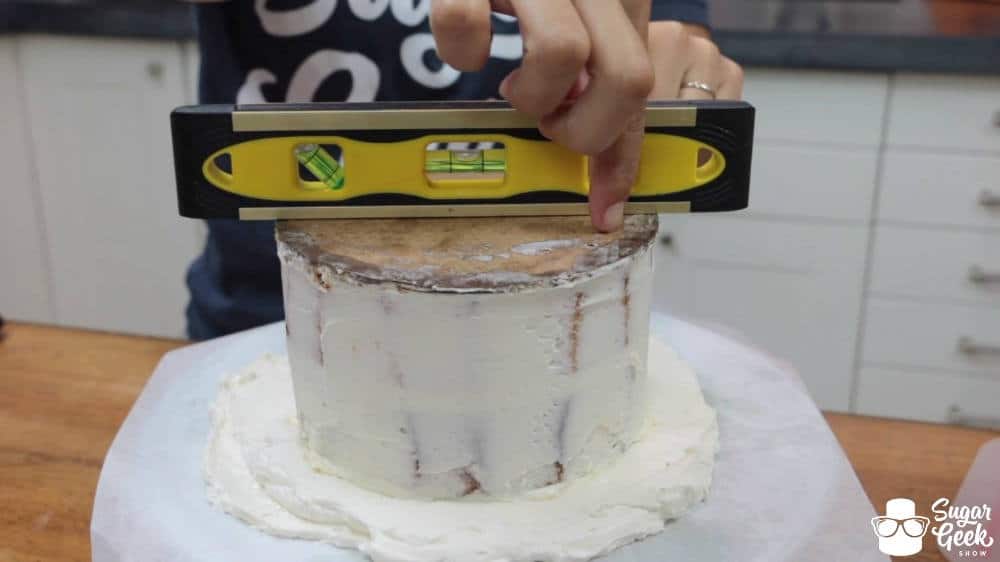
Step 5
Adjust your cake by pushing it down on any side that might need it until it reads level. Be sure to check it one way and then the other to make sure it is level both directions.
Step 6
Scrape any excess buttercream up onto your cake.
Step 7
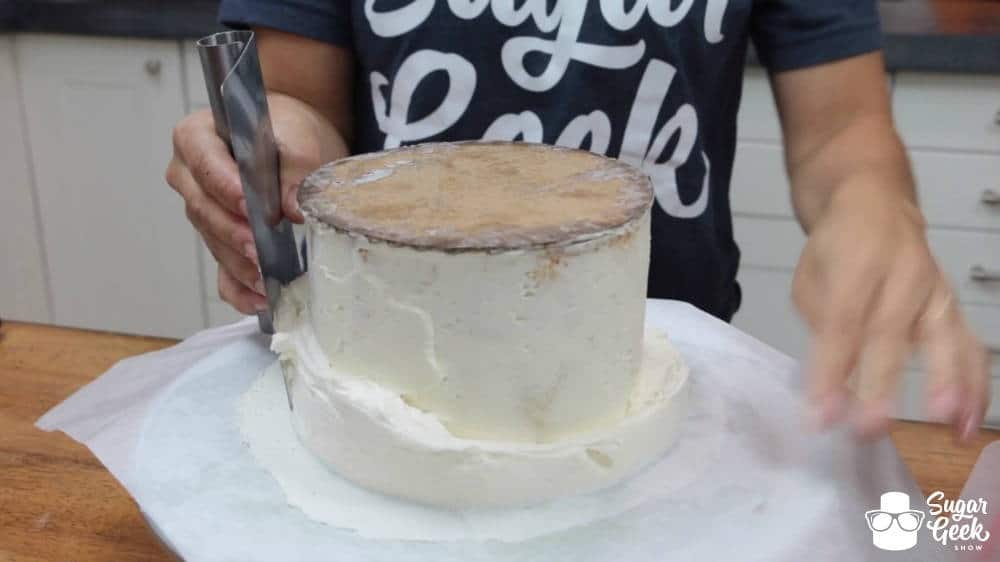
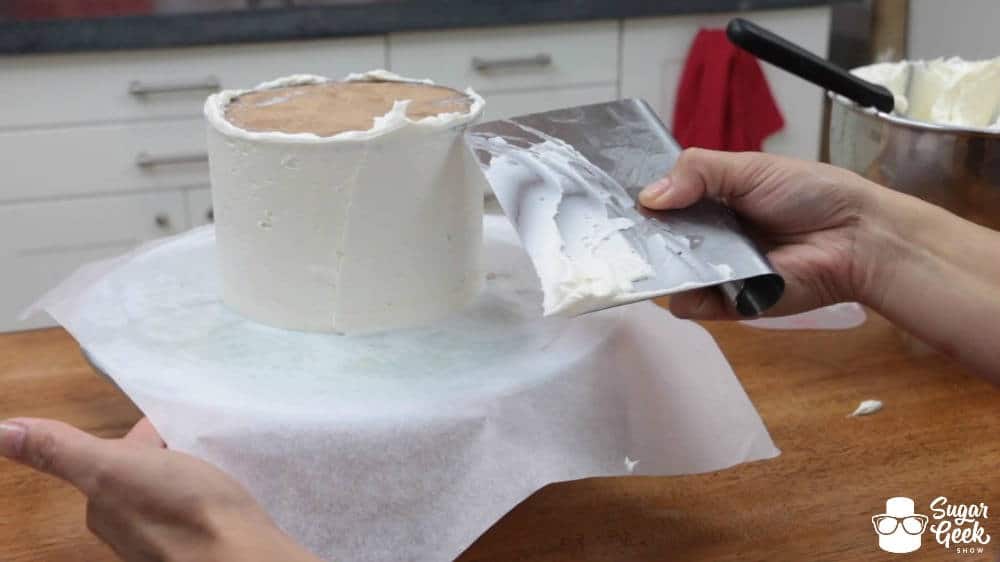
Cover the sides in a generous amount of buttercream.
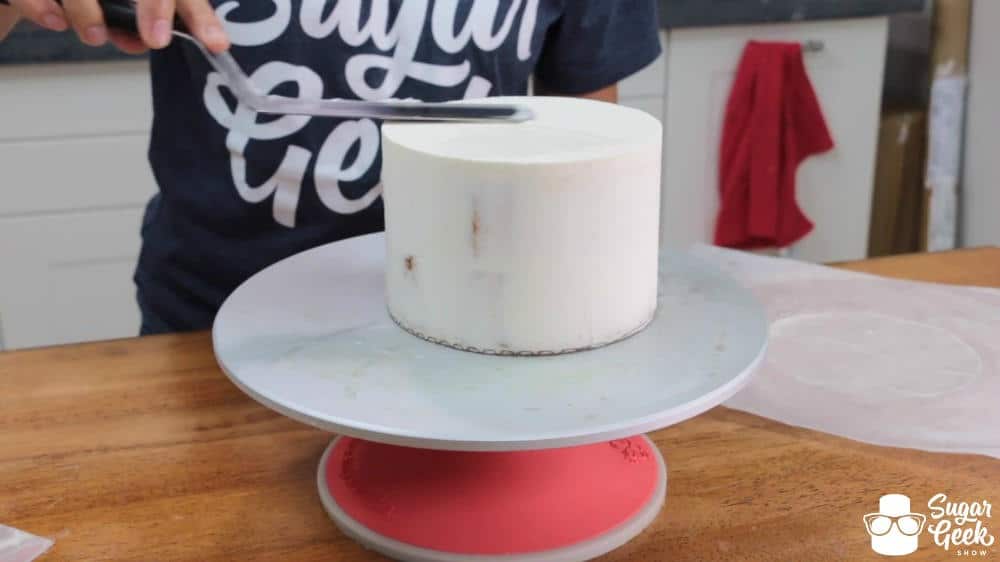
Step 8
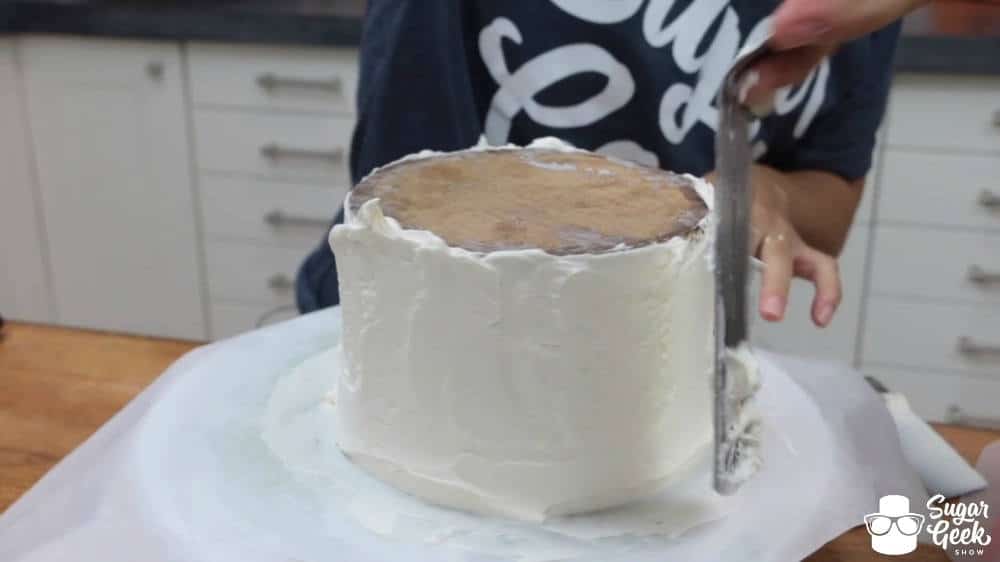
Using a bench scraper, begin scraping the icing away.
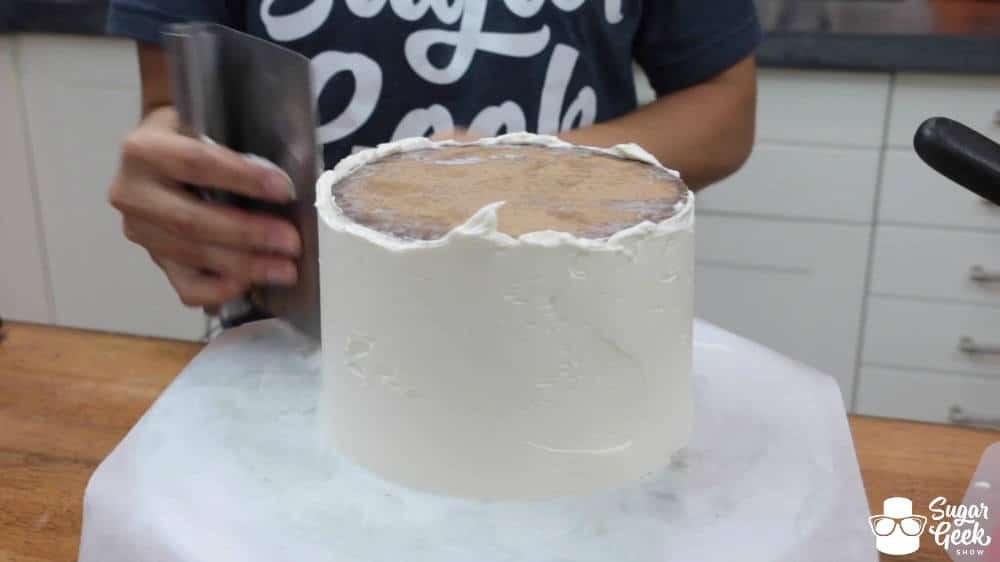
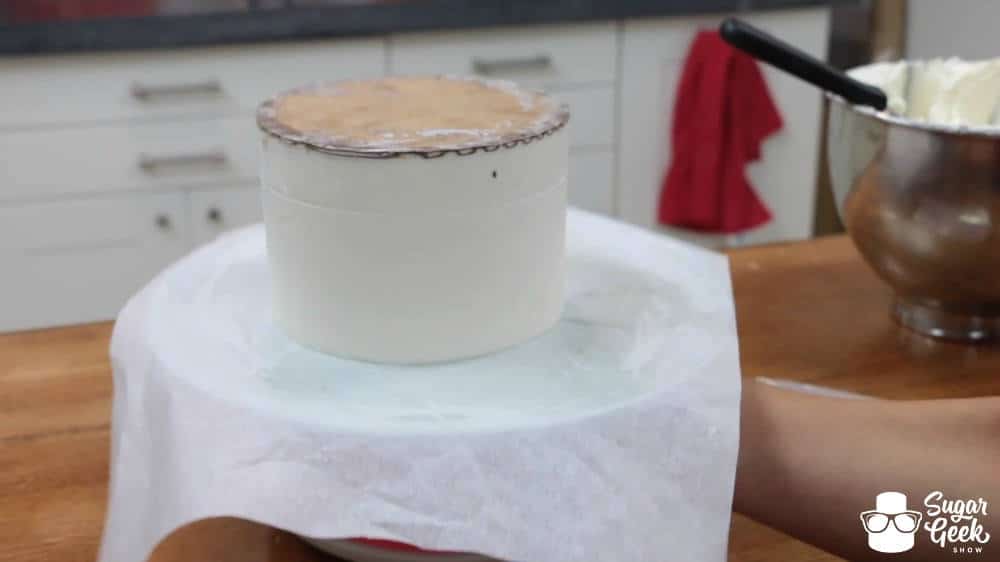
Keep the scraper/smoother flat on your surface and straight up and down.
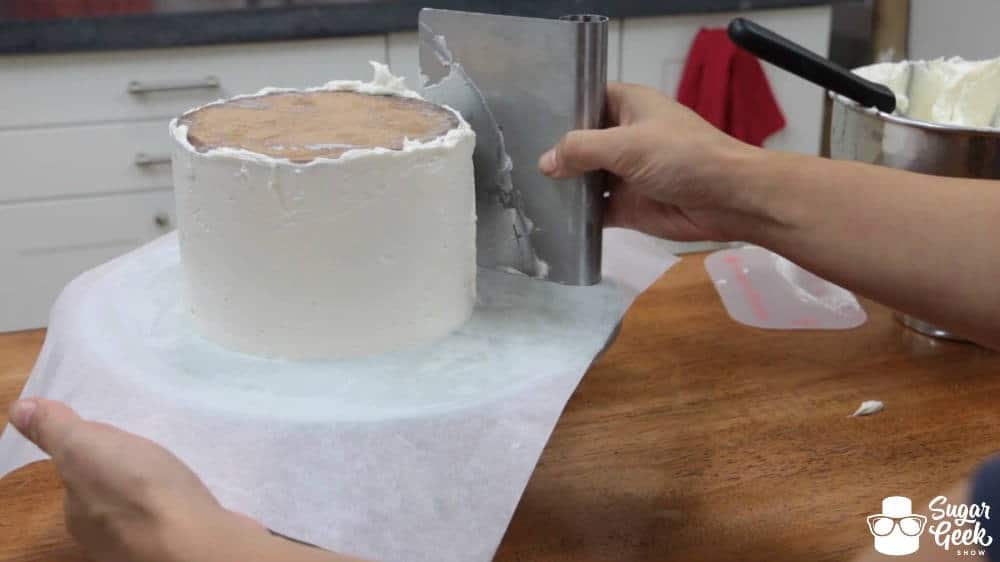
Eventually you will come to your cake board which should mean your sides are perfectly straight.
Once you've got it as smooth as possible place the whole thing in the freezer to chill until firm once again.
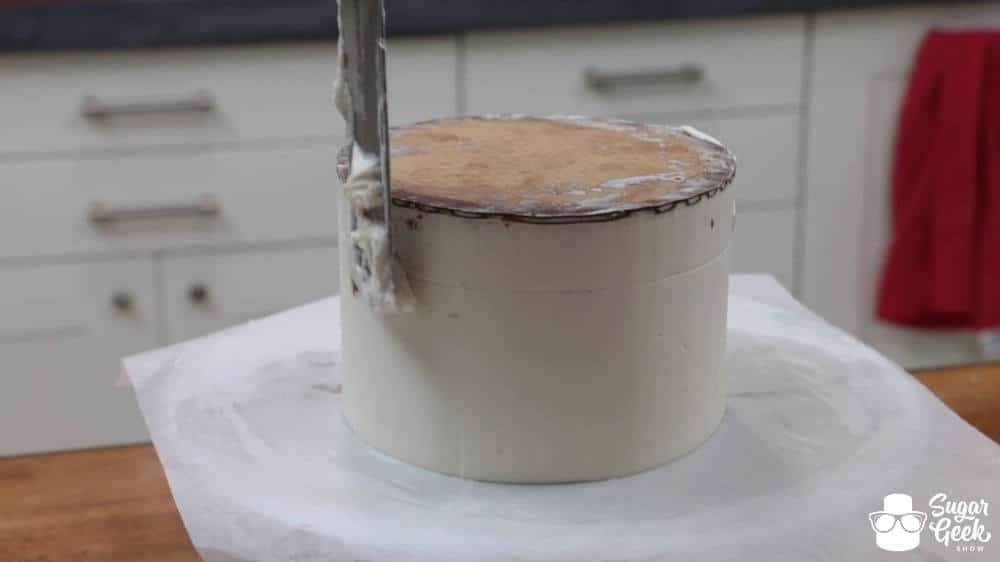
Step 9
Fill in any holes you may still have to get a smooth final coat. Chill once more if needed. If you have cake showing through it means you didn't quite trim your cake layers enough. If you're covering in fondant it's not too big of a deal but if you're not covering in fondant you will have to trim your cake down a bit or try to add more buttercream and freehand making the sides even without using the cake board as a guide. Moral of the story is be sure to trim your cakes enough to allow space for a good layer of buttercream.
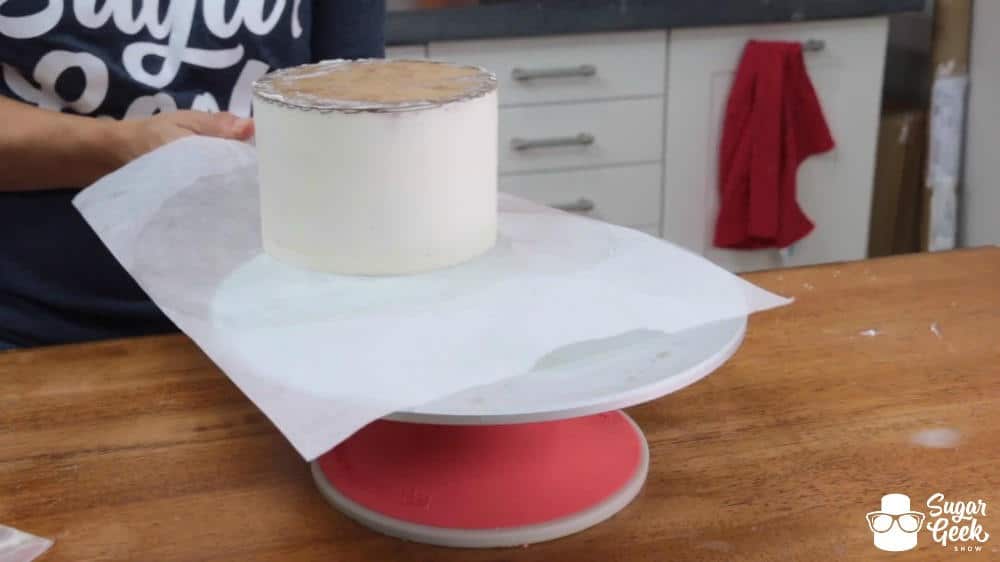
Step 10
Slide your cake off your turntable and flip it over. Or if you're using a thin turntable or cake drum you can just flip it over. Again make sure your cake is plenty chilled to do this part!
Step 11
Peel off your parchment.
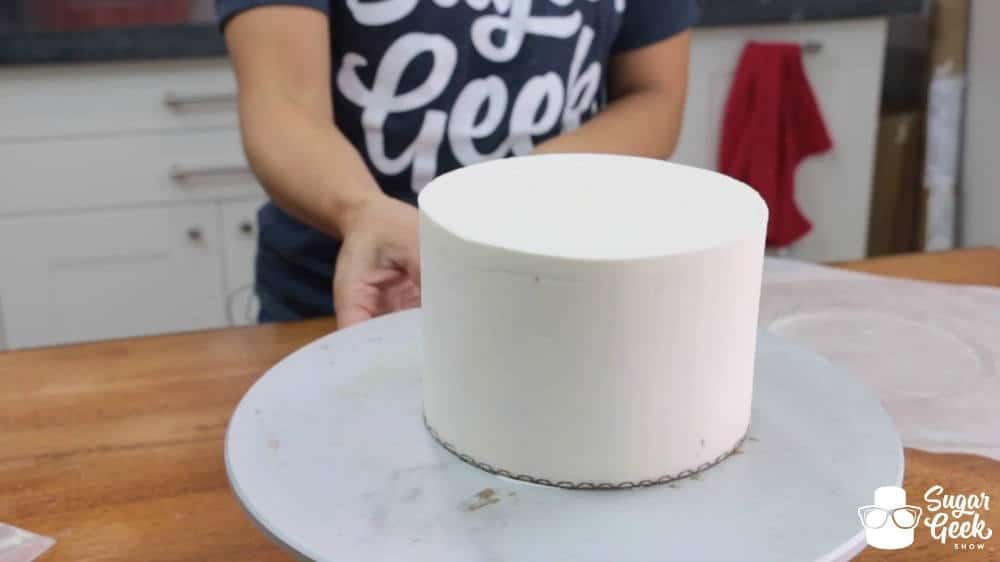
Step 12
Smooth and fill in any gaps that may be on the top.
You should have a pretty dang perfectly level and straight cake with sharp edges.
I love love love LOVE the upside down method. It basically provides tools for getting a level top, straight sides and a sharp edge automatically if you just follow the steps whereas the traditional way is a lot of free handing and guess work and if you're like me it still doesn't come out that perfect. The upside down method has become a commonly used technique nowadays. The original creator posted the tutorial on cake central years and years ago and it has since been taught and used by many. Liz learned it from Jessica Harris and I learned it from Liz. So hey, fear not the flipping of your cake. Once you jump that hurdle you'll be so glad you did.
Going over the basics? Check out these!
Cake Decorating Basics: Must Have Tool Review
Cake Decorating Basics: Airless Space Buttercream
Cake Decorating Basics: Leveling and Torting
Cake Decorating Basics: Filling and Crumb Coating
Cake Decorating Basics: Avoiding Cake Blowouts
Cake Decorating Basics: Smooth Final Coat of Buttercream
Cake Decorating Basics: The Secret to Small Cakes
Cake Decorating Basics: Covering a Cake in Fondant
Cake Decorating Basics: How to get Sharp Edges
Cake Decorating Basics: Easy Double Barrel
Cake Decorating Basics: How to Panel
Cake Decorating Basics: Stacking Cakes
Kimberly says
Thank you for the tutorial. May I ask a question: Have you ever used this technique on a 9x13 rectangle cake? I can never get clean edges with that size cake. And if so, any help, hints or advice? Thanks.
The Sugar Geek Show says
Yes I have! https://www.youtube.com/watch?v=8wqL9MkLLlM
Nadia says
Hello, how long do you chill your cake on the fridge?
The Sugar Geek Show says
Until the butter is firm. Mine takes about 15 minutes
Angie says
Hi liz i have a question, when using the upside down method, how do i achieve a fair amount of buttercream around the sides without scraping it all off, if the cake and the board is the same size? I use your vanilla recipe and it doesnt shrink as much So i always end up with the same size
Board and cake andlittle To no room for buttercream around the sides? Any tips? I would apreciate it greatly!
The Sugar Geek Show says
Trim the brown off the sides of your cake
Susan says
BRILLIANT technique—has “upped” my caking game tremendously and wow—saves me a boat load of time and frustration!
Charlene Fuller says
I absolutely love your tutorials and they have really helped me! The WASC recipe is amazing!
Edelmira S says
Hi Liz . Can I use this method with ganache too . Please let me know .i always have problems with sharpe edges 🙁
Elizabeth Marek says
Yes you can