Cake Decorating Tools Every Beginning Cake Decorator Needs To Know About!
Cake decorating tools cake be overwhelming! Are you just starting out as a cake decorator? Do you still struggle with the basics of cake decorating such as getting level cakes, straight edges or even just how to cut the dang things?! Do you know what cake is?! Okay, that was a sarcastic stretch, but DO YOU?!
Well, strap in cake decorators because for the next several blog posts I am going to take you through the basics of cake decorating on a detailed level the likes of which you've never been before! We will go over every tip and trick we have learned to get the most perfect basic cake canvas possible to ensure your cakes look professional and, well yeah, super professional.
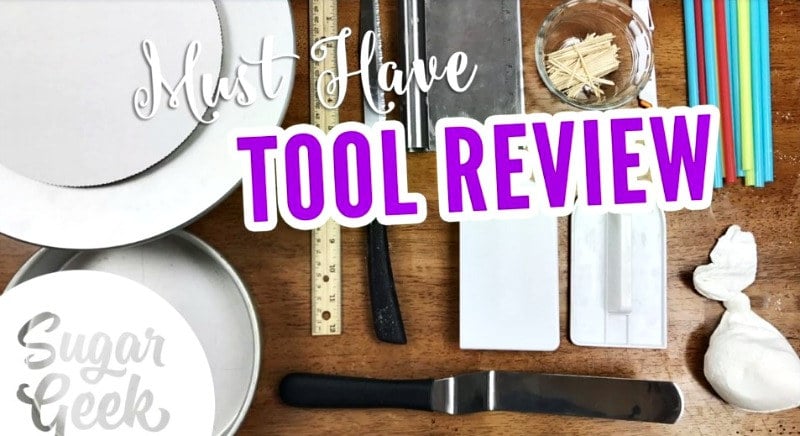
If someone were to ask me the biggest difference between a professional cake and an amateur cake I wouldn't say sculpted shapes or fondant figures, I would say clean basics. If you're looking to be considered a professional, your cakes really need to be level, smooth and clean underneath any decoration or design and that, my friends, will set you apart as a pro.
The first few video tutorials for this series will be available for free in the near future on the Sugar Geek Show YouTube Channel and the rest will be available for Premium and Elite Members as the entire Cake Decorating Basics Series we just released a few days ago.
Okay, let's get to it shall we? To start this series we are starting with a review of the basic tools you will need. I told you we were starting from the very beginning, you didn't believe me did you?
(Pssst. Click on the photos or titles for a direct link to buy each product!)
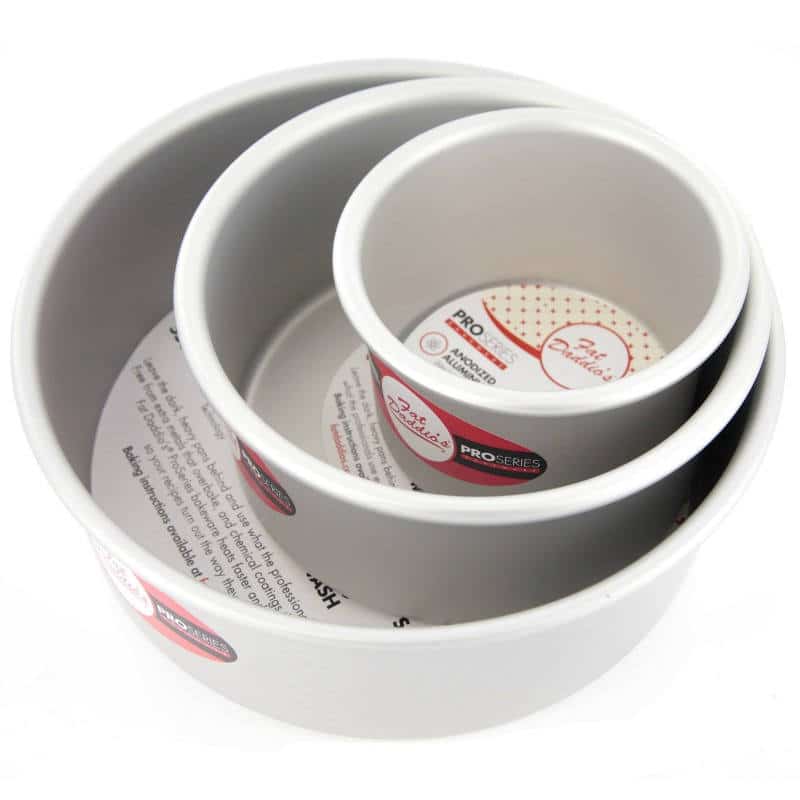
#1 Pans with Straight Edges
So if you're gonna bake a professional cake you're gonna need some pans. If you're like me when I started out I had never baked a cake in anything but a 9x13 glass baking dish. It helps to invest in good pans that will last you a lifetime and we highly recommend Fat Daddio's! Liz and I both use them religiously and they have nice straight edges (which help you get a nice straight cake, get with the program on that one Wilton) and bake your cakes perfectly through.
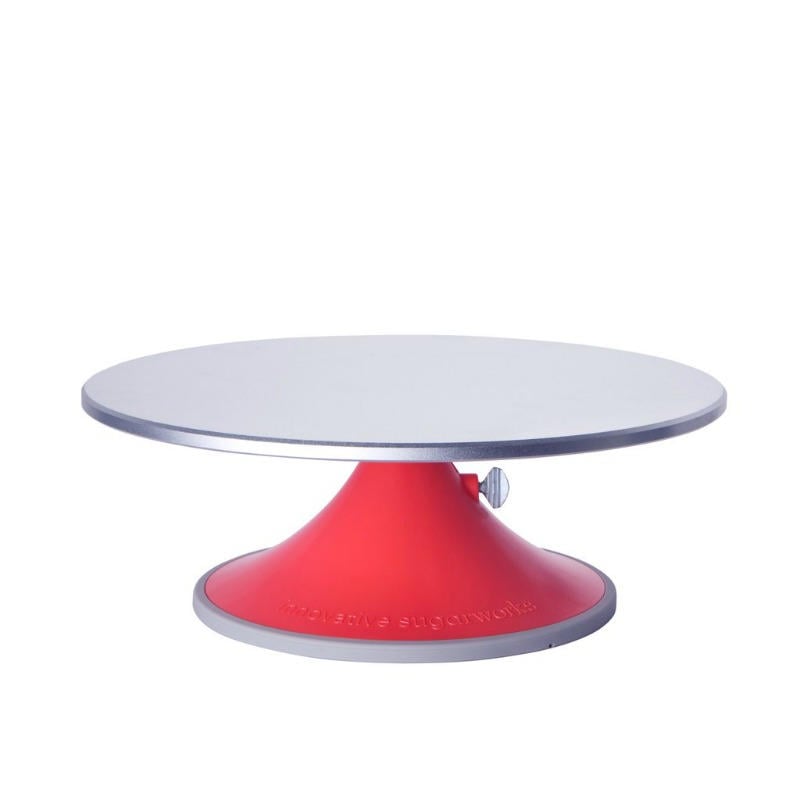
#2 A Good Turntable
If you're gonna decorate like a pro you'll also need a turn table. It's a necessity for icing a cake smooth. Believe me, it's frustrating trying to do it straight on your counter. There are lots of turntables out there that will work but getting one that turns smoothly, doesn't slide around on you and locks in place when needed will definitely make a difference. The Innovative Sugarworks one does all three and looks fabulous doing it. It's like the porsche of turn tables. I personally have several turntables so that I can have several tiers going at once. If you're looking for a less expensive option to start off or as an additional table, this Wilton one will get the job done too, more like a Prius, practical and affordable.
#3 Shelf Liner
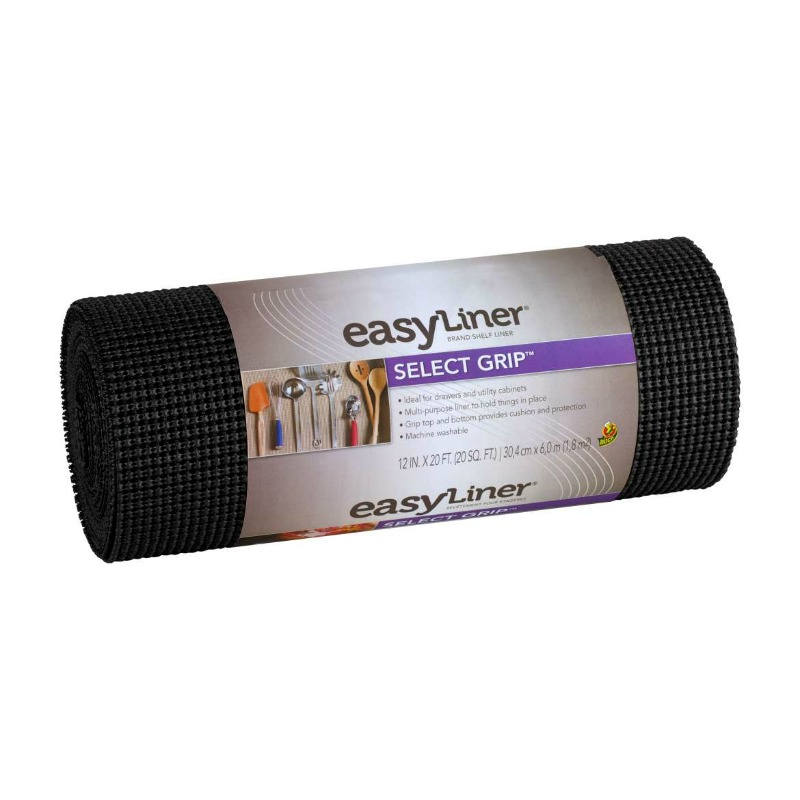
So this is one of those tips a pro can offer. It is REALLY annoying when you're trying to ice your cake and it just keeps sliding around all over the place playing hard to get. Save yourself some sanity and get some of this inexpensive shelf liner and cut it into circles just smaller than your cake boards. I've linked to some on Amazon because I said I would but this can actually be found at just about any local grocery store or dollar store for cheaper.
#4 Cardboard Rounds
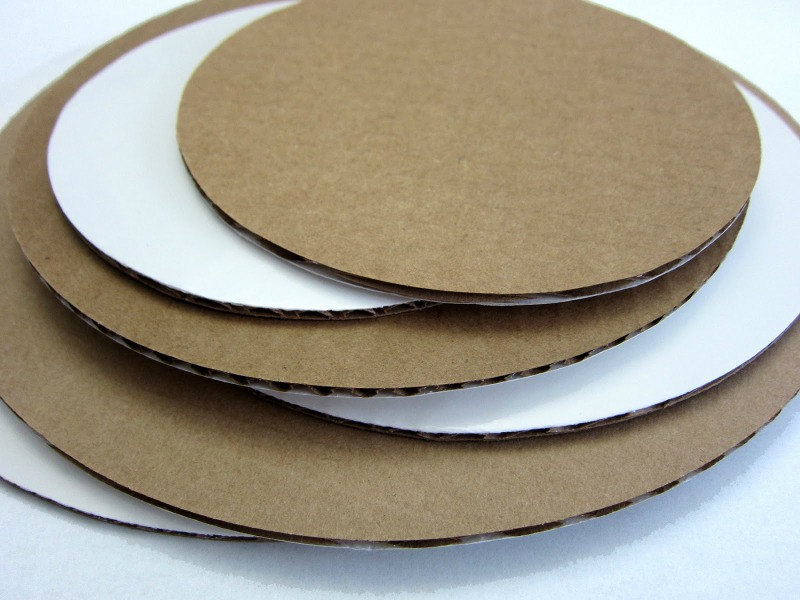
When you break into the world of cakes that you take out of the pan, you need to place each one on it's own cardboard round, (or square, or whatever shape your cake is). This is the big secret to stacking more than one cake on top of another, well one of the big secrets.
#5 Offset Spatula
Offset spatulas are the foundation for icing your cake. They are much more ergonomic then the straight spatula and in time will feel like an extension of your own limb. I, myself, prefer a small spatula for most of my icing, but I also have child sized hands. I've linked to a set of three for you so you have a variety for different jobs! If it is a huge cake, a larger spatula is more practical and I use the large spatula to lift my cakes for stacking or transport.
#6 Bench Scraper
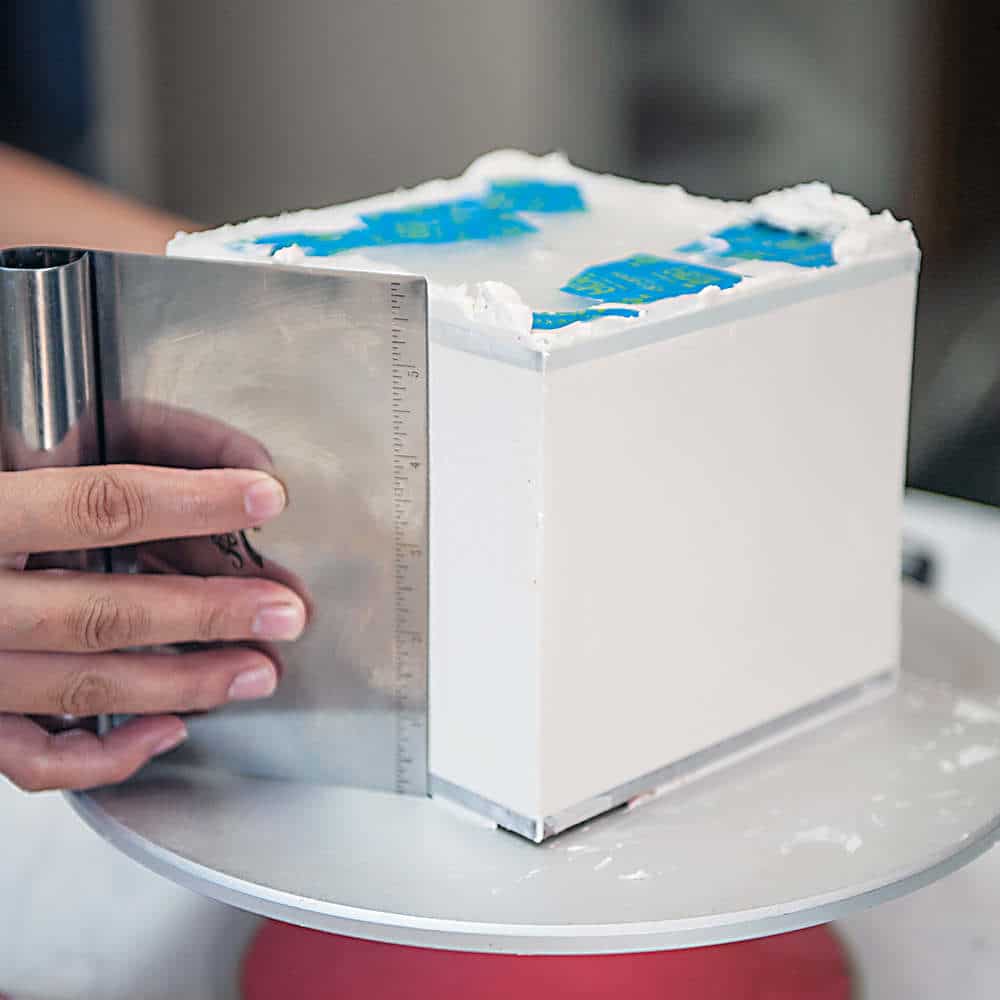
The offset spatula is the foundation for icing your cake but the bench scraper will give you that smooth even finish. It took me a while before I learned about the bench scraper and it definitely made all the difference. I use a bench scraper to get sharp edges on my square cakes and nice straight sides on my frosted cakes. I prefer the Ateco bench scraper with the rounded handle that helps you keep the bench scraper straight up and down.
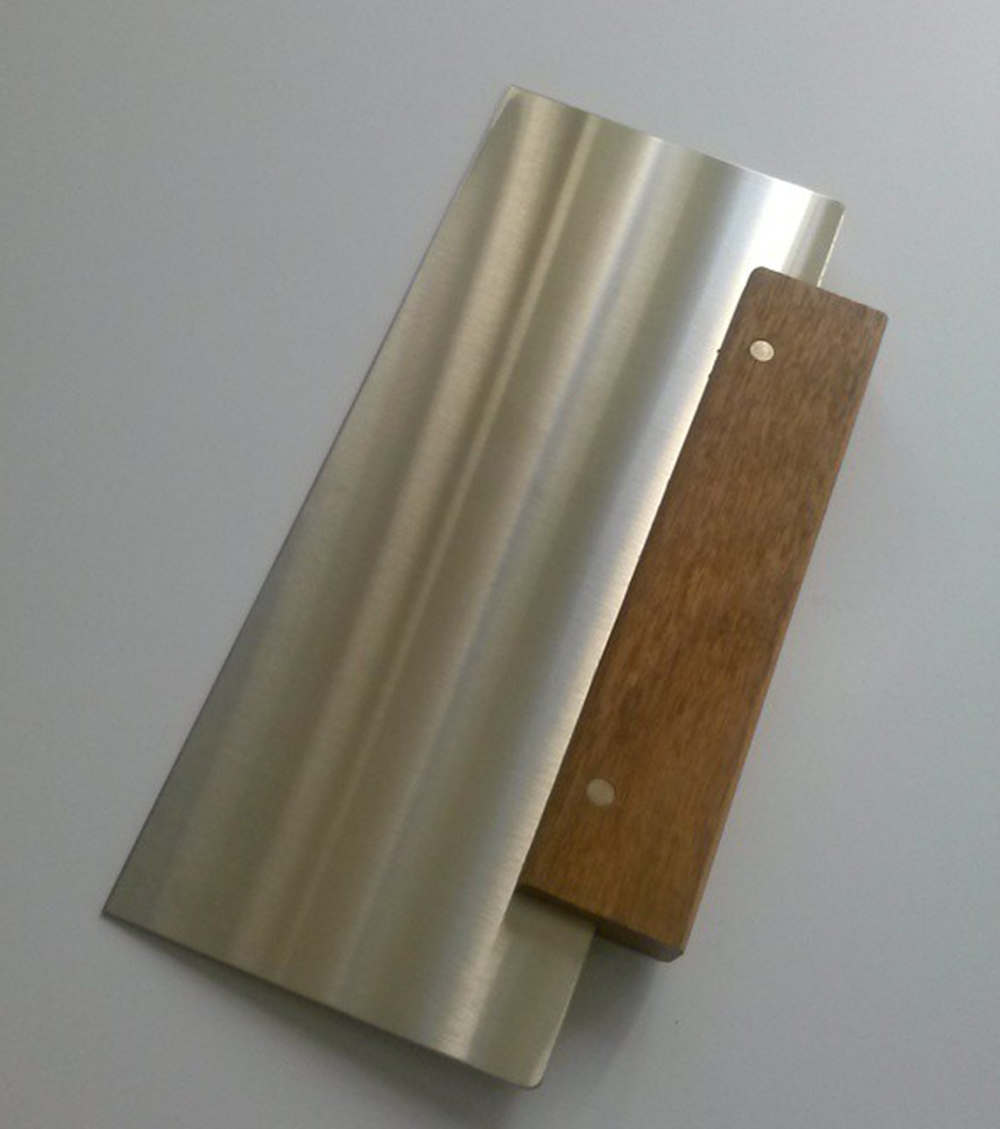
I also use this bench scraper from Fat Girl Cakes quite a bit for tall cakes. This is the 12" tall bench scraper.
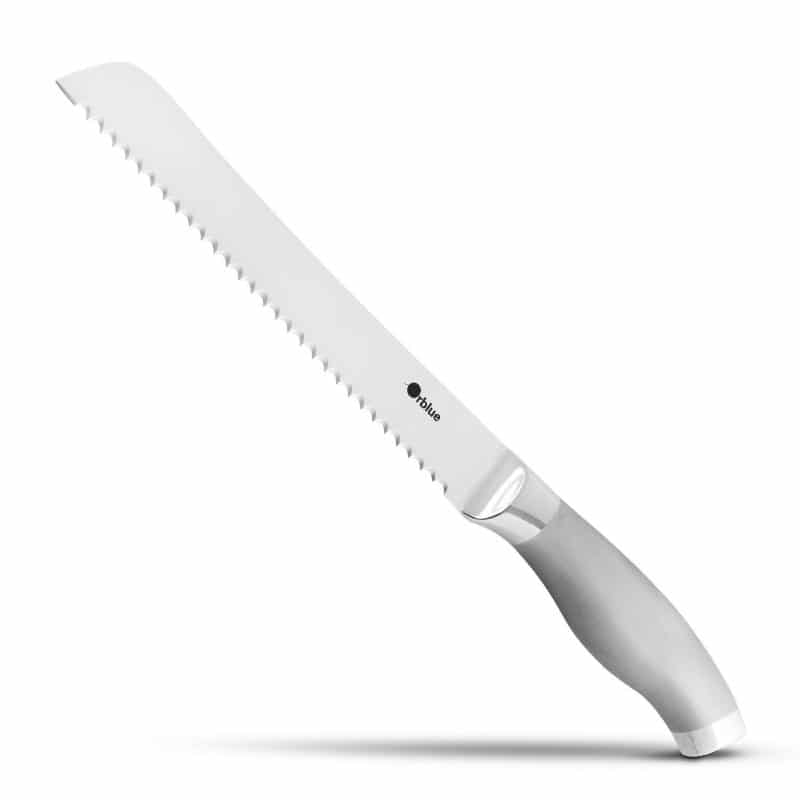
#7 Serrated Knife
There are plenty of fancy gadgets out there for leveling your cakes but with a little practice, all you really need is a good serrated knife. These are also a necessity for any sort of carving you might want to do in the future, you know, once you've mastered the basics.
Need to know more about how to trim your cakes and make your very first cake? Check out my how to make your first cake blog post.
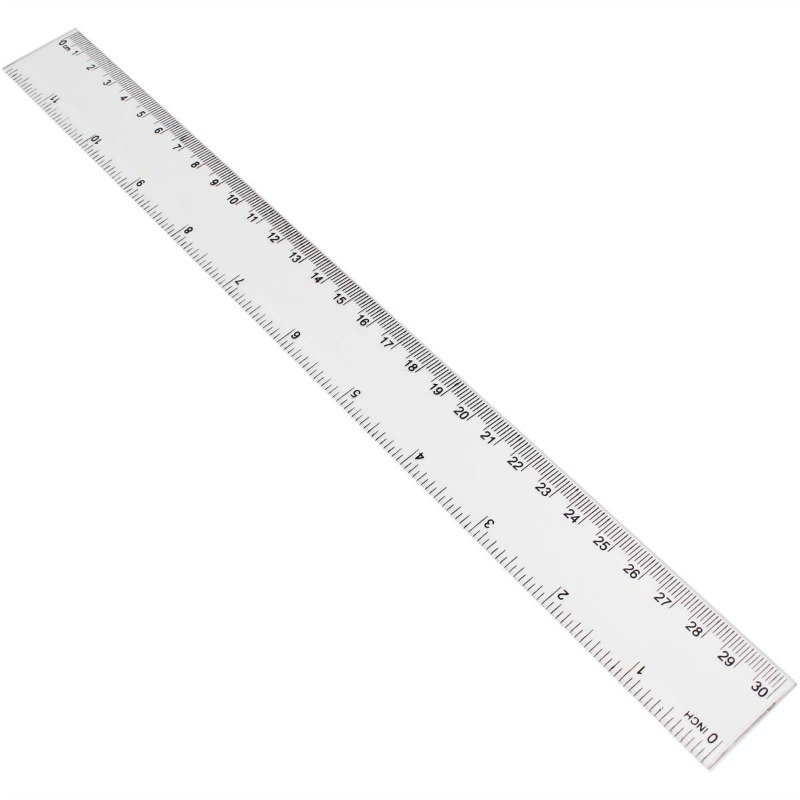
#8 Ruler
Yep, a ruler. This will help ensure you have level, even sides to your cake.
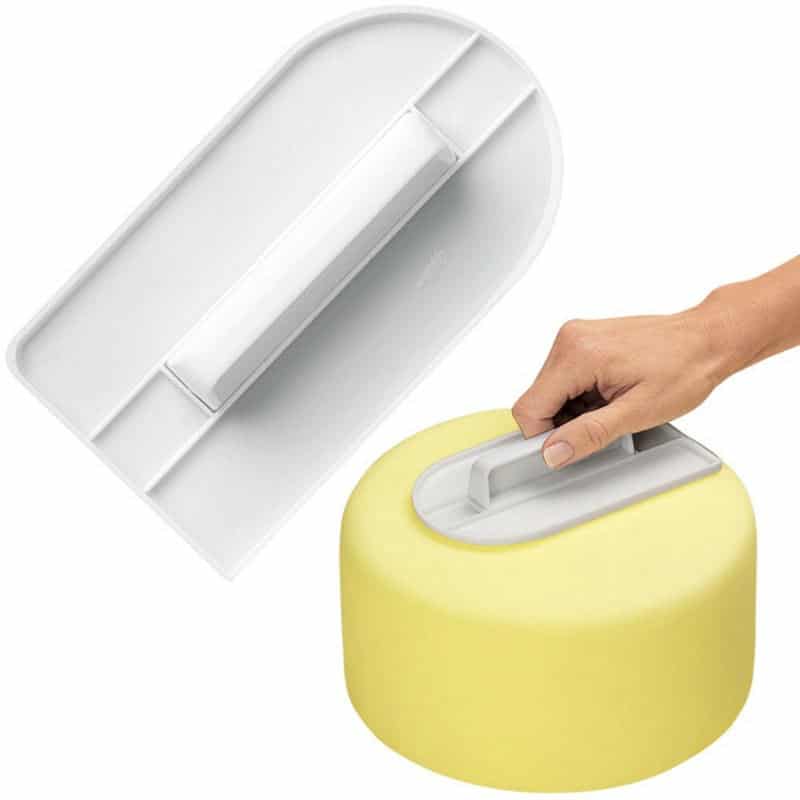
#9 Fondant Smoothers
Fondant smoothers, plural because you need two. The name is self-explanatory but you need two to also help you get sharp edges and to keep from making indentations on one side of the cake while you smooth the other.
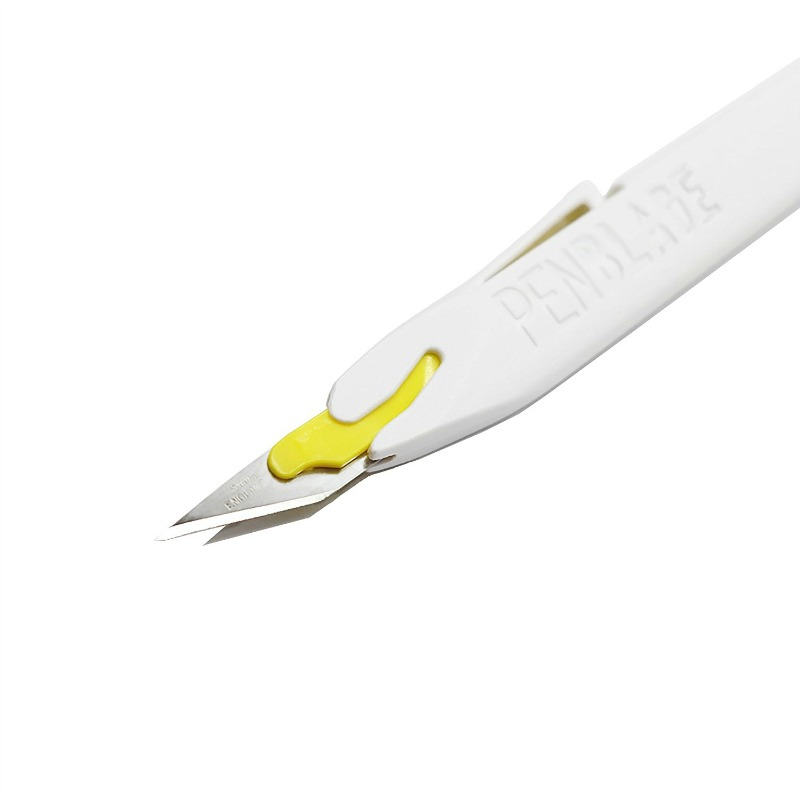
#10 Exacto Blade
Okay, so this is technically a Penblade which I am in love with but any exacto blade will do. Penblades are just insanely sharp, stay that way longer, and have a convenient and safe click and release handle that is easy to use. The blade is to cut nice sharp edges off your fondant.
#11 Corn Starch Pouch
Aright, so you can't actually buy these already pre-made (did I just have a million-dollar idea?) but all it is is corn starch put into a knee-high stocking, tie a knot and cut off the excess. This is one of those cake decorating tools that I use for on every cake! Great for rolling out fondant, gumpaste, modeling chocolate and even for dusting the outside of a cake when it starts sweating too much.
This isn't one of those dual-purpose situations so don't wear the stockings first. You use this to lightly dust your surface before rolling out fondant to keep it from sticking. While I prefer corn starch, powdered sugar or a 50/50 mixture of the two will also work.
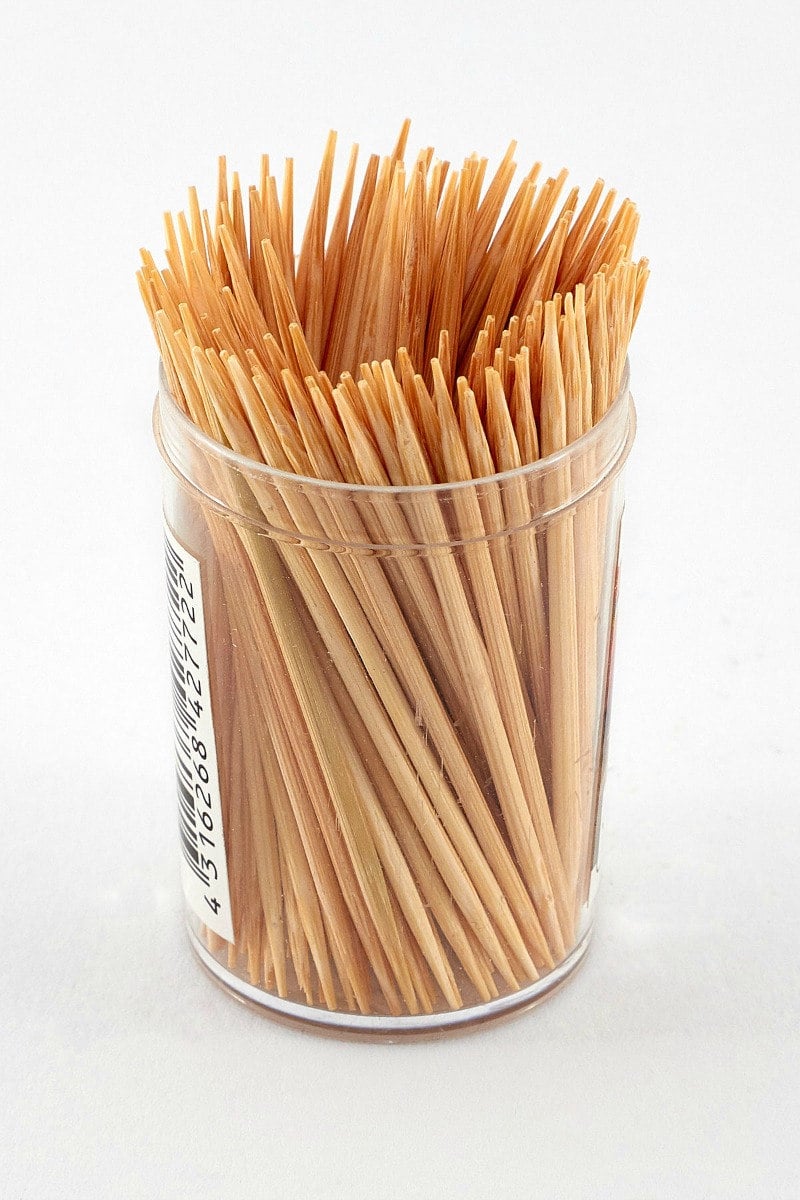
#12 Toothpicks
Toothpicks act as a guide to help level your cakes when you're first starting out and aren't used to eyeballing it yet, but don't worry, you'll get there! I also use them for testing a cake to see if it's done baking and for use as supports in small cupcake toppers!
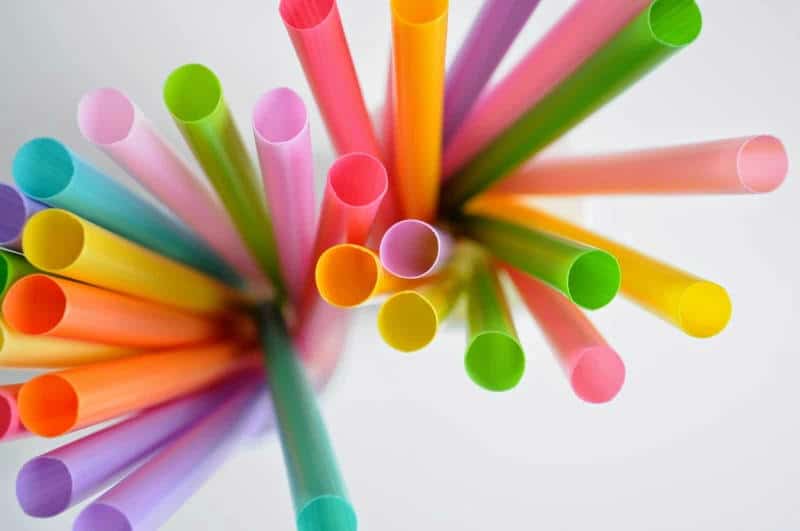
#13 Smoothie Straws
Fat straws, smoothie straws, milkshake straws, they go by many names but we aren't talking about Boba or Bubble Tea Straws here. These straws are actually skinnier and stronger. These are used as the supports between tiers for stacking. Who knew such an important cake decorating tool would be straws! Read blog post on how to stack a cake with straws.
They are secret number two. Liz and I both have used these as supports for up to 4 tier cakes for many years without a single issue. They are plenty sturdy if you use enough and cut them straight.
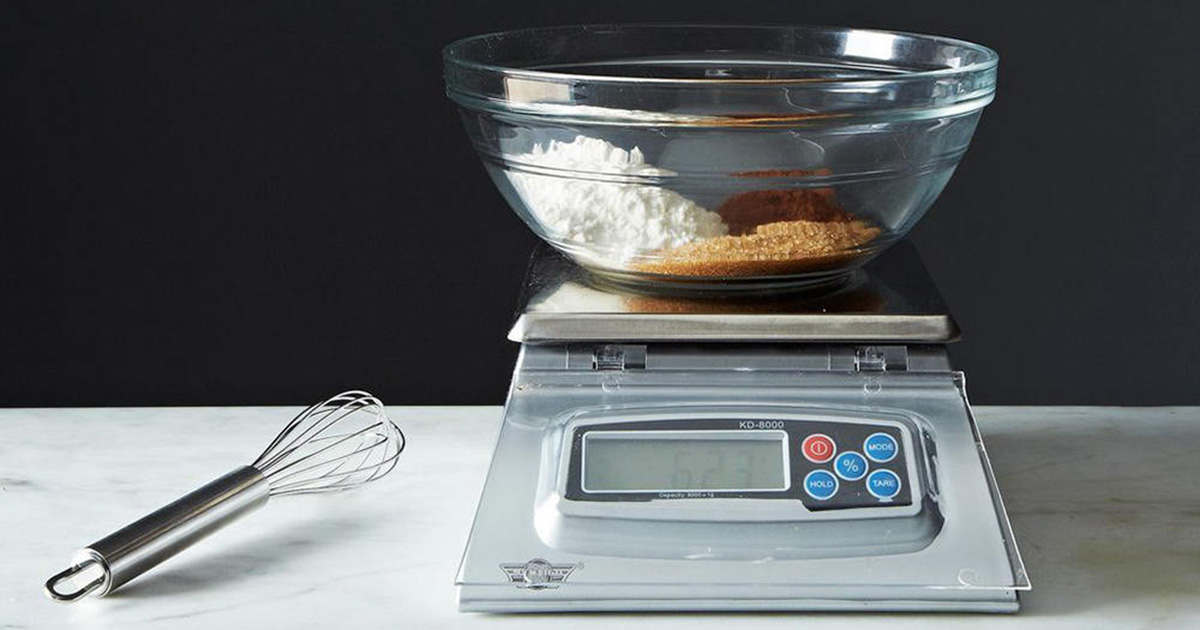
#14 Kitchen Scale
If you've used any of my recipes then you know I weigh everything. The reason for this is because of accuracy! Check out my kitchen scale blog post on how to use a digital kitchen scale and which scales work best.




Rejoyce Bush says
Oh wao
I'm interested