What comes after making your airless buttercream? Baking your cakes of course! Well, I mean you could technically bake your cakes then make your buttercream but we had to pick an order so we did. Our next basics tutorial covers baking tips, leveling and torting your cakes.
Baking Tips
Prefer to use a box mix? Cool, no problem, but there are a couple of things you need to do first to yield a cake that will be workable at a professional level. Follow the instructions on the box EXCEPT replace the water with milk and the oil with butter equal to the amounts on the box.
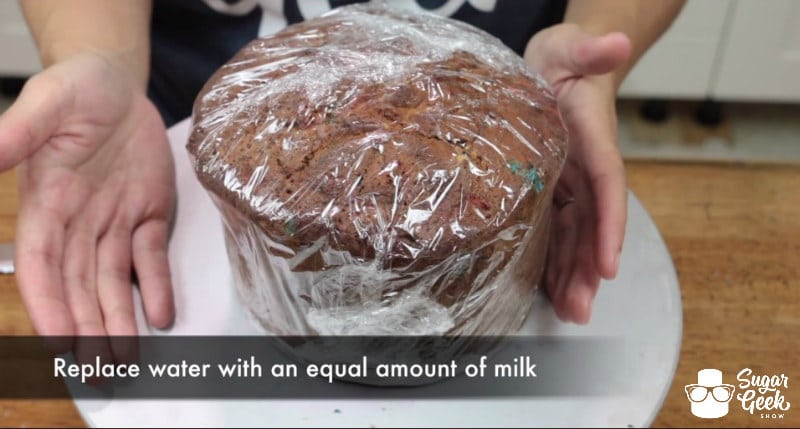
This will yield a much sturdier more workable cake because when chilled, butter firms up making the cake easy to move, carve, stack, throw, whatever you're wanting to do with it.

After the box mix is finished baking, right out of the oven use a towel or oven glove to press down the dome firmly until the cake is flat. This will help the cake be more dense and also easier to work with.
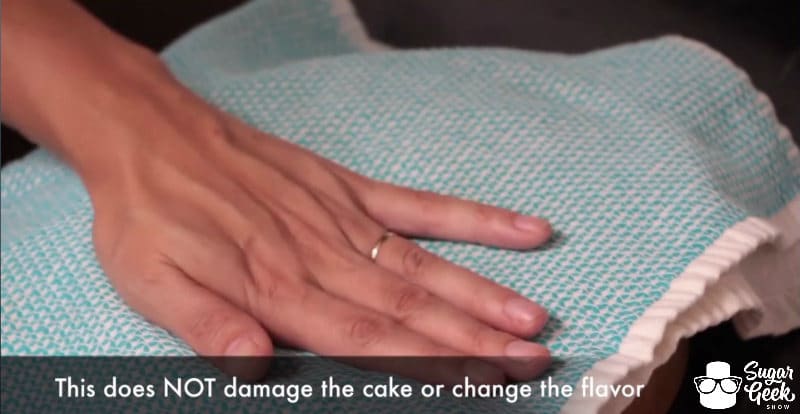
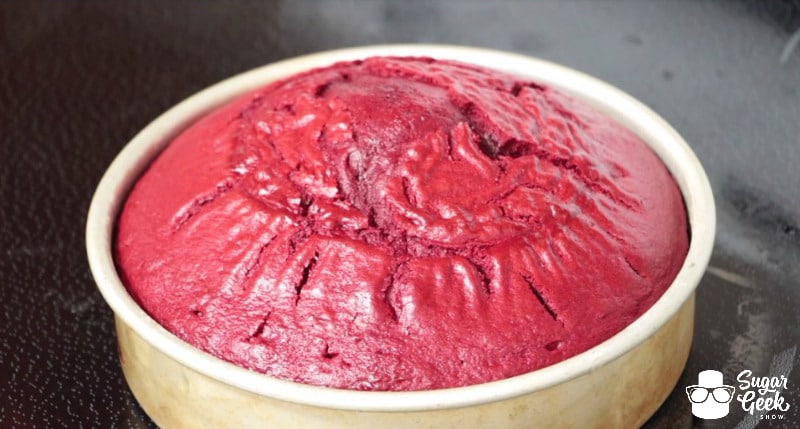
Right out of the oven...
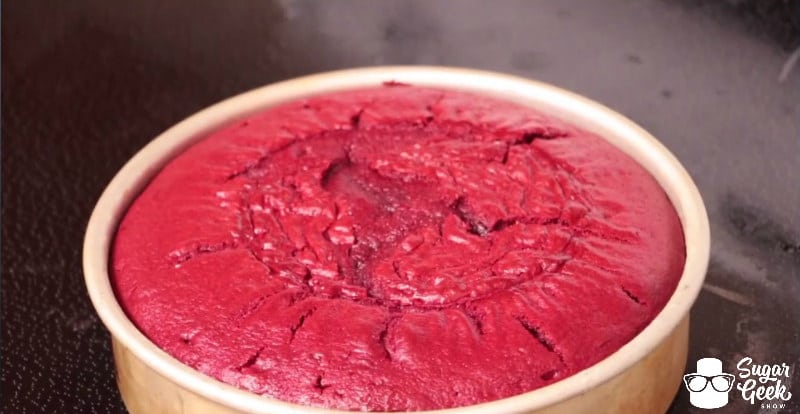
After being pressed...
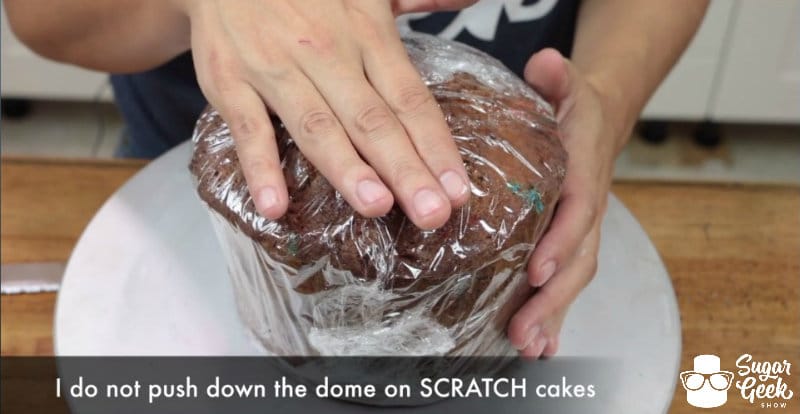
Scratch cakes are usually dense enough on their own so there is no need to press them down after baking.
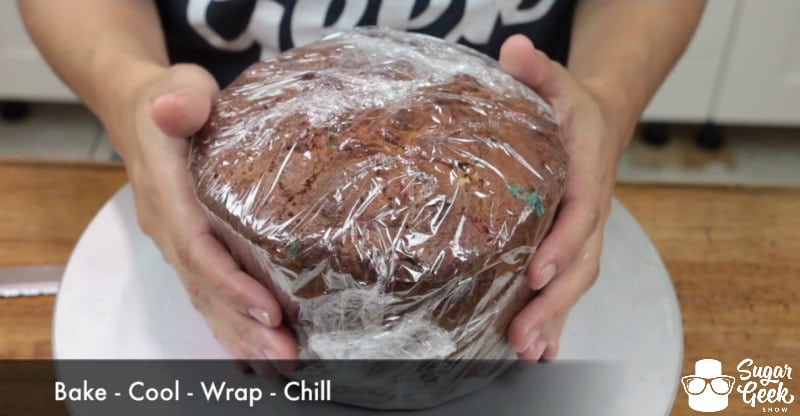
So that's it! Bake, (press if box cake), cool, wrap in plastic wrap and then chill in the fridge until firm. Then your cakes will be ready to level and torte!
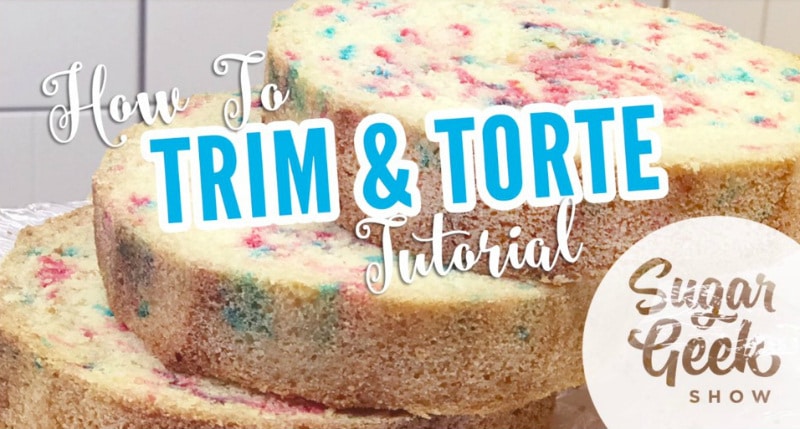
Trimming
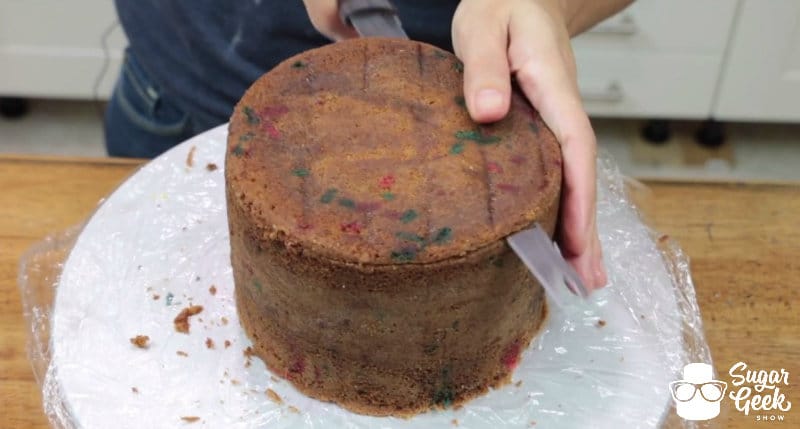
Once your cake is cool you are ready to trim it down to a prettier state. Using a serrated bread knife you are first going to trim off the dome of your cake.
Tip: If you've filled your cake pan enough, you should have a bit of a line around your cake where it came up over the pan as it baked. Use this line as a guide for trimming off the dome.
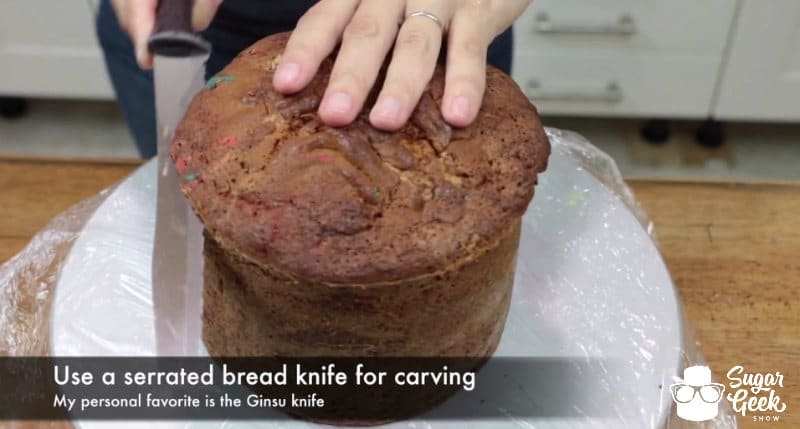
Slowly, make small cuts all around the edge of your cake to establish the even cut line and then gradually make deeper cuts until you have cut all the way through.
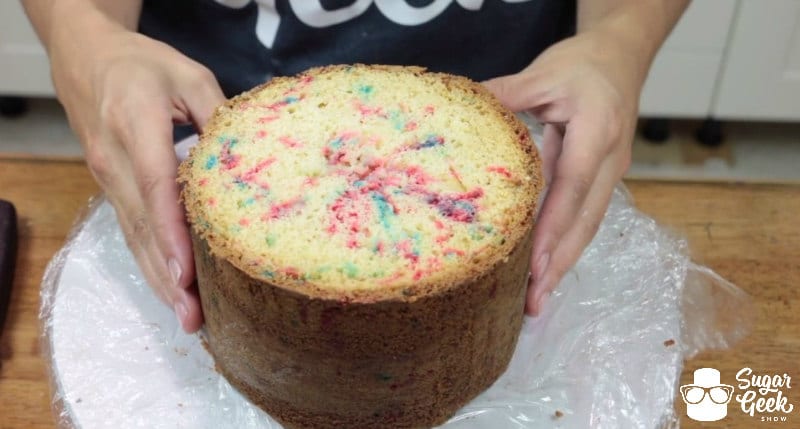
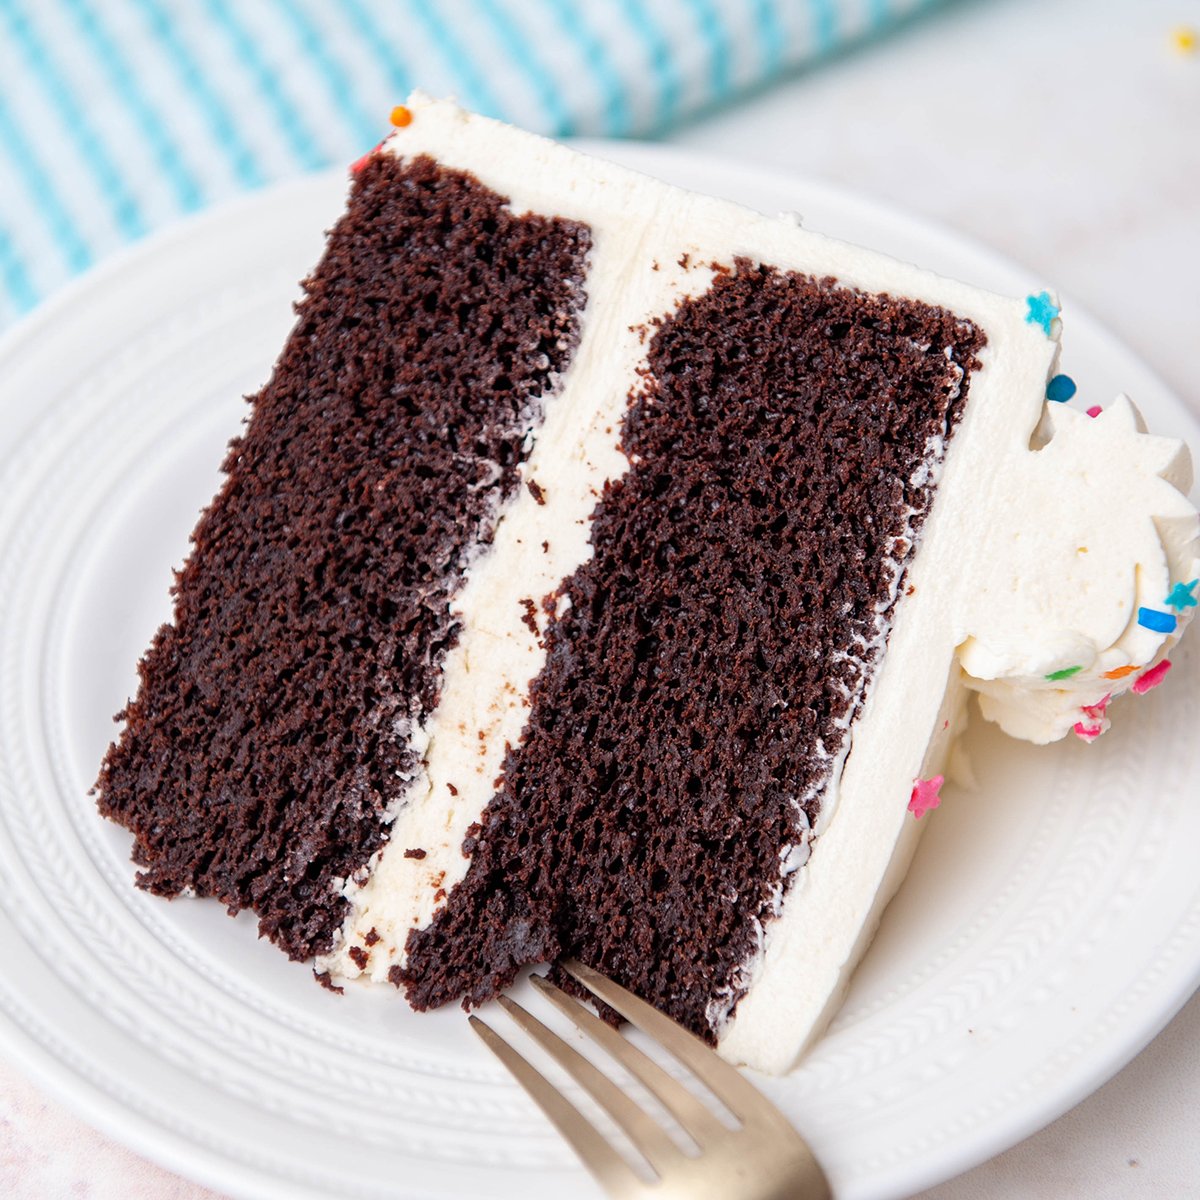
Next, you'll want to trim the bottom of your cake. This particular cake recipe, Yolanda Gampp's Vanilla Cake, has a lot of sugar in it and so it yields an extra brown outer layer which is totally normal! We just like to trim off all the brown so that it's a bit purdier when we cut into it.
Again, right at the top (bottom?) of the cake make small cuts all the way around to establish a cut line and then you will basically scalp the cake and cut all the way across.
BOOM.
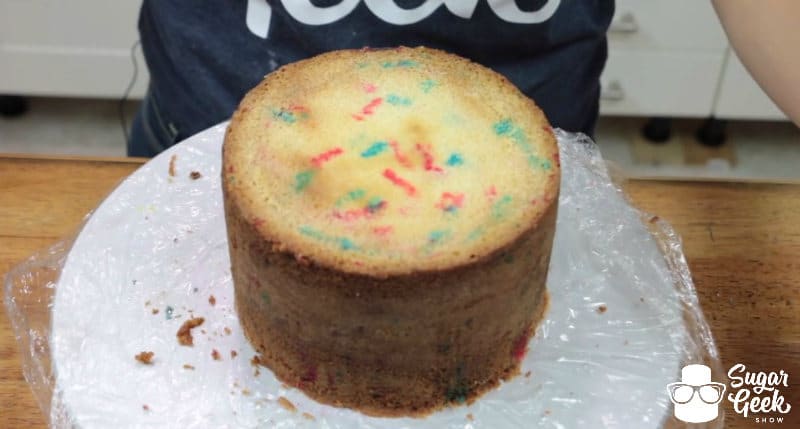
Now we can cut off all the brown on the side of the cake. Simply trim it off in pieces being careful to just trim off the brown and not any of the cake we want to keep. This also allows enough space for buttercream on the outside of your cake

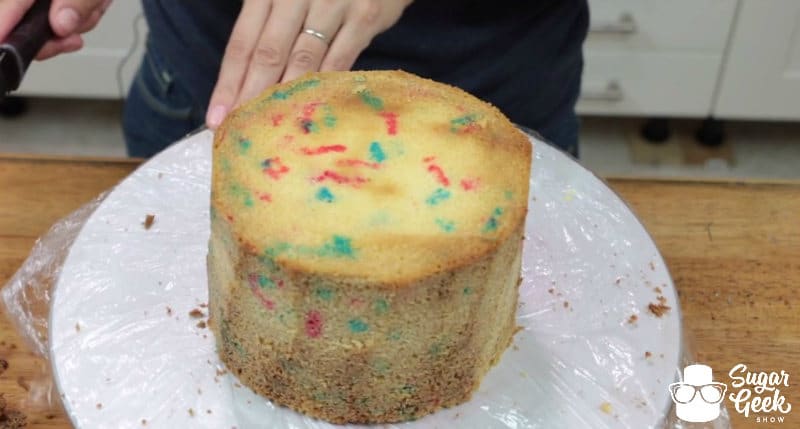
BOOM AGAIN. Now your cake is ready to torte!
Torting
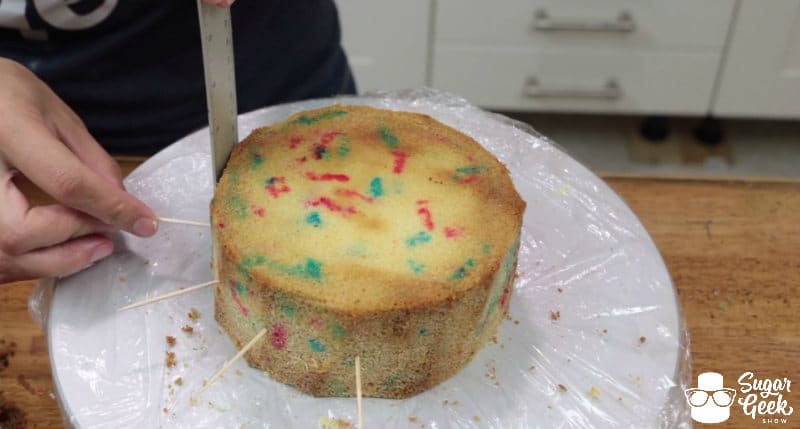
So typically, cake layers are 1" thick. Here, Liz is working with a 3" tall cake that came out of a 3" tall Fat Daddio's Pan so she will be cutting this cake into (3) 1" cake layers. If you're like me and only have 2" cake pans you're outta luck. Juuusst kidding! The principle is the same, so I bake (2) 2" cake layers and torte them in half giving me an extra layer of cake, extra layer of buttercream and making my cake about an inch to two inches taller. That's just how I like to roll. You do you.
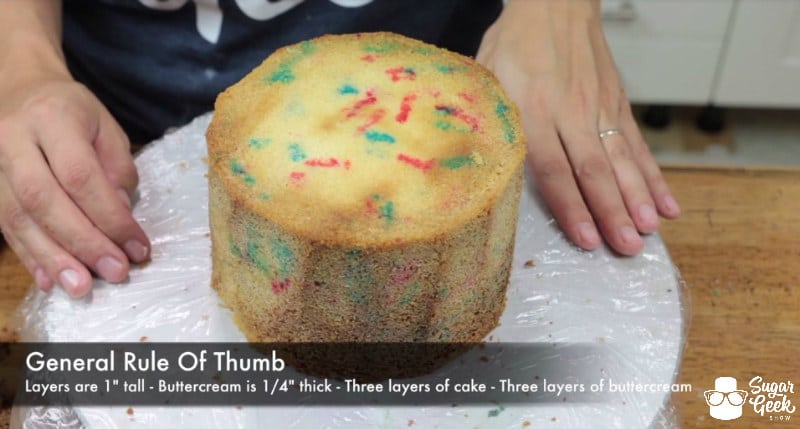
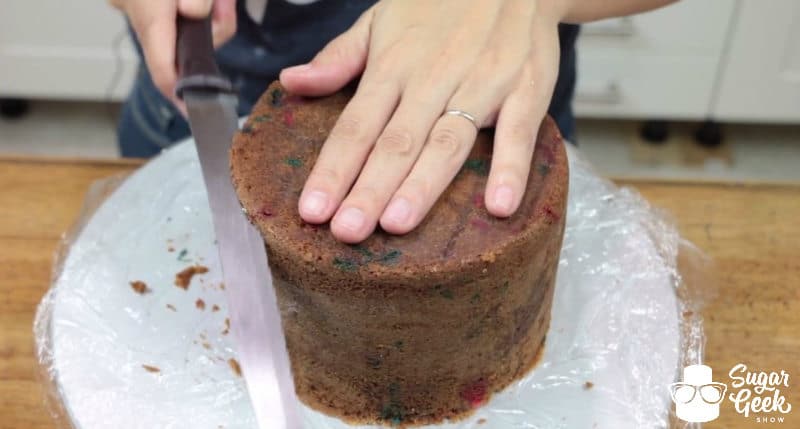
Measure your cake layer at one inch placing toothpicks at that mark all the way around your cake. Put a toothpick every couple inches or so. This will give you a straight guideline to go by for torting your first layer. By the way, torting is just a hoity toity way of saying cutting your cake into layers, 'cause we so fancy.
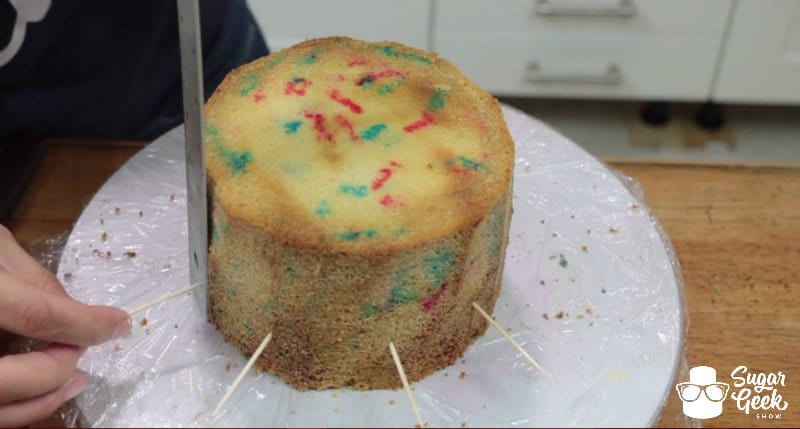
Once you've placed all of your toothpick marks, using your serrated knife make a small cut at your guide all the way around your cake, just like when you trimmed the dome and bottom off your cake.
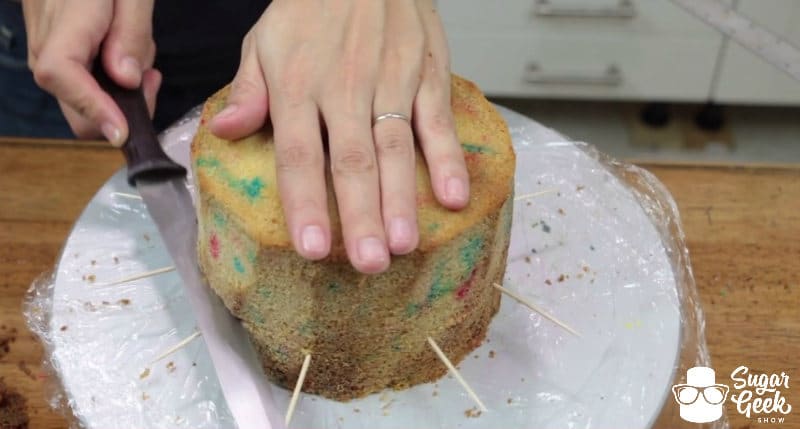
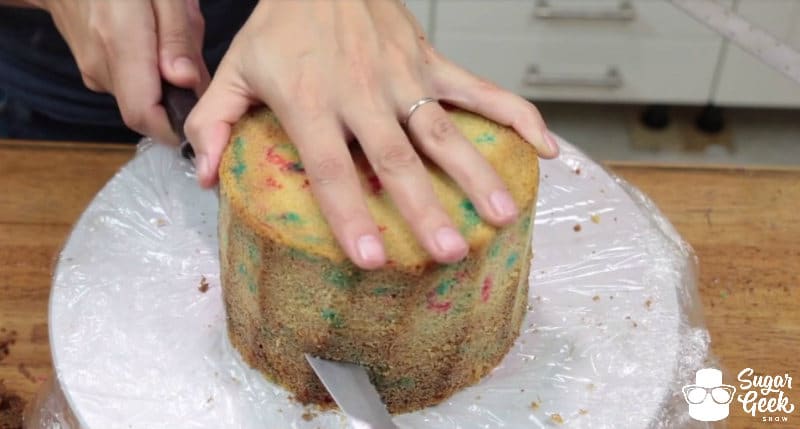
Then remove your toothpicks (or leave them in, whichever makes you feel more comfortable) and begin making deeper cuts while keeping your knife in the guideline cut you've made, again, just like before. Do this until you cut clean through the cake.
With any luck you will have a perfectly even 1" layer of cake!
Repeat these steps once again to separate your final 1" layers of cake.
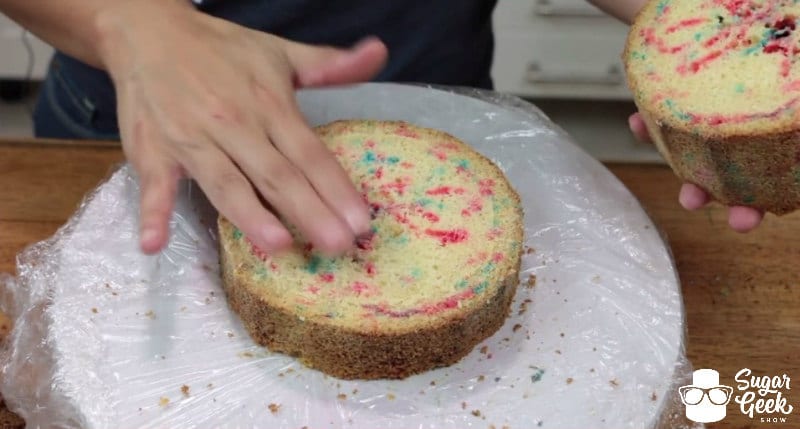
Okay this picture deserves a BOOM more than the other two. How about a bigger boom?
BOOM.
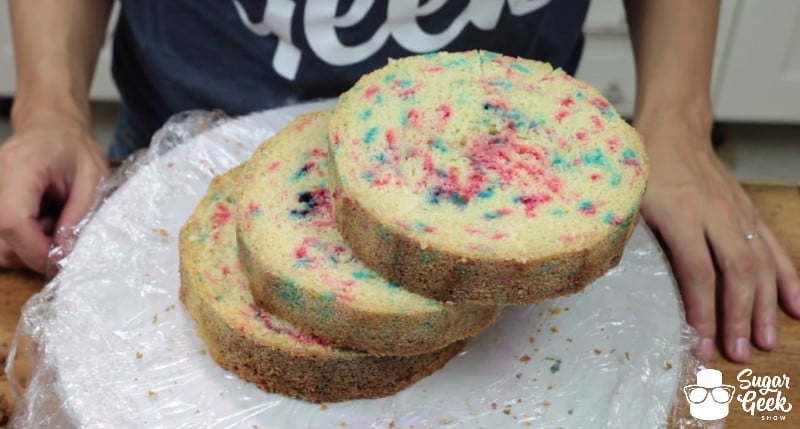
Now you have 3 (or 4 if you've used (2) 2" pans) perfectly torted layers of cake ready to fill. Now that wasn't nearly as scary as you thought now was it? I knew you could do it.
Remember! Sign up as a Premium or Elite Sugar Geek Member to get access to the full basics video series along with hundreds of other tutorials!