This red wine cake is rich, deeply chocolatey, and incredibly moist thanks to a full cup of hot spiced wine baked right into the batter. The wine does double duty: it tenderizes the crumb and amplifies the chocolate flavor (the same way coffee does in my easy chocolate cake recipe). Then I take it one step further with a red wine ganache glaze poured over the top, because if a little wine in the cake is good, a little more in the glaze is better. This one is a stunner for the holidays, Valentine's Day, or any night you want a dessert that feels like a dinner party in a single slice.

Quick Glance: Red Wine Chocolate Bundt Cake
- Recipe Name: Red Wine Chocolate Bundt Cake
- Why You'll Love It: Deeply chocolatey, ridiculously moist, and laced with warm spiced wine in both the cake and the glaze. A grown-up dessert that bakes up beautifully with almost no decorating skill.
- Time and Difficulty: Easy. About 30 minutes prep (plus 30 minutes to simmer the spiced wine), 50 minutes to bake.
- Main Ingredients: Cocoa powder, all-purpose flour, brown sugar, eggs, buttermilk, oil, red wine, apple cider, oranges, cinnamon, cloves, and star anise.
- Method: Simmer red wine with spices and citrus, mix the cake batter and finish with the hot spiced wine, bake in a bundt pan, glaze with red-wine-spiked chocolate ganache.
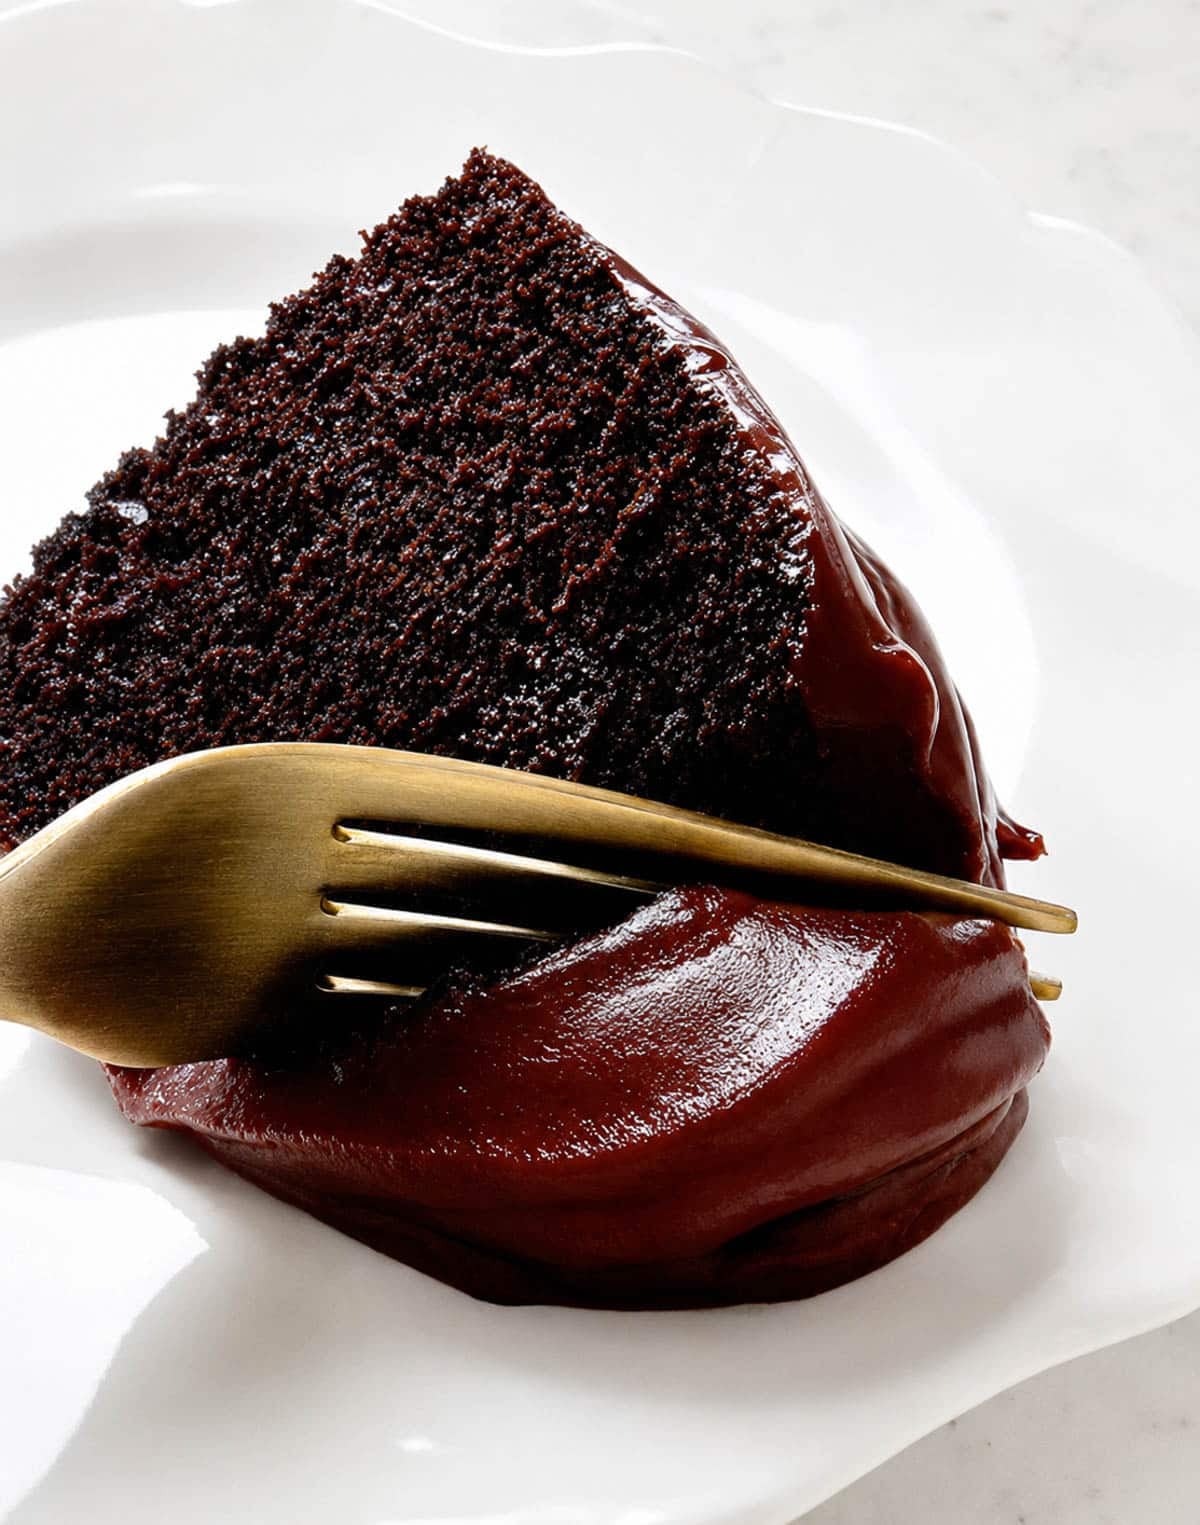
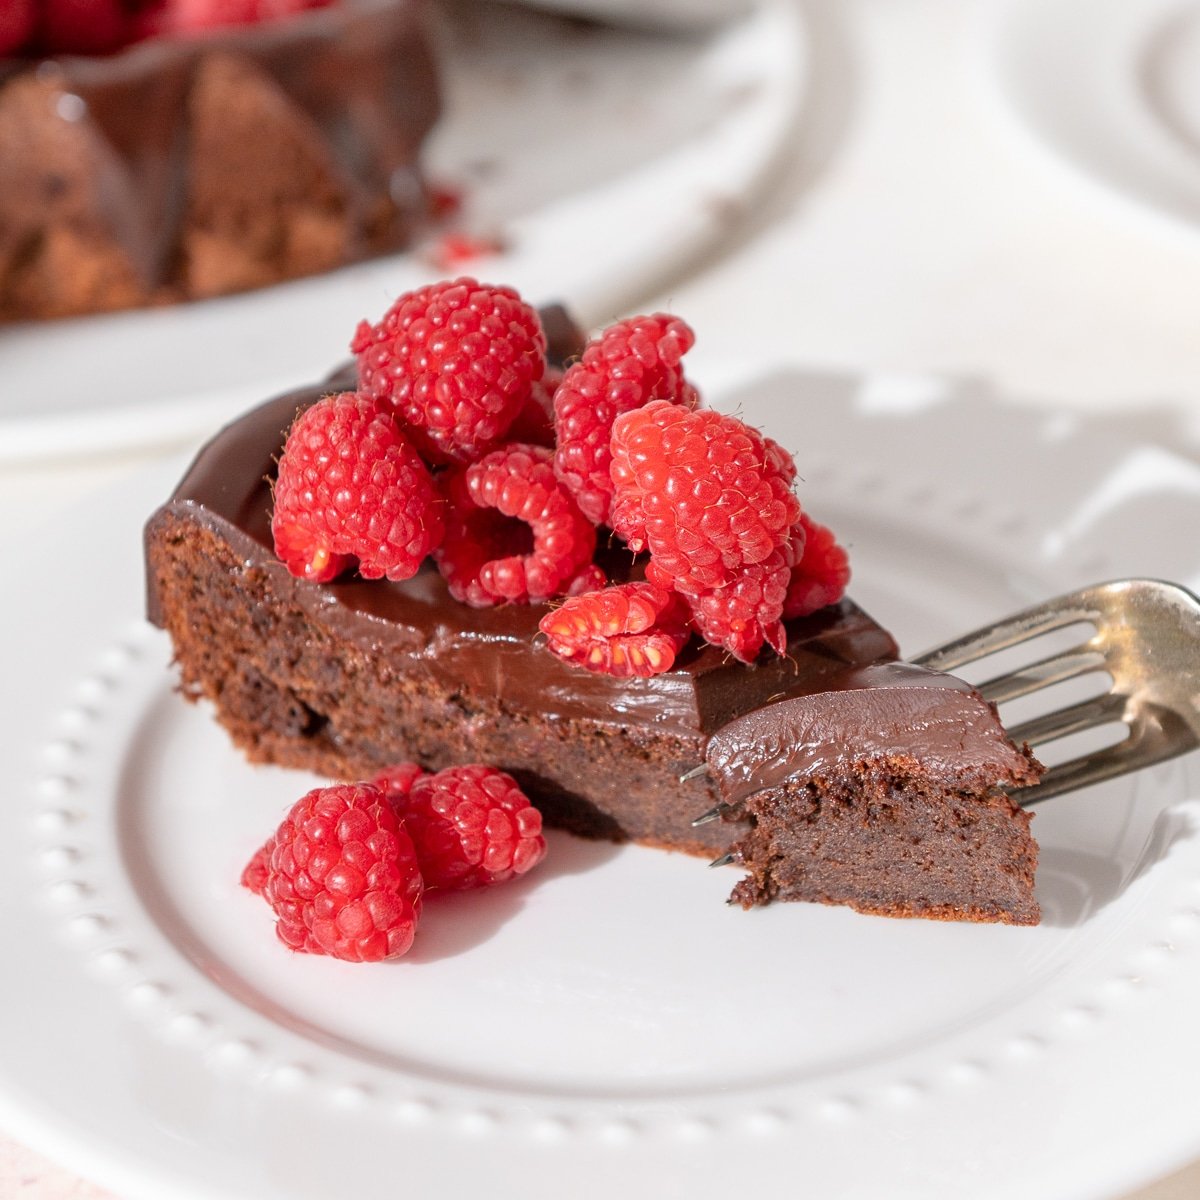
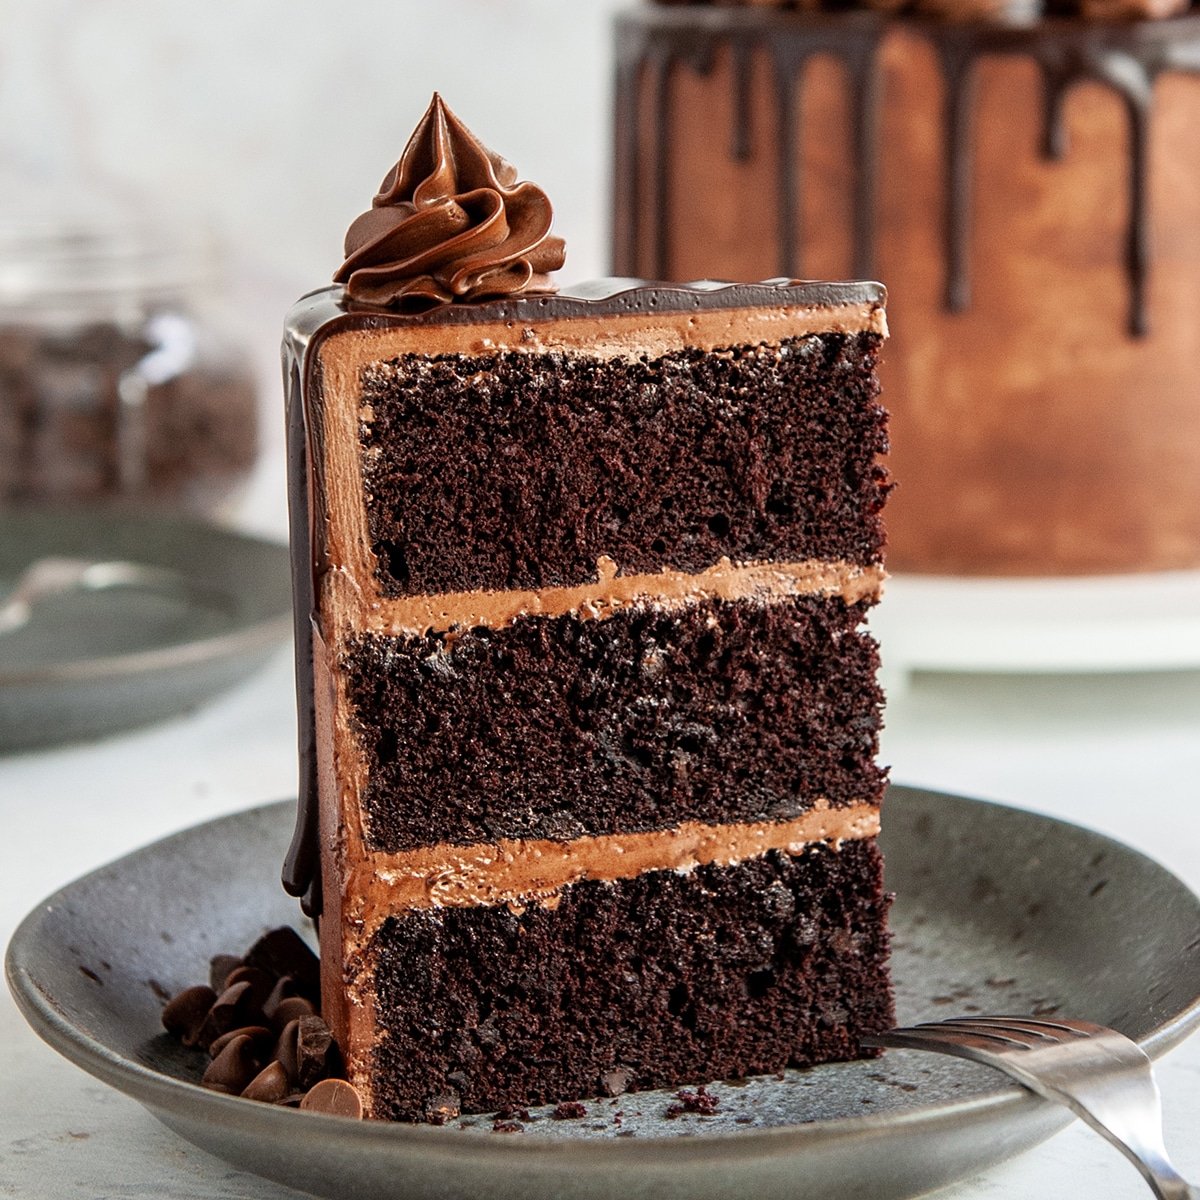
- Texture and Flavor: Tender, deeply chocolatey crumb with warm spice notes, rich and slightly fruity. The glaze adds fudgy chocolate plus a wine kick.
- Quick Tip: Use a fruity red wine you would actually drink, not "cooking wine." Wine flavor concentrates as it bakes, so a flat or off wine will taste flat in the cake.
Why This Red Wine Chocolate Cake Works
Red wine and chocolate is one of those food pairings that just makes sense. The wine has acidity, fruit, and tannin, all of which lift and deepen the chocolate flavor in the same way that coffee does. You get richer, fuller chocolate without the cake actually tasting like wine.
The trick I use to make this cake unforgettable is simmering the wine first with spices and citrus before it goes into the batter. Apple cider adds fruity depth and a touch of natural sugar, orange slices brighten everything up, and cinnamon, cloves, and star anise make the whole kitchen smell like the holidays. Honey rounds out the edges. Thirty minutes of simmering reduces the wine slightly, drives off some of the alcohol, and concentrates all those flavors into something way more complex than just "wine."
A few more things working in your favor:
Oil instead of butter in the cake. Oil keeps the crumb tender and moist for days because it stays liquid at room temperature. Butter solidifies once the cake cools, which can make a chilled cake taste dry on the tongue. (I use this same oil-based approach in my easy chocolate cake recipe for exactly this reason.)
Buttermilk plus wine doubles your acid. Both react with the baking soda for extra lift, and both tenderize the gluten so the crumb stays soft. The combo also accentuates the cocoa flavor by lowering the batter's pH (cocoa tastes more chocolatey in slightly acidic environments).
Hot wine added at the end of mixing dissolves the cocoa more thoroughly, creating a smoother, more uniform batter. It is the same trick of adding hot coffee or hot water to a chocolate cake recipe right at the end of mixing.
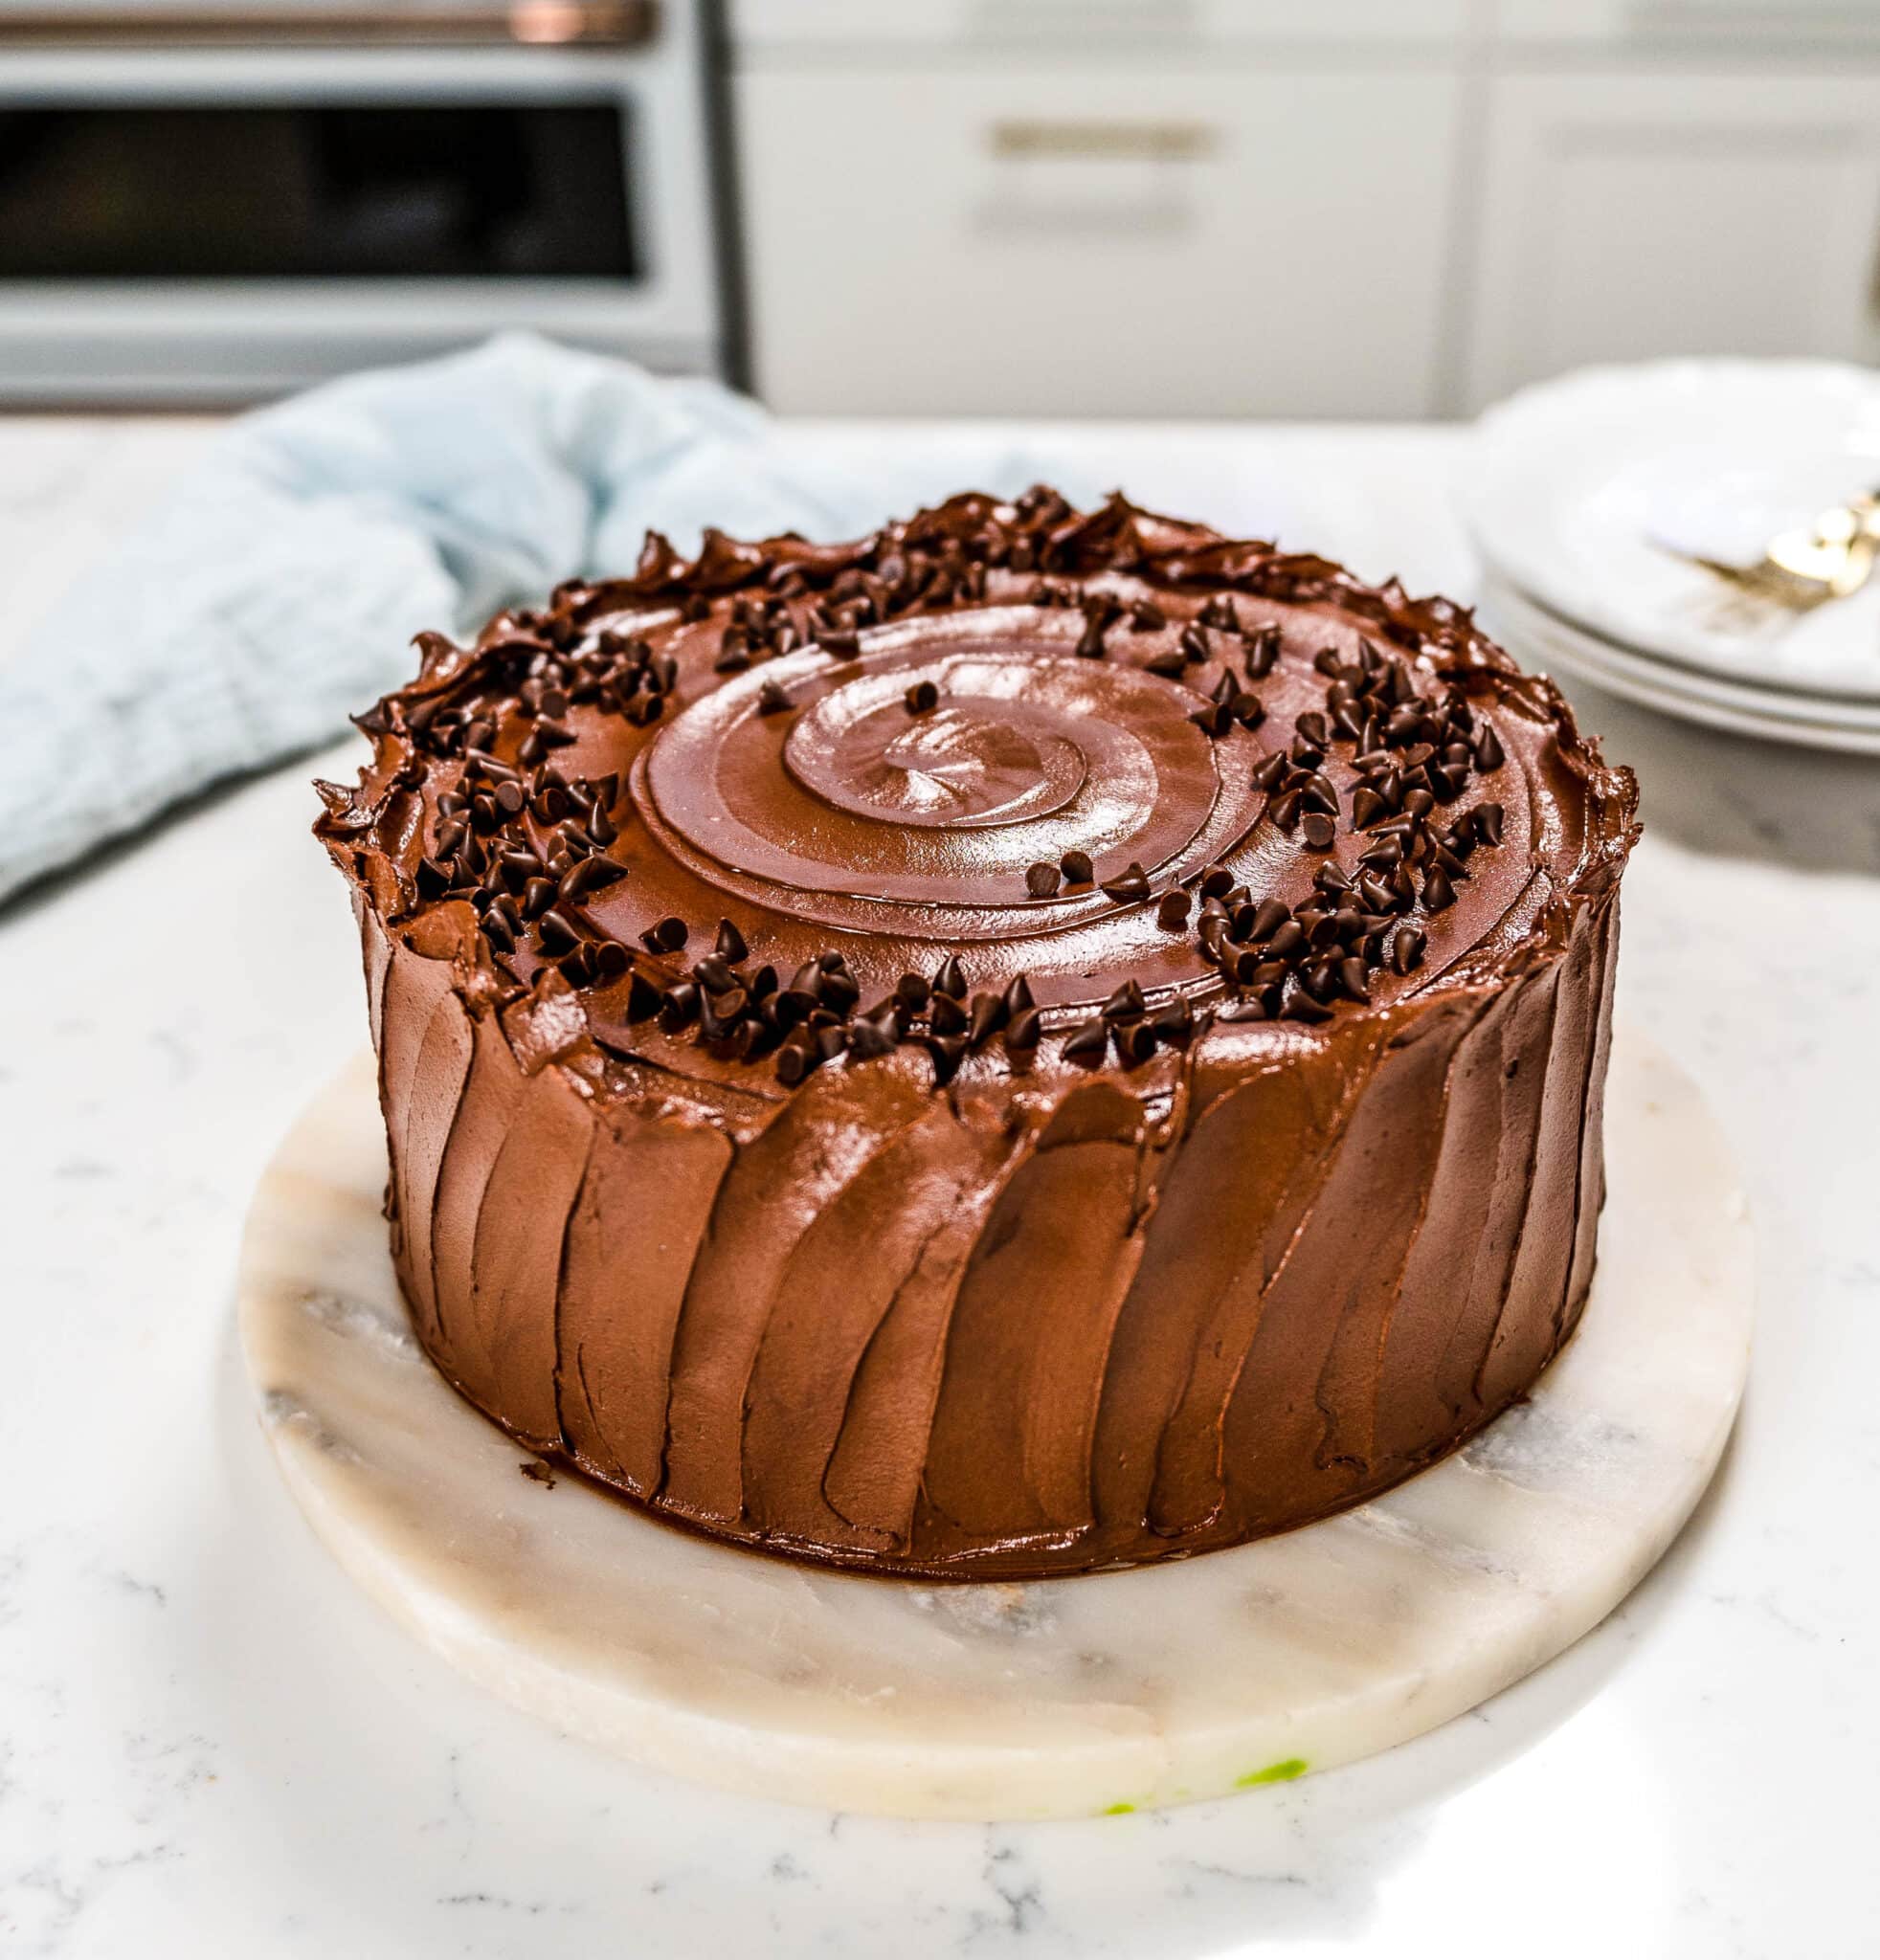
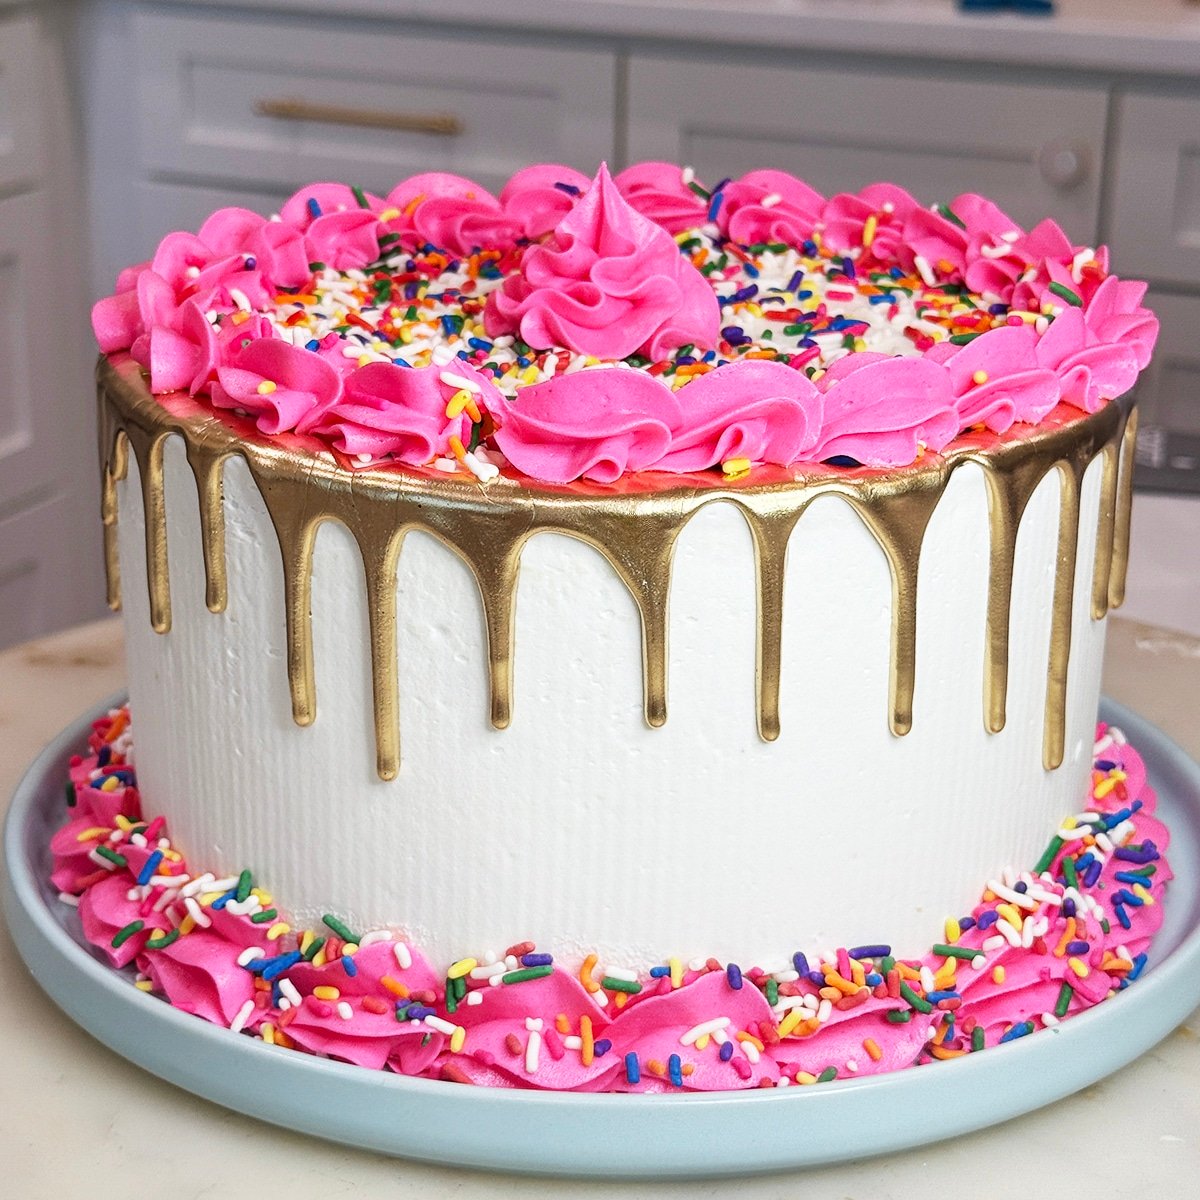
The bundt pan does the styling for you. No layers, no leveling, no stacking. The shape of the pan IS the decoration. A simple ganache glaze poured over the top is all you need.
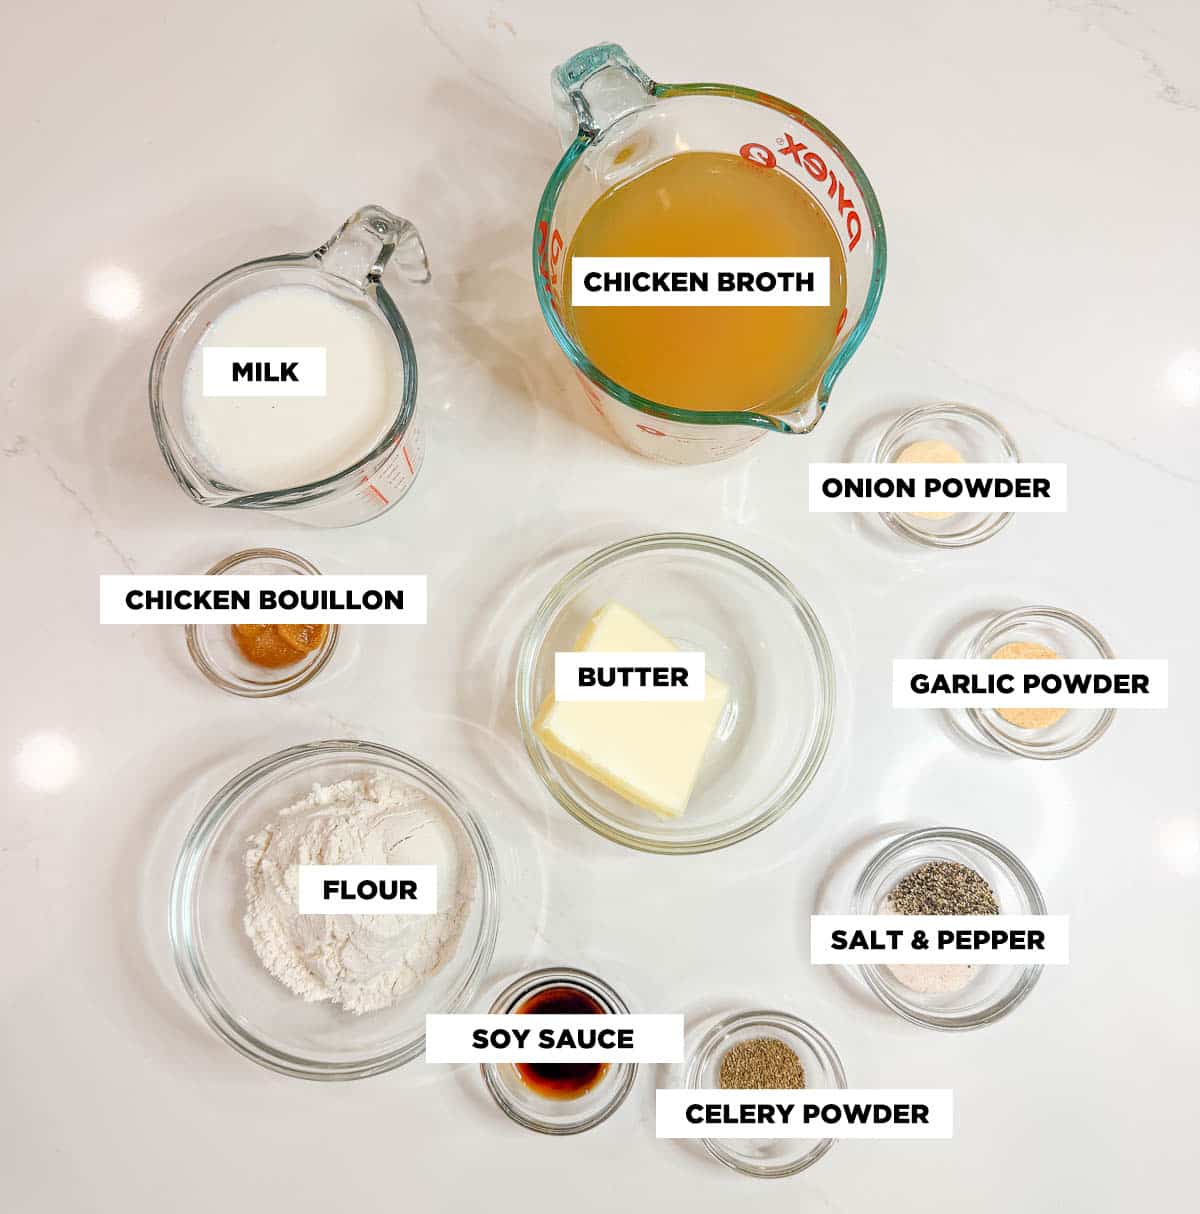
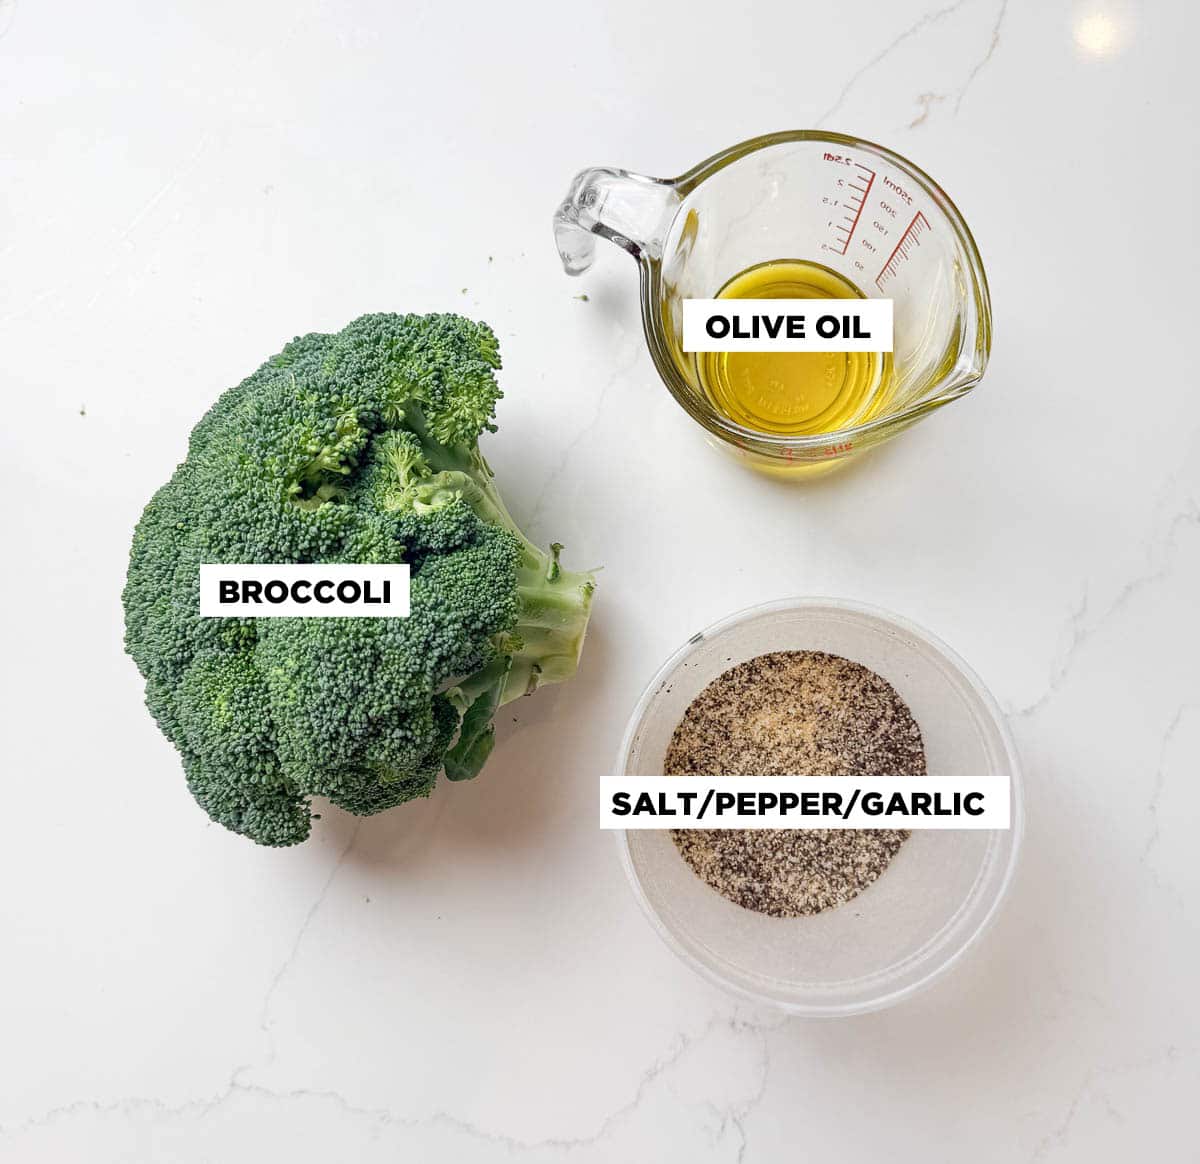
Red Wine Chocolate Bundt Cake Ingredients
This recipe uses three components: a quick spiced red wine, a chocolate bundt cake, and a red wine ganache glaze. The wine pulls double duty in the cake and the glaze, so you only simmer one batch.
For the spiced red wine
- Red wine. Use a fruity red you would drink. Cabernet, merlot, zinfandel, and shiraz all work beautifully. I used a fruity spiced red and it baked into a deeply flavorful cake. Avoid anything labeled "cooking wine" (those are over-salted and flat) and avoid sweet dessert wines unless you reduce the sugar in the cake to compensate.
- Apple cider or apple juice. Adds fruity depth and a little natural sweetness. Cider gives more complex flavor; juice is fine in a pinch.
- Honey. Rounds out the acidity and adds a subtle floral note.
- Orange slices. Bright citrus that lifts the heavier wine and spice notes.
- Cinnamon stick. Warm and woody. Use sticks, not ground cinnamon, so the spice infuses without becoming gritty.
- Whole cloves. Deeply aromatic. A little goes a long way.
- Star anise. Licorice-adjacent, slightly sweet, gorgeous with chocolate.
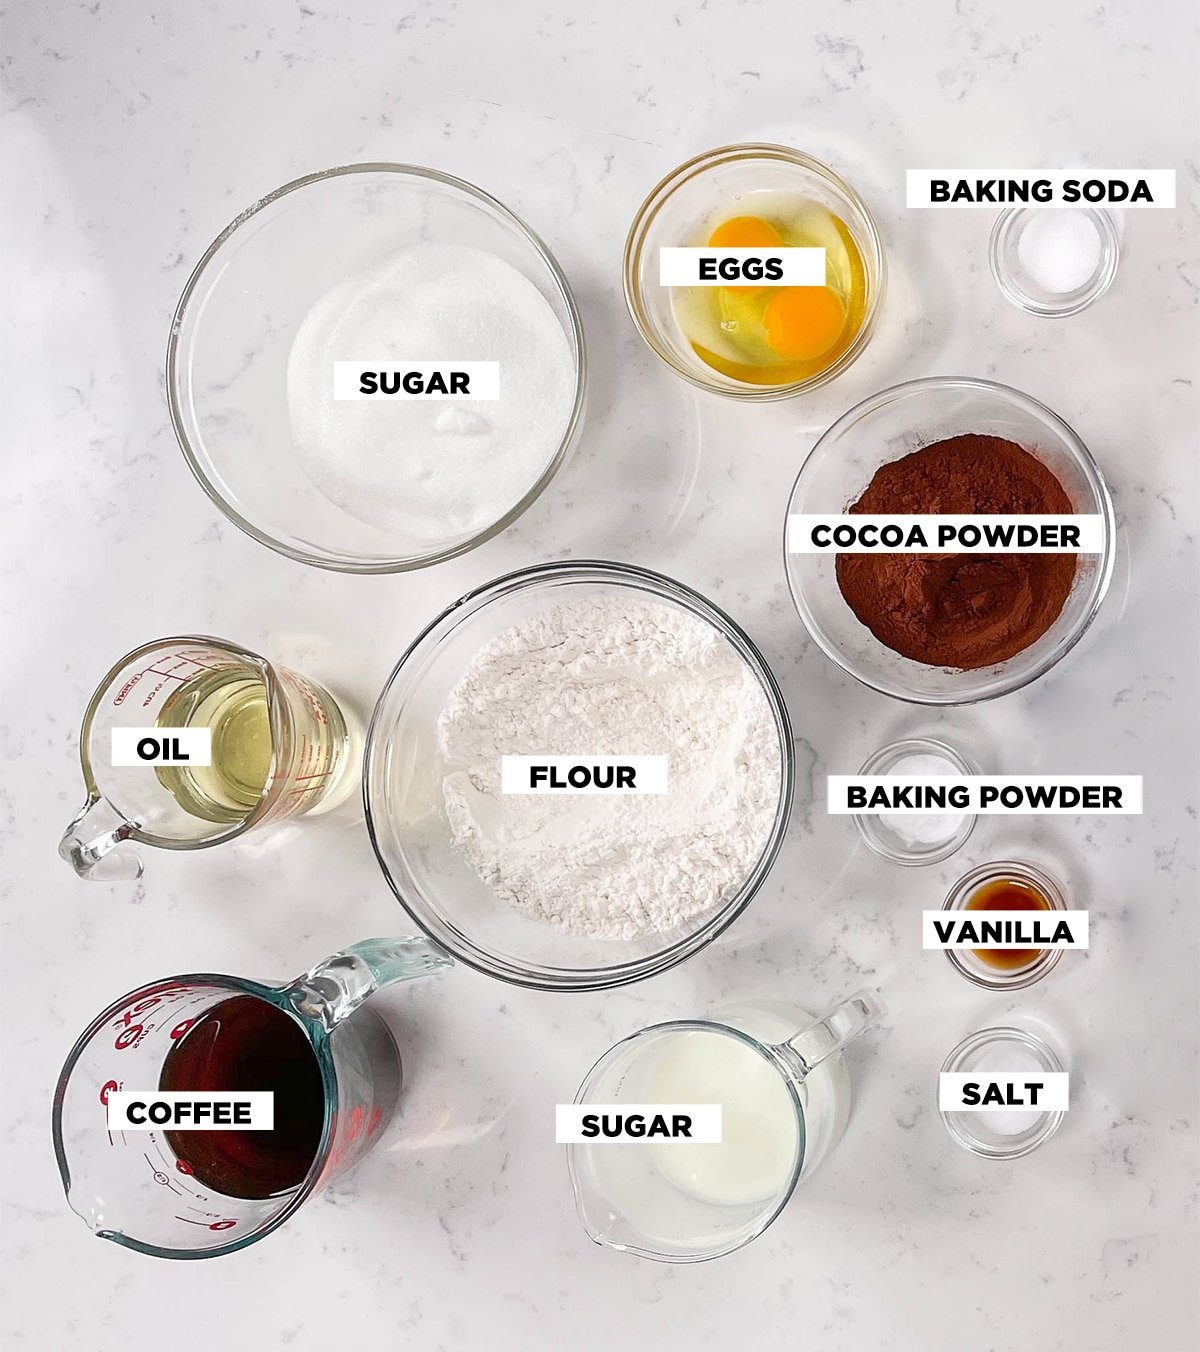
For the chocolate bundt cake
- All-purpose flour. Standard structure. Cake flour would be too tender for a bundt that needs to hold its shape.
- Granulated sugar plus brown sugar. The brown sugar adds molasses depth and extra moisture (it is hygroscopic, meaning it pulls and holds water).
- Cocoa powder. I use Hershey's natural unsweetened cocoa. Dutch-process cocoa works too but will give a slightly milder chocolate flavor.
- Baking powder and baking soda. The soda reacts with the wine and buttermilk for lift; the powder backs it up.
- Salt. Sharpens the chocolate flavor.
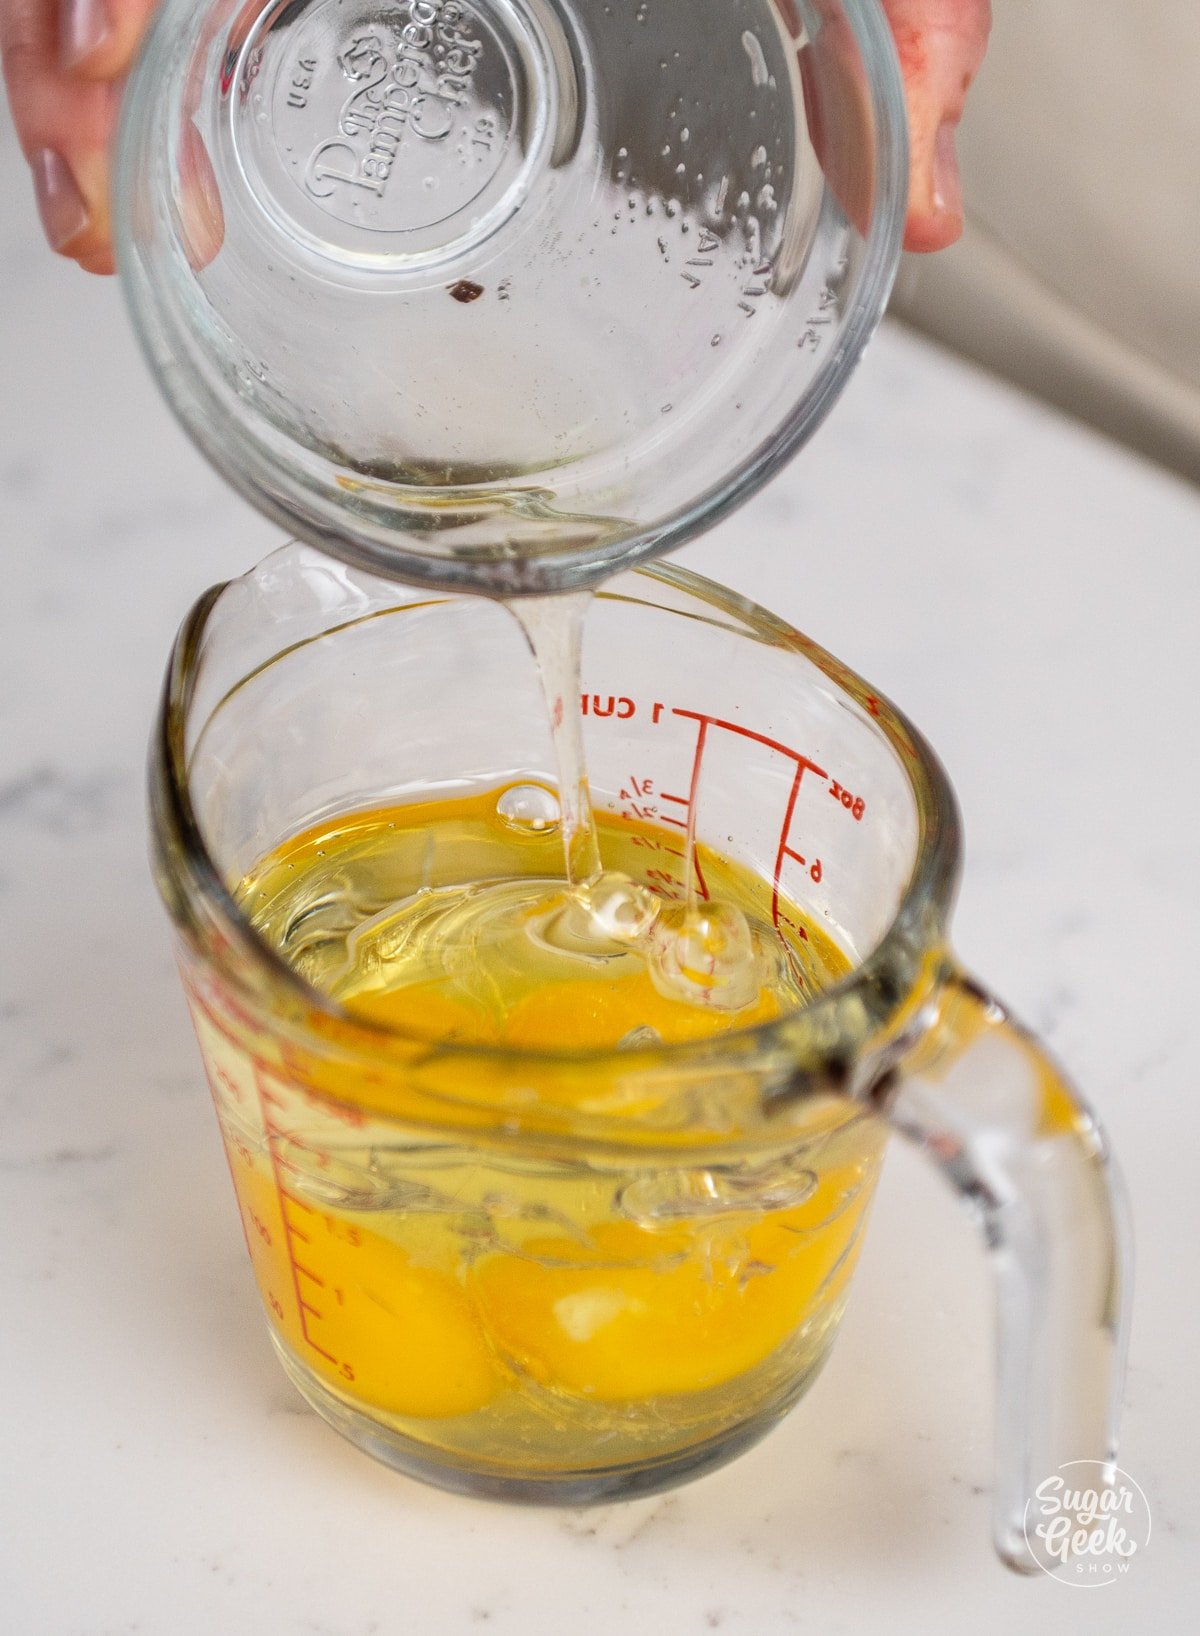
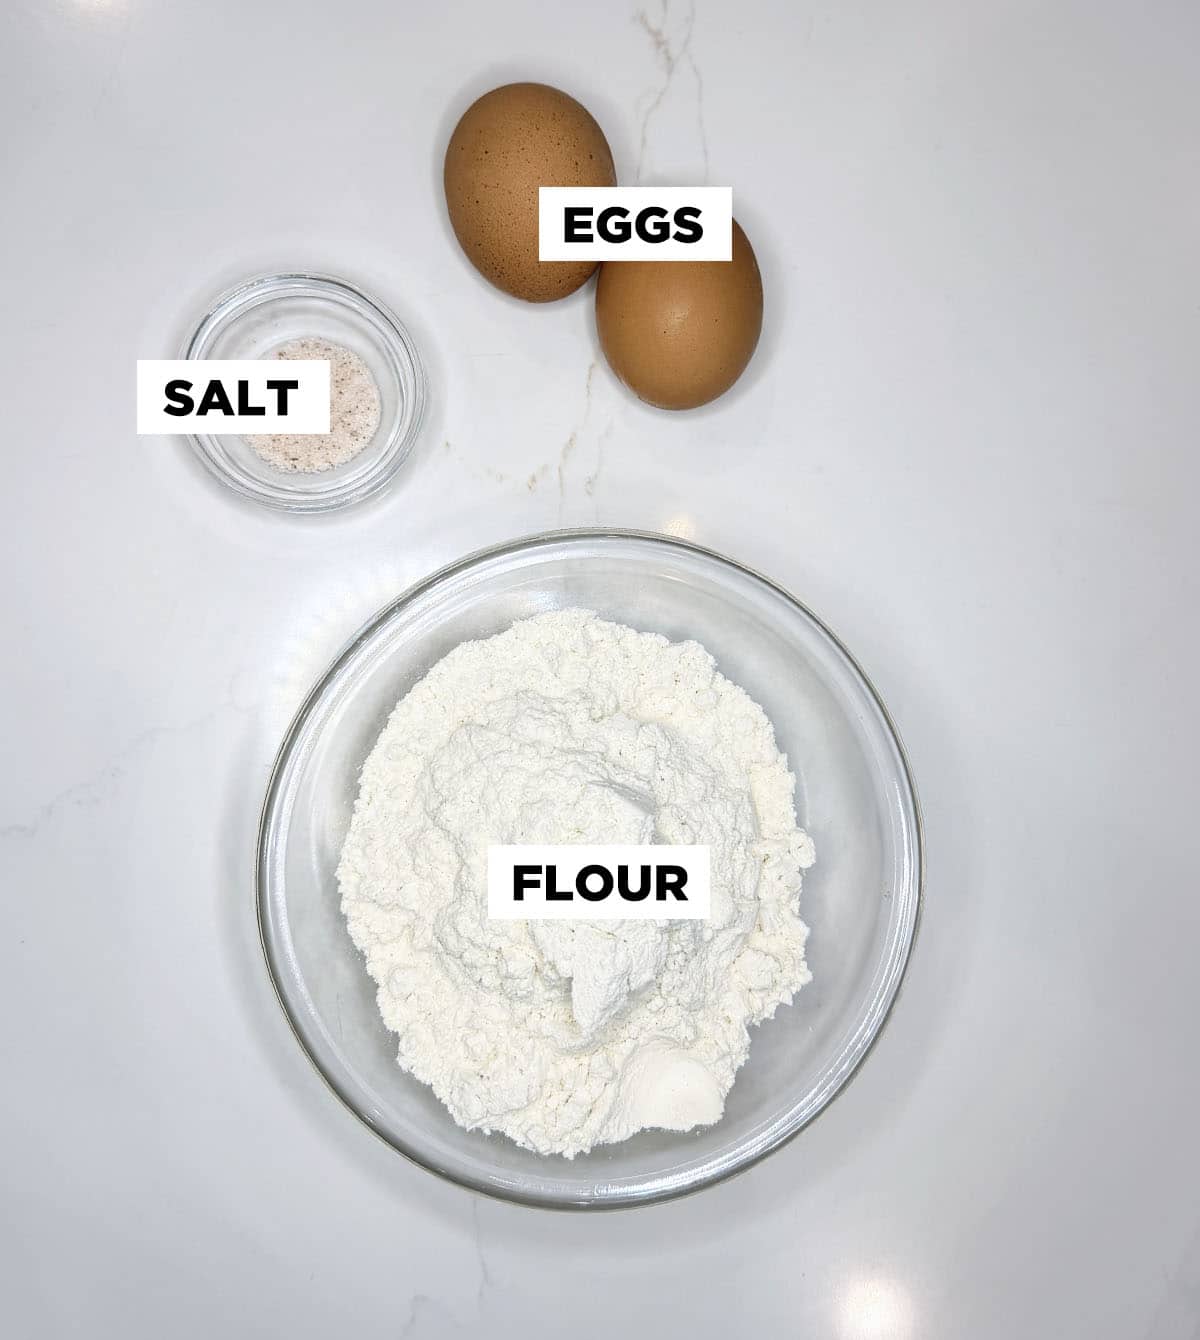
- Eggs. Room temperature so the batter does not break.
- Buttermilk. Acid for tenderness, plus it reacts with the baking soda. Room temperature.
- Vegetable oil. Keeps the cake moist for days. Canola or vegetable both work.
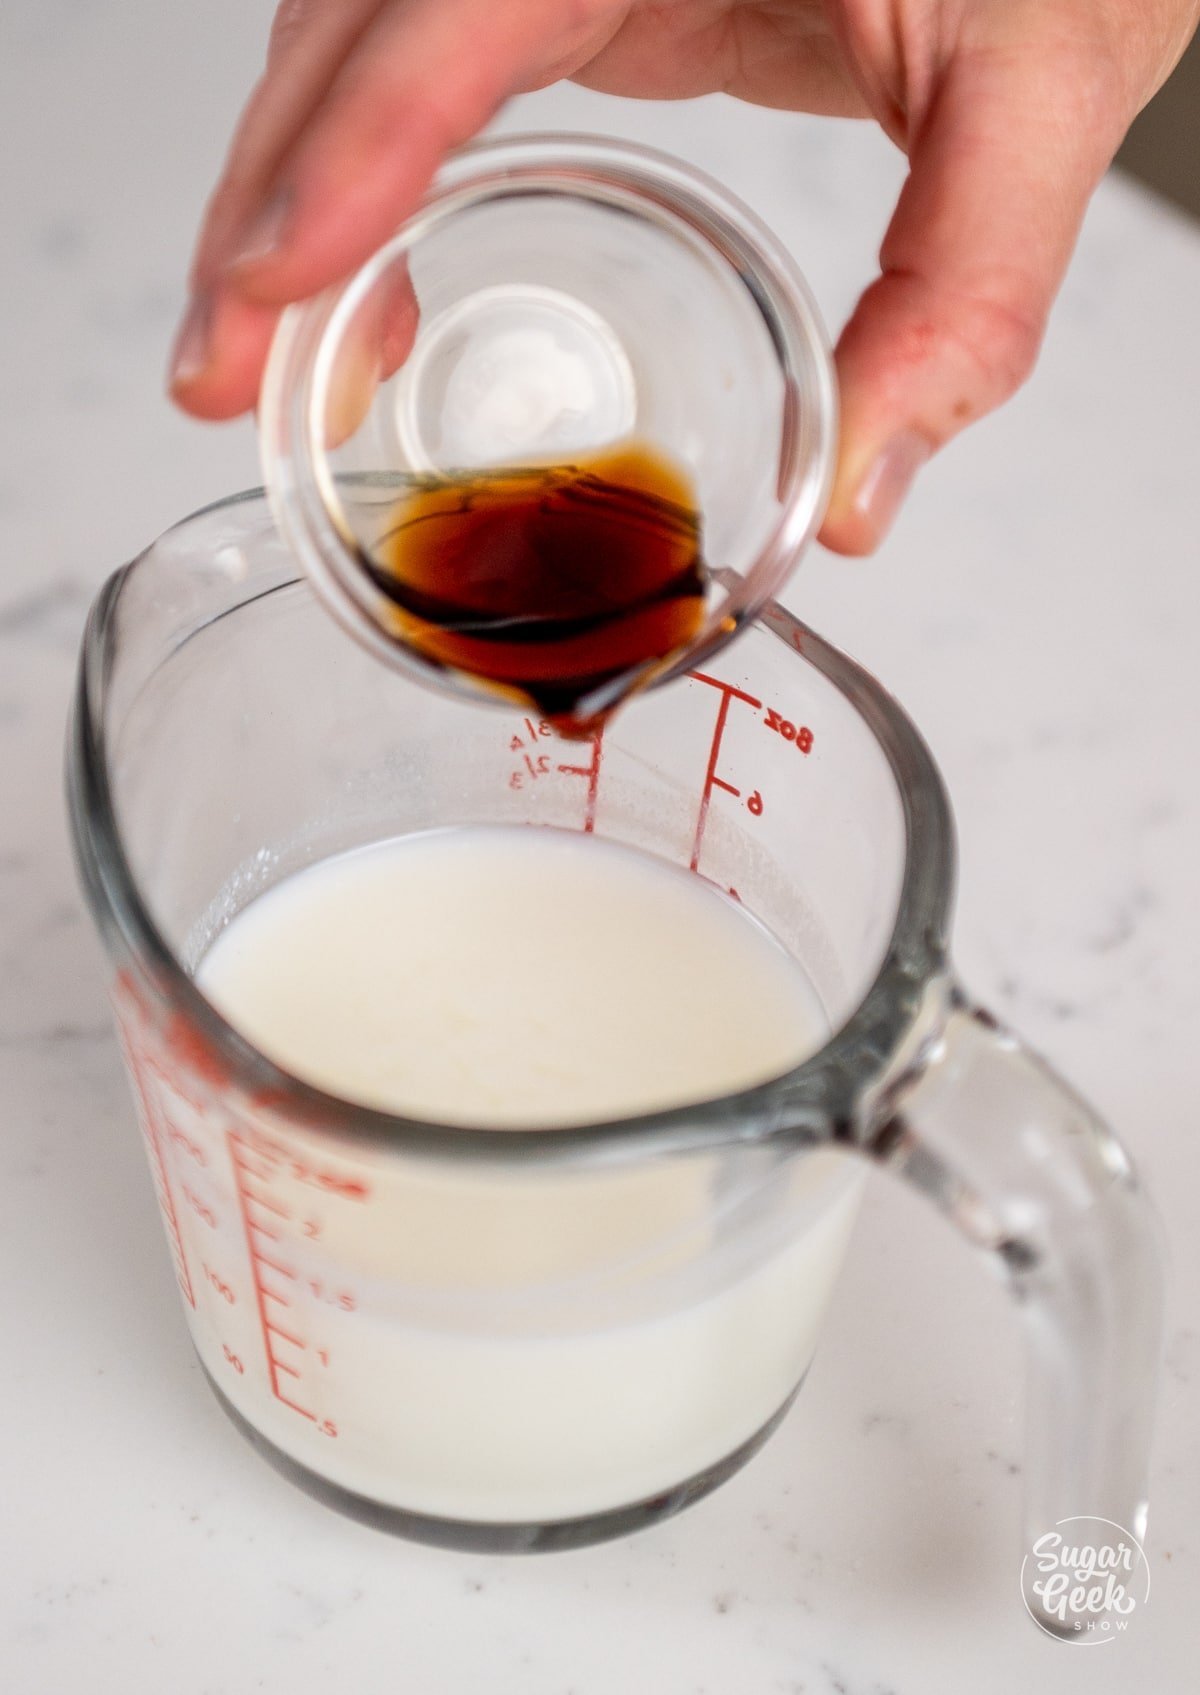
- Vanilla extract. Real vanilla, not imitation.
- Hot spiced wine. Added at the very end. It thins the batter slightly and dissolves the cocoa fully for a smooth, glossy mix.
For the red wine ganache glaze
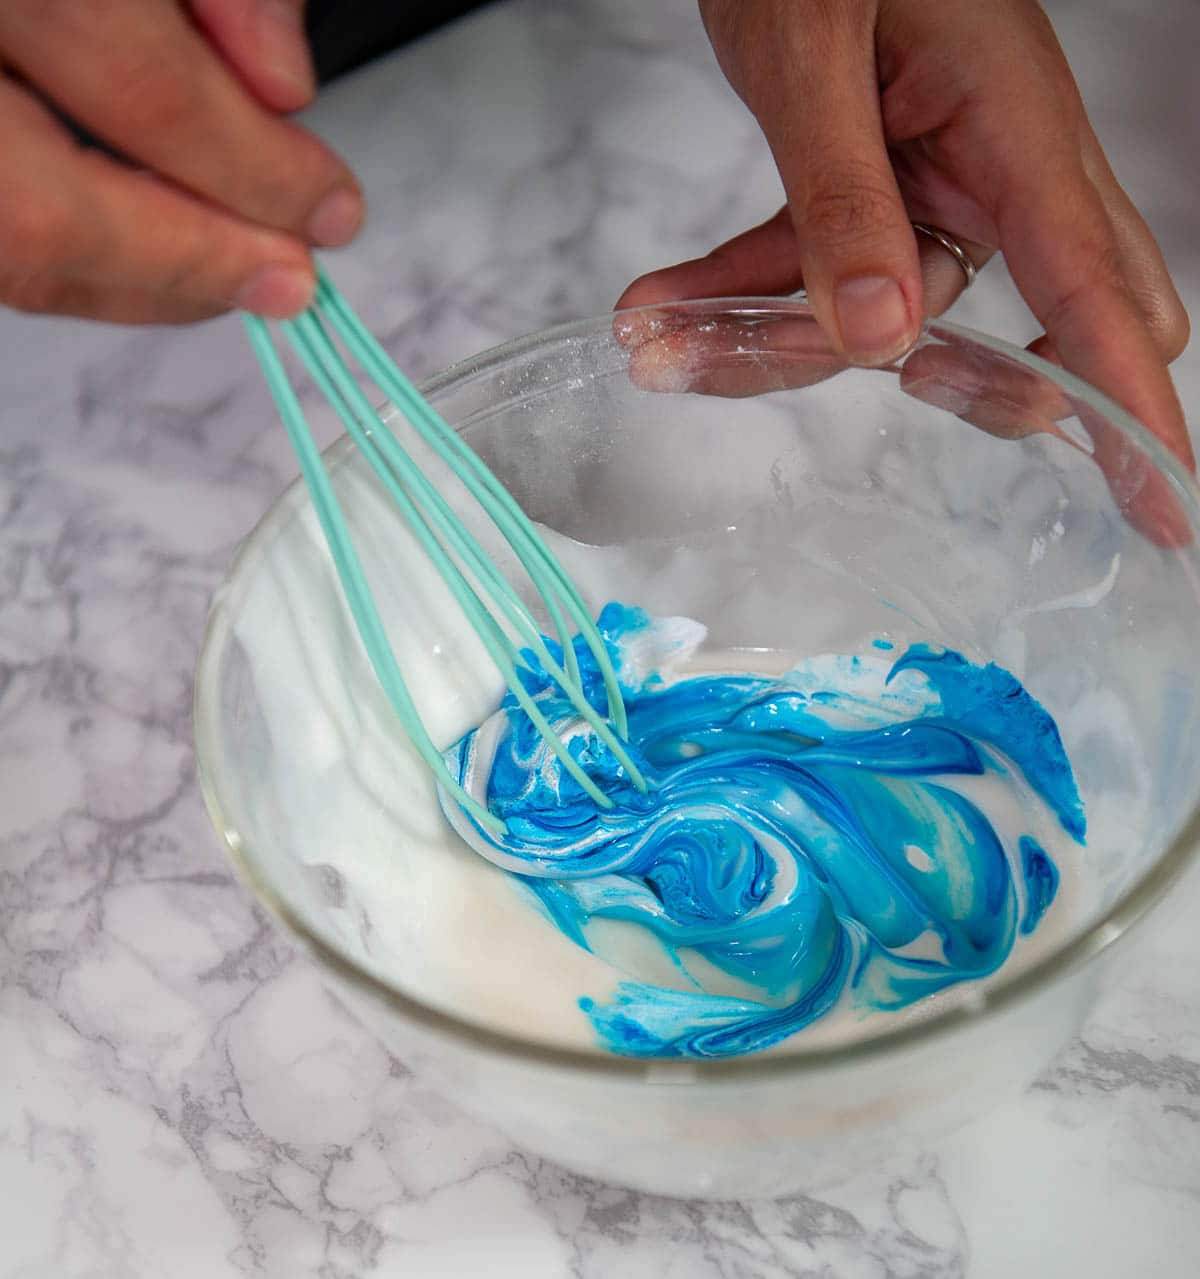
- Optional red food coloring. I tried this and the ganache ended up looking a little like barbecue sauce, so I would skip it next time. If you really want a deep red color, use a tiny amount of gel food coloring.
- Milk chocolate chips. Milk chocolate plays nicely with the wine and is sweet enough that you can pour it without adding much sugar. Semi-sweet works too if you want a more bitter chocolate edge.
- Unsalted butter. Adds gloss and richness.
- Powdered sugar. Sweetens and thickens to a pourable glaze consistency.
- Red wine. The reserved spiced wine from the first step. Adds a little kick and matches the cake's flavor.
How To Make Red Wine Chocolate Bundt Cake Step-By-Step
Preheat your oven to 350°F (177°C). Prepare a 10 to 12-cup bundt pan with cake goop or a generous coat of butter and flour, making sure to get into every crevice of the pan. Bring your eggs and buttermilk to room temperature before you start. Refer to the recipe card for exact weights and timing.
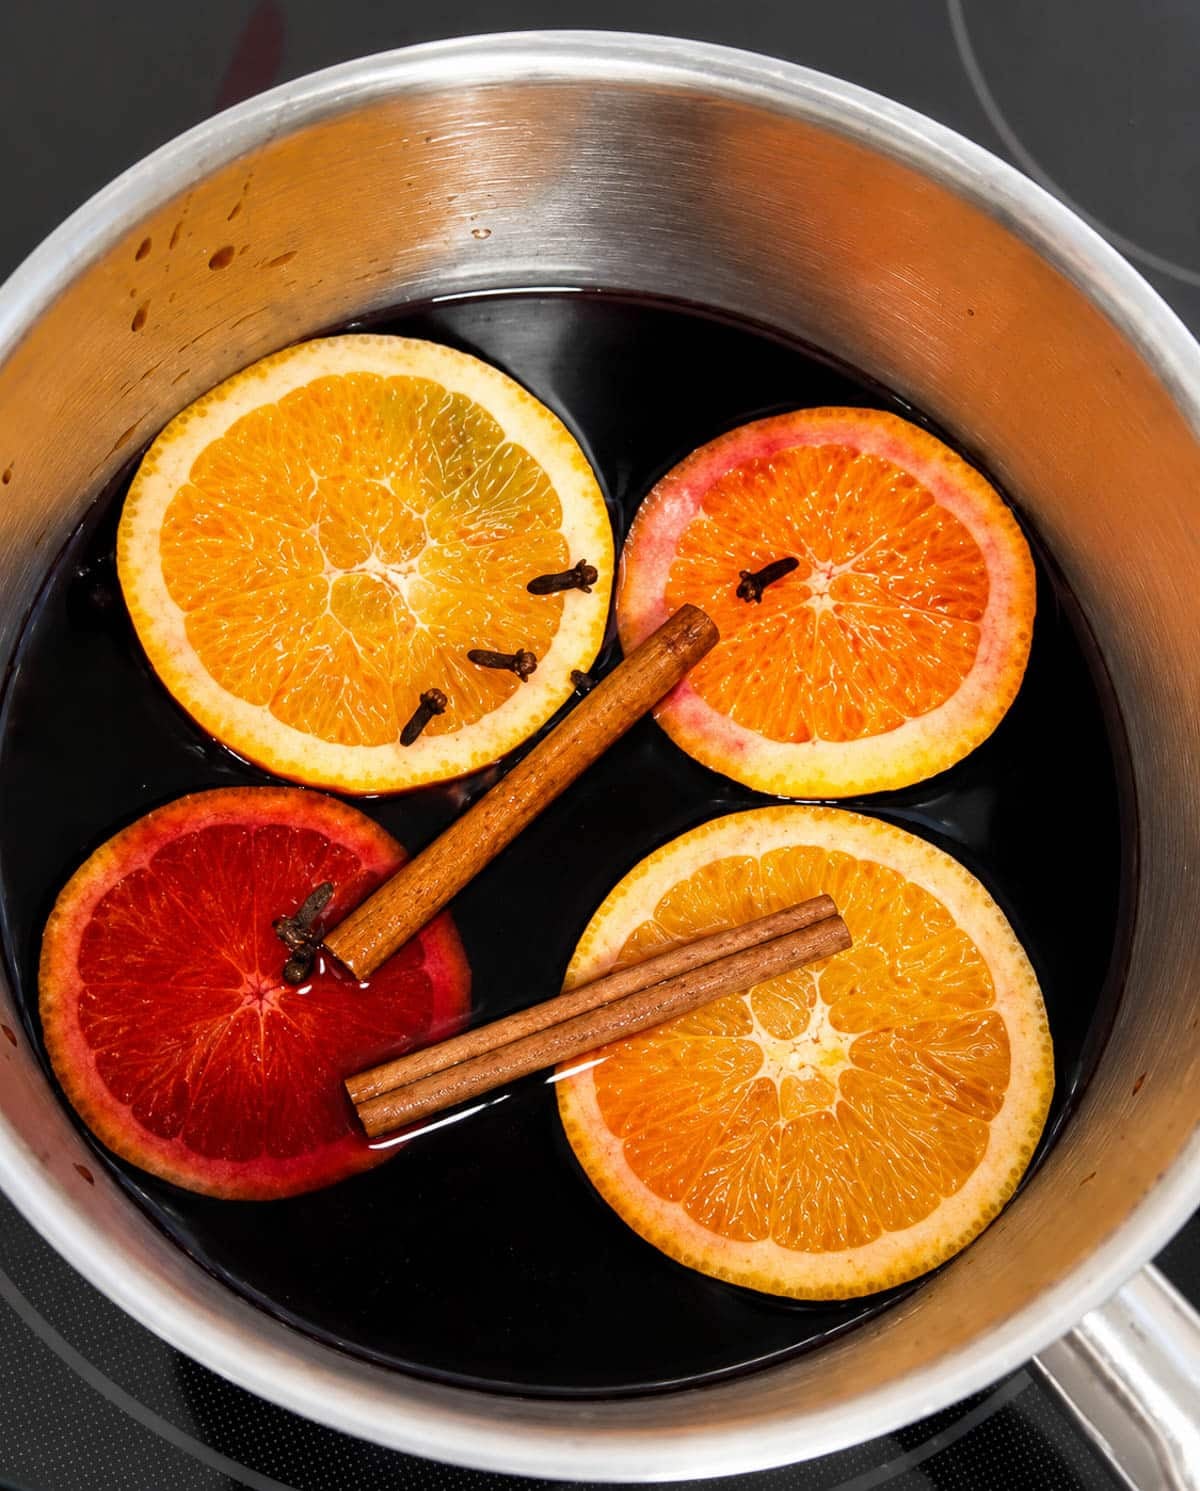
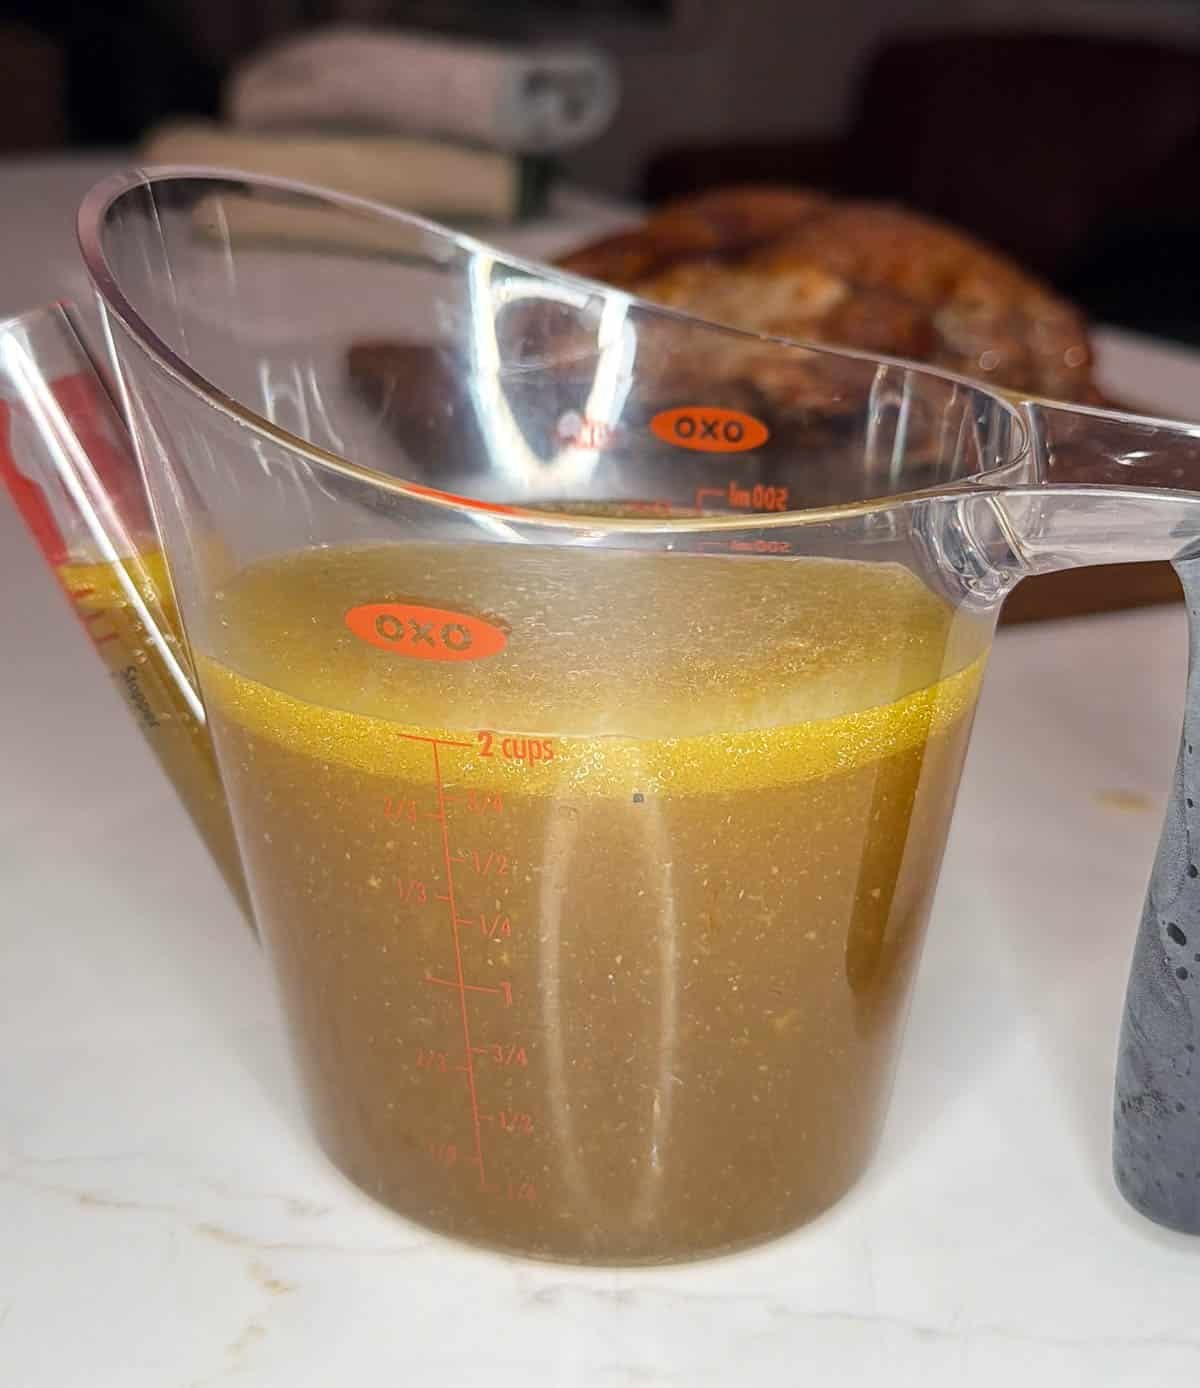
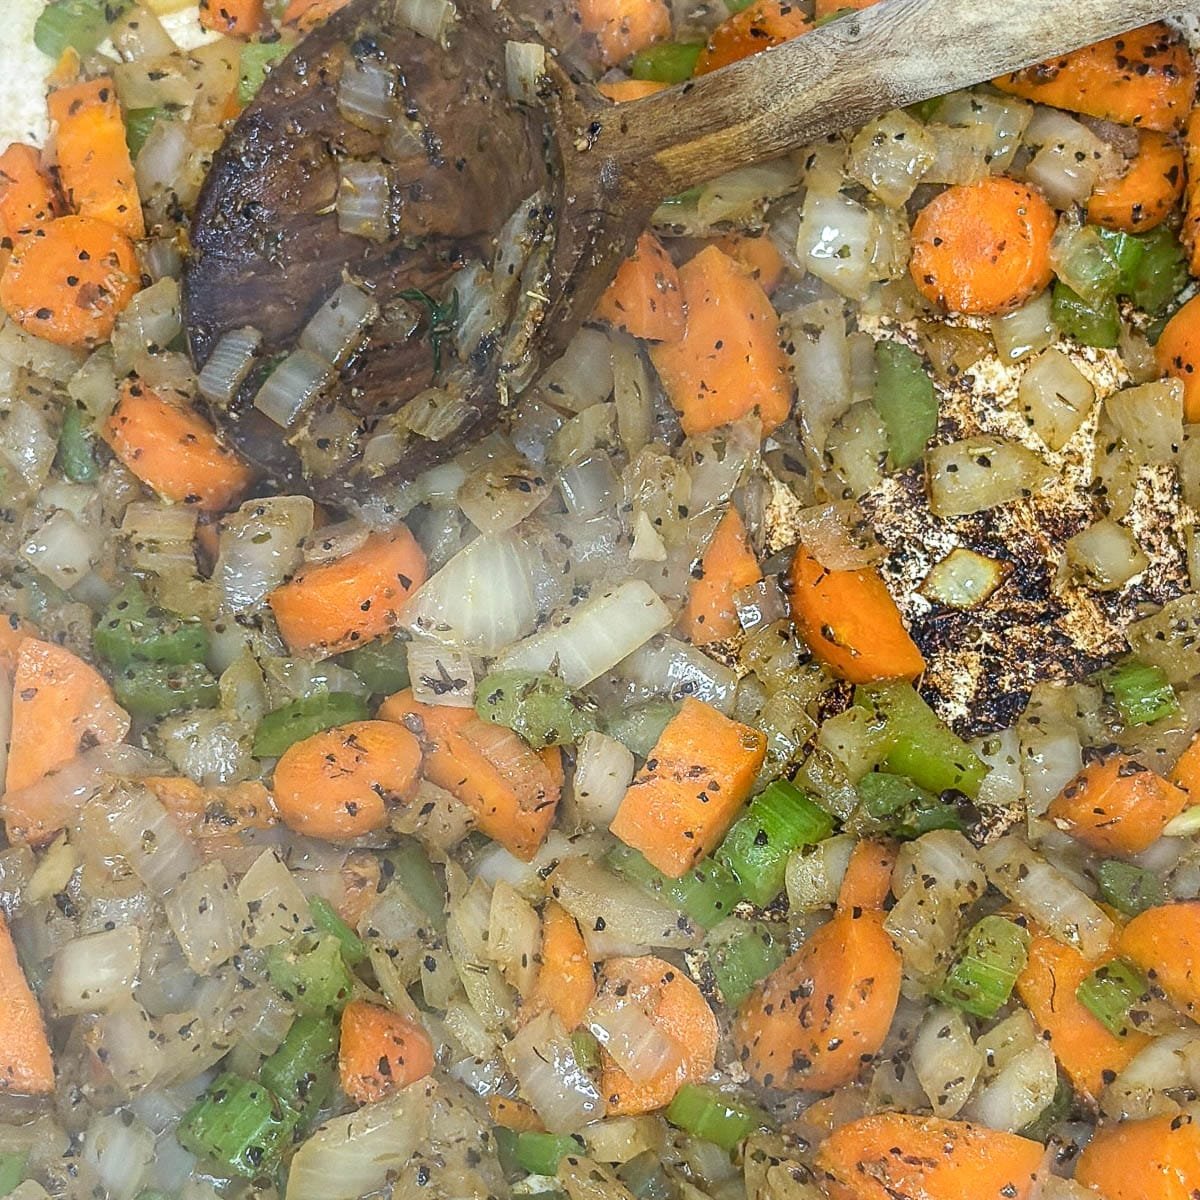
- Make the spiced red wine. In a medium saucepan, combine the red wine, apple cider, honey, orange slices, cinnamon sticks, cloves, and star anise. Bring to a gentle simmer over medium-low heat. Simmer for 30 minutes, stirring occasionally, until the kitchen smells incredible and the wine has reduced slightly.
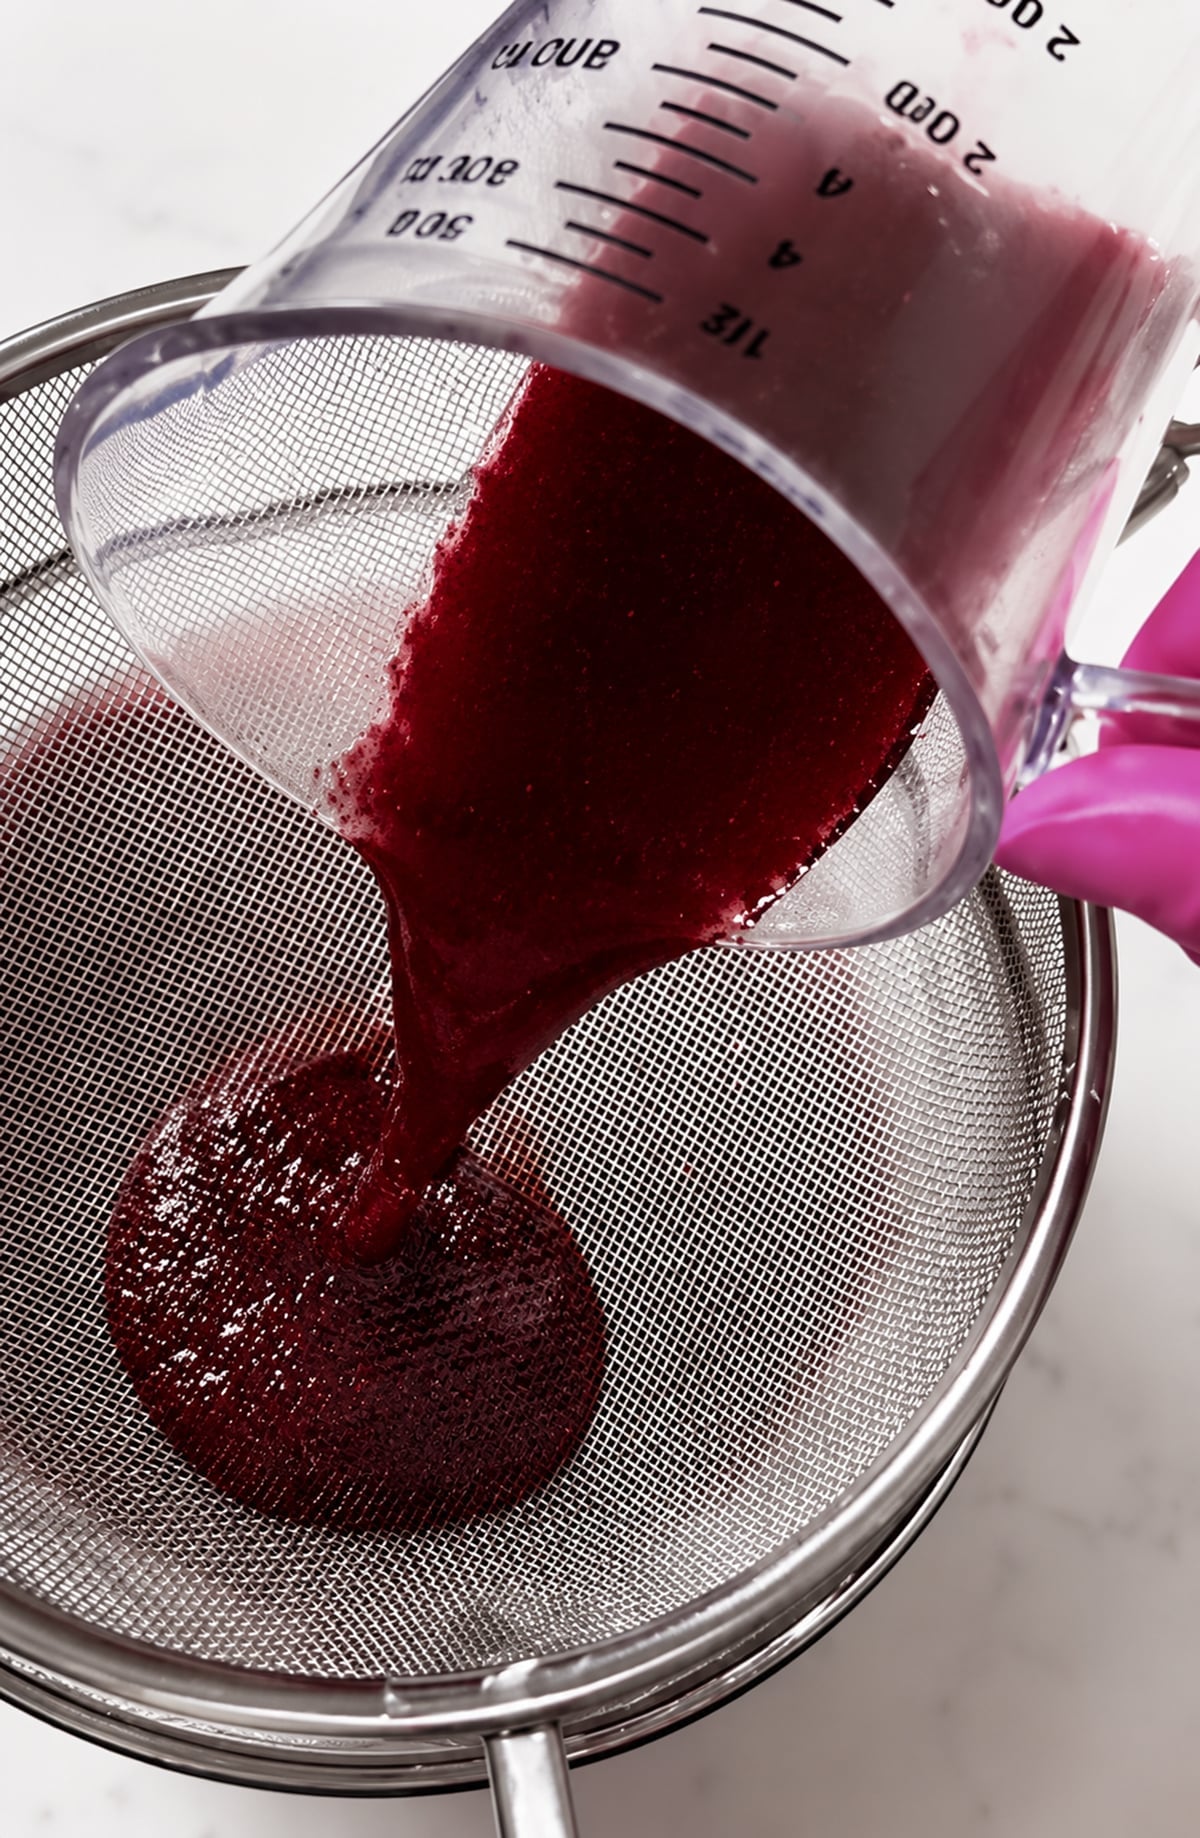
- Strain and divide. Strain the spiced wine through a fine-mesh sieve to remove the solids. You will use 1 cup of the hot spiced wine for the cake and ½ cup (cooled to room temperature) for the glaze. Save any extra for sipping while you bake.
PRO TIP: Do not boil hard. A hard boil will drive off the wine flavor along with the alcohol. A low simmer keeps the fruity notes intact while letting the spices steep.
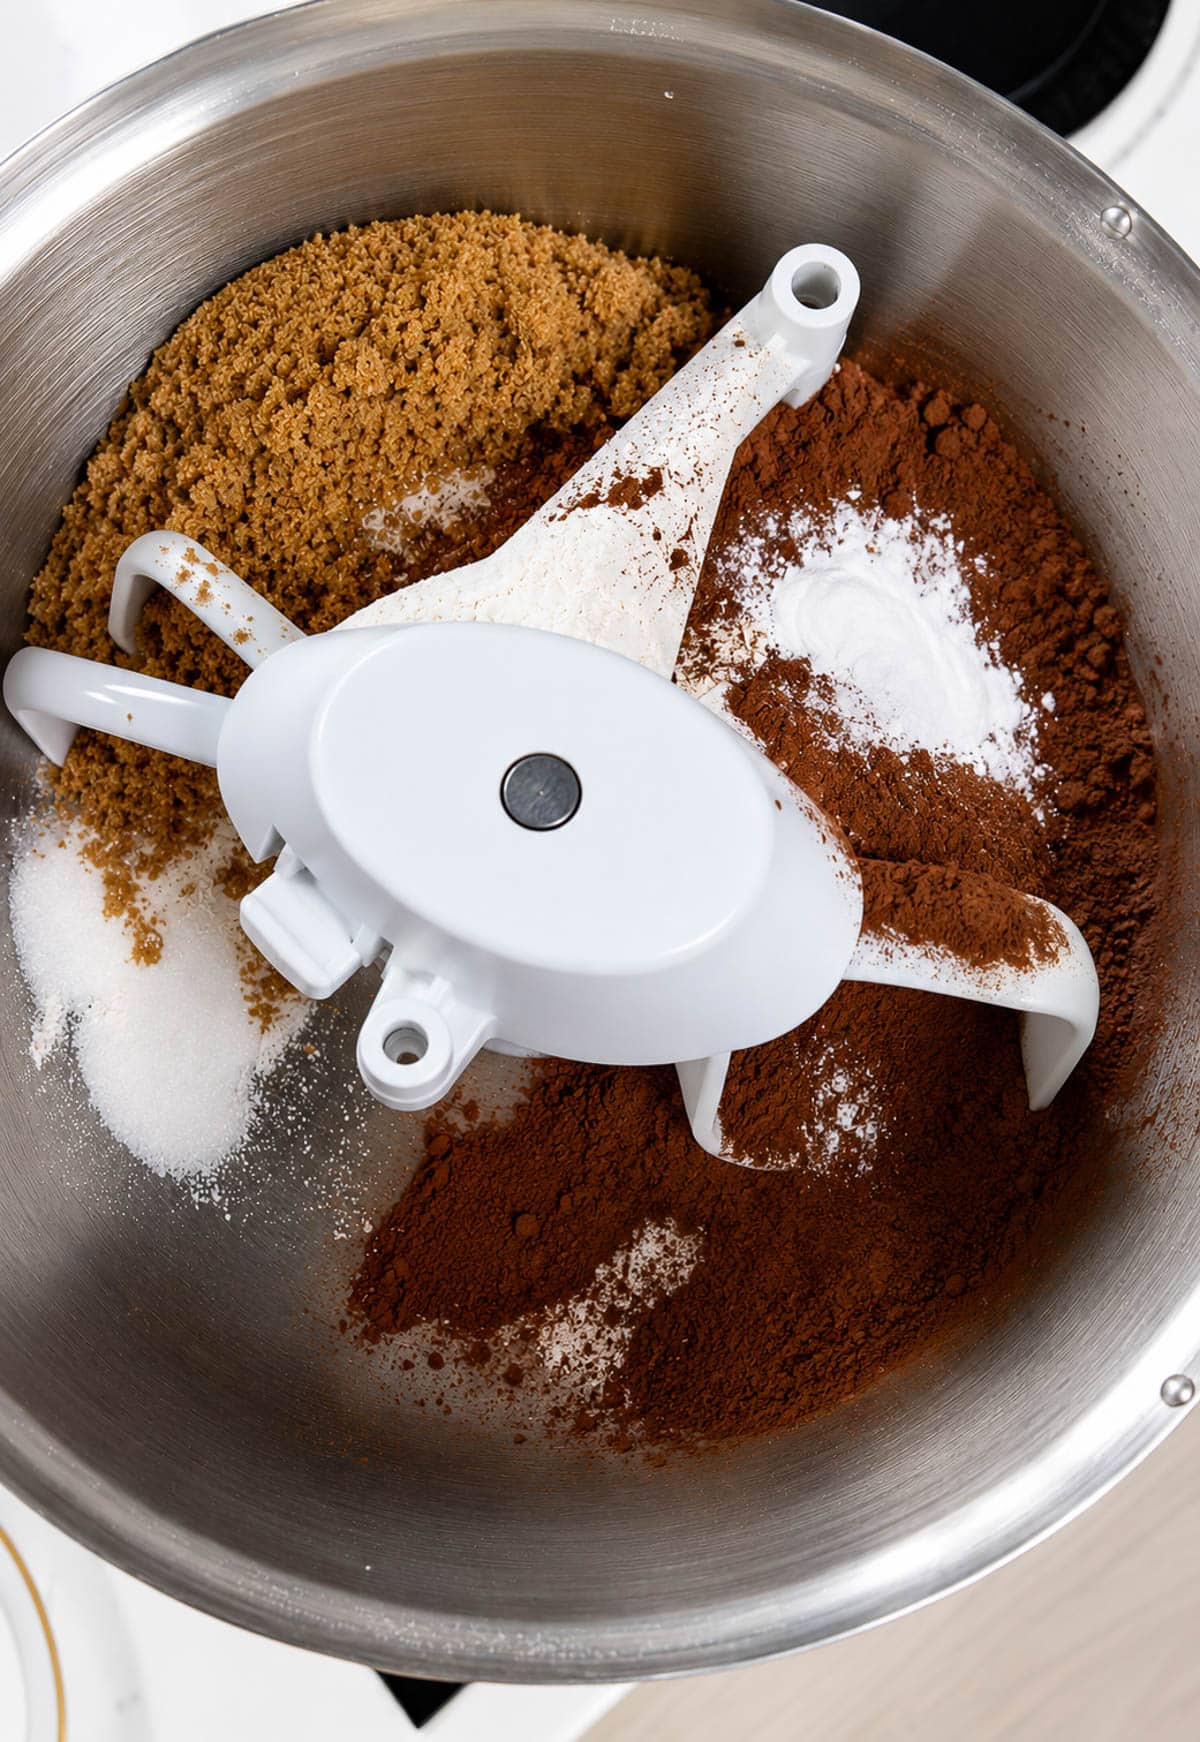
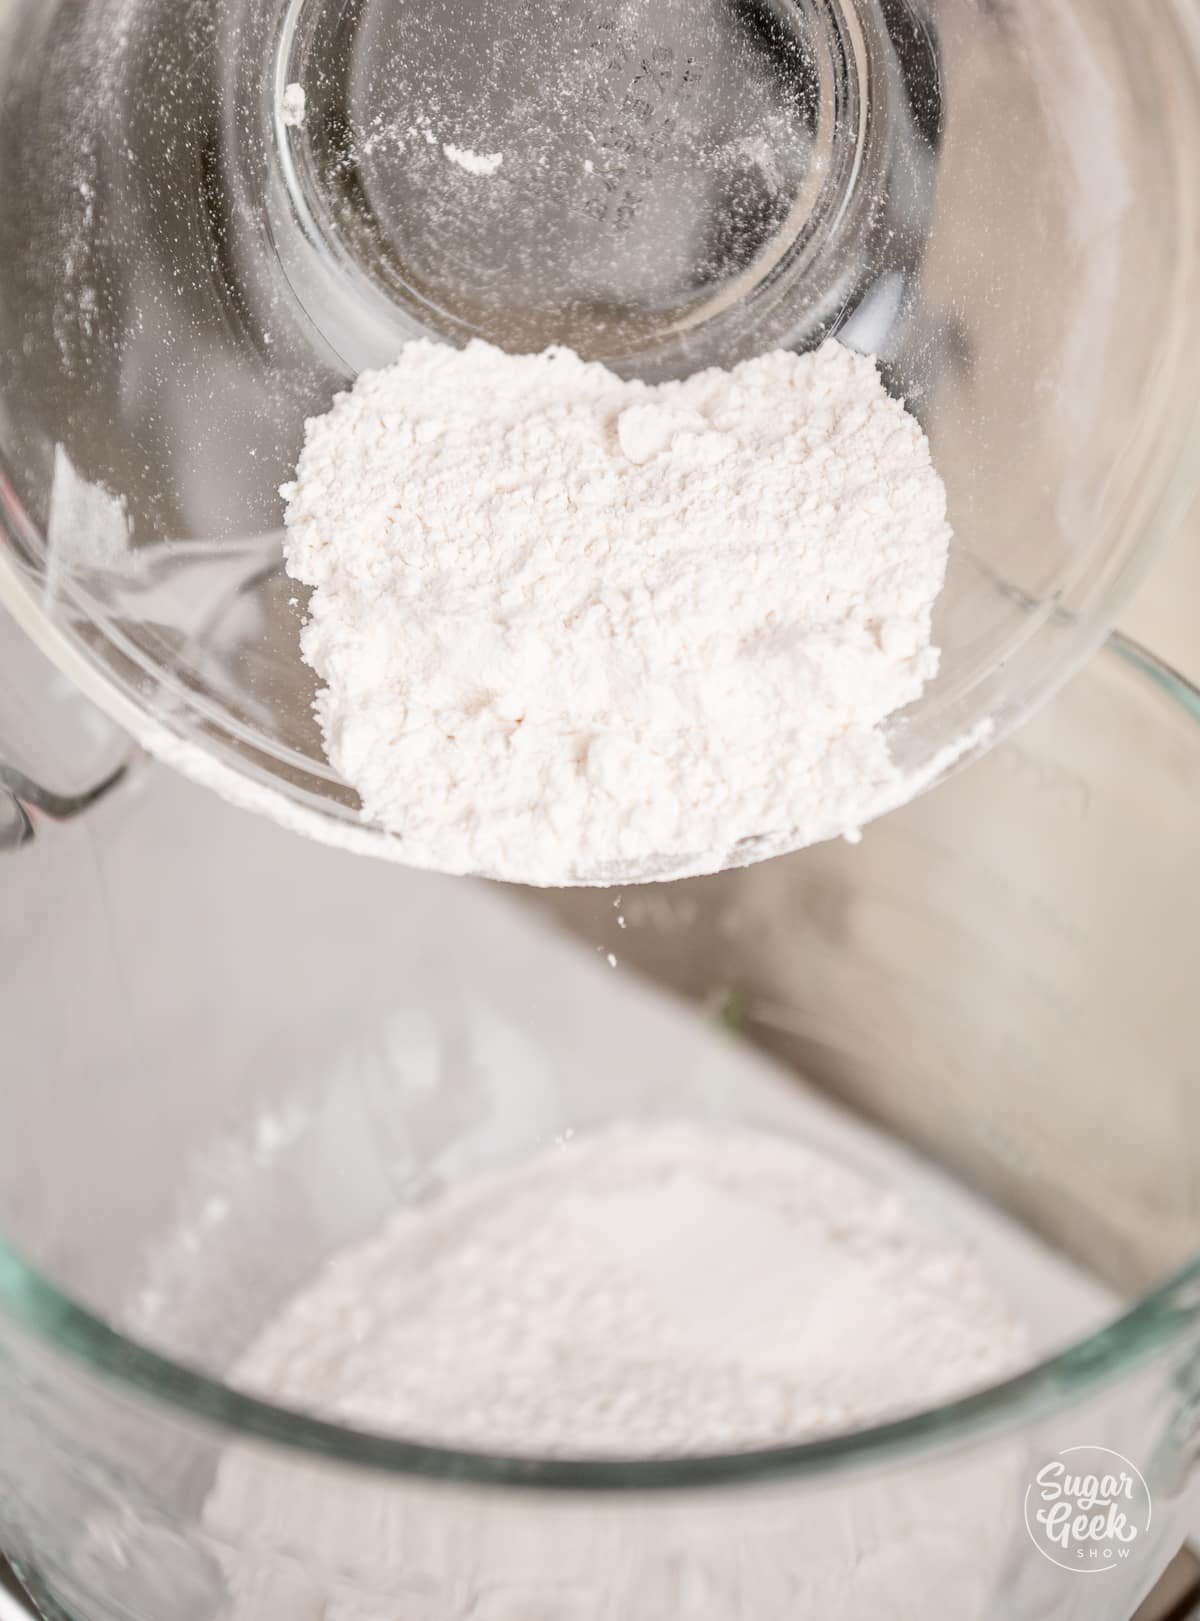
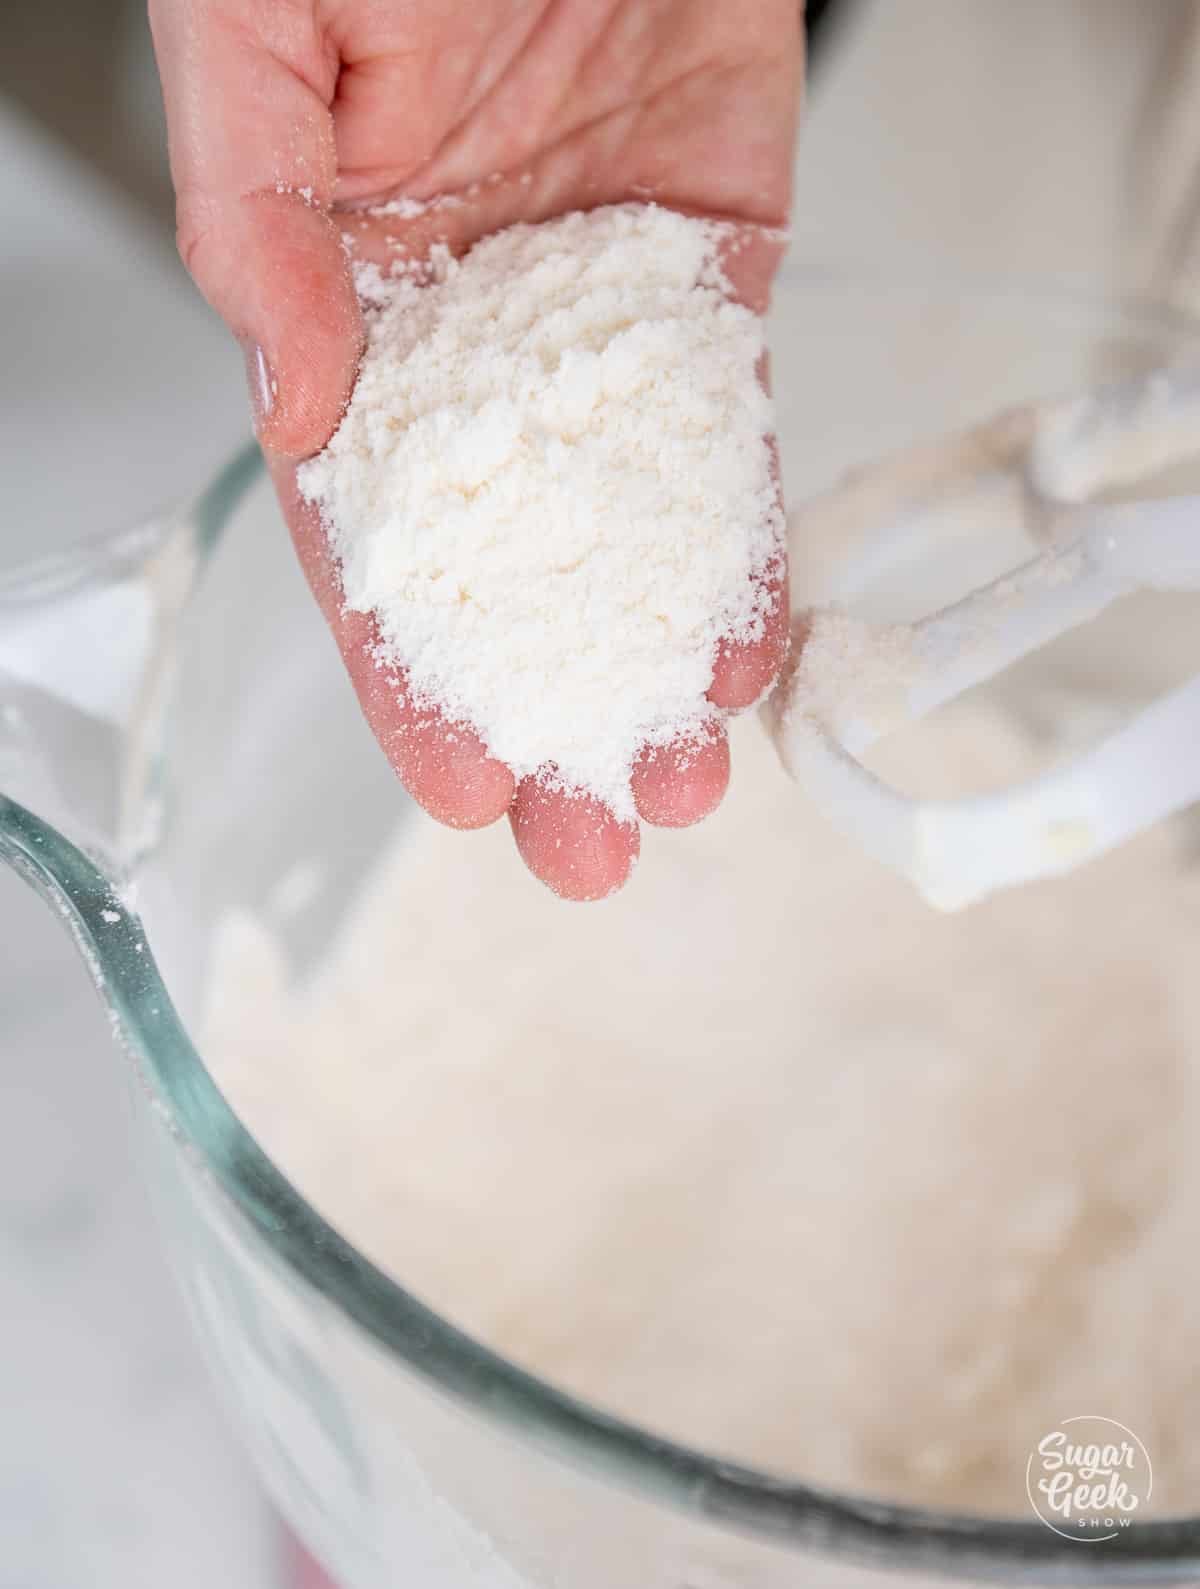
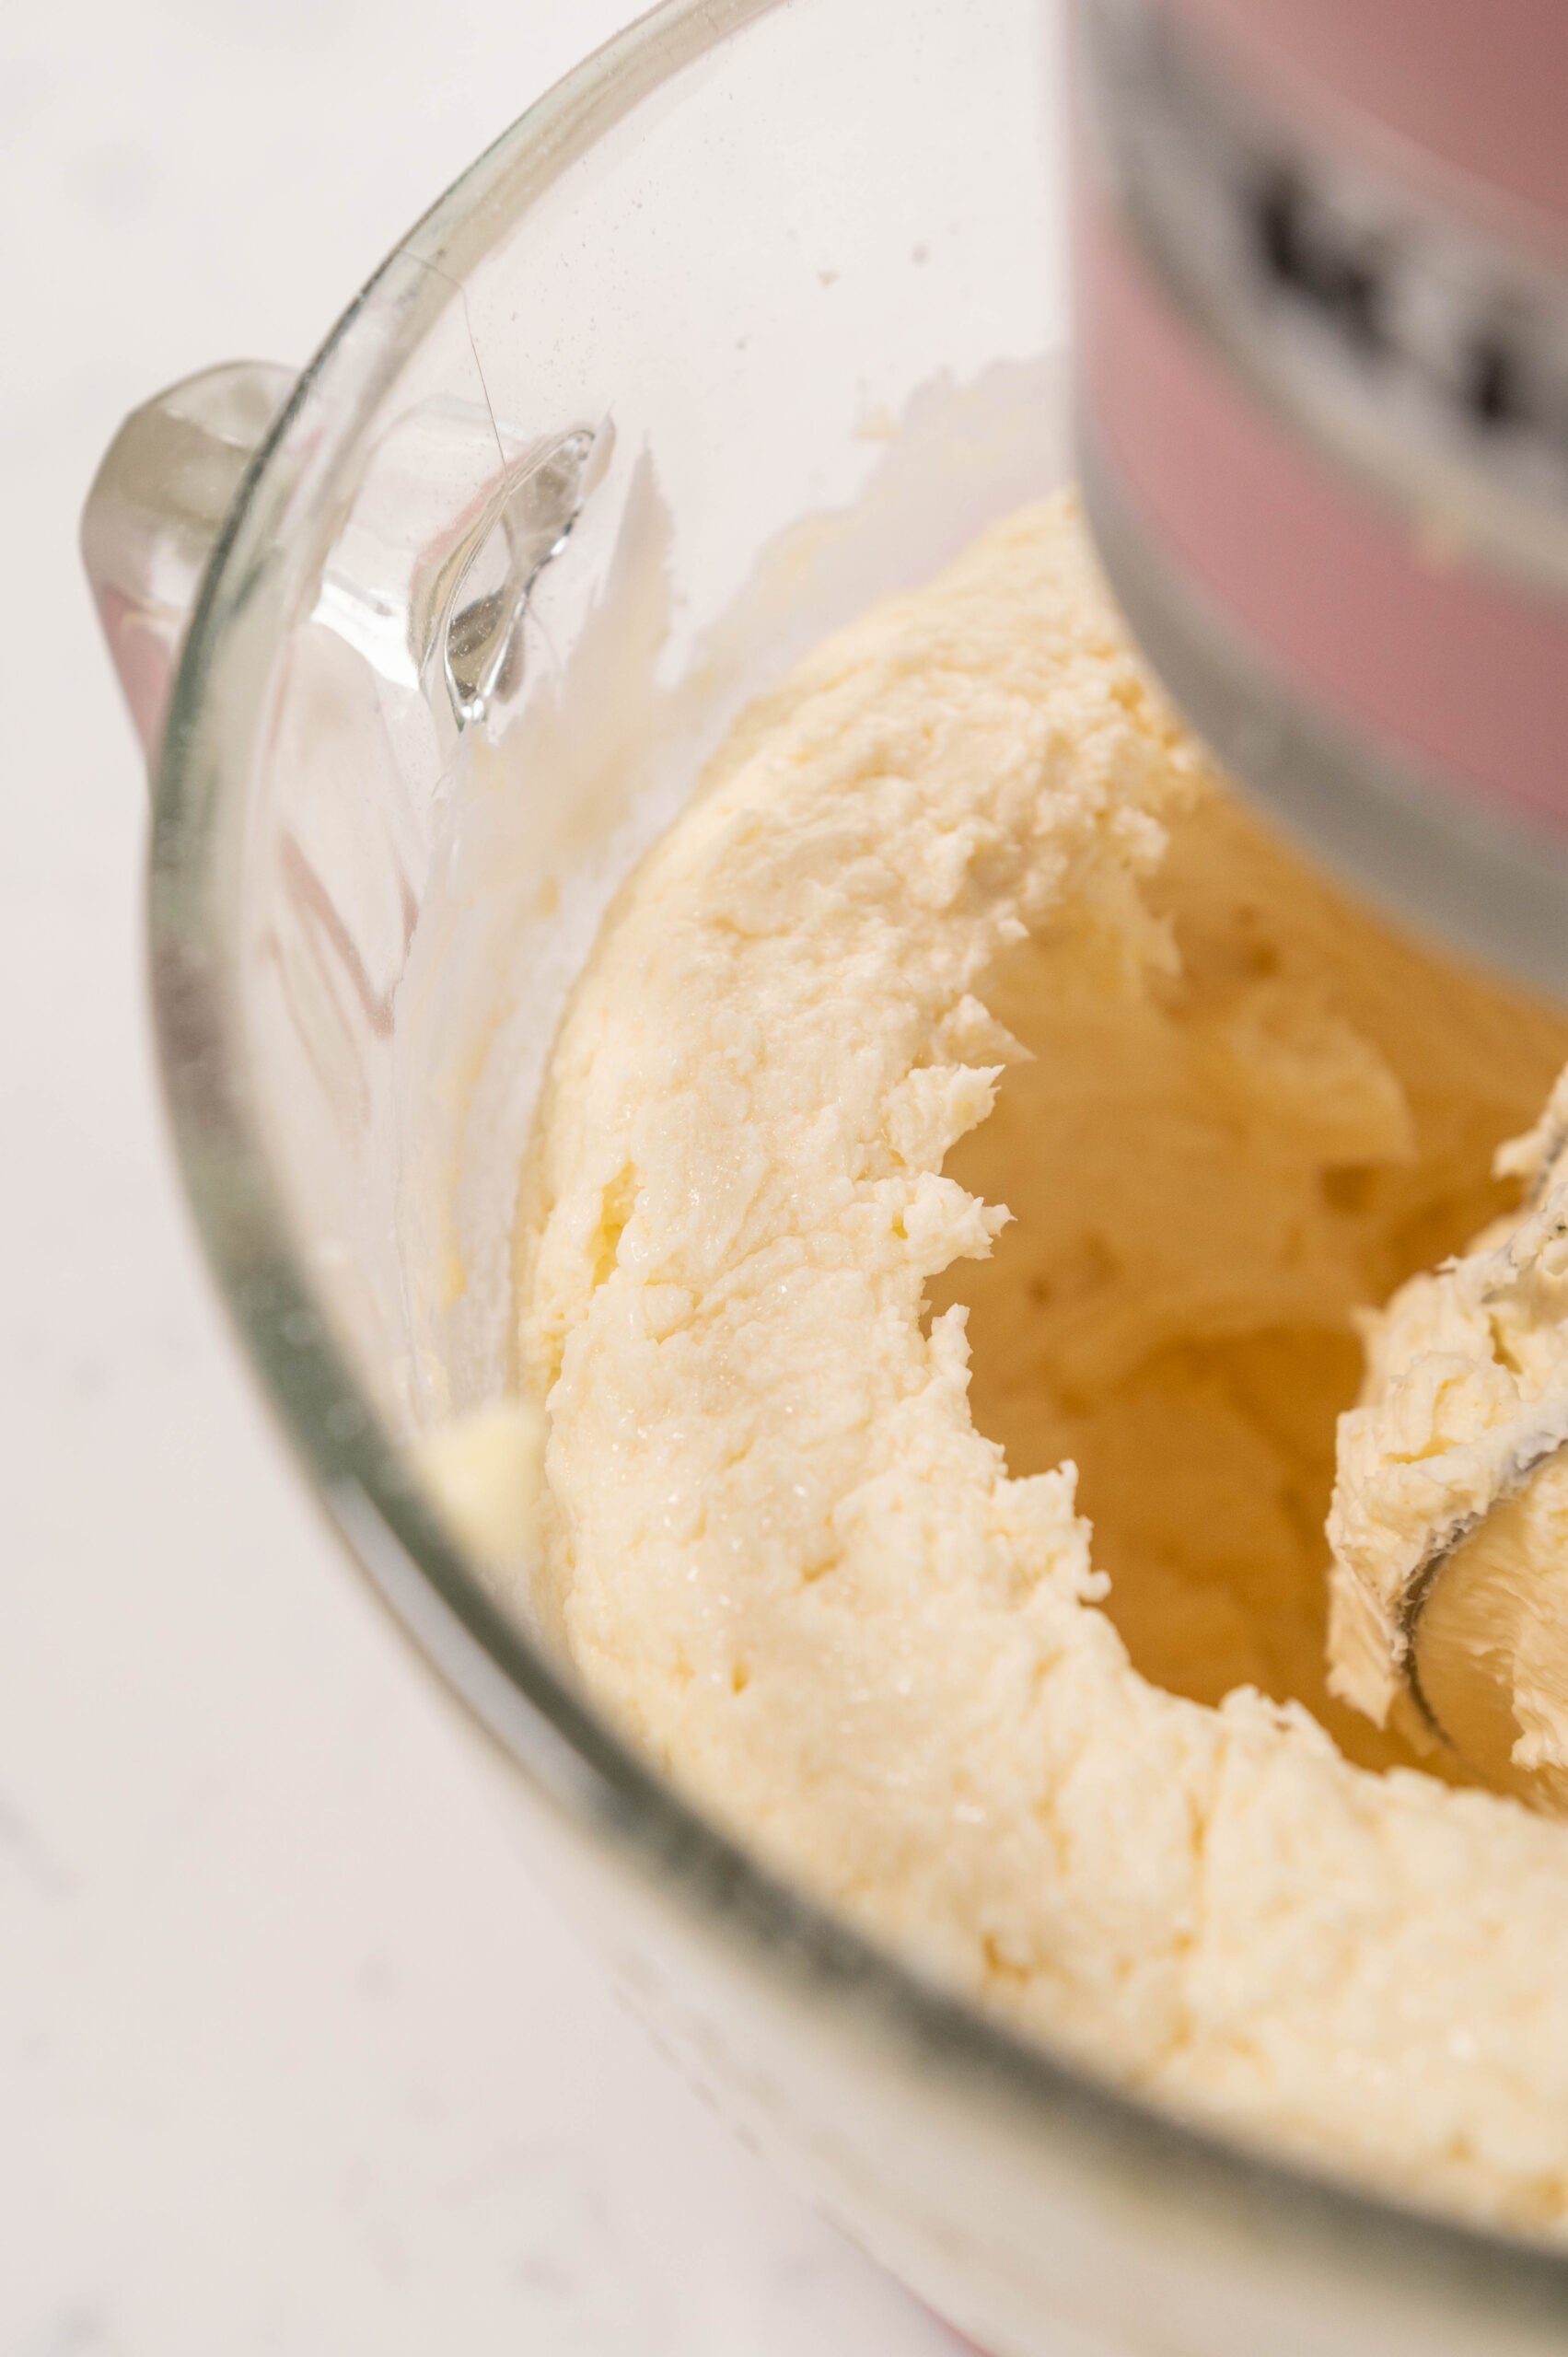
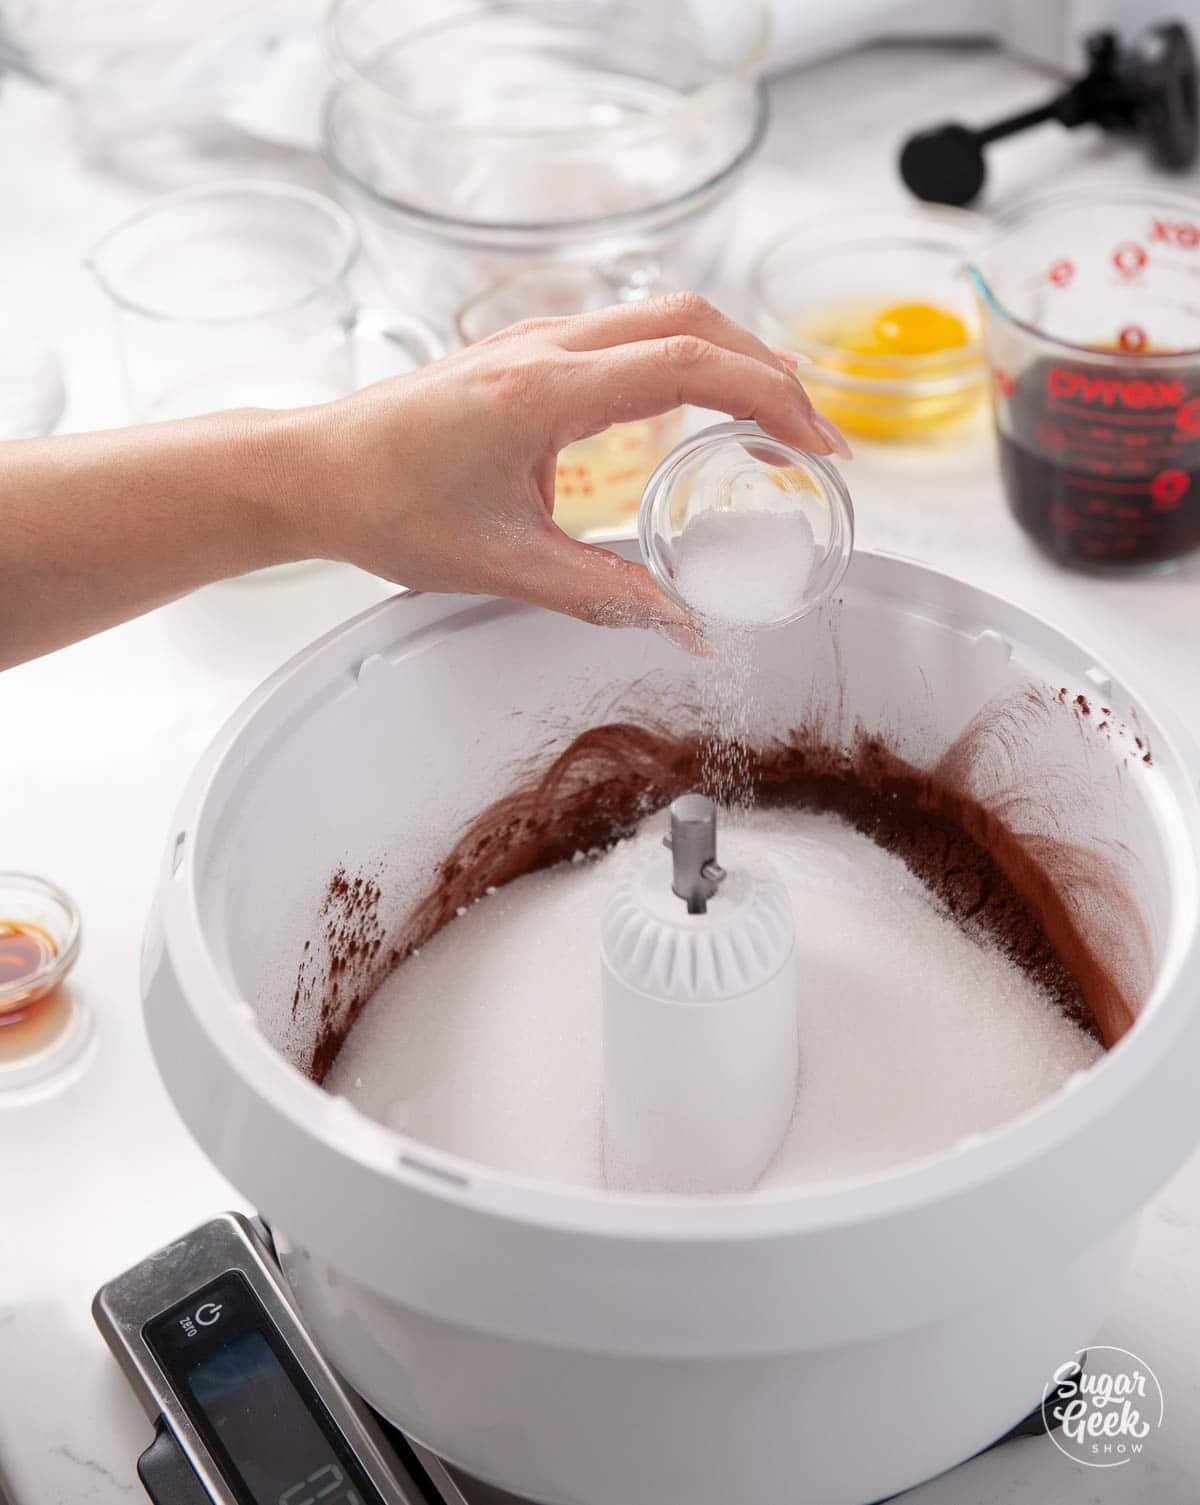
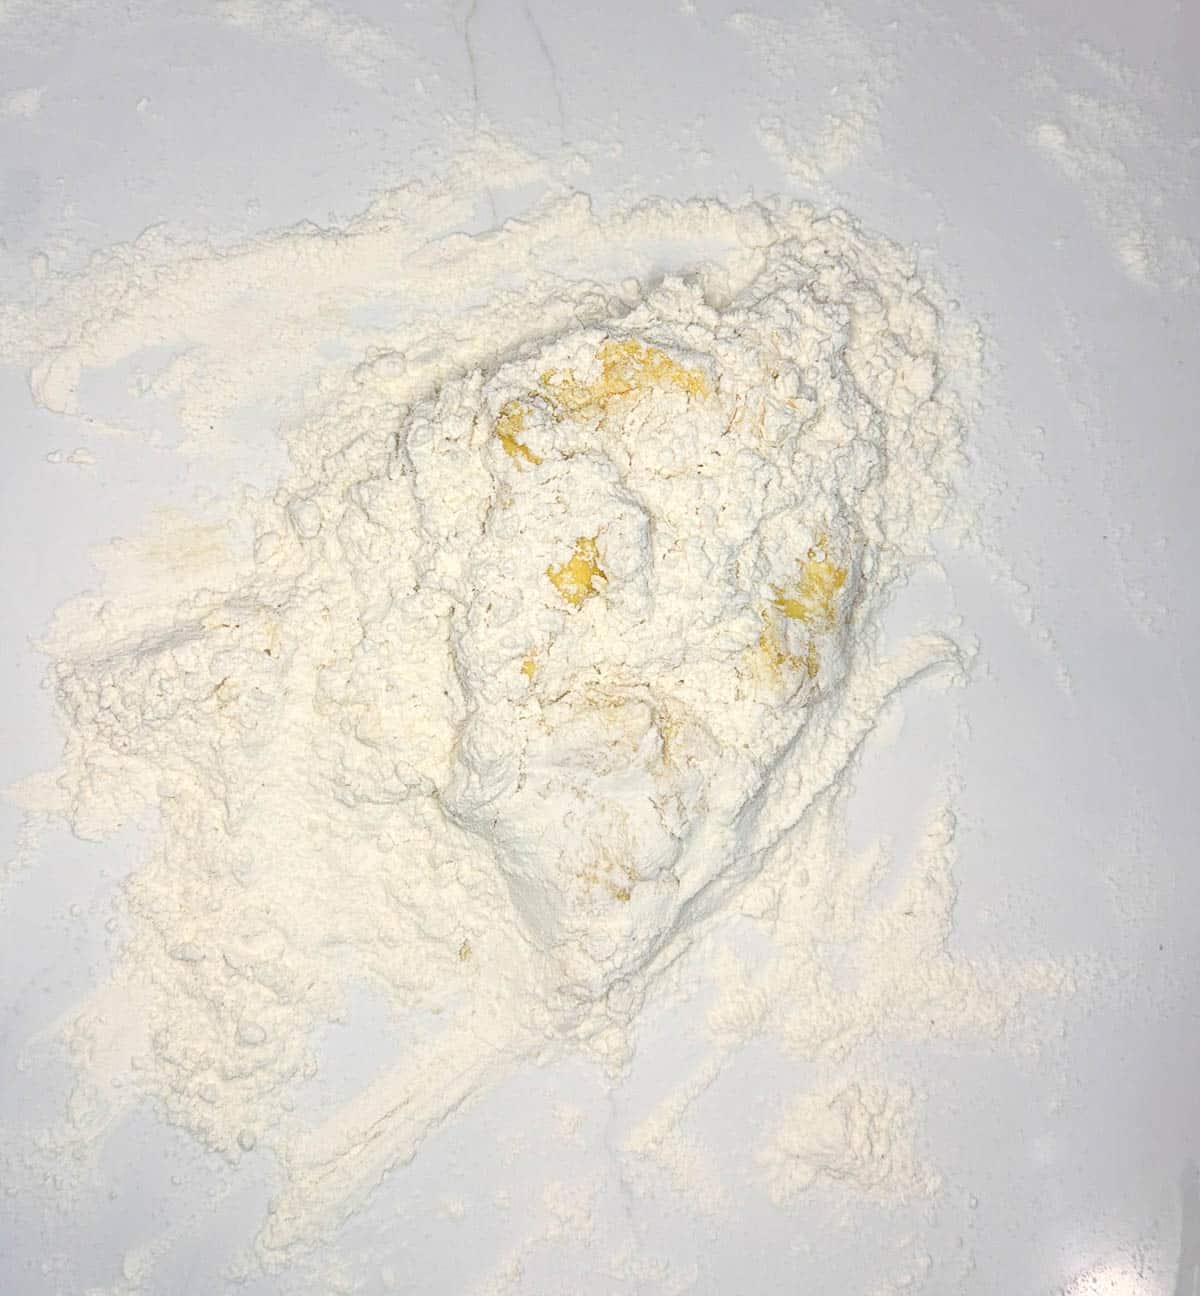
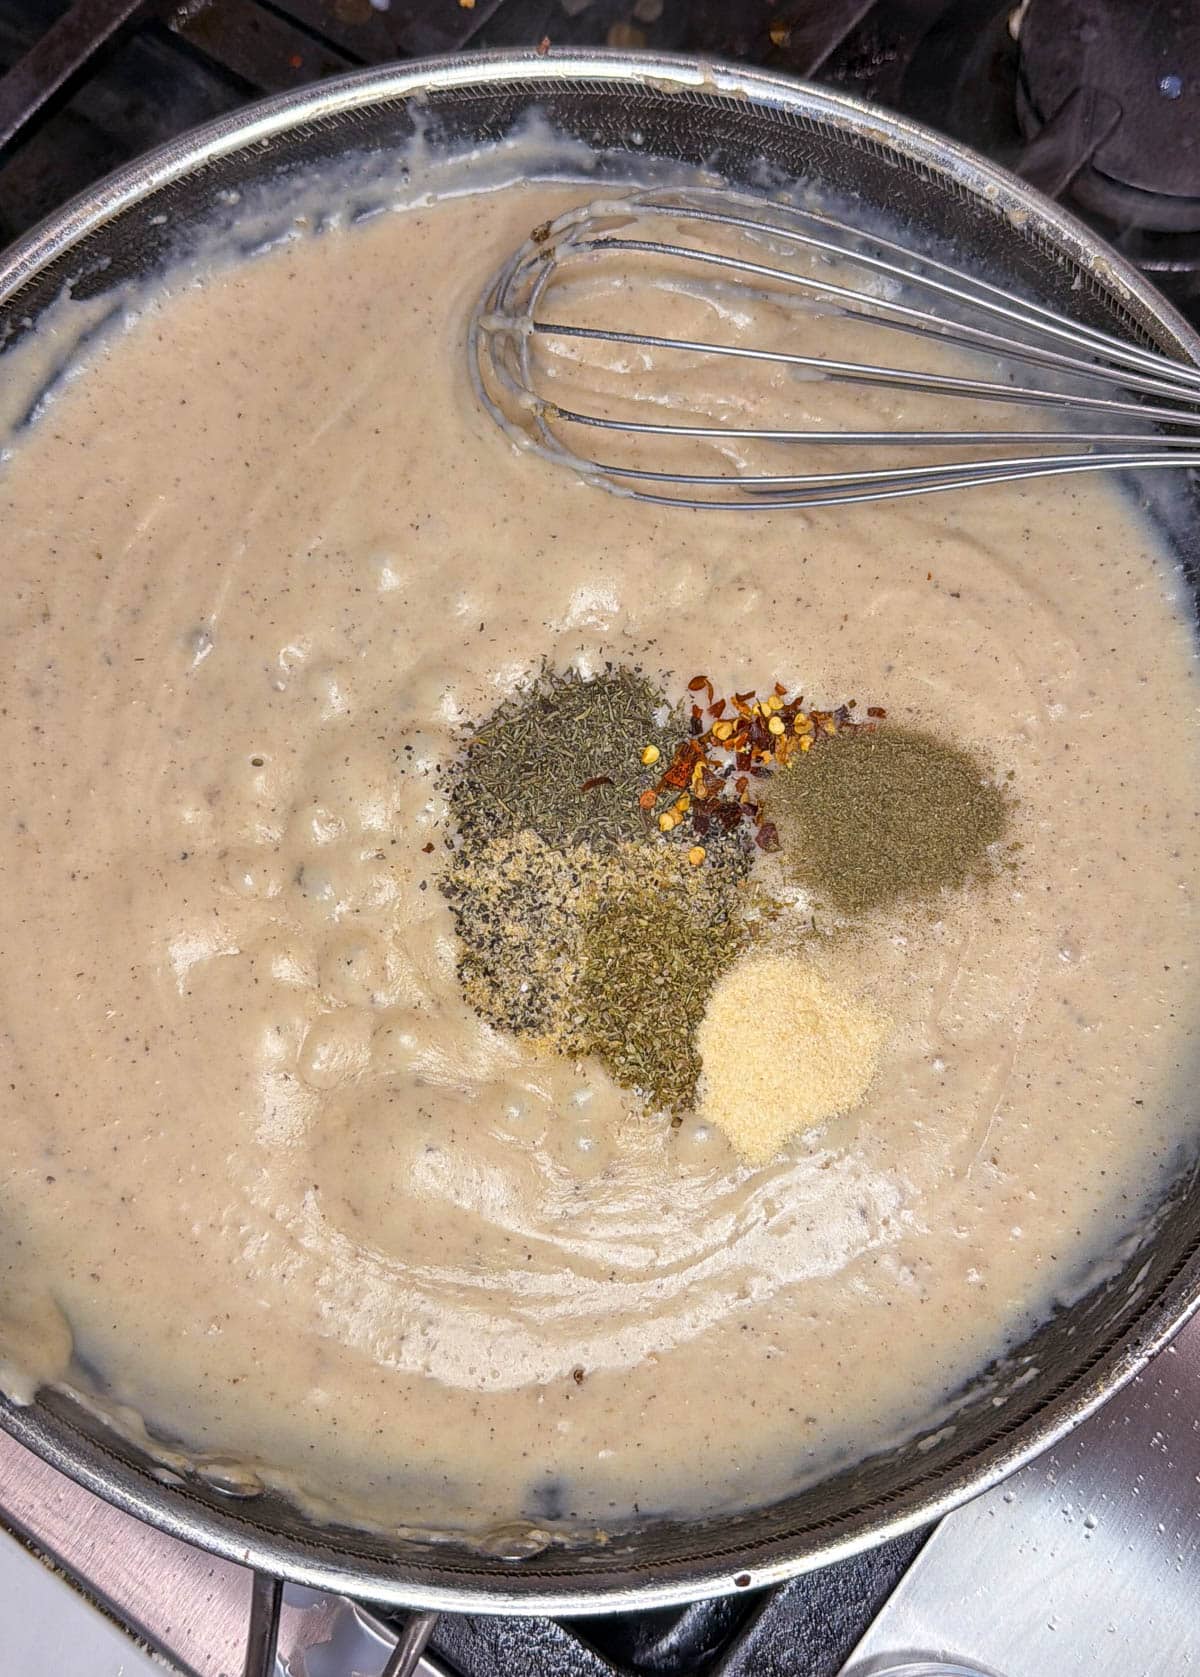
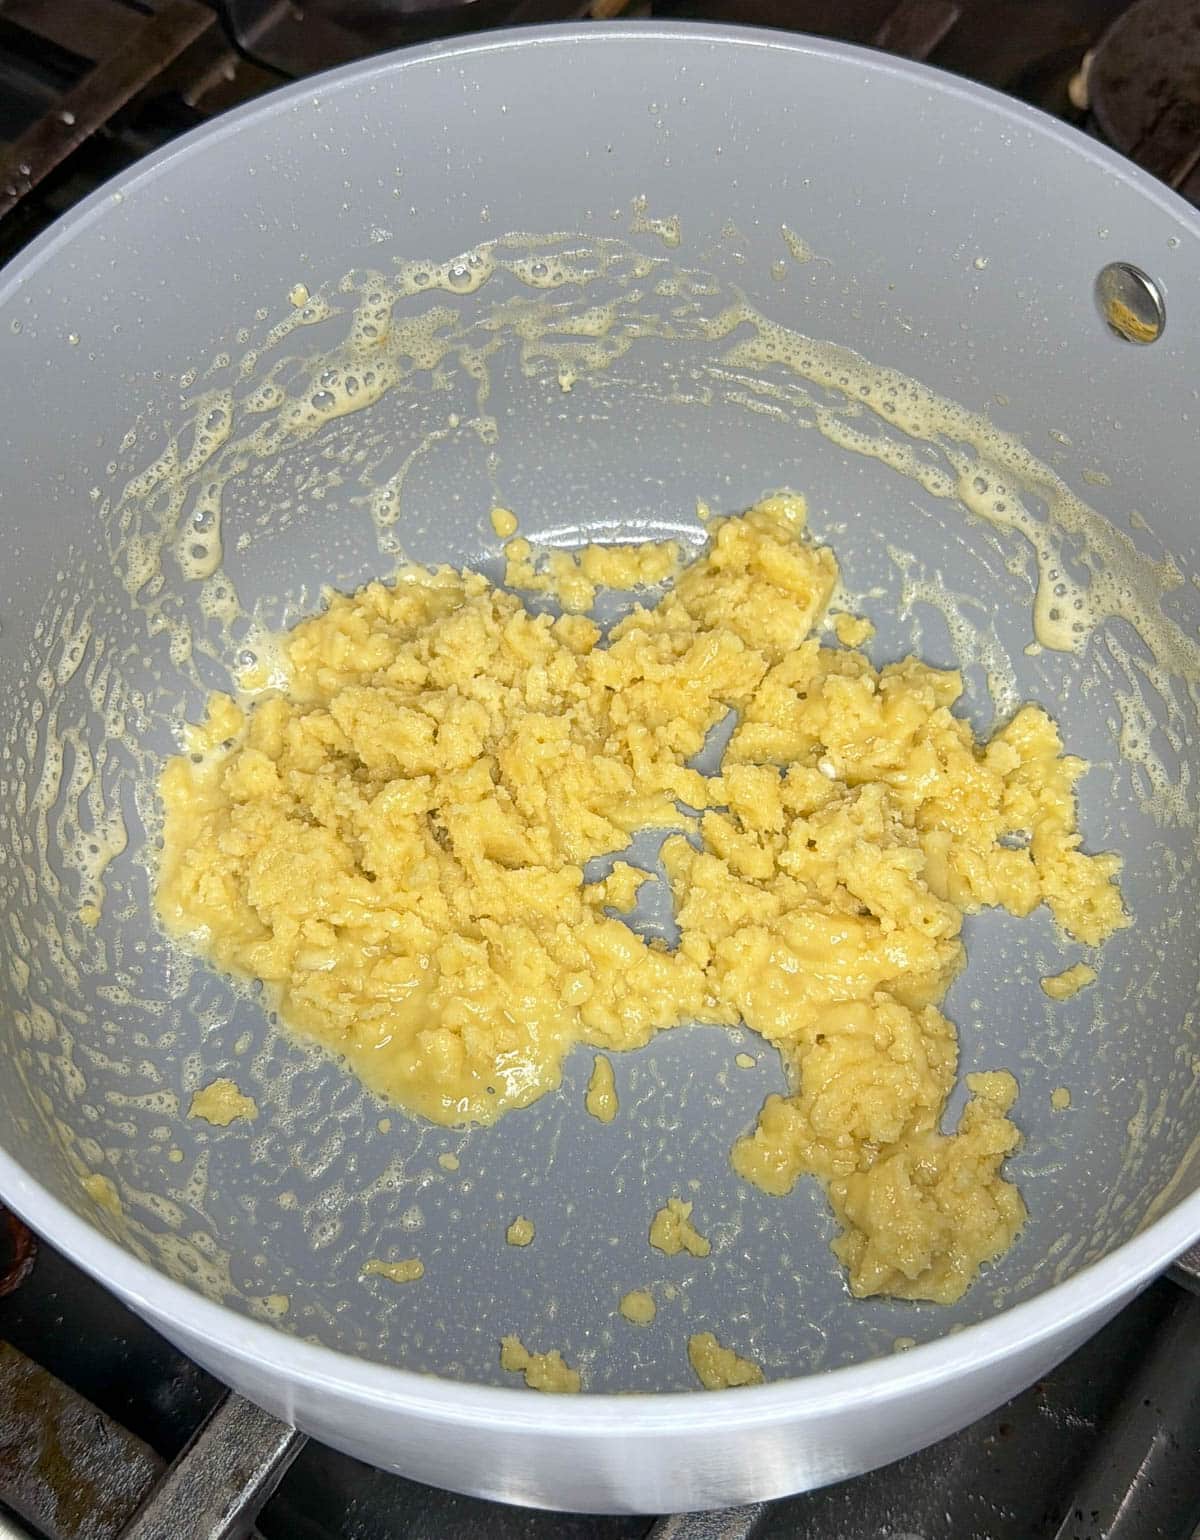
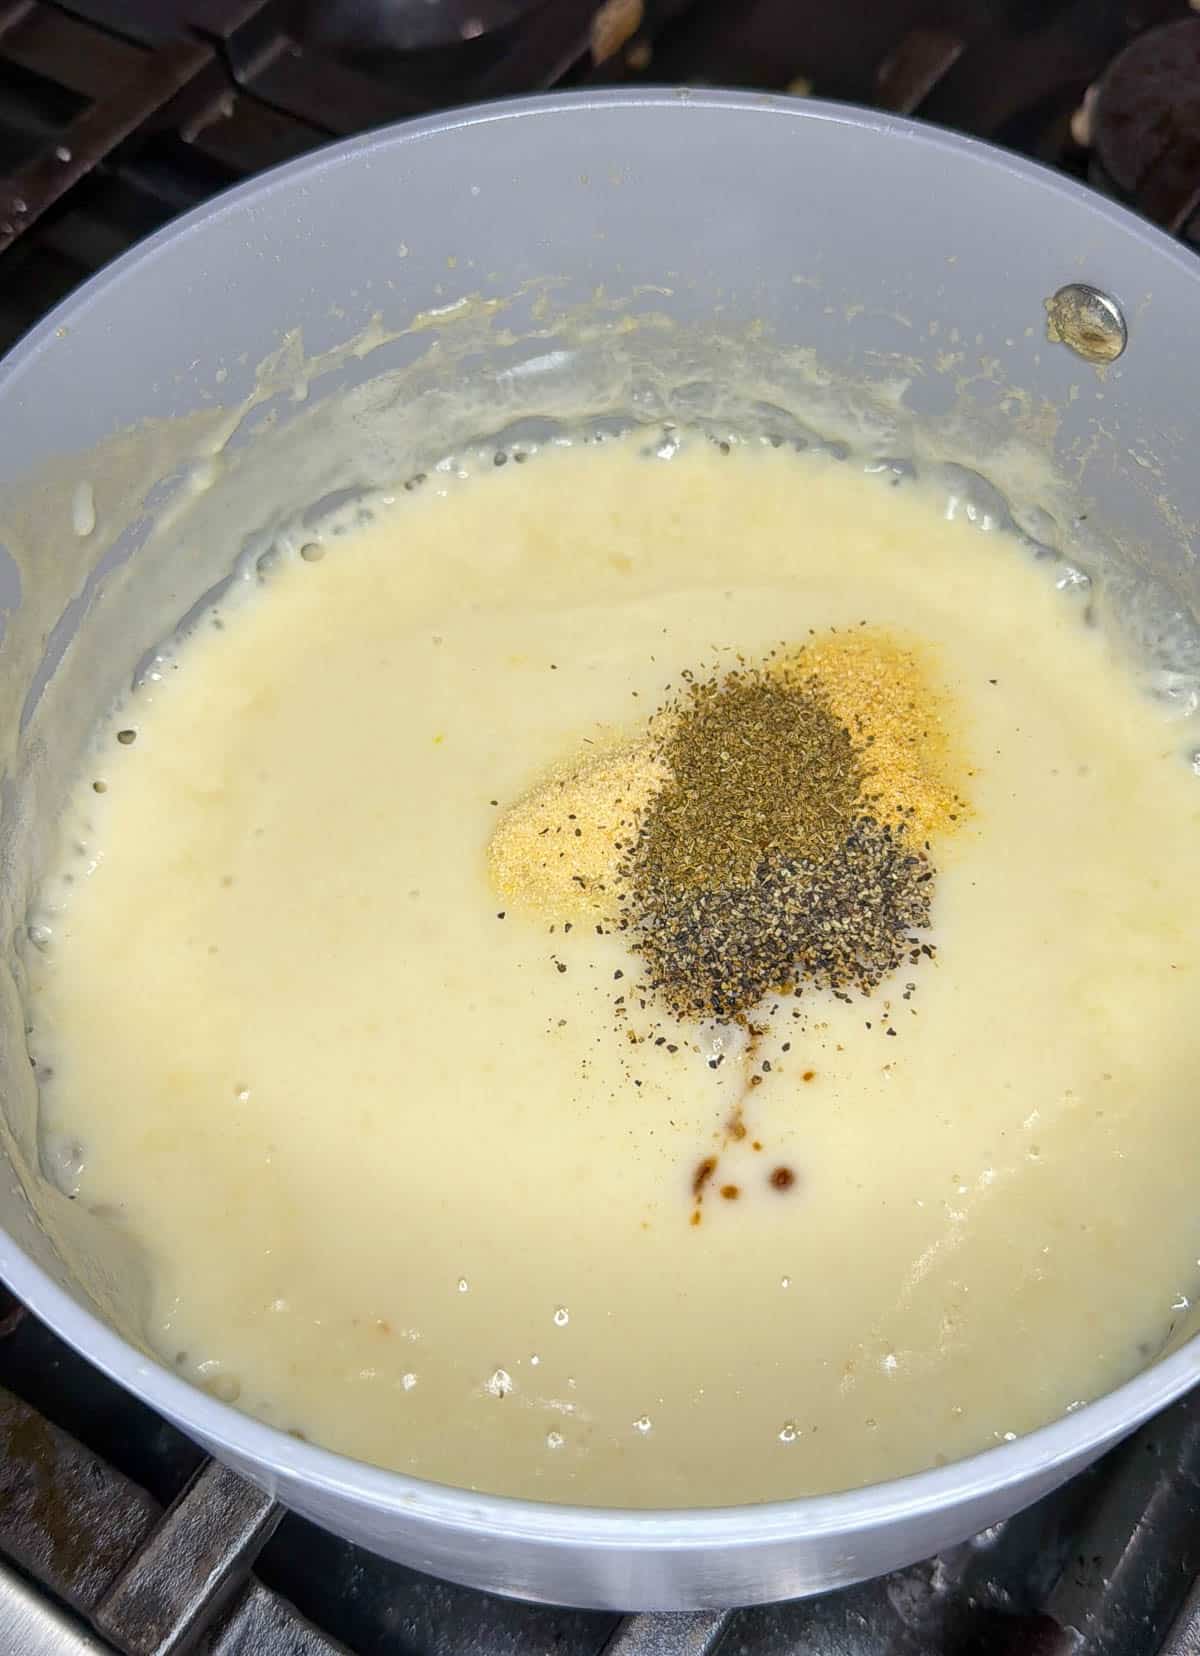
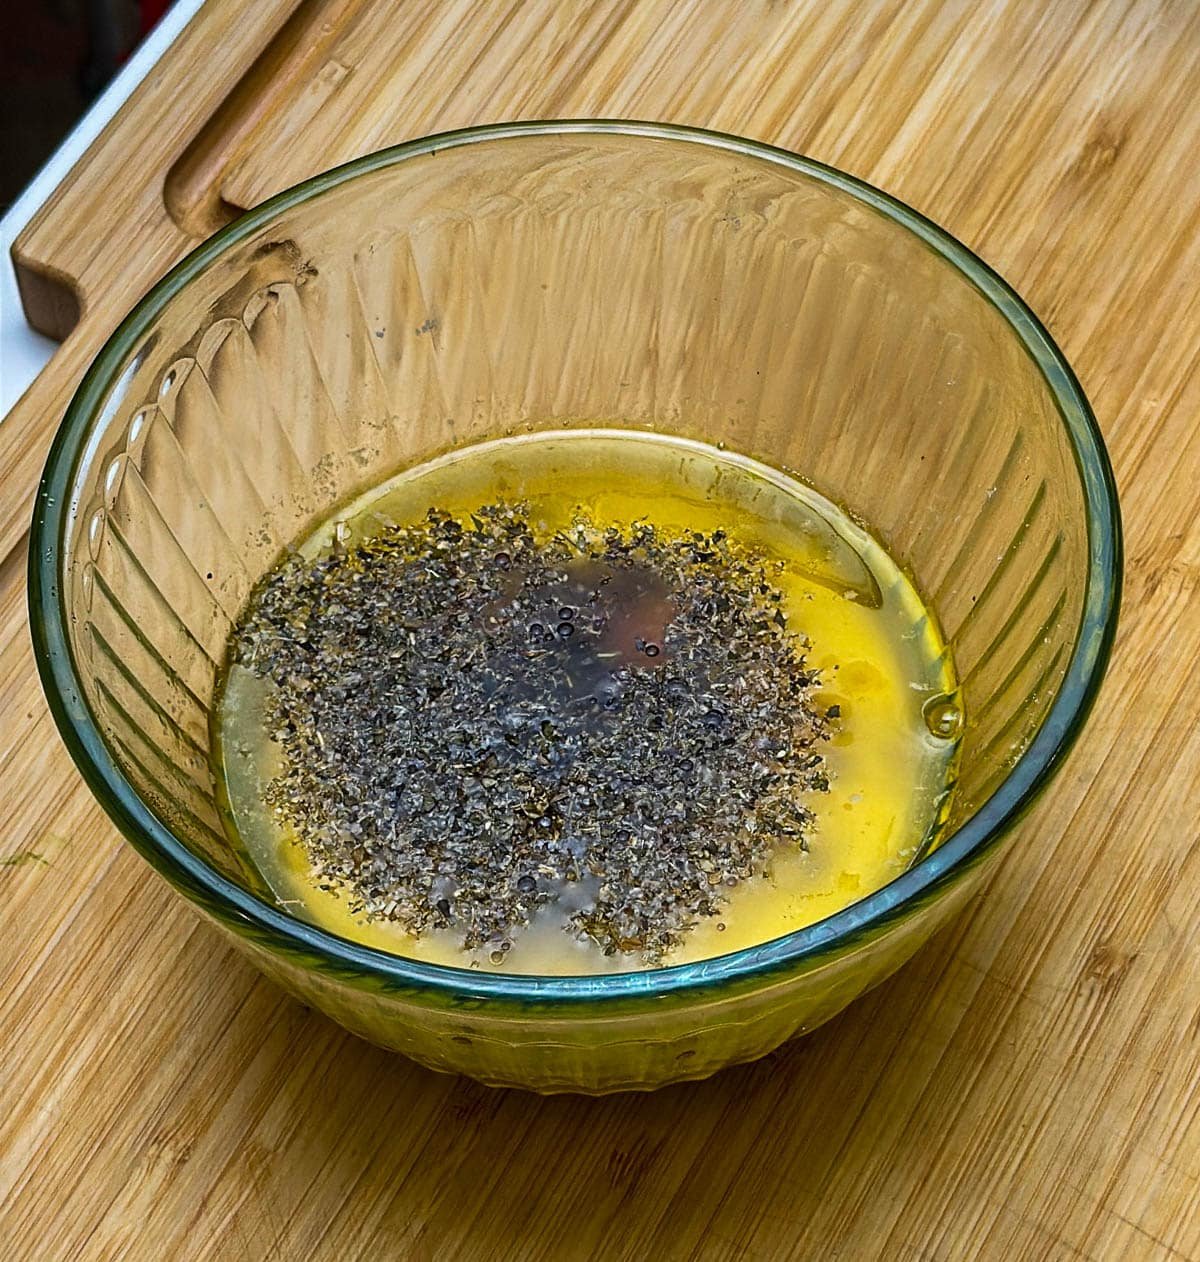
- Mix the dry ingredients. In the bowl of your stand mixer, whisk together the flour, granulated sugar, brown sugar, cocoa powder, baking powder, baking soda, and salt.

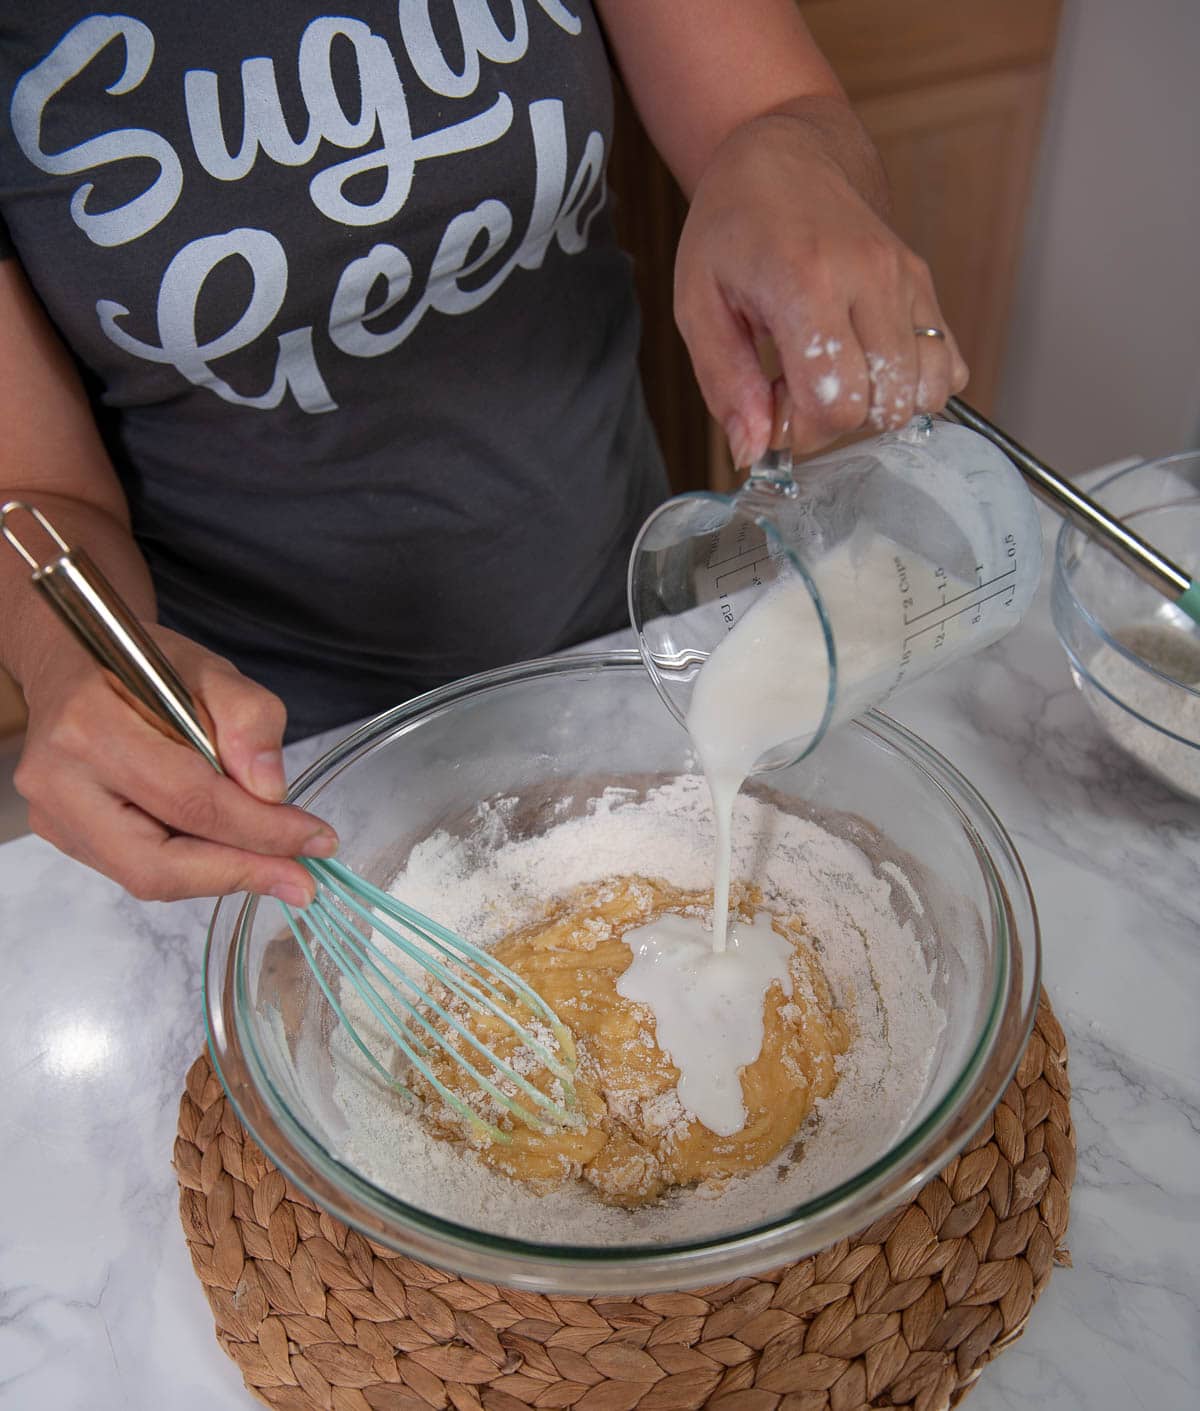
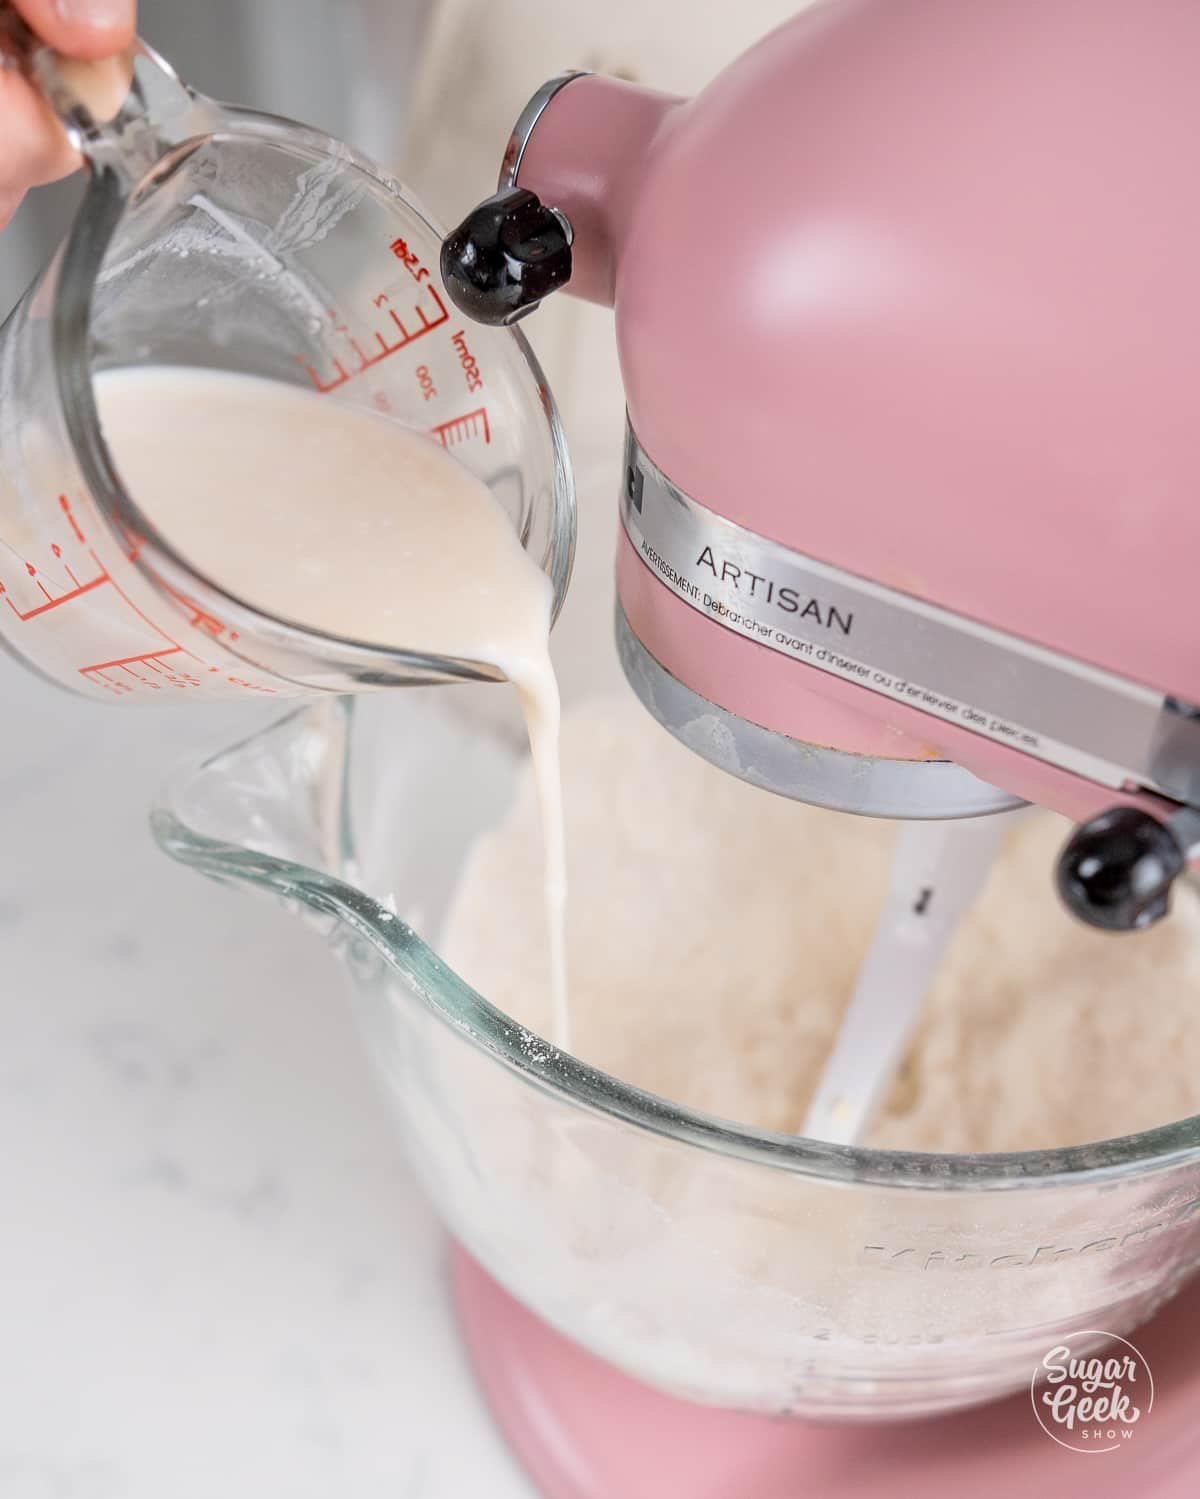
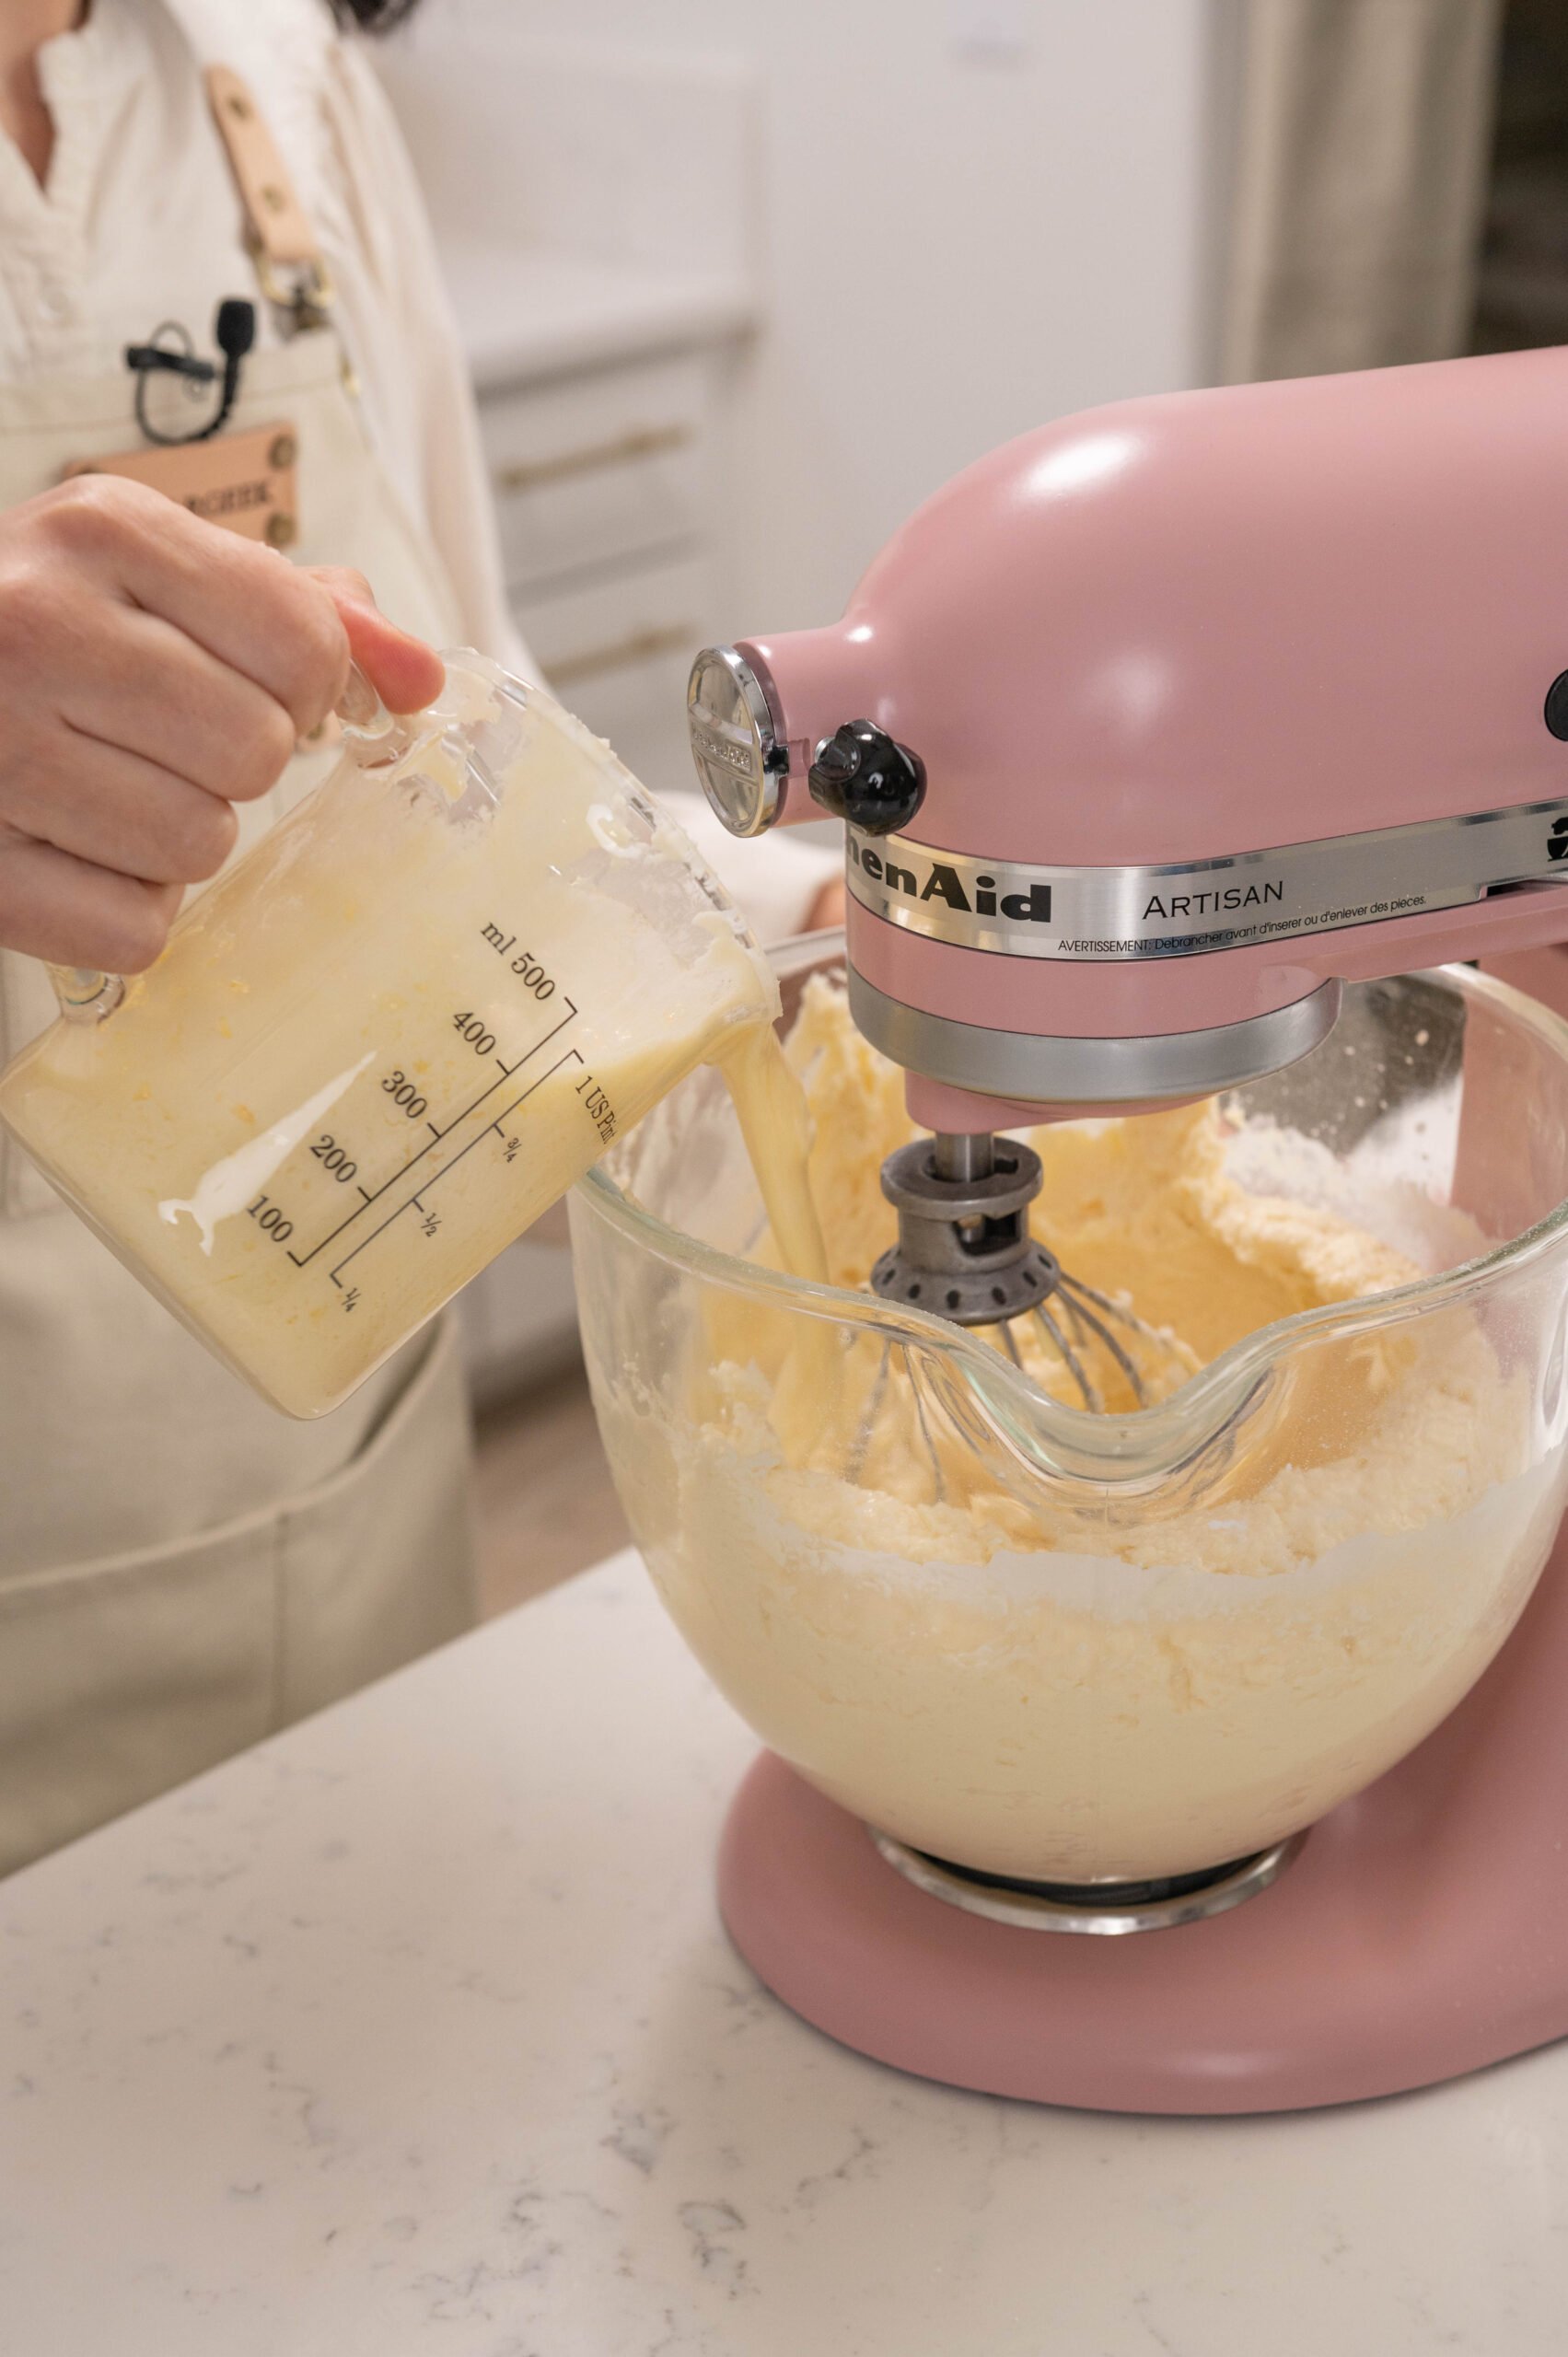
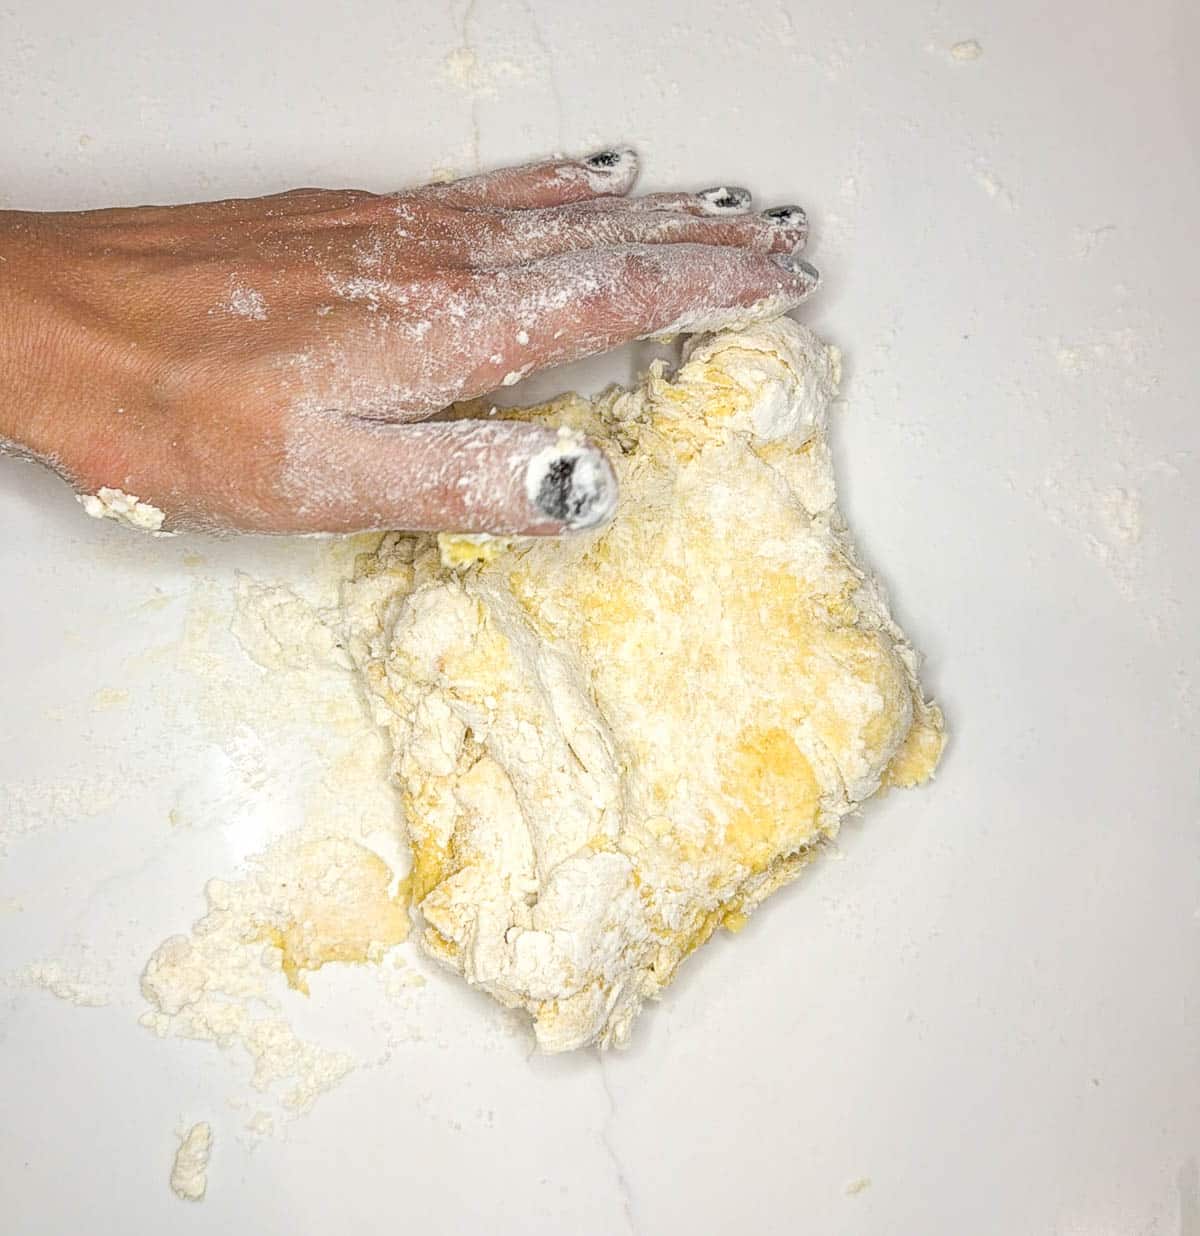
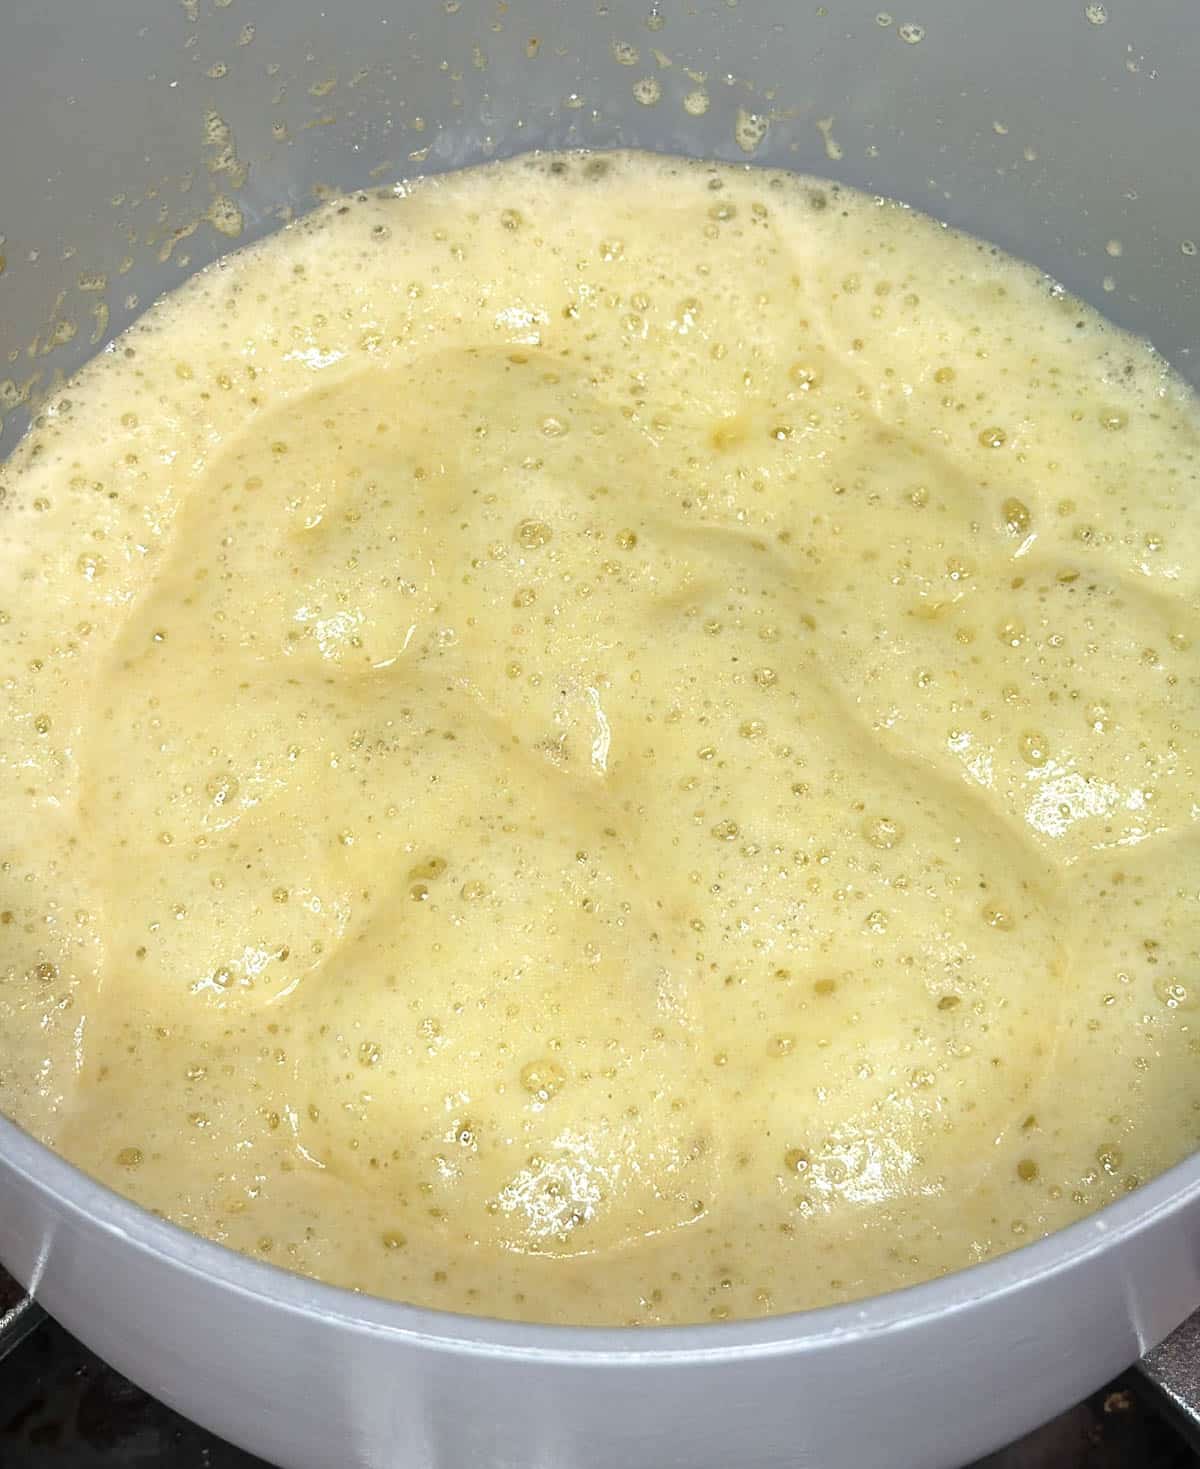
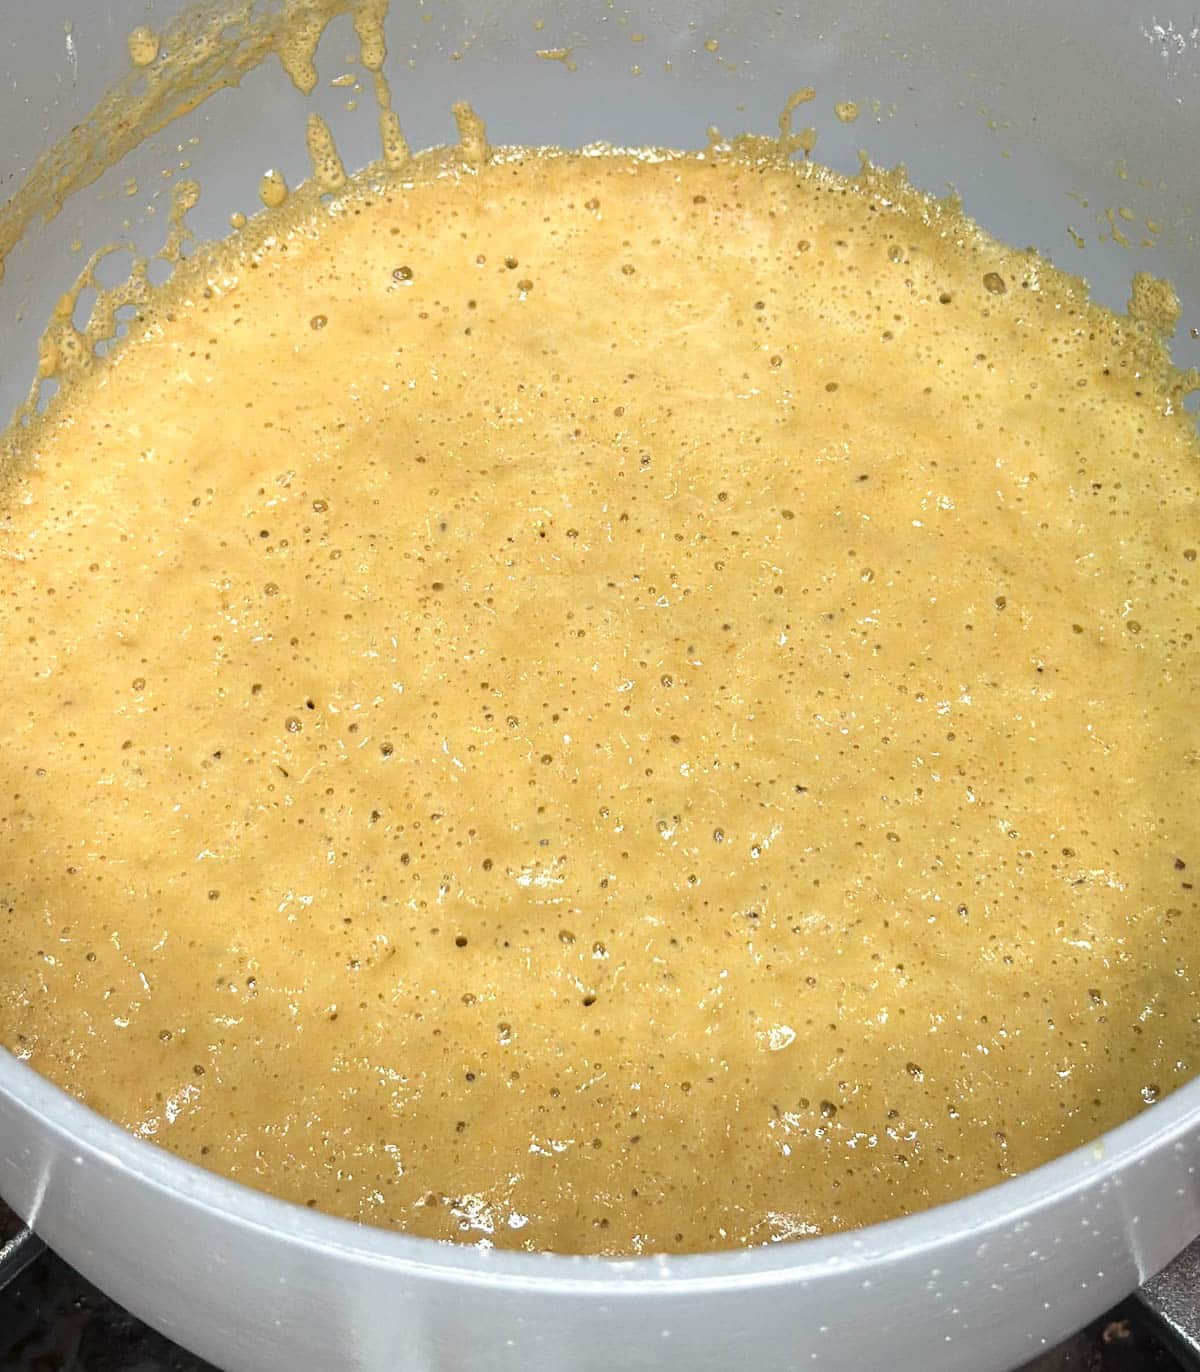
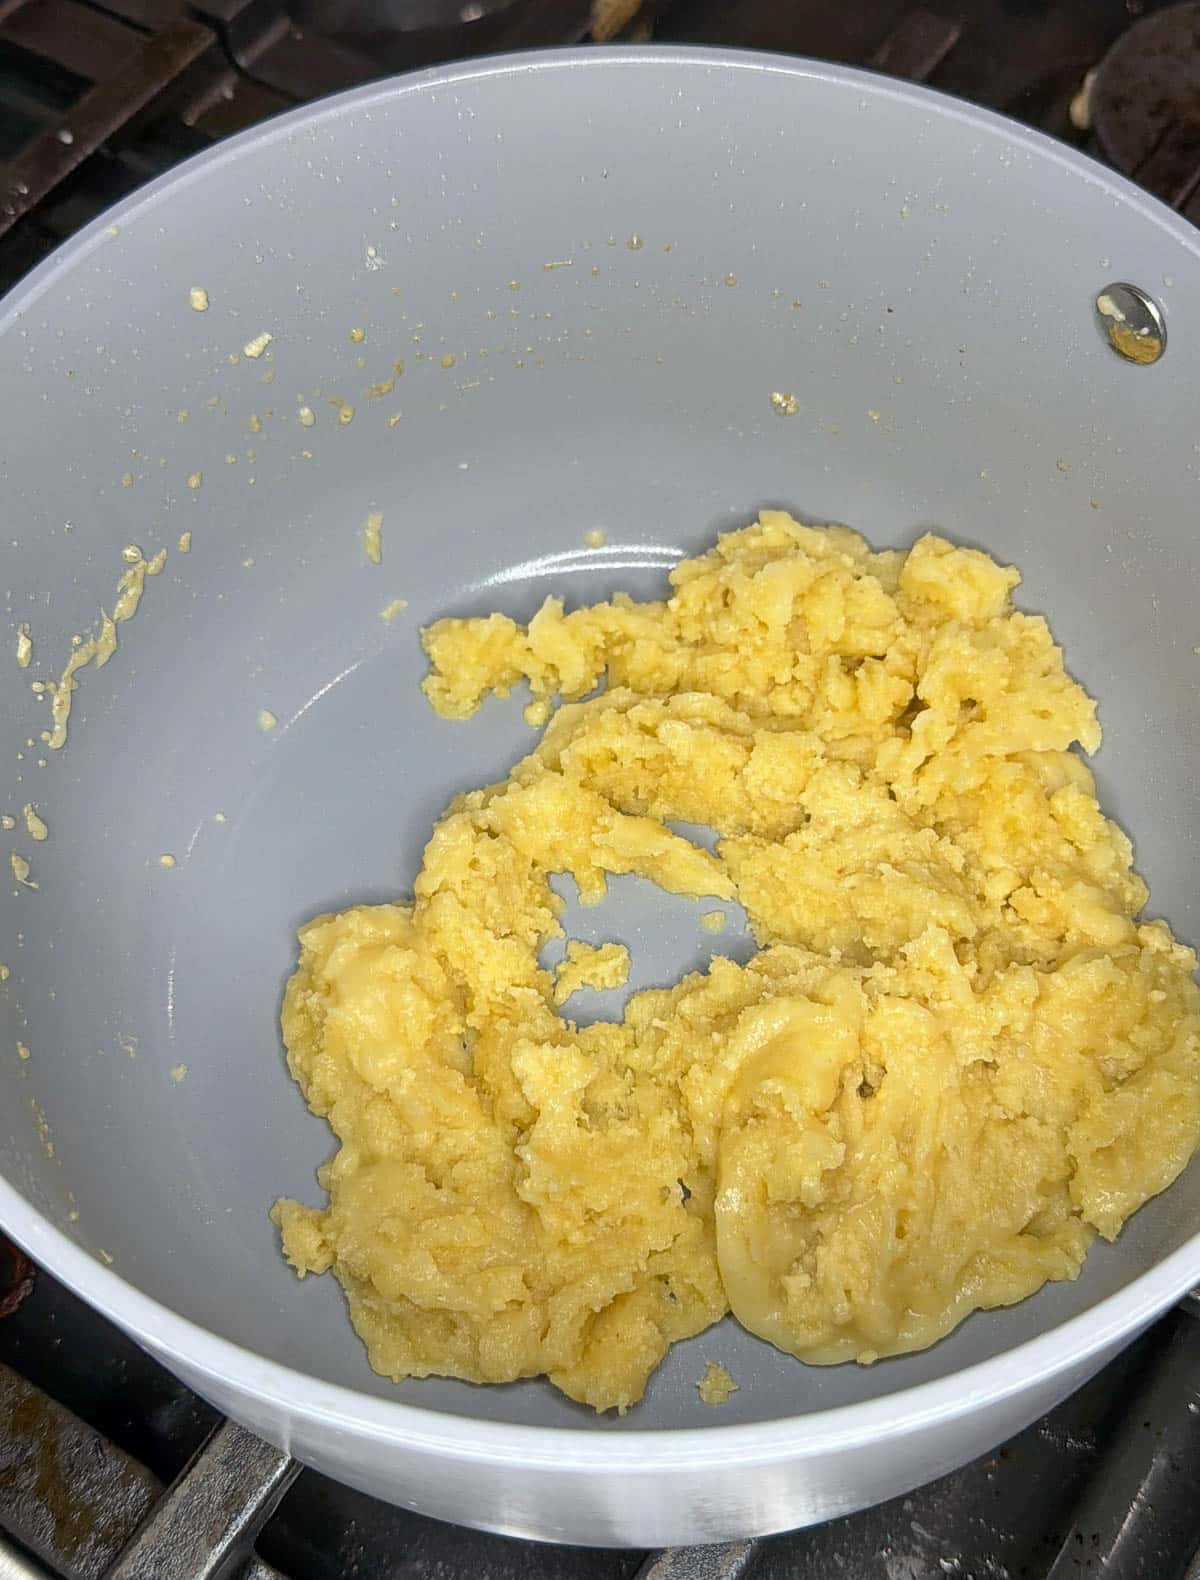
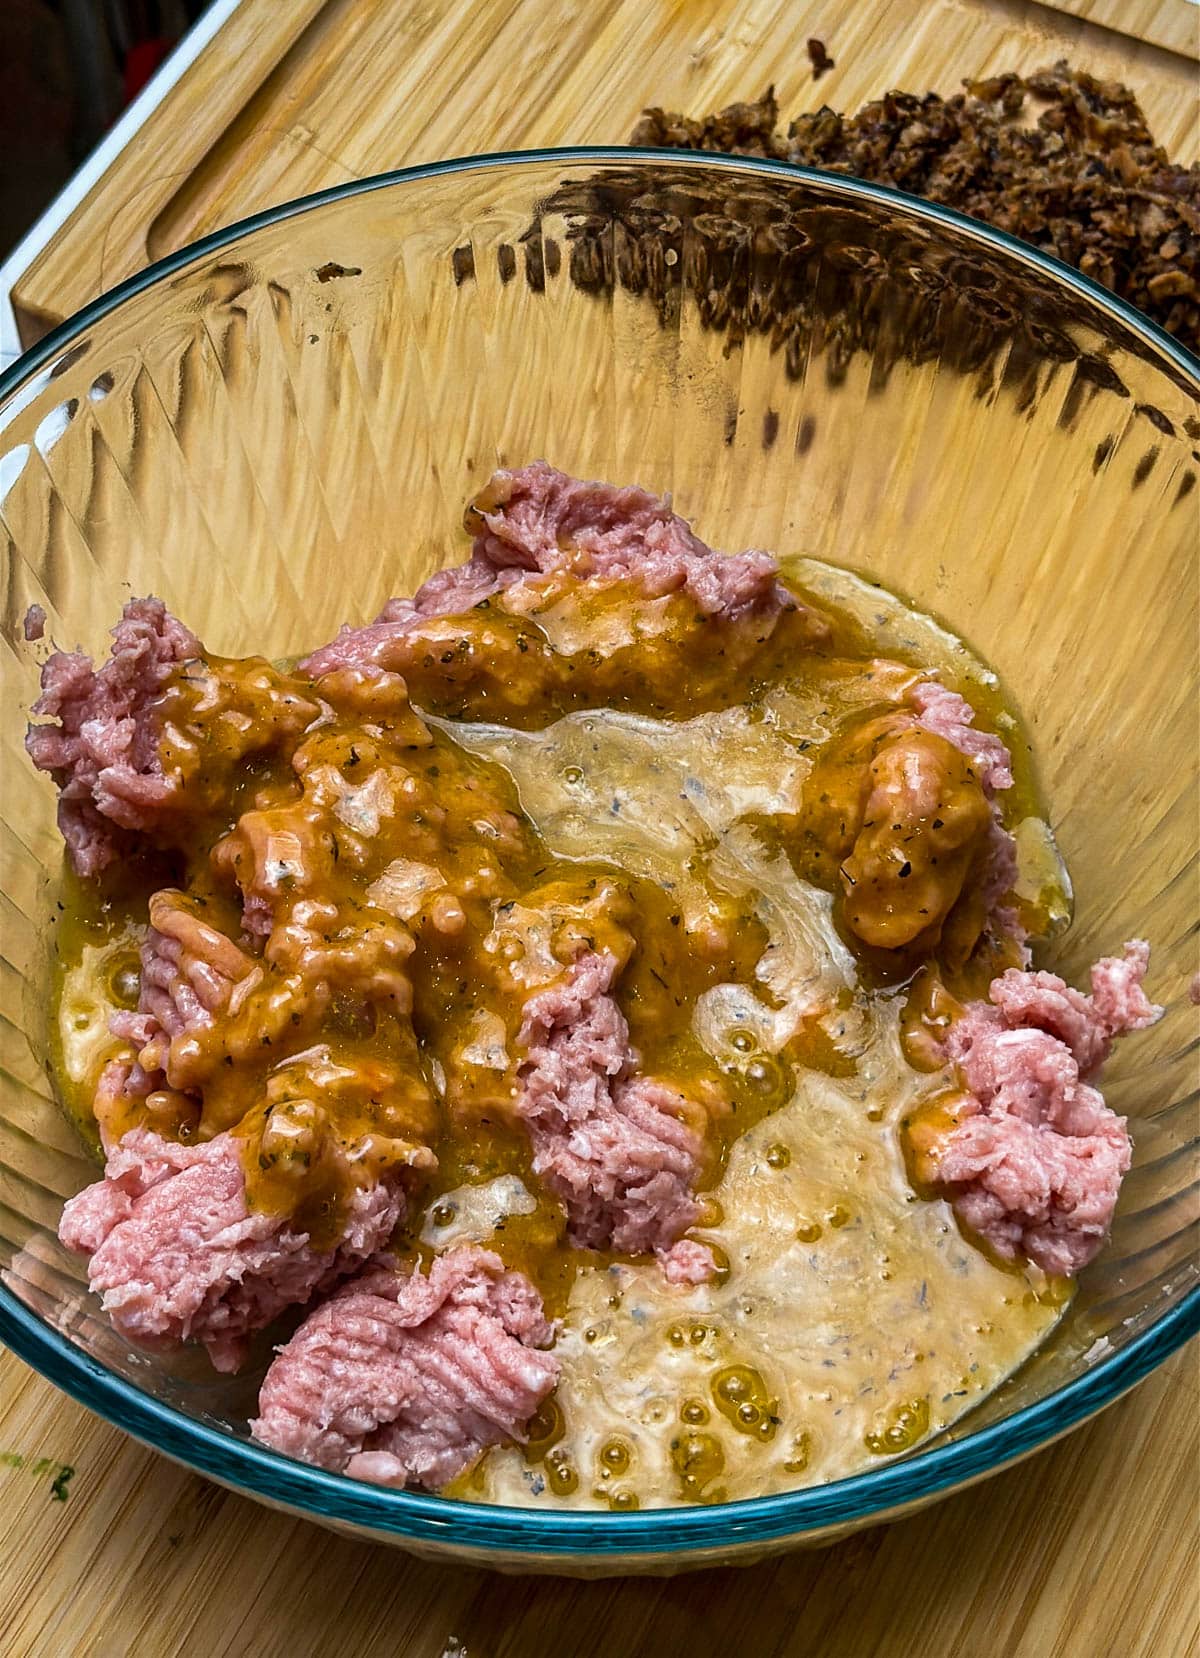
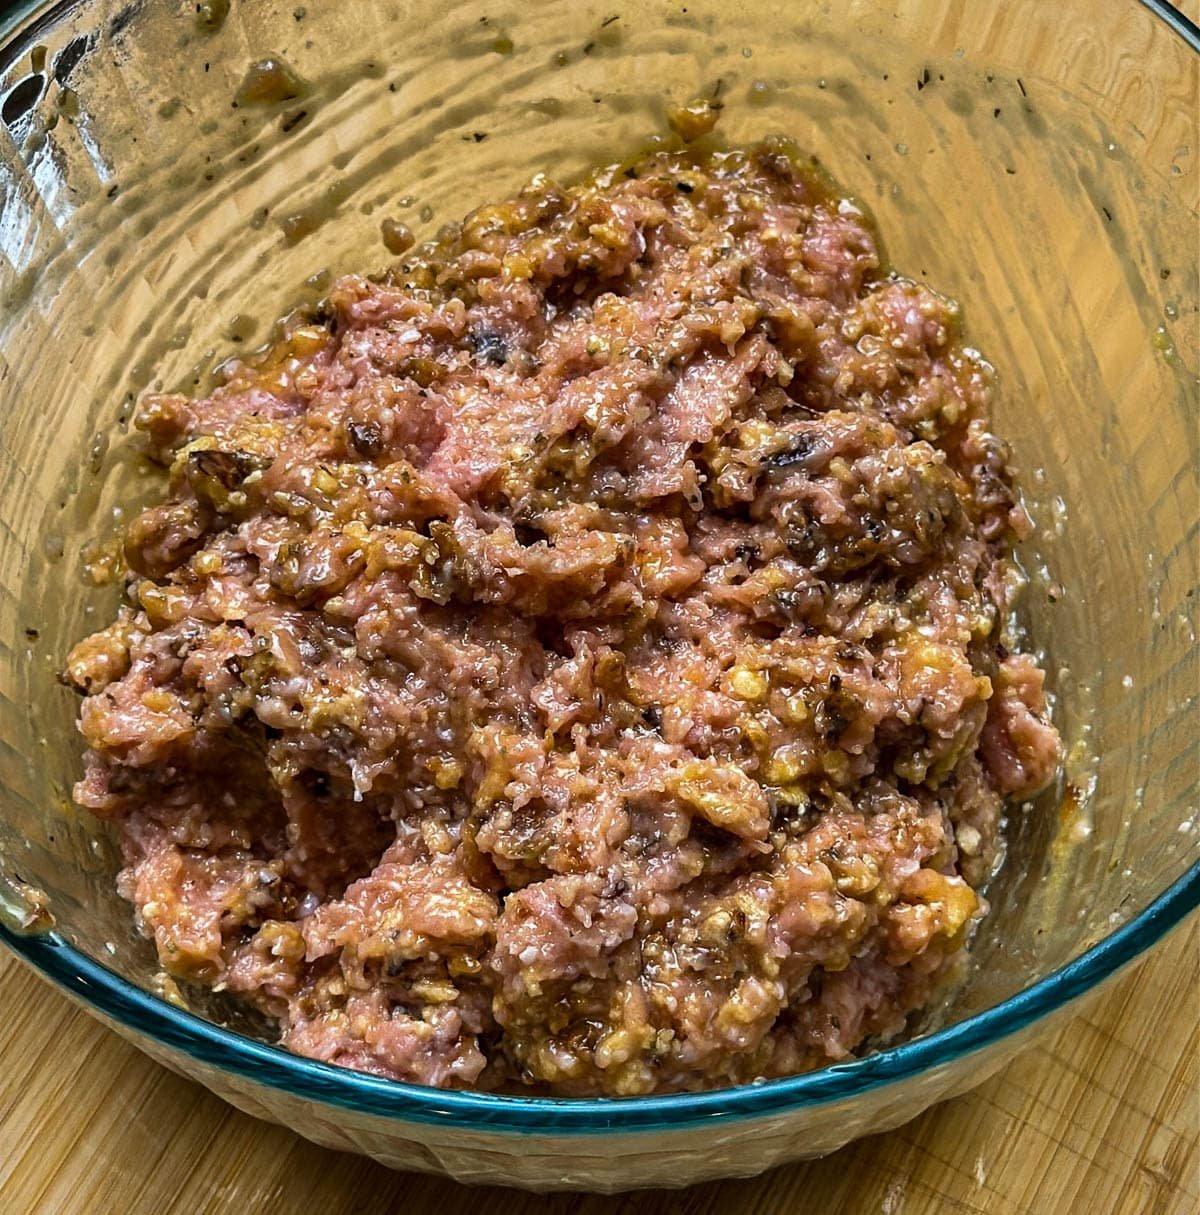
- Add the wet ingredients. Add the eggs, buttermilk, oil, and vanilla extract. Mix on low for about 30 seconds until just combined.
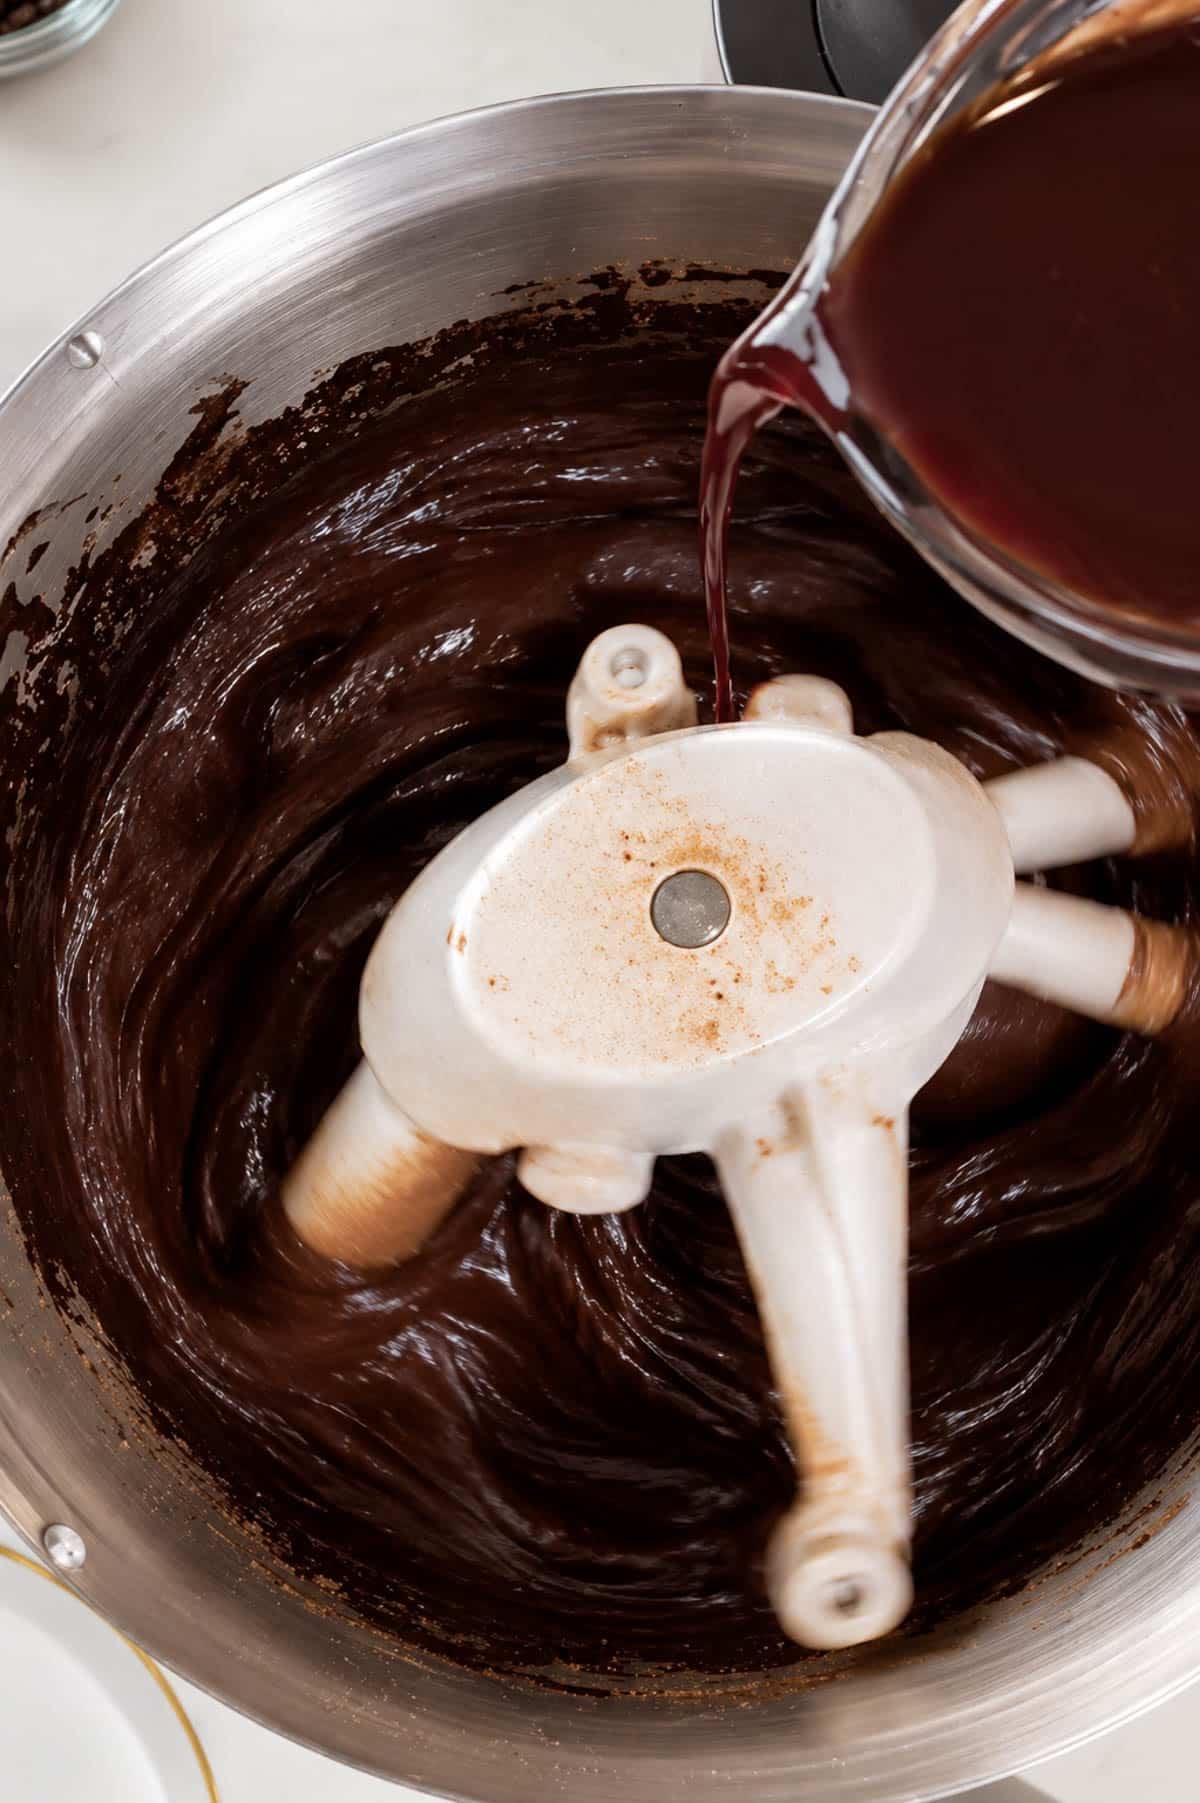
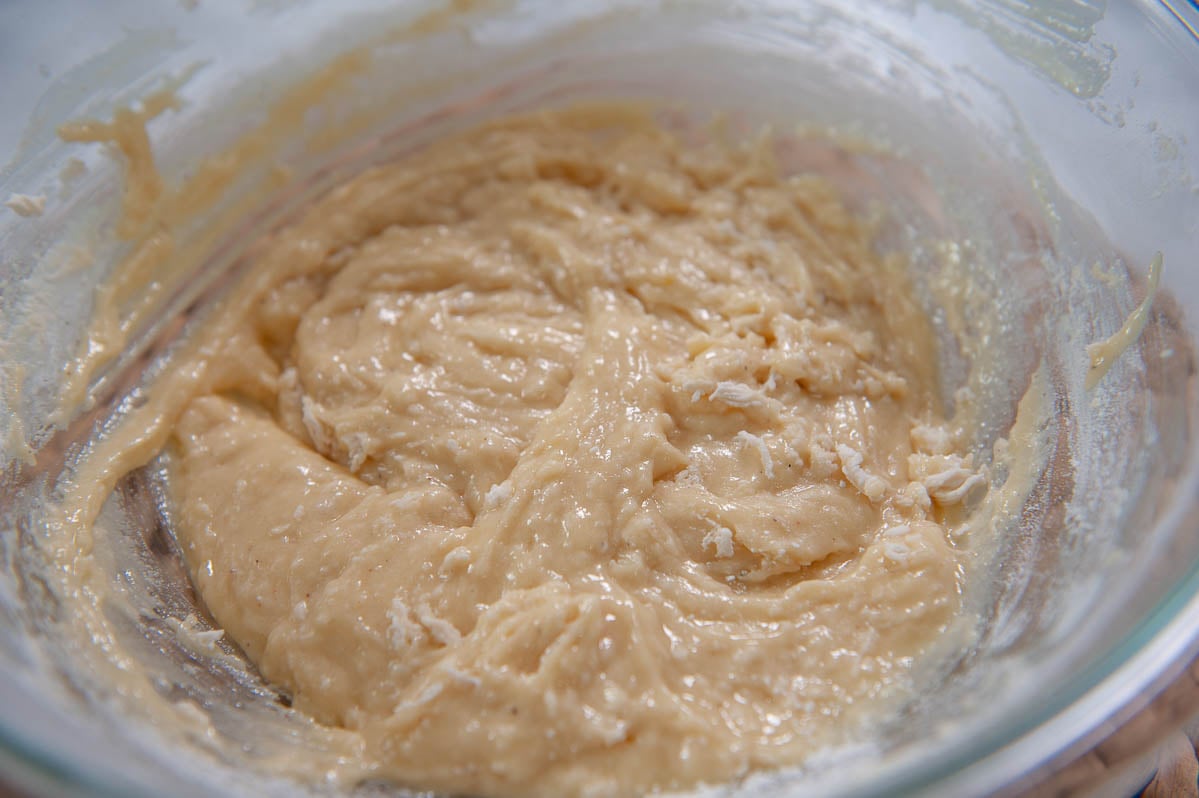
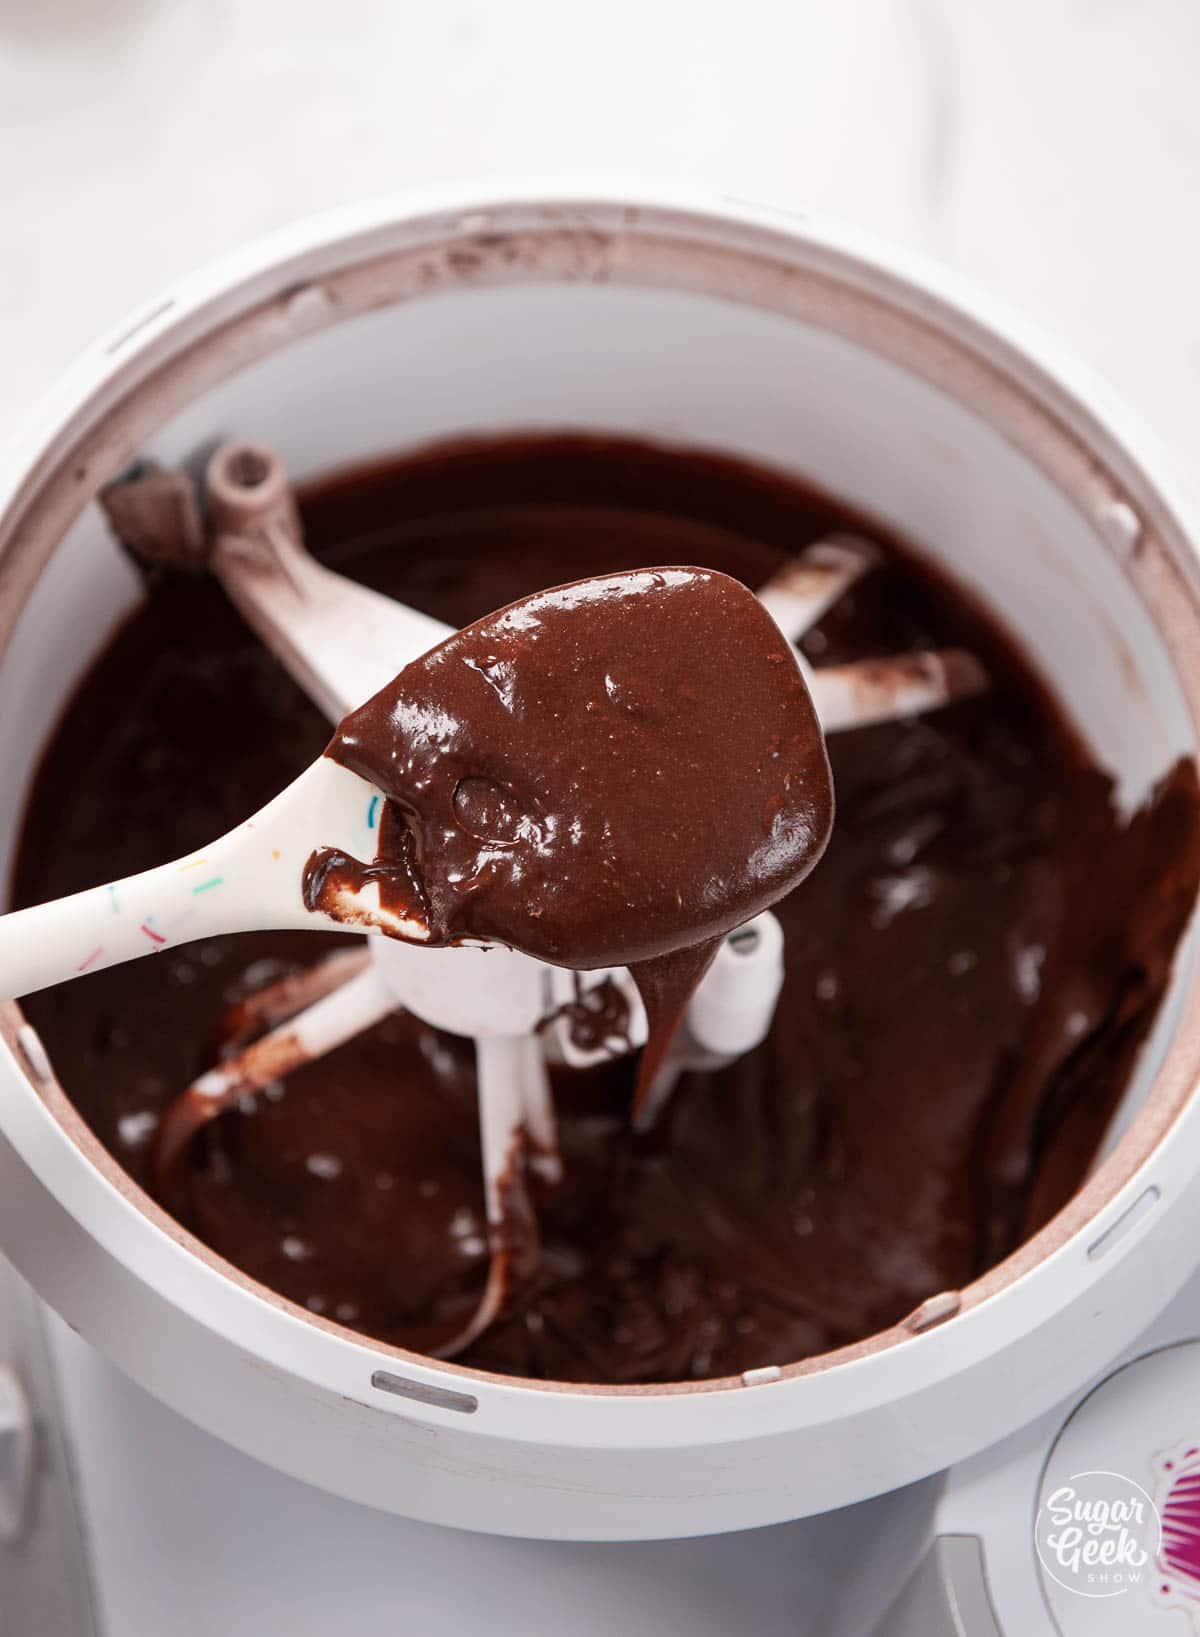
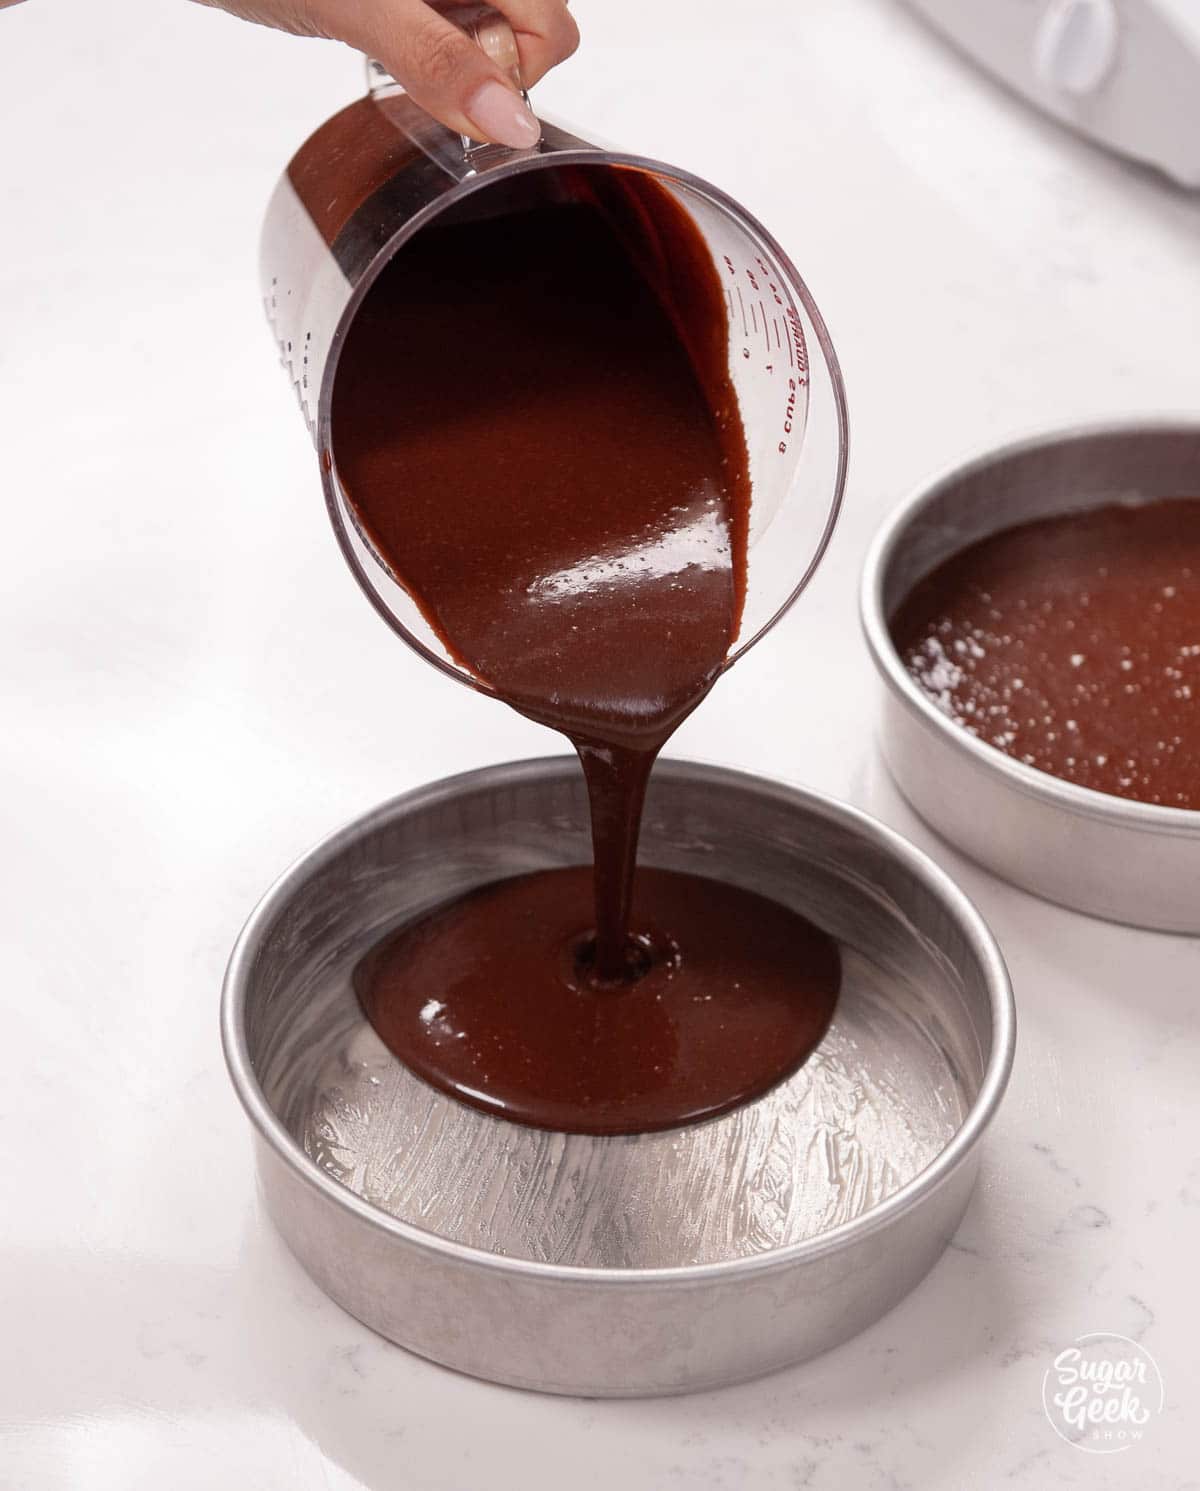
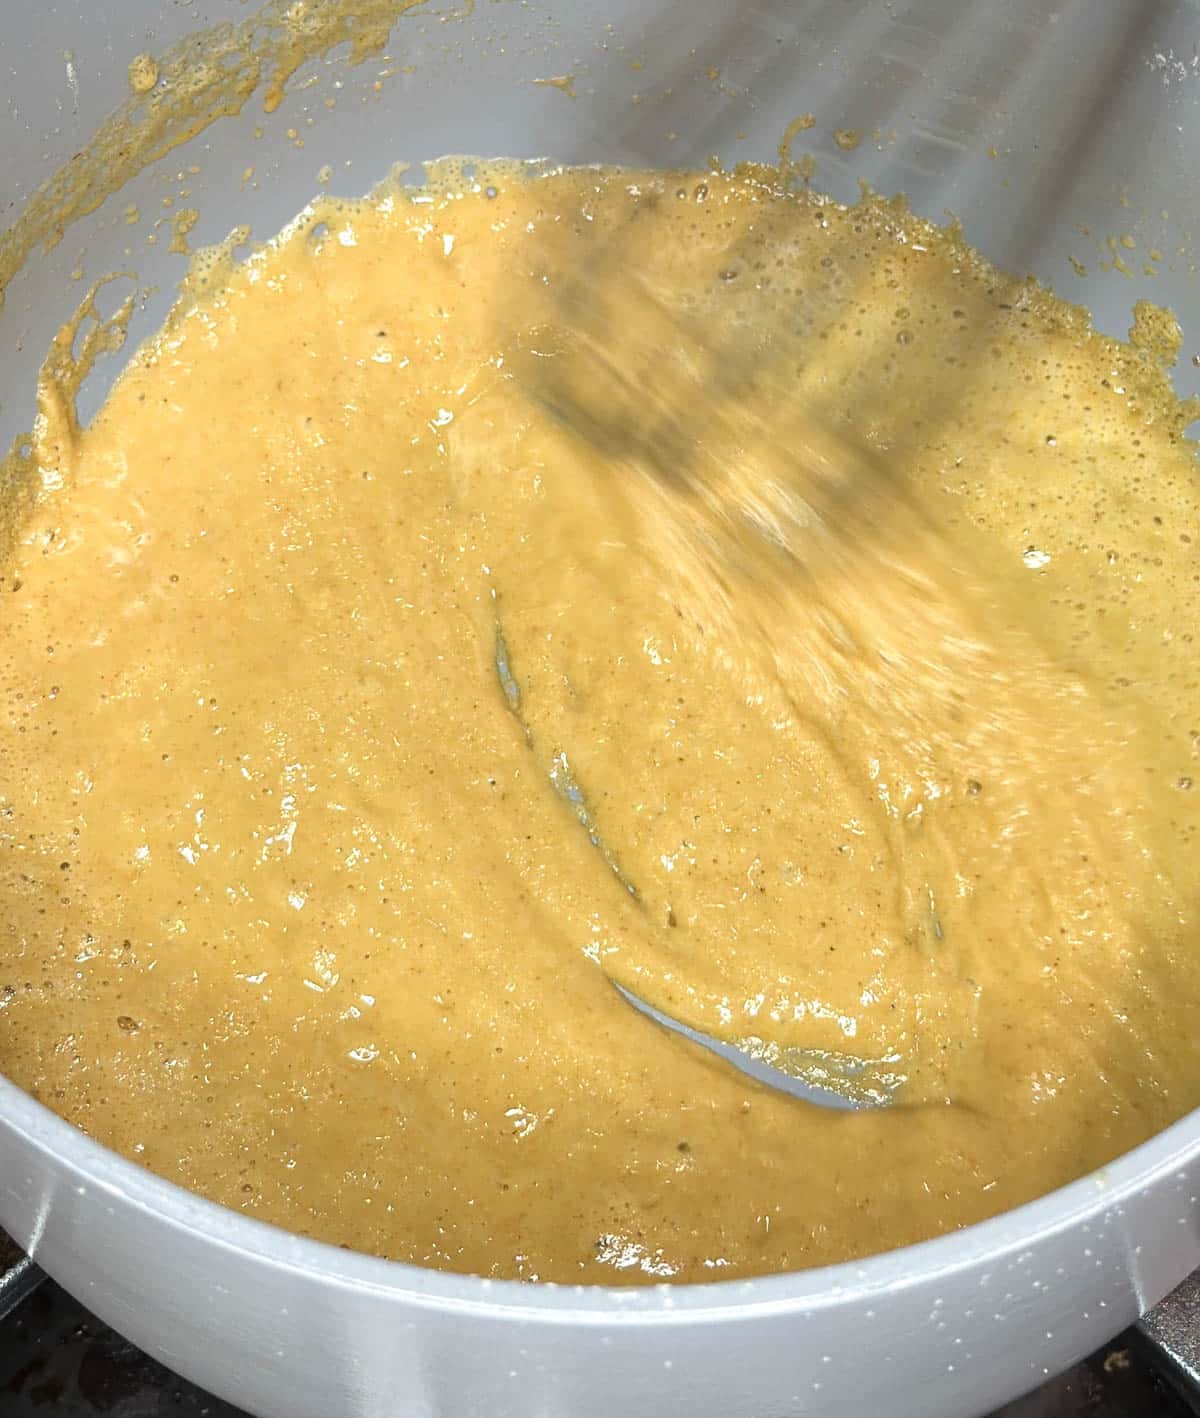
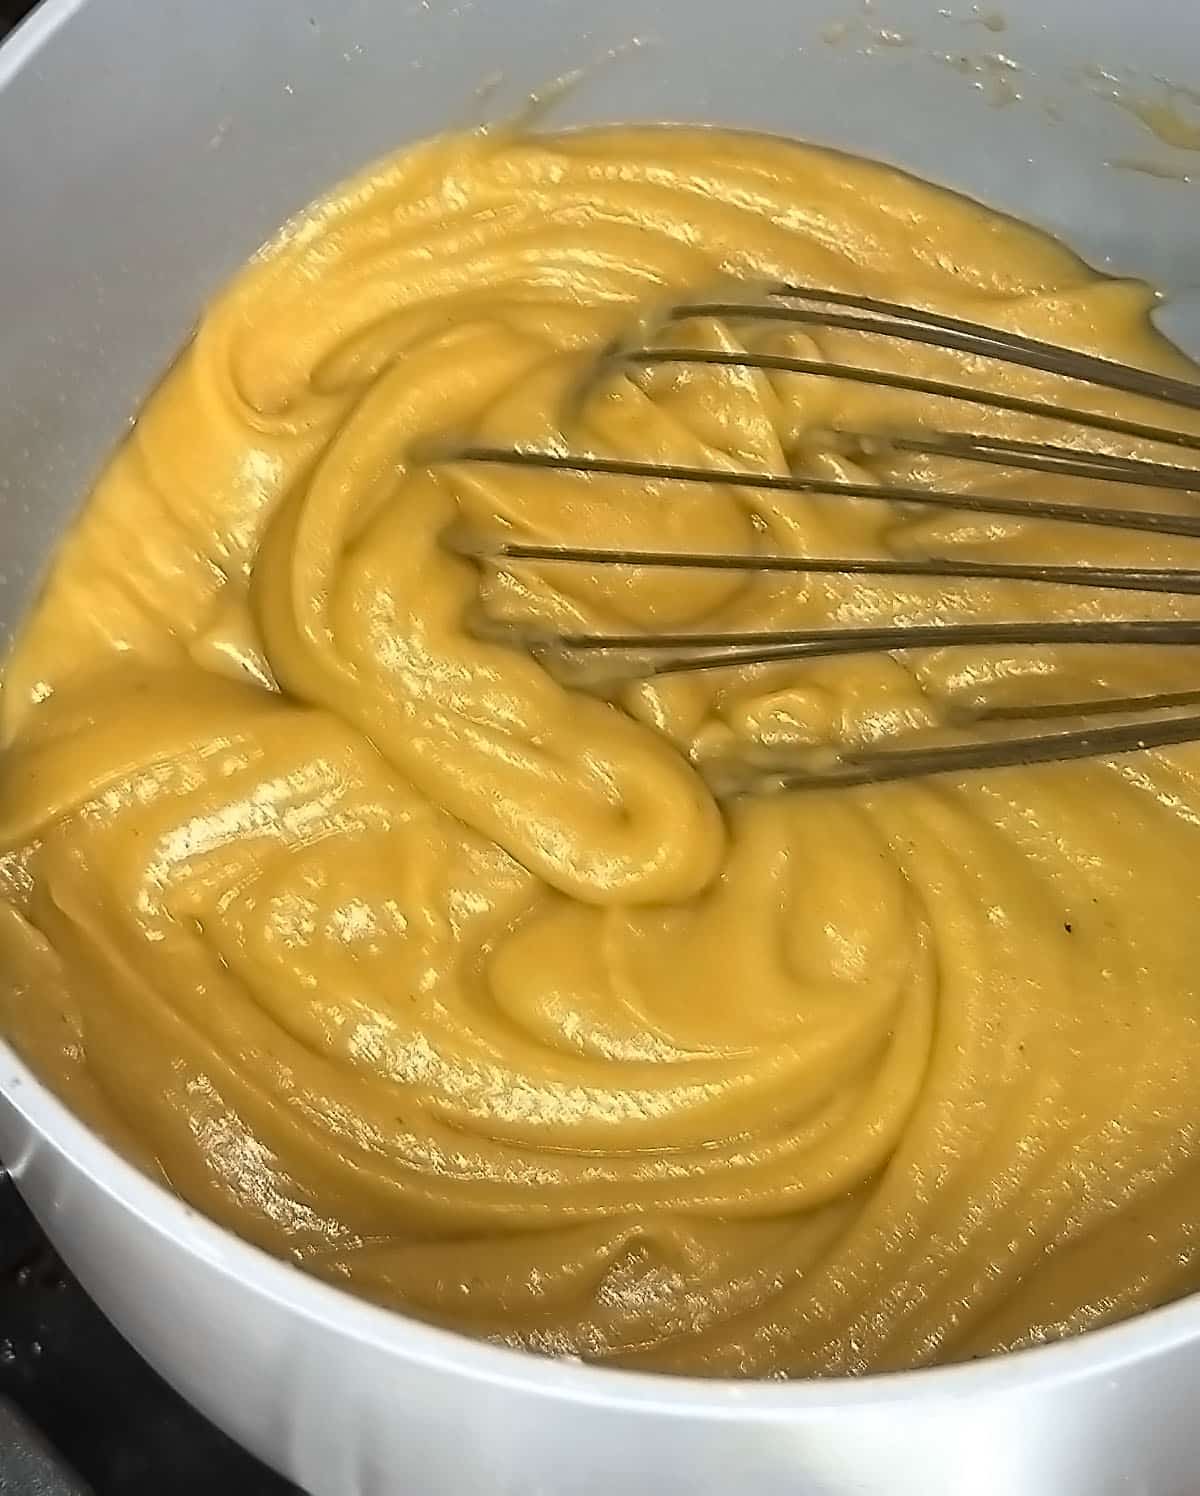
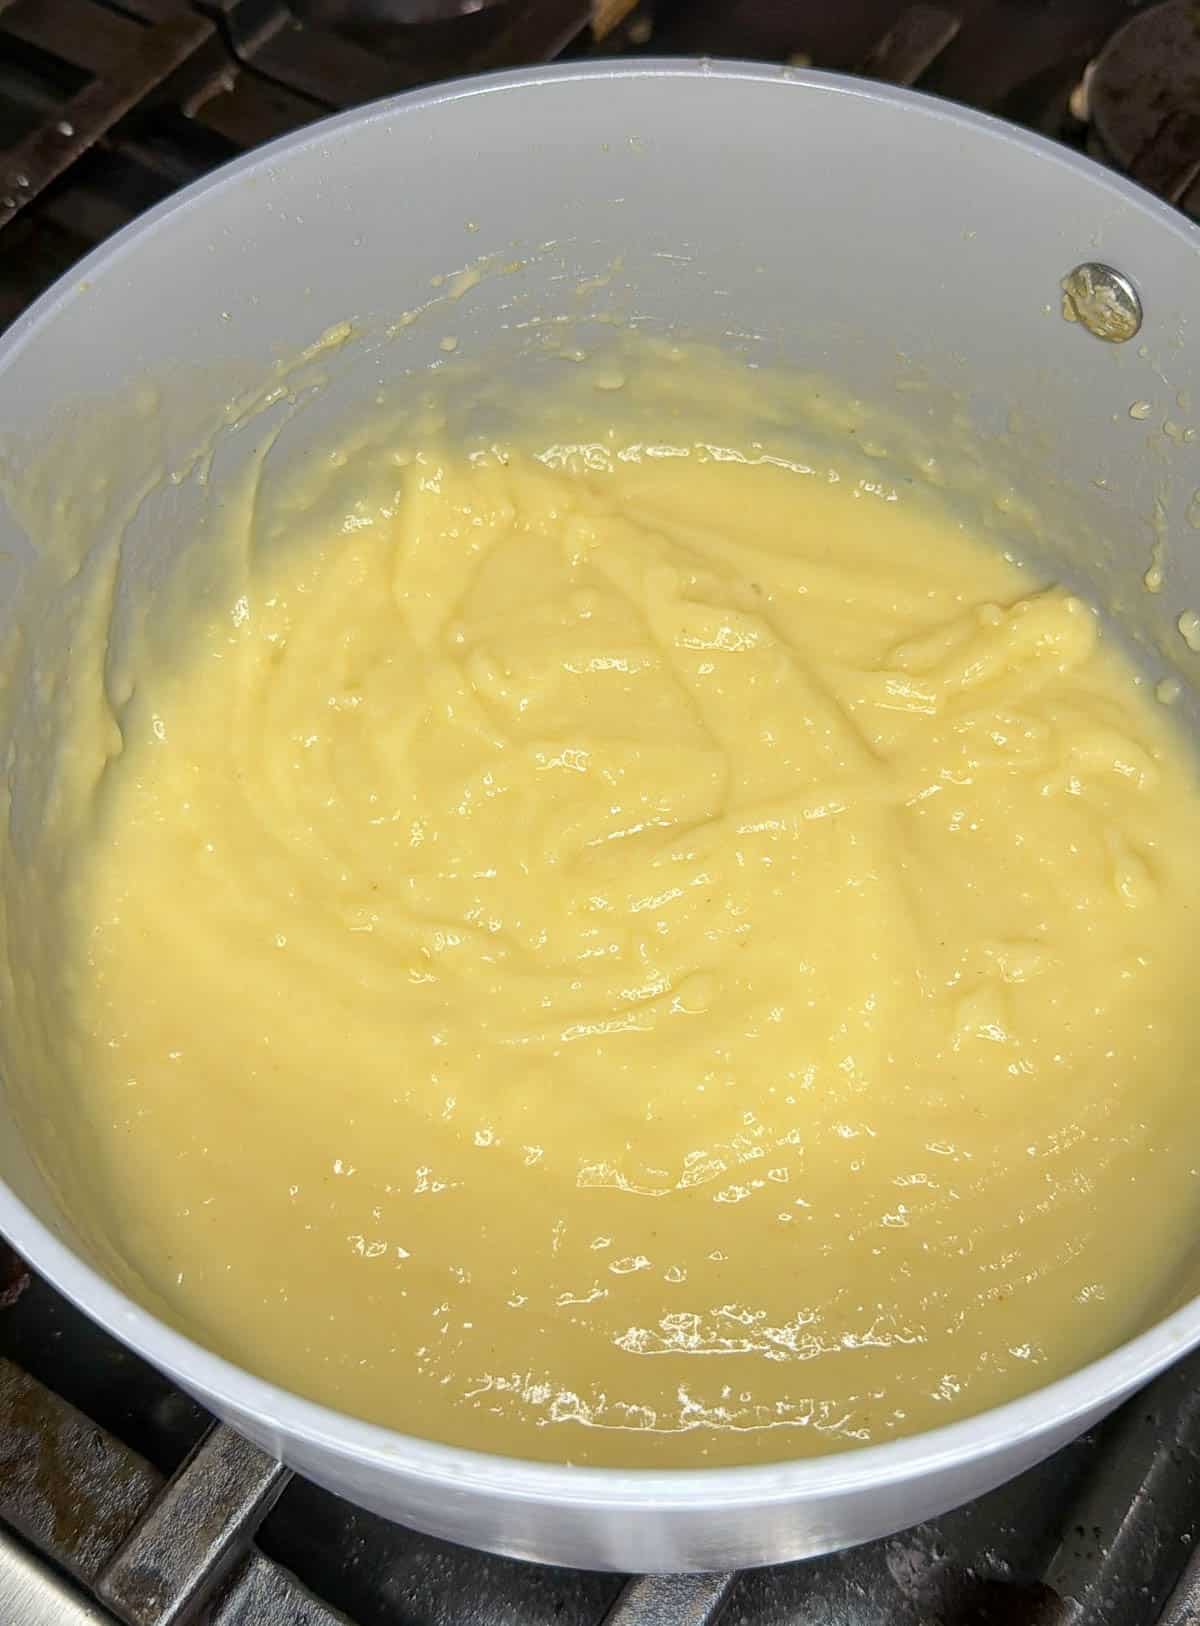
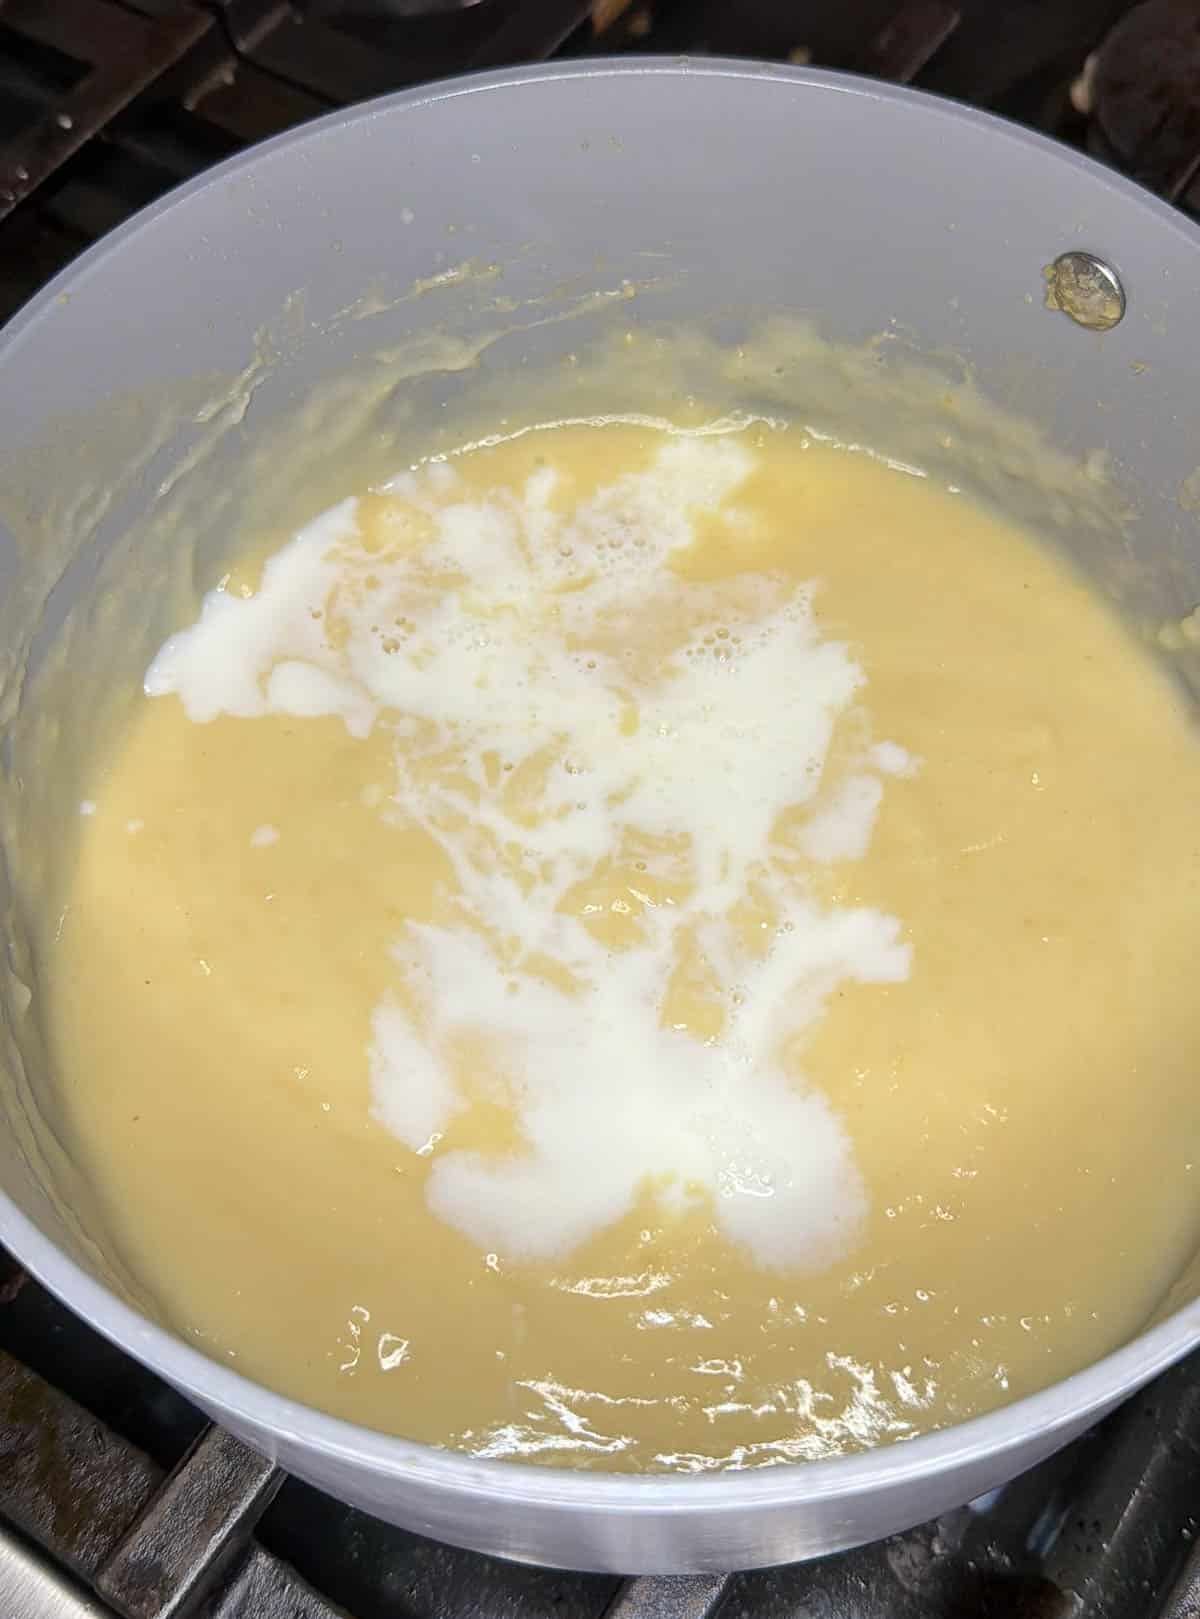
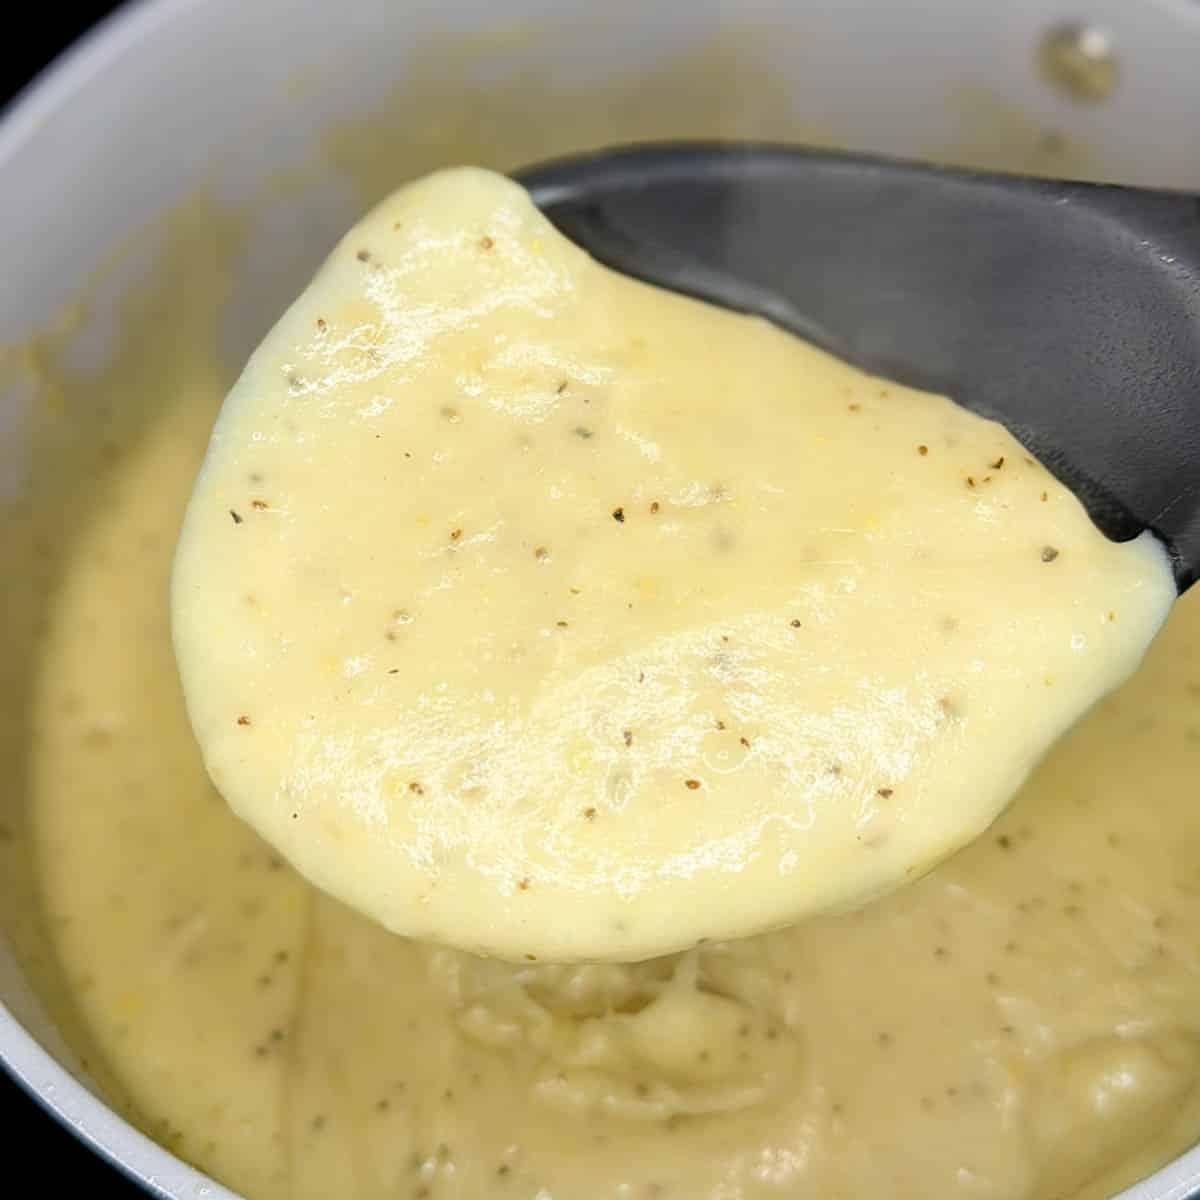
- Add the hot spiced wine. With the mixer on low, slowly stream in 1 cup of the hot spiced wine. The batter will be thin. That is exactly right for a moist bundt cake.
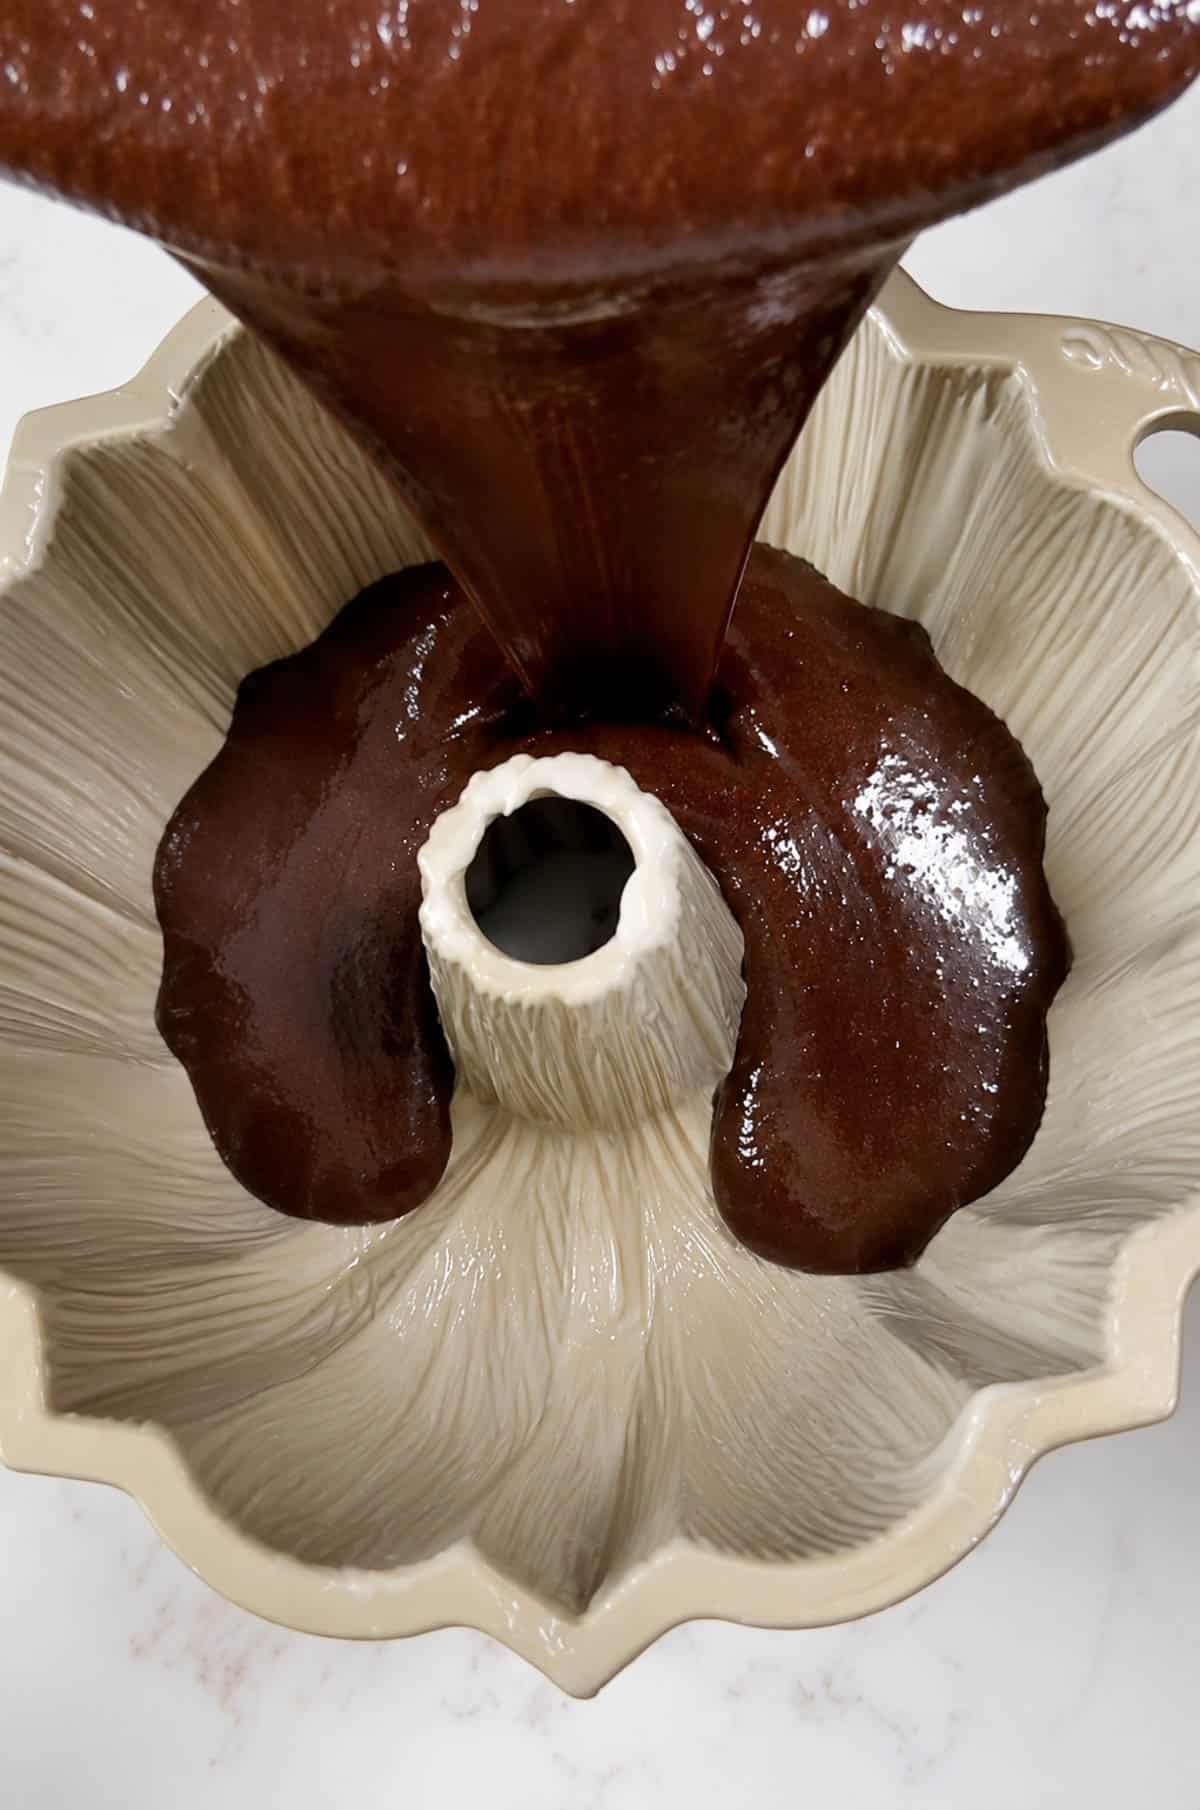
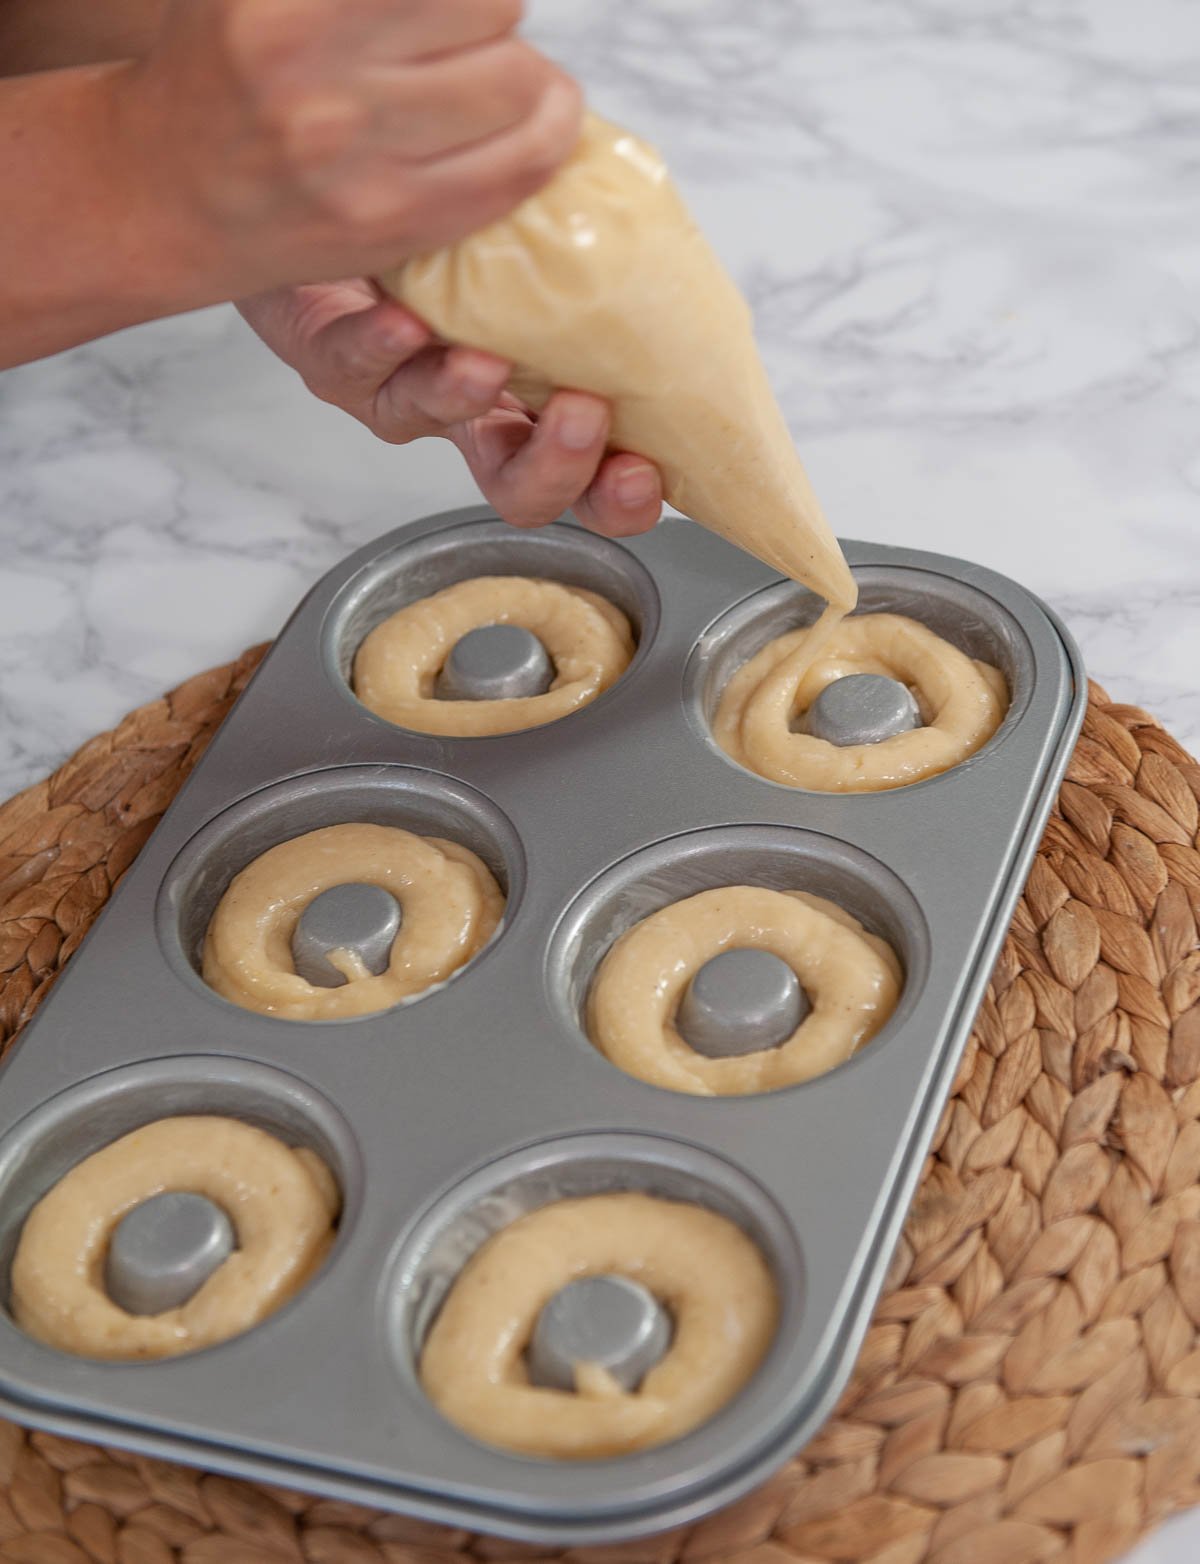
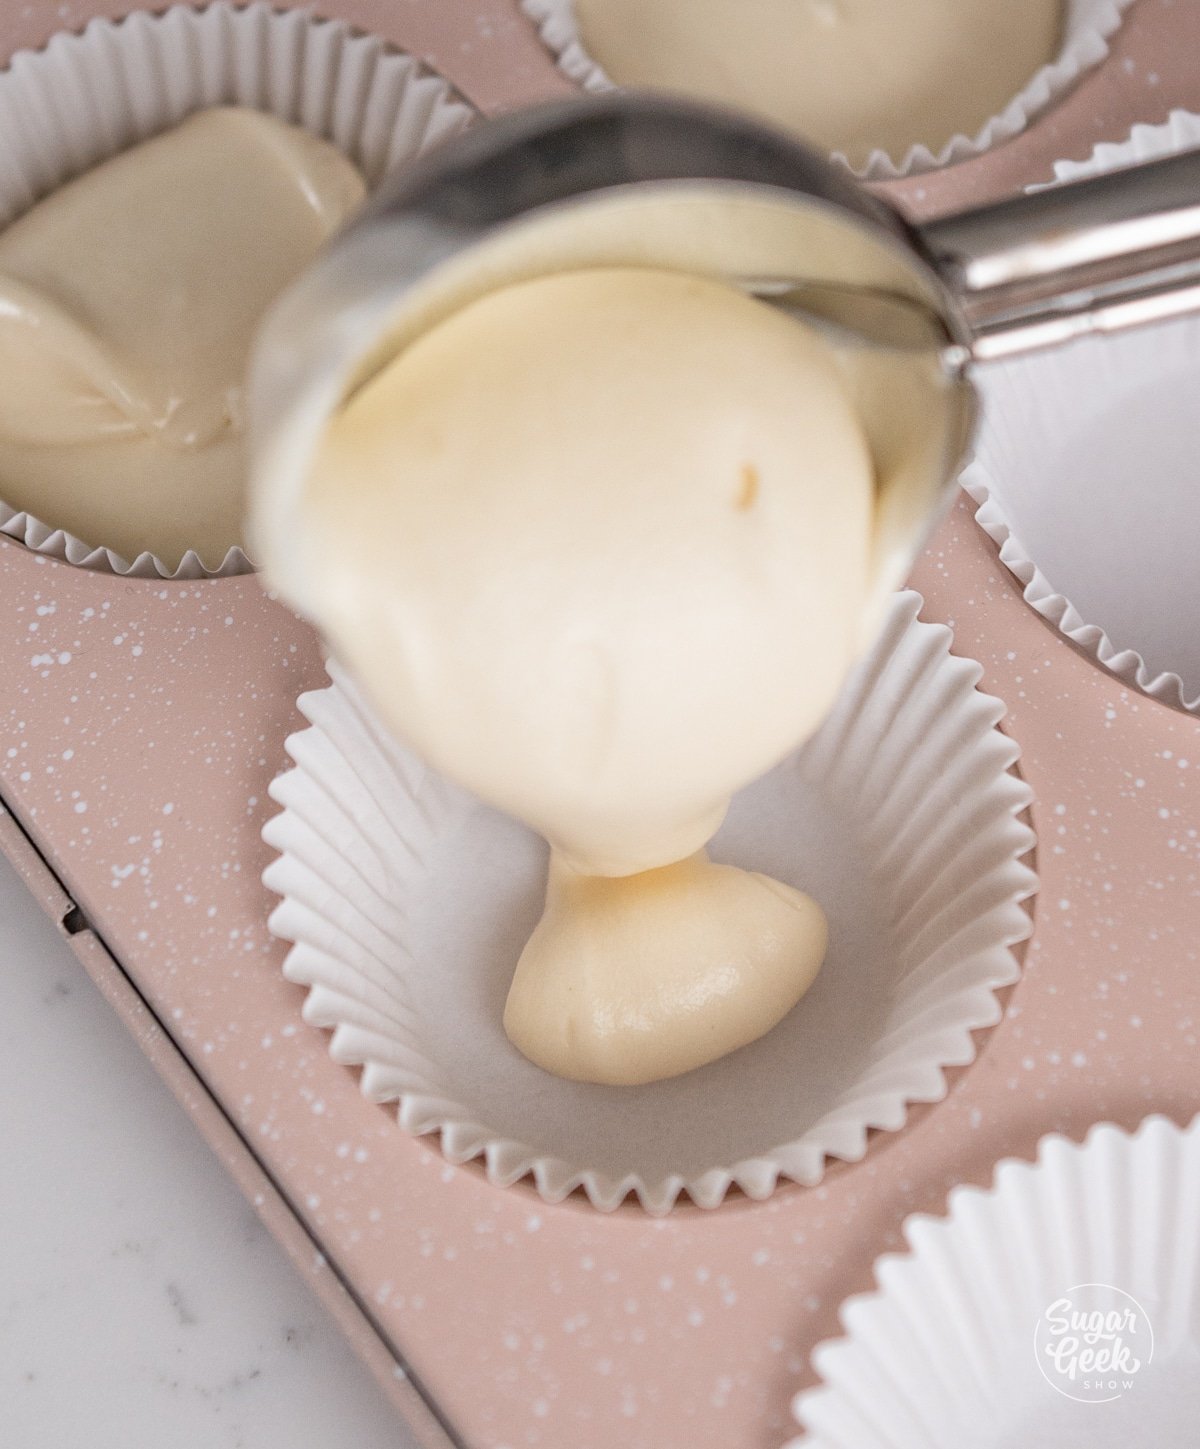
- Bake the cake. Pour the batter into your prepared bundt pan.
PRO TIP: Adding the hot wine at the end dissolves the cocoa fully and gives you a smoother, glossier batter. Same trick I use with hot coffee in chocolate cake.
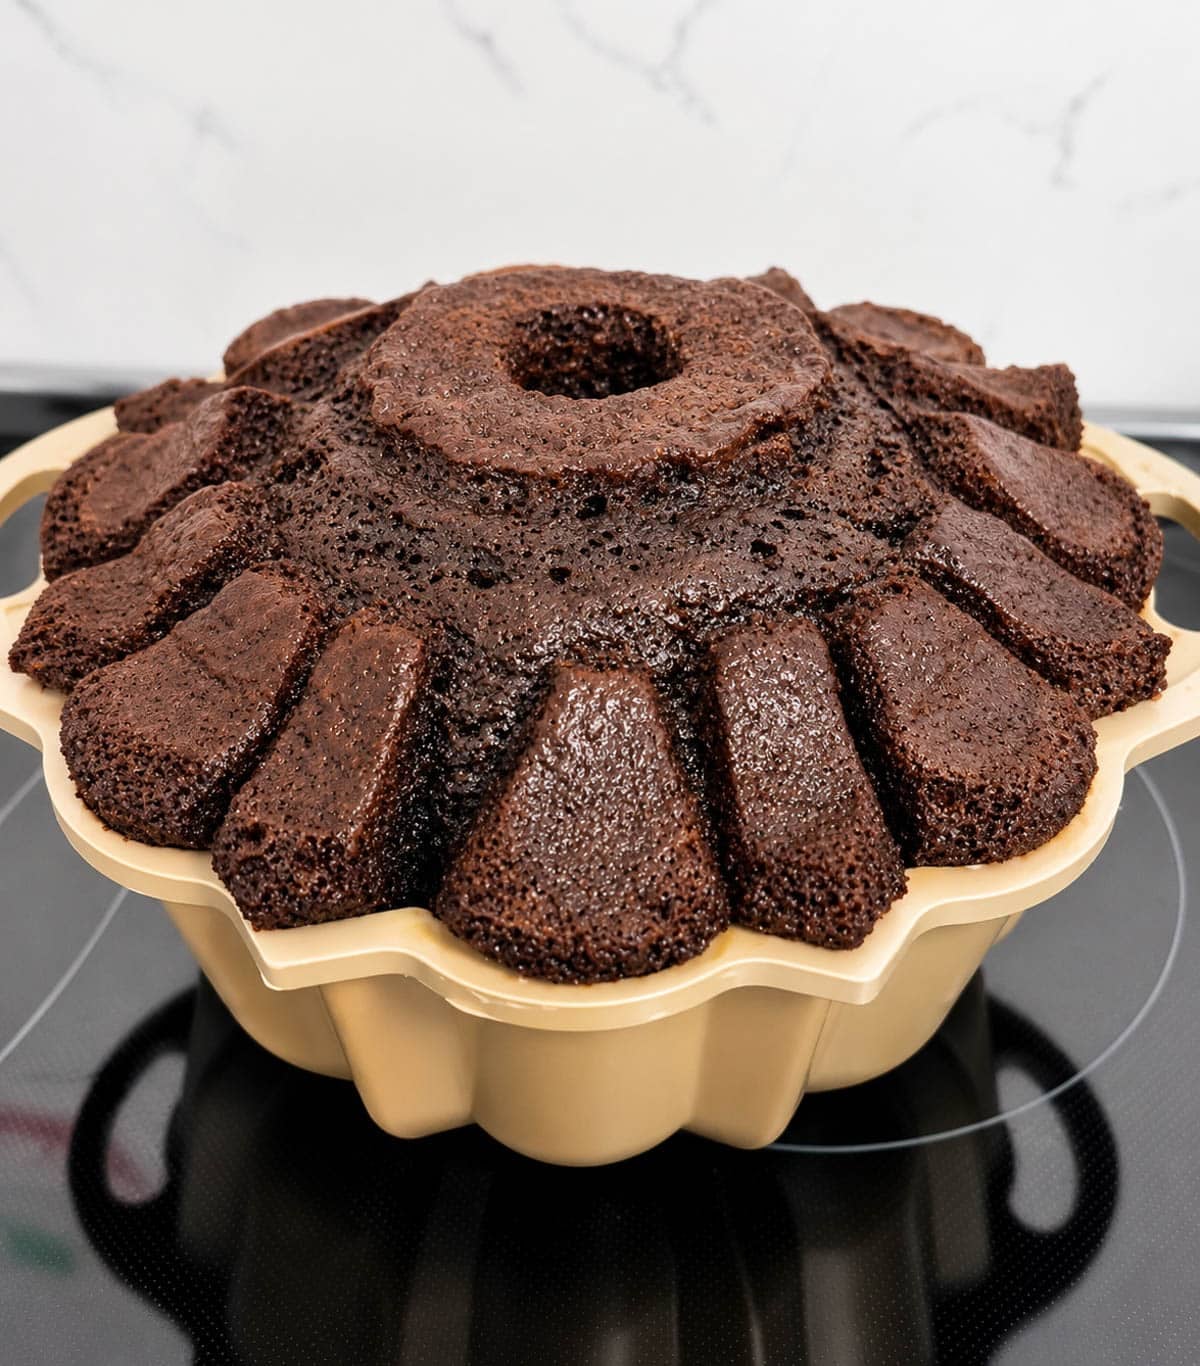
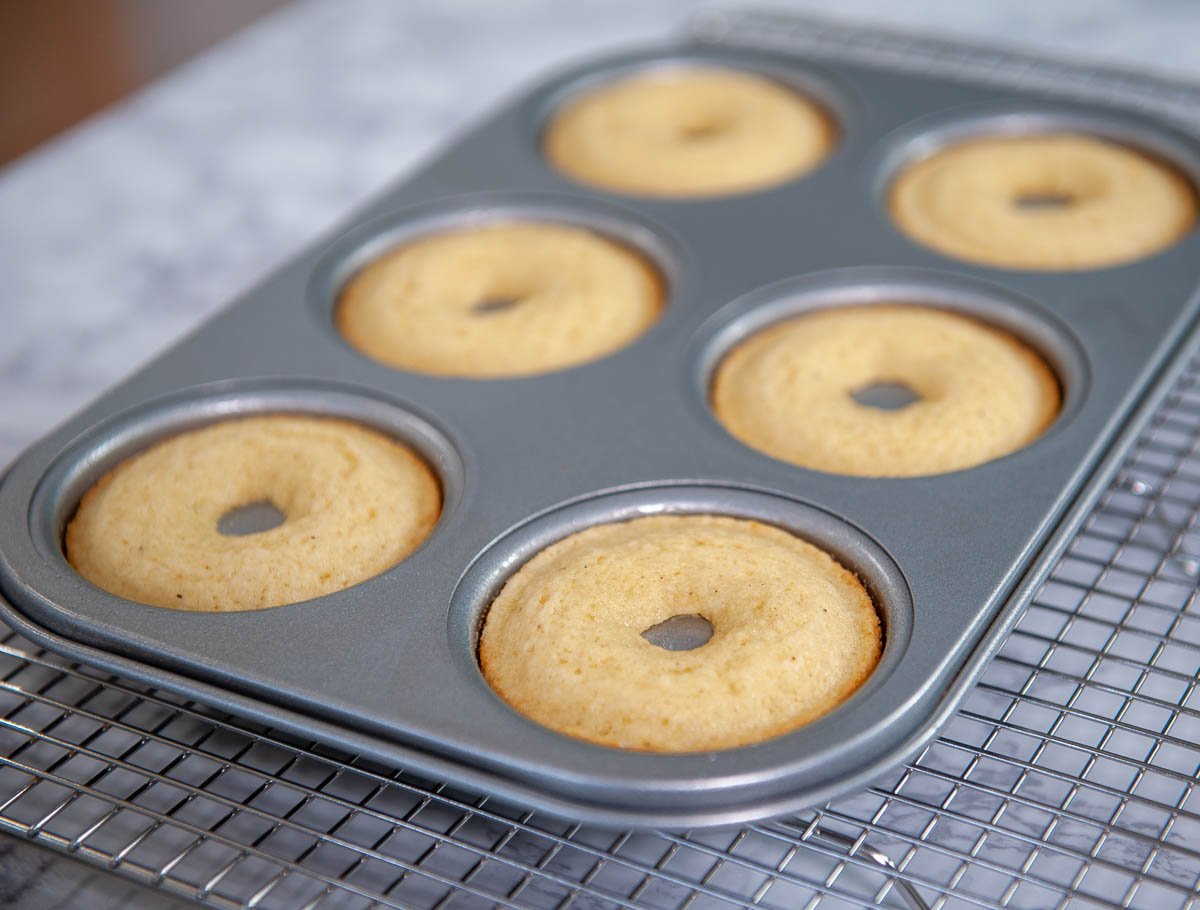
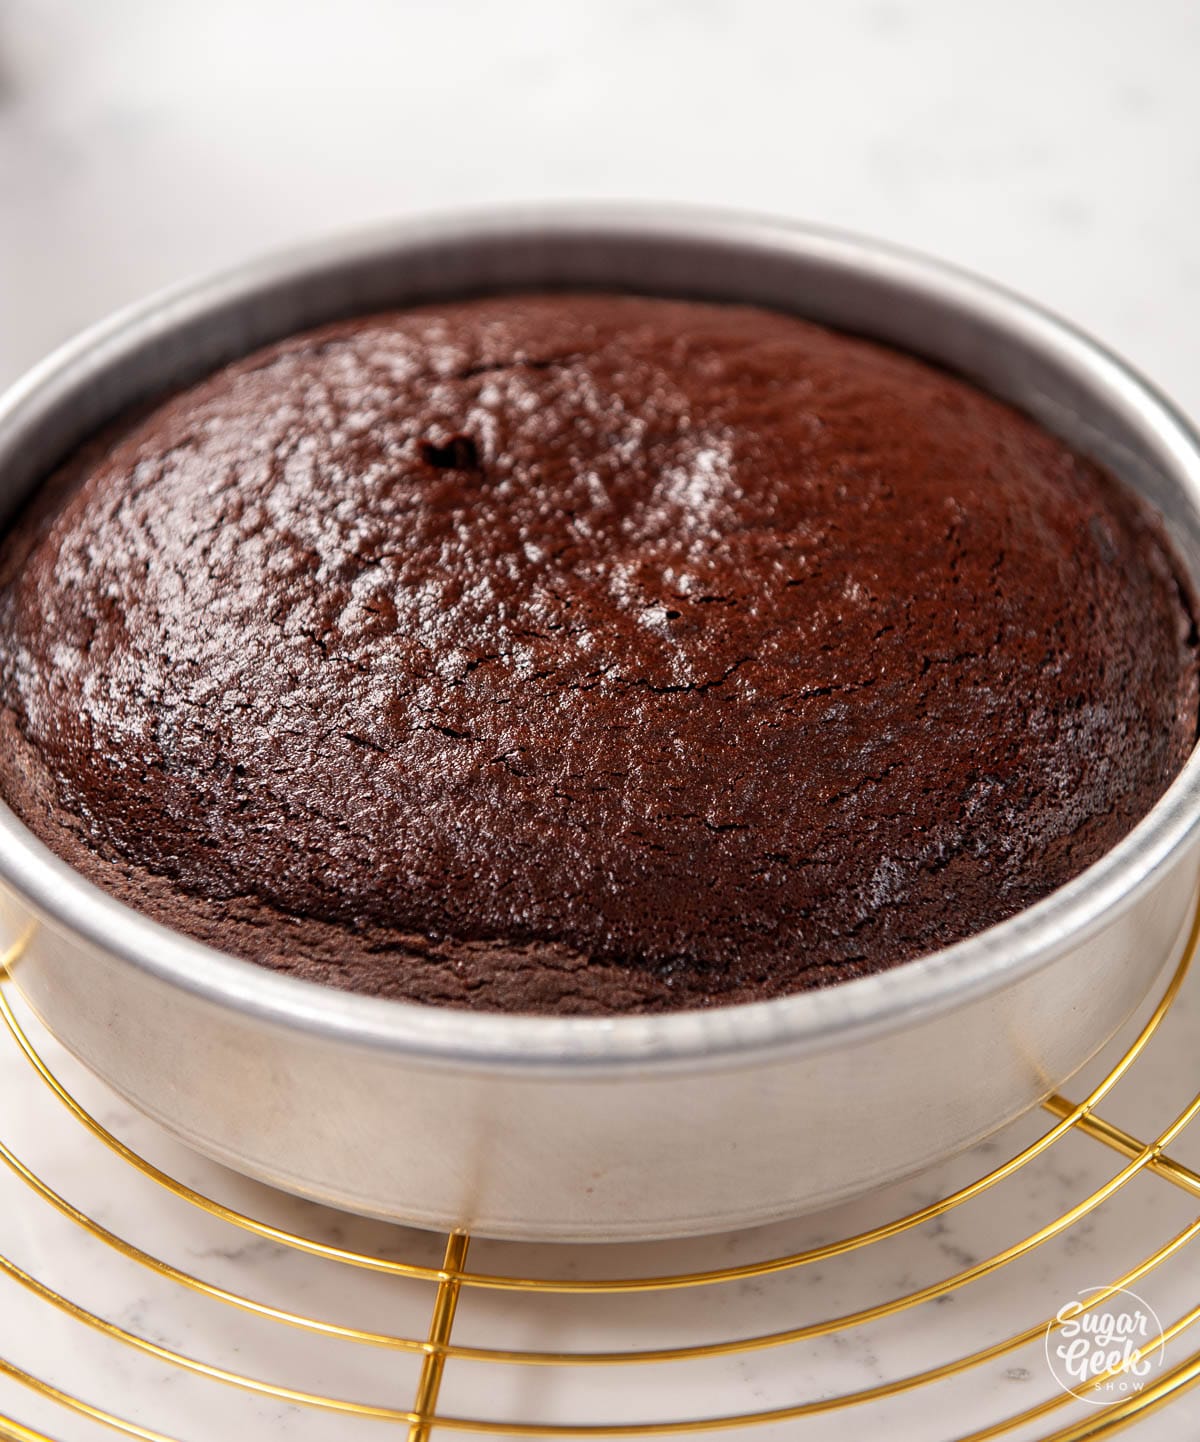
- Bake at 350°F for 45 to 55 minutes, or until a wooden skewer inserted into the center comes out with just a few moist crumbs.
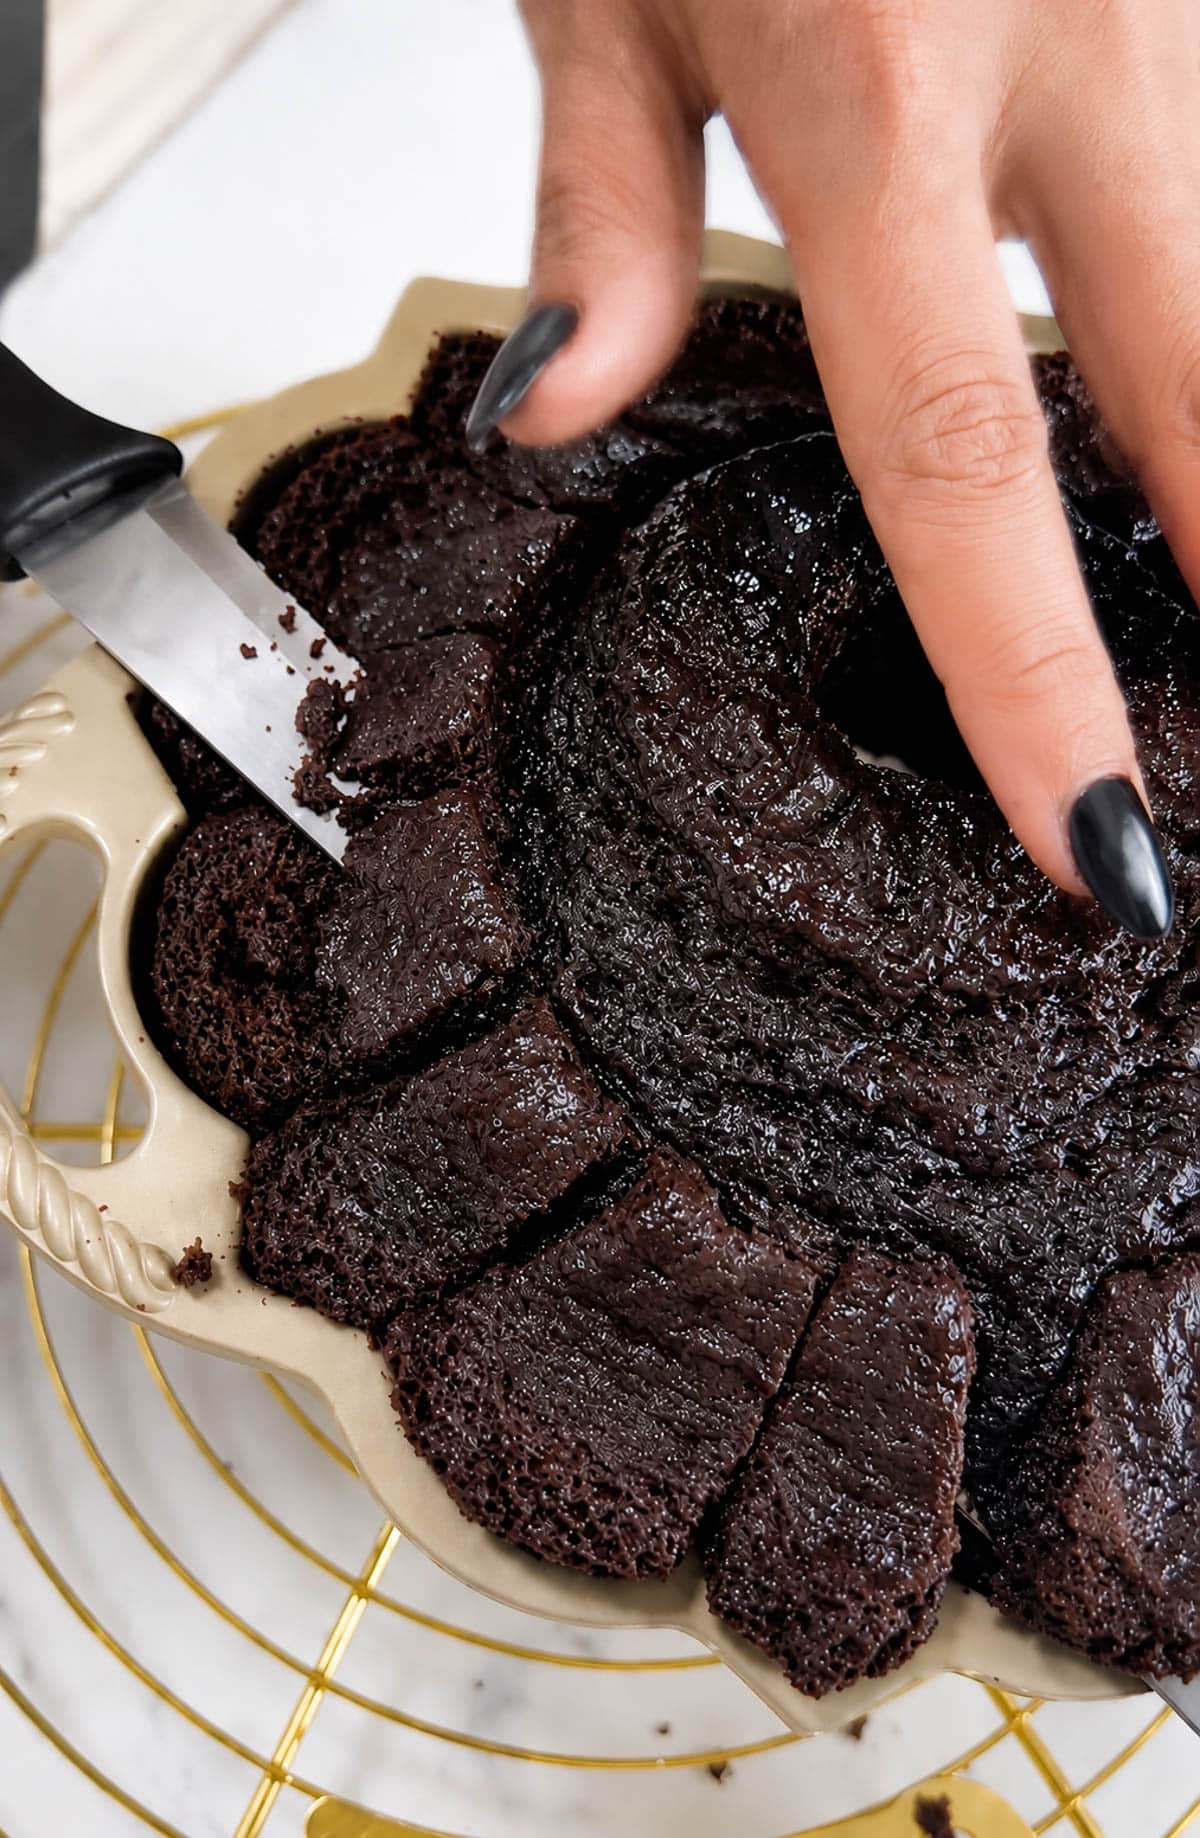
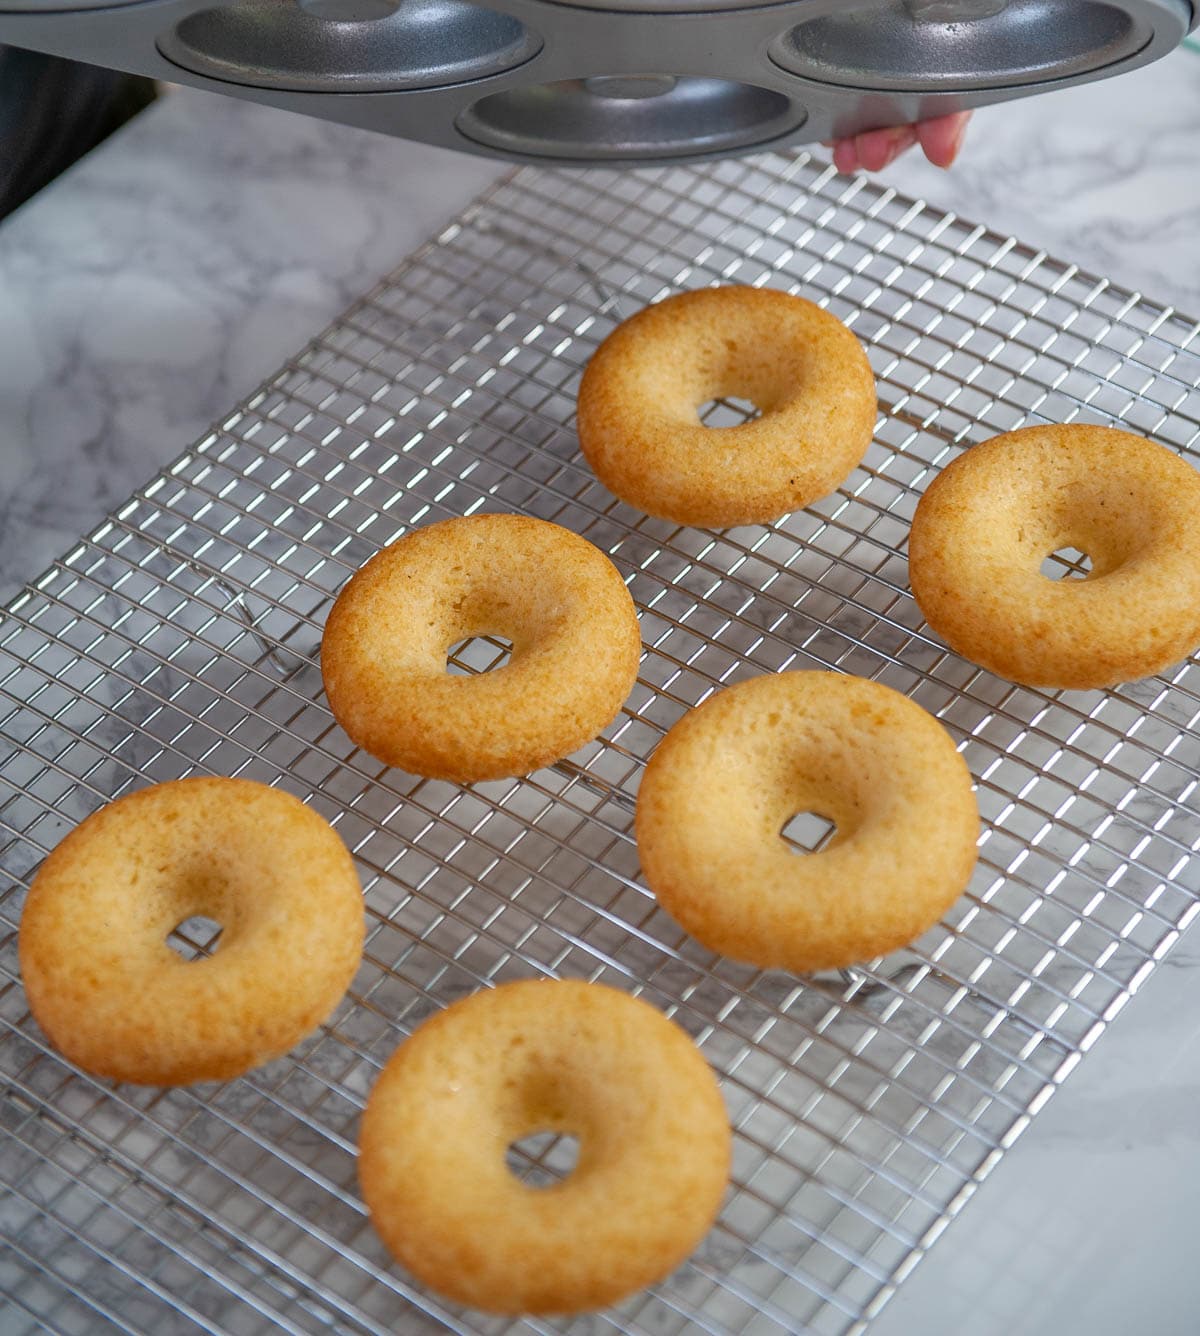
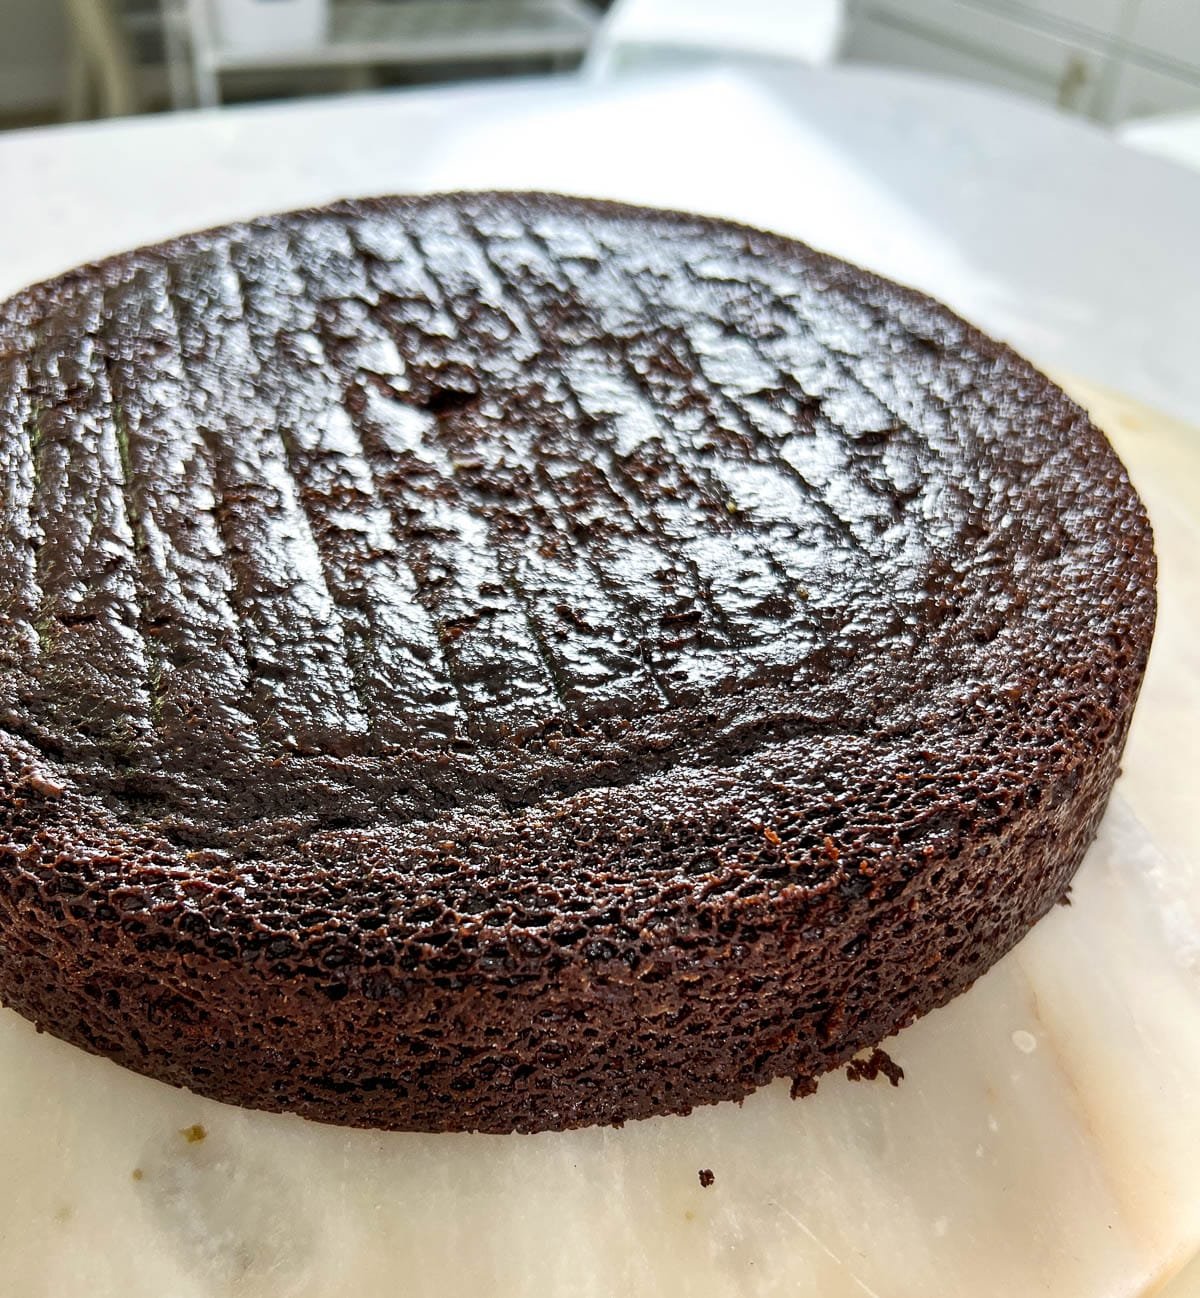
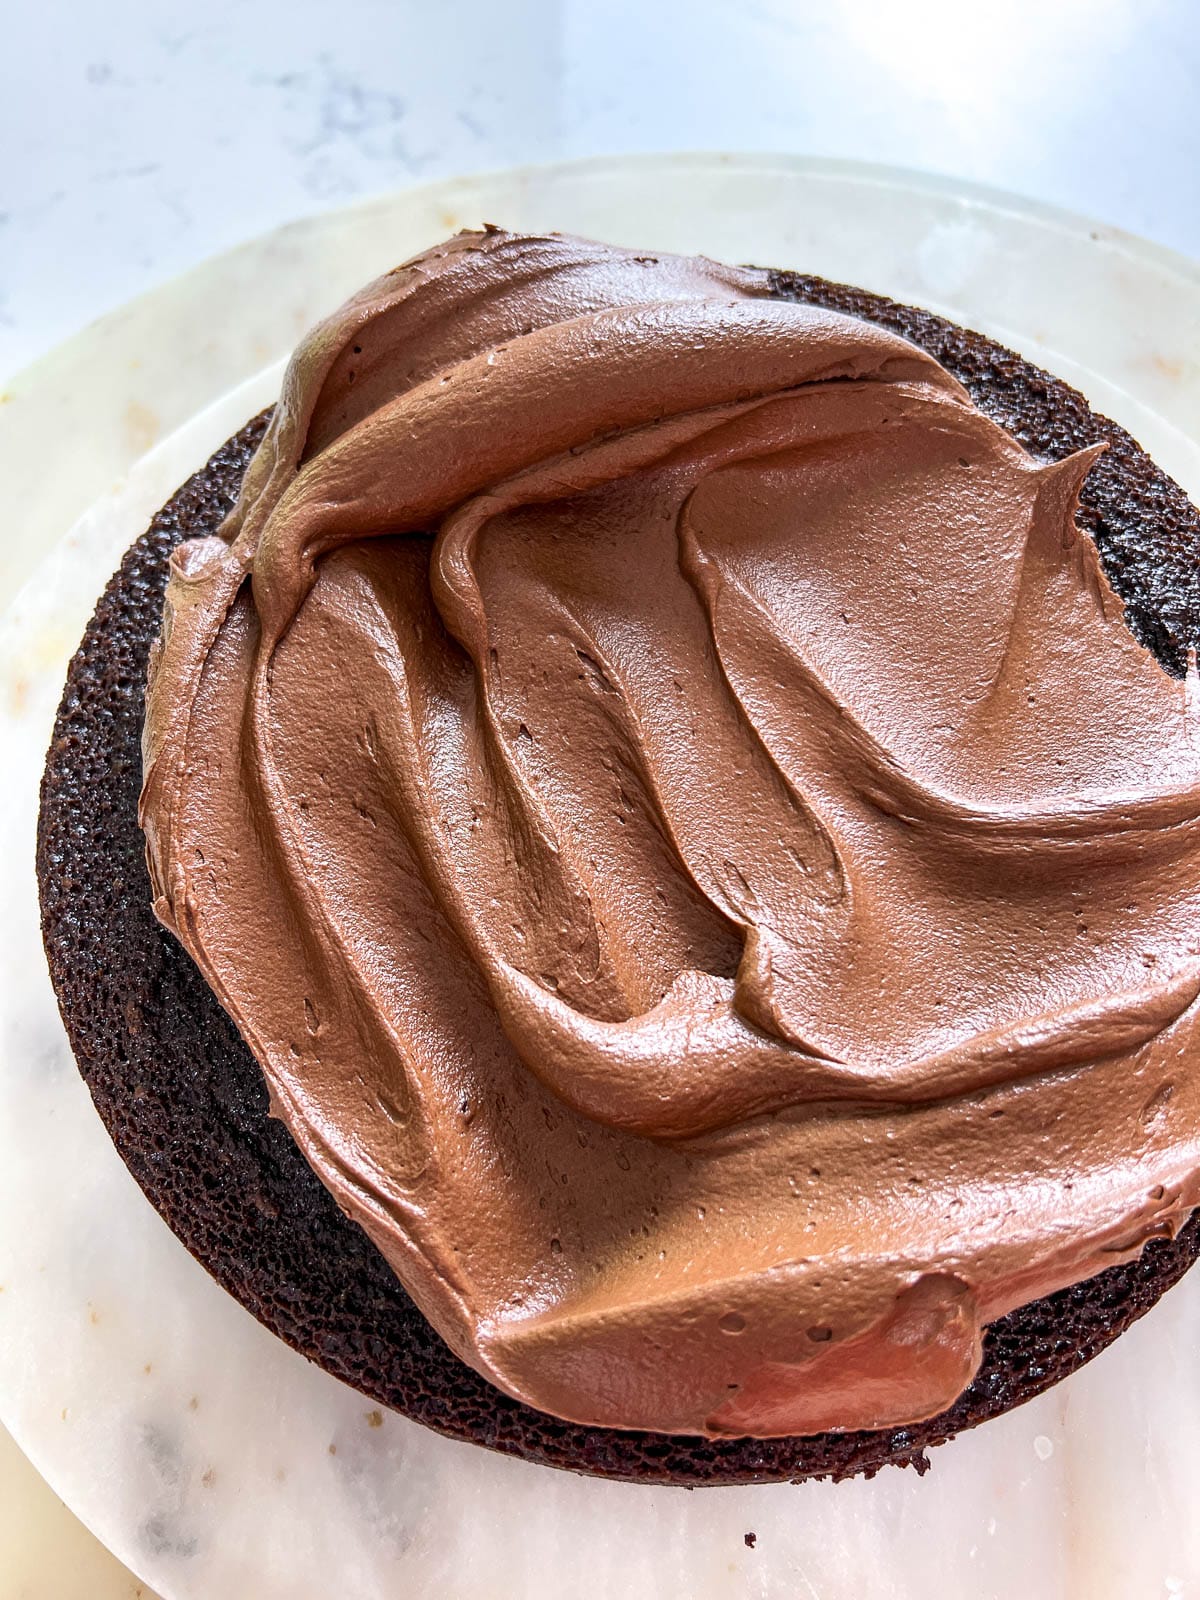
- Cool and unmold. Cool the cake in the pan for 15 to 20 minutes. Trim off the dome (the part that was the bottom in the pan) so the cake sits flat.
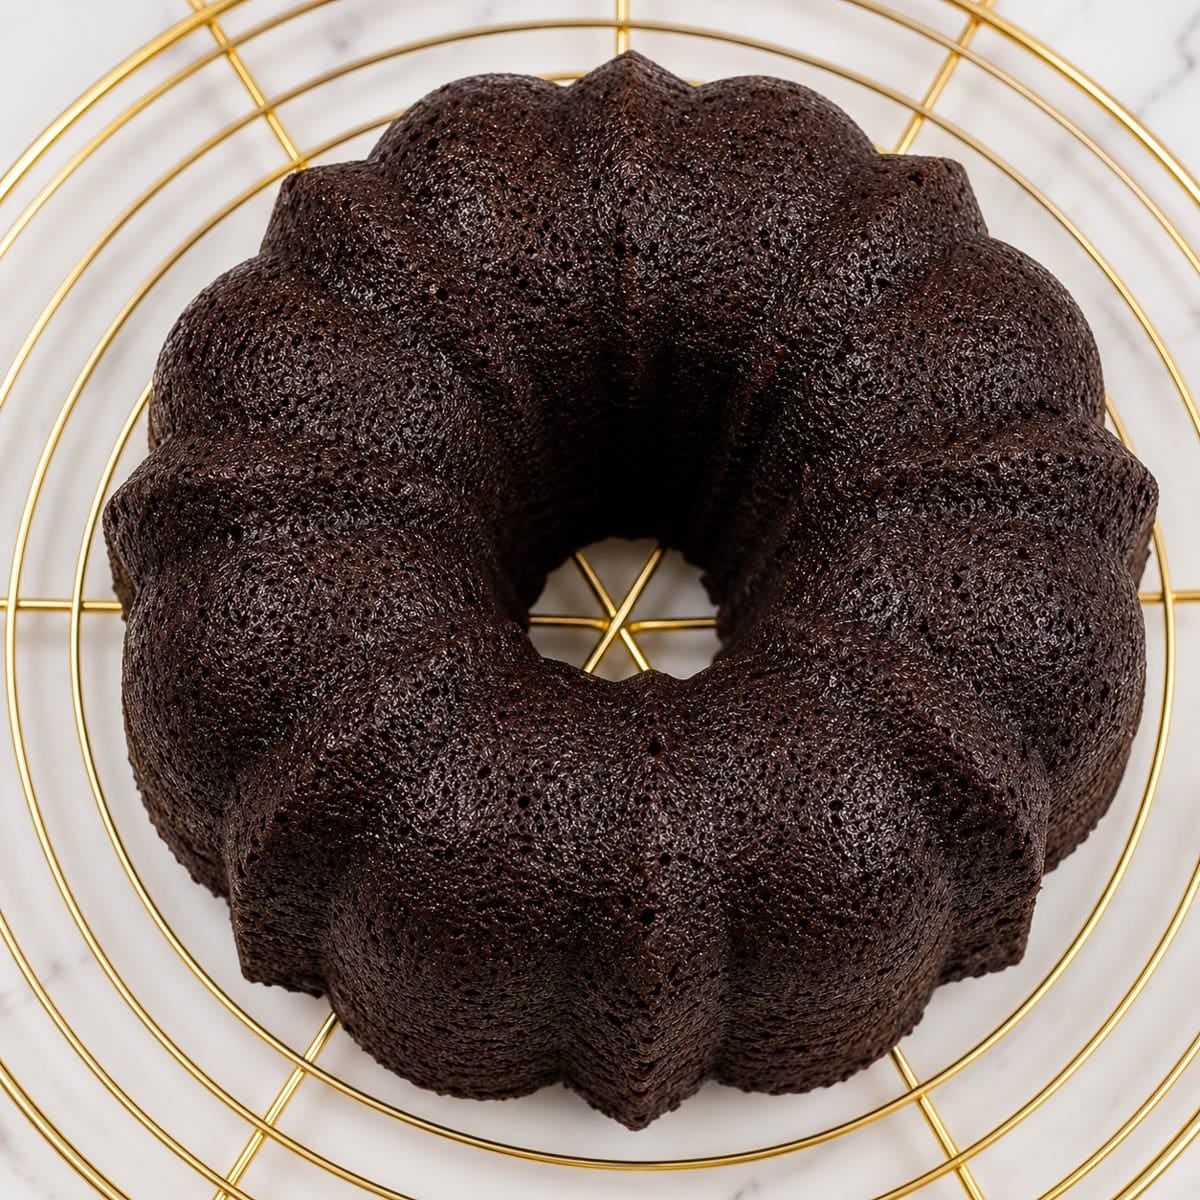
- Then invert it onto a wire rack to cool completely.
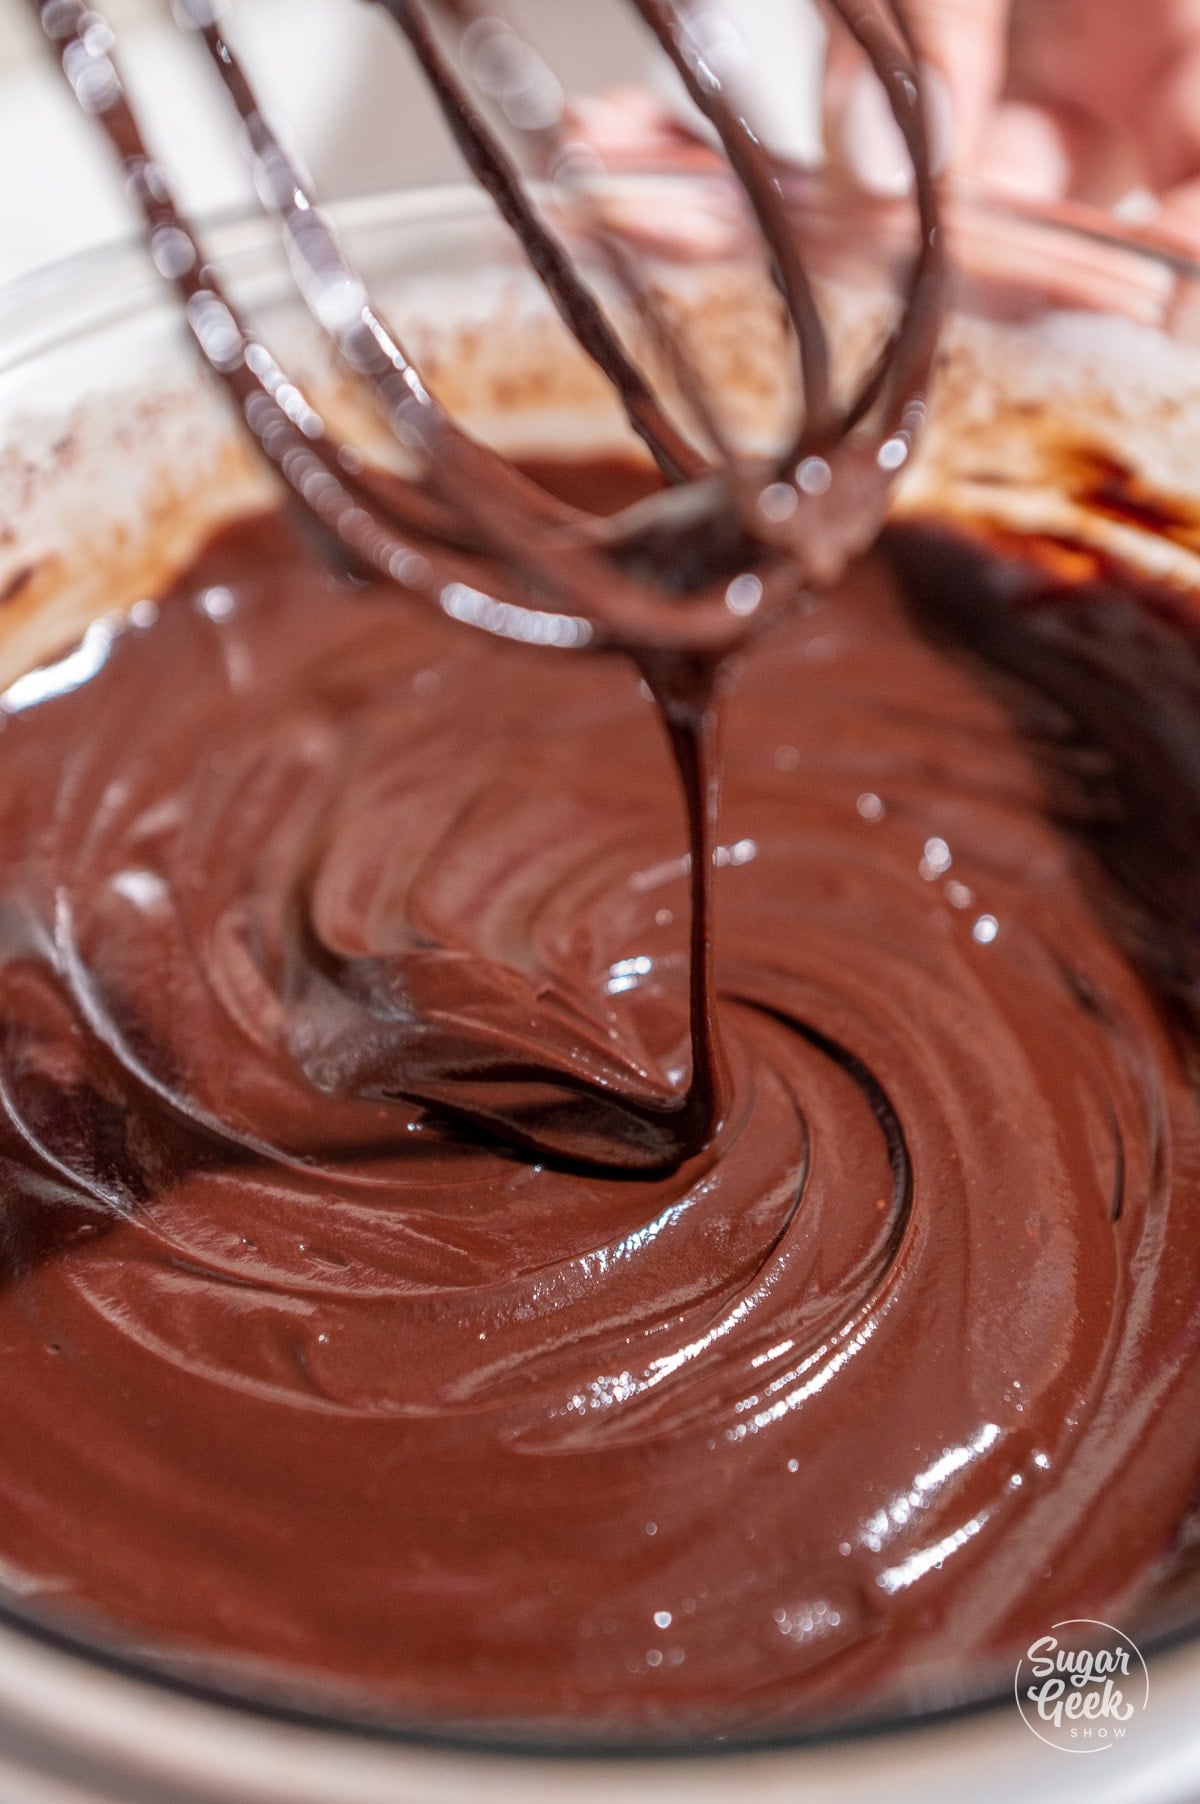
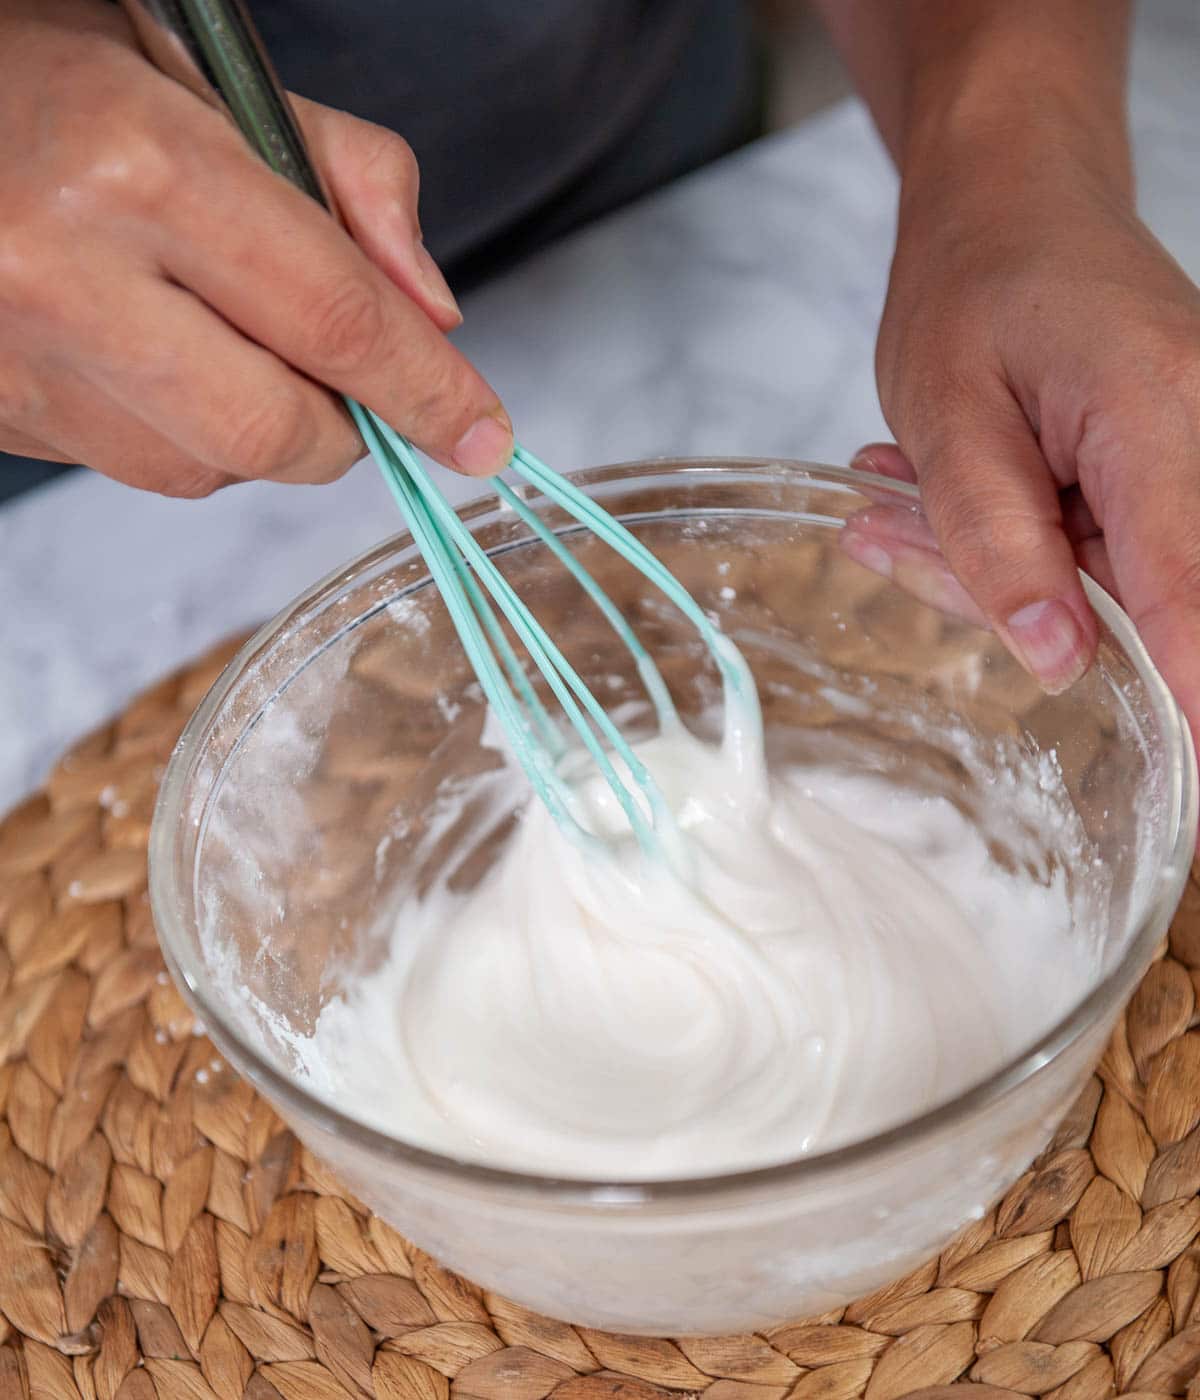
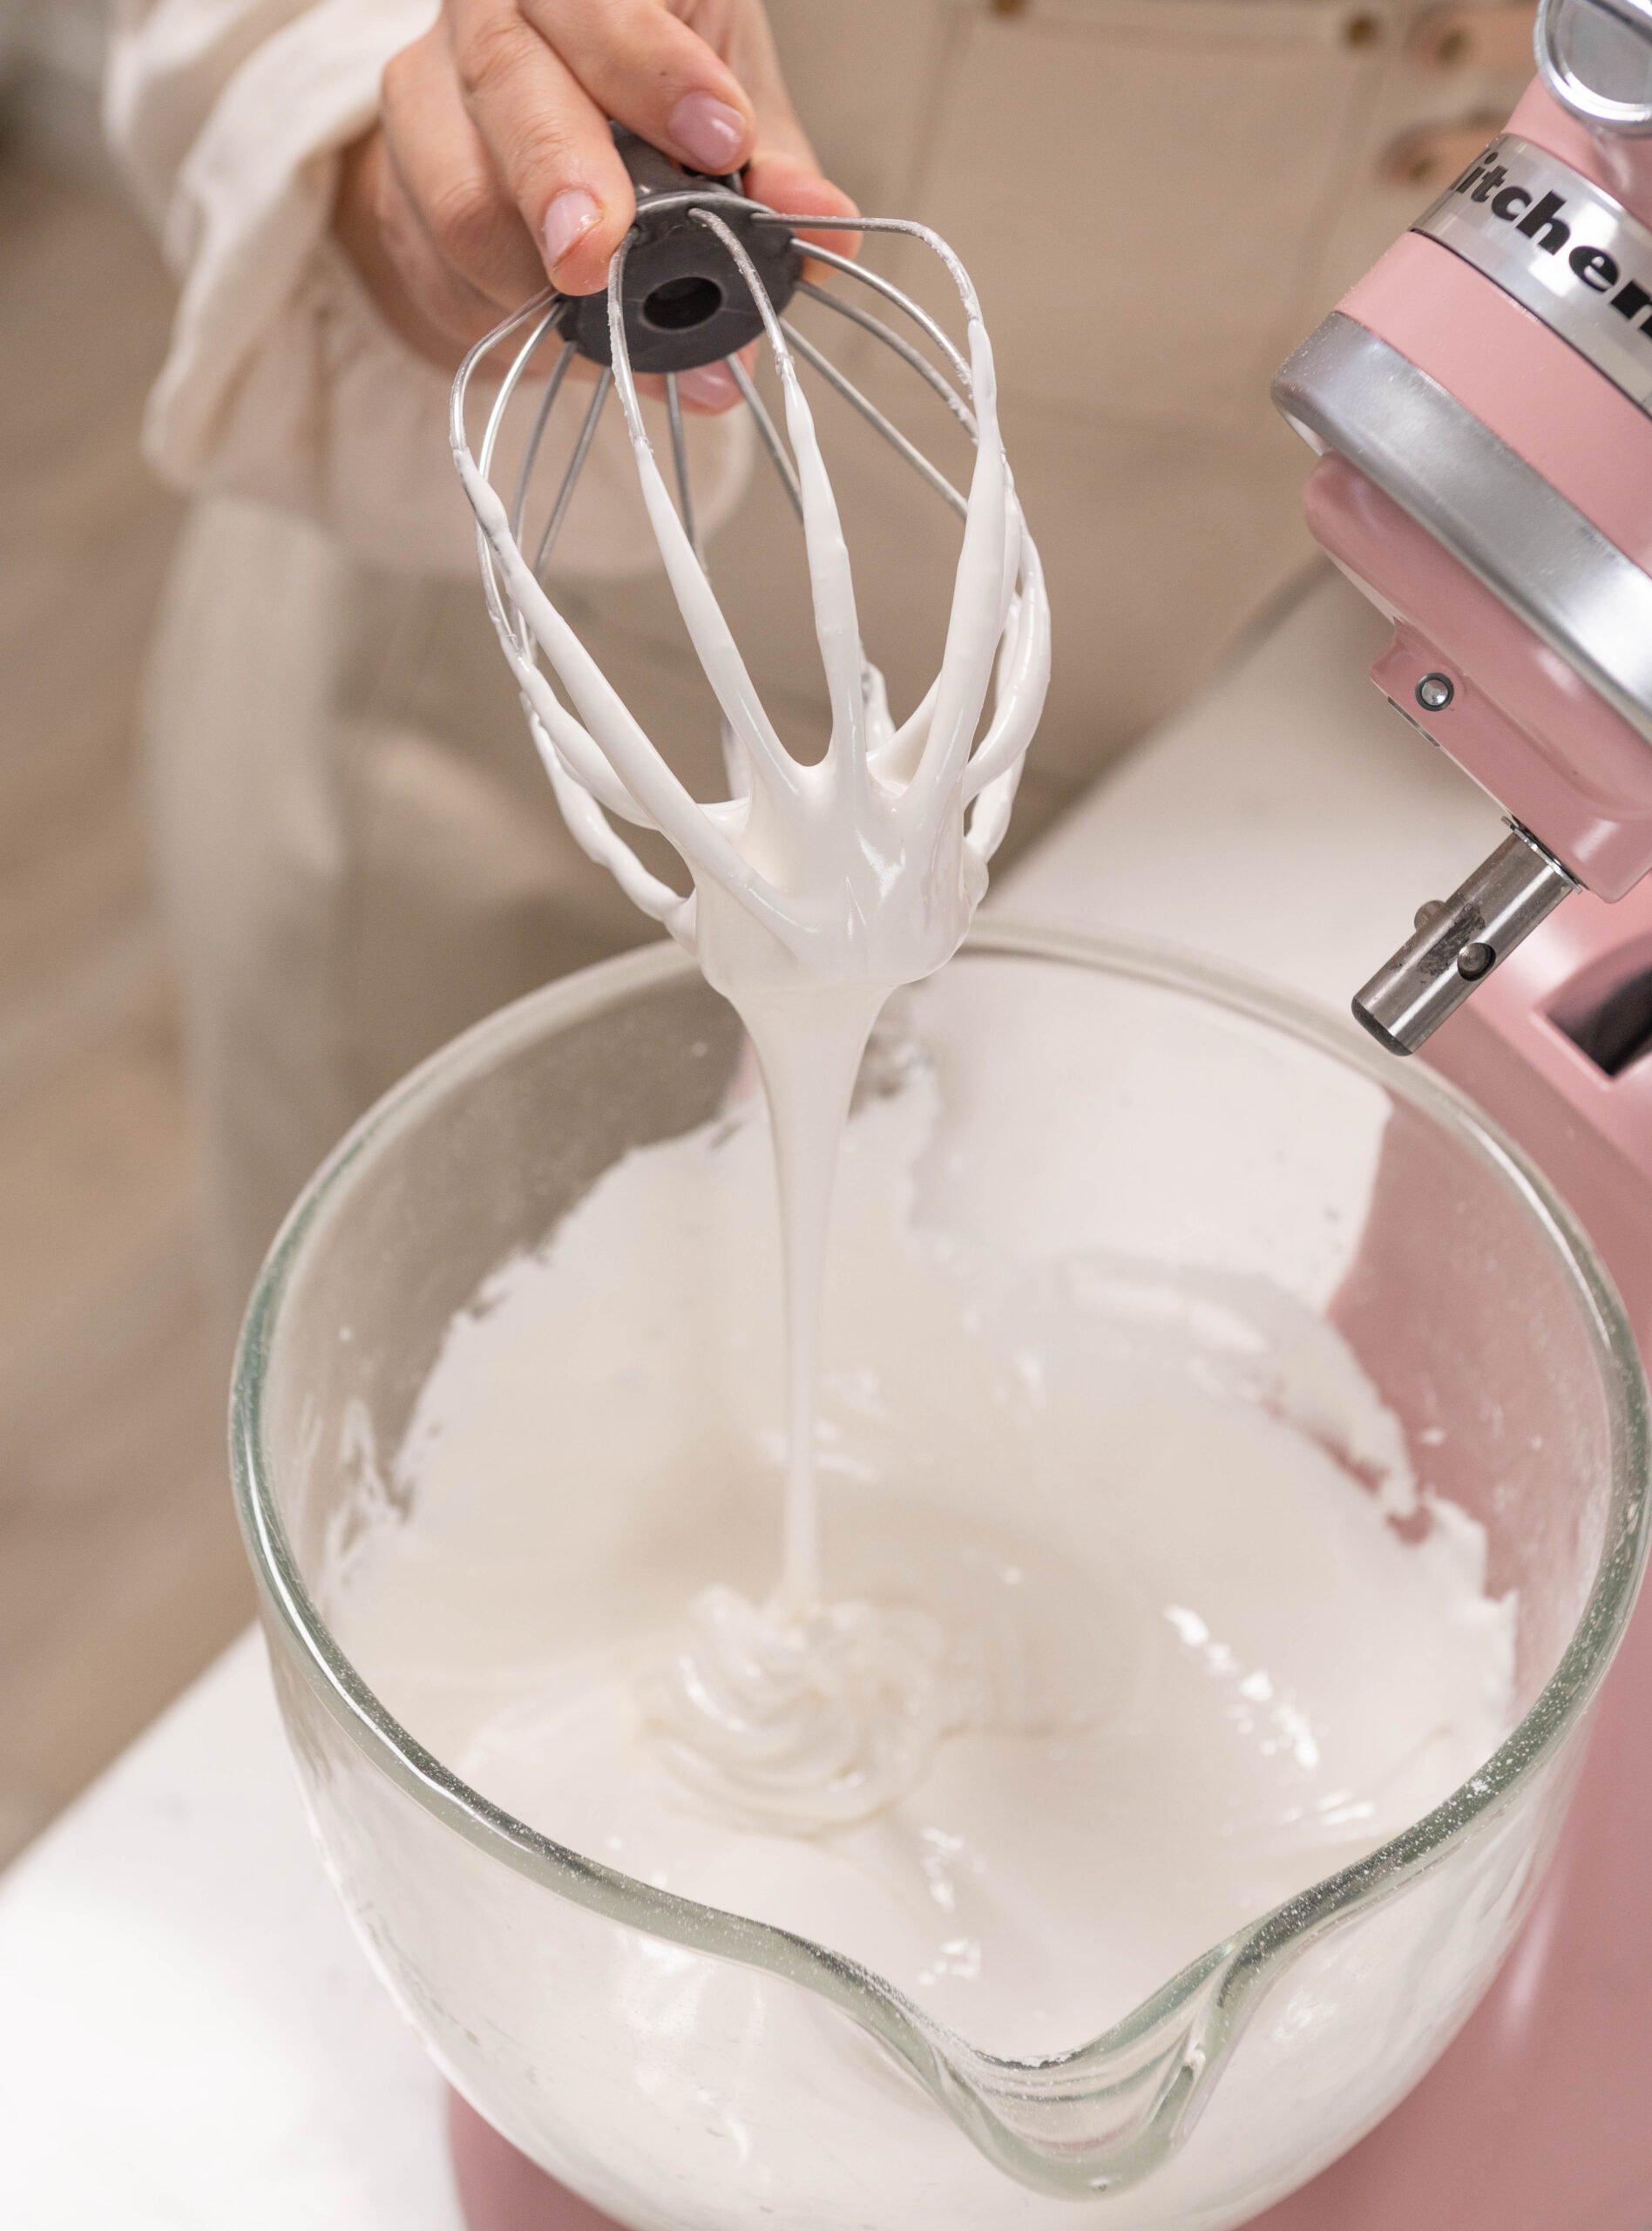
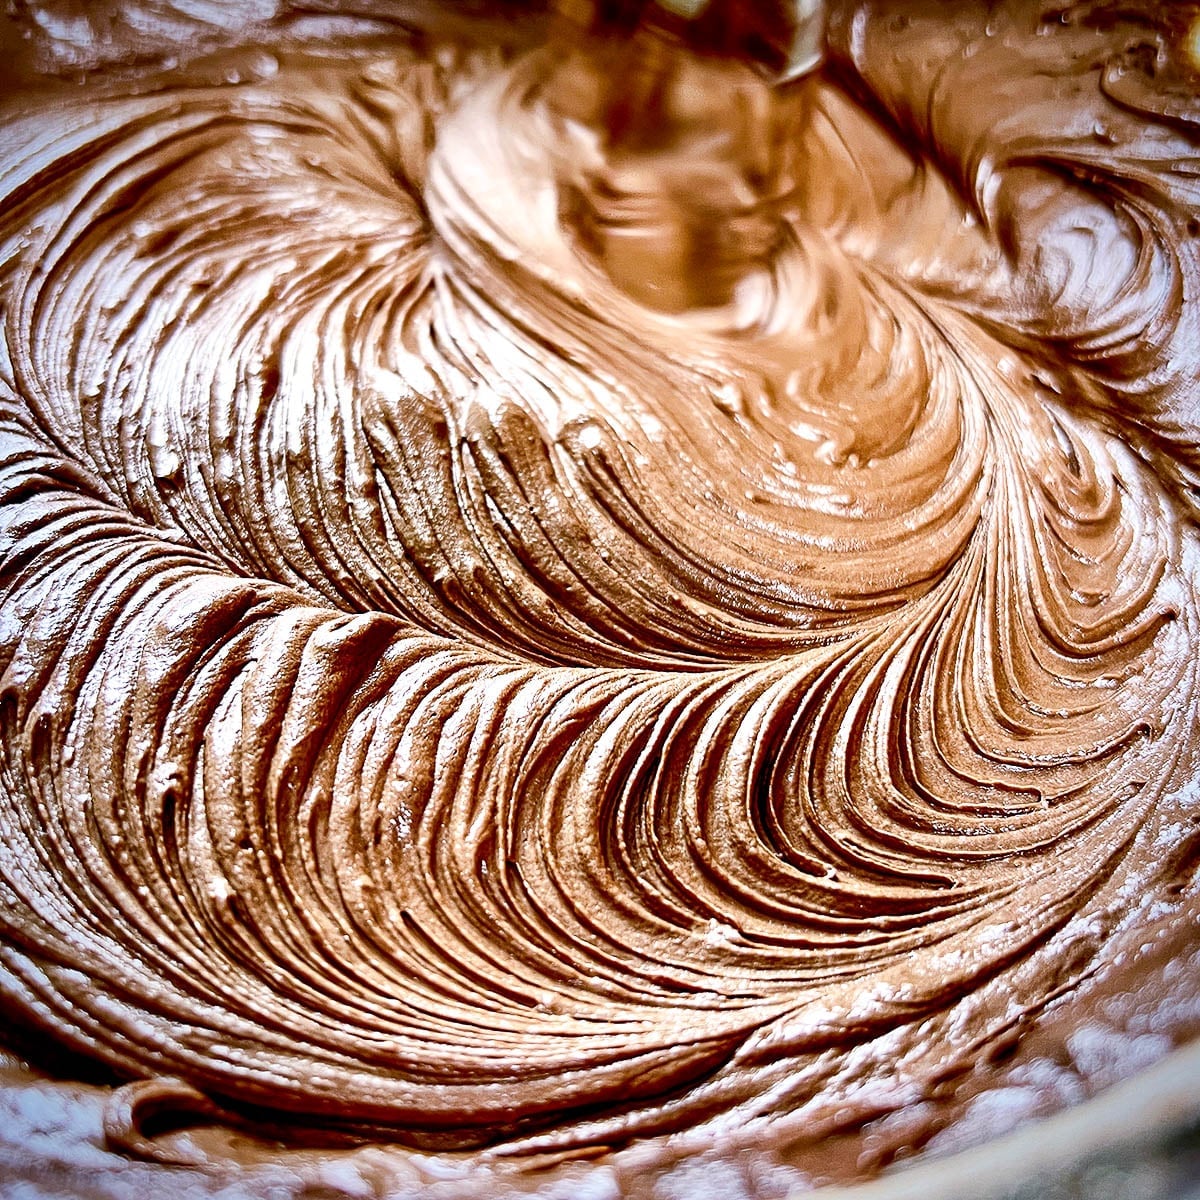
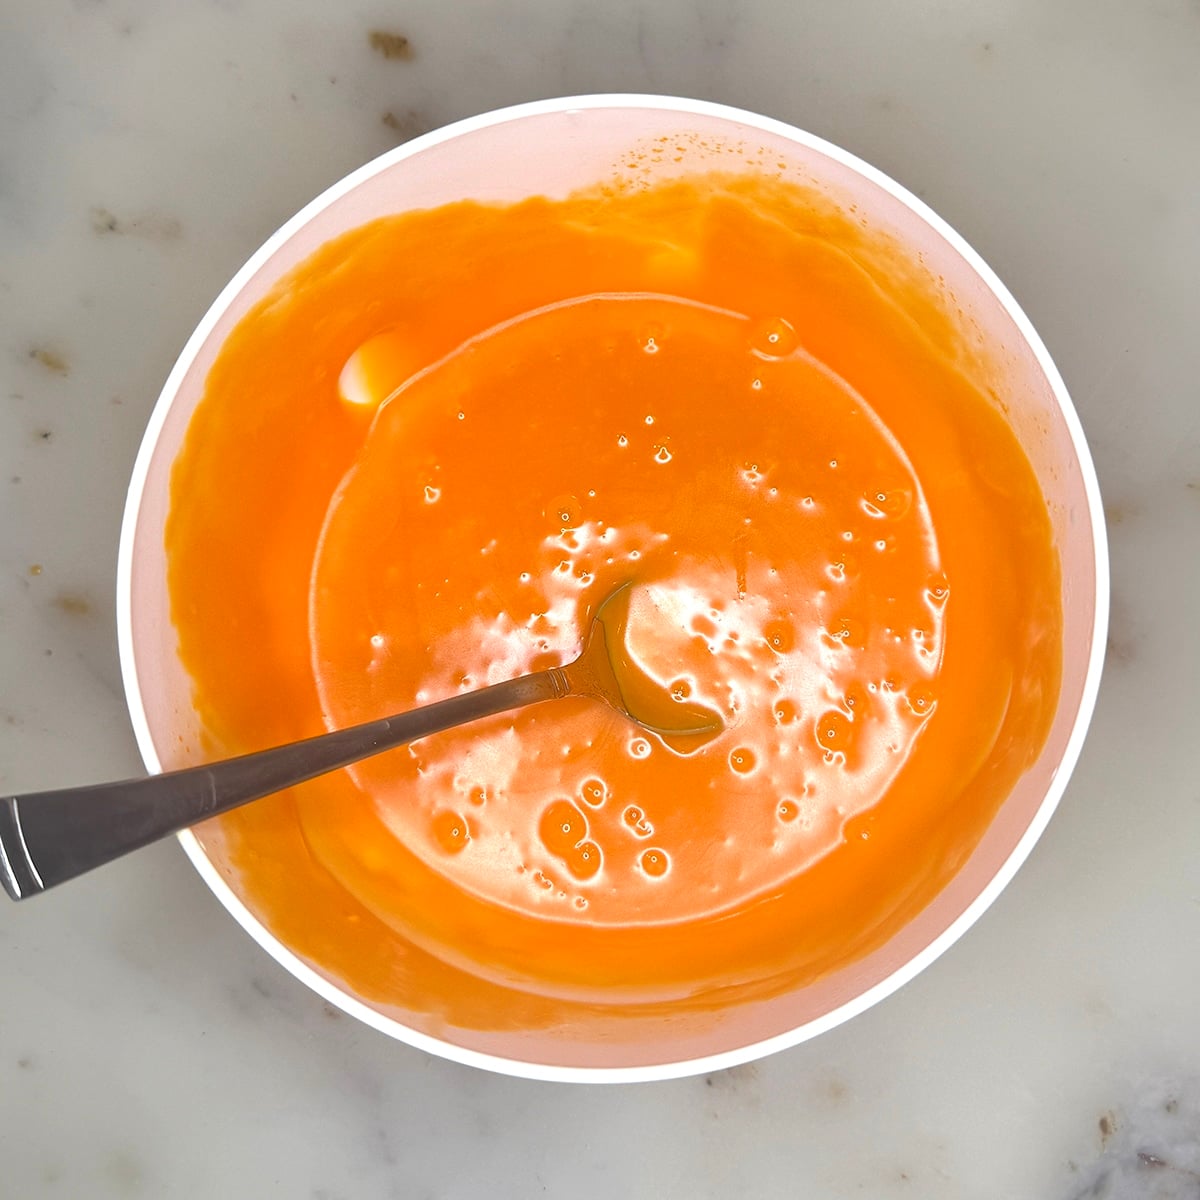
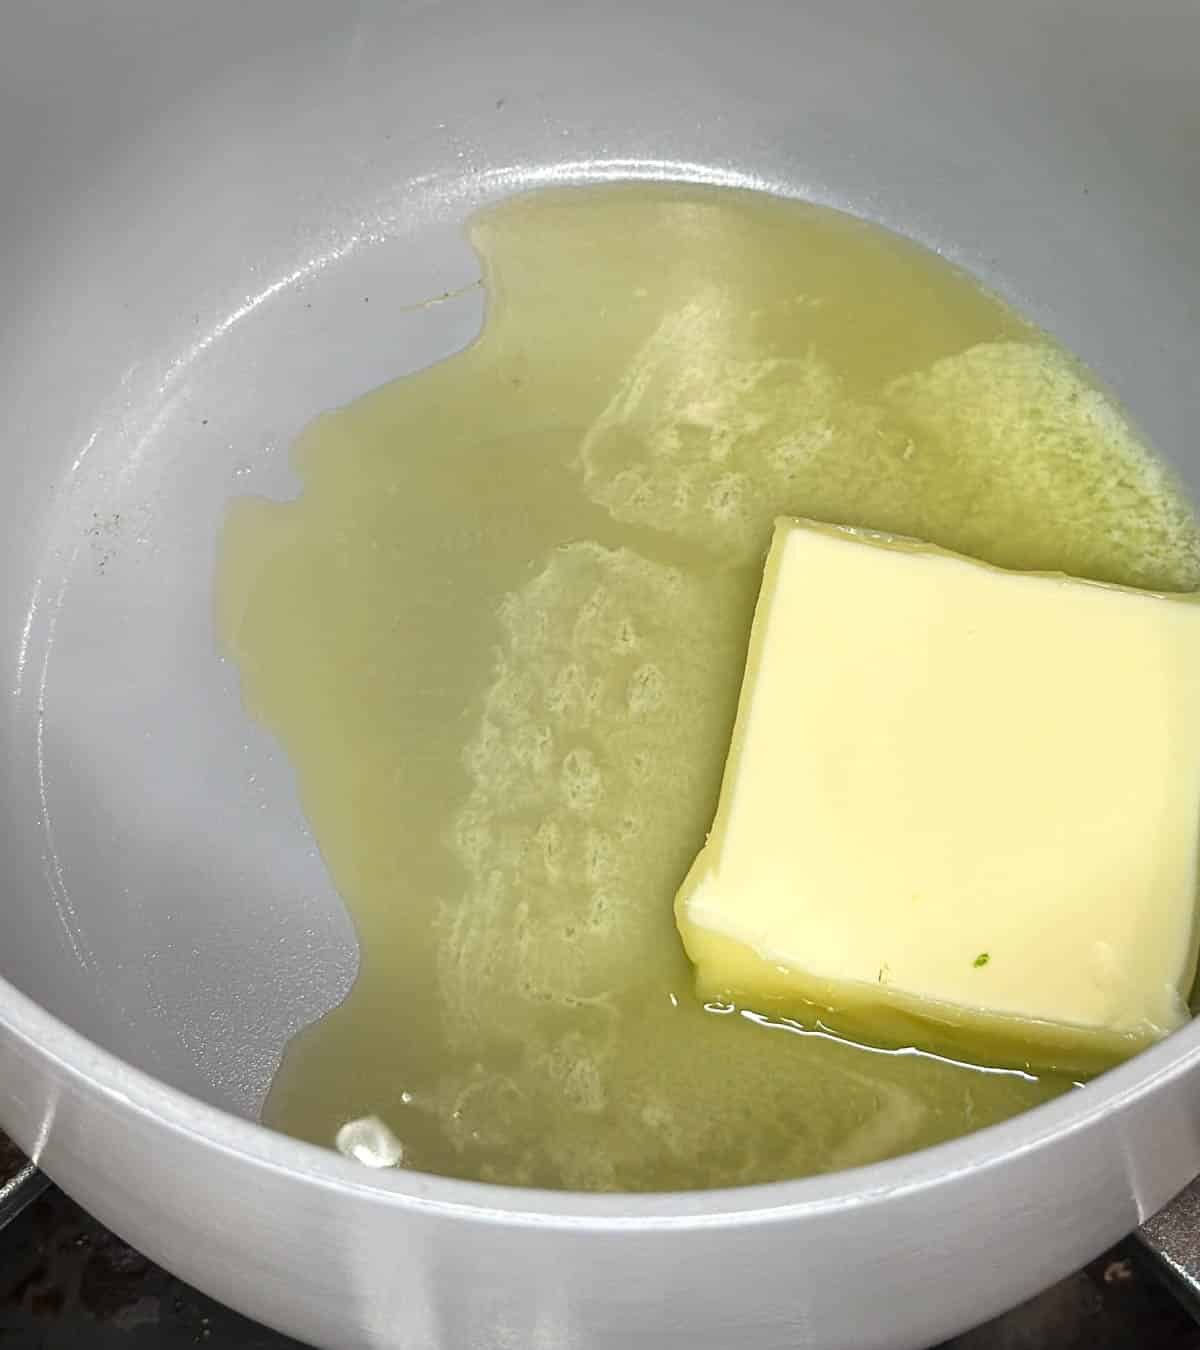
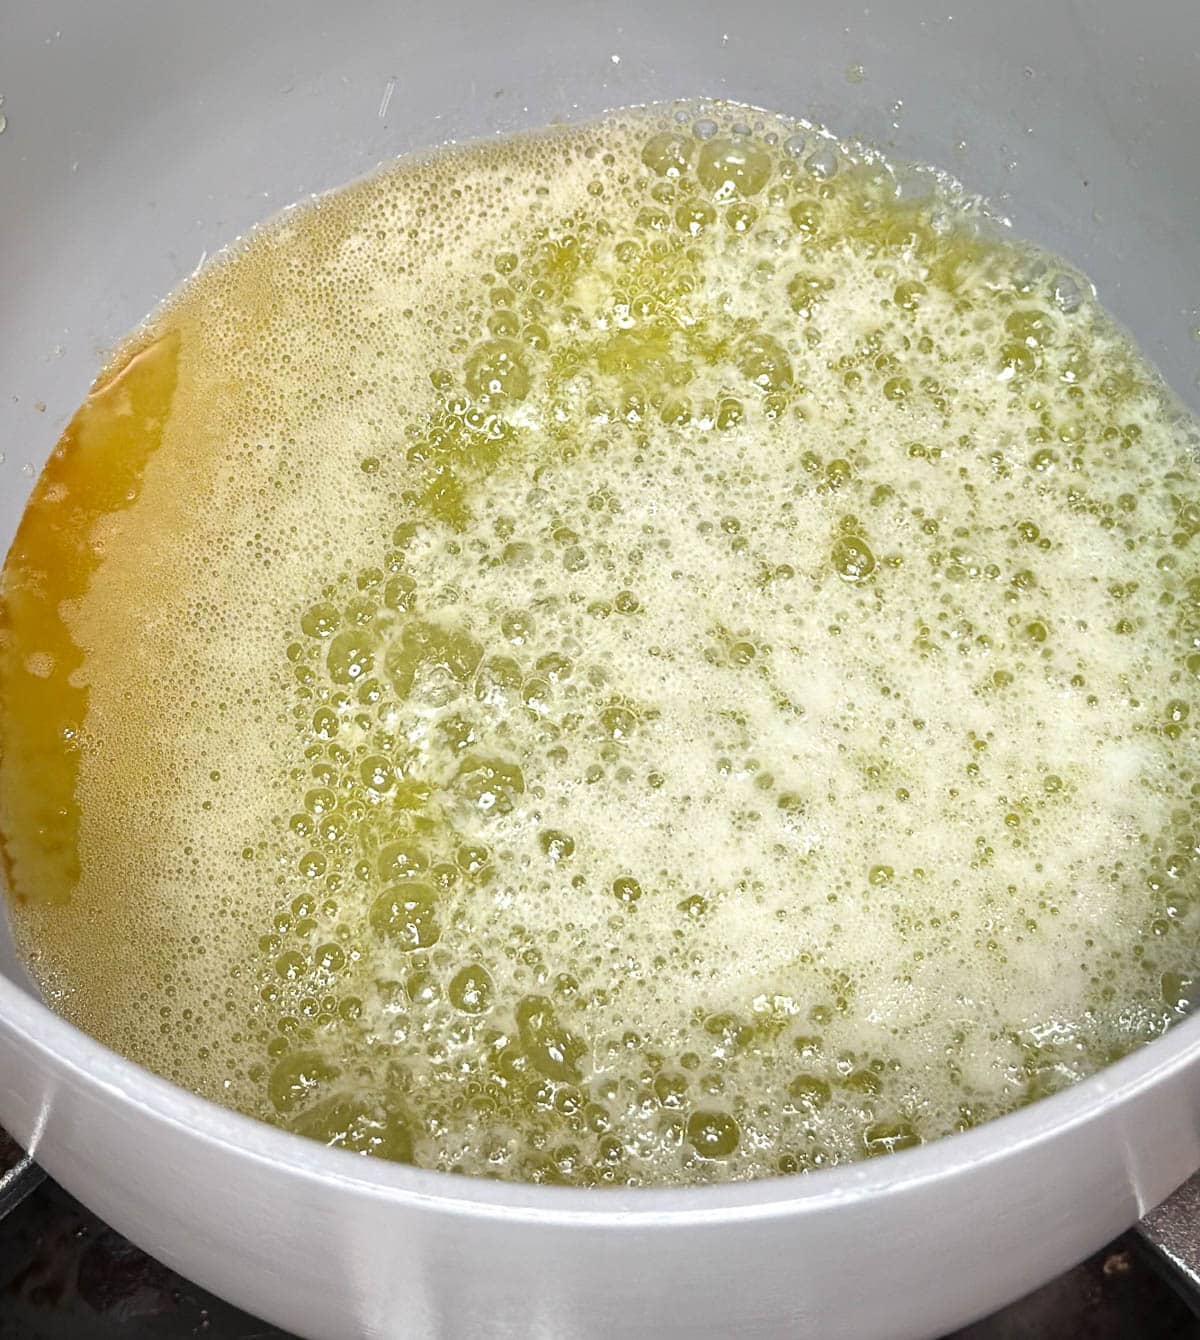
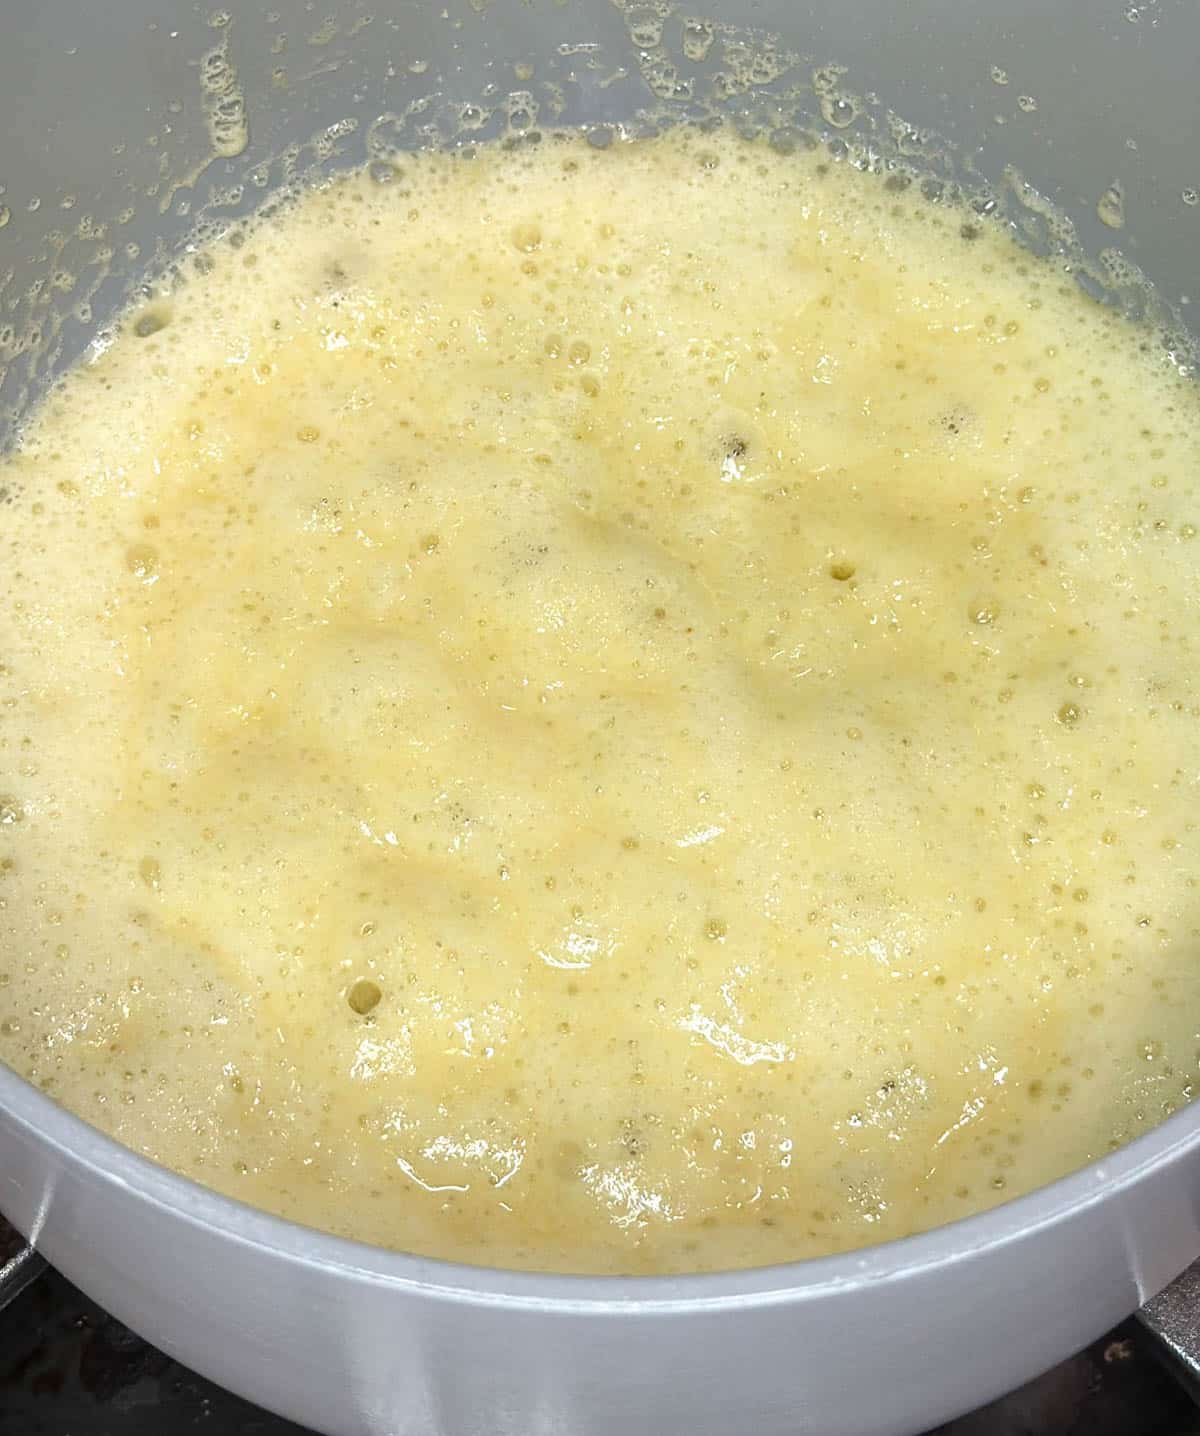
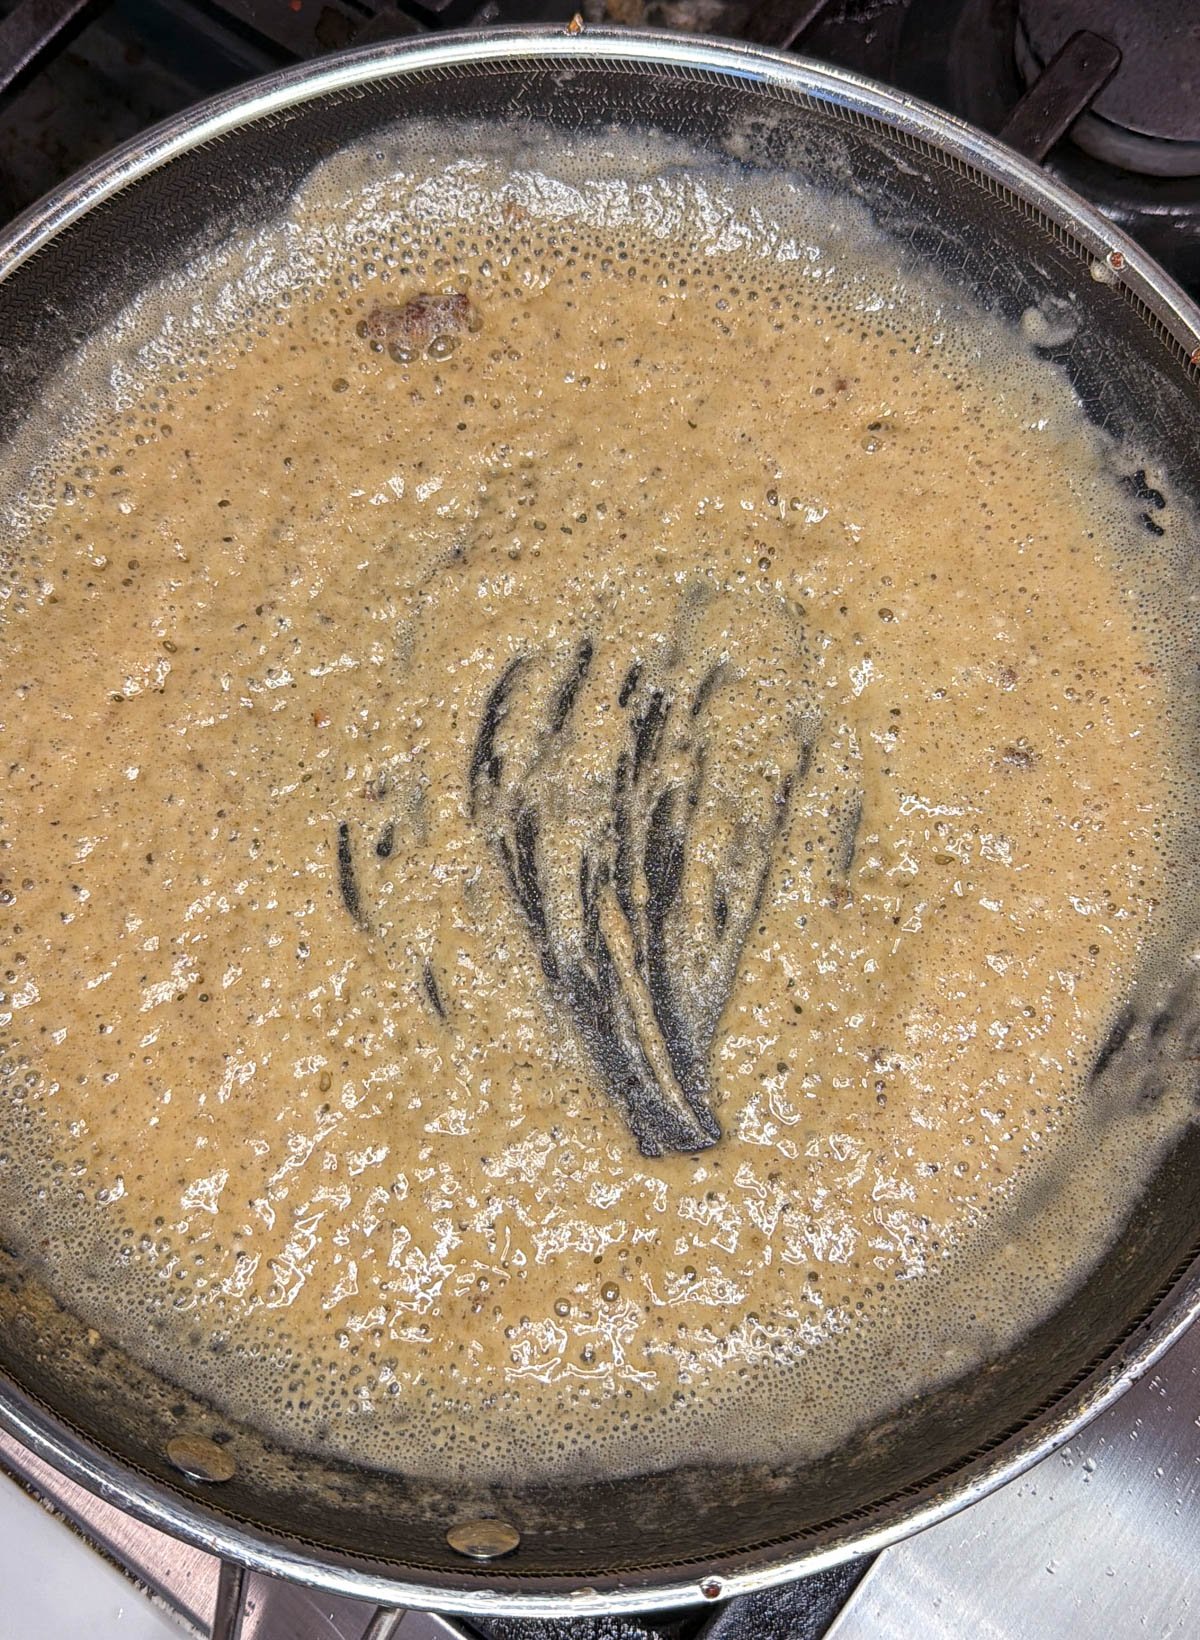
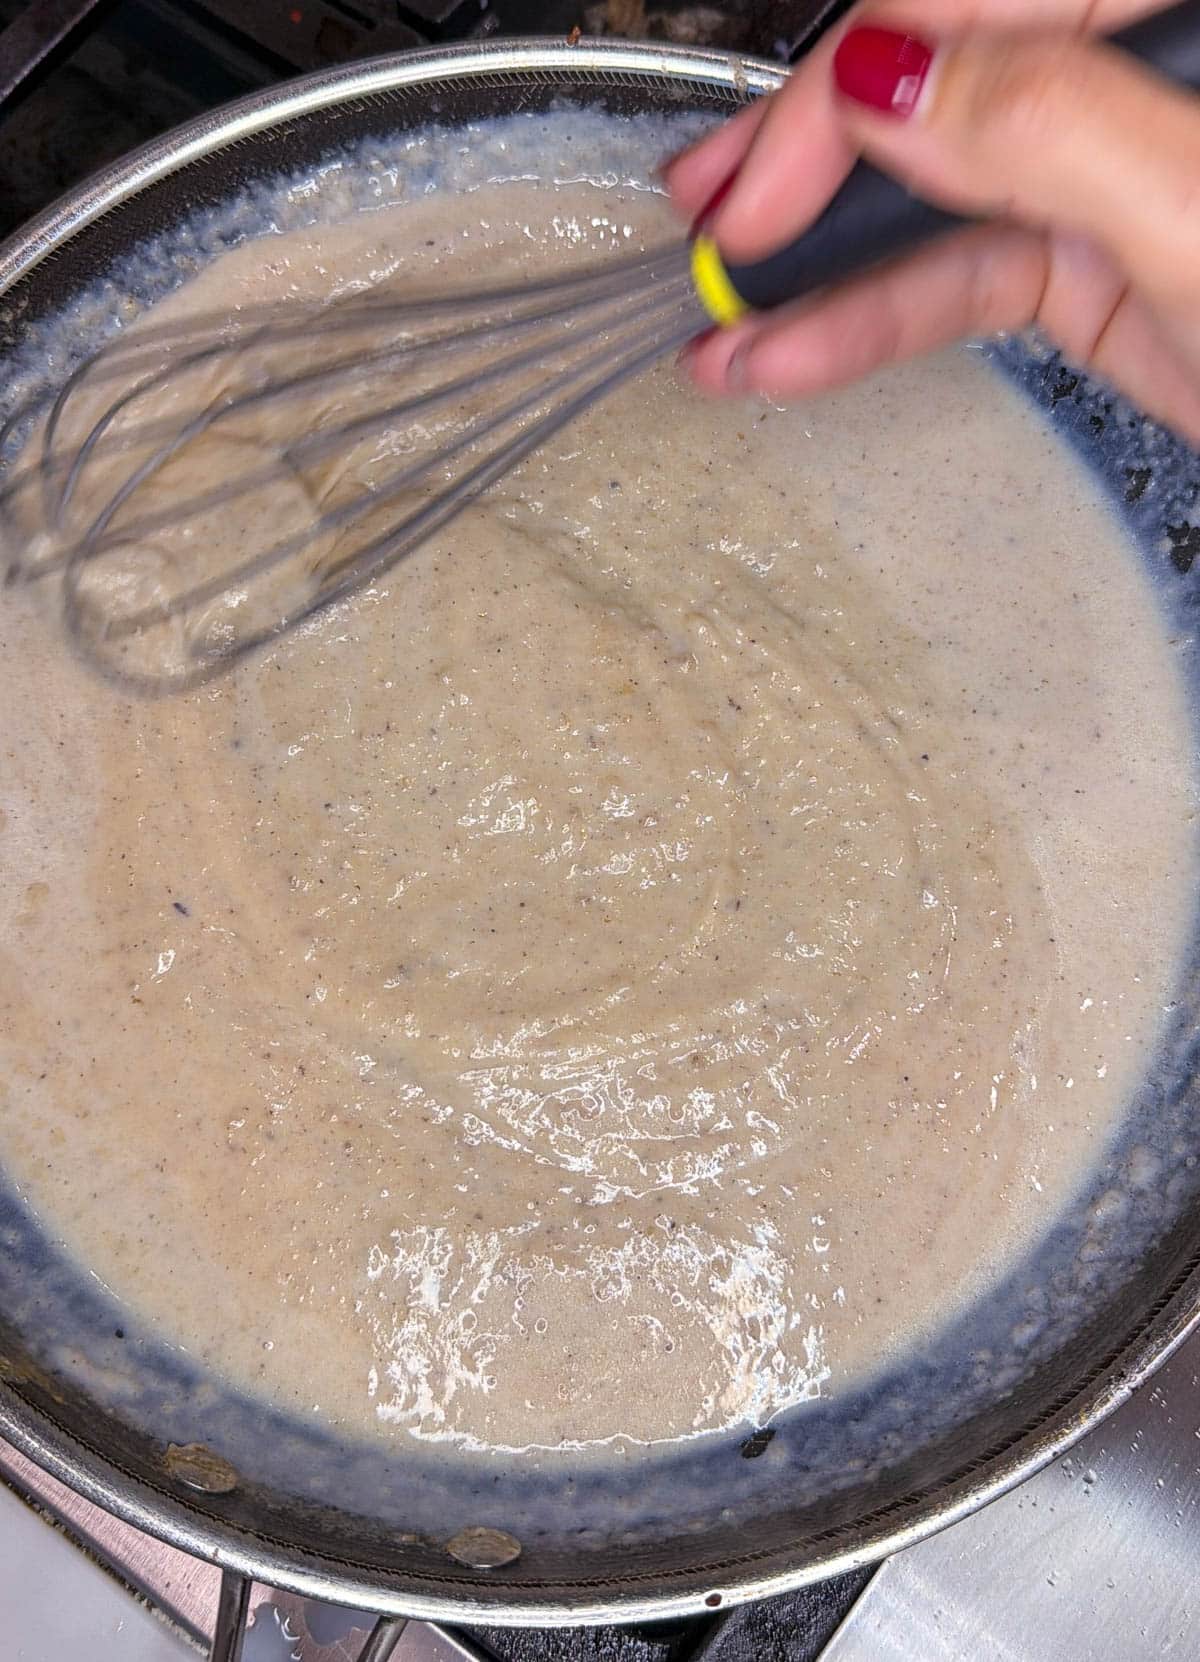
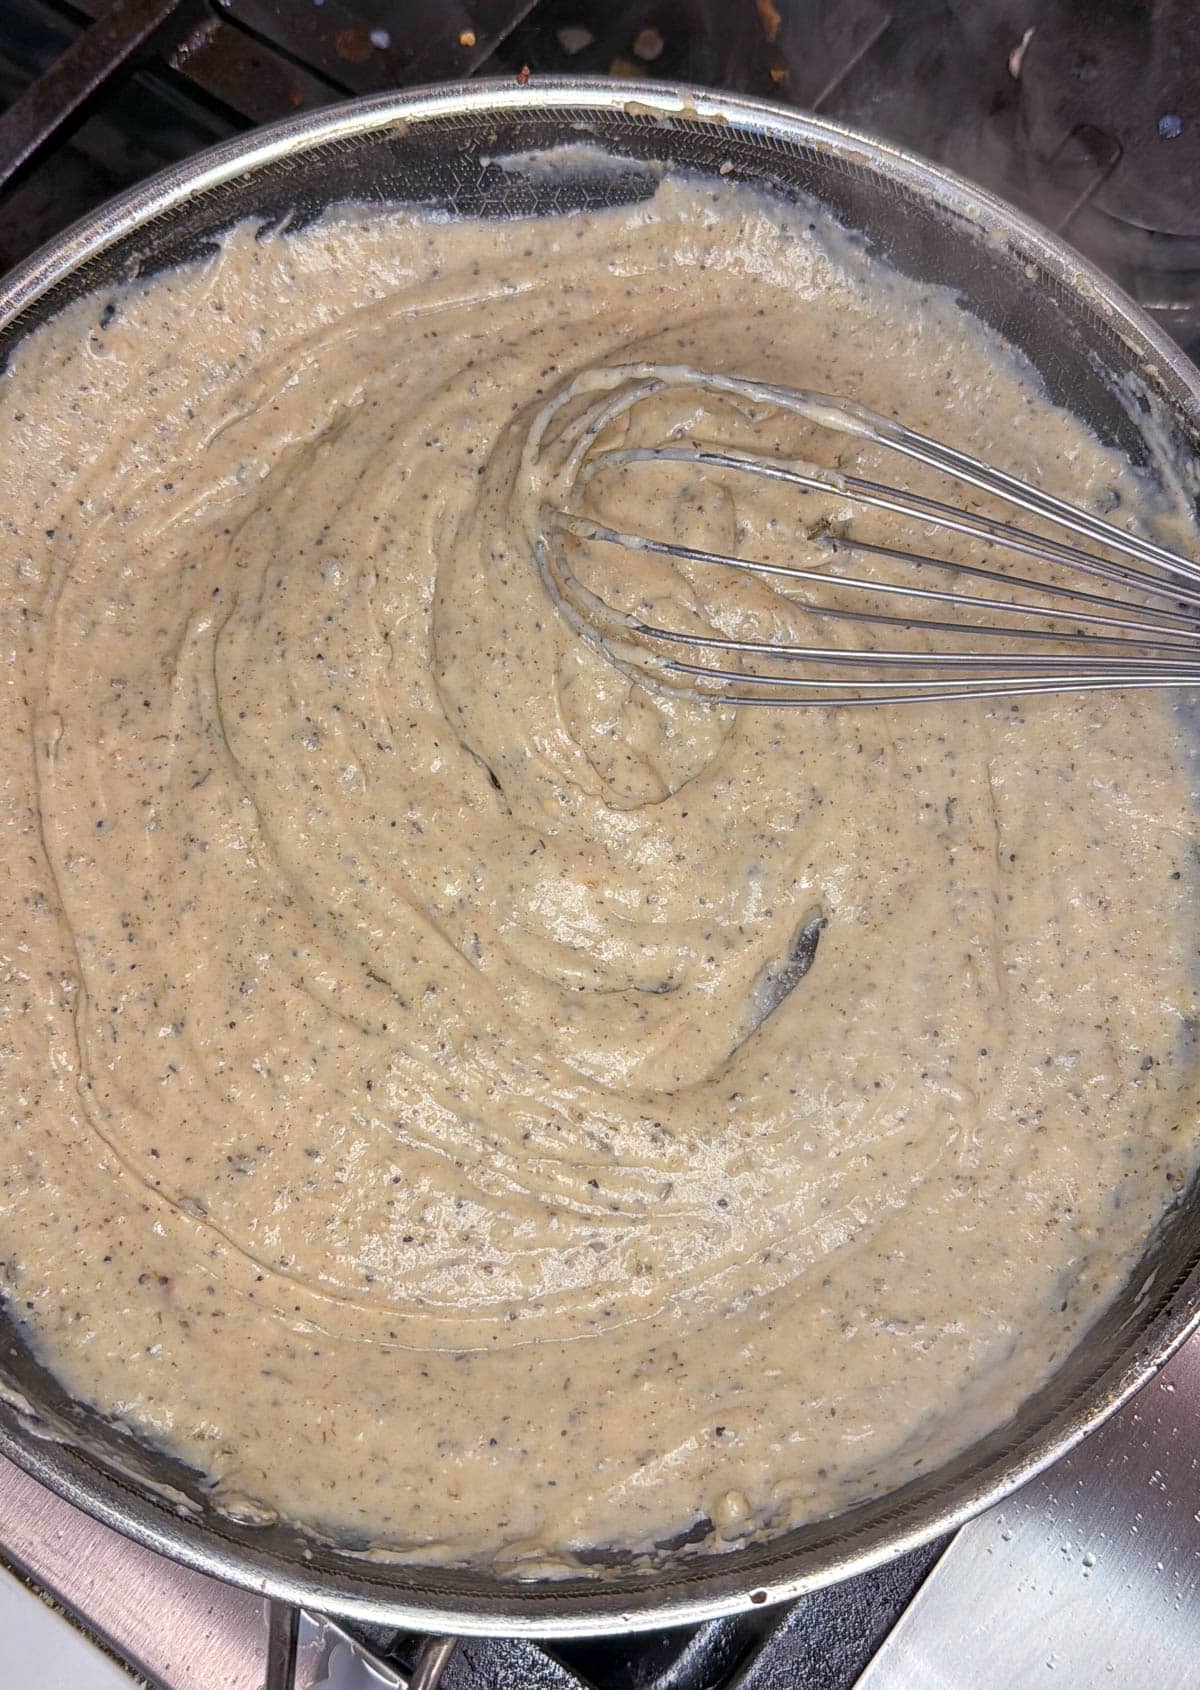
- Make the red wine ganache glaze. Combine the milk chocolate chips and butter in a microwave-safe bowl. Microwave in 30-second increments, stirring between each, until smooth and fully melted. Whisk in the powdered sugar, then the reserved ½ cup of cooled spiced wine. Whisk until smooth and pourable.
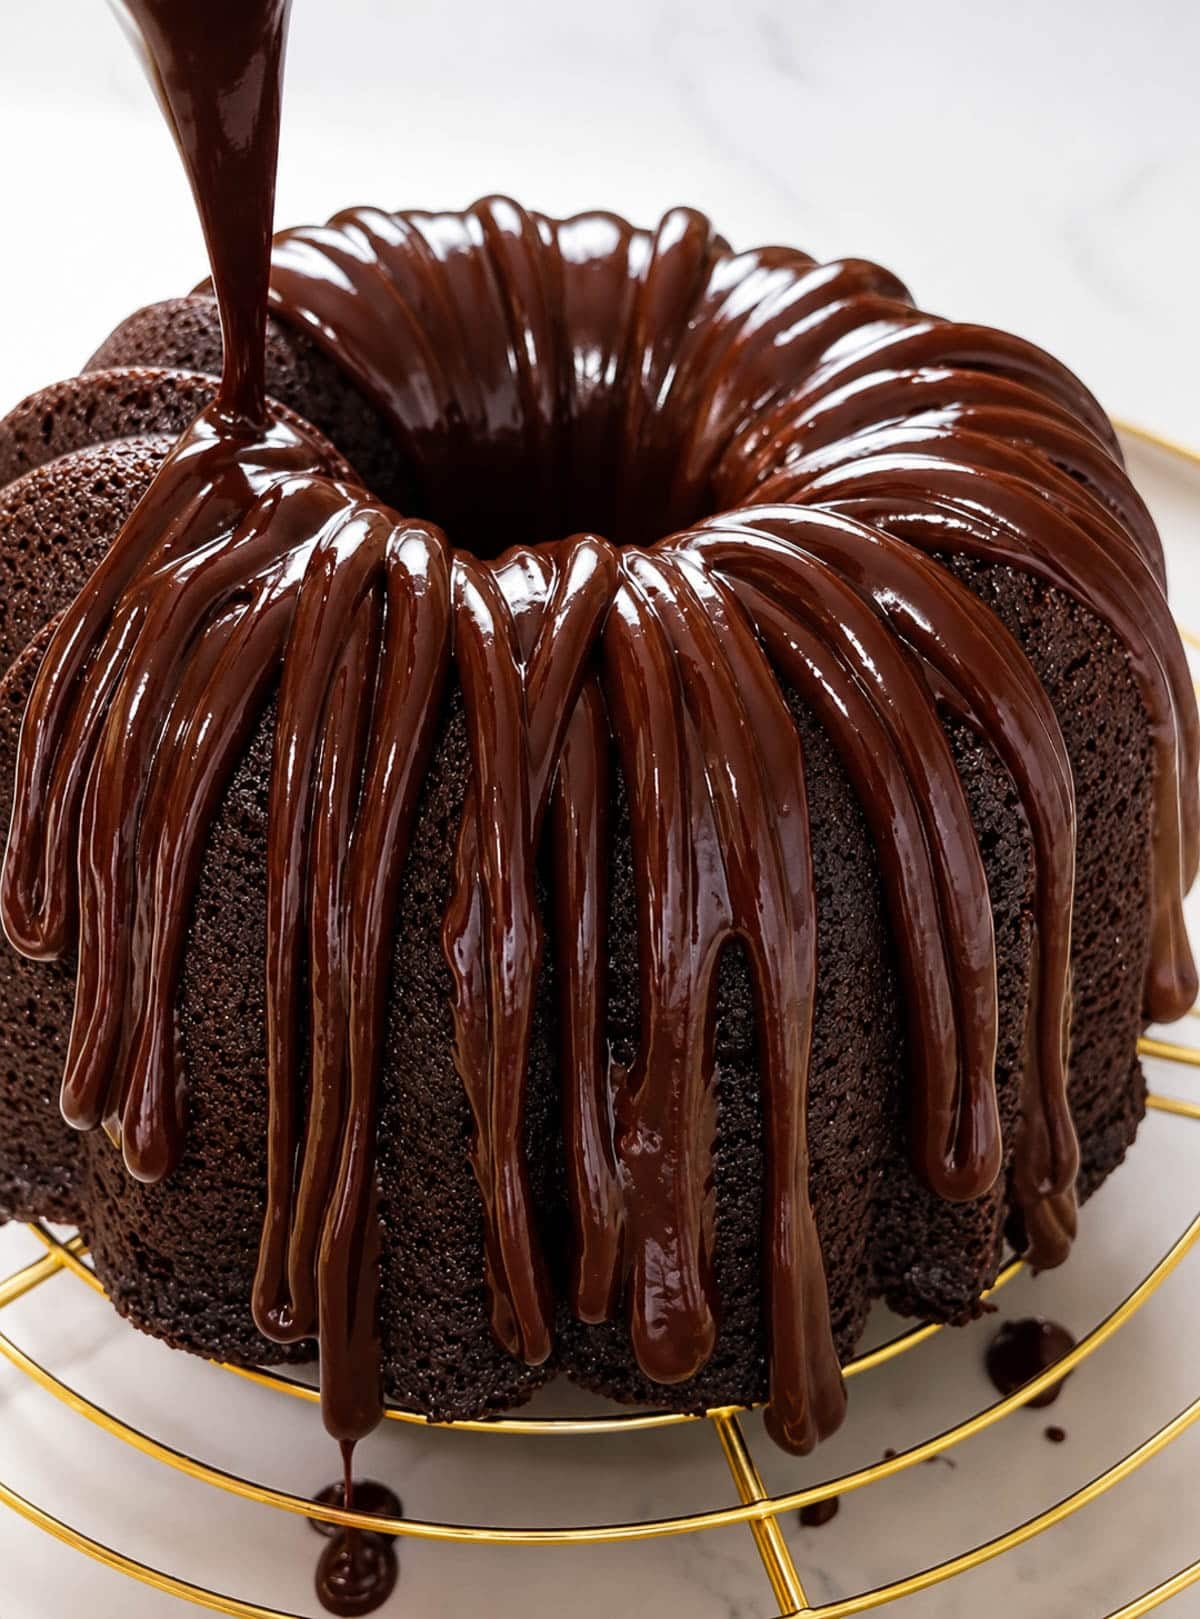
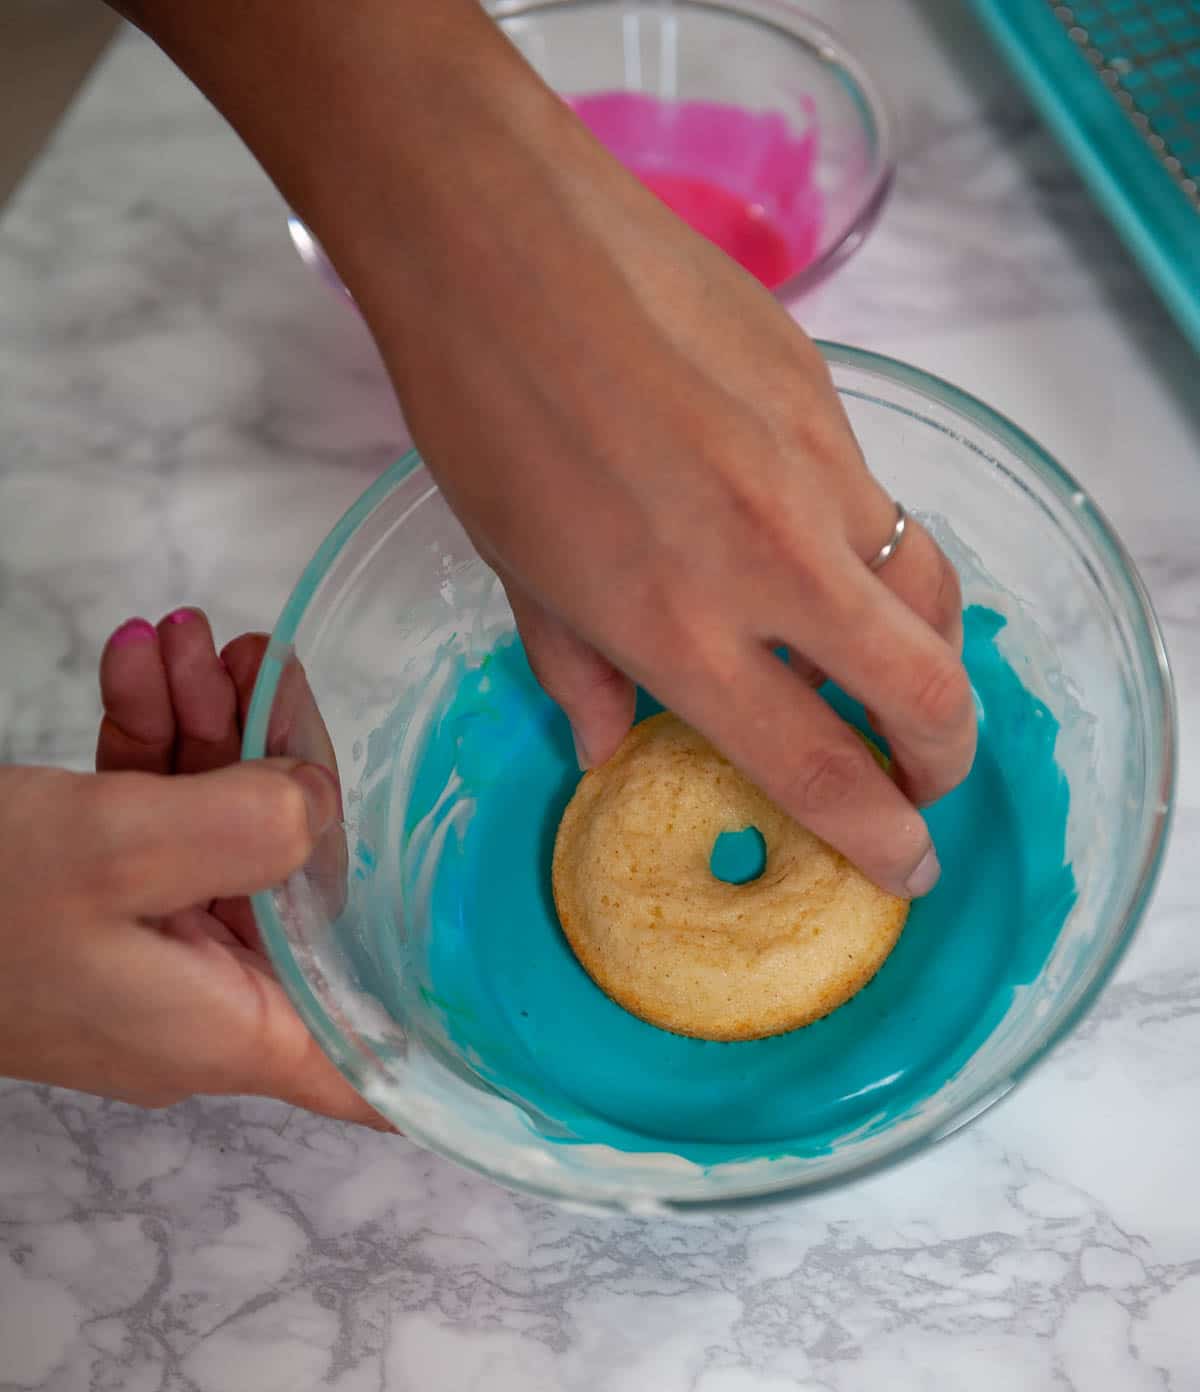
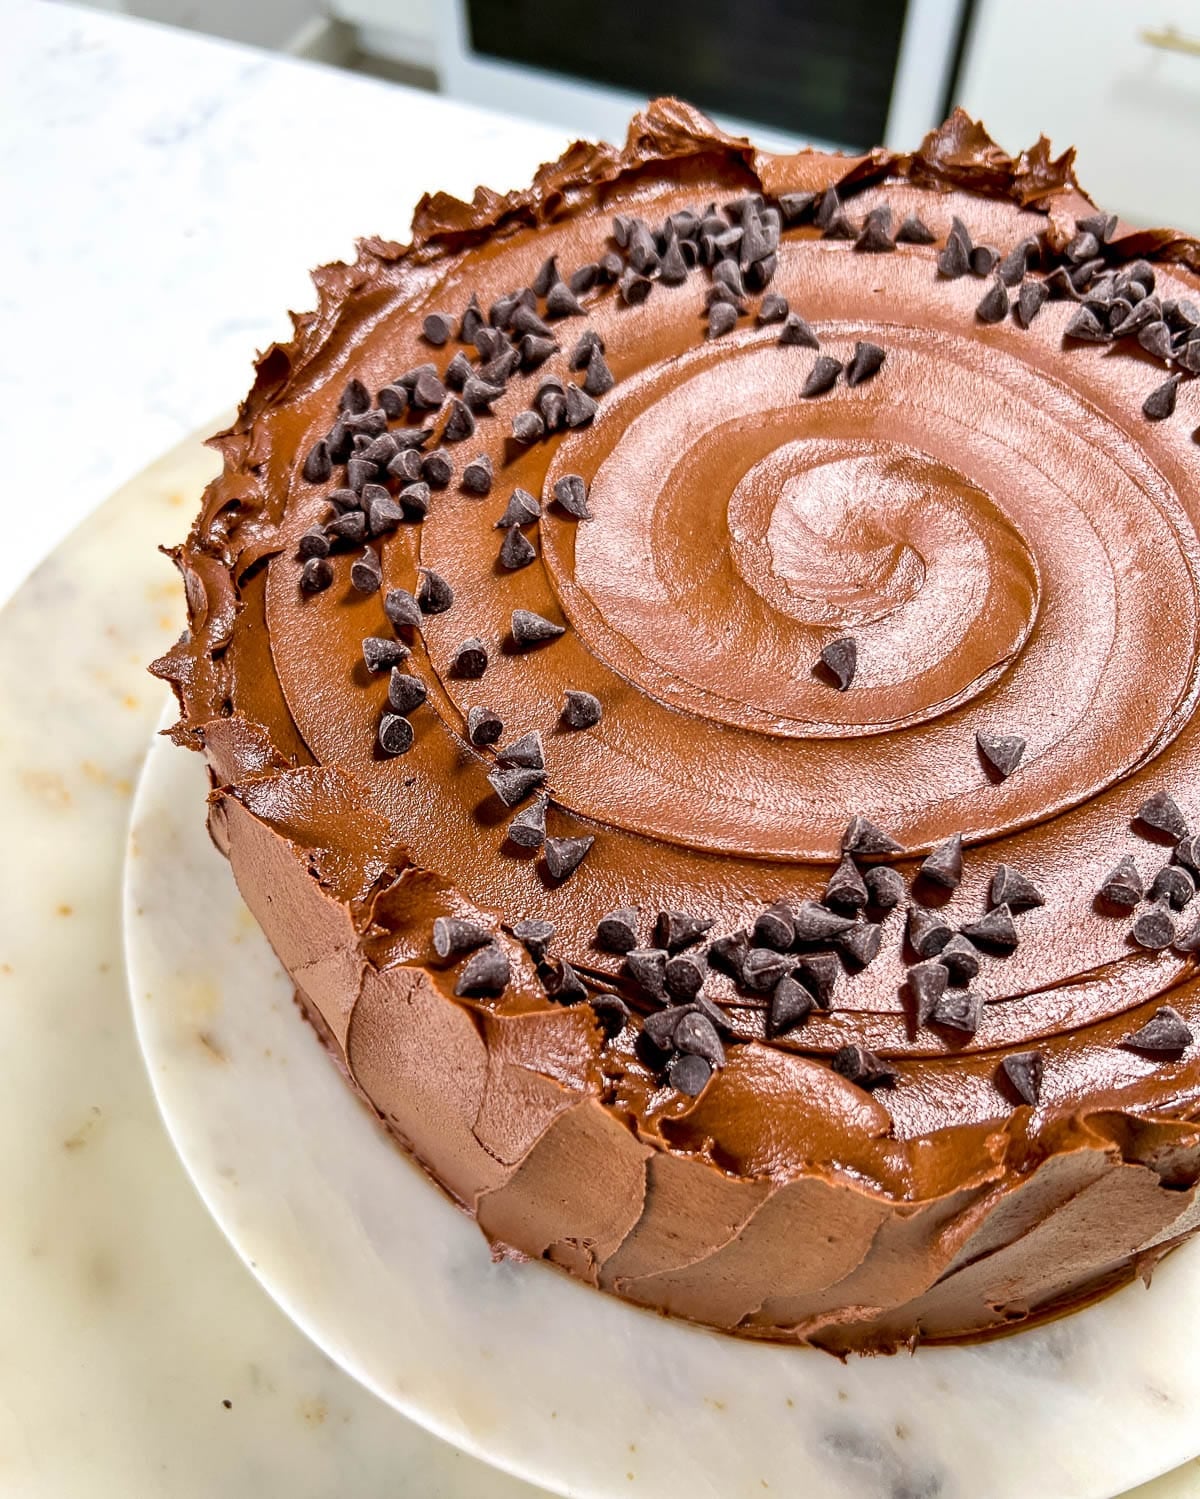
- Glaze the cake. Once the cake is completely cool, pour the glaze over the top of the cake, letting it drip down the sides naturally. Let the glaze set for about 10 minutes before slicing.
- Make the red wine ganache glaze. Combine the milk chocolate chips and butter in a microwave-safe bowl. Microwave in 30-second increments, stirring between each, until smooth and fully melted. Whisk in the powdered sugar, then the reserved ½ cup of cooled spiced wine. Whisk until smooth and pourable.
Common Red Wine Chocolate Cake Problems To Avoid
Cake tastes more spicy than chocolatey. Cut one of the spices in half (cloves are the most aggressive of the three). Star anise is gentler.
Cake stuck to the bundt pan. Bundt pans are unforgiving. Use cake goop or generously butter every nook and cranny, then dust with cocoa powder (not flour, which leaves a white residue on chocolate cake).
Cake tastes too "winey." You used a wine that was too tannic or dry. Wine flavor concentrates as the cake bakes. Stick to fruity, medium-bodied reds you would actually drink.
The glaze is too thick to pour. Whisk in another tablespoon of warm spiced wine or milk until you reach a slow ribbon consistency. Glaze should pour off a spoon in a steady stream, not plop.
The glaze is too thin and runs off the cake. Whisk in another tablespoon or two of powdered sugar. Or refrigerate the glaze for 5 to 10 minutes to firm up before pouring.
Crumb is dense or gummy. Usually means the bundt was underbaked. The skewer test should come out with moist crumbs, not wet batter. Bundts can hide underbaking because the dome looks done while the center is still raw.
The cake top splits while baking. Normal for a bundt and not a problem since you trim that side off before flipping. If it splits dramatically, your oven might be running hot. Drop 10°F.
Final Thoughts
This is the cake I make when I want something that looks like I tried way harder than I did. The bundt shape is the styling. The glaze is the finish. And the spiced wine simmering on the stovetop fills the whole kitchen with the kind of smell that makes everyone wander in to ask what you are baking.
If you have never cooked with wine before, this is a low-stakes way to start. The wine you choose will absolutely show up in the finished cake, but in a "this tastes interesting and complex" way, not a "this tastes like grapes" way. My sister was visiting when I made this batch and she could pick out the wine in the first bite. She said it tasted like chocolate, which it does, just deeper and more grown-up than your average chocolate cake.
Pour yourself a glass of whatever wine you used in the cake and serve a slice with it. That is the whole vibe.
Red Wine Chocolate Cake FAQs
Use a fruity, medium-bodied red wine you would actually drink. Cabernet sauvignon, merlot, zinfandel, shiraz, and pinot noir all work beautifully. Avoid anything labeled "cooking wine" because those are over-salted and flat-tasting. Skip very dry, tannic wines (they will taste bitter once concentrated by baking) and avoid sweet dessert wines unless you cut the sugar in the cake. Whatever you pick, taste it first. If you do not enjoy drinking it, you will not enjoy eating it in the cake.
Sort of. The spiced wine simmer drives off most (but not all) of the alcohol over 30 minutes. For a fully alcohol-free version, replace the wine with an equal amount of pomegranate juice or a mix of grape juice and a splash of balsamic vinegar. You will lose the wine character but keep the fruity, complex flavor. The ganache glaze can be made with milk or cream instead of wine.
Yes, but in a complex, not overwhelming way. Most people taste it as a deeper, fruitier chocolate flavor rather than a distinct "wine" note. The spices in the simmer round out the sharper wine notes so it reads as warm and aromatic rather than alcoholic.
You can, but the spices are what take this cake from "fine chocolate cake with wine" to "memorable holiday-feeling dessert." If you want to dial it back, just use one cinnamon stick and the orange slices and skip the cloves and star anise.
Wrapped tightly or in an airtight container at room temperature for 3 to 4 days. The flavor actually deepens overnight as the spice and wine notes meld. You can also refrigerate for up to a week, but bring slices back to room temperature before serving so the oil-based crumb does not feel dry.
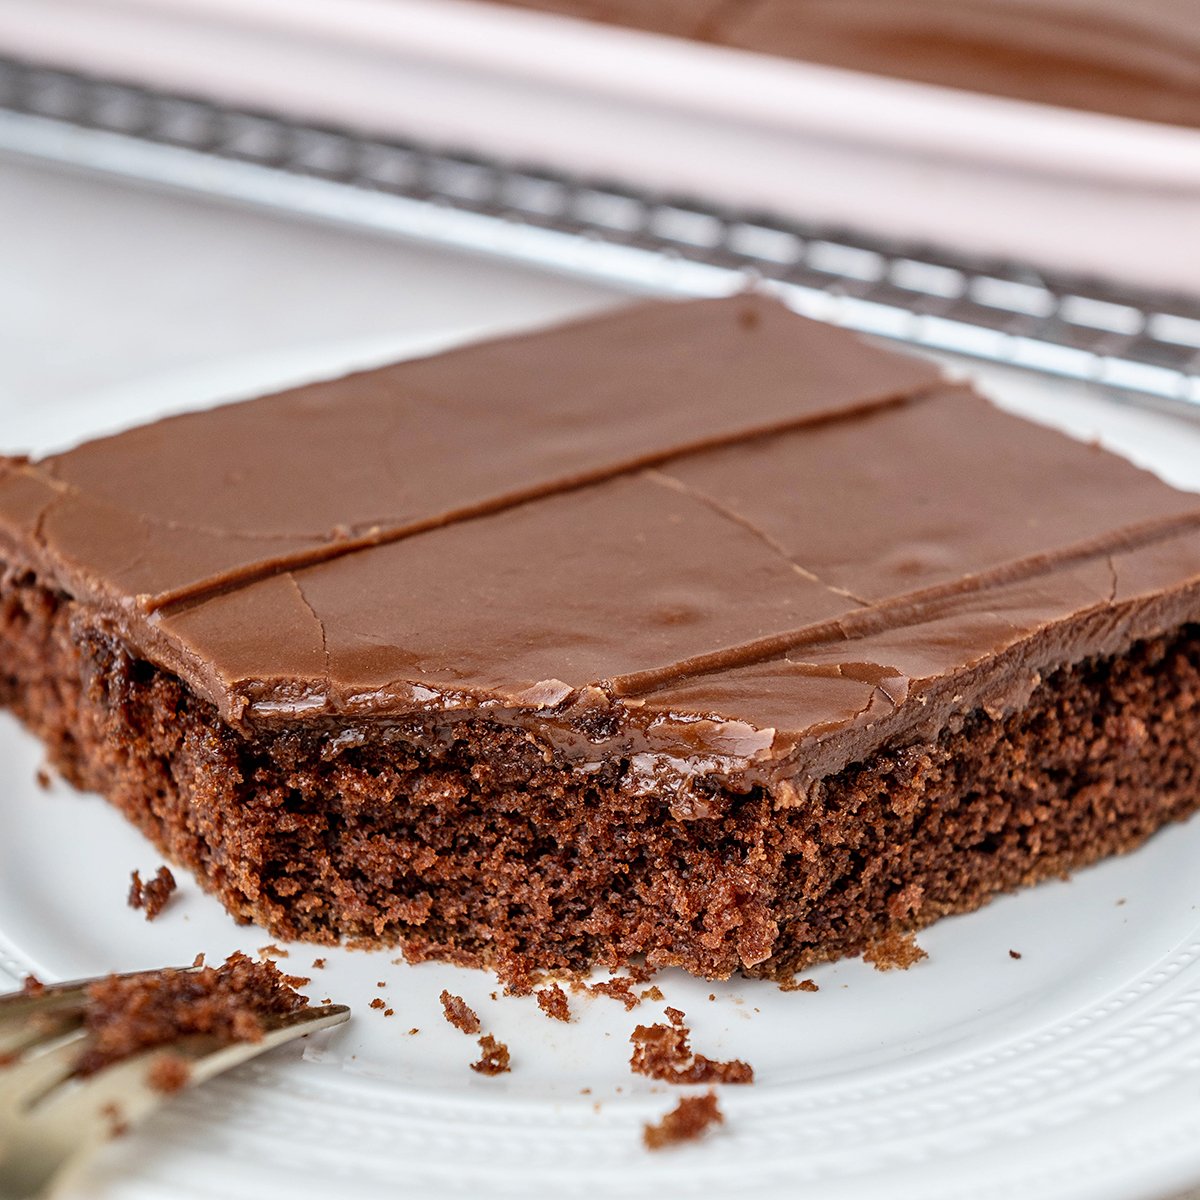
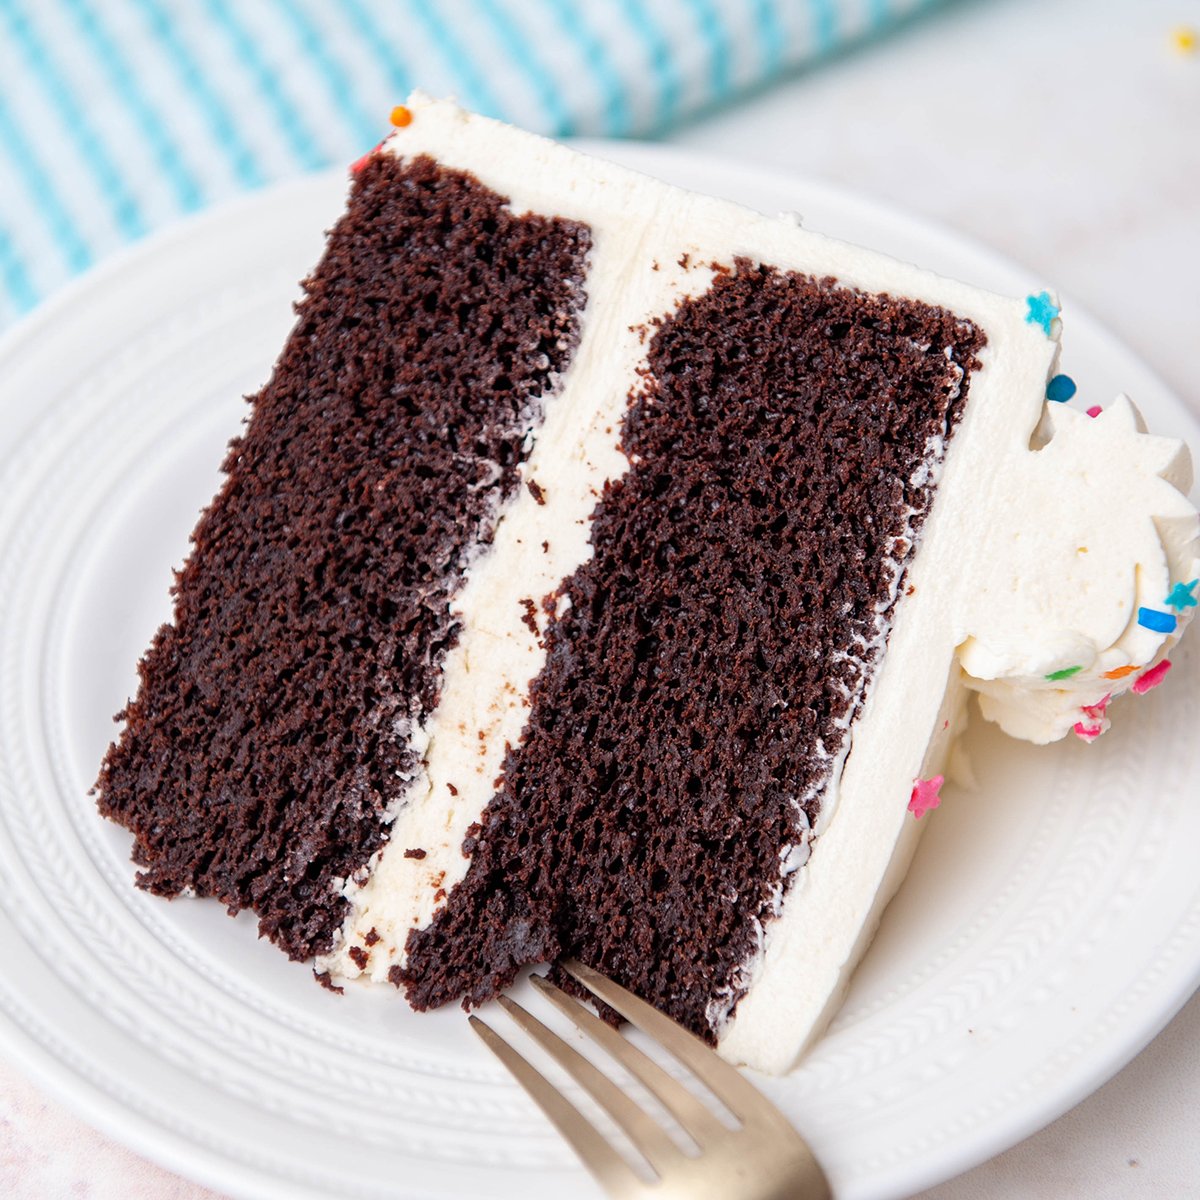
Yes. Pour the batter into two greased 8 or 9-inch round cake pans and bake at 350°F for 25 to 30 minutes, or one 9x13 sheet cake pan for 30 to 35 minutes. Same skewer test for doneness.
More Chocolate Cake Recipes To Try

Leave Me A Review
⭐️⭐️⭐️⭐️⭐️
If you tried this Wine Cake Recipe or any other recipe on my blog, please leave a 🌟 star rating and let me know how it goes in the comments. I love hearing from you!
Recipe

Red Wine Cake Recipe
Ingredients
Spiced Wine
- 12 ounces red wine fruity but not too sweet
- 6 ounces apple juice
- 1 Tablespoon honey
- 3 orange slices
- 3 whole cloves
- 1 whole cinnamon stick
- 1 whole star anise
Chocolate Bundt Cake
- 10 ounces flour
- 7 ounces sugar
- 7 ounces brown sugar
- 4 ounces cocoa powder
- 1 ½ teaspoons baking powder
- 1 teaspoon salt
- 2 large eggs
- 8 ounces buttermilk
- 8 ounces hot spiced wine
- 4 ounces vegetable oil
- 2 teaspoons vanilla extract
Red Wine Ganache Glaze
- 9 ounces milk chocolate chips
- 2 ounces unsalted butter cut into small pieces
- 1 ounce powdered sugar
- 5 ounces hot spiced red wine
Instructions
- Before you begin: Preheat your oven to 350°F (177°C). Prepare a 10 to 12-cup bundt pan with cake goop or a generous coating of butter and cocoa powder, getting into every crevice. Bring eggs and buttermilk to room temperature.
- In a medium saucepan, combine the red wine, apple cider, honey, orange slices, cinnamon stick, cloves, and star anise. Bring to a gentle simmer over medium-low heat and simmer for 30 minutes, stirring occasionally.
- Strain the spiced wine through a fine-mesh sieve. The recipe yields about 1 ½ cups, which is just what you need: 1 cup hot for the cake batter and ½ cup cooled to room temperature for the glaze.
- In the bowl of a stand mixer, whisk together the flour, granulated sugar, brown sugar, cocoa powder, baking powder, baking soda, and salt.
- Add the eggs, buttermilk, oil, and vanilla extract to the dry ingredients. Mix on low for about 30 seconds until just combined.
- With the mixer on low, slowly stream in 1 cup of the hot spiced wine. The batter will be thin. That is correct.
- Pour the batter into the prepared bundt pan. Bake at 350°F for 45 to 55 minutes, or until a wooden skewer comes out with just a few moist crumbs.
- While the cake is still in the pan, trim off the dome on top with a serrated knife so the cake will sit flat after flipping. Cool the cake in the pan for 15 to 20 minutes, then invert onto a wire rack and let it cool completely.
- Make the glaze: combine the milk chocolate chips and butter in a microwave-safe bowl. Microwave in 30-second increments, stirring between each, until smooth. Whisk in the powdered sugar, then the reserved ½ cup of cooled spiced wine. Whisk until smooth and pourable.
- Pour the glaze over the cooled cake, letting it drip down the sides. Let set for 10 minutes before slicing.
Video
Notes
- Use a fruity, medium-bodied red you would drink. Cab, merlot, zinfandel, shiraz, pinot noir all work.
- Avoid "cooking wine" (over-salted) and very dry/tannic wines (bitter when concentrated).
- Sweet dessert wines work but reduce the cake's sugar by ¼ cup.
- Spiced wine can be made up to 2 weeks ahead, stored in an airtight jar in the fridge. Reheat the 1 cup portion before adding to the batter and bring the ½ cup glaze portion to room temperature before whisking into the ganache.
- Cake can be baked, cooled, wrapped tightly, and stored at room temperature 1 day before glazing.
- Glazed cake at room temperature, covered, for 3 to 4 days. Flavor improves overnight.
- Refrigerate up to 1 week. Bring slices to room temp before serving.
- Freeze unglazed cake up to 2 months.
- Pan: 2 round 8 or 9-inch cake pans (bake 25 to 30 min) or one 9x13 (30 to 35 min) instead of bundt.
- Alcohol-free: replace wine with pomegranate juice or grape juice plus 1 tablespoon balsamic vinegar.
- Cocoa: Dutch-process works for milder chocolate flavor.
- Chocolate chips: semi-sweet for less sweet, more chocolate-forward glaze.
- Don't use cooking wine. Always use drinking wine.
- Don't boil the spiced wine hard. A gentle simmer protects the wine flavor.
- Don't underbake. Bundts hide underbaking. Skewer test is non-negotiable.
- Don't skip the pan prep. Bundts stick. Use cake goop or butter plus cocoa powder.
- Don't add red food coloring to the glaze (unless you want barbecue-sauce vibes). The natural color is prettier.