This chocolate cake goop pan release is super simple to make and works every time. Store it for months in your pantry to use on any chocolate desserts. This recipe adds cocoa powder to my vanilla cake goop to avoid streaks on your chocolate cakes. So much easier and more consistent than butter and flour!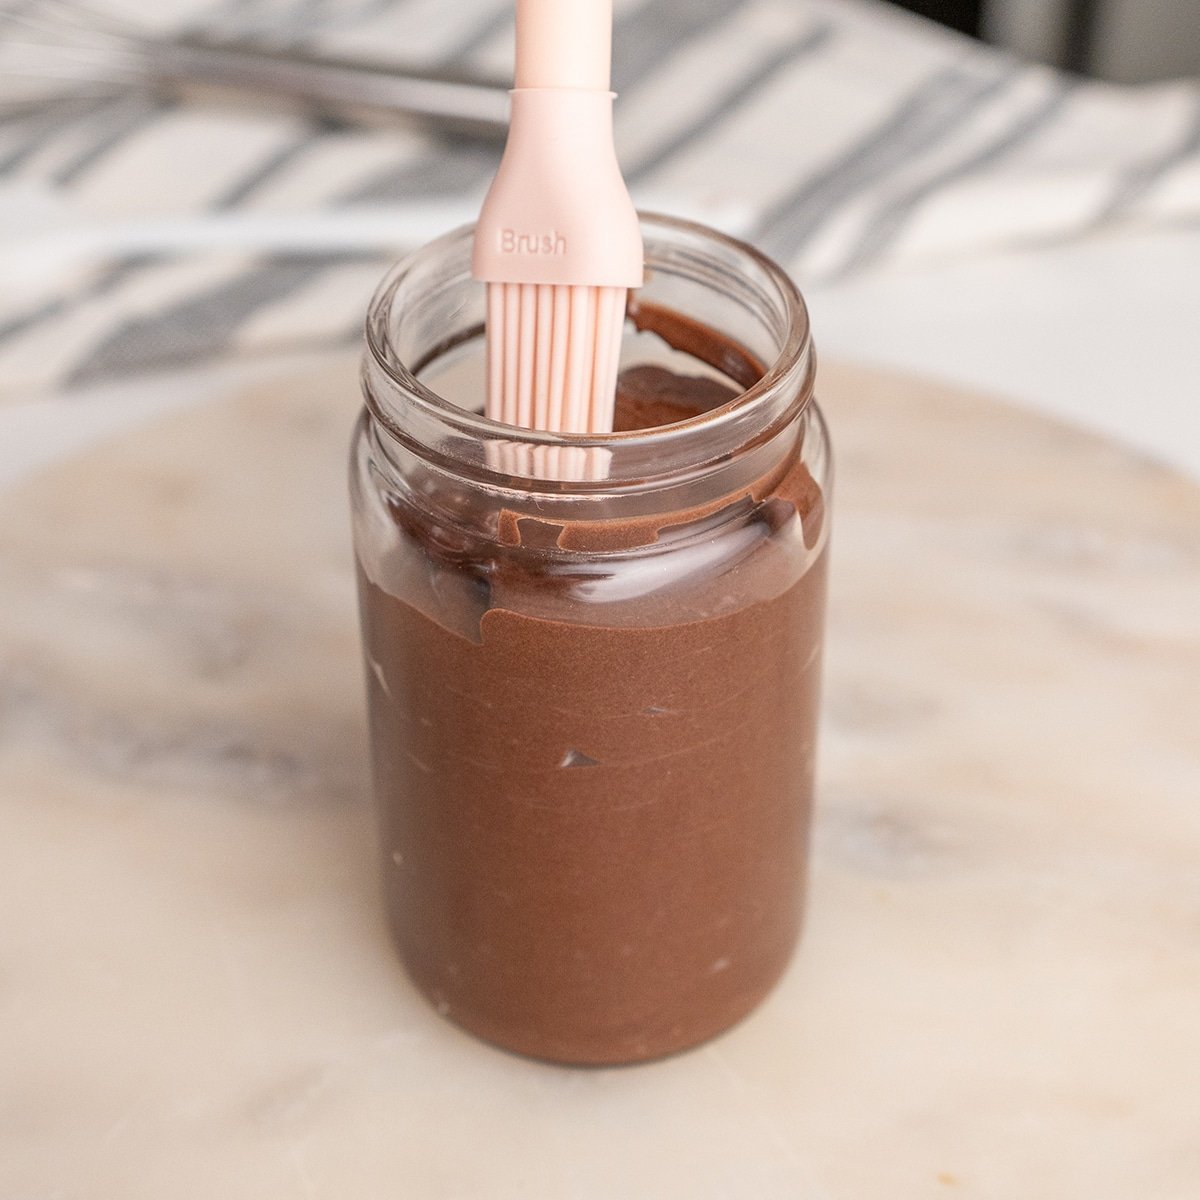
Chocolate cake goop is great for complex bundt cakes, traditional chocolate cakes, loaf pans, and more. Seriously, I wish someone had told me about this amazing stuff before. It’s stupidly easy and takes only a minute to make and you know what? Your cakes will turn out every single time.
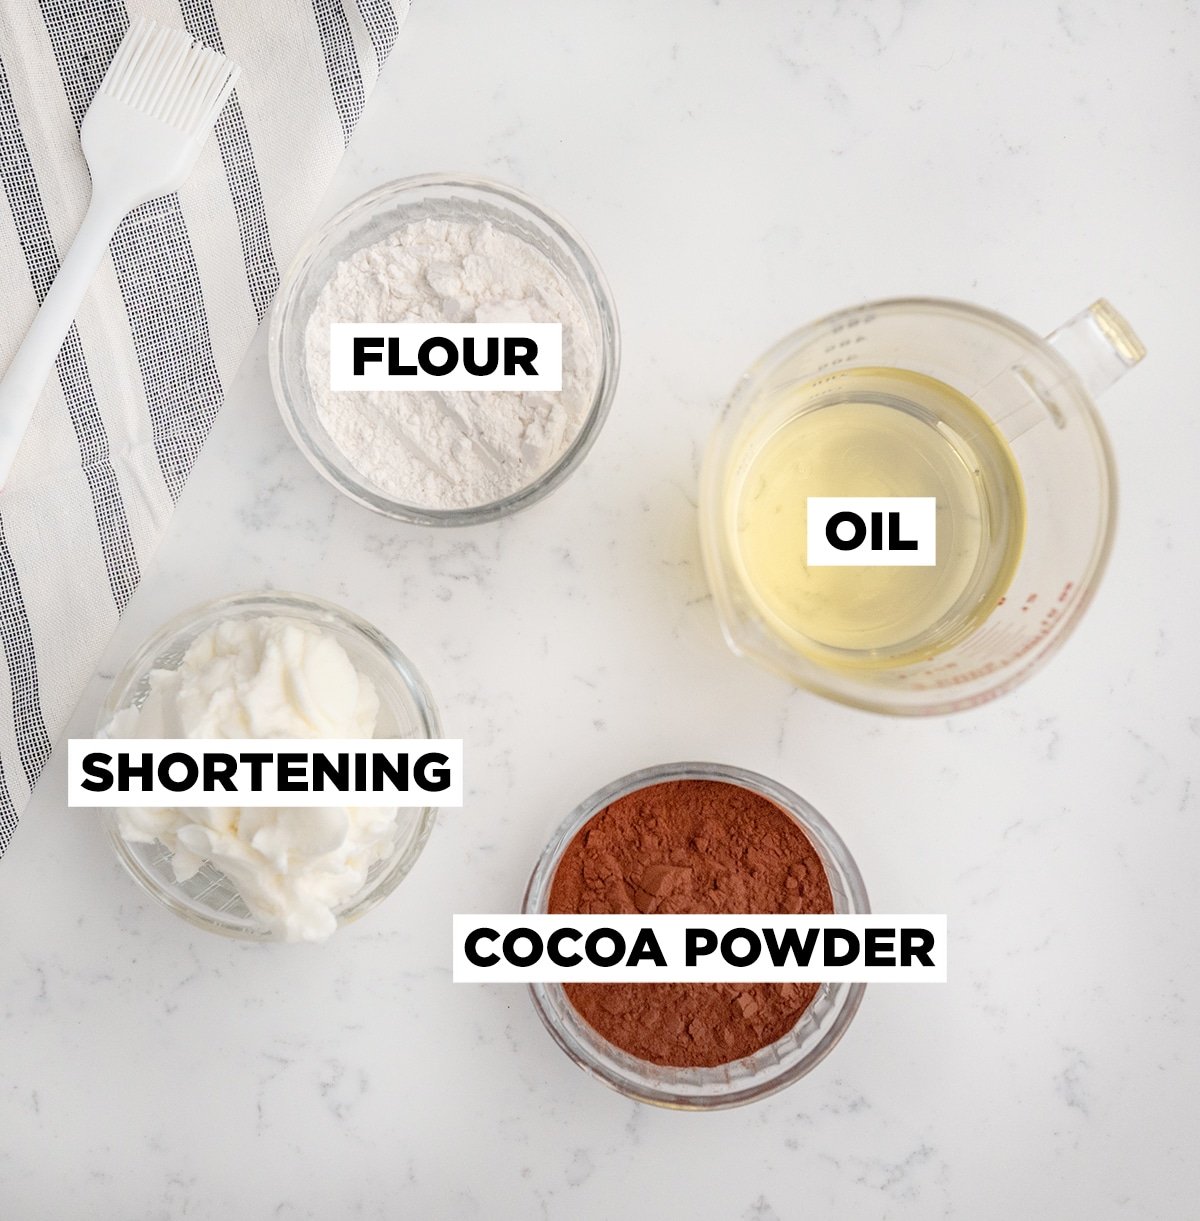
Chocolate Cake Goop Ingredients
Vegetable shortening is my preference because it's cheap, easy to find, and never fails. You can also use margarine if you'd like, just be sure that it's shelf stable if you want to keep it in the pantry.
Vegetable Oil is what I use for all of my cakes so I have it on hand. You can use any type of oil that you'd like.
All purpose flour is my preference for cake goop, but any type of flour will work. You can even make your cake goop gluten-free by replacing the flour with gluten-free flour like bobs red mill 1:1 baking flour.
Making Chocolate Cake Goop
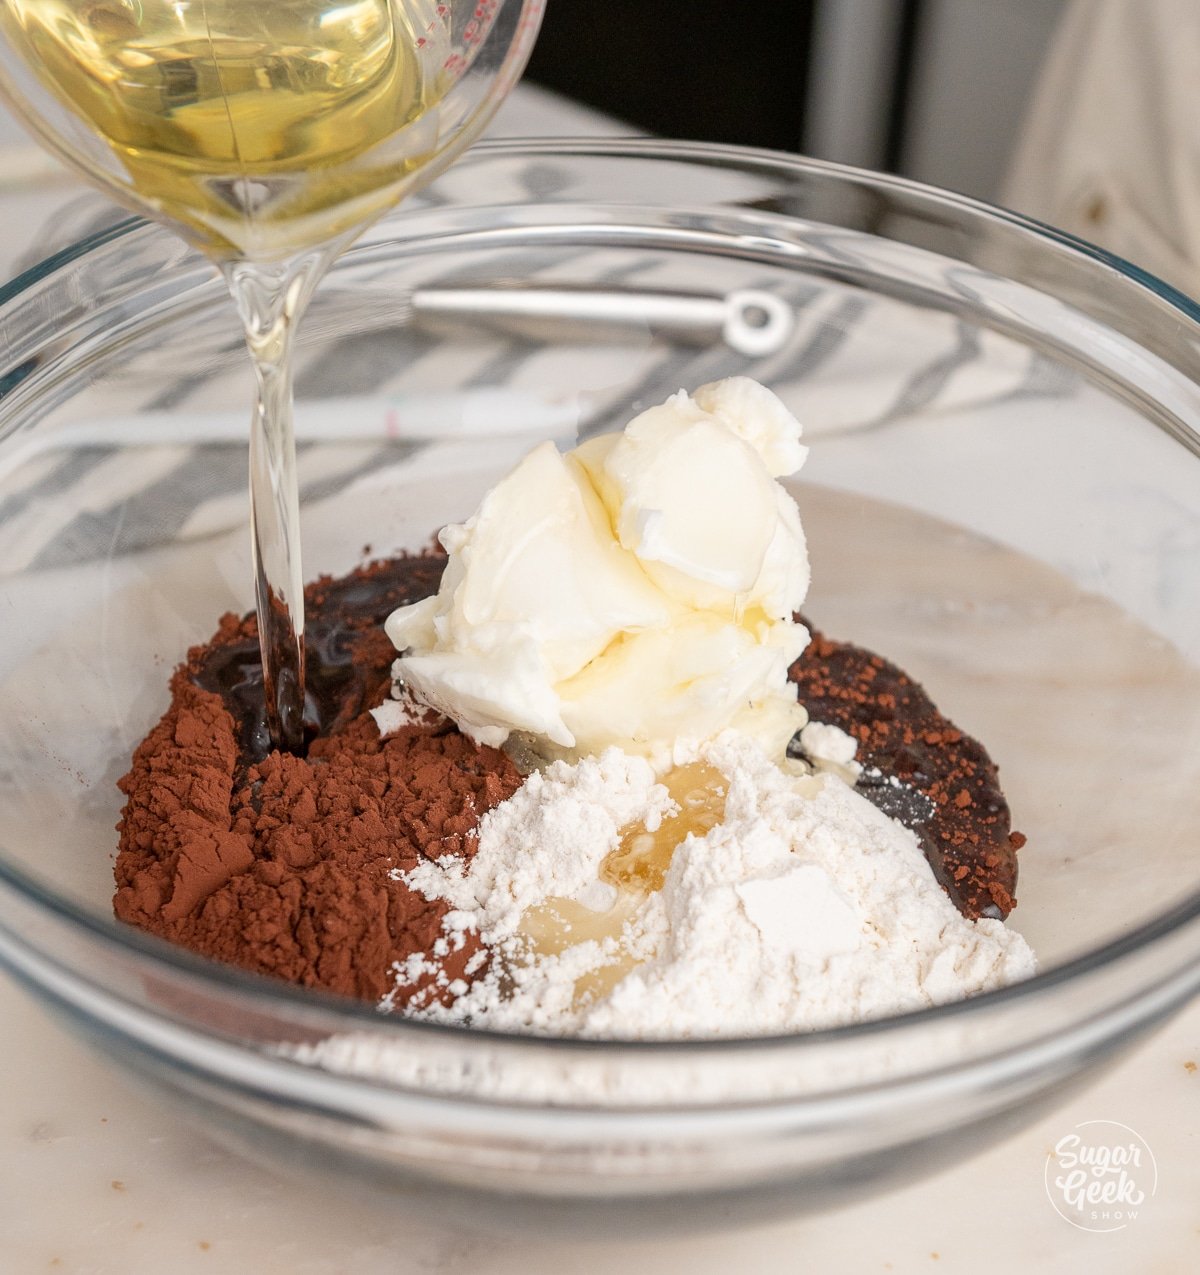
- Add the shortening, oil, flour, and cocoa powder to a large bowl and combine them until smooth with a hand mixer or a whisk.
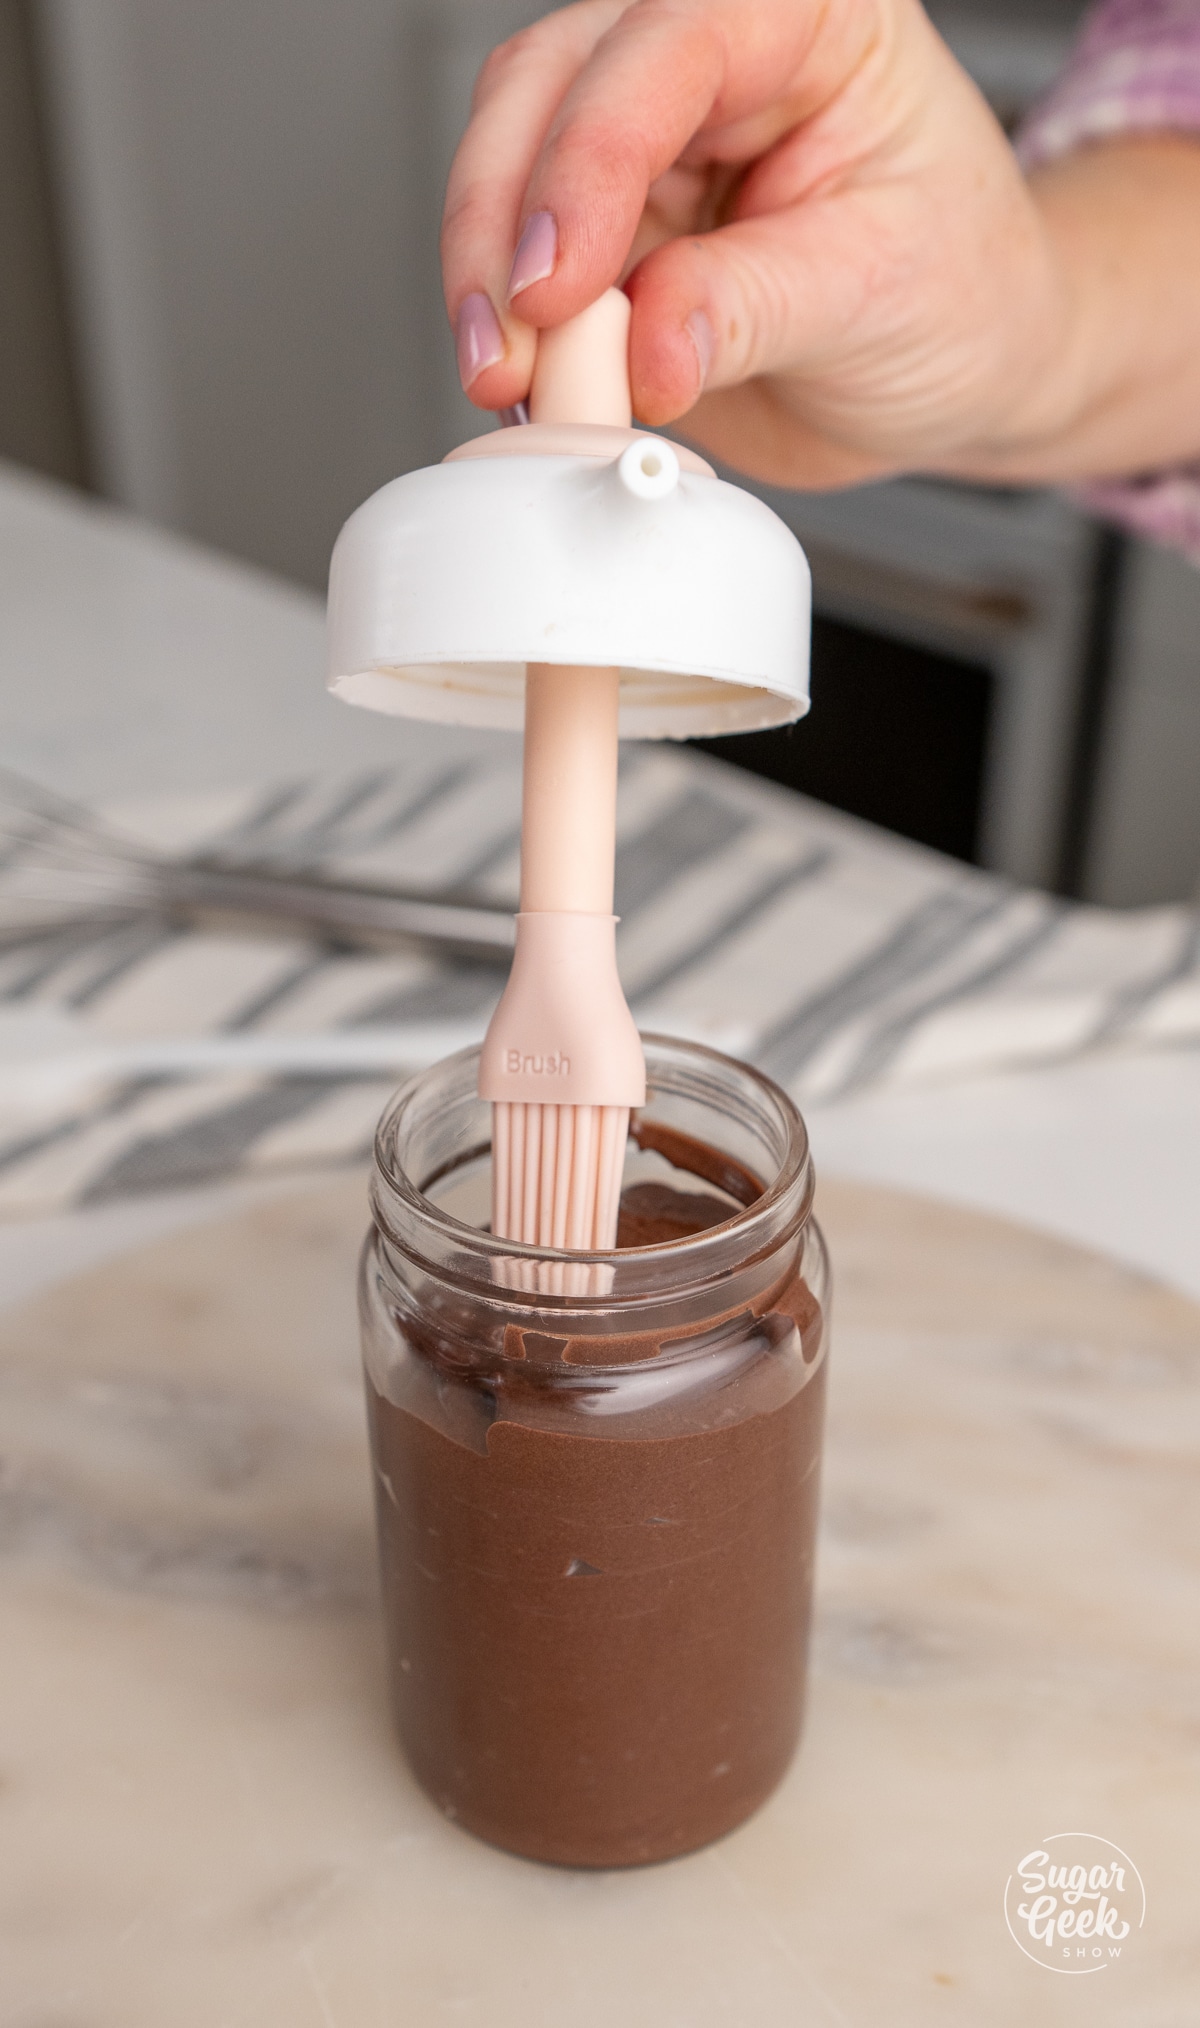
- Store the cake goop in a jar or airtight container at room temperature for a few months or in the fridge for up to 6 months and use it for every chocolate cake. Be careful to not get cake crumbs in the cake goop or it could make it go bad sooner. I like to store my cake goop in this cute little jar with a silicone brush!
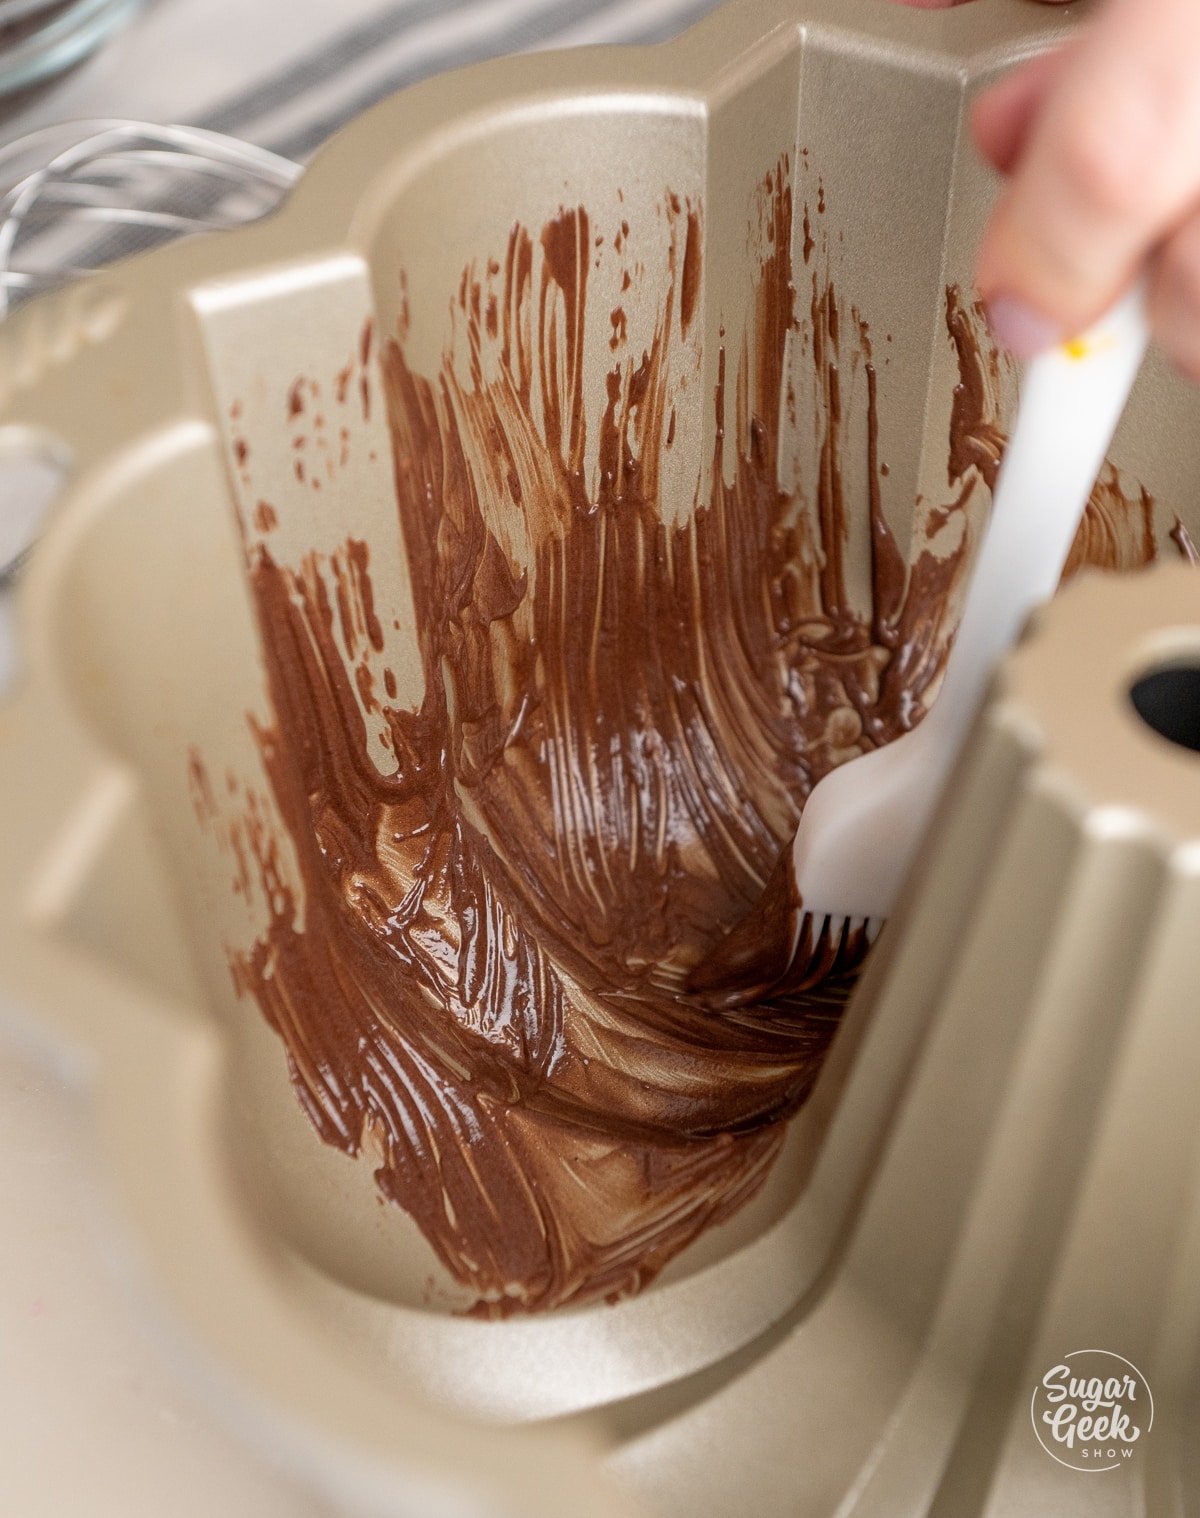
- Brush your chocolate cake pans with a pastry brush, evenly coating them with the cake goop. Don't forget to coat the sides, corners, and center dowels if you're using a bundt pan.
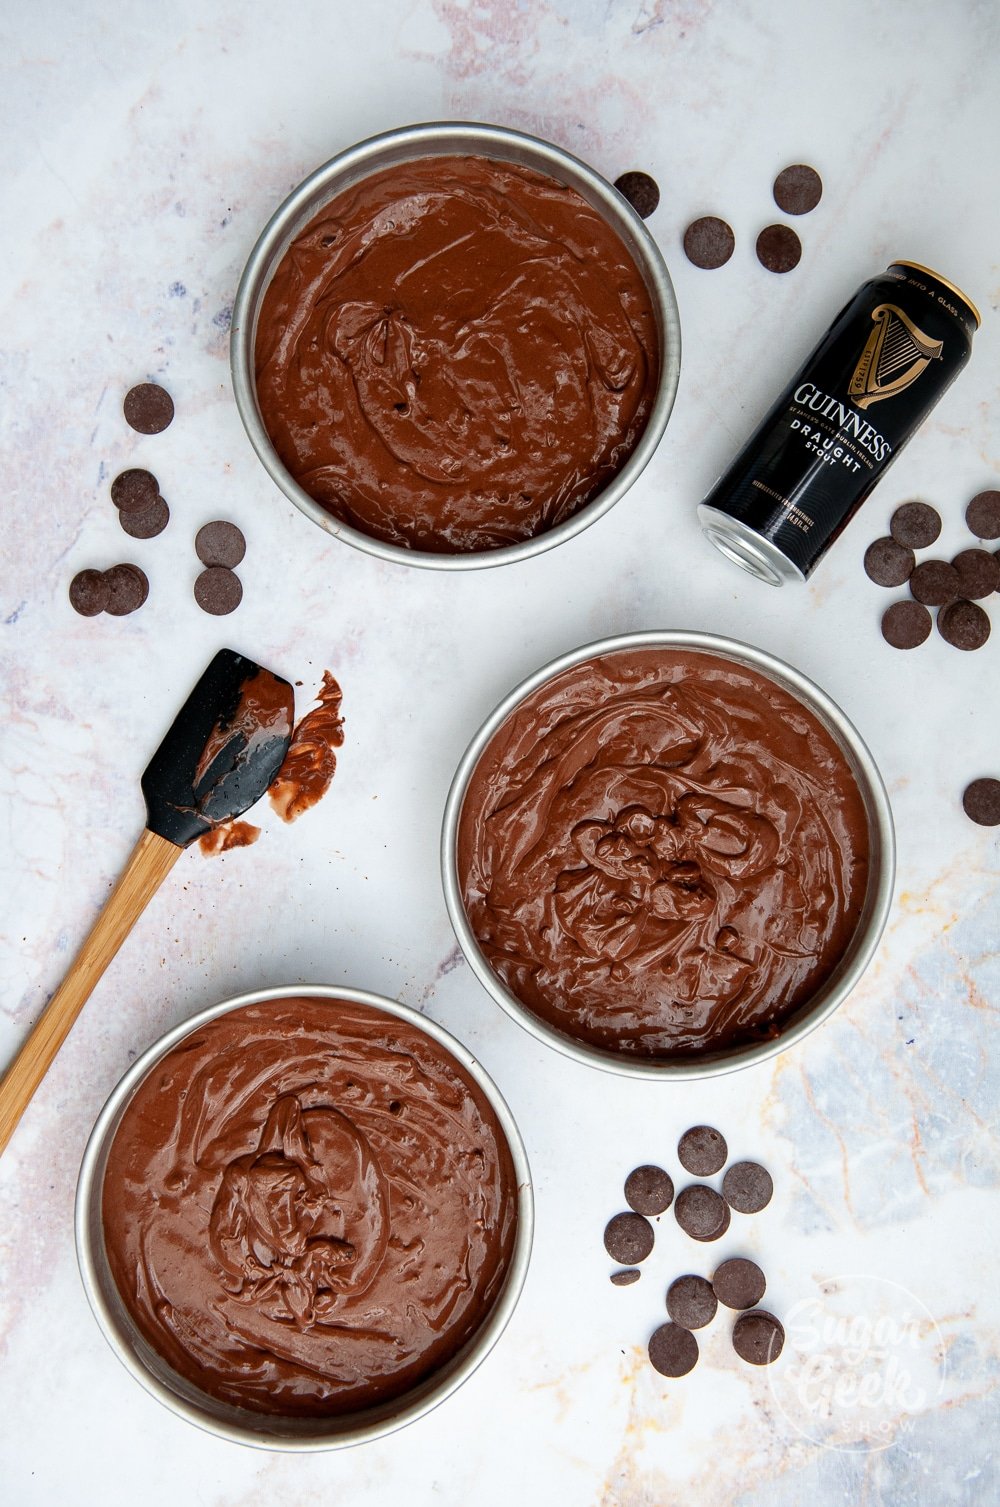
- Pour the cake batter in and bake as normal.
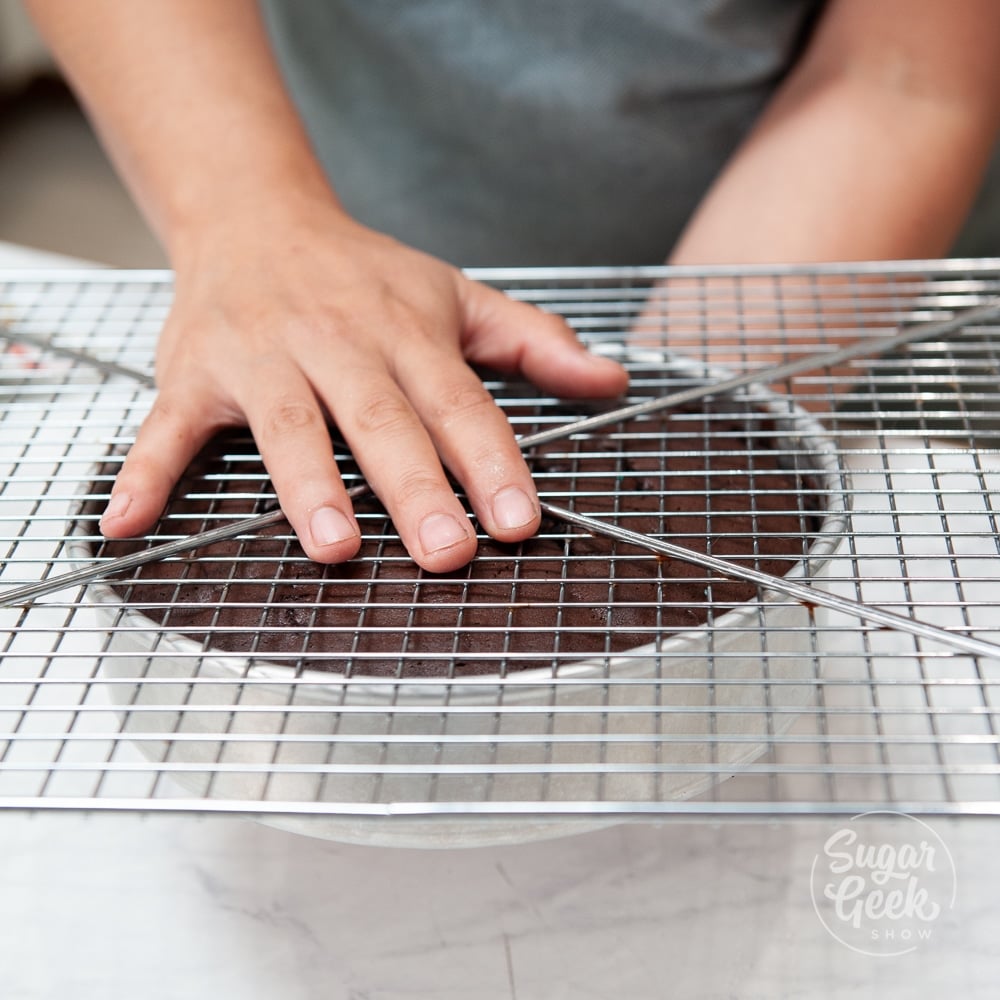
- Let your cake rest in the pan for about 10 minutes, then flip it out onto a cooling rack. Perfect release!
Tips for Success
- Use a pastry brush and do a nice even coat of cake goop, but don't use too much! Early on I got a little crazy with the layers and put a LOT on there. This can actually backfire and cause your cake to stick, not fun!
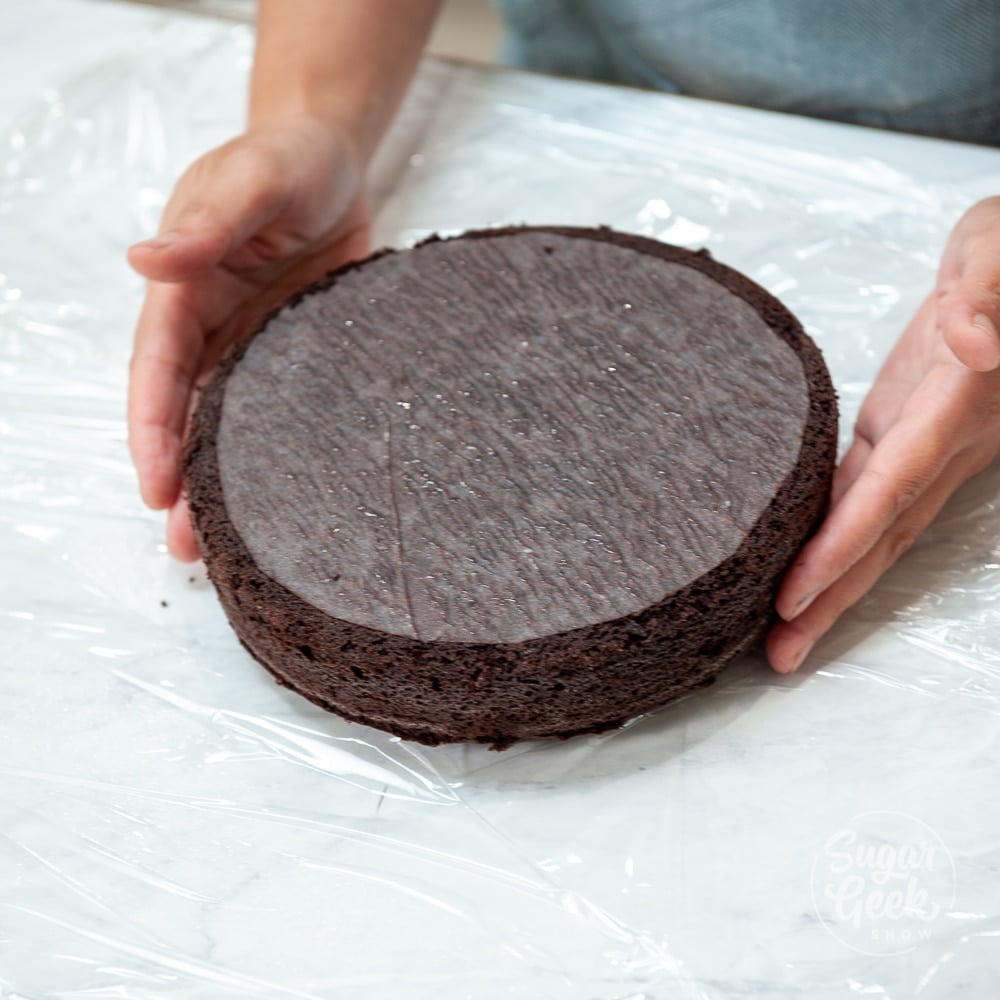
- Cake goop works best for pans 9" and smaller. I like to use cake goop and add an extra parchment layer for cakes that are larger than 10".
- Cakes with higher amounts of sugar like strawberry cake, cinnamon cake, and roll cakes are more likely to stick. Using parchment in addition to cake goop here is a good idea.
More Chocolate Recipes
Recipe

Equipment
- 1 container with a lid for storage
- 1 Whisk or hand mixer
Ingredients
- 7 ounces vegetable shortening or margarine
- 7.5 ounces vegetable oil or other oil you liked
- 2 ounces all purpose flour
- 3 ounces cocoa powder
Instructions
- Add the shortening, oil, flour, and cocoa powder to a large bowl and combine them until smooth with a hand mixer or a whisk.
- Store the cake goop in a jar or airtight container at room temperature for a few months or in the fridge for up to 6 months and use it for every chocolate cake. Be careful to not get cake crumbs in the cake goop or it could make it go bad sooner.
- Brush your chocolate cake pans with a pastry brush, evenly coating them with the cake goop. Don't forget to coat the sides, corners, and center dowels if you're using a bundt pan.
- Pour the cake batter in and bake as instructed.
- Let your cake rest in the pan for about 10 minutes, then flip it out onto a cooling rack.
Notes
- You can make your cake goop gluten-free by replacing the flour with gluten-free flour like bobs red mill 1:1 baking flour.
- I like to store my cake goop in this cute little jar with a silicone brush!
- Use a pastry brush and do a nice even coat of cake goop, but don't use too much! Early on I got a little crazy with the layers and put a LOT on there. This can actually backfire and cause your cake to stick, not fun!
- Cake goop works best for pans 9" and smaller. I like to use cake goop and add an extra parchment layer for cakes that are larger than 10".






Leave a Reply