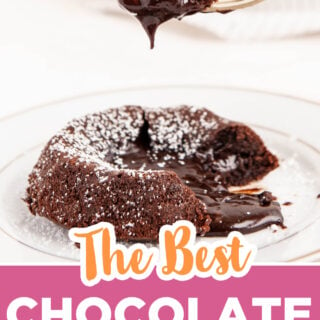
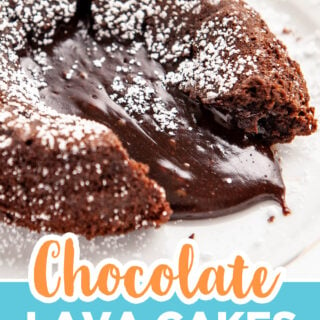
This molten chocolate lava cake is cakey on the outside, with an irresistible, ooey-gooey molten chocolate center. You only need a few ingredients and this chocolate lover's dessert bakes up in just 10 minutes. No mixer required! 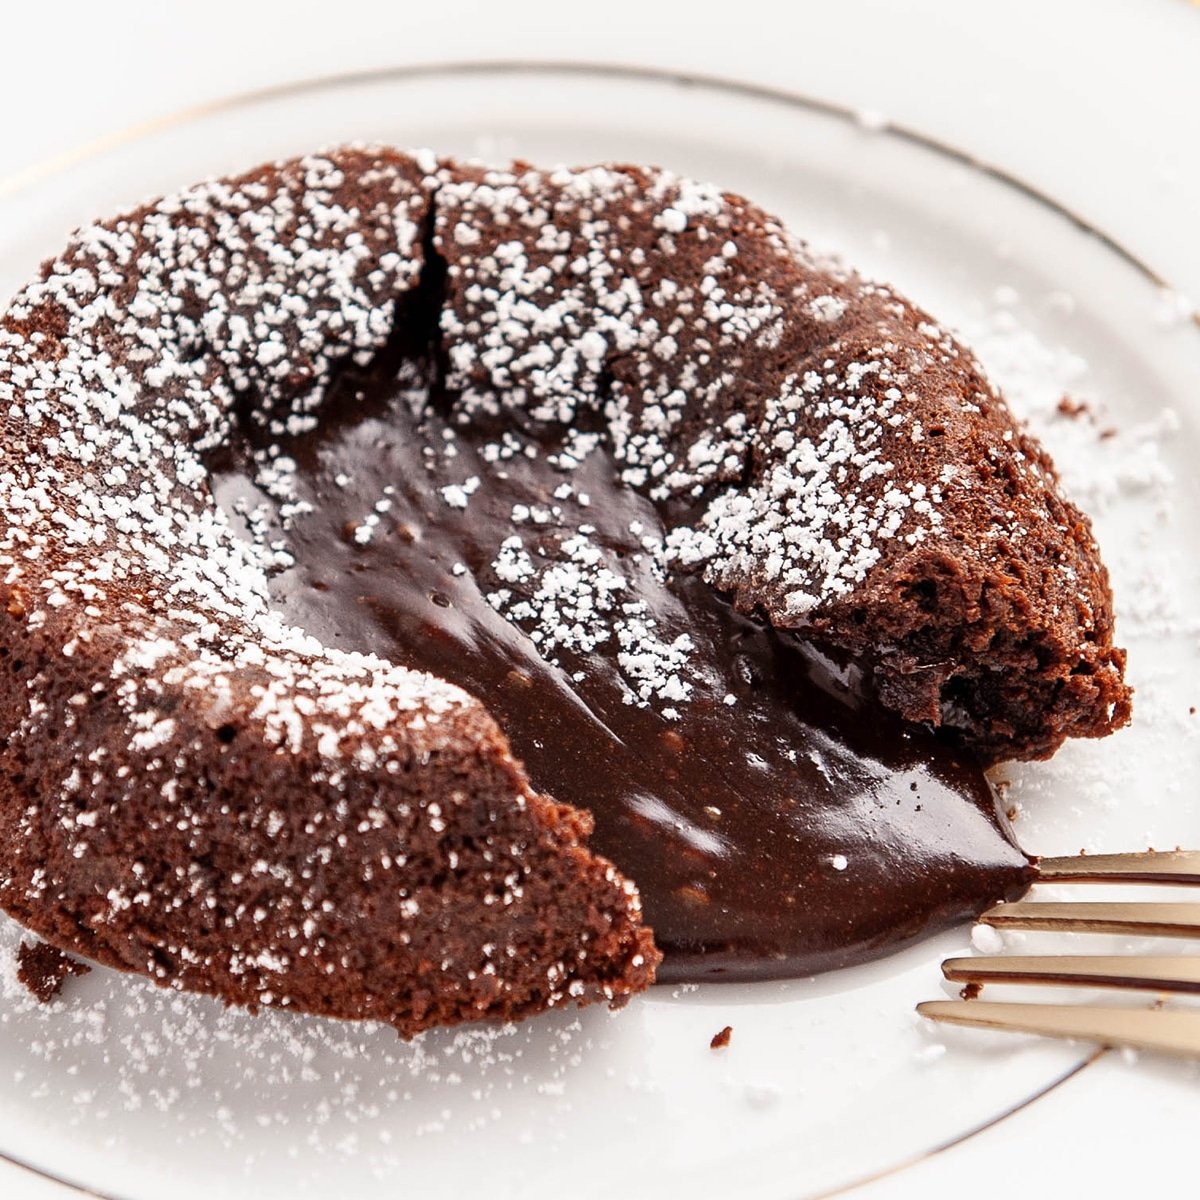
What's In This Blog Post
Is Lava Cake Safe To Eat?
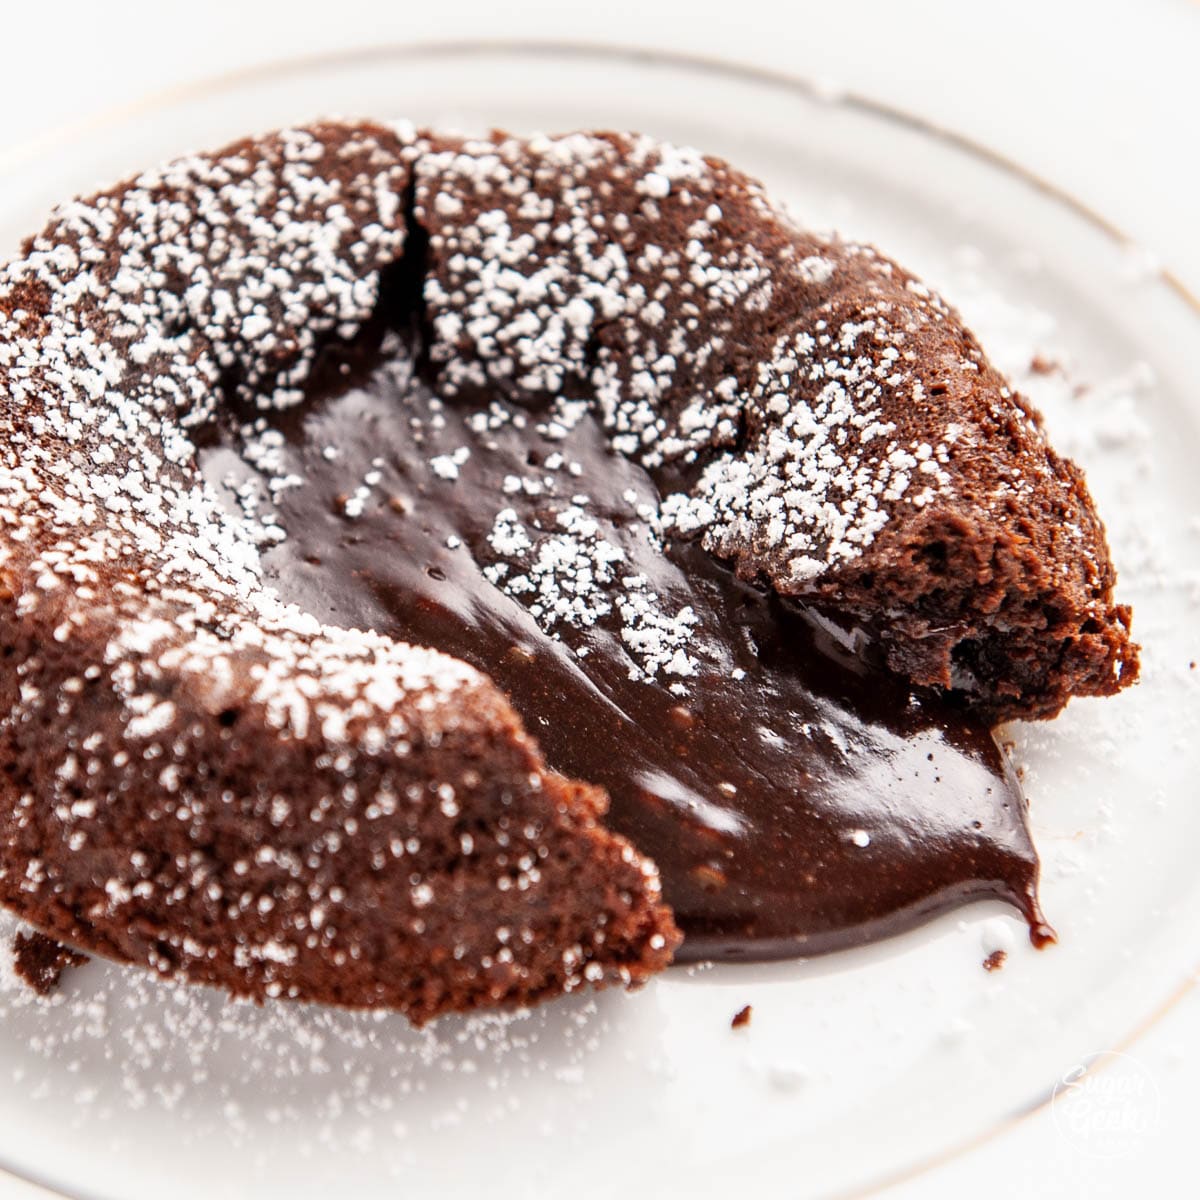
Lava cake is not just an undercooked cake. It's a unique combination of a traditional chocolate cake and a soufflé. Although the center is liquid, the internal temperature still reaches 160ºF so it is completely safe to eat. Think of it as a custard or lemon curd. The liquid is cooked just enough to make it thick and creamy but not so much that it becomes scrambled eggs.
Some people opt for cooking the cake fully and then inserting some chocolate ganache after it's baked. While this is not exactly "wrong" it just isn't a true lava cake. The taste and texture of a smooth and creamy custard in a perfectly light and airy outer shell is truly magical!
If you don't have time to make a cheesecake or a full death by chocolate cake, this is a great quick "fancy" dessert option.
Chocolate Lava Cake Ingredients
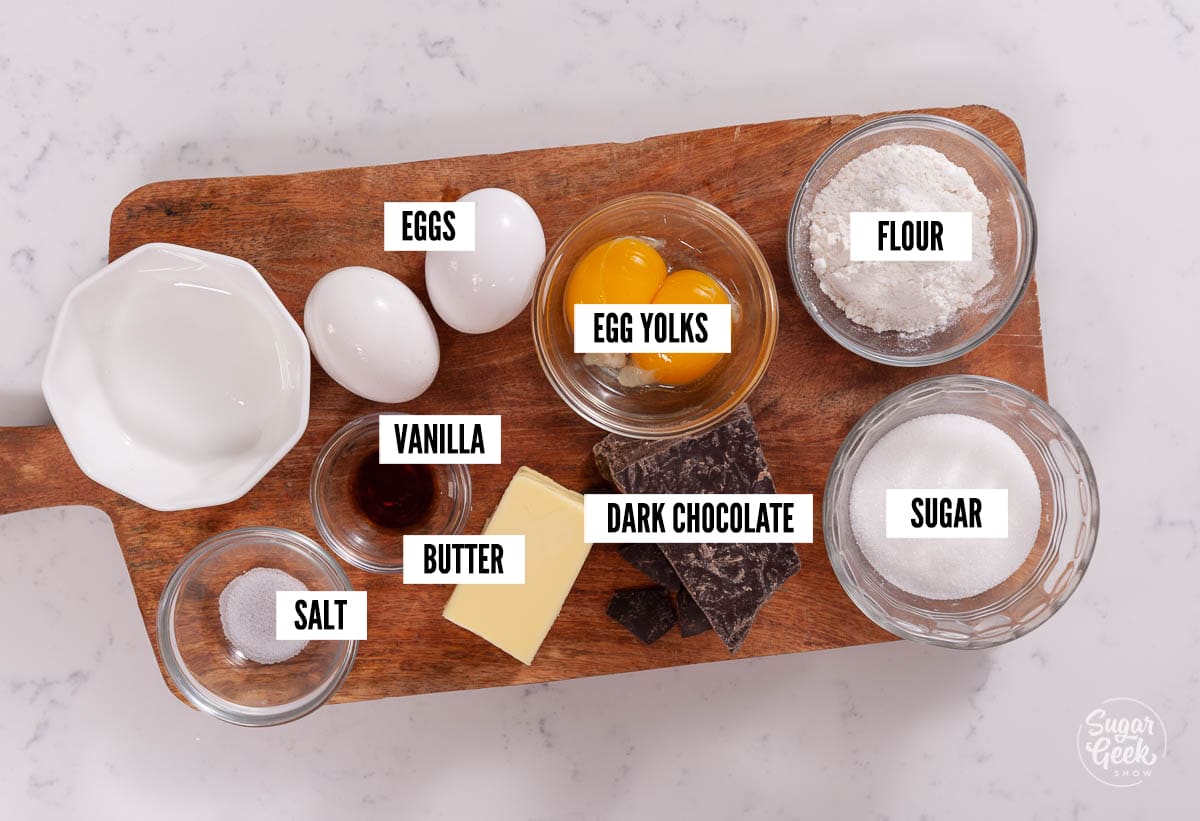
How To Make The Chocolate Lava Cakes
This recipe is enough for four, 6oz ramekins or two, 8oz - 10oz ramekins.
Step 1 – Preheat your oven to 425ºF (218ºC) and bring your eggs to room temperature.
Pro-tip – I put my eggs in a bowl of warm water for about 5 minutes to bring them to room temperature.
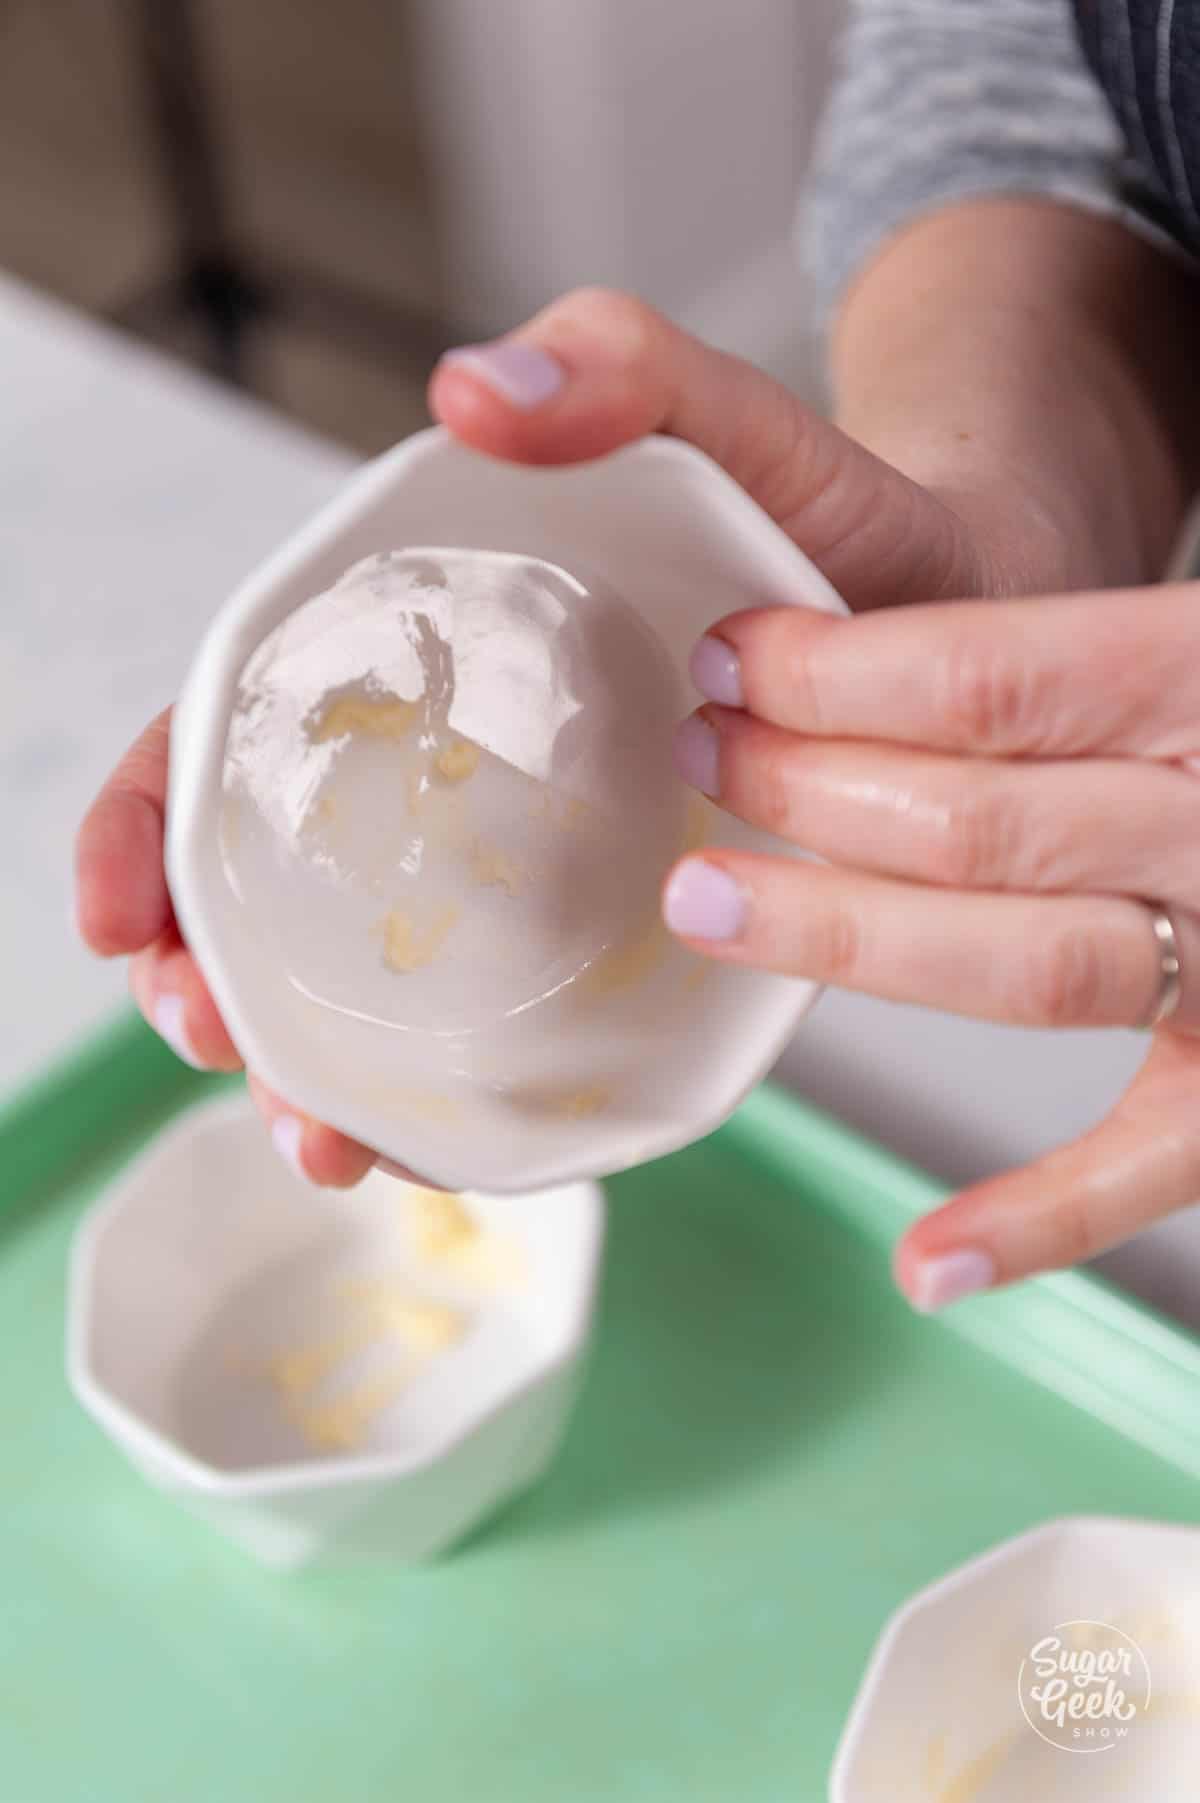
Step 2 – Prepare your ceramic ramekins by rubbing the bottoms and sides with butter. This prevents the lava cake from sticking to the ramekin.
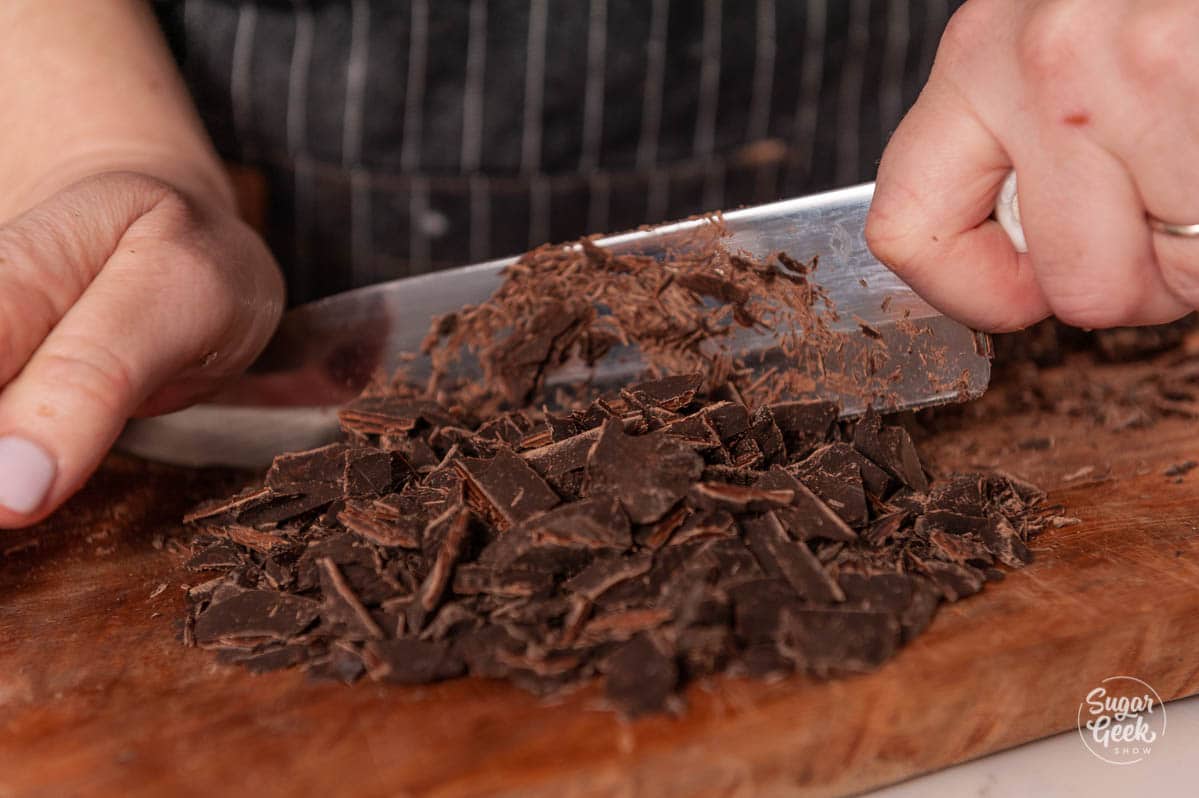
Step 3 – If you're using chocolate chips skip this step. Chop your bar of chocolate into smaller pieces, this will make it easier to melt.
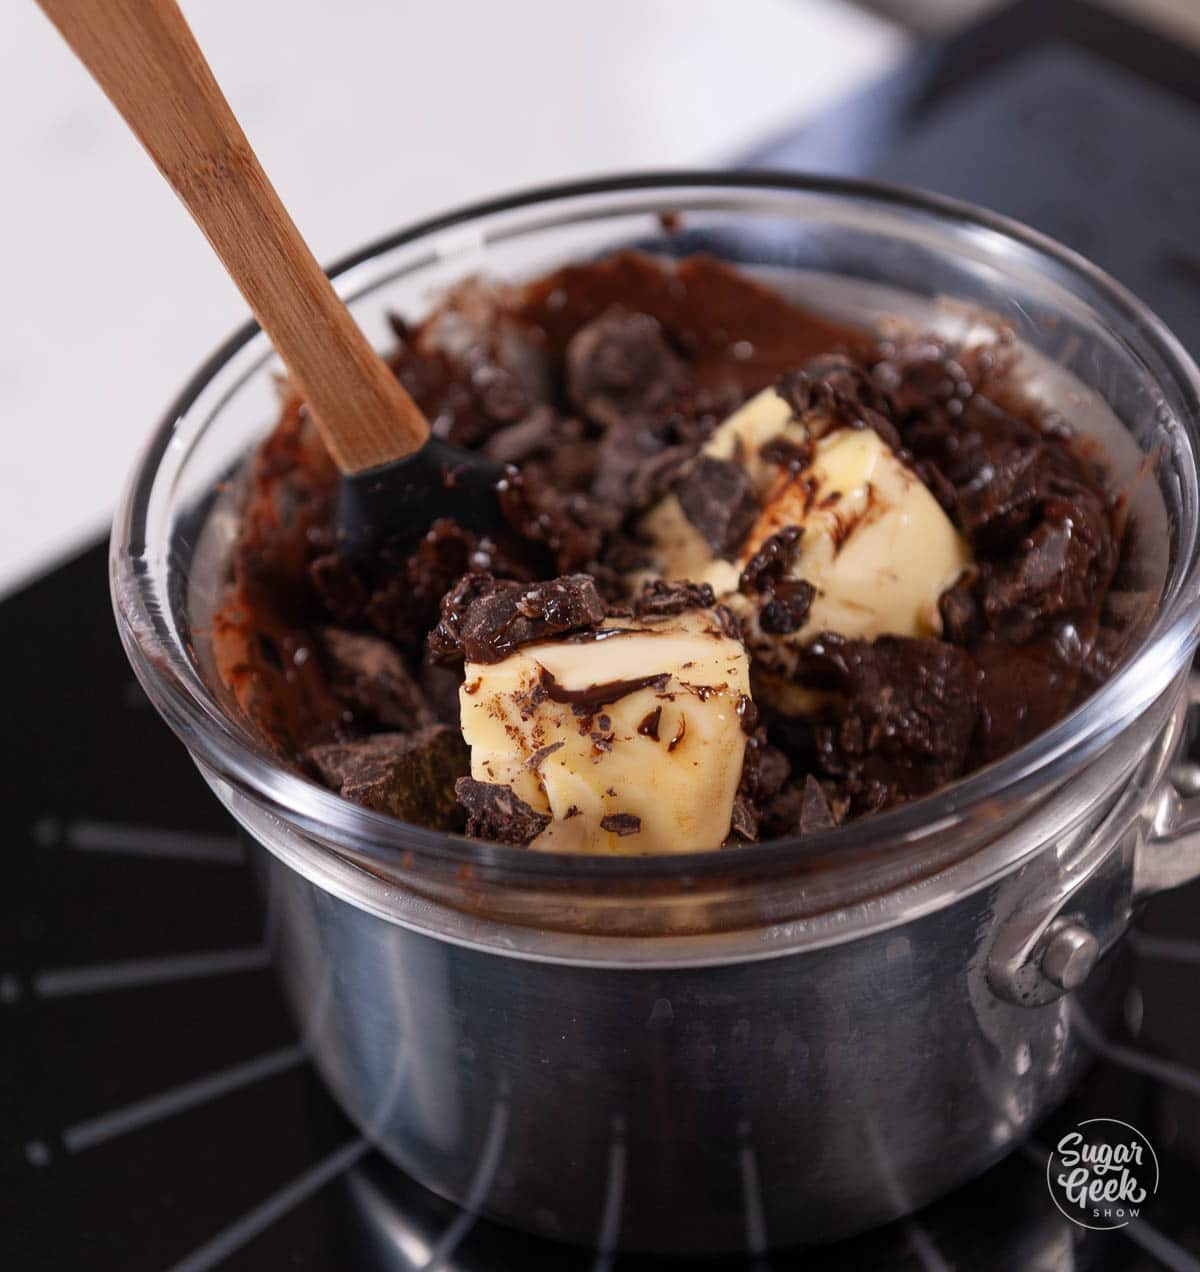
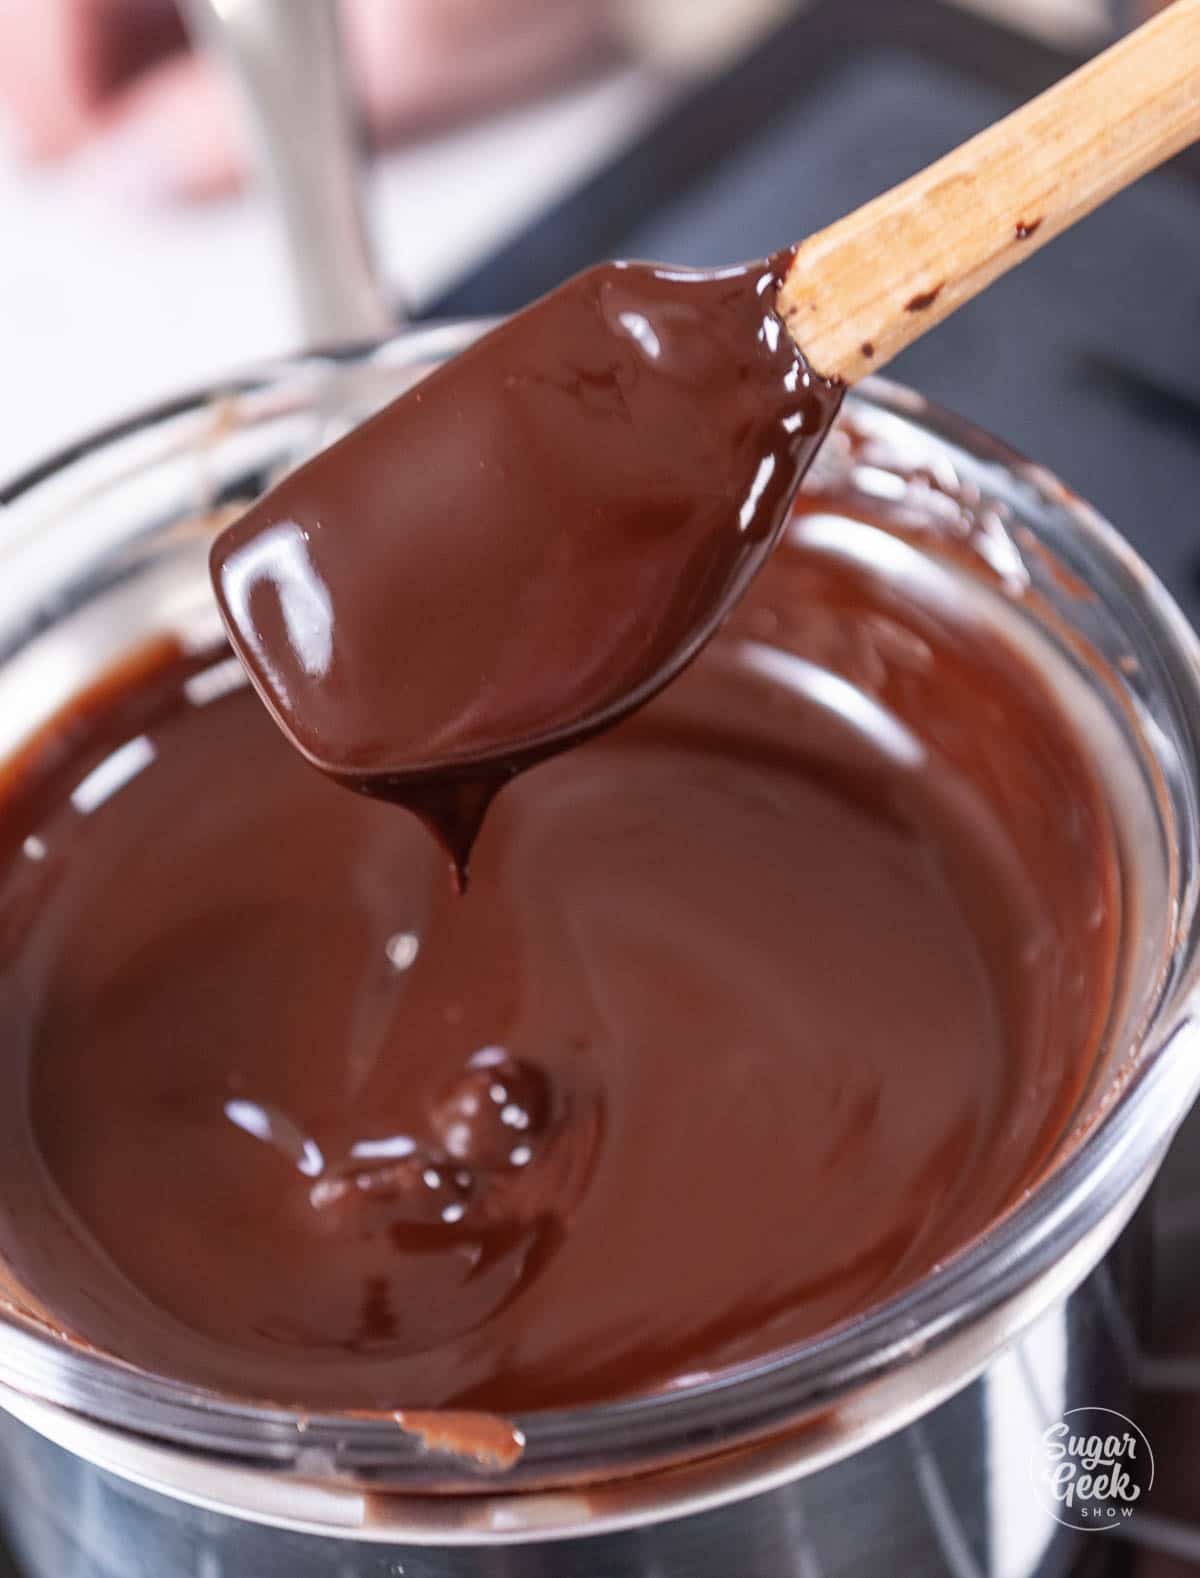
Step 4 – Create a bain-marie by bringing 2 inches of water to a simmer in a pot. Reduce the heat to low and add a glass bowl on top. Make sure the bowl is not touching the water. Add your chopped chocolate and butter, stir until just melted, then remove from the heat. Set the mixture aside to cool until it is slightly warm or room temperature, but not hot.
Or you can melt your butter and chocolate in the microwave in 15-second intervals, stirring between each until the butter and chocolate are smooth.
Pro-tip – If you're melting your chocolate in the microwave, make sure to shave it or chop it finely. That way it will melt more evenly and will be less likely to burn.
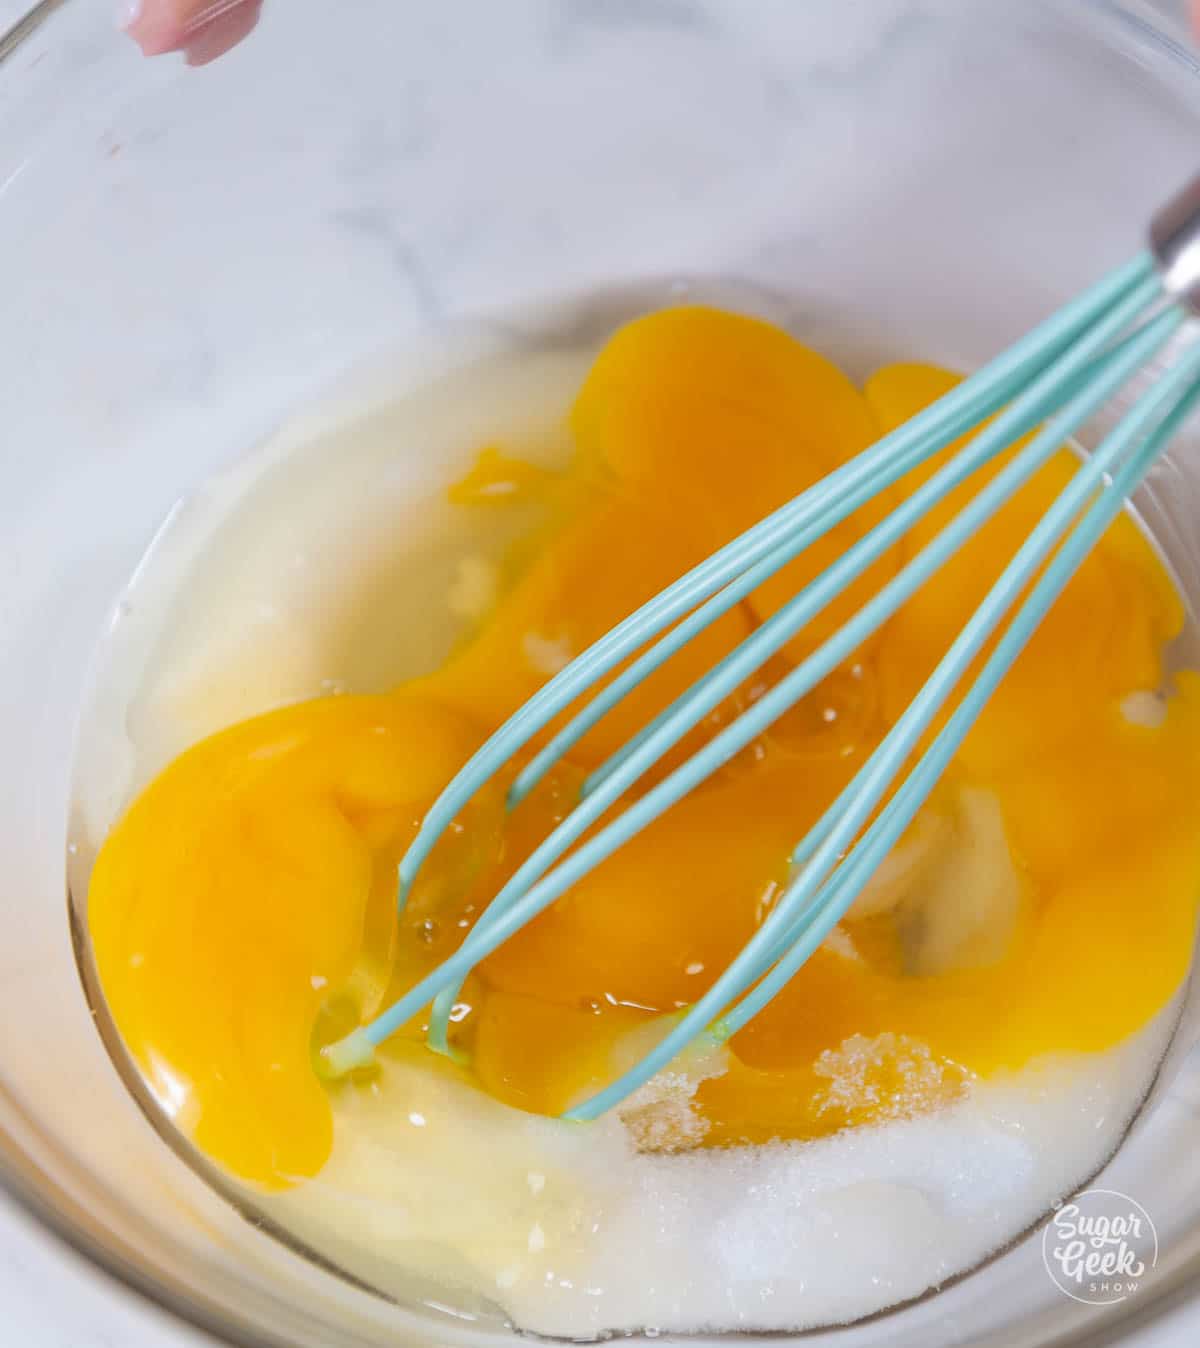
Step 5 – In a large bowl, whisk together the sugar, eggs, egg yolks, and salt.
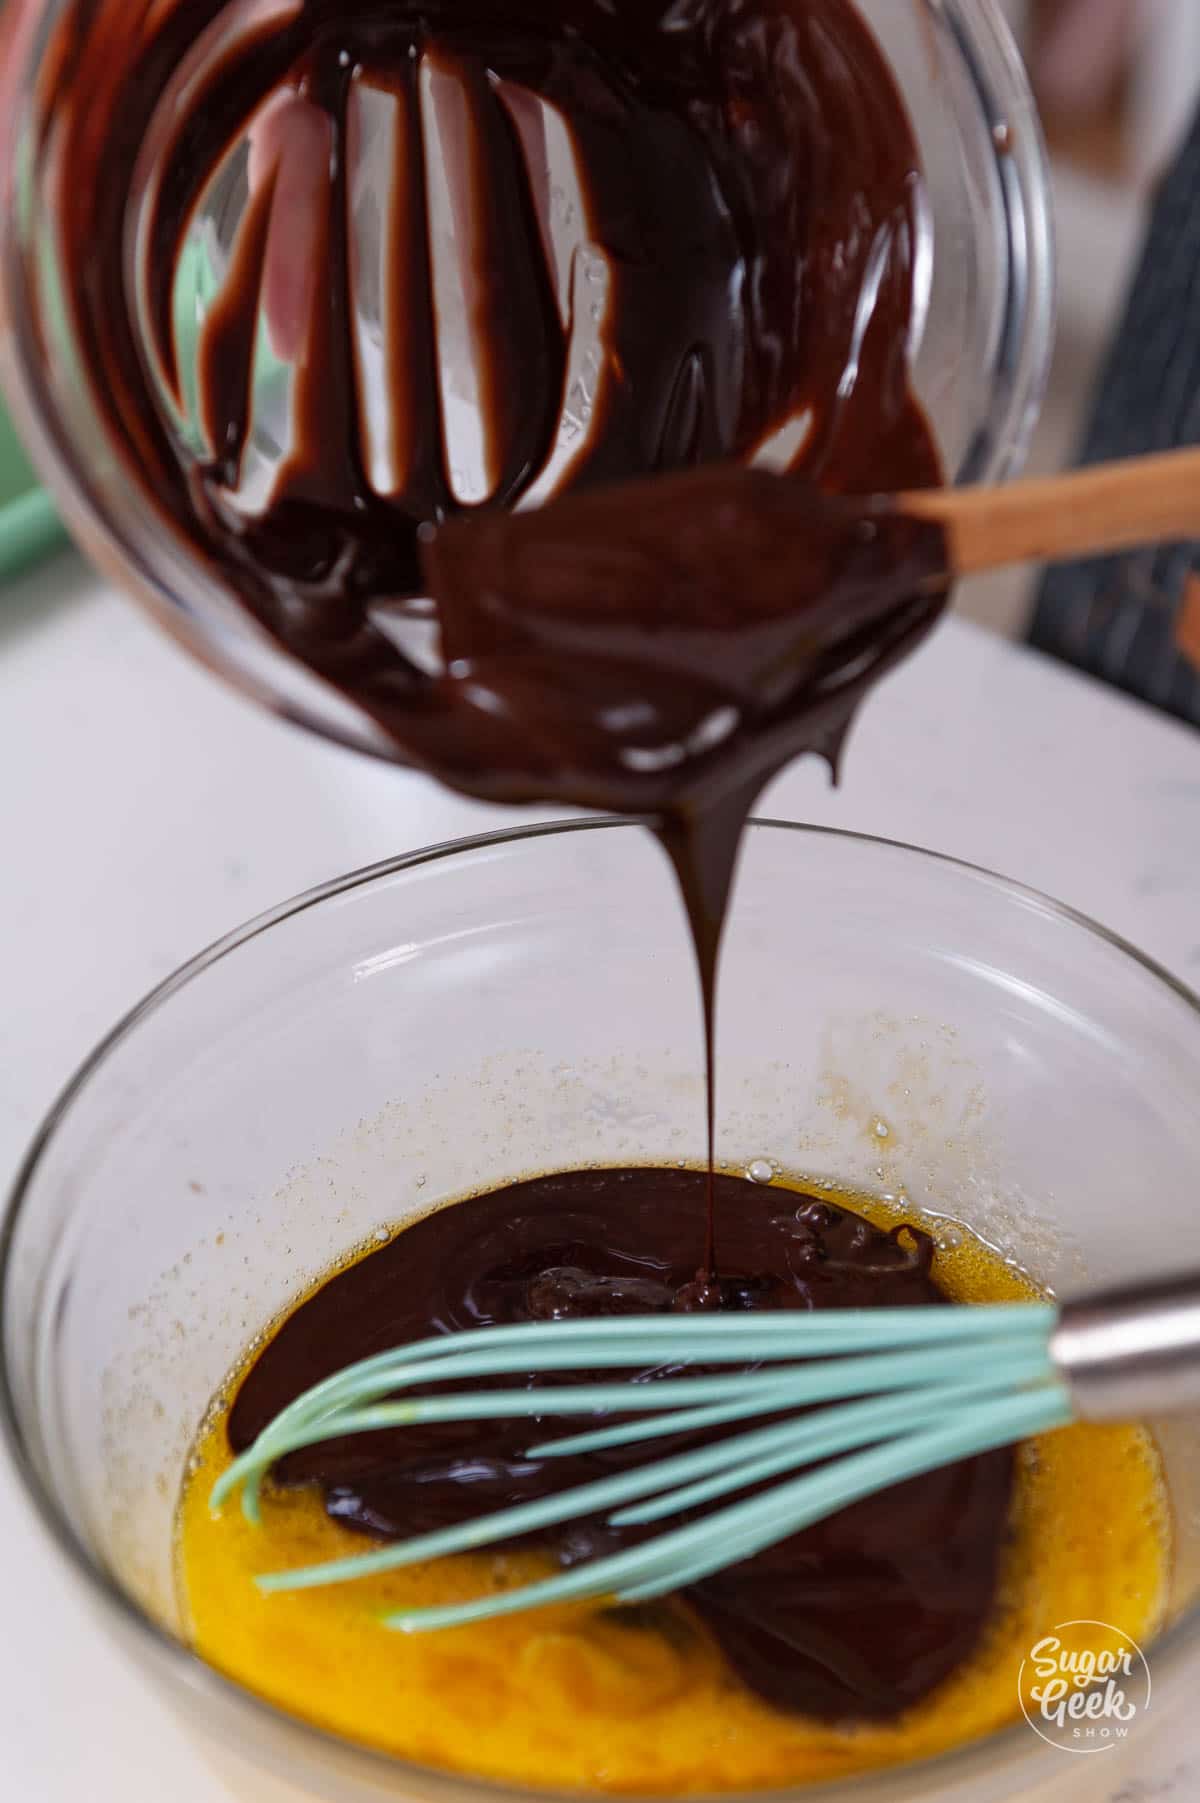
Step 6 – Add the room temperature chocolate mixture into the egg mixture, add vanilla, and whisk until fully incorporated.
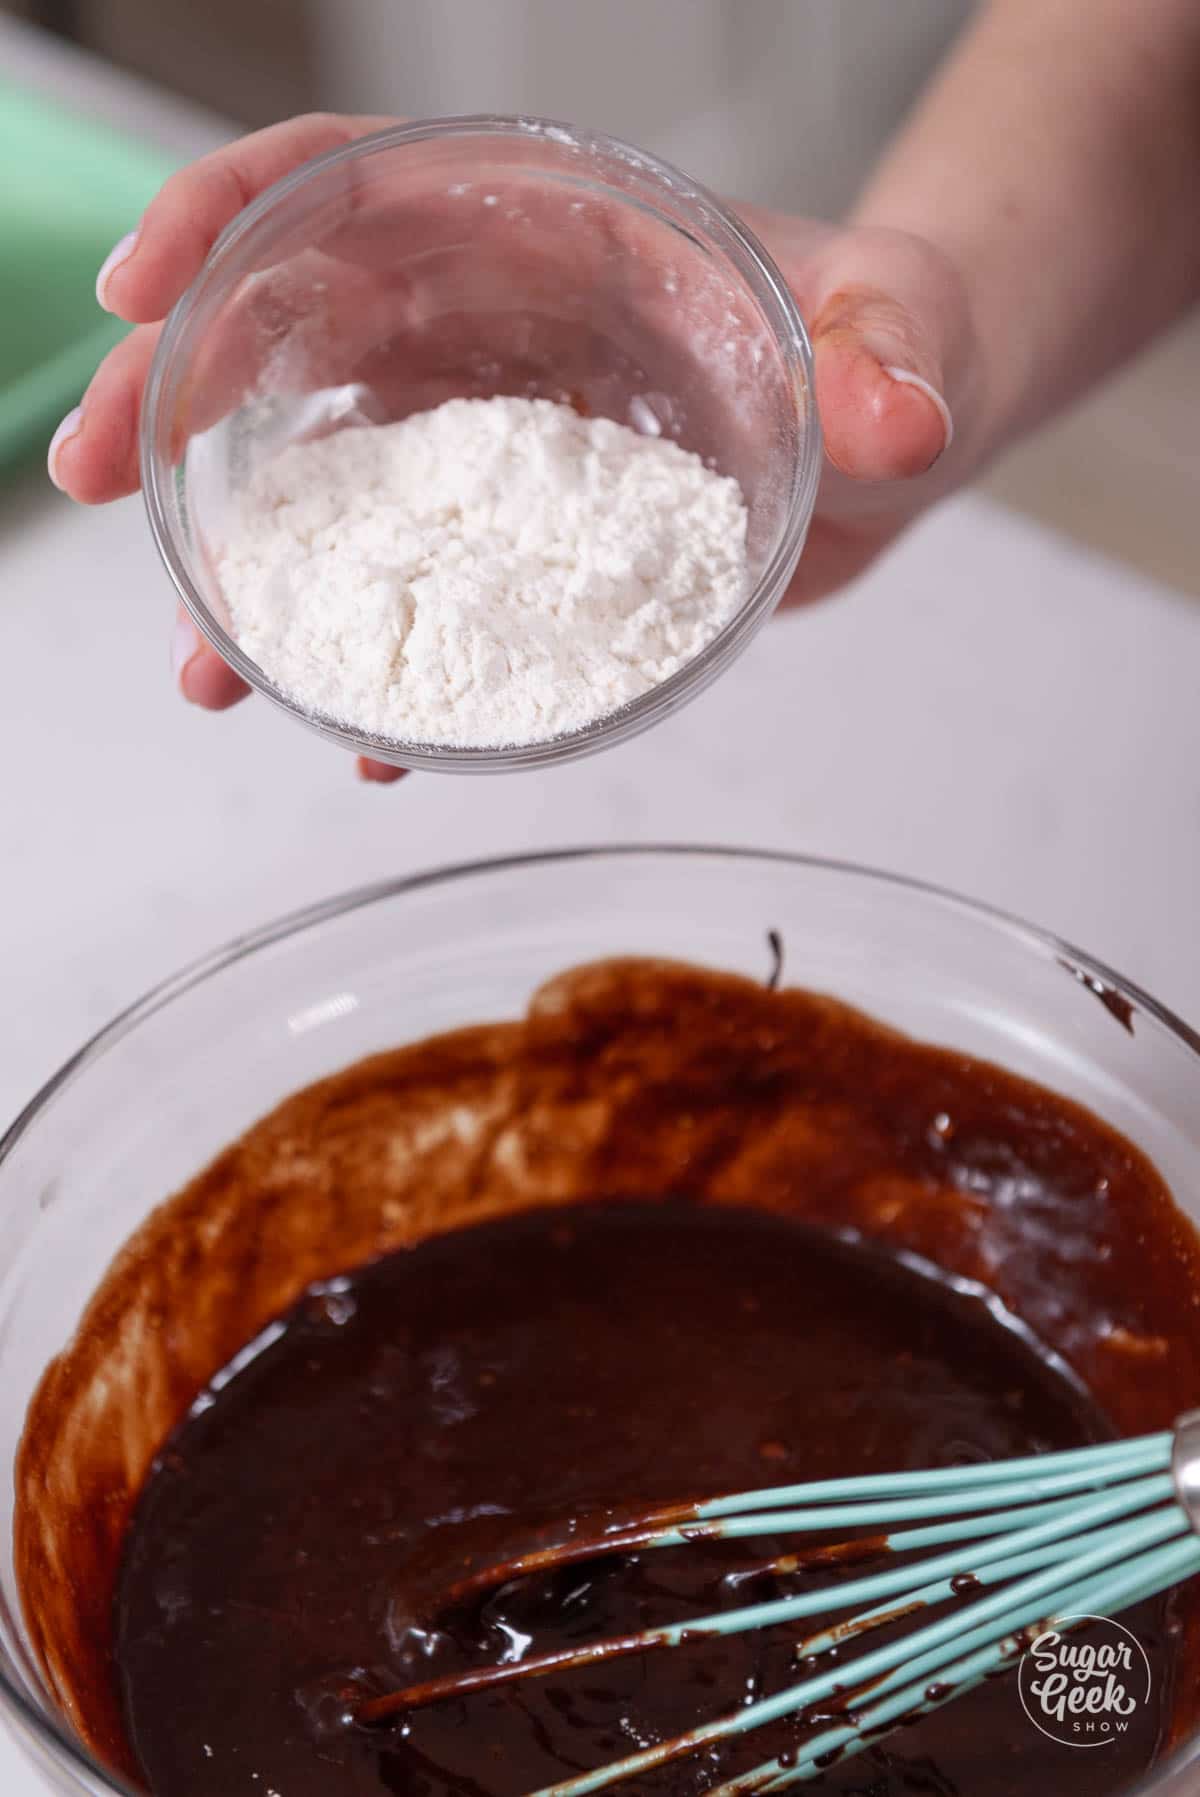
Step 7 – Sprinkle in the flour and whisk until just combined. It will be thick and gooey.
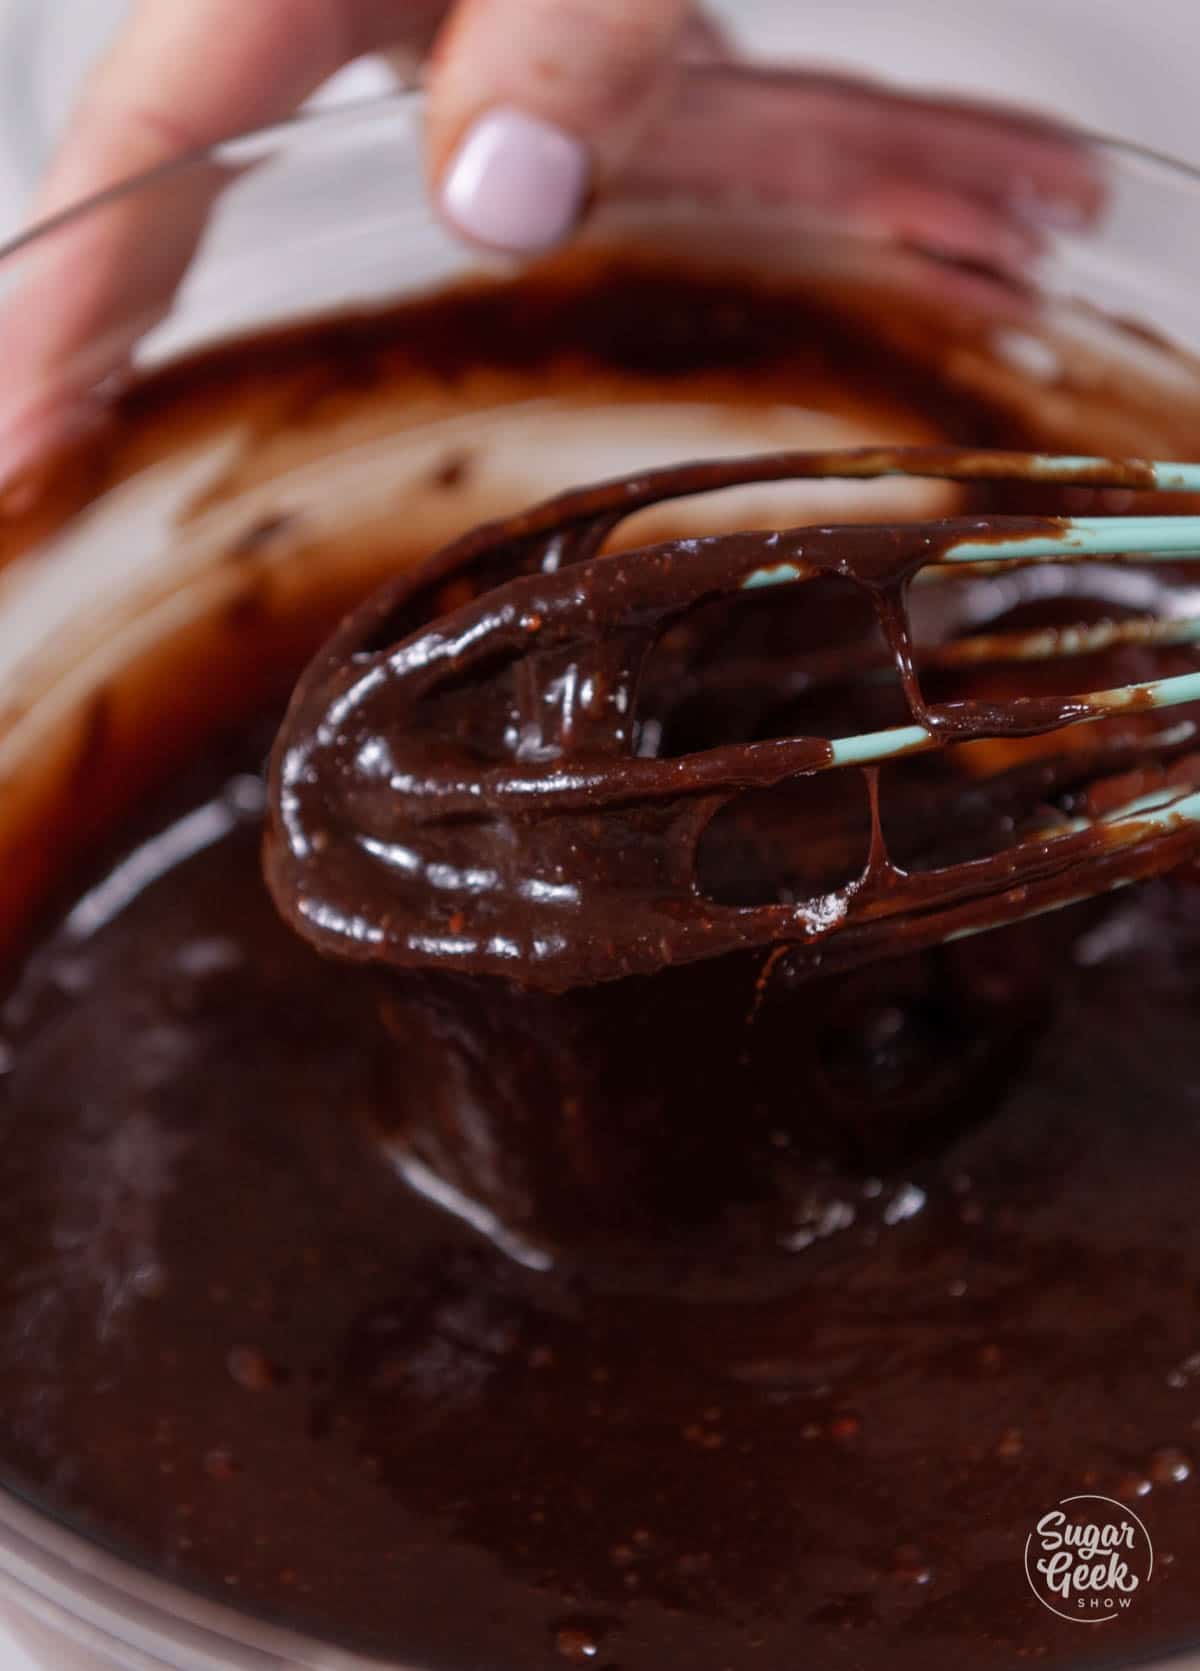
Step 8 – Divide the batter evenly between the greased ramekins. This recipe makes 16 ounces of batter, so about 4 ounces per ramekin.
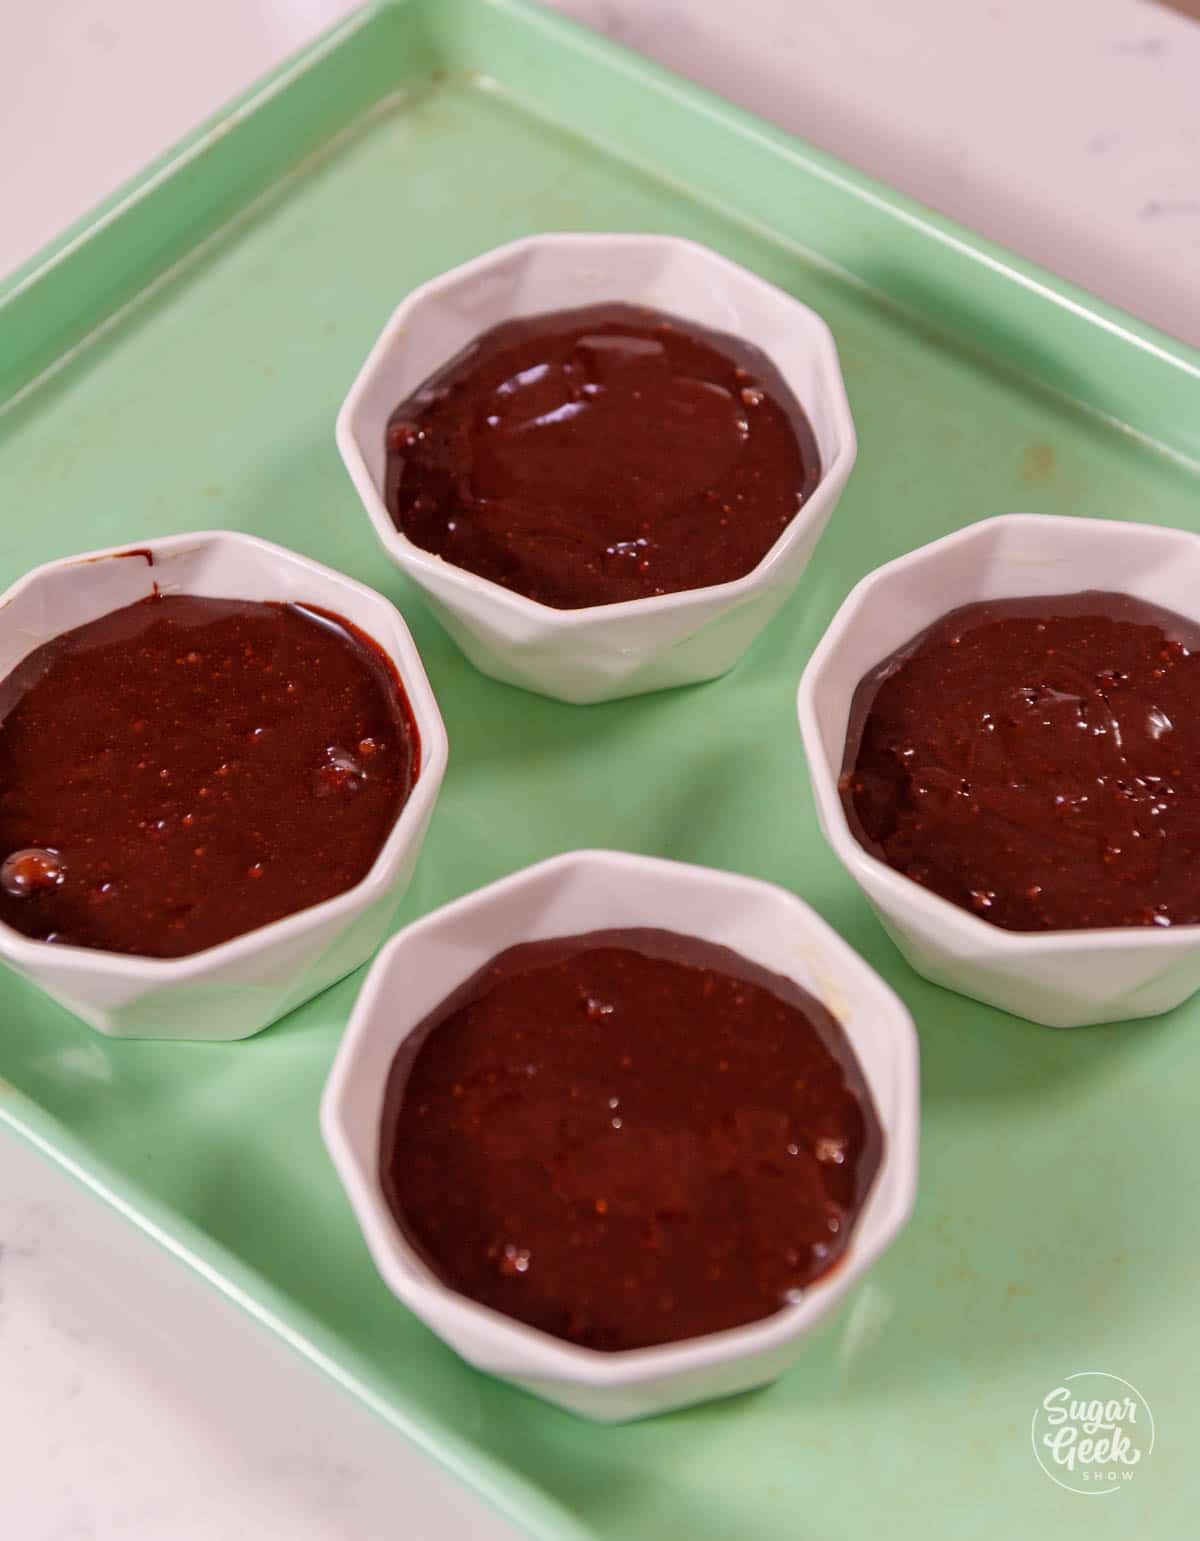
Pro-Tip: You can freeze your batter right in the ramekins to bake later. Just defrost them at room temperature for about an hour then bake as usual! If they are still cold they may need one extra minute so watch them closely.
Step 9 – Bake the lava cakes for 10-11 minutes, checking to see if the sides of your cakes are done, but the middles are still fairly liquidy. You should be able to tell by looking at it, but a gentle wiggle of the ramekin will show you if the middle is still wobbly. You can see in the photo below that the sides are puffed up but the center is still dark and liquidy.
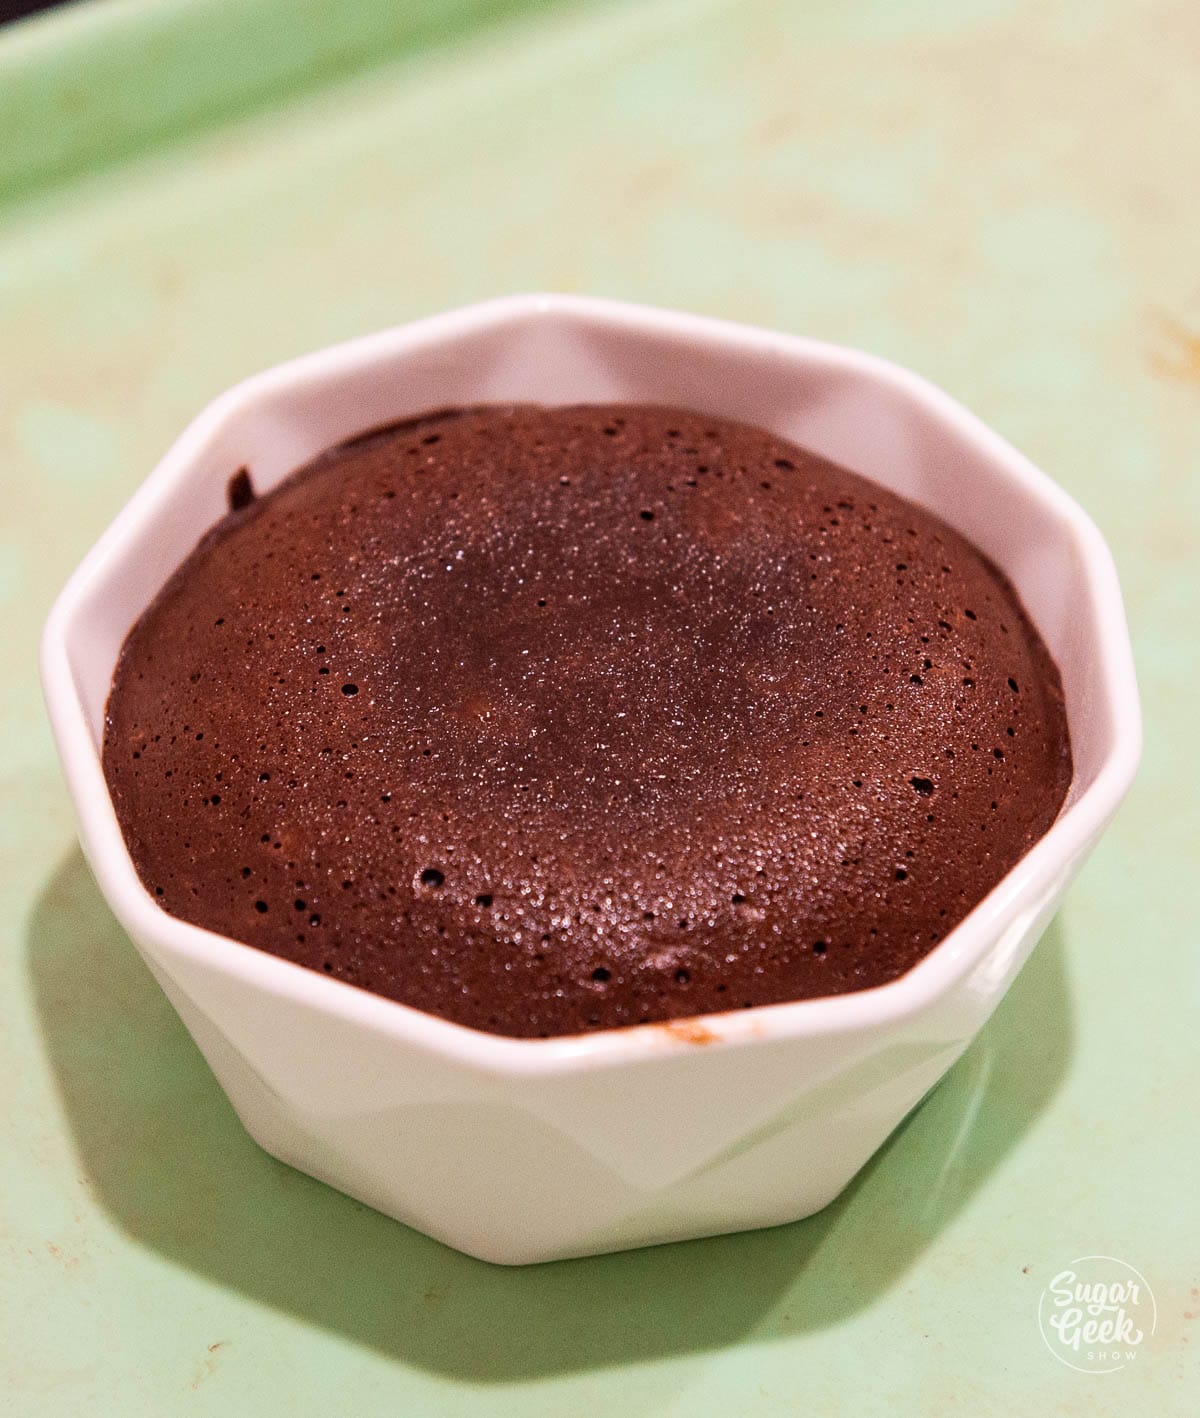
If you are using a larger ramekin, you will have to bake the lava cakes for 1-2 minutes longer.
Step 10 – Remove the lava cakes from the oven and let them cool for 1-2 minutes. Loosen the sides of the cake with a knife if needed, and then invert the ramekin onto a plate. The ramekin will be extremely hot so please wear a protective mitt as you slowly lift off the ramekin.
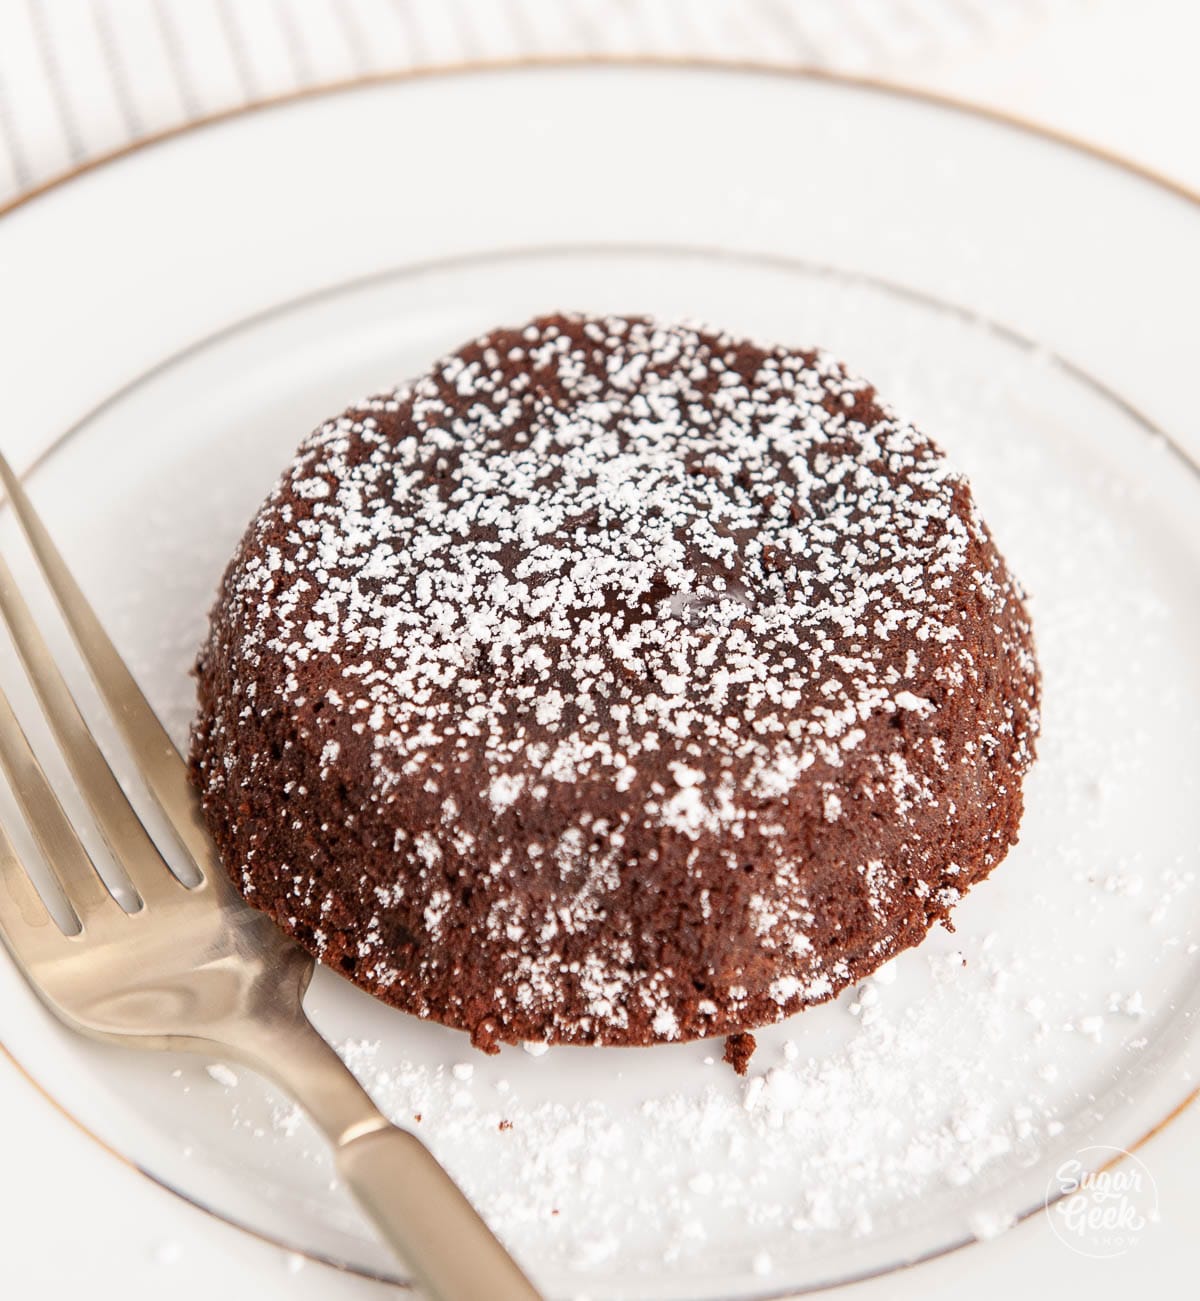
Step 11 – Garnish as you please. I really enjoy some flakey salt to balance the sweet. Whipped cream, powdered sugar, or ice cream would be a good compliment too, as well as berries of any kind. The cakes are meant to be eaten immediately, but if they are left to cool, they can be reheated by microwave for about 30 seconds and will regain their "molten middle" texture.
Unbaked cakes can be frozen or refrigerated if you choose to bake them at a later time. Be sure to thaw frozen batter before baking. If cakes are cold going into the oven they may take a couple of extra minutes to bake.
Tips For Success
You can't have chocolate lava cake without chocolate! I’m using a block of Callebaut Belgian dark chocolate. Using a good quality, 70% dark chocolate will make a huge difference in the flavor. You don’t really want to use milk chocolate or a cheap brand of chocolate like almond bark or candy melts. Callebaut, Ghirardelli chocolate chips, Valrhona, or Guittard are all amazing brands but you can also use your favorite bar of dark chocolate from the grocery store.
If you happen to live near a WINCO you can get Callebaut Belgian dark chocolate in bar form in the bulk section for super cheap!
When you take the cakes out of the oven, let them sit for about 1 minute before flipping them out. Then use oven mitts to quickly place the ramekin upside down on top of a plate, and carefully lift the ramekin up. You can also put a plate upside down on top of the ramekin and flip the entire plate and ramekin upside down. For extra security, run a knife around the edge of the ramekin to release anything that might have stuck.
Ramekins are best to use because they're easy to grease and remove individually. If you can't find any though, you can use a muffin tin instead. With a 12-round muffin tin, grease the inner 6 rounds, pour the batter in, and bake. Just be aware that you'll be flipping out 6 lava cakes at once, so it may be harder to get them out. If you use a muffin tin, bake at 425°F (218°C) for 8-10 minutes.
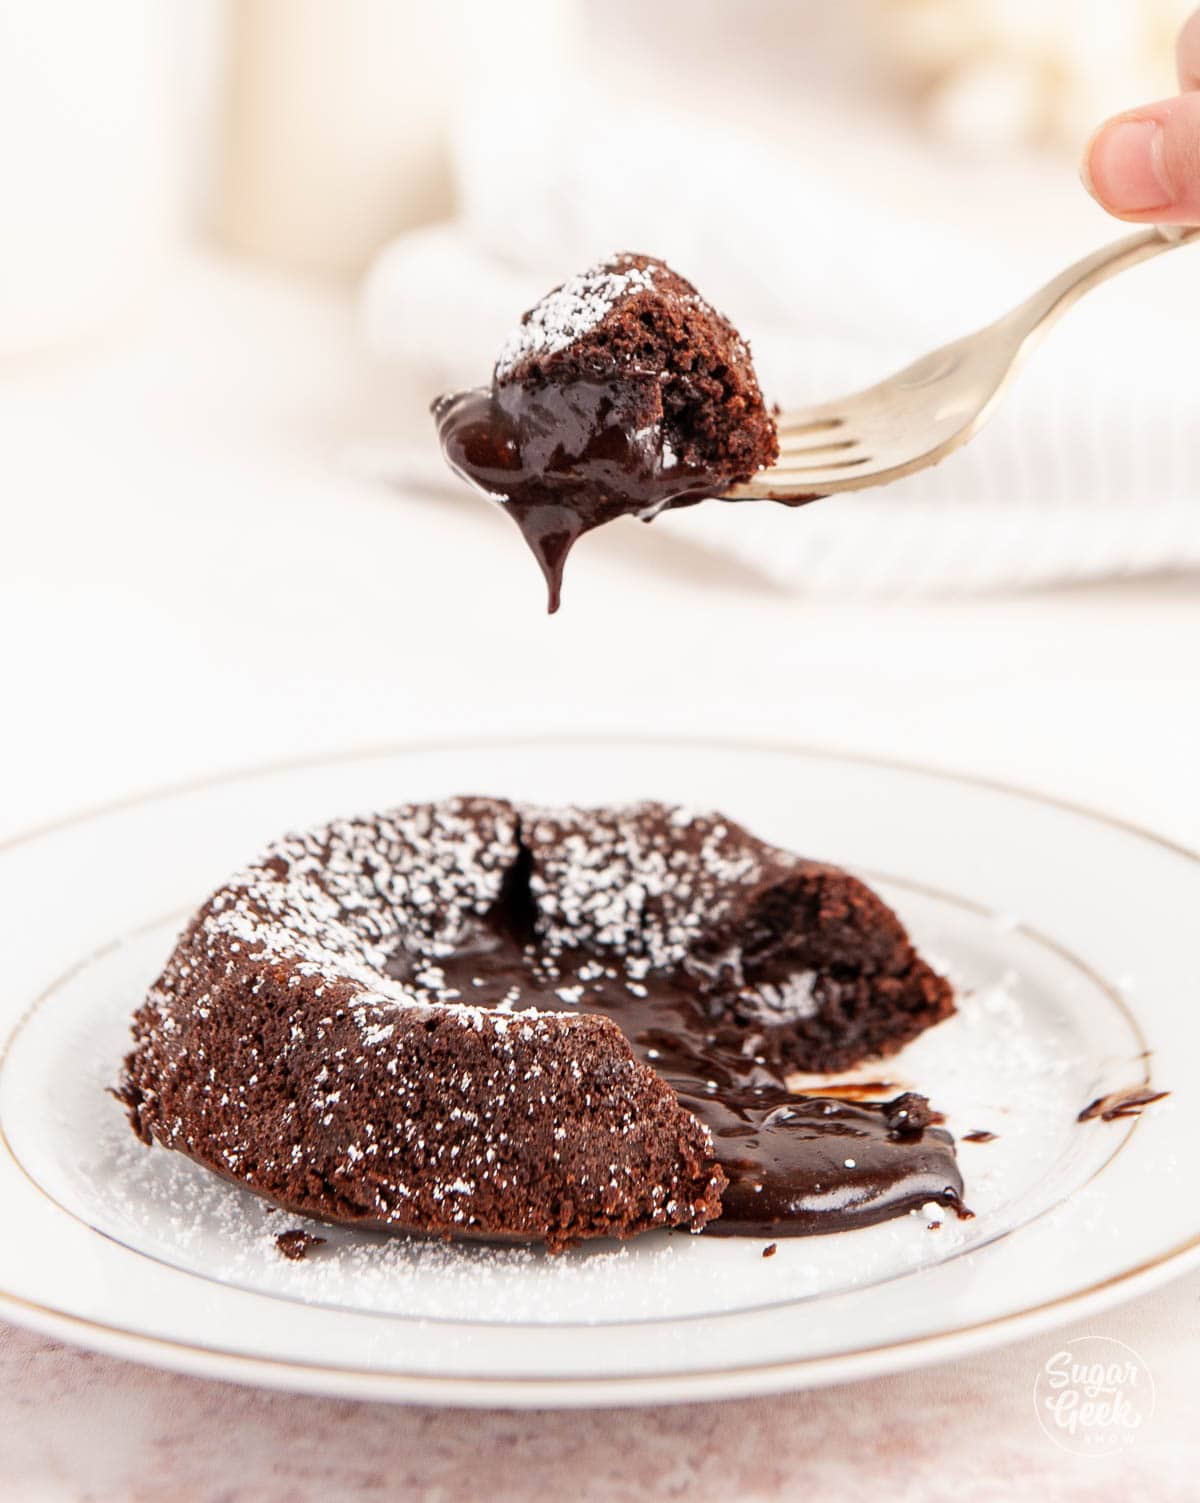
serve lava cakes right out of the oven. However, if you leave your lava cake out and it starts to cool, microwave it for about 30 seconds and it will regain the molten center. Yum!
RELATED RECIPES
Chocolate Covered Strawberries
Cake Batter and Frosting Calculator
Select an option below to calculate how much batter or frosting you need. Adjust the servings slider on the recipe card to change the amounts the recipe makes.
Choose a pan type
Choose a cake pan size
(based on 2" tall cake pan)
Choose a cake pan size
(based on 2" tall cake pan)
Cupcake Tin Size
Choose number of pans
Cups of Batter Needed
8 cups
Cups of Frosting Needed
5 cups
Note: measurements are estimated based off the vanilla cake recipe using standard US cake pans and sizes. Measurements used are for 2" tall cake pans only. Your results may vary. Do not overfill cake pans above manufacturer's recommended guidelines.
Recipe

Equipment
- 4 ceramic ramekins (6 oz)
Ingredients
- 6 ounces dark chocolate, preferably 70% 1 cup
- 3 ounces unsalted butter 6 Tablespoons
- 3 ounces granulated sugar ½ cup
- 2 large eggs (whole) room temperature
- 2 large egg yolks room temperature
- ¼ teaspoon salt
- ½ teaspoon vanilla extract
- 1 ounce all-purpose flour ¼ cup
- 2 Tablespoons unsalted butter for greasing
- sprinkle flaky salt (optional) for topping
- 1 teaspoon powdered sugar (optional) for topping
Instructions
- Preheat the oven to 425ºF (218ºC) and bring your eggs to room temperature. I put my eggs in a bowl of warm water for about 5 minutes.
- Prepare your ceramic ramekins by rubbing the bottoms and sides with butter. This recipe is enough for four, 6oz ramekins or two, 8oz - 10oz ramekins.
- If you're using chocolate chips skip this step. Chop your bar of chocolate into smaller pieces, this will make it easier to melt.
- Create a bain-marie by bringing 2 inches of water to a simmer in a pot. Reduce the heat to low and add a glass bowl on top. Make sure the bowl is not touching the water. Add your chopped chocolate and butter, stir until just melted, then remove from the heat. Set the mixture aside to cool until it is slightly warm or room temperature, but not hot.Or you can melt your butter and chocolate in the microwave in 15-second intervals, stirring between each until the butter and chocolate are smooth.
- In a large bowl, whisk together the sugar, eggs, egg yolks, and salt.
- Add the room temperature chocolate mixture into the egg mixture, add vanilla, and whisk until fully incorporated.
- Sprinkle in the flour and mix until just combined. It will be thick and gooey.
- Divide the batter evenly between the greased ramekins. This recipe makes 16 ounces of batter, so about 4 ounces per ramekin.
- Bake for 10-11 minutes, checking to see if the sides of your cakes are done, but the middles are still fairly liquidy. You should be able to tell by looking at it, but a gentle wiggle of the ramekin will show you if the middle is still wobbly.If you use 8oz or 10oz ramekins, bake for 12-13 minutes.
- Remove from the oven and let stand for 1-2 mins, loosen the sides of the cake with a knife if needed, and then invert onto a plate. The ramekin will be extremely hot so please wear a protective mitt as you slowly lift off the ramekin.
- Garnish as you please. I really enjoy some flakey salt to balance the sweet. Whipped cream or ice cream would be a good compliment too, as well as berries of any kind. The cakes are meant to be eaten immediately, but if they are left to cool, they can be reheated by microwave for about 30 seconds and will regain their "molten middle" texture.Unbaked cakes can be frozen or refrigerated if you choose to bake them at a later time. Be sure to thaw frozen batter before baking. If cakes are cold going into the oven they may take a couple of extra minutes to bake.You can also store already-baked lava cakes by wrapping each individually in plastic wrap and refrigerate for up to 3 days. Just microwave 30 seconds to warm up before serving!
Video
Notes
- Make sure to bring your eggs to room temperature. When you add warm chocolate and butter into cold eggs, it can cause the butter to harden in chunks and ruin your batter. For eggs in the shell, I place them into a bowl of warm water for 5-10 minutes.
- Unbaked lava cakes can be frozen and baked later. Defrost at room temperature for 1 hour then bake as usual.


Leave a Reply