• Skip to primary navigation
  • Skip to main content
  • Skip to primary sidebar
  • Labor Day
  • Recipes
  • Free Tutorials
  • Sign Up
  • About Liz

Sugar Geek Show logo

menu icon
go to homepage
  • Labor Day
  • Recipes
  • Free Tutorials
  • Sign Up
  • About Liz
subscribe
search icon
Homepage link
  • Labor Day
  • Recipes
  • Free Tutorials
  • Sign Up
  • About Liz
×
Home › Recipes › Snacks

Updated on February 18, 2026 by Liz Marek · This post may contain affiliate links · Leave a Comment

Lucky Charms Rice Krispie Treats

72 shares
  • Facebook
  • Flipboard
Jump to Recipe

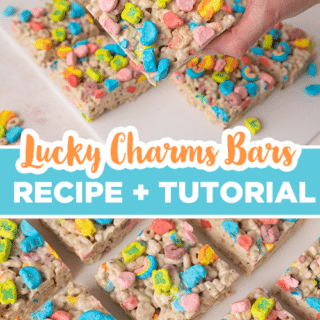
These Lucky Charms Rice Krispie Treats are surprisingly delicious and are a fun treat to make with kids. Combine Lucky Charms and gooey marshmallows to make treats perfect for birthday parties, St. Patrick's day, or a school snack. Add a cup of Rice Krispies in addition to the Lucky Charms cereal to fill in the holes and add texture.lucky charms rice krispie treats lined up on a table
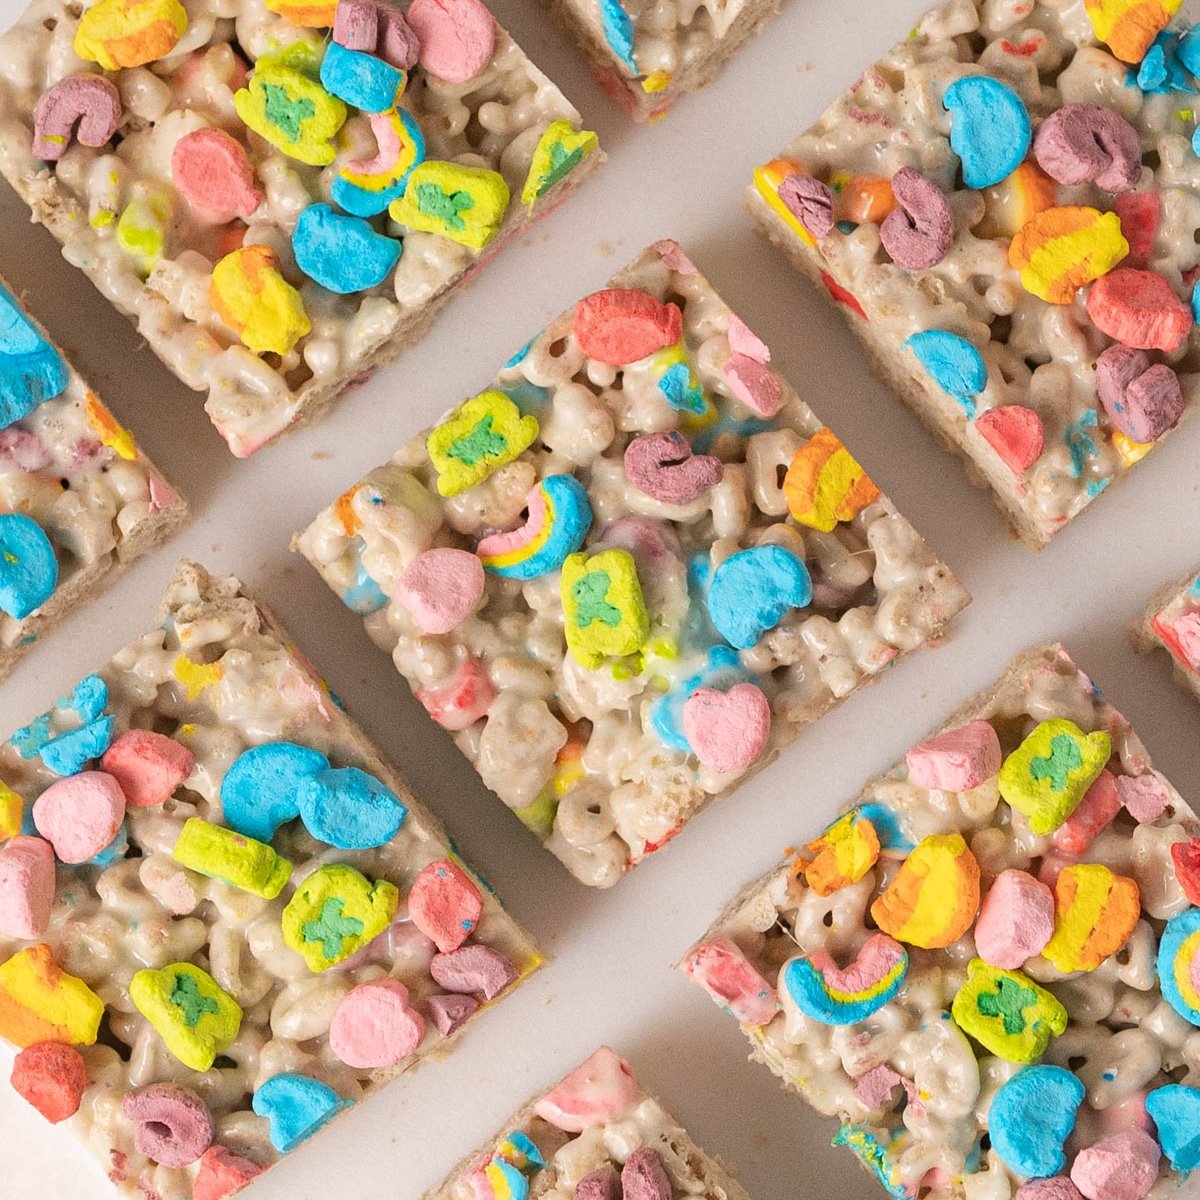
I've always made cereal treats over the stove top and ended up with a big sticky mess. This easy recipe is great because all you need is one large bowl and a microwave. Adding Lucky Charms cereal and marshmallows is a fun way to elevate the classic Rice Krispie treat. You can also trade out the box of Lucky Charms or Rice Krispies for your favorite cereal, like Fruity Pebbles or Cocoa Puffs.

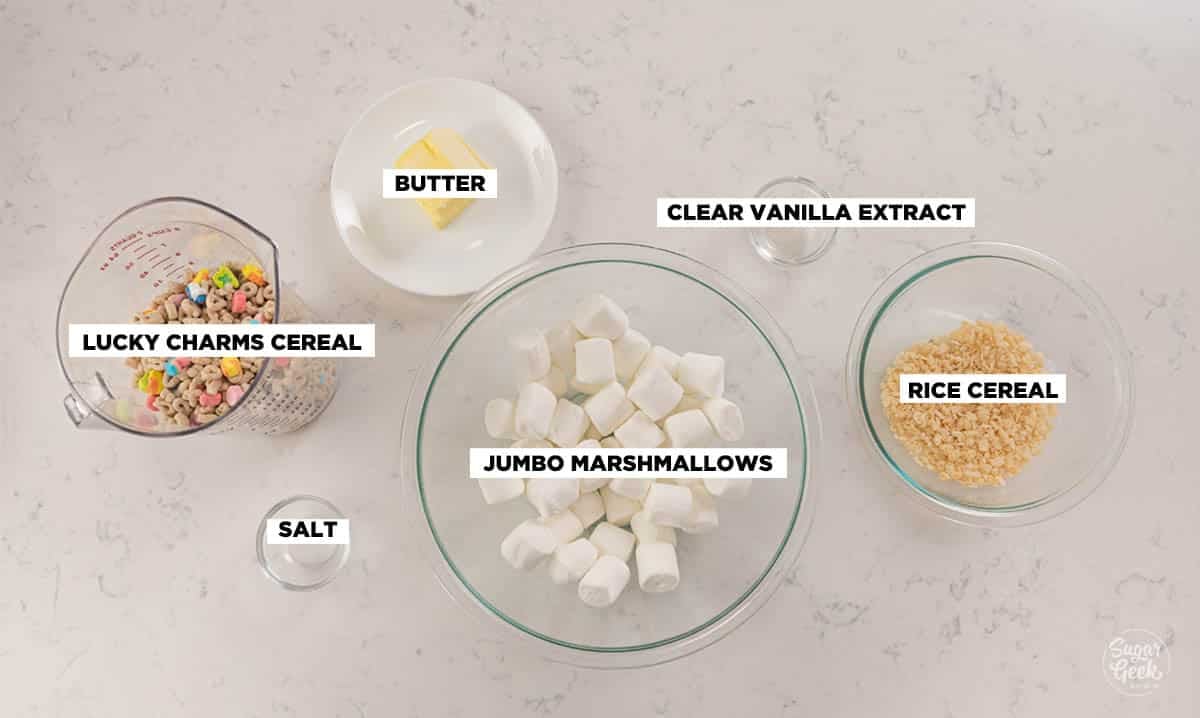
Lucky Charms Rice Krispie Treat Ingredientsingredients for lucky charm treats in bowls on a table

Butter is the ingredient that adds flavor to the Lucky Charm treats. I like to use unsalted butter and add my own salt because I can control the amount, but you can also use salted butter and leave out the salt.

Large or mini marshmallows will work for this recipe, just make sure that they are fresh, and not expired.

Rice Krispies are a fun twist to this recipe, as most Lucky Charms treats will only use that cereal. I like the extra rice krispies because they fill in the gaps between the lucky charms cereal and marshmallows. It only takes about a cup of cereal to fill in the gaps, but if you like firmer crispy treats, you can add more.

Lucky Charms cereal has fun, colorful marshmallows that take this gooey marshmallow treat up a notch. They do melt a little bit when you mix them in with the hot marshmallows, so be sure to reserve a few for topping the treats.

Making Lucky Charms Rice Krispie Treats

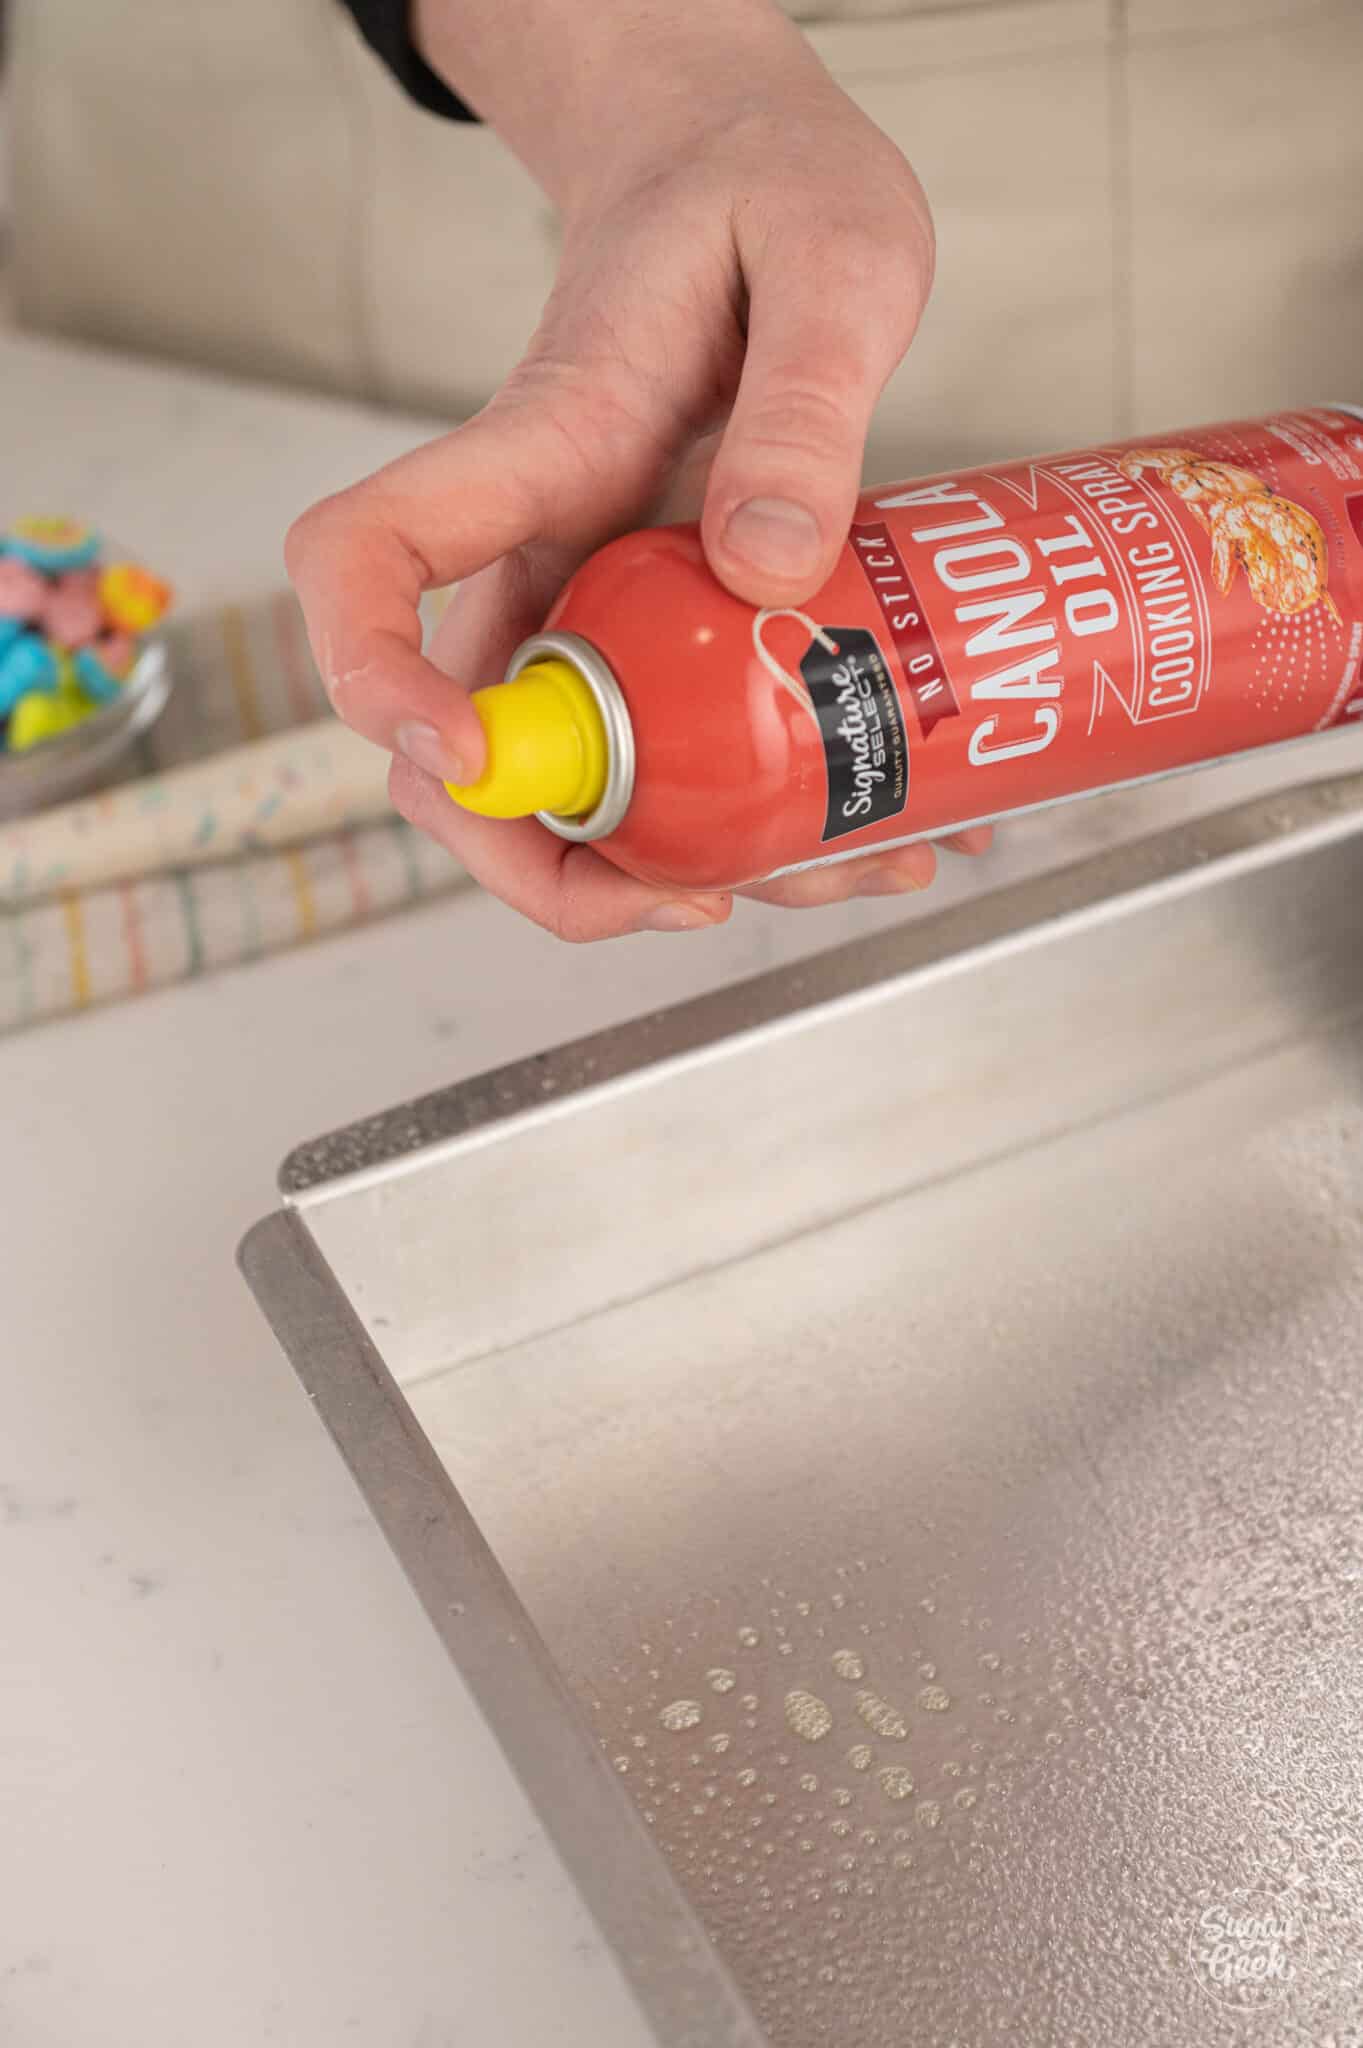
  1. Grease a 9" x 9" pan with butter or nonstick cooking spray. You can also line it with a piece of parchment paper if you're nervous about sticking. A square pan will make thick Rice Krispie treats, while a rectangle pan will make thinner treats.
    hand holding a bottle of pan spray over a metal pan
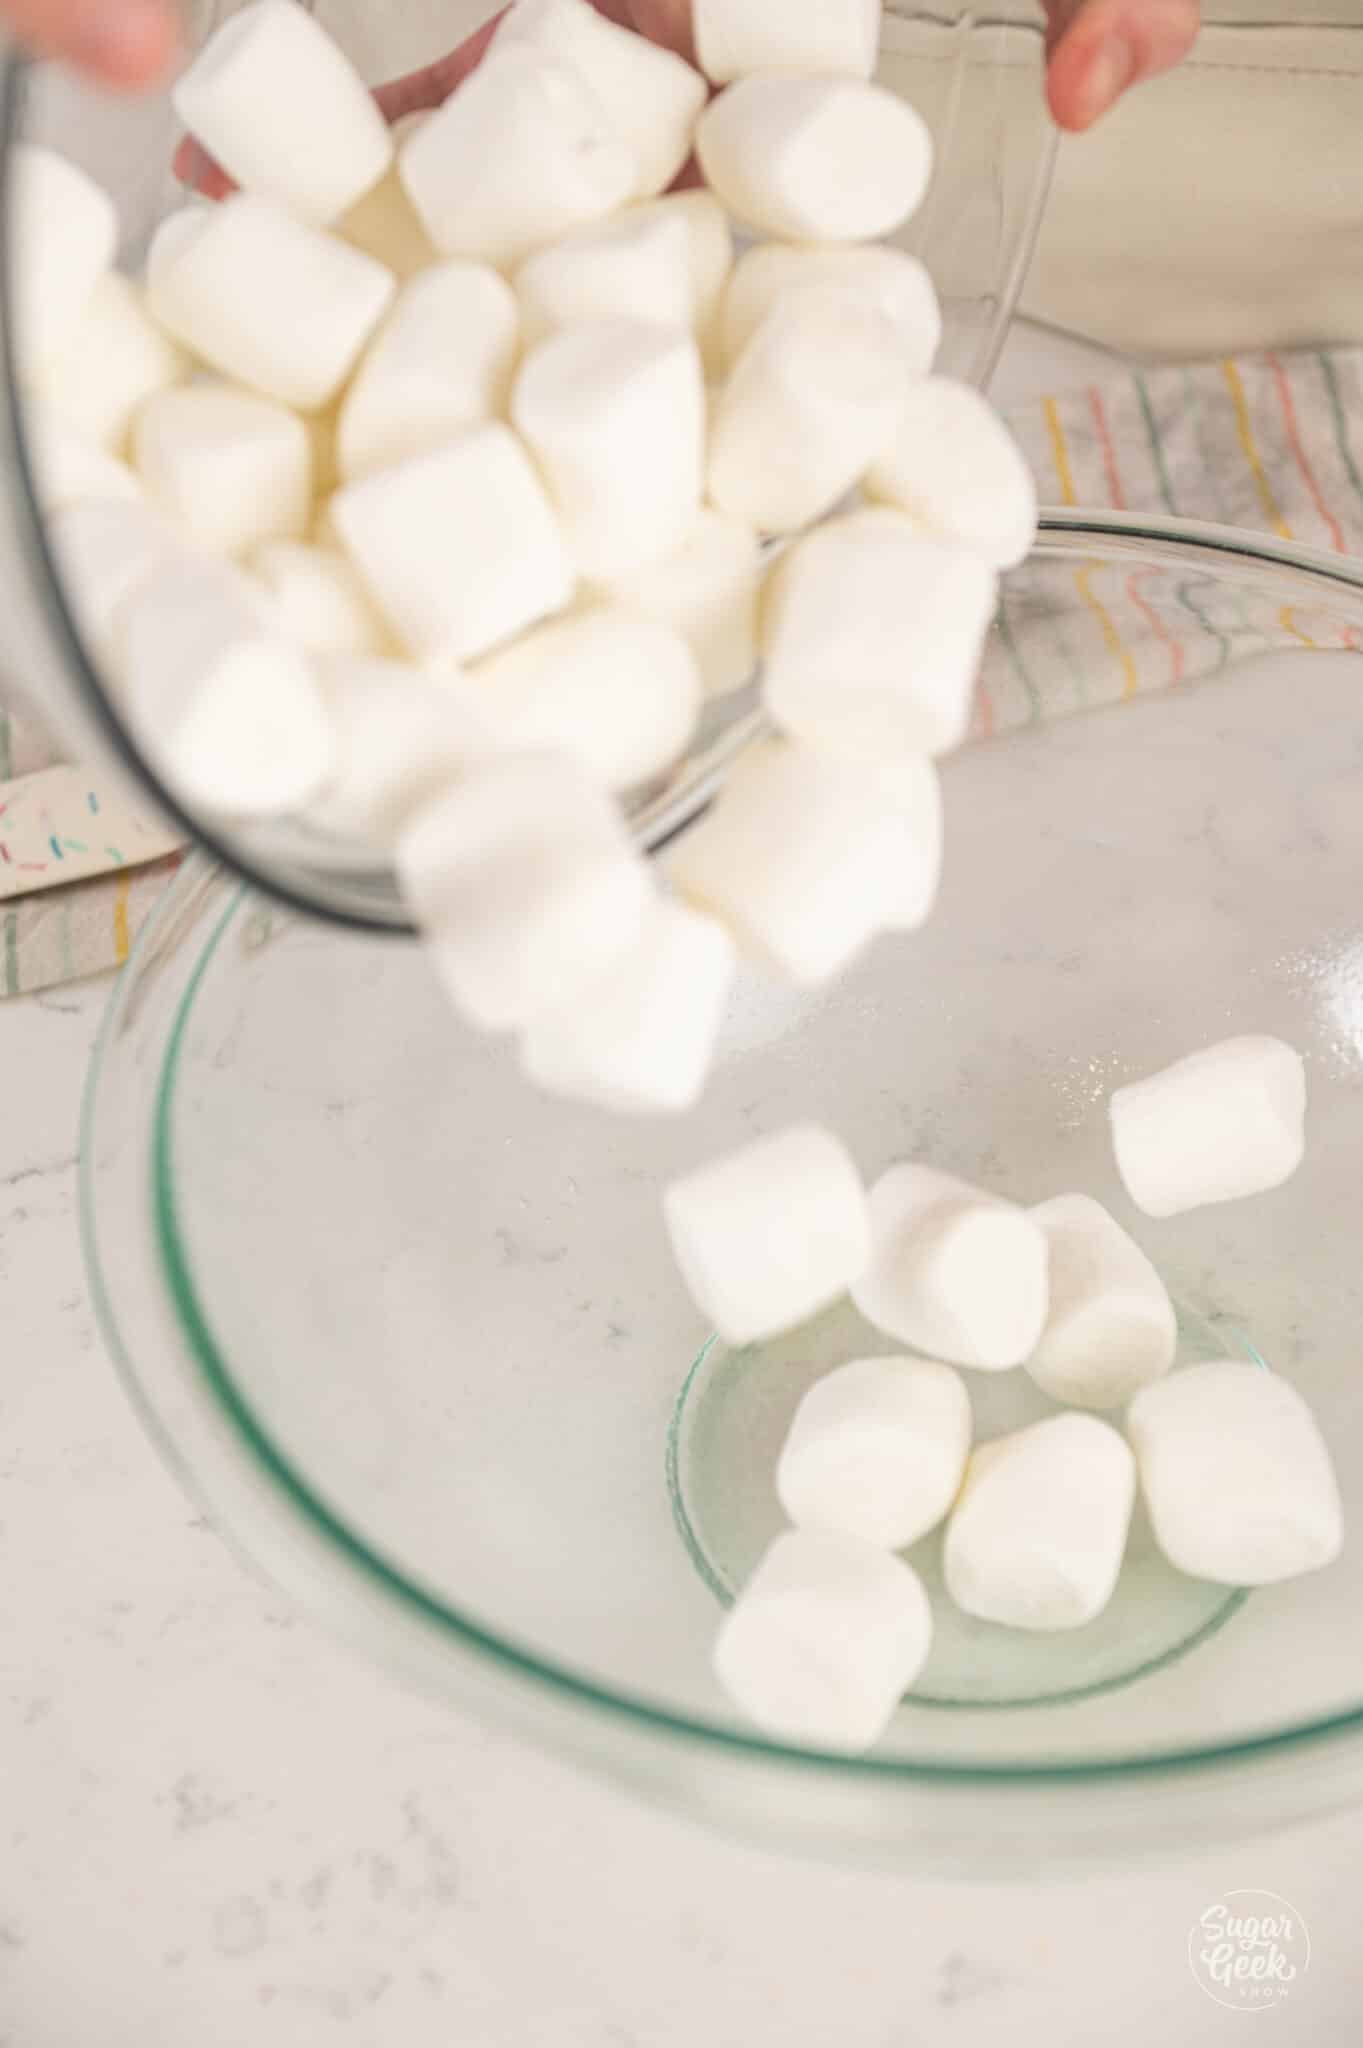
  2. Spray a large mixing bowl with cooking spray, add the marshmallows, and microwave in 30-second increments until they're melting and puffy. You can also heat them in a large saucepan over the stove.
    marshmallows pouring into a large glass bowl
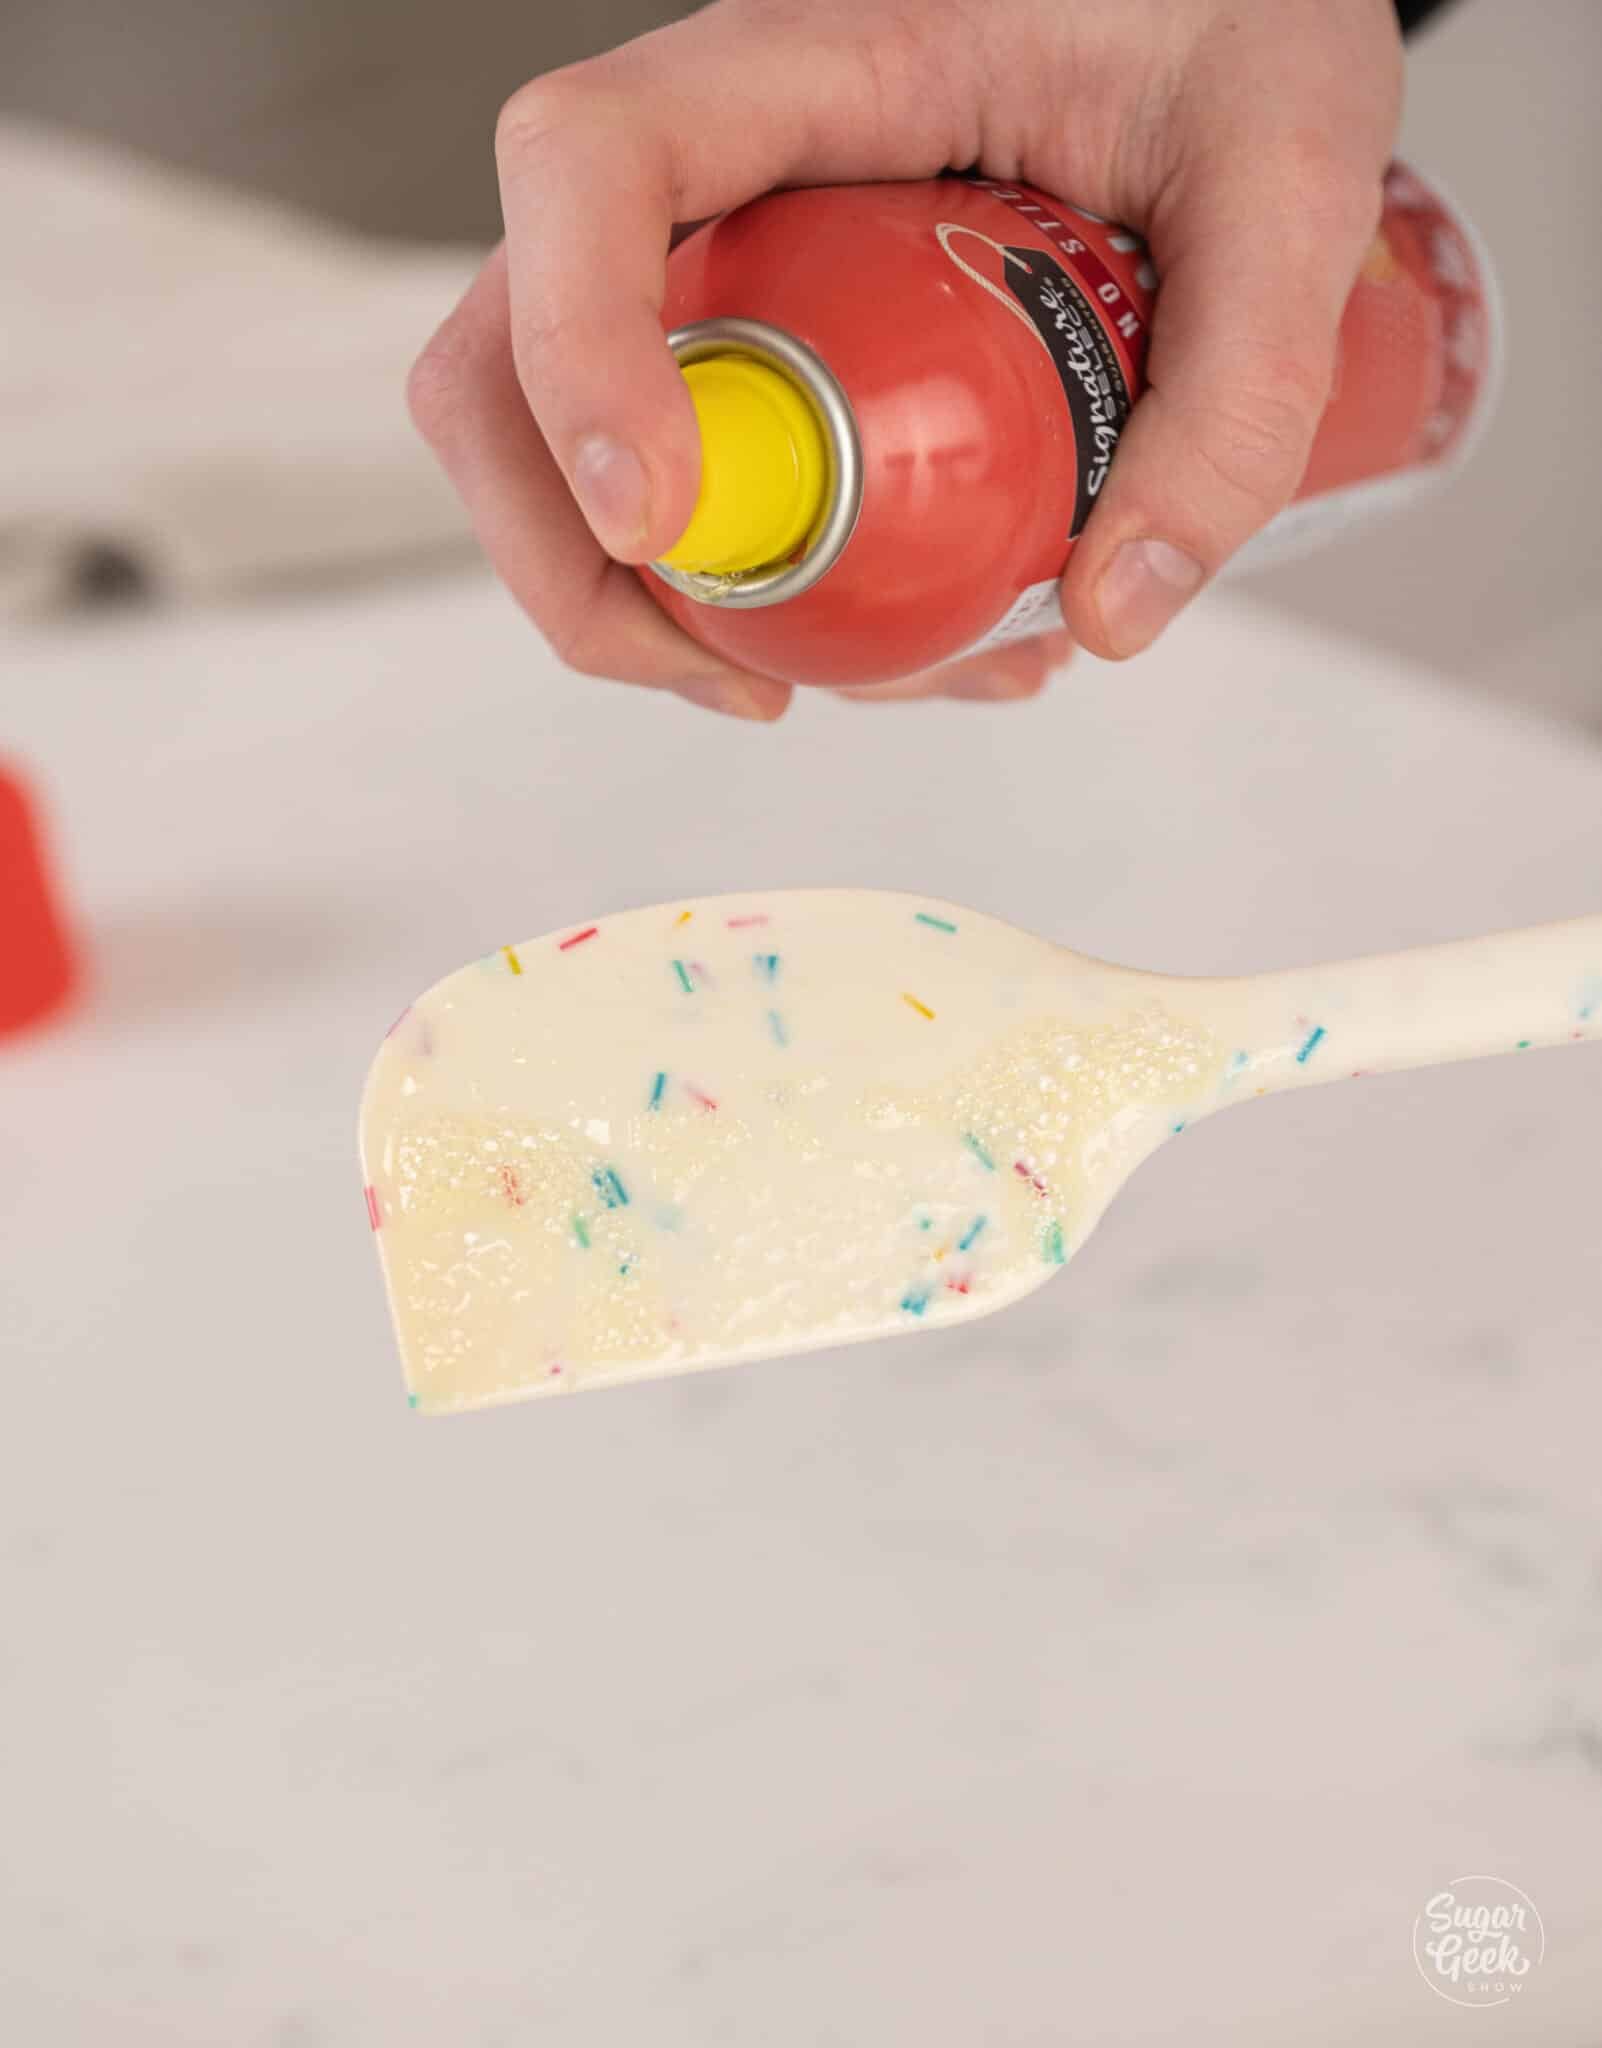
  3. Grease your spatula with cooking spray or oil to help with the sticking and work quickly.
    spraying a spatula with pan spray
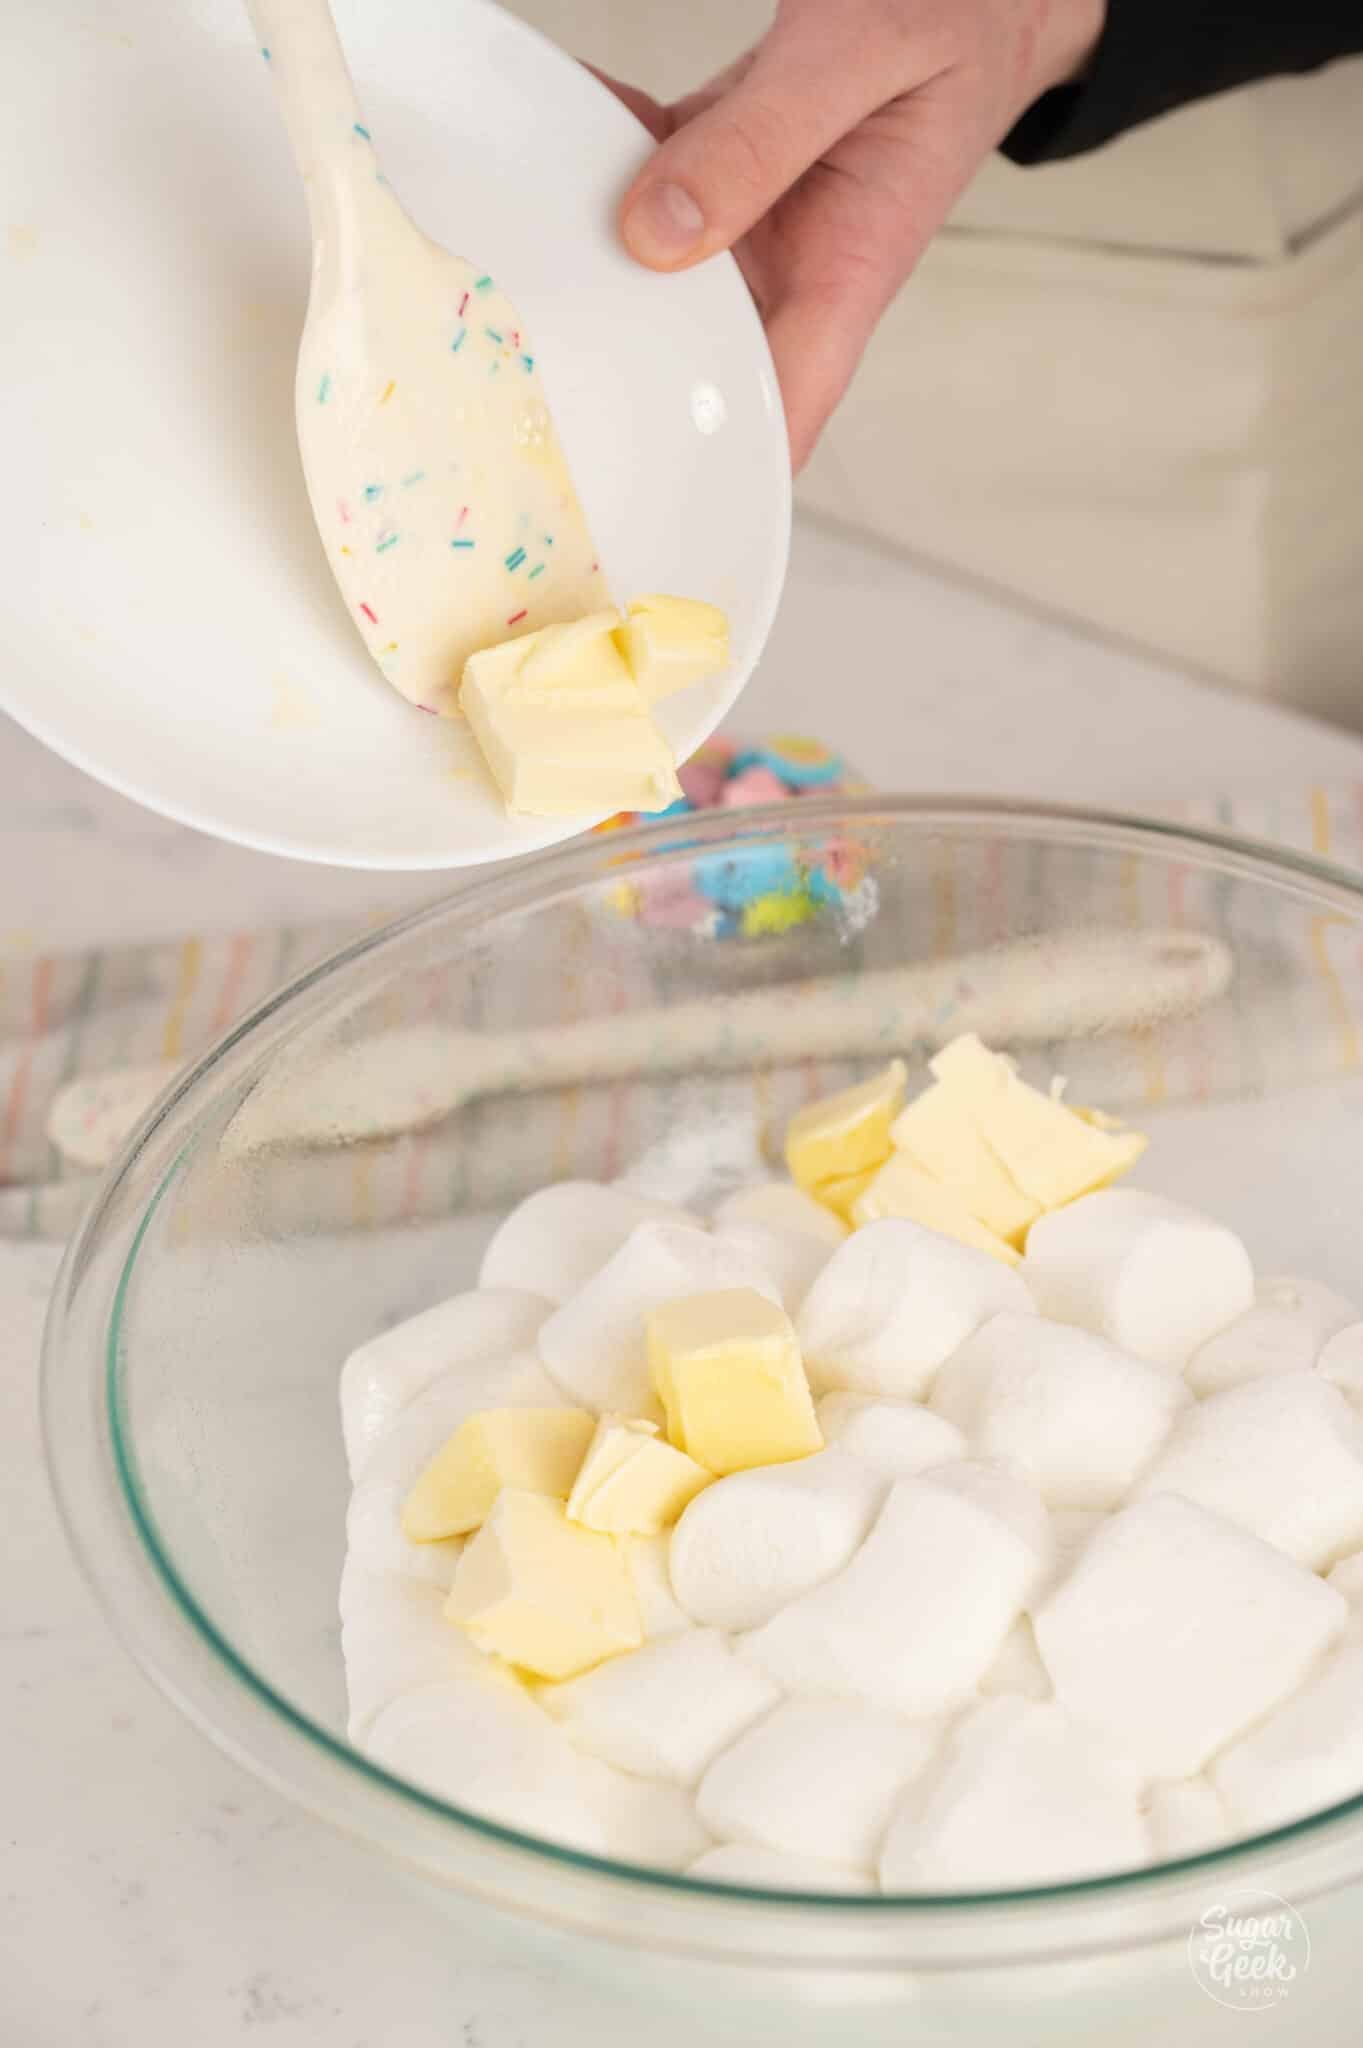
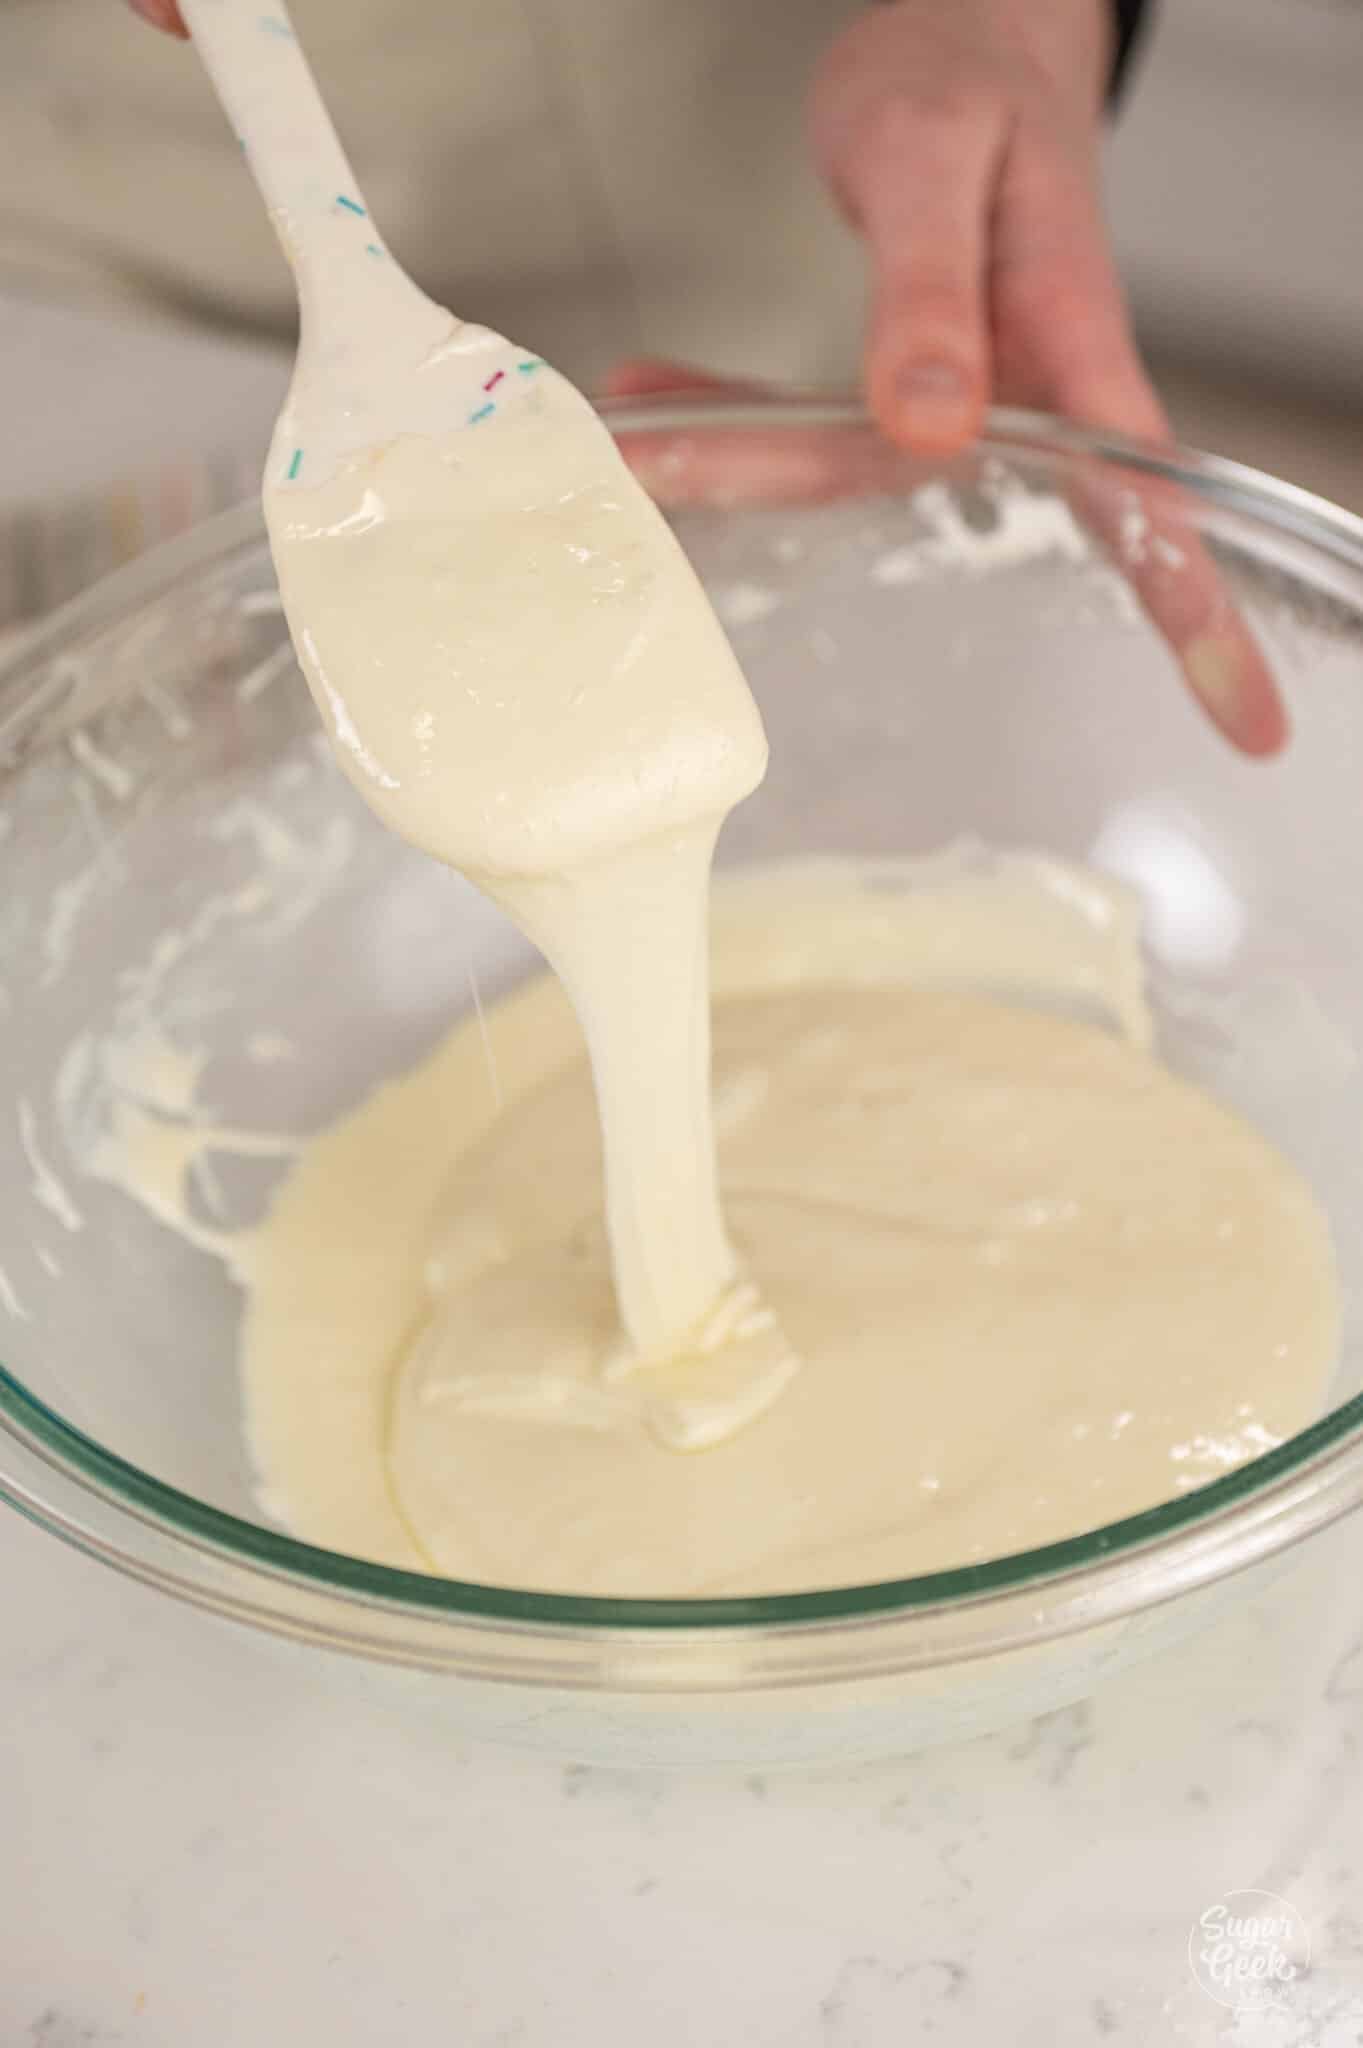
  4. Add the butter and salt to the marshmallows and mix them together until they are melted and combined.
    hands adding butter from a plate into a bowl of marshmallows
    melted marshmallows in a bowl
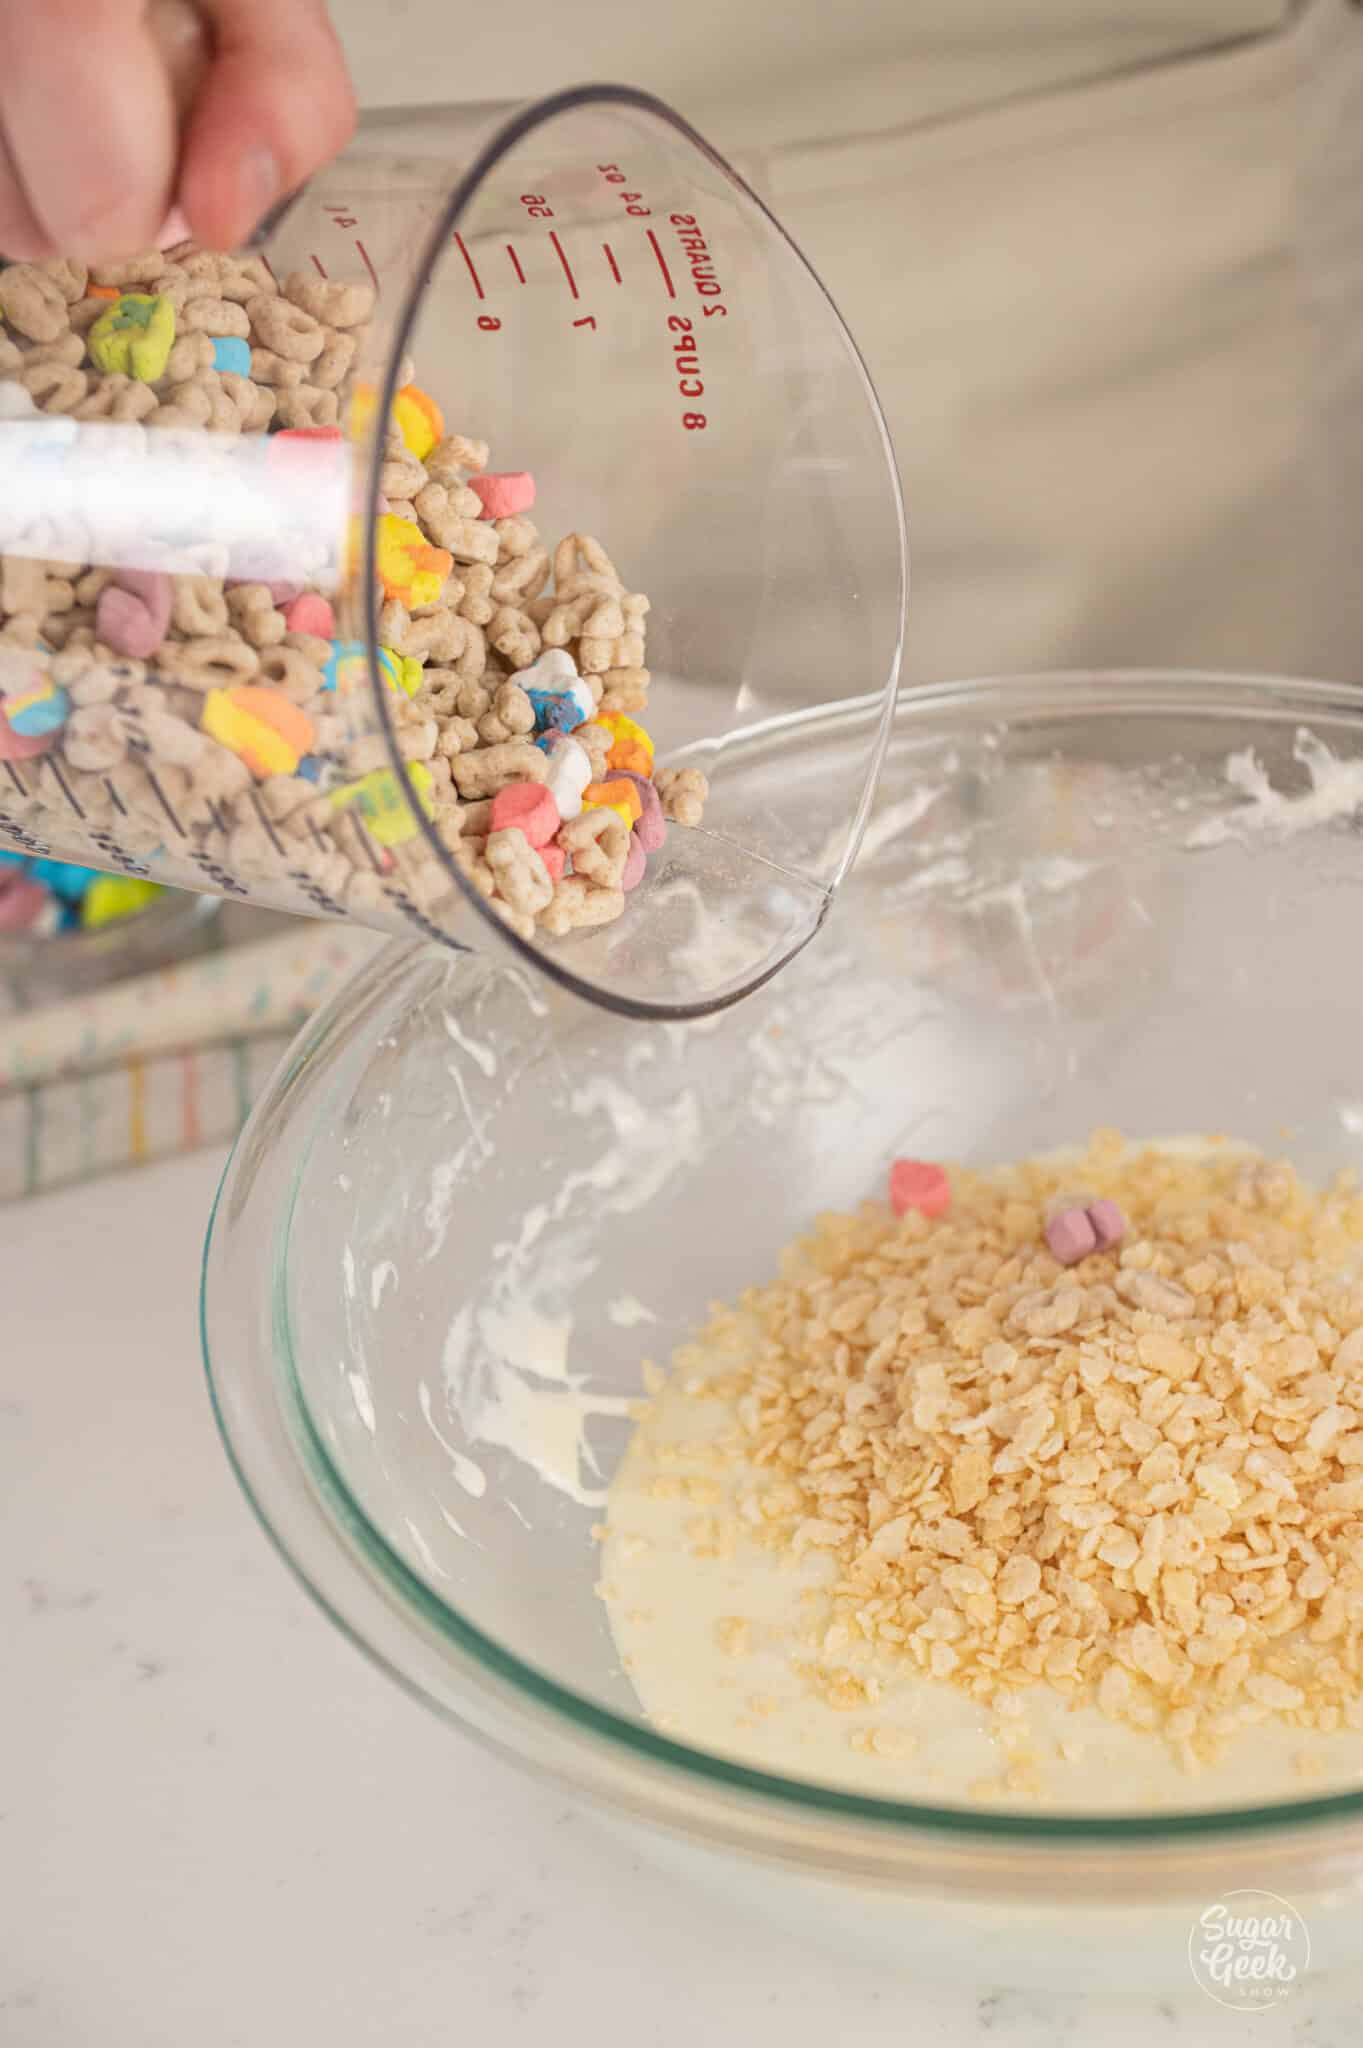
  5. Reserve a few of the colorful marshmallows for topping, then add the Lucky Charms and Rice Krispies, one cup at a time, to the melted marshmallows and stir it all together.
    adding cereal to a bowl of marshmallows
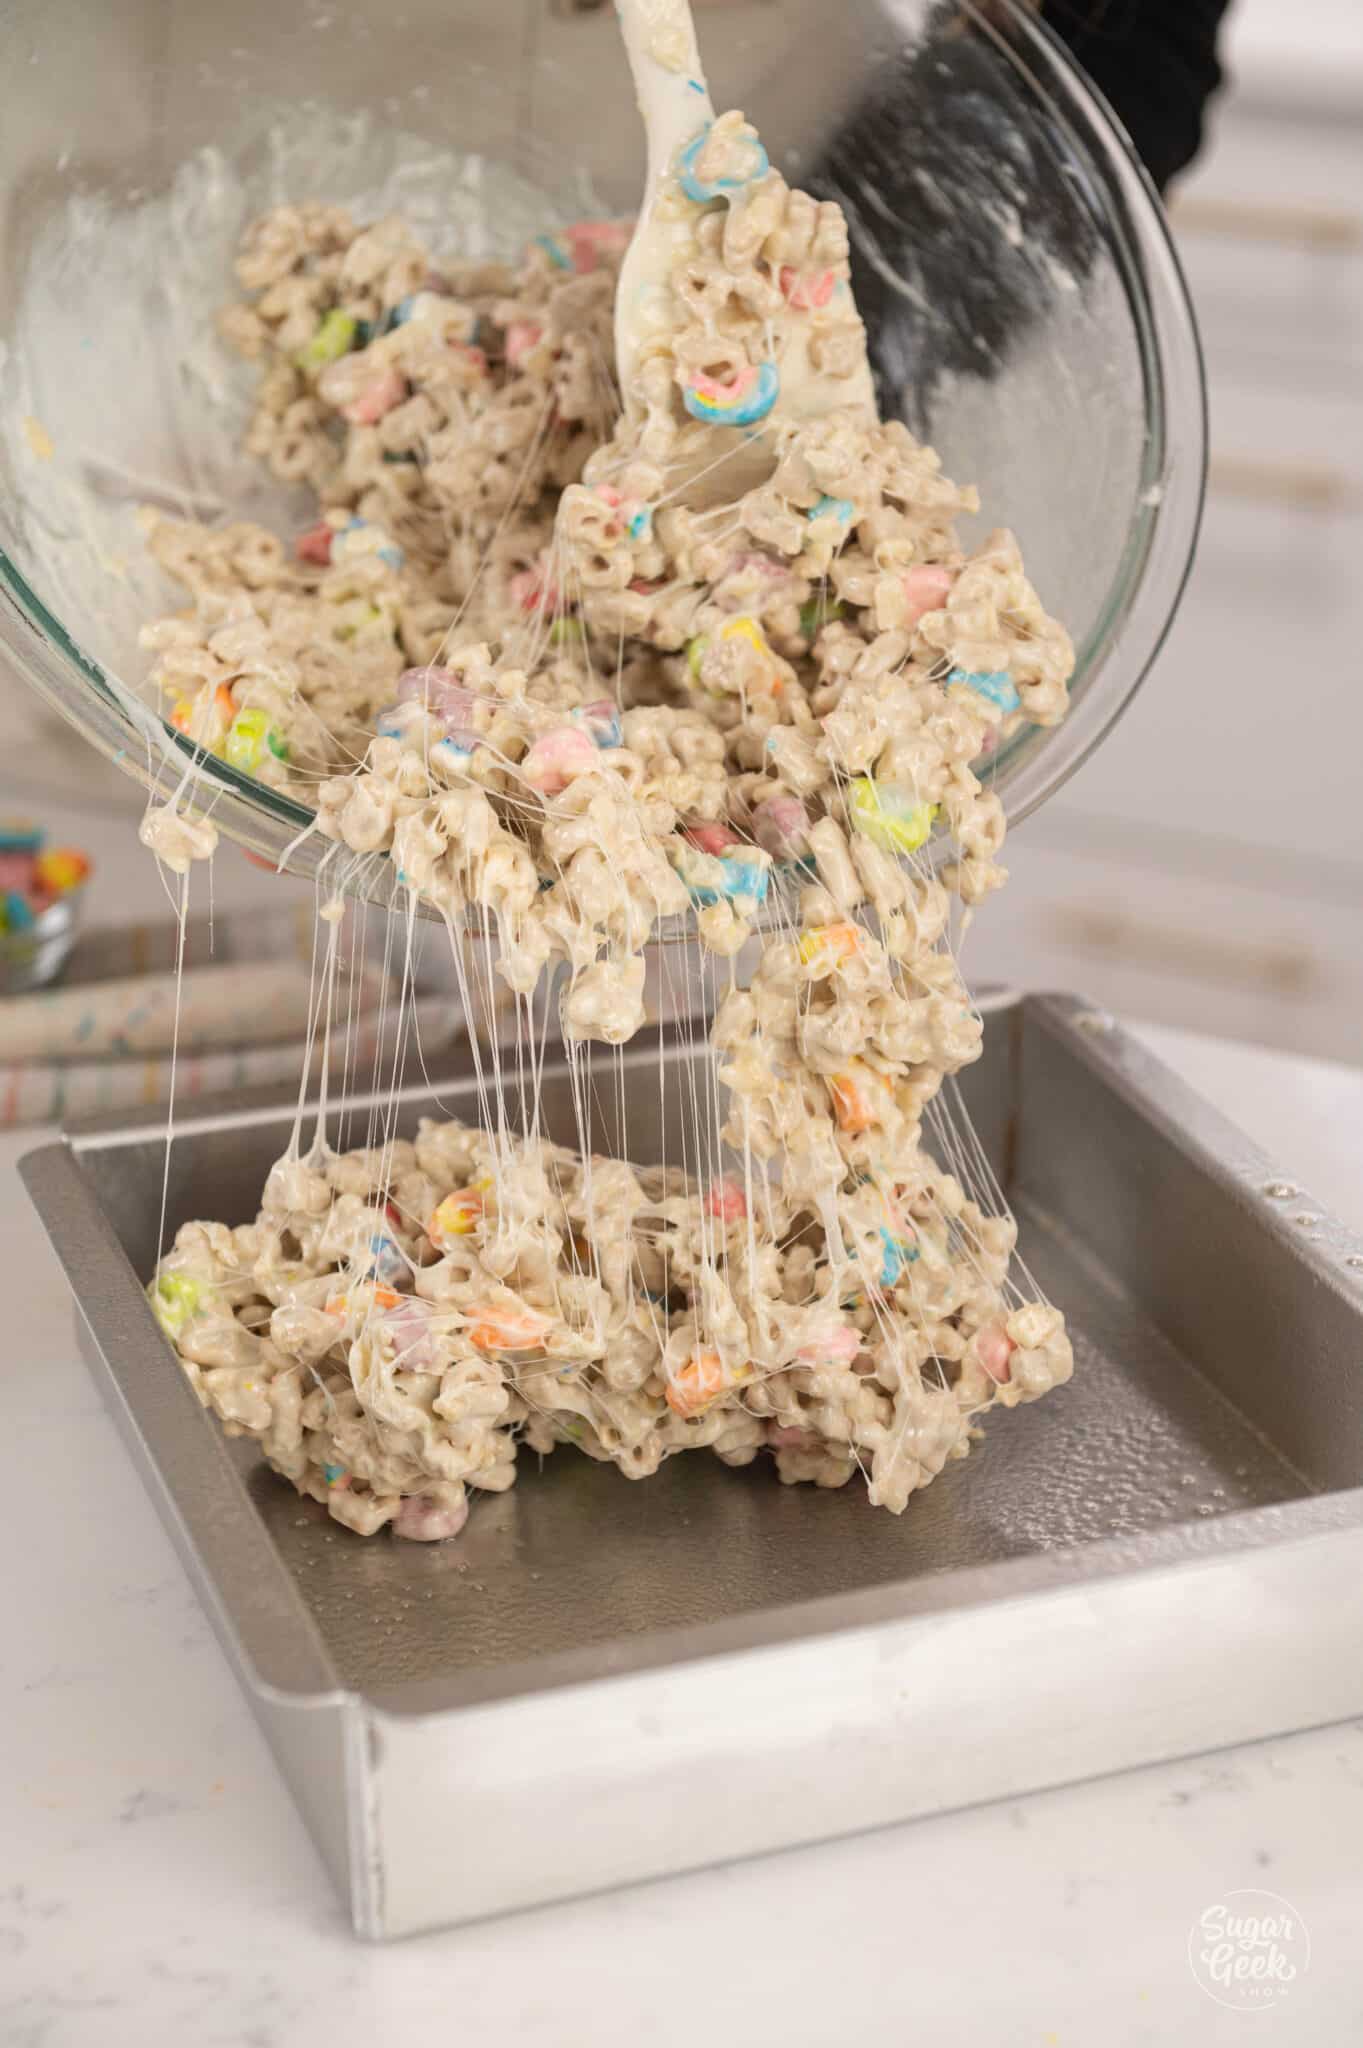
  6. Pour the cereal mixture into the prepared baking dish and press it into an even layer with a spatula. Pro-tip: Coat your clean hands in cooking spray and press it into the corners.
    a bowl of cereal treat mixture pouring into a baking dish
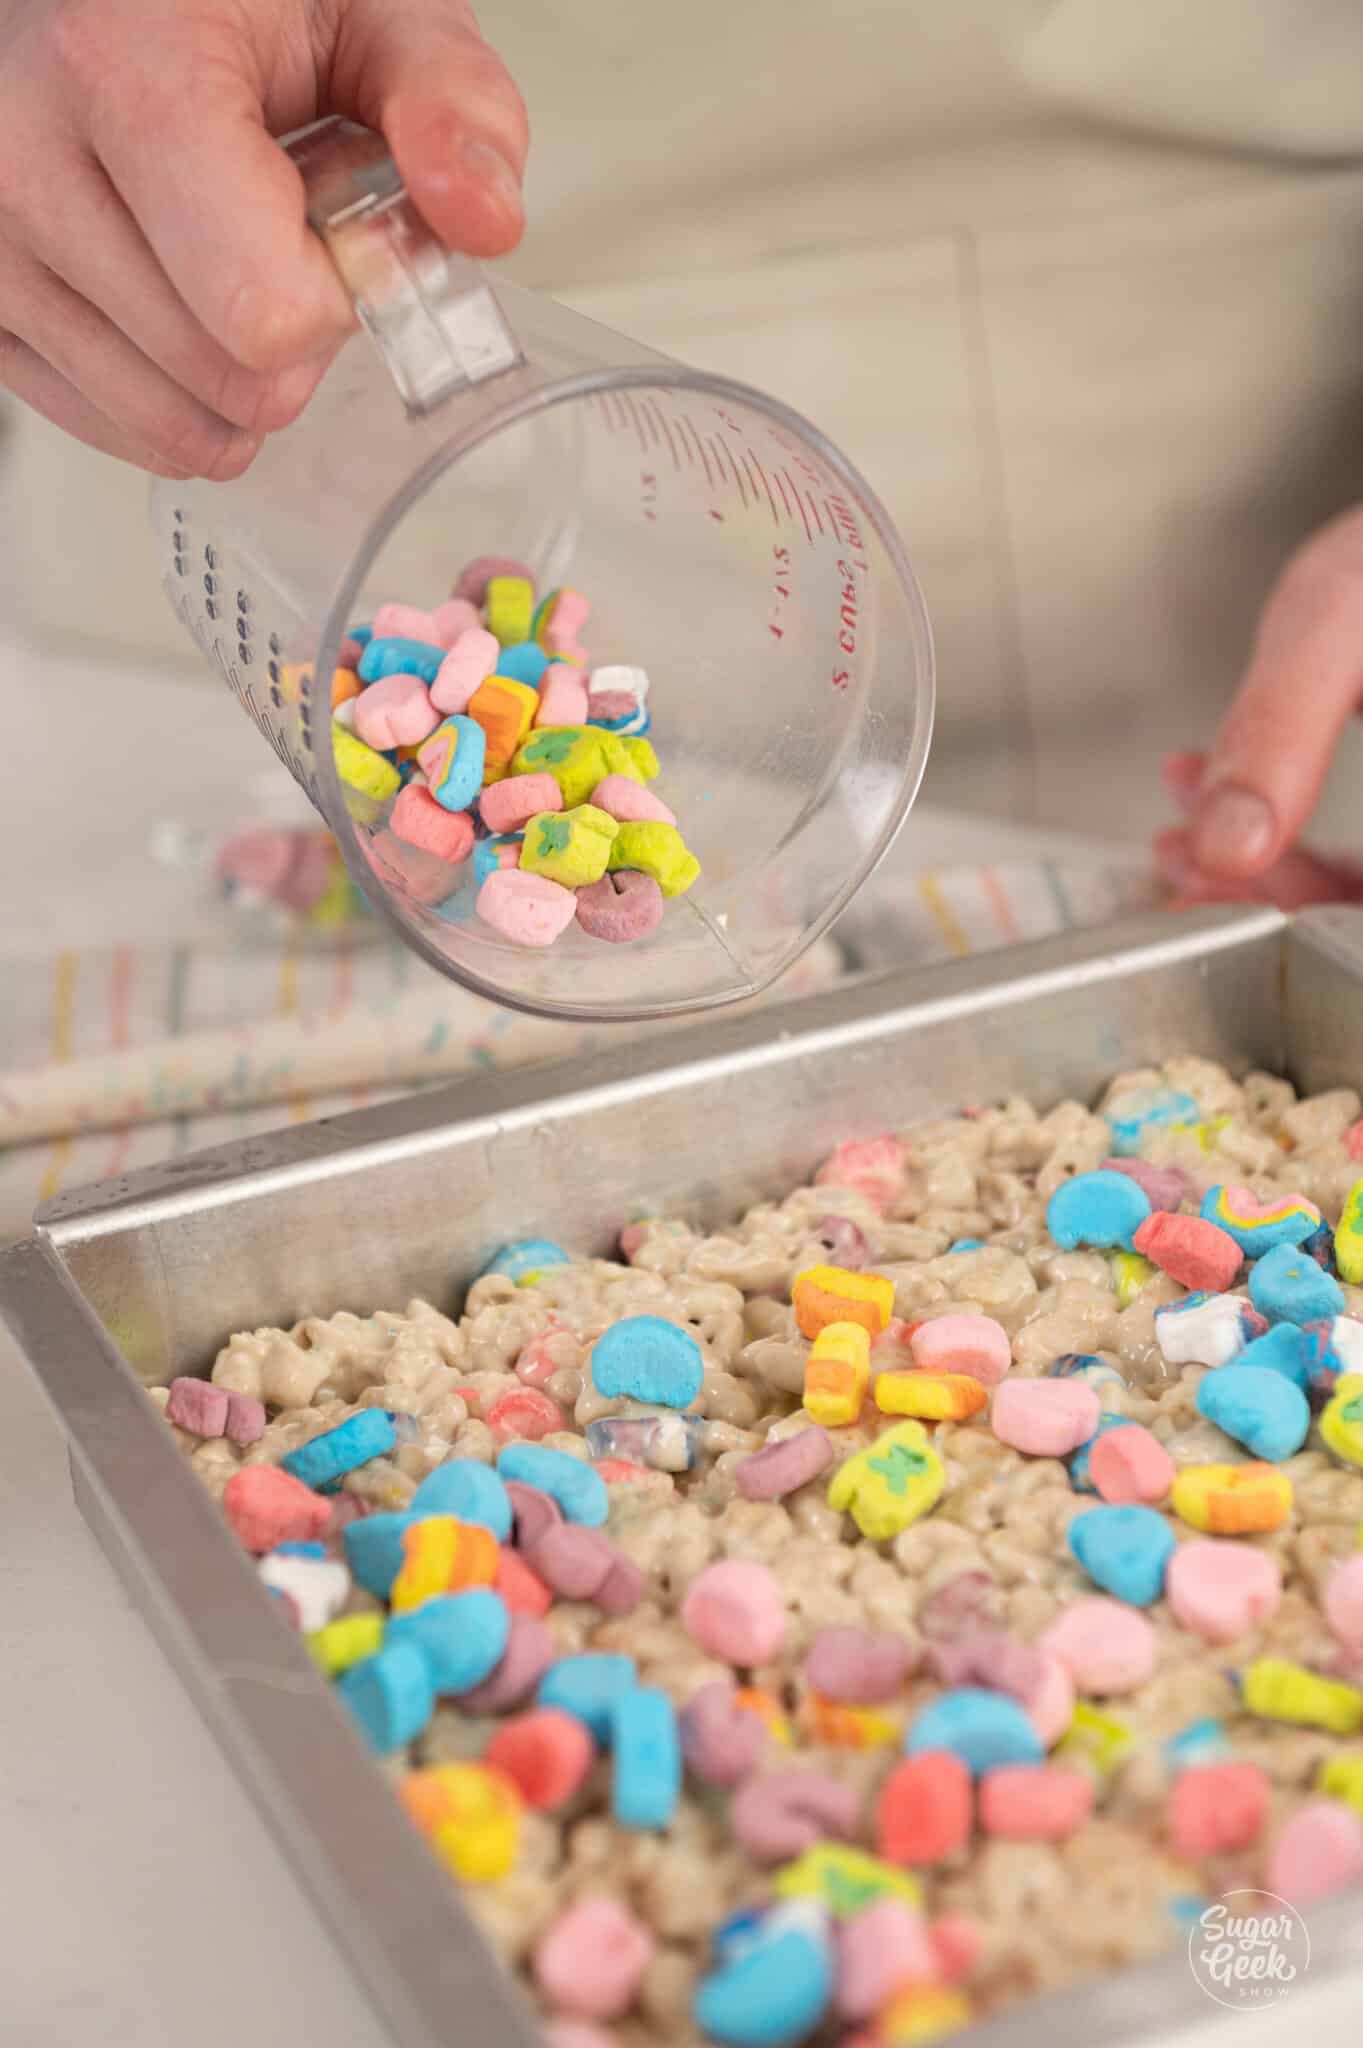
  7. Sprinkle the reserved Lucky Charms marshmallows on top while the treats are still warm, then let them rest in the pan until they come to room temperature, or freeze for 20 minutes to set up.
    hand adding a container of lucky charm marshmallows on top of rice krispie treats
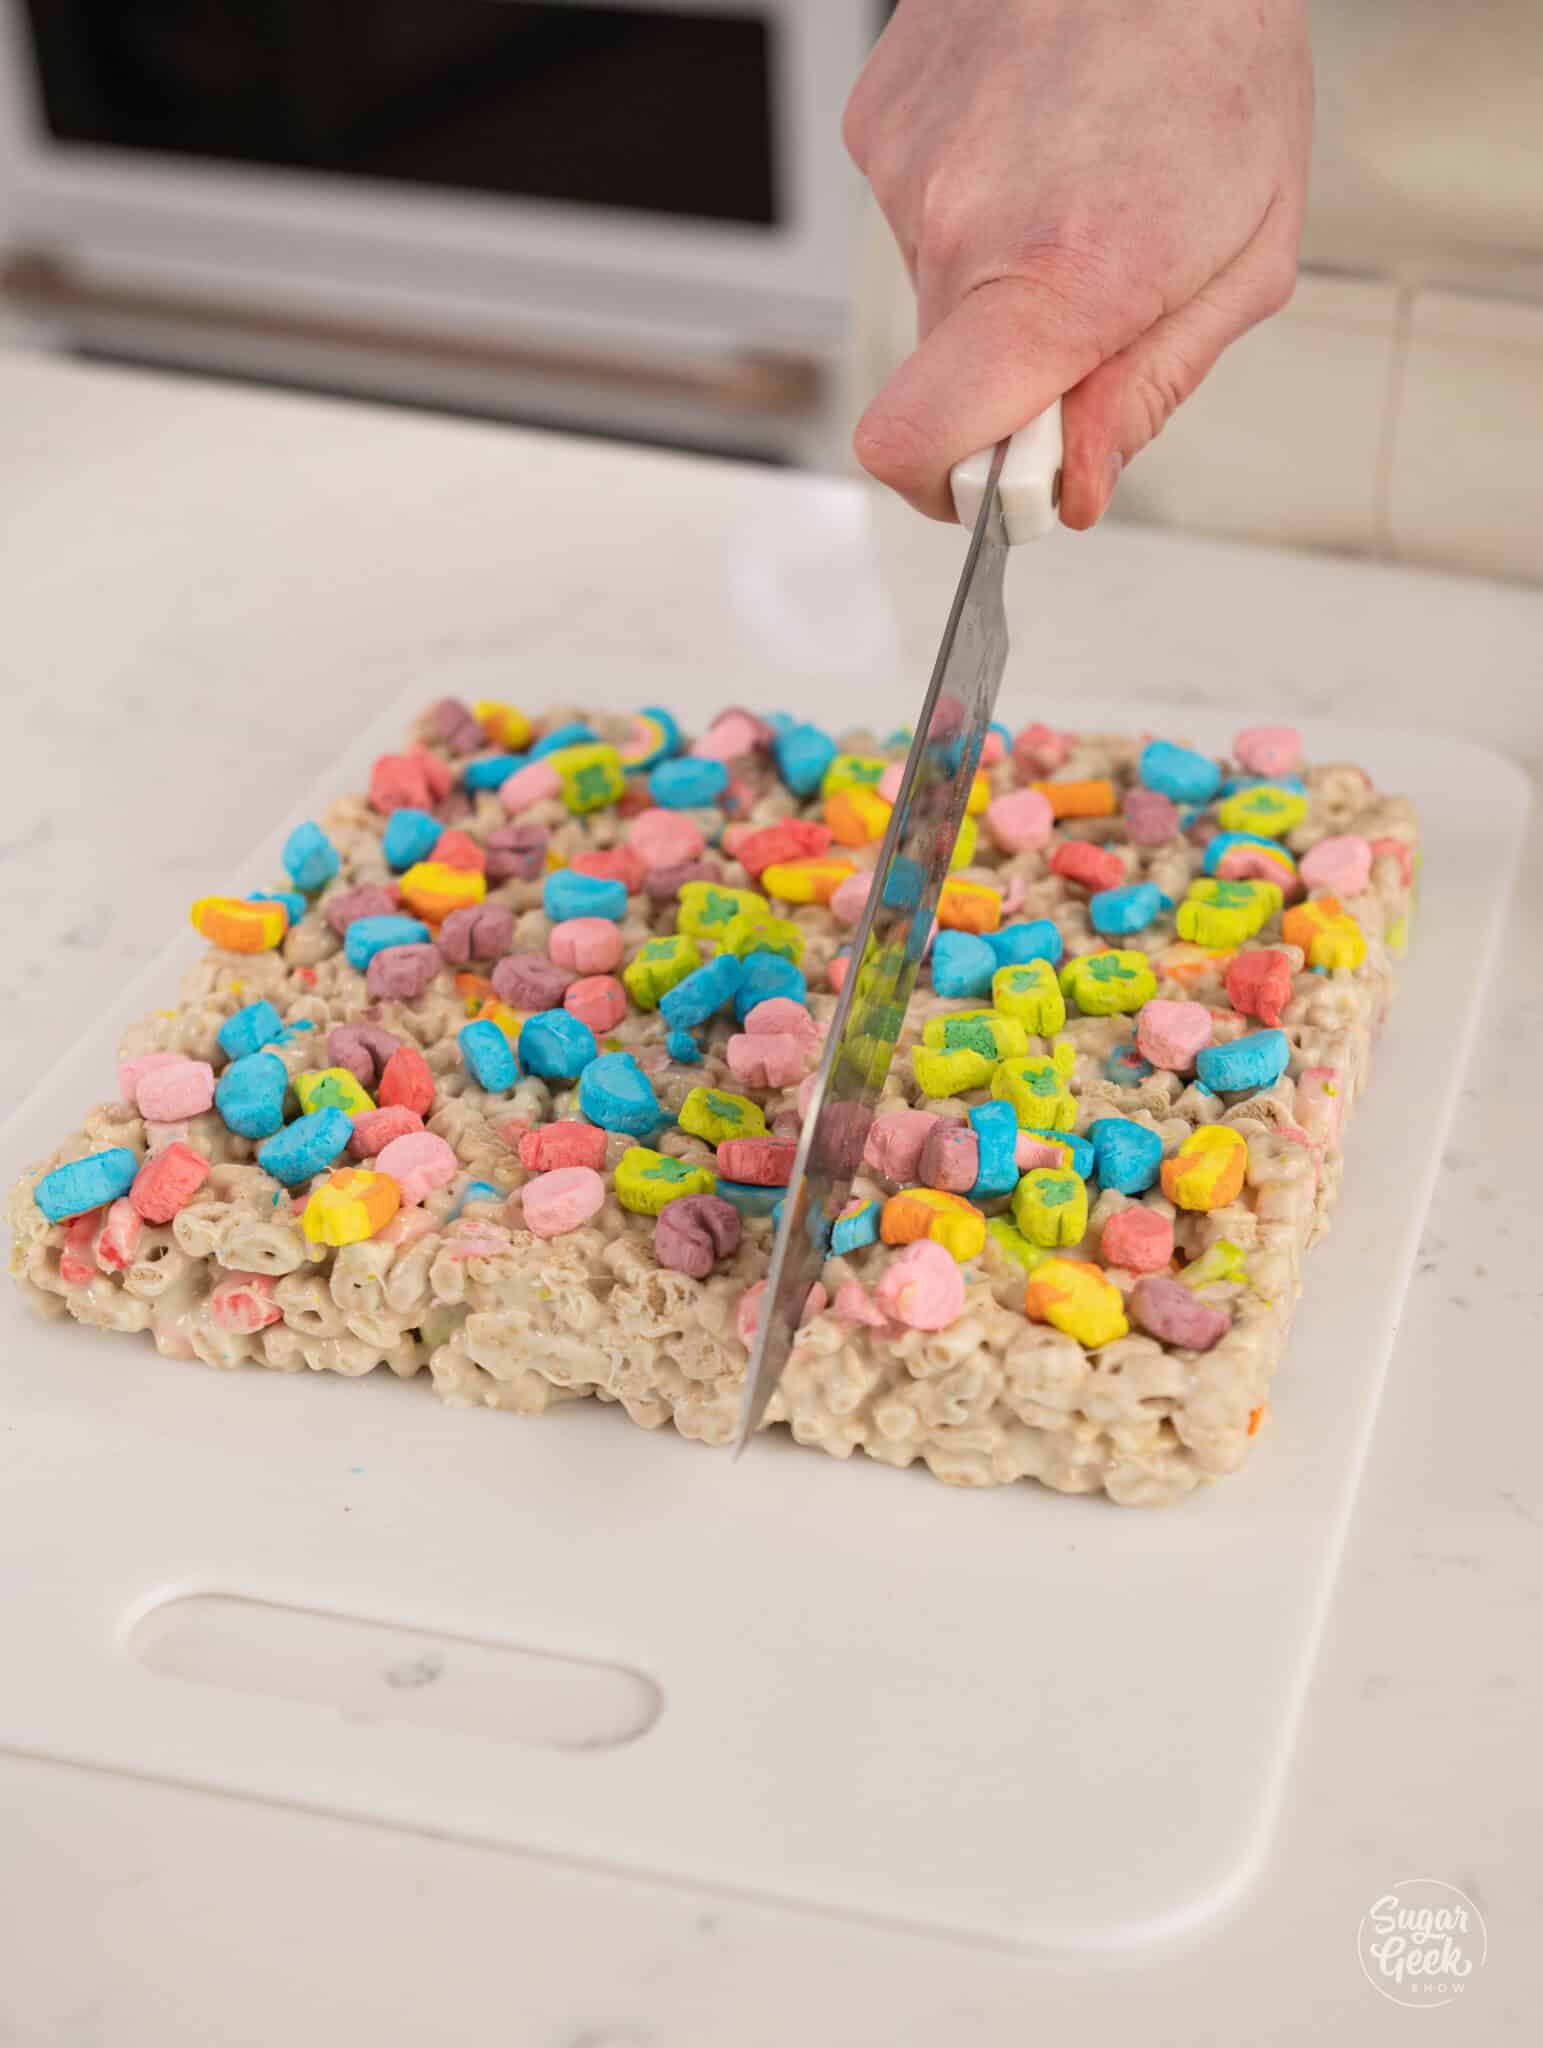
  8. Release the edges of the treats with a knife, then remove them from the pan and cut them into 9 equal squares.
    knife cutting through rice krispie treats
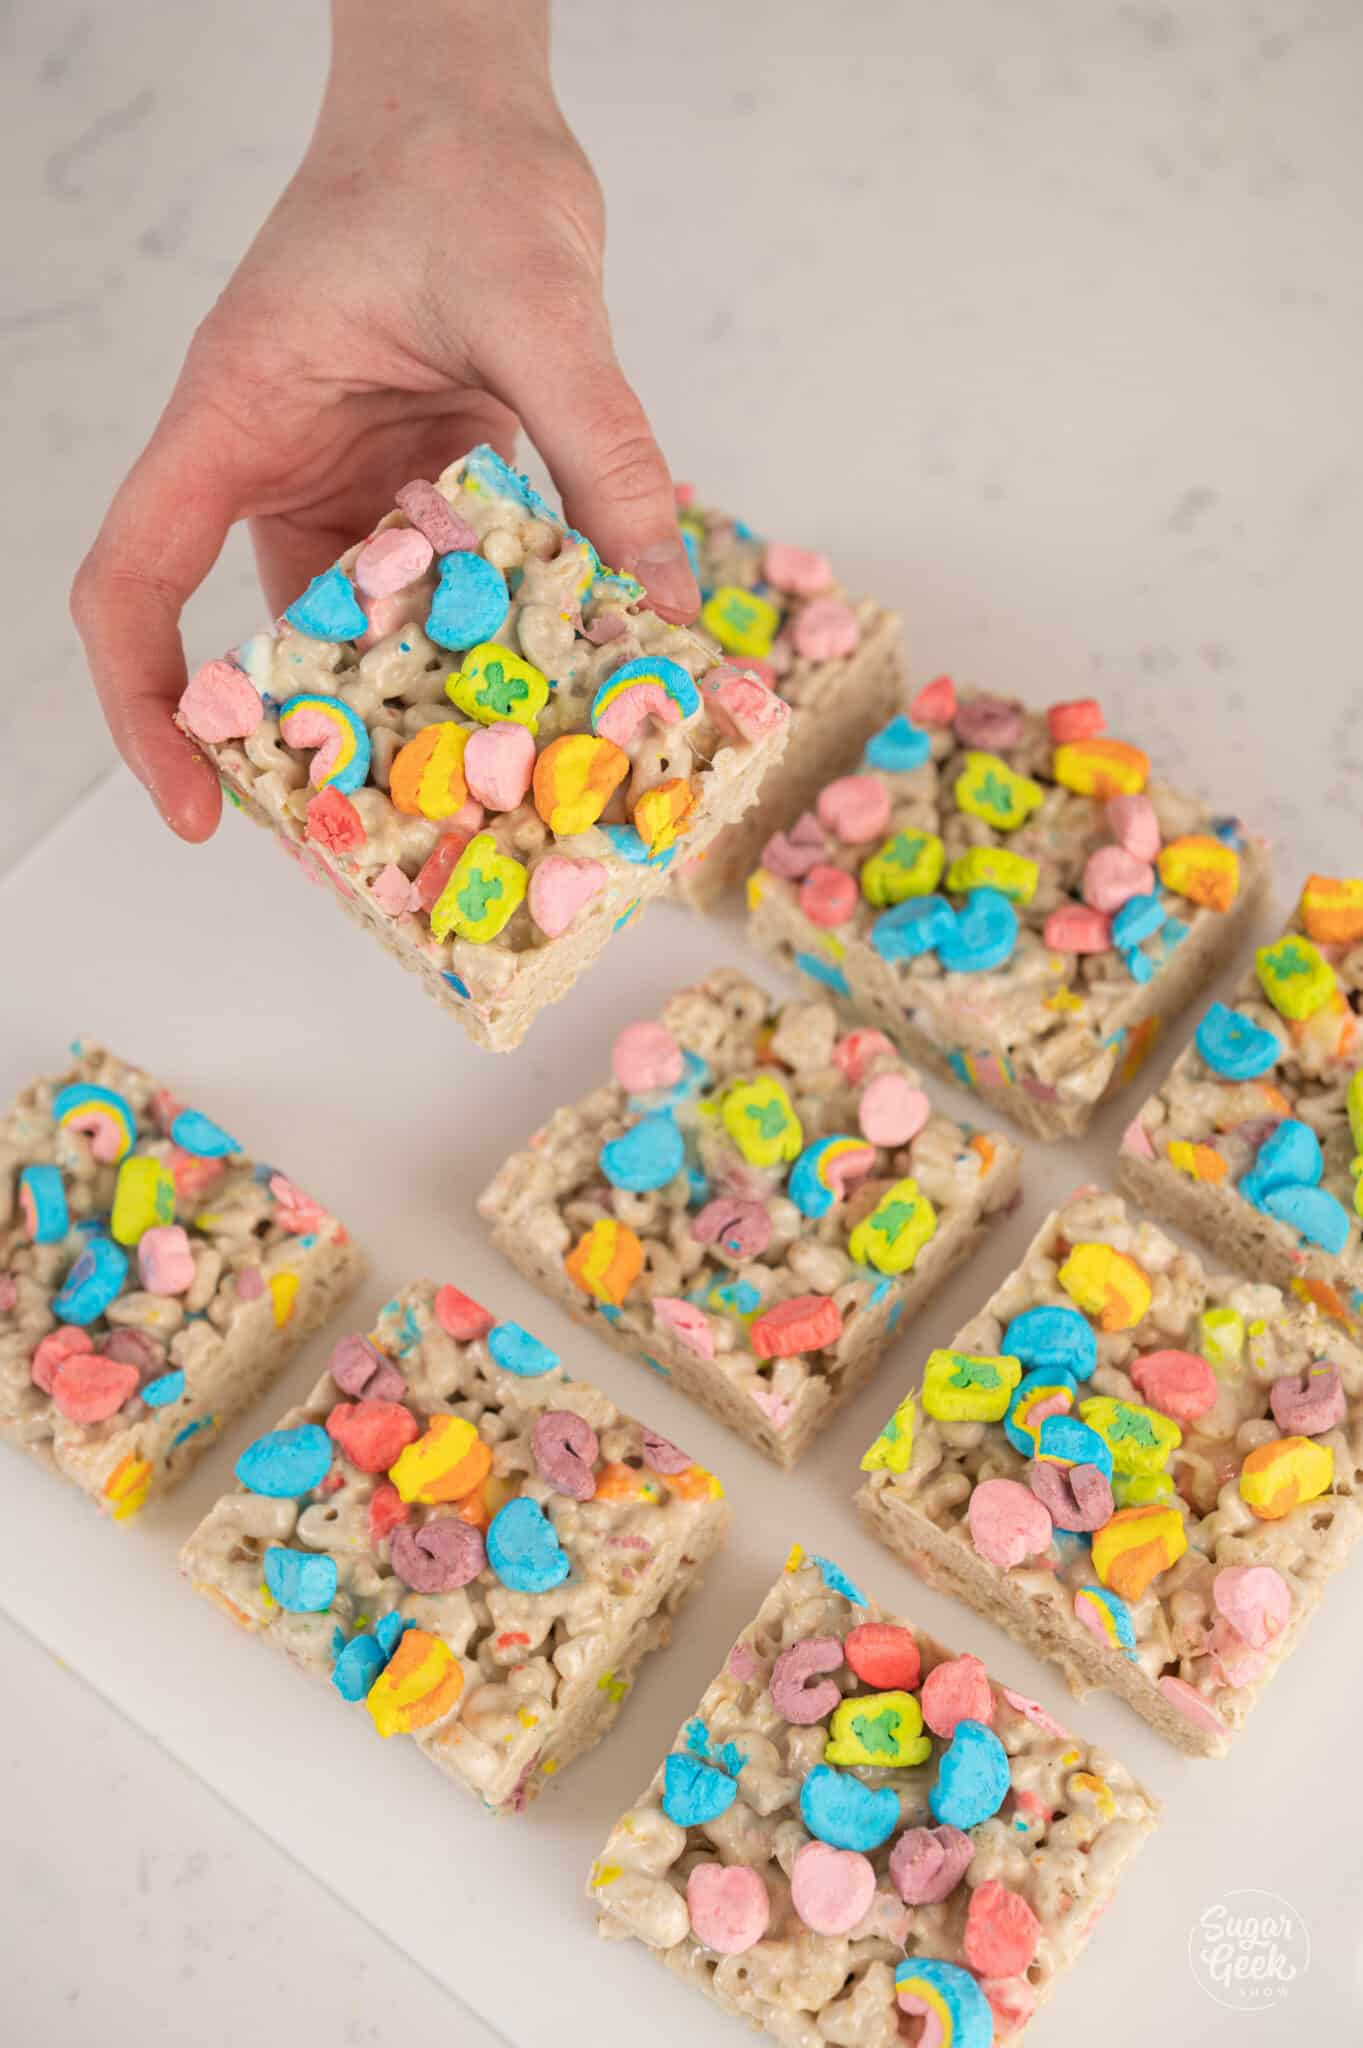
  9. Store the Lucky Charms Rice Krispie treats in an airtight container, or wrap individual treats in plastic wrap. They can last at room temperature for up to 3 days. Pro-Tip: For best results, leave them out overnight so the marshmallows get a little bit soggy, the texture is amazing!
    hand holding a rice krispie treat with square treats around it
  10. For an extra optional design, drizzle or dip each treat in white chocolate.
FAQ

Is it ok to use old marshmallows for Rice Krispie treats?

Old marshmallows don't melt as well as fresh marshmallows because they develop a skin on the outside, so it's best to use a new bag for Krispie treats.

What happens if you put too much butter in Rice Krispie treats?

Adding too much butter and marshmallow to Rice Krispie treats can make them soggy, overly sticky, or even wet. Too little can make them dry and crumbly. If you like this recipe is a bit too gooey, add another ½ cup of Rice Krispies.

How many days ahead can you make Rice Krispie treats?

These treats are best served within 3 days. They can stay out at room temperature wrapped in plastic or wax paper, or stored in an airtight container. They will get hard if you refrigerate them.

Related Recipes

Lofthouse Cookies

Copycat Crumbl Cookies

Chewy Double Chocolate Chip Cookies

Irish Cream Cake

Recipe

lucky charms rice krispie treats lined up on a table

Lucky Charms Rice Krispie Treats

It only takes 6 simple ingredients to make gooey, rainbow Lucky Charms marshmallow treats. These nostalgic treats have extra marshmallows in them to give them a satisfying chew that will leave you wanting to eat the whole tray. These easy treats could be your new favorite no bake dessert!
Print Recipe Pin Recipe Rate Recipe
Prep Time: 10 minutes minutes
Resting Time: 20 minutes minutes
Total Time: 30 minutes minutes
Course: Dessert
Cuisine: American
Servings: 9 people
Calories: 355kcal
Author: Liz Marek

Equipment

  • 1 9x9-inch square baking pan
  • Greased spatula
  • Parchment paper (optional, for easy removal)

Ingredients

  • 16 ounces marshmallows large or small
  • ½ cup unsalted butter plus more for the pan, or spray
  • ½ teaspoon salt
  • 1 teaspoon vanilla extract
  • 1 cup Rice Krispies cereal
  • 6 cups Lucky Charms cereal

Instructions

Before You Begin

  • Grease a 9x9-inch pan with butter or cooking spray and set aside. Reserve about ½ cup of Lucky Charms and pick out the marshmallow charms for topping. Have your greased spatula ready before you start melting. Once the marshmallows are melted, the mixture sets quickly.

Making the Lucky Charms Rice Krispie Treats

  • Spray a large microwave-safe bowl with cooking spray. Add the marshmallows. Microwave in 30-second intervals, stirring between each, until melted and puffy. Usually 3 to 4 intervals.
  • Add the butter and stir until fully melted and combined. Add the salt and vanilla and stir to incorporate.
  • Optional: stir in a generous handful of fresh mini marshmallows and fold quickly before adding the cereal. They will soften but not fully melt, leaving gooey pockets in the finished bar.
  • Add the Lucky Charms and Rice Krispies one cup at a time and fold until evenly coated. Work quickly.
  • Pour the mixture into the prepared pan. Press into an even layer with a greased spatula or lightly oiled hands. Press gently to keep the bars soft and gooey.
  • While still warm, press the reserved Lucky Charms marshmallow charms on top. Add sprinkles or white chocolate drizzle if desired.
  • Let rest at room temperature for at least 20 minutes until firm enough to cut. Cut into 9 squares.
Notes

Freshness matters: Use a fresh bag of marshmallows. Stale marshmallows don't melt smoothly and will make dry, crumbly treats.
Browned butter upgrade: Brown the butter on the stovetop before adding the marshmallows for a rich, toffee-like depth of flavor that takes these to the next level.
Extra gooey version: Fold in ½ cup of fresh mini marshmallows right before adding the cereal for melty pockets throughout every bar.
Pan size: A 9x9-inch pan makes thick treats. A 9x13-inch pan makes thinner ones. Both work.
Storage: Room temperature, airtight container, up to 3 days. Do not refrigerate (makes them hard). The freezer is fine for a 20-minute quick set but not for long-term storage, since frozen and thawed cereal treats lose their gooey texture.
Best the next day: Leave cut treats uncovered at room temperature overnight. The marshmallows soften slightly as they sit and the chew improves dramatically.
Stovetop method: Melt butter in a large saucepan over medium heat. For browned butter, keep cooking until golden and nutty-smelling, about 3 to 4 extra minutes. Add marshmallows and stir until melted. Remove from heat and proceed from step 3.

Nutrition

Serving: 1treat | Calories: 355kcal | Carbohydrates: 63g | Protein: 3g | Fat: 12g | Saturated Fat: 7g | Polyunsaturated Fat: 1g | Monounsaturated Fat: 3g | Trans Fat: 0.4g | Cholesterol: 27mg | Sodium: 343mg | Potassium: 63mg | Fiber: 1g | Sugar: 38g | Vitamin A: 1200IU | Vitamin C: 8mg | Calcium: 109mg | Iron: 6mg
Tried this recipe?Let us know how it was!

More Snacks

  • How to Make a Charcuterie Board
  • Crispy Fried Onions
  • Sourdough Discard Crackers
  • Strawberry Crunch

About Liz Marek

Liz Marek is a professional cake artist and recipe developer who has been teaching baking and cake decorating since 2008. She founded Artisan Cake Company in Portland, Oregon in 2009 and now runs Sugar Geek Show, where she publishes kitchen-tested recipes, food science explanations, and step-by-step tutorials.

Liz is best known for sculpted and hyperrealistic cakes. She won Netflix's Is It Cake? Holiday 2 in 2025 with a hyperrealistic Santa cake, and has competed on and won Food Network cake competitions. Cake Masters Magazine named her one of the top 10 cake artists in 2017. She is the author of Artisan Cake Company's Visual Guide to Cake Decorating and a graduate of the Oregon Culinary Institute.

Her focus is on explaining not just how a recipe works but why it works, so bakers can troubleshoot instead of guess. Every recipe on this site is tested before it's published.

Liz teaches full-length cake tutorials, including sculpted and hyperrealistic cakes, at Sugar Geek University.

Reader Interactions

4.84 from 6 votes (6 ratings without comment)

Leave a Reply Cancel reply

Your email address will not be published. Required fields are marked *

Recipe Rating


All comments are subject to our Terms of Use

Primary Sidebar

Hi, I'm Liz! I'm a cake artist and recipe developer, and I won Netflix's Is It Cake? Holiday 2 with a hyperrealistic Santa. I write foolproof recipes that explain why things work, not just how.

I also teach full-length cake tutorials, including sculpted cakes, at Sugar Geek University.

More about me →

Our Cake Greatest Hits

Check out our best cake recipes

Celebrate Labor Day 🇺🇸

  • lemon blueberry cake
    Moist Lemon Blueberry Buttermilk Cake
    Cook Time45 Minutes
  • slice of fresh strawberry cake on a white plate with strawberries behind it
    Fresh Strawberry Cake
    Cook Time1 Hours 50 Minutes
  • berry Chantilly cake
    Berry Chantilly Cake
    Cook Time2 Hours 15 Minutes
  • closeup of oreo ice cream cake slice
    Easy Homemade Ice Cream Cake
    Cook Time6 Hours 55 Minutes
  • Copycat Chocolate Chip Crumbl Cookies
    Cook Time51 Minutes
  • close up shot of double chocolate chip cookie
    Chewy Double Chocolate Chip Cookies
    Cook Time20 Minutes

Popular Recipes

  • close up of ganache drizzling into a bowl
    The Best Chocolate Ganache Recipe
    Cook Time20 Minutes
  • Piping easy buttercream rosettes onto a cake using a 1M star piping tip
    Easy Buttercream Frosting
    Cook Time25 Minutes
  • close up slice of marble cake
    Moist and Fluffy Marble Cake Recipe
    Cook Time40 Minutes
  • Slice of red velvet cake with cream cheese frosting on a white plate.
    Red Velvet Cake Recipe
    Cook Time1 Hours 40 Minutes

Footer

↑ back to top

About

  • Privacy Policy
  • Terms of Service

Newsletter

  • Sign Up! for emails and updates

Contact

  • Contact
  • About Us

Copyright © 2024 Sugar Geek Show, Inc. All Rights Reserved.

72 shares

Rate This Recipe

Your vote:


A rating is required
A name is required
An email is required

Recipe Ratings without Comment

Something went wrong. Please try again.