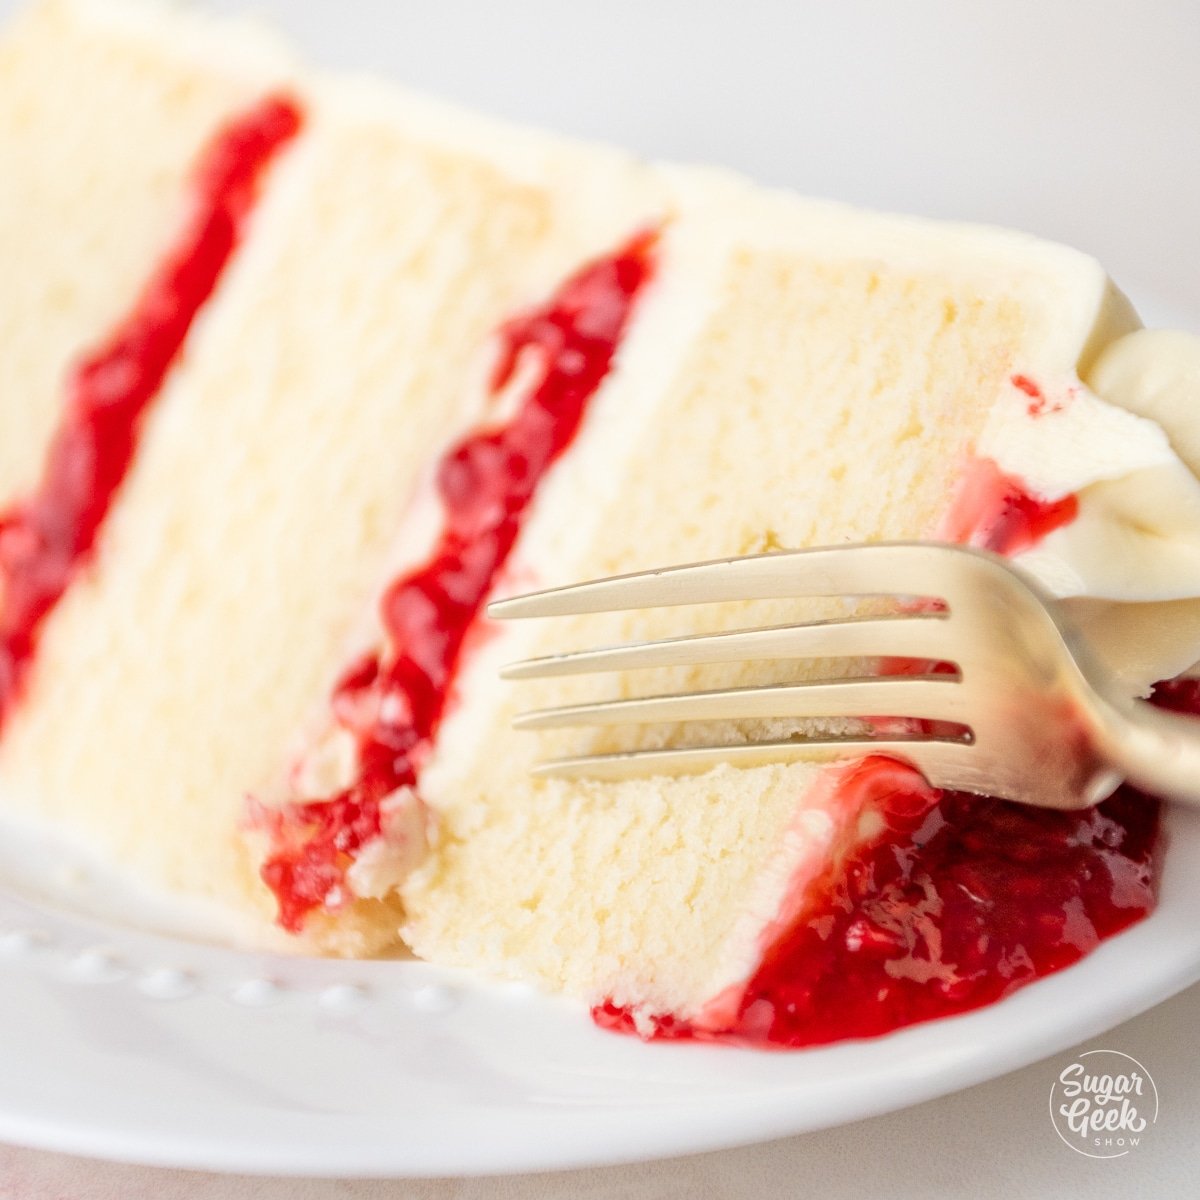
In this delicious white chocolate raspberry cake recipe, three white chocolate cake layers are paired with white chocolate ganache and white chocolate buttercream frosting balanced with bright raspberry filling. Pair this cake with cream cheese frosting, lemon curd, or really any combination of frostings and fillings.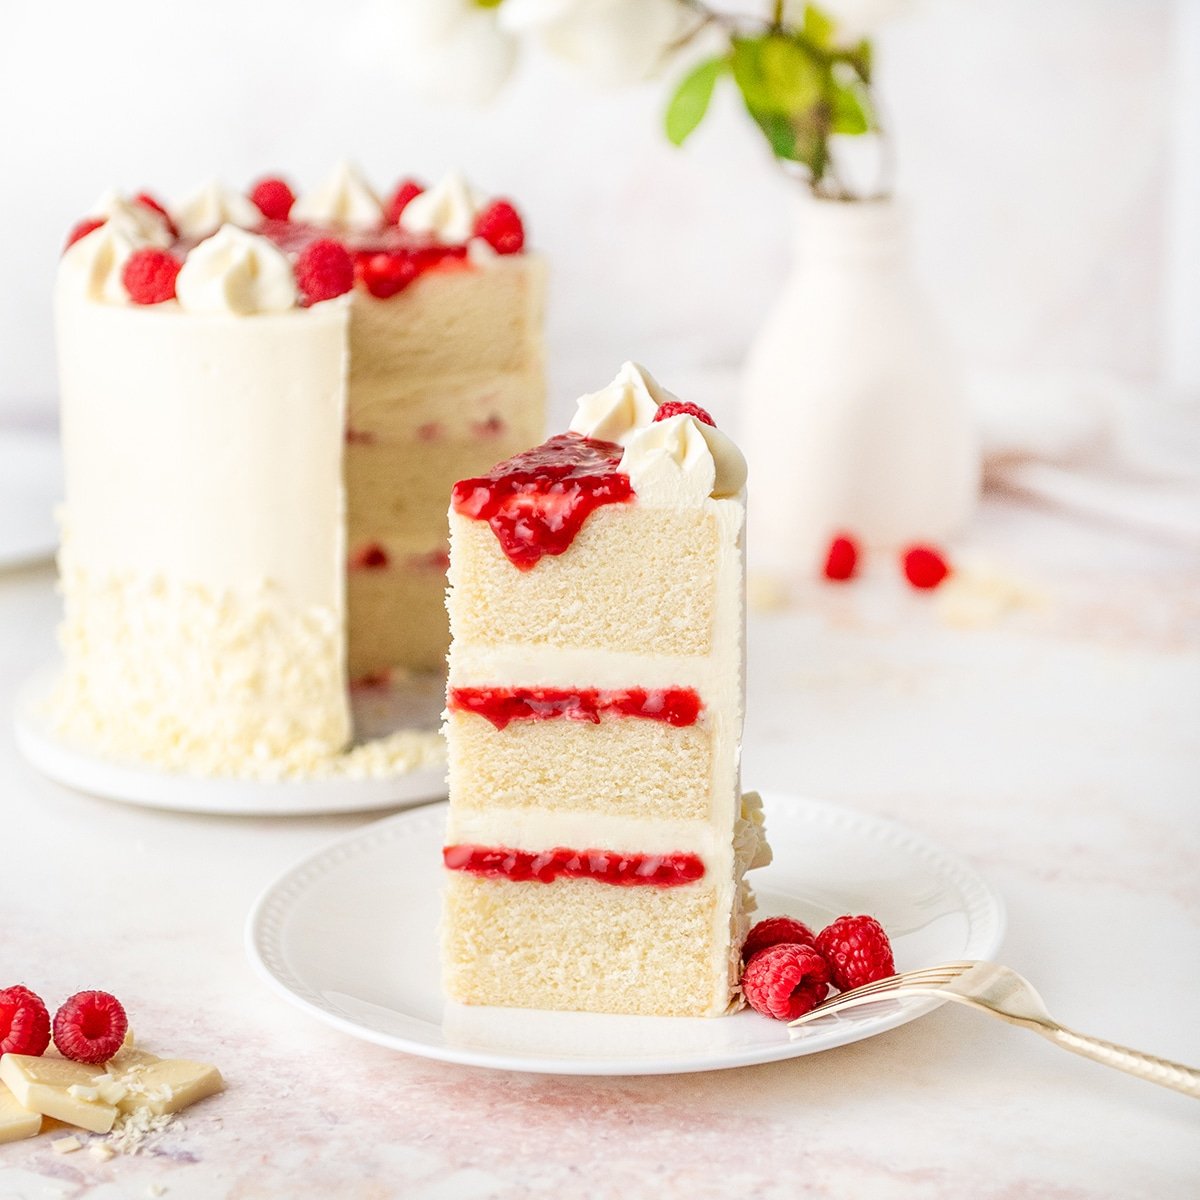
White chocolates’ signature flavor is a combination of sweet cocoa butter, milk, and vanilla. It’s rich and creamy, and extra sweet, but that balances perfectly with tart fruits. This layer cake is perfect for a holiday table, wedding cake, bridal shower, baby shower, or just for fun!
Table of contents
Ingredients
White chocolate: It is important to find real white chocolate for this recipe to turn out well. Look at the ingredients on the package and make sure cocoa butter is listed as the main ingredient. Most white chocolate chips or candy melts have palm oil instead of cocoa butter. The cocoa butter ensures an authentic flavor, proper melting, and smooth texture. I like Lindt brand of white chocolate bars.
Raspberries: I was lucky to find some tart fresh raspberries for the top of the cake, but I chose to use frozen to make the filling. Frozen berries are picked and flash-frozen at the peak of their season, so the fresh flavor is preserved. If you are short on time or effort you can also just store-bought raspberry jam.
I chose to make a filling to keep my layers neat, but you could absolutely put fresh berries in the center for a fresh flavor and bright pops of color when you cut the cake.
How to Make White Chocolate Raspberry Cake
This white chocolate raspberry cake has four components; white chocolate cake, white chocolate ganache, white chocolate buttercream, and raspberry filling.
Adding a layer of ganache to the cake is not required, but it intensifies the flavor of white chocolate. Plus it's used for making white chocolate buttercream. Real white chocolate adds more structure to this cake and buttercream, making it perfect for decorating and stacking.
Making White Chocolate Cake
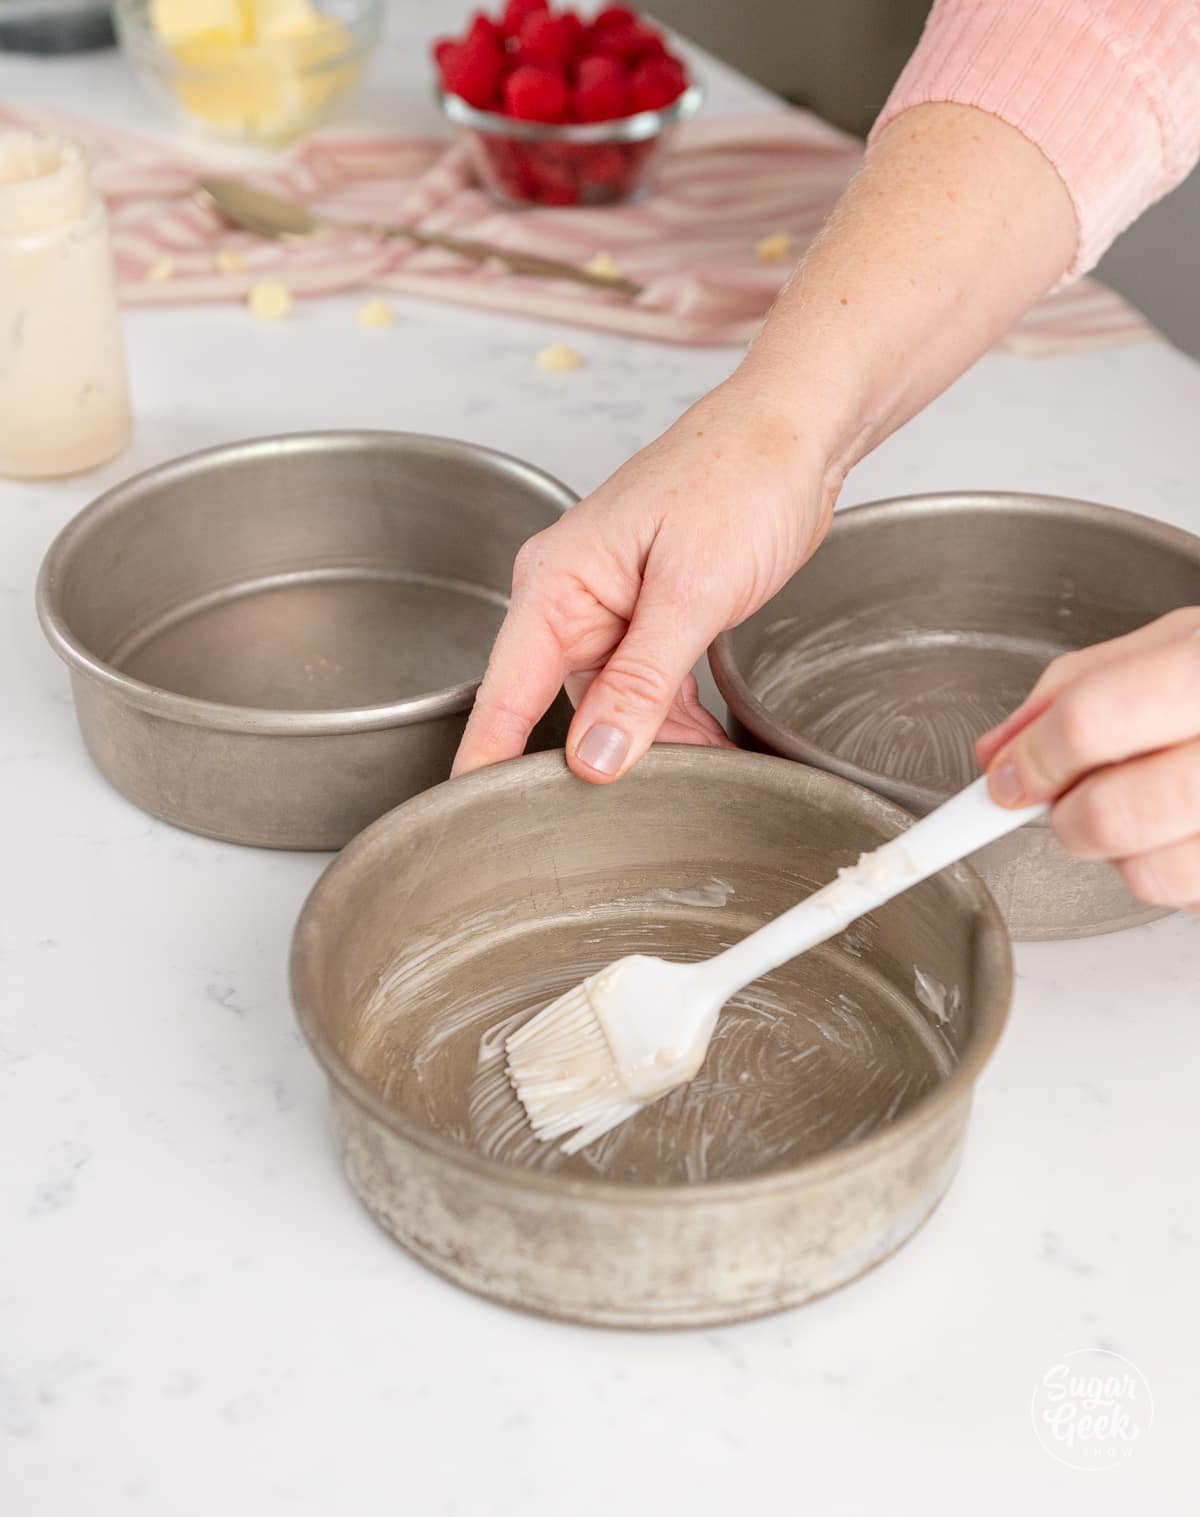
- Preheat your oven to 335ºF and prepare three, 6-inch cake pans with cake goop or another preferred pan release. You can also use two, 8-inch cake pans.
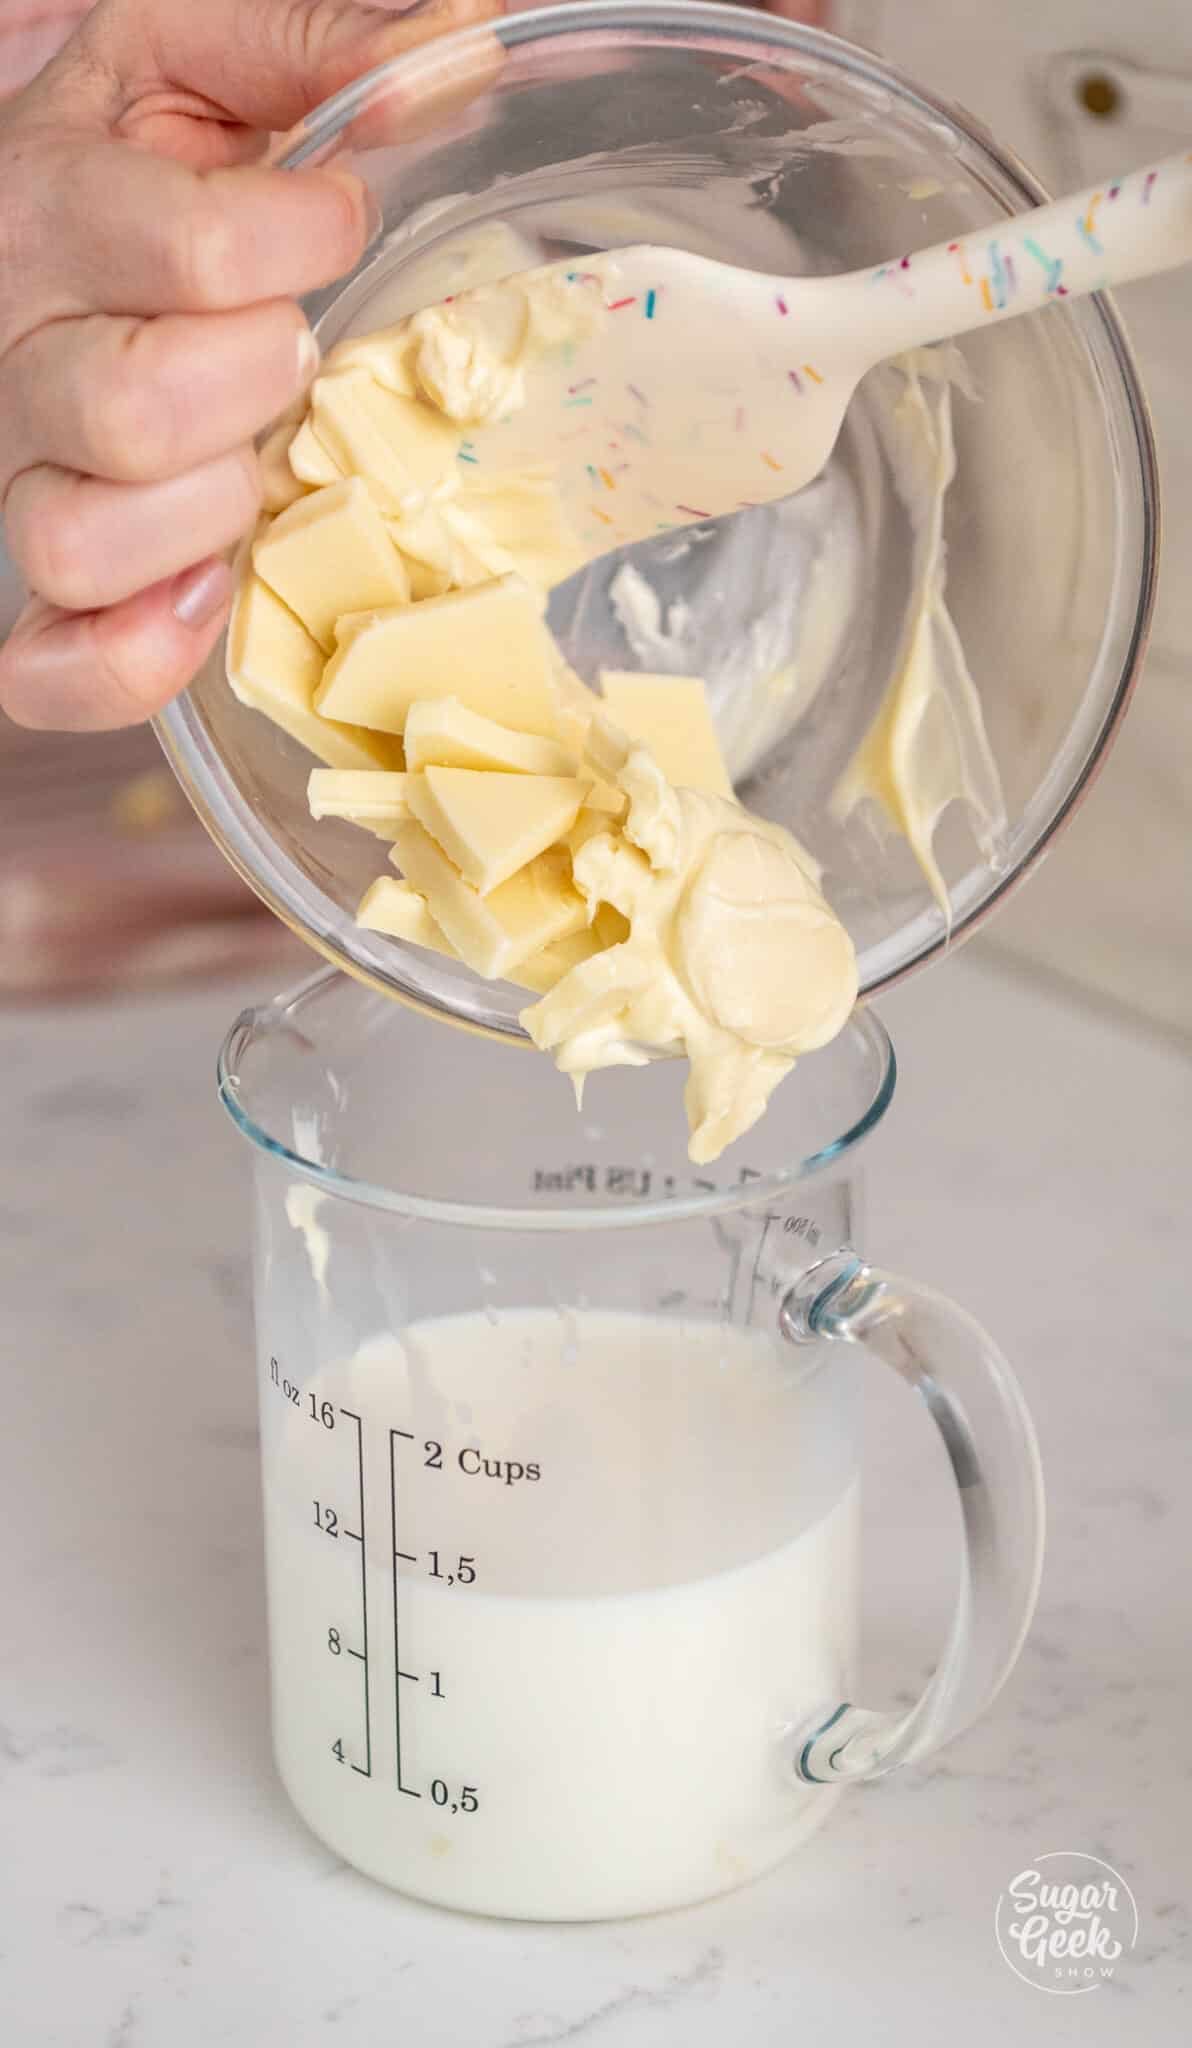
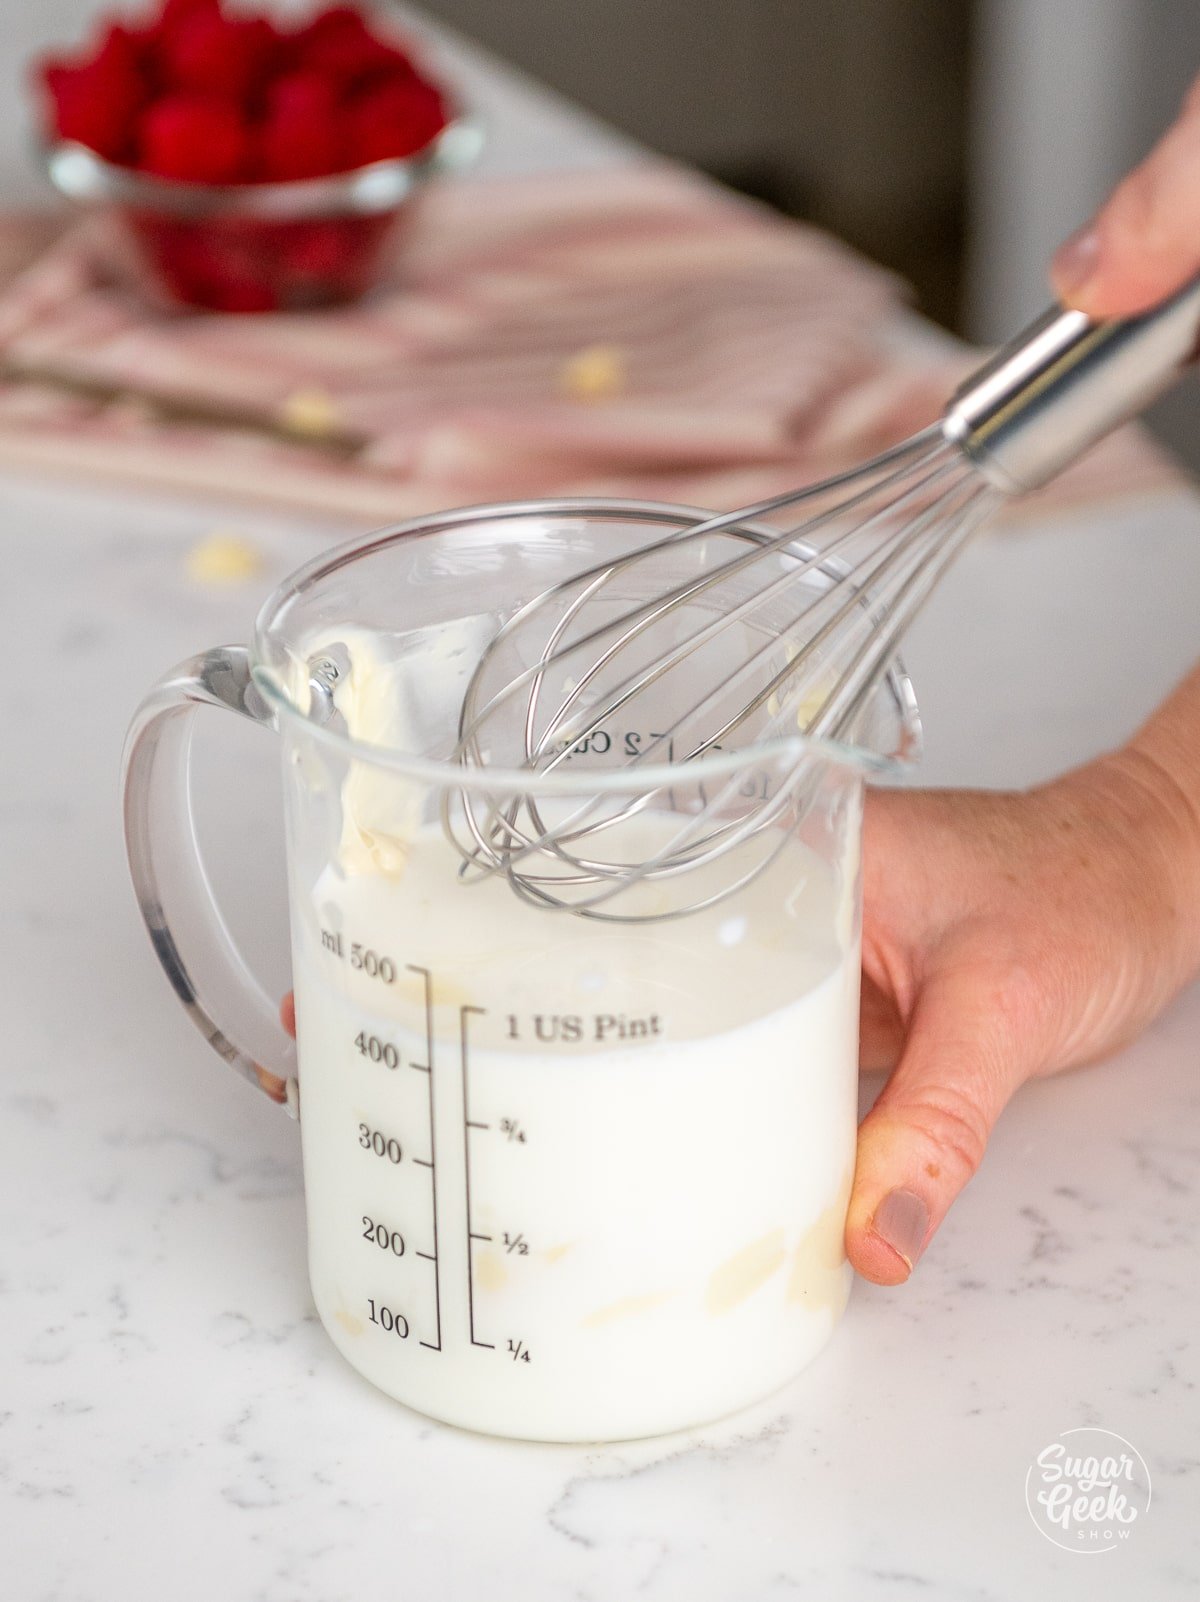
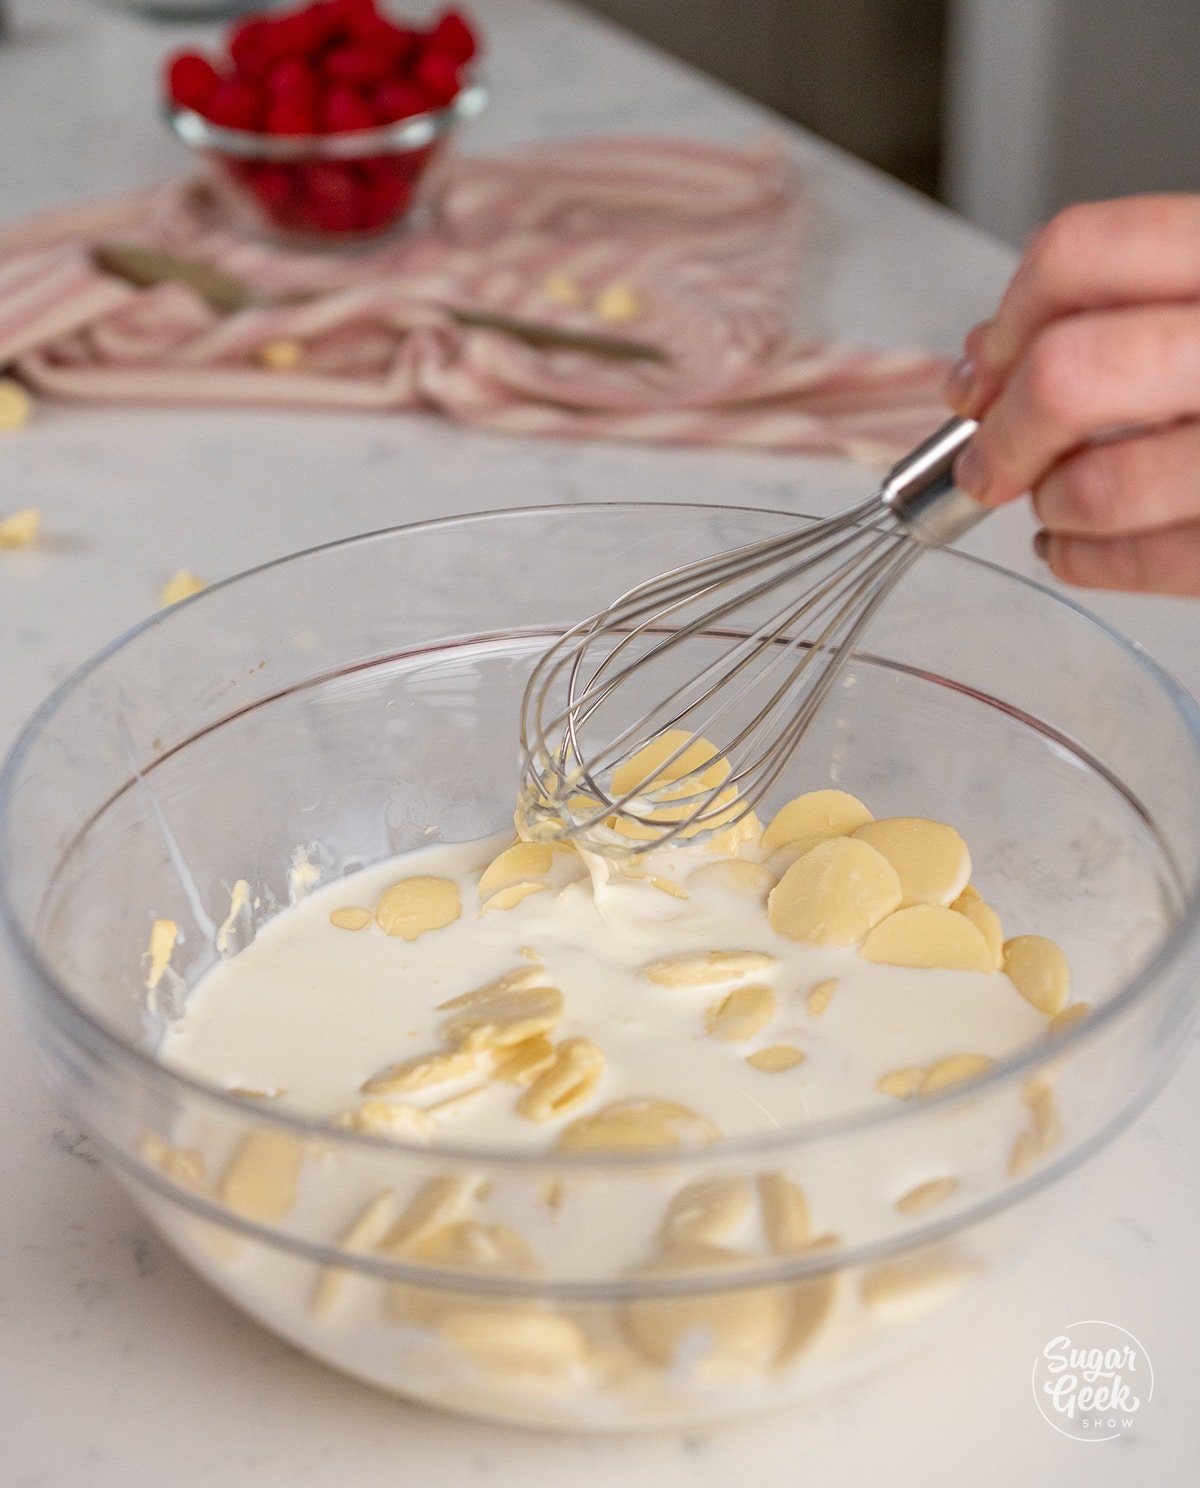
- Heat the milk in the microwave and then add your chopped white chocolate to the milk. Let it sit for 5 minutes.
- Microwave in 10-second increments until the chocolate is melted, then whisk until all the chocolate is melted into the milk.
- Add the vanilla extract and set aside allowing the white chocolate milk to cool down to just above room temperature. It doesn’t take a lot of heat to melt white chocolate, so just be patient as it melts into the milk.
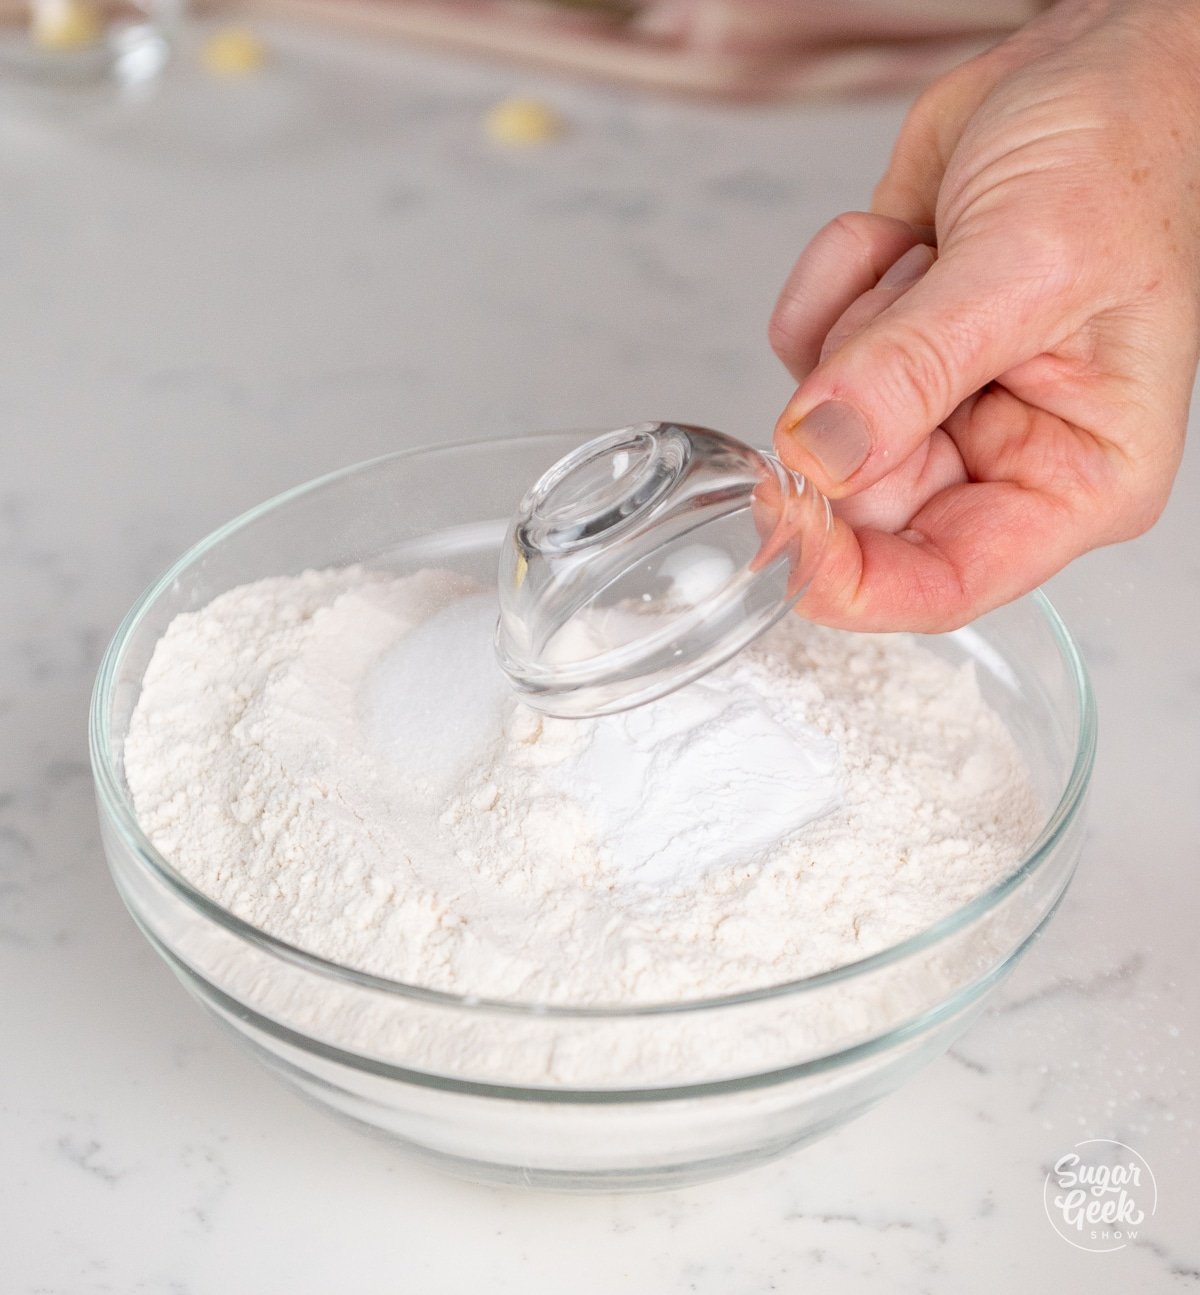
- In a large mixing bowl, combine your flour, baking powder, and salt, whisk briefly and set aside.
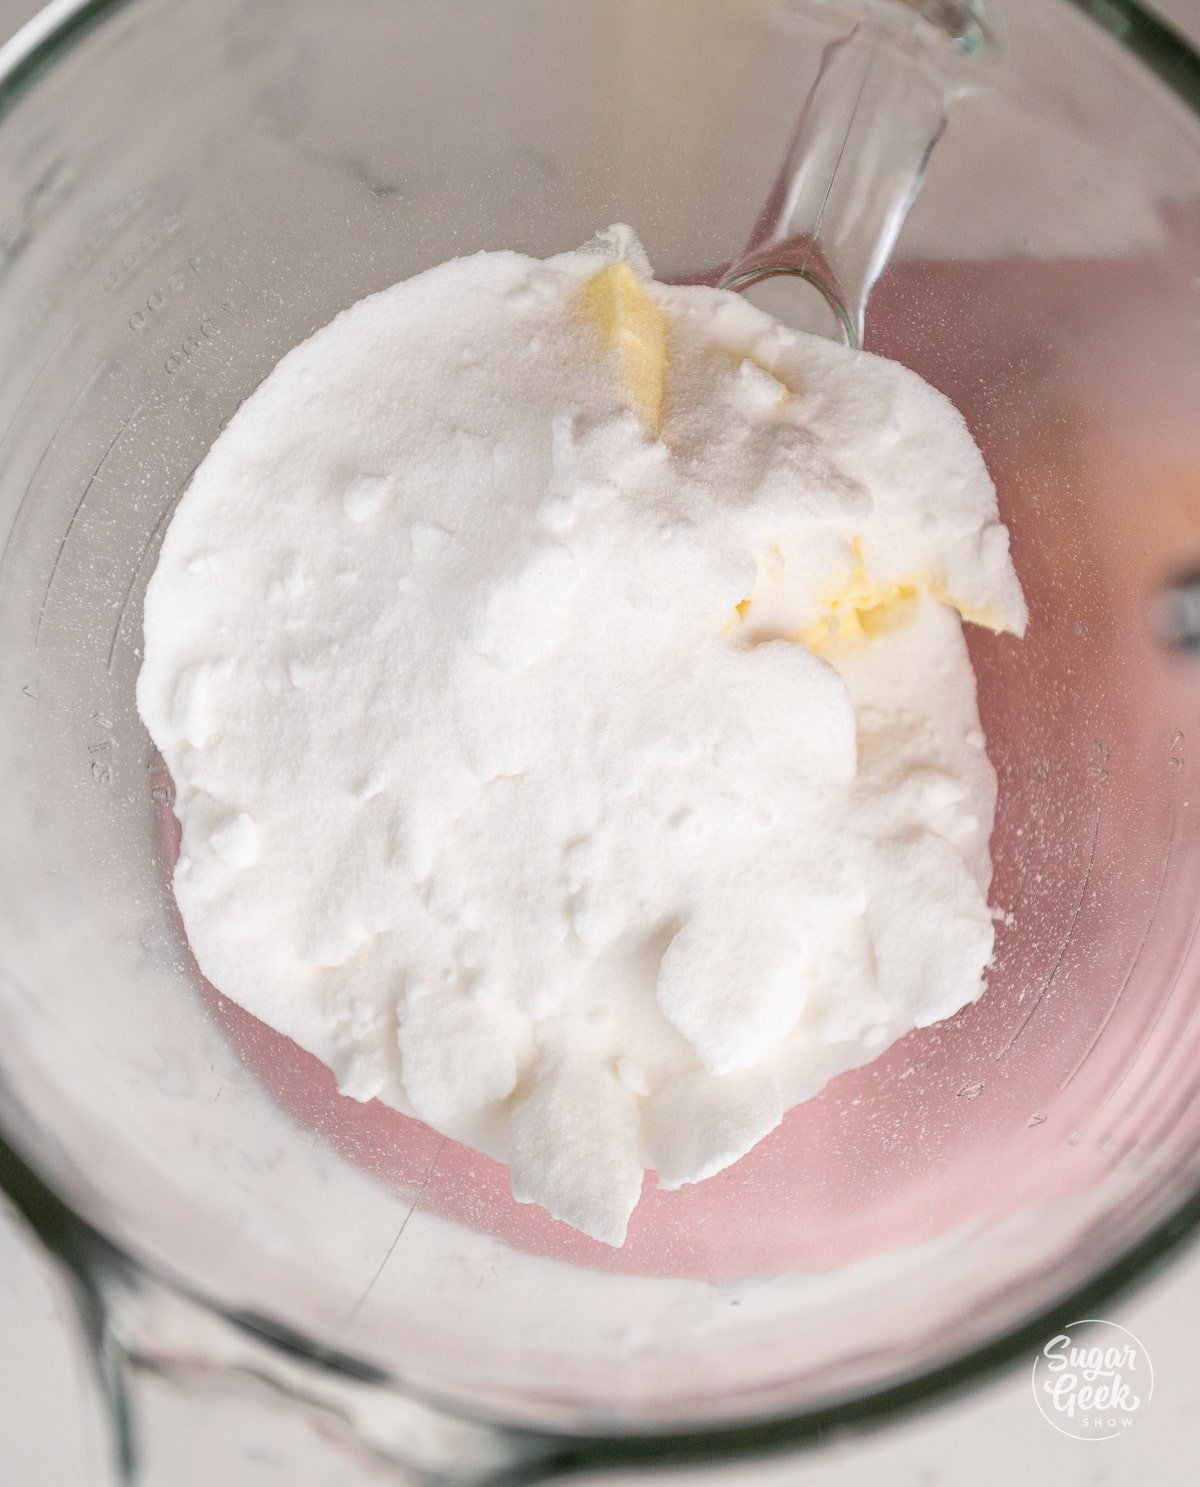
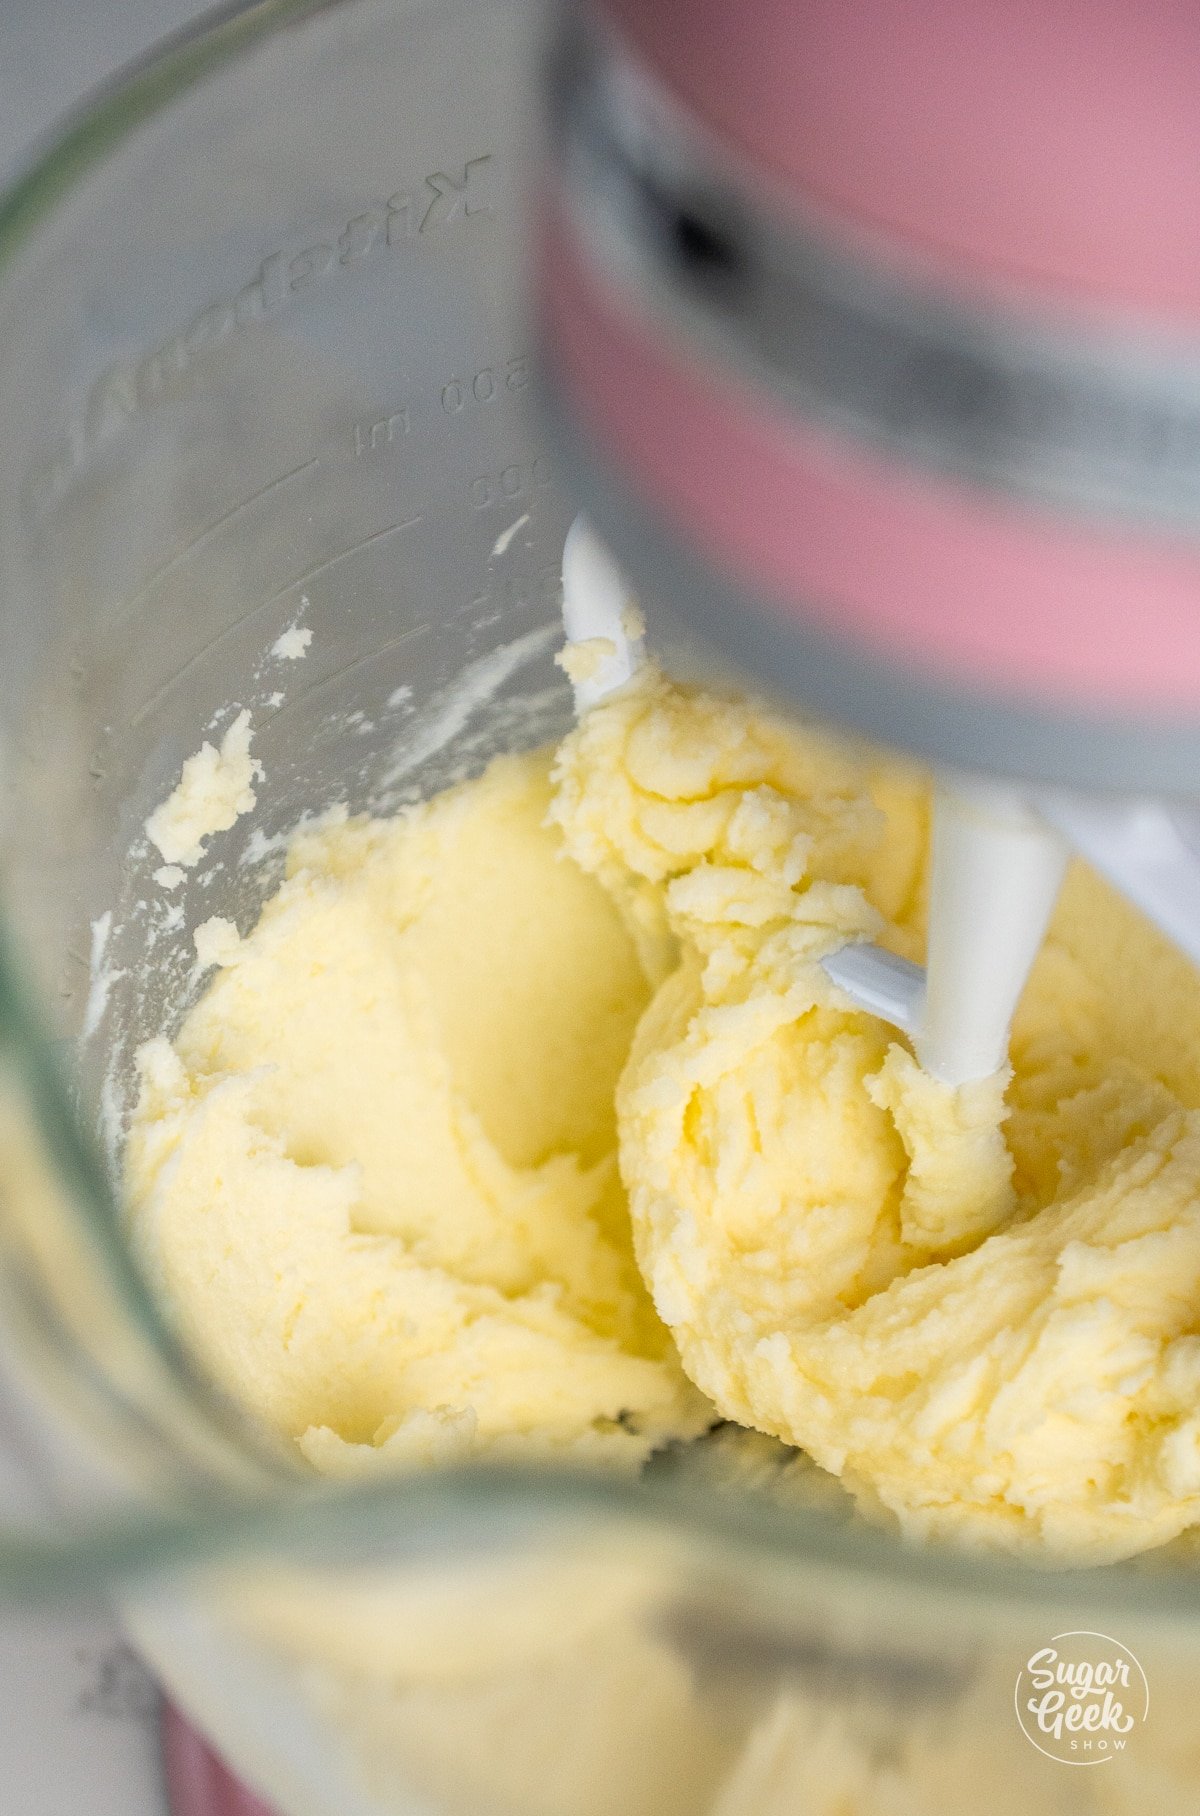
- Place the butter and sugar in a stand mixer with a paddle attachment and cream it until light and fluffy, about 1 to 2 minutes. Scrape the bottom of the bowl.
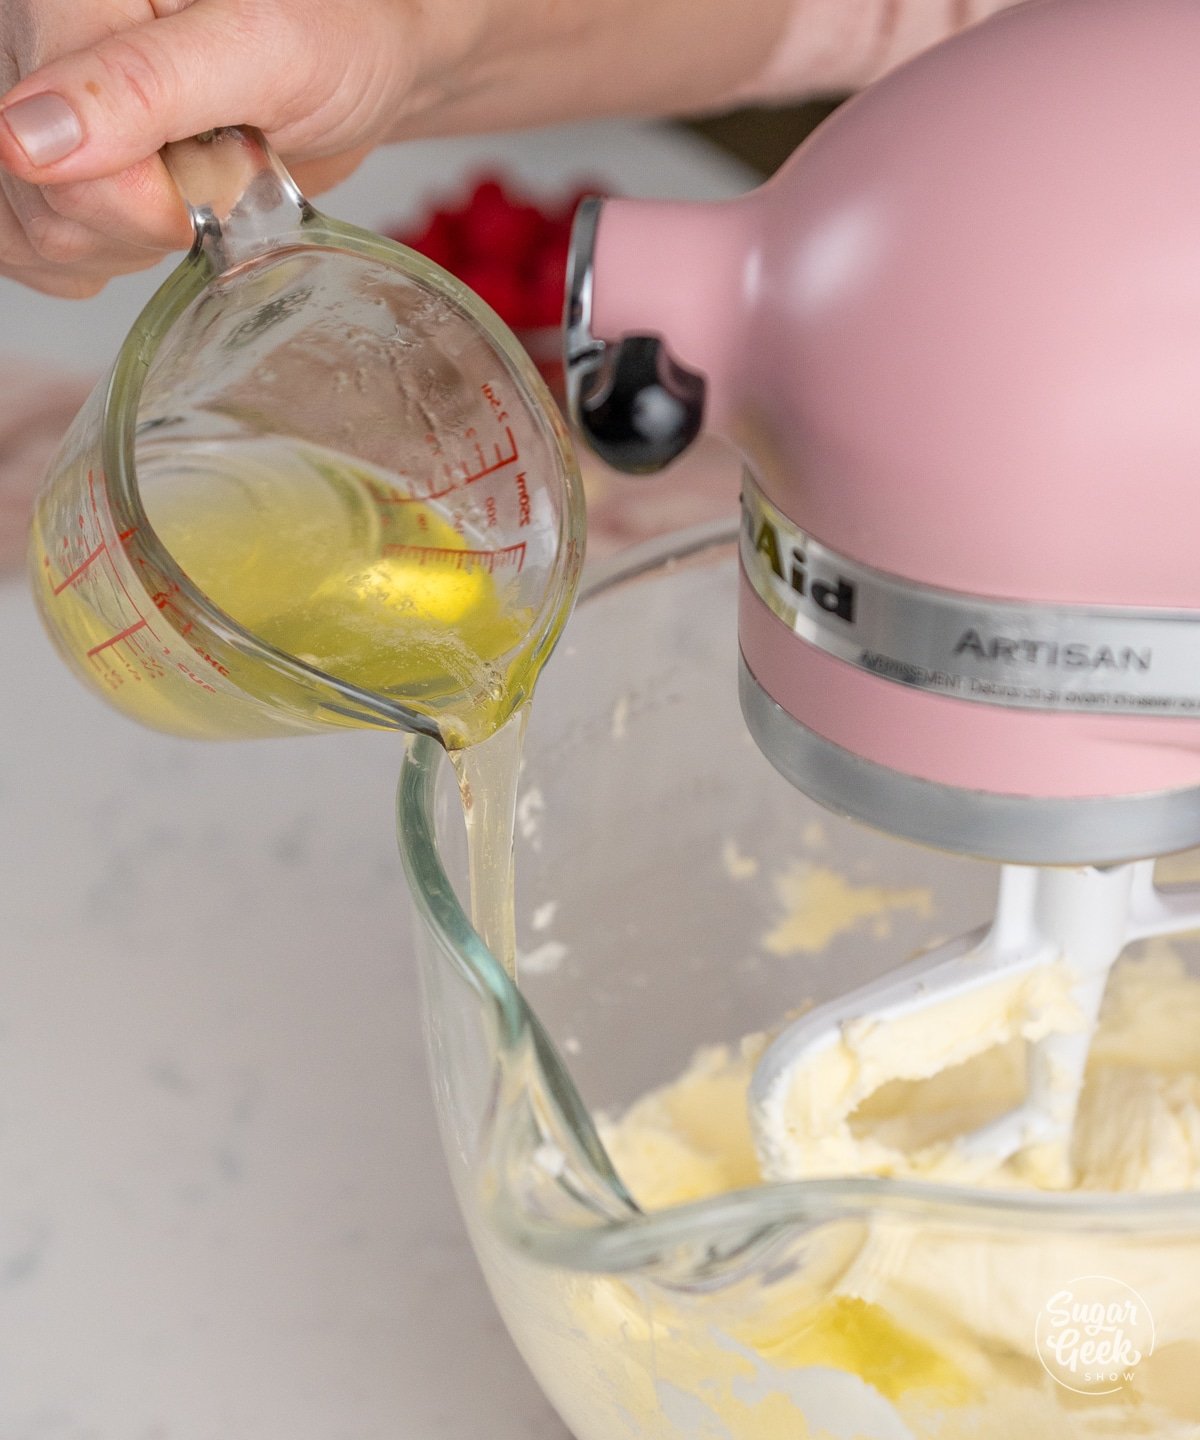
- Add the egg whites one at a time to the butter mixture while mixing on medium speed and let each fully combine before adding the next. Make sure your egg whites are just above room temperature, as cold egg whites will curdle the batter.
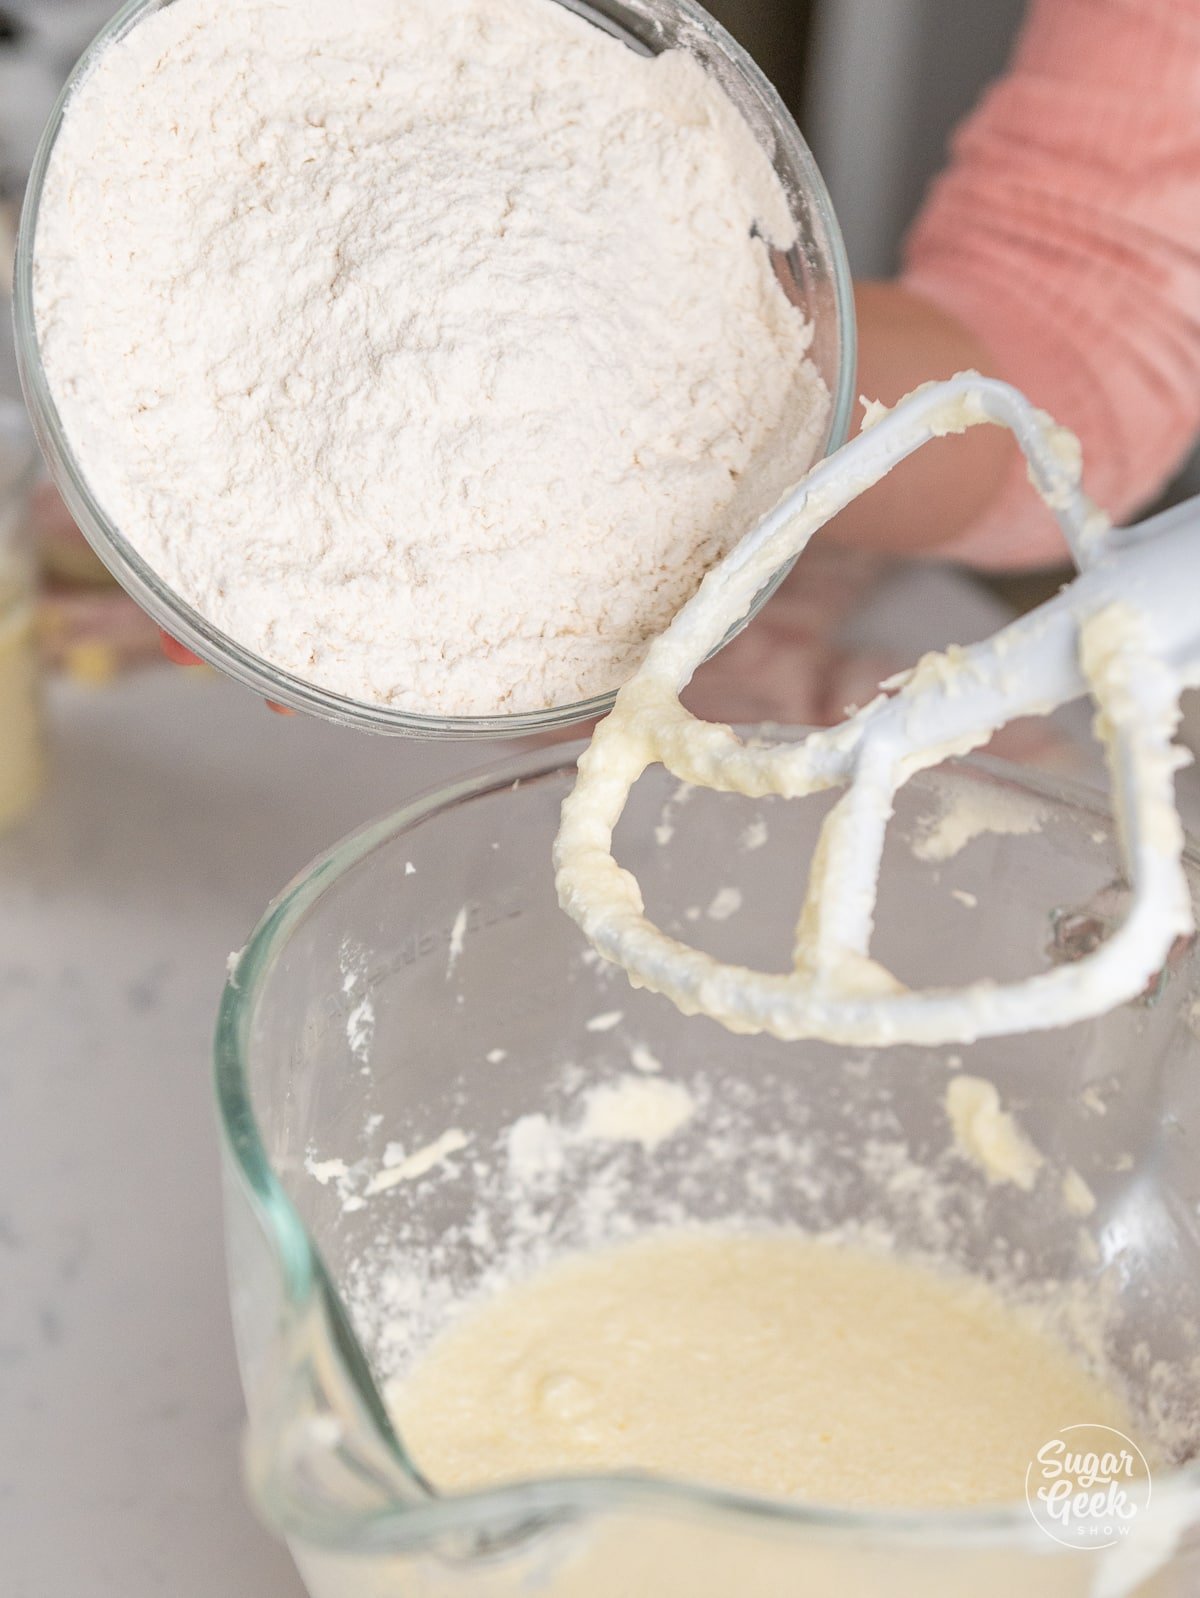
- Add ⅓ of your dry flour mixture to the bowl and mix on low speed until just combined.
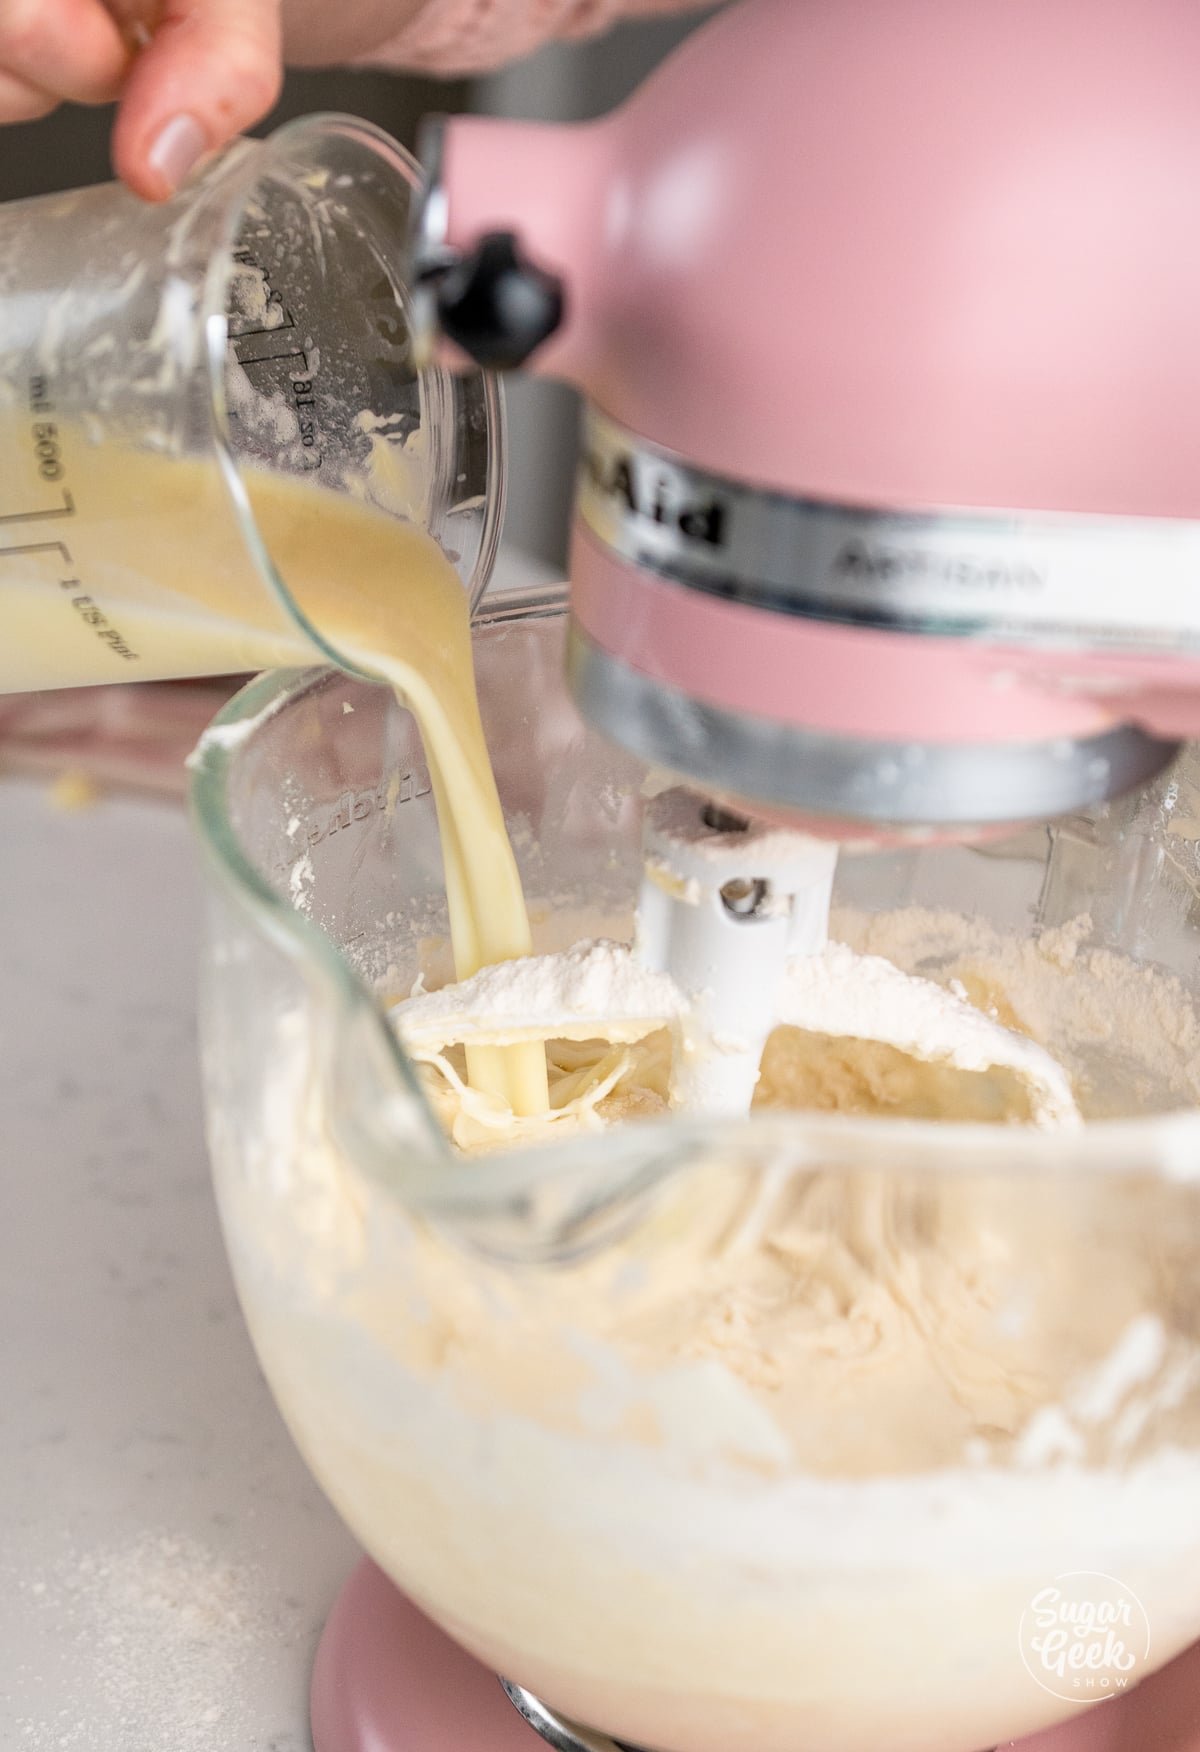
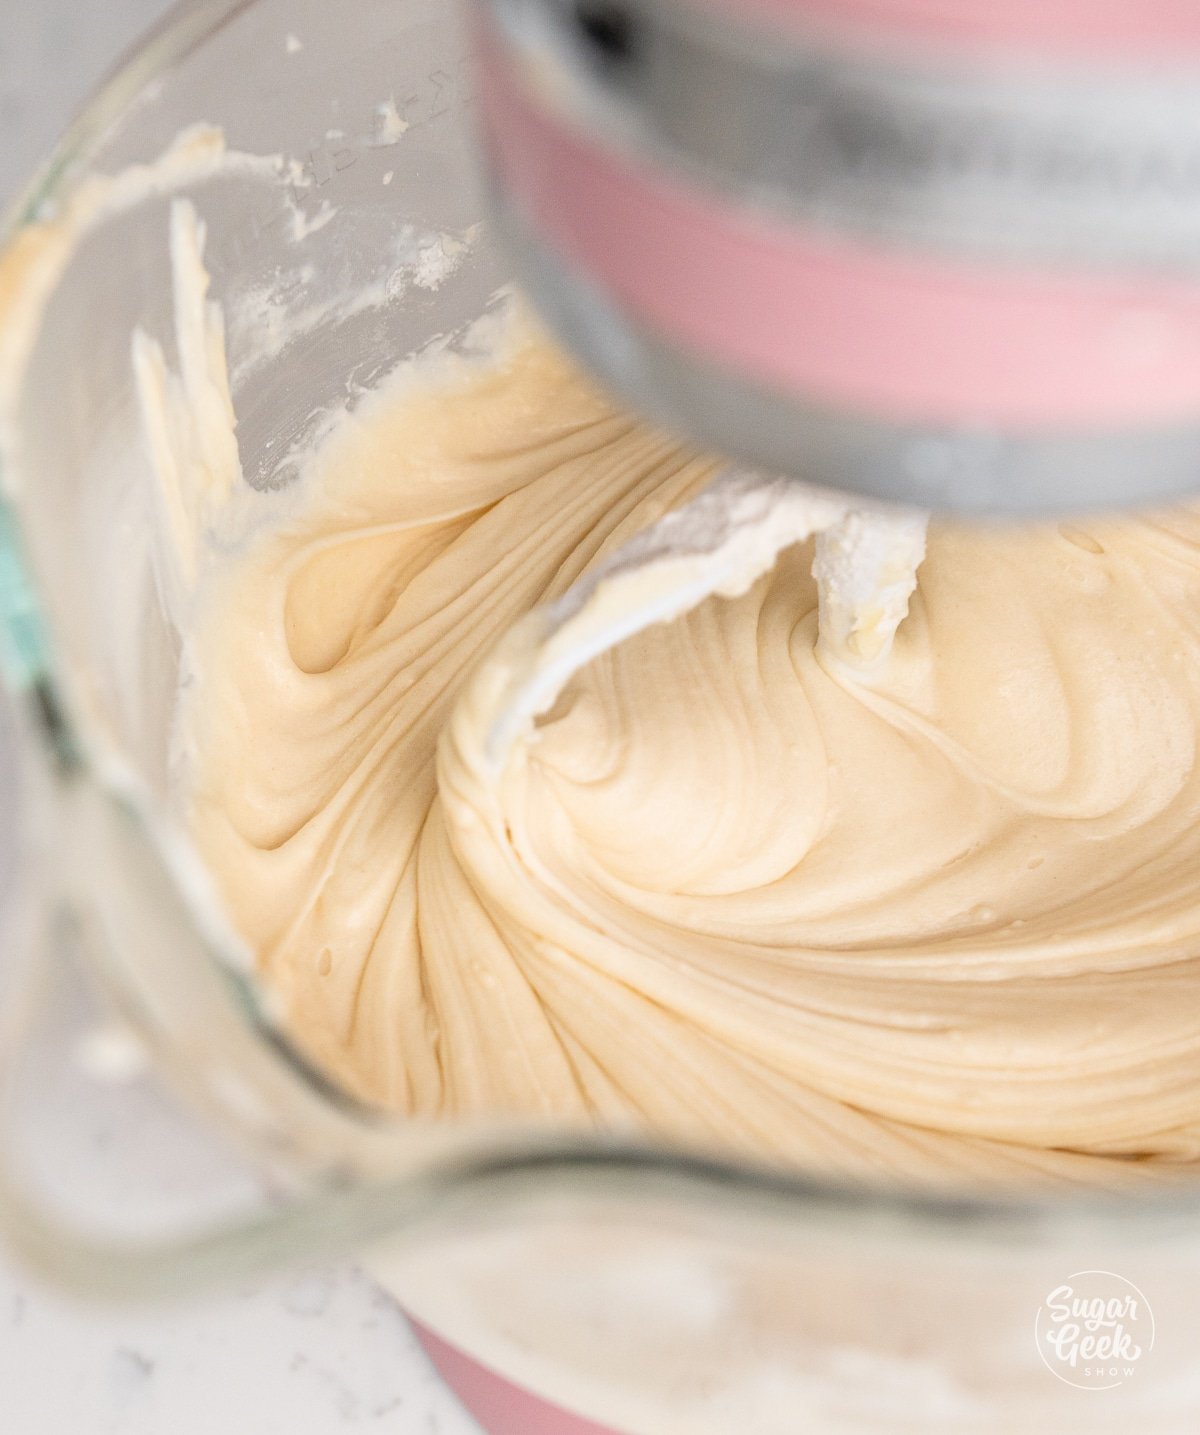
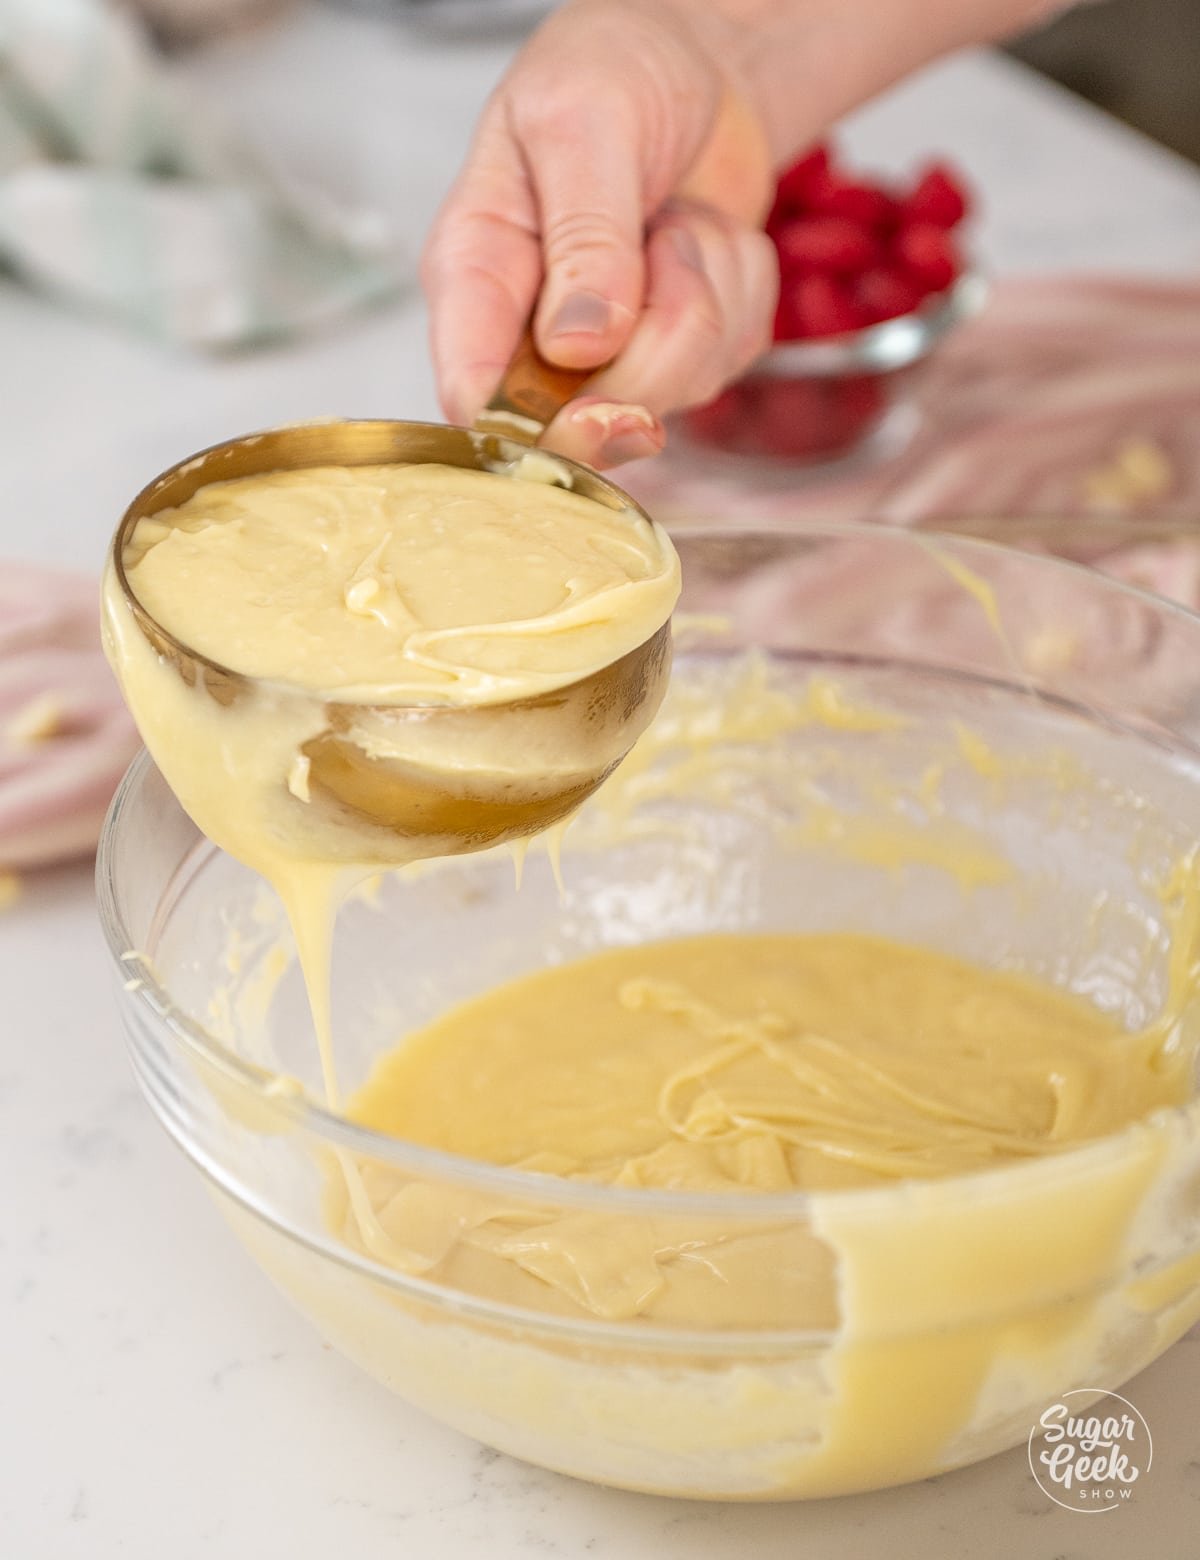
- Then add ½ of your wet ingredients, then alternate adding the rest of the dry and liquids and mix until combined.
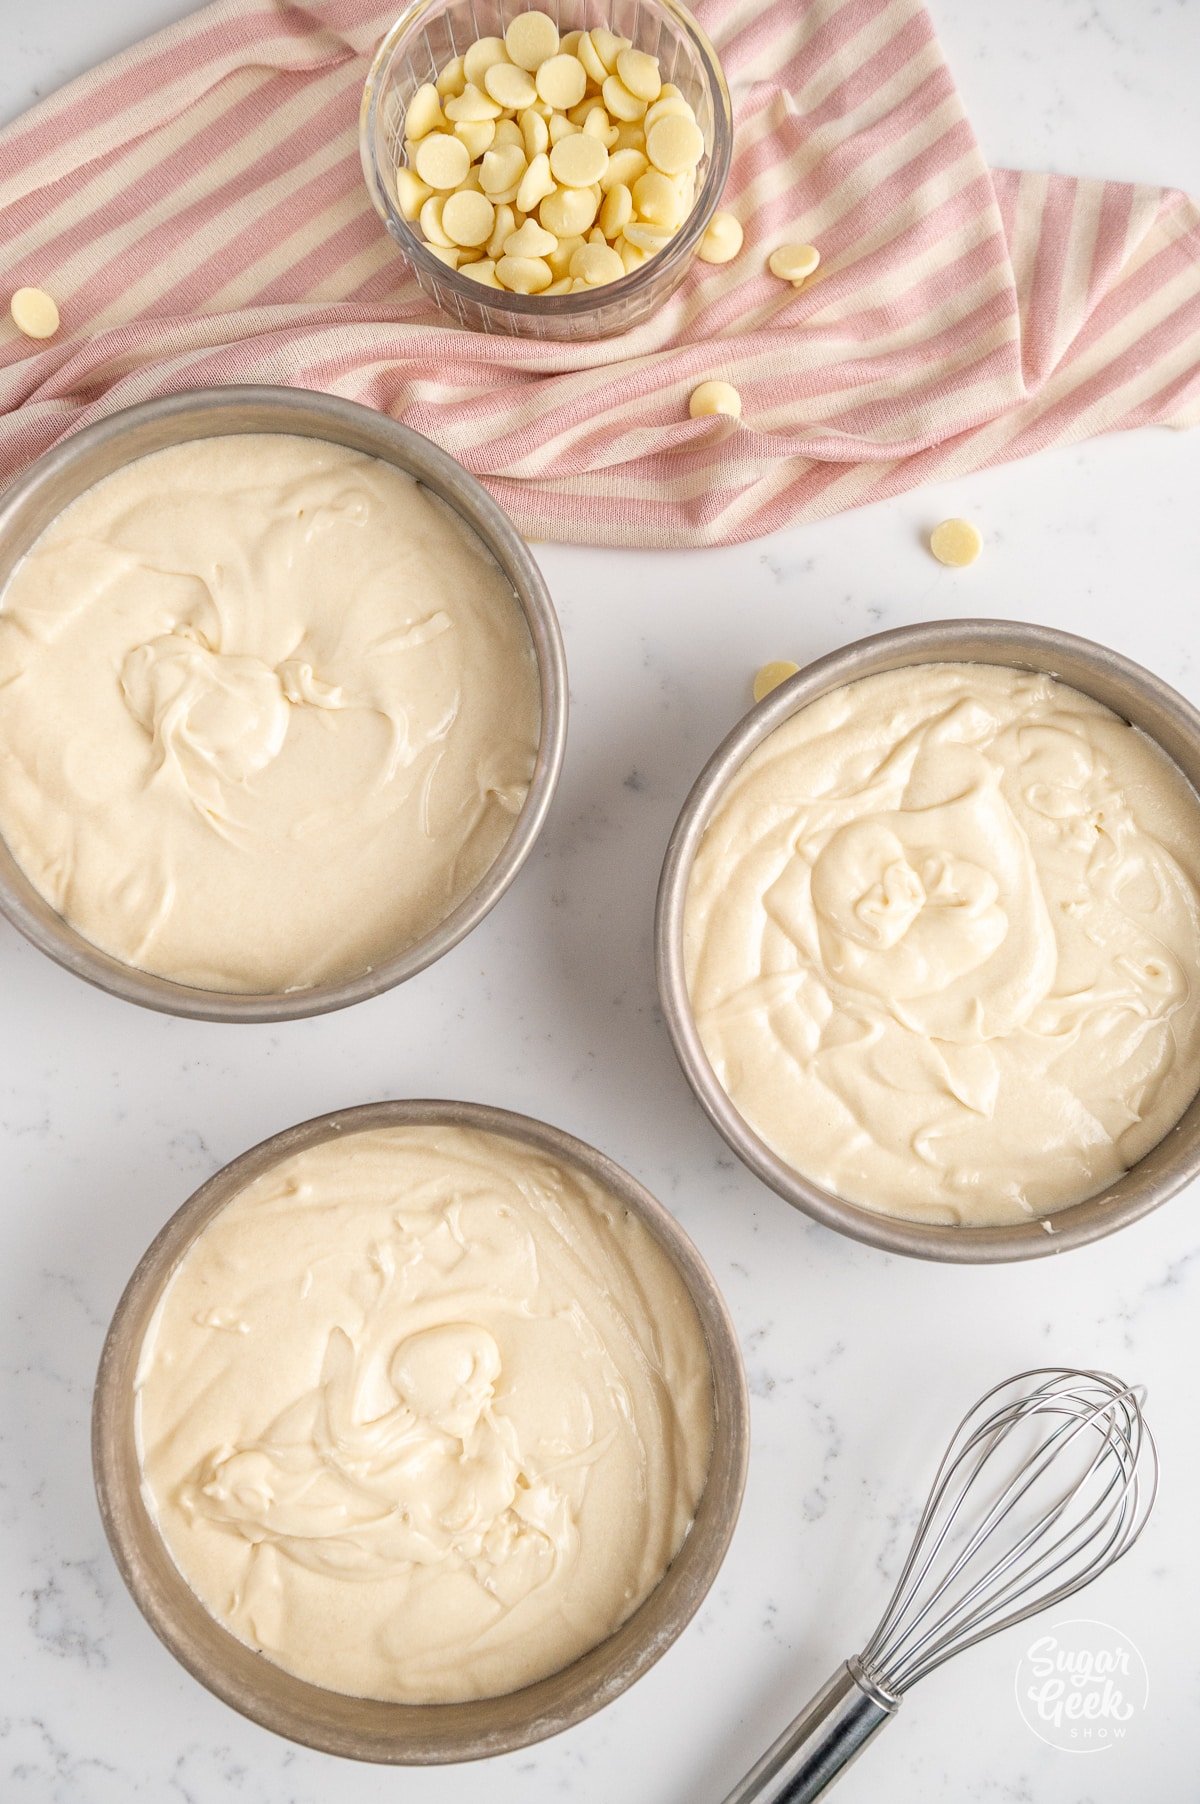
- Divide the batter into the prepared cake pans. Pro-tip: To get even layers, use a food scale to make sure the batter is divided evenly.
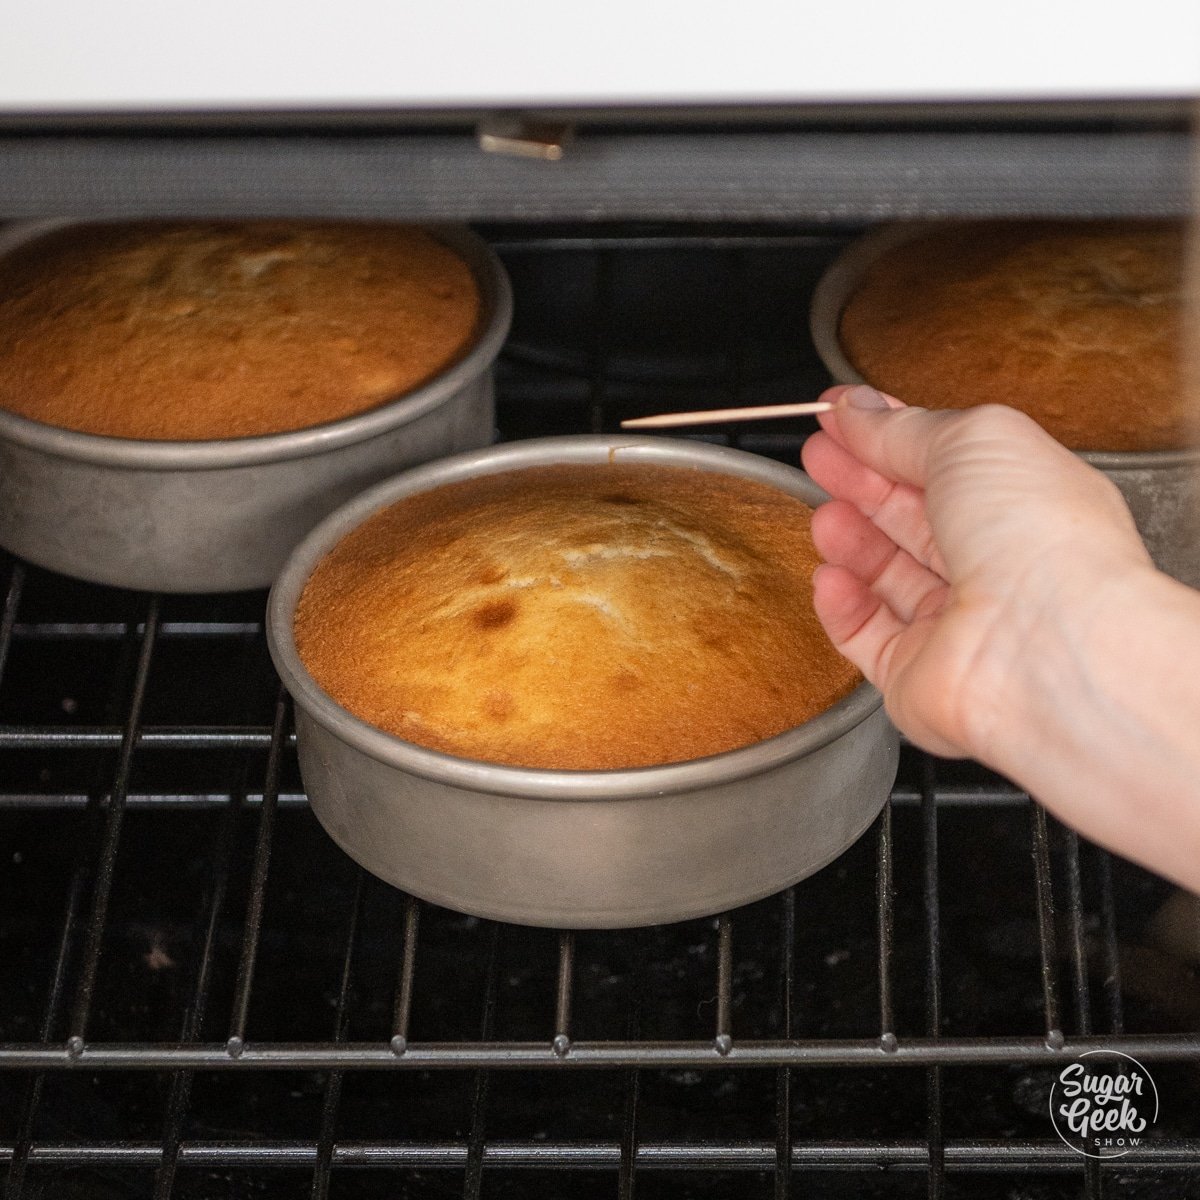
- Bake the cakes at 335º F for 25-35 minutes or until a toothpick comes out clean when poked in the center.
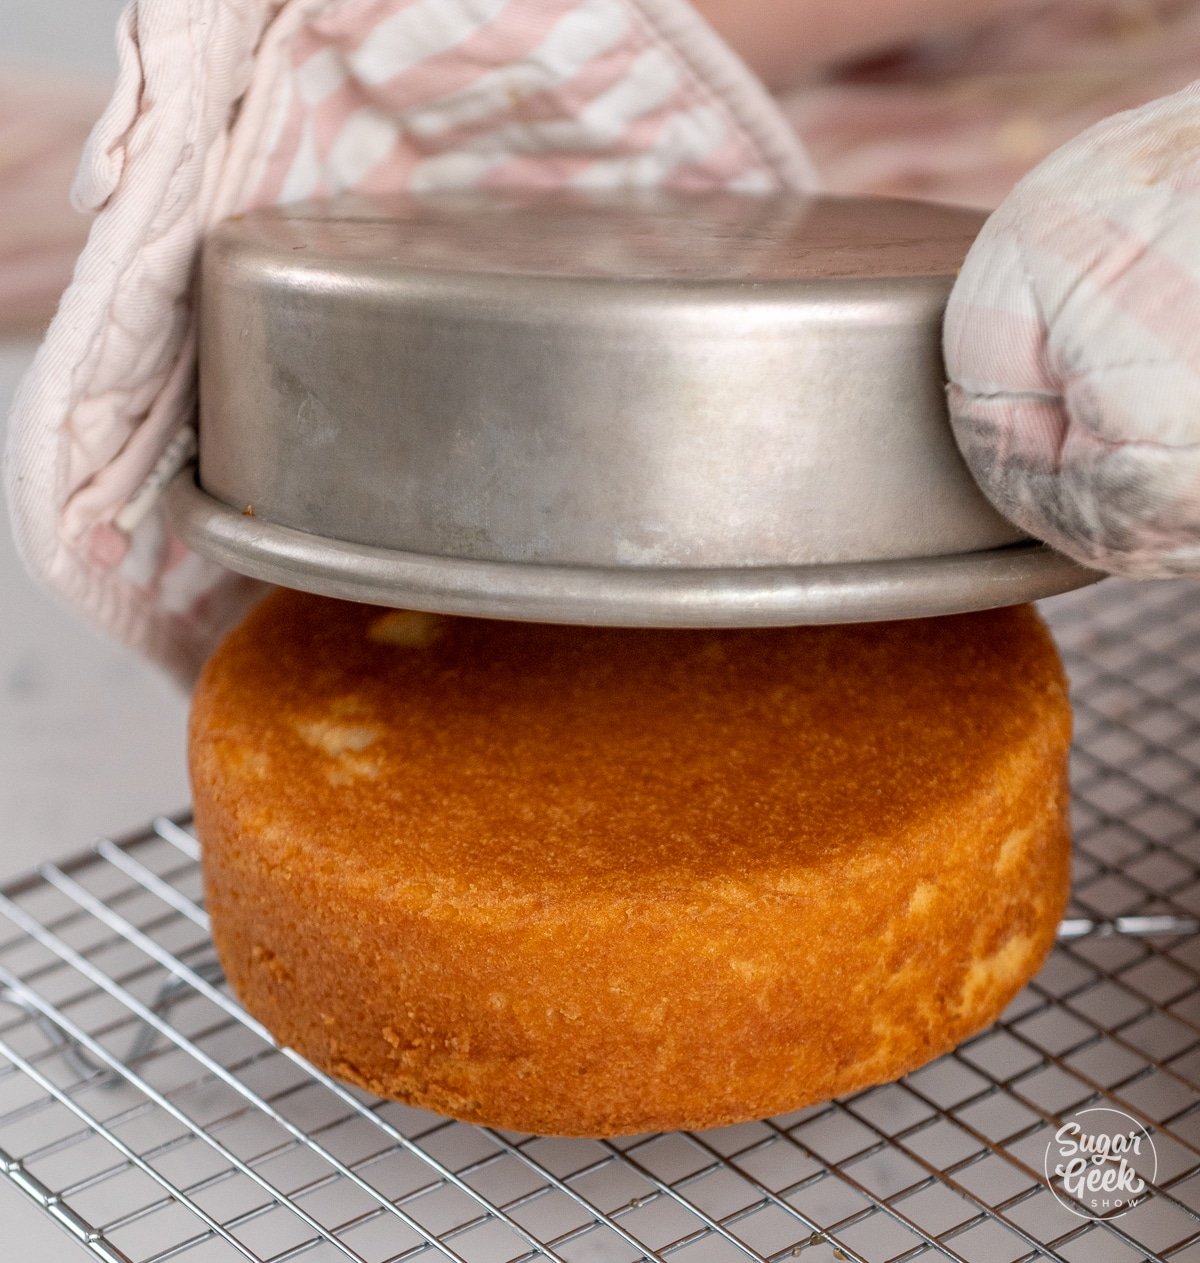
- Let the cake layers cool for ten minutes and then turn them out onto a wire cooling rack. Wrap the cakes in plastic wrap while they're still warm and place them into the freezer to flash chill. This locks in the moisture.
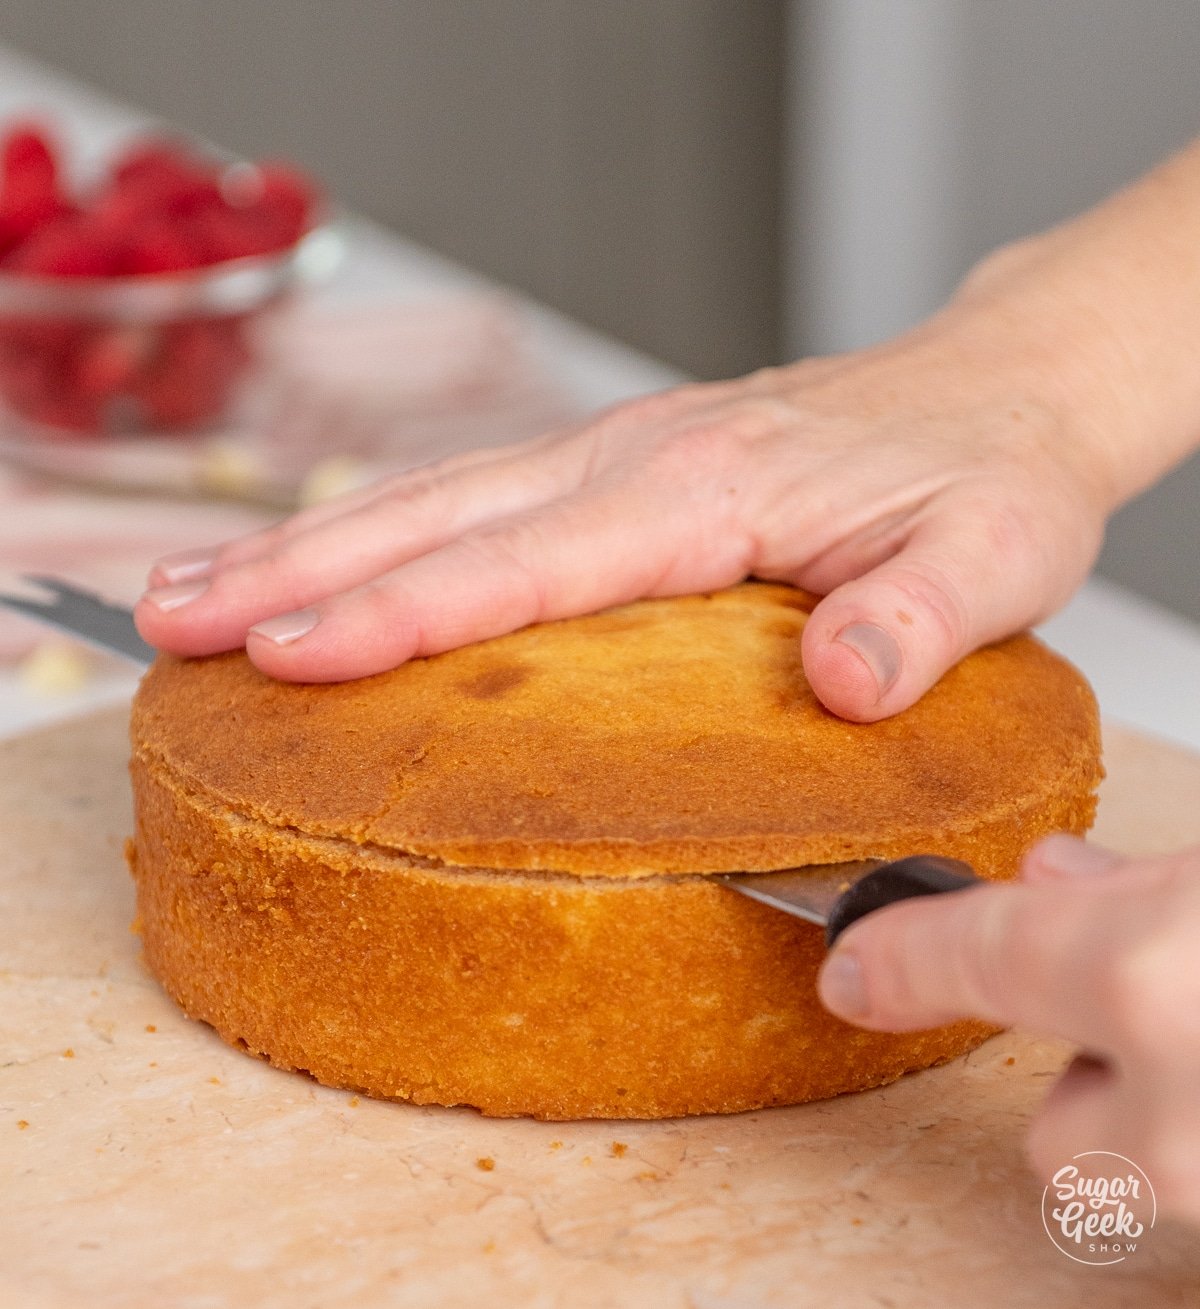
- Once they're cold but not frozen you can then trim off the brown edges of your cakes. This is optional but makes for really pretty layers.
Making Raspberry Filling
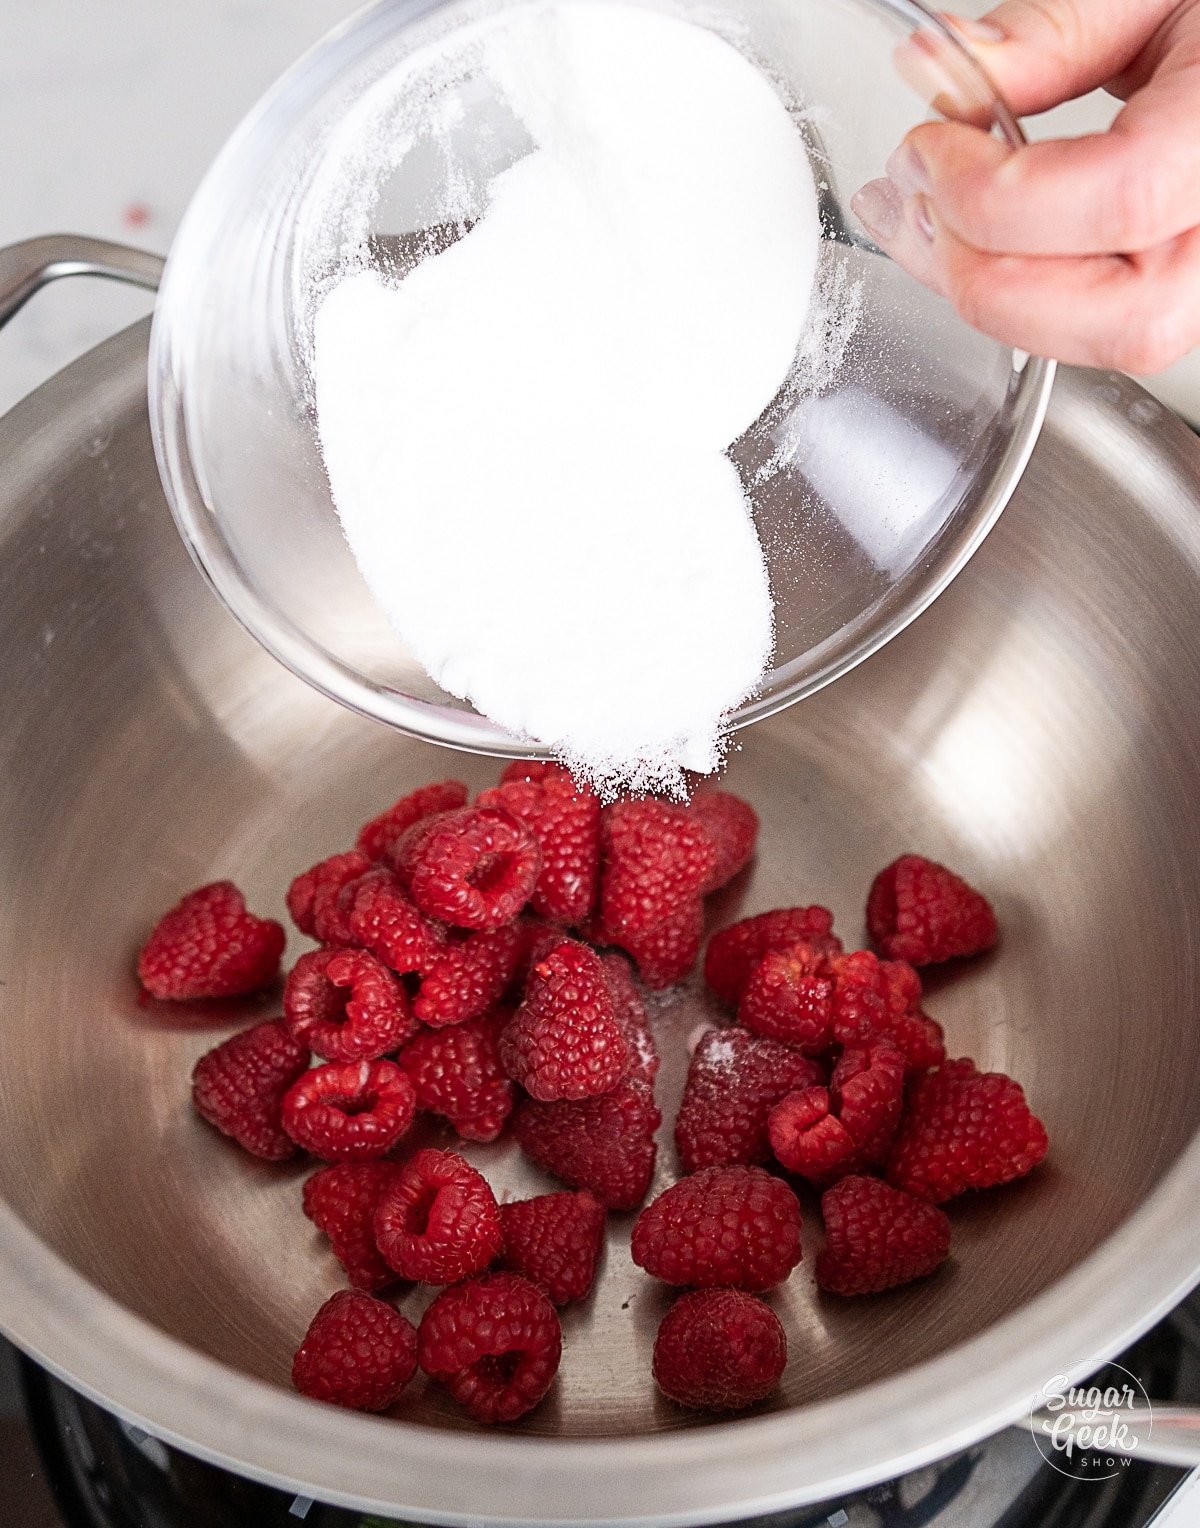
- Add the raspberries and sugar to a medium-sized saucepan over medium heat.
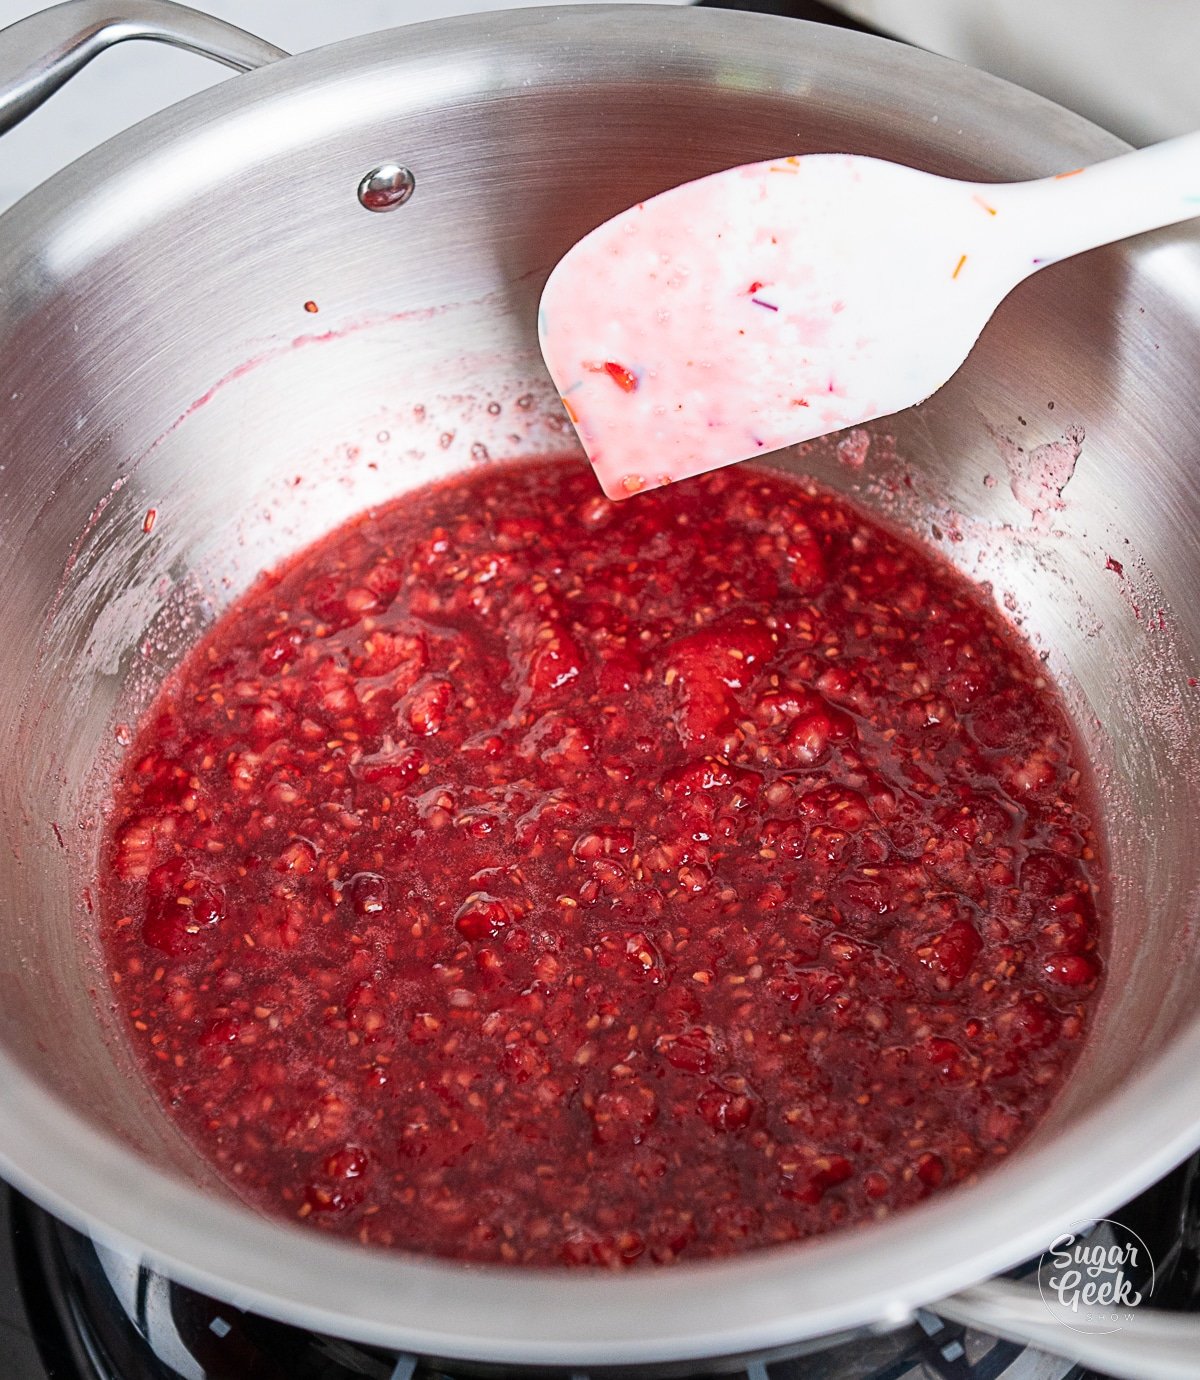
- Heat the raspberry puree until it begins to bubble. Increase the heat to medium-high heat if needed.
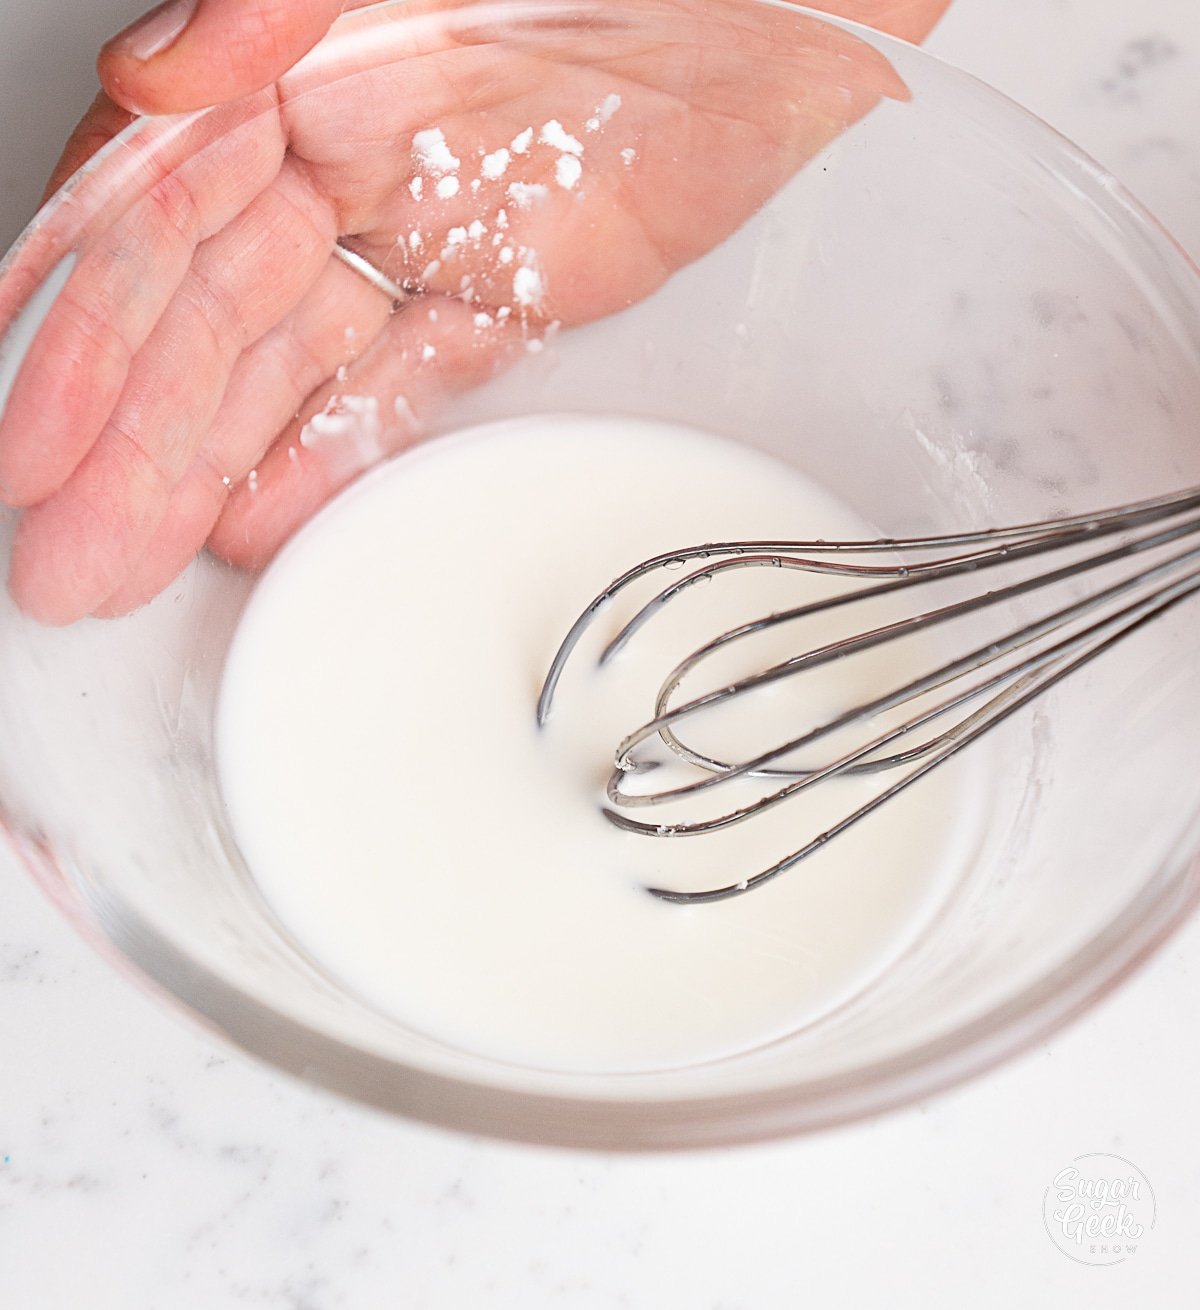
- In a small bowl, combine the water and the Clear-Jel (or cornstarch) and mix until smooth. Don't just add the Clear-Jel (or cornstarch) directly to the hot liquid or you'll end up with lumps of thickener in your filling.
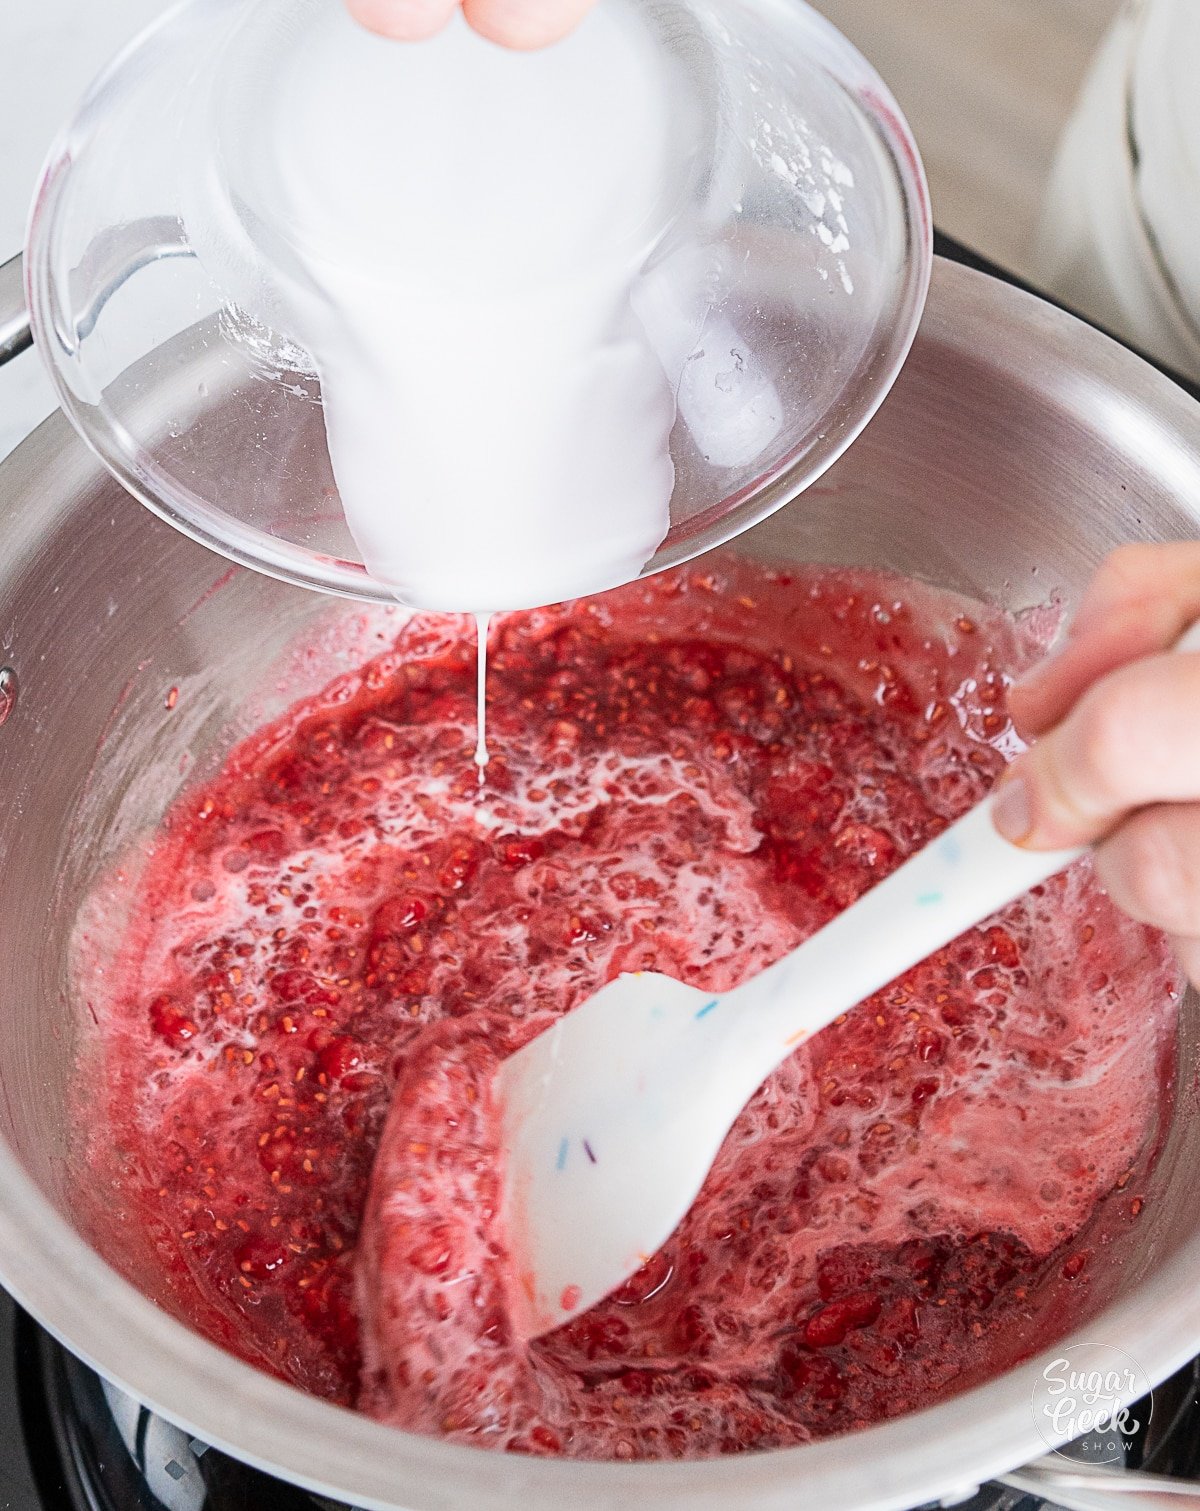
- Add the Clear-Jel mixture (or cornstarch slurry) to the hot liquid and mix for one more minute to thicken the mixture.
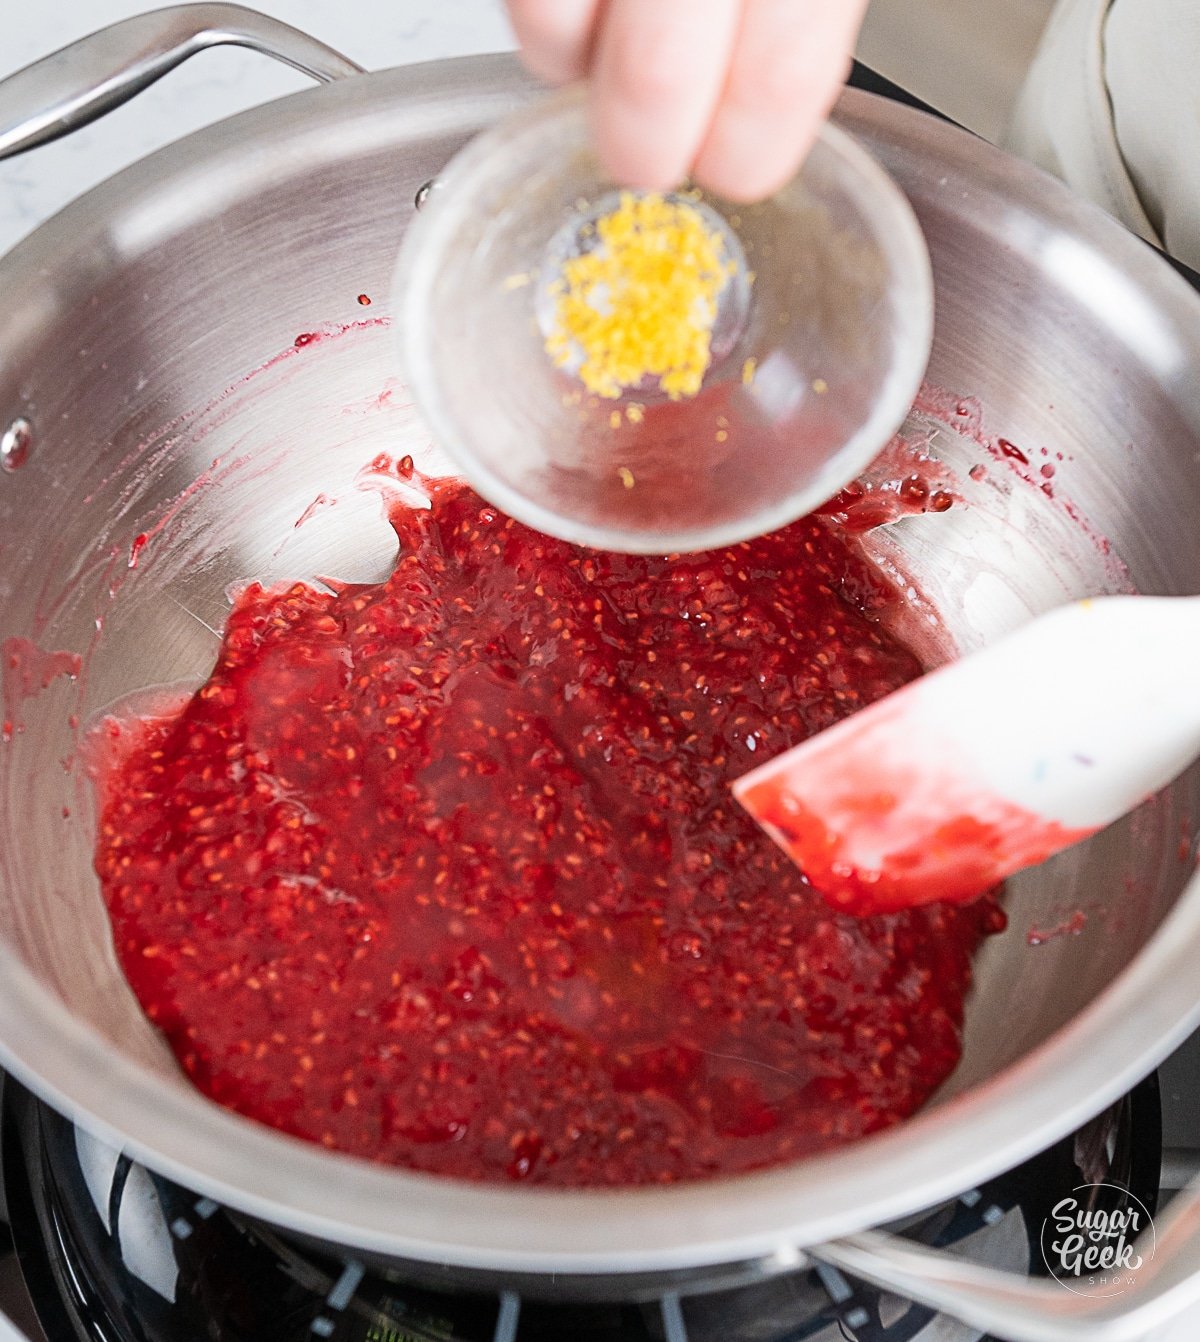
- Add in the lemon juice and zest and continue cooking for one more minute.
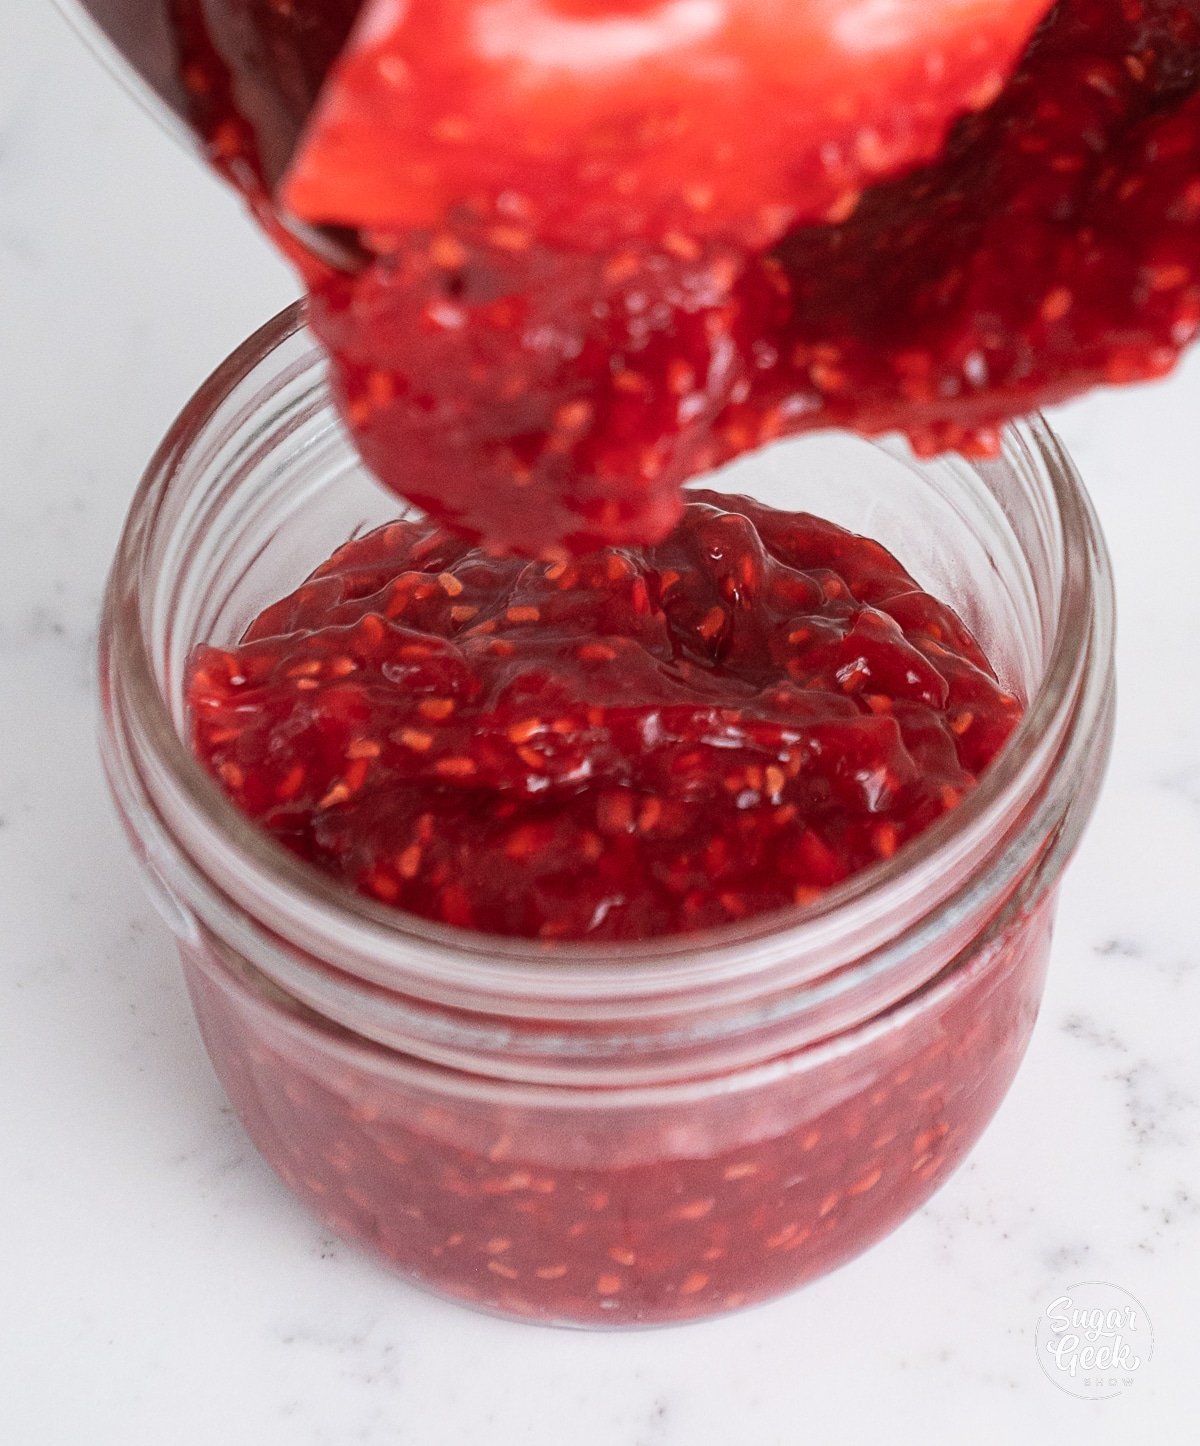
- Transfer the mixture to a heat-proof container and cover it with plastic wrap (so that it's touching the surface) and allow it to cool to room temperature or place it into the refrigerator to cool before using it.
Making White Chocolate Ganache
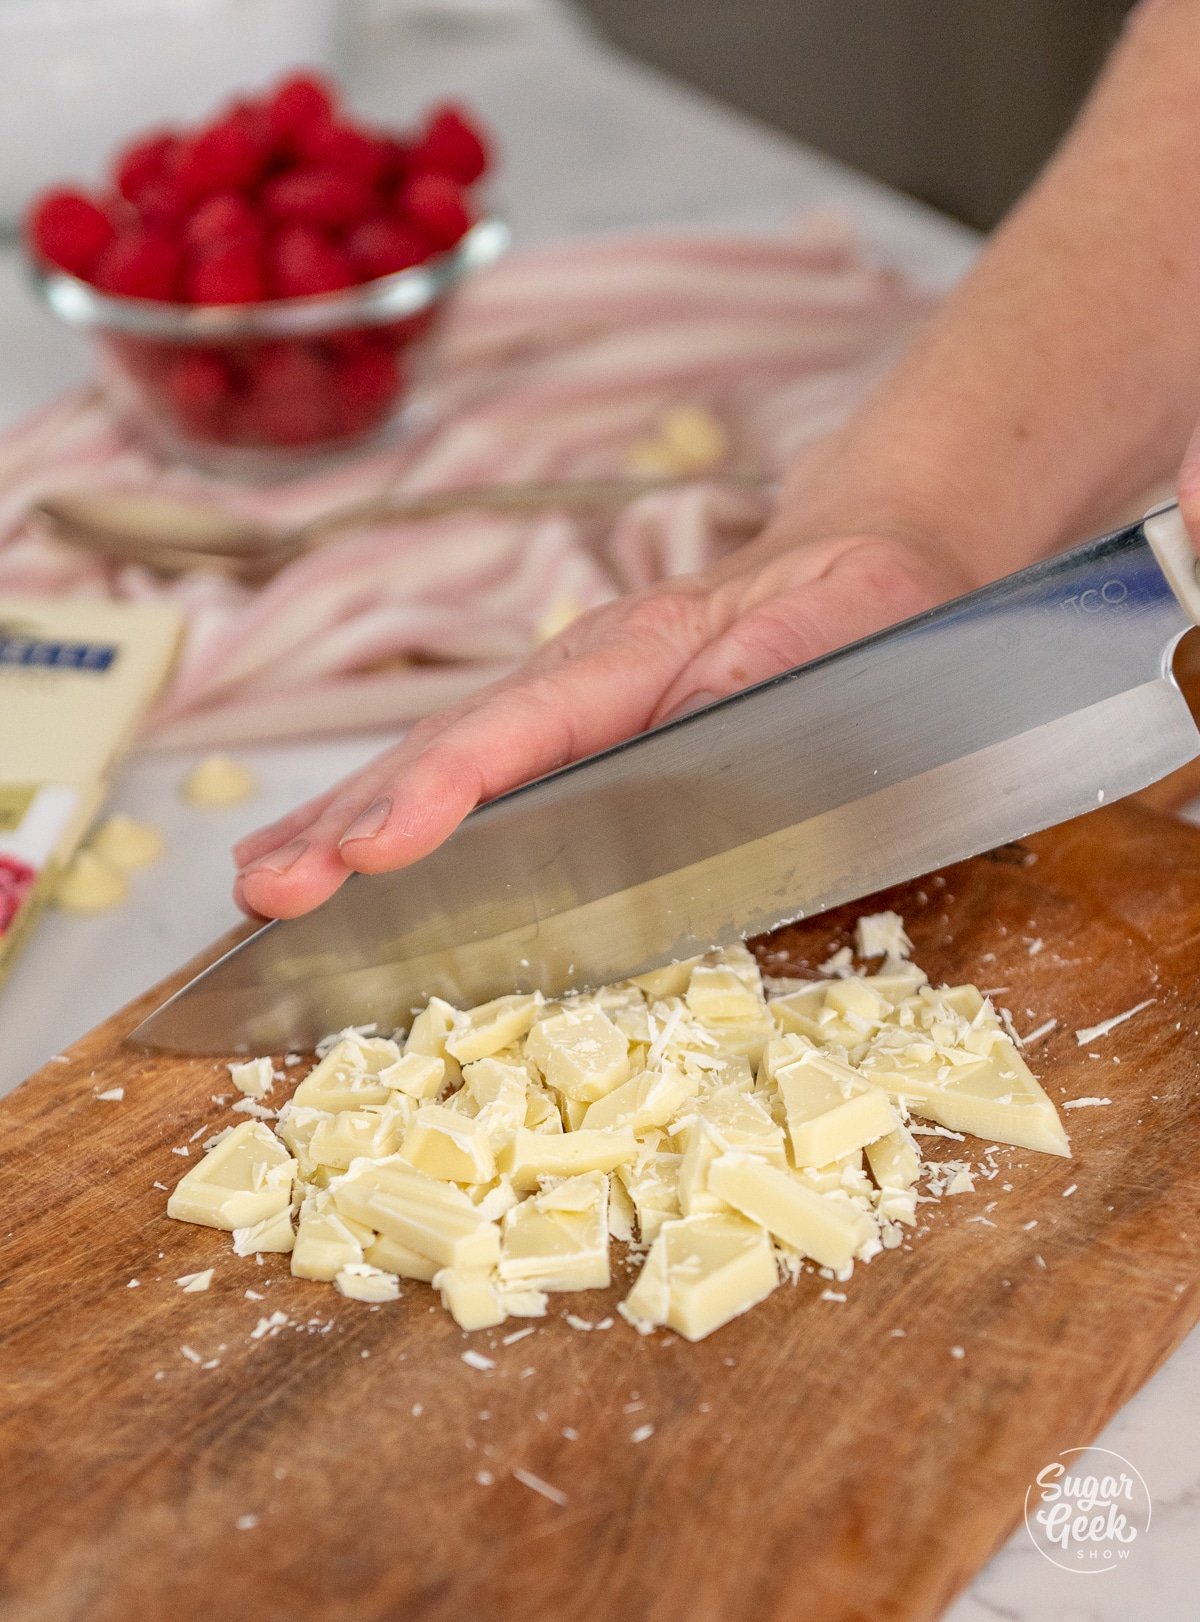
- If using a bar, chop the white chocolate with a knife into smaller pieces.
- Microwave the chocolate in a microwave-safe bowl for 1 minute to soften.
- Bring the heavy whipping cream to a simmer in a pot over the stove.
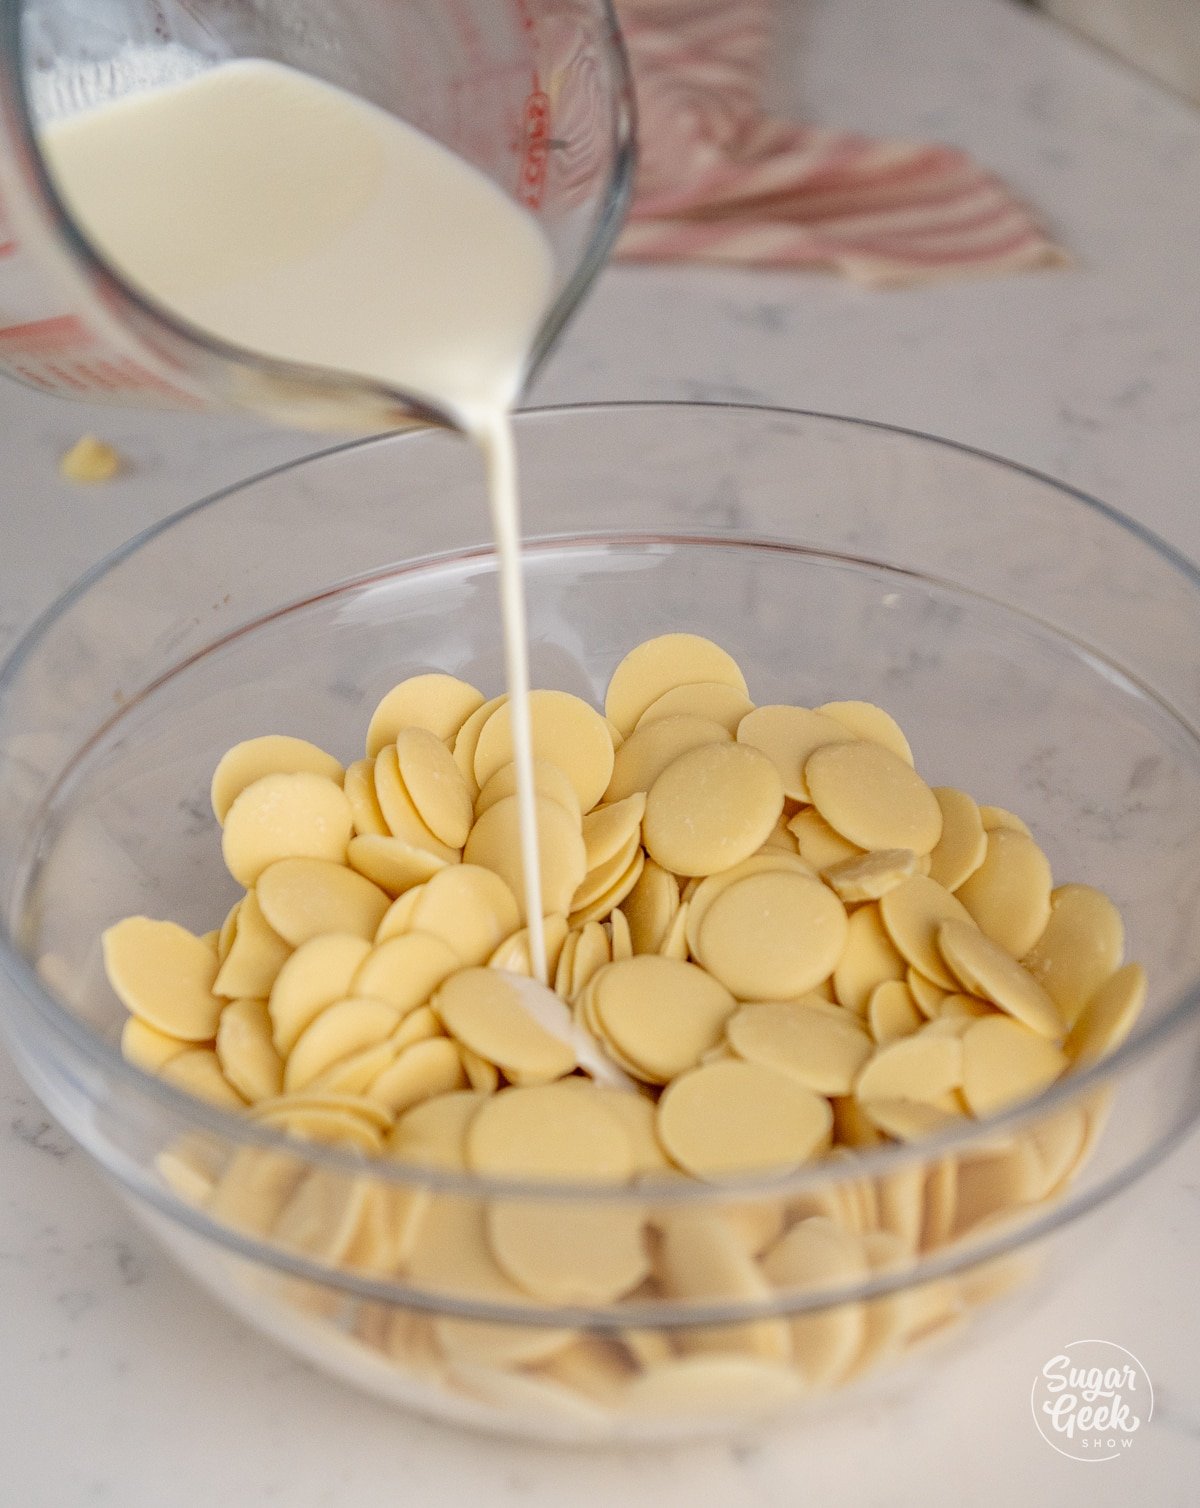
- Pour the warm cream over the chocolate and make sure all of the chocolate is fully covered, then set for 5 minutes.
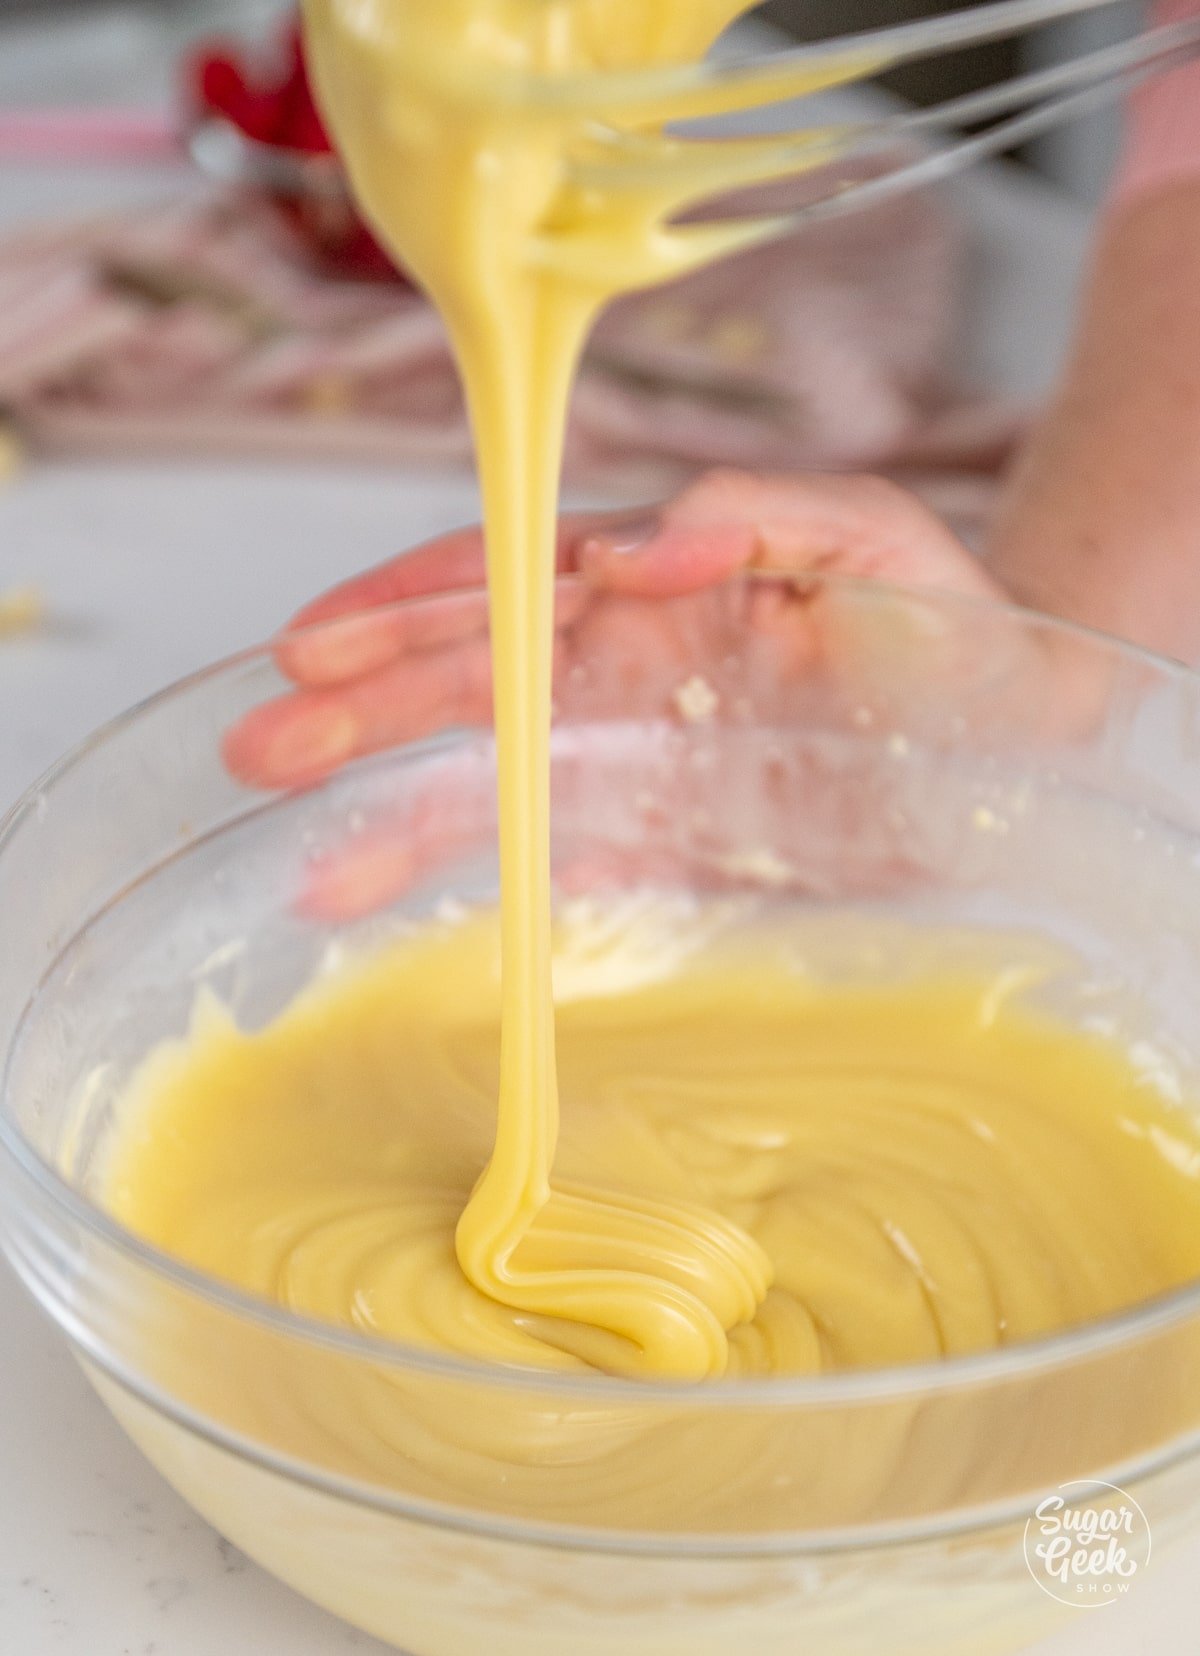
- Whisk gently to combine the cream and chocolate until it comes together and is smooth and creamy. If the chocolate isn't fully melted, microwave it in 30-second increments. Set the ganache aside to use in the buttercream and the cake layers.
Making White Chocolate Buttercream
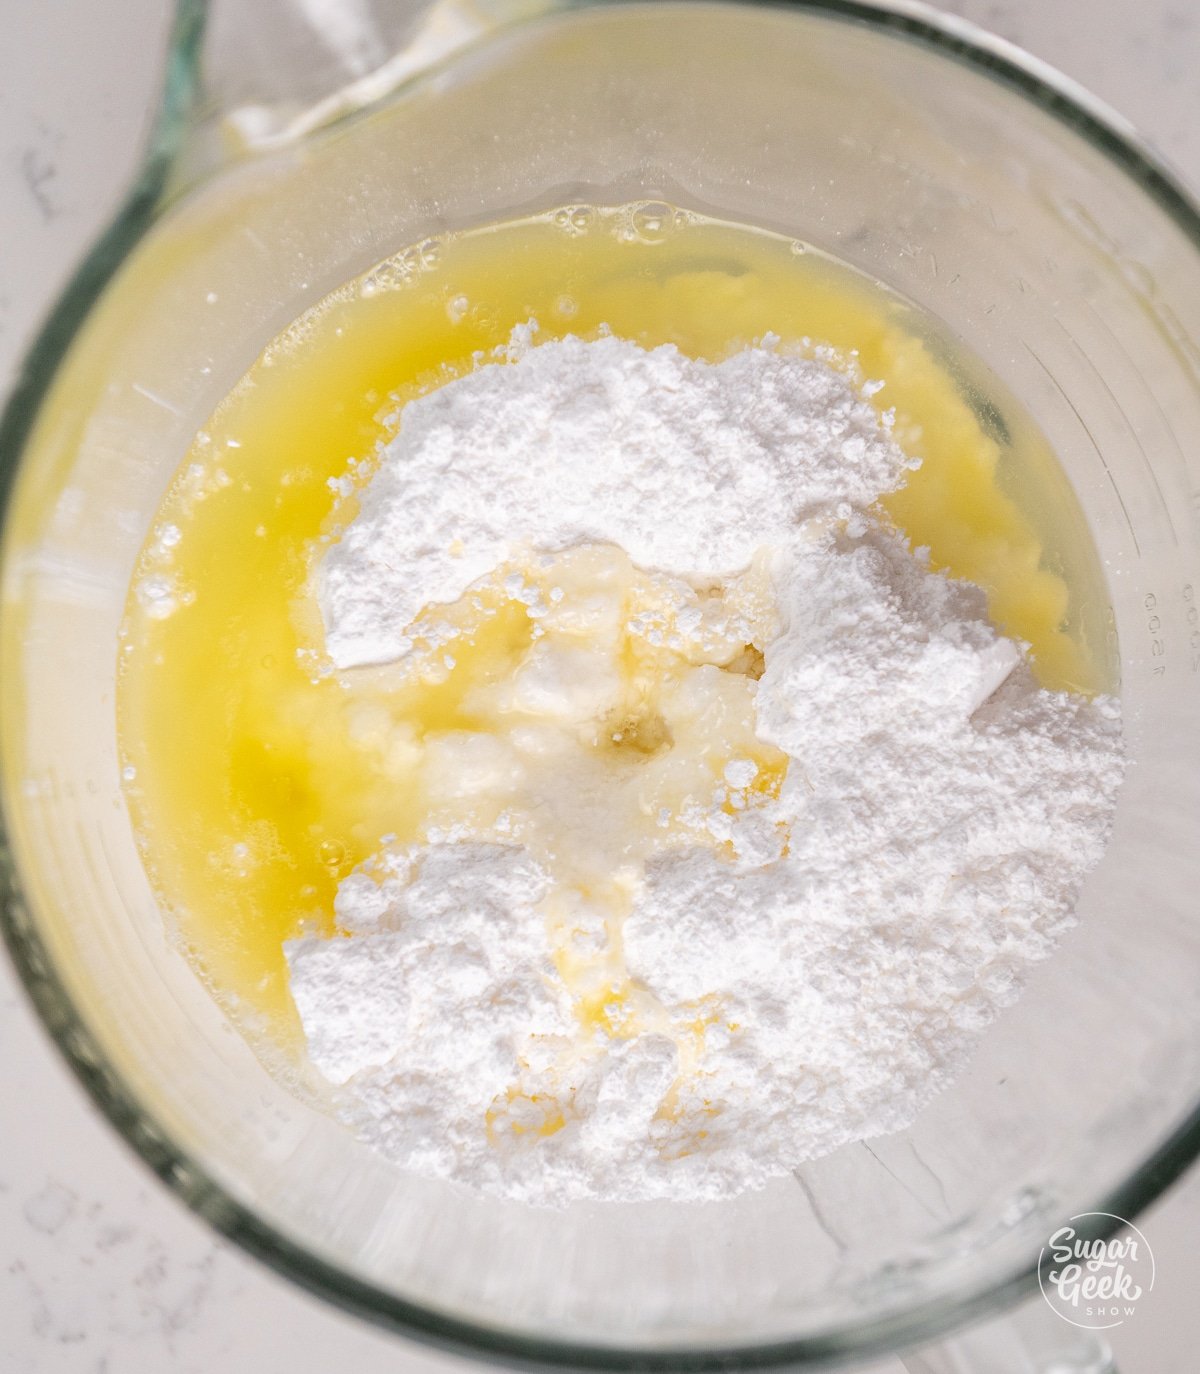
- Place the egg whites and powdered sugar in a stand mixer bowl. Attach the whisk and combine the ingredients on low, then whip on high for 1-2 minutes to dissolve the powdered sugar.
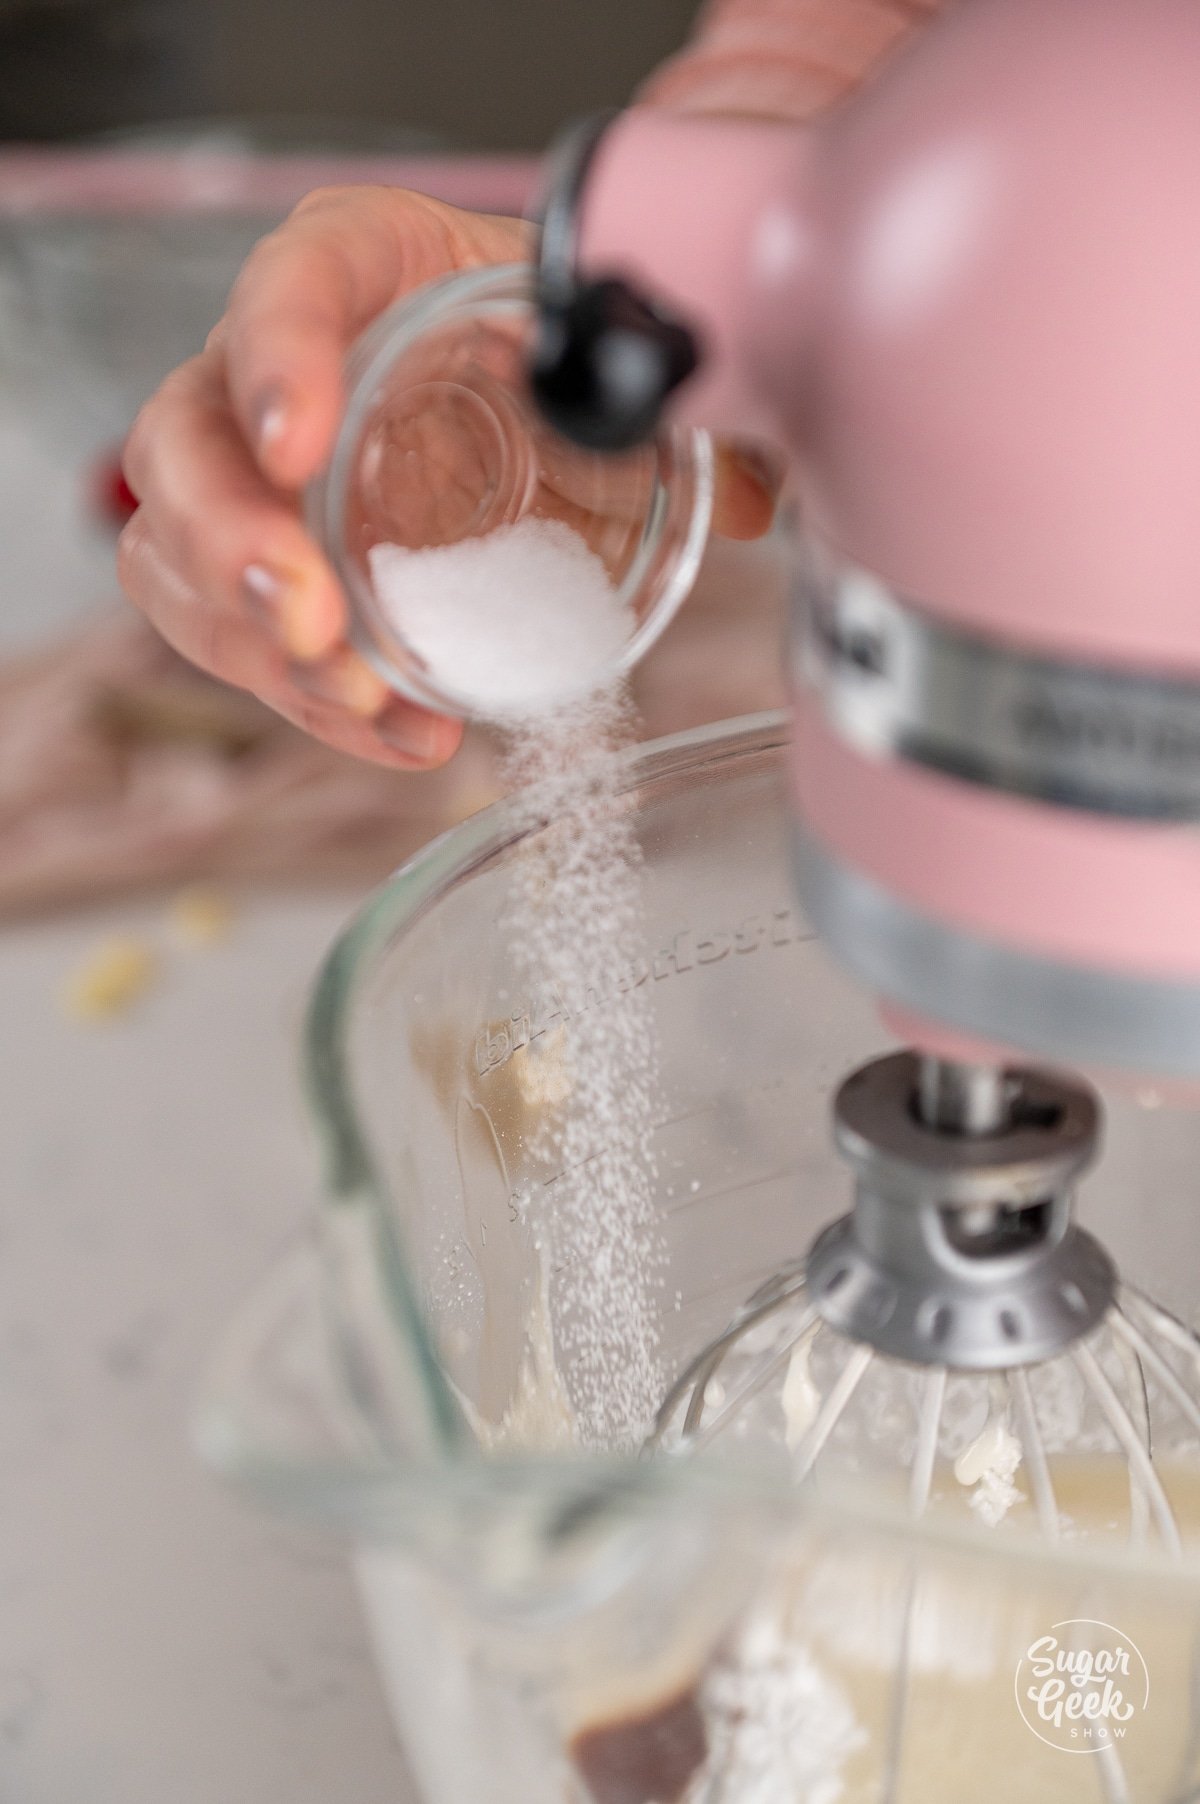
- Add in the salt and vanilla extract.
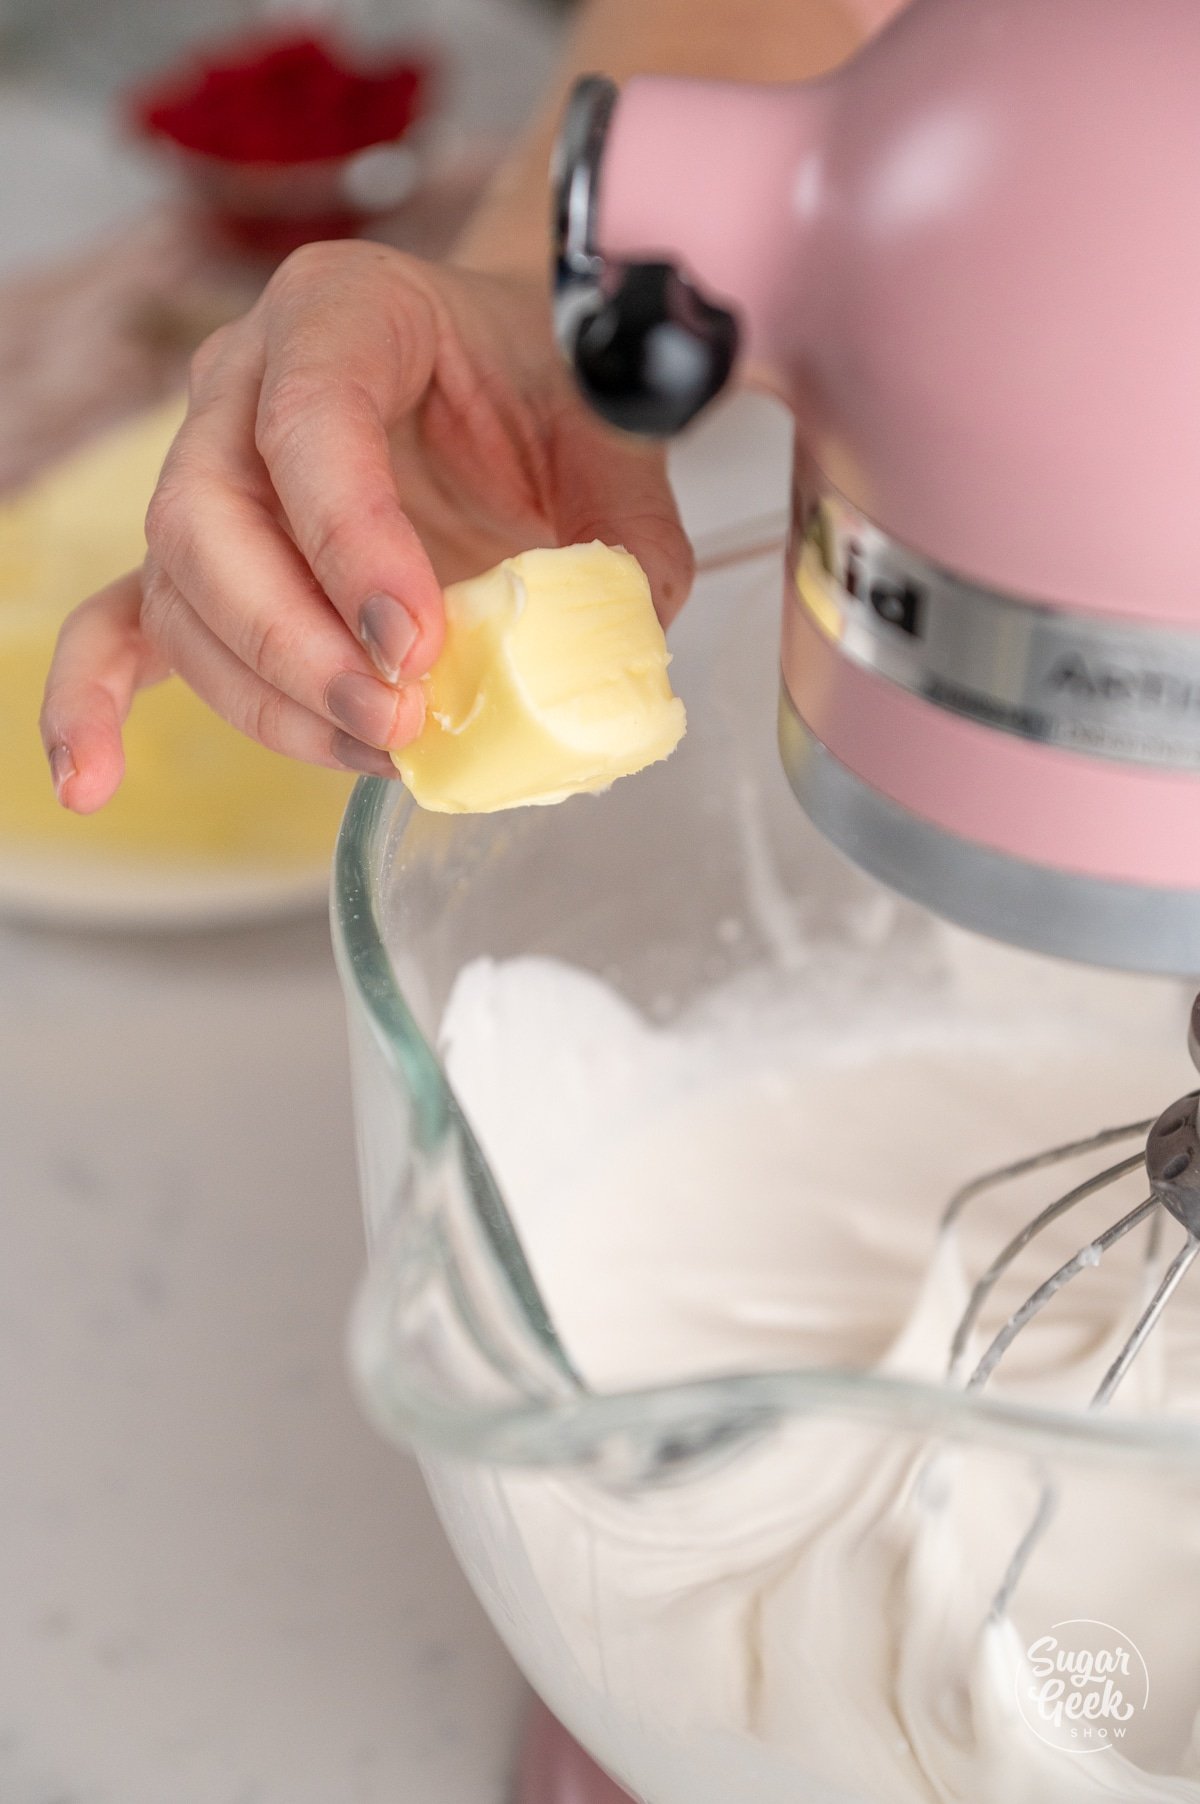
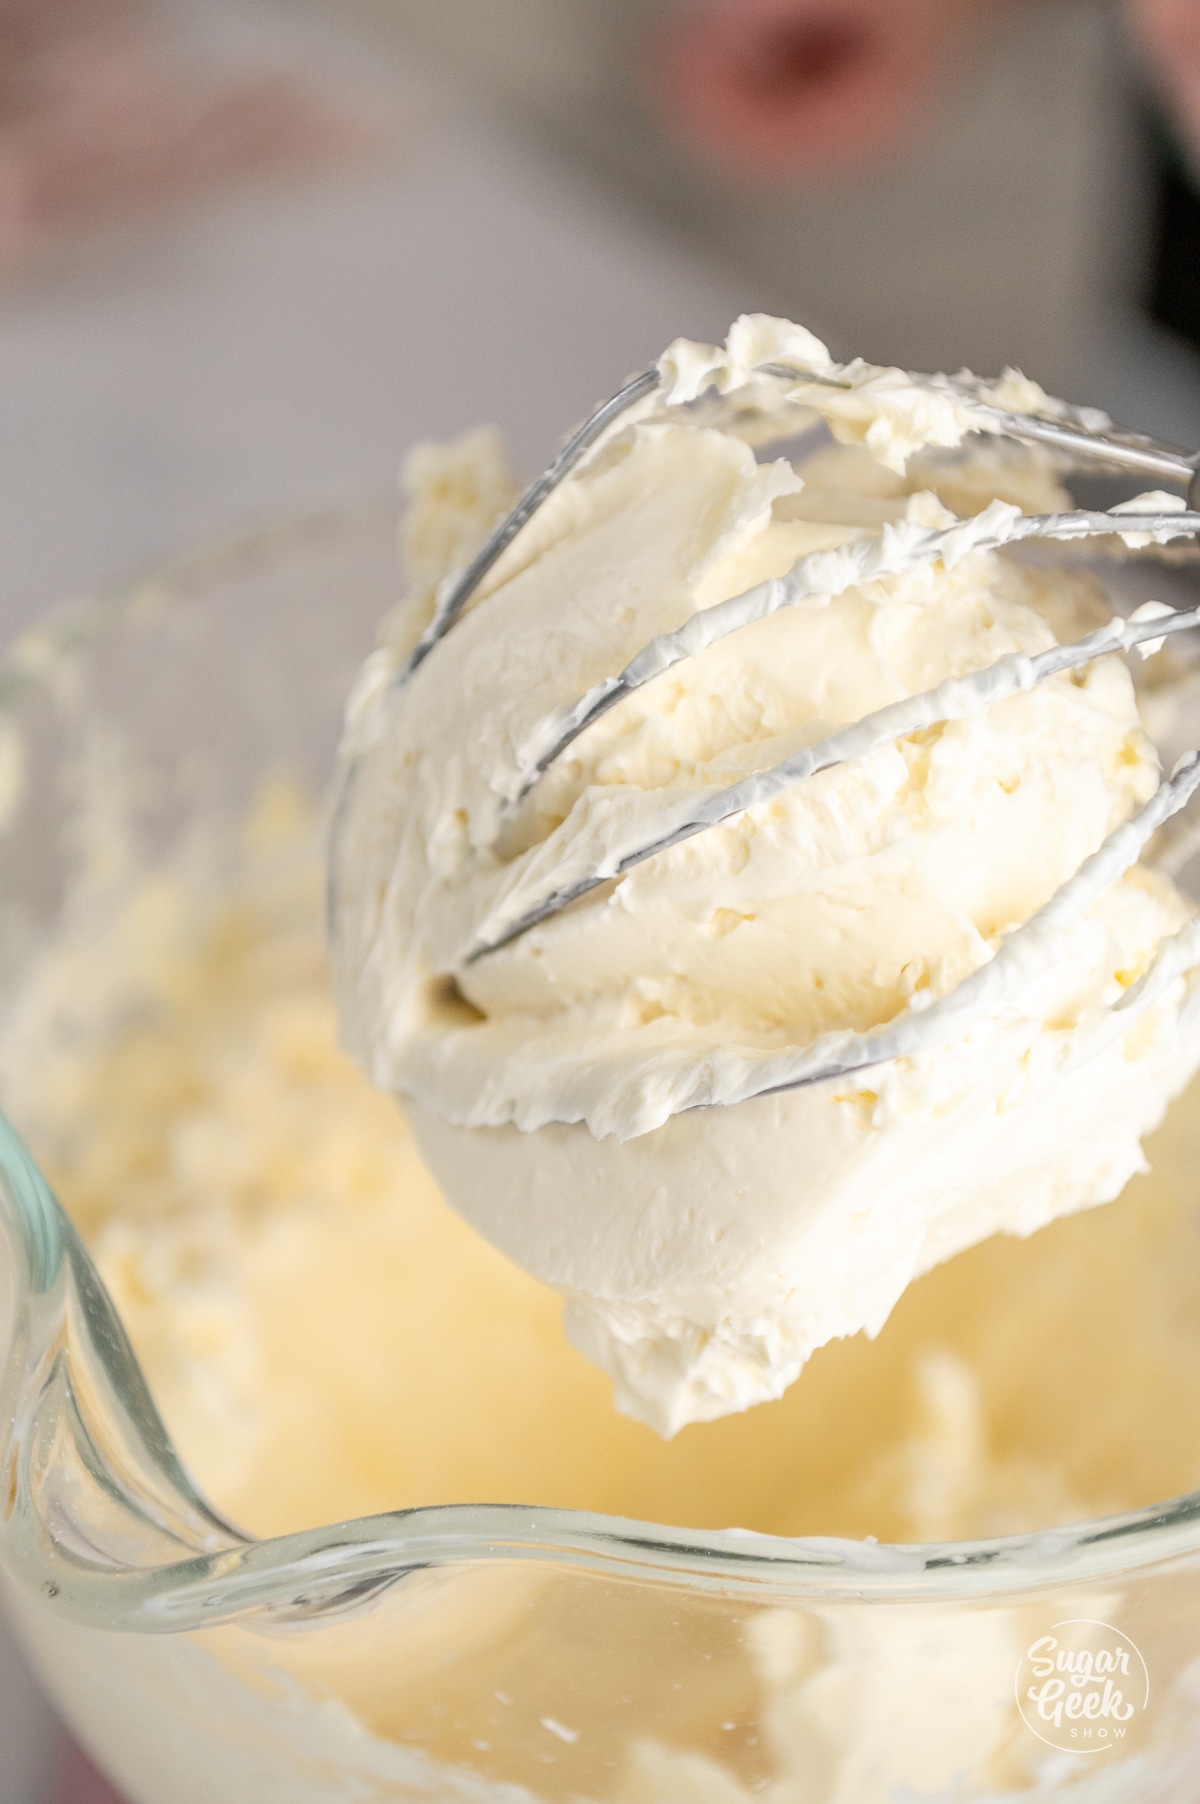
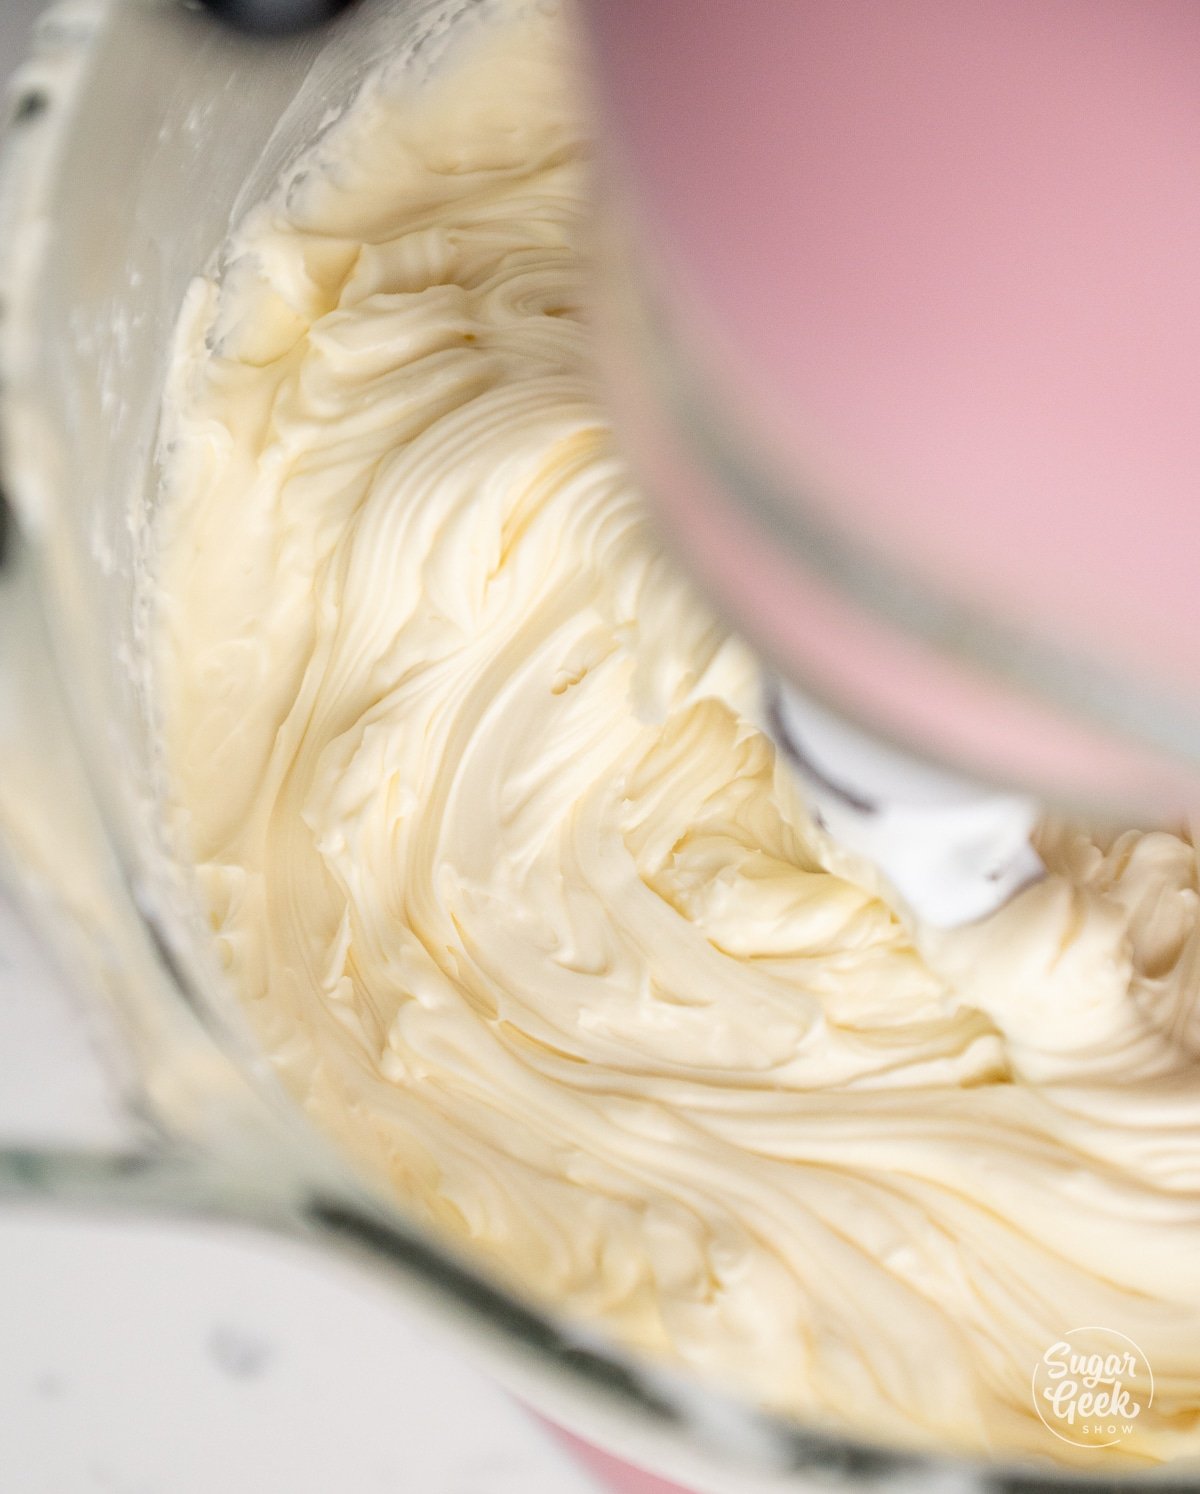
- Add the butter in chunks and whip with the whisk attachment for about 8 to 10 minutes until light and fluffy. It will look curdled at first. This is normal. It will also look pretty yellow. Keep whipping.
- If your buttercream looks curdled, remove about ⅓ cup of buttercream and melt it in the microwave for 10 to 15 seconds until JUST barely melted. Pour it back into the whipping buttercream to bring it all together.
- Add in the warm or room temperature ganache, if it's slightly warm it will help emulsify the buttercream.
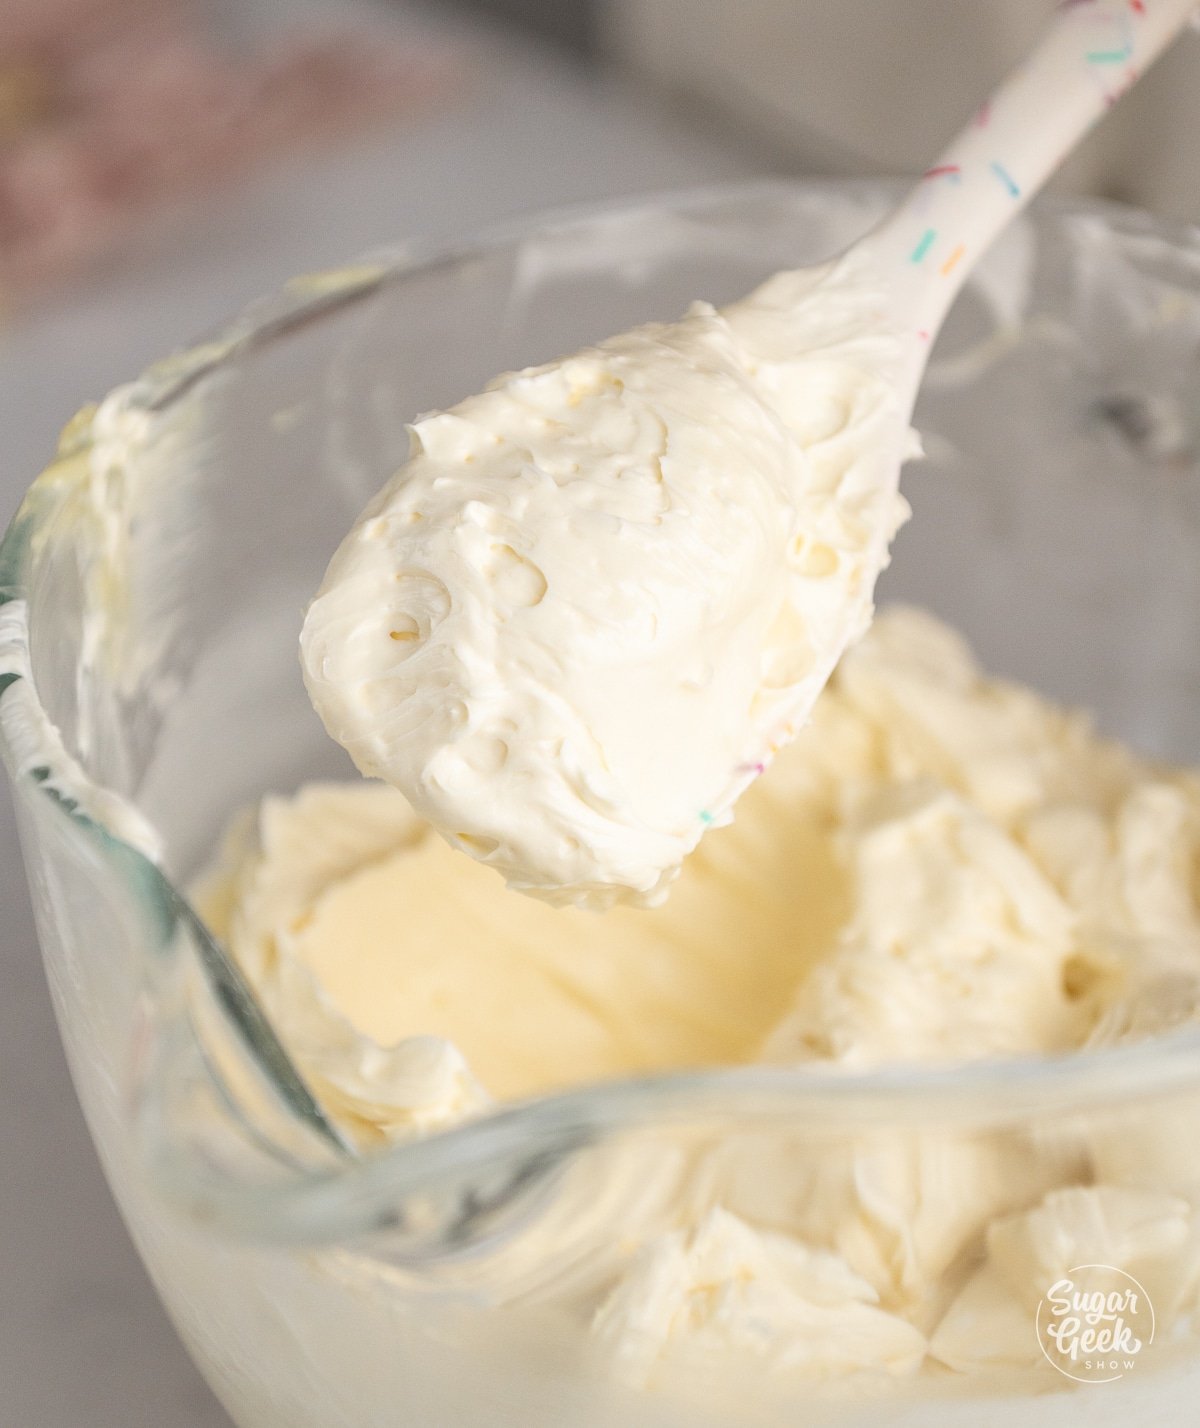
- Whip the buttercream on high with the whisk attachment for 2 minutes until it's very white, light, and shiny. If it tastes more like white chocolate than butter then it is ready to go!
- Switch to a paddle attachment and mix on low for 15-20 minutes to make the buttercream very smooth and remove air bubbles. This isn't required but if you want really creamy frosting, you don't want to skip it.
Assembling and Decorating the Cake
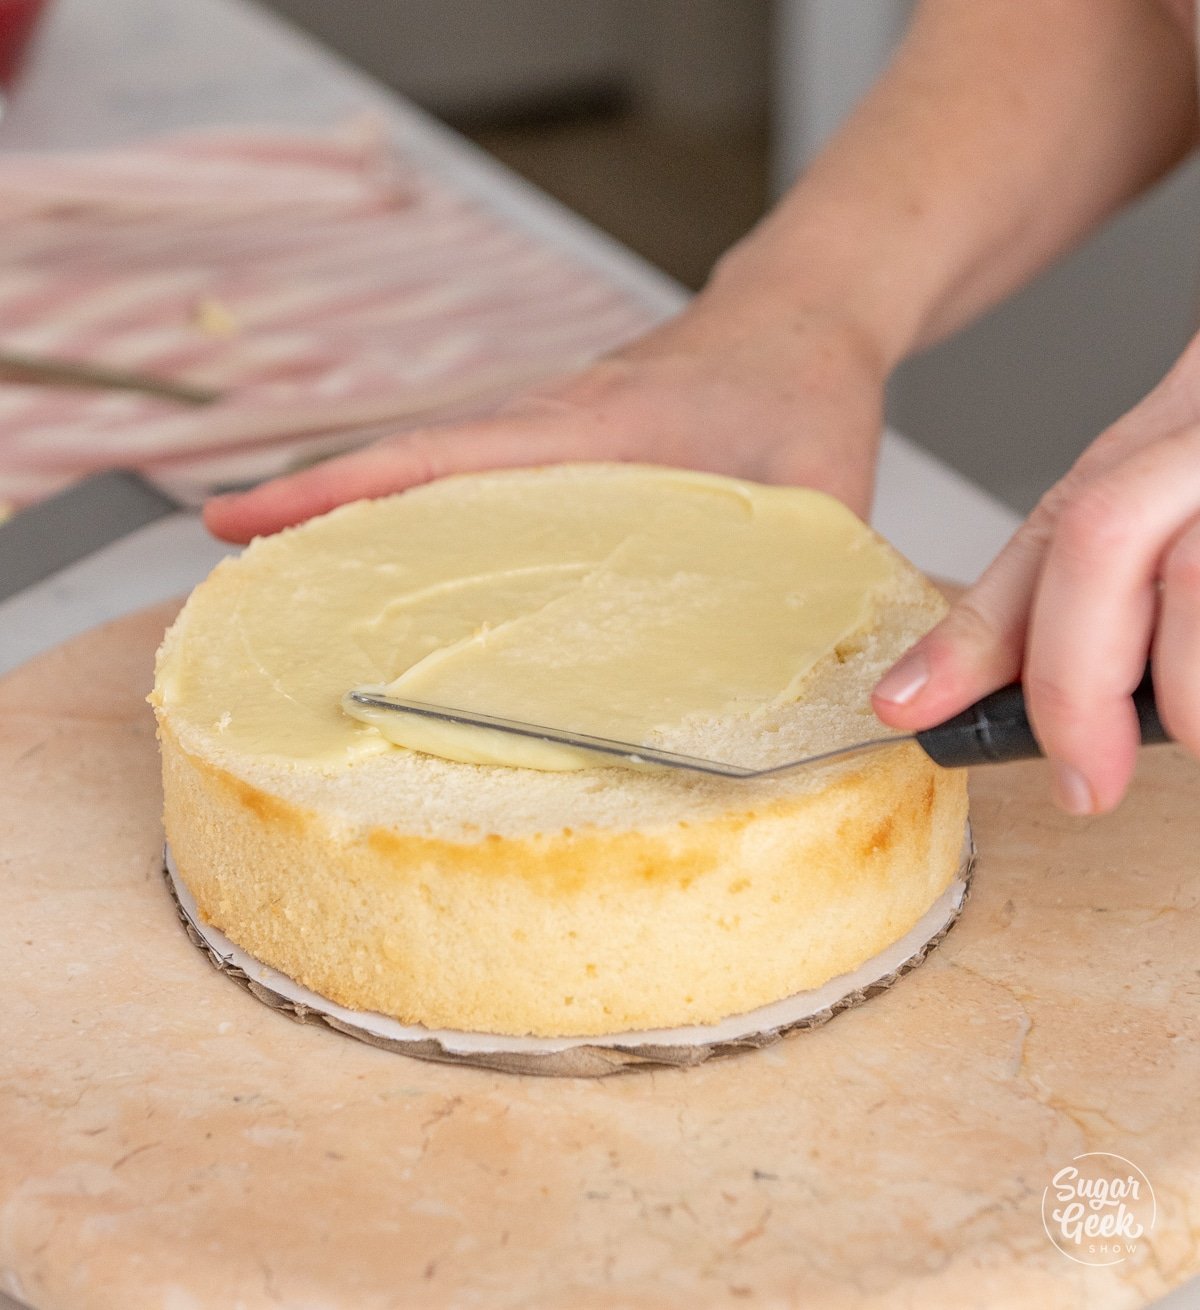
- Once your cake layers are very cold (or partially thawed if frozen) and trimmed, place your first layer on a cake board and coat the layer with a thin layer of white chocolate ganache.
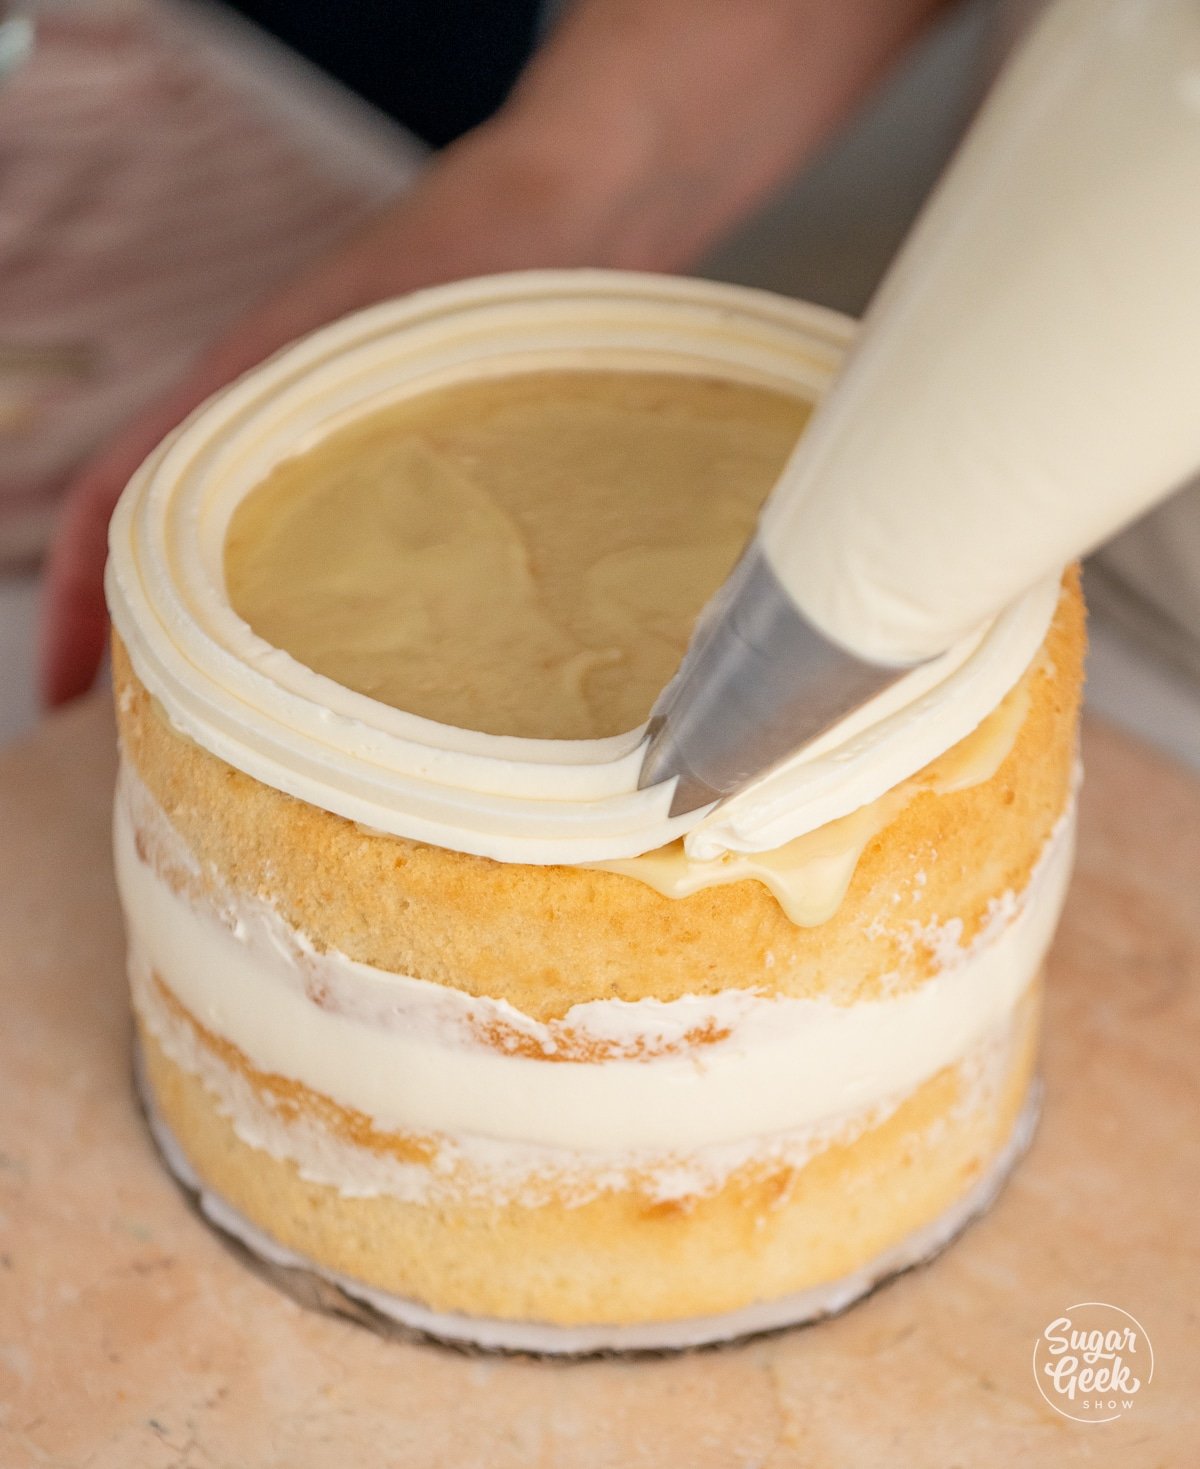
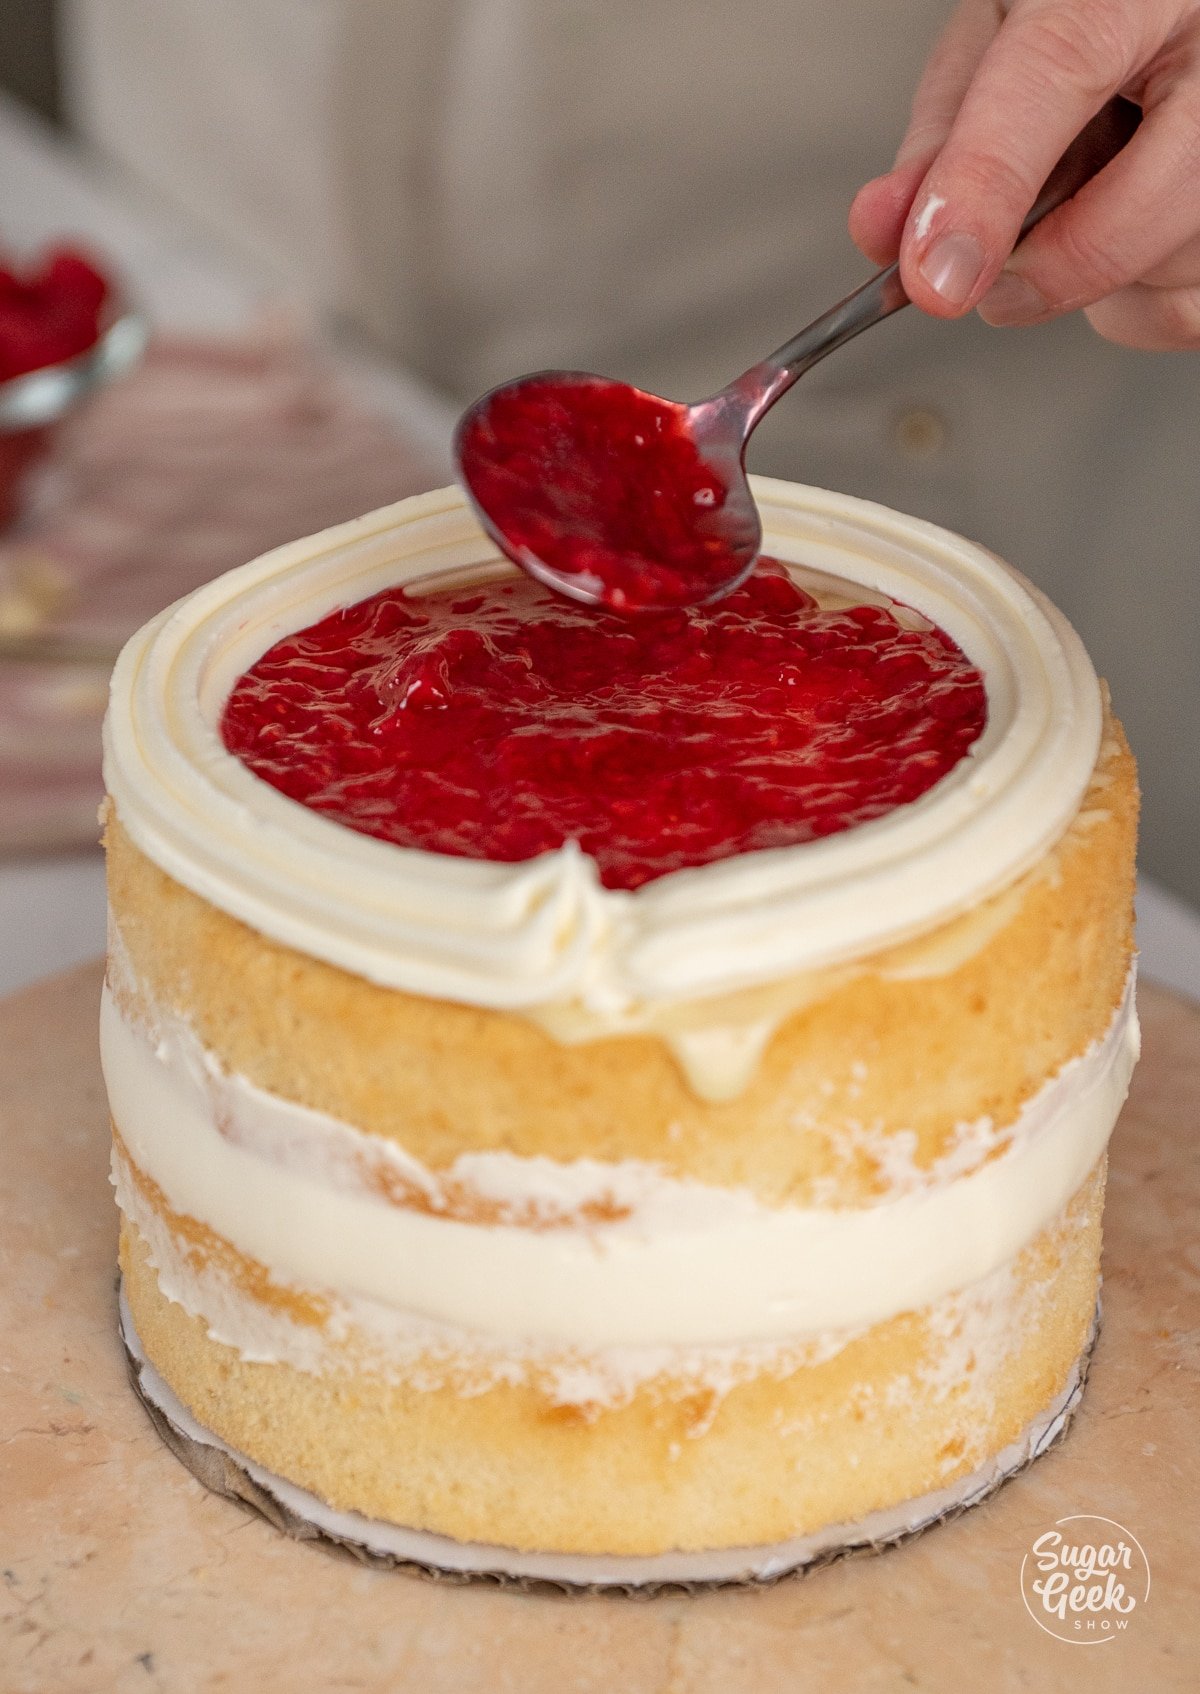
- Cover the ganache with a thin layer of white chocolate buttercream and then pipe a dam around the cake edge, making a pool to fill with your raspberry filling.
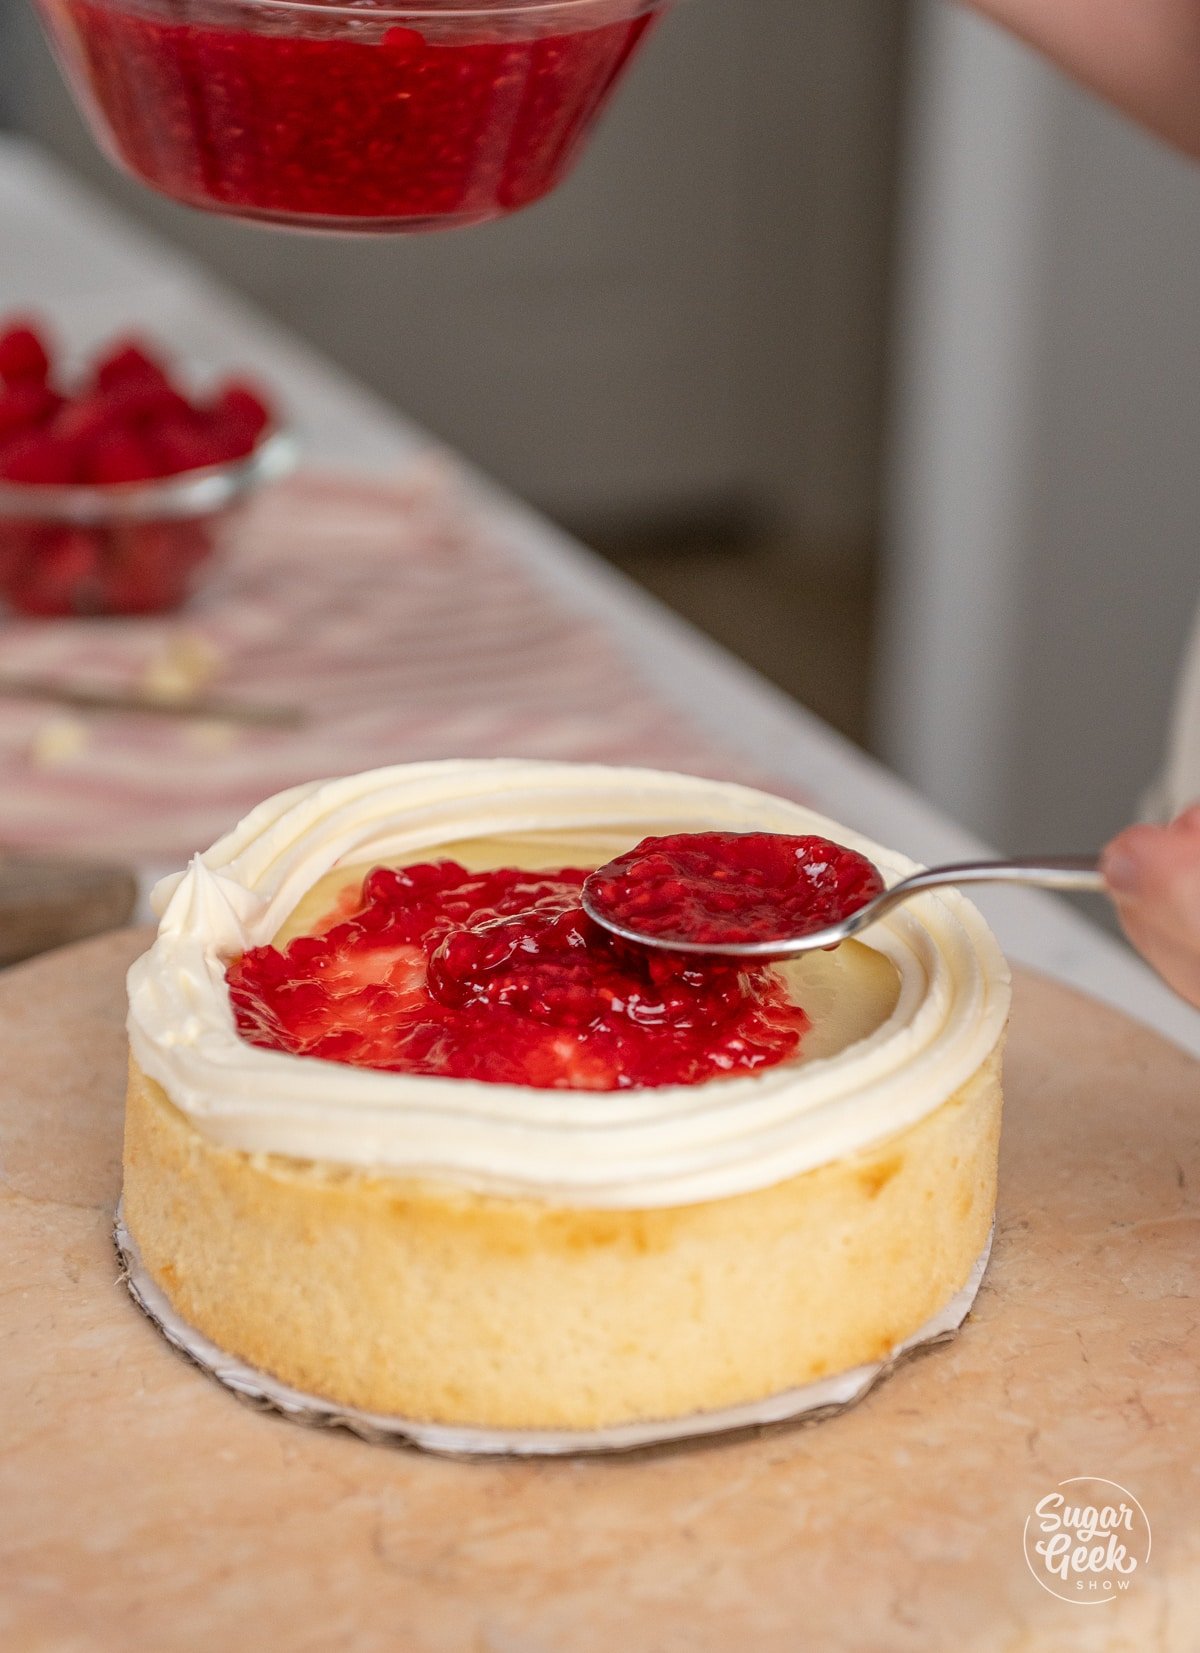
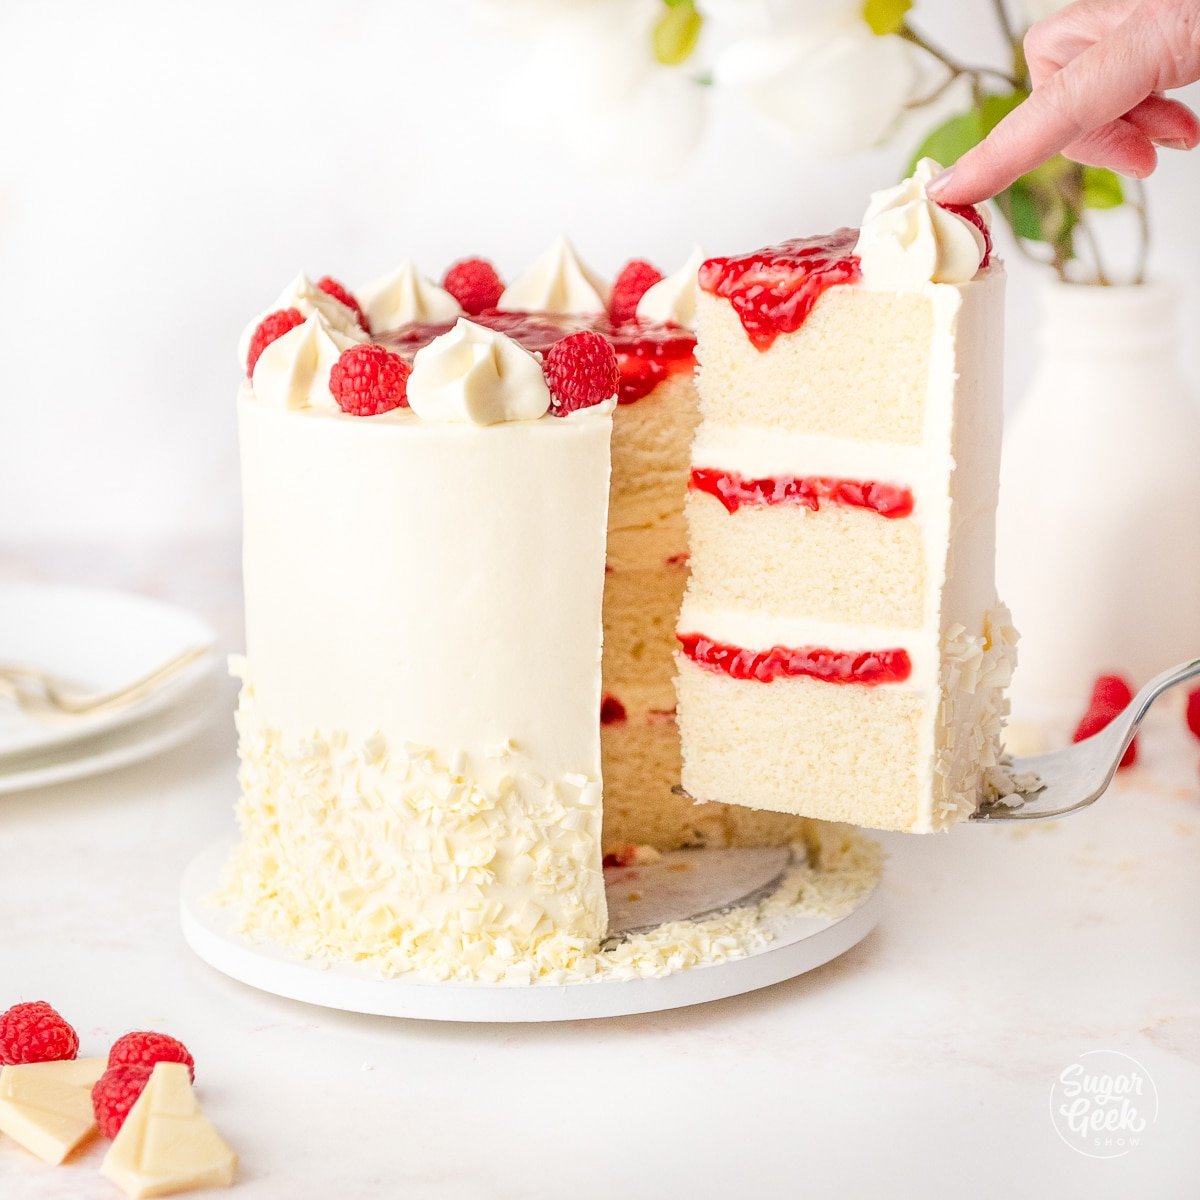
- Carefully fill the pool with raspberry filling, and take it easy on the amount because as you add more layers on top, the weight can squeeze the filling out and cause leaks on the sides of your cake.
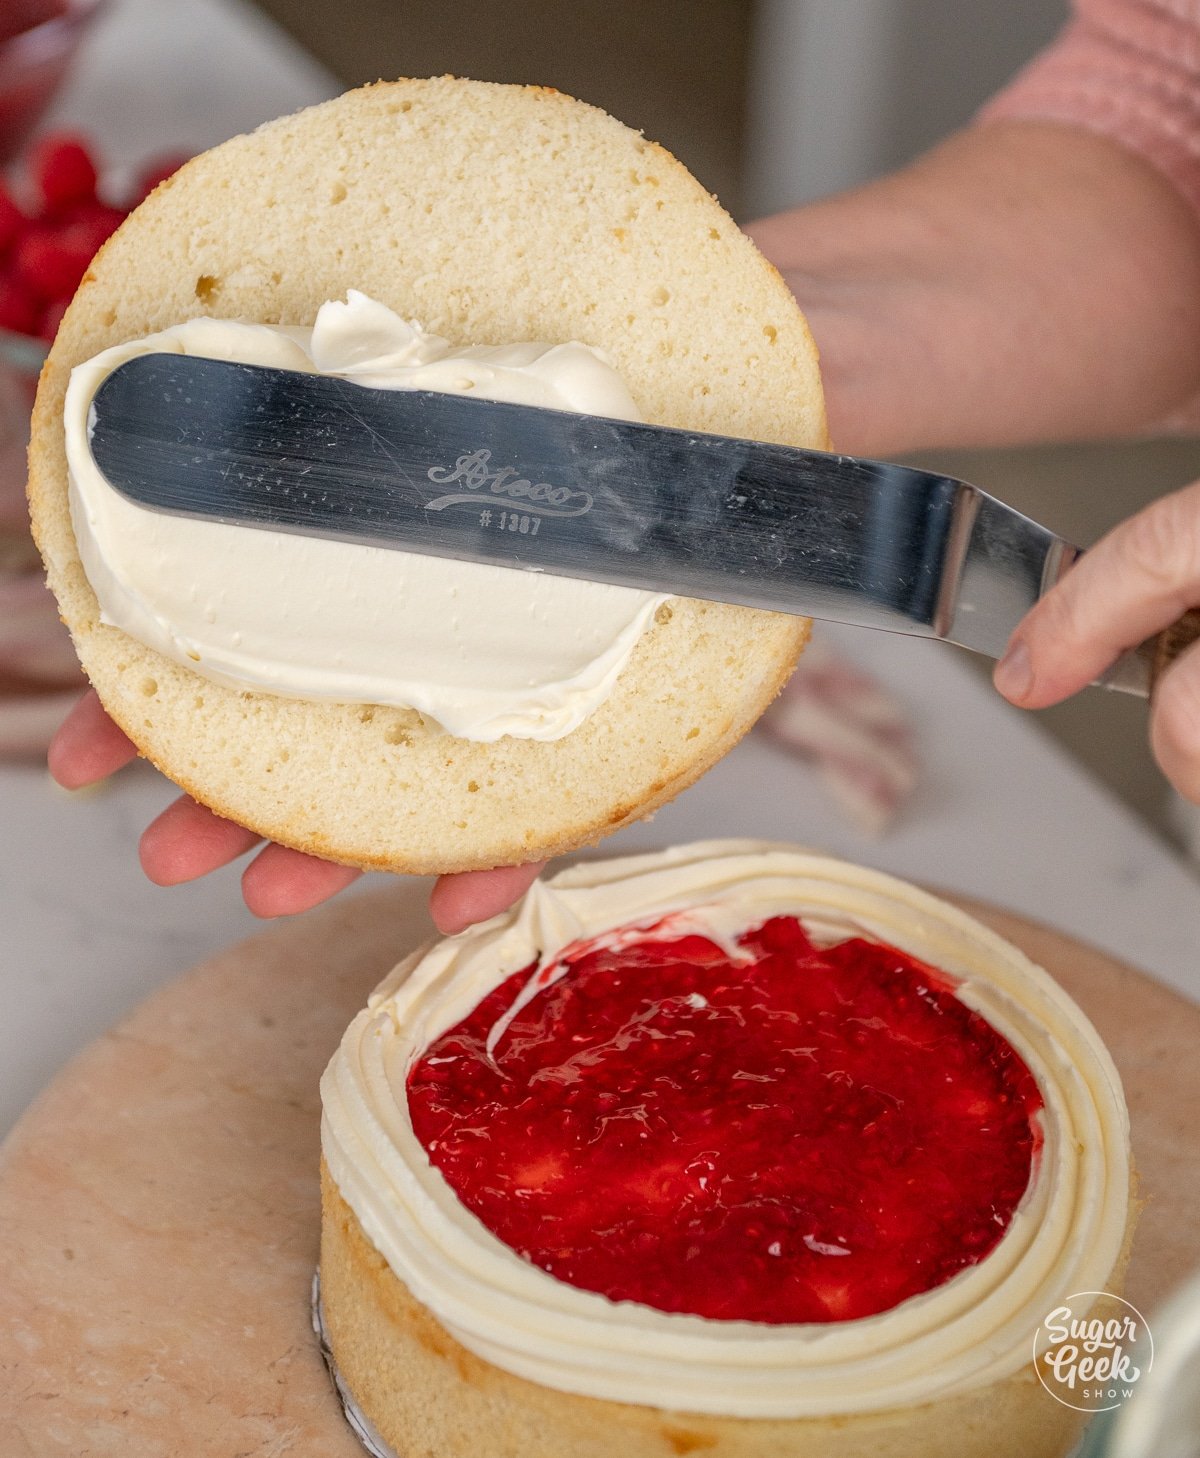
- Spread a thin layer of buttercream on the next layer of cake that you are going to put on top of the raspberry, I do this so the raspberry doesn’t soak into the top layer. It’s not totally necessary, I just choose to do this because I like the way it looks when I cut it.
- Repeat the layering process for the next two layers of cake, ganache, buttercream dam, and raspberry filling.
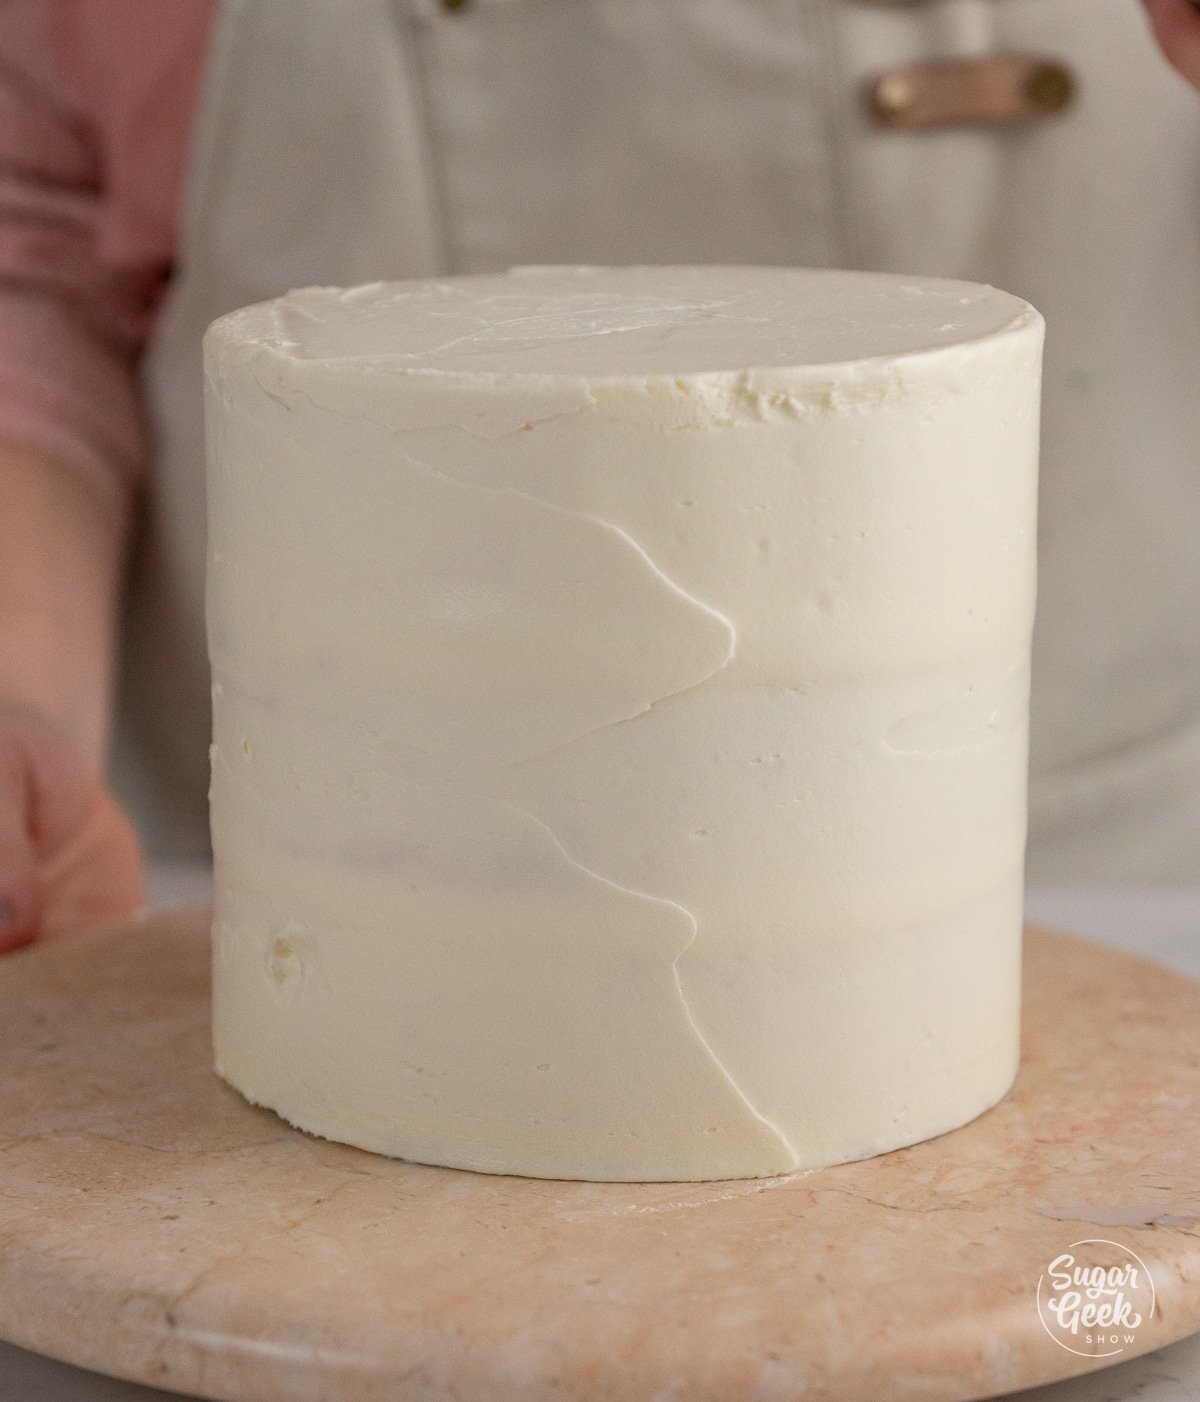
- Give the cake an even crumb coat with your offset spatula and place it in the freezer to chill and firm up before moving on to the final coating and decorating.
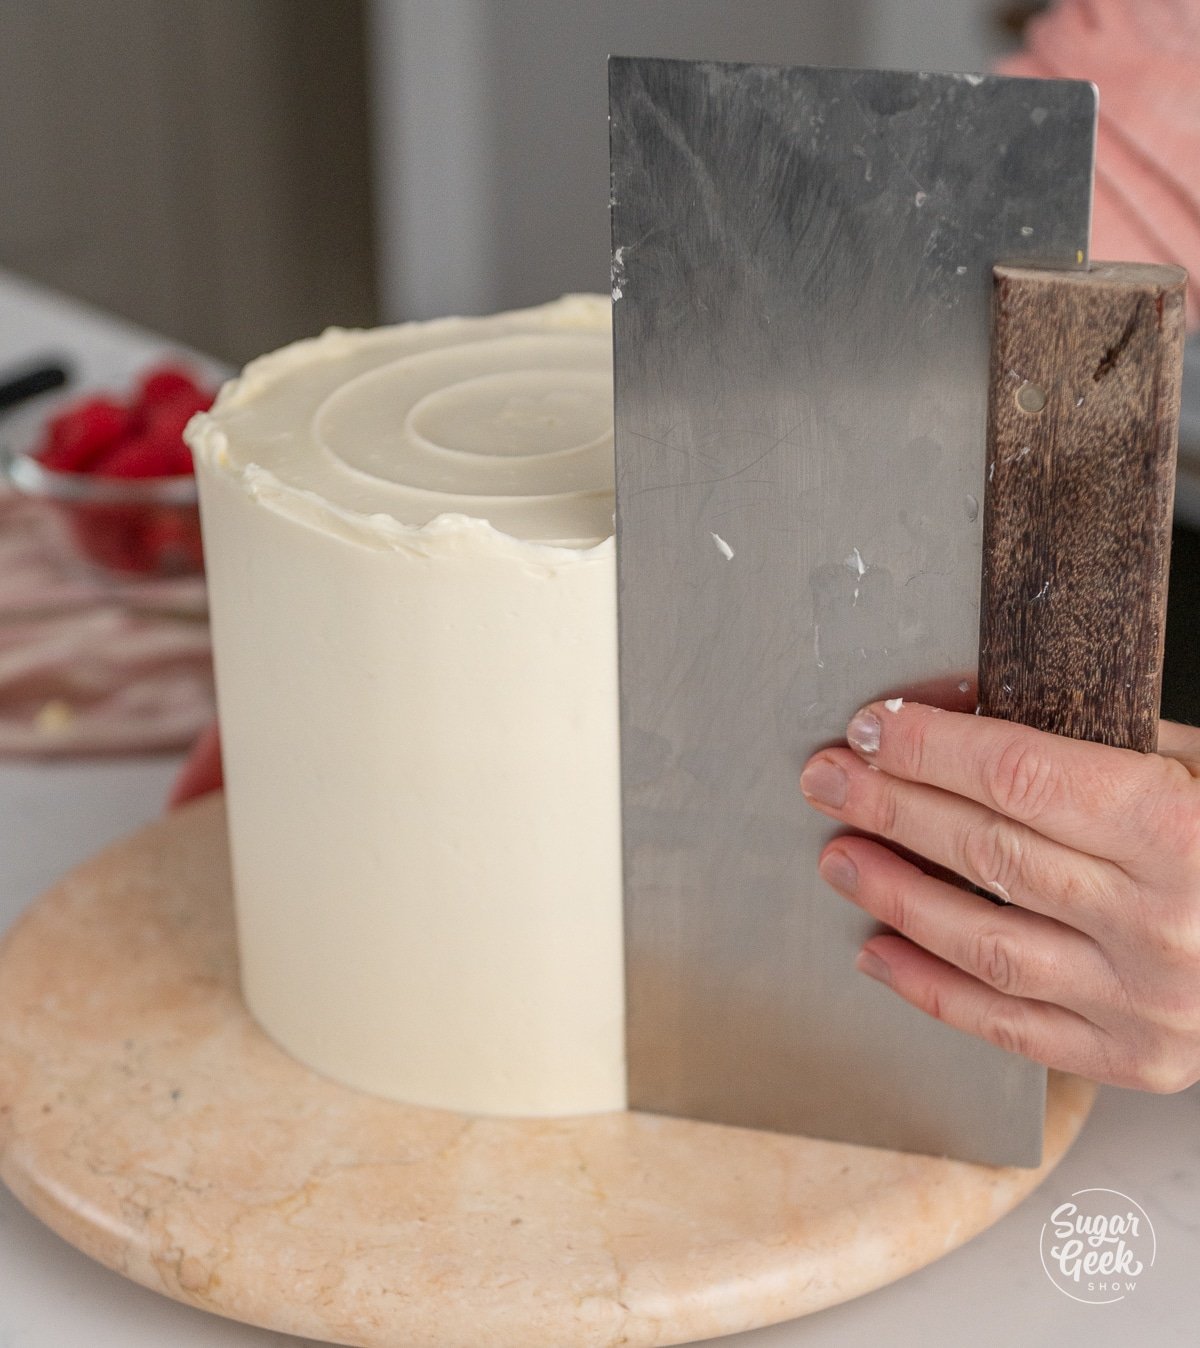
- Once the cake is firm to the touch, apply the final coating of white chocolate frosting and smooth it with a cake scraper, place the cake on the serving board.
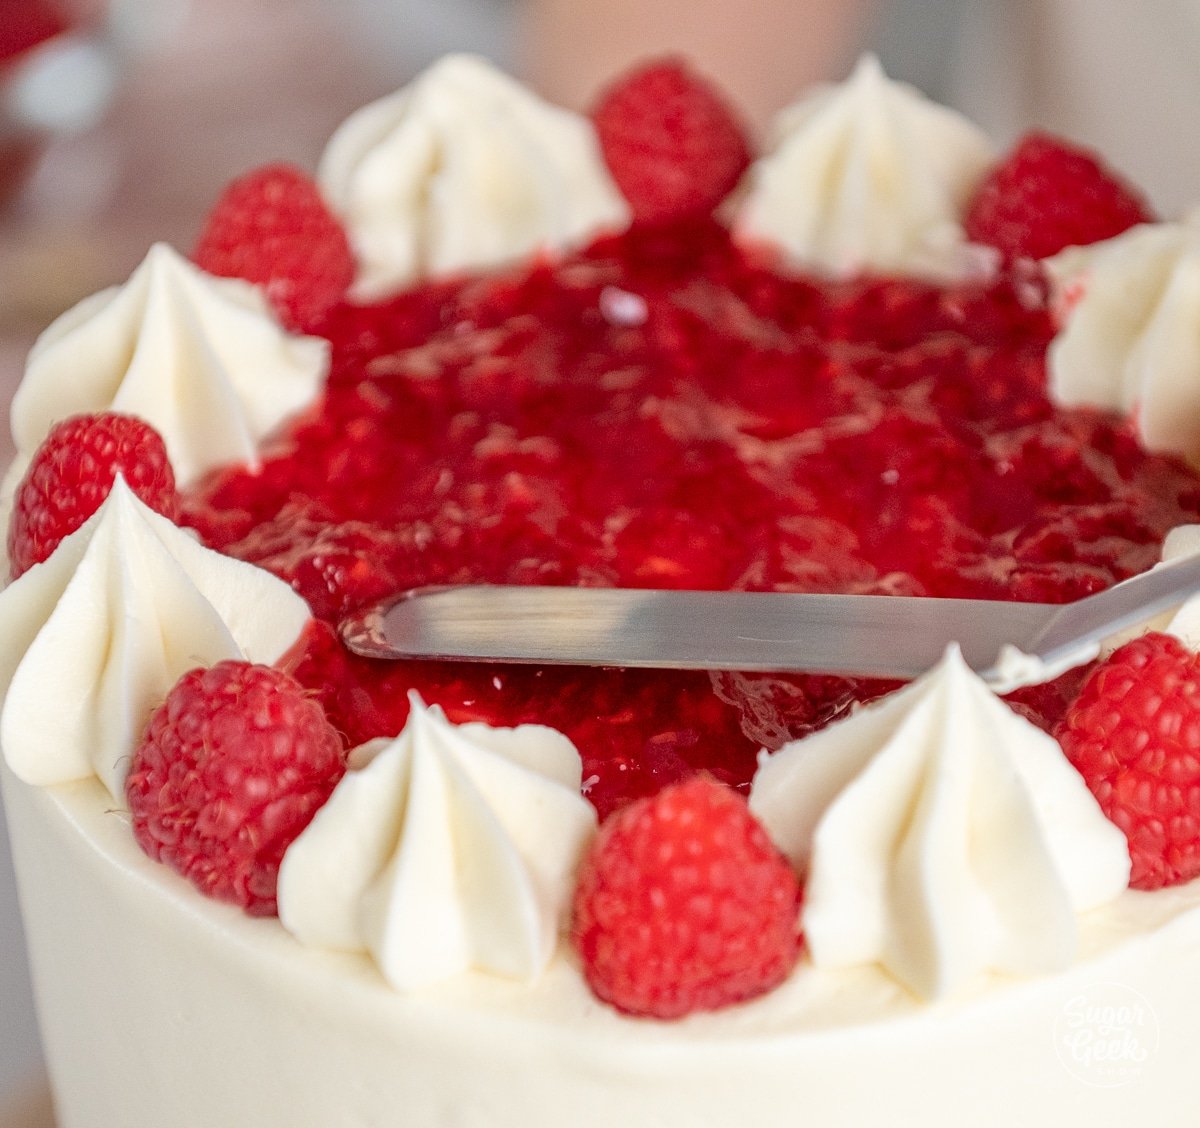
- Pipe dollops of buttercream around the top edge of the cake alternating with a fresh berry, make sure the dollops and berries are touching, creating a dam to keep the raspberry filling in the center. Then fill in the center with your remaining raspberry filling.
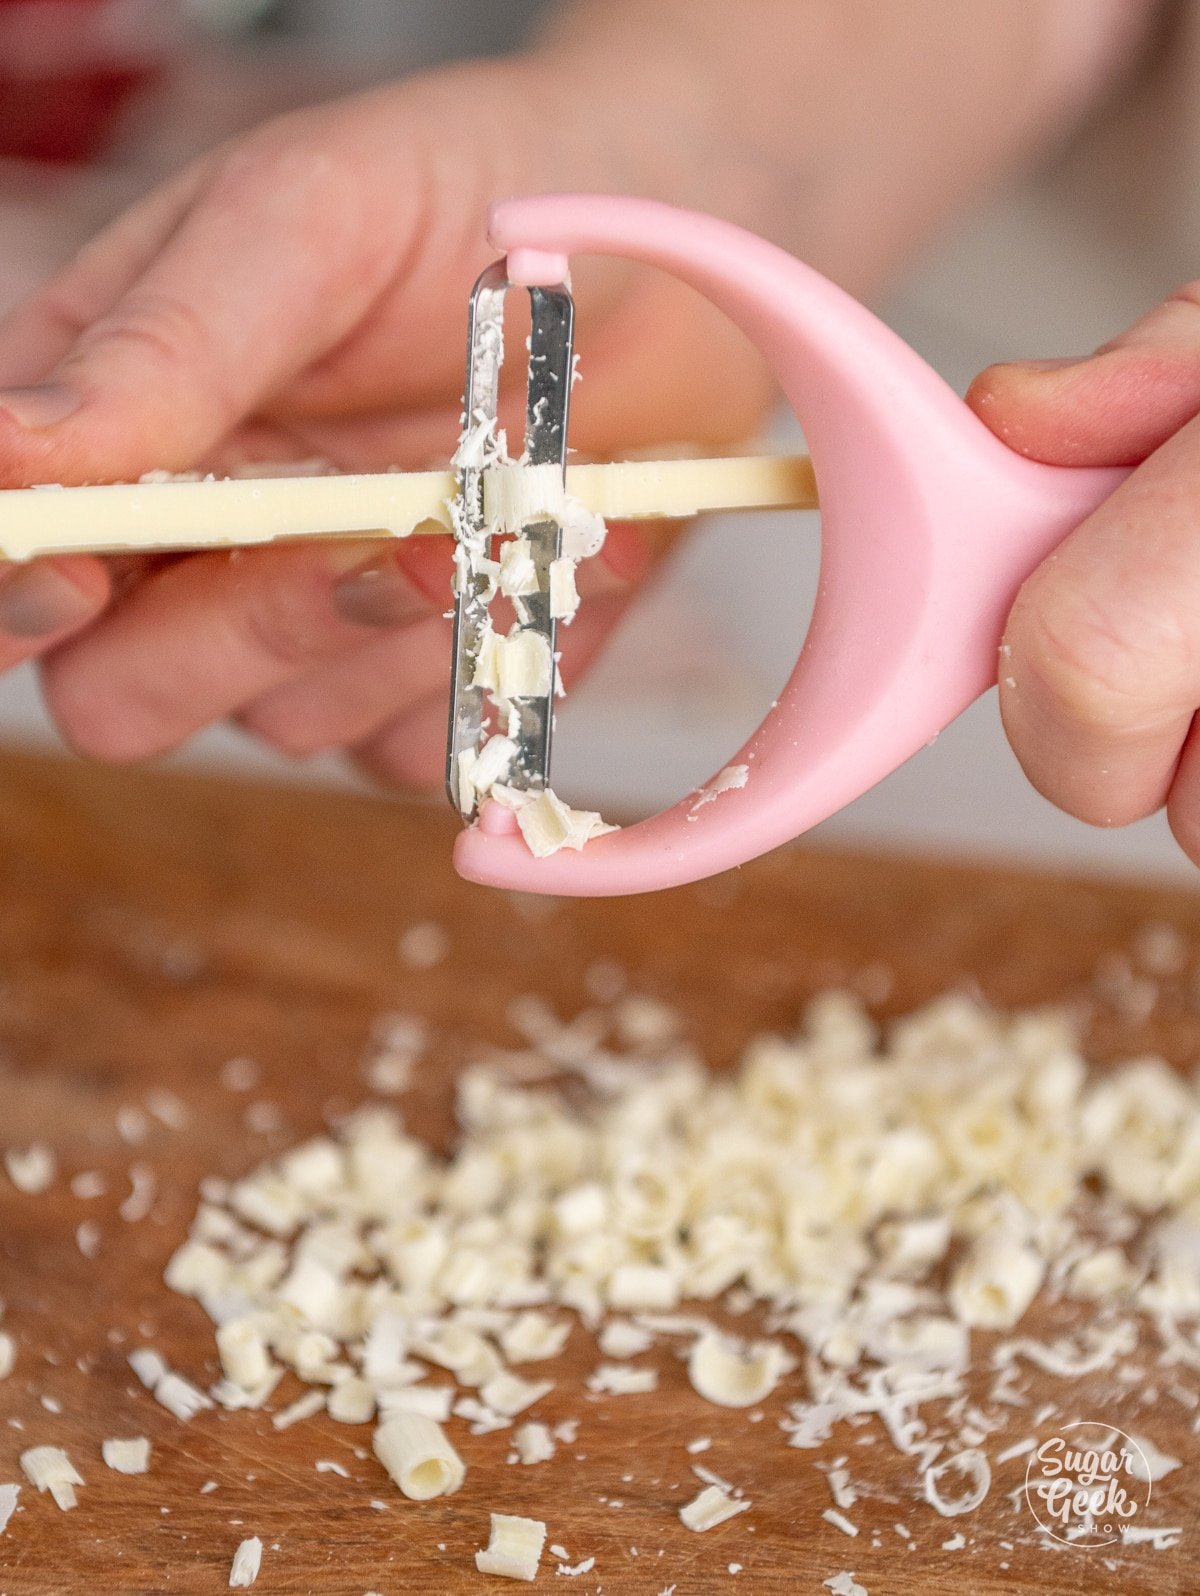
- Shave leftover white chocolate with a potato peeler to create shavings.
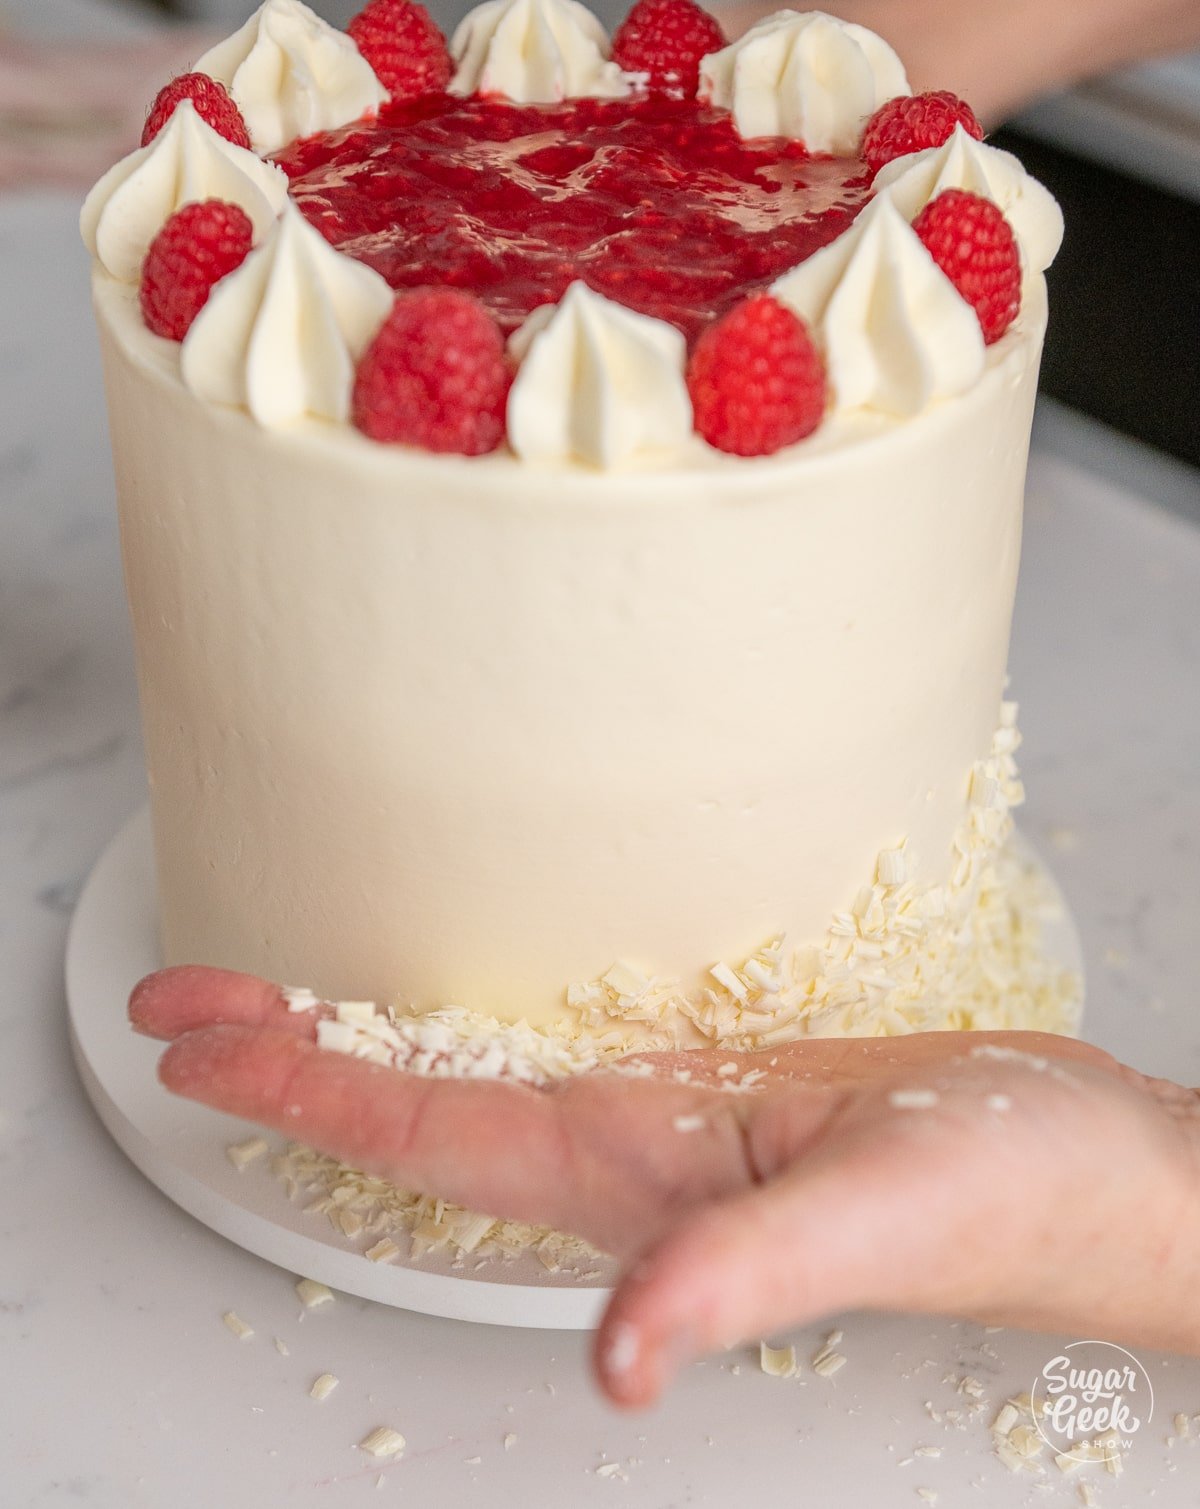
- While the buttercream is still somewhat soft press white chocolate shavings into the sides of the cake.
- Chill the cake for 30 minutes to allow the buttercream to set. The cake can sit out at room temperature for a few hours until you are ready to serve it. It will cut cleaner slices if it is cold, but the flavor will be better at room temperature, especially the white chocolate!
Tips for Baking From Scratch
- Weigh your ingredients to avoid cake failure. Using a kitchen scale for baking is super easy and gives you the best results every single time.
- Make sure all your cold ingredients are room temperature or slightly warm (butter, milk, eggs, to create a cohesive batter. Curdled batter causes cakes to collapse.
- No buttermilk? You can make your own buttermilk
- Need more help with making your first cake? Check out my how to decorate your first cake blog post.
- Make your own pan release (cake goop!) The best pan release ever!
- Chill your cakes before frosting and filling. You can cover a frosted and chilled cake in fondant if you wish. This cake is also great for stacking. I always keep my cakes chilled in the refrigerator before delivery for easy transportation.
FAQ
Then it isn’t really white chocolate, its candy melts. It will not have the same melting behavior or flavor as real white chocolate, so it is recommended to achieve the best possible outcome for this cake.
You can get creative and use any fruit you like! Just make sure you make a filling that is thick enough to not run out of the layers of your cake. This would be a fun cake to experiment with lemon, lime, passion fruit, or strawberry.
No, because of the fat and sugar content of white chocolate, it will alter the balance of the ingredients and the results will not be great. The cake will be too sweet and too heavy due to the added fat and sugar, the recipe needs to be balanced to accommodate added ingredients.
Yes, this cake can be baked in any size pan. You will have to adapt the baking time for each pan, with about 45-55 minutes for a bundt.
Related Recipes
Pistachio Cake with raspberry filling
Recipe

Equipment
- 3 6" x 2" cake pans or two 8"
- 1 Stand Mixer with the paddle and whisk attachments
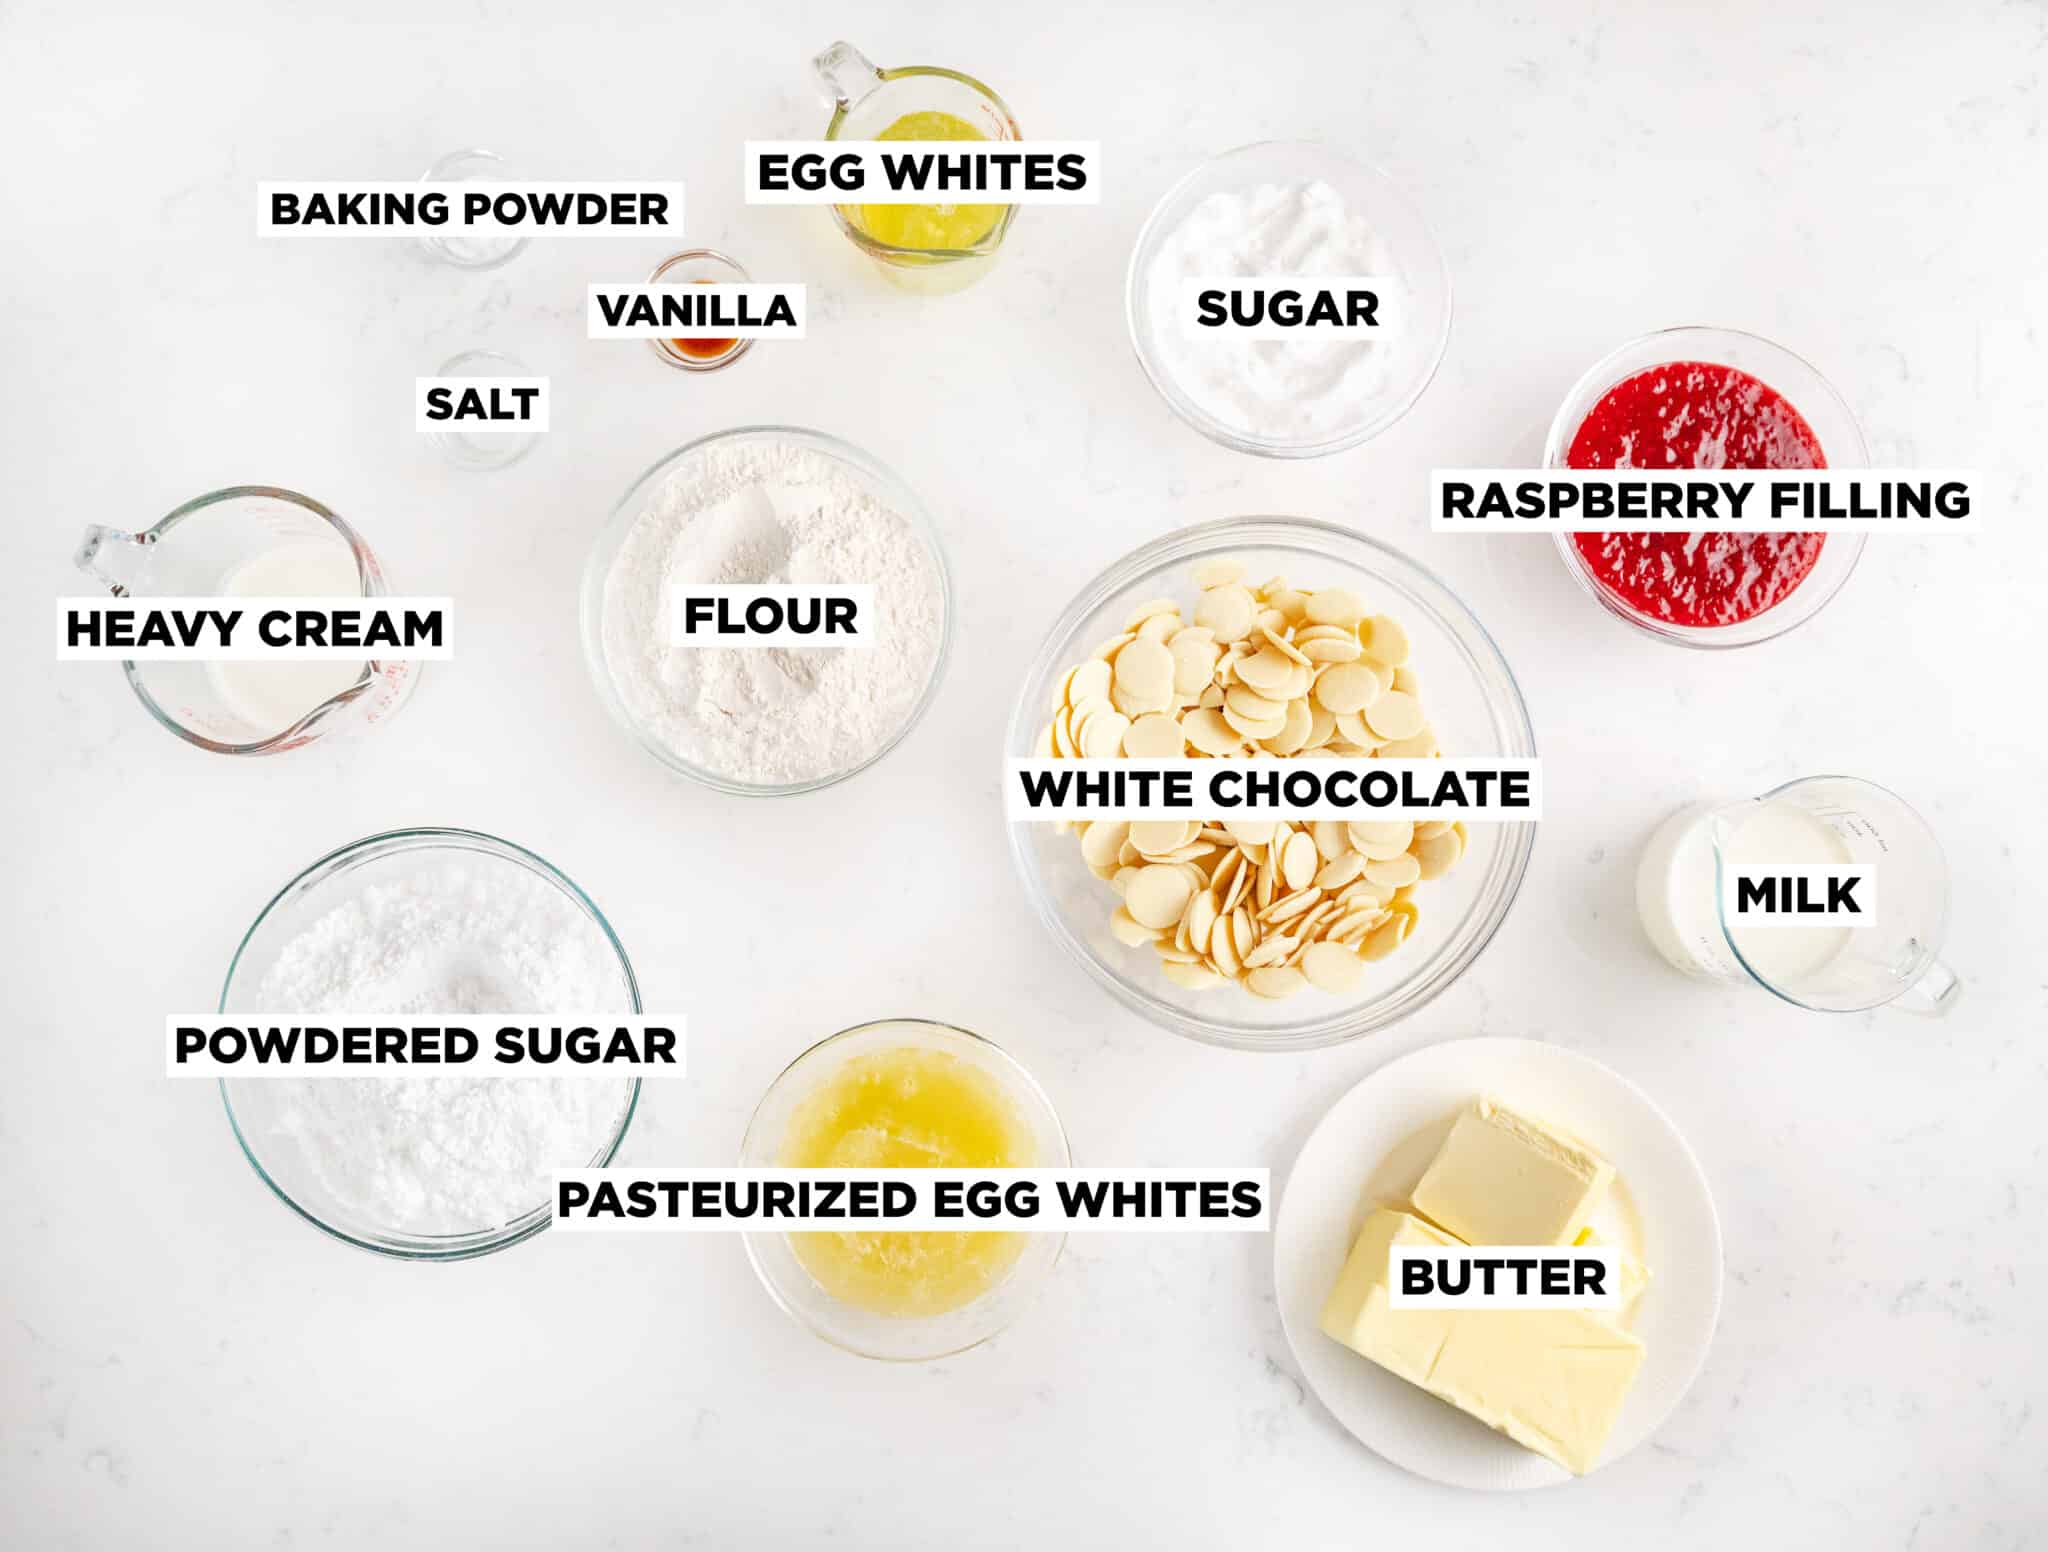
Ingredients
White chocolate cake
- 10 ounces whole milk room temperature
- 6 ounces white chocolate
- 1 teaspoon vanilla extract
- 14 ounces all purpose flour
- 2 ½ teaspoons baking powder
- ½ teaspoon salt
- 6 ounces unsalted butter softened
- 12 ounces granulated sugar
- 6 large fresh egg whites not boxed, room temperature
Raspberry filling
- 12 ounces fresh or frozen raspberries (3 cups)
- 5 ounces granulated sugar (¾ cup)
- 2 Tablespoons cornstarch or clear jel
- 1 ounce cold water (2 Tablespoons)
- 1 Tablespoon fresh lemon juice
- 1 whole lemon zest
White chocolate ganache
- 24 ounces white chocolate
- 8 ounces heavy whipping cream
White chocolate buttercream
- 6 ounces pasteurized egg whites
- 20 ounces powdered sugar sifted if not from a bag
- 24 ounces unsalted butter softened
- 2 teaspoons vanilla extract
- ½ teaspoon salt
- 1 ½ cups white chocolate ganache either freshly made or warmed up to a pourable consistency
Instructions
Making White Chocolate Cake
- Preheat your oven to 335ºF and prepare three, 6-inch cake pans with cake goop or another preferred pan release. You can also use two, 8-inch cake pans.
- Heat the milk in the microwave and then add your chopped white chocolate to the milk. Let it sit for 5 minutes.
- Microwave in 10-second increments until the chocolate is melted, then whisk until all the chocolate is melted into the milk.
- Add the vanilla extract and set aside allowing the white chocolate milk to cool down to just above room temperature. It doesn’t take a lot of heat to melt white chocolate, so just be patient as it melts into the milk.
- In a large mixing bowl, combine your flour, baking powder, and salt, whisk briefly and set aside.
- Place the butter and sugar in a stand mixer with a paddle attachment and cream it until light and fluffy, about 1 to 2 minutes. Scrape the bottom of the bowl.
- Add the egg whites one at a time to the butter mixture while mixing on medium speed and let each fully combine before adding the next. Make sure your egg whites are just above room temperature, as cold egg whites will curdle the batter.
- Add ⅓ of your dry flour mixture to the bowl and mix on low speed until just combined.
- Then add ½ of your wet ingredients, then alternate adding the rest of the dry and liquids and mix until combined.
- Divide the batter into the prepared cake pans. Pro-tip: To get even layers, use a food scale to make sure the batter is divided evenly.
- Bake the cakes at 335º F for 25-35 minutes or until a toothpick comes out clean when poked in the center.
- Let the cake layers cool for ten minutes and then turn them out onto a wire cooling rack. Wrap the cakes in plastic wrap while they're still warm and place them into the freezer to flash chill. This locks in the moisture.
- Once they're cold but not frozen you can then trim off the brown edges of your cakes. This is optional but makes for really pretty layers.
Making Raspberry Filling
- Add the raspberries and sugar to a medium-sized saucepan over medium heat.
- Heat the raspberry puree until it begins to bubble. Increase the heat to medium-high heat if needed.
- In a small bowl, combine the water and the Clear-Jel (or cornstarch) and mix until smooth. Don't just add the Clear-Jel (or cornstarch) directly to the hot liquid or you'll end up with lumps of thickener in your filling.
- Add the Clear-Jel mixture (or cornstarch slurry) to the hot liquid and mix for one more minute to thicken the mixture.
- Add in the lemon juice and zest and continue cooking for one more minute.
- Transfer the mixture to a heat-proof container and cover it with plastic wrap (so that it's touching the surface) and allow it to cool to room temperature or place it into the refrigerator to cool before using it.
Making White Chocolate Ganache
- If using a bar, chop the white chocolate with a knife into smaller pieces.
- Microwave the chocolate in a microwave-safe bowl for 1 minute to soften.
- Bring the heavy whipping cream to a simmer in a pot over the stove.
- Pour the warm cream over the chocolate and make sure all of the chocolate is fully covered, then set for 5 minutes.
- Whisk gently to combine the cream and chocolate until it comes together and is smooth and creamy. If the chocolate isn't fully melted, microwave it in 30-second increments. Set the ganache aside to use in the buttercream and the cake layers.
Making White Chocolate Buttercream
- Place the pasteurized egg whites and powdered sugar in a stand mixer bowl. Attach the whisk and combine the ingredients on low, then whip on high for 1-2 minutes to dissolve the powdered sugar.
- Add in the salt and vanilla extract.
- Add the butter in chunks and whip with the whisk attachment for about 8 to 10 minutes until light and fluffy. It will look curdled at first. This is normal. It will also look pretty yellow. Keep whipping.
- If your buttercream looks curdled, remove about ⅓ cup of buttercream and melt it in the microwave for 10 to 15 seconds until JUST barely melted. Pour it back into the whipping buttercream to bring it all together.
- Add in the warm or room temperature ganache, if it's slightly warm it will help emulsify the buttercream.
- Whip the buttercream on high with the whisk attachment for 2 minutes until it's very white, light, and shiny. If it tastes more like white chocolate than butter then it is ready to go!
- Switch to a paddle attachment and mix on low for 15-20 minutes to make the buttercream very smooth and remove air bubbles. This isn't required but if you want really creamy frosting, you don't want to skip it.
Assembling and Decorating the Cake
- Once your cake layers are very cold (or partially thawed if frozen) and trimmed, place your first layer on a cake board and coat the layer with a thin layer of white chocolate ganache.
- Cover the ganache with a thin layer of white chocolate buttercream and then pipe a dam around the cake edge, making a pool to fill with your raspberry filling.
- Carefully fill the pool with raspberry filling, and take it easy on the amount because as you add more layers on top, the weight can squeeze the filling out and cause leaks on the sides of your cake.
- Spread a thin layer of buttercream on the next layer of cake that you are going to put on top of the raspberry, I do this so the raspberry doesn’t soak into the top layer. It’s not totally necessary, I just choose to do this because I like the way it looks when I cut it.
- Repeat the layering process for the next two layers of cake, ganache, buttercream dam, and raspberry filling.
- Give the cake an even crumb coat with your offset spatula and place it in the freezer to chill and firm up before moving on to the final coating and decorating.
- Once the cake is firm to the touch, apply the final coating of white chocolate frosting and smooth it with a cake scraper, place the cake on the serving board.
- Pipe dollops of buttercream around the top edge of the cake alternating with a fresh berry, make sure the dollops and berries are touching, creating a dam to keep the raspberry filling in the center. Then fill in the center with your remaining raspberry filling.
- Shave leftover white chocolate with a potato peeler to create shavings.
- While the buttercream is still somewhat soft press white chocolate shavings into the sides of the cake.
- Chill the cake for 30 minutes to allow the buttercream to set. The cake can sit out at room temperature for a few hours until you are ready to serve it. It will cut cleaner slices if it is cold, but the flavor will be better at room temperature, especially the white chocolate!
Notes
- Make sure the white chocolate you're using has cocoa butter as an ingredient in it. (I like Lindt chocolate bars!)
- Bring all your ingredients to room temperature or even a little warm (eggs, buttermilk, butter, etc) to ensure your batter does not break or curdle.
- Use a scale to weigh your ingredients (including liquids) unless otherwise instructed (Tablespoons, teaspoons, pinch etc). Metric measurements are available in the recipe card. Scaled ingredients are much more accurate than using cups and help ensure the success of your recipe.
- Practice Mise en Place (everything in it’s place). Measure out your ingredients ahead of time and have them ready before you start mixing to reduce the chances of accidentally leaving something out.
- Chill your cakes before frosting and filling. You can cover a frosted and chilled cake in fondant if you wish. This cake is also great for stacking. I always keep my cakes chilled in the refrigerator before delivery for easy transporting.
- Pasteurized egg whites are heat treated, often come in a box, and are safe to eat without cooking. If you only have access to fresh egg whites, try making Swiss meringue buttercream instead and adding white chocolate ganache to that.




Fonnie says
I made this cake two years ago for my wedding. Doubled it for a 3 layer 12 inch round and it was absolutely divine. Our guests came back for seconds, which is rare at a wedding and were shocked I made it myself. It’s my second anniversary and I’ve made a half version of this two times and my husband and I look forward to it. A plus recipe it’s so perfect.