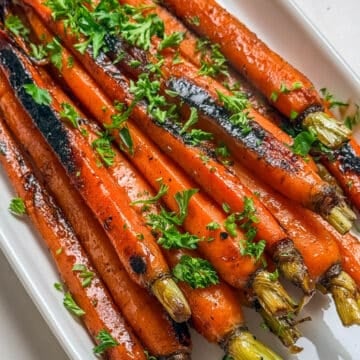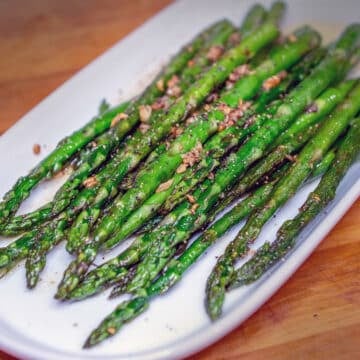
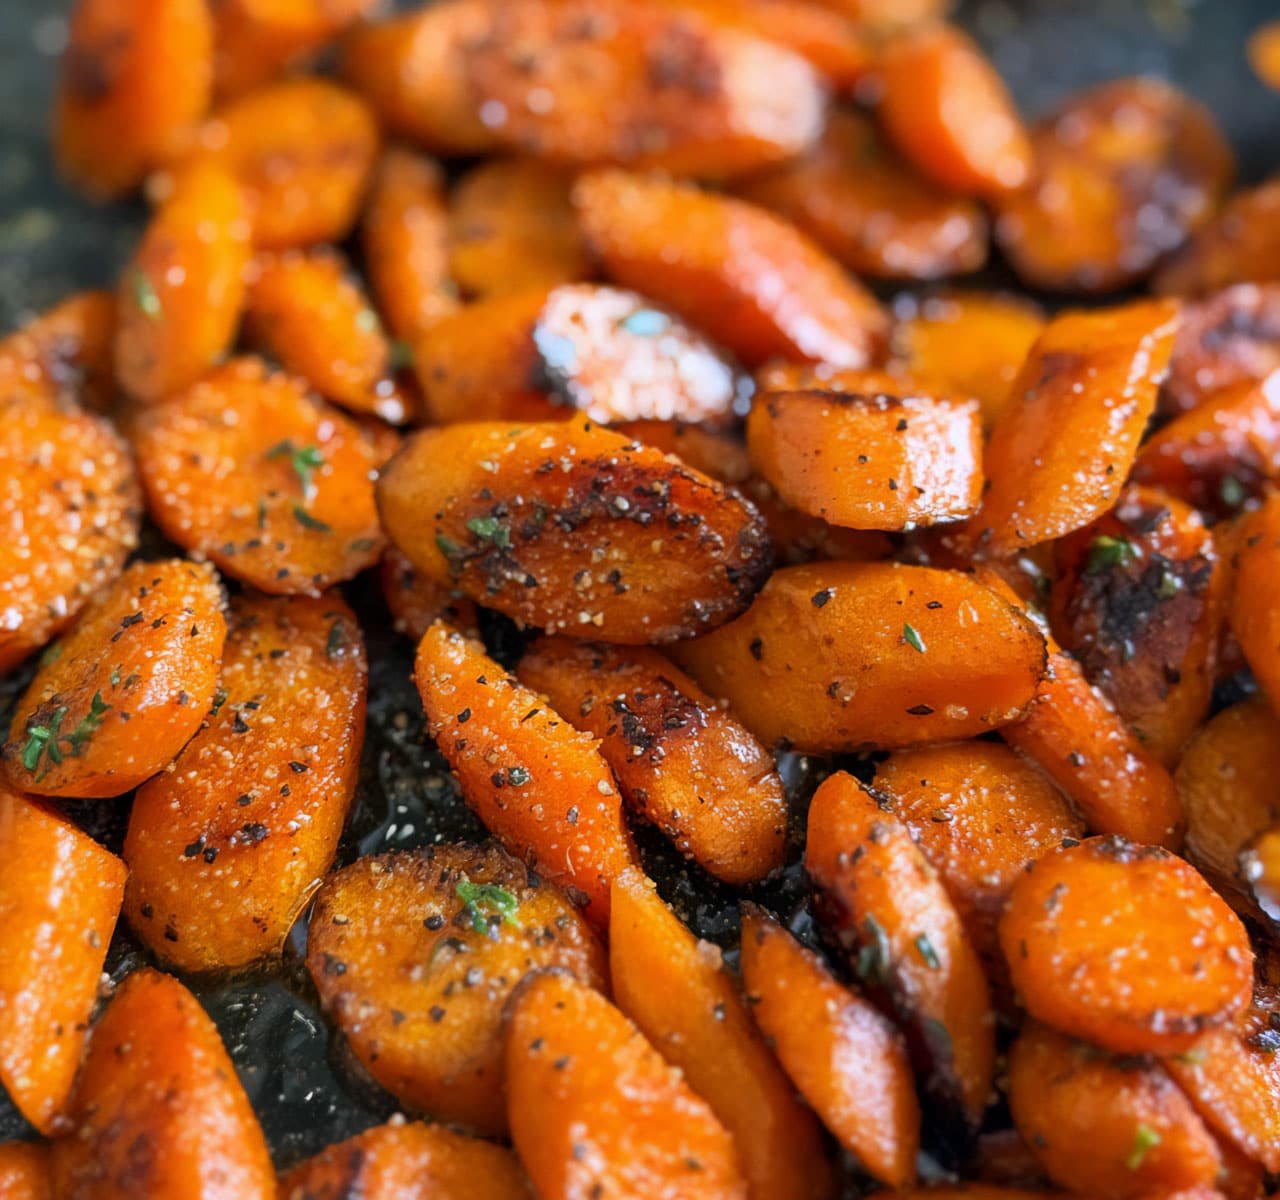
This buttery sautéed carrots recipe is one of the easiest ways to turn a handful of ingredients into a healthy side dish that tastes like it came straight from a restaurant. The natural sweetness of the carrots intensifies as they cook in a small amount of oil and unsalted butter, becoming glossy, tender, and full of flavor. It's a great way to bring some color to the dinner table, and it pairs perfectly with almost any main dishes - especially roasted chicken or grilled steak.
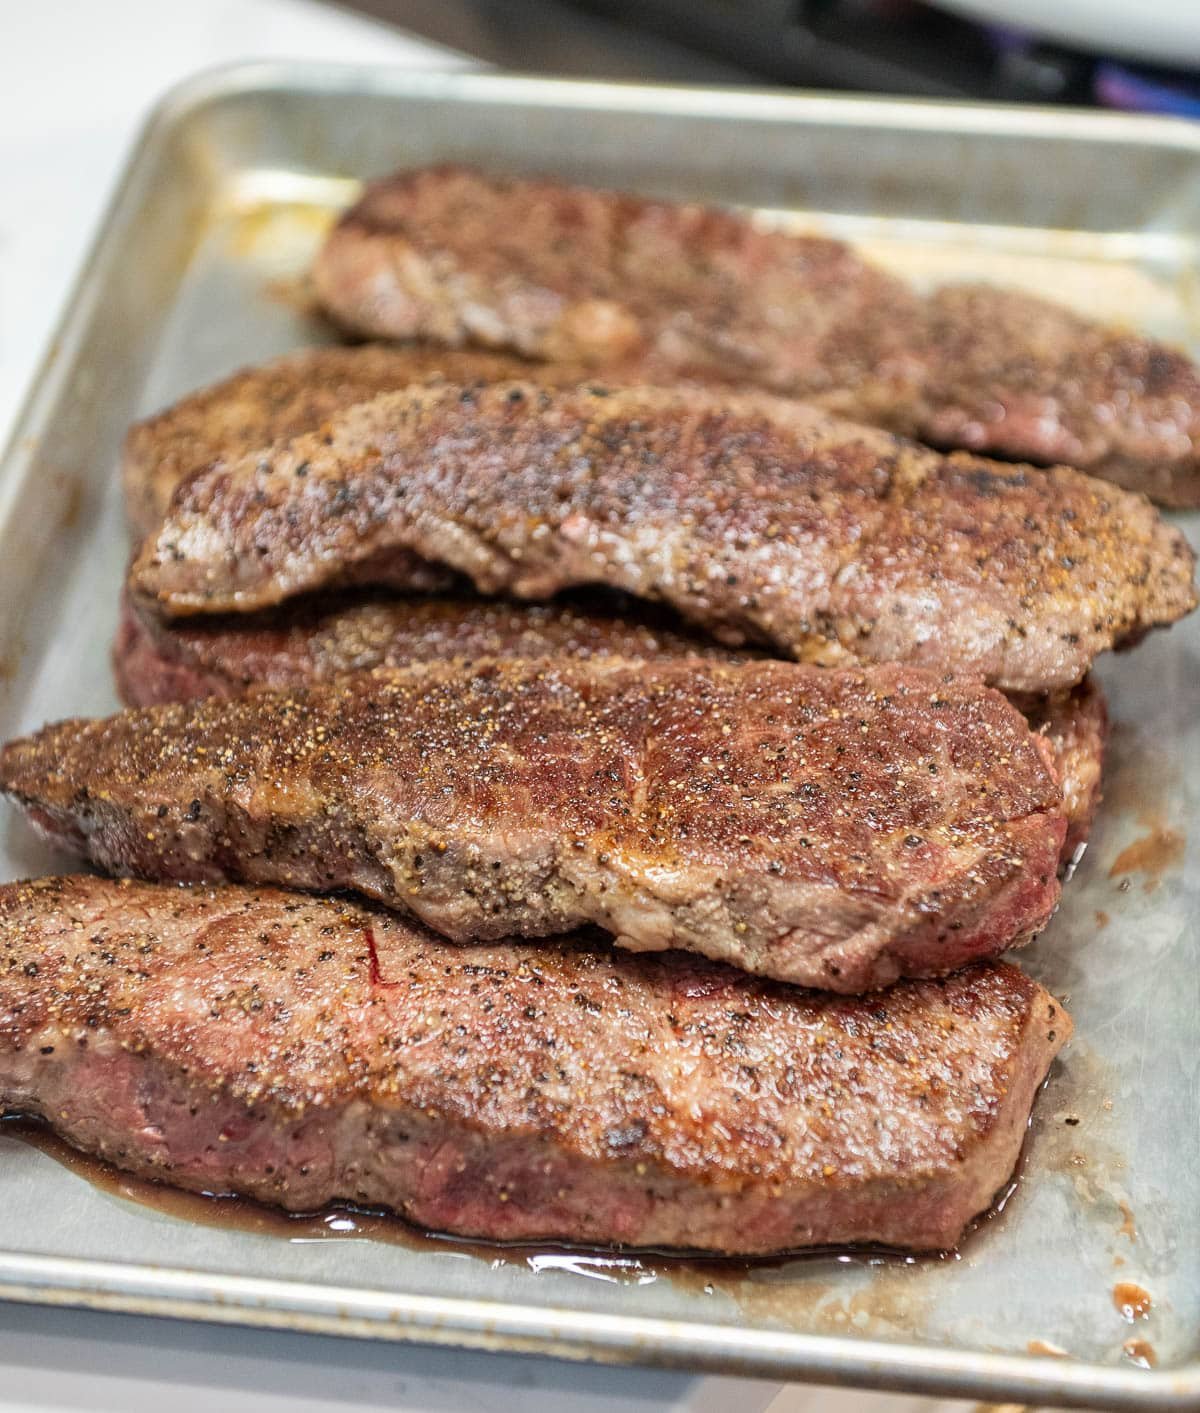
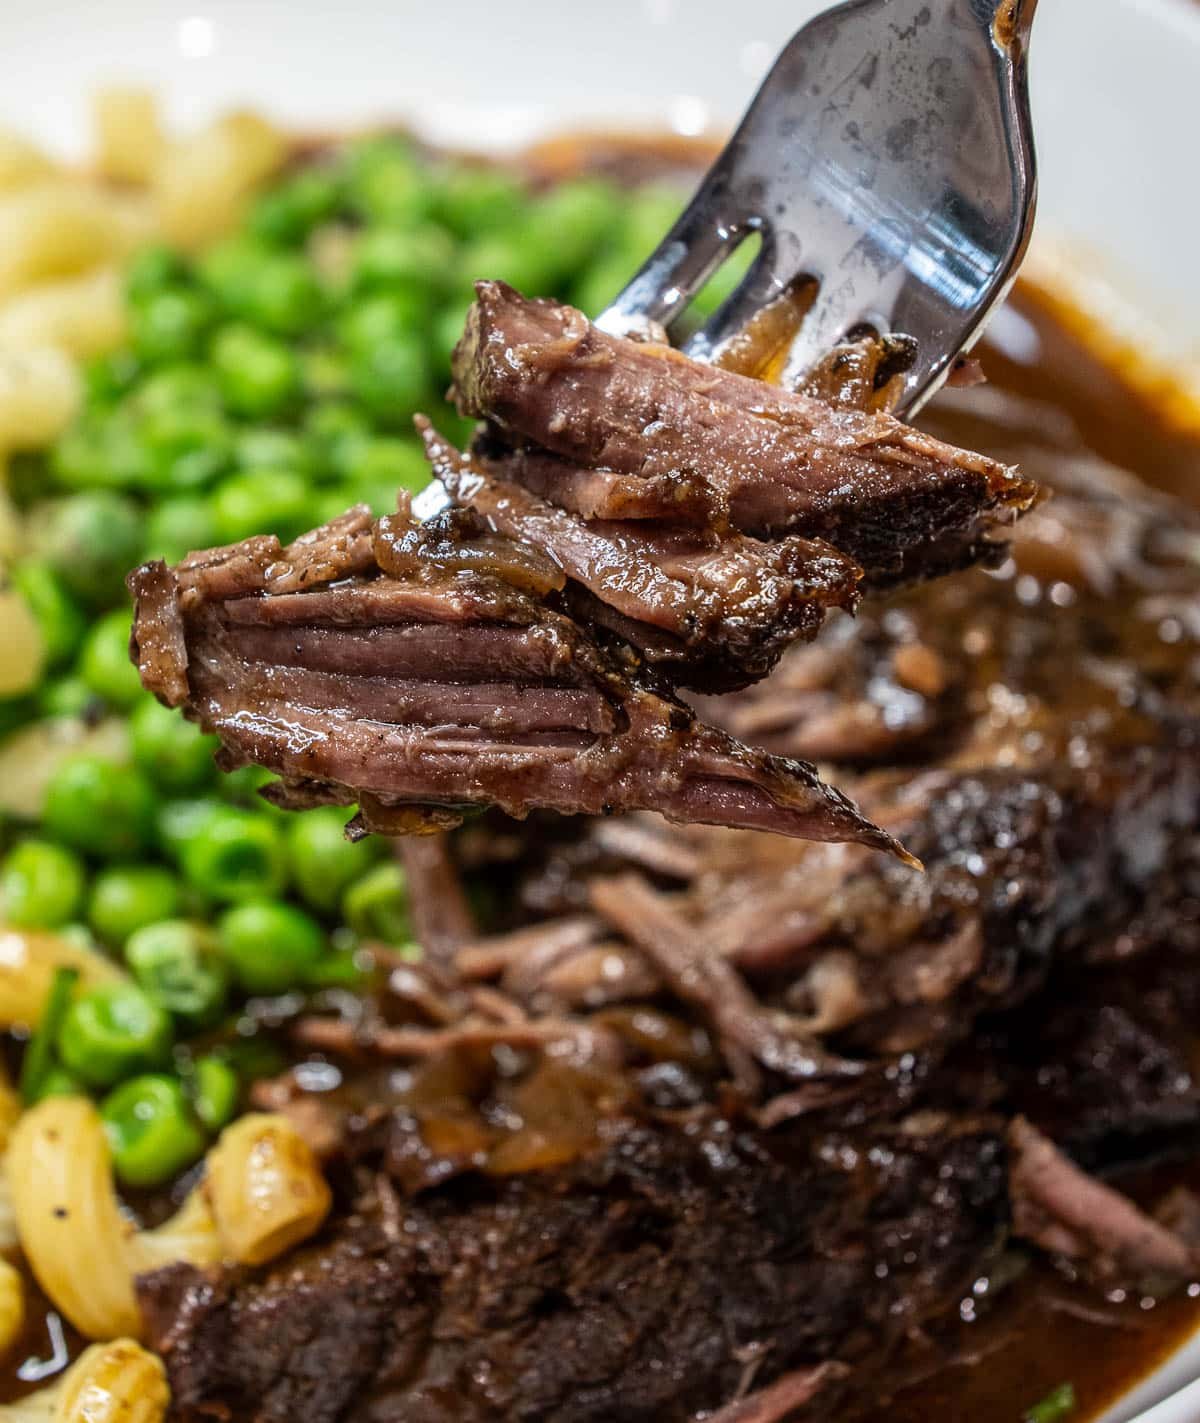
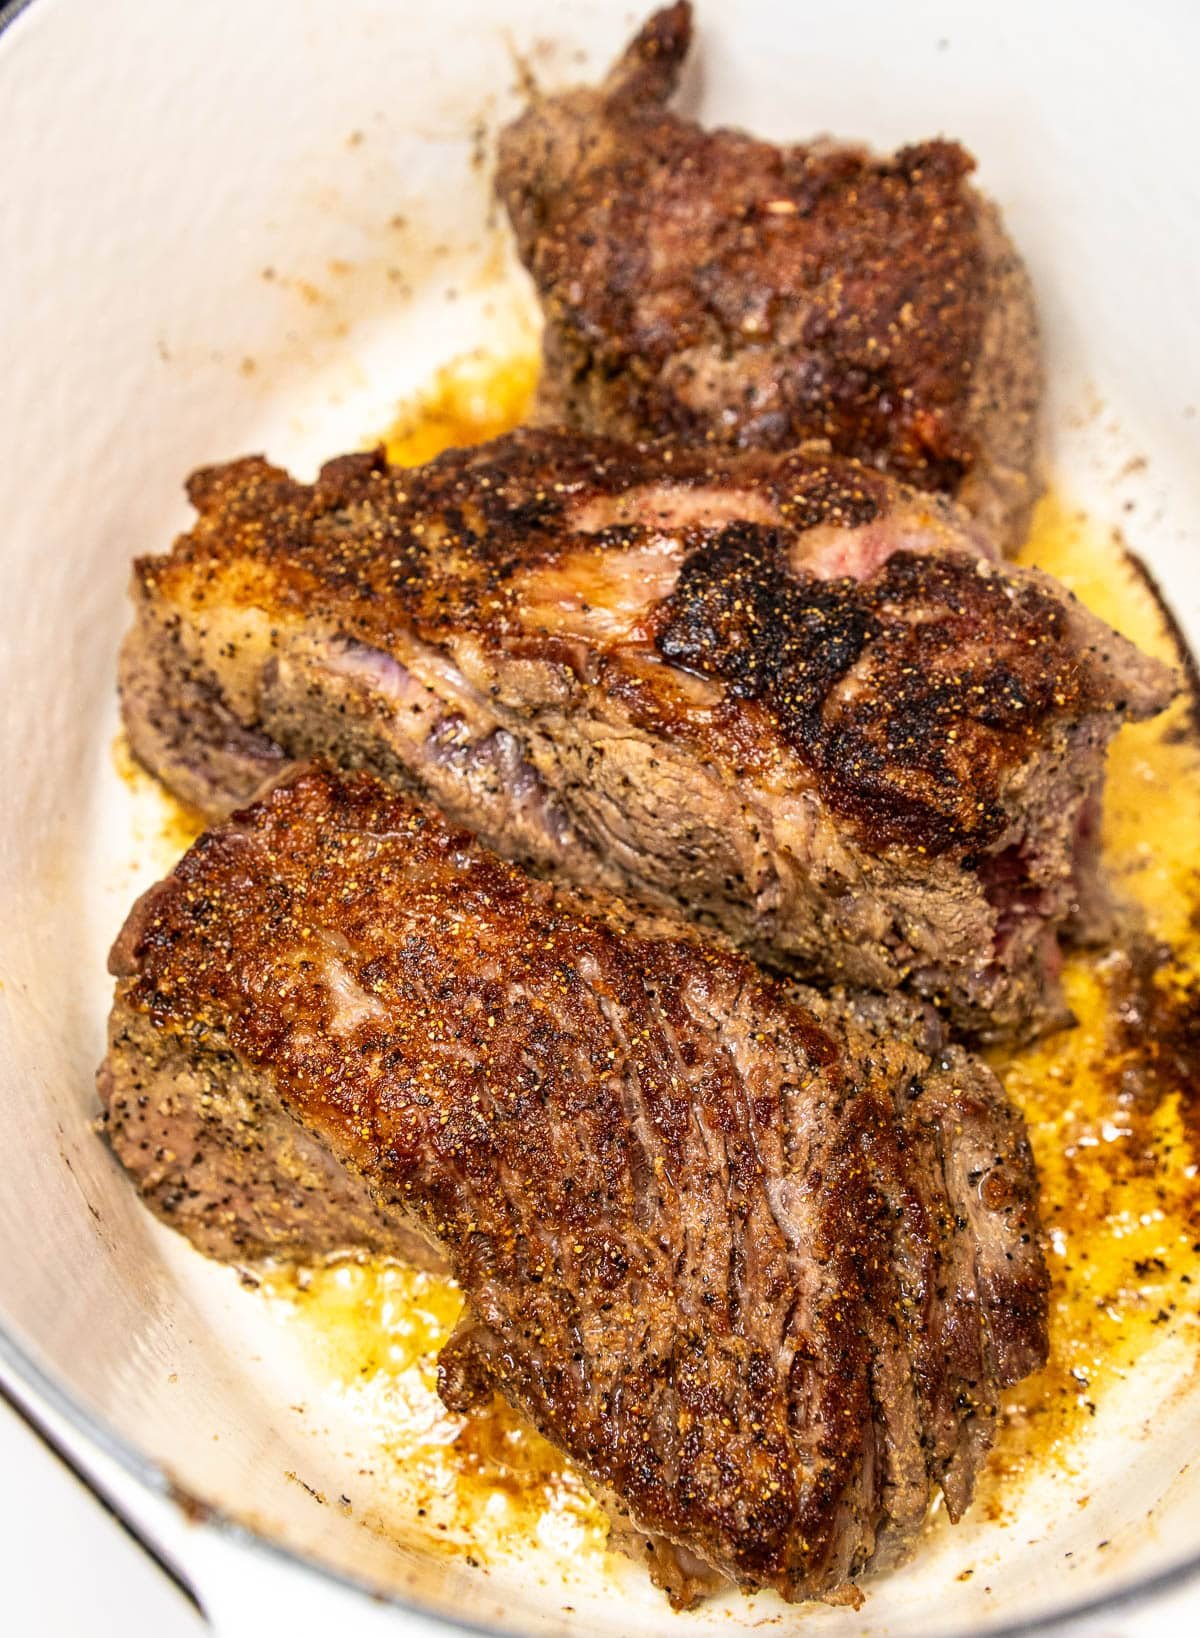
I started making these on a busy night when I wanted something quick, comforting, and still healthy. I had a bag of fresh carrots that were just begging to be used, and I figured a quick cooking technique like sautéing would be the healthiest way to preserve their nutrients while bringing out that beautiful sweetness. Once I realized how much extra flavor you can add with a drizzle of maple syrup or orange juice and a sprinkle of fresh herbs like fresh thyme or fresh parsley, it became my go-to side for holiday meals and weeknight dinners alike. Carrots are also one of the star ingredients in my Instant Pot pot roast - cooked separately in the searing pan so they get golden and caramelized instead of turning to mush.
What's In This Blog Post?
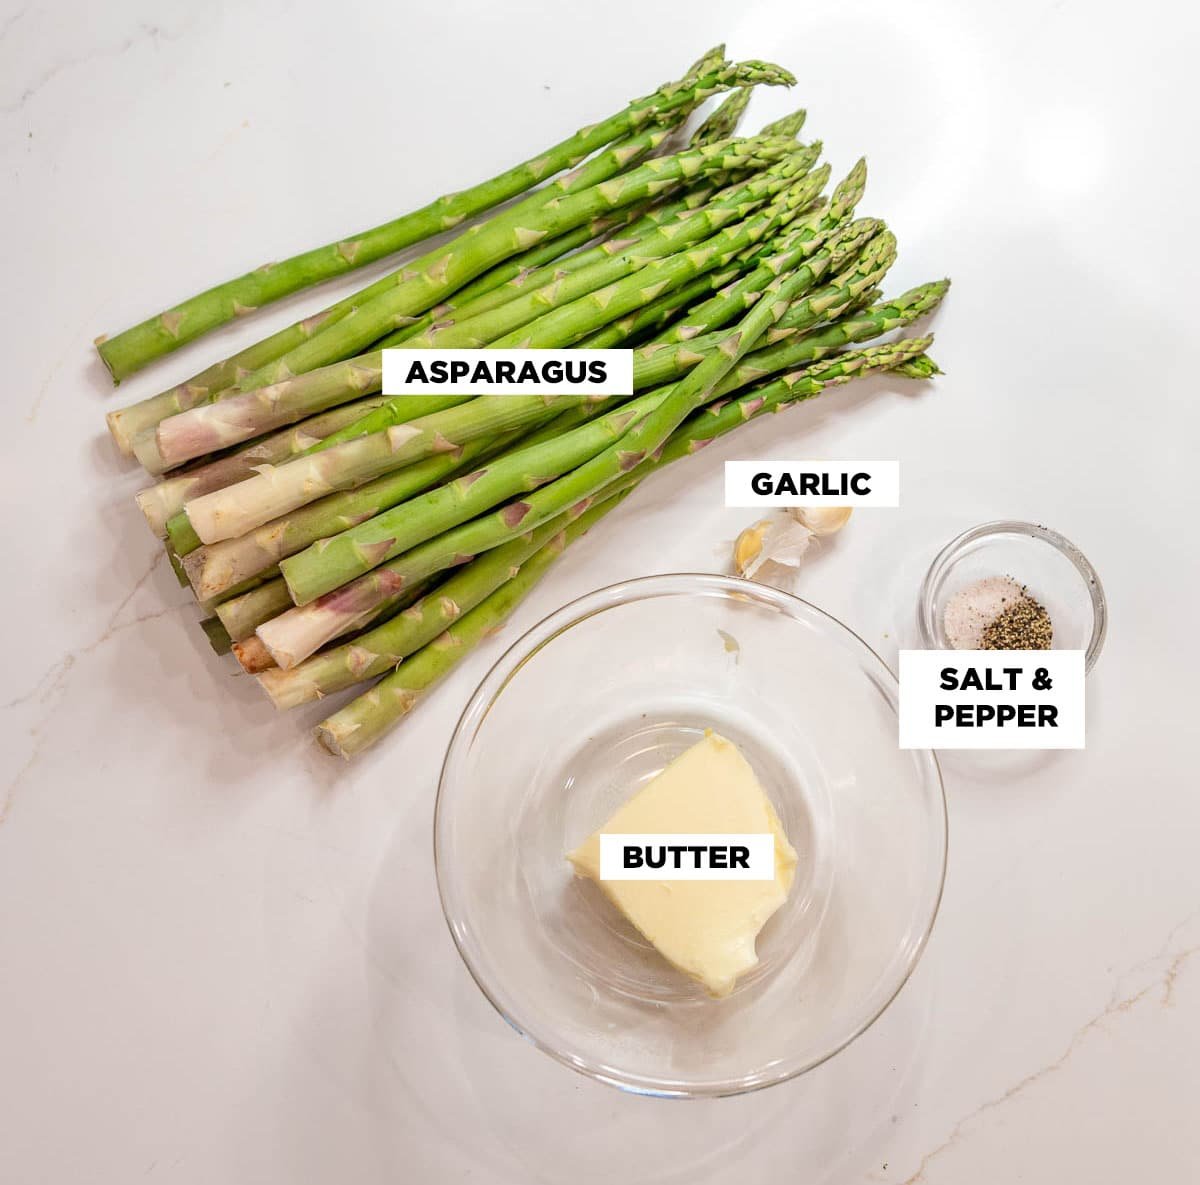
Ingredients Needed
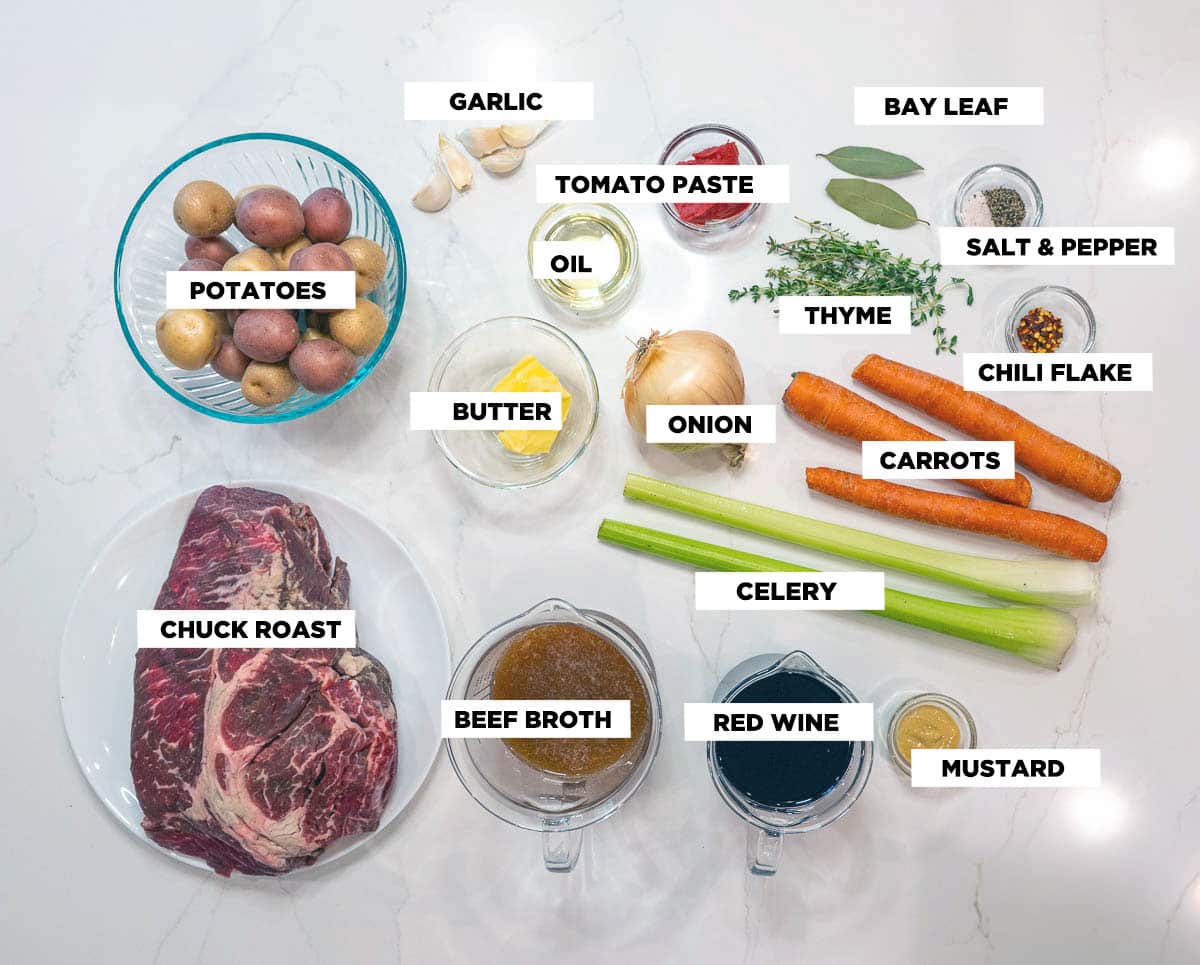
These sautéed carrots come together with everyday ingredients you probably already have on hand. Here's what you'll need to create that perfect balance of sweetness, color, and flavor.
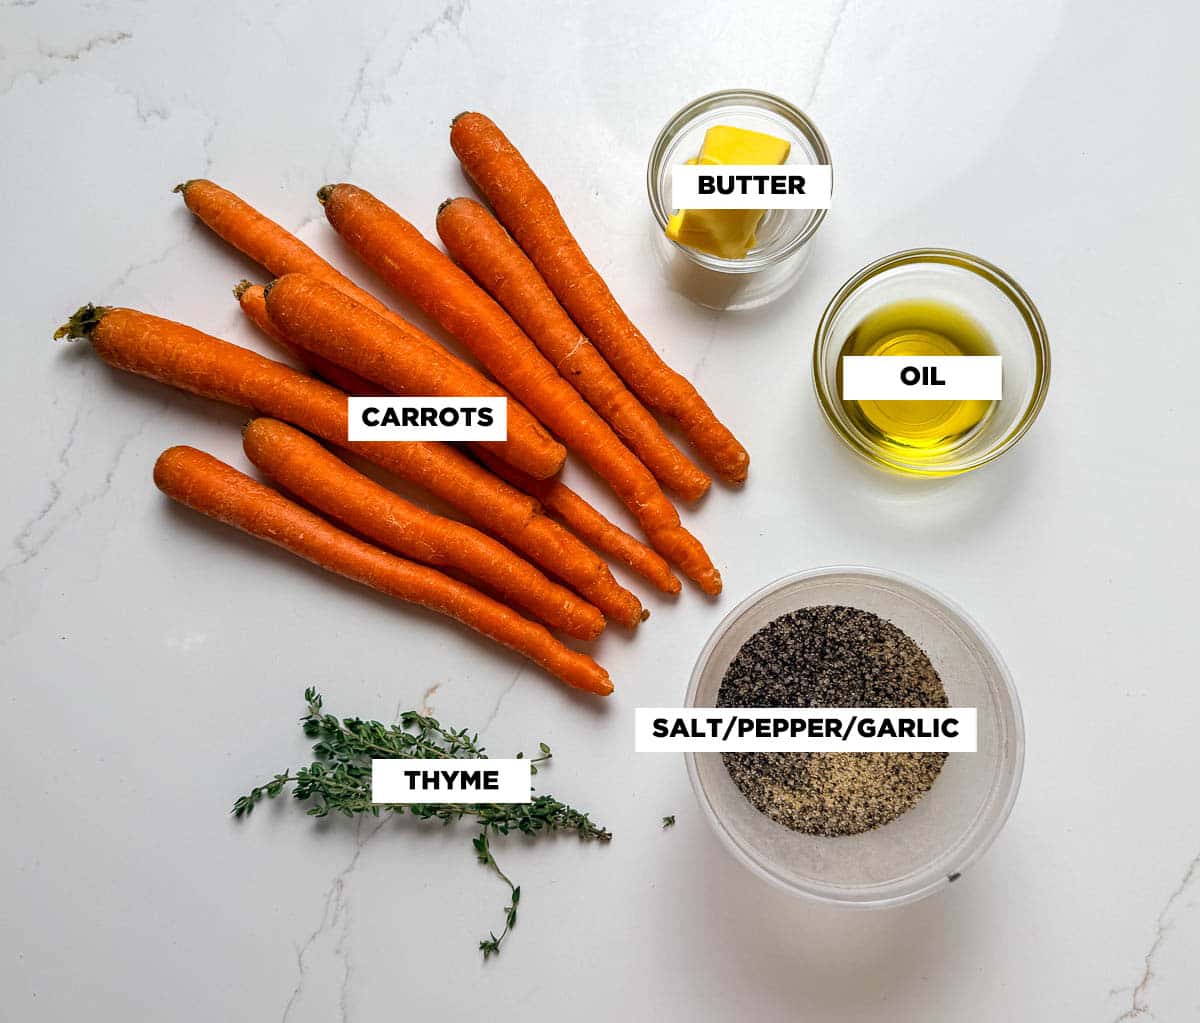
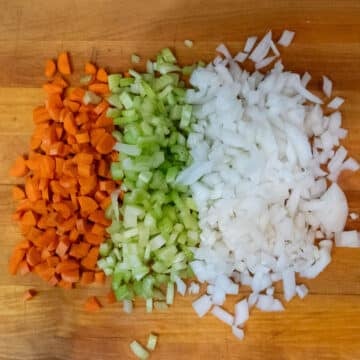
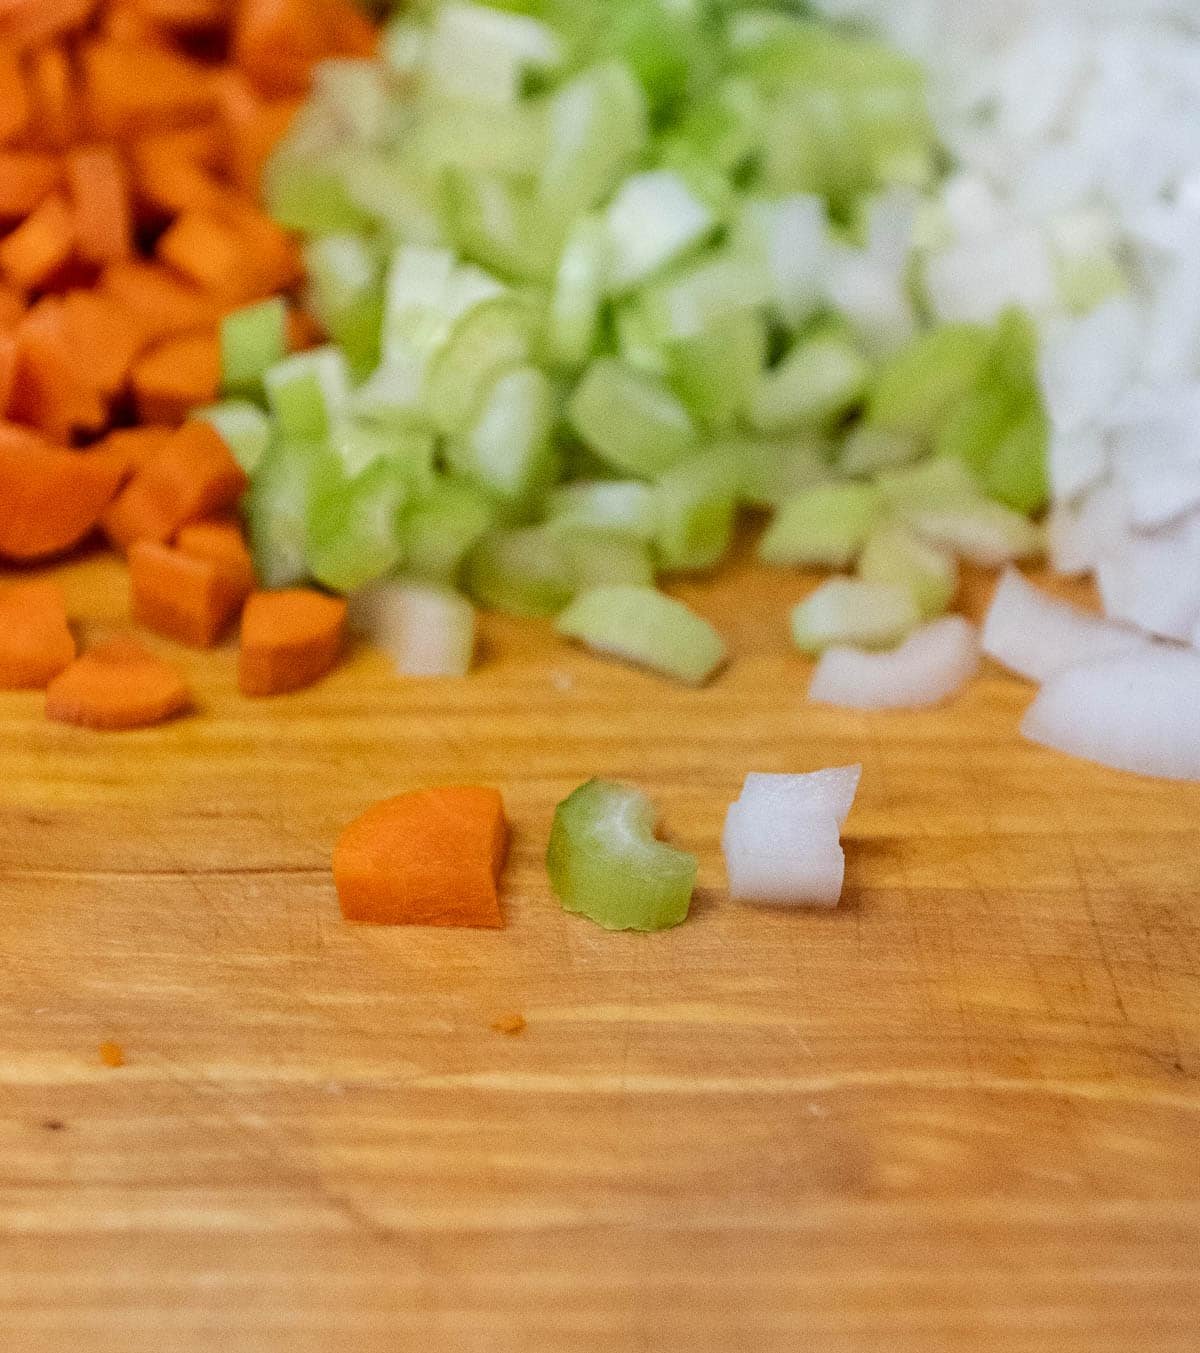
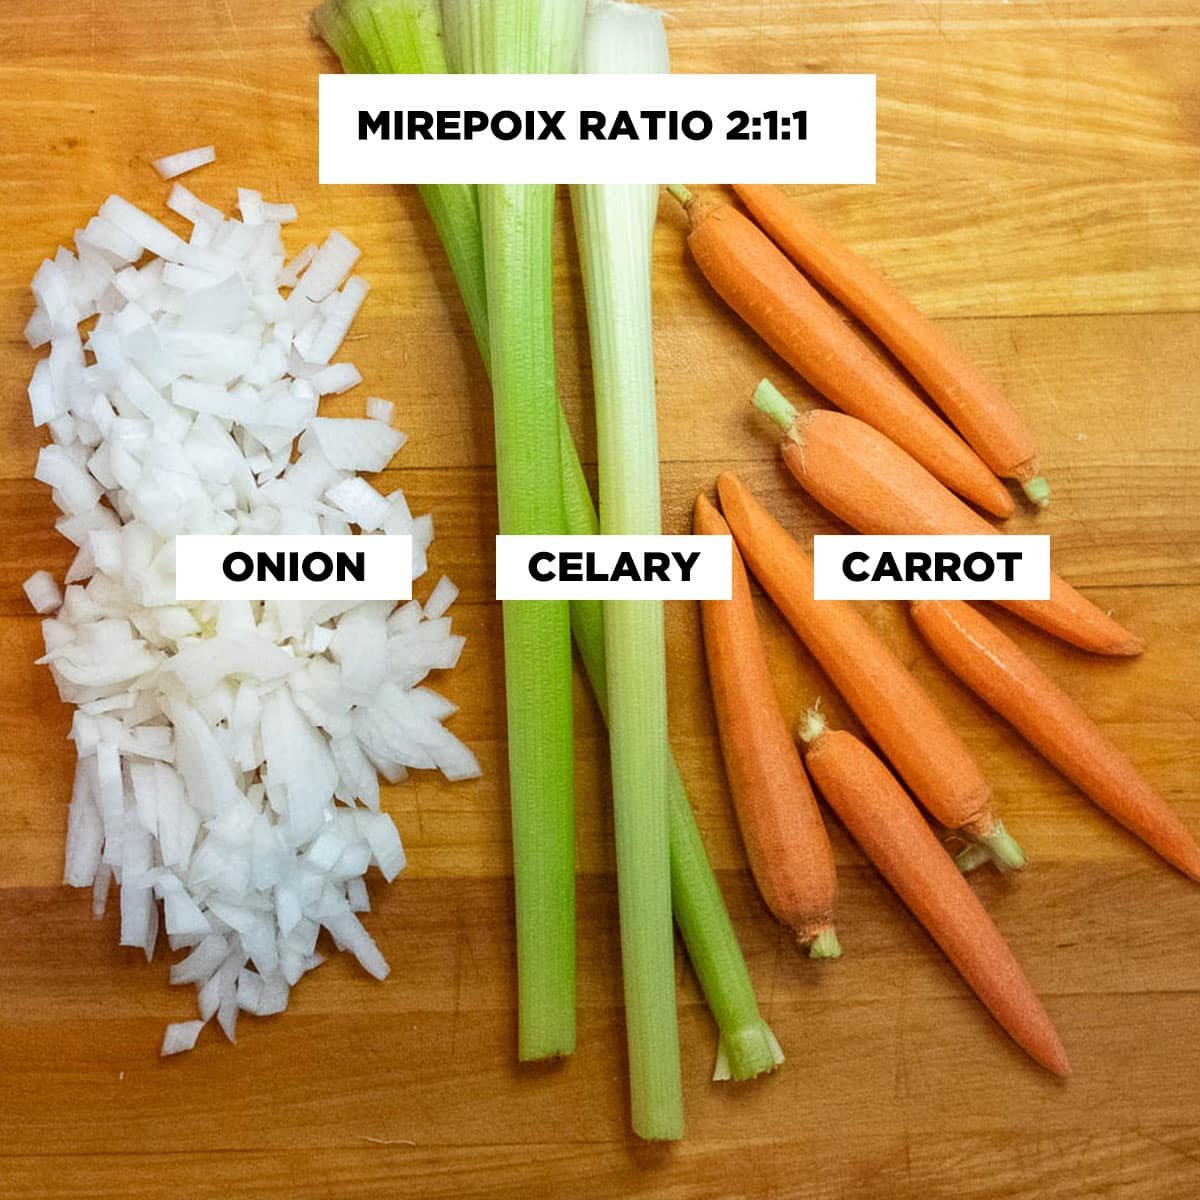
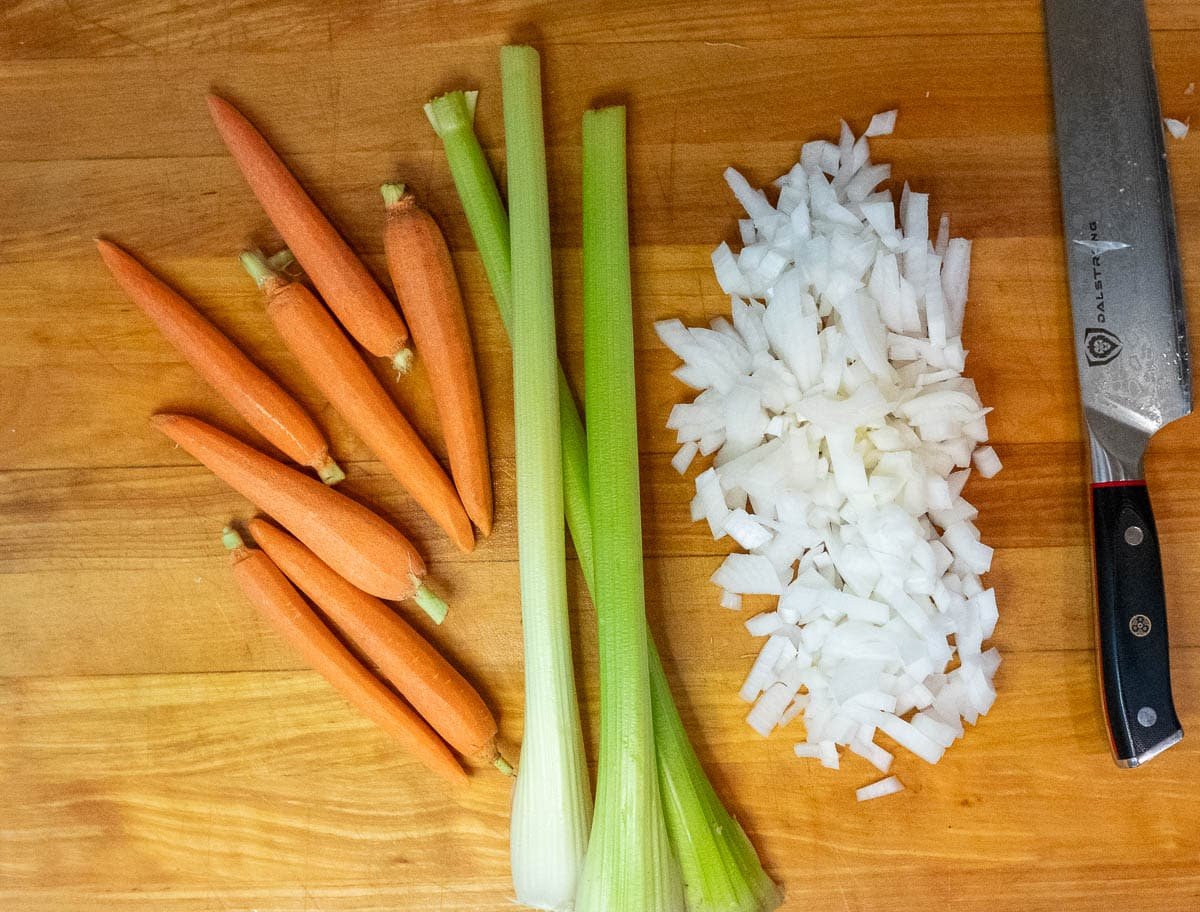
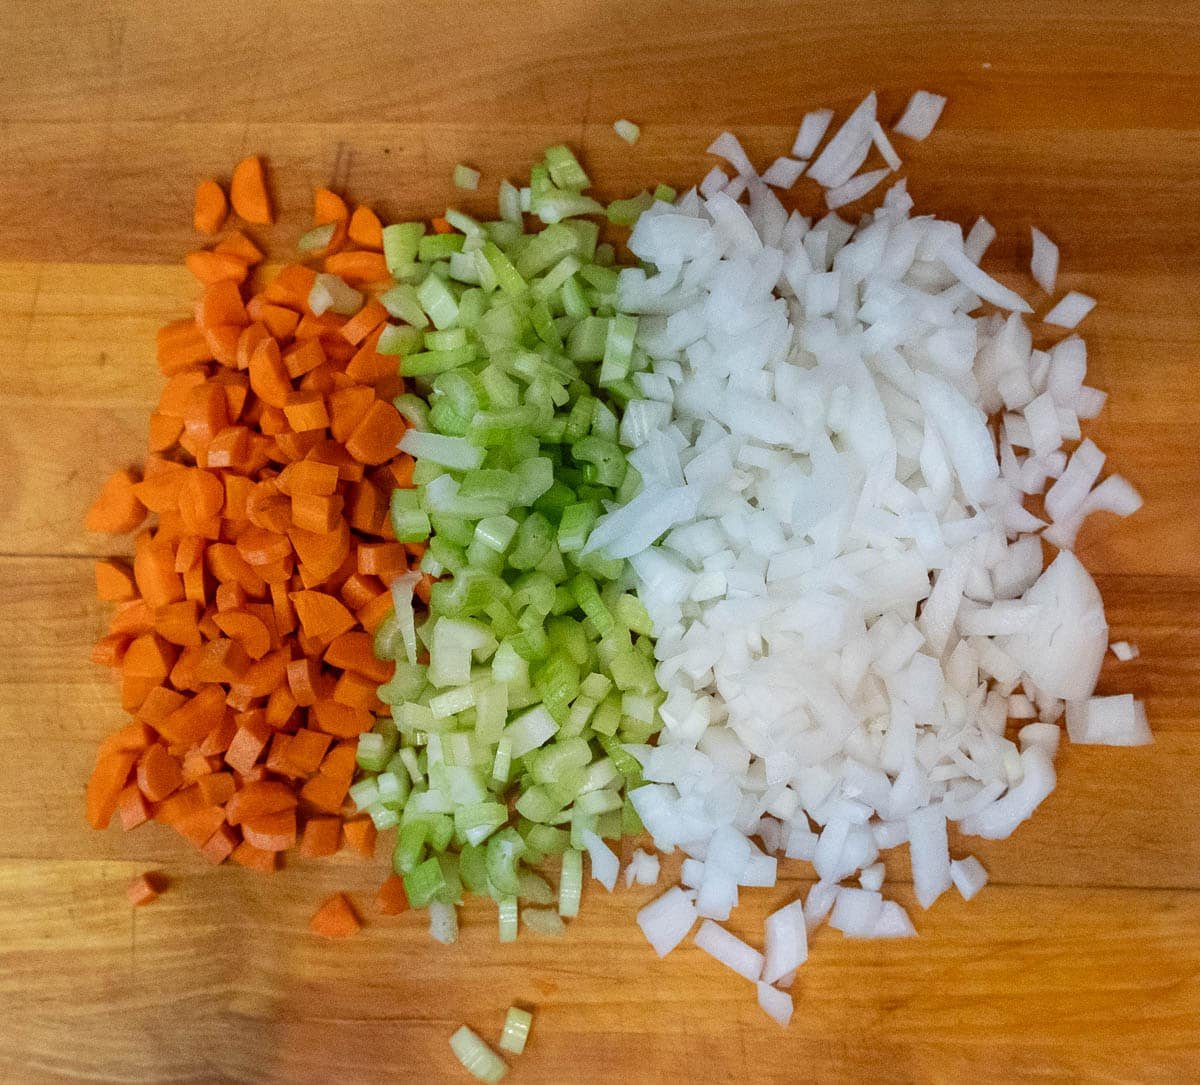
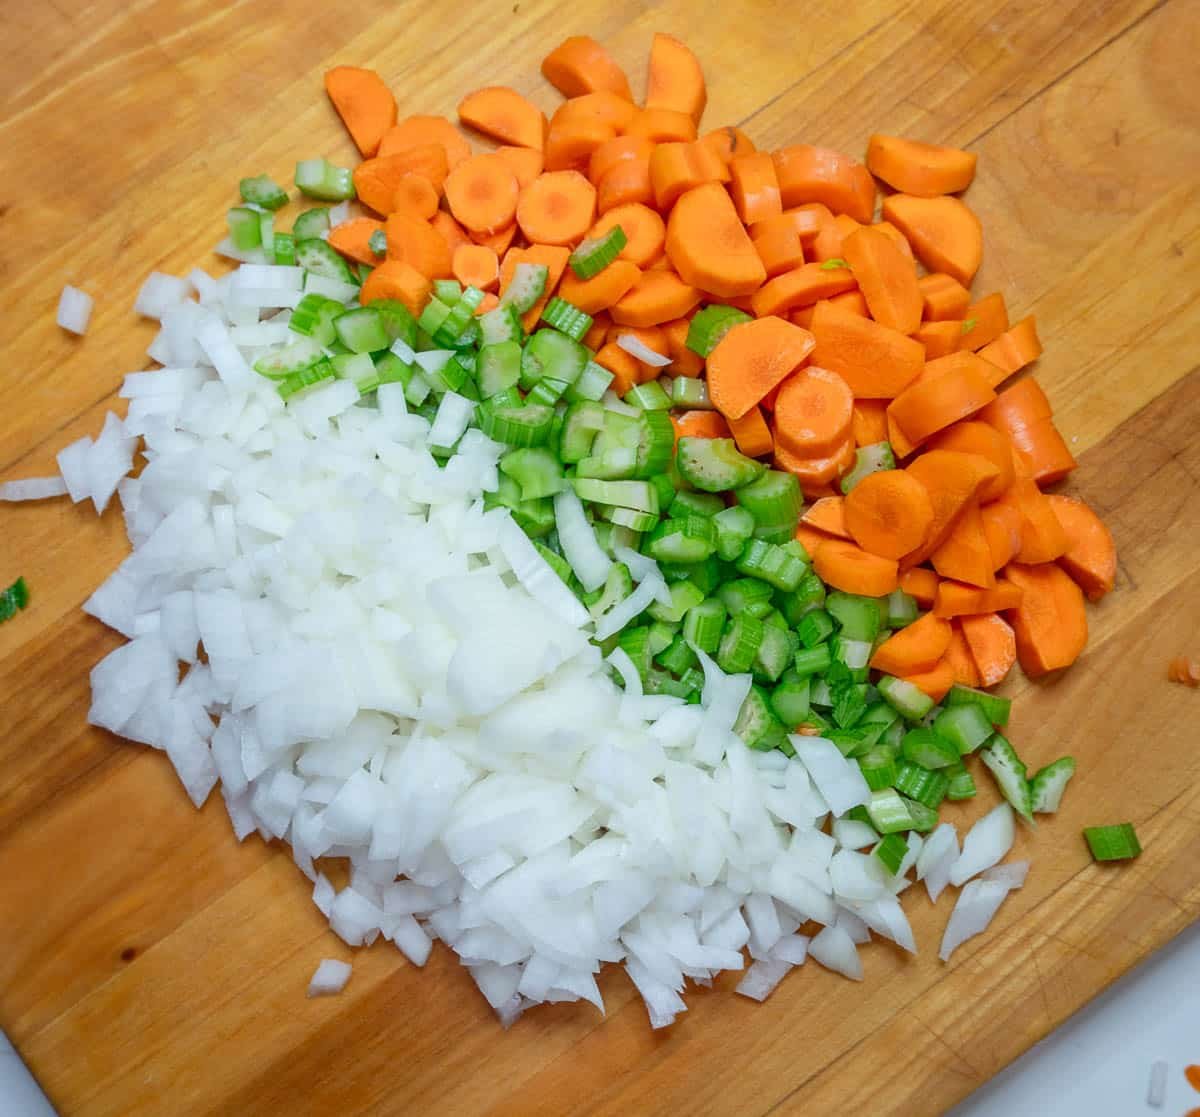
- Fresh Carrots or Baby Carrots - Either works! Slice fresh carrots into coins or diagonal pieces, or halve baby carrots lengthwise for faster cooking. Thinner slices will cook faster, while larger pieces stay slightly al dente for texture.
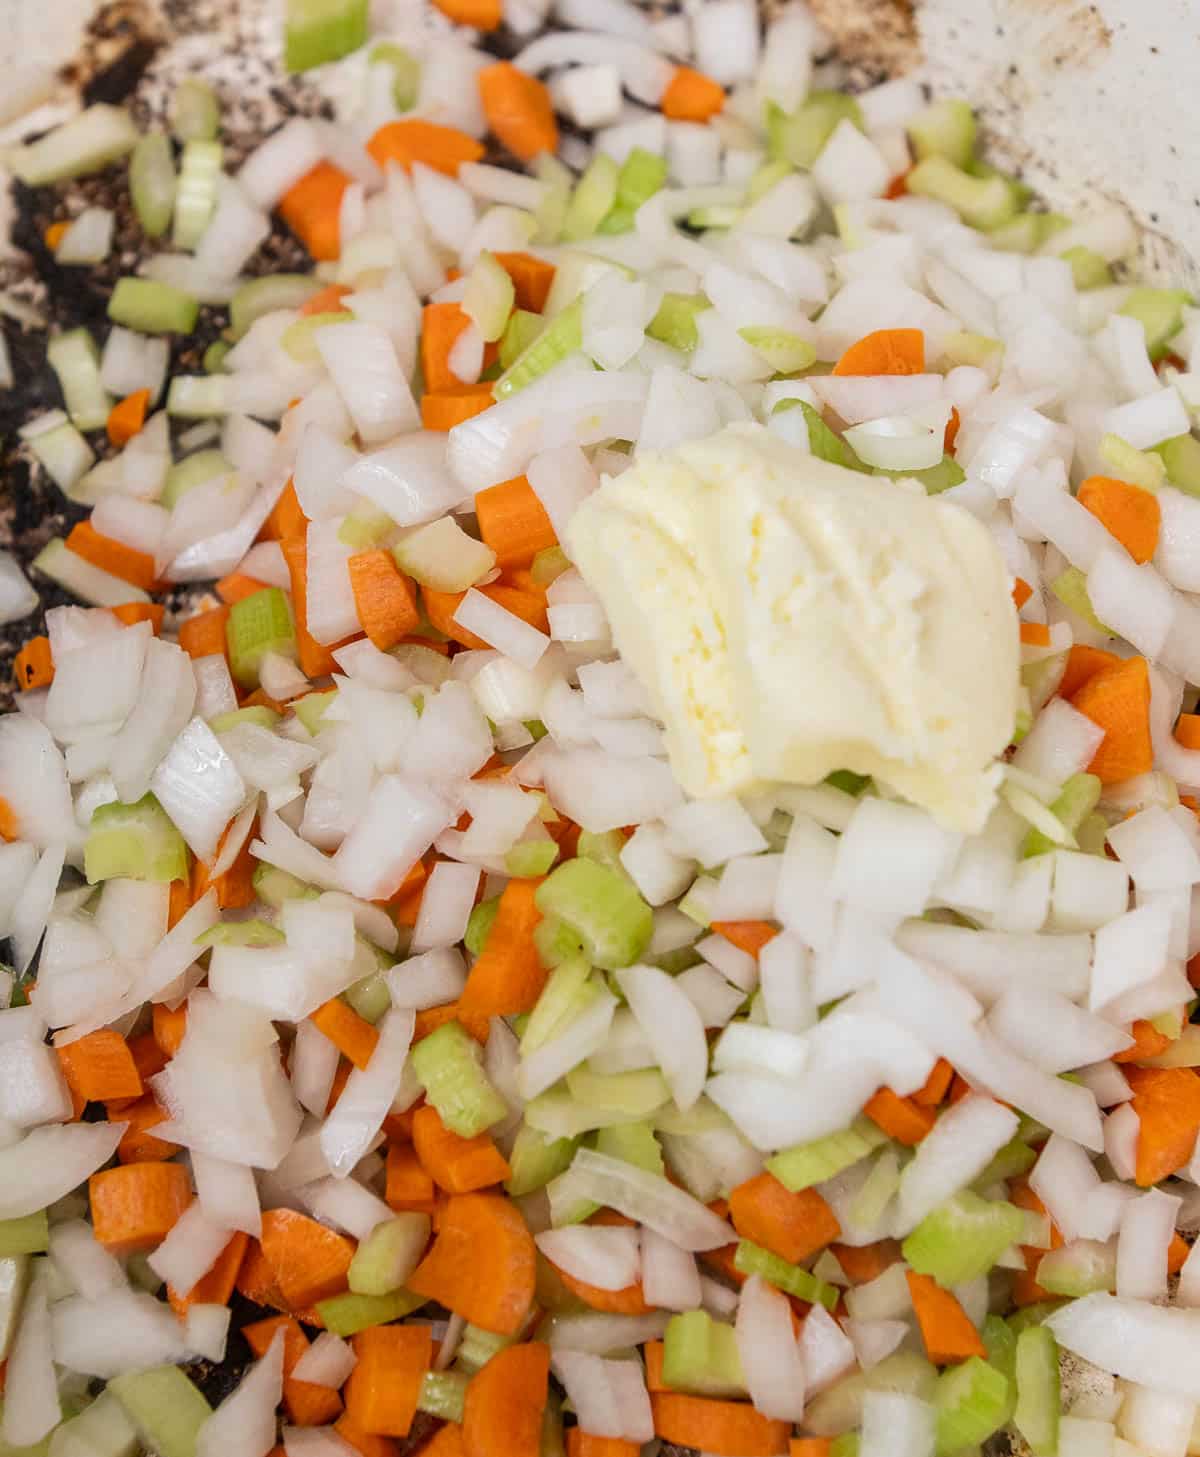
- Olive oil and Unsalted Butter - I love the mix of the two. Olive oil keeps things light while butter adds richness and that signature buttery sautéed carrots taste.
- Brown Sugar or Maple Syrup - Either one adds depth and complements the natural sweetness of the carrots. If you want a more caramelized flavor, use brown sugar. For a brighter, lighter glaze, go with maple syrup.
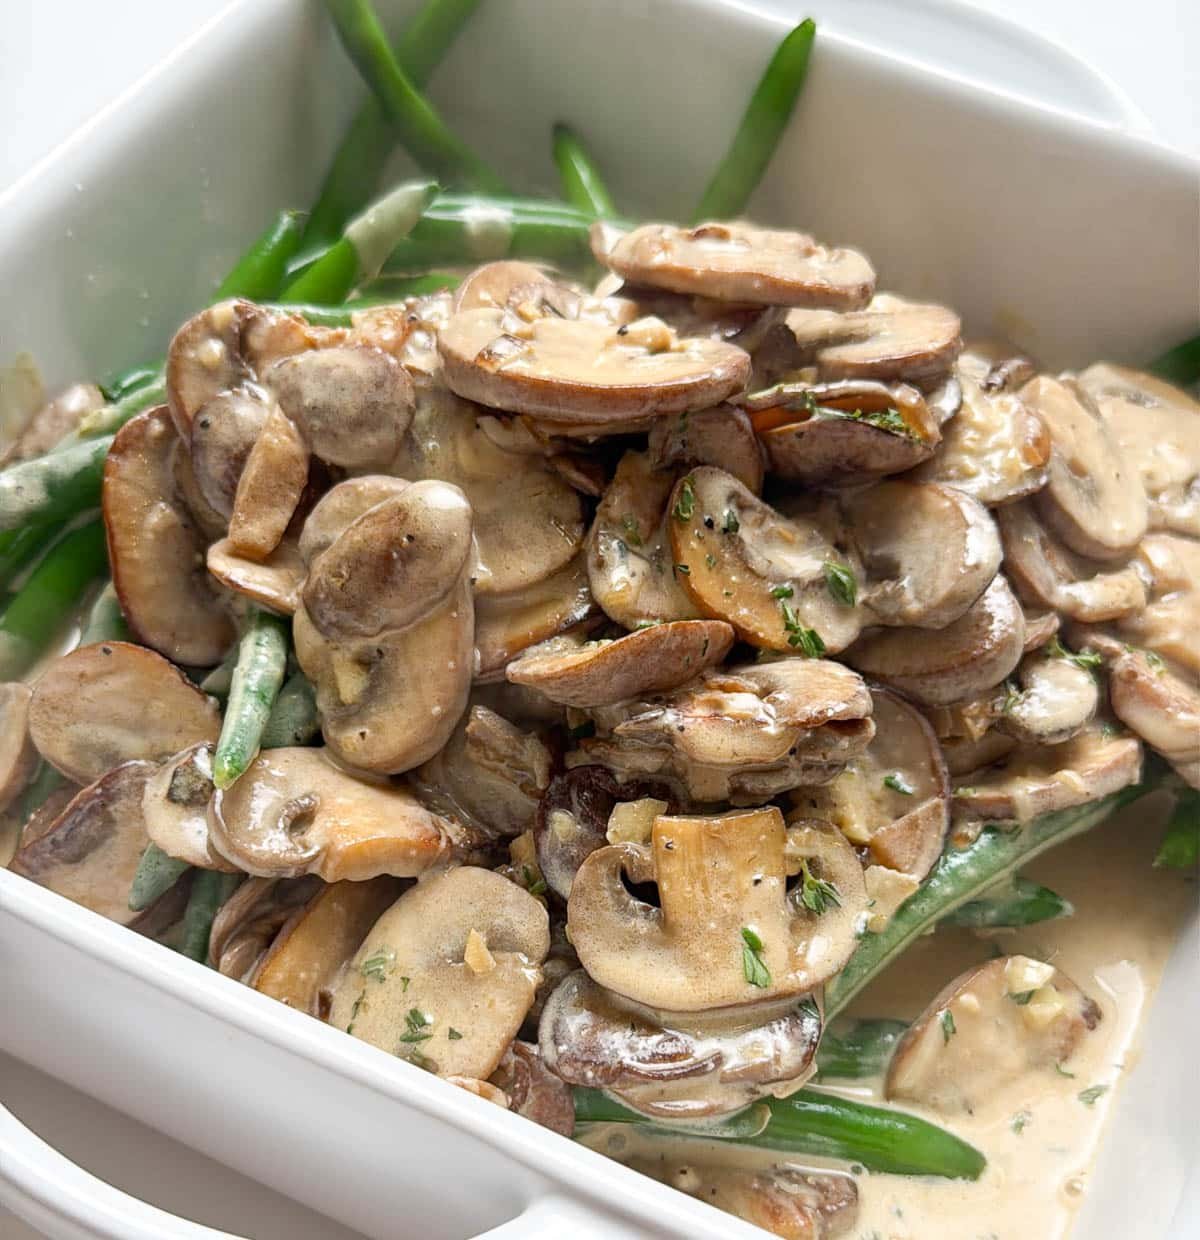
- Fresh Herbs - Toss in chopped fresh thyme or fresh parsley right before serving to make the flavor pop.
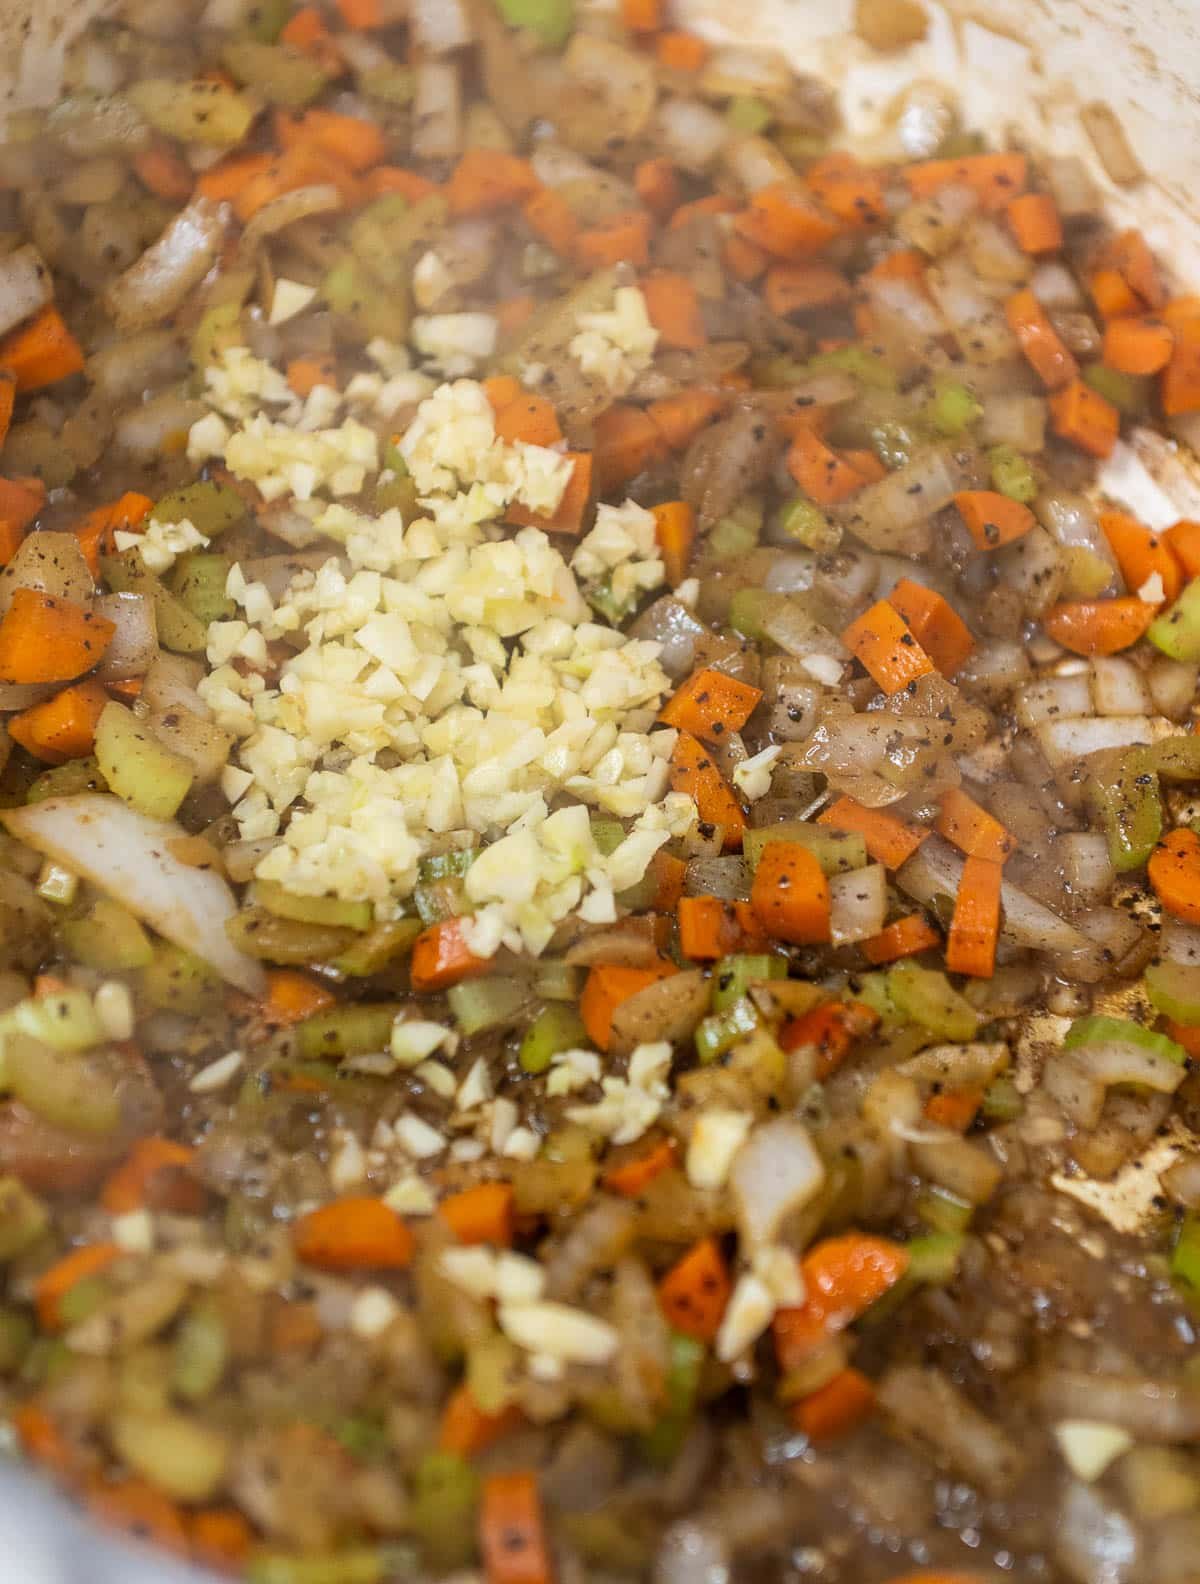
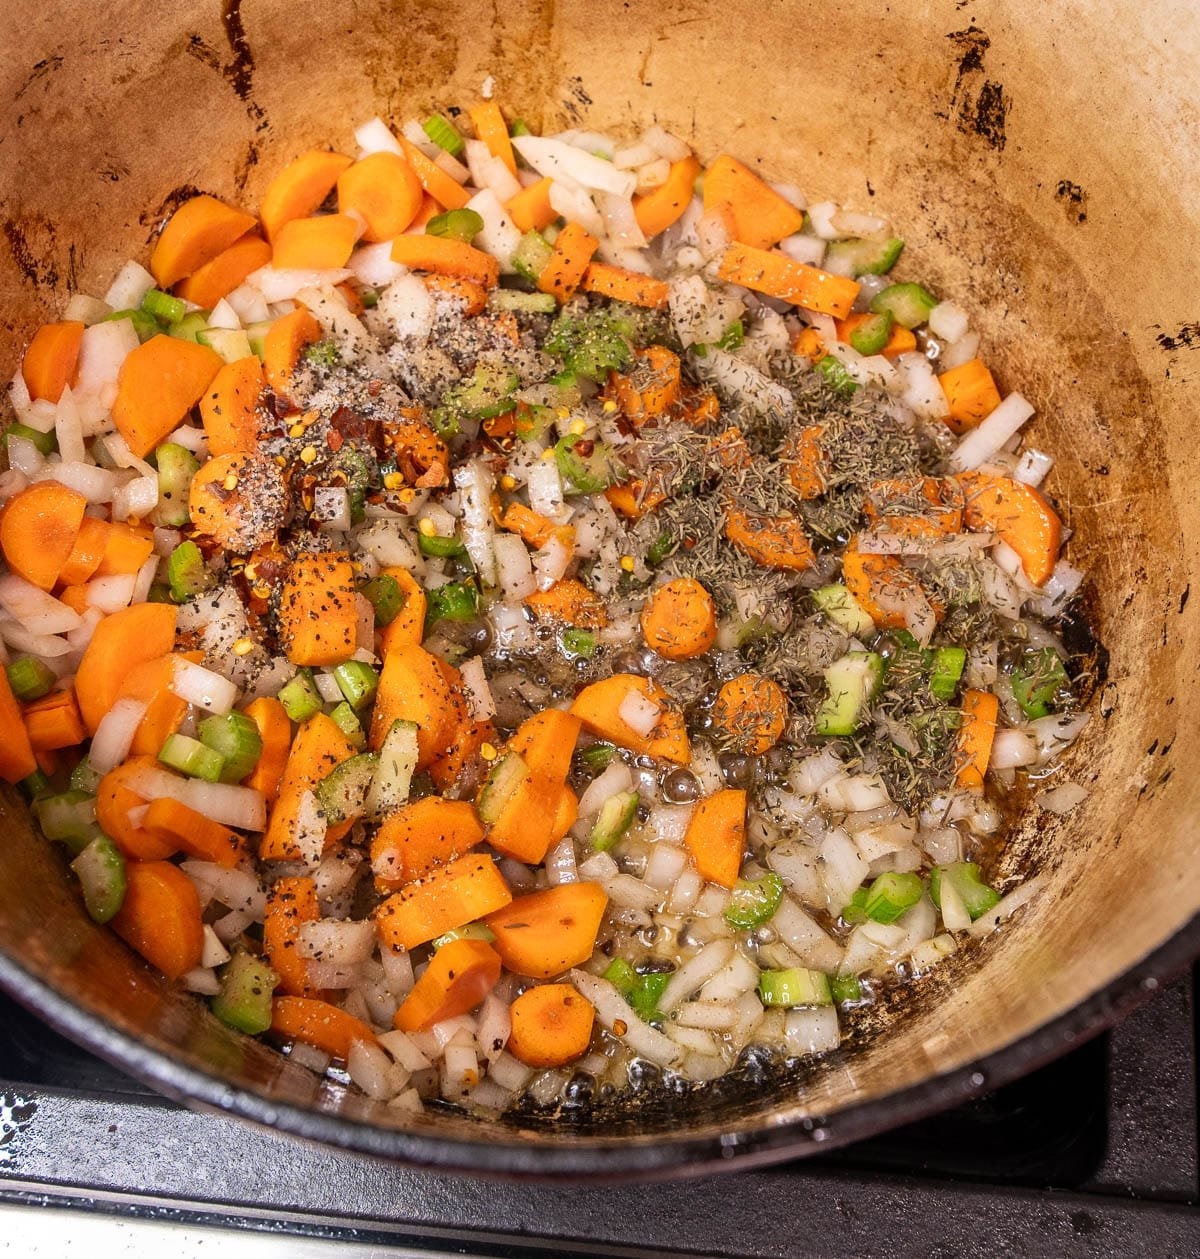
- Salt, Pepper, and Garlic (SPG) - Don't skip this! Seasoning brings out the sweetness and adds balance.
Equipment Needed
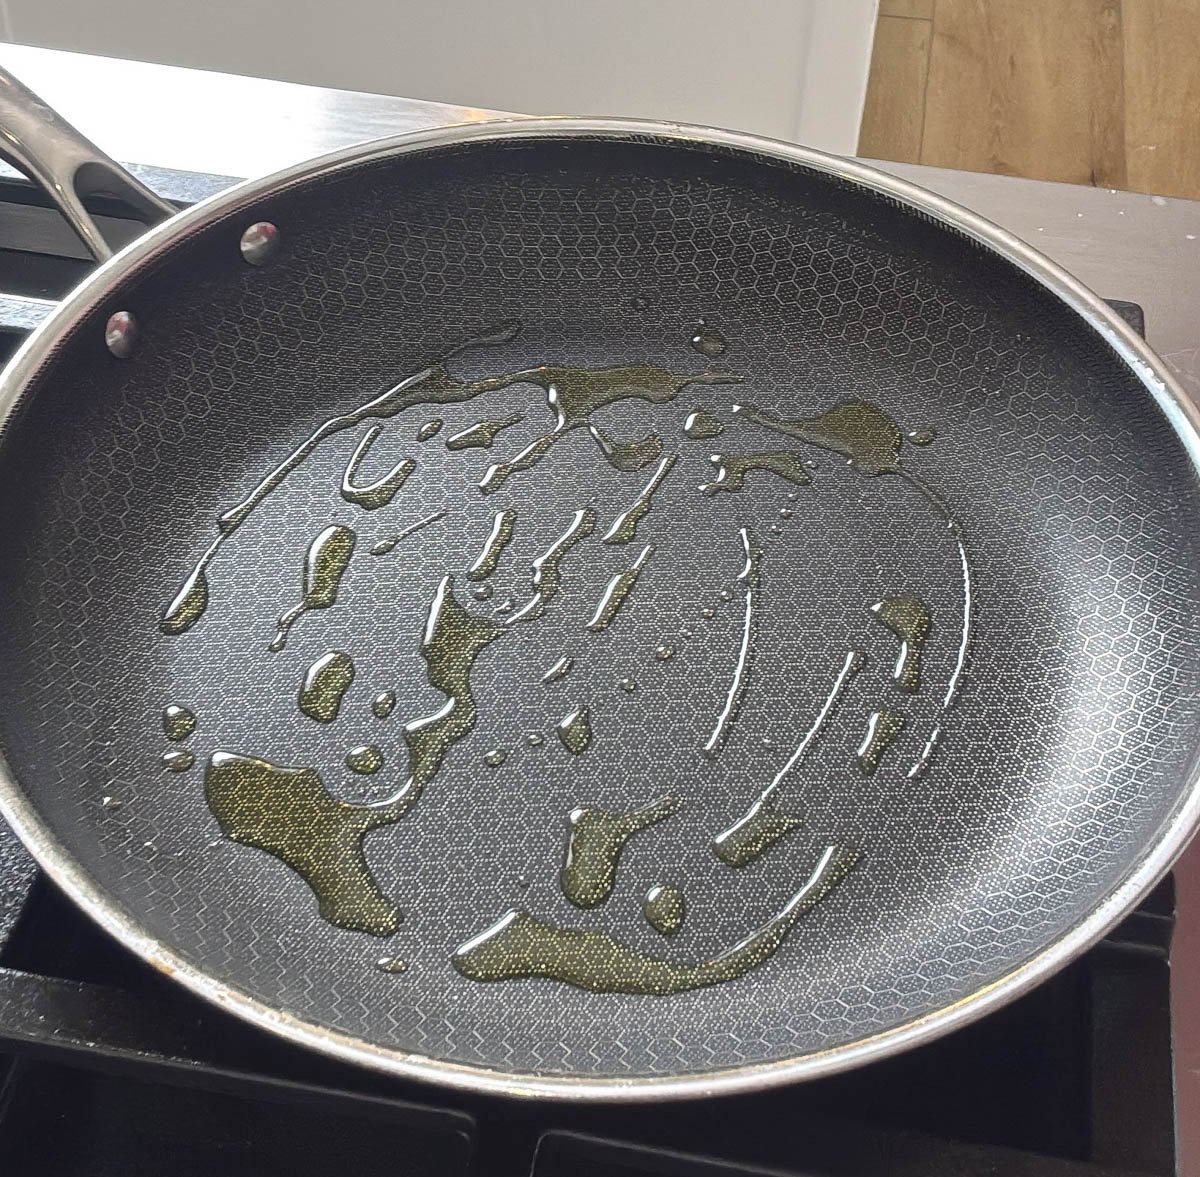
Large Skillet - For this recipe, you'll need a large skillet to sauté the carrots. We prefer HexClad skillets for their hybrid stainless steel and nonstick surface, which allows for even heat distribution, perfect browning, and easy cleanup.
Tips and Tricks for Success
- Use a large skillet or sauté pan so the carrots have space to brown evenly.
- Keep the heat between medium and medium-high heat - too high and they'll burn before they're fork tender.
- If the carrots start to brown too fast, add a tablespoon of water and cover for a few minutes to steam.
- Store leftovers in an airtight container in the fridge for up to 4 days. They reheat beautifully in a skillet.
- For a stir fry twist, add a splash of soy sauce or sesame oil right at the end.
How to Make Sautéed Carrots
Now that you know what goes into this recipe, let me walk you through how to make these easy sautéed carrots.

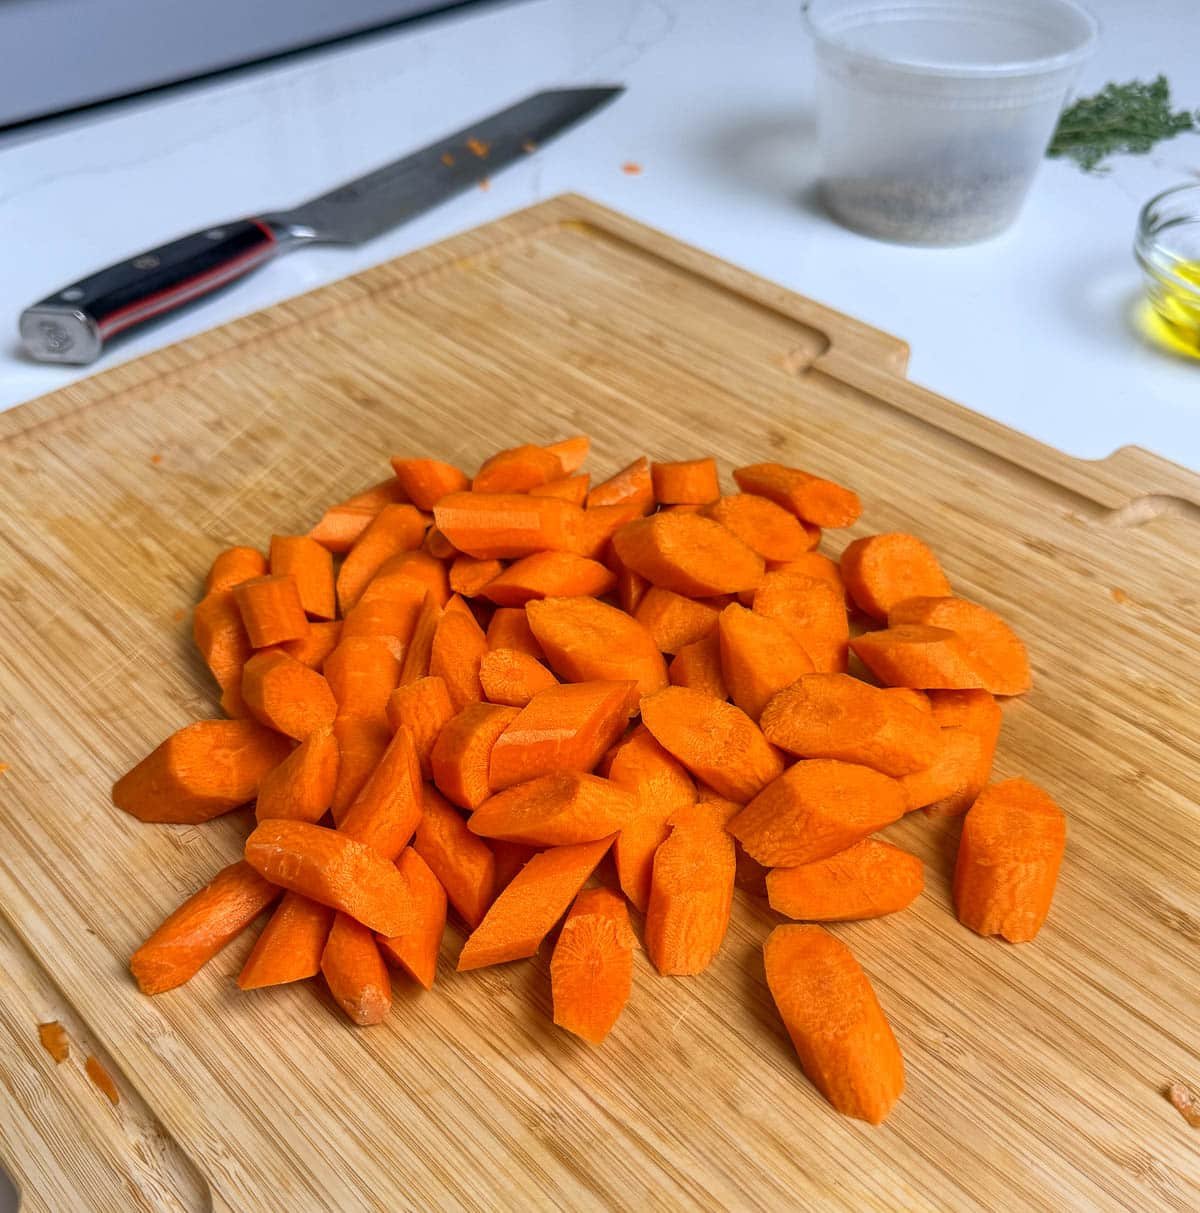

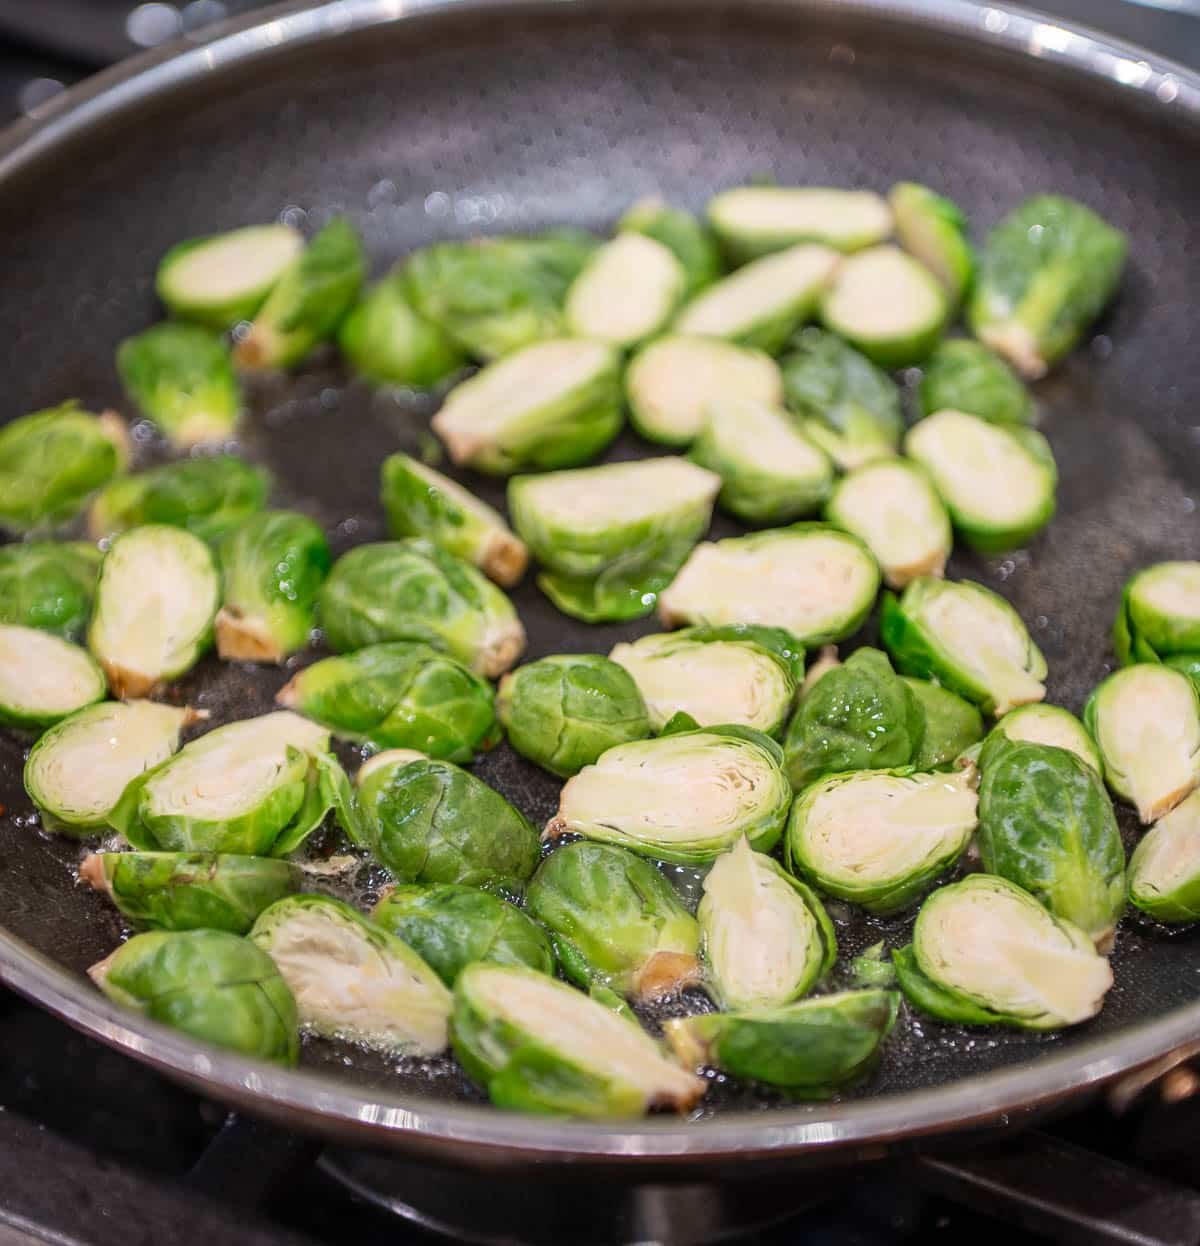
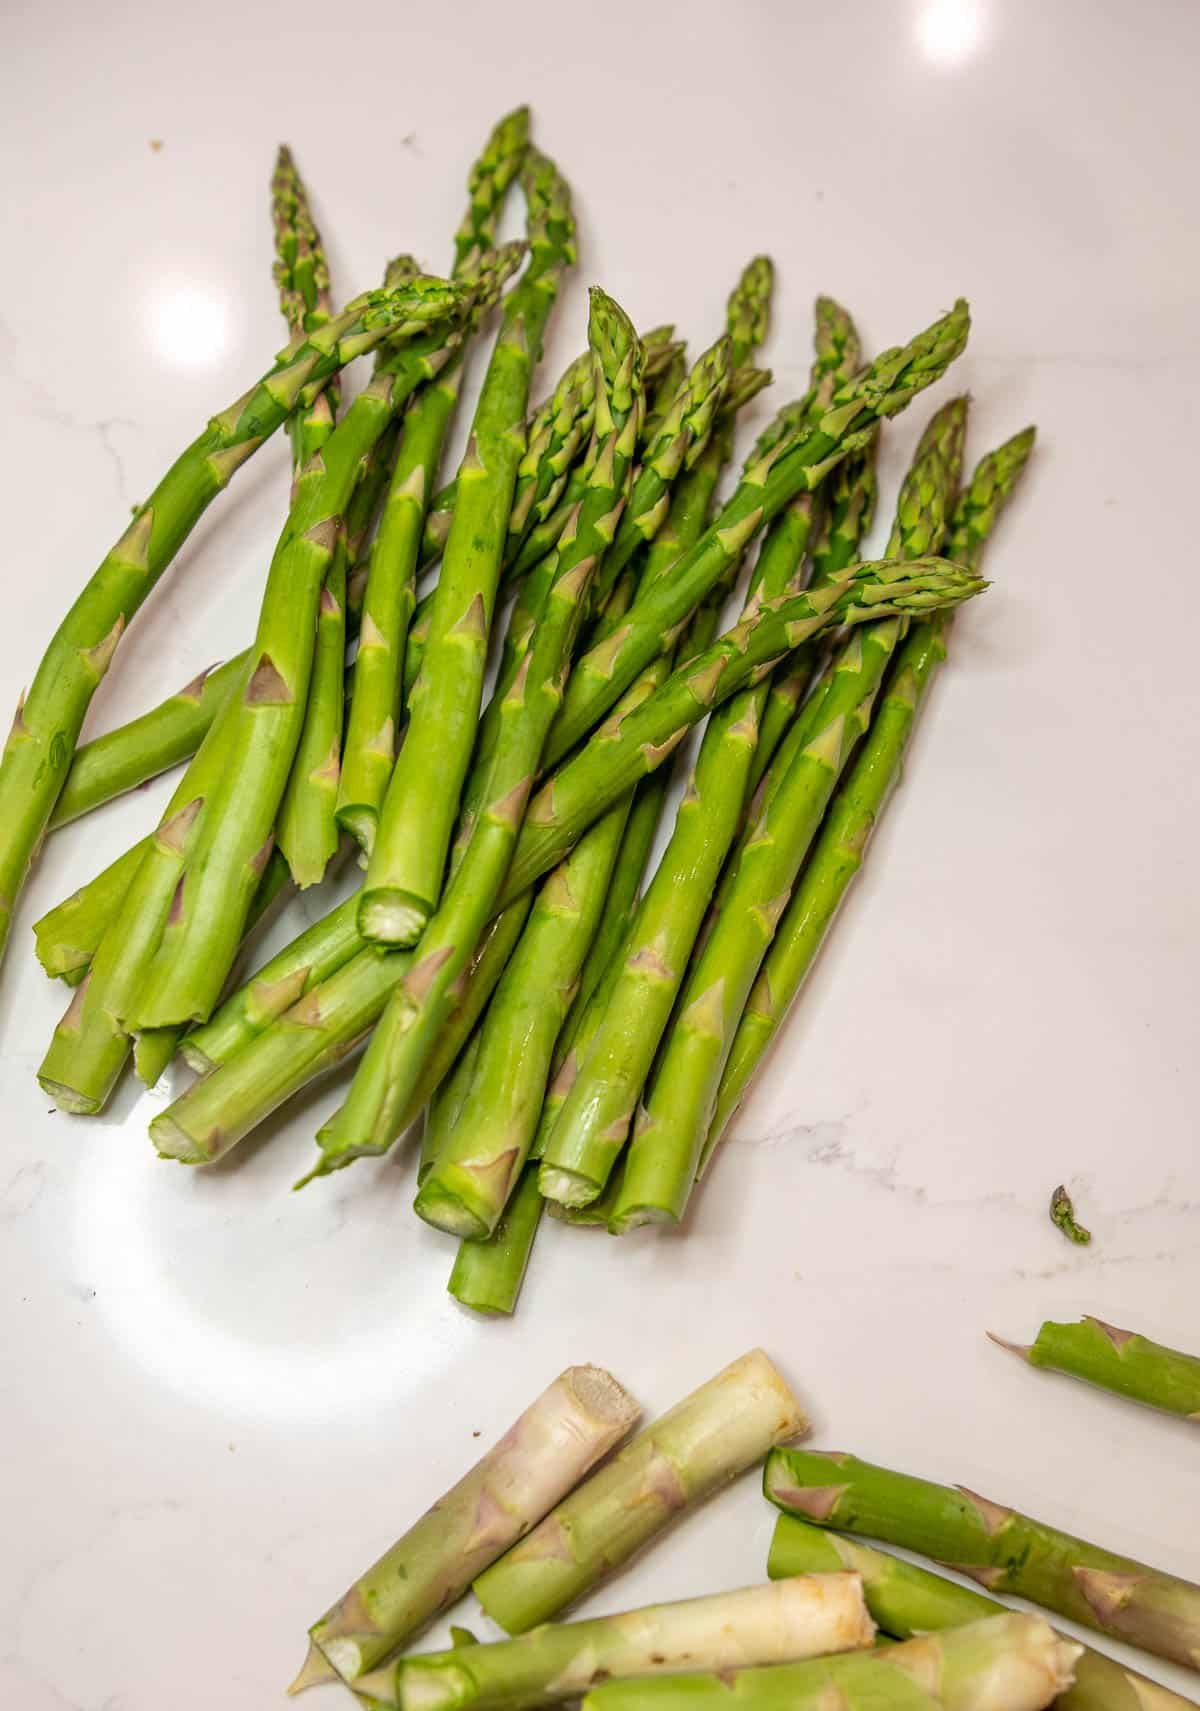
- Prep the carrots: Peel and slice about 1 pound of fresh carrots (or halve baby carrots).
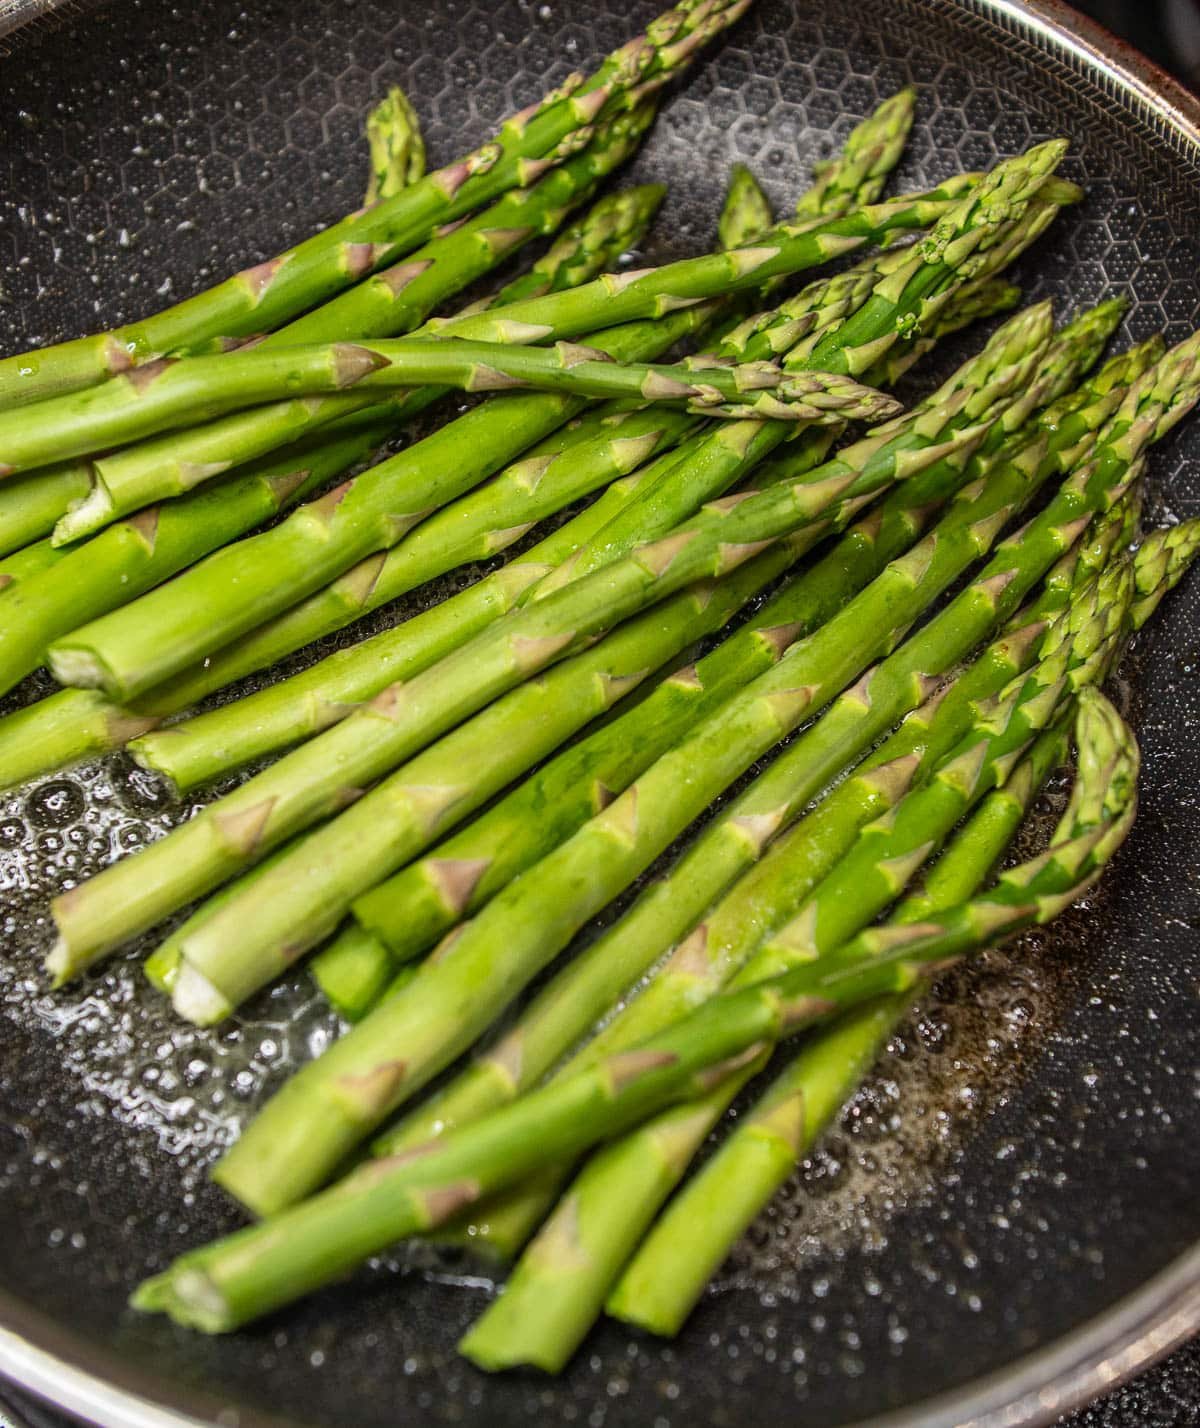
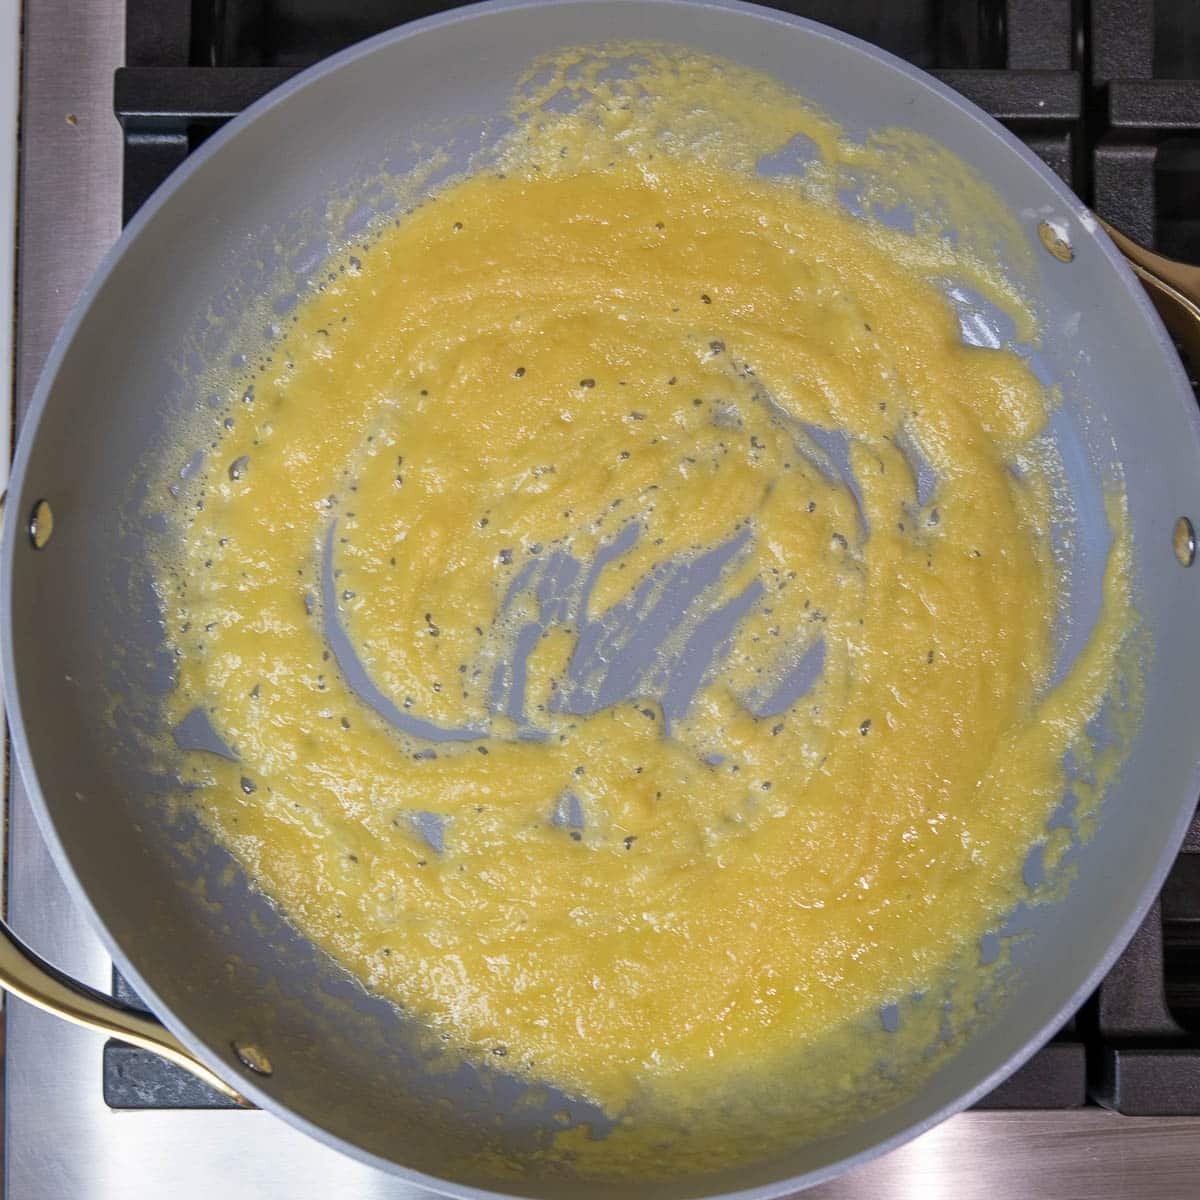
- Heat the pan: Place a large skillet over medium-high heat and add 1 tablespoon olive oil and 1 tablespoon unsalted butter.
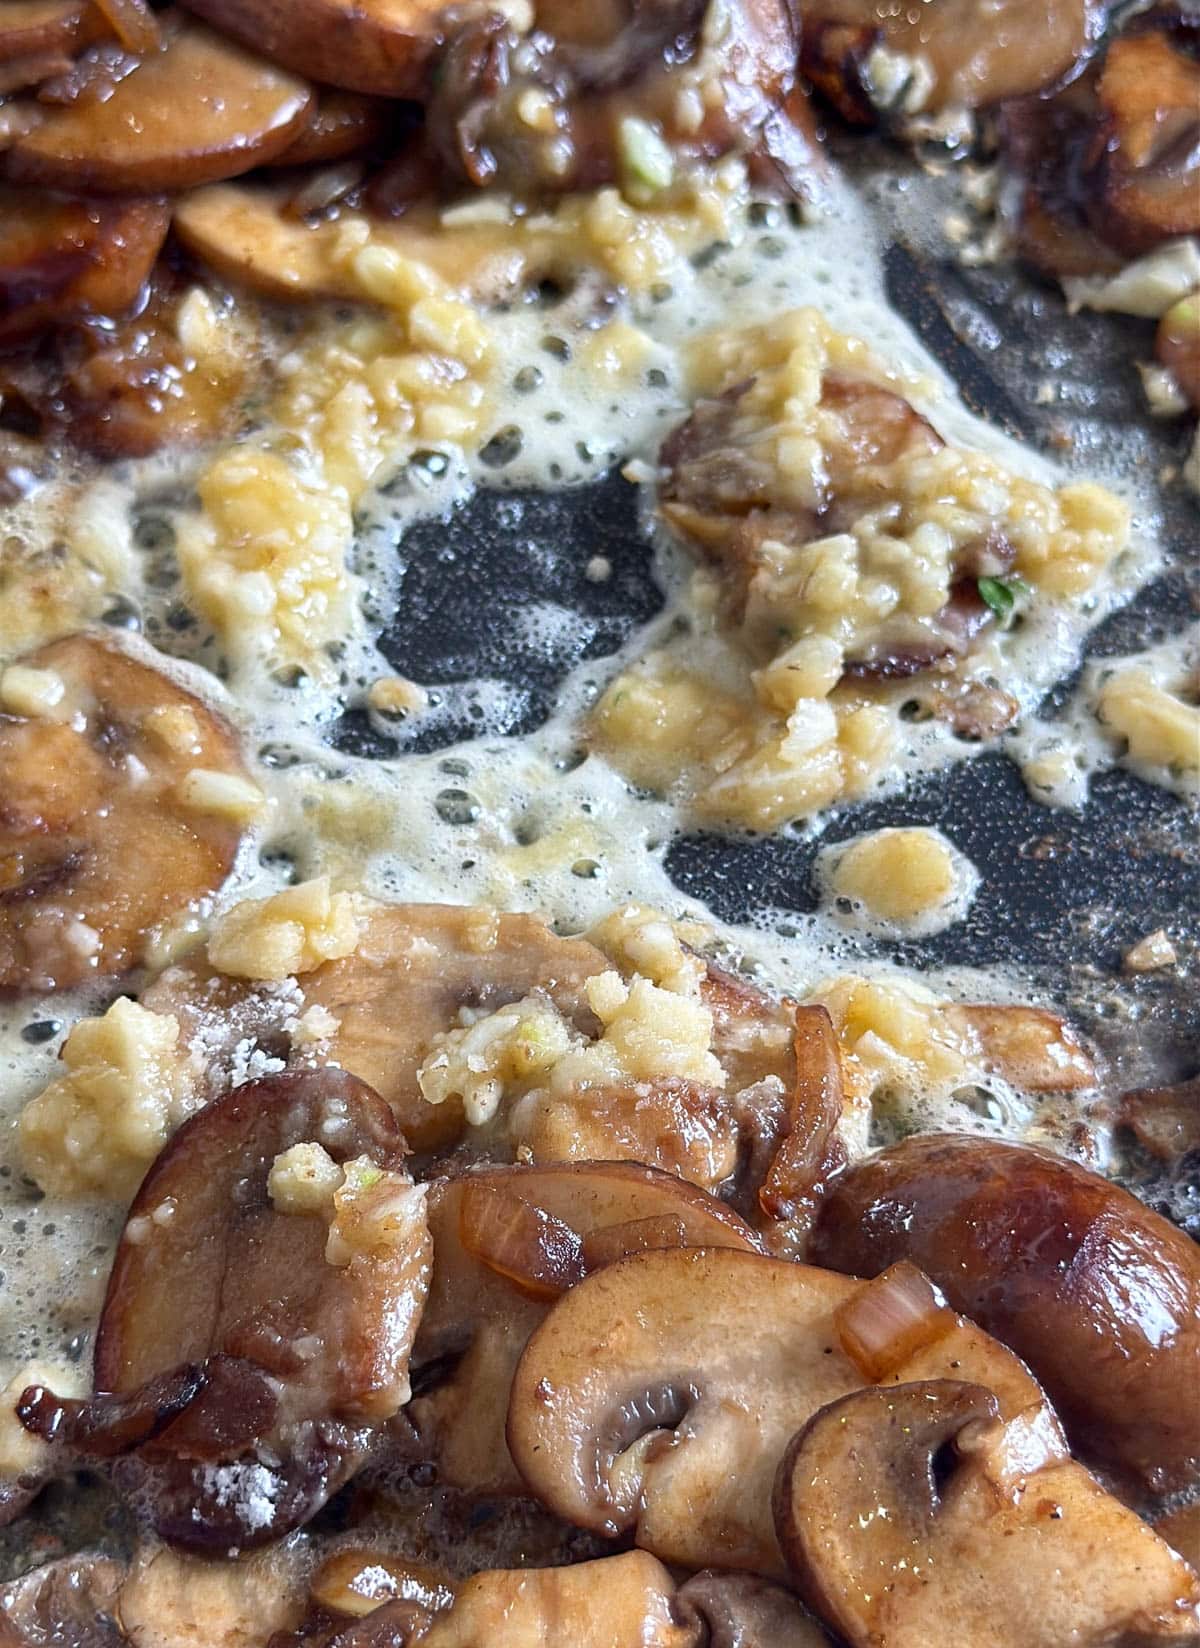
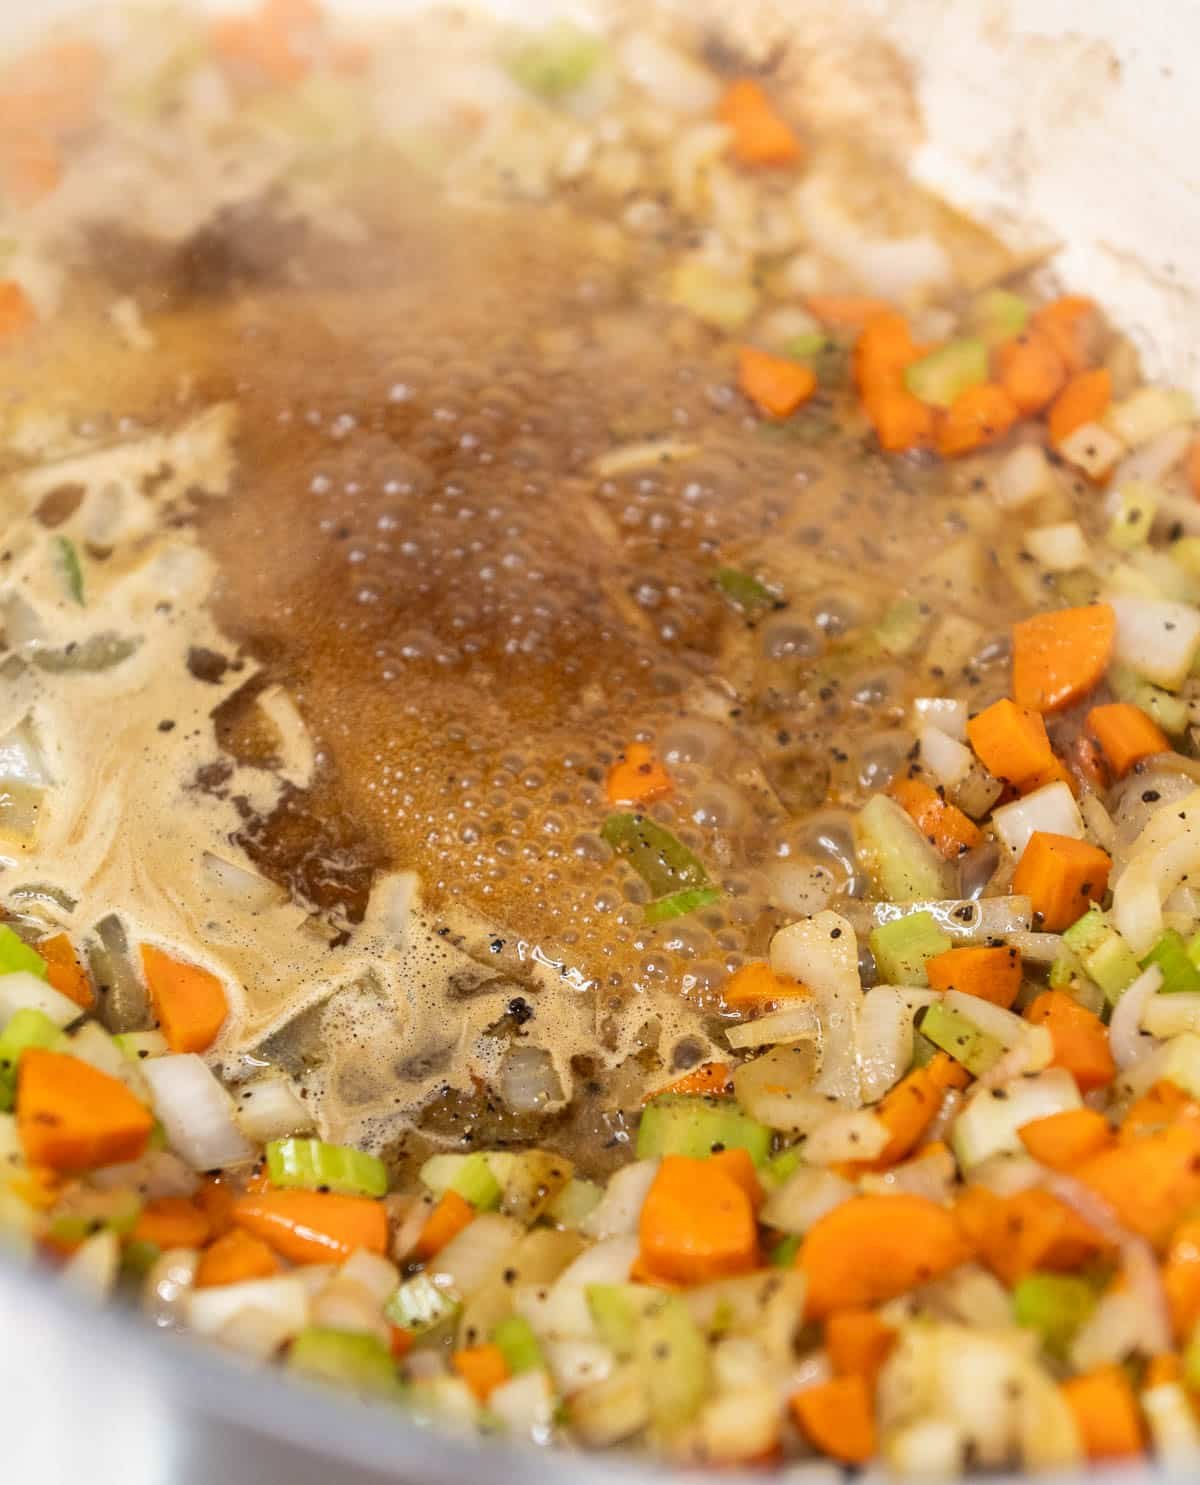
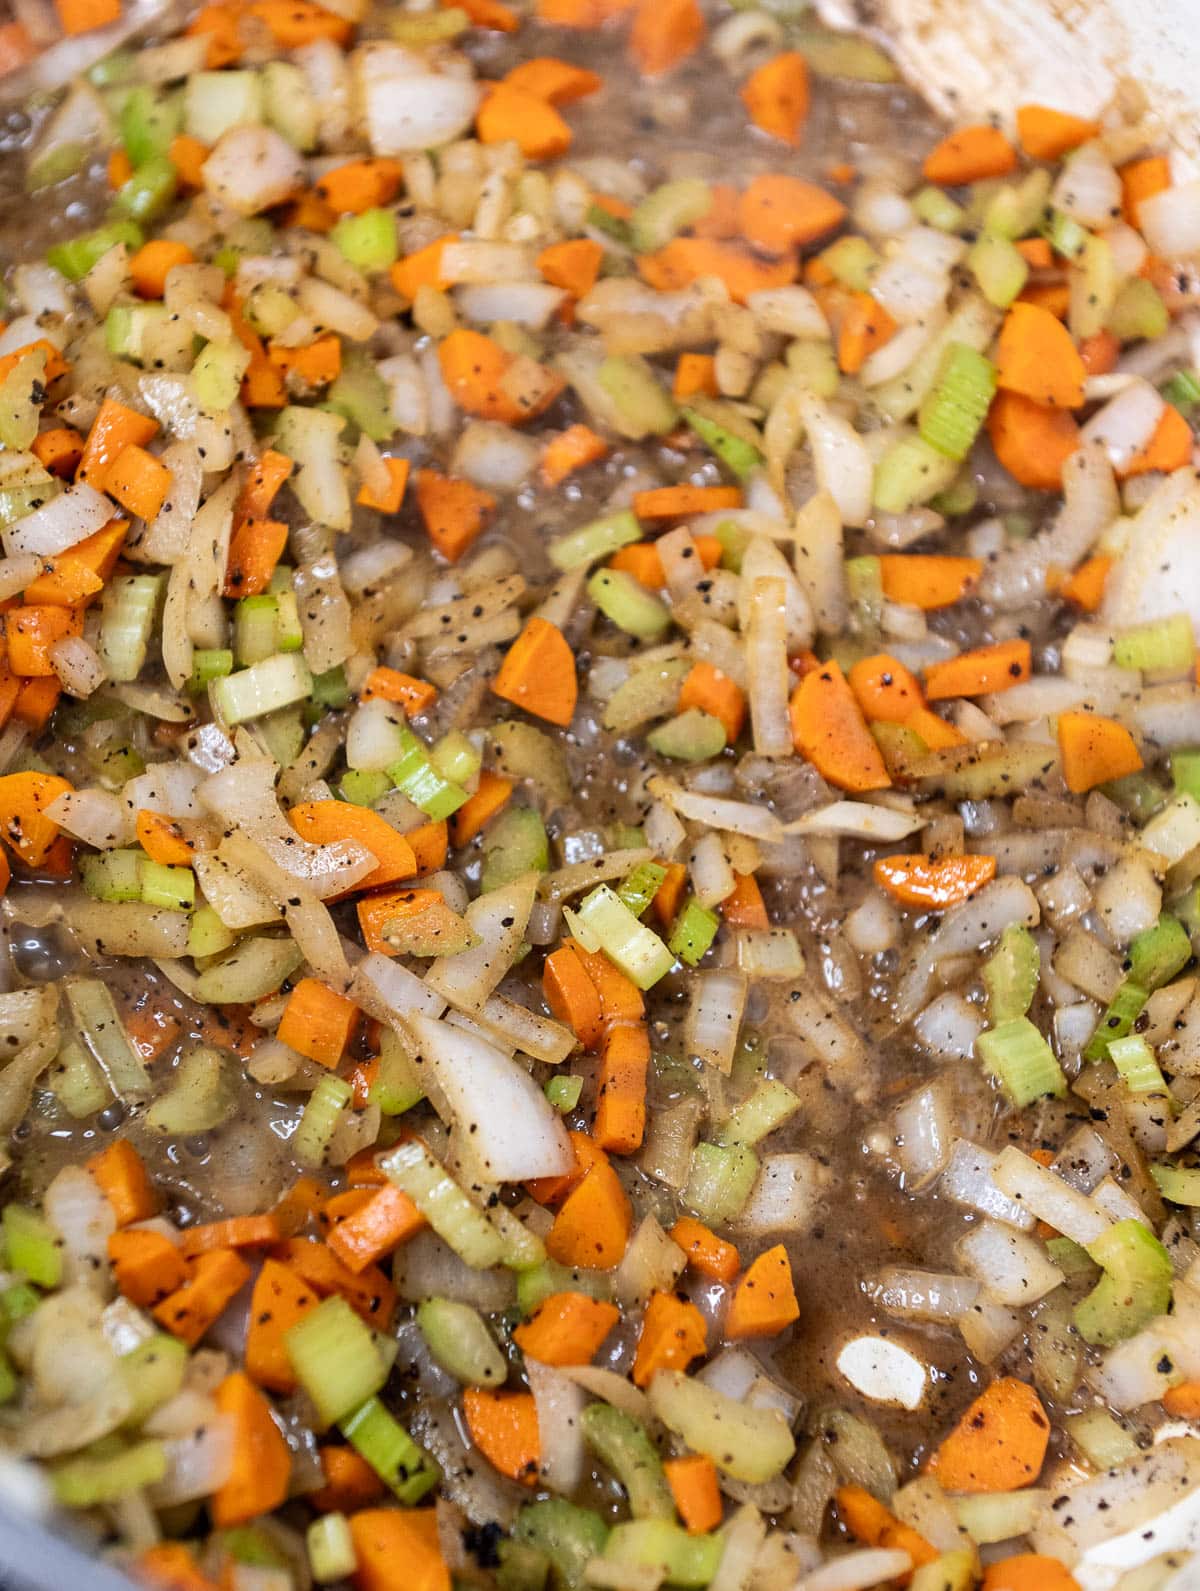
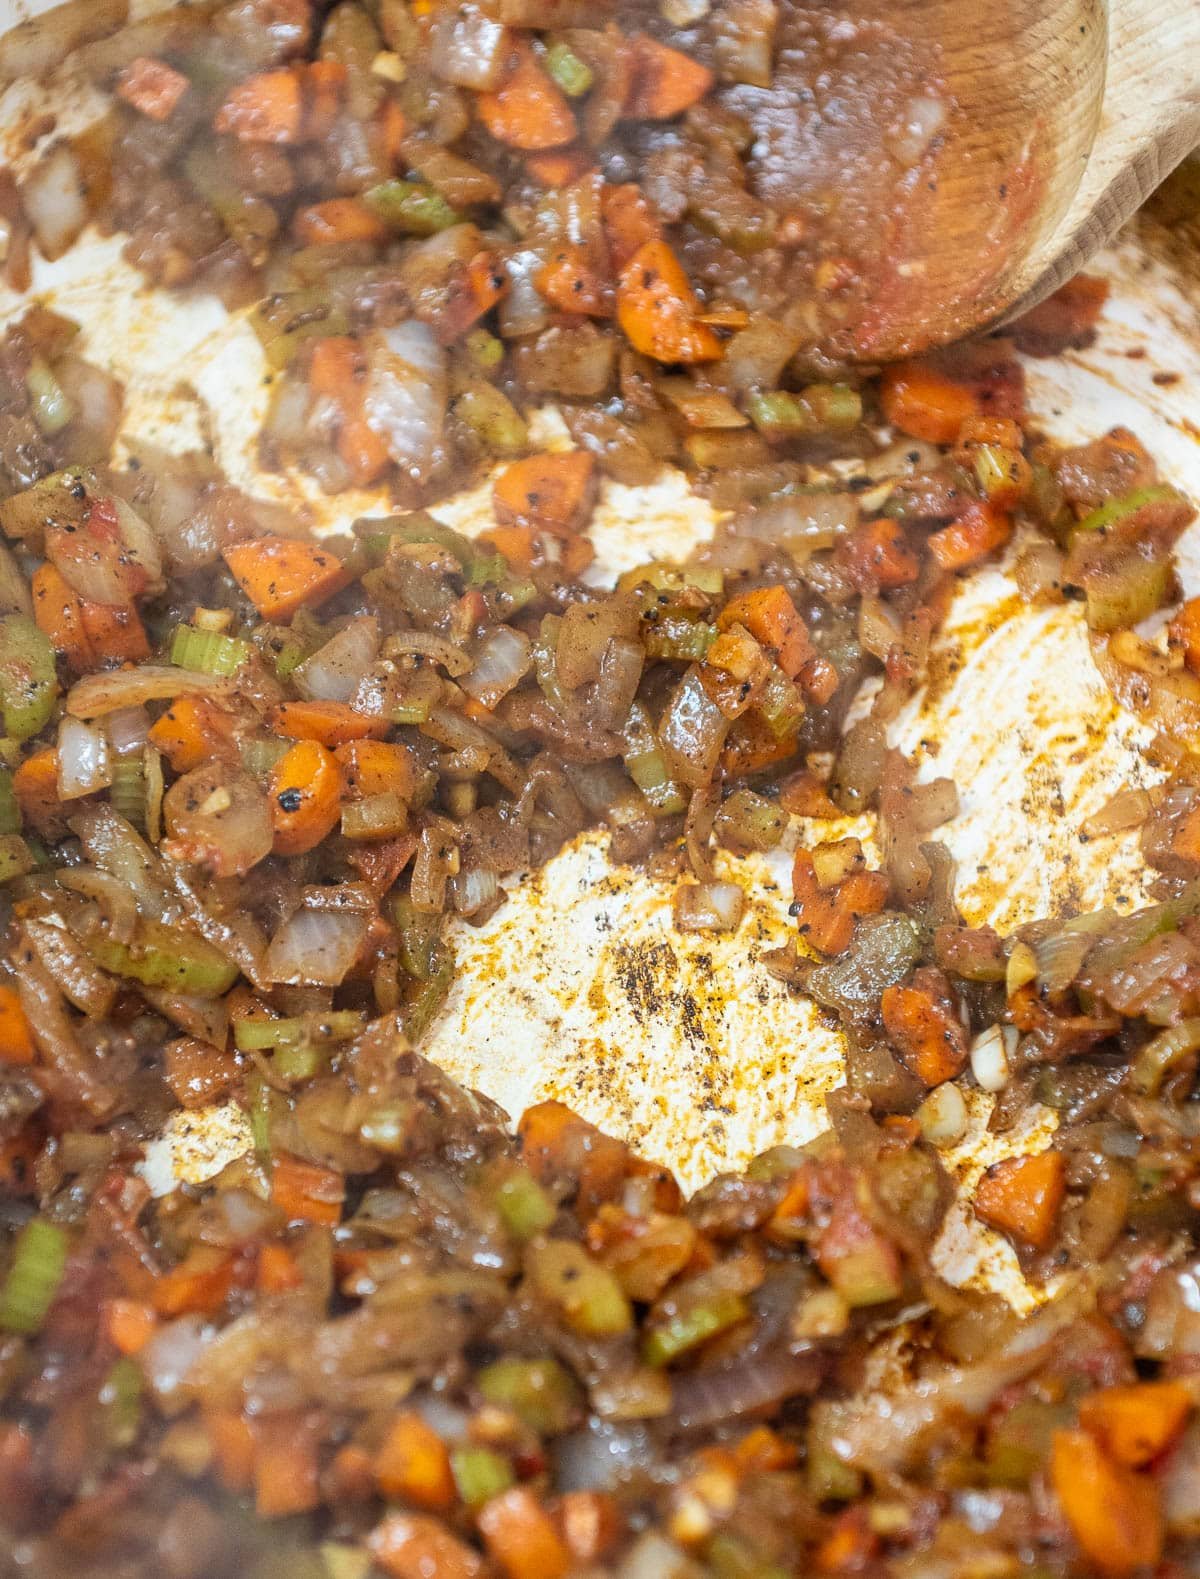
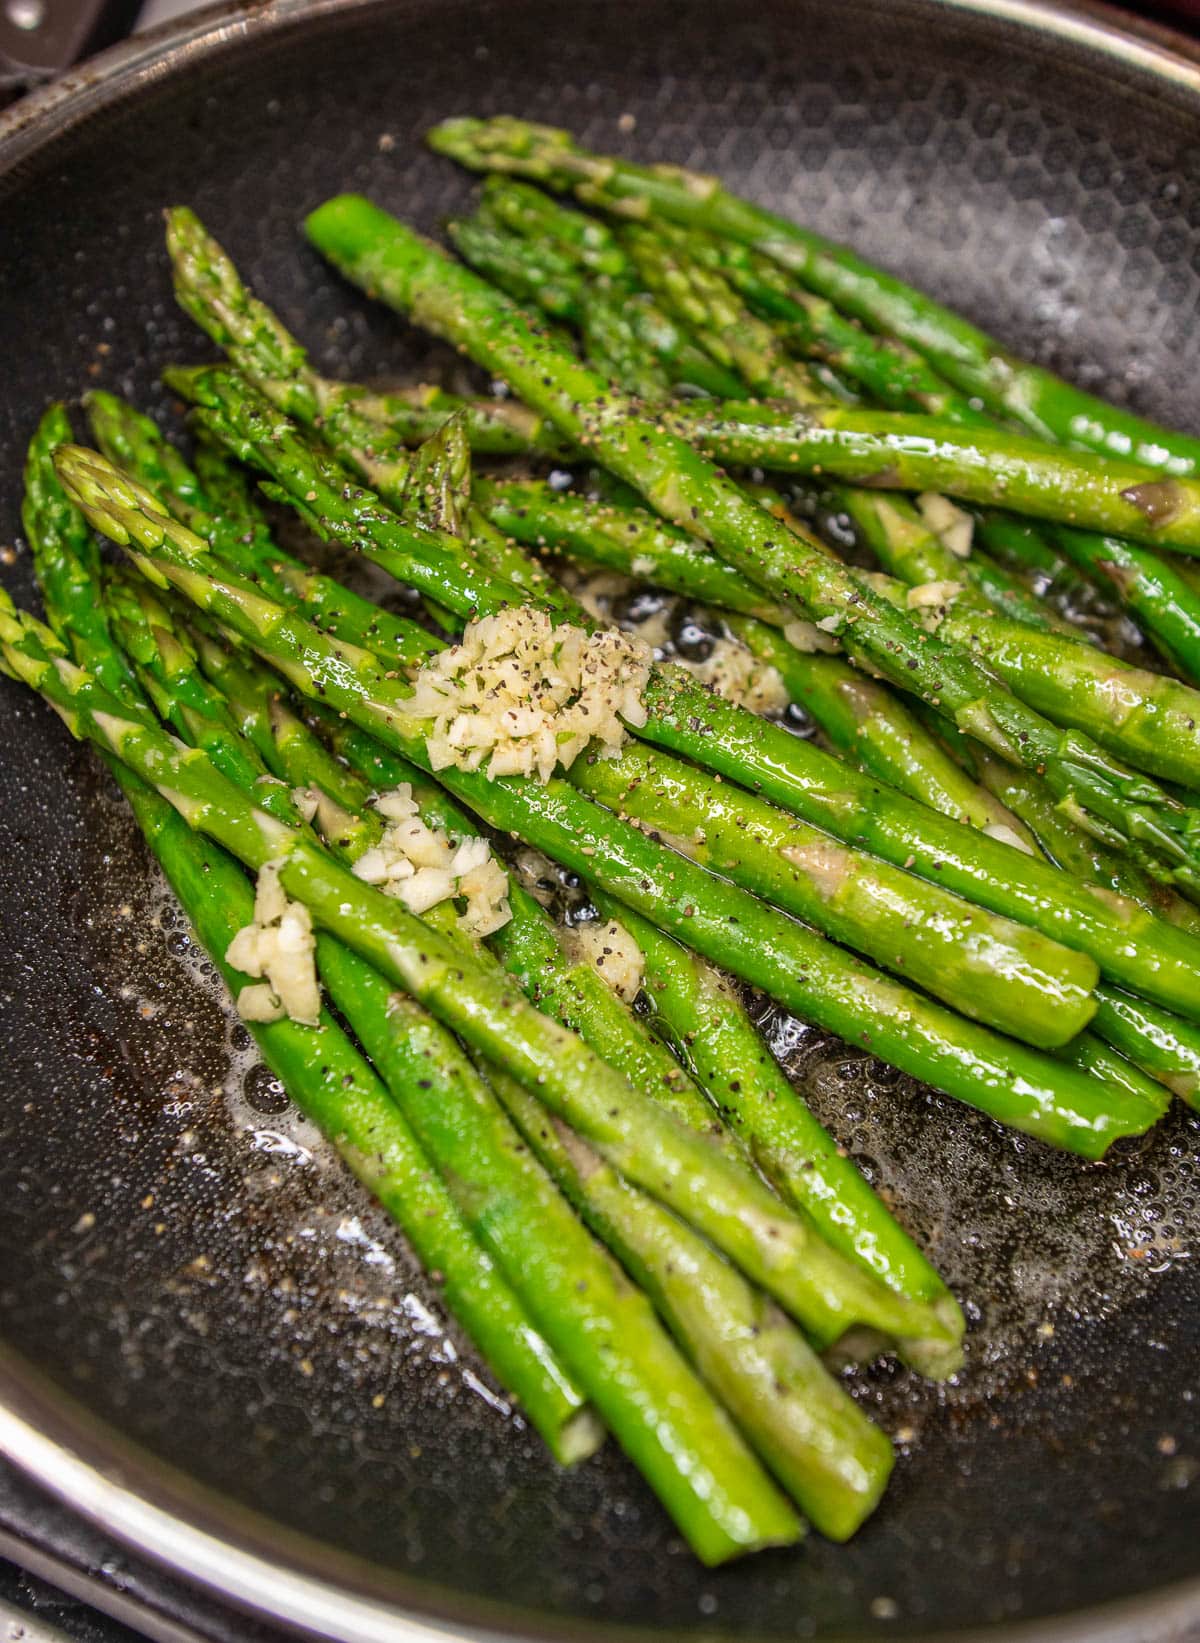
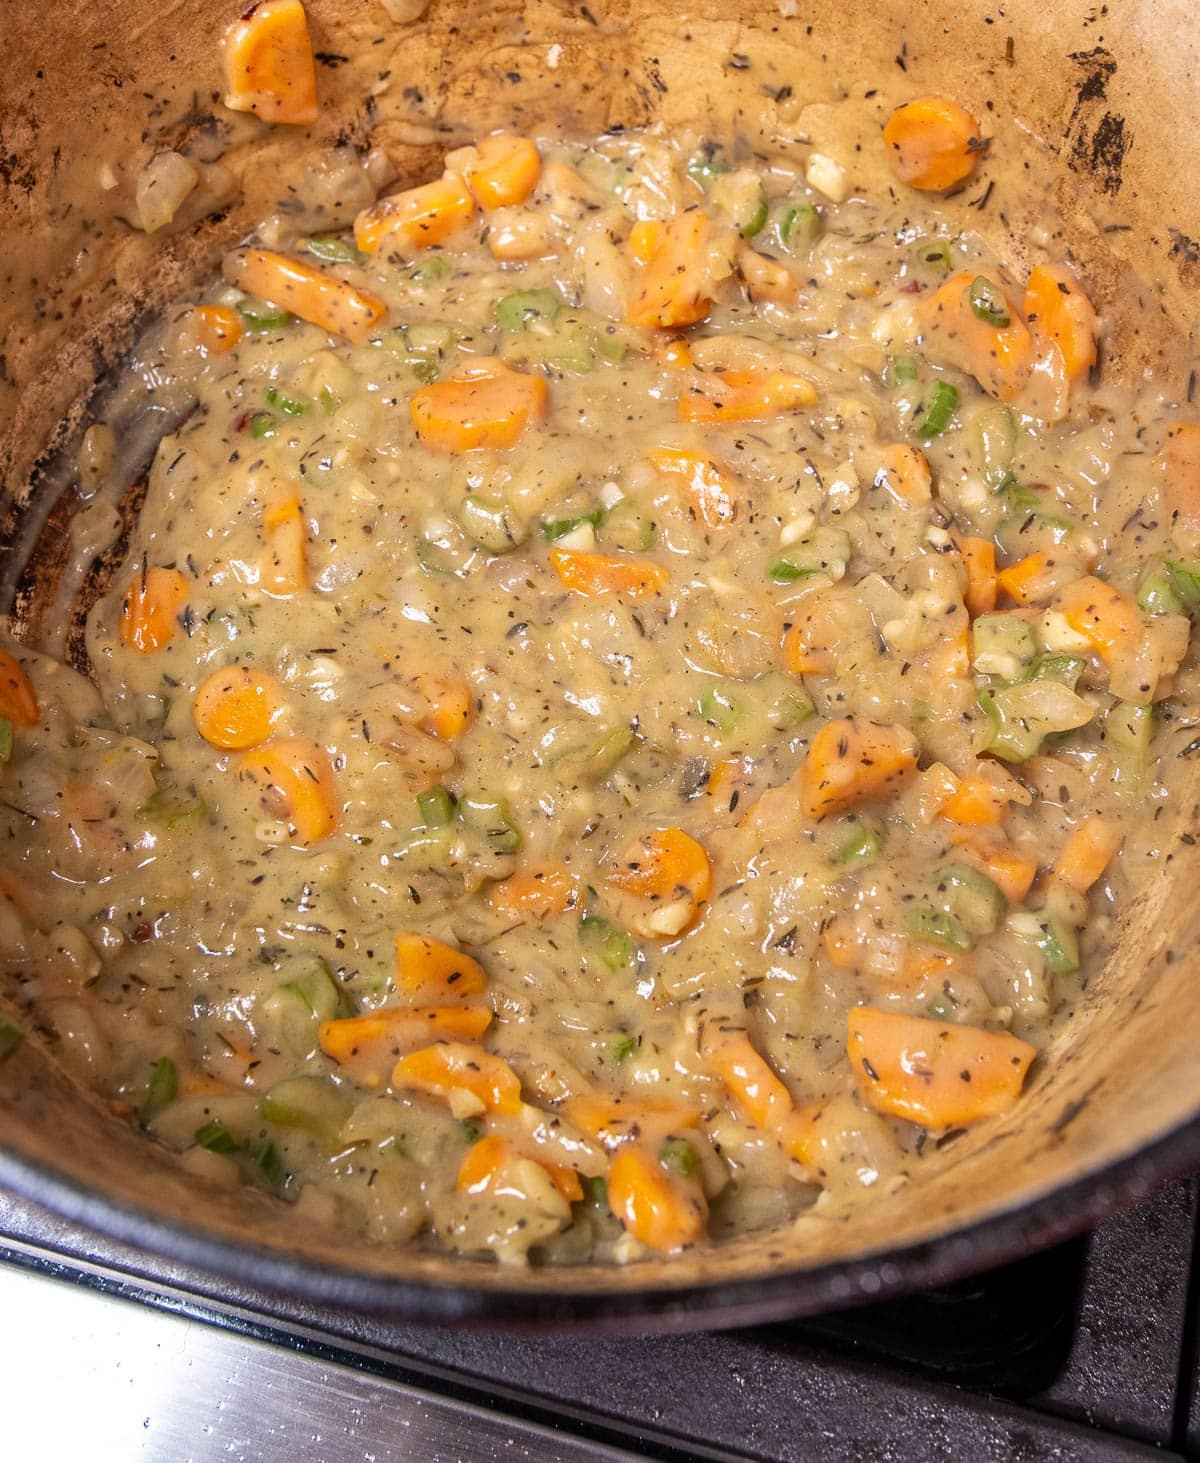
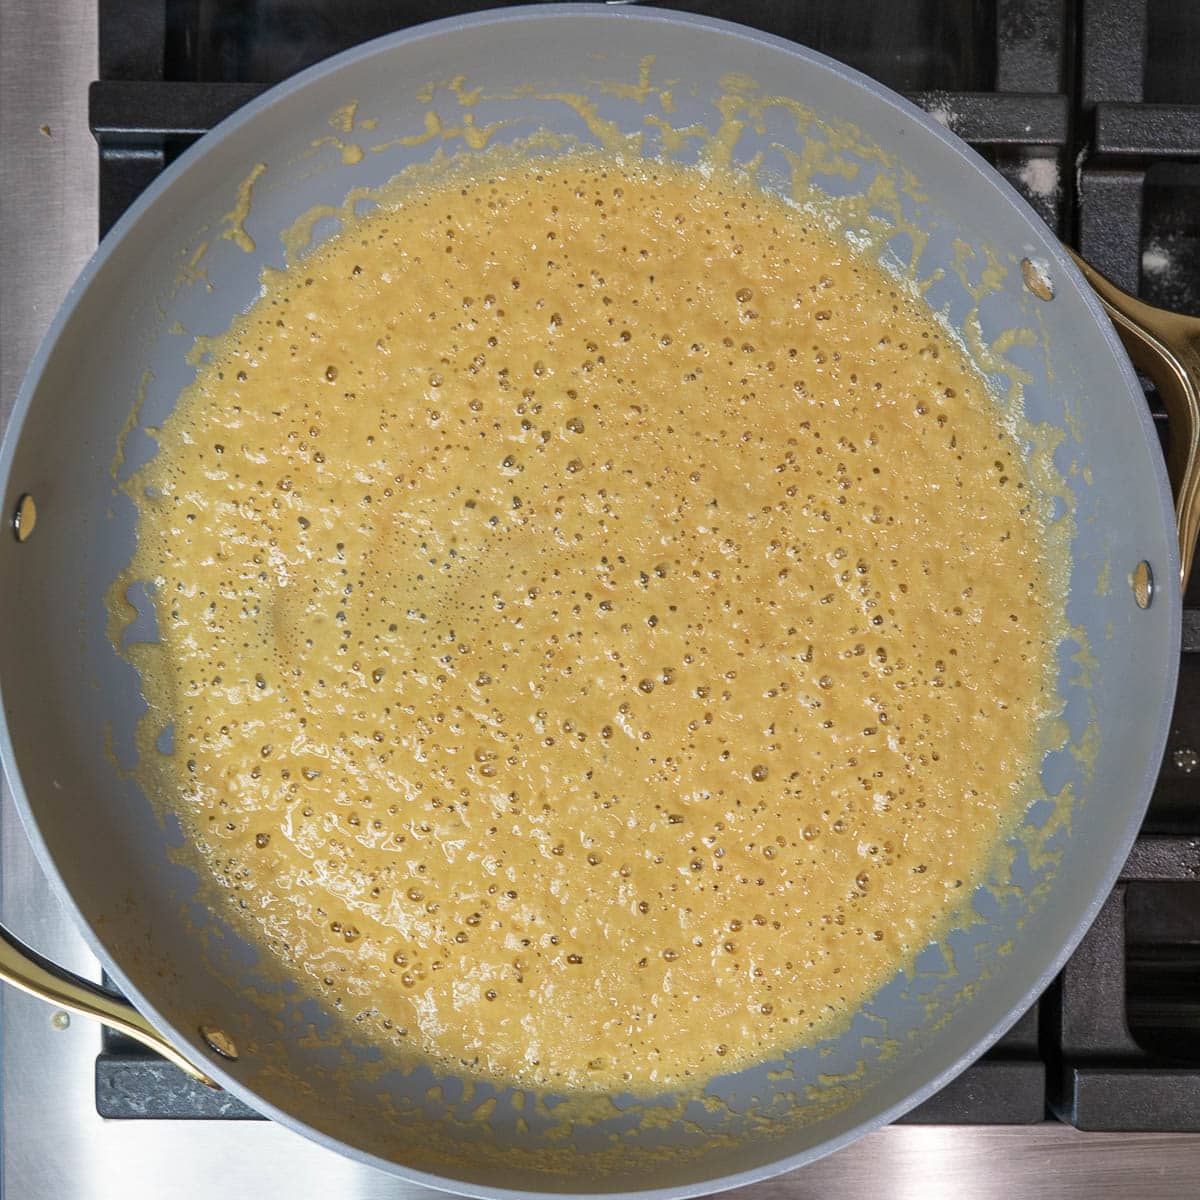
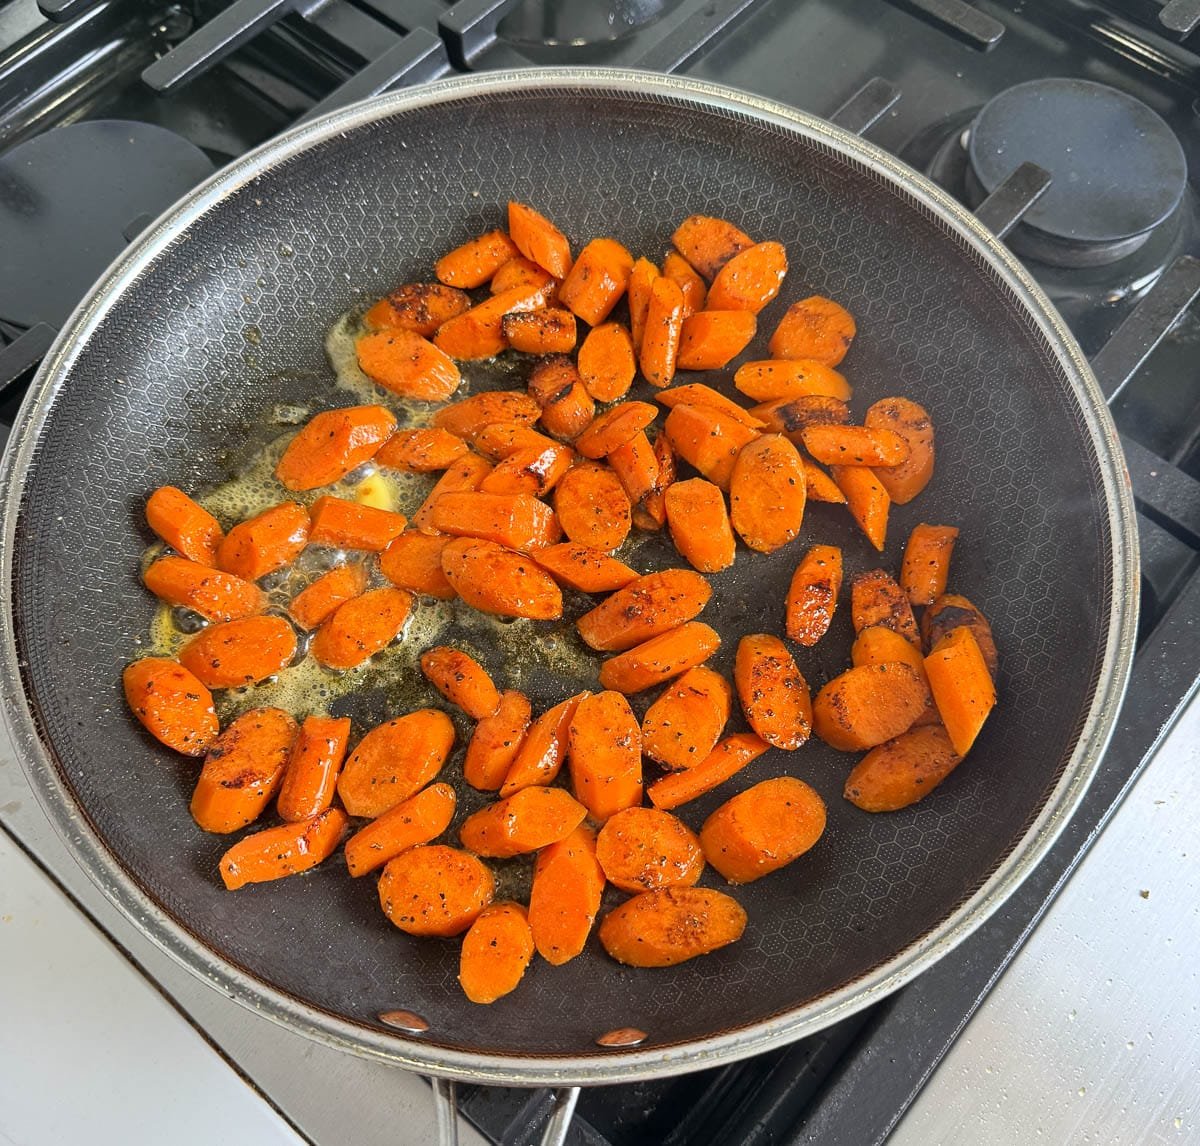
- Sauté: Add the carrots and seasoning. Cook for 5-7 minutes, stirring occasionally, until they start to get golden on the edges.
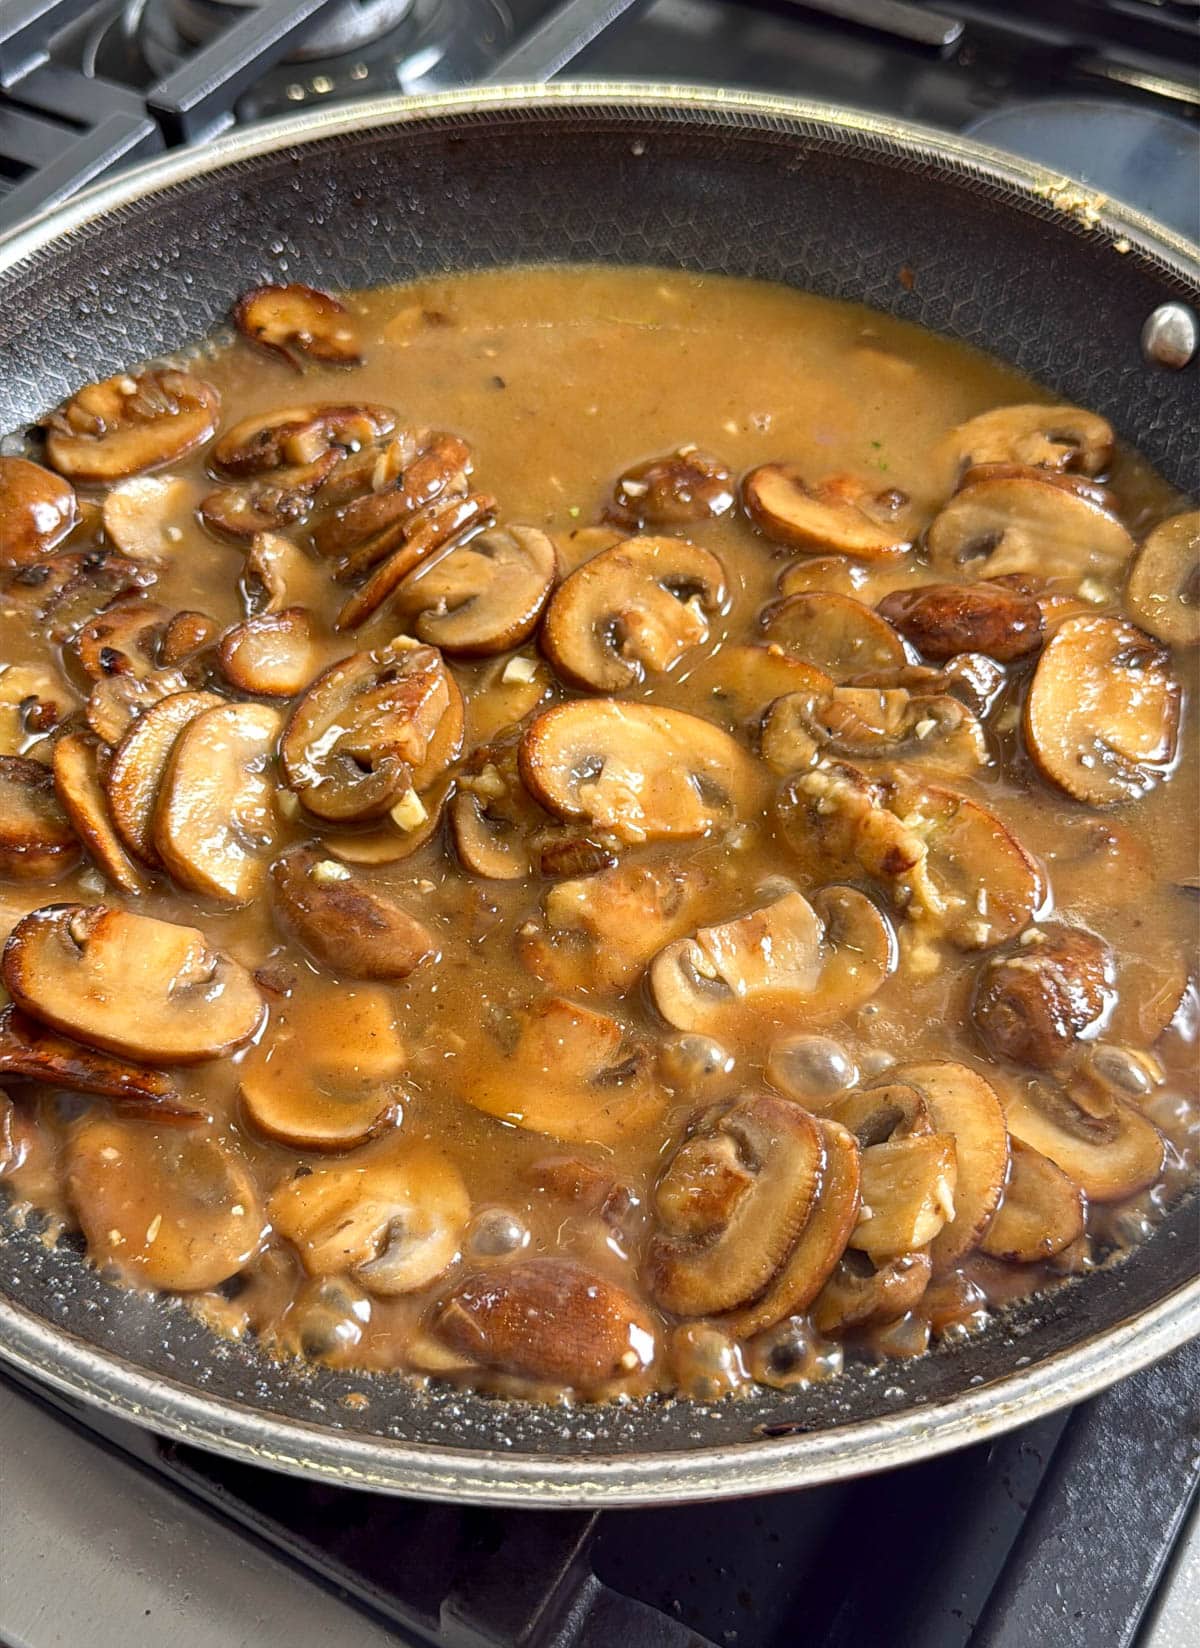
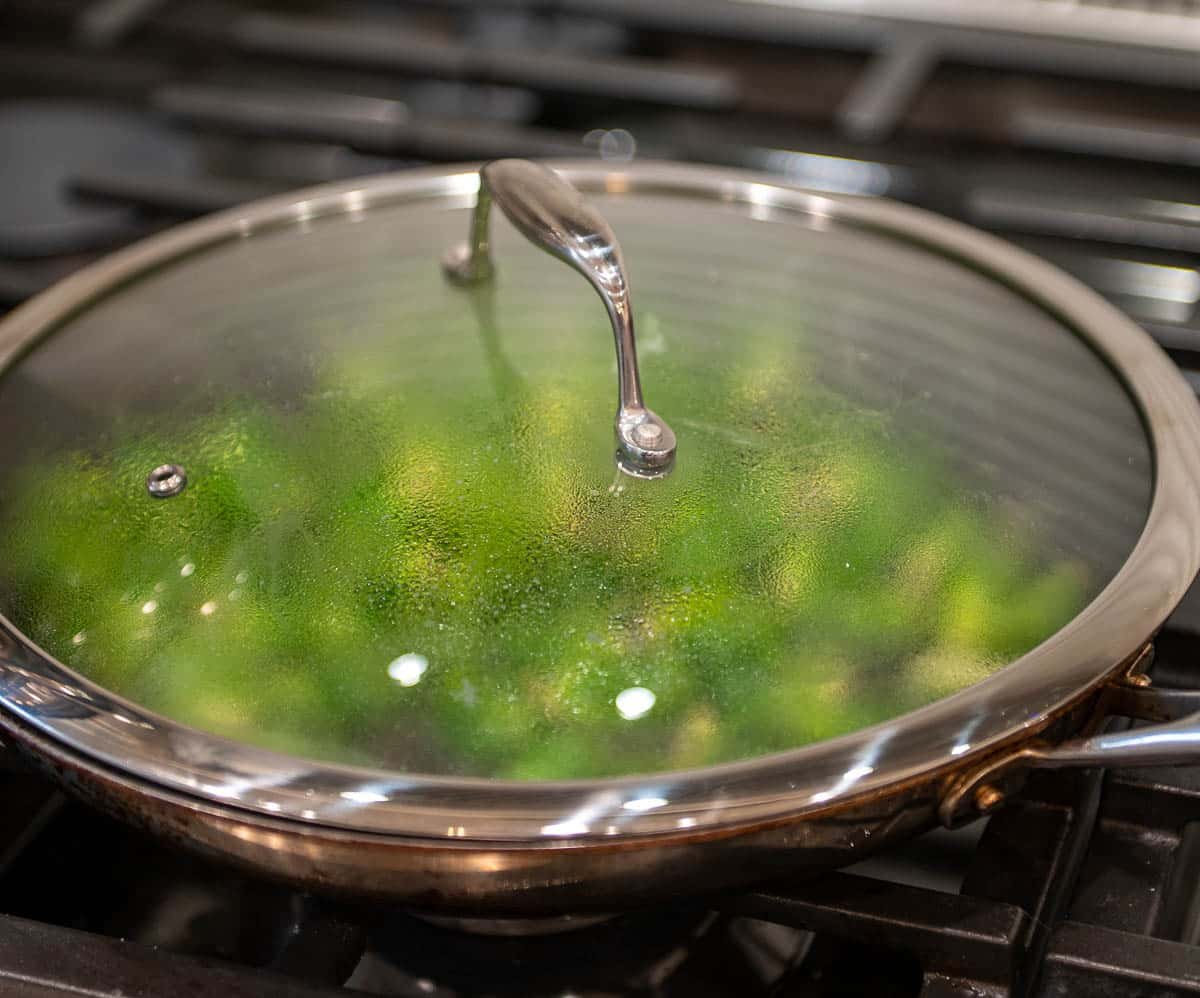
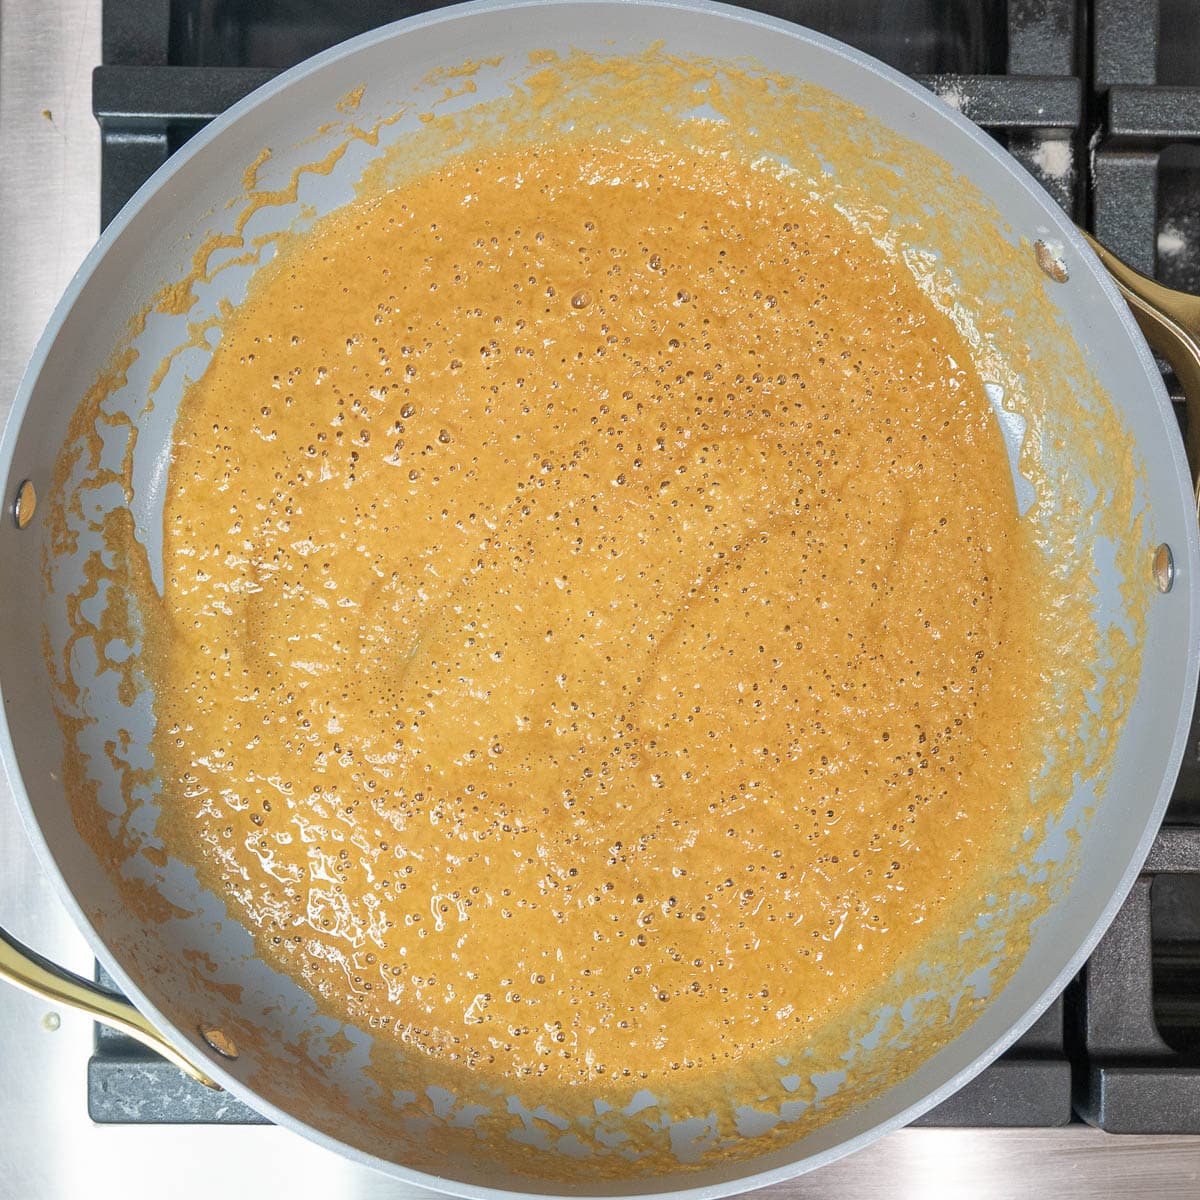
- Steam to finish: Add 1-2 tablespoons of water, cover, and reduce to medium heat. Let them cook 3-5 more minutes, until they are fork tender.
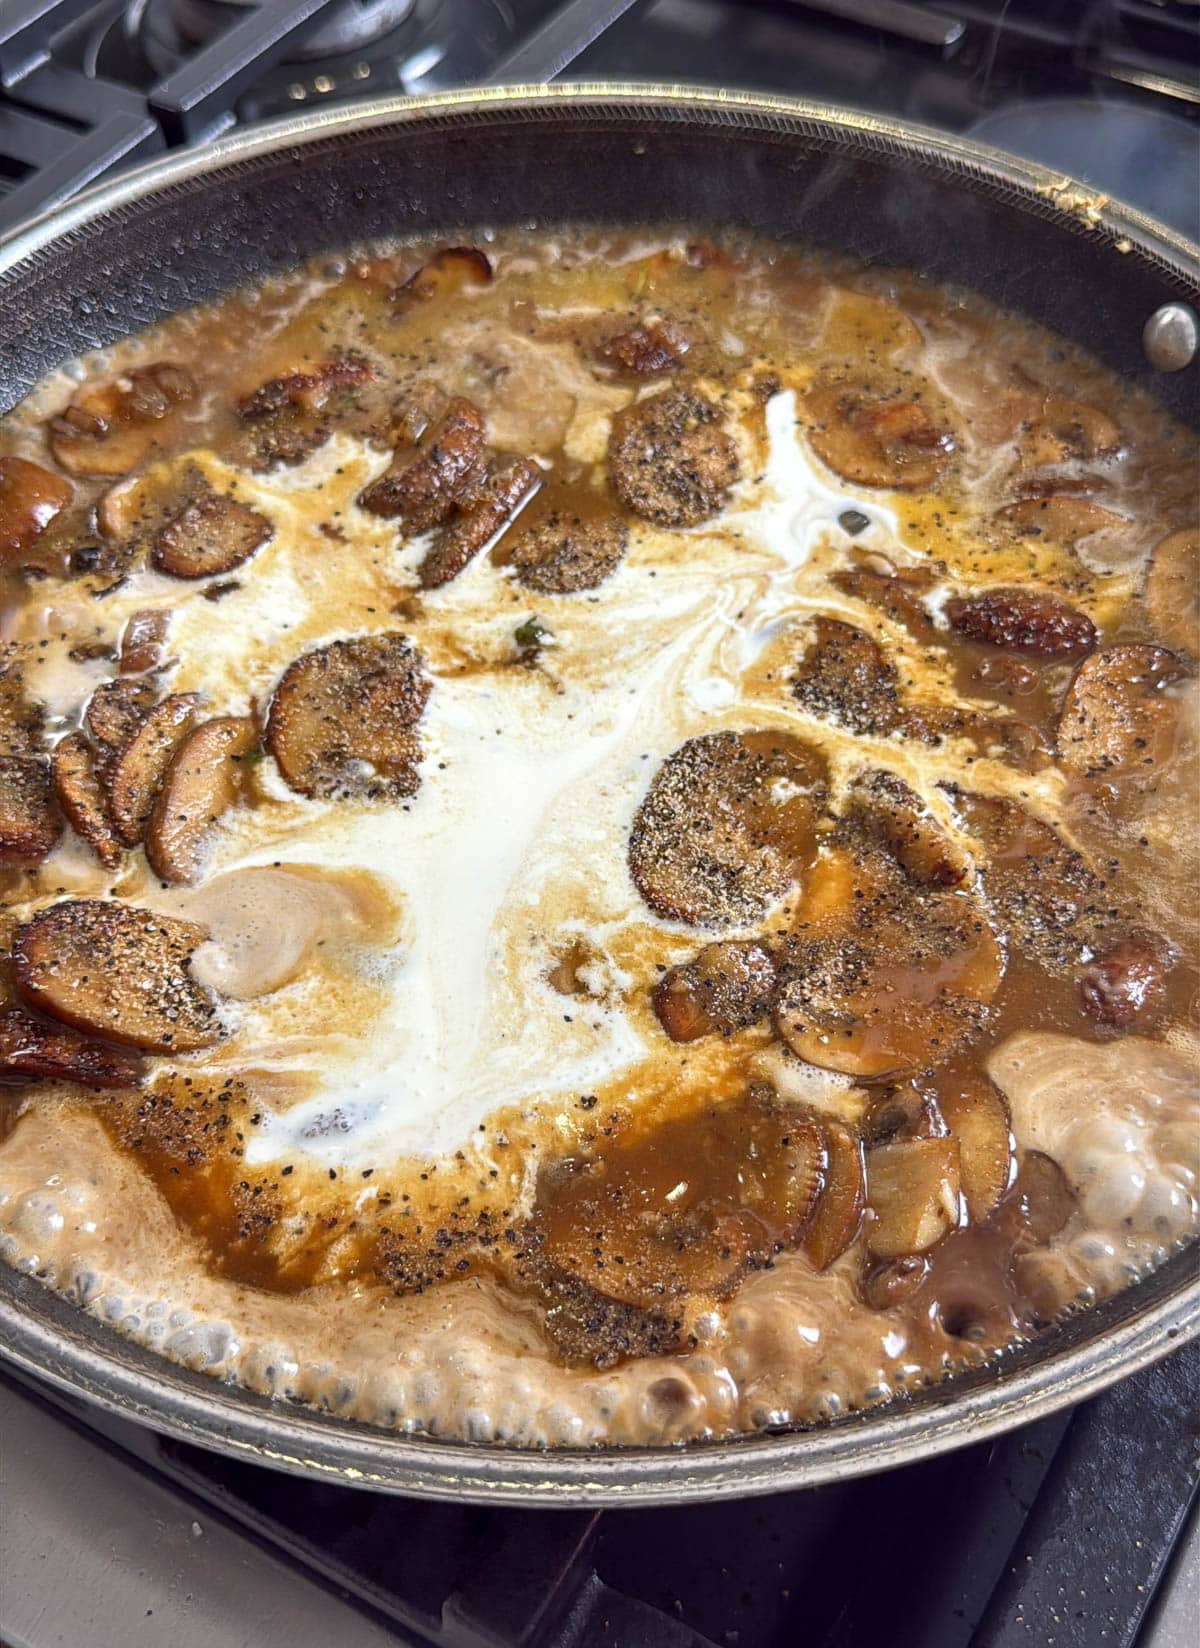
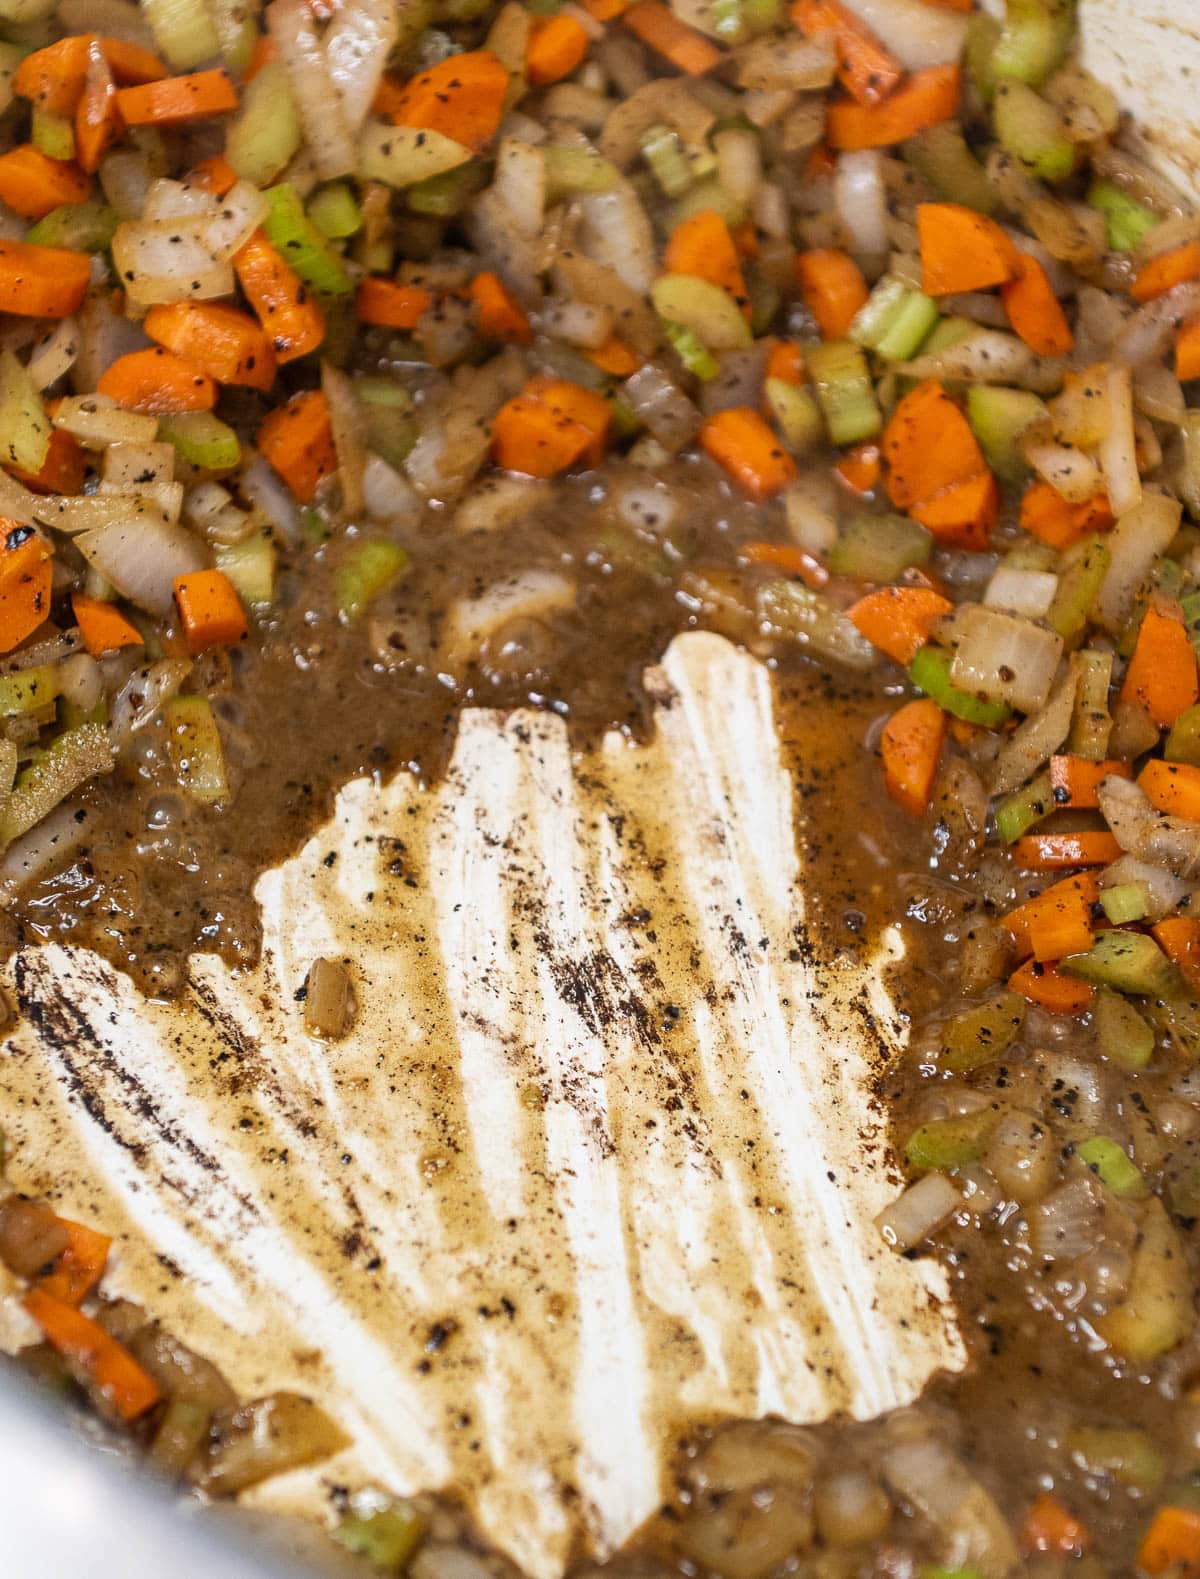
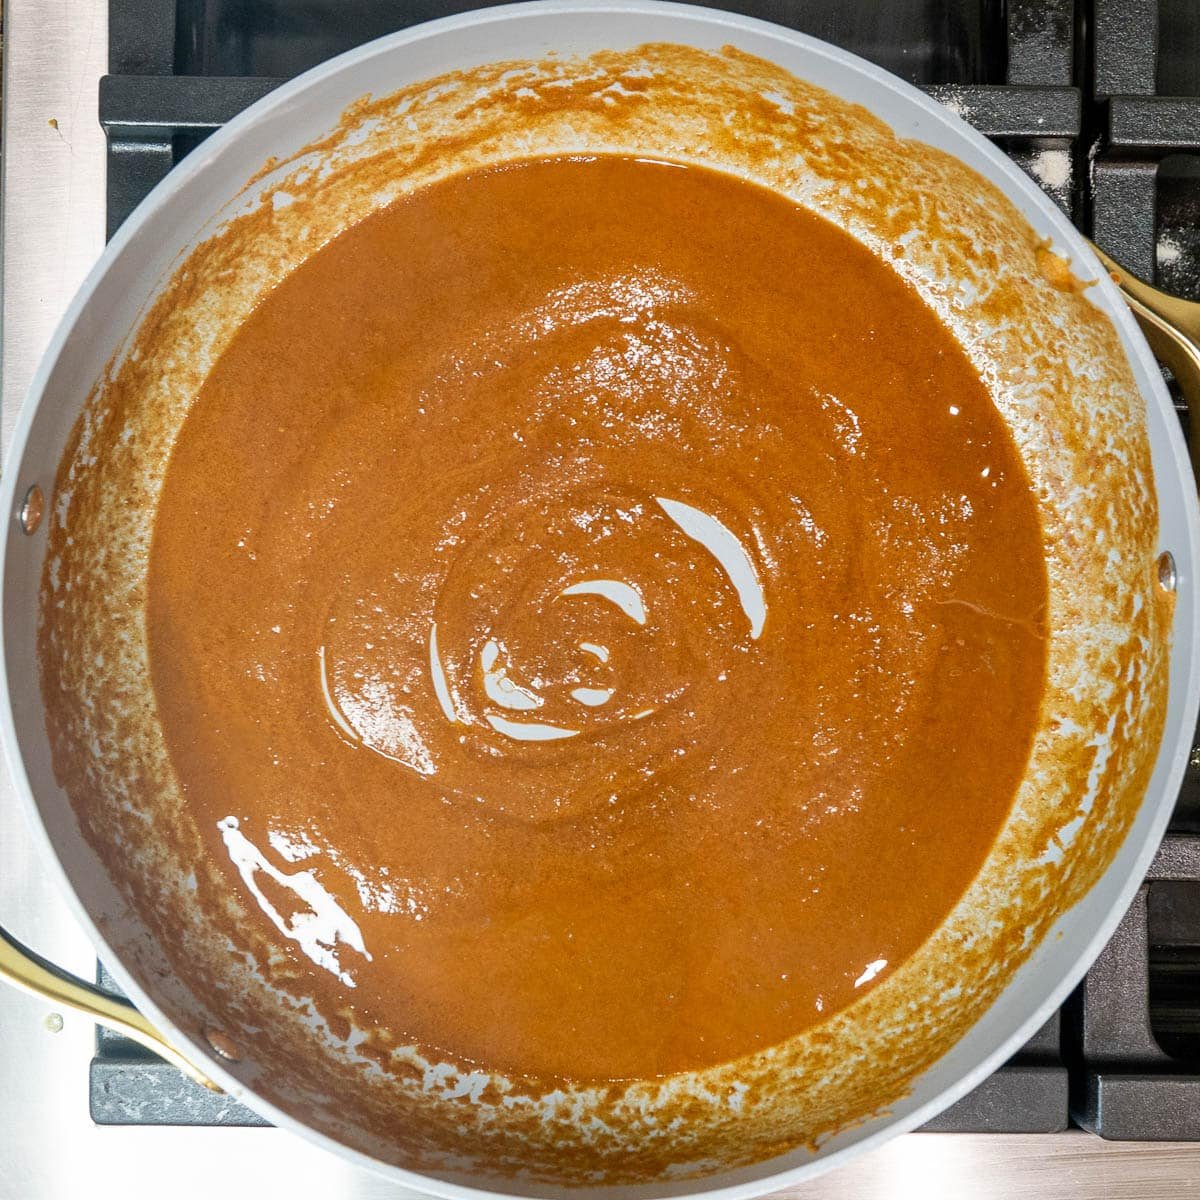
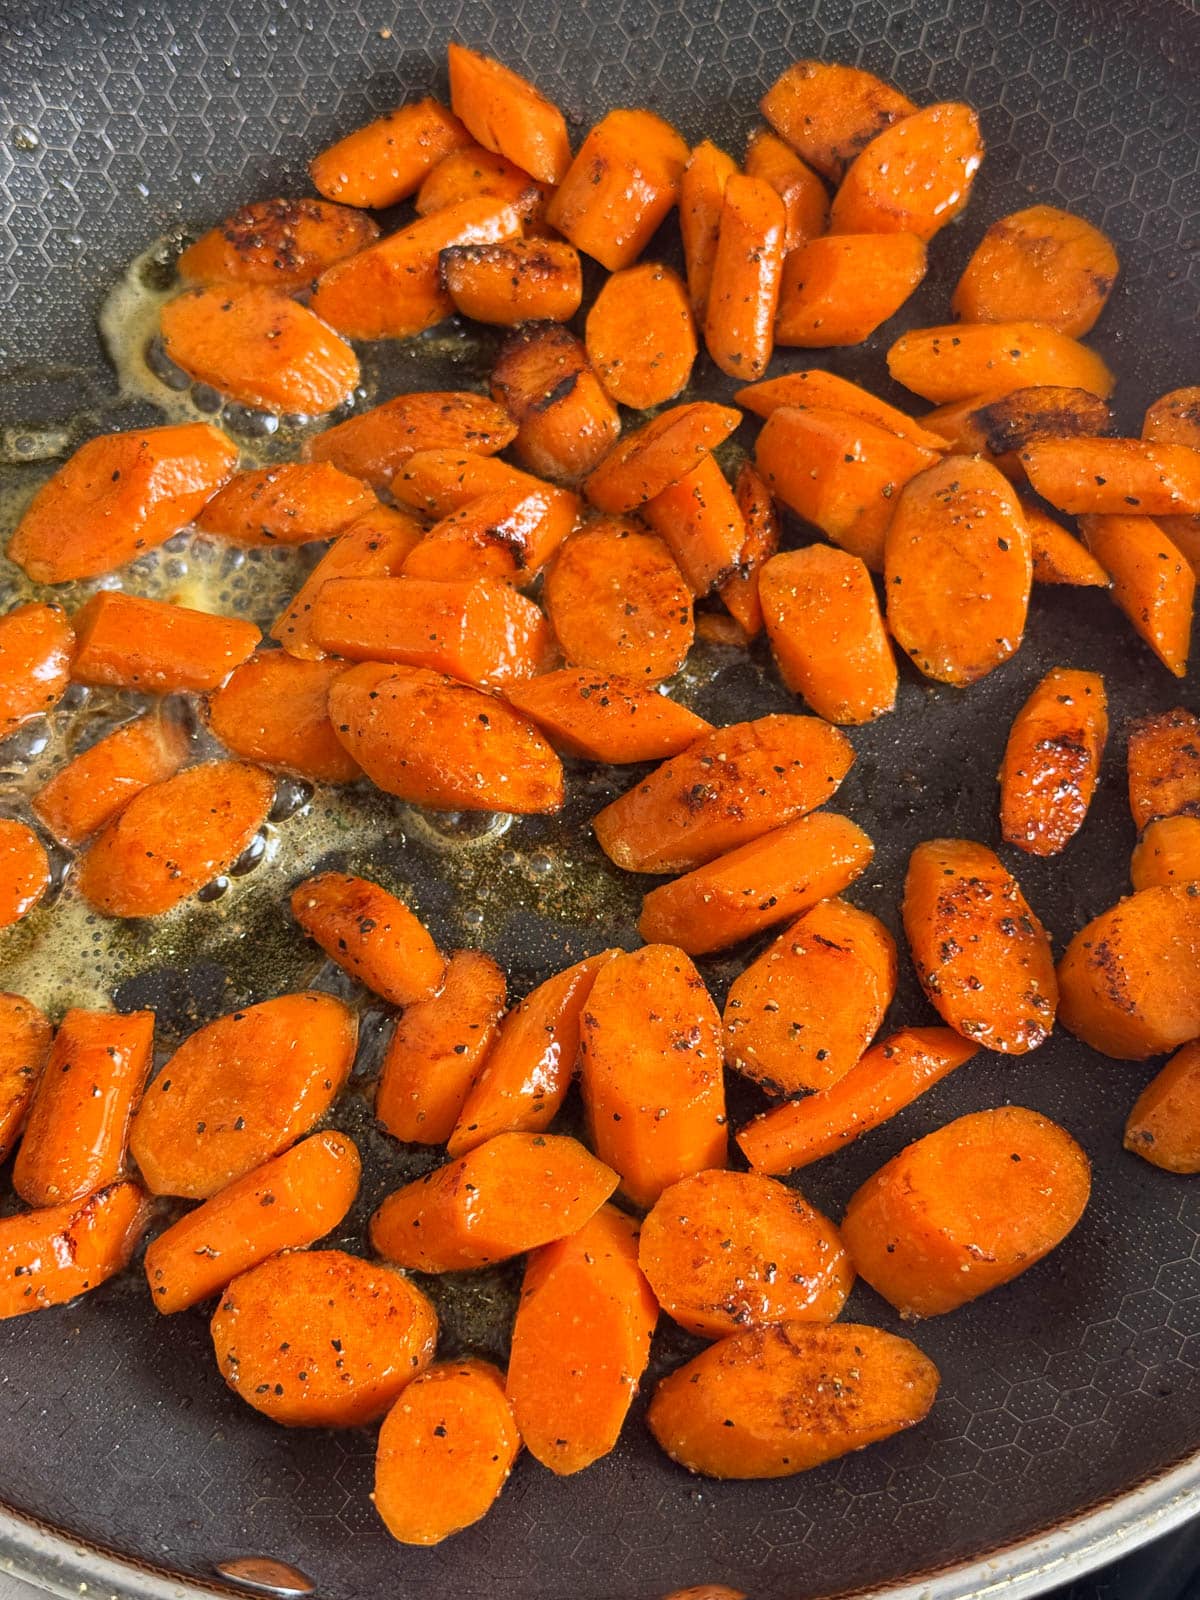
- Add flavor: Uncover and stir in 1 teaspoon brown sugar or maple syrup, plus a splash of orange juice if you like. Let it bubble for 30 seconds to coat the carrots in a light glaze.
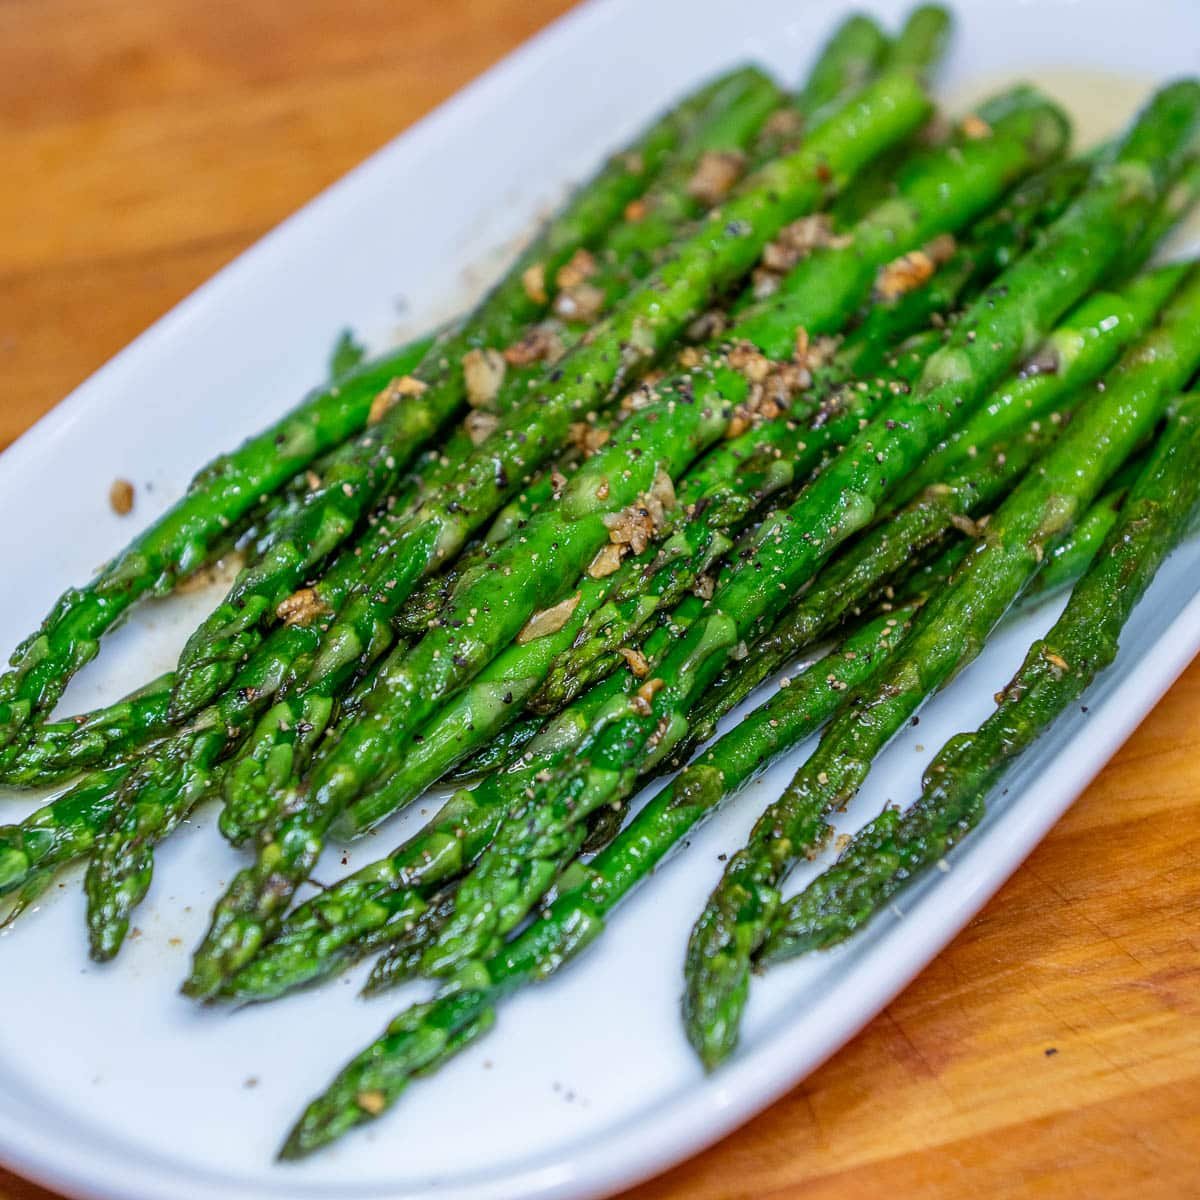
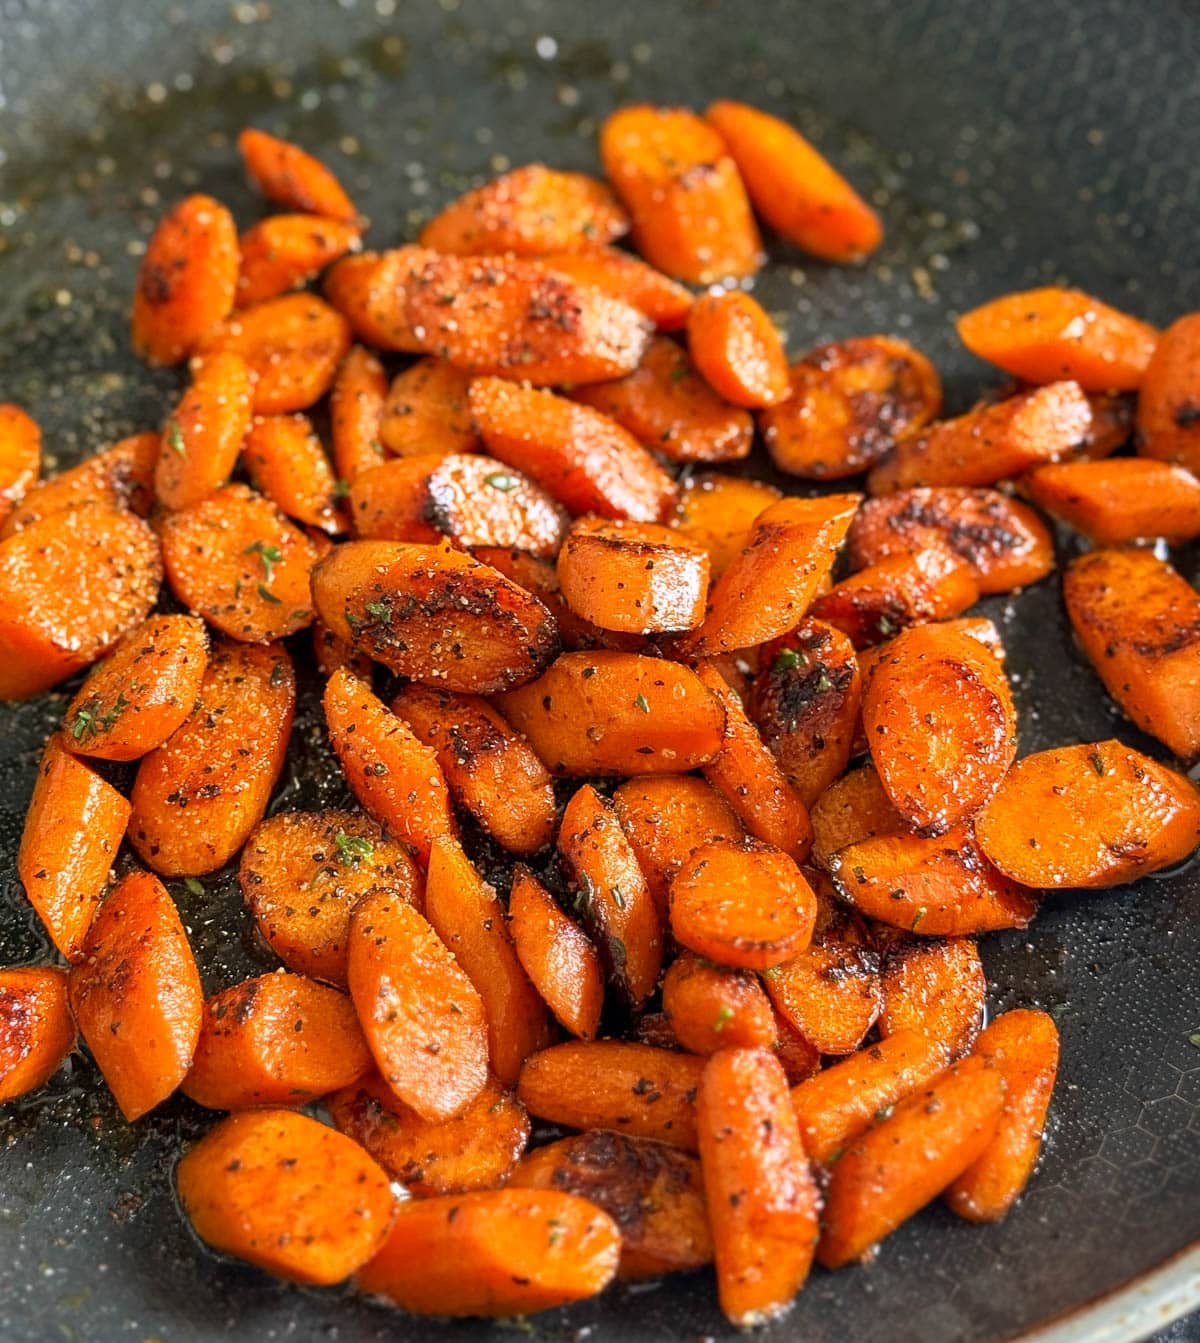
- Finish: Sprinkle with fresh herbs, toss well, and taste for seasoning.
Final Thoughts
If you've never tried sautéing carrots before, this might become your new favorite carrot side dish. The short cooking time, the simple ingredients, and that buttery, lightly glazed finish make it one of the best sautéed carrots you'll ever make. It's the kind of easy side dish that works just as well next to your holiday meals as it does on a random Tuesday.
Frequently Asked Questions
Yes! Just cut them in half so they cook evenly and still get that al dente bite.
Definitely. Store in an airtight container and reheat gently in a sauté pan with a little butter.
You can use just olive oil for a lighter version, but the butter really enhances the flavor profile and gives that glossy finish.
These carrots go with almost everything. From chicken recipes to pork chops, salmon, or vegetarian grain bowls.
Recipe

Sautéed Carrots
Ingredients
- 1 pound carrots
- 1 tablespoon unsalted butter
- 1 tablespoon olive oil
- 1 ½ teaspoons SPG ½ teaspoon of each
- 1 teaspoon brown sugar or maple syrup
- 1 teaspoon fresh herbs
Instructions
- Prep the carrots: Peel and slice about 1 pound of fresh carrots (or halve baby carrots).
- Heat the pan: Place a large skillet over medium-high heat and add 1 tablespoon olive oil and 1 tablespoon unsalted butter.
- Sauté: Add the carrots and seasoning. Cook for 5-7 minutes, stirring occasionally, until they start to get golden on the edges.
- Steam to finish: Add 1-2 tablespoons of water, cover, and reduce to medium heat. Let them cook 3-5 more minutes, until they are fork tender.
- Add flavor: Uncover and stir in 1 teaspoon brown sugar or maple syrup, plus a splash of orange juice if you like. Let it bubble for 30 seconds to coat the carrots in a light glaze.
- Finish: Sprinkle with fresh herbs, toss well, and taste for seasoning.
Notes
- Make-Ahead Instructions: Store in an airtight container and reheat gently in a sauté pan with a little butter.
- Serving Suggestion: These carrots go with almost everything. From chicken recipes to pork chops, salmon, or vegetarian grain bowls.