If your sourdough starter not rising is what brought you here, take a breath. The most common reason starters look dead is that they're not actually dead, they're just cold, hungry, or being fed something that's killing the yeast you're trying to grow. This guide walks you through the five most common causes and exactly how to fix each one, plus the two tests I use to confirm whether a starter is ready for sourdough bread or needs more time. If you're at the beginning of your starter journey, my sourdough starter for beginners guide is the full day-by-day buildup; this post is the troubleshooting companion for when something feels off.
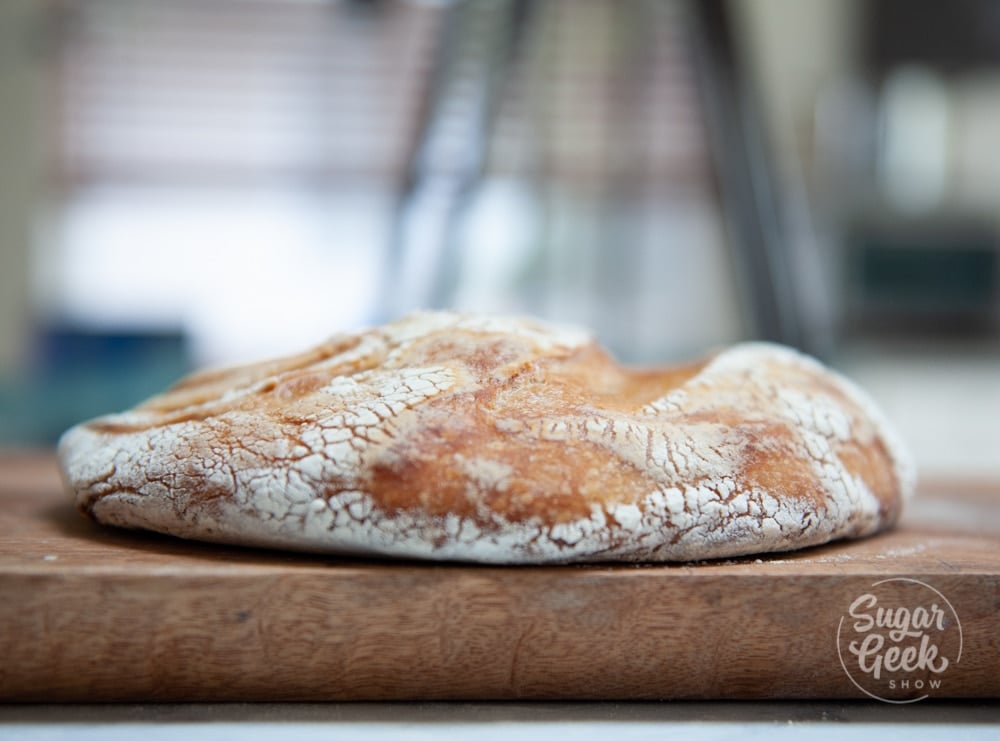
I spent months during the pandemic researching sourdough, testing methods, failing at starters, and starting over more times than I want to admit. That hockey-puck photo of my first sourdough loaf you might have seen on my sourdough starter post is real. Every problem I'm going to walk you through in this guide is one I had to figure out the hard way. The good news is that almost every "my starter isn't rising" problem has a simple fix, and you almost never have to start over.
Quick Glance at the Guide: Why Is My Sourdough Starter Not Rising?
- Recipe Name: Why Is My Sourdough Starter Not Rising?
- Why You'll Love It: Five most common causes of a stalled starter, ranked by frequency, with the exact fix for each. Plus, the two diagnostic tests I use to know if my starter is bread-ready or needs more time.
- What You'll Learn: What a healthy starter rise actually looks like, the temperature math behind yeast activity, the water and flour mistakes that quietly kill a starter, the false rise that confuses everyone on Day 2 or 3, and when it's actually time to throw the jar out and start over.
- Time to Diagnose: 5 minutes to identify the cause. Fix times range from "wait 24 more hours" to "feed twice a day for 3 to 5 days."
- Method: Run the peak test, identify the cause, apply the fix, and re-test in 24 to 48 hours.
- Best Audience: Anyone whose starter doubled once and stopped, never doubled at all, just woke up from the fridge and feels sluggish, or seems "dead" after a vacation.
- Quick Tip: Almost every "is my starter dead" question has a simple answer. The only time you actually need to start over is if you see pink, orange, or fuzzy patches on the starter (that's mold). Everything else is fixable with the right feed.
Jump to:
- Quick Glance at the Guide: Why Is My Sourdough Starter Not Rising?
- What Makes This Sourdough Starter Troubleshooting Guide Different
- What A Healthy Starter Rise Actually Looks Like
- The 5 Most Common Causes Of A Sourdough Starter Not Rising
- If Your Starter Rises But Doesn't Double
- How To Test If Your Starter Is Bread-Ready (The Peak Test, The Levain Test, And The Float Test)
- My Starter Looks Active But My Bread Won't Rise
- When To Actually Start Over
- Common Sourdough Starter Rise Problems To Avoid
- Final Thoughts
- Sourdough Starter Not Rising FAQs
- Sourdough Recipes To Try
What Makes This Sourdough Starter Troubleshooting Guide Different
This guide is built to do one thing: get your stalled starter rising again. Here's what's inside.
- The 5 most common causes, ranked by frequency. Temperature is the answer 8 times out of 10.
- The peak test and levain test from my main starter guide. These are the two diagnostic tests I use to confirm whether a starter is actually ready for baking vs just bubbly. Same tests, applied to the "is my starter dying" question.
- Specific fix for each cause. Determining your exact problem is the first step to fixing your flat starter.
- Clear go-vs-no-go criteria for starting over. Almost every starter problem is fixable with the right feed. Only one situation actually requires throwing out the jar. We cover what that situation looks like.
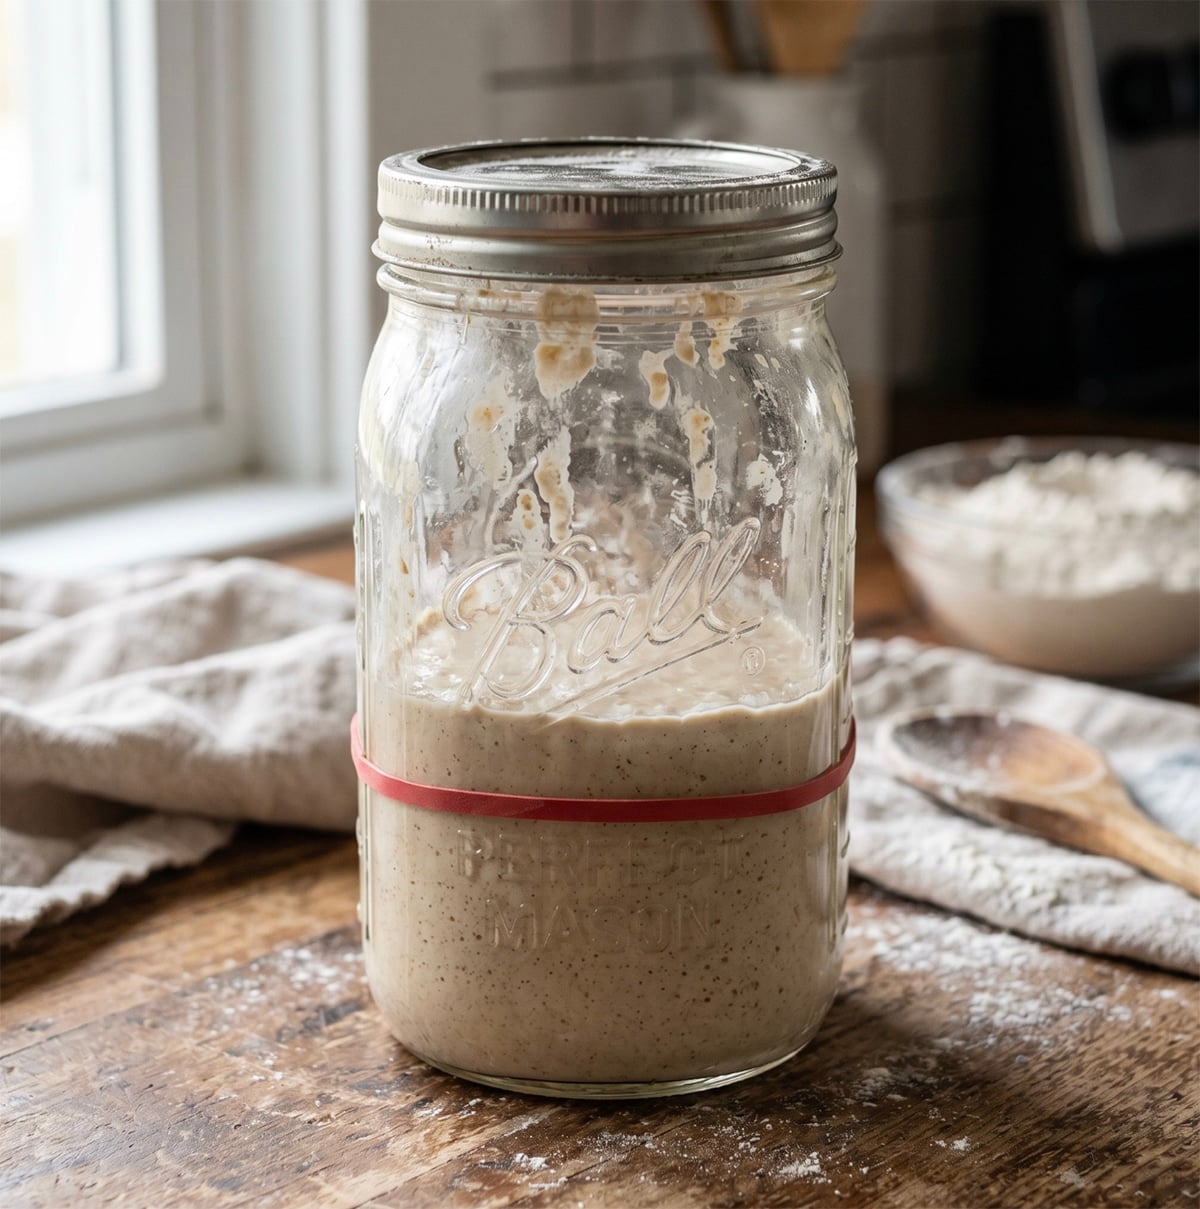
What A Healthy Starter Rise Actually Looks Like
Before troubleshooting a starter that isn't rising, it helps to know what rising should look like. From my main sourdough starter guide, here are the benchmarks at each stage.
Day 1 (just mixed flour and water): No visible rise. Maybe a few small bubbles. Smells terrible. This is normal; the yeast hasn't won the jar yet.
Day 2 to 3 (early feeds): Some bubbles, possibly a small rise. Smell is still funky (often called "wet socks"). Many starters get a deceptive false rise on Day 2 or 3 from opportunistic bacteria. That's not the wild yeast taking off; that's a temporary win for the wrong organisms.
Day 4: Activity often slows or appears to die back. DON'T PANIC. The microbial population is shifting from "lots of random organisms" to "mostly wild yeast and lactobacillus." That's the right direction, even if it looks quiet.
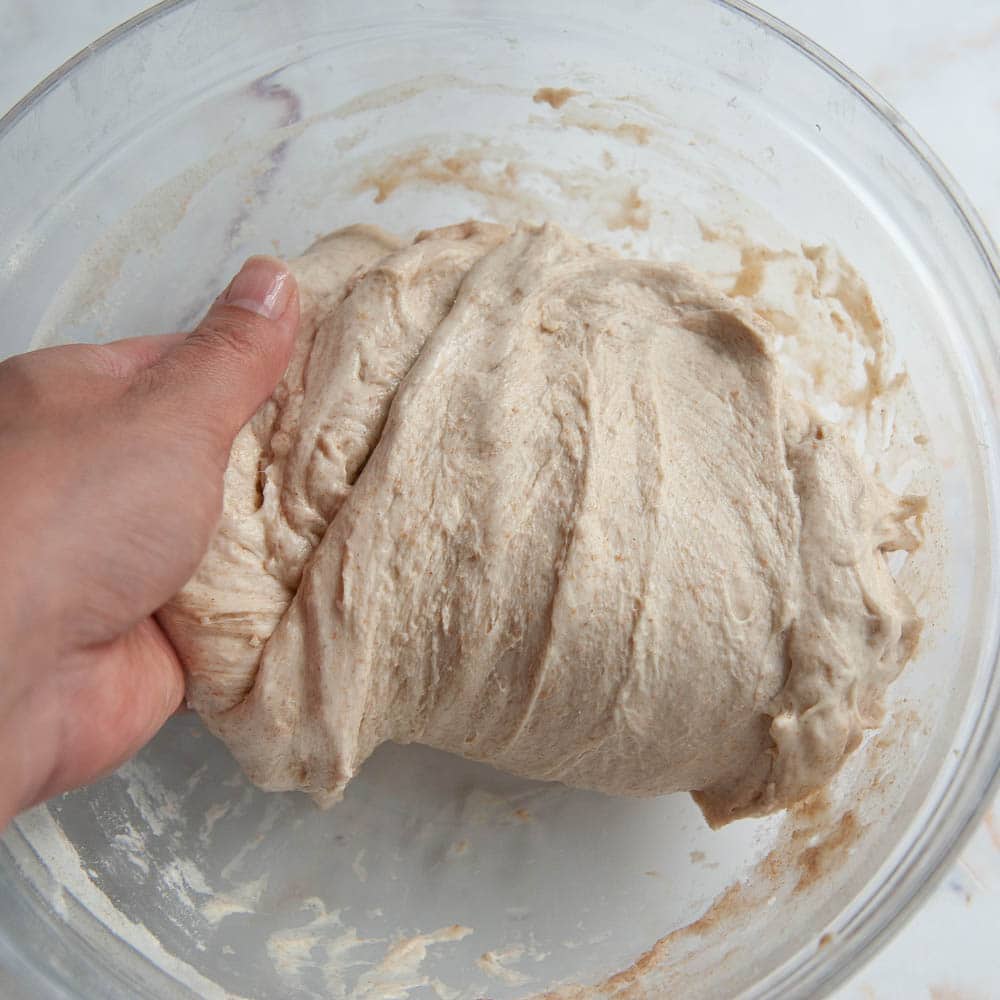
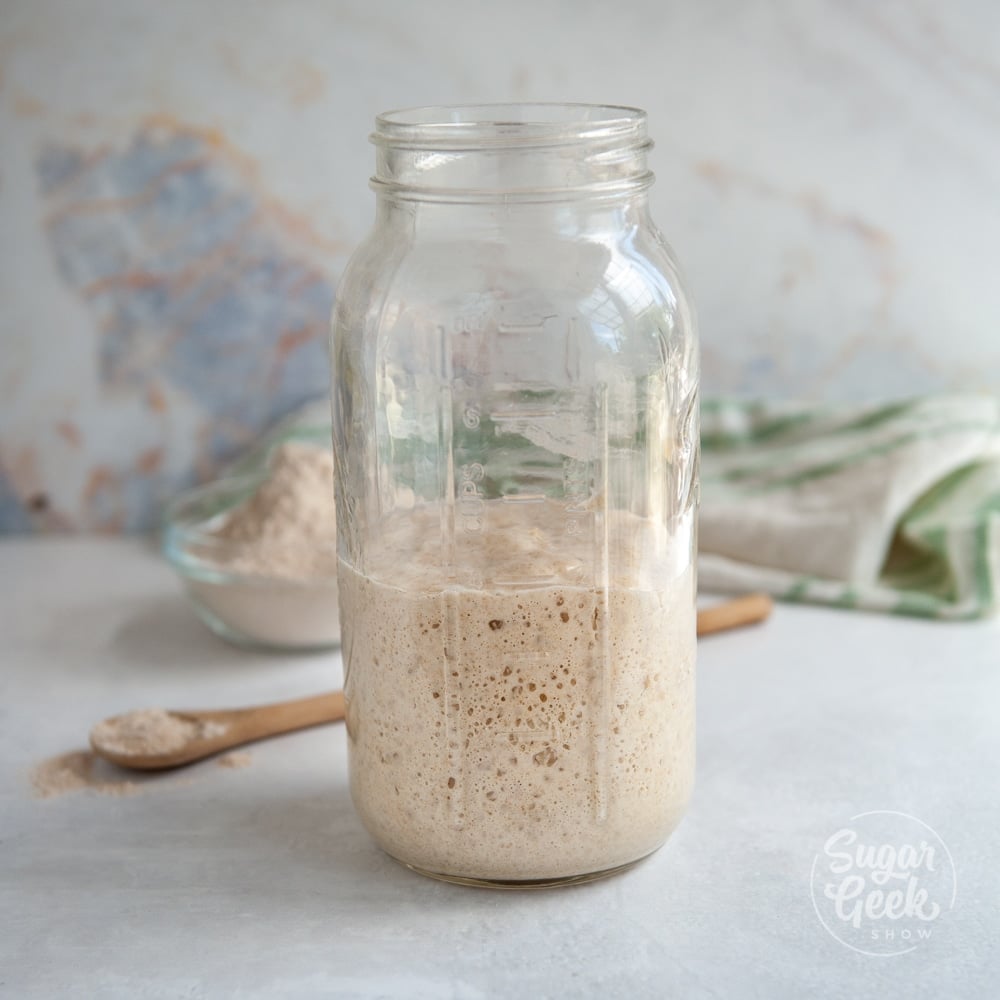
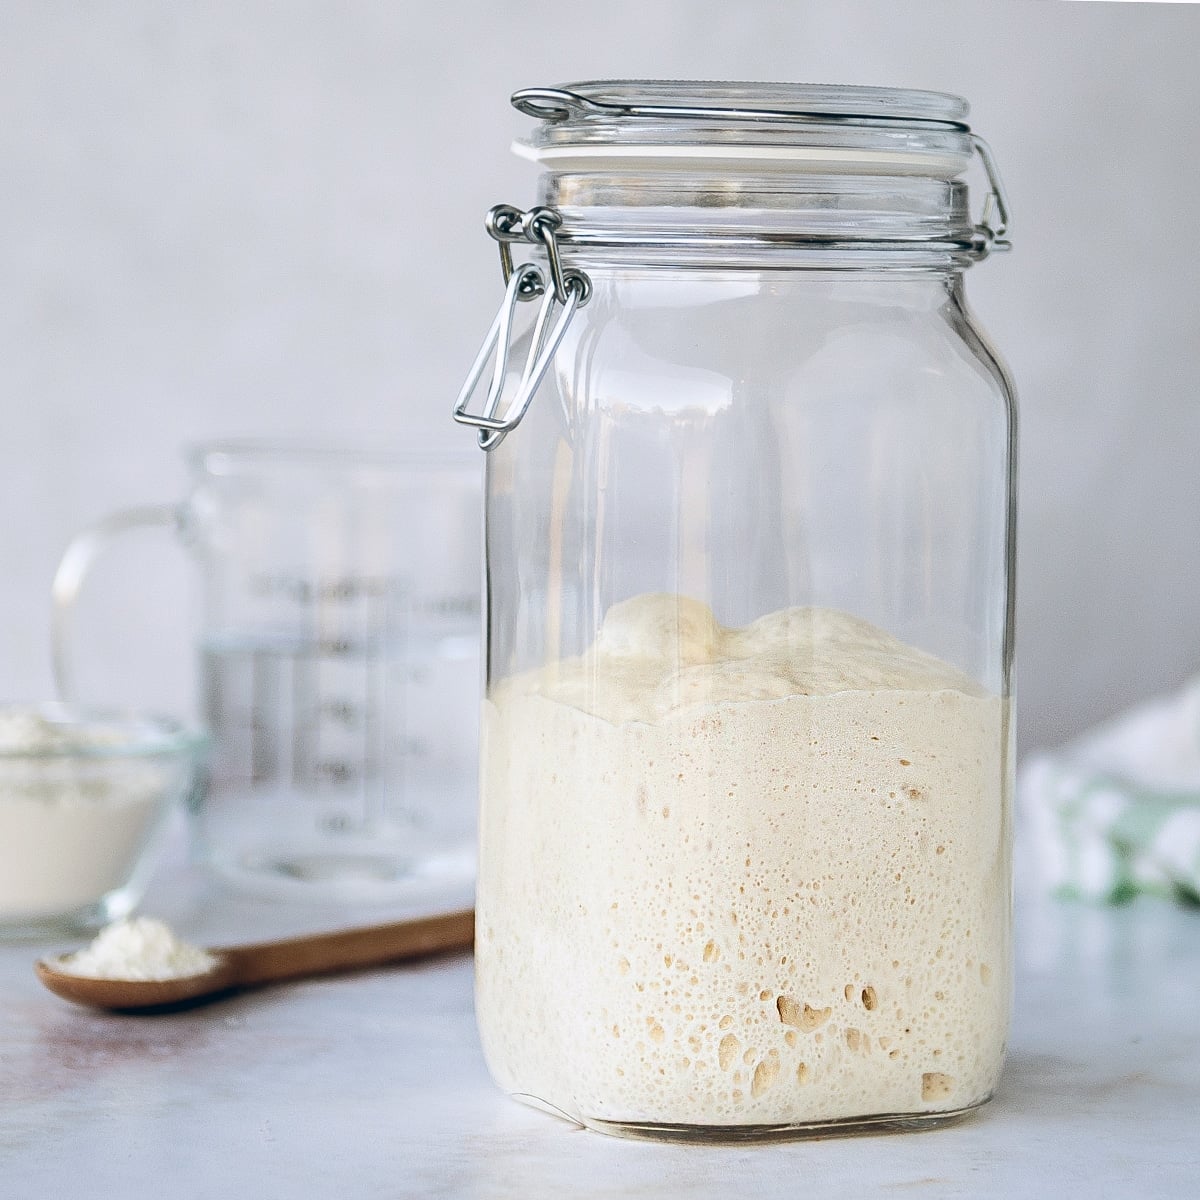
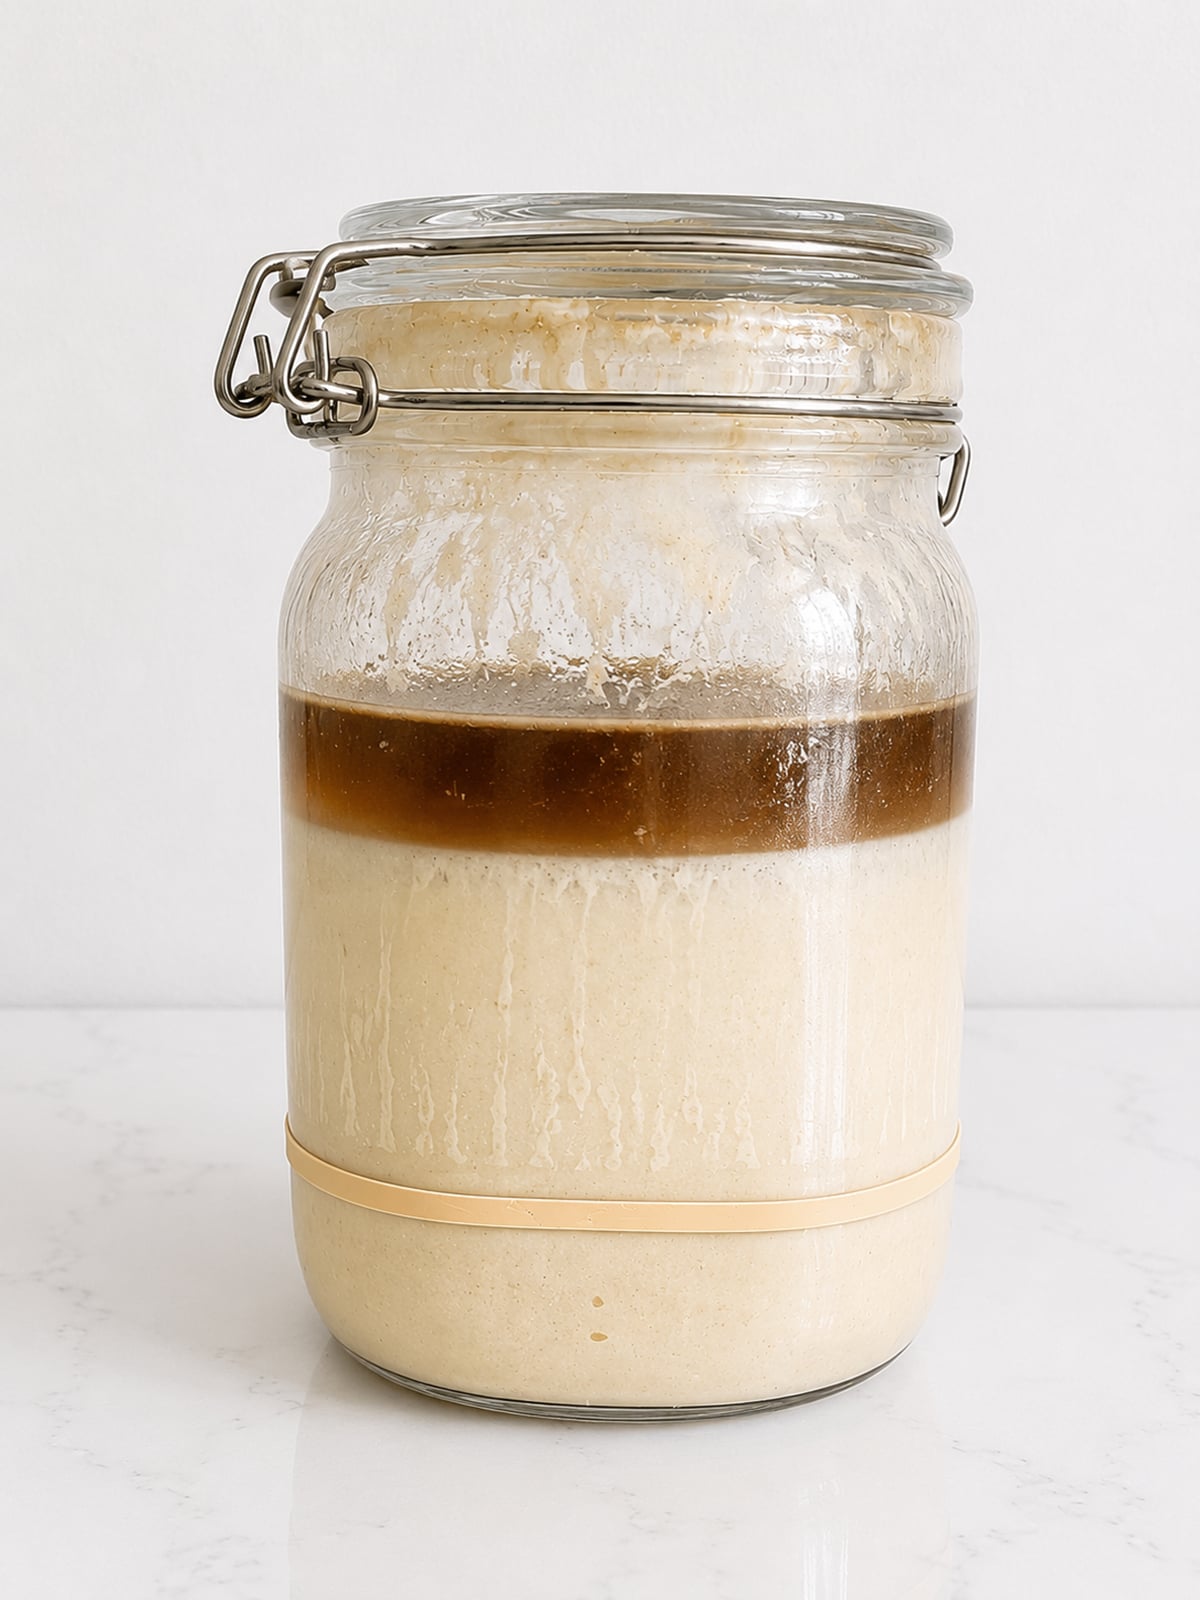
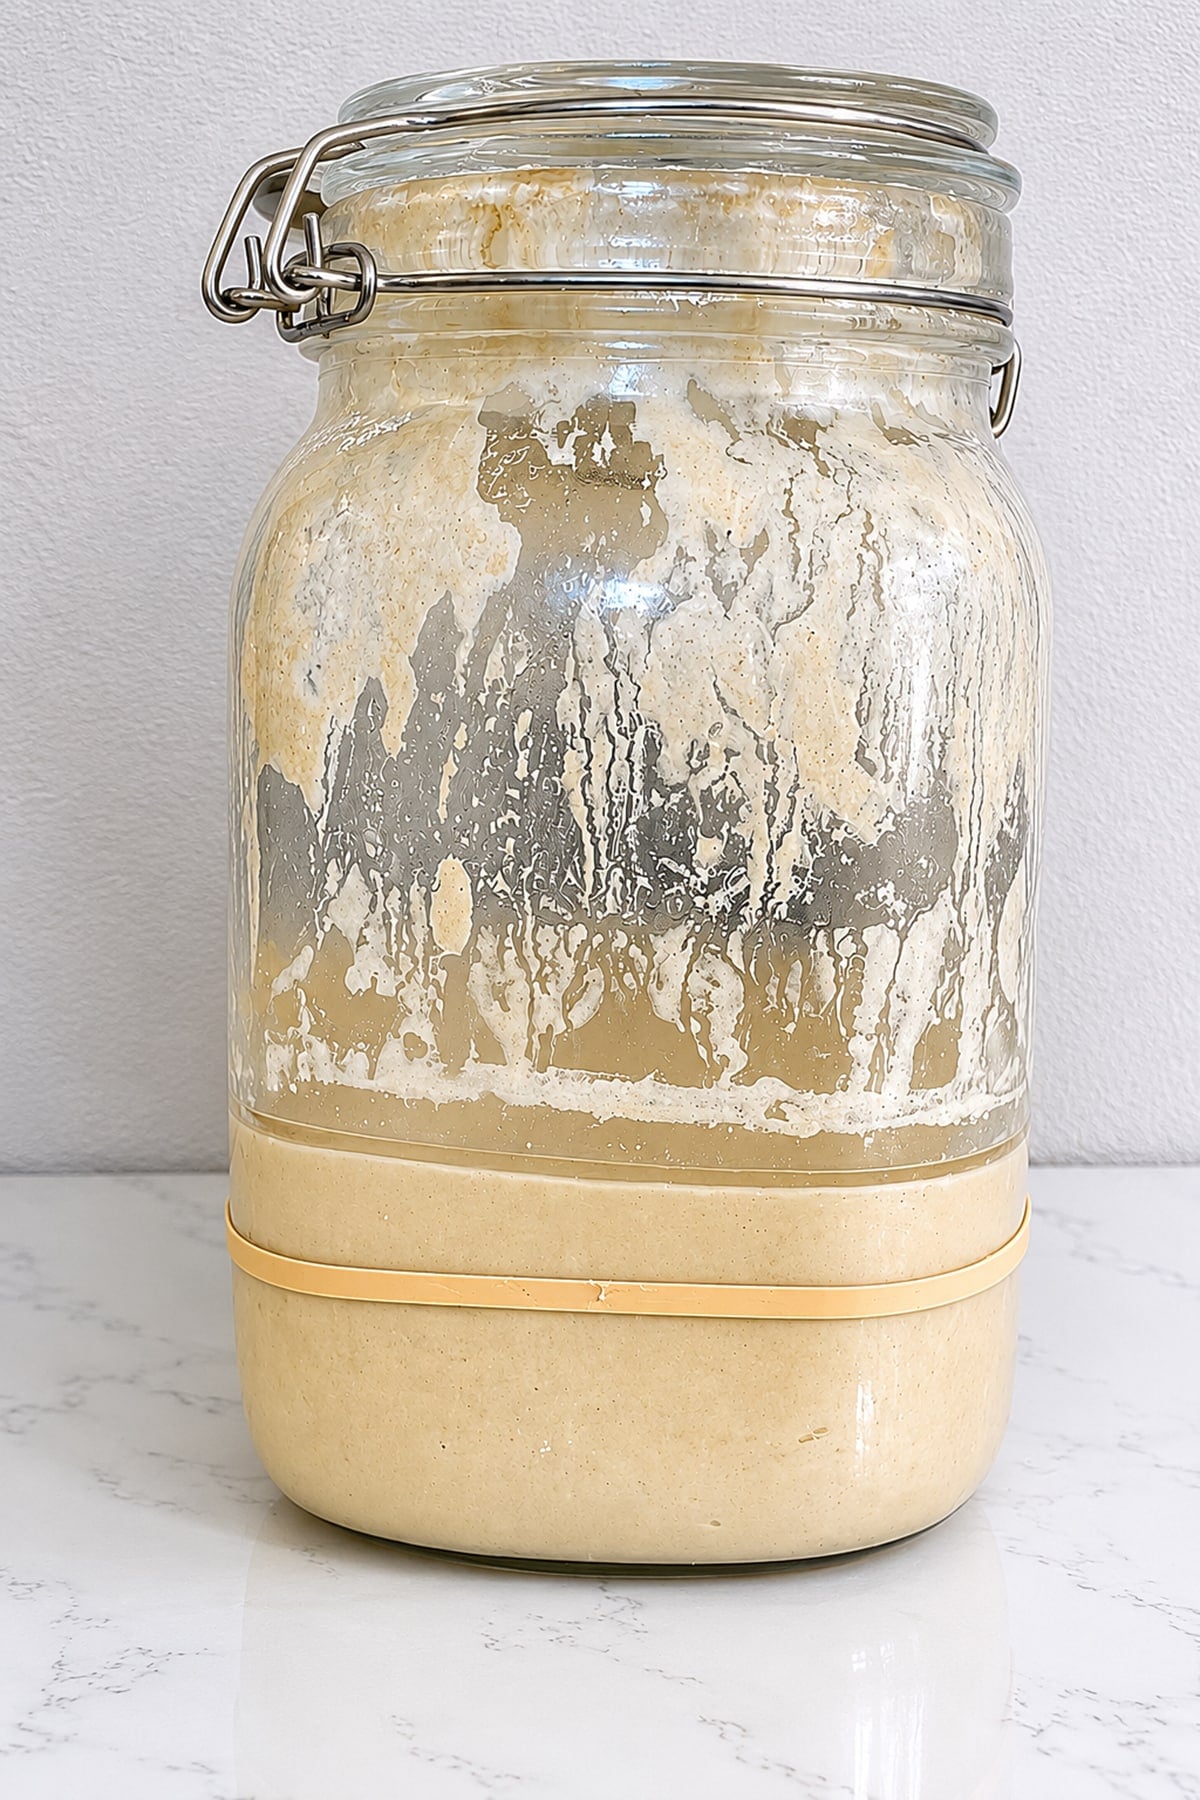
Day 5 to 7: Real rise. A healthy starter at this stage doubles within a few hours of feeding, holds that height, then slowly falls back. The smell is sweet and tangy, not funky.
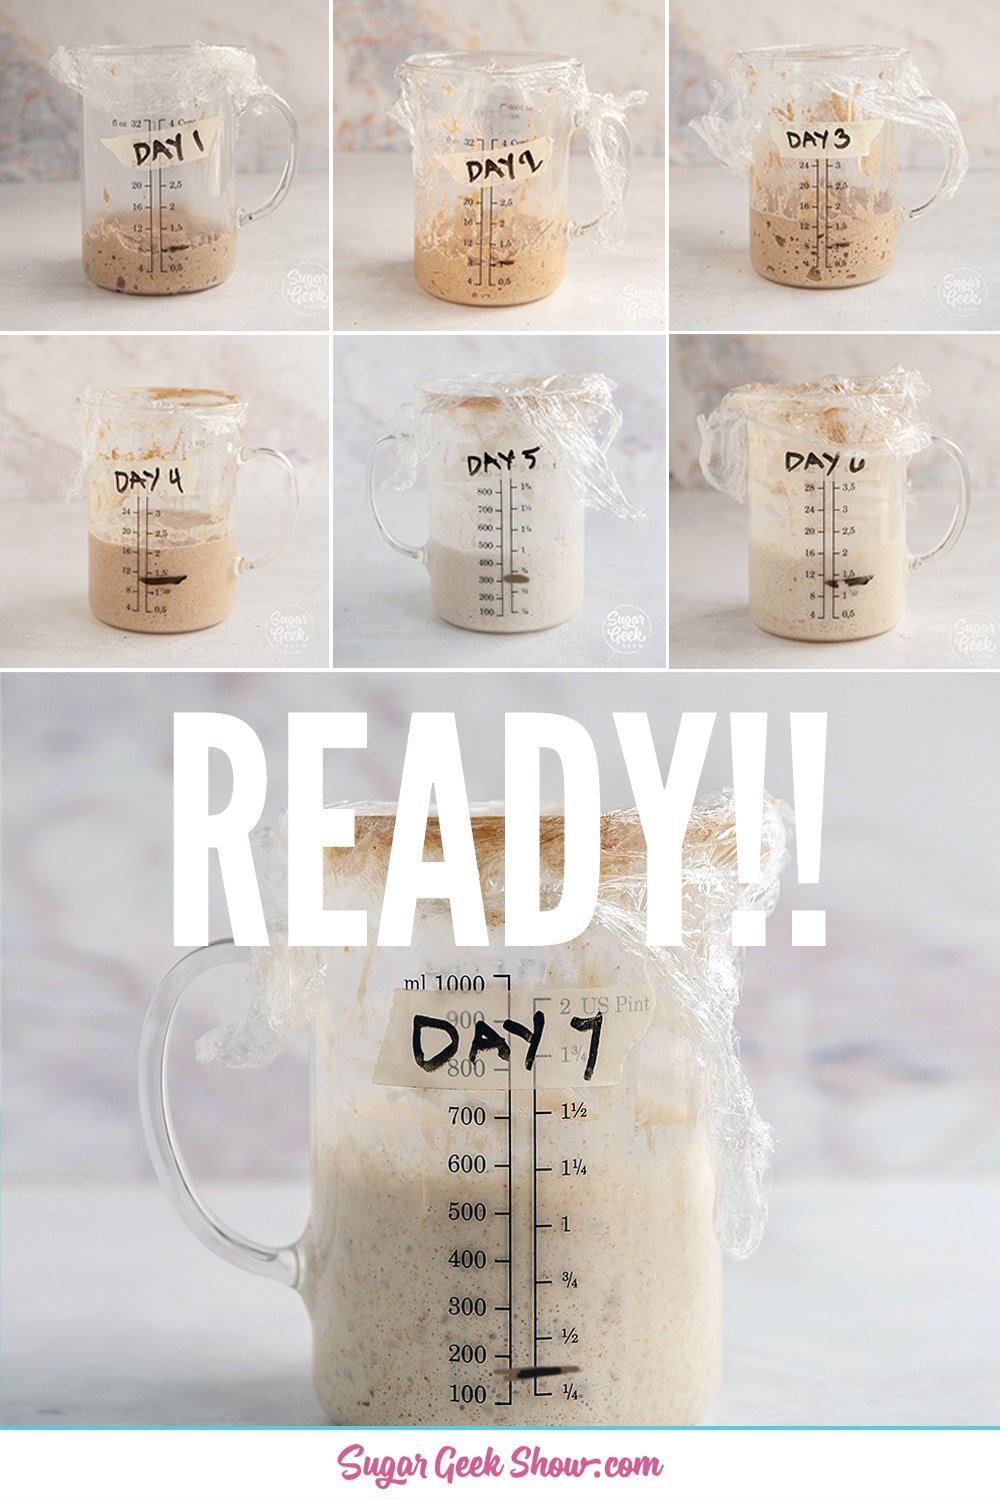
PRO TIP: IF your starter is NOT rising after day 7, that's OK! It's very common for it to take up to TWO WEEKS for your sourdough starter to reliably double. So your first answer to why your starter is not rising is that it could just need more time.
Established starter (Week 2 and beyond): Doubles reliably within 4 to 5 hours of a feed at room temperature (about 70º F to 80º F). Develops a clear peak and falls back when it runs out of food.
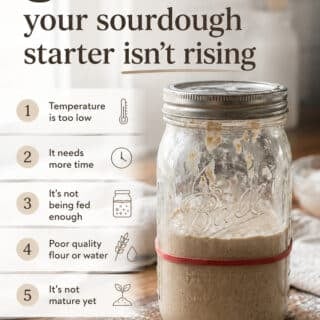
The 5 Most Common Causes Of A Sourdough Starter Not Rising
These are ranked by how often I see them as the cause. Work through them in order.
1. Your kitchen is too cold (8 times out of 10, this is it)
Yeast metabolism roughly doubles for every 18º F you raise the temperature. A starter at 70º F moves at half the speed of a starter at 88º F. A starter at 60º F is moving at a quarter of the speed. That's why a "5 to 7 days" starter timeline is really "5 days at 85º F" or "10 days at 68º F" or "doesn't seem to be happening at all at 60º F."
The fix:
- Find the warmest spot in your kitchen. The top of the fridge is usually 75º F to 80º F. Near a heating vent in winter is similar.
- Use your oven as a warming box: preheat to 170º F for 5 minutes, then turn the oven OFF. Place a bowl of warm water in the back, and put your starter jar in there with the door closed. This creates a steady 80º F to 90º F environment.
- A seedling heat mat from a garden store works as a budget proofer, around $15 to $20. Set the starter jar on top, ideally with a folded towel between the jar and the mat to moderate the heat.
- If you bake sourdough often, a sourdough home or folding proofer gives you precise temperature control and is the single best upgrade for cold kitchens.
- Give it another 3 to 5 days at the warmer temperature before deciding the starter is dead.
2. You're using chlorinated tap water
Chlorine in tap water can kill the wild yeast you're trying to grow. Most municipal water in the US is chlorinated to some degree. For an established starter, the residual chlorine usually isn't enough to matter. For a starter, in its first 7 days, the yeast colony is fragile, and chlorine can wipe it out.
The fix:
- Switch to filtered or bottled water for the first 7 days of building a starter. Brita filter, refrigerator water filter, or a bottle of spring water all work.
- If you've been using tap water and your starter has stalled, swap to filtered water with the next feed and give it 3 days to recover.
- Warm the water to 90º F before adding it to your starter; this speeds yeast metabolism right when you need the boost.
3. You're using bleached flour
Bleached flour has been chemically treated (usually with chlorine gas or benzoyl peroxide). Both chemicals are antimicrobial, and they kill the wild yeast on the bran that you're trying to encourage. A starter built with bleached flour will struggle from Day 1.
The fix:
- Use UNBLEACHED flour only. Read the bag, it'll say so on the label.
- For the first 4 days of building a starter, use unbleached whole wheat flour (it has more wild yeast on the bran).
- From Day 5 onward, switch to unbleached bread flour or all-purpose flour.
- If you've been using bleached flour, switch to unbleached and give the starter 5 to 7 days of feedings to recover.
4. Your starter just needs more time (Day 2 or 3 "false rise" then quiet)
A lot of starters look great on Day 2 or 3 (lots of bubbles, sometimes even a small rise) and then go quiet on Day 4 or 5. New bakers see this and assume something has gone wrong. It hasn't.
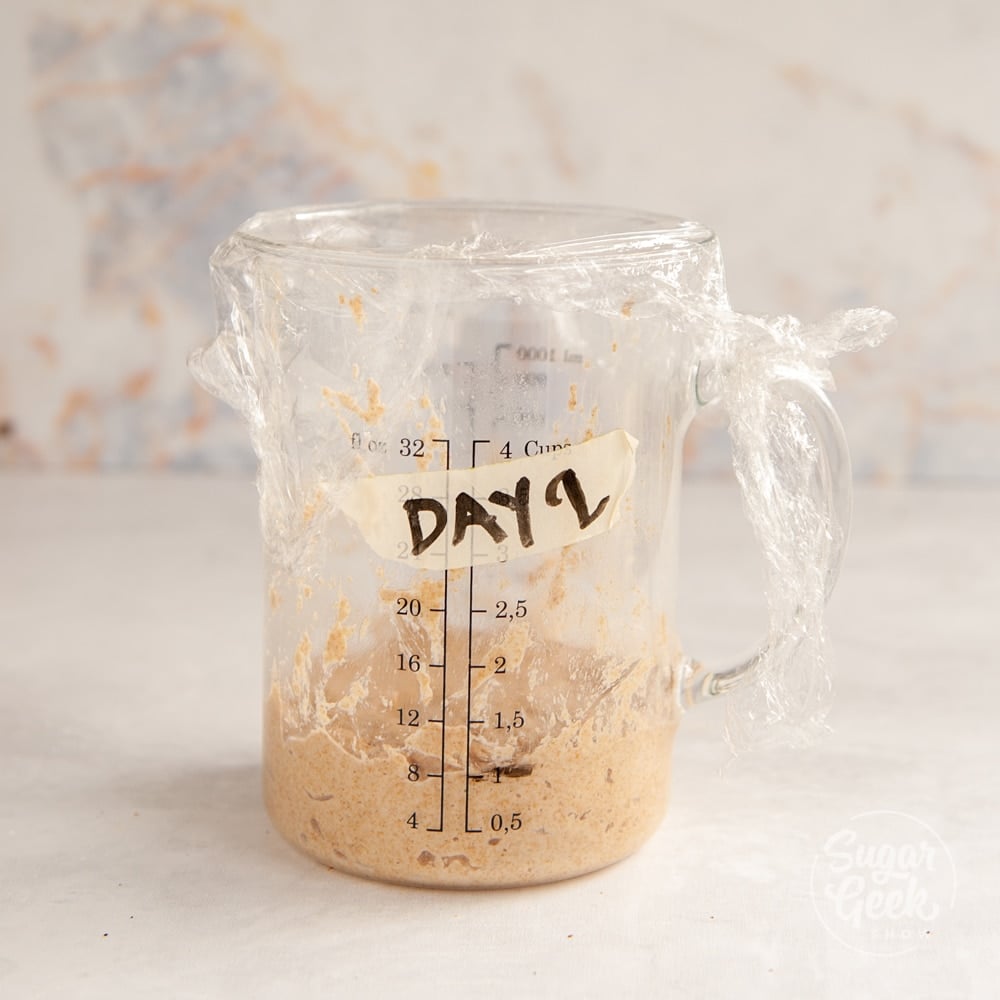
The Day 2 to 3 "false rise" is usually opportunistic bacteria producing gas, not real sourdough yeast. As the lactobacillus dominates and the pH drops, those opportunistic bacteria die off, and the activity briefly slows. The real wild yeast is still building up, just behind the scenes.
The fix:
- Keep feeding. Don't change anything.
- By Day 5 to 7, the real yeast colony usually takes over, and you see actual, reliable doubling.
- If your starter hits Day 7 and still hasn't doubled, work through the other causes in this list (temperature first).
5. Your starter has been in the fridge and needs a real revival
A starter that has been in the fridge for weeks or months goes dormant. The yeast isn't dead, it's just sleeping. Pulling it out and giving it one feeding isn't enough to wake it up fully. New bakers try once, see a sluggish rise, and assume the starter died in the fridge. It didn't.
The fix:
- Take the starter out of the fridge.
- Discard most of it, leaving about 25g to 50g in the jar.
- Feed it 50g flour + 50g warm (90º F) water.
- Cover and leave on the counter.
- Feed it again 12 hours later with the same ratio.
- Keep up twice-daily feedings for 2 to 3 days.
- By the third morning, the starter should be doubling within 5 hours of a feed. That's your "fully revived" signal.
If Your Starter Rises But Doesn't Double
This is a different problem from "doesn't rise at all." If your starter rises some, maybe 50%, but never makes it to a full double, it's not stalled, it's underpowered. The yeast colony is alive but not strong enough yet.
The fix is the same in both directions: warmth and twice-daily feedings.
If your starter isn't peaking properly, feeding it more often doesn't make sense on its own; you need it to be ACTUALLY peaking first. The right environment is the key. Here's the protocol:
- Move the jar to a warm spot (75º F to 85º F, see the temperature fix above).
- Feed twice a day, roughly every 12 hours, at the standard 1:1:1 ratio (75g starter + 75g flour + 75g warm water).
- After each feeding, mark the level on the jar with a dry-erase marker.
- Watch over the next 5 to 6 hours for the rise. You're looking for a clear doubling, then a hold, then a fall.
- By Day 3 or 4 of twice-daily feedings in a warm environment, the starter should be reliably doubling within 4 to 5 hours.
If the starter is still only rising 50% after 3 to 4 days of this protocol, work back through the 5 causes above (especially chlorinated water and bleached flour, which silently kill yeast).
Bonus tactic: the whole grain rescue feed. If warmth and twice-daily feedings aren't getting you a full double, swap the flour in your next 1:1:1 feeding to whole wheat or rye flour (same volume, different flour). Whole-grain flour carries more wild yeast and minerals on the bran than white flour does, which gives a sluggish yeast colony a nutrient and microbe boost. Use whole grain for 2 to 3 feedings, then switch back to your usual unbleached bread flour or AP. This is the same reason I use whole wheat for the first 4 days when building a starter from scratch in my sourdough starter for beginners post.
How To Test If Your Starter Is Bread-Ready (The Peak Test, The Levain Test, And The Float Test)
Once you've worked through the causes above, use these two tests to confirm your starter is actually rising and ready to bake with.
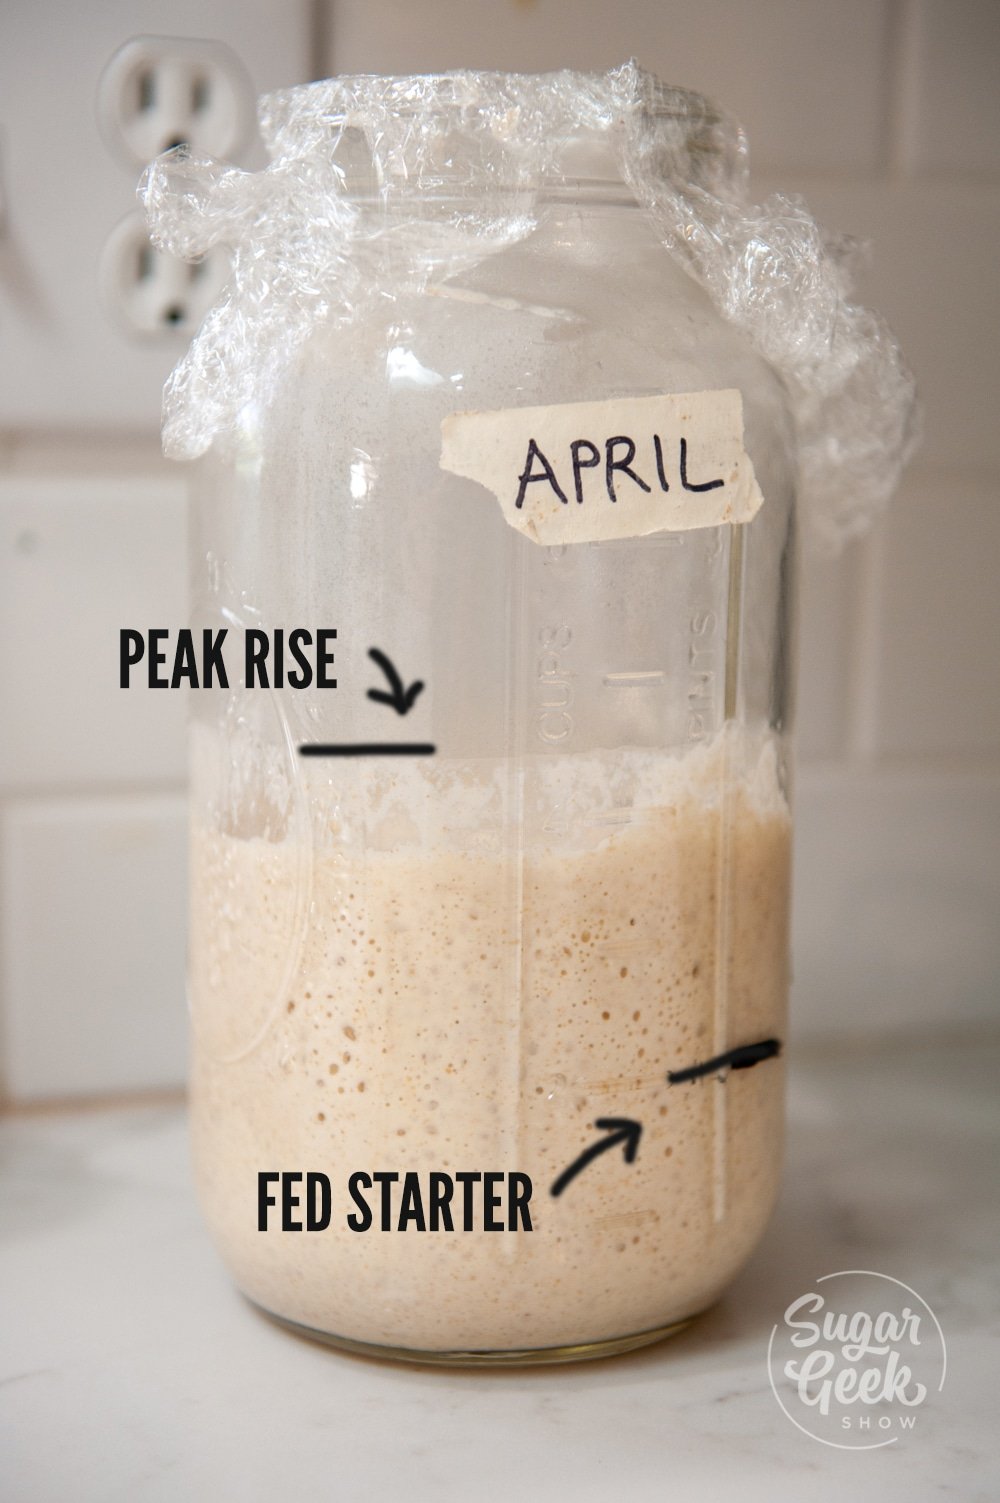
The peak test:
- After a feeding, mark the level of your starter on the jar with a dry erase marker.
- Every hour, check the starter and mark the new level.
- You're looking for the starter to double in size within 5 hours AND clearly fall back down within 12.
- If it doubles in 5 hours, you have an active starter ready for bread.
The levain test (more precise):
A levain is a small mini-starter you make to test the strength of your main starter before committing it to a bread recipe.
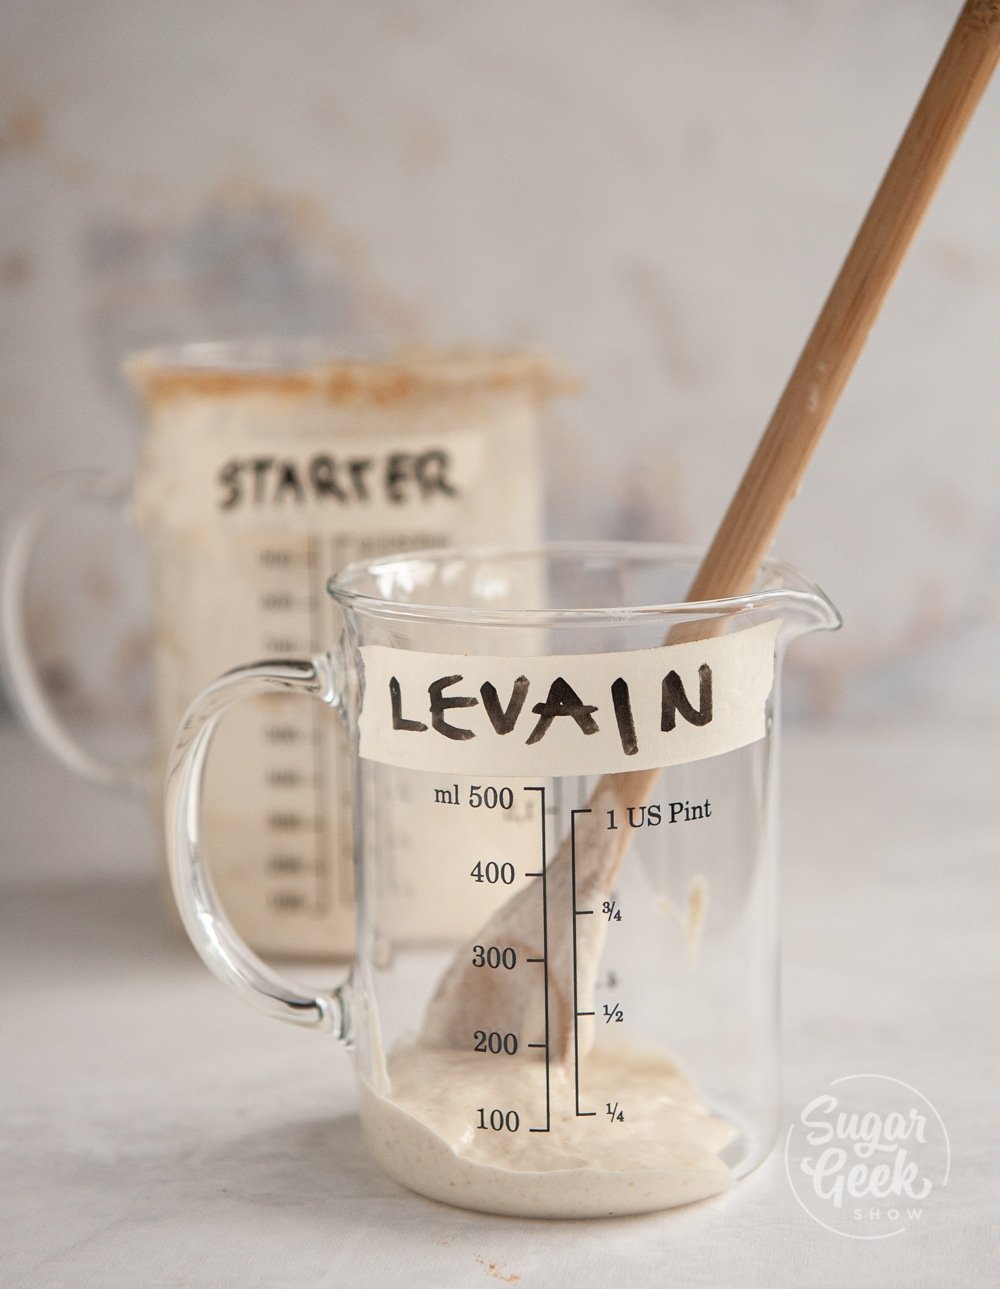
- Combine 50g of unfed sourdough starter + 50g warm (90º F) filtered water + 50g whole wheat flour in a clean small jar.
- Mark the level.
- Watch over the next 5 hours.
- If the levain doubles within 5 hours, you have an active starter.
- If it doesn't double in 5 hours, continue the twice-daily feedings for a few more days and try again.
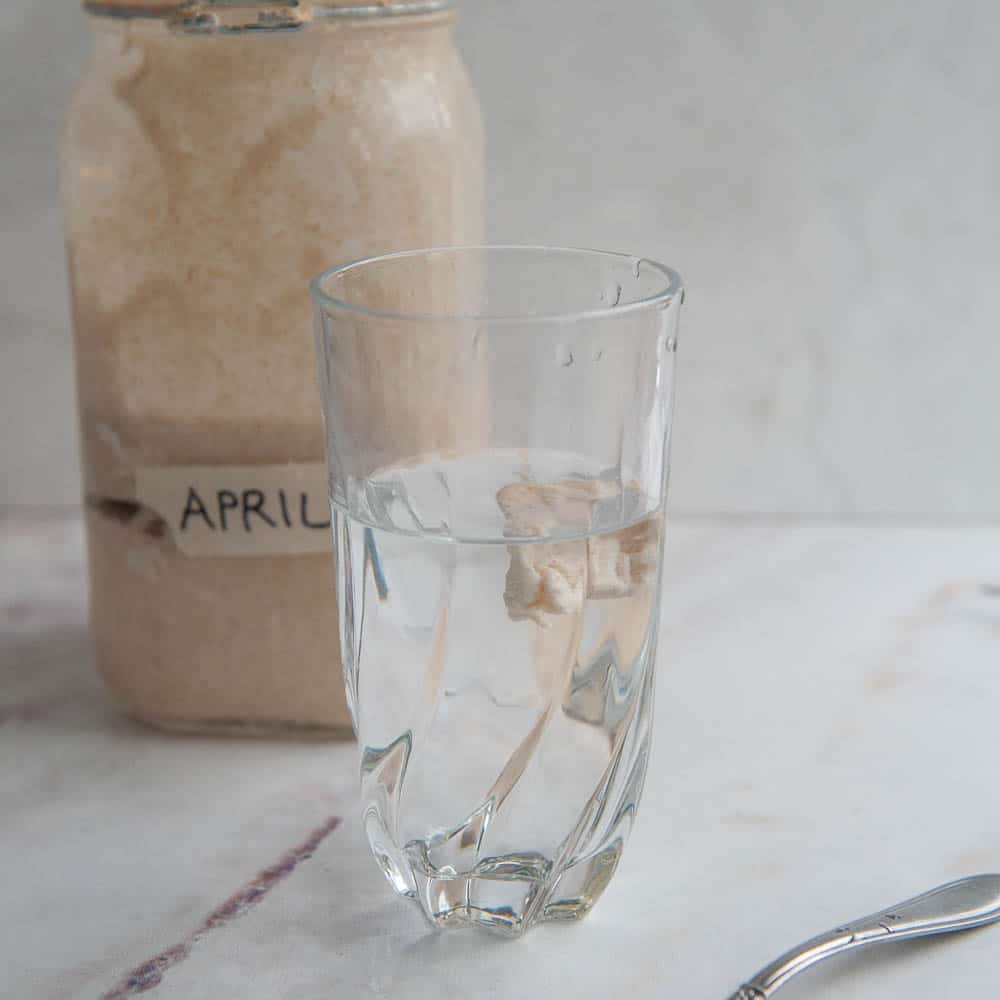
The float test (quickest check before baking):
- Take a small spoonful of your fed starter at its peak.
- Drop it in a glass of room-temperature water.
- If it floats, it has enough gas trapped in the matrix to leaven bread. Bake with confidence.
- If it sinks, the starter isn't strong enough yet. Give it more time at the right temperature, or wait for the next peak after feeding.
The float test is the 5-second version of the levain test. I use it as a quick sanity check before mixing a bread dough.
All three tests are described in more detail in my main sourdough starter for beginners guide.
My Starter Looks Active But My Bread Won't Rise
This is the search that brings a lot of bakers here who don't actually have a starter problem, they have a bread problem. The starter looks fine in the jar but the loaf comes out flat or dense.
For bread to rise, four things have to be true at the same time:
- Your starter is active and bubbly. Not just bubbly on the surface, but actually showing a clear rise on the jar mark.
- Your starter is doubling and peaking within 4 to 5 hours of a feed. This is the strength benchmark. A starter that takes 8 hours to double doesn't have the leavening power for a same-day bake.
- Your starter is used at its peak. Not before, not after. Past-peak starter has lost the gas that would otherwise raise the dough. Mistiming the bake to the starter peak is one of the most common reasons "active starter, flat bread" happens.
- Your bread is proofing in a warm environment. 75º F to 85º F for the bulk ferment. A cold kitchen stalls bread the same way it stalls starter.
If all four are true and the bread still doesn't rise, the issue is somewhere else (shaping, scoring, oven temperature, dough hydration). At that point it's a bread troubleshooting question, not a starter one.
The quickest diagnostic before baking: feed your starter, watch for the peak, then run the float test or levain test as you're about to mix the dough. If both pass, the starter is ready. If they don't, give the starter more time.
Once your starter is rising reliably and you're ready to bake, my stretch and fold tutorial covers the technique you'll use on every loaf.
When To Actually Start Over
Almost every starter problem is fixable with the right feed. There's exactly one situation where you have to throw out the jar and start fresh: mold or contamination.

What to look for:
- Pink, orange, red, or fuzzy patches anywhere on the starter. That's mold. Throw the jar out, wash the jar in hot soapy water (or run it through the dishwasher), and start a new starter.
- Bright green, blue, or black spots. Same, that's mold.
- A smell of rotten egg, putrid, or sharp ammonia. That's bacterial contamination beyond what the starter's natural acid can suppress.
What is NOT mold (don't throw these out):
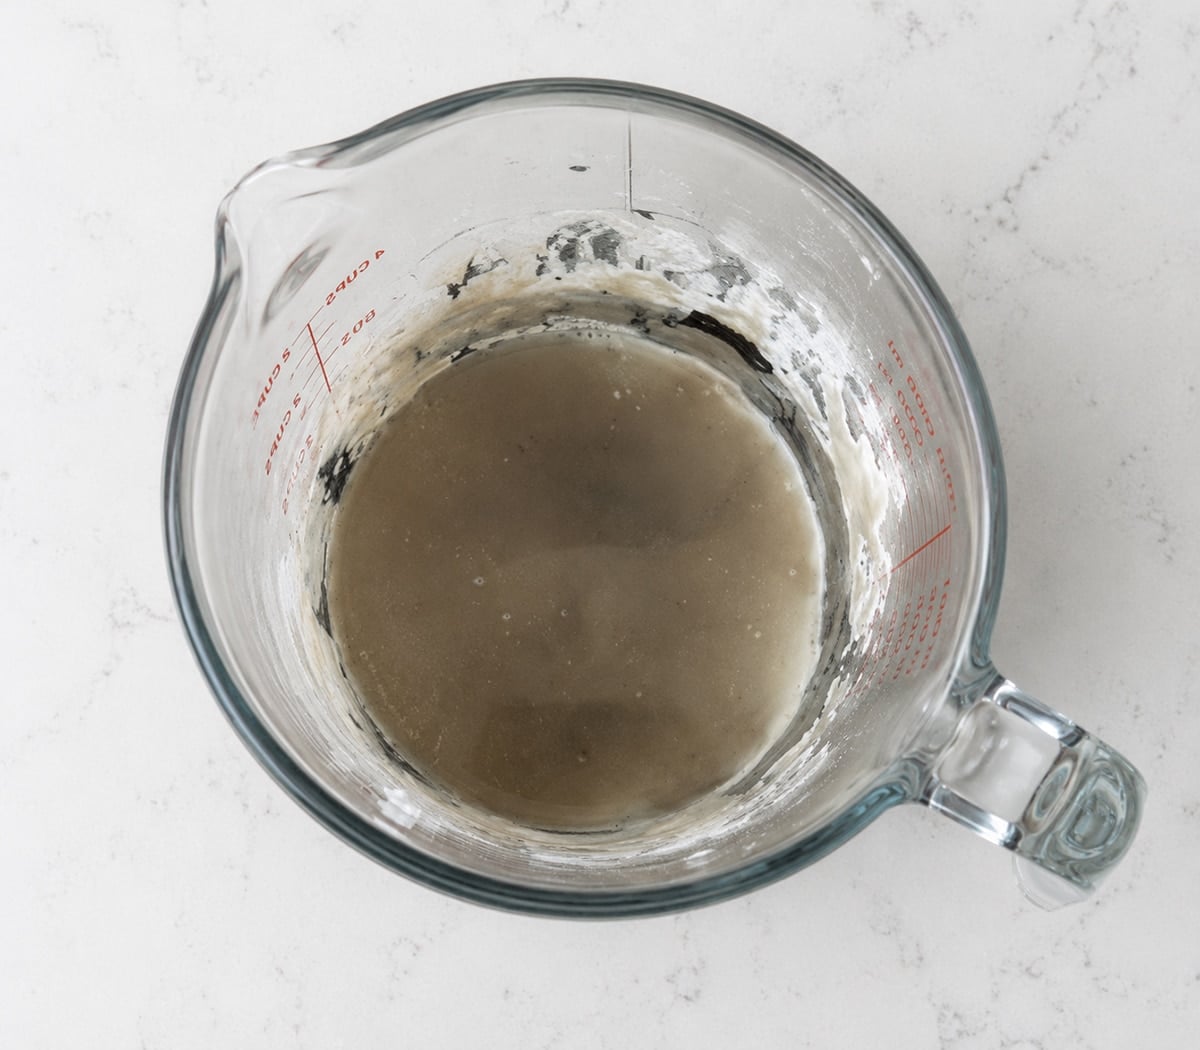
- Gray liquid on top (hooch). Normal. That's alcohol the yeast produces when it's hungry. Stir it back in or pour it off and feed.
- A thin white-cream colored film on the surface (kahm yeast). Harmless. Skim it off, feed the starter, and continue.
- Sharp vinegary smell. Acetic acid dominance, fixable with more frequent feeds.
- Nail polish or paint thinner smell. Starvation, fixable by discarding most of the starter and feeding with extra flour.
When in doubt about mold vs hooch vs kahm yeast, check the descriptions in my sourdough starter for beginners post.
Common Sourdough Starter Rise Problems To Avoid
- Trying to bake bread before the levain test passes. Bubbles in the jar aren't the same as strength. A starter has to double reliably within 5 hours to leaven a loaf of bread. Run the levain test before committing to a bake.
- Adding fresh discard to the starter jar. Discard goes in a SEPARATE jar in the fridge. Mixing fresh discard back into your active starter dilutes the yeast colony and weakens the next feed.
- Feeding the starter cold water straight from the tap. 90º F water gives the yeast a metabolism boost. Cold water slows everything down. Warm the water before feeding, especially in the first 7 days.
- Sealing the jar airtight. The starter needs to breathe. Loose cover with plastic wrap or a tea towel, not a screwed-on lid.
- Throwing the starter out too early. Day 4 looks like nothing's happening for almost every starter. Keep feeding, the real activity shows up Day 5 to 7.
- Storing the starter in a metal container. Sourdough is acidic and prolonged contact with metal can corrode the metal AND leach into the starter. Glass, ceramic, or food-safe plastic only.
- Using a tiny container without room for the starter to grow. When your starter is active it doubles or triples. A jar that's barely big enough at the start becomes overflowing by the peak. Use a 4-cup container minimum for a maintenance starter.
- Mixing the starter with a metal spoon and leaving the spoon in. Acid plus metal over time corrodes the metal. Wooden, silicone, or food-safe plastic for stirring. Don't leave the spoon in the jar.

Final Thoughts
The hardest part of growing a sourdough starter is the patience. The second-hardest part is trusting that the starter knows what it's doing even when nothing seems to be happening. By Day 4, almost every new baker is convinced they killed it. By Day 7 (or Day 10 in a cold kitchen), most of those same starters are doubling like champions.
If your starter still isn't rising after working through all 5 causes and giving each fix 3 to 5 days, the next move is to start over with fresh ingredients in a clean jar using the full day-by-day timeline from my sourdough starter for beginners post. Once it's active, you have access to every sourdough recipe on the site, from sourdough bread to sourdough discard pancakes to sourdough discard cinnamon rolls and the rest of the sourdough discard recipes library.
Sourdough Starter Not Rising FAQs
Give each fix 3 to 5 days before moving on. If you've worked through all 5 causes (temperature, water, flour, time, fridge revival) and still nothing after 2 to 3 weeks of trying, then it's time to start over. The vast majority of "dead" starters are actually just cold or thirsty.
Most likely yes. Pull it out, discard most of it, and start twice-daily feedings (see the fridge revival section above). Even starters that have been forgotten for 3 to 6 months usually come back within a week. The yeast goes dormant in cold storage, it doesn't die.
The brand matters less than whether it's bleached or unbleached. Any unbleached bread flour or unbleached all-purpose flour works. Whole wheat flour for the first 4 days gives you a head start because there's more wild yeast on the bran. After Day 5, switch to unbleached white flour for cleaner, more reliable feedings.
Bubbles can come from yeast OR from opportunistic bacteria, especially in the first 3 to 4 days. Real rising means the starter actually doubles in volume on the marked jar line, not just shows surface bubbles. Run the peak test (described above) to confirm whether your starter has the leavening power for bread.
Yes. Discard recipes like sourdough discard pancakes and sourdough discard crackers use chemical leaveners (baking powder, baking soda) for the rise, so they don't need an active starter at all. The discard contributes flavor and tenderness, the baking soda does the lift. So even a sluggish starter can still feed your discard rotation while you troubleshoot. See the More Sourdough Recipes block below for the full discard cluster.