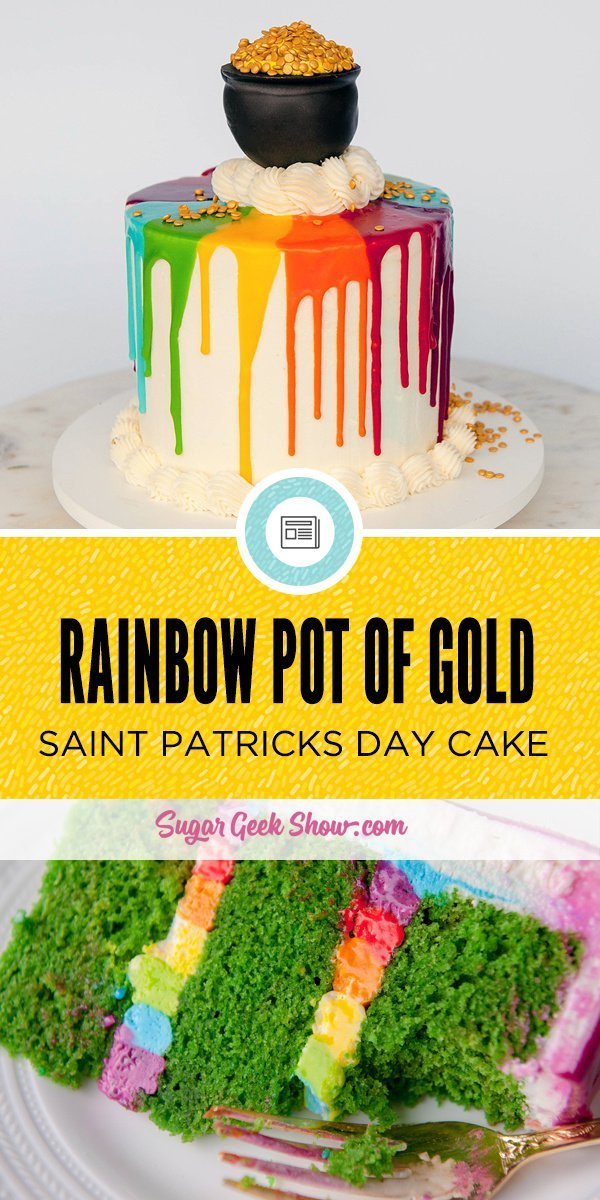
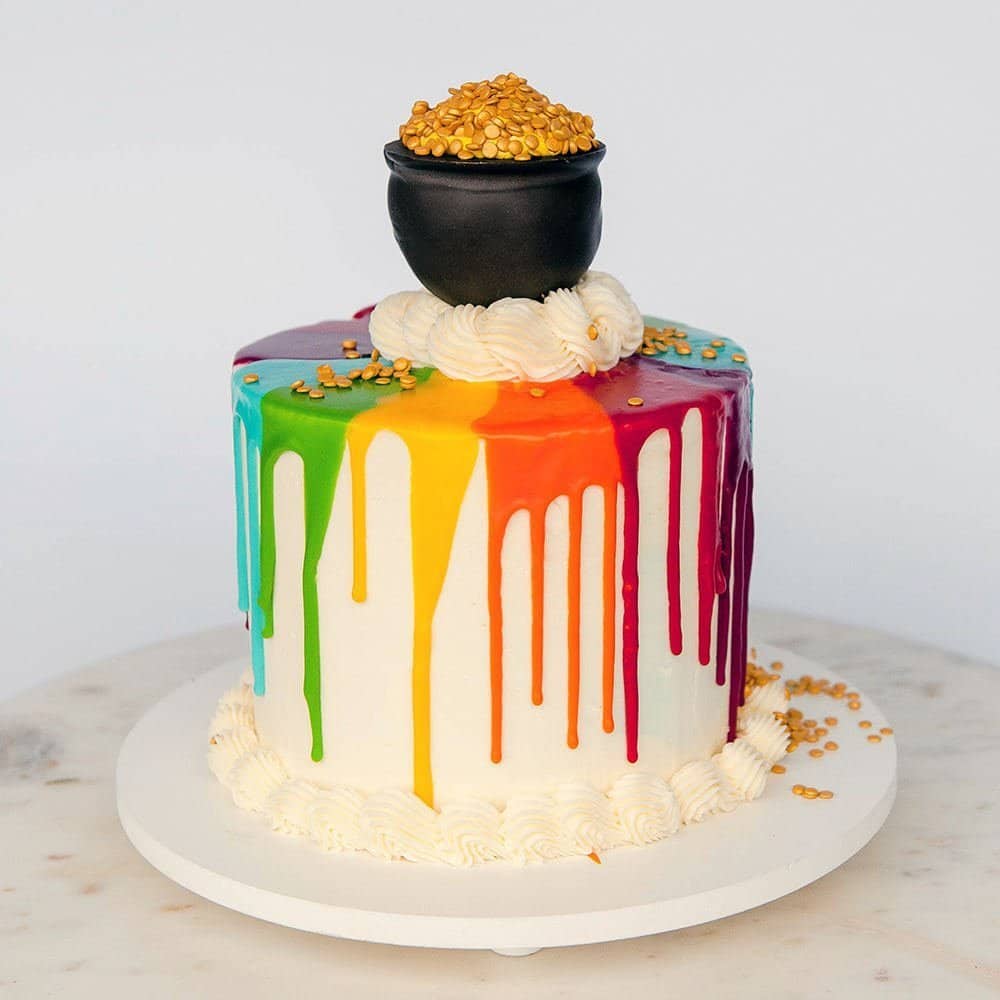
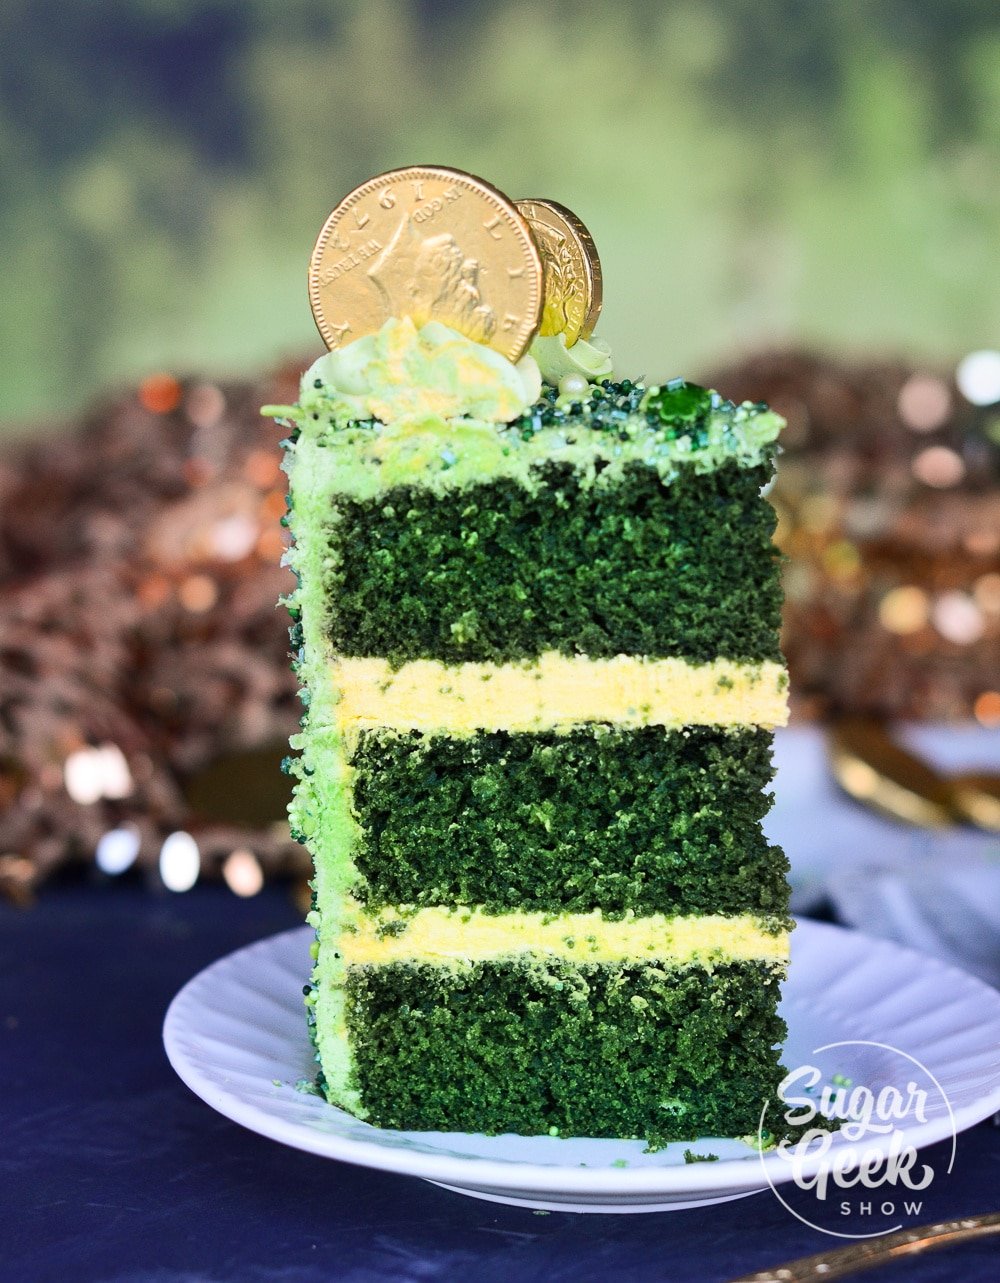
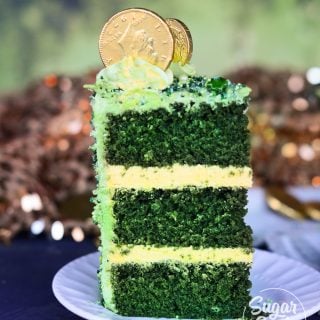
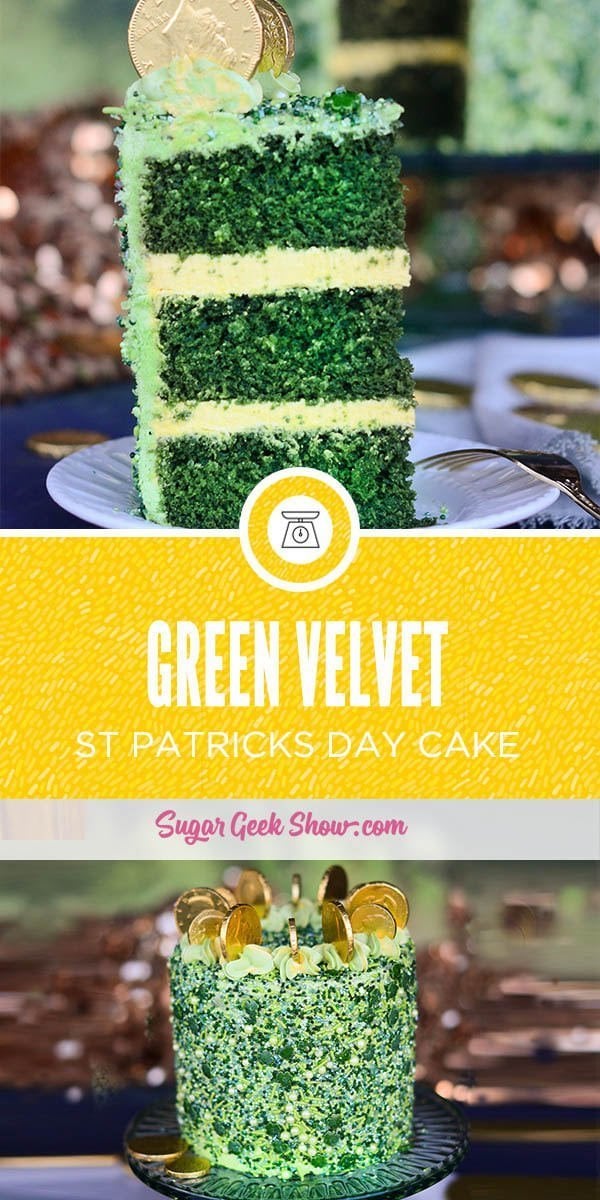
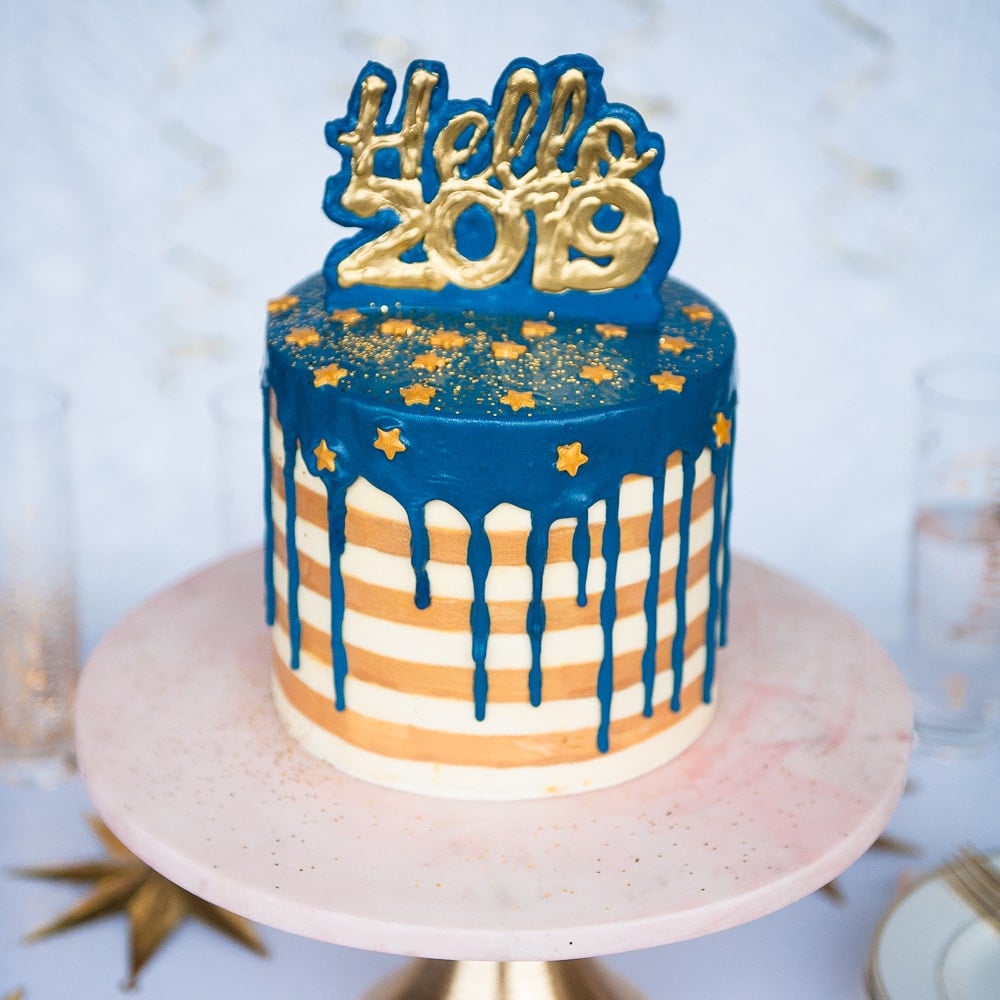
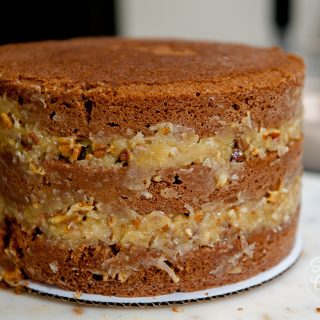
This pot of gold cake made with my delicious green velvet cake, rainbow frosting and giant pot of gold cake pop is the perfect cake for Saint Patricks Day!
I love this pot of gold cake with its beautiful rainbow drip made from water ganache! The cake is a yummy green velvet cake and filled with a beautiful rainbow buttercream. Topped with a giant pot of gold cake pop, this St. Patrick's day cake is the cutest!
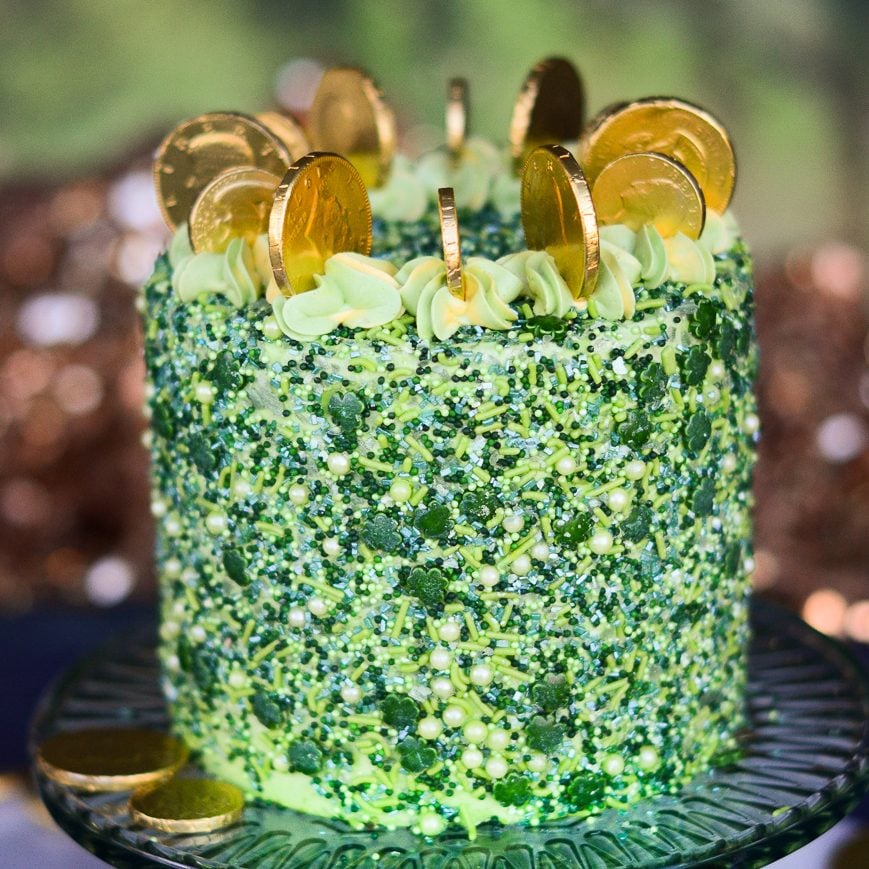
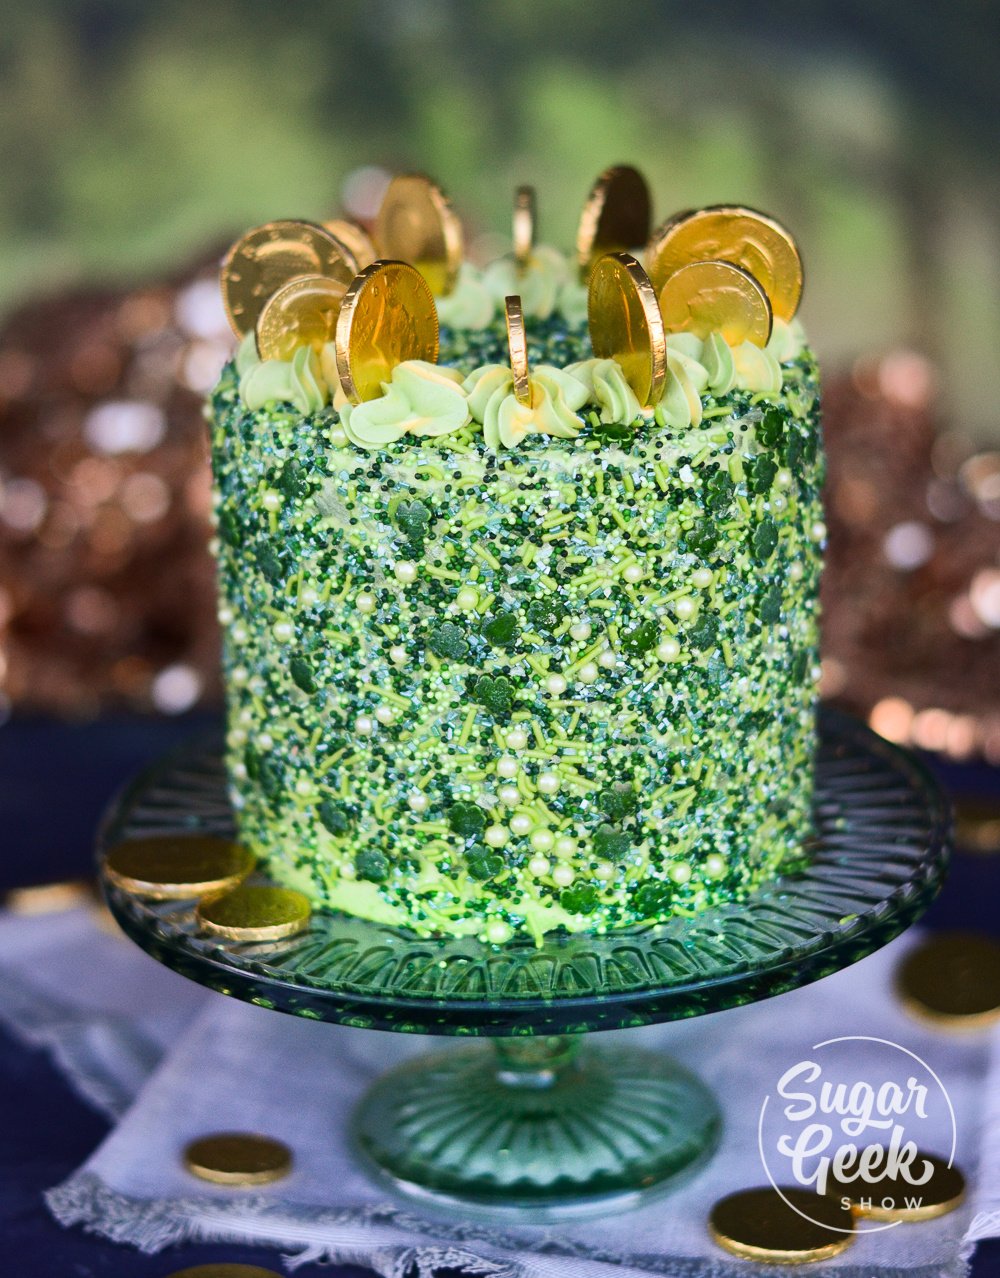
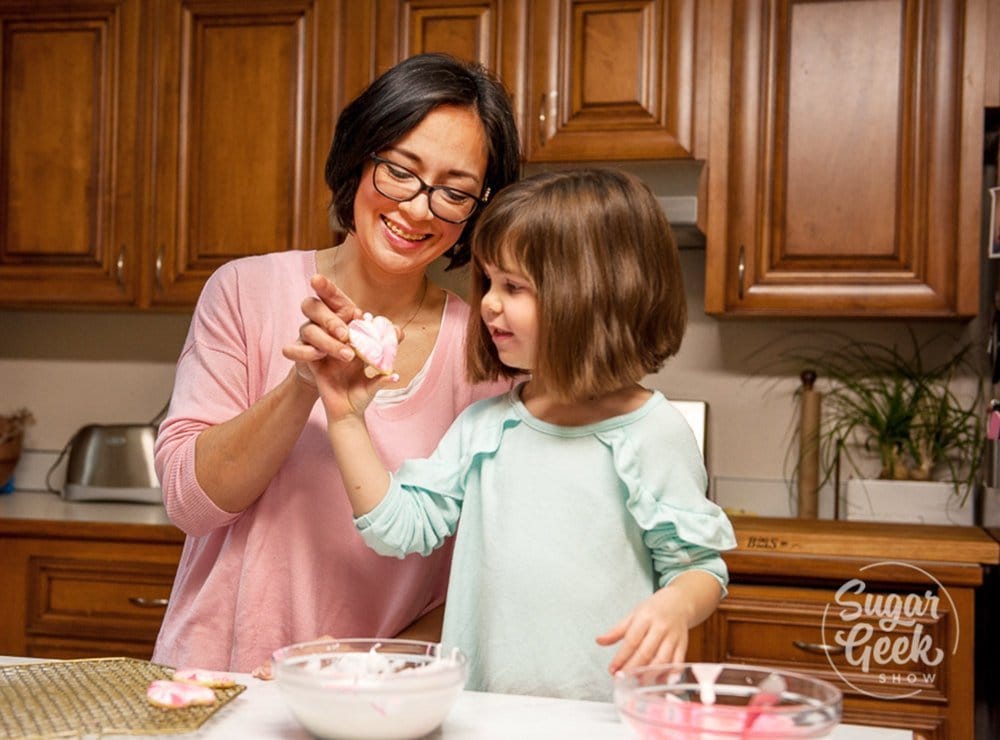
My Saint Patrick's Day cake from last year was so fun to make, I decided to make another this year with my daughter Avalon's help. Ok so she basically took over. I'm fine with it. I'd rather be behind the camera anyway lol.

For the pot of gold cake, we're using the same delicious green velvet cake recipe for the base. When else are you going to need a green cake huh? I don't know why but I just love the pretty green color. The recipe is actually the same as my red velvet cake but I switched out the red for green. You can do this with pretty much any of the darker colors like blue or purple and get some really nice colors and great flavor.
How to make the rainbow cake
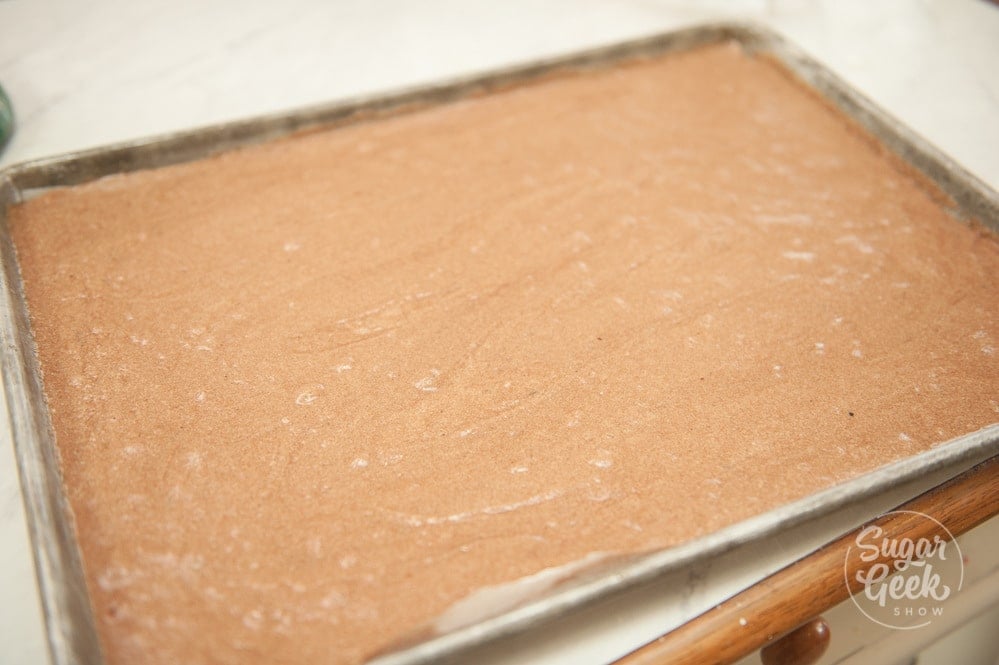
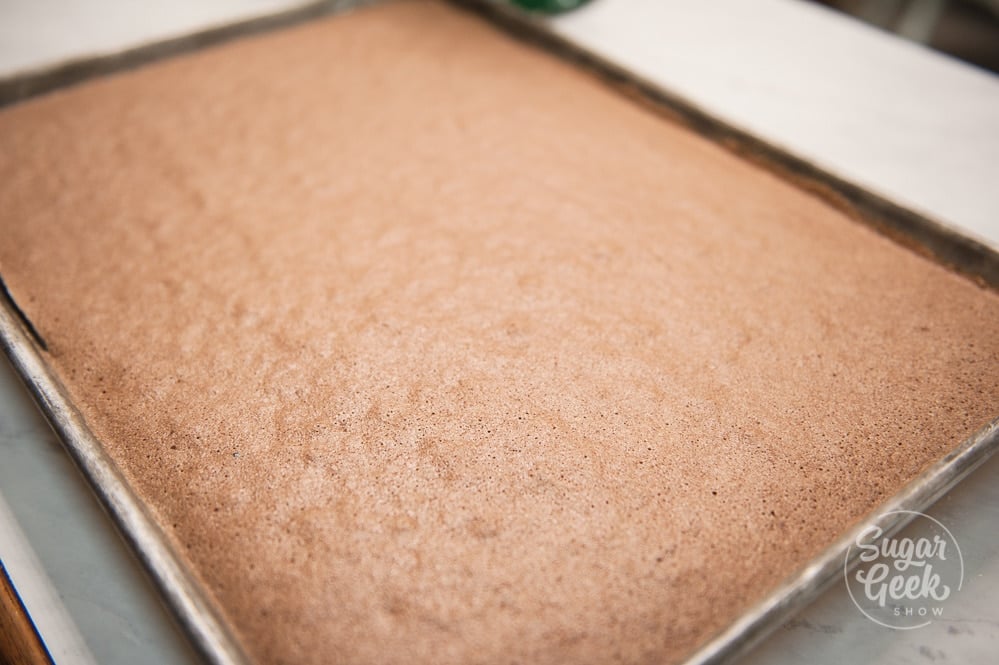
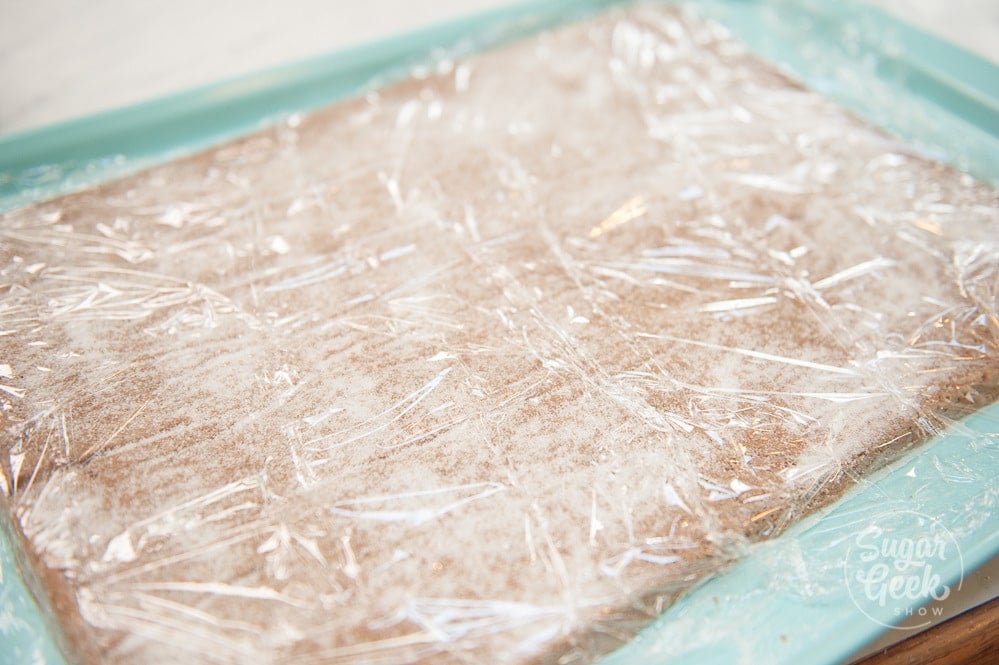
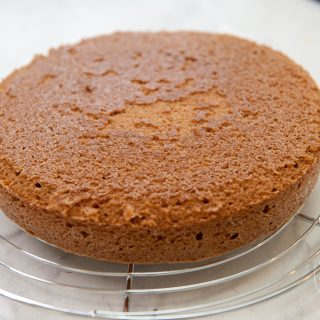
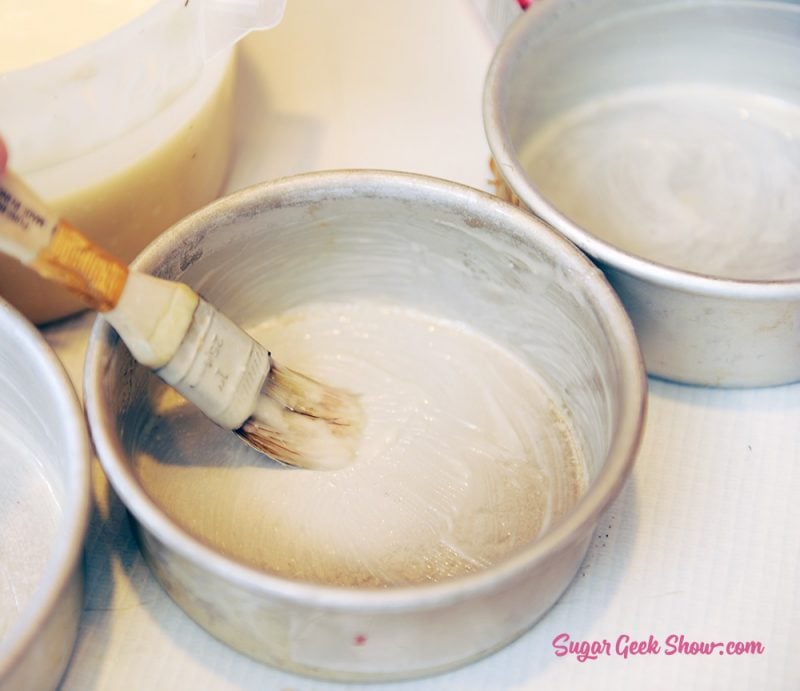
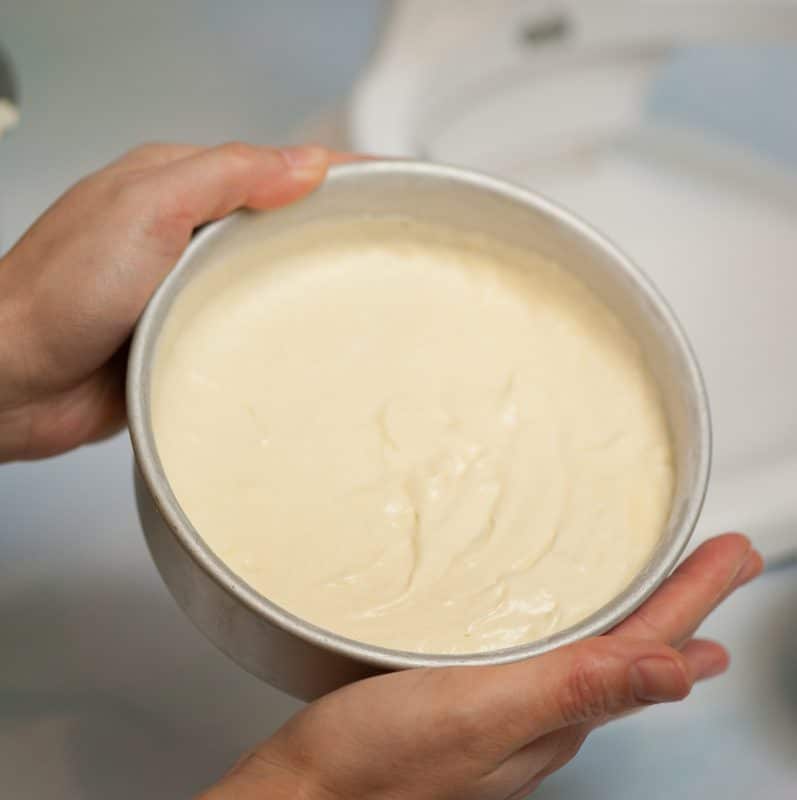
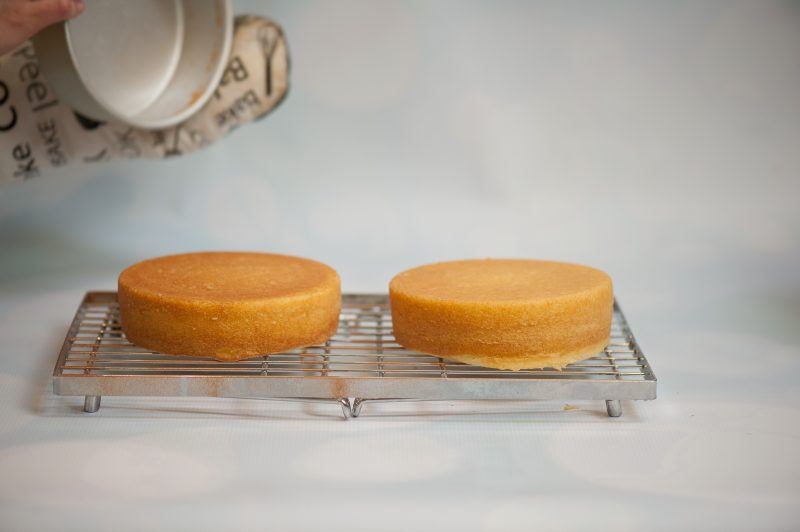
Ok let's get to the cake making part. I made a batch of my green velvet cake and baked in three 6" round cake pans. Let them cool fully before frosting. I popped mine into the freezer for about an hour to get them cooling even faster.
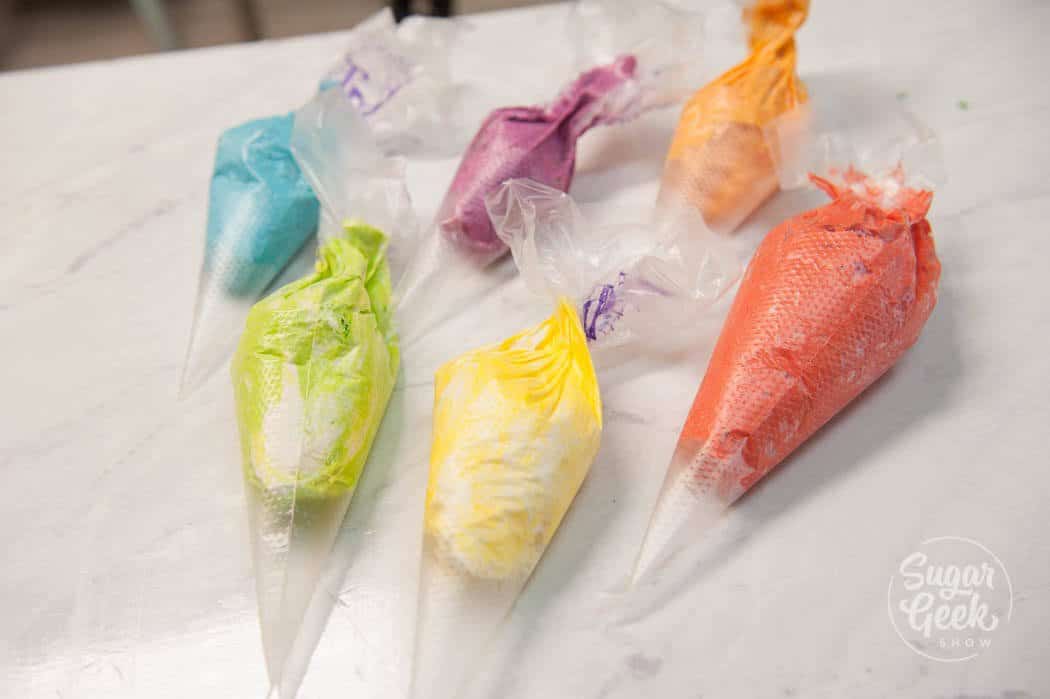
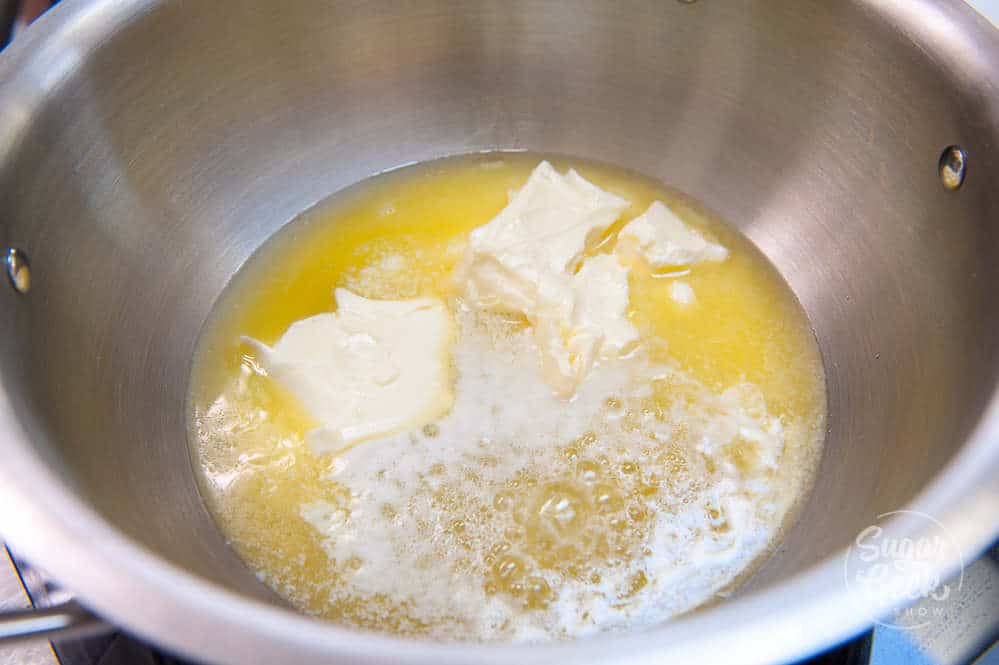
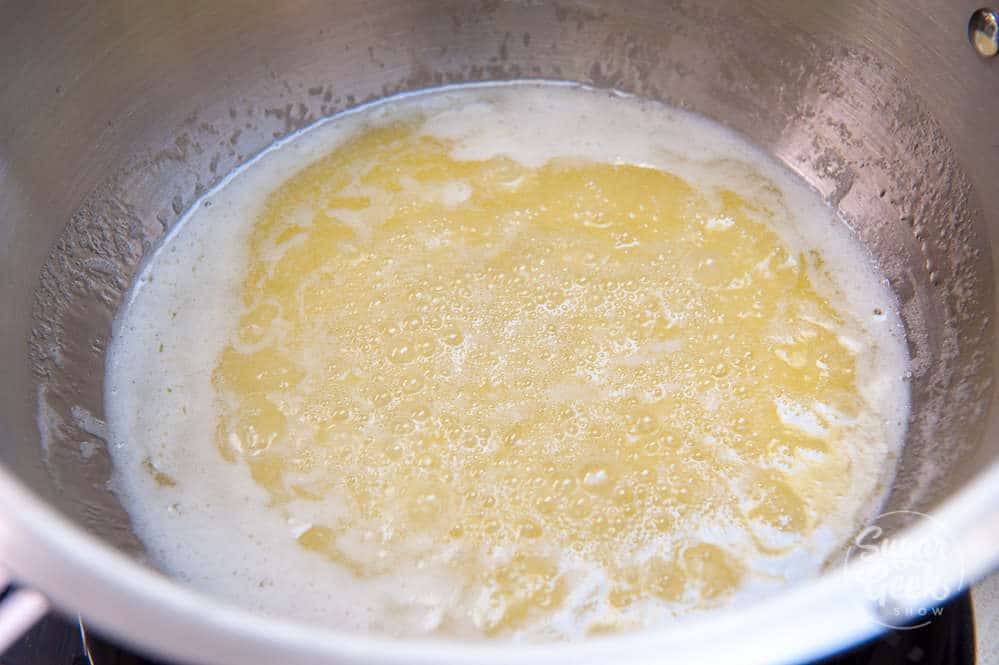
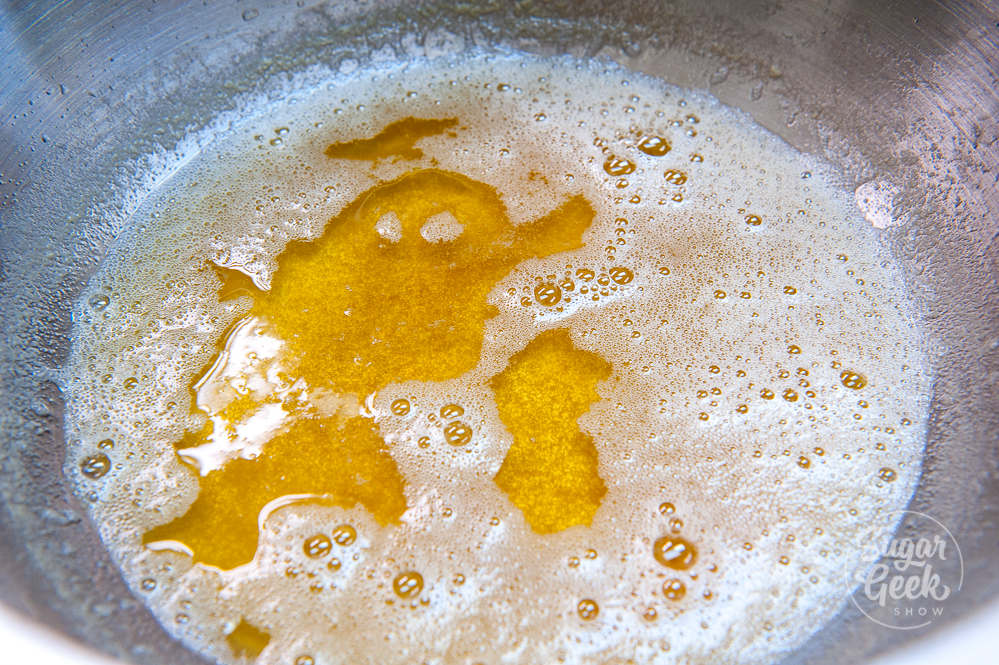
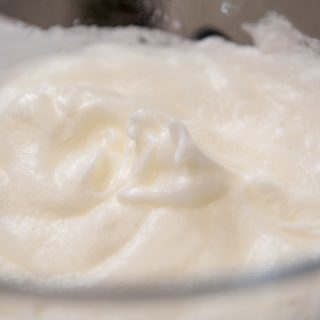
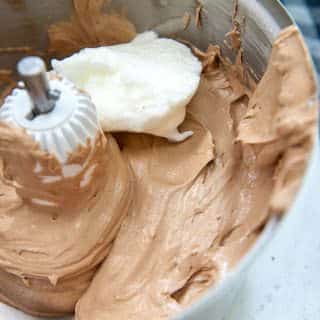
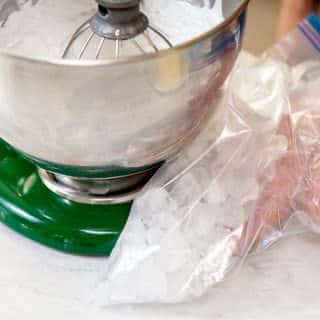
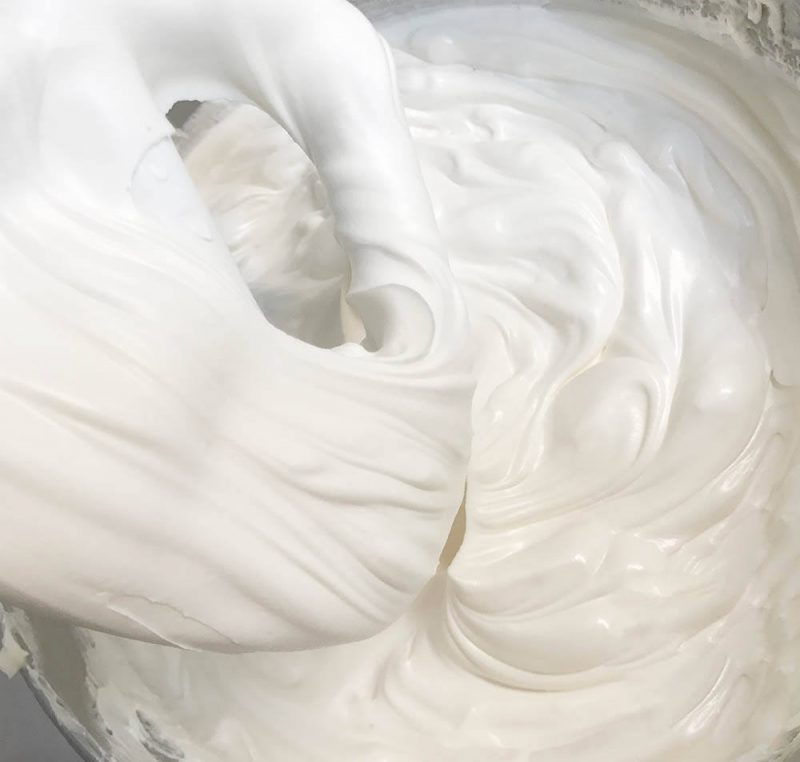
Then I whipped up some of my easy buttercream. I reserved about three cups for frosting my cake. The rest I divided into 5 bowls and colored. Red, orange, yellow, lime green, light blue and purple/pink. I placed this buttercream into five bags and snipped off the tip.
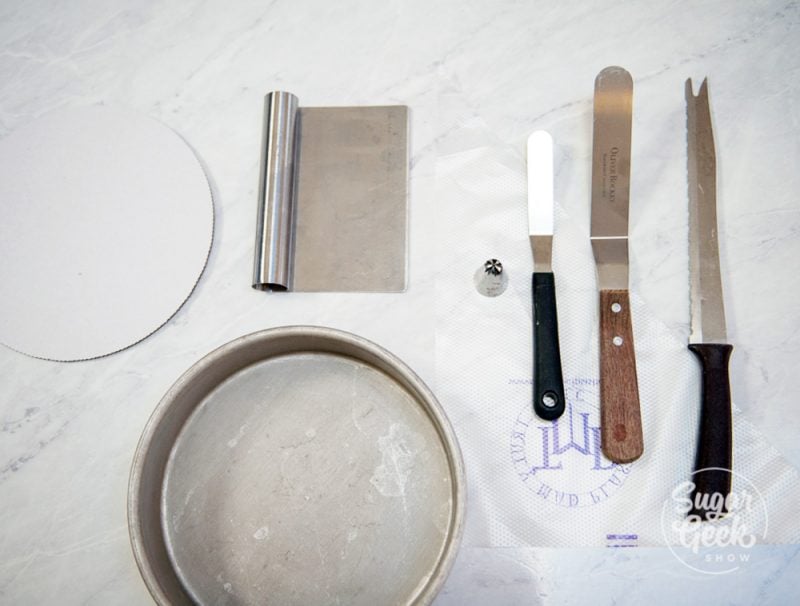
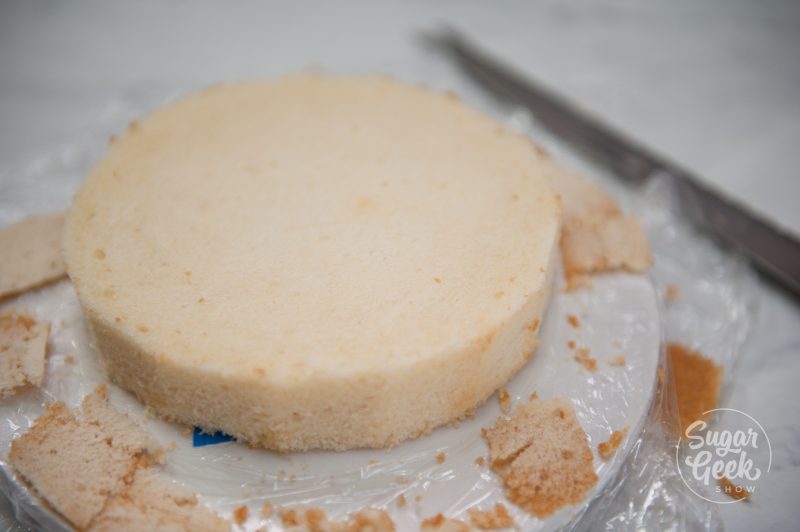
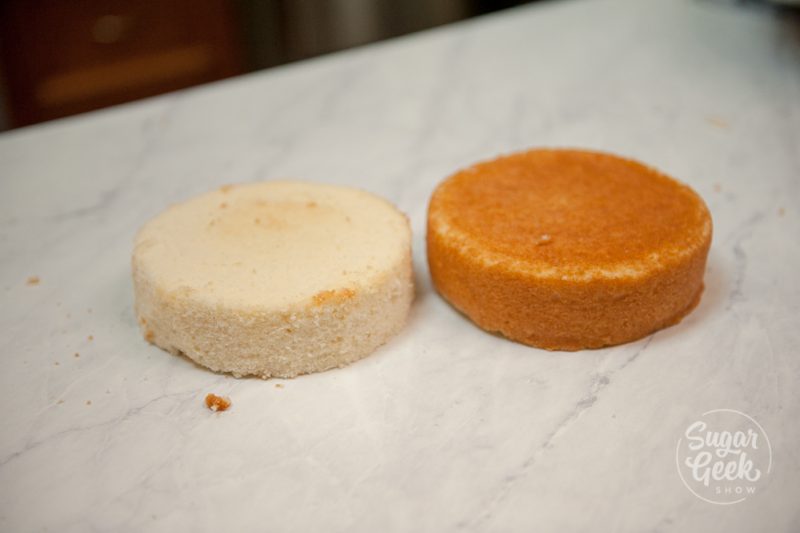
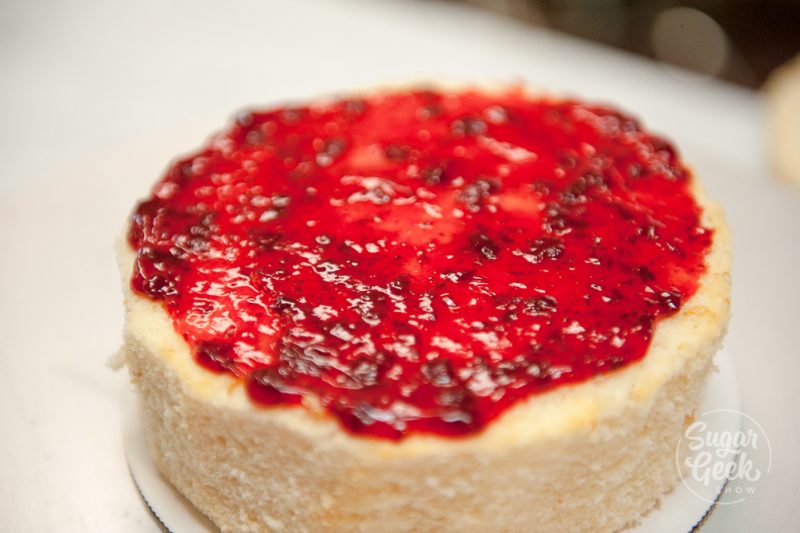
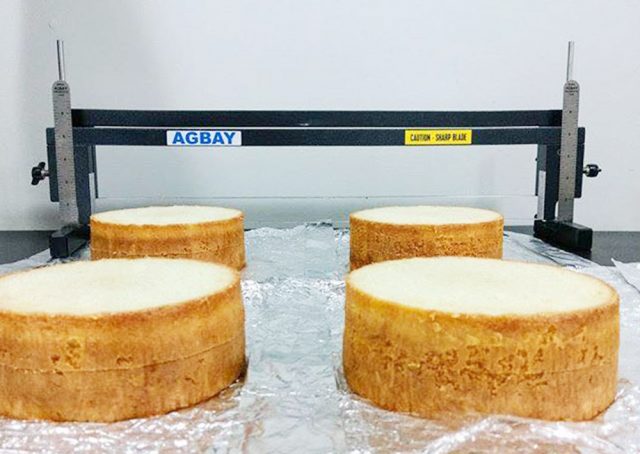
Trim the dome off your cooled cakes (don't throw away the cake scraps, we'll use those later). Place your cakes onto a cake cardboard to start frosting and filling.
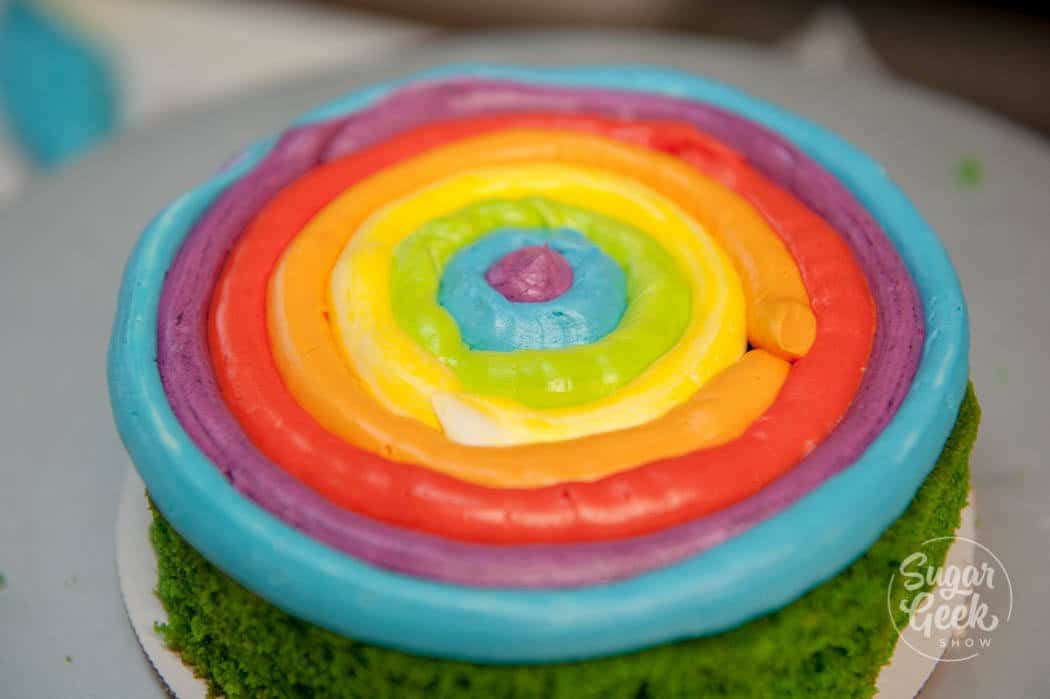
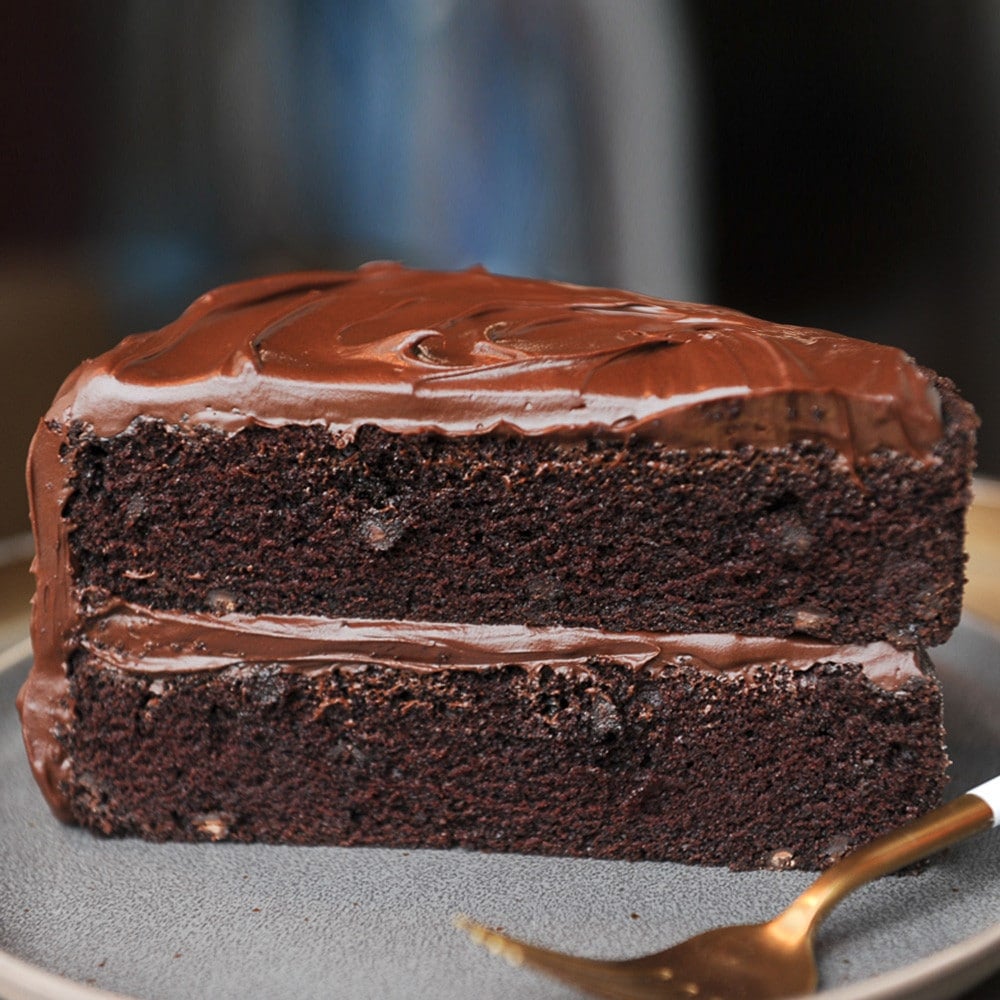
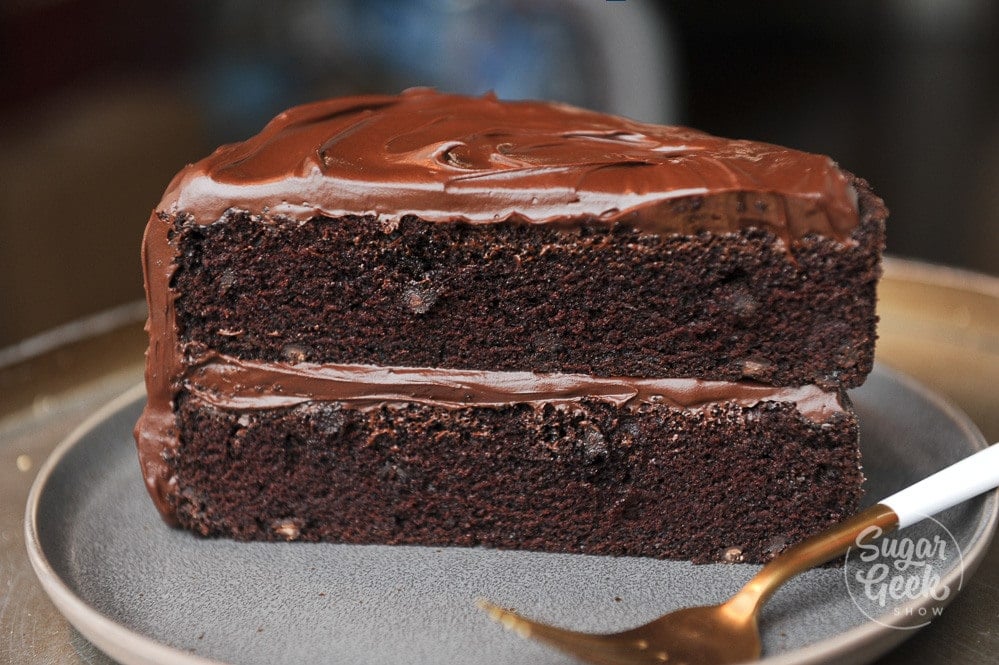
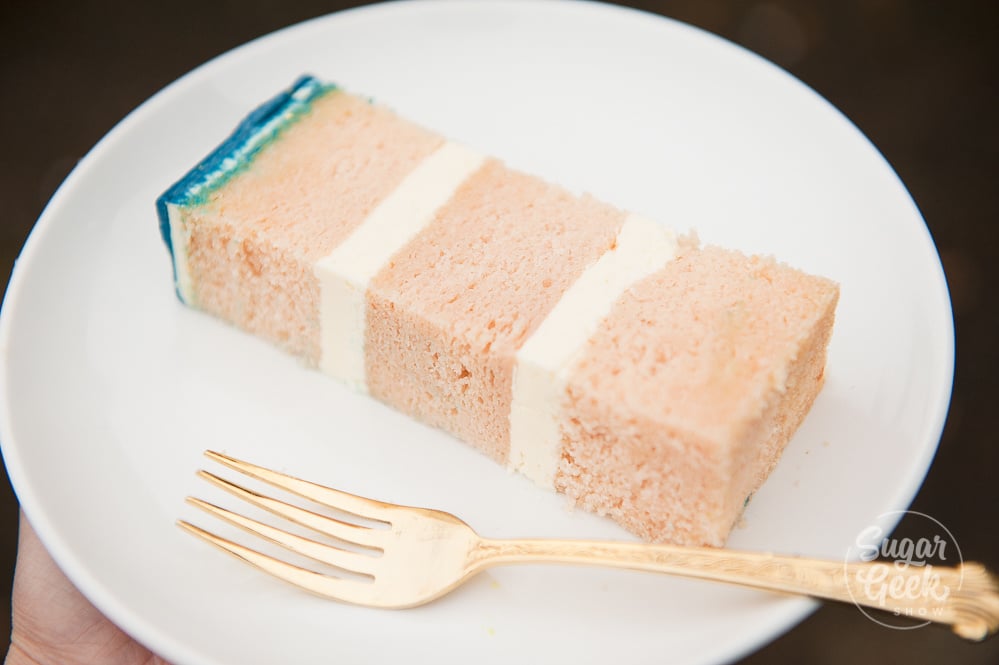
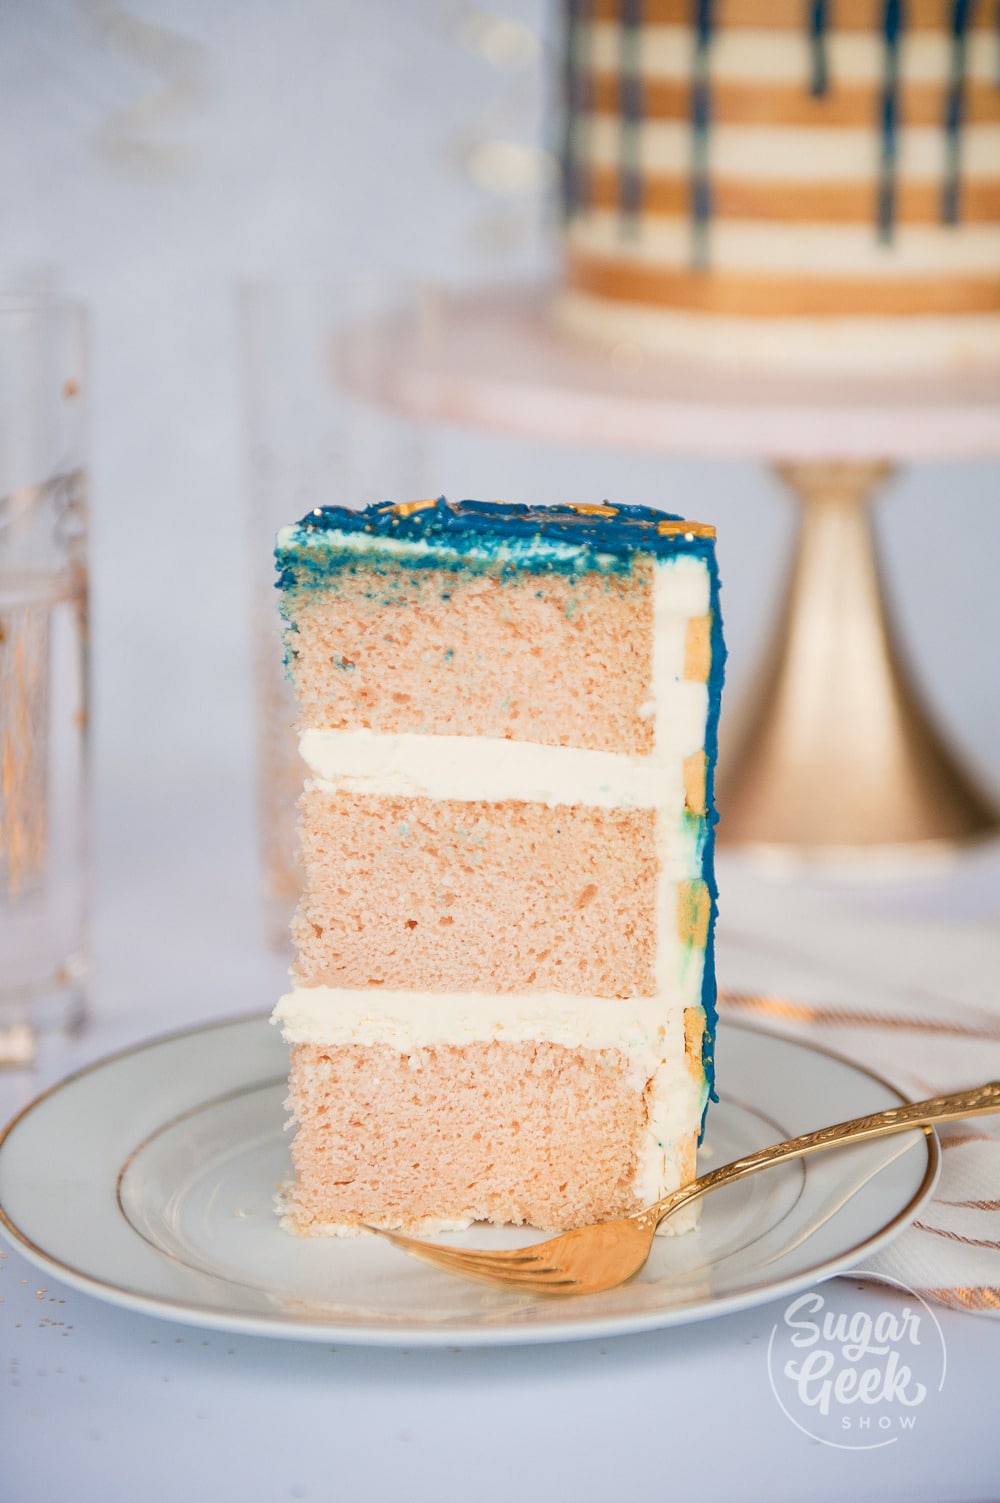
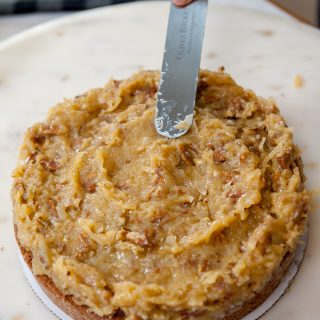
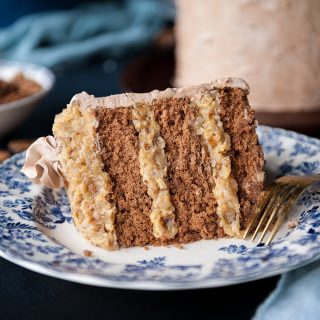
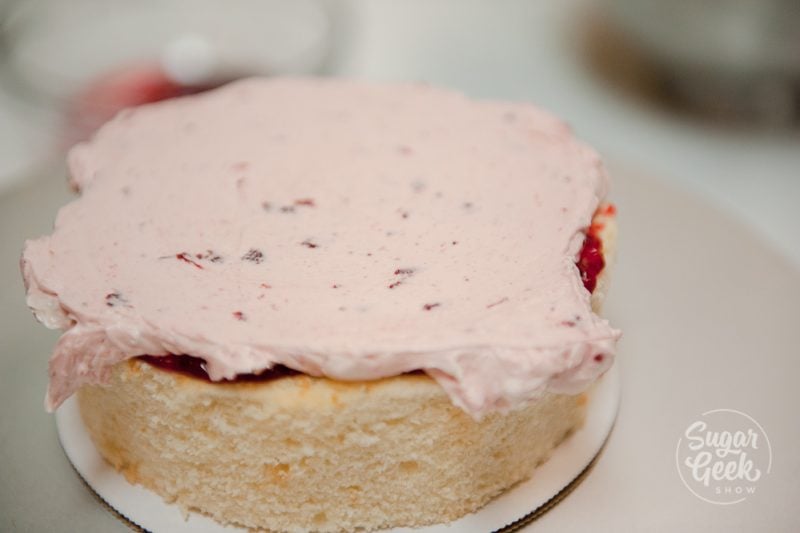
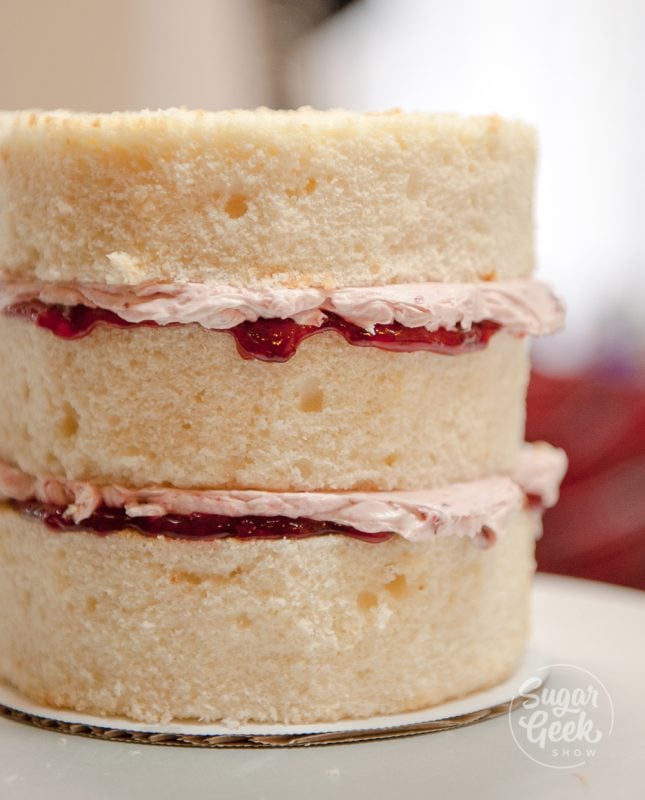
I started filling my cake layers with the rainbow buttercream. Starting with the blue in the center, then working my way to red, going in the order of blue, green, yellow, orange, red, pink, then starting over with the blue again until you reach the edge of the cake. The buttercream should be about ¼" thick so you have a nice rainbow showing through when you slice the cake.
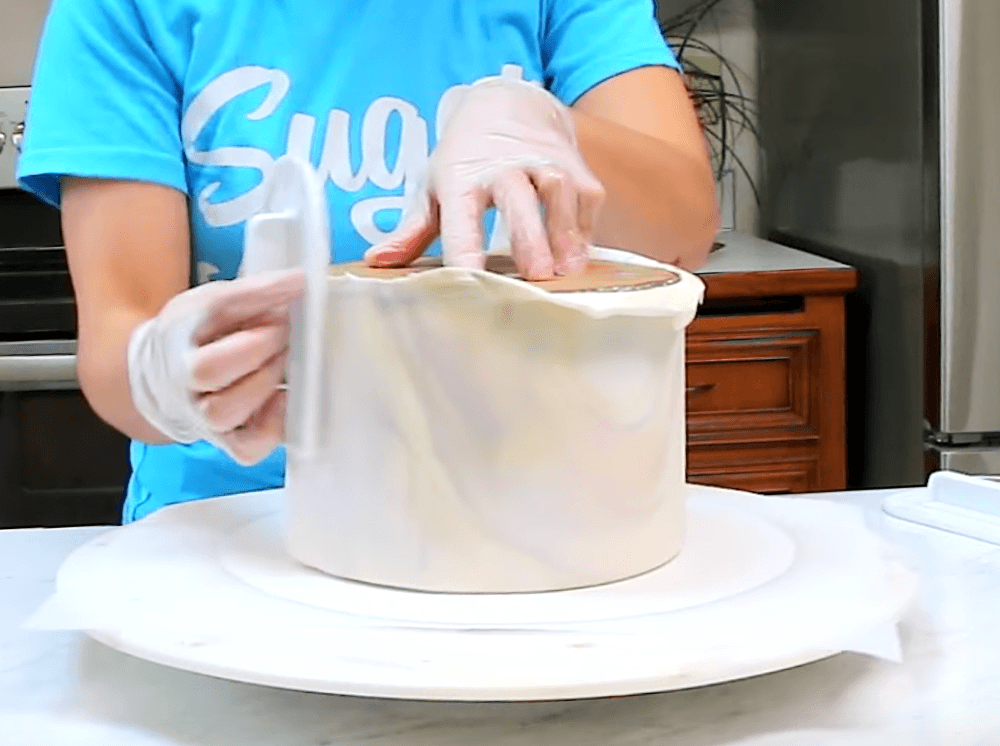
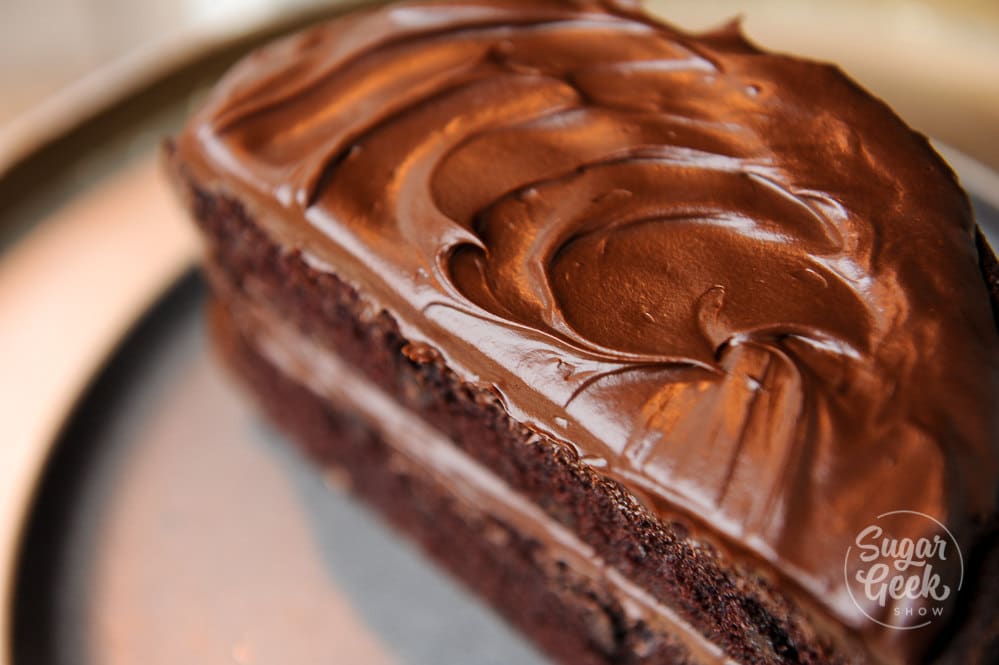
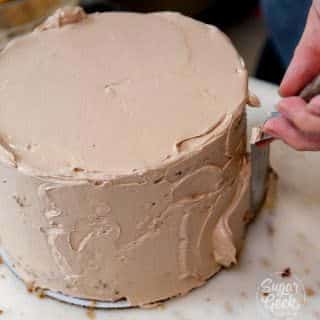
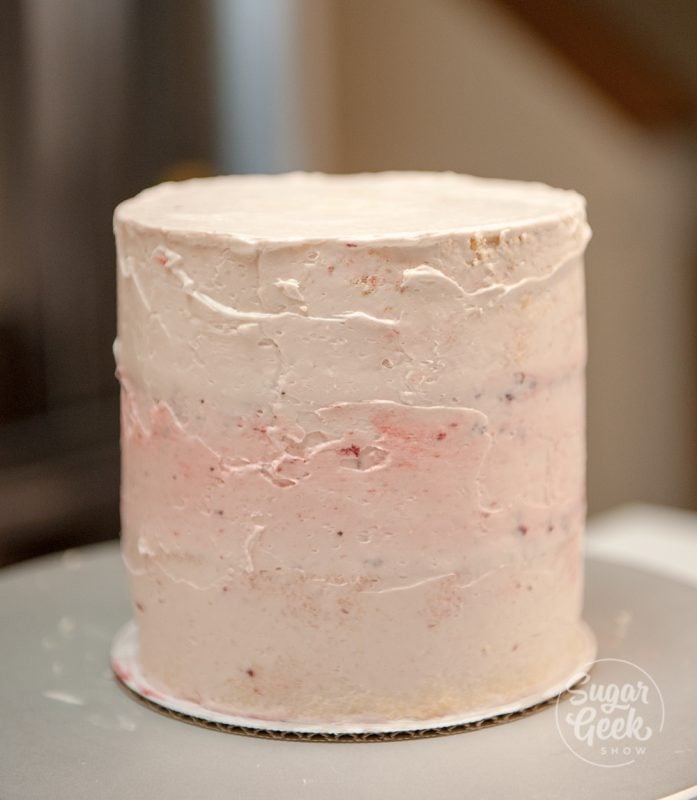
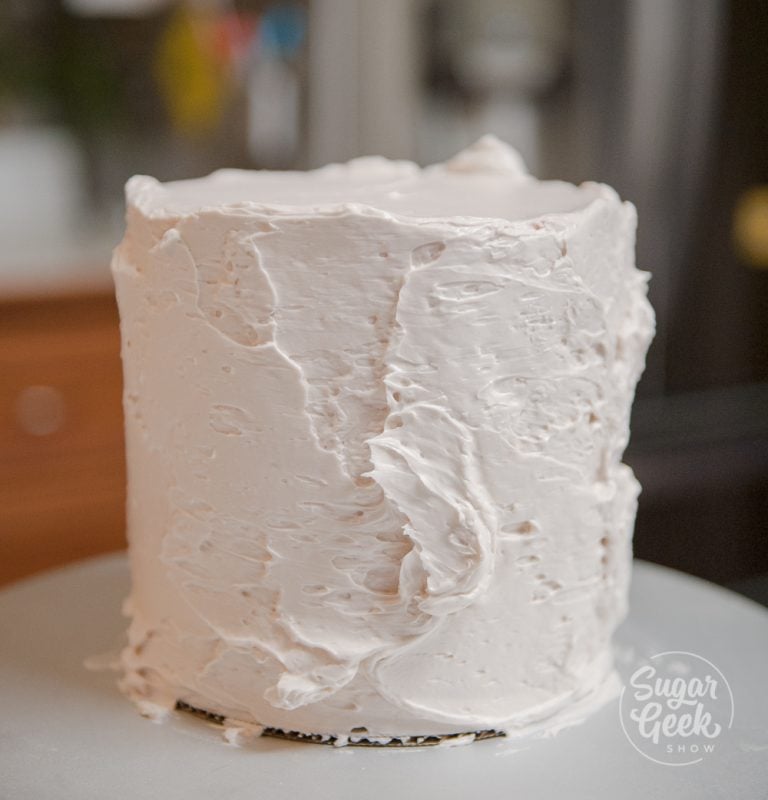
Now just crumb coat your cake, chill until firm and frost with your final layer of buttercream. I use a bench scraper to get nice straight sides. Check out my free tutorial on how to make your first cake if you want more info on frosting and filling a cake with straight edges.
How to make the rainbow drip cake
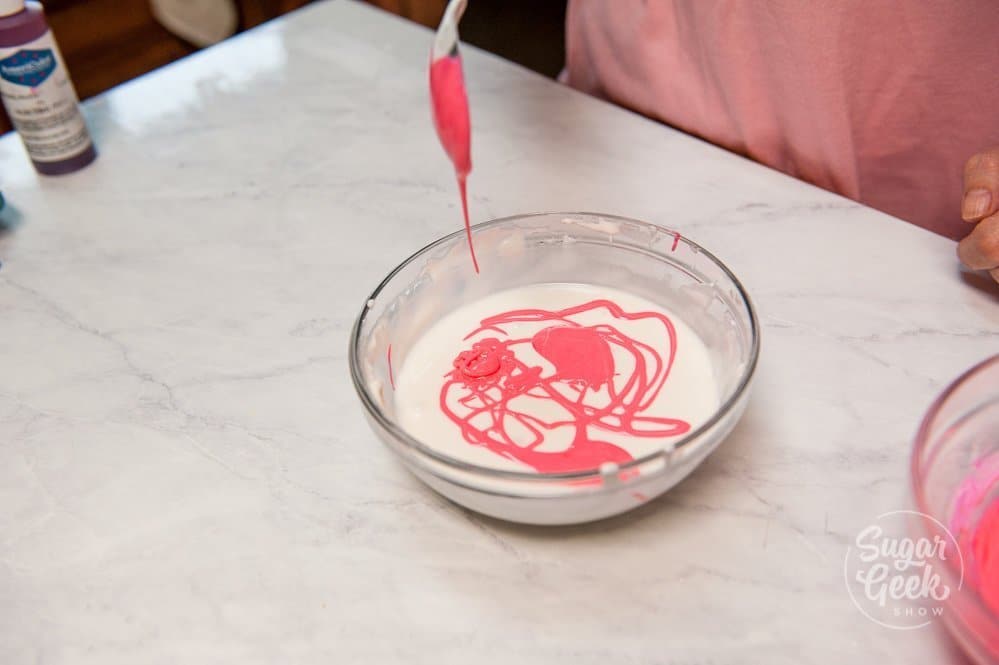
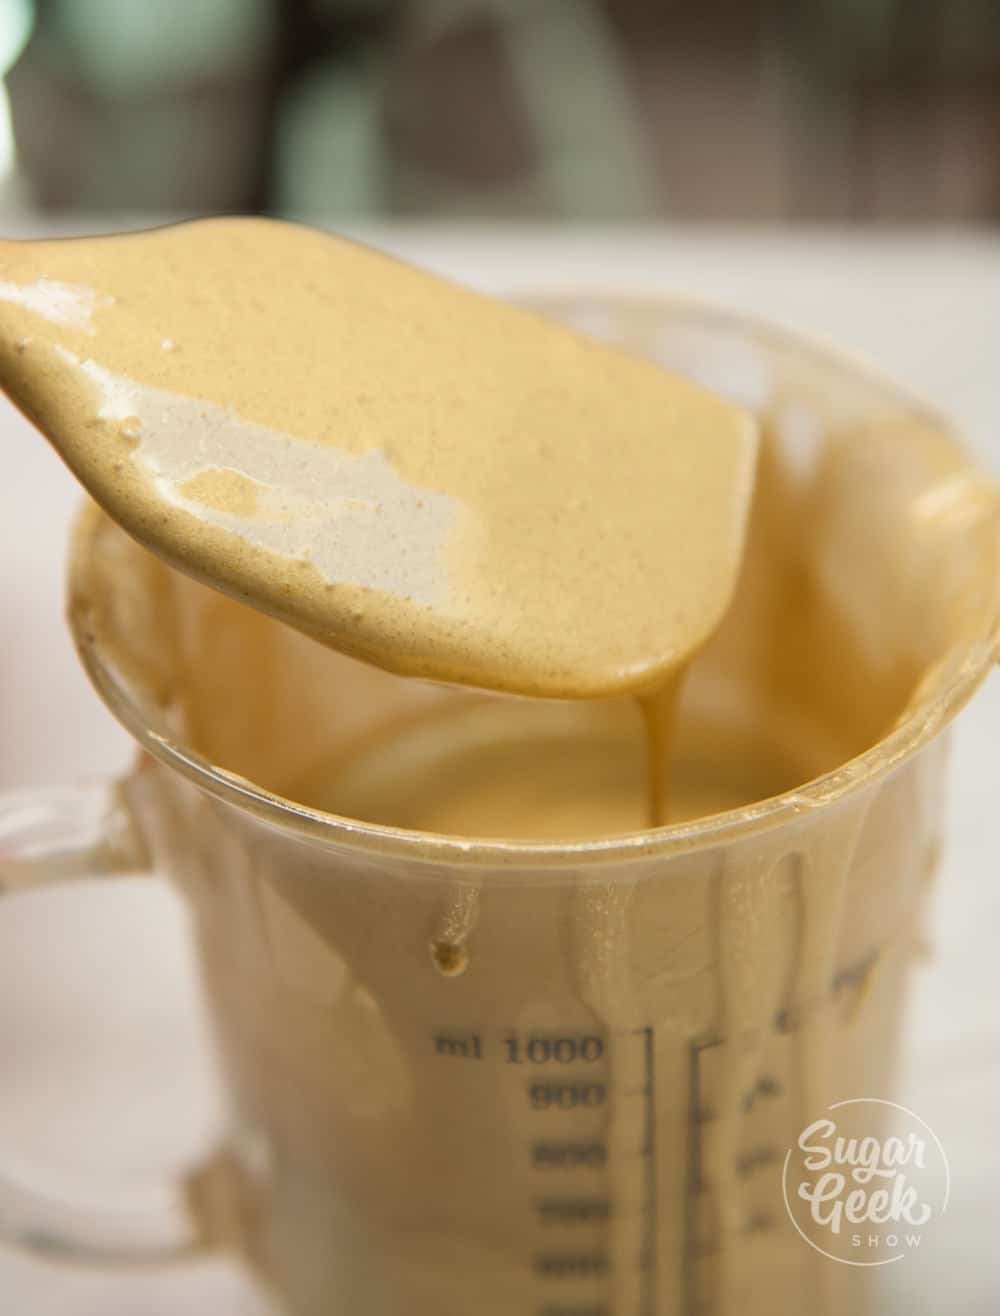
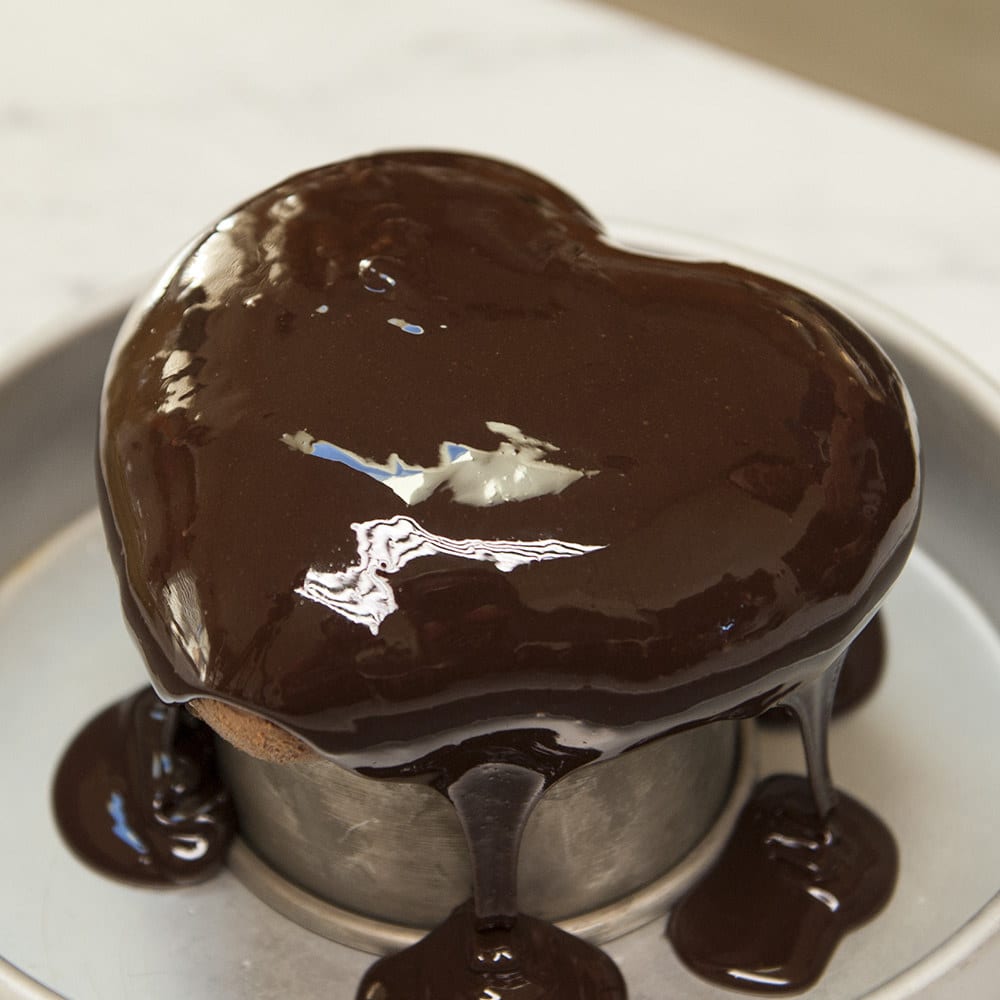
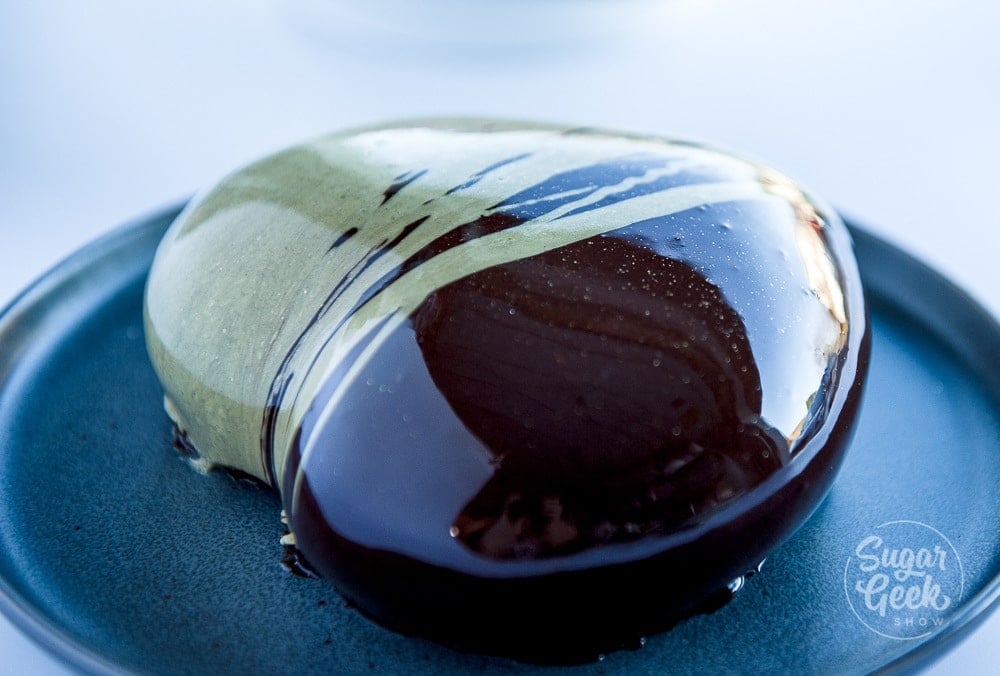
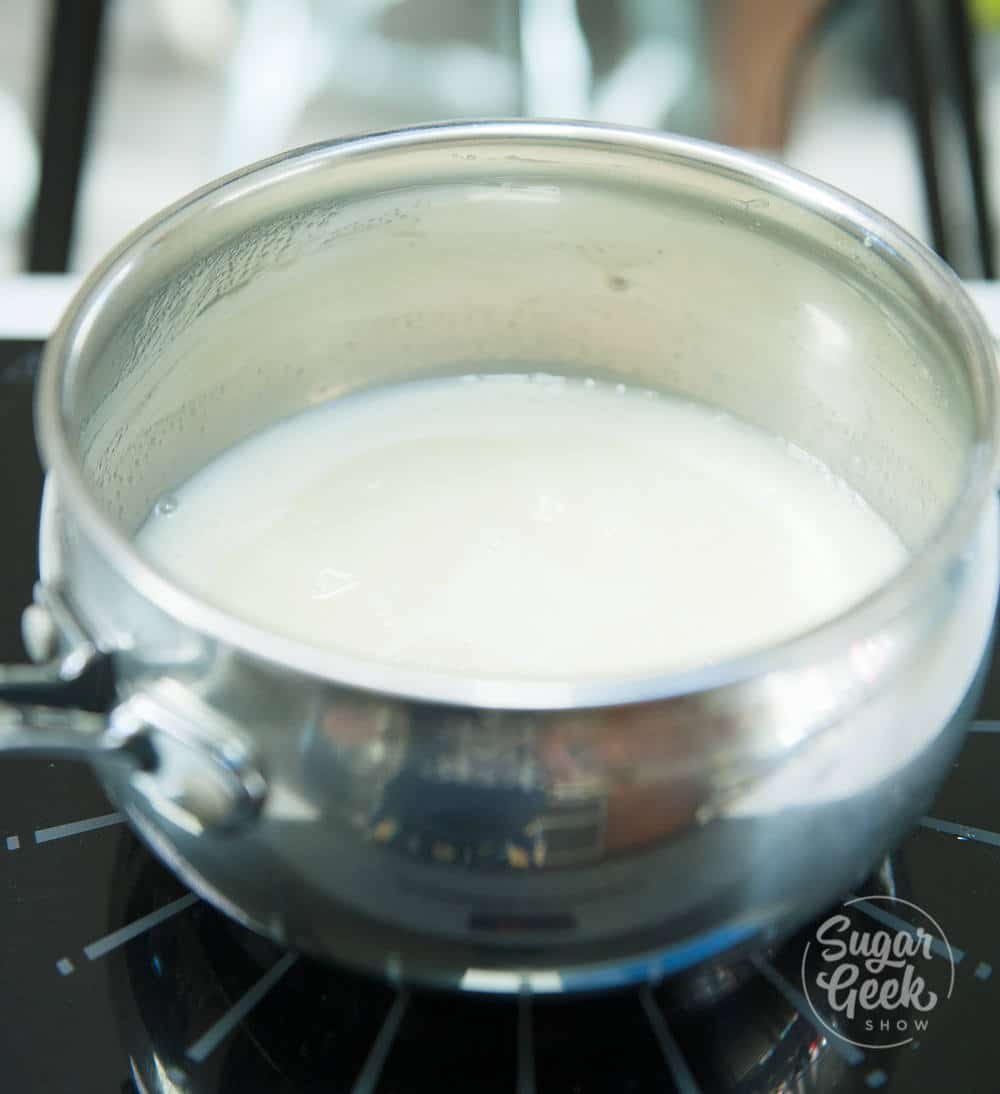
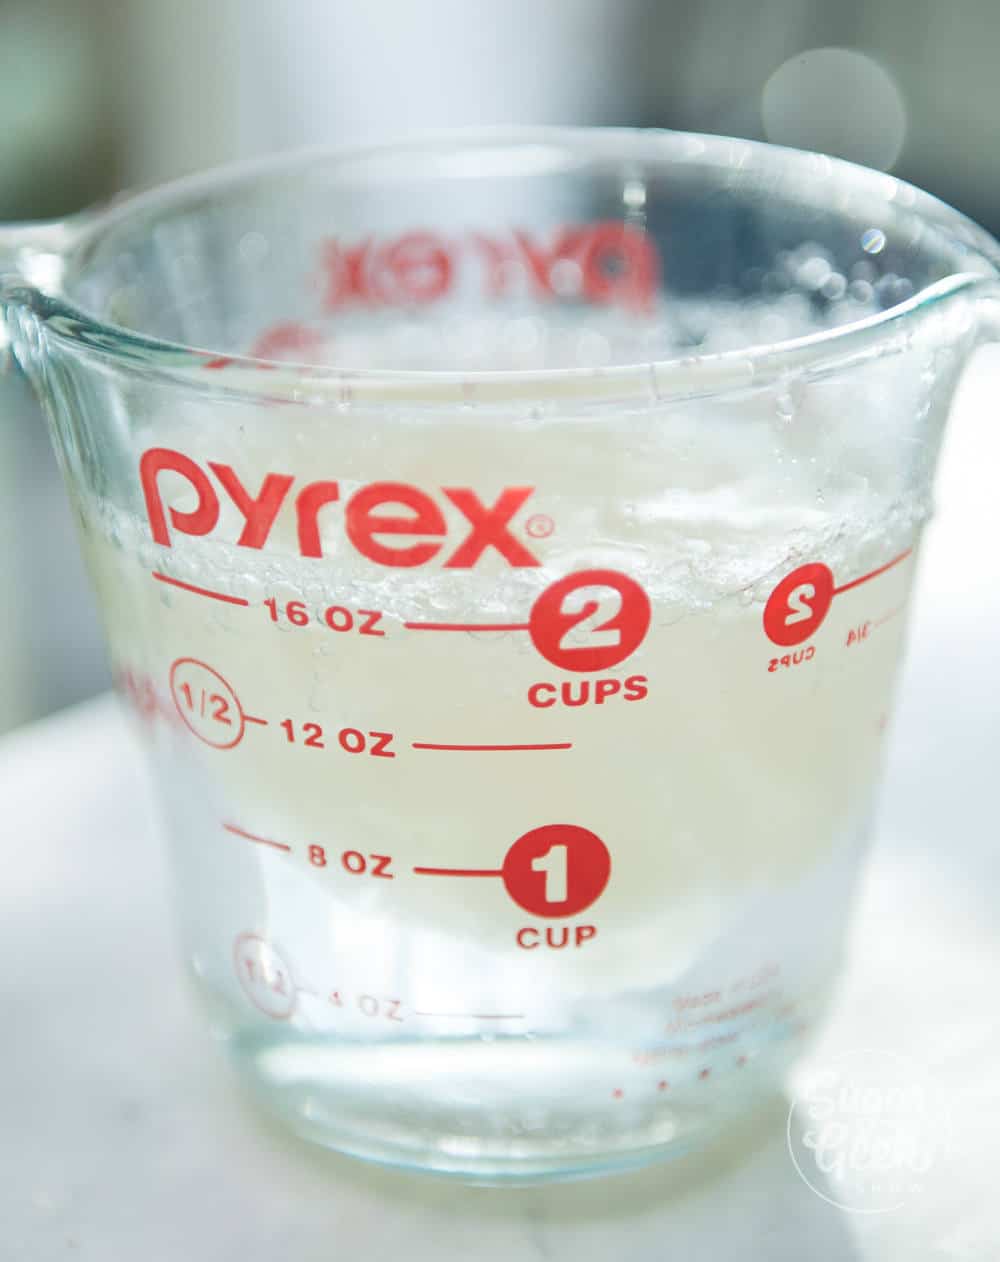
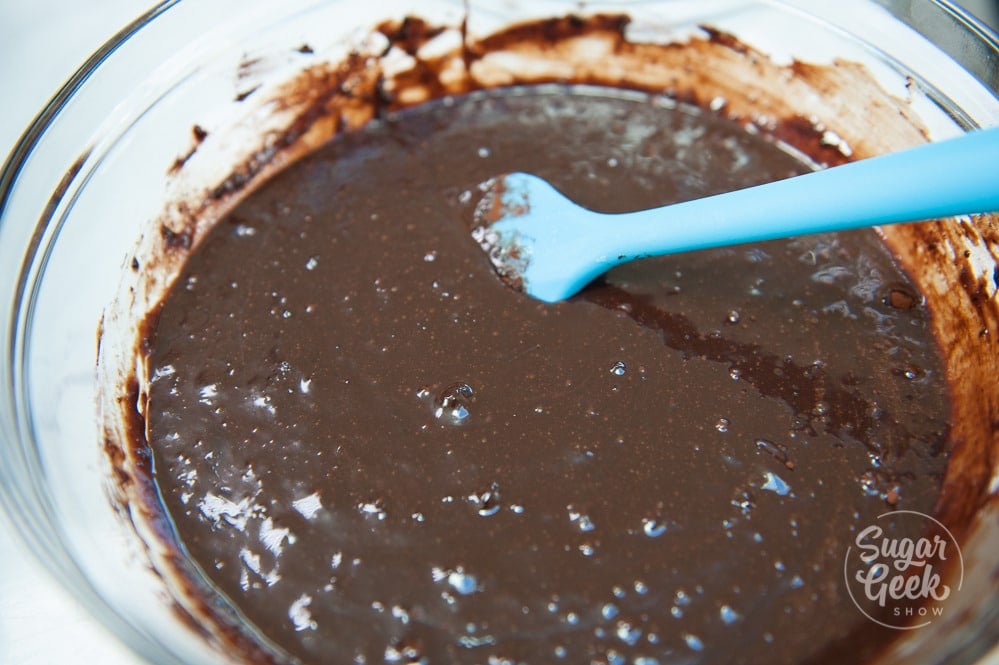
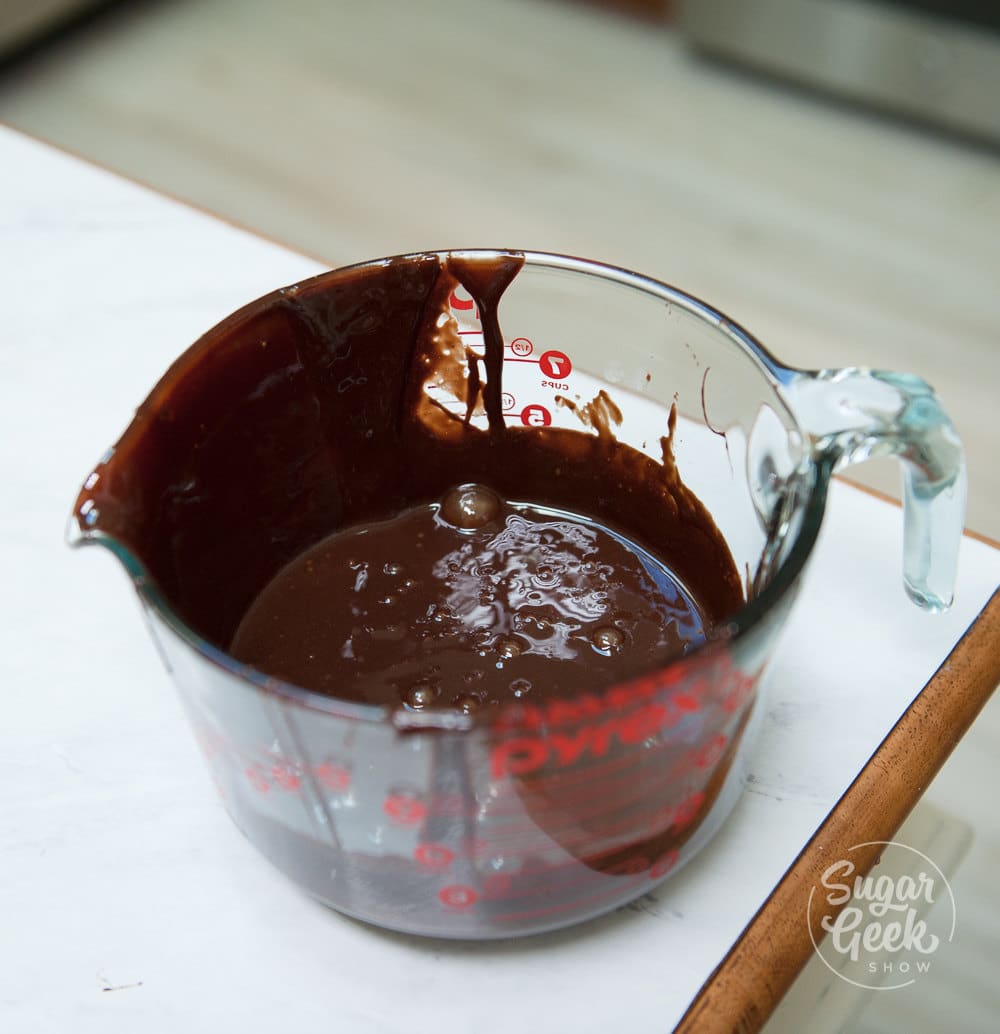
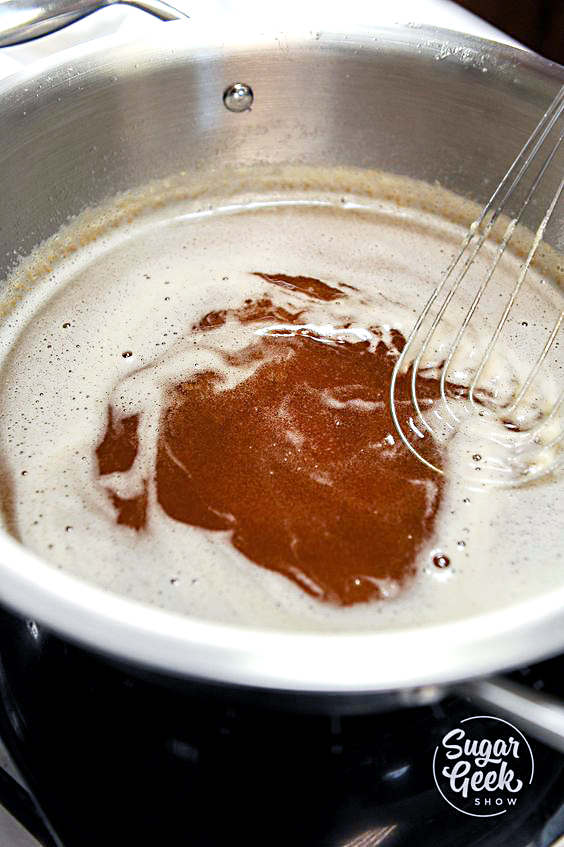
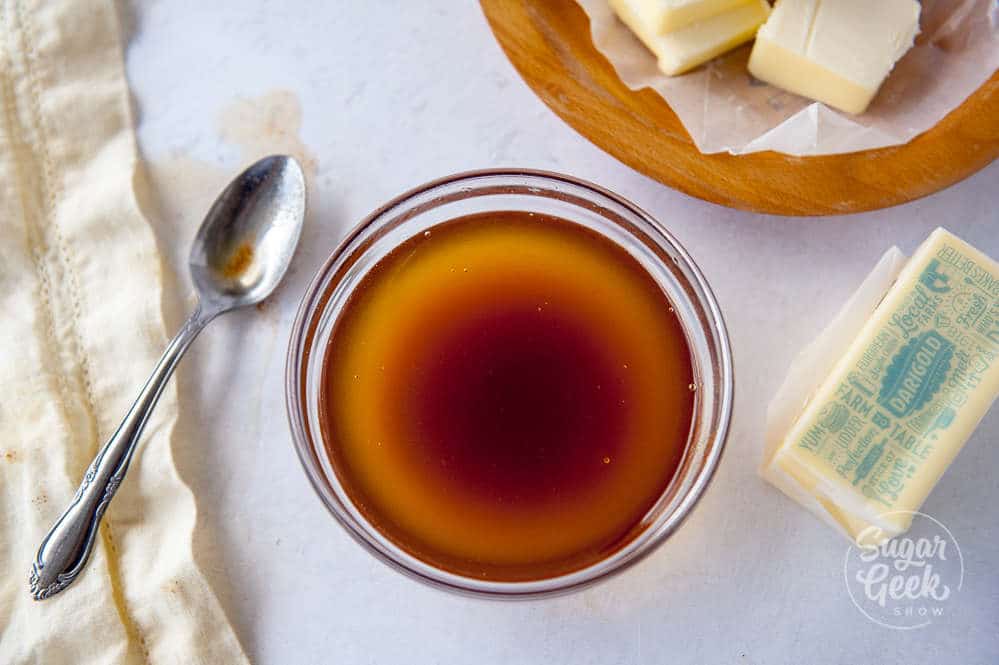
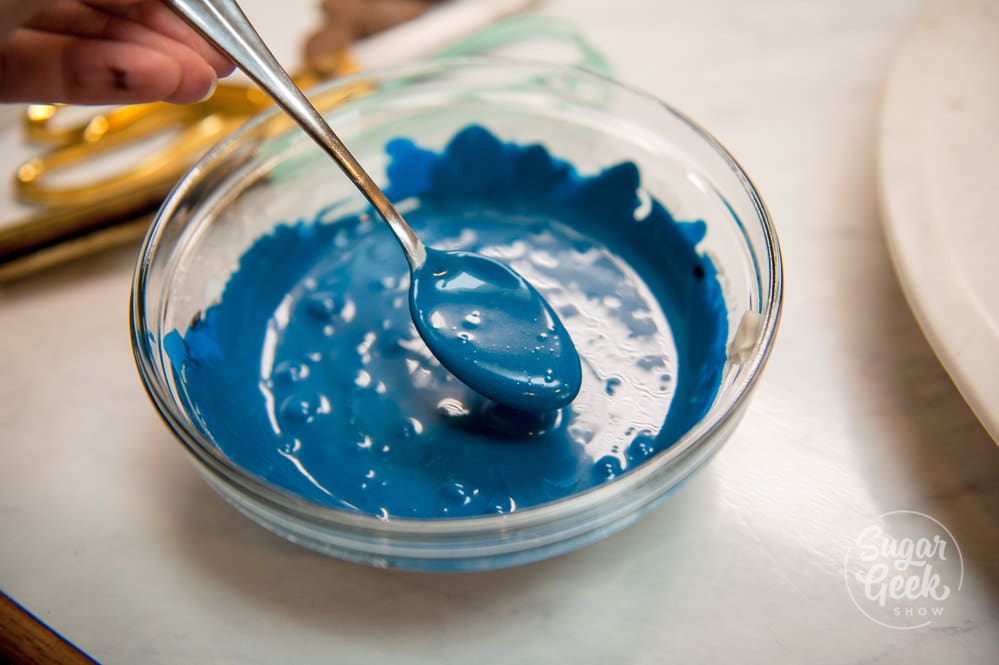
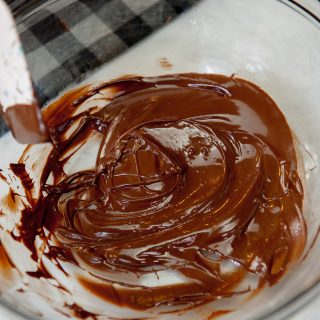
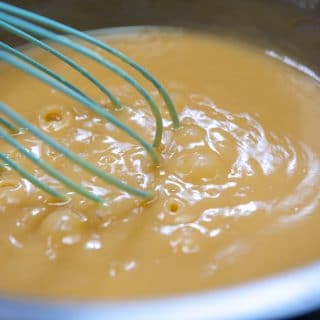
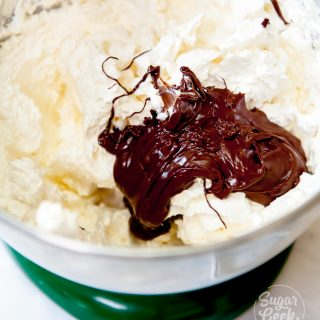
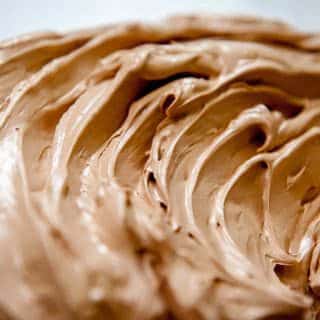
Ok time to make some water ganache! I actually only made 3oz of each color because you won't need very much to make the rainbow drip. I decided to go with pre-colored wilton candy melts so that I didn't have to color a bunch of chocolate. But if you only have white chocolate, you can just add regular food coloring to the water ganache after you make it.
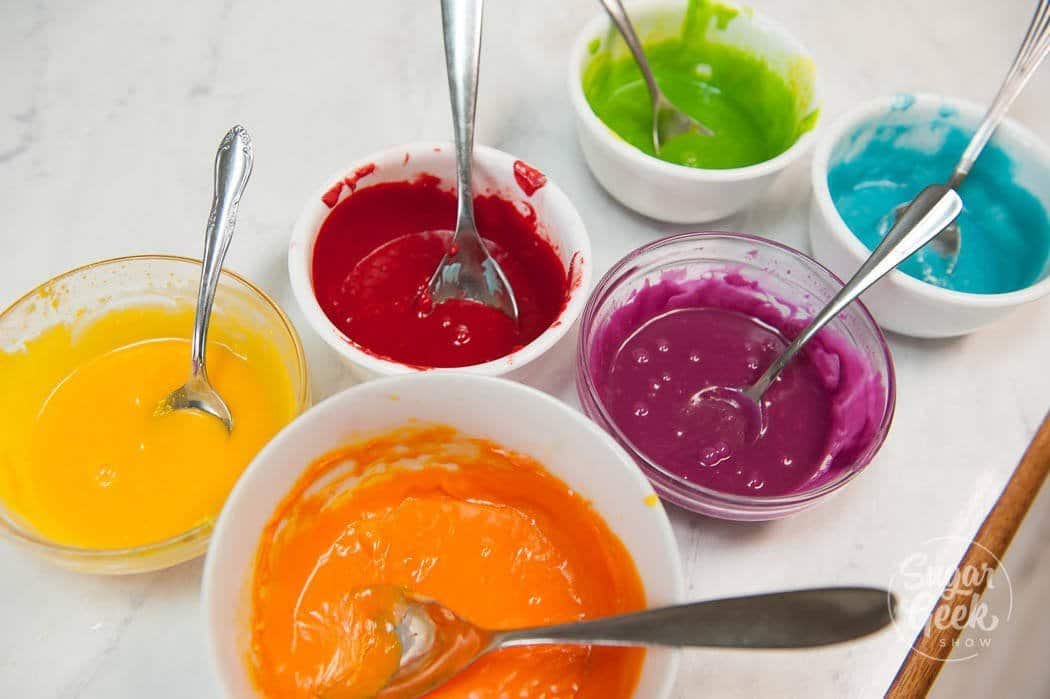
I made red, orange, yellow, lime green, light blue and purple water ganache. Divide the colors into small piping bags and snip off the tip. Don't snip off too much or it will all leak out.
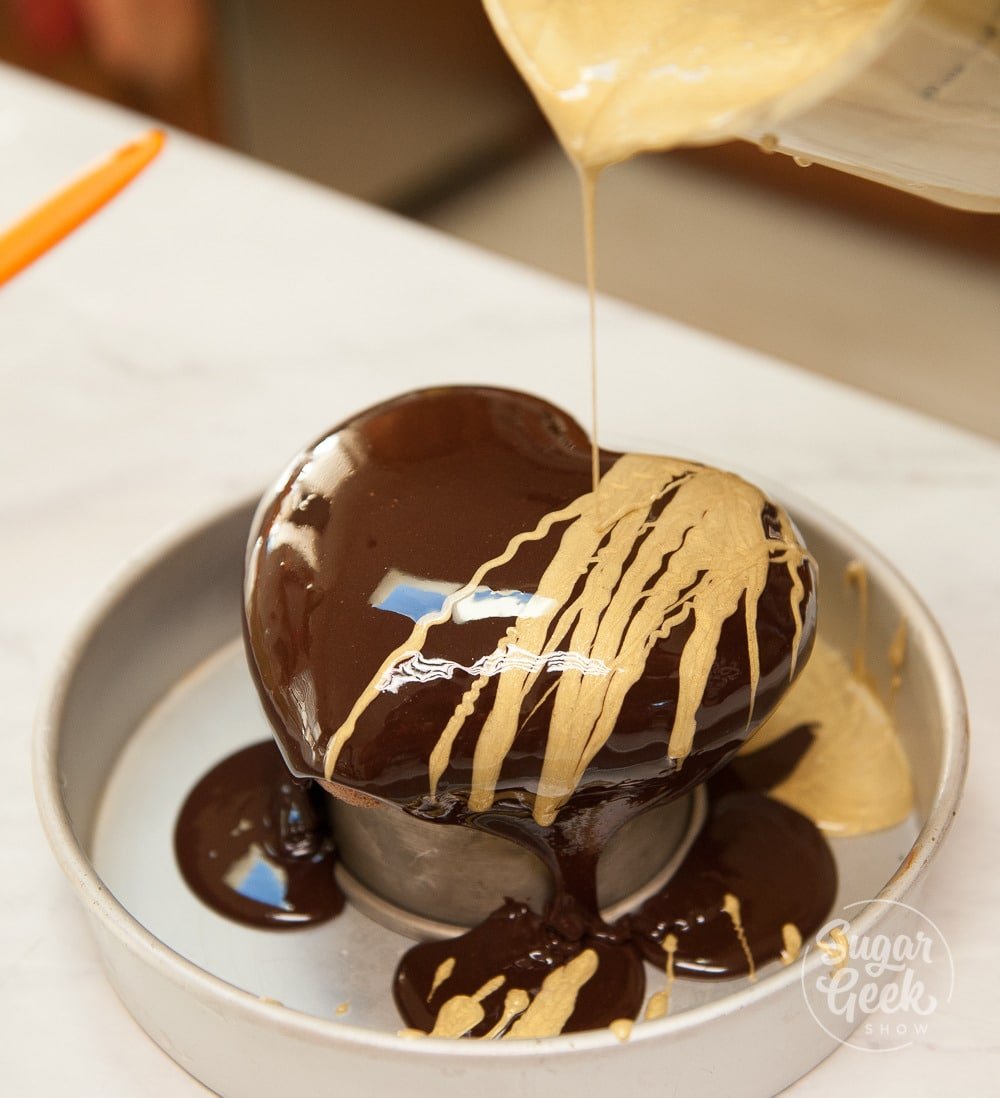
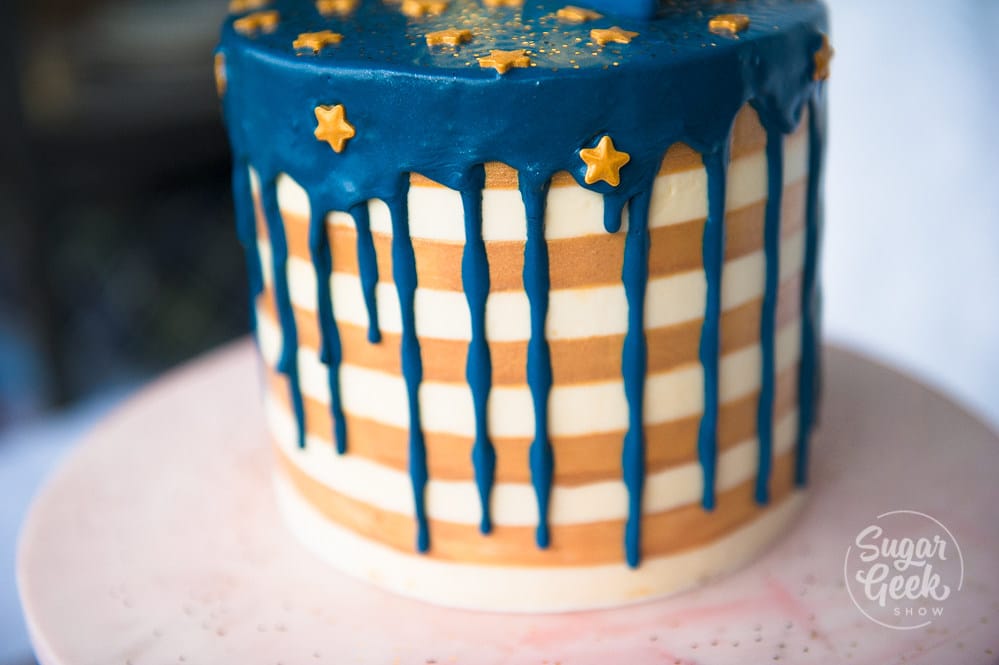
Pipe your water ganache into a triangle on the top of the cake, letting the color drip over the edge a little. Continue on with the next color in the rainbow until you have made your way all the way around the cake. It should set up within a few minutes.
How to make a pot of gold cake pop
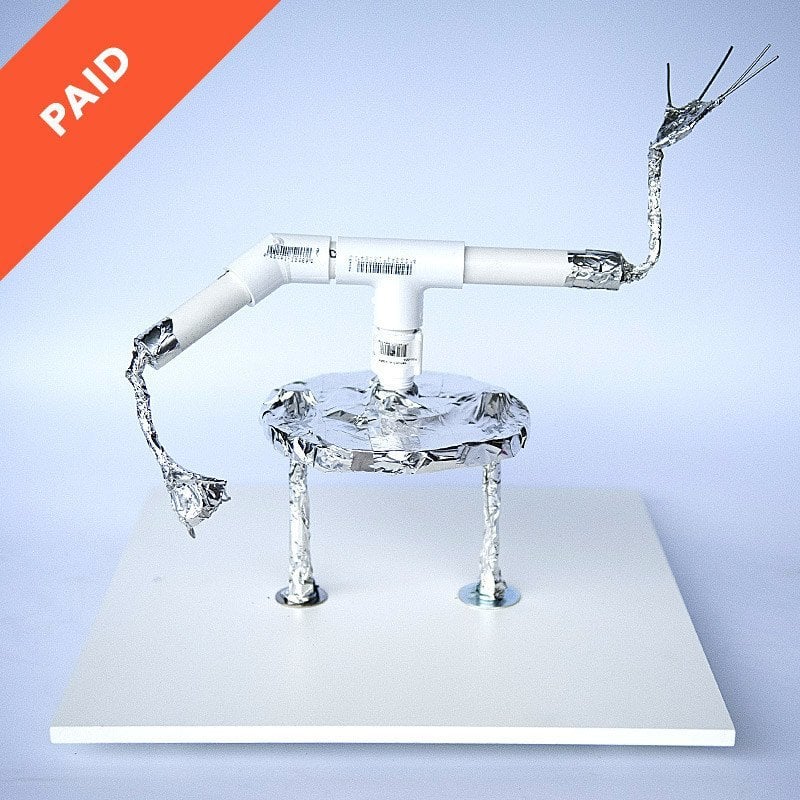
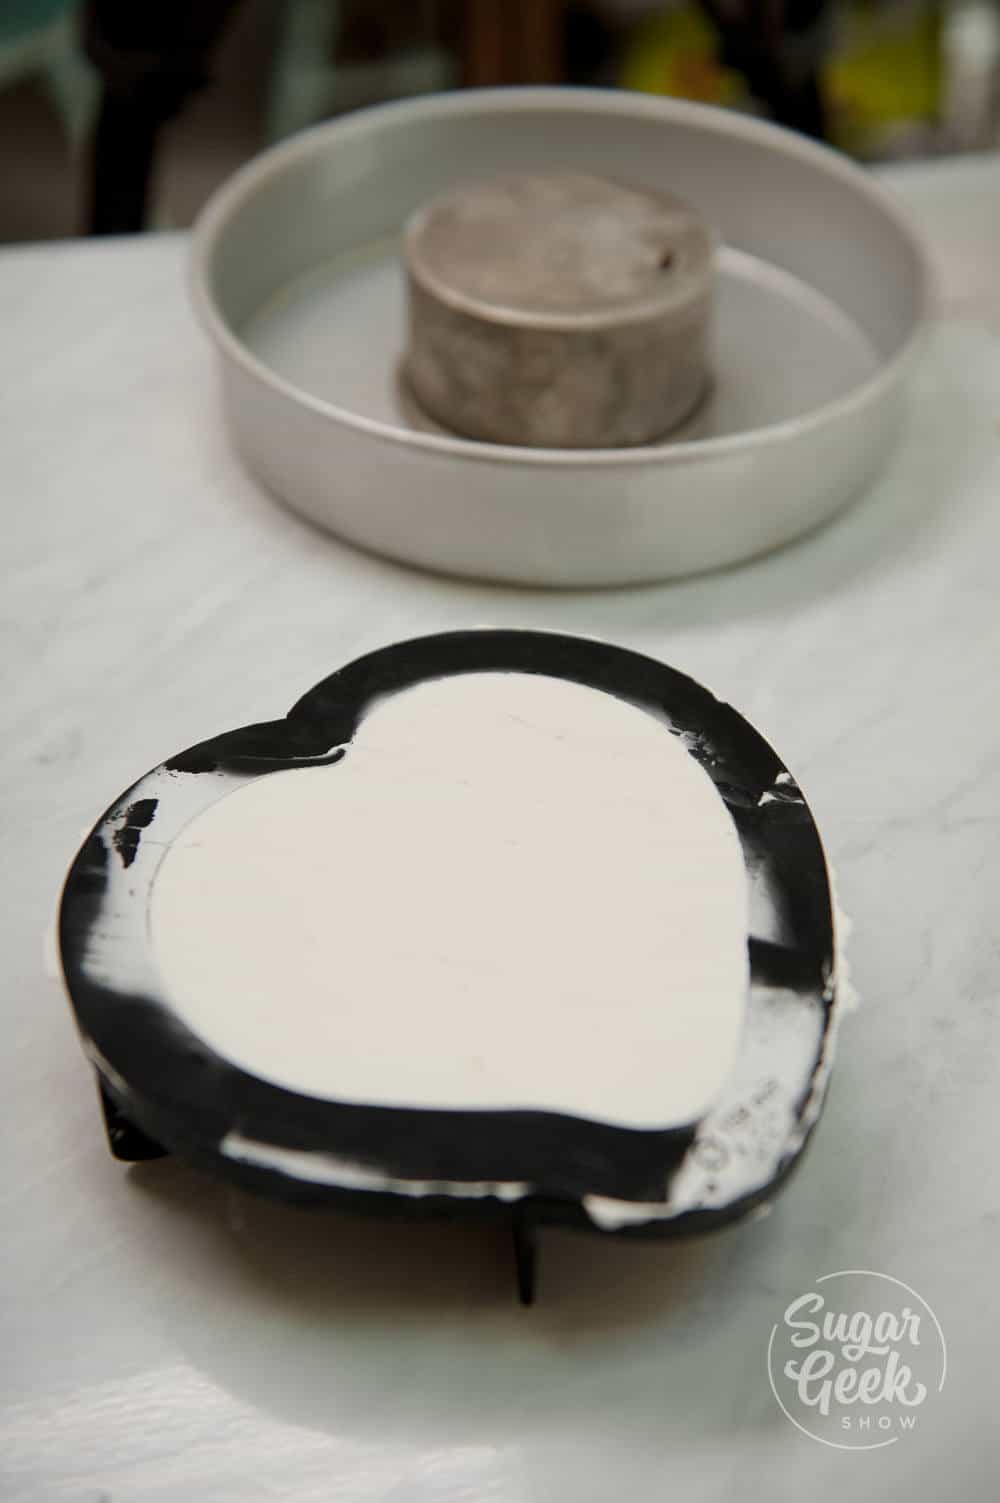
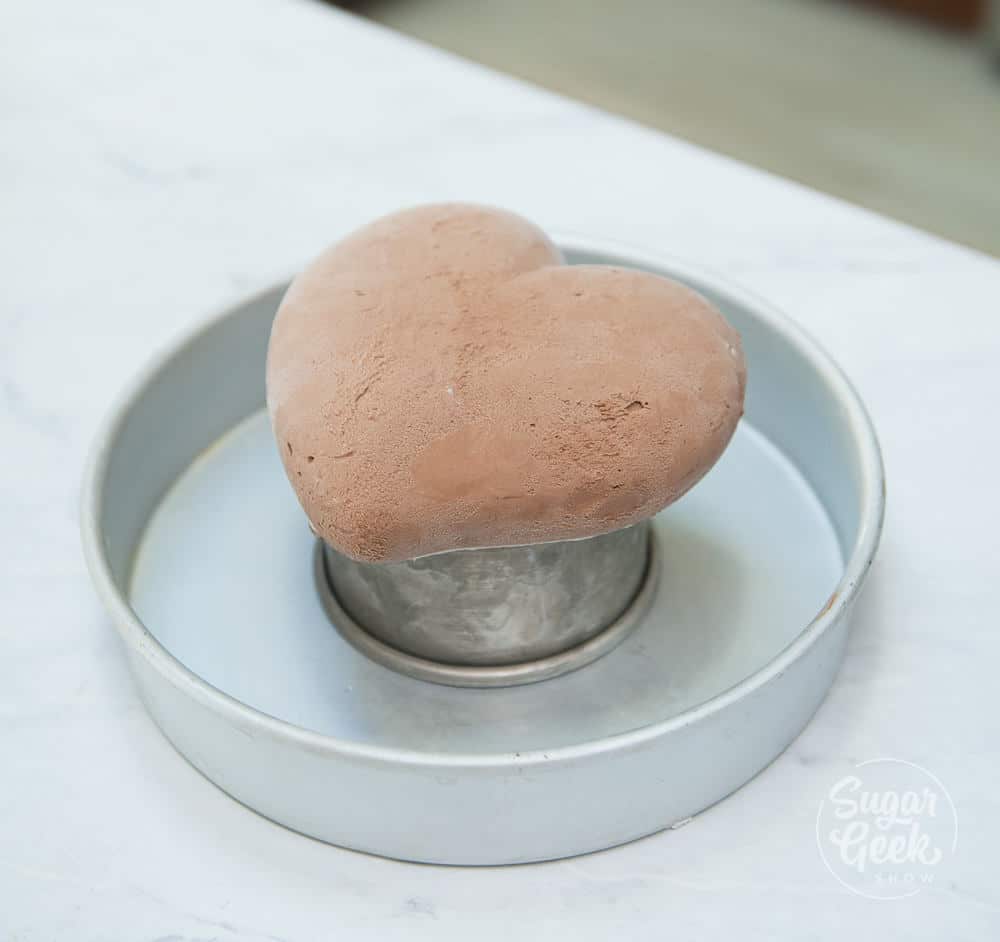
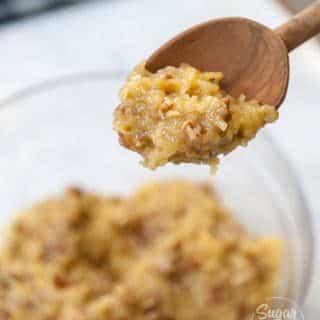
Take your cake scraps and add a scoop of buttercream. Smoosh the cake and buttercream together to make a cake pop dough. Roll the dough into a ball about 3" wide. Place a cake pop stick dipped in some melted chocolate into the center of the cake pop and freeze 10 minutes.
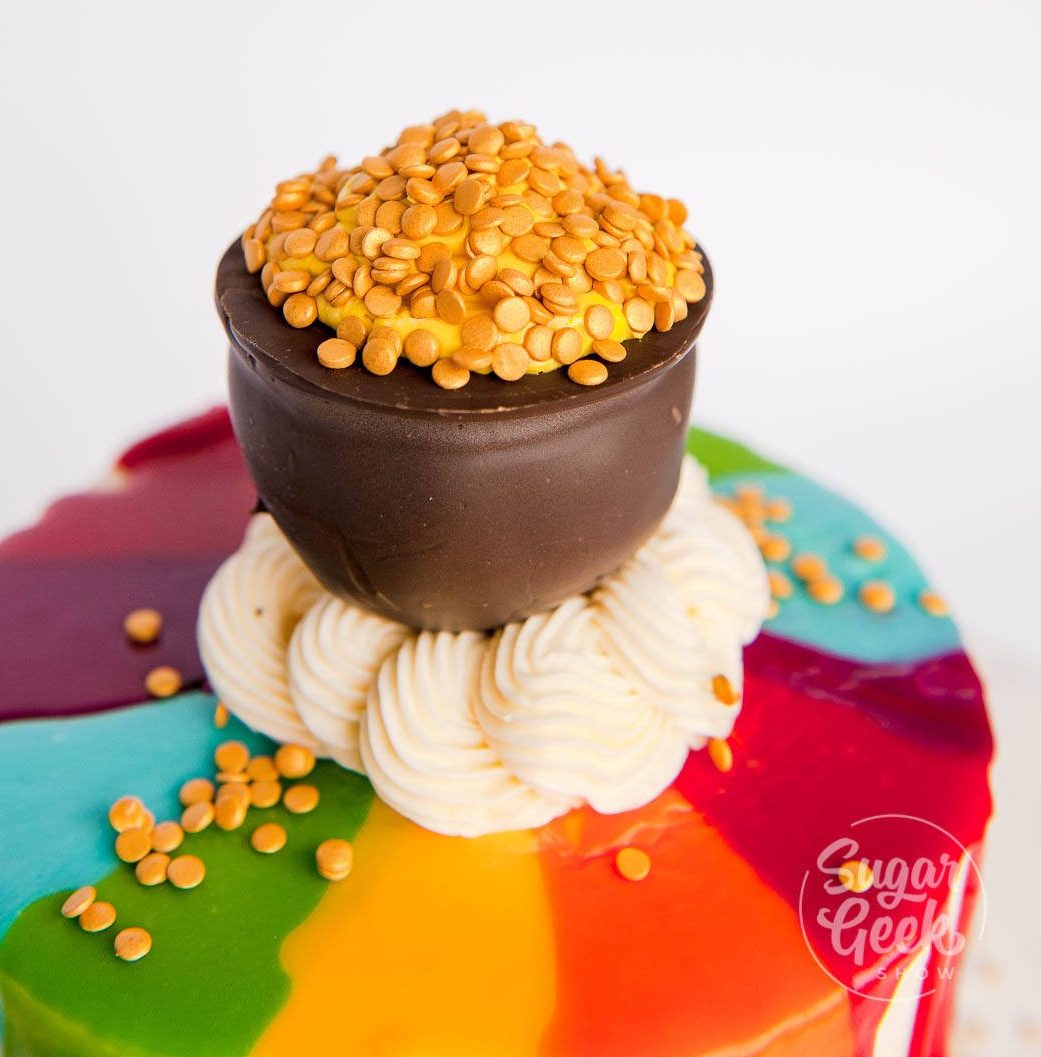
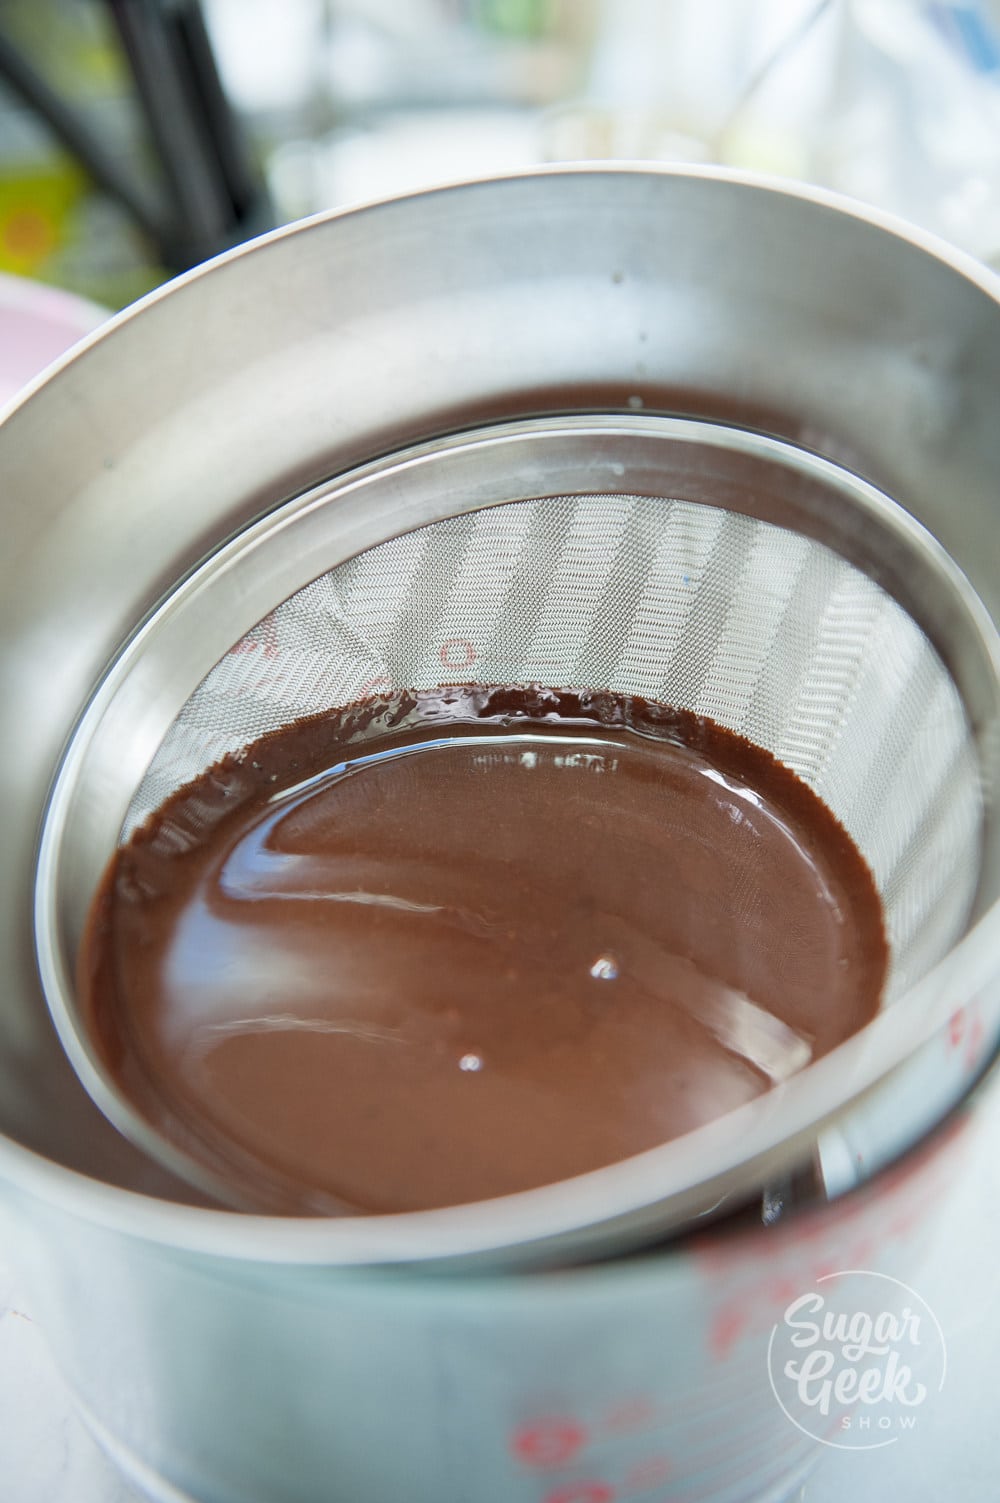
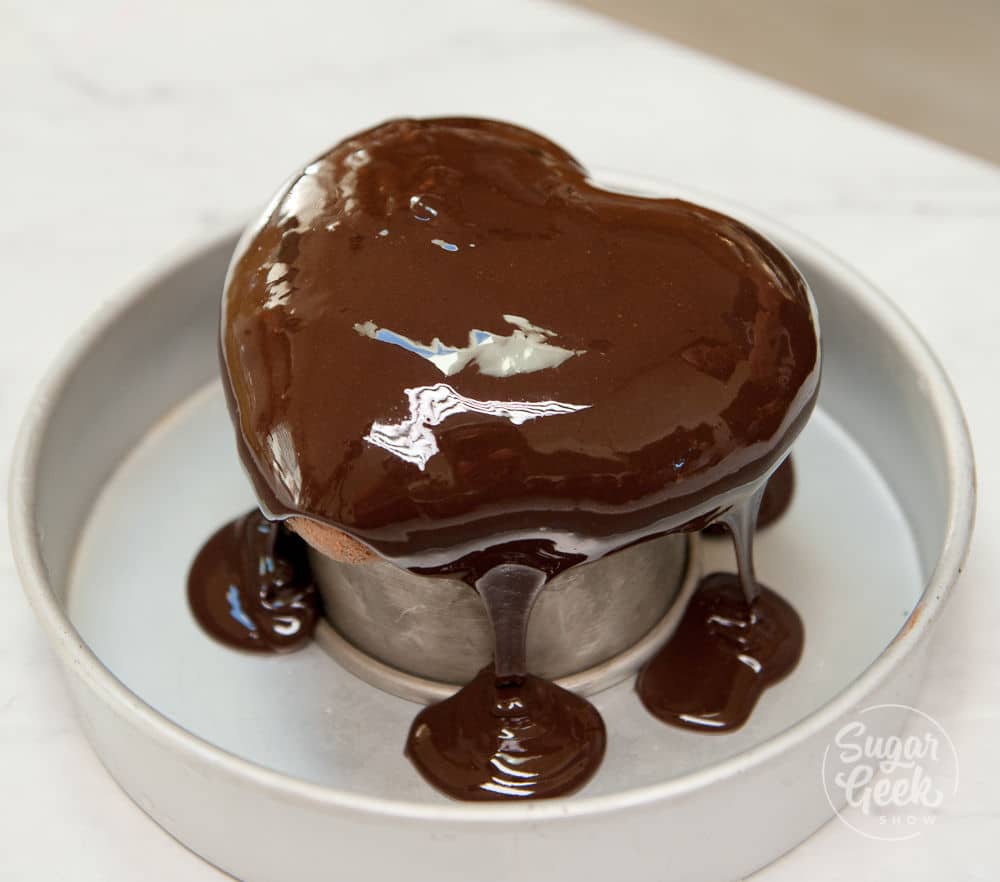
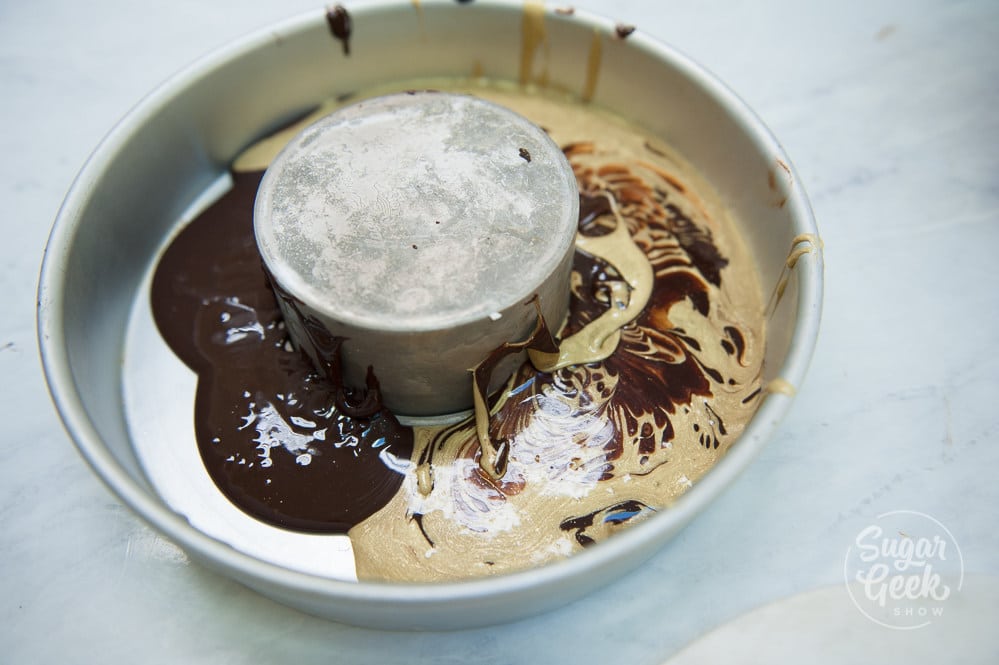
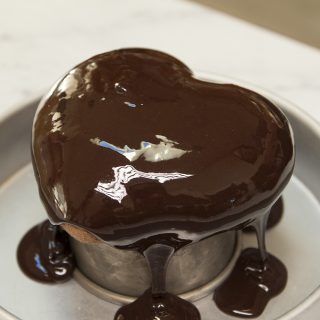
Once your giant cake pop is chilled, you can dip the whole thing into a bowl of melted chocolate. Place the cake pop onto some parchment until the chocolate is set. The flat top becomes the top of the pot of gold. Cool huh!
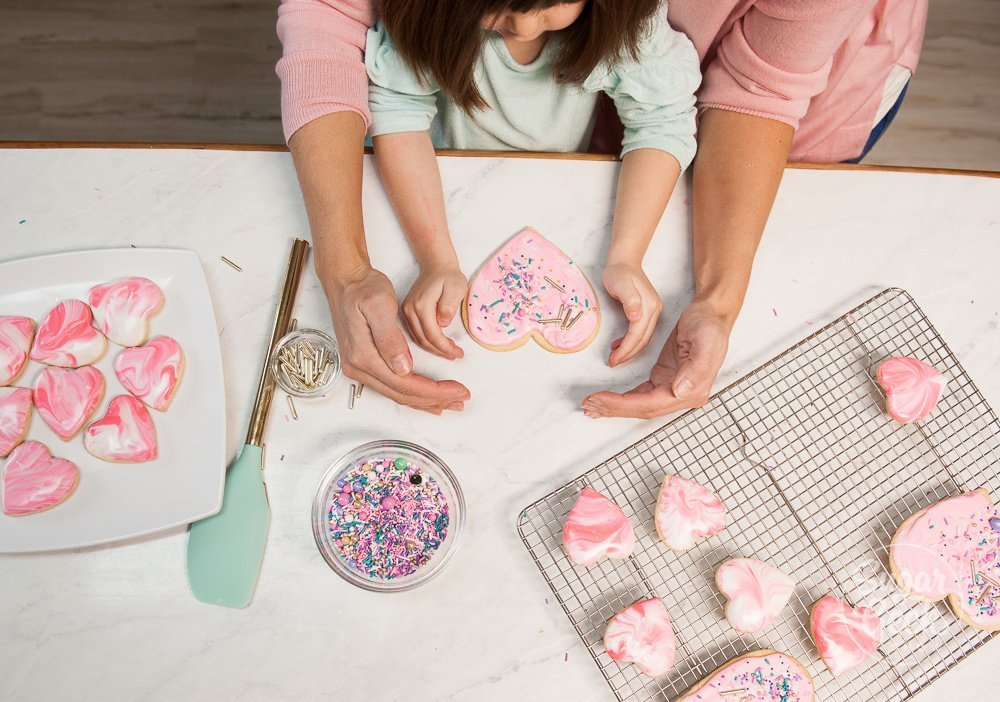
Carefully lift your cake pop off the parchment paper and pipe on some yellow buttercream. Dip the buttercream in your gold confetti sprinkles for the coins.
Finishing the pot of gold cake
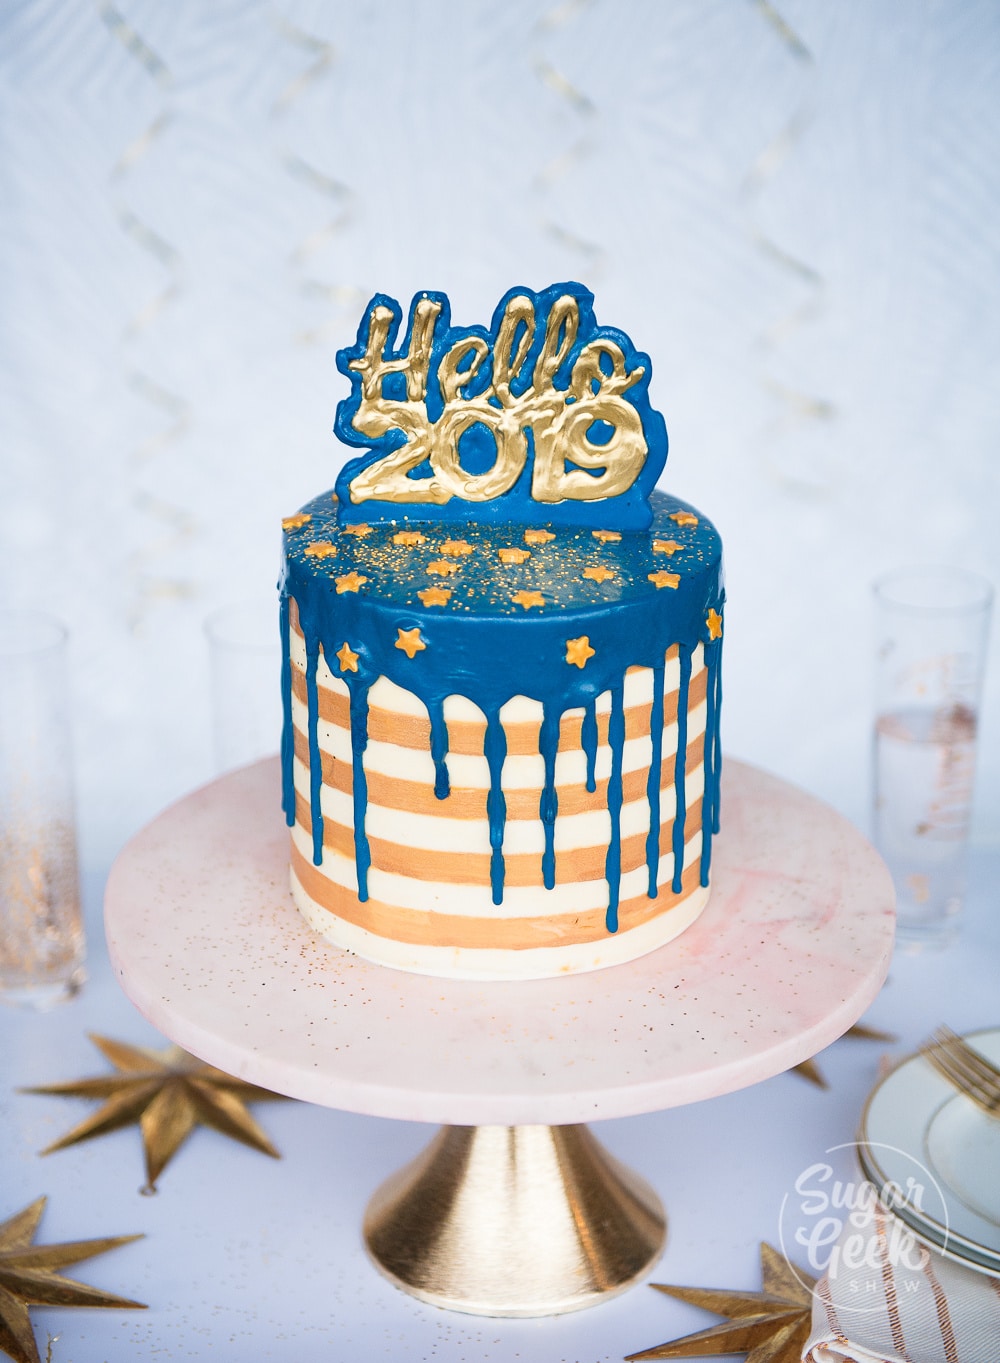
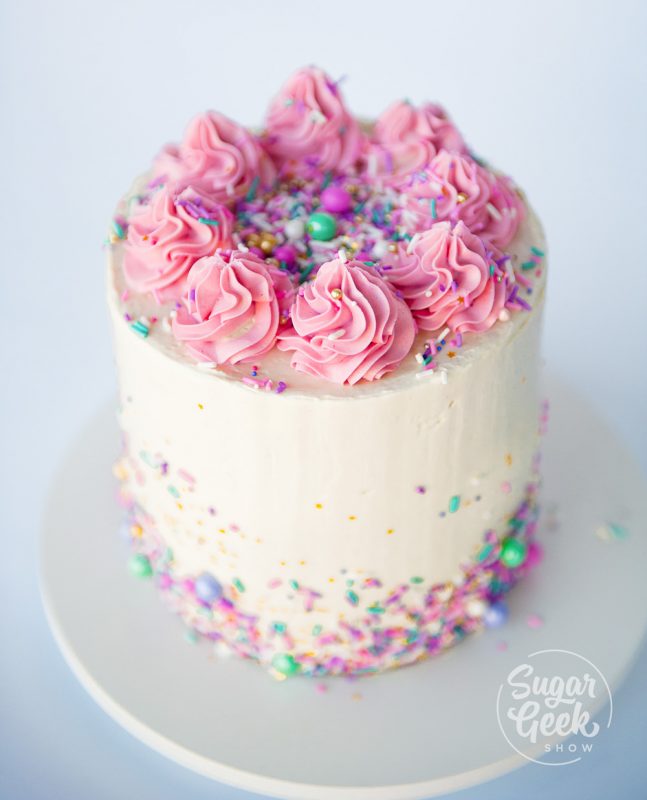
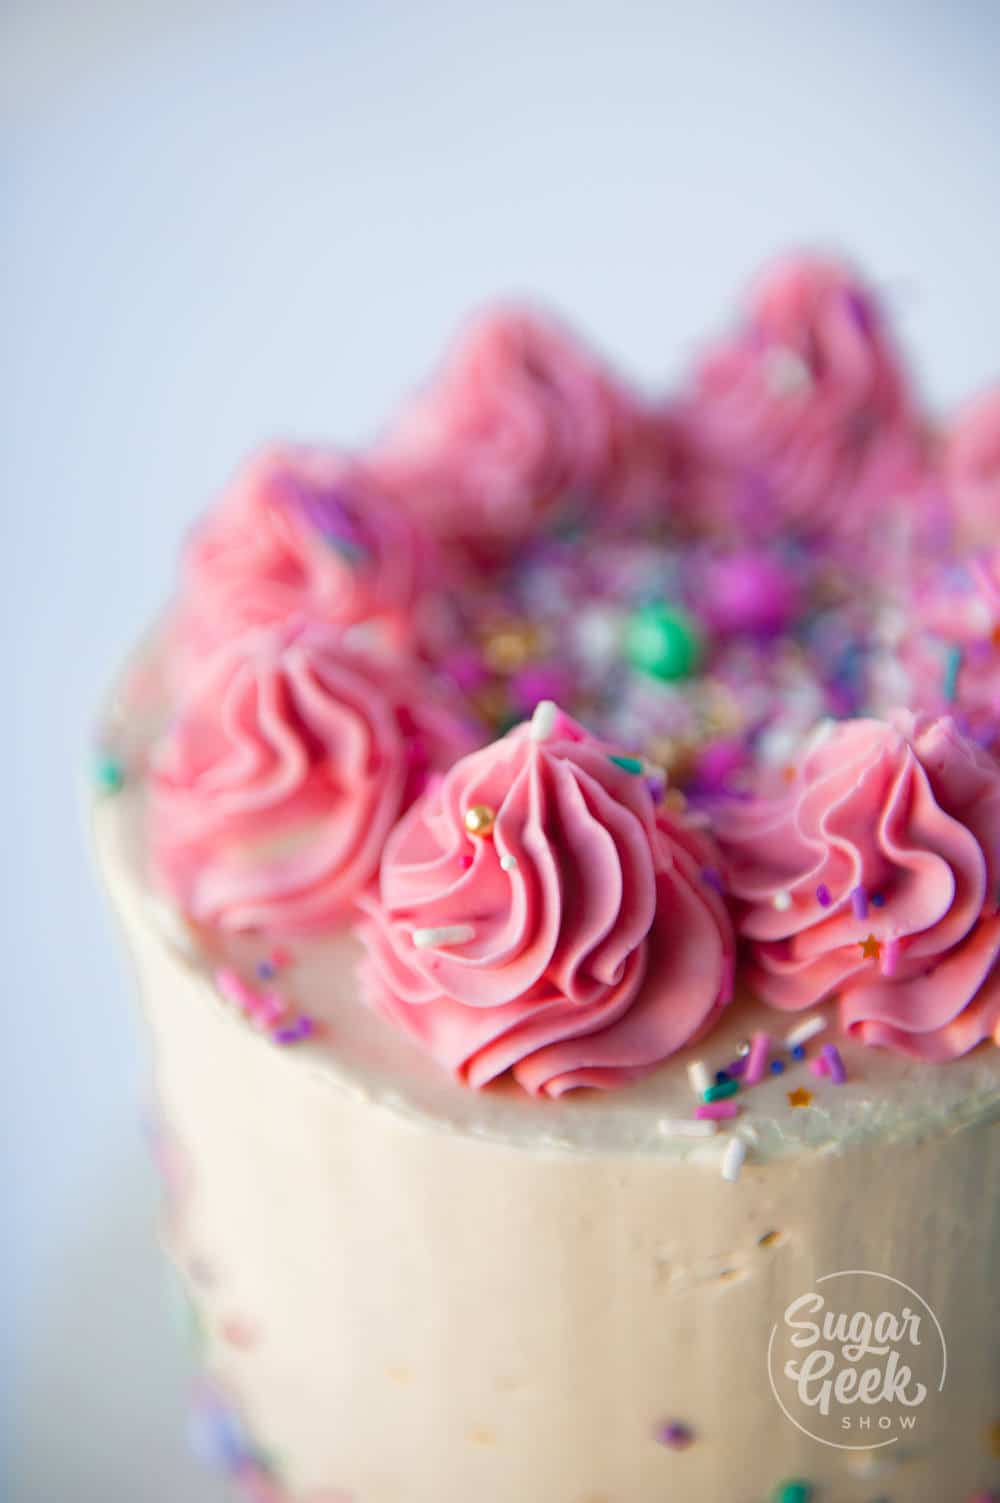
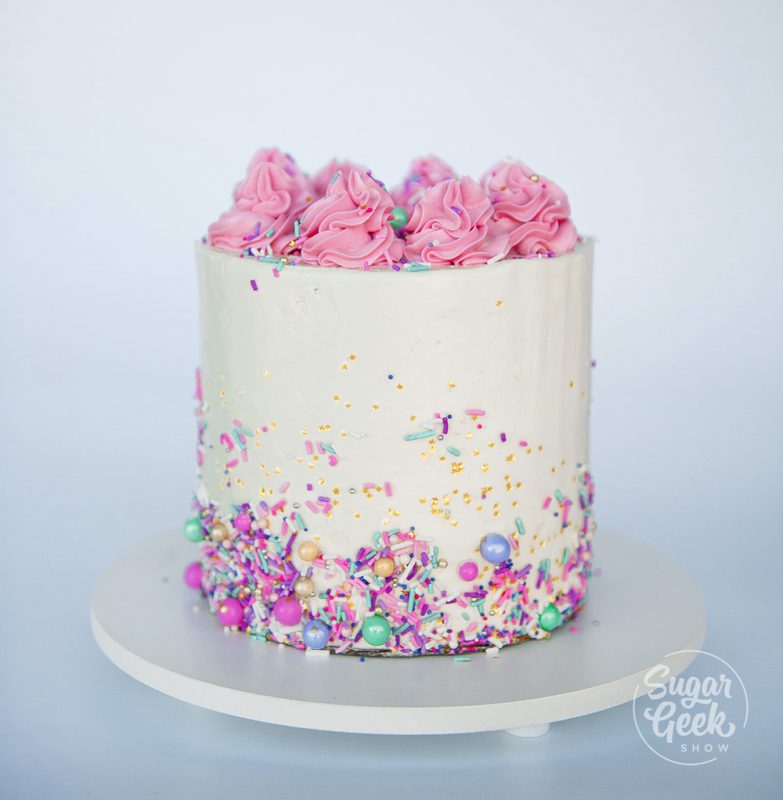
Pipe a nice big fluffy cloud of buttercream on top of the rainbow drip cake. Place the pot of gold cake topper right on top of the buttercream. I finished the bottom edge of the cake with some buttercream as well to hide the rough edge.
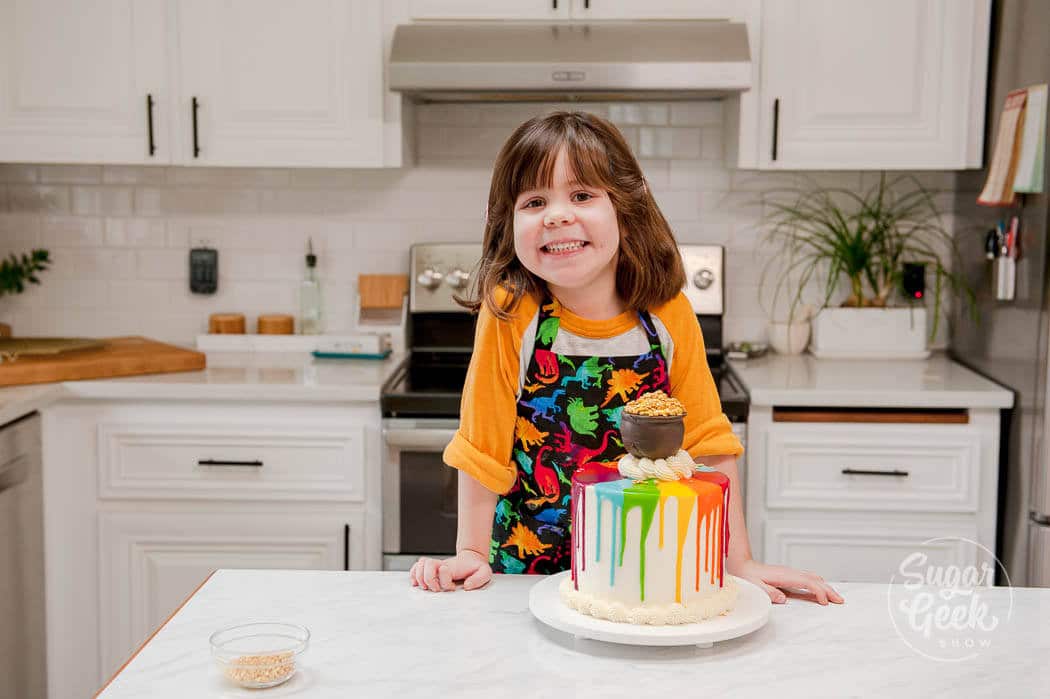
I was super proud of how much of this cake Avalon was actually able to do. I had to help her with the frosting (because I'm a control freak) and doing the rainbow drip but she was able to do pretty much everything else.
A super fun cake to do with your kids or to take to a Saint Patrick's day party! Check out this super fun video of Avalon taking over and making this rainbow drip cake for Saint Patrick's Day.


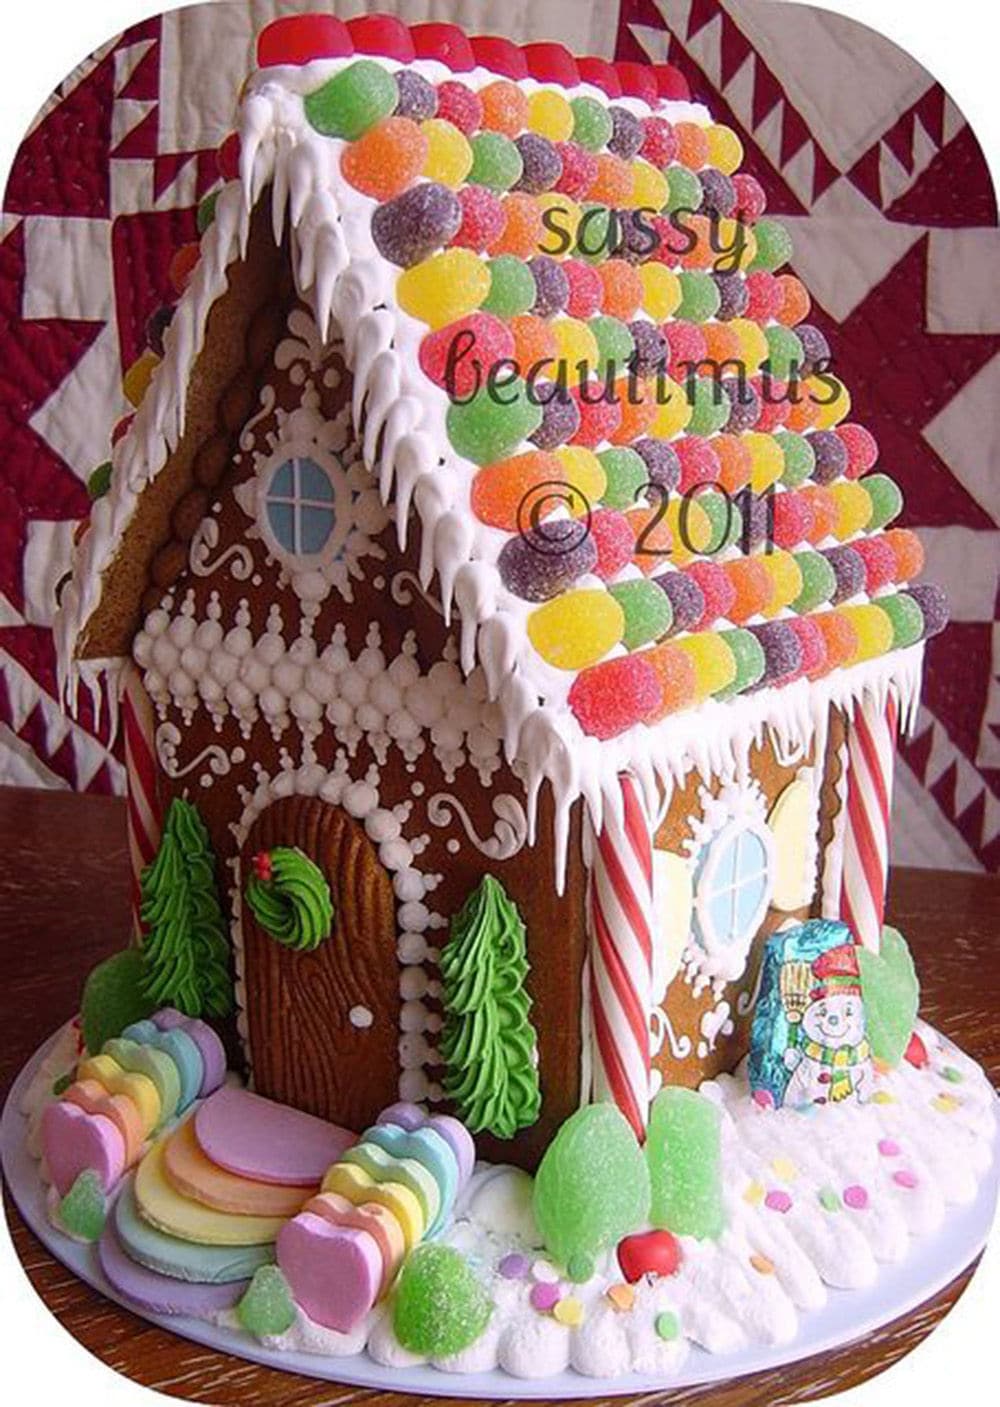
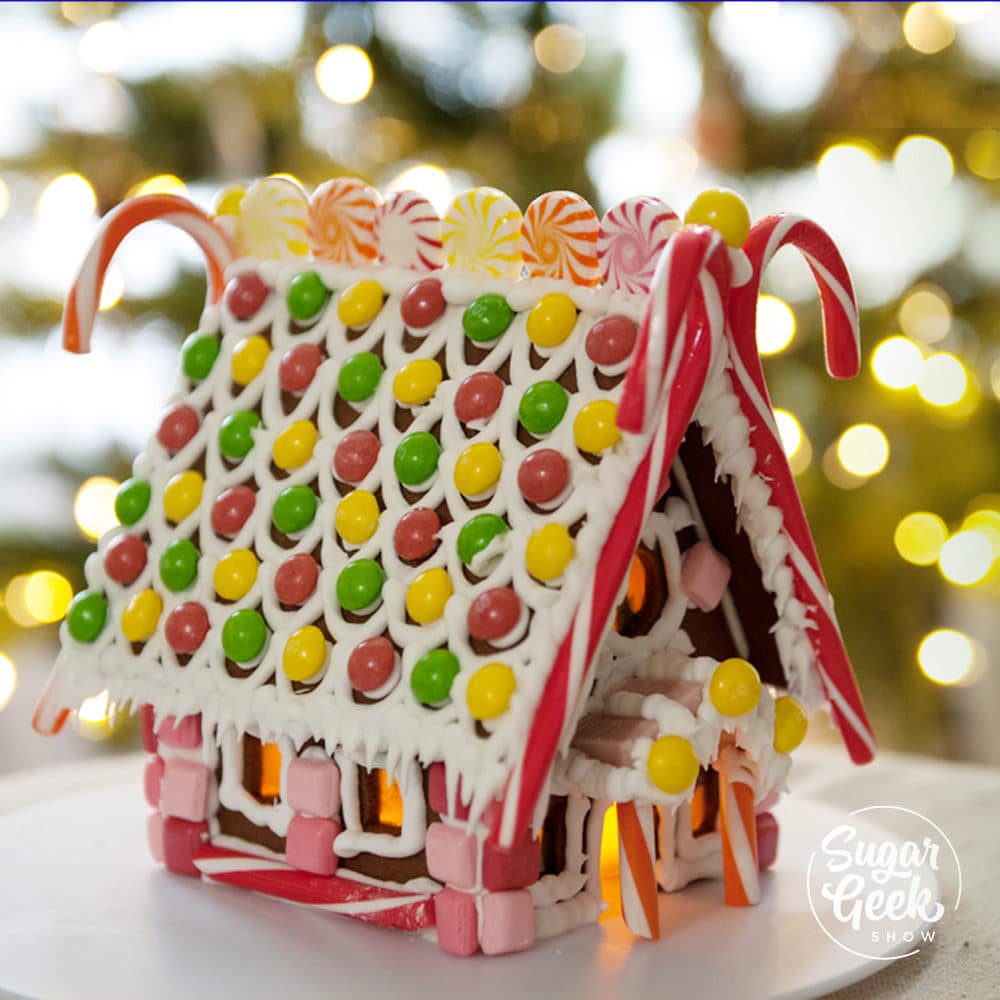
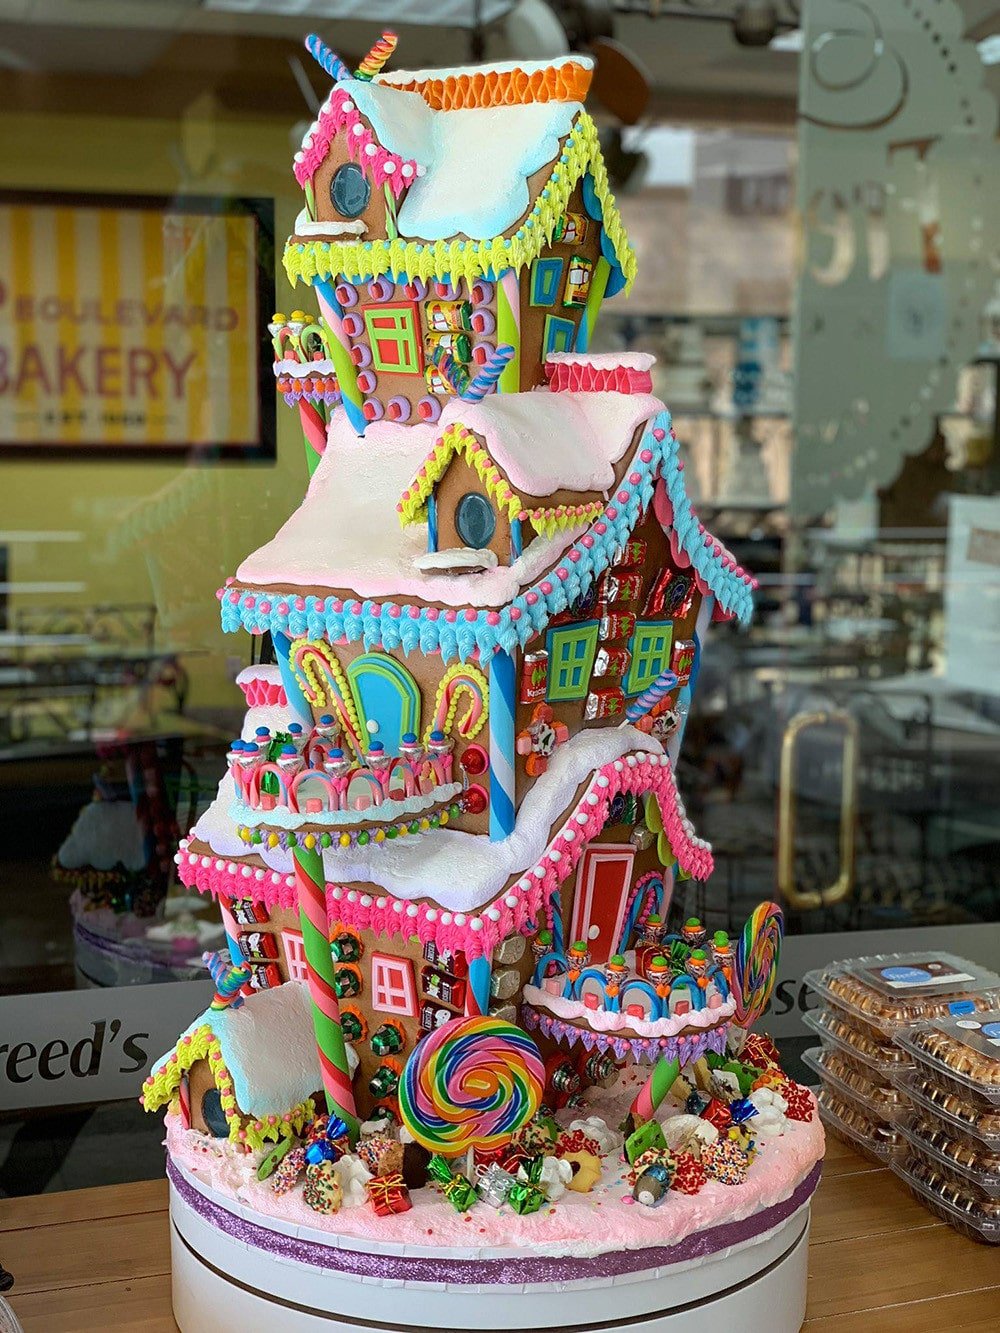 I absolutely love this super bright design! The colors, the candy, it just makes the inner me SO happy! I think it might be my most favorite gingerbread house of all time. Display made by Sonny Robinson -