
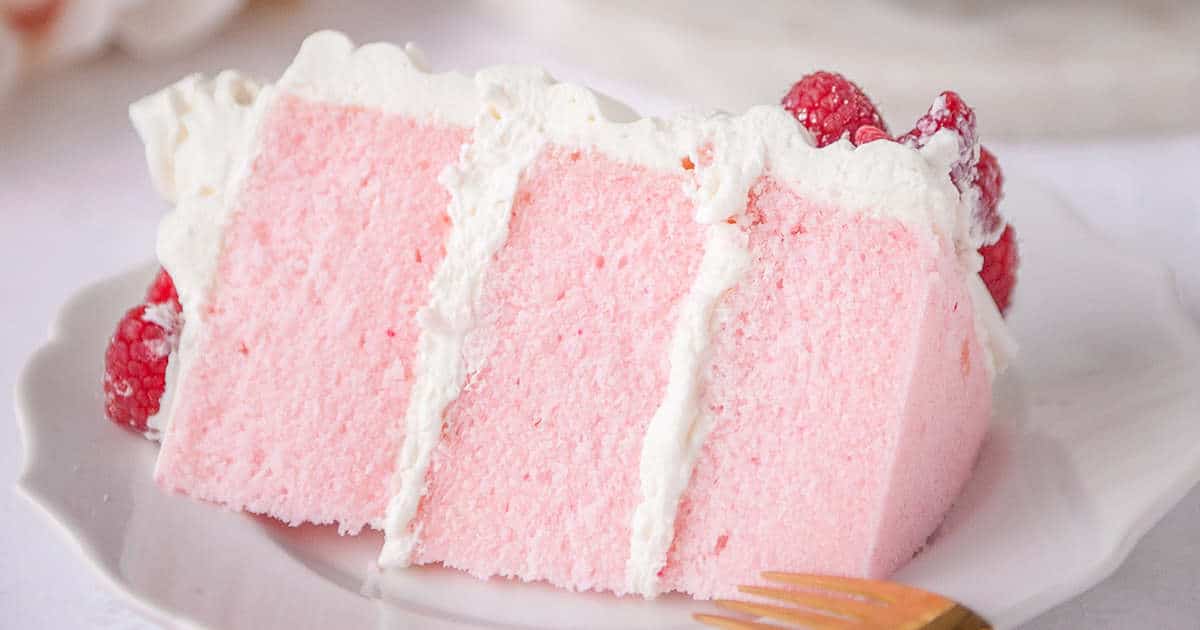
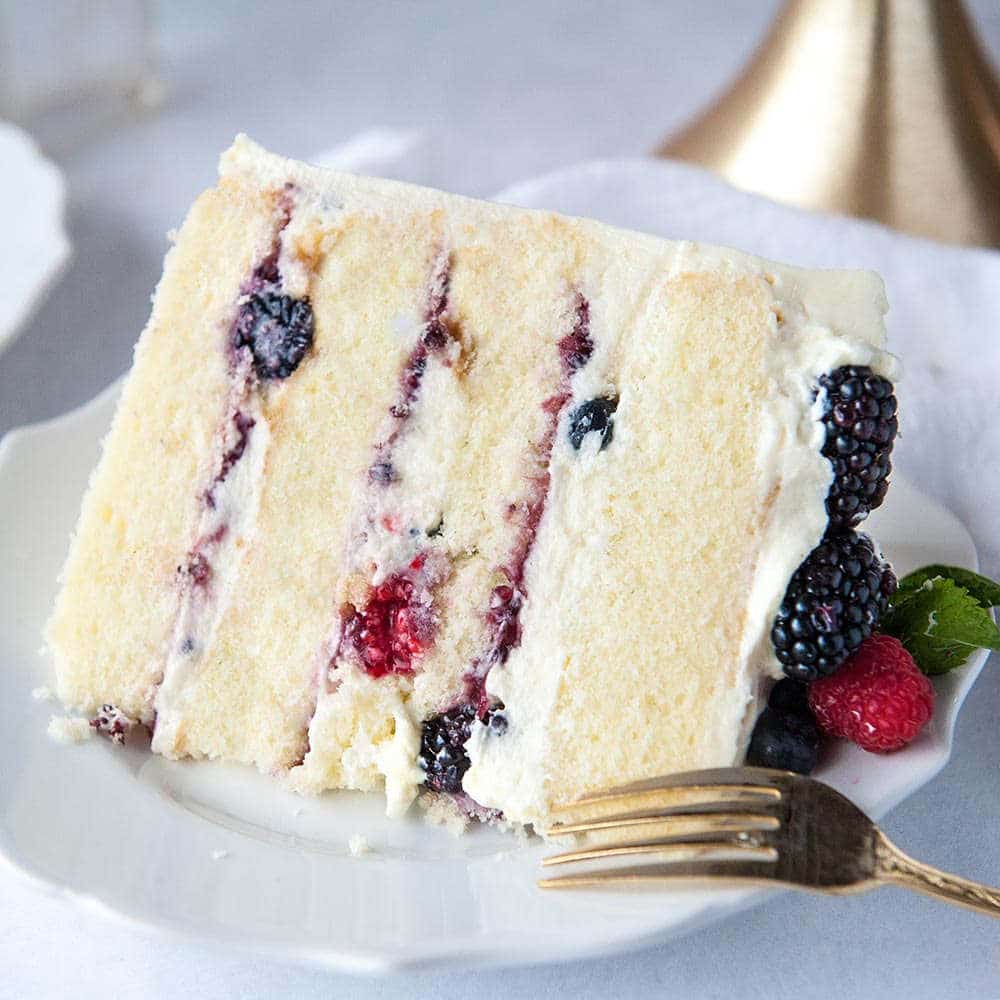
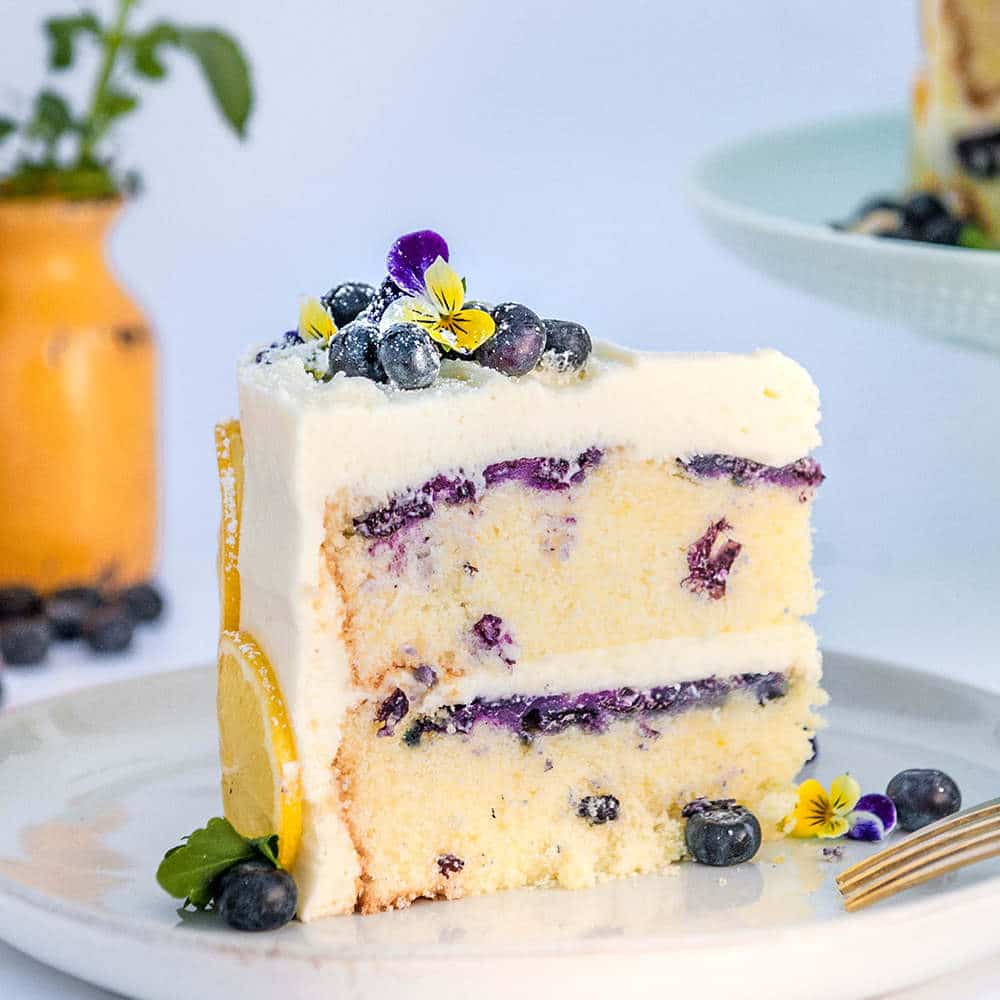
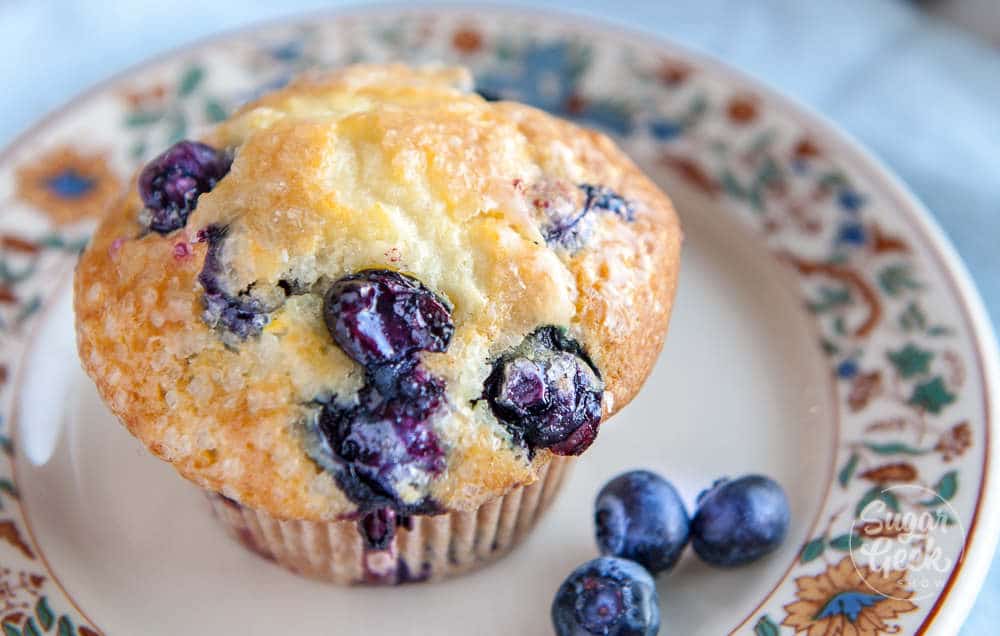
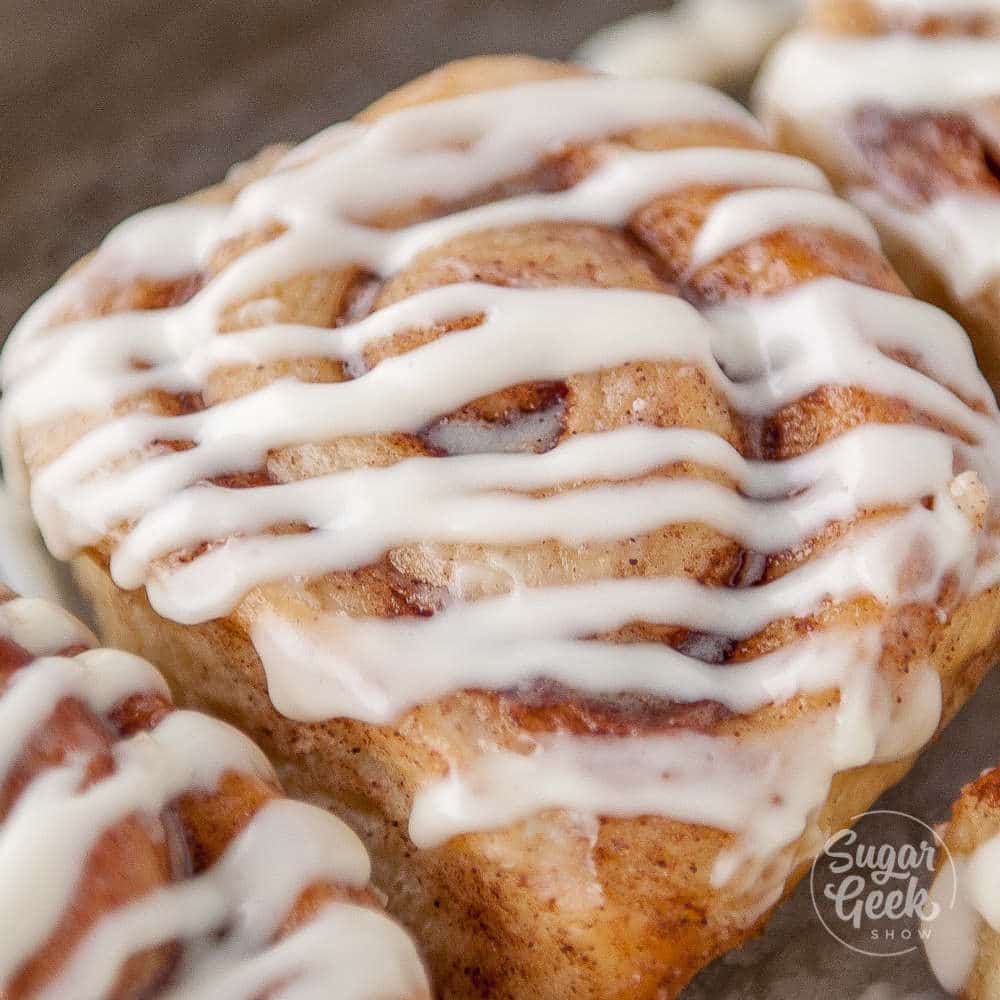
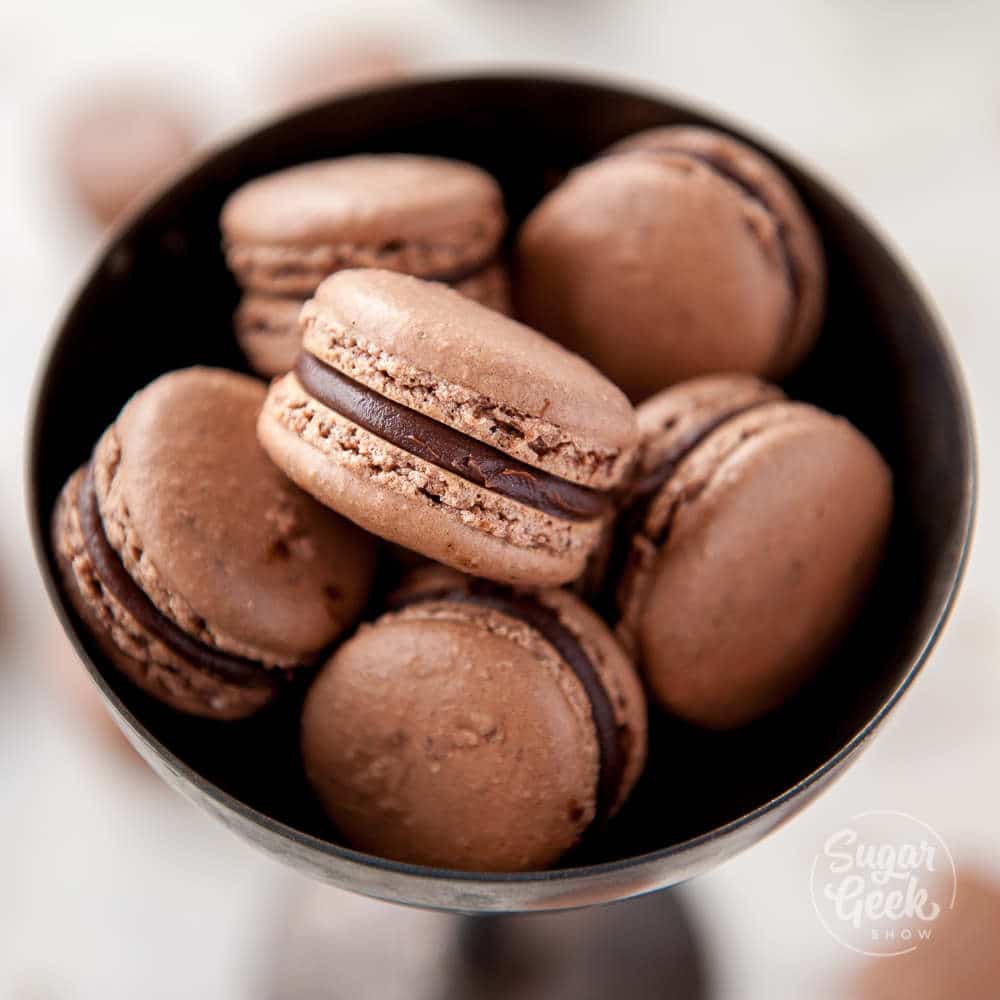
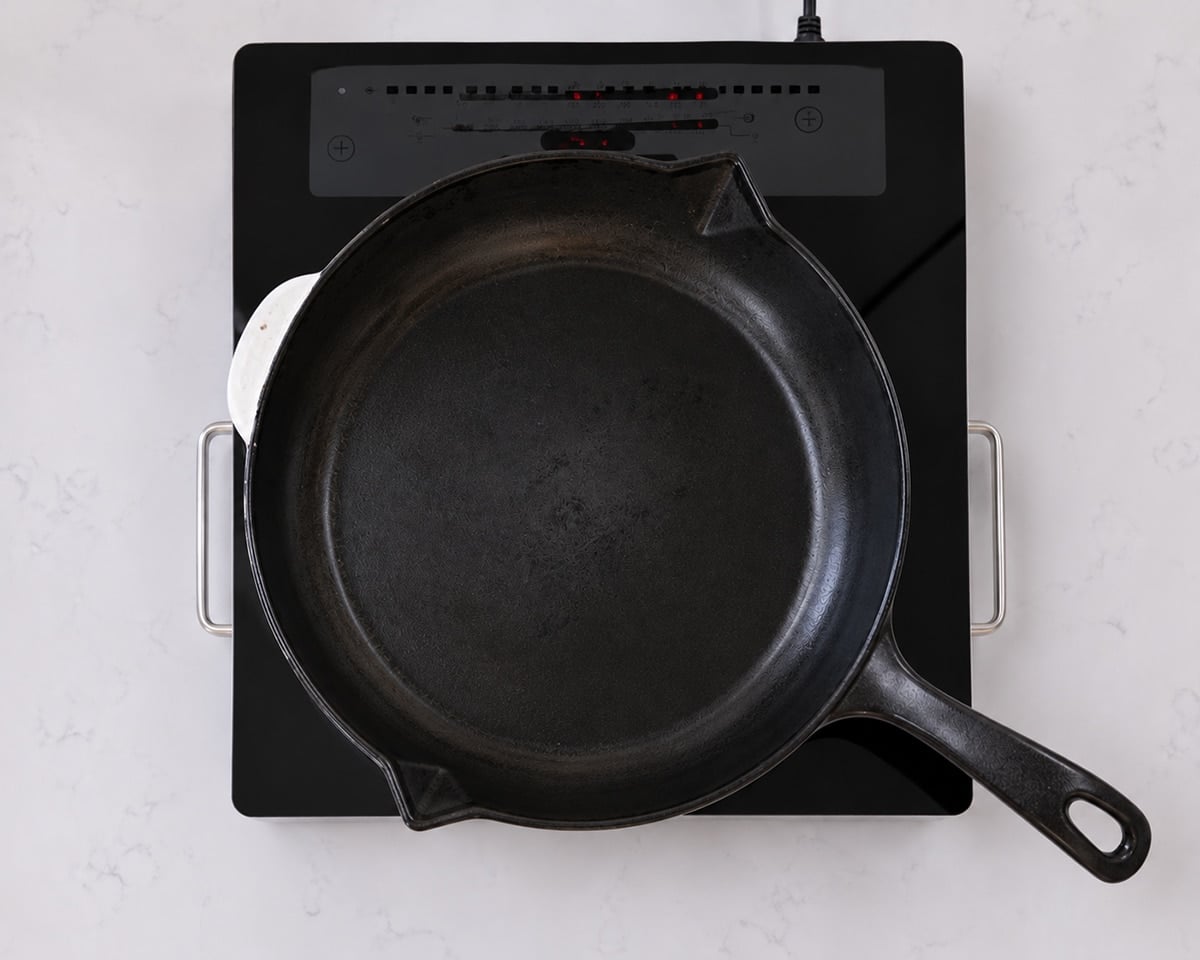
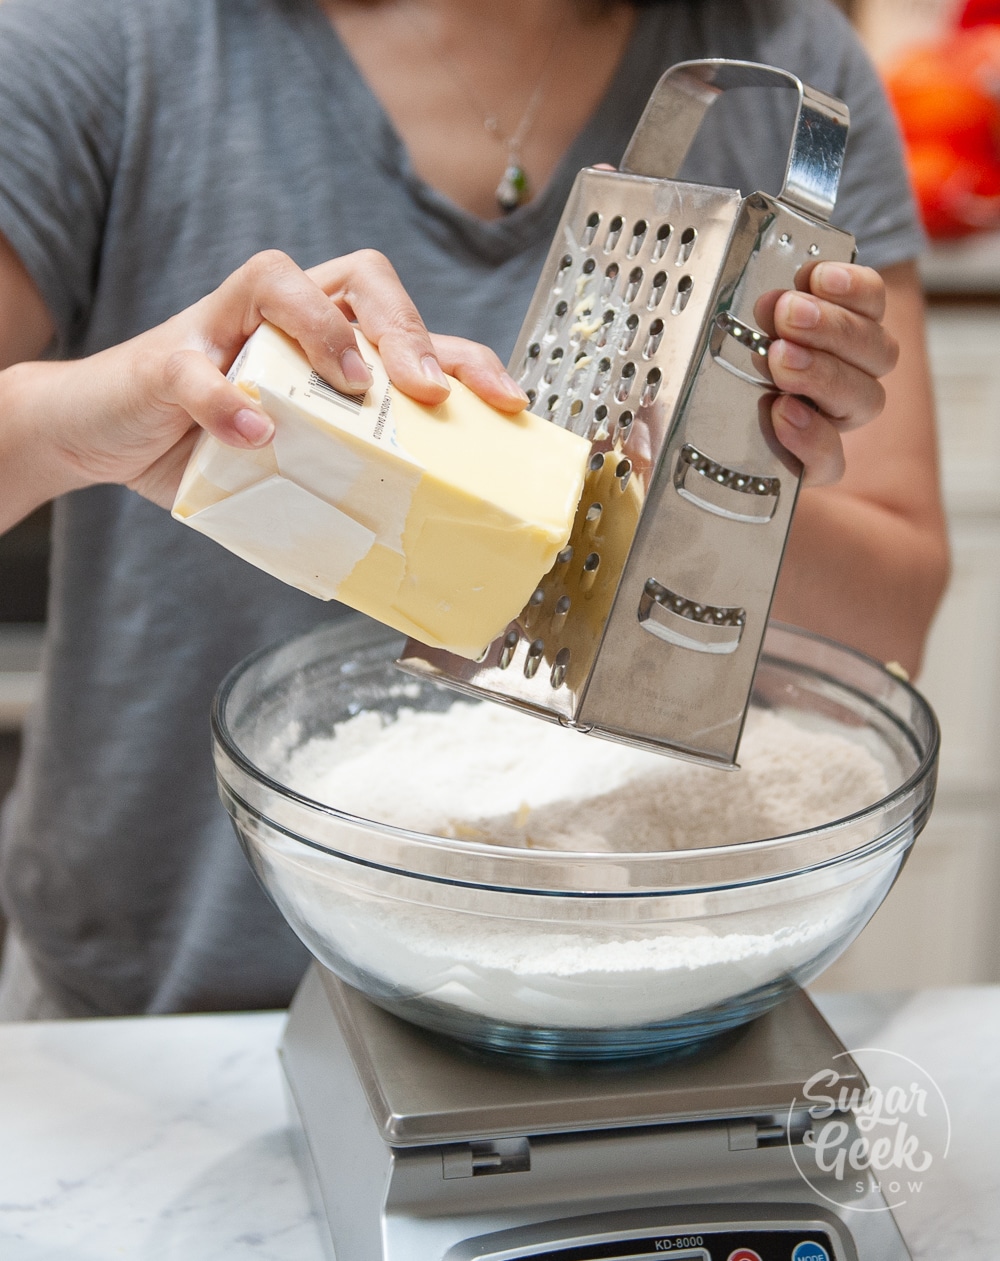
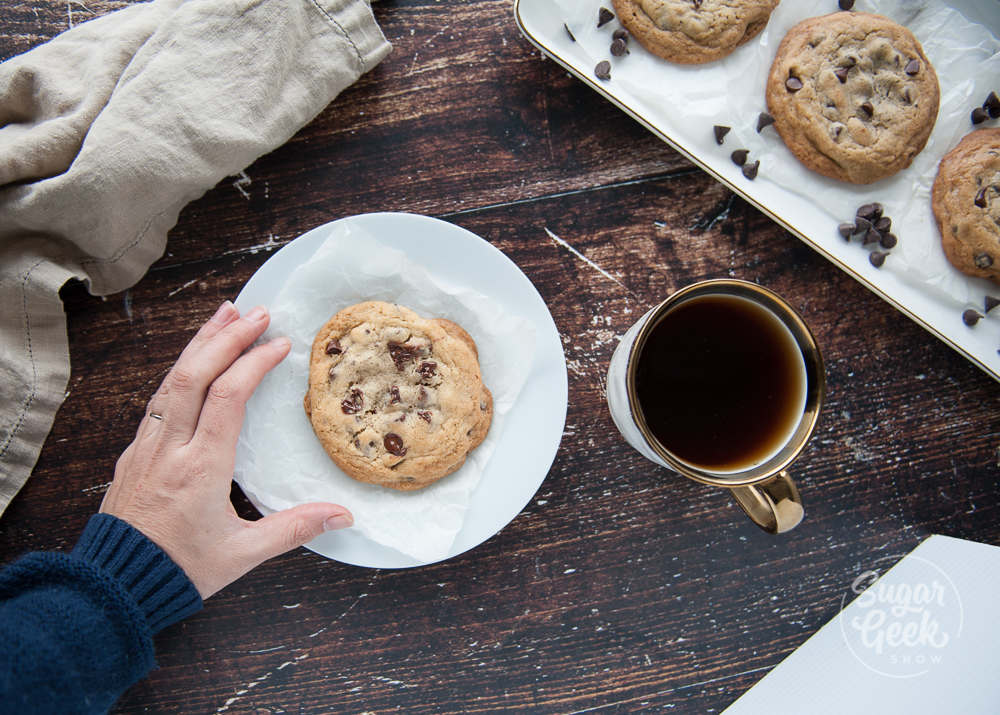
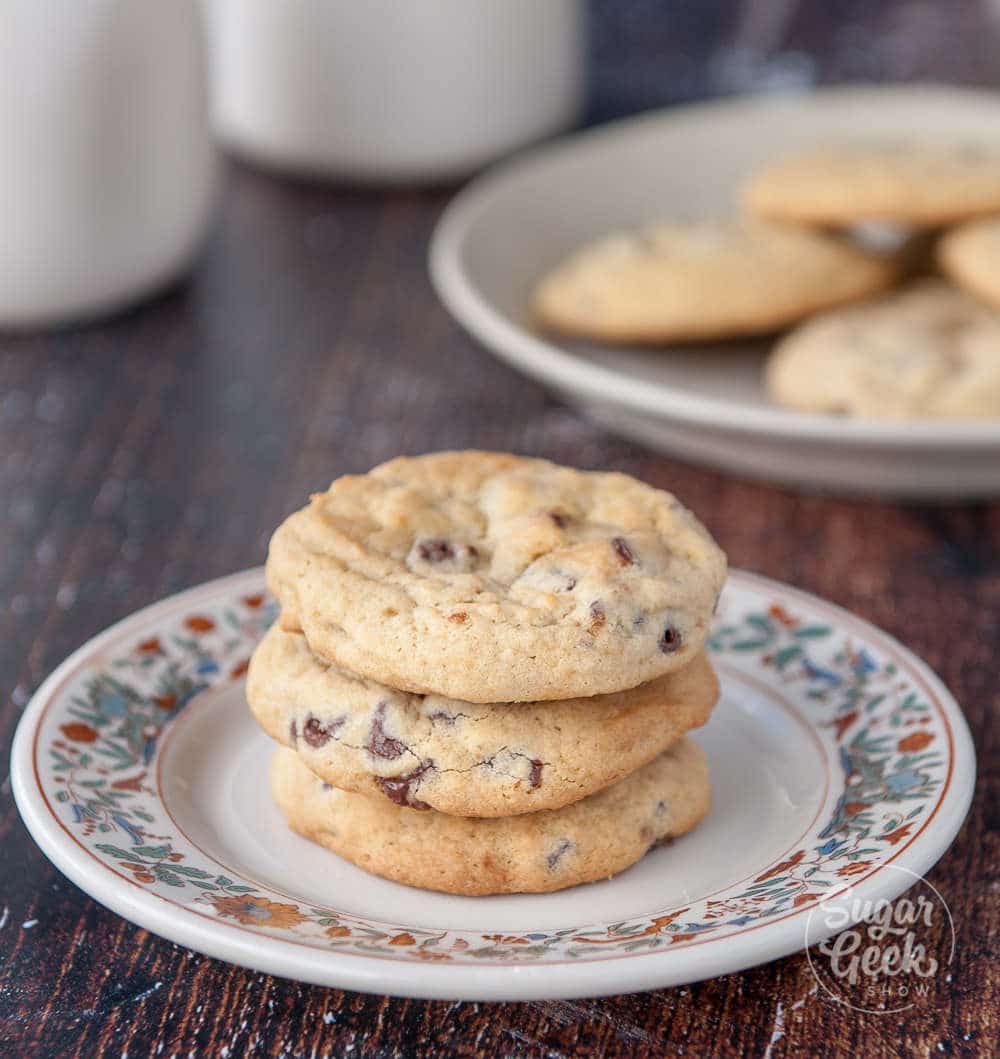
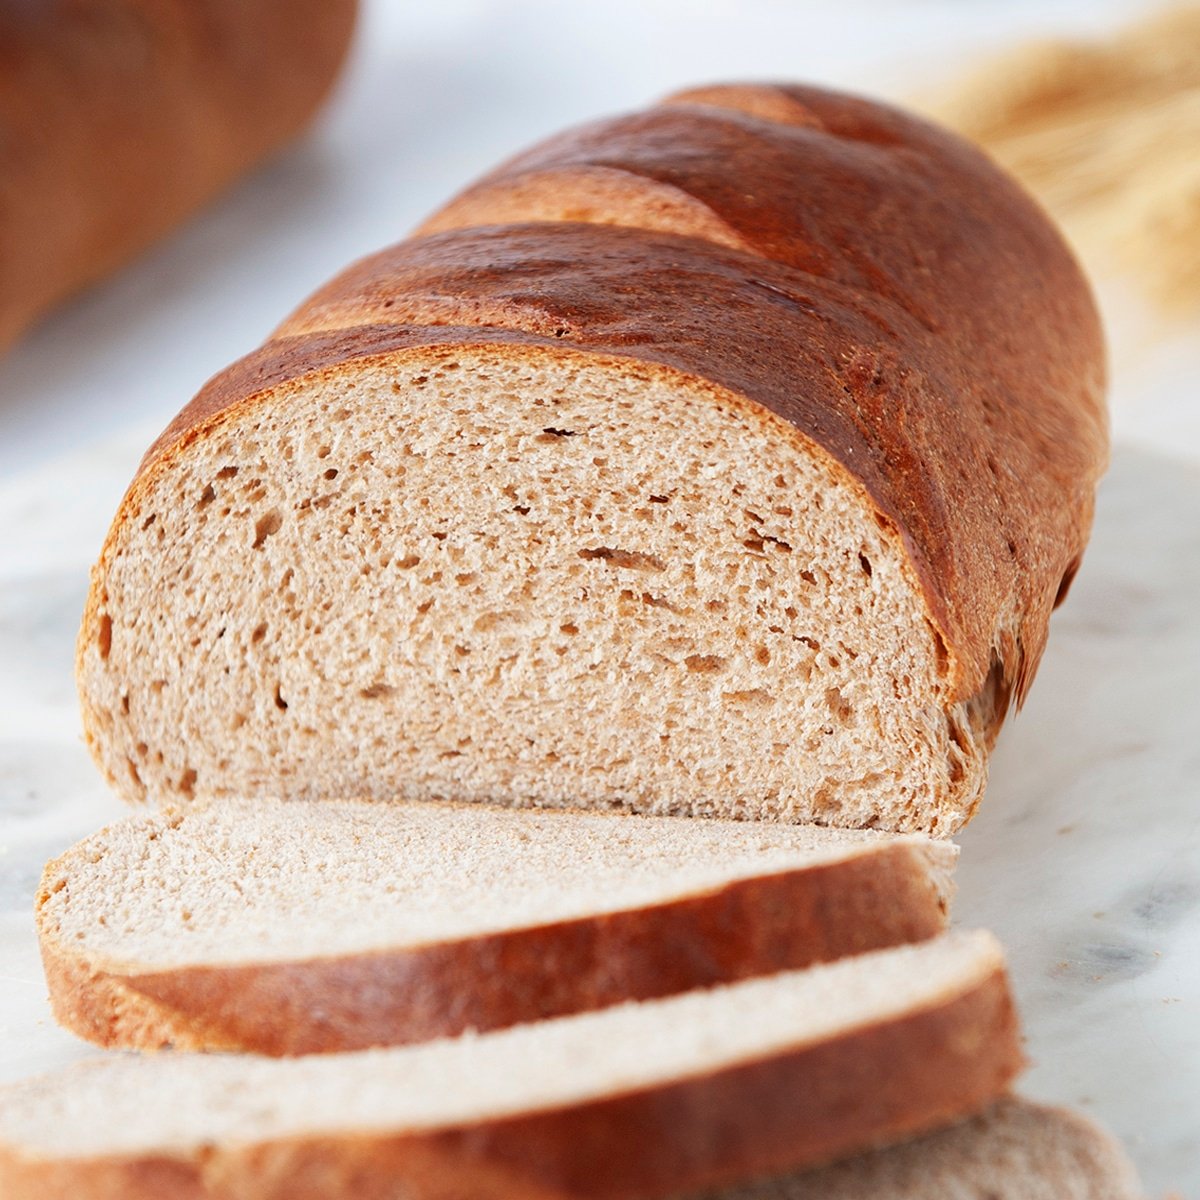
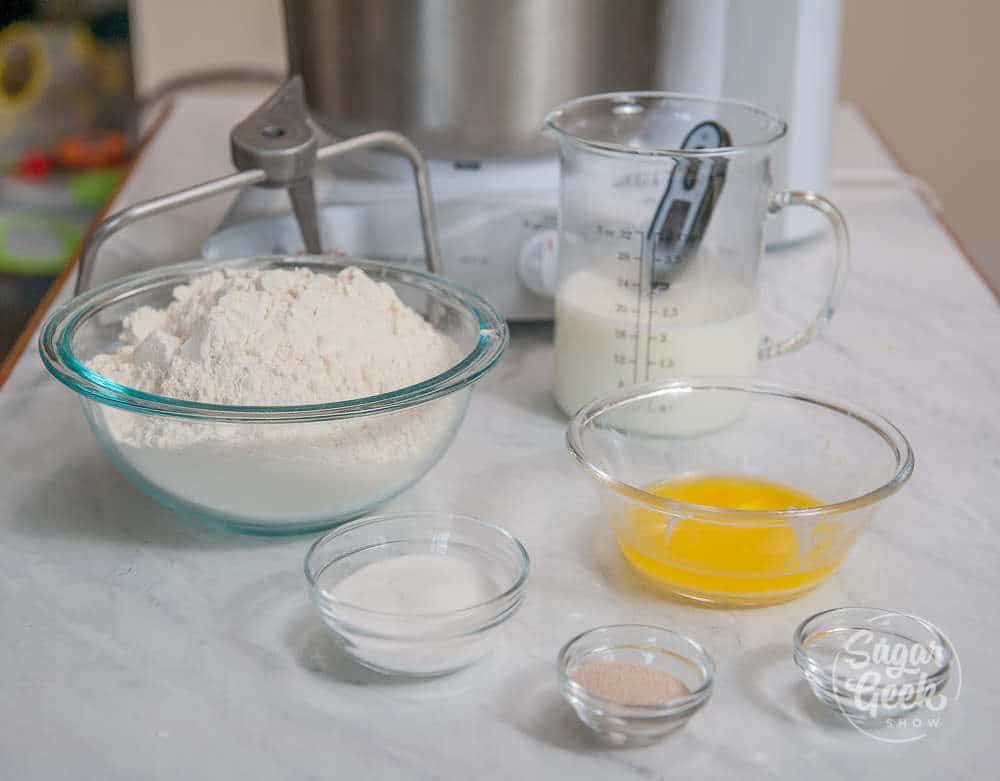
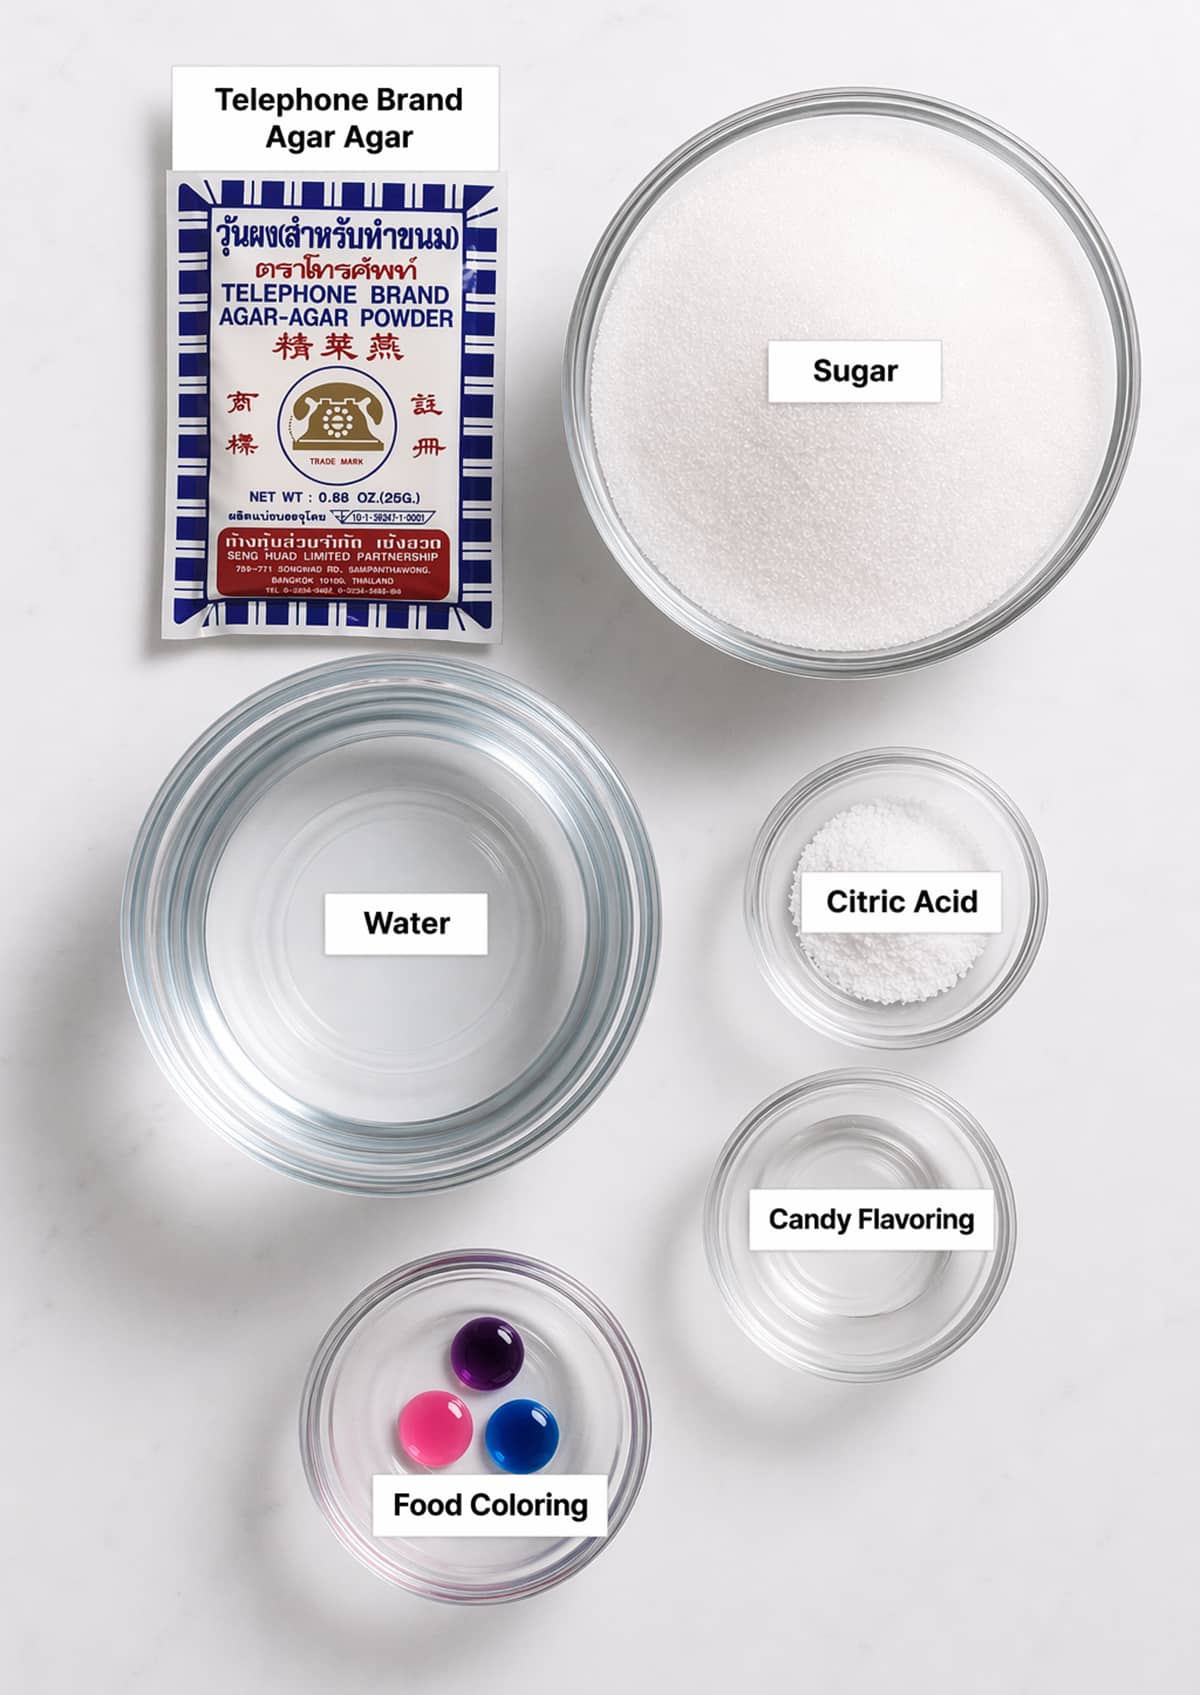
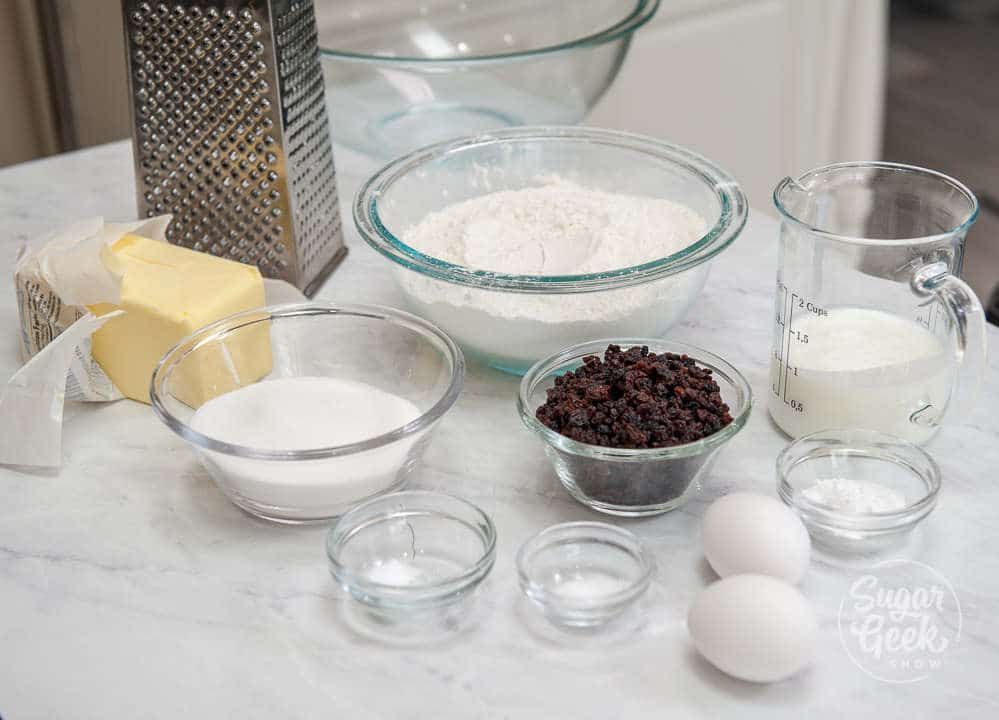
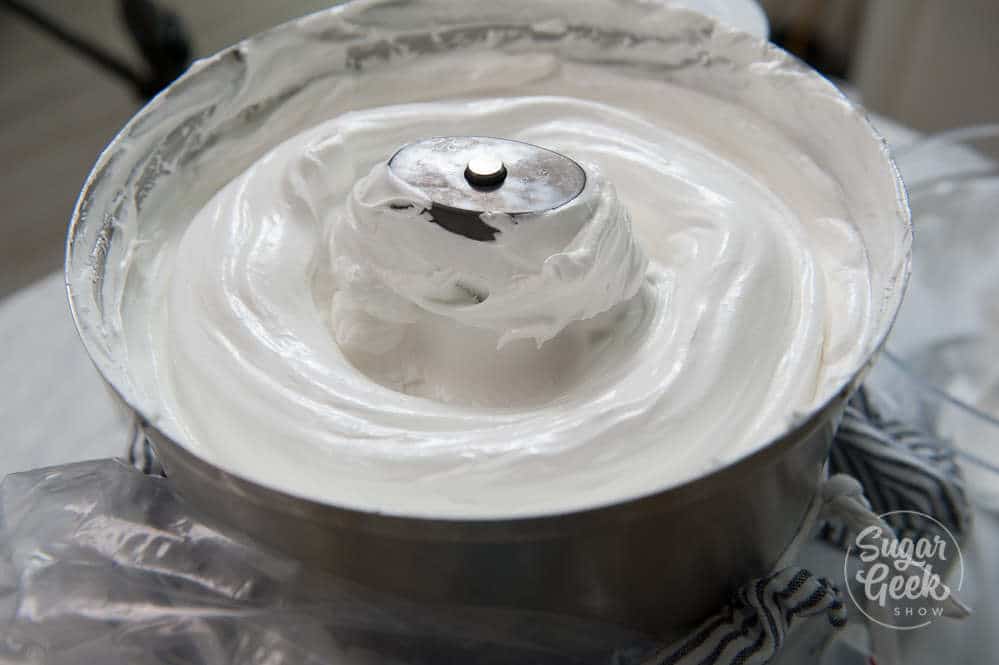
I use a digital kitchen scale in pretty much every single recipe I post to this blog. Why? Because I want recipes like my french macarons and lemon blueberry cake to turn out perfectly for you every single time. No guessing, no stressing. Let me show you how easy it is to use a kitchen scale for baking.
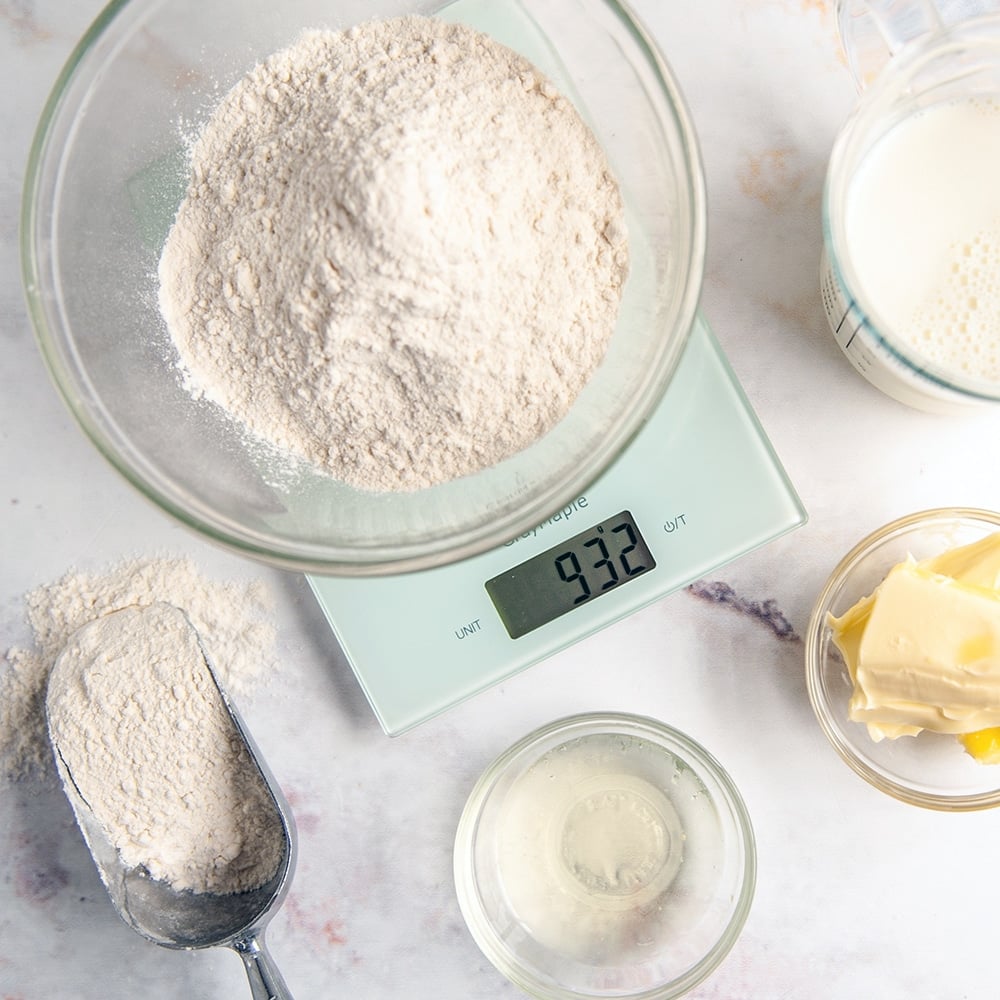
With a digital kitchen scale, you can easily add your ingredients to your mixing bowl quickly and accurately without dirtying extra cups and dishes. Best of all, you can double and triple recipes easily and get repeatable results every single time.
Don't be intimidated by using a kitchen scale for baking. It's so easy to do and saves you from wasting ingredients, time and from getting frustrated!
What's the difference between measuring cups and a kitchen scale?
Measuring cups measure by volume (how much physical space a substance occupies). A kitchen scale measures by weight or its total mass.
Ever heard that saying, "What's heavier, a pound of feathers or a pound of rocks?" It's a trick question because they both weigh the same. But a pound of feathers might take up a whole room whereas a pound of rocks could fit in the palm of your hand.
Why should you use a digital kitchen scale?
I never used a digital kitchen scale until I went to pastry school. Until that point, I had always used measuring cups for everything. Not that I was some great baker. I had very limited knowledge of how to even read a recipe when I decided to attend pastry school. But I knew I wanted to not only make beautiful cakes but I wanted them to taste good too!
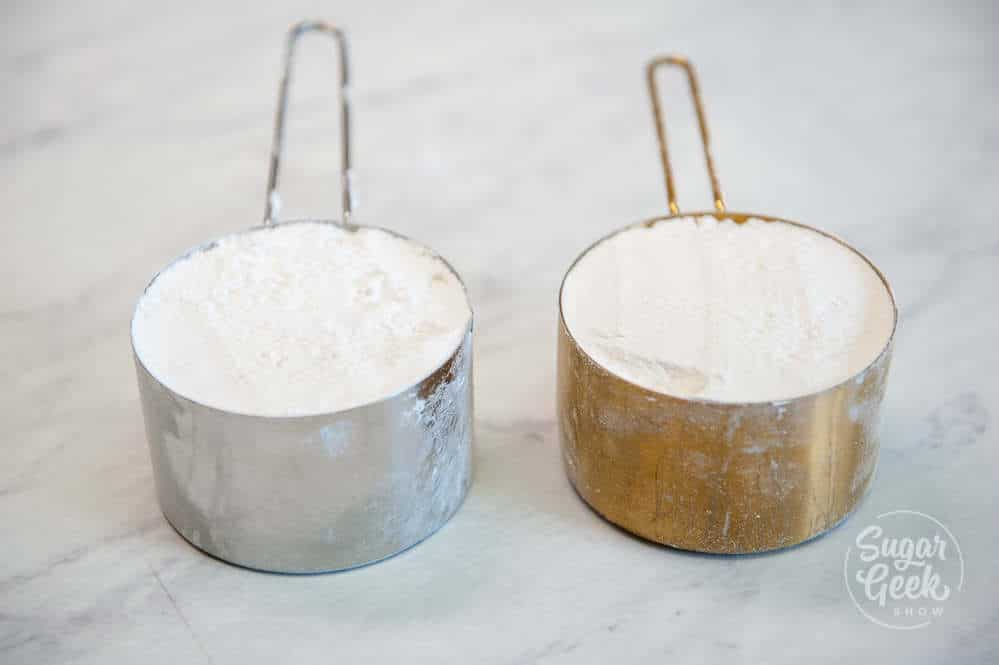
Our chef made three simple demonstrations. In the first demonstration, he had three measuring cups in front of him. One filled with water, one with flour and one with chocolate chips. Most people with a little experience baking know that one cup equals 8 ounces right? At least that's what I thought.
Our chef weighed each cup which revealed that while the cup of water did weigh 8 ounces, the cup of flour only weighed 5 ounces and the cup of chocolate chips weighed 6 ounces. Simply to prove the point that not all ingredients that fill the space of a cup are the same amounts.

So if you see a recipe that says you need 8 ounces of chocolate chips and you think, oh I know how much that is and reach for your cup. You've sadly shorted yourself 2 ounces of chocolate which could cause your recipe to fail and you wouldn't even know why.
In the second demonstration, he asked one of us to come to the front and scoop up some flour any way we thought would be best. The student did as he was instructed and scooped up the flour then leveled it off with his finger. He then weighed the cup of flour. It was 7 ounces! Two full ounces more than what was in the first cup of flour.
Depending on how you scoop, how packed your flour is and how humid the air is (yes even humidity affects the flour), you can have vastly different amounts of flour each time you scoop. Extra flour can definitely change your recipe.
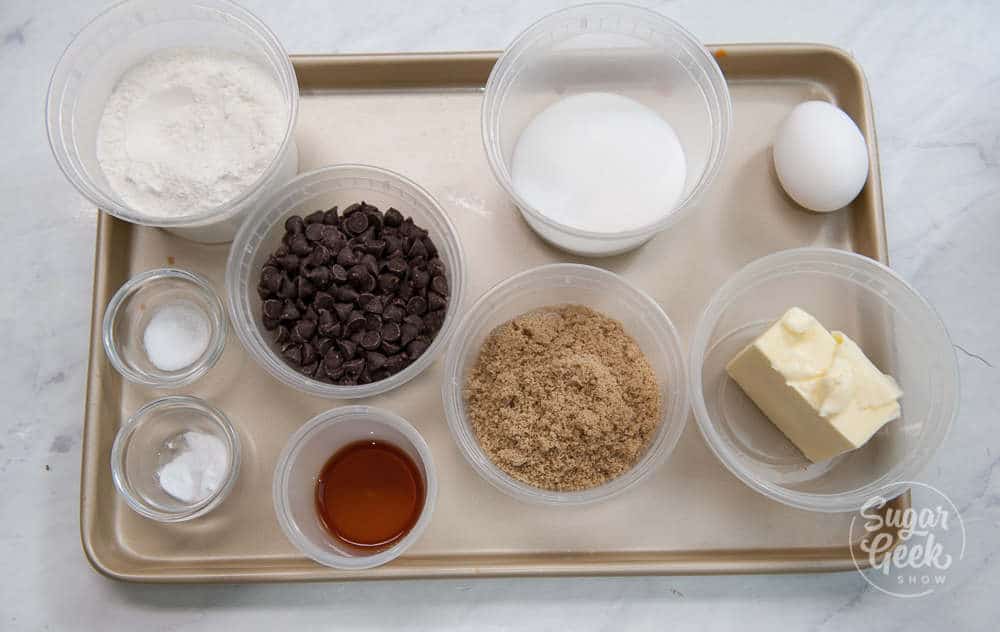
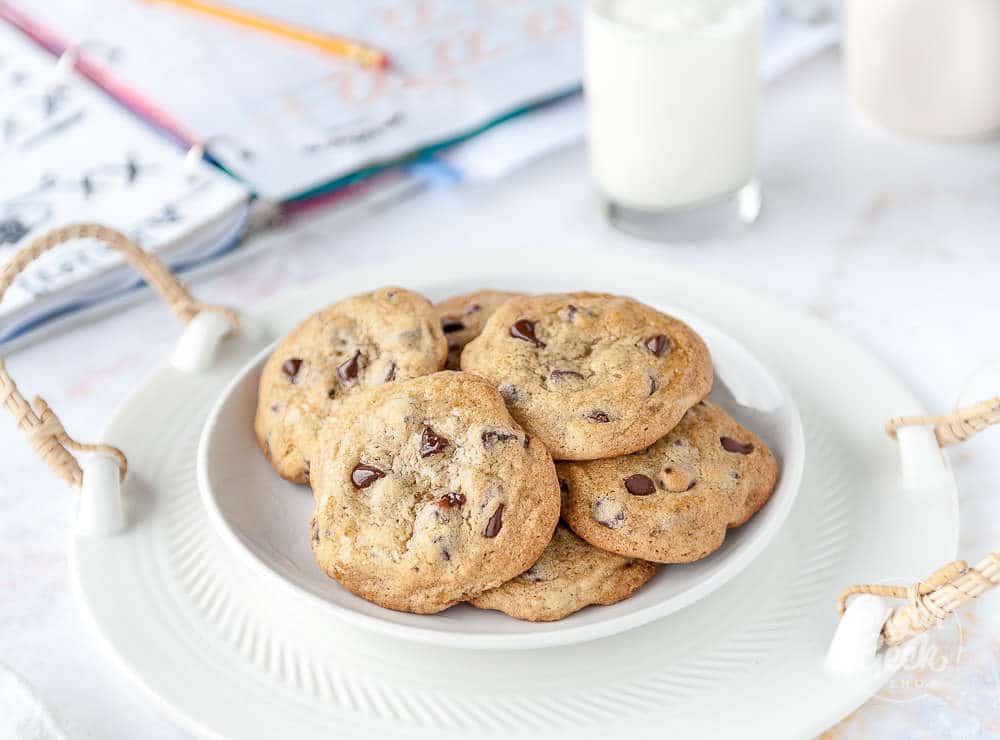
In the last demonstration, he asked for another volunteer. This student was given a simple recipe for chocolate chip cookies. All the ingredients were in containers in front of them. Flour, butter, sugar, eggs, etc. The student was asked to measure out the recipe as quickly as he could according to the directions using measuring cups and measuring spoons. Meanwhile, the chef prepared the same recipe using a scale.
You can probably guess where this is going. The student barely had time to measure out the first two ingredients before the chef had completely scaled everything he needed and was ready to mix up his cookie dough. When you're baking professionally (or even as a hobby) time is money.
So let's review why a scale is so necessary for baking accurately
- Measuring cups can only measure volume, not density. One cup of flour is not the same as one cup of sugar or one cup of chocolate.
- Measuring cups are not accurate. It's virtually impossible to scoop the same amount of an ingredient twice and can lead to failed recipes. Measuring cups can also cause problems when doubling or tripling recipes because each small discrepancy in measuring is compounded with every scoop.
- Measuring with cups takes a lot more time and results in a lot more dirty dishes. You might need to use a different measuring cup for every type of ingredients depending on what it is (oil, milk, sugar, flour etc).
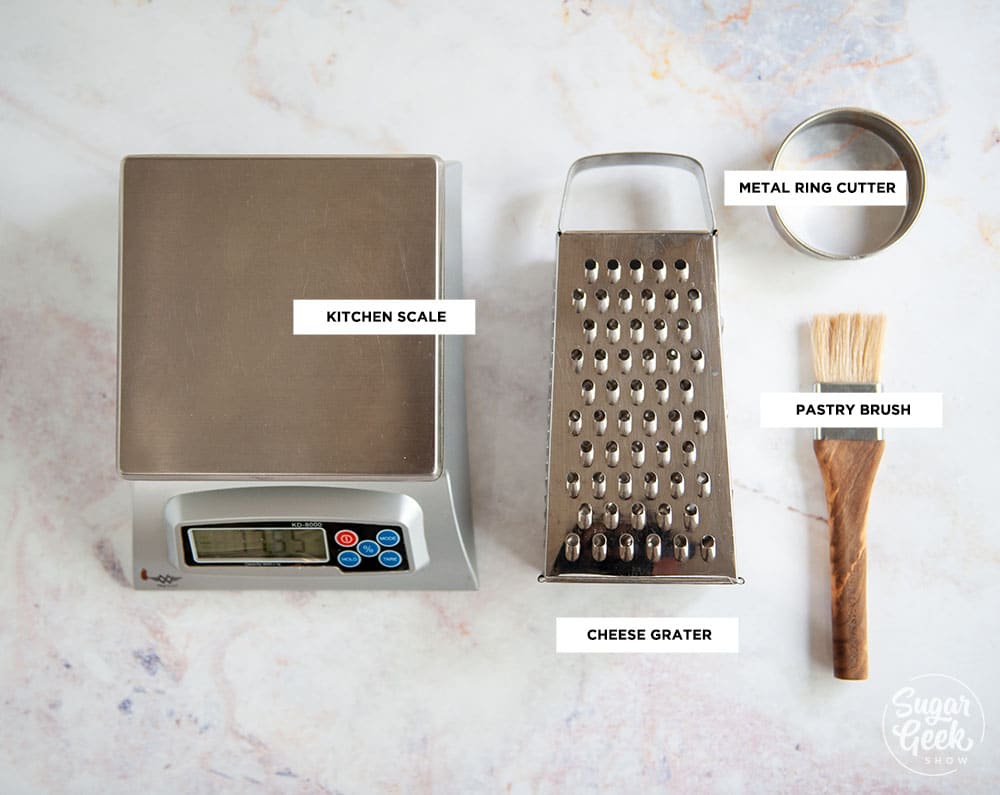
What is the best digital kitchen scale?
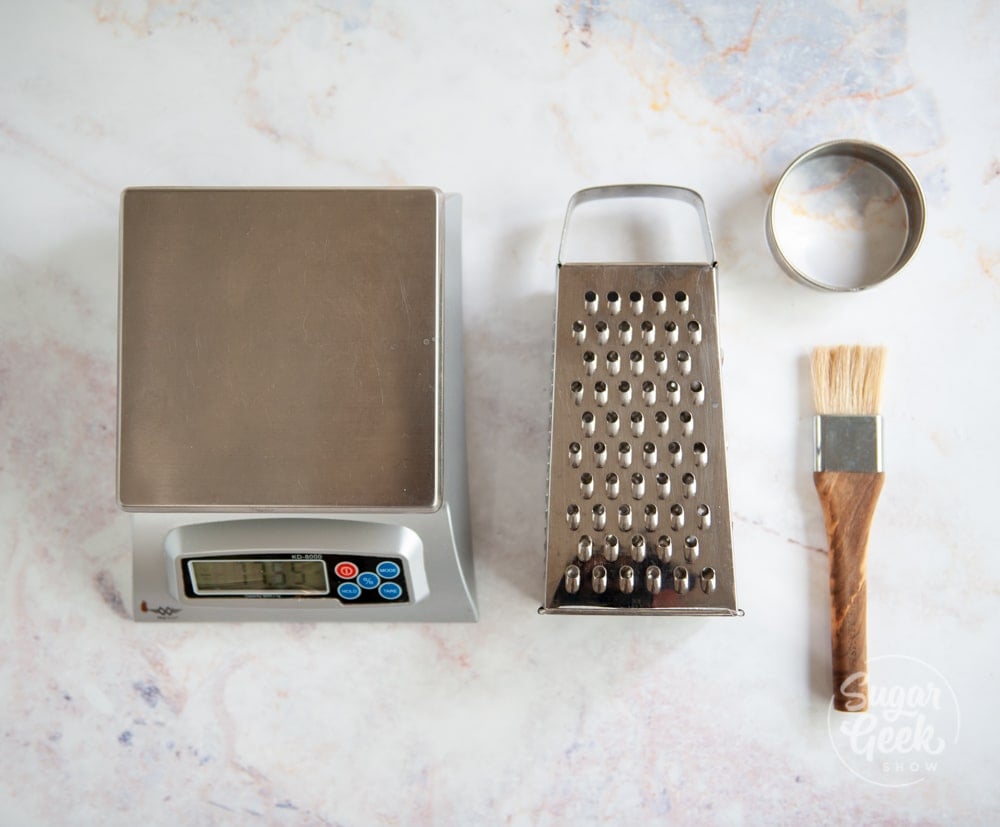
There are TONS of scales out there and are very common. You can pick up a cheap scale at pretty much any store that sells kitchen supplies. You just need a scale that can handle a few pounds of weight, is big enough that you can see the digital readout even with a big bowl on top and has the option to switch between grams and ounces.
This is the Bakers Math digital kitchen scale that I use currently and have used for years. It's a bit bulky but I like being able to see the screen so easily even with a big bowl on top. Since I am a professional baker and bake almost every day, I really like this scale.
This scale can hold up to 17 lbs and is priced at roughly $45 on Amazon.
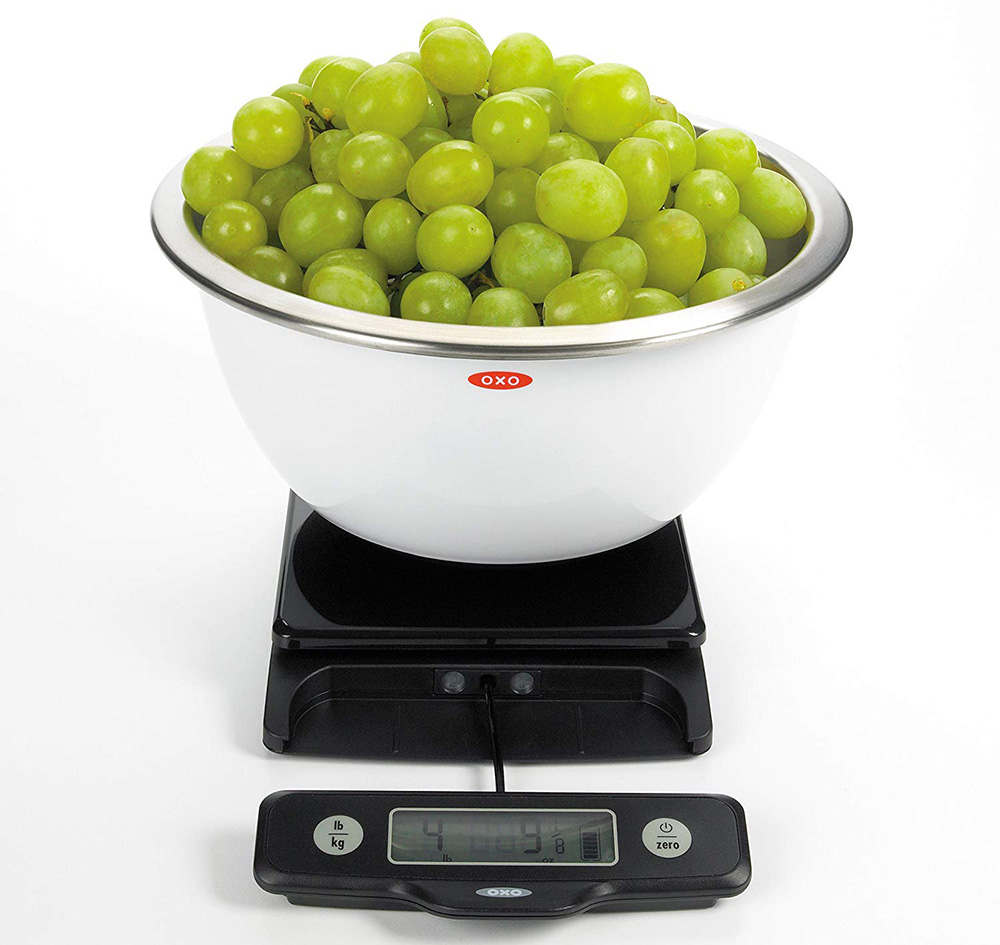
This is the OXO Good Grips compact kitchen scale we used in pastry school. It's pretty thin and easy to tuck away when you're not using it. The best part is, the screen pulls out so you can access the buttons and view the screen pretty easily even with a bowl on top. The downside is they don't last that long and if you drop them, they can break. But they are a good beginner scale.
This scale can hold up to 5 pounds and is priced at $29 on Amazon
How do you use a digital kitchen scale step-by-step
The first time I read a recipe that used ounces and grams instead of measuring cups, I was definitely intimidated! This was so foreign! I immediately felt out of my element. But as soon as I was shown how to use the digital kitchen scale, I was amazed at how much easier it actually was to use a scale instead of measuring cups.
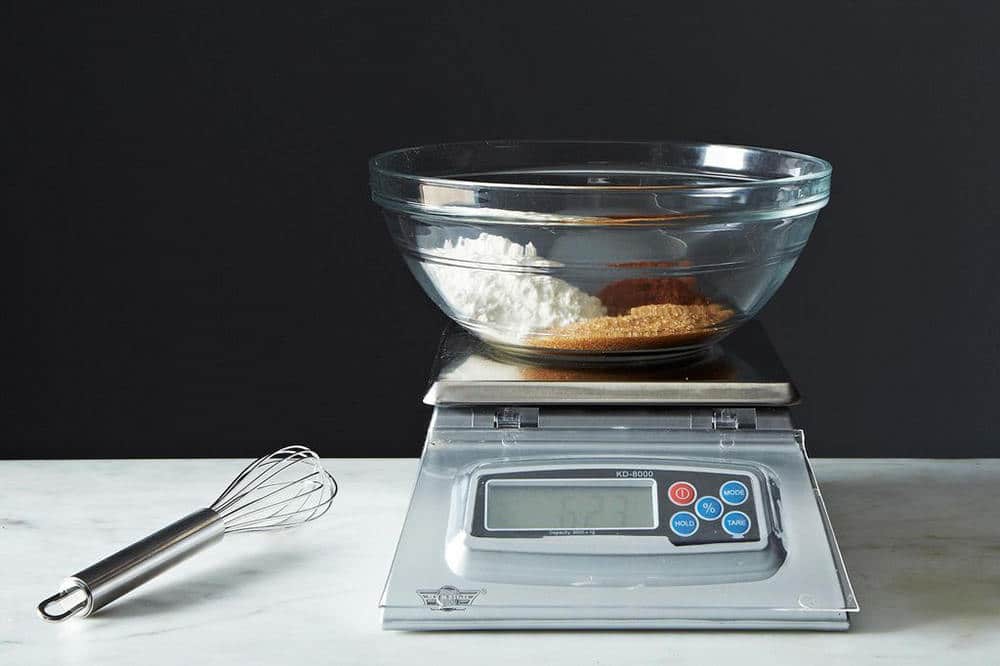
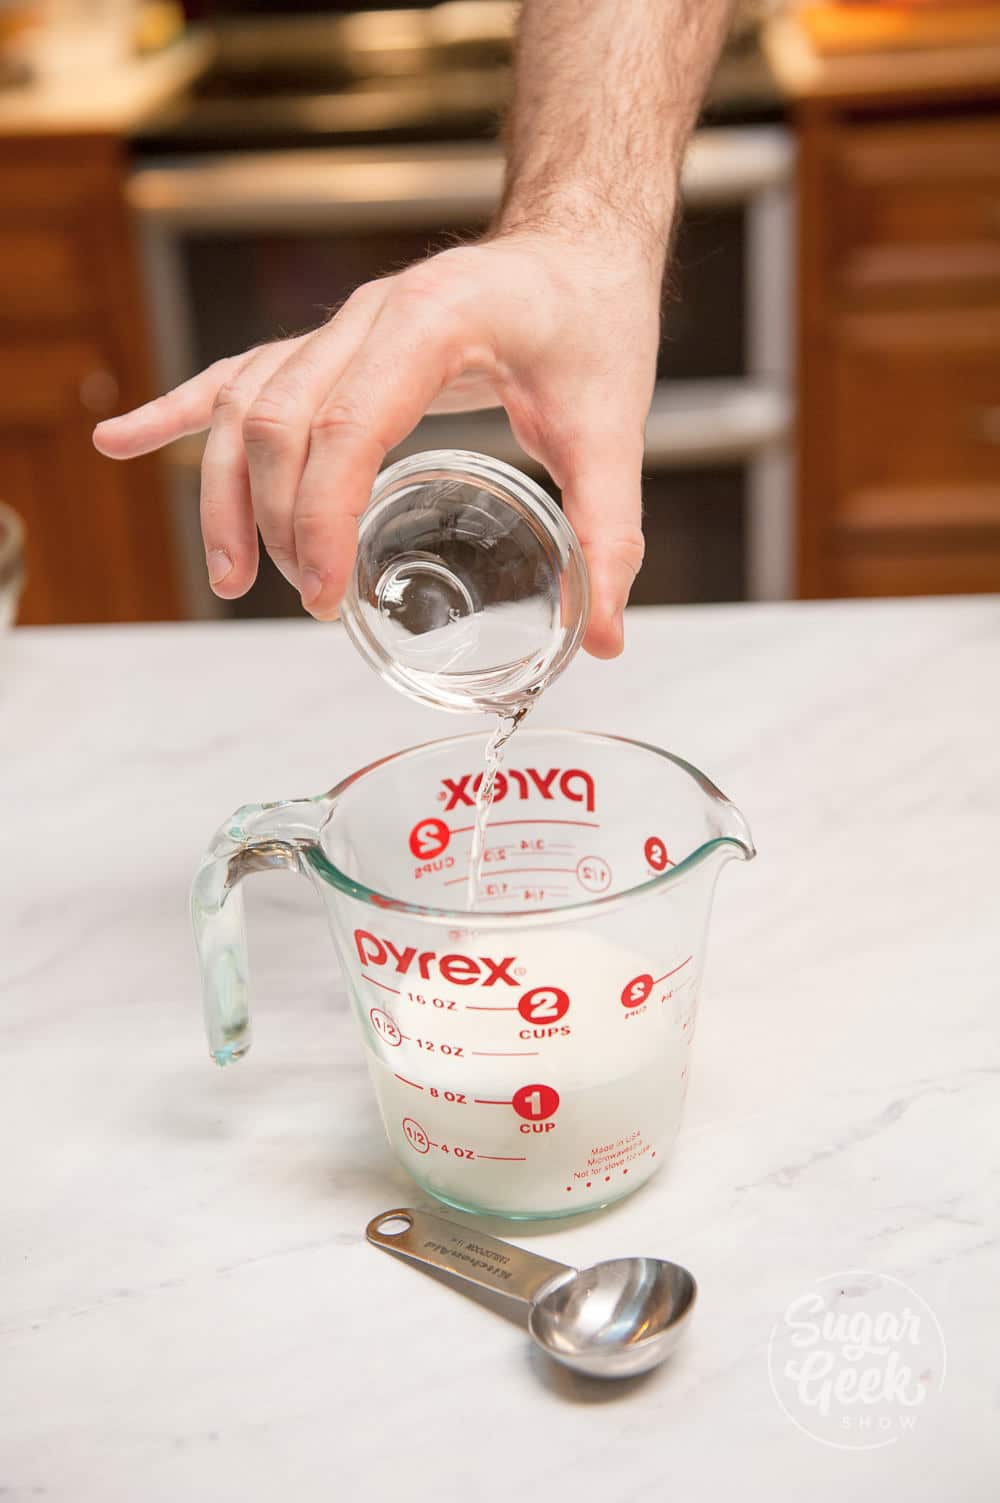
A digital kitchen scale typically has a few different buttons on it depending on your model. A power button, a mode button that changes the measurements from ounces to grams and a zero or tare button. Read the instructions that come with your scale and familiarize yourself with the location of these buttons.
How to use a digital kitchen scale
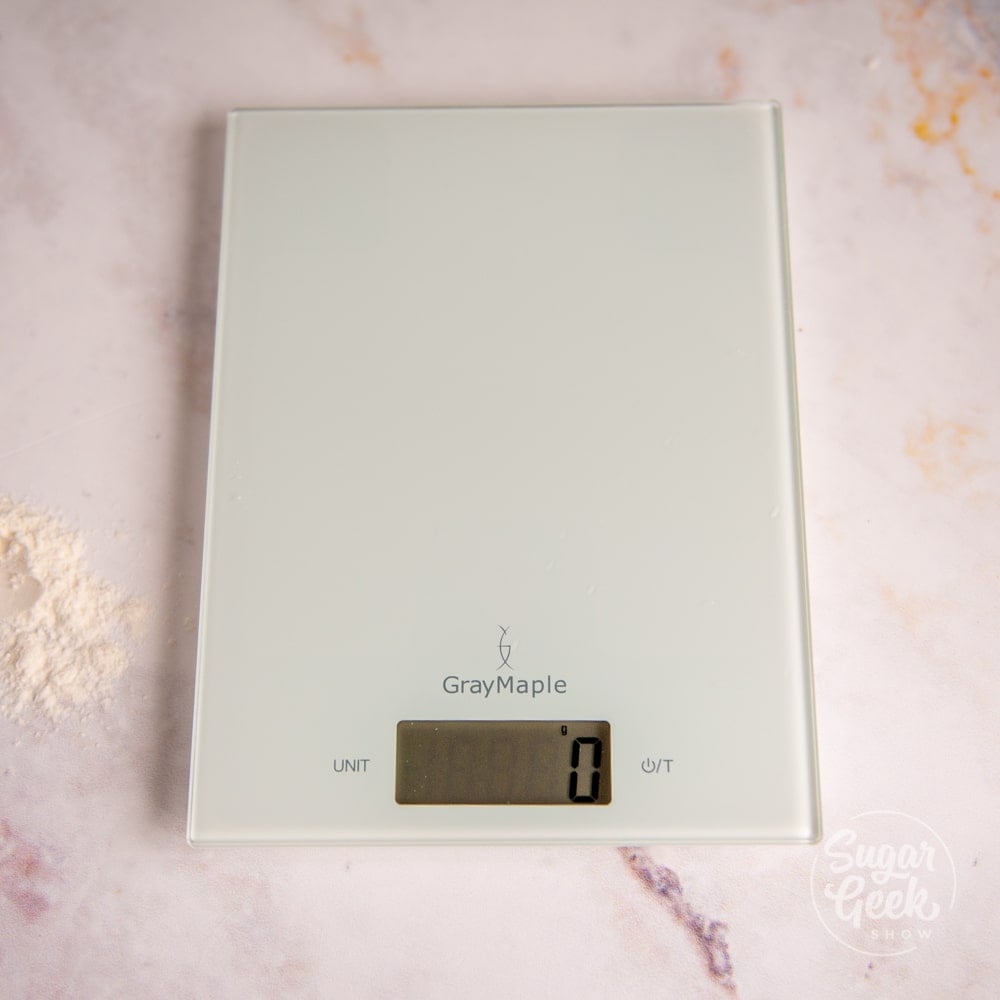
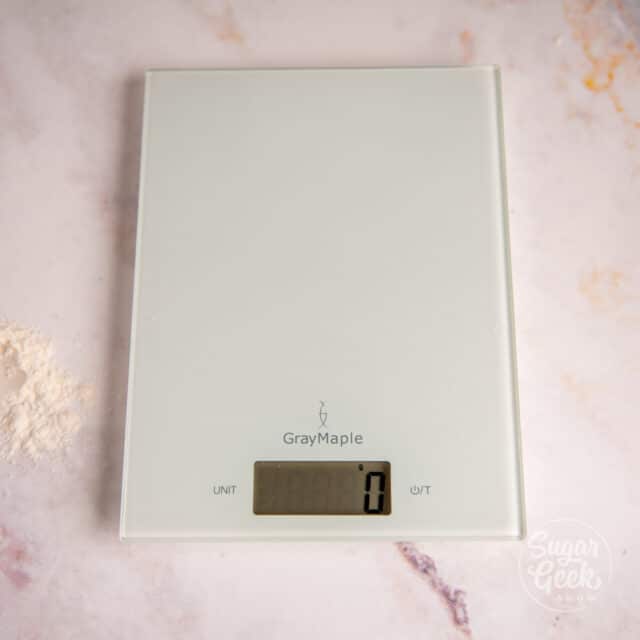
- Turn the scale on using the power button

- Set your scale to the unit of measurement your recipe calls for (ounces = oz, grams = g) using the "mode" button or "unit" button. Press the button until the display reads the correct measurement.

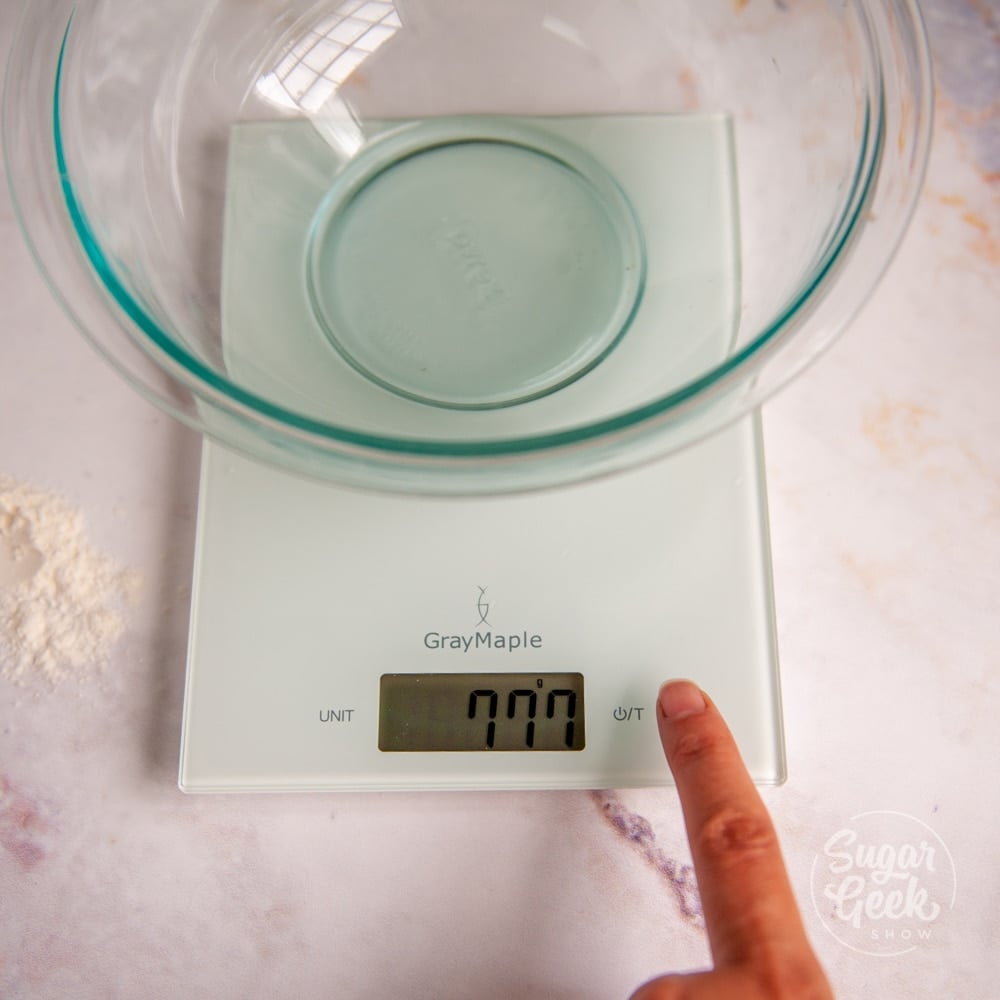
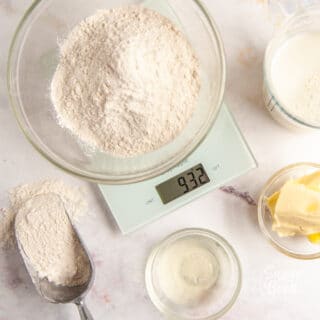
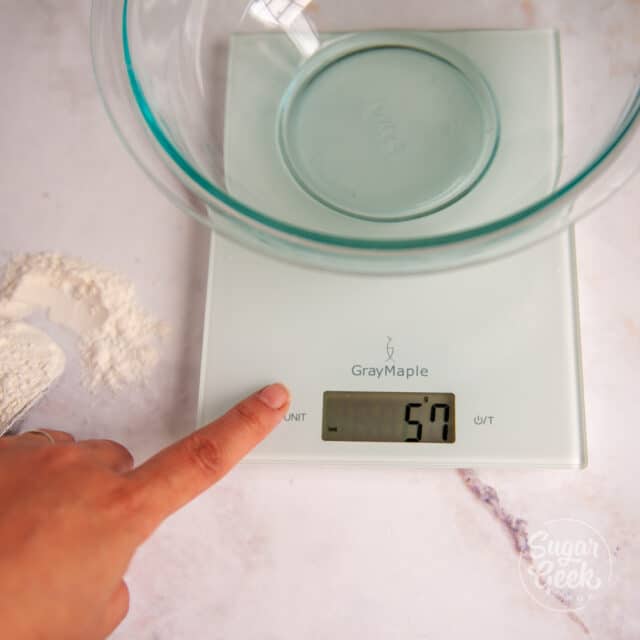
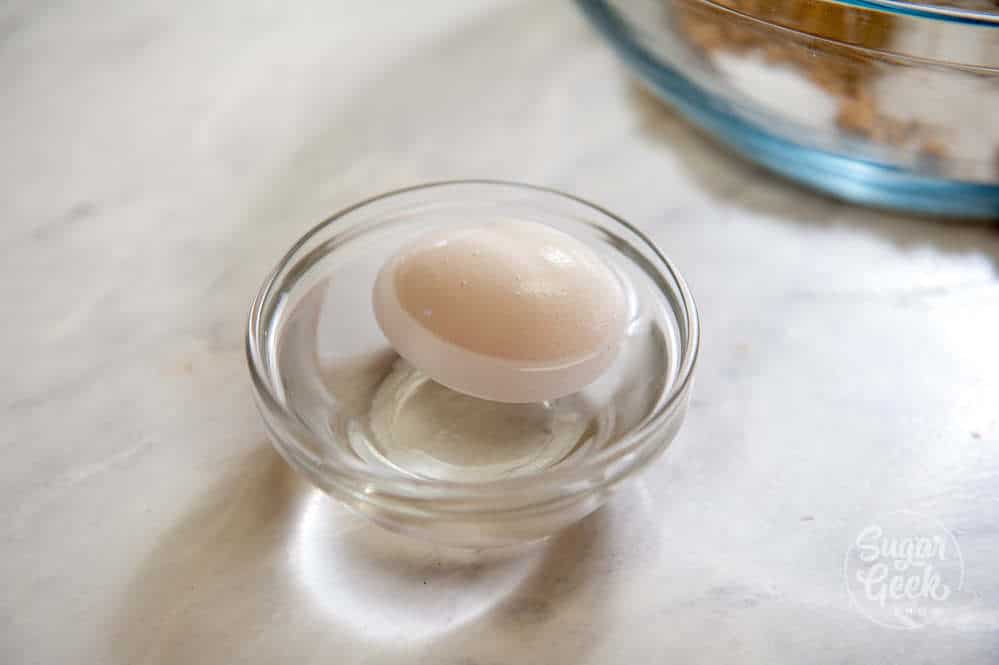
- Place your chosen container such as a mixing bowl on top of the scale. You will see that the scale will register and display the weight of the bowl. Press the "zero" button or "tare" button to remove the weight of the bowl and bring the display back to zero.
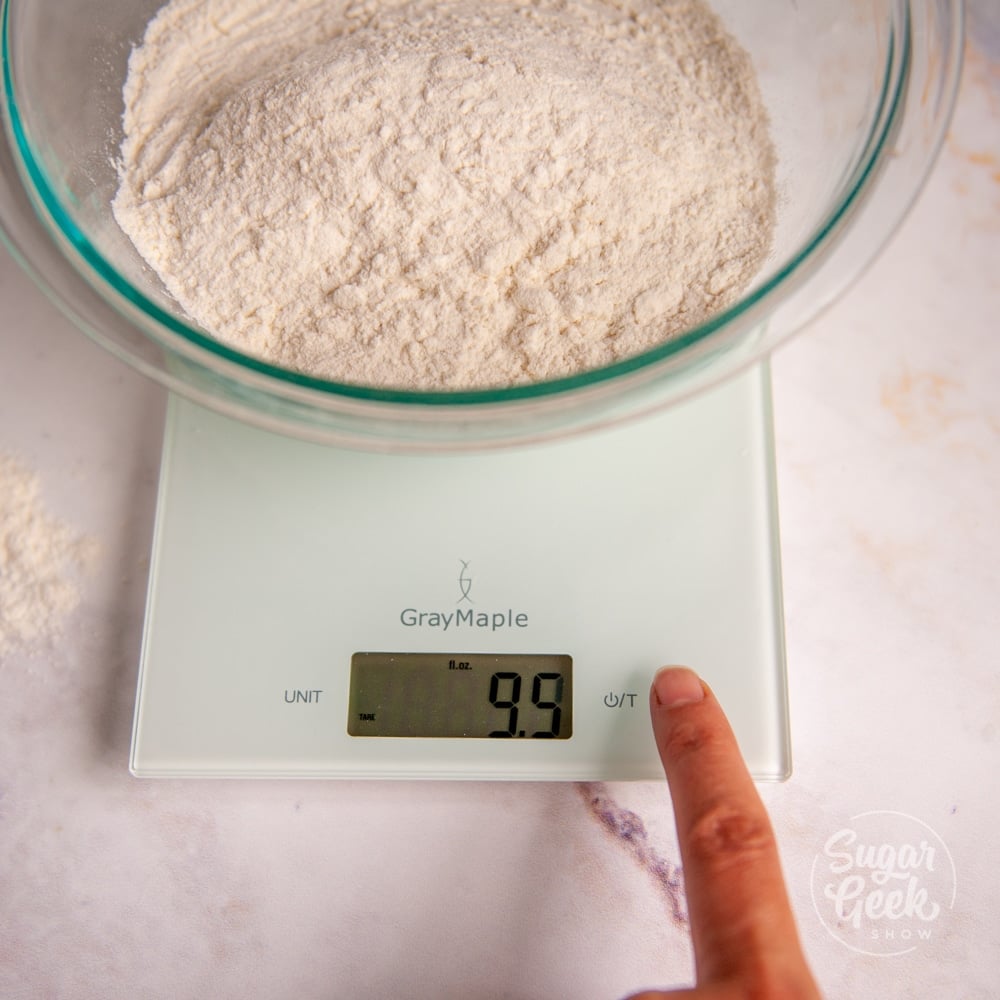
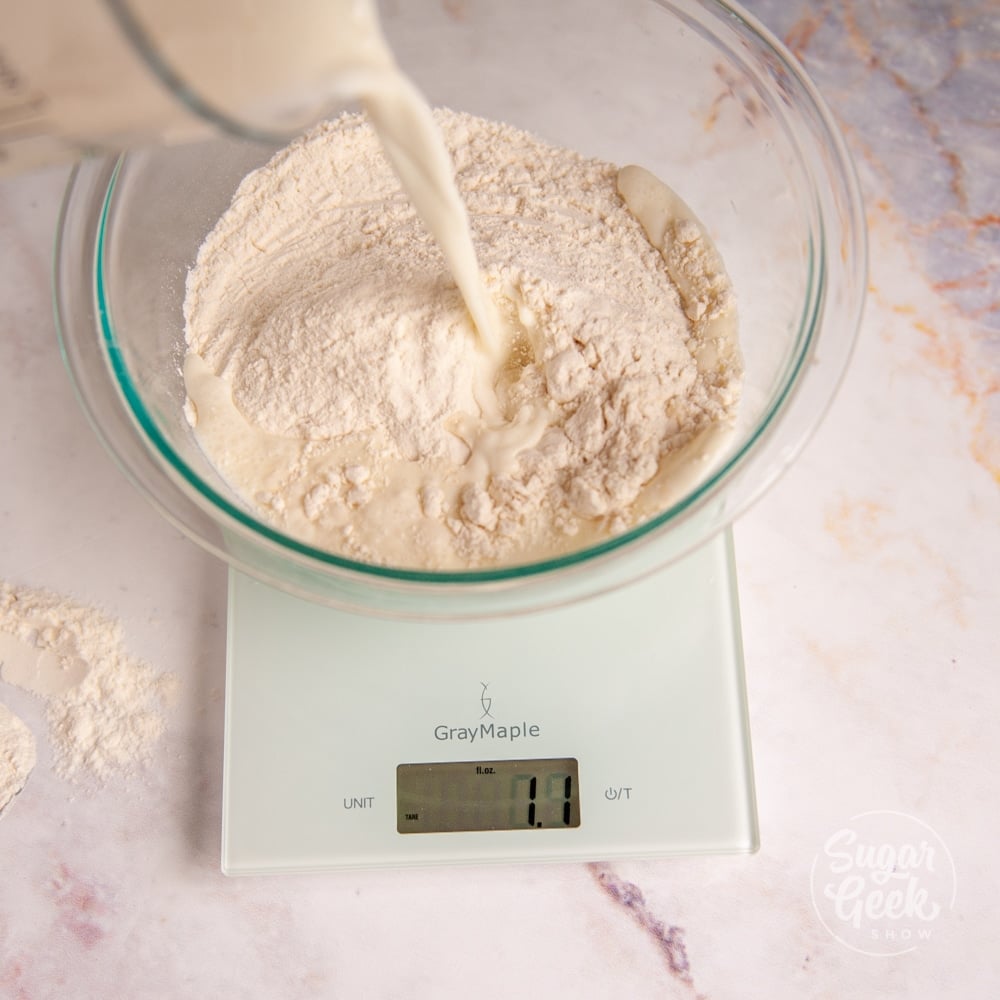
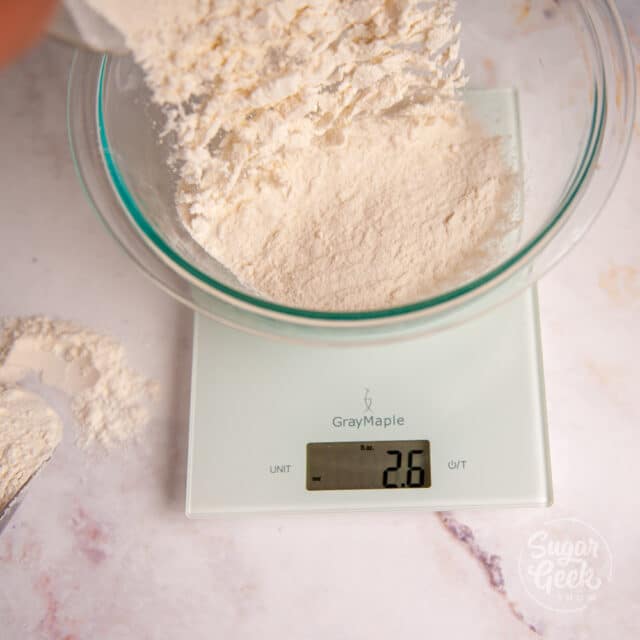
- Add your first ingredient according to the recipe instructions. Once your display reads the correct amount, stop. If you add too much, take a little out. So easy.
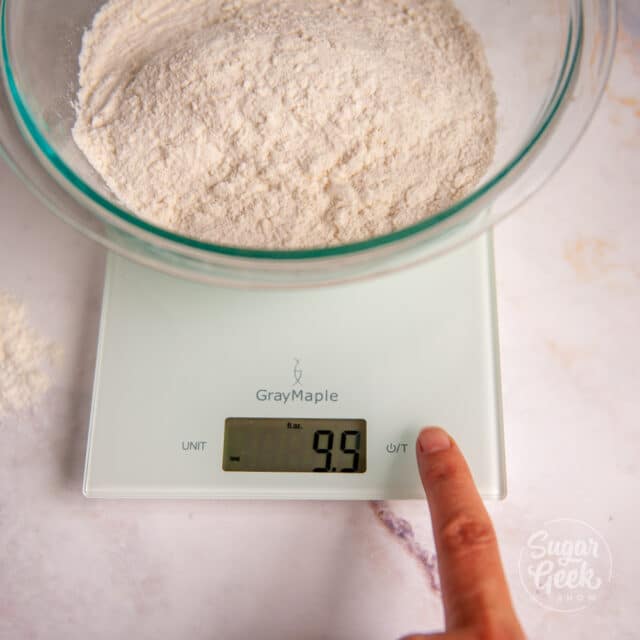
- Press the "tare" button again to zero out the weight of the ingredients you just added.
- Begin adding in the next ingredient according to the recipe until the display reads the amount you need.

That's it! Super simple way to add ingredients with supreme accuracy and no fear of making mistakes in your recipe.
It might feel a little strange the first time you do this but I promise you it gets easier and soon you'll be wondering how you ever dealt with using cups!
What if my recipe doesn't have weight measurements?
If you have a recipe that you love but it's in cups you can convert it to weight! The best thing to do is convert yourself, don't rely on google because you'll get vastly different results.
Remember how I said that each person scoops differently? You gotta rely on your own scoops. Especially if you've already made the recipe with success.
Simply measure out the ingredients with measuring cups as you usually would and then weigh them. I round to the nearest half decimal for ease. So If I scoop and get 4.7 ounces, I round up to an even 5.
Write down your measurements and boom, you now have a recipe in ounces (or grams) that you can reliably recreate each time. Hypothetically, if you ever needed to give the recipe to another person (like if you opened a bakery) and you needed to ensure they recreate your great grandmother's secret cookie recipe exactly the way you do, you know they will.
This is my chart that I use for converting common ingredients to weight in my recipes.
[optin-monster slug="rghpnntg0s1f7mce0cun"]
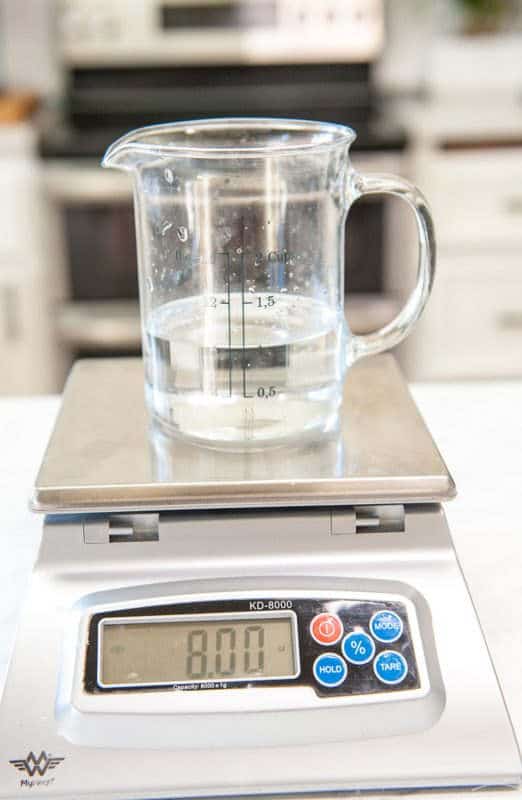
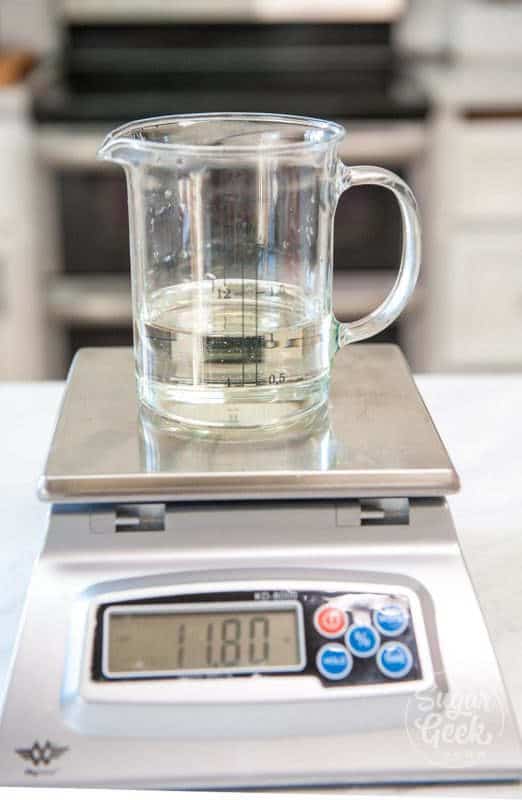
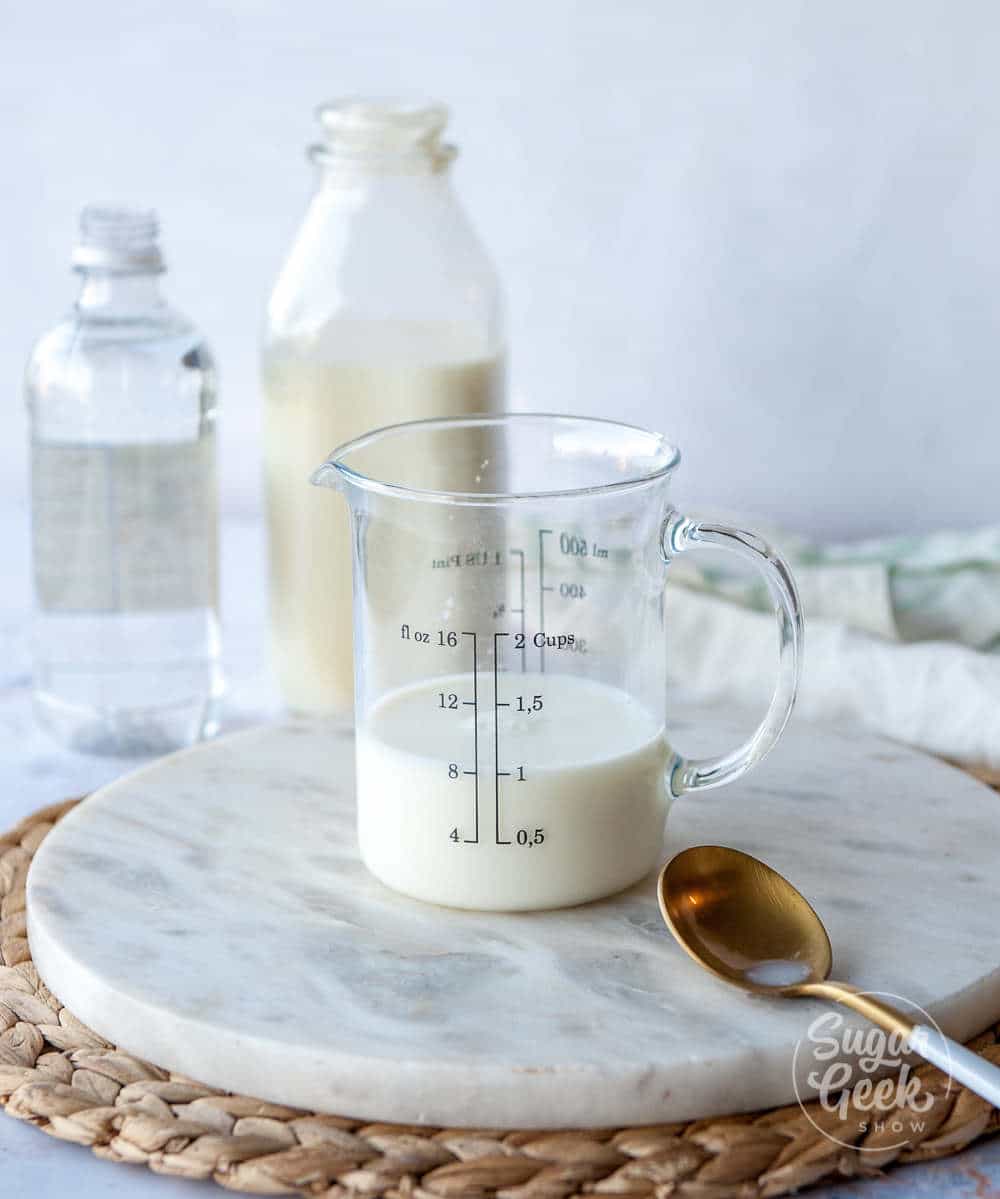
Should I weigh my liquids or measure them in fluid ounces?
Oh fluid ounces, how confusing you are. Whoever came up with that one needs to be shot. It really causes a lot of confusion because of the word "ounces". It makes you THINK that you're measuring by weight but alas, you are still measuring by volume.
Not all fluids that fill an 80z cup weigh the same because of differences in density. 8 fluid ounces of water weighs 8oz but 8 fluid ounces of corn syrup actually weighs almost 12 ounces! Crazy huh. That's because corn syrup is denser (heavier) than water.
For the sake of ease, in my recipes I weigh everything. It's so much easier to just list the weight. Especially in recipes where the liquids are combined separately from the dry ingredients. I might weigh out 8 ounces of milk, zero out the weight, then 4 ounces of sour cream, zero it out, then 4 ounces of oil. All within a minute and no need to dirty multiple measuring cups.
If you come across a recipe that specifically lists fluid ounces then either convert to ounces or use a measuring cup. Rule #1 to recipe success is to follow the recipe first.
What if I need grams instead of ounces?
Recently a lot of people have been asking me for my recipes in grams instead of ounces because that is the standard way of measuring in their country. I am SLOWLY converting all my recipe cards to also include grams but a kitchen scale should have the option of switching between grams or ounces.
You can also convert recipes that are listed in ounces to grams pretty easily.
1 ounce = 28.35 grams. So if you have 8 ounces and you want to know how many grams it is, multiply 8 by 28.35 to get the grams measurement. There are also many online metric calculators that can help you convert recipes to grams.
What about measuring spoons?
Ok so technically measuring spoons go against everything I have just talked about because they are a volume measurement. The reason for this is that typically you are measuring such small amounts, it would be difficult to measure them accurately with a regular scale.
It is worth noting that measuring spoons are different sizes depending on where you are in the world. A USA Tablespoon holds 14.8 ml. In the Uk its 15 ml. In Australia, the standard is a whopping 20 ml.
So make sure your spoons match the country your recipe is from or you could accidentally add too much or too little of an ingredient.

When I worked at a bakery, our recipes were so large that things like baking powder and salt were by weight and not with measuring spoons.
I hope this has answered a lot of your questions about why and how to use a digital kitchen scale for baking more accurately. As always you can leave me a comment with any questions you have and be sure to watch this video of me showing my husband how to use a kitchen scale.
Do you want to learn more about professional baking? Check out my how to decorate your first cake post!

Recipe
How To Use A Digital Kitchen Scale For Baking
Equipment
- Digital Kitchen Scale
Instructions
How To Use A Kitchen Scale
- Turn the scale on

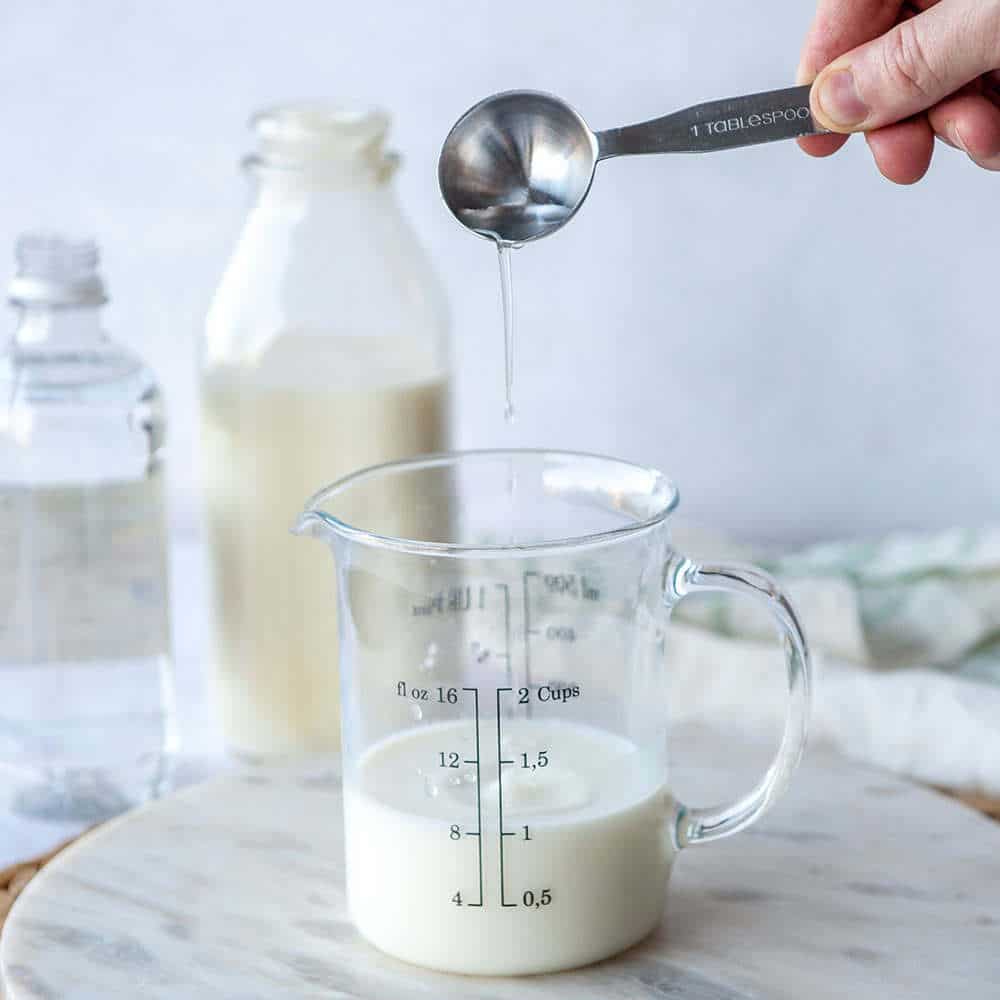
- Choose your standard of measure (grams = gr) or (ounces = oz)I never use fluid ounces.
- Place your chosen container such as a mixing bowl on top of the scale. You will see that the scale will register and display the weight of the bowl
- Press the zero or tare button on your scale to remove the weight of the bowl and bring the display back to zero. Basically you are telling the scale to ignore the bowl and only measure what goes into the bowl.
- Start adding your first ingredients such as flour until your display shows the correct amount has been added. You can easily subtract ingredients if you add too much.
- Press the tare or zero button to bring the display back to zero
- Measure your next ingredient and continue this way with the rest of the recipe (you can also switch back and forth between grams and ounces if needed)


Video
Notes
(I may earn a small amount of $ if you use this link at no additional cost to you)
OXO Kitchen Scale
My Weigh Kitchen Scale

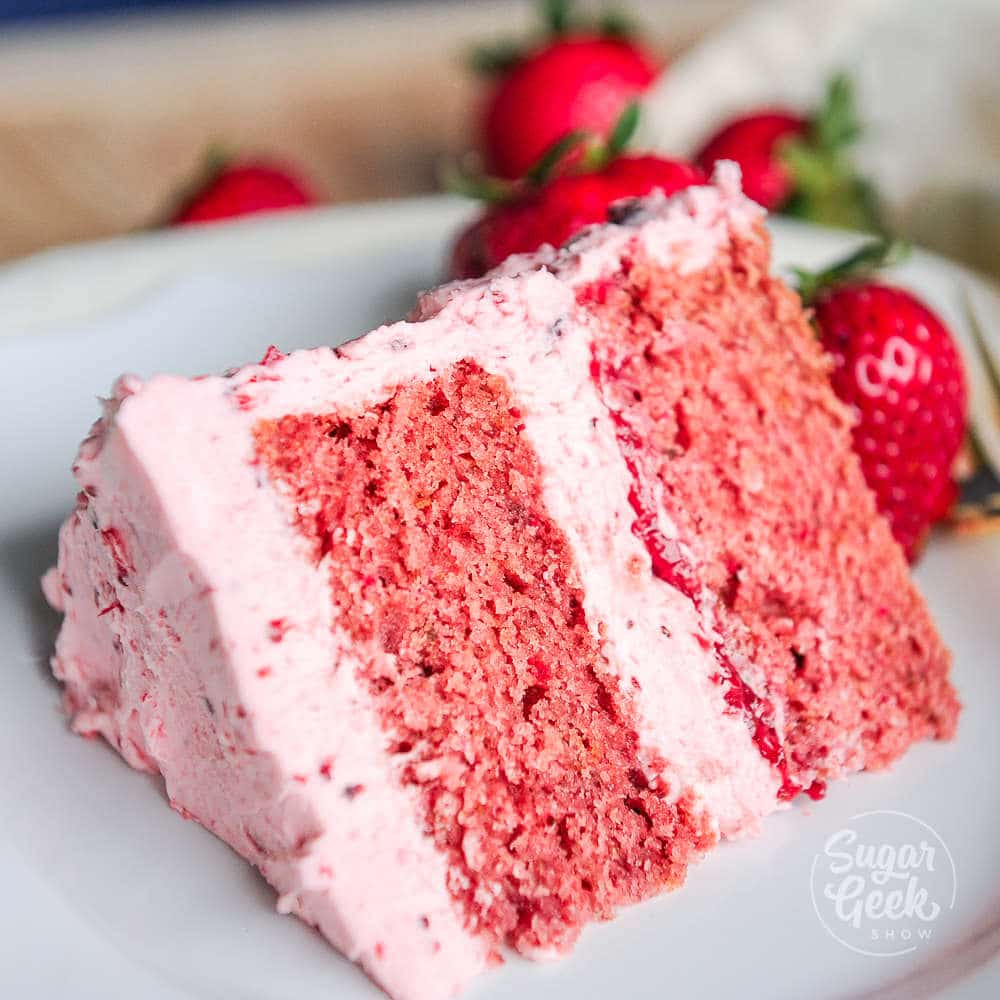

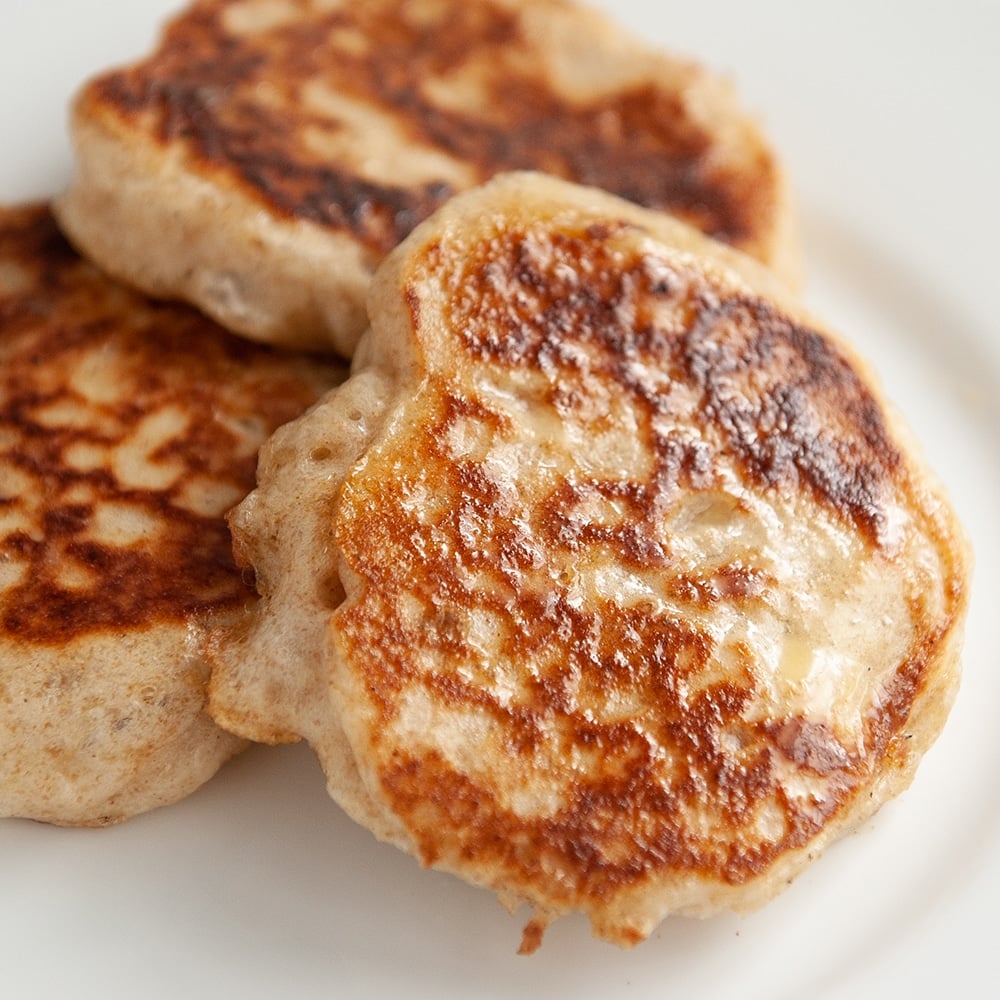
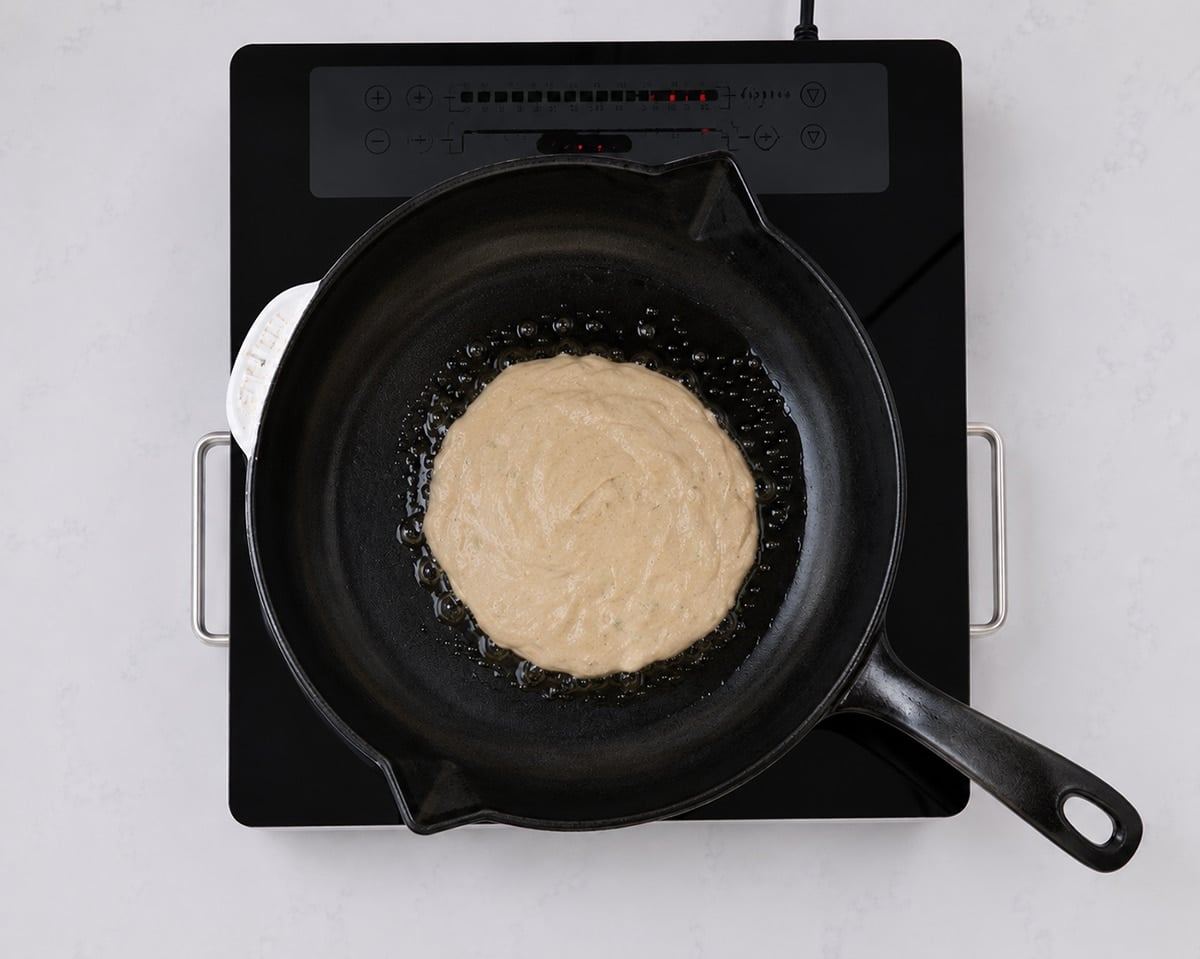
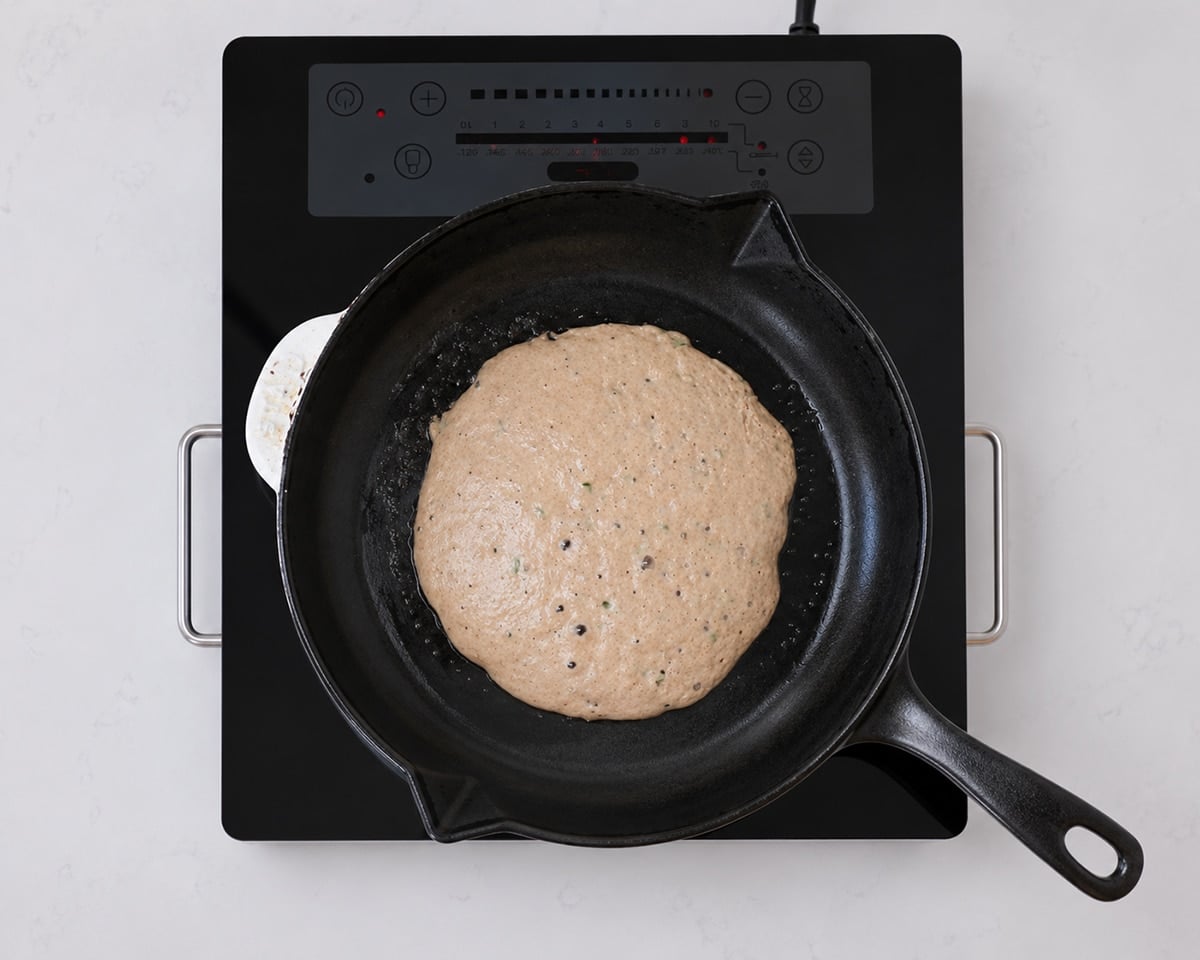
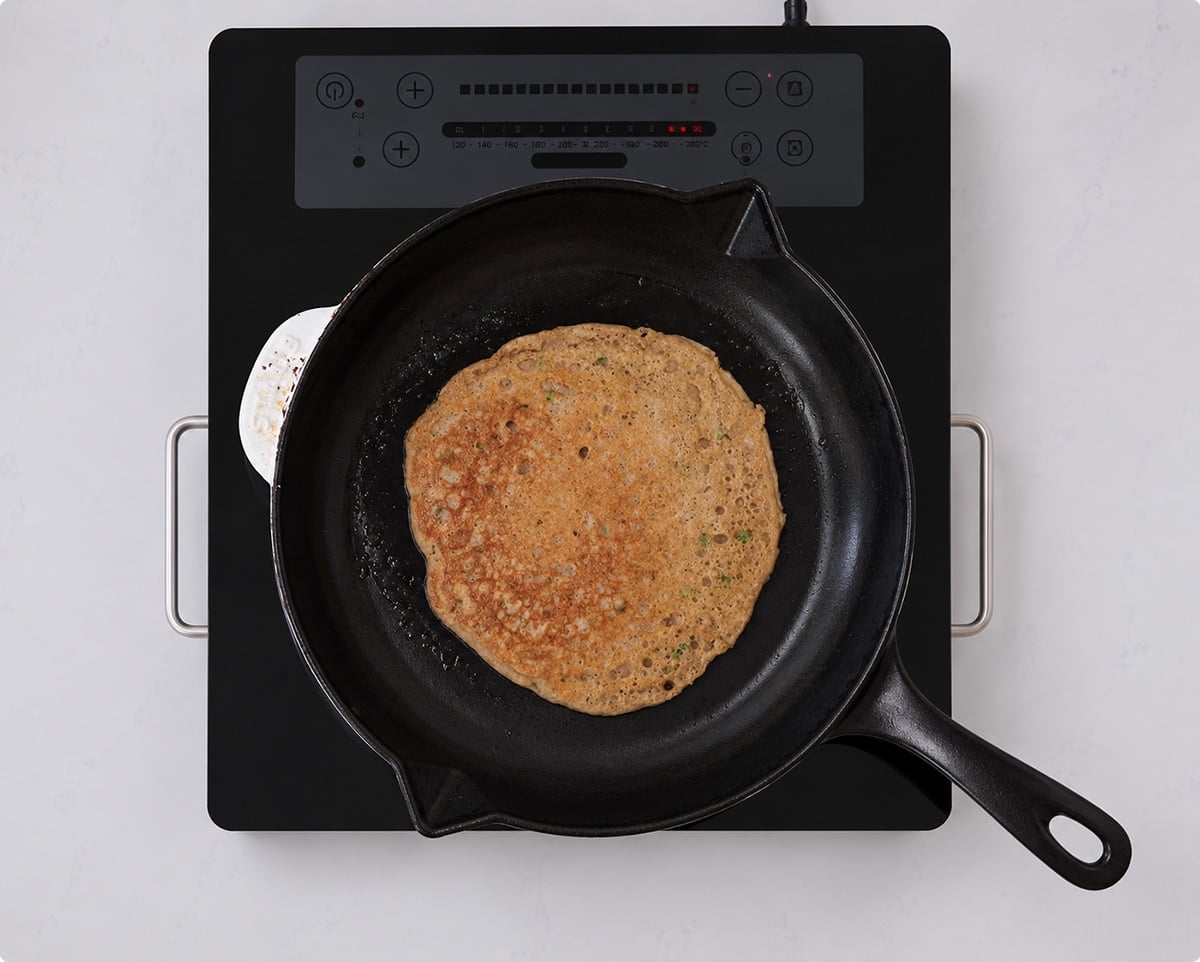
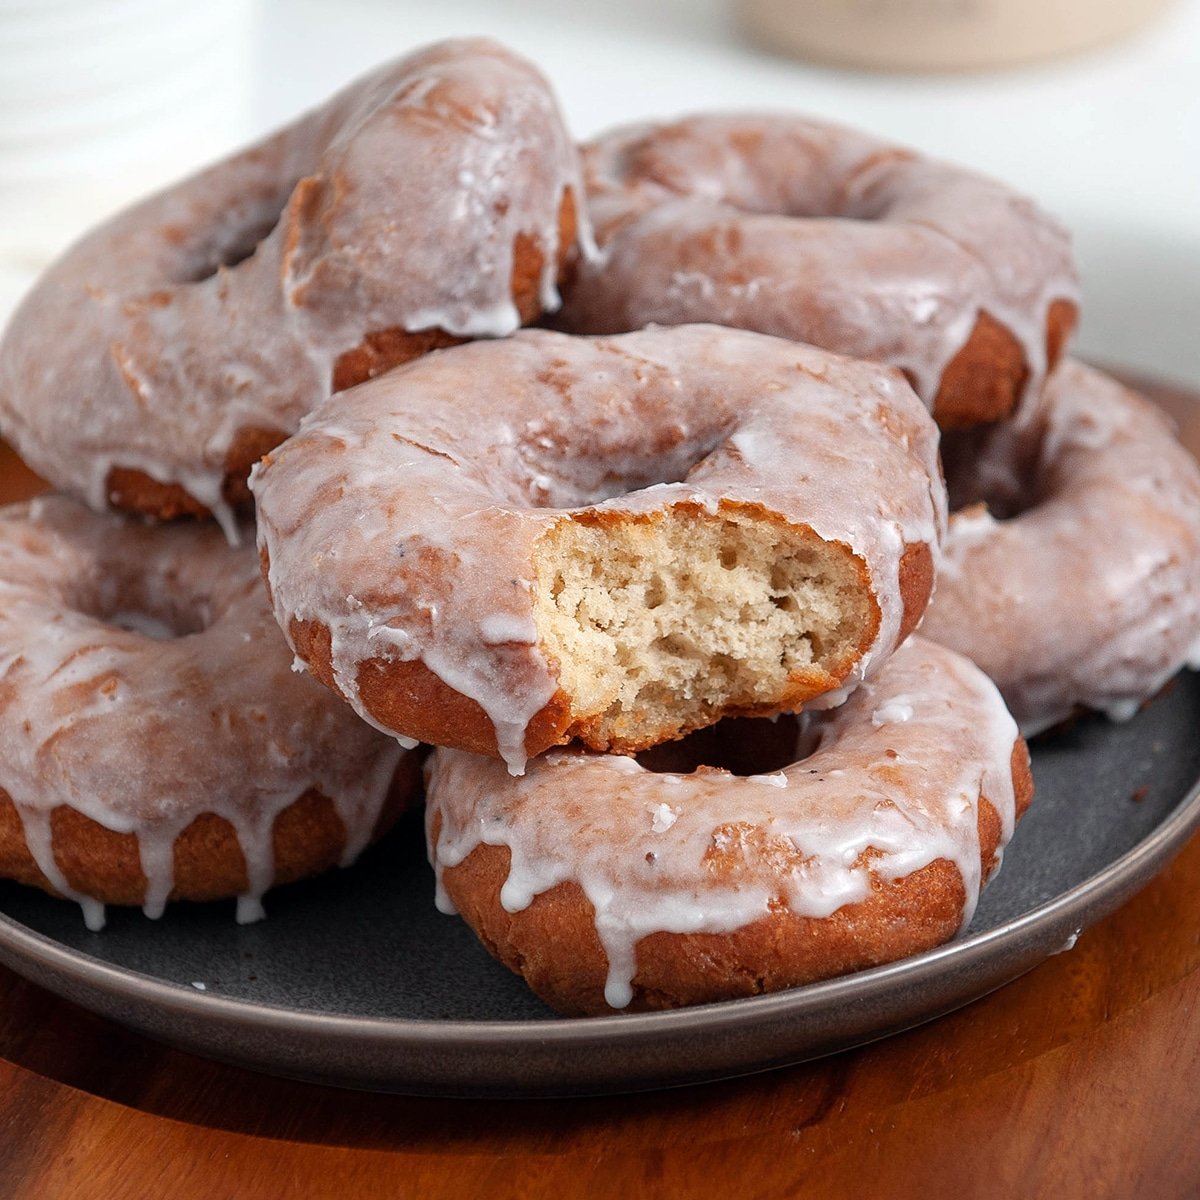

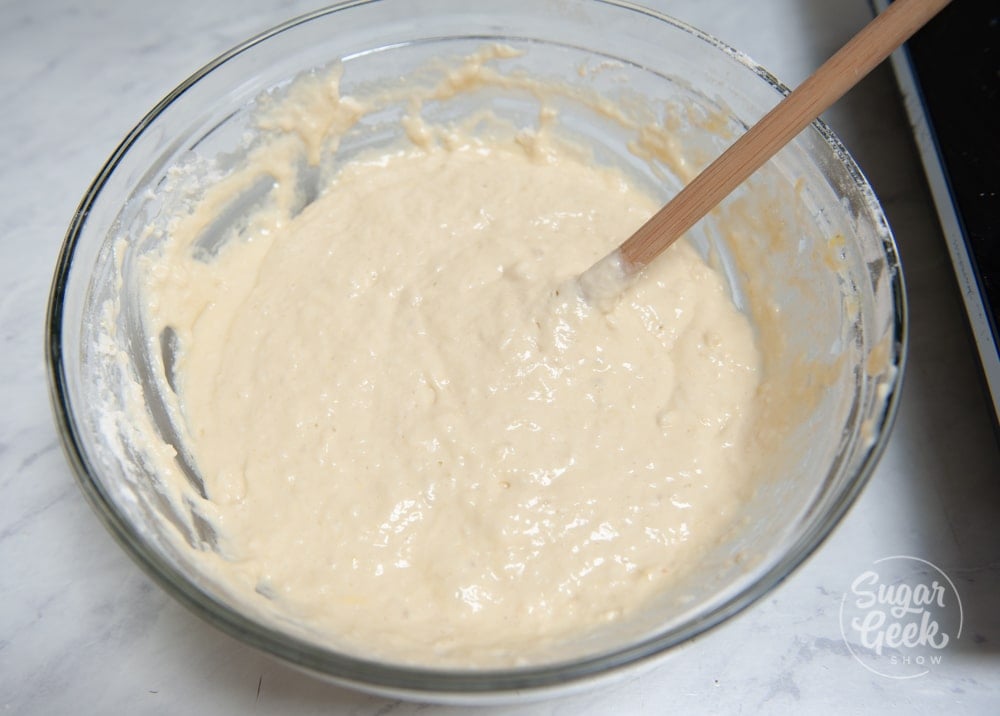
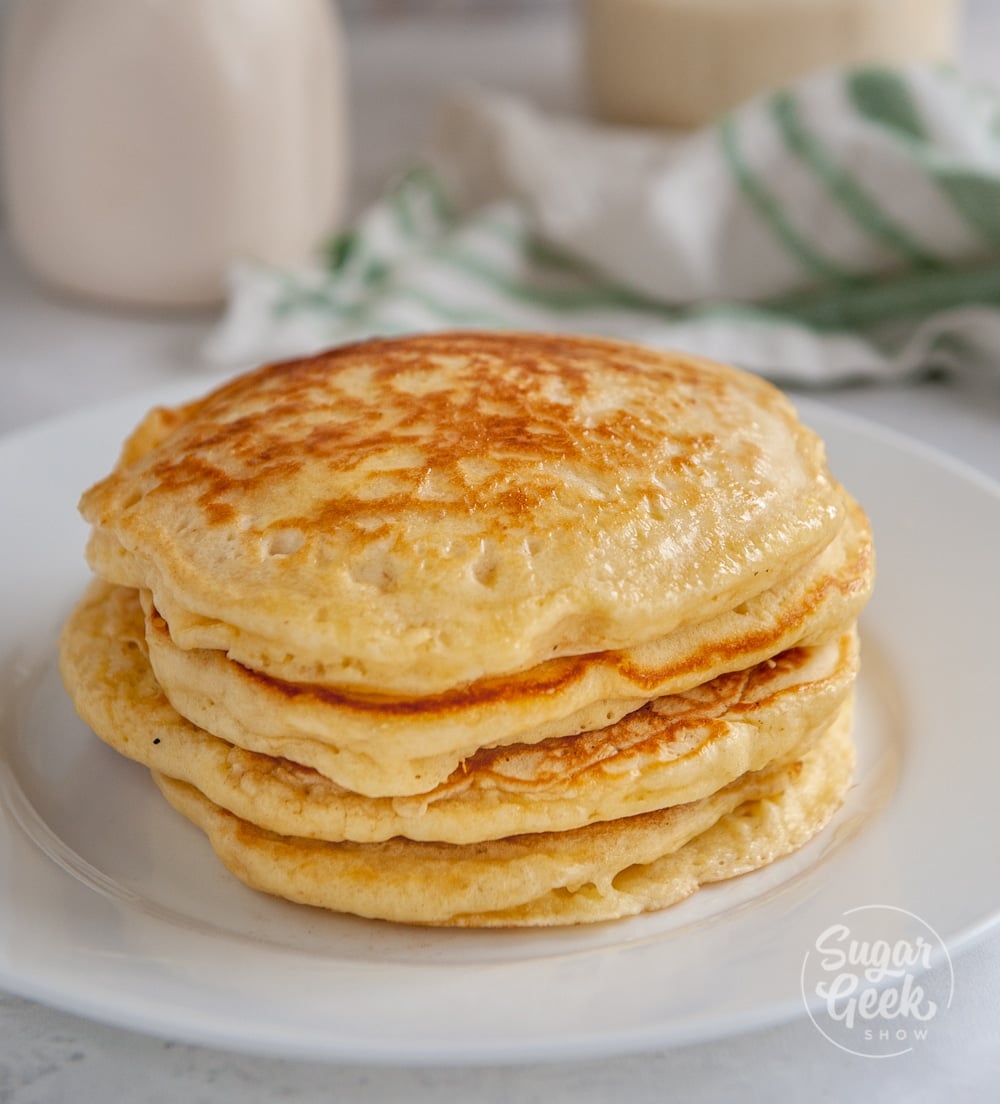


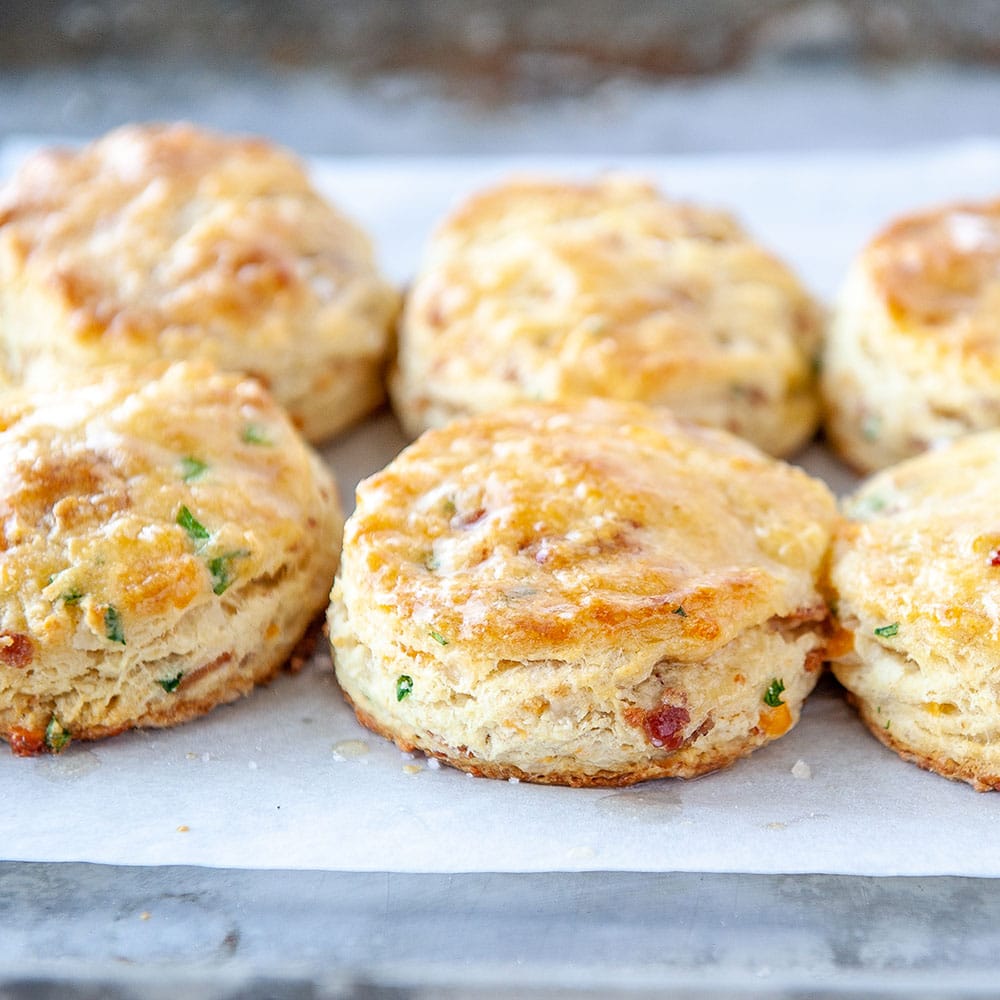
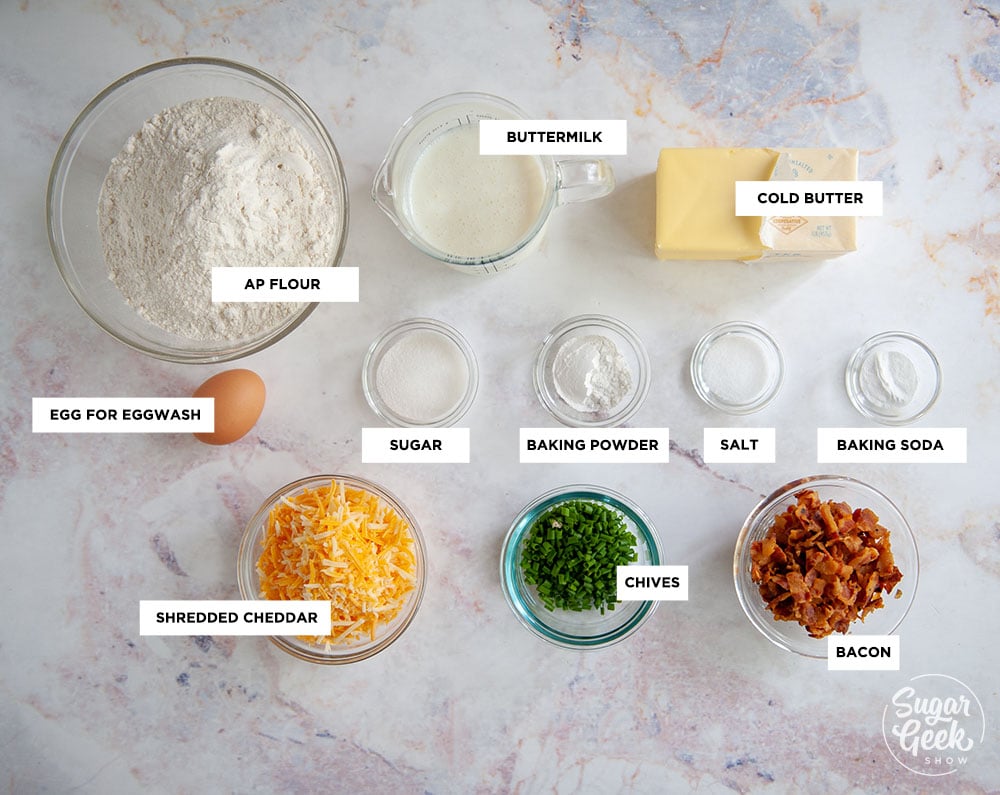

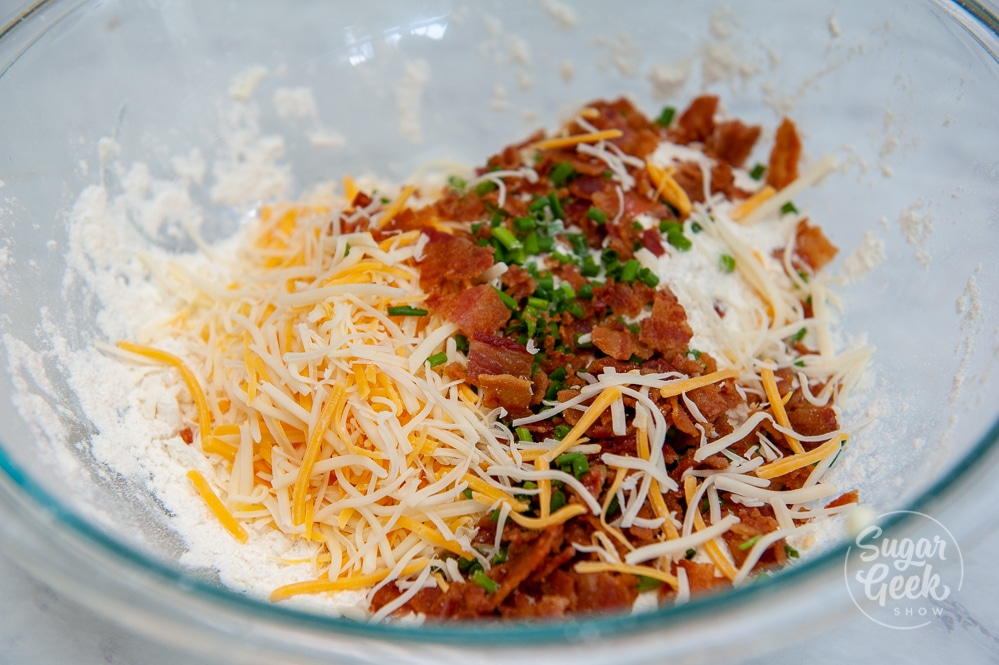
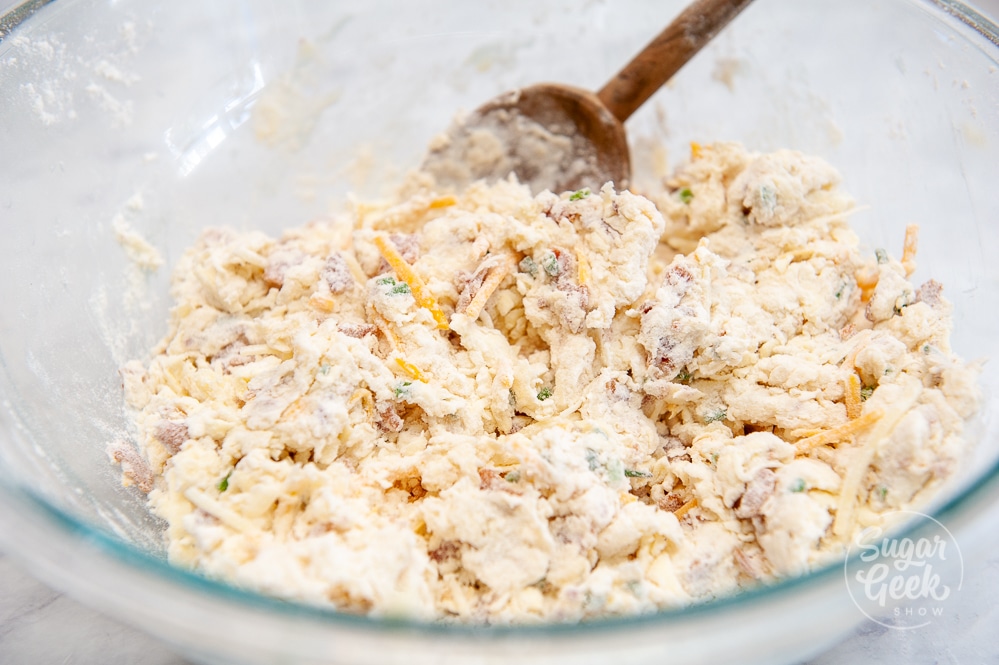
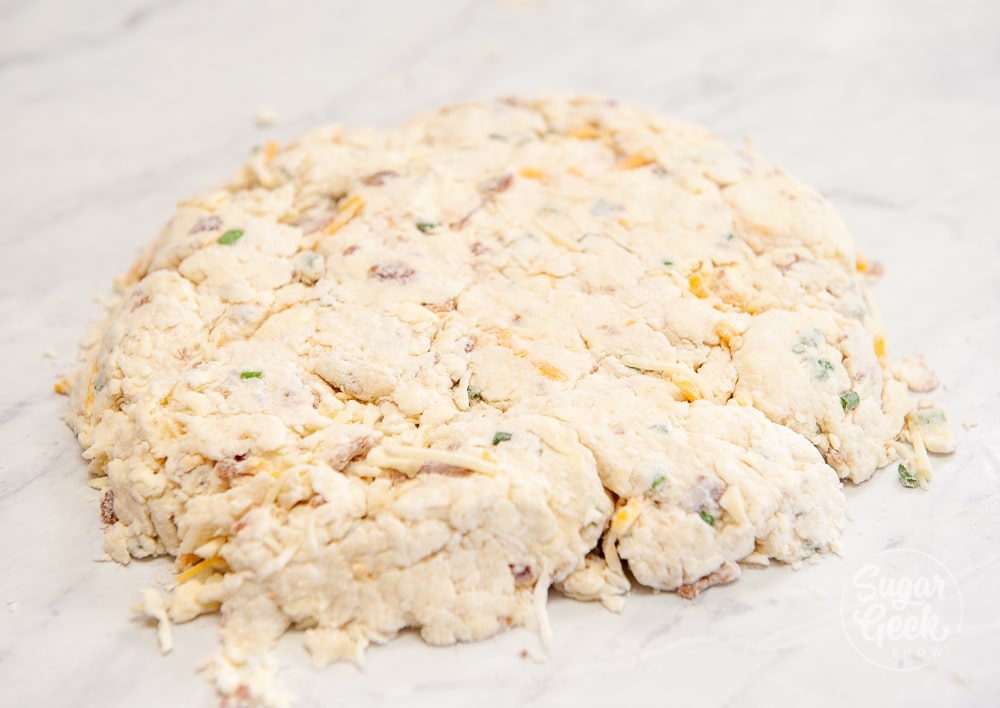
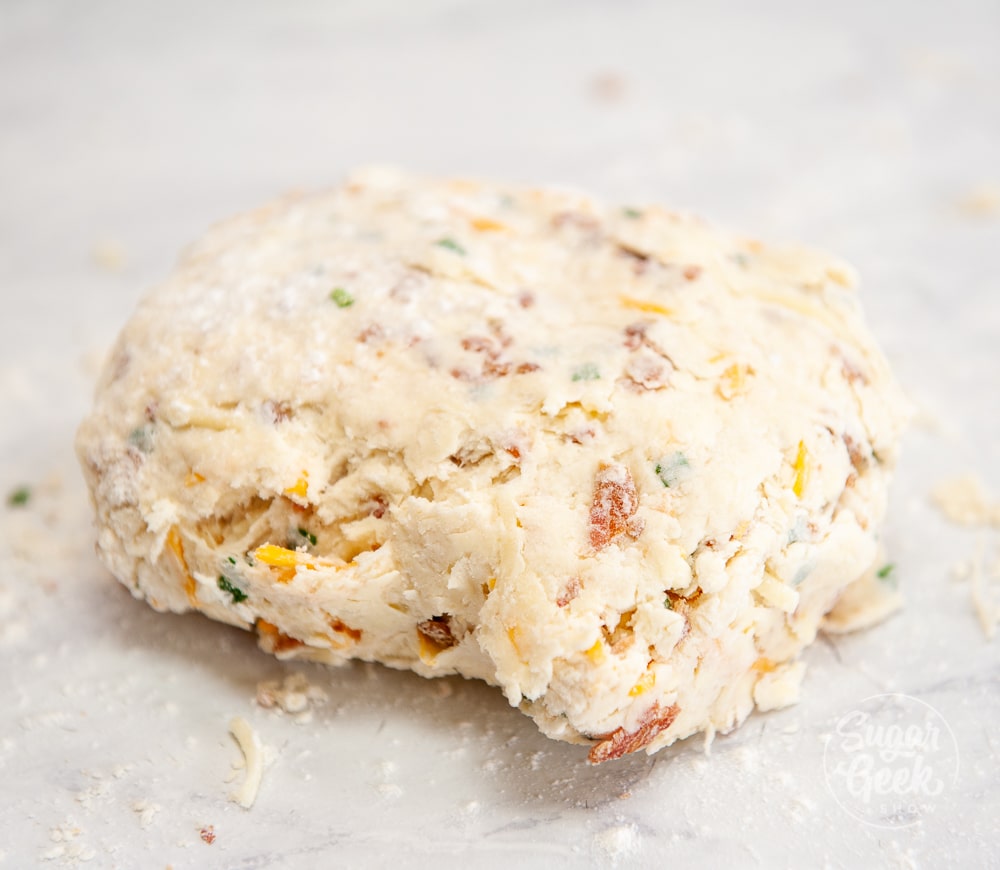
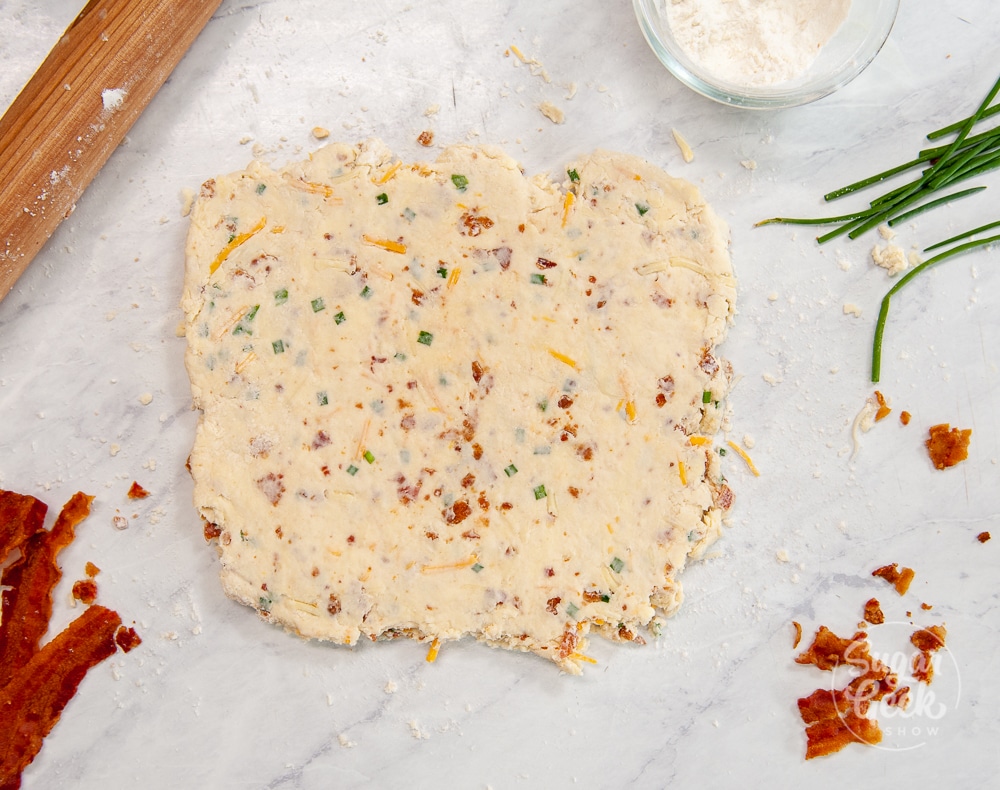
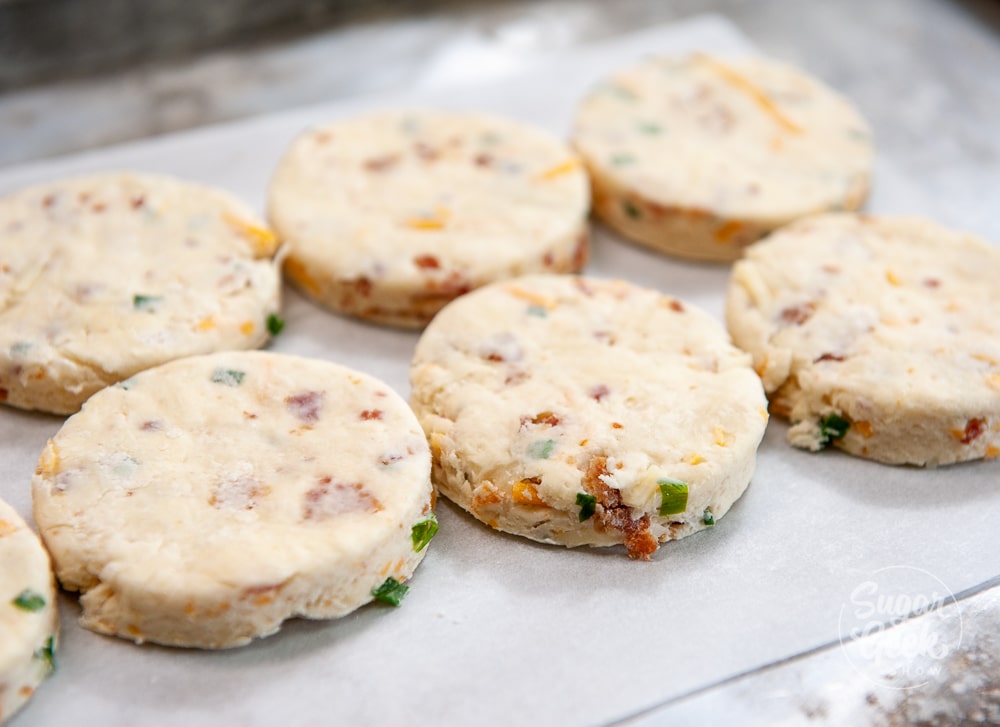
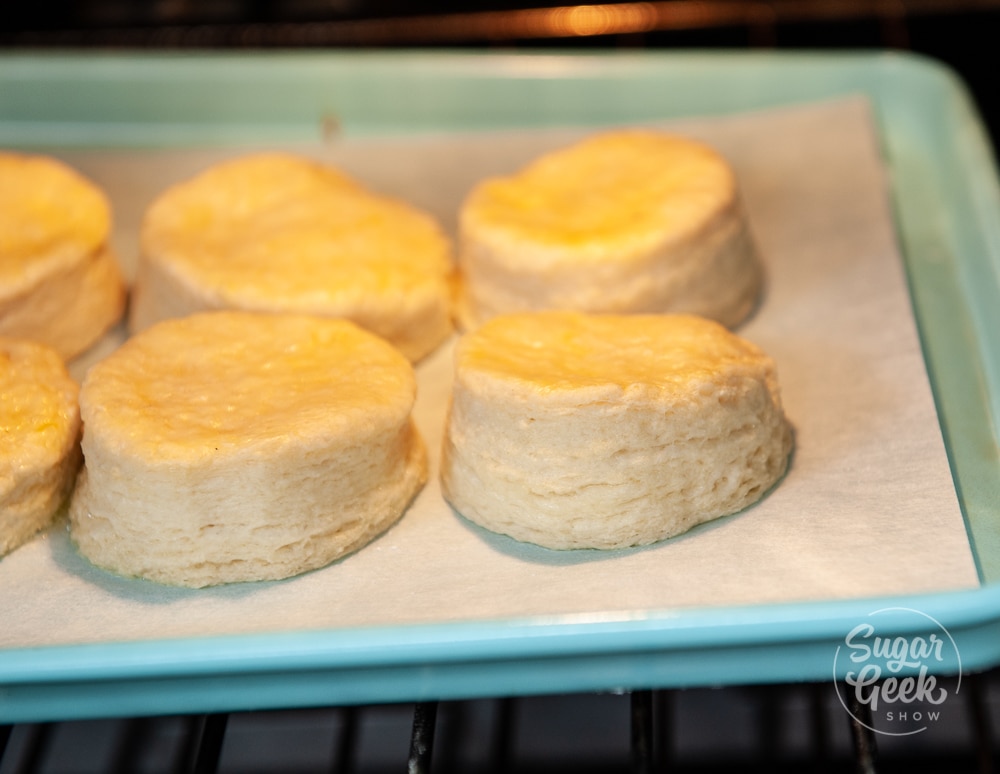
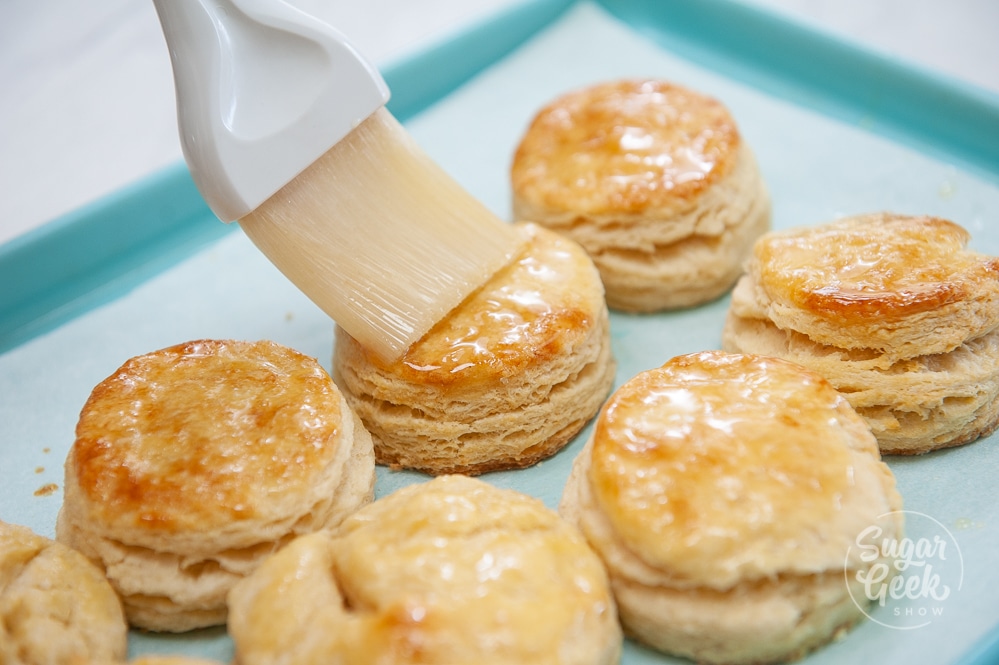
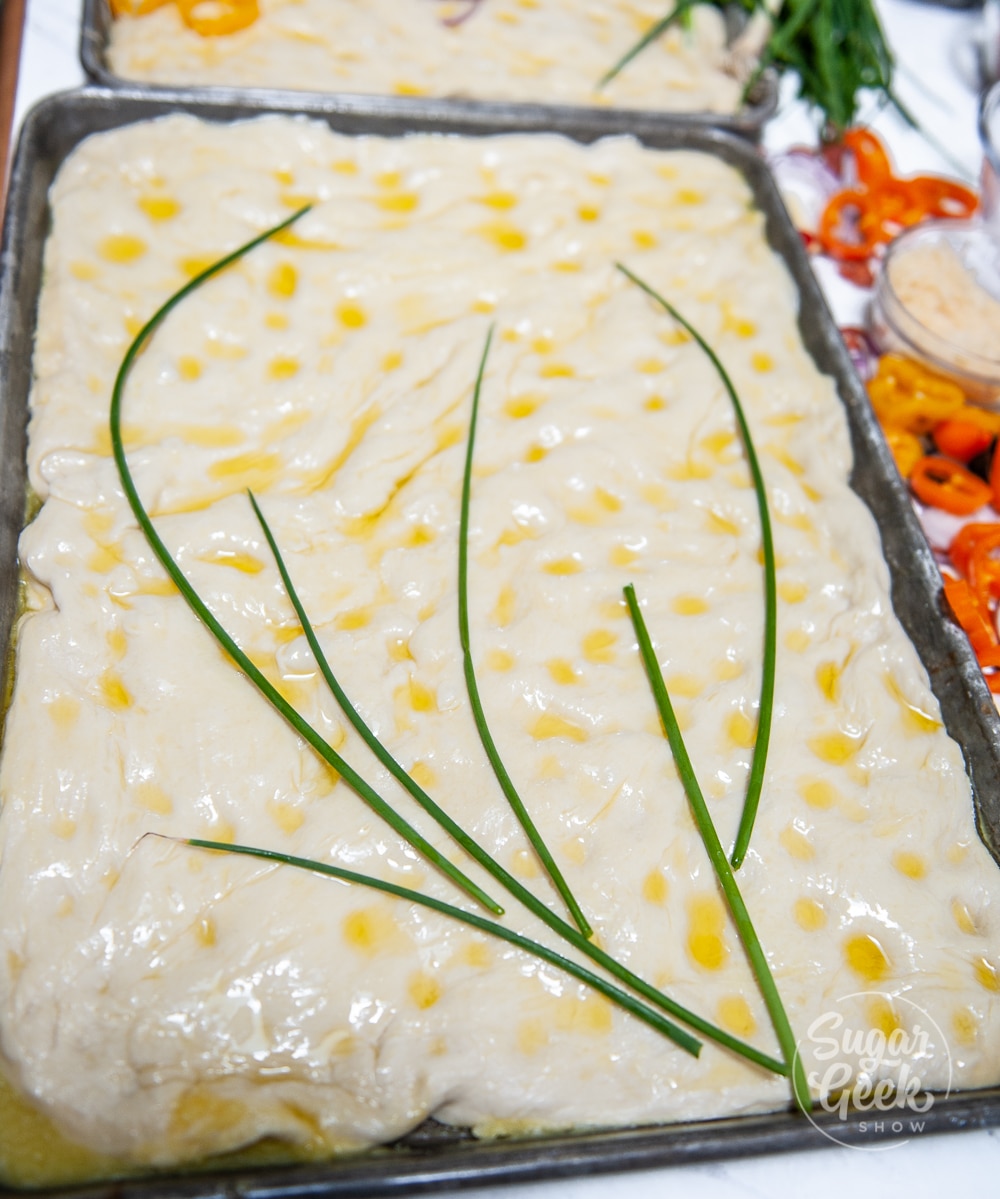
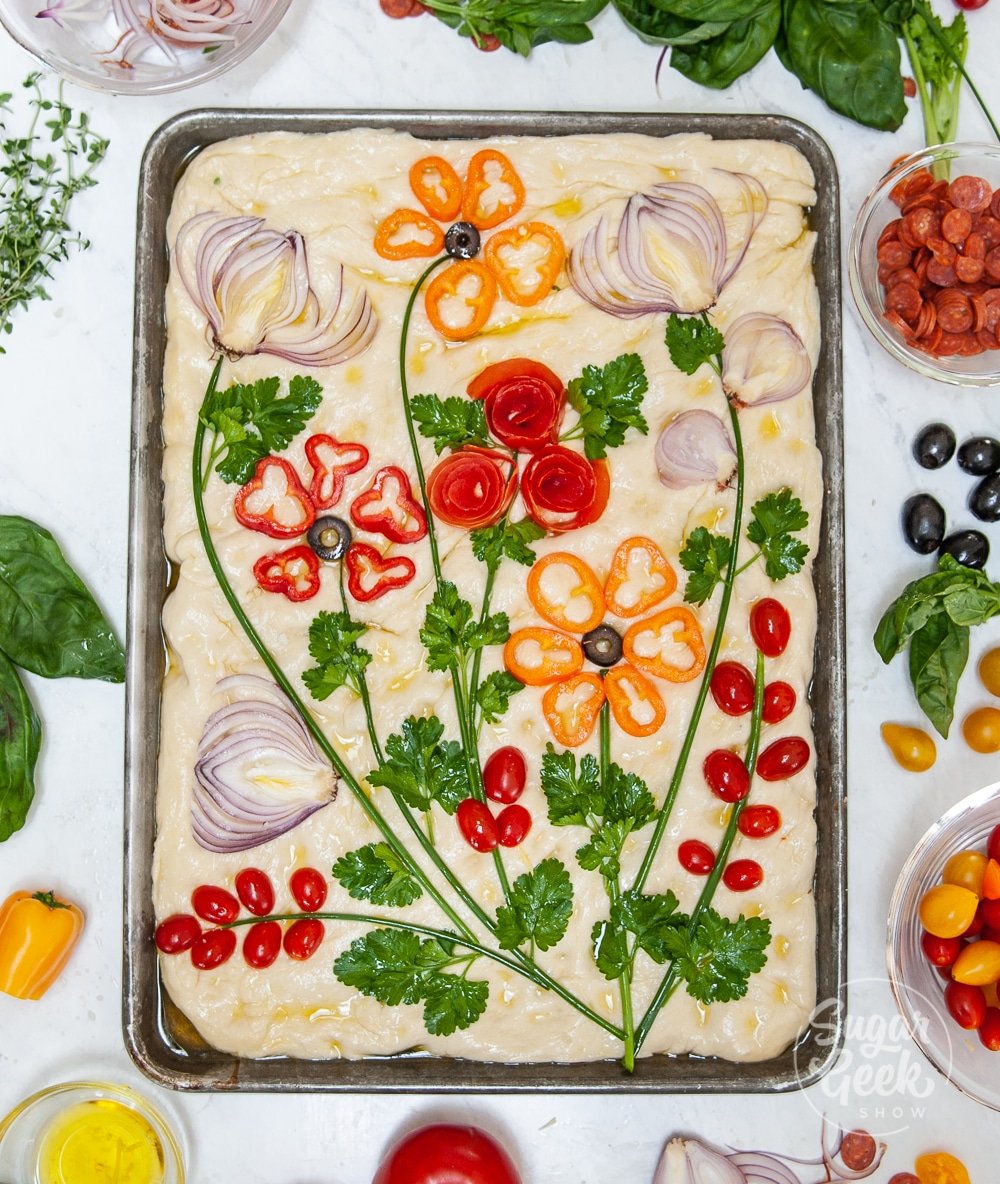
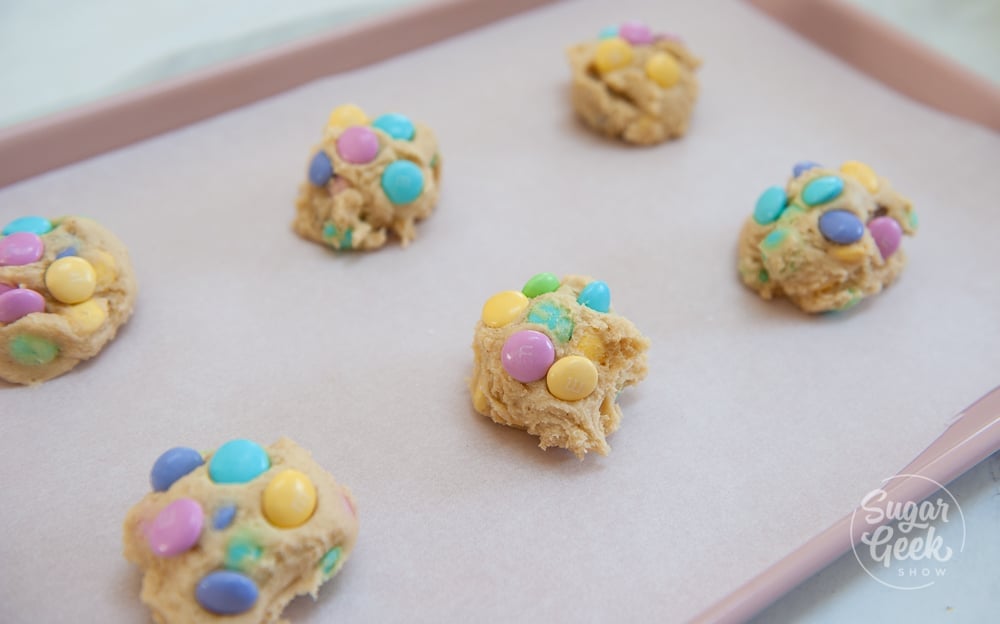
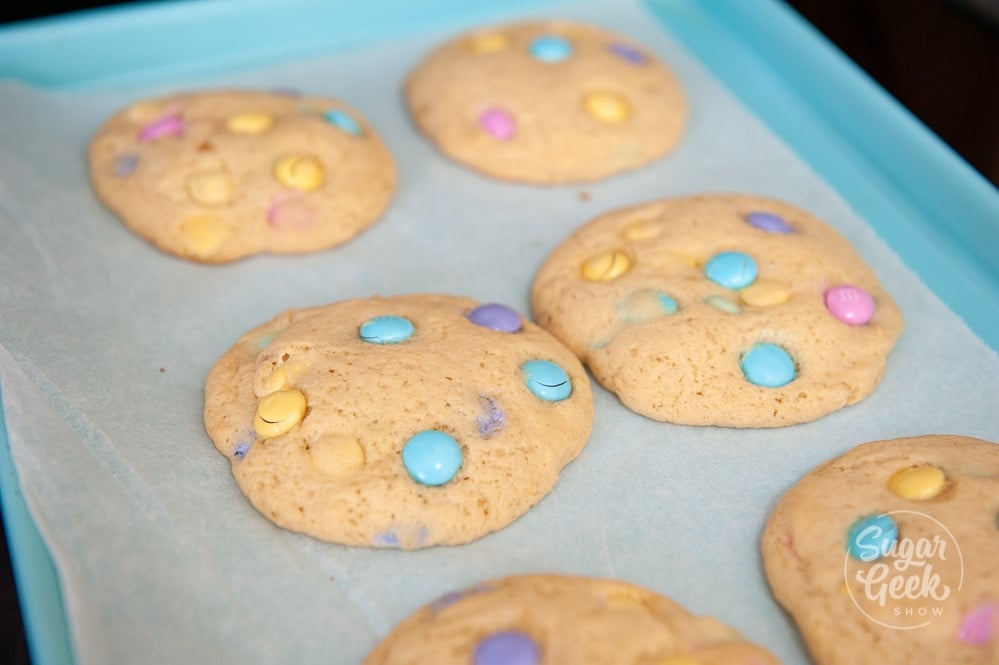
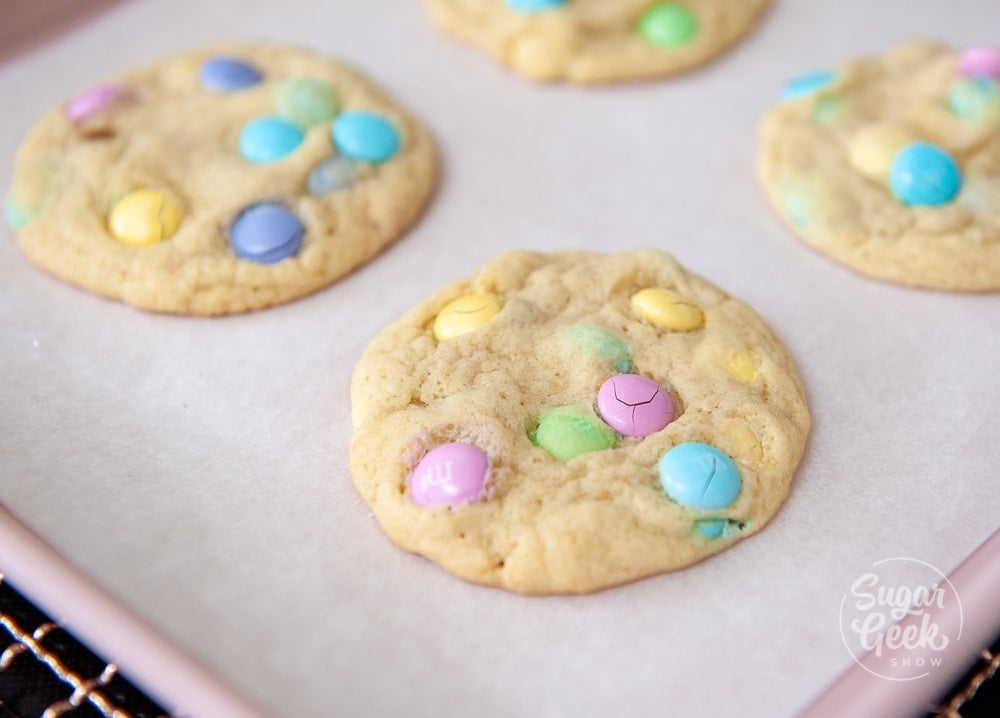
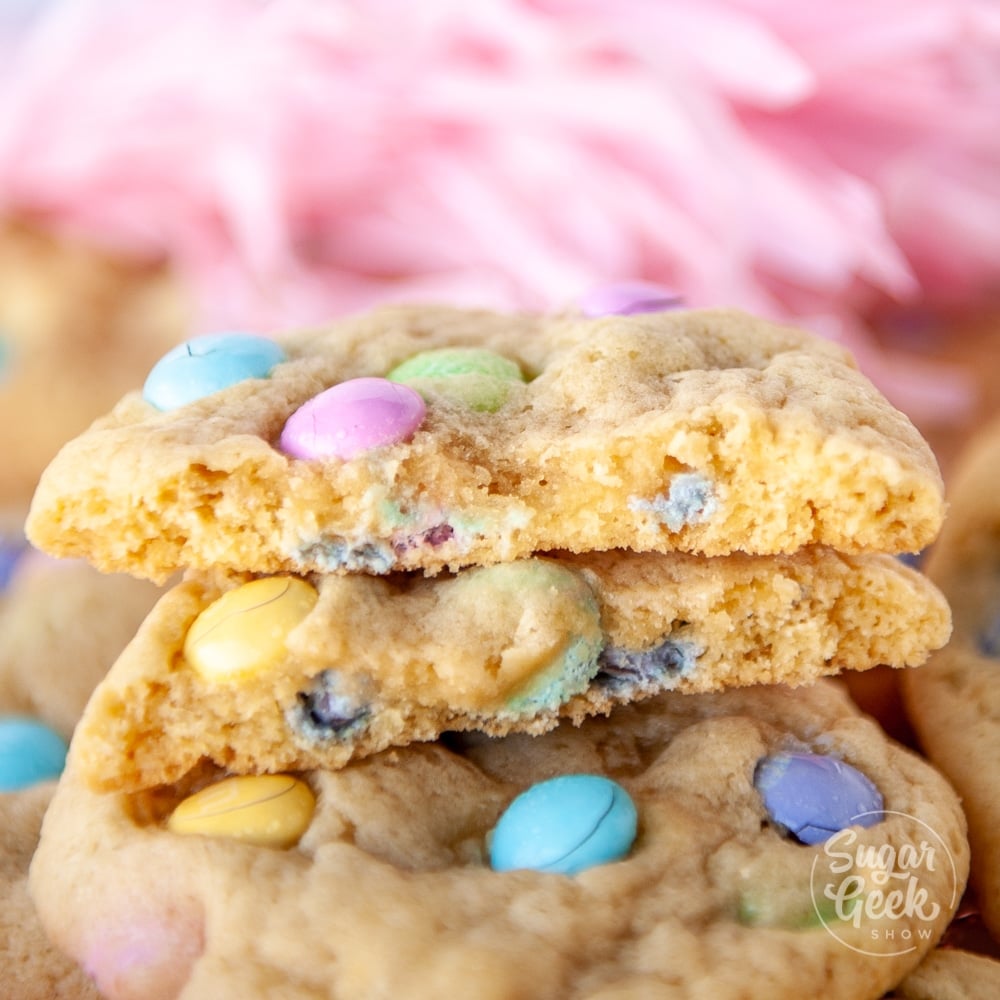
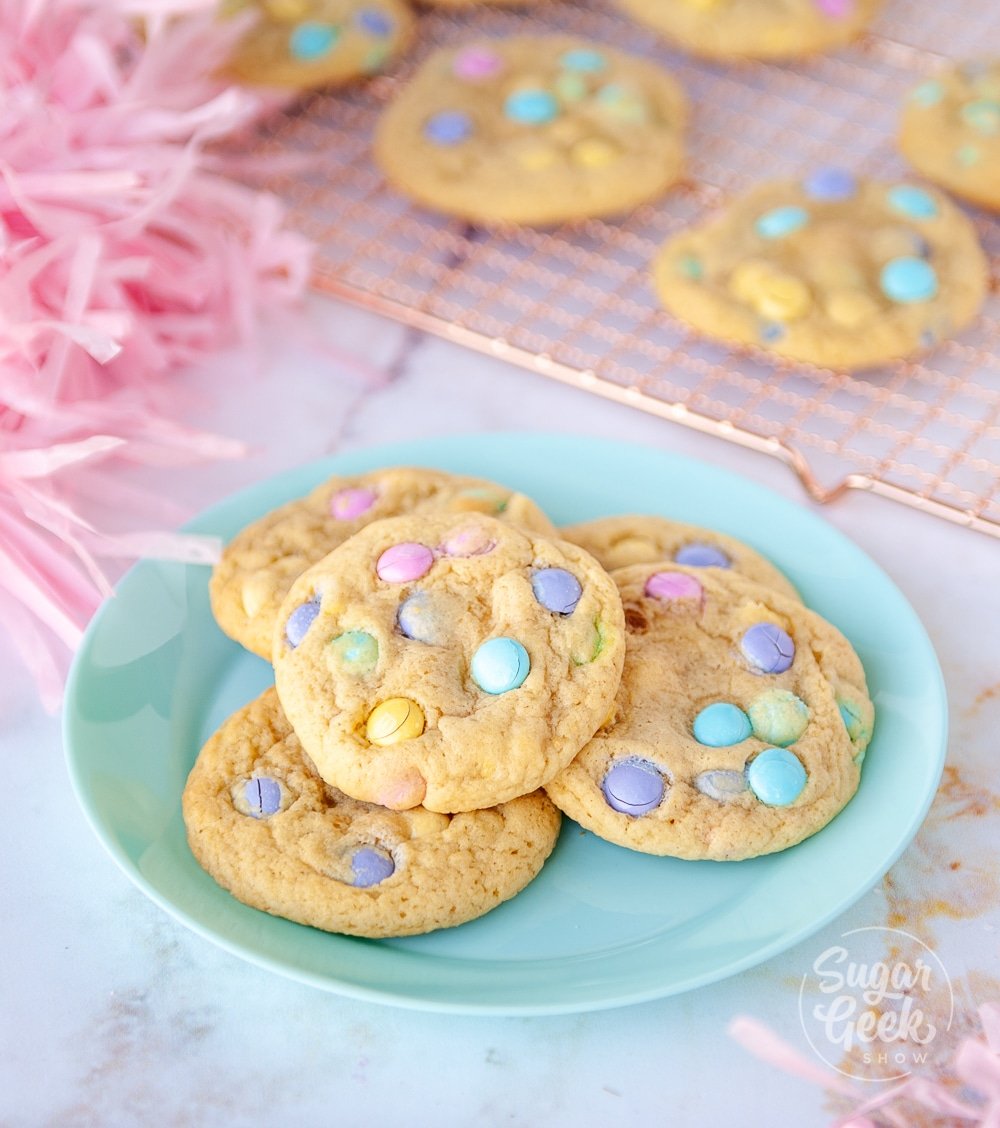
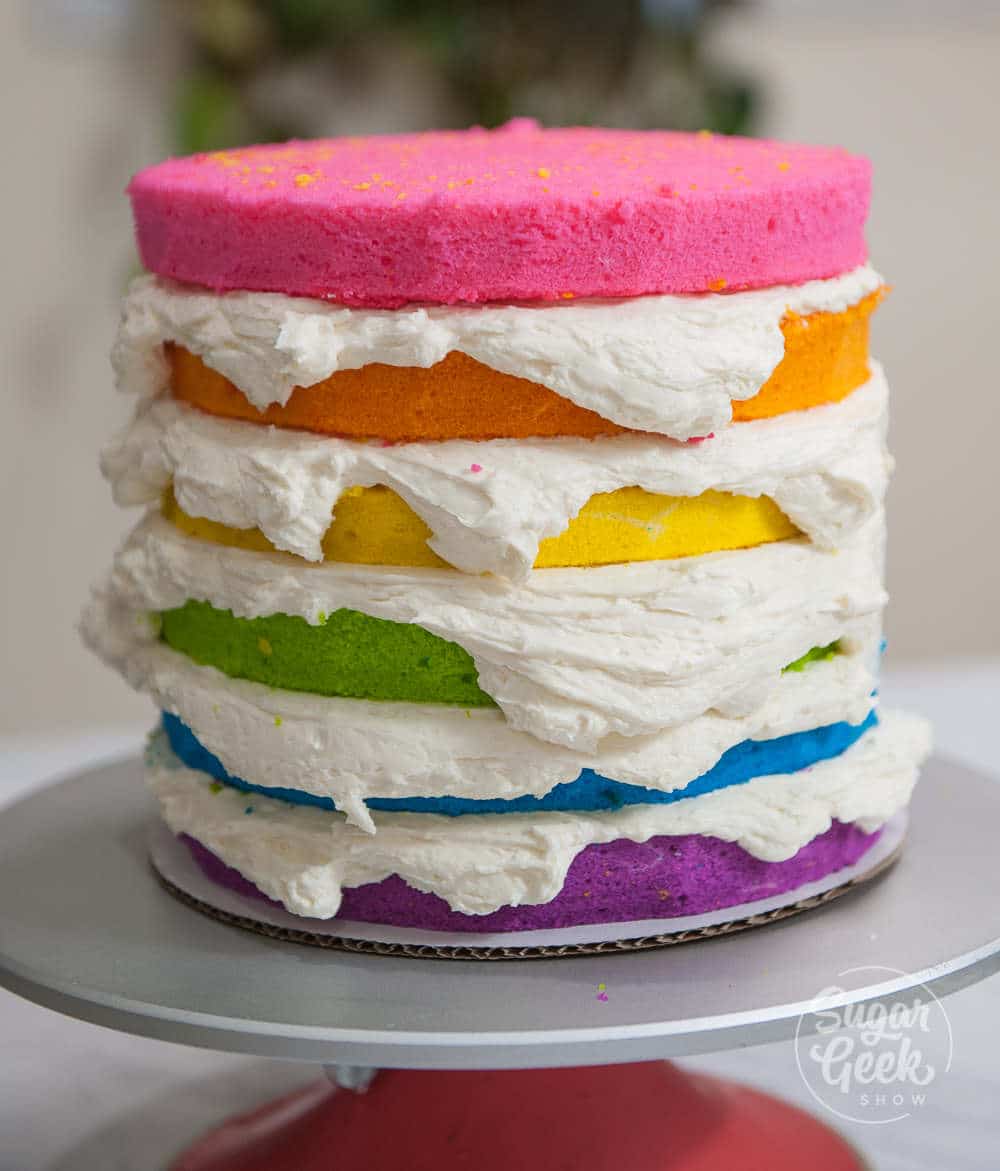
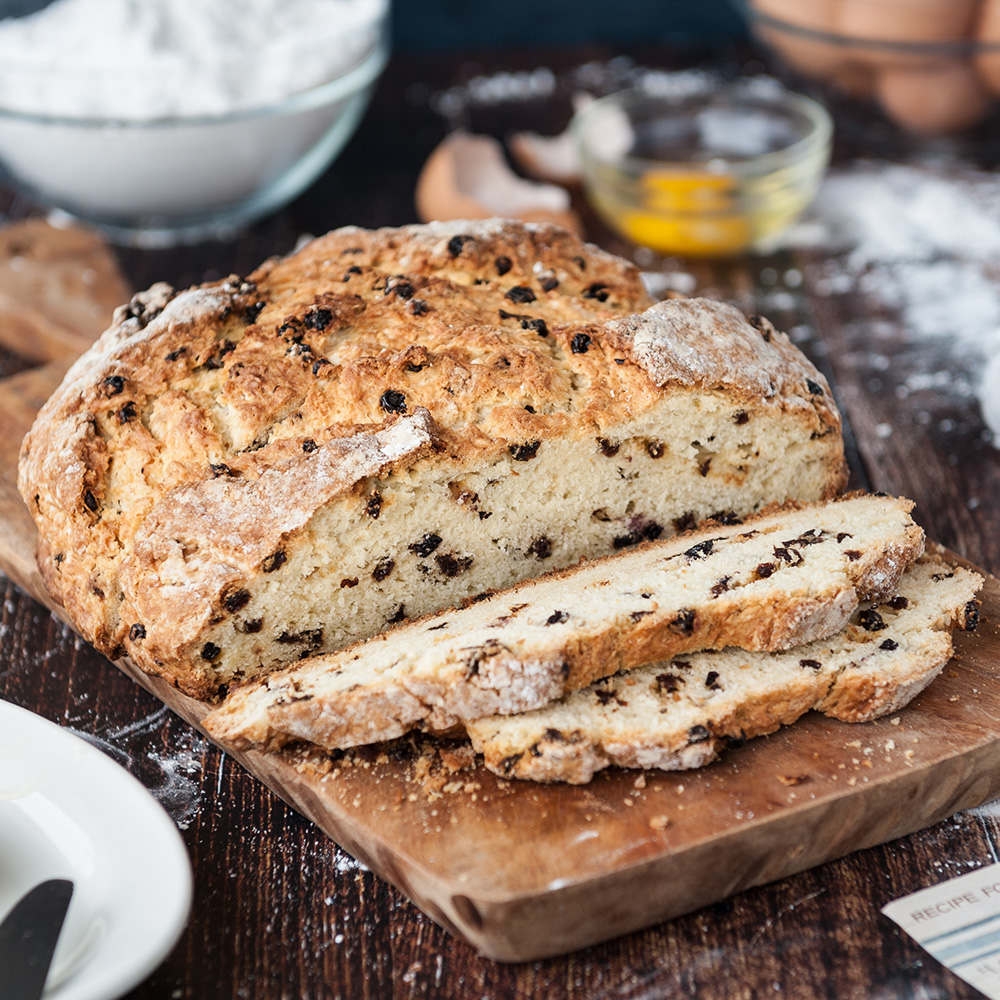
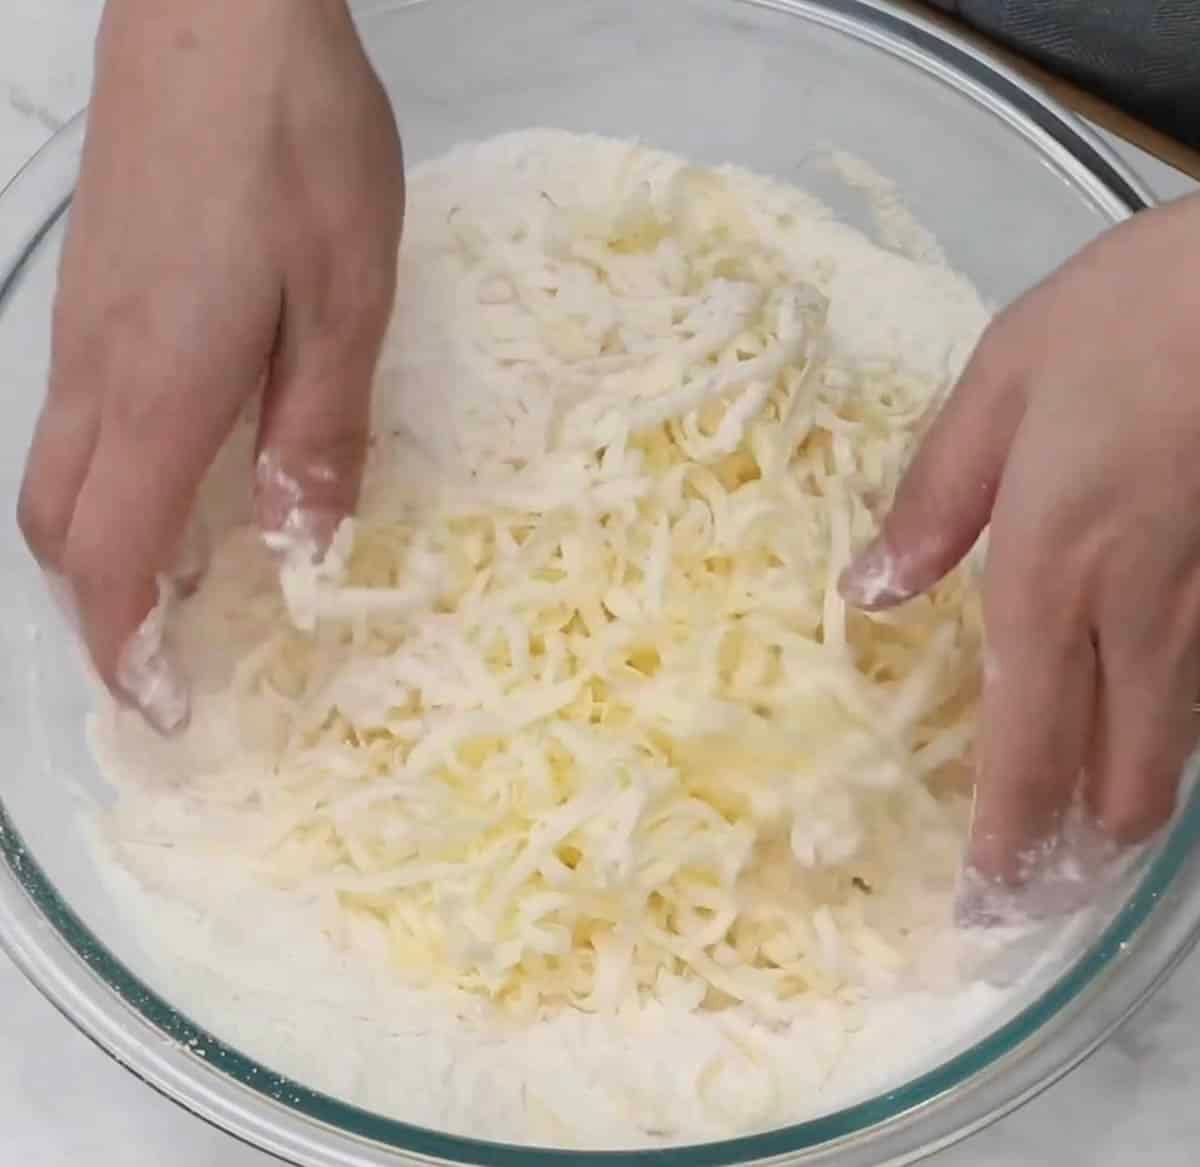
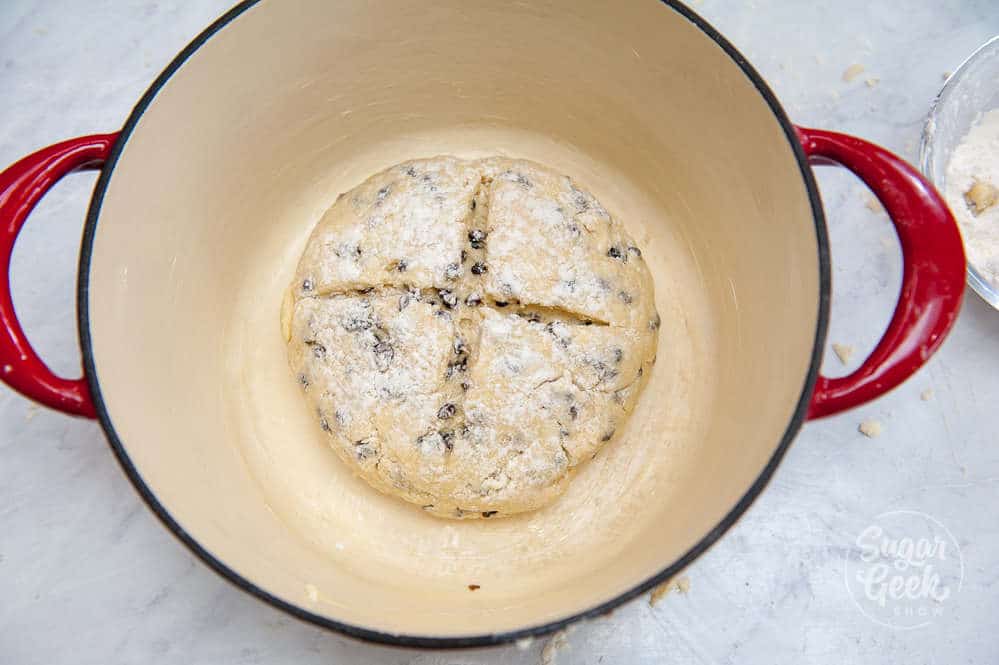
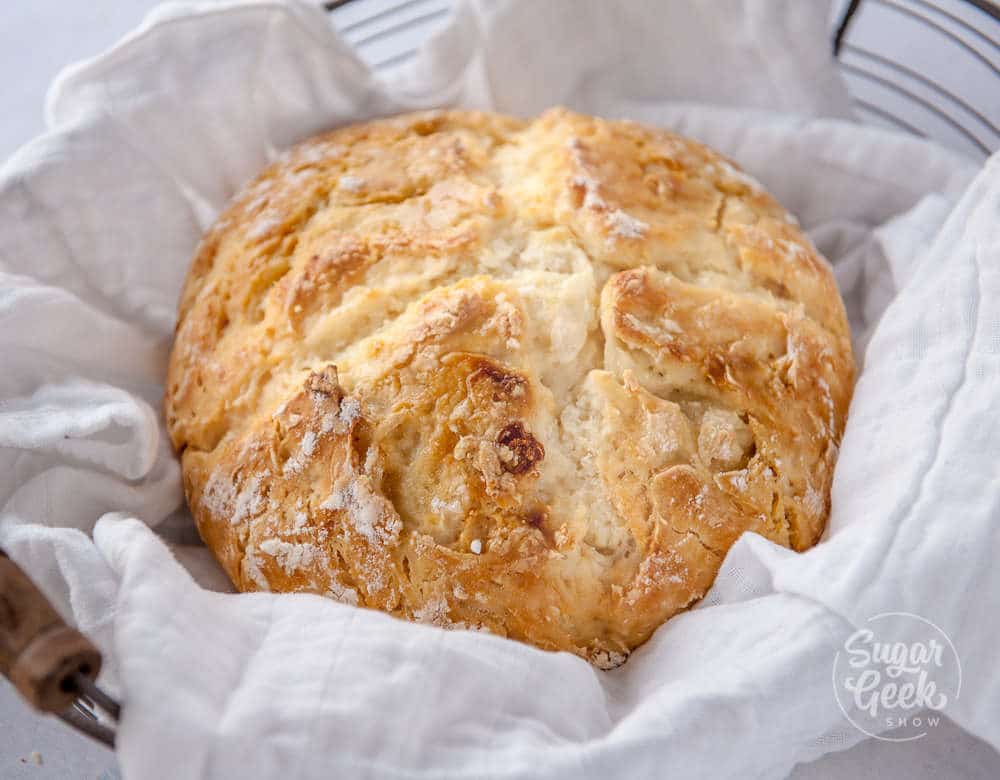
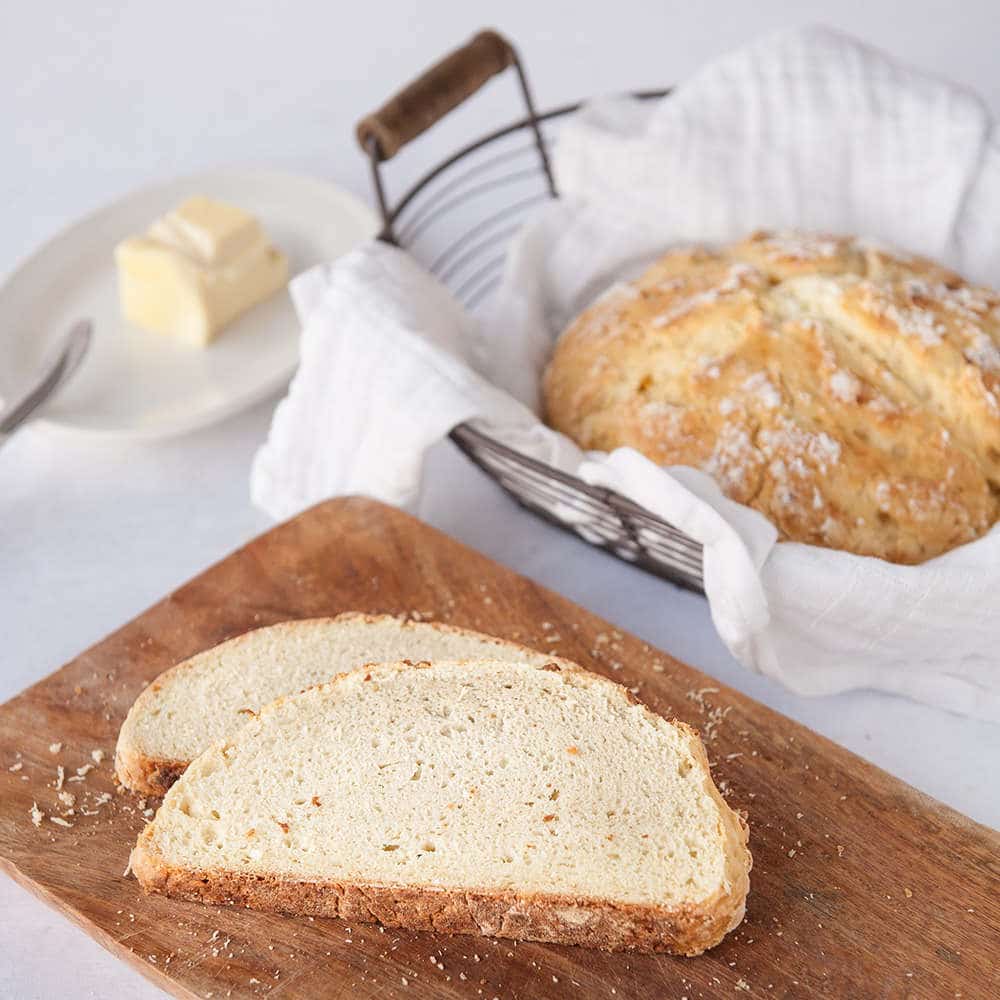
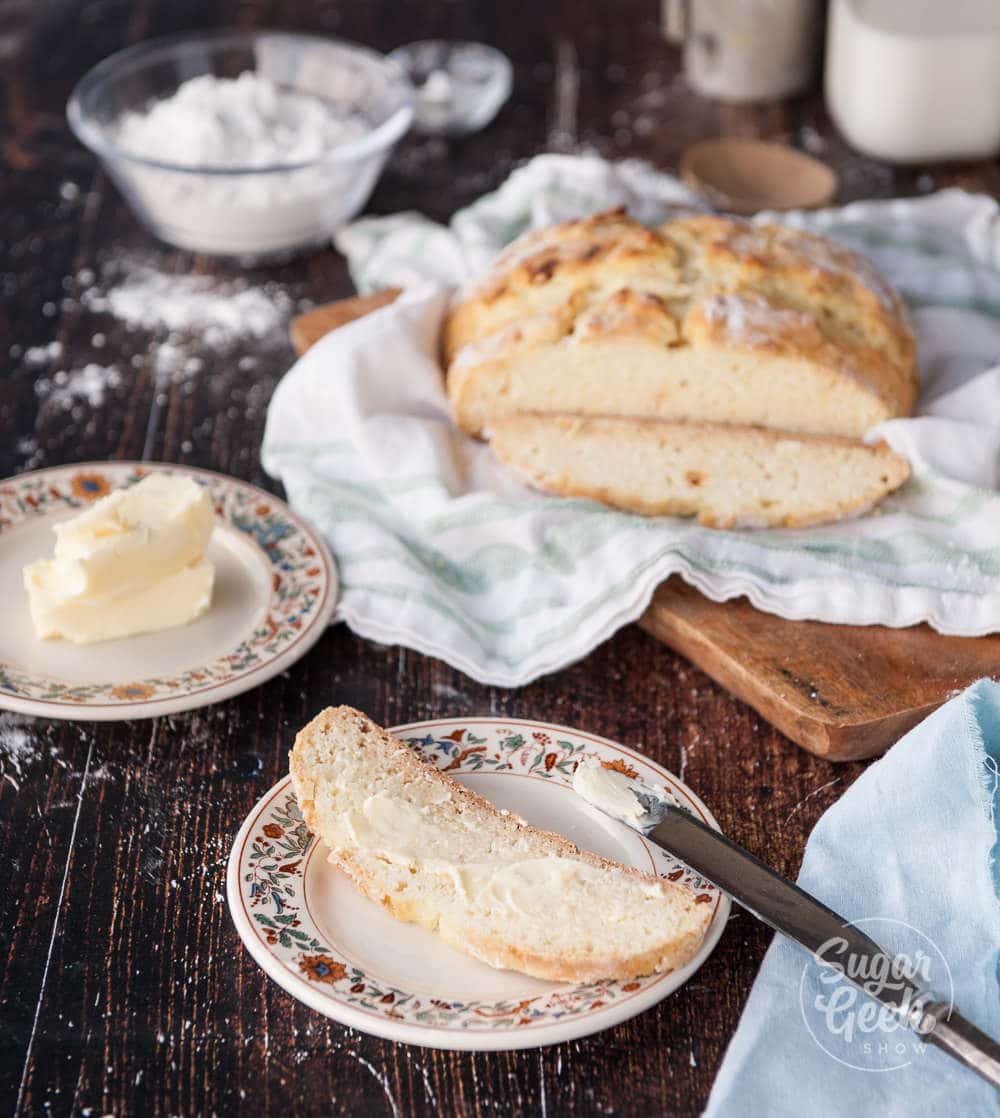
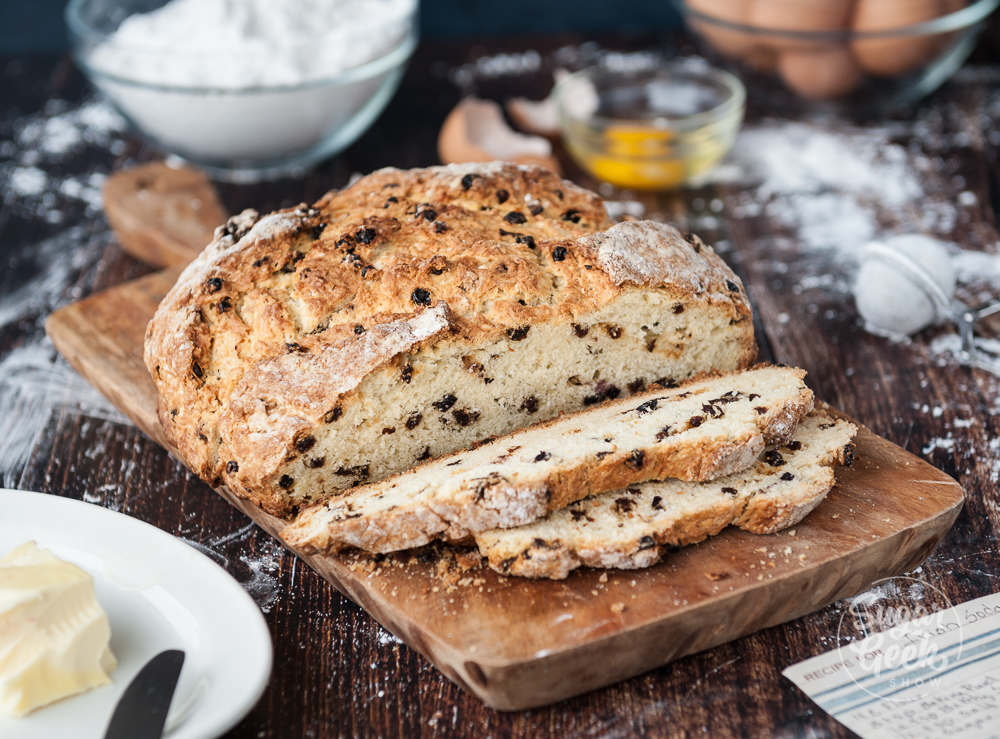
 If you want to add in any mix-ins like chopped chives, rosemary, bacon, ham, blueberries, nuts, raisins, now is the time. Or you can leave them plain and they'll be delicious!


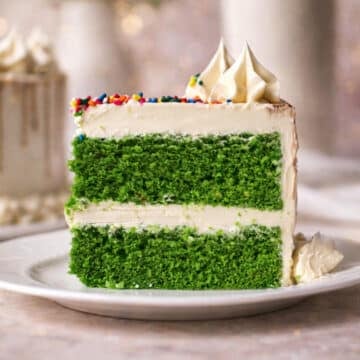
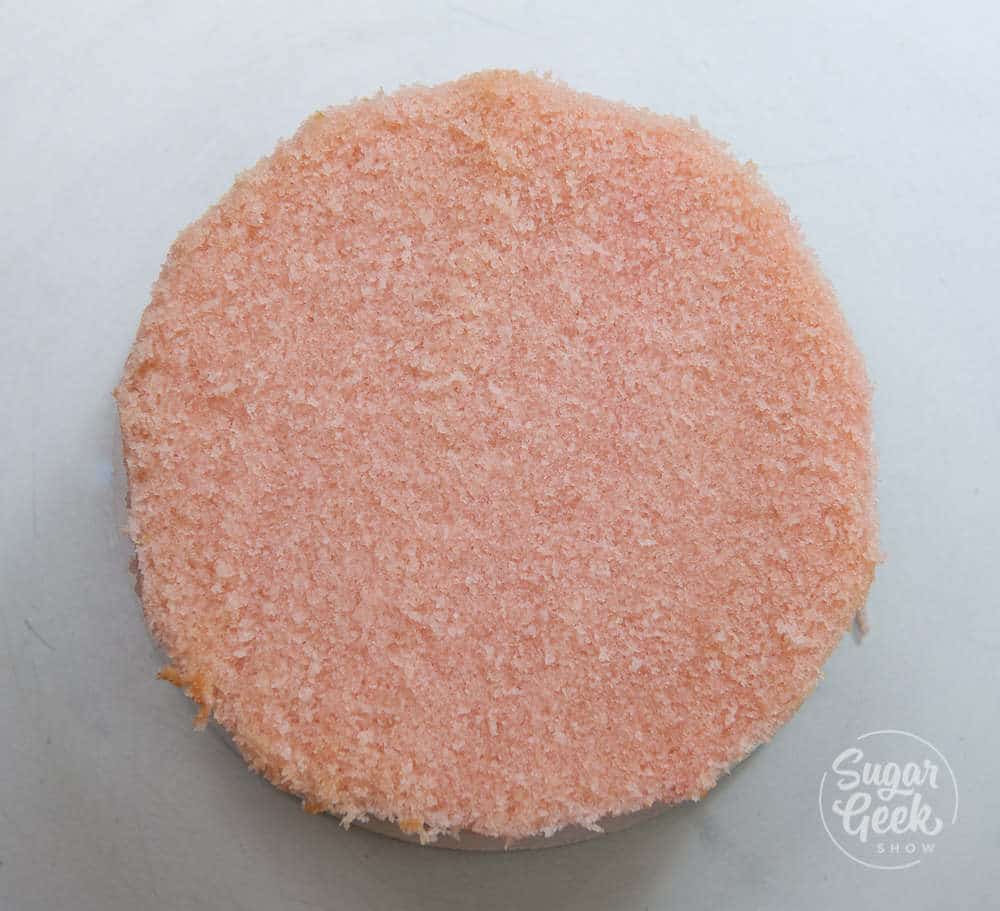
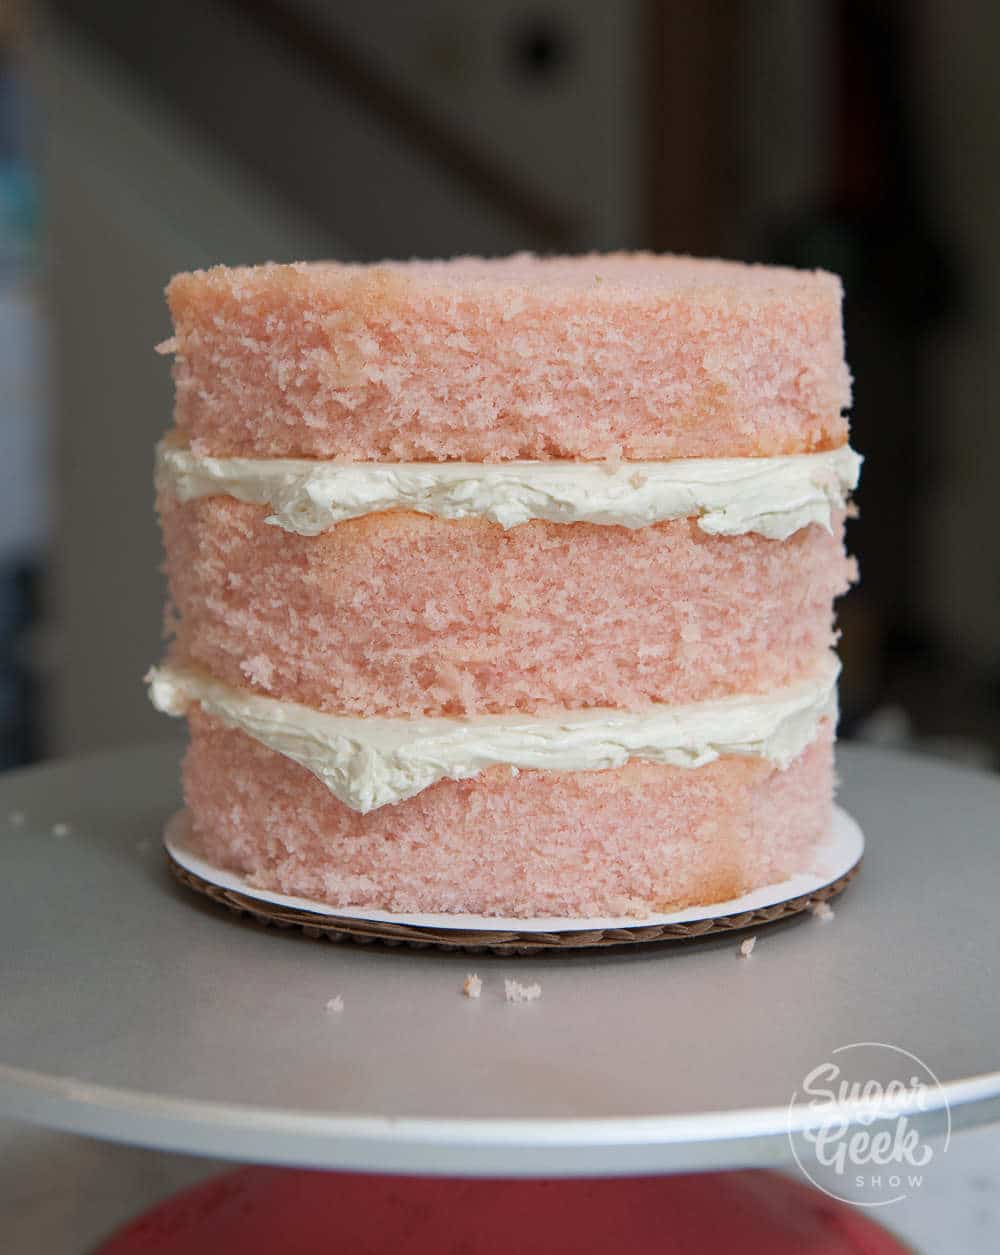
 I put my cakes into the freezer for about 30 minutes to firm them up before trimming off the dome, the brown sides, and the brown bottom.
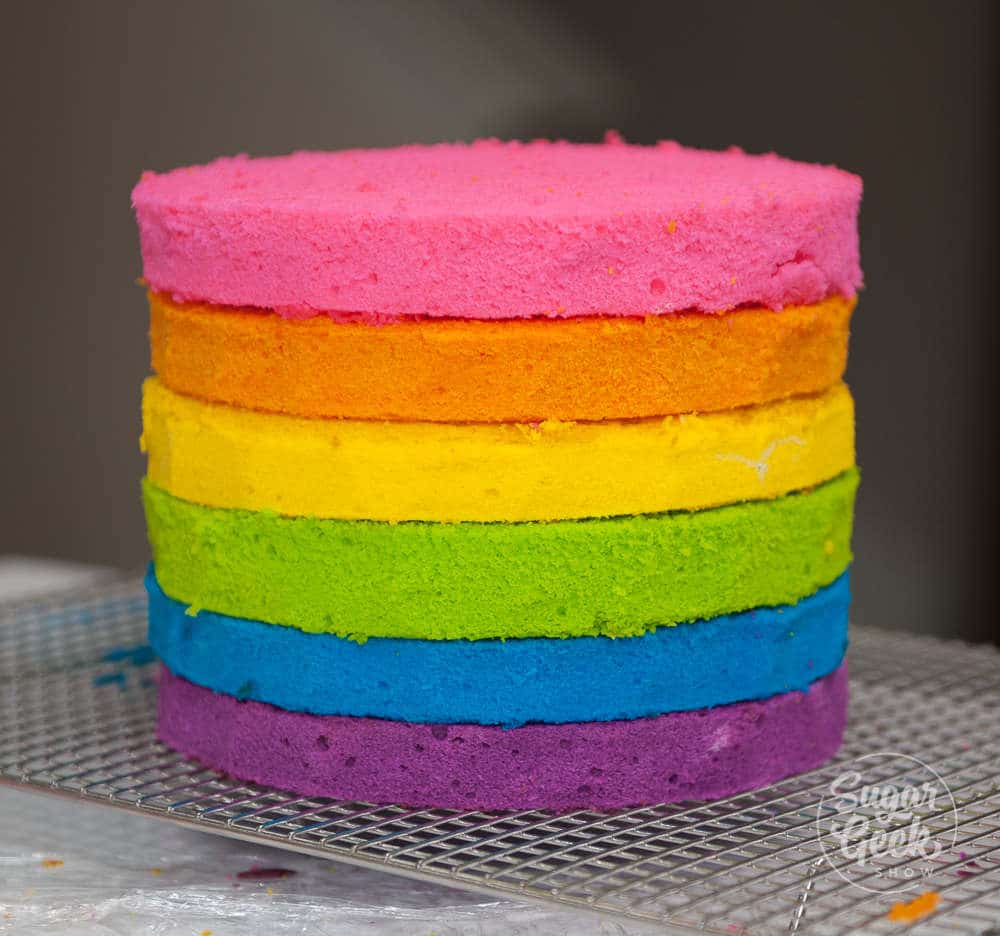


