
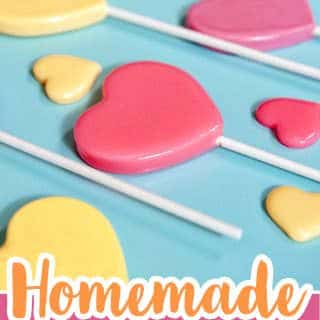
I love the holidays! It's the perfect excuse to make a treat like these heart lollipops! Every year for Valentine's Day, I make a tutorial for my YouTube channel. I've made countless mirror glaze cakes, marbled cookies, giant Hershey kisses cakes, golden drip cakes, cream tarts, and 24-layer chocolate cakes.
Be sure to check out my marbled lollipop cake and meringue pop cake if you want more lollipop projects!
This year I was inspired by a candy that I don't usually like to eat but is a Valentine's day icon. The conversation heart!
Funny enough, I bought a bag of these to use as a color reference and Avalon wanted to try one. I thought for sure she wouldn't like them but she really did! Must be a kid thing. I'm pretty sure I loved them when I was a kid too.
What ingredients do you need to make homemade heart lollipops
The ingredients for making your own heart lollipops are actually very simple.
Granulated Sugar - the main ingredient in lollipops is sugar of course!
Corn Syrup - Also a type of sugar, but it helps keep the lollipops from crystallizing
Distilled Water - Important for keeping your lollipop mixture from turning yellow. I got a gallon for $1 at my grocery store.
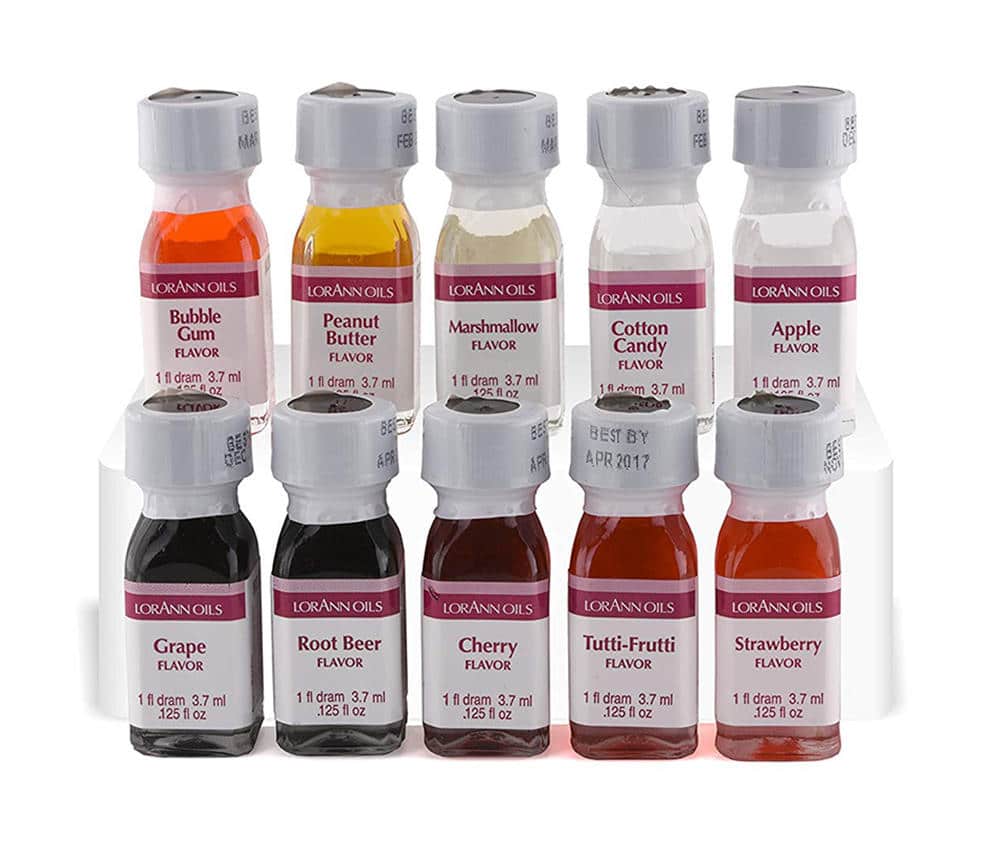
Candy Flavoring - Very important unless you want your lollipops to just taste like straight sugar.
Liquid Food coloring - I find that regular liquid food coloring works best (not gel)
White Food Coloring - A drop of white food coloring makes the lollipops opaque. Leave this part out if you want them to be clear.
Citric Acid - Adds a bit of tartness to your candy. Totally optional.
What Equipment And Tools Do You Need To Make Heart Lollipops?
To make candy, we're going to need a few supplies. You can purchase these online or in the candy decorating aisle at stores like Michaels or Joanns.
- Stainless steel pot with a heavy bottom to evenly distribute heat
- Candy thermometer
- Lollipop sticks
- Silicone Heart Mold
- Culinary torch
- Silicone gloves for protecting your hands
- Large bowl filled with ice and water
- Three silicone bowls for mixing
How do you make the lollipop candy?
Making the heart lollipop candy is super simple. Most of the time is spent waiting for the sugar to reach the correct temperature.

Place your sugar, water and corn syrup into a medium-sized saucepan. Cover it with a lid and bring to a boil over medium-high heat. Leave the lid on for 5 minutes to ensure all the sugar granules dissolve then remove the lid. Do not stir your mixture at all, this can cause crystallization.
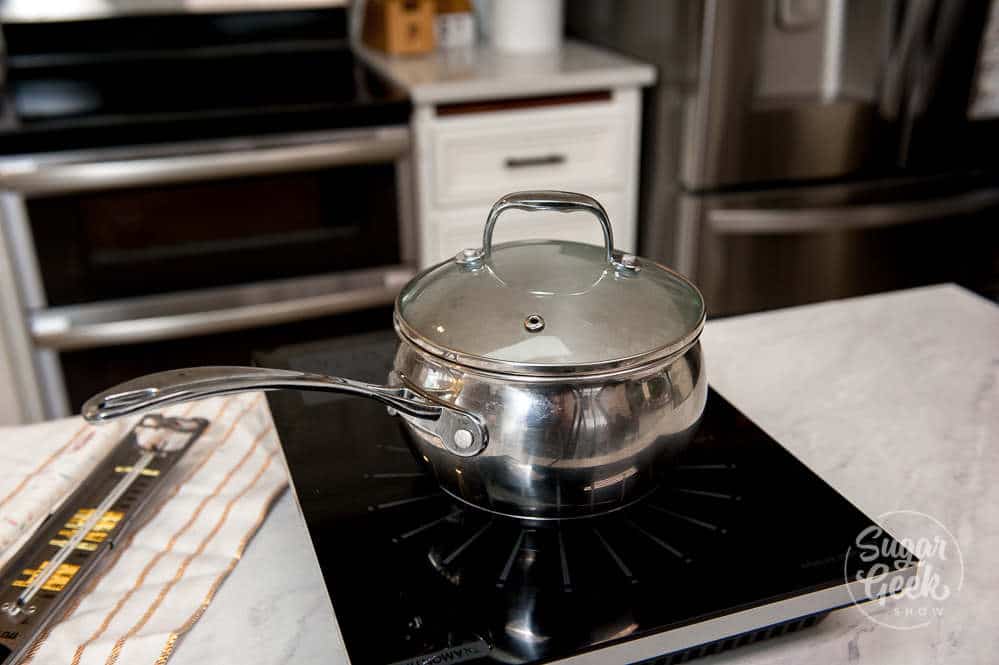
Reduce the heat to medium and insert your candy thermometer to the side of your saucepan. Continue to let the lollipop mixture cook (without stirring) until the thermometer reaches 300ºF which is the hard crack stage.
Immediately take your saucepan off the heat and immerse the bottom of the pan into the bowl of ice water to stop the cooking process. Stir in your citric acid if desired. Your lollipop candy is now ready to be flavored and colored!
How to make the heart lollipops
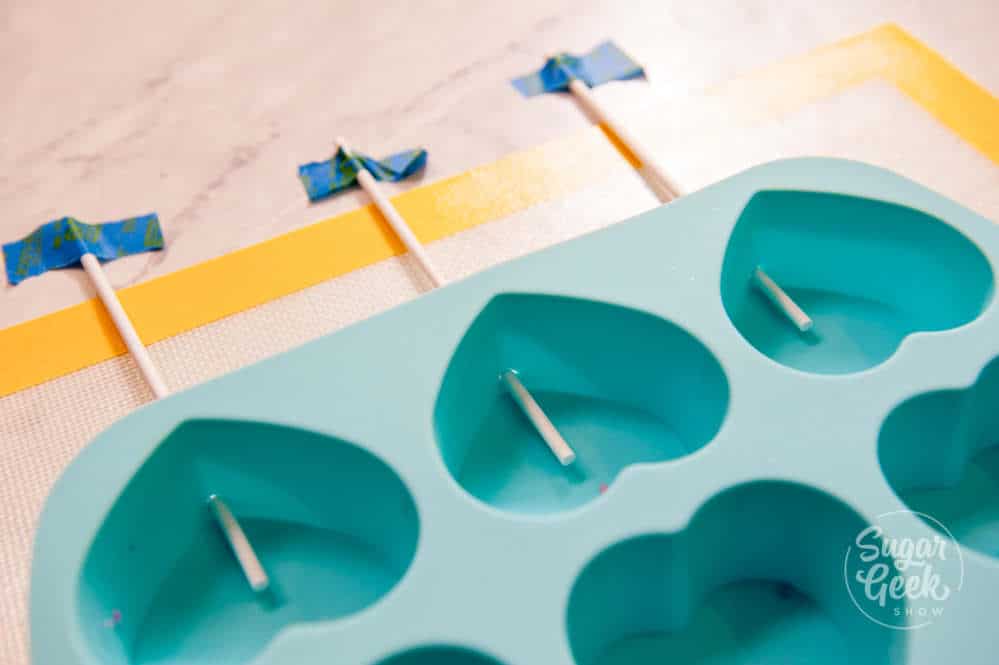
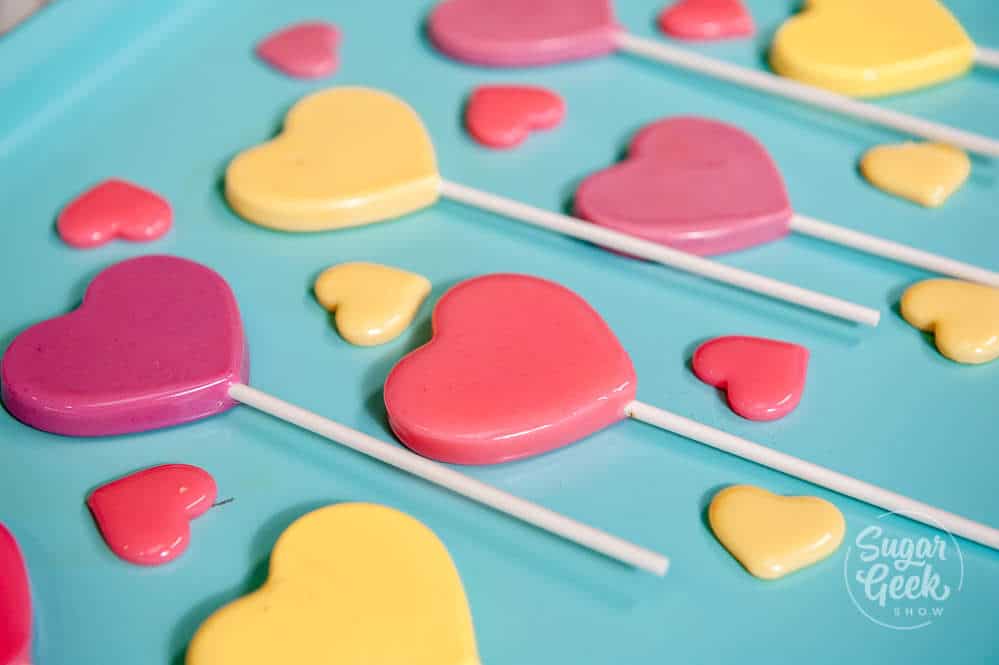
Use an x-acto blade to poke a small X into the base of each heart, about ⅛" from the bottom to make room for the lollipop stick. Insert a lollipop stick into each hole and push the stick into the mold about halfway. Make sure the lollipop stick is not touching the bottom of the mold so the candy can reach all sides. I taped down the sticks to make sure they stayed straight.
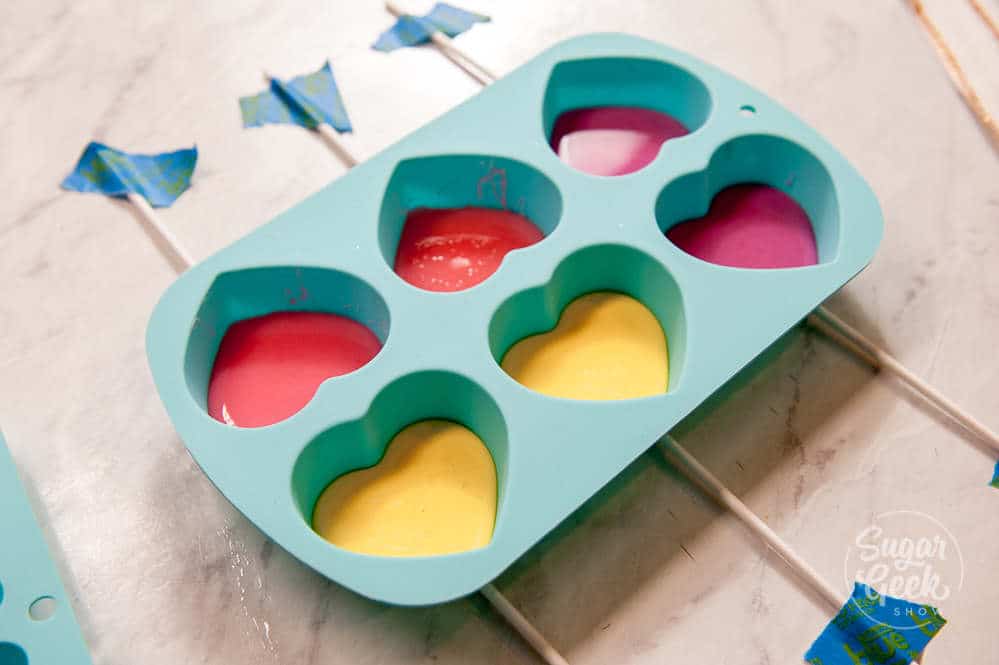
Divide your candy into three silicone containers. Add in a drop of white food coloring and regular liquid food coloring and then one dropper full (about ¼ teaspoon) of flavoring into the bowl and then stir with a lollipop stick.
If your sugar get's too cold, just put it in the microwave for 10 seconds to warm it up again. Make sure you wear your gloves to avoid getting any sugar burns.
Pour your sugar into the prepared mold just until the top of the stick is covered.
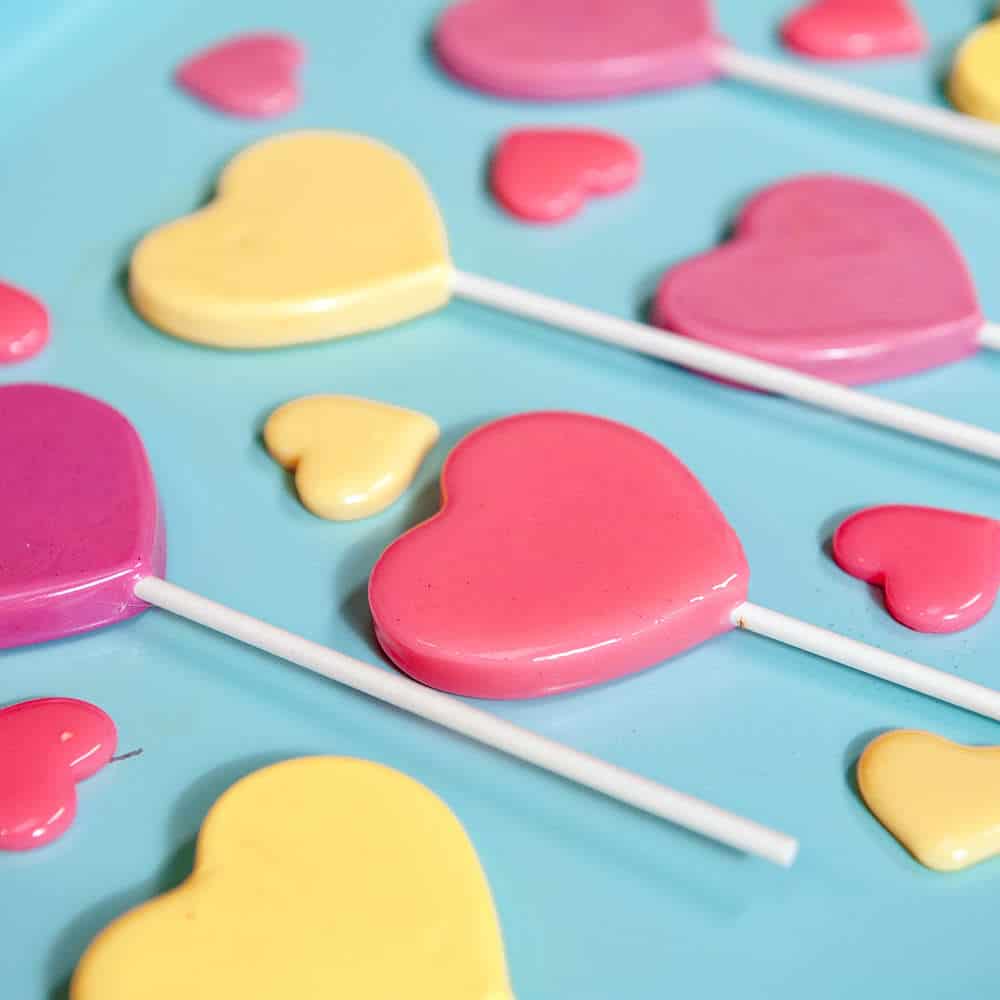
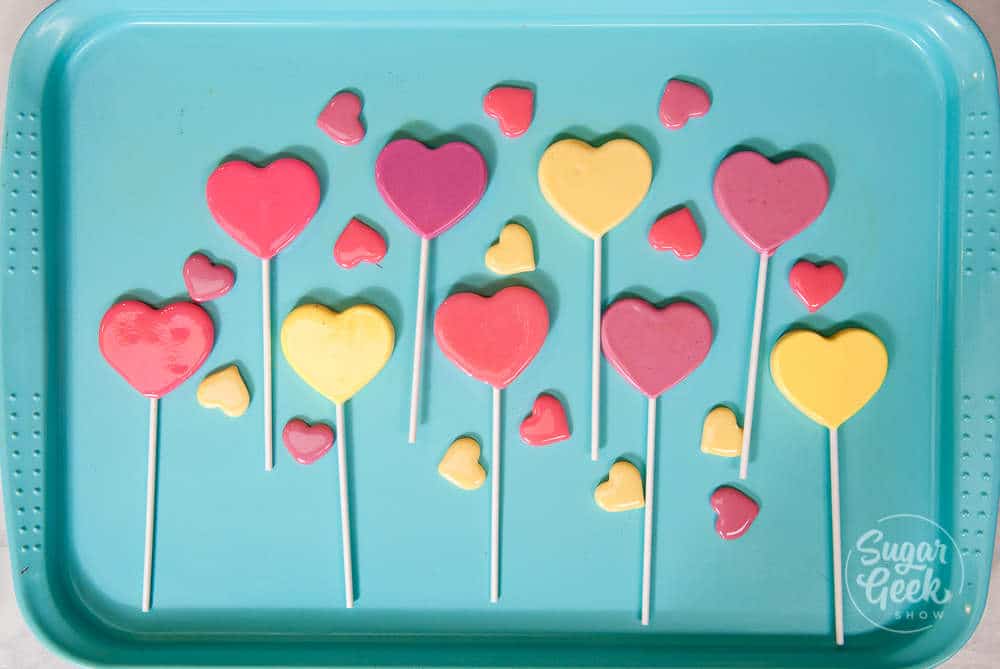
Let the heart lollipops cool down completely before unmolding them. I used my creme brulee torch to make the backside of the heart shiny.
Immediately place the heart lollipops into wrappers to keep them from getting sticky or use them as cake toppers! They will get a little sticky and this is normal.
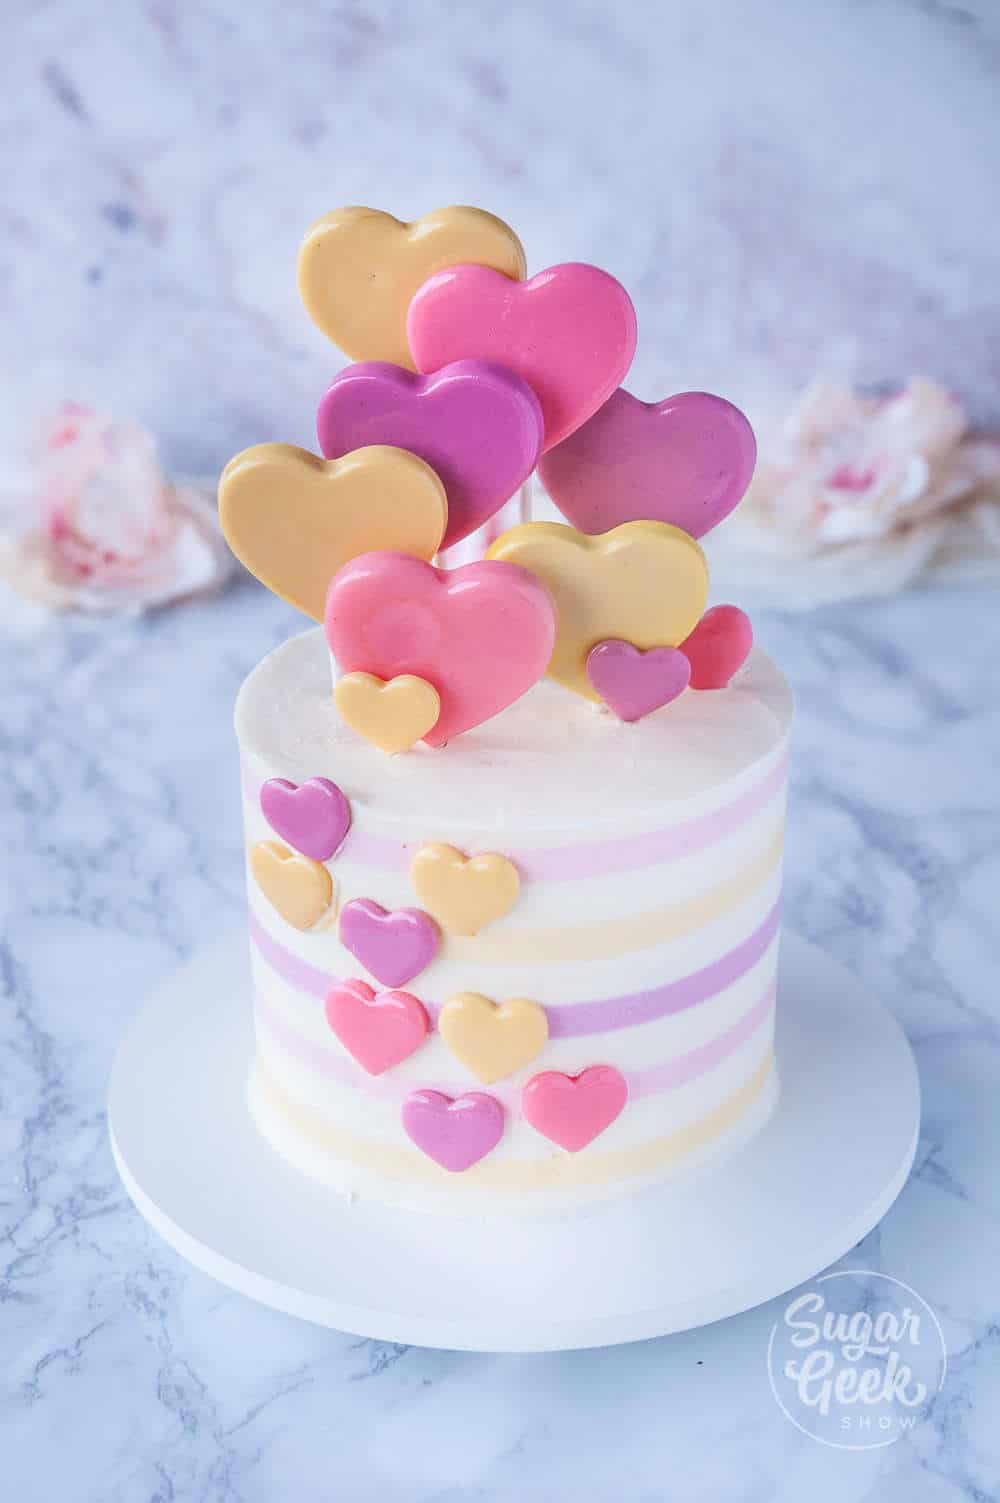
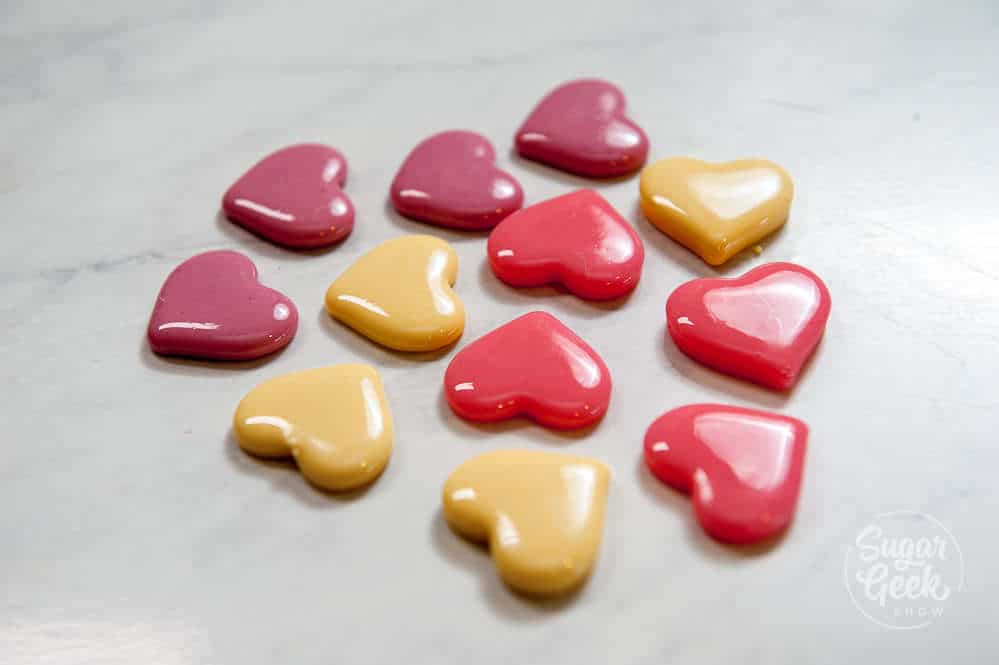
I also used the leftover lollipop sugar to make these little candy hearts!
Recipe
Equipment
- Candy Thermometer
- Kitchen Torch (optional)
- Silicone Heart Mold
Ingredients
Lollipop Recipe
- 16 oz granulated sugar
- 10 oz corn syrup
- 4 oz distilled water (or bottled)
- 1 ½ teaspoon candy flavoring
- white food coloring
- liquid food coloring (optional)
- 1 teaspoon citric acid
Instructions
- Prepare your lollipop mold by poking a small x in the base of the heart mold (see blog post for photo example) and inserting lollipop sticks.
- Combine sugar, corn syrup and water in a heavy-bottomed, stainless steel pot over med-high heat. Bring to a boil
- Cover the mixture with the lid and let condensation build for 5 minutes (this helps to wash the sugar off the sides of the pan). Remove lid and reduce heat to medium.
- Insert candy thermometer and let mixture cook (do not stir) until it reaches 300ºF.
- Remove mixture from heat and stir in citric acid
- Divide the mixture into three silicone bowls and add ½ teaspoon of flavoring to each bowl and then the desired amount of food coloring. I did one drop each of white and liquid food coloring per bowl. Stir until combined.
- If your sugar gets too hard, microwave it to soften for about 10 seconds. Then pour into your prepared lollipop molds and let harden before removing them.
- Torch the backside of the lollipops with a creme brulee torch to make them shiny then wrap in lollipop packaging or use as a cake topper. Lollipops will be sticky.


TP says
Love the video and will be trying this for Valentines Day! Also,where did you get your gloves from?
The Sugar Geek Show says
These are nitrile gloves, I get them online
Lena says
Hello can we replace corn syrup with glucose?
The Sugar Geek Show says
Yes you can
Lori-Jean Kjartanson says
Love them Liz. The idea of poking a hole into the was awesome as I had some molds I never used because there weren't any holes. I use gel colors because I have so much of it but like you said, mix the gel with a bit of water prior to starting your candy works wonderfully. ?
The Sugar Geek Show says
Thanks for the tip! you rock!