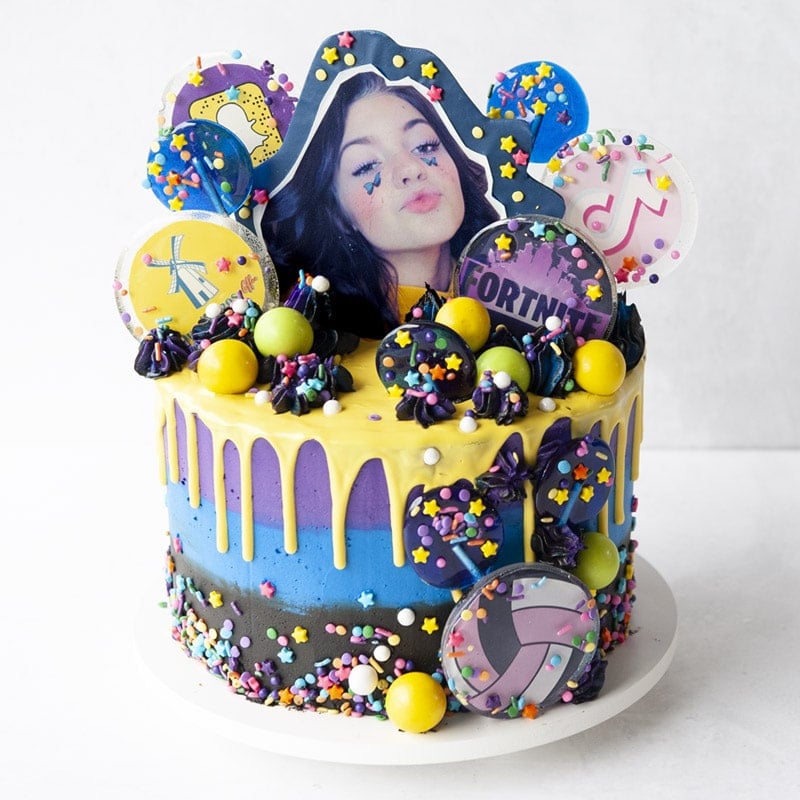
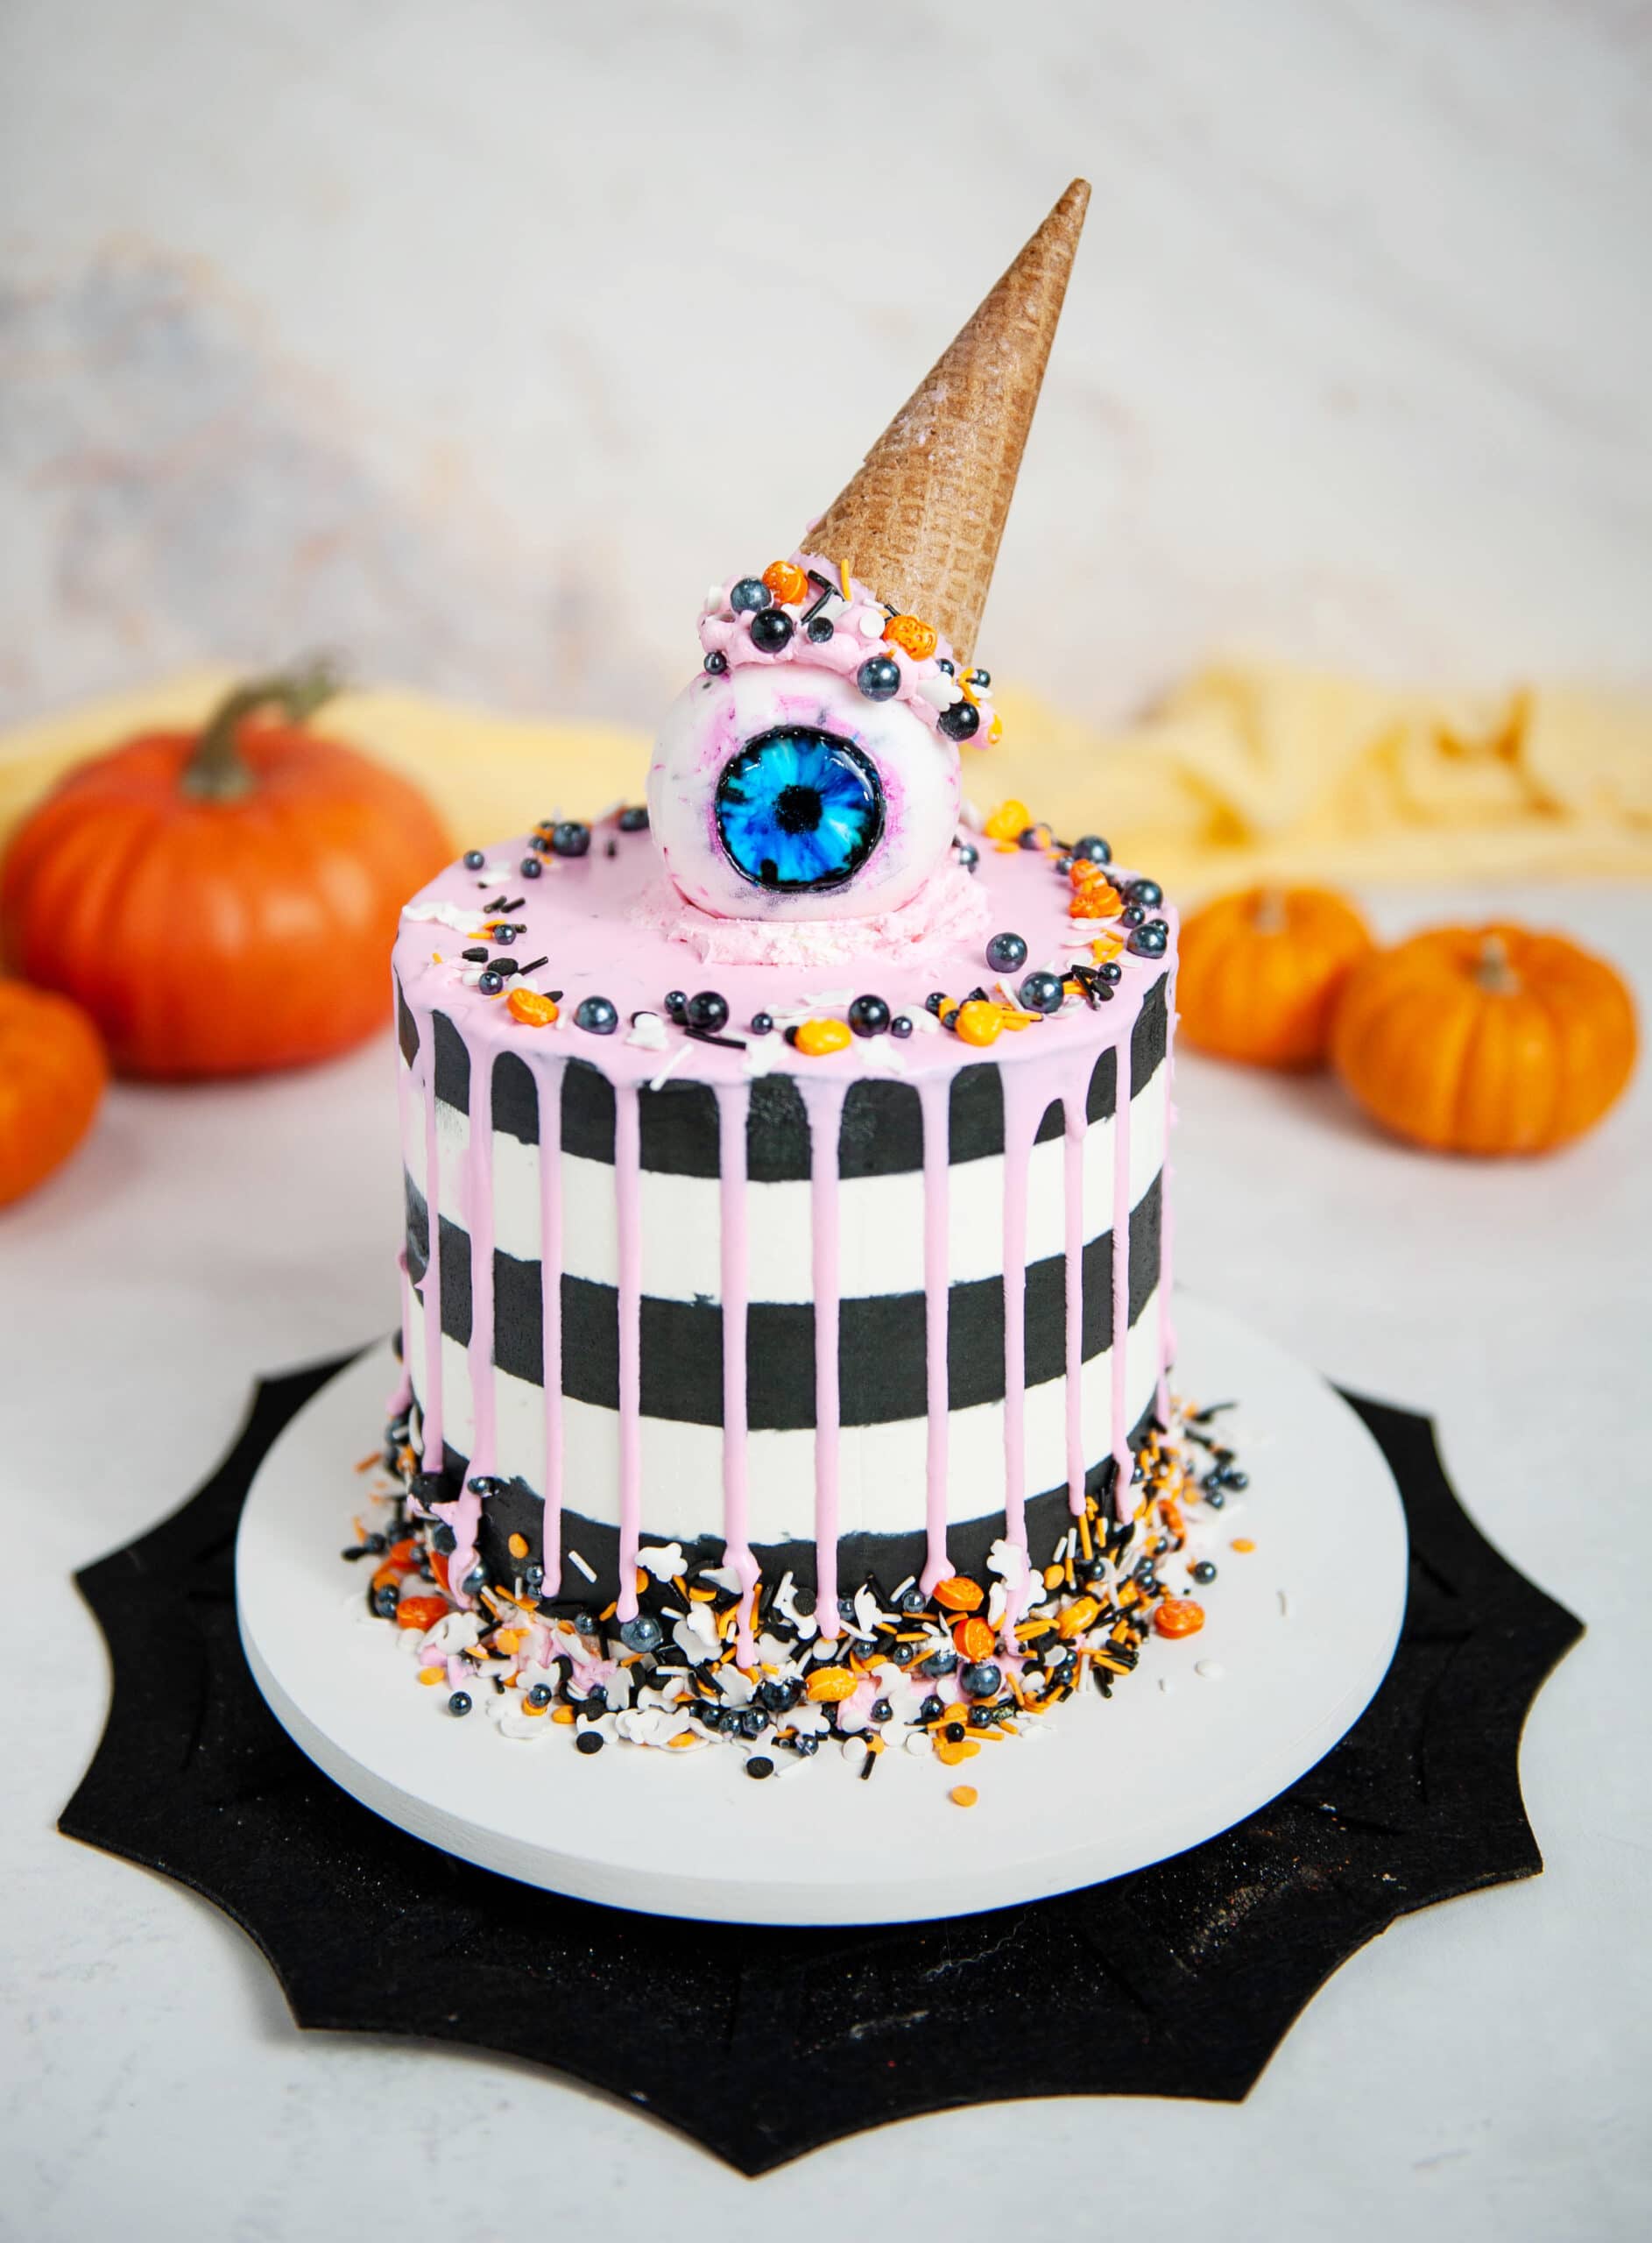
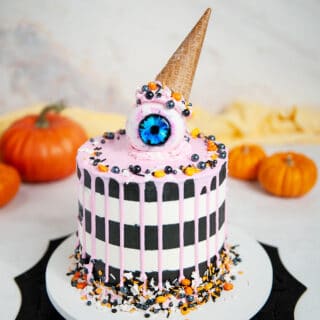
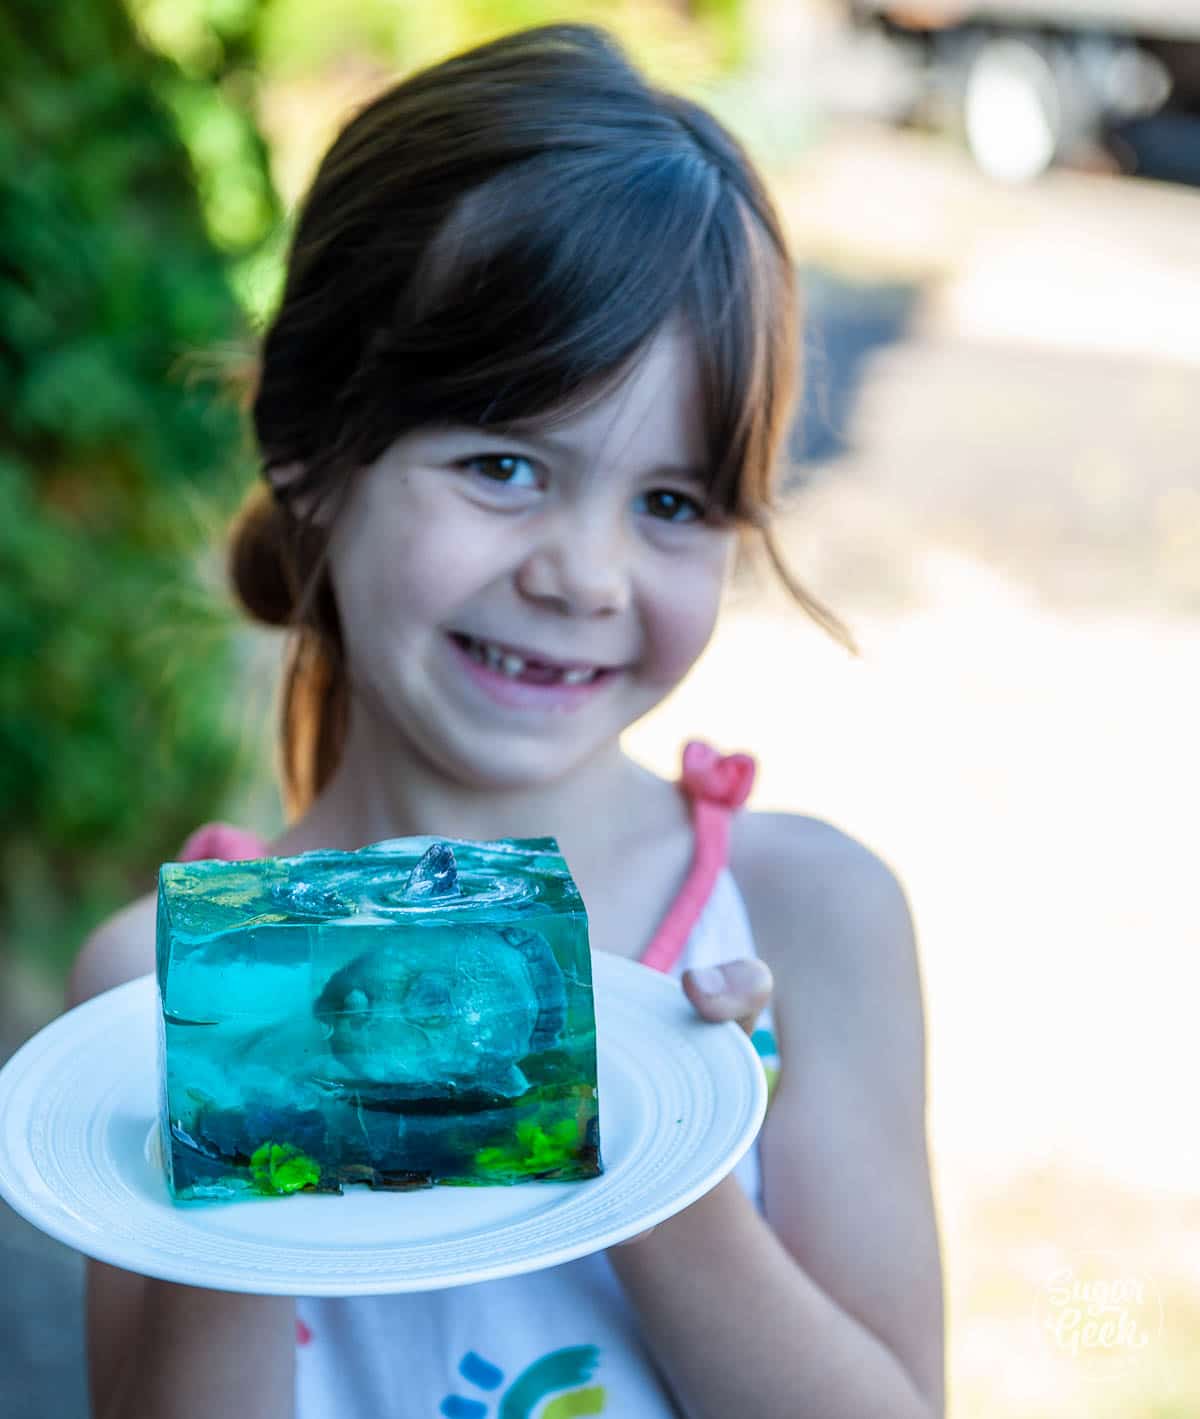
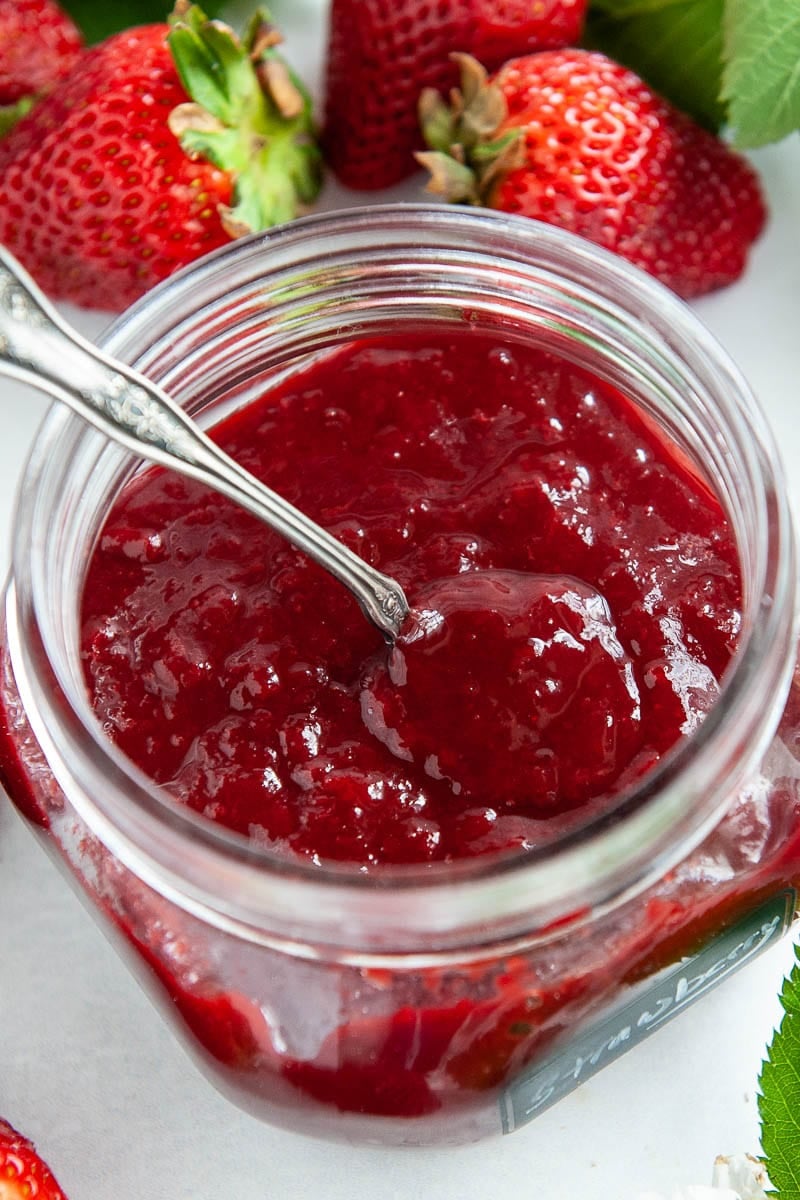
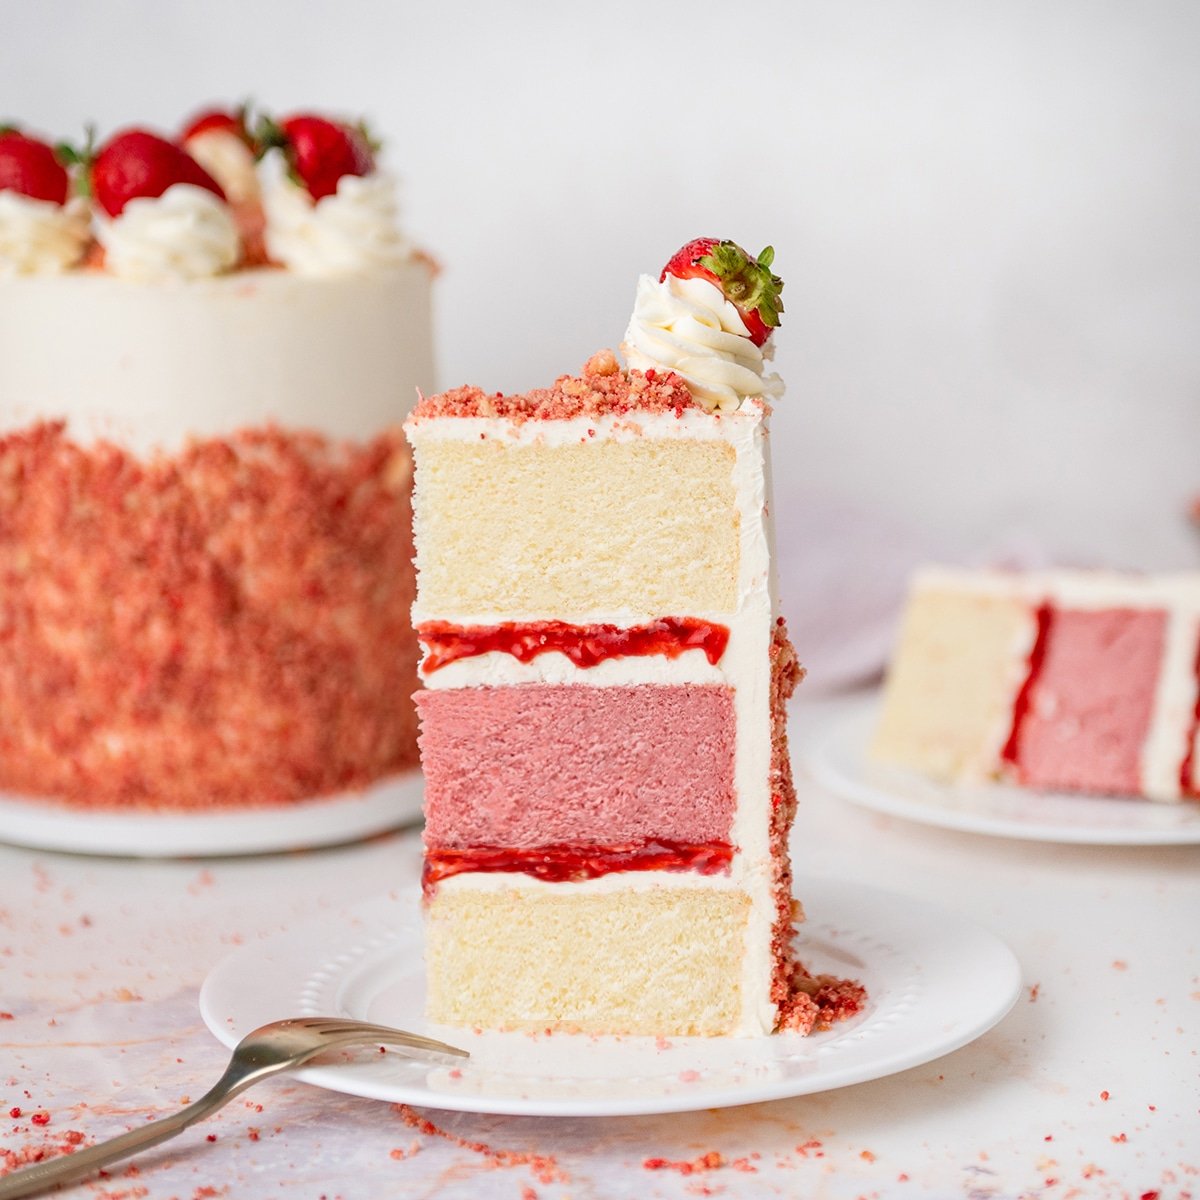
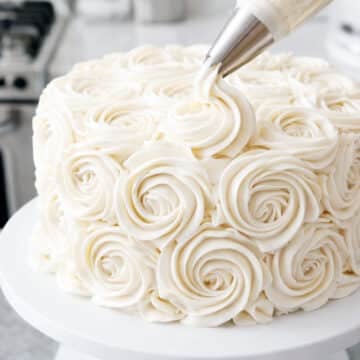
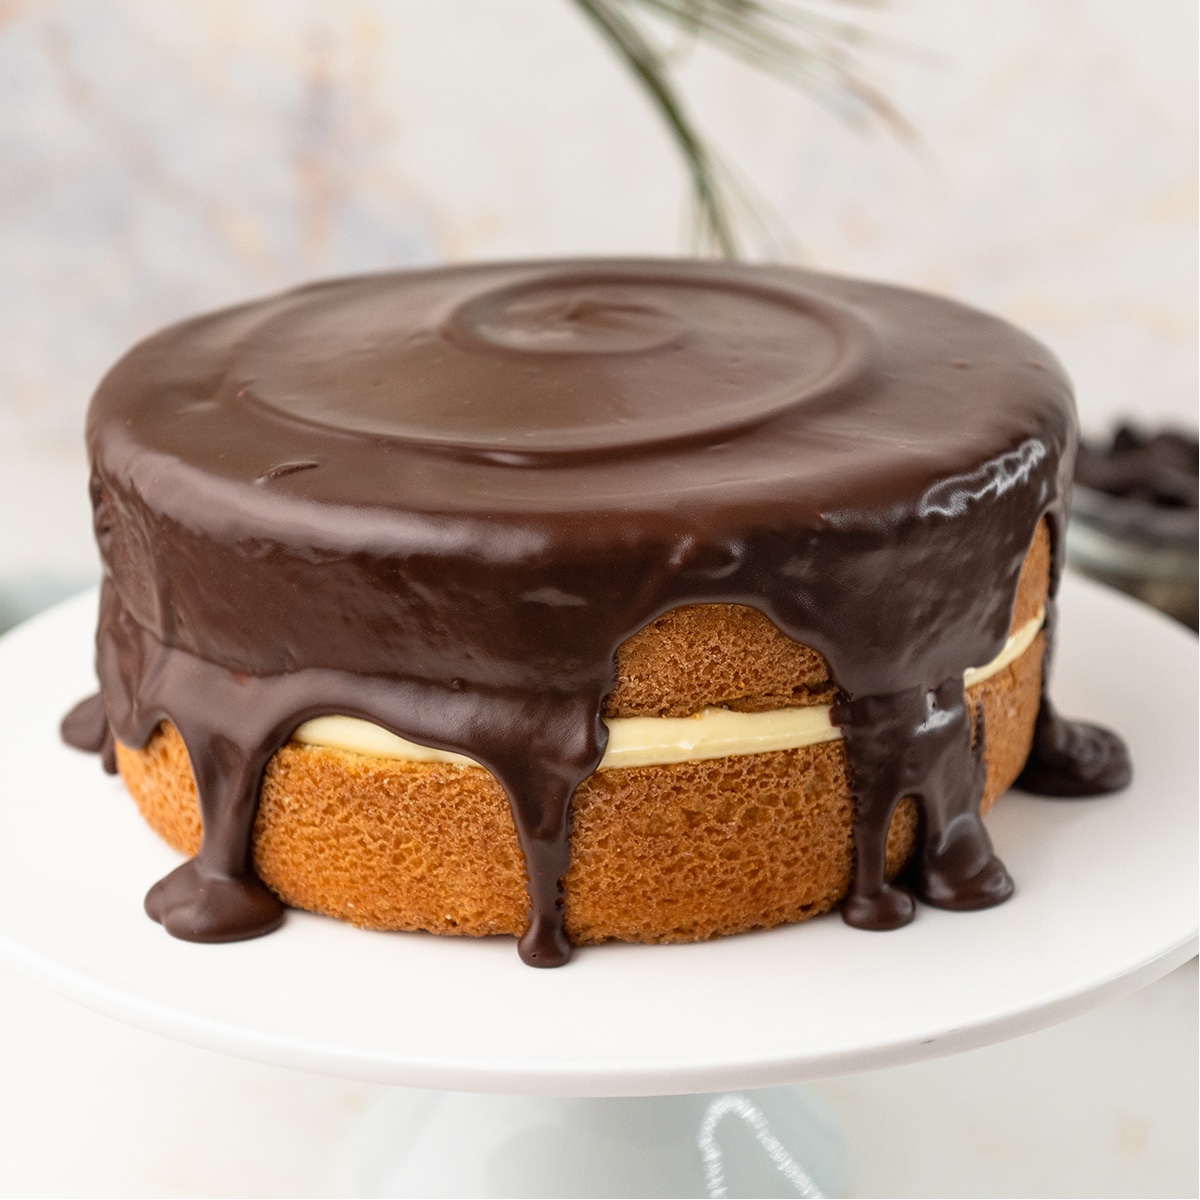
Happy almost Halloween! I made this fun EYE-scream cake (you see what I did there) just so I could make a giant gummy eyeball! This is an updated recipe and tutorial on how I make my gummy eyeballs!
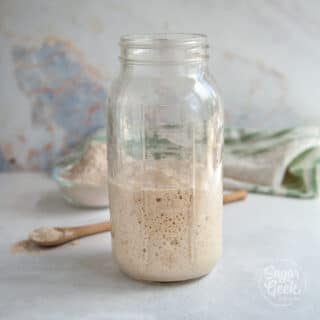
Watch the video below to also learn how to make black buttercream, and how to make buttercream stripes. For the cake recipe, I used my pumpkin spice cake recipe!
Gummy eyeball ingredients
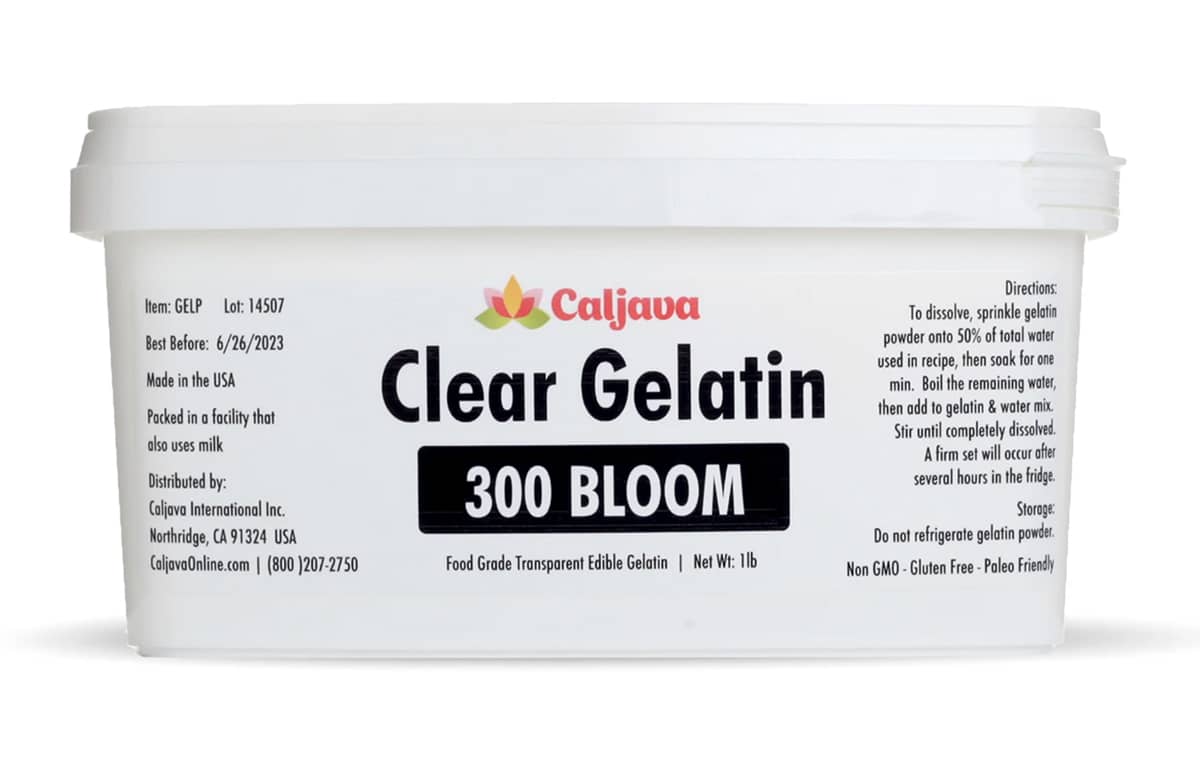
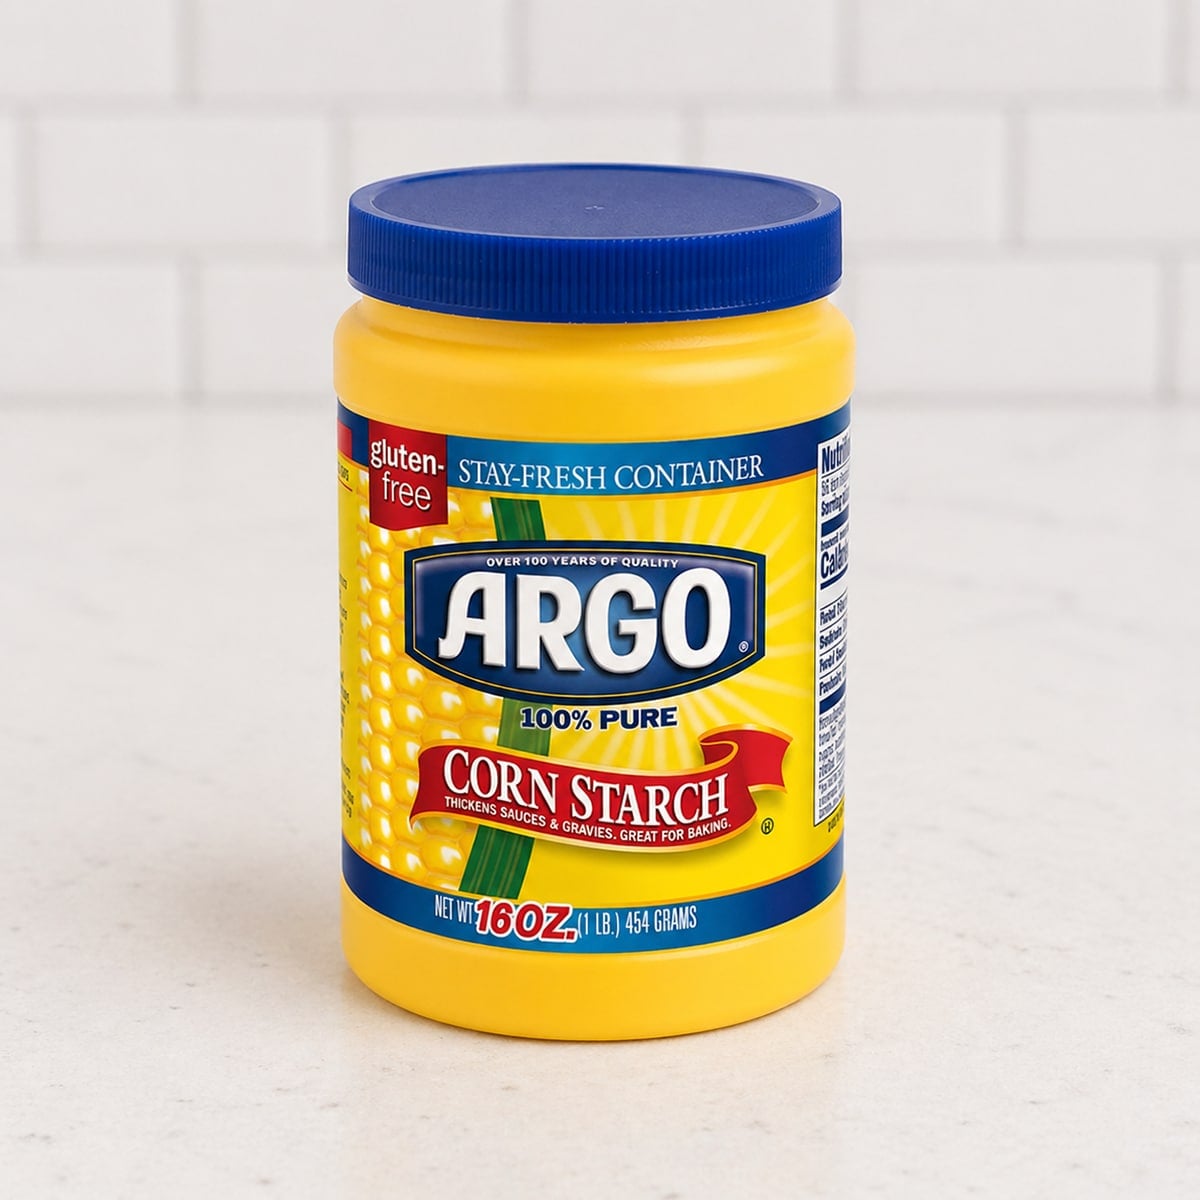
The most important ingredient for making gummy eyeballs is gelatin. I like to use super clear gelatin but knox gelatin will also work.
You can flavor your gummy eyeballs with any kind of extract you like! I like to use fruity flavors like strawberry, orange, apple, raspberry or pineapple. The citric acid makes the gummies a little sour which tastes really yummy.
If you want your gummy eyeballs to have the texture and shelf life of a real gummy bear, you can use my gummy bear recipe in place of the gummy eyeball recipe.
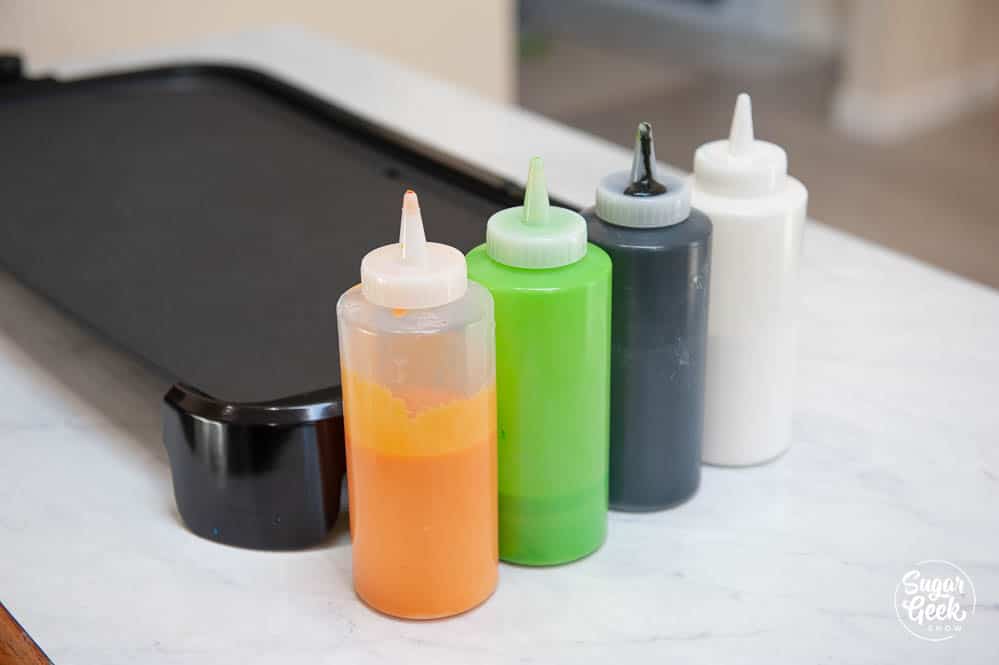
You will also need some food coloring. White for coloring the eyeball (or you can use some milk), blue for iris and black for the pupil. I used Americolor food coloring gel. Electric blue and super black.
Gummy eyeball tools
I use an updated recipe that tastes delicious and is easy to customize to any flavor. I used a sphere mold from the Chicago School of Mold Making for my eyeballs but you can use any sphere mold. I especially love the sphere ice molds because they are inexpensive.
For painting, I like to use a fine detail brush. That's it!
How to make gummy eyeballs
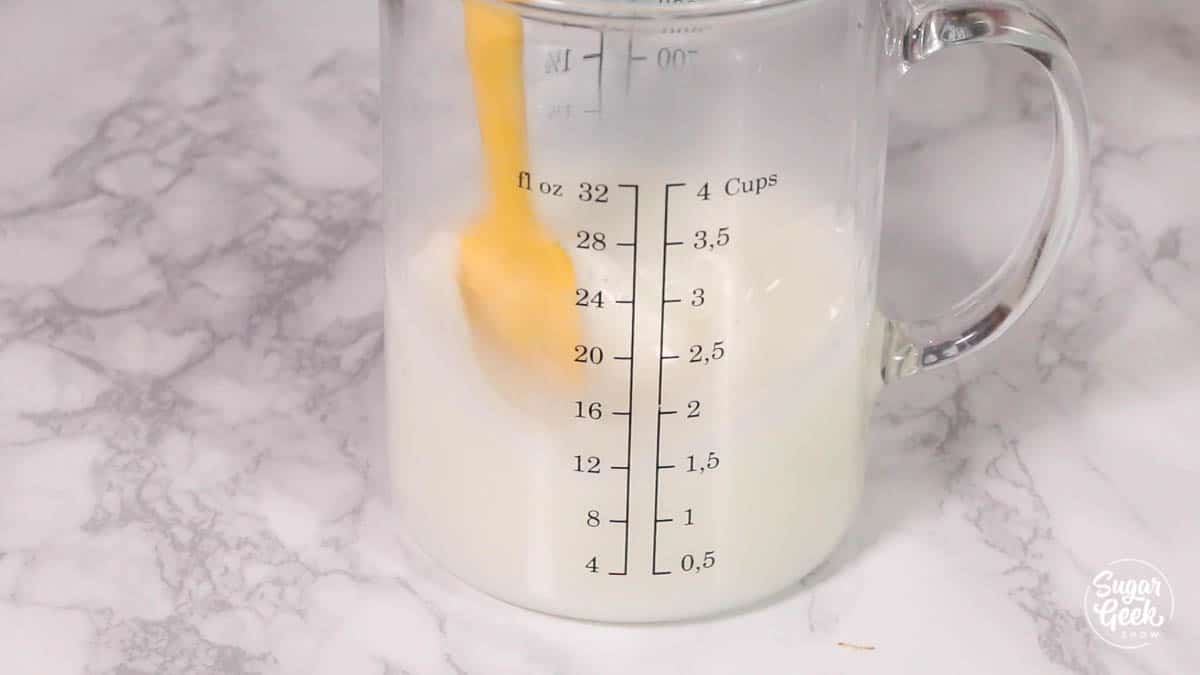
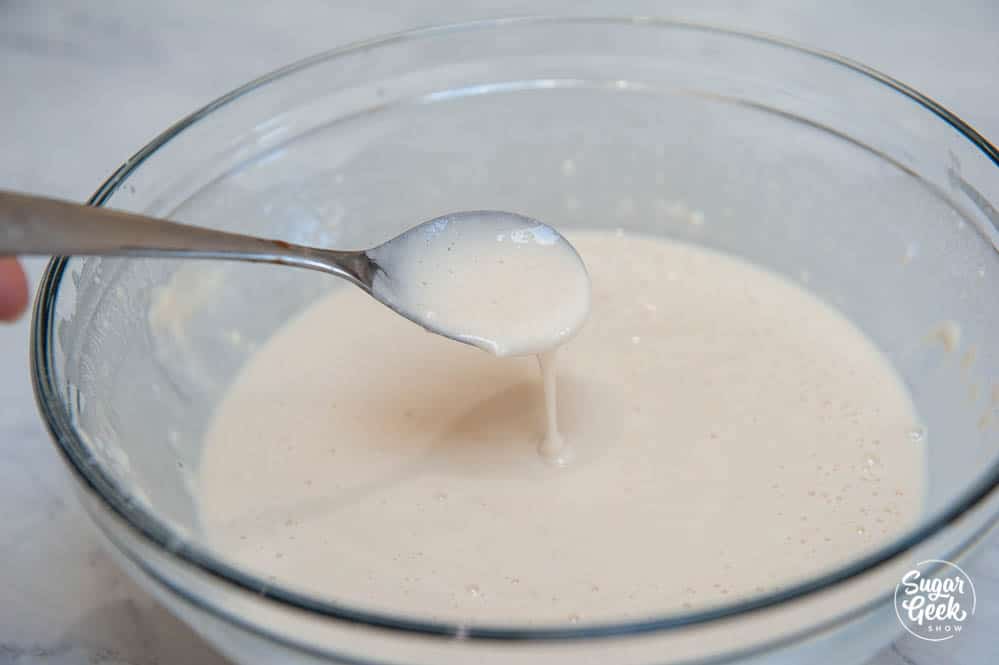
Step 1 - The first thing you need to do is make your gummy eyeball recipe. Reserve about ⅓ of the recipe for the clear iris. Color the rest with a few drops of white food coloring.
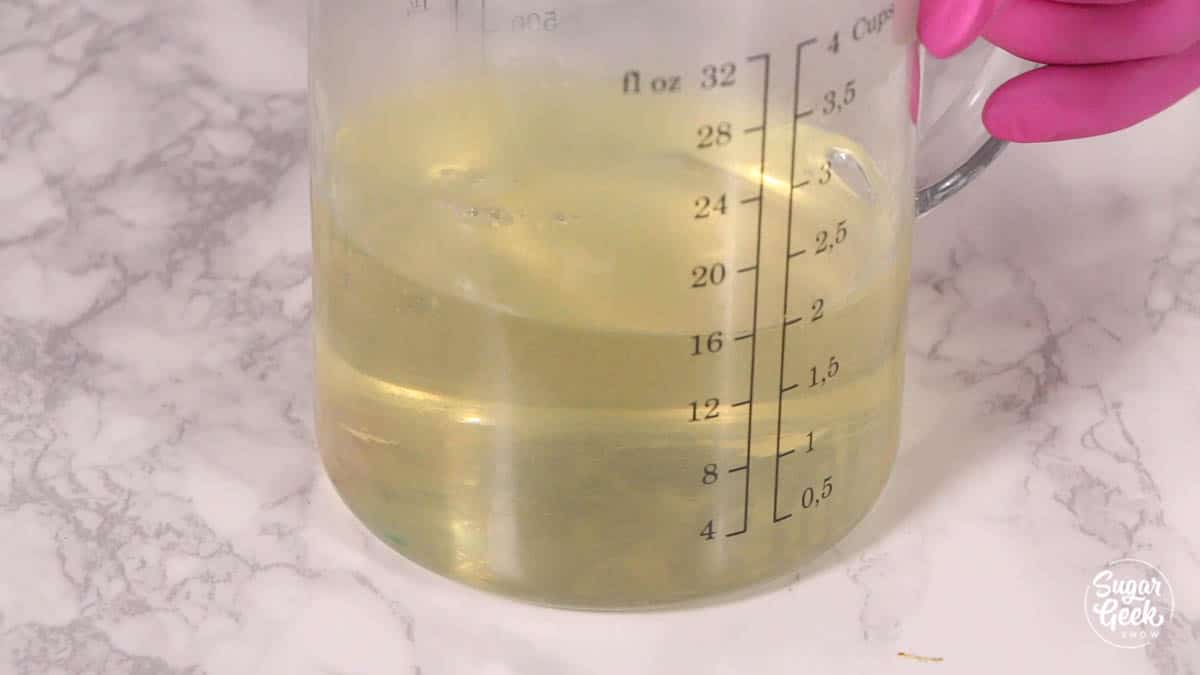
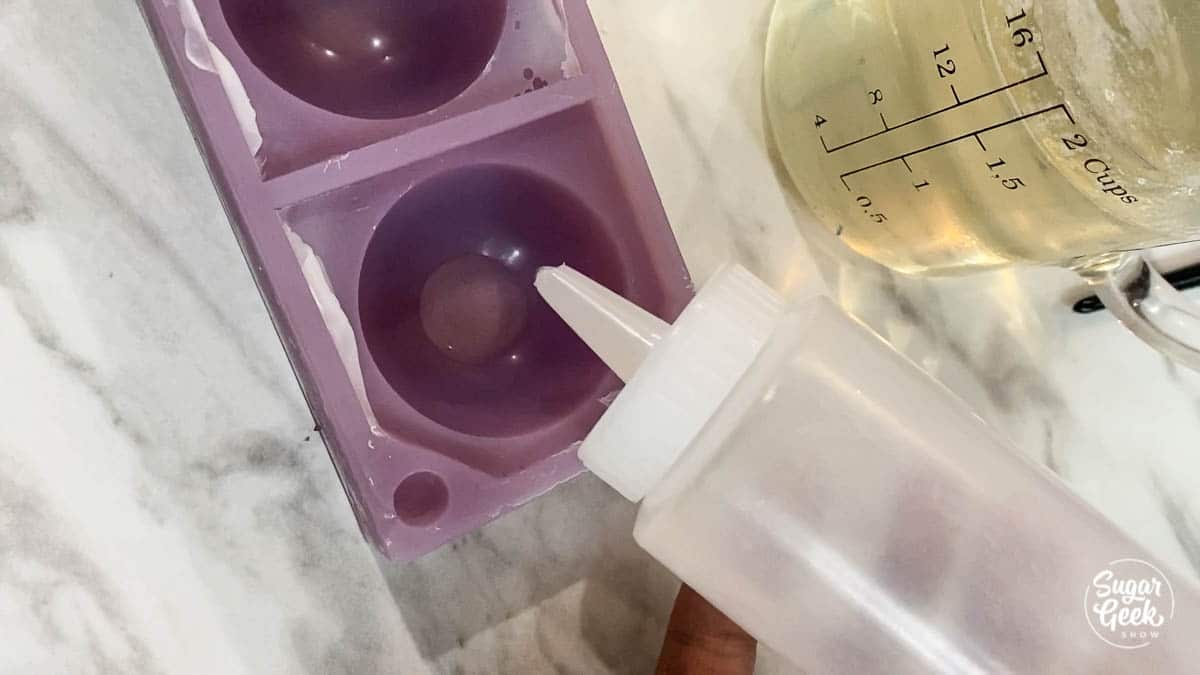
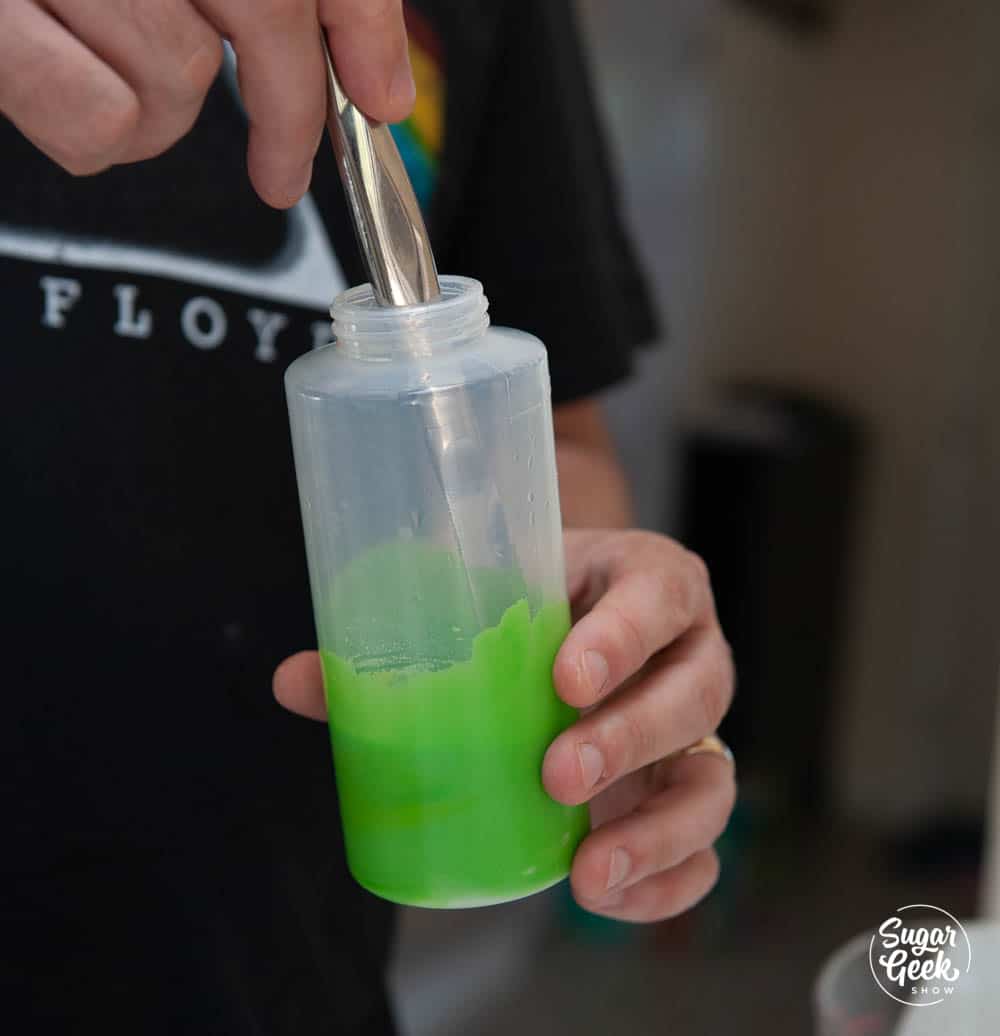
Step 2 - Make the Iris. Make sure the clear gelatin is not too hot for this part. It should be melted but not hot feeling at all (about 90-95ºF is ideal). Place a few drops into the bottom of the mold to make the iris. Depending on the size of the mold it could be the size of a dime or it could be the size of a quarter. It's up to you. You can use a spoon, a squeeze bottle or just carefully pour from your measuring cup. If you mess up just wait for it to set up and peel it back out and try again.
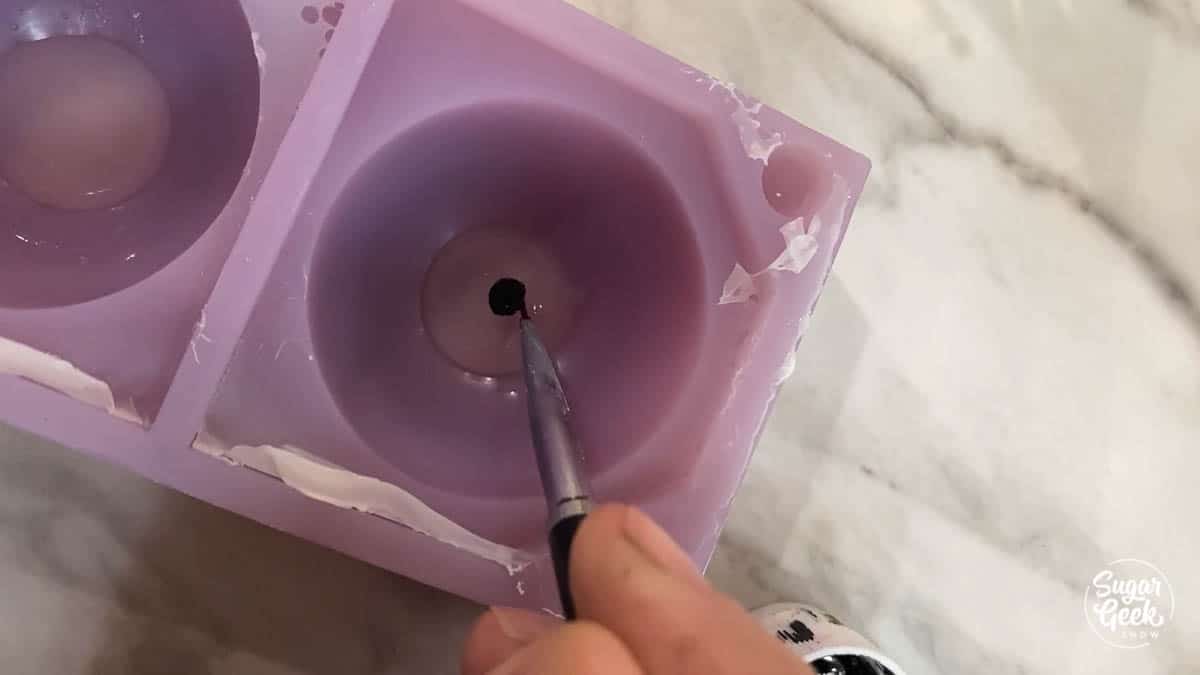
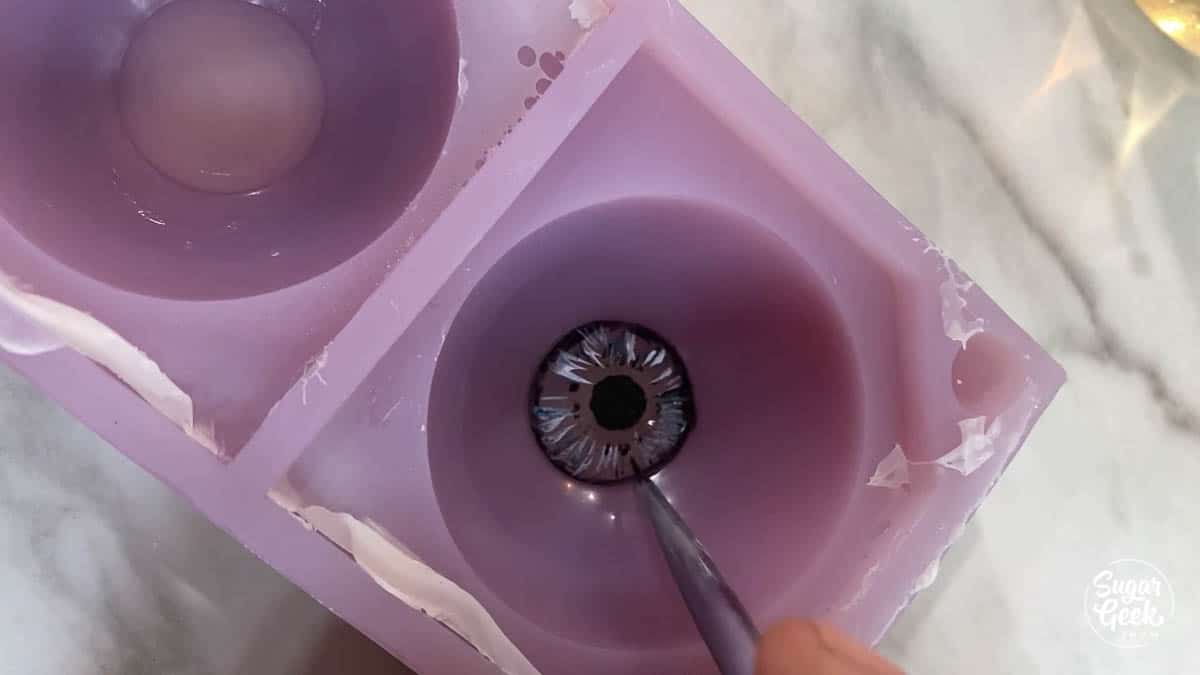
Step 3 - Once the clear gelatin sets up, use your fine-tipped paintbrush to paint in the pupil (black dot in the center). Try to center it the best that you can and paint a simple circle.
Step 4 - Add a few dots and lines with the black around the iris (colored part of the eye), very lightly.
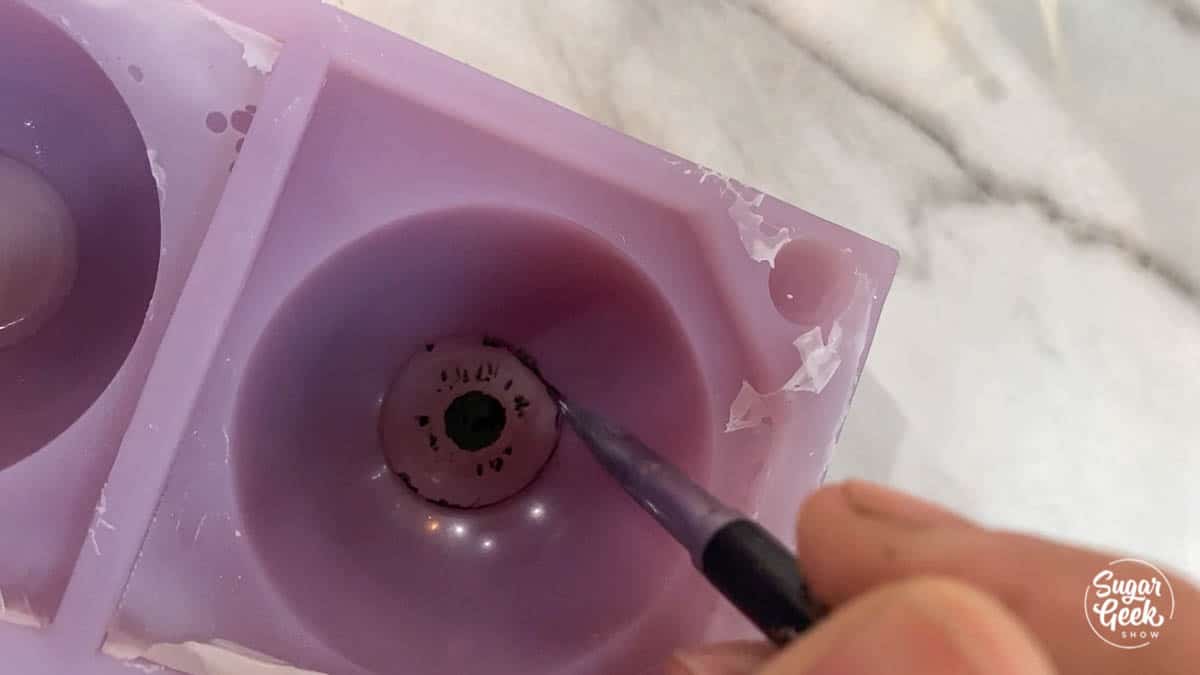
Step 5 - Outline the outside of the iris very lightly with more black food coloring.
Step 6 - Use a combination of colored food coloring (like blue, brown, green etc) and white food coloring to put in some lines radiating out from the pupil until the clear is completely covered. Try not to mess up your pupil.
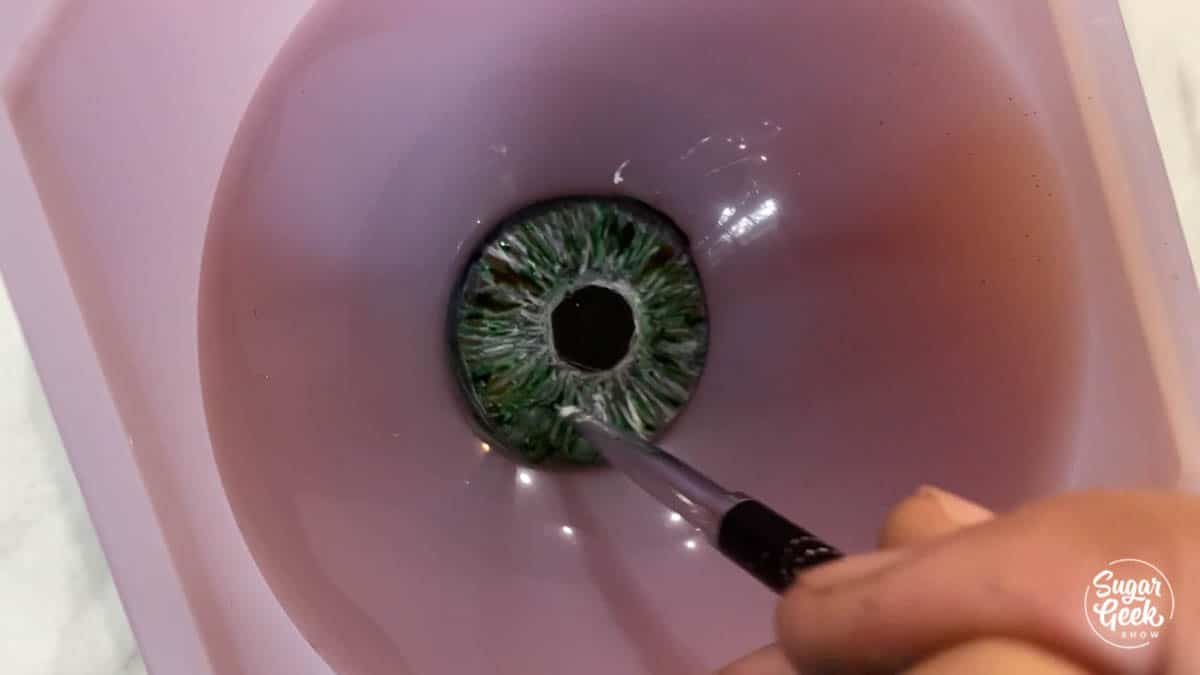
Step 7 - Let the food coloring dry for 20 minutes (or more). If the food coloring is not dry, it can bleed into the white part of your eye. Totally fine for the zombie look but you may not want that so that's how you avoid it.
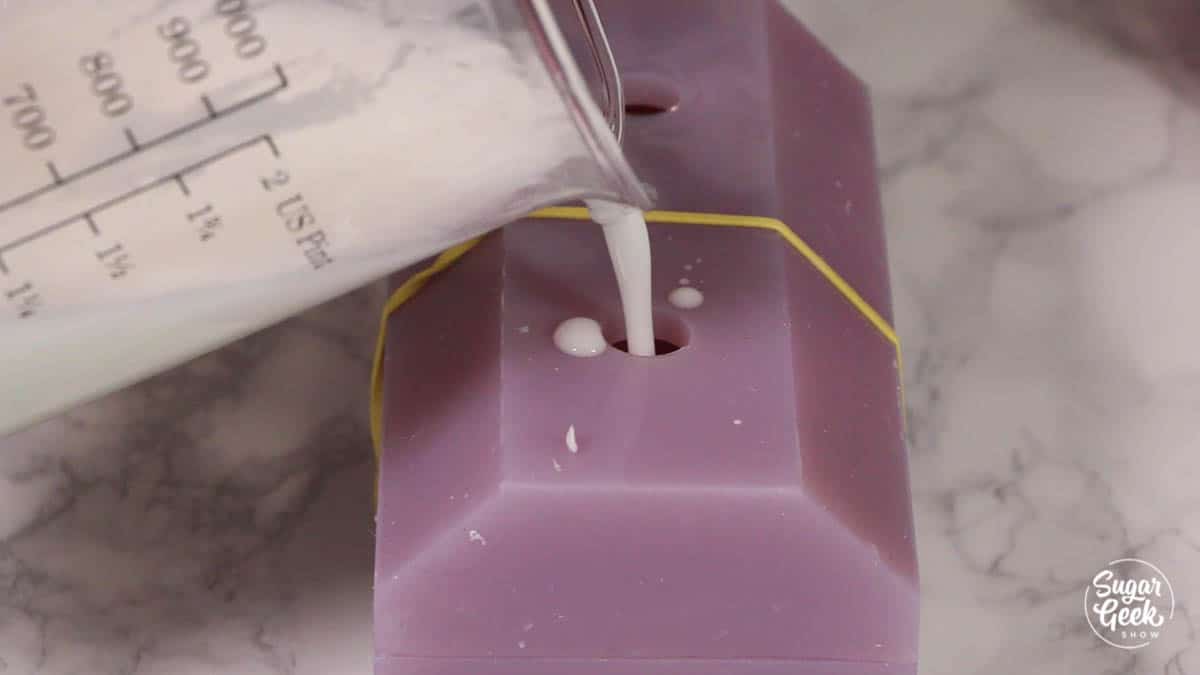
Step 8 - Place the top of your mold on, use rubber bands to make sure it stays sealed
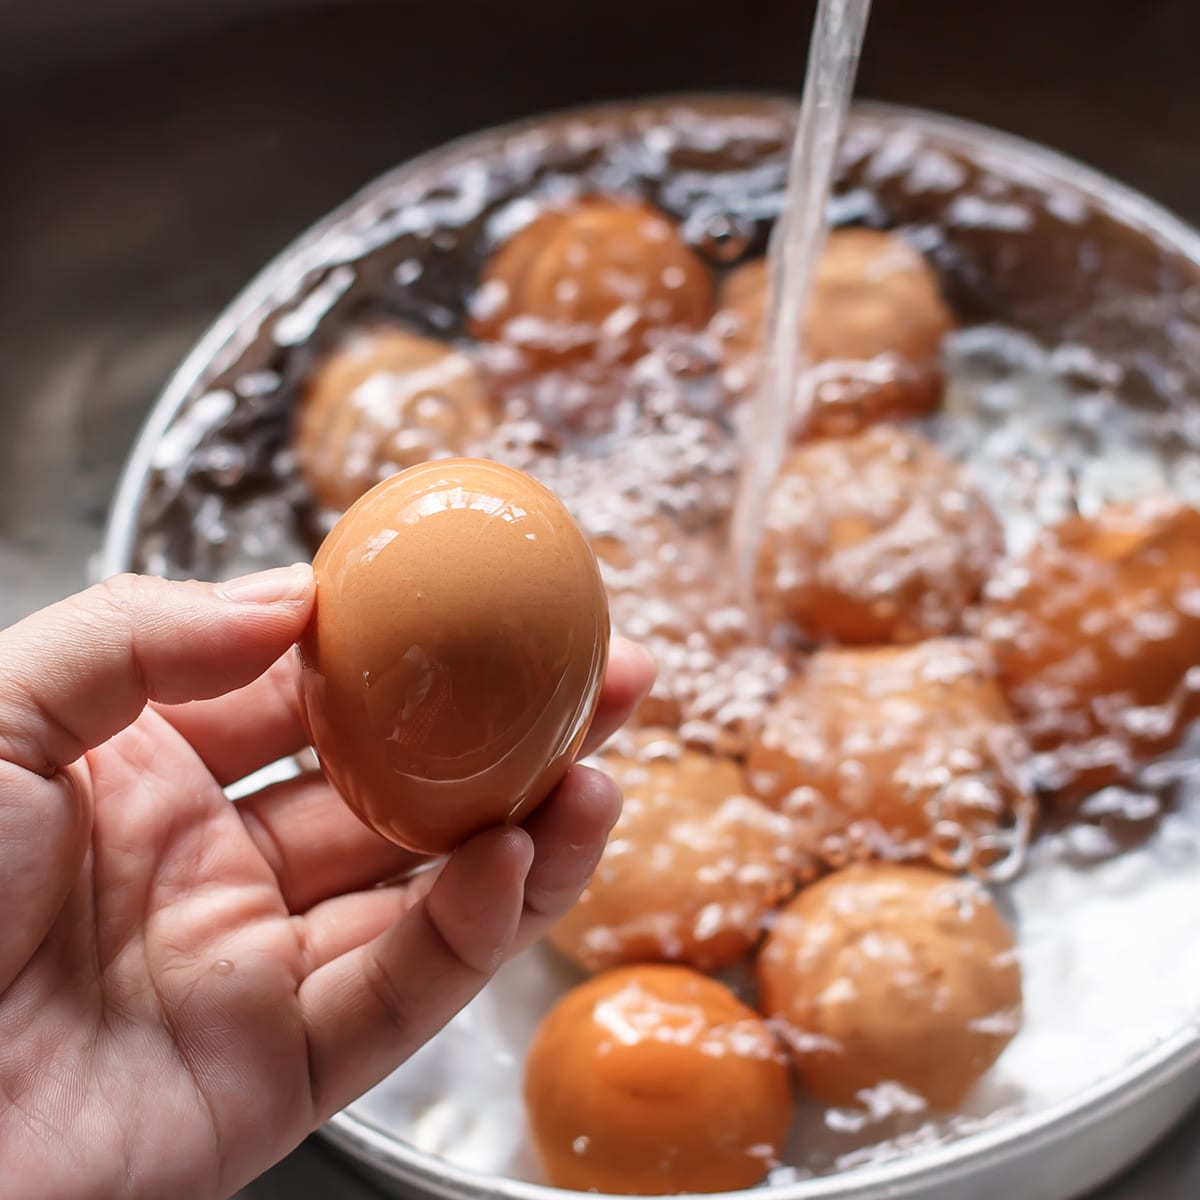
Step 9 - Fill the mold up with white gelatin (cooled to 90-95ºF) and place the molds into the fridge to set up for at least two hours.
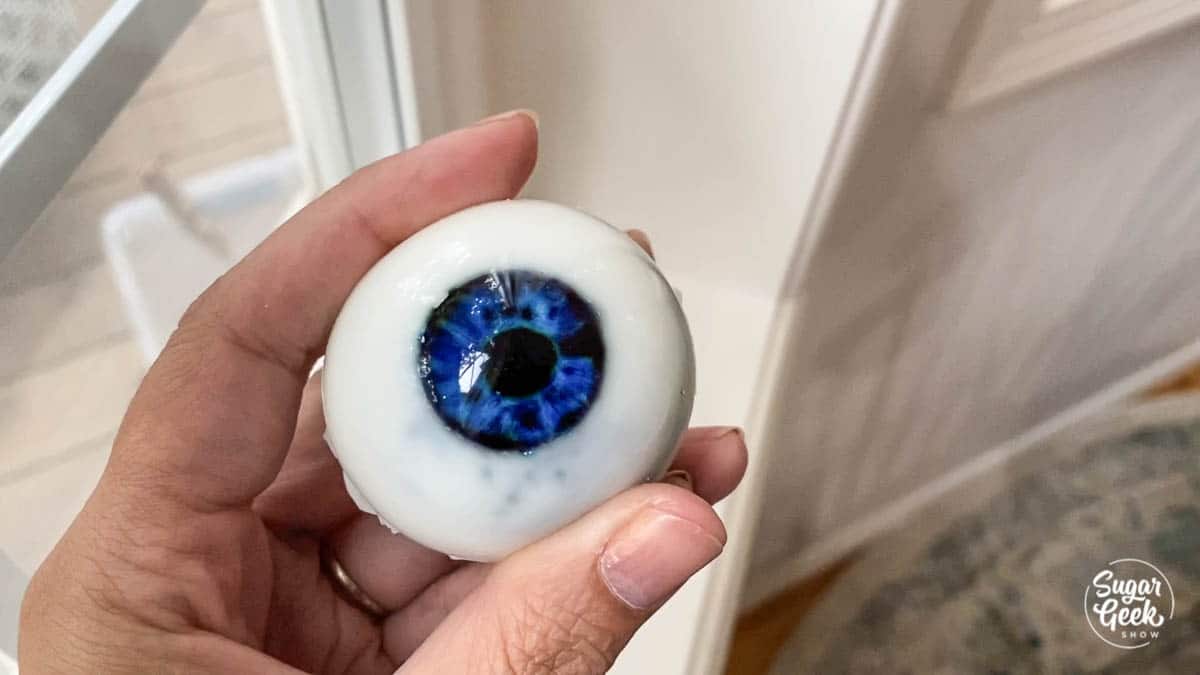
Step 10 - Demold and use electric pink food coloring and a fine-tipped paintbrush to add some veins if you want.
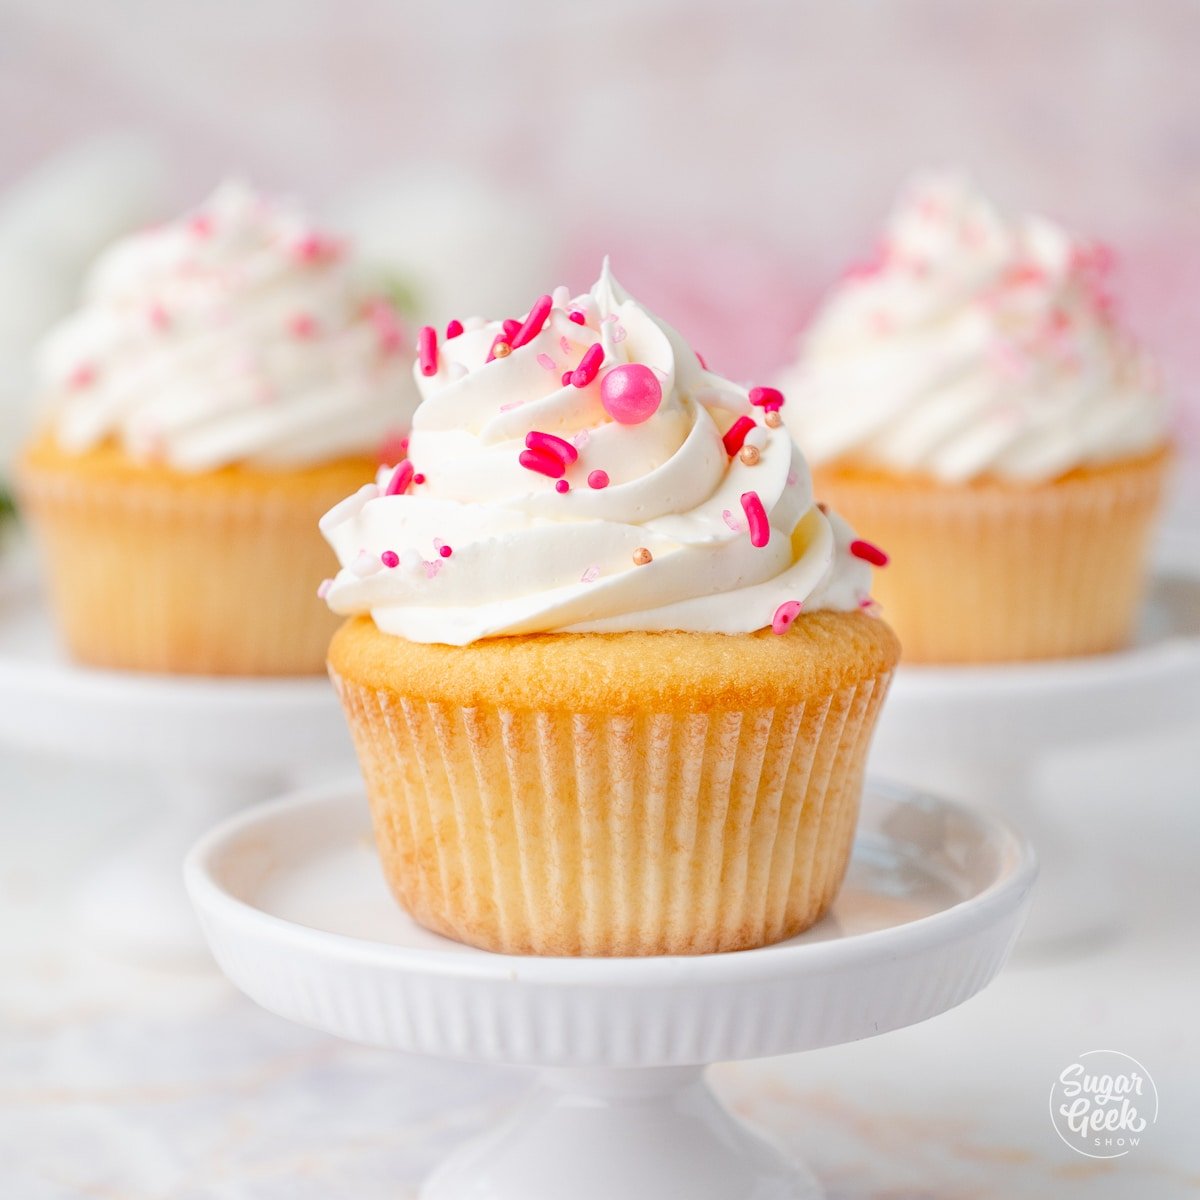
I used these gummy eyeballs to decorate my EYE-scream Halloween cake! Watch the video below to see how I did it.
How To Make The Gummy Eyeball Cake
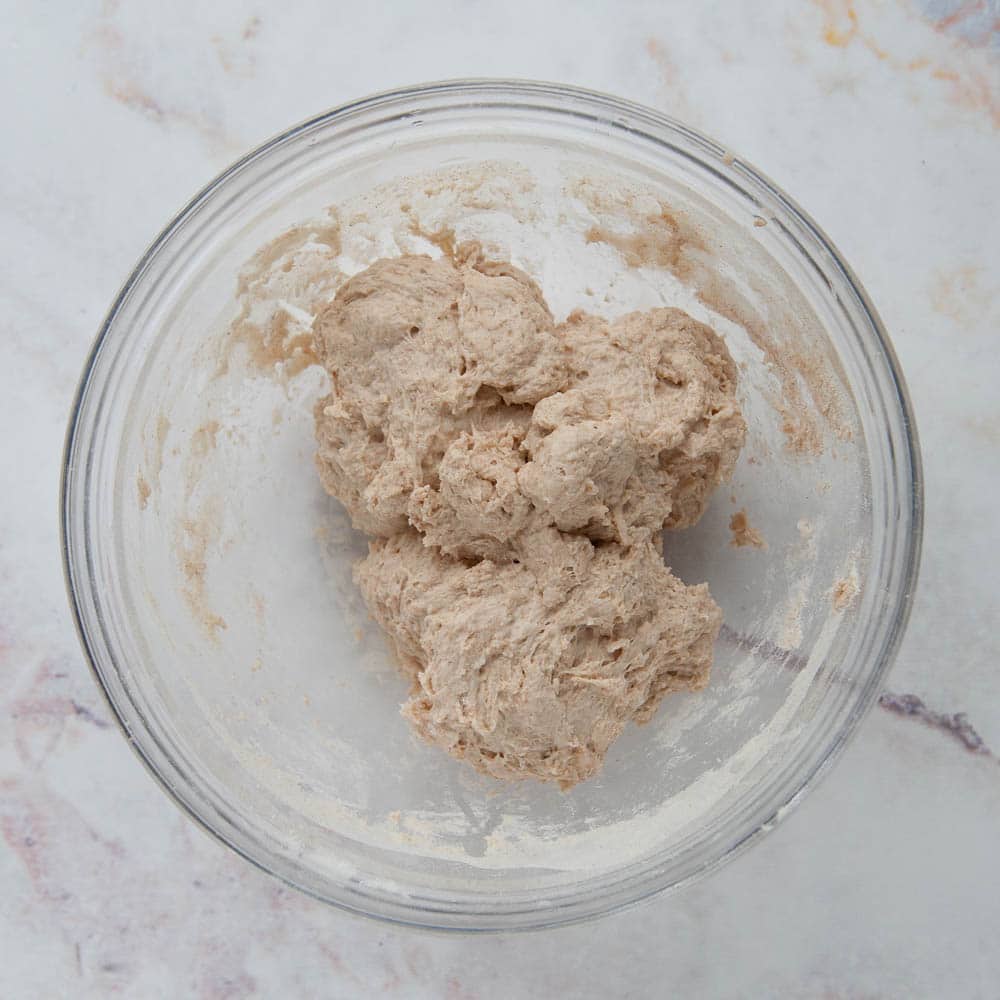
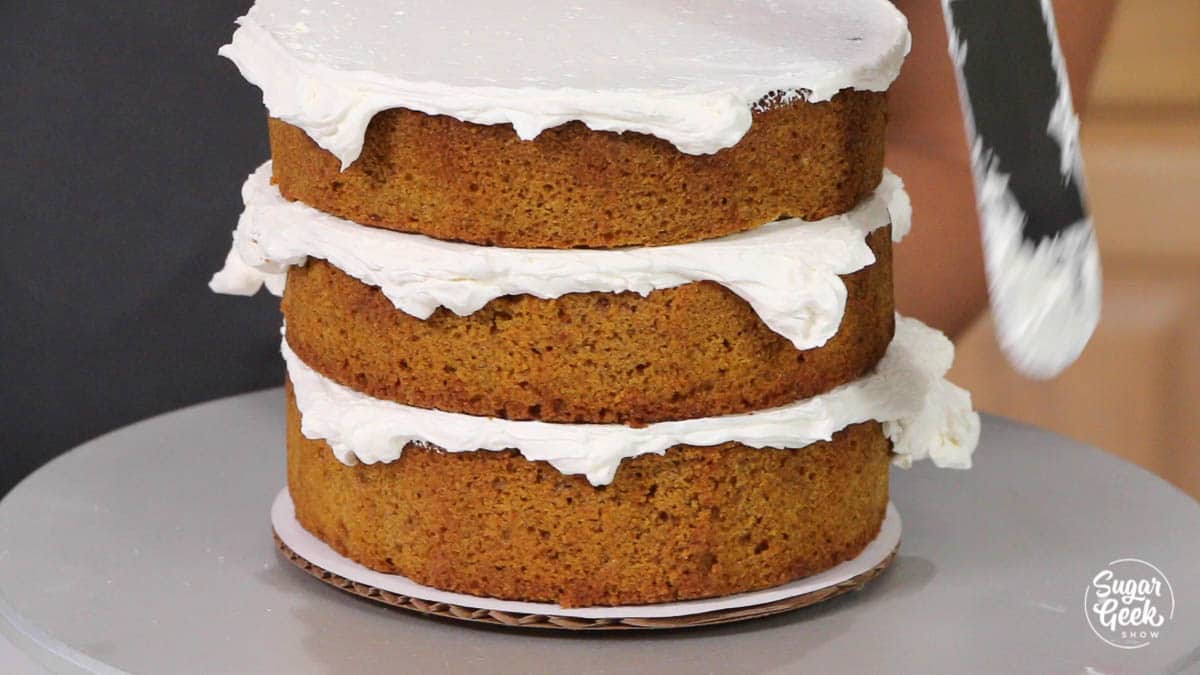
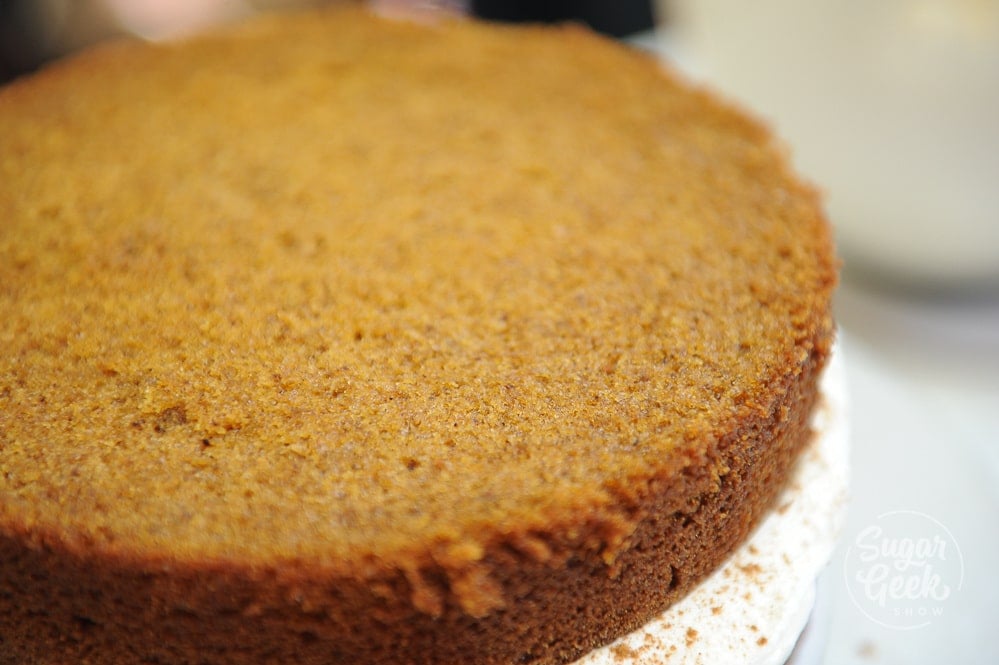
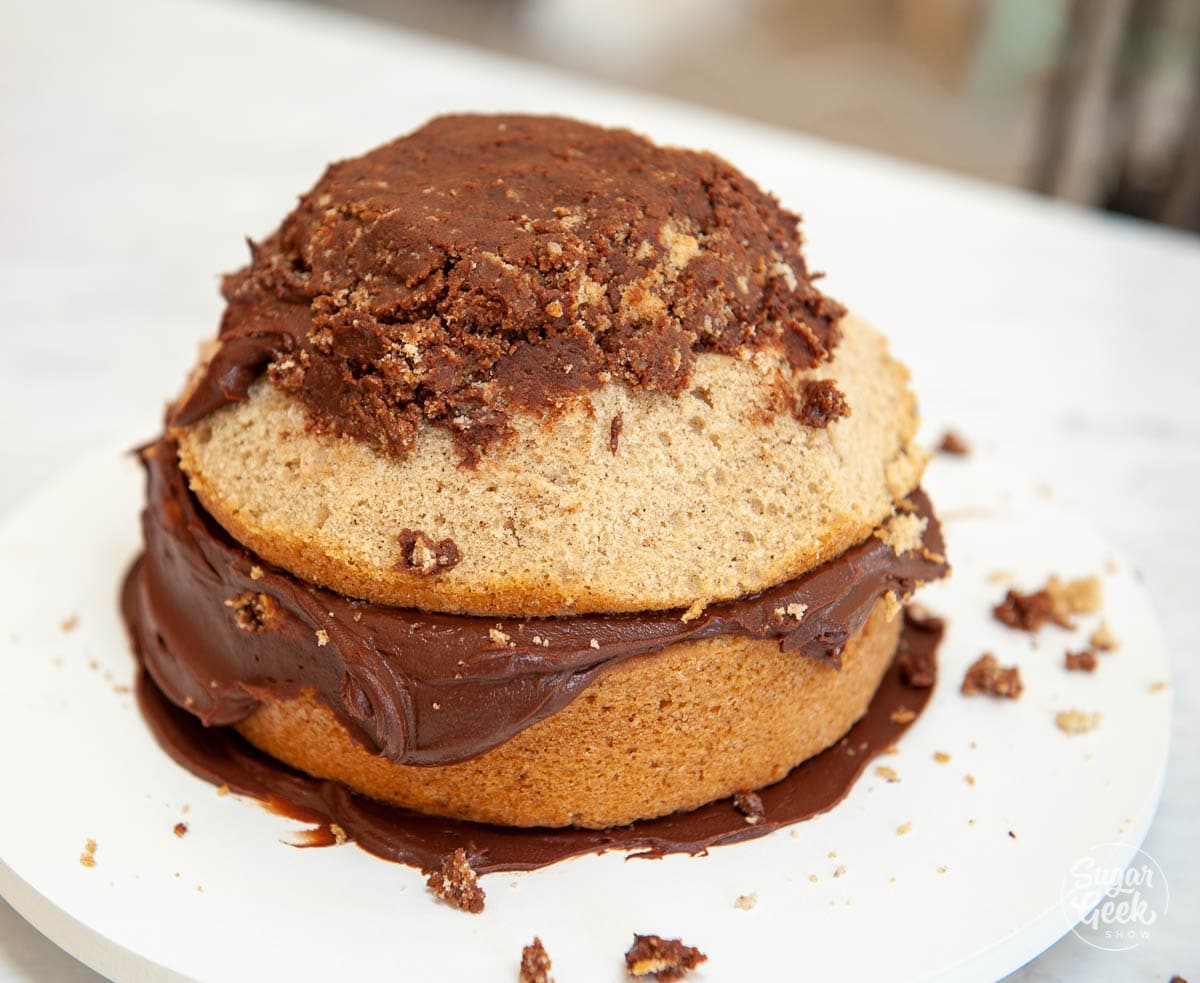
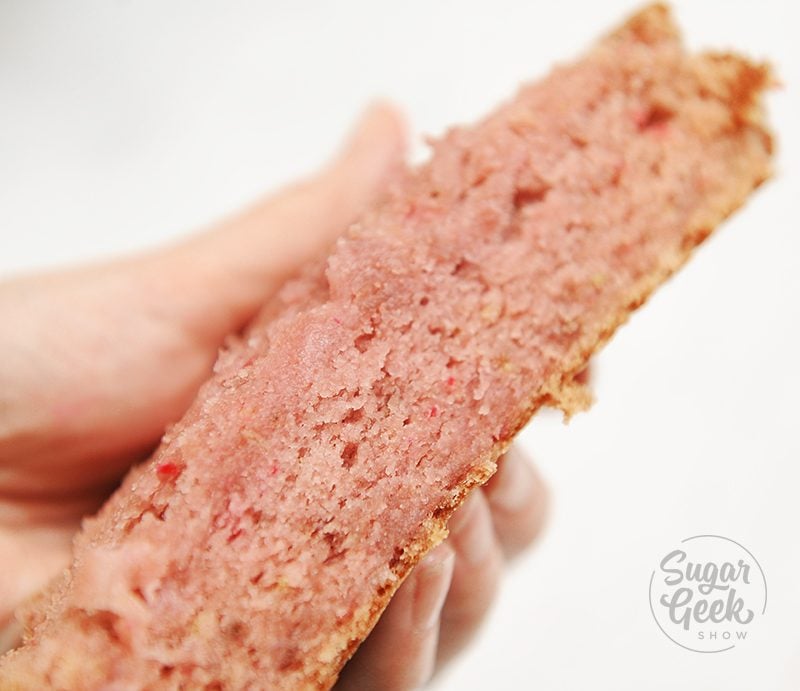
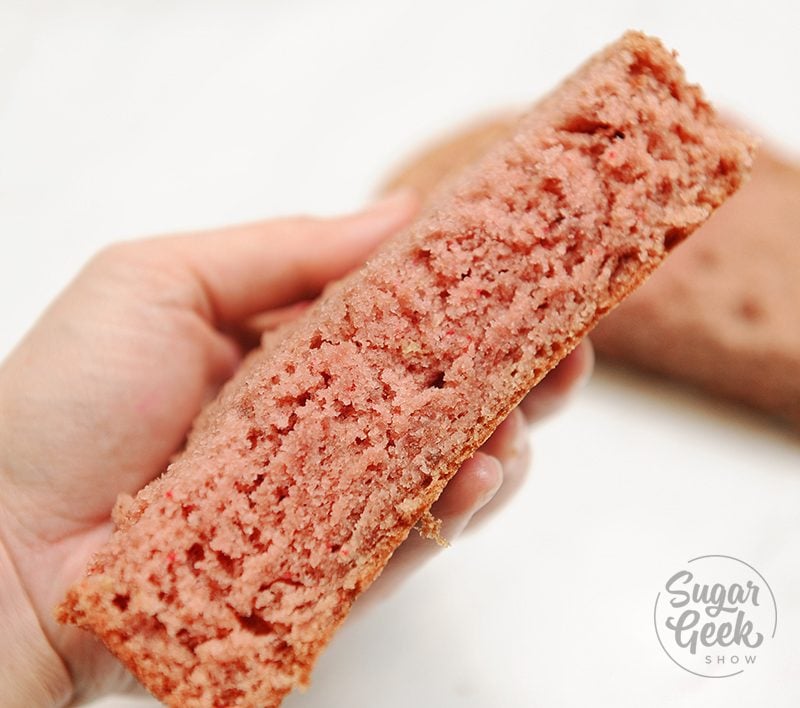
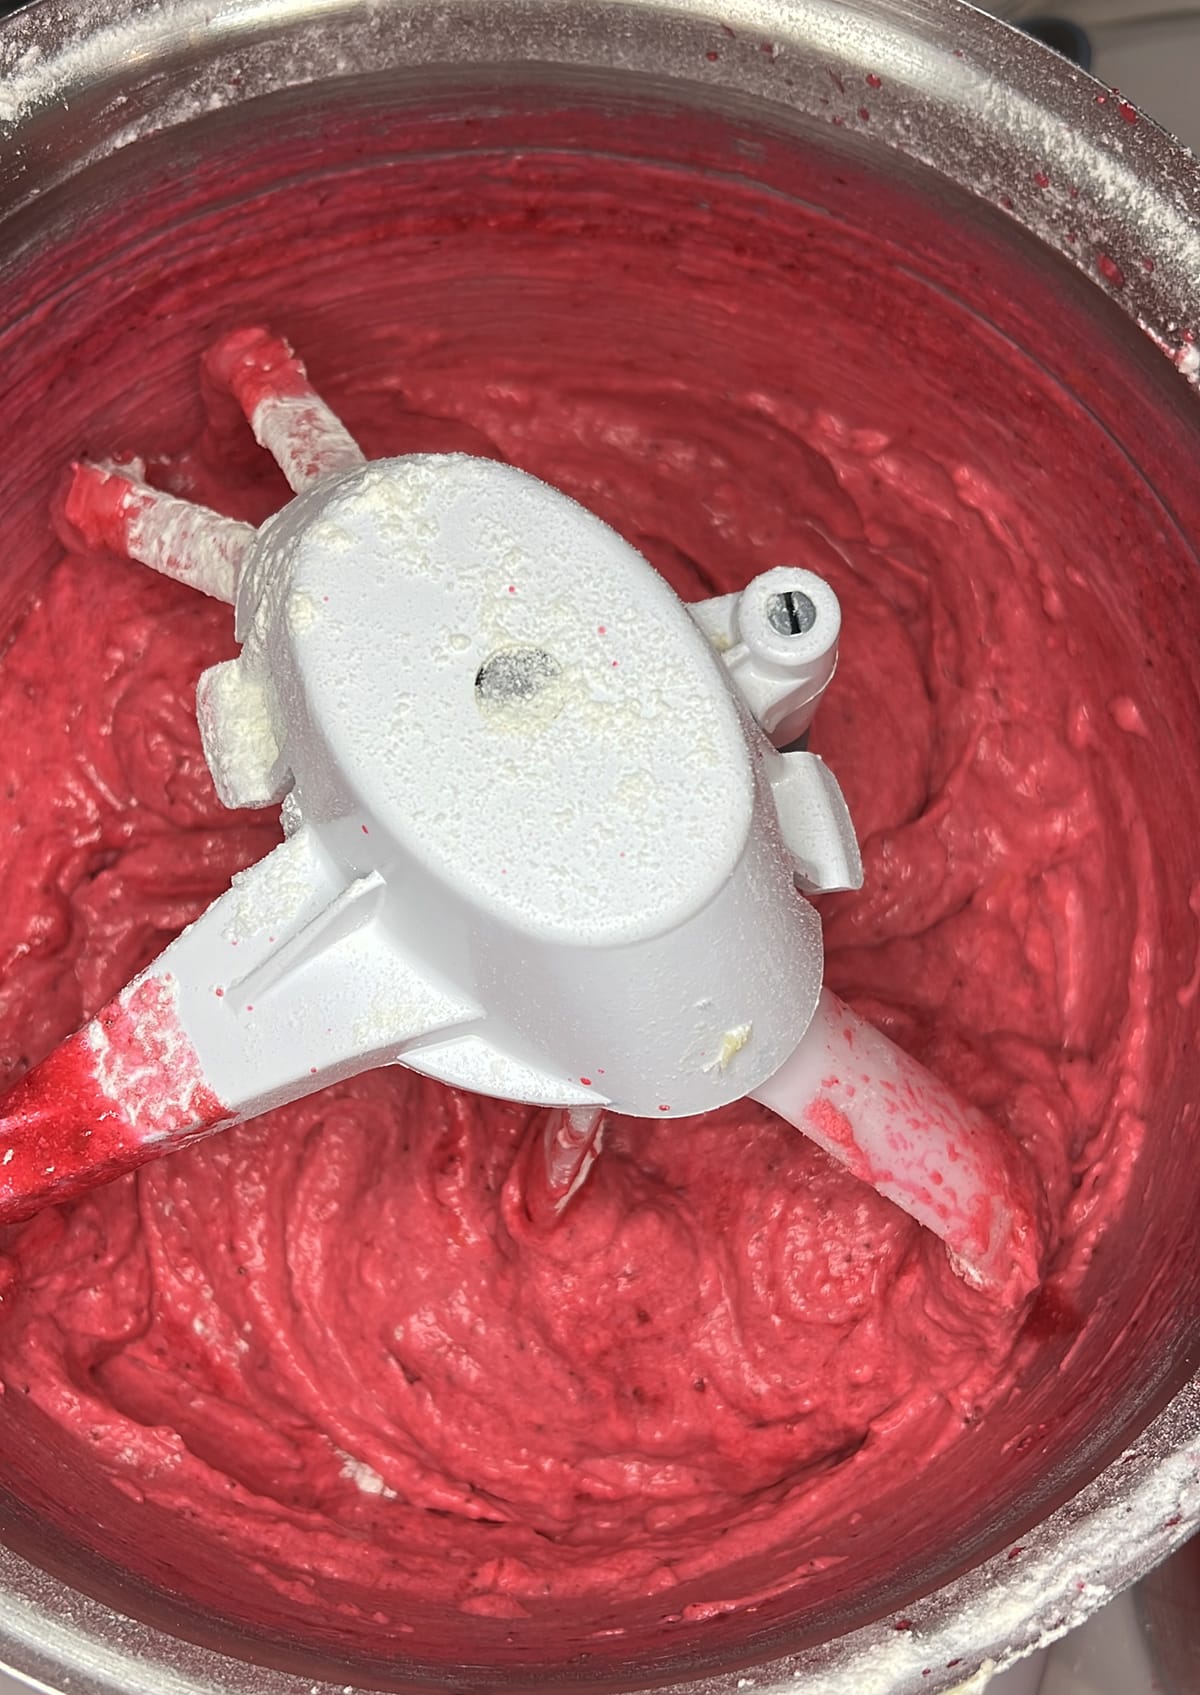
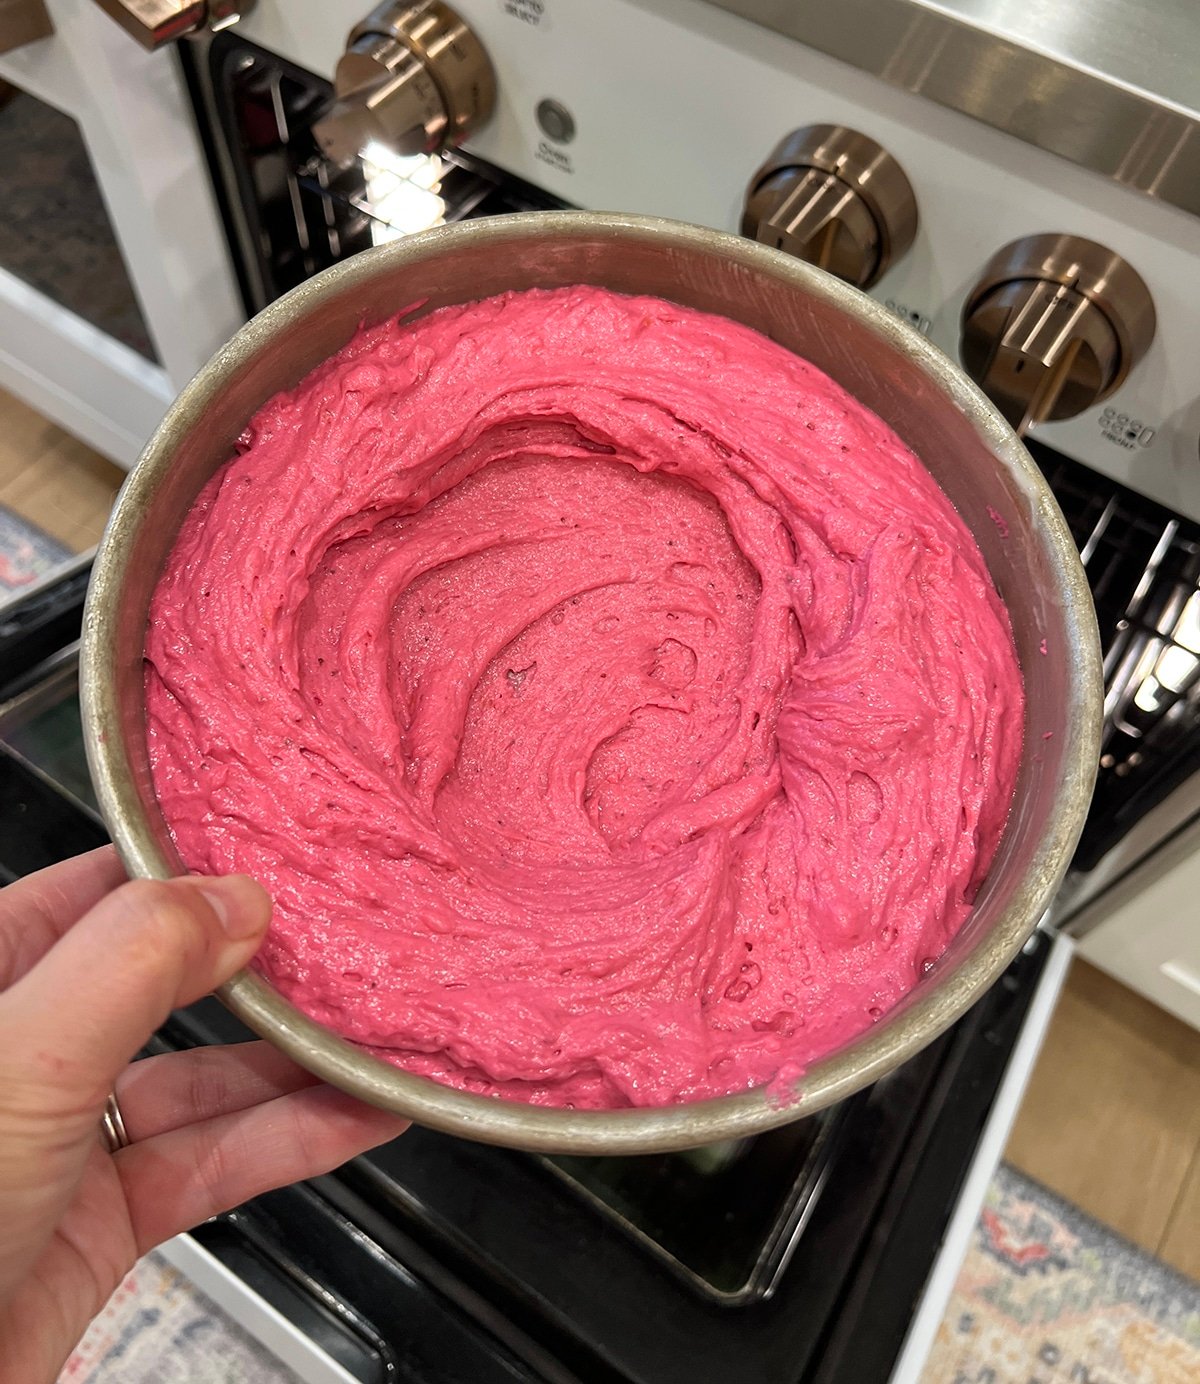
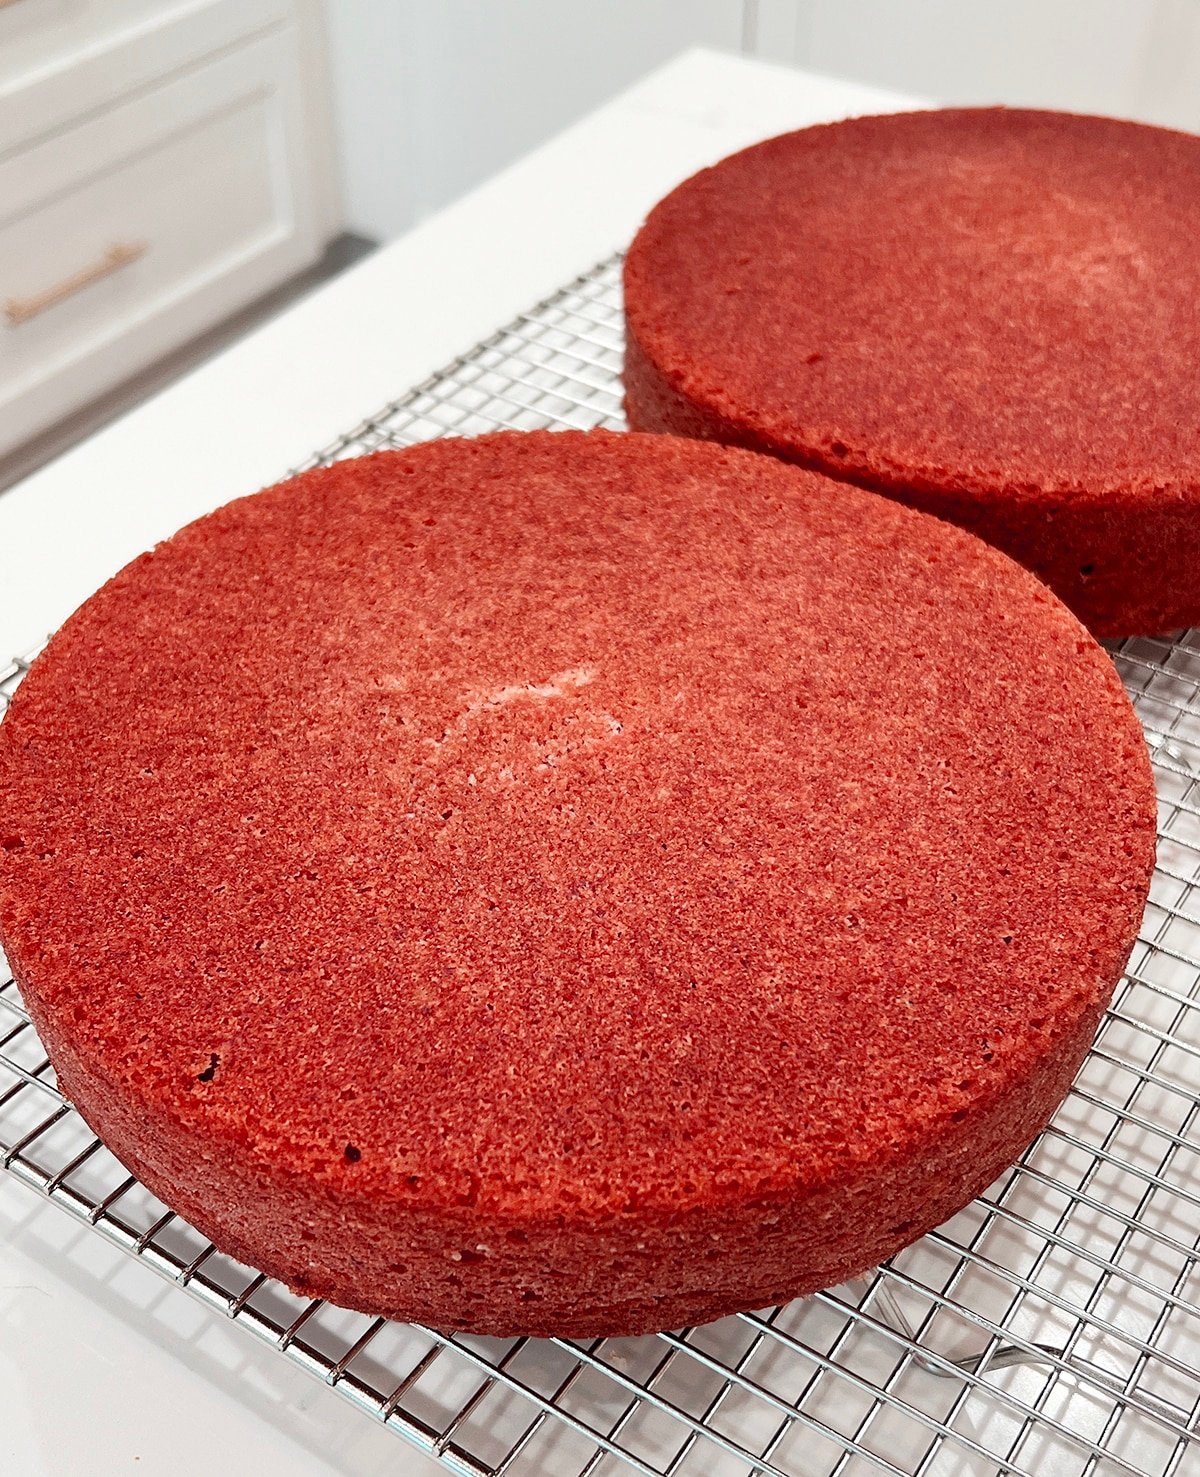
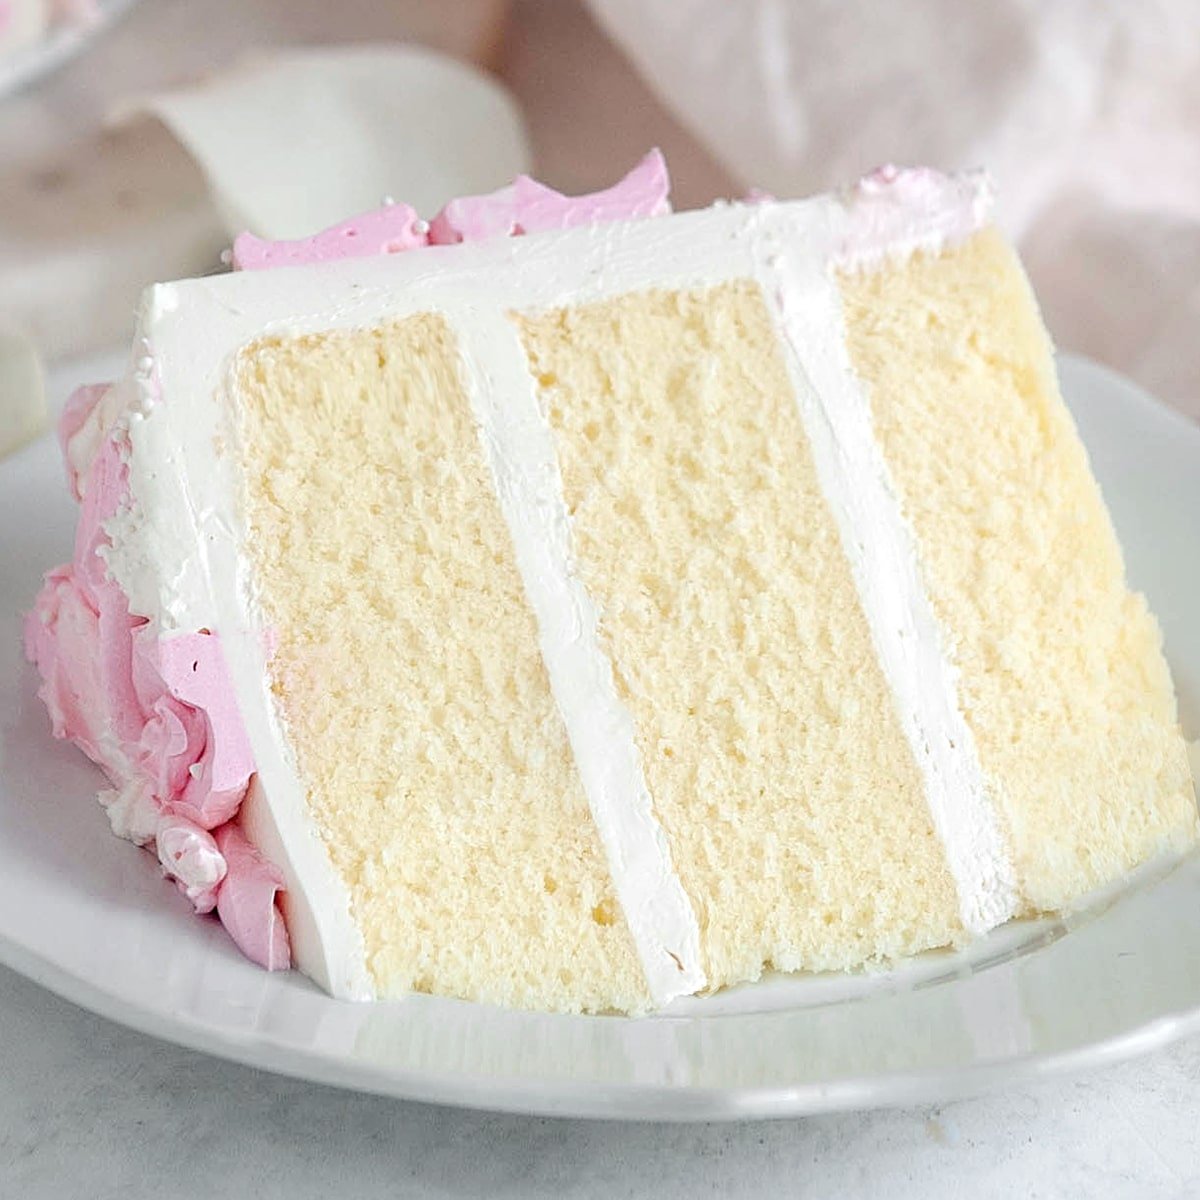
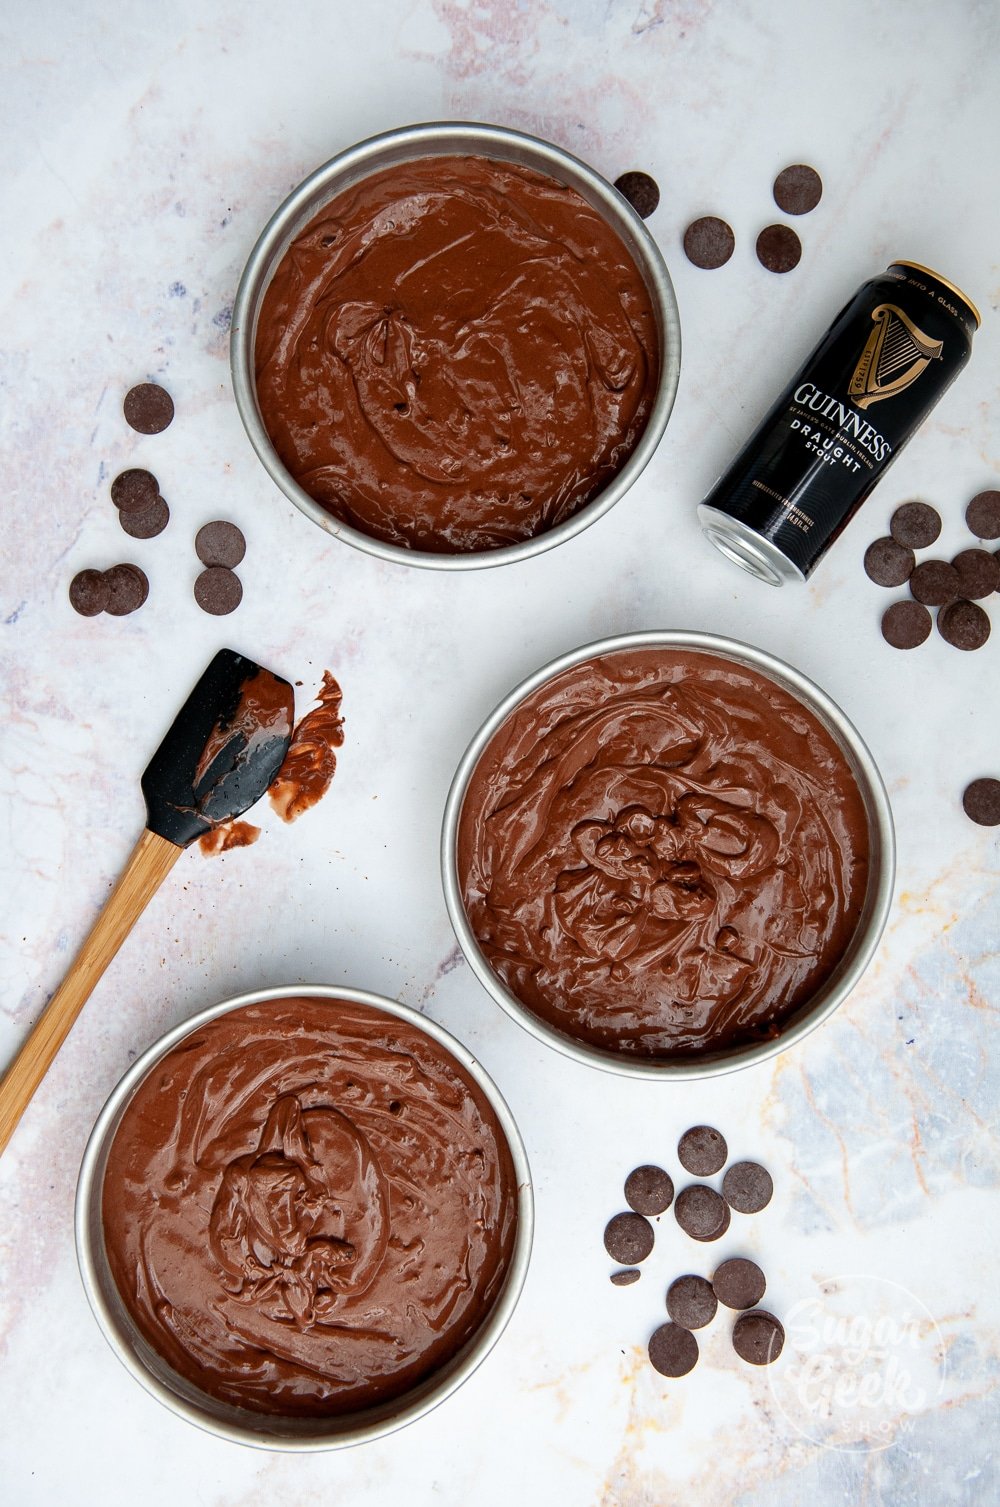
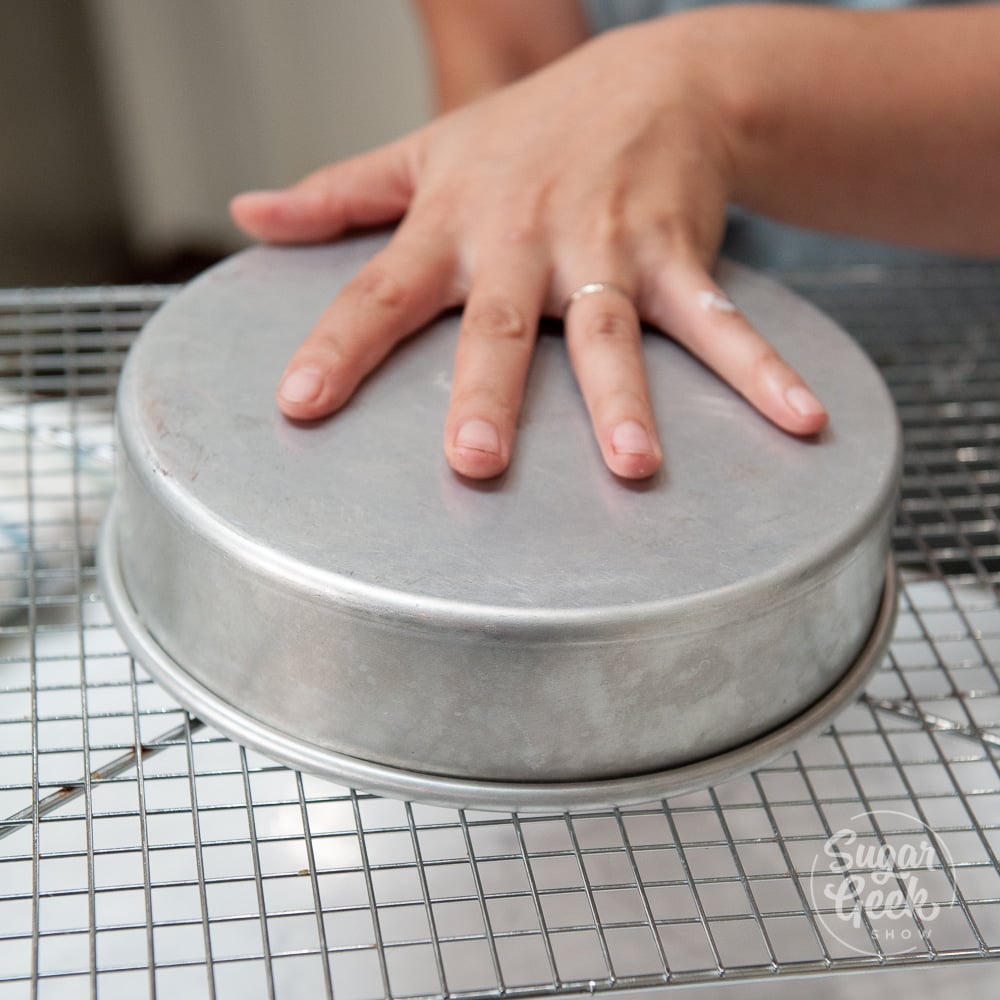
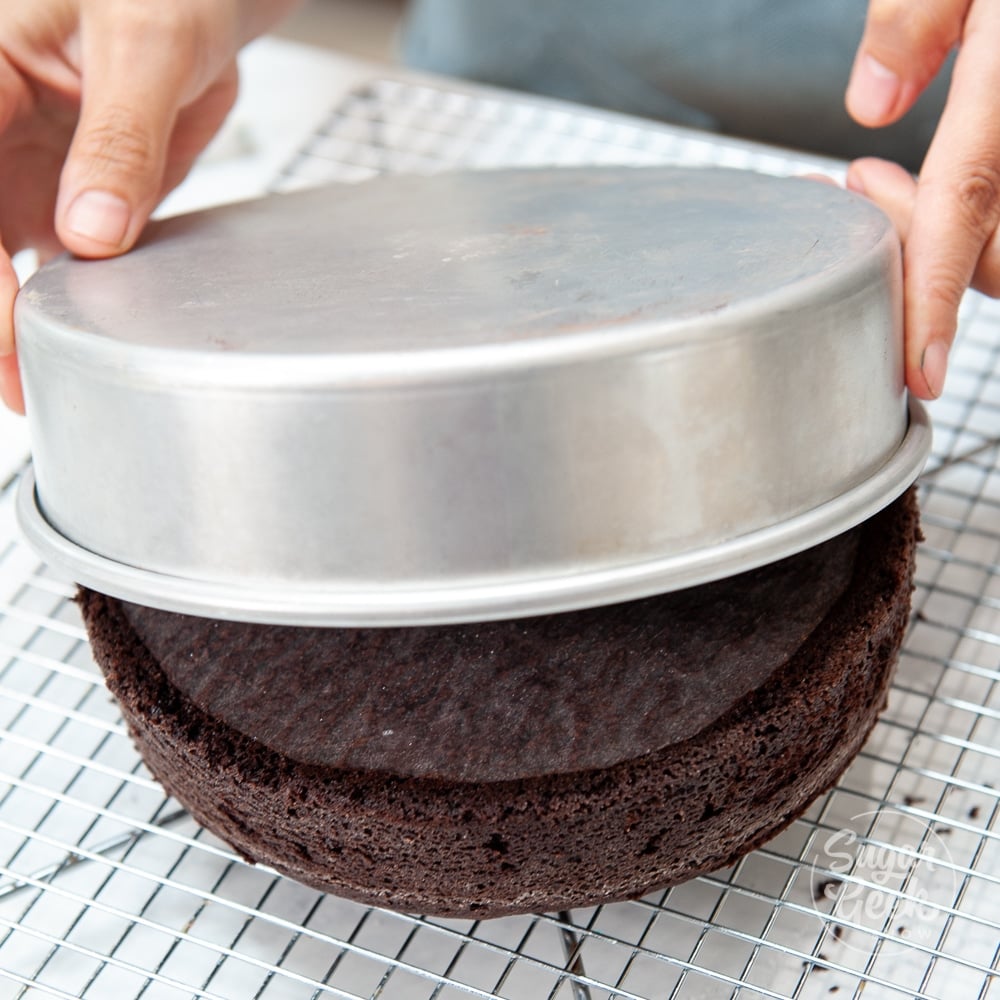
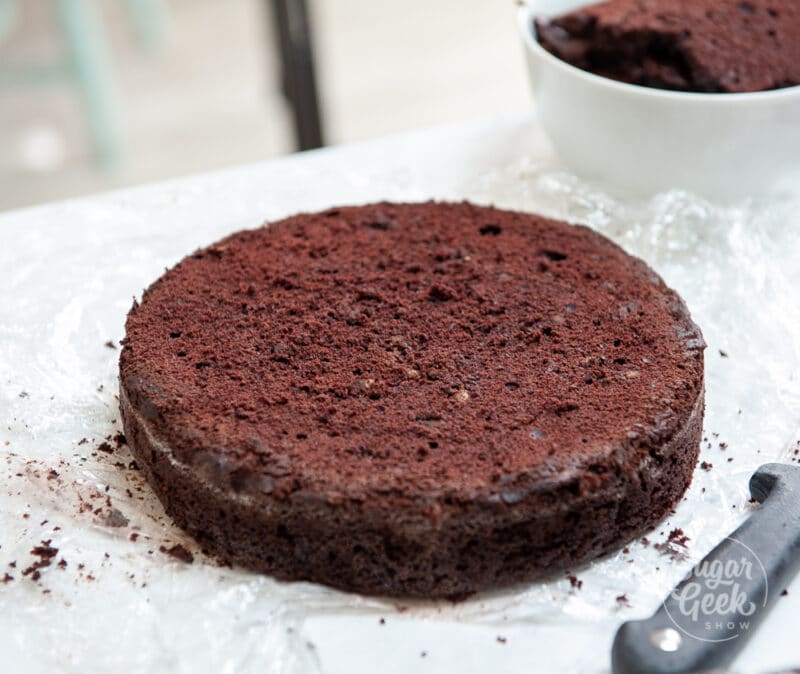
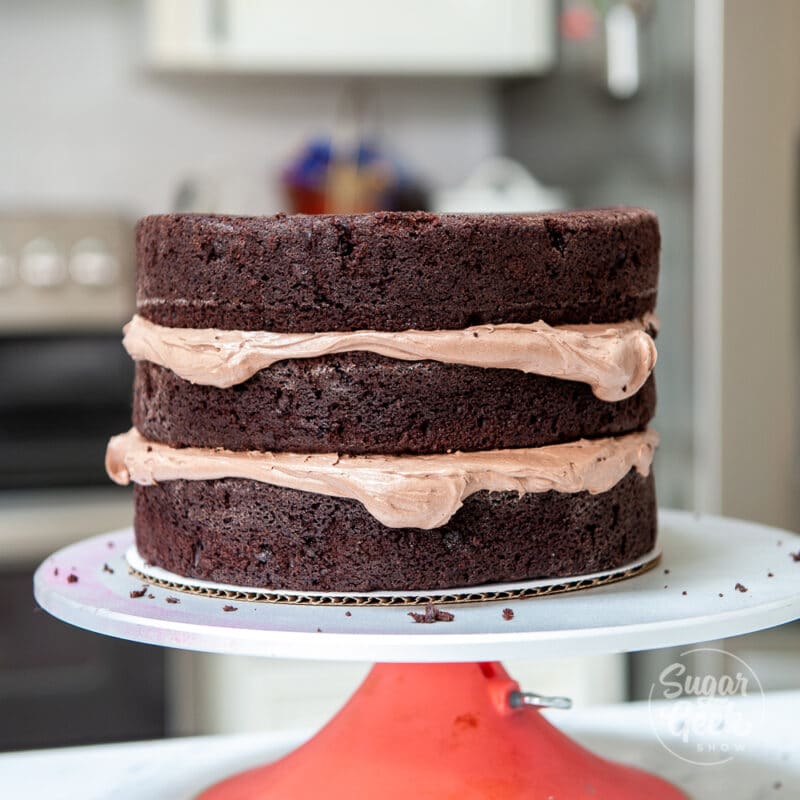
Step 1 - Bake your cakes and make your buttercream. I decided to make a pumpkin cake with easy buttercream frosting! Recipe below.
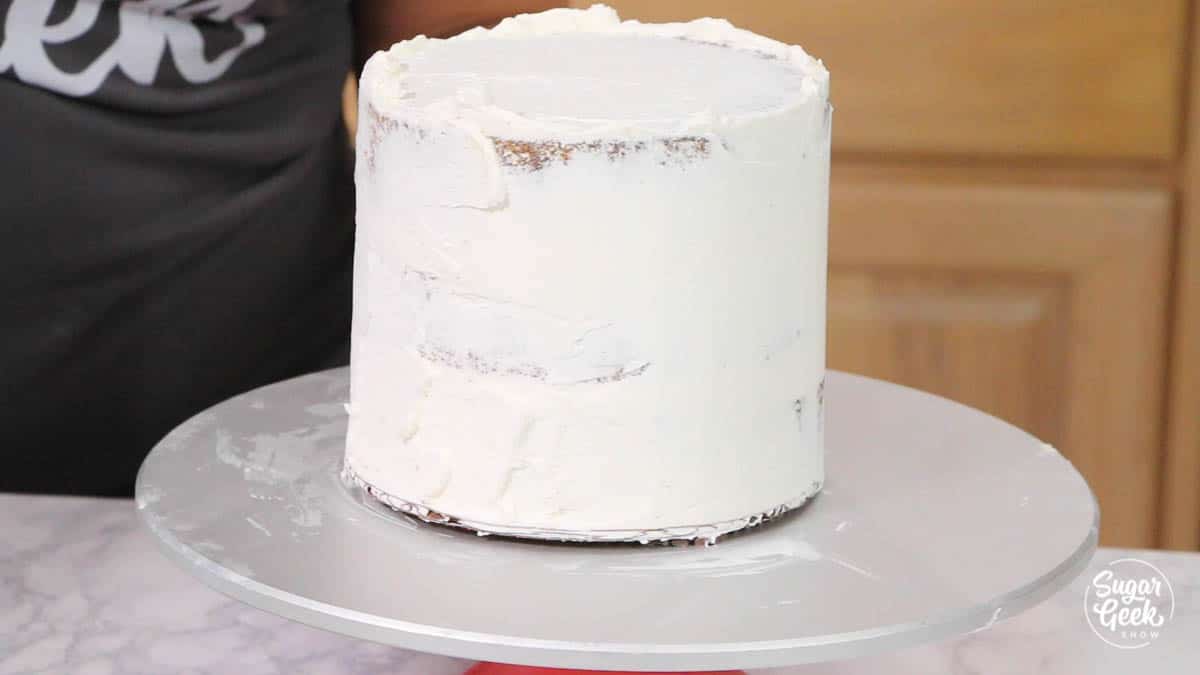
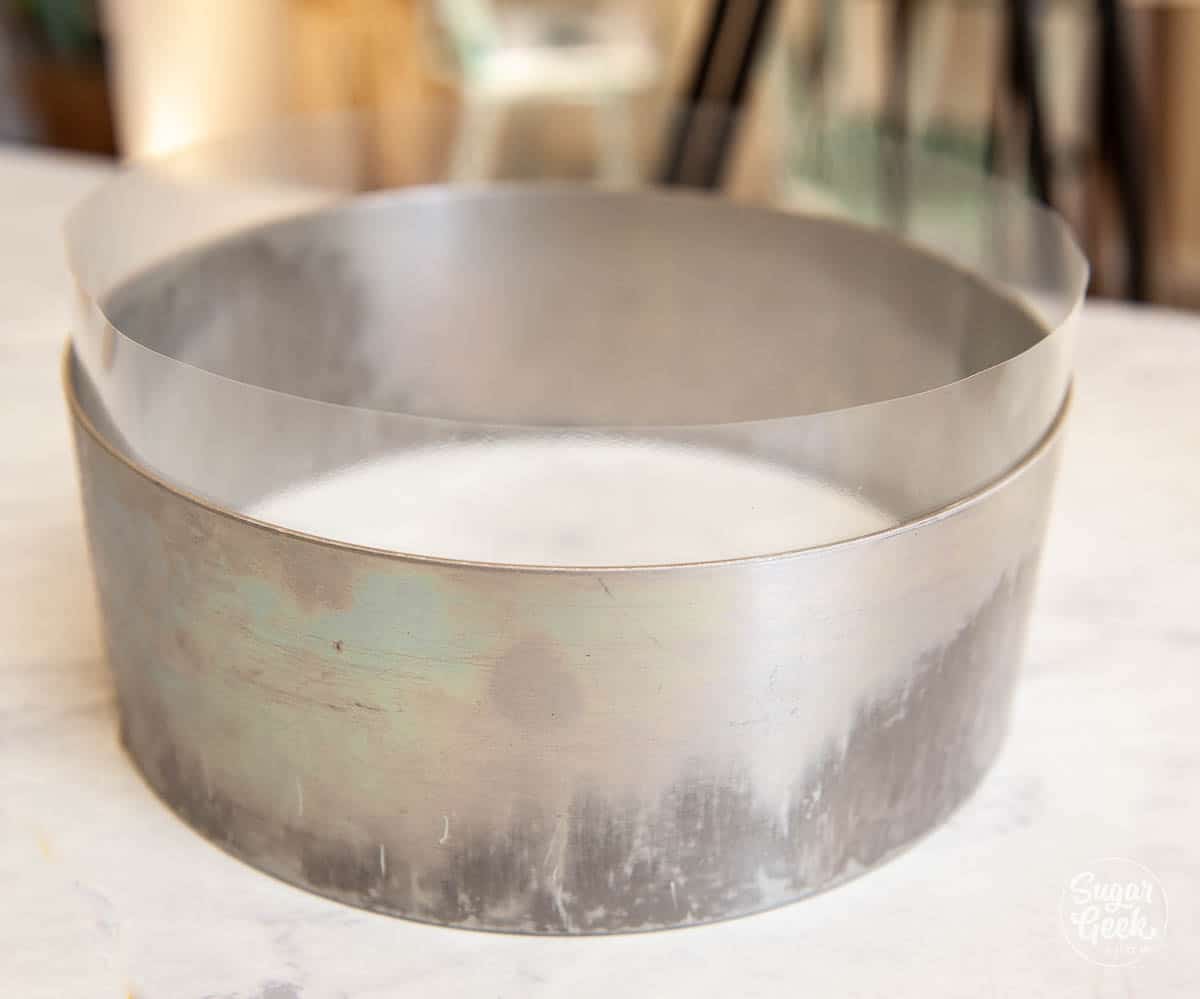
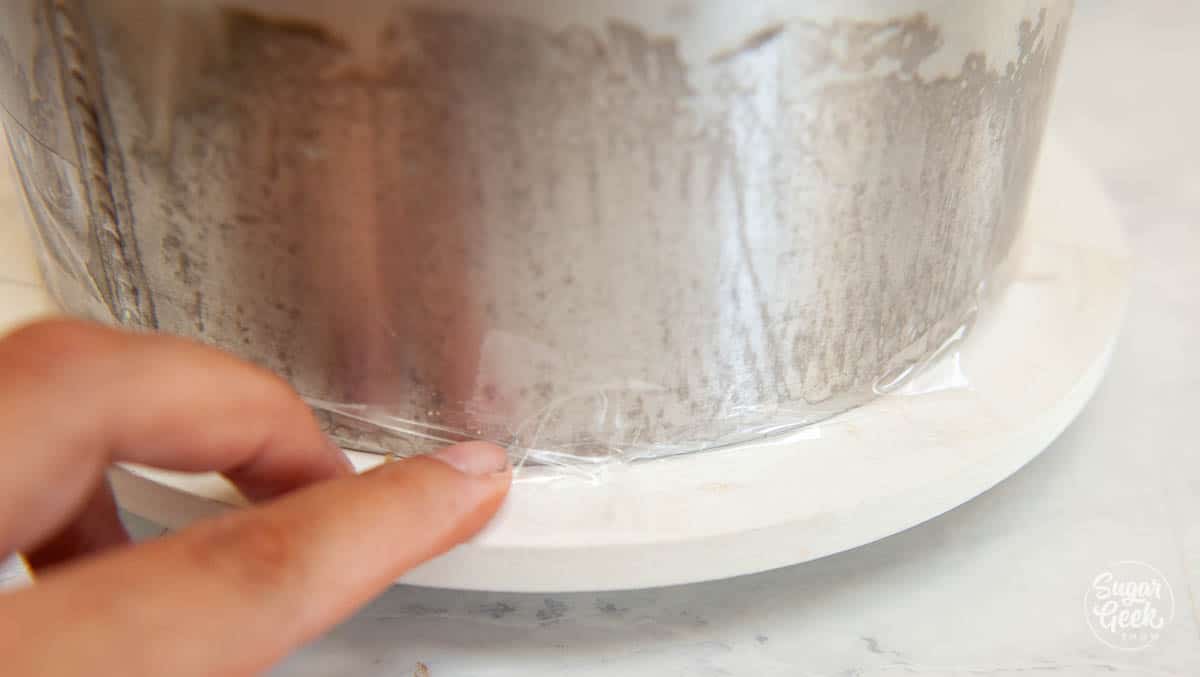
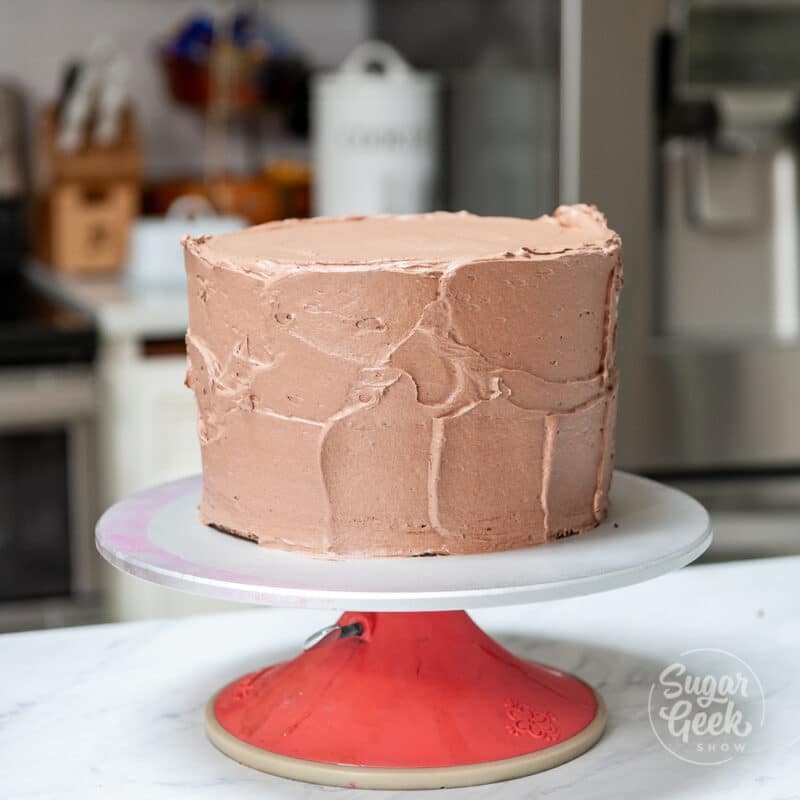
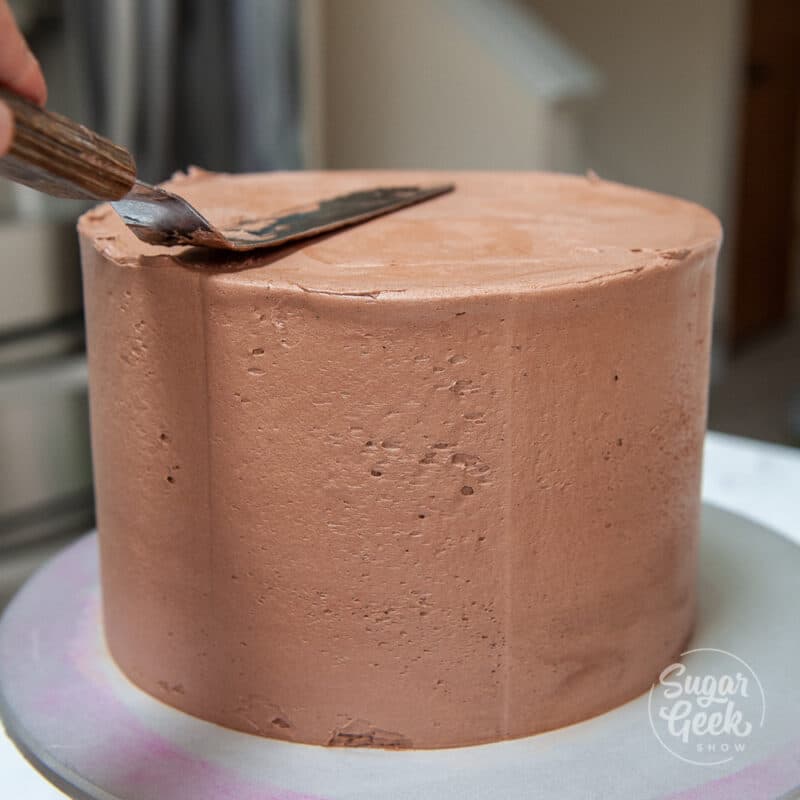
Step 2 - Stack your cakes and crumb coat them. If you need more info on how to frost and fill your cakes step-by-step, check out my How To Make Your First Cake Tutorial.
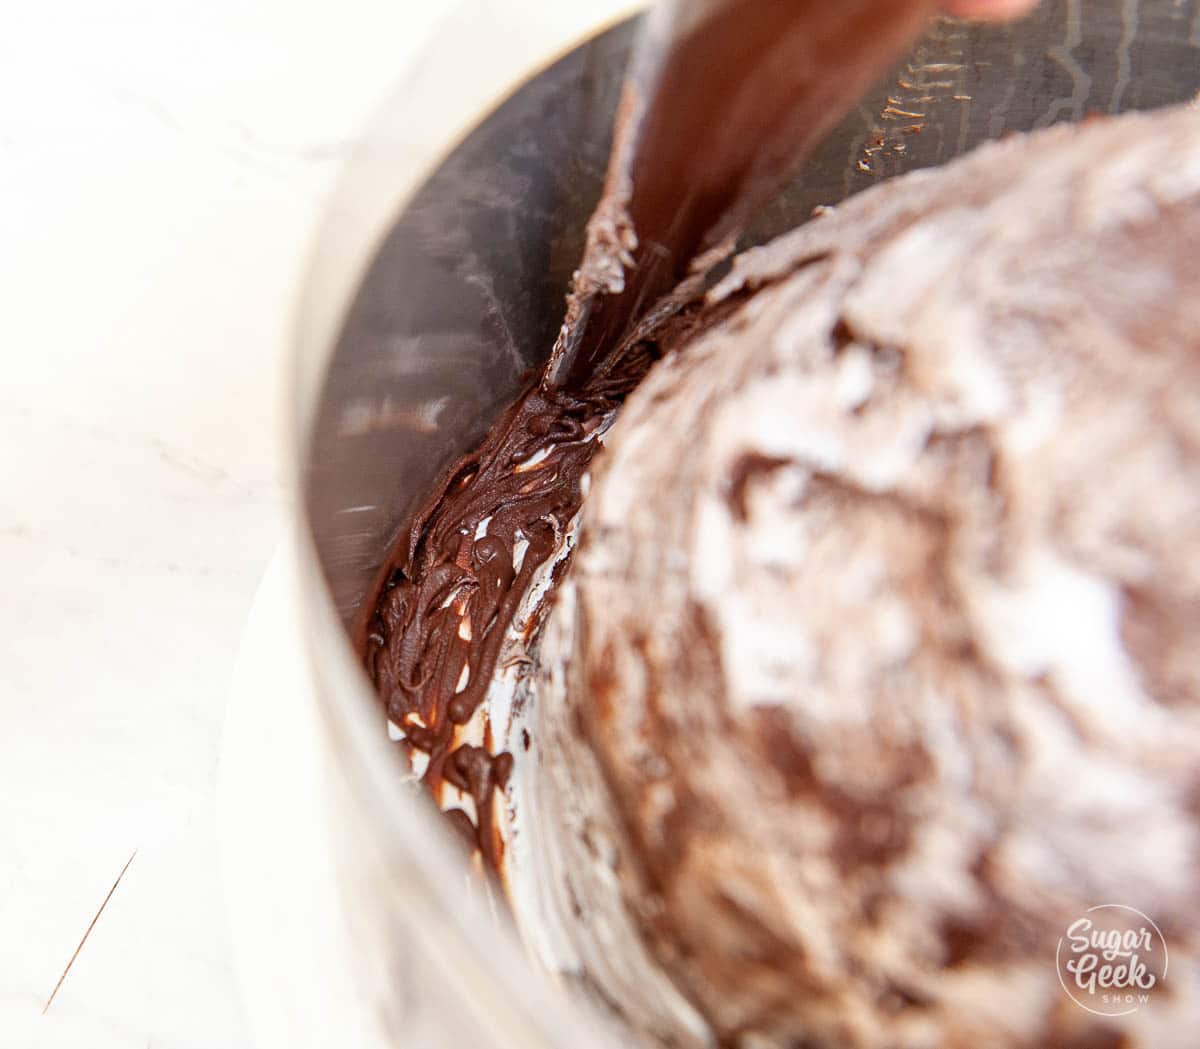
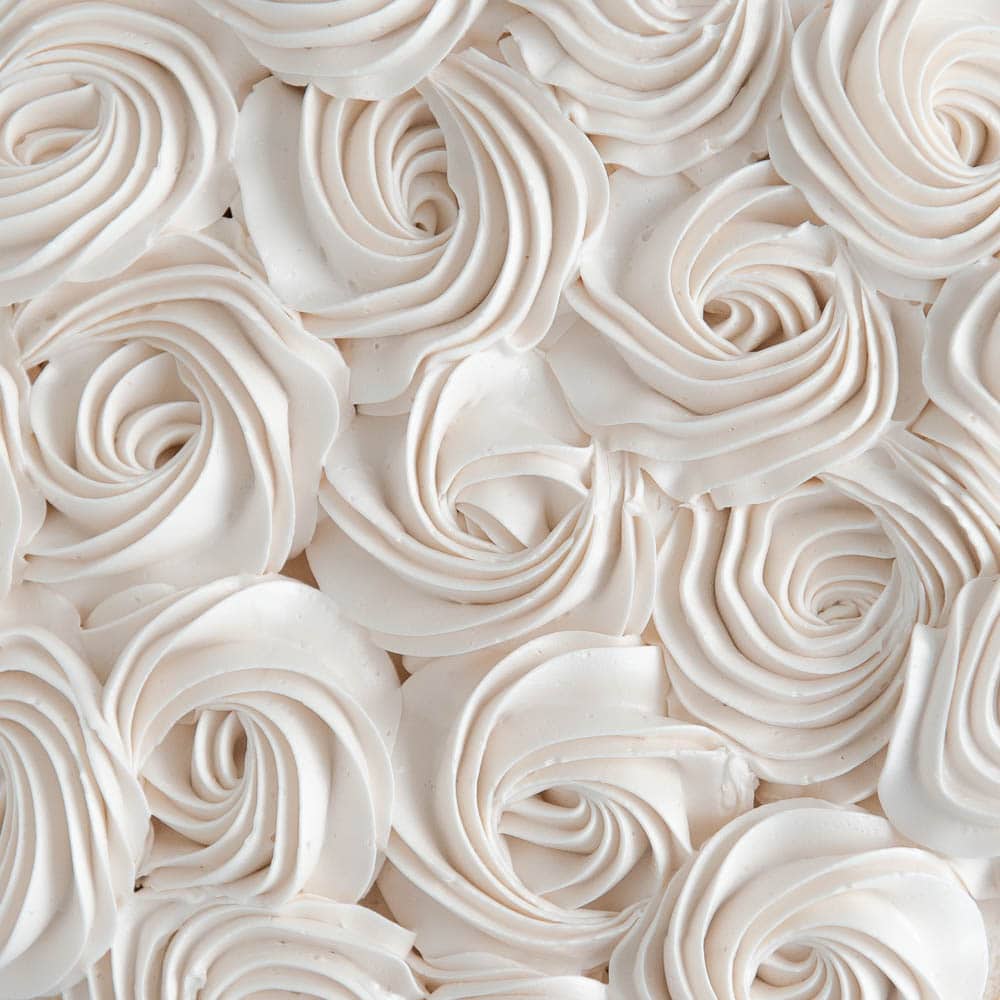
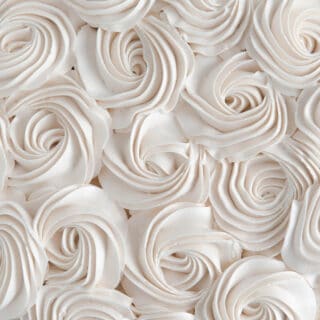
Step 3 - Make your stripes! I am using my beloved bengal cake comb from Ester Cakes. Makes the most beautiful stripes! I also set aside about 2 cups of my easy buttercream and colored it with some ganache and then black food coloring to make it black. Don't add too much food coloring or the buttercream will taste bitter.
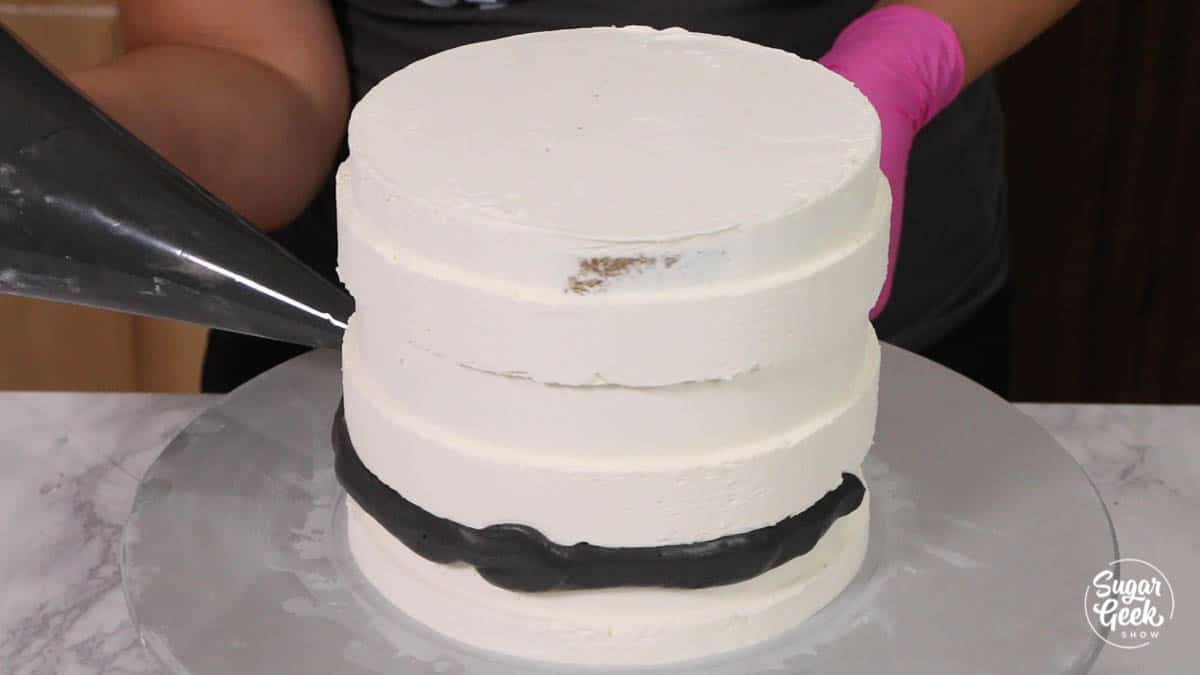
If you need to know more about using striping cake combs, check out this tutorial from Ester Cakes.
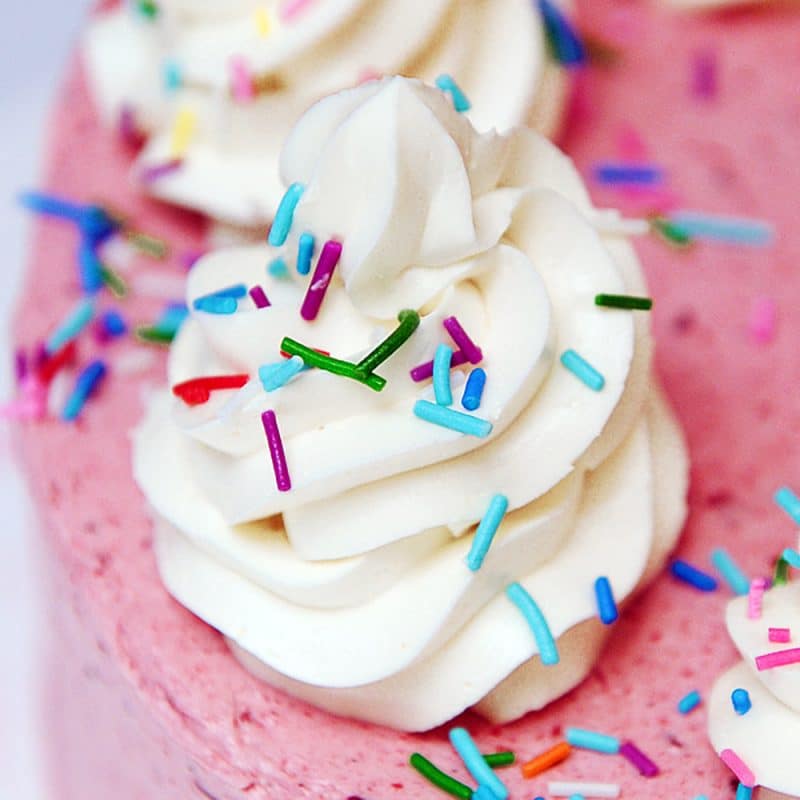
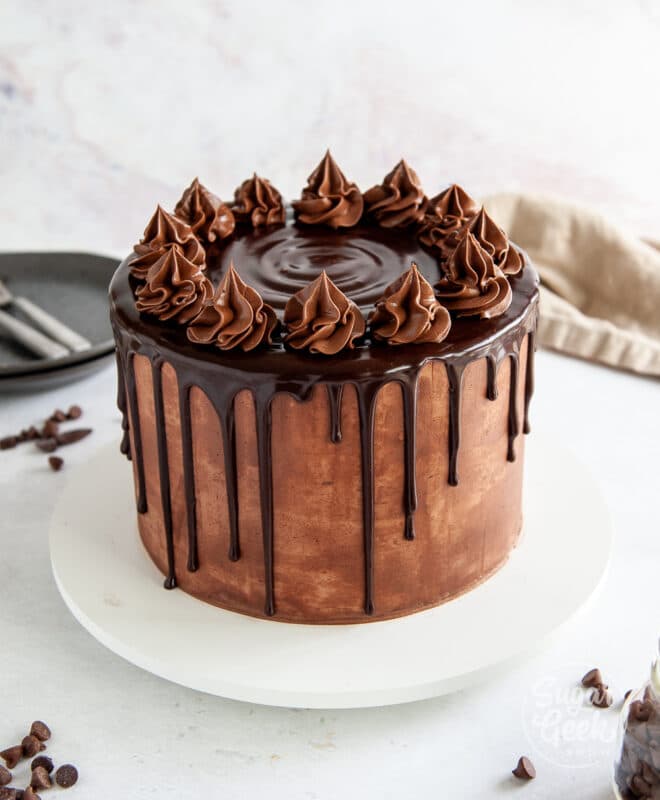
Step 4 - Add sprinkles. I used a fun Halloween sprinkles mix from Joanns but you can obviously use any kind you want. The sprinkles help finish that lower edge. I just hold the chilled cake in one hand, apply sprinkles with the other hand and let the excess fall into a large bowl. Use a funnel or folded piece of paper to get the sprinkles back in the jar.

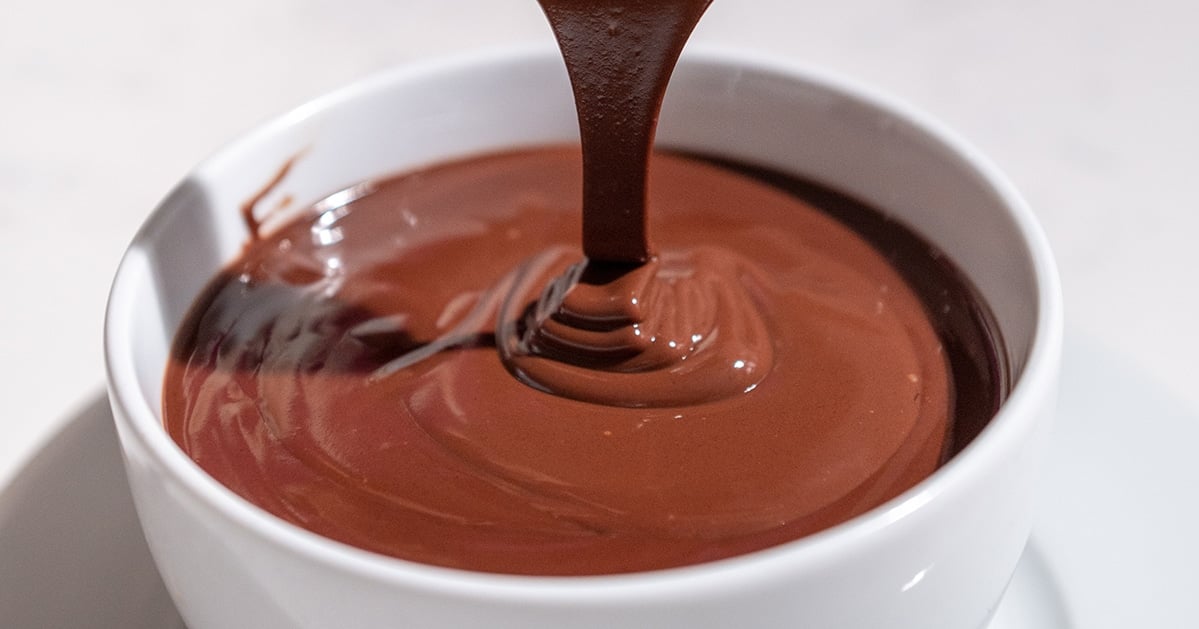
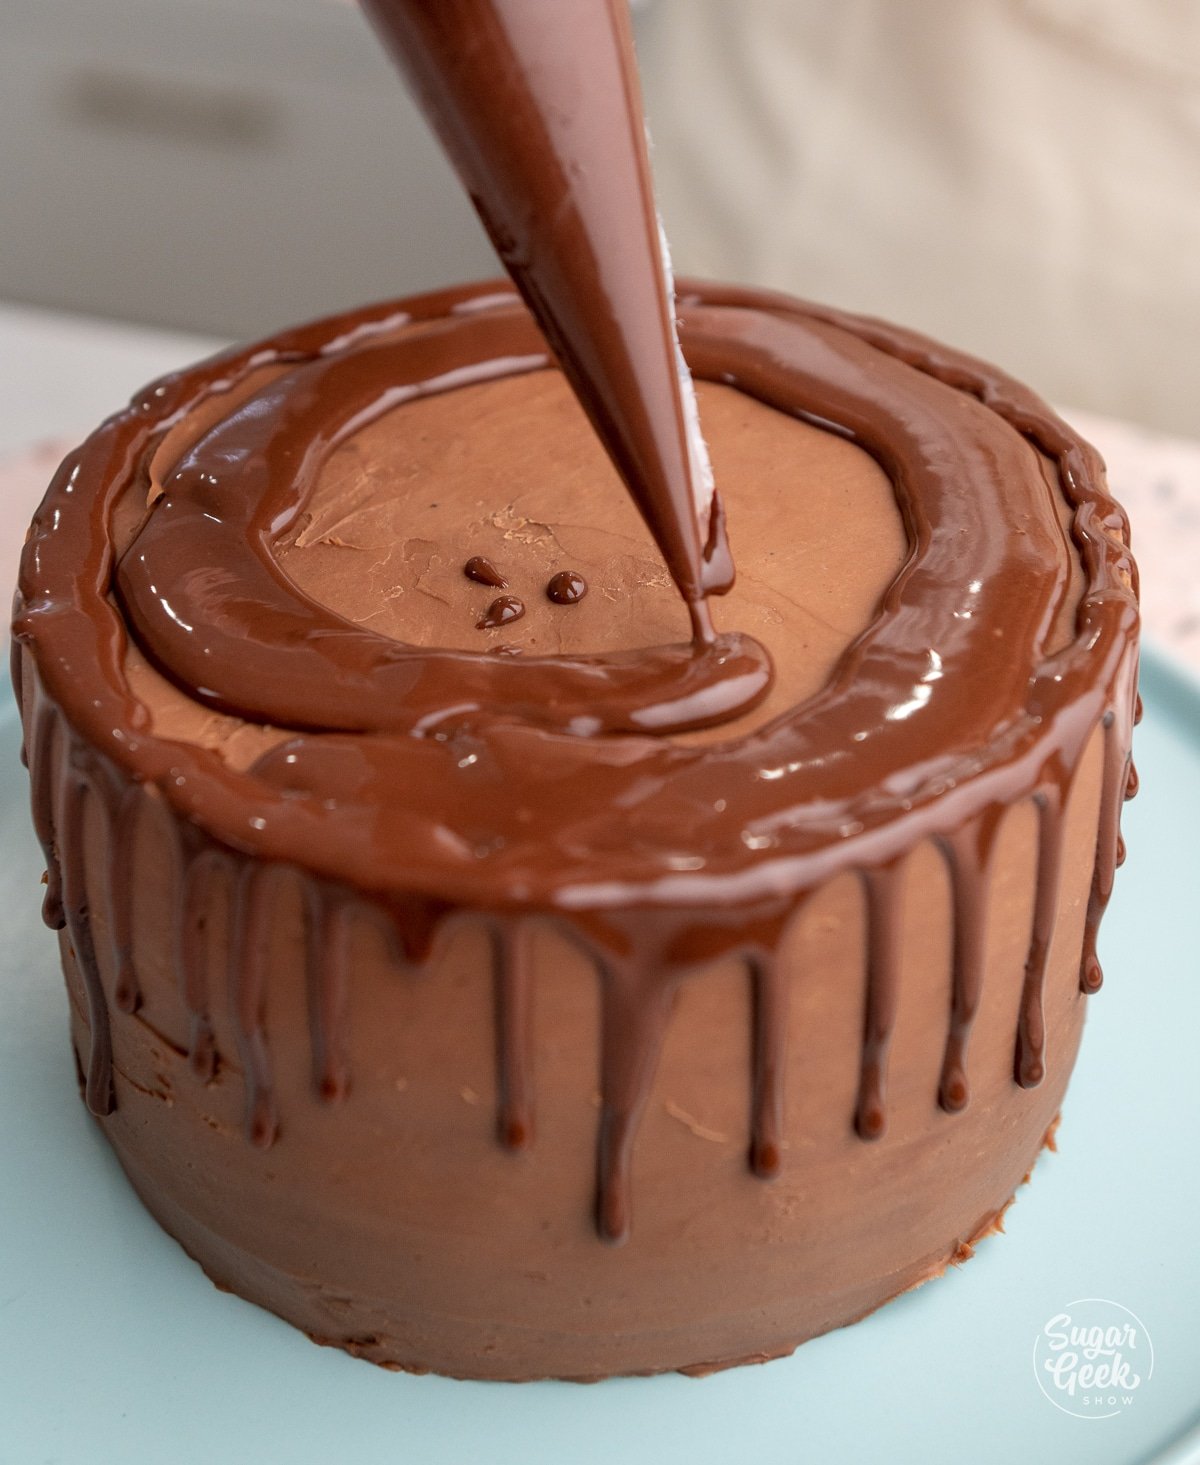
Step 5 - Add the water ganache drip! I love using water ganache for simple and beautiful drips! I was doing this cake live so my water ganache was a bit hot and started to run down the cake. Make sure you let your water ganache cool to 90ºF before adding your drip.
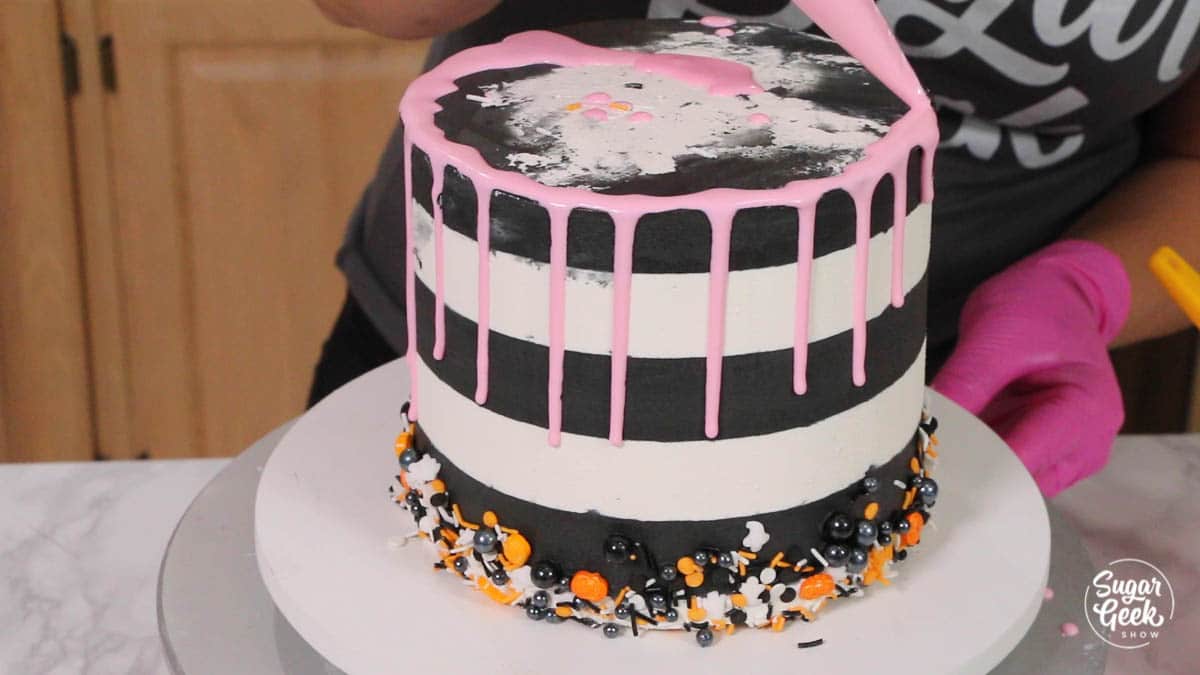
Step 6 - Add your gummy eyeball! I used a little of my easy buttercream and colored it with some electric pink food coloring to get the eyeball to stick to my ganache. I also added some to my ice cream cone with more sprinkles and some water ganache. Stick the cone on top and voila! A super fun Halloween drip cake 😀
Recipe
Gummy Eyeball Halloween Cake
Equipment
- 2 ½" sphere mold
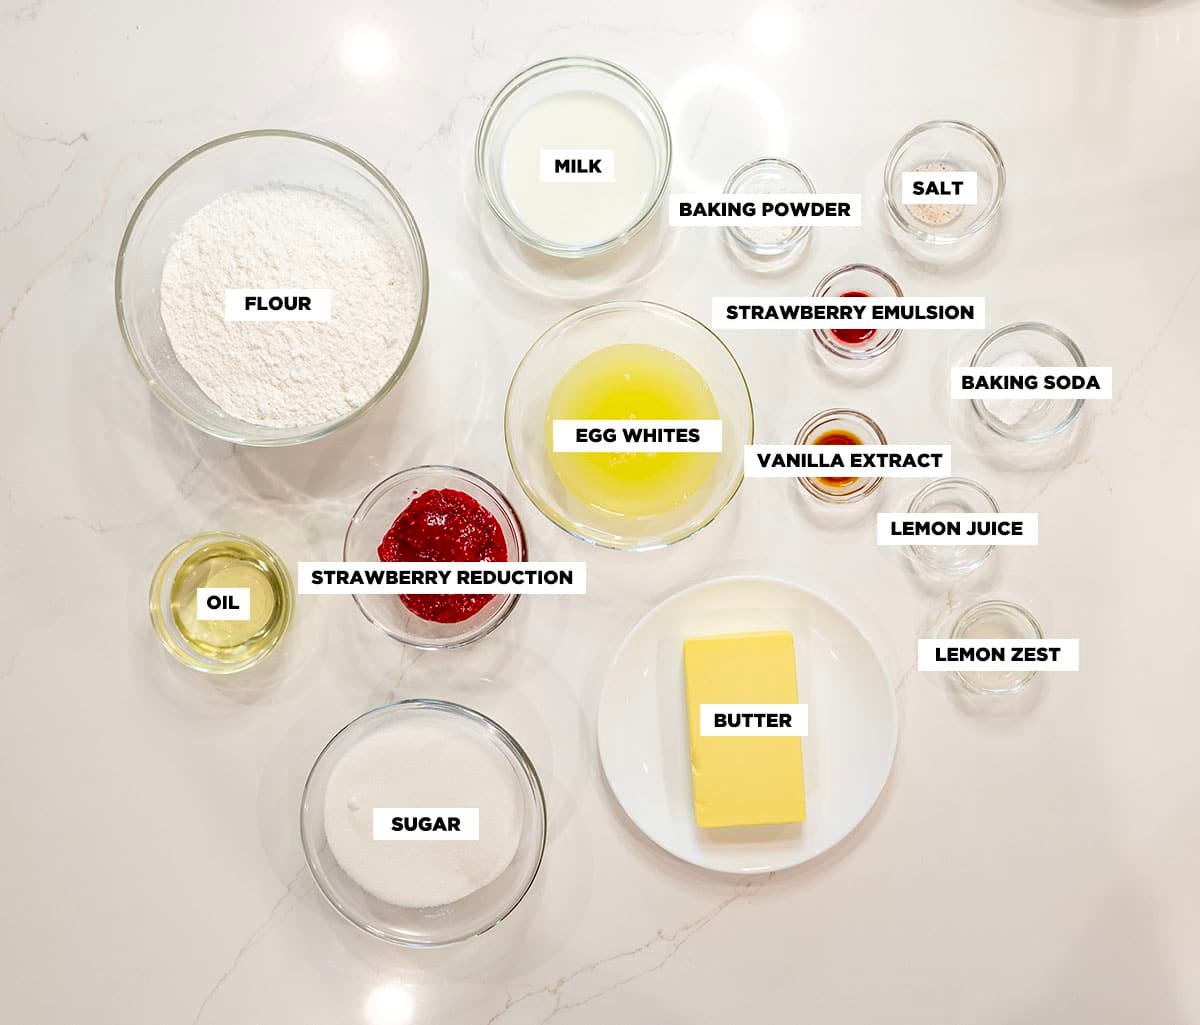
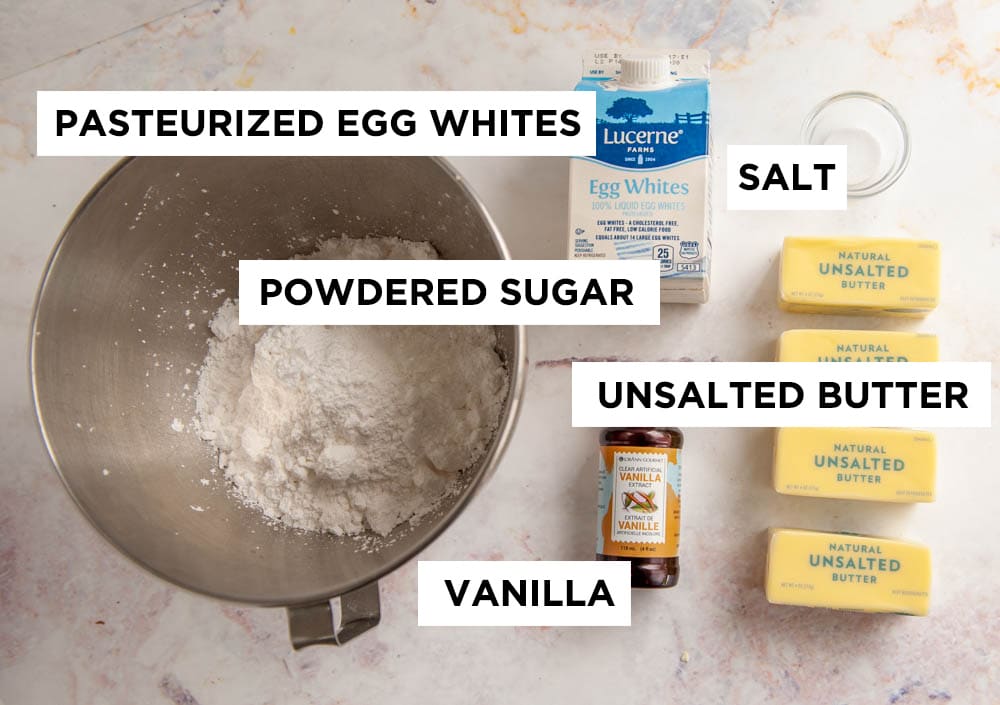
Ingredients
Gummy Eyeball Recipe
- 24 ounces cool water
- 7 ounces granulated sugar
- 1 Tablespoon white food coloring I use Americolor gel
- 2 ounces gelatin I use custom collagen brand but KNOX is ok too
- 1 teaspoon flavor extract I use LorAnn oils pineapple flavor
- ¼ teaspoon citric acid I use milliard brand
- Electric pink, electric blue and super black food coloring (for painting the eye) I use Americolor brand
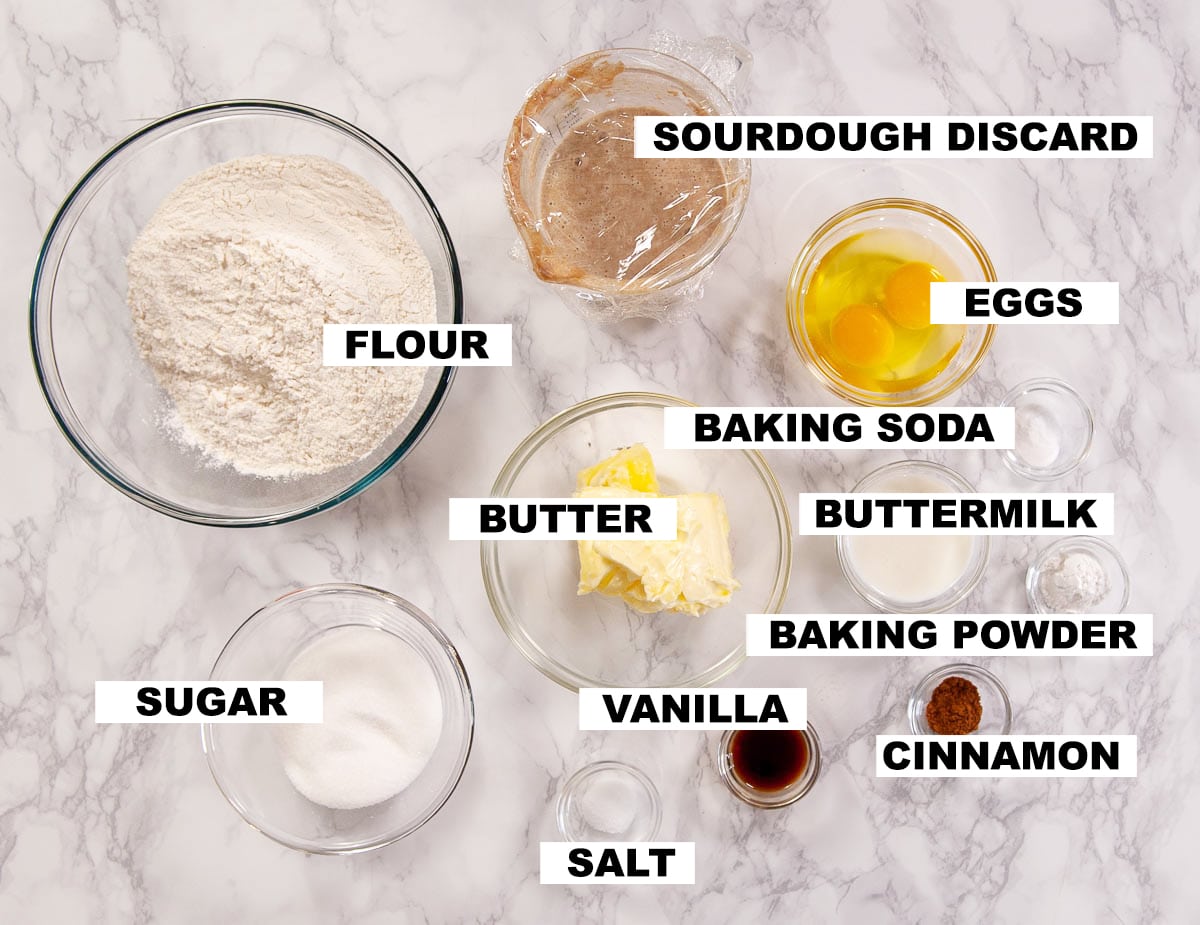
Pumpkin Spice Cake
- 14 ounces all-purpose flour
- 2 teaspoons baking soda
- 1 teaspoon baking powder
- 2 teaspoons cinnamon
- 2 teaspoons cloves
- 2 teaspoons nutmeg
- ½ teaspoon ginger
- 1 teaspoon salt
- 8 large eggs room temperature
- 12 ounces granulated sugar
- 3 ounces light brown sugar
- 12 ounces pumpkin puree not pumpkin pie filling
- 6 ounces vegetable oil
- 2 teaspoons vanilla extract
- 4 ounces buttermilk room temperature
- 12 ounces unsalted butter melted
Black And White Easy Buttercream Frosting
- 24 ounces unsalted butter softened but not melted
- 24 ounces powdered sugar sifted
- 2 teaspoons vanilla extract
- ½ teaspoon salt
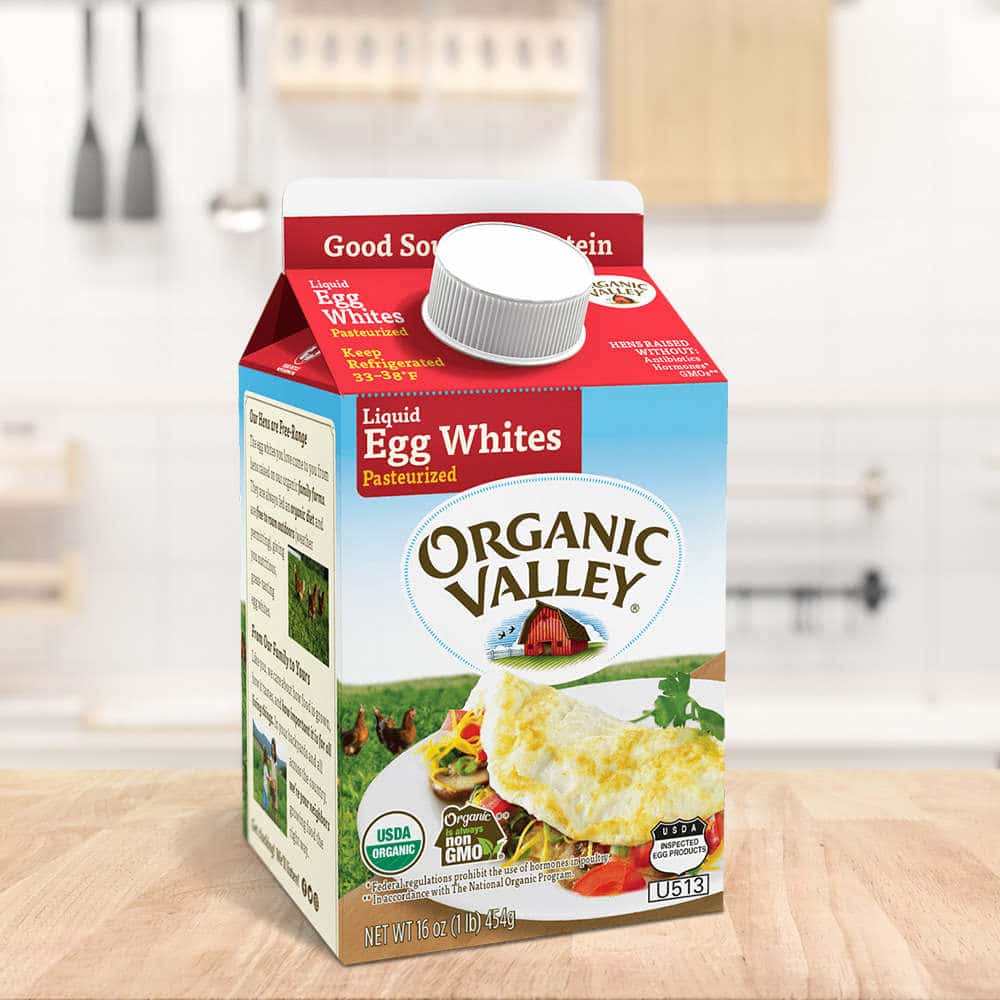
- 6 ounces pasteurized egg whites
- 1 Tablespoon black food coloring
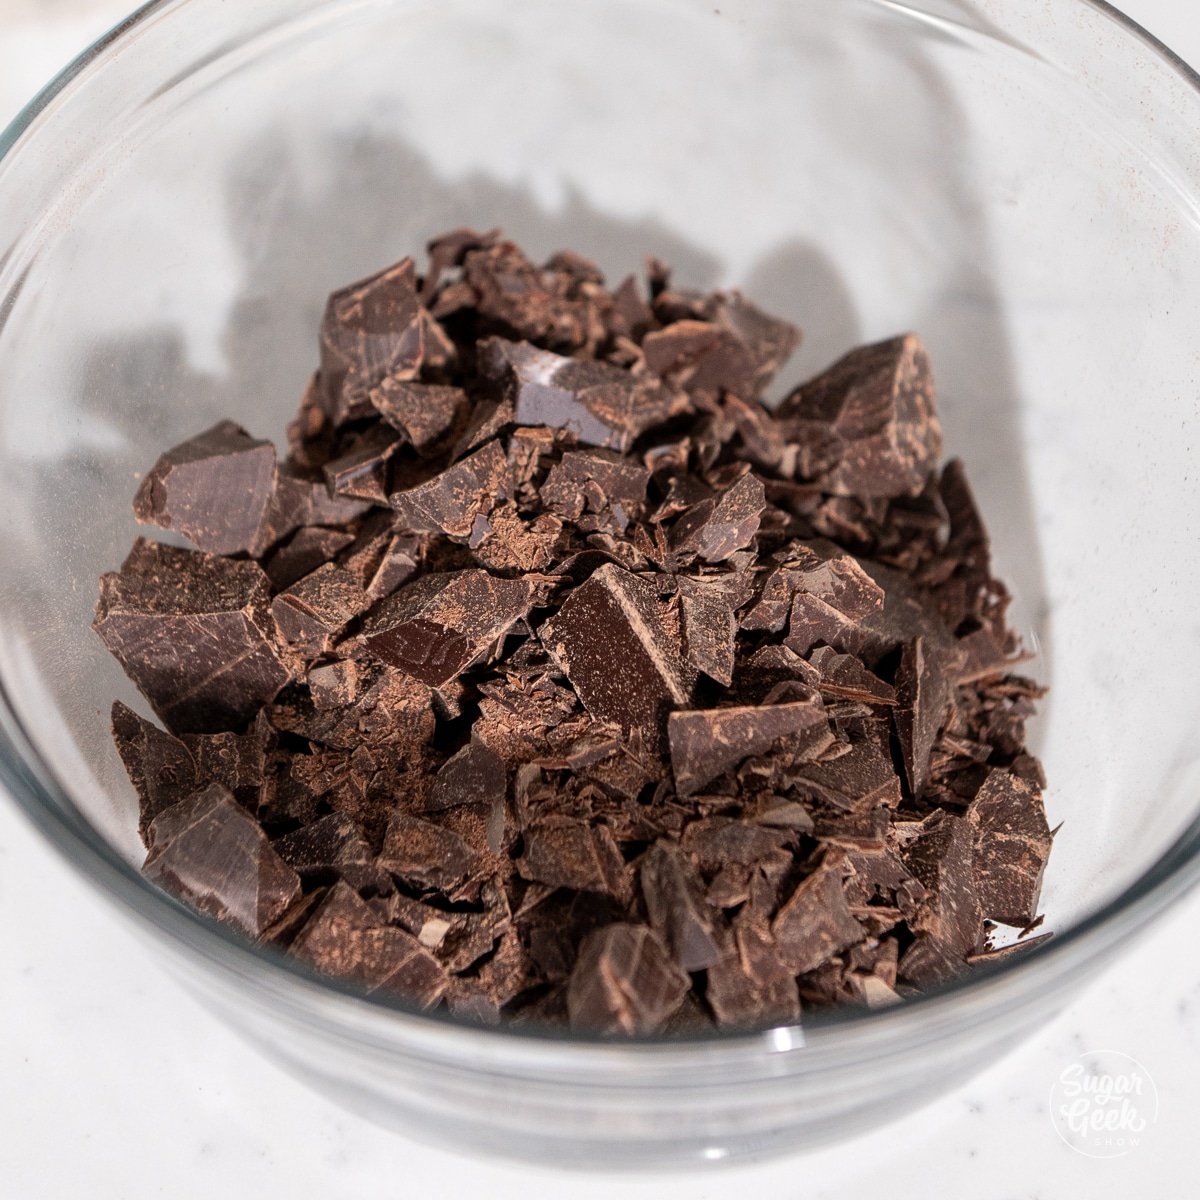
- 4 ounces ganache Or ¼ cup sifted cocoa powder
- 1 teaspoon white food coloring
Pink Water Ganache
- 1 ounce water
- 6 ounces white candy melts
- 1 drop electric pink food coloring
Decor
- ¼ cup Halloween sprinkles
- 1 regular ice cream cone
Instructions
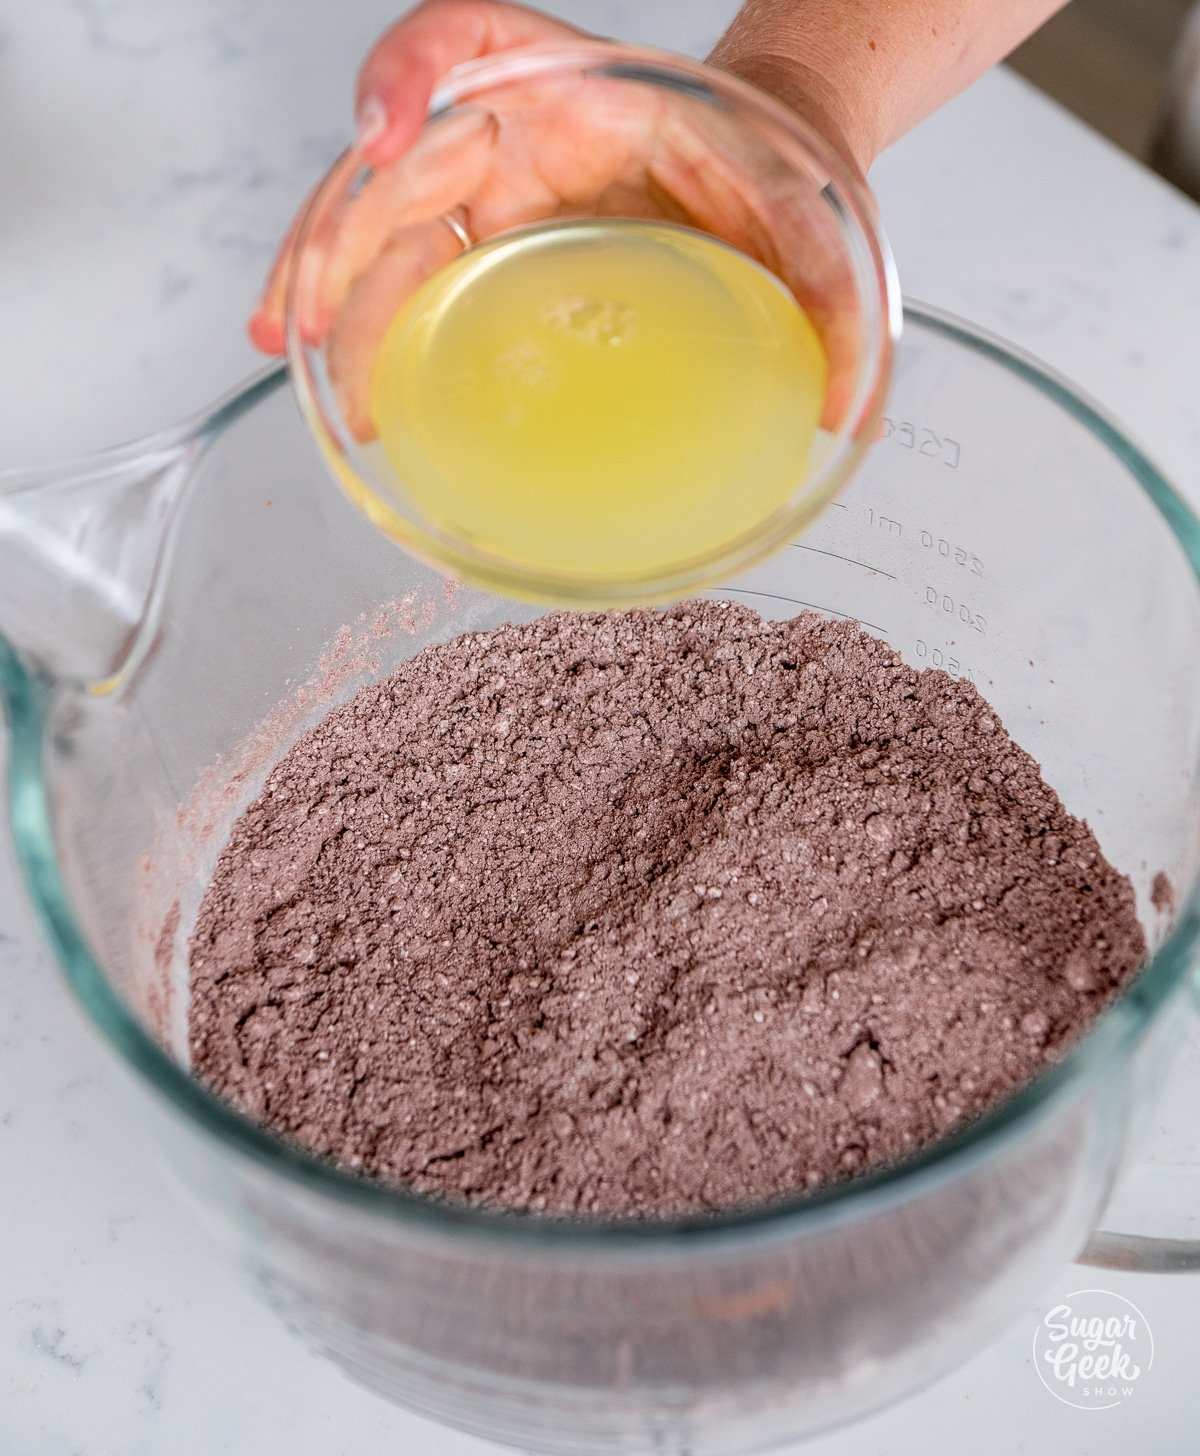
Pumpkin Spice Cake
- Preheat your oven to 350ºF (177ºC)Prepare two 8"x2" cake pans with cake goop or other preferred pan release
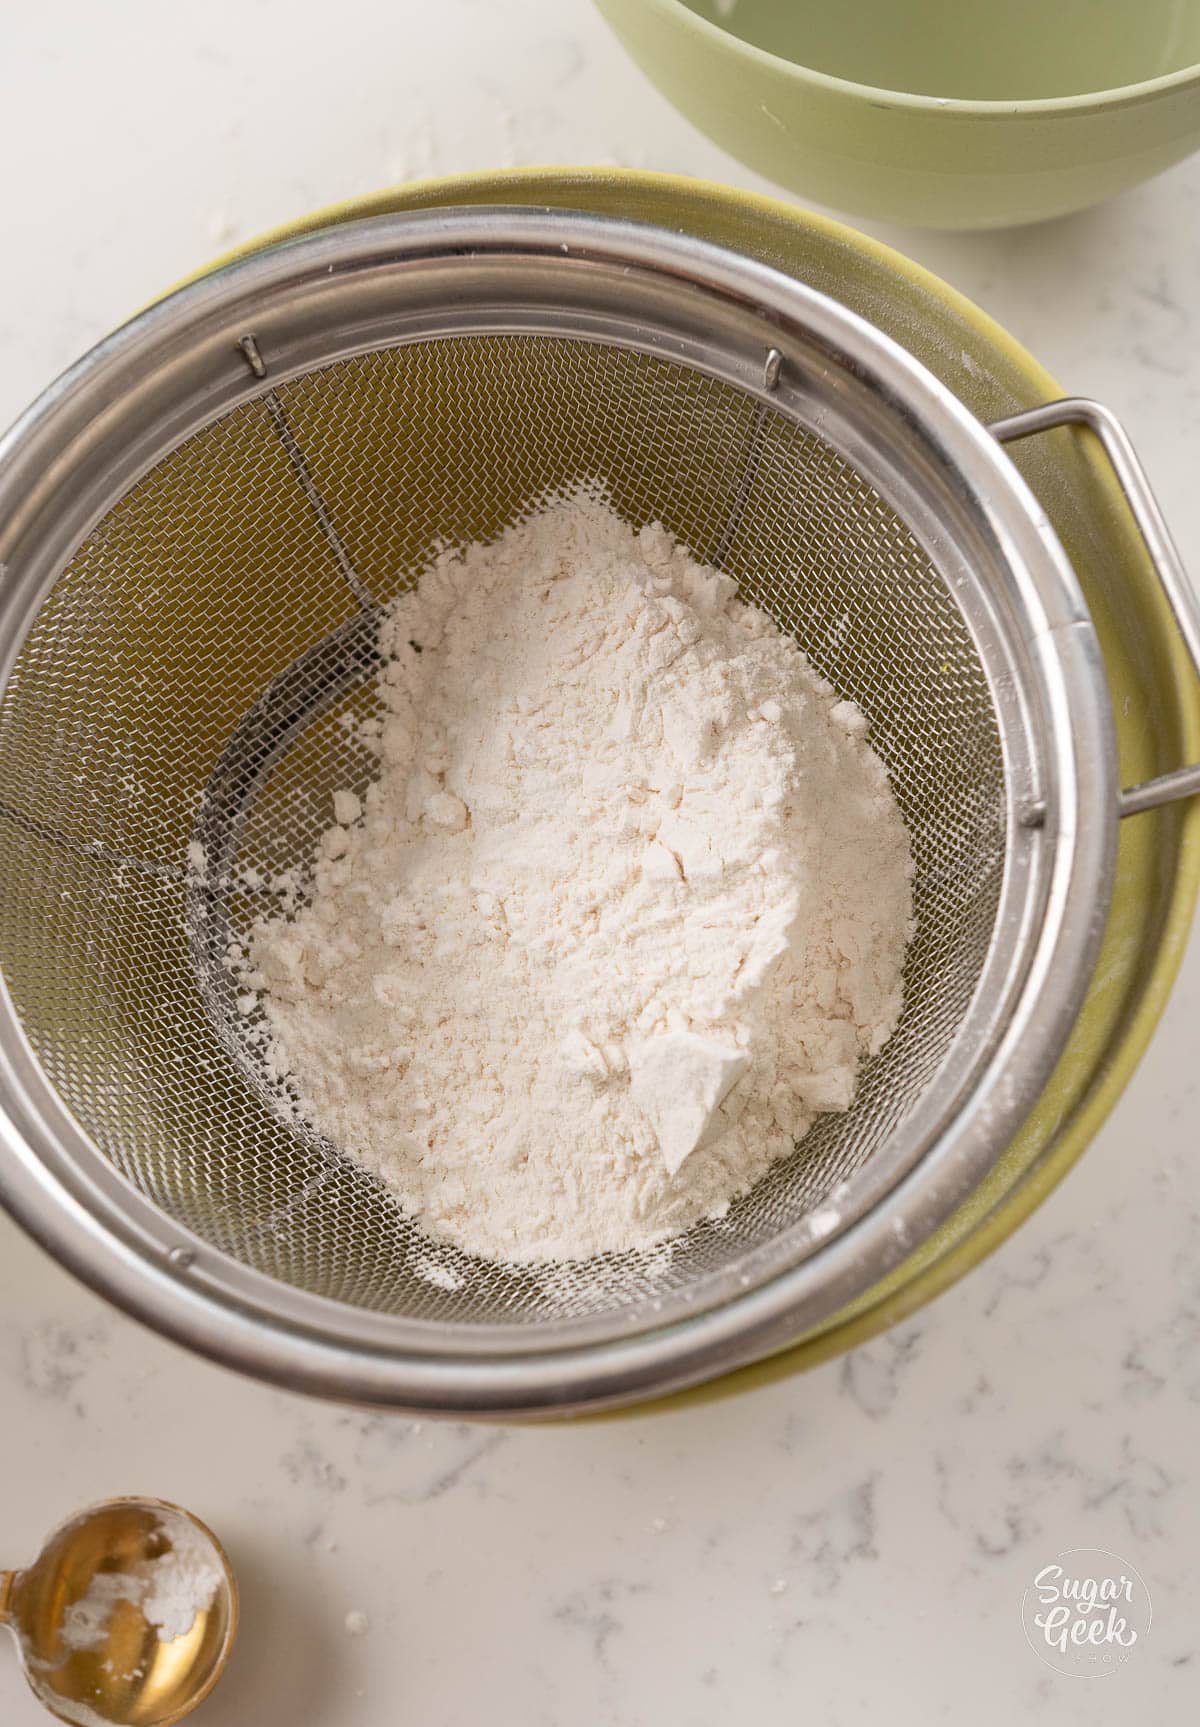
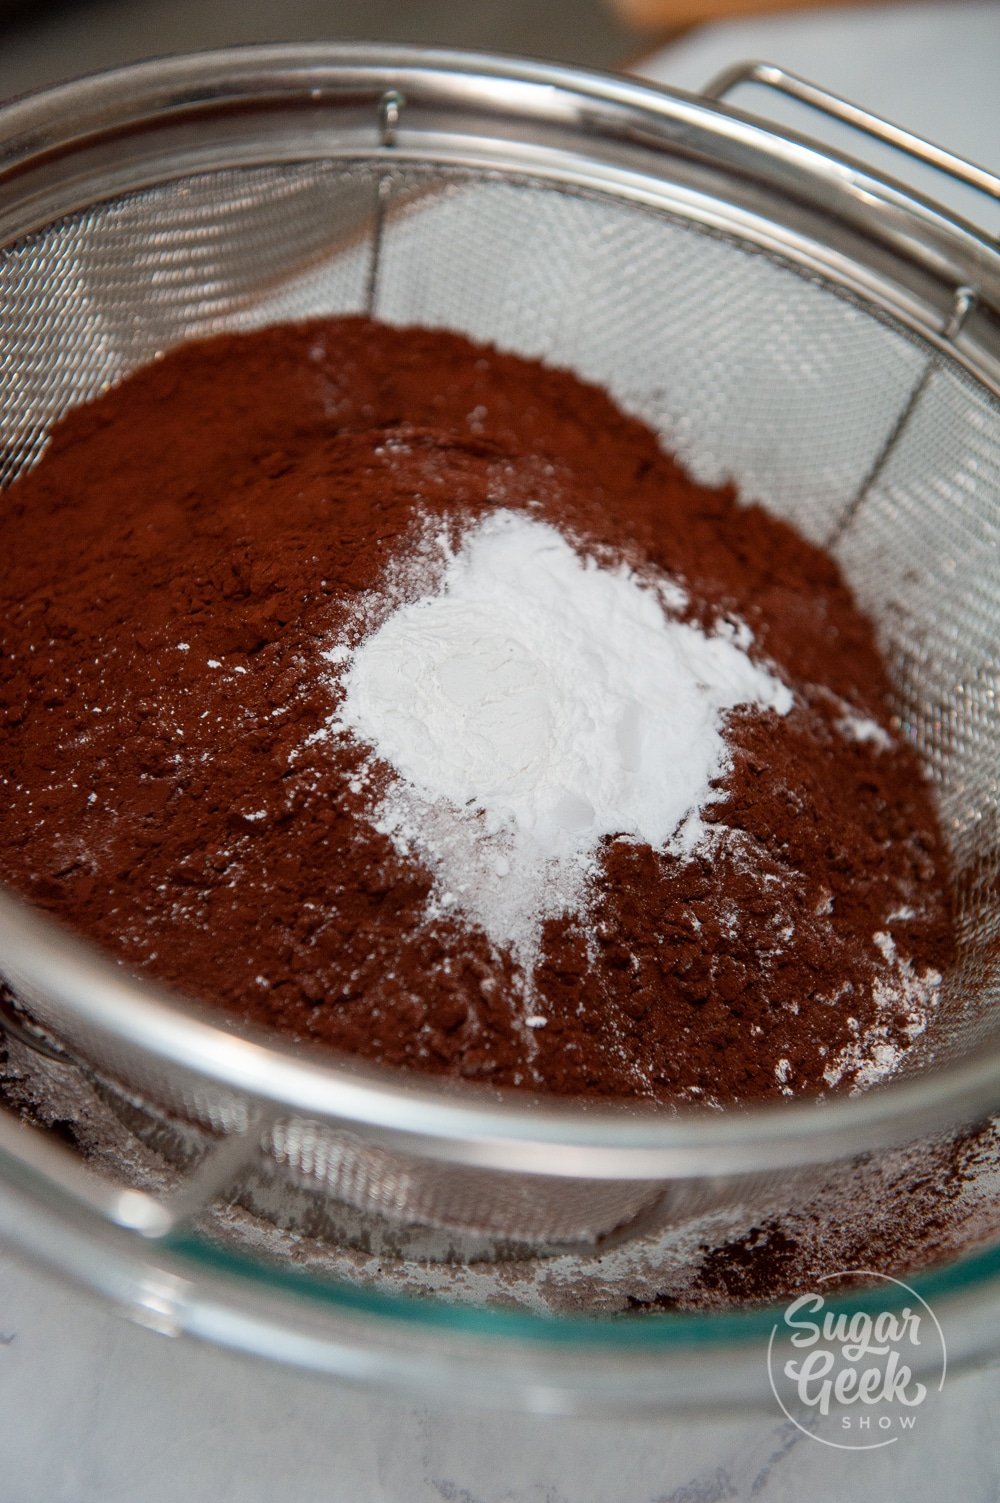
- Combine your flour, baking soda, baking powder, spices and salt in a bowl and whisk together to combine. Set aside.
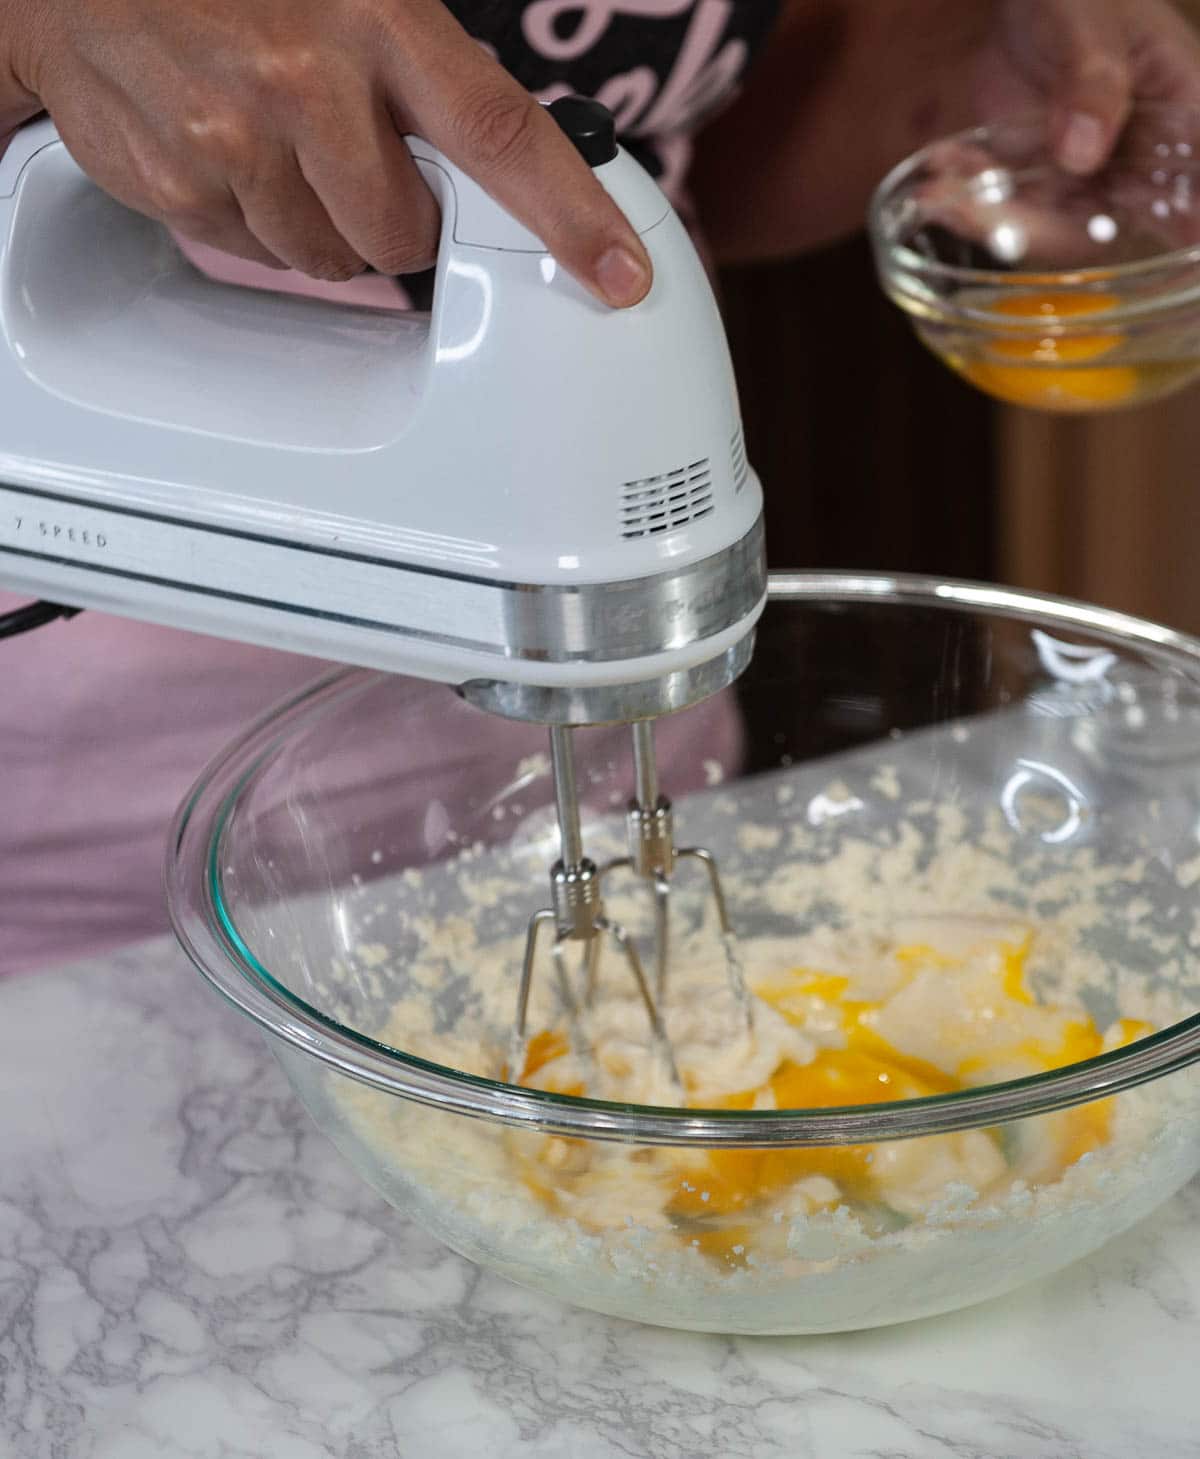
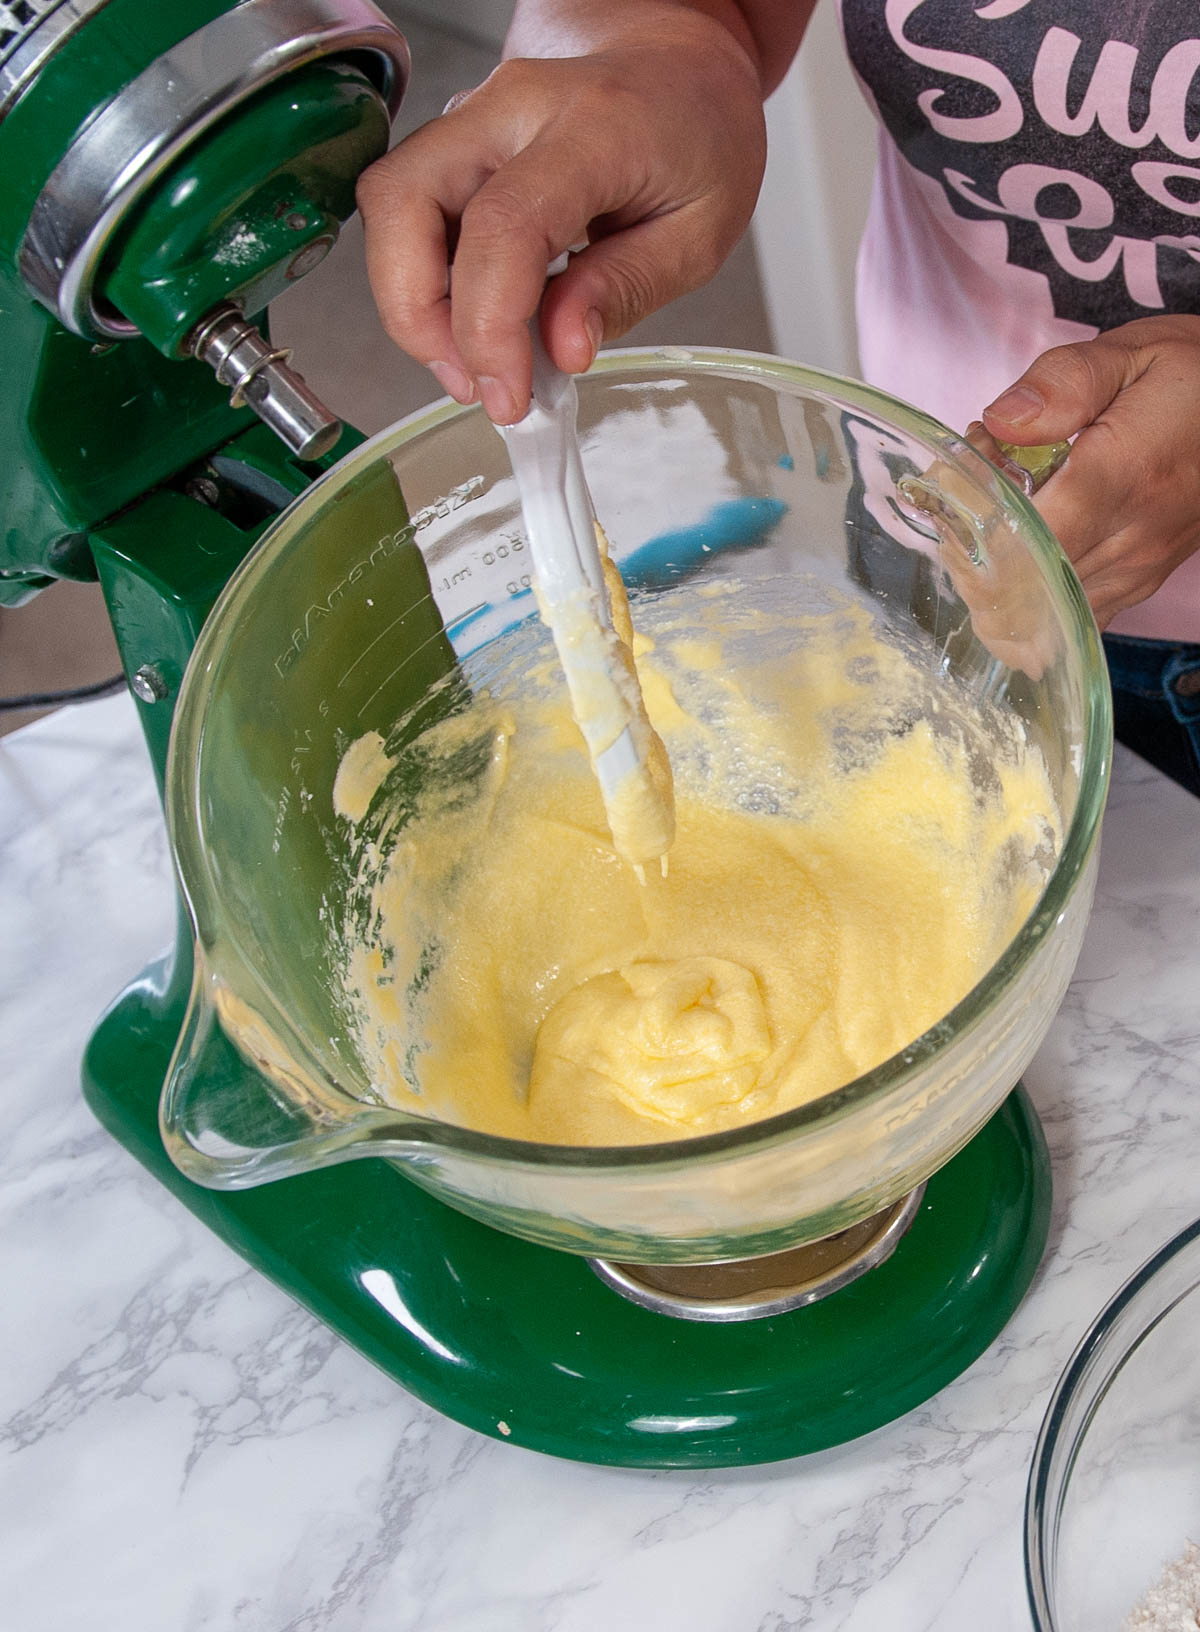
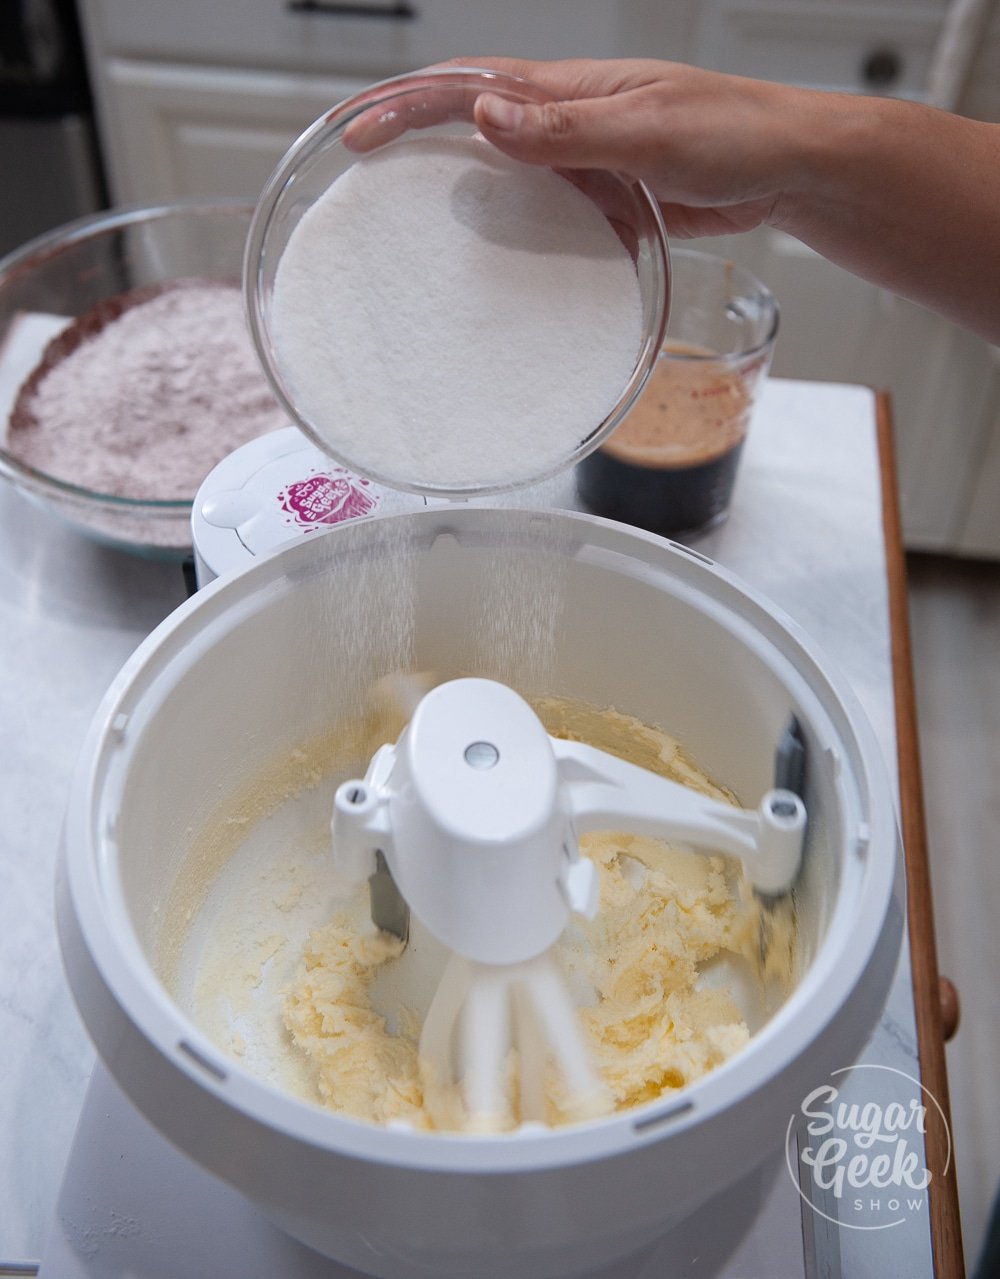
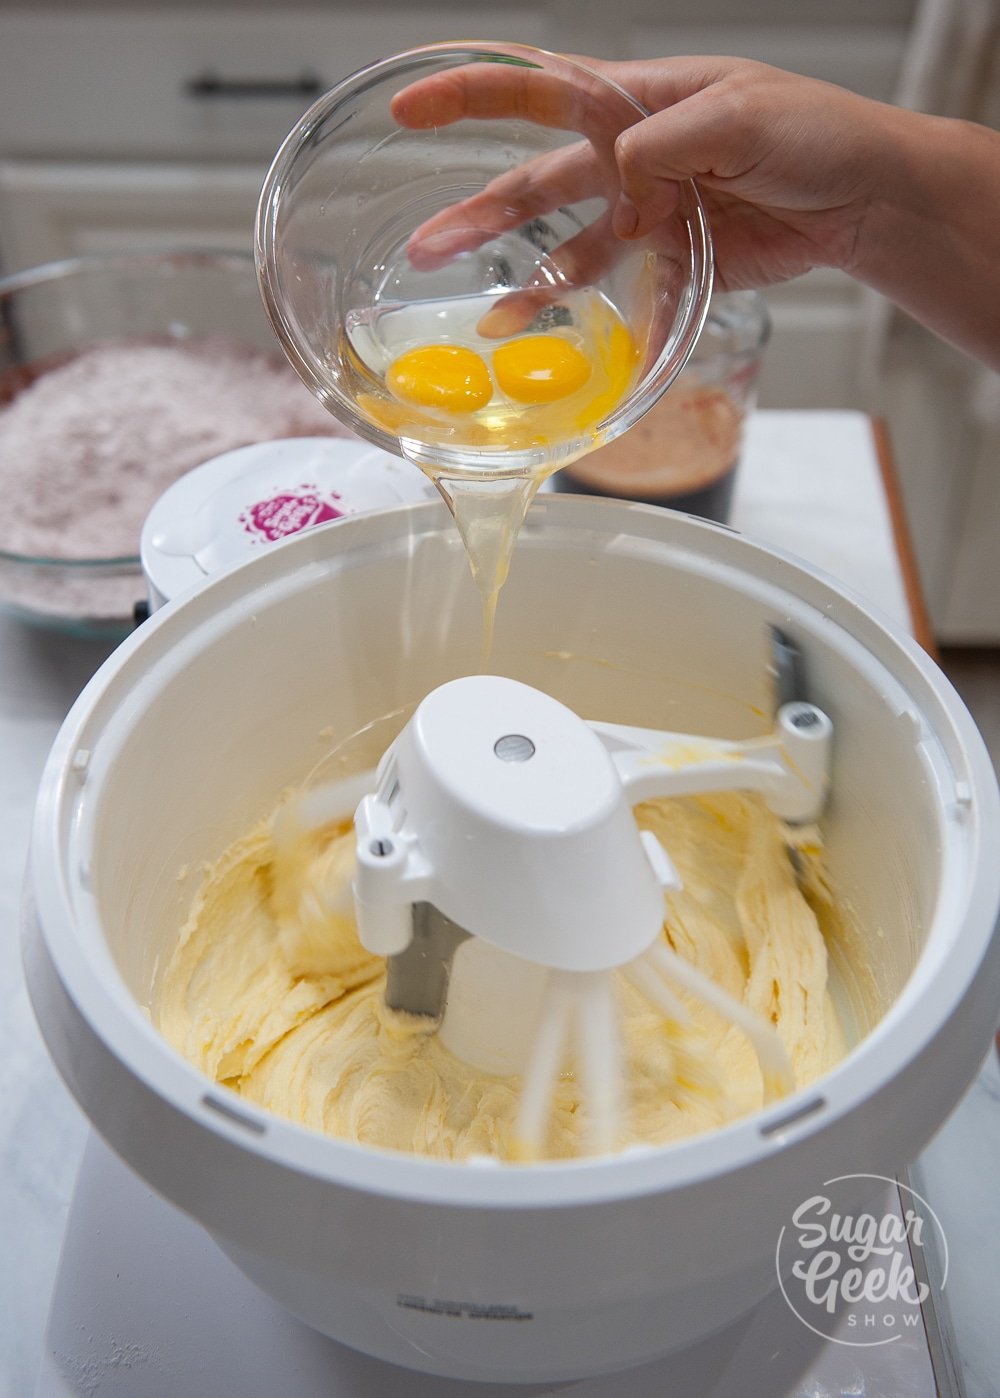
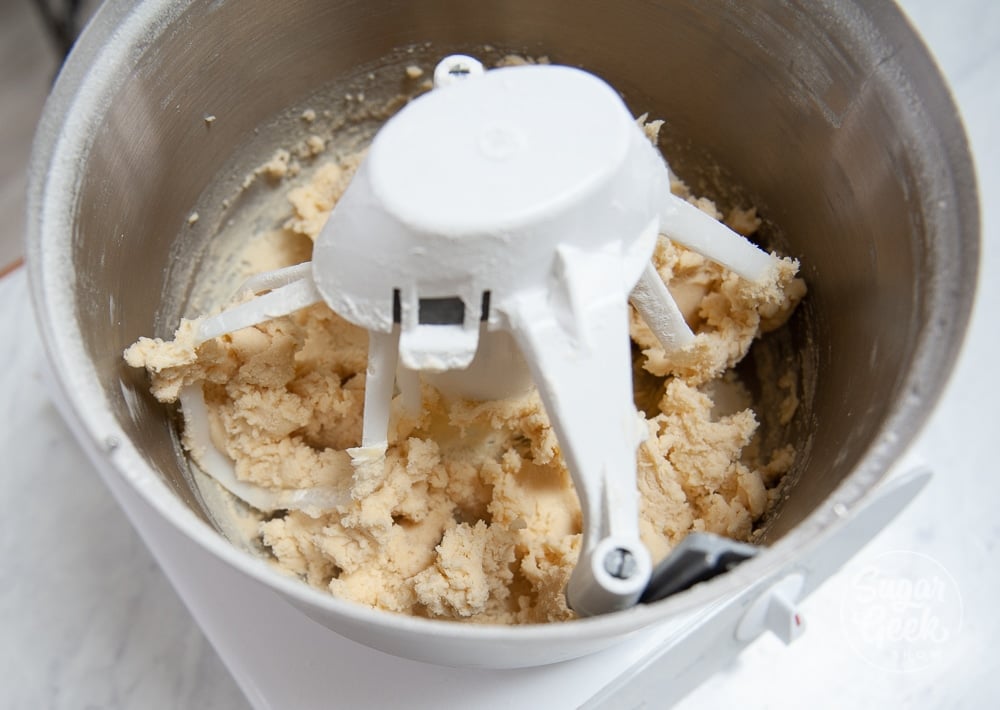
- In the bowl of a stand mixer, add your eggs, sugar, brown sugar and vanilla. Mix on low with the paddle attachment until smooth. You can also do this by hand with a whisk if you don't have a mixer.
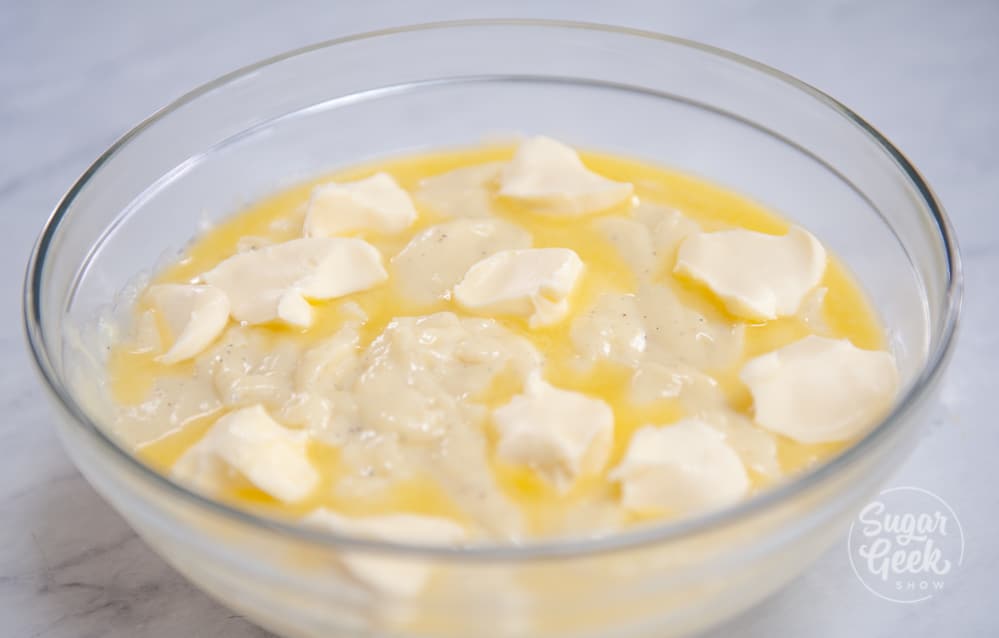
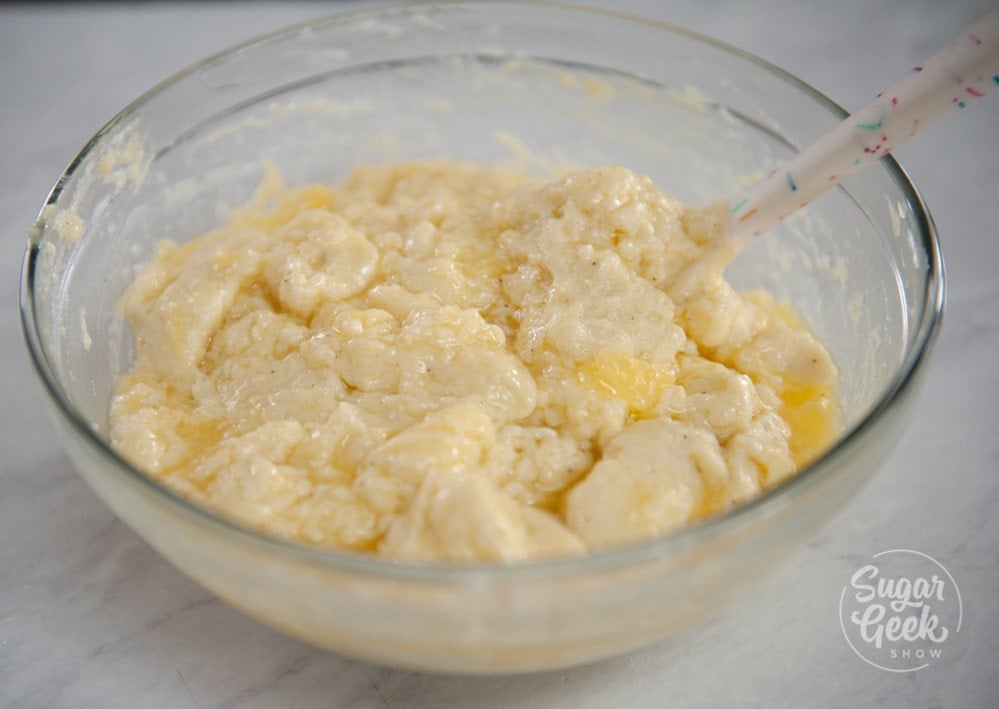
- Add in your pumpkin puree, oil, melted butter and buttermilk and mix until smooth
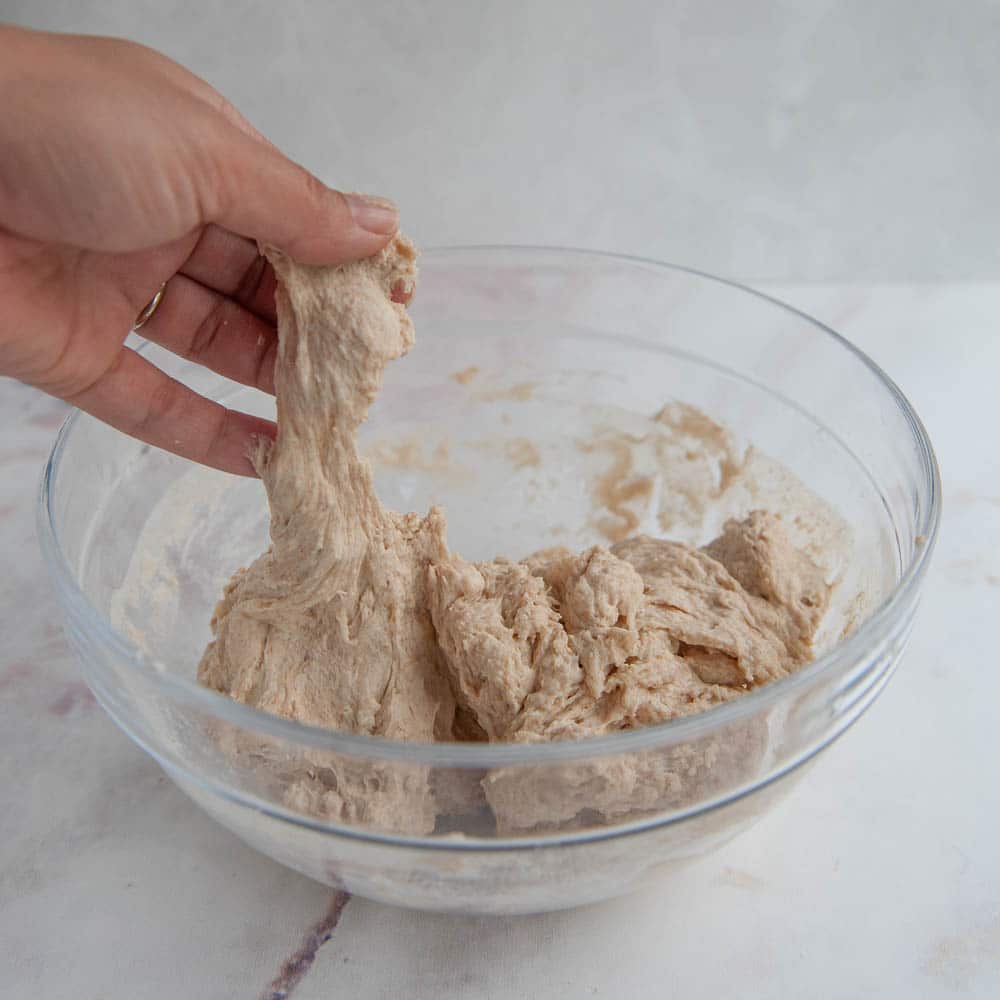
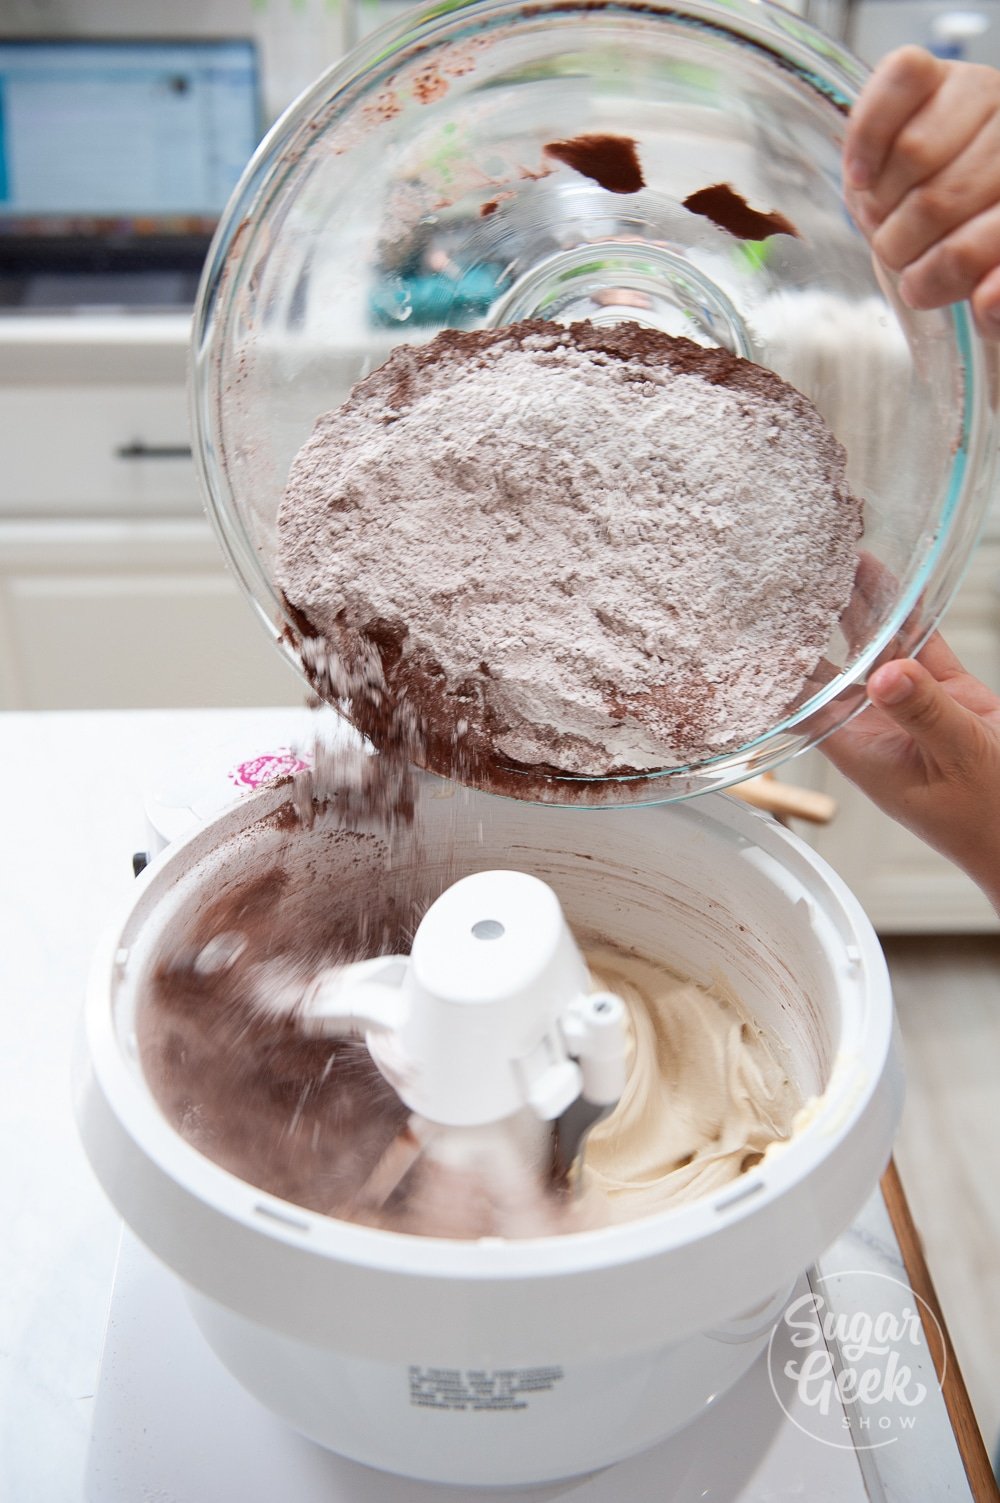
- While mixing on low, add in your flour mixture one cup at a time until all your dry ingredients are incorporated and your batter is smooth. Do not over-mix.
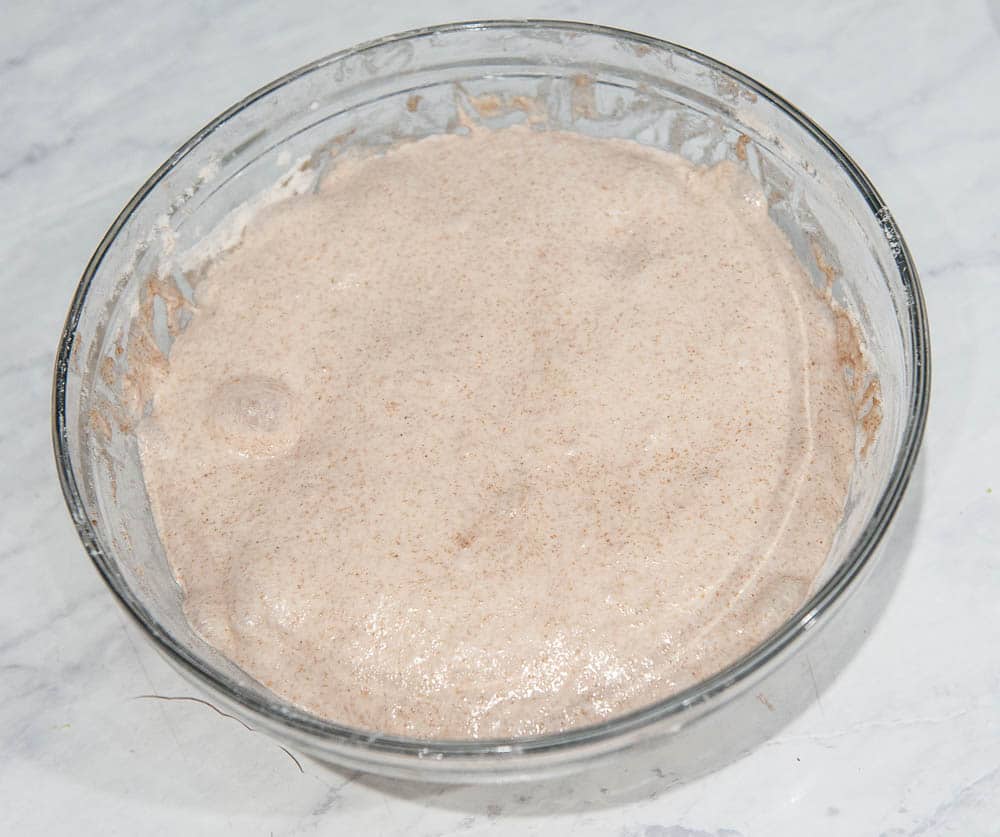
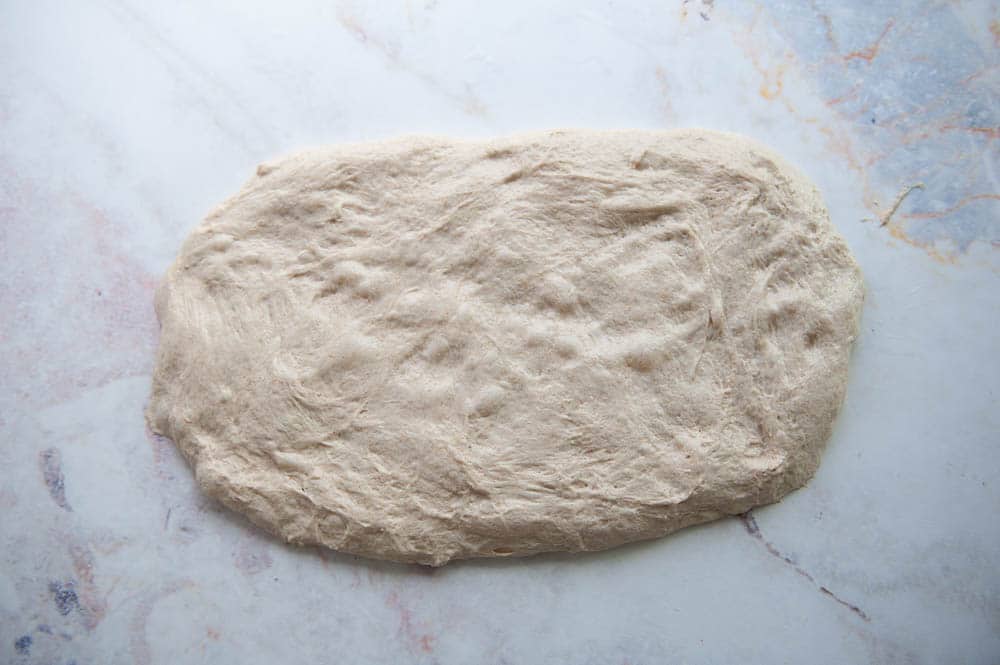
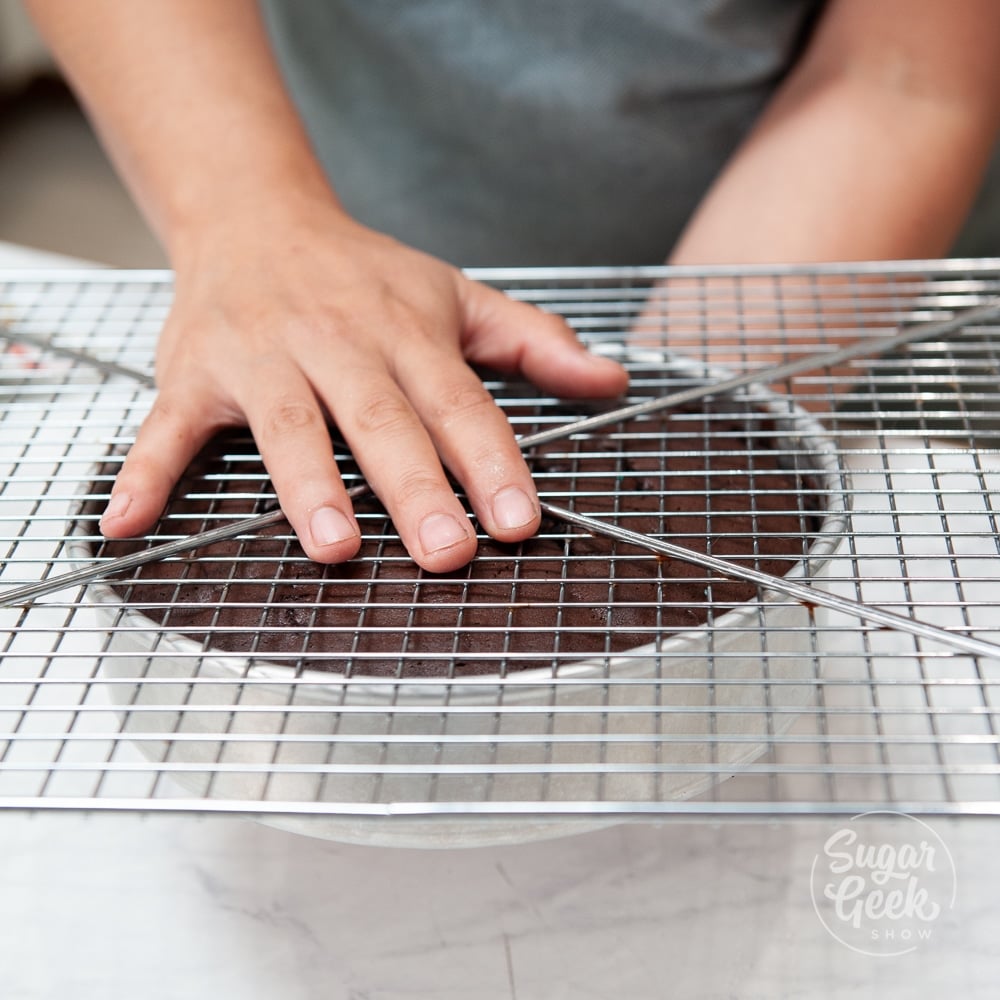
- Pour batter into prepared cake pans. Bake the cakes for 40-50 minutes until the center of the cake is set. Let cakes cool ten minutes and turn out onto a cake rack to fully cool before frosting.
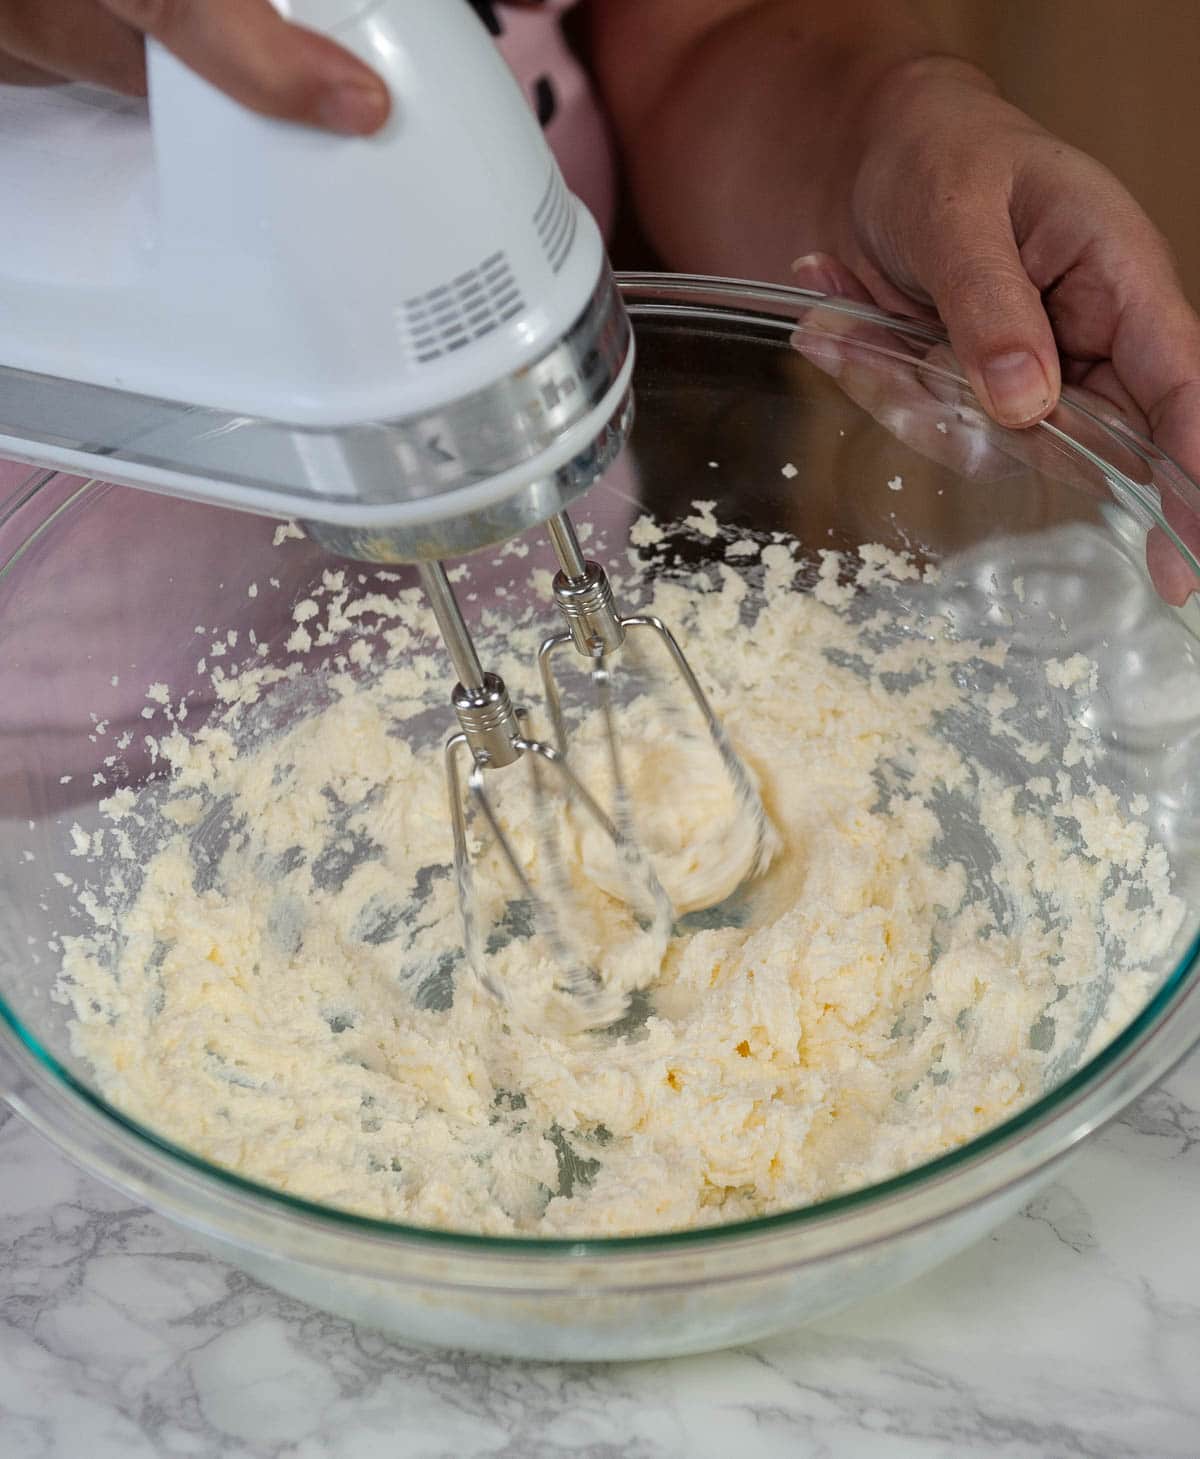
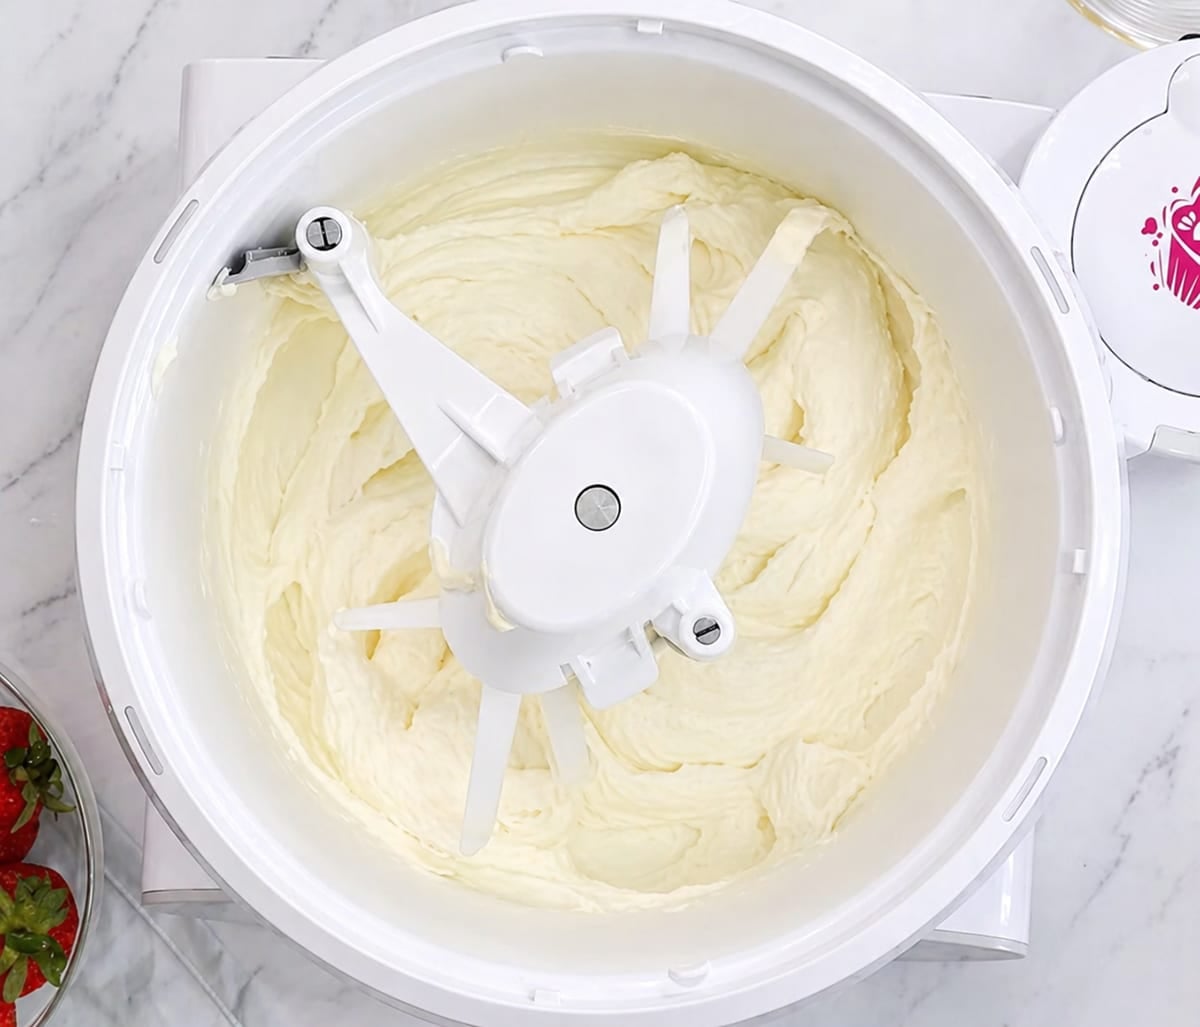
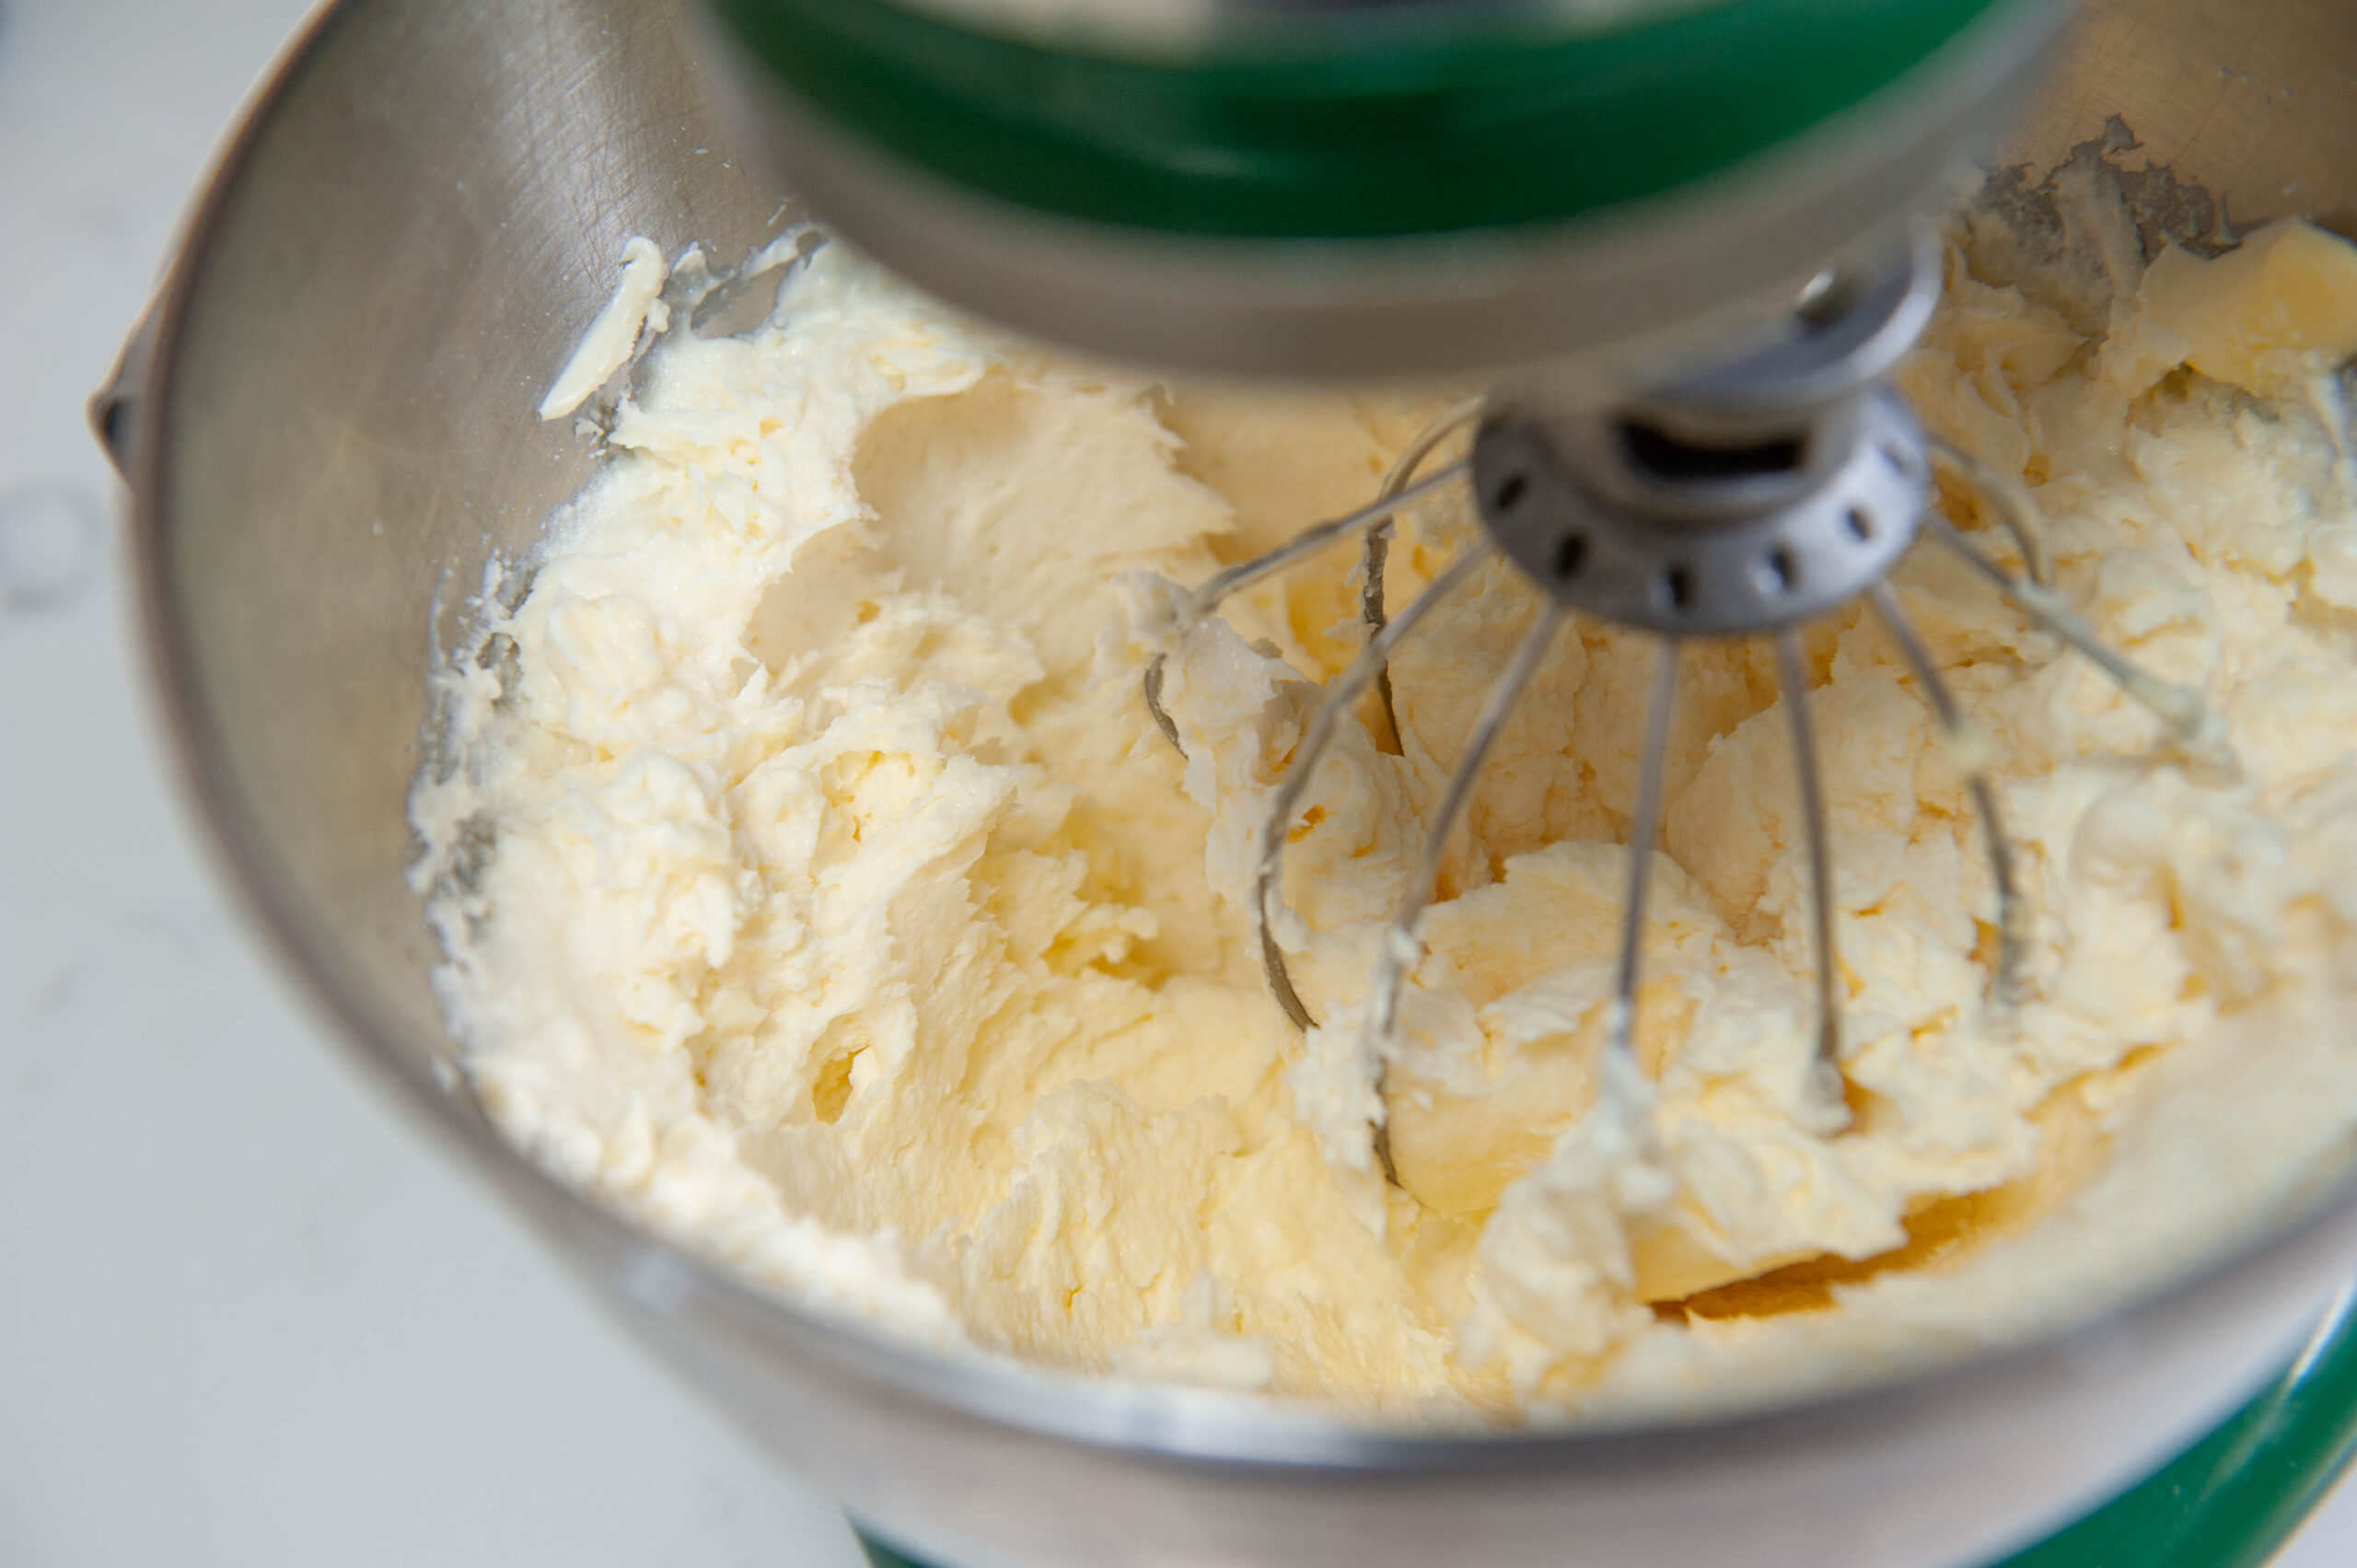
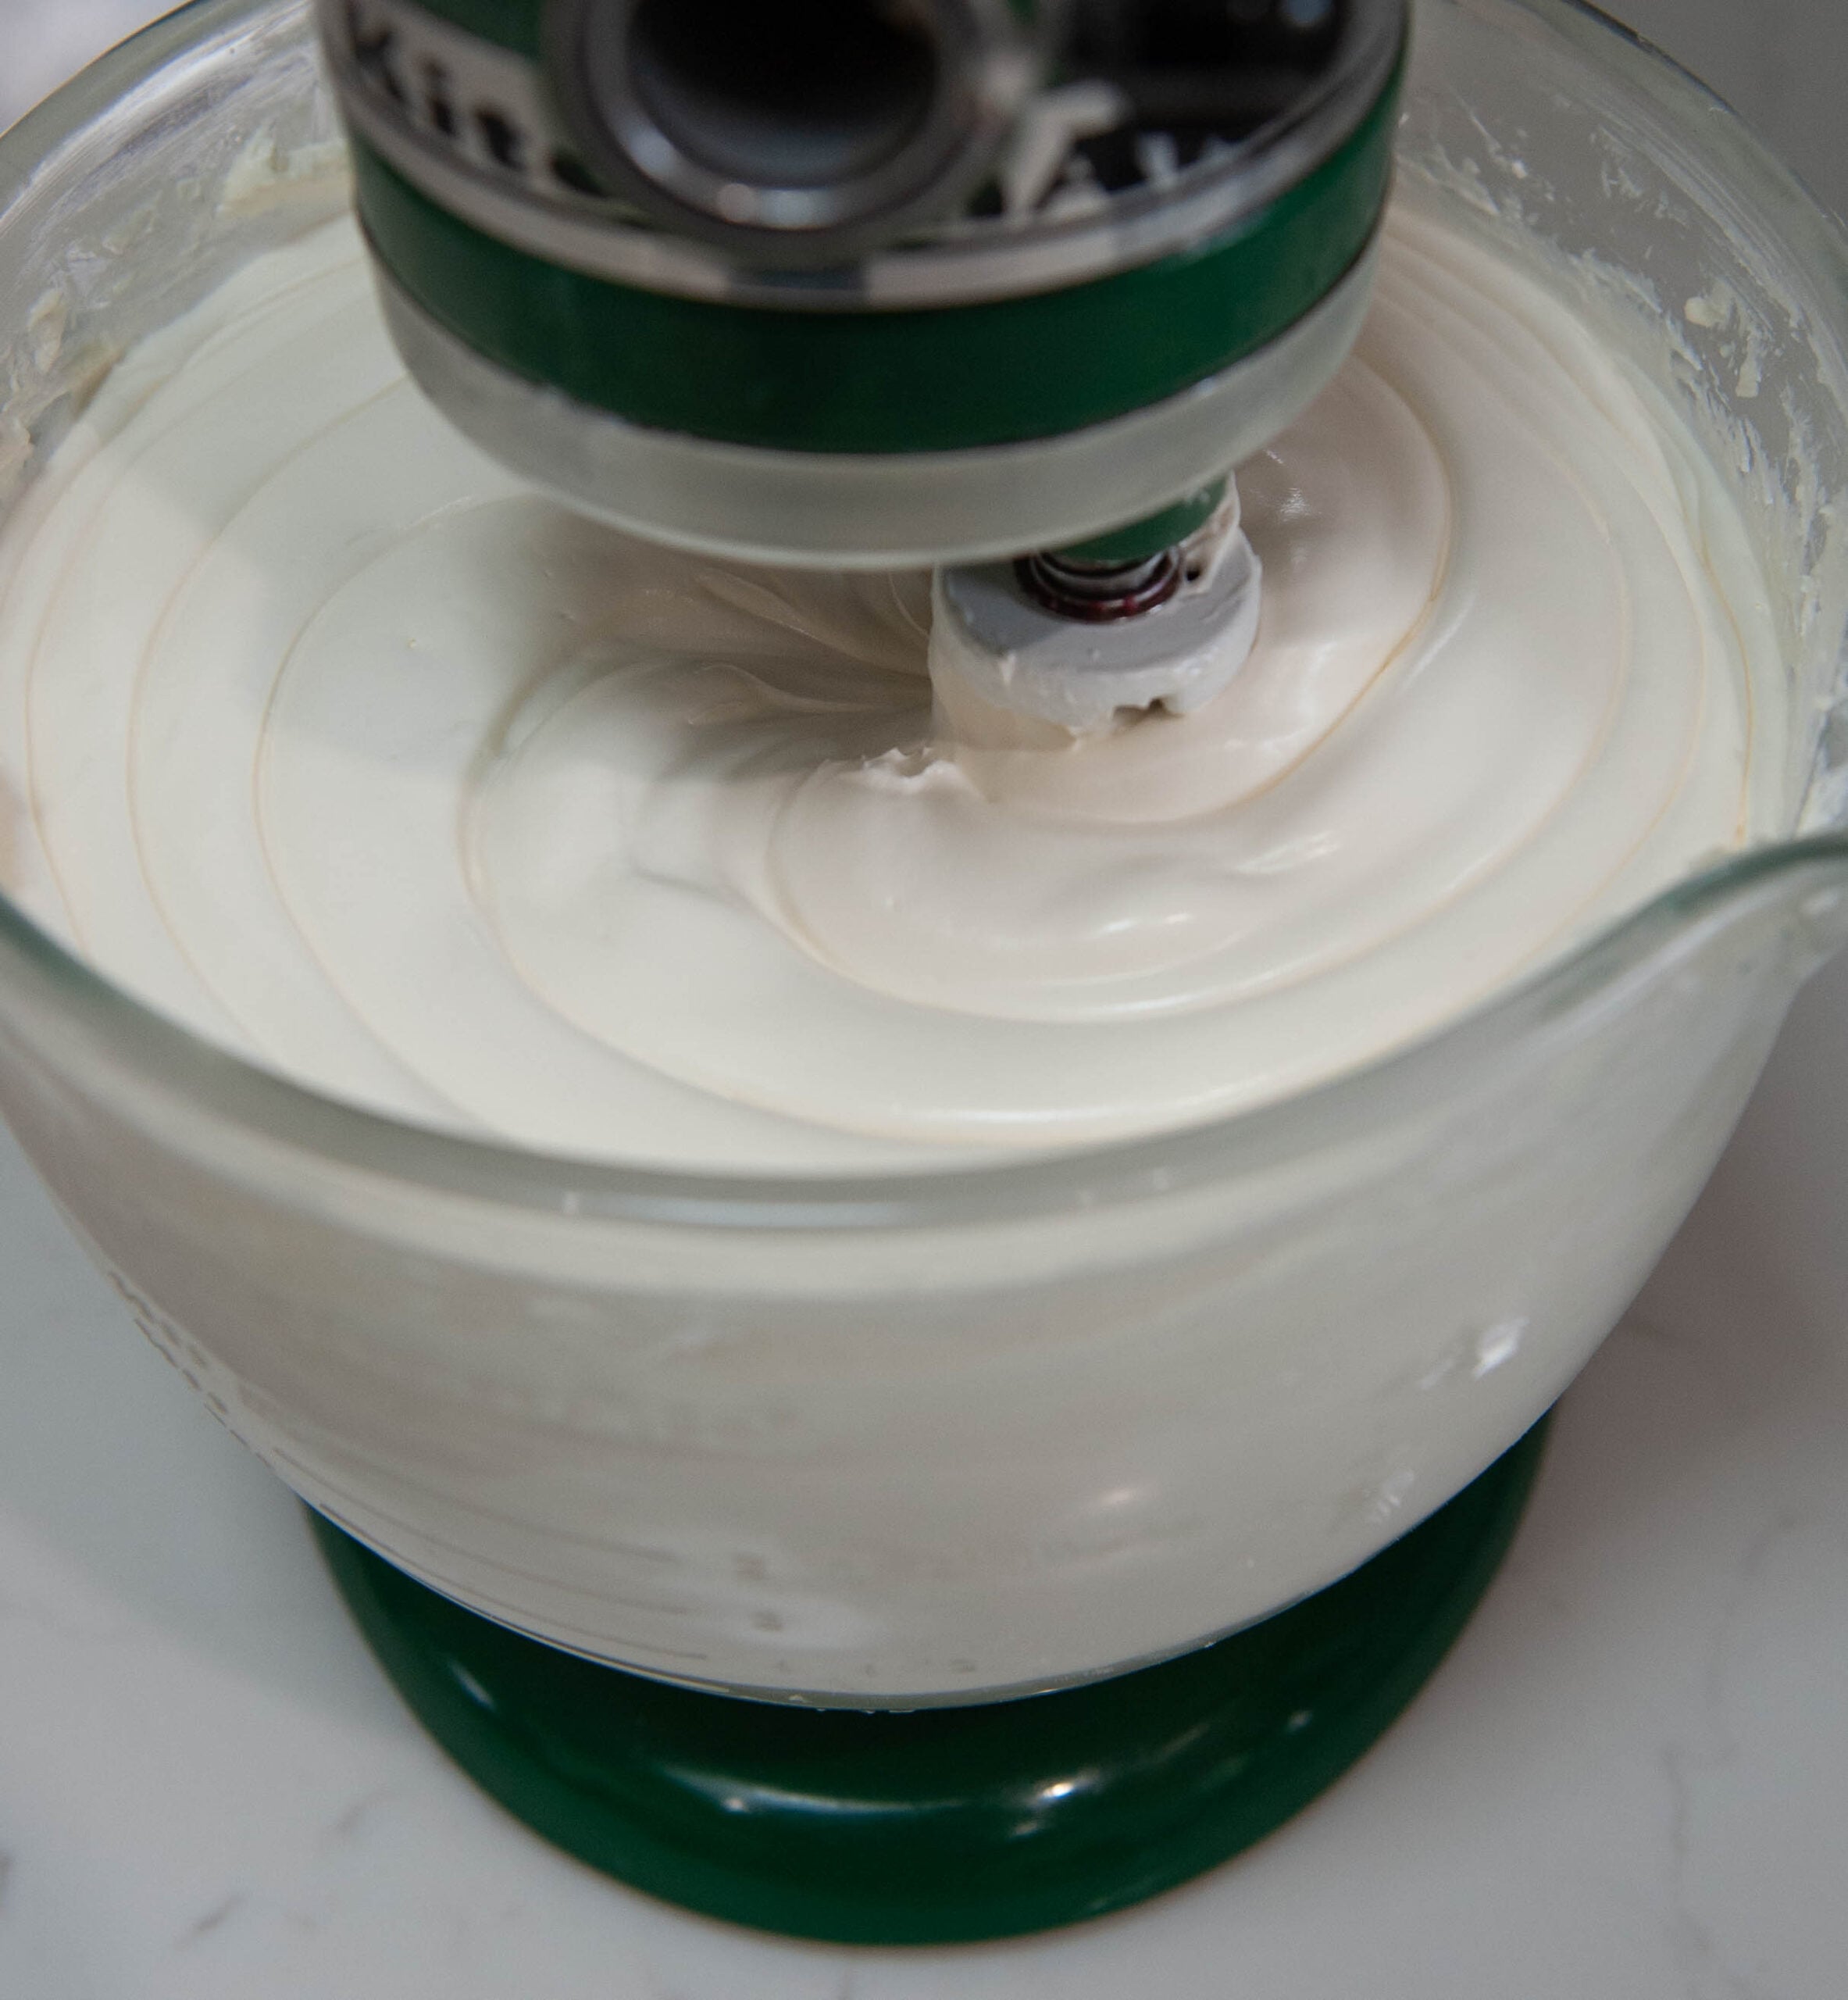
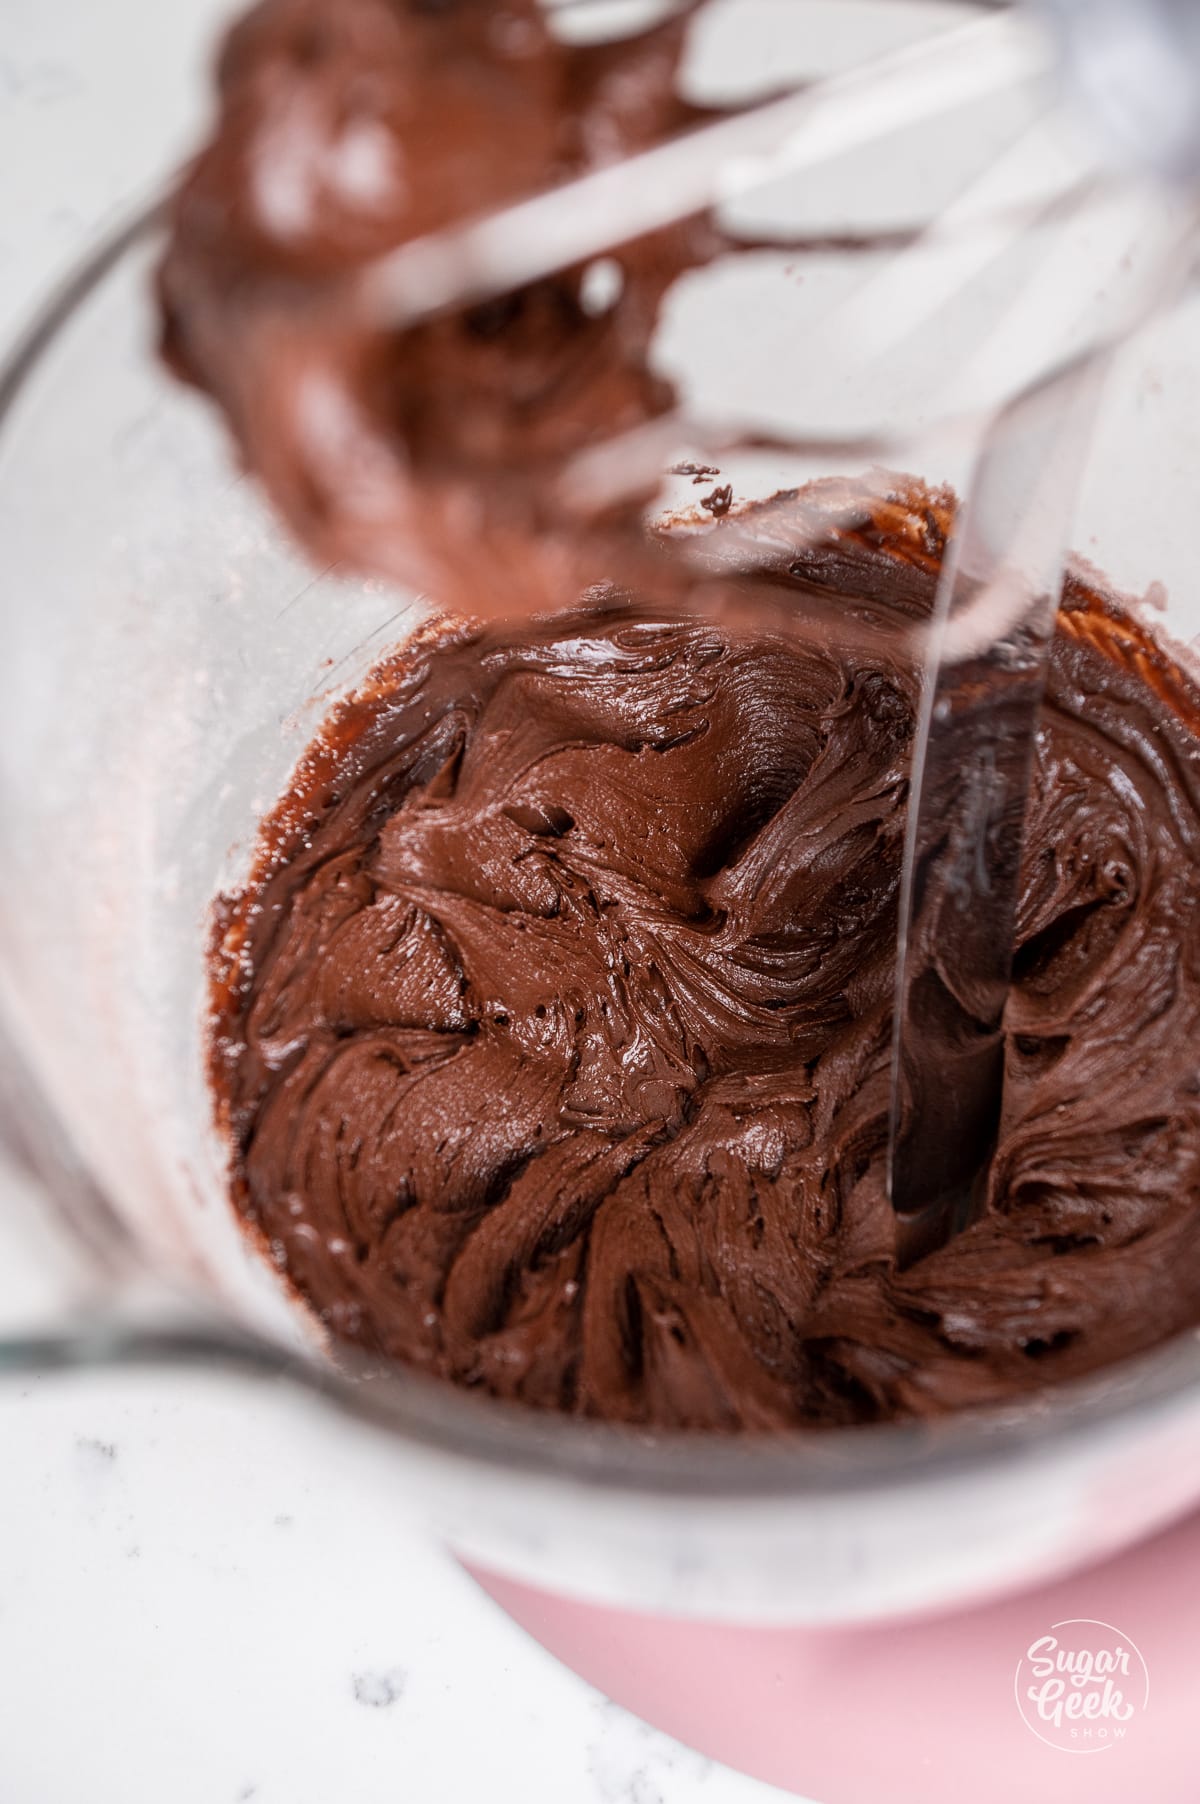
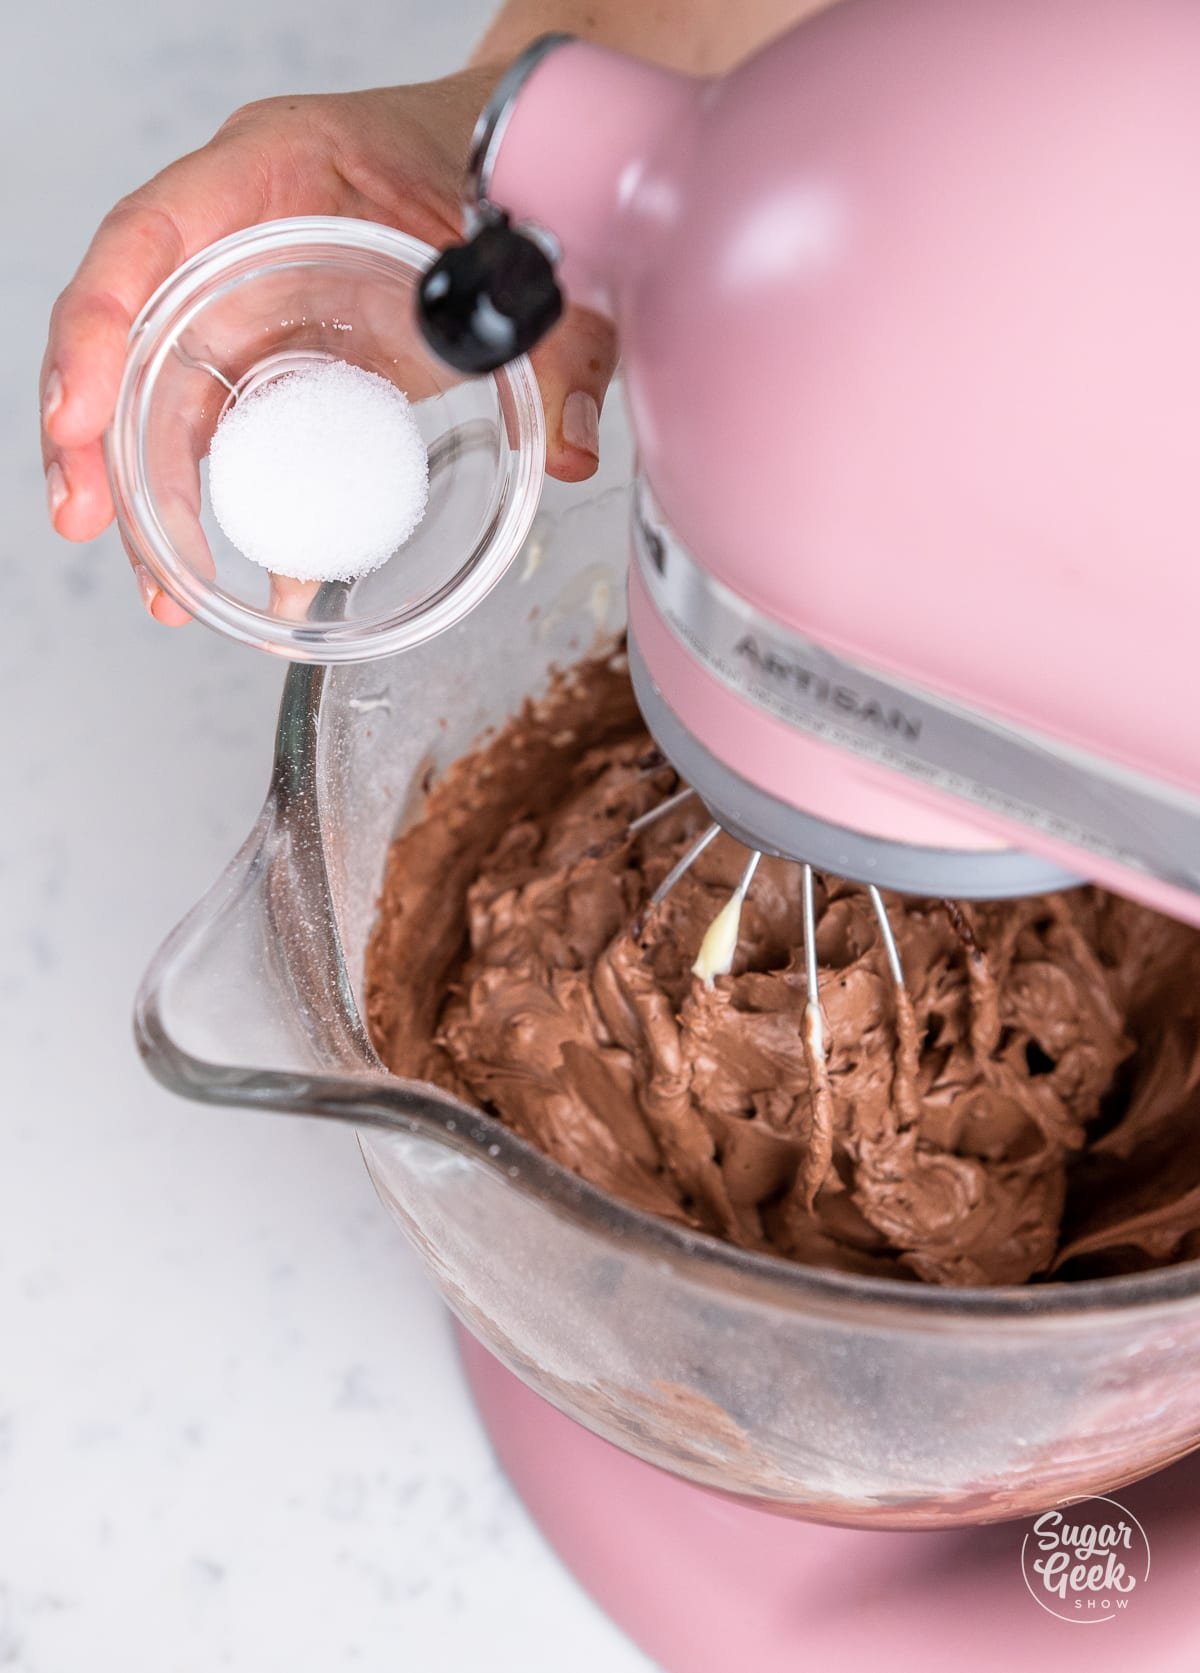
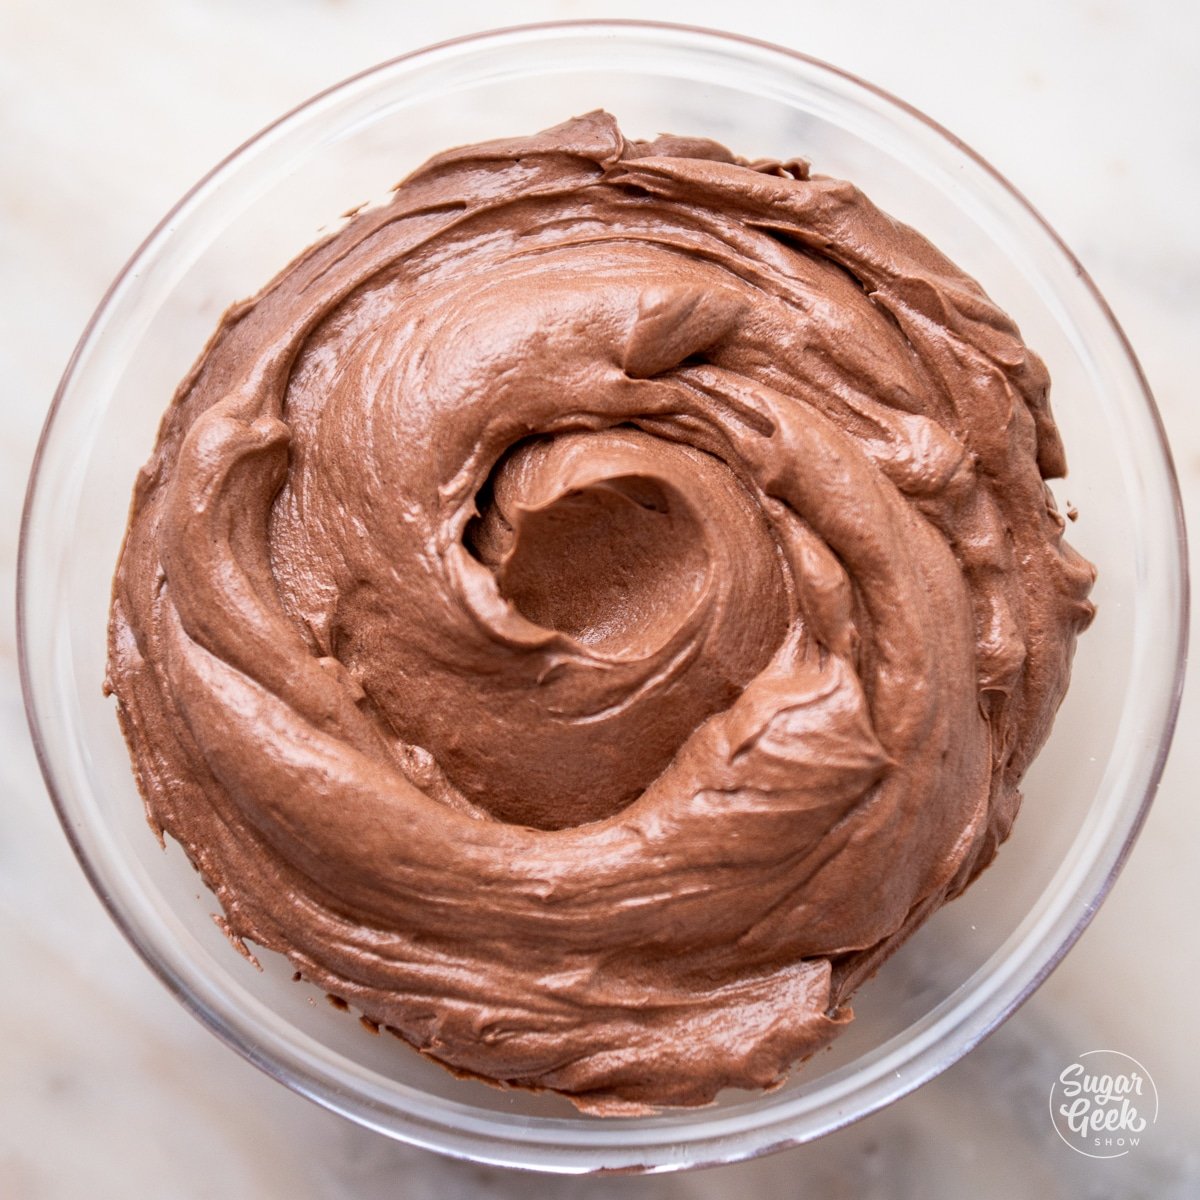
Black and White Easy Buttercream
- Add egg whites and powdered sugar to the bowl of your stand mixer with the whisk attachment. Mix on medium high until smooth.
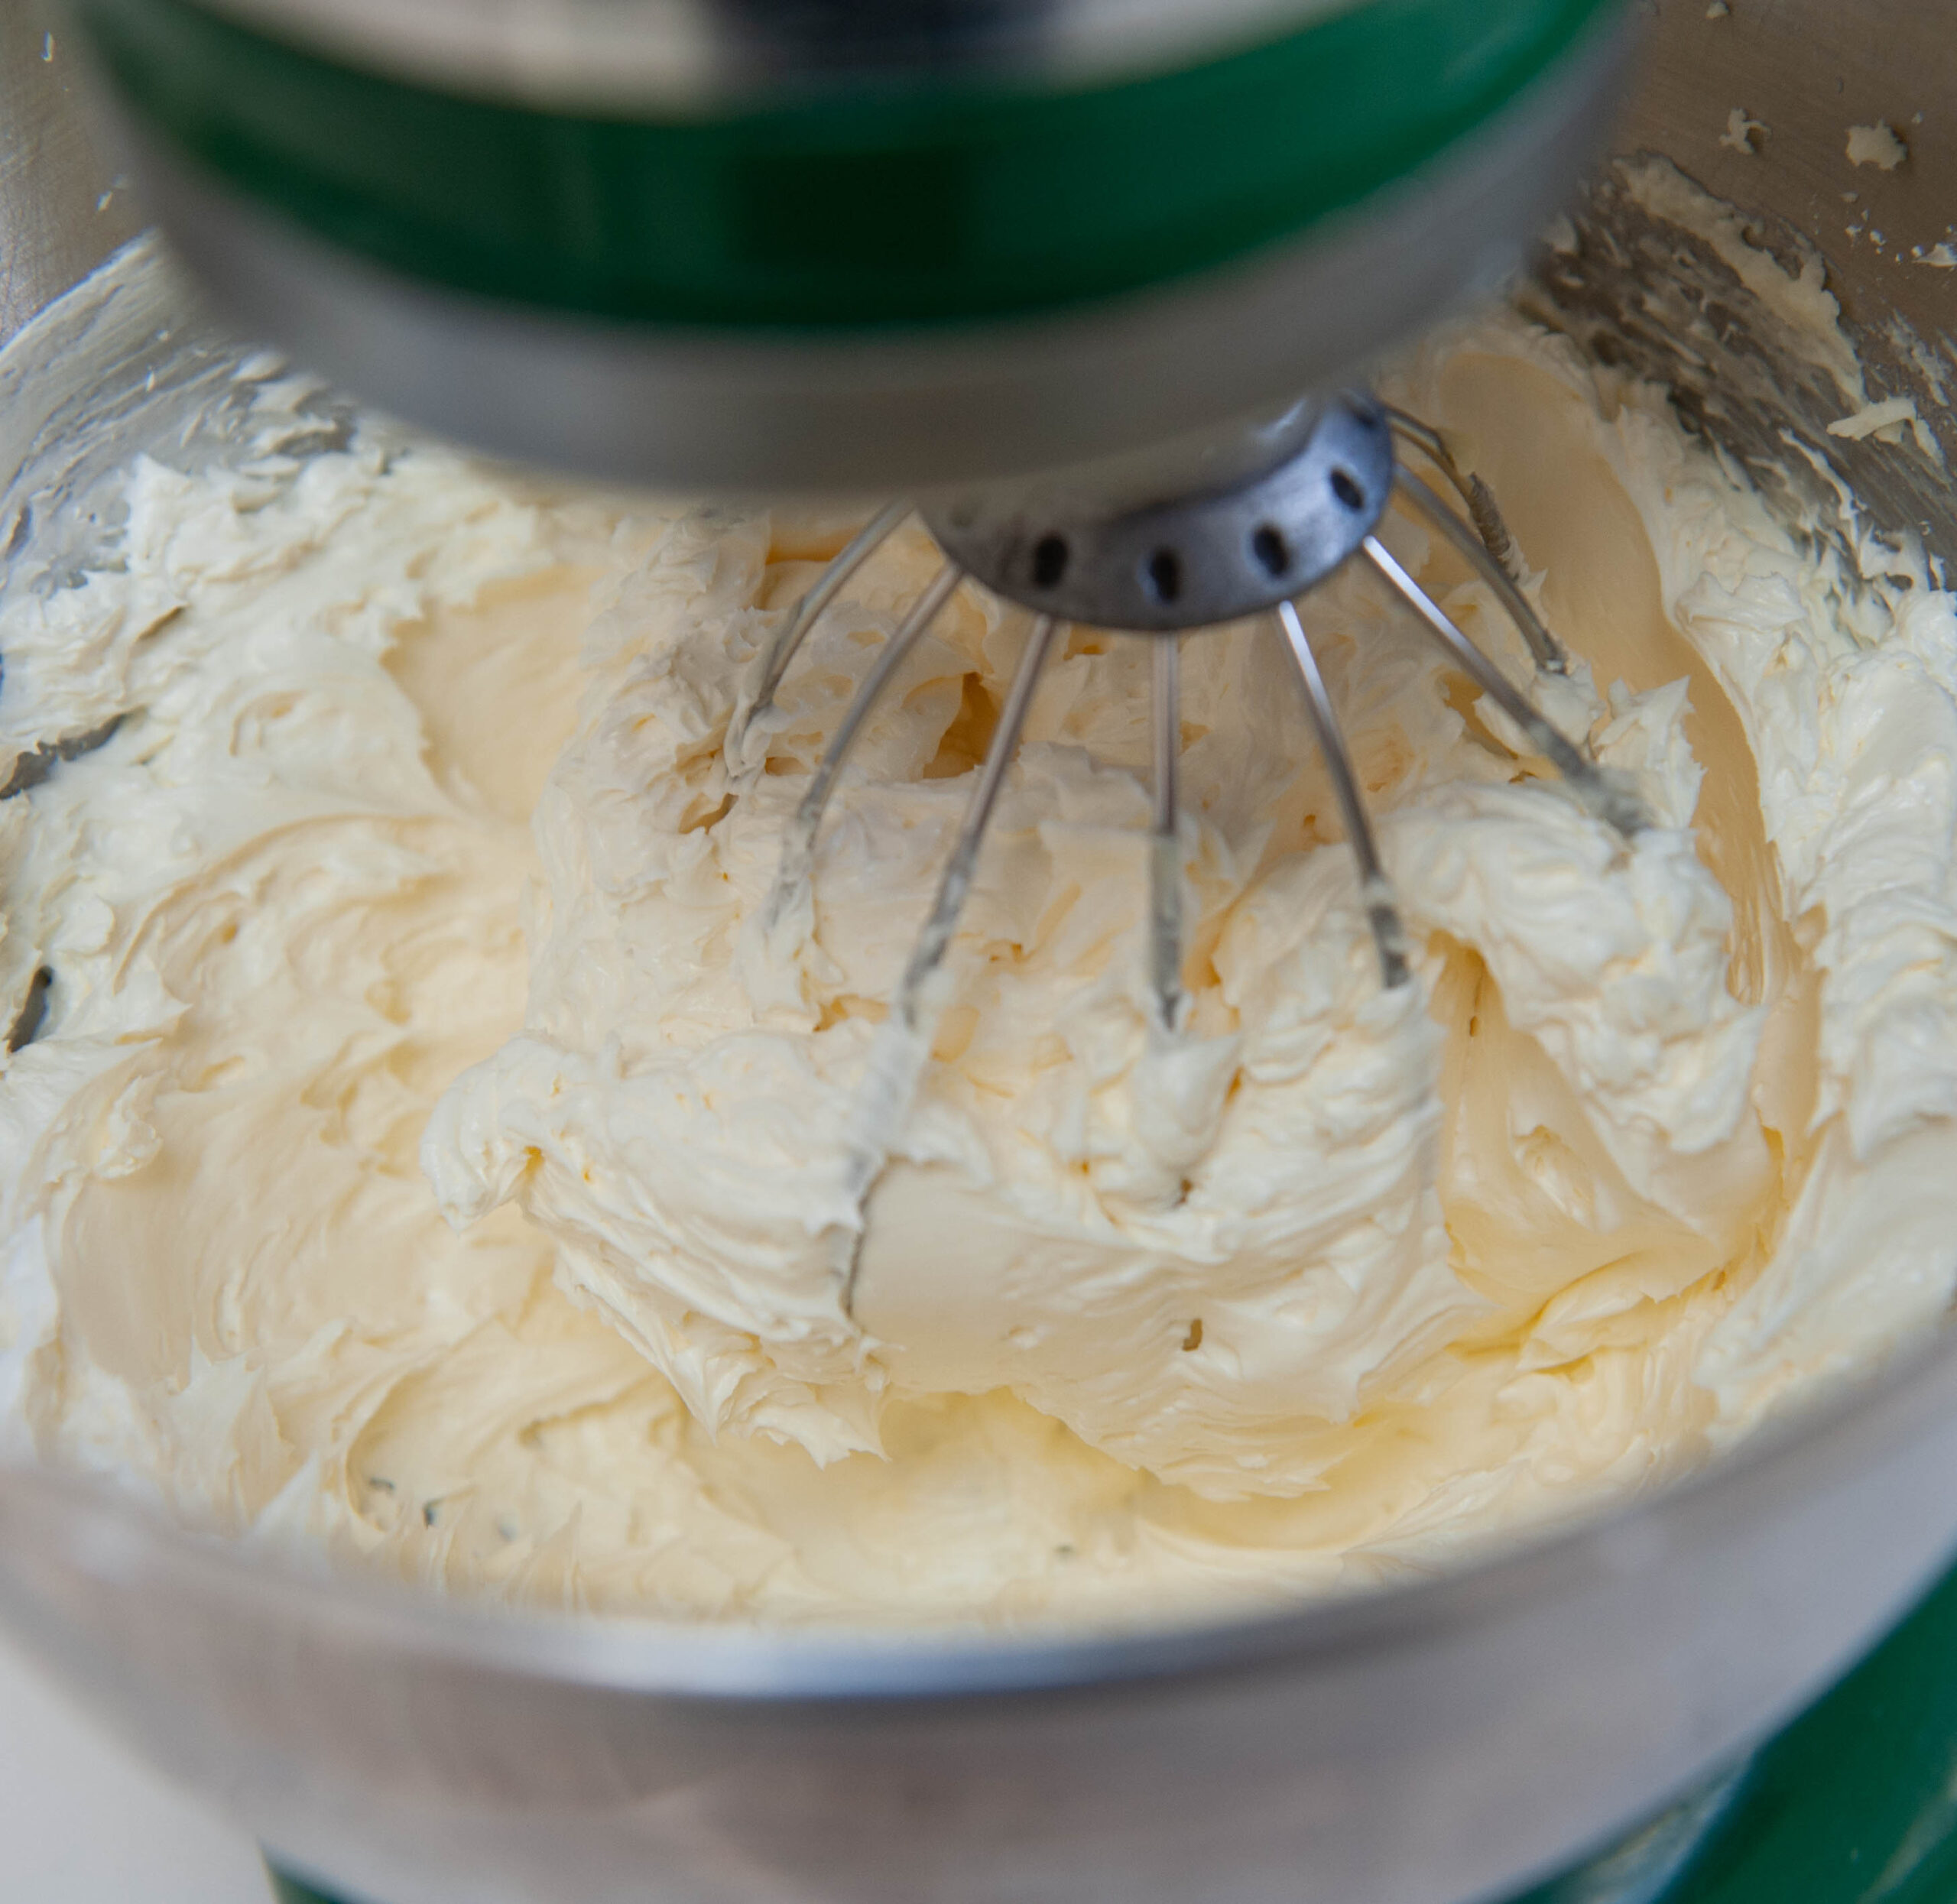
- Add in your salt, vanilla and butter while mixing on medium. Bumpt the speed up to high and mix until white and fluffy.
- Divide your buttercream. I set aside about ⅓ for the black.
- Add about 1 Tablespoon of white food coloring to the white buttercream and mix until white.
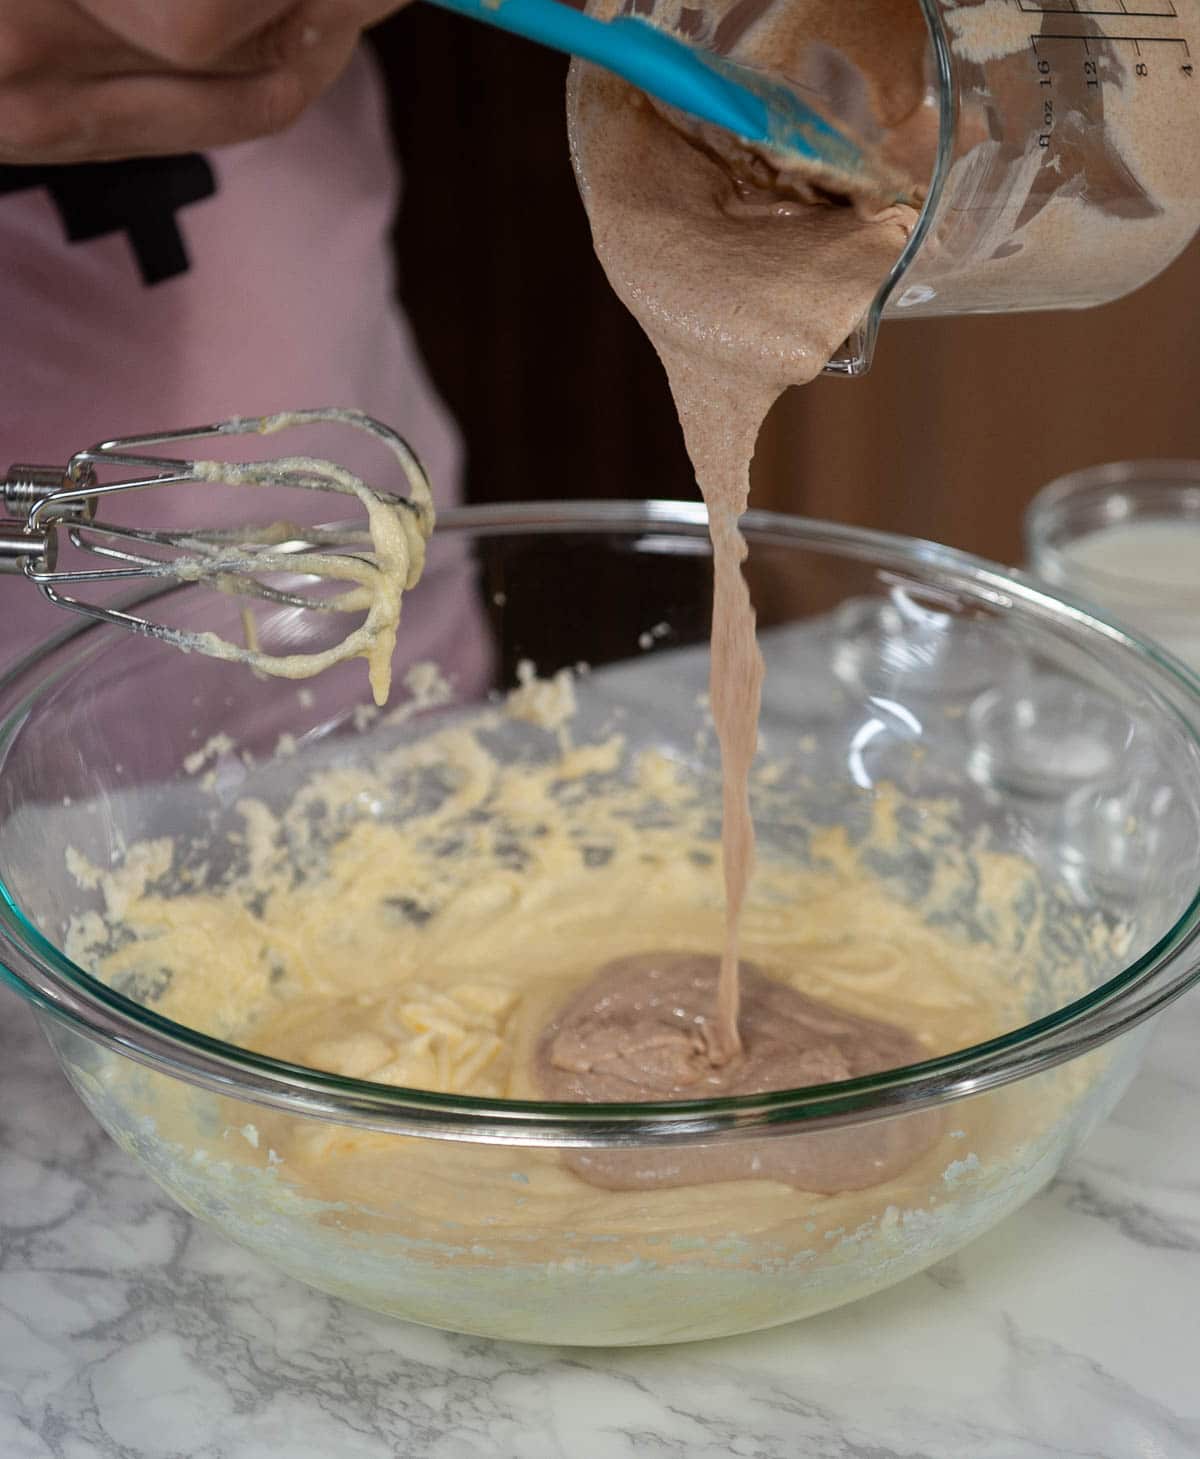
- Add ¼ sifted cocoa powder or cooled ganache to the rest of the buttercream and mix until combined.
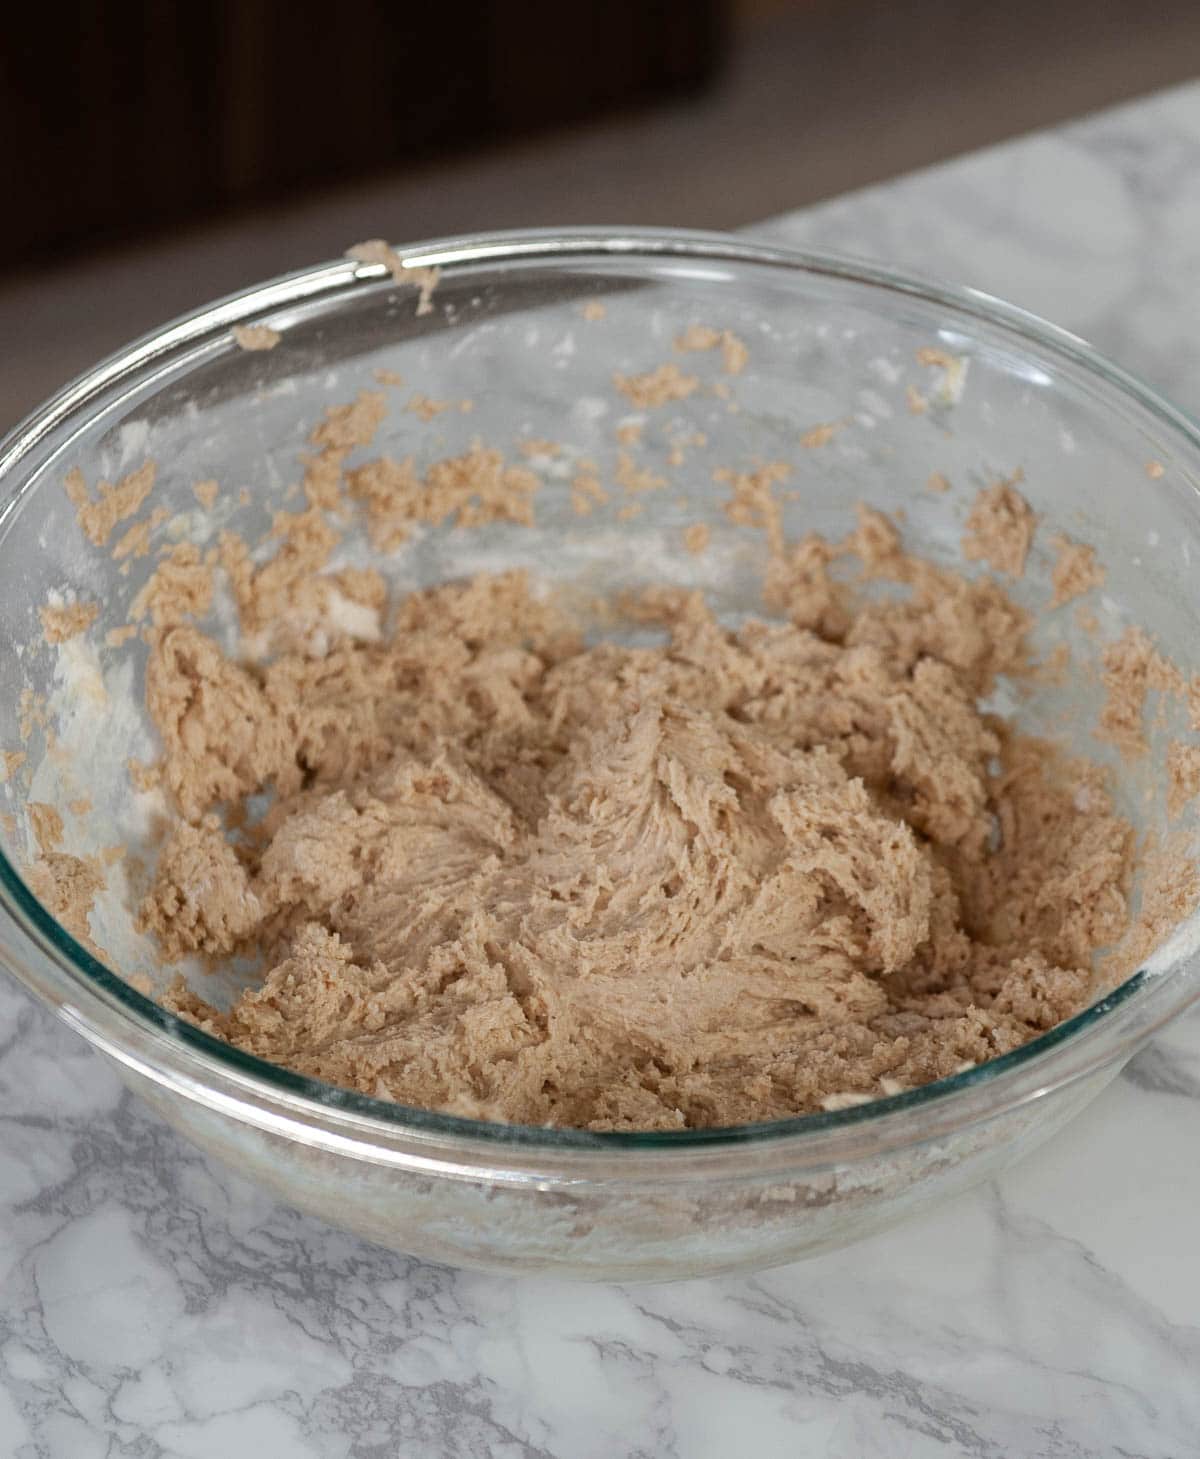
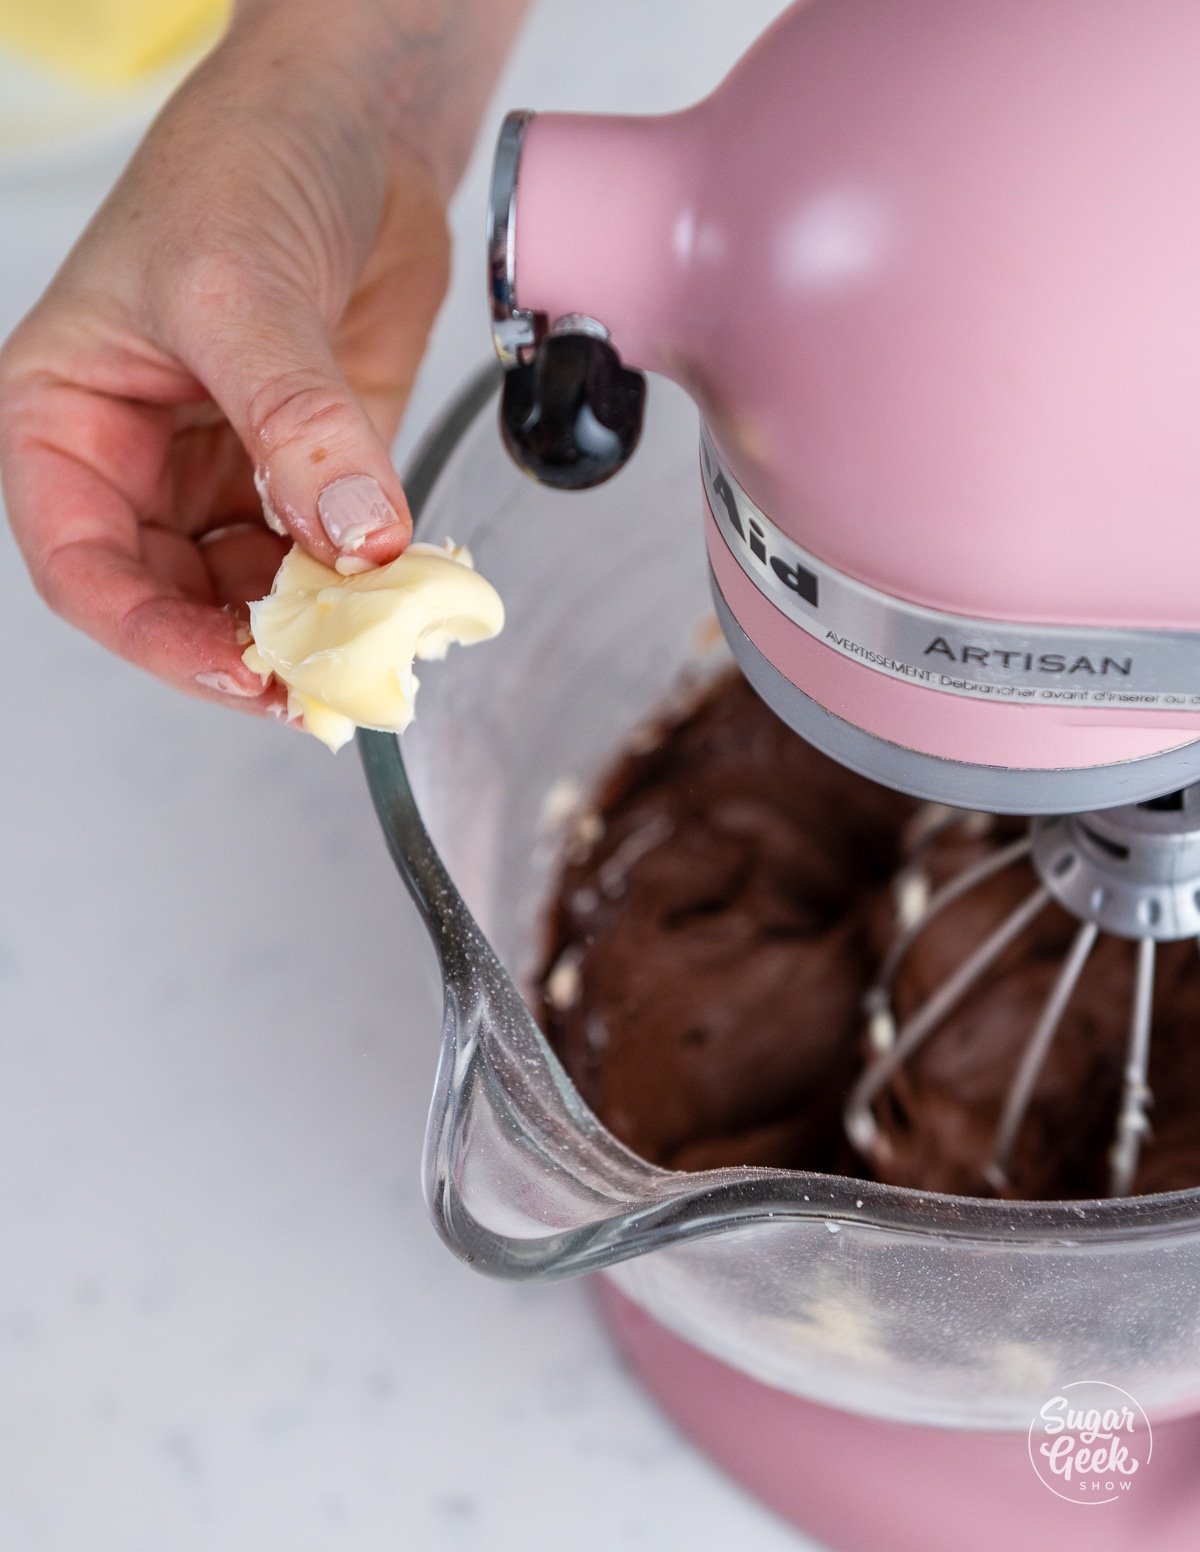
- Remove about ⅓ of the chocolate buttercream and add in 1 tablespoon of black food coloring. Melt in the microwave for about 10-15 seconds until JUST starting to melt but not hot.
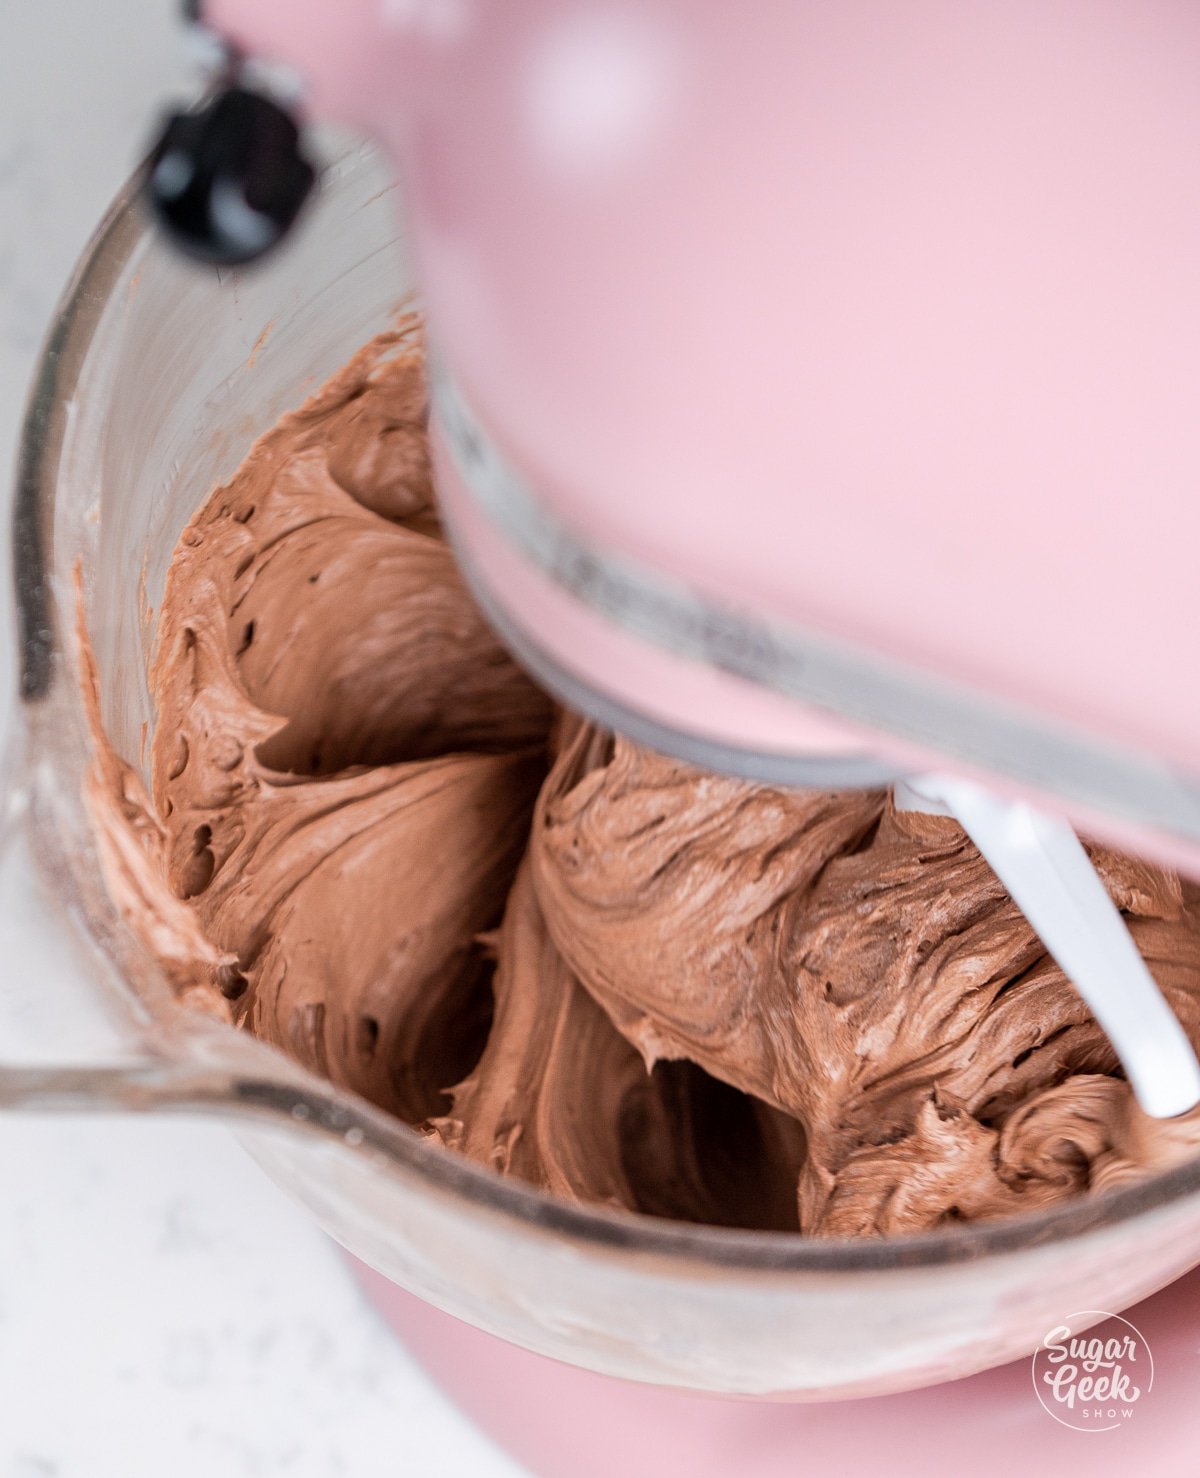
- Mix the melted buttercream into the chocolate buttercream until smooth. It should look dark grey but will get darker over time. Do not add too much black food coloring or it will stain your mouth and taste bitter.
Gummy Eyeball Tutorial
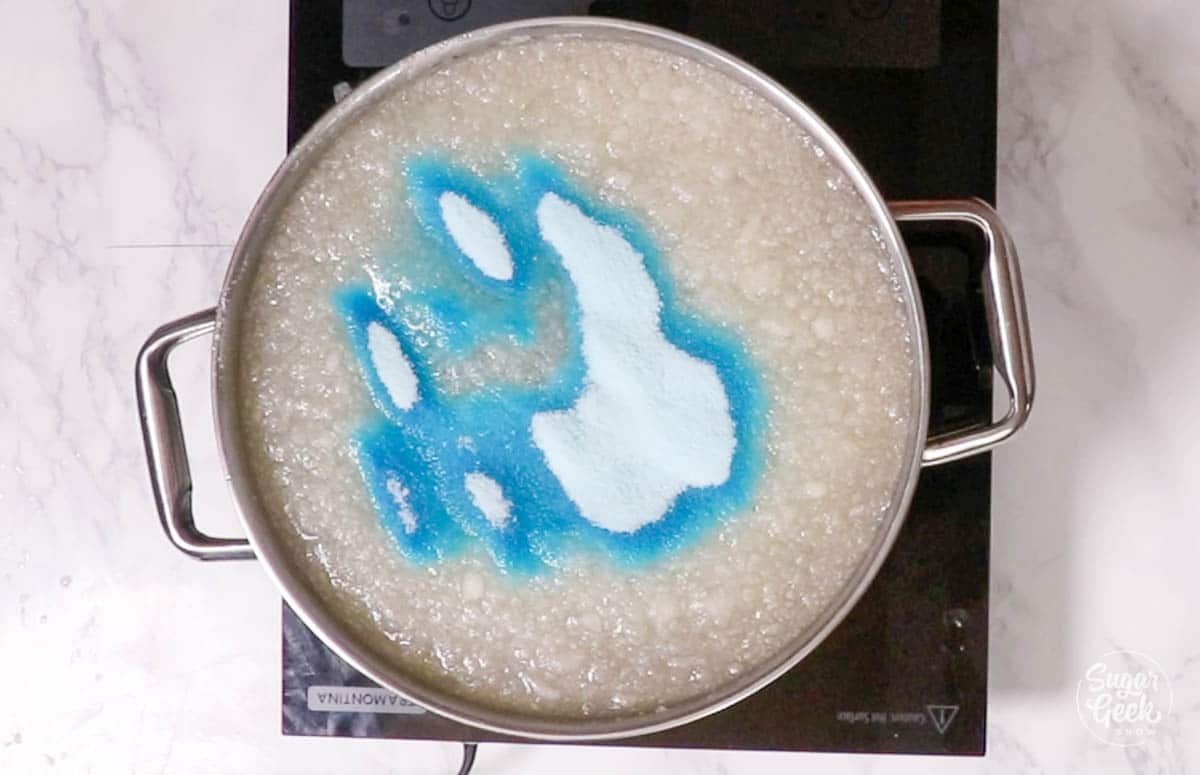
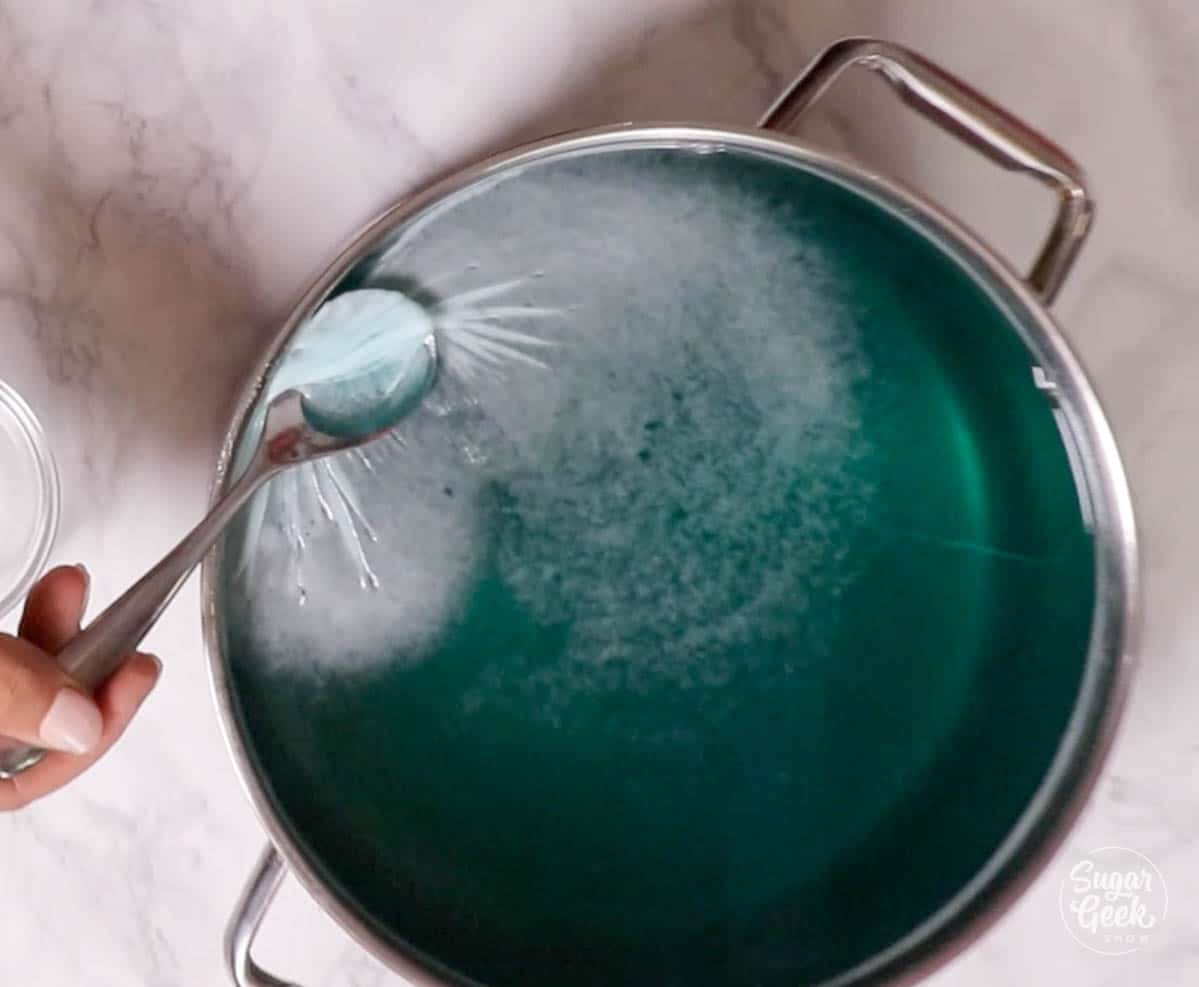
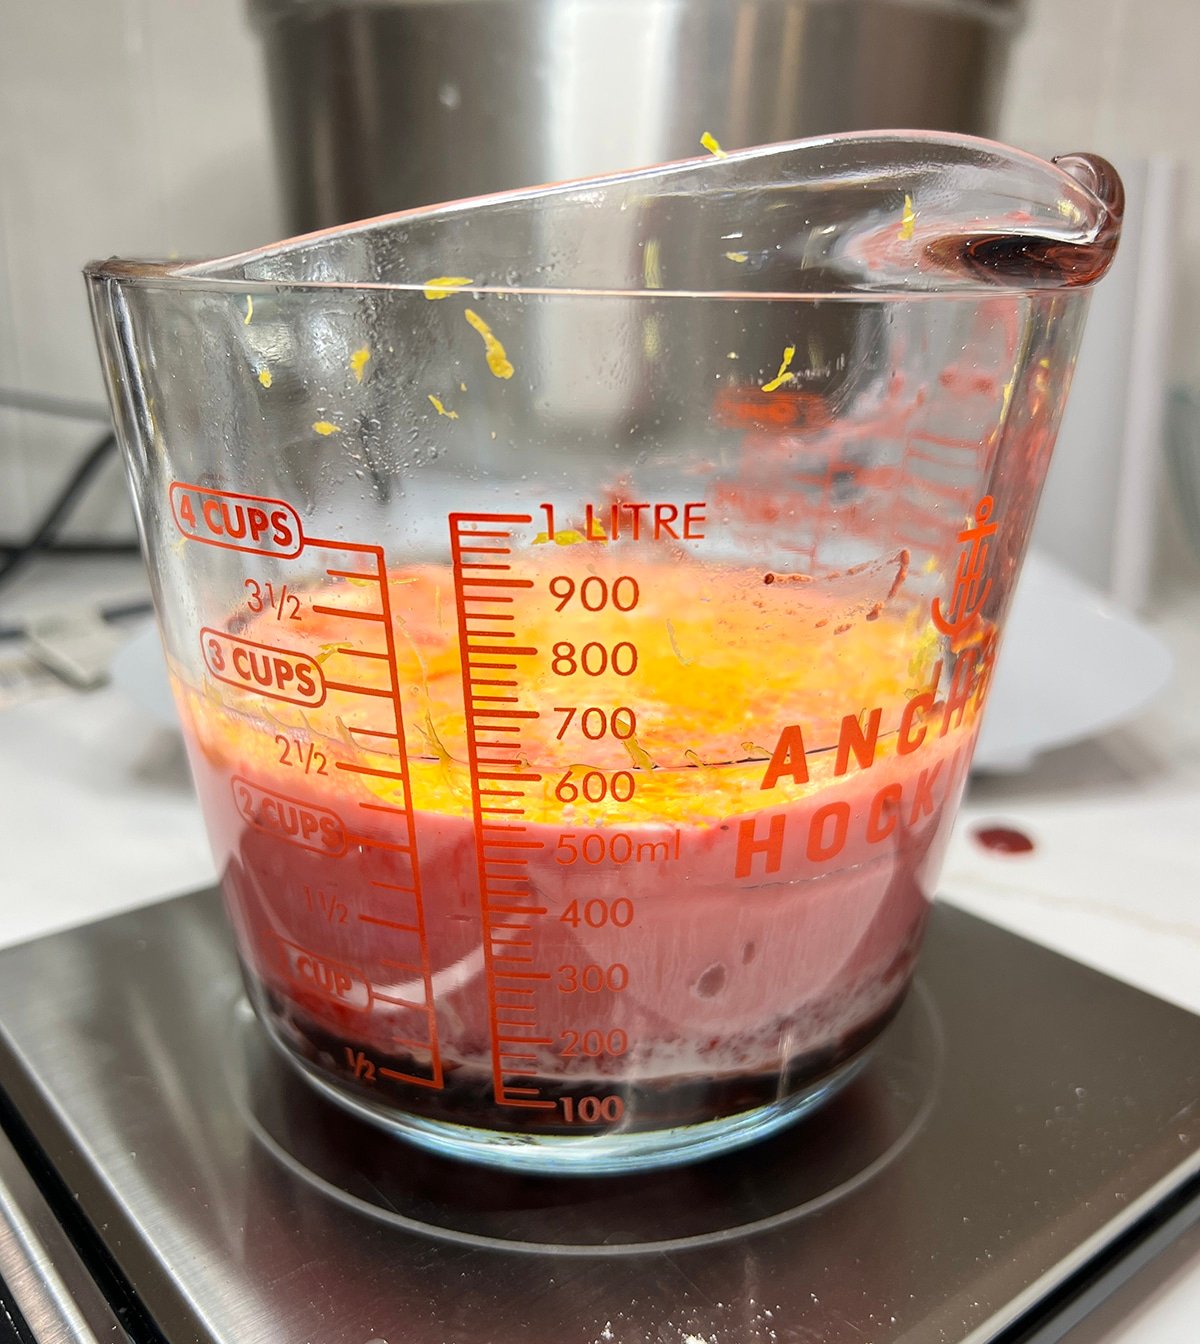
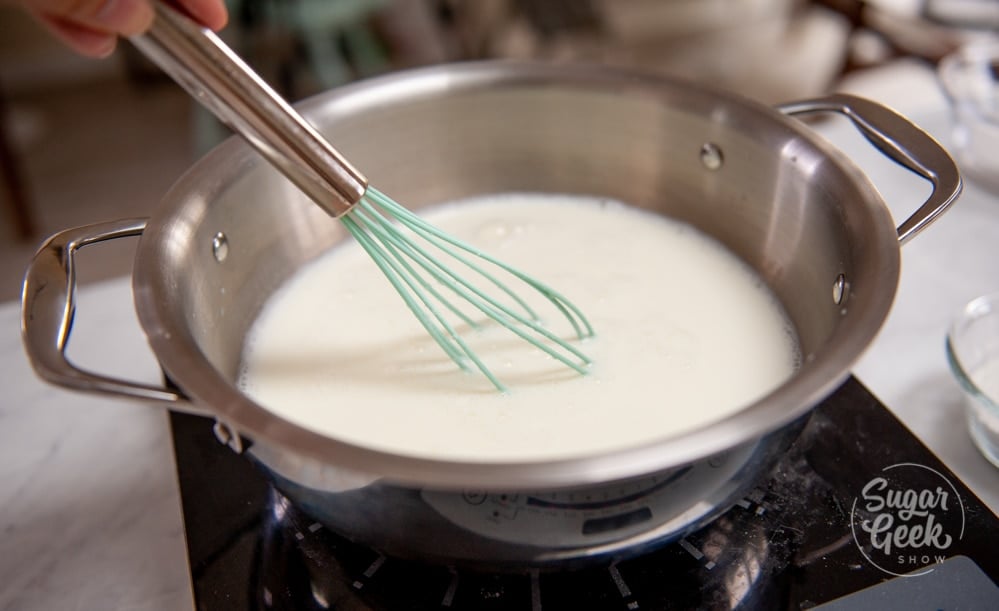
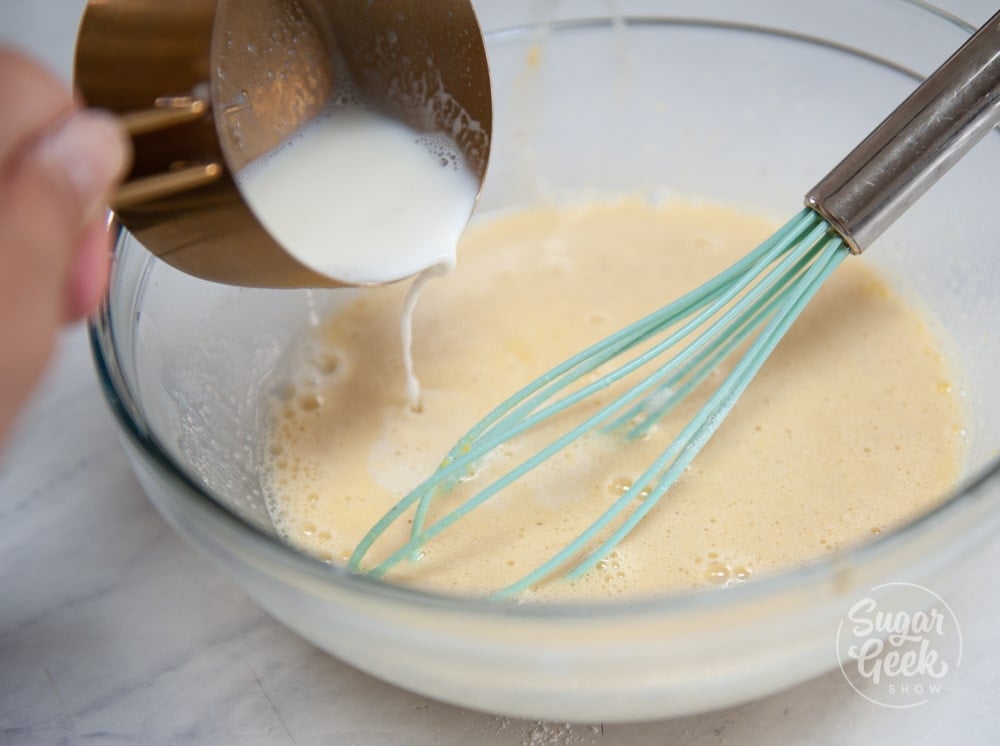
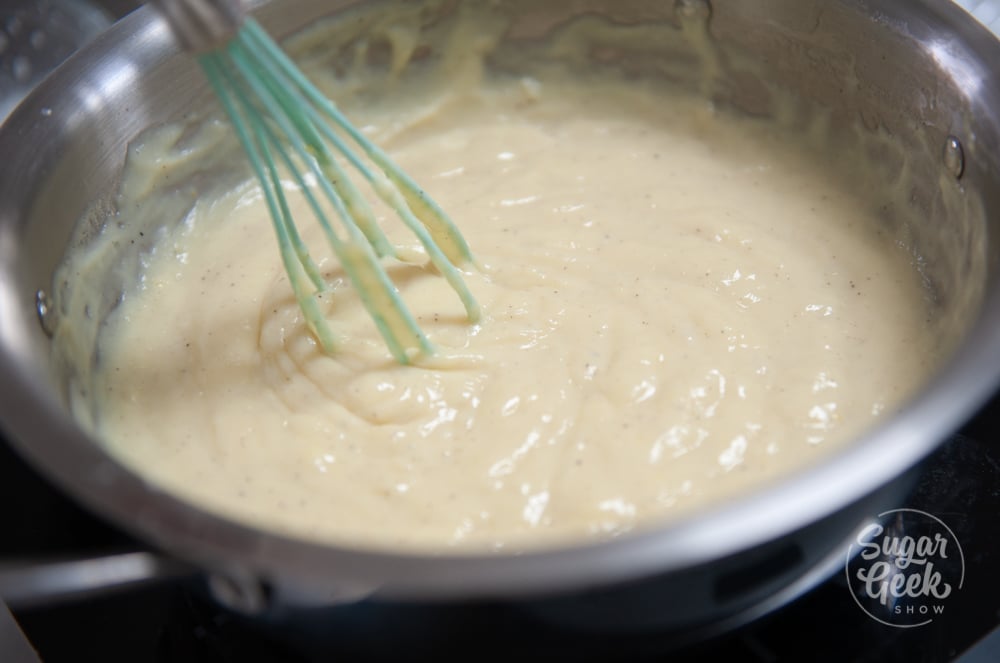
- Combine the cool water, sugar and gelatin together in a medium-sized saucepan. Let the gelatin absorb for 5 minutes.
- Turn the heat up to medium-high, stirring occasionally to prevent burning.
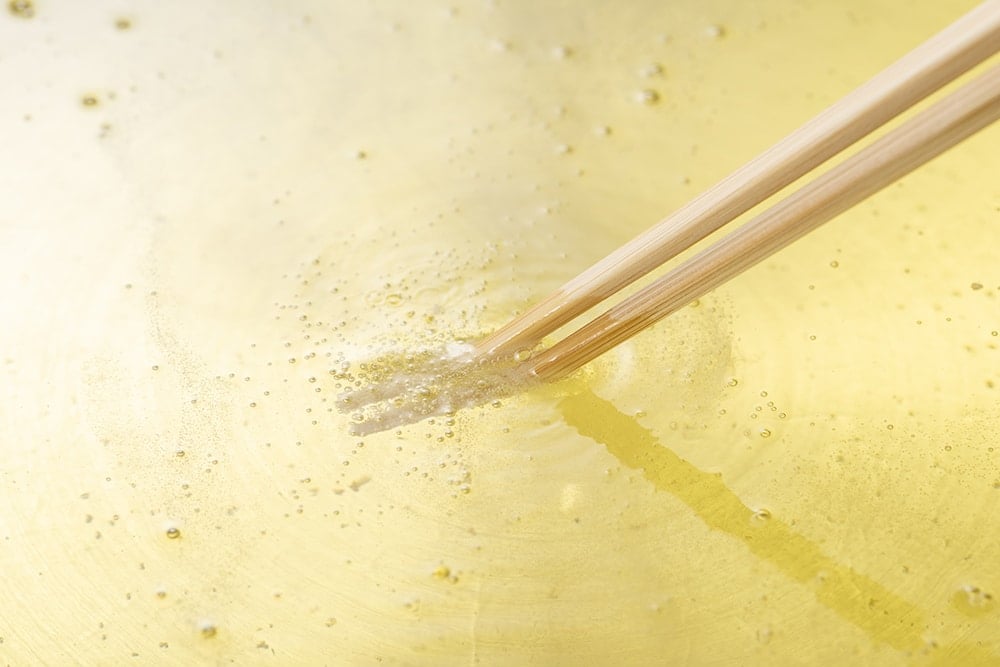
- Once you see steam just begin to rise from the surface, remove the mixture from the heat. DO NOT BOIL! It will weaken the gelatin.
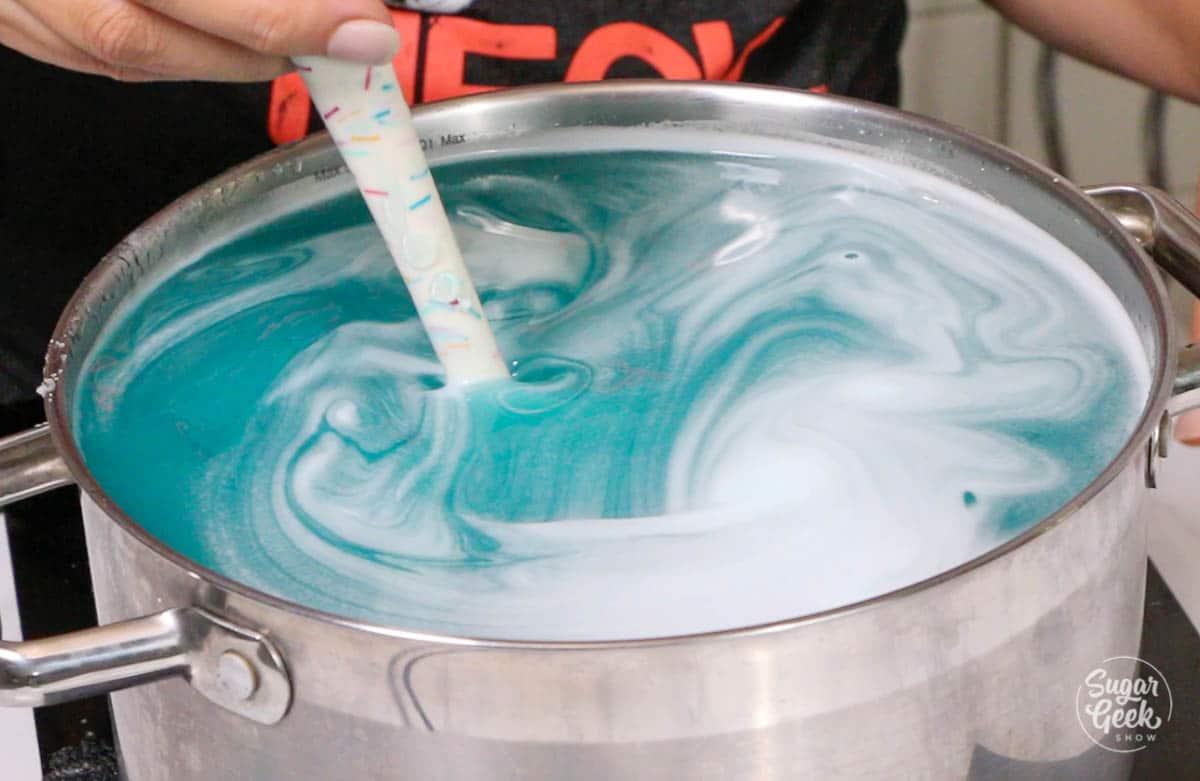
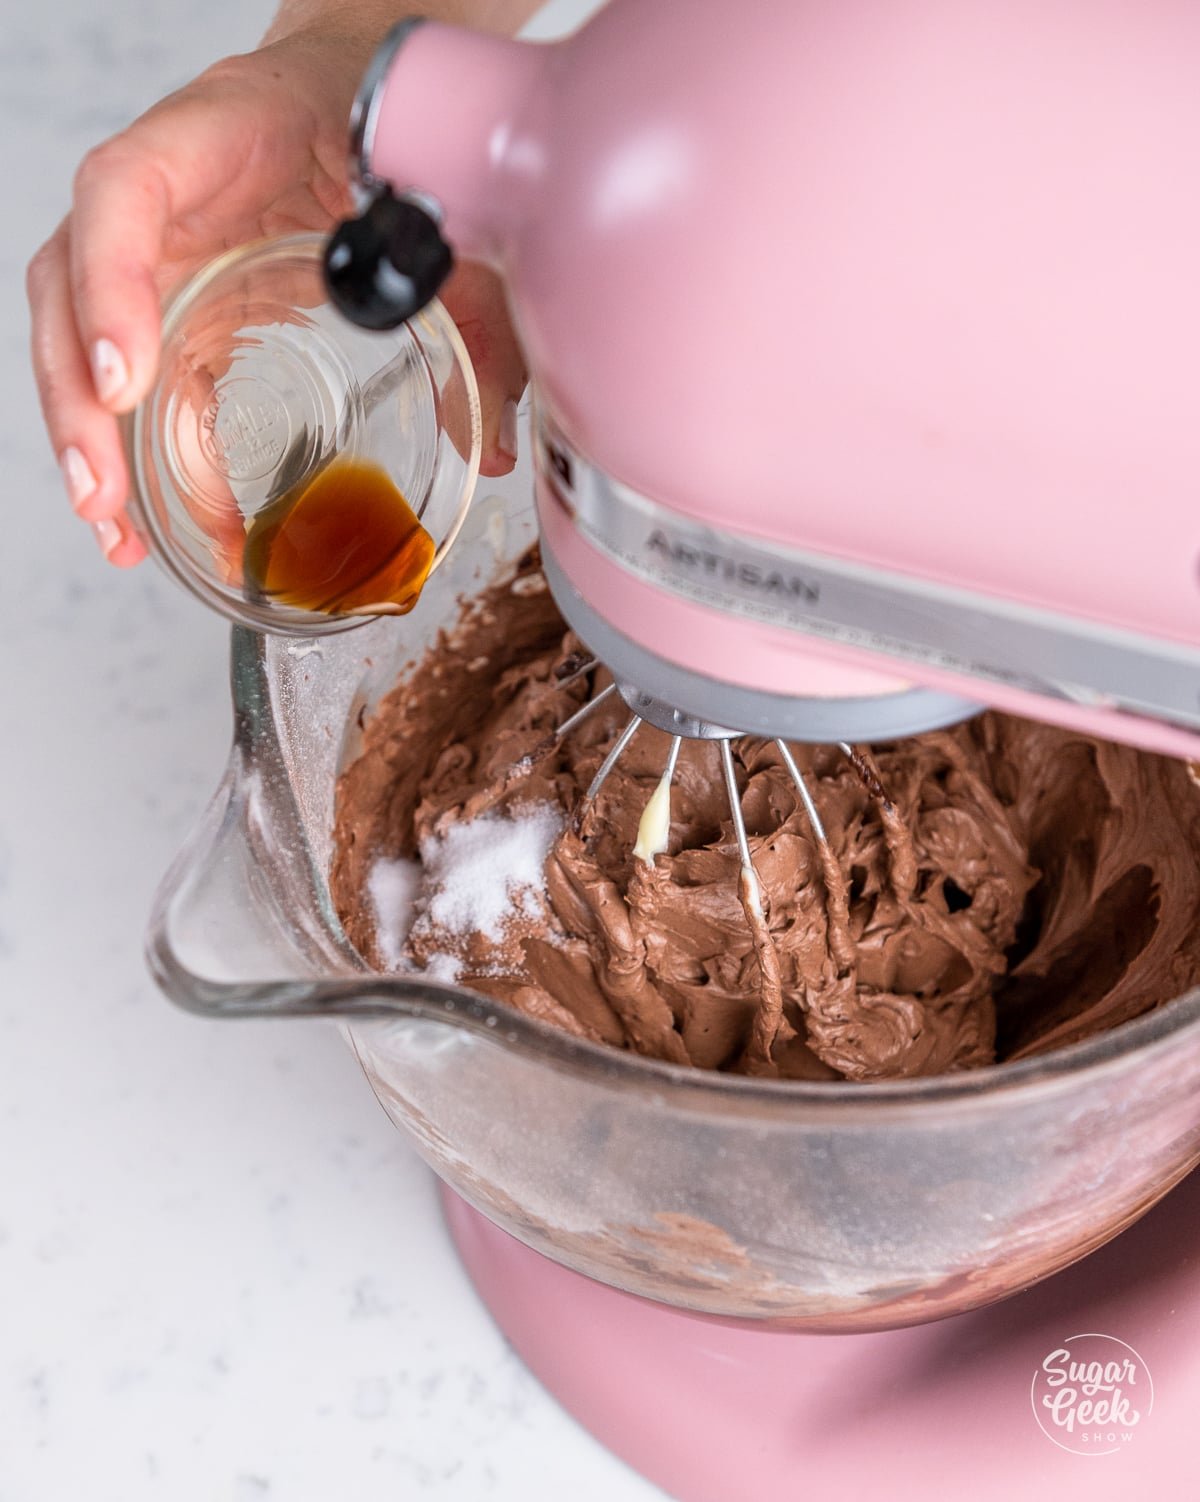
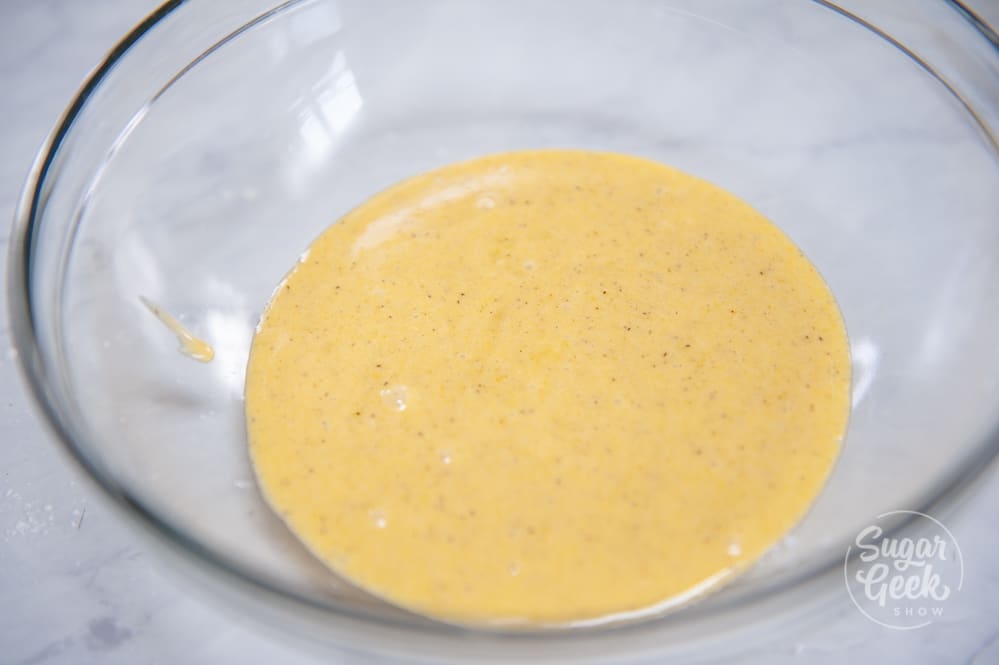
- Stir in your extract and citric acid.
- Allow the mixture to cool at room temperature (or you can place it in the fridge to speed things up) until it's just barely warm. Still liquid but not hot!
- Skim off the foam and discard it. Let cool to 95ºF before making your eyeball. Follow the video above for the full directions on how to make the eyeball.
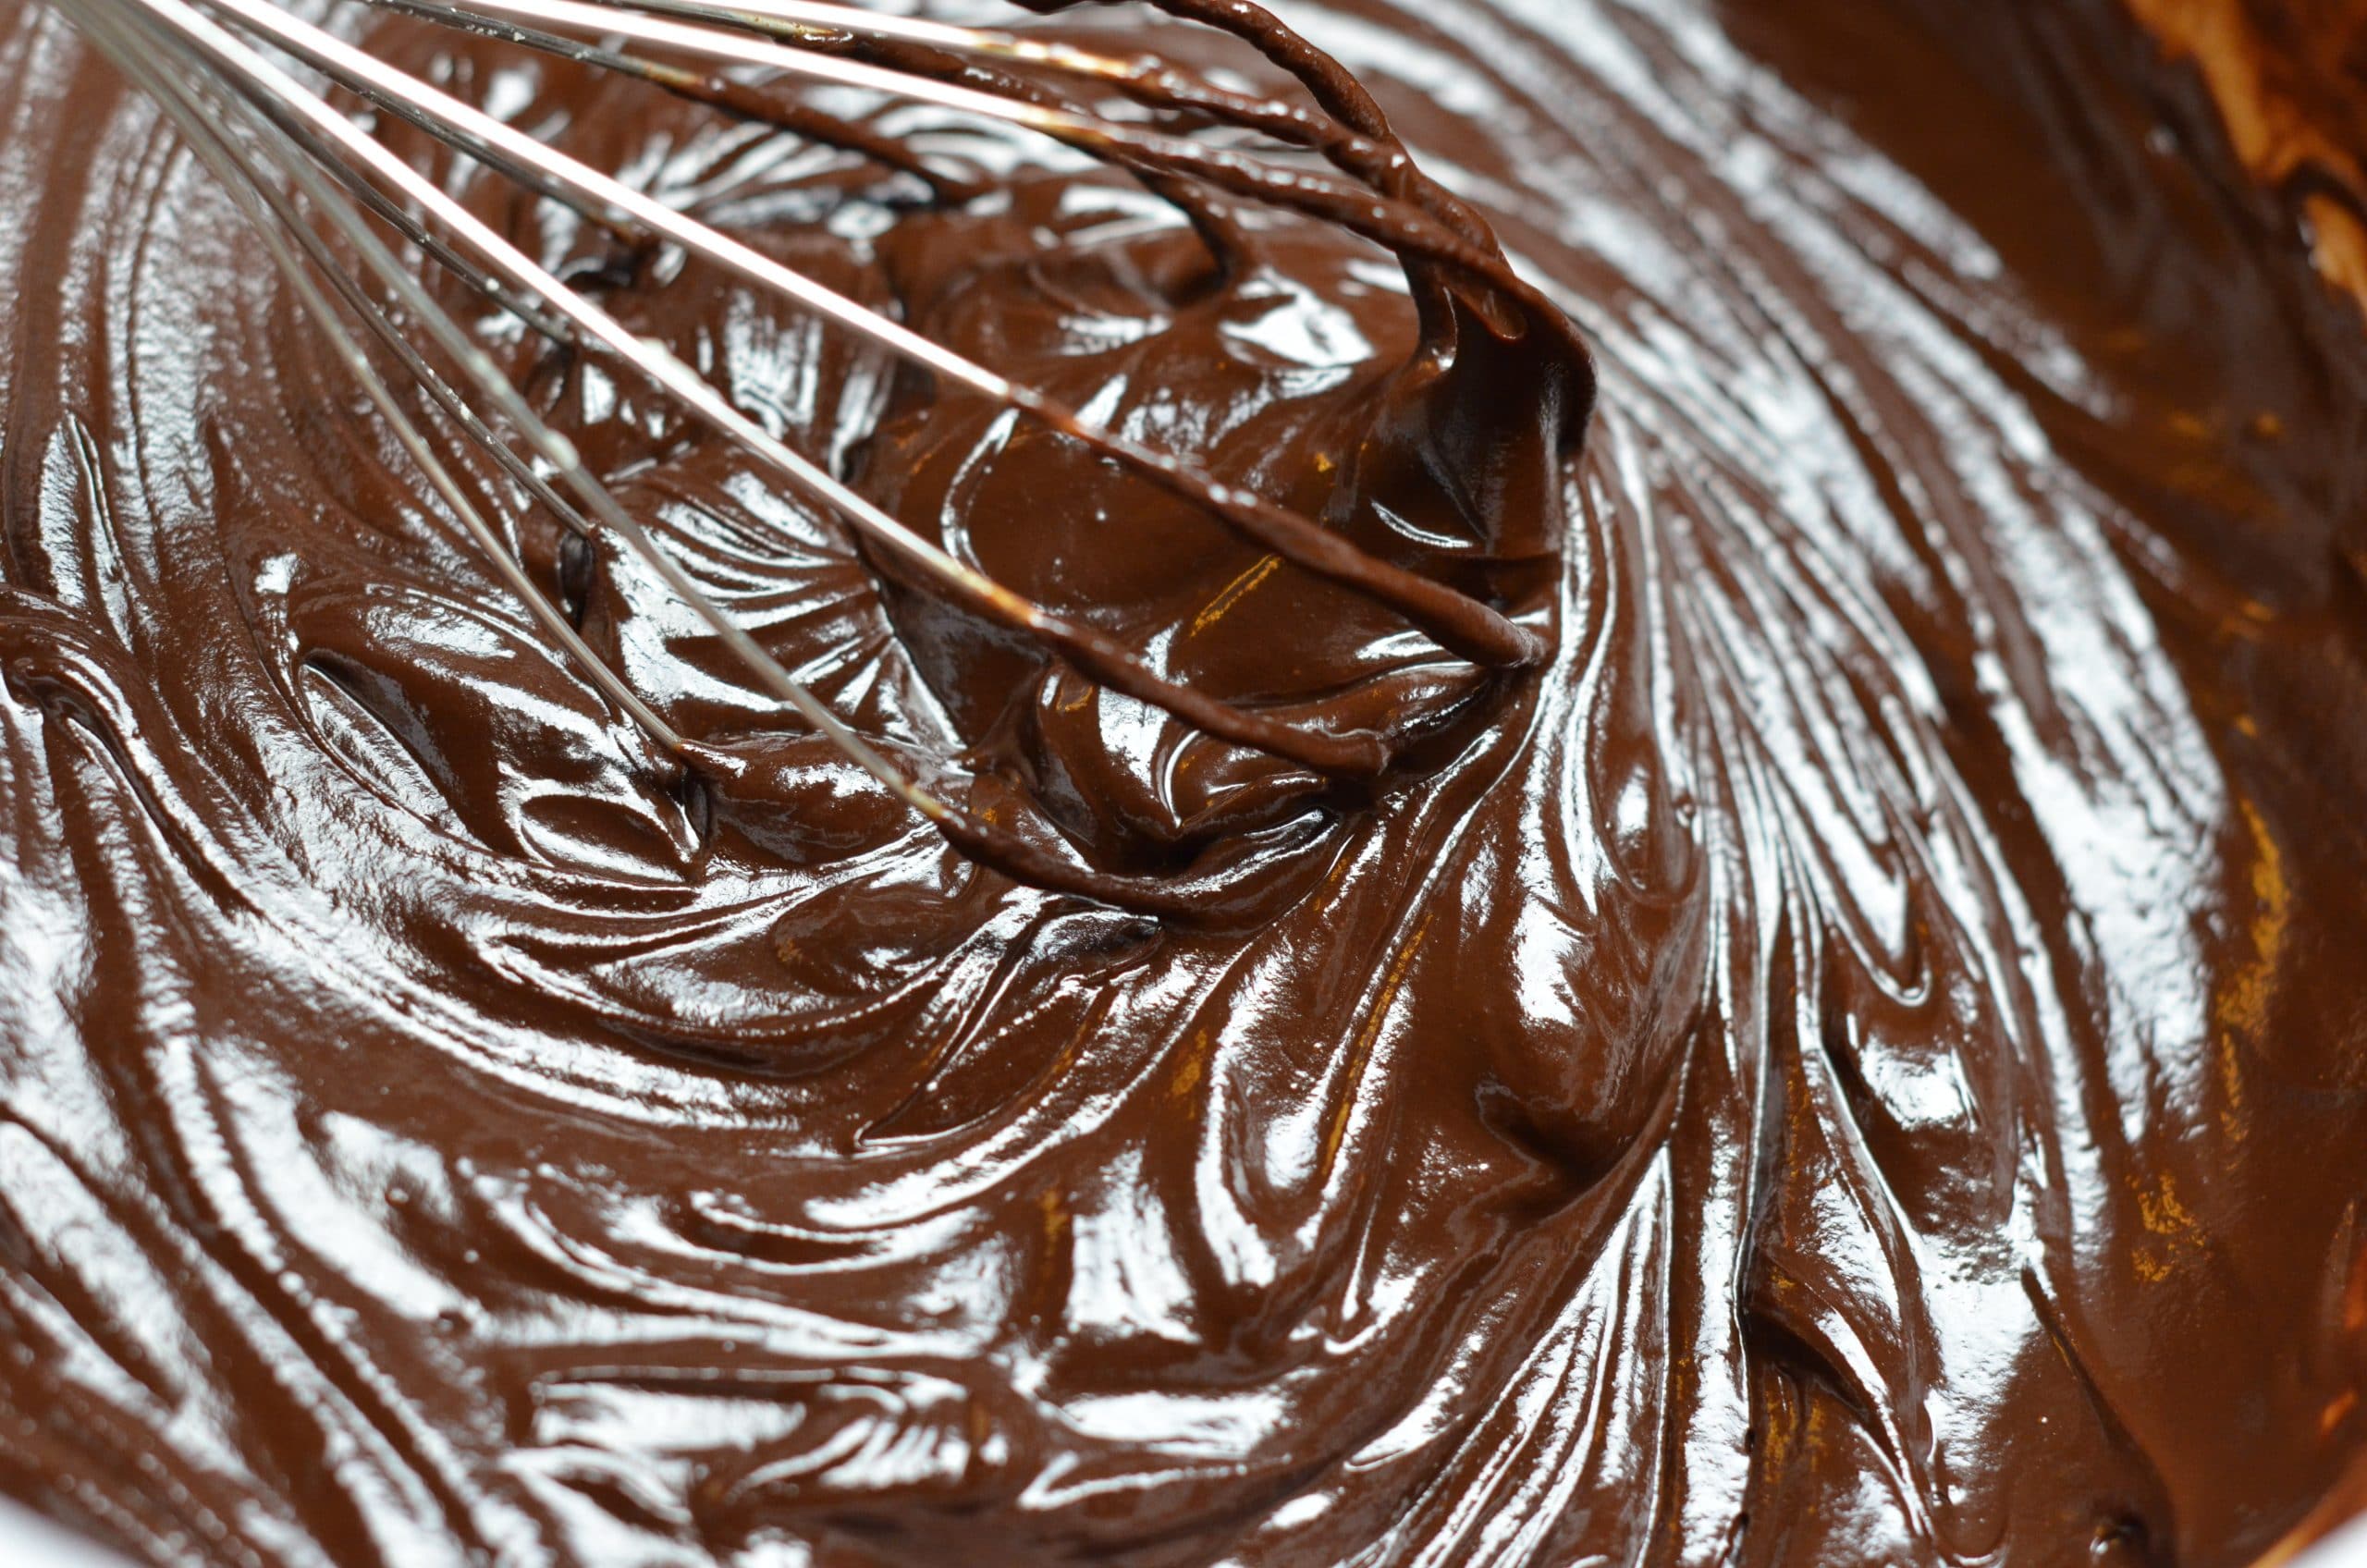
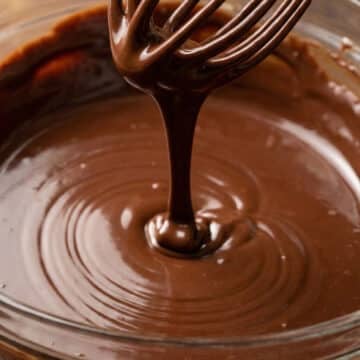
Water Ganache
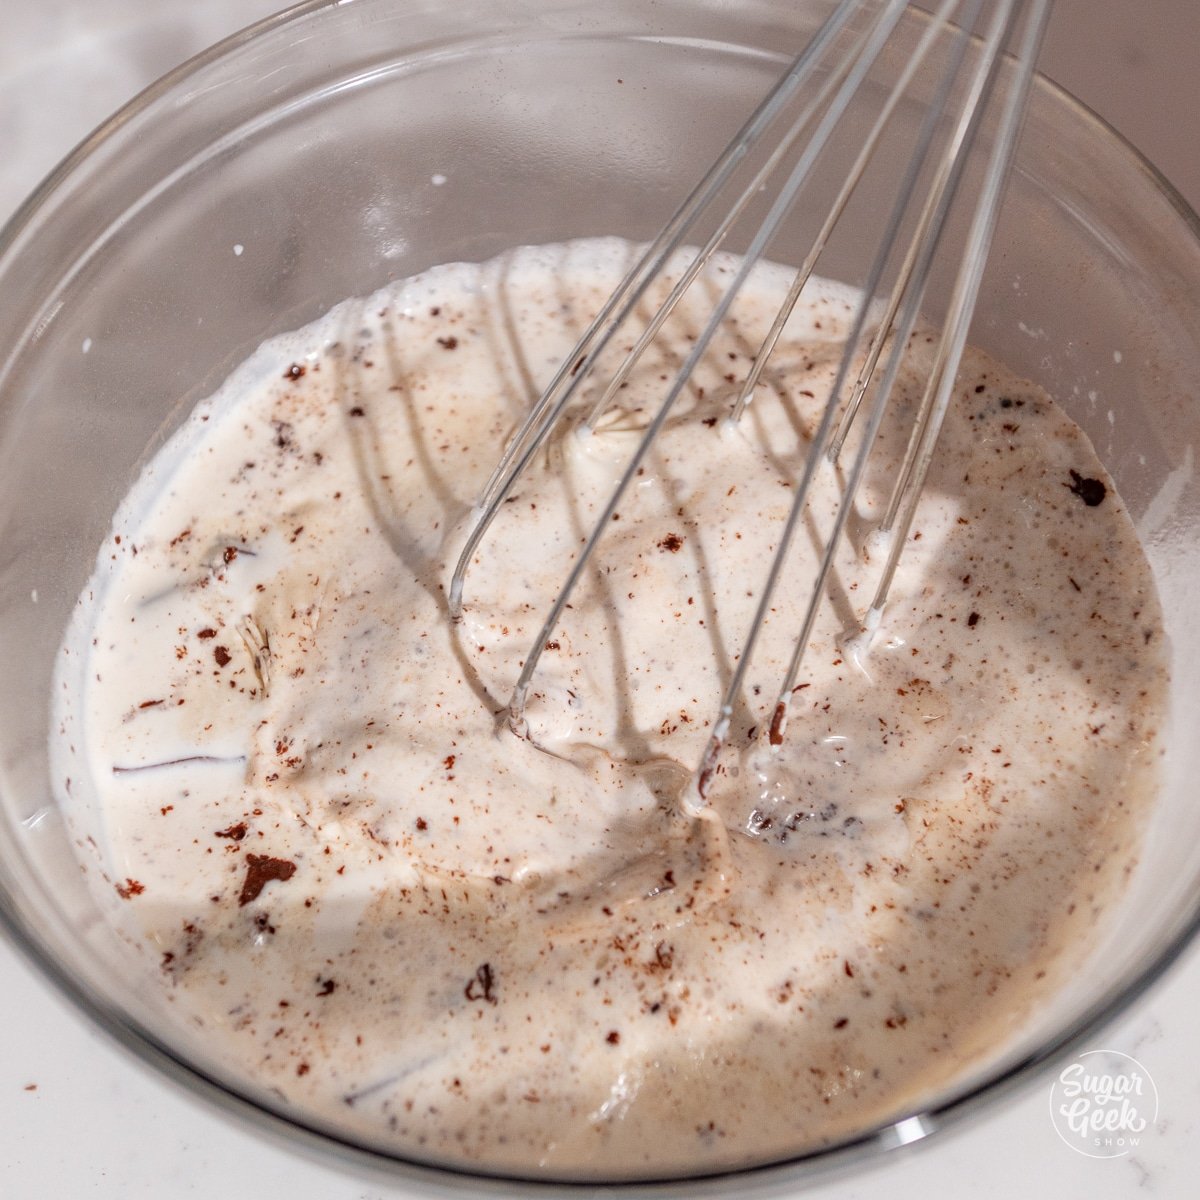
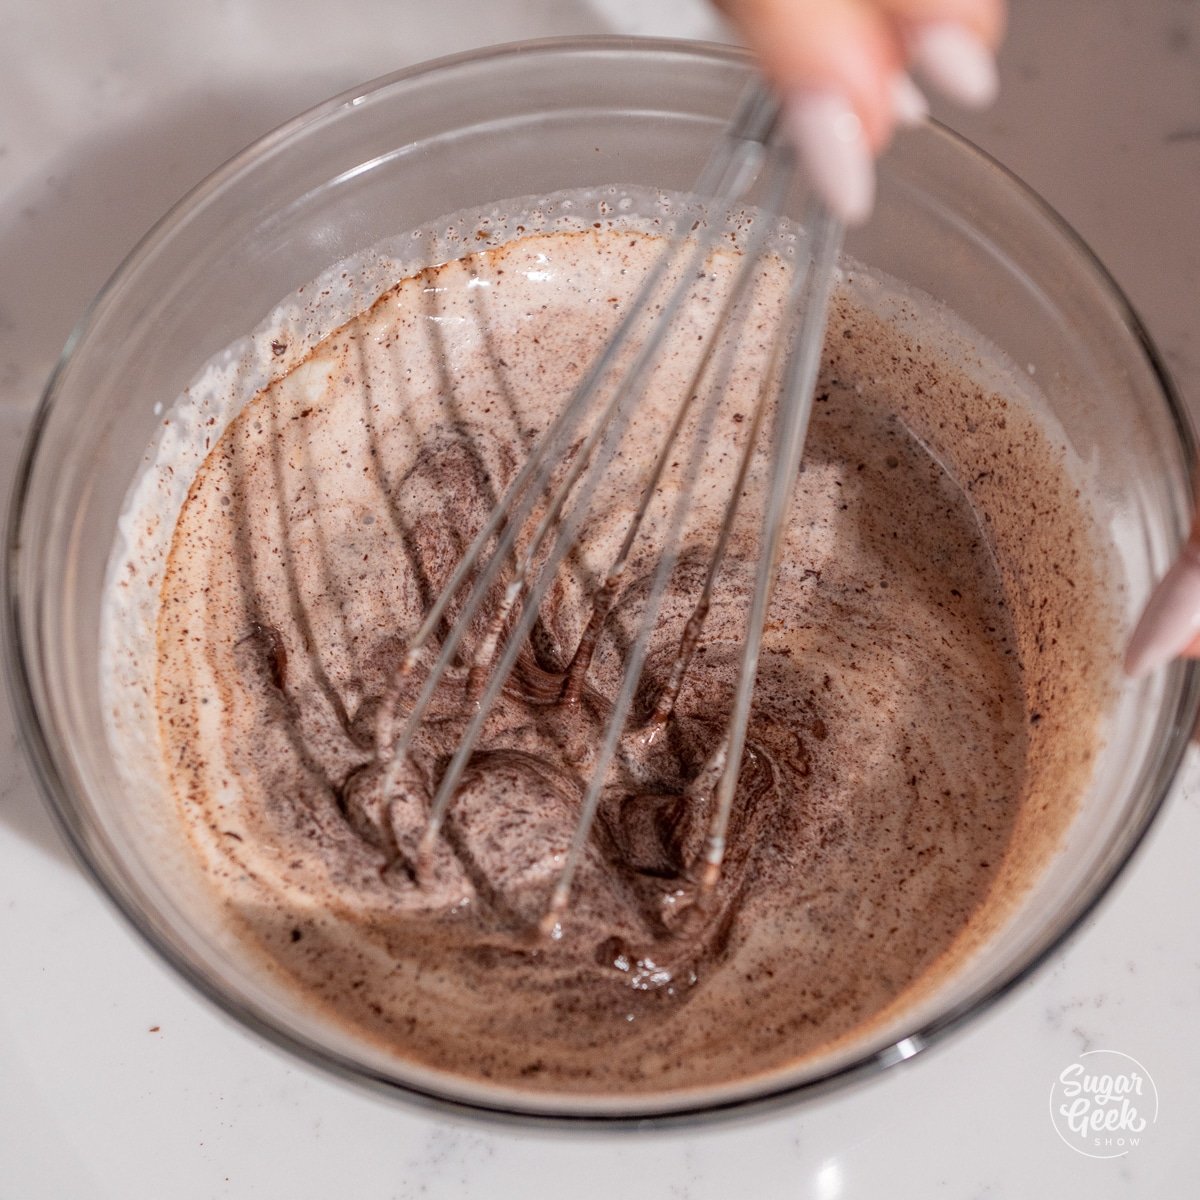
- Combine the water and the chocolate together and microwave for one minute. Stir and then continue microwaving for 15 second increments until the chocolate is melted. Then stir with a spoon until smooth. Let it cool to 90ºF before using it for the drip.


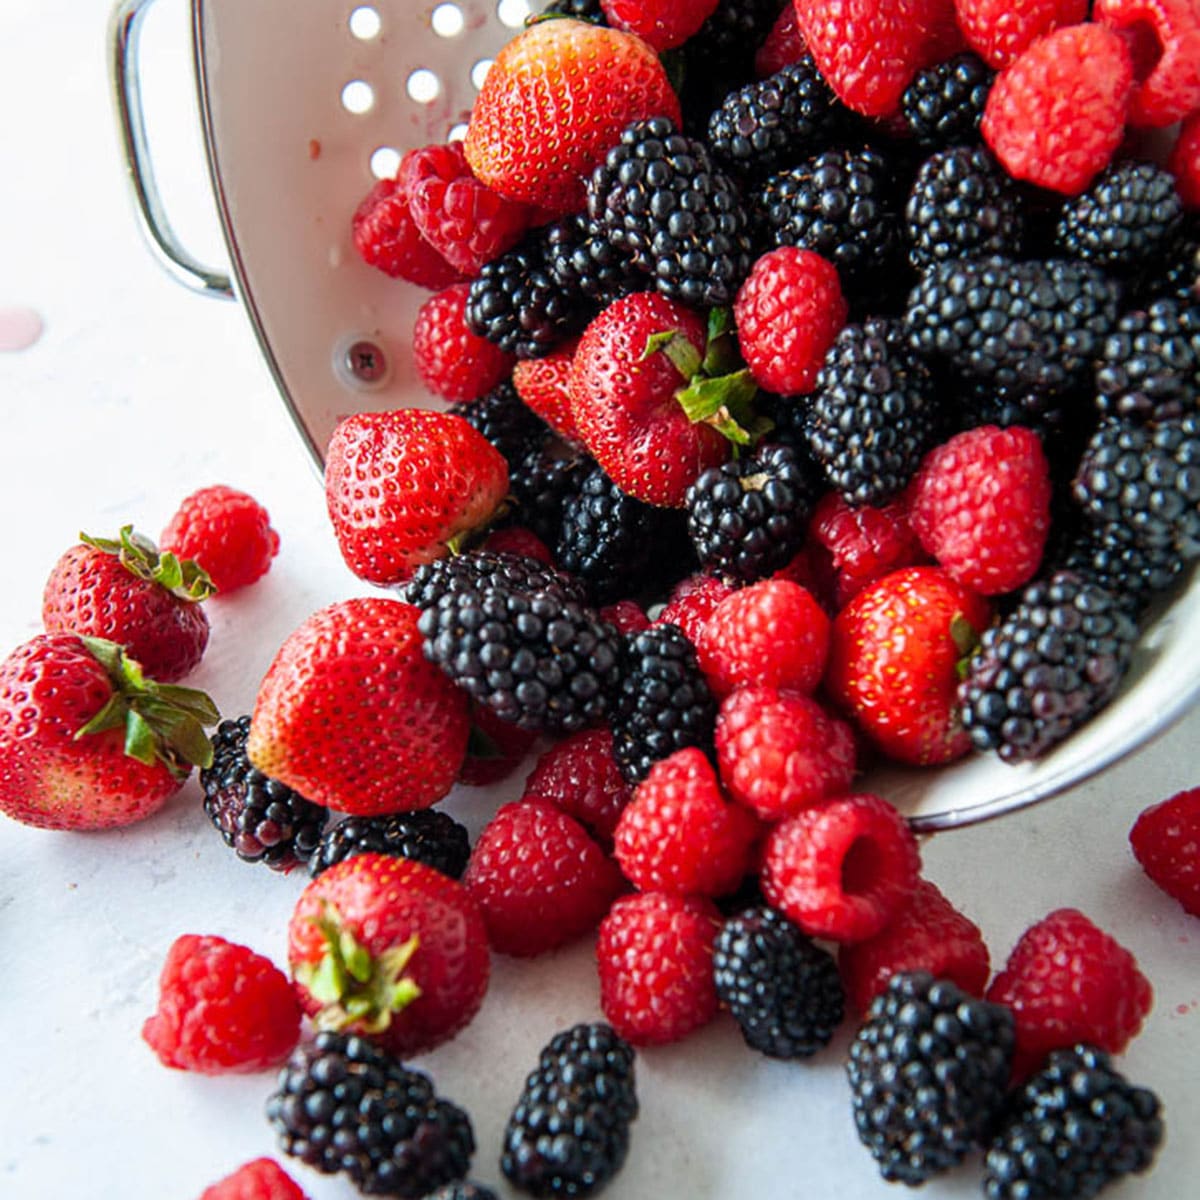
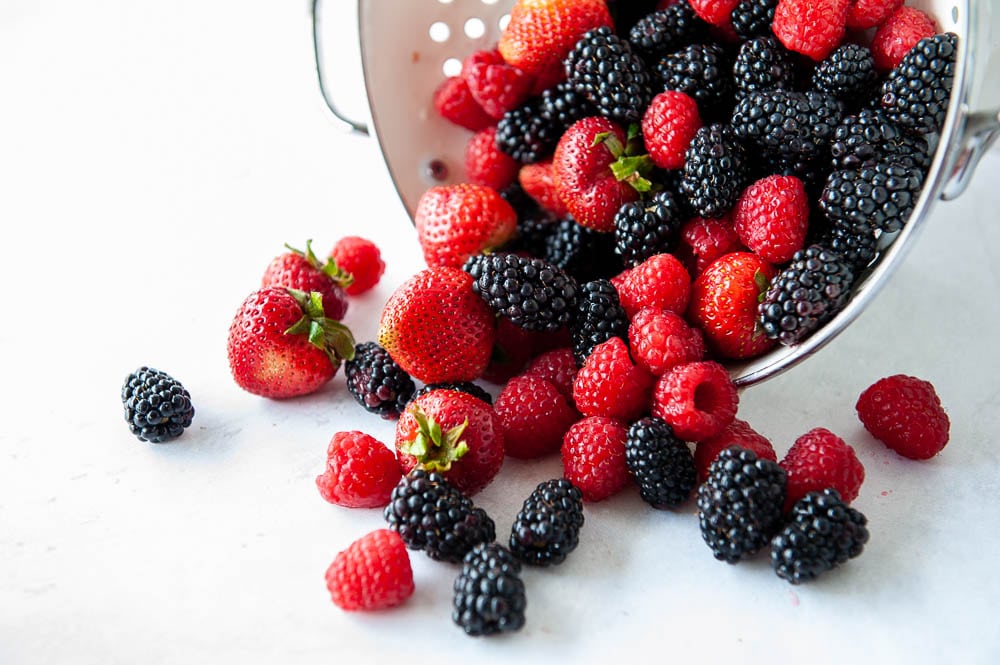
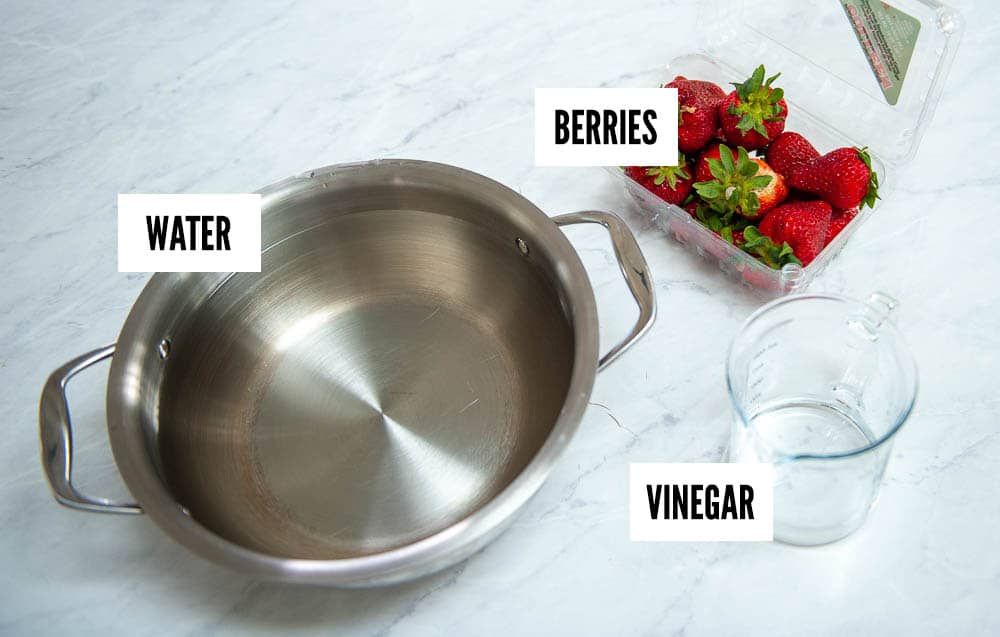
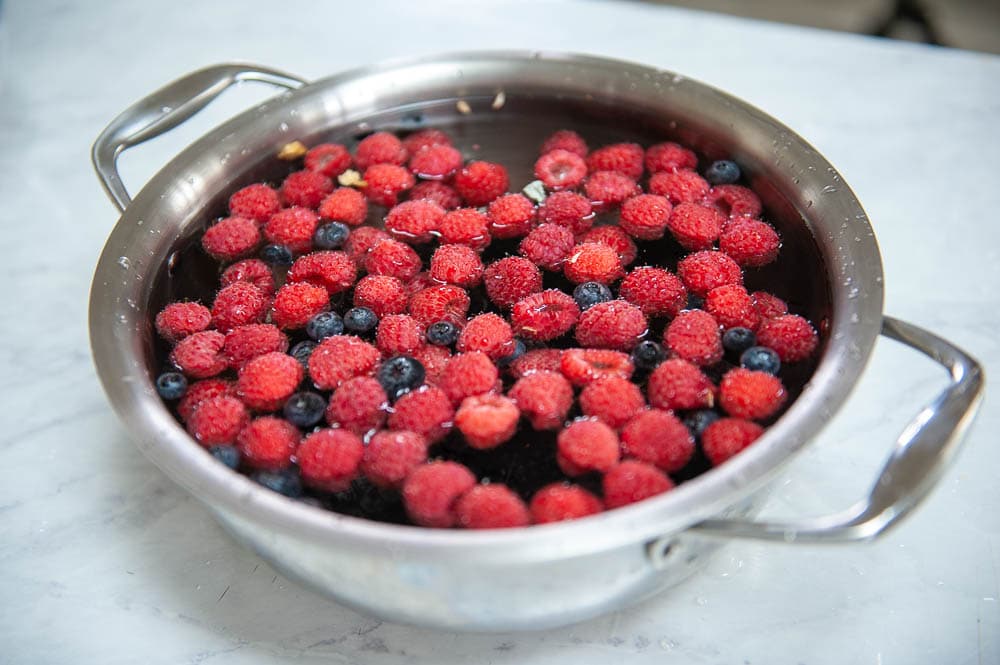
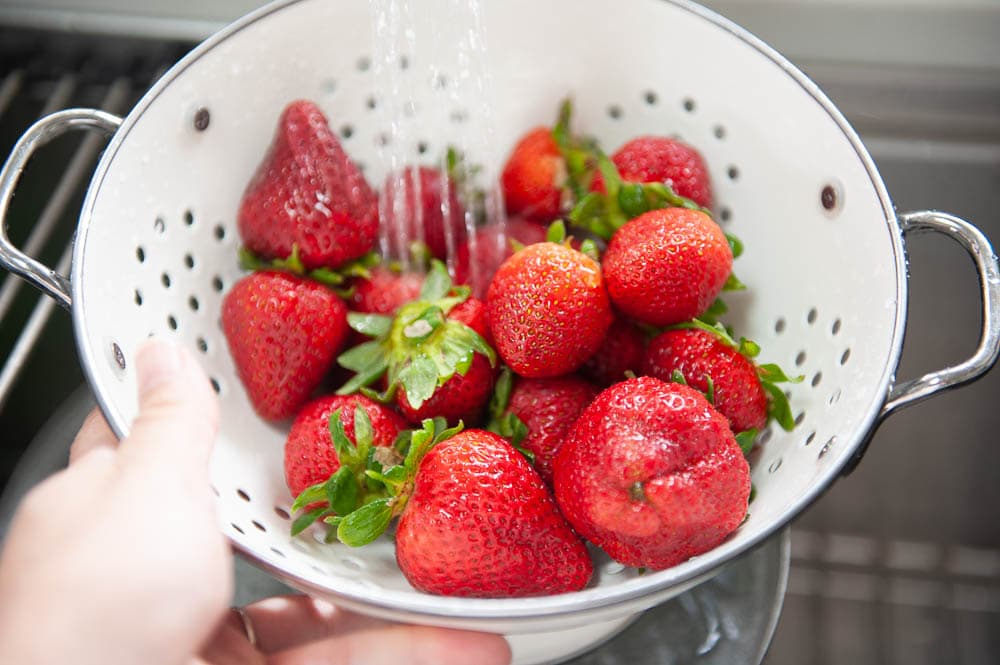
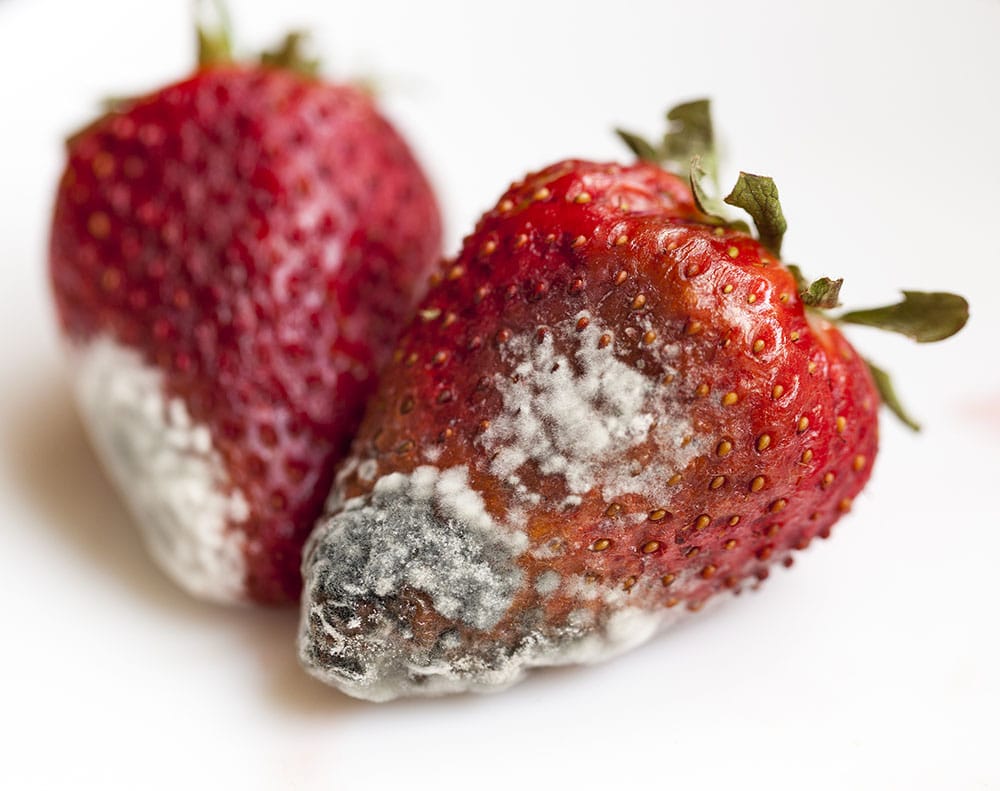 With these steps below, you will be able to increase the life of your berries so they last for days longer!