



If you've ever wondered how to make royal icing that pipes perfectly, dries flat, and has that perfect shine, this cookie royal icing recipe and guide is exactly what you need! It only takes powdered sugar, meringue powder, and warm water, and I'll walk you through every consistency so you can turn a simple sugar cookie into something that looks super professional.
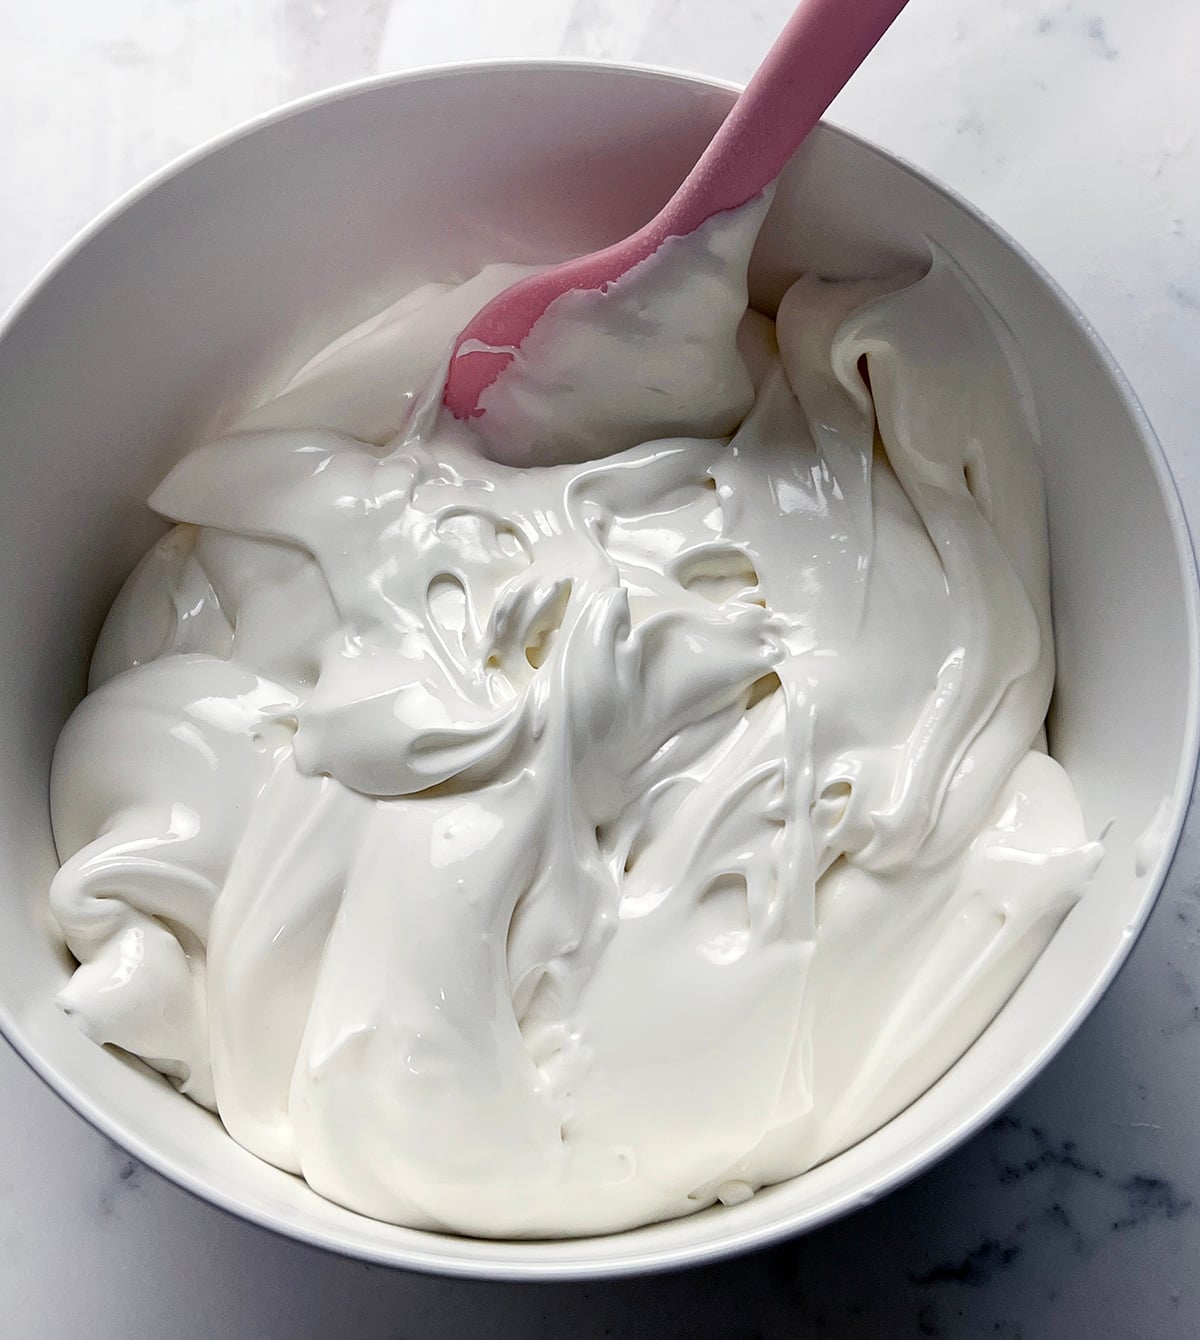
I make my royal icing with meringue powder because it's pasteurized, so there's no worry about raw egg whites, and it gives me the same results every time. Once you have a batch made, you just thin it with a little water to pipe, glaze, or flood your cookies.
Quick Glance at the Recipe: Cookie Royal Icing
- Recipe Name: Cookie Royal Icing
- Why You'll Love It: It dries hard and glossy, so your decorated cookies can be stacked, packaged, and gifted.
- Time and Difficulty: About 20 minutes to make. Easy.
- Main Ingredients: Powdered sugar, meringue powder, and warm water.
- Method: Whisk the powdered sugar, meringue powder, and water until glossy, finish with the paddle on low, then thin with water.
- Texture and Flavor: Smooth and glossy when wet, firm and candy-like when dry, and lightly sweet.
- Quick Tip: Thin a little at a time. It's much easier to add more water than to fix icing that's too runny.
Jump to:
- Quick Glance at the Recipe: Cookie Royal Icing
- What Makes This Royal Icing Recipe So Good⭐⭐⭐⭐⭐
- Royal Icing Ingredients
- Tools for Decorating Cookies with Royal Icing
- Using Egg Whites Instead of Meringue Powder
- How to Make Royal Icing Step-By-Step
- Royal Icing Consistency for Sugar Cookies
- How to Color Royal Icing
- How to Dip and Decorate Cookies with Royal Icing
- How Long Does Royal Icing Take to Dry?
- Common Royal Icing Problems To Avoid
- Royal Icing Recipe FAQs
- More Cookie Recipes To Try
- Leave Me A Review⭐️⭐️⭐️⭐️⭐️
- Recipe
What Makes This Royal Icing Recipe So Good
⭐⭐⭐⭐⭐
This royal icing recipe does everything you need for decorated sugar cookies with just one batch.
- No raw egg whites. Meringue powder is pasteurized, so it's safe to eat.
- One batch, every consistency. Use it stiff for gingerbread houses, or thin it for piping, glazing, dipping, and flooding.
- Dries hard and shiny. Once it's dry, you can stack and package your cookies without smudging.
- Easy to color. A tiny bit of gel color goes a long way.
- Just 3 ingredients. Powdered sugar, meringue powder, and water.
Royal Icing Ingredients
Royal icing only takes three ingredients. The most important one is meringue powder, which is what makes the icing dry hard. One batch makes about 3 cups of icing, which is enough to decorate about 3 dozen 3-inch cookies with simple designs.
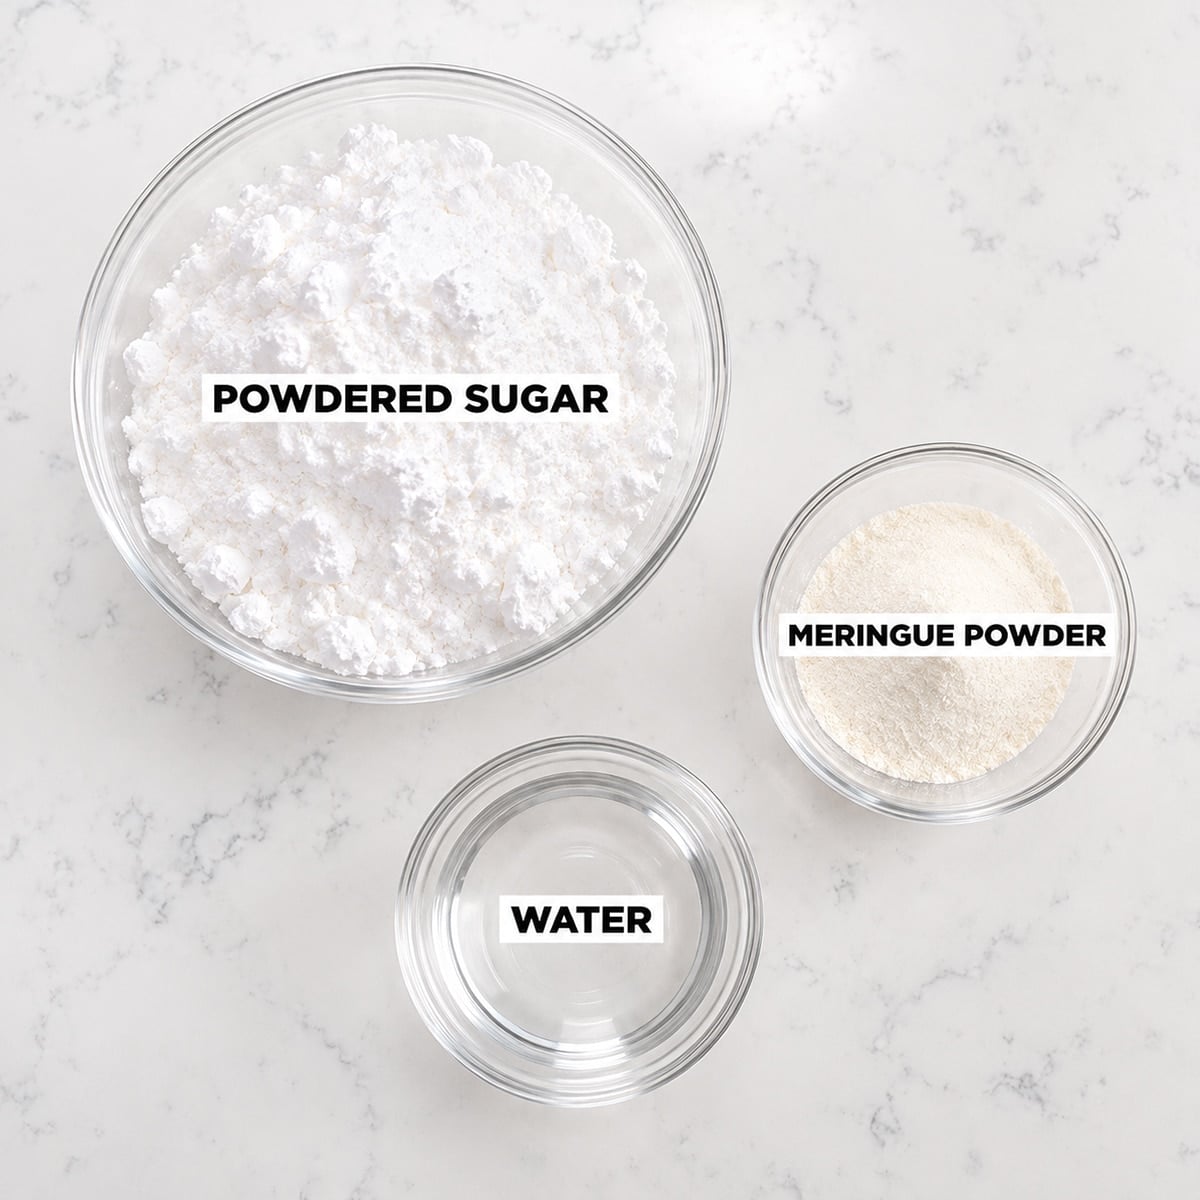
- Powdered sugar: Sift it first! Lumps will clog your piping tip and show up on a smooth flooded cookie.
- Meringue powder: Dried, pasteurized egg whites. This is what makes royal icing set hard. Look for it in the baking aisle of craft stores or online.
- Warm water: Helps the meringue powder dissolve. You'll also use water to thin your icing later.
- Gel food coloring (optional): Gel colors are concentrated, so they color your icing without thinning it out.
Tools for Decorating Cookies with Royal Icing
- Stand mixer with whisk and paddle attachments: The whisk whips the icing up to stiff peaks, and the paddle knocks out the air bubbles.
- Piping bags or squeeze bottles: Bags give you more control for outlines and details, and squeeze bottles are easy for flooding.
- Small round piping tips: A #2 or #3 tip is great for outlining and details on cookies. Use a bigger round tip when you need more icing, like for gingerbread houses.
- Toothpick or cookie scribe: For pushing icing into corners, popping bubbles, and making wet-on-wet designs.
Using Egg Whites Instead of Meringue Powder
If you'd rather make royal icing with egg whites, use pasteurized egg whites from a carton. My egg white version uses 32 ounces of sifted powdered sugar, 5 ounces of pasteurized egg whites, and 1 teaspoon of vanilla extract, so it makes a bigger batch than this recipe.
Mix everything on low with the whisk until combined, then turn it up to high (speed 5 on a KitchenAid) for 1 to 2 minutes until it's bright white. There's no need to mix it longer than 5 minutes. Then thin it with water exactly the same way.
How to Make Royal Icing Step-By-Step
Before you start, make sure your mixing bowl, whisk, and spoons are completely clean and grease-free. Any fat left on your tools can keep the icing from whipping up and setting.
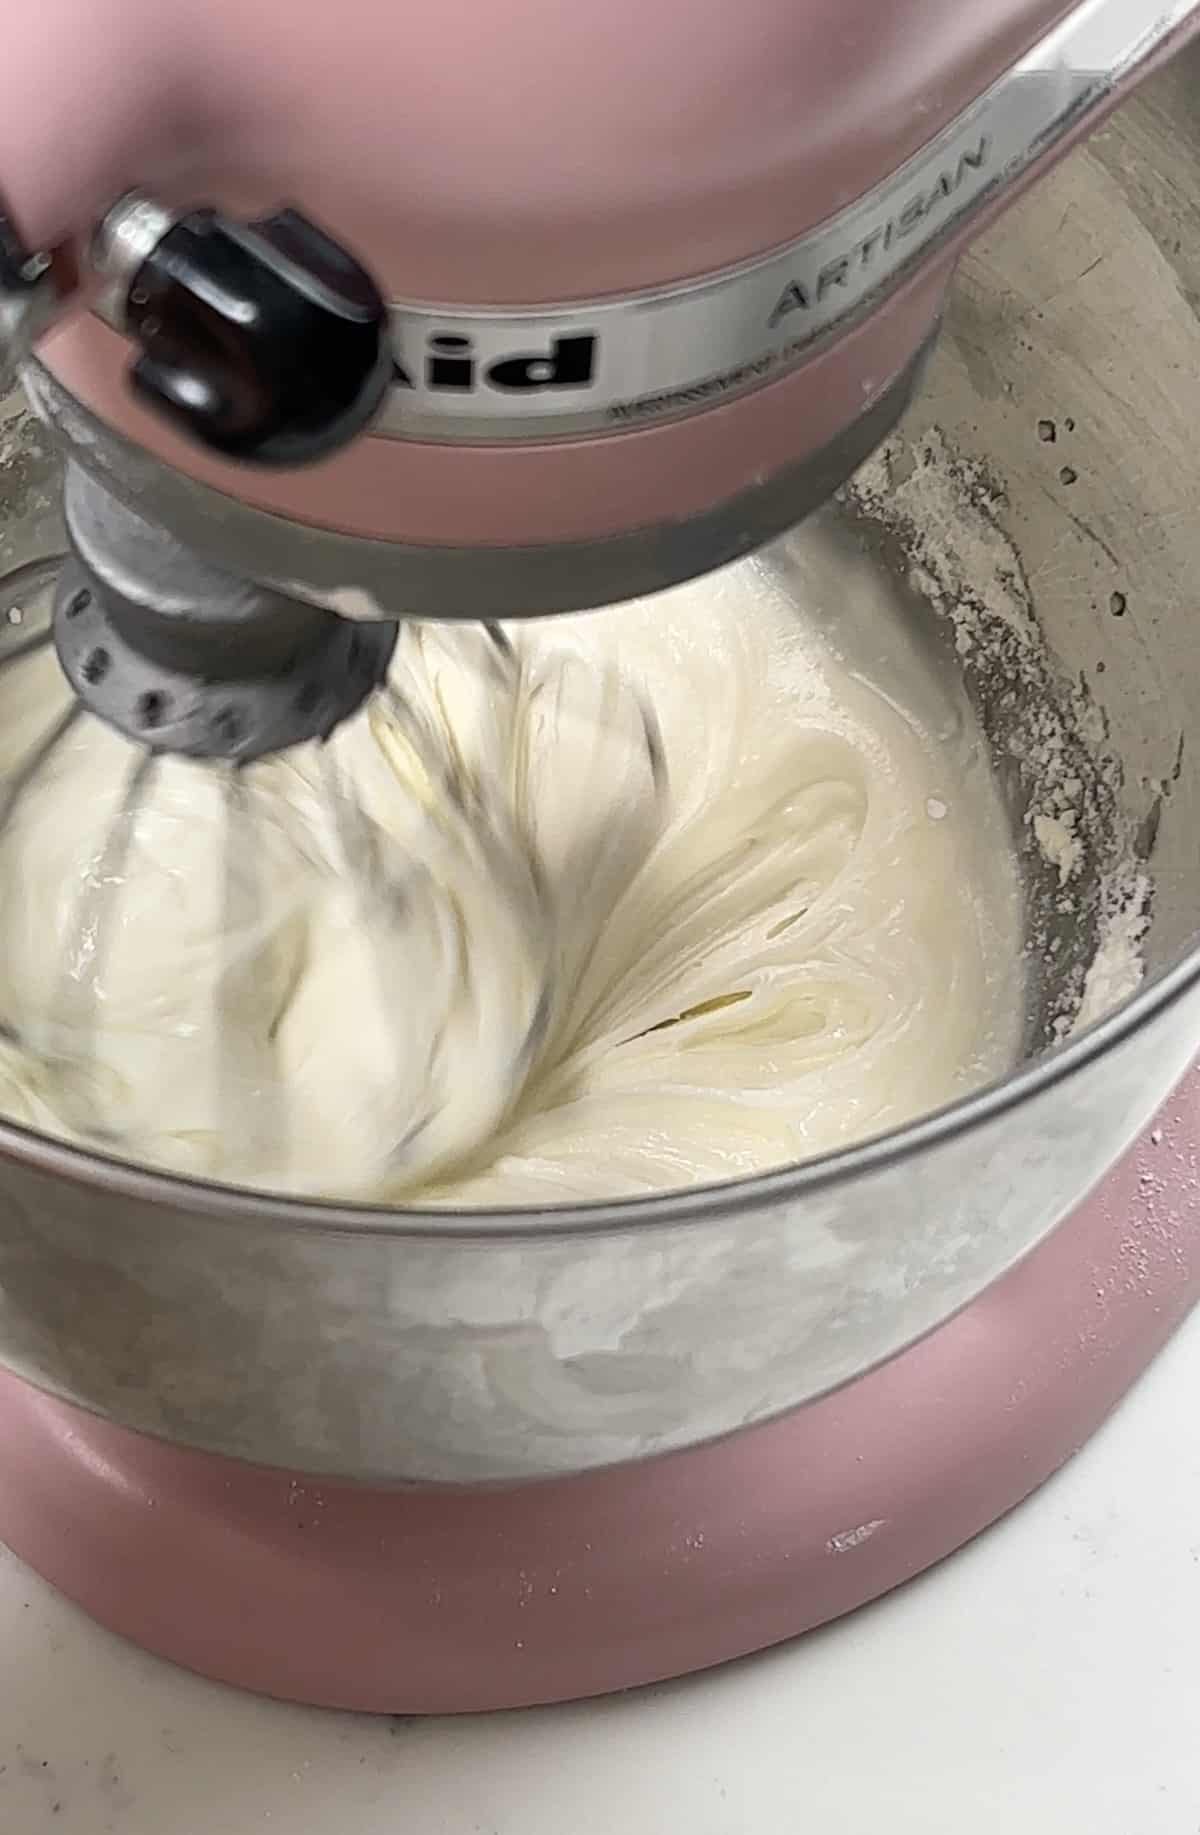
- Add the sifted powdered sugar, meringue powder, and warm water to the bowl of your stand mixer fitted with the whisk attachment. Mix on low until combined.
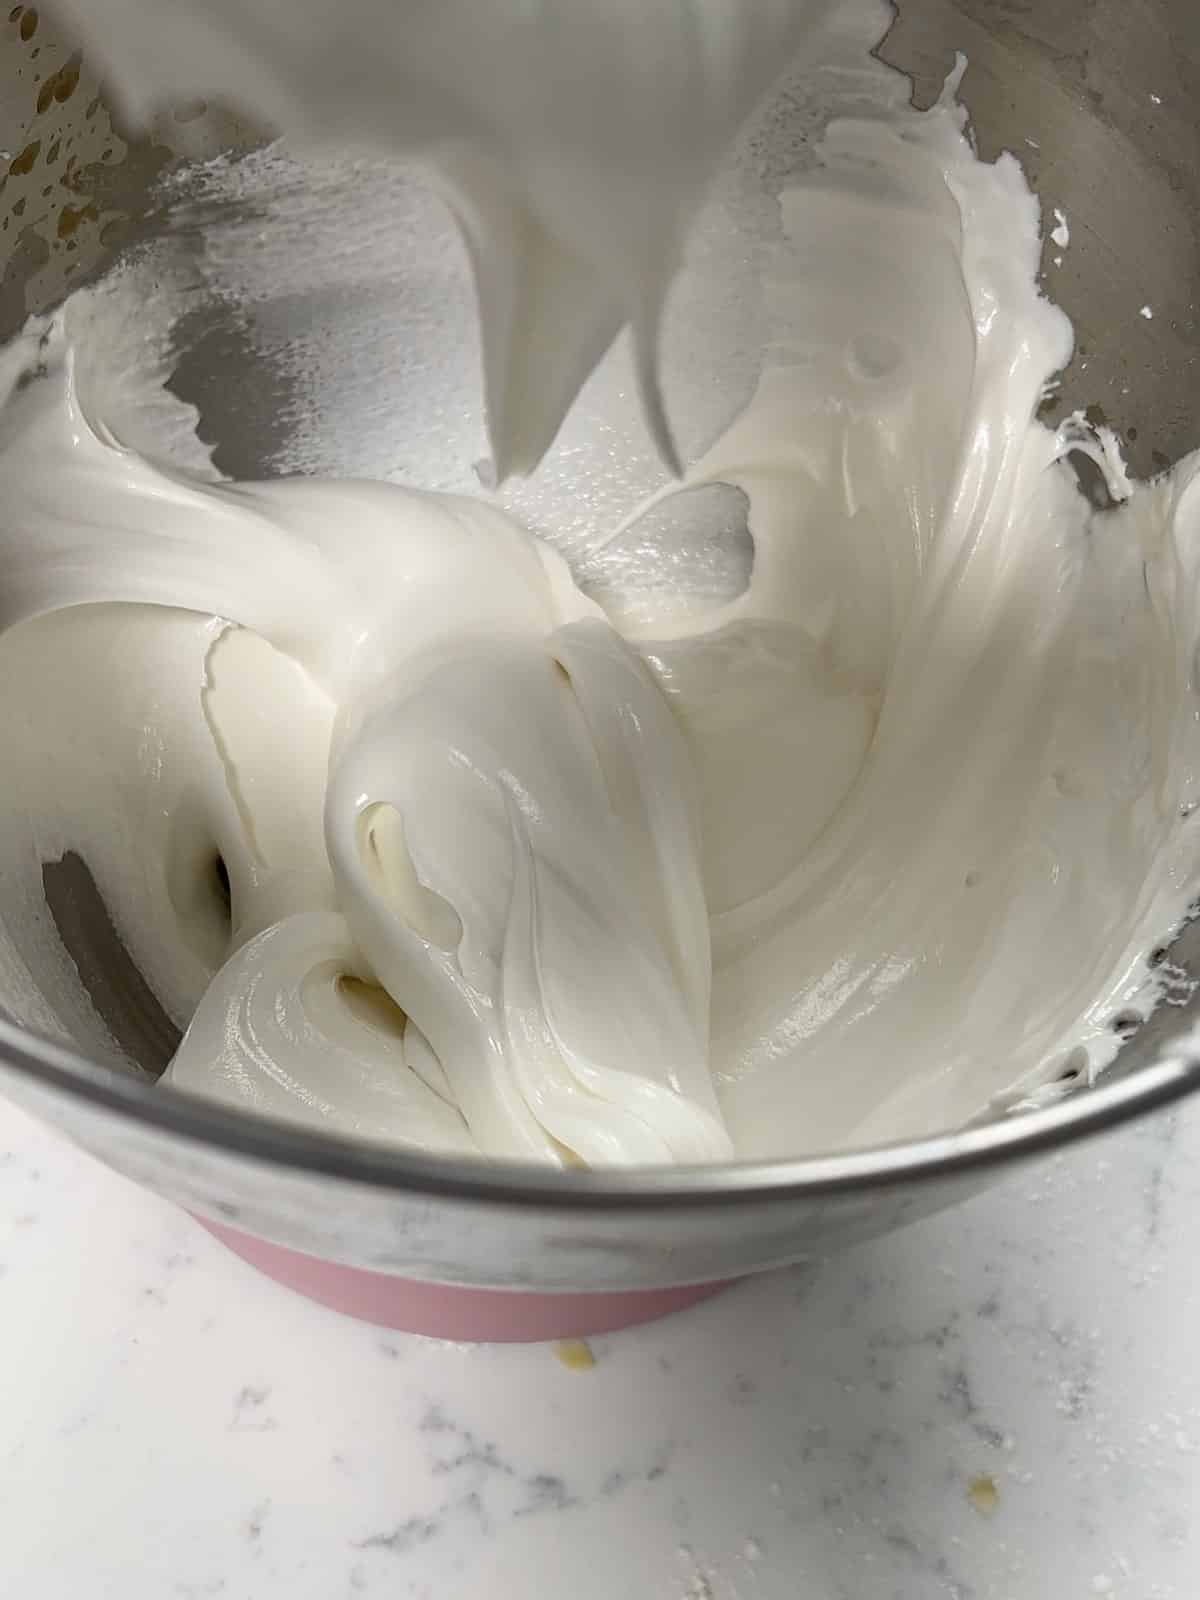
- Whisk on speed 2 (low on a KitchenAid) for 7 to 10 minutes, until the icing is bright white, glossy, and holds stiff peaks.
PRO TIP: Keep plastic wrap pressed right on the surface of your icing whenever you're not using it. Royal icing starts to crust over fast.
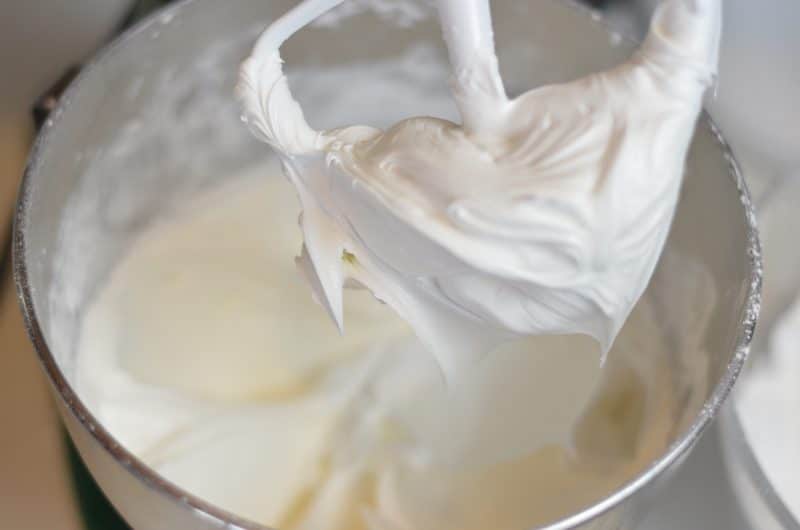
- Switch to the paddle and mix on low to knock out the excess air bubbles.
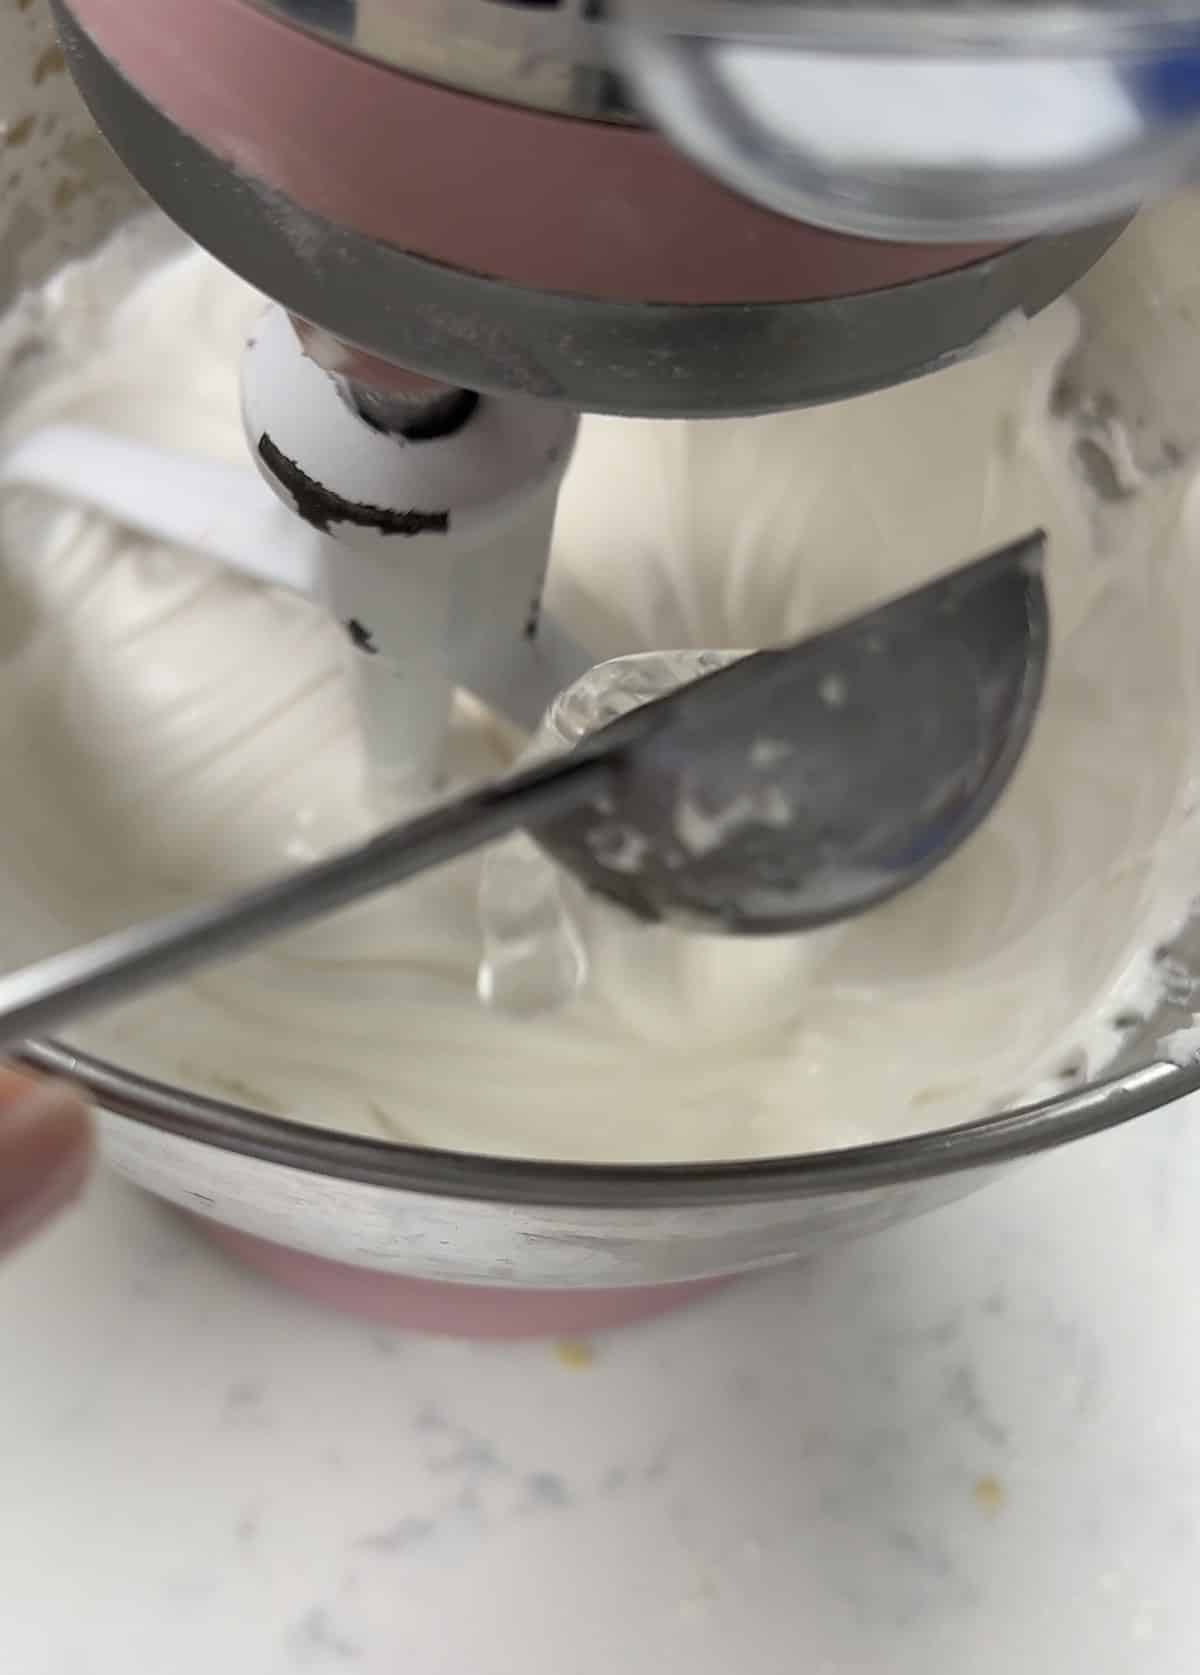
- Thin a portion with water. Scoop some icing into a separate bowl and stir in water a little at a time with a spoon. Then test it: lift your spoon, drizzle a ribbon of icing back into the bowl, and count how many seconds it takes to disappear. About 15 seconds is right for glazing and dipping, and 10 to 12 seconds is right for flooding. You can find more details on each consistency in the next section.
Royal Icing Consistency for Sugar Cookies
The same batch of icing can do a few different jobs depending on how much water you add. Piping is for lines, outlines, and details. Glazing is a thin coat you spread on or dip into that smooths out by itself. Flooding fills in an area inside a piped outline.
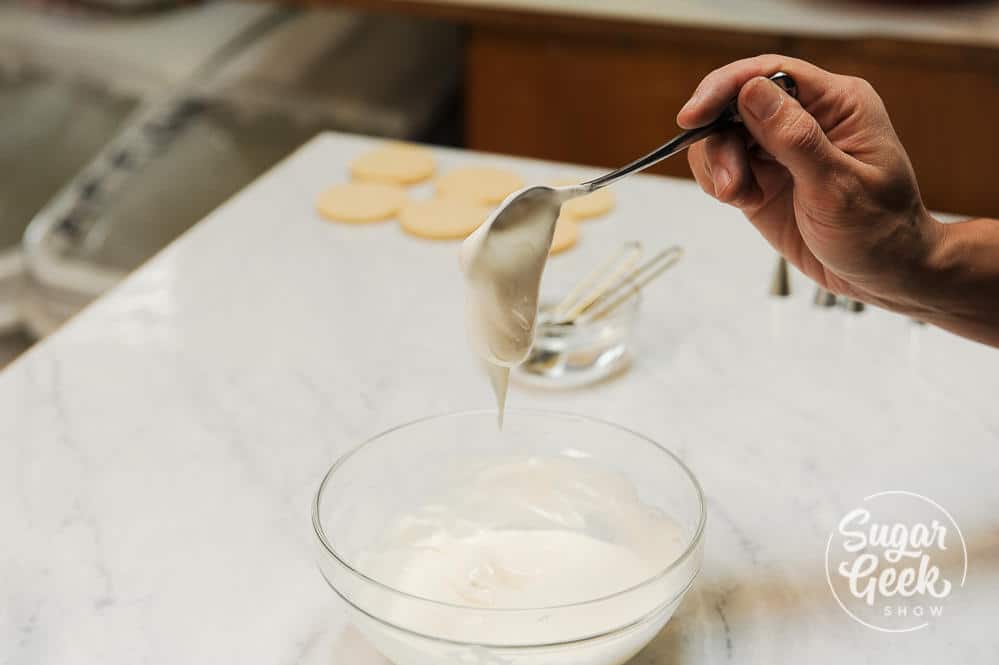
How to test your consistency: Stir your icing, lift the spoon, and drizzle a ribbon of icing back into the bowl. Count how many seconds it takes for the ribbon to sink in and disappear. Thicker icing takes longer, and thinner icing settles faster. If it's too thick, stir in a few drops of water. If it's too thin, stir in a little sifted powdered sugar.
- Stiff: Straight out of the mixer, it holds a stiff peak when you lift your spoon. Use it to glue together a gingerbread house and build 3D cookies.
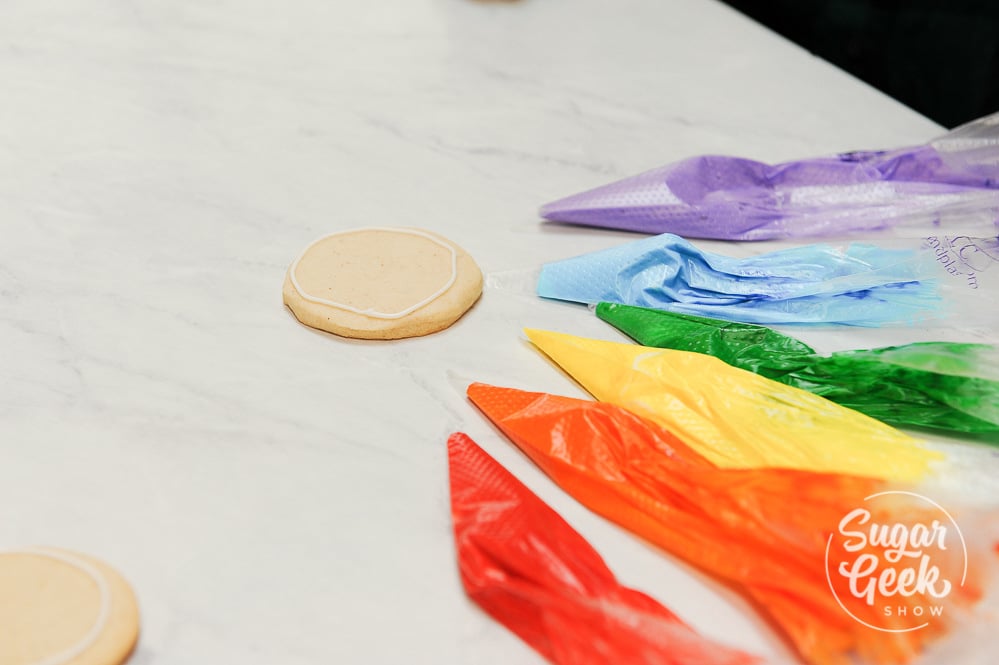
- Piping (outlines and details): Still thick, but soft enough to push through a piping bag. Stir ½ to ¾ teaspoon of water into 1 cup of stiff icing. Use it to outline your cookies before flooding and to pipe details like dots, lines, and lettering.
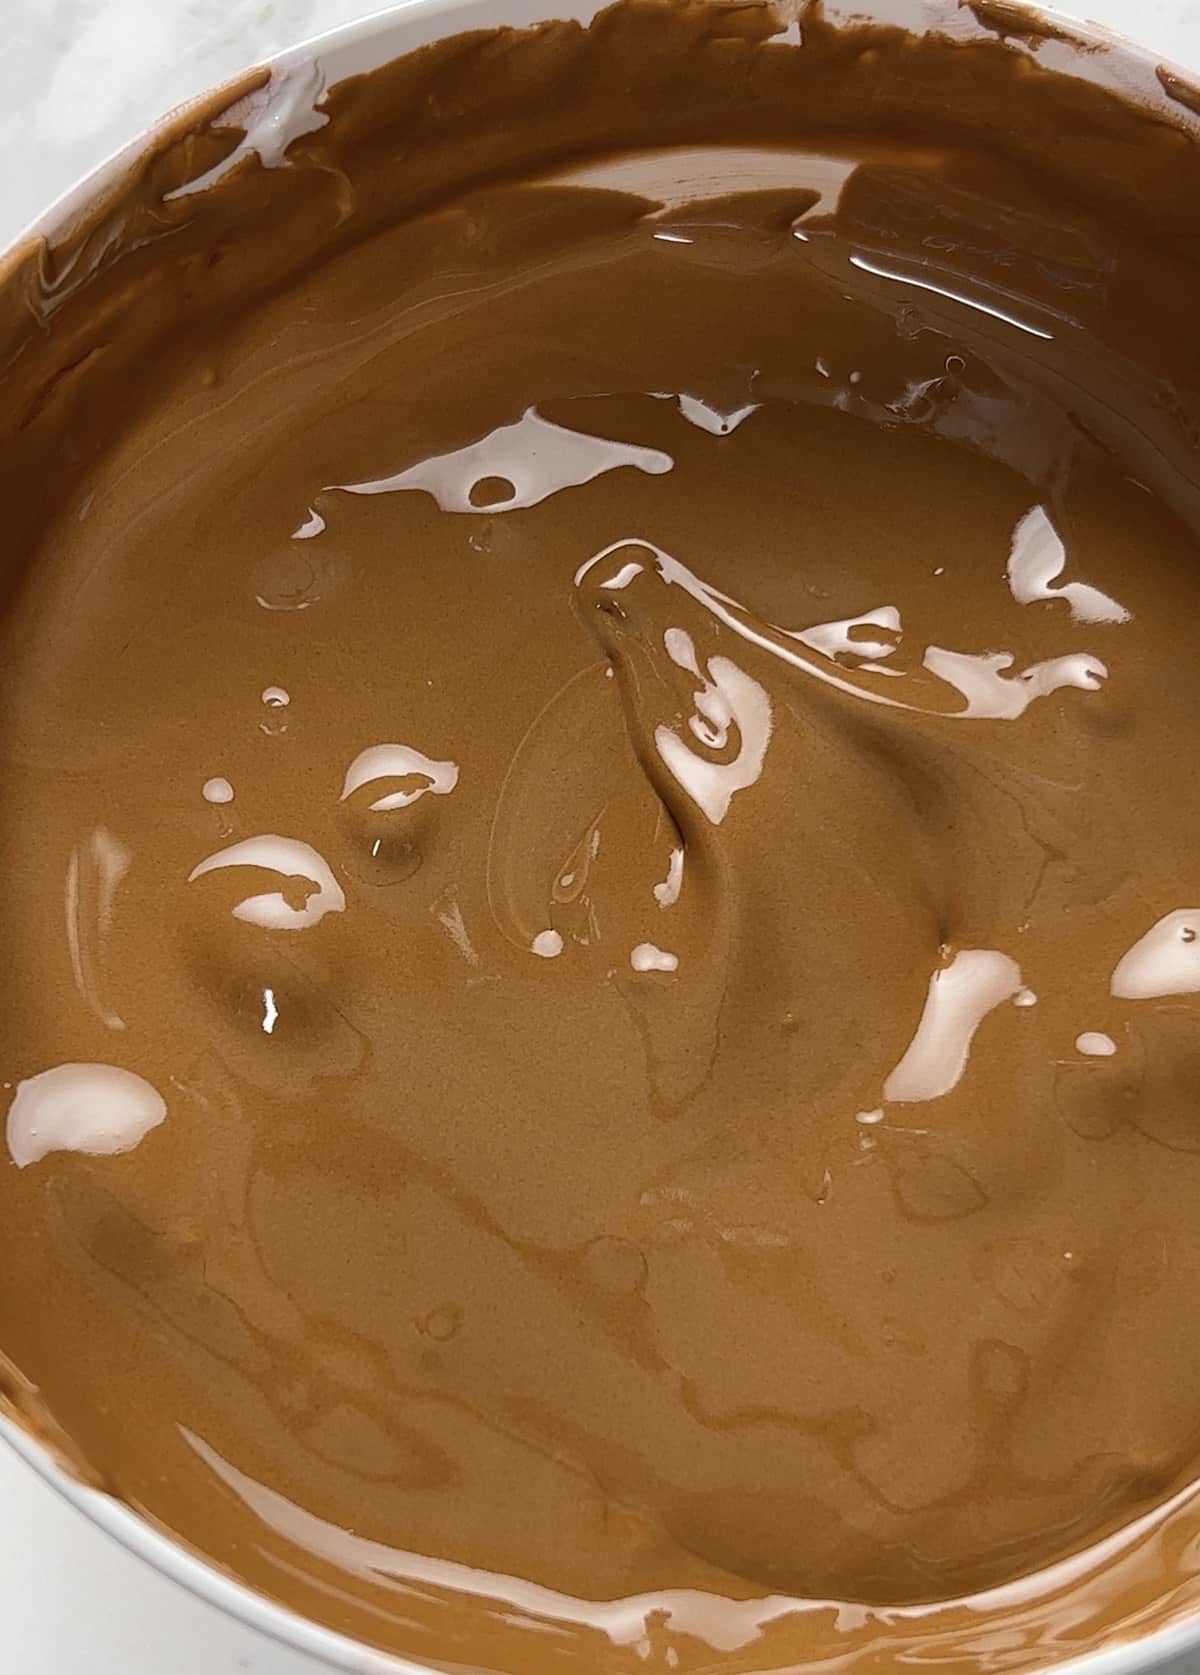
- Glazing and dipping (15-second icing): Stir 1 ½ to 2 teaspoons of water into 1 cup of stiff icing. It takes about 15 seconds to settle. Dip your cookies right into it, or spread it on and let it smooth itself out. This is the easiest one for beginners and kids.

- Flooding (10 to 12-second icing): Stir 2 to 3 teaspoons of water into 1 cup of stiff icing. It takes about 10 to 12 seconds to settle. Pipe an outline first so the icing doesn't run off the edge, then fill in the middle. If you pipe two colors of flood icing right next to each other while they're wet, they settle into one flat, smooth surface.
How to Color Royal Icing
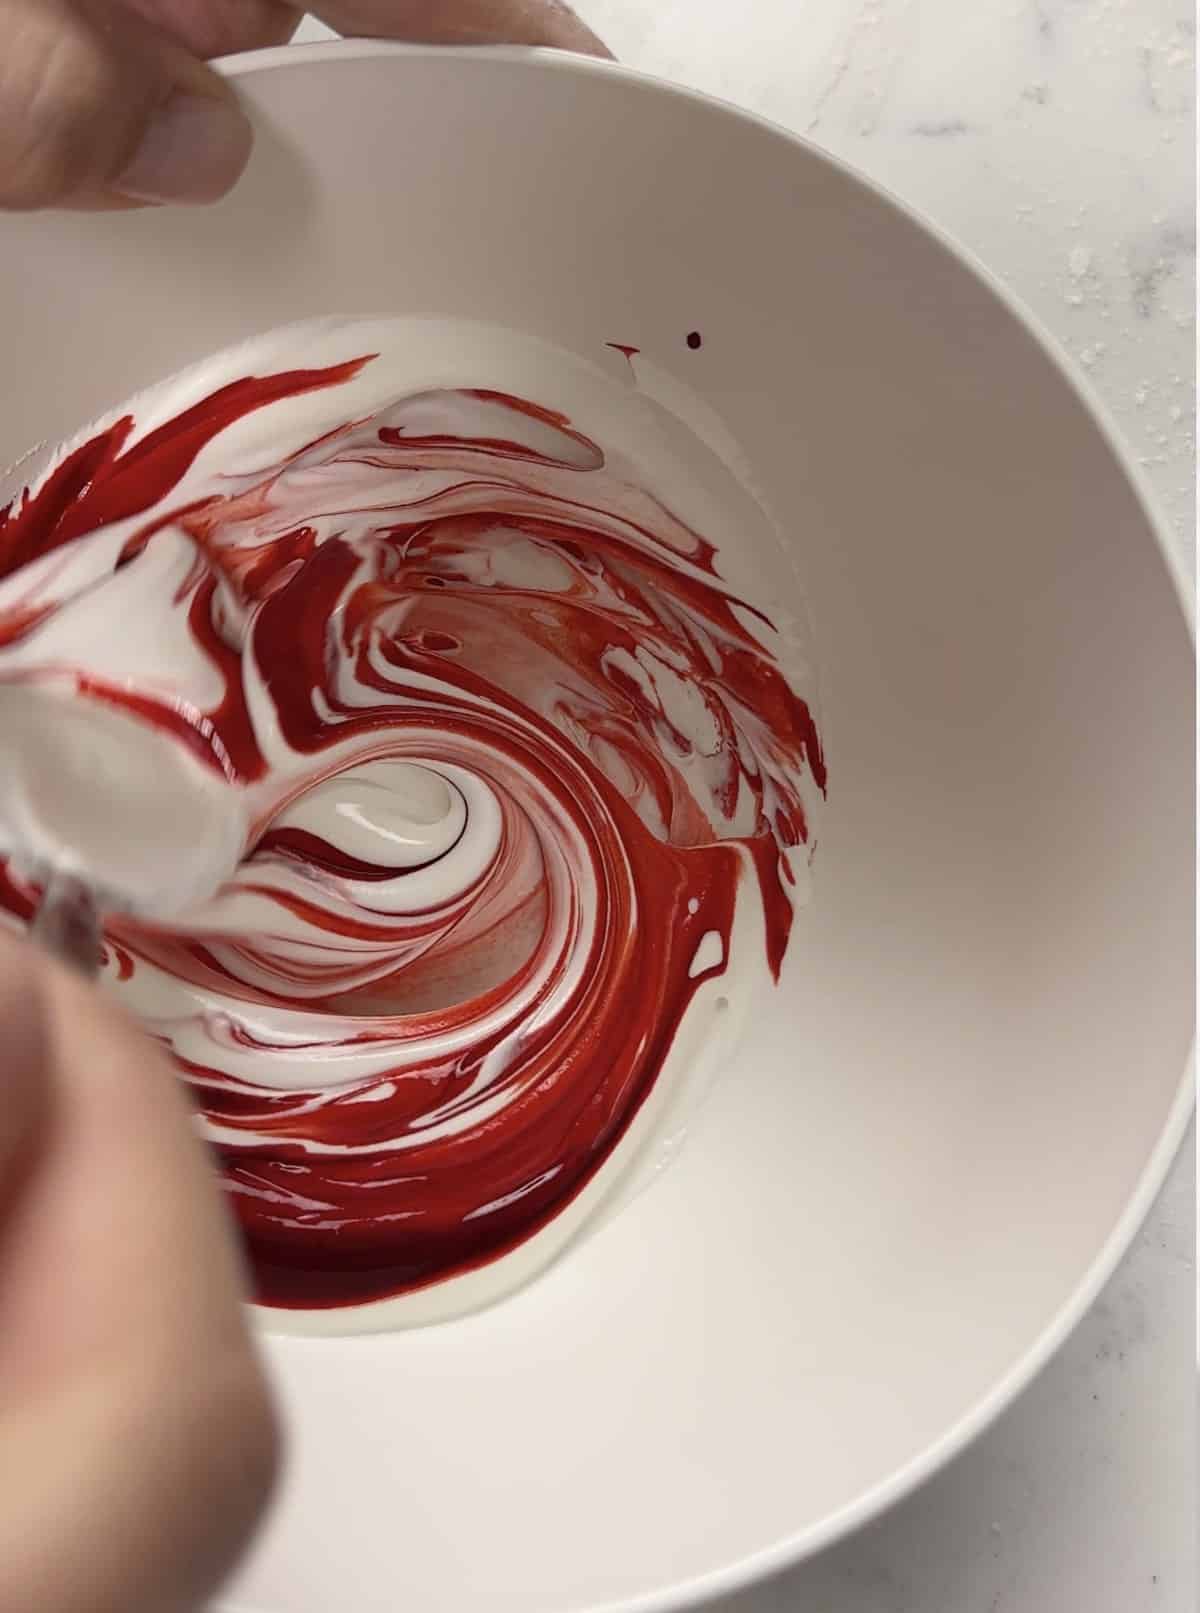
Color your icing before you thin it. Start with just a tiny bit of gel color on a toothpick and stir it in gently with a spoon. Stirring can thicken the icing a little, so add a drop or two of water to get back to the right consistency. Dark colors like red and black get deeper as they sit, so mix them a few hours ahead if you can.
How to Dip and Decorate Cookies with Royal Icing
Dipping is the quickest way to cover a cookie with a smooth layer of royal icing. Color your icing first, then thin it with water to 15-second icing.
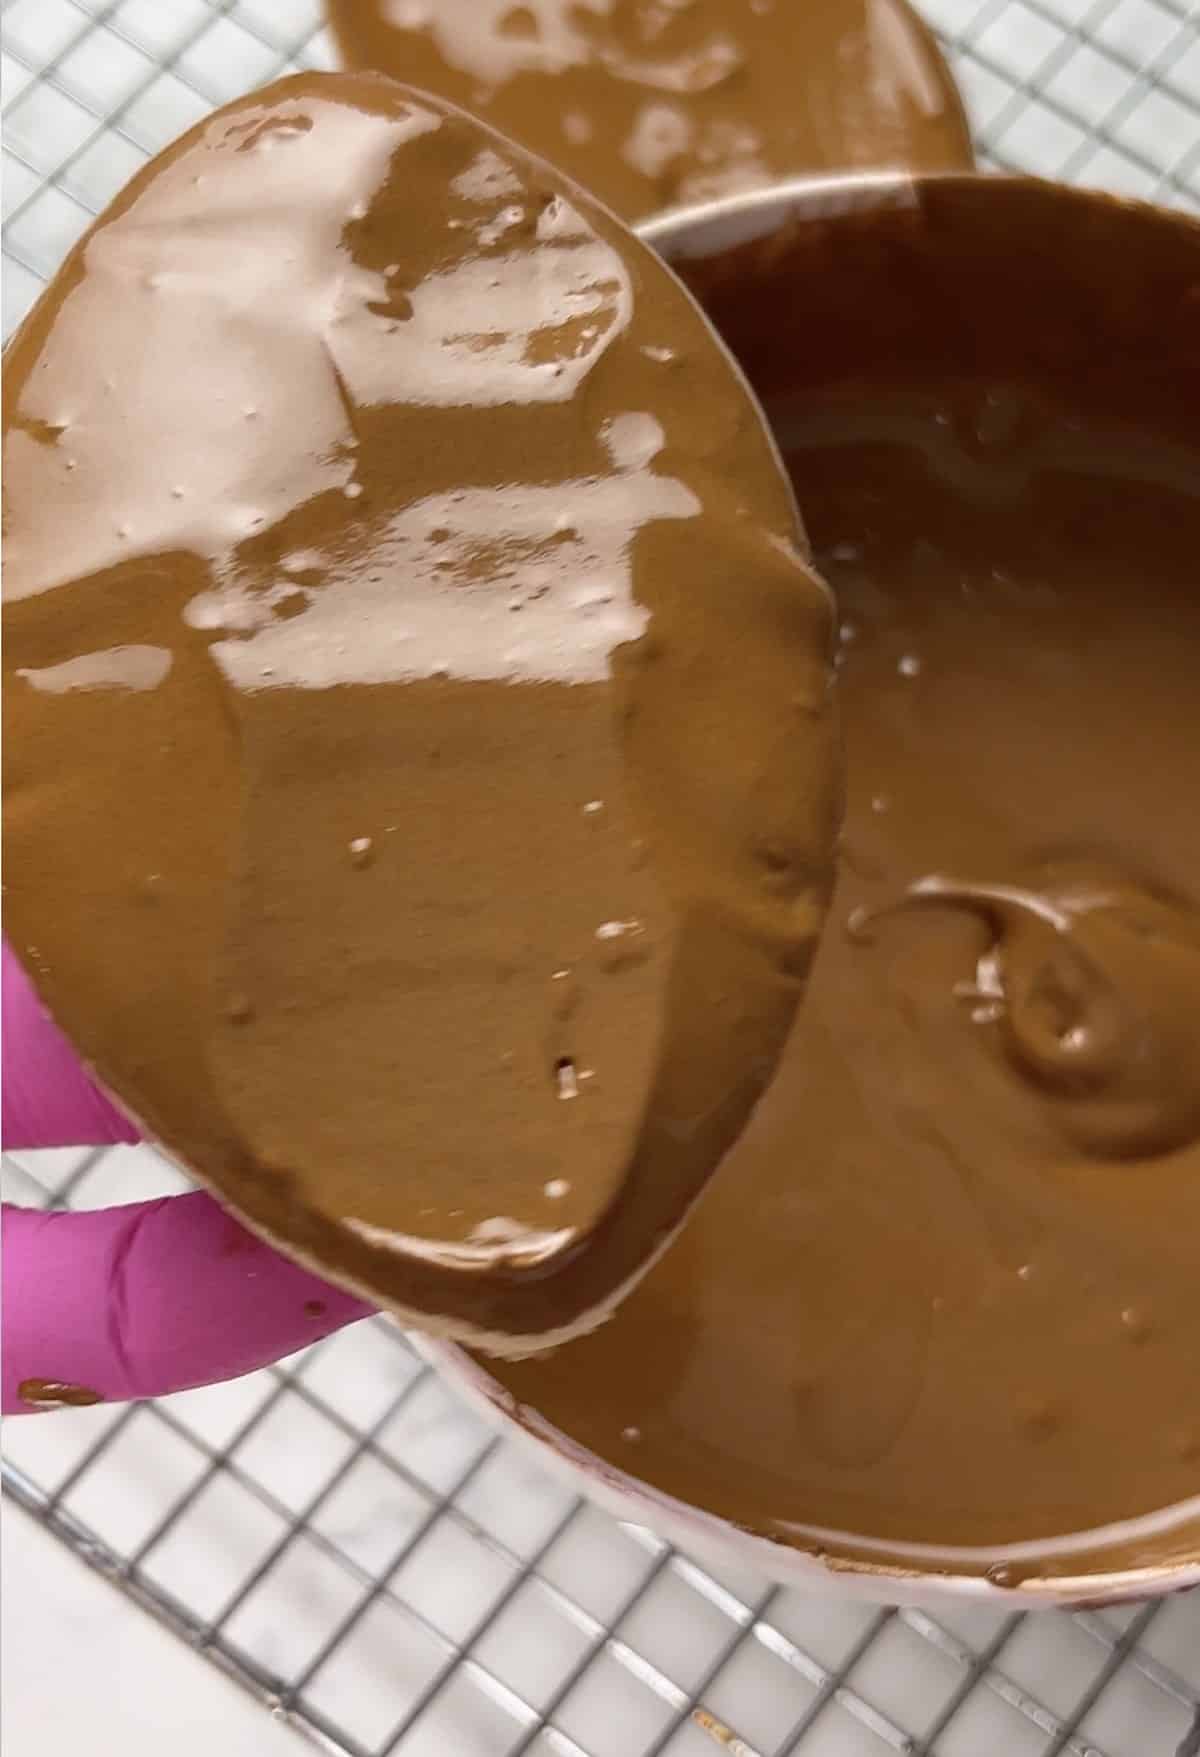
- Dip the cookie. Hold the cookie by its edges, dip the top straight into your 15-second icing, and let the extra drip back into the bowl.
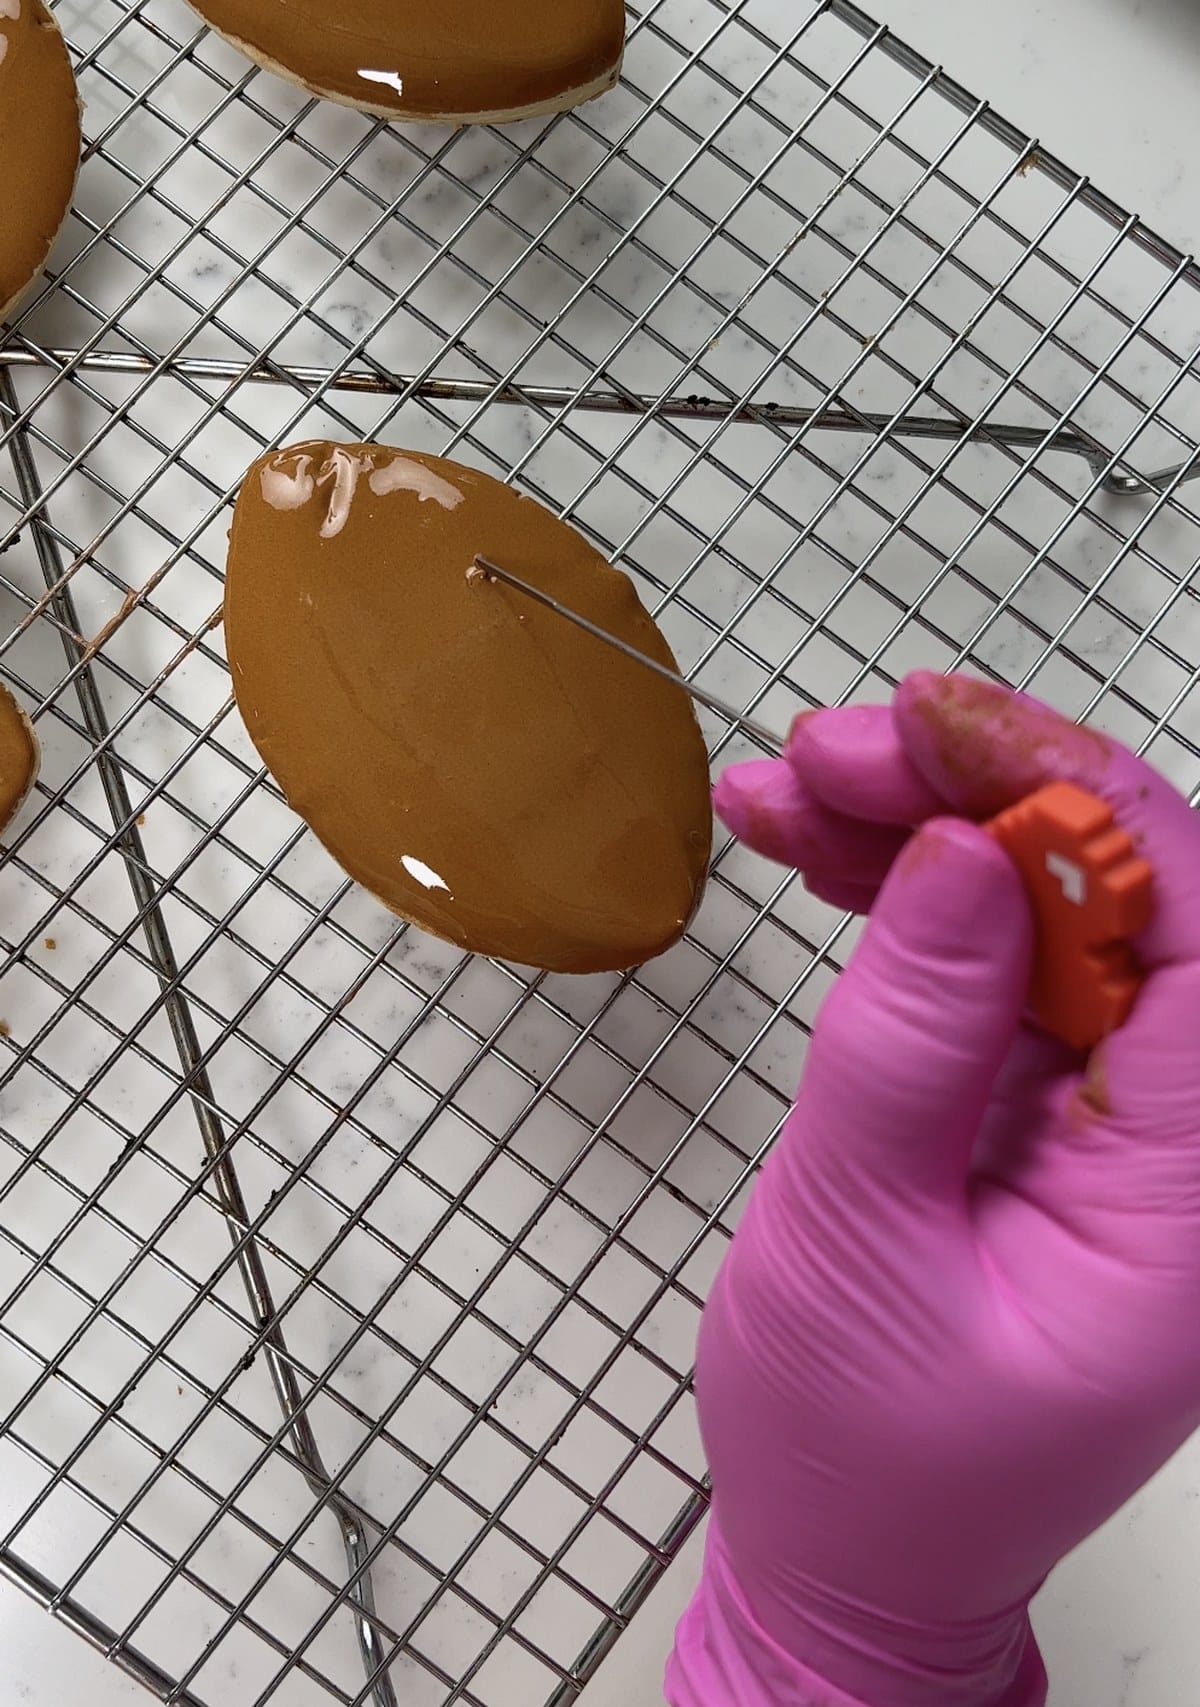
- Smooth it out. Use a toothpick or cookie scribe to smooth the icing, push it to the edges, and fill any gaps before it starts to set.
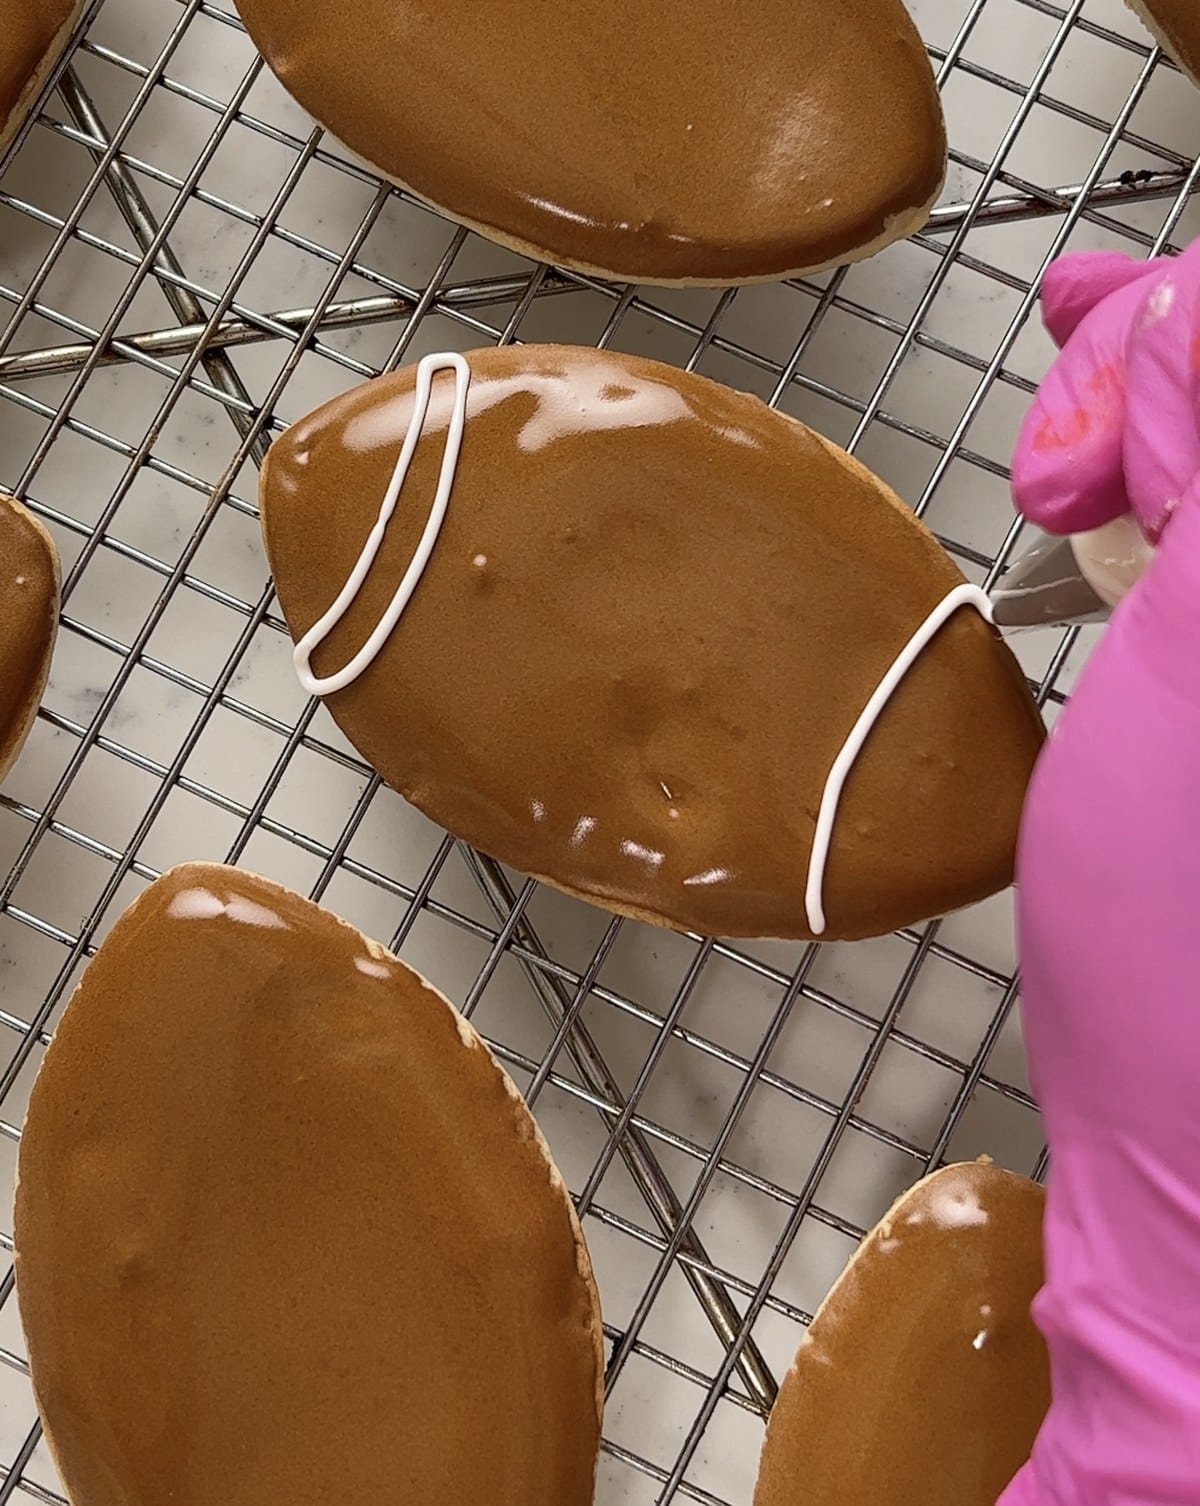
- Pipe the details. Once the base layer has set, pipe your details with white royal icing at piping consistency.

- Let it dry. Let your cookies dry completely before you stack or package them.
If you'd rather outline and flood, pipe a border around the edge of the cookie first, then fill in the middle with 10 to 12-second icing. For wet-on-wet designs like dots or swirls, pipe a second color into the base icing while it's still wet.
How Long Does Royal Icing Take to Dry?
A thin layer of royal icing crusts over pretty quickly, but give it at least 4 to 6 hours to set completely, and let your cookies dry overnight before you stack or bag them. Thick layers can take a few days to dry all the way through. If you want raised dots or lines on top, let the base layer set for a few hours first.
Humid weather slows everything down, so a small fan blowing gently over your cookies helps. Skip the fridge while they dry, because the moisture keeps the icing soft.
Common Royal Icing Problems To Avoid
- Icing won't get stiff. There's grease in your bowl or on your whisk, or too much water went in. Start with clean tools and only add water after the icing is whipped.
- Air bubbles. Let the icing rest covered for about 15 minutes, then stir gently. Pop any bubbles on the cookie with a toothpick or scribe.
- Lumpy icing. The powdered sugar wasn't sifted.
- Colors bleeding together. Let one color crust over before you pipe the next color right beside it.
Royal Icing Recipe FAQs
Should I use the paddle or whisk attachment for royal icing?
Both! I whisk my royal icing until it's glossy, then finish with the paddle on low. The paddle knocks out the extra air bubbles the whisk adds.
Can I add flavoring to royal icing?
Yes! Add a little extract right to the icing. Clear vanilla keeps your icing bright white. Avoid anything oil-based, which can keep the icing from setting.
How long does royal icing last?
Store leftover royal icing in an airtight container with plastic wrap pressed right on the surface. It keeps at room temperature for up to 2 weeks. Mix it again on low before using, since it can separate as it sits.
Can you freeze cookies decorated with royal icing?
Yes! Let the icing dry completely, then layer the cookies between parchment paper in an airtight container. They keep in the freezer for up to 3 months. Let them thaw in the closed container so condensation doesn't form on the icing.
Can I make royal icing without a stand mixer?
Yes! You can use a hand mixer. It just takes a little longer, about 10 to 12 minutes on high, to get your icing to stiff peaks.
More Cookie Recipes To Try



Leave Me A Review
⭐️⭐️⭐️⭐️⭐️
If you tried this Cookie Royal Icing Recipe or any other recipe on my blog, please leave a 🌟 star rating and let me know how it goes in the comments. I love hearing from you!
Recipe
Ingredients
Ingredients
- 16 oz powdered sugar sifted (about 4 cups)
- 5 tablespoon warm water
- 3 tablespoon meringue powder
- extra water as needed, if the icing is too stiff
Instructions
- Before you begin: Make sure your mixing bowl, whisk, and spoons are completely clean and grease-free. Any fat left on your tools will keep the icing from whipping up and setting.
For the royal icing
- Add the sifted powdered sugar, meringue powder, and warm water to the bowl of a stand mixer fitted with the whisk attachment. Mix on low until combined. If the mixer struggles, add a small amount of water.
- Whisk on speed 2 (low on a KitchenAid) for 7 to 10 minutes, until the icing is bright white, glossy, and holds stiff peaks.
- Switch to the paddle attachment and mix on low to knock out the excess air bubbles.
To thin for glazing or flooding
- Scoop a portion of the stiff icing into a separate bowl.
- Stir in water a little at a time with a spoon until fully incorporated.
- Test it: lift your spoon, drizzle a ribbon of icing back into the bowl, and count how many seconds it takes to disappear. About 15 seconds is glazing and dipping consistency, and 10 to 12 seconds is flooding consistency.



Larissa Joubert says
Did you recently change this recipe??? I made it a few weeks ago and I had a completely different outcome. This one didn't stiff after 10 mins of mixing. So frustrating!!
Liz Marek says
Hi Larissa! I just updated the post with clearer steps and photos, but the amounts are the same. If your icing won't stiffen, it's almost always a little bit of grease in the bowl or on the whisk, or a little too much water. Make sure everything is super clean, measure your water carefully, and whisk on low for the full 7 to 10 minutes. It should turn bright white and glossy and hold a stiff peak.
Alicia says
You mention going to speed 2 I. The mixer. Is it speed two in a kitchen aid or Bosch?
Liz Marek says
Hi Alicia! Speed 2 is on a KitchenAid, which is low speed. You want to keep it low so you don't whip in too much air.
Crystal says
How long does this icing last? Would I be able to refrigerate and use at a later date? Thank you
Liz Marek says
Hi Crystal! Store leftover royal icing in an airtight container with plastic wrap pressed right on the surface. It keeps at room temperature for up to 2 weeks. Just mix it again on low before you use it, since it can separate as it sits.
Kiilani says
So I’ve been totally invested in your pages lol, I’ve noticed you have two different recipes for royal icing, you have one that includes egg whites and then you have this one, one your YouTube you use the egg whites and you decorate cookies as well, which recipe do you stand by?? I’m wanting to decorate sugar cookies with some small details included.
Liz Marek says
Hi Kiilani! I've combined everything into this one post now. I use meringue powder for my cookie icing because it's pasteurized and gives me the same results every time, but if you'd rather use egg whites, I included my egg white version in the post too. Both dry hard and work great for small details.
Shanique says
In step 3 it says to whip. Is it safe to assume I will be switching from the paddle attachment to the whisk attachment and then whip for 7-10 minutes? Or is the entire mixture made using the paddle attachment?
Elizabeth Marek says
Yes you switch to the whip
Robin says
I’m going to make watermelon cookies. Is it better to add the flavor to the cookie dough or the royal icing?
The Sugar Geek Show says
I would add it to the icing, it will retain more of it's flavor
Hollie says
Can I add flavoring to this icing?
The Sugar Geek Show says
Yes you can
Linda Peterson says
I've read icing mixing instructions that say to use a whisk attachment and others say use a paddle attachment. Some people say mixing at high speed incorporates too much air into the mixture. I'm confused as to why people give such differing instructions. I have had issues with air bubbles in the past, so I want to reduce them.
I am semi-pro and want to get to a point of consistency. Right now I am planning to try different icing recipes, because I keep having problems with icing twisting as it extruded from narrow tips. The softer recipe I have been using has 2T light corn syrup in the ingredients. I like the taste, but not the trouble I have decorating fine details.
The Sugar Geek Show says
If your icing is not coming out of the tip straight it could be the quality of your tip. A lot of people really like ATECO piping tips. Icing is very personal. This is the recipe that I like but I'm no cookie professional. You can use the paddle if you prefer.
Rebecca Burghardt says
Use a dental oscillator to get rid of air bubbles