How to make homemade egg pasta at home that you can then roll out and make into any shape you want. This is my foolproof ratio of flour to egg, so you can make as much or as little as you need. I've also included instructions on how to make it by hand, with a food processor, or a KitchenAid mixer.

I actually learned how to make this fresh egg pasta in Italy on a soul sisters trip. We took a wonderful cooking class from an Italian Chef at a local cooking school. It was wonderful to see this simple technique taught in real time and learn that making homemade egg pasta really isn't that complicated.
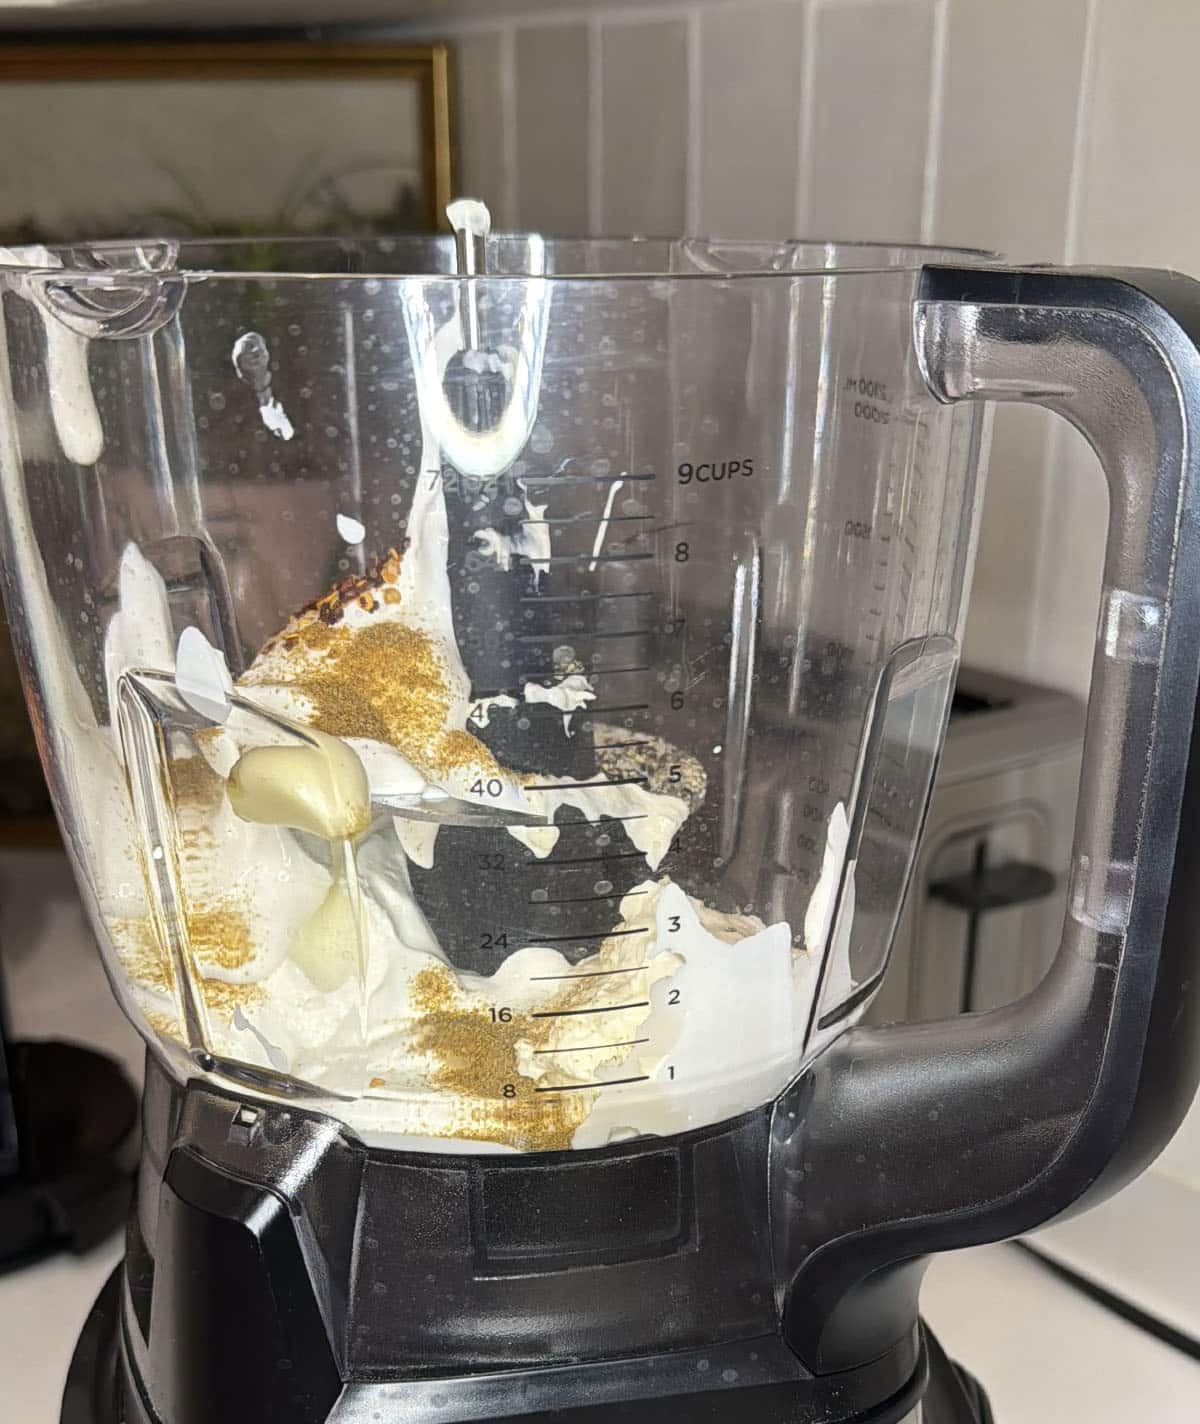
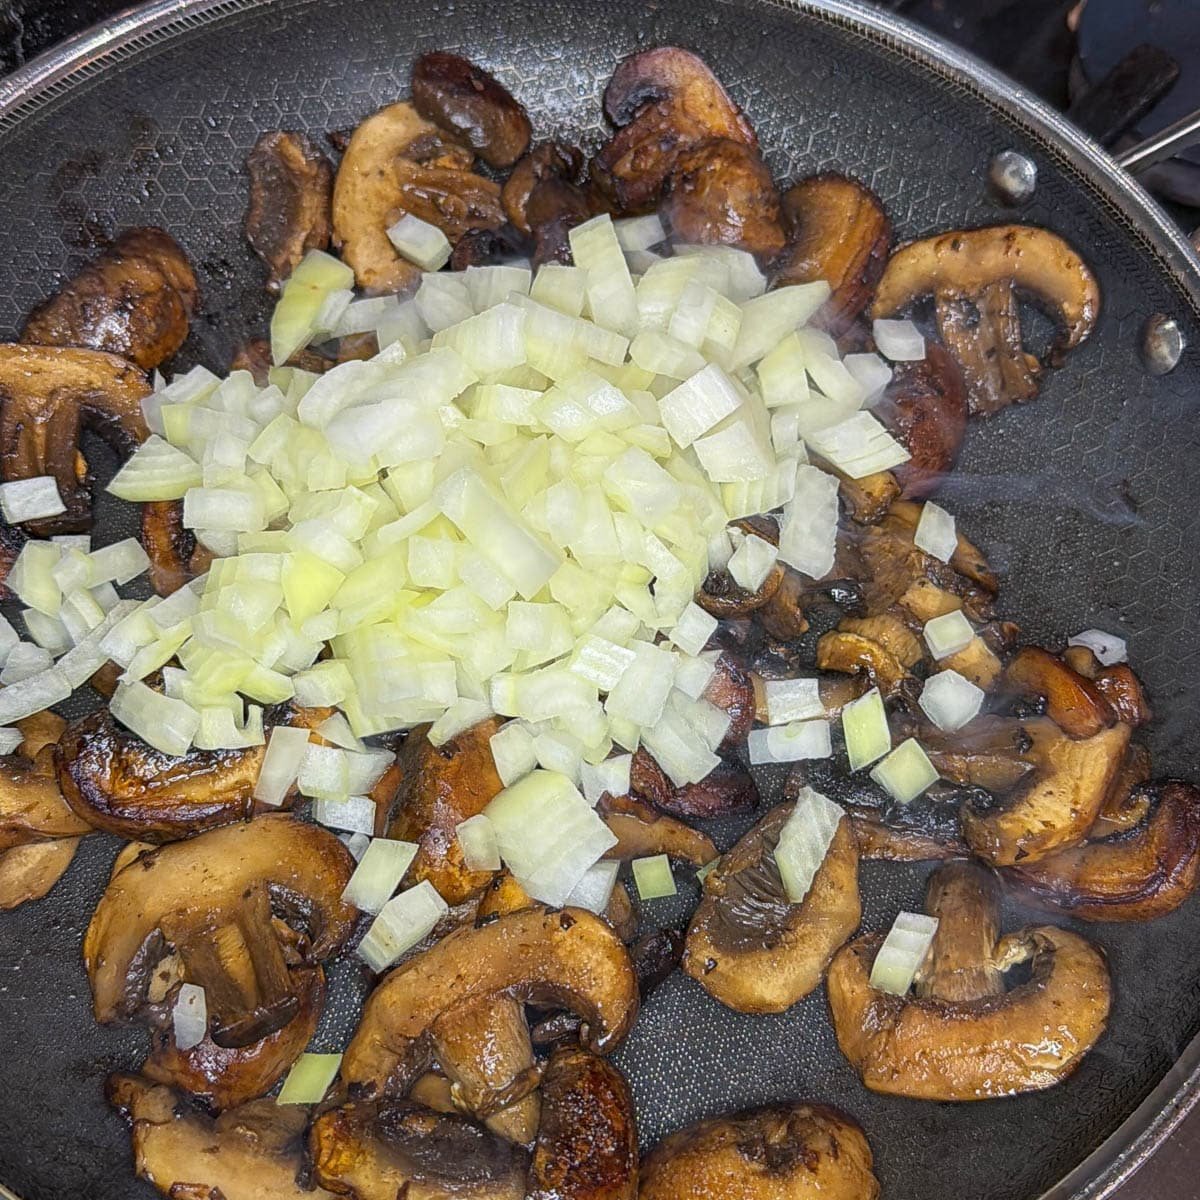
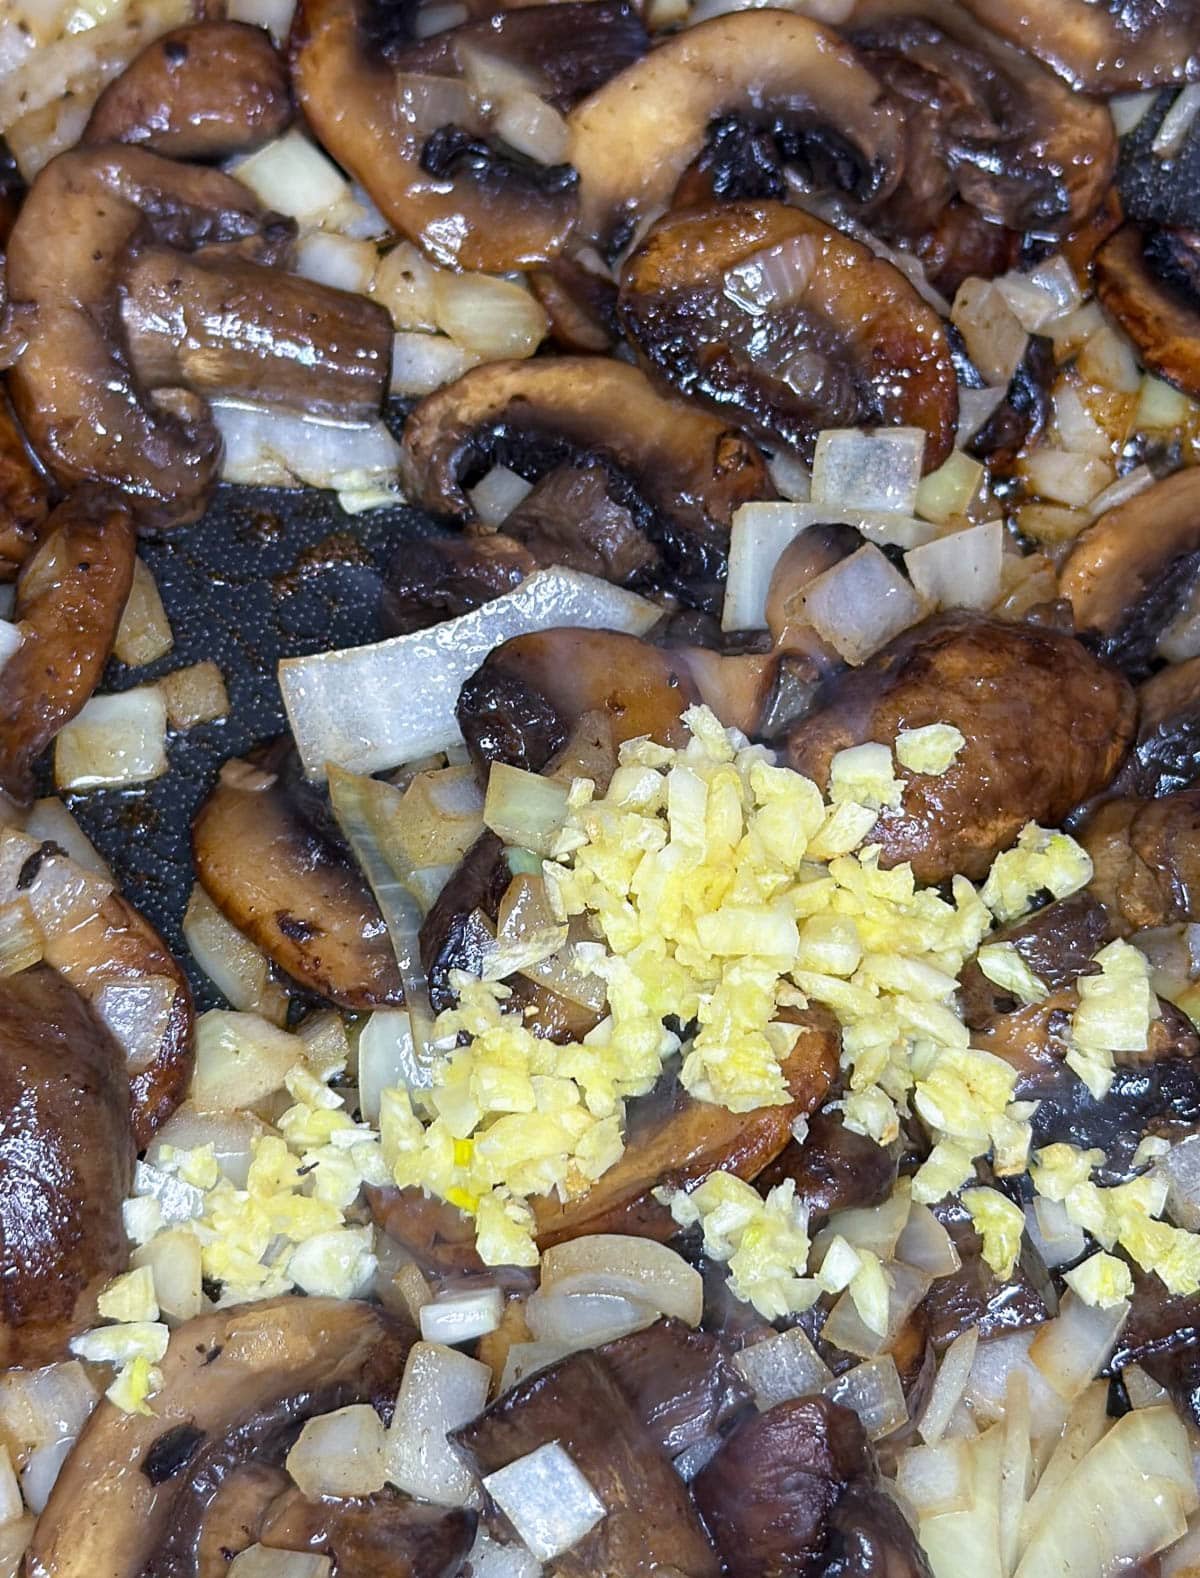
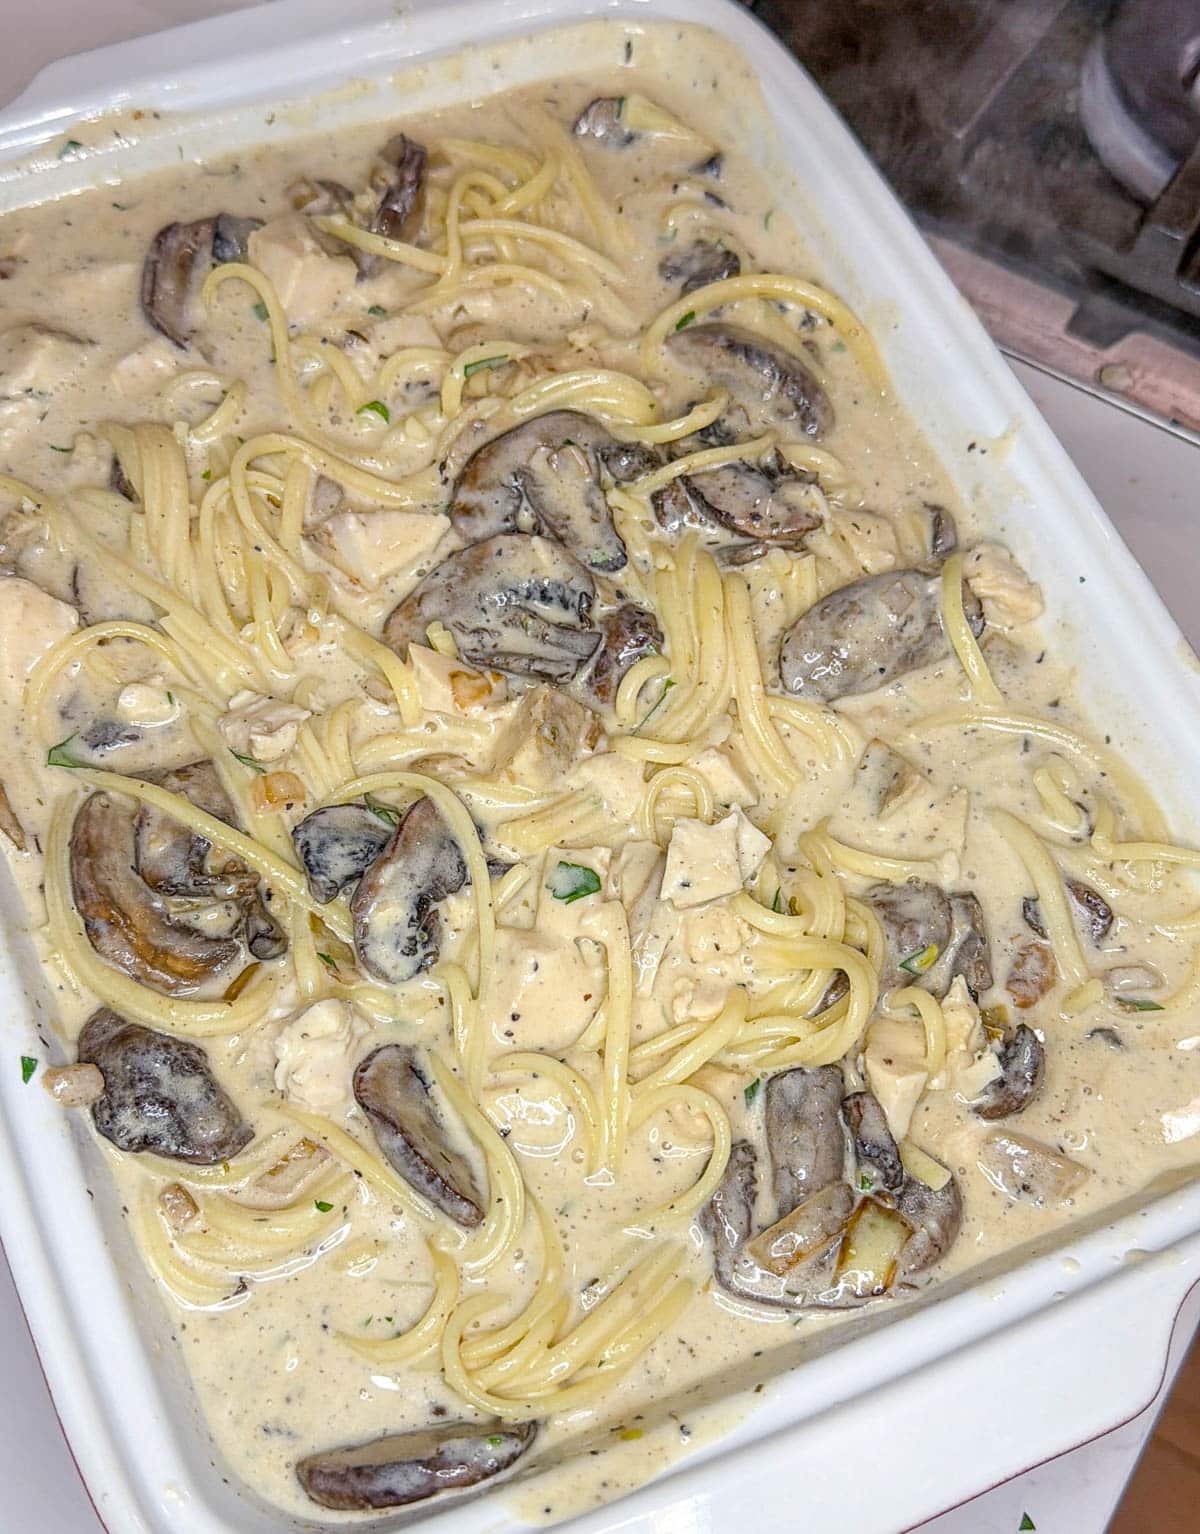
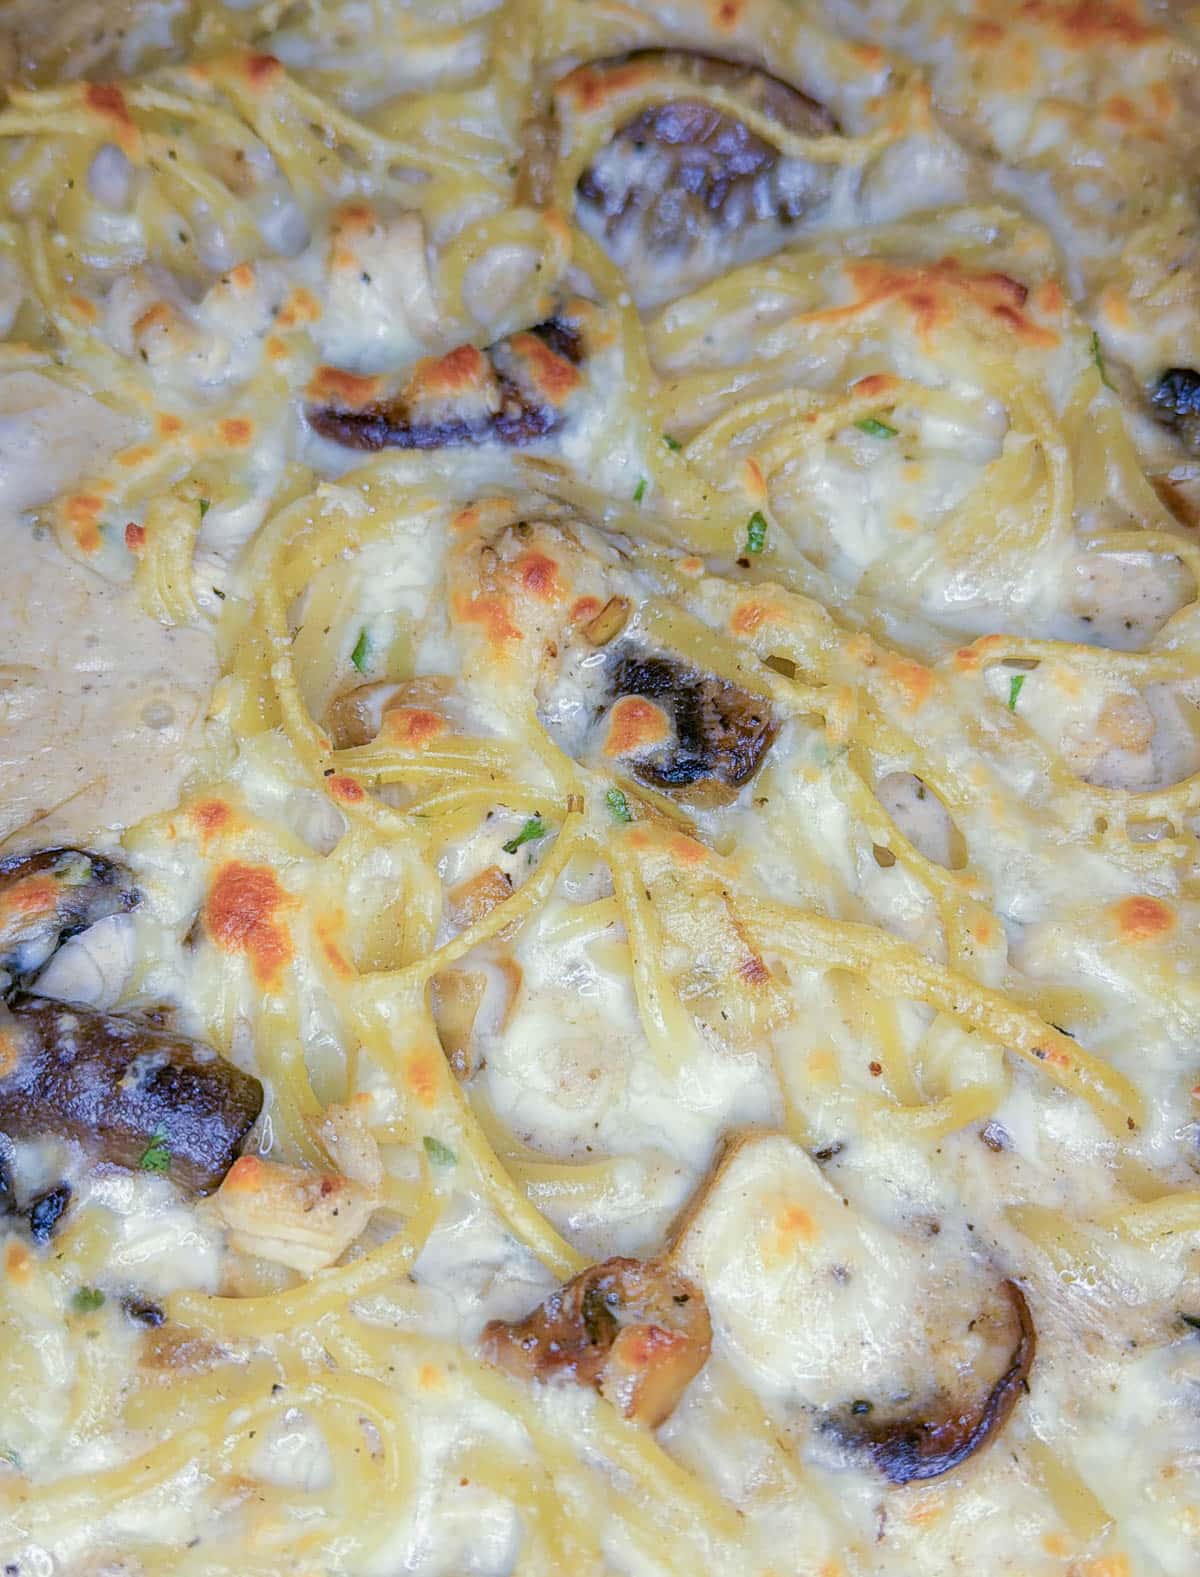
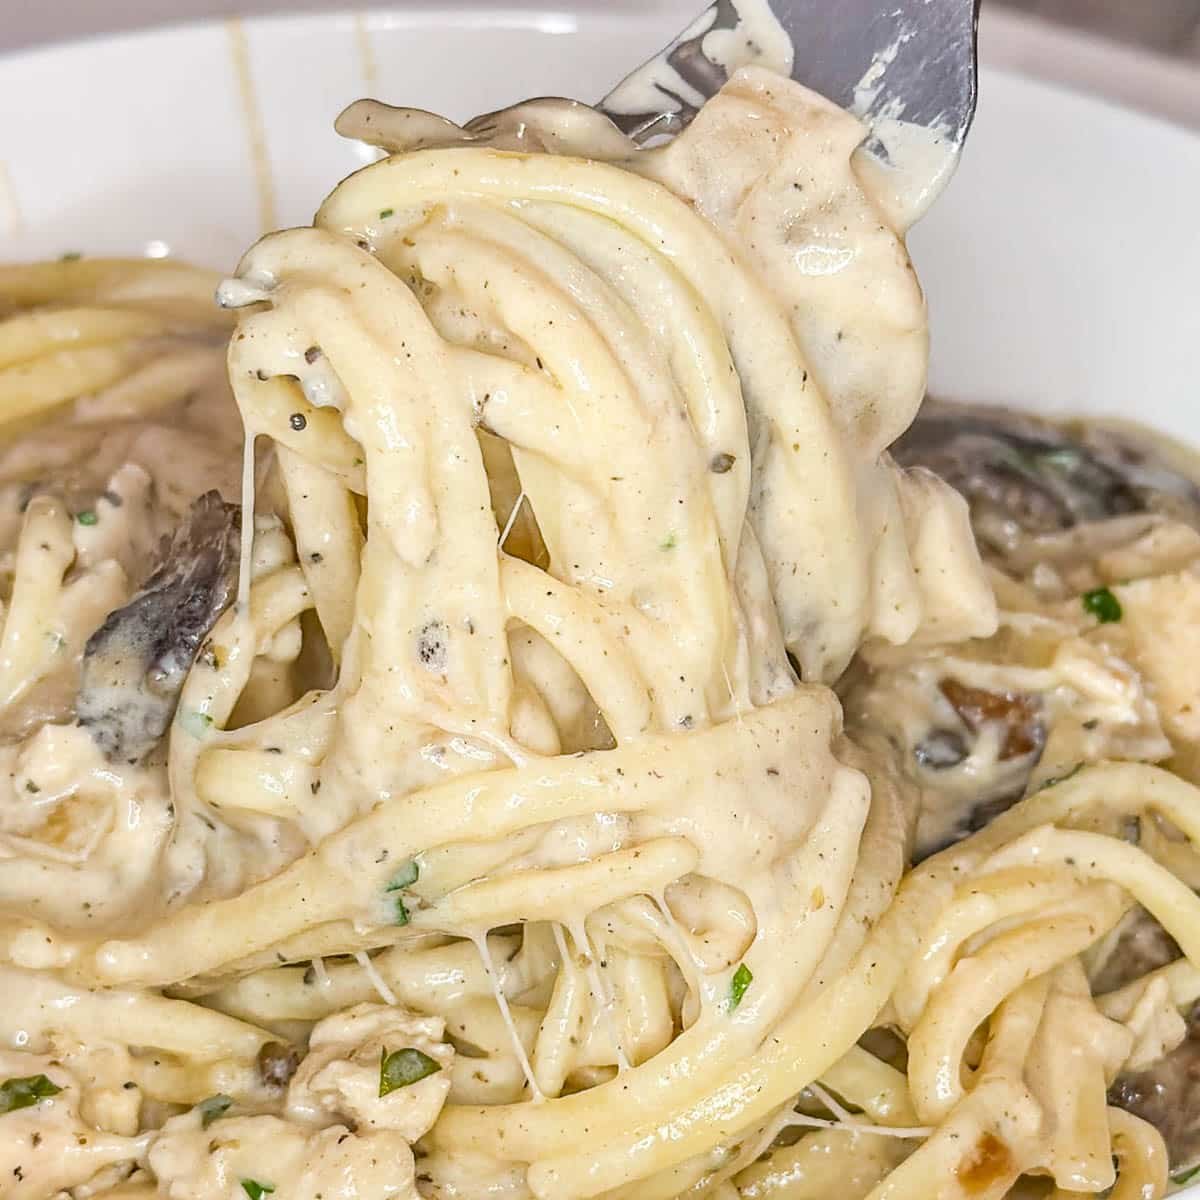
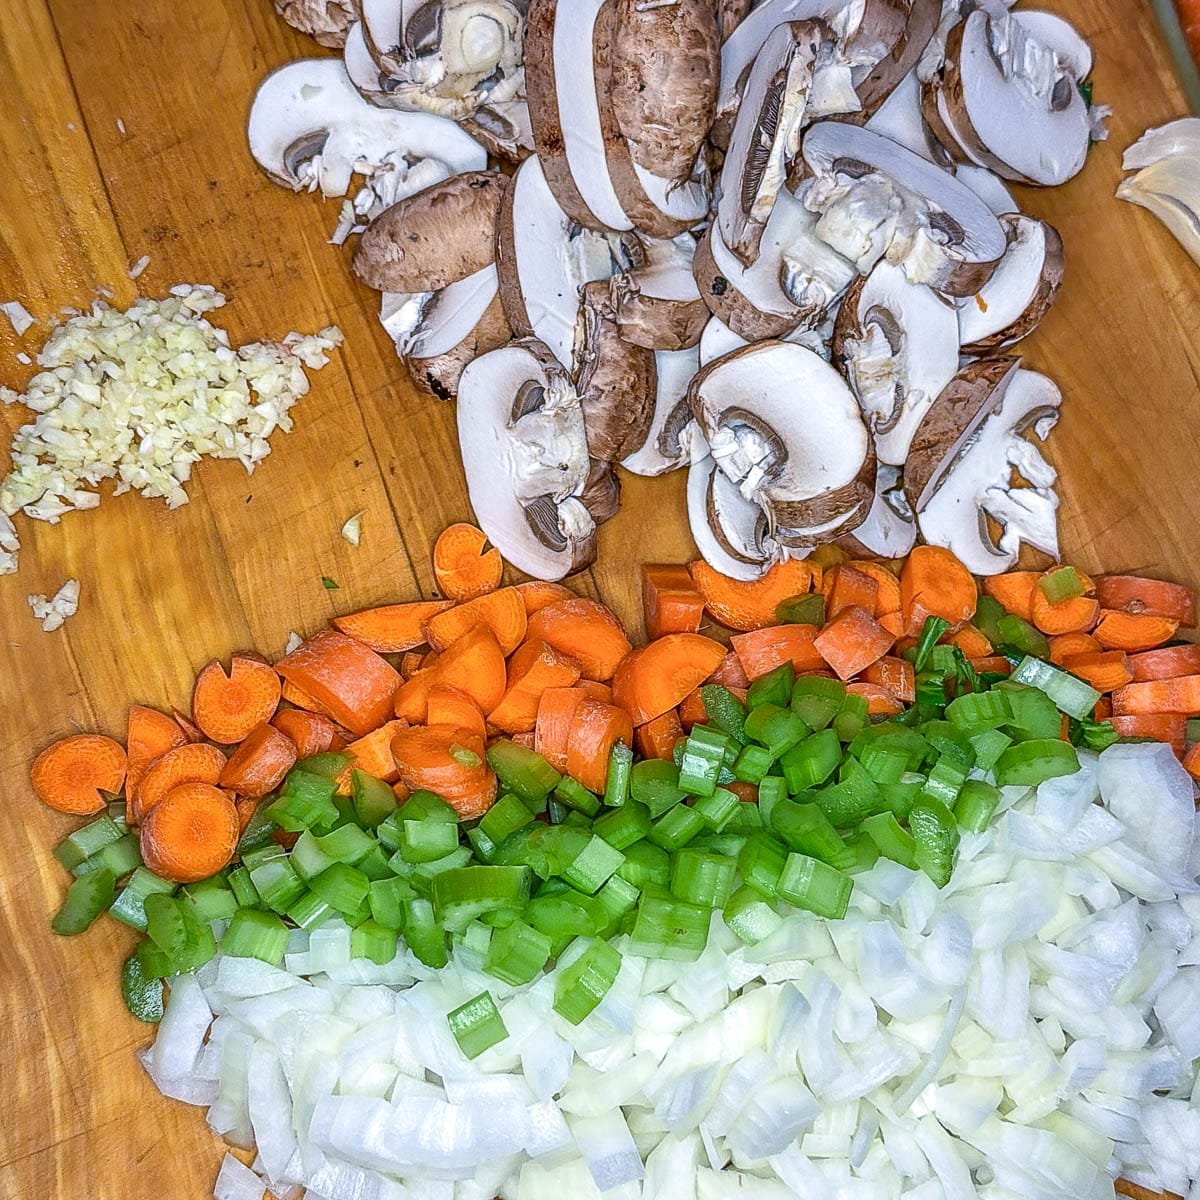
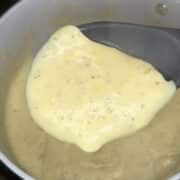
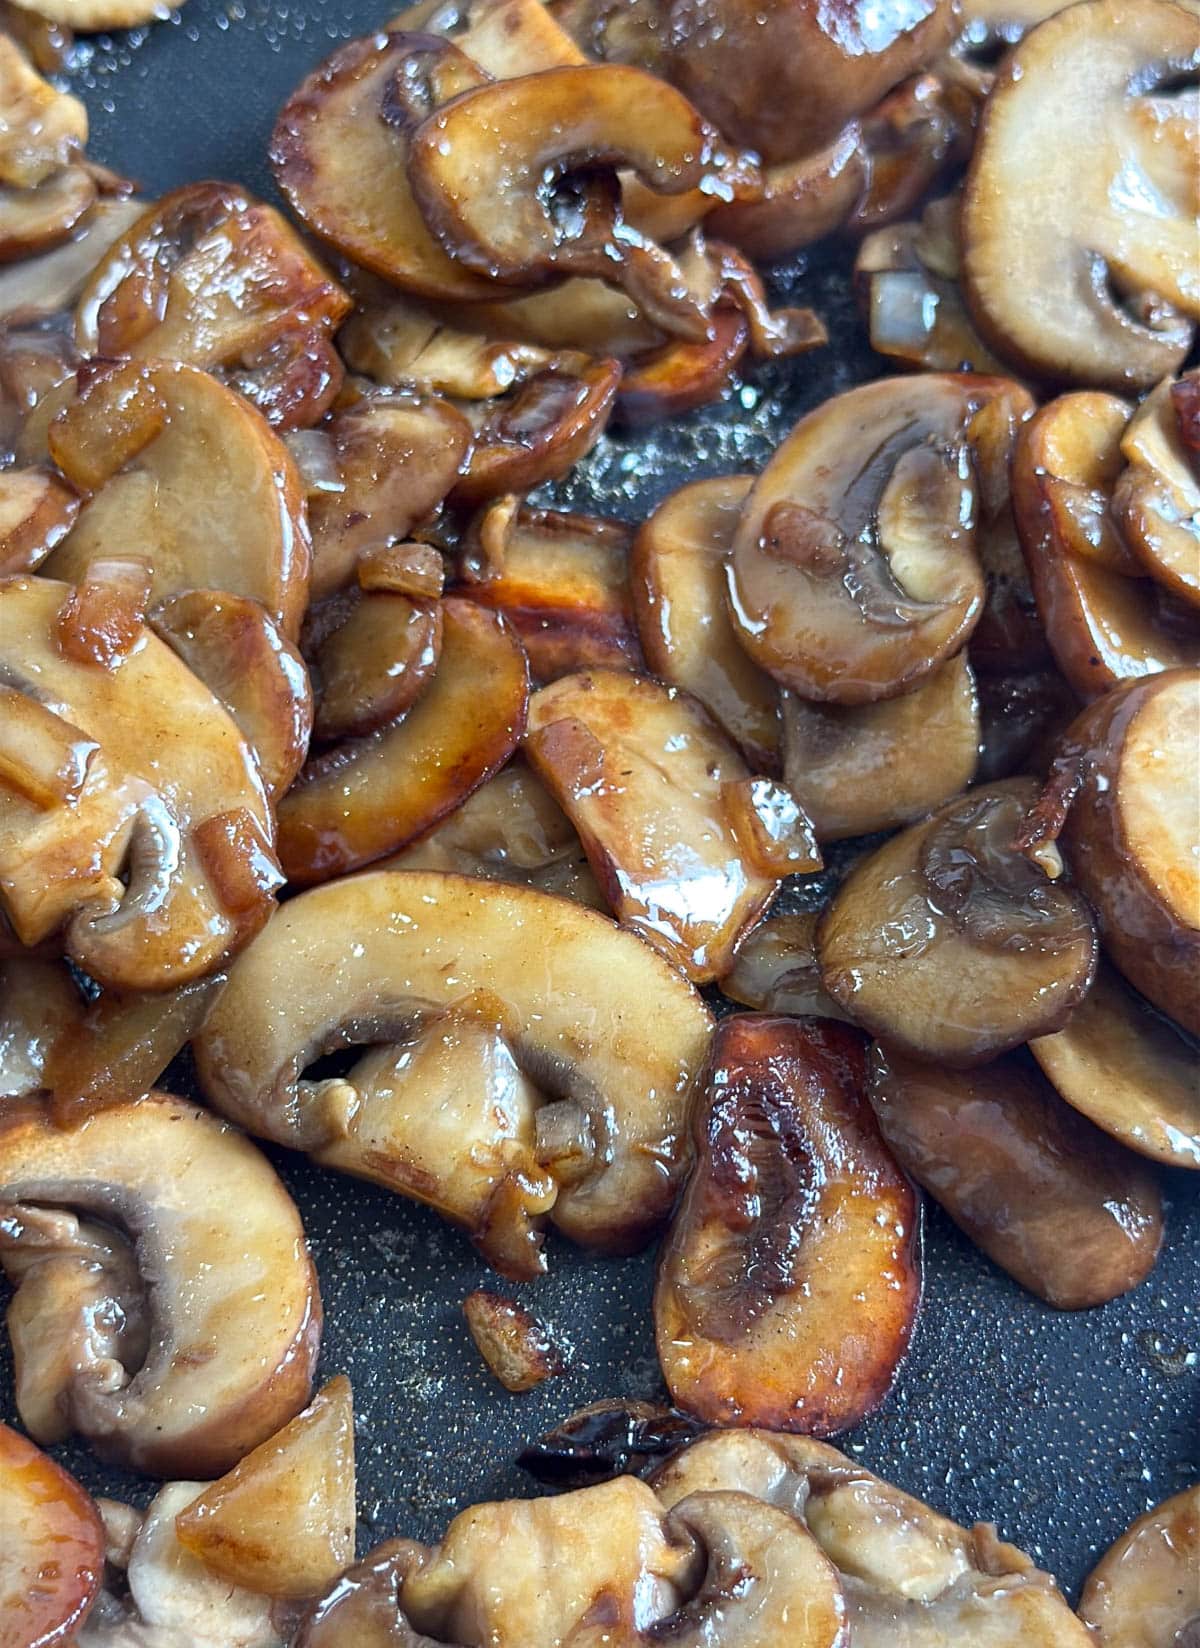
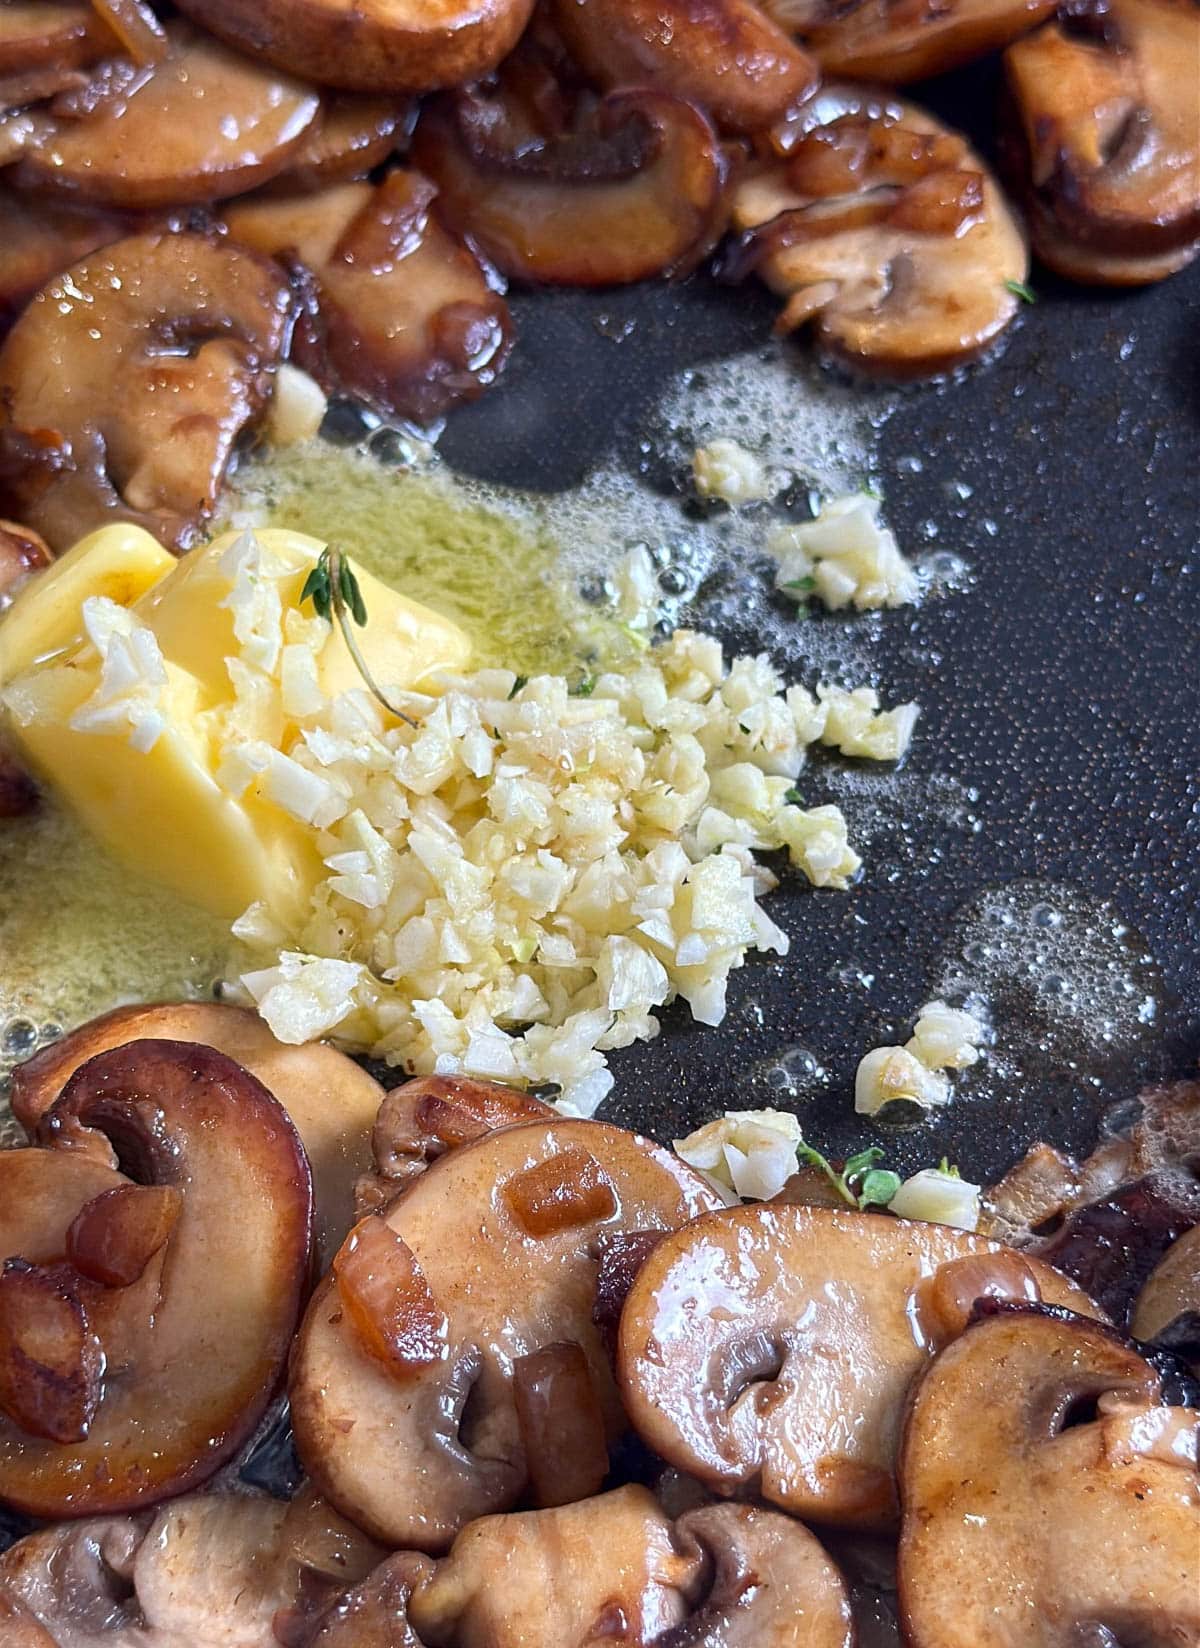
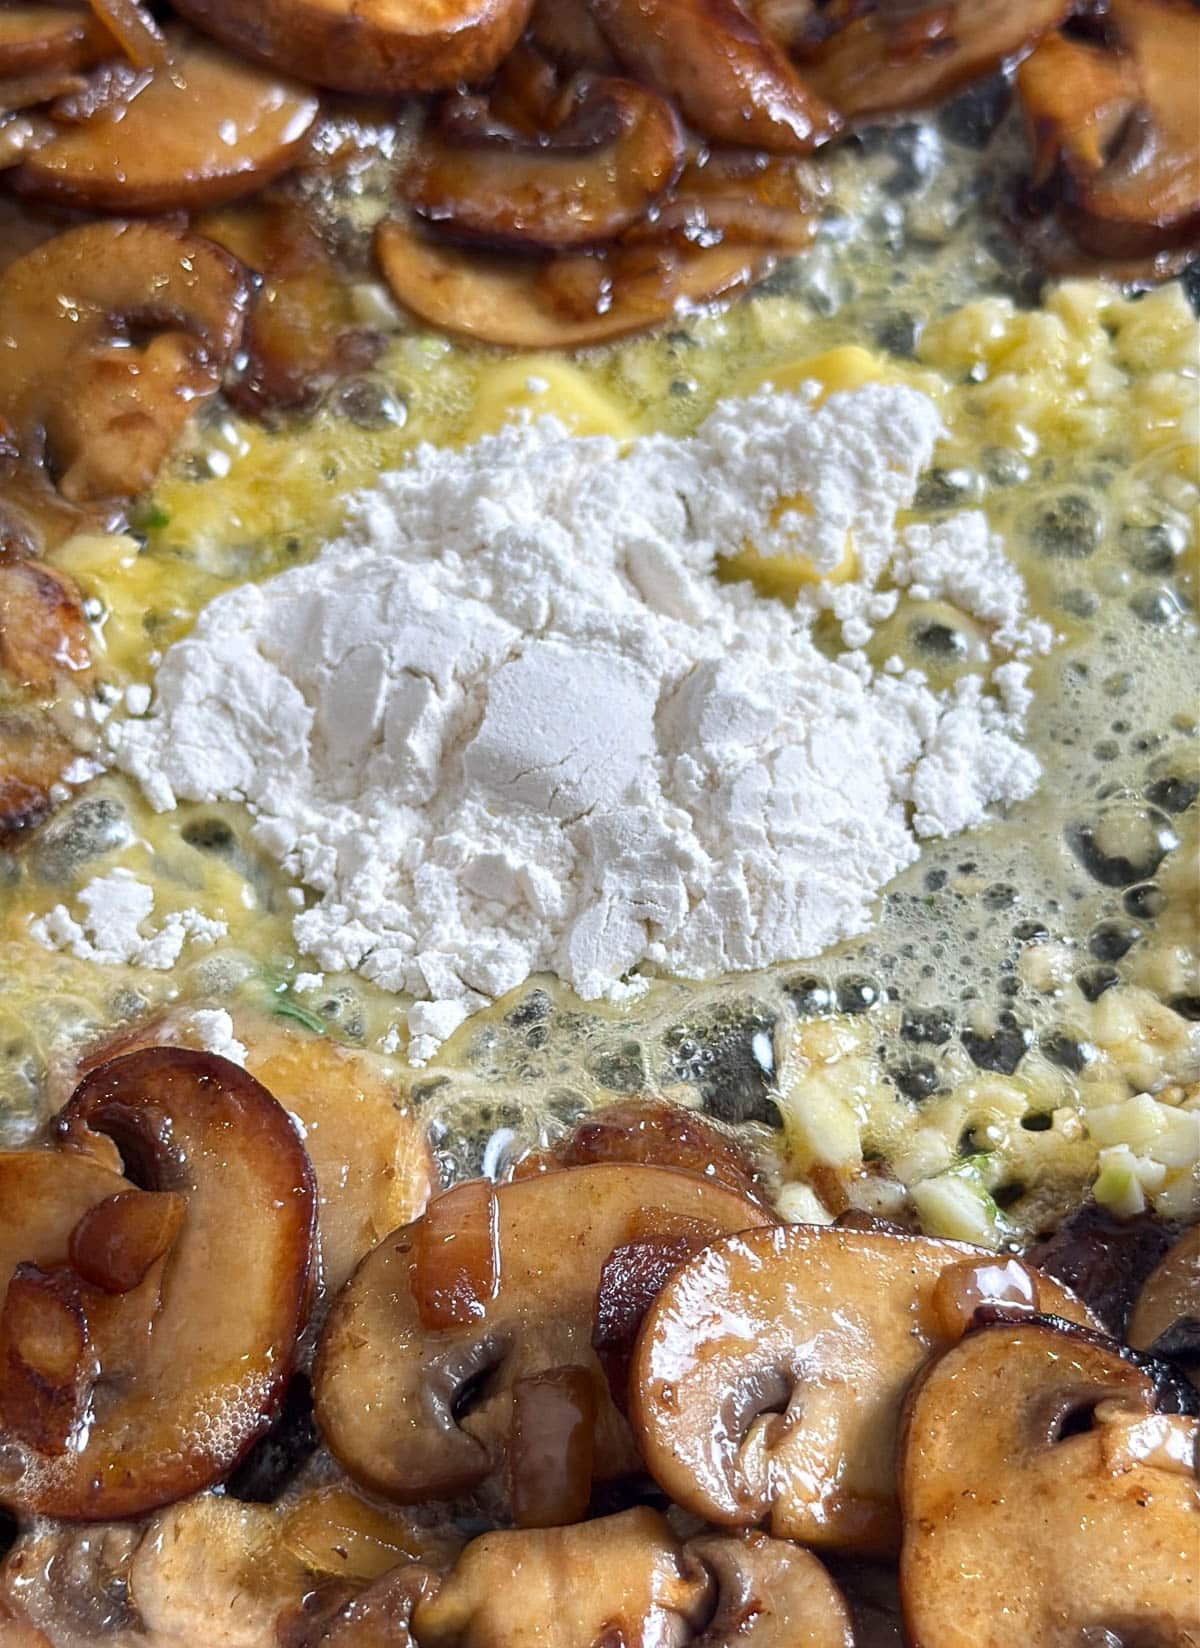
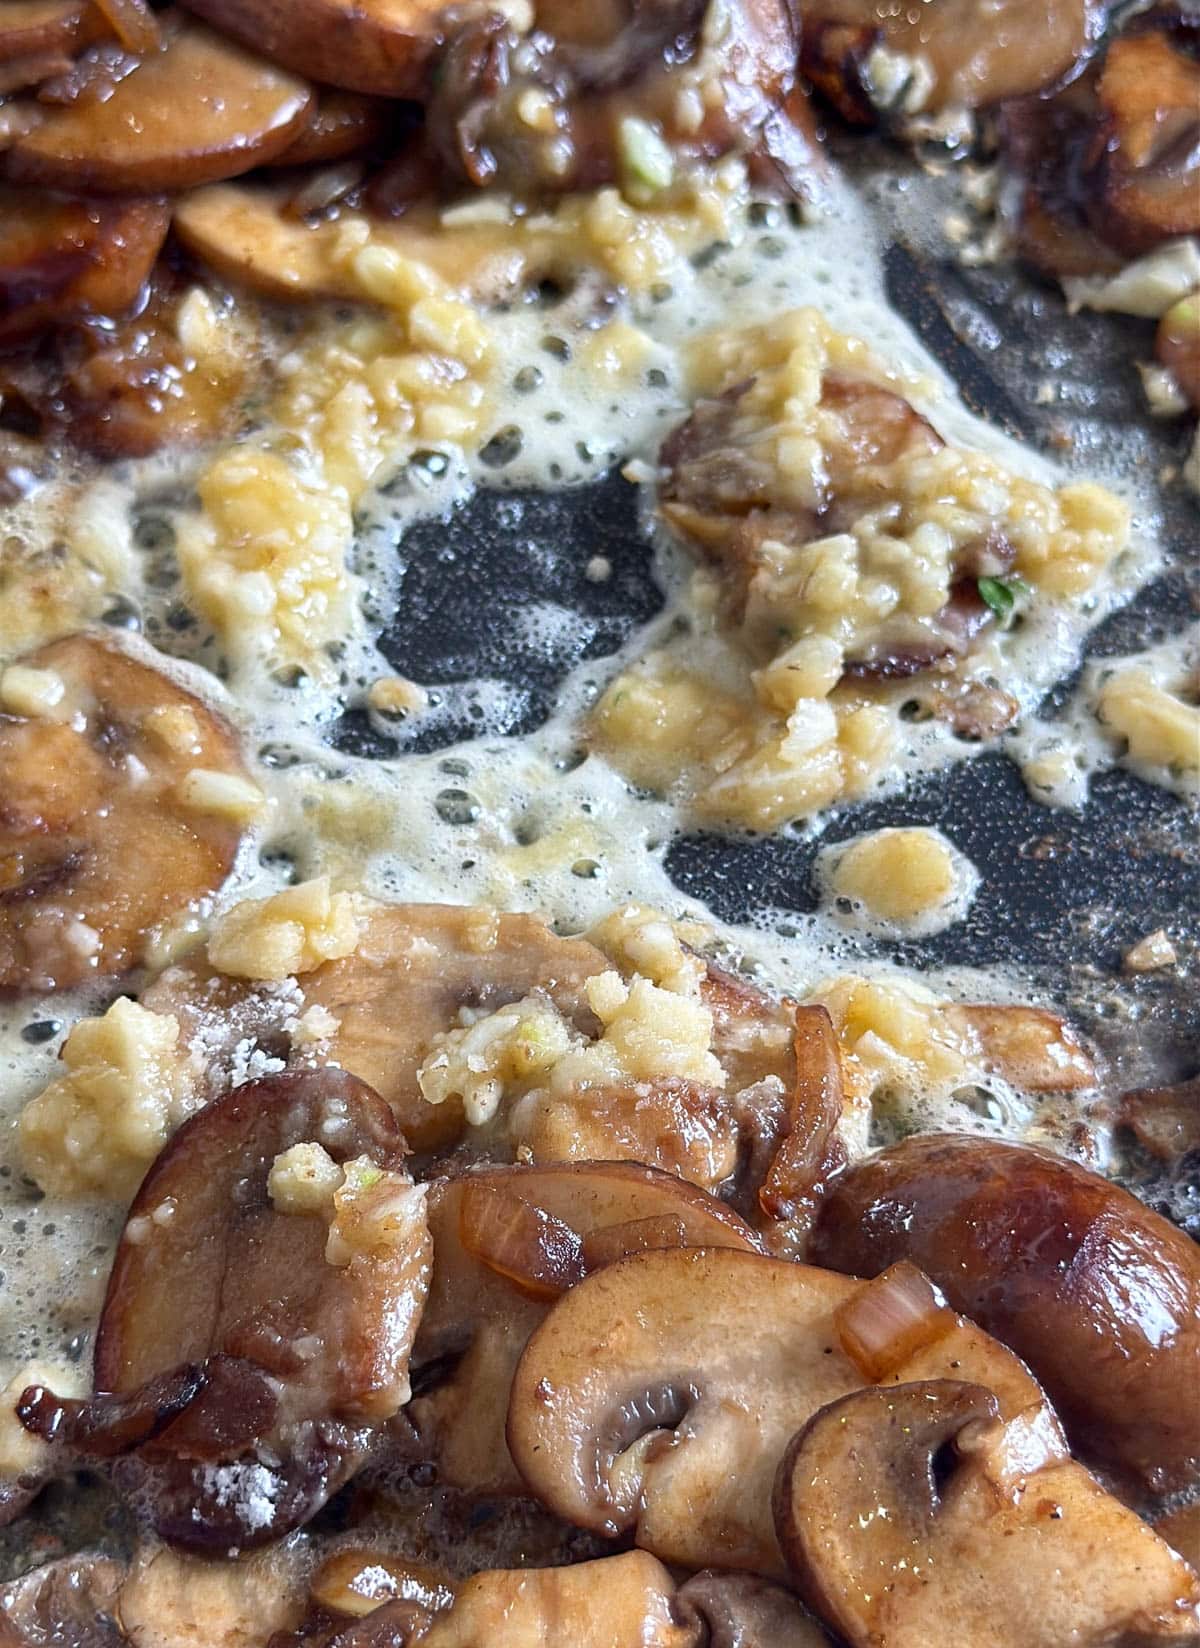
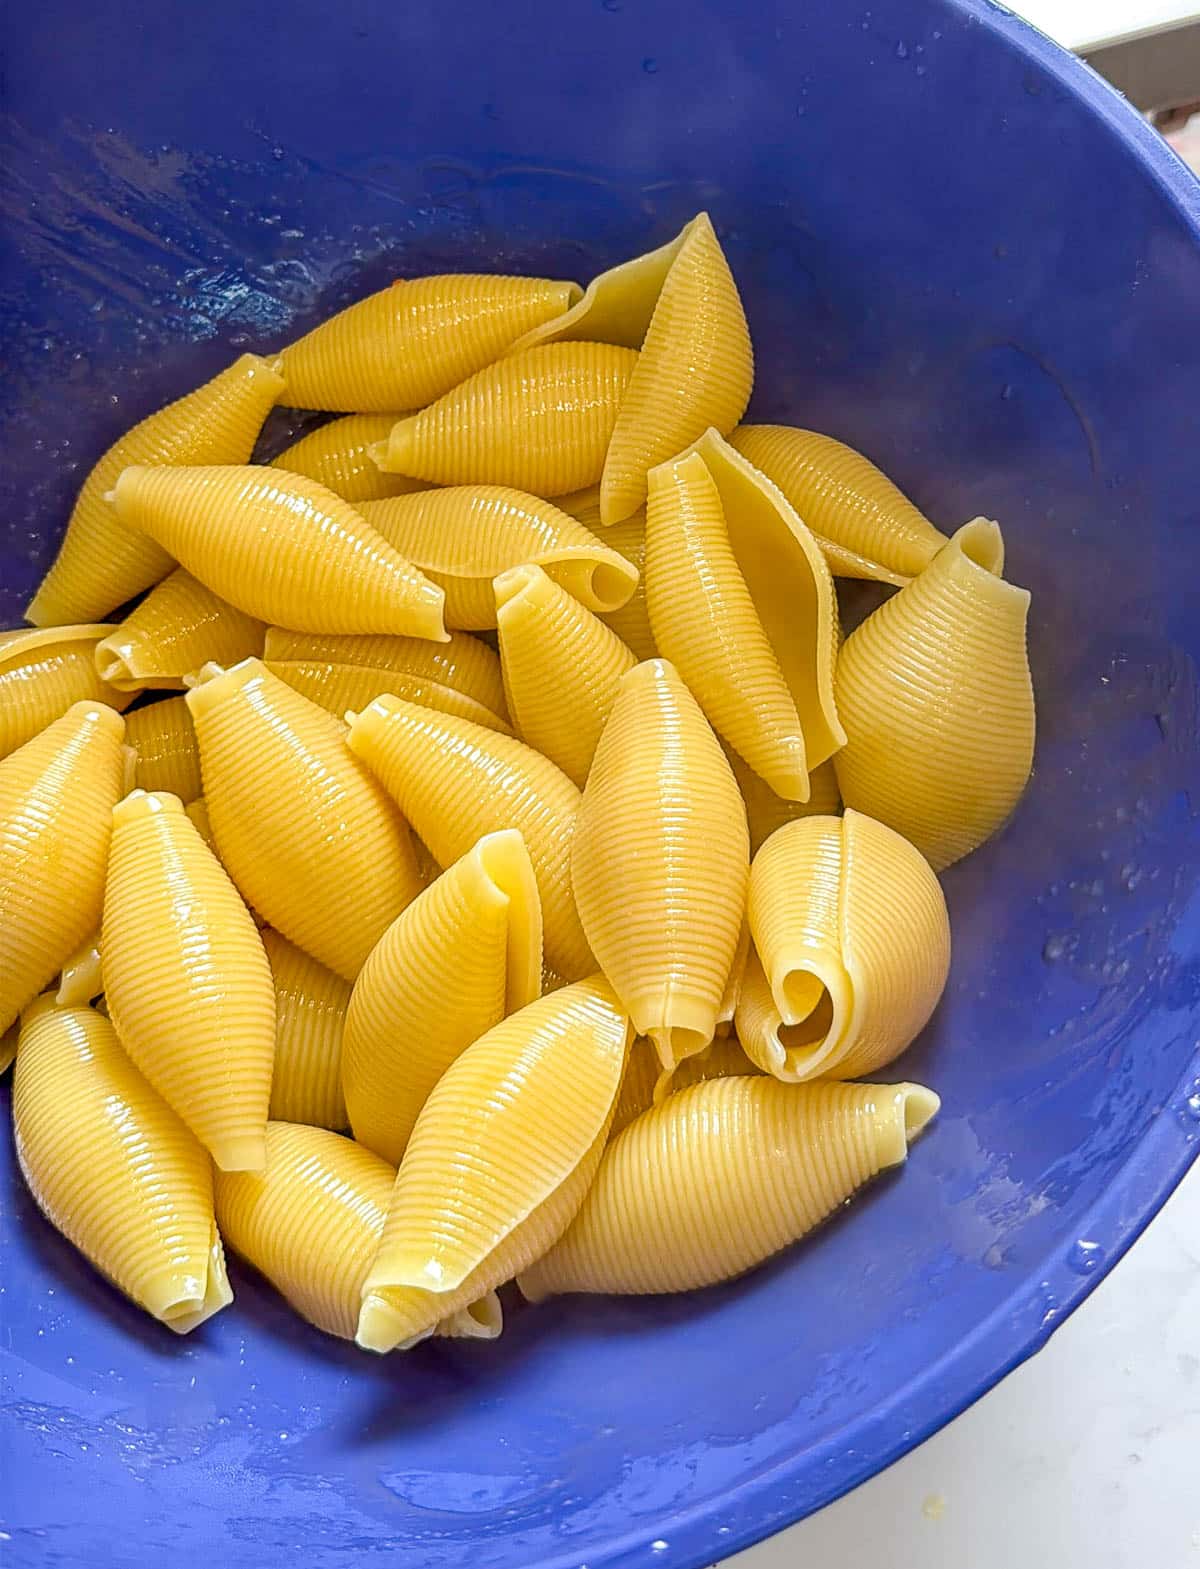
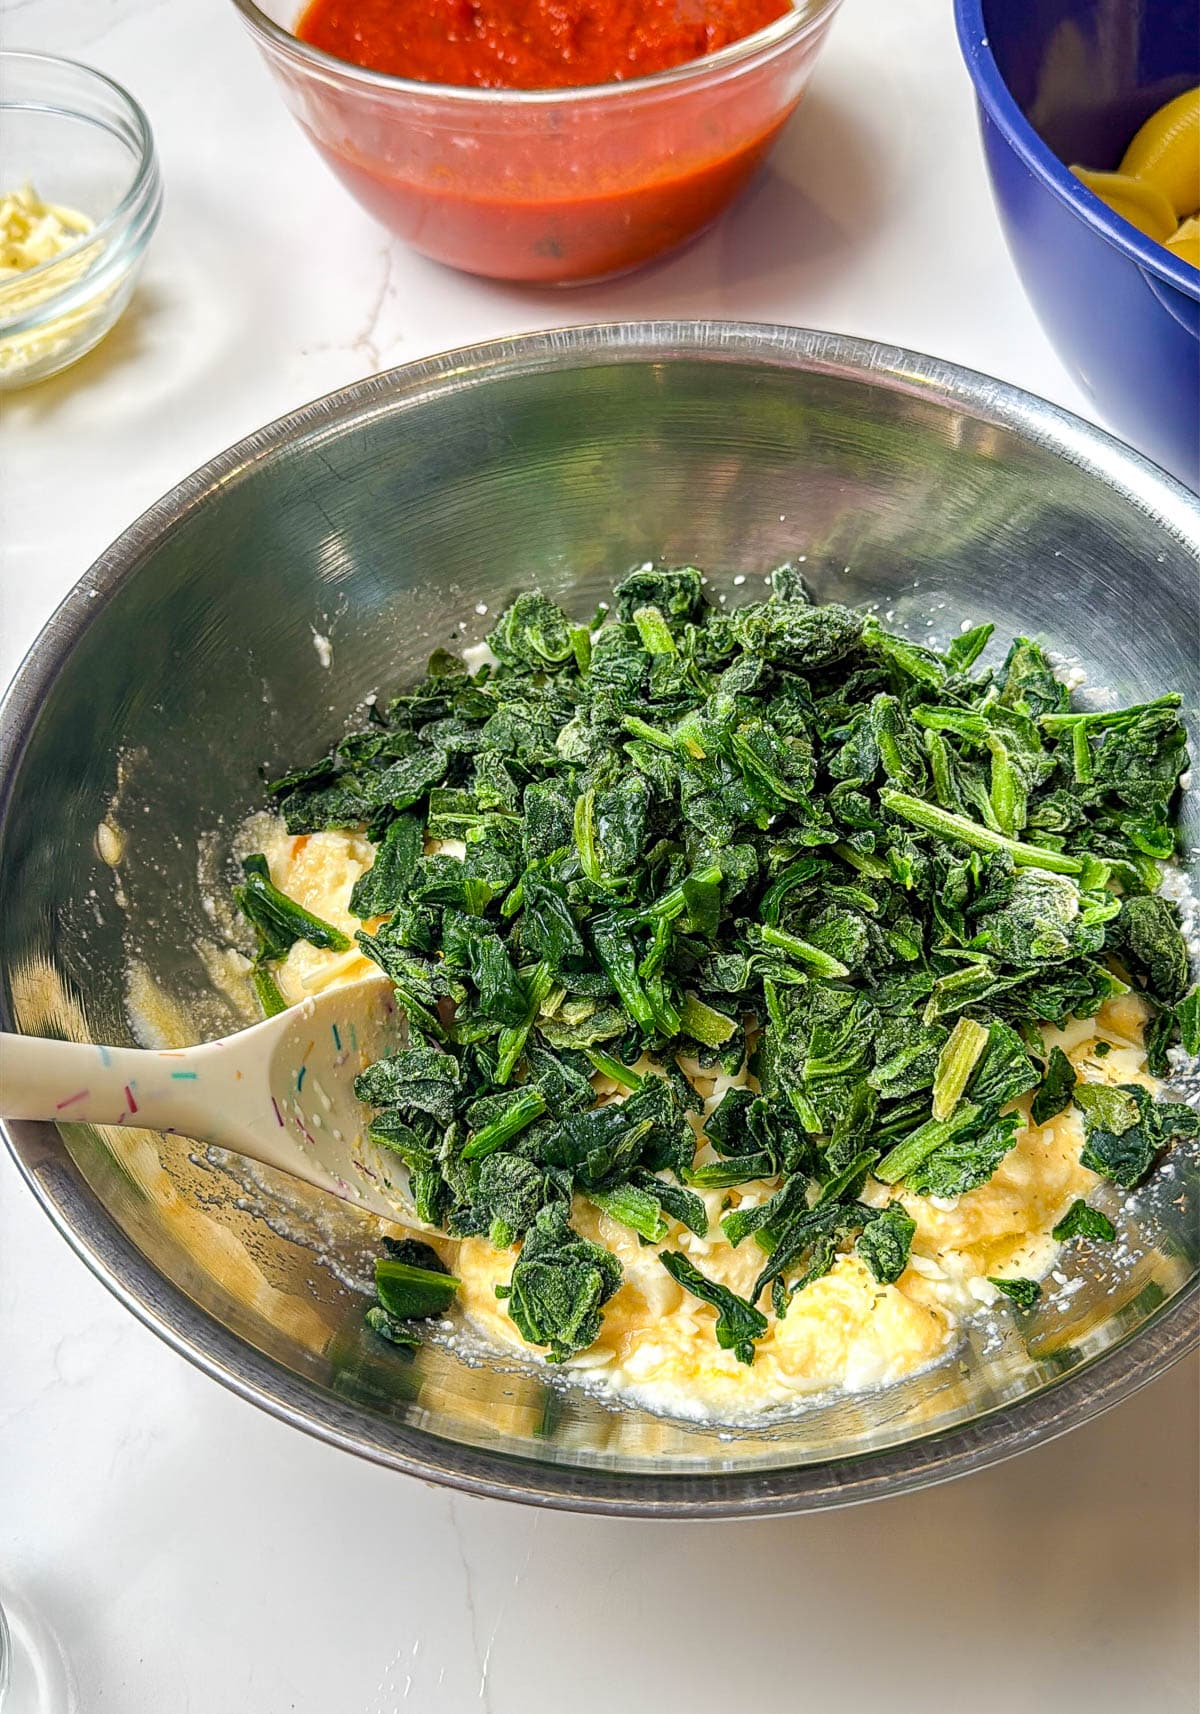
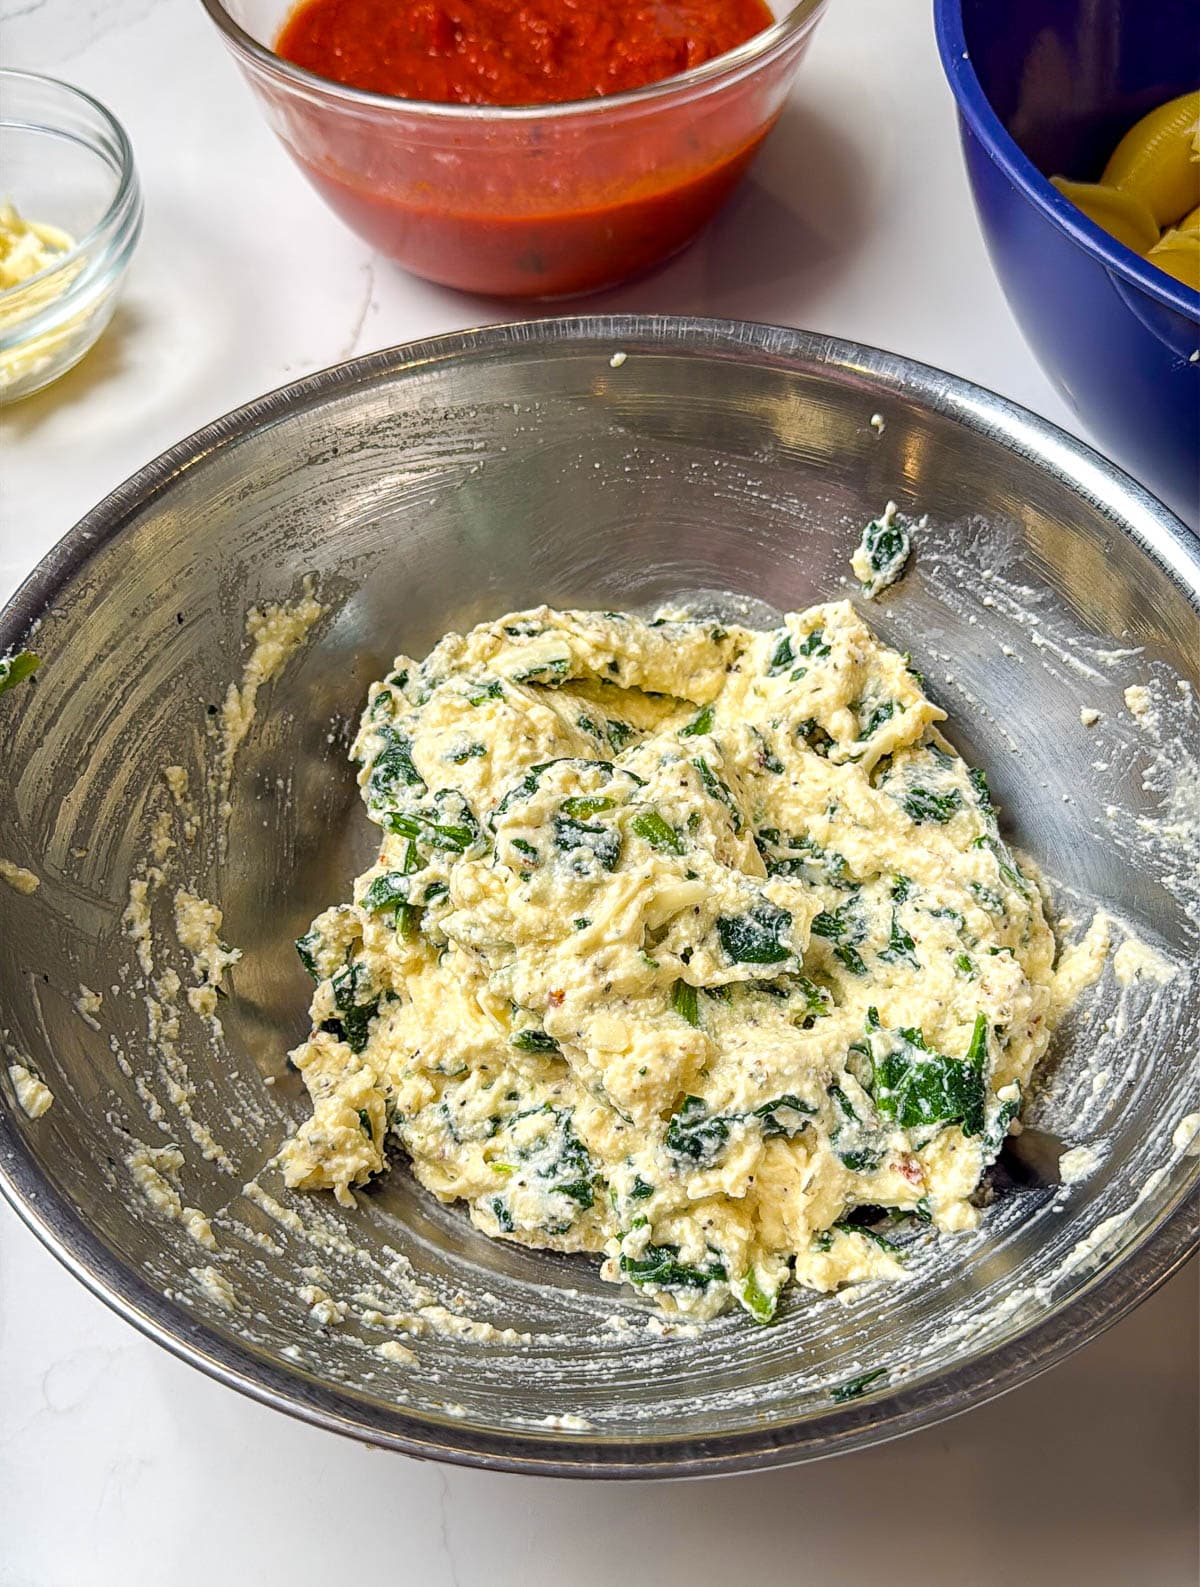
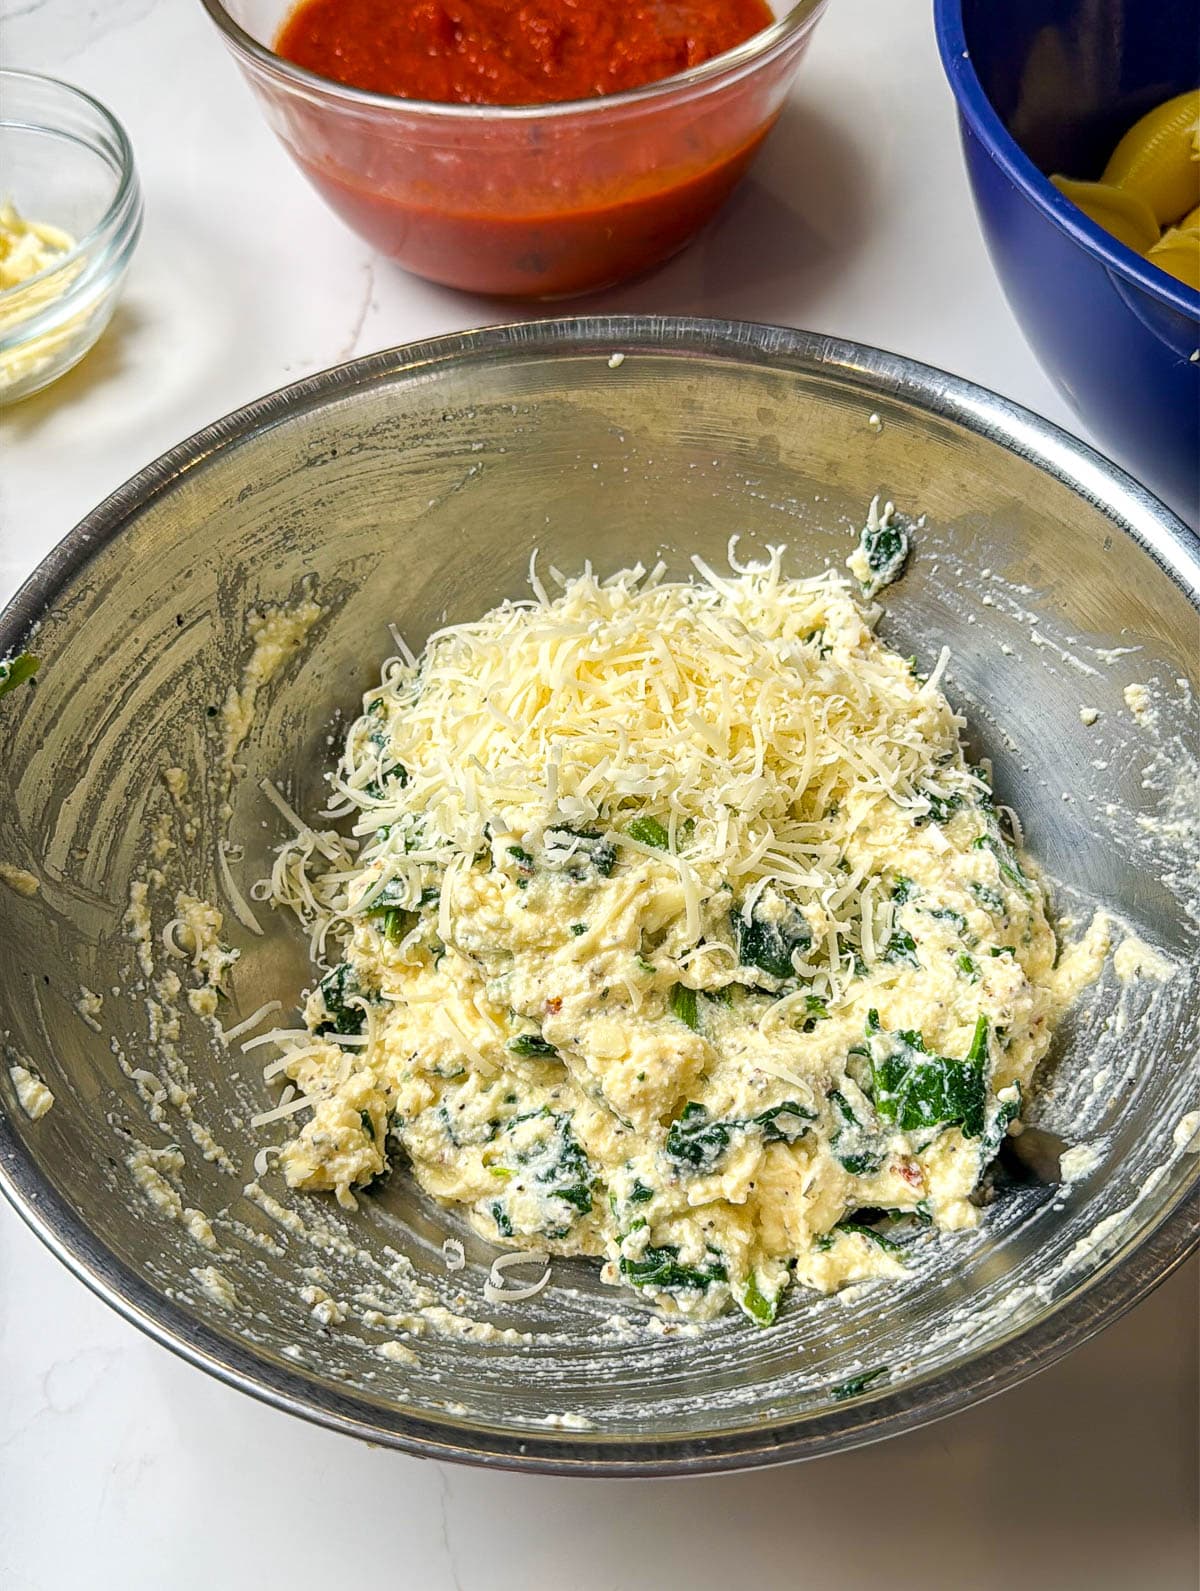
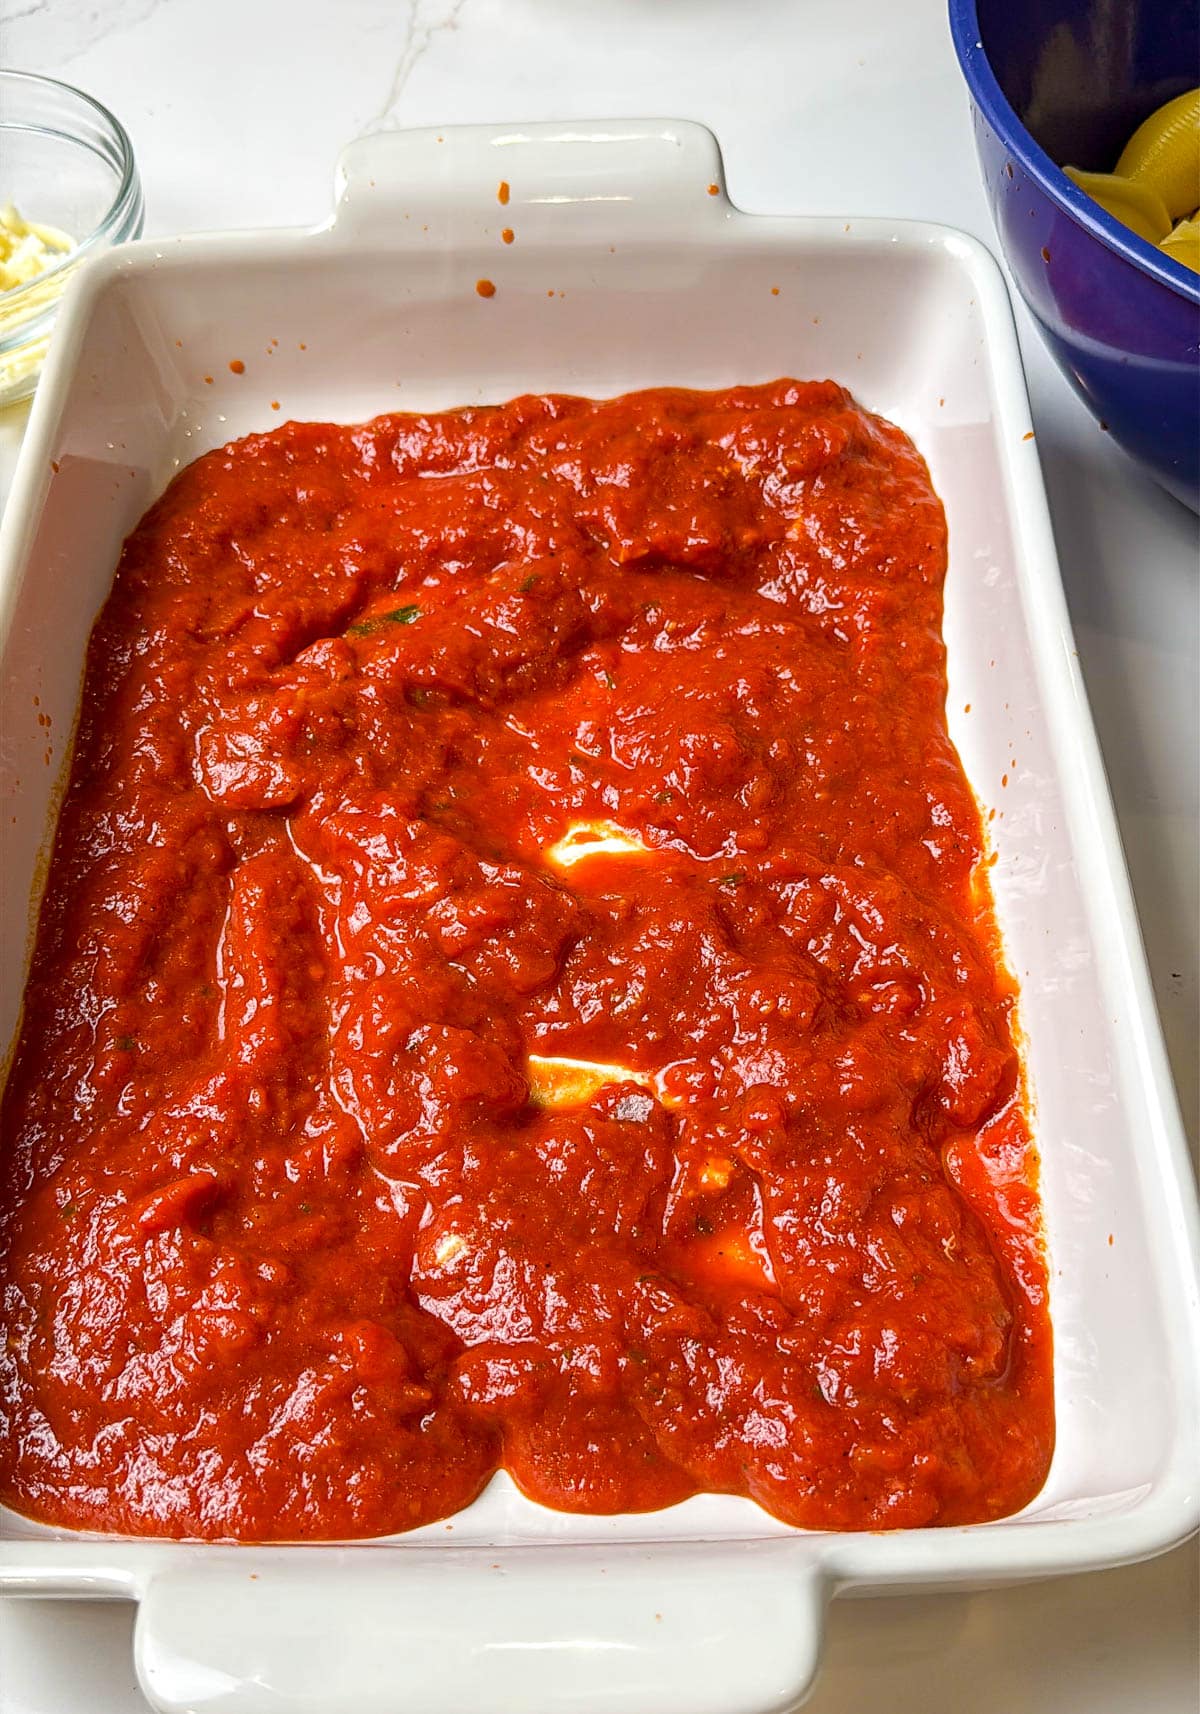
After making your pasta you can toss it with some fresh marinara and basic, mushroom cream sauce or make pretty much any kind of pasta dish you want.
What's In This Blog Post
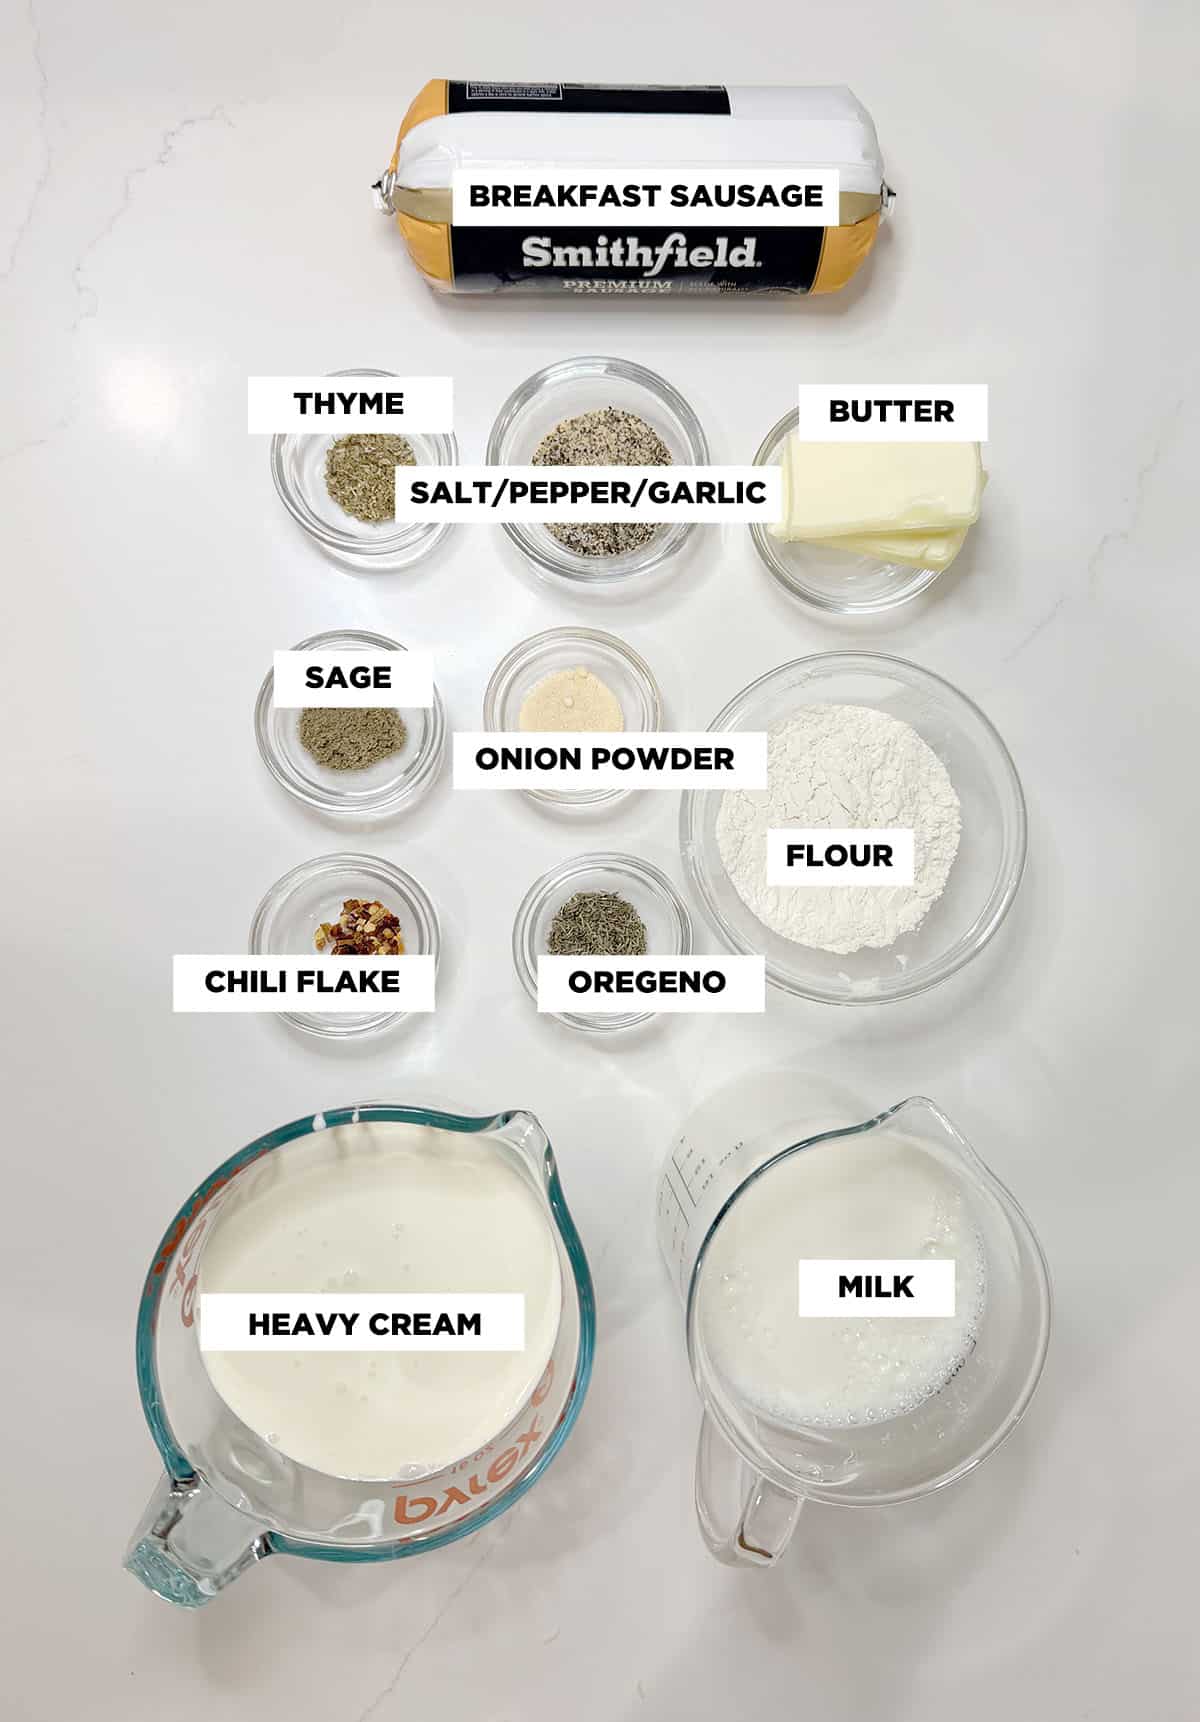
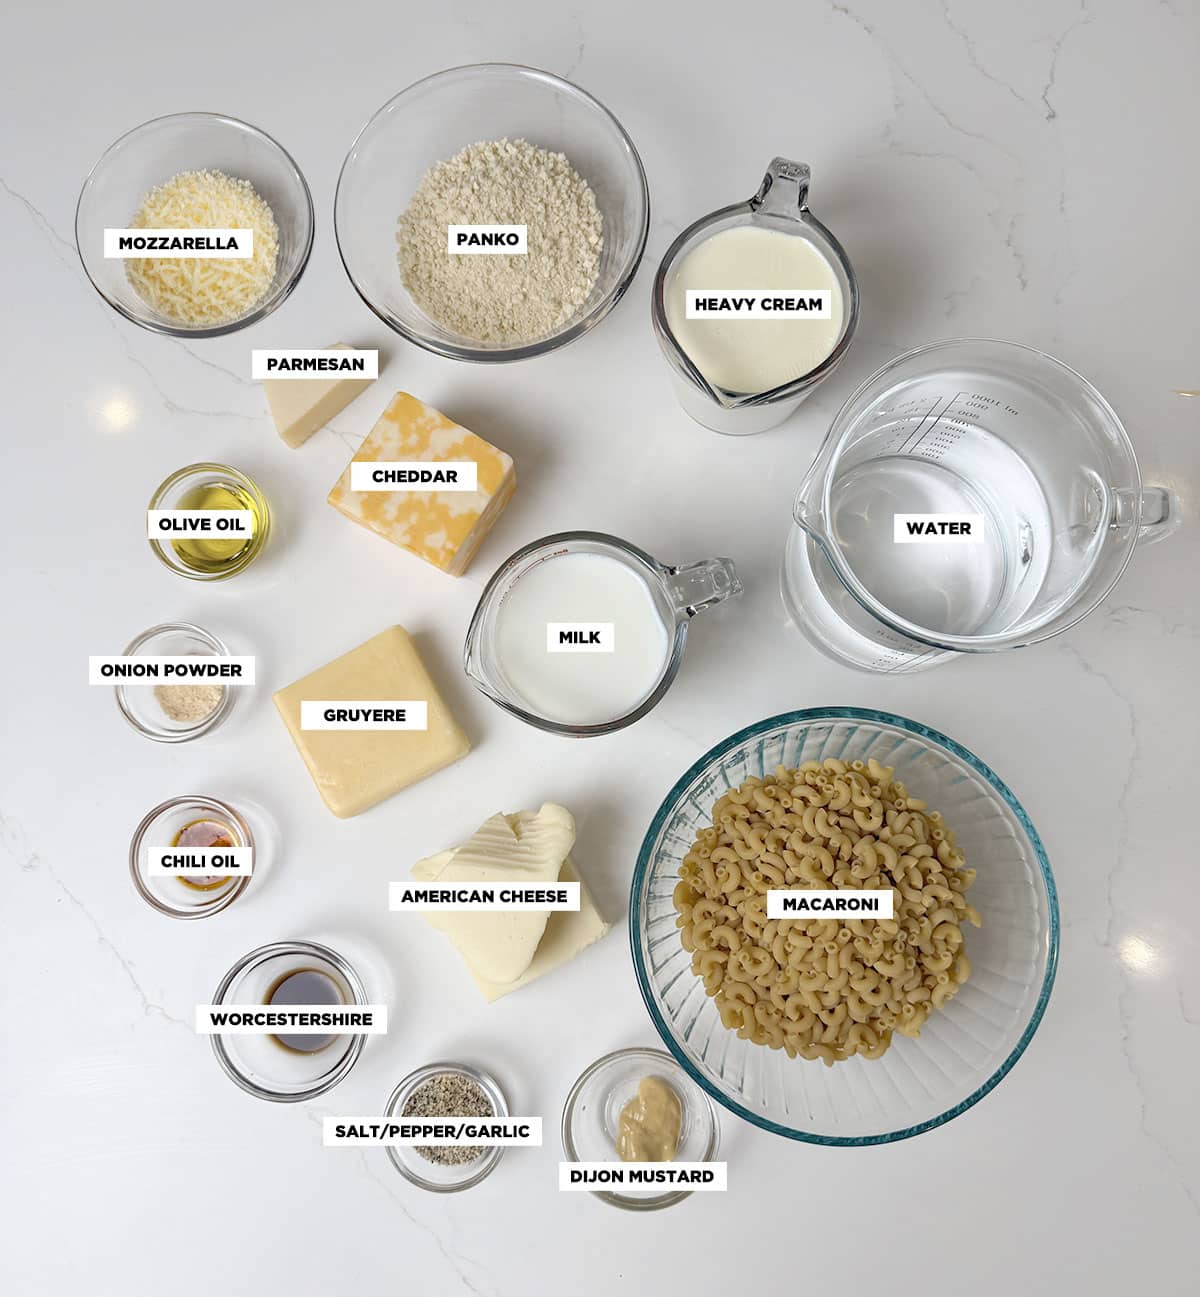
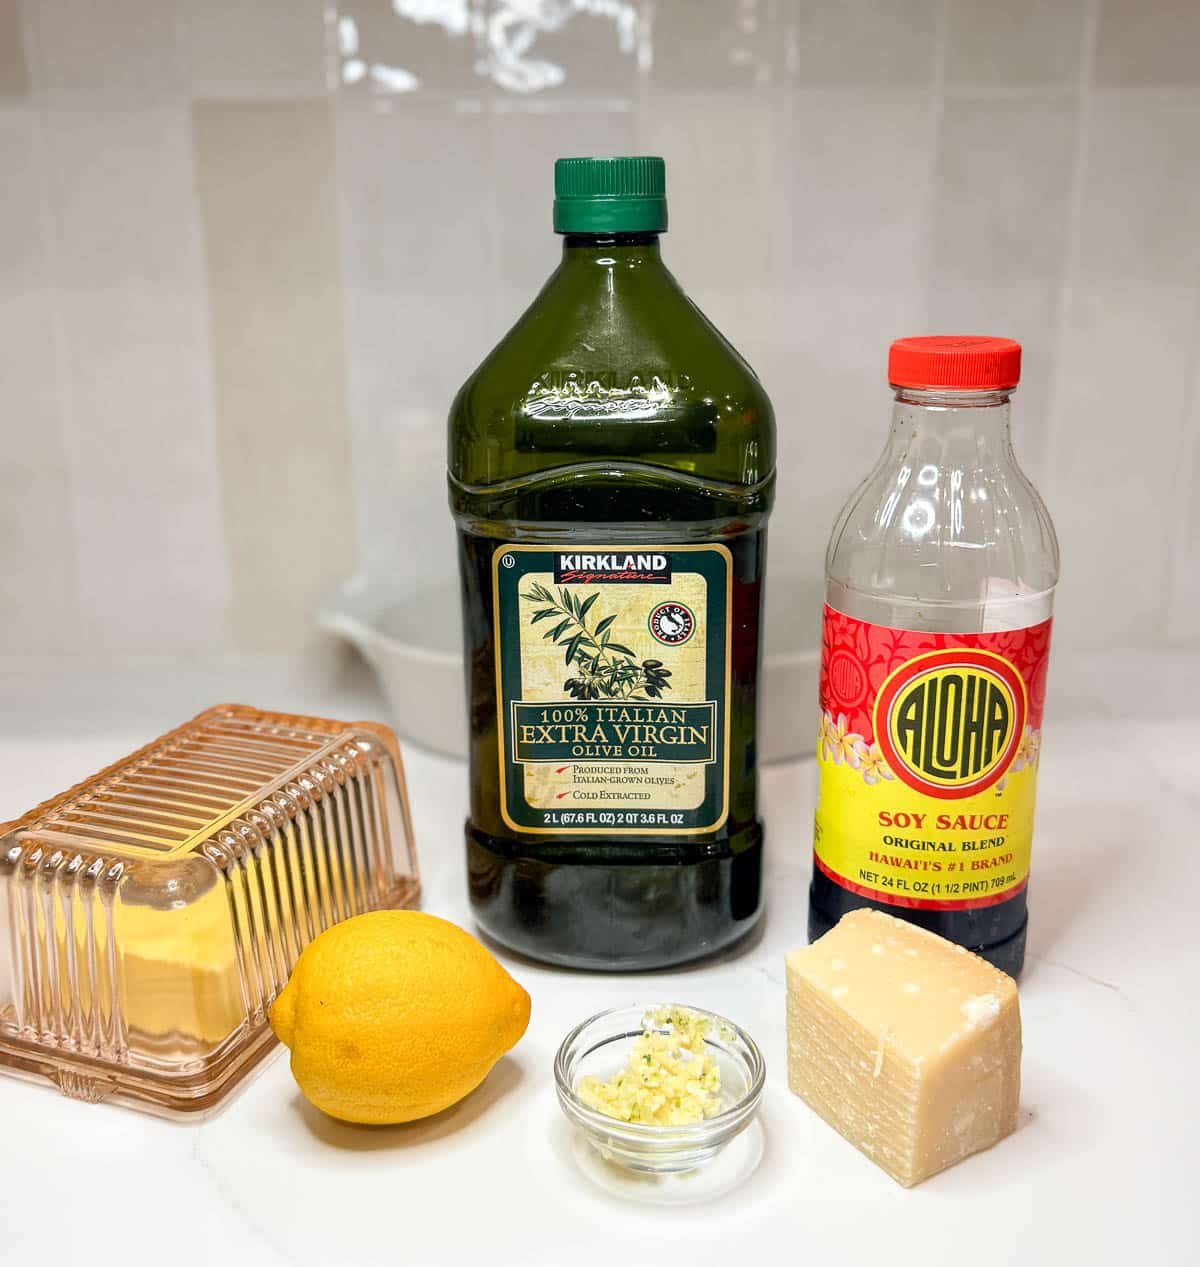
Ingredients
In the world of professional pasta making, the standard starting point is based on the weight of the flour. When making pasta, we need to hydrate the flour with a liquid. In this case its in the form of an egg.
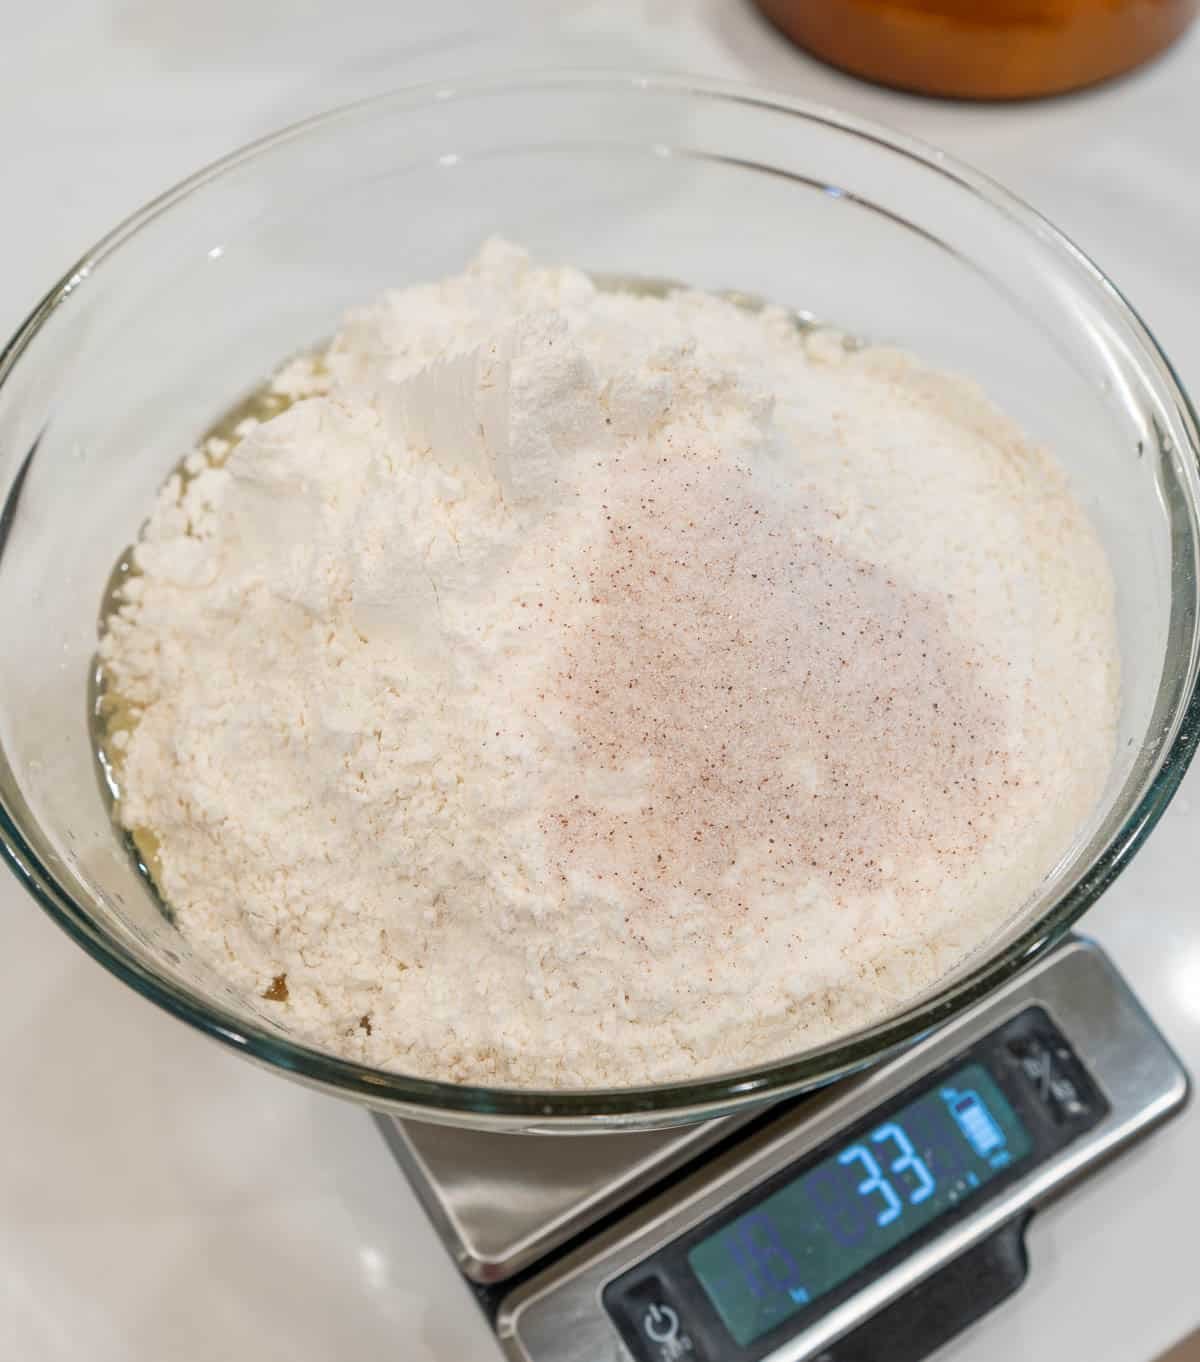
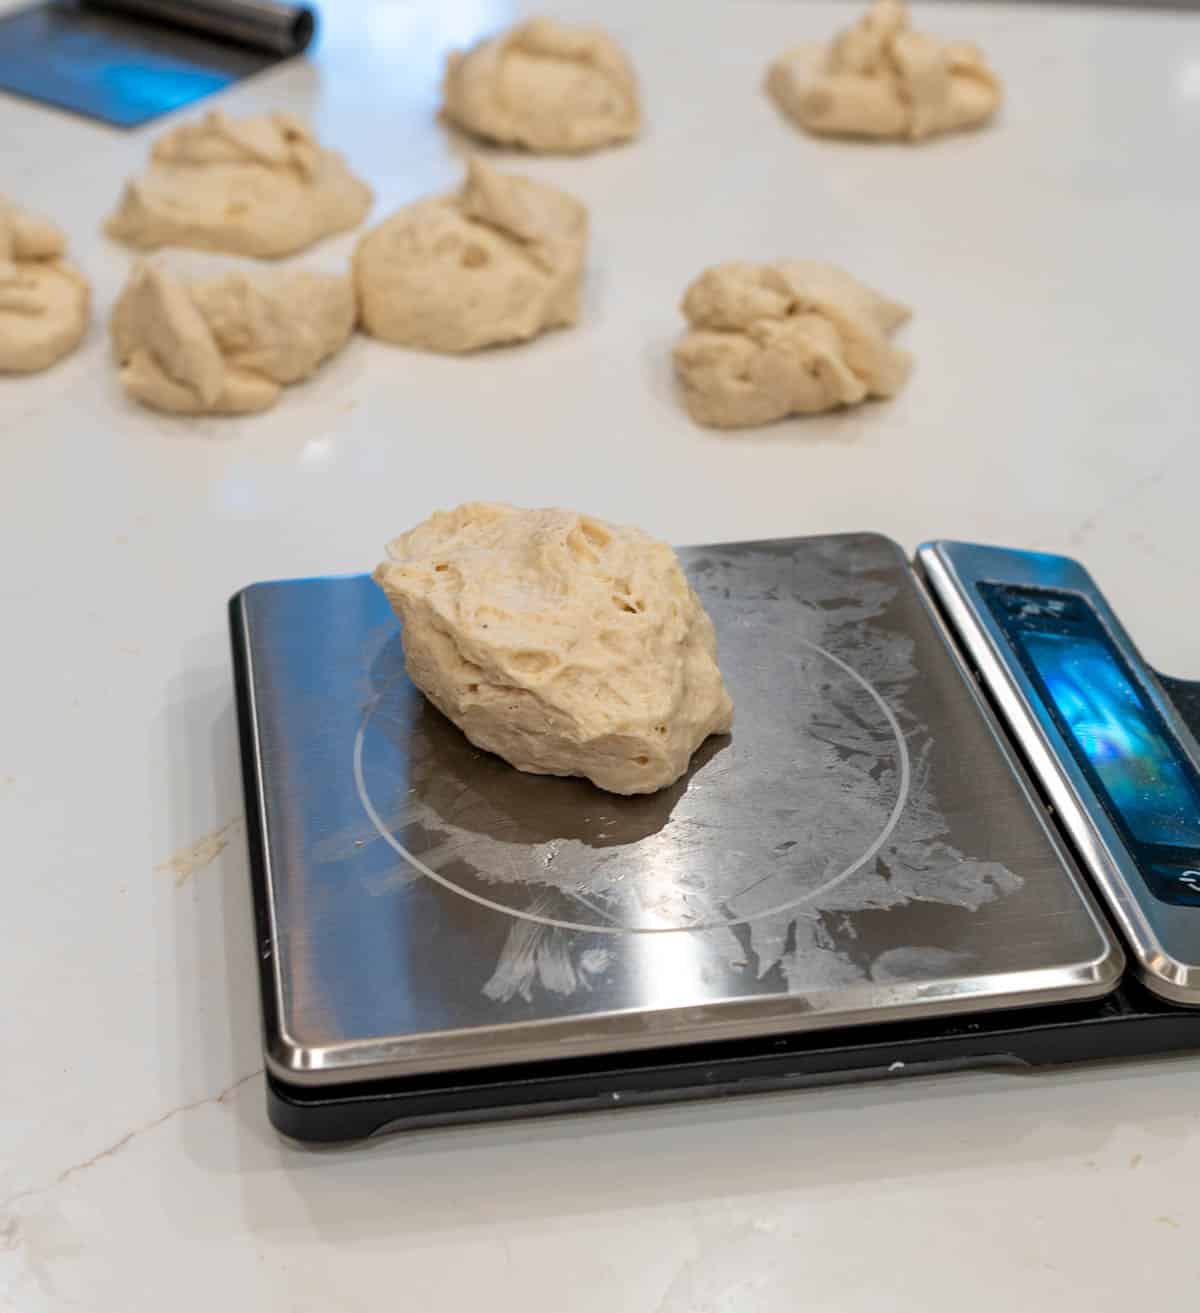
The Math: For every 100g of flour, use 1 egg (60g), and ¼ of a teaspoon of salt (1.5 grams). If you are making dinner for four people, you generally want 400g of flour and 4 eggs, and one teaspoon of salt. The exact weight of your egg may vary, so if you've never made pasta before, it's best to weigh the egg and flour the first time around so you know what the pasta should feel like.
How To Make Pasta Dough
We are using the "fountain method" (or la fontana in Italian) to make the pasta. It requires patience and a bit of a workout for your forearms, but it is not hard to do.
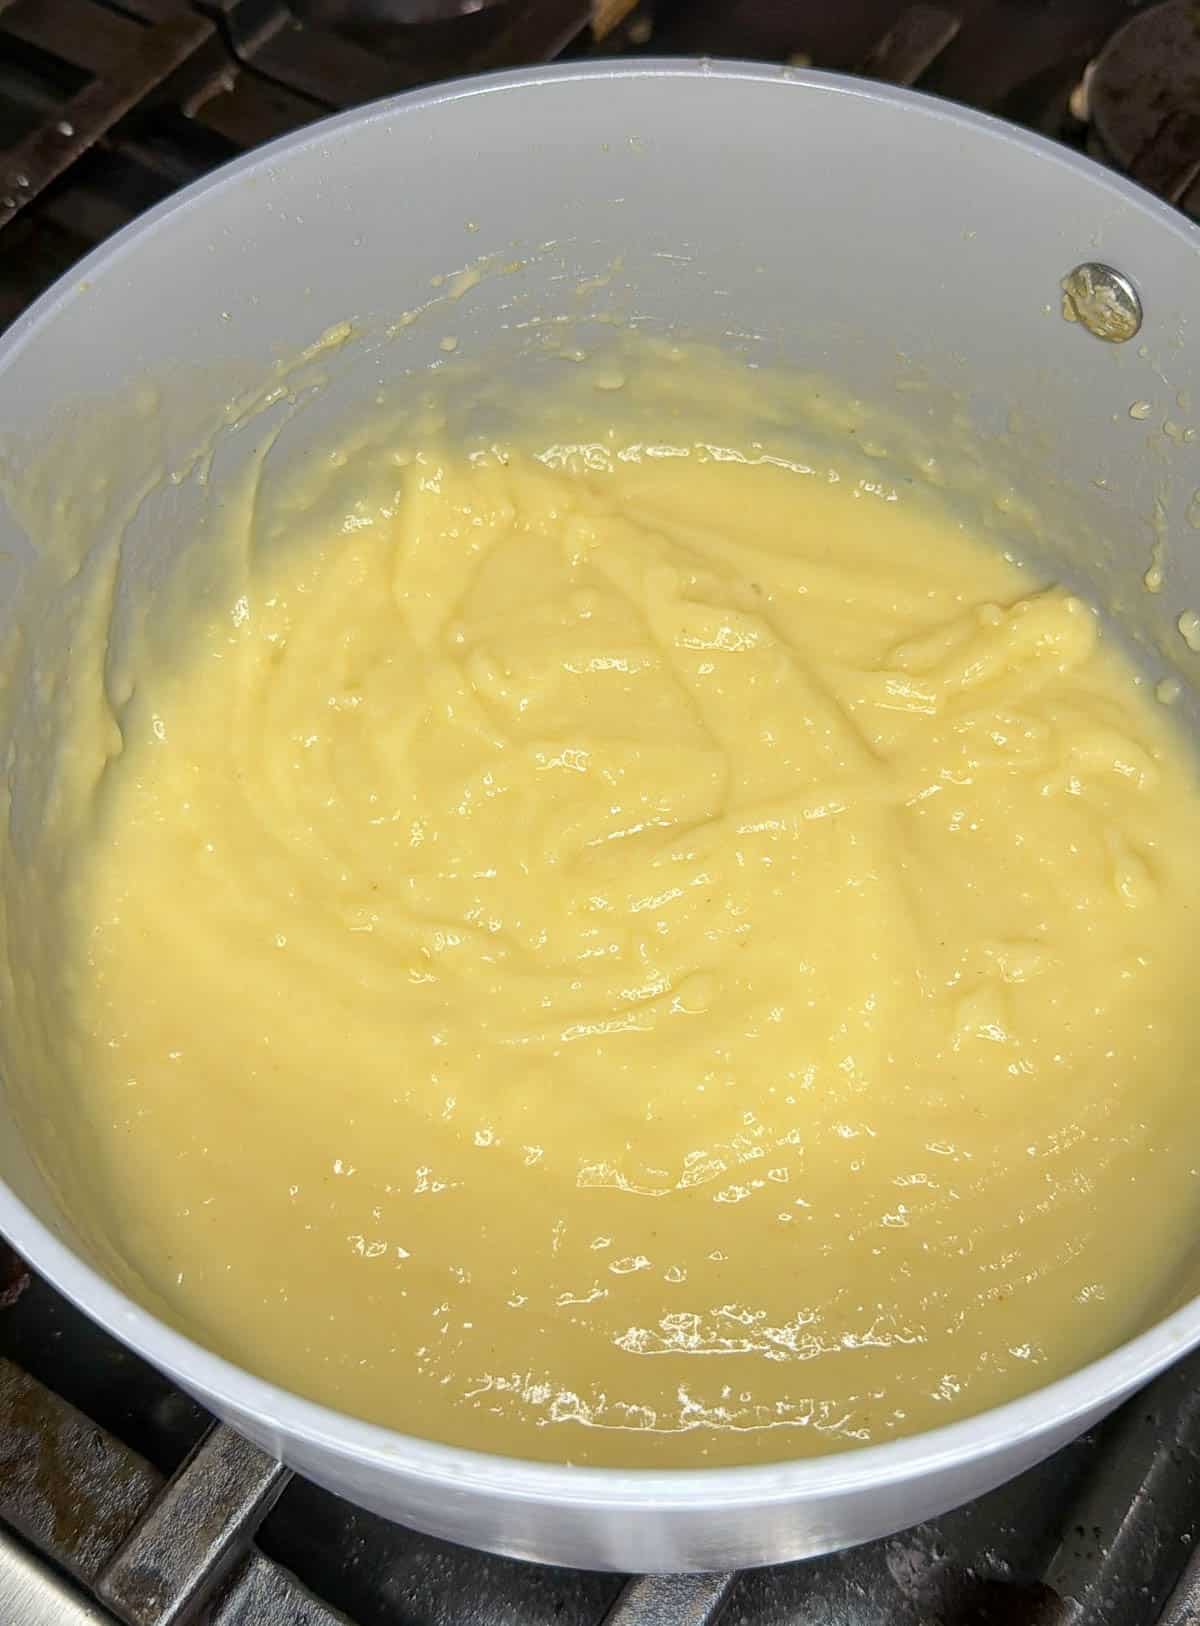
Making pasta is essentially creating an emulsion, similar to preparing a creamy sauce or fluffy buttercream. The mixing is the most important part. Gradually adding the flour helps ensure the flour is hydrated properly and that you stop adding flour as soon as you're at the right consistency. Trying to mix eggs and flour all at once can result in crumbly and dry bits of flour in your pasta and an inconsistent texture.
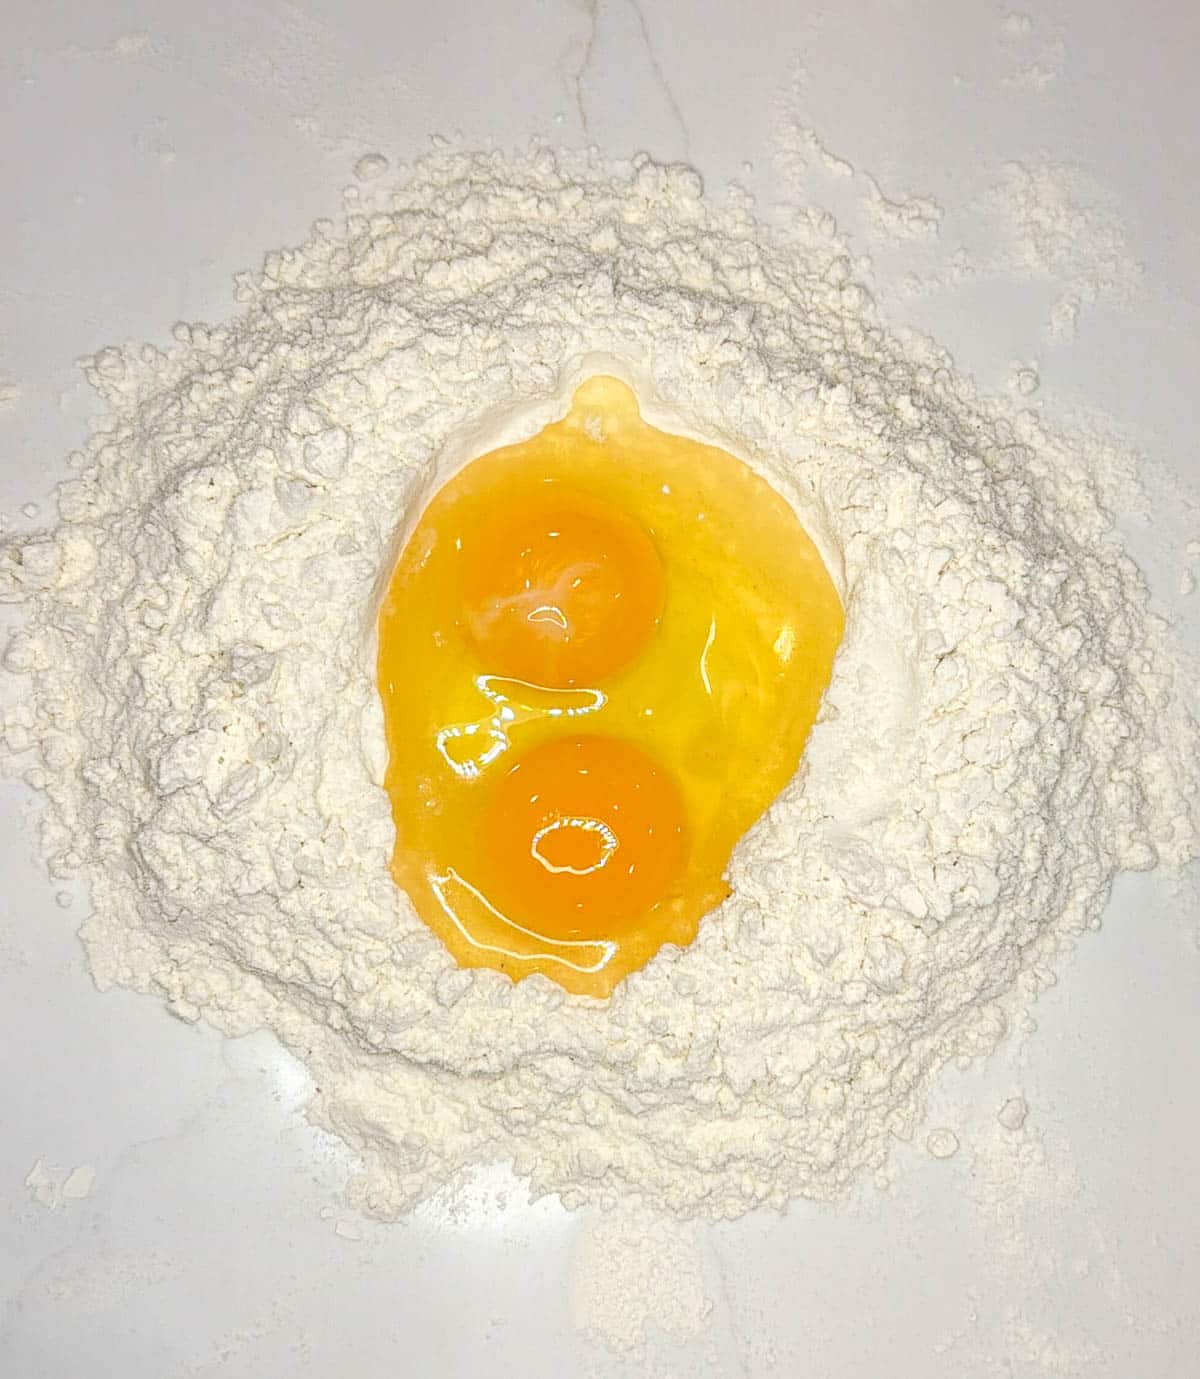
- Create the Flour Well - On a large, clean work surface (wood or marble is ideal), pile your flour into a mound. Use the bottom of a bowl or your fingers to create a wide, deep hole in the center. Make sure the walls are thick and sturdy so the eggs do not leak out.
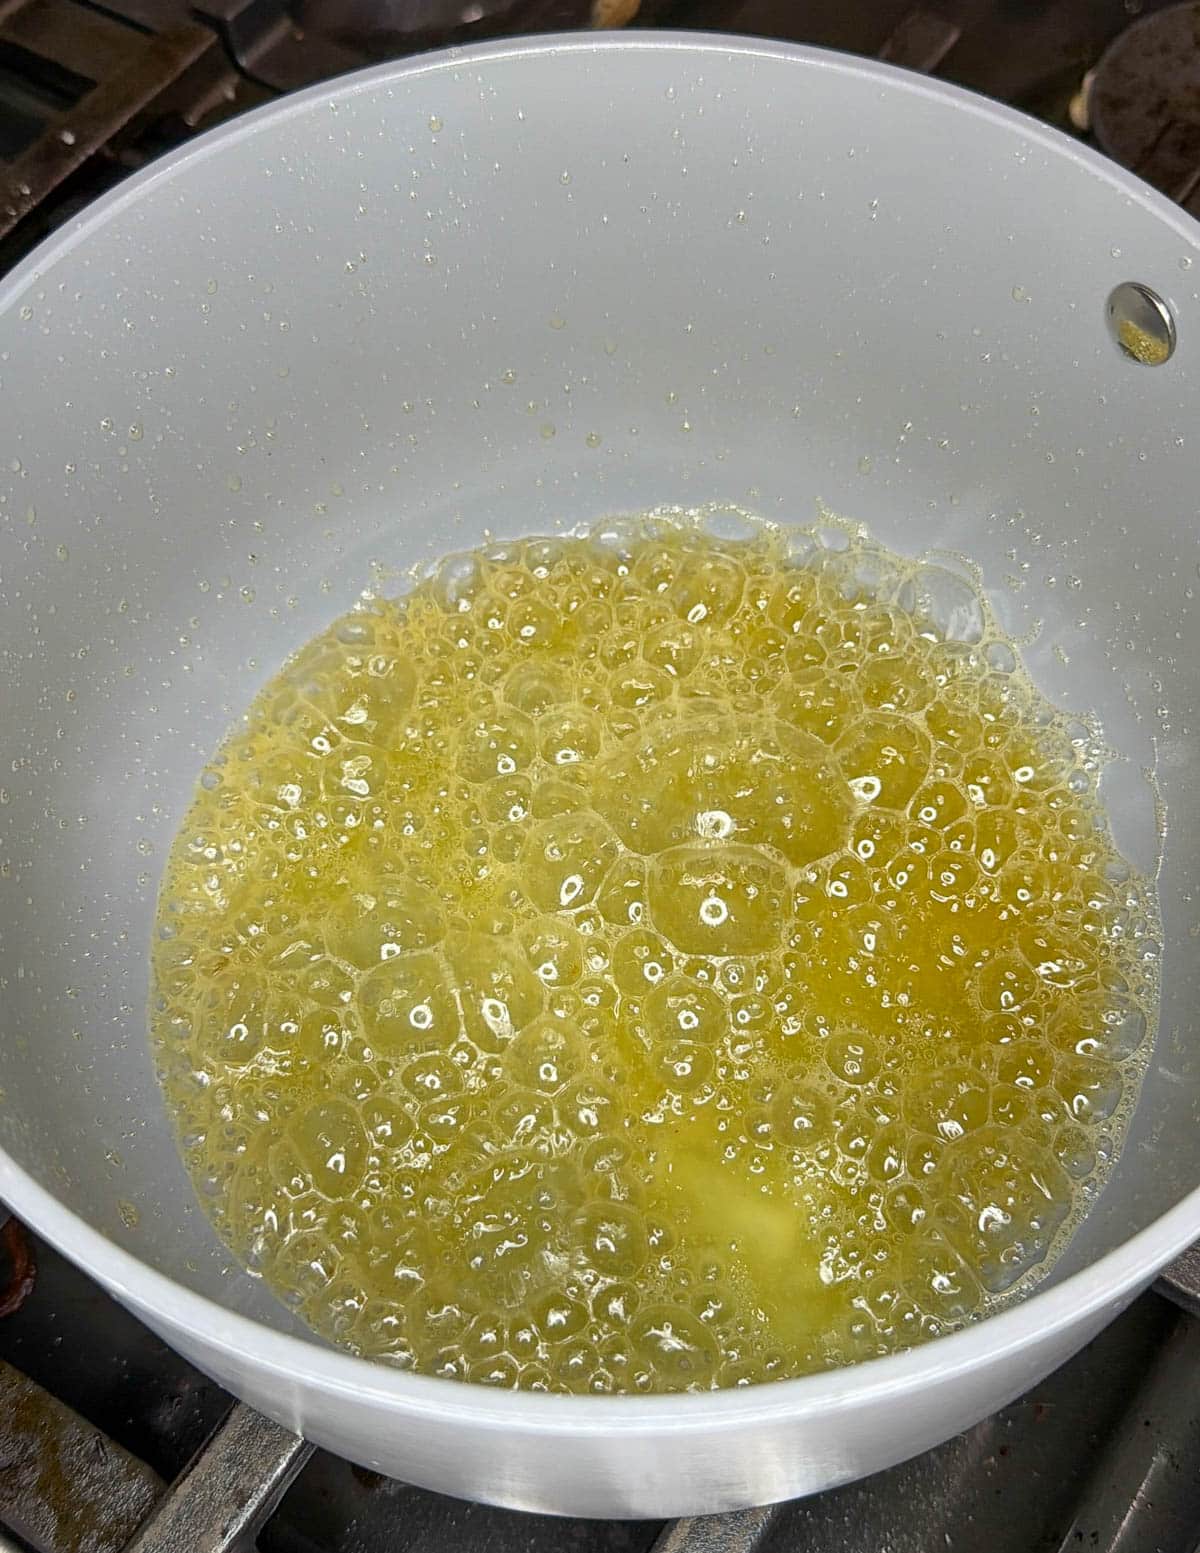
- Add the Eggs - Crack the eggs into the center of the well. If you are using salt in the dough, sprinkle it directly onto the eggs now.
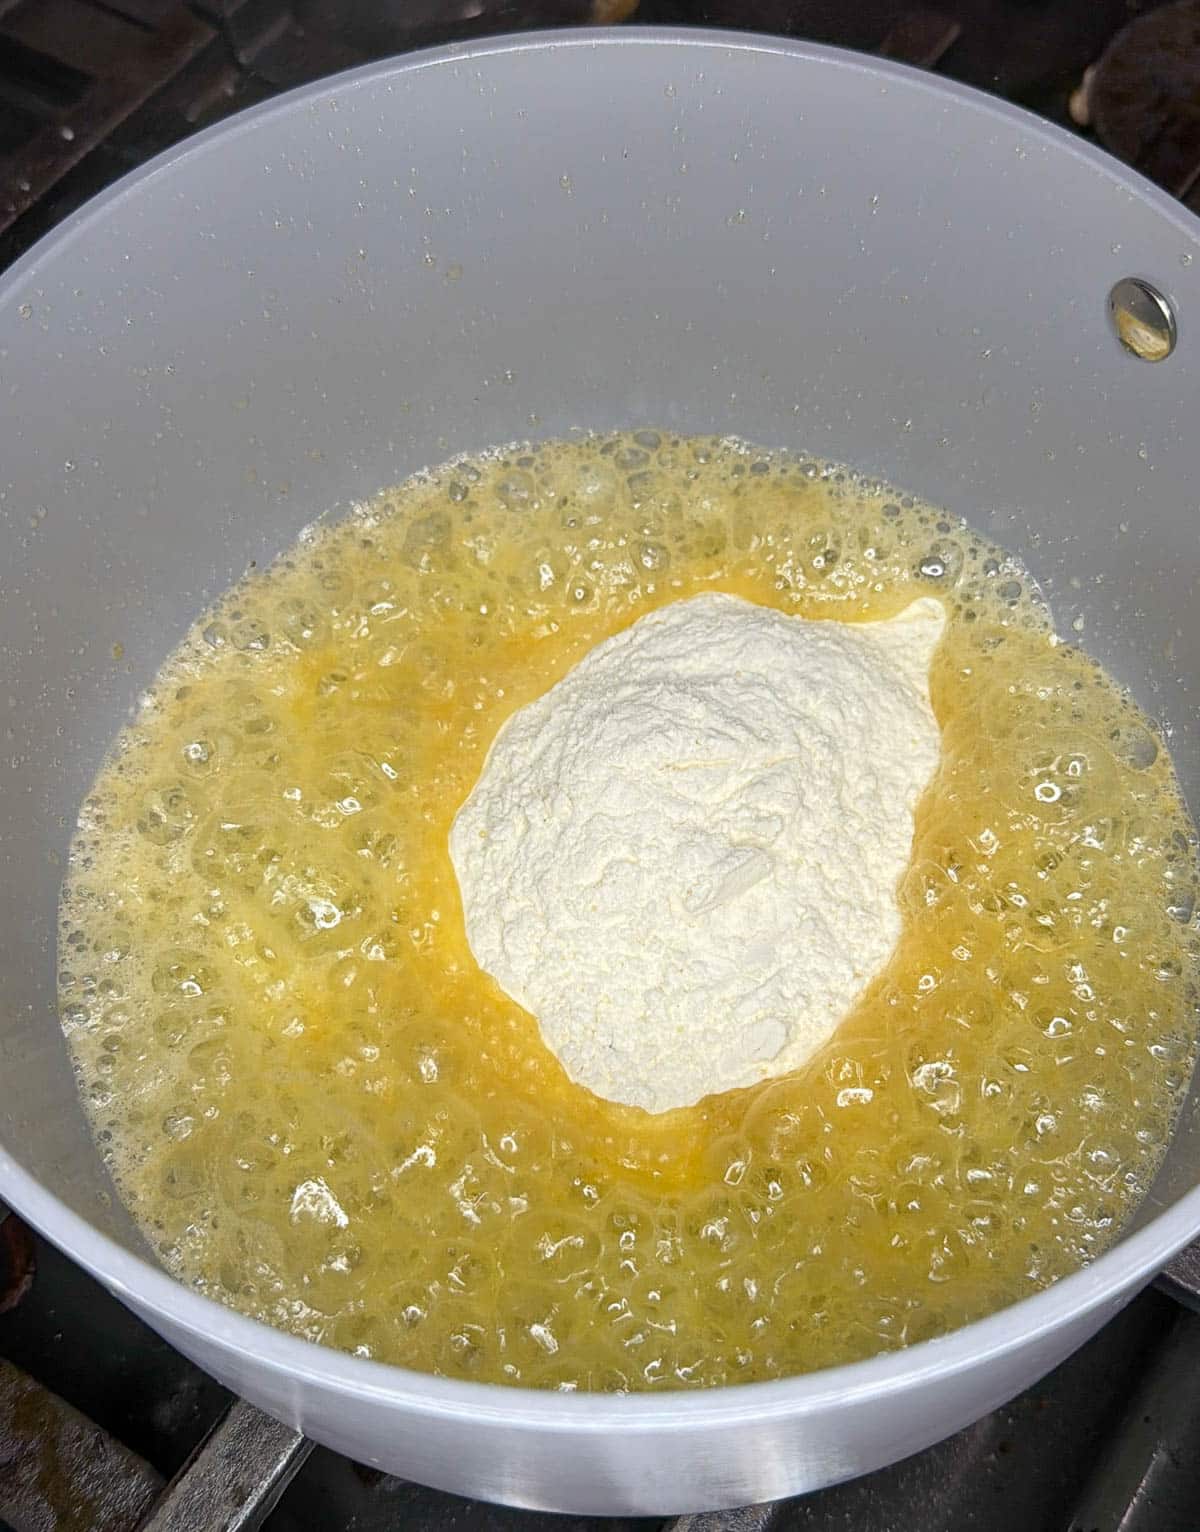
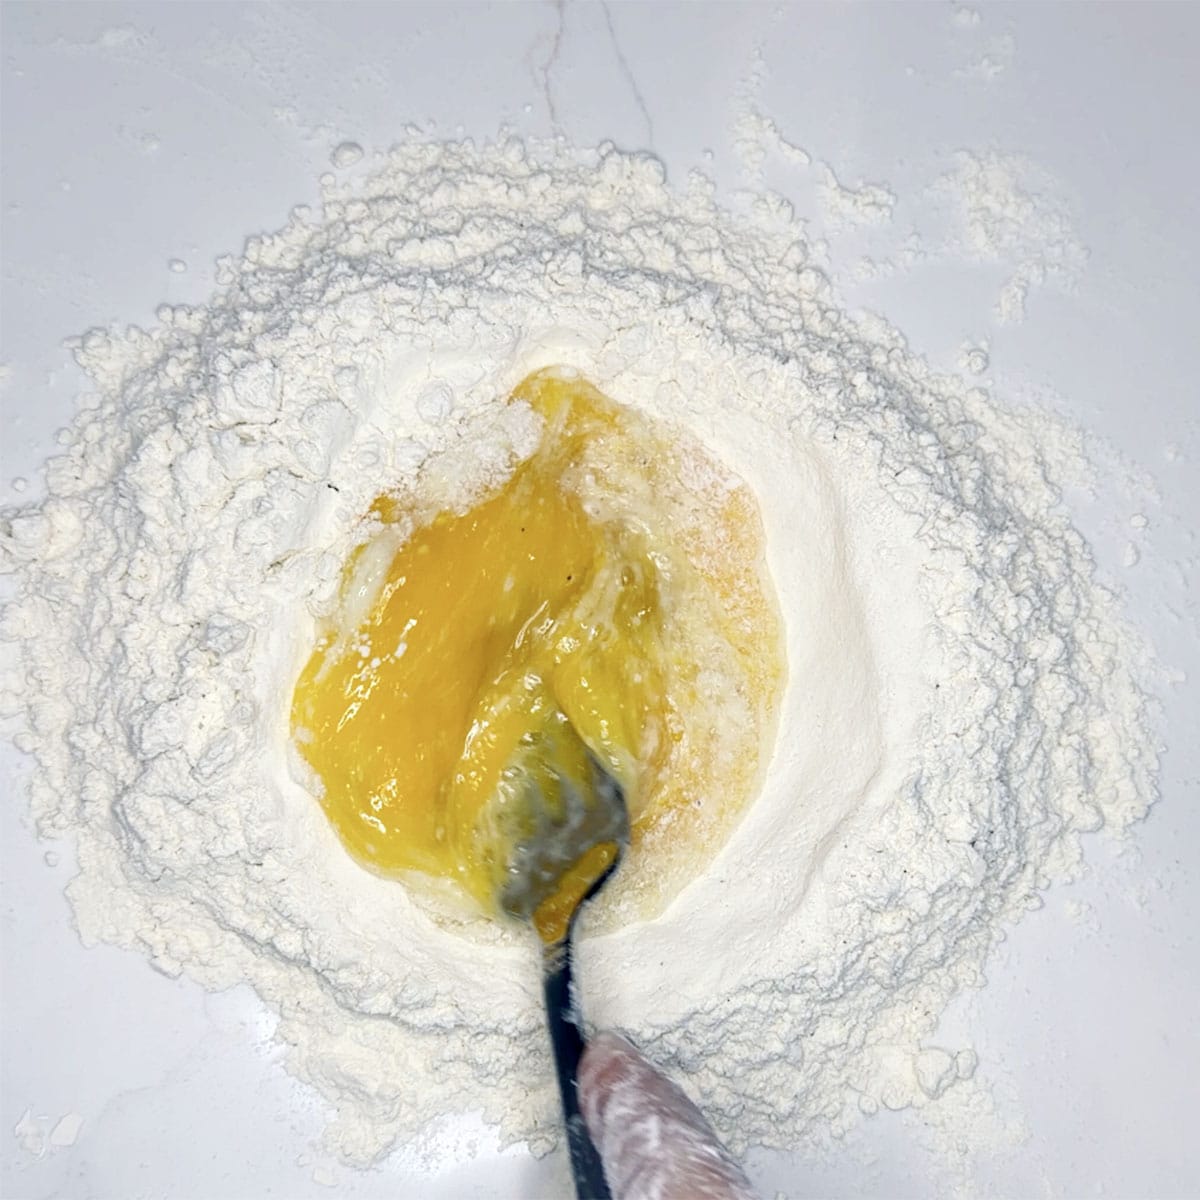
- Whisk the Center - Use a fork to gently beat the eggs in the center of the well. Be careful not to puncture the flour walls yet. Once the eggs are blended, begin flicking small amounts of flour from the inner rim of the well into the egg mixture.
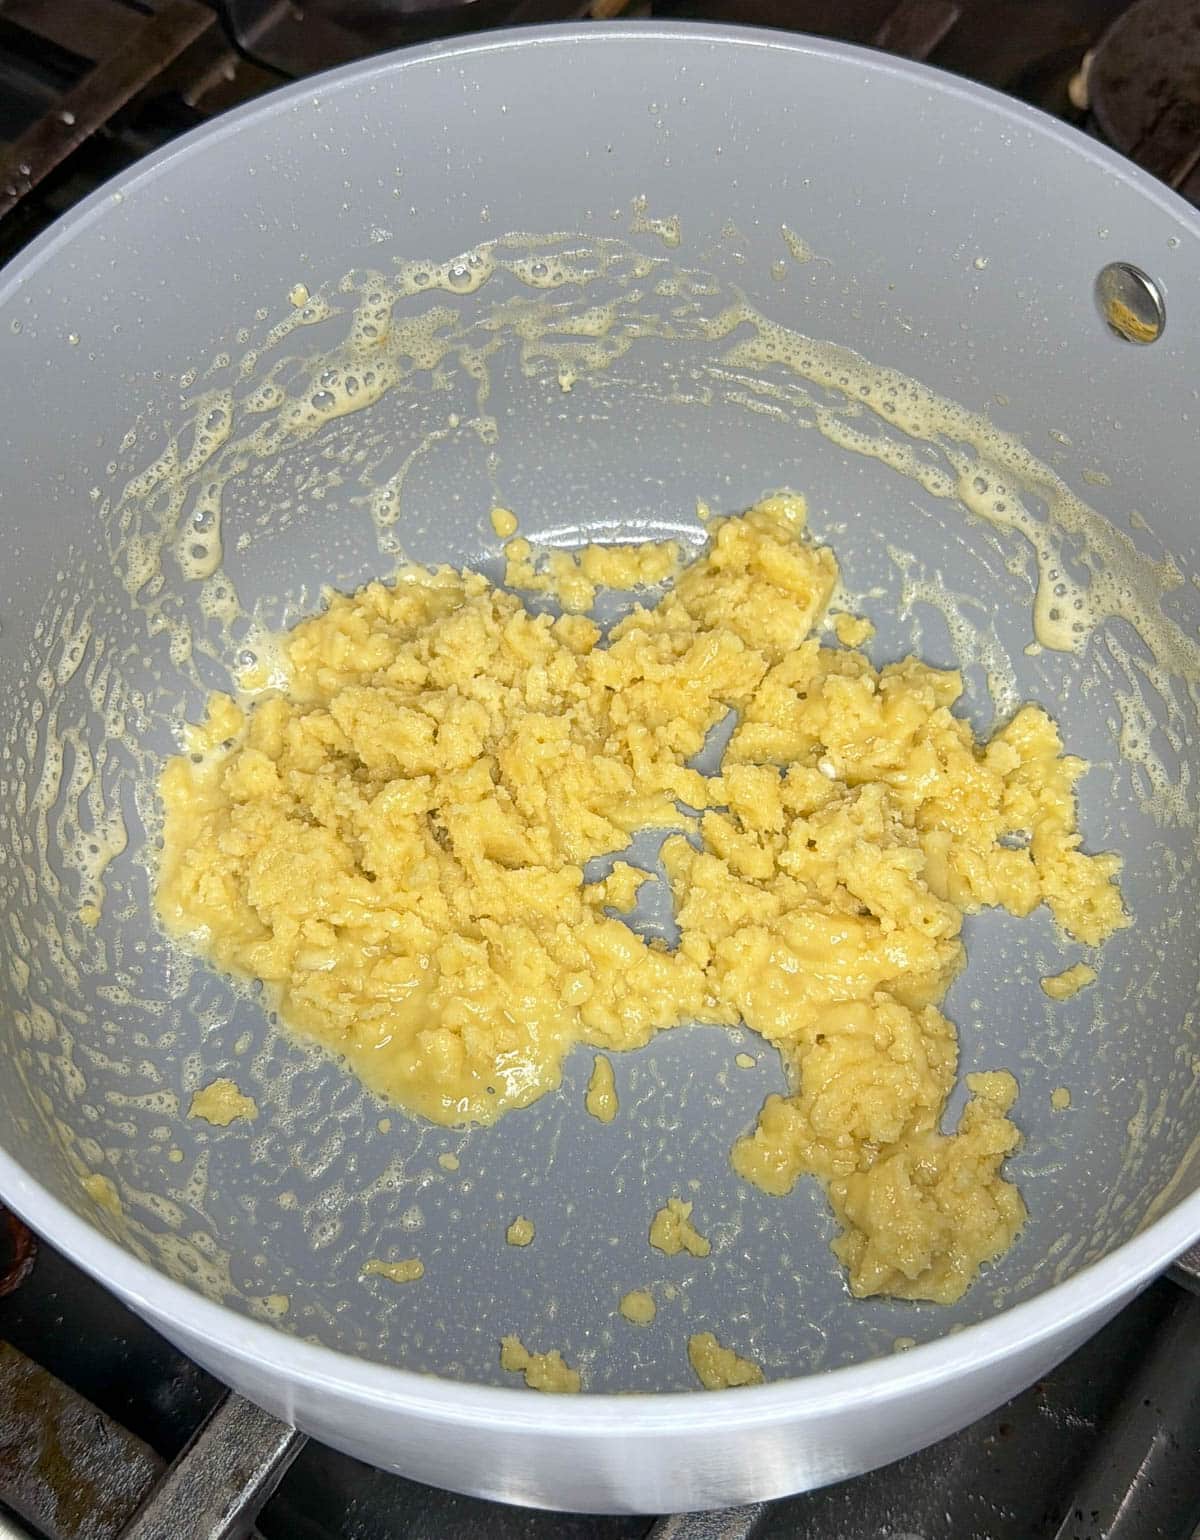
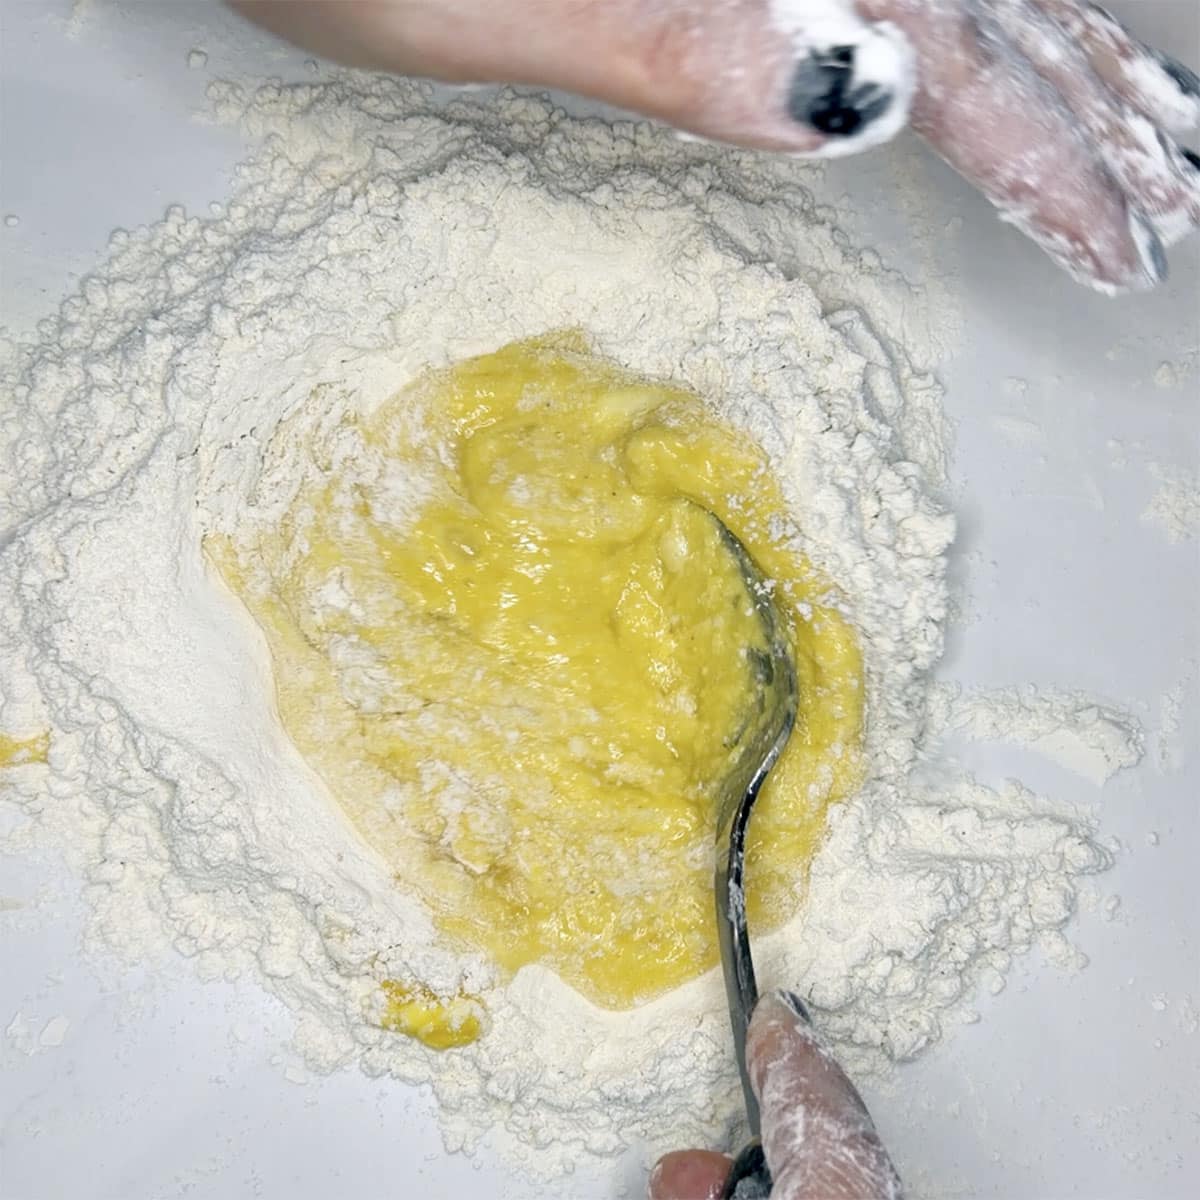
- Incorporate the Flour - Continue whisking in a circular motion, pulling more flour from the walls until the center becomes a thick, custard-like paste. Once the mixture is thick enough that it will not run across the table, use a bench scraper or your hands to fold the remaining outer walls of flour over the center.
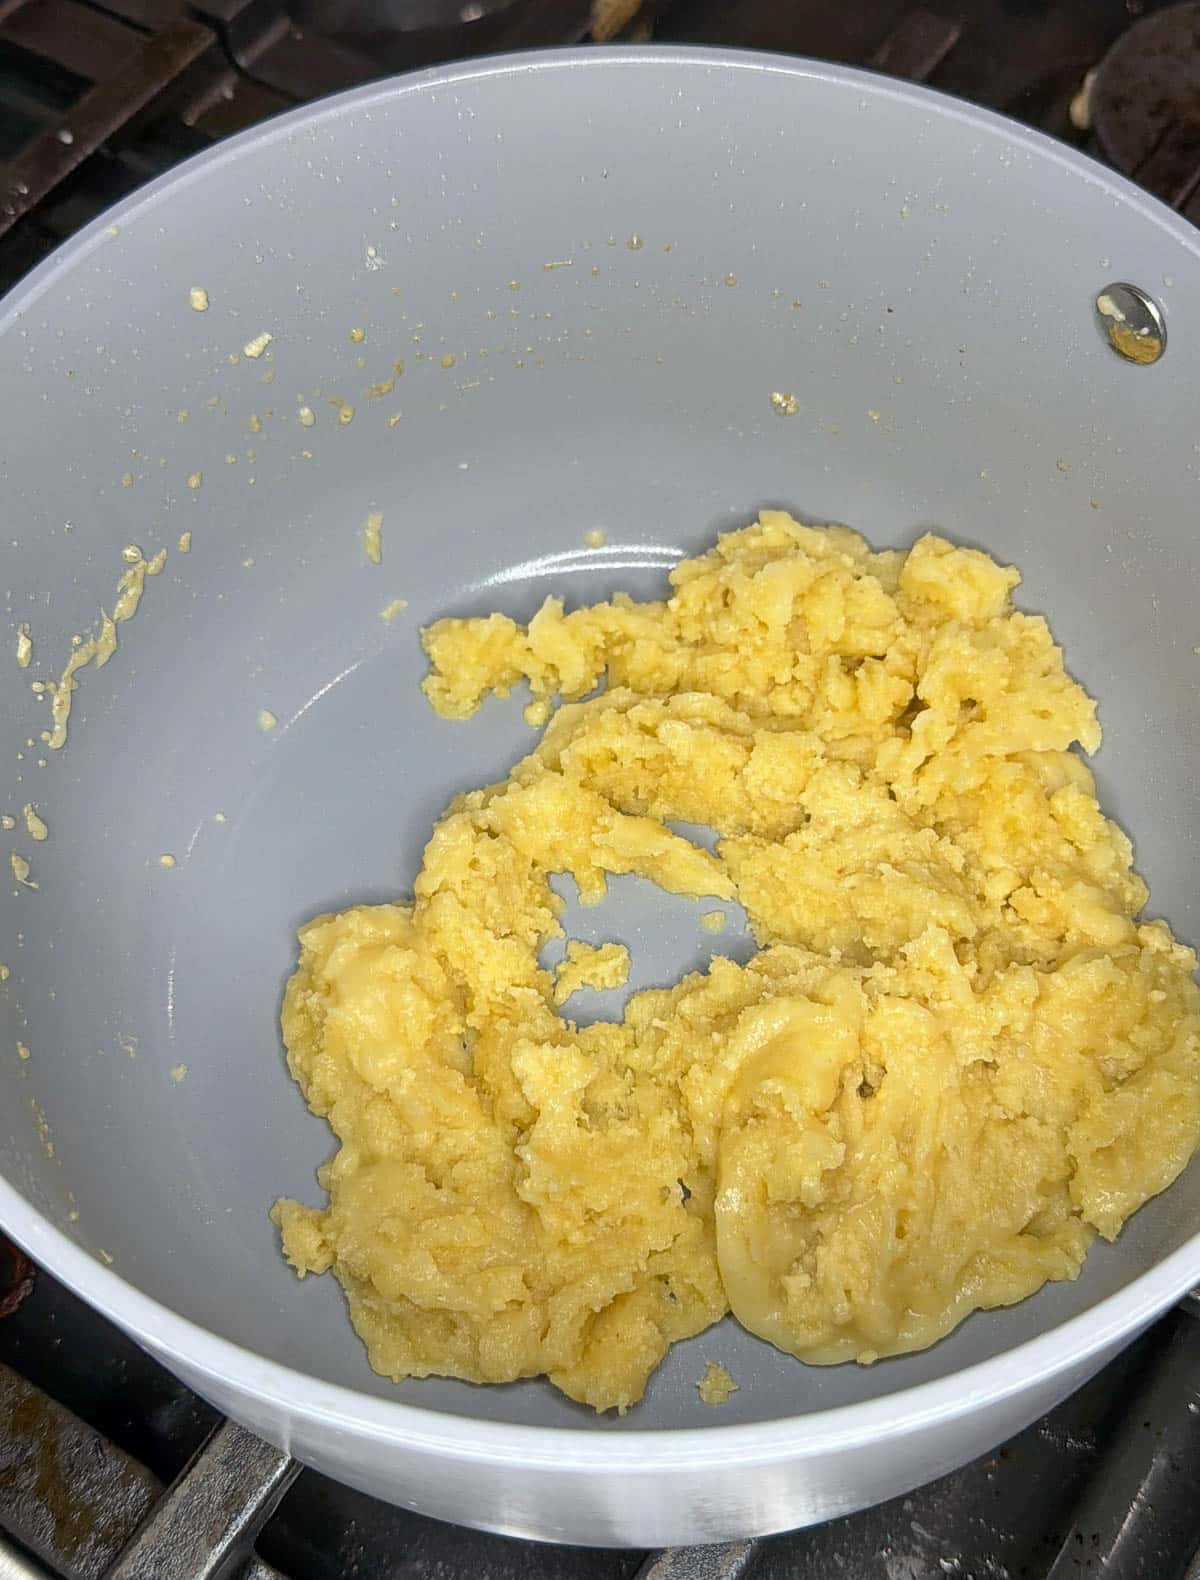
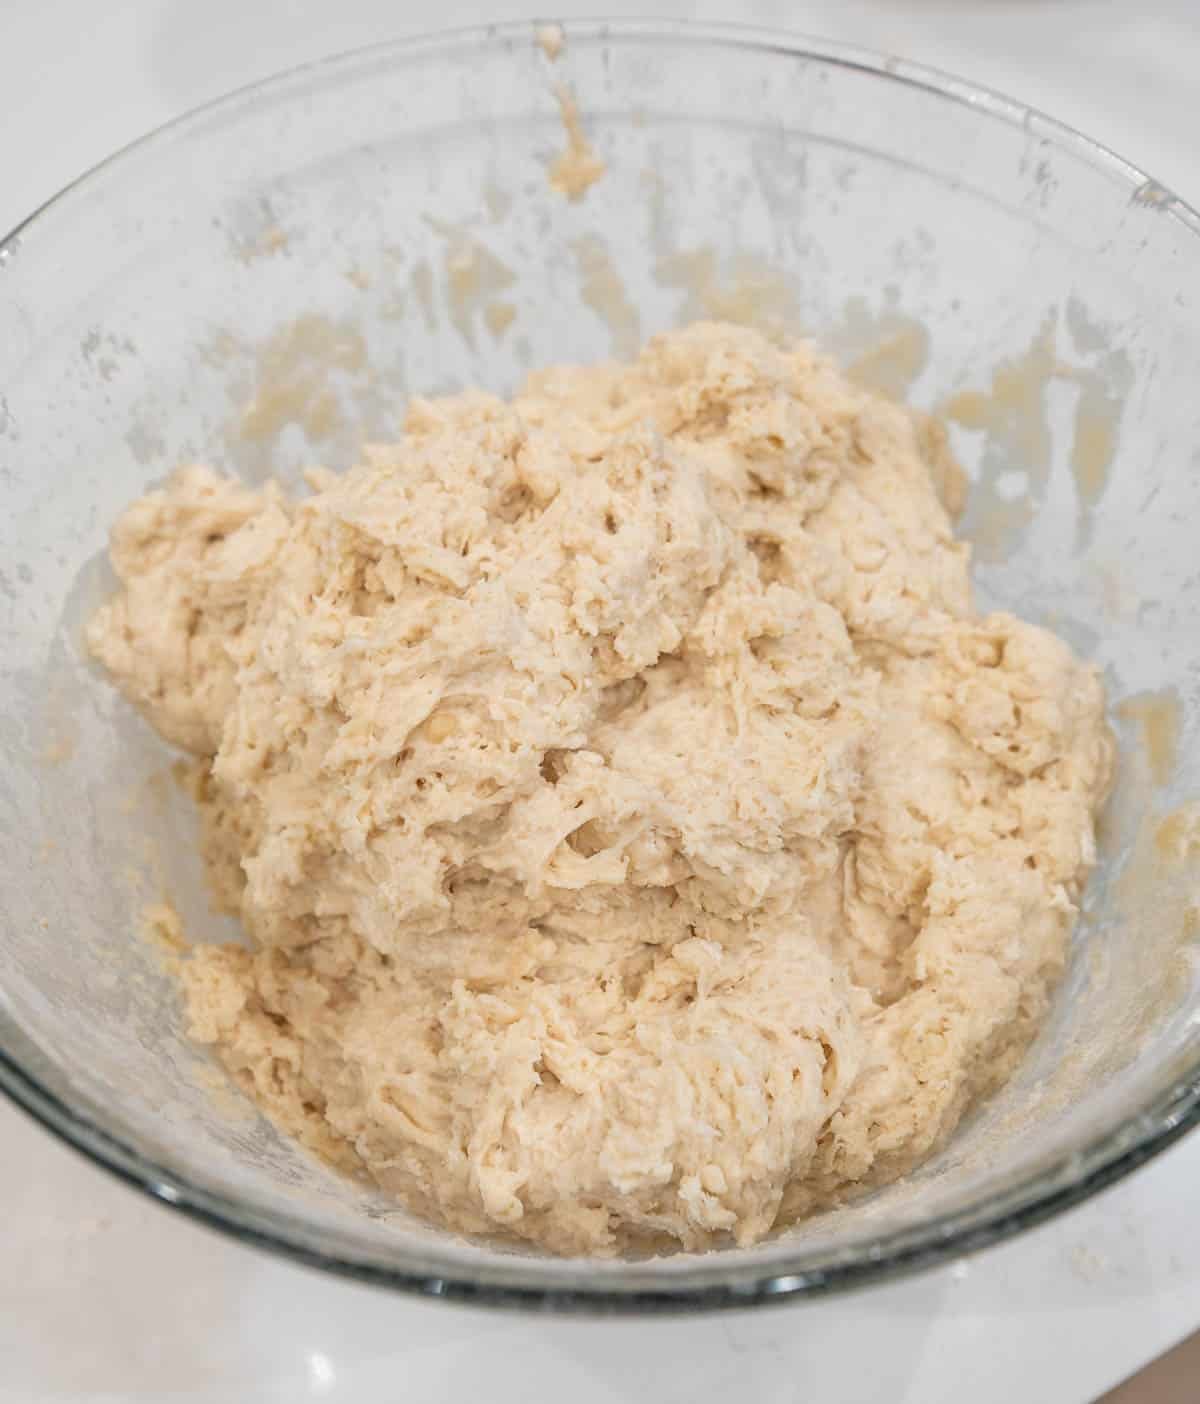
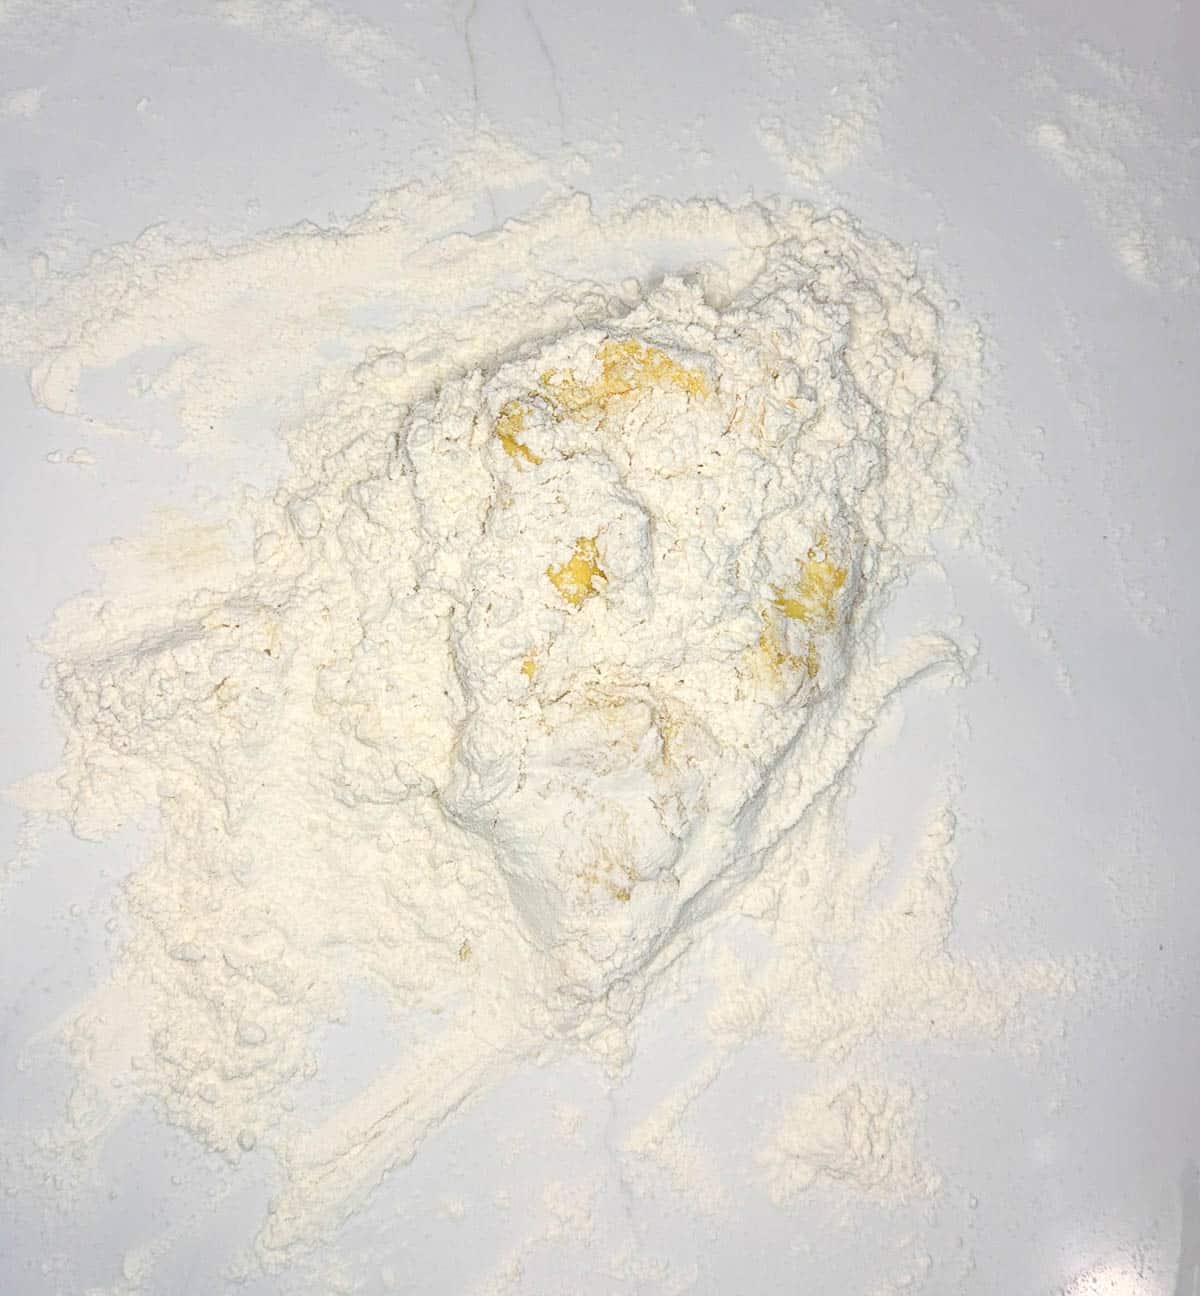
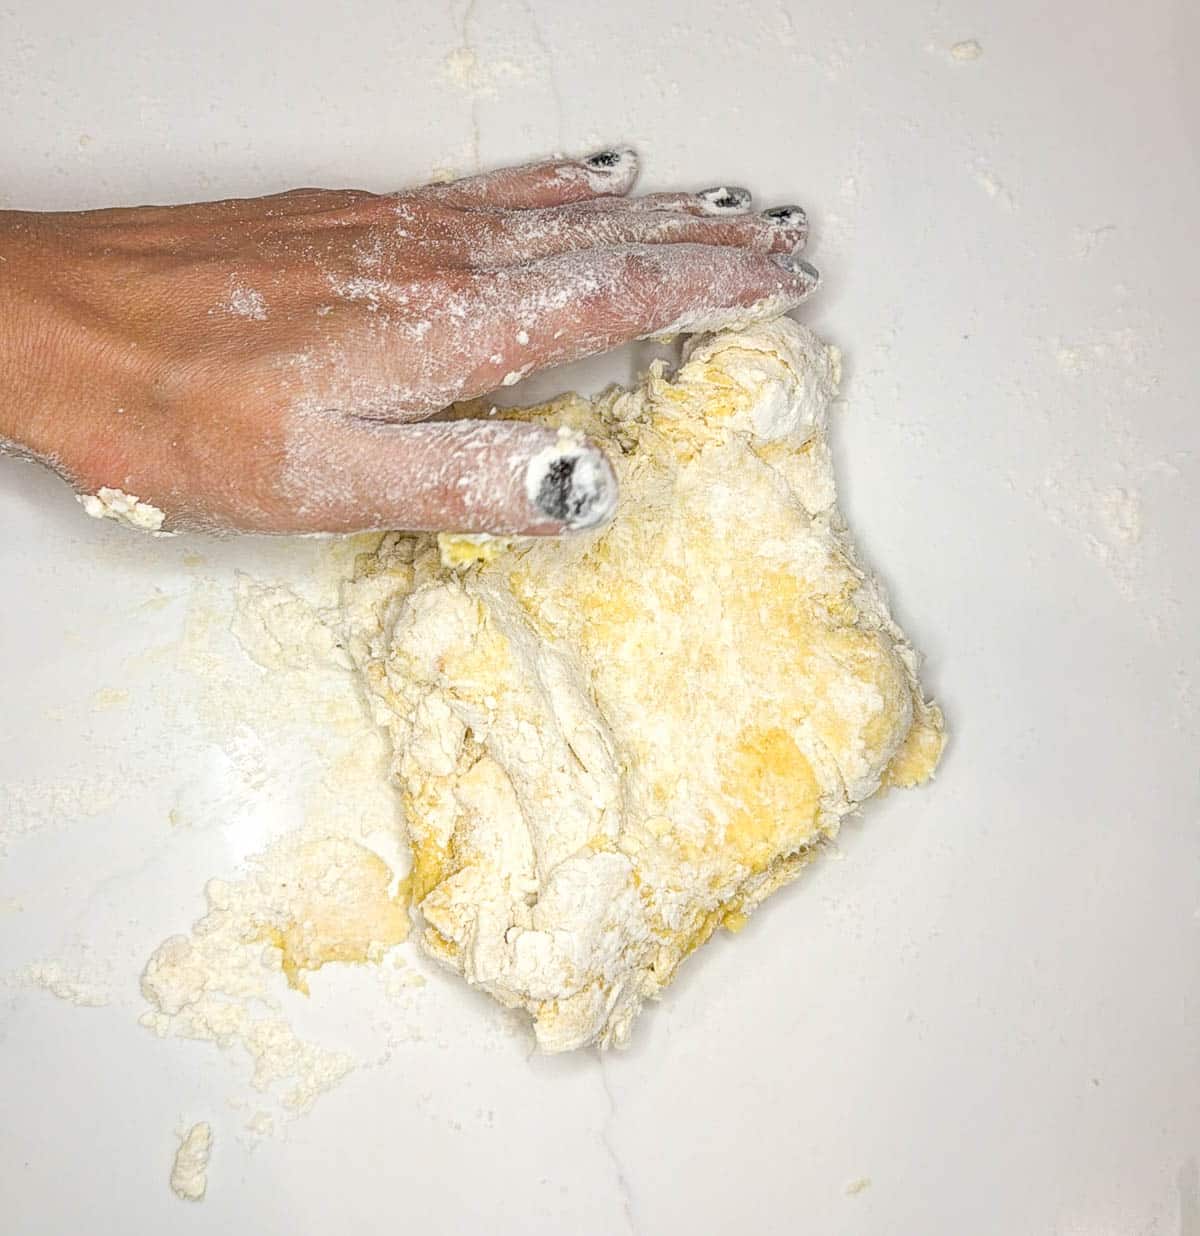
- Form the Shaggy Mass - Work the flour and egg together until a rough, shaggy ball forms. If there are dry bits of flour that will not stick to the ball, do not force them in. Simply brush them aside. If the dough is too sticky to handle, add a tiny dusting of extra flour.
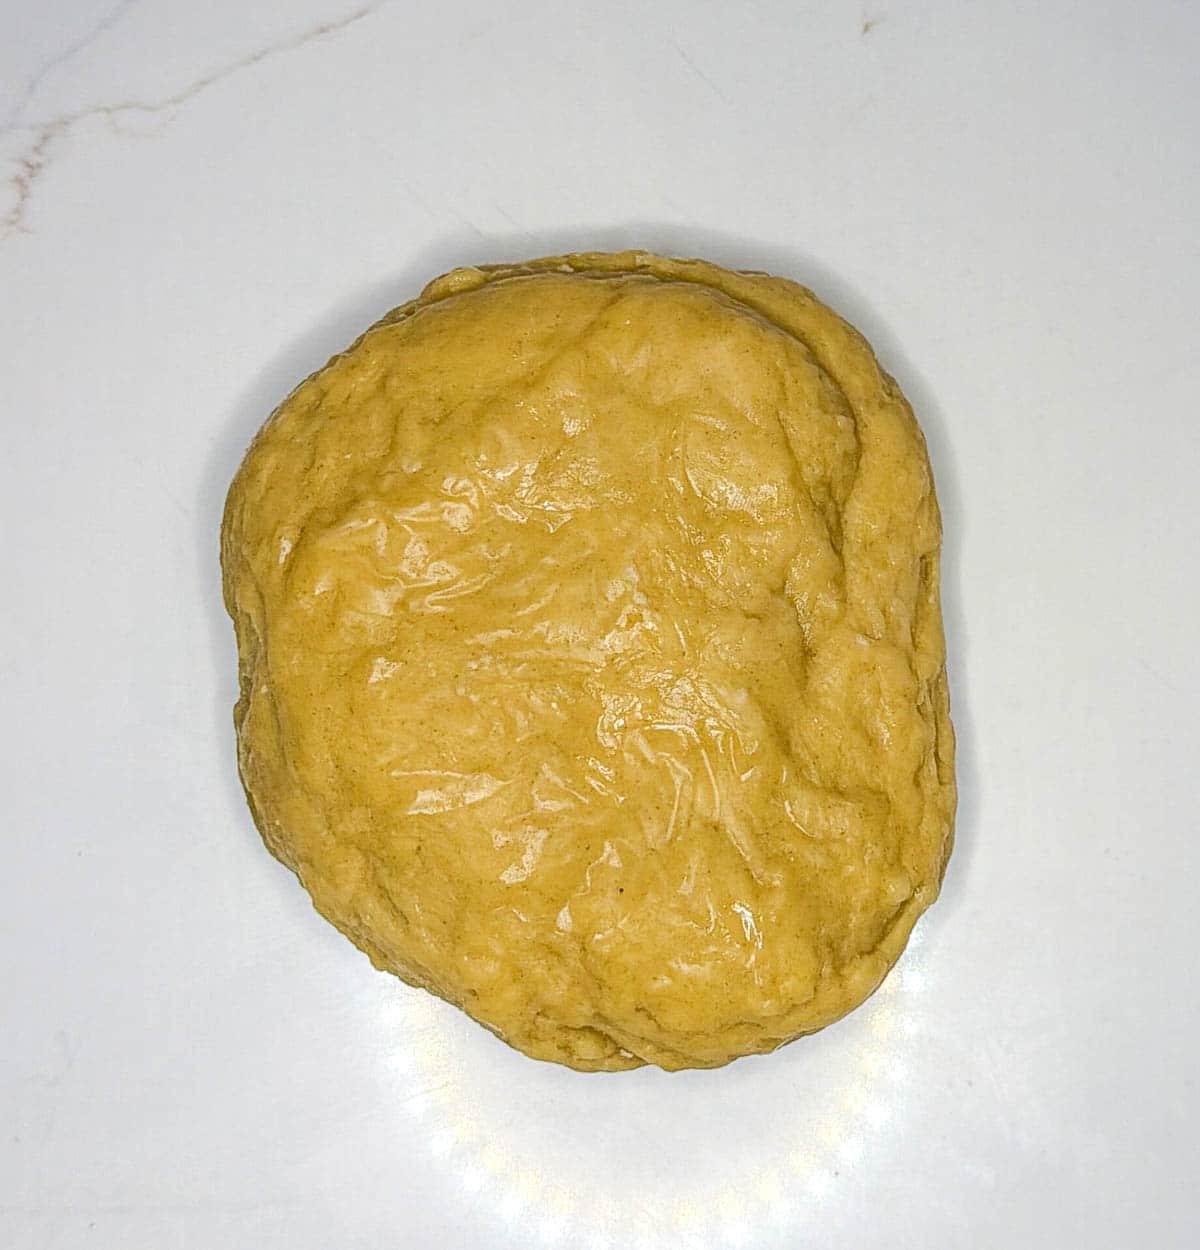
- Knead the Dough - This is the most important step. Use the heel of your hand to push the dough away from you, then fold it back over itself, rotate it 90 degrees, and repeat. Do this firmly for 8 to 10 minutes. The dough is ready when it is smooth, elastic, and bounces back slowly when poked with a finger.
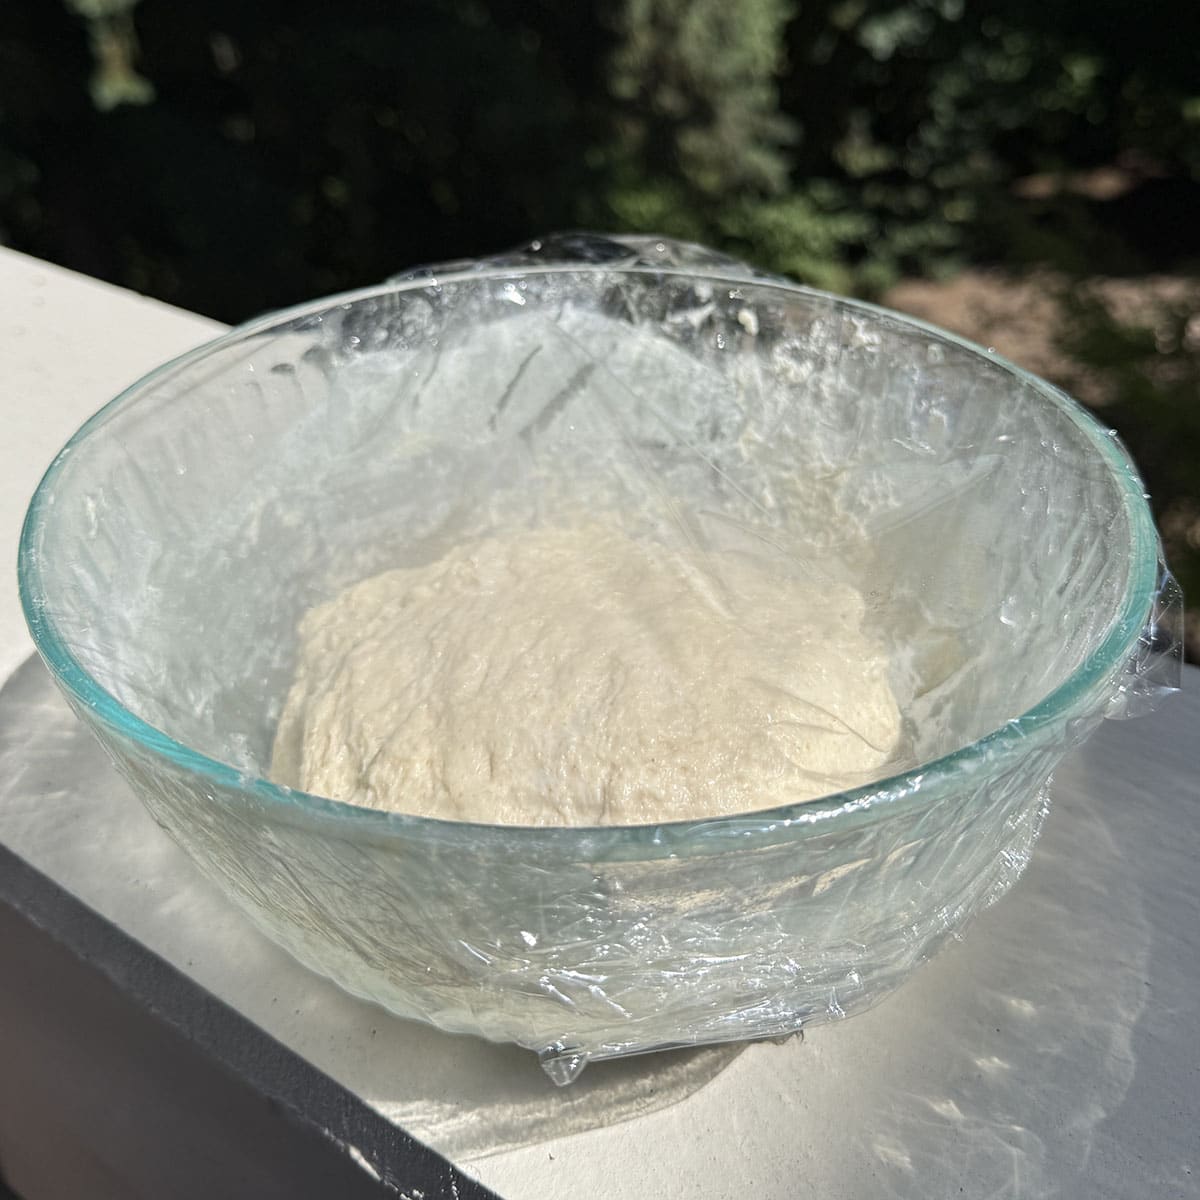
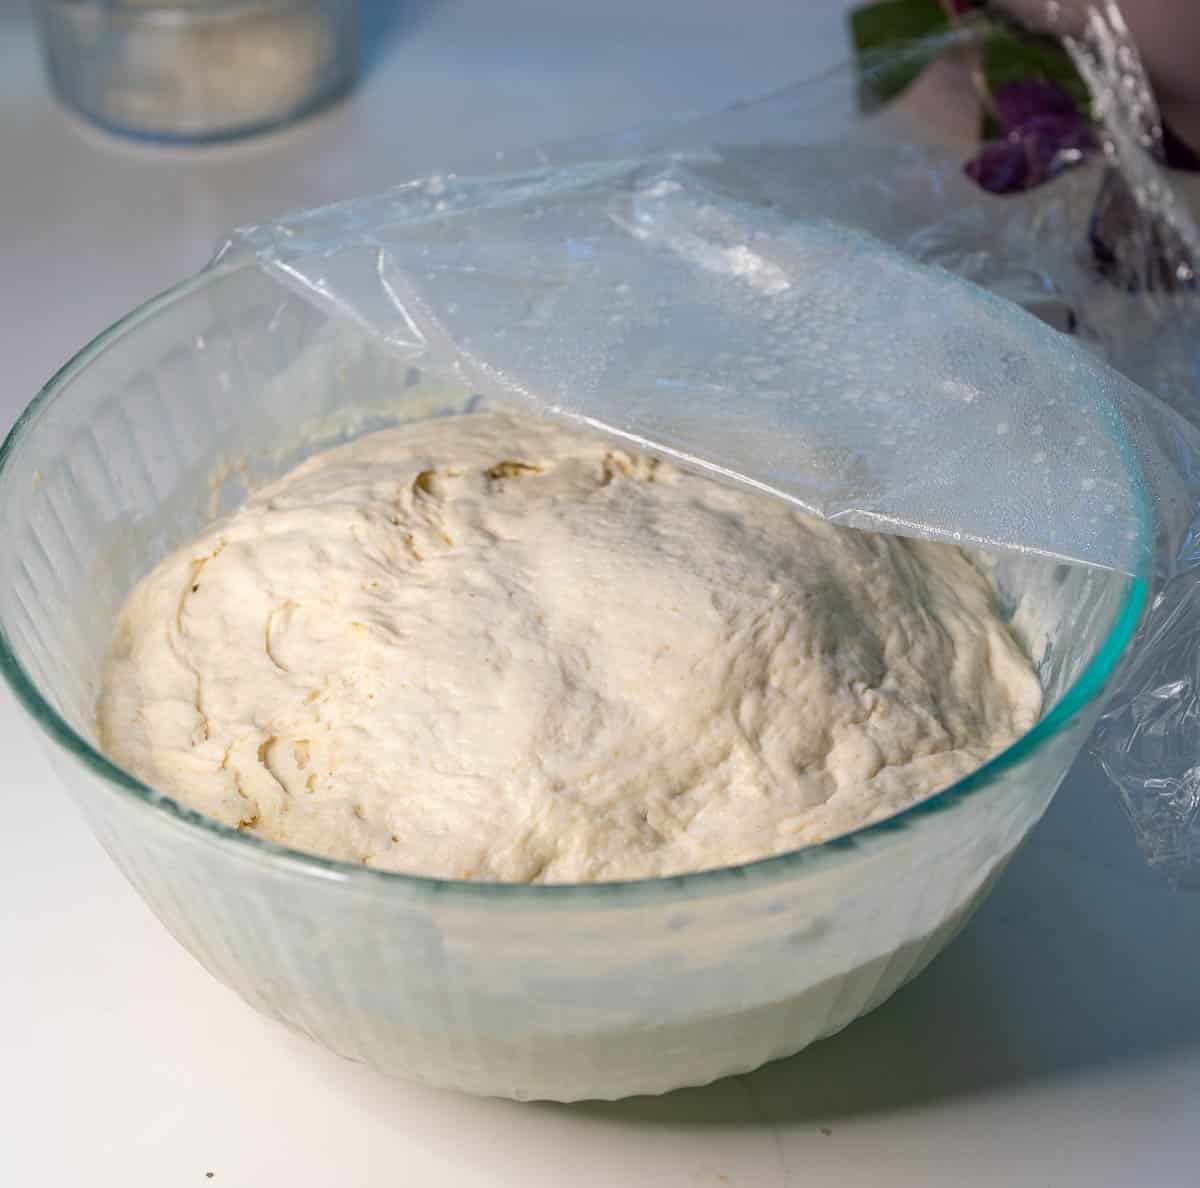
- Rest the Dough - Wrap the dough tightly in plastic wrap to prevent it from drying out. Let it rest on the counter at room temperature for at least 30 minutes. This allows the gluten to relax, so the dough does not shrink back when you roll it out. Or you can refrigerate it and let it rest for up to 24 hours.
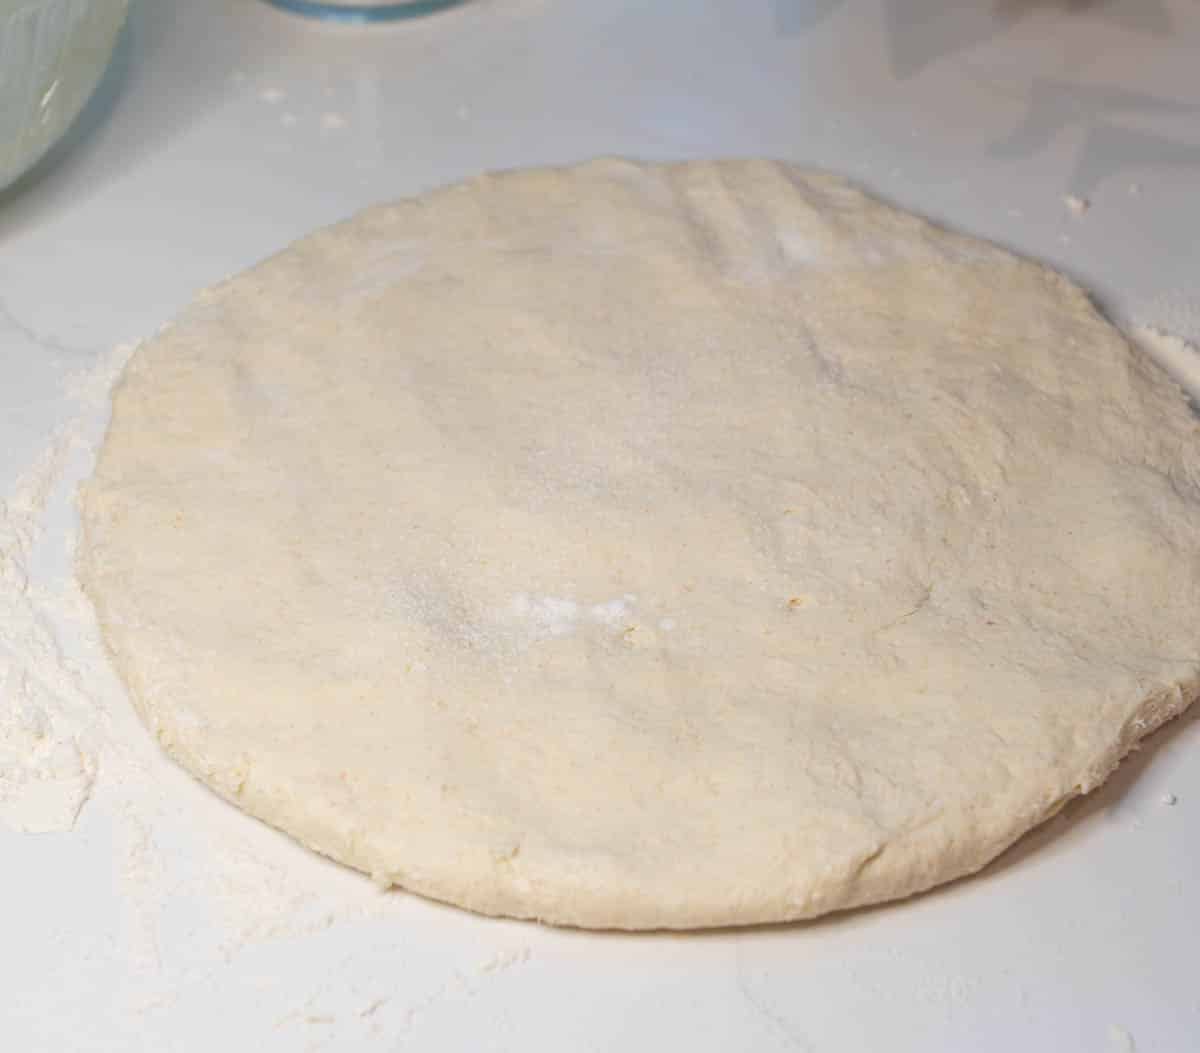
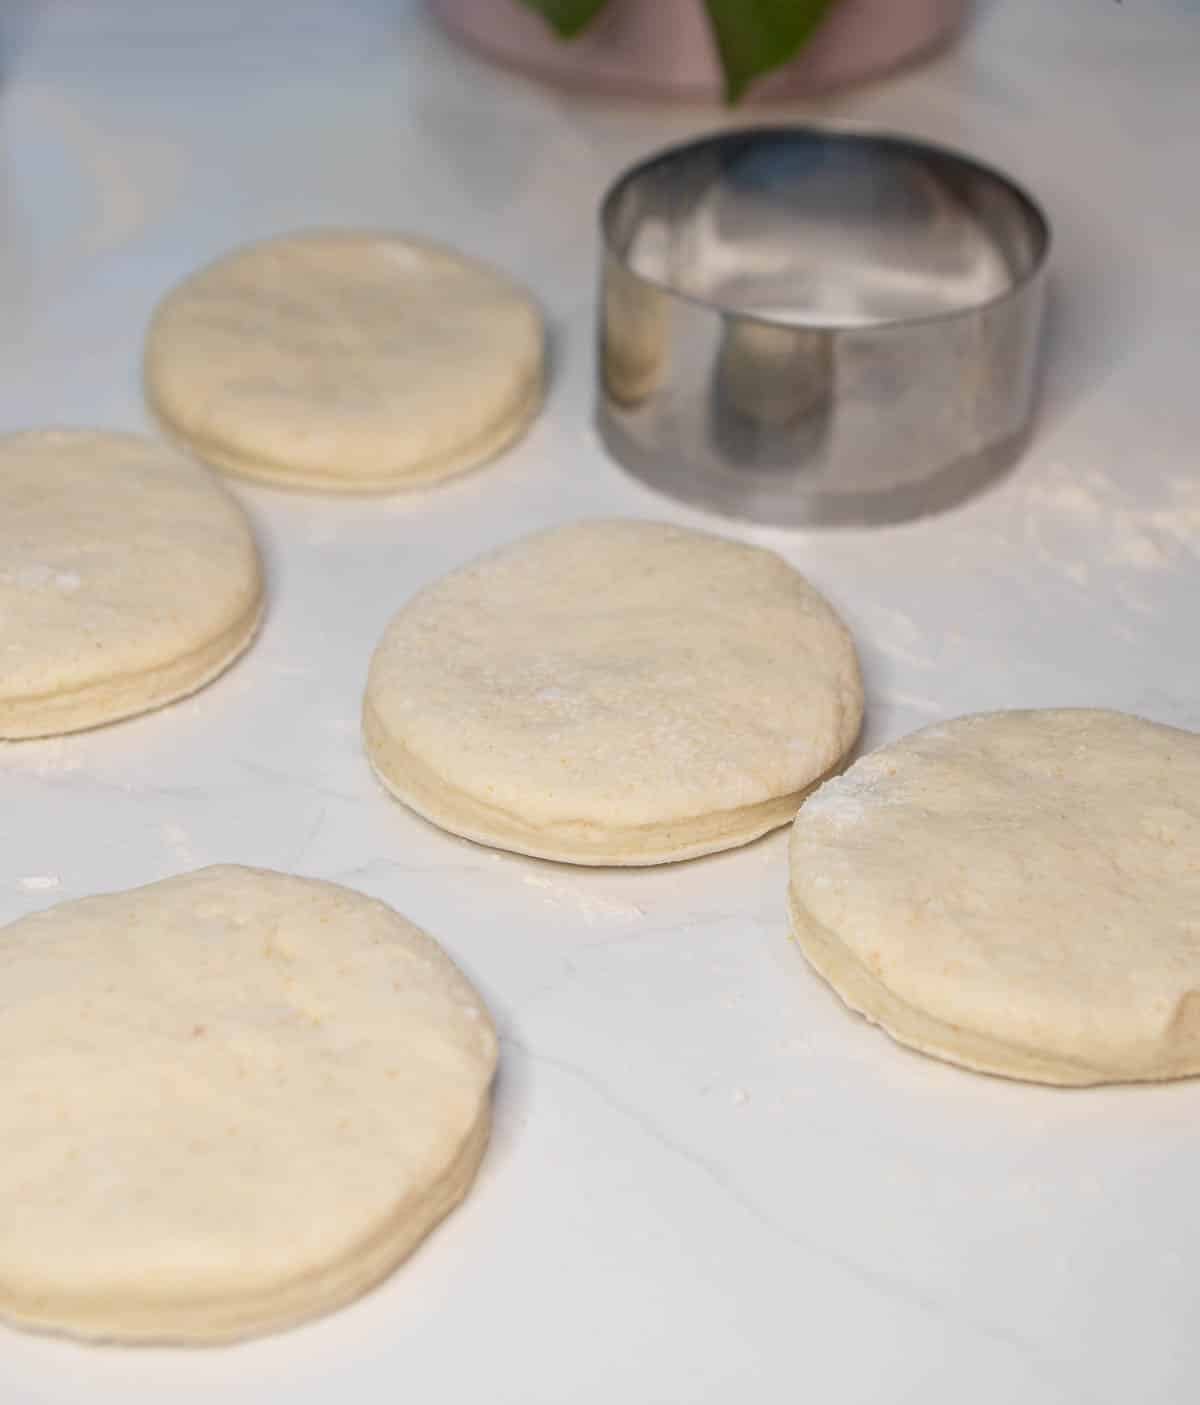
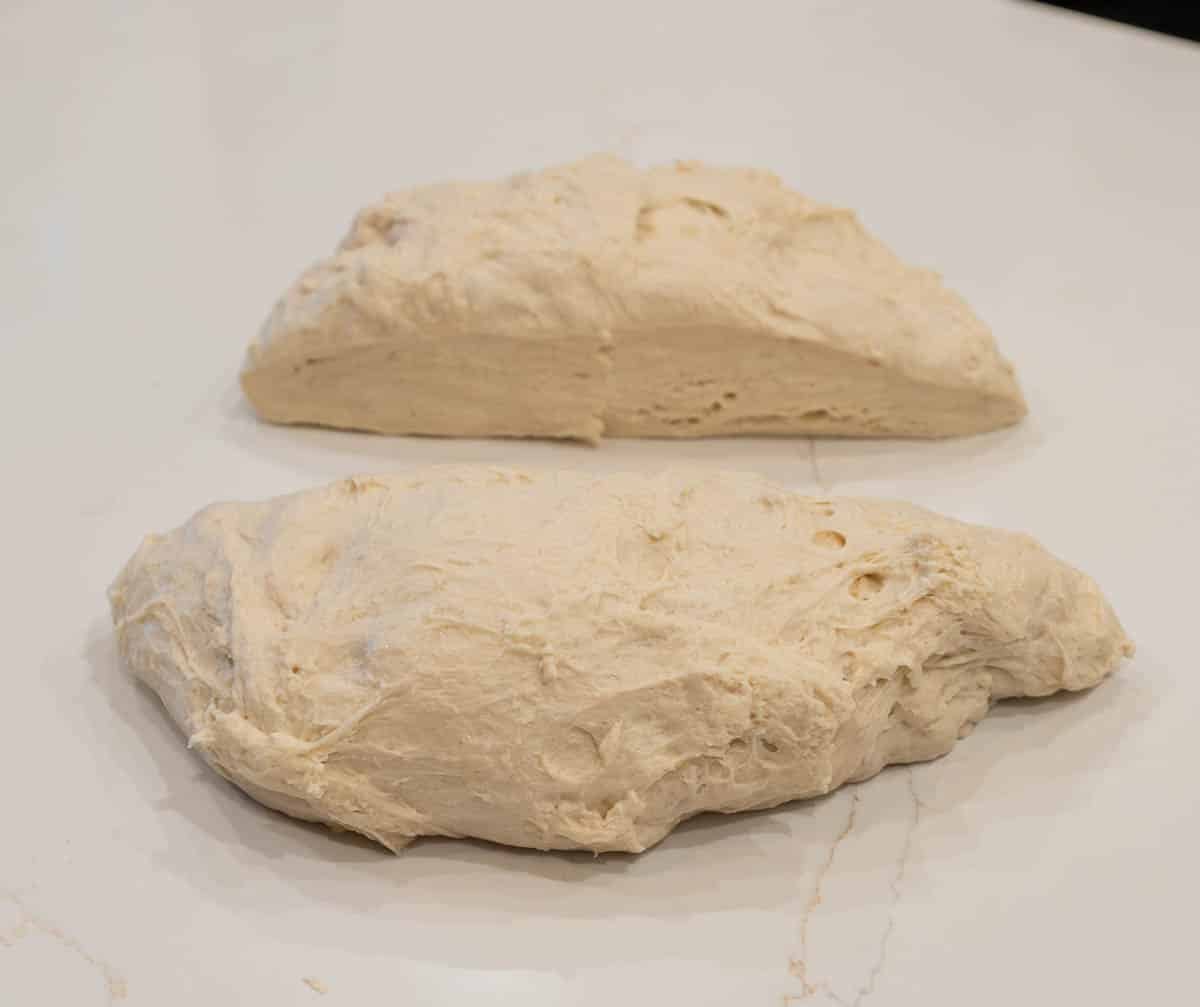
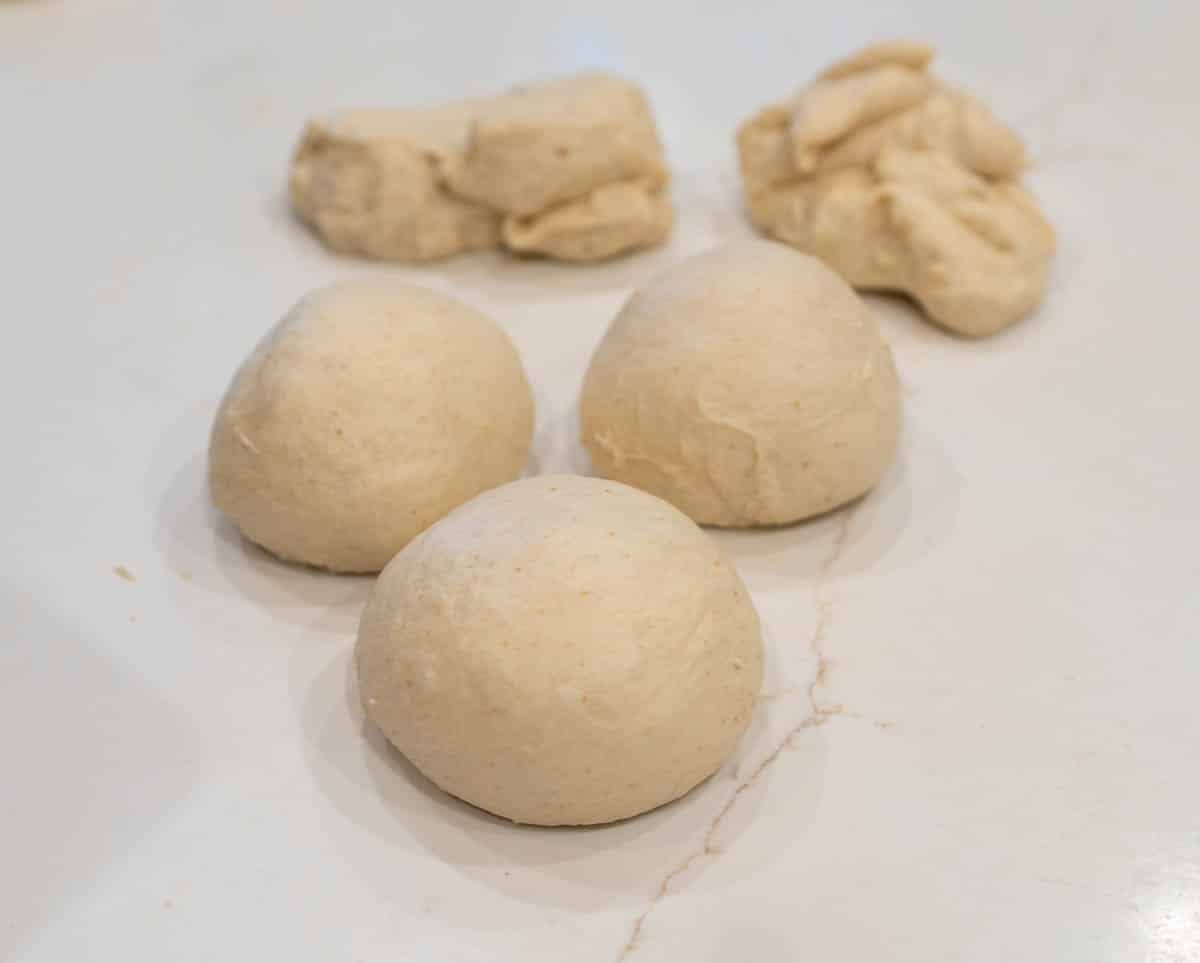
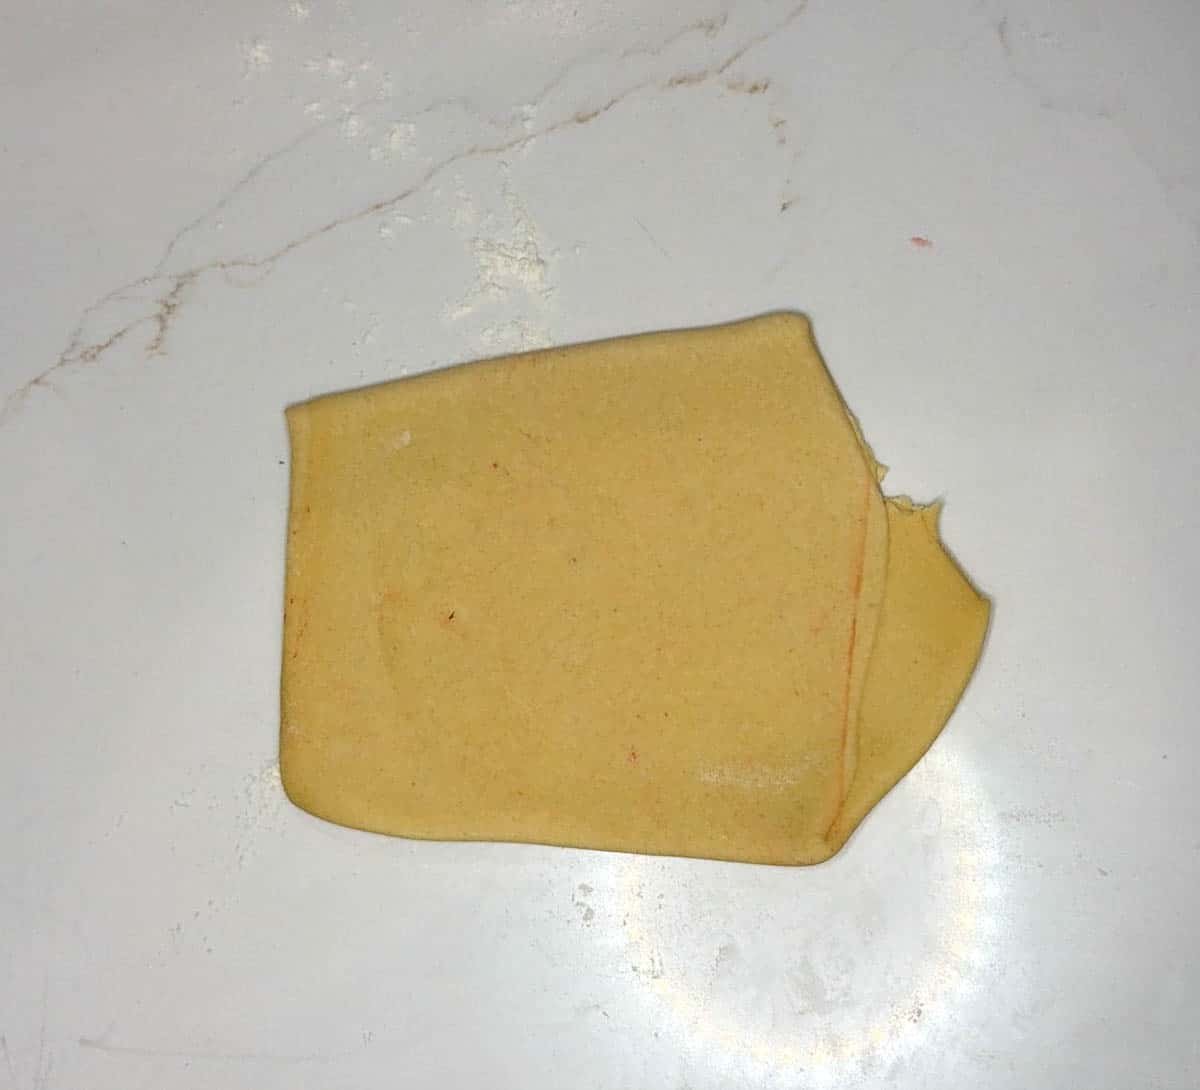
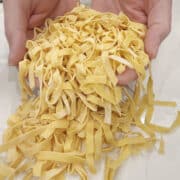
- Roll and Shape - After the rest, dust your surface with a little more flour. Cut the dough into four pieces and roll them out one at a time to your desired thickness. Cut into ribbons for fettuccine or leave in sheets for lasagna.
How To Make Pasta With A Food Processor
Using a food processor is the ultimate "cheat code" for pasta. It handles the heavy lifting of hydration and initial gluten development in about 60 seconds, which normally takes 10 minutes by hand. If you have a food processor, this is the easiest way to make your pasta.
- Prep the Dry Ingredients - Place the flour and salt into the bowl of a food processor fitted with the standard metal "S" blade. Pulse a few times to aerate the flour and distribute the salt evenly.
- Add the Eggs - Turn the food processor on to a low or medium setting. While the motor is running, slowly pour the whisked eggs through the opening in a steady stream.
- Process to "Wet Sand" Consistency - Continue processing for about 30 to 45 seconds. Watch the texture closely. You are looking for the mixture to transform from dry powder to small, pea-sized crumbs that look like wet, clumpy sand.
- Test the Dough - Stop the processor and pinch a handful of the crumbs together. If the dough holds its shape and feels like Play-Doh, it is ready. If it is still powdery and falls apart, add a teaspoon of water and pulse again. If it is a sticky glob, add a tablespoon of flour and pulse.
- Form the Ball - Turn the crumbly mixture out onto a clean work surface. Gather the crumbs with your hands and press them together into a solid ball. Because the processor did the mixing, you only need to knead this dough by hand for about 2 minutes to make it perfectly smooth.
- Rest the Dough - Wrap the ball tightly in plastic wrap. Let the dough rest at room temperature for at least 30 minutes. This is even more important with the food processor method because the high-speed blades "stretch" the gluten quite aggressively, so it needs time to relax. Or you can refrigerate the dough overnight and use it the next day.
- Shape and Cook - After the rest, your dough is ready to be rolled through a pasta machine or with a rolling pin.
How To Make Fresh Pasta In A Stand Mixer
Using a stand mixer is the perfect middle ground between the manual "well" method and the high-speed food processor. It saves your arms from the heavy kneading while still giving you that traditional dough texture.
Most people use the Paddle Attachment to mix and the Dough Hook to knead.
- Combine Dry Ingredients - Place your flour and salt into the mixer bowl. Give it a quick stir with a whisk or the paddle attachment on the lowest speed to distribute the salt.
- Add the Eggs - Create a small dip in the center of the flour. Pour in your lightly whisked eggs.
- The "Shaggy" Phase - Attach the Paddle Attachment. Turn the mixer to the lowest speed (usually "Stir" or "1"). Mix until the flour and eggs start to clump together and the dough begins to pull away from the sides of the bowl. This should take about 30 to 60 seconds.
- The Kneading Phase - Switch out the paddle for the Dough Hook. Turn the mixer to speed 2 (never go higher than speed 2 for heavy dough, or you risk damaging the mixer's gears).
- Knead by Machine - Let the dough hook work for about 5 to 8 minutes.
- The Goal: The dough should form a smooth, solid ball that is slightly tacky but doesn't stick to the bowl or your fingers.
- The Adjustment: If the dough is sticking to the bottom, add a tablespoon of flour. If it looks like dry pebbles that won't form a ball, add a teaspoon of water or an extra egg yolk.
- The Manual Finish - Take the dough out of the bowl and knead it by hand for just 1 minute on a clean surface. This helps you "feel" if the hydration is perfect and ensures the ball is tight and smooth.
- Rest and Roll - Wrap the dough in plastic wrap and let it rest for at least 30 minutes before rolling it out with your machine attachments or a rolling pin.
Why Use the Stand Mixer?
- Consistency: The dough hook provides a very even, rhythmic knead that mimics a professional baker's hands.
- Cleanliness: Unlike the "well" method, there is zero risk of an "egg volcano" leaking onto your floor.
- Cooler Dough: Unlike the food processor, the stand mixer doesn't generate heat, which keeps the egg proteins from getting too warm before the rest phase.
Pro-Tip for Attachments
If you have the Pasta Roller Attachment for your stand mixer, it is much easier to use than a hand-crank machine because you have both hands free to guide the long sheets of dough. Just remember to keep the mixer on a low speed (usually 2 or 3) while rolling.
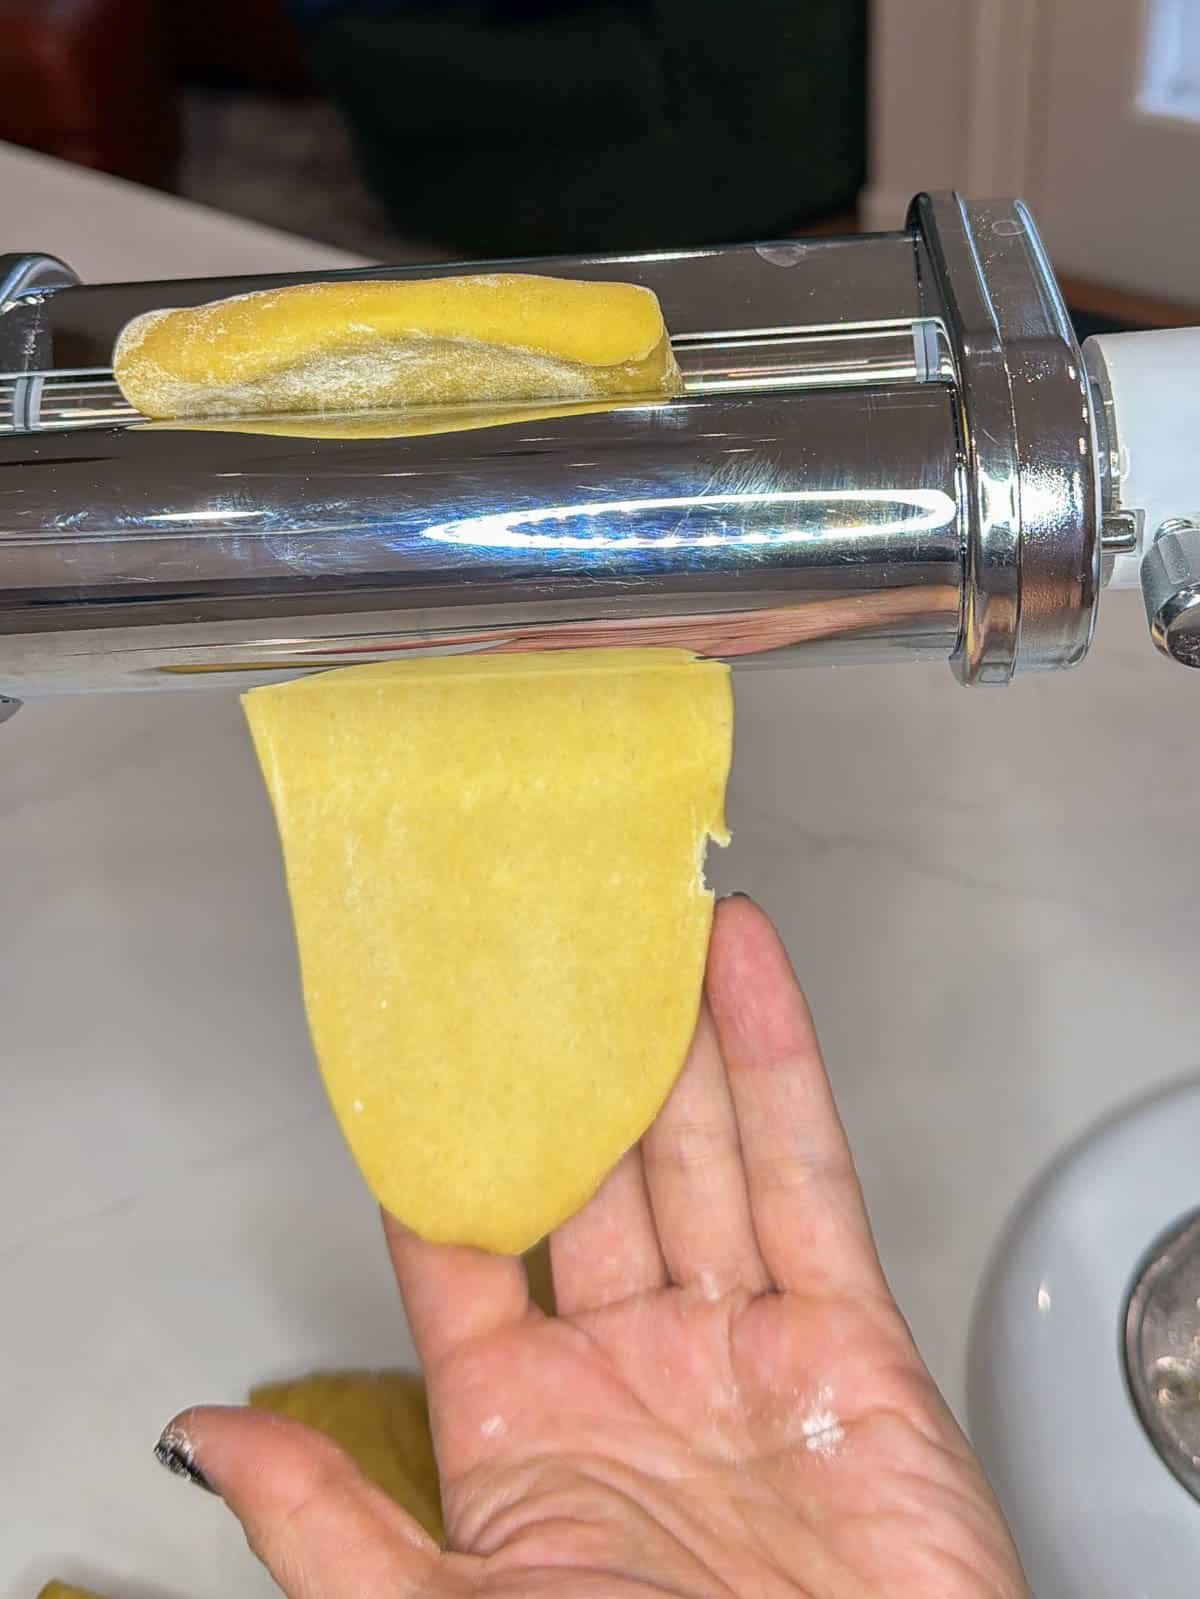
How To Roll Out Pasta
Using a pasta machine attachment if you have a kitchenaid mixer is the best way to get those professional, paper-thin sheets that are nearly impossible to achieve with a rolling pin. Whether you have a hand-crank model or an electric attachment, the process is exactly the same.
1. Prepare the Dough
After your dough has rested for at least 30 minutes, cut it into 4 equal workable pieces. Keep the pieces you aren't using wrapped in plastic wrap so they do not develop a dry crust.
2. The Initial Flattening
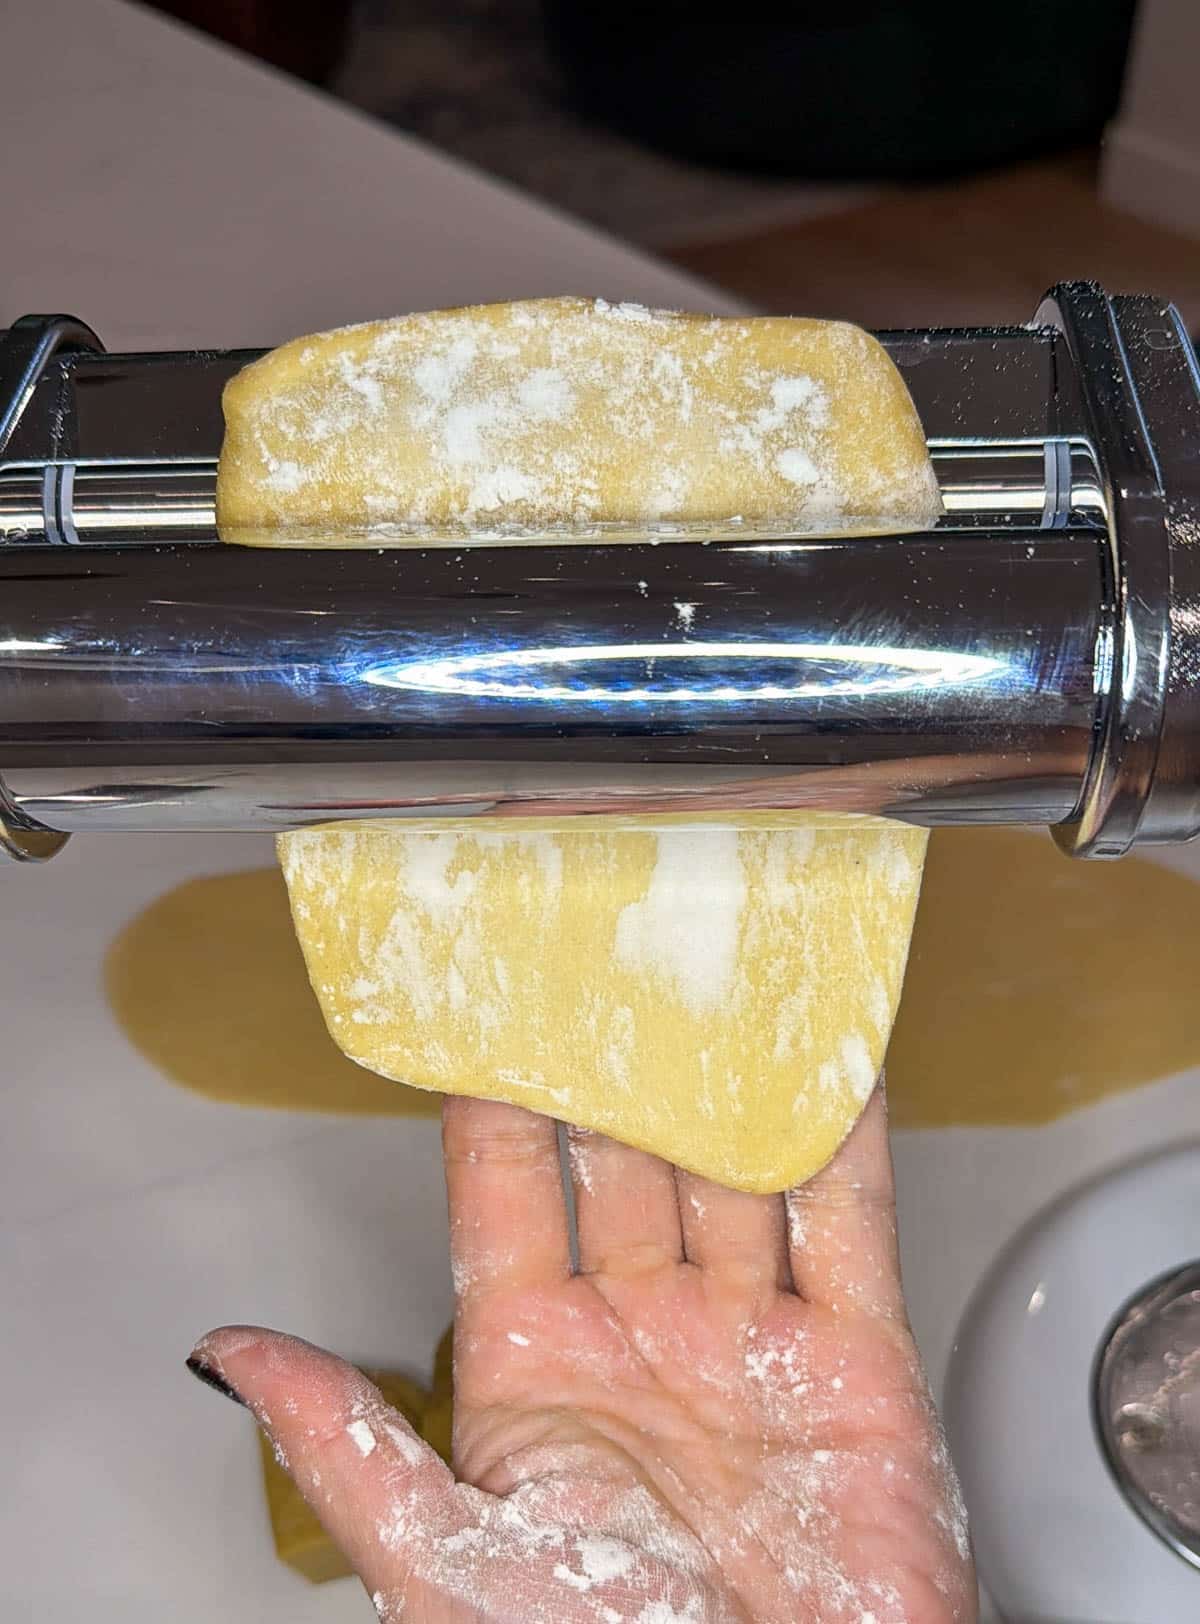
Set your pasta machine to the widest setting (usually labeled "0" or "1"). Flatten one piece of dough with the palm of your hand into a rough oval shape. Dust it lightly with flour.
3. The First Pass and the "Lamination"
Run the dough through the widest setting. Now, perform a letter fold: fold the dough into thirds (like a piece of mail) and run it through the widest setting again, perpendicular to the fold.
- Why? This step, called lamination, further aligns the gluten and ensures a uniform rectangular shape for your sheet. Repeat this fold 2 or 3 times on the widest setting.
4. Narrowing the Gap
Once the dough is smooth and rectangular, stop folding. Turn the dial to the next narrowest setting and run the dough through once.
- The Rule: Pass the dough through each setting only once. Do not skip settings, as this can overstress the motor (if electric) or tear the delicate dough.
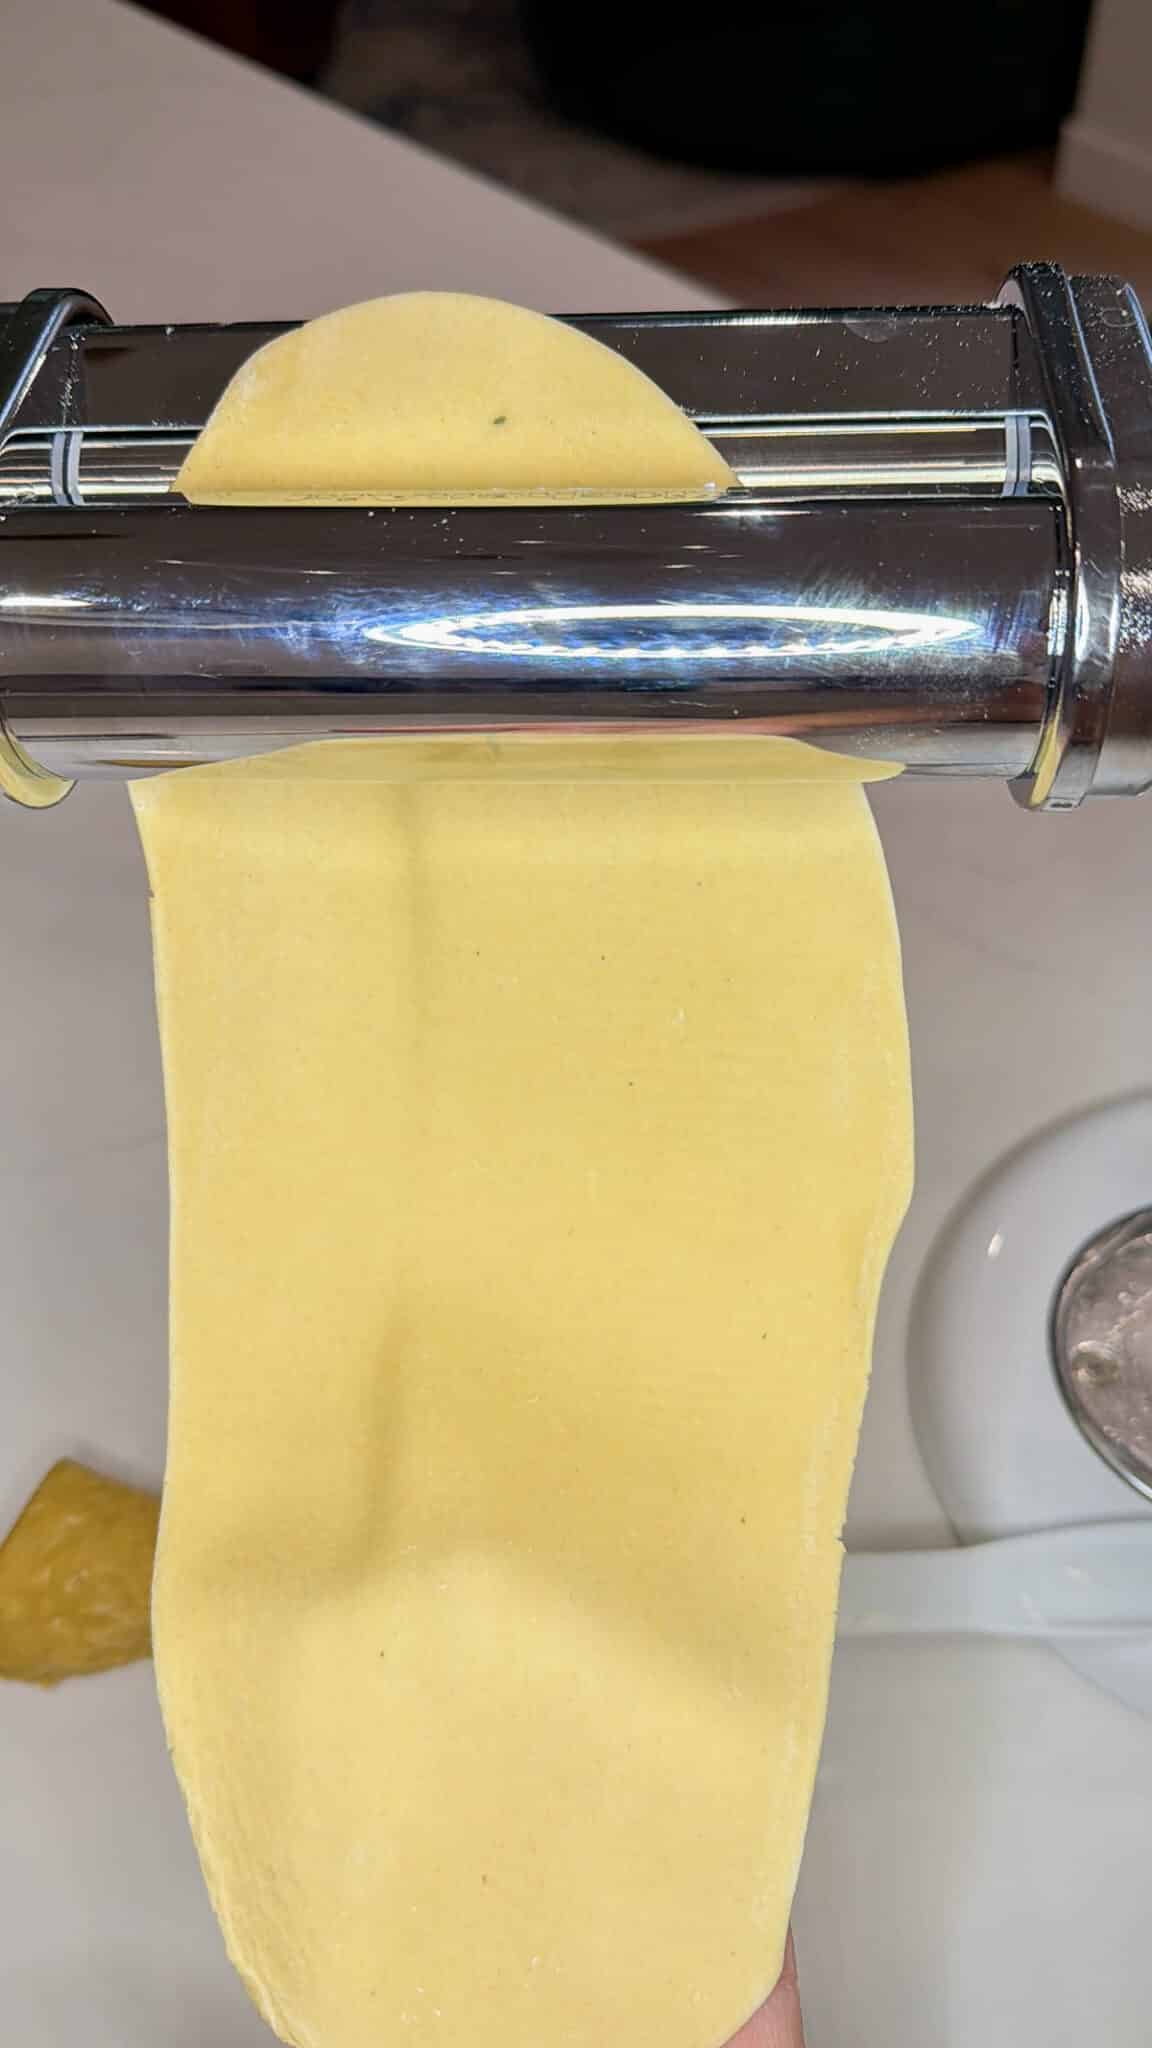
5. Managing the Length
As the dough gets thinner, it will become very long. Use the back of your hand to support the sheet as it exits the rollers so it doesn't stretch or fold over on itself.
- Pro-Tip: If the sheet becomes too long to handle, feel free to cut it in half crosswise and continue rolling the two smaller sheets separately.
6. The "Transparency" Test
Continue rolling until you reach your desired thickness.
- Fettuccine/Tagliatelle: Usually setting 5 or 6.
- Ravioli/Linguine: Usually setting 7 or 8.
- The Test: You should be able to see the silhouette of your hand through the sheet of pasta when you hold it up to the light.
Troubleshooting the Machine
| Issue | Solution |
| Dough is "shredding" at the edges | The dough is too dry. Fold it up, add a drop of water, and start back at the widest setting. |
| Dough is rippling or sticking | The dough is too wet. Dust the sheet generously with flour before the next pass. |
| Dark streaks on the pasta | This is usually machine oil. Wipe the rollers with a dry paper towel (never use water to clean a pasta machine!). |
Note: Never wash your pasta machine with water or soap. It will rust the internal gears. Simply let any stray bits of dough dry out, then brush them away with a dry pastry brush or a toothpick.
Troubleshooting Problems
Even with a perfect ratio, variables like the humidity in your kitchen or the size of your eggs can throw things off. Here is how to handle the two most common "disasters":
The Dough is Too Dry (Crumbly/Sandy)
If you've been kneading for 5 minutes and the dough still looks like a dry sponge or won't stay in a ball, it needs moisture.
- The Fix: Do not pour water directly onto the dough. Instead, dip your hands in warm water and continue kneading. This adds moisture in tiny, manageable increments. Repeat until the dough gathers all the stray flour.
The Dough is Too Sticky (Tacky/Stretching)
If the dough is sticking to your hands or the countertop like glue, it's over-hydrated.
- The Fix: Lightly dust your work surface with flour and knead it in. Only add a tablespoon at a time. The goal is a dough that feels like "earlobe" or "play-dough" consistency-soft but not sticky.
The Most Important Step: The Rest
The biggest mistake people make is trying to roll out the dough immediately after kneading. The gluten is "tight" and angry at this stage.
Crucial Rule: Wrap your dough tightly in plastic wrap and let it sit at room temperature for at least 30 minutes (up to 2 hours). This allows the flour to fully hydrate and the gluten to relax, making it easy to roll paper-thin without it snapping back.
How To Store Fresh Pasta
If you are cooking the pasta later the same day, you can leave it out at room temperature.
- Toss with Flour: Generously dust the cut pasta with semolina or all-purpose flour so the strands do not stick together.
- Make "Nests": Twirl small portions of the pasta into loose bird-nest shapes on a parchment-lined baking sheet.
- Cover: Drape a clean, dry kitchen towel over the nests to keep dust off and prevent them from becoming too brittle
Refrigerating fresh pasta is tricky because the moisture in the eggs can make the dough gummy.
- Air Dry First: Let the pasta nests sit out on a tray for about 30 minutes to "surface dry."
- Airtight Container: Place the semi-dry nests into an airtight container or a sealed freezer bag.
- Chill: Store in the fridge for no more than 1 day. If you wait longer, the dough often turns an unappetizing gray color due to oxidation.
Freezing fresh pasta is actually the preferred method for most chefs because it preserves the "fresh" flavor better than the fridge does.
- Flash Freeze: Place your flour-dusted nests on a baking sheet in a single layer. Put the whole tray in the freezer for 1 hour until the nests are frozen solid.
- Bag It: Transfer the frozen nests into a heavy-duty freezer bag. Squeeze out as much air as possible.
- Cook from Frozen: Do not thaw the pasta before cooking. Drop the frozen nests directly into boiling salted water. They will only need about an extra minute of cook time compared to fresh.
If you want to dry pasta, you need a very dry environment and a pasta drying rack. However, for egg-based pasta, home-drying can be risky due to the raw eggs. Stick to freezing for the safest and best-tasting results.
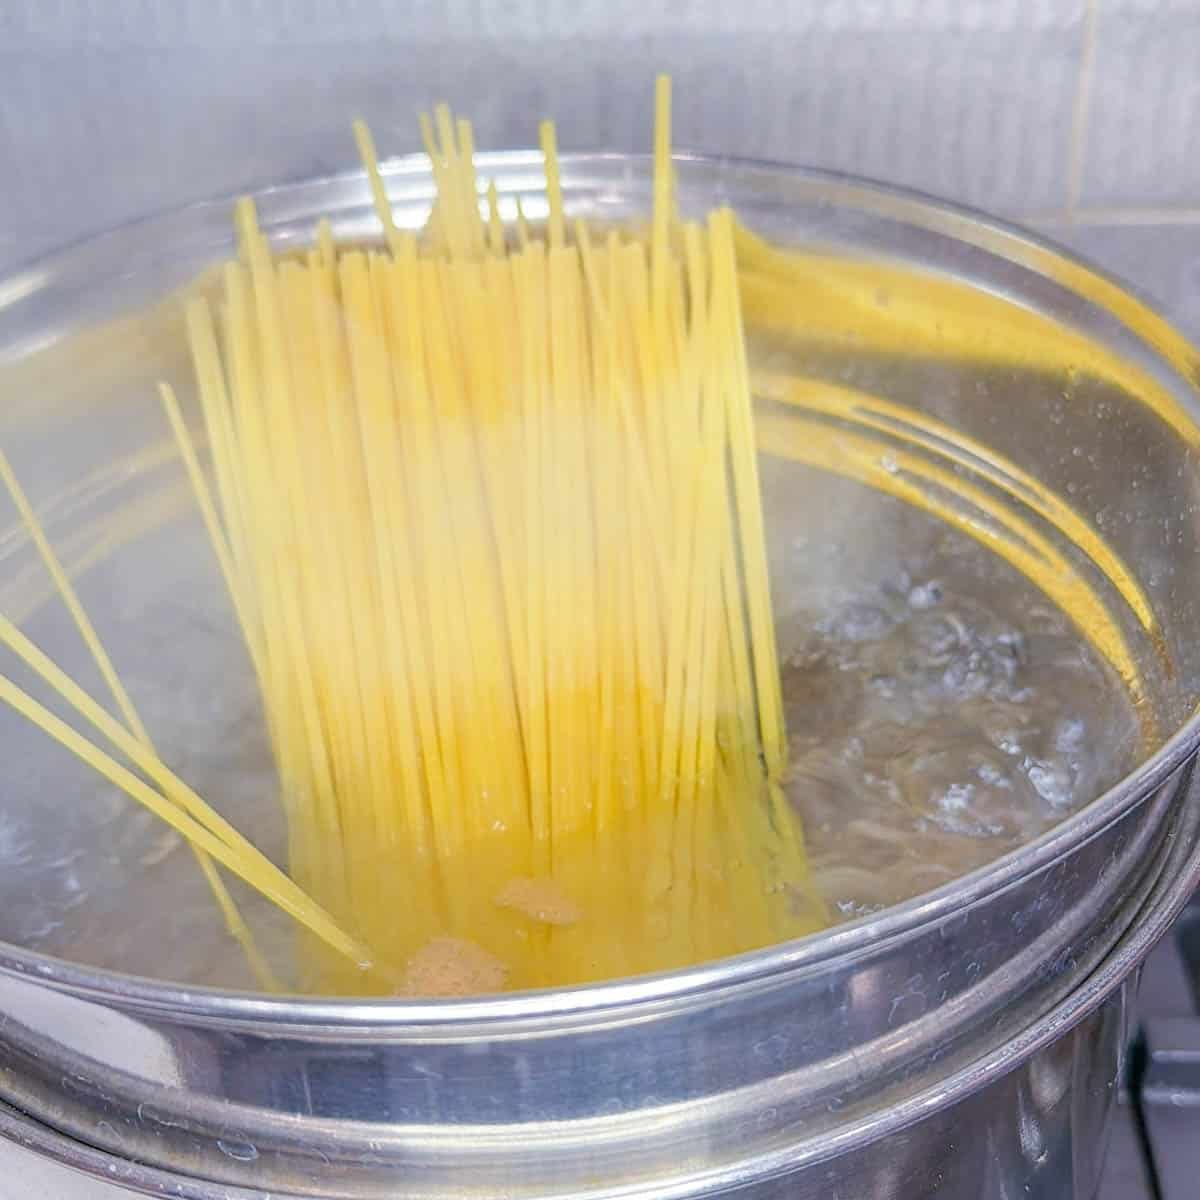
How To Cook Fresh Pasta
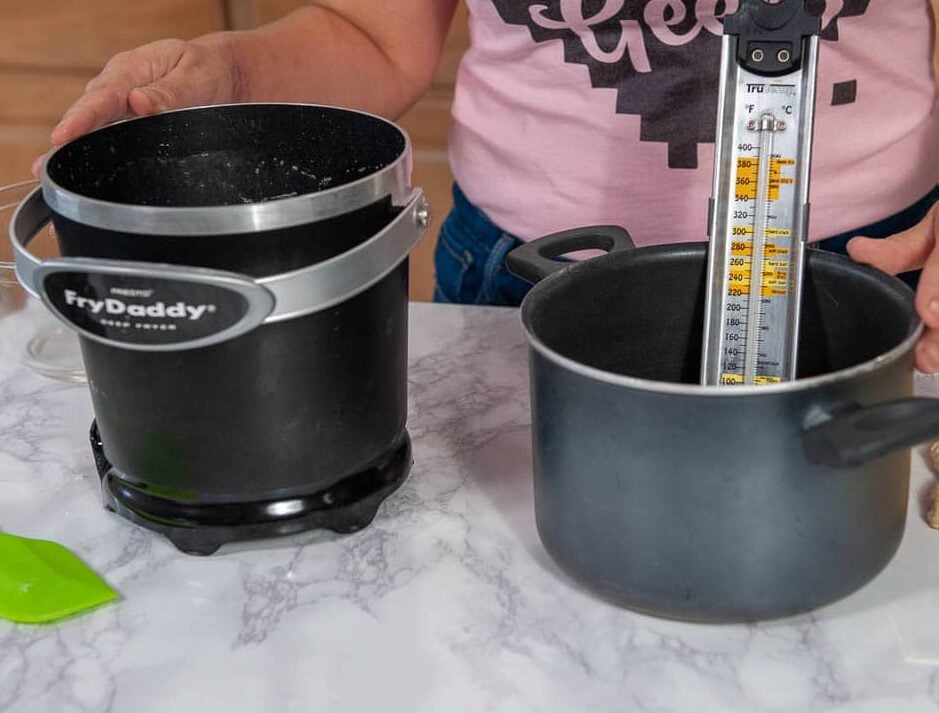
Cooking fresh pasta is a "blink, and you'll miss it" situation. Unlike dried boxed pasta, which can take 10 to 12 minutes, fresh egg pasta usually cooks in 2 to 4 minutes.
The exact timing depends on the thickness of your dough and the shape you created.
Cooking Times by Shape
- Angel Hair or Thin Tagliolini: 1 to 2 minutes
- Fettuccine or Pappardelle: 3 to 4 minutes
- Hand-shaping (Orecchiette or Gnocchi): 4 to 5 minutes
- Filled Pasta (Ravioli or Tortellini): 4 to 6 minutes
How to Tell When It Is Done
There are three main signs that your pasta is ready to meet the sauce:
- The Float Test: As the proteins in the egg coagulate and the starches swell, the pasta becomes more buoyant. When the noodles or ravioli rise to the surface of the boiling water and stay there, they are almost finished.
- The Color Change: Fresh pasta will turn a shade or two lighter as it cooks. It loses that "translucent" raw dough look and becomes opaque.
- The Taste Test: This is the only foolproof method. Take a strand out with tongs, dip it in cool water for a split second, and bite. It should be tender but still have a slight "spring" or resistance in the center.
Two Critical Rules for Fresh Pasta
- Use a Huge Pot: Fresh pasta is starchier than dried pasta. If you use a small pot, the water will turn into a thick "slurry" and your noodles will stick together in a giant clump. Use at least 4 quarts of water for every pound of pasta.
- The "Carryover" Cook: Always pull your pasta out of the water about 30 seconds before you think it is perfect. It will continue to cook when you toss it in the hot sauce.
Pro-Tip: Save a mug of the starchy pasta water before you drain it. If your sauce looks too thick or dry when you add the noodles, a splash of that "liquid gold" will create a silky, restaurant-quality finish.
Recipe
Fresh Egg Pasta
Equipment
- 1 Food processor If not making by hand
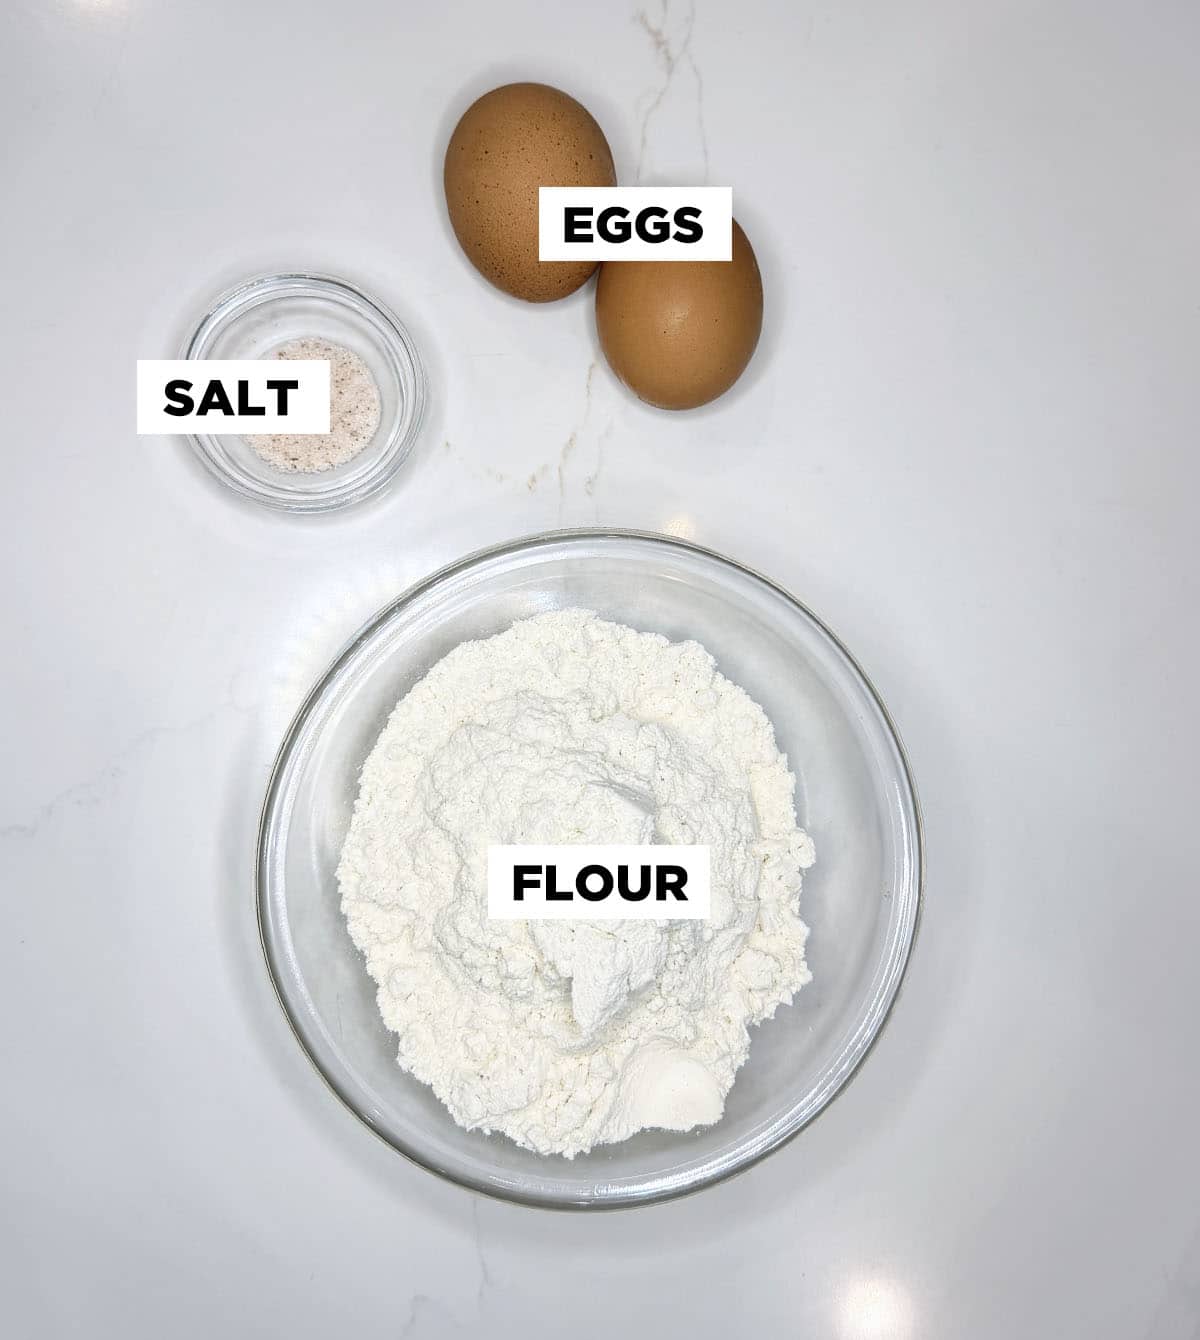
Ingredients
- 400 grams all purpose flour
- 240 grams eggs about 4 large eggs
- 6 grams salt
Instructions
Handmade Pasta
- Create the flour well on a large, clean work surface (wood or marble is ideal), pile your flour into a mound.
- Use the bottom of a bowl or your fingers to create a wide, deep hole in the center. Make sure the walls are thick and sturdy so the eggs do not leak out.
- Crack the eggs into the center of the well. If you are using salt in the dough, sprinkle it directly onto the eggs now.
- Use a fork to gently beat the eggs in the center of the well. Be careful not to puncture the flour walls yet.
- Once the eggs are blended, begin flicking small amounts of flour from the inner rim of the well into the egg mixture.
- Continue whisking in a circular motion, pulling more flour from the walls until the center becomes a thick, custard-like paste.
- Once the mixture is thick enough that it will not run across the table, use a bench scraper or your hands to fold the remaining outer walls of flour over the center.
- Work the flour and egg together until a rough, shaggy ball forms. If there are dry bits of flour that will not stick to the ball, do not force them in. Simply brush them aside. If the dough is too sticky to handle, add a tiny dusting of extra flour.
- Use the heel of your hand to push the dough away from you, then fold it back over itself, rotate it 90 degrees, and repeat. Do this firmly for 8 to 10 minutes. The dough is ready when it is smooth, elastic, and bounces back slowly when poked with a finger.
- Wrap the dough tightly in plastic wrap to prevent it from drying out. Let it rest on the counter at room temperature for at least 30 minutes. This allows the gluten to relax so the dough does not shrink back when you roll it out.
- After the rest, dust your surface with a little more flour. Cut the dough into four pieces and roll them out one at a time to your desired thickness. Cut into ribbons for fettuccine or leave in sheets for lasagna.
Video
Notes
Troubleshooting Your Dough
Even with a perfect ratio, variables like the humidity in your kitchen or the size of your eggs can throw things off. Here is how to handle the two most common "disasters":1. The Dough is Too Dry (Crumbly/Sandy)
If you’ve been kneading for 5 minutes and the dough still looks like a dry sponge or won't stay in a ball, it needs moisture.- The Fix: Do not pour water directly onto the dough. Instead, dip your hands in warm water and continue kneading. This adds moisture in tiny, manageable increments. Repeat until the dough gathers all the stray flour.
2. The Dough is Too Sticky (Tacky/Stretching)
If the dough is sticking to your hands or the countertop like glue, it’s over-hydrated.- The Fix: Lightly dust your work surface with flour and knead it in. Only add a tablespoon at a time. The goal is a dough that feels like "earlobe" or "play-dough" consistency. Soft but not sticky.