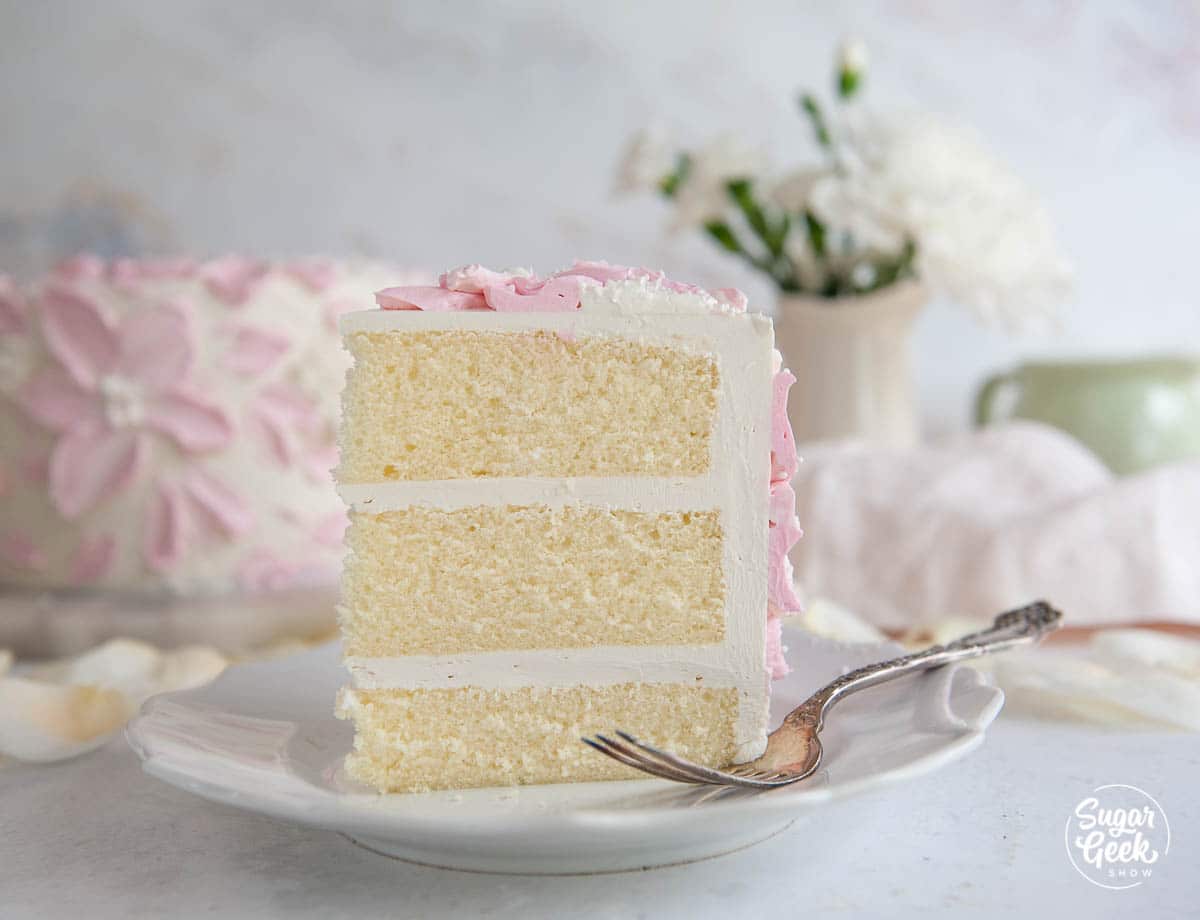
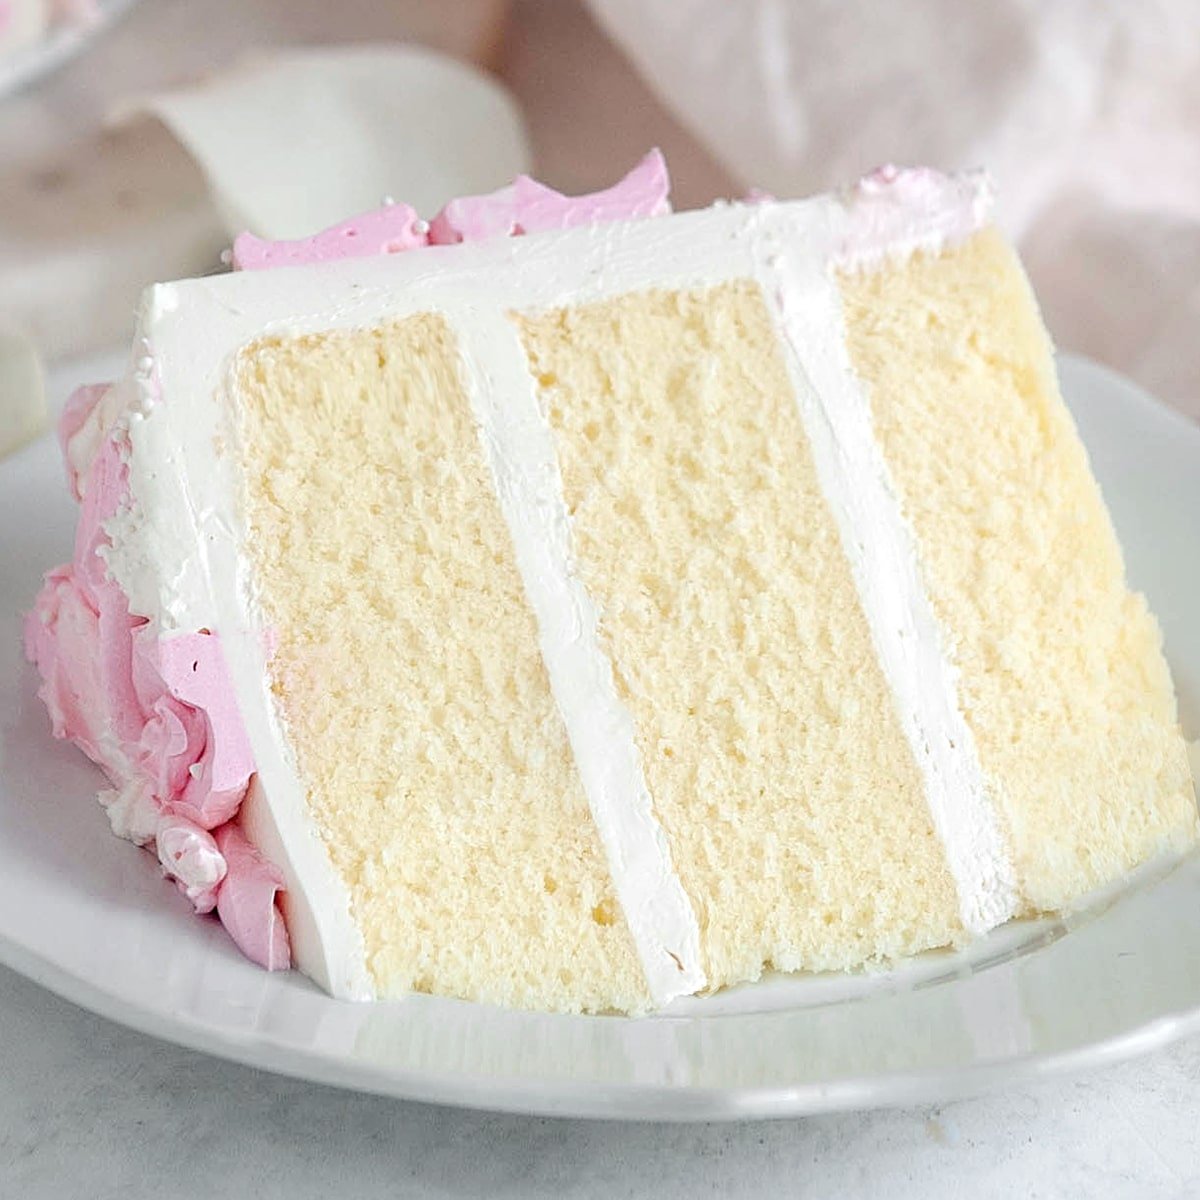
This is the best vanilla cake recipe! It has an amazing flavor, a soft, cloud-like crumb, and is so incredibly moist. Cake flour, the reverse creaming method, lots of butter, and a touch of oil keeps this cake moist for days. This was my first cake recipe posted in my first cookbook Artisan Cake Companys Visual Guide To Cake Decorating. It was one of my most popular flavor for wedding cakes back when I was still a storefront.
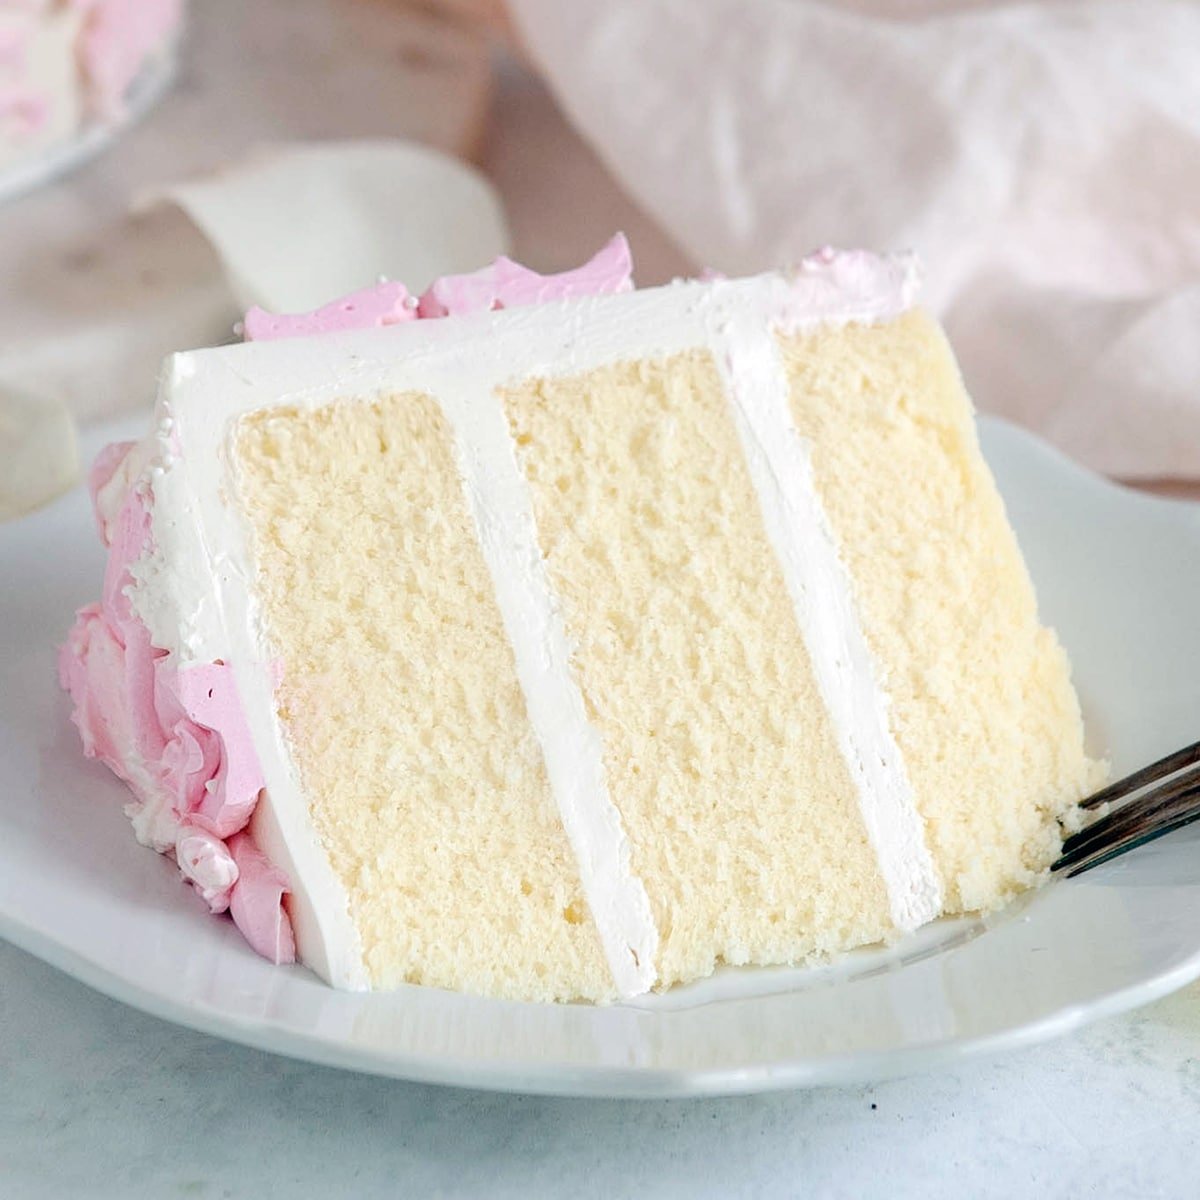
Next to my white velvet buttermilk cake, and lemon blueberry cake, this moist vanilla cake is one of our most popular recipes. I have been using this recipe for over ten years for my cake clients with nothing but rave reviews. This is the cake that turns those "I don't even like cake" consultations into OMG we need to book you right now clients! This is perfect for special occasions like weddings, showers, and it makes the perfect birthday cake!
Whats In This Blog Post
What Makes This Vanilla Cake The BEST
I have tested this recipe over and over and tweaked it many times until I achieved in my mind what is the BEST vanilla cake. To me, the best cake is soft, moist, buttery, flavorful and moist even after a few days. It's versatile and can go with just about any flavor combo. I've used this recipe as a base for other recipes like my applesauce spice cake, pink champagne cake, and yellow cake recipes.
- The Texture of this vanilla cake is incredibly soft and has a tender moist crumb thanks to the reverse creaming method. The reverse creaming method is where you combine the butter with the dry ingredients first and then add the liquids. There are no large holes, toughness or dryness to be found in this cake. A common complaint is that it's SO tender some people think they did something wrong but I assure you, this tenderness is totally normal and delicious.
- Incredibly delicious flavor! Using high-quality butter, vanilla, and whole eggs not only adds tons of flavor, it keeps this cake moist for days.
- Bakes flat so you have no cake waste.
- Very moist but stable enough to make layered cakes or wedding cakes.
- Not too sweet and goes really well with my vanilla buttercream.
Vanilla Cake Ingredients
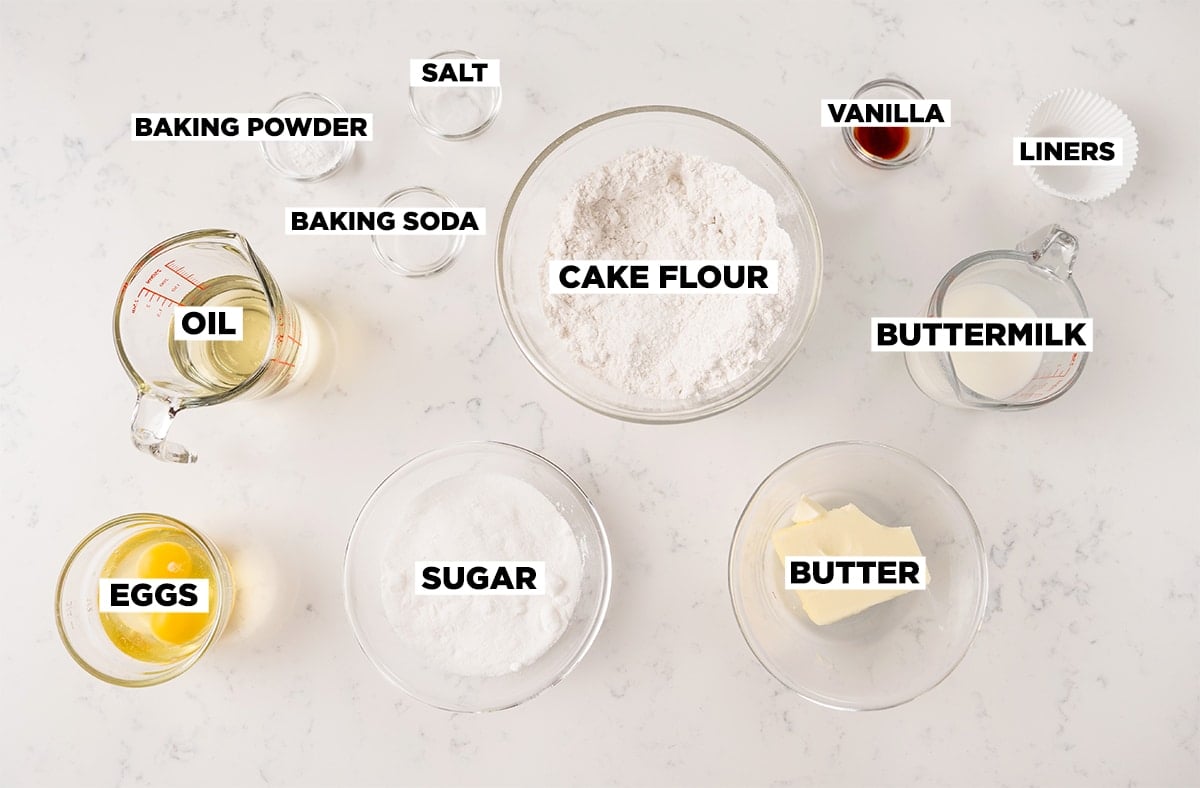
Cake flour is used in this recipe instead of all-purpose flour because cake flour has a much lower protein content resulting in a more tender and moist cake. If all you have is all-purpose flour, then you can use the cornstarch hack to make your own cake flour BUT I will warn you it won't taste exactly the same.
Vanilla is the main flavor ingredient in this recipe so ideally you should use pure vanilla extract or even vanilla beans for the best flavor.
Unsalted butter is what bakers normally use for baking so that you can control the level of saltiness in your recipes. If you don't have unsalted butter you can use salted butter but it can affect the flavor of your cake layers.
Vegetable oil is used to help keep this cake moist for days. If you don't have vegetable oil or don't want to use it, you can use any other type of oil like canola, olive oil, or grapeseed oil.
Tips For Success (trust me, you want to read this)
- Measure out all of your ingredients with a kitchen scale. Baking is a science and because you can accidentally add too much flour or have not enough flour when you use cups, a scale is needed for accuracy. You can purchase a kitchen scale in the baking aisle at most grocery stores for less than $20.
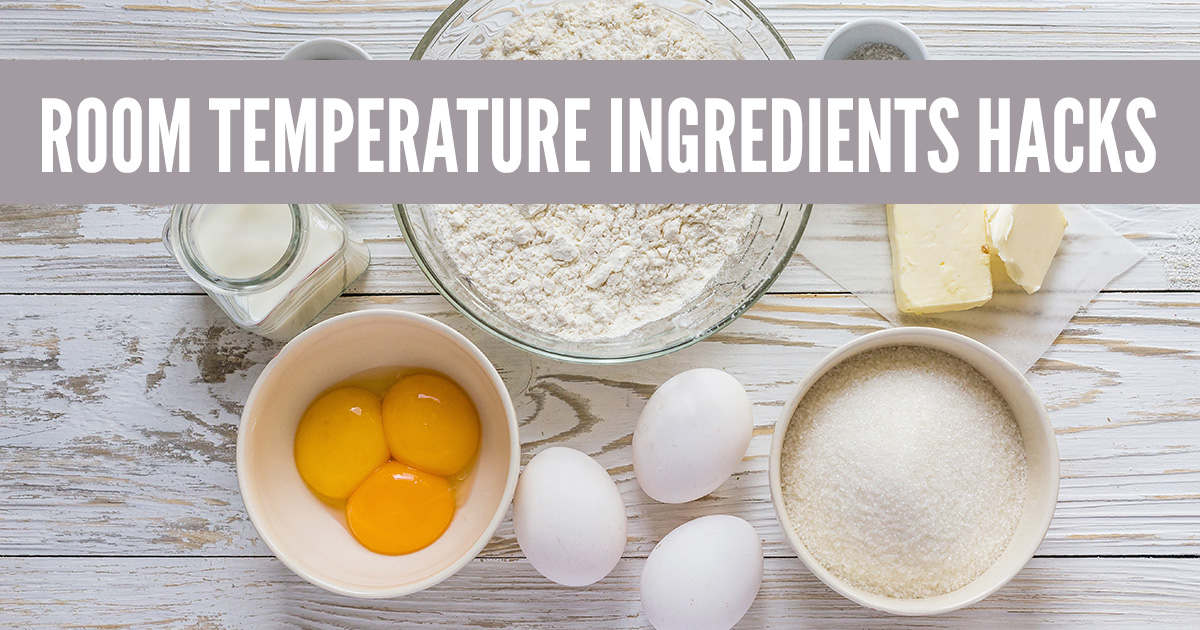
- Bring your butter, milk, and eggs to room temperature. Room temperature ingredients will create an emulsion properly but if any of your ingredients are cold then the batter will not mix together properly and you'll end up with a wet layer at the bottom of the cake. Click the link above if you need to know how to warm up your eggs, milk, and butter properly.
- Don't be afraid to mix. If you've never used the reverse creaming method before you might get freaked out about the mixing stage because we are going to mix for TWO minutes. When you're traditionally making a cake, you would never mix that long because you would over-mix your cake batter and create huge holes (tunnels).
- With the reverse creaming method, we coat the flour in the butter first which inhibits the gluten from developing. We are also using cake flour which isn't as strong as regular flour so it needs to be mixed more. Reverse creaming also allows us to add more liquids and sugar to the cake than the typical mixing style which is why this vanilla cake is SO incredibly moist and tender.
- Check your altitude - If you live above 5,000 ft you may need to reduce your baking powder a bit so that your vanilla cakes do not collapse.
Vanilla Cake Step-By-Step
- Preheat your oven to 335ºF. I like to bake at a lower temperature because it results in a flatter cake. If your oven doesn't have that capability, it's still ok to bake at 350ºF. You might have a tiny dome after baking but you can just trim it off.
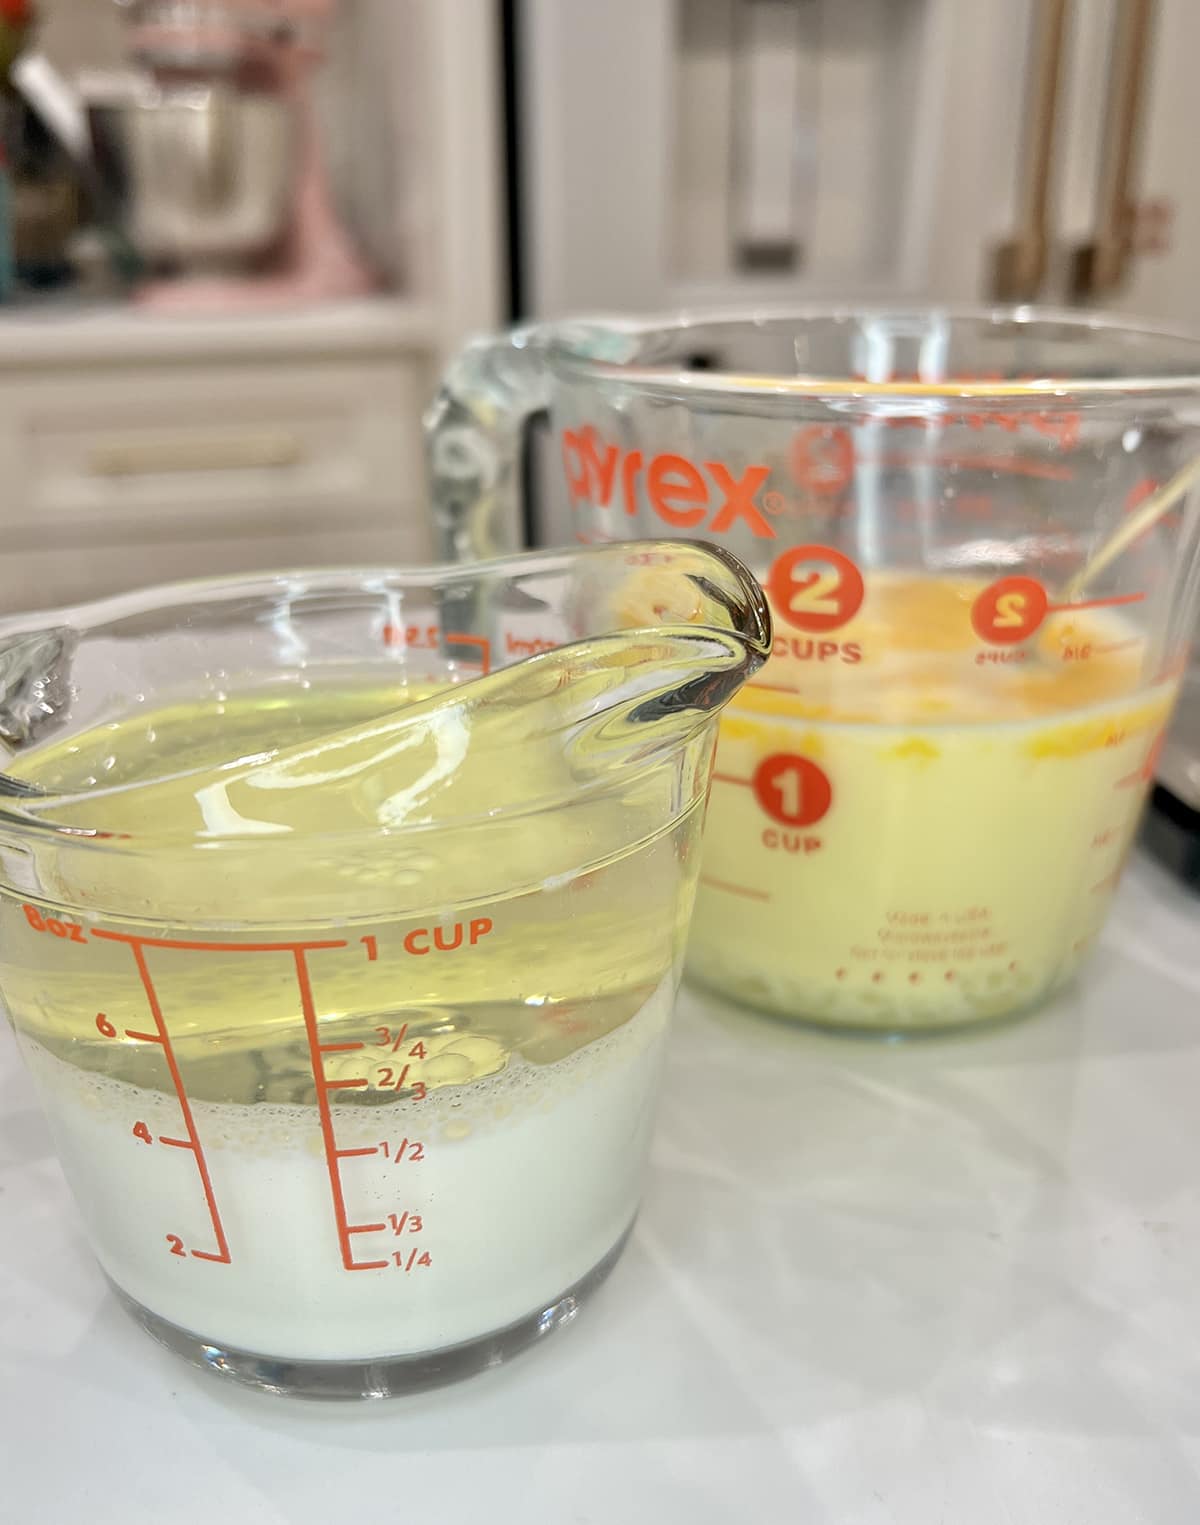
- Place the first measurement of warm milk (4 oz) into a separate measuring cup. Add in the oil and set it aside.
- To the second measurement of milk, add the eggs and vanilla extract. Whisk lightly to break up the eggs.
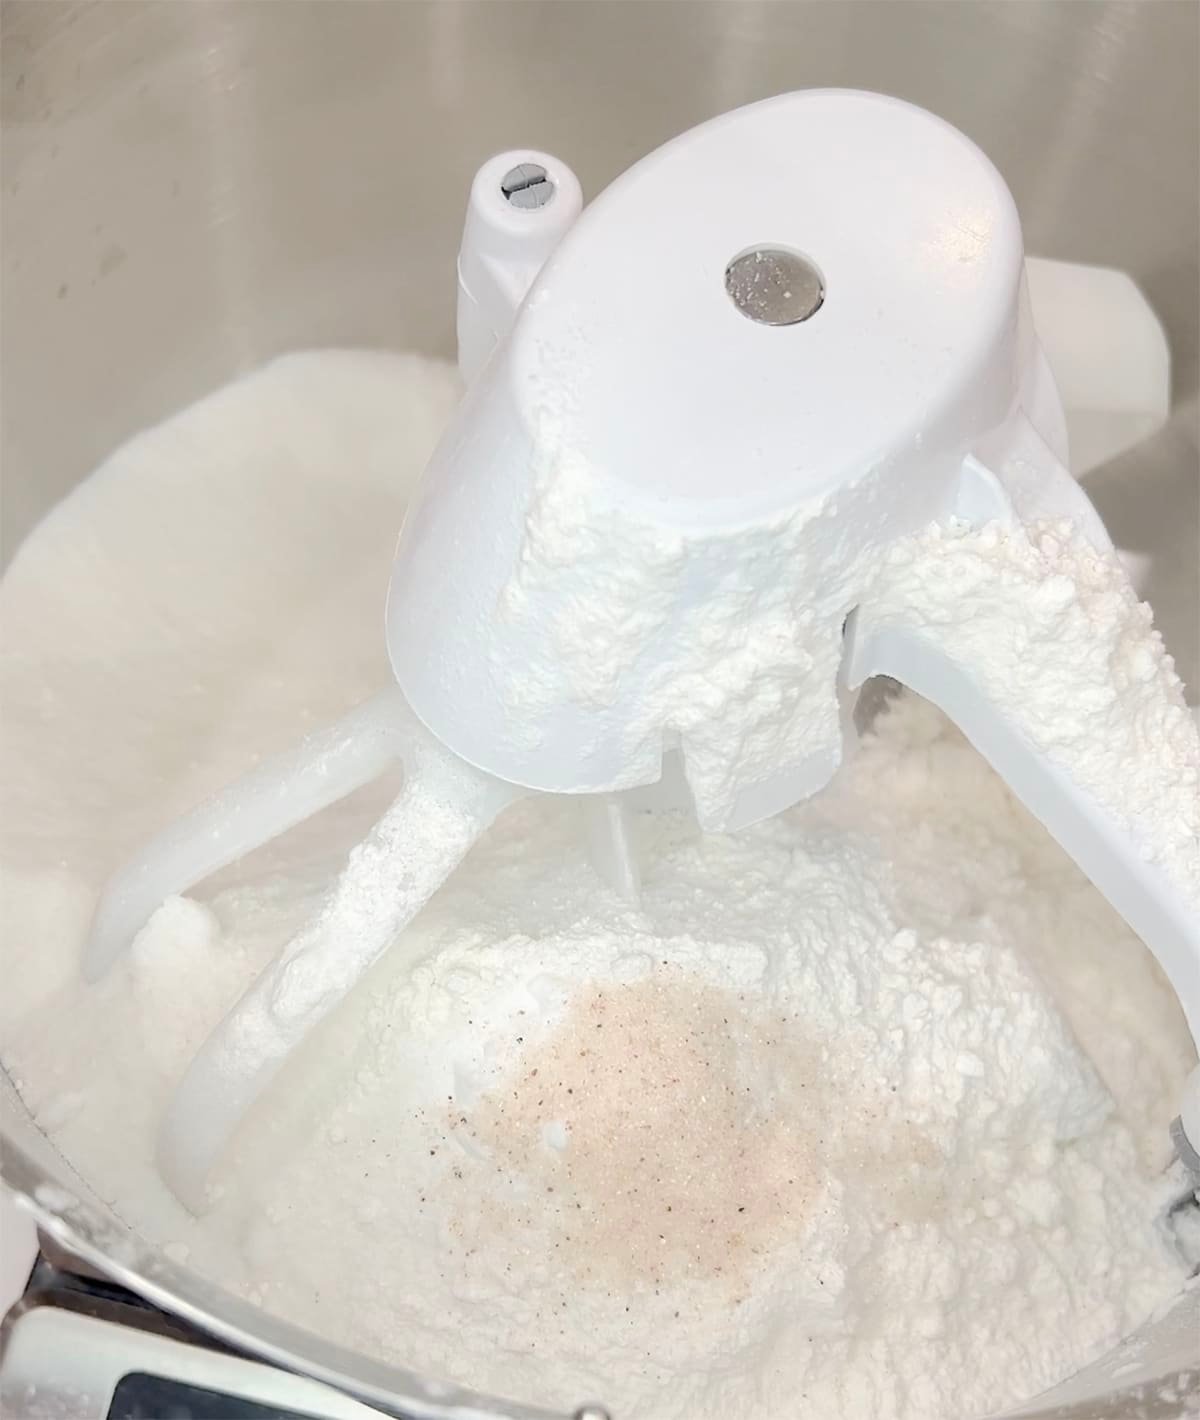
- Place your cake flour, sugar, baking soda, baking powder, and salt into the bowl of a stand mixer with the paddle attachment attached. You can also use a hand mixer. *before you ask, this is my Bosch universal plus affiliate link if you're interested in learning more.
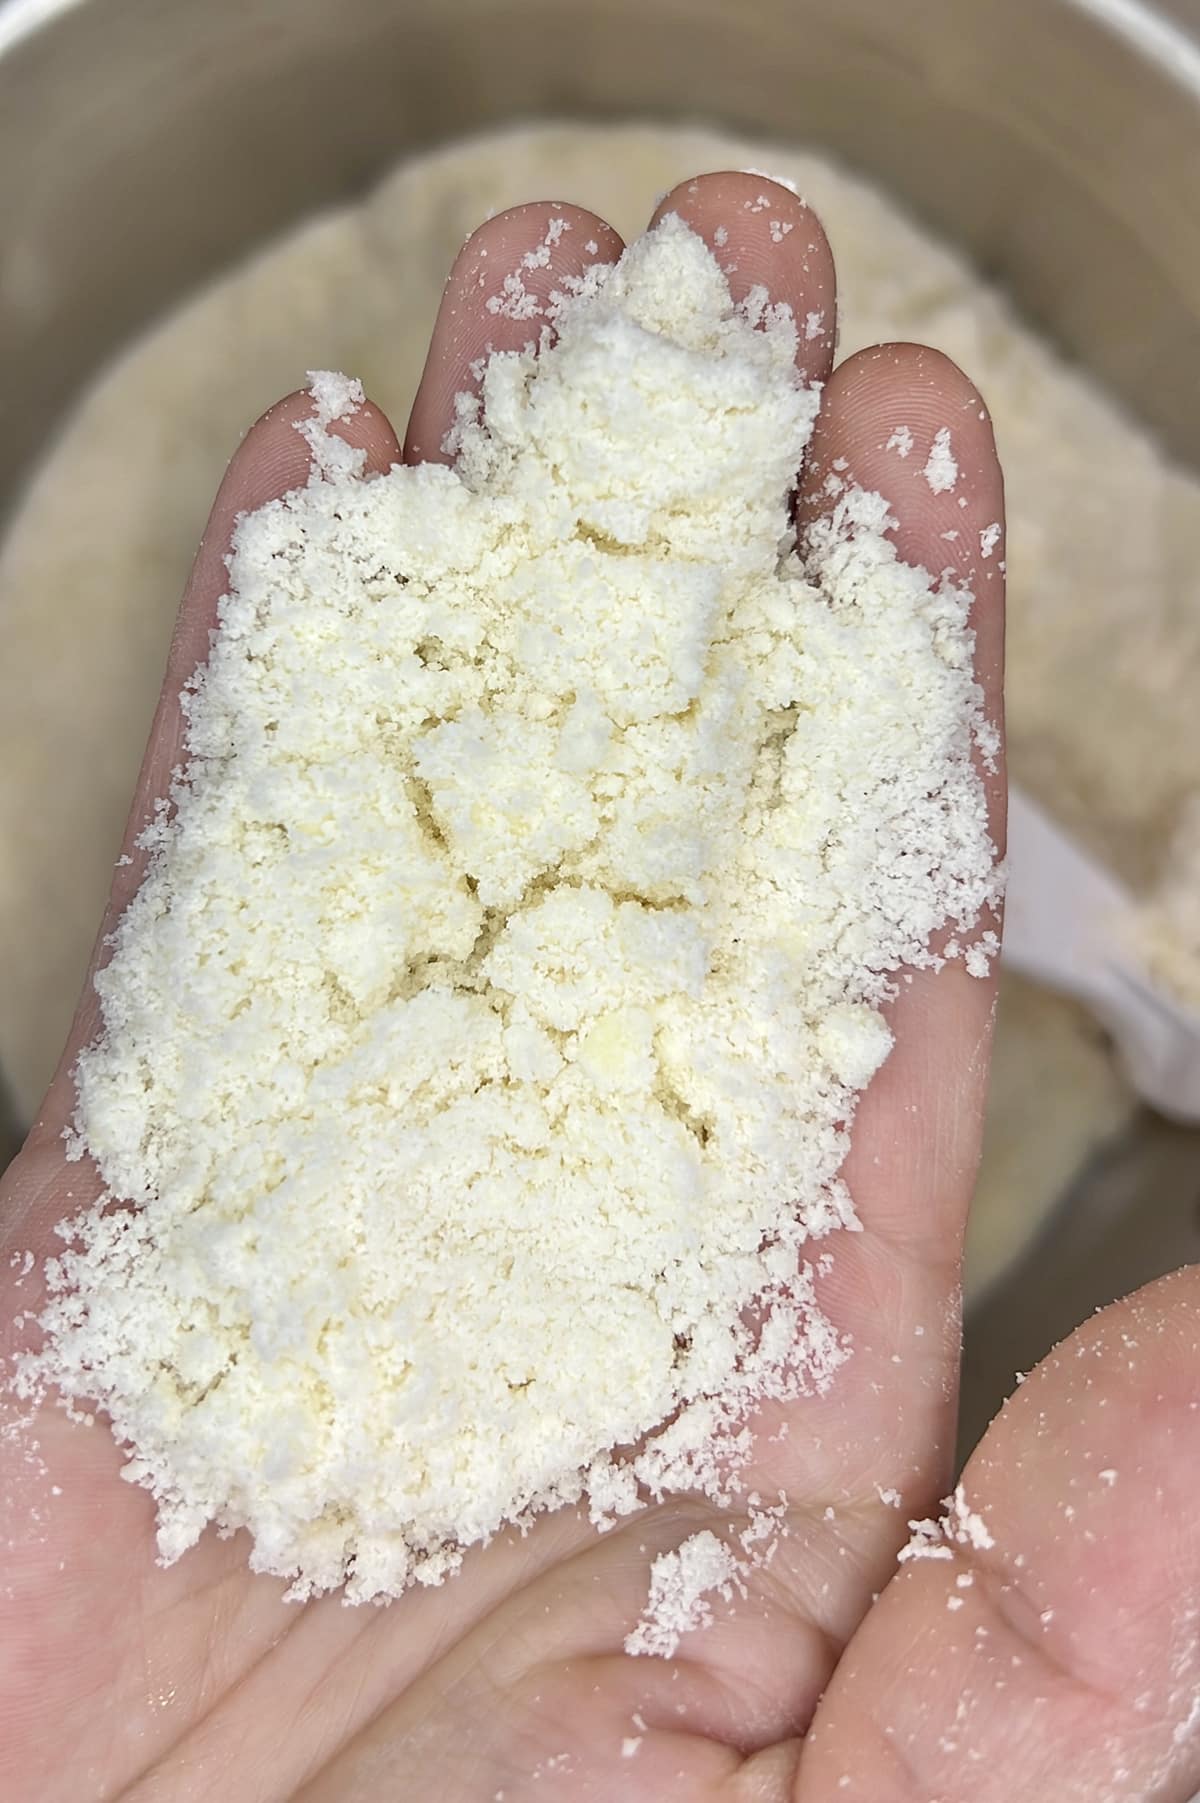
- Add in your softened butter in chunks while mixing on low speed. Mix everything until it looks like coarse sand. Don't walk away because this happens pretty quickly.
- Now add in the milk/oil mixture all at once. Mix for two full minutes on medium speed to develop the cake's structure. The batter should be light, white, and not curdled looking or broken.
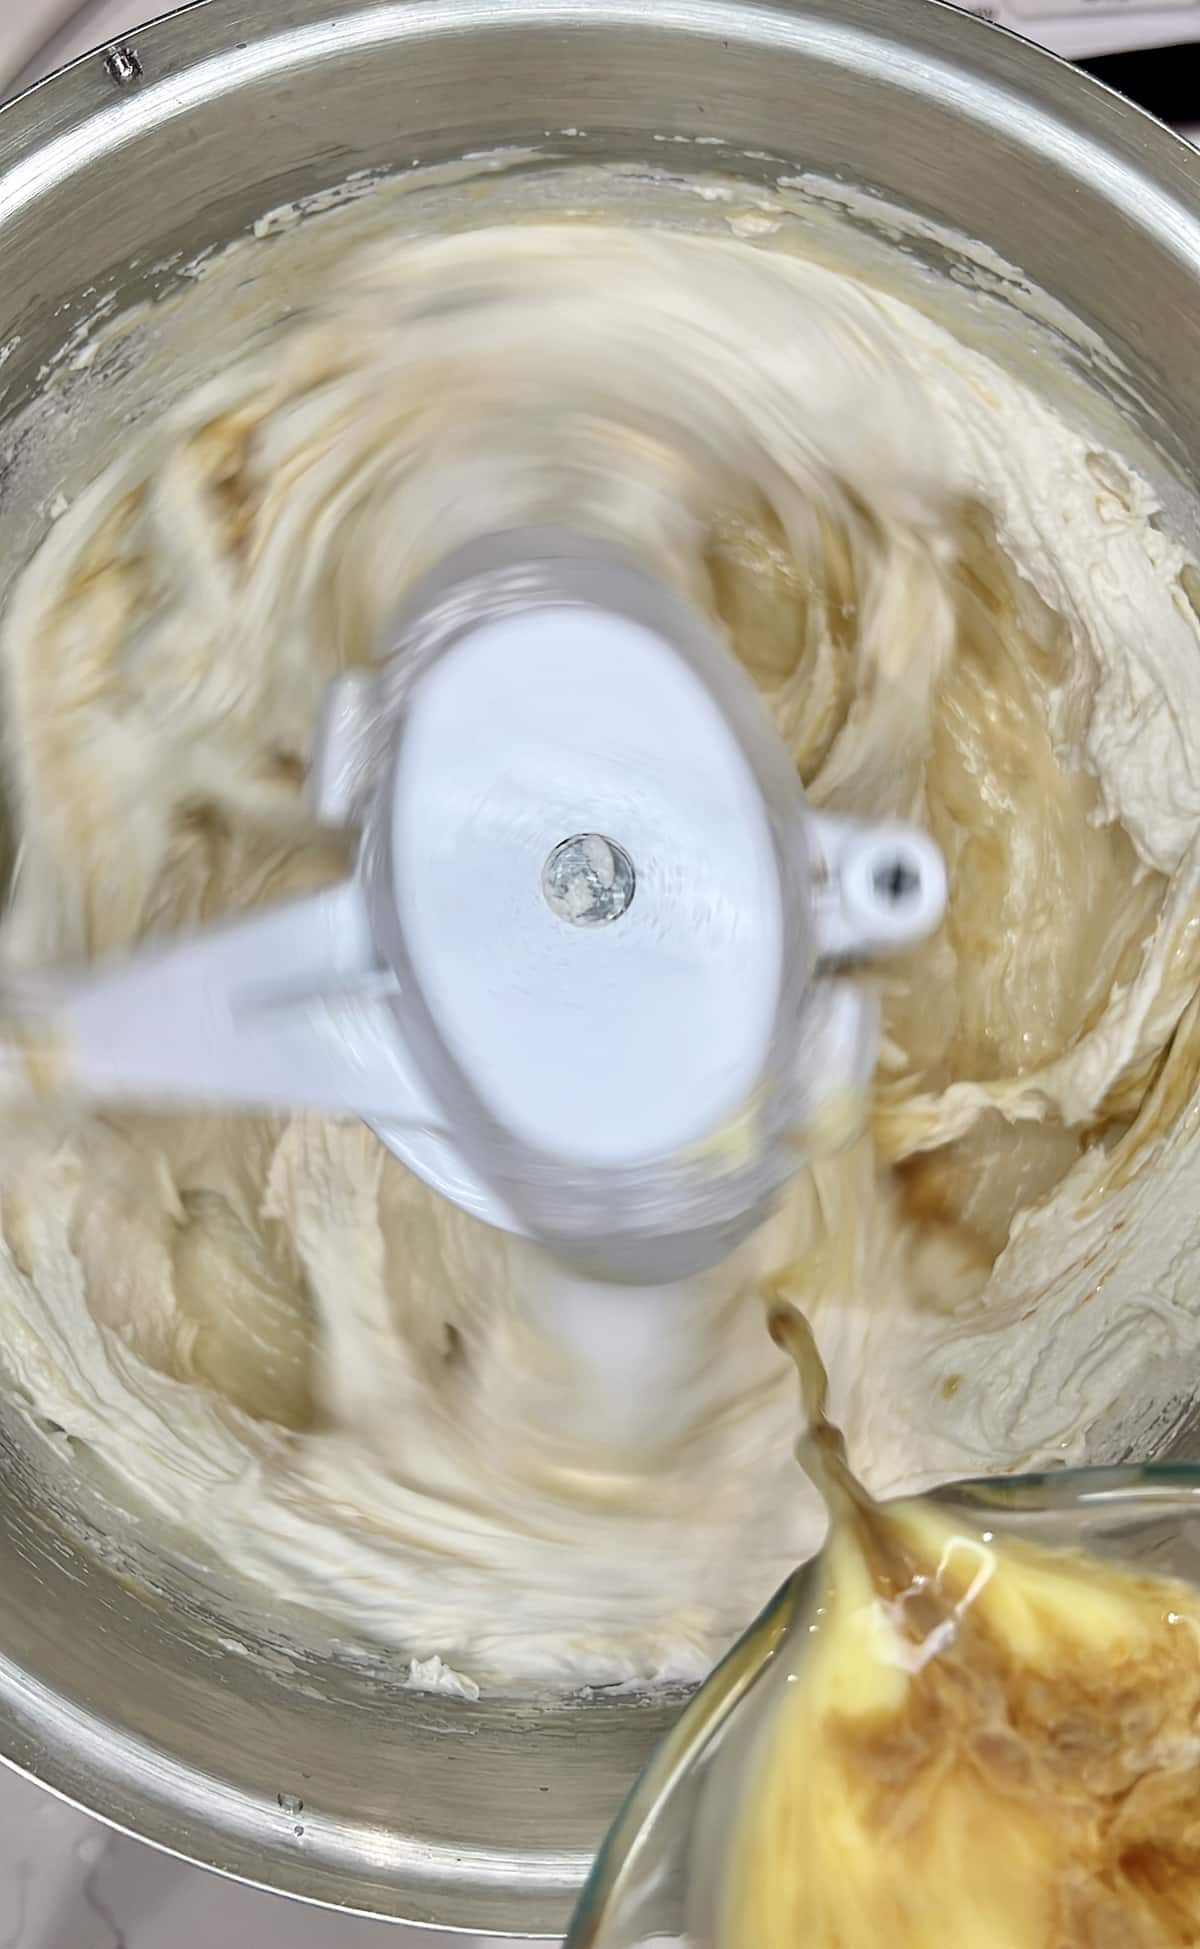
- Now we are going to slowly add in our egg/milk mixture while mixing on low. We are adding it slowly because we are creating an emulsion with our eggs and liquids. If you add it too quickly, your liquids will separate from the butter and sink to the bottom of the cake.
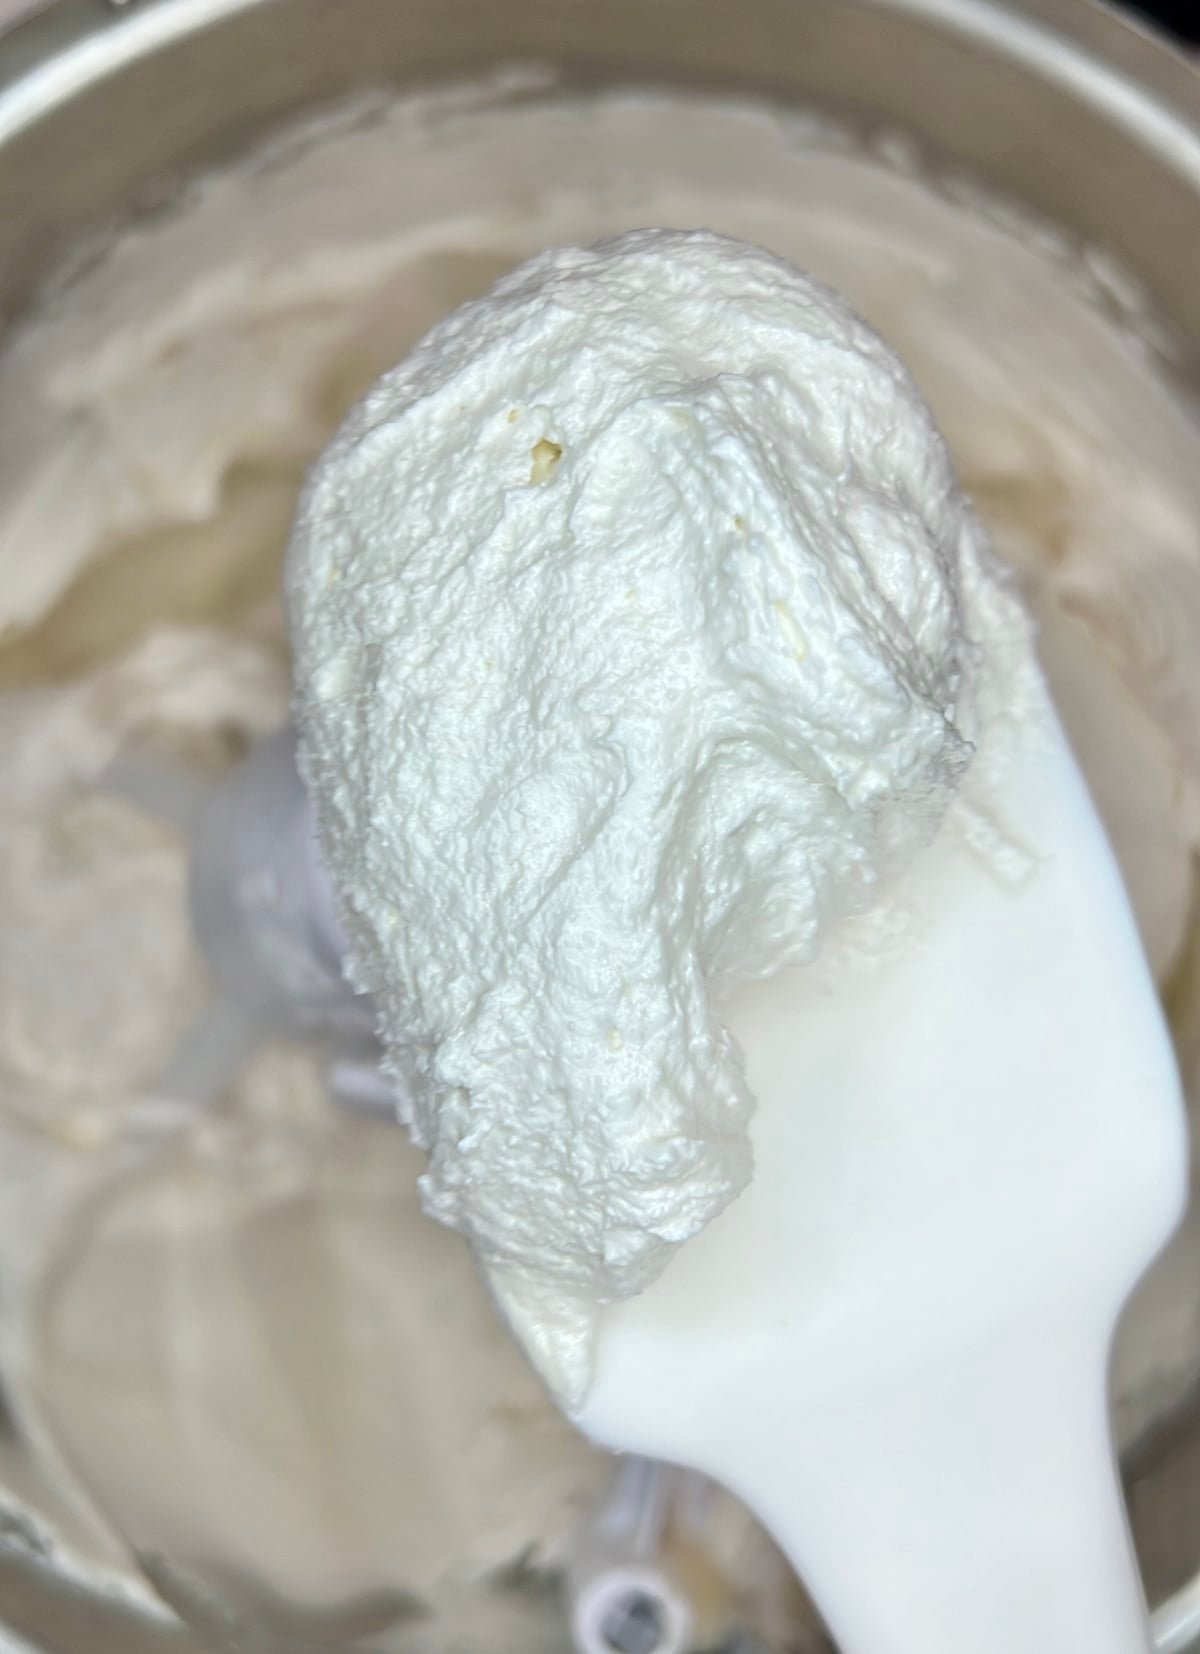
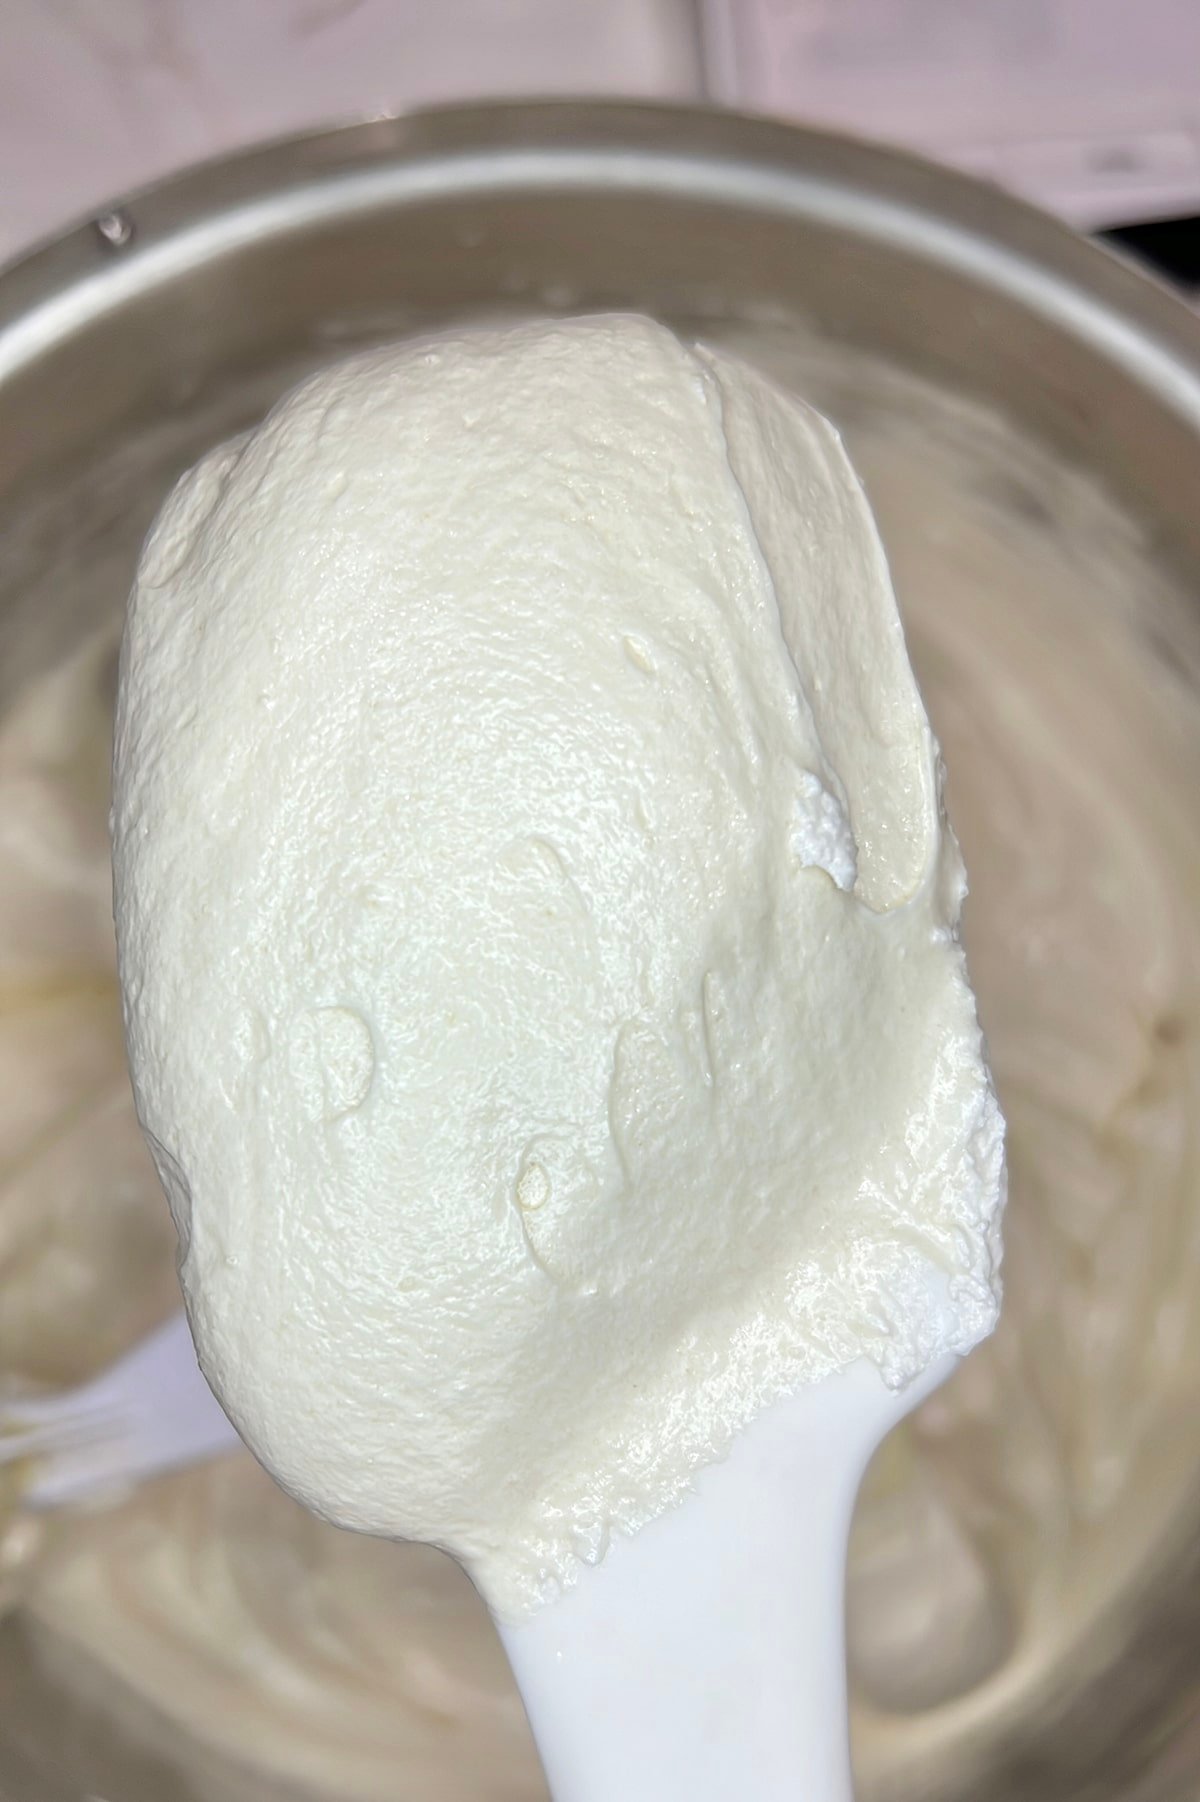
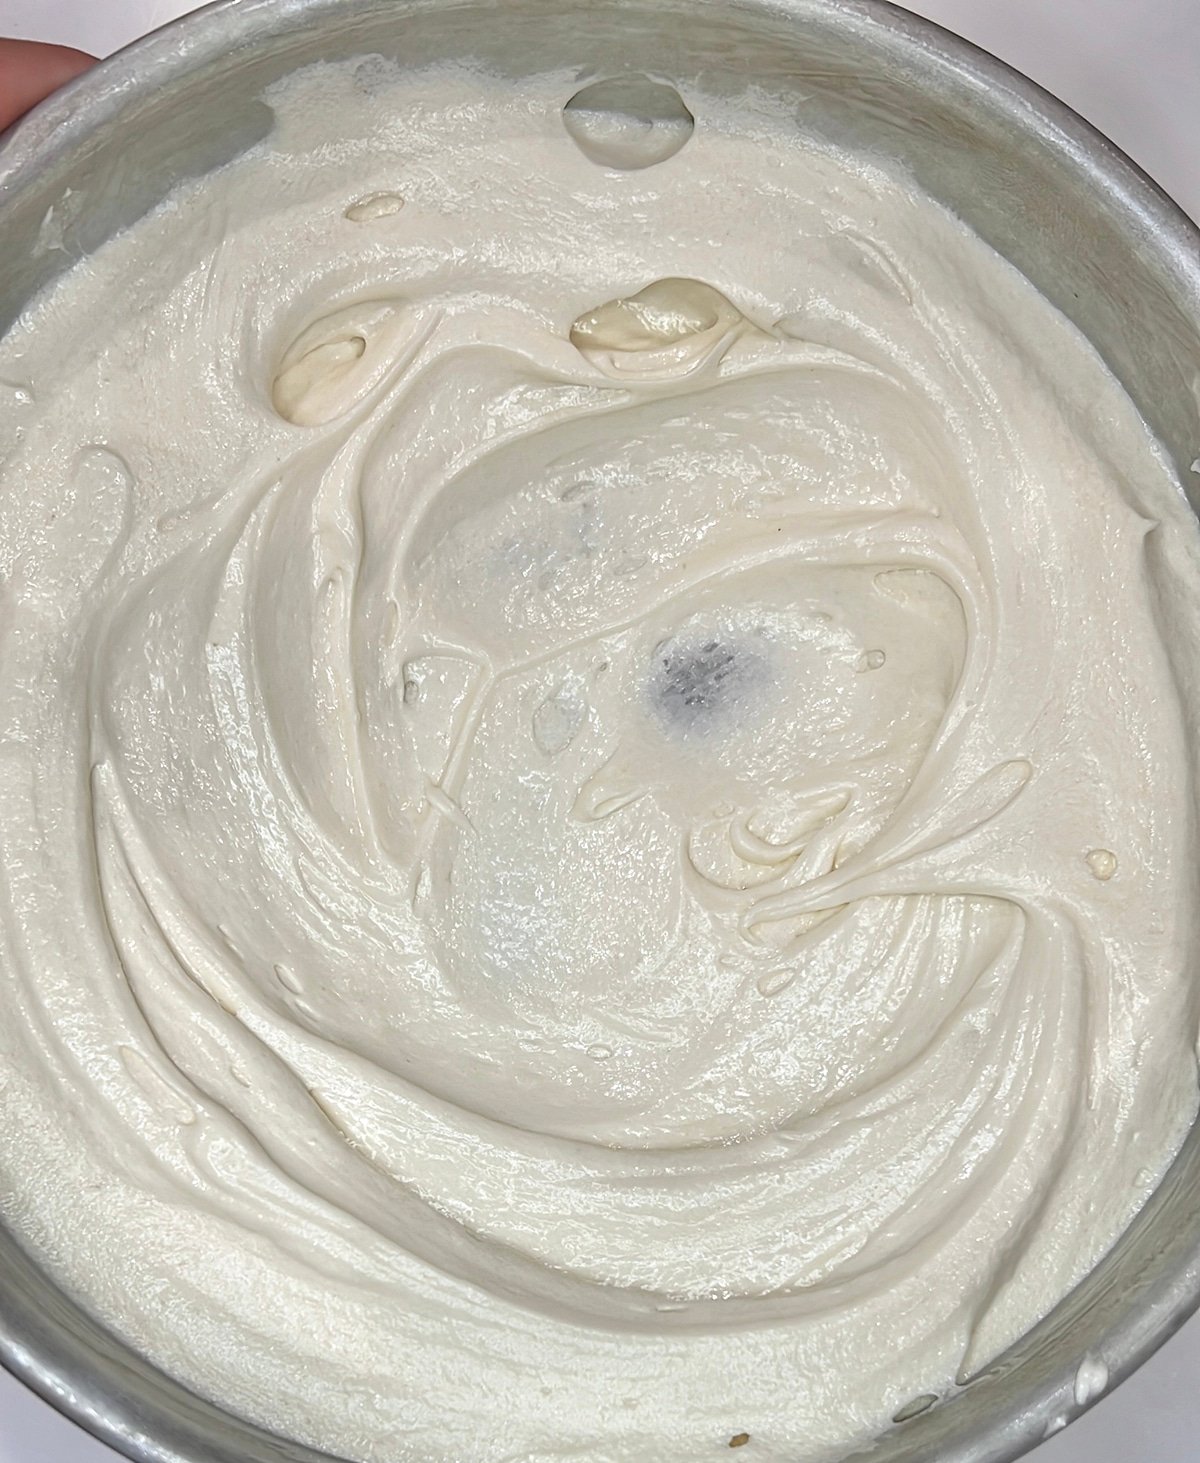
- The cake batter should be fairly thick and look smooth and shiny.
- Divide the batter into three, eight inch pans prepared with cake goop or your preferred pan release. For added insurance, you can put parchment paper into the bottom of the pan but it's really not needed. I use a scale to make sure all my pans have the same amount of batter.
- Bake your cakes for 25-30 minutes in a preheated oven until the center is set and a toothpick comes out clean from the center of the cake. You may need more time so do not be afraid to bake the cake for longer.
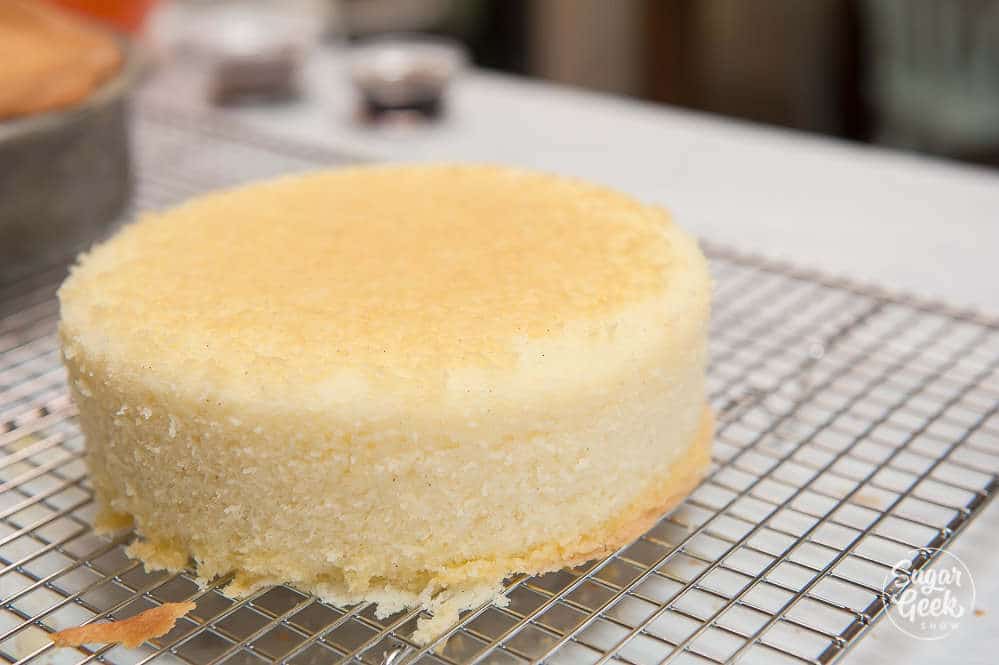
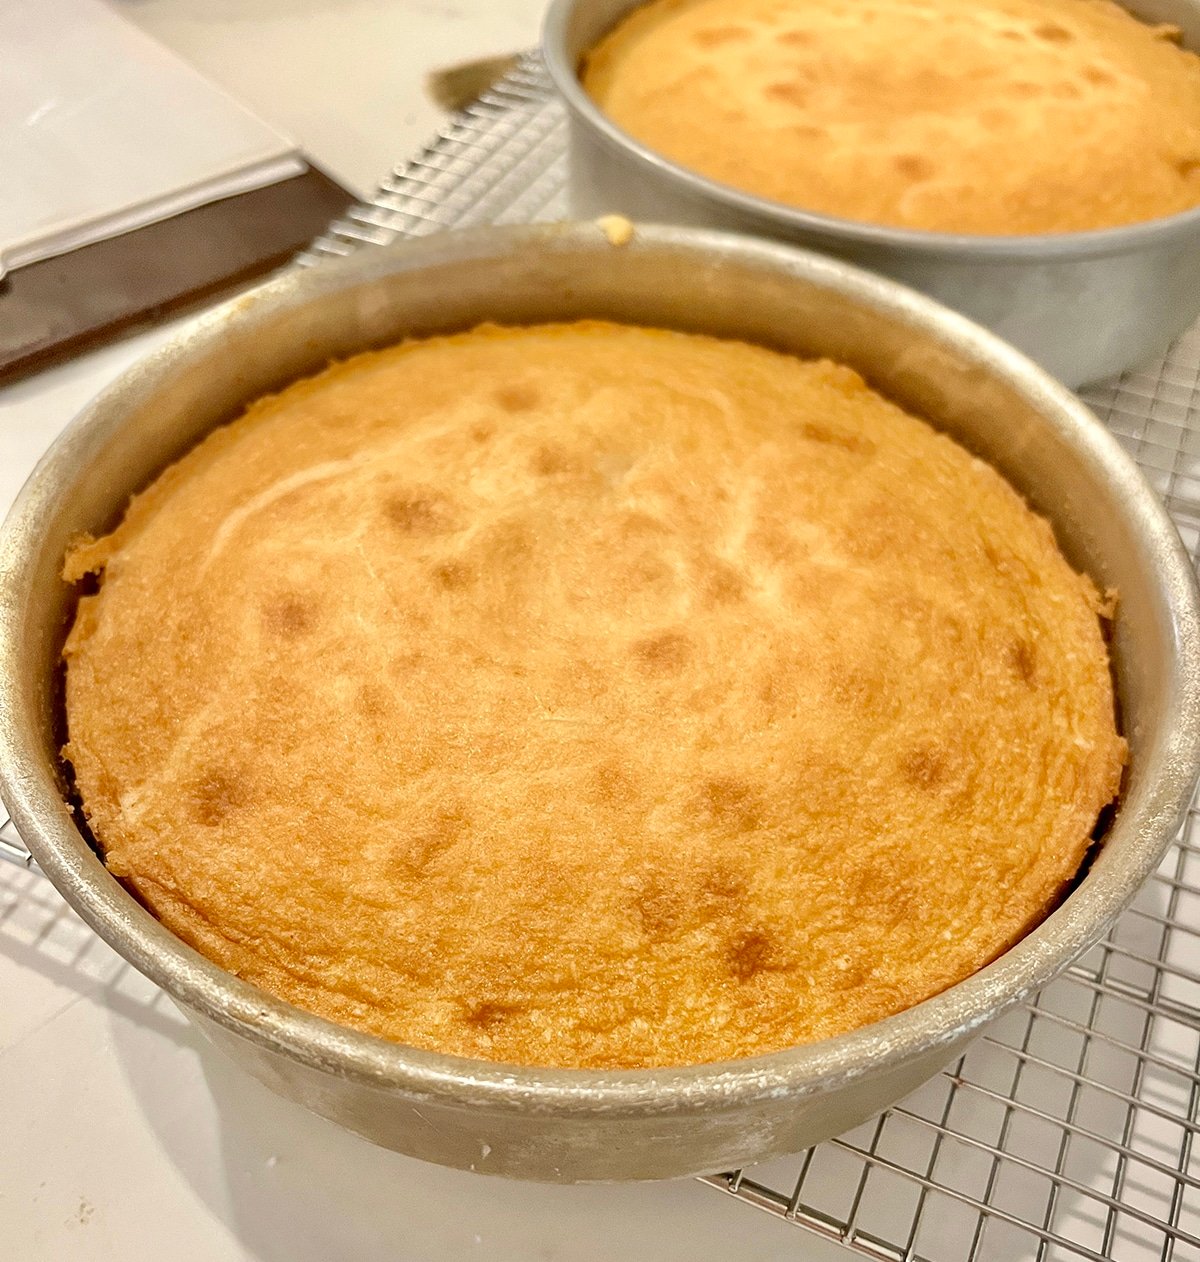
- Remove the cakes from the oven and place them onto a cooling rack. Let them cool down until the pans are barely warm. Don’t let them get cold or they will stick. The cake layers do not go all the way to the top of the pan and that is ok! The cakes are VERY delicate when warm so handle them carefully.
- After the cake layers are cool, flip them out onto the wire rack to cool fully before frosting. You can also freeze your cake layers if you don't plan on frosting them right away.
How To Decorate A Vanilla Cake
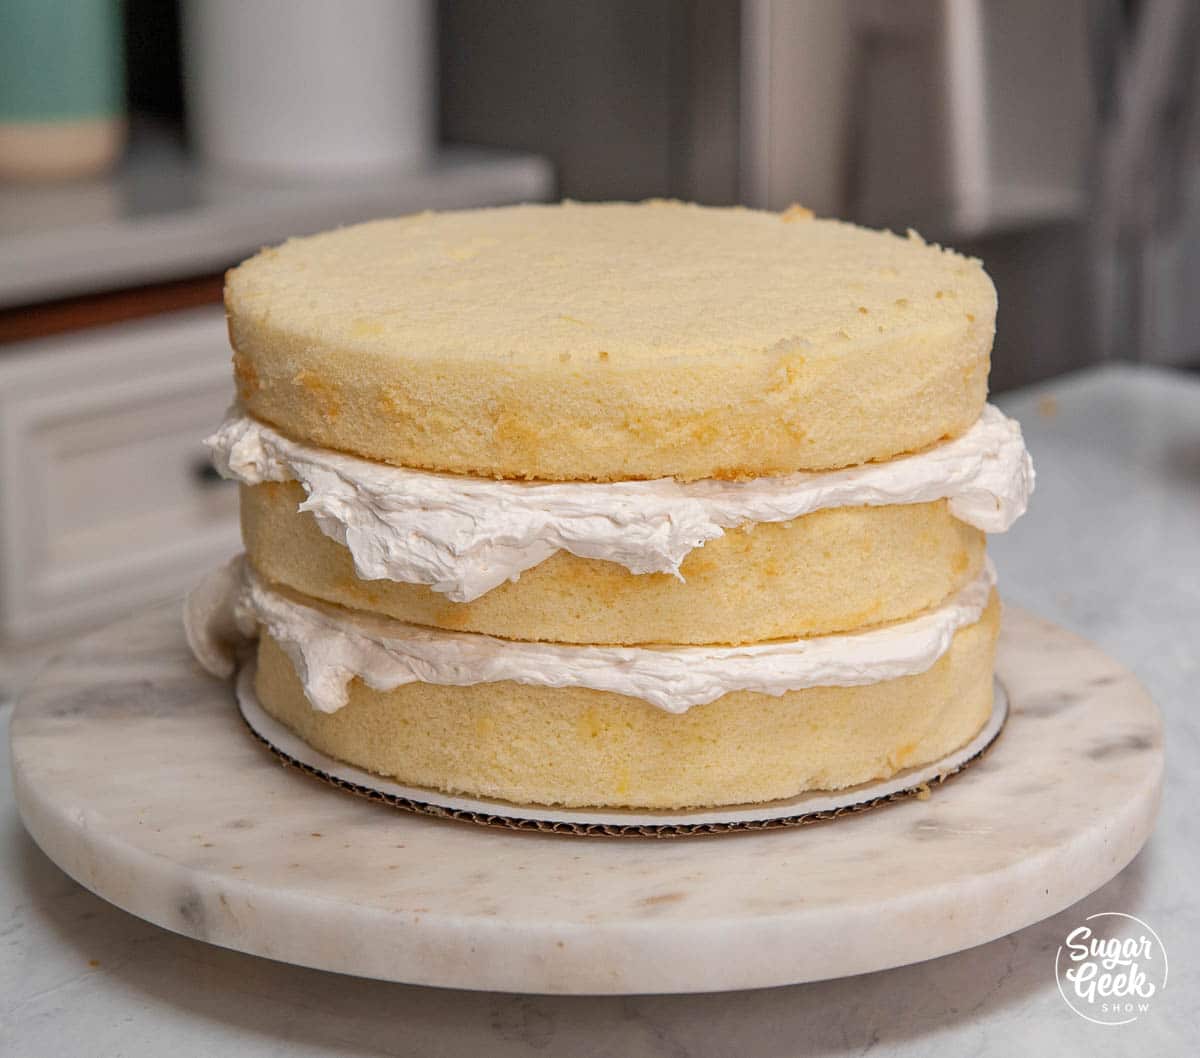
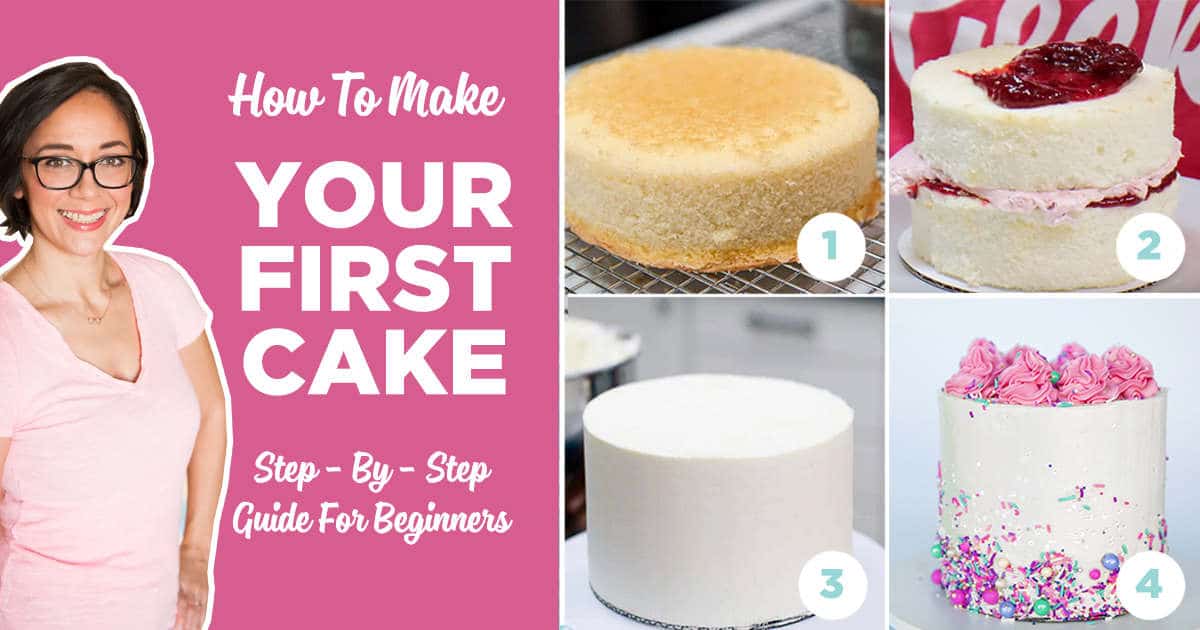
So now that you've made the worlds best homemade vanilla cake you are probably wondering how to decorate it! Would you believe me if I told you it's not as hard as you think! You can easily turn this recipe into a layer cake by following my tutorial on how to make your first cake. The tutorial will walk you through how to trim you cake layers, how to make the vanilla buttercream frosting, how to stack, crumbcoat, and decorate your cake.
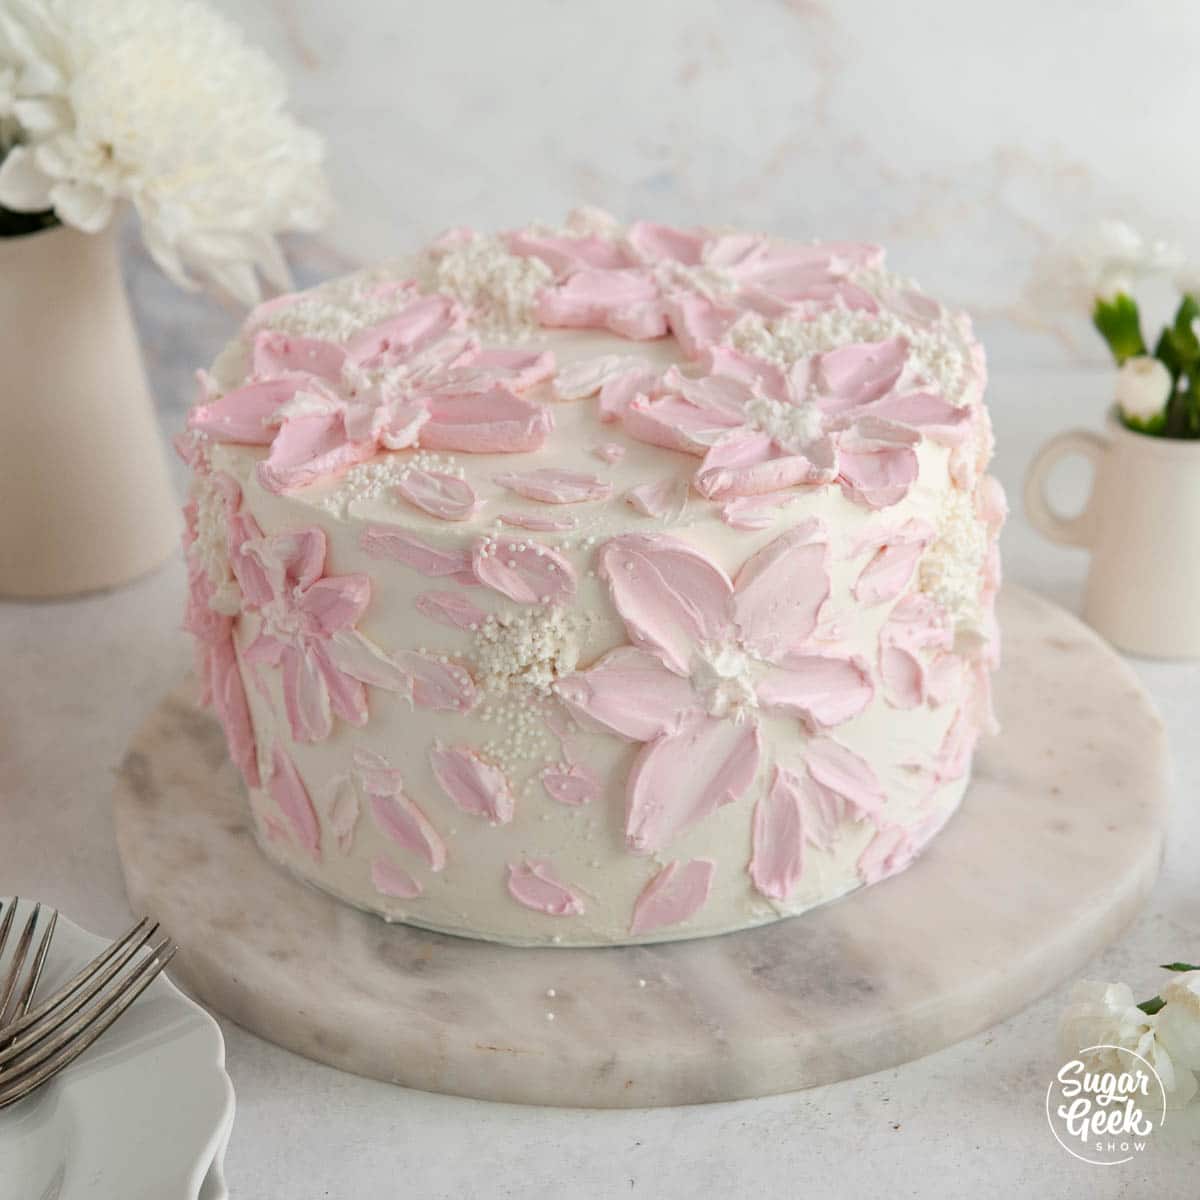
If you want to decorate your cake making palette knife buttercream flowers you can watch this video I made on YouTube.
FAQ
Adding cocoa powder to this vanilla cake won't take it from vanilla to chocolate. Baking is science so the best thing to do is to just go with a tried and true chocolate cake recipe like my easy chocolate cake.
This difference between a vanilla cake and a white cake is just egg yolks. You can easily convert this recipe to a white cake by replacing the egg yolks with egg whites.
This recipe is formulated to bake up perfectly flat so it's not the best in my opinion for cupcakes. If you really want to use them for cupcakes, try my vanilla cupcakes recipe instead.
This recipe is formulated to bake up perfectly flat so it's not the best in my opinion for cupcakes. If you really want to use them for cupcakes, try my vanilla cupcakes recipe instead.
More Cake Recipes You'll Love
WASC (White Almond Sourcream Cake)
Cake Batter and Frosting Calculator
Select an option below to calculate how much batter or frosting you need. Adjust the servings slider on the recipe card to change the amounts the recipe makes.
Choose a pan type
Choose a cake pan size
(based on 2" tall cake pan)
Choose a cake pan size
(based on 2" tall cake pan)
Cupcake Tin Size
Choose number of pans
Cups of Batter Needed
8 cups
Cups of Frosting Needed
5 cups
Note: measurements are estimated based off the vanilla cake recipe using standard US cake pans and sizes. Measurements used are for 2" tall cake pans only. Your results may vary. Do not overfill cake pans above manufacturer's recommended guidelines.
Recipe
Equipment
- Food Scale
- 8" x 2" Cake Pans (3)
Ingredients
Vanilla Cake Recipe
- 4 ounces whole milk to be mixed with the oil
- 3 ounces canola oil
- 6 ounces whole milk to be mixed with the eggs
- 1 tablespoon vanilla extract or 1 vanilla bean pod
- 3 large eggs room temperature
- 13 ounces cake flour
- 13 ounces granulated sugar
- 3 teaspoons baking powder
- ¼ teaspoon baking soda
- ½ teaspoon salt
- 8 ounces unsalted butter softened to room temperature but not melted
Easy Buttercream Frosting
- 16 ounces powdered sugar
- 4 ounces pasteurized egg whites
- 2 teaspoons vanilla extract
- 16 ounces unsalted butter softened to room temperature but not melted
- ¼ teaspoon salt
- 1 TINY drop purple food coloring to offset the yellow color (optional)
- 3 drops electric pink food coloring for the flowers
- 1 Tablespoon white sprinkles for decorating
Instructions
Vanilla Cake
- IMPORTANT: This is the BEST vanilla cake because I use a scale so it turns out perfectly 🙂 If you convert to cups I cannot guarantee good results. Make sure all your (cold ingredients) butter, eggs, milk are at room temperature or a little warm. See my post about how to use a scale if you don't know how to measure by weight.
- Heat oven to 335º F/168º C . Prepare three 8"x2" cake pans with cake goop or another preferred pan release.
- Place the 4 oz of milk in a separate measuring cup. Add the oil to the milk and set it aside.
- To the remaining 6 oz of milk, add the vanilla and room temperature eggs. Whisk gently to combine. Set aside.
- Place the flour, sugar, baking powder, baking soda, and salt into the bowl of your stand mixer with the paddle attachment.
- Turn the mixer onto the slowest speed. Slowly add chunks of your softened butter until it is all added then let everything mix until it looks like coarse sand.
- Add your milk/oil mixture all at once to the dry ingredients and mix on medium (speed 4 on kitchenaid, speed 2 on the Bosch) for 2 full minutes to develop the structure. Set a timer! Don't worry, this will not over-mix the cake.
- After 2 minutes, scrape the bowl. This is an important step. If you skip it, you will have hard lumps of flour and unmixed ingredients in your batter. If you do it later, they will not mix in fully.
- Slowly add in the milk/egg mixture while mixing on low, stopping to scrape the bowl one more time halfway through. Mix until just combined. Your batter should be thick and not too runny.
- Divide the batter into your greased cake pans and fill ¾ of the way full. I like to weigh my pans to make sure they're even.
- Bake for 30 minutes and check your cakes. Do the "done test". Insert a toothpick to see if it comes out clean. Sometimes wet batter doesn't show up so make sure it's clean and not just wet. Then gently touch the top of the cake, does it spring back? Oven temperatures vary so if it's not done yet, bake for a few more minutes (2-3) and check again until it passes the "done" test.
- Remove the cakes from the oven and give them a tap on the countertop to release air and prevent too much shrinking. Let them cool on a cooling rack until they are barely warm.
- After cooling for about 10 minutes, place the cooling rack on top of the cake, placing one hand on top of the cooling rack and one hand under the pan and flip the pan and the cooling rack over so the pan is now upside down on the cooling rack. Remove the pan carefully. Repeat with the other pan.
- After the cakes are fully cooled, carefully wrap them in plastic wrap and place them into the freezer or fridge for about 30 minutes to firm up the cakes and make them easier to handle for stacking.
Easy Buttercream Frosting
- Place egg whites and powdered sugar in a stand mixer bowl. Attach the whisk, combine ingredients on low and then whip on high for 5 minutes. Add the vanilla extract and salt.
- Add in your softened butter in chunks and whip with the whisk attachment to combine. It will look curdled at first. This is normal. It will also look pretty yellow. Keep whipping.
- Whip on high for 8-10 minutes until it's very white, light and shiny. If you don't whip it enough, it could end up tasting buttery.
- Optional: If you want whiter frosting, add in a tiny drop of purple to counteract the yellow in the butter (too much will make the frosting grey or light purple.)
- Optional: Switch to a paddle attachment and mix on low for 15-20 minutes to make the buttercream very smooth and remove air bubbles. This isn't required but if you want really creamy frosting, you don't want to skip it.
- After your cakes are chilled, fill them with your favorite frosting and frost the outside. If you're not familiar with decorating cakes, check out my how to make your first cake blog post! Watch the video to see how I made the palette knife buttercream flowers.
Video
Notes
- Weigh your ingredients to avoid cake failure. Using a kitchen scale for baking is super easy and gives you the best results every single time.
- Make sure all your cold ingredients are room temperature or slightly warm (butter, milk, eggs, to create a cohesive batter. Curdled batter causes cakes to collapse.)
- You must use cake flour for this recipe. Do not fall for the "just add cornstarch to regular flour" trick. It does not work for this recipe. Your cake will look and taste like cornbread. If you can't find cake flour, use pastry flour which isn't quite as soft as cake flour but it's better than all-purpose flour.
- If you're in the UK search for Shipton mills cake and pastry flour. If you're in another part of the country, search for low protein cake flour.
- When you do the reverse creaming method, you're coating the flour in butter and stopping gluten from developing. This creates a super moist and tender cake. When you add the milk and oil, you have to mix for a full 2 minutes to develop that gluten. This creates the structure of the cake. If you don't mix for the full 2 minutes, your cake could collapse.
- Make your own pan release (cake goop!) The best pan release ever!
- Need more help with making your first cake? Check out my how to decorate your first cake blog post.


Ida says
This is the best of the best. I am in love with this cake. The first time I bake it, and I made my customers tasted, they told me I left an ankle in the cake. It was so good 😊 Liz, I am giving you 10 star ⭐️ for this wonderful recipe. I have a quick question though: I have tried several time which was perfect, then my last one I did rise very well, then fell back down. What makes cakes to fall back down, ans what do I prevent from this not to happen again? Thanks for your time, and understanding.
Ida
Lynda Jager says
I have been looking forever for the perfect vanilla cake recipe that wasn’t dry and thanks to you, I found it! Thank you! This cake turned out moist and light. Perfect!
Kimberly says
My go to for all vanilla cake orders & I adapt it to achieve many other flavors!
Thank you so much for this amazing recipe!
Jayda says
Hi! I just made the cake layers using this recipe and I can already tell it’s going to be delicious. I literally purchased a scale just so I could finally try out this recipe lol, it was worth it too!
I just had one question, if I wanted to double this recipe in size do you know how I would do that ?
Elizabeth Marek says
Just double all the ingredients or use the cake calculator located right above the recipe card
Patricia Barks says
I ended up eating quite a bit of raw batter before it made its way into the cake pan. Oops.
Wanted to thank you for allowing others to make your fantastic recipes, it is very much appreciated. -From McMinnville, OR
Sincade says
I'm generally not a massive fan of vanilla cake, but this recipe is just PERFECT. ❤️
Esmer says
By far the best vanilla cake. I have kept my eye on this recipe but was scared of working with a recipe that required weighting as I was used to cups. I made this 3 timea before and my party guests keep requesting it. It is a crumbly moist cake, its delicious.You must follow it to a tee. I am currently making it for a Valentine's heart cake for my family tonight and this time i added some nutmeg to spice it up..
Thank you so much for this recipe.
Much love from Edmonton AB.
Lejardin64 says
Easy to make; excellent directions and delicious! Moist, fine crumb, easy to work with and very tasty. Love the frosting recipe! It's definitely in my go to recipes now! Thank you.