
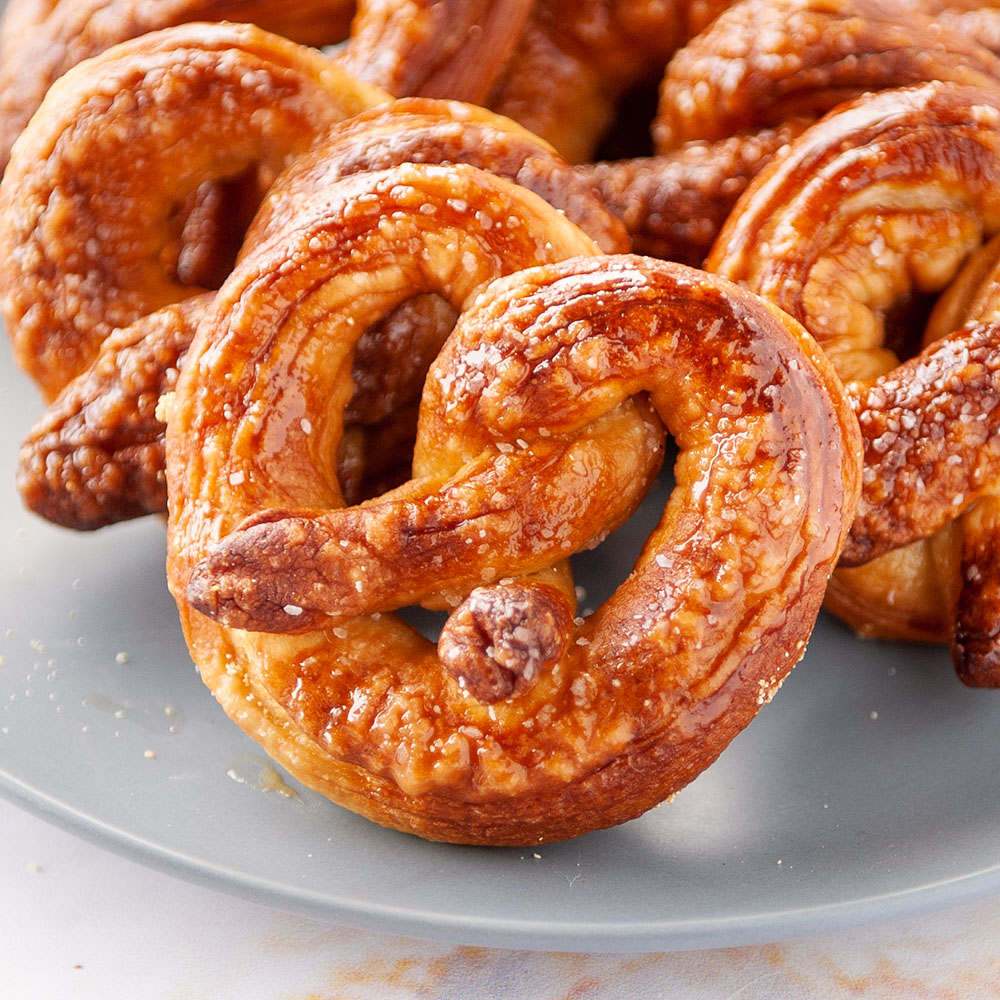
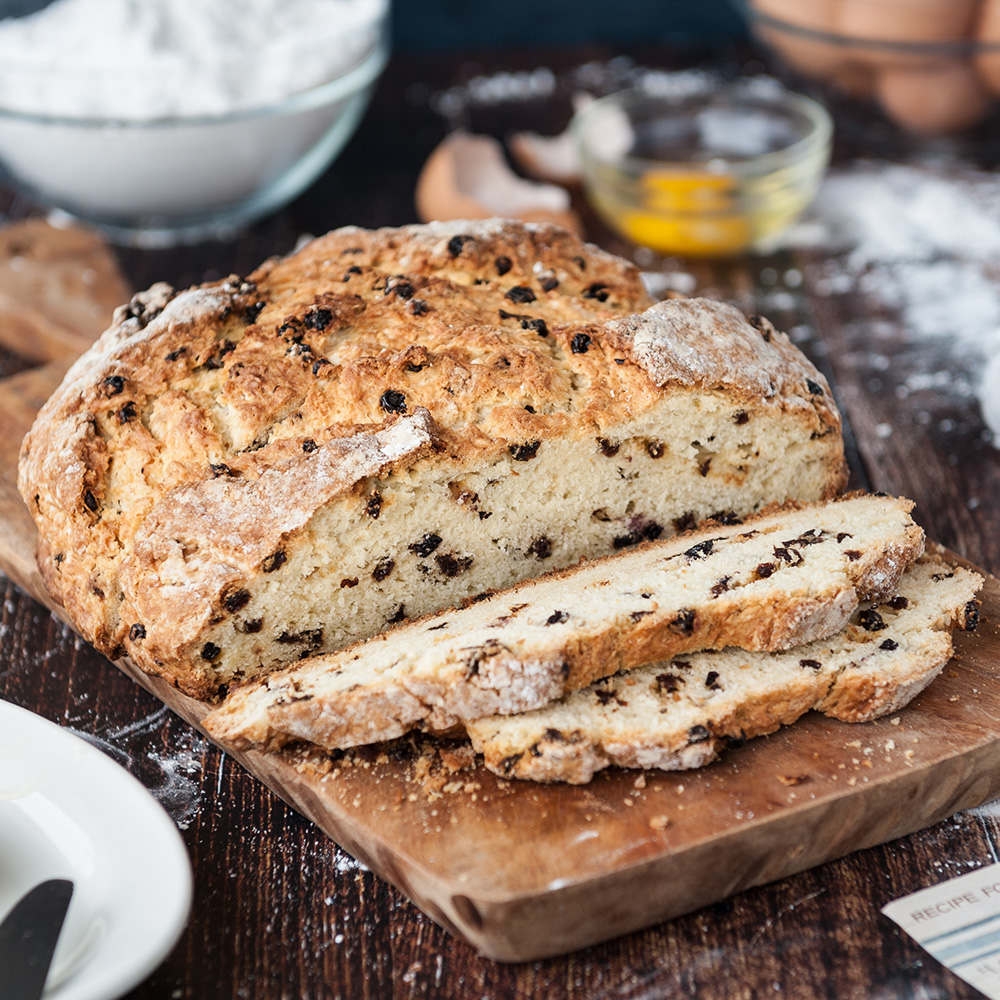
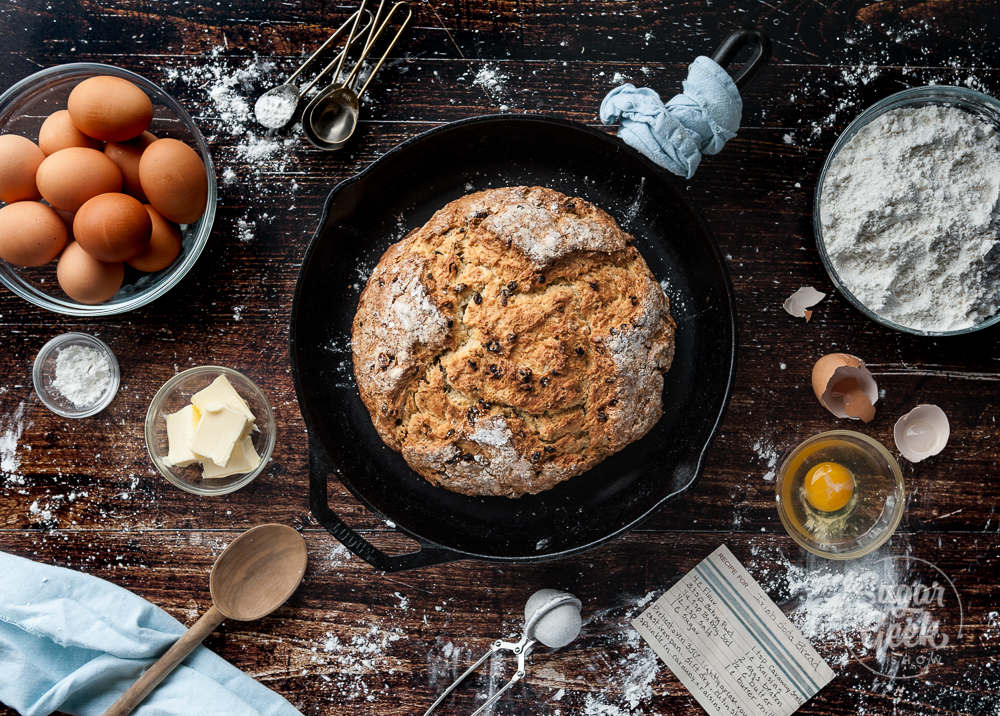
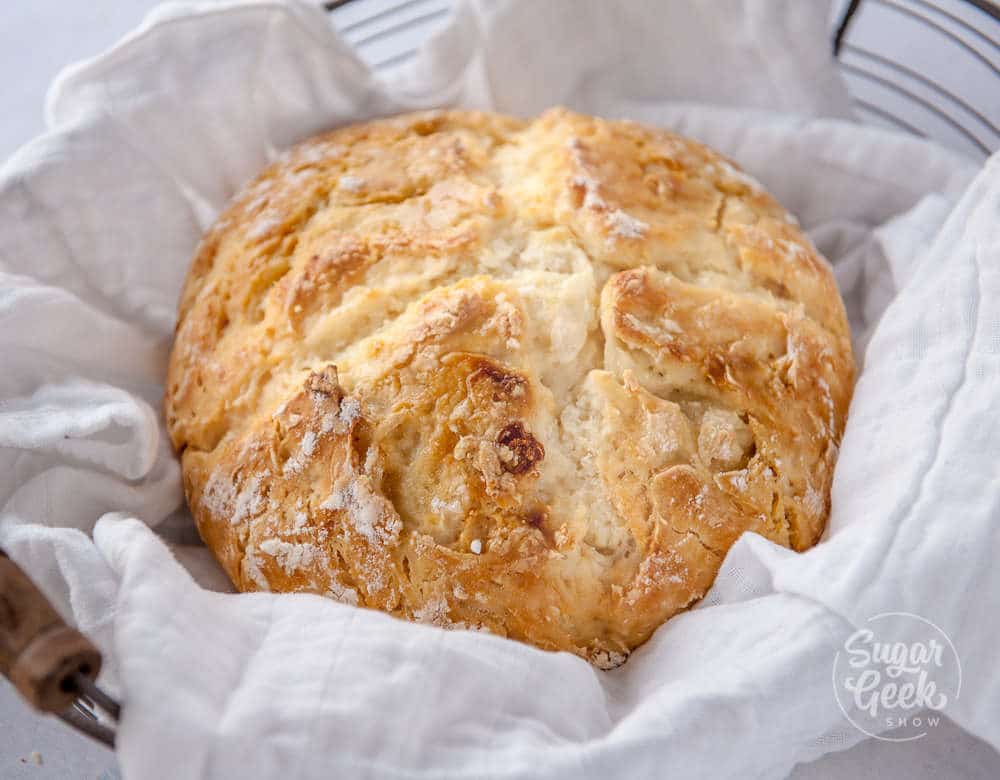
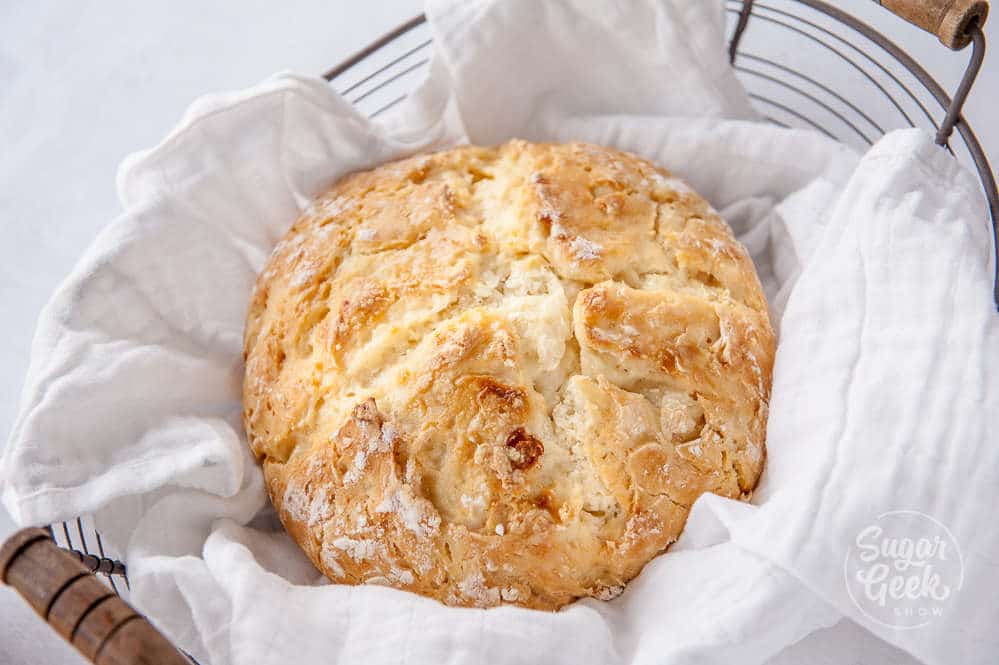
Making flaky buttermilk biscuits from scratch is so much easier than you think and uses only a few simple ingredients! The secret is in how you add the butter! Read on to learn how I make perfect flaky buttermilk biscuits from scratch.
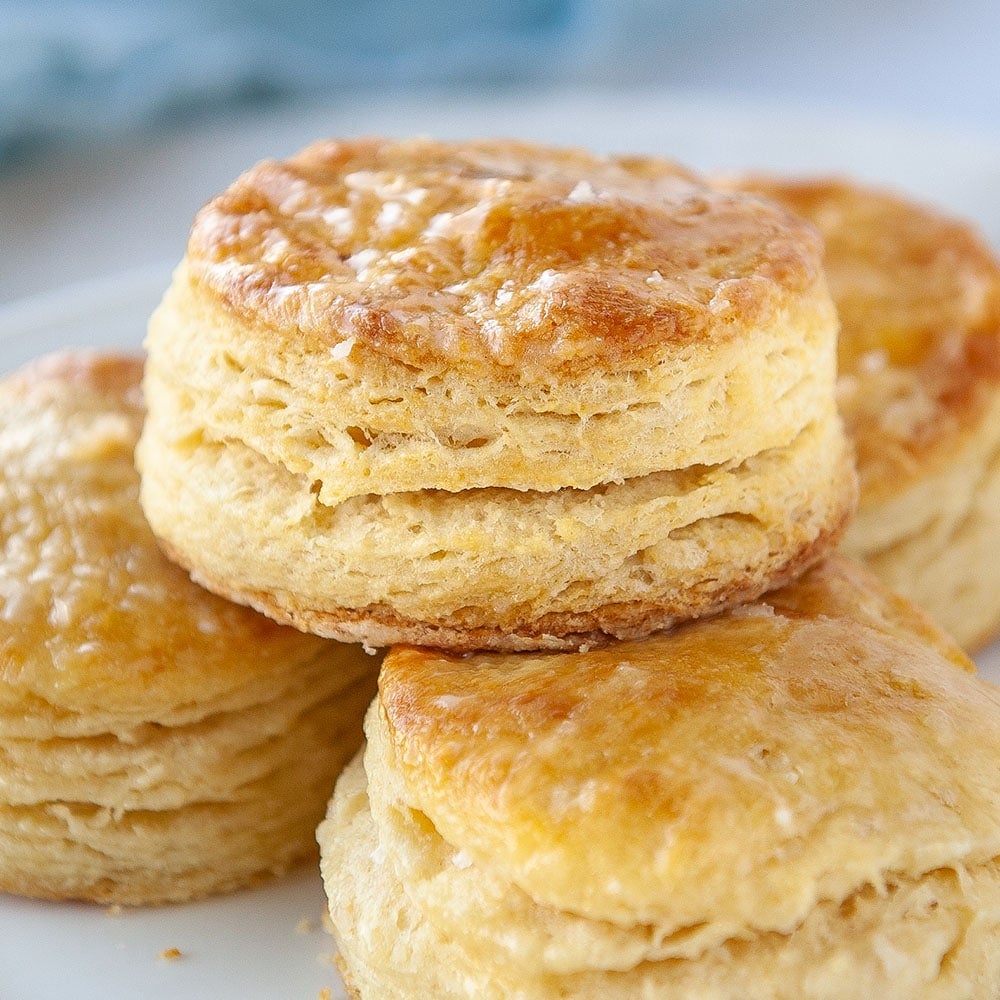
I have loved flaky buttermilk biscuits all my life. Growing up, we always made them from the can (that blue one that pops when you open it). I used to peel each layer one by one and eat it to make them last longer. I had no idea that you could make them so easily from scratch and they taste 1000 times better!
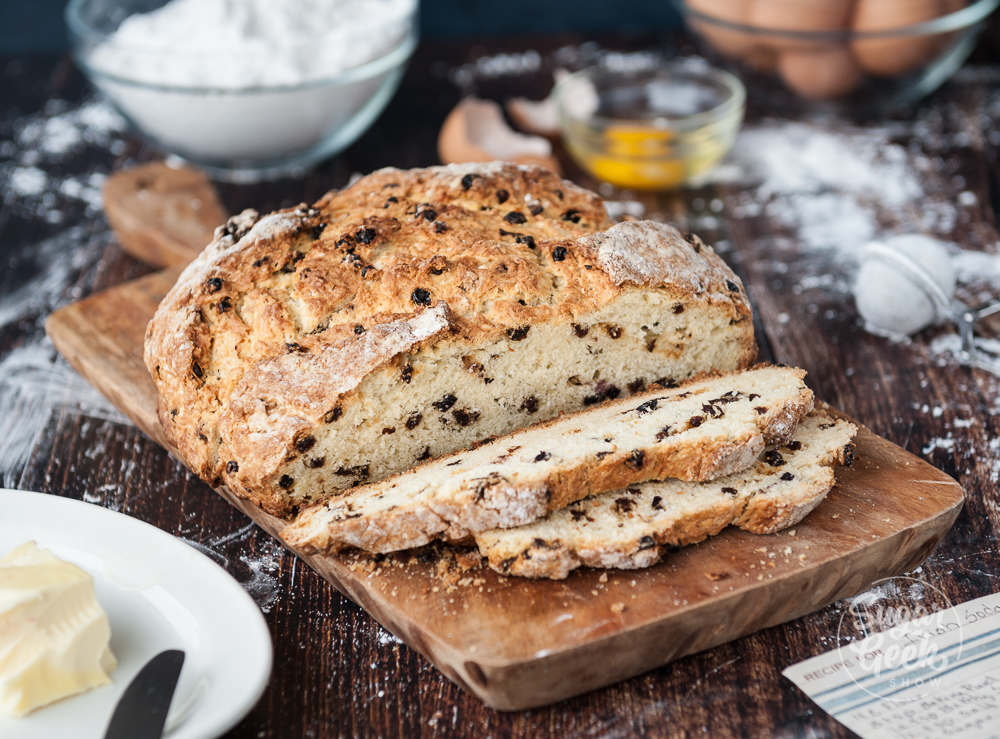
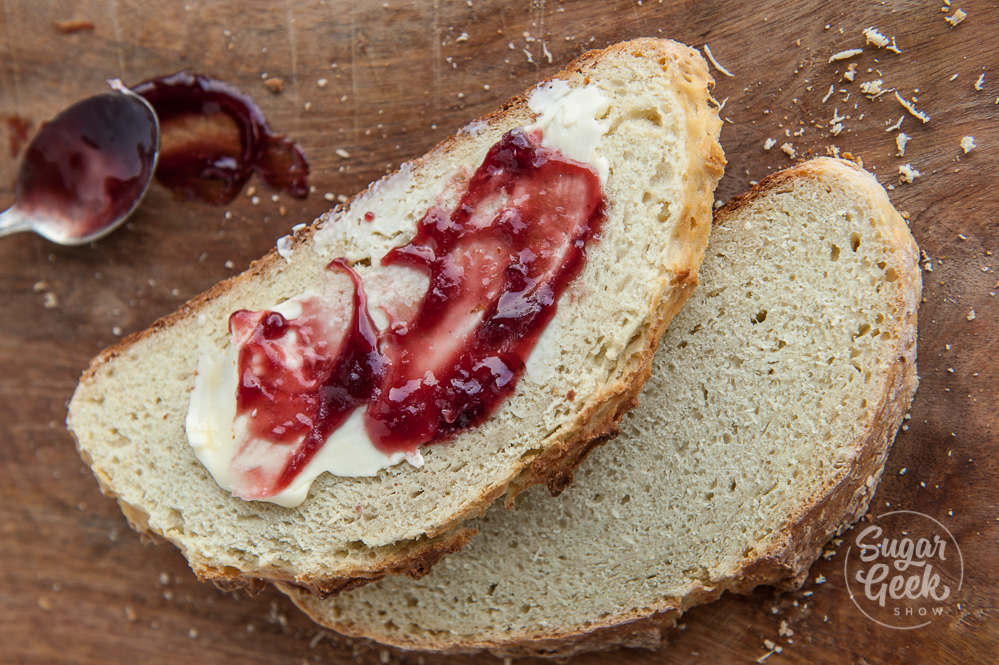
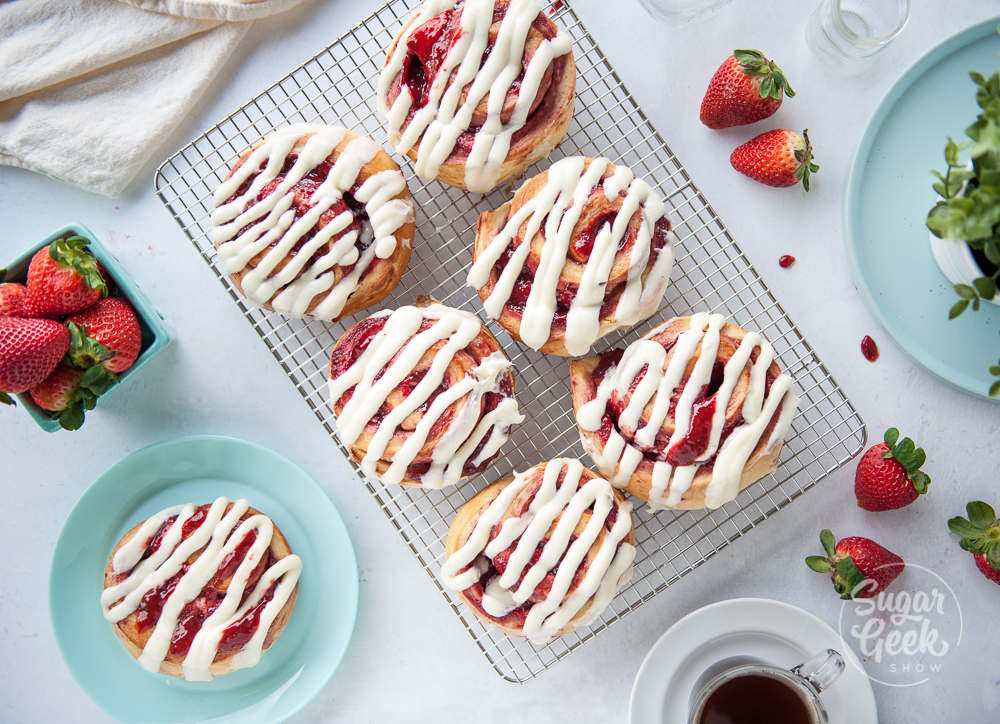
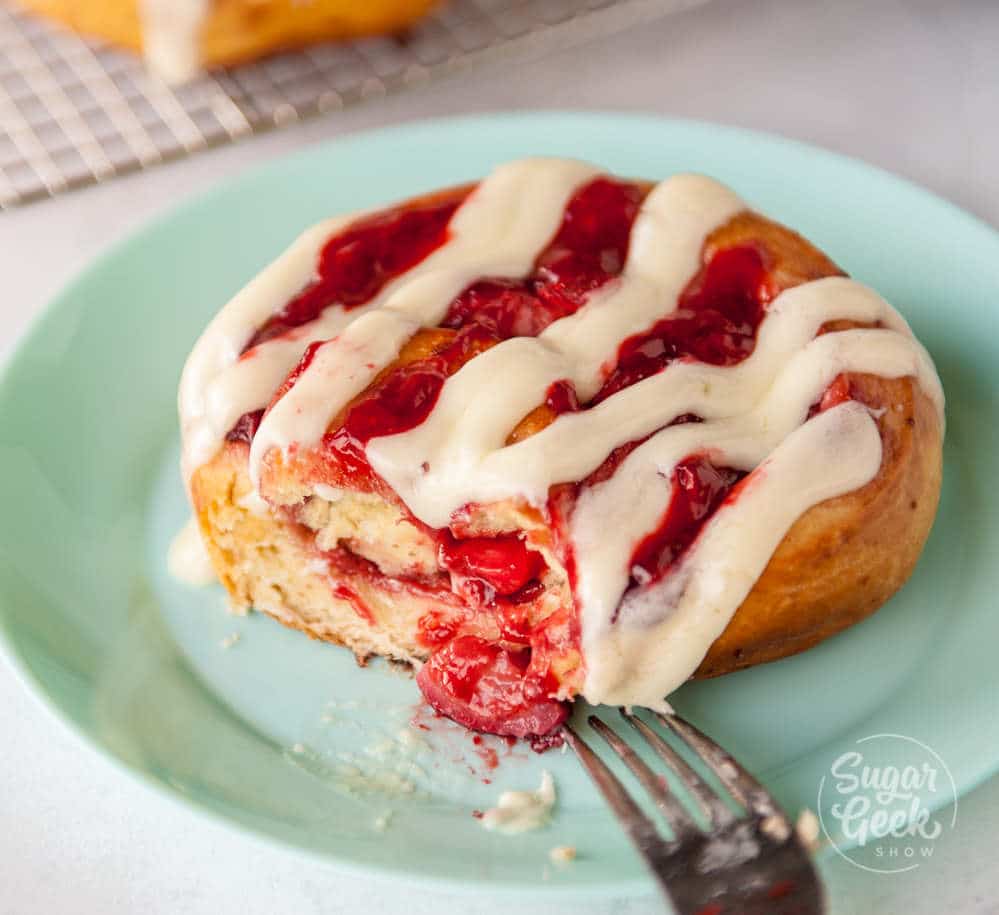
Customize this recipe with your favorite additions like bacon, cheese, rosemary or blueberries and make biscuits your whole family will love! These biscuits are also perfect for strawberry shortcake!
What's in this recipe?
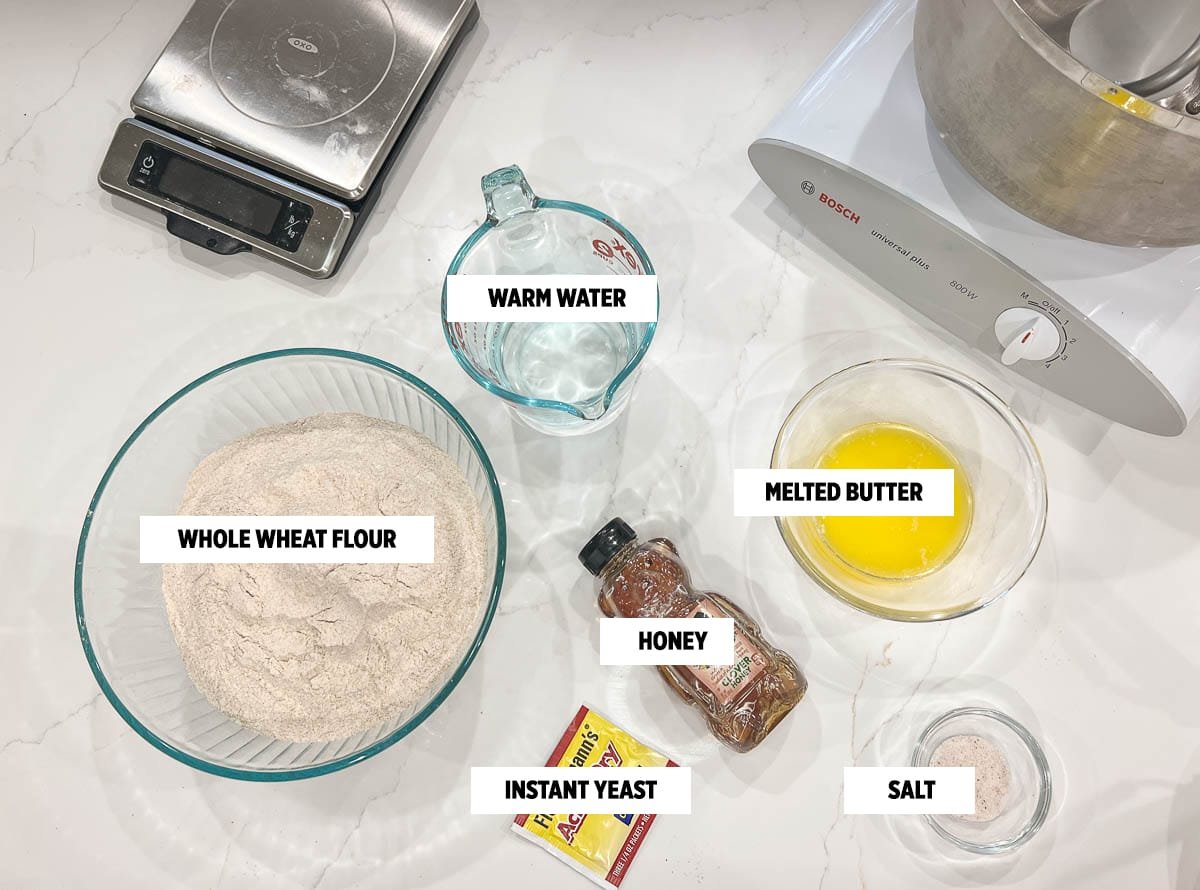
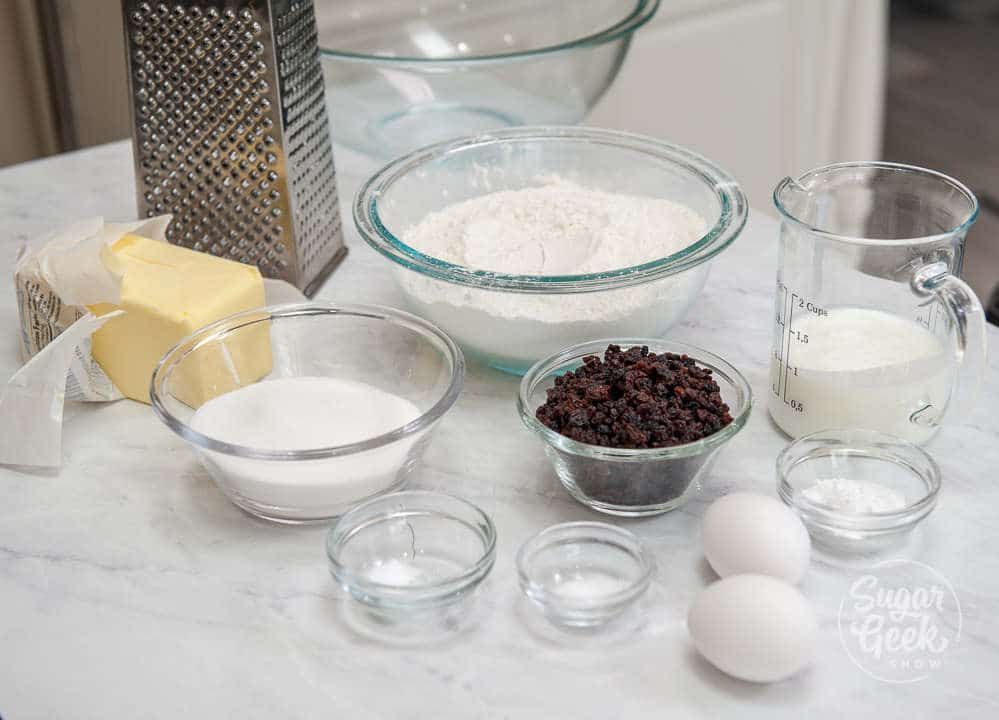
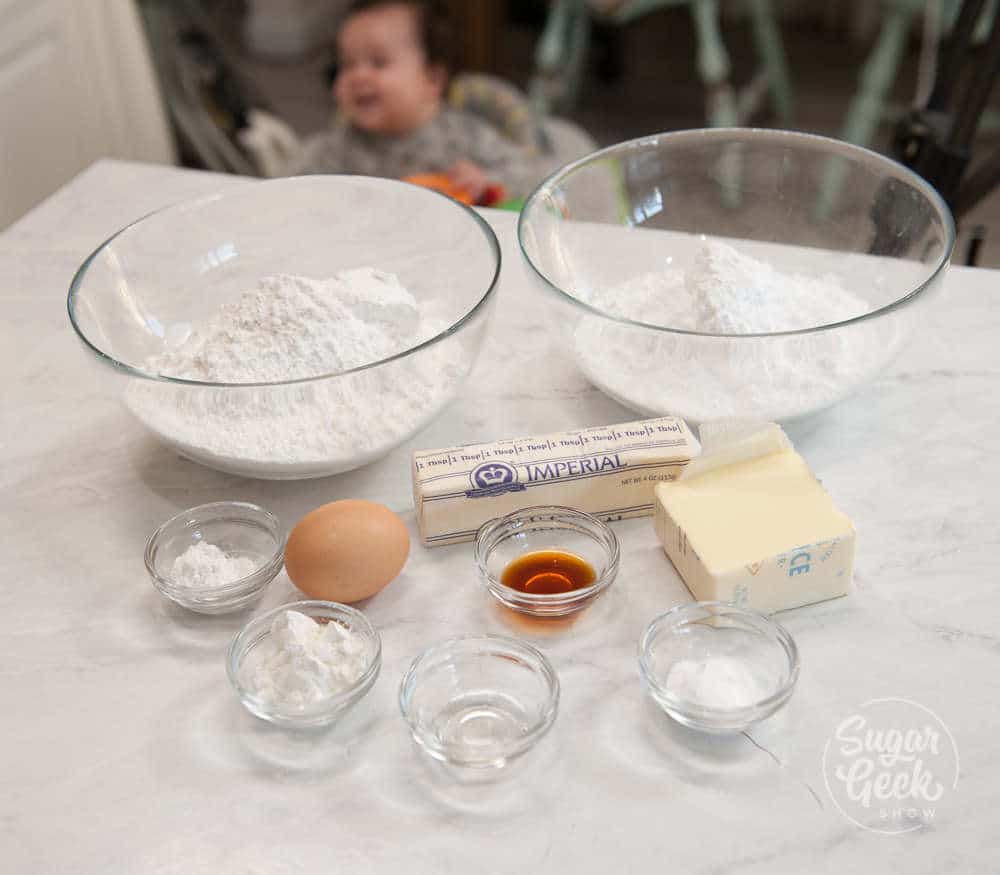
What ingredients do you need for buttermilk biscuits?
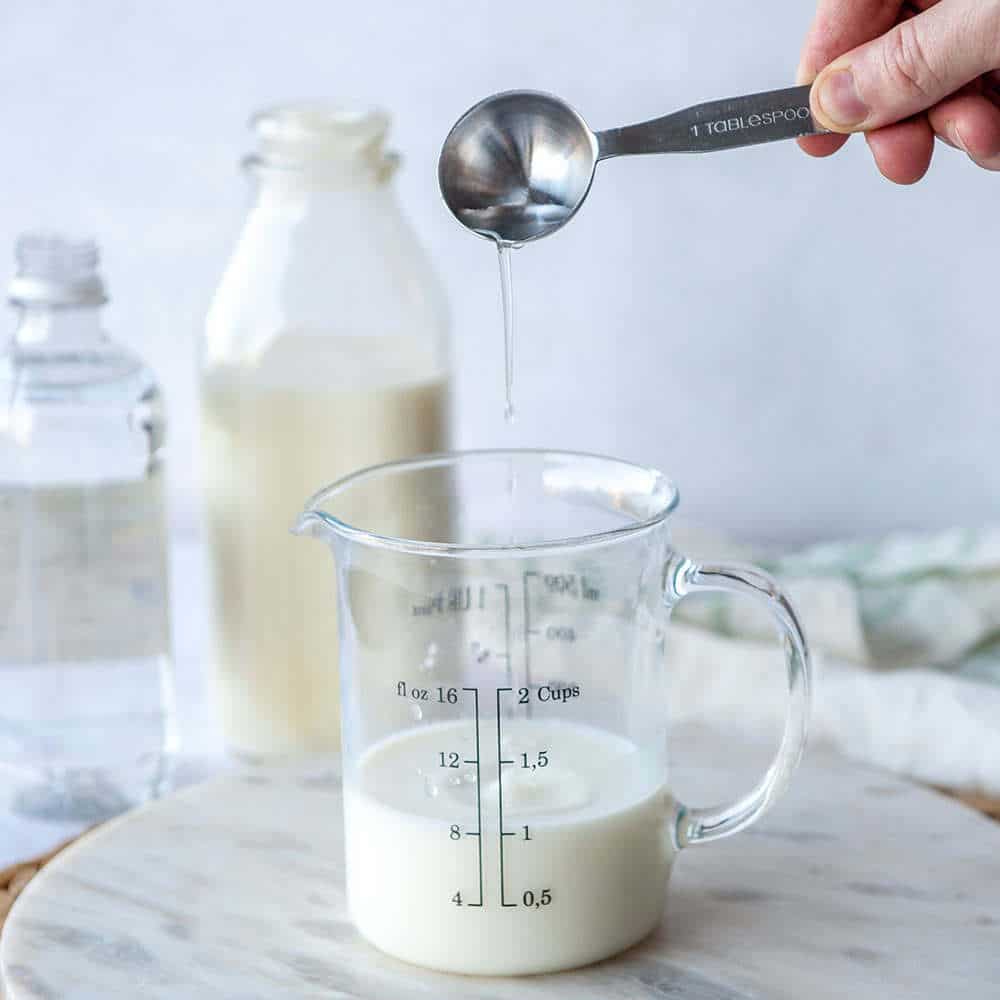
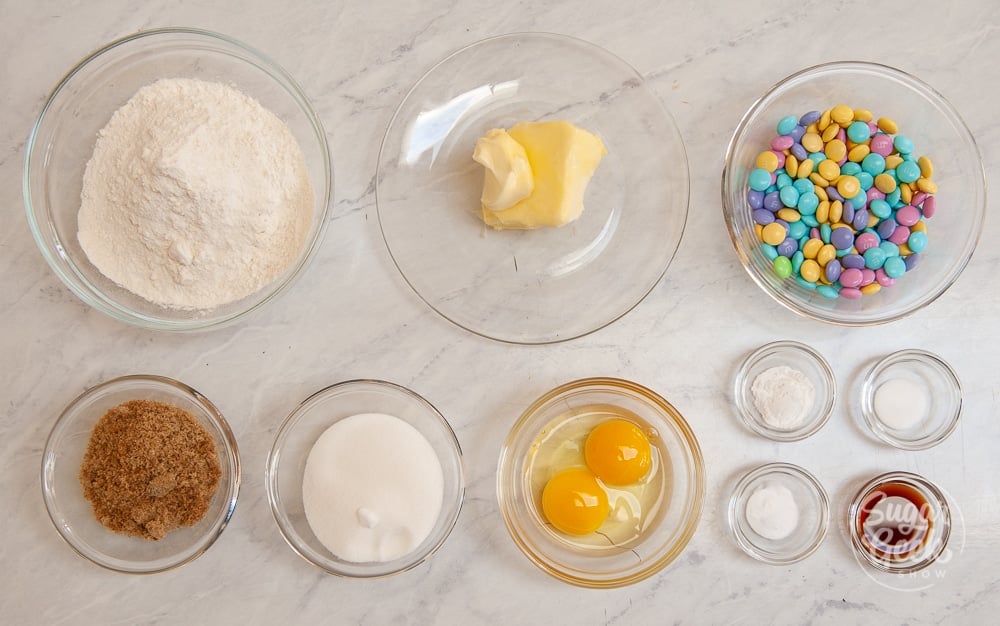
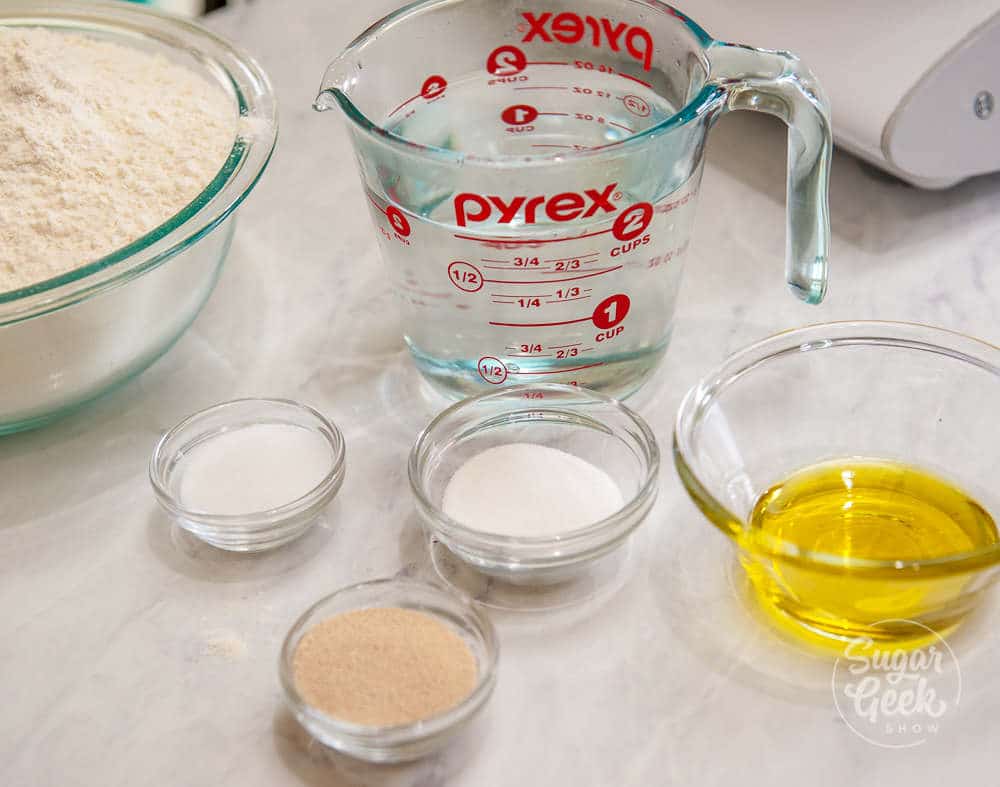
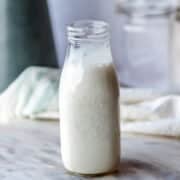
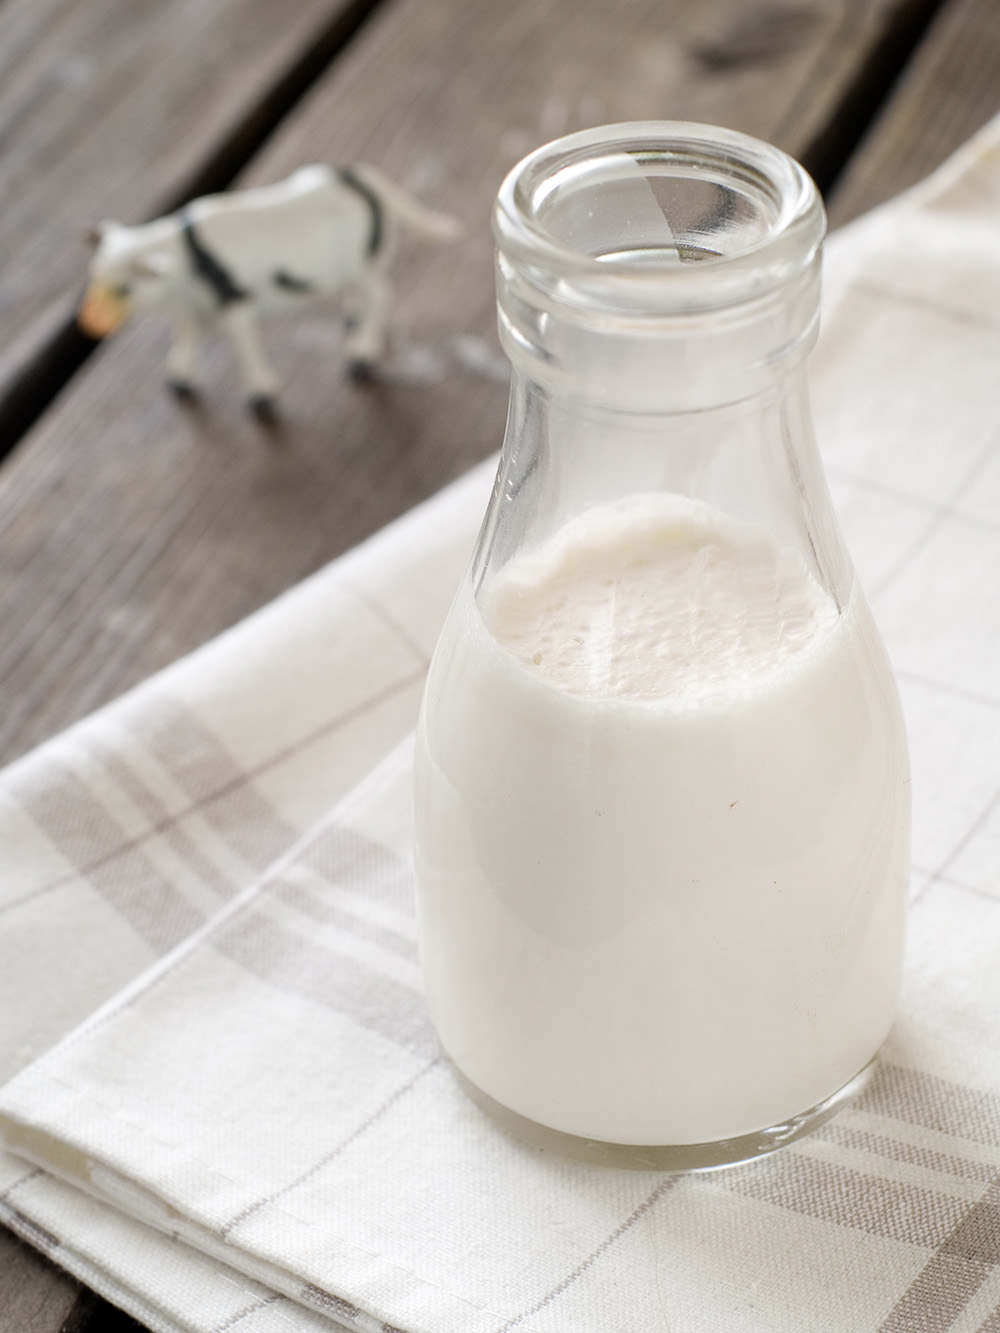
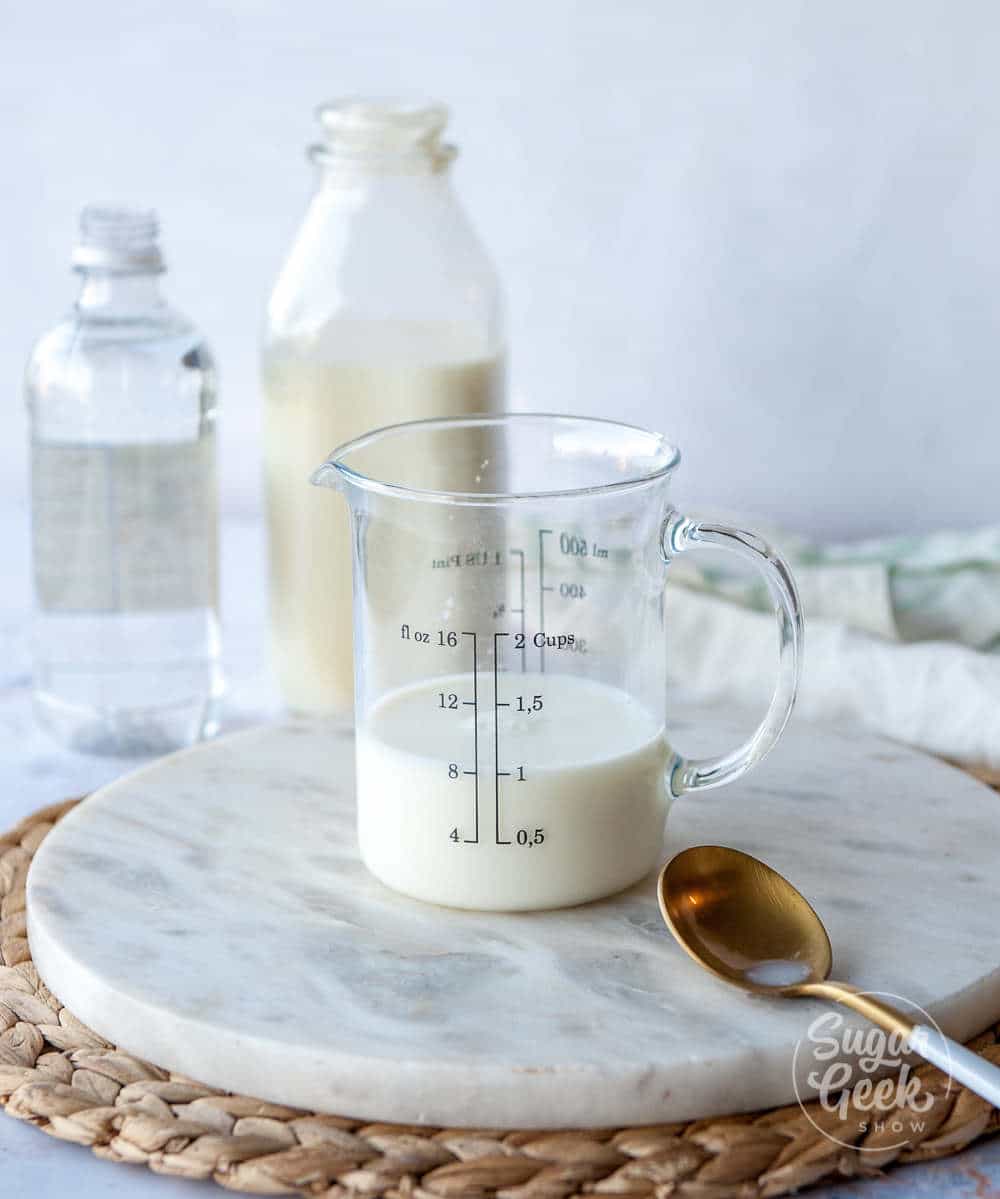
Buttermilk - The magic ingredient. It brings a nice tang to your biscuits while adding very little fat. It also reacts with the baking soda and helps the biscuits rise better. Don't have buttermilk? Make your own!
Baking Powder and Baking Soda - For that ultimate rise, fluffy texture and flavor.
Salt - I like to use pink Himalayan sea salt for a little extra fun flavor, but table salt is fine too!
Sugar - Sugar not only adds a little sweetness to the biscuits but it also makes them more tender and lends to that crispy top layer.
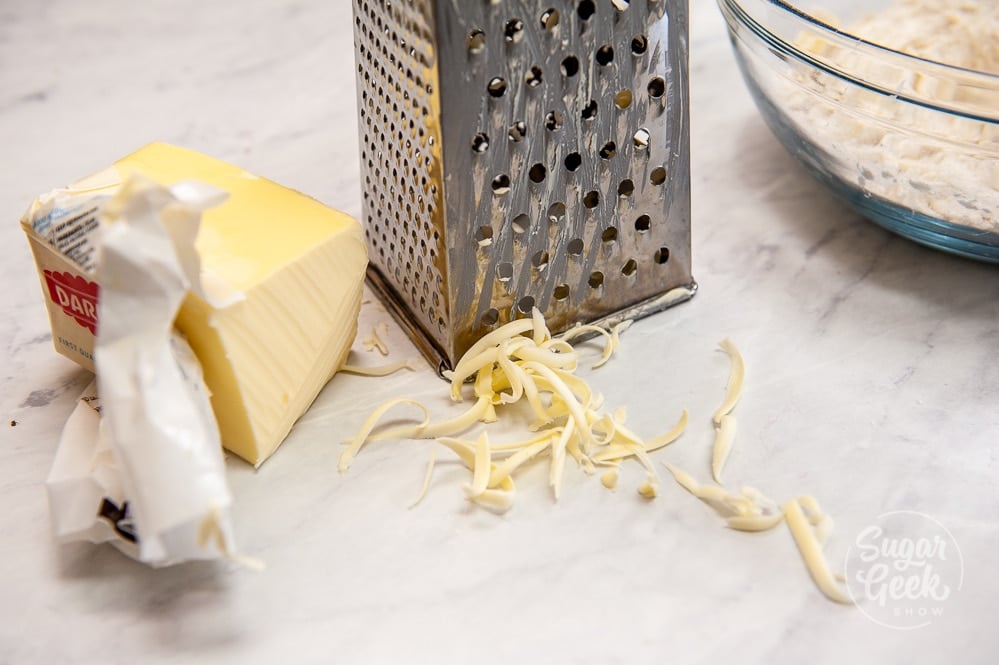
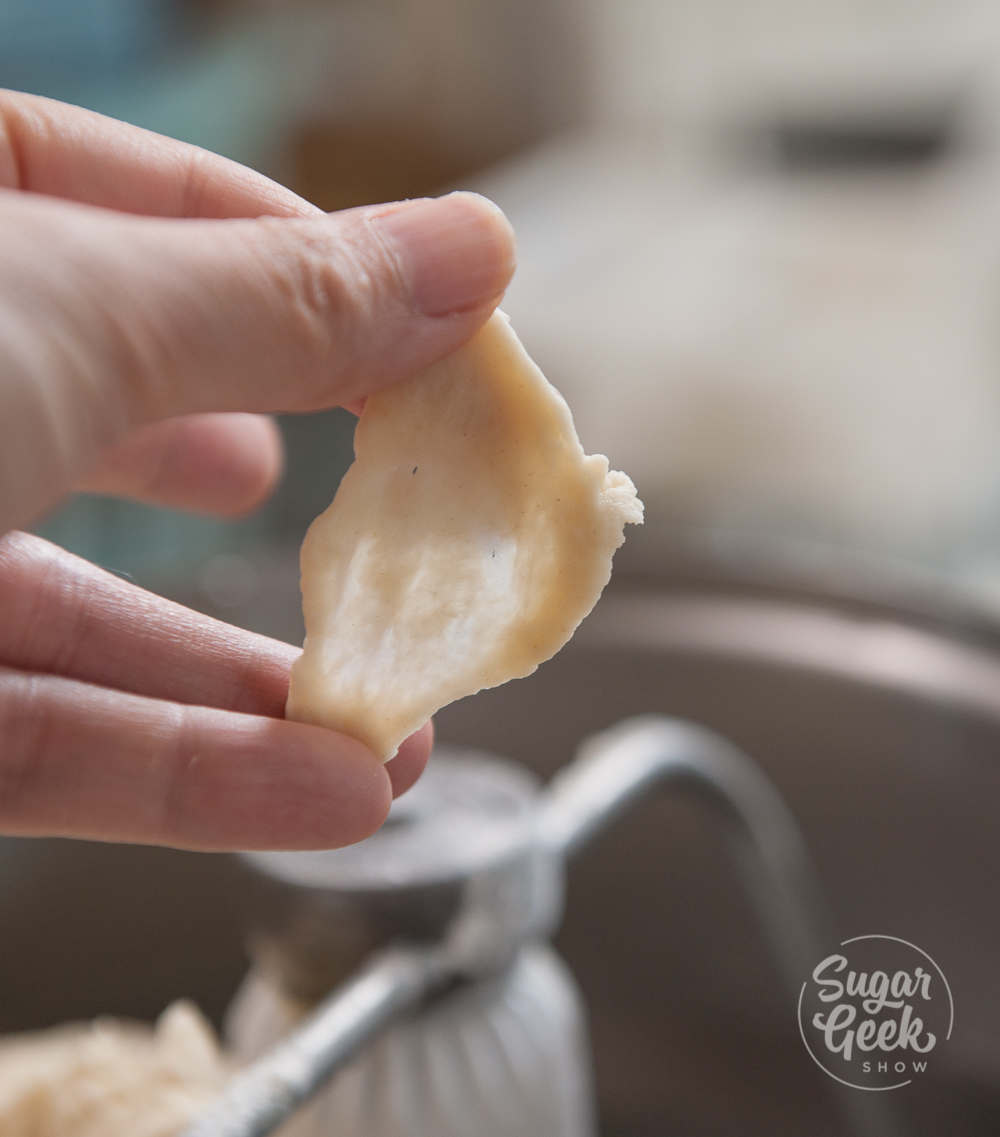
Cold Unsalted Butter - Arguably the most important ingredient because of how you use it. If your butter is too warm, you won't get any layers. The bigger the pieces of butter, the more visible the layers. Smaller pieces result in a finer and more tender crumb in your biscuit. I find grating cold butter to be the best of both worlds.
Shortening or Lard - Just a little bit to coat the flour mixture reduces gluten development and helps those biscuits reach maximum fluffiness!
All-Purpose Flour - Just enough protein for good gluten development but not so much that you end up with hard lumps for biscuits. Also called plain flour (not self-rising).
How To Make Perfect Flaky Buttermilk Biscuits
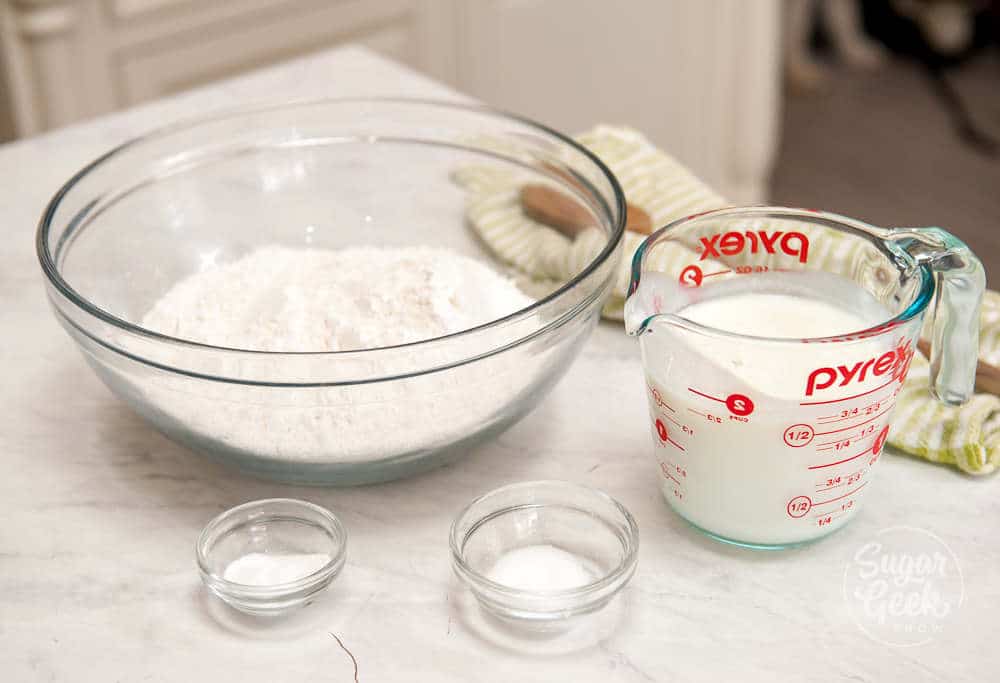
I'm using a kitchen scale to weigh everything. It makes this recipe super simple and you only need one bowl (yay less dishes!)
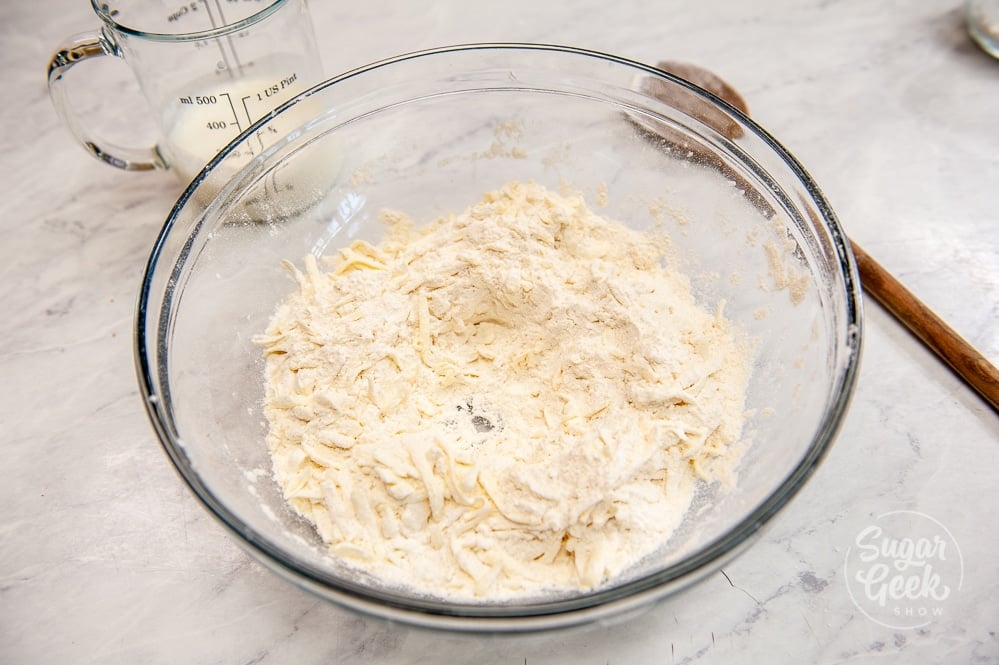
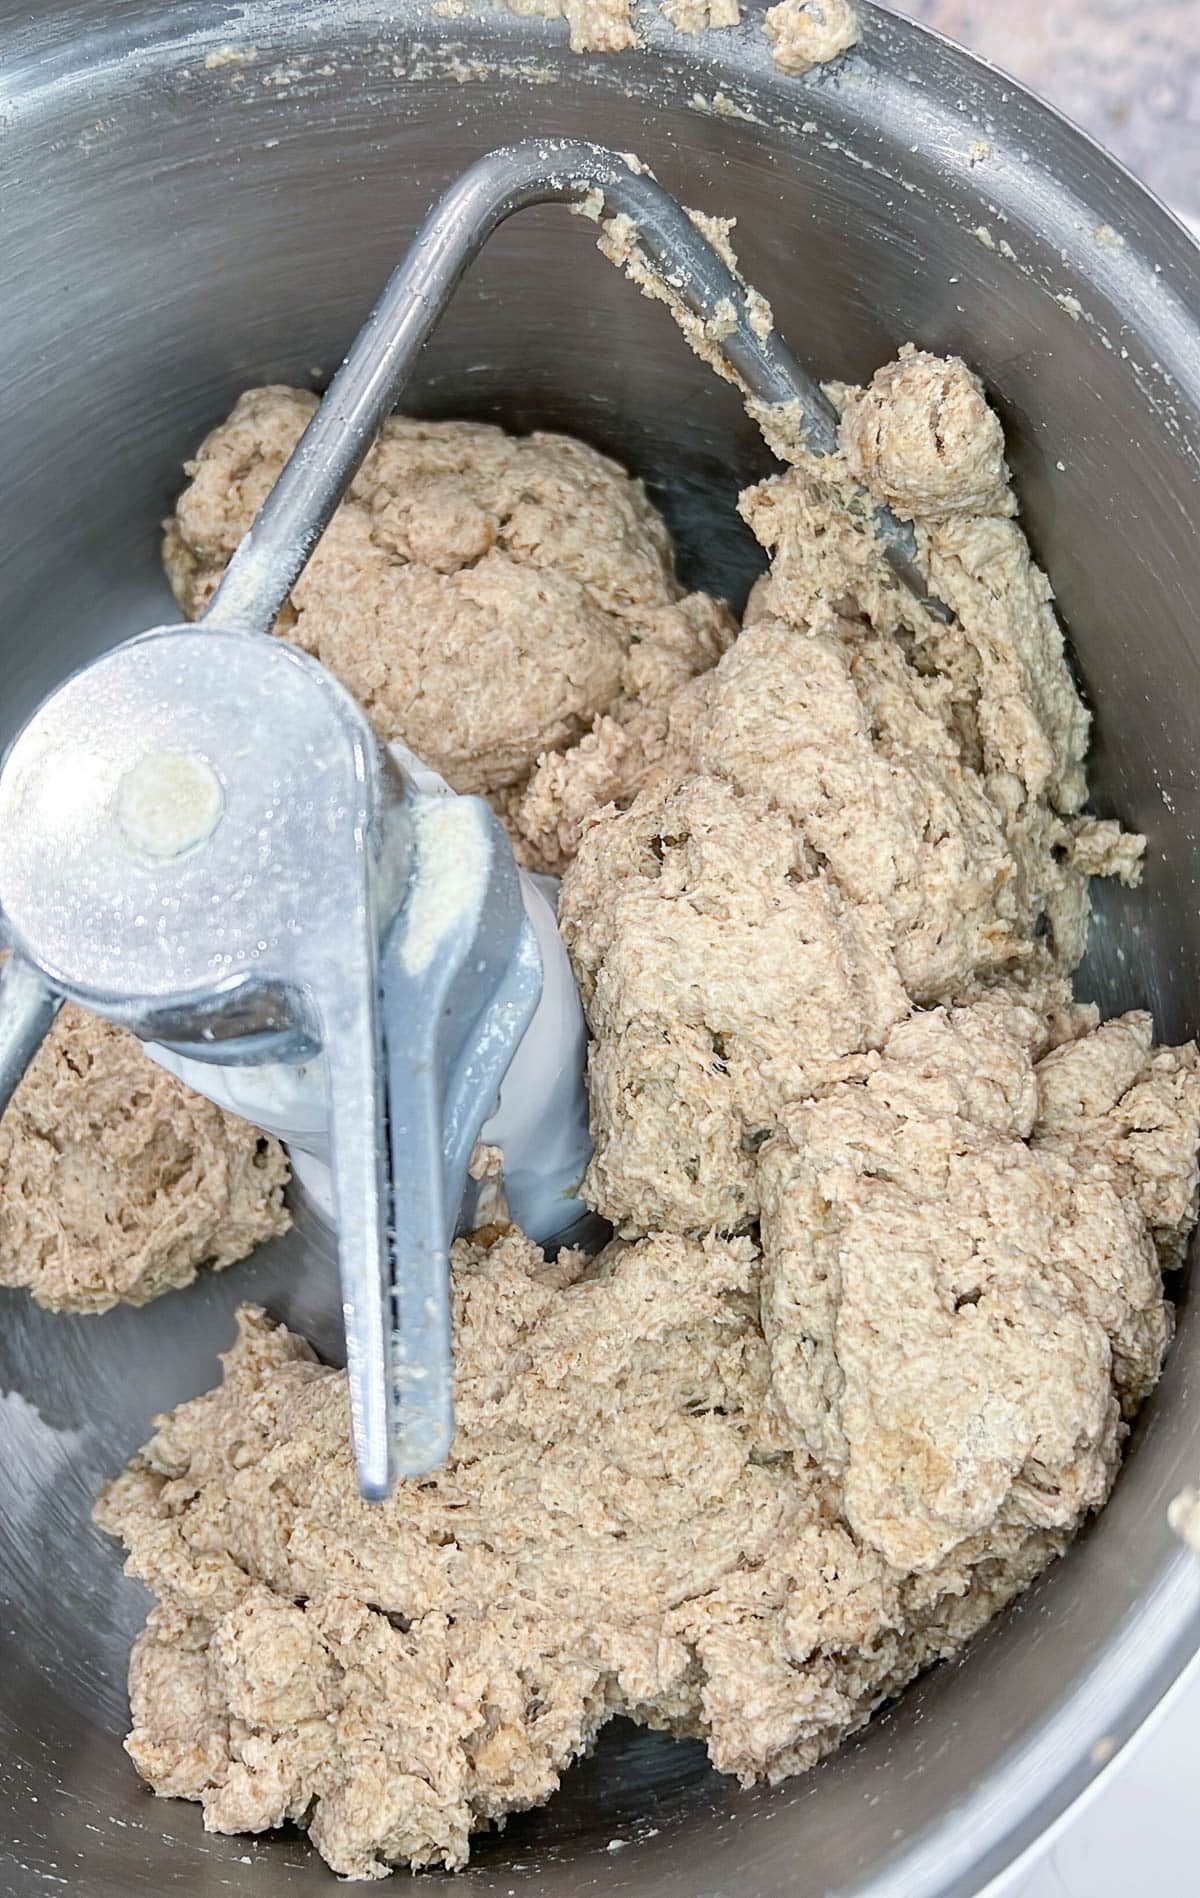
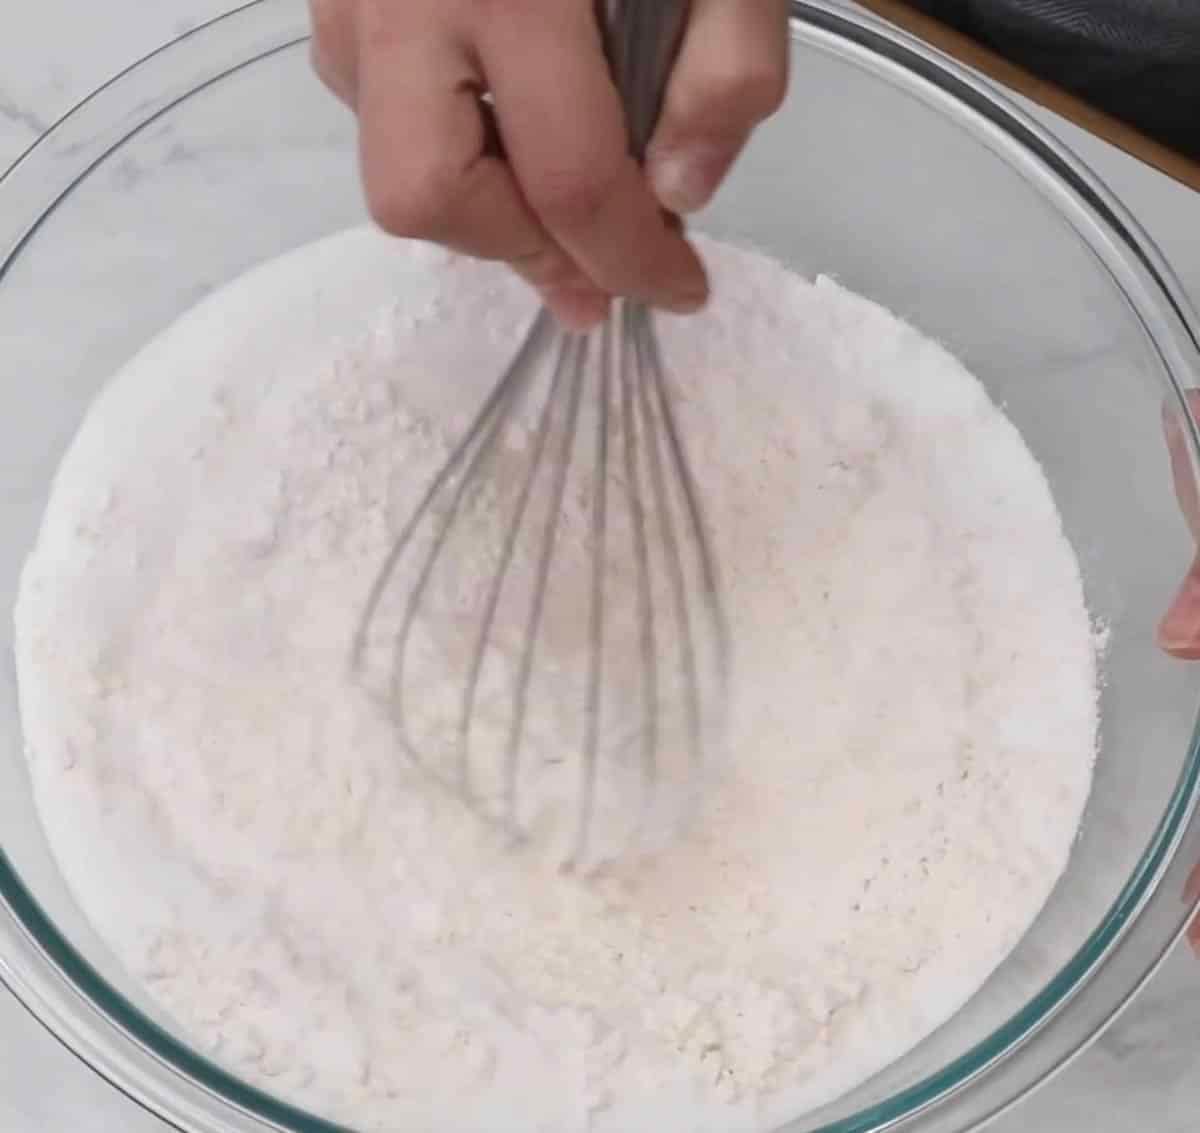
Place your empty bowl onto the kitchen scale and press the tare (or zero) button to remove the weight of the bowl. Add your flour, baking soda, baking powder, sugar, and salt and lightly mix with a spoon to make sure all the ingredients are distributed evenly throughout the flour.
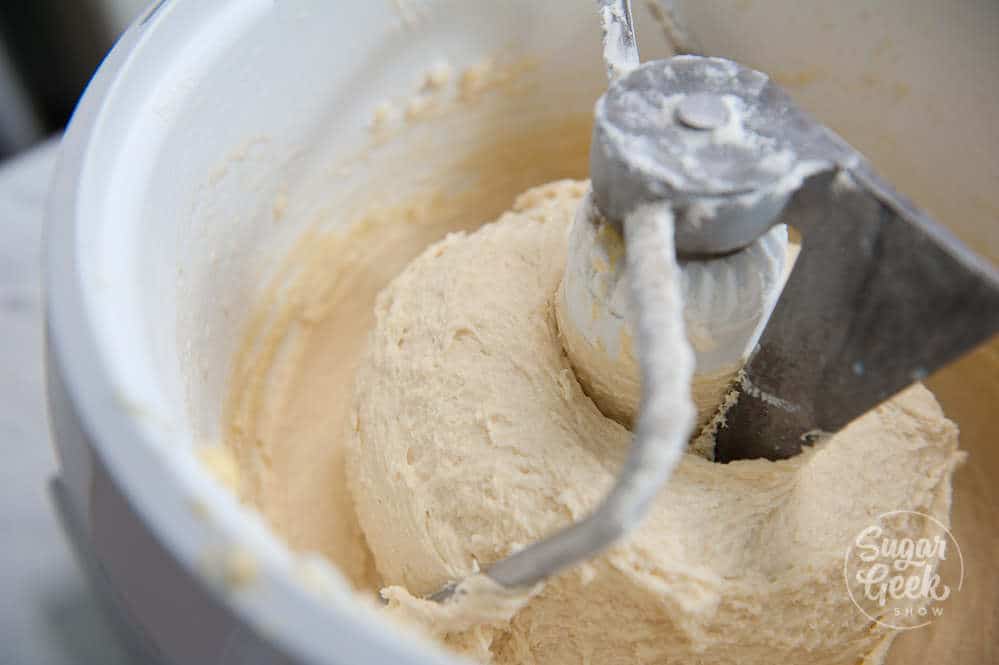
Add in your shortening or lard and work it into the dough with your fingers until it resembles a sand texture.
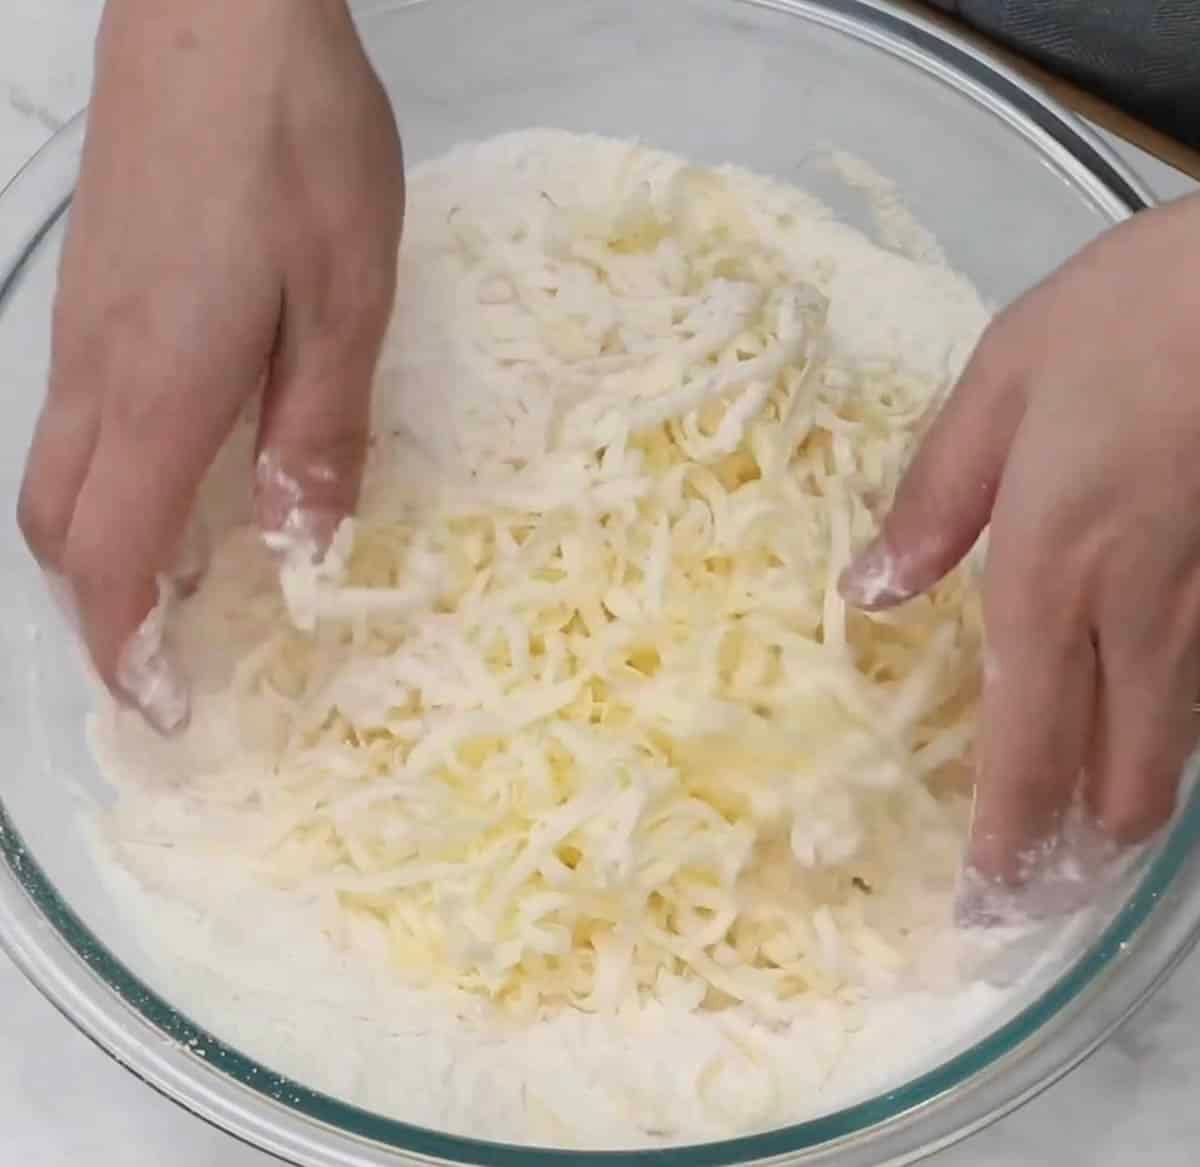
Press the tare button again to bring everything back to zero. Then grate the cold butter directly into the flour until your scale says you have added the right amount of butter. This is much easier than measuring the butter out and trying to grate out the perfect amount before the butter melts in your hand or you grate your fingertips!
Also, grating directly into the flour means you don't have to touch the butter so less chance of it melting from the heat of your hands.
Cold butter is the most important part of this recipe! So starting with one big block of cold butter and only grating what you need makes this step super easy.
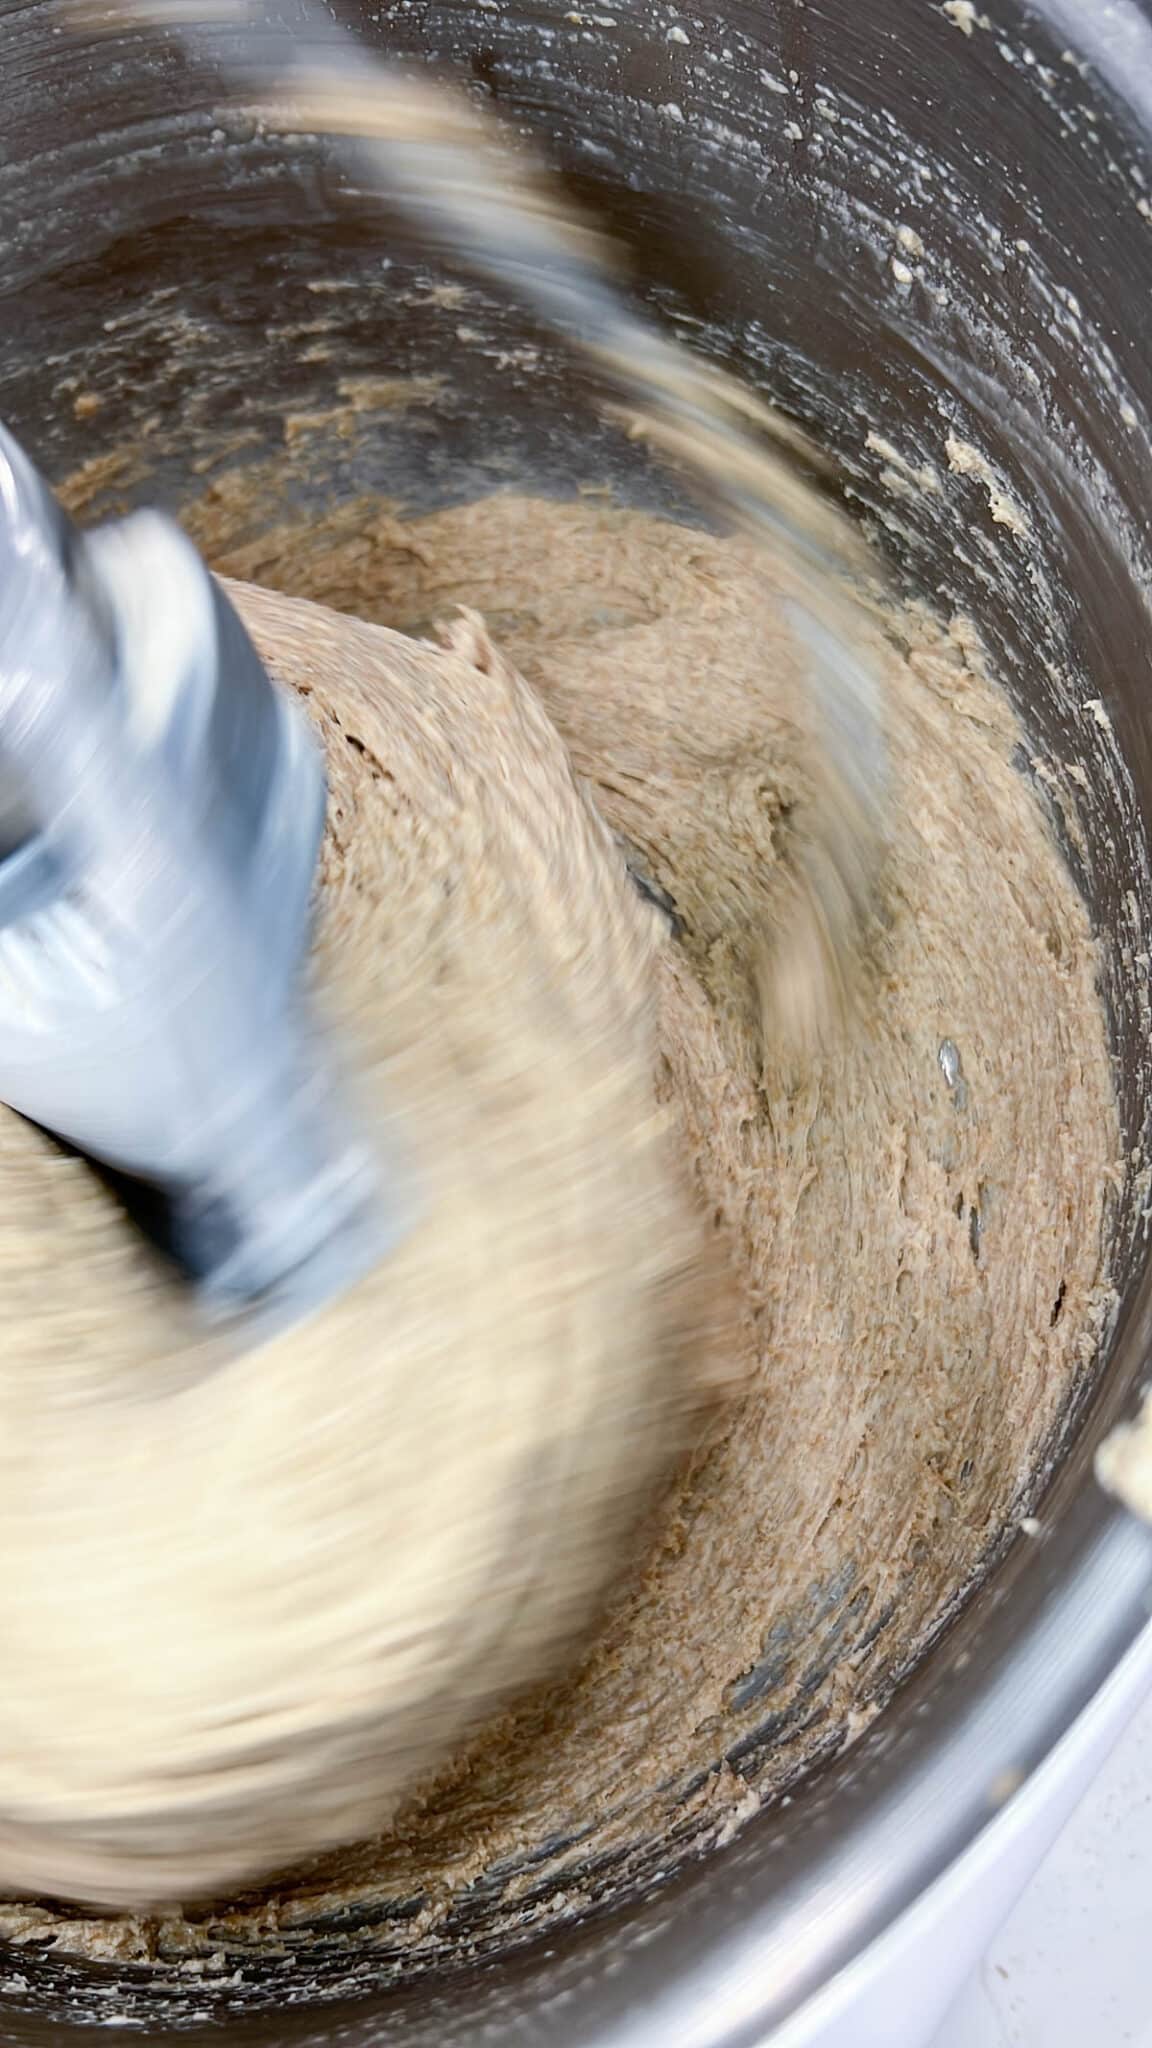
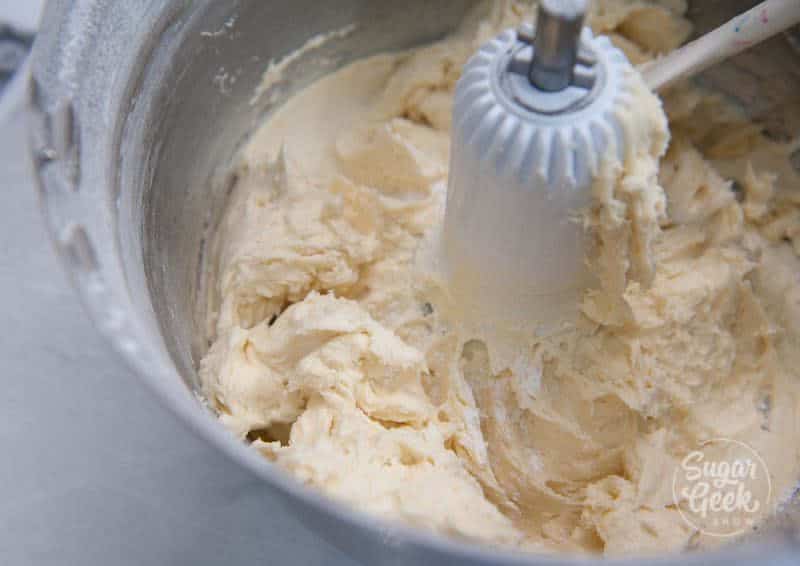
Lightly toss together the mixture to coat the butter in the flour. There shouldn't be any pieces of butter stuck together, everything should be coated in flour. Try to do this quickly so that you don't transfer the heat of your hands to the butter and melt it.
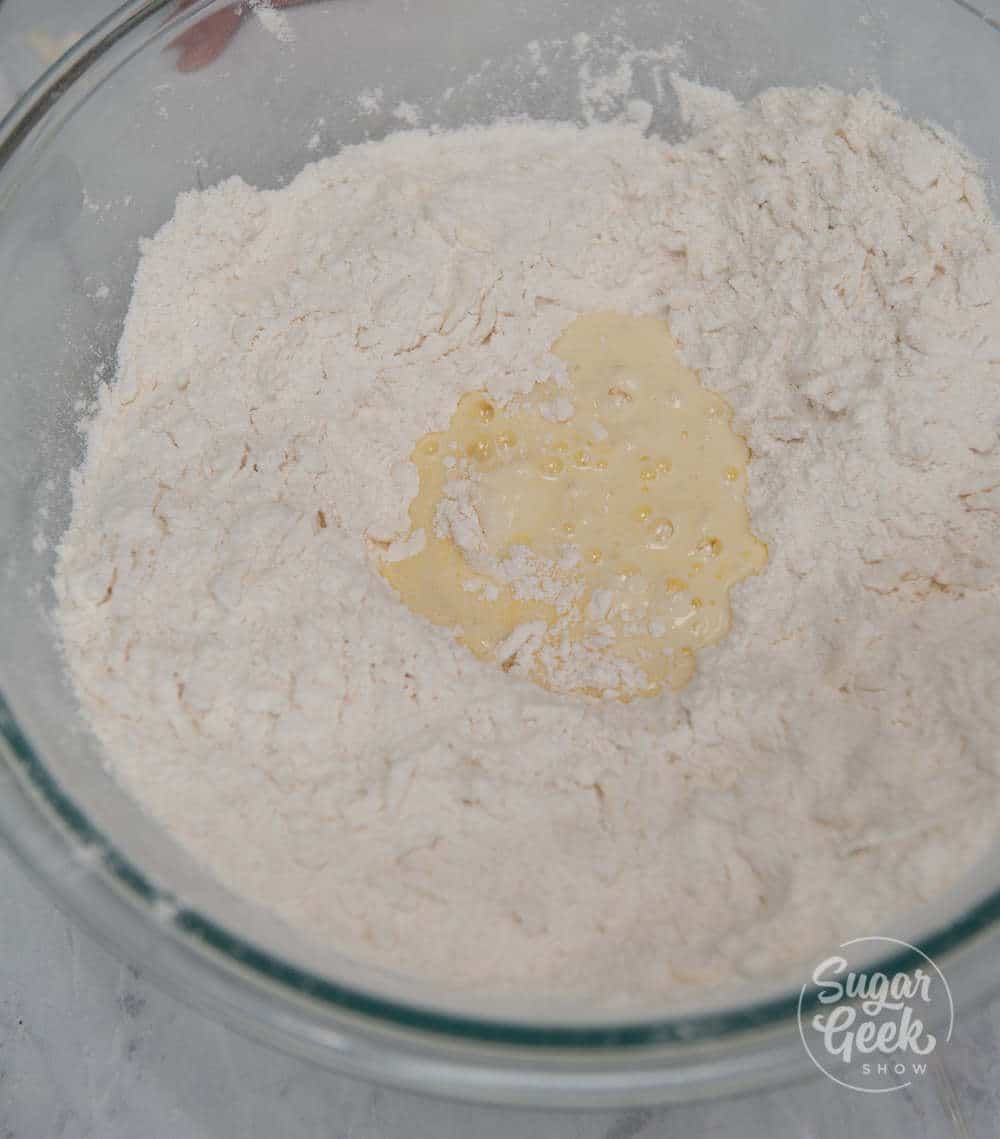
Then make a well in the center of the mix.
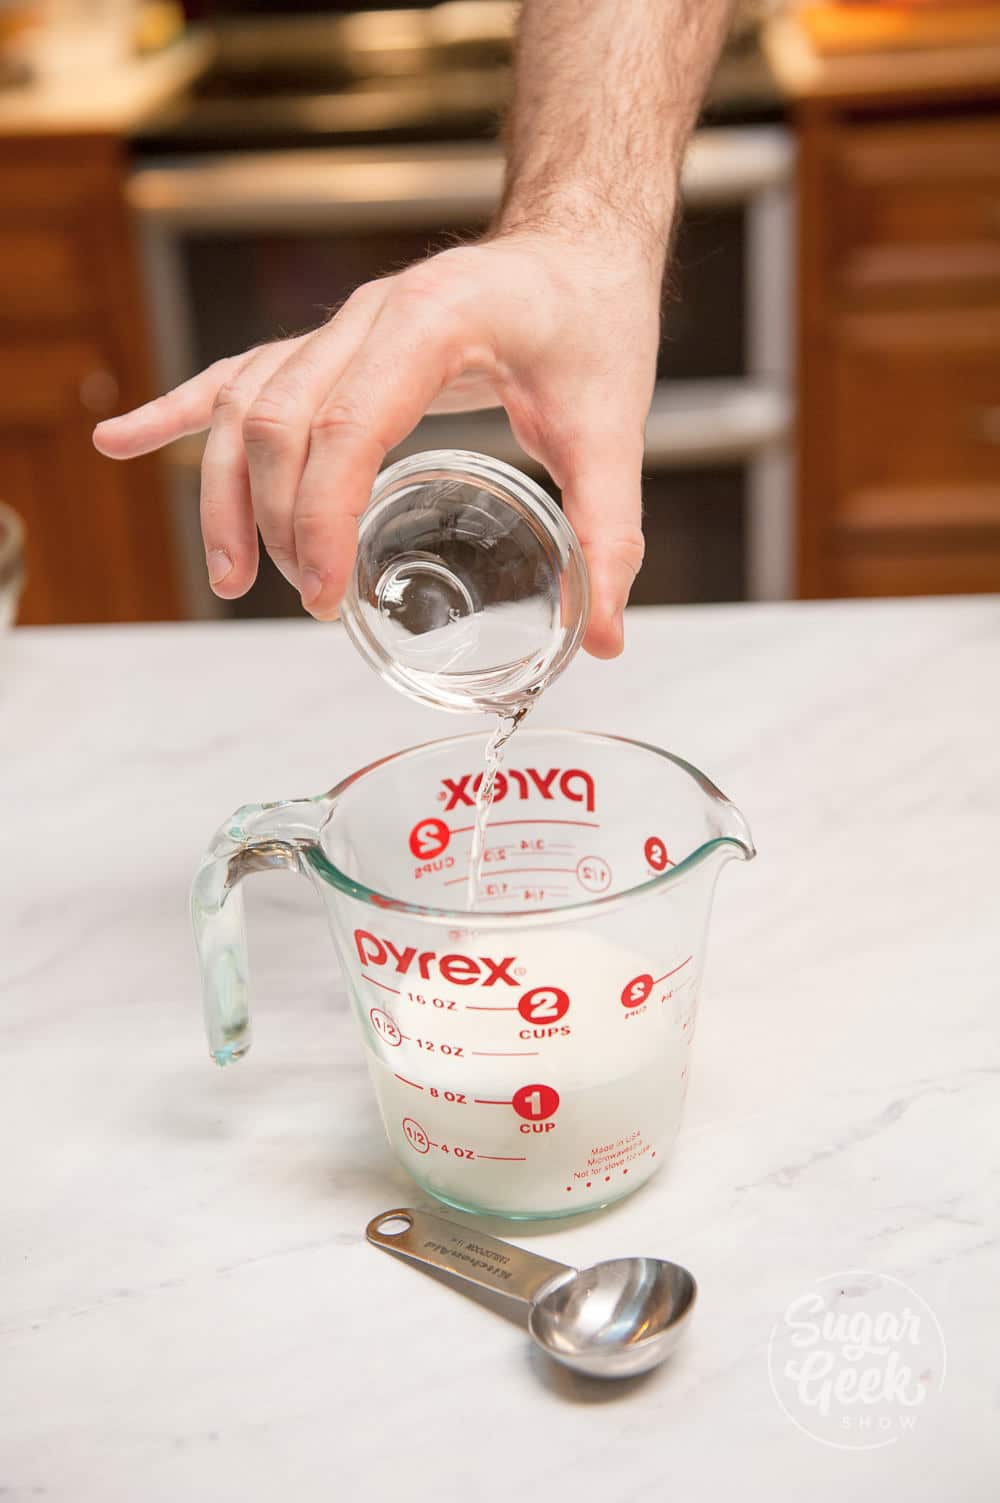
Pour COLD buttermilk into the center well and push the flour on the outside towards the center.
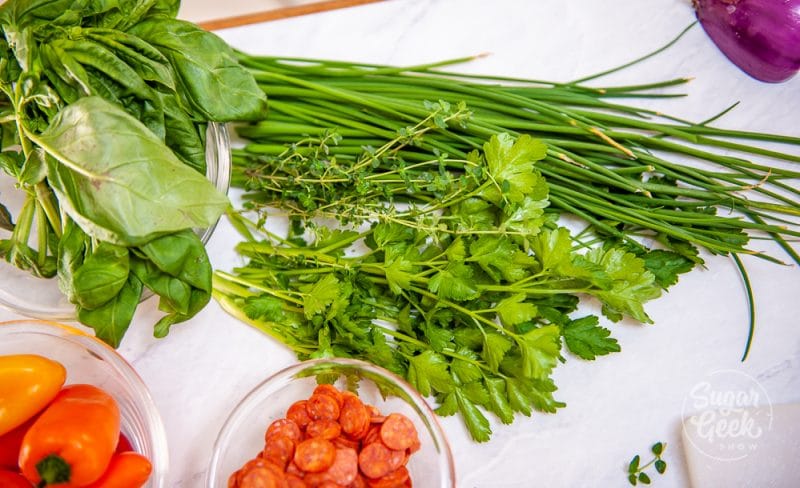
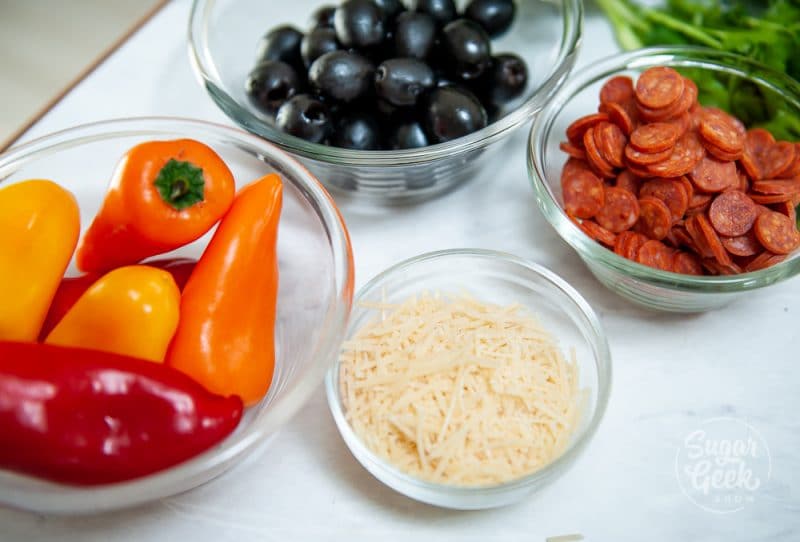
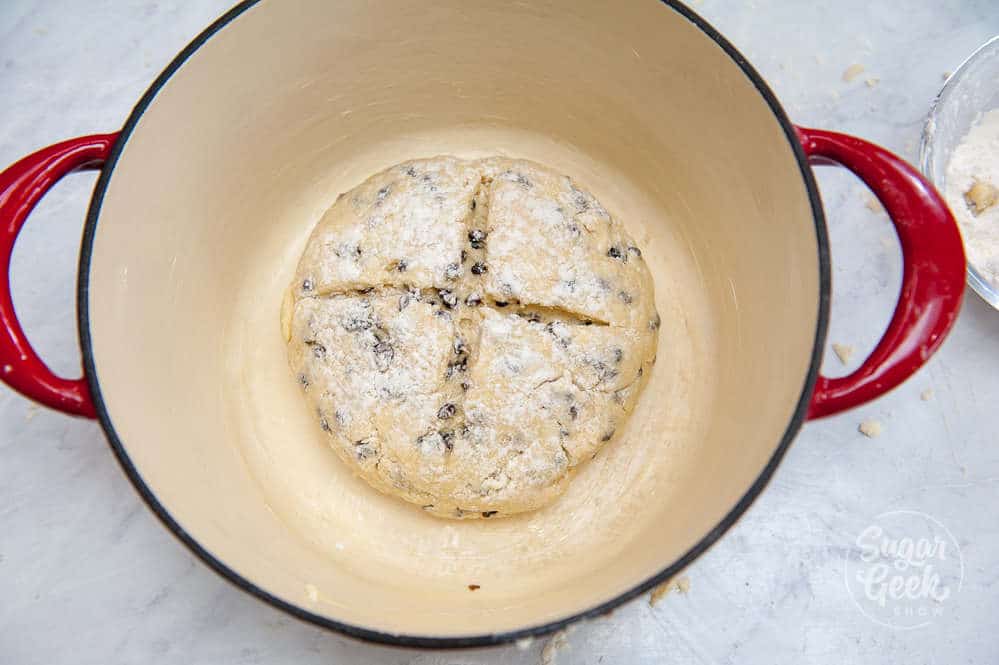
 If you want to add in any mix-ins like chopped chives, rosemary, bacon, ham, blueberries, nuts, raisins, now is the time. Or you can leave them plain and they'll be delicious!
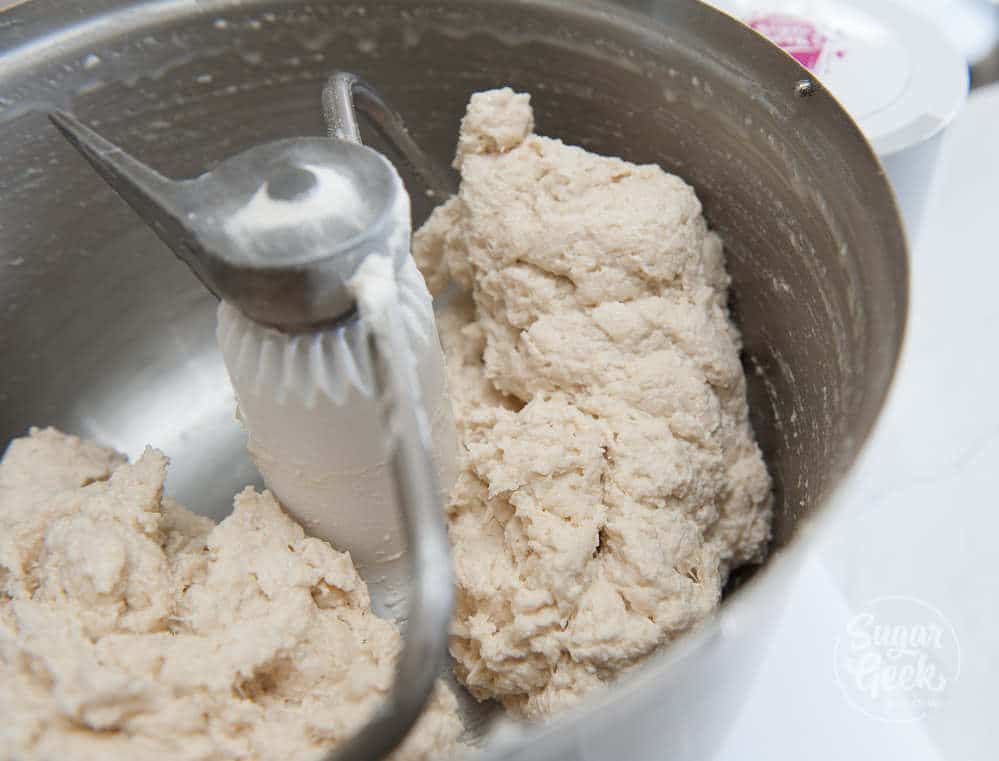
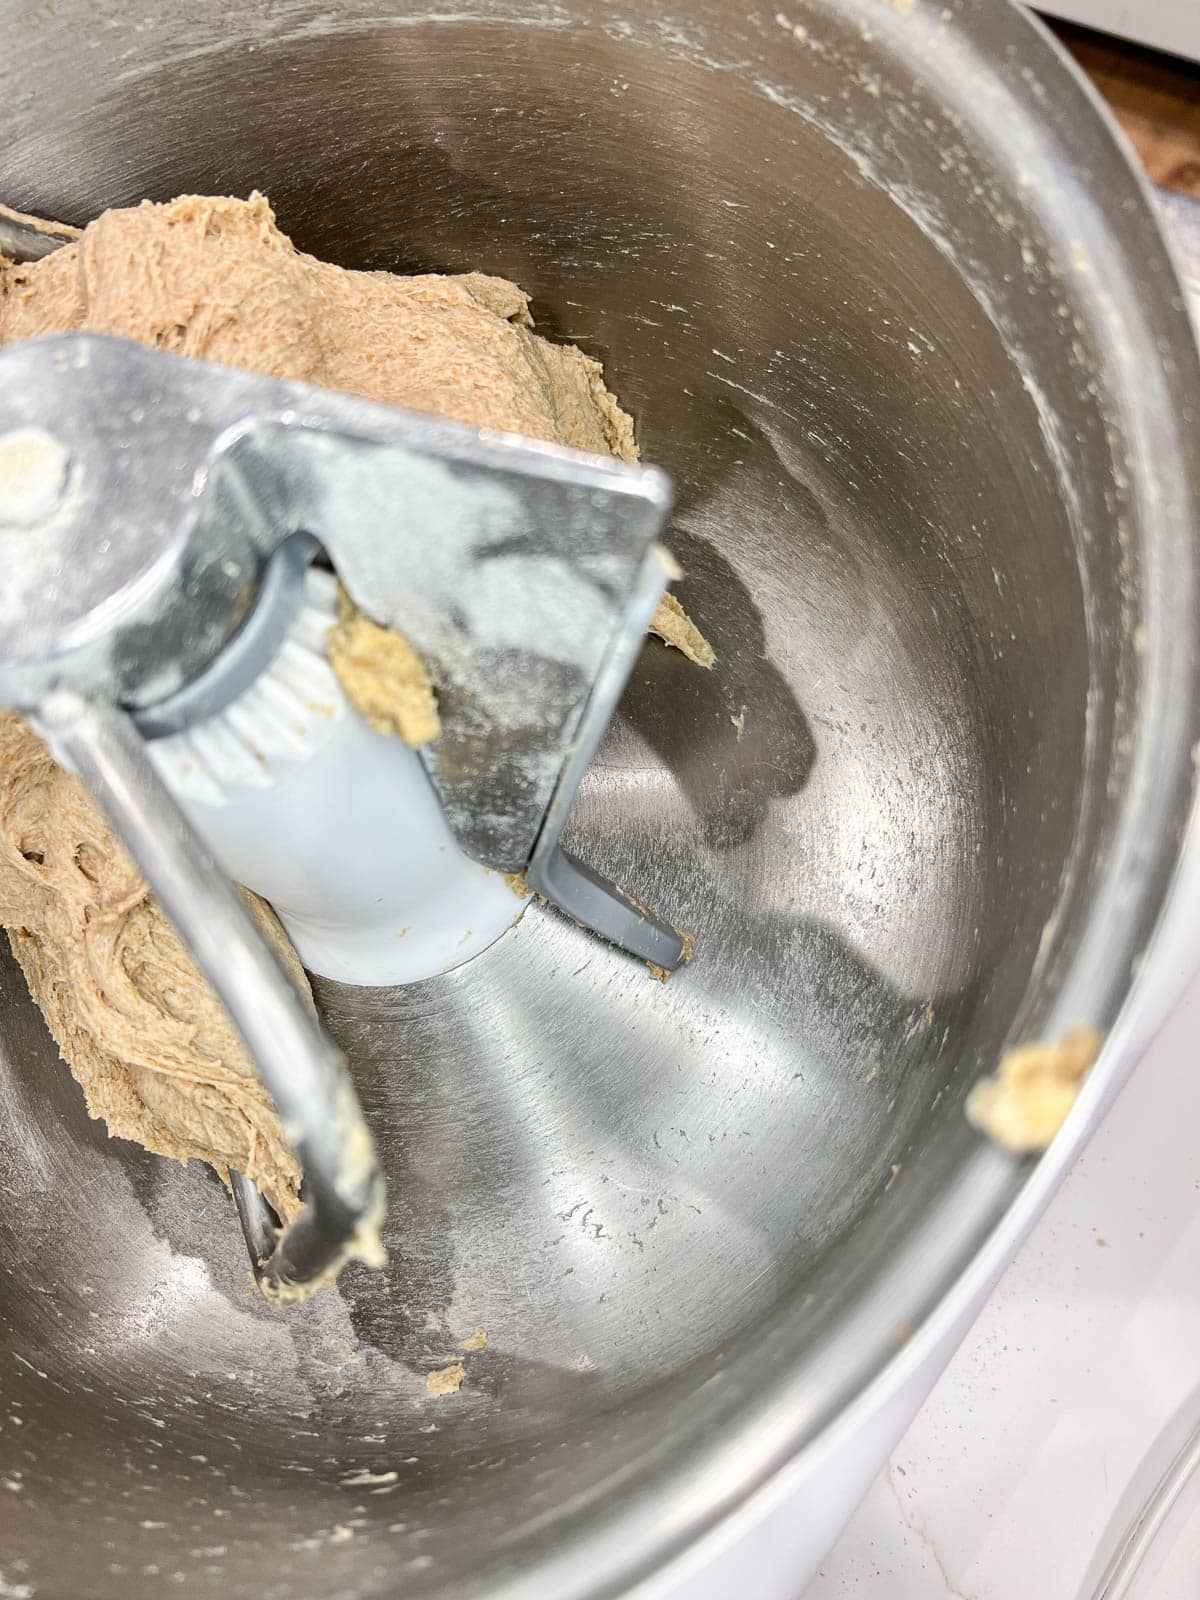
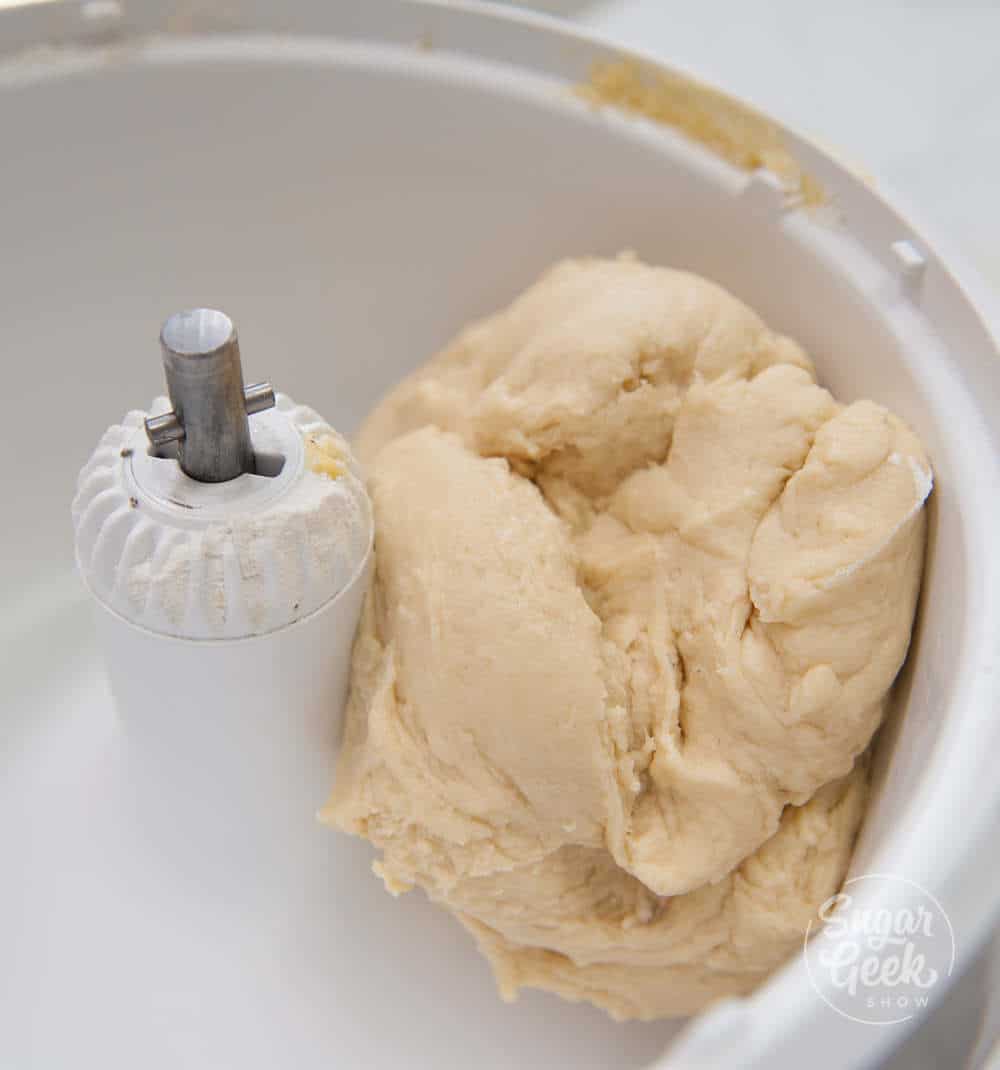
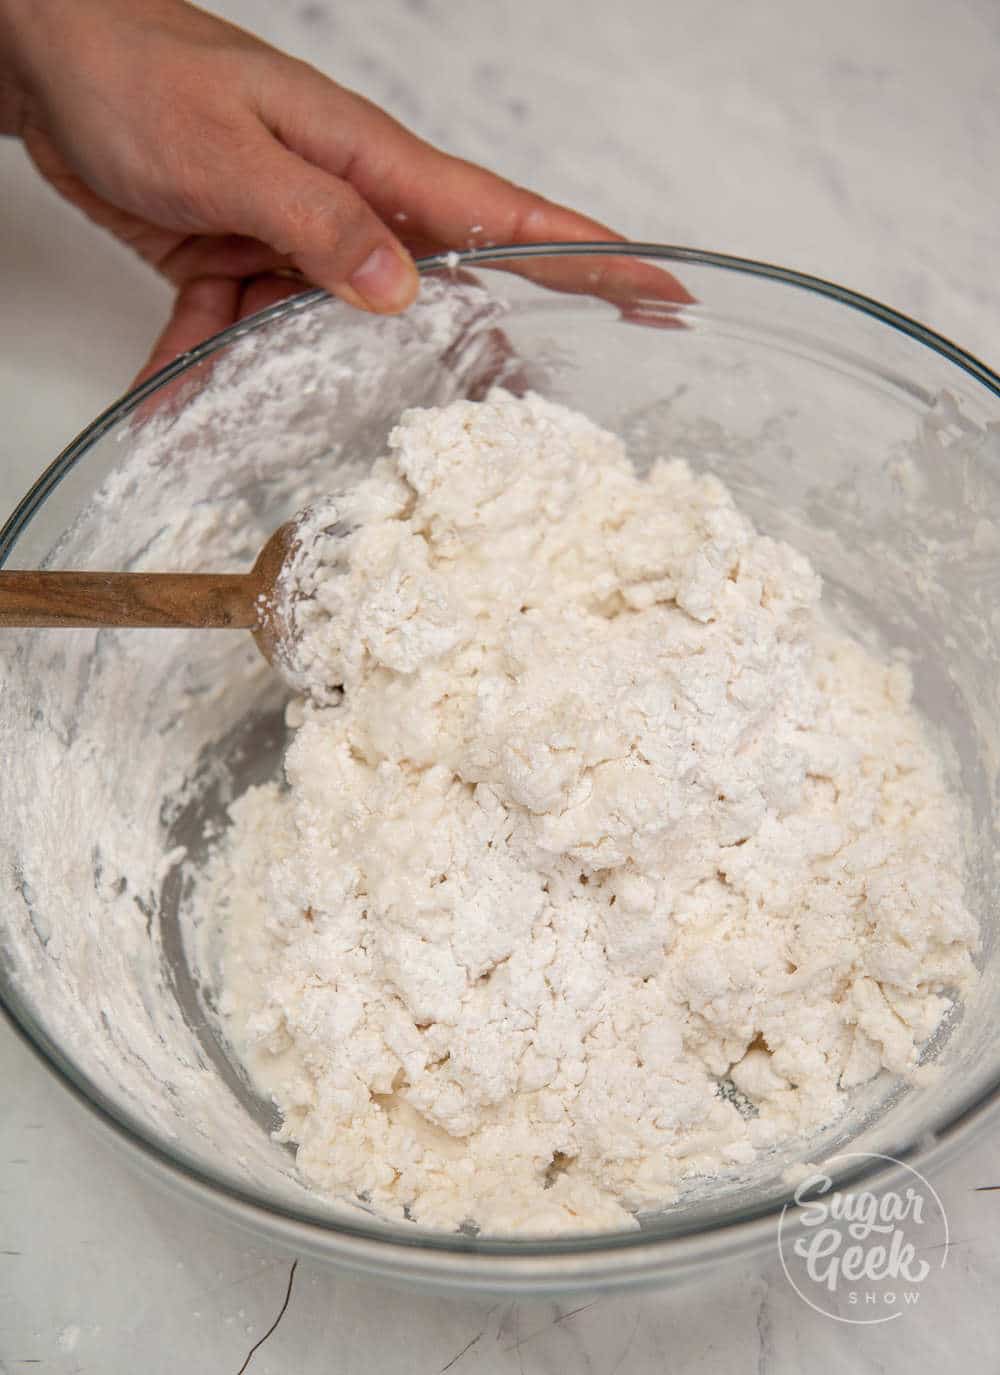
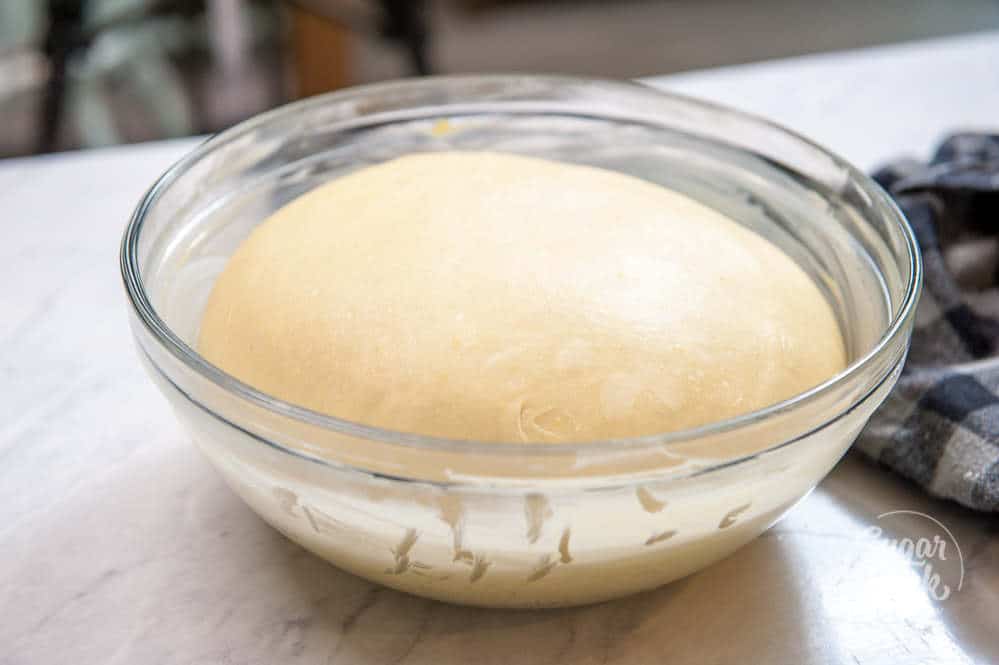
Make a claw with your hand (or use a fork) and lightly mix until you have a rough looking sticky ball. DO NOT OVER-MIX! Sorry to go all-caps on you but this is a mistake many people make. Ugly biscuit dough is delicious biscuit dough.
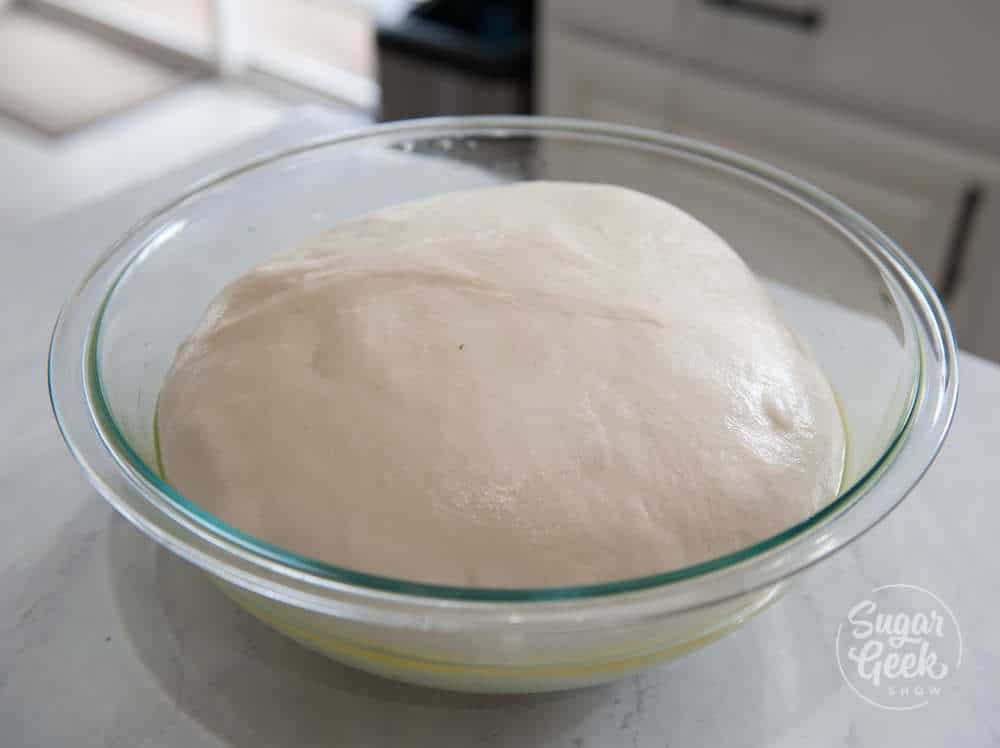
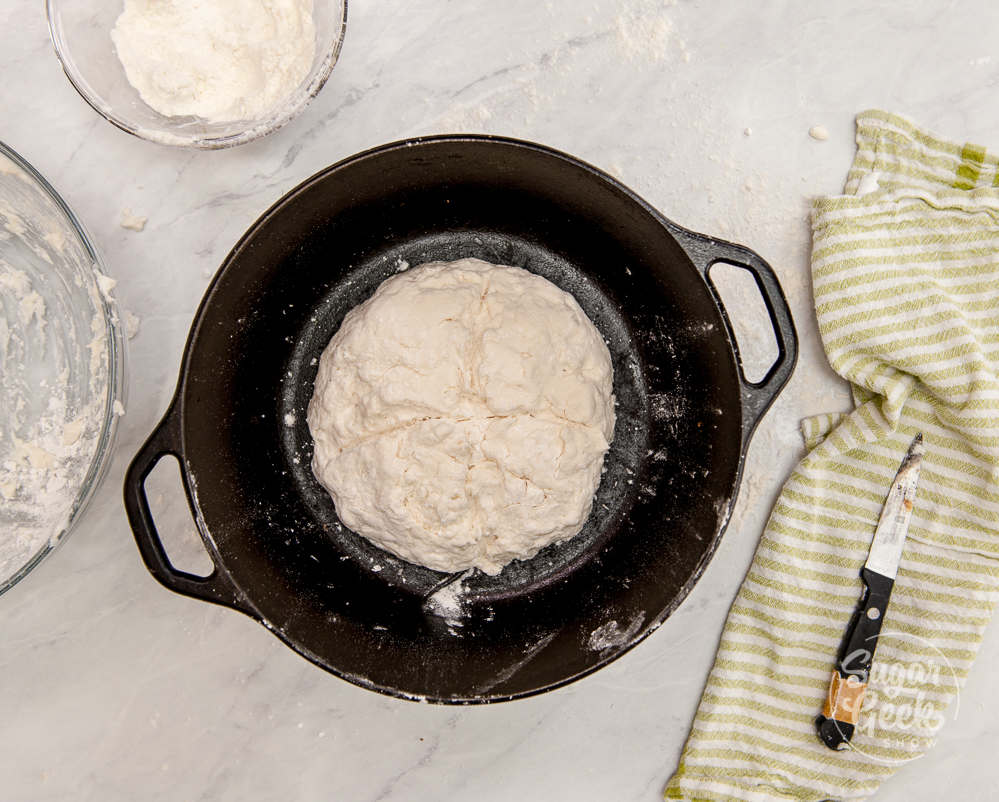
Lightly flour your surface and gently press your mixture together on the counter until it roughly flat.
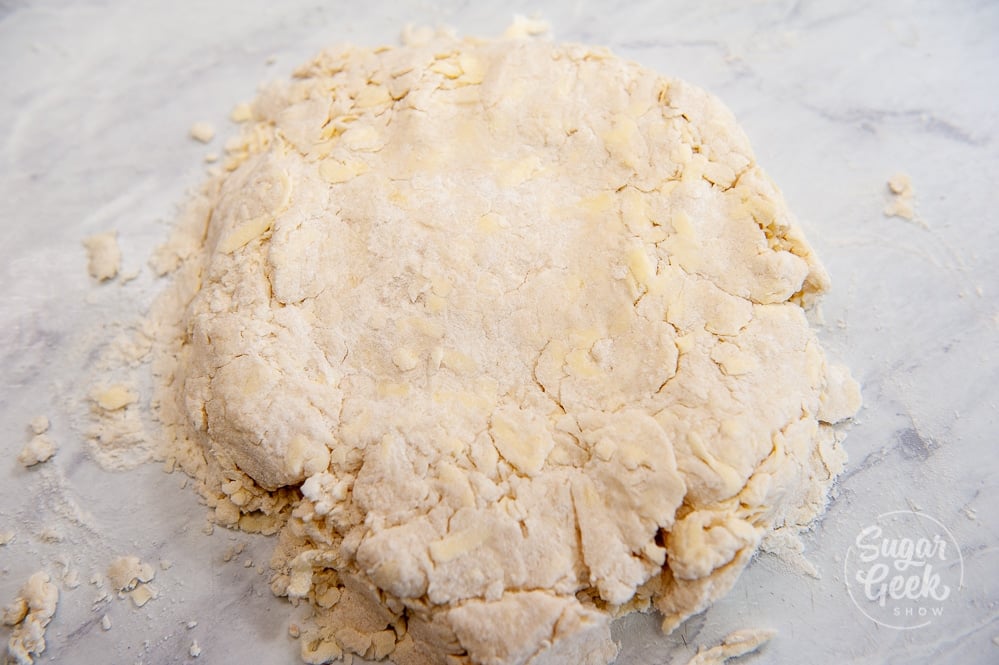
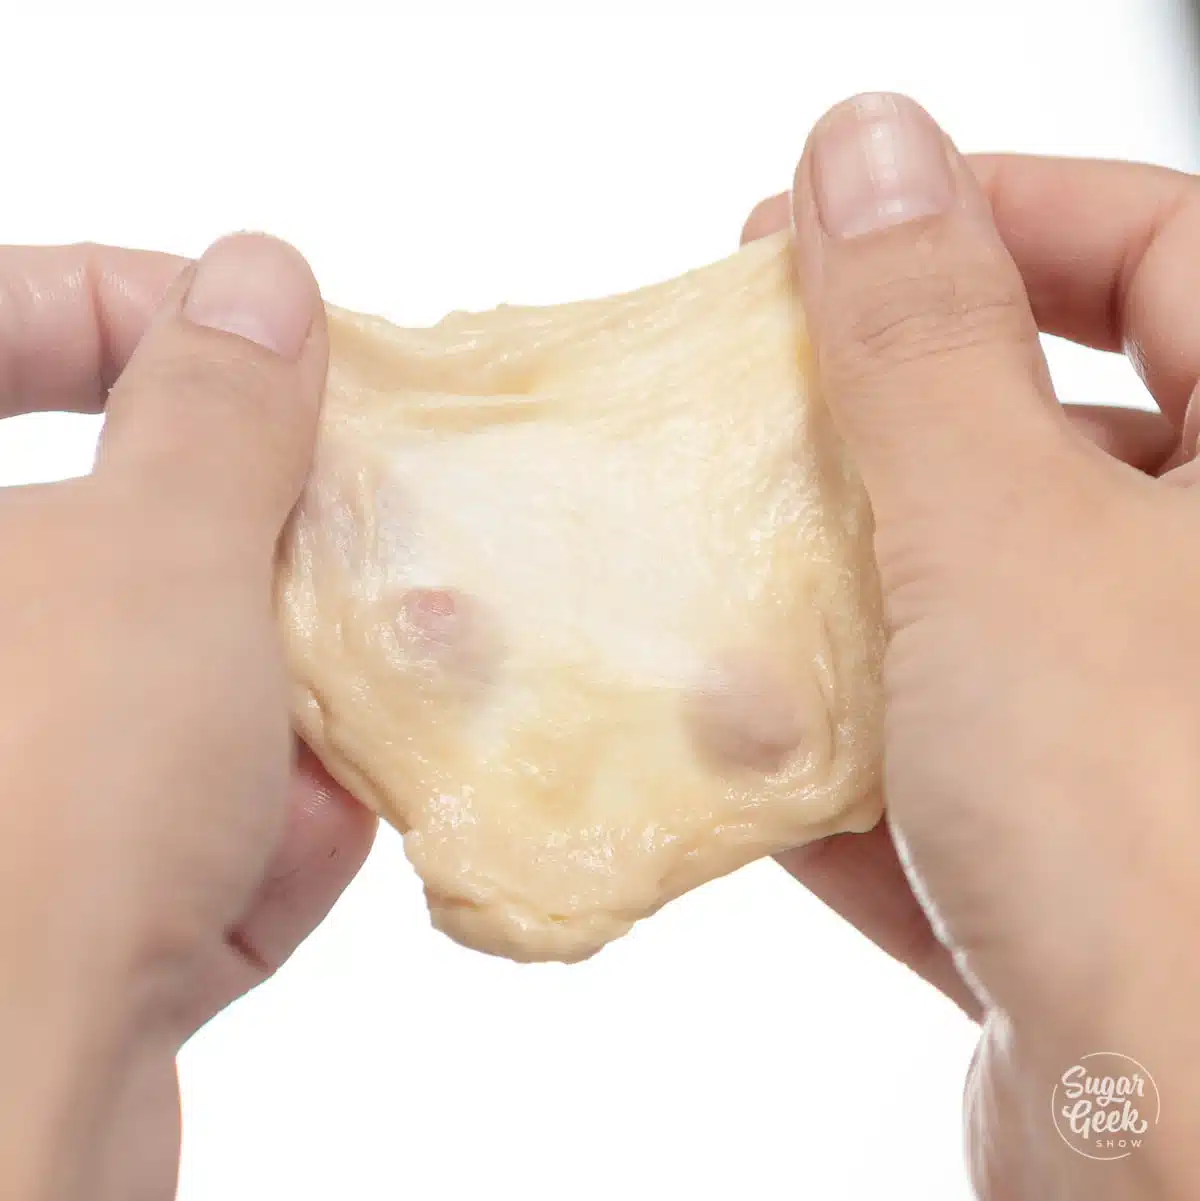
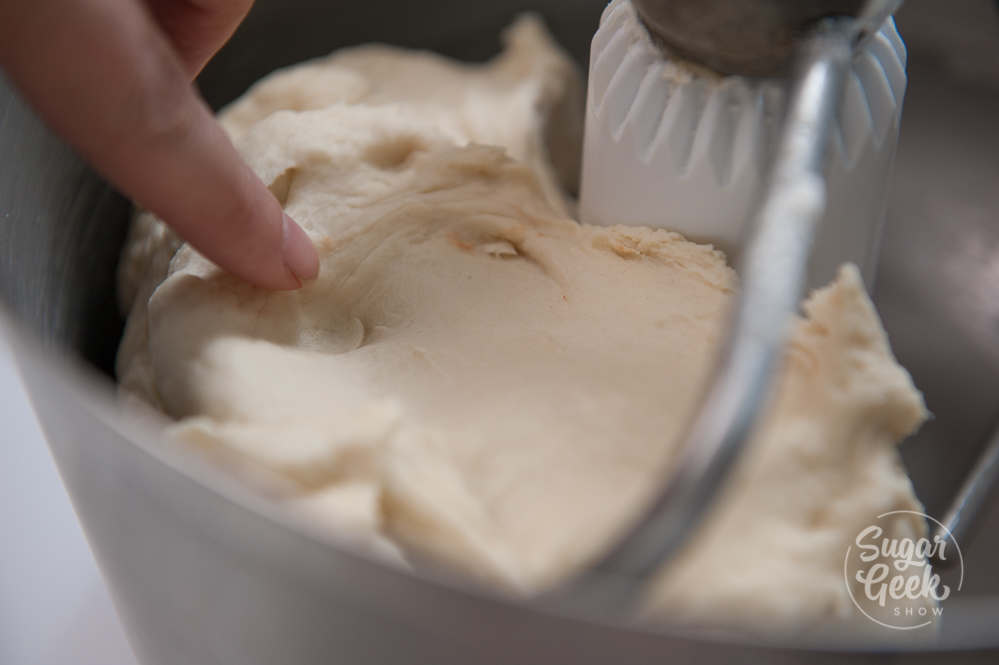
Take your shaggy, rough dough and fold it over onto itself. Then gently press down on top to make it flat again and about as thick as it started. It will be very messy and that is normal. Just go with it. That is one fold.
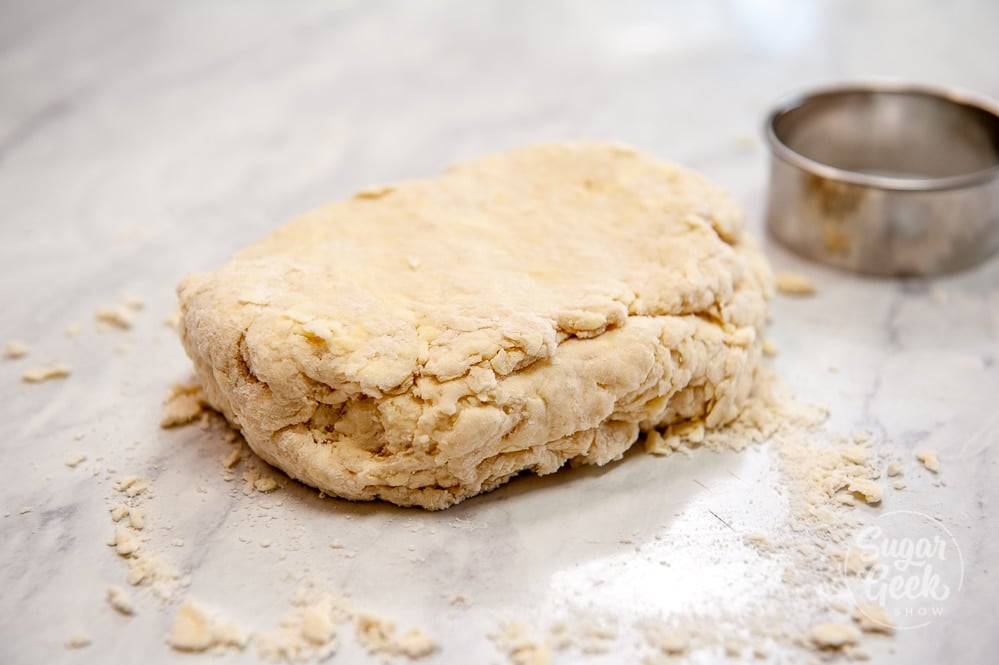
Now turn your dough 45º and repeat the same process of folding and flattening.
Fold it 4-5 times, rotating after each turn. This is going to make those beautiful fluffy layers of buttery biscuit. You don't want to go any more than 5, though, or it could get really tough. And we're going for fluffy.
If at any time your dough feels very stretchy and won't fold, place the whole thing in the fridge on a plate or sheet pan and let it relax for 10 minutes. Gluten gets stretchy when you handle it but will relax if you leave it alone.
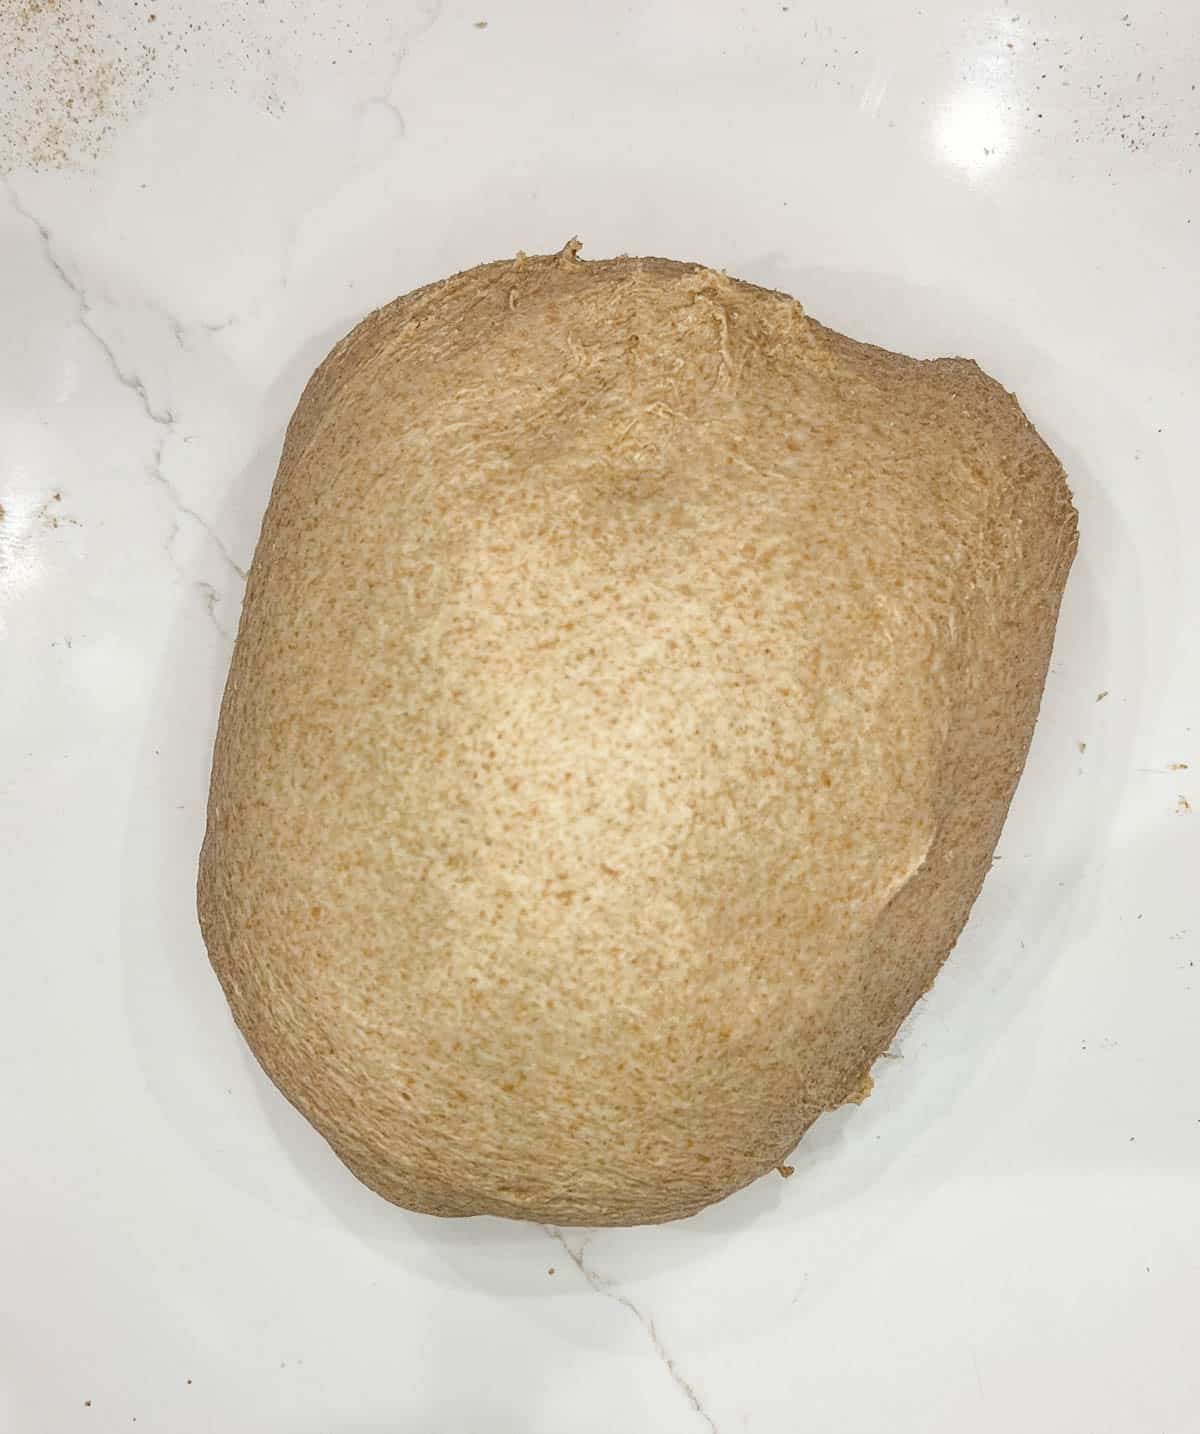
After you're done folding, go ahead and press the dough down with lightly floured rolling pin and roll it out to be about 1 inch thick. Time to cut our biscuits!
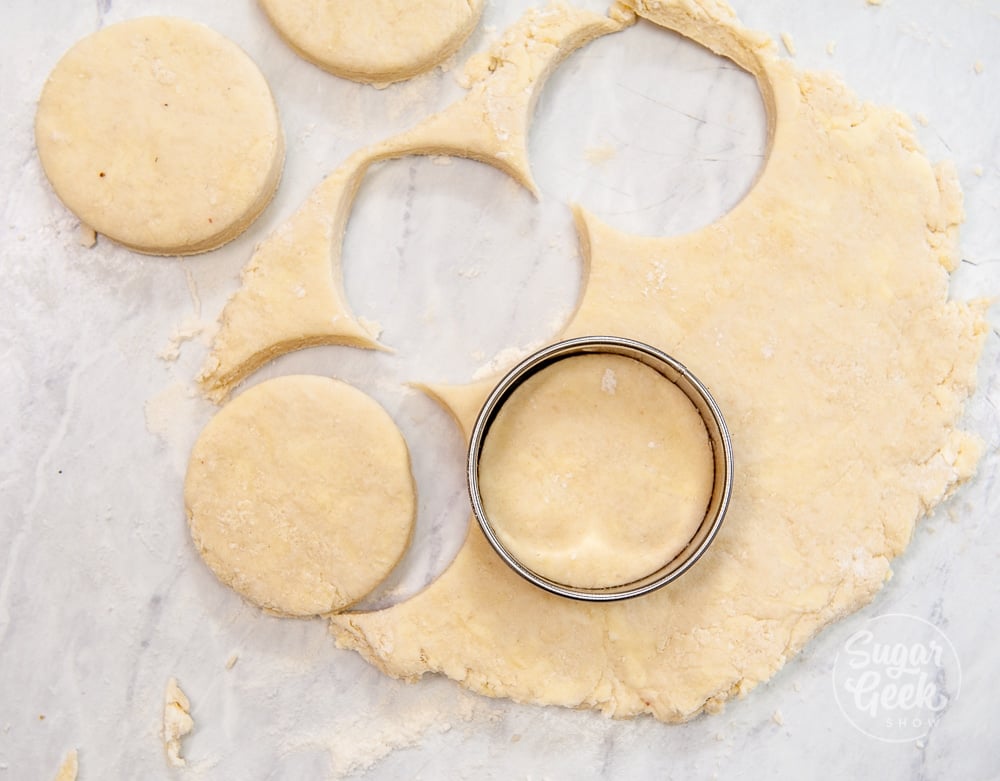
You can use a round biscuit cutter or you can just cut your dough into squares using a sharp knife.
When you're cutting your biscuits, it's really important to press straight down and lift straight up when cutting. If you twist at all, it will seal off those layers of butter and your biscuits won't rise evenly.
You might not think 1" is thick enough but look at all those layers! They are going to get TALL when we bake them.

Try your best to have as little waste as possible, I'm using a 3" wide cutter and got about 12 nice biscuits out of one batch. You can squish together the leftover dough to make the last few biscuits, but don't completely re-knead it, or it'll be super tough.
These biscuits look a little ugly but still taste good!
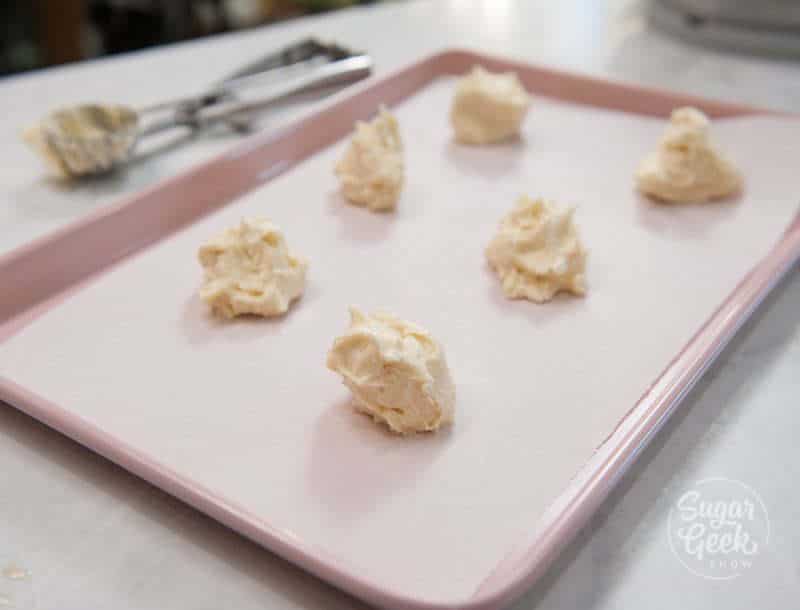
Line 2 baking sheet pans with parchment paper and then arrange about 8 biscuits on each pan. You want your biscuits to be fairly close together, just so they're about touching each other. This will help them rise up evenly and straight up.
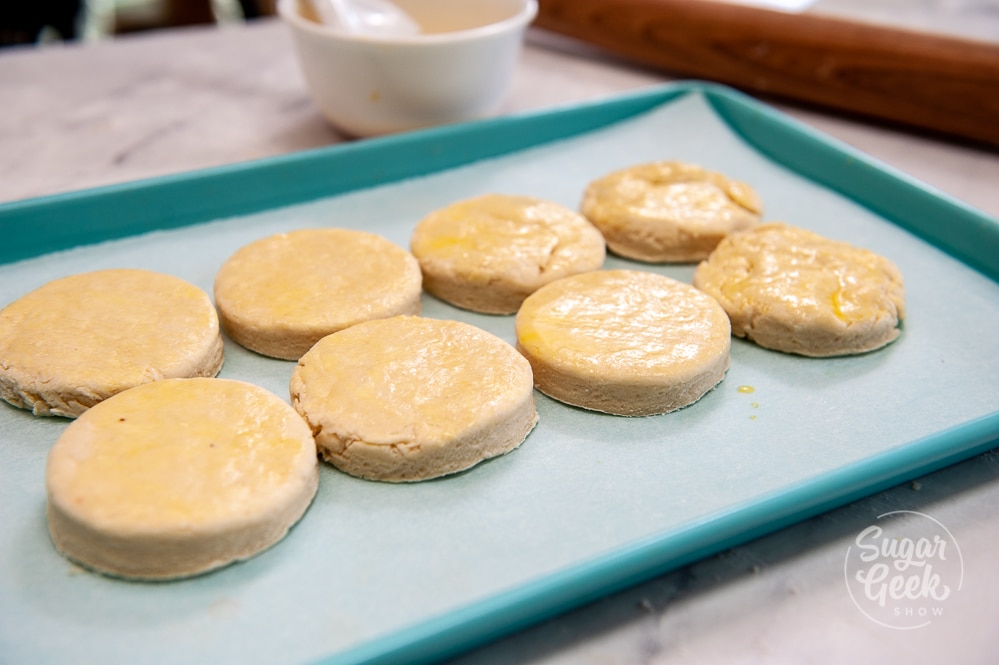
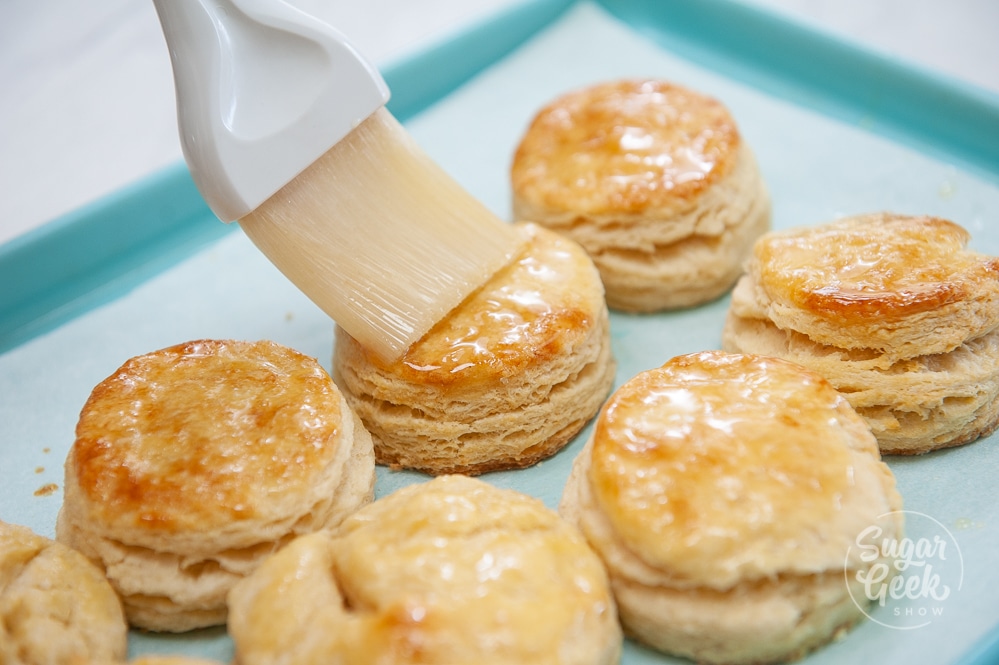
Brush the tops of your buttermilk biscuits with an egg wash (1 egg + 1 tablespoon water whisked together.) DO NOT brush the sides, or it will seal those beautiful layers. If you don't add egg wash, you won't get that nice brown on top, so don't skip this step. You can also use milk if you don't want to use an egg wash.
If you want to make these ahead of time, you can freeze them before egg washing. Then you don't even have to defrost them, just take them out, egg wash and bake them up!
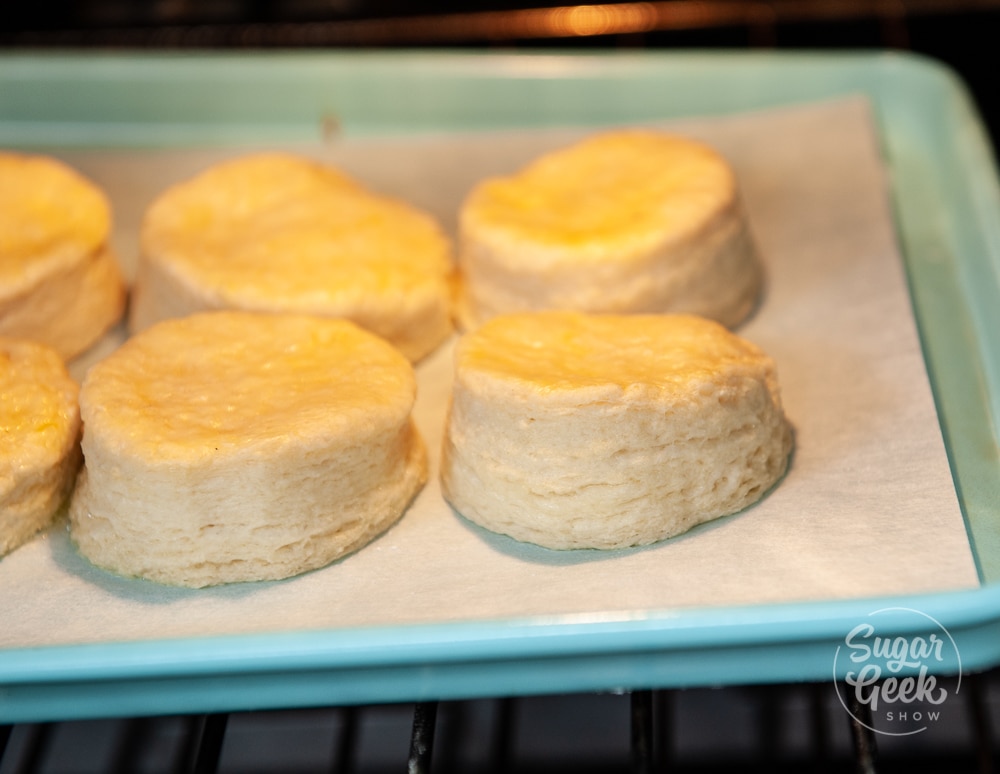
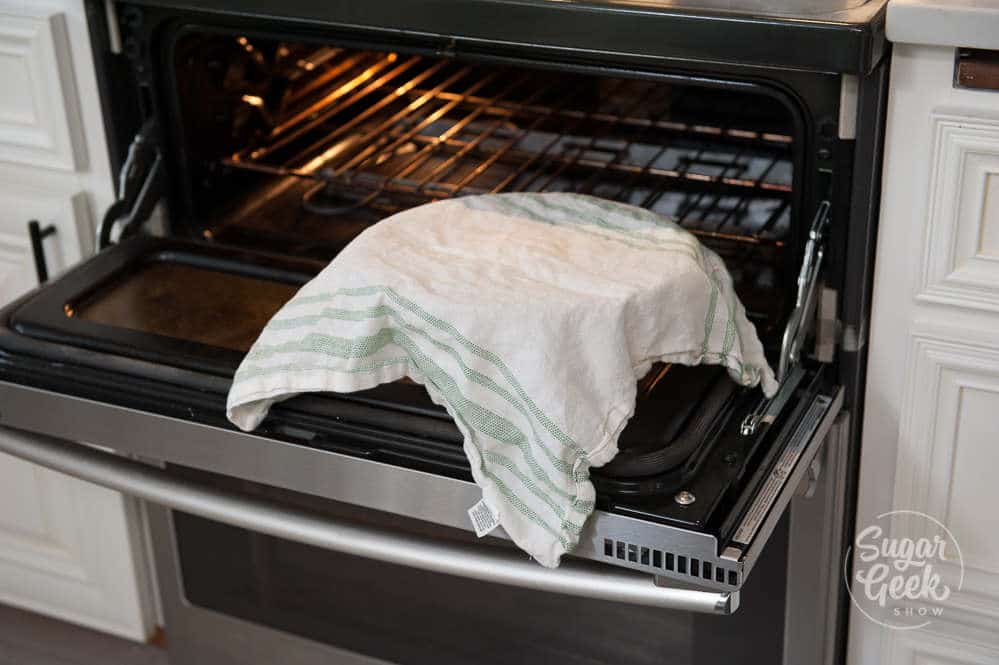
I couldn't resist taking a photo of these baking in the oven! Look how tall they are after only 10 minutes! Each one of those buttery layers is letting off a ton of steam which makes the biscuits rise as they bake.
Bake in the center rack for 10 minutes, then rotate and bake for another 5 minutes or until the tops of your biscuits are nice and golden brown!
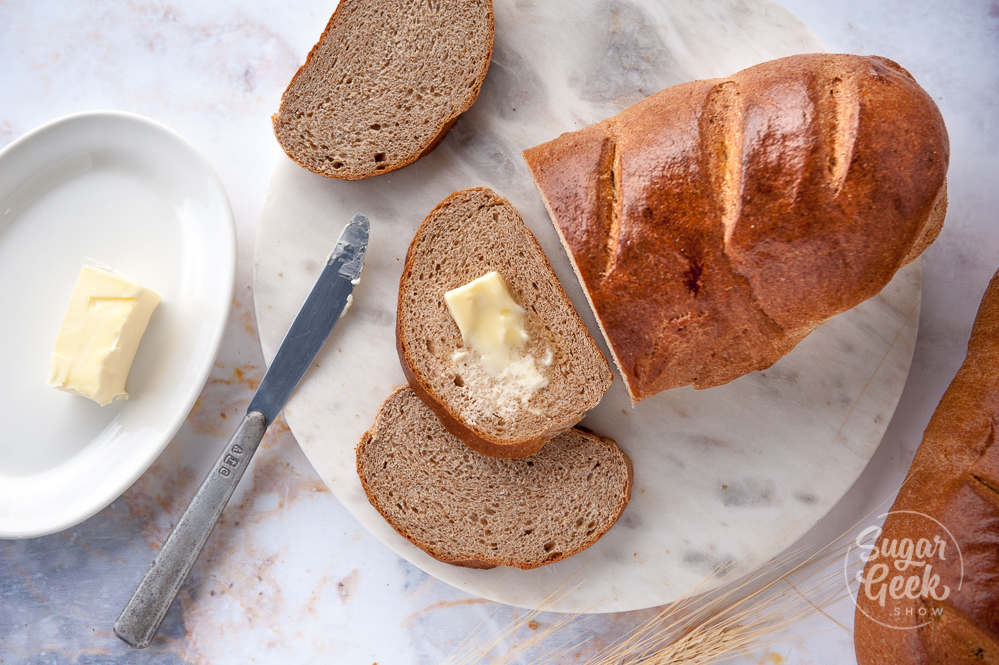
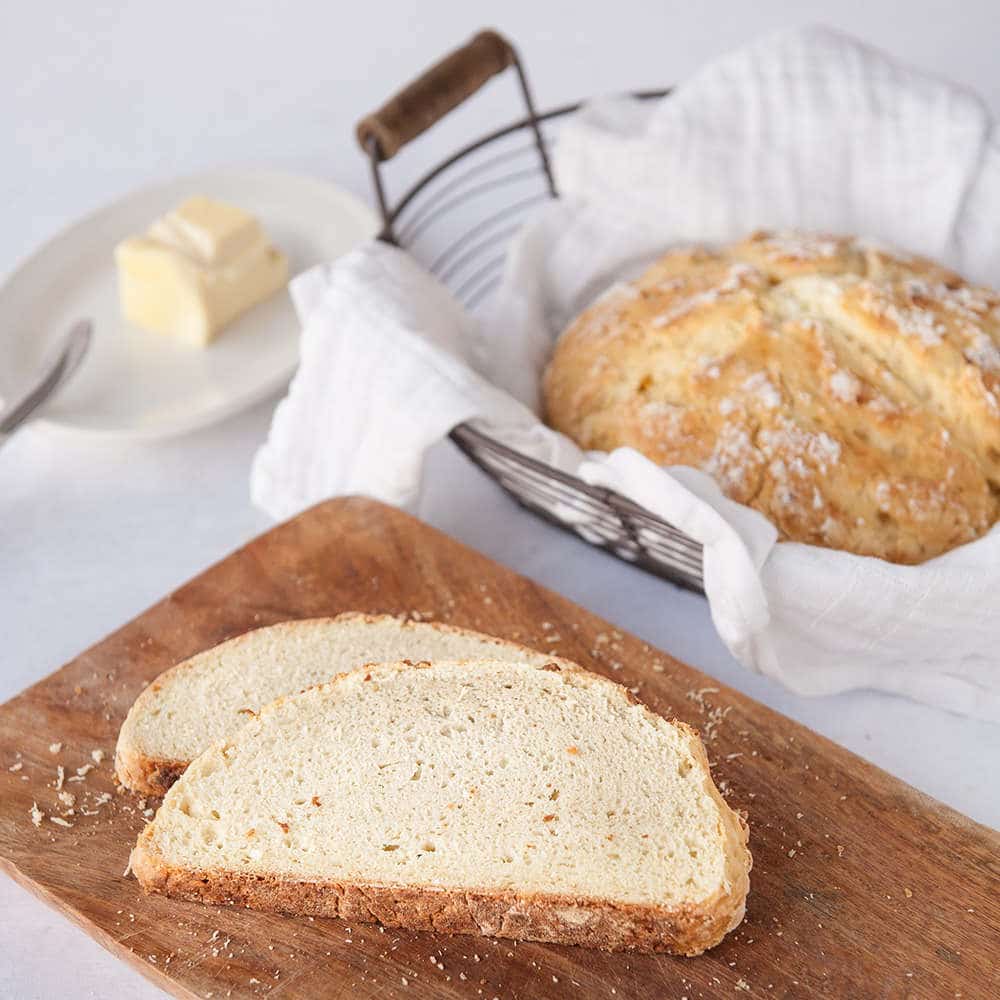
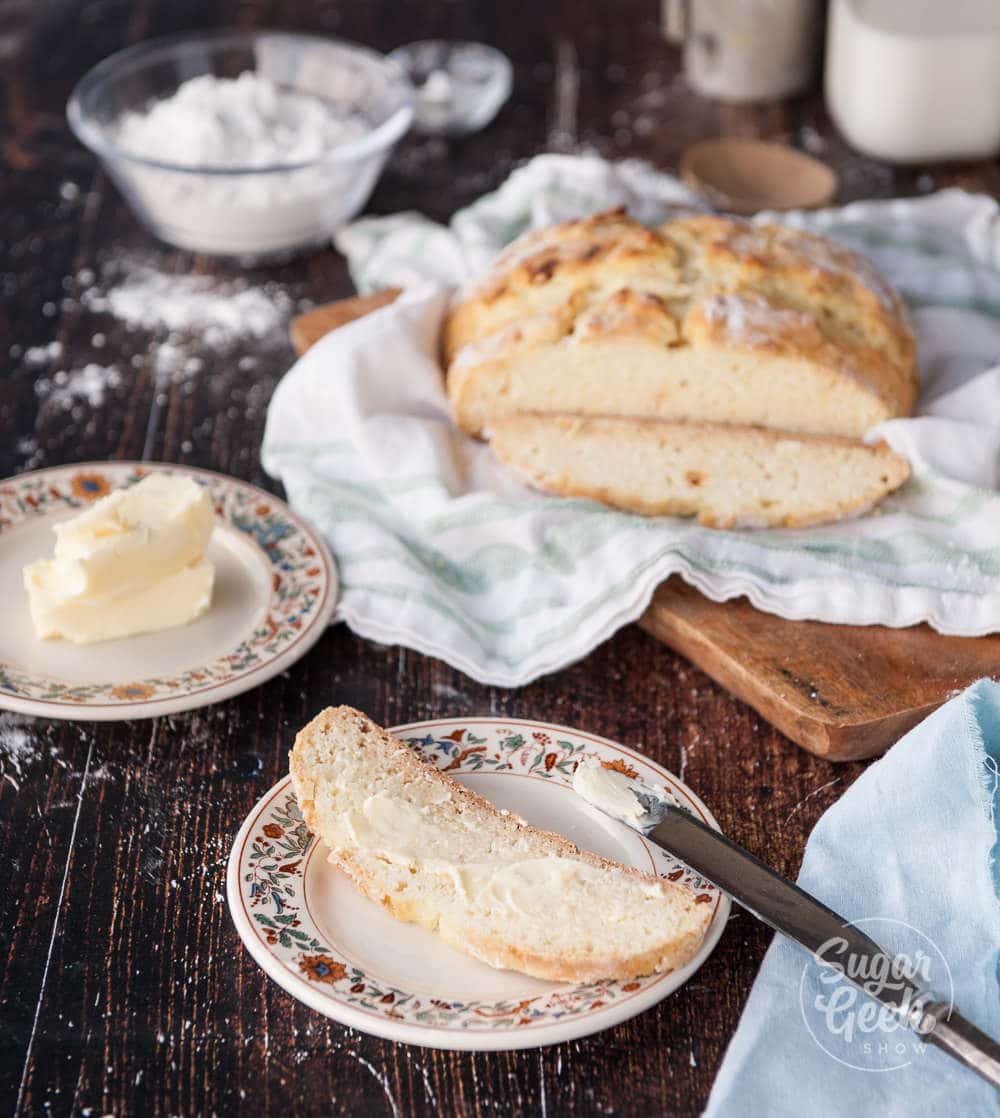
When the biscuits come out of the oven I like to brush them with MORE melted butter! So good!
Obviously, buttermilk biscuits are best enjoyed the day they are made but you can put them into a ziplock bag at room temperature and store leftovers. Refresh them for a few minutes in the oven at 350º. I love using leftover biscuits to make egg and cheese sandwiches!
Related Recipes
Cheddar Bacon Chive Biscuits
How To Make Buttermilk
Keto Biscuits
⭐⭐⭐⭐⭐ Have you made this recipe? Leave me a review below!
Recipe

Flaky Buttermilk Biscuits
Ingredients
- 20 ounces all purpose flour
- 2 tablespoons granulated sugar
- 2 tablespoon baking powder
- 1 teaspoon salt
- 2 ounces shortening or lard
- 12 ounces buttermilk cold
- 6 ounces unsalted butter cold, grated or cut into small pieces
Instructions
- Preheat your oven to 400ºF
- Sift together flour, sugar, baking powder, baking soda and salt
- Work the shortening in to the flour mixture with your fingers until it resembles a sandy texture.
- Grate cold butter into the dry ingredients (using a scale makes this very easy)
- Toss the ingredients together to coat all the butter with the flour mixture
- Make a well in the center of your dry ingredients and then add in the cold buttermilk. Pull the dry ingredients towards the center and then mix with your hands in the shape of a "claw" or fork until the dough forms a loose sticky ball. Do not over-mix.
- Flatten the dough roughly with your hands or rolling pin to about 2" in height. Fold in half. This will be messy! Flatten dough once again.
- Rotate your dough 45º and fold in half again. Repeat 5-7 times. If the dough becomes stretchy, place it in the fridge for 10 minutes to relax the gluten.
- Use a 3" round biscuit cutter or sharp knife to make your biscuits. Press striaght down and lift straight up. Do not twist.
- Place the biscuits on a parchment lined sheet pan with about ¼" of space in between the biscuits and brush with milk or egg wash on top. Do not brush the sides. Sprinkle with sanding sugar for extra crunch and sweetness if desired.
- Bake at 400ºF for 5 minutes to set the tops and get a good rise then reduce the temp to 350° F and bake for 15 minutes or until they are golden brown. Rotate half way through baking for even browning.


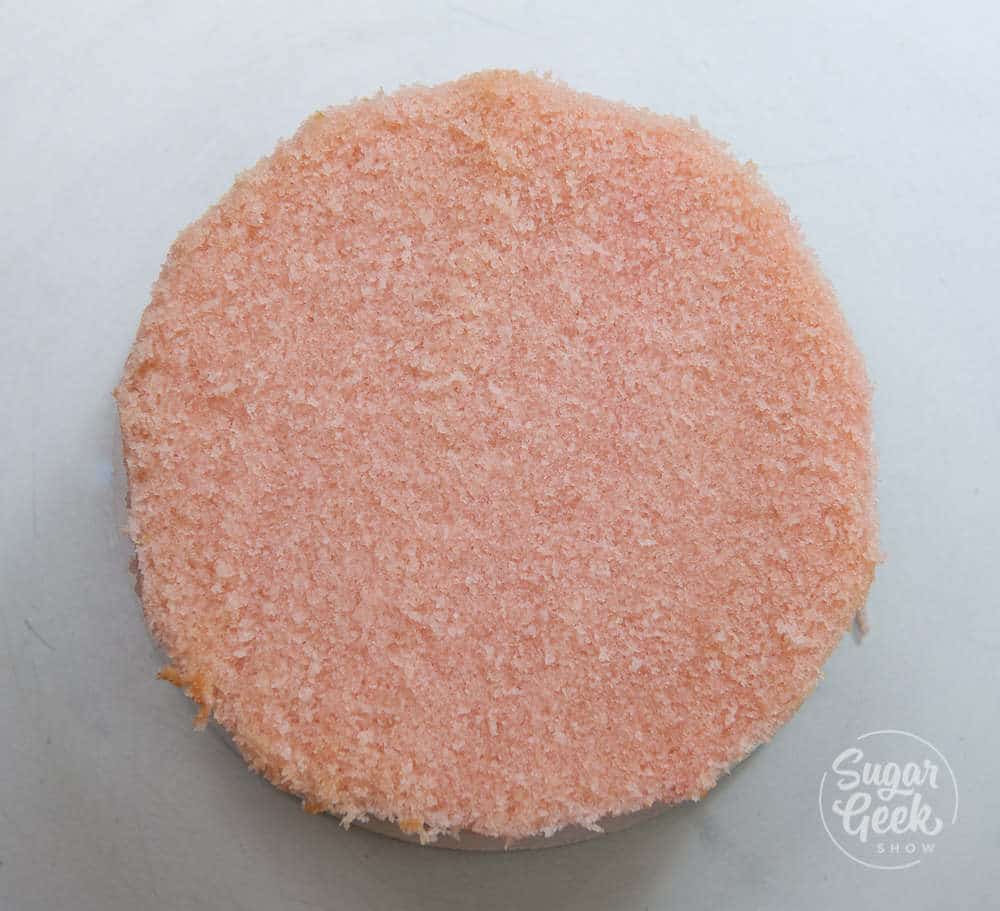
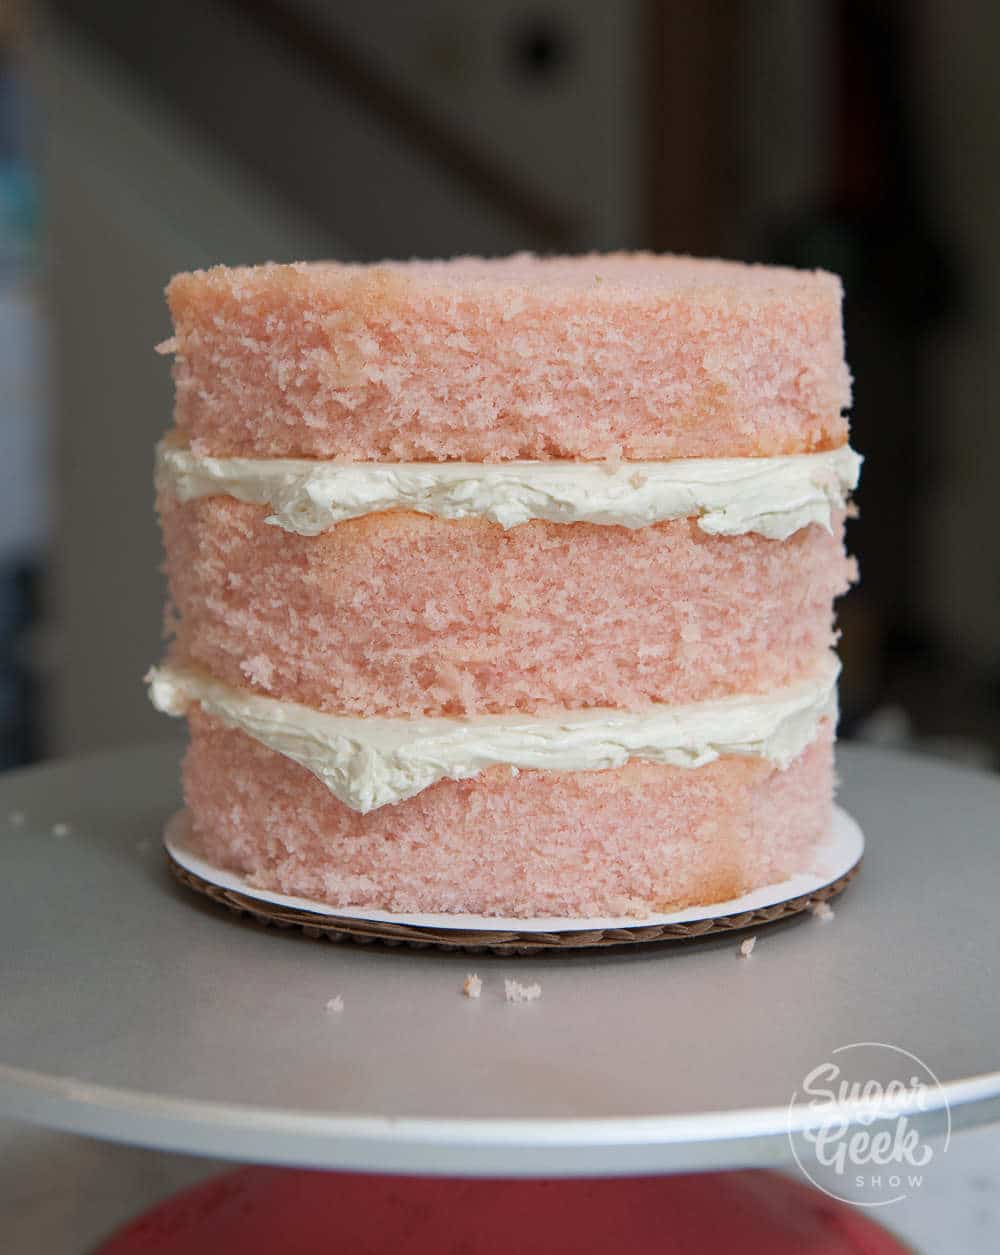
 I put my cakes into the freezer for about 30 minutes to firm them up before trimming off the dome, the brown sides, and the brown bottom.


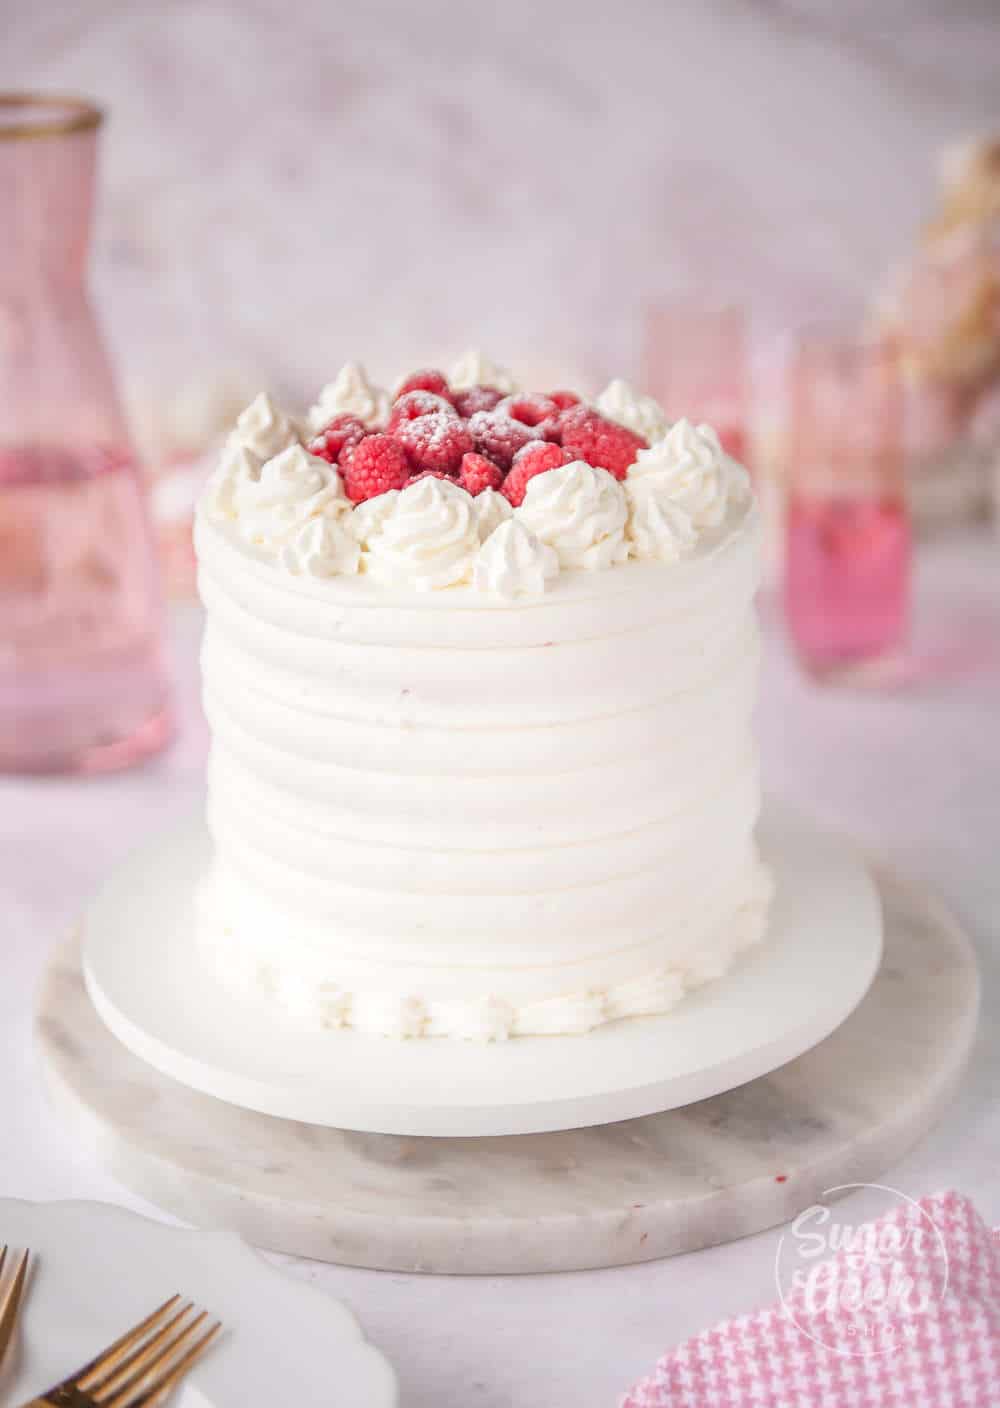
 Italian meringue buttercream is similar to


