
Skill level: Intermediate
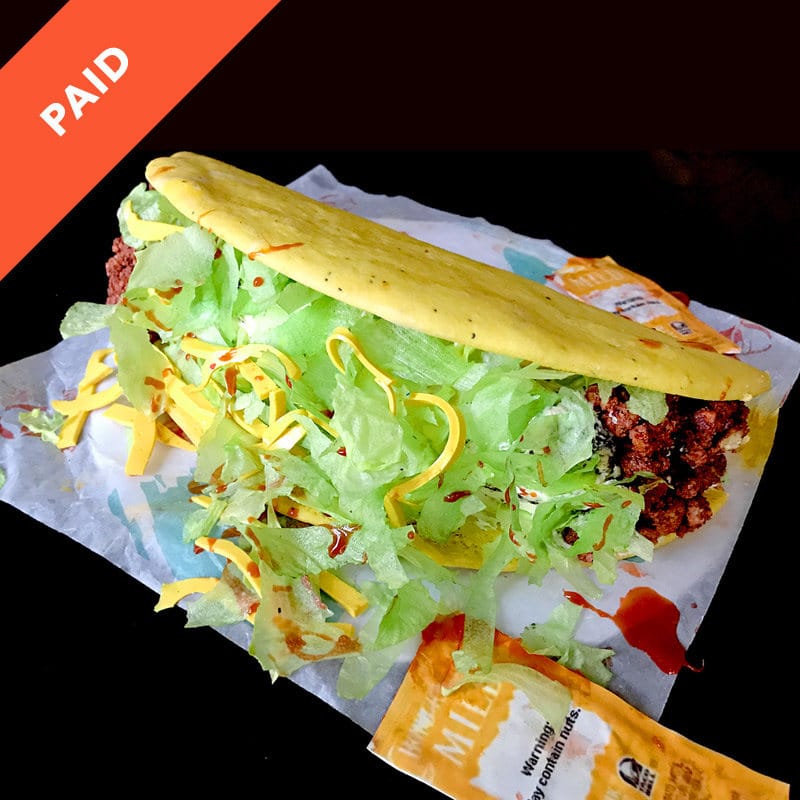
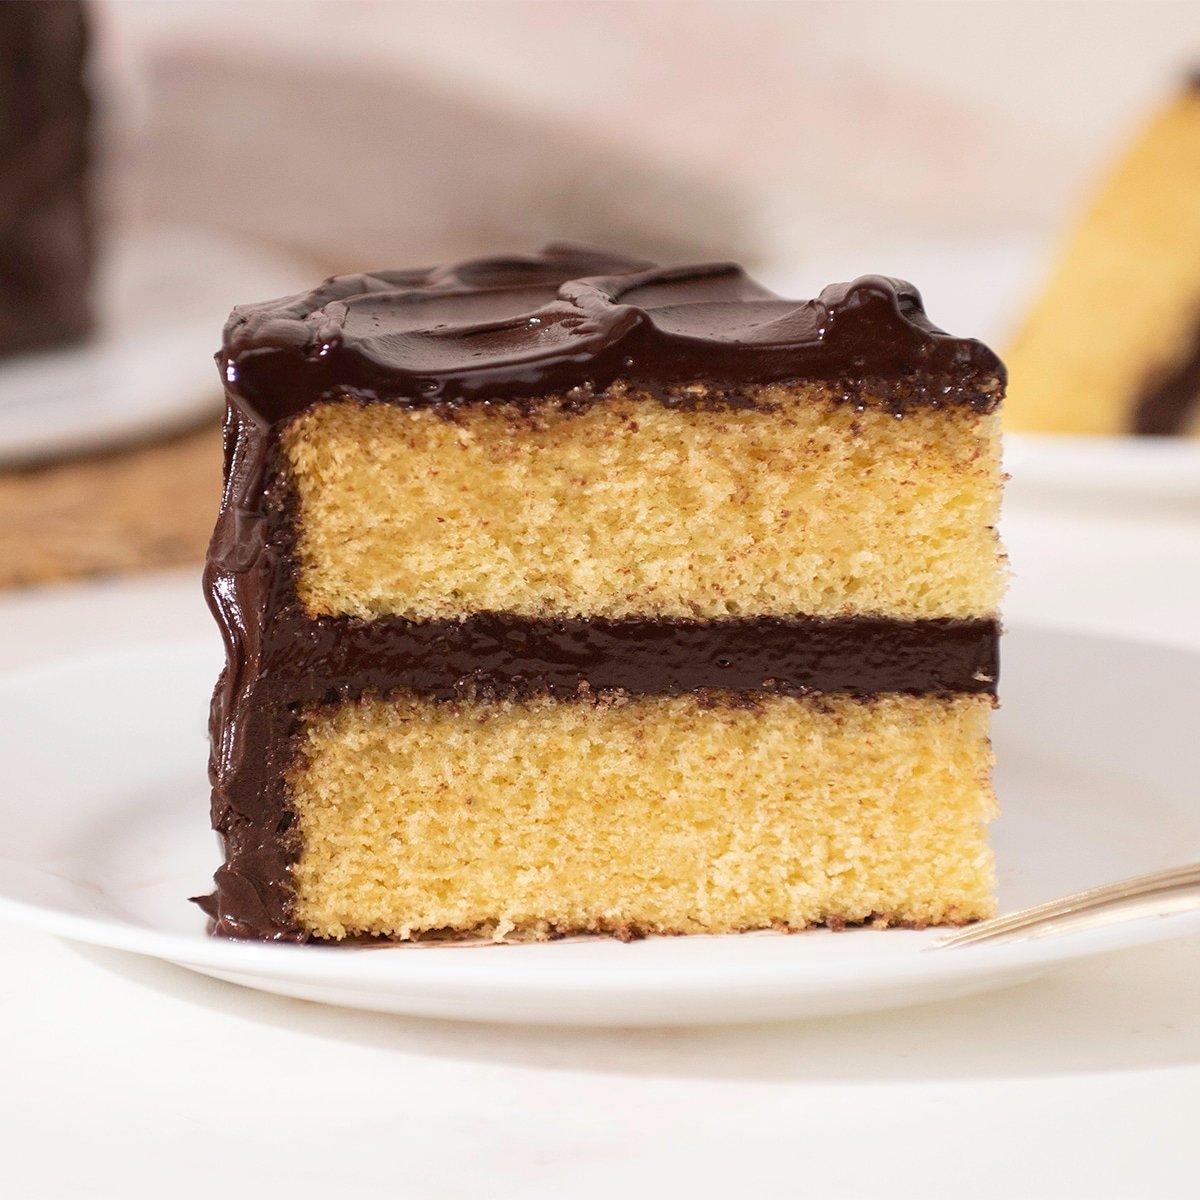
It's taco tuesday and what better way to celebrate than by having guest instructor Joyce Marcellus teach us how to make an awesome taco cake. Joyce brings several techniques and tips that will get your food cakes looking incredibly lifelike!
48:00 Minutes of Instruction
What You Will Learn
- Learn how to create a realistic taco cake
- Joyce Marcellus' unique trick to getting consistent color tones on her realistic ground beef
- How to make realistic cheese, beef and lettuce
- Learn how to make edible nachos and cheese dip side dish
Tutorial Chapters
- Making the lettuce
- Making ground beef
- Coloring ground beef
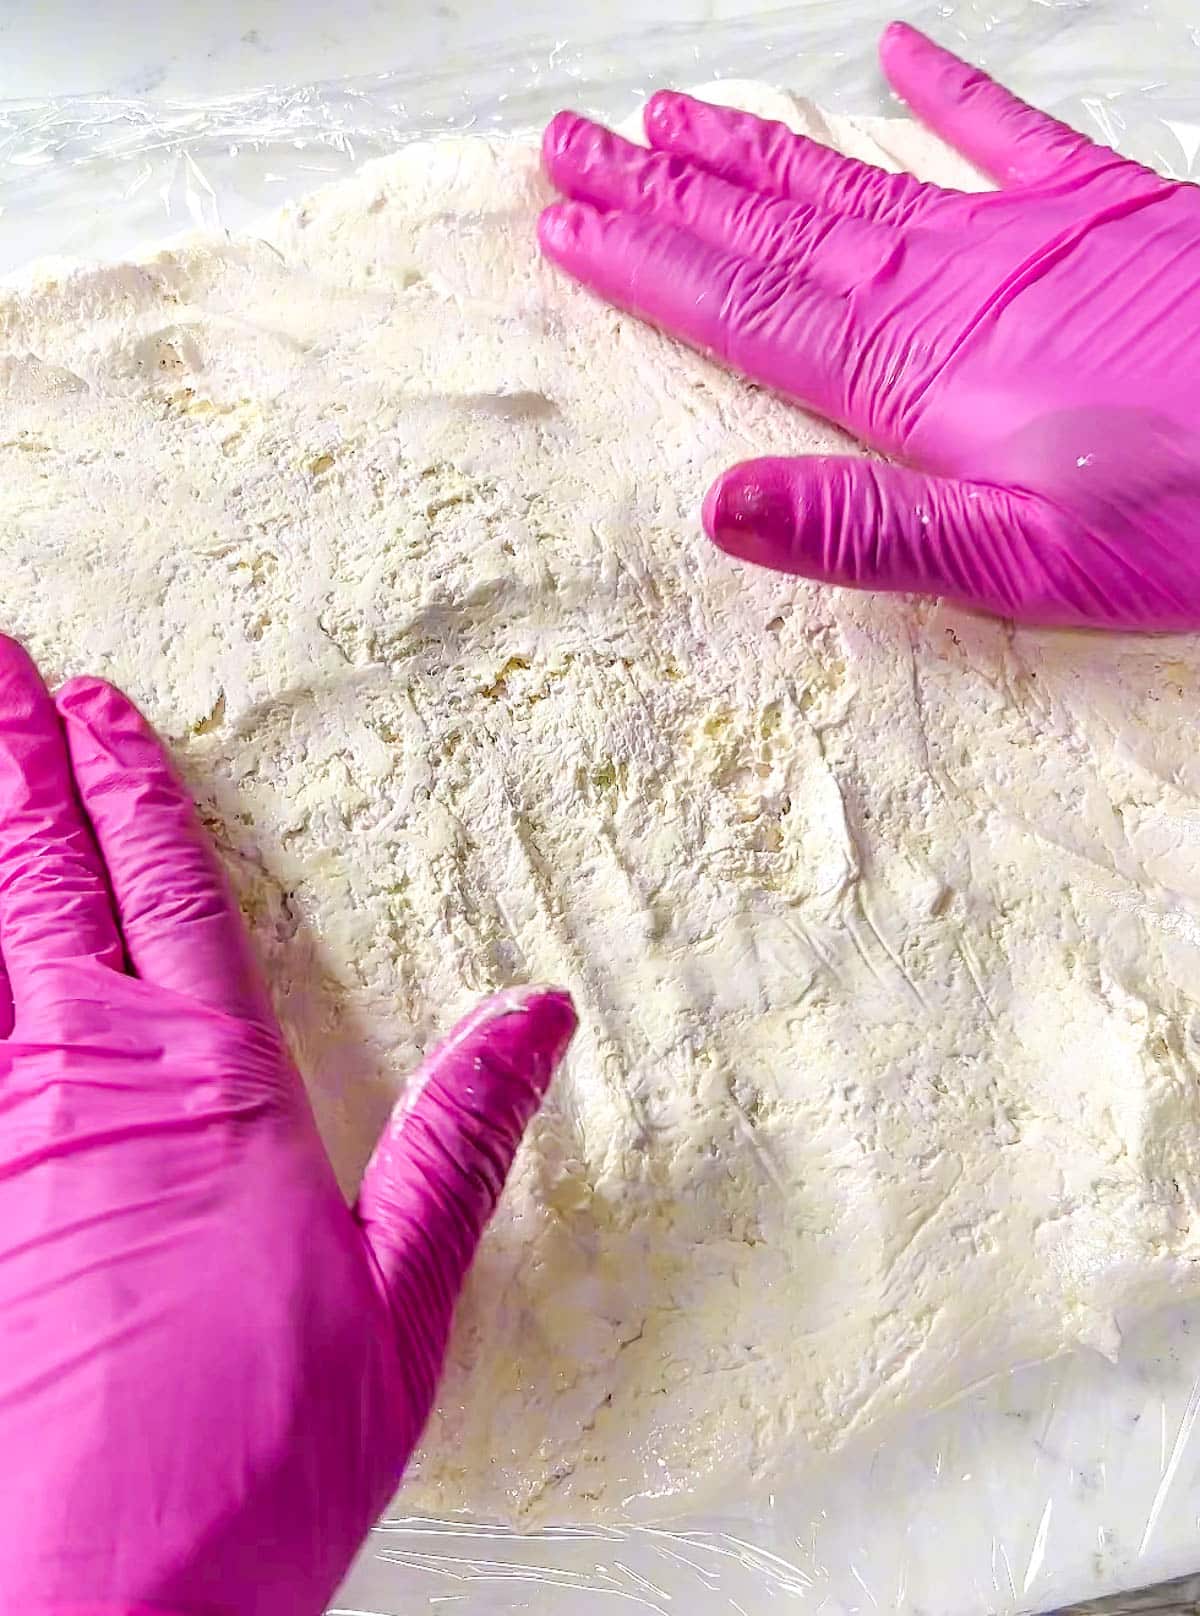
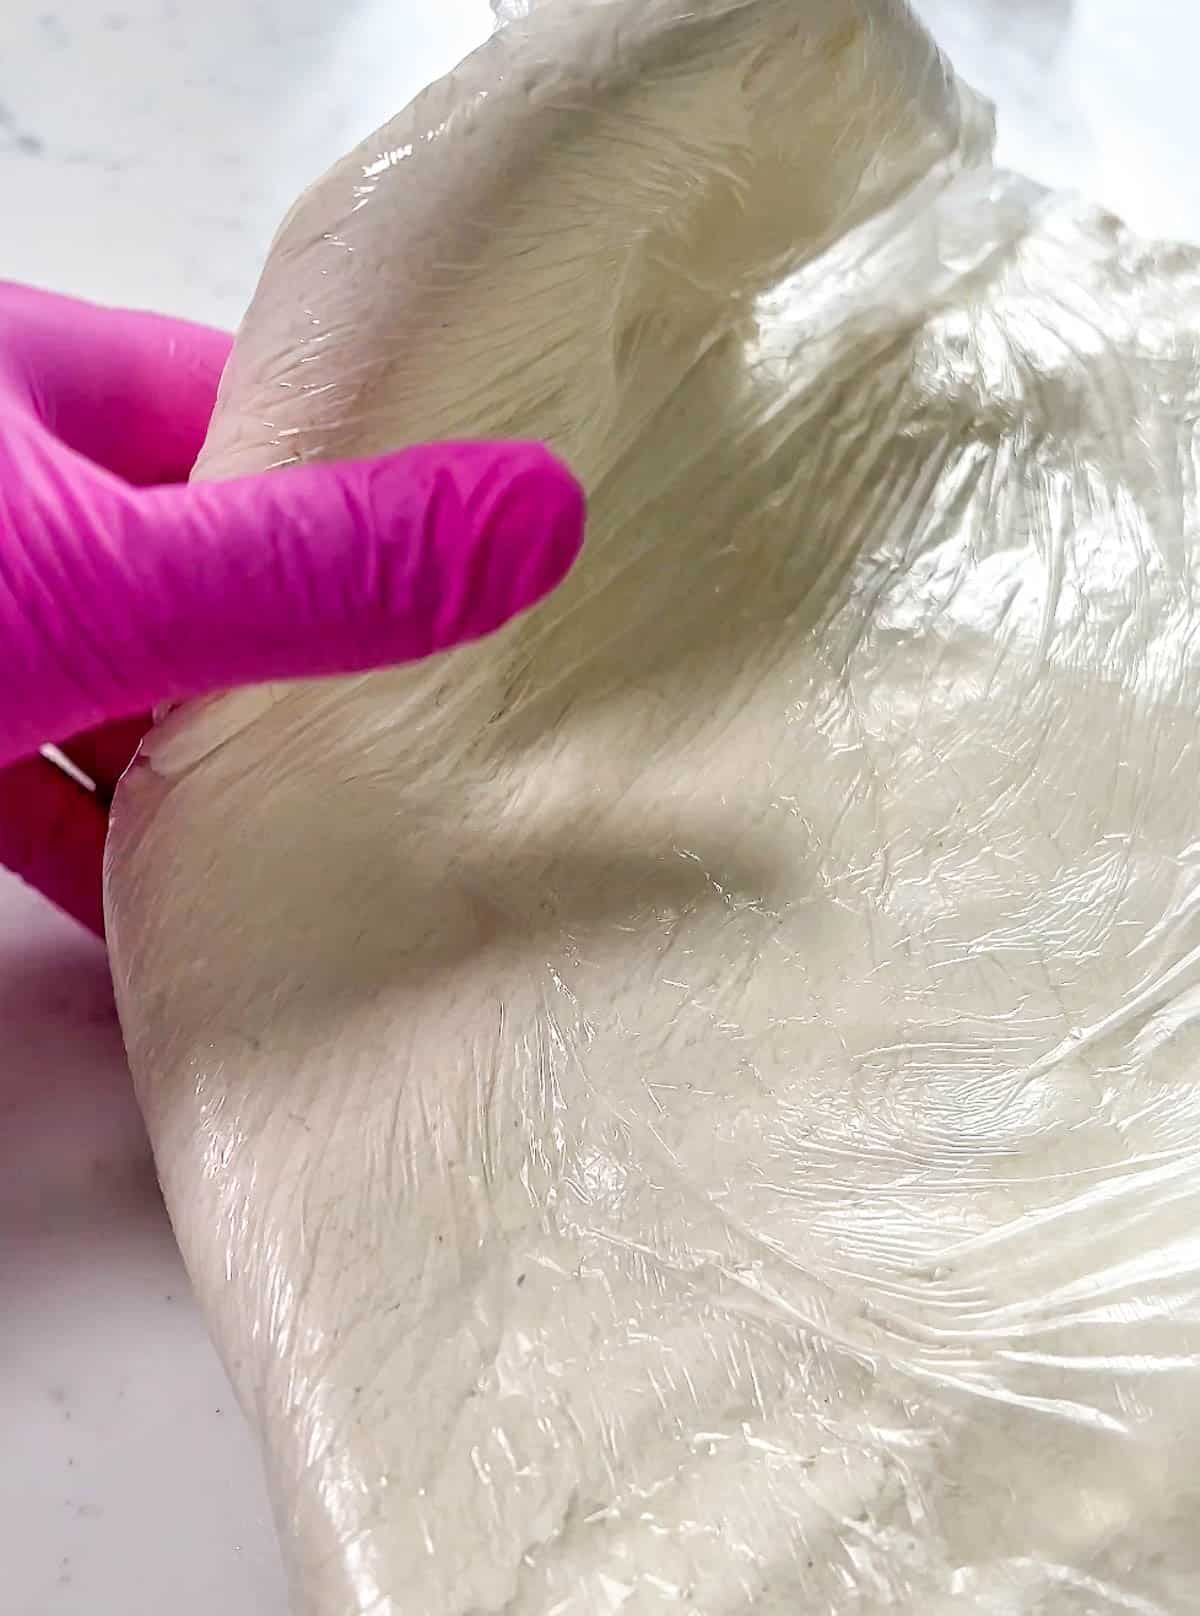
- Making the taco shell
- Making taco shell structure
- Rolling out the taco shell
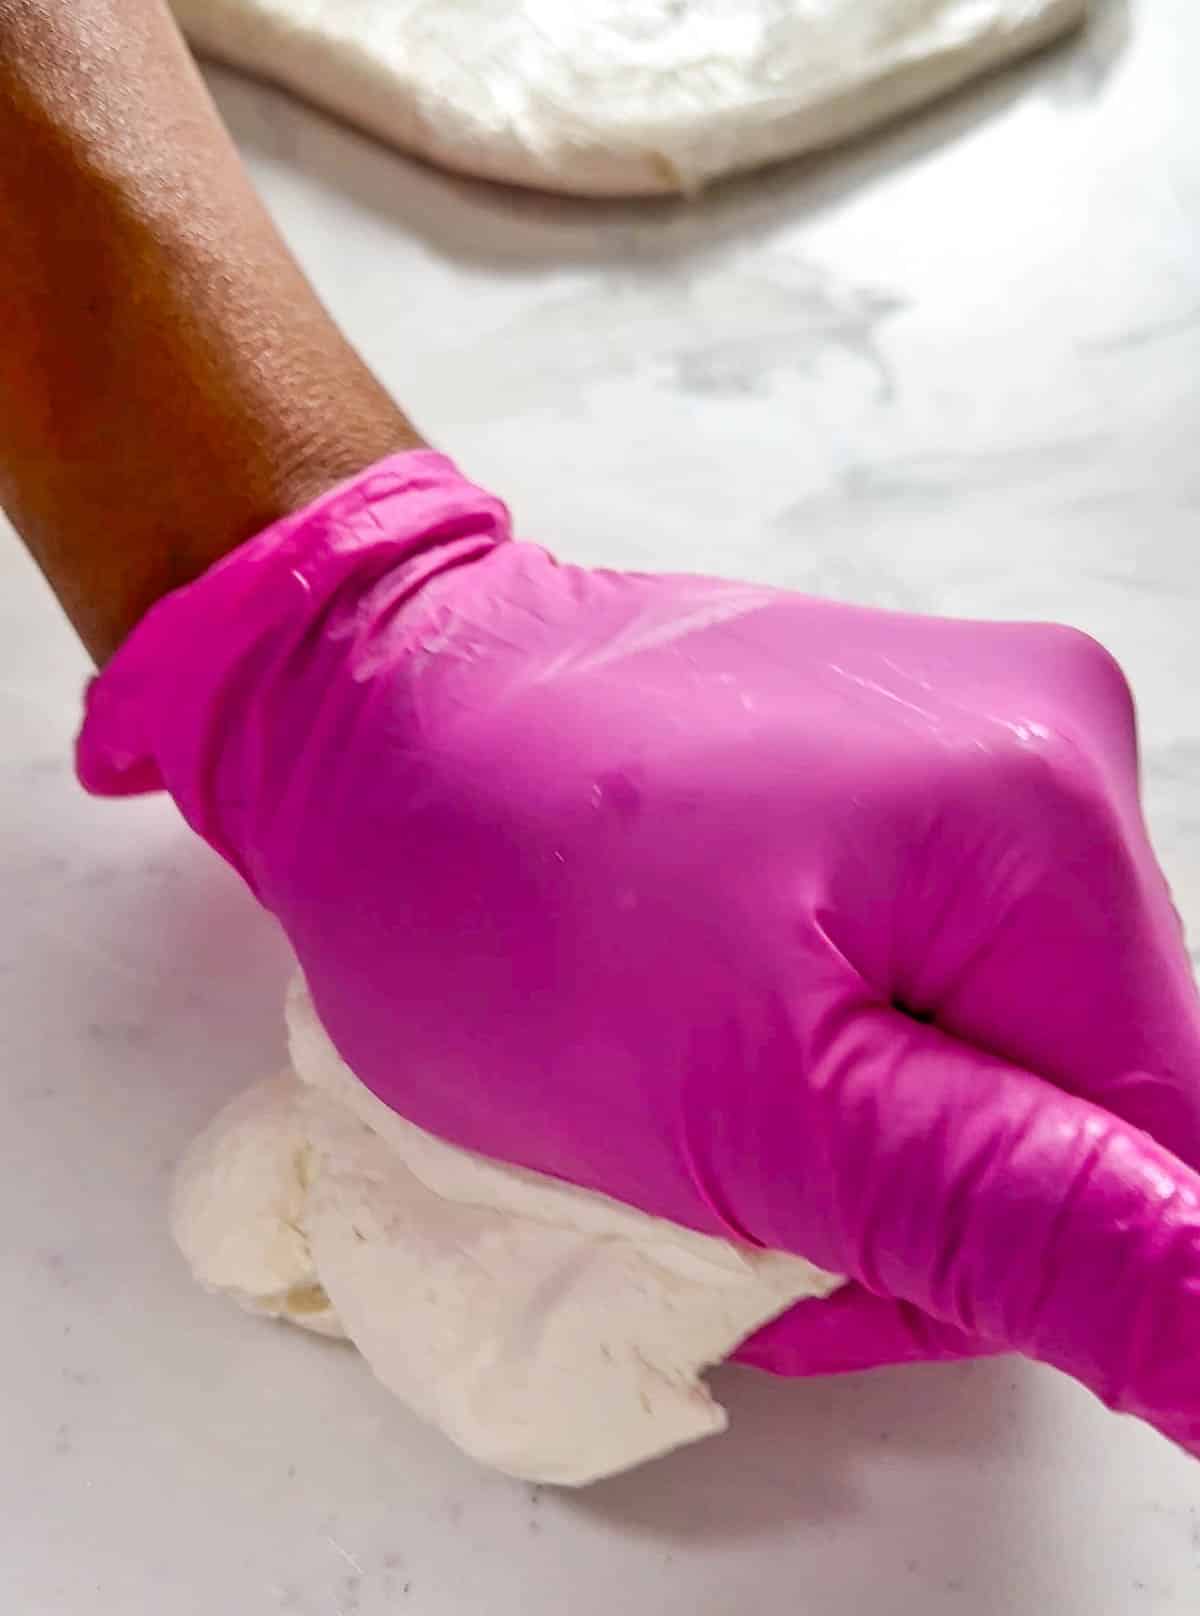
- Making mini tacos
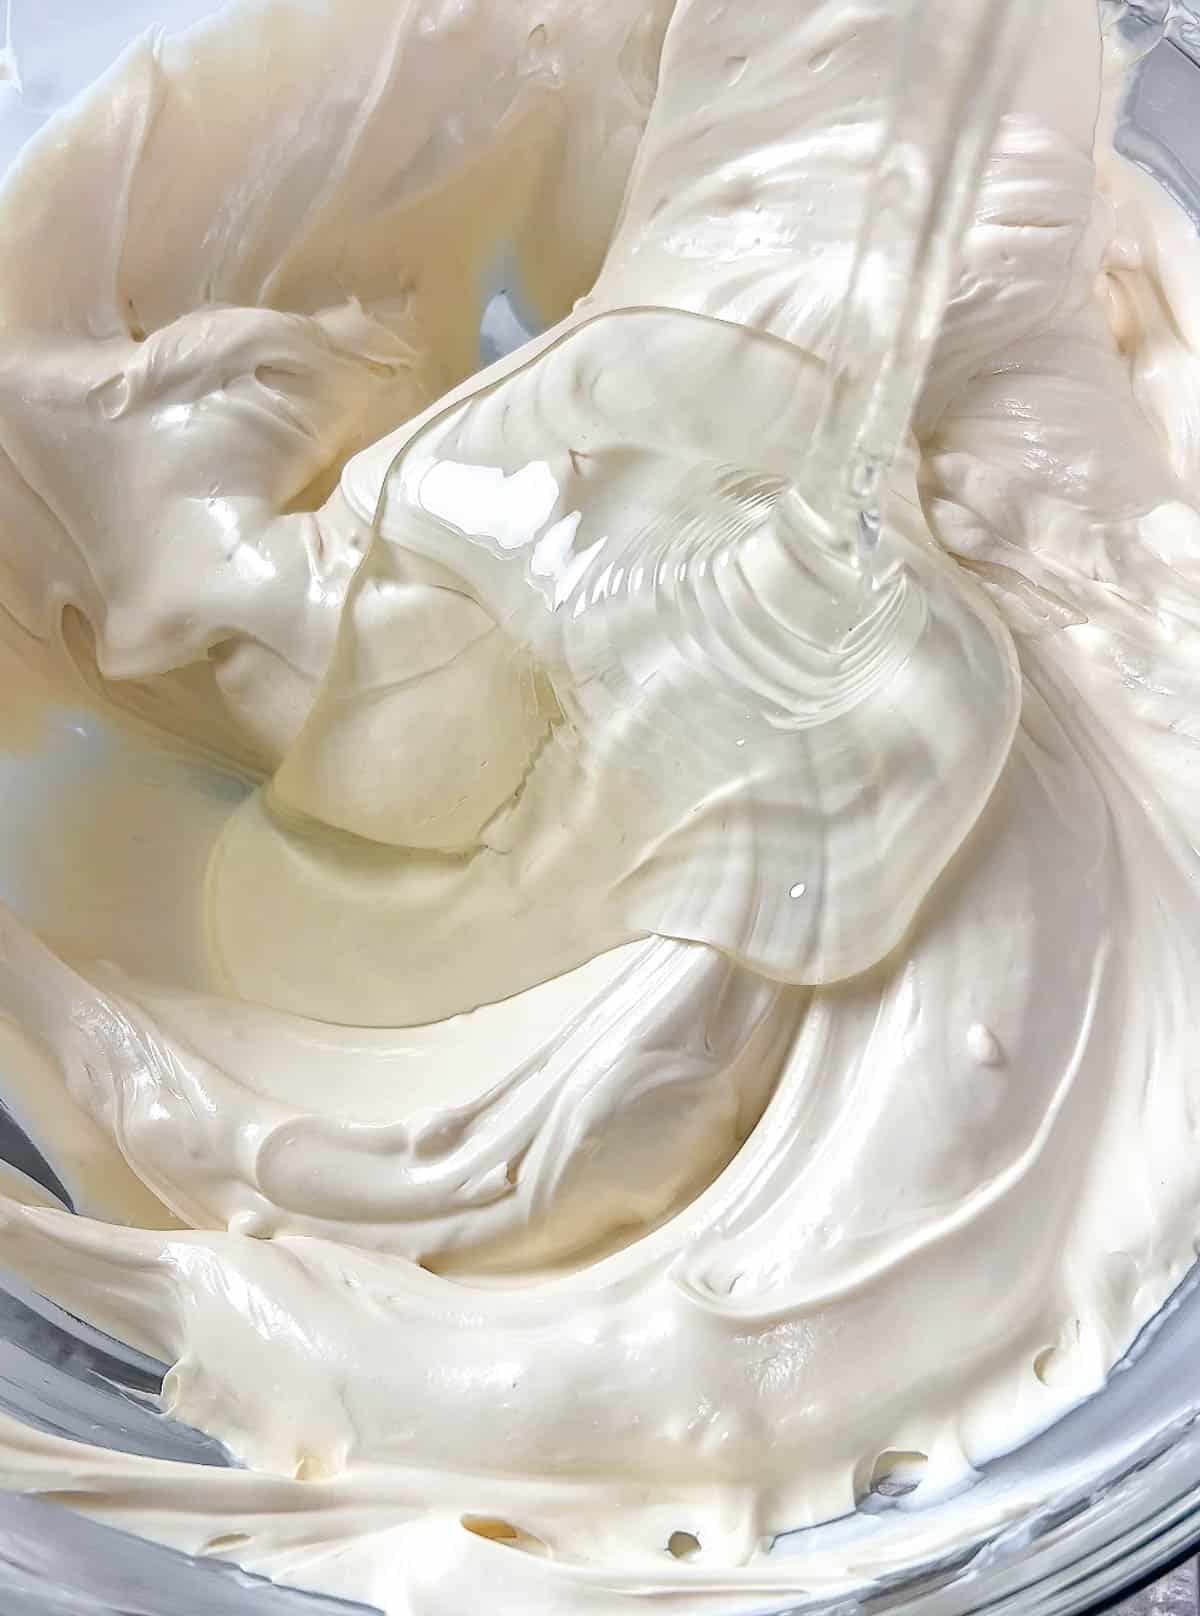
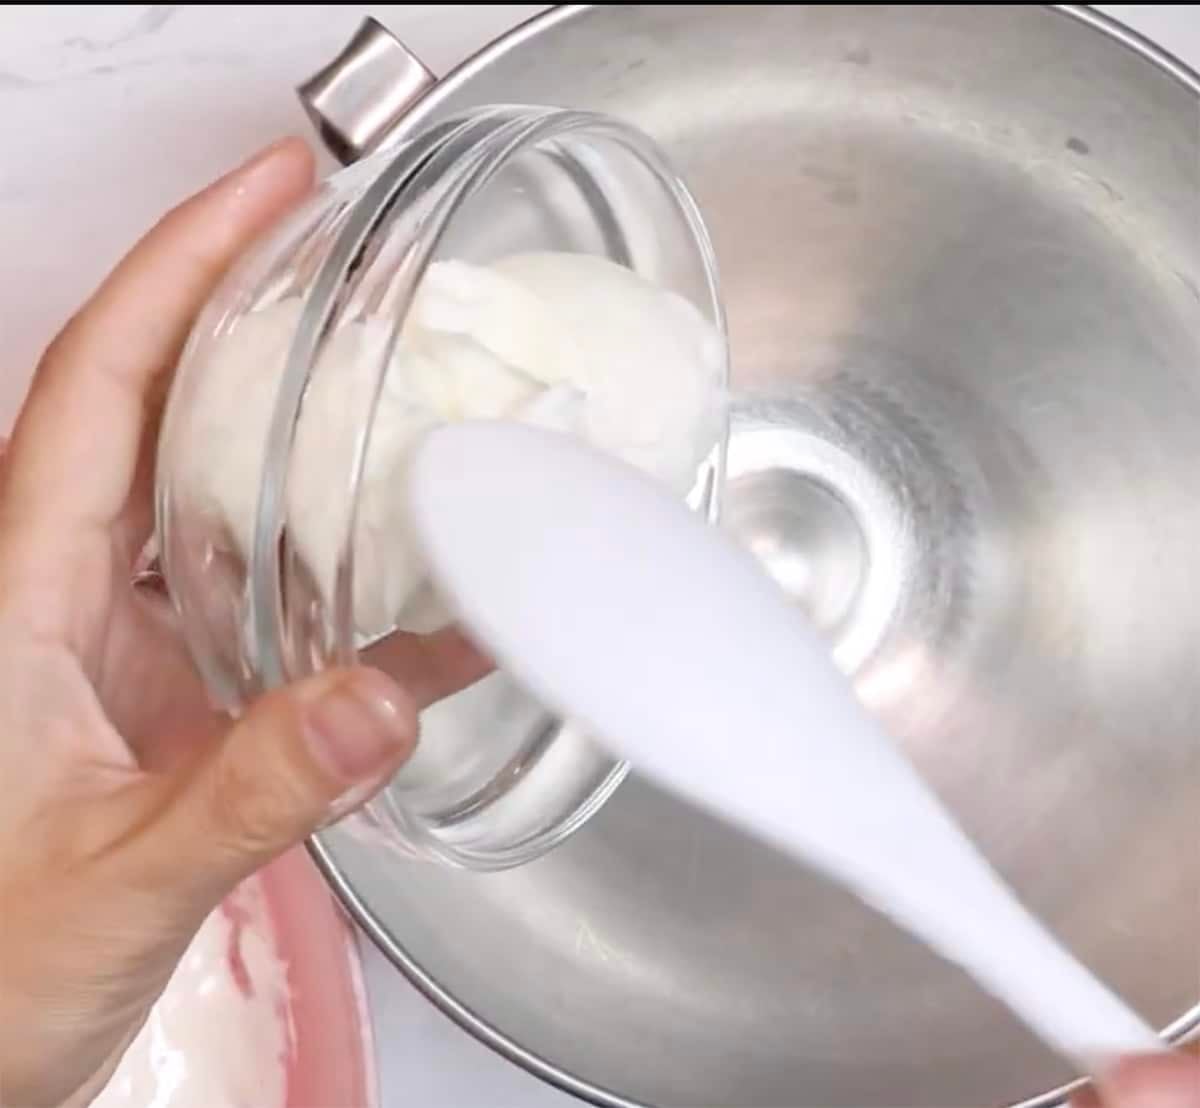
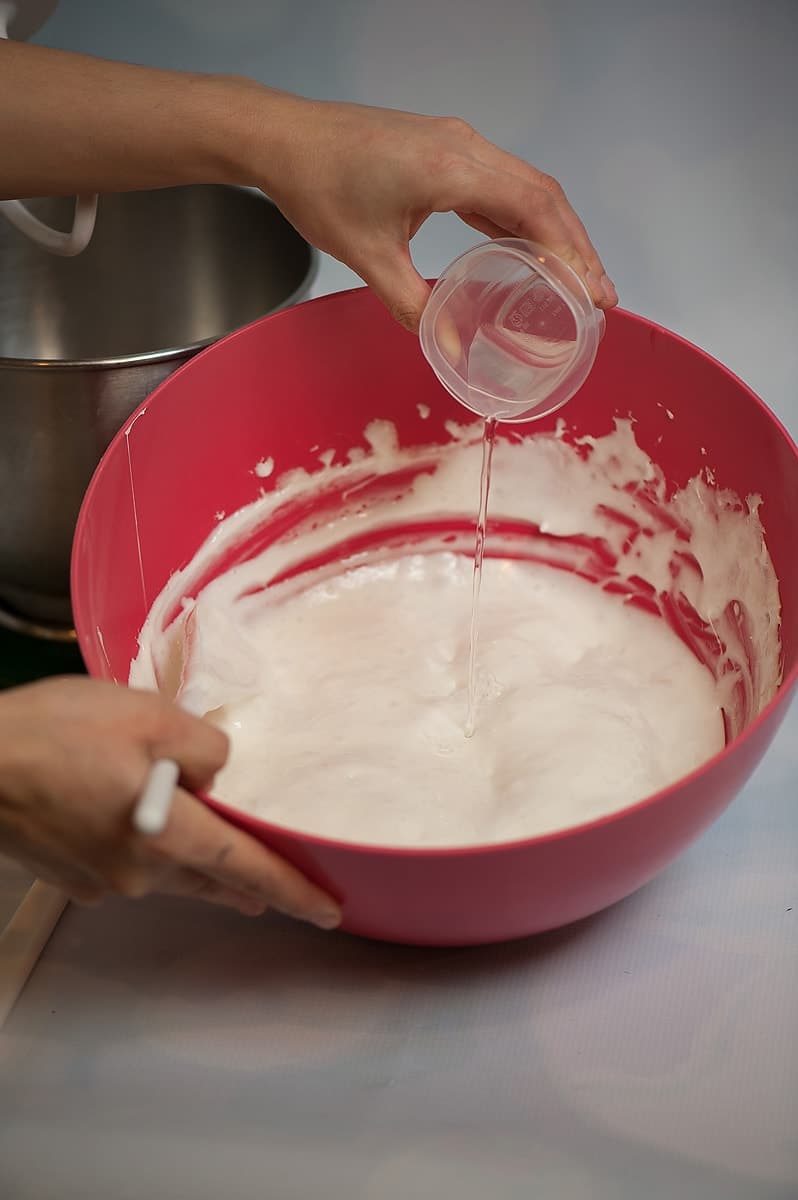
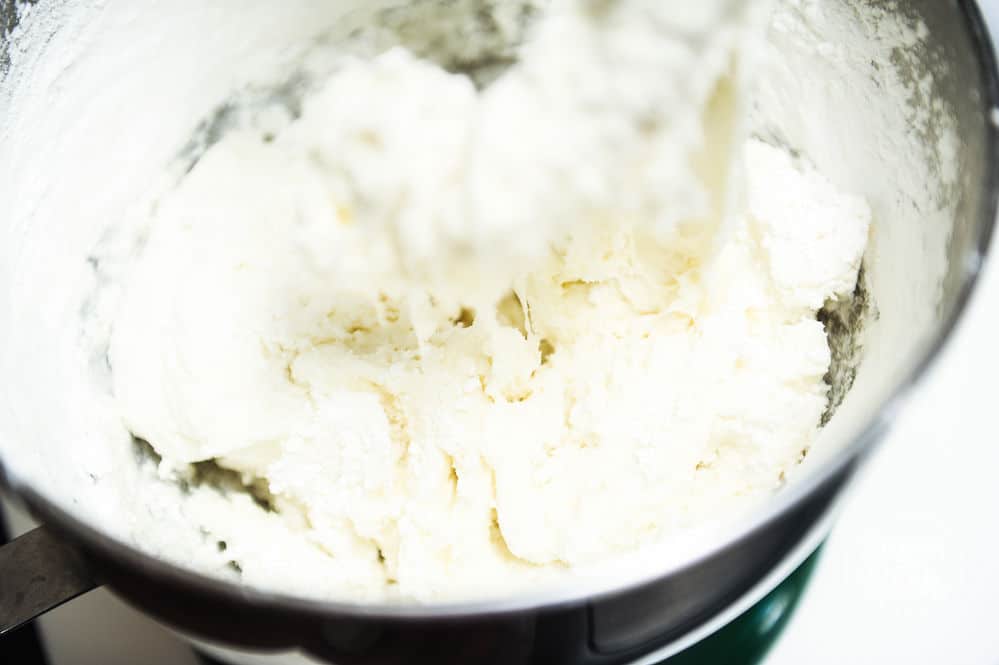
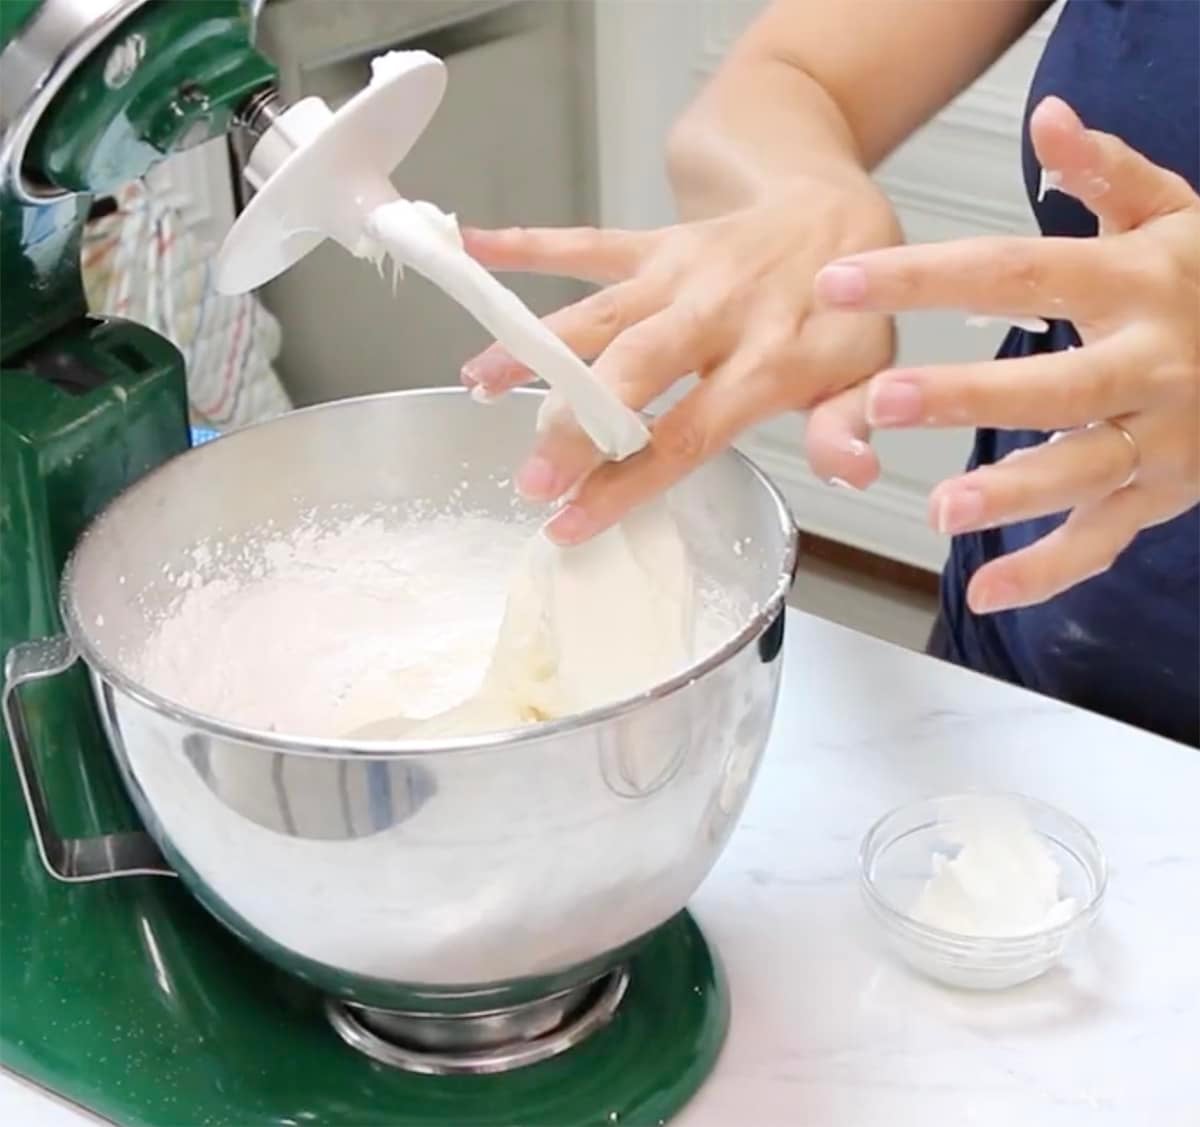
- >Making the cheese
- Finishing lettuce
- Airbrushing lettuce
- Finishing the cheese
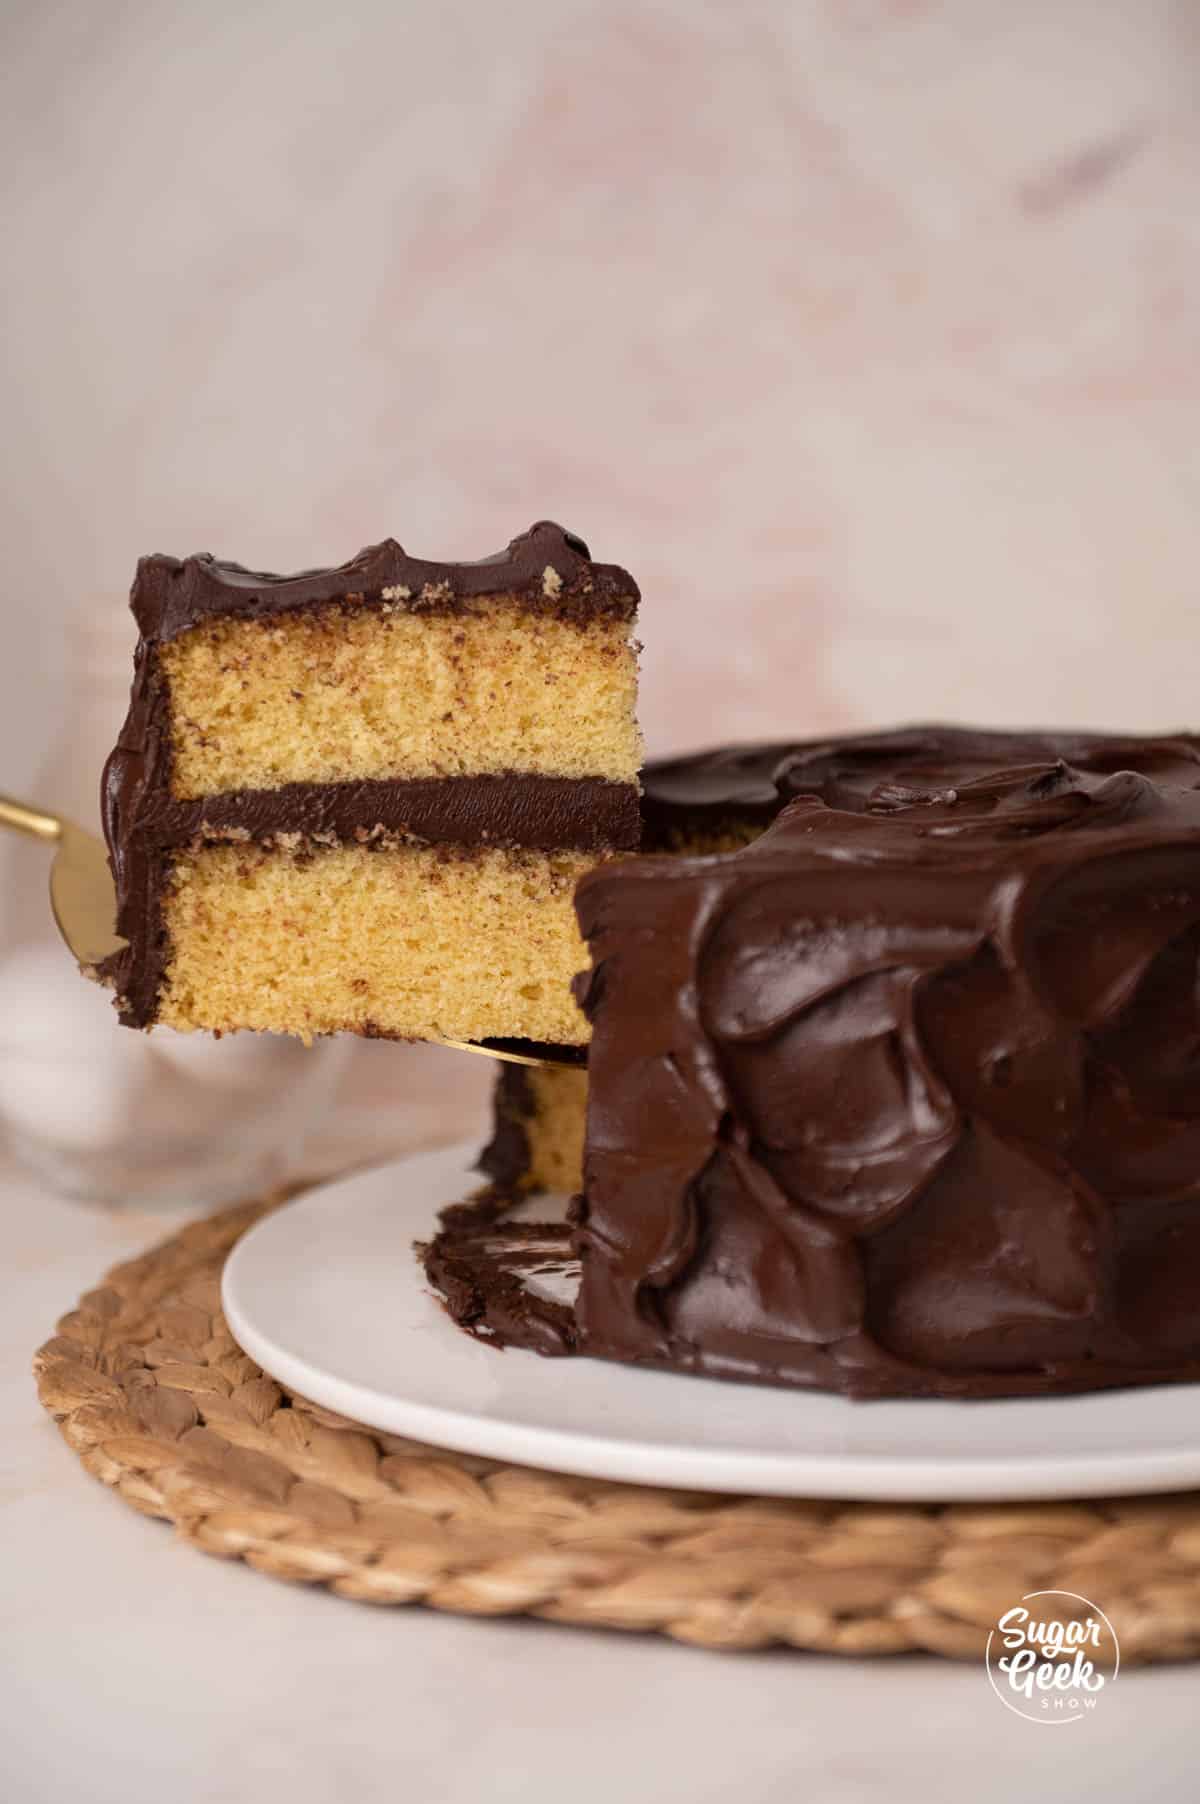
- Carving the cake
- Applying the toppings
- Making hot sauce packets
- Making the taco sauce
- Making the nacho chips
- Making the nacho dip


