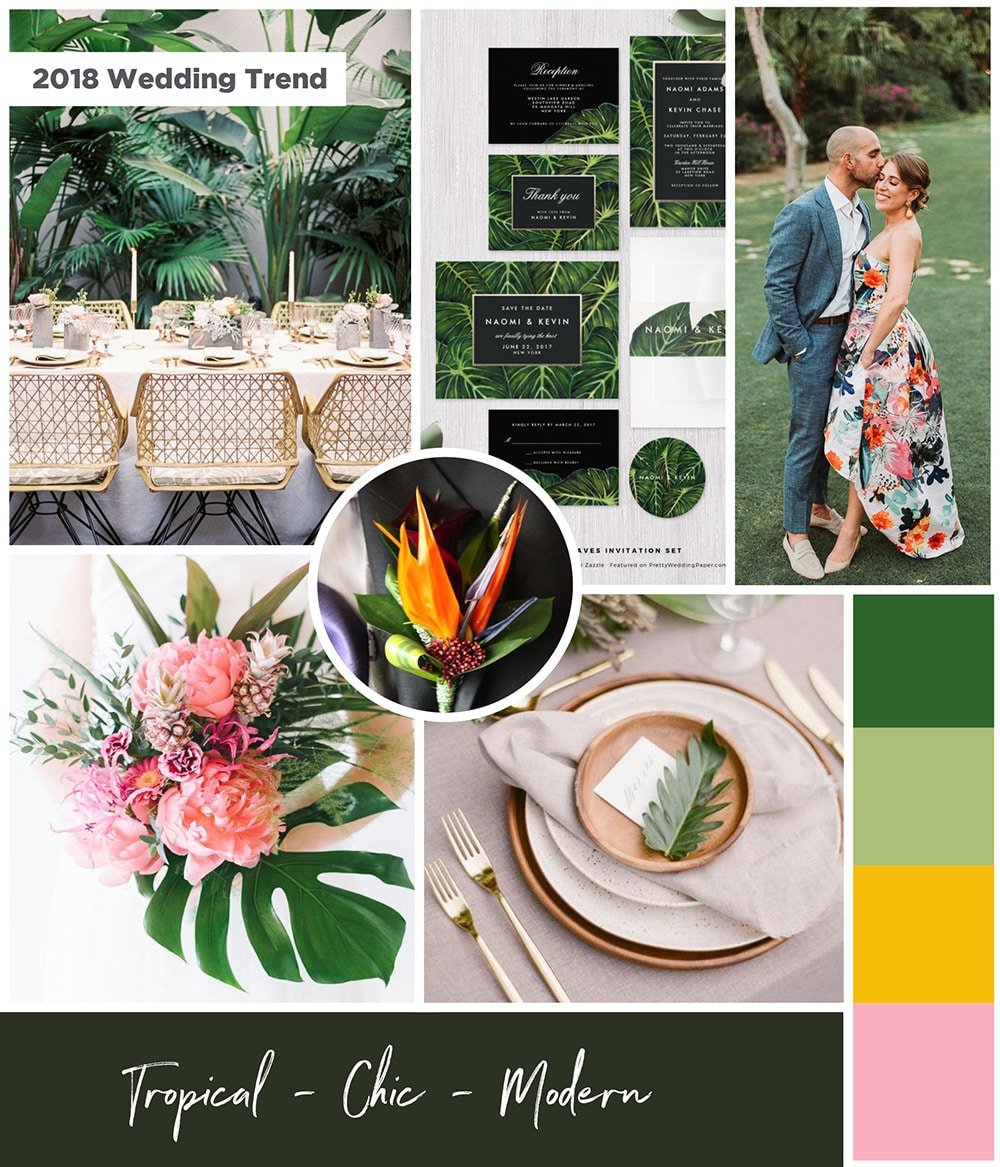
Cake Trend: Modern Tropical
It's no secret that tropical weddings are HOT right now. Everything from using tropical leaves in the decor but also in colors and flavors.
Lisa Herrera of A Cake Come True makes gorgeous wedding cakes that capture the hearts of her clients. Creative and elegant in all her creations, Lisa tells us what inspired her to create this modern tropical themed wedding cake.
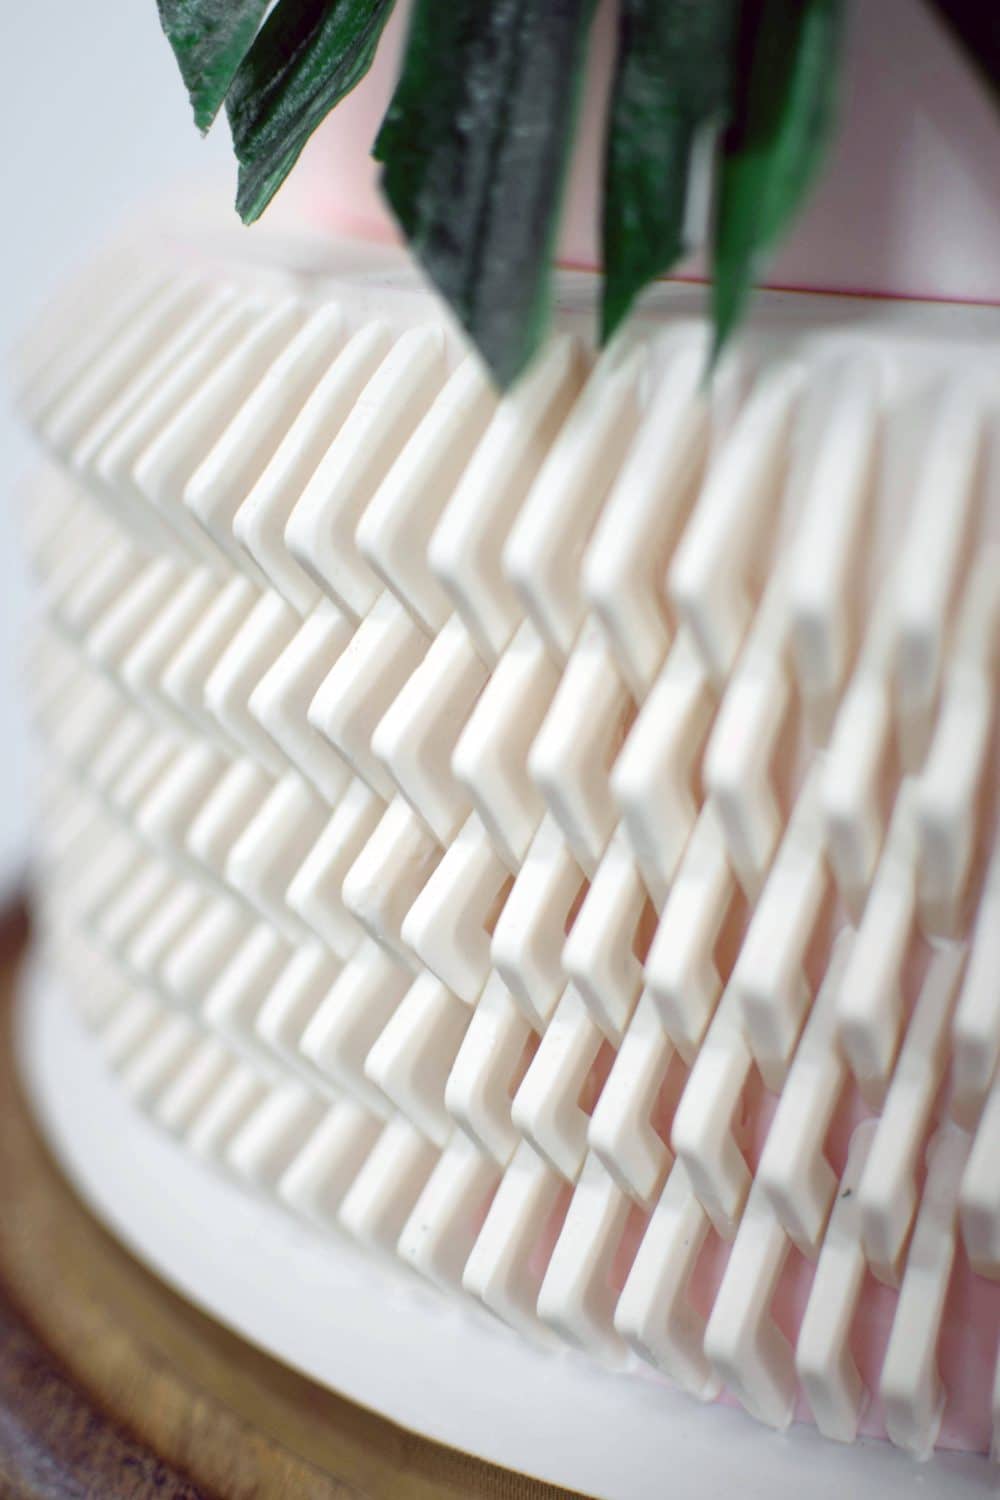
"Having lived in the tropics my entire childhood, I was most inspired by the clean lines of wicker furniture. I wanted to create a geometric design inspired by that. Having depth and dimension. I wanted the feeling of air flowing. I added some color with a slight ombre effect with a flamingo pink. I really wanted the complete tropical feel, so I added palm leaves and the cutest pink pineapples. Arranging them symmetrical brought everything together for this Modern Tropical Cake."
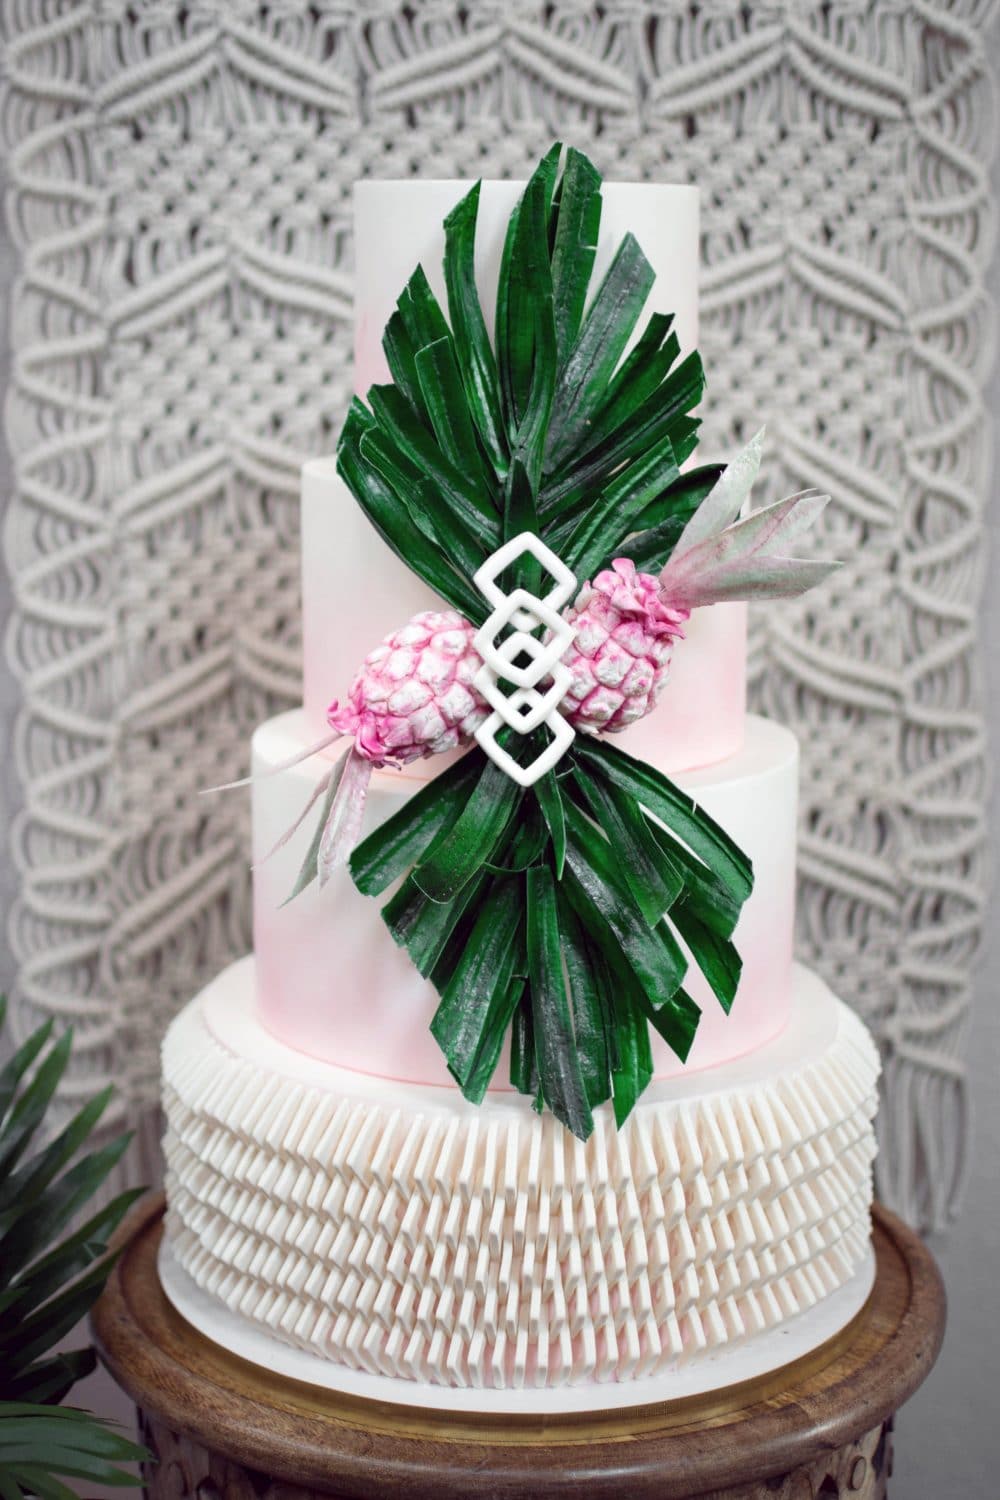
To incorporate tropical into your event, don't underestimate the power of greenery! Nothing says modern tropical like some banana palms or pineapple. Keep things classy by going with a neutral color palette then work in pops of green or bright oranges and corals.
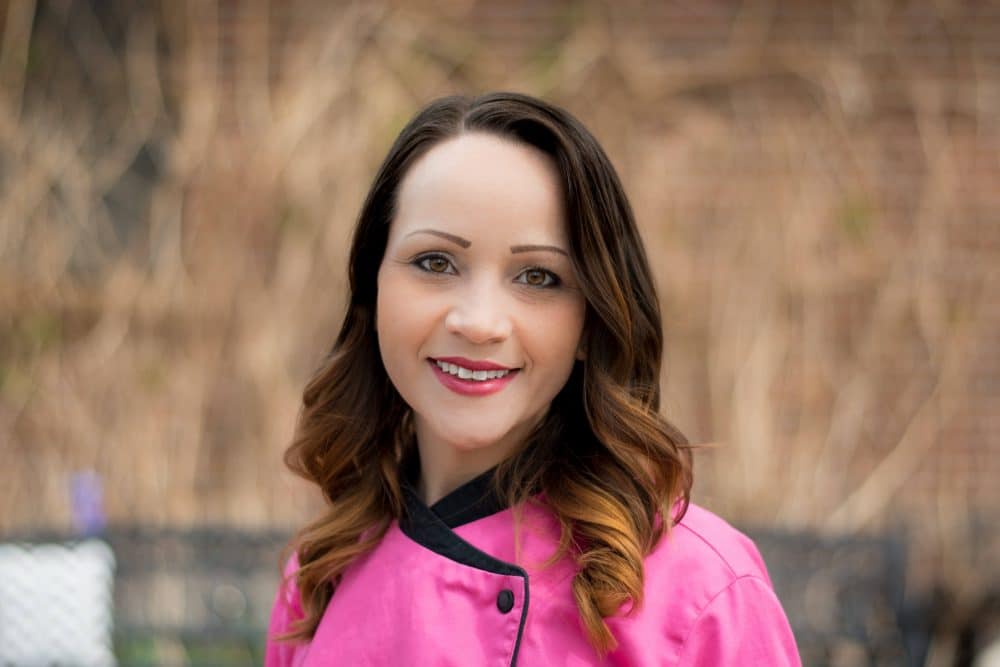
Lisa Herrera with A Cake Come True is a luxury wedding cake designer based out of Denver Colorado. Specializing in custom designed creations. Known for her clean aesthetic and willingness to go outside the traditional cake box. Lisa has been featured on Food Network's Cake Wars Christmas, along with multiple national publications such as American Cake Decorating Magazine and Rocky Mountain Bride.
![]()
See more of Lisa's work:
Facebook: A Cake Come True
Website: https://www.acakecometrue.com/meet-the-artist
Instagram: https://www.instagram.com/acakecometrue/
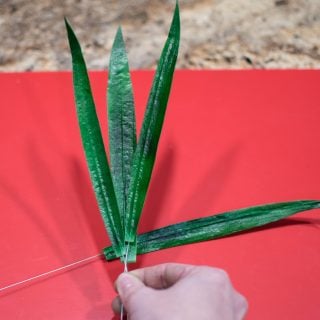
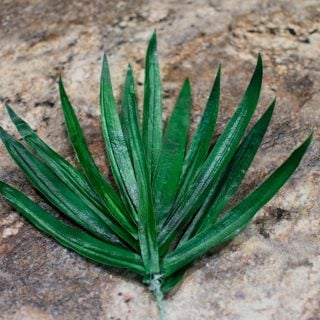
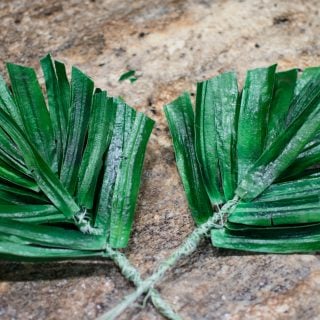
Want to learn how to make these awesome flexible, edible tropical leaves? Lisa put together this amazing tutorial!
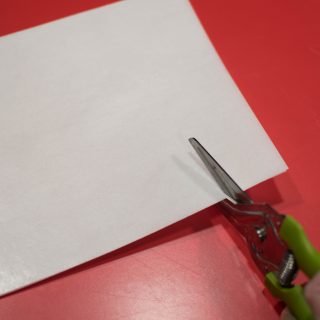
Wafer Paper Palm Front Tutorial
- White wafer paper
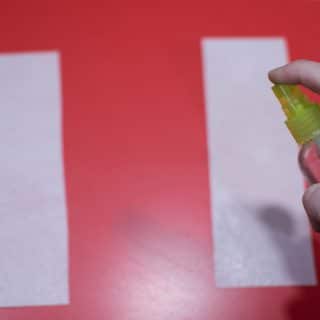
- 24-gauge floral wire
- Small spray bottle filled with water
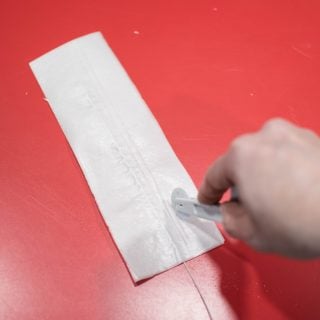
- Veining tool or embosser
- Floral tape
- Scissors
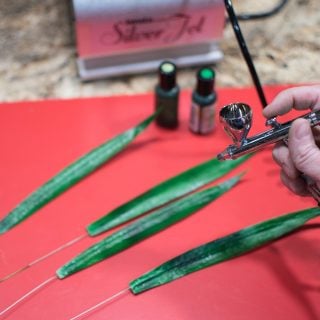
- Airbrush compressor
- Leaf green airbrush food color
- Avocado airbrush food color
- Yellow airbrush food color