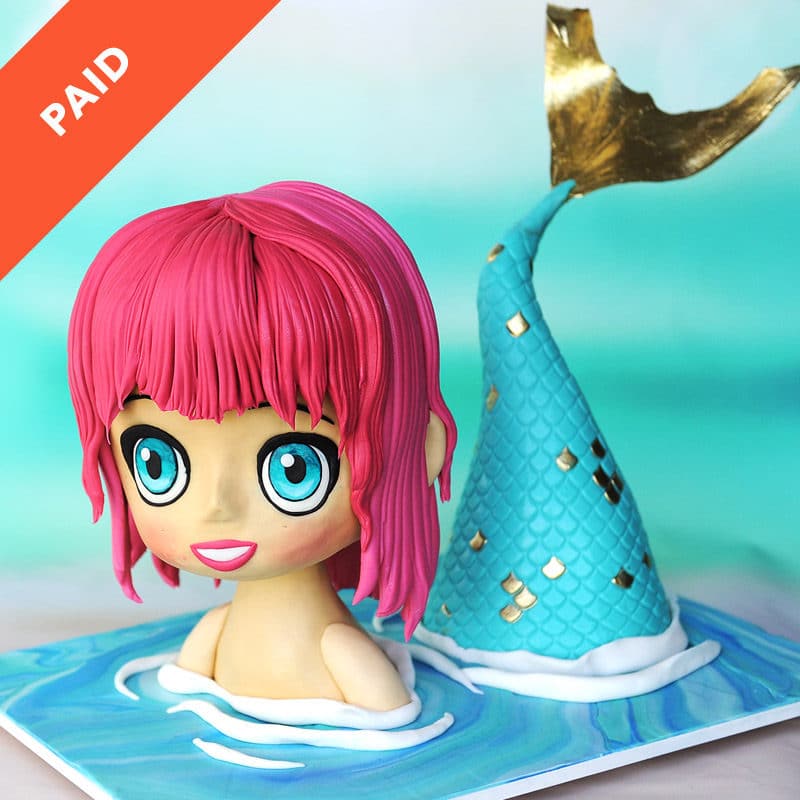
Skill level: Intermediate
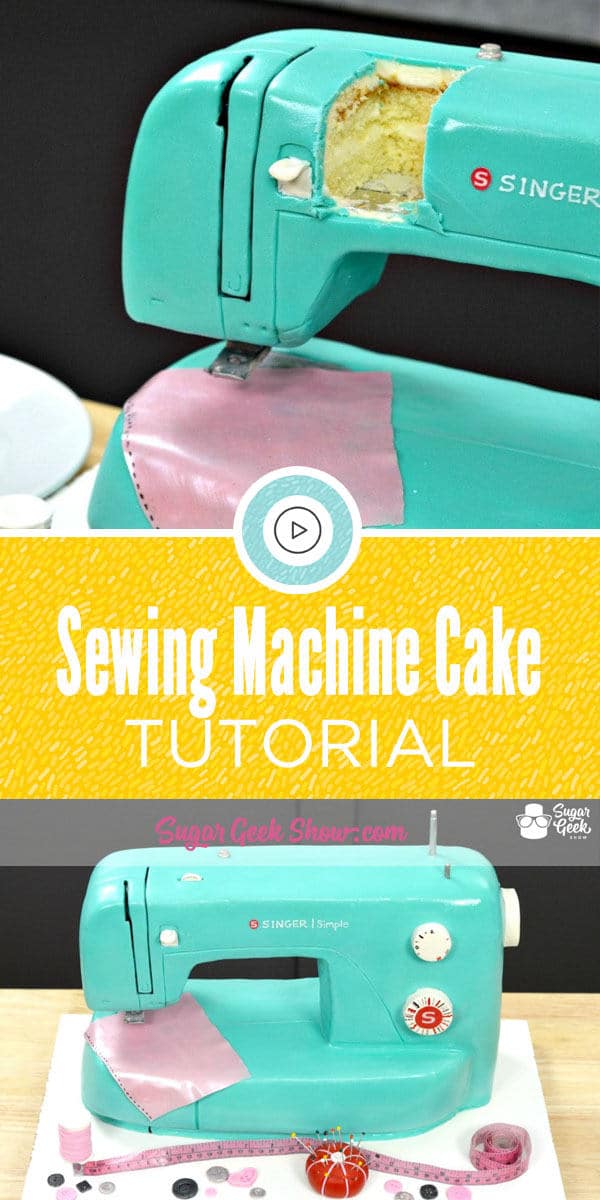
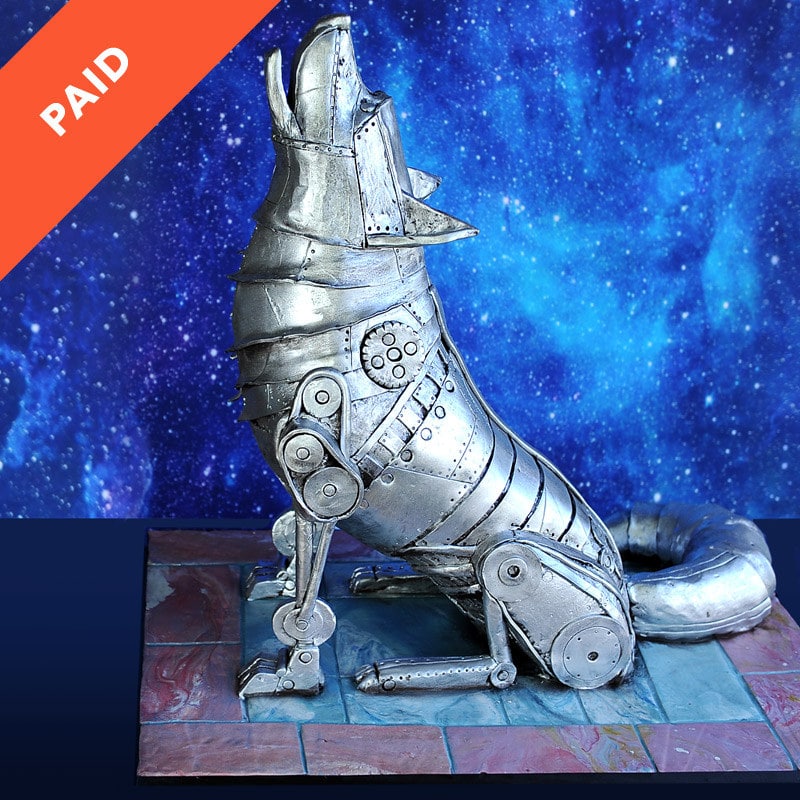
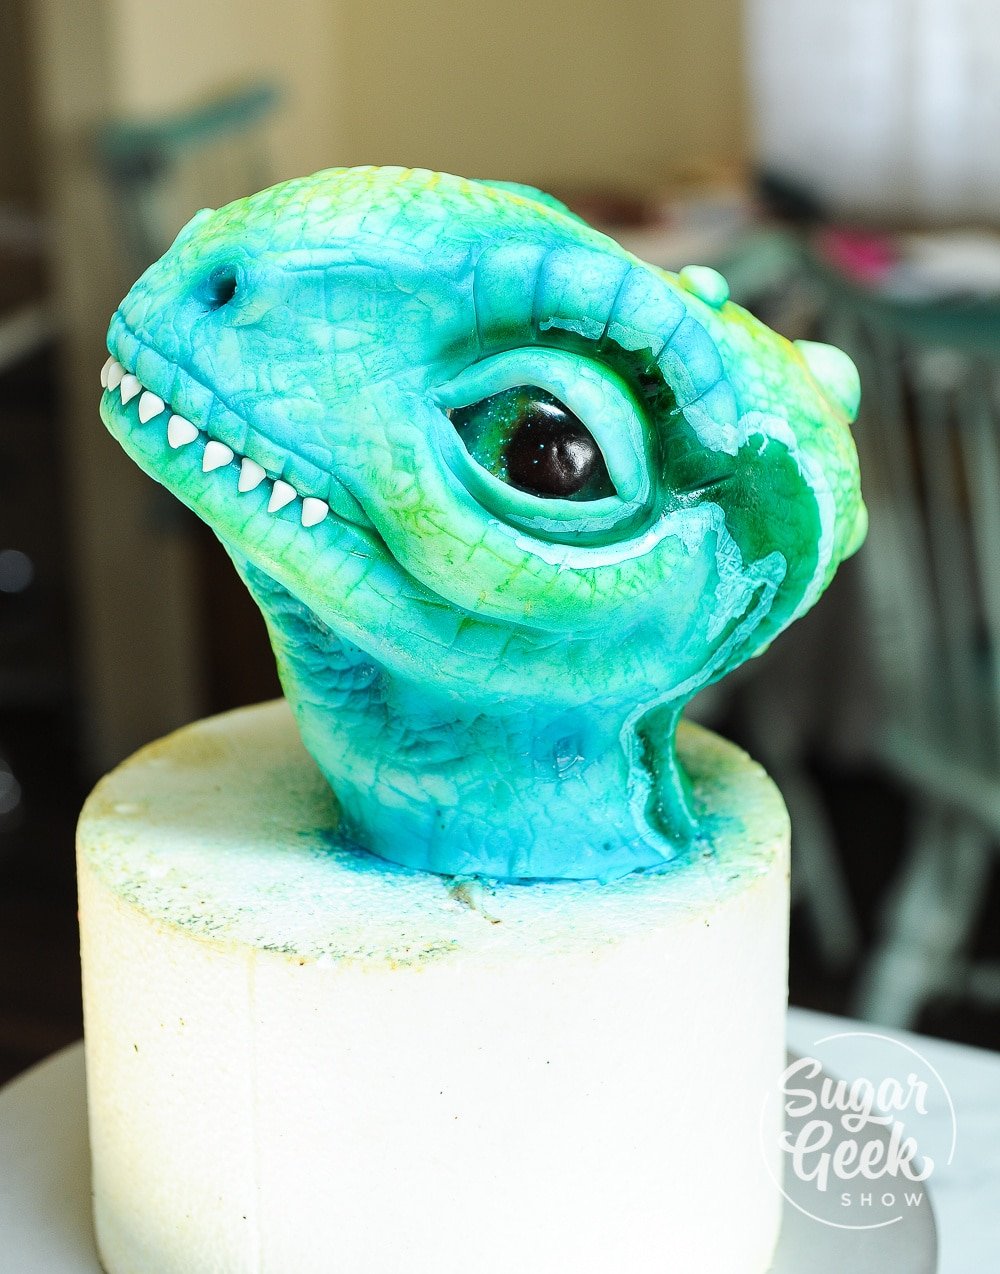
This howling wolf cake is a great tutorial for learning how to create an angled structure, incorporating stacked cake and RKT for filler to control the size and weight of the finished cake, creating fun details using modeling chocolate, simple airbrushing and metallic painting. You'll even learn how to create a fun, slate texture for the floor.
56:48 Minutes of Instruction
What You Will Learn
- How to create a fun steampunk wolf cake design
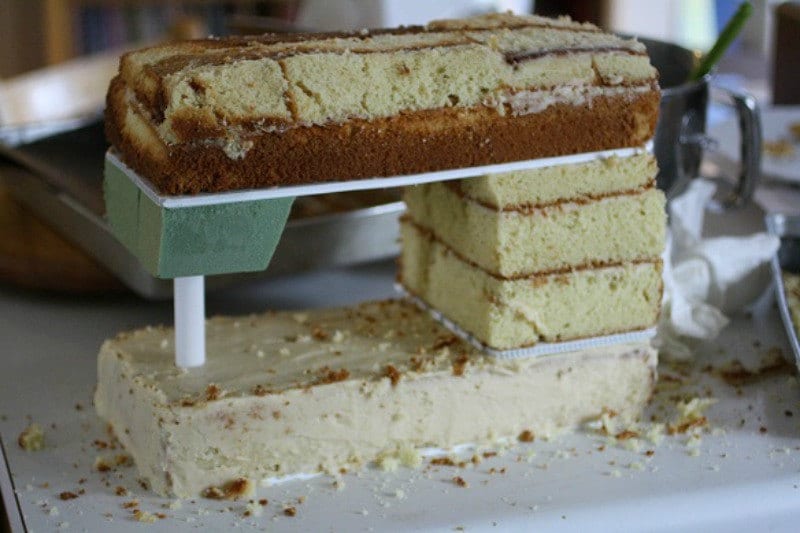
- Learn how to make an angled cake structure
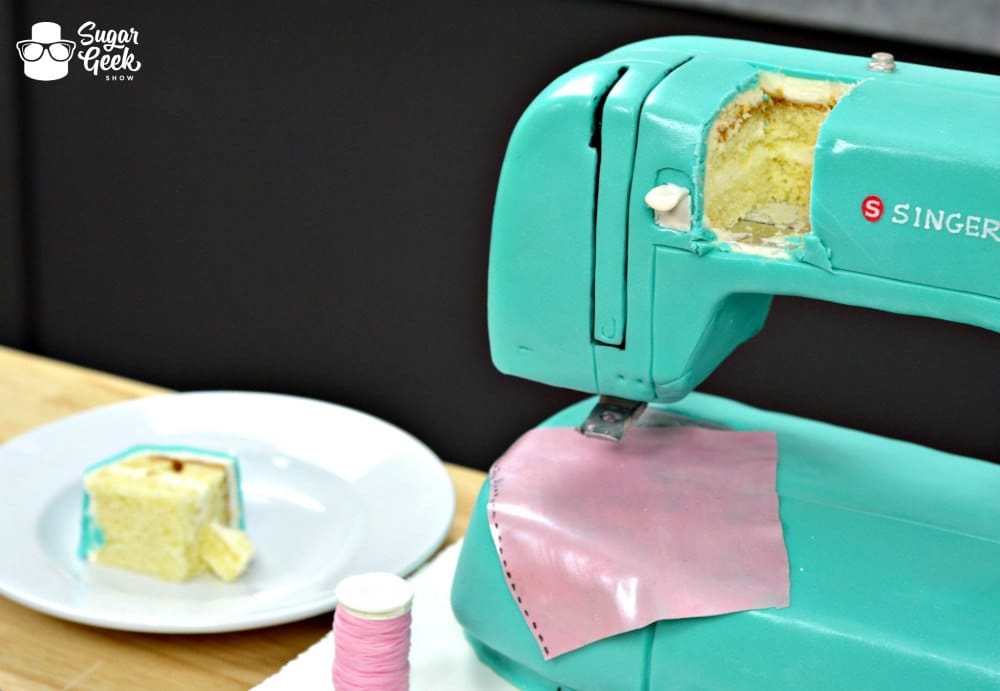
- How to stack a tall cake in a way that makes serving slices easy
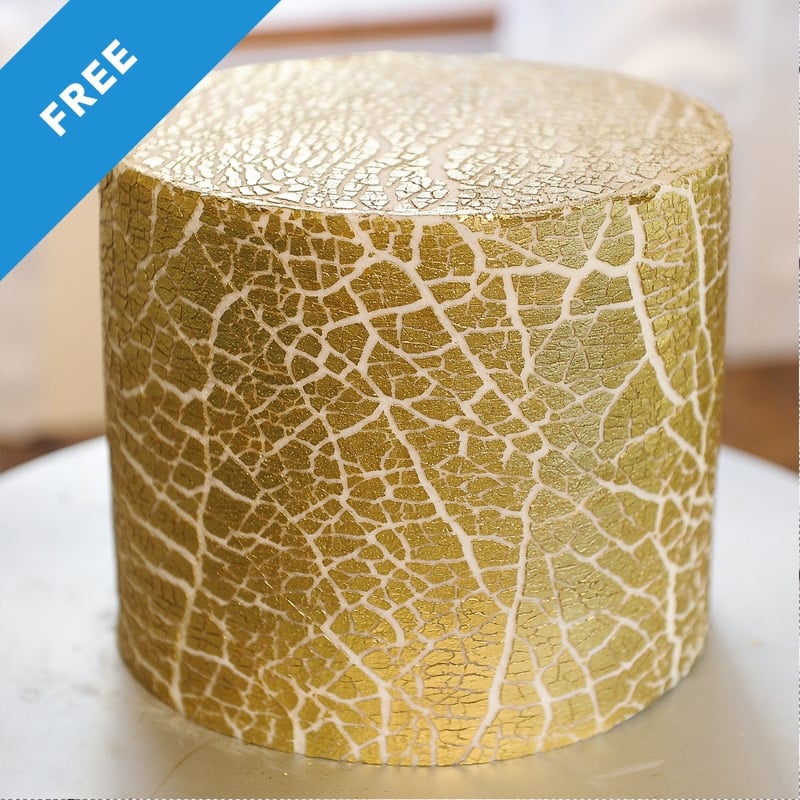
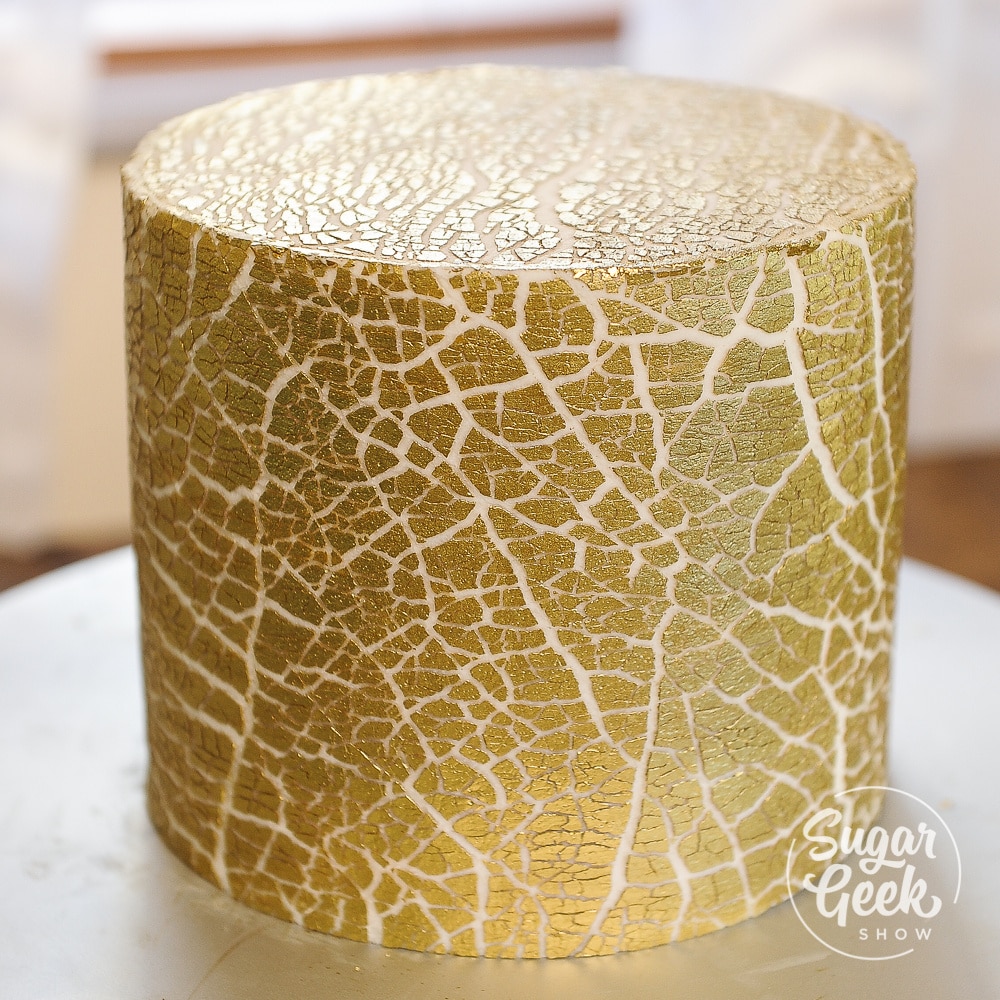
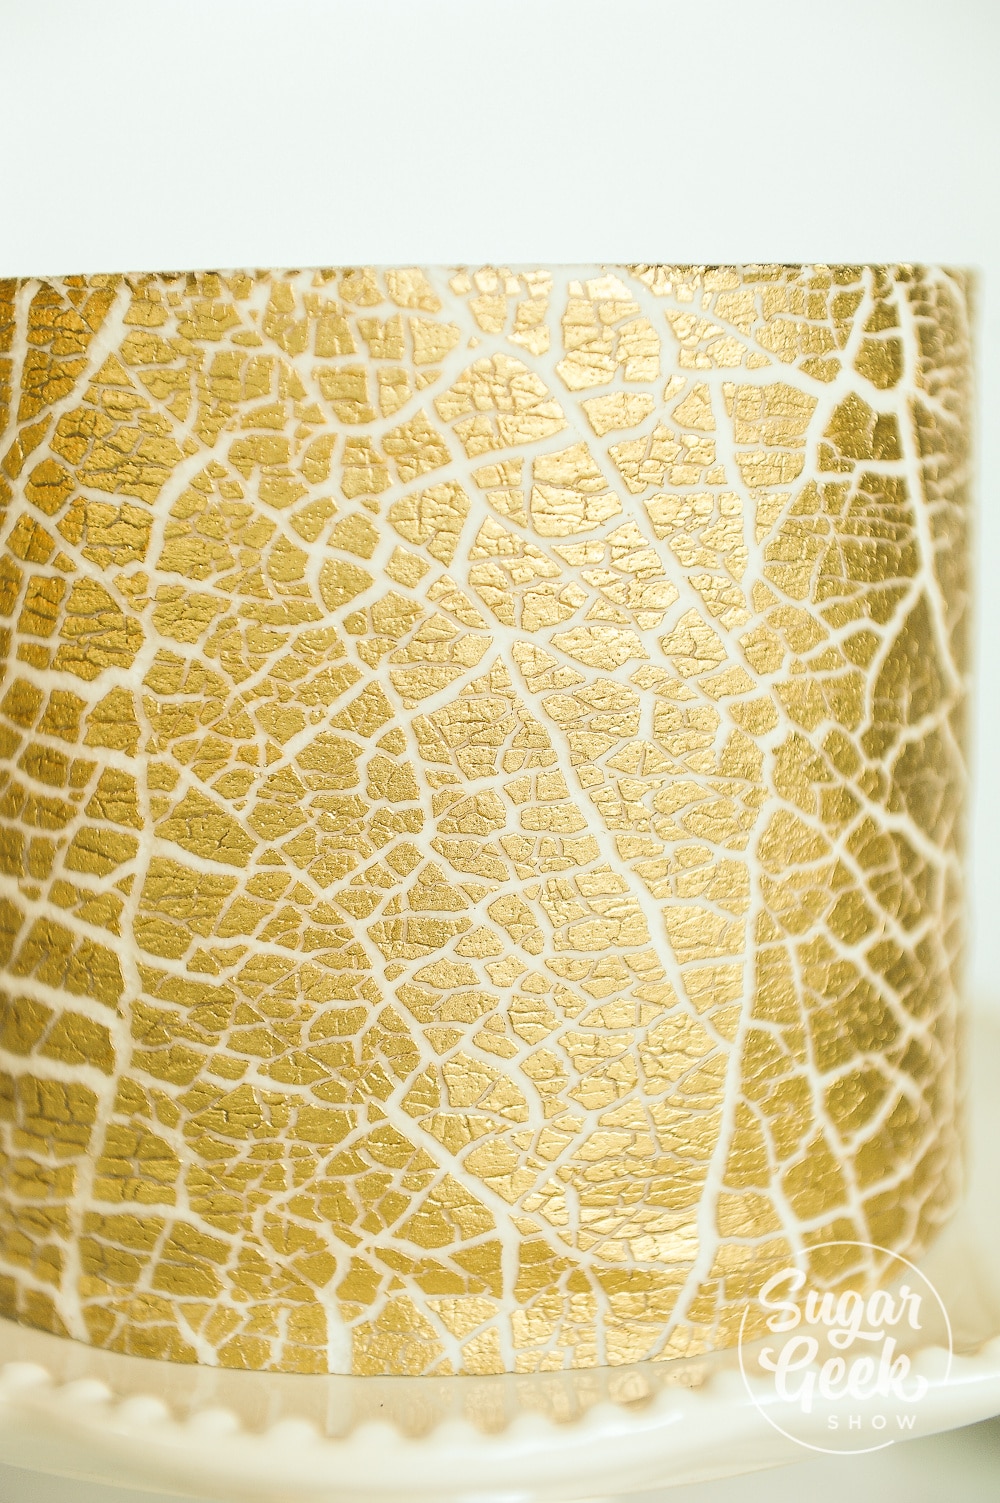
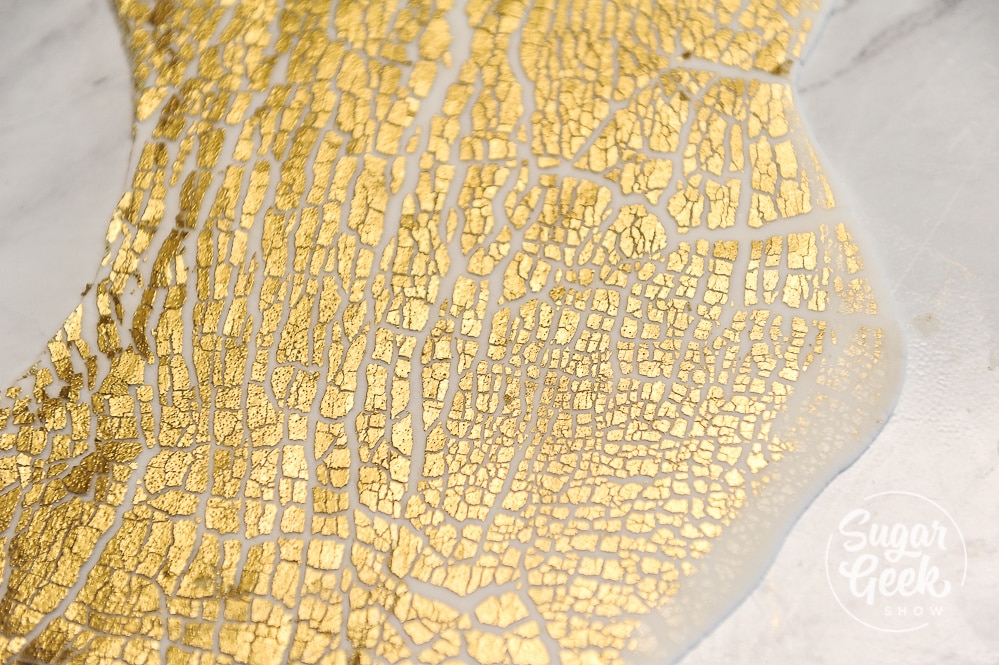
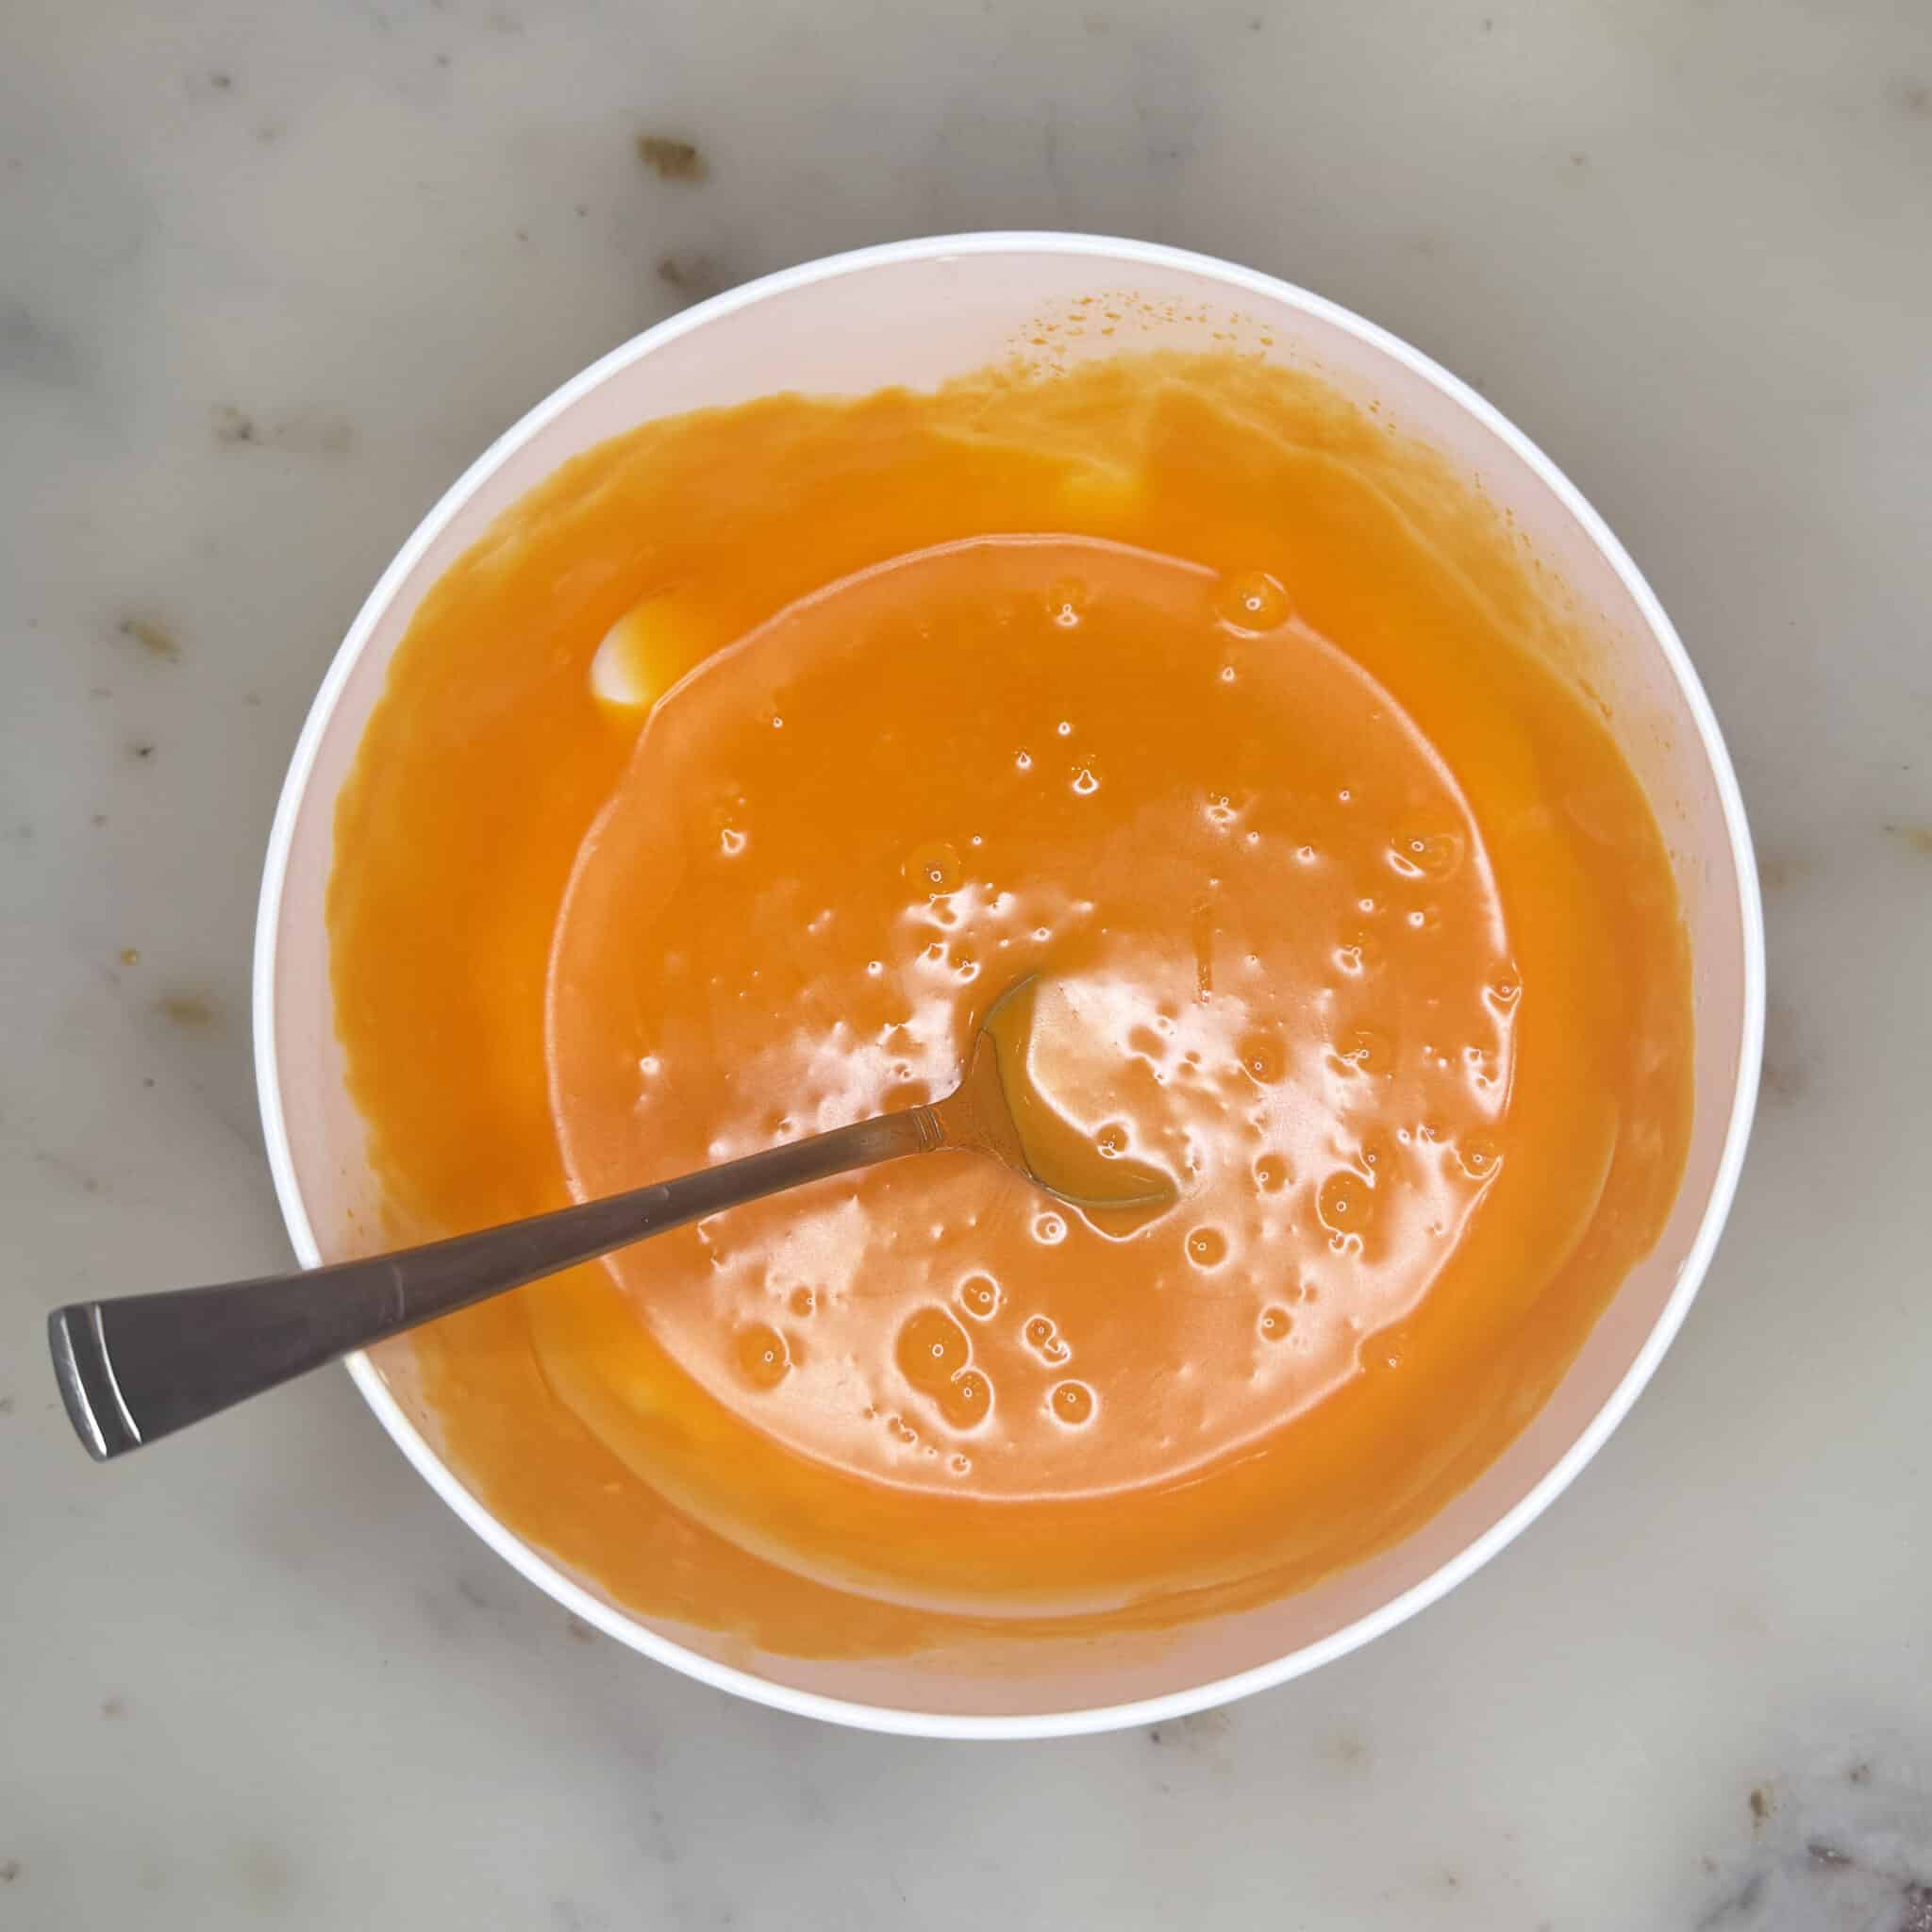
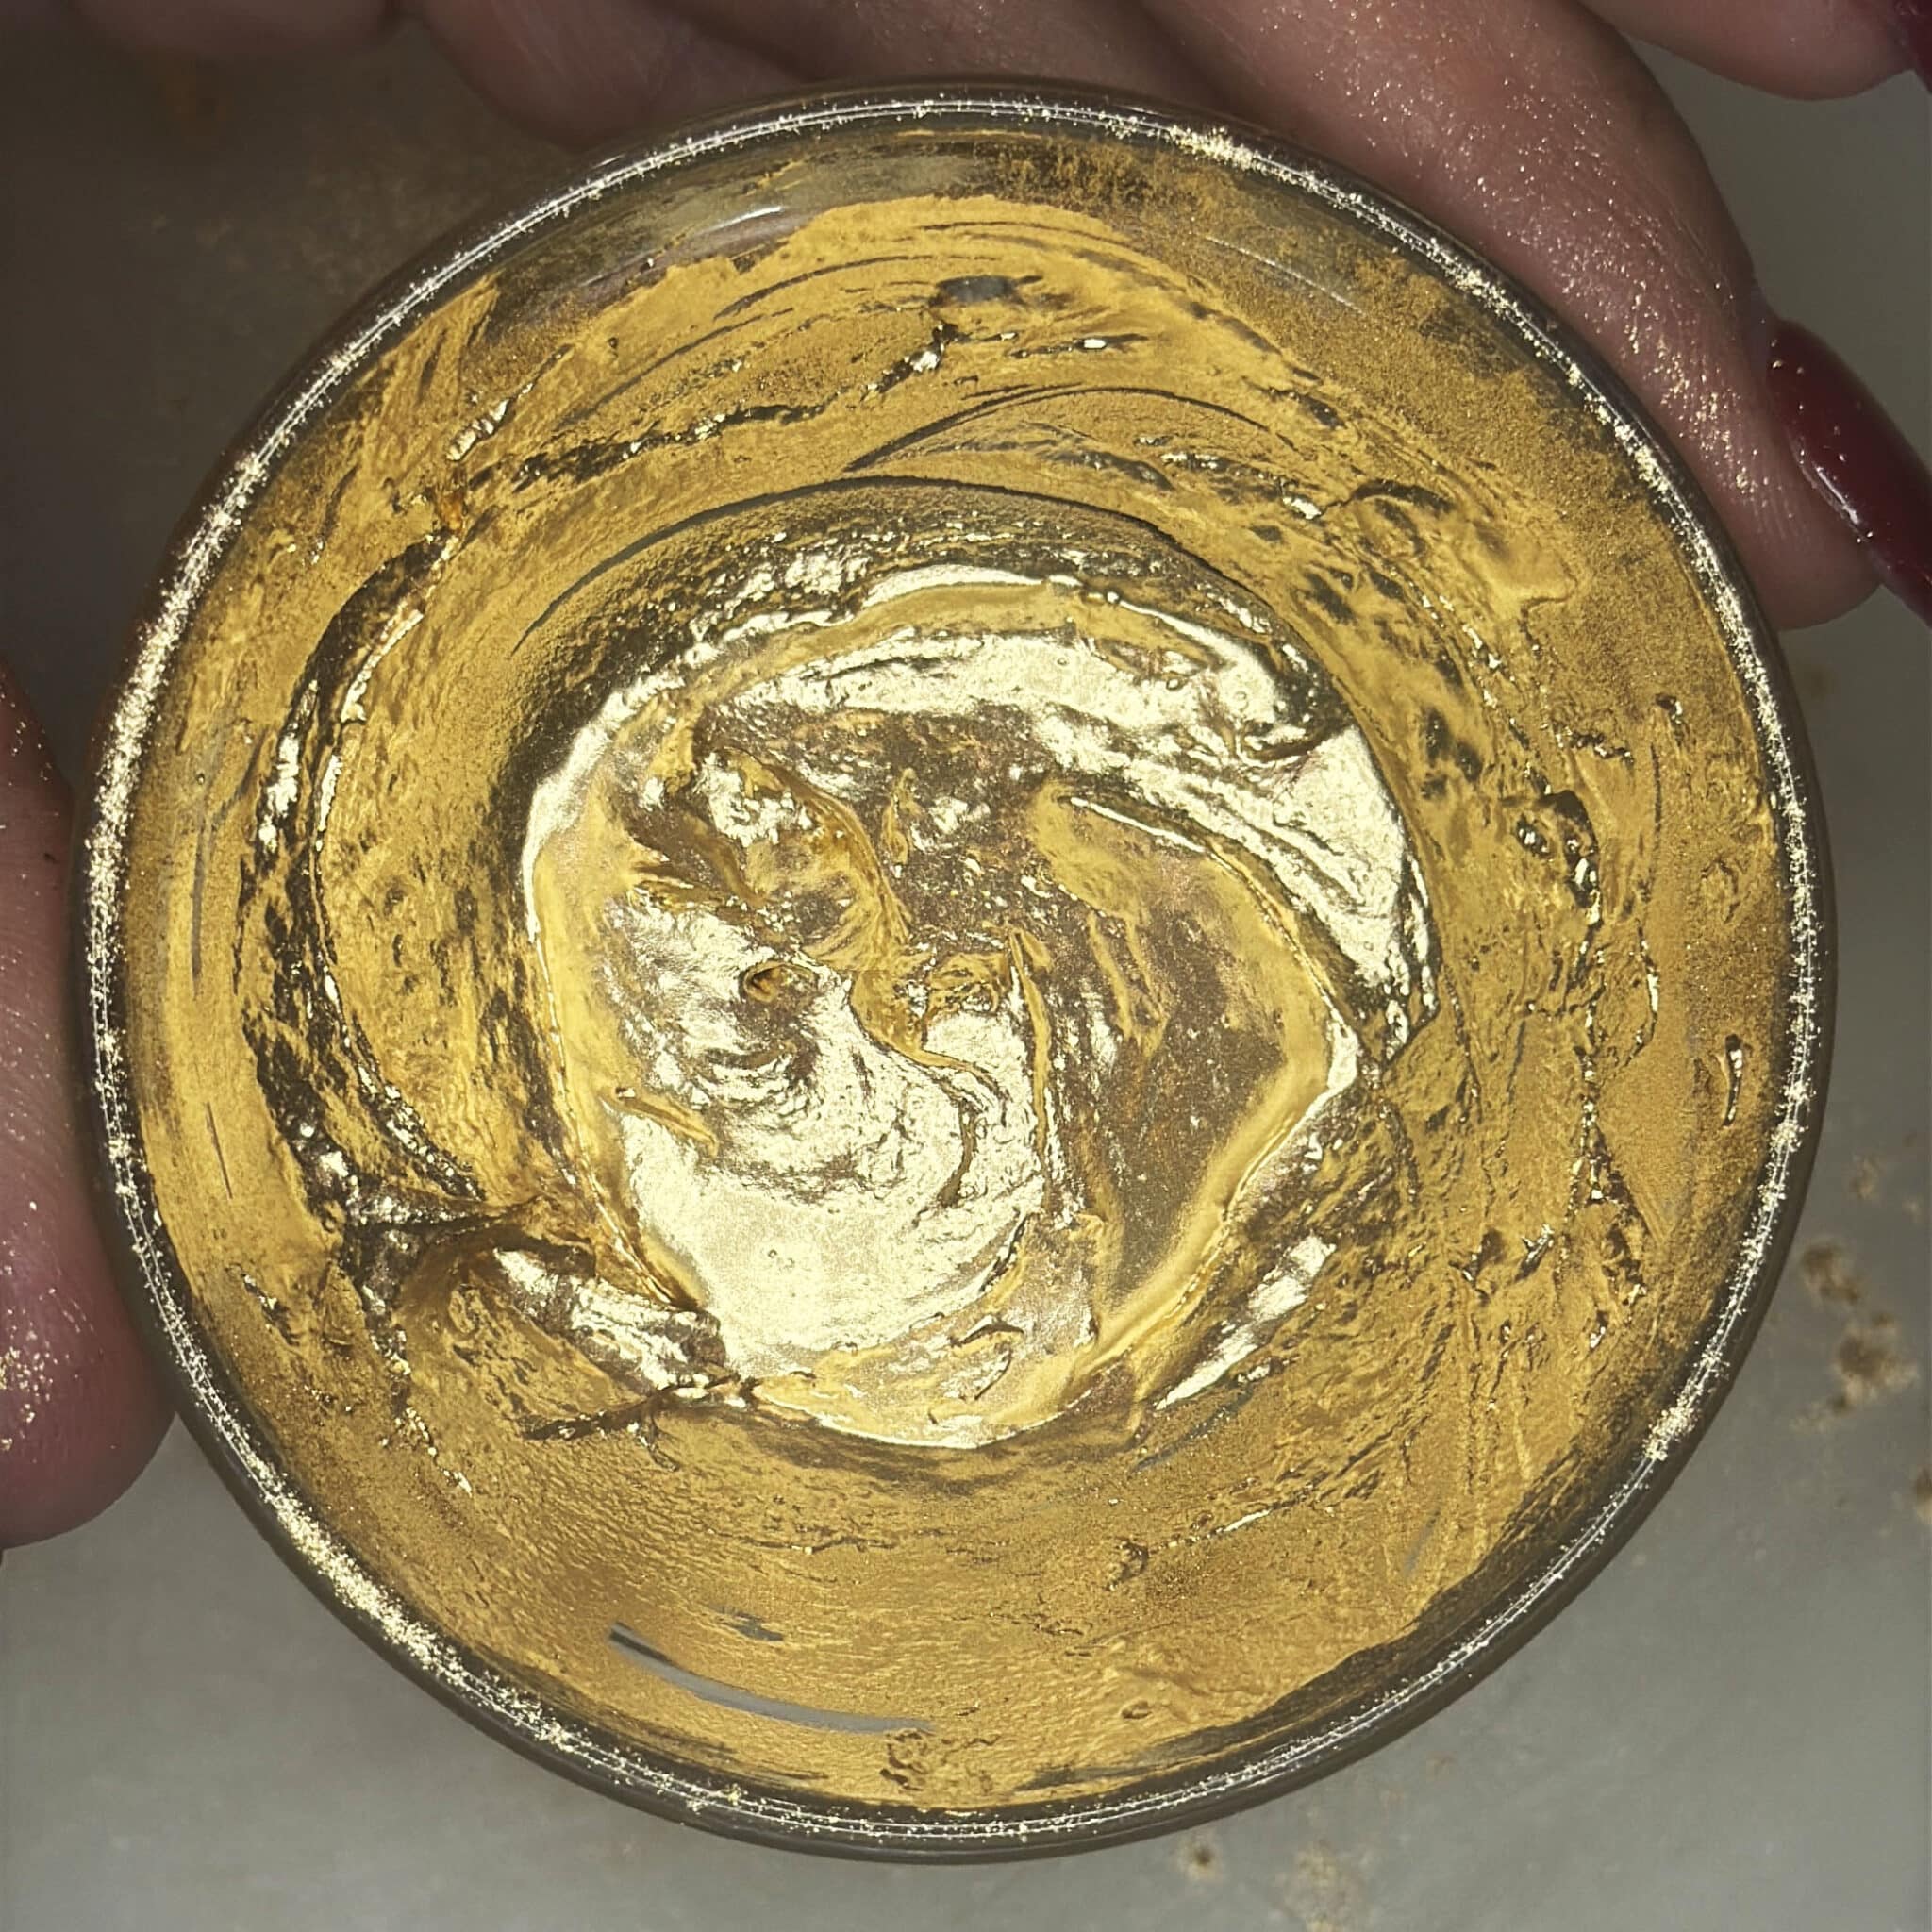
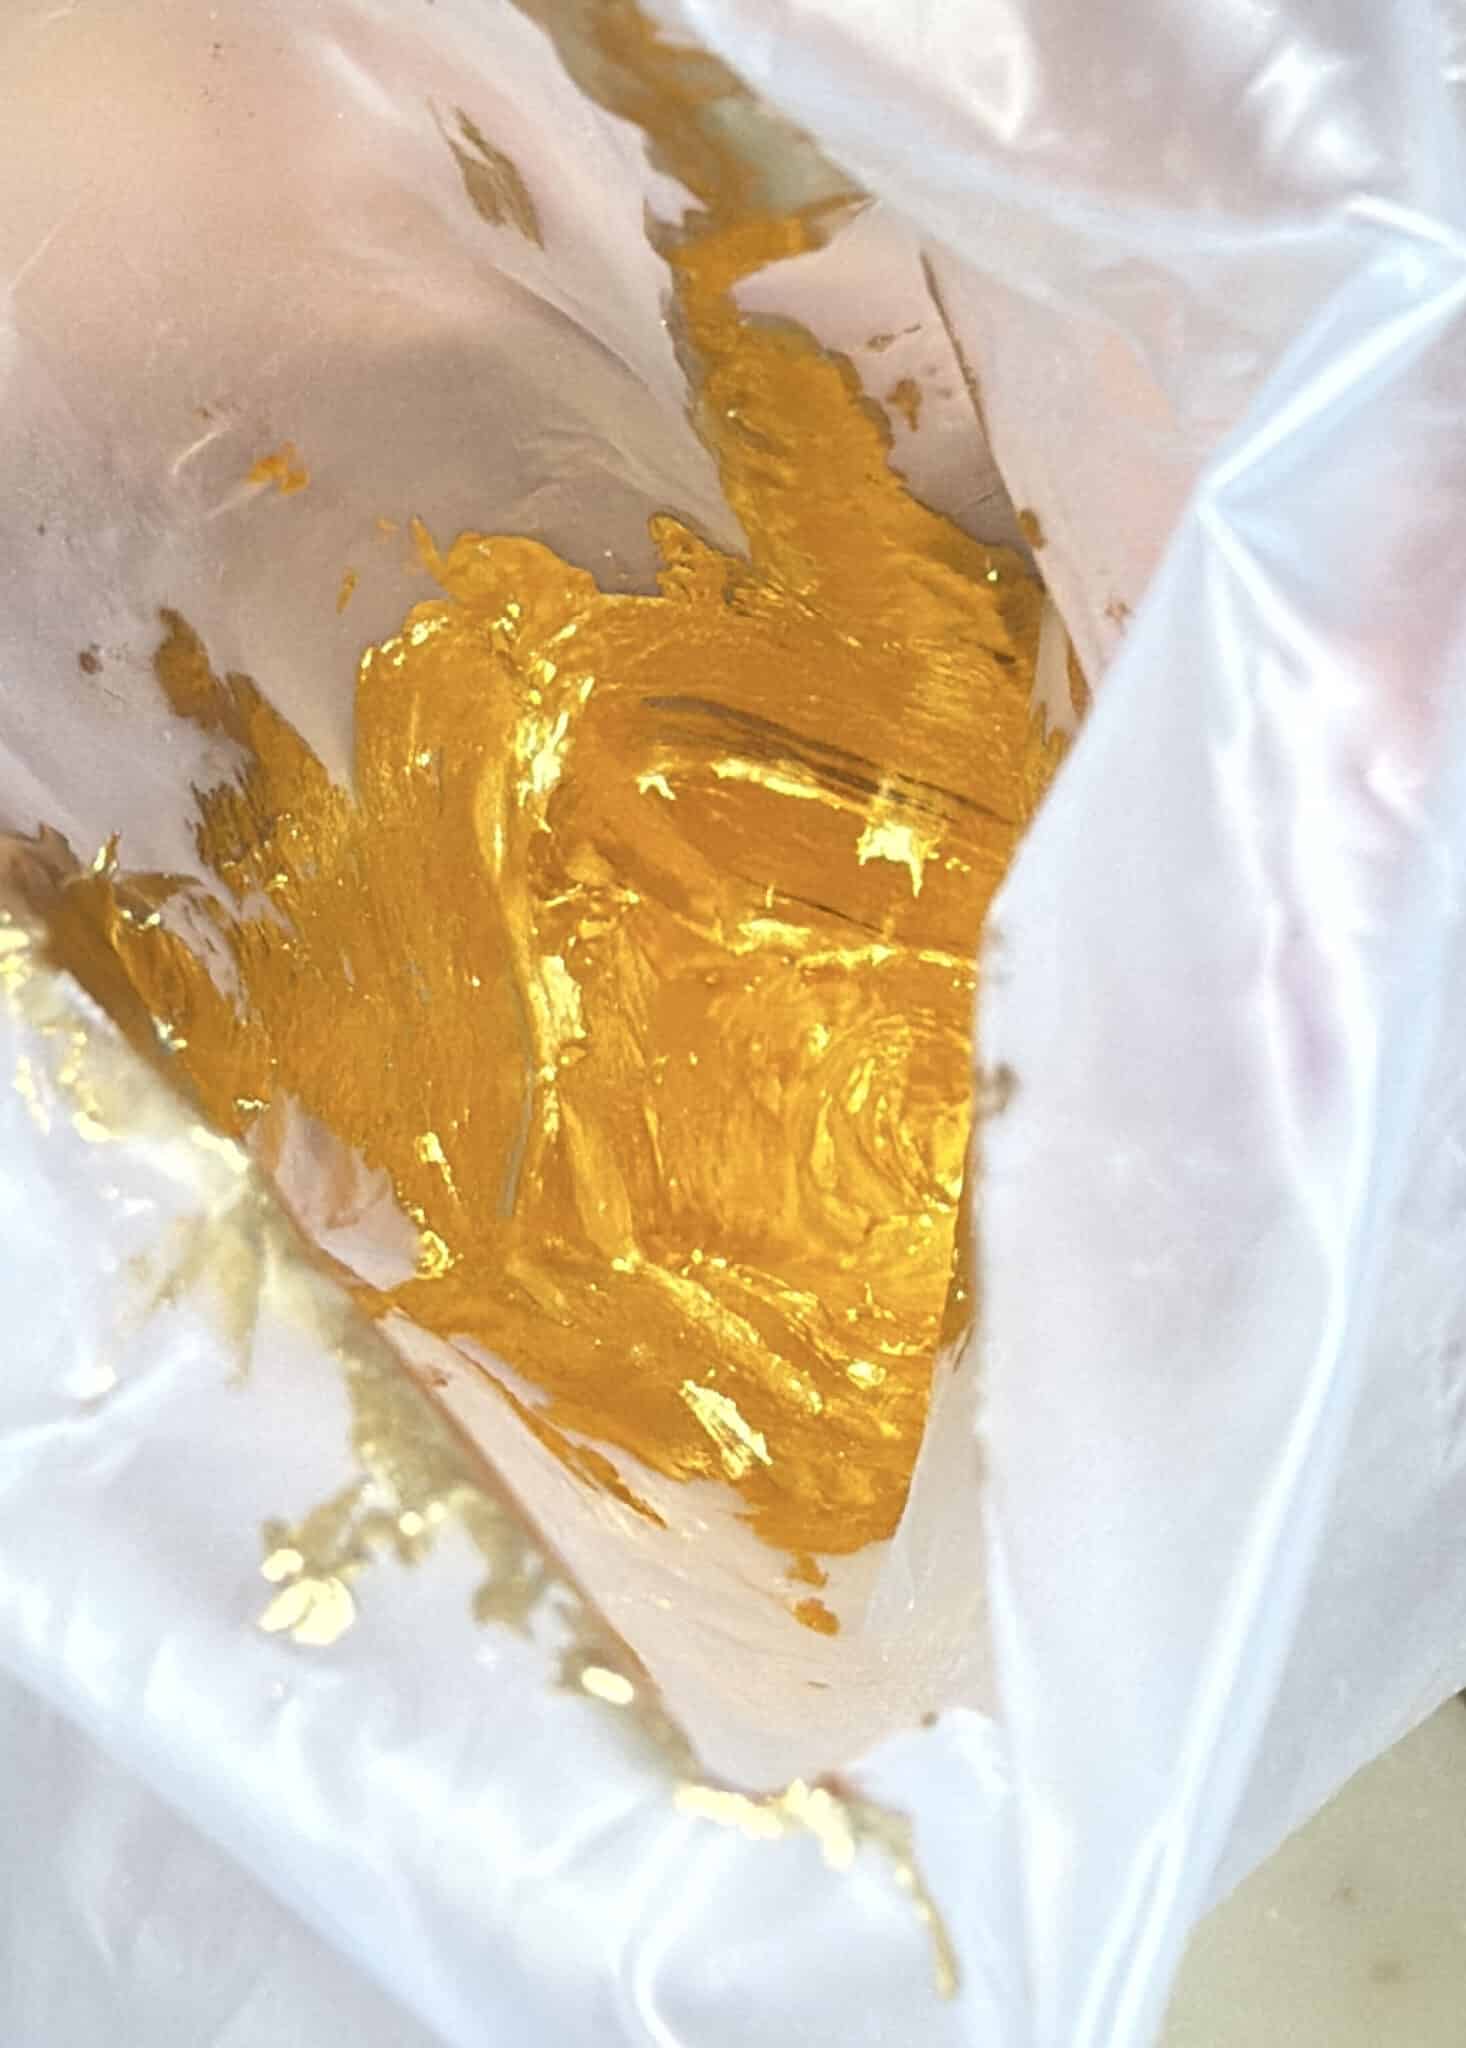
- Learn how to airbrush using cocoa butter and get a metallic finish
Tutorial Chapters
- Making the structure
- Prepping the cake board
- Making structure food-safe
- Prepping structure for cake
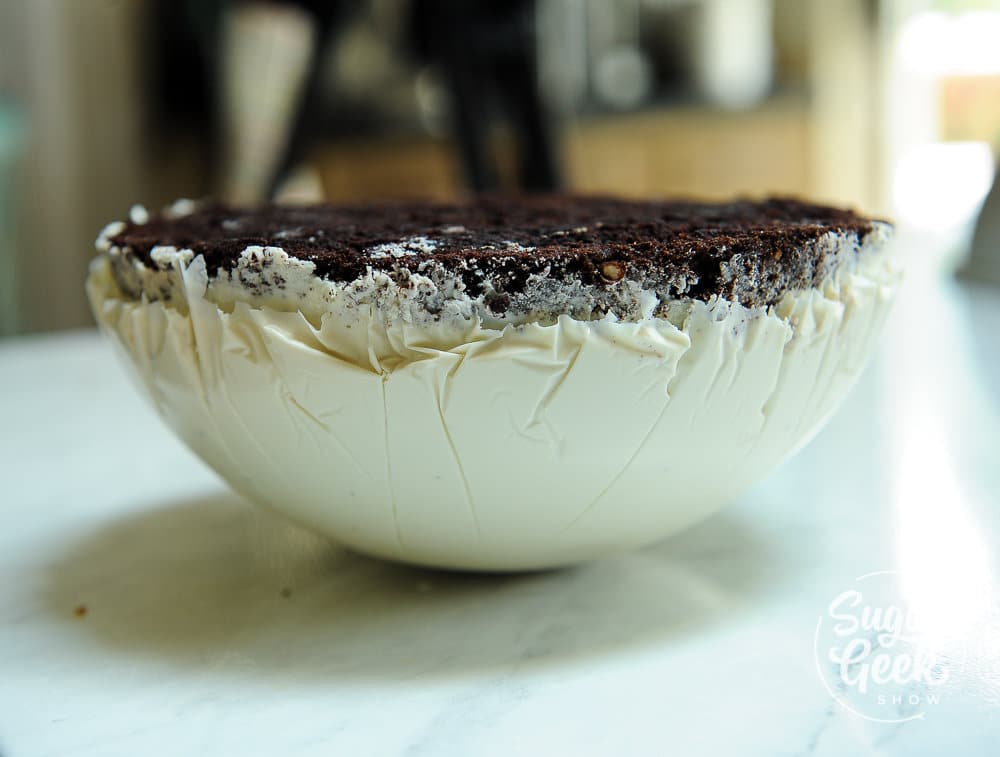
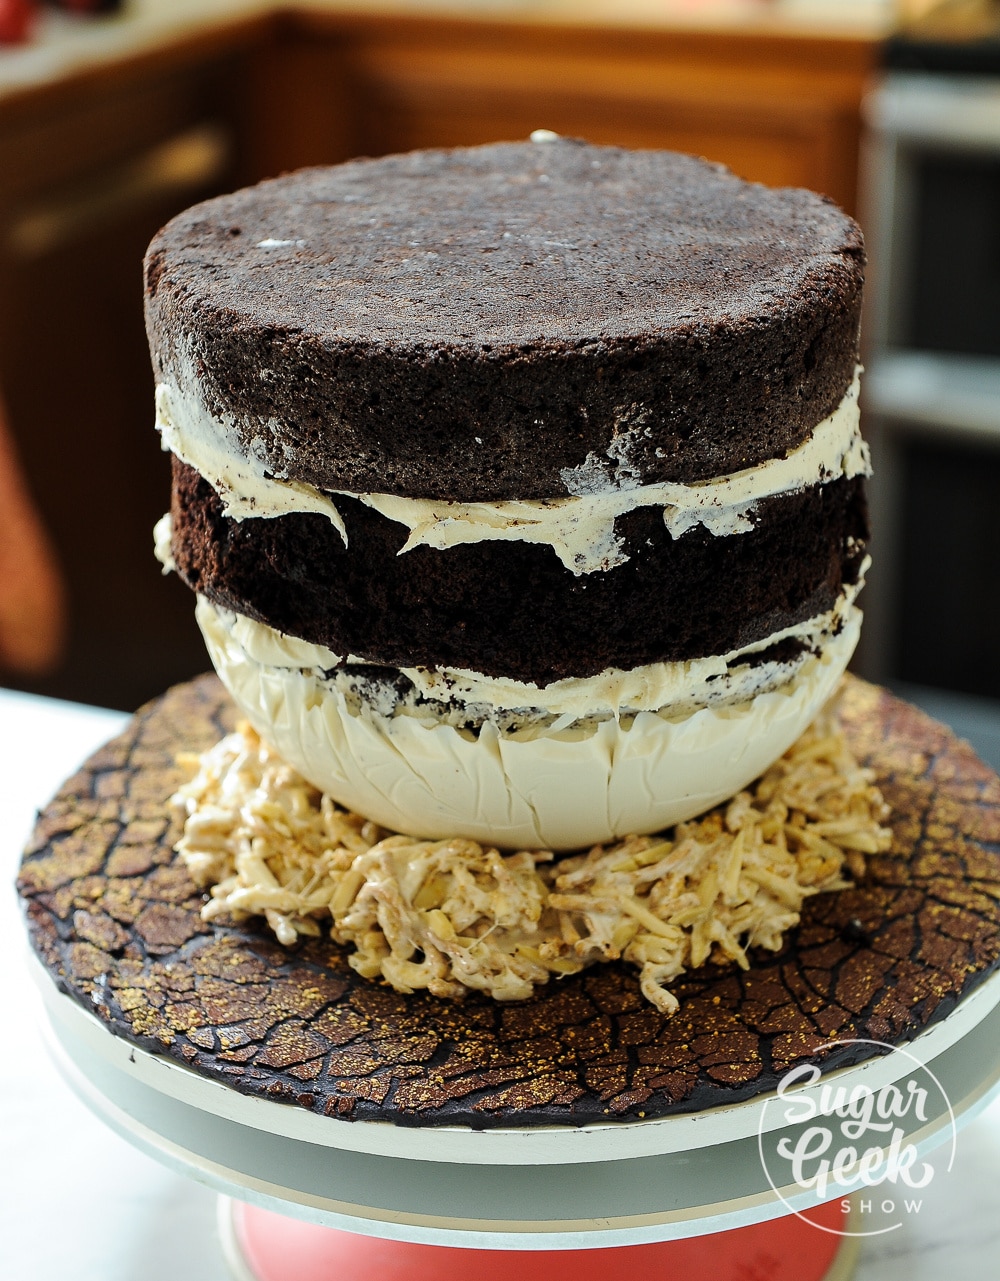
- Building up the bottom
- Stacking the cake
- Carving down the cake
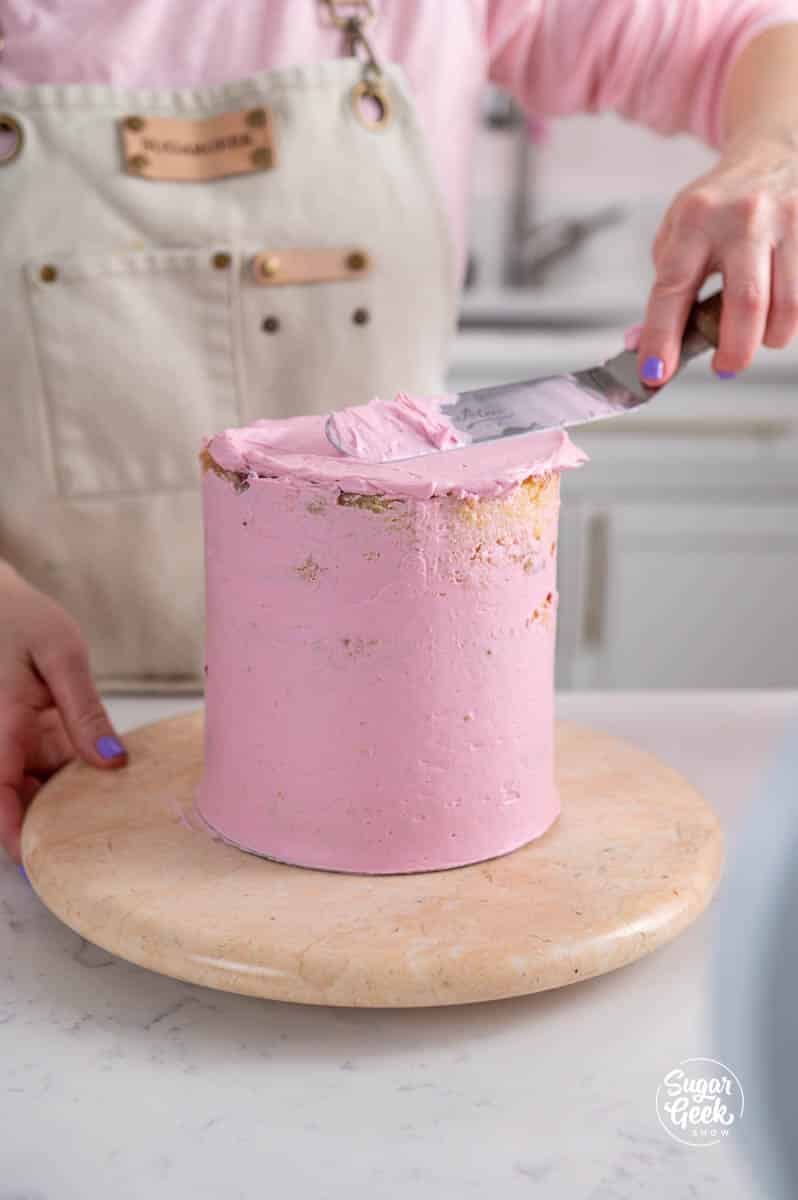
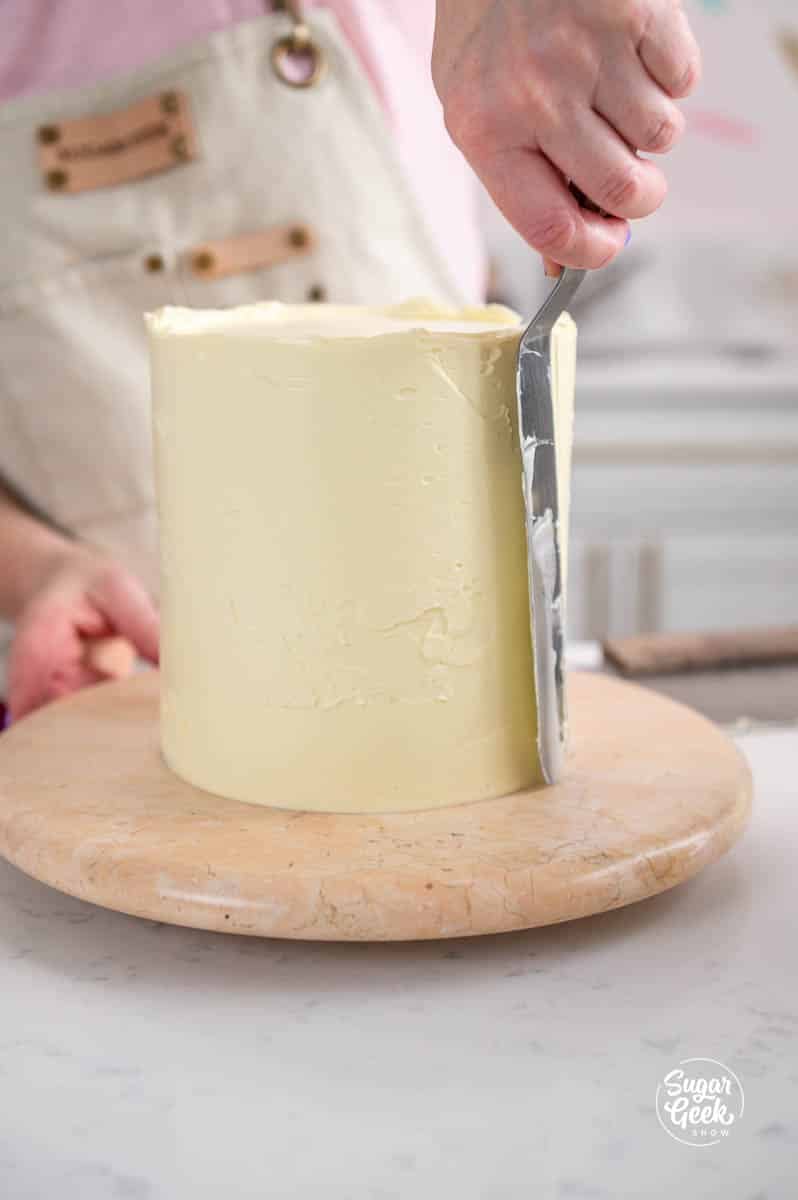
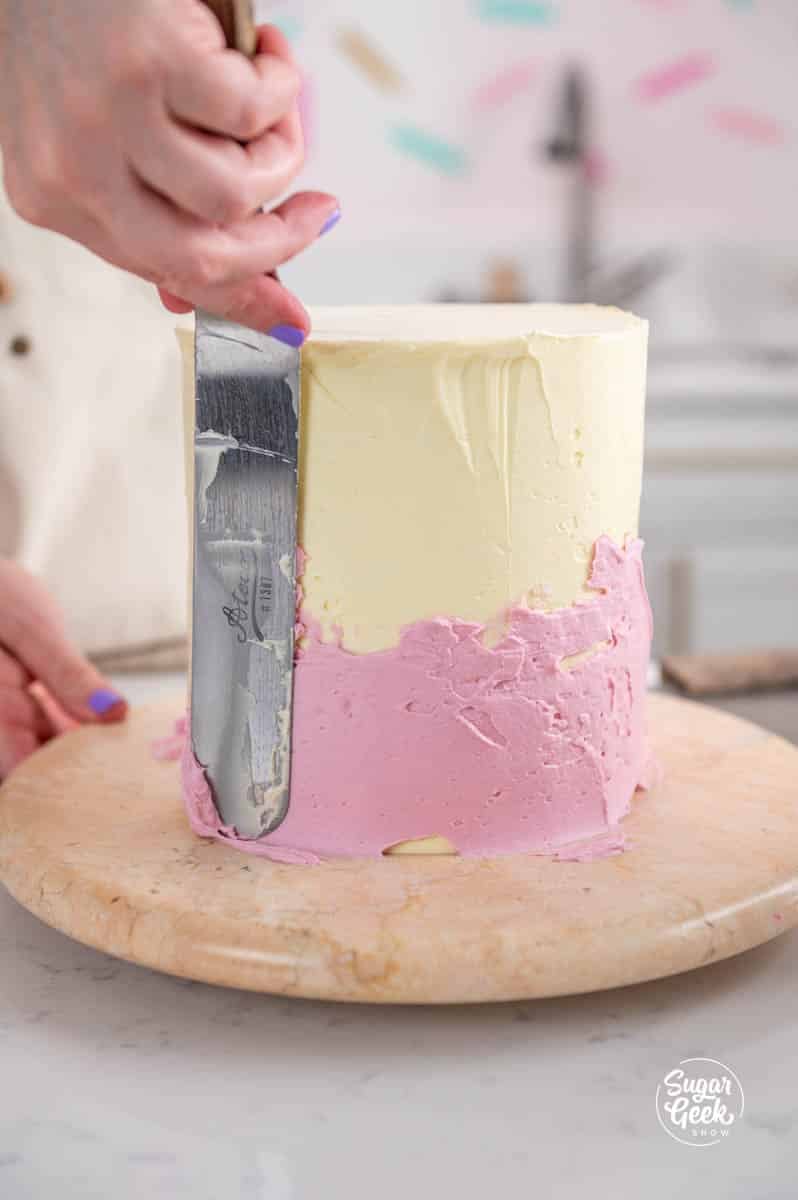
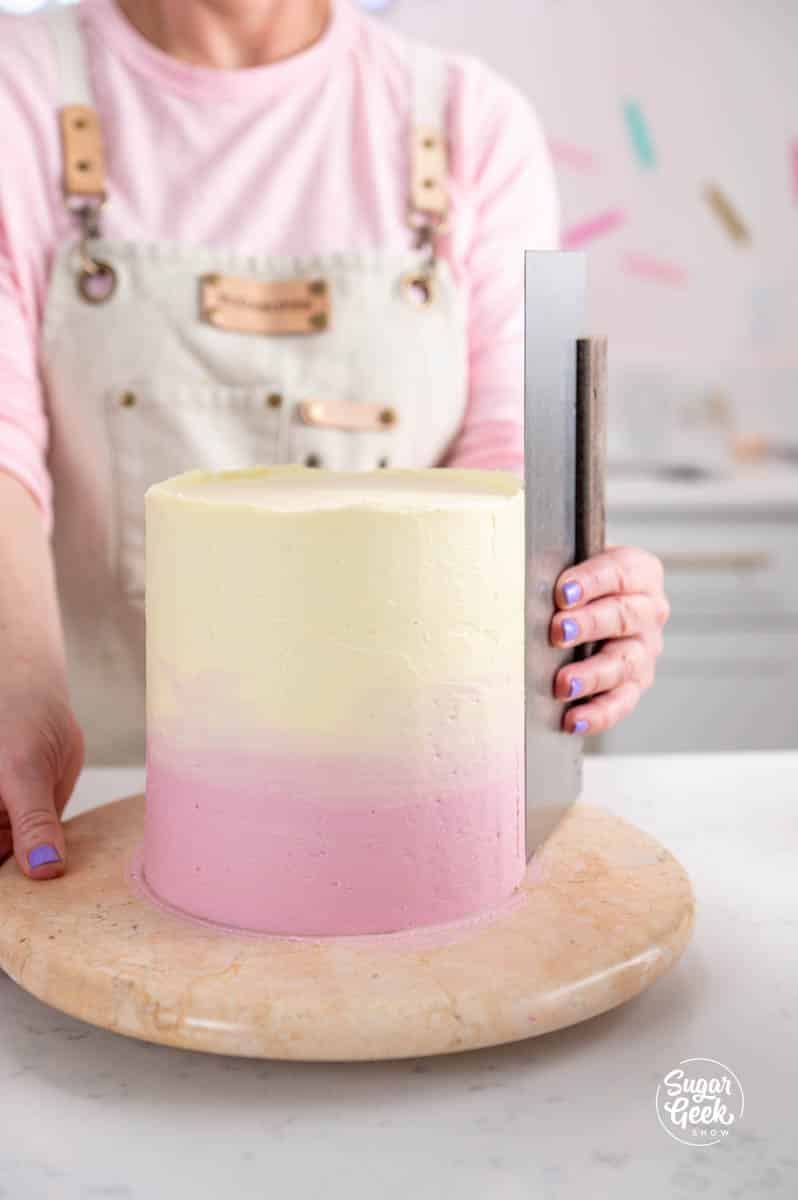
- Applying crumbcoat
- Building up the back legs
- Building up neck & head
- Carving the wolf
- Final crumbcoat
- Making tile floor
- Attaching tiles
- Piping the grout
- Building up the metal
- Designing the head
- Adding metal to the other side
- Covering the tail
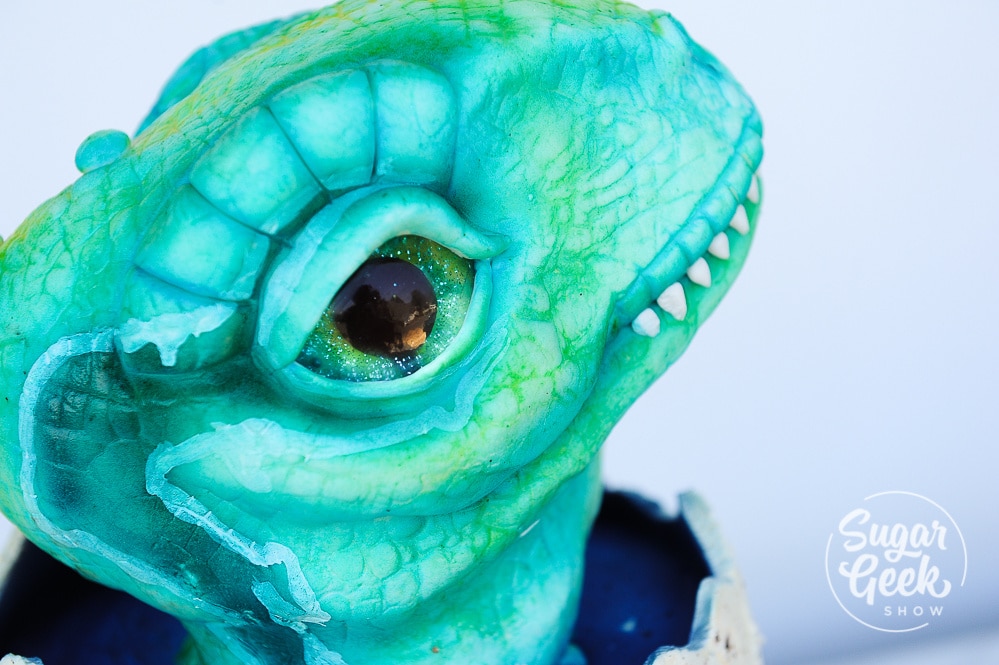
- Airbrushing with cocoa butter
- Finishing paint


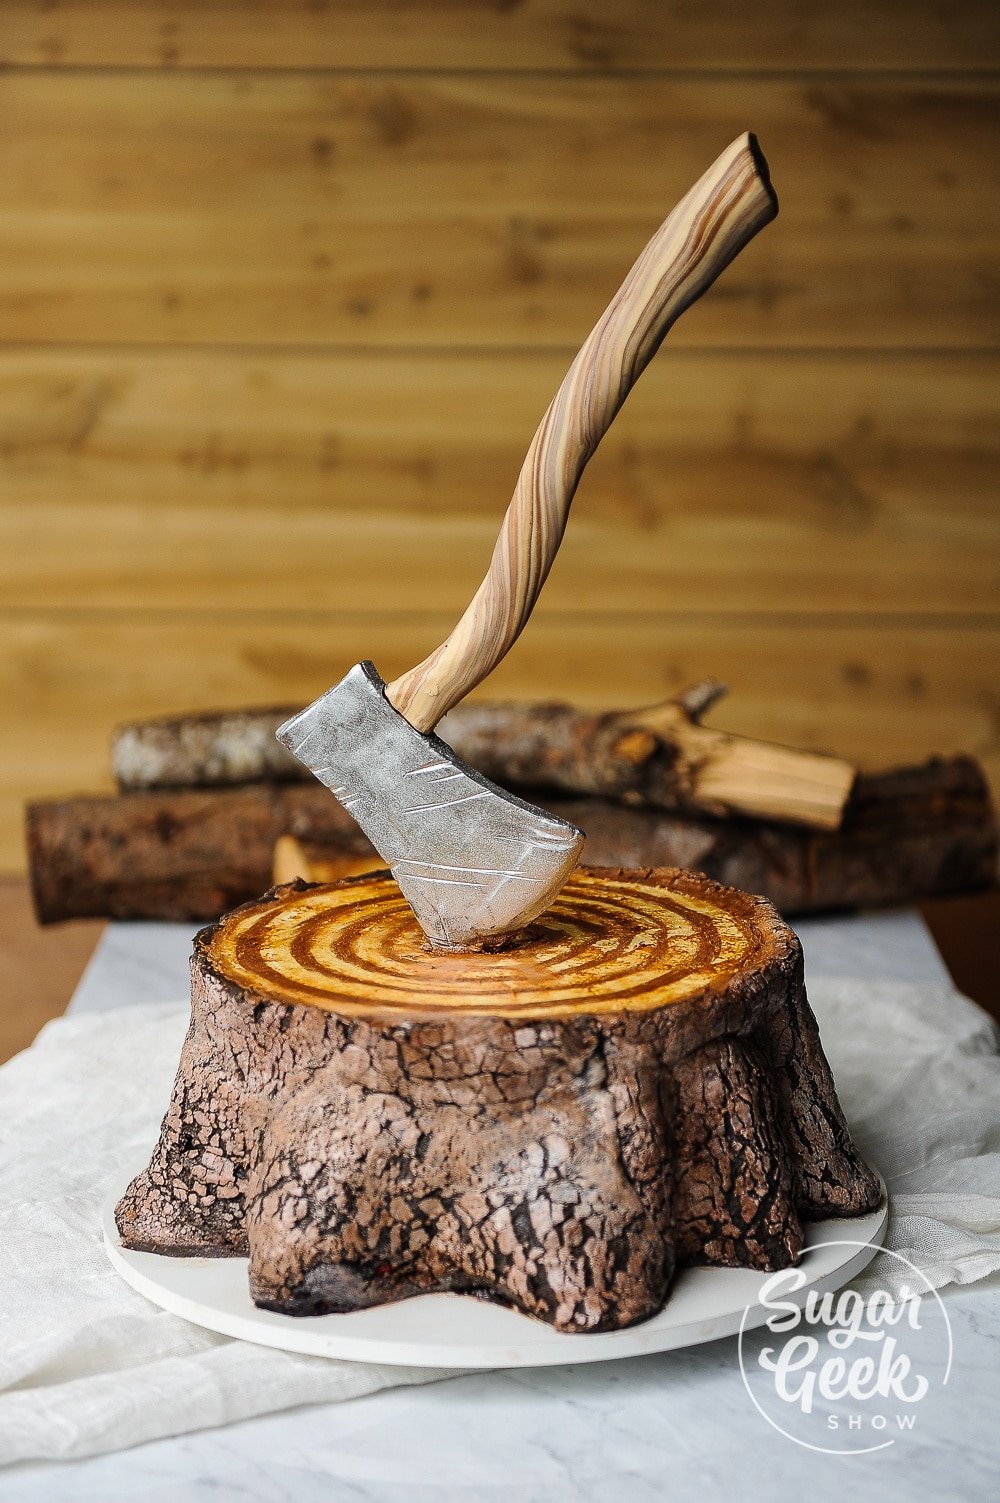
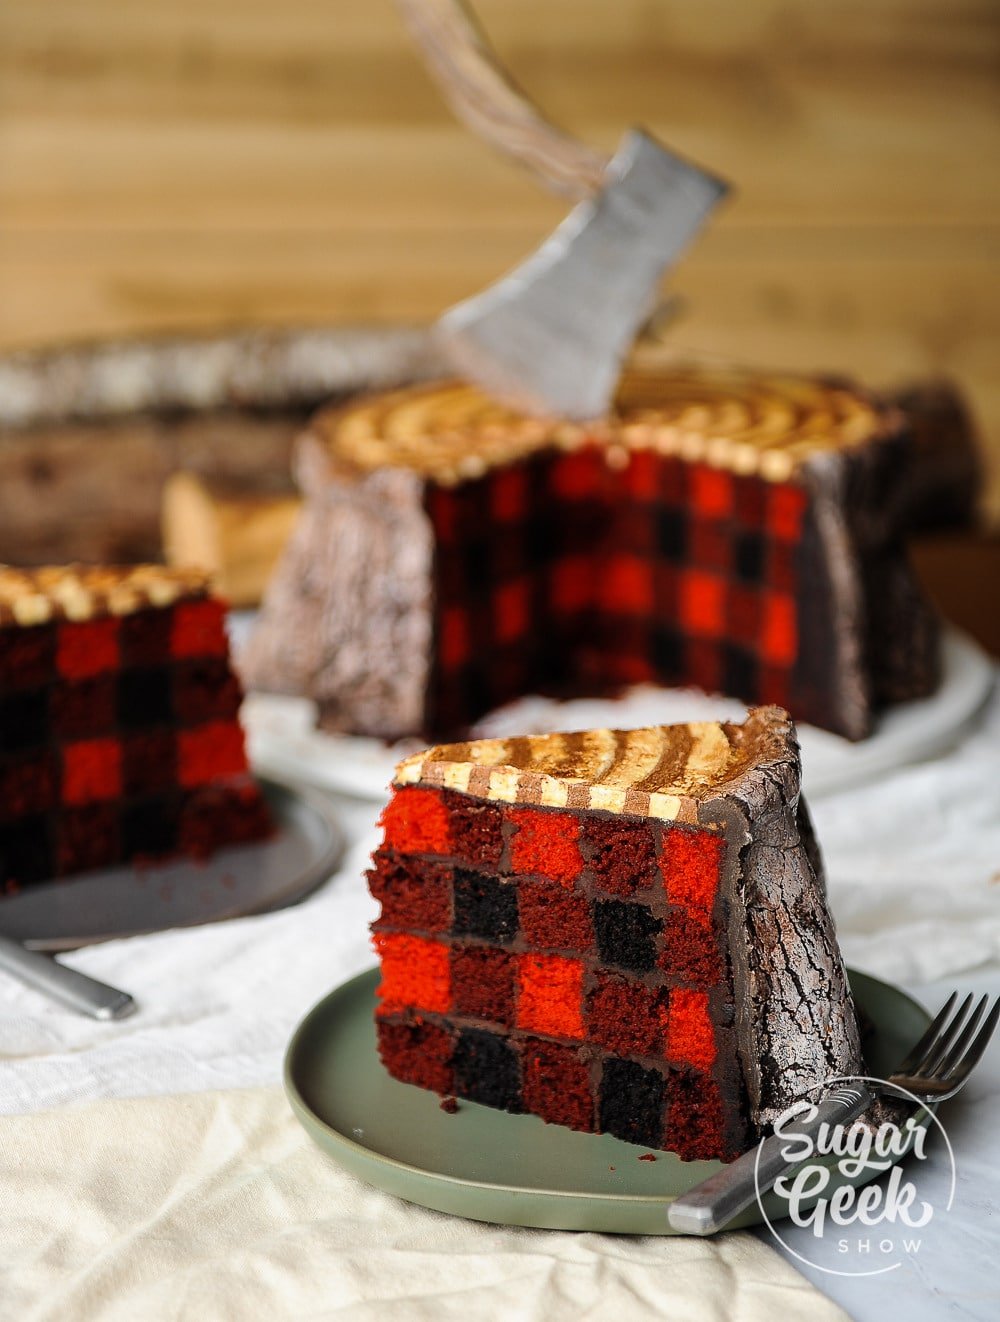
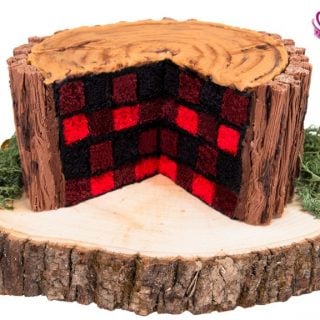
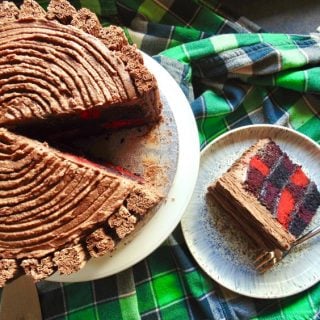

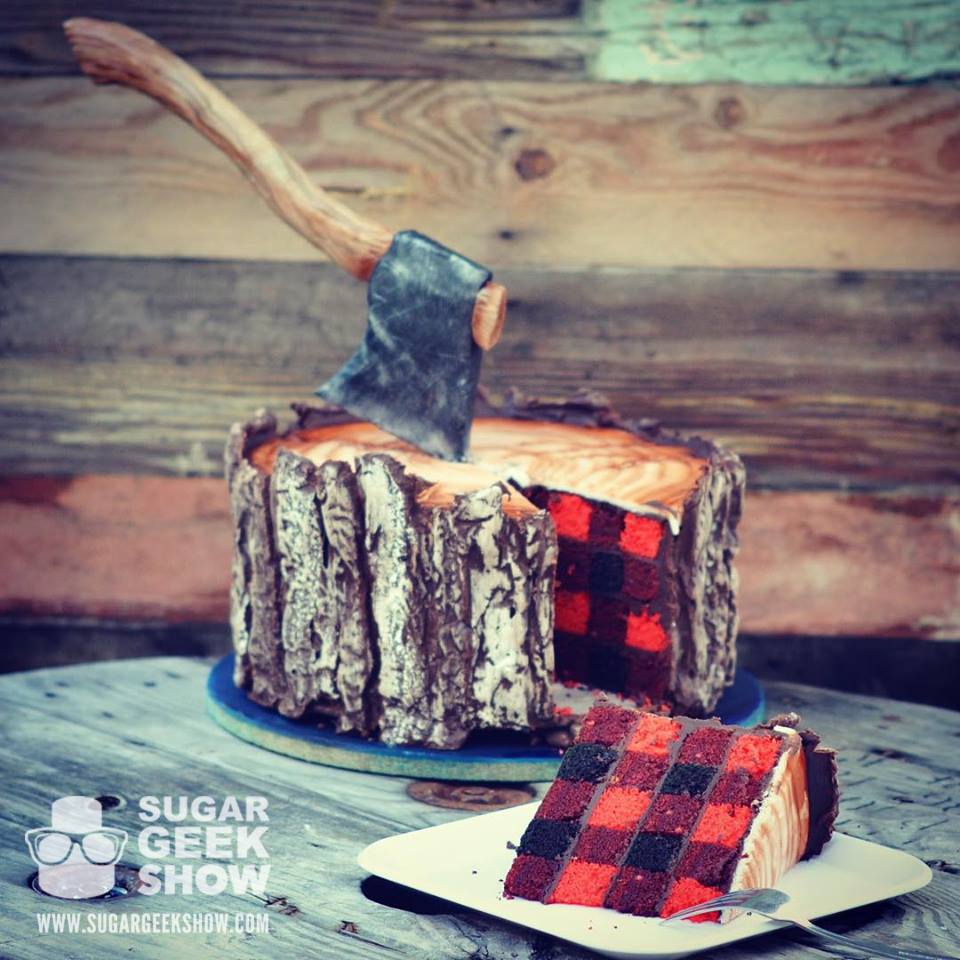
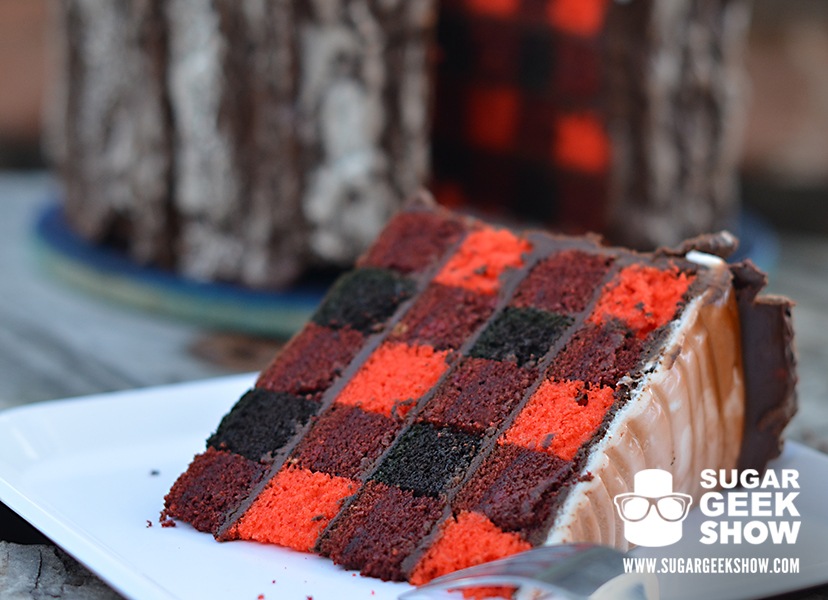
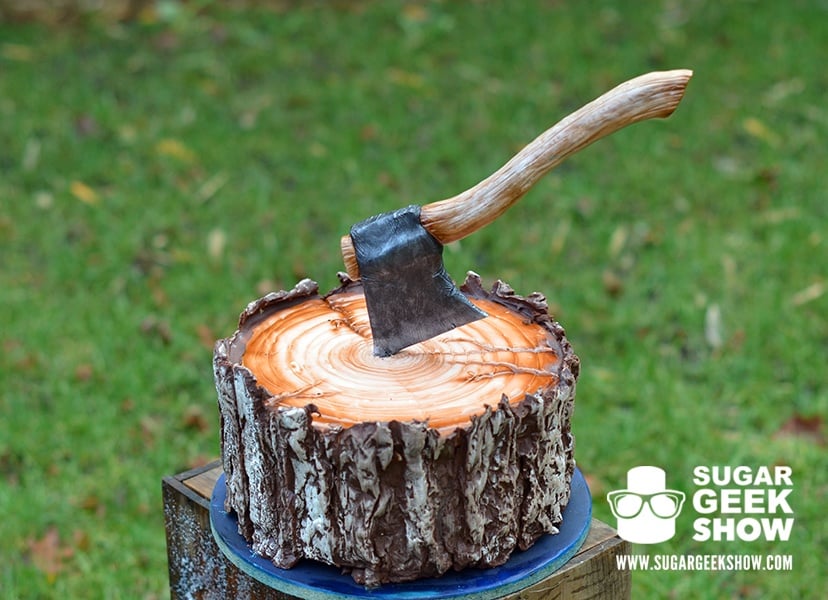
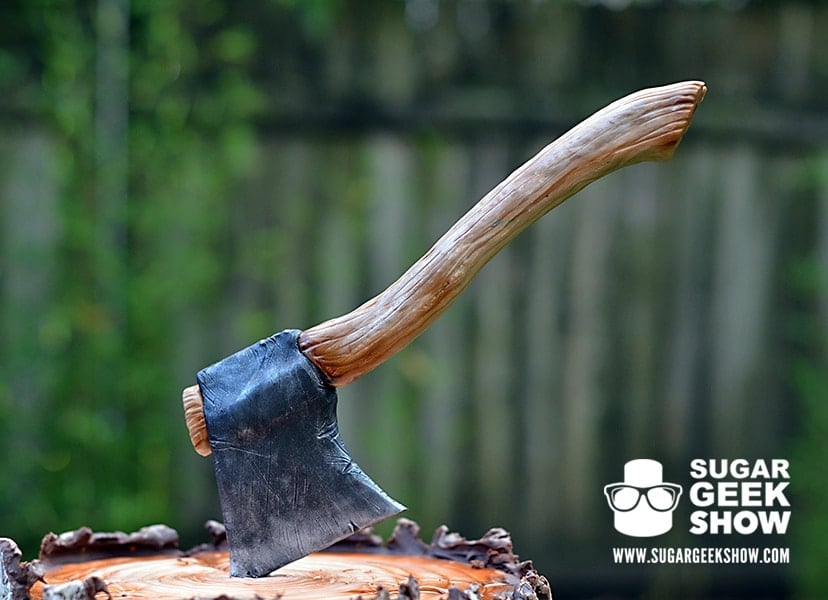
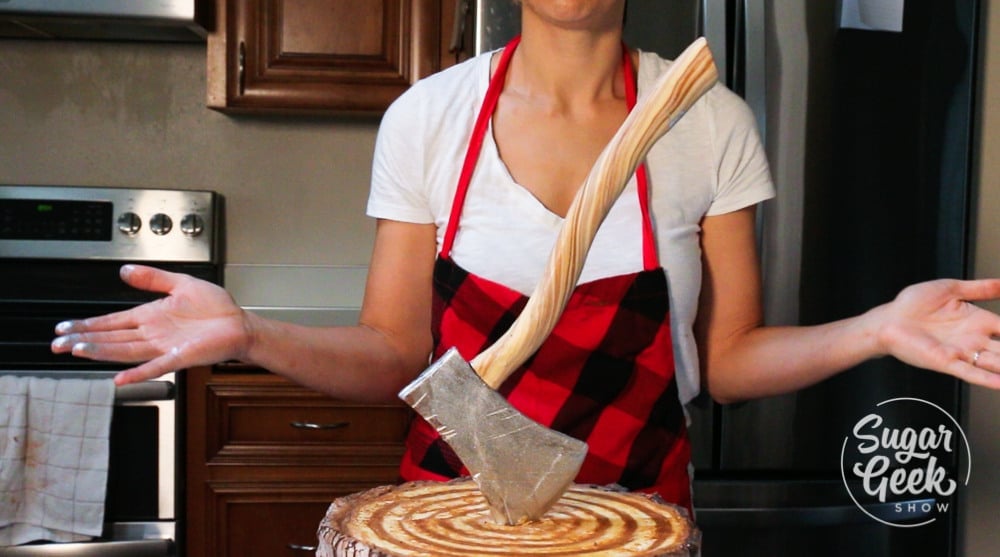
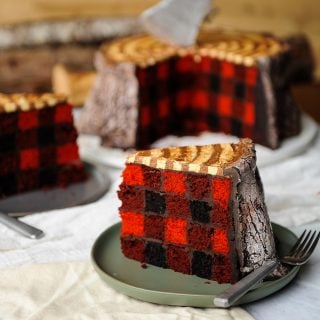
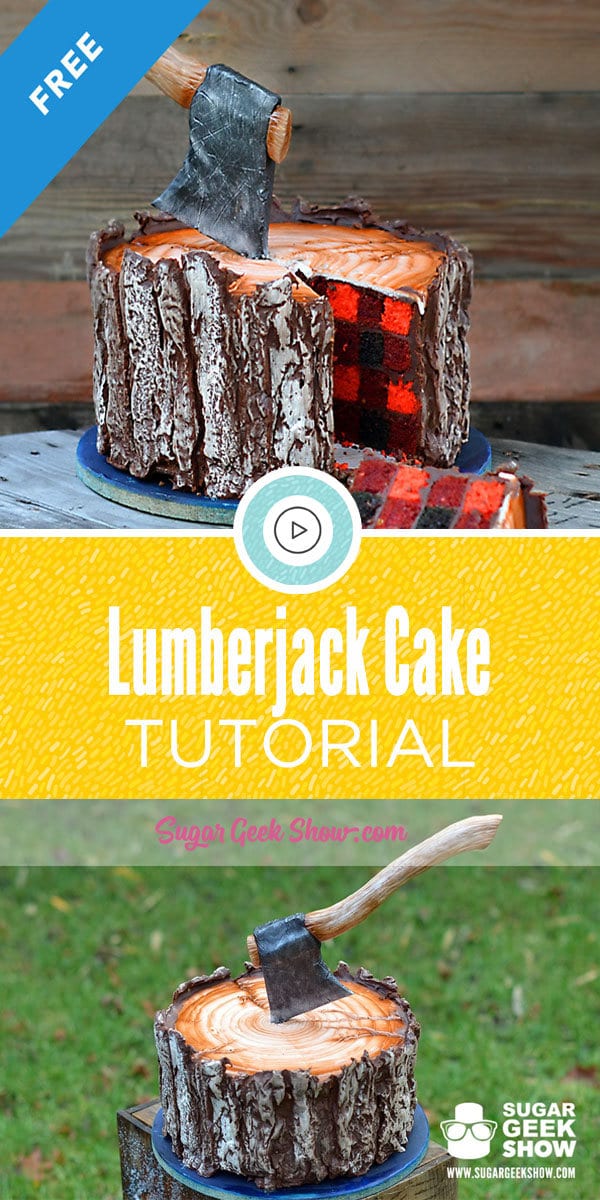
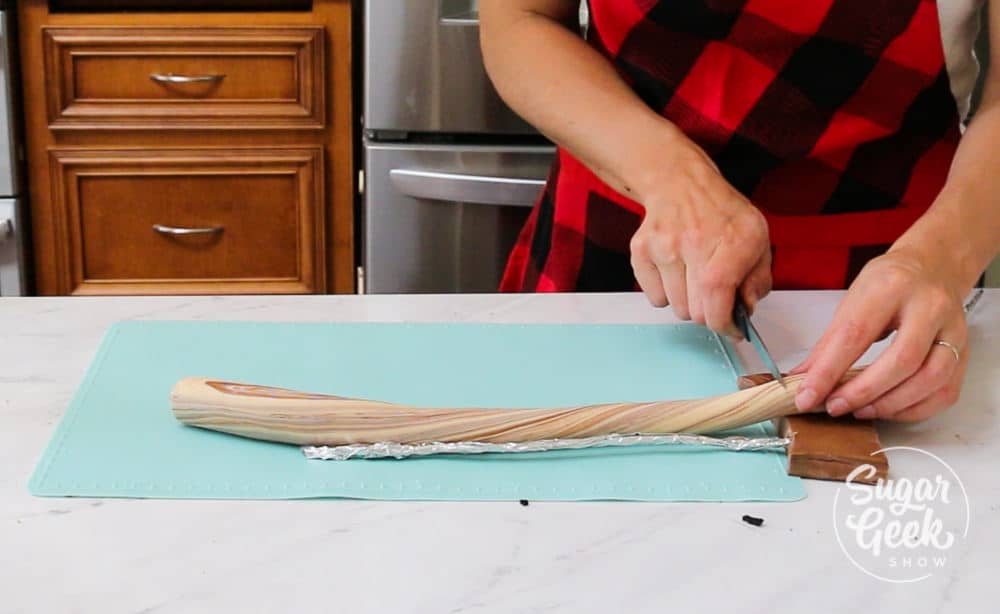 How to make the tree stump look
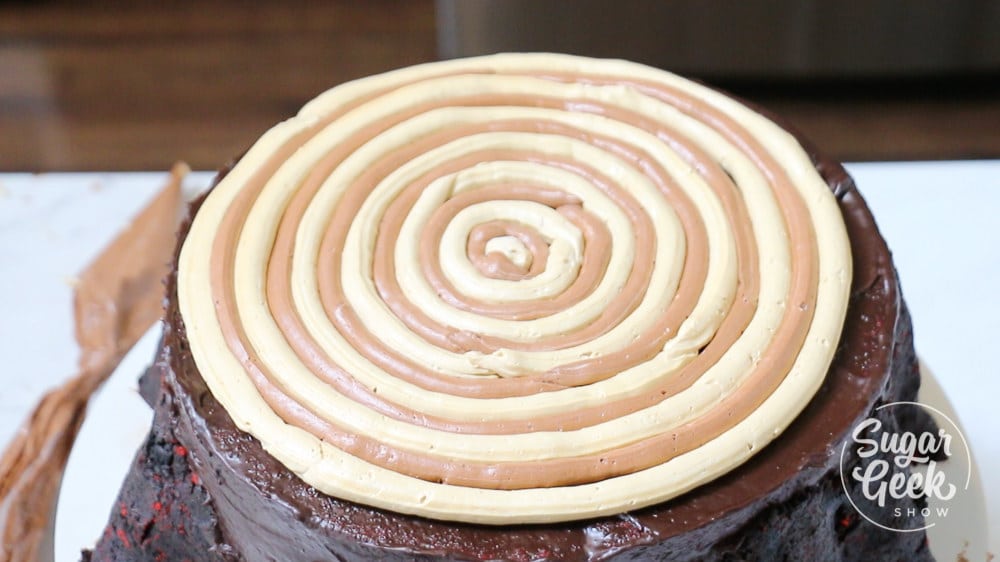
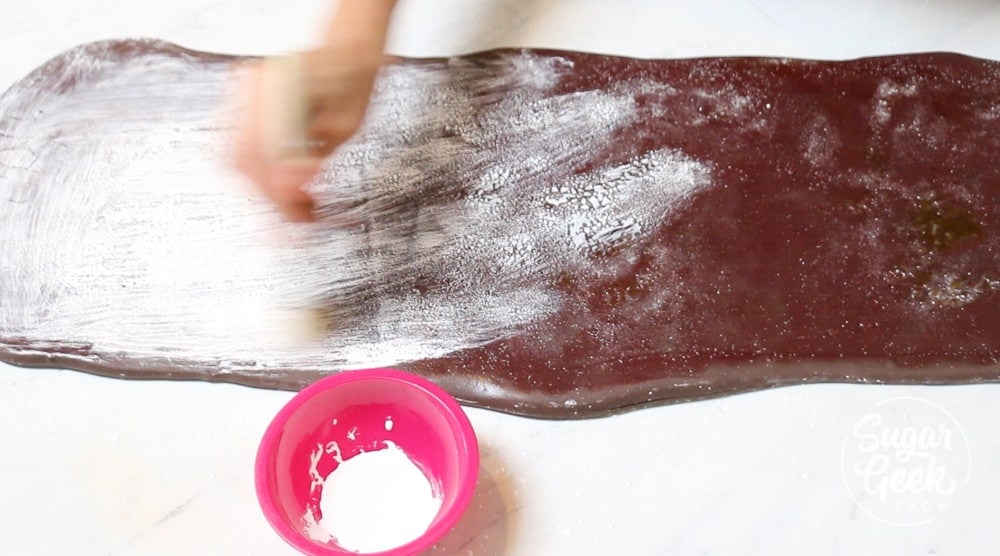
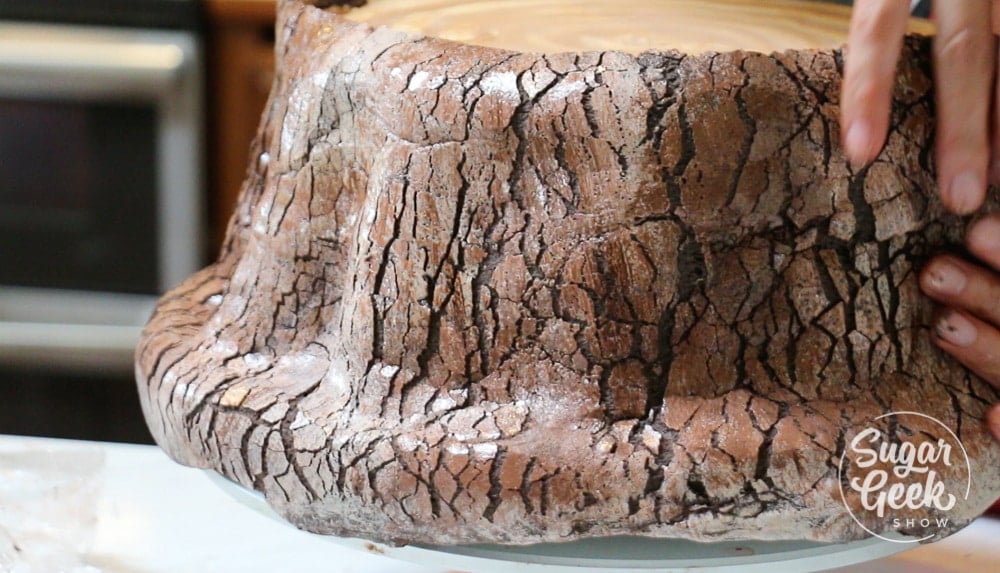
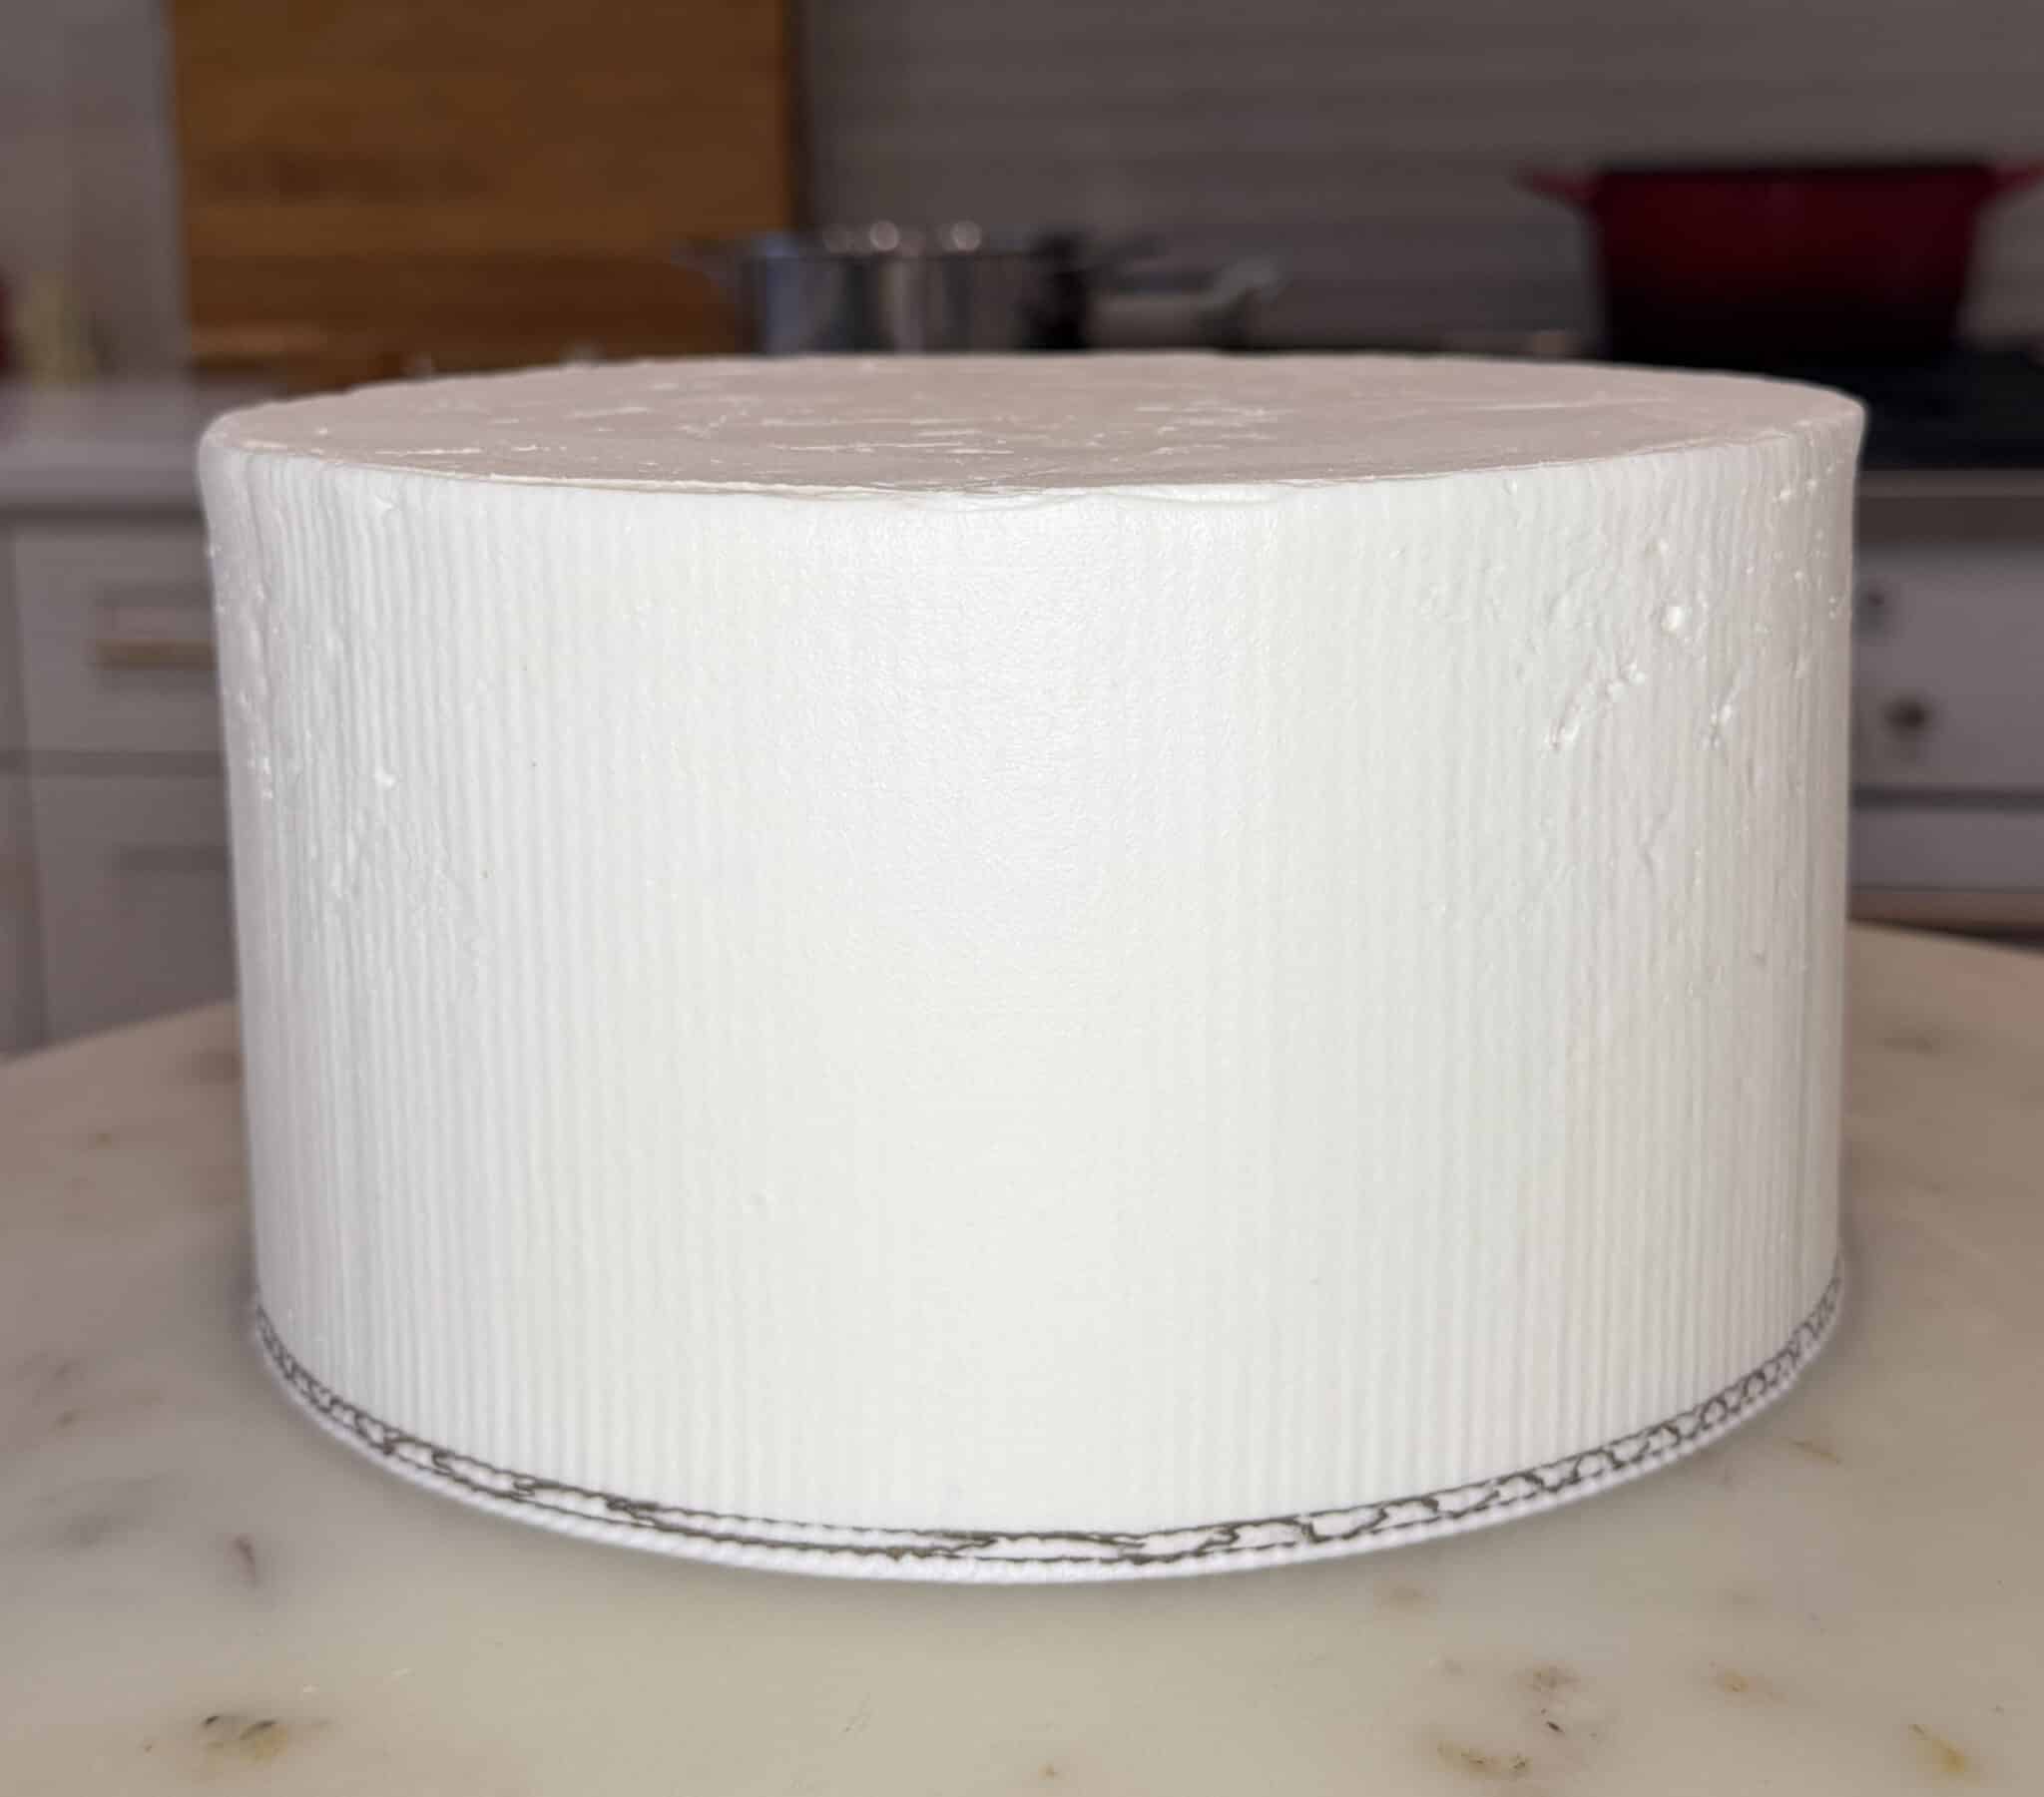
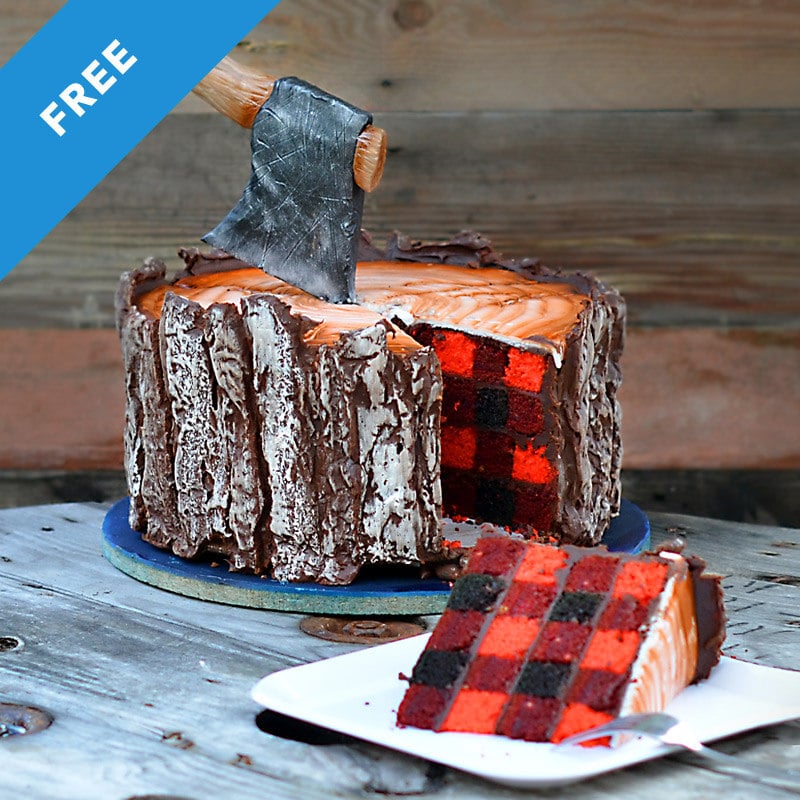
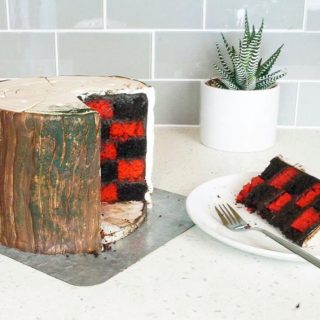
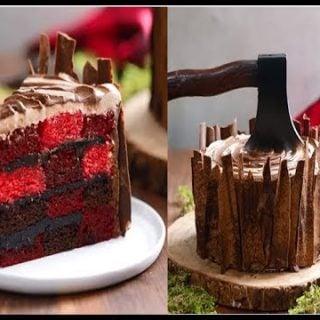
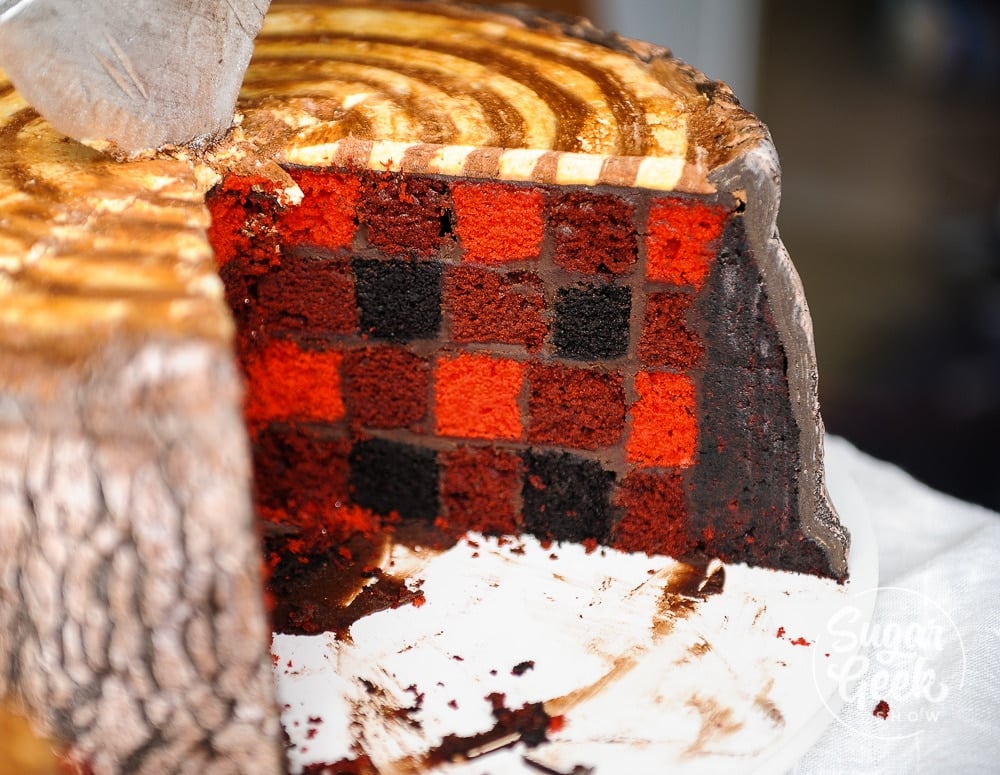
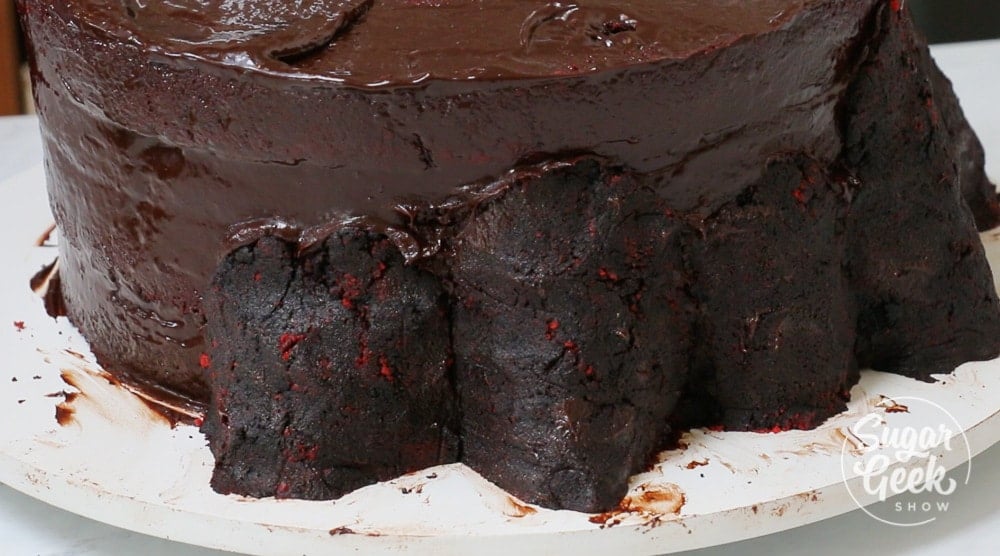 How to make the lumberjack cake bark texture