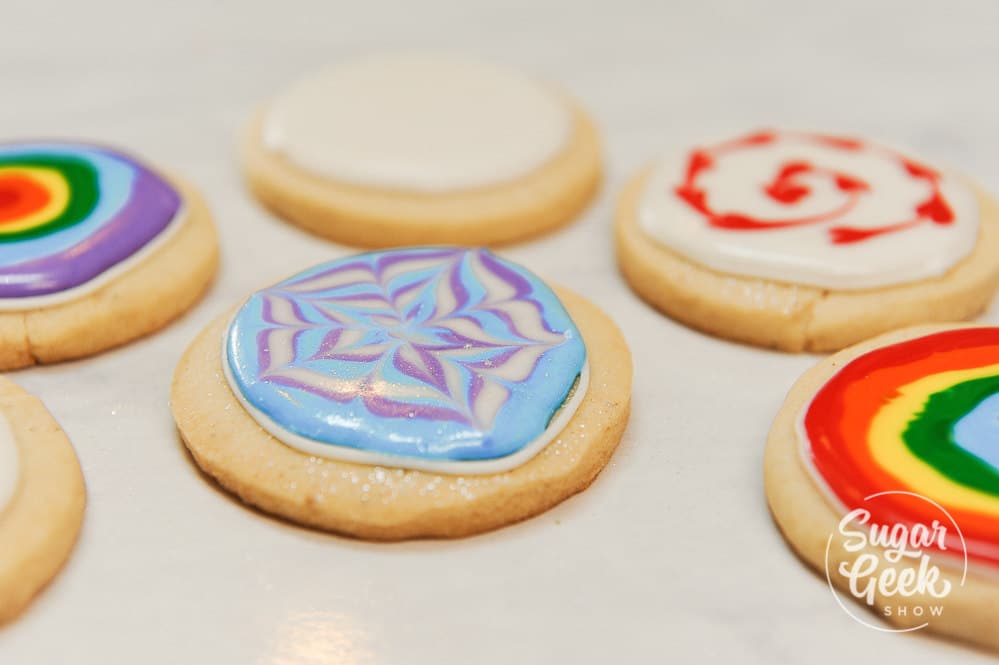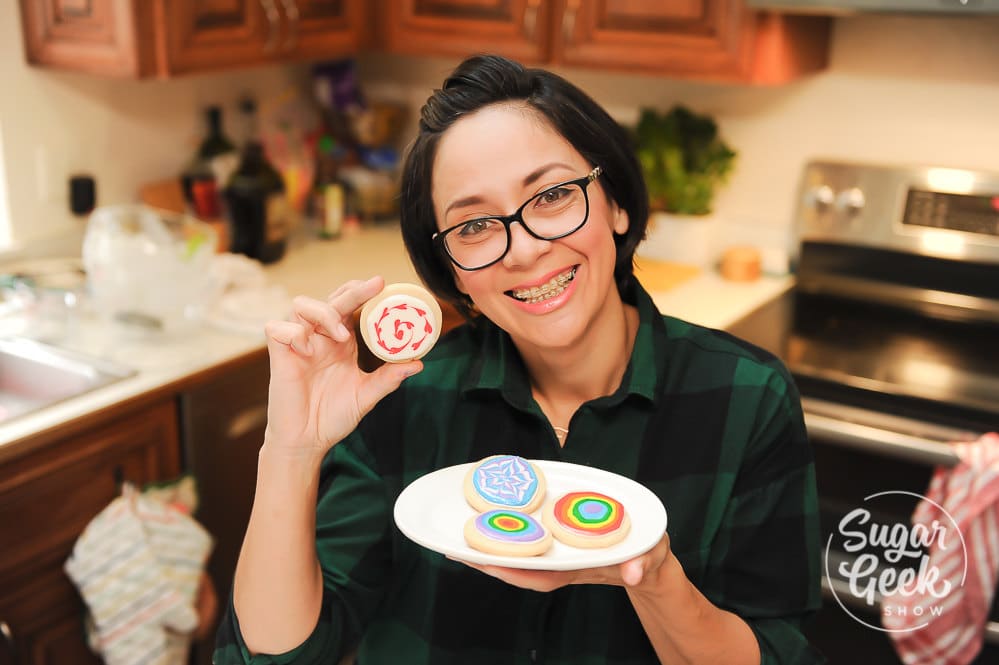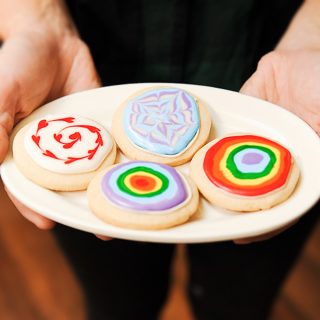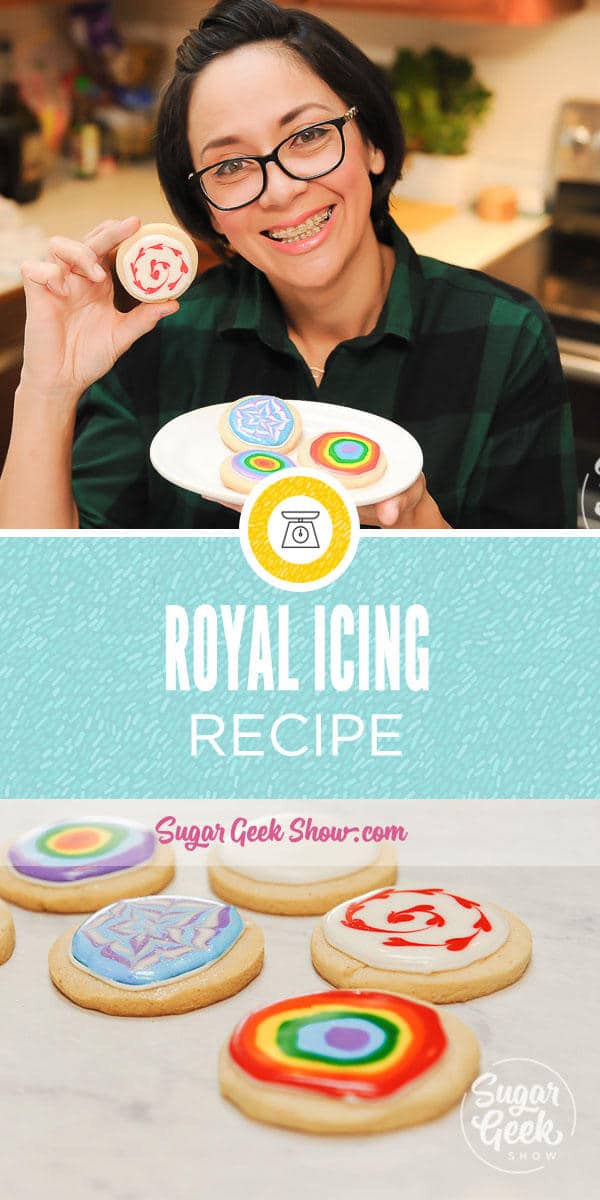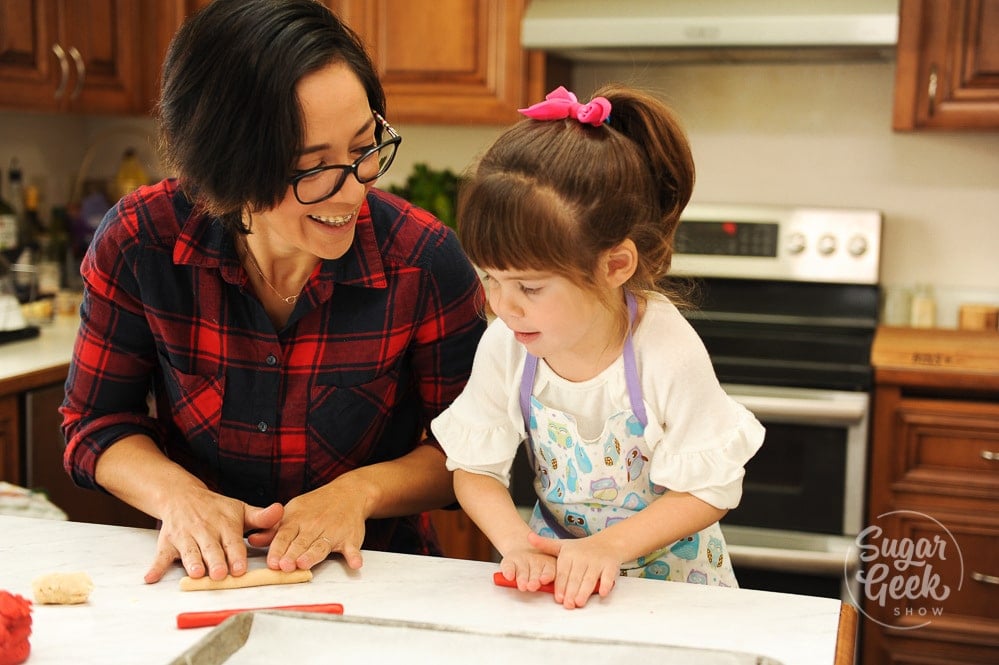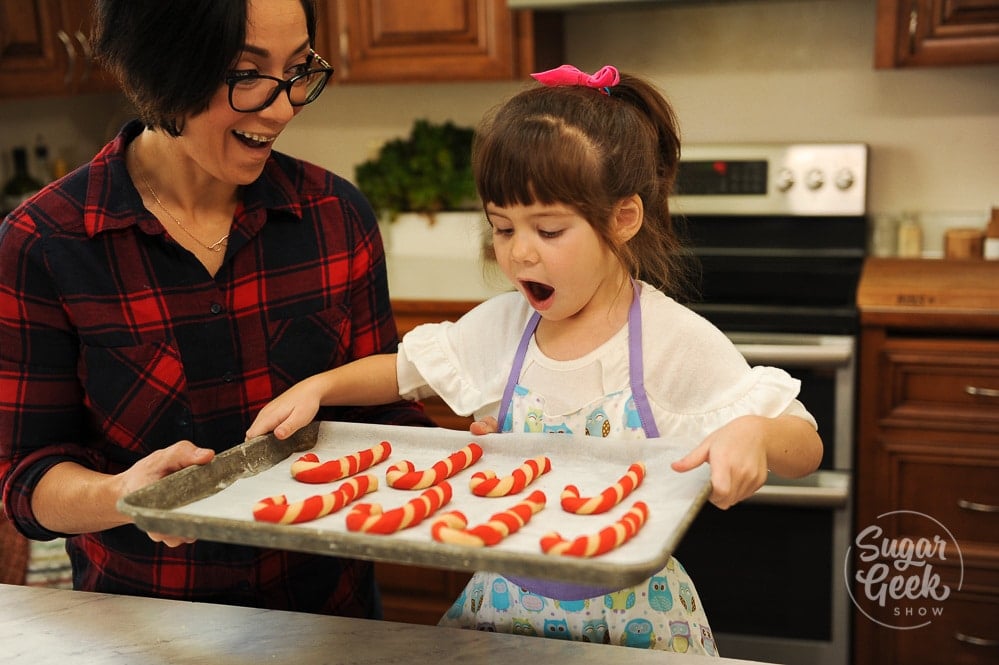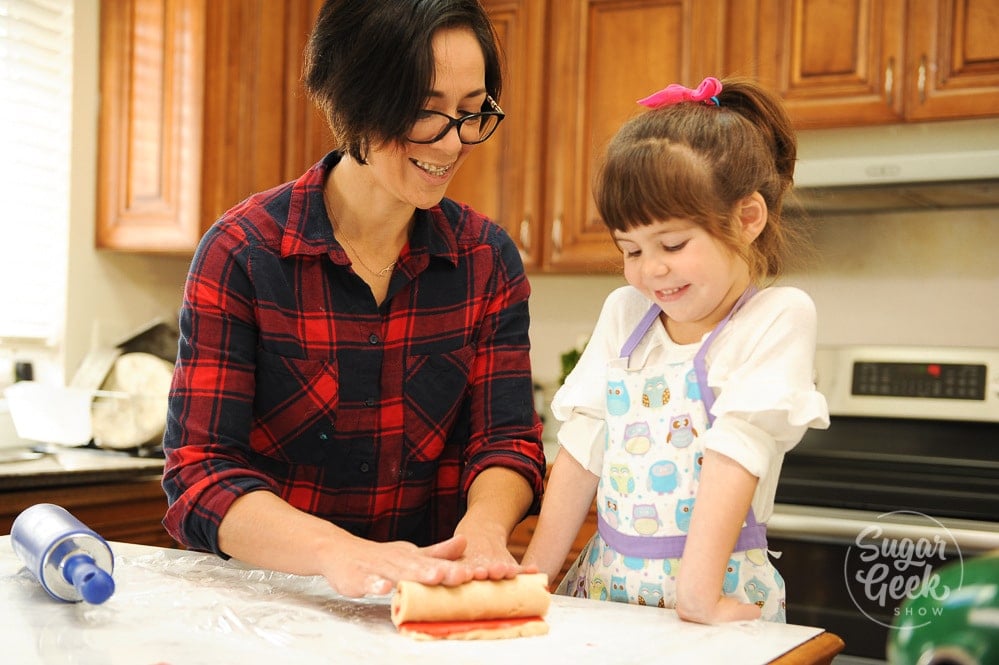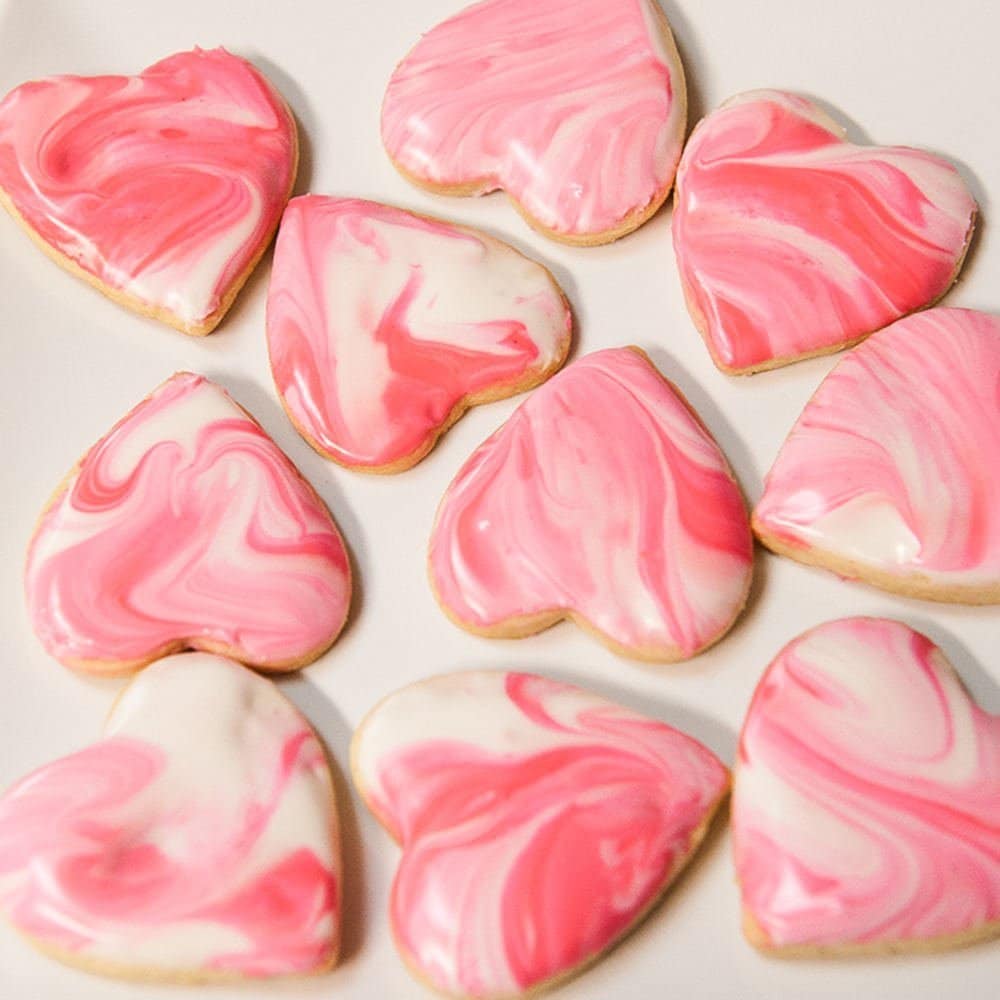
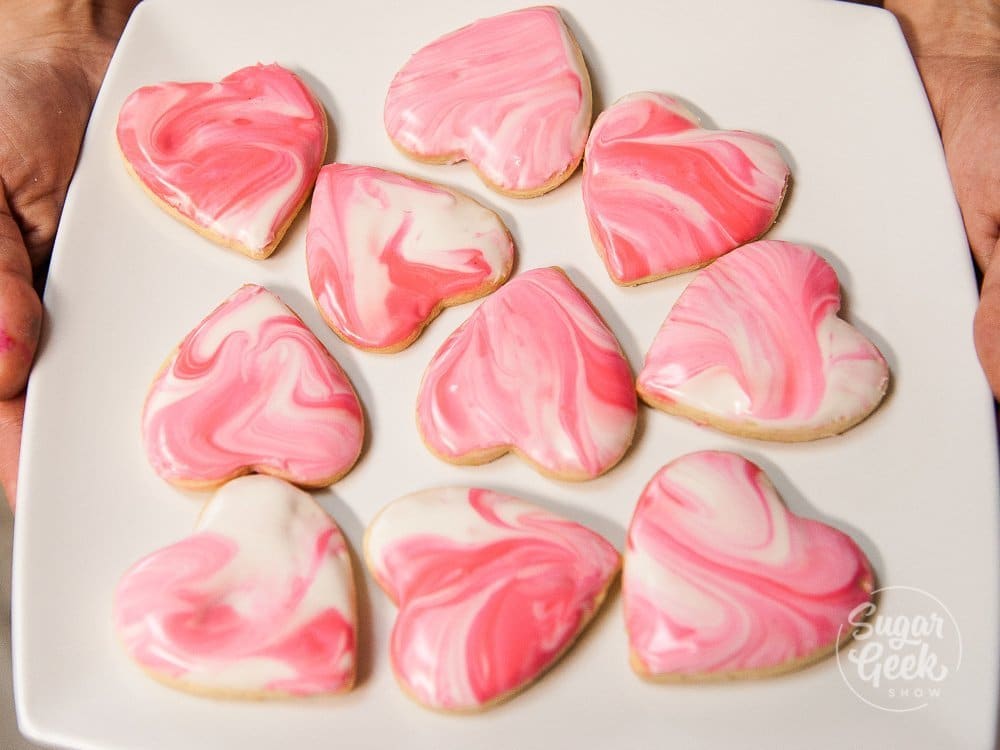
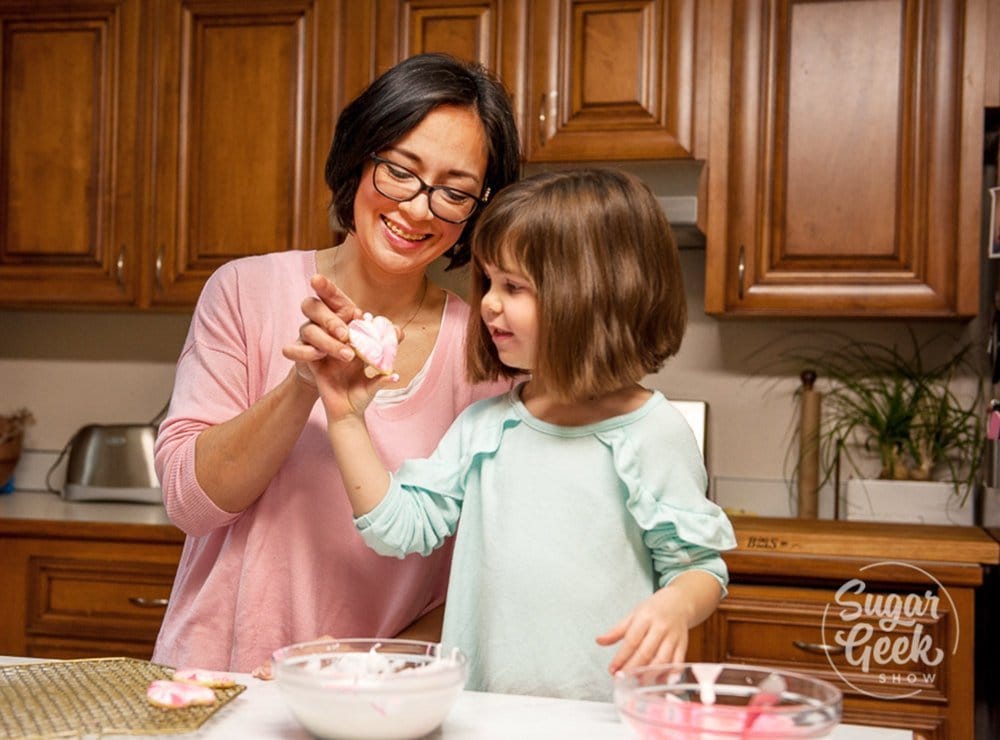
Marbled Valentines day cookies are my new favorite thing! I love the marbled look that is trending right now so when I was thinking of a fun theme to do for my Valentines day cookies, I had to go with some pretty pink marbled cookies. The best part about these cookies is they are seriously so easy to make. Just bake up your sugar cookies, mix up your royal icing and DIP DIP DIP! Even Avalon had a great time joining in on the cookie making action. I dare say her cookies turned out even better than mine!
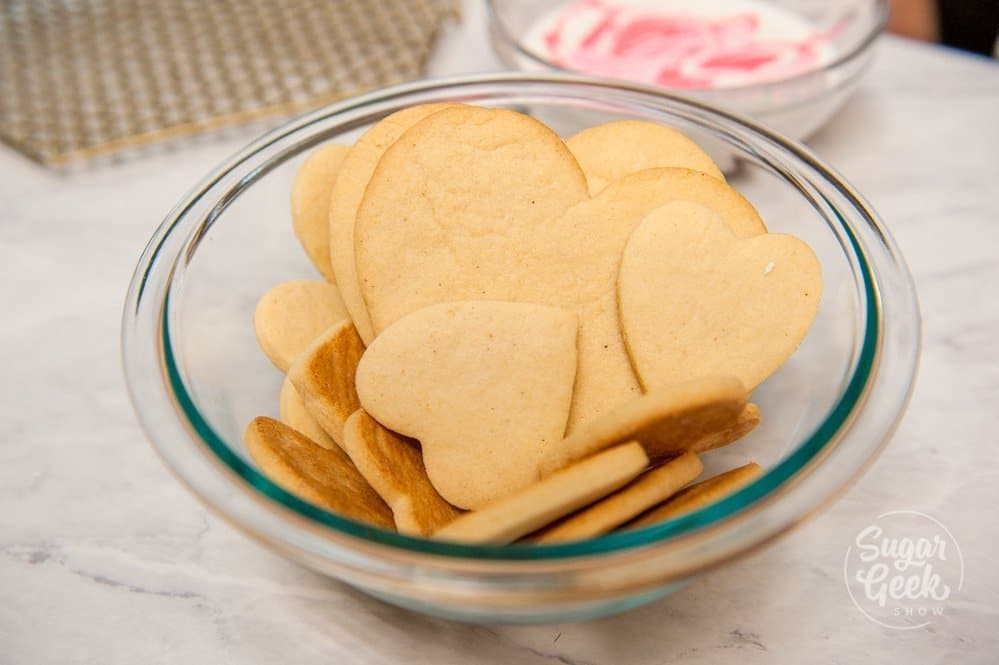
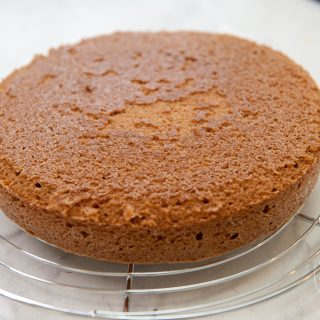
Step 1 - Bake your sugar cookies
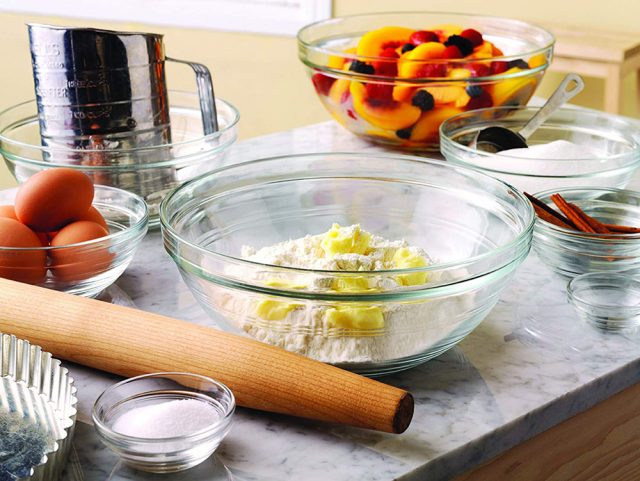
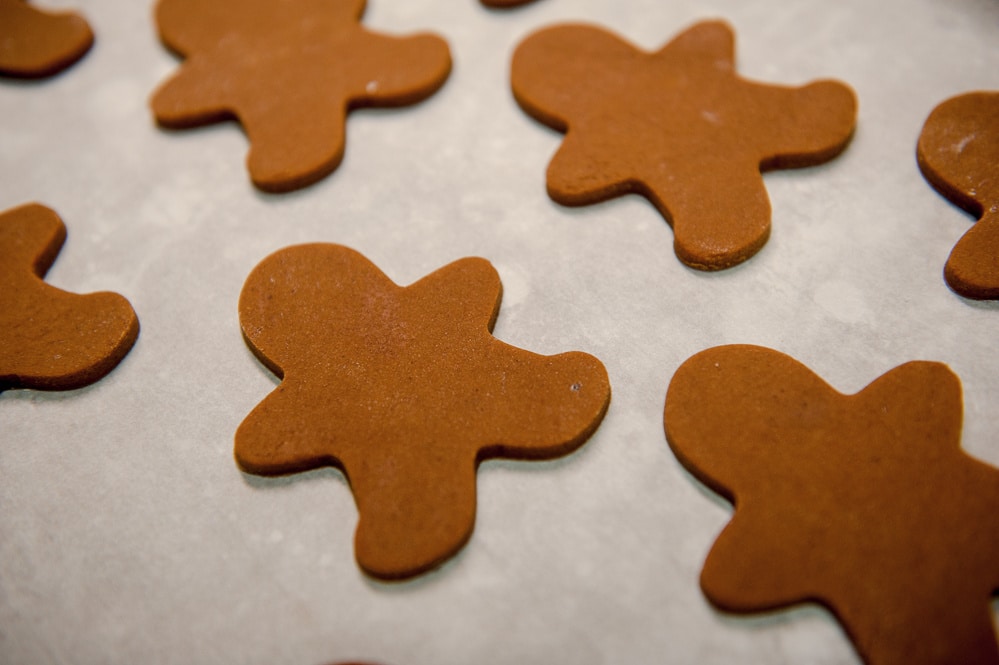
If you're going to decorate your cookies with your little one (which I highly recommend) then you're going to want to pre-bake your cookies. In my experience littles have a really hard time being patient during the whole making dough, chilling, baking, cooling phase. Better to just show up with cookies in hand and get right to the fun part!
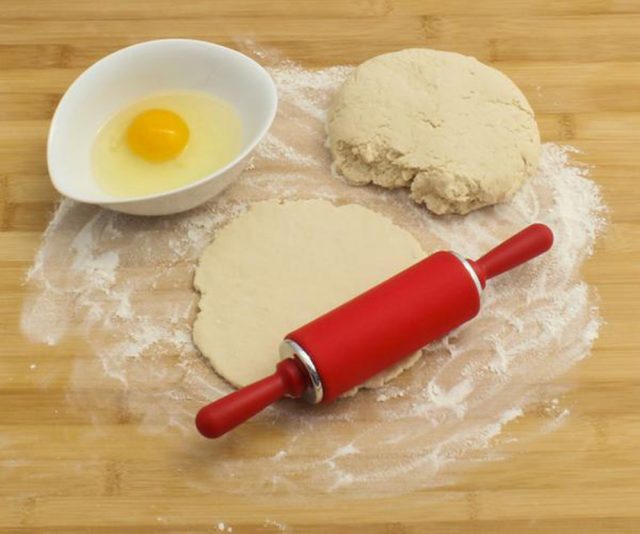
For my marbled Valentines day cookies, I went with simple heart shapes. I made some big ones and some smaller ones just for variety. I used my no-spread sugar cookie dough. This sugar cookie dough is awesome because it always holds it's shape, is genuinely delicious and stays soft and tasty for days.
Once they where baked, I set them aside to cool.
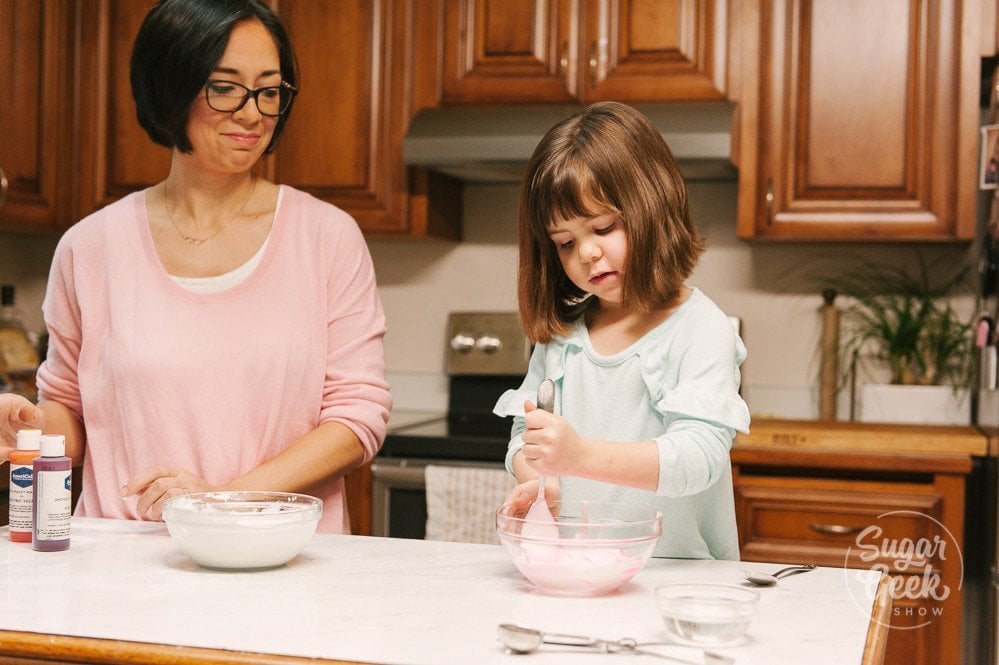
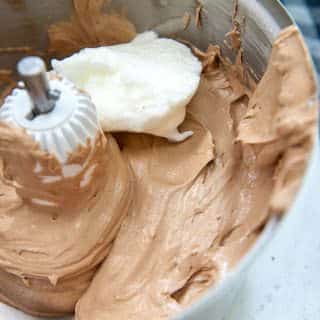
Step 2 - Make your royal icing
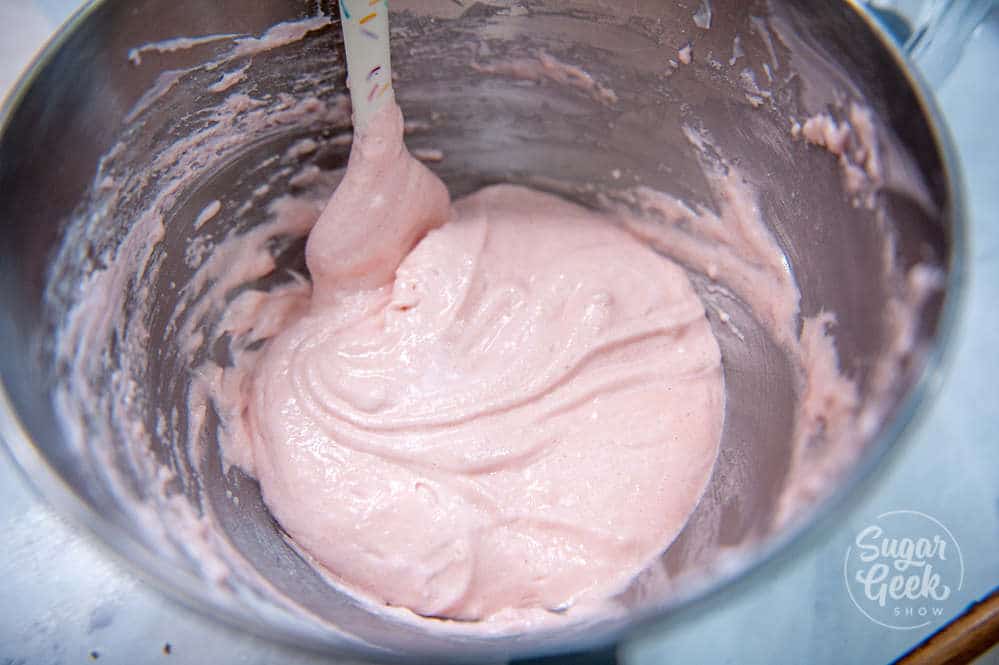
I went ahead and made my royal icing ahead of time because it's so straight-forward. Not much fun involved. But I did let Avalon help me thin it down to the top-coat consistency because she enjoys mixing. I also let her help me make the pretty pink colors. All she really wanted to do was lick the spoon though. Kids. Always a one track mind.
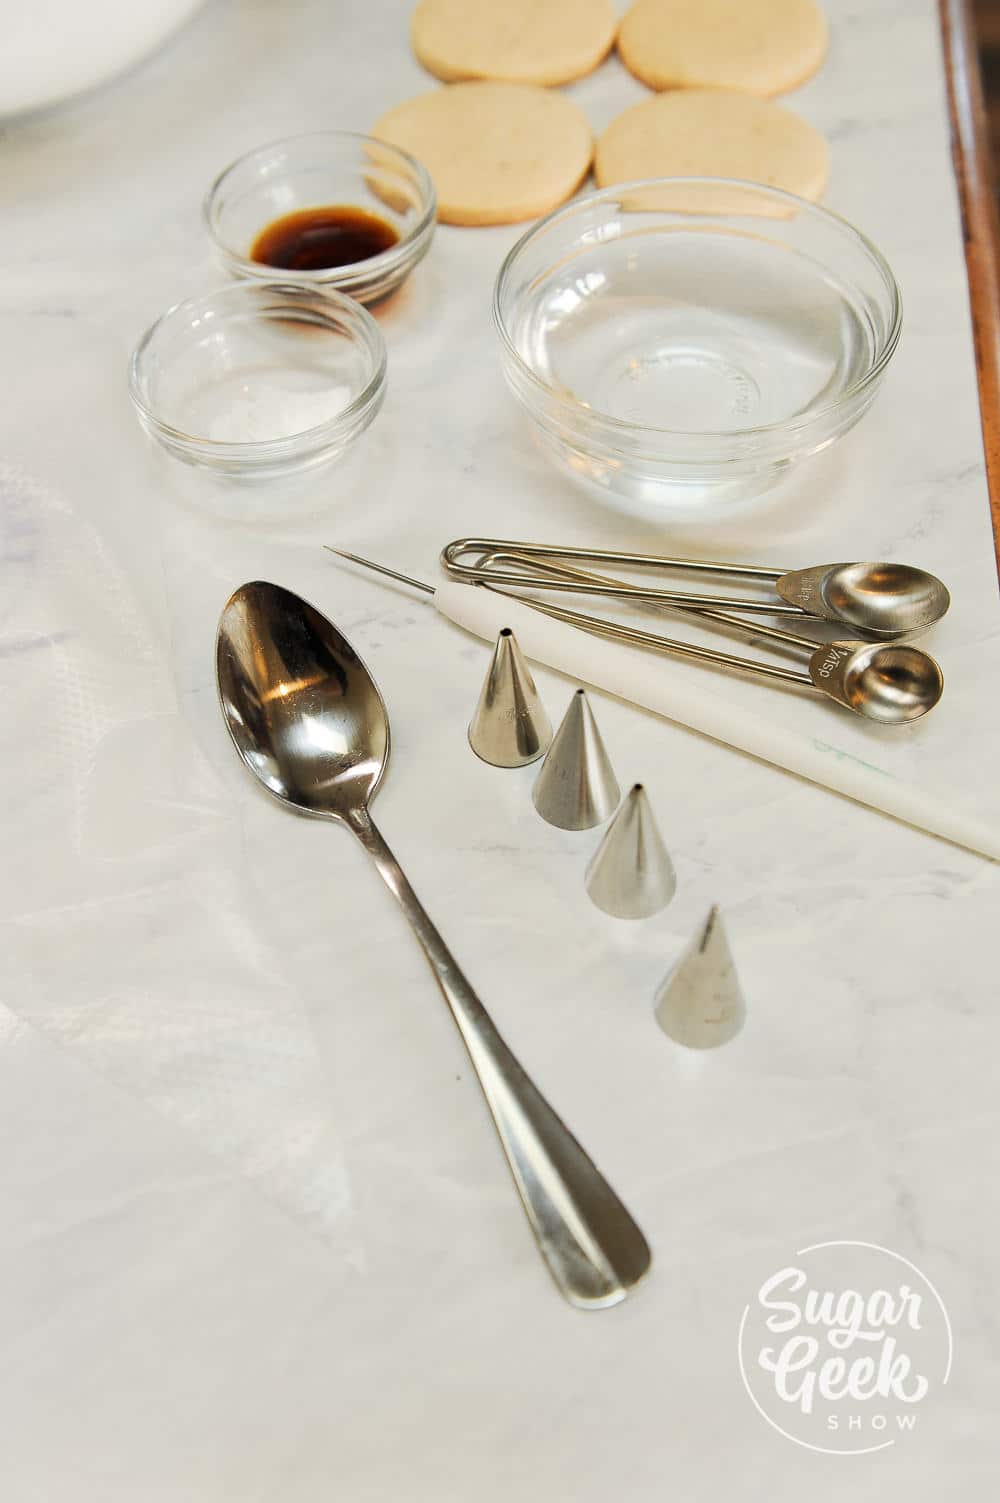
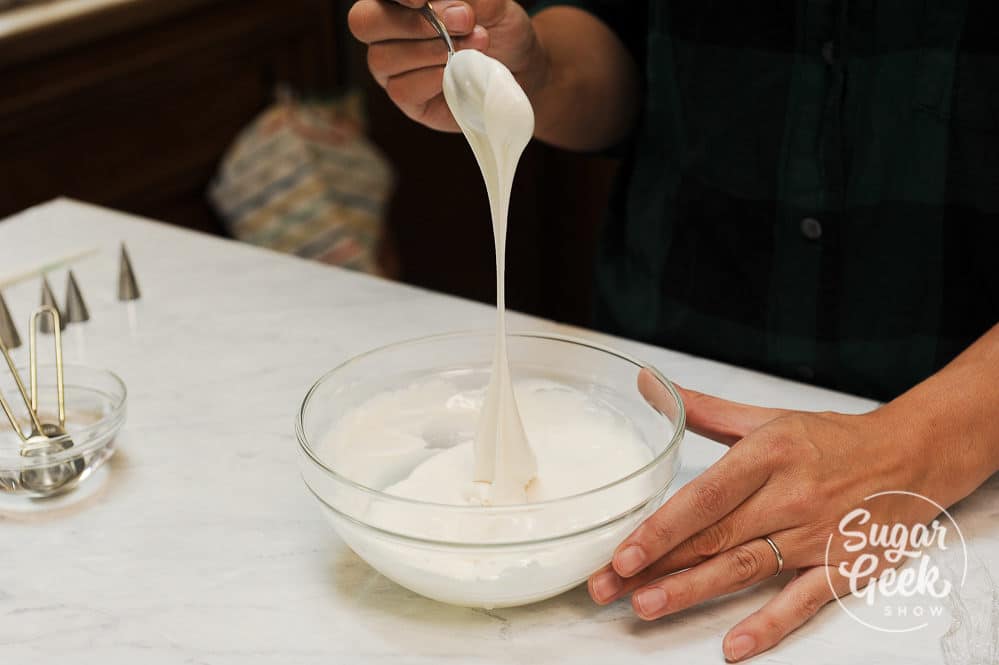
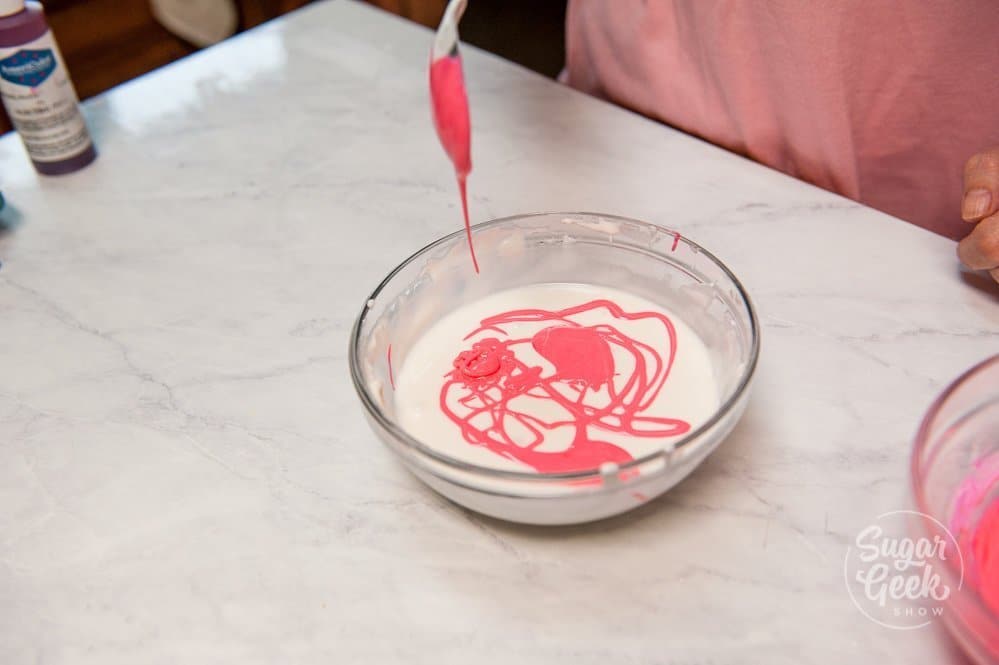
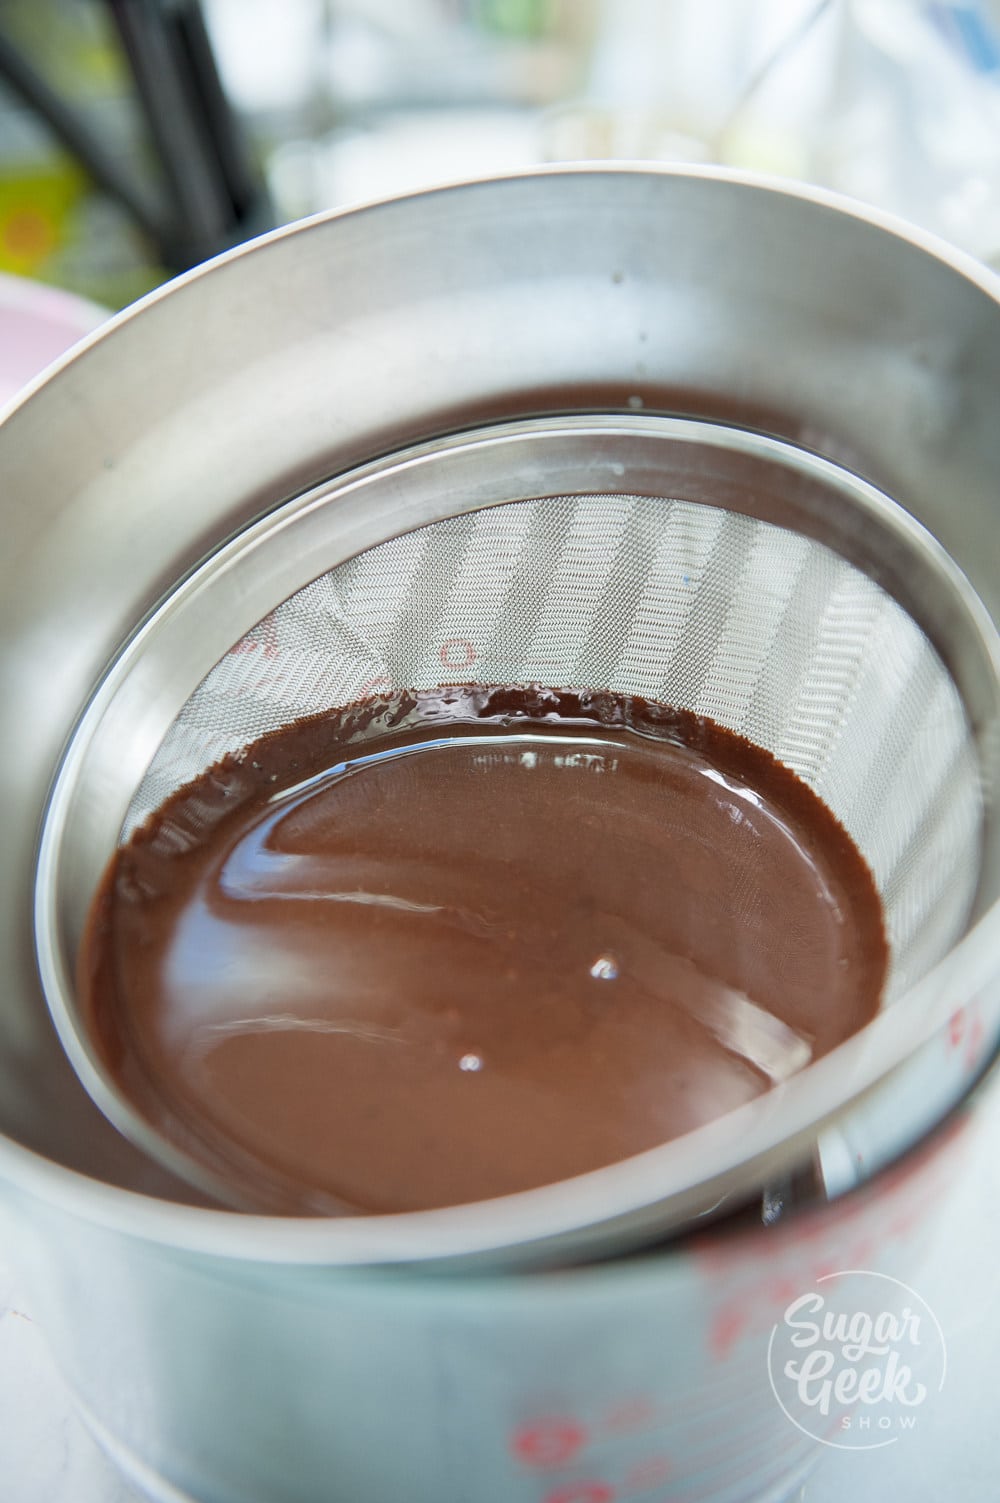
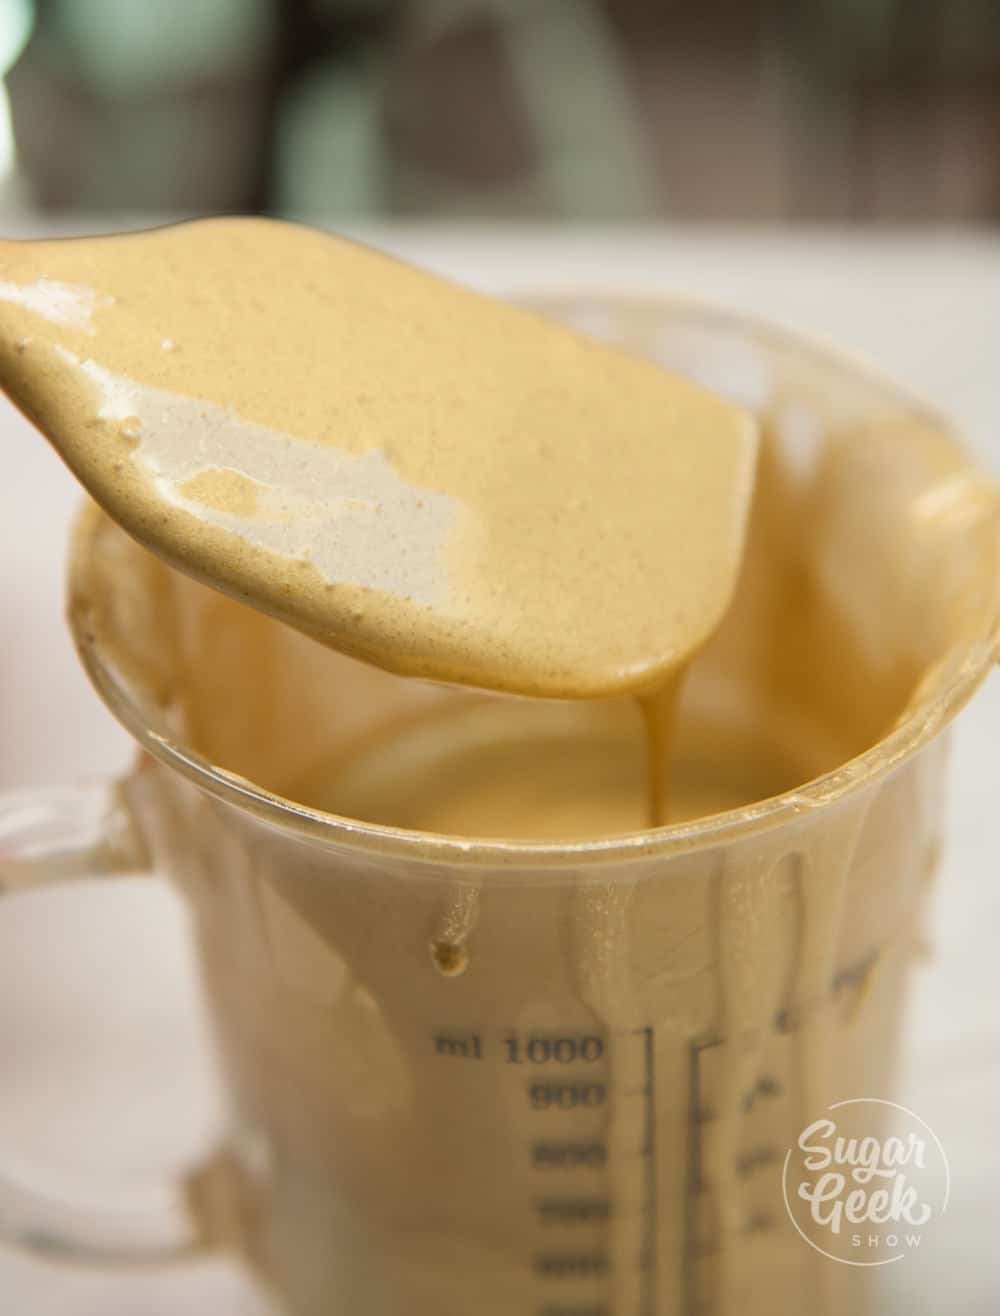
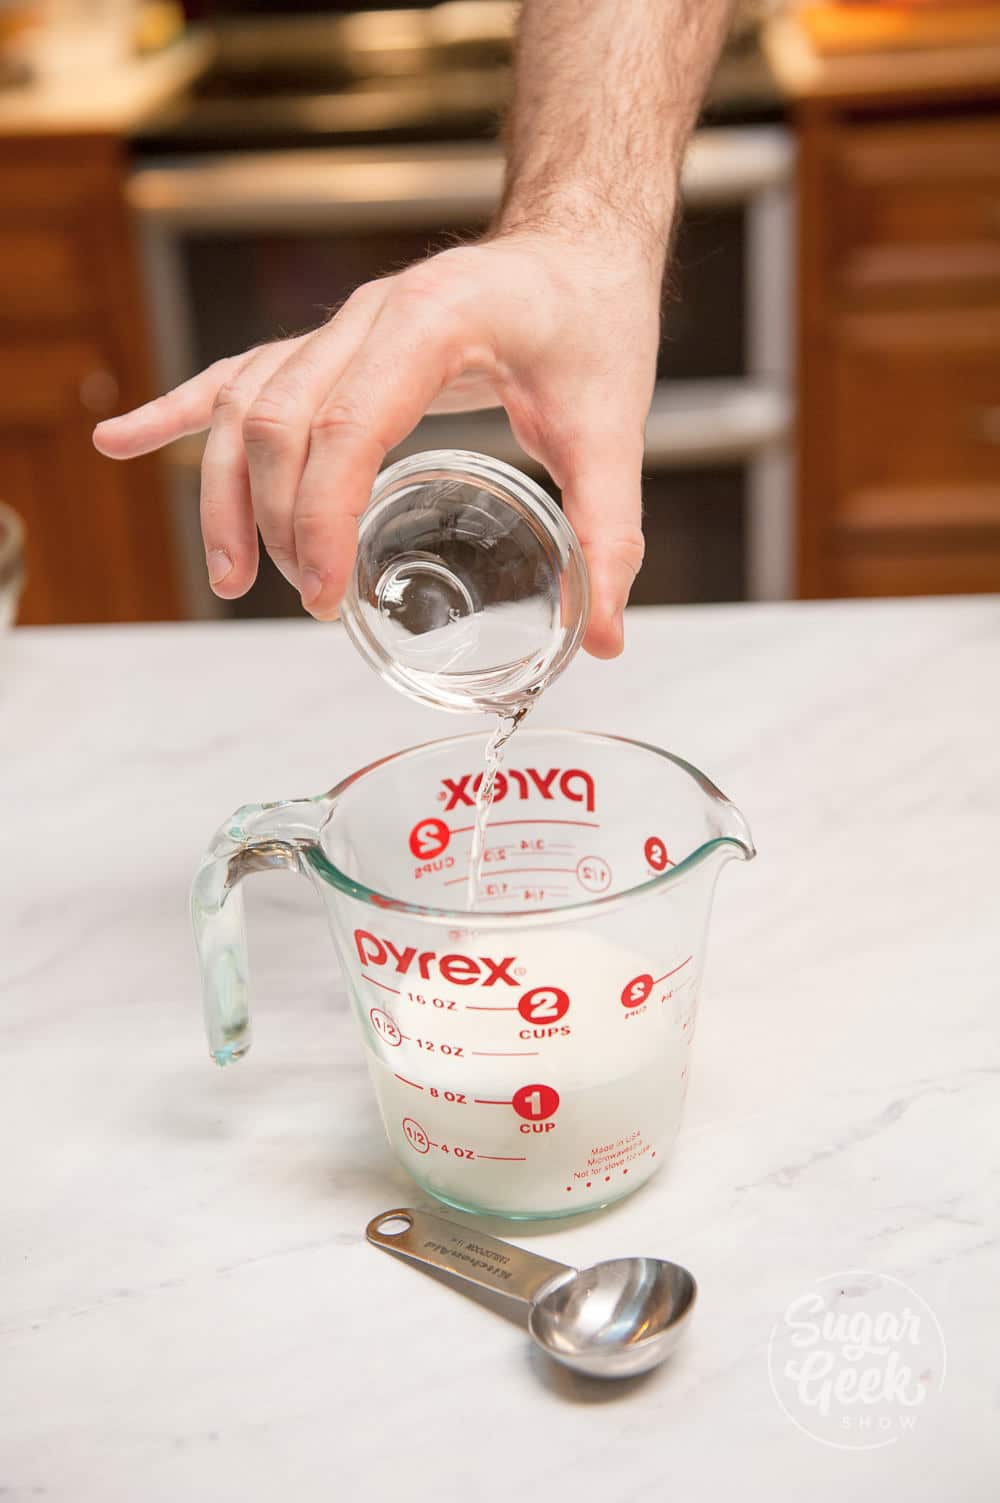
I diluted all my royal icing down to top-coat consistency (15 second icing). To make 15 second icing, add cool water to about 2 cups of royal icing, 1 teaspoon at a time. Stir until smooth then pick up a big glob and drizzle it back into the bowl. Count how long it takes for the glob to go flat. Keep adding water until it goes flat in 15 seconds.
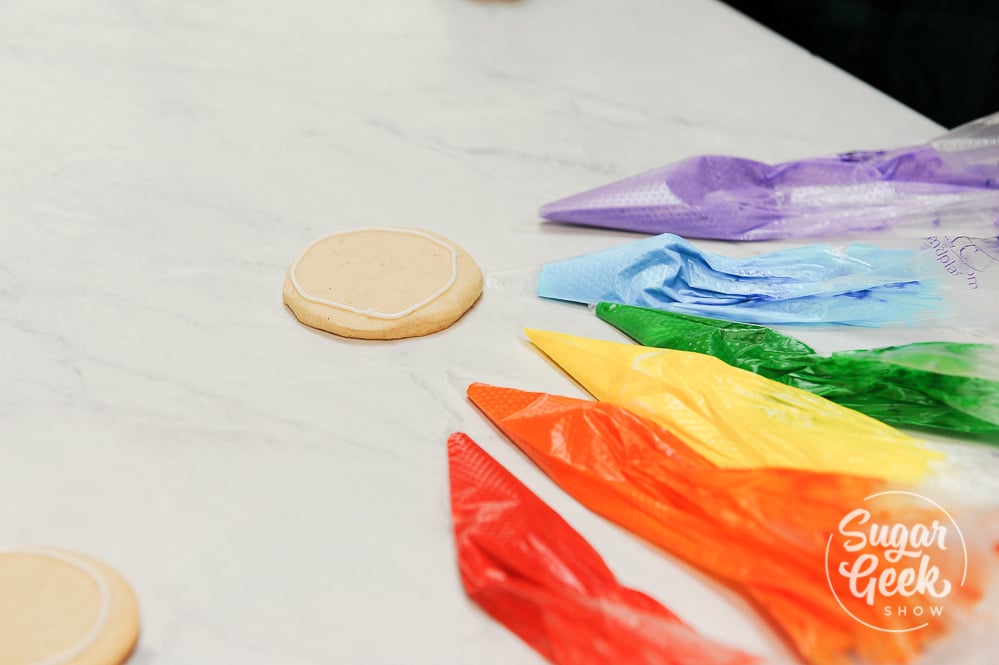
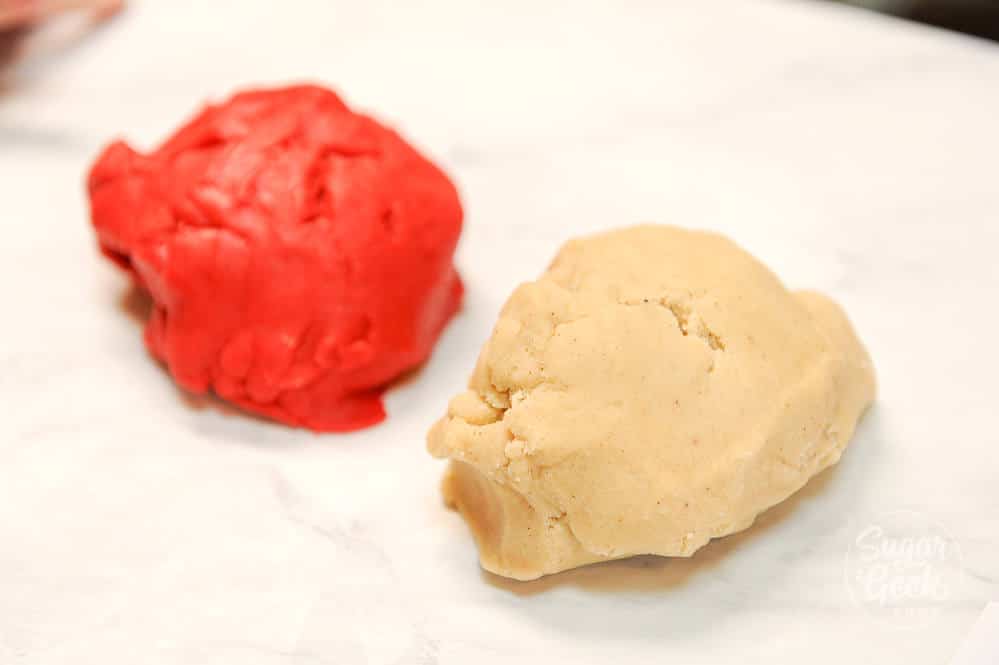
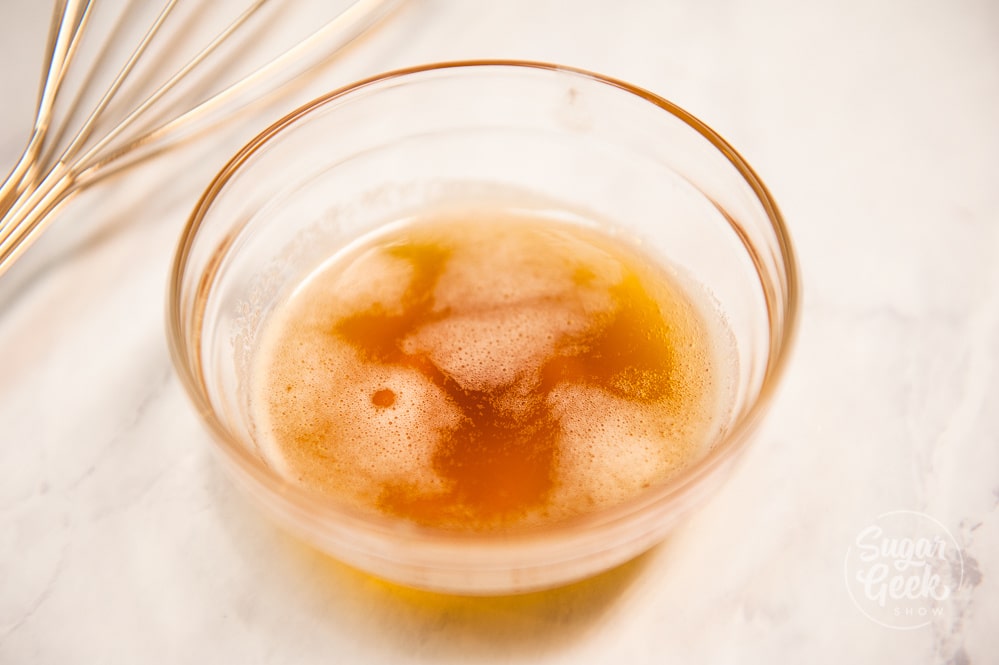
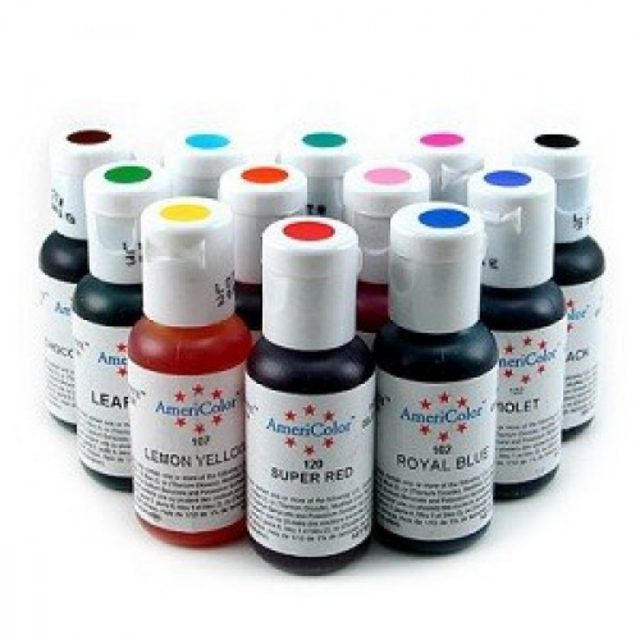
Then I colored about ⅓ a nice bright pink with electric pink food color gel. Now we're ready to decorate!
Step 3 - Make your marbled Valentines day cookies
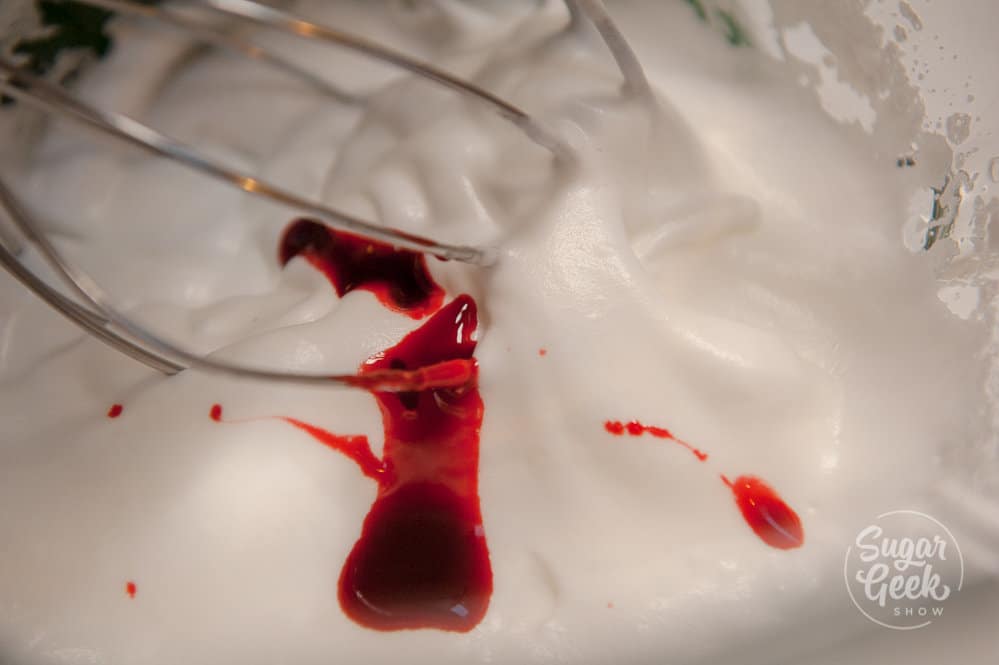
Now we're getting to the fun part! Time to dip our cookies to get that beautiful marbled effect! All you have to do drizzle some of your pink food coloring over your white. Hold your sugar cookie between your thumb and forefinger, and dip the top of the cookie straight onto the top of the royal icing and pull straight up.
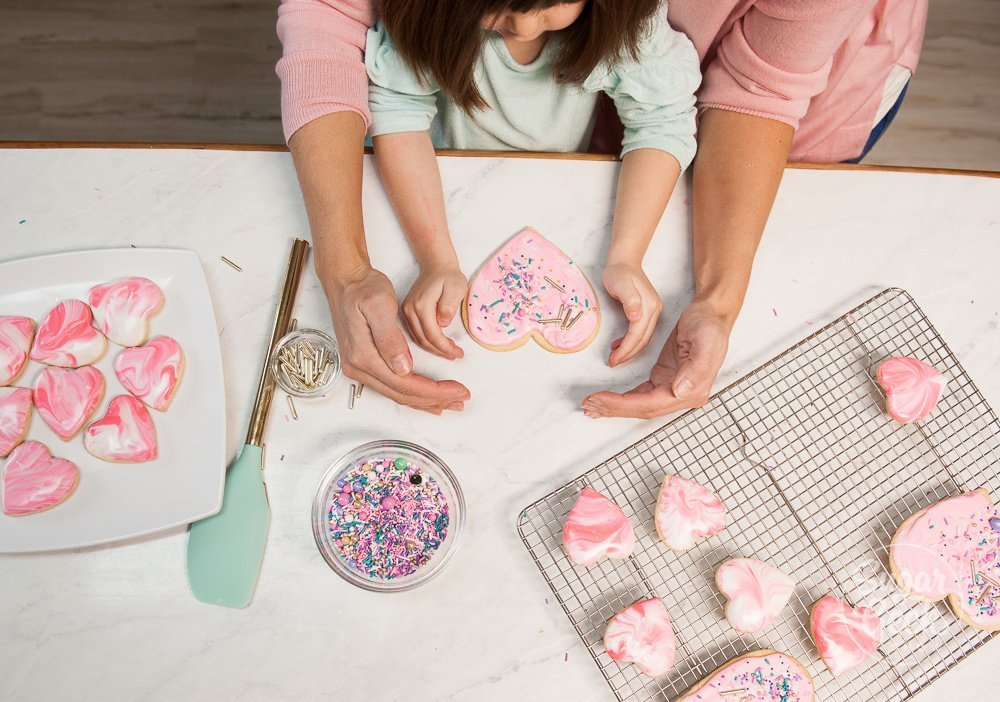
Then I shake off the excess or you can give it a little swipe with your finger. If any runs over the edge you can clean that up with your finger pretty easily. Then just set the cookie onto a cooling rack to dry.
I just love how the marbled look changes with each dip! If you start to lose color, just add some more pink. Resist the urge to mix your colors up too much or you'll ruin the marbled icing effect.
Step 4 - Sprinkles
For the large cookies I had to spoon on my marbled royal icing because my bowl wasn't big enough. I didn't like this effect as much because you def lost that marbled look but they still tasted great! Avalon enjoyed zazzing these cookies up with some sprinkles from sprinklepolita.
I always recommend only getting out the sprinkles that match the color or theme you're going for. If you get out all the sprinkles and expect your kid to color coordinate, it's not going to happen.
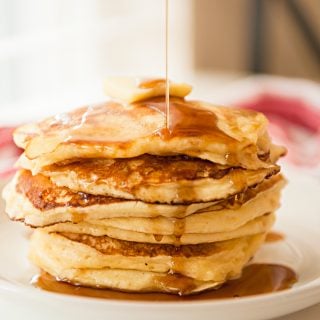
I just love how these marbled valentines day cookies turned out! They are easy to make, delicious to eat and will make a fantastic little gift for your kids Valentine's day exchange.
Recipe

Marbled Valentines Day Cookies
Ingredients
Sugar Cookie Ingredients
- 1 cup Salted butter Room temperature. Can be unsalted butter if you add your own salt to recipe. Add ½ teaspoon of salt if using unsalted butter.
- 1 cup Granulated sugar
- 1 large Egg
- 1 teaspoon Vanilla extract
- 3 cups AP flour
- 1 ½ teaspoon Baking powder
- ½ teaspoon Nutmeg
- 1 teaspoon Milk
- ¼ teaspoon Cinnamon (optional)
Marbled Royal Icing
- 1 lb powdered sugar
- 2.5 oz pasteurized egg whites
- ¼ teaspoon cream of tartar
- ½ teaspoon vanilla extract
Instructions
Sugar Cookie Instructions
- Place room-temperature butter, (salt if unsalted butter) and 1 cup of granulated sugar in stand mixer with paddle attachment and mix on low until smooth. Creamed butter should be fluffy and pale yellow in color.
- Add 1 large egg at room temperature and mix on medium (4 on Kitchenaid mixer) in stand mixer until fully incorporated. Scrape bowl when necessary to make sure egg incorporates.
- Add 1 teaspoon of vanilla extract. Mix until just incorporated.
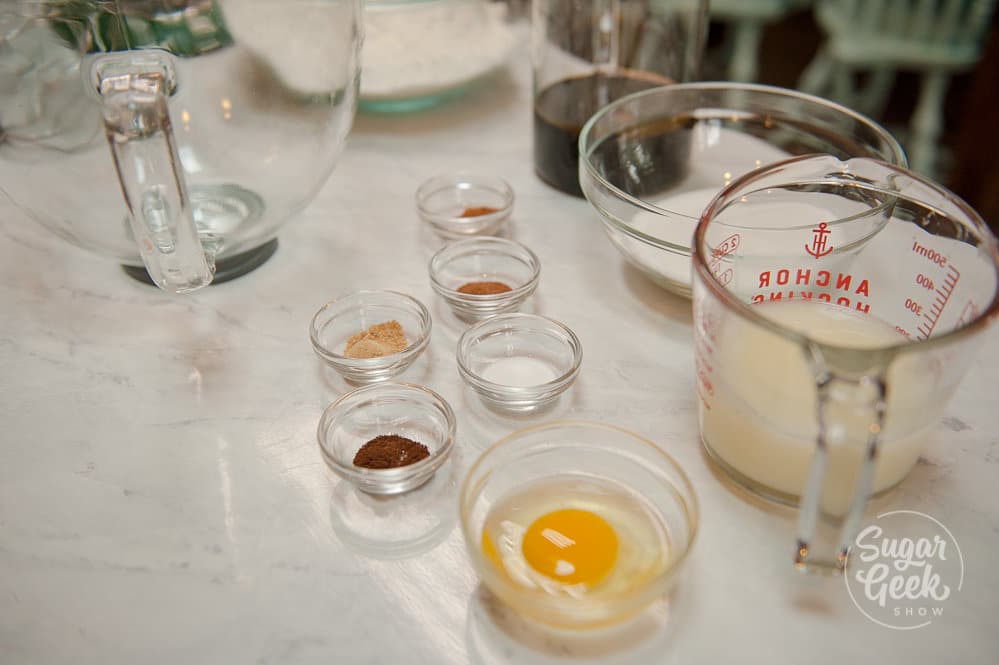
- In a separate bowl, whisk dry ingredients (AP flour, baking powder, nutmeg) together.
- Add dry ingredients into stand mixer with a scoop (about ⅓ of total dry ingredients at a time) and mix until fully incorporated. Start mixer on slow until flour starts to incorporate, then turn up to medium. Scrape bowl as needed to fully incorporate.
- Add 1 teaspoon of milk once flour is fully incorporated. Continue to mix on slow until dough becomes a solid mass.
- Scrape out mixer bowl, wrap up sugar cookie dough in plastic wrap and chill in refrigerator for 2 hours.
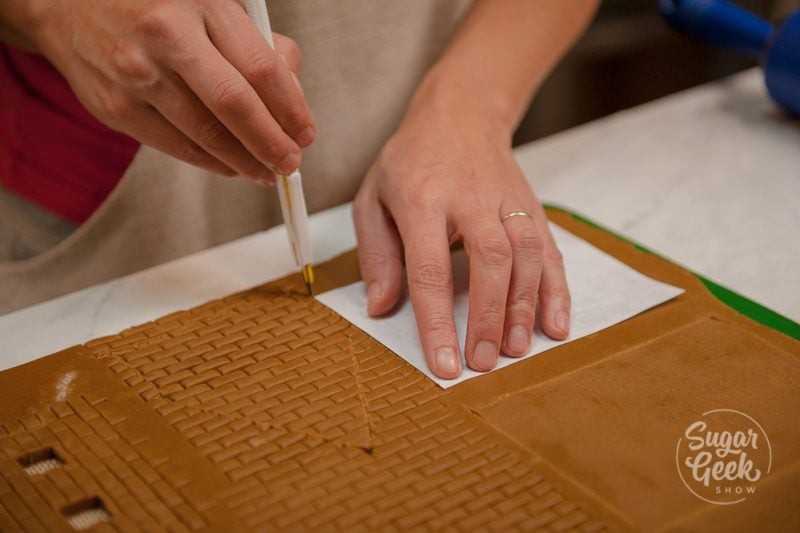
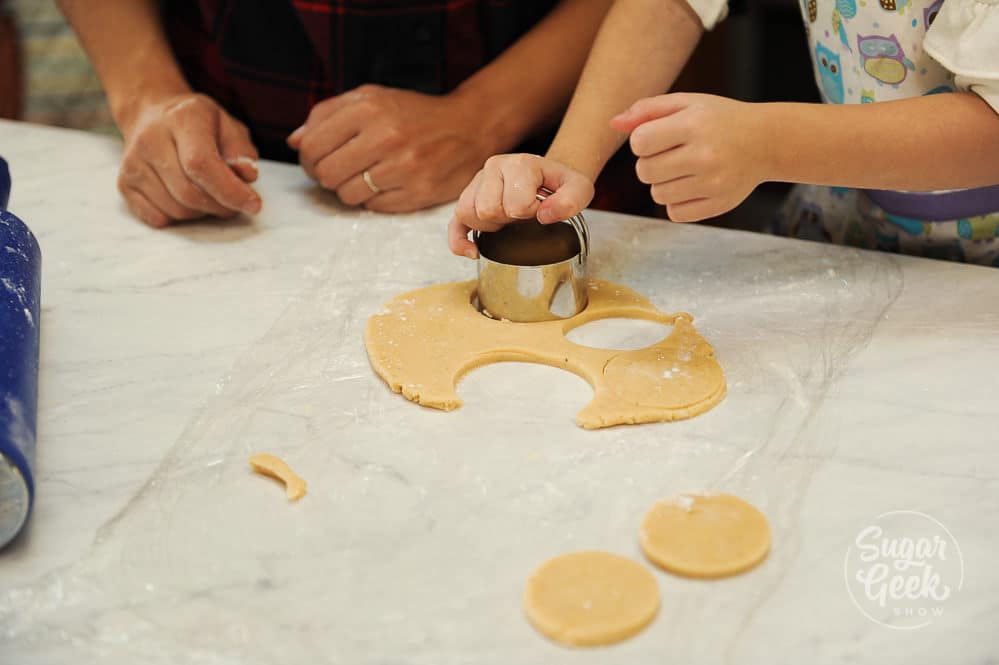
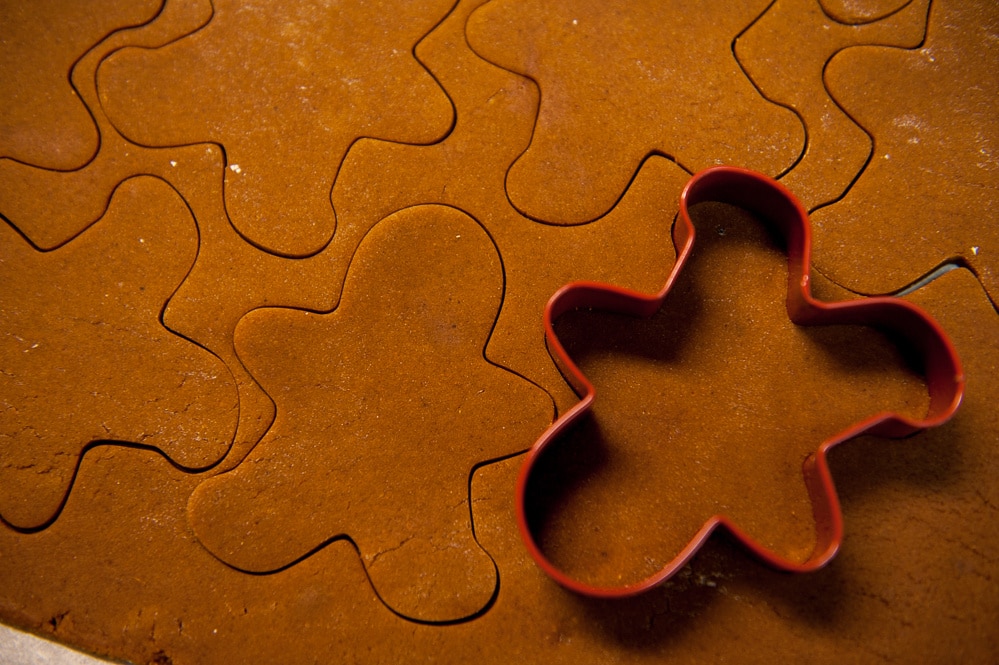
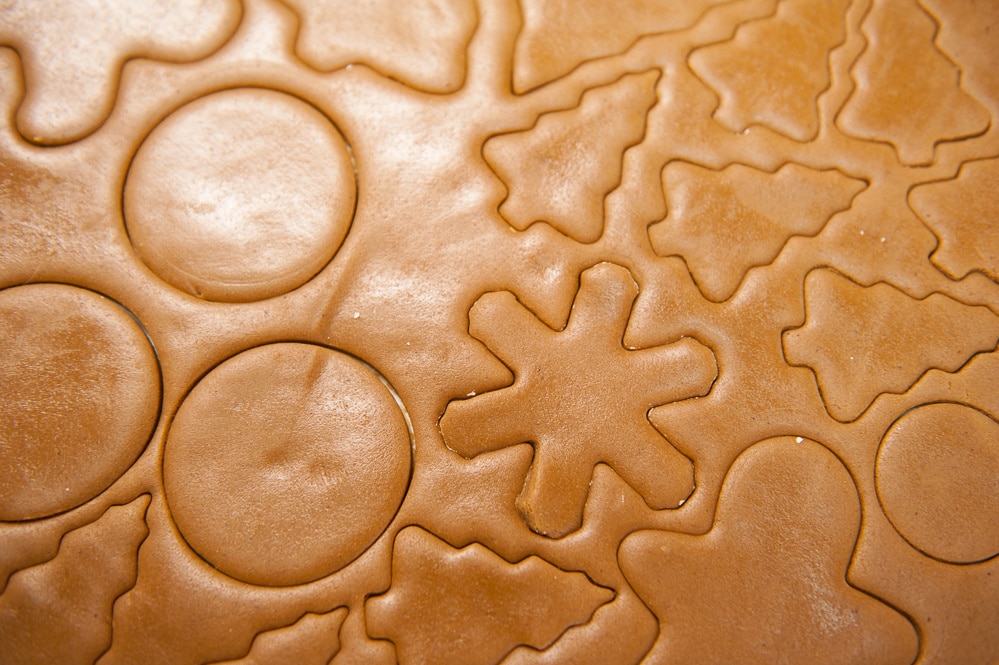
- Knead cookie dough and roll out cookie dough until thin to cut cookie shapes. Use a cookie cutter to cut out uniform shapes.
- Place cookies on a baking sheet lined with parchment paper. Put cookie sheet back in refrigerator for about 15 minutes to chill again.
- Bake chilled cookies at 350ºF for 10-14 minutes depending on size of cookie. Cookies will be slightly golden brown on the edge. Chilled cookie dough will keep it's shape in the oven and not expand or warp.
Marbled Royal Icing
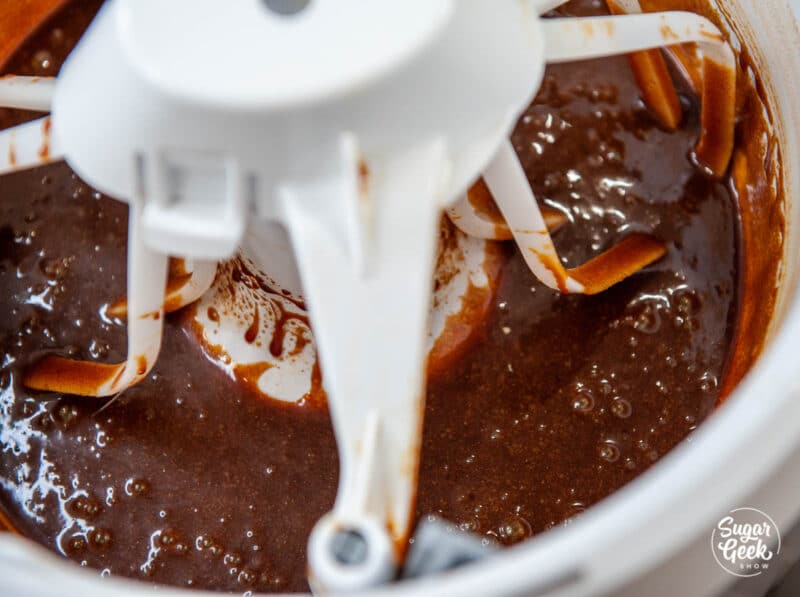
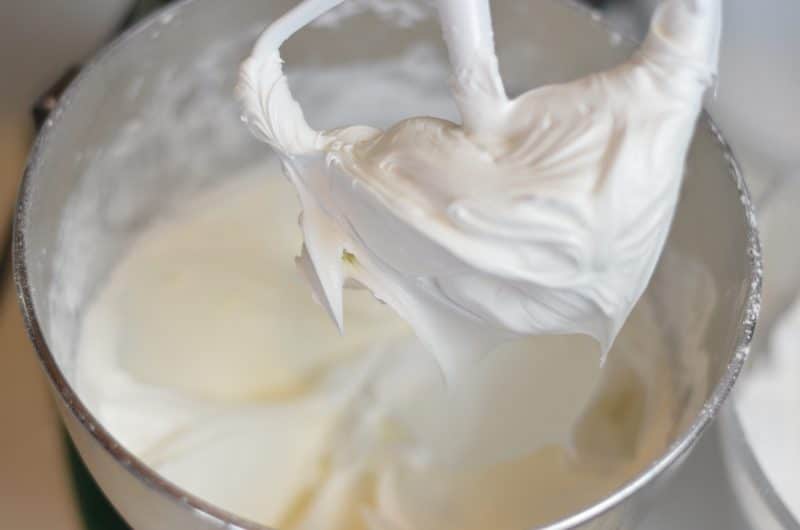
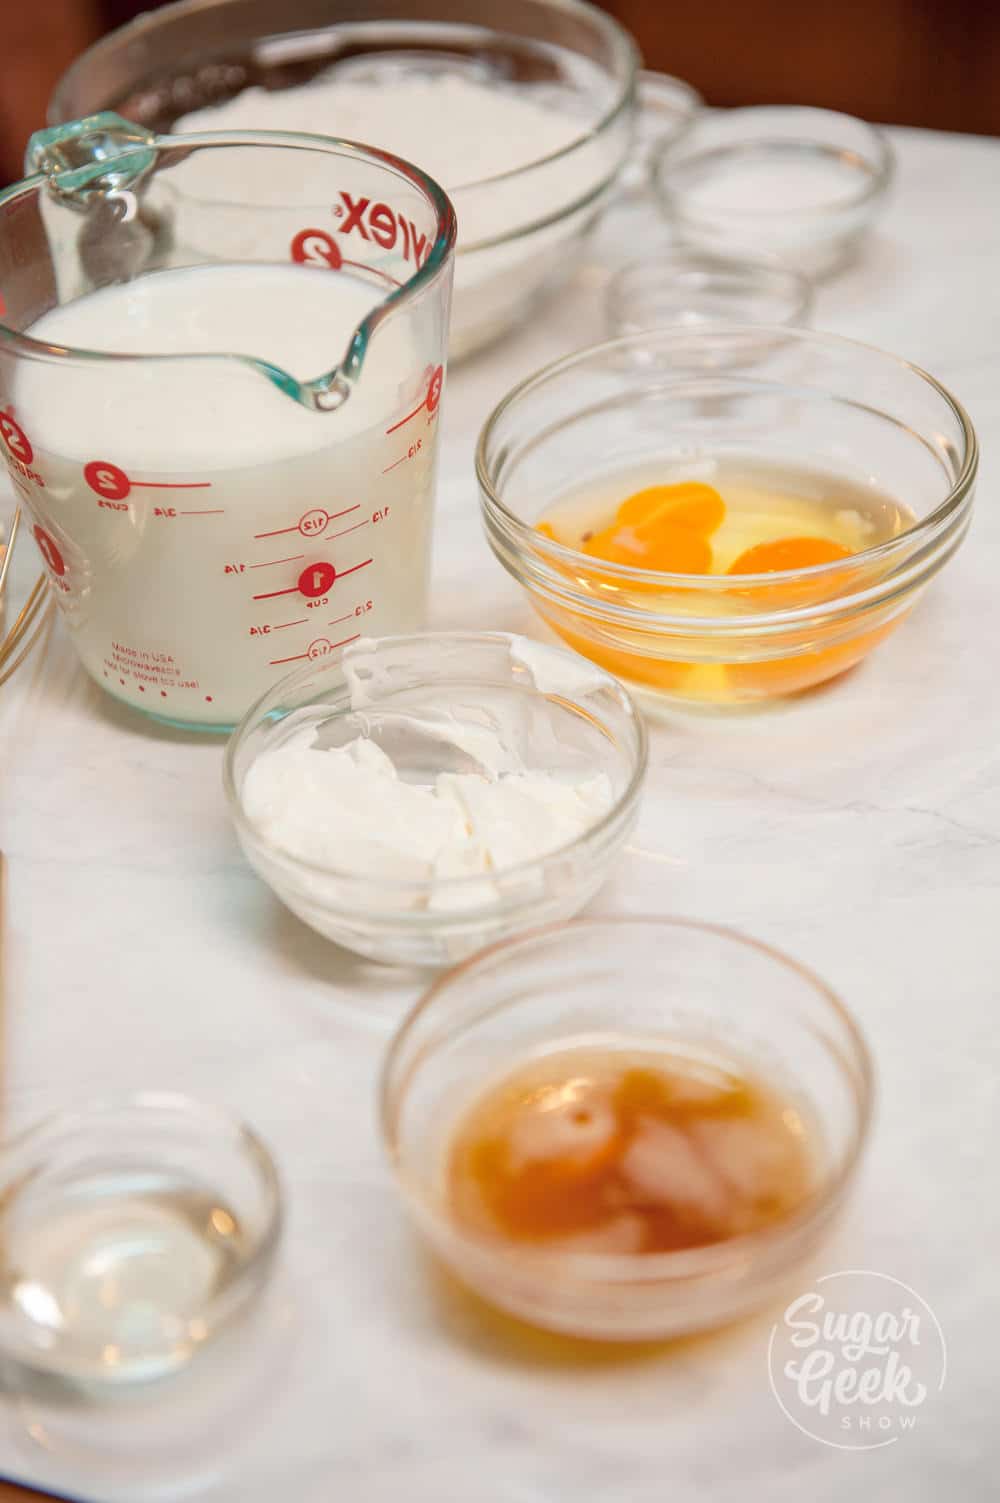
- Combine your egg whites, sifted powdered sugar, and cream of tartar in the bowl of your stand mixer with the whisk attached. Mix on low to get the ingredients combined then bump up to high for 1-2 minutes. Add in your vanilla extract and whip until it's white. No need to mix for longer than 5 minutes. Place the royal icing into a bowl or container with a lid. Your THICK royal icing is now ready to be thinned down to the consistency you desire.
- Add water 1 teaspoon at a time until a ribbon of royal icing goes flat in 15 seconds.
- Color ⅓ of your royal icing hot pink or whatever color you desire.
- Drizzle your hot pink icing over the top of the white icing and dip your cooled sugar cookies onto the surface. Pull straight up and tap off any excess icing. Wipe the edges clean.
- Let cookies dry completely before packaging. They do not need to be refrigerated.


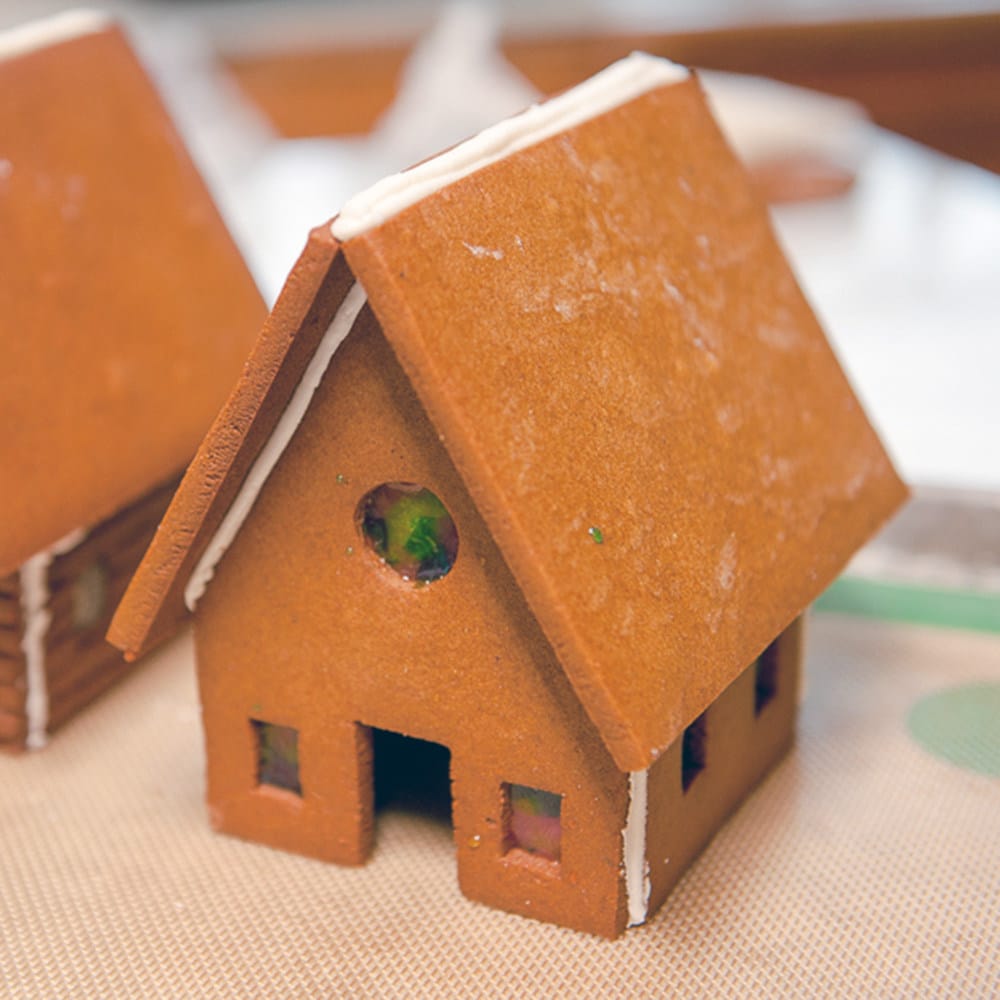
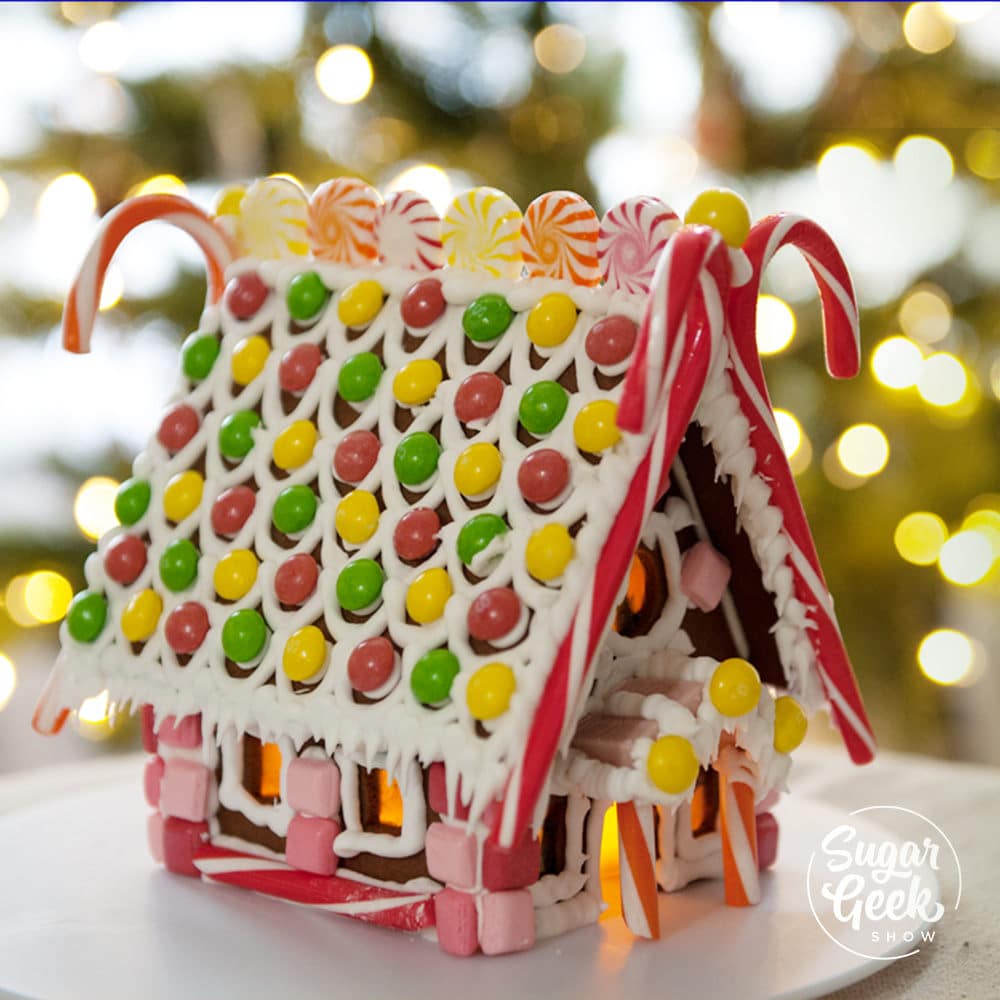
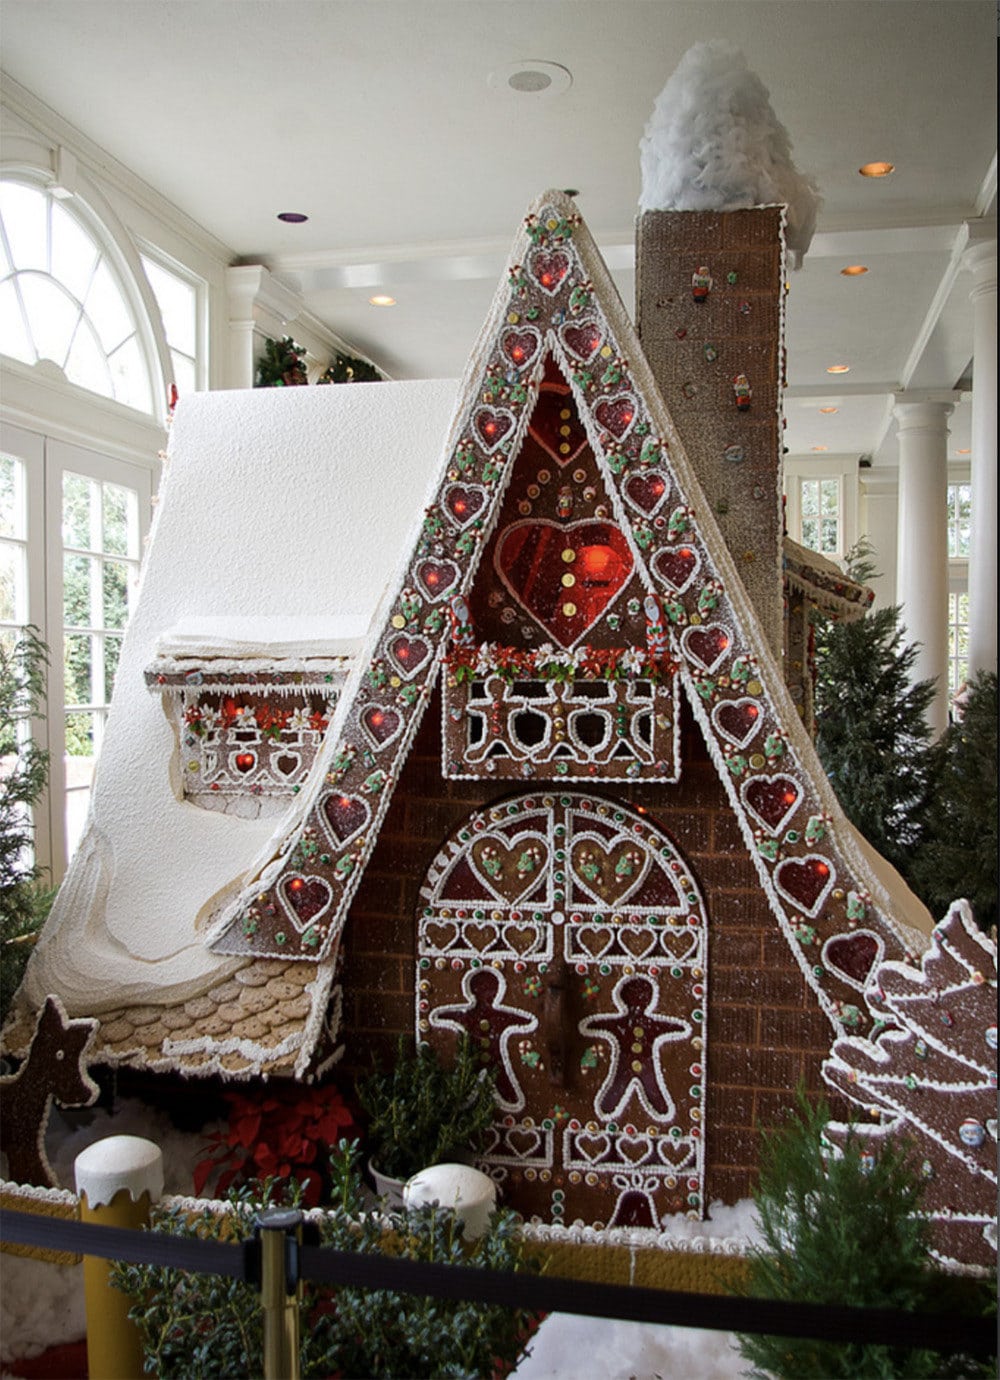
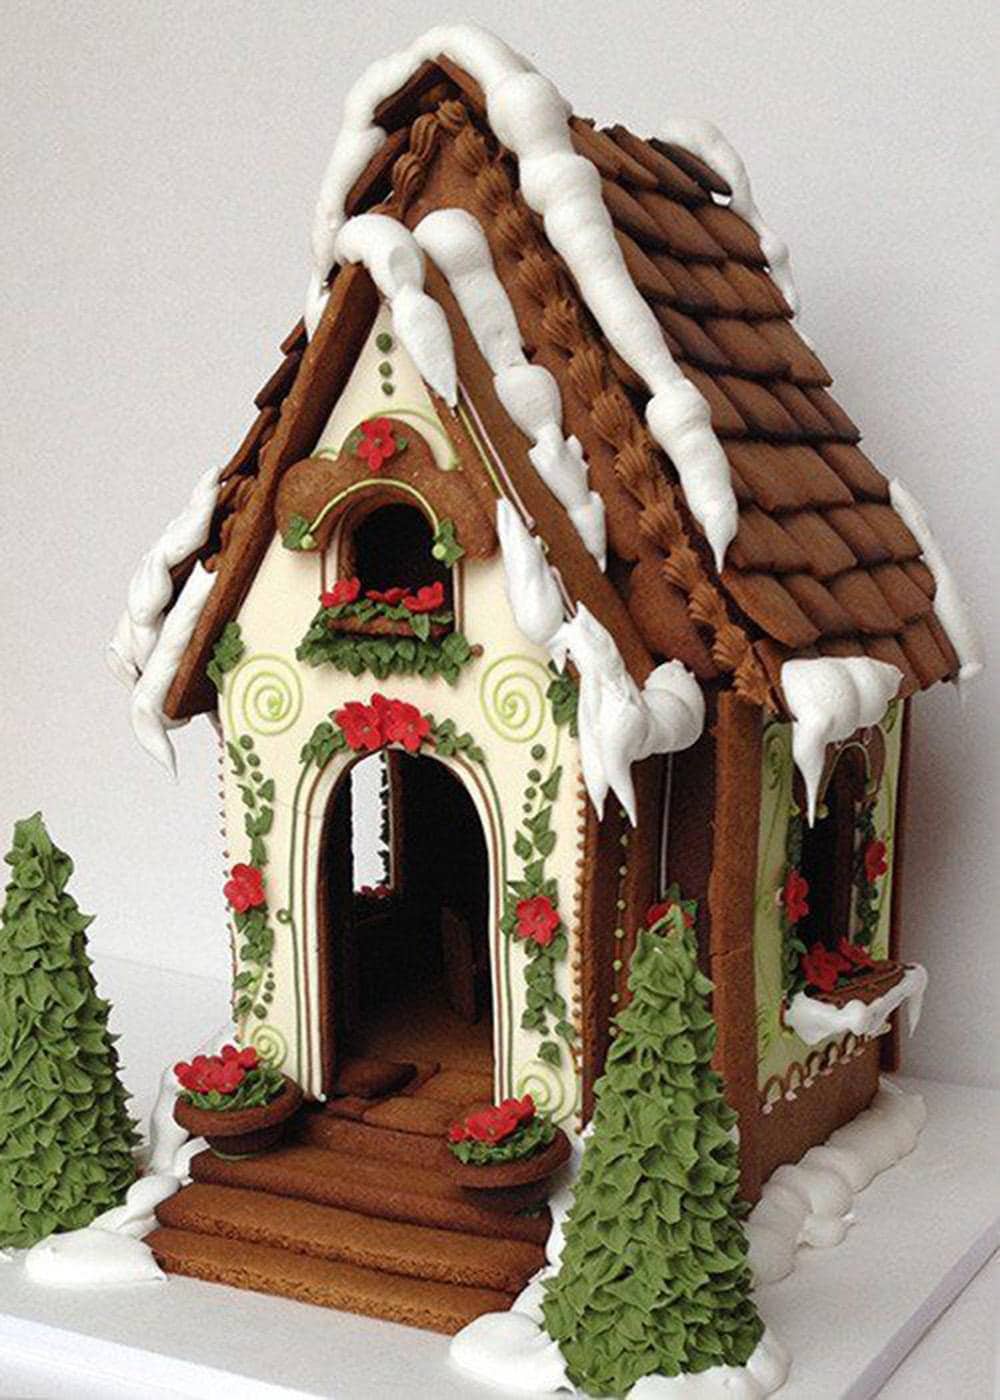
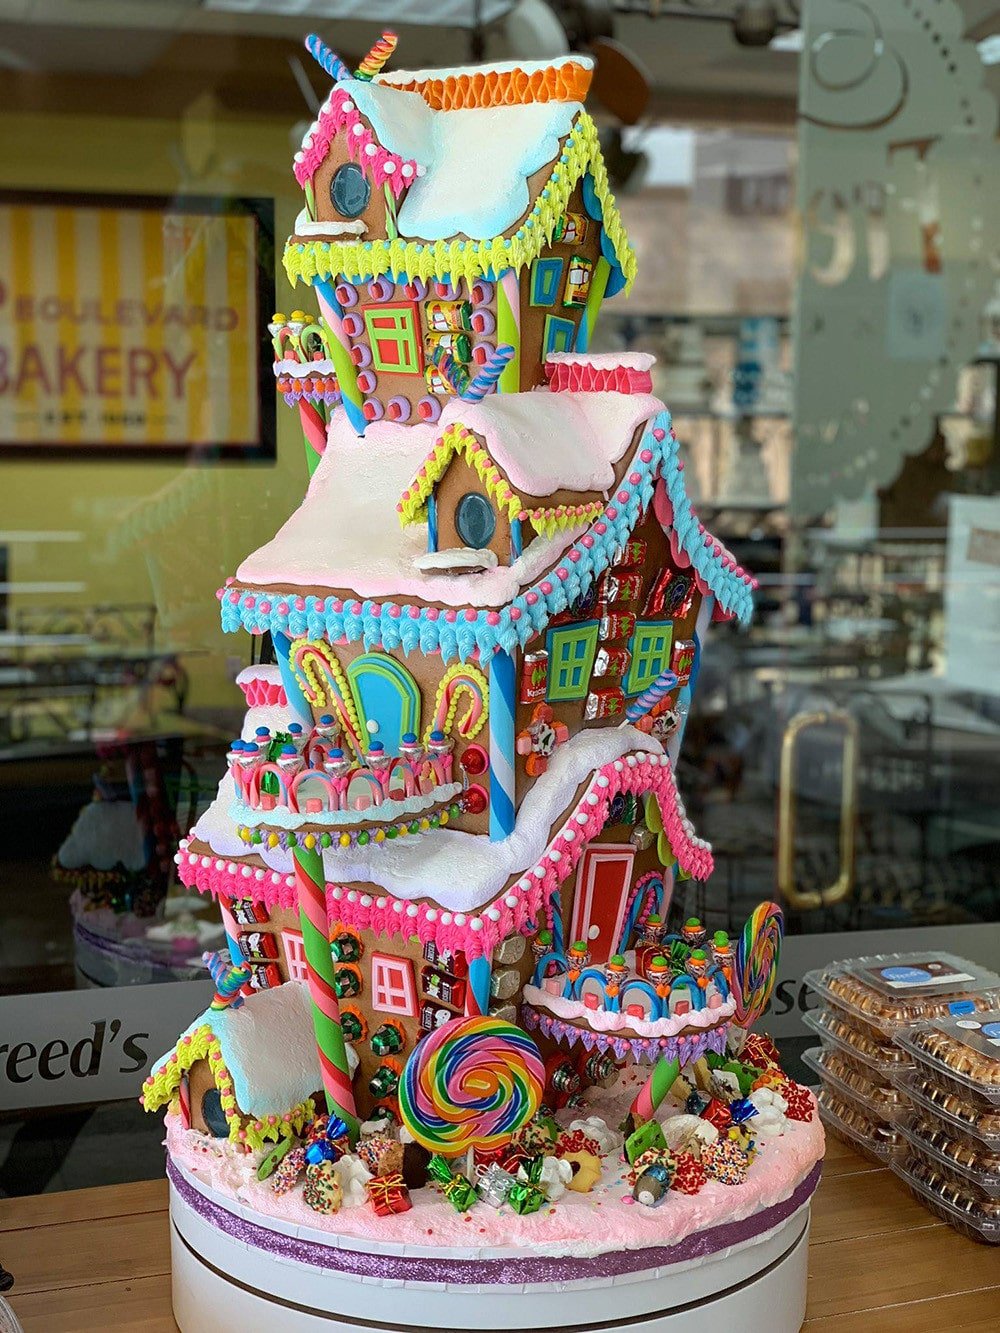 I absolutely love this super bright design! The colors, the candy, it just makes the inner me SO happy! I think it might be my most favorite gingerbread house of all time. Display made by Sonny Robinson -


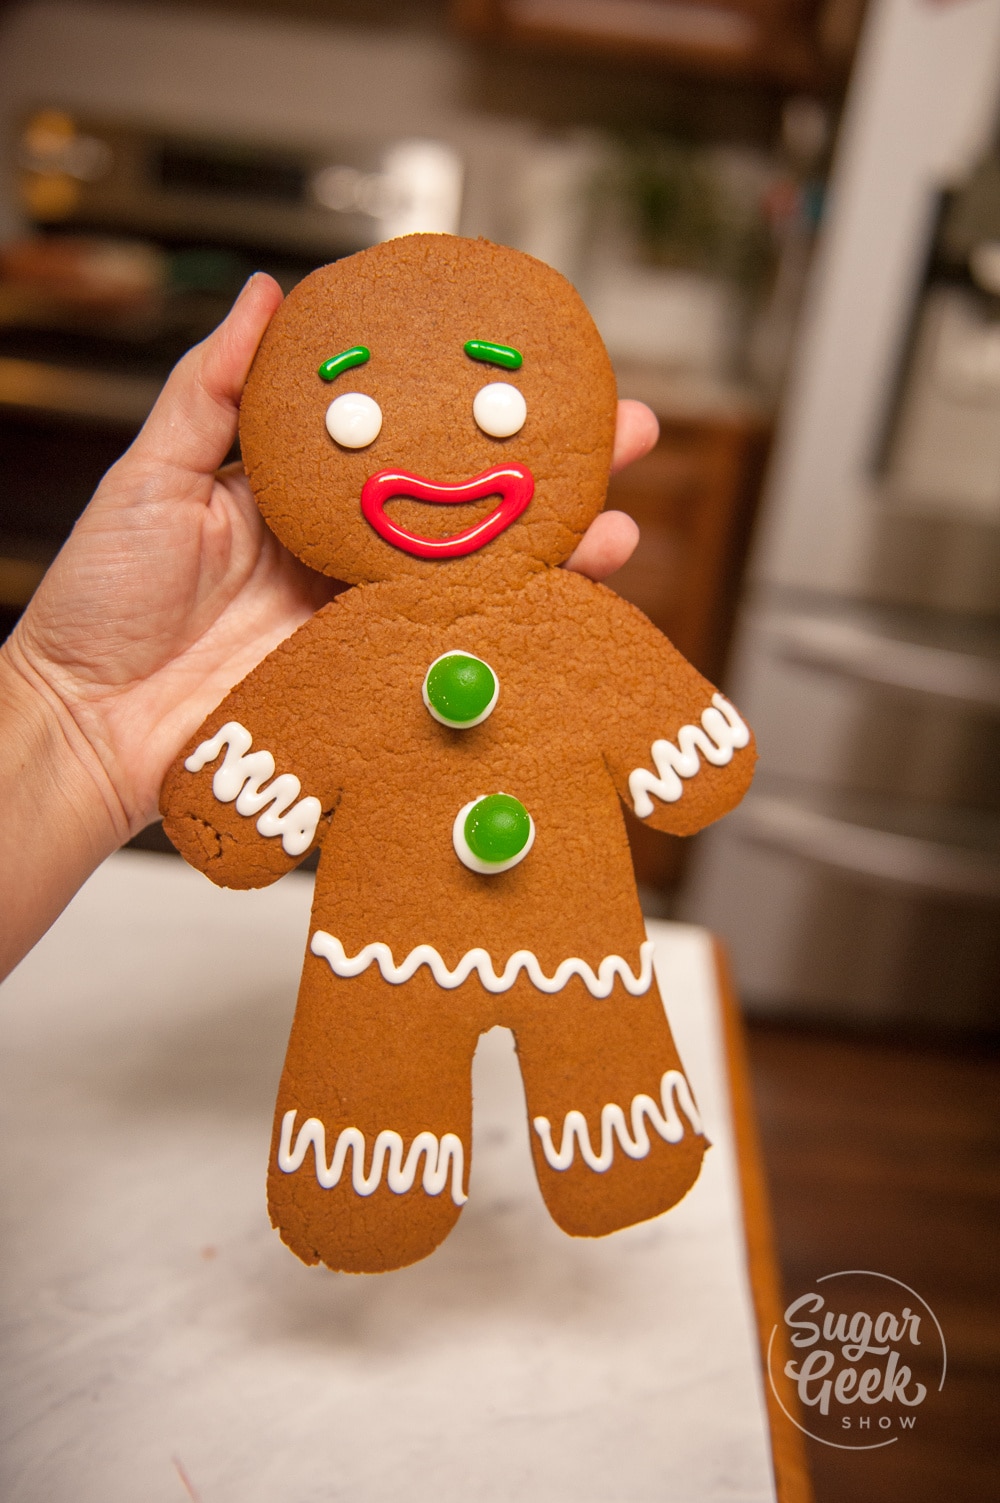

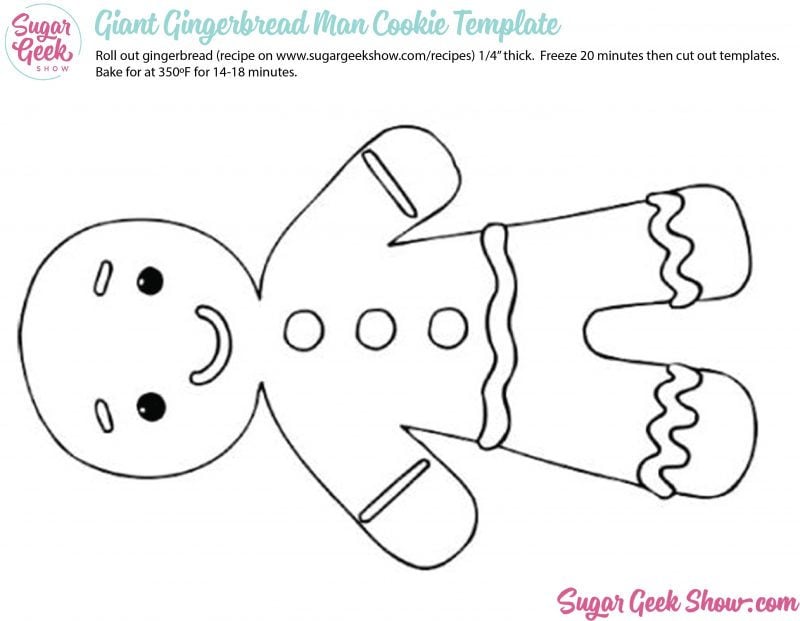
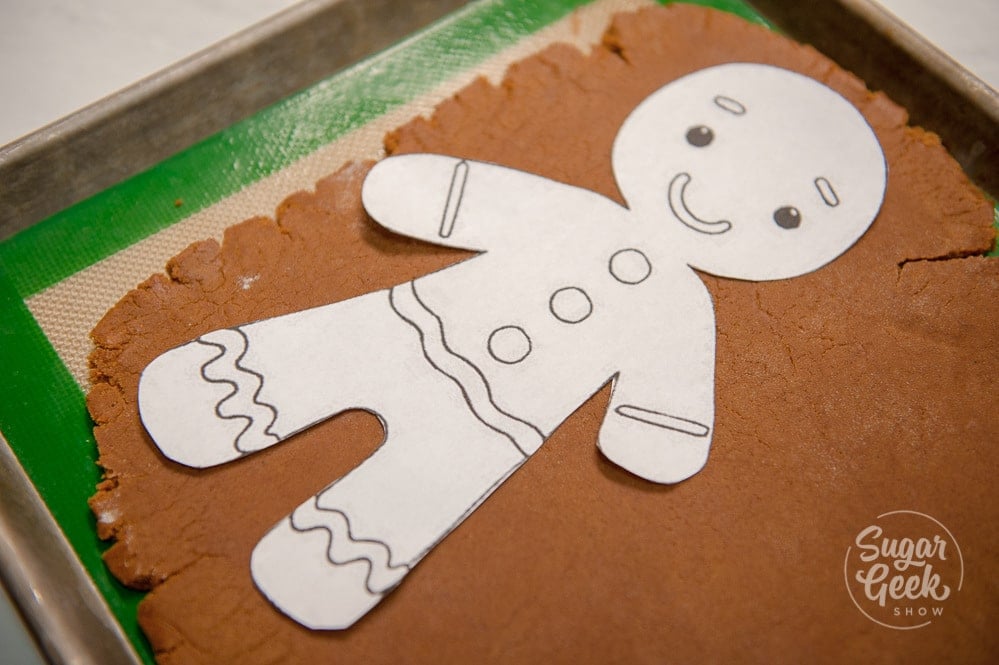

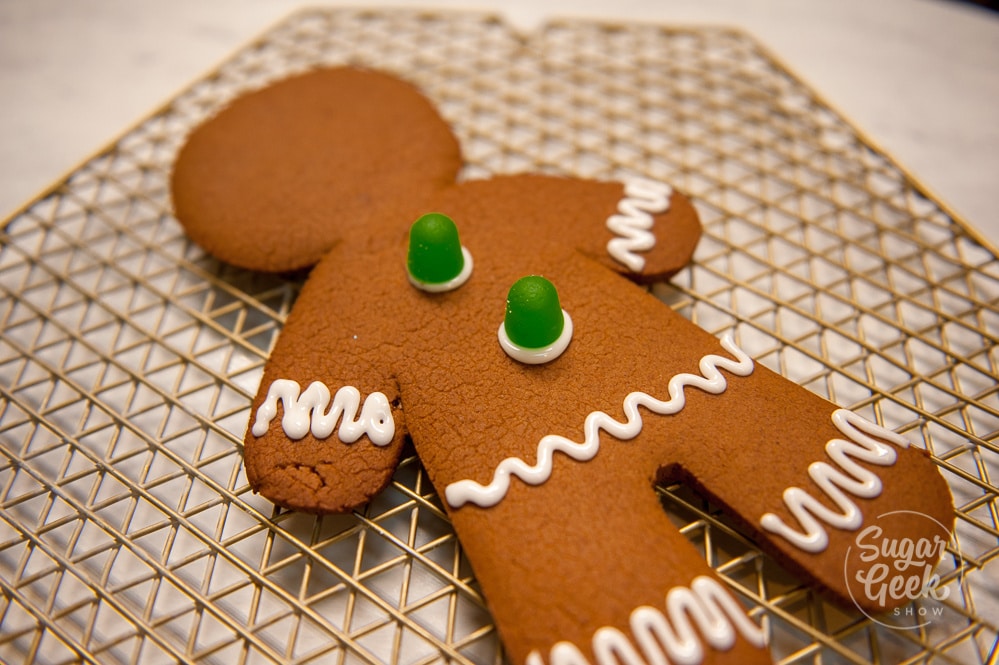
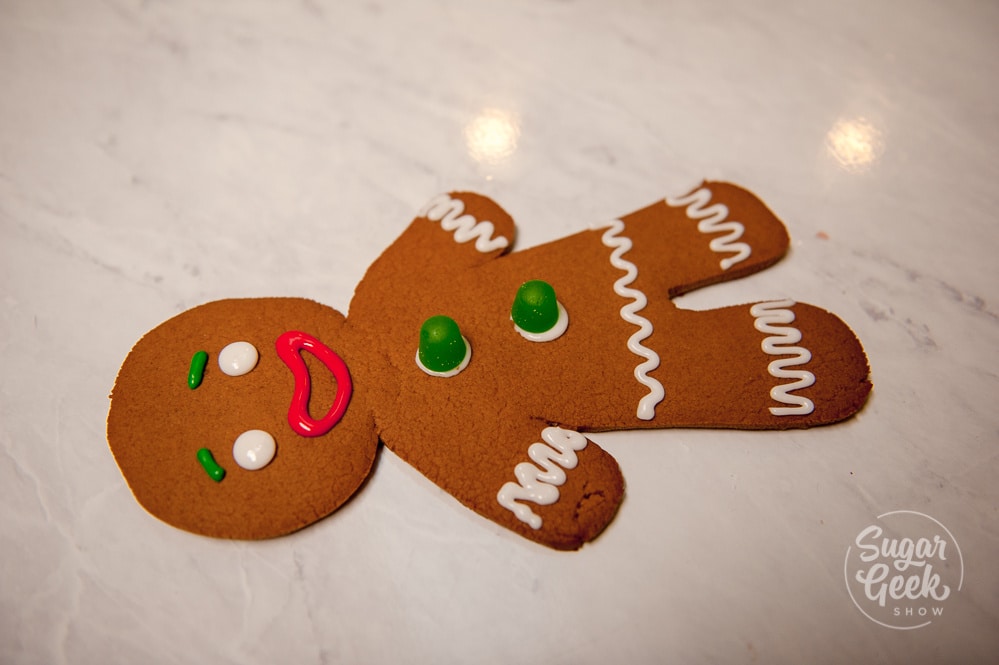


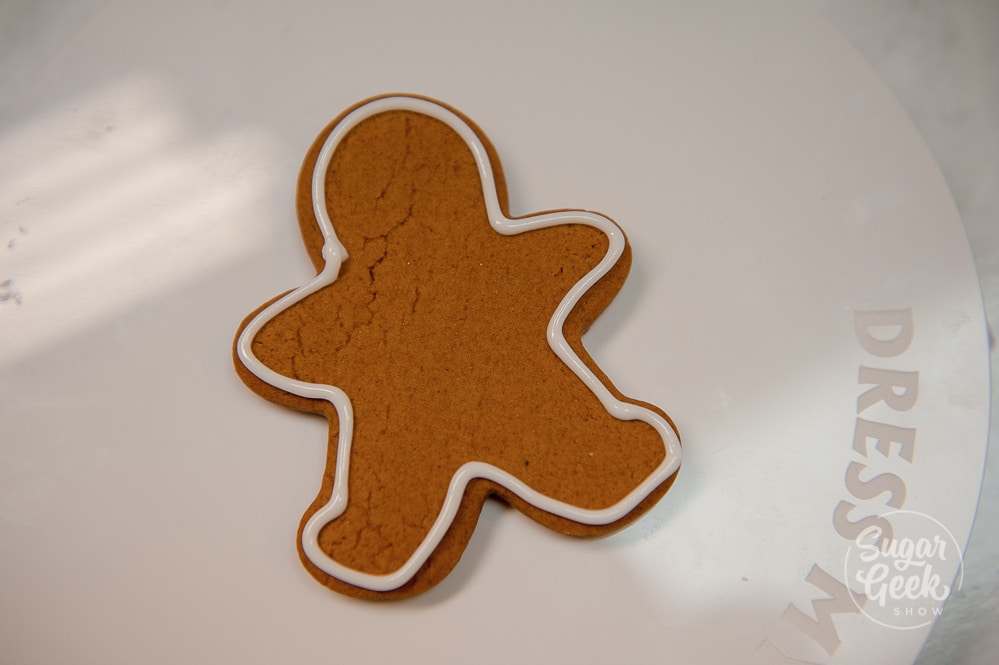
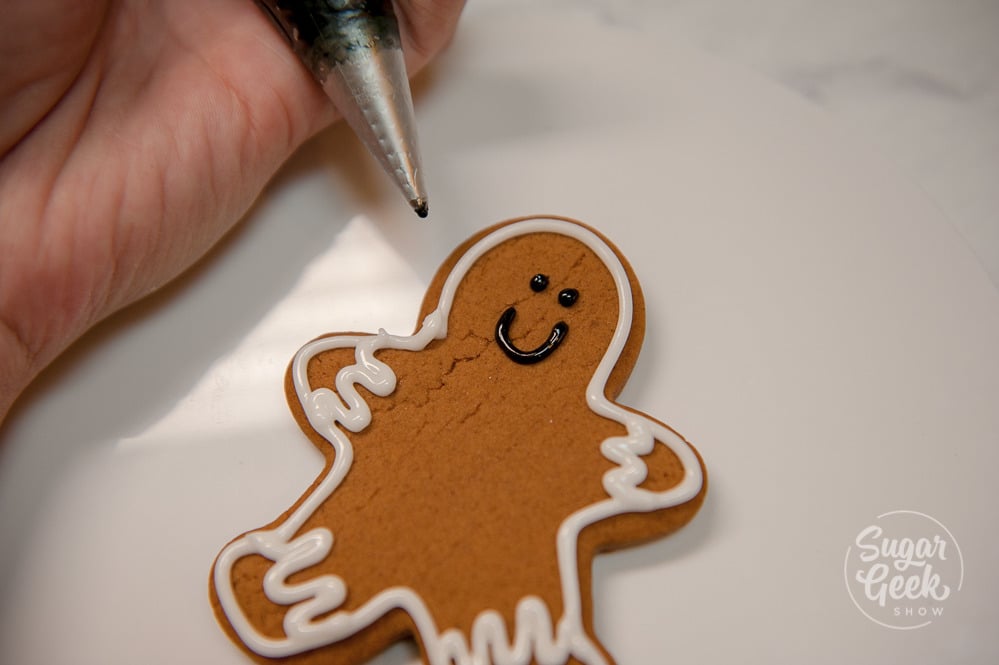
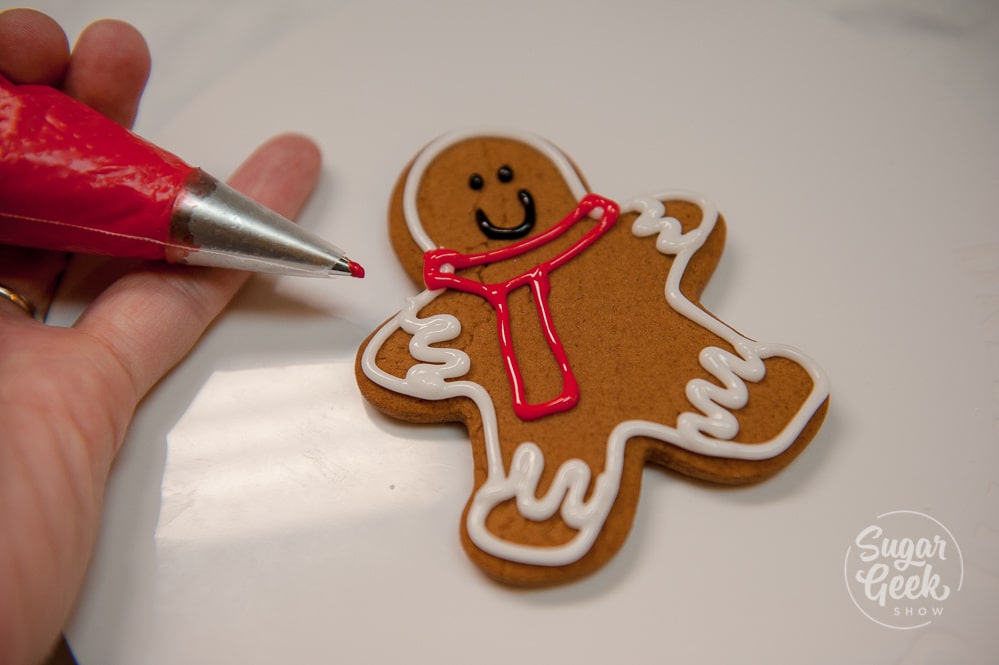
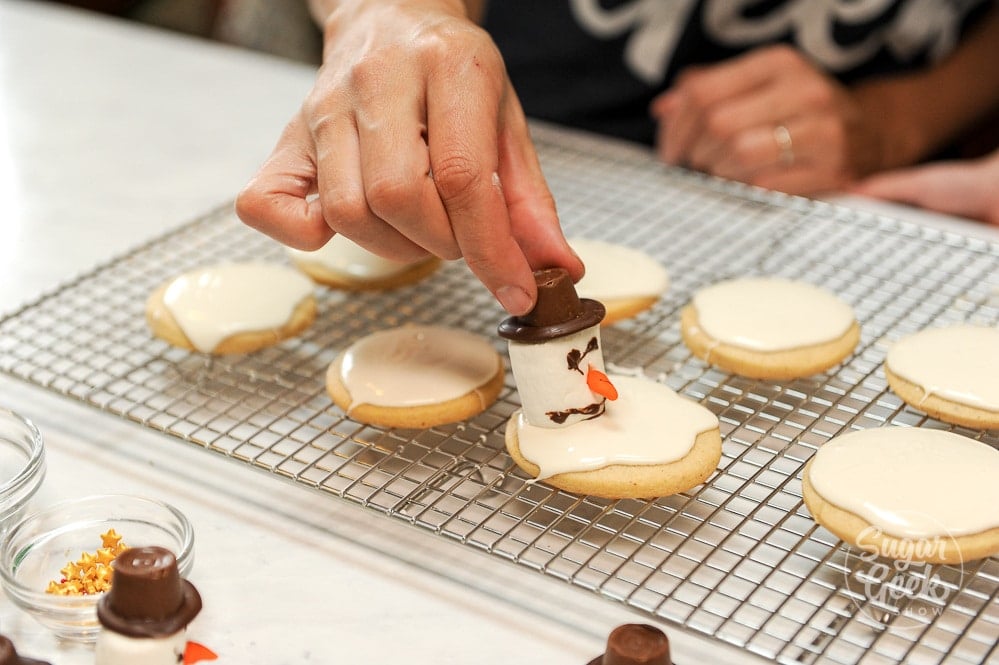
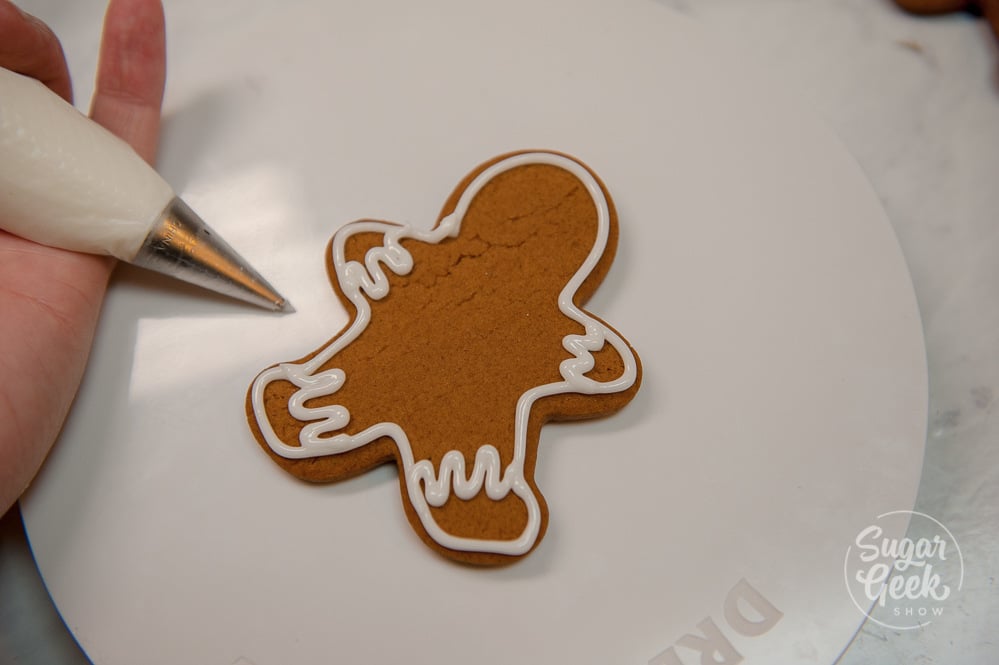 Next I pipe on a small smile and two little dots for eyes.