Skill level: Newb
After the cake tasting, you most likely have a scribbled half-sketch with some quick notes and ideas written down.
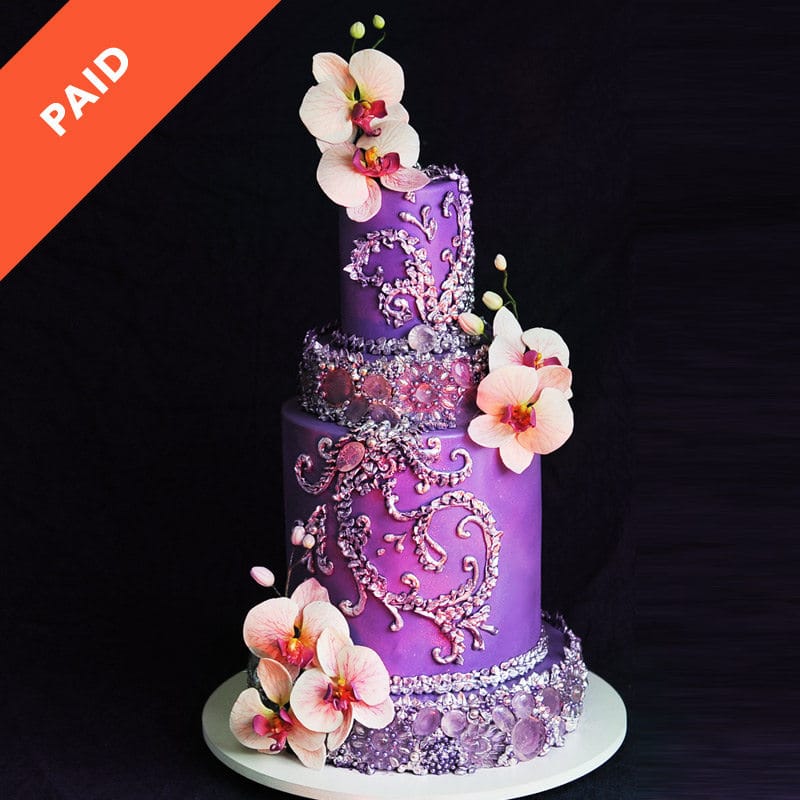
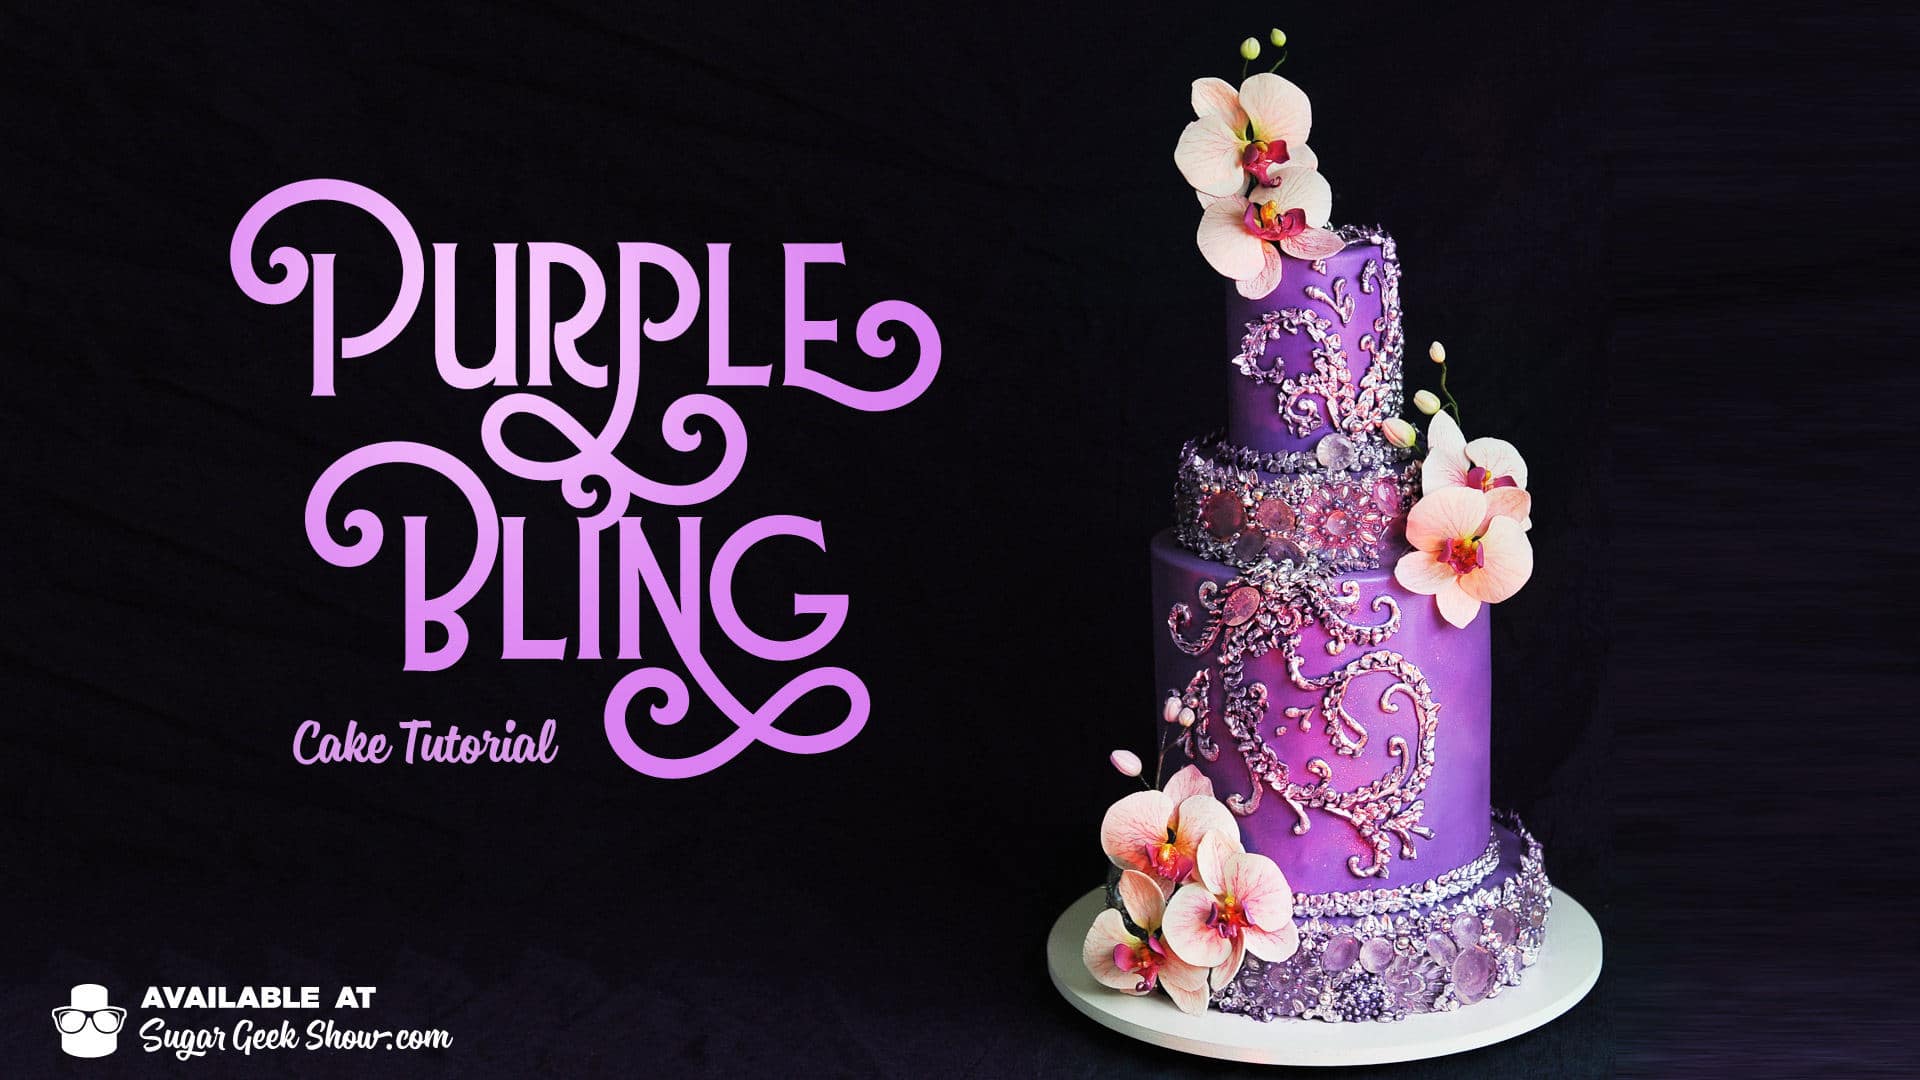
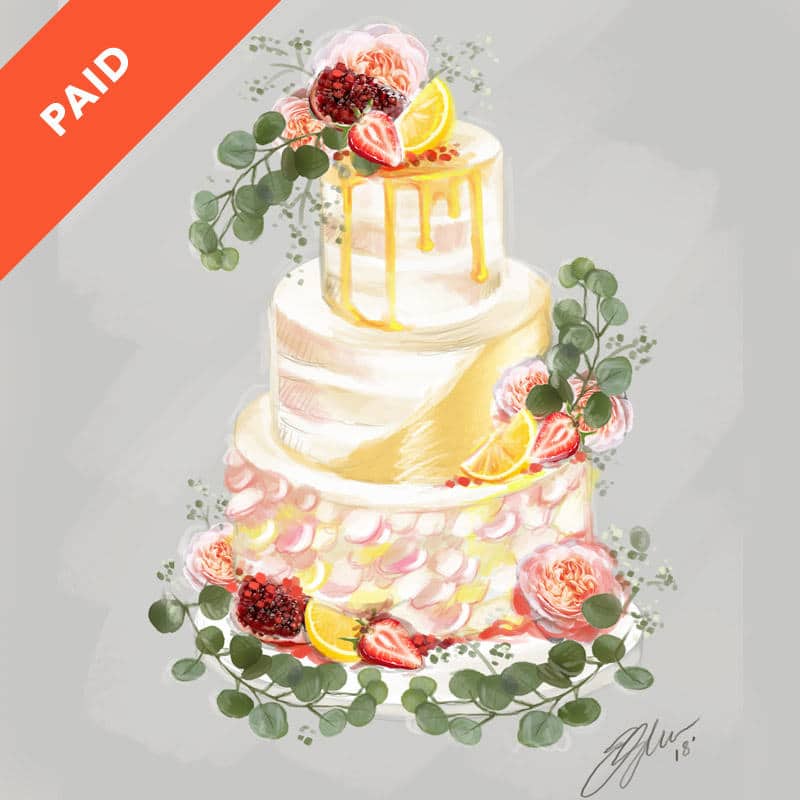
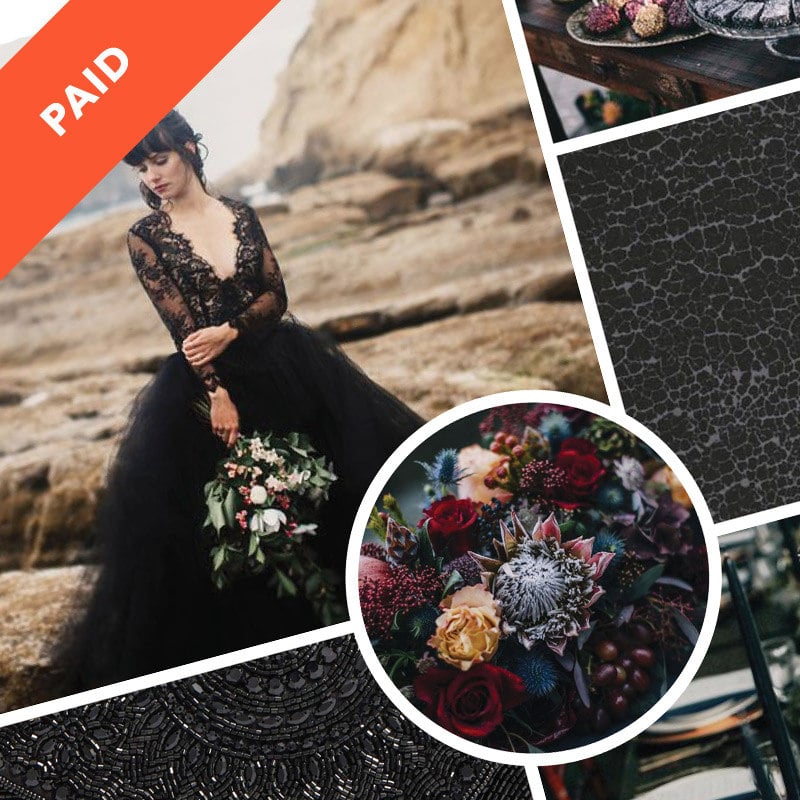
Providing the client with a digital refined cake sketch is crucial to getting sign-off, especially on a new or creatively out-there design.
Learn how to knock out a cake sketch in Photoshop with a Monoprice graphics tablet.
33:01 Minutes of Instruction
What You Will Learn
- How to refine a cake sketch design in Photoshop
- Learn how to quickly pull in reference photos and make them look sketched
- How to sell the benefits of a high-quality sketch to a client
Tutorial Chapters
- Getting started on the cake sketch
- Working with Photoshop layers
- Getting image assets
- Coloring the cake tiers
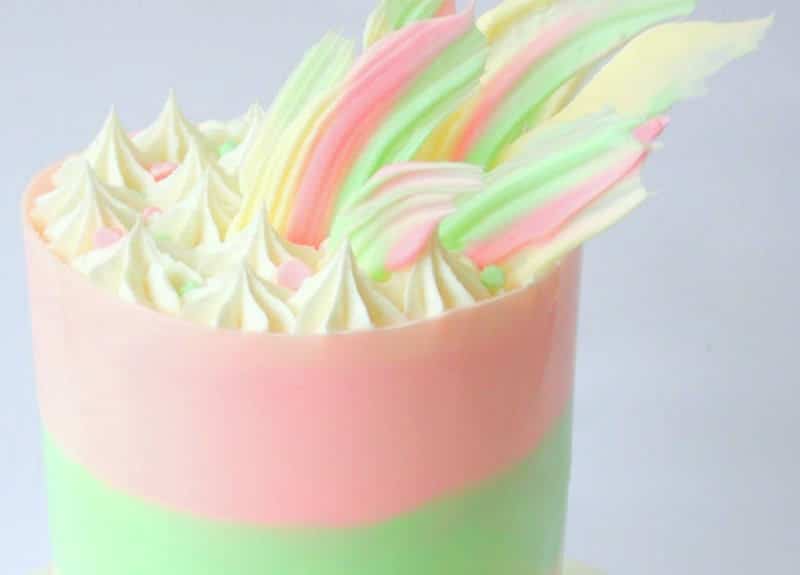
- Sketching buttercream
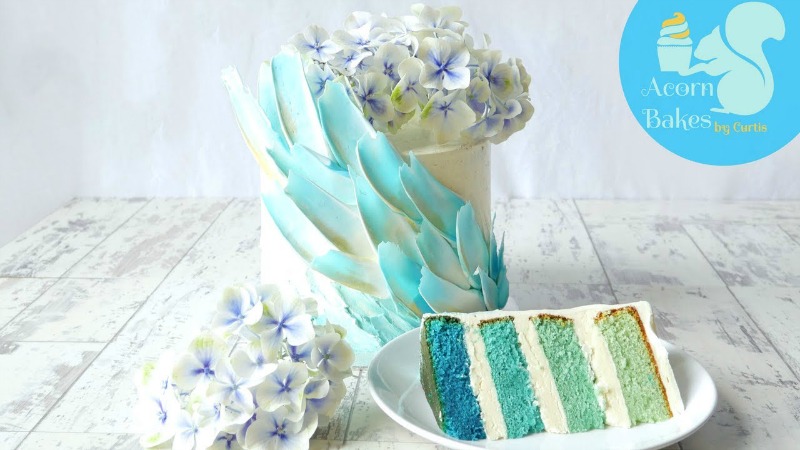
- Adding the flowers
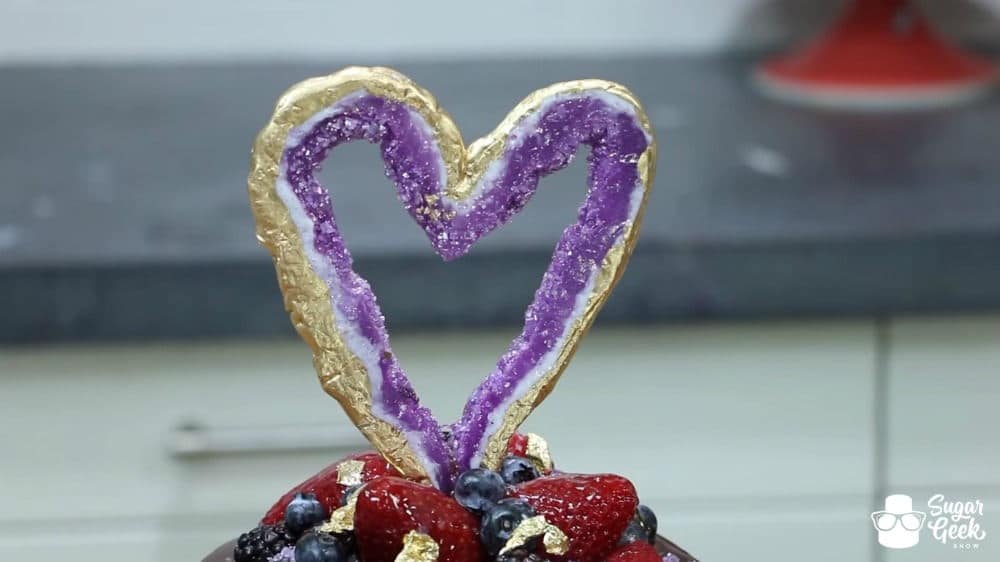
- Adding gold leaf
- Selling the benefits of a cake sketch
- Getting final approval


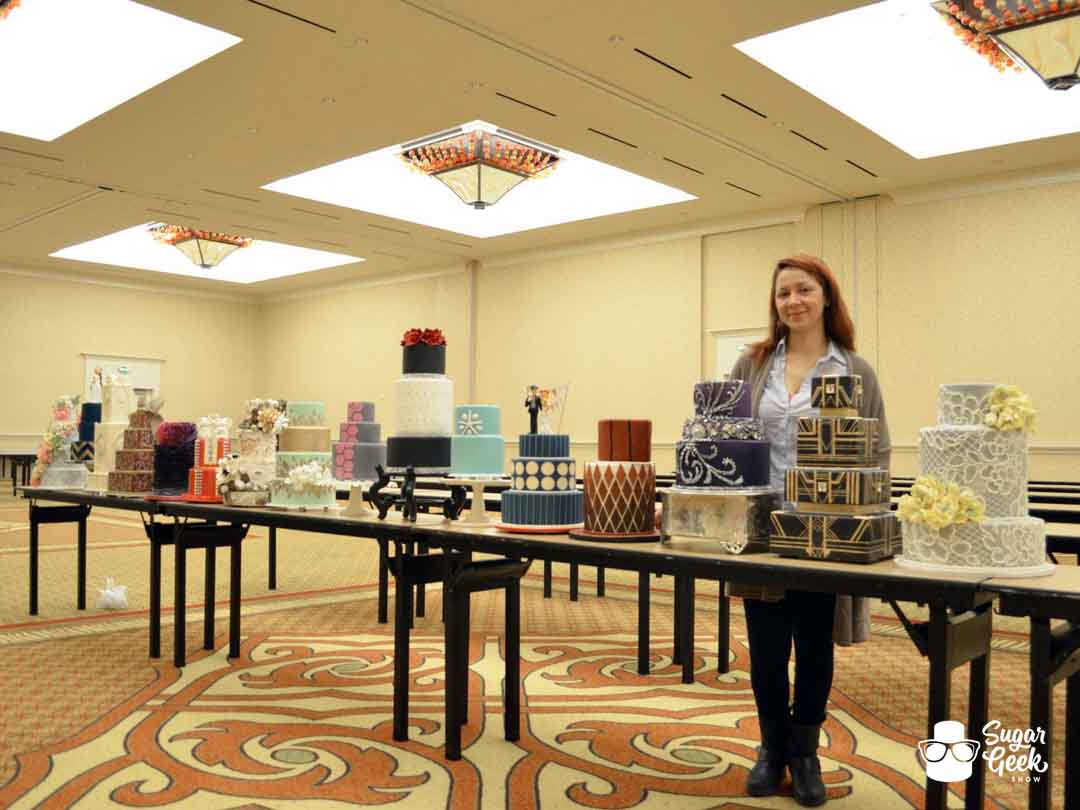
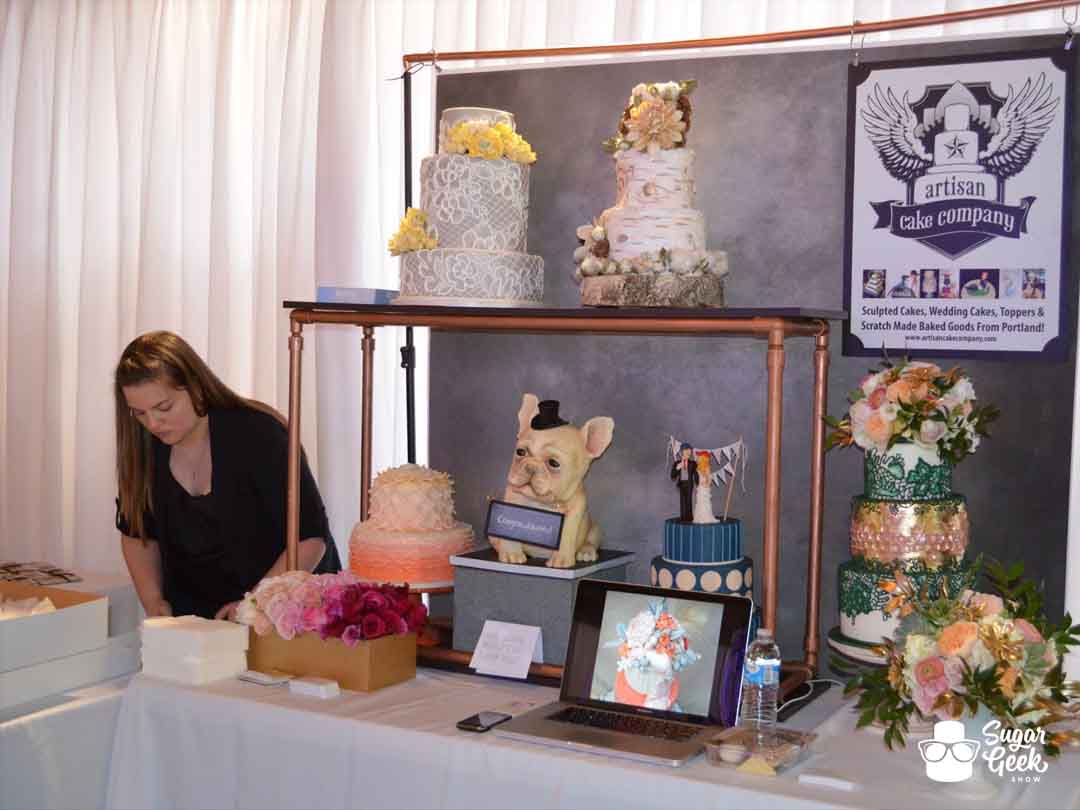
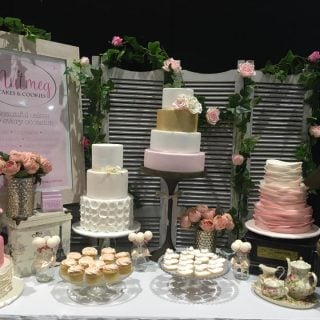
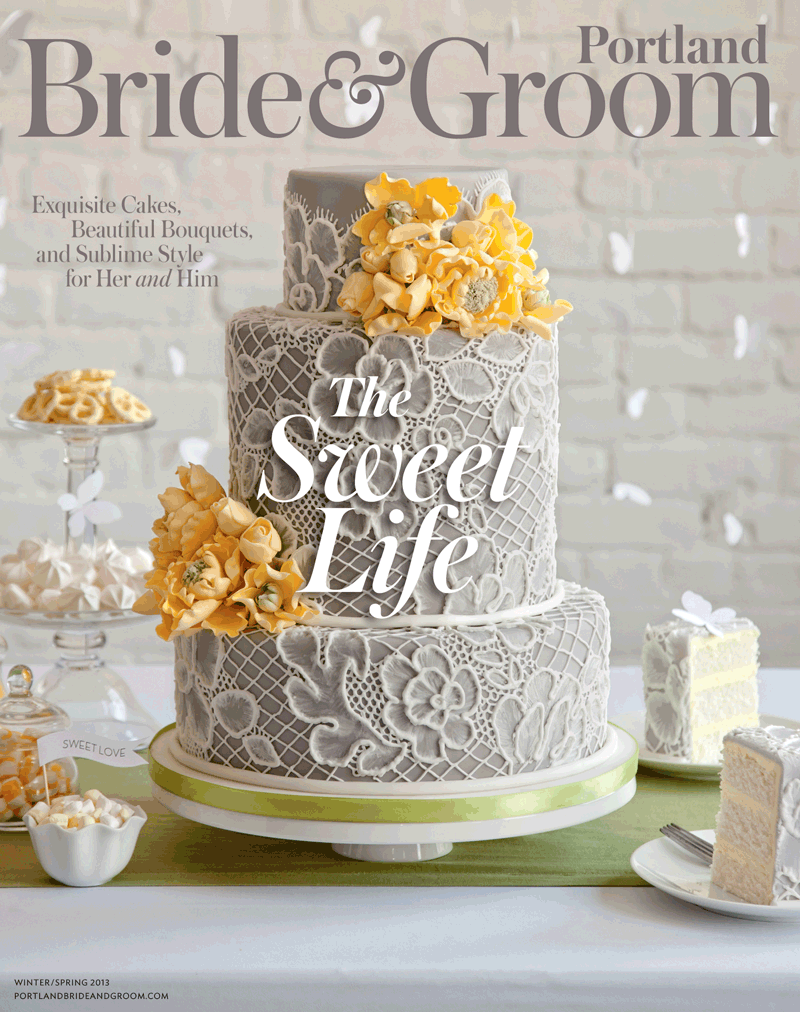
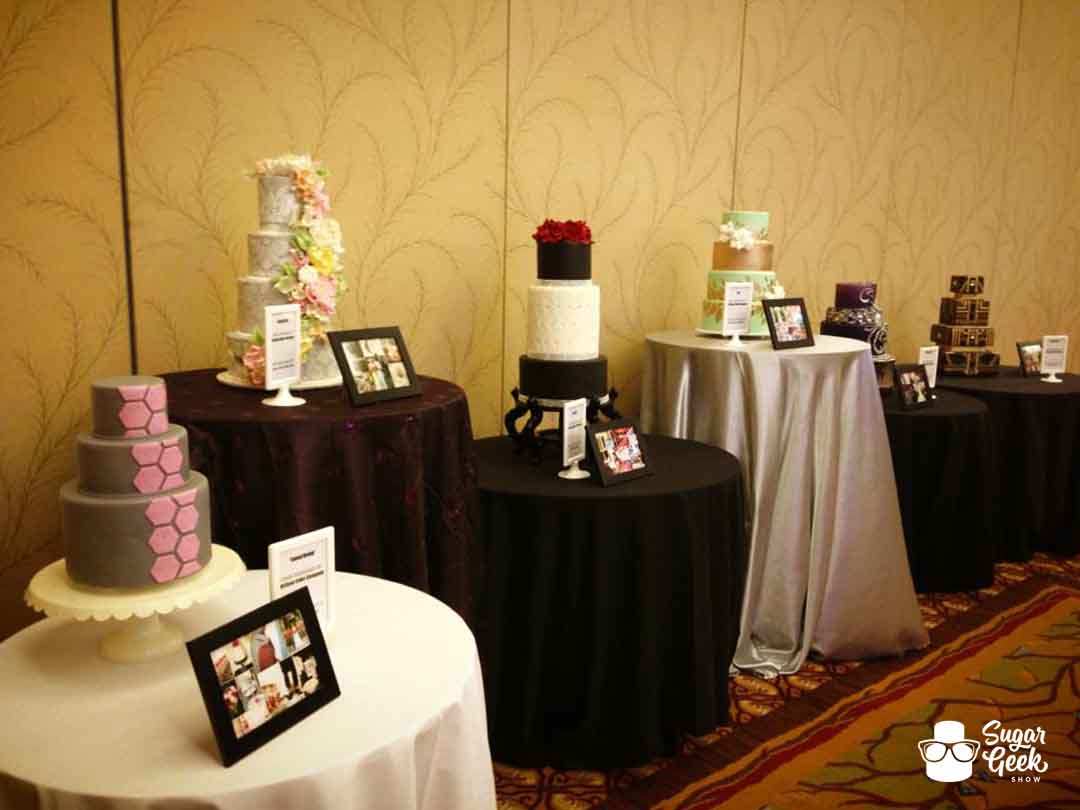 Well, you might be thinking about attending a bridal show, doing an inspiration shoot or submitting a cake design to a magazine and wondering... is this worth it? What am I going to get out of this?