• Skip to primary navigation
  • Skip to main content
  • Skip to primary sidebar
  • Labor Day
  • Recipes
  • Free Tutorials
  • Sign Up
  • About Liz

Sugar Geek Show logo

menu icon
go to homepage
  • Labor Day
  • Recipes
  • Free Tutorials
  • Sign Up
  • About Liz
subscribe
search icon
Homepage link
  • Labor Day
  • Recipes
  • Free Tutorials
  • Sign Up
  • About Liz
×
Home › Recipes › Blog

Updated on September 24, 2019 by Liz Marek · This post may contain affiliate links ·

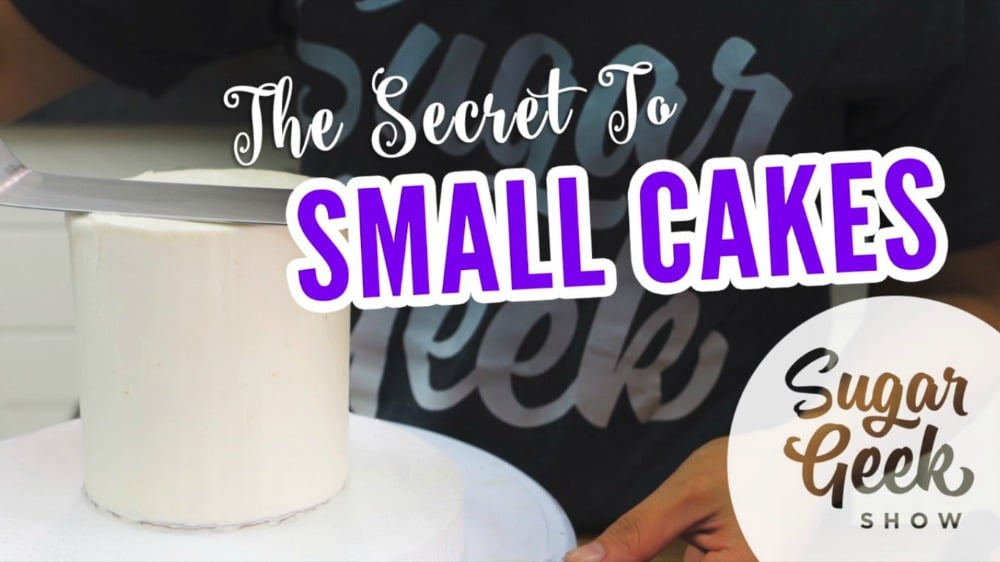
Cake Decorating Basics: The Secret to Small Cakes

326 shares
  • Facebook
  • Flipboard

Do you find yourself struggling while making little cakes? Do you ever just want to pick it up and throw it across the room? Hey, we've all been there, it's just the nature of small cakes. They don't have enough weight to stand up to being pushed around, it's not their fault. So put down the 4" cake, take a deep breath and read this blog post because we have a pretty amazing tip for you today!
Small Cake Tips

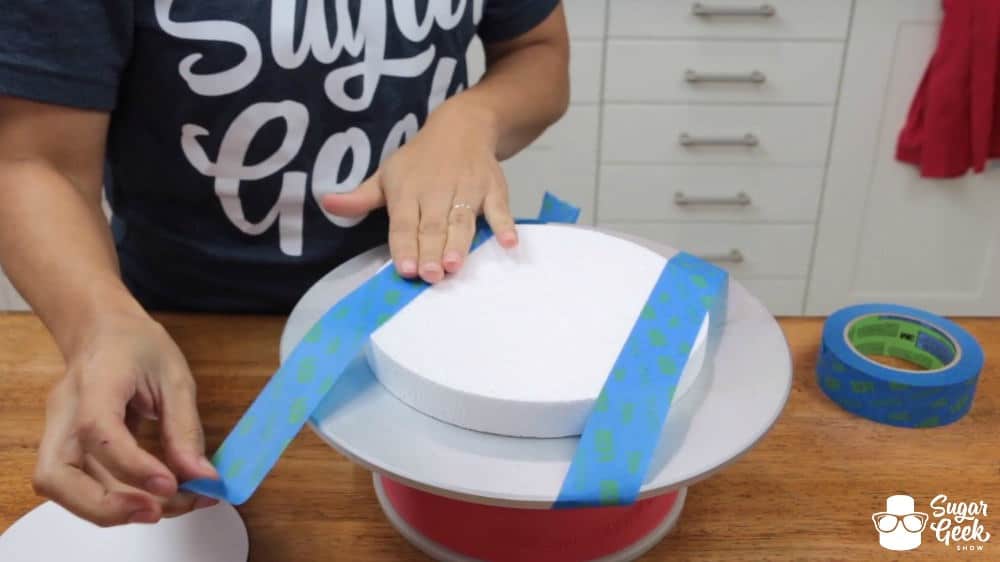
Step 1

Using some painter's tape, tape down a piece of styrofoam to your turntable, you should be able to find some at your local craft store or you know there's always Amazon.
Small Cake Tips

Step 2

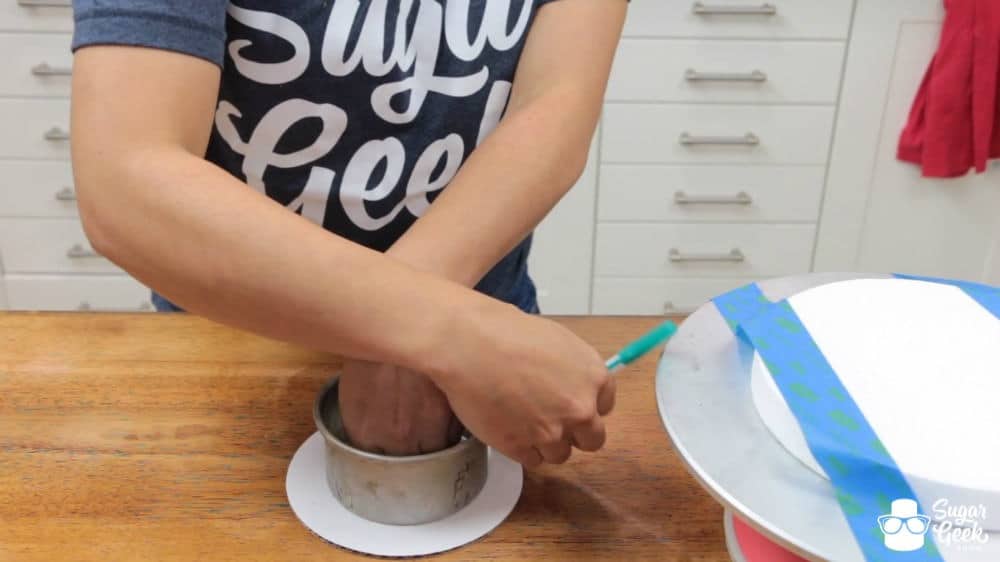
Don't have 4" cake boards? Neither do we. Trace your cake pan and cut it out from another board.
Small Cake Tips

Step 3

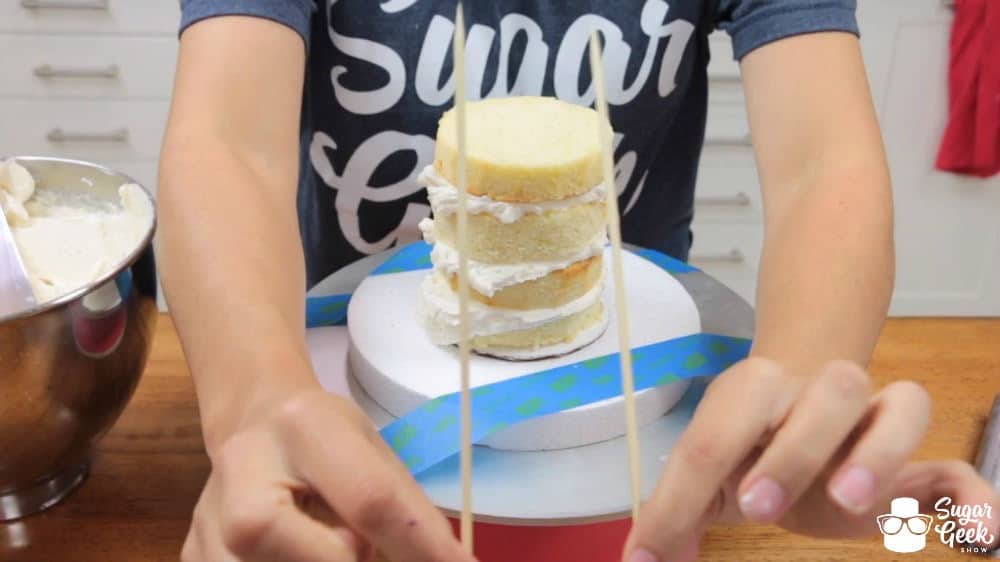
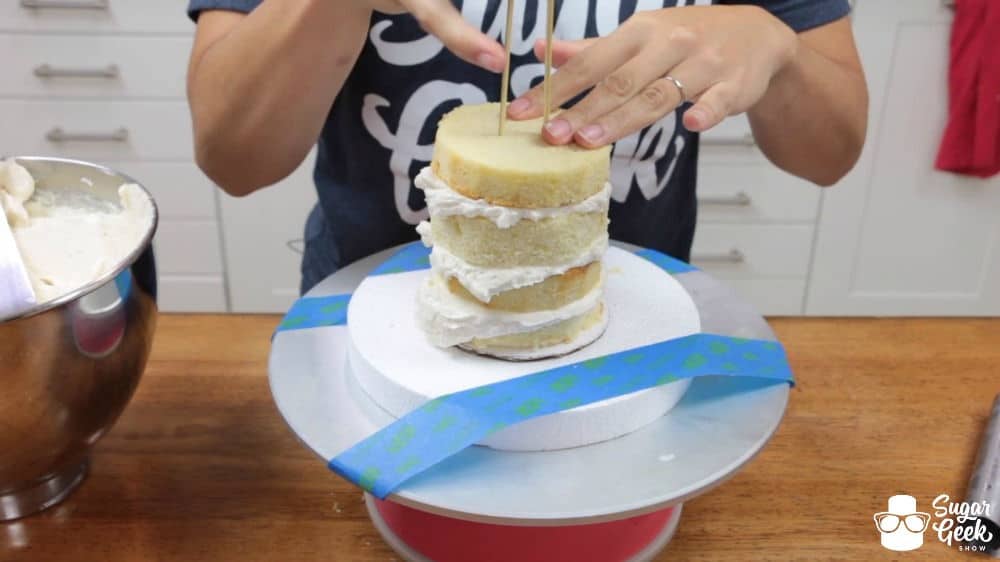
Torte and fill your cake like usual, you will have to hold your cake steady for this part.

Insert two wooden skewers (like the kind you use for kabobs from the grocery store) through your cake, through the cake board and into the styrofoam. This is going to make that little sucker nice and sturdy and repair your strained relationship.
Small Cake Tips Small Cake Tips

Step 4

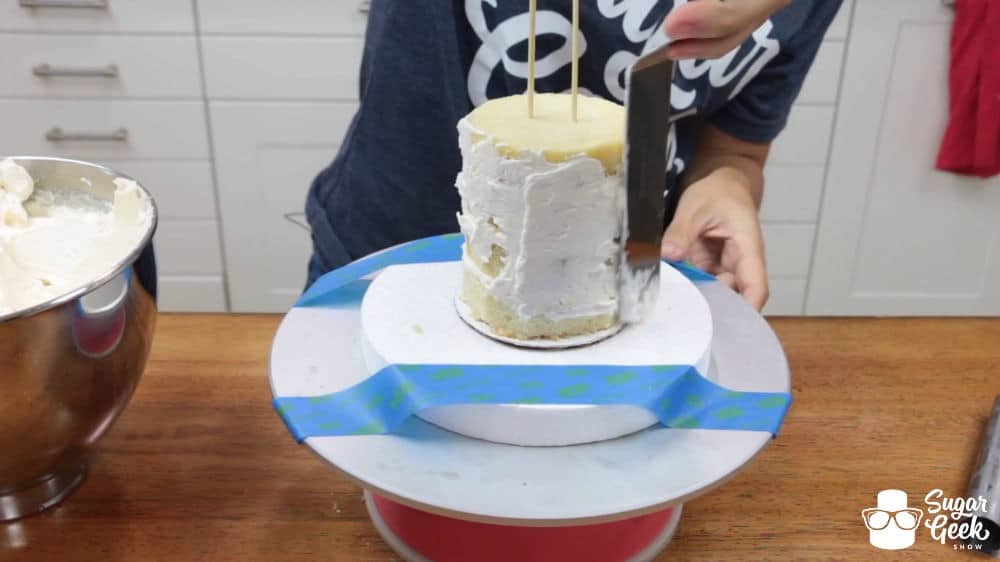
Proceed to crumb coat, chill and final coat your cake. Check out our other Basics Series blog posts if you need more info on the torting, filling and crumb coating steps! All links for the Basics Series can be found at the bottom of the post. That's my tactic to try to get you to finish.
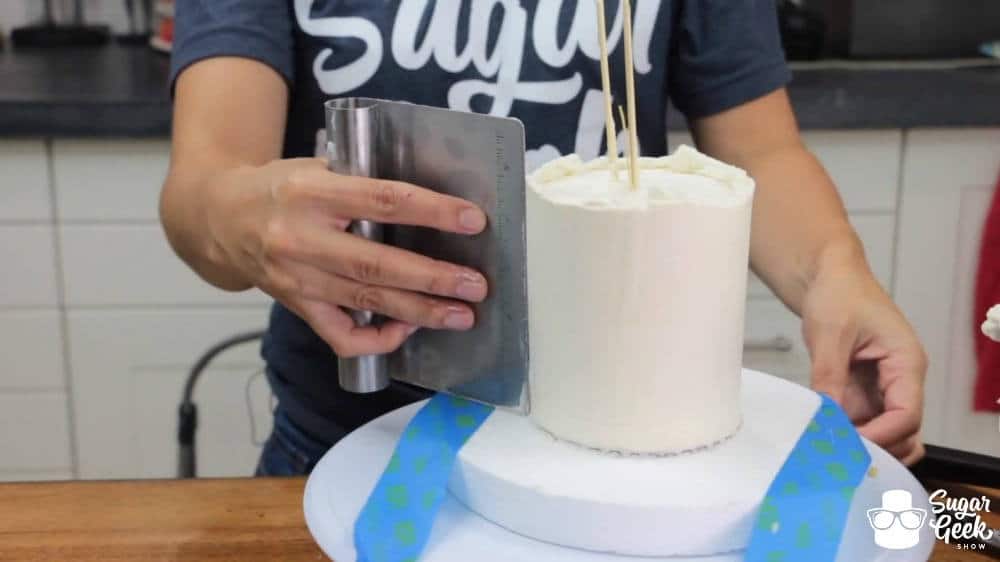
Small Cake Tips Small Cake Tips

Step 5

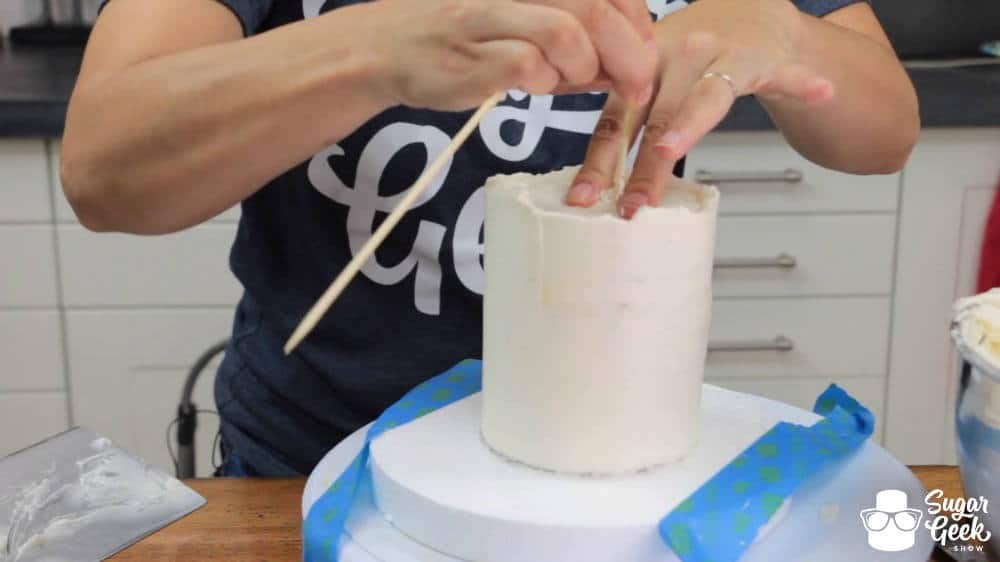
Once the side of your cake is complete, remove the skewers from your cake and smooth the edges with your offset spatula. Remember, this should be a chilled, firm cake so removing the skewers will not hurt the cake.
Small Cake Tips

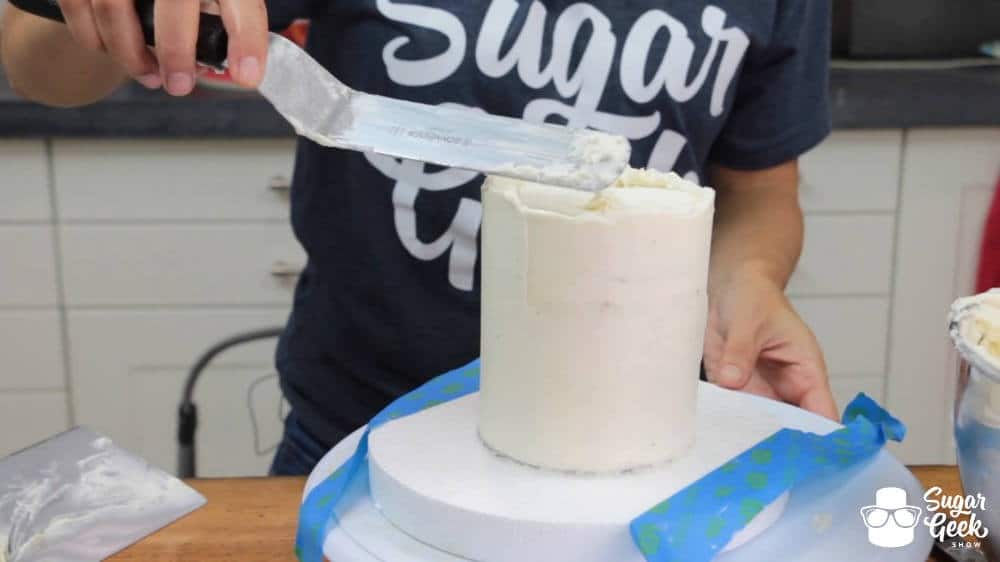
With any luck you will have some buttercream adhering your cake to the styrofoam for this part.
Small Cake Tips

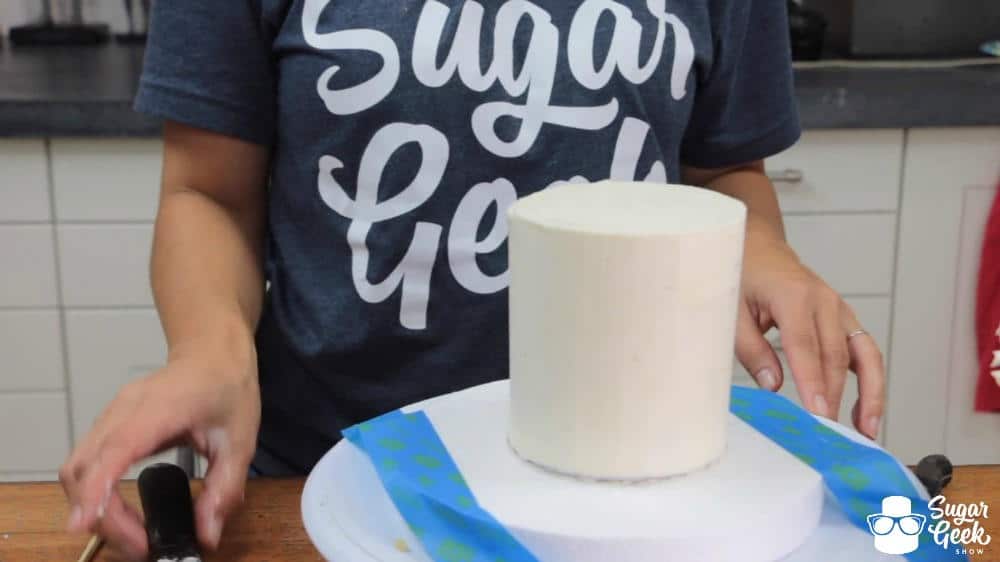
There ya go! You've successfully frosted a 4" round cake without any casualties and your sanity intact.
Small Cake Tips

I would imagine you could also quickly stick a skewer back into the top of your cake after you lay your fondant on and smooth the top to help you keep the cake steady while you also smooth the sides of your fondant. Of course, that will only work if you will be able to cover your hole up with a decoration. We hope this little tidbit helps you with your small cake endeavors because honestly, the struggle is real.
Going over the basics? Check out these!

Cake Decorating Basics: Must Have Tool Review

Cake Decorating Basics: Airless Space Buttercream

Cake Decorating Basics: Leveling and Torting

Cake Decorating Basics: Filling and Crumb Coating

Cake Decorating Basics: Avoiding Cake Blowouts

Cake Decorating Basics: Smooth Final Coat of Buttercream

Cake Decorating Basics: The Upside Down Method

Cake Decorating Basics: Covering a Cake in Fondant

Cake Decorating Basics: How to get  Sharp Edges

Cake Decorating Basics: Easy Double Barrel

Cake Decorating Basics: How to Panel

Cake Decorating Basics: Stacking Cakes

More Blog

  • close up of fresh pasta held in two hands
    Easy Homemade Egg Pasta
  • jar of Speculaaskruiden
    Speculaaskruiden (Dutch Spice Mix)
  • homemade edible Christmas gift ideas
    Homemade Edible Christmas Gift Ideas Everyone Will Love
  • Crispy Parmesan Potato Stacks

About Liz Marek

Liz Marek is a professional cake artist and recipe developer who has been teaching baking and cake decorating since 2008. She founded Artisan Cake Company in Portland, Oregon in 2009 and now runs Sugar Geek Show, where she publishes kitchen-tested recipes, food science explanations, and step-by-step tutorials.

Liz is best known for sculpted and hyperrealistic cakes. She won Netflix's Is It Cake? Holiday 2 in 2025 with a hyperrealistic Santa cake, and has competed on and won Food Network cake competitions. Cake Masters Magazine named her one of the top 10 cake artists in 2017. She is the author of Artisan Cake Company's Visual Guide to Cake Decorating and a graduate of the Oregon Culinary Institute.

Her focus is on explaining not just how a recipe works but why it works, so bakers can troubleshoot instead of guess. Every recipe on this site is tested before it's published.

Liz teaches full-length cake tutorials, including sculpted and hyperrealistic cakes, at Sugar Geek University.

Primary Sidebar

Hi, I'm Liz! I'm a cake artist and recipe developer, and I won Netflix's Is It Cake? Holiday 2 with a hyperrealistic Santa. I write foolproof recipes that explain why things work, not just how.

I also teach full-length cake tutorials, including sculpted cakes, at Sugar Geek University.

More about me →

Our Cake Greatest Hits

Check out our best cake recipes

Celebrate Labor Day 🇺🇸

  • lemon blueberry cake
    Moist Lemon Blueberry Buttermilk Cake
    Cook Time45 Minutes
  • slice of fresh strawberry cake on a white plate with strawberries behind it
    Fresh Strawberry Cake
    Cook Time1 Hours 50 Minutes
  • berry Chantilly cake
    Berry Chantilly Cake
    Cook Time2 Hours 15 Minutes
  • closeup of oreo ice cream cake slice
    Easy Homemade Ice Cream Cake
    Cook Time6 Hours 55 Minutes
  • Copycat Chocolate Chip Crumbl Cookies
    Cook Time51 Minutes
  • close up shot of double chocolate chip cookie
    Chewy Double Chocolate Chip Cookies
    Cook Time20 Minutes

Popular Recipes

  • close up of ganache drizzling into a bowl
    The Best Chocolate Ganache Recipe
    Cook Time20 Minutes
  • Piping easy buttercream rosettes onto a cake using a 1M star piping tip
    Easy Buttercream Frosting
    Cook Time25 Minutes
  • close up slice of marble cake
    Moist and Fluffy Marble Cake Recipe
    Cook Time40 Minutes
  • Slice of red velvet cake with cream cheese frosting on a white plate.
    Red Velvet Cake Recipe
    Cook Time1 Hours 40 Minutes

Footer

↑ back to top

About

  • Privacy Policy
  • Terms of Service

Newsletter

  • Sign Up! for emails and updates

Contact

  • Contact
  • About Us

Copyright © 2024 Sugar Geek Show, Inc. All Rights Reserved.

326 shares