Octopus Cake Tutorial With Beautiful Sugar Eyes and A Colorful Pink & Funfetti Cake Inside
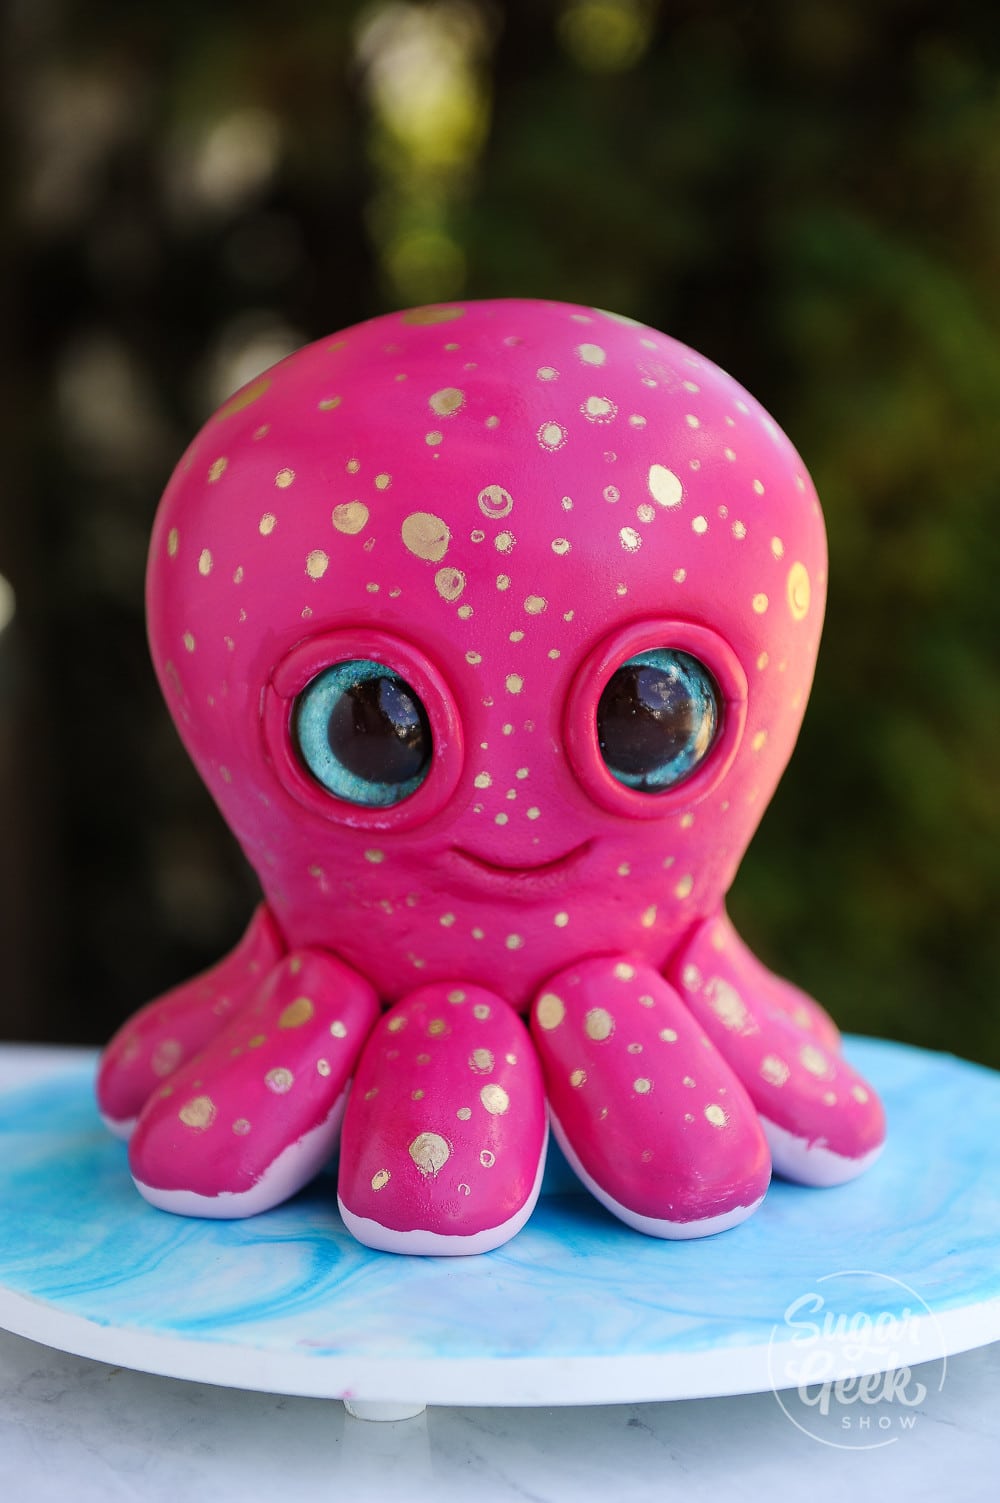
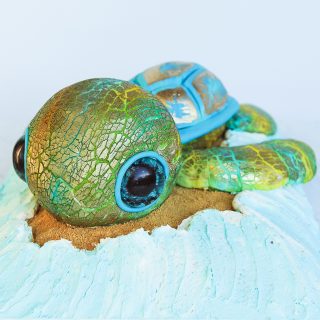
This octopus cake tutorial is the second sculpted cake in my beanie boo series. If you loved the sculpted sea turtle cake, then you'll love this octopus cake tutorial! In this tutorial I show you how to make a very simple cake structure without any special tools. How to bake your cake boards so they don't get damaged and of course how to paint fondant and modeling chocolate flawlessly!
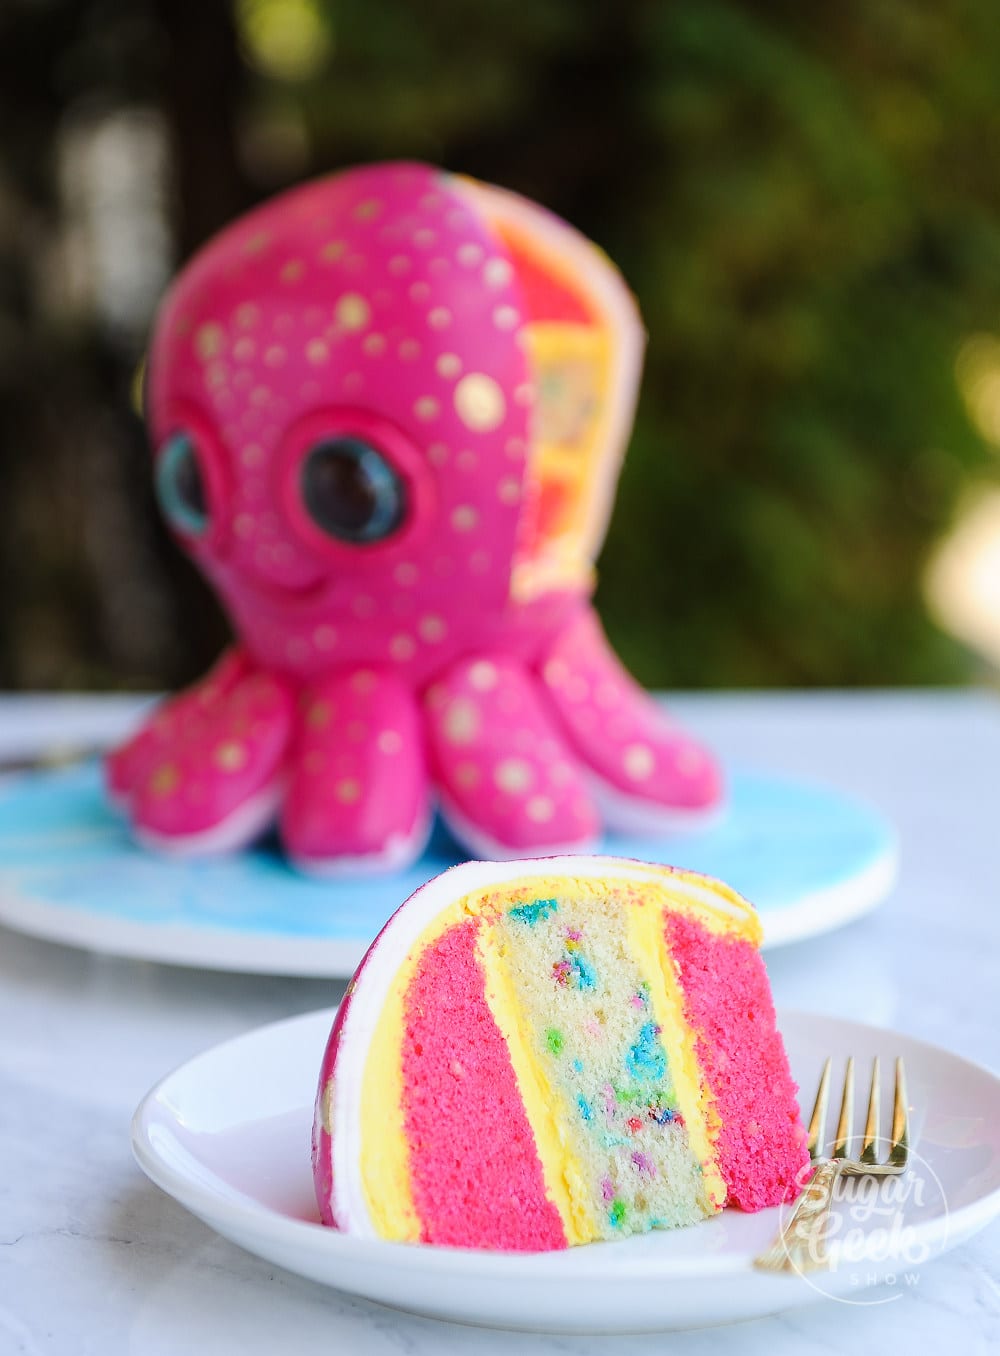
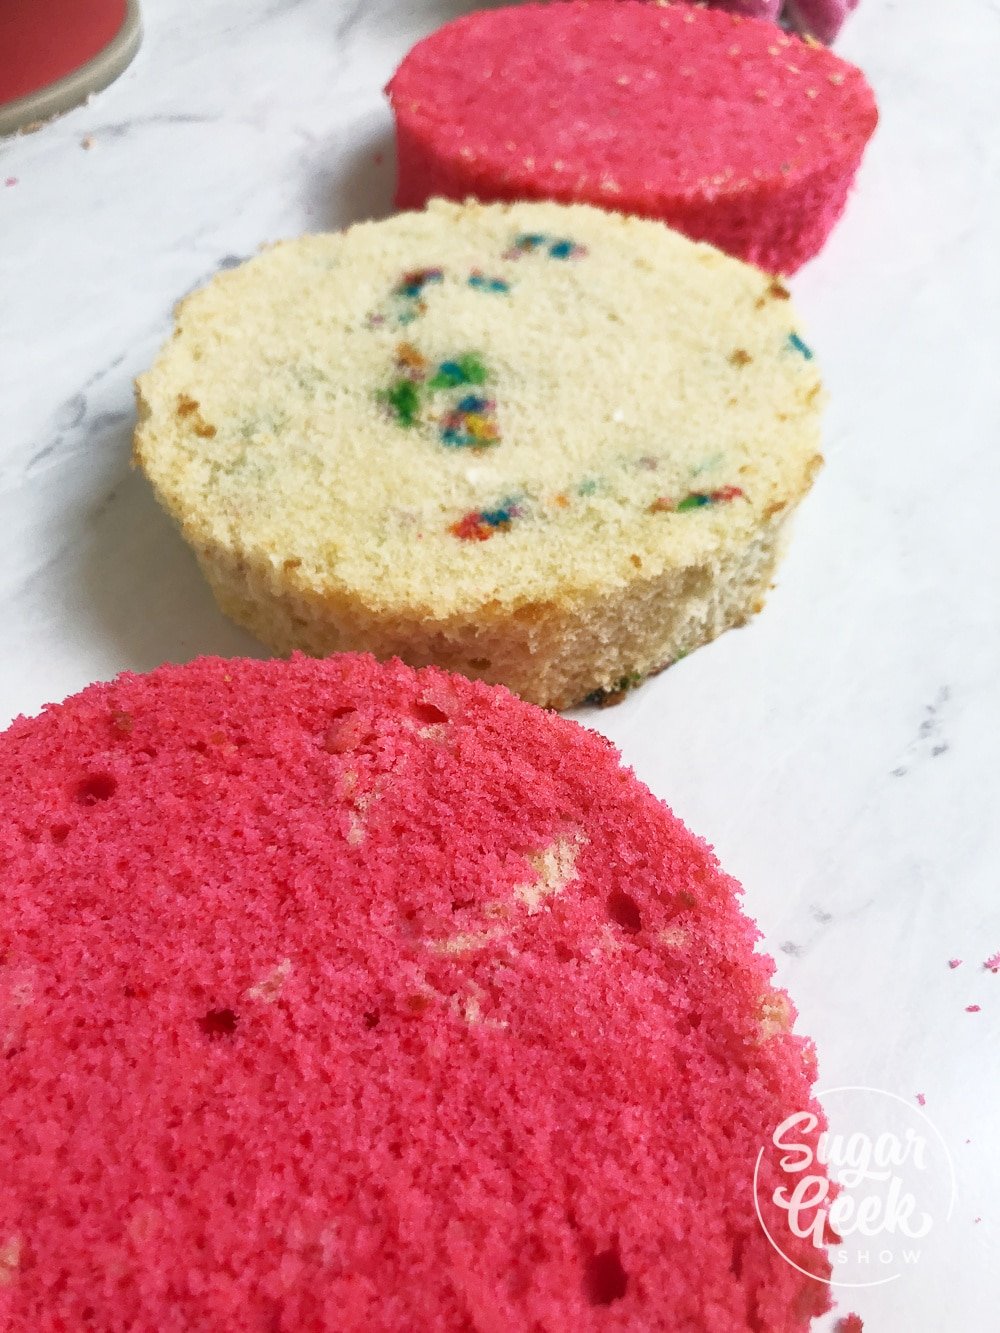
The inside of this cake is so colorful and fun! A combo of our white cake recipe colored bright pink and funfetti cake. The layers of bright yellow easy buttercream really make the colors pop.
Materials List
Two 6″ white cakes colored pink
One 6″ funfetti cake
4 cups easy buttercream frosting
2 lbs fondant recipe
2 lbs modeling chocolate
2 tsp Non-toxic gold or edible gold (note: if you use the edible gold paint then you don’t need confectioners glaze)
2 teaspoon everclear
Food coloring (blue)
Yellow food coloring (I used artisan accents but you can use any brand)
Pink edible artist decorative paint or Poppy Paint
10" cake board (I used cake boards avare but any will be ok)
3" round floracraft foam cylinder
Aluminum foil tape
2 wooden skewers
Hot glue (low temp)
- 1.5″ silicone sphere mold
- silicone cabochon mold
- simi cakes clear isomalt
- black food coloring
- silicone cups for melting isomalt
- edible glitter (or non-toxic is fine)
- creme brulee torch
- cake gloss
- nitrile gloves for hand protection
- silmat for protecting your work surface
- microwave for melting isomalt
Octopus Cake Ideas
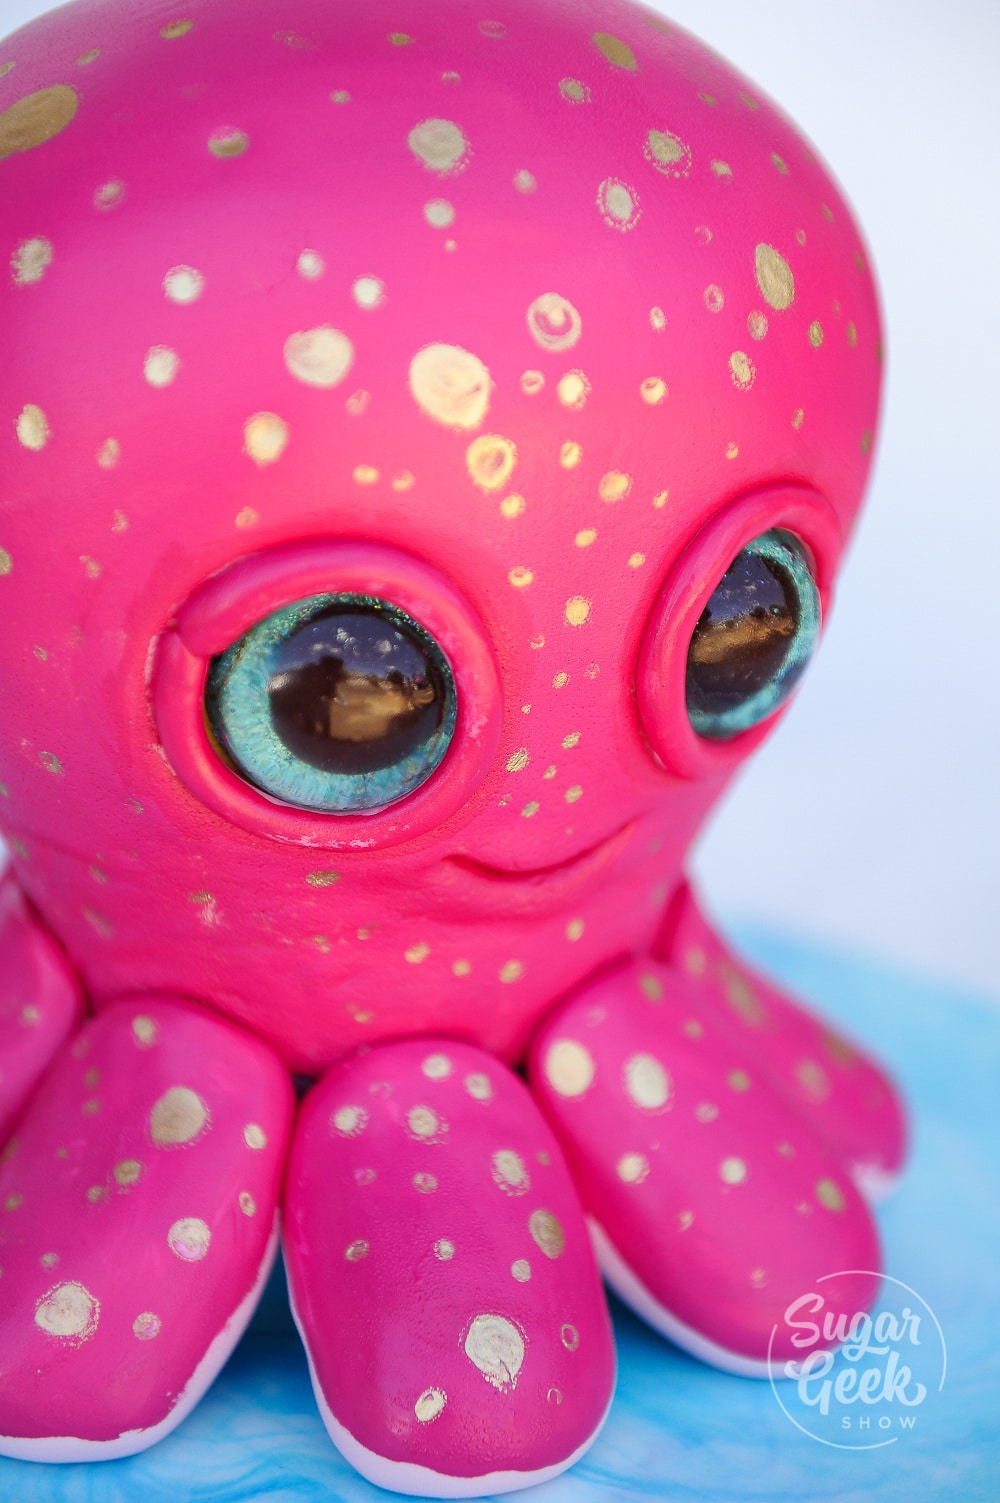
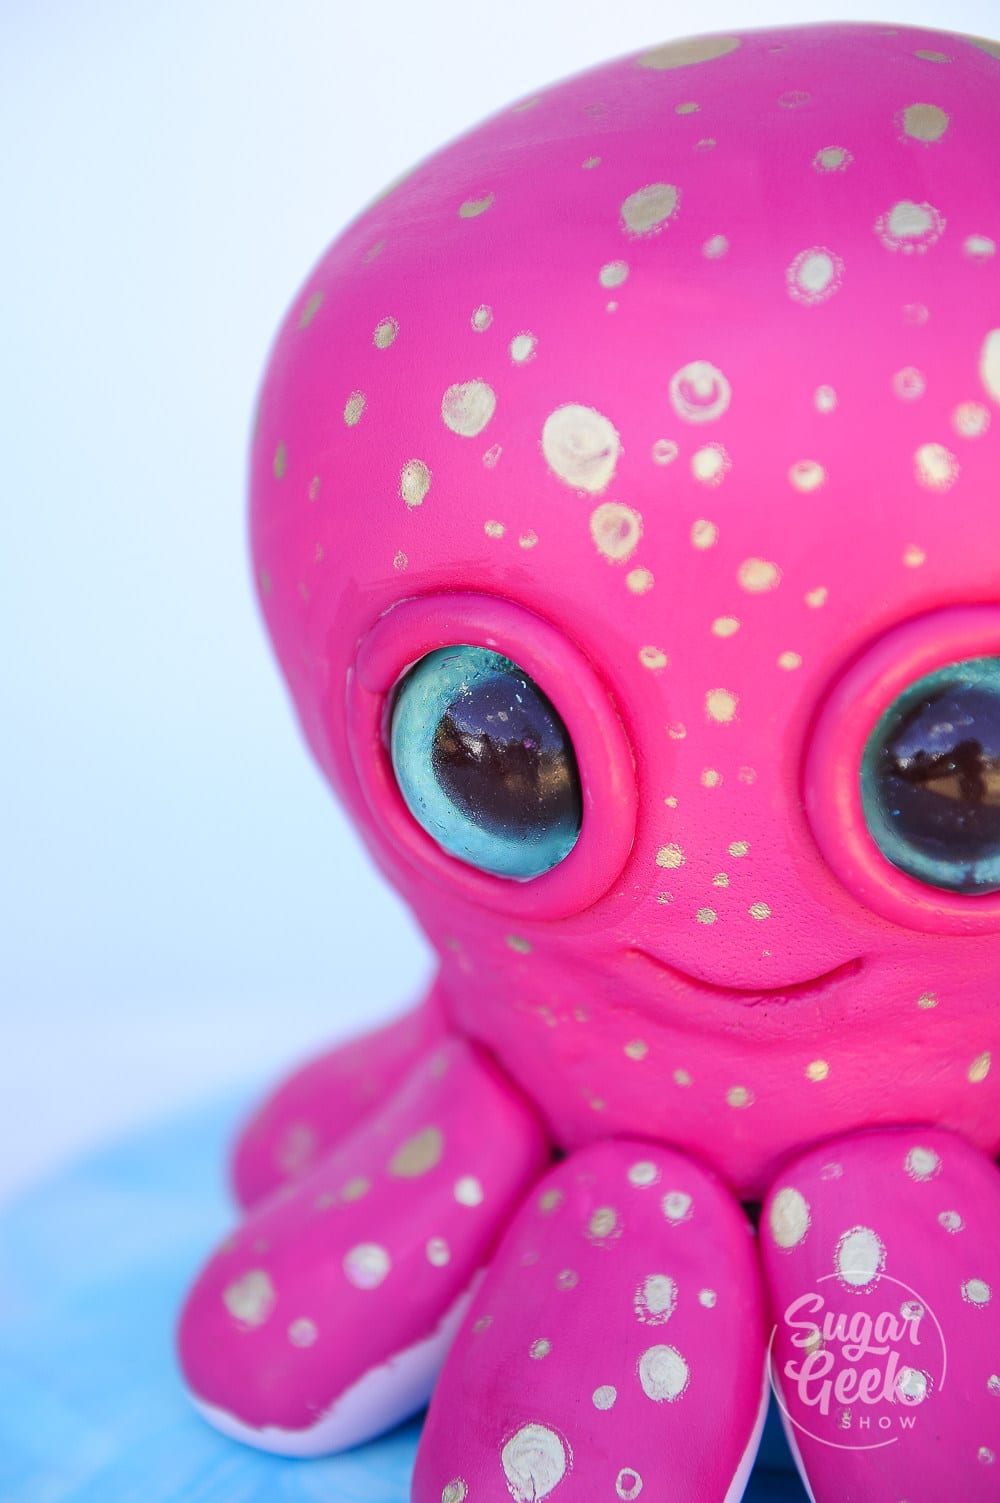
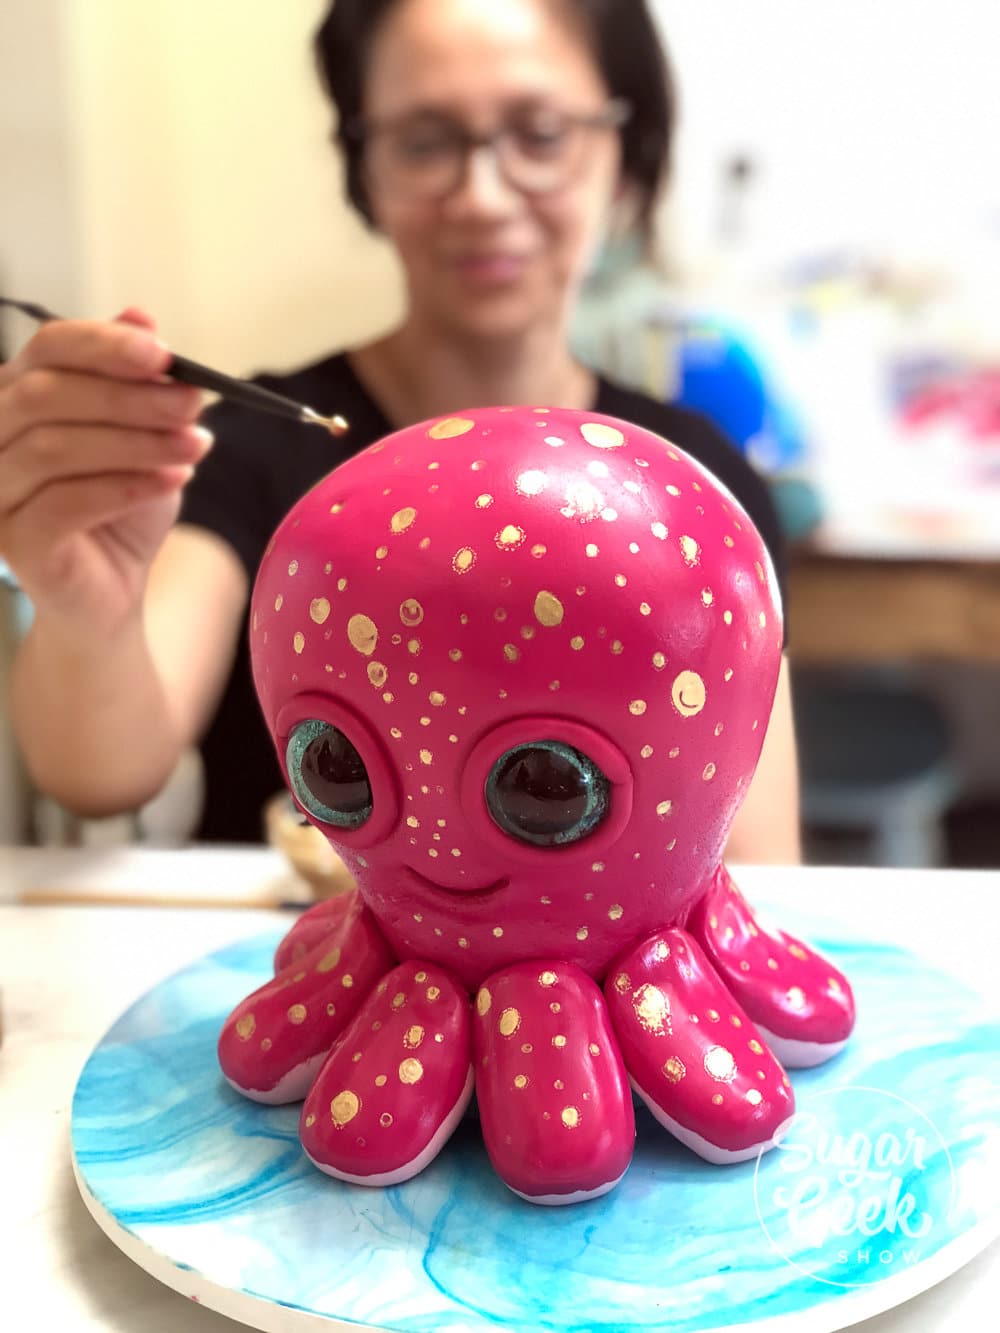
I don't know what it is about an octopus that I find so adorable! I've loved them for a long time and when Avalon walked passed a big display of beanie boos and pulled out an octopus, I couldn't say no. I love the cute proportions of this stuffed octopus toy. The big eyes, the stubby little tentacles and the pretty pink color with gold speckles!
Early on, I knew that I wanted to cake this beanie boo. Little did I know it would be one of six beanie boo cakes that I would end up caking!
Easy Octopus Cake Tutorial
I wanted to make this cake easy for anyone to make so I made sure to use a simple structure that doesn't require any power tools. All the supplies you need can be found at a craft or cake decorating store.
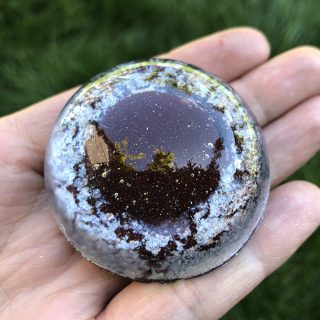
The only thing you might have to order ahead are the supplies for the glitter eyes (molds, glitter and isomalt). Of course if you don't feel comfortable making isomalt eyes or you don't have time to order, you can always hand paint the eyes with some food coloring and they will still be super cute!
The other specialty item is the edible artist decorative paint or the poppy paint. The reason I chose this paint is because it can paint on fondant and modeling chocolate really easily and has great coverage. Not very easy to achieve this bright pink color by coloring fondant alone. If you can't get the paint then I would suggest making the tentacles out of fondant as well as the body and then painting with with food coloring or you can color the fondant ahead of time with pink.
How To Make An Octopus Cake
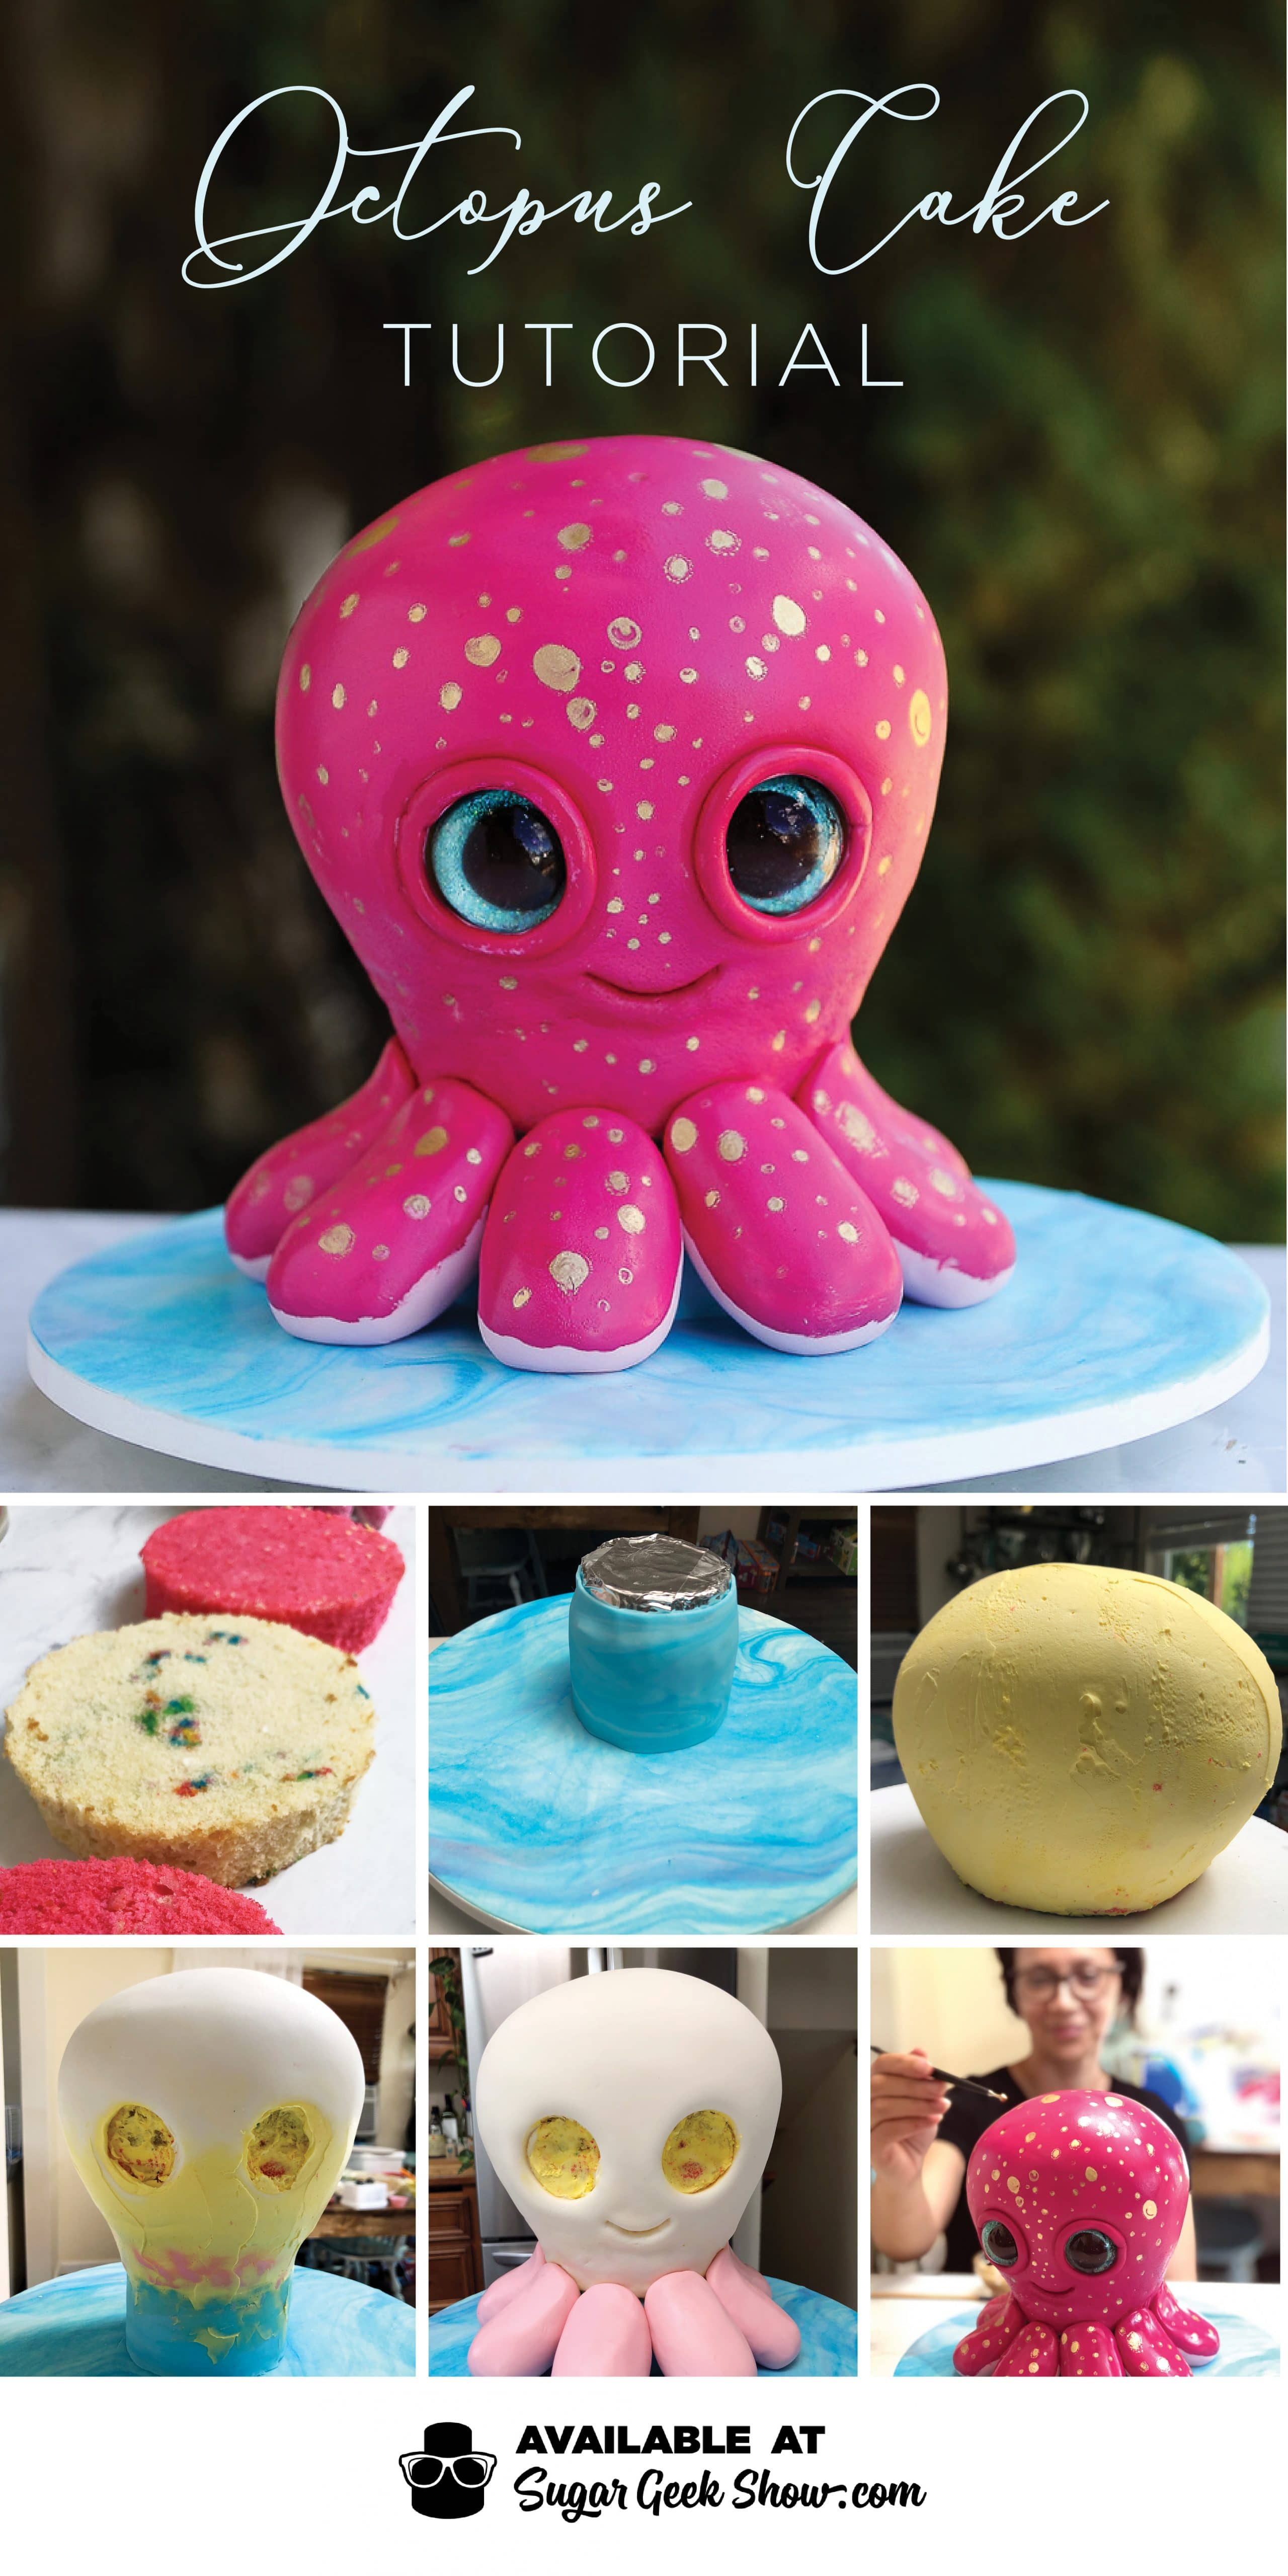
To make our octopus cake the first thing you want to do is stack your layers of cake. First I trimmed off all the brown edges on the top, bottom and sides of the cakes so the slices look really nice when you cut into them. Then I layered them up with some easy buttercream colored bright yellow.
I place the cakes onto a 4" round cake board. I carved the stacked cake into a dome using a serrated knife. Then I crumb coated the cake and chilled it in the fridge until the buttercream was firm. Then I coated it again with another layer of buttercream and used my acetate smoother to smooth out any lumps or bumps. Back into the fridge to chill while we work on the cake structure.
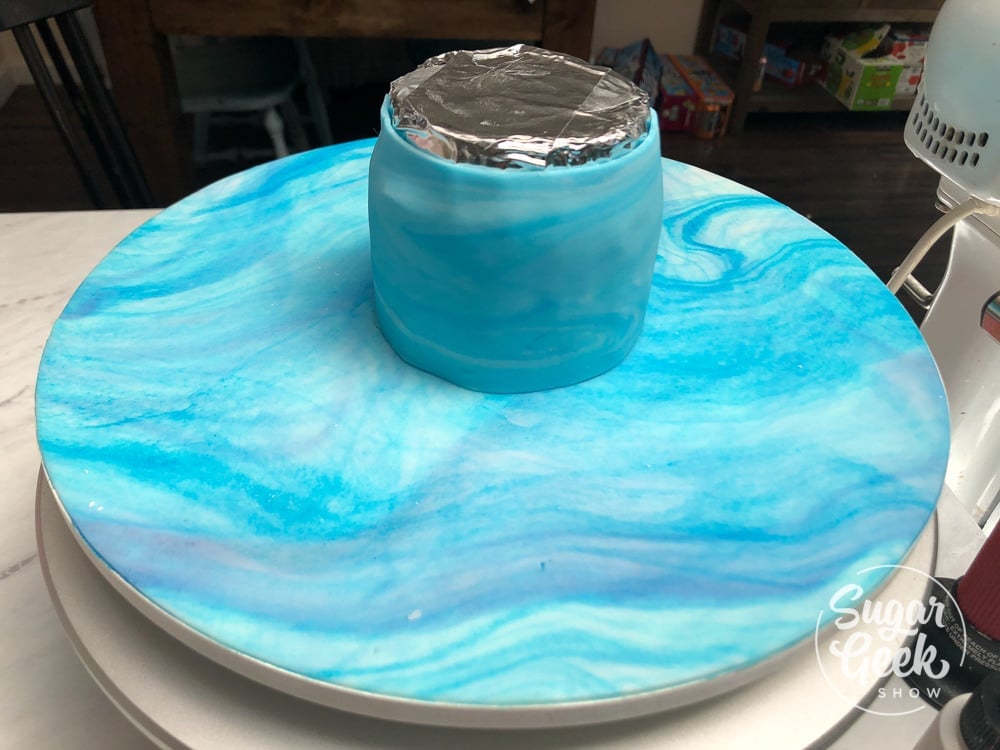
Next I marble some of the white fondant with some blue food coloring and roll it out thin. I cover the board and trim off the excess. I then baked my board in the oven at 175F for 15 minutes with the door cracked and let it cool. This hardens the fondant so that it doesn't get dinged up when we're making the cake.
I used my styrofoam as a template and cut out a circle from the center of the cake board and removed the fondant. Wipe away the excess shortening. I cut my styrofoam down and cover it with aluminum foil tape to make it food safe. Then I glue the foam down to the board with some hot glue. I glue the carved cake onto the styrofoam. Skewer the cake into the styro to keep it secure and trim off the excess.
Next we put a little buttercream on the underside of the cake board to make the gap between the cake and the styro a little bit smoother of a transition. Then I chill the whole thing until the buttercream is firm.
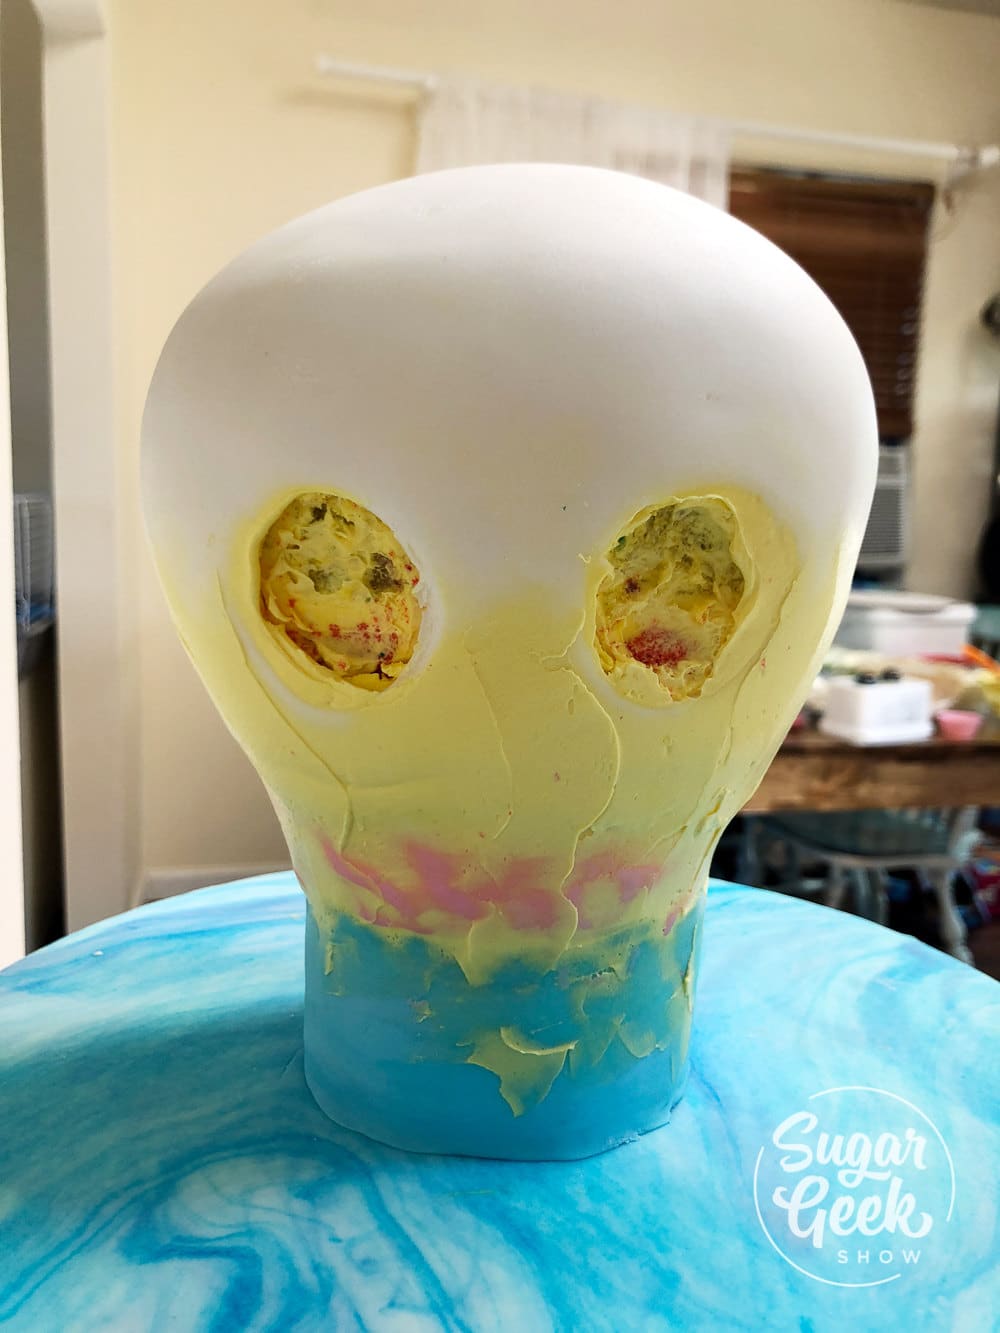
After the buttercream is firmed up you can cover it in your fondant and trim off the excess. Form your tentacles out of fondant or modeling chocolate and place onto the base of the cake. Adhere with a little bit of water.
Use a 3" circle cutter to cut out some of the fondant from the front of the octopus cake. Paint the surface of the cake with your edible artist decorative paints or food coloring. Place your sugar eyes into the cutouts. The last thing I do paint the surface of the octopus with some gold paint to make spots.
That it! That's all there is to making this adorable octopus cake. I hope you enjoyed this octopus cake tutorial and make sure you watch the full video below on how to make this cute beanie boo cake!
If you enjoyed this tutorial be sure to check out our others in the series


Leave a Reply