A Sculpted Turtle Cake With Beautiful Sugar Eyes And Golden Crackled Rainbow Skin Is Easy And Fun To Make
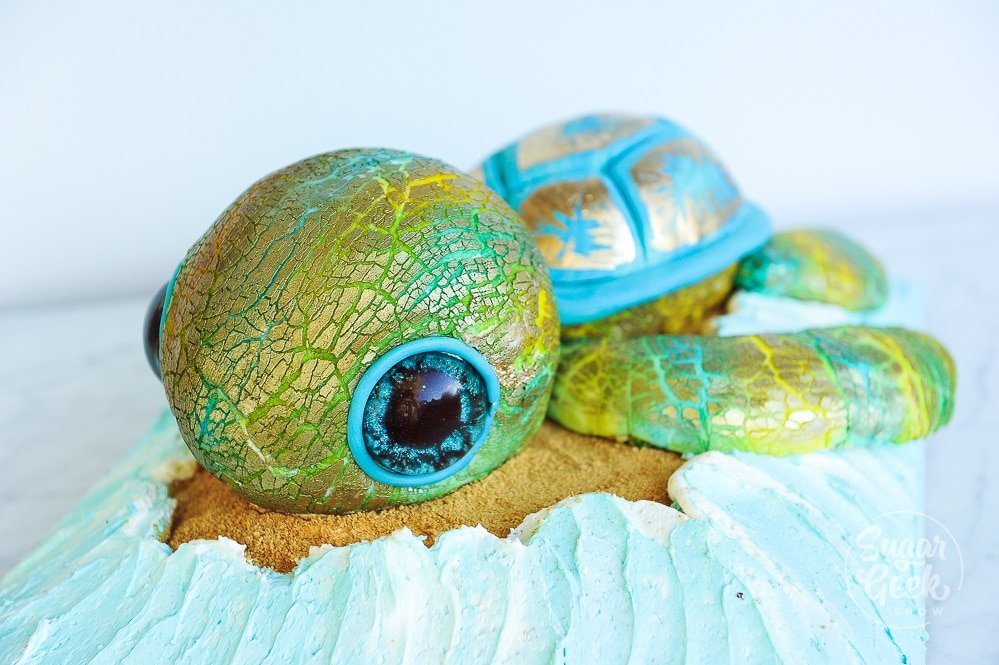
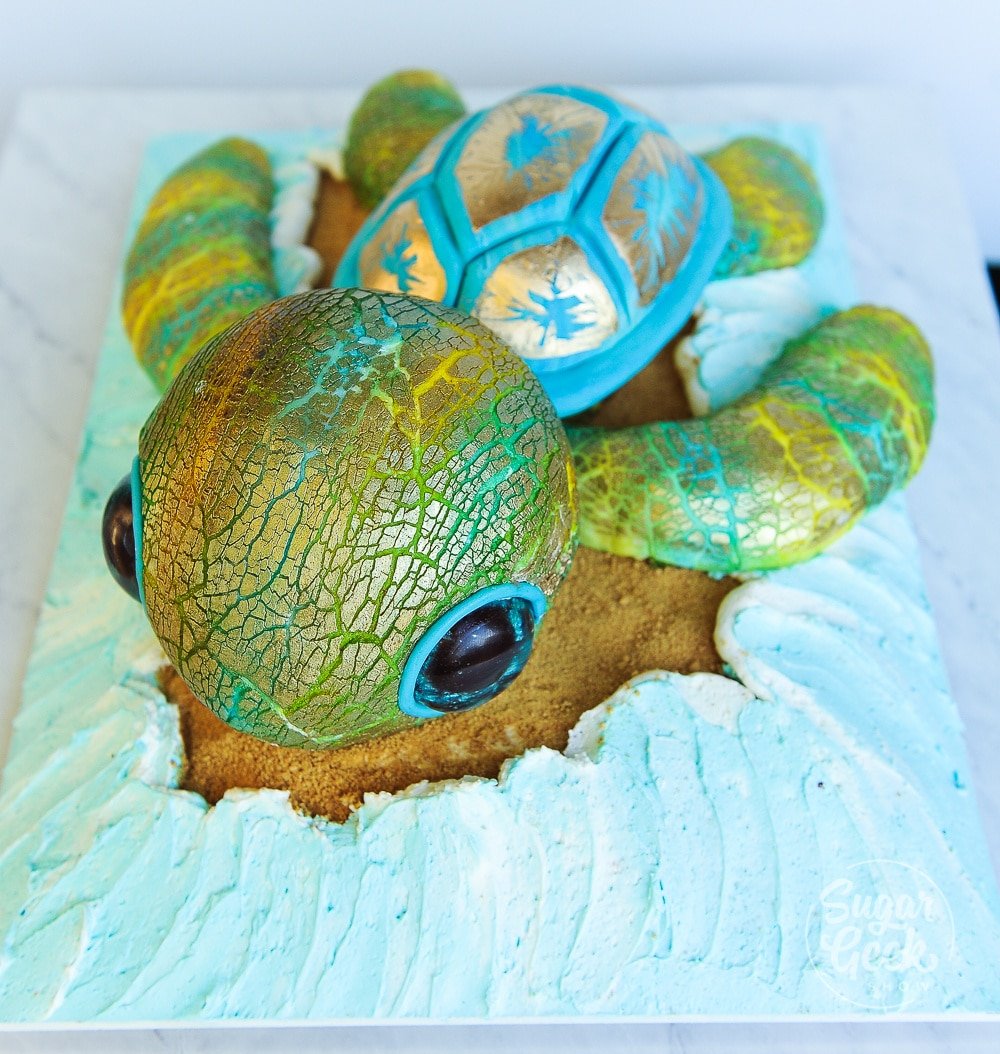
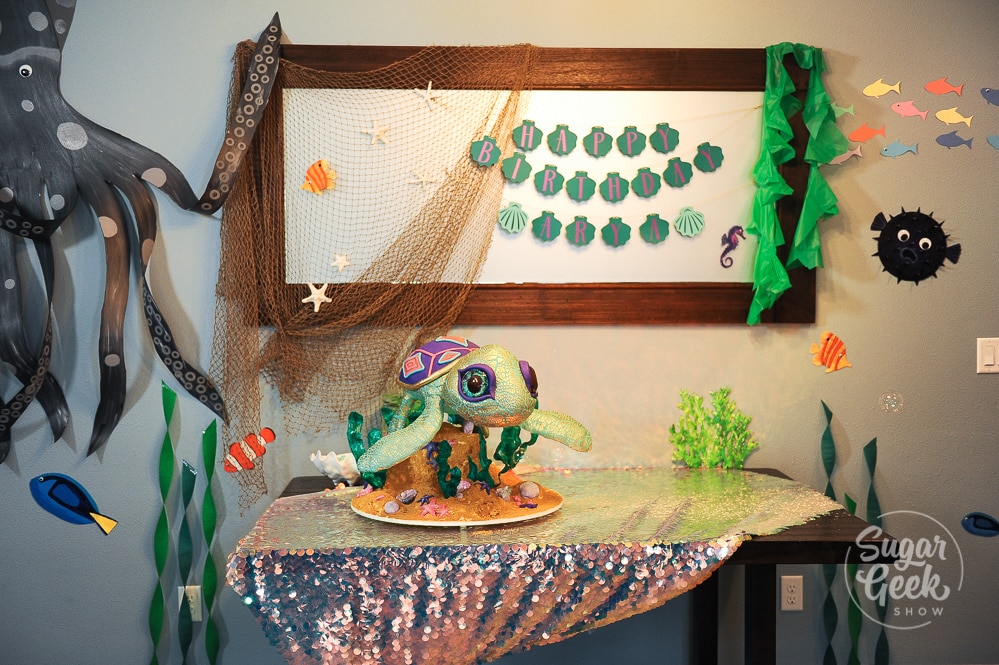
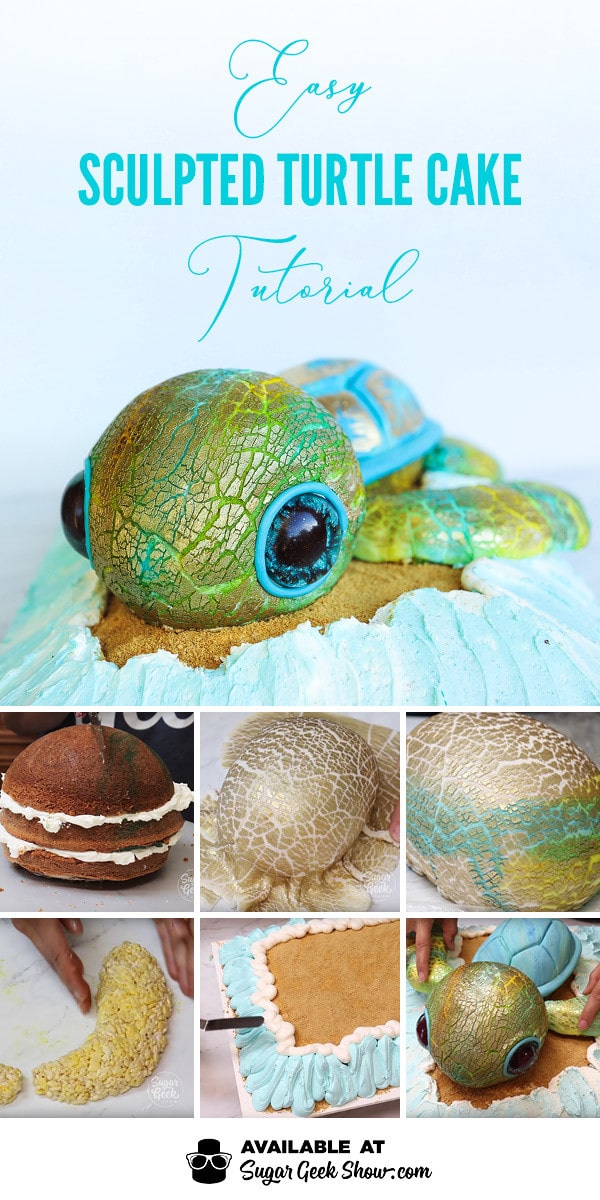
This sculpted turtle cake is the first cake in a series of six cake tutorials based off my daughter's favorite toys. In this tutorial I wanted to get you used to some basic sculpted cake techniques so we're going to do some very basic cake carving, some fun crackled fondant and molding rice cereal treats. I love the look of the big head and flippers and the tiny body on this sculpted turtle cake. The sugar eyes have so much life and the gold crackled fondant works so great for the texture. This cake is really easy to make. A great beginners sculpted cake or a last minute order.
Materials List
Two 6" white cakes
One 6" dome white cake
One half sheet white cake
8 cups easy buttercream frosting
4 lbs fondant recipe
1 teaspoon confectioners glaze
2 tsp Non-toxic gold or edible gold (note: if you use the edible gold paint then you don't need confectioners glaze)
2 teaspoon everclear
Edible water color (electric blue, yellow)
Food coloring (blue, ivory)
Two glitter eyes
Graham cracker crumbs
8 oz marshmallows
1 lb rice cereal
¼ cup candy melts
Specialty Tools
Acetate smoother
Piping Bag
Large silicone sphere molds
Cabochon mold
Creme brulee torch
Sculpted Turtle Cake Ideas
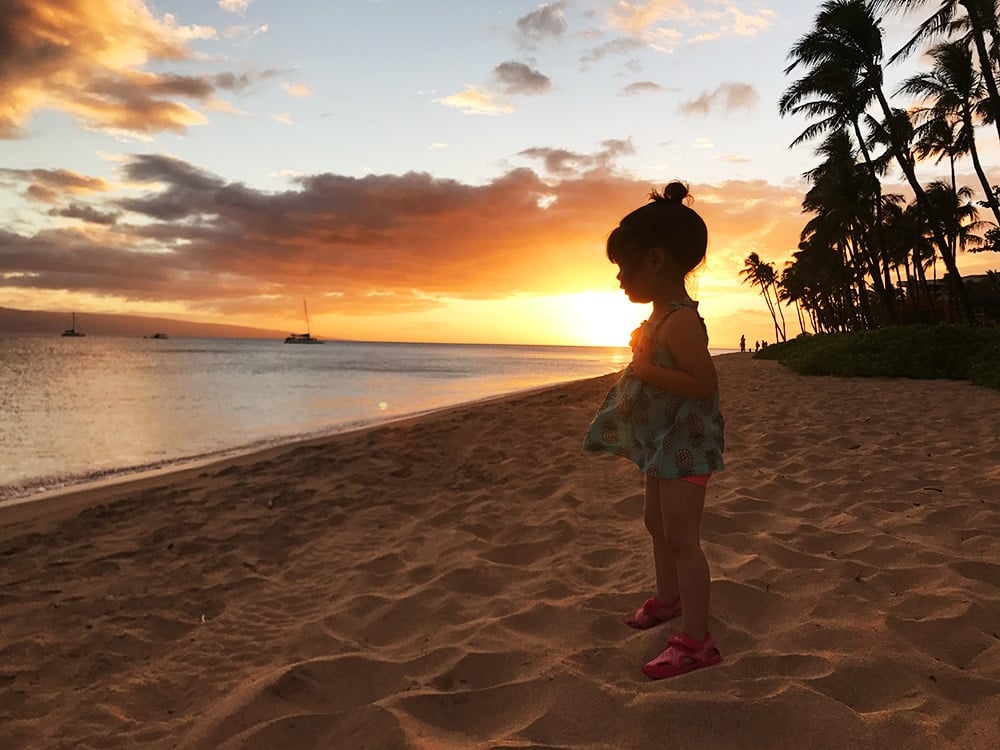
I admit, cakes are my whole world but since I had my daughter my whole world basically revolves around her and her interests. Can you blame me? Who can say no to that face? Avalon's first obsession was finding nemo, then finding dory. She LOVED all those colorful animals and fish but especially loved the sea turtles.
In 2017 we had the chance to go to Maui for 10 days and Avalon got to see REAL sea turtles swimming in the ocean. She would ask me to watch the videos over and over again.
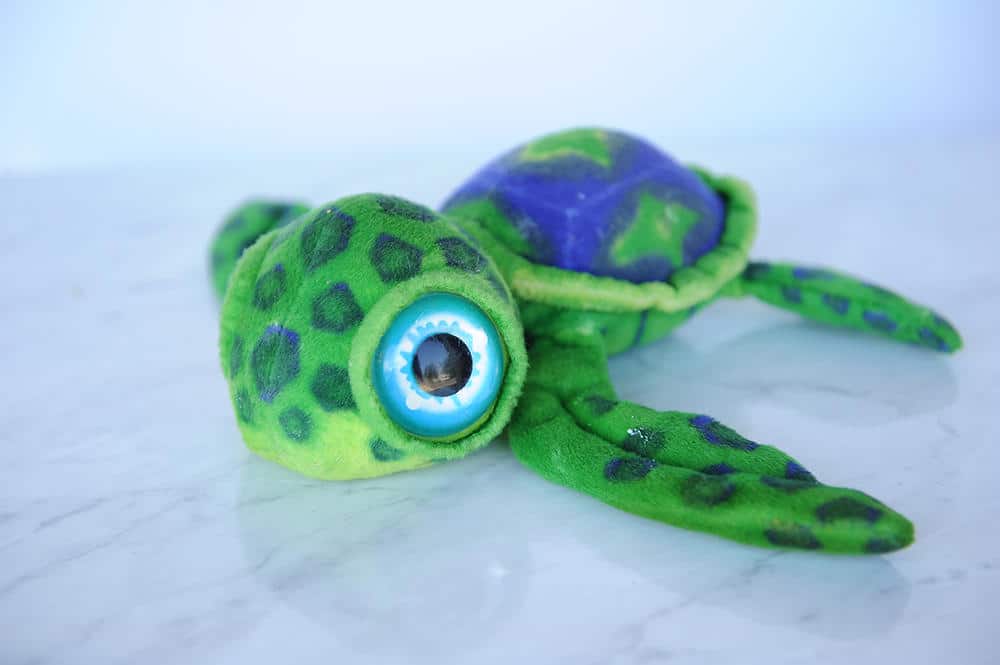
Last summer we took her to a carnival for the first time. Even though she was too scared to even go on the smallest rides, she really enjoyed playing some games with daddy. He won her this little knock-off turtle cake. I didn't really think it would be anything special at first but here we are a year later and it's still one of the "special buddies" that has to go night-night with us at snuggle time.
We also used this turtle as the inspiration for one of my best friends daughters 3rd birthday cake which just happened to be televised on Food Networks Ridiculous Cakes - Sink or Swim episode. It was HUGE and a little stressful to make but she loved it.
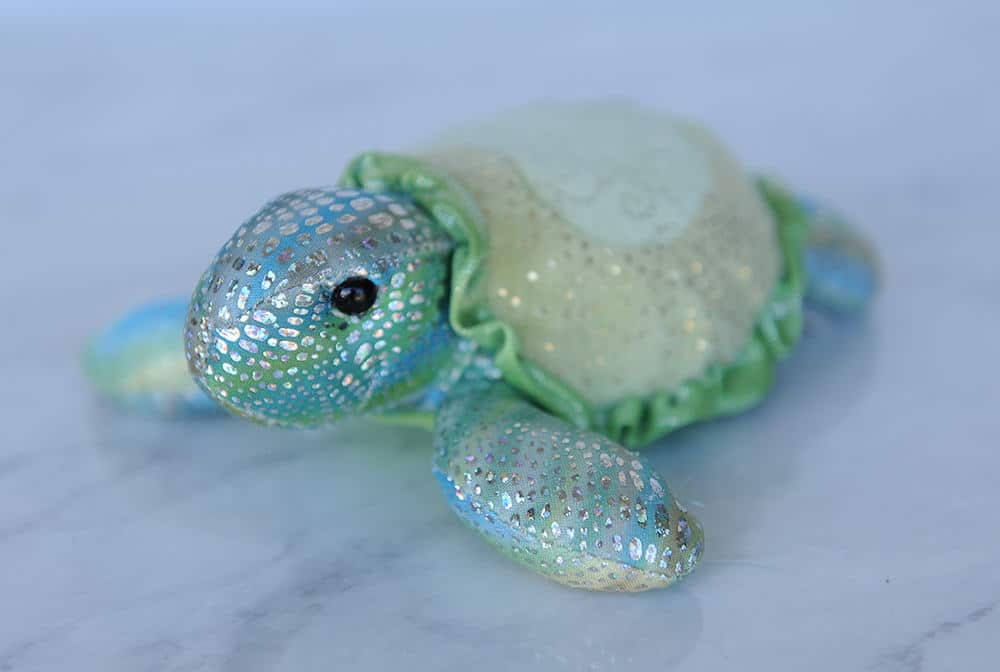
Even though I love the proportions of the stuffed turtle, I'm not a huge fan of the colors. For the crackled look and color inspiration, I was inspired by ANOTHER one of her turtle toys. A purse and stuffed turtle combo. I love the pretty blues, colorful rainbow and crackled metallic look and thought this would be perfect inspiration for a sculpted turtle cake.
How To Make A Sculpted Turtle Cake
Make sure you watch the video to see the whole process explained on how to make the sculpted turtle cake.
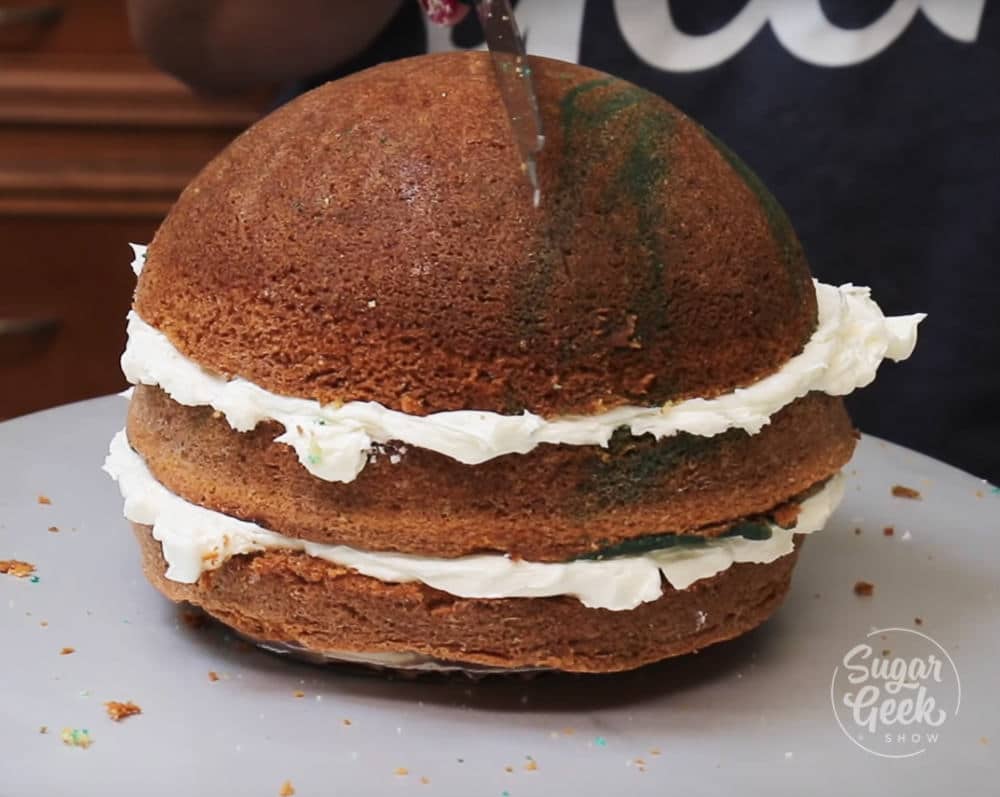
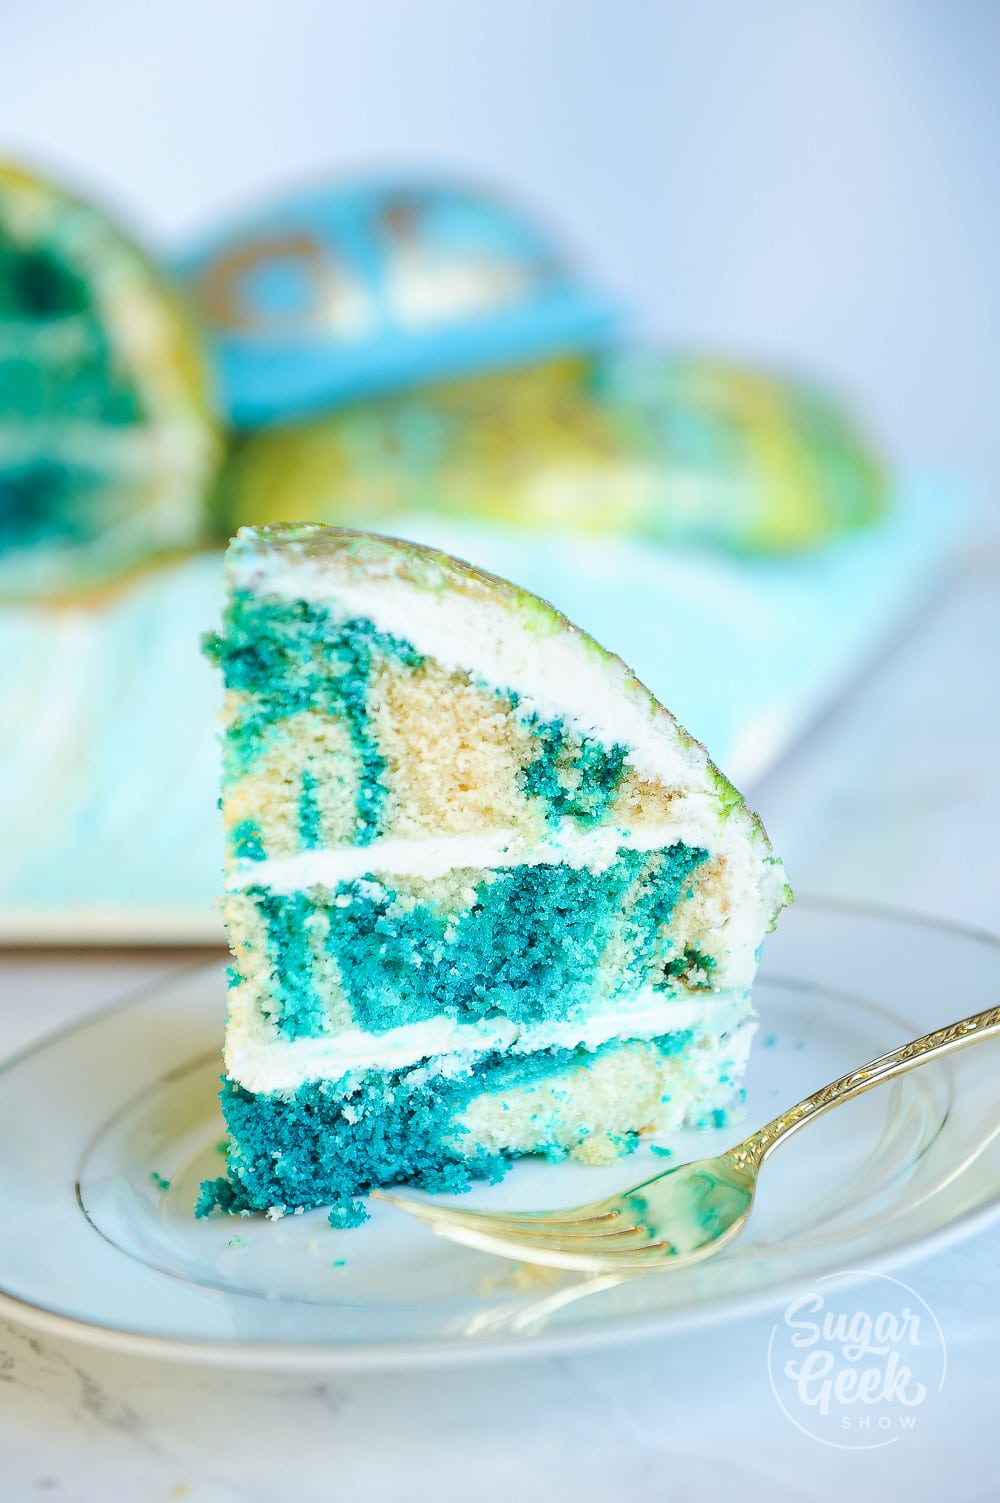
So to make this sculpted turtle cake, we're starting out with some cakes that are already pretty much the shape that we want them to be. Tort your two six inch cakes in half. Three of the layers will be for the shell. Torte the dome in half and add the last layer of the 6" cake. Fill them with buttercream and carve. Crumbcoat and chill.
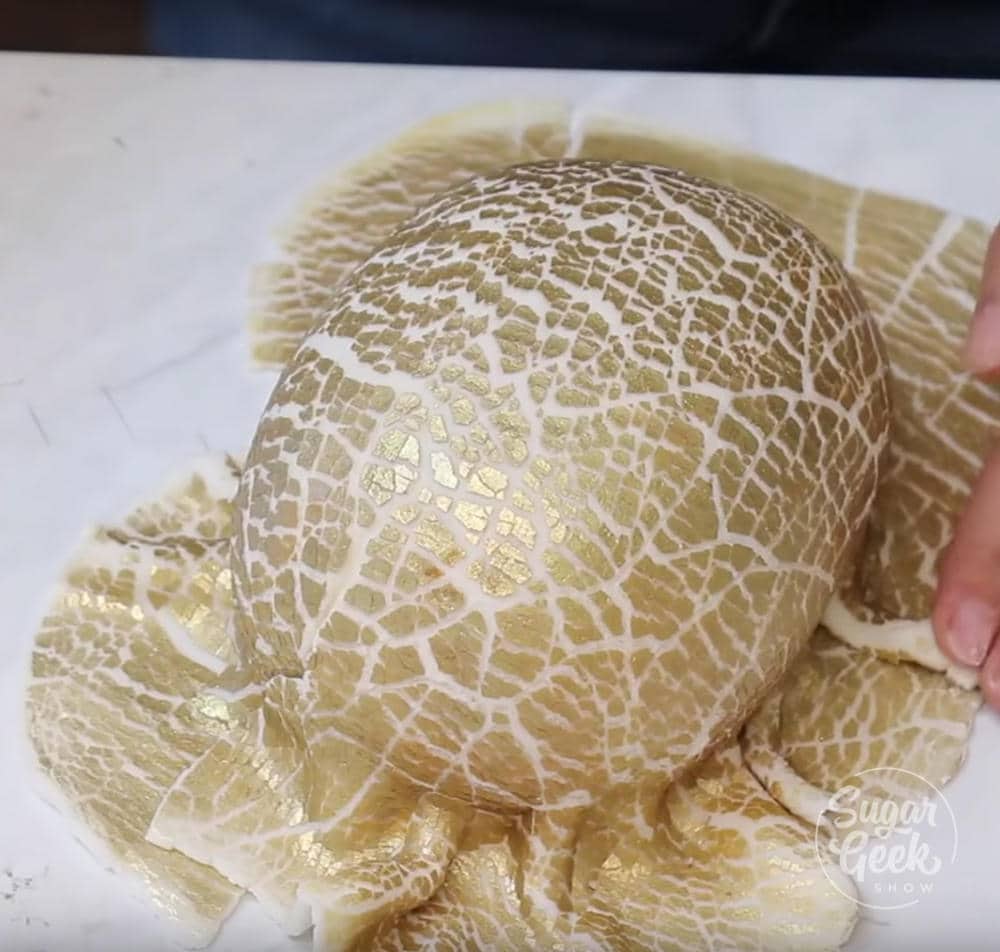
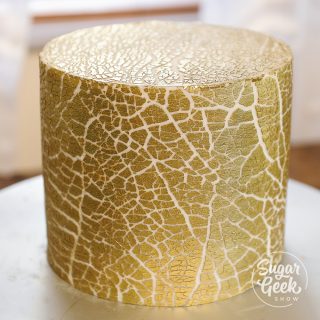
Next, roll out some of your white fondant a little thicker than what you would to cover a cake (about ¼"). Torch the surface with your creme brulee torch. Then brush the surface with some confectioners glaze. If you don't have confectioners glaze you can use edible artist decorative paints gold, rainbow dust gold or poppy paints gold. Then combine your gold dust with some Everclear, lemon extract or rose water. Brush onto the surface and let it completely dry.
Once your fondant is dry you can roll it out to make it crackled! Cover your cakes with the crackled fondant and trim off the excess. Paint your cakes with some of your edible water colors. I diluted mine down with some extra Everclear so they where very transparent. I rolled out some marbled blue fondant for the shell and used a modeling tool to make the shell texture. Add on a little gold paint to make the shell pop!
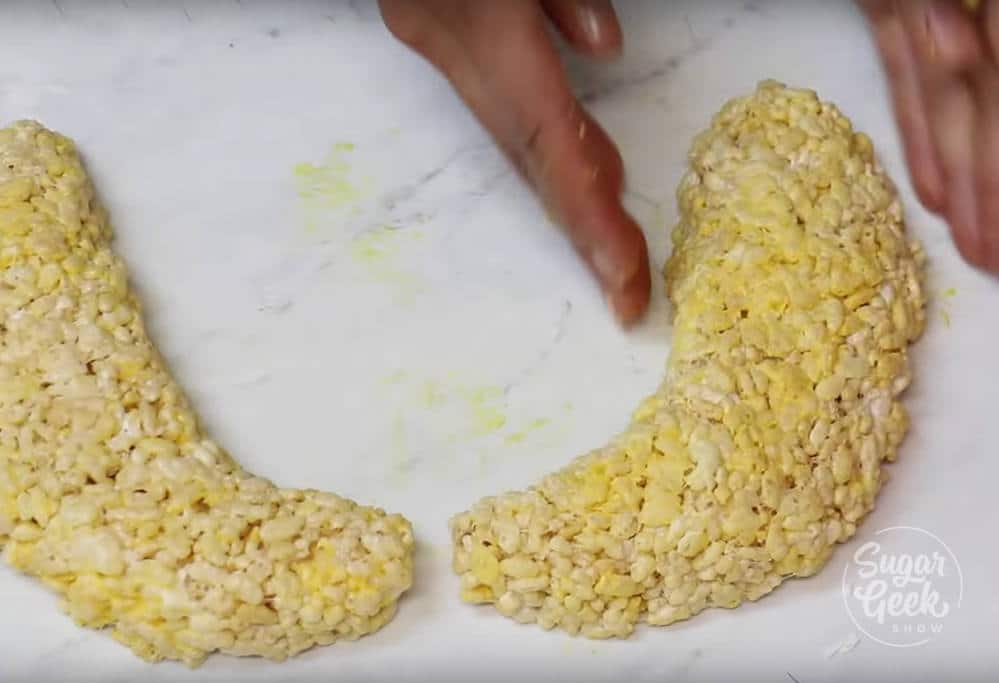
Next I form my flippers by melting down some marshmallows and combining them with some rice cereal. I leave out the butter and add a little melted candy melts so they are really stable. Let the mixture cool for about 10 minutes then form into flippers. Let the flippers cool and then cover in a little buttercream. Then you can cover them in some more crackled fondant and paint them like you did the cakes.
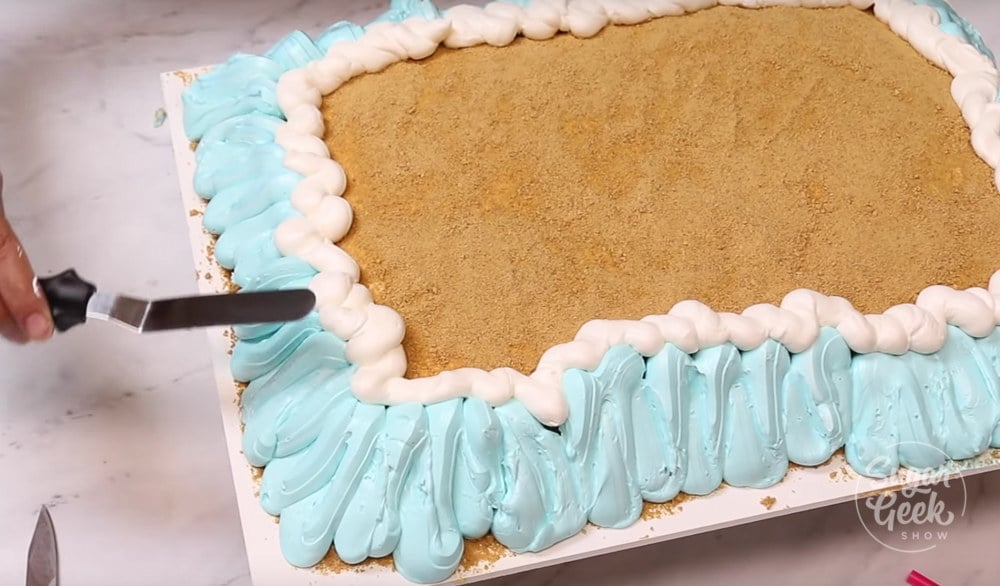
Carve down your sheet cake to make a slight dome. I colored my buttercream ivory before frosting the sheet cake. Then I cover the buttercream with a thin layer of graham cracker crumbs. Color some more buttercream with some blue food coloring and pipe around the edges. Pipe some white buttercream around the top edge and then blend the two together with an offset spatula.
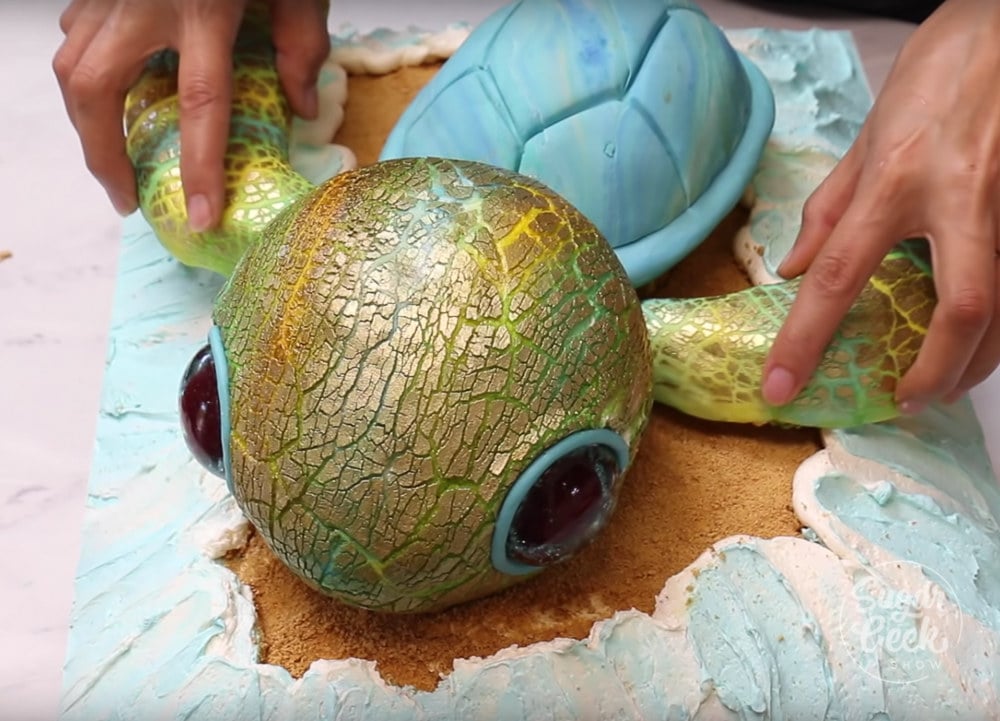
Insert a few straws into the cake and level off with scissors. These straws support the weight of the turtle head and body. Without them, the cakes would crush the cake below. Add your flippers to the sides of the turtle.
Cut out a circle from the turtle head using a cutter where the eyes will go. Insert your glitter eyes and finish then off with a little rope of fondant. This keeps the heavy glitter eye from falling out.
That's it! your sculpted turtle cake is complete! Be sure to watch the full video tutorial with instructions below!
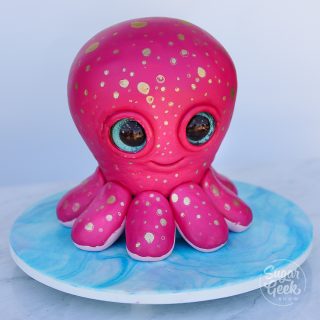
If you loved this cake be sure to check out the other cakes in this series


Maria Cruz-Pagan says
Wow, just amazed as always ??
Patty Morales says
Adorable!!! Thank you for sharing 🙂
Marti says
I'm interested to know at what point, and how much, candy melts you add to your RKT? I'm thinking, melt it with the marshmallow? Thanks so much!
The Sugar Geek Show says
If you watch the full length video I just add in the 1/4 cup melties to the mixture of marshmallow and rkt
Donna says
What about the turtle tail.? Did I miss a step.? Very cute though,
The Sugar Geek Show says
Haha oh I guess I forgot the tail, my stuffed animal doesn't have one so I didn't think of that part. You should definitely add one! That would be cute
Indira says
Hallo there
Thank you for sharing so many good stuff with os ordeneri people from all over the world.
I am just about planing to make this cake... but I am bit confused.
In a material list is written:
Two 6″ white cakes
One 6″ dome white cake
One half sheet white cake
White cake !
But in a vidio, you are talking just about vanilla cake.
Which recept shoud I follow, vidio?
I just want to be sure, that I am doing the right thing.
Thank you in advance
The Sugar Geek Show says
White or vanilla cake is totally fine. Technically a white cake IS vanilla cake. It's just your preference. So sorry for the written confusion.
Indira says
Thank you!!!!!!!!!
Love from DK
Patricia says
I can’t believe I actually made this lol - thank you for the awesome tutorial. My son is going to love his surprise birthday cake, and I’m shocked at how well it turned out with my very beginner skills! Love!
Casey says
I have watched this tutorial on YouTube several times and I'm planning to make this cake next week because my son is turning the BIG ONE! We call him our "Turtle" and I have been obsessed with the sea and all its creatures since childhood.
So glad I found these written instructions here, as well. You are so very talented and your personality tickles me; I love watching you! Thank you for inspiring and tutoring me (and all the others!). You rock! Will update and let you know how it goes. 🙂