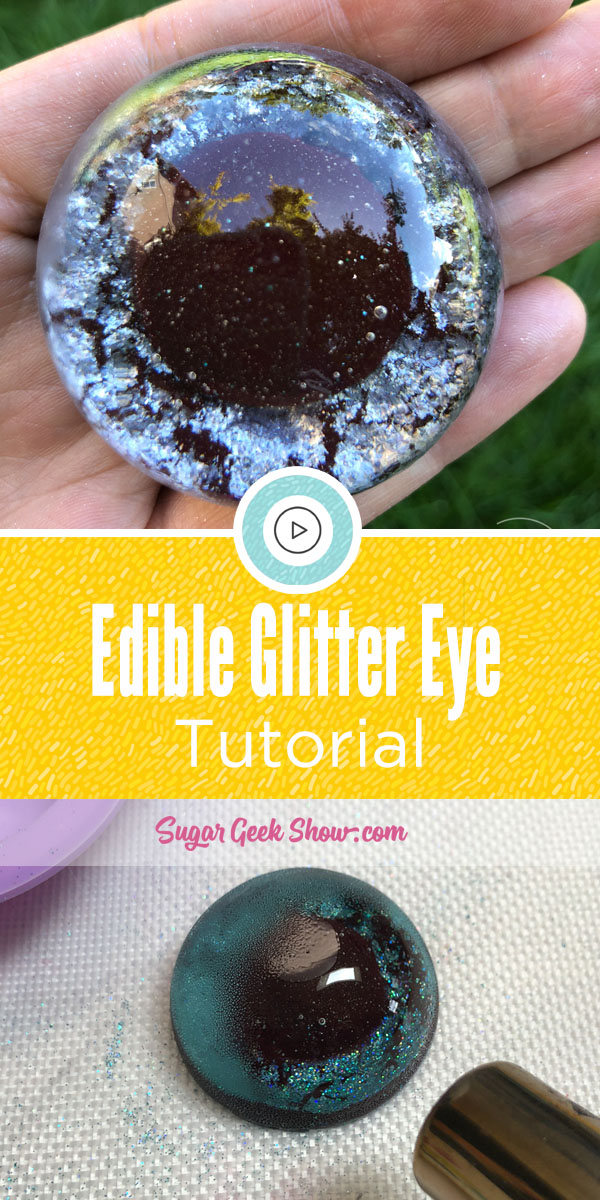
Edible Glitter Eye Tutorial Made From Isomalt and Edible Glitter
These edible glitter eyes are perfect for using in your whimsical sculpted cakes. I first made these eyes for a gravity defying sea turtle cake for my friends daughter's birthday which HAPPENED to be filmed for an upcoming episode of Ridiculous Cakes on Food Network. Tune in on June 9th 10:30pm | 9:30c to see how the cake came together.
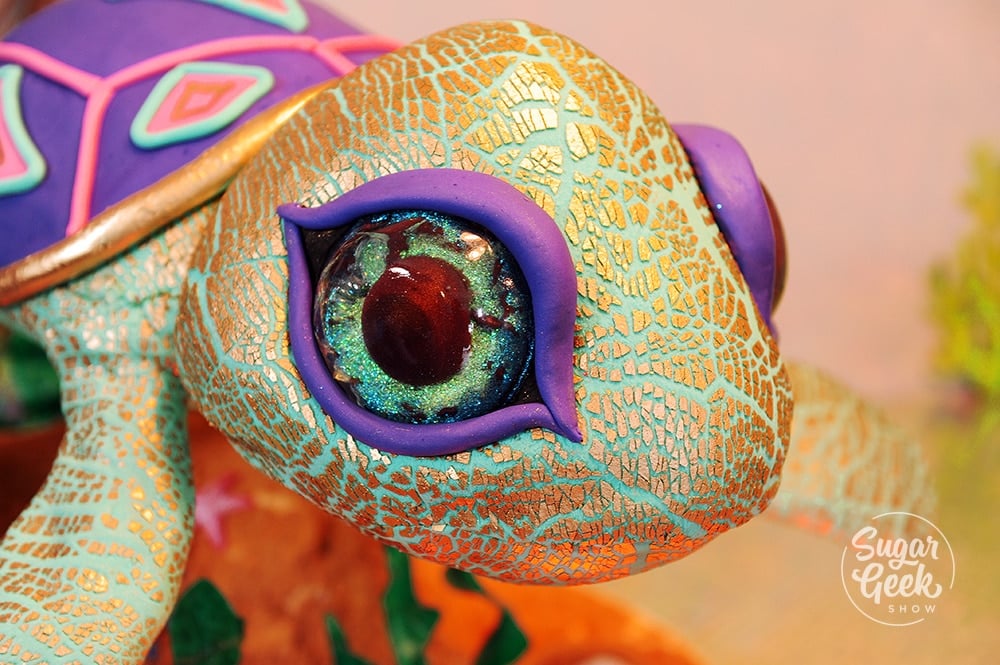
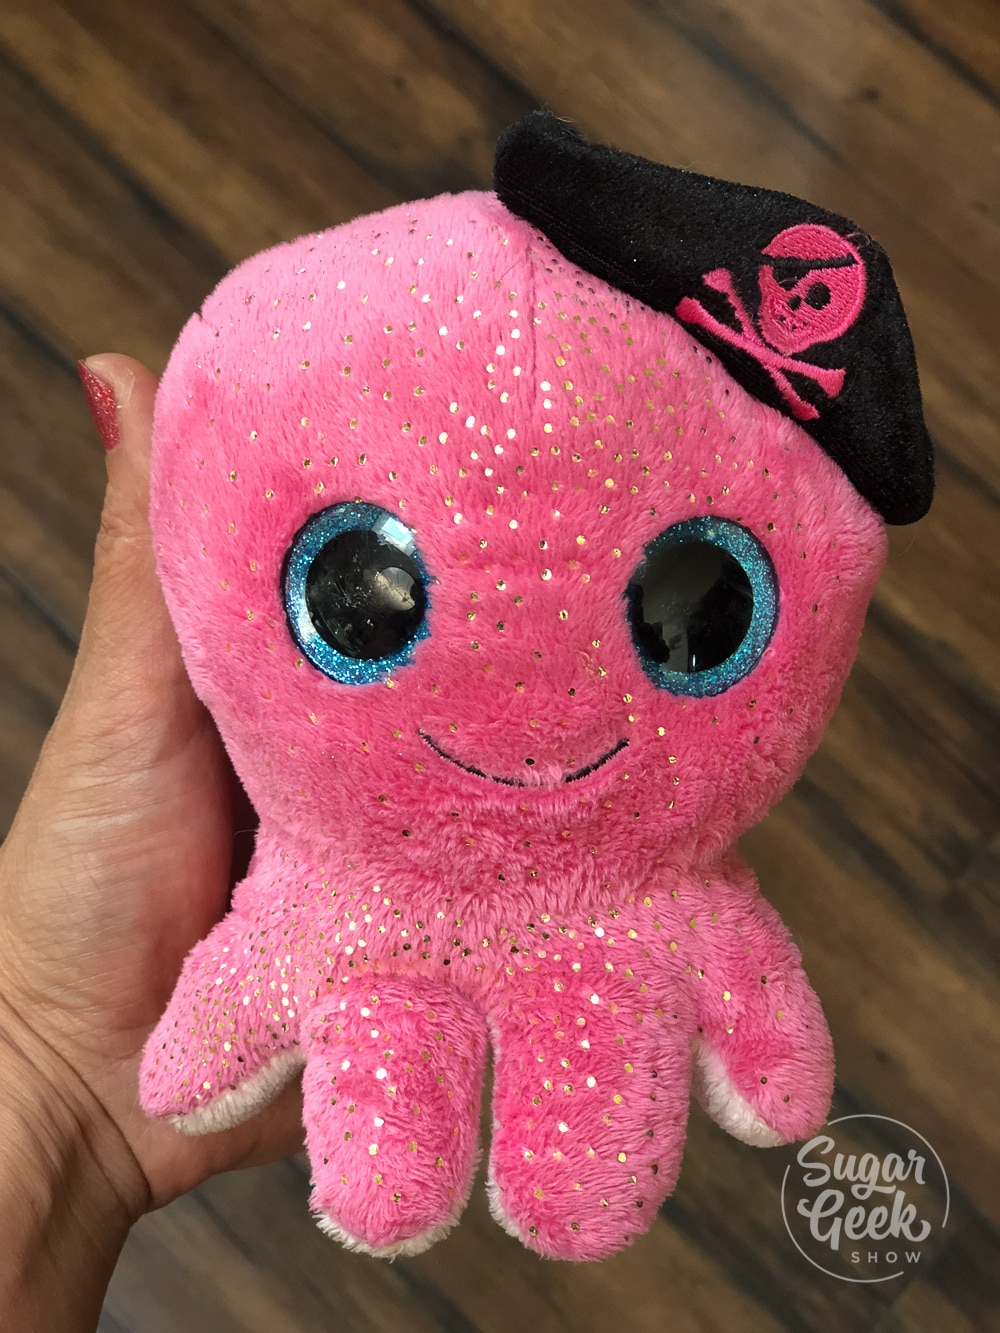
Beanie Boo Eyes
I was originally inspired to make these eyes from looking at my daughter's toys. She LOVES the pretty glitter eyes and has about a billion different versions. Seriously, she needs a beanie boo intervention. When my friends daughter asked for a beanie boo turtle cake for her 3rd birthday, I was stoked to finally figure out how to make these babies out of sugar!
I went through a LOT of trial and error. Cracked isomalt, bubbles, imperfections but finally, I figured out a process that was repeatable and pretty goof-up proof.
How To Make Edible Glitter Eyes
Materials
- 2" silicone sphere mold (large eyes) or 1 ½" silicone sphere mold for smaller eyes
- silicone cabochon mold
- simi cakes clear isomalt
- black food coloring
- silicone cups for melting isomalt
- edible glitter (or non-toxic is fine)
- creme brulee torch
- cake gloss
- nitrile gloves for hand protection
- silmat for protecting your work surface
- microwave for melting isomalt
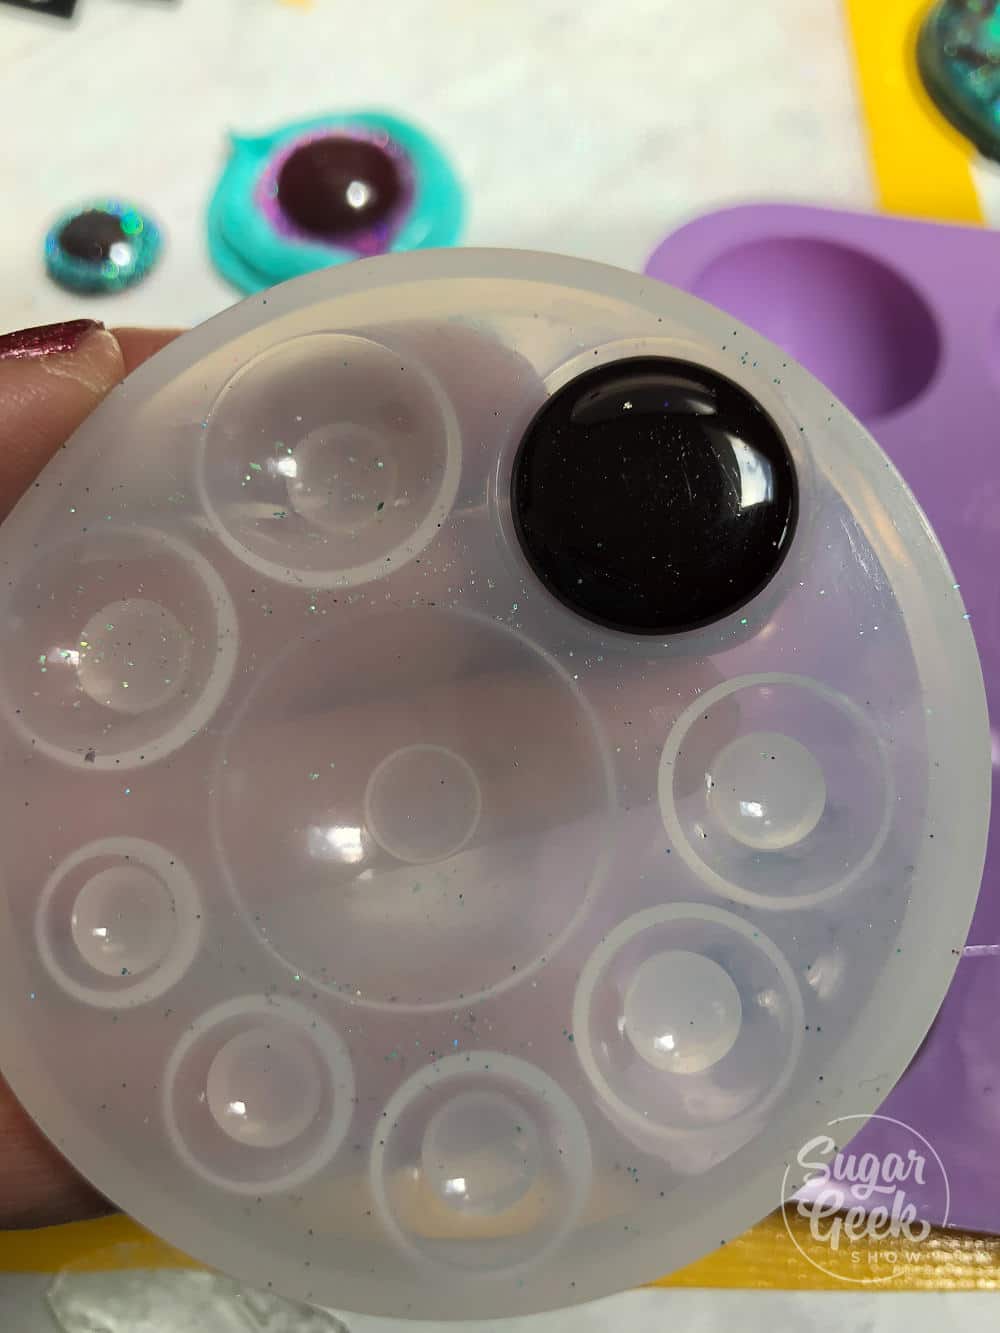
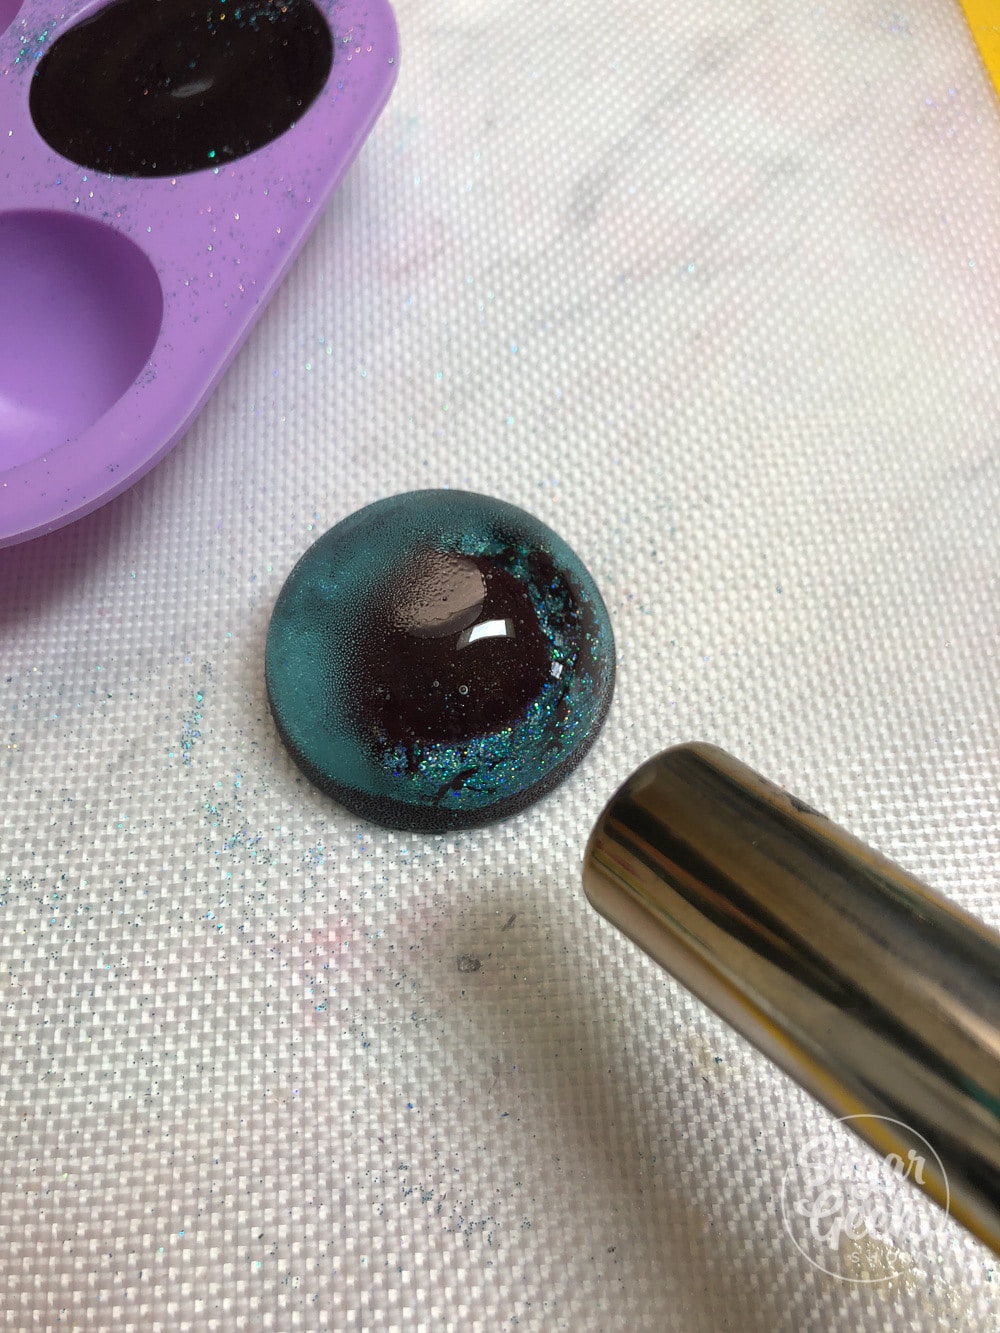
Start by melting your clear isomalt. I melt mine for 30 seconds at first and then in 10 second increments until liquid. Make sure you wear hand protection because that isomalt gets HOT. Let the bubbles settle down. Color a small amount with a drop of black food coloring. Pour the black isomalt into the second from largest sphere from the cabochon mold. Let it cool then torch the surface so it's free of bubbles.
**tip** when re-melting isomalt, go in 10 second increments to prevent over-heating or burning. Never fill your cup more than half way to prevent getting burns.
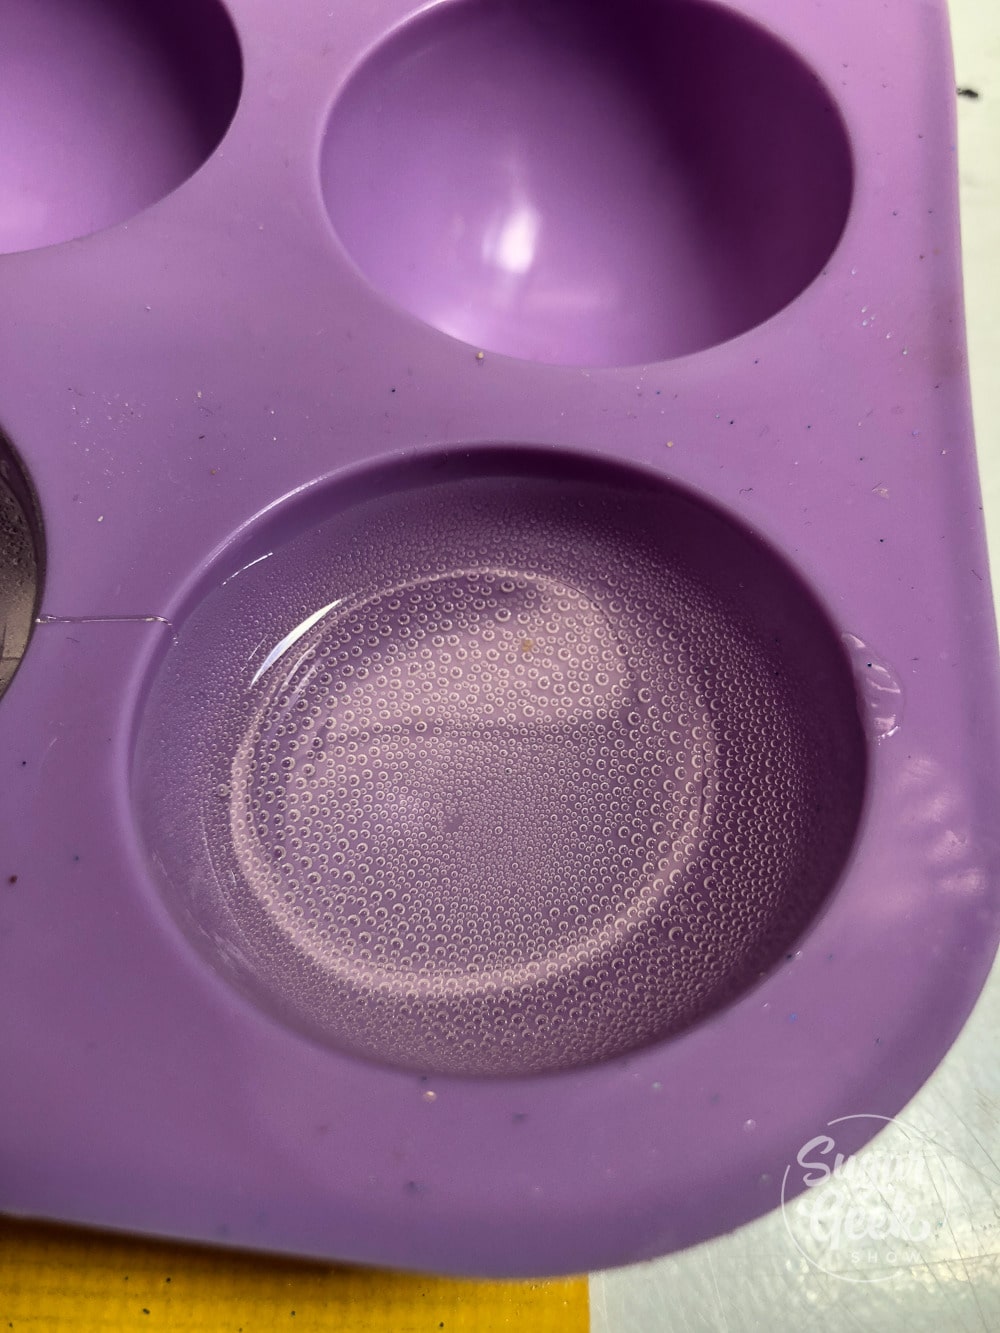
Fill your silicone sphere mold halfway with clear isomalt and rotate the mold so the liquid coats the sides of the mold. This way you don't get a seam in the side of your eye. Let it cool.
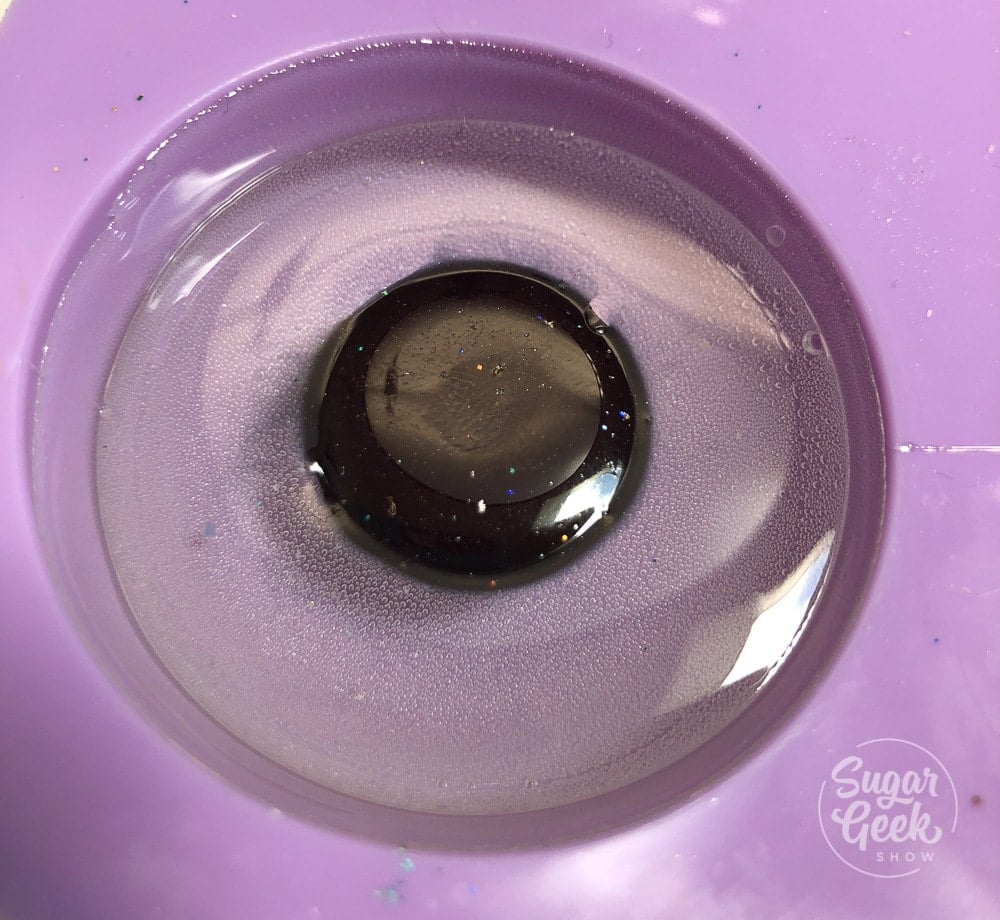
Pour more clear isomalt into the remaining space of the mold half way. Place the black isomalt sphere in the center. Use the tip of a knife to position it so you don't burn your finger.
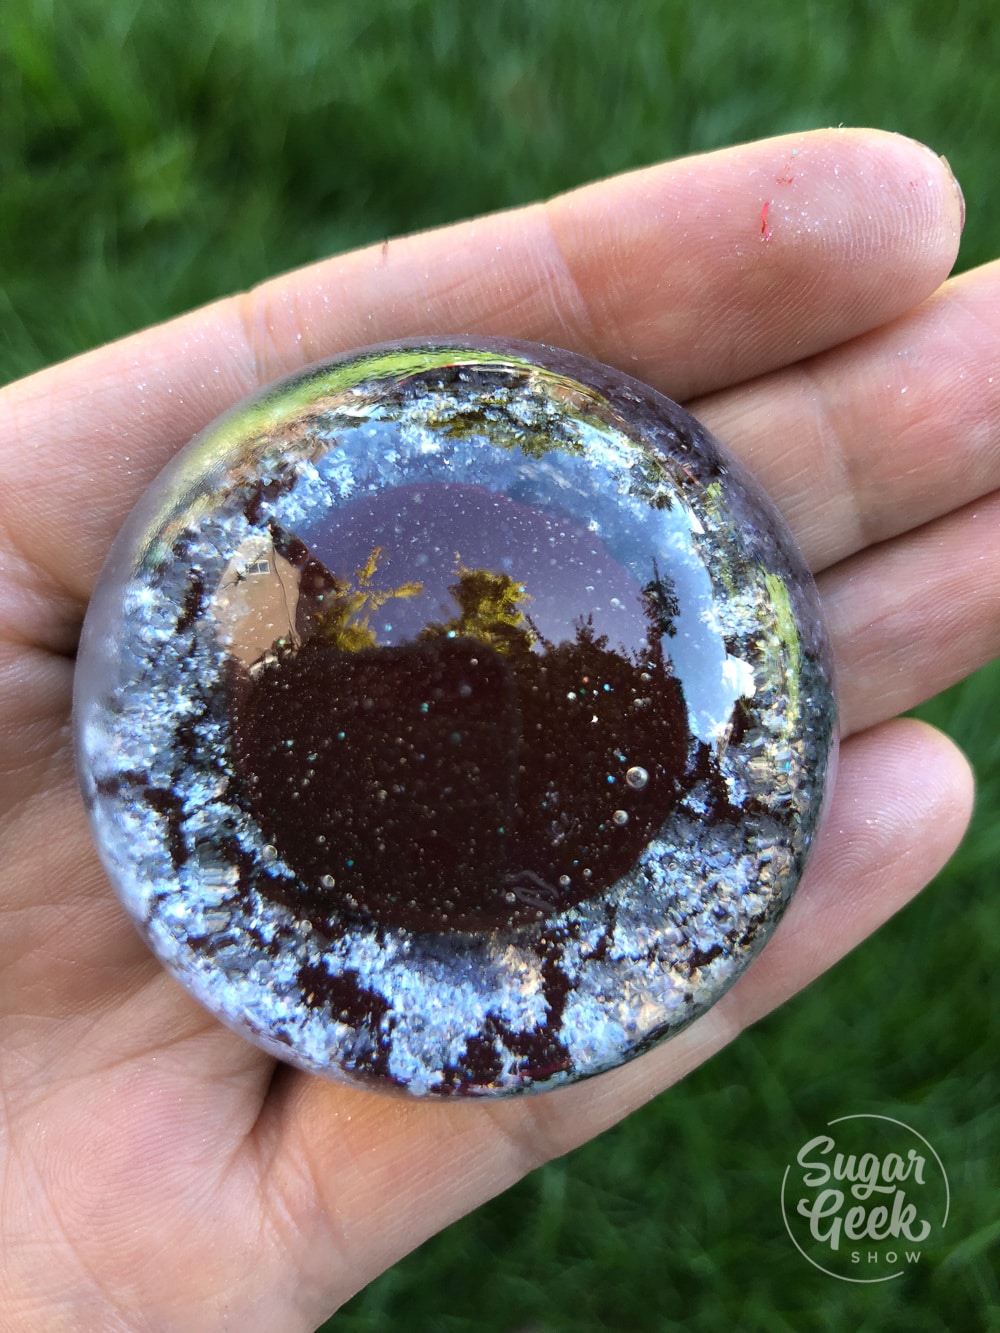
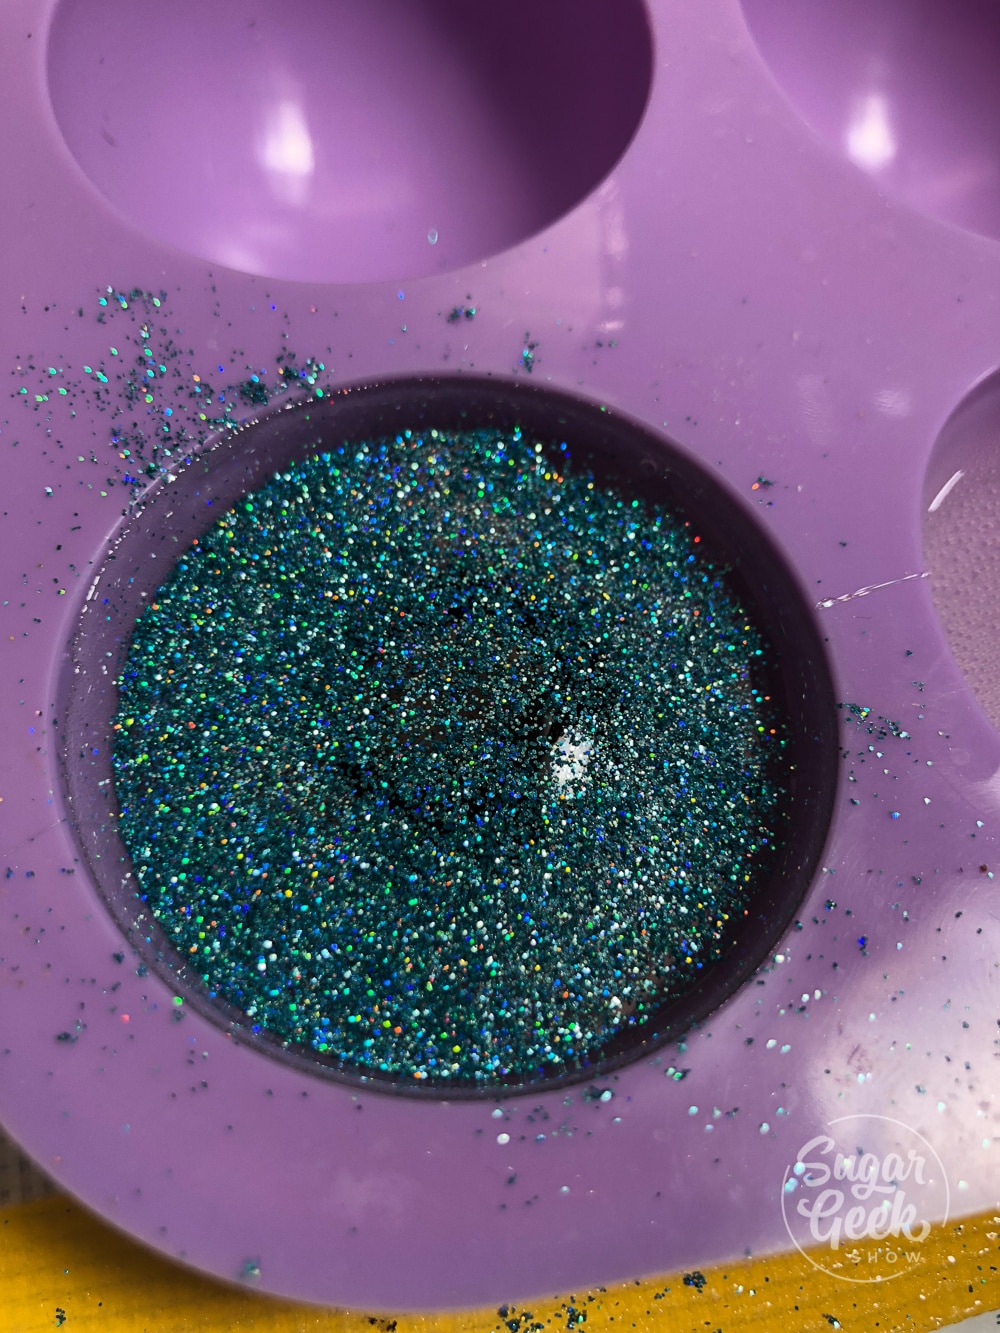
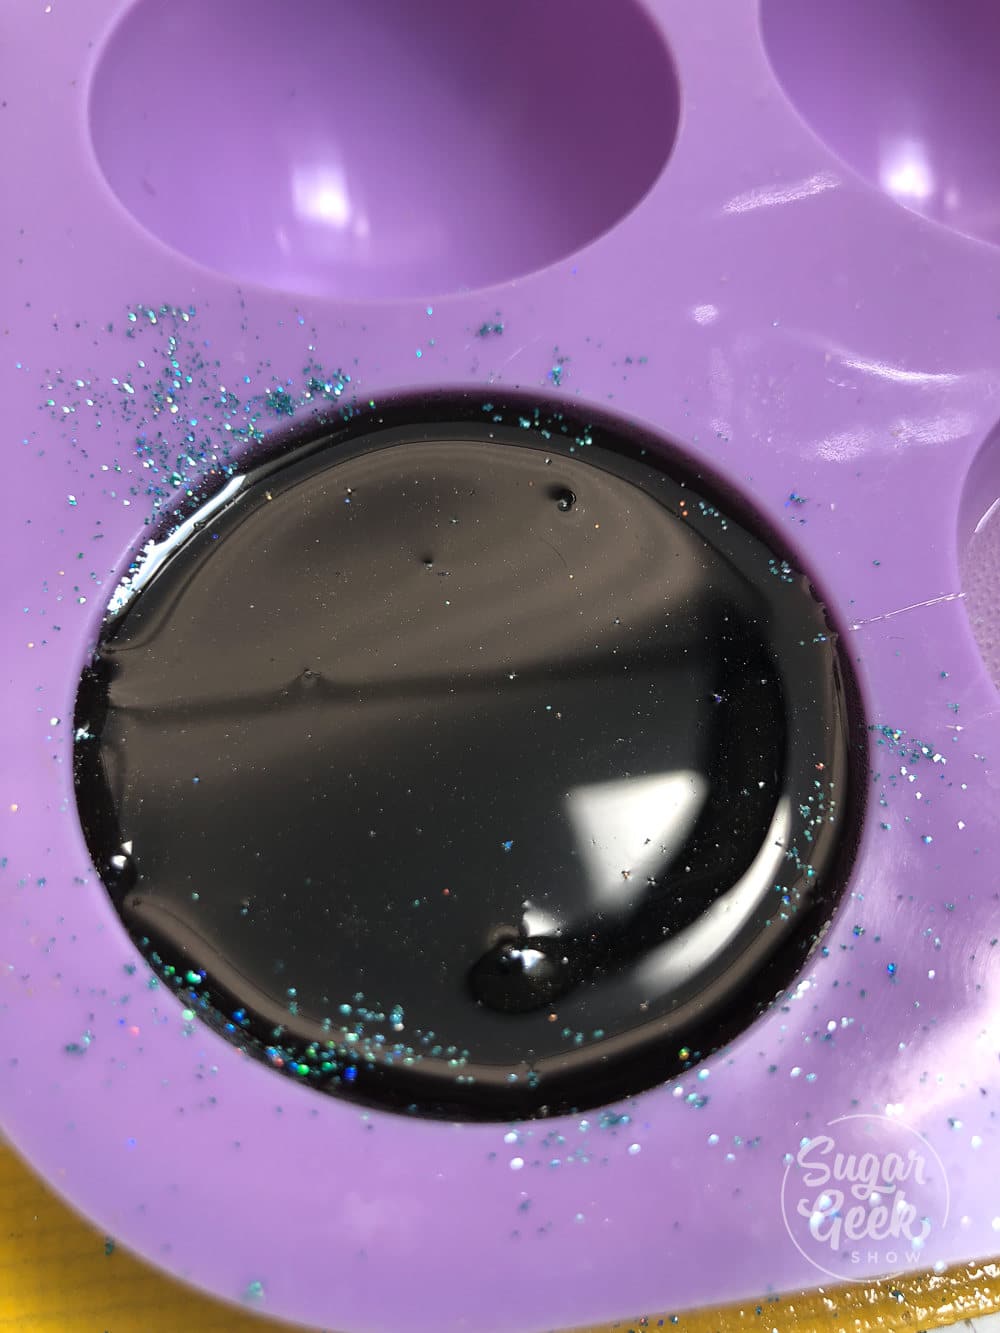
Sprinkle some edible glitter onto the surface. Let cool a couple of minutes then cover the surface with some more black isomalt. Let cool.
Remove the eye from the mold and torch the surface to remove the bubbles. Place eye in a spare container and spray with cake gloss to keep it shiny.
You can now use your awesome glitter eyes for your next cake project!
Let me know if you liked this tutorial in the comments or if you have any questions and don't forget to tune into Food Network and watch us create these awesome eyes for our giant gravity defying turtle cake!
Watch this video tutorial on how to make your own edible glitter eyes


Michelle Chan says
OMG Liz, why didn't you come out with this tute sooner like end of last year???!!! ?? I had to recreate my daughter's Beanie Boo Fantasia (unicorn) in January this year and I used fondant to make the eyes. Of course the unicorn ended up looking like a possessed one but my girl still loved her Fantasia cake nonetheless...Thanks again for this awesome tutorial, babe! ?
The Sugar Geek Show says
Awww so sorry! I get so behind on ideas hahaha! I've had this one for forever! I bet your cake was still adorable
Helene says
Thanks for sharing and best of all for free. Love your tutorials
Cakingit says
Amazing. Absolutely beuotulf and hooray and thank you. I so love this as We love love love the big sparky eyes and I can put them on CAKE. (Jump for joy).
Thank you!
The Sugar Geek Show says
Thank you so much!
Kristin says
Just in awe of all you creations !! So amazing!!! I’m hoping to make this for my daughters birthday in November ??Question, type of glitter did you use? And would you ever sell them pre-made?
The Sugar Geek Show says
I used flash dust from never forgotten designs. There is a link in the materials list above 🙂 I don't have any plans to make the eyes pre-made at this time
Therese says
Love, love, love!
Korey says
How long can these be made ahead of time?
The Sugar Geek Show says
Weeks if you want. Just make sure you seal them right away after you make them to keep them from going cloudy
Mona says
Hi thanks for sharing us this video , I am form Egypt I don't knew what isomalt , I try make the eyes with sugar and water and glucose but I didn't have the same result , I hope you described what isomalt is
The Sugar Geek Show says
Isomalt is a sugar substitute, you might be able to order it online, it's not the same as boiling sugar
Erin says
Thanks for this great tutorial! Unfortunately, I thought my trusted cake supply store would carry the glaze, but I was wrong. Is there a substitute that would seal them? Even with good ole’ prime I don’t think I can order it in time. Thank you!
The Sugar Geek Show says
You can rub a little vegetable oil on them but it might not fully protect them from the humidity just so you are aware 🙂
Rosario says
todo excelente.gracias
Luran says
I am ten, I made this by my self and it was okay. Execpt just a question: Do you have a recipe for glitter from scratch?
Much thanks,
Lilypads
The Sugar Geek Show says
I sure do! It's my edible glitter recipe in DIY sweets section 🙂 Great job!!
rhonda black says
You are an awesome artist. Trying the sea turtle cake this week. Was going to make the eyes today but my gloss hasn't come in yet. Fell in love with those eyes.