



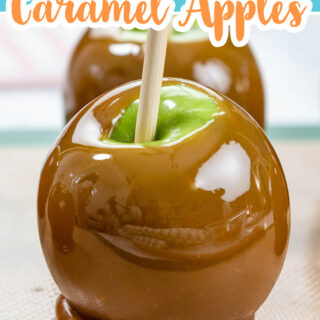
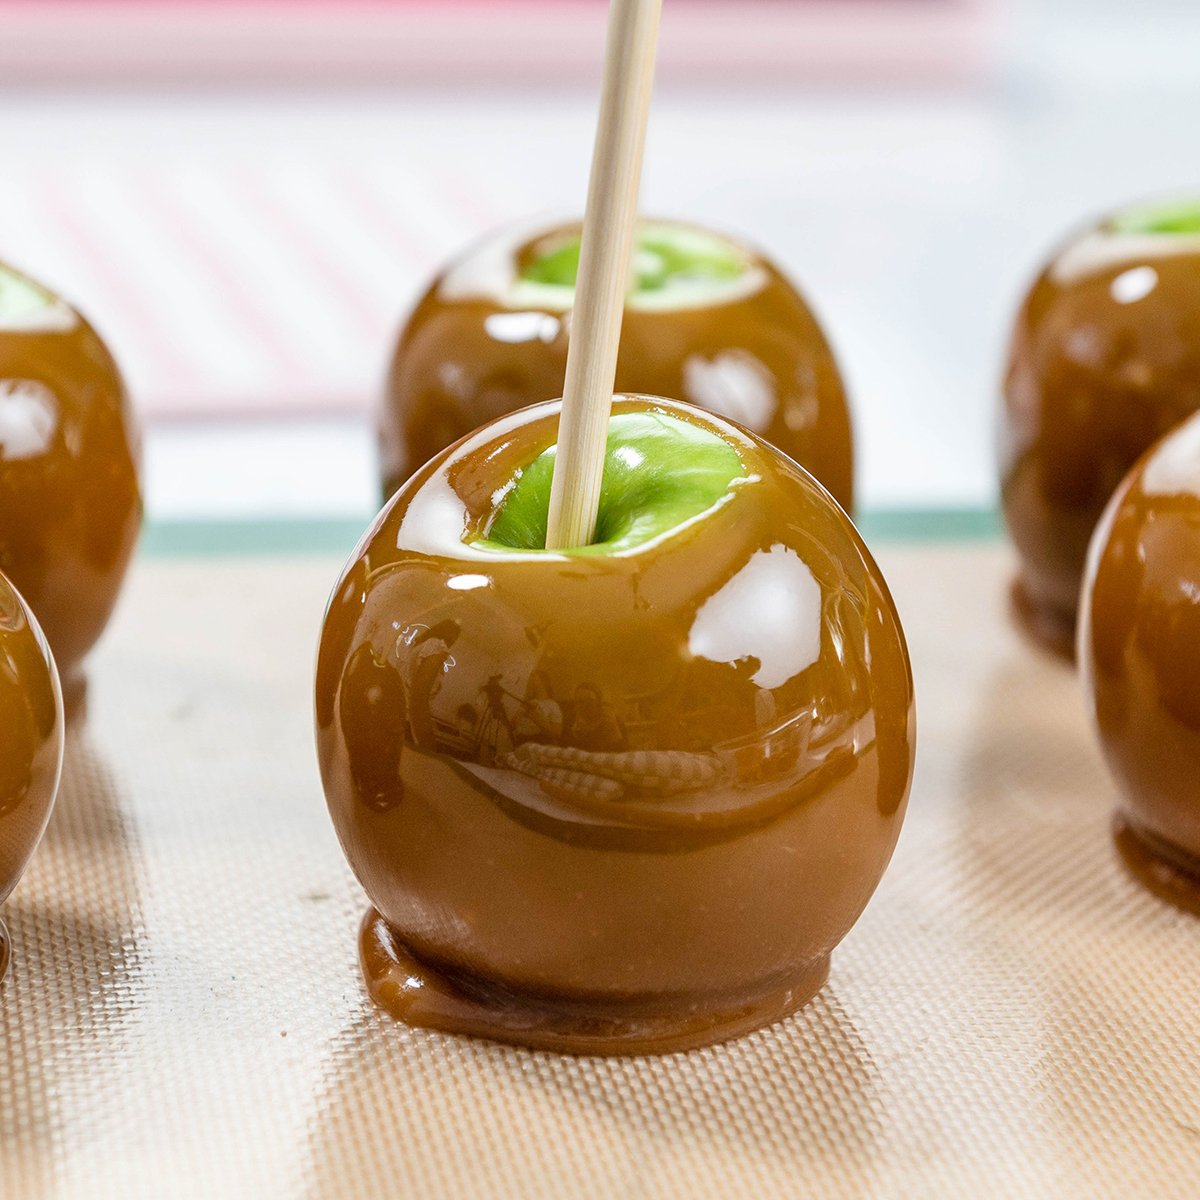
Homemade caramel apples are everything you want fall to taste like, and making them from scratch is so much better than anything you can buy at a fair or grocery store. Crisp, tart apples coated in thick, buttery caramel that actually sticks and sets perfectly without sliding off. Pair these with my candy apple recipe and you have the ultimate fall candy spread.
Quick Glance at the Recipe: Homemade Caramel Apples
- Recipe Name: Homemade Caramel Apples
- Why You'll Love It: Classic homemade caramel apples with rich, buttery caramel that sticks perfectly to fresh apples.
- Time and Difficulty: Easy recipe with about 10 minutes prep and 20 minutes cooking time, plus an overnight chill for the apples.
- Main Ingredients: Granny Smith apples, brown sugar, corn syrup, butter, heavy cream, and vanilla.
- Method: Remove wax from apples, cook caramel to 240 to 245º F, cool it to 190 to 200º F, then dip chilled apples until evenly coated.
- Texture and Flavor: Crisp tart apples covered in chewy, buttery caramel.
- Quick Tip: Wash apples in hot water first to remove the wax so the caramel sticks perfectly.
Jump to:
- Quick Glance at the Recipe: Homemade Caramel Apples
- What Makes These Homemade Caramel Apples So Good⭐⭐⭐⭐⭐
- Caramel Apple Ingredients
- How To Make Caramel Apples Step-By-Step
- Common Caramel Apple Problems To Avoid
- Final Thoughts
- Caramel Apple FAQs
- More Apple Recipes To Try
- Ready To Master Cake Decorating?
- Leave Me A Review⭐️⭐️⭐️⭐️⭐️
- Recipe
After I posted my candy apple recipe, I got so many requests for caramel apples. Not only are they a fun family project, but making them from scratch tastes so much better than store-bought versions.
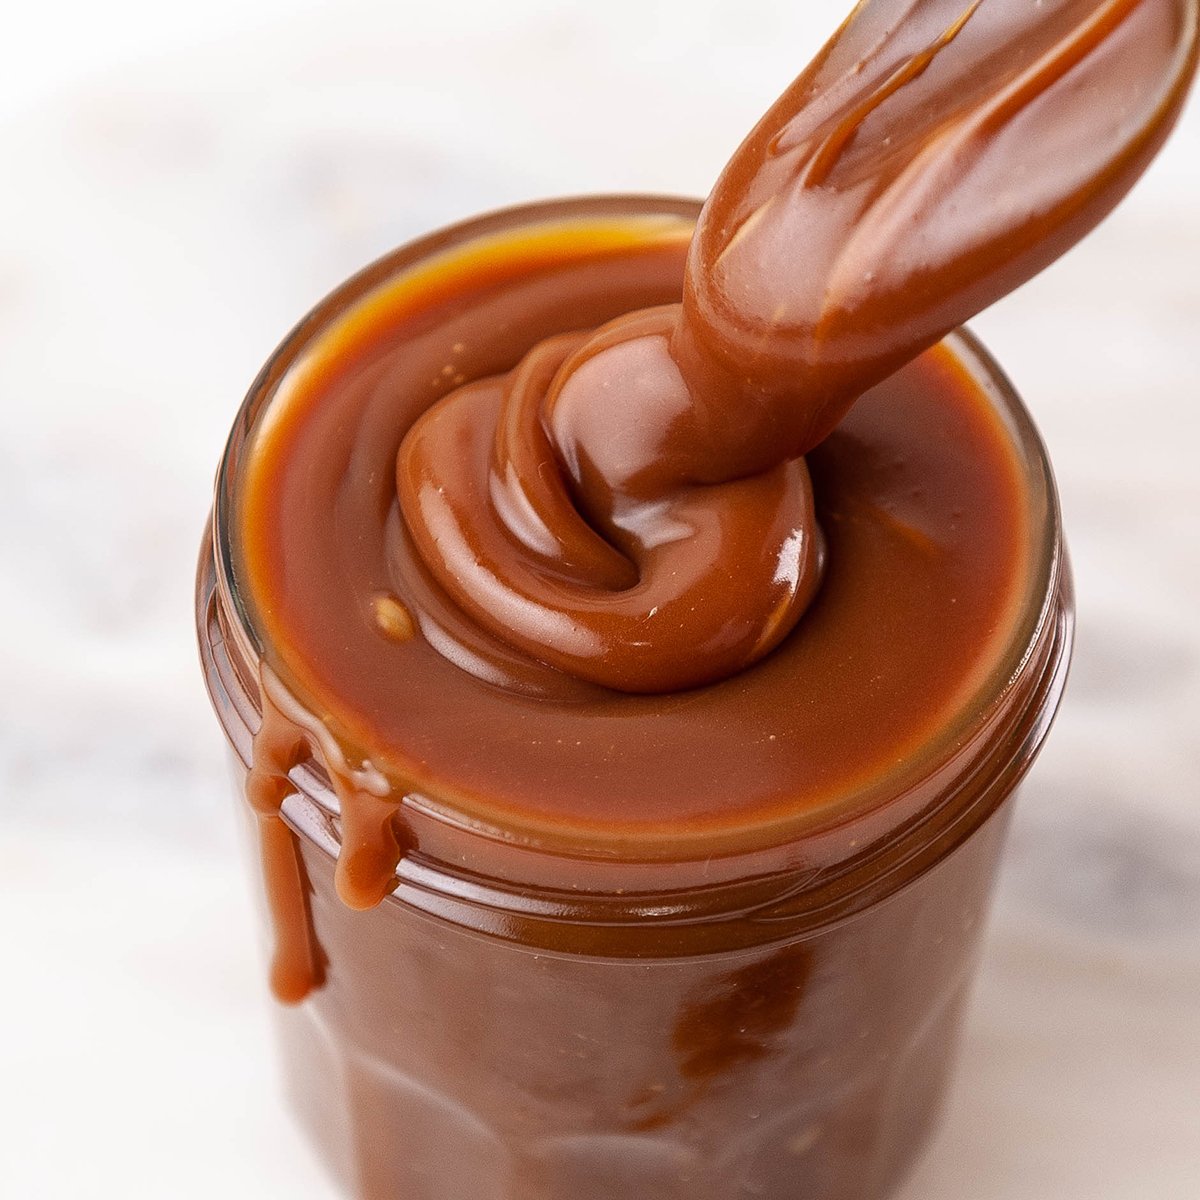
The caramel in this recipe is similar to my caramel sauce, but cooked slightly thicker so it clings beautifully to the apples without sliding off. The result is rich, buttery caramel with the perfect chewy texture.
You can even use this caramel to make chocolate caramel candy or drizzle it over desserts.
Whether you're making them for Halloween, a fall party, or just because you're craving a classic caramel apple, this recipe delivers that nostalgic fairground flavor, only better because it's made fresh in your own kitchen.
Ready in about 30 minutes of active time (plus an overnight apple chill), this easy caramel apples recipe is one of the most fun homemade treats you can make during apple season. If you love caramel and apples together, try my caramel apple pie next.
What Makes These Homemade Caramel Apples So Good
⭐⭐⭐⭐⭐
Homemade caramel apples aren't hard to make, but a few small details make the difference between caramel that clings to the apple and caramel that slides right off.
- The biggest reason homemade caramel apples fail is the wax. Store-bought apples are coated in food-grade wax to keep them shiny and fresh. The moment hot caramel touches that wax coating, the wax melts and your caramel slides right down to the bottom of the apple. A hot water bath before dipping strips that wax completely so the caramel has bare apple skin to grip.
- Chilling the apples overnight is the other non-negotiable step. A cold apple cools the caramel the instant it makes contact, so instead of sliding down it firms into an even, clingy layer. Room temperature apples cannot do this. The caramel stays liquid too long and pools at the base.
- Corn syrup is what keeps the caramel smooth and glossy. It prevents the sugar molecules from bonding into gritty crystals as the caramel cooks and cools. Without it you risk grainy caramel that looks and feels sandy rather than silky.
- Cooking to exactly 240 to 245º F is the difference between chewy caramel and hard candy. Below 240º F the caramel is too soft and runs off the apple. Above 245º F you are heading toward a crunchy, jaw-breaking caramel that is not pleasant to bite through.
- Letting the caramel cool to 190 to 200º F before dipping is the step most people skip because they are impatient. Caramel above 210º F is too fluid and slides straight off even a cold apple. At dipping temperature it is still pourable but thick enough to coat and stay put.
Caramel Apple Ingredients
One of the best parts about this recipe is its simplicity. Most of these ingredients are probably already in your pantry. I always recommend weighing your ingredients with a digital kitchen scale for the most accurate results.
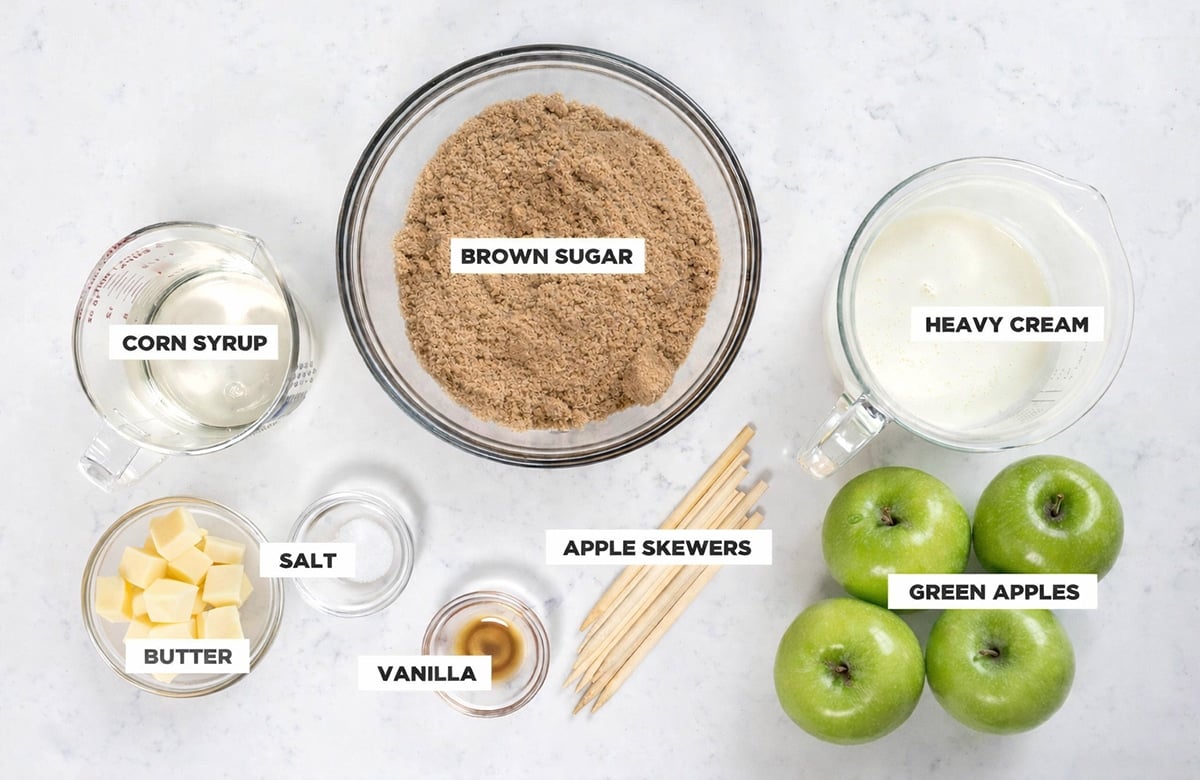
- Granny Smith Apples. Granny Smiths are my favorite because their tartness cuts through the sweetness of the caramel. Fuji and Honeycrisp also work well. Choose firm apples that are small to medium. Large apples mean less caramel per bite and a harder-to-handle final product.
- Brown Sugar. Brown sugar gives the caramel its deep, molasses-rich flavor. I use light brown sugar. Dark brown sugar will work but produces a stronger, more molasses-forward flavor.
- Corn Syrup. Corn syrup keeps the caramel from crystallizing while it cooks, so it stays smooth instead of grainy. Glucose syrup can be used as a substitute. Do not substitute maple syrup or honey, they behave differently and will change your texture.
- Unsalted Butter. Butter adds richness and helps emulsify the caramel so it stays smooth and glossy. Coconut oil or vegan butter can be used if needed, but the flavor will shift.
- Heavy Cream. Heavy cream adds both fat and liquid, loosening the cooked sugar while keeping the caramel smooth and creamy. Evaporated milk is a good substitute if you don't have cream.
- Salt. Salt balances the sweetness and wakes up the caramel flavor. Without it, the caramel tastes flat.
- Vanilla Extract. Vanilla rounds out the caramel flavor. You can also experiment with cinnamon, pumpkin spice, almond extract, or chai-infused cream for seasonal variations.
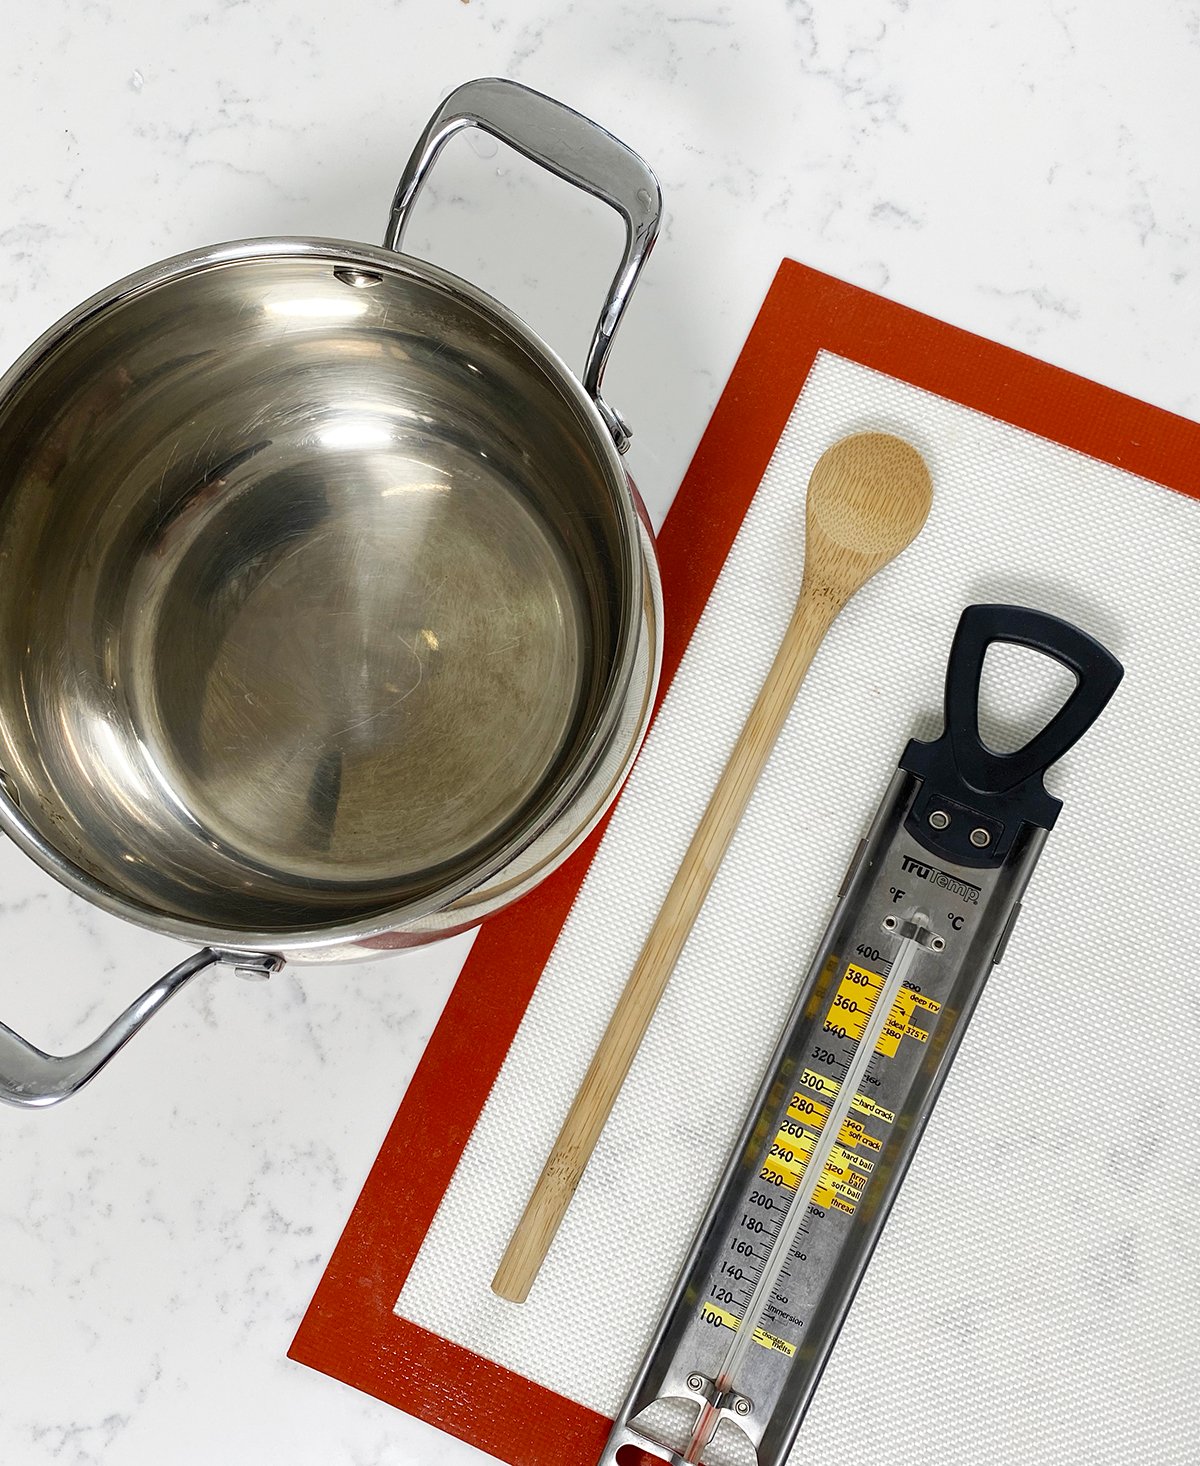
PRO TIP: : Don't forget you'll need a candy thermometer for the caramel, a silicone mat, and apple sticks!
How To Make Caramel Apples Step-By-Step
Start a day ahead so the apples have time to dry and chill overnight. Any water left on the skin can cause bubbles in your caramel.
- Bring a large pot of water to almost boiling and then remove it from the heat.
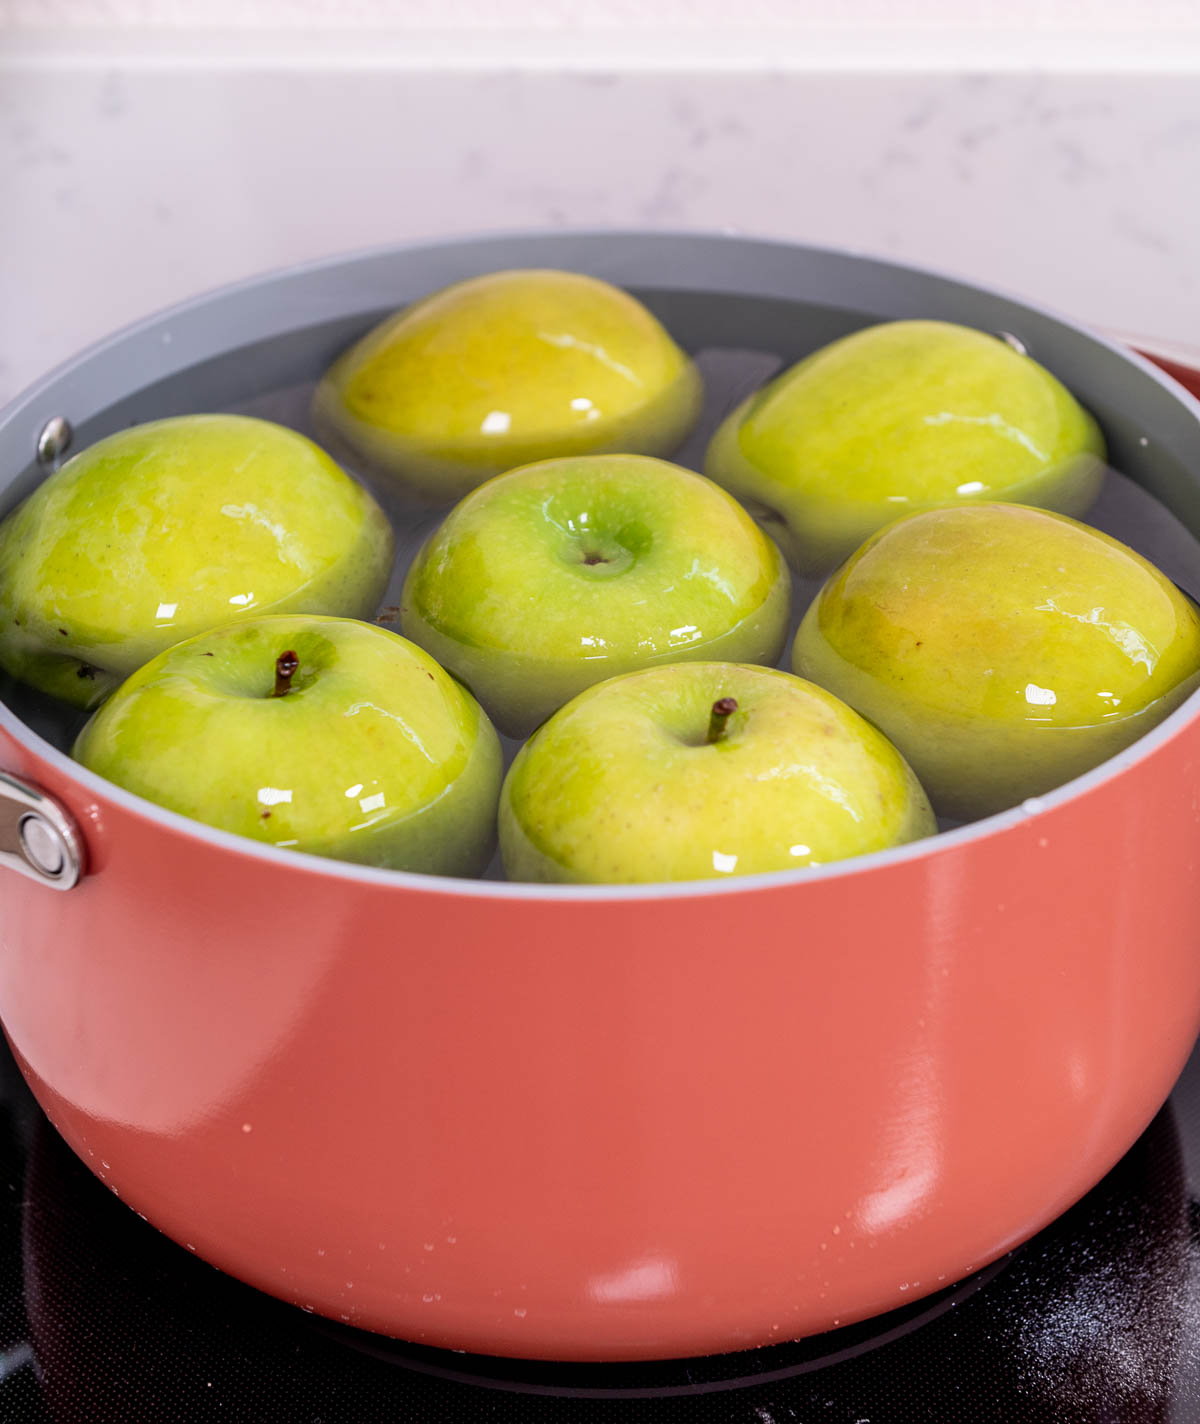
- Submerge your apples in the hot water for 1 minute, use a wooden spoon to push them down or rotate them as needed. Don't worry if your apples get discolored from the heat of the water. The caramel covers it completely once you dip.
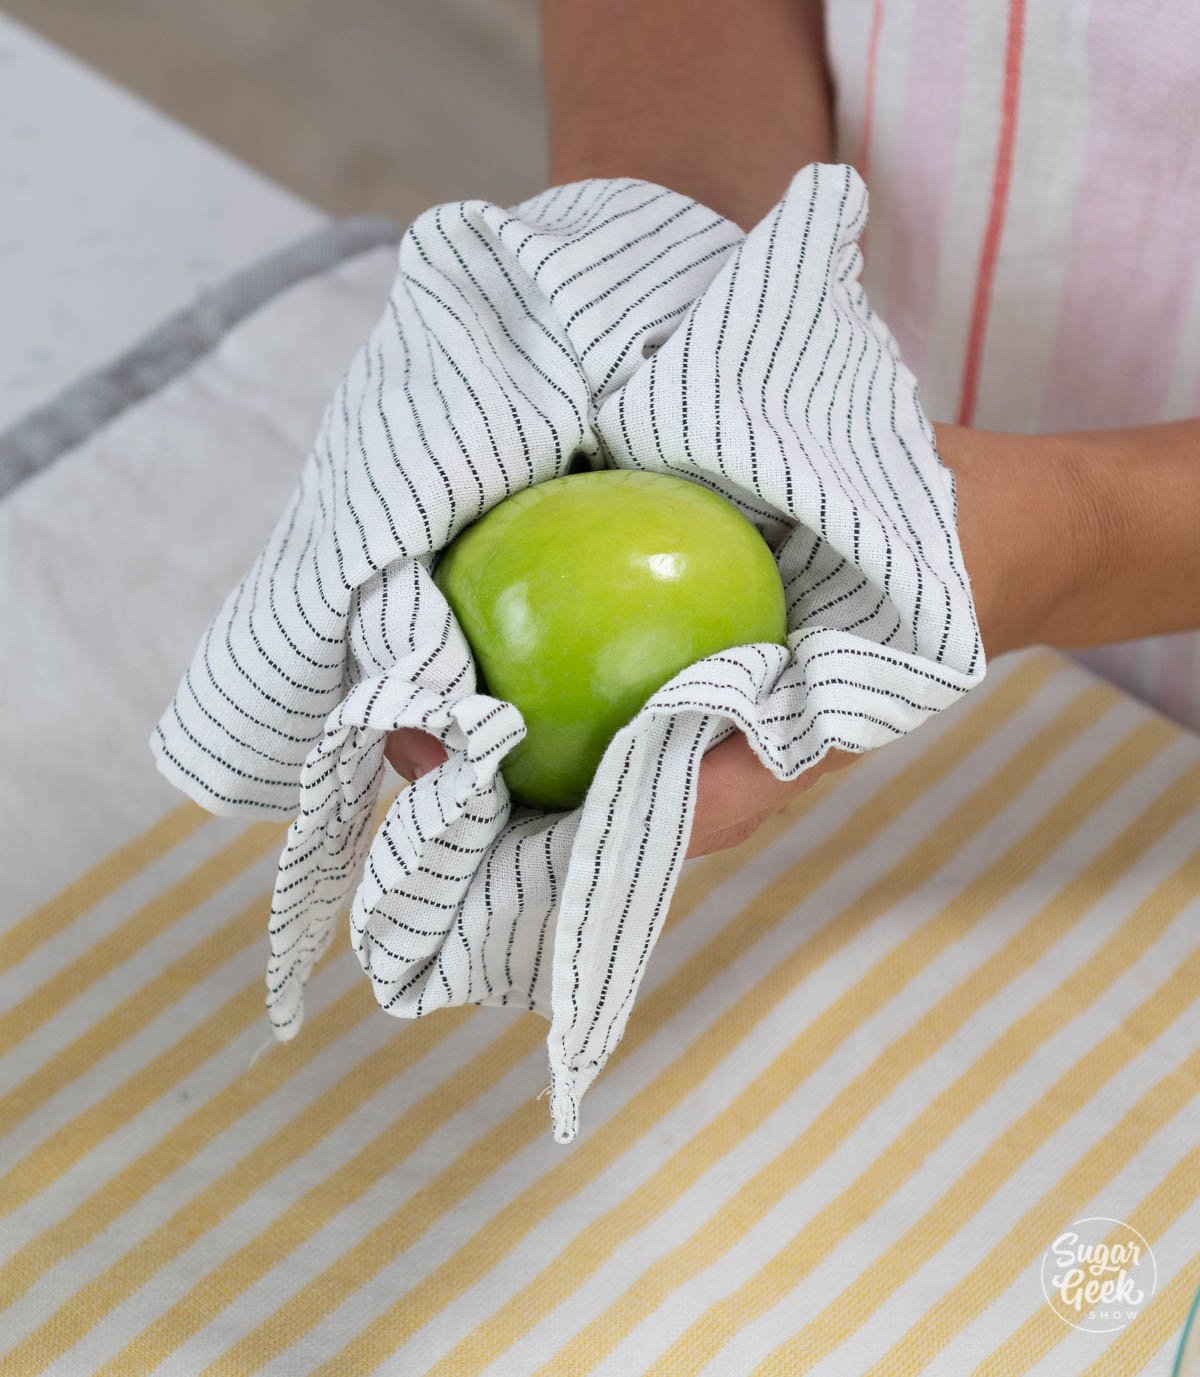
- Remove the apples from the hot water and rub the surface with a clean towel to remove any wax residue. Pay special attention to the top and bottom stem area to remove water as well.
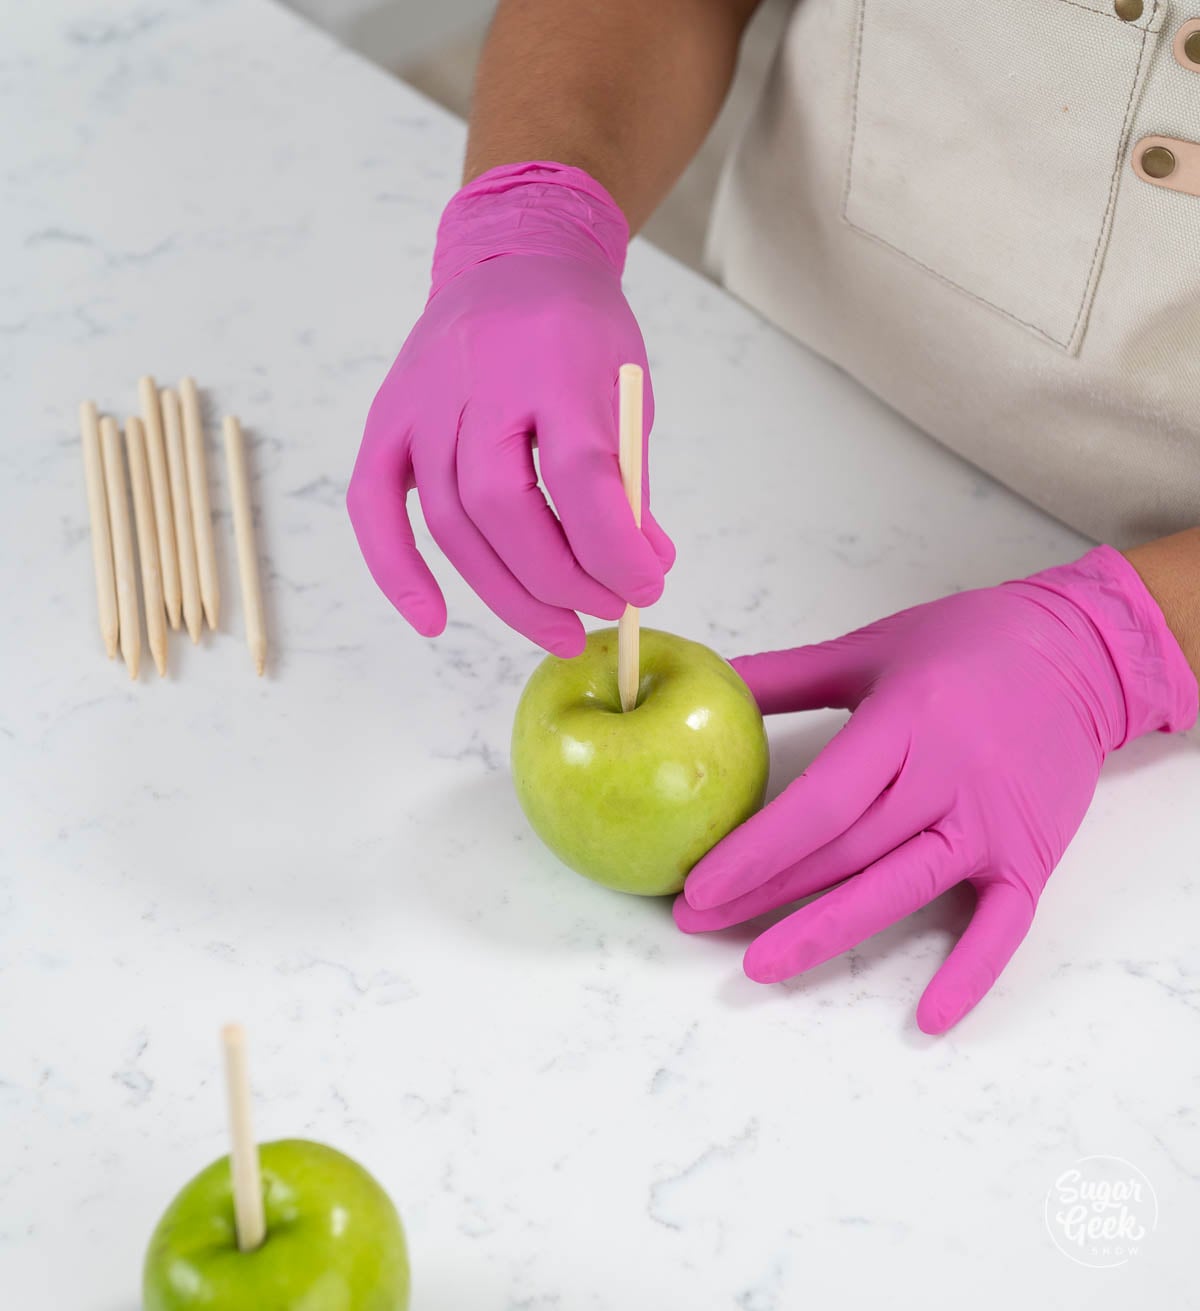
- Twist off the stems from the apples.
Insert your candy apple sticks. I place my apple onto the work surface and then push the stick into the apple rather than holding the apple and pushing the stick in. This way you can make sure the sticks are all straight up and down. Make sure you are using apple sticks, which are thicker and sturdier than wooden skewers, which can break under the weight of the apple after dipping.
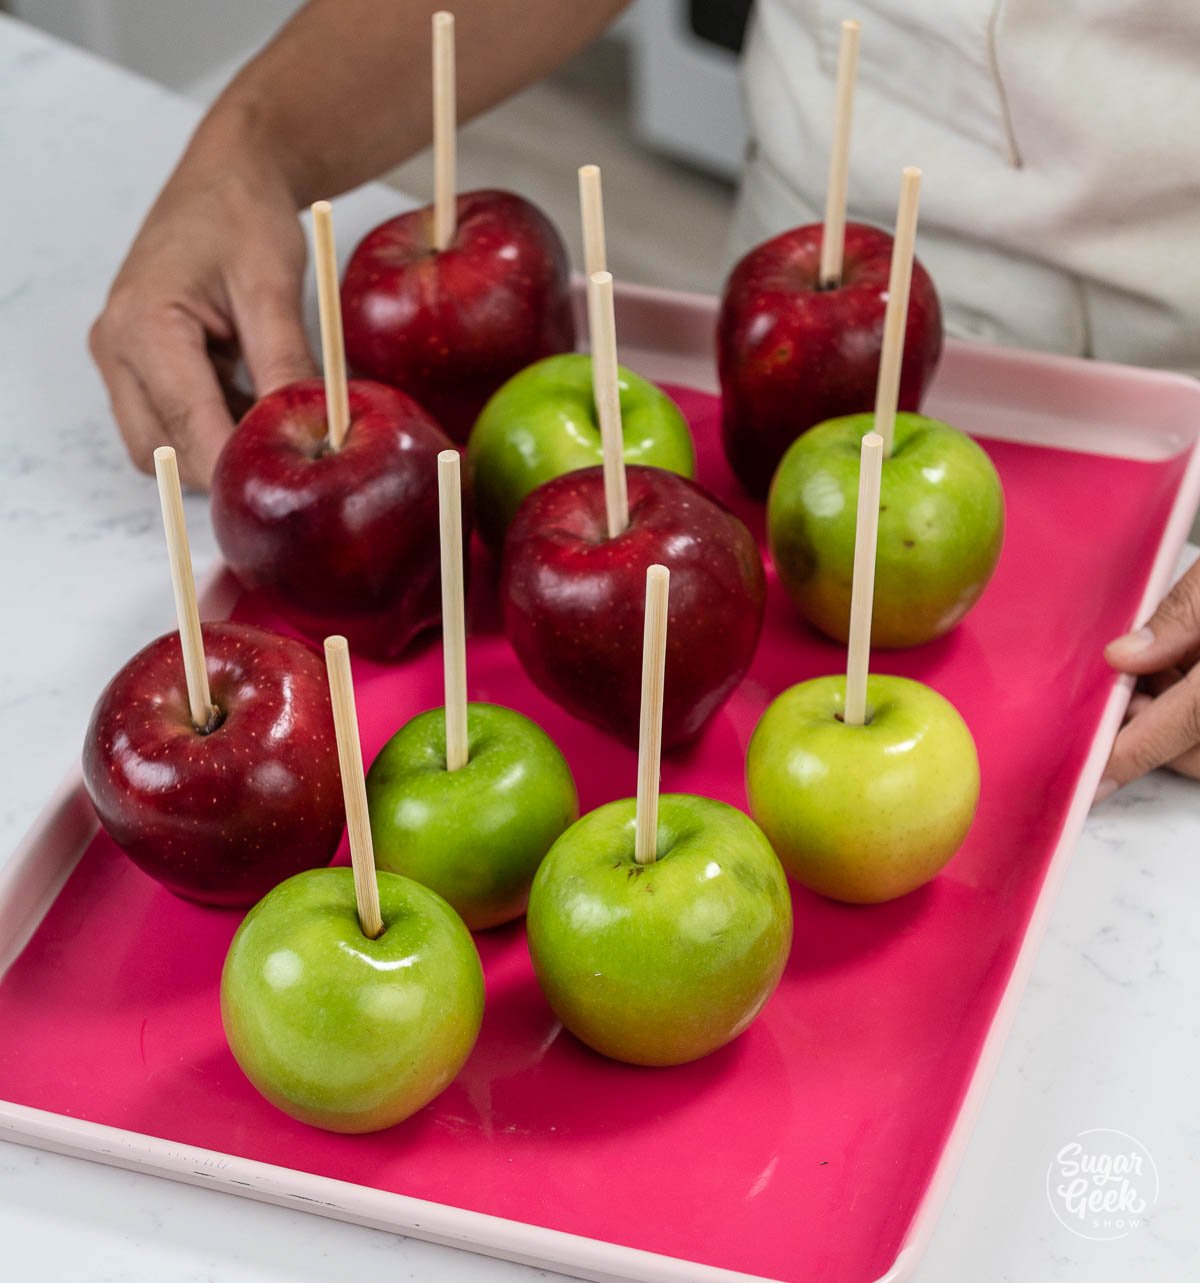
- Place your apples onto a lined baking sheet (with a silicone mat or greased parchment paper) and then put them into the fridge to chill overnight.
Once your apples are prepared, you can make your caramel.
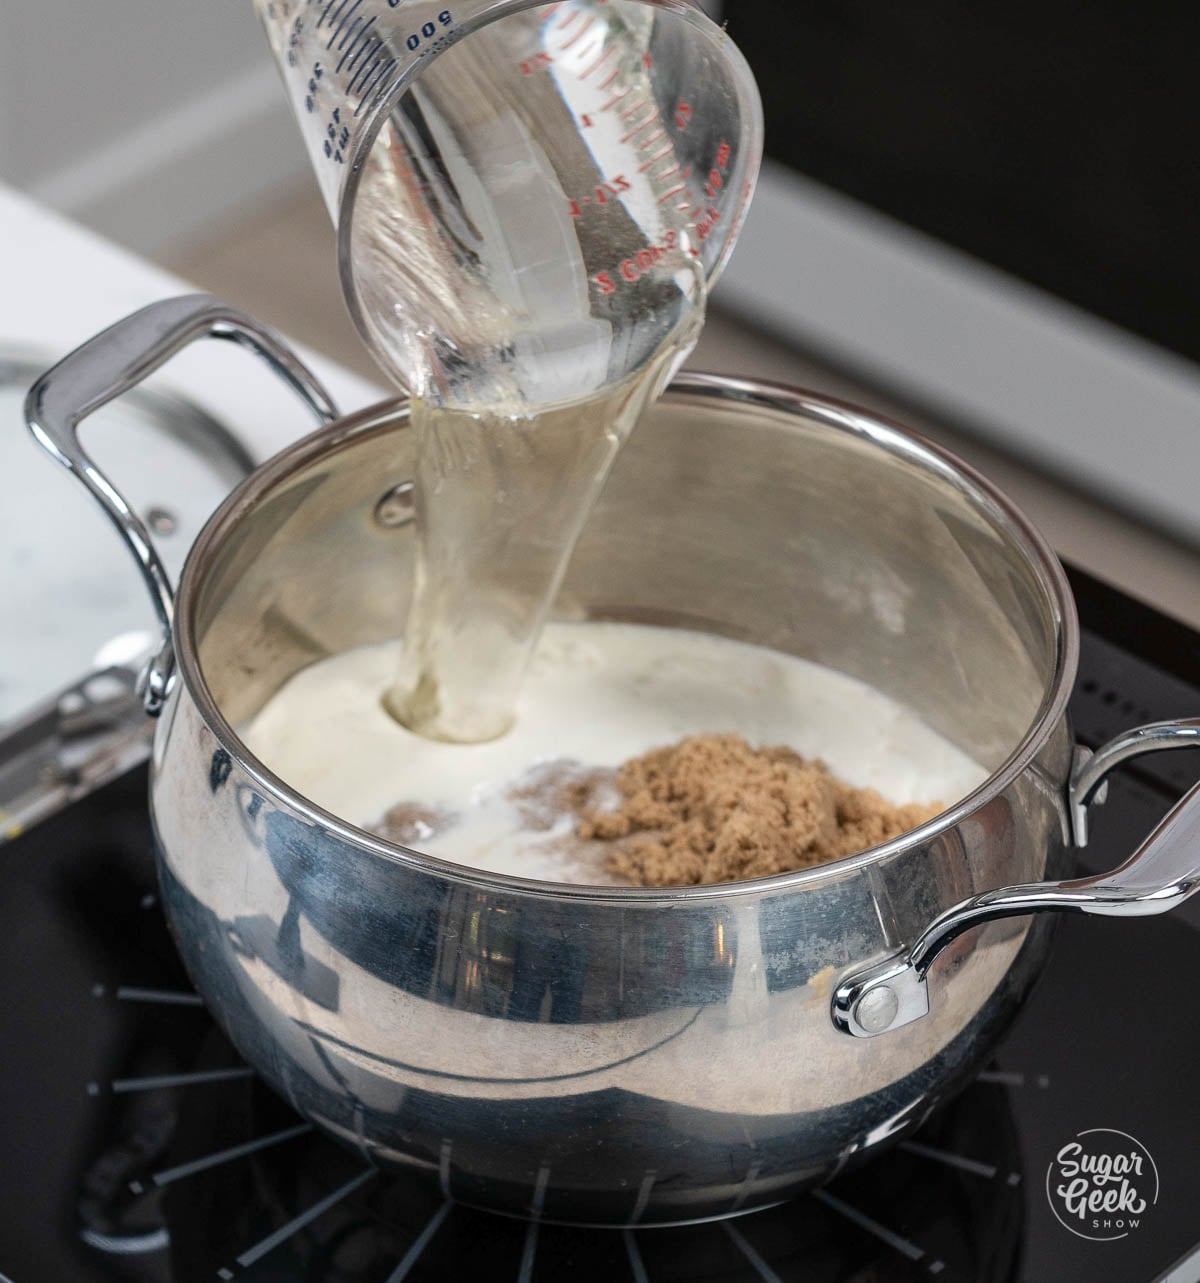
- In a heavy-bottomed saucepan, combine the brown sugar, corn syrup, cream, salt, and butter. Mix to combine.
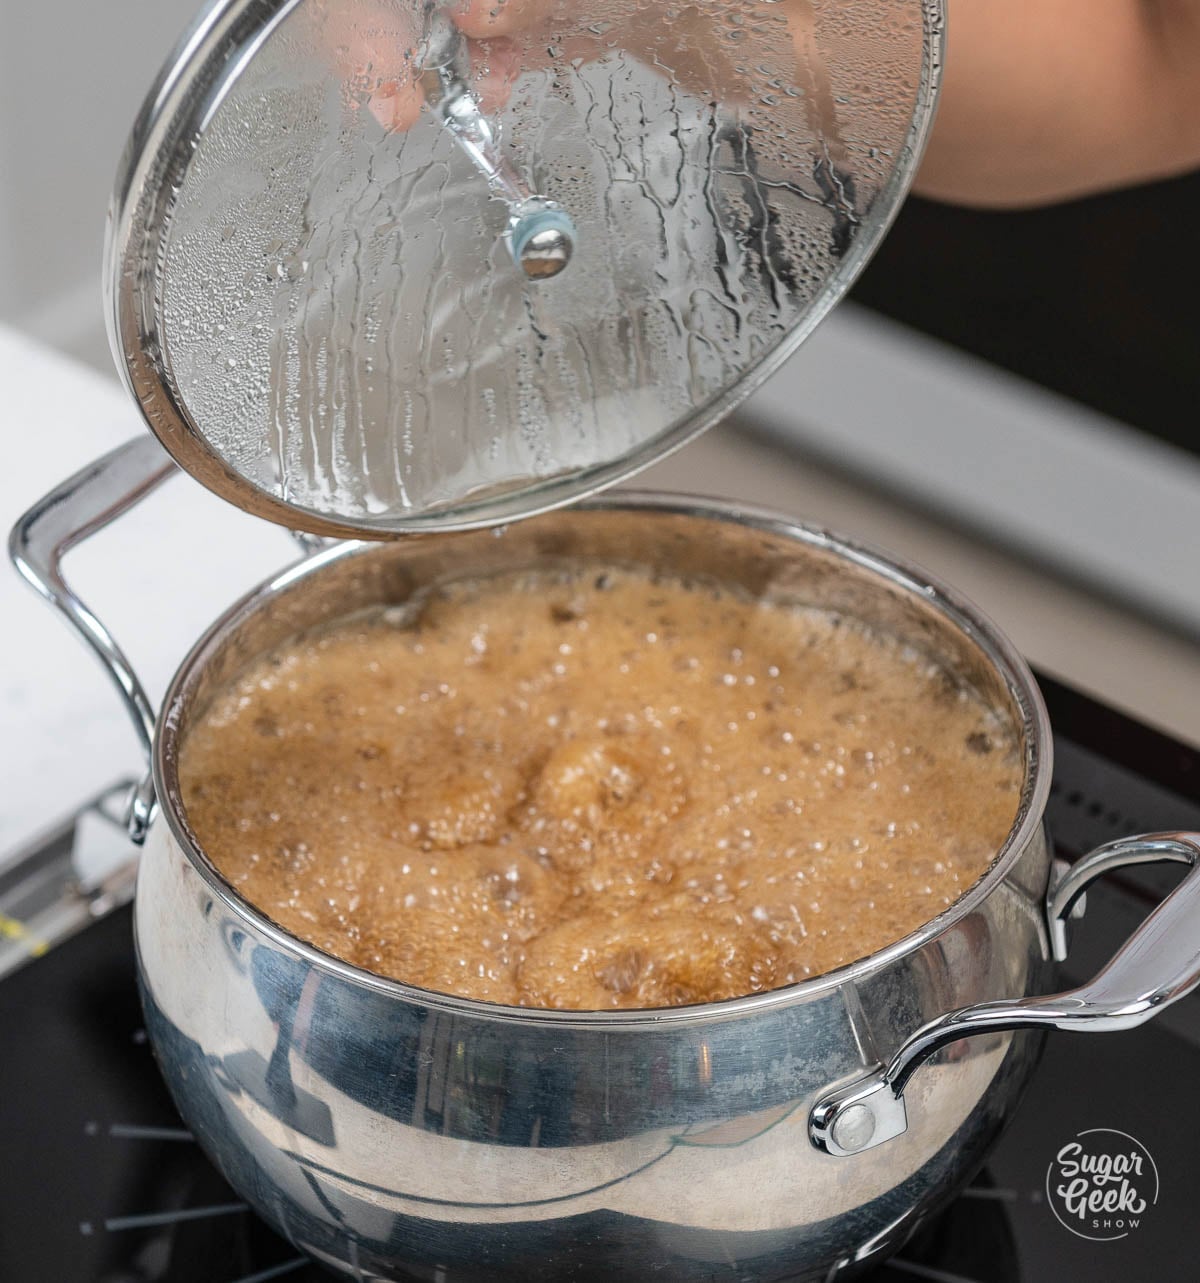
- Stir over medium-high heat until the butter melts. Once melted, stop stirring and allow the caramel to come to a boil.
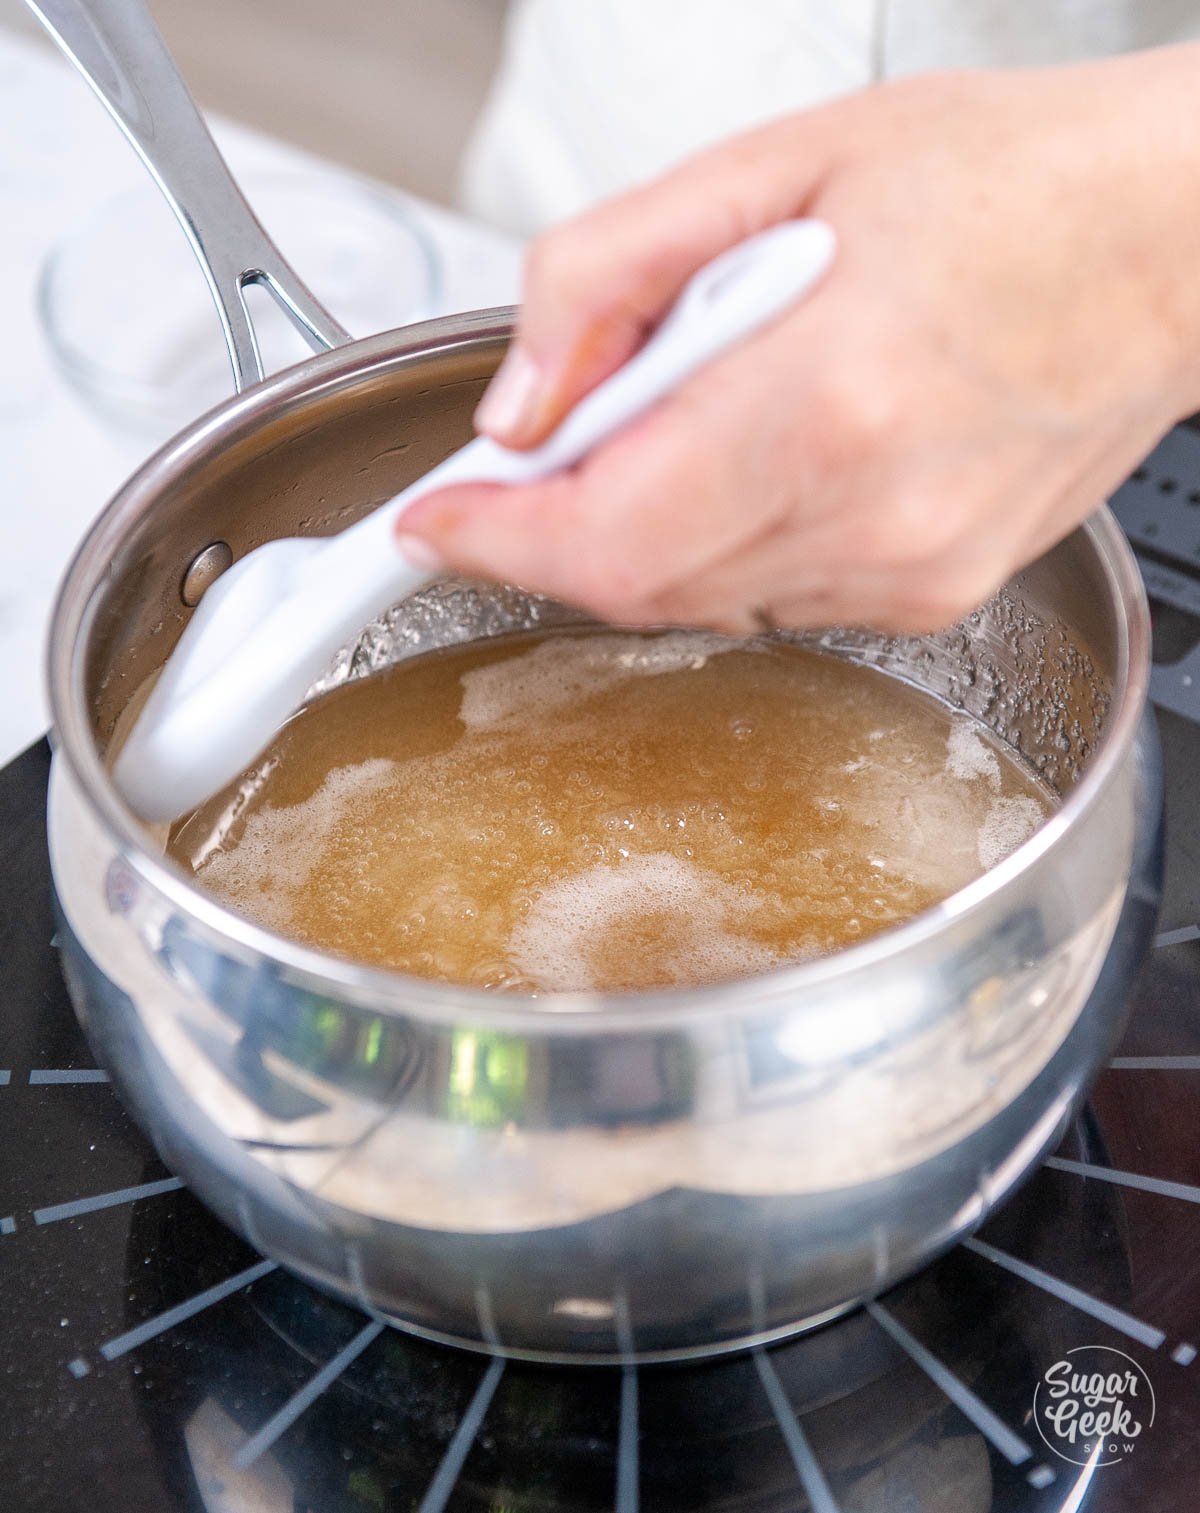
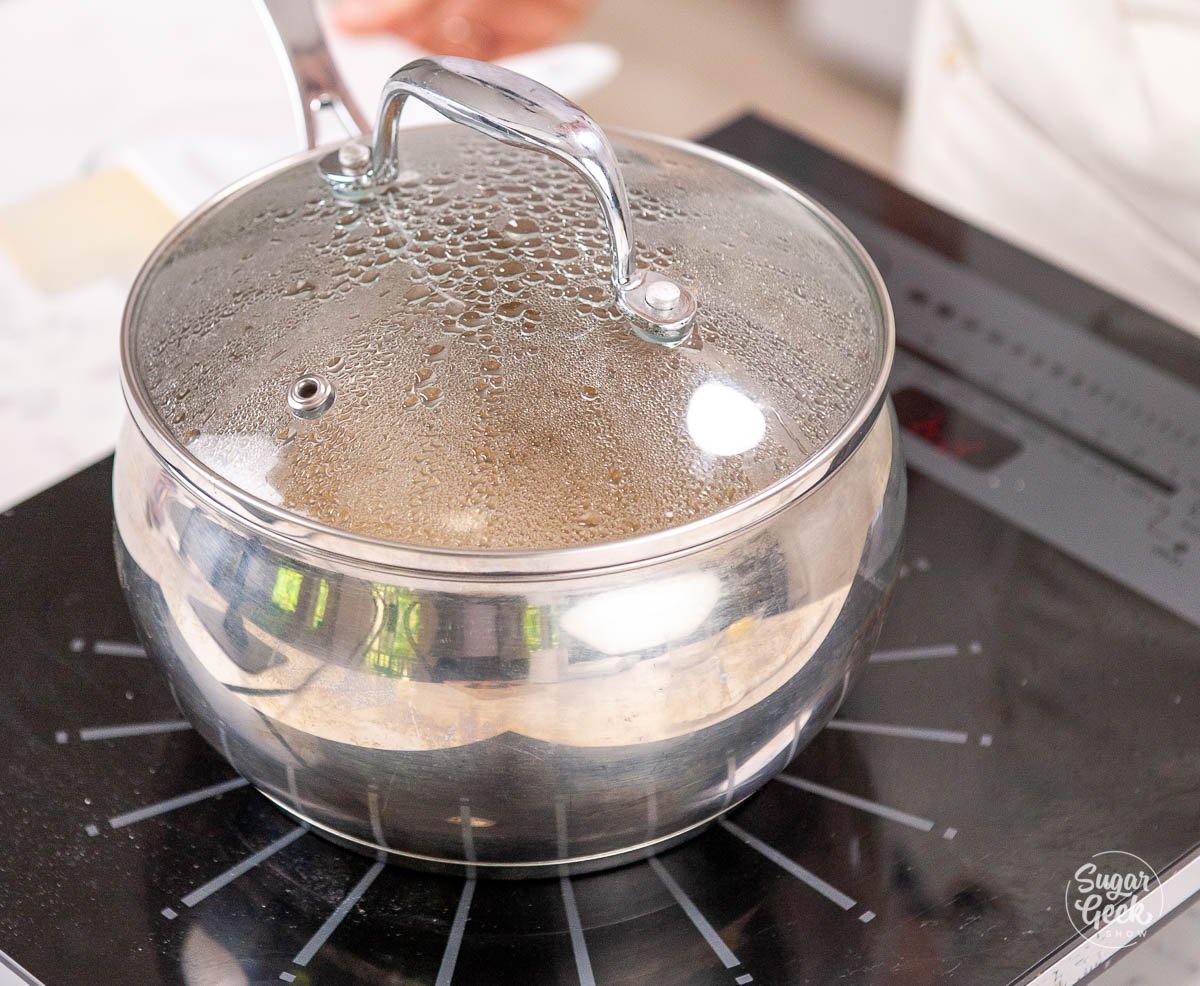
- Use a wet pastry brush to wash down the sides of the pan to prevent sugar crystals. Cover the pot with a lid and cook for about 5 minutes so the condensation washes down the sides.
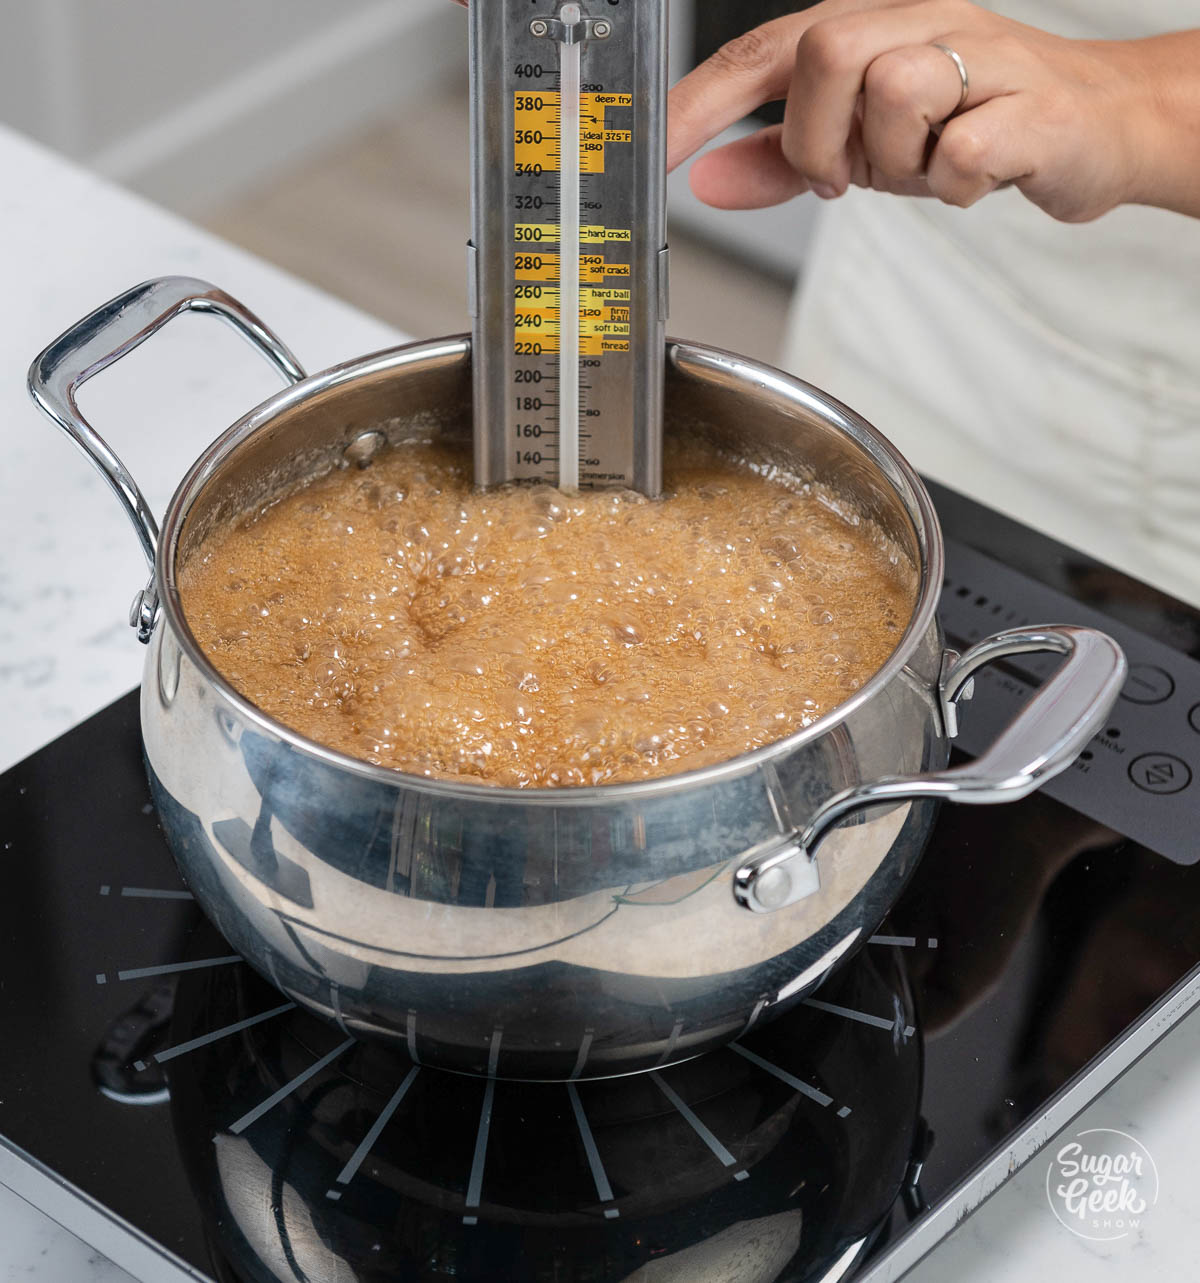
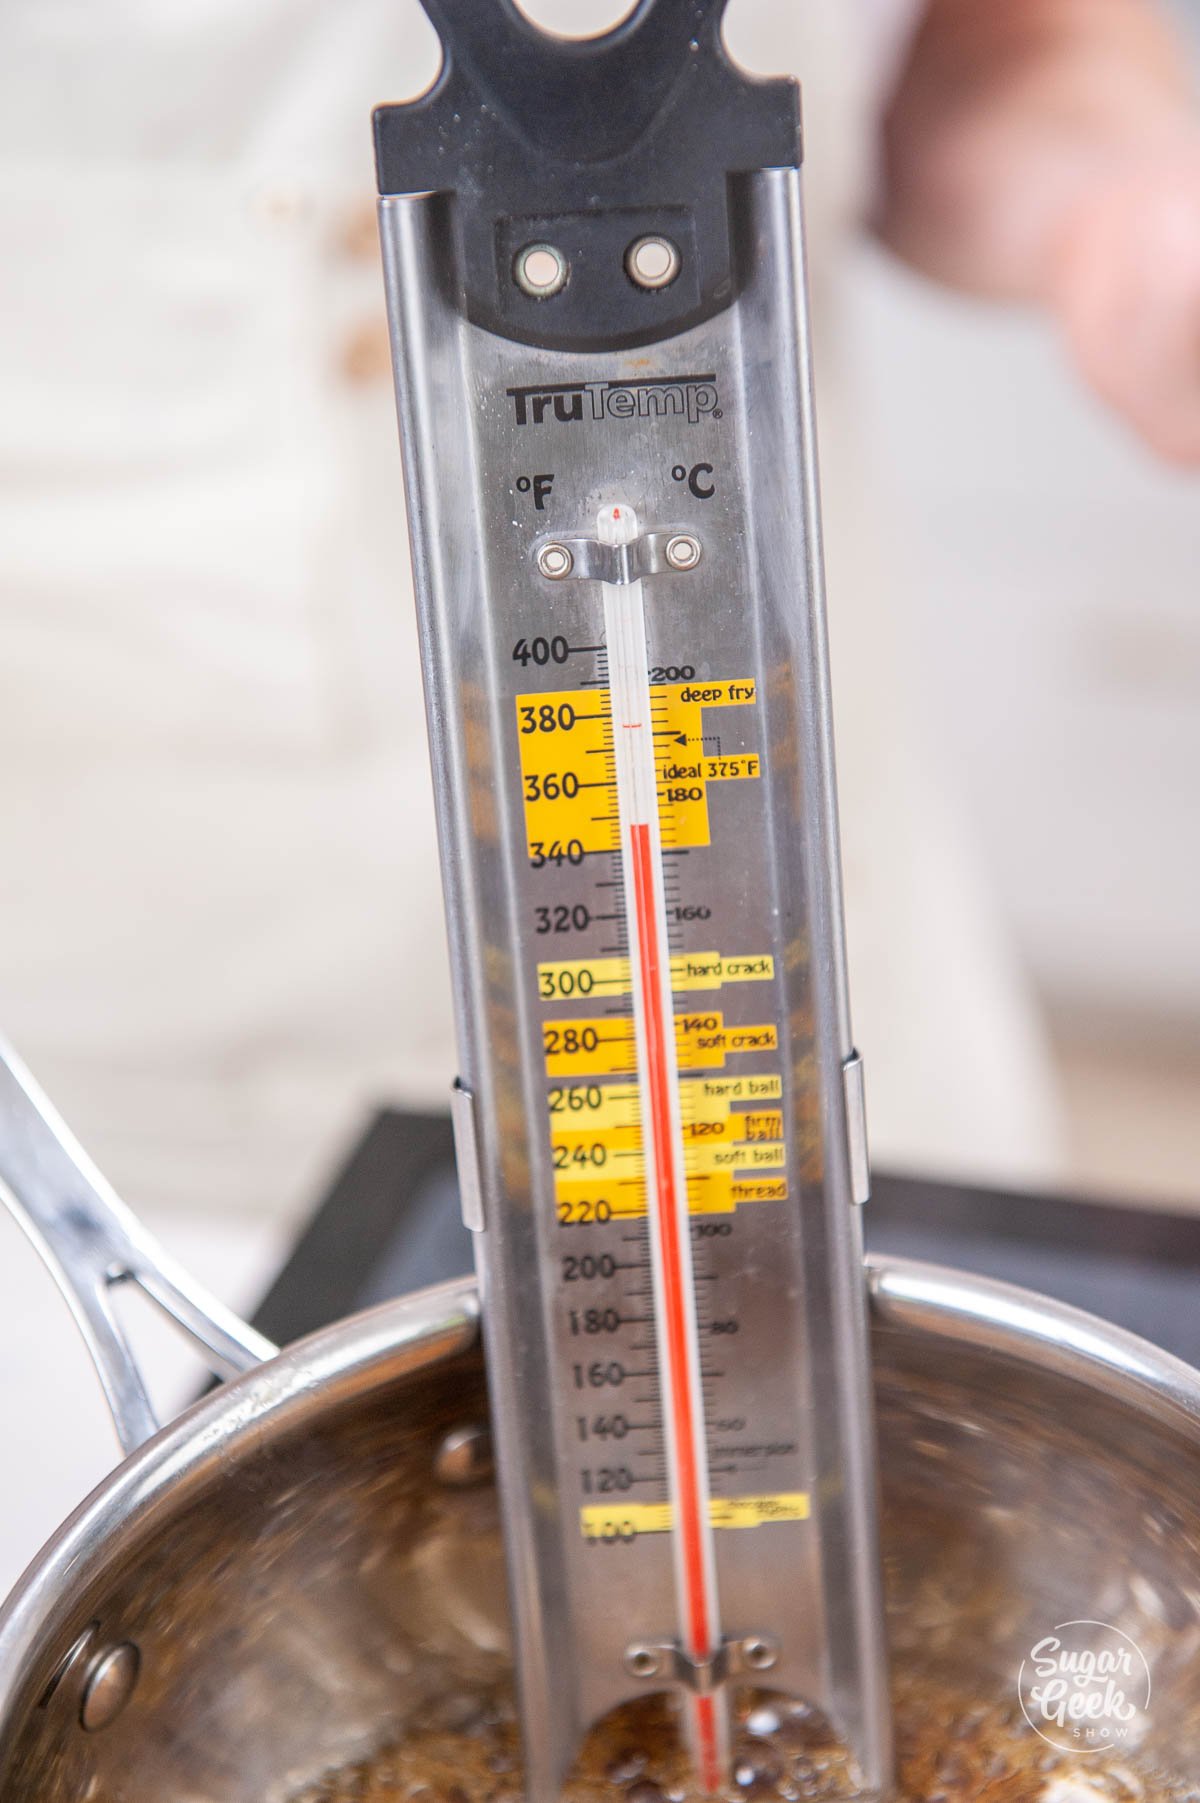
- Attach a candy thermometer and cook until the caramel reaches 240 to 245º F.
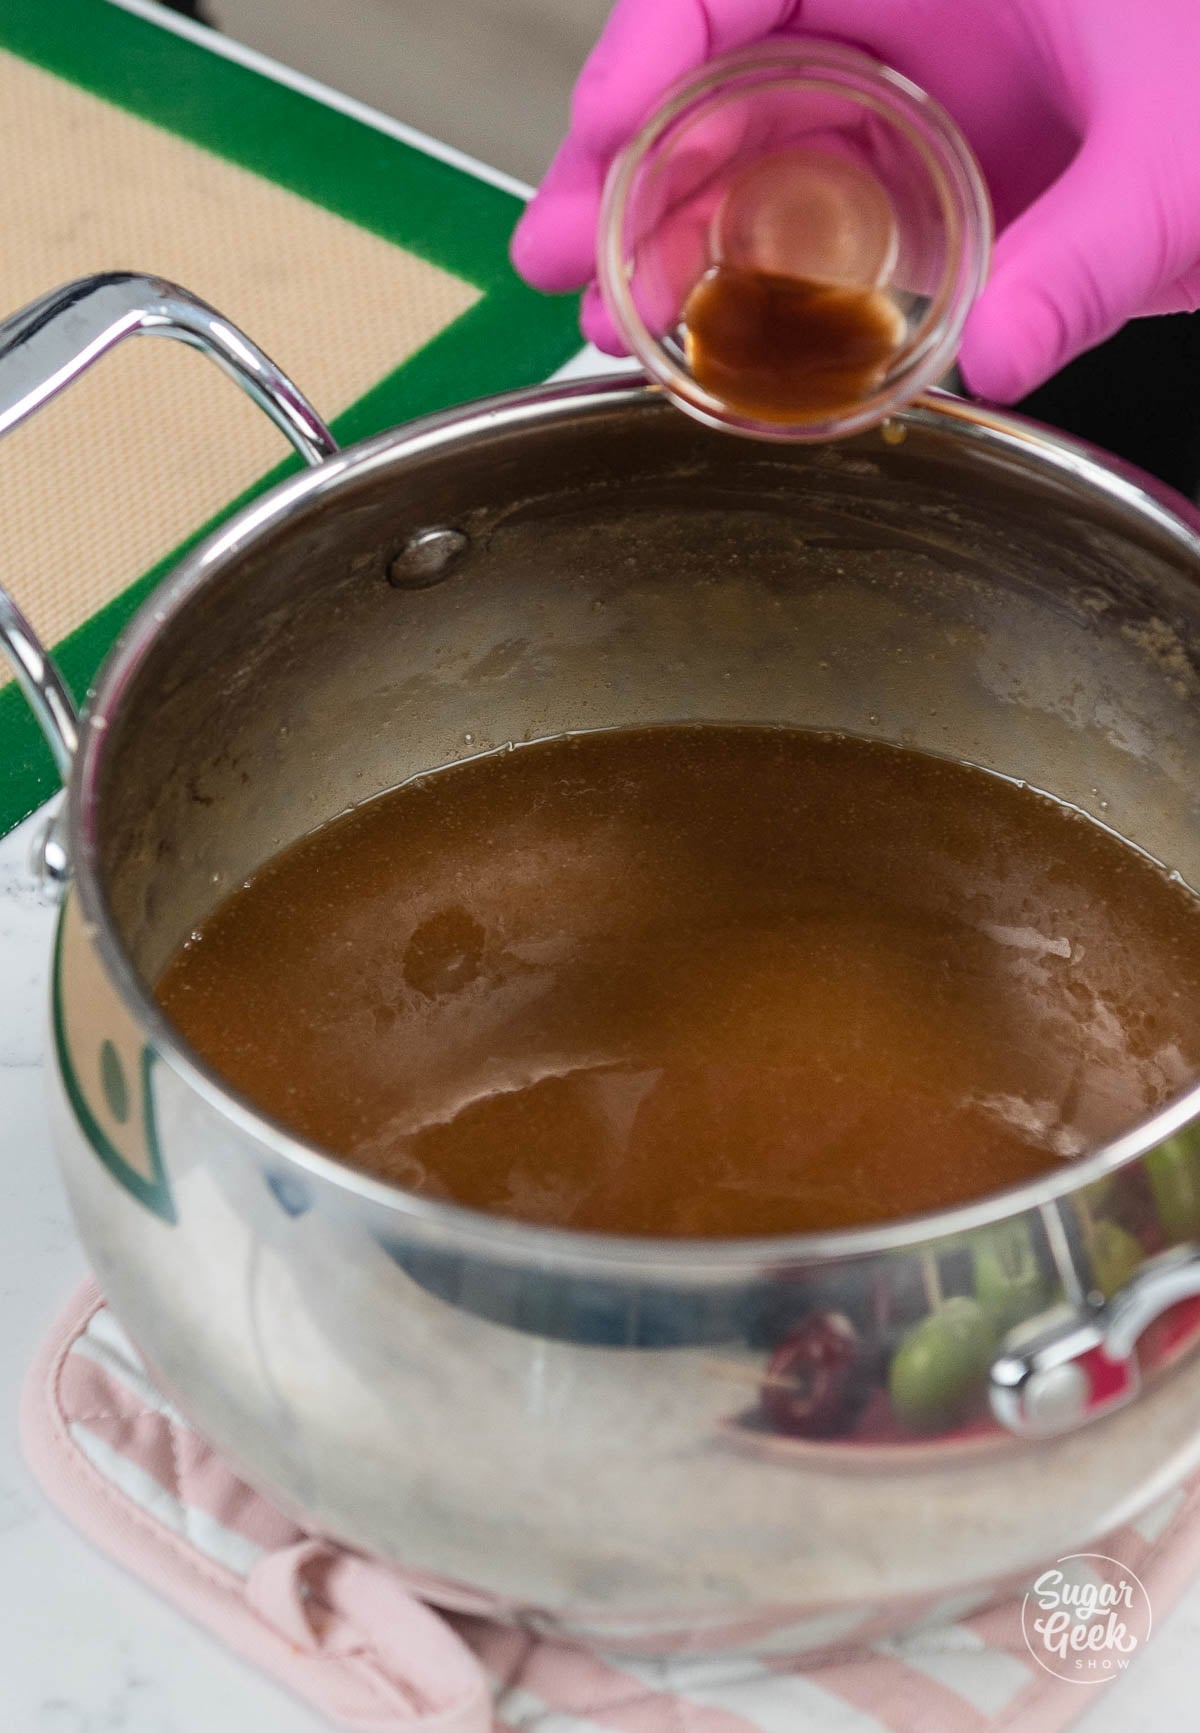
- Remove the caramel from the heat and carefully stir in the vanilla.
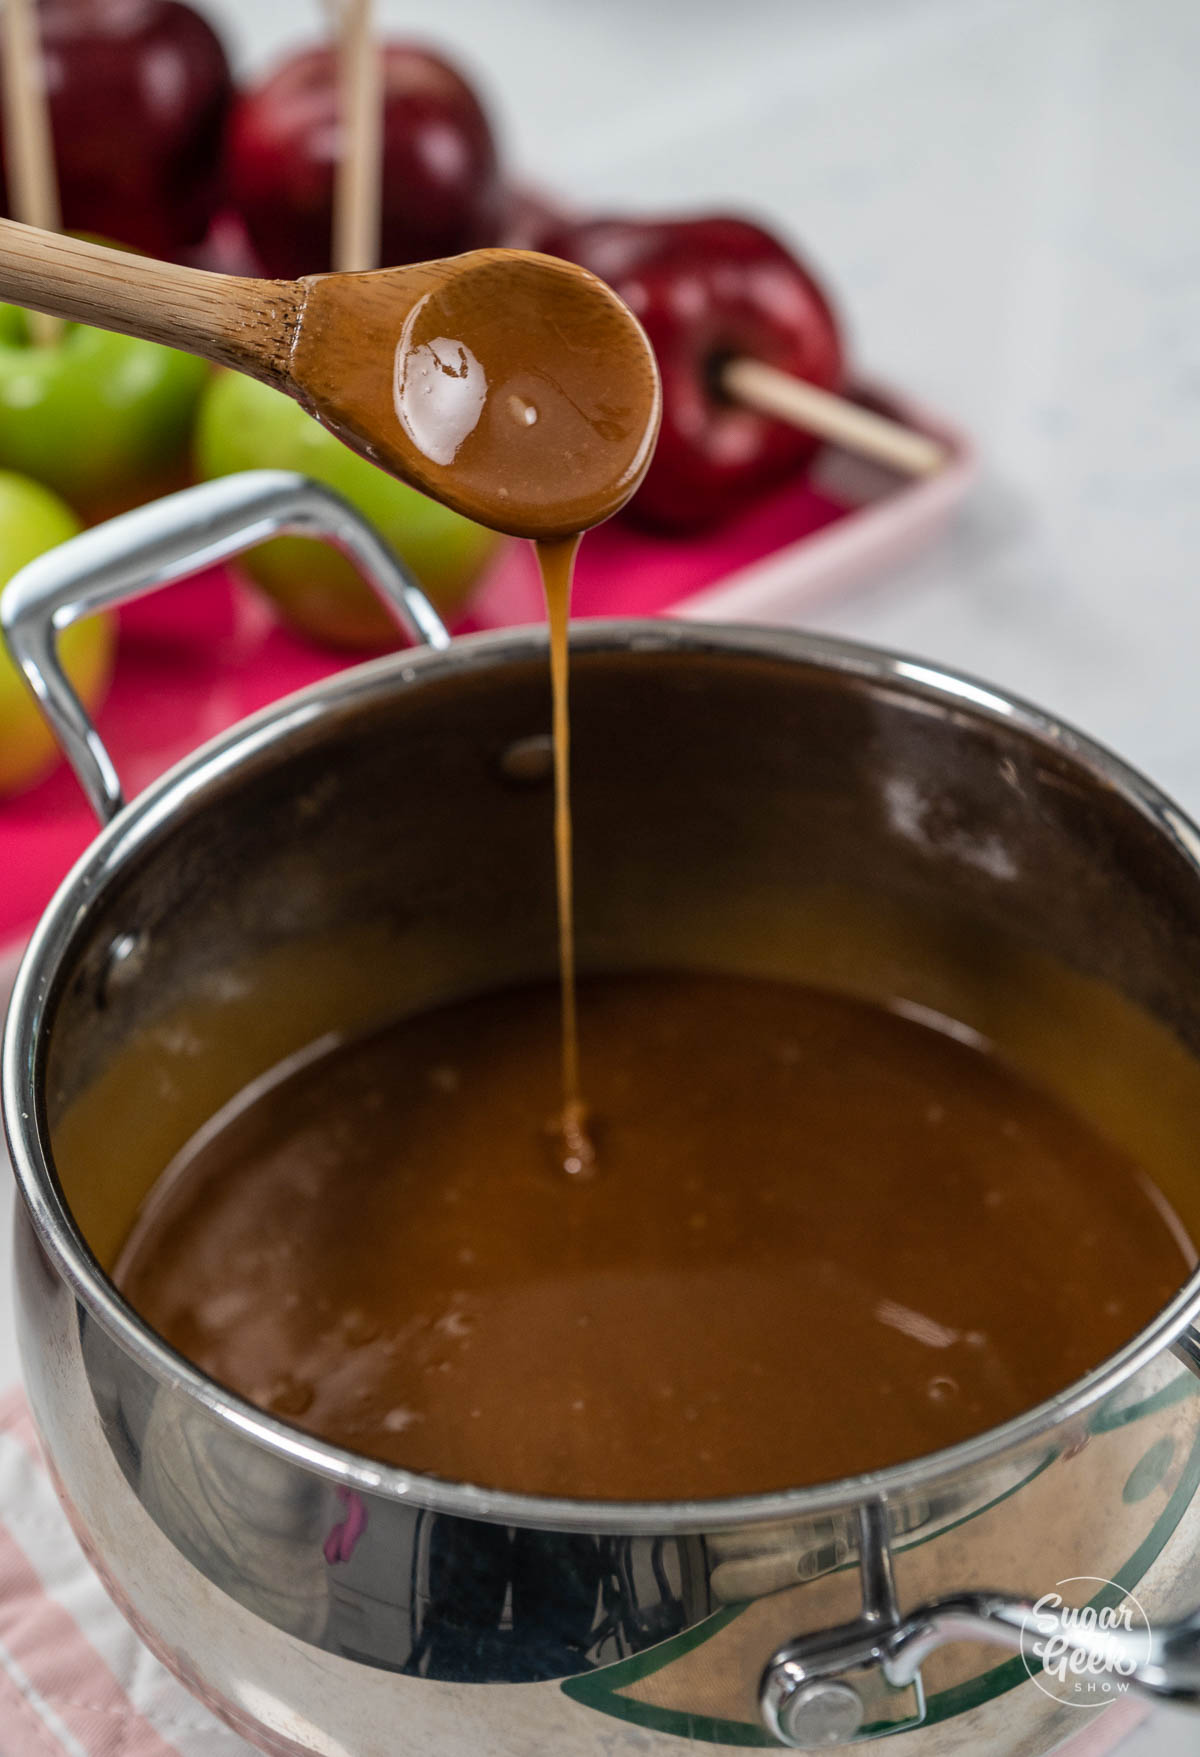
- Allow the caramel to cool for about 5 to 10 minutes until it reaches roughly 190 to 200º F, which is the perfect dipping temperature.
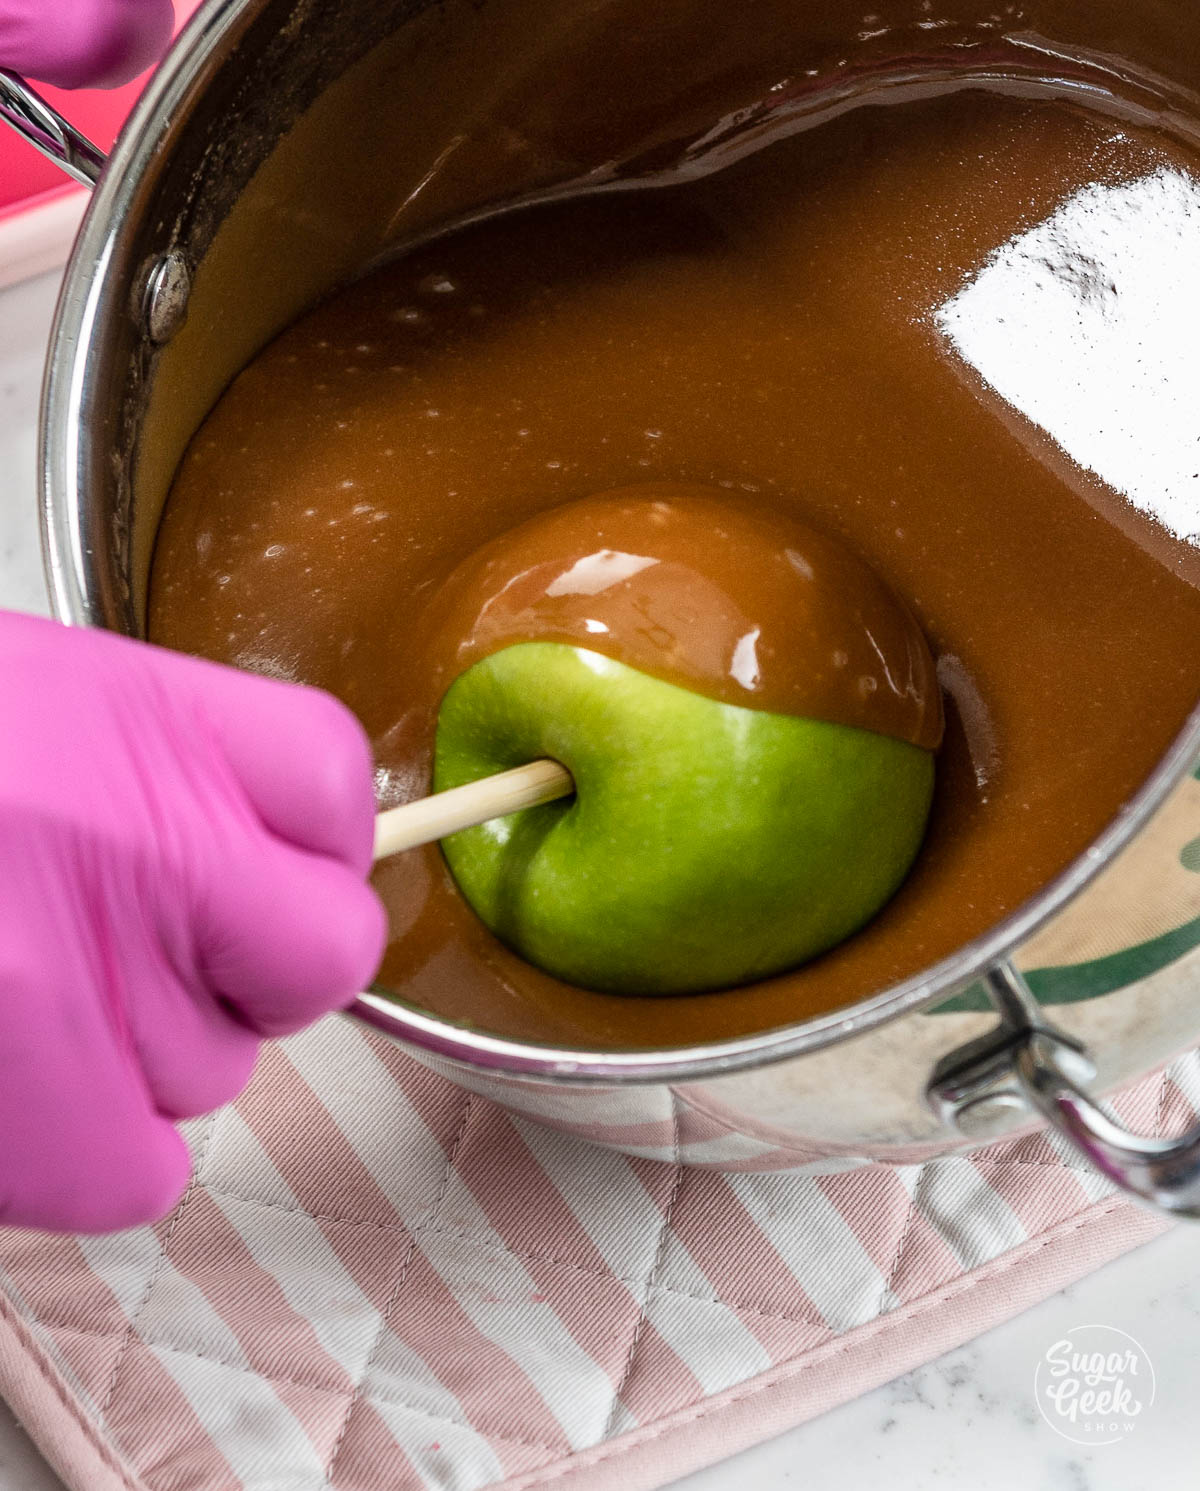
- Take a few apples out of the fridge at a time and wipe each one dry right before dipping. Tilt the pot slightly and roll each apple in the caramel until evenly coated.
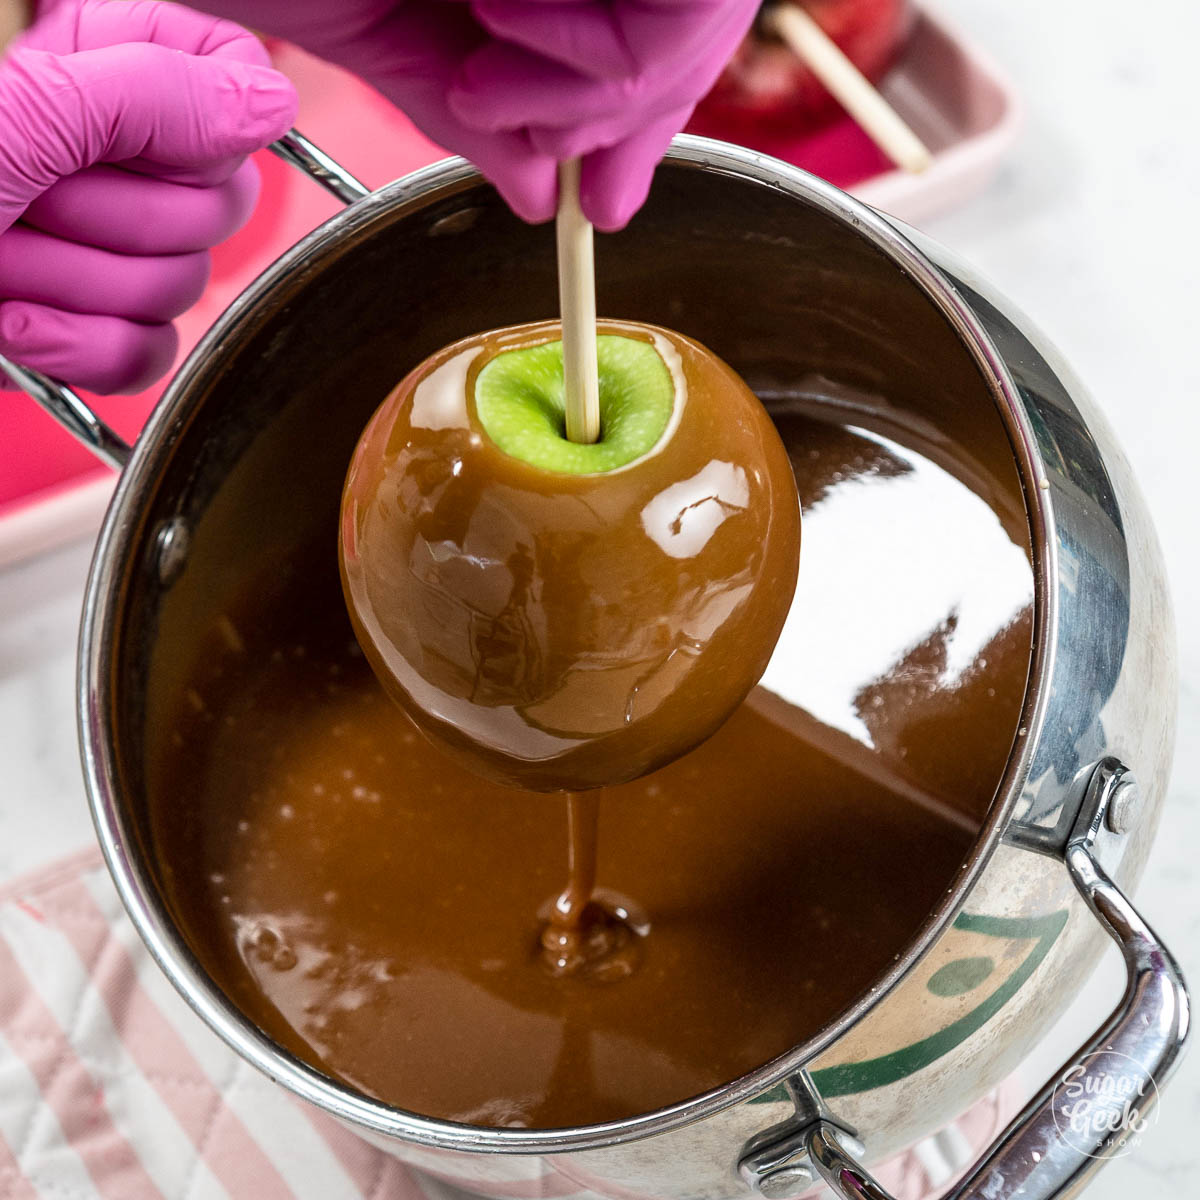
- Let excess caramel drip off and gently scrape the bottom of the apple on the edge of the pot. This prevents too much caramel from pooling at the bottom of the caramel apples.
PRO TIP: : Leave some space between the caramel and the stick so some of the apple is showing. This makes a cleaner, more professional final look.
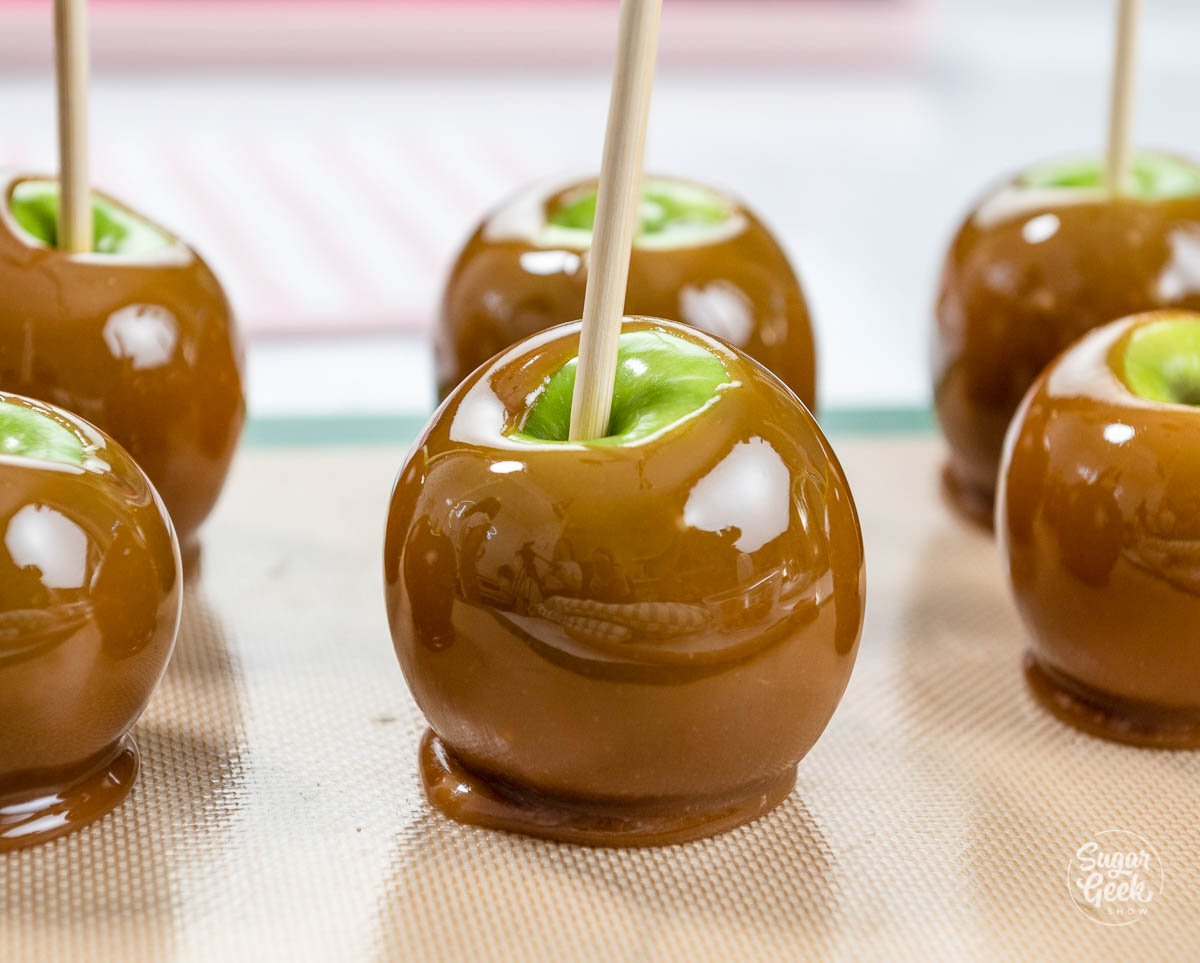
- Place the dipped apples onto a silicone mat or greased parchment paper.
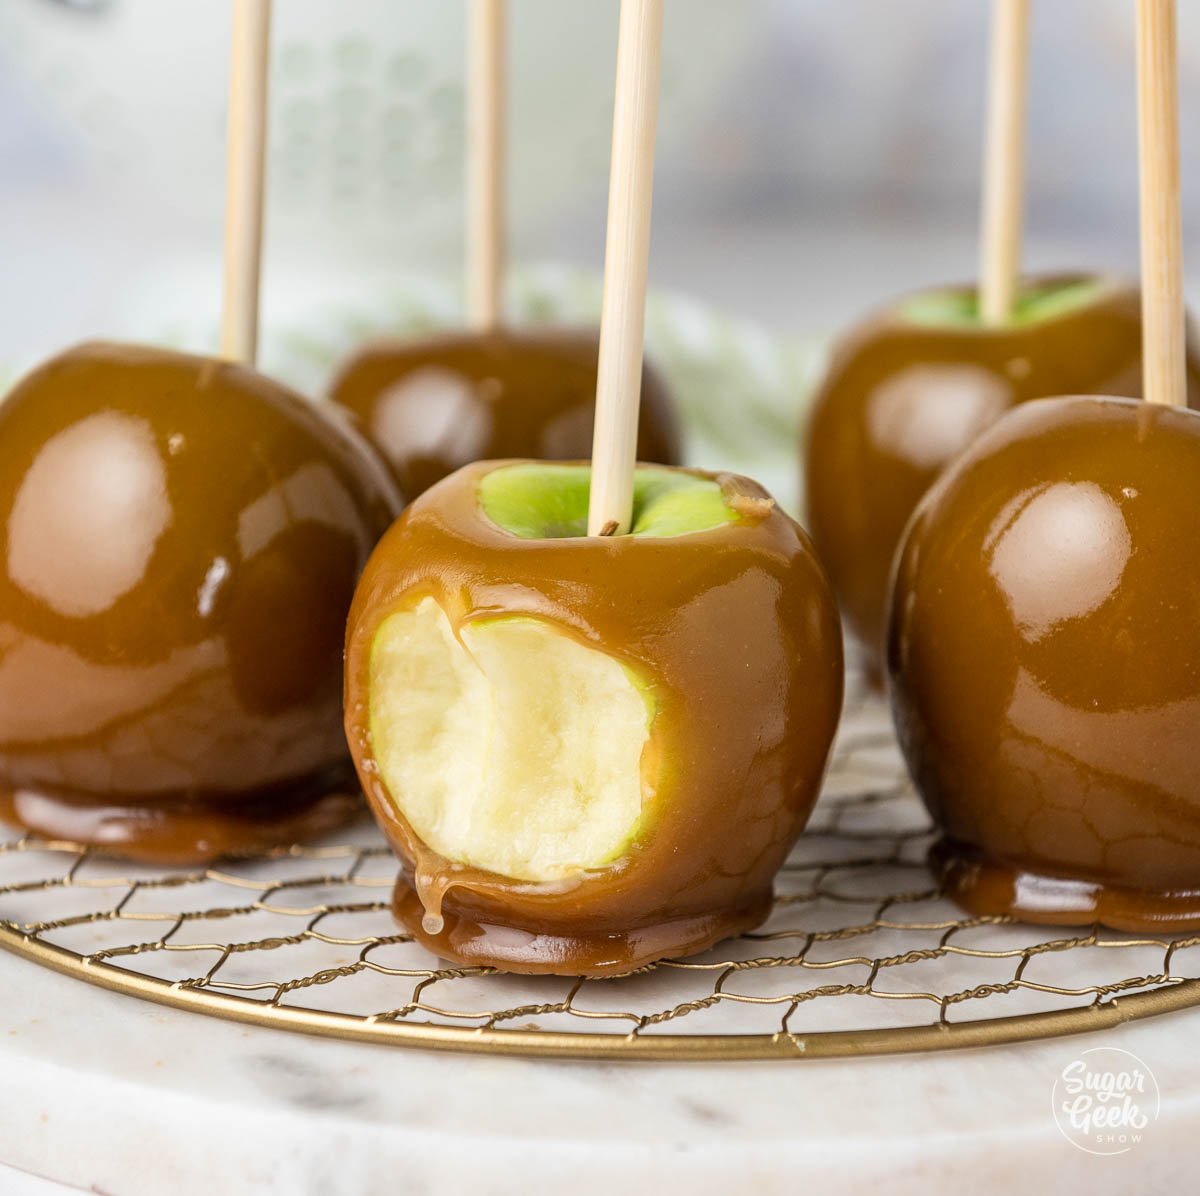
- Allow the caramel apples to cool completely before serving. The caramel will be firm and shiny but soft enough to bite into. You can also cut the caramel apple into slices before serving.
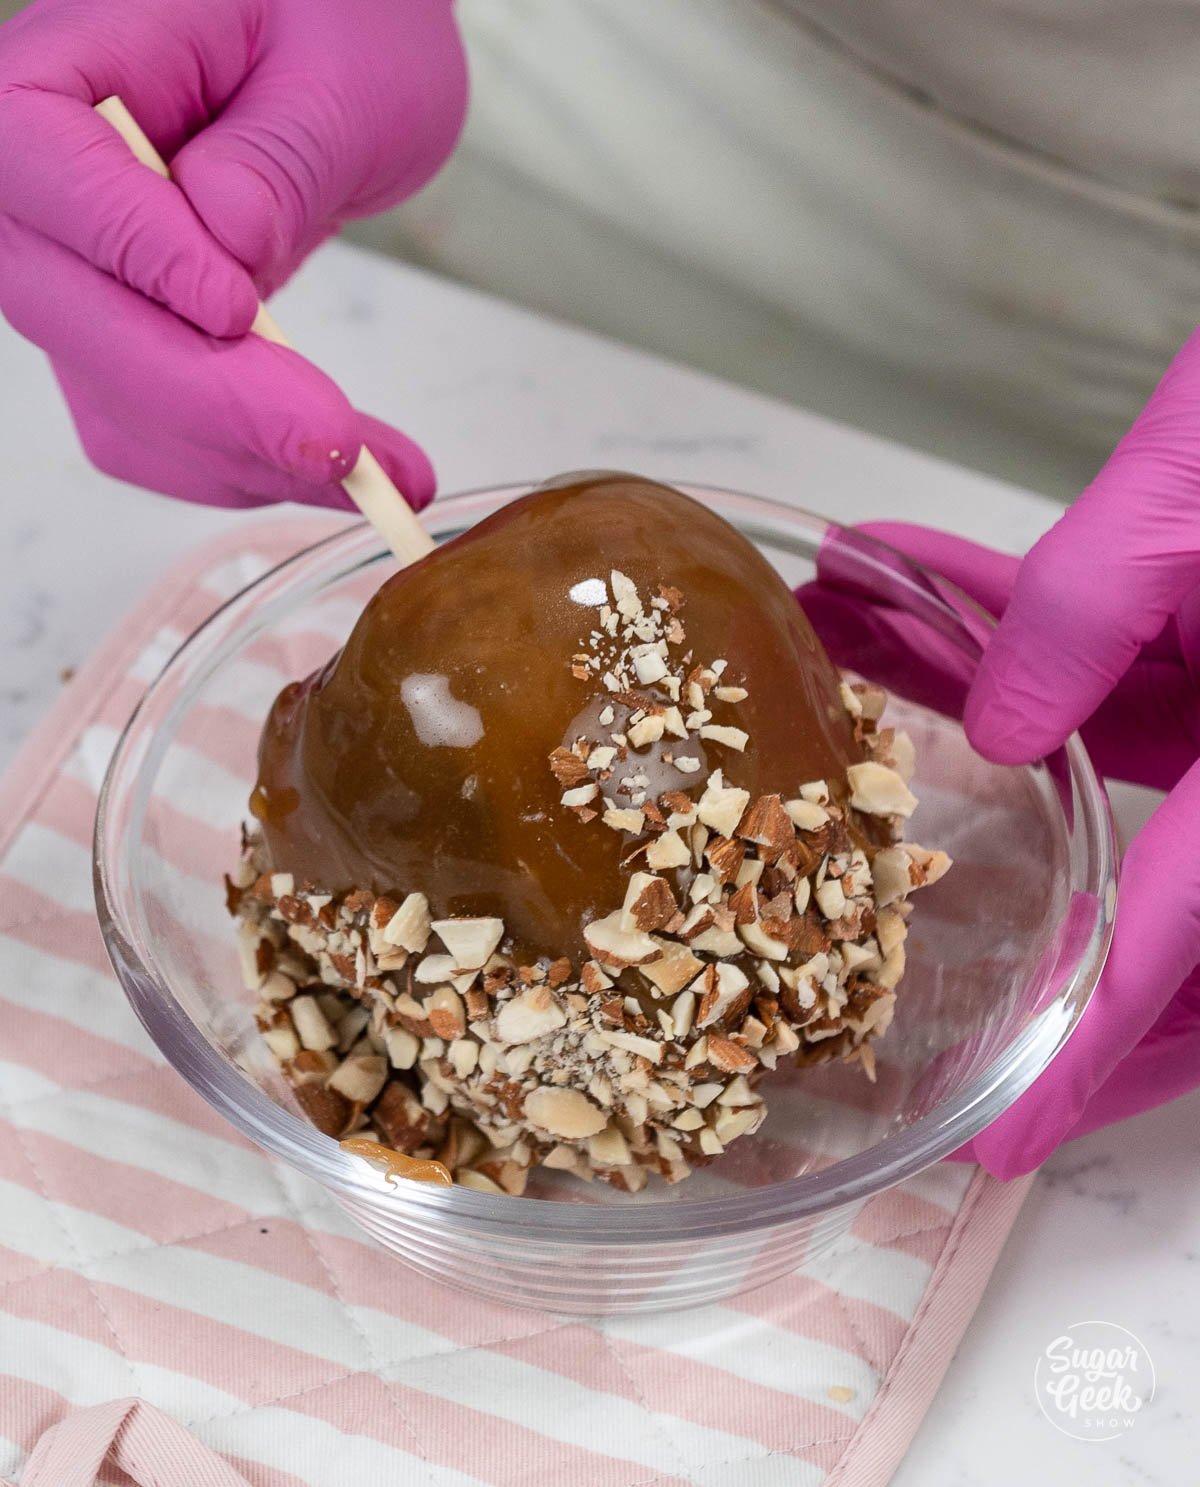
Caramel apples are easy to customize with toppings. Some favorites include:
- Chopped peanuts
- Pecans
- Toasted coconut flakes
- Crushed Oreos
- Butterfinger pieces
- Mini M&M's
- Sprinkles
You can also drizzle the apples with tempered chocolate for a glossy finish that stays stable at room temperature.

Common Caramel Apple Problems
To Avoid
- Skipping the hot water wash. Store-bought apples are coated in wax and that wax will cause your caramel to slide off the moment it makes contact. Submerging in near-boiling water for one minute and rubbing dry removes the wax completely and gives the caramel a clean surface to bond to.
- Using apples that are wet or warm. Moisture on the apple surface causes the caramel to bubble and slide. Warm apples do not set the caramel quickly enough and you will end up with a pool of caramel at the base. Make sure the apples are bone dry and refrigerator cold before dipping.
- Dipping when the caramel is too hot. Caramel straight off the stove is too fluid and will slide right off even a perfectly cold apple. Let it cool to 190 to 200º F before dipping.
- Not cooking the caramel to the correct temperature. Under-cooked caramel is too soft and will slowly drip down the apple as it cools. Use a candy thermometer and make sure you hit 240 to 245º F for the right chewy texture.
- Using weak sticks that bend after dipping. Wooden skewers are too thin and can snap under the weight of a caramel-coated apple. Use proper candy apple sticks, which are thicker and sturdier, and push them in firmly before chilling so they are fully secured.
Final Thoughts
Making beautiful caramel apples isn't hard. The real secret is understanding why things go wrong, because once you know that, you can fix almost anything. Wash off the wax so the caramel has something to grip, make sure your apples are completely dry so you don't get bubbles, and cook your caramel to the right temperature so it sets up chewy instead of sliding off or turning rock hard. Get those three things right, and your caramel apples will look like they came straight from a candy shop.
Caramel Apple FAQs
My first apple was perfect, so why did the rest get bubbles?
Bubbles usually mean there was moisture on the apple. Cold apples collect condensation as they sit on the counter, so the first one dips perfectly and the ones that waited get wet. Take out just a few apples at a time and wipe each one dry right before dipping.
What is the difference between candy apples and caramel apples?
Candy apples have a hard, glassy candy shell made from sugar and corn syrup. Caramel apples have a soft, chewy caramel coating made from butter, cream, and brown sugar. Both start with apples on sticks, but the texture is completely different.
What do I do if my caramel gets too thick while I'm dipping?
Caramel keeps setting up as it cools, so it can get too thick partway through dipping. Just put the pot back over medium heat until it softens again, let it cool slightly, and keep dipping.
How long do caramel apples last?
Caramel apples are best eaten within 2 to 3 days. Store them in an airtight container in the refrigerator, and wrap them after they come out of the fridge so they don't get condensation on the caramel.
What's the best way to eat a caramel apple?
You can bite right into it, but I recommend slicing your caramel apple into wedges first. It's much easier to eat and perfect for sharing.
More Apple Recipes To Try

Ready To Master Cake Decorating?
Join Sugar Geek University and learn professional techniques through detailed cake decorating courses, tutorials, and real kitchen demonstrations by
award-winning cake decorator, Liz Marek.

Leave Me A Review
⭐️⭐️⭐️⭐️⭐️
If you tried this Homemade Caramel Apples or any other recipe on my blog, please leave a 🌟 star rating and let me know how it goes in the comments. I love hearing from you!
Recipe
Equipment
- Candy Thermometer
- heavy bottom sauce pan
- Apple sticks
- silicone mat
- clean pastry brush
- wooden spoon
Ingredients
- 8-10 medium granny smith apples
- 15 ounces brown sugar
- 8 ounces corn syrup
- 2.5 ounces unsalted butter
- 10 ounces heavy cream
- ½ teaspoon salt
- 1 Tablespoon vanilla extract
Instructions
- Before you begin: Start a day ahead. Your apples need to be washed, dried, and chilled overnight so the caramel sticks and sets instead of sliding off.
Day 1 - Apple Preparation
- Bring a large pot of water to almost a boil then remove it from the heat
- Submerge your apples in the water for 1 minute to remove the wax from the apples.
- Dry the apples well, rubbing with pressure to make sure all the wax is removed.
- Remove the stems from the apples by twisting them off.
- Place your stick into apples, making sure the apple stands up straight up. Give your apple a little shake to make sure the stick is secure.
- Place all your apples onto a sheet pan lined with a silicone mat and put them into the fridge to chill overnight or until you are ready to dip your apples.
Day 2 - Making Caramel Apples
- In a heavy bottom sauce pan, combine the brown sugar, corn syrup, cream, salt, and butter.
- Over medium-high heat stir the mixture until butter has melted and then continue to cook the mixture without any further stirring.
- Use a clean pastry brush with water to wash down the sides of the pot to prevent crystallization.
- Place the lid on the saucepan and let the mixture boil for 5 minutes. The condensation will also wash down the sides of the pot to prevent crystallization.
- Attach your candy thermometer to the side of the pan and continue to cook the caramel until it reaches 240 to 245º F
- Remove the caramel from the heat and stir in the vanilla, taking care not to burn yourself as the caramel will bubble up when you add it.
- Let the caramel cool down for 5 to 10 minutes. It will be ready to dip around 190 to 200º F. If your caramel is too runny, allow it to cool for 5 more minutes, it will continue to set up.
- Using an oven mitt to hold your pot of caramel at an angle, gently roll your apple in the caramel until evenly coated.
- Let the excess caramel drip off the bottom and gently scrape the excess on the edge of the pan before placing the apple on the silicone mat to cool.
- Let the apples cool completely. Placing the apples in the fridge will speed up the cooling, however you need to wrap them after coming out of the fridge or they will condensate. Apples will last in the fridge in an airtight container for a few days.


Christine wagner says
this was the best tasting caramel apples I've ever made! Delicious and easy. I highly recommend it.
I wrapped my excess caramels in pretty parchment paper.
Kim Colvin says
I put goldfish crackers on mine. The sweet and salty vibe is perfect, and it’s cute for kids
yvonne gathing says
After so this prepping it told us nothing about how much whipping creme, vanilla or corn syrup to mix. Just bad
Liz Marek says
I'm so sorry about that! All the amounts are in the recipe card at the bottom of the post: 10 ounces heavy cream, 1 Tablespoon vanilla extract, and 8 ounces corn syrup, plus the brown sugar, butter, and salt. You can tap "Jump to Recipe" at the top of the post to go straight to it.
Eric says
If you make caramel candies, could you carefully reheat them in a double boiler to dip more apples?
Liz Marek says
Yes, you can! Warm them gently, either in a double boiler like you mentioned or over medium heat, and stir until the caramel is smooth again. Let it cool back down to about 190 to 200º F before you dip so it clings to the apple instead of sliding off.