


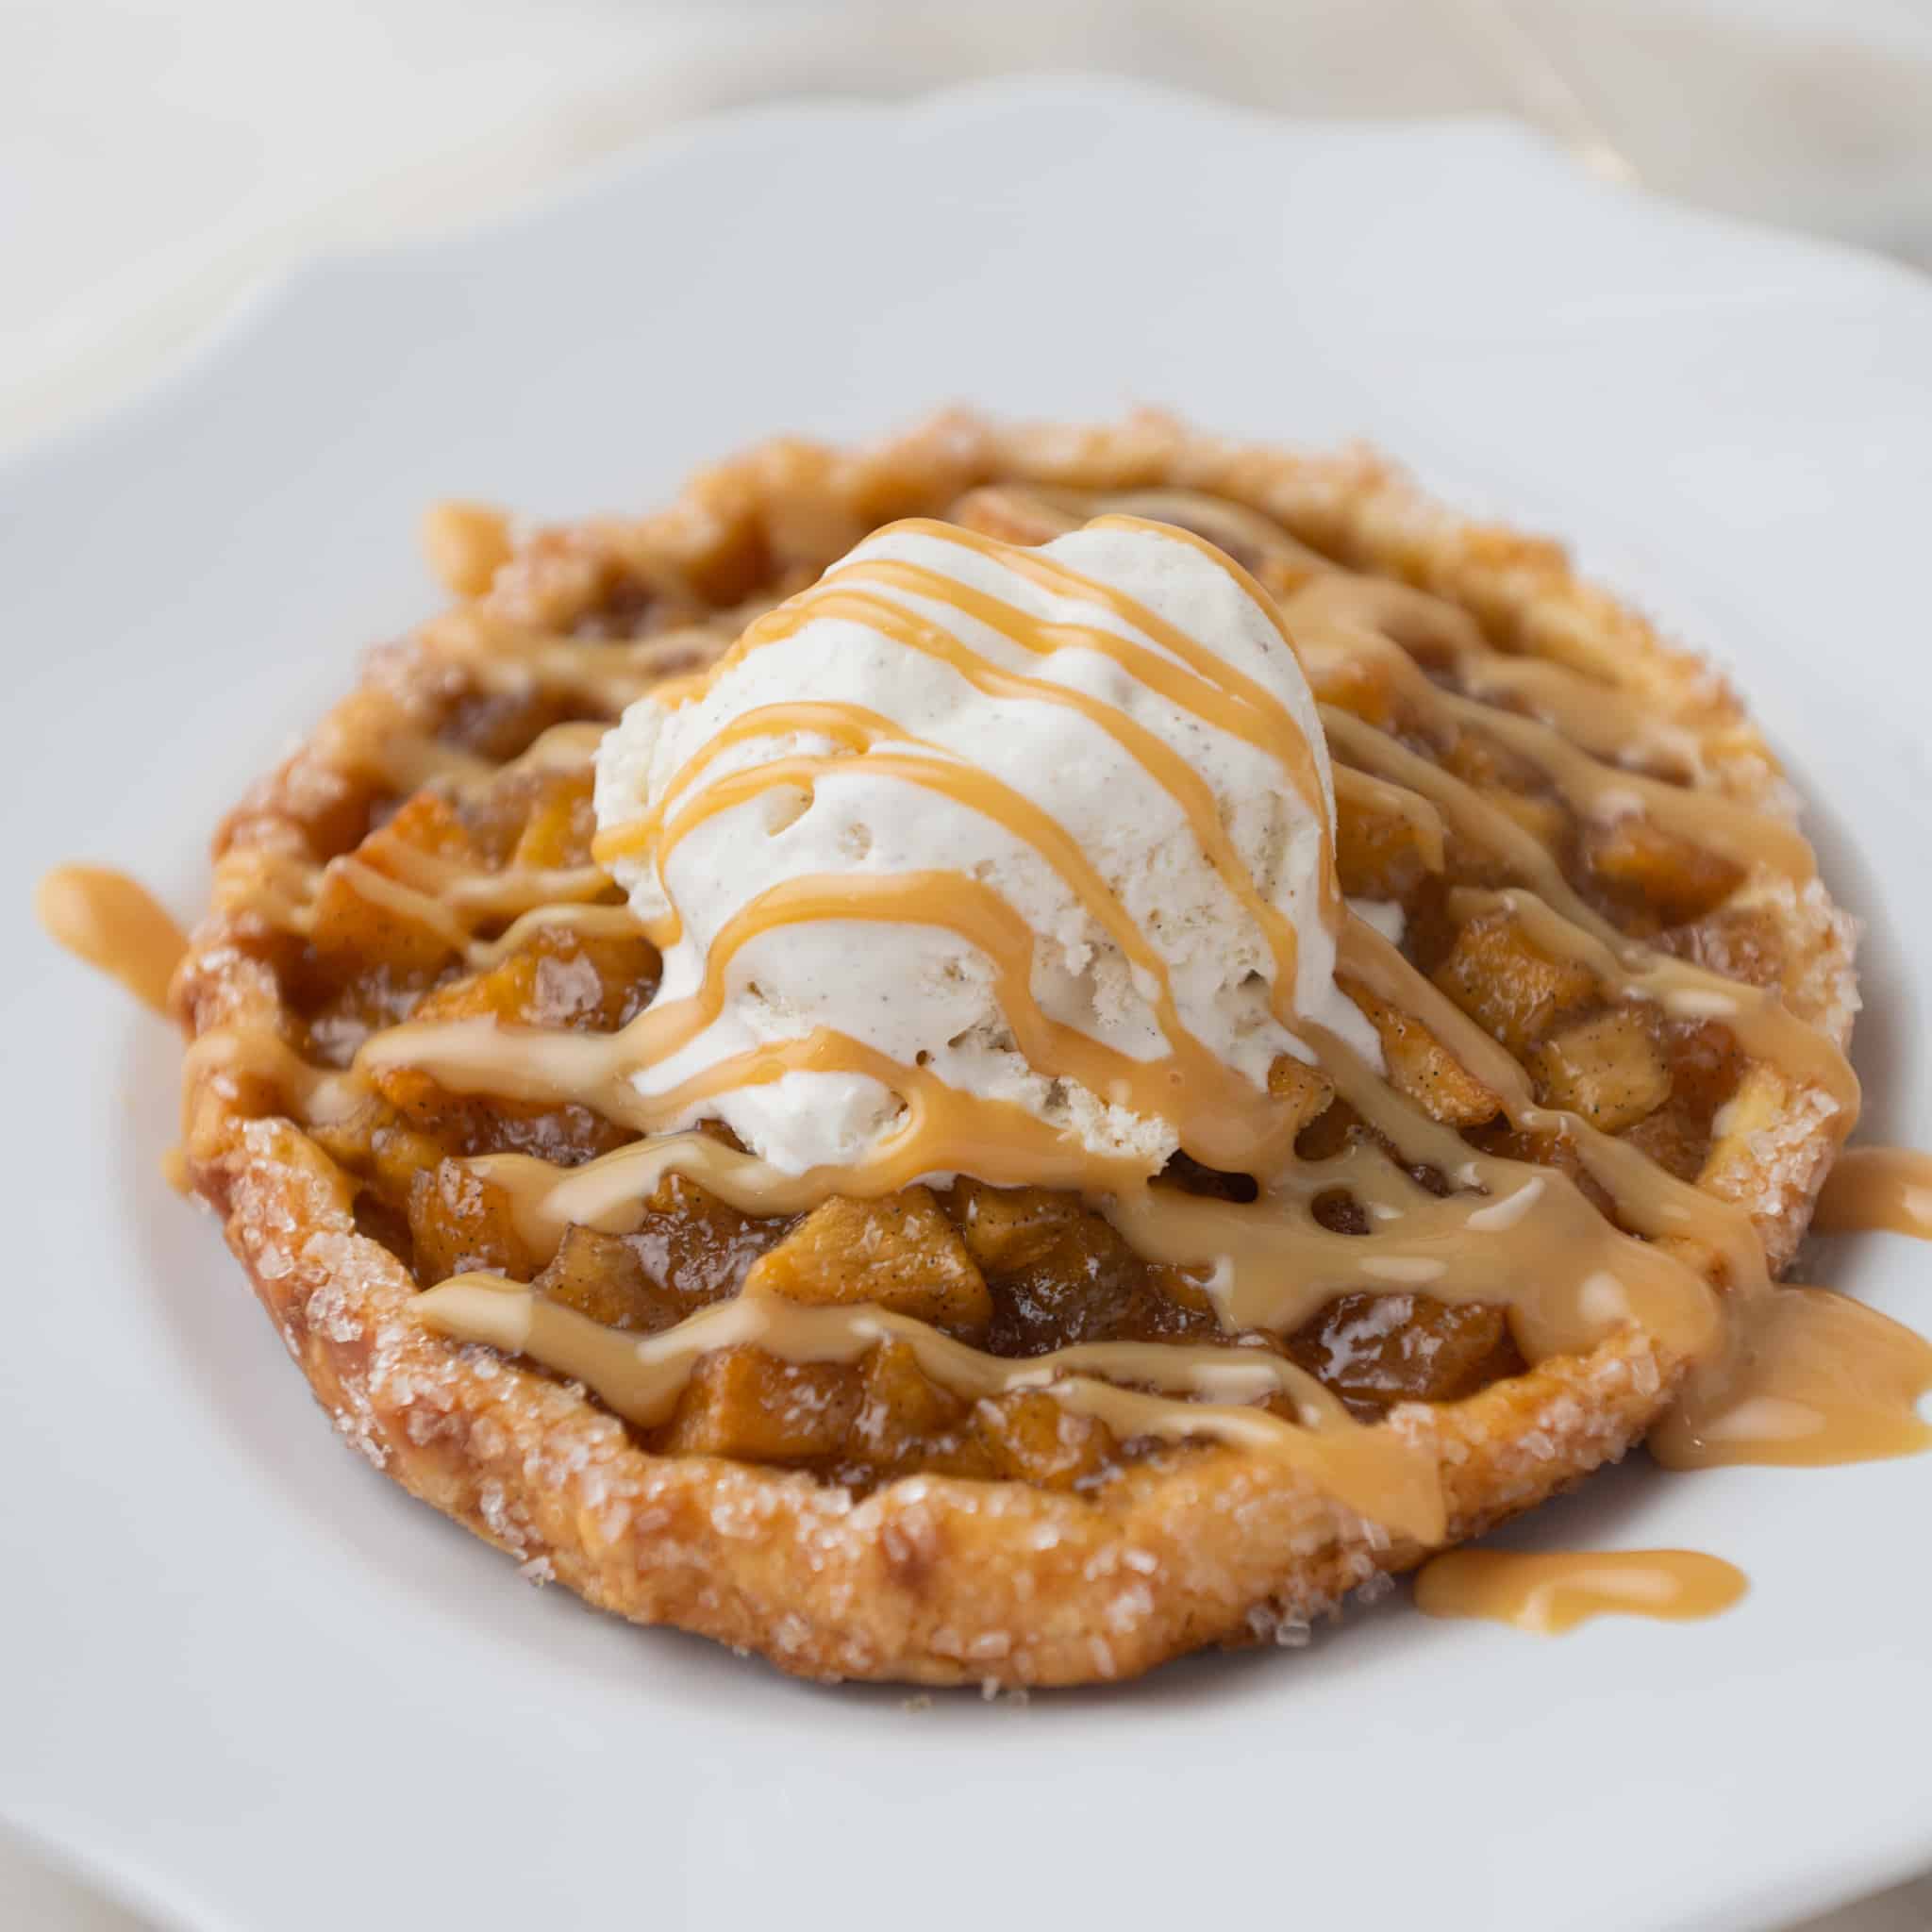
This easy apple galette recipe features a flaky pie crust, perfectly cooked apple filling, and a drizzle of homemade dulce de leche. Subtle notes of honey in the warm apple filling create a burst of flavor in every bite. Serve it with a scoop of vanilla ice cream on top and share it between two, or devour it all yourself!
Chef Christophe Rull is back to show us how to make this beautiful, easy dessert from scratch. You don't even need a pie pan to make this recipe. Make the pie dough, apple filling, and dulce de leche ahead of time and assemble when you're ready to eat!
What's In This Blog Post
Ingredients
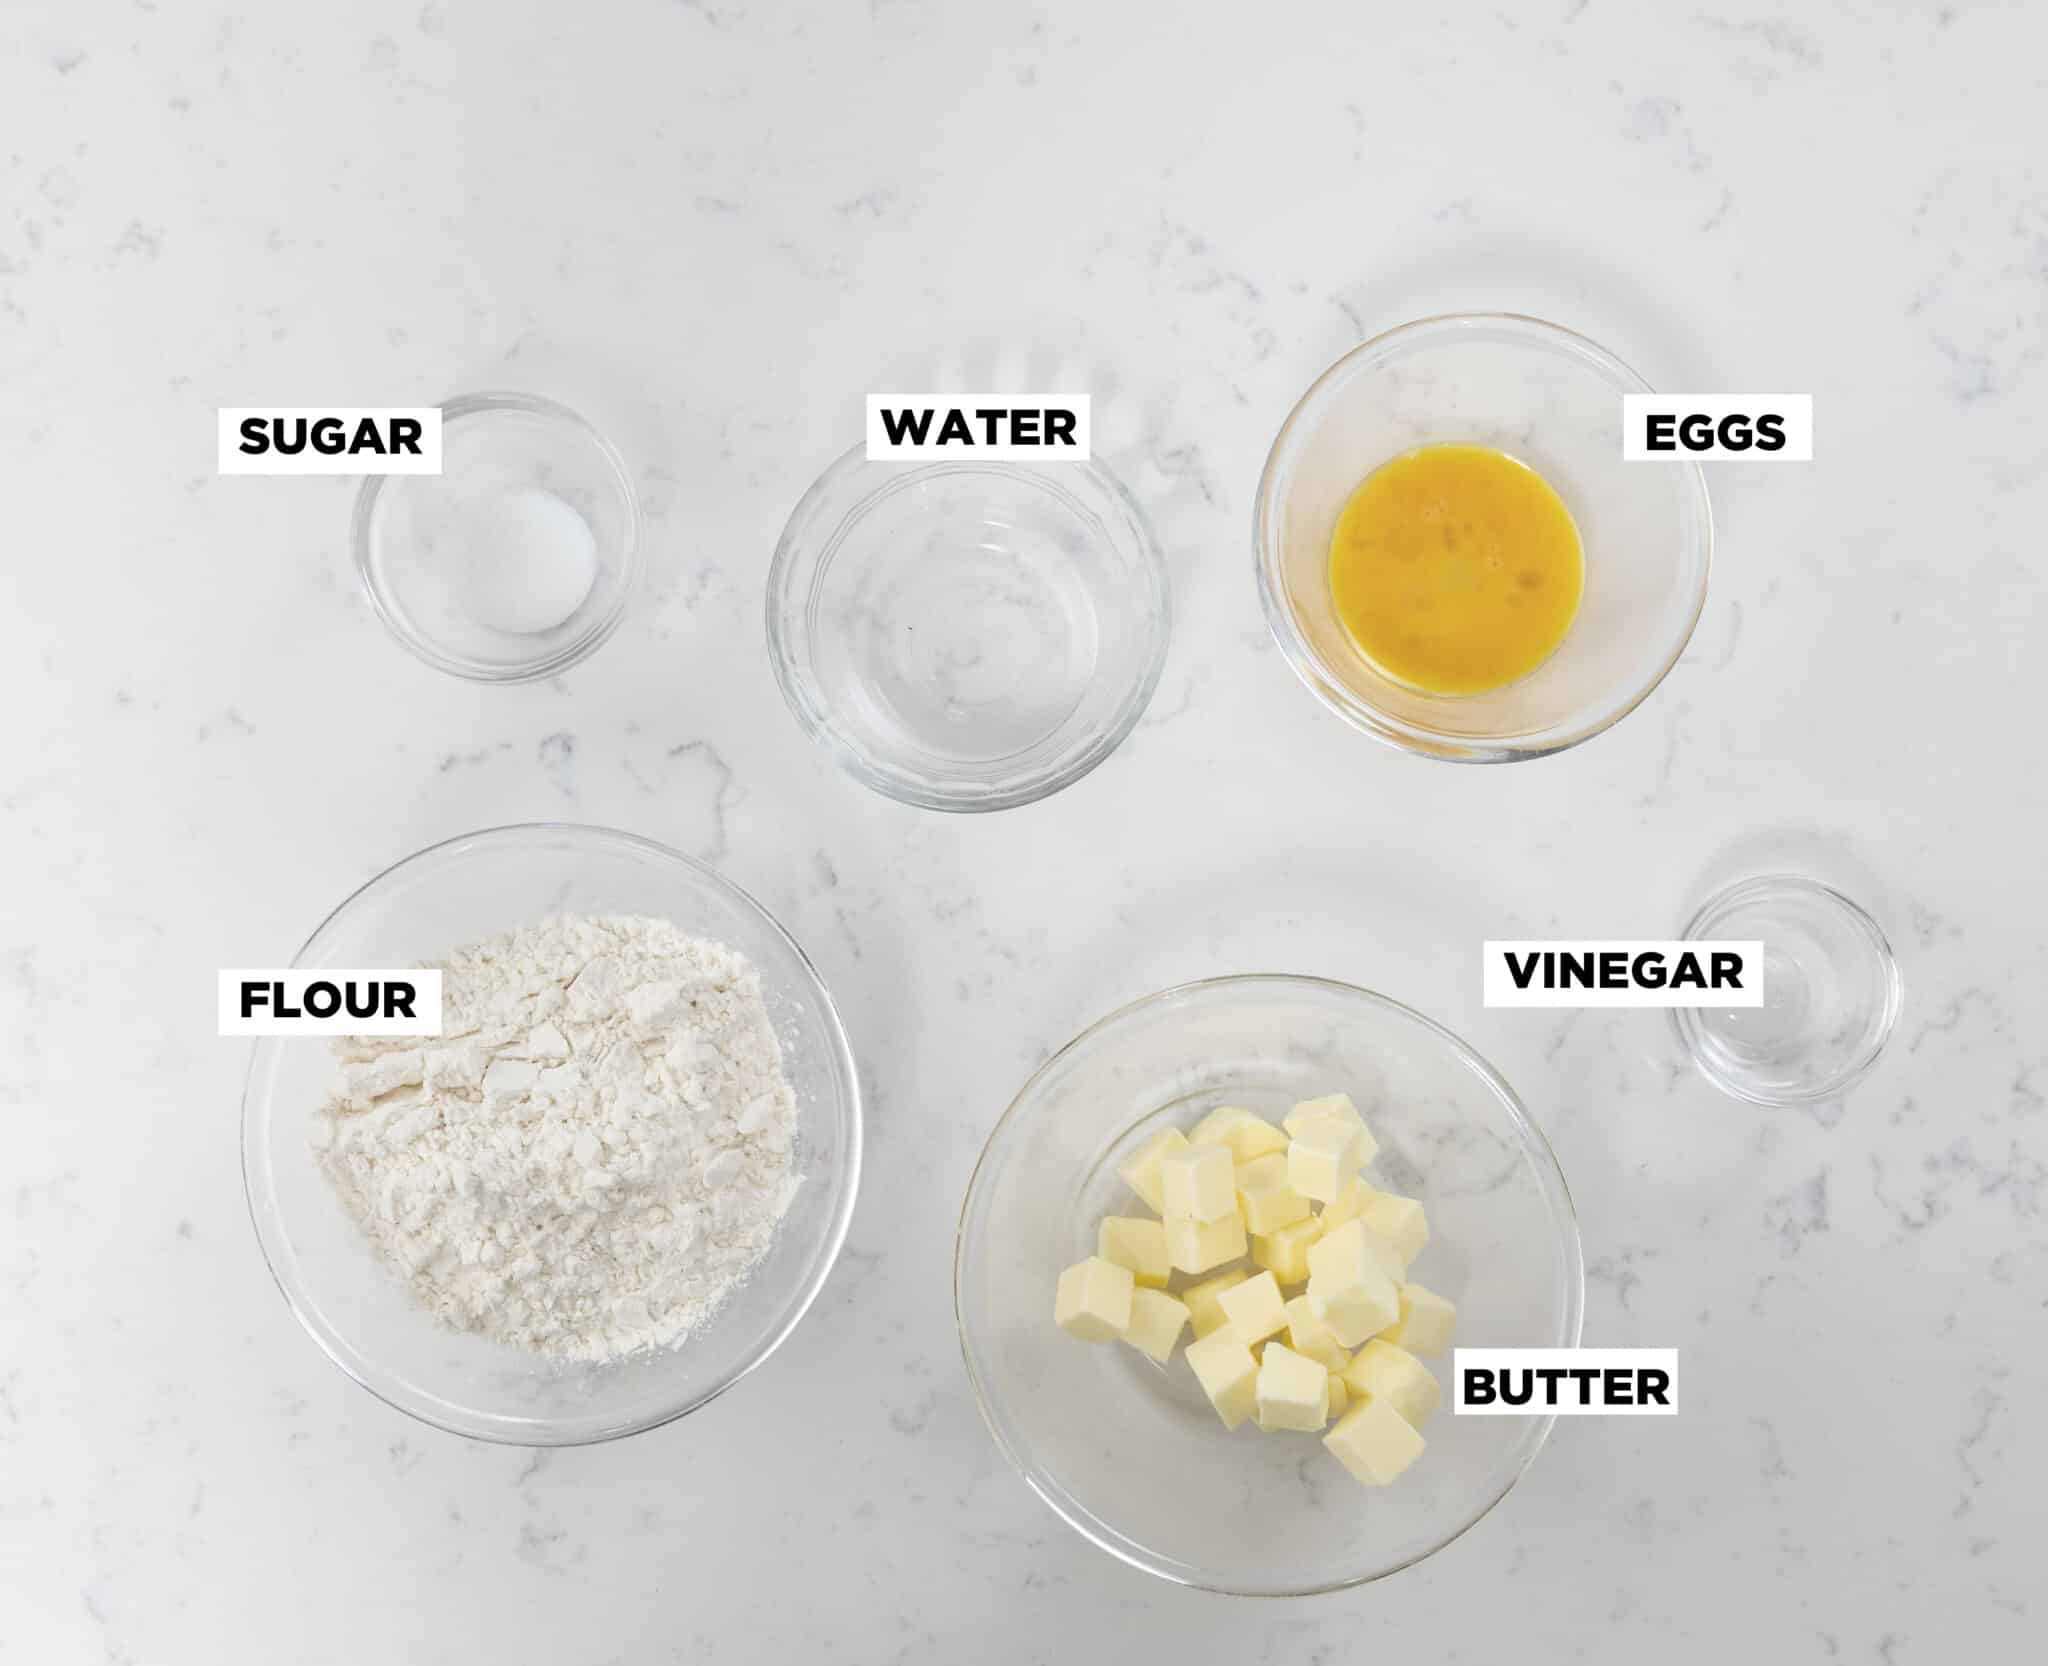
Apple Galette Dough Ingredients
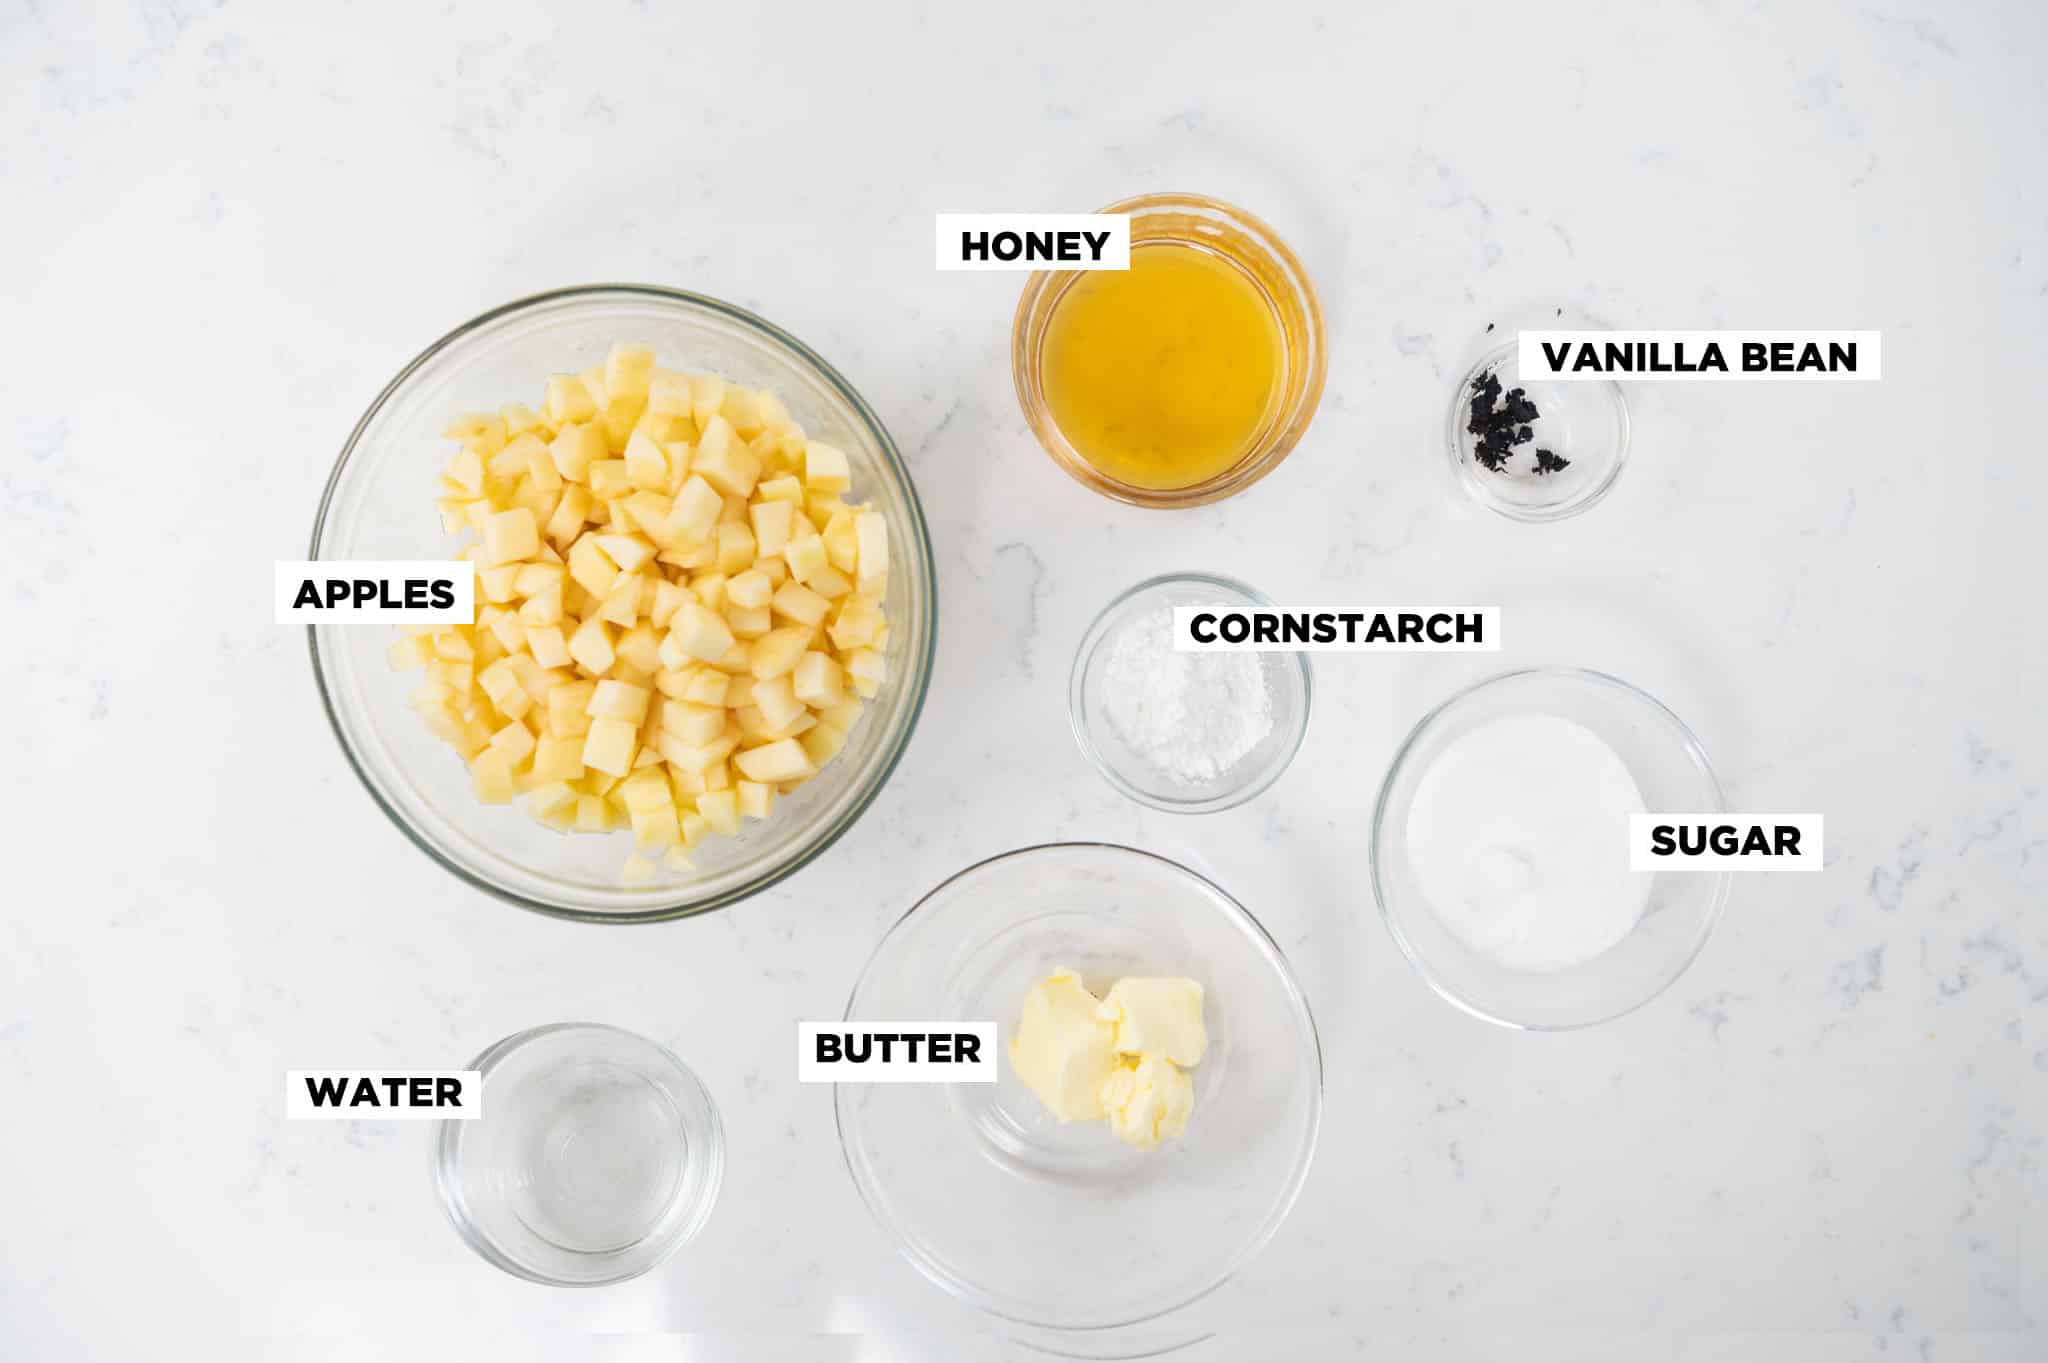
Apple Filling Ingredients
Condensed milk: This ingredient is optional but totally worth it to make homemade dulce de leche.
Apples: I like using Gala apples for my galette because they're crisp and mellow in flavor, and their natural sweetness requires less sugar to be added to recipes.
Butter: Any butter will work for this recipe, but I like to use European butter, or "Plugra" because it's extra creamy and has a higher fat content of 82%. Using a higher quality butter will lead to even better pie dough. Just make sure you have COLD butter.
White vinegar: Vinegar will keep the dough from oxidizing and turning gray. This often happens when you over-mix the dough and develop too much gluten. The acid breaks down the gluten in the flour, making the dough easier to roll out as well. Some pastry chefs like to use lemon juice instead of vinegar, but I find that white vinegar adds the least amount of flavor.
Vanilla: Fresh vanilla beans have the best flavor, and I love seeing the little black sparkles in my baked goods. You can also use vanilla extract or vanilla bean paste, I recommend using Nielsen Massey vanilla.
Heavy cream: I like using cream instead of an egg wash for a little more shine on the flaky crust. You can also use an egg yolk mixed with 1 Tablespoon of water or half-and-half.
Is An Apple Galette A Pie?
Technically, no. Since a galette is not baked in a pie tin, it's not a pie but the ingredients can be very similar to a pie. They can also be very different. A galette (pronounced Guh-let) can be any type of pastry with a filling baked flat. They can be savory or sweet making the flavor possibilities for galettes endless!
Tips For Baking From Scratch
*This post may contain affiliate links which means if you click on them I might get a few pennies.
I suggest purchasing a kitchen scale if you don't already have one to make the best scratch recipes. One cup of flour can vary from scoop to scoop depending on how packed the flour is, humidity, and the type of flour, which can ruin your recipe.
Practice Mise en Place (everything in its place) which means you measure everything before you start mixing so you don't accidentally forget something or add any ingredients out of order. I use a set of medium and small pyrex glass bowls I got from goodwill for this and it makes things SO much easier.
Making an Apple Galette
Making the Galette Dough
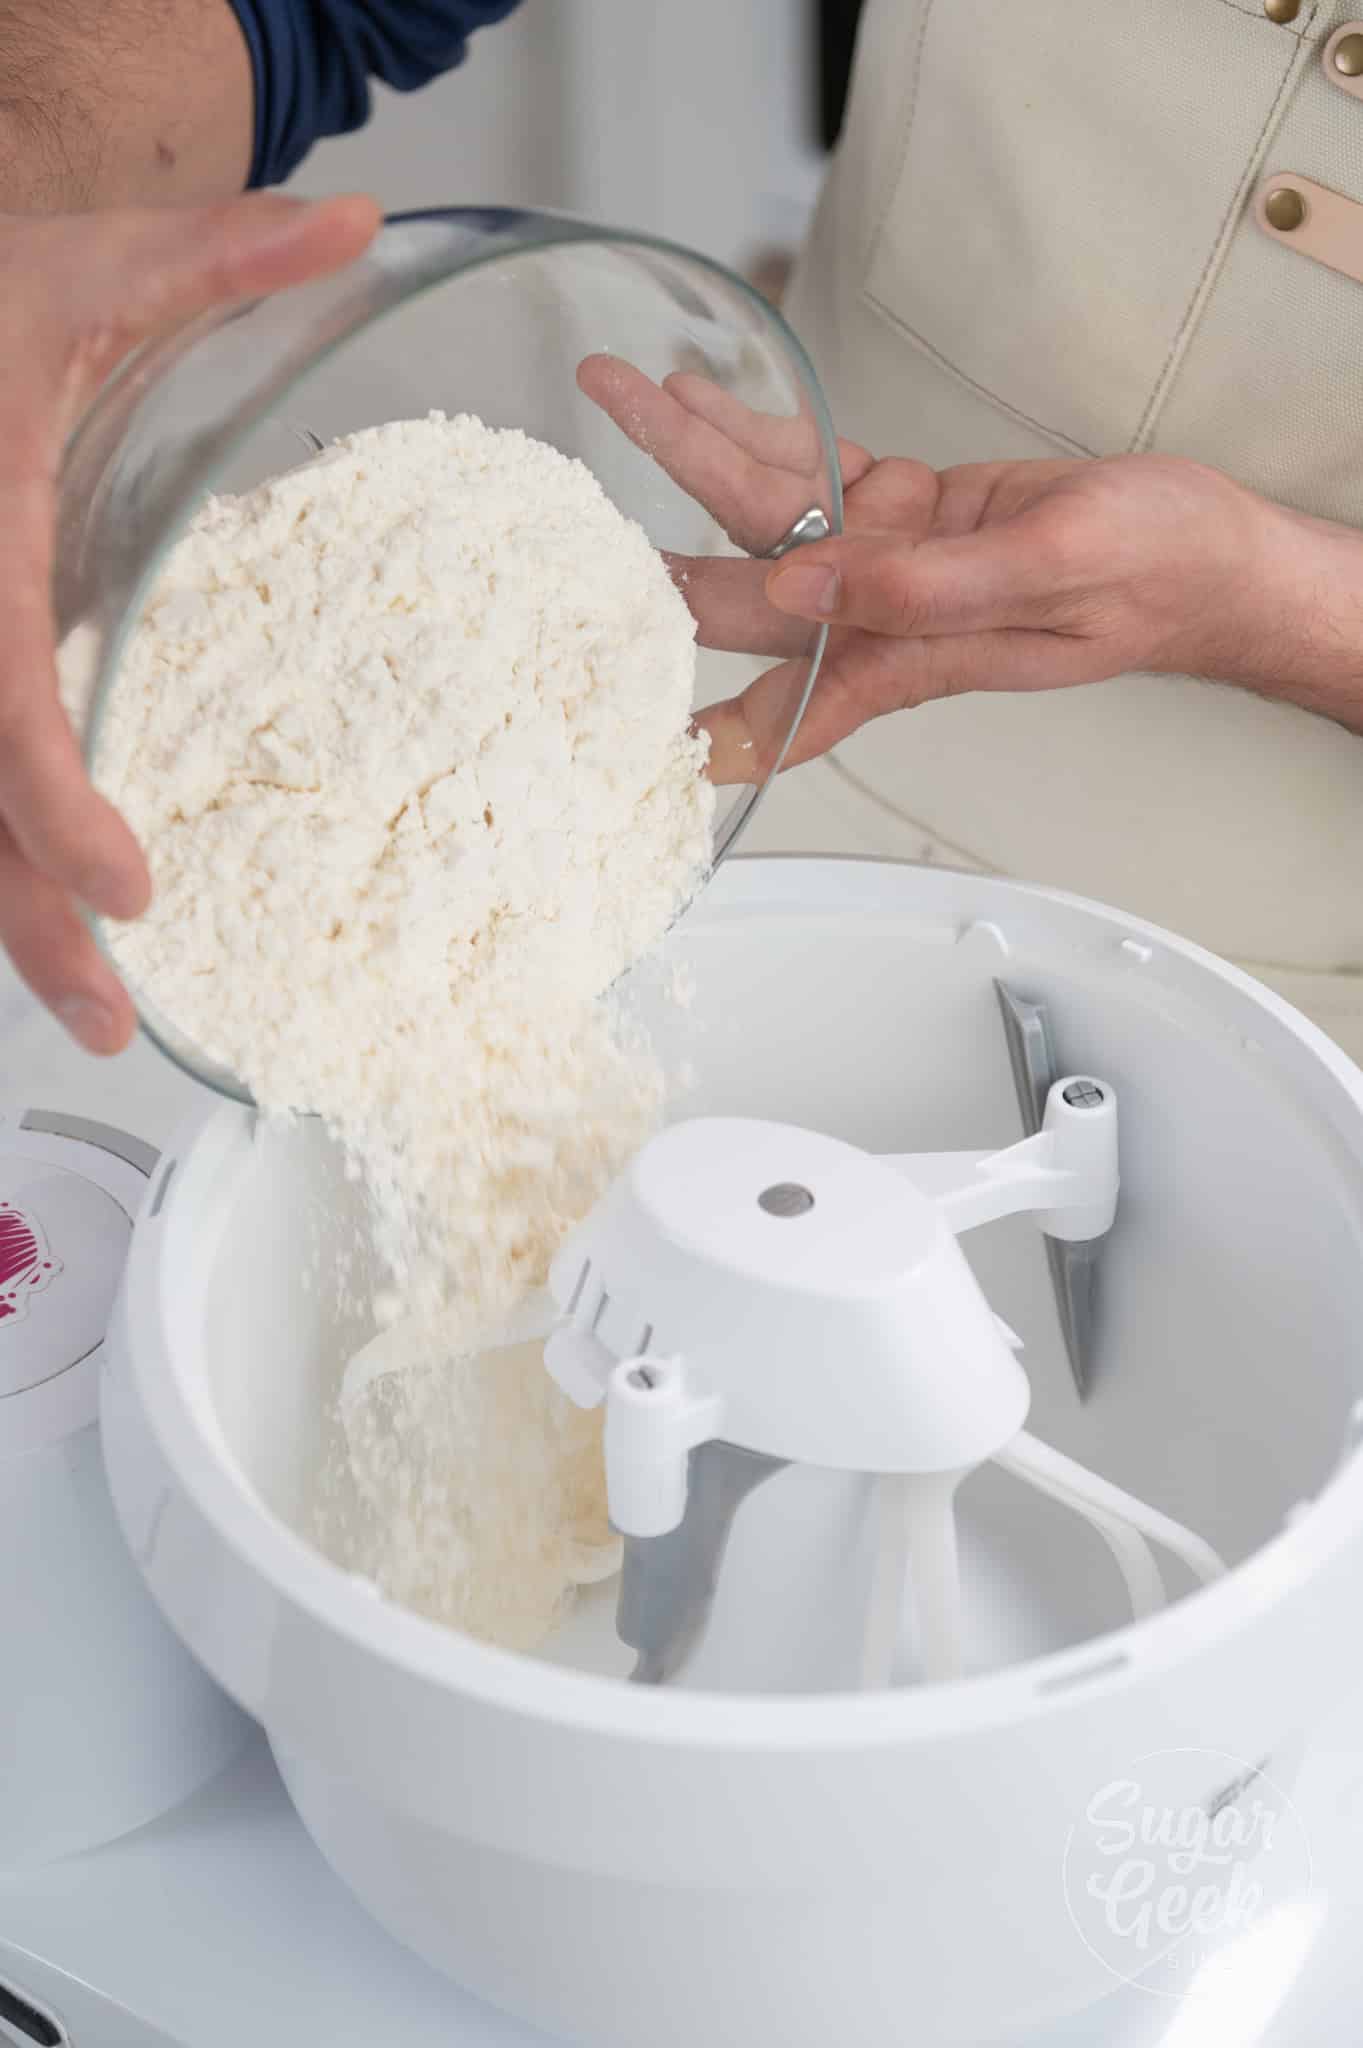
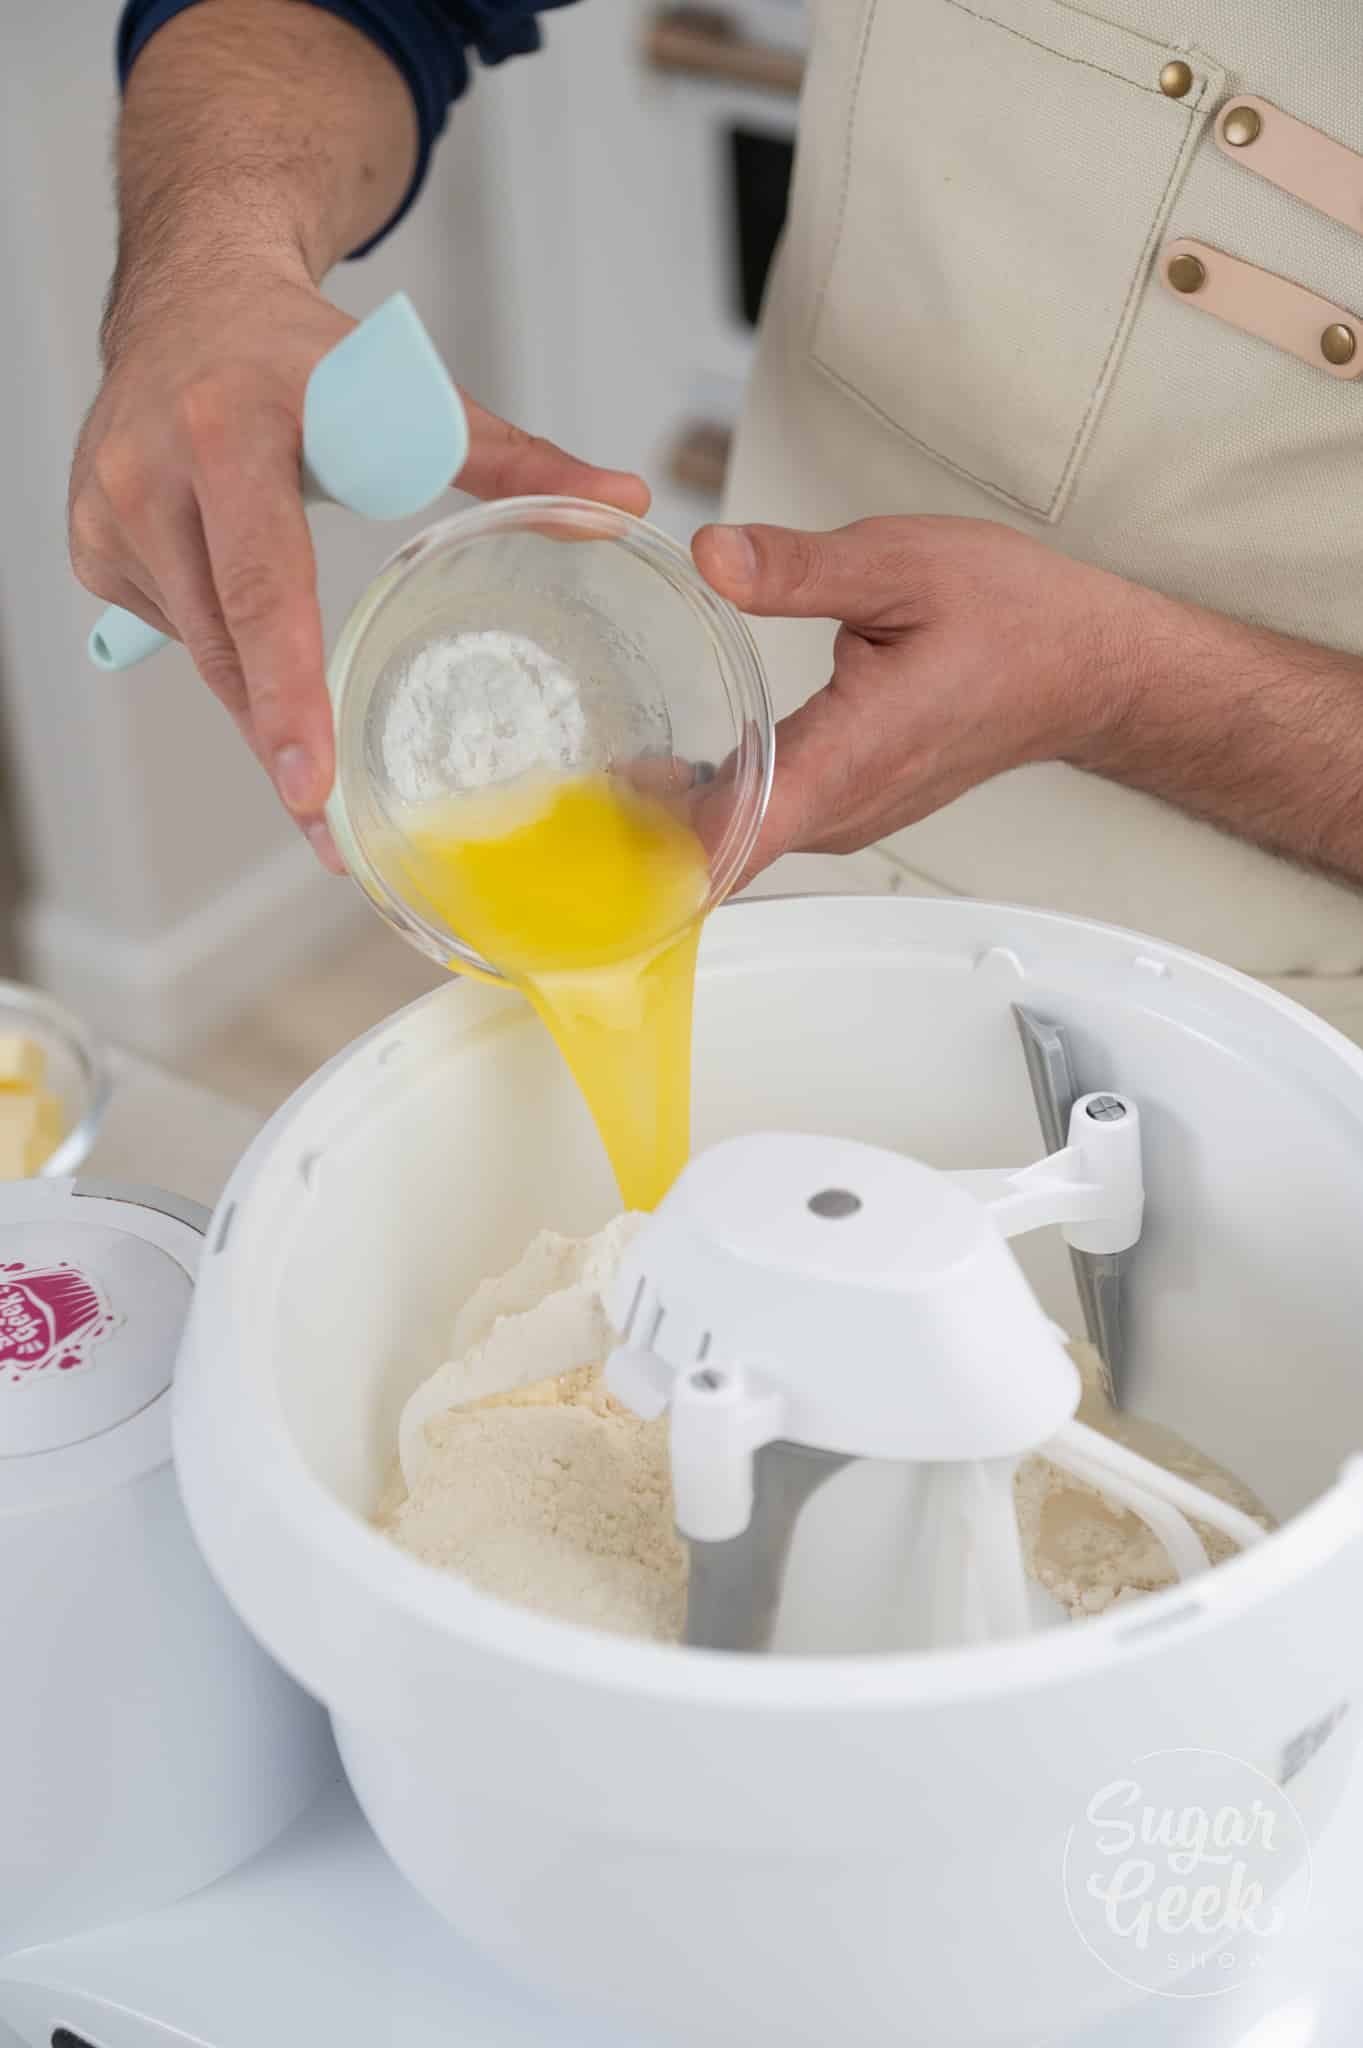
- Add your cold water, salt, white vinegar, and flour to the bowl of your stand mixer with the paddle attachment and mix to combine. You can also do this with a whisk and a large bowl or a food processor.

- Slowly add your eggs to the flour mixture little by little while mixing on low.
- Add in your cold butter and mix on low for about 1 minute or until it creates a sandy texture. Pro-tip: leaving chunks of butter in your dough will create a crunchier texture.
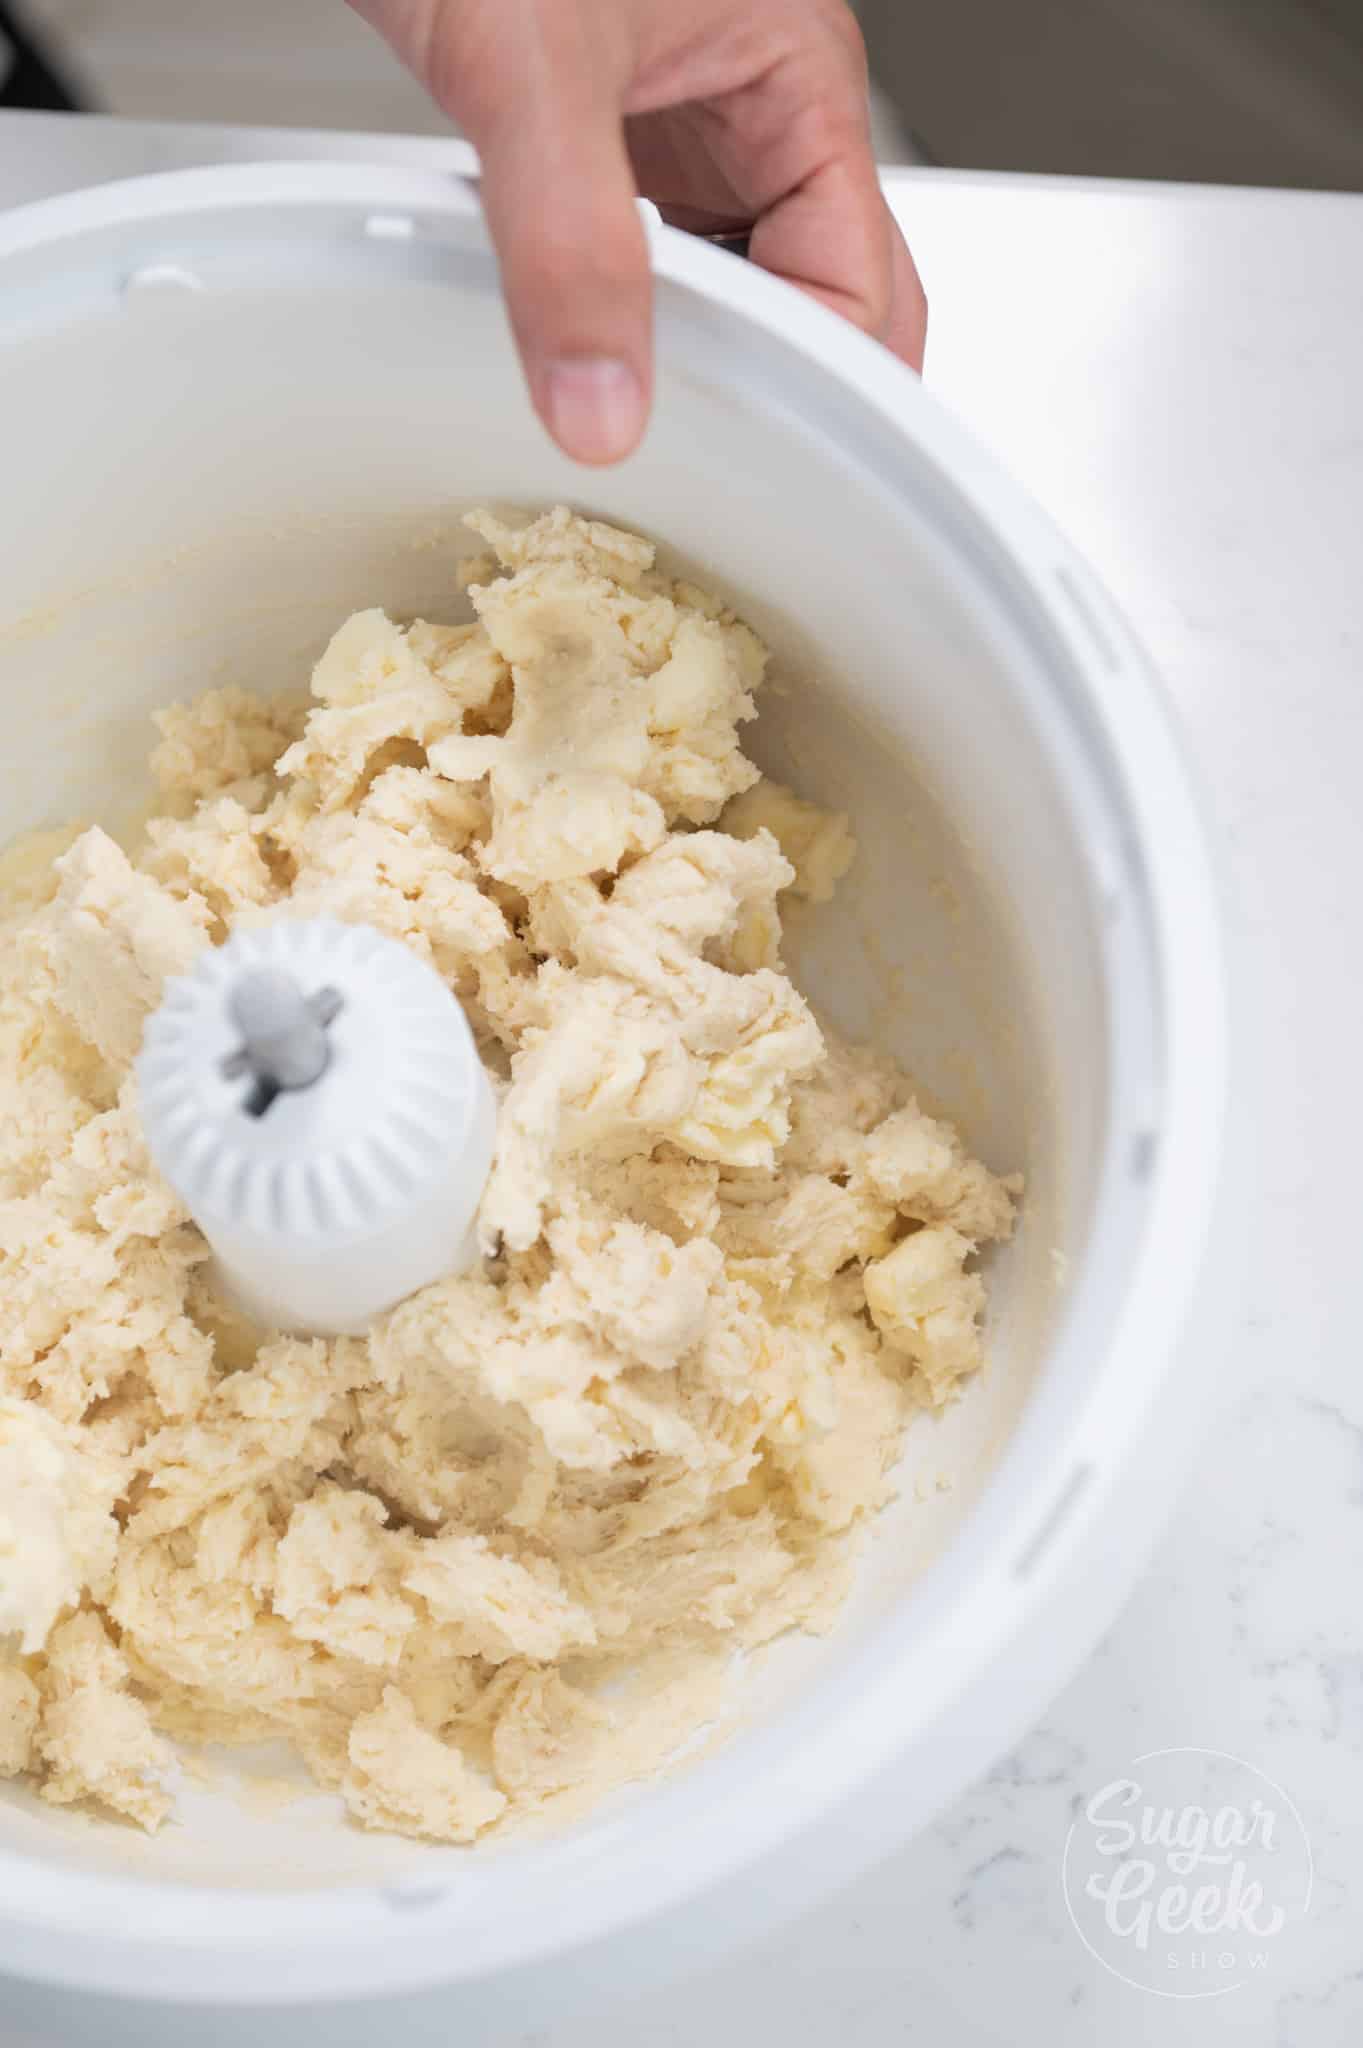
- Transfer your dough to a surface and knead by hand until the dough is fully combined. Push and pull the dough with your hand, but be careful to not overmix and melt the butter.
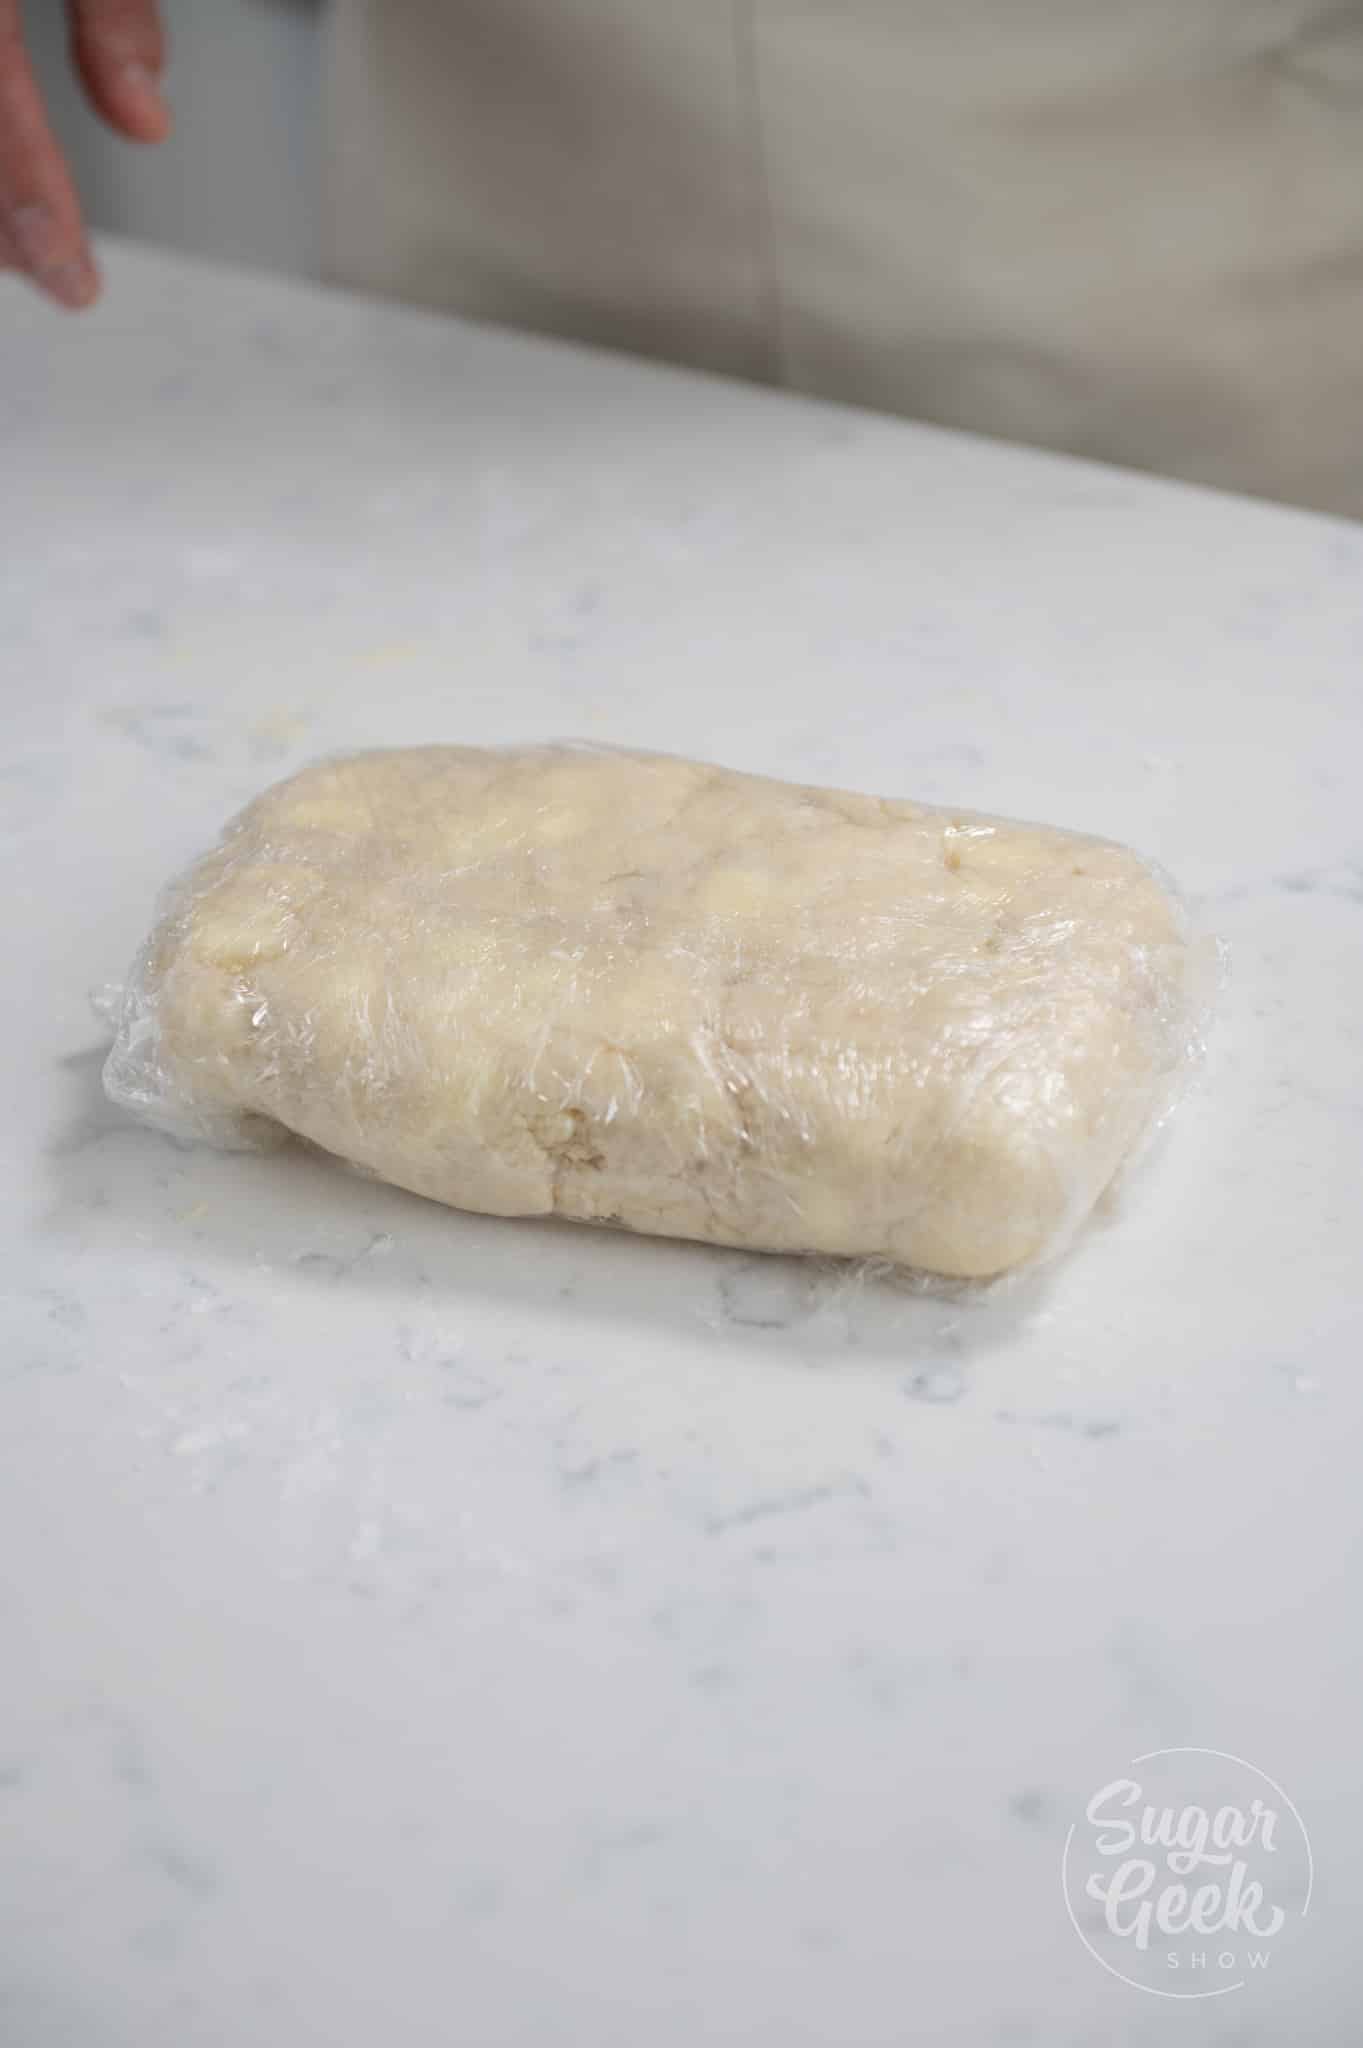
- Flatten the dough and then wrap the dough in plastic wrap and chill it in the refrigerator for 2 to 3 hours until hard. You want the butter to chill and get really firm again. Pro-tip: Make this dough up to 3 days ahead of time and keep it in the fridge.

Making the Apple Filling
- Peel and cut your apples into small cubes. You could also use apple slices if you want to make a design.
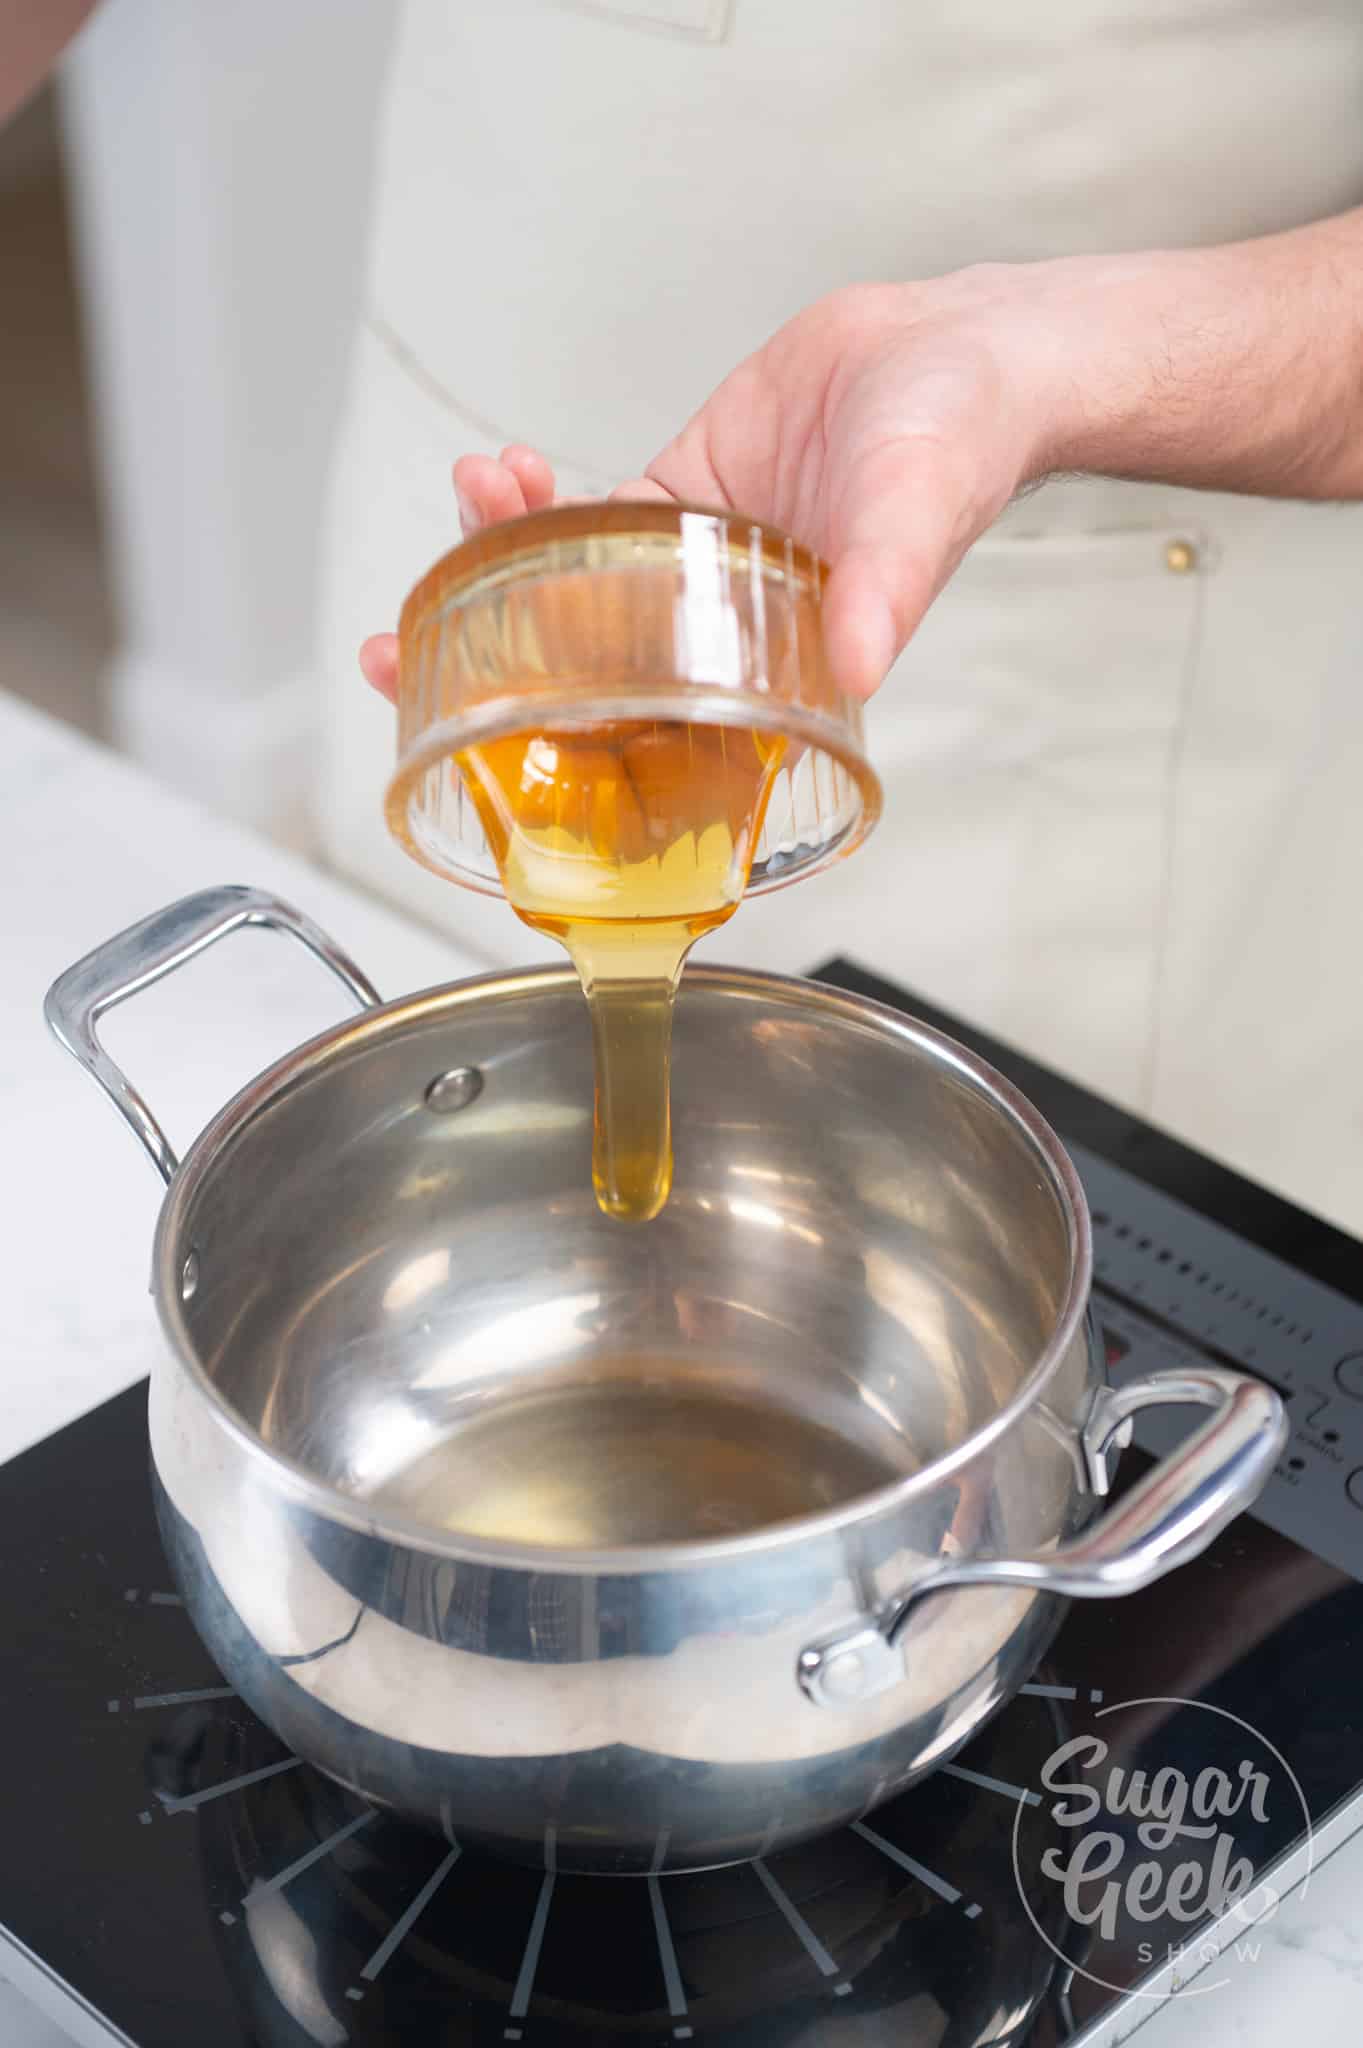
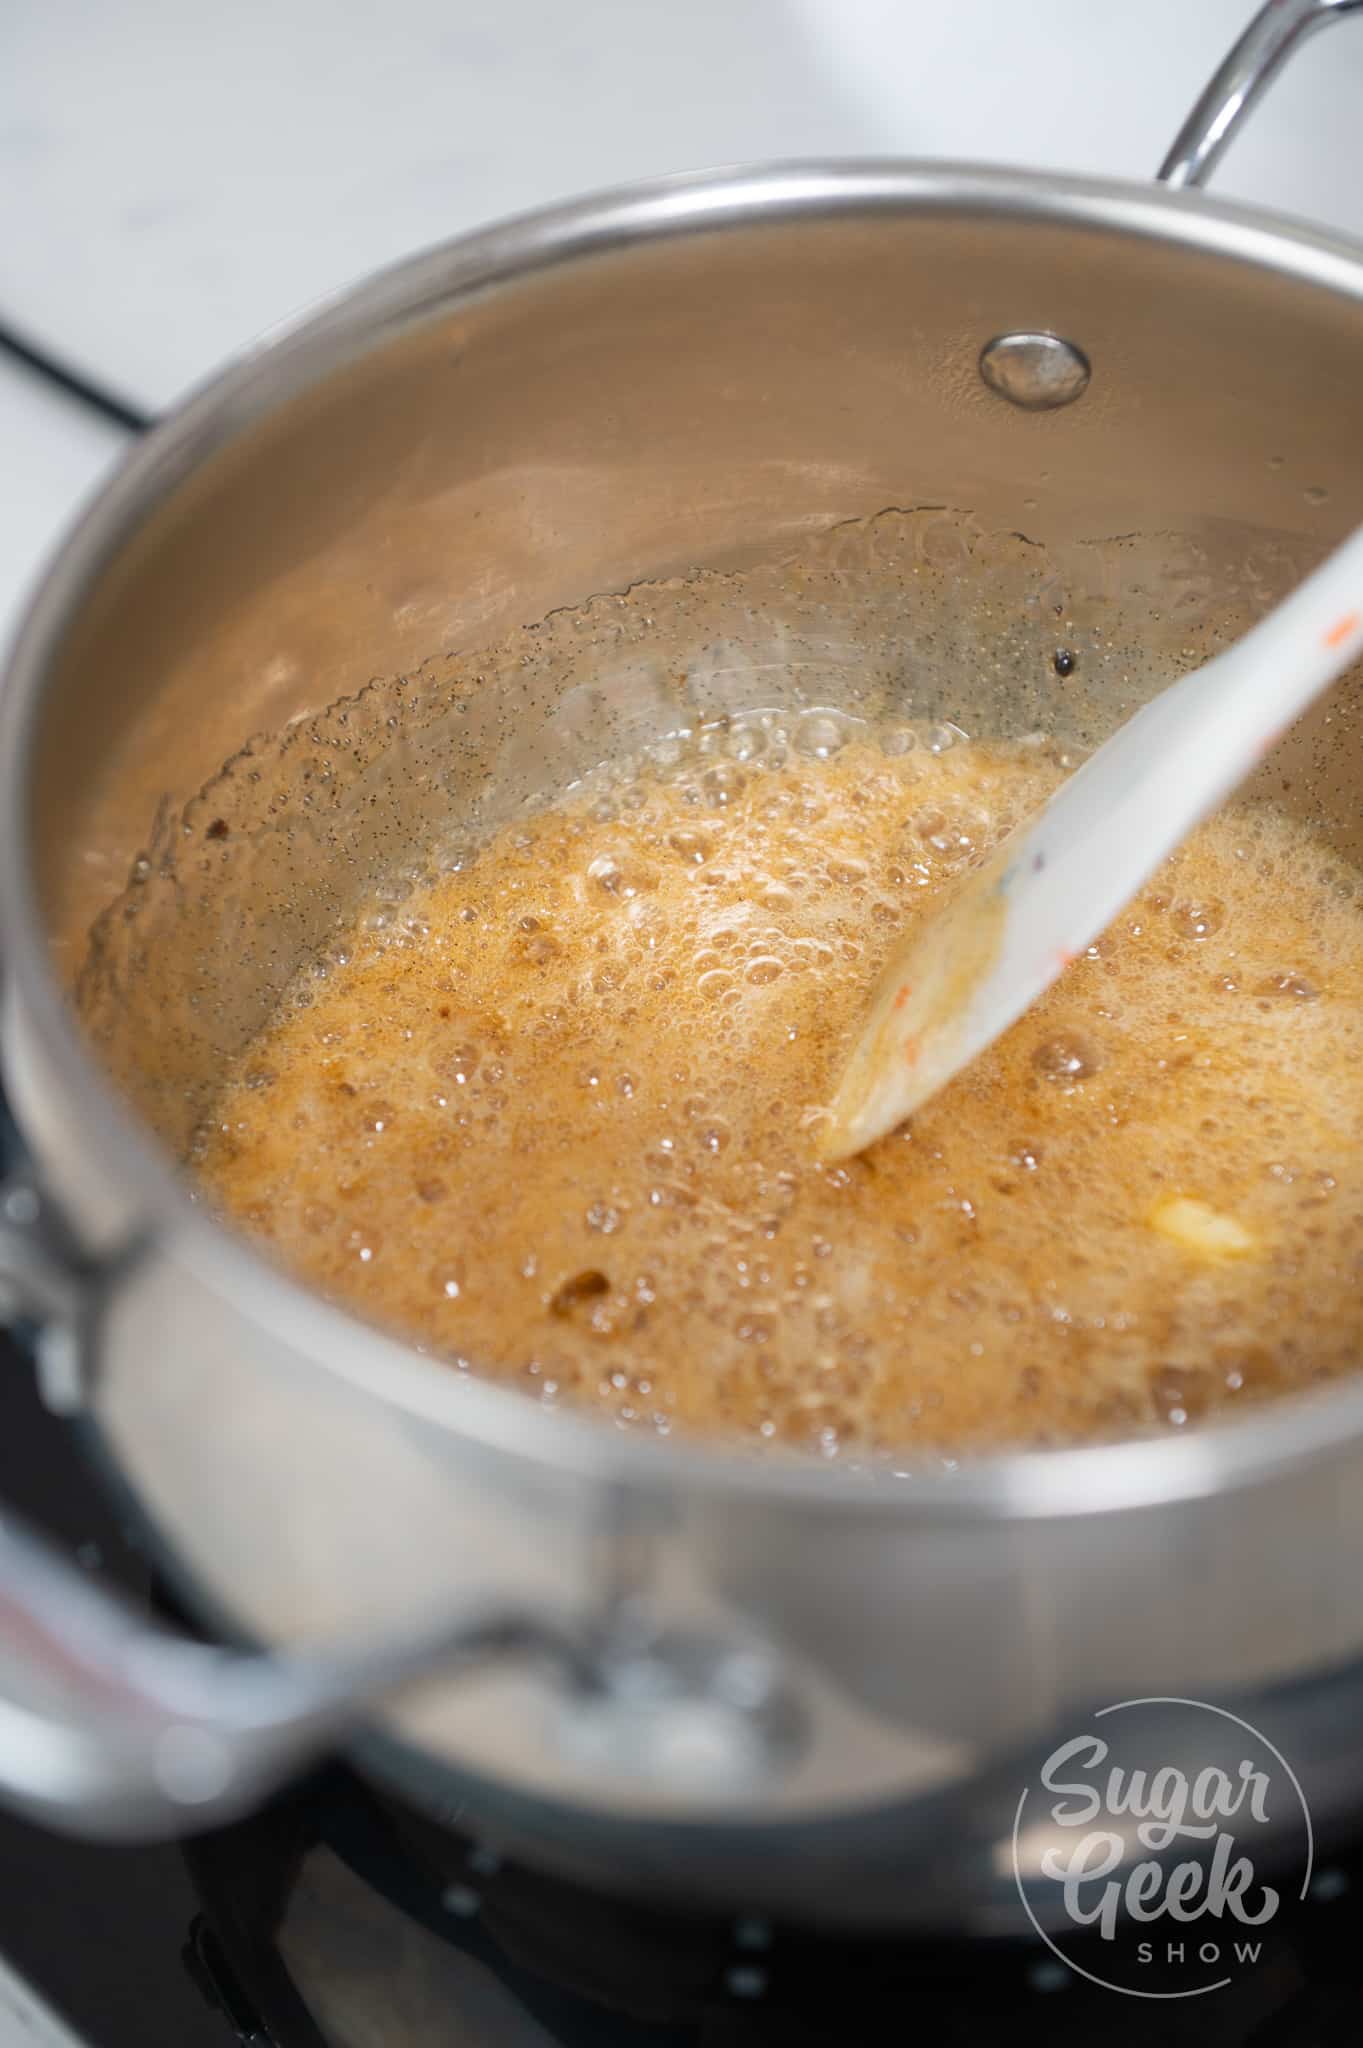
- Add the honey, sugar, and vanilla to a large saucepan.
- Cook the mixture over medium heat for about 3 minutes or until it reaches a light blonde color. If you want an extra rich flavor, you can substitute some of the honey and sugar for brown sugar.
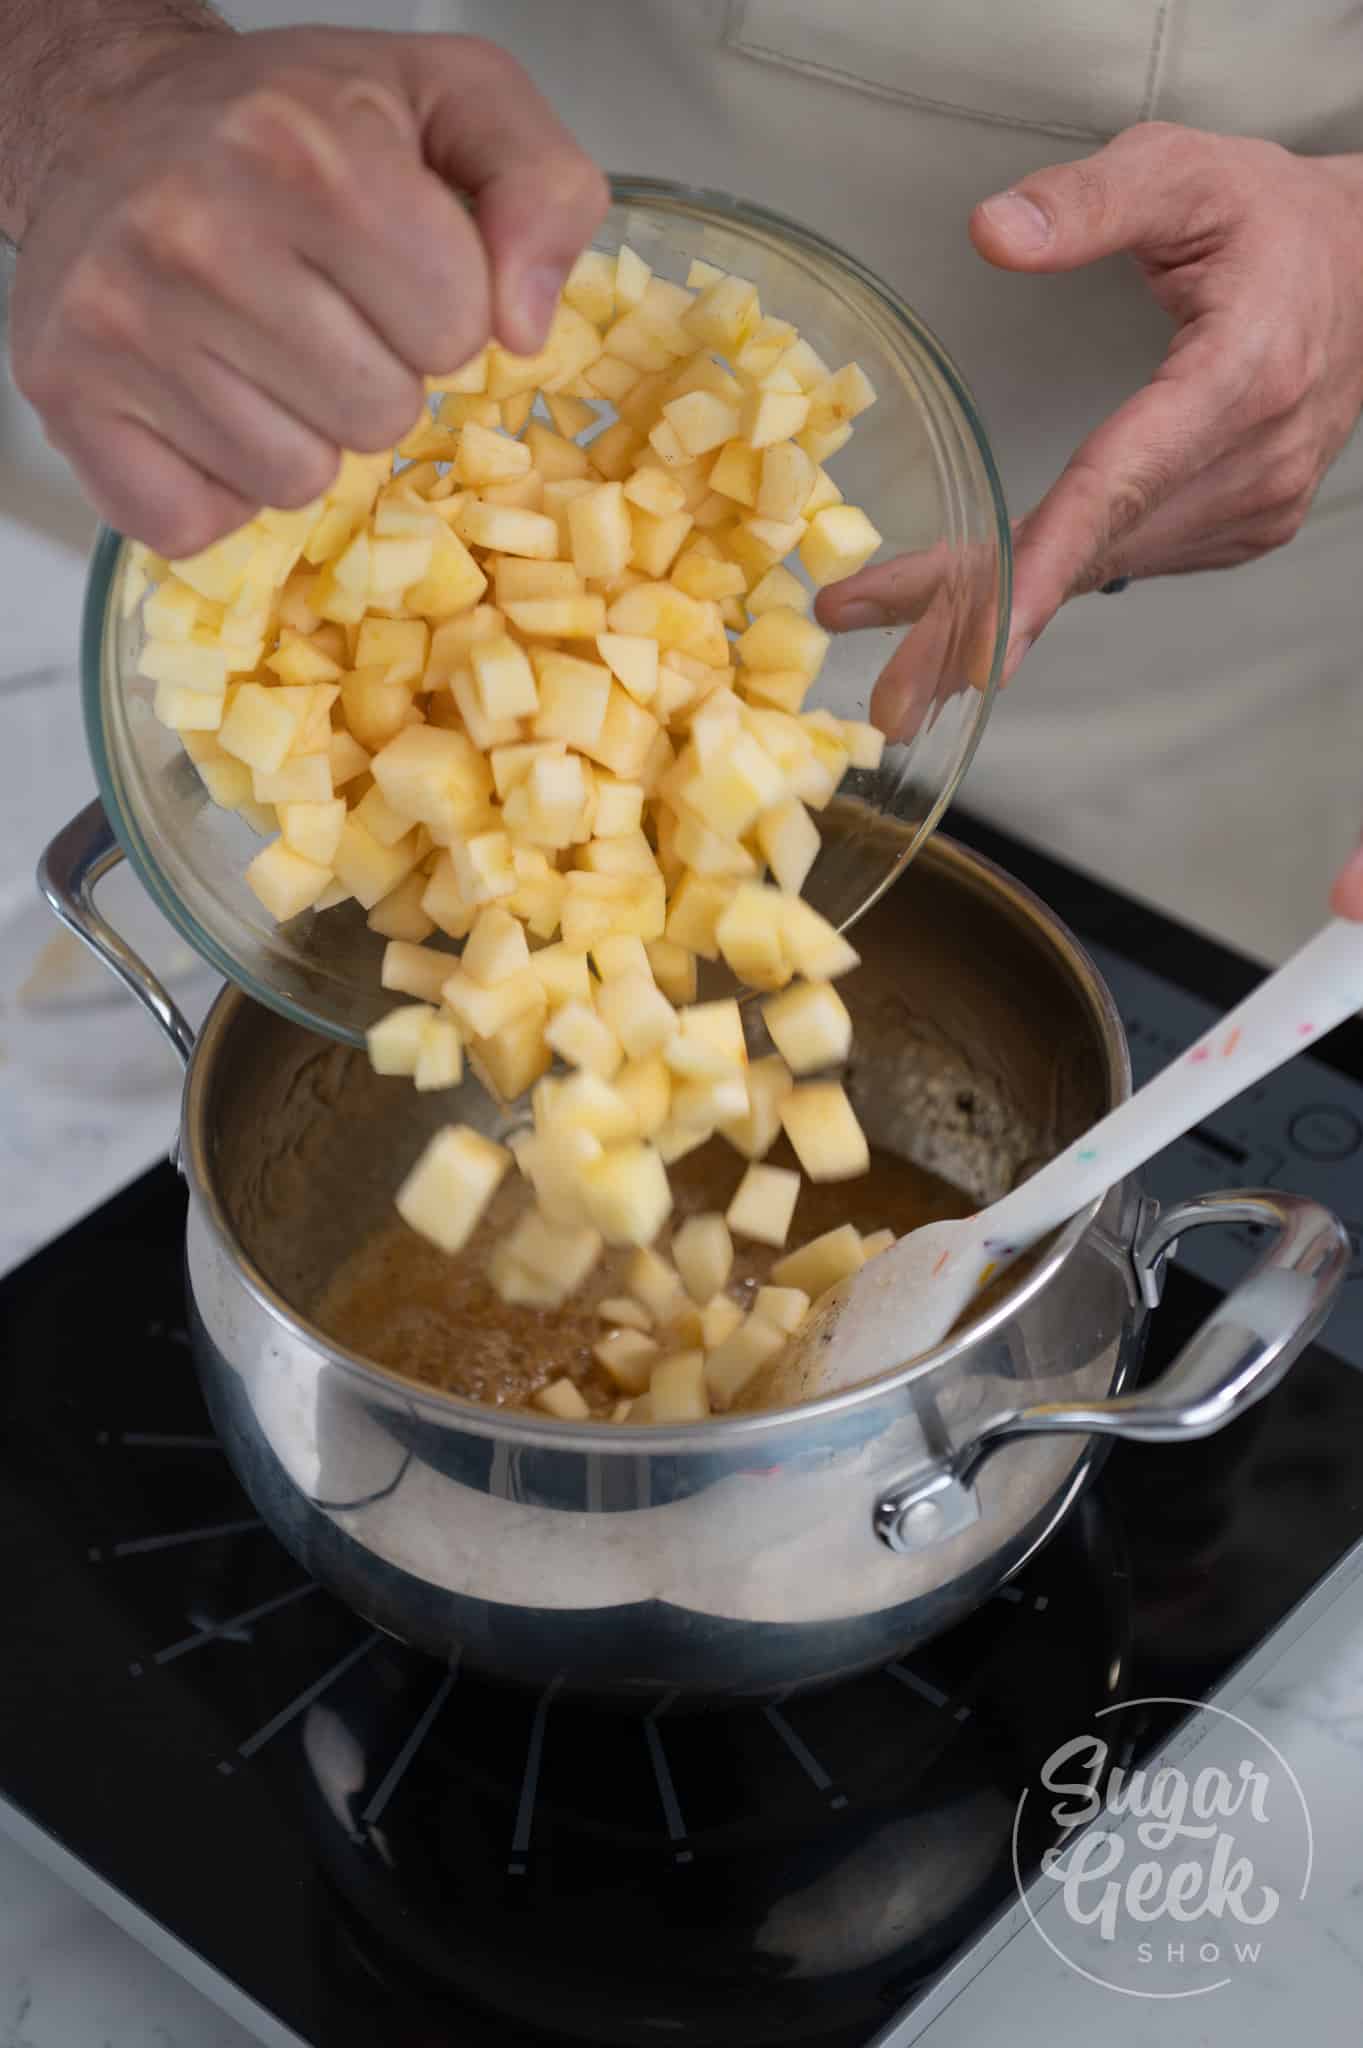
- Add in your butter and apples and stir the mixture together.
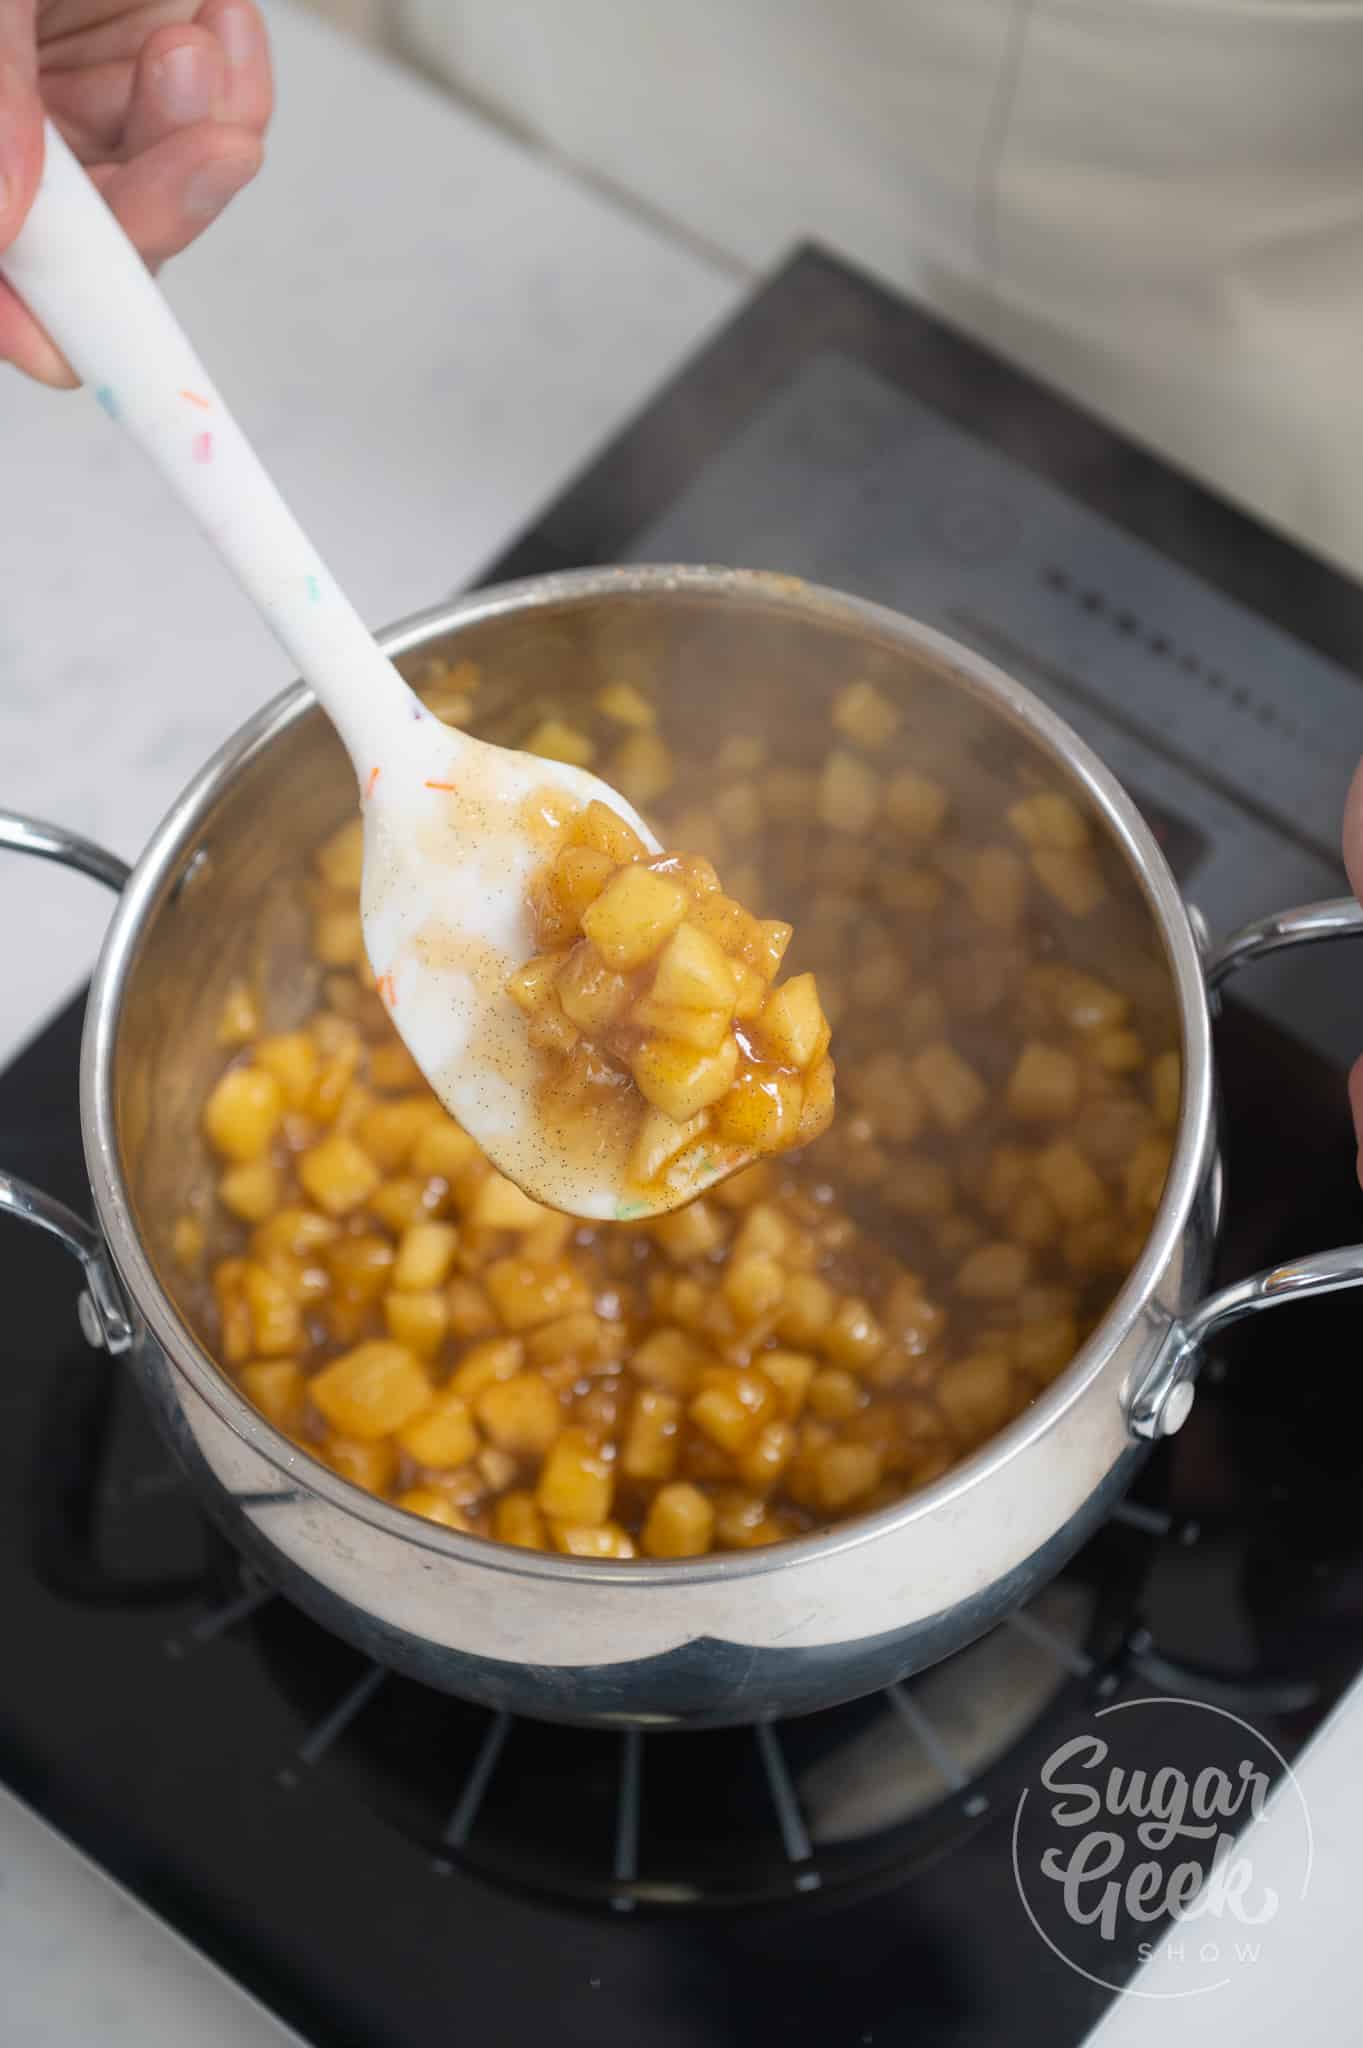
- Cook over medium heat for about 10 minutes or until the apples are slightly soft and translucent. Don't overcook the apples here, you want to avoid them getting too mushy when they bake later.
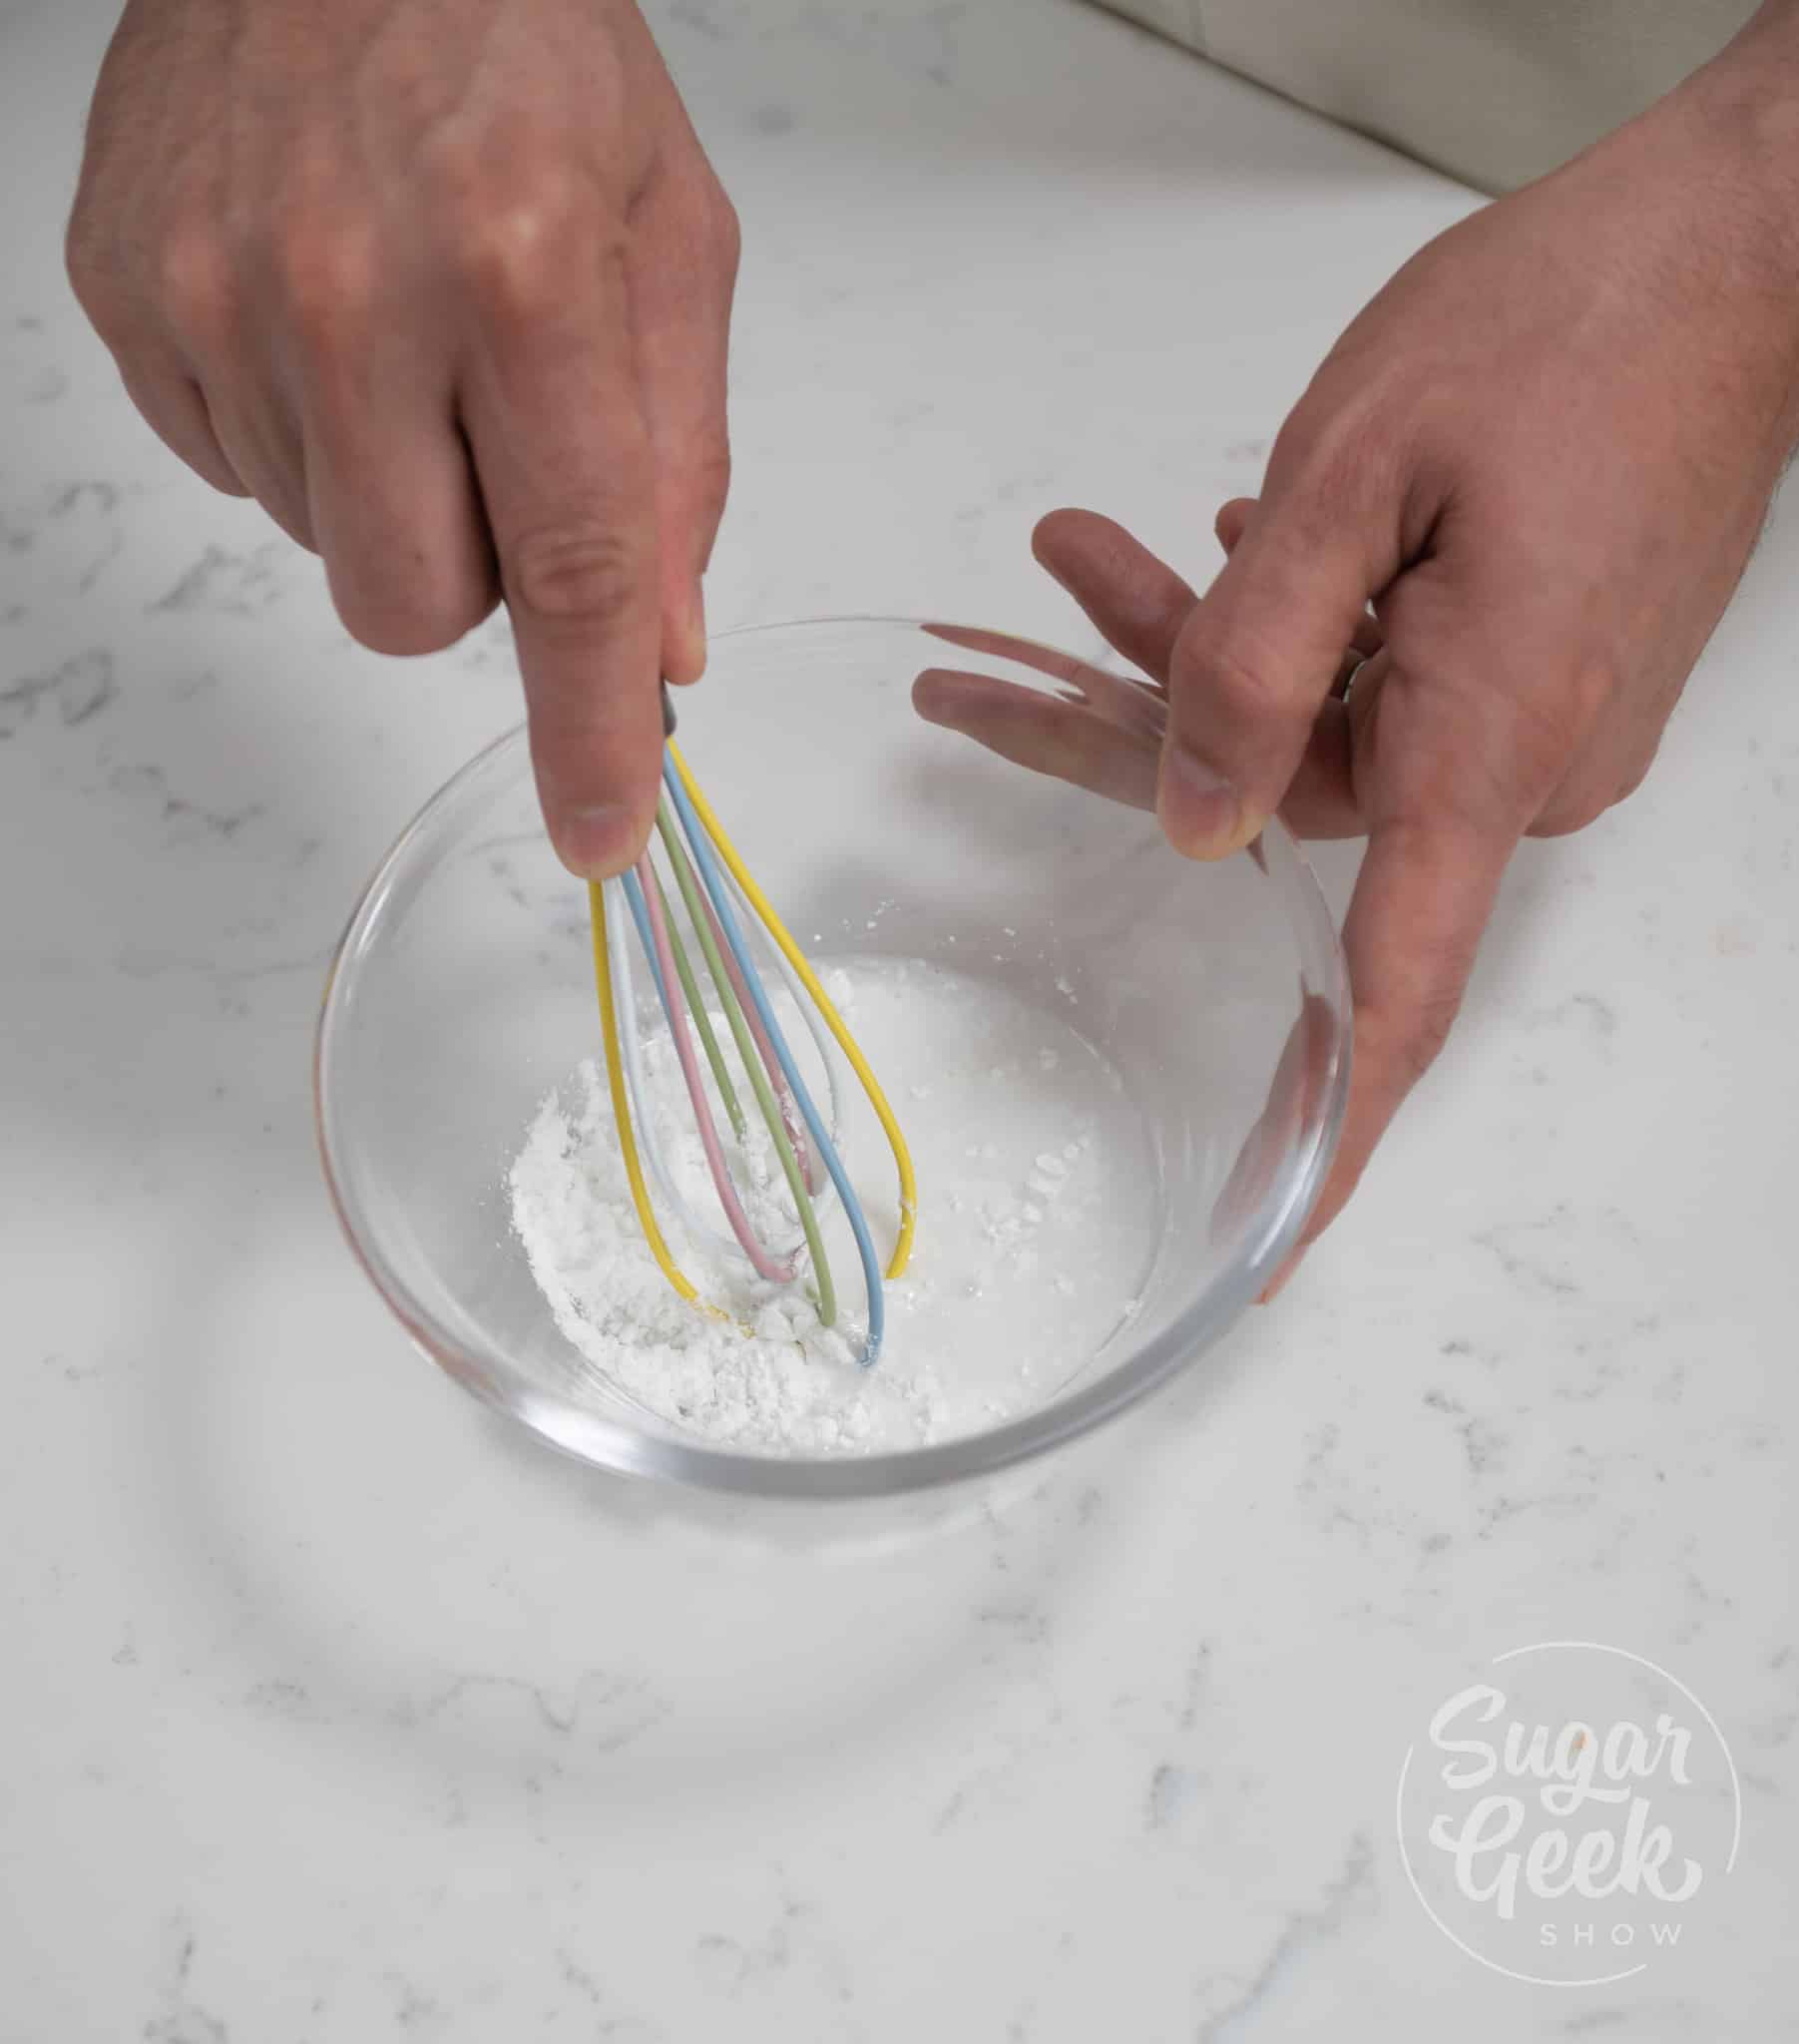
- Combine the cold water and cornstarch in a small bowl. Pro-Tip: Use equal parts of Clear Jel instead of cornstarch for a more translucent and shiny apple filling.

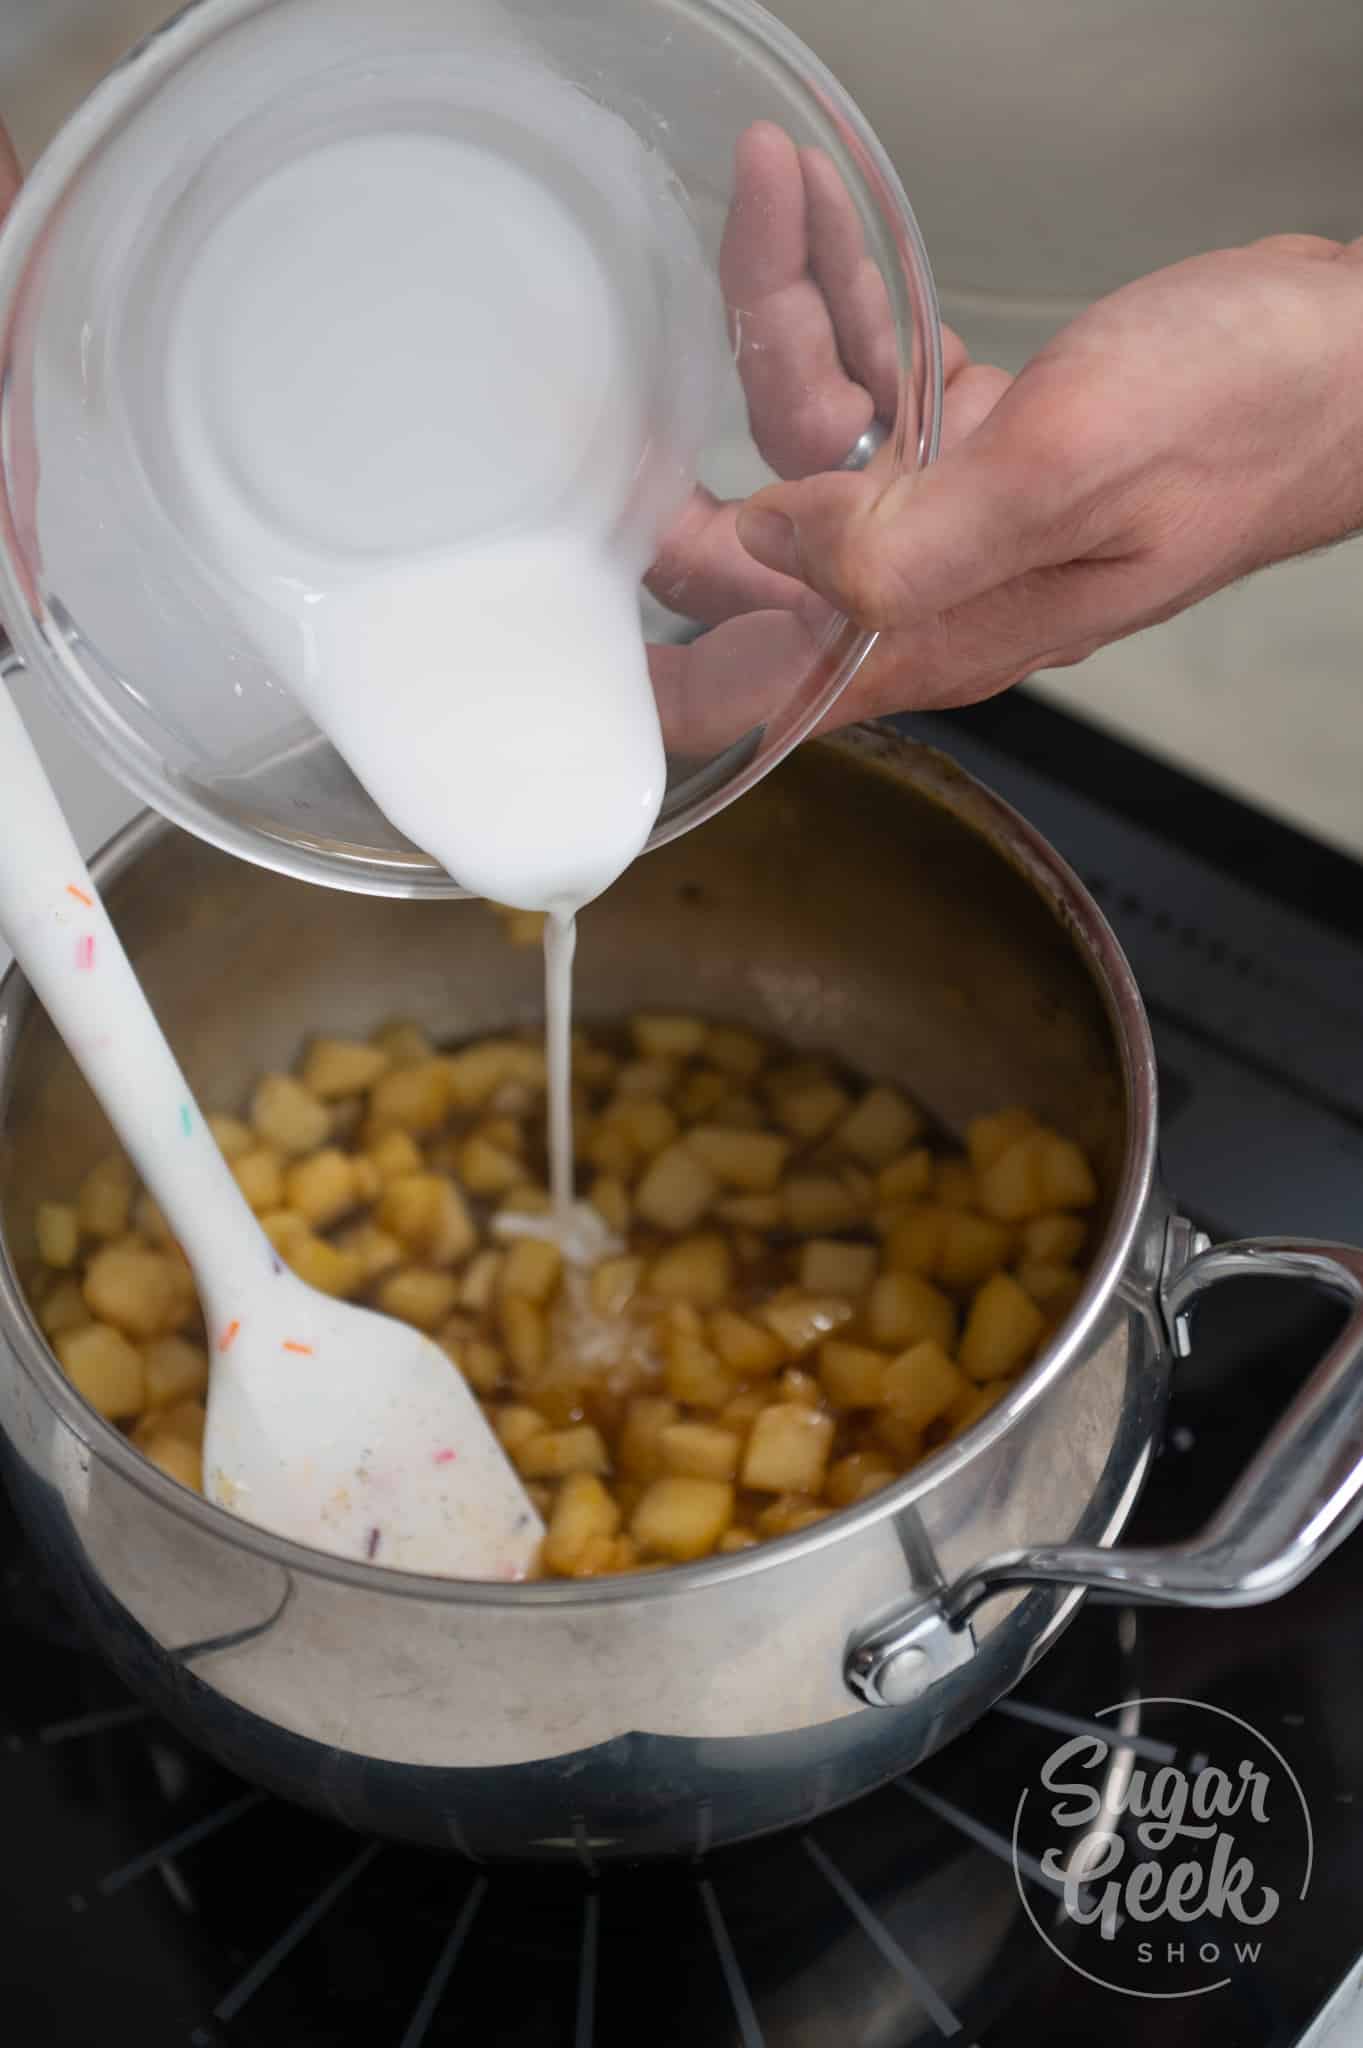
- Add the cornstarch mixture to the apples and mix.
- Cook the mixture for about 1 more minute, then remove from the heat. It will continue to thicken as it cools.
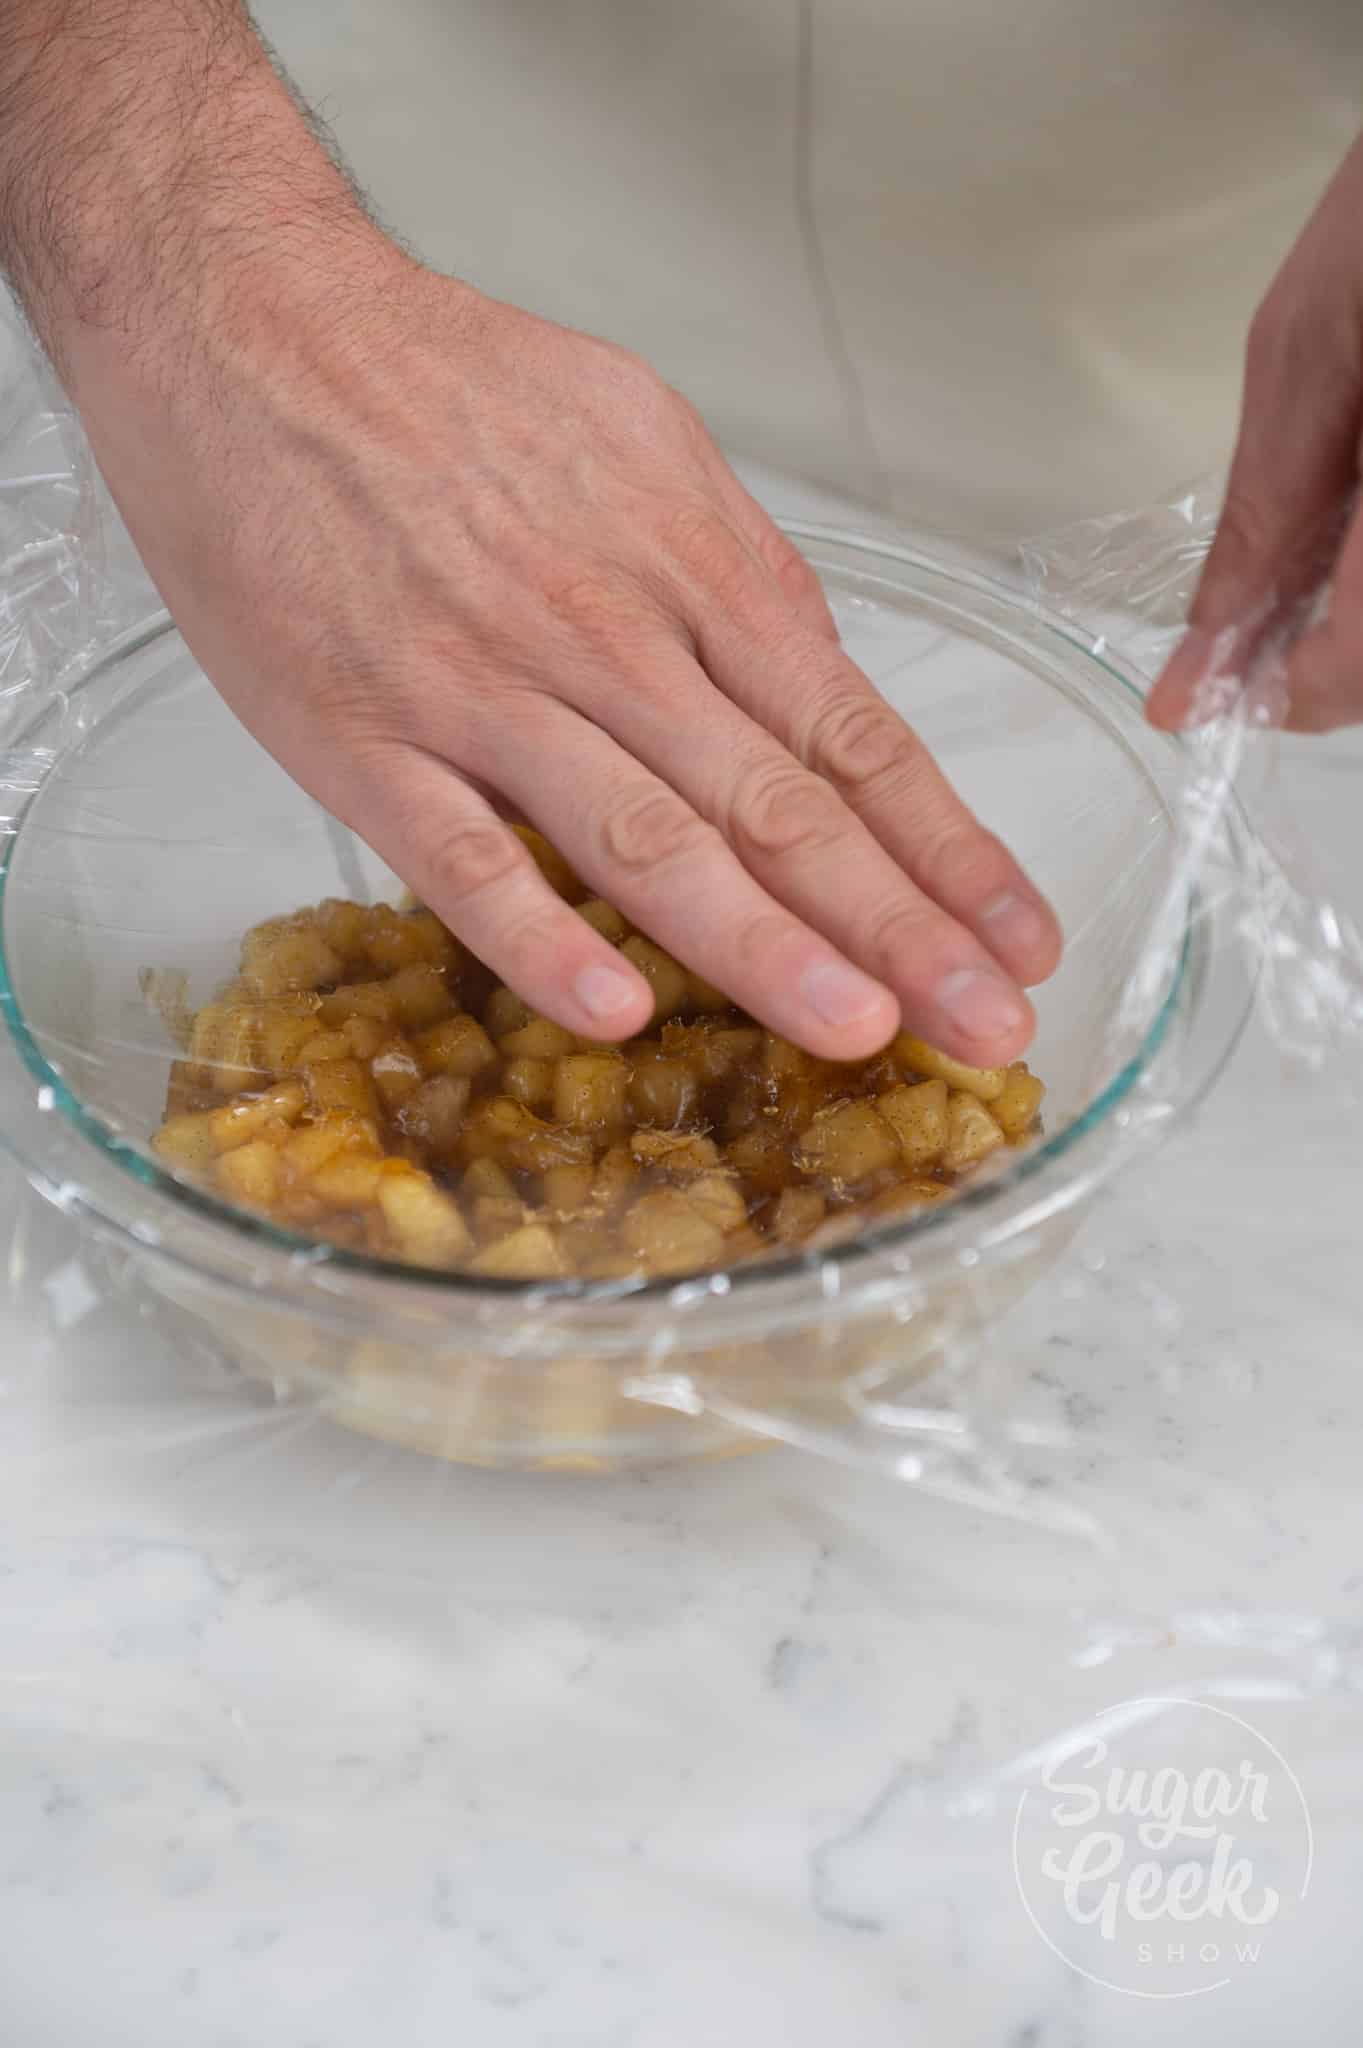
- Pour the apple filling into a medium bowl and cover it with plastic wrap so it's touching the surface of the filling. This is to prevent a film from forming over the surface of the filling.
- Refrigerate the apple filling for about an hour or until it's cooled down to at least room temperature. This can be made ahead of time and refrigerated for up to a week or frozen for a month.
Making the Dulce de Leche
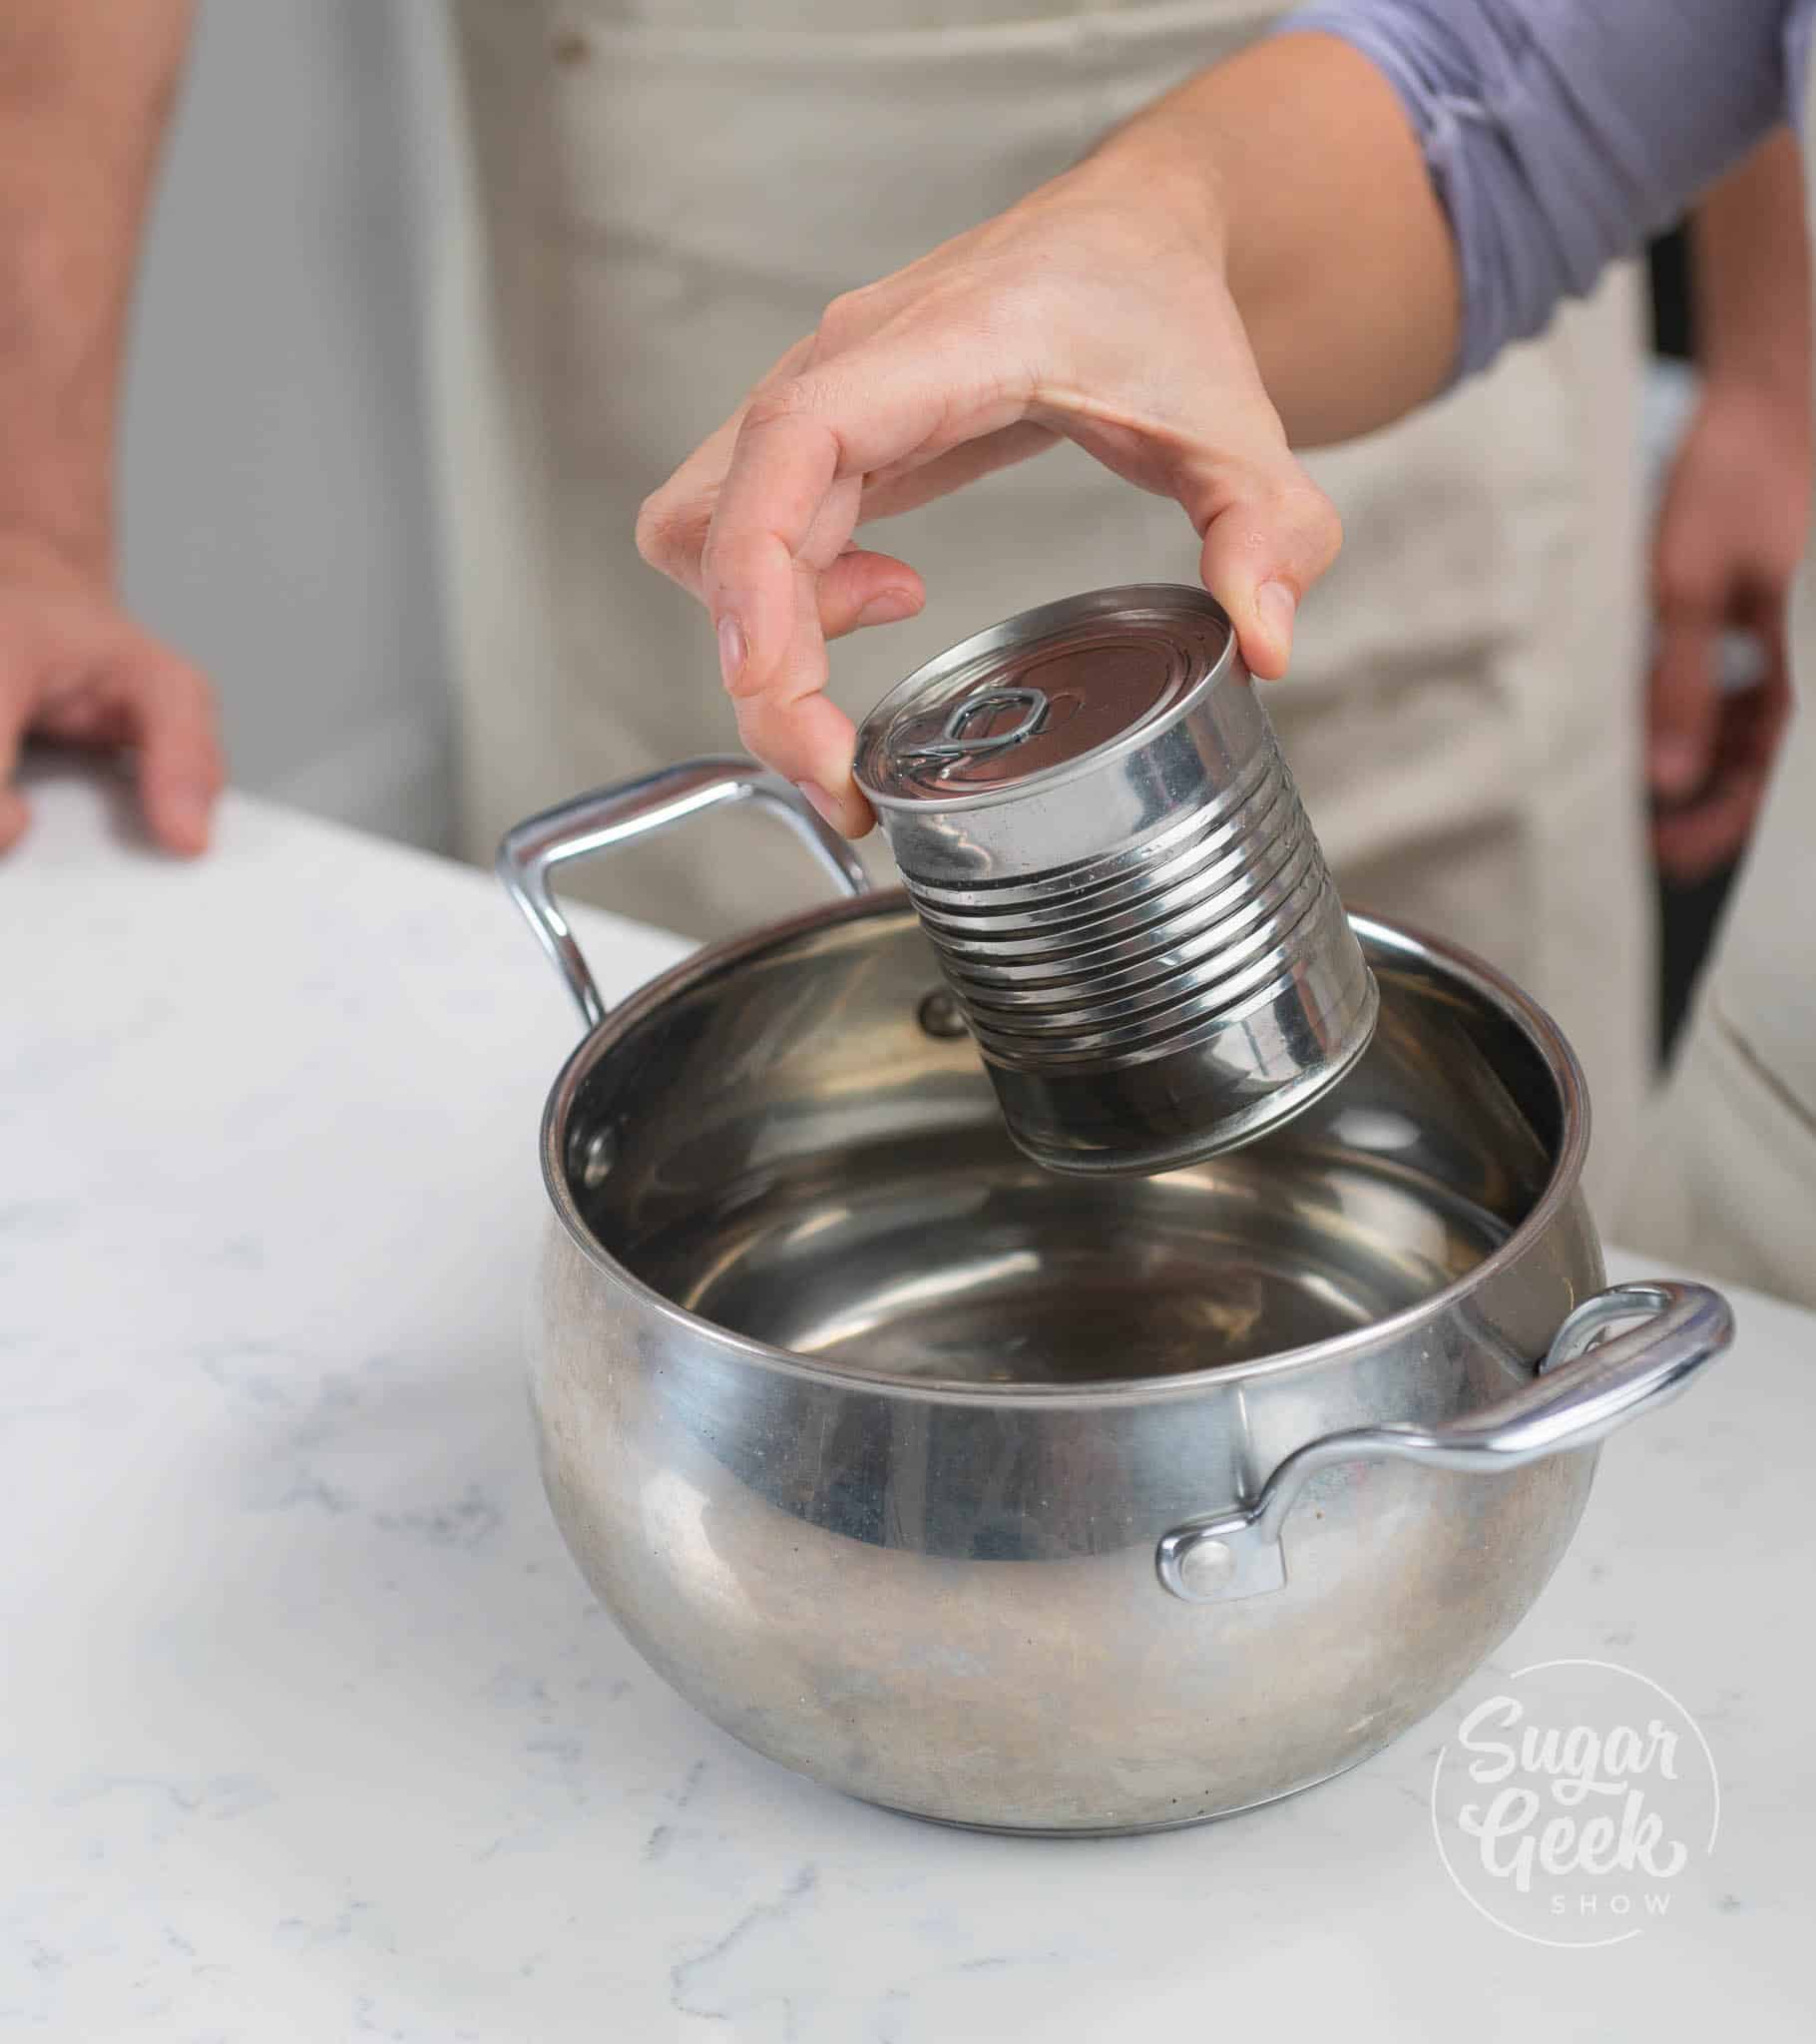
- Remove the paper label from the can of sweetened condensed milk.
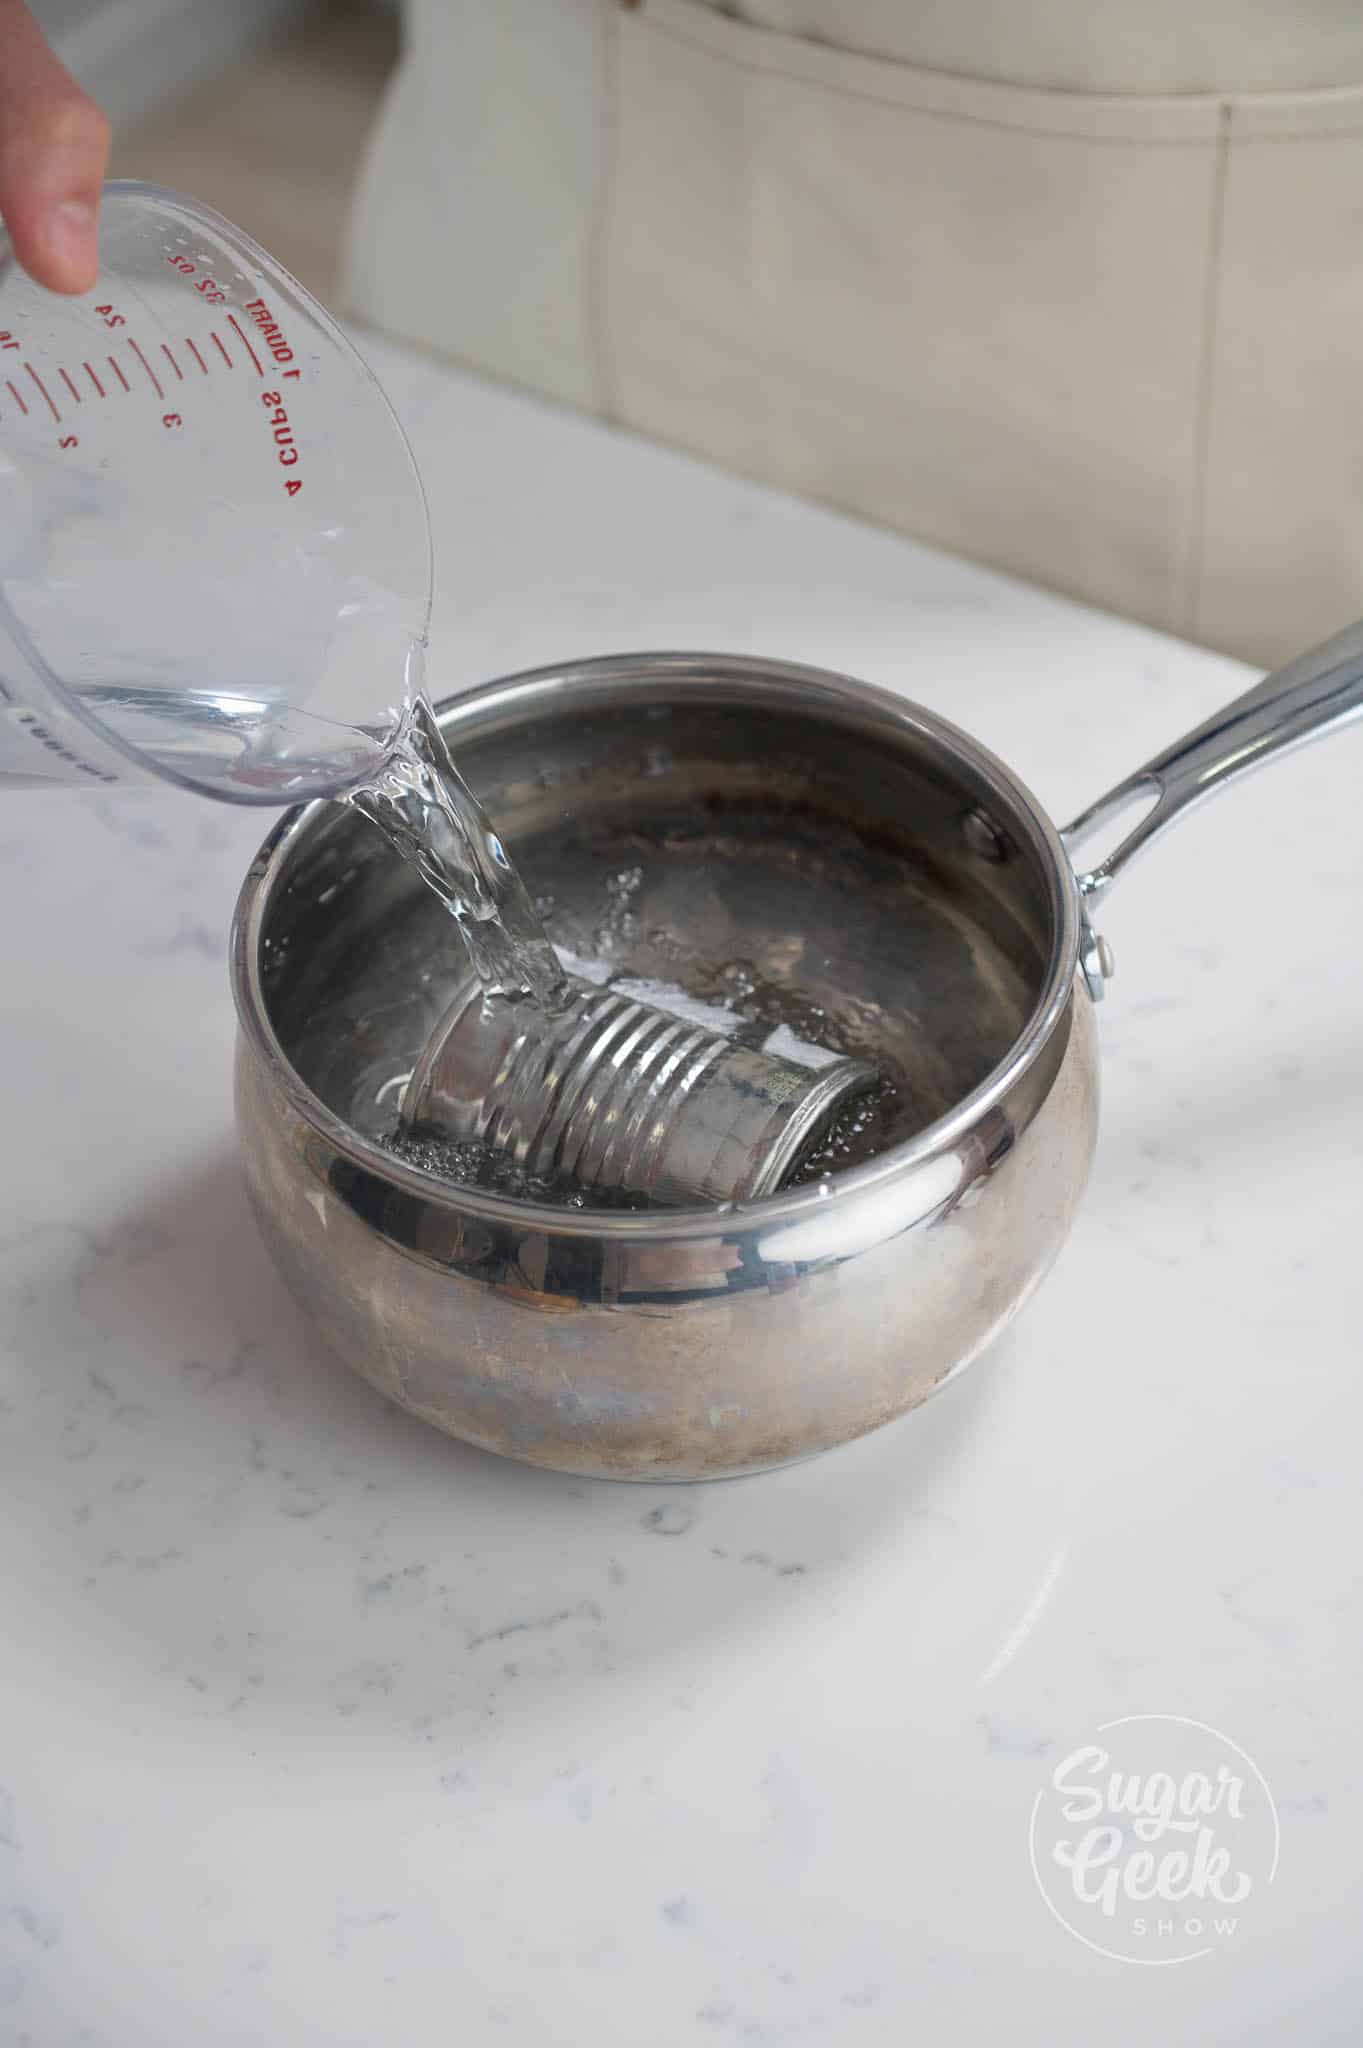
- Place the can into a large pot and cover it with water. Make sure the can is completely submerged with about 1 inch of water over the top.
- Bring the water to a boil over medium-high heat and boil for about 2 ½ hours. If some of the water has evaporated after about an hour, add more water to cover the can as needed. If you want lighter dulce de leche, boil for 2 hours, for richer and darker dulce de leche, boil for 3 hours.
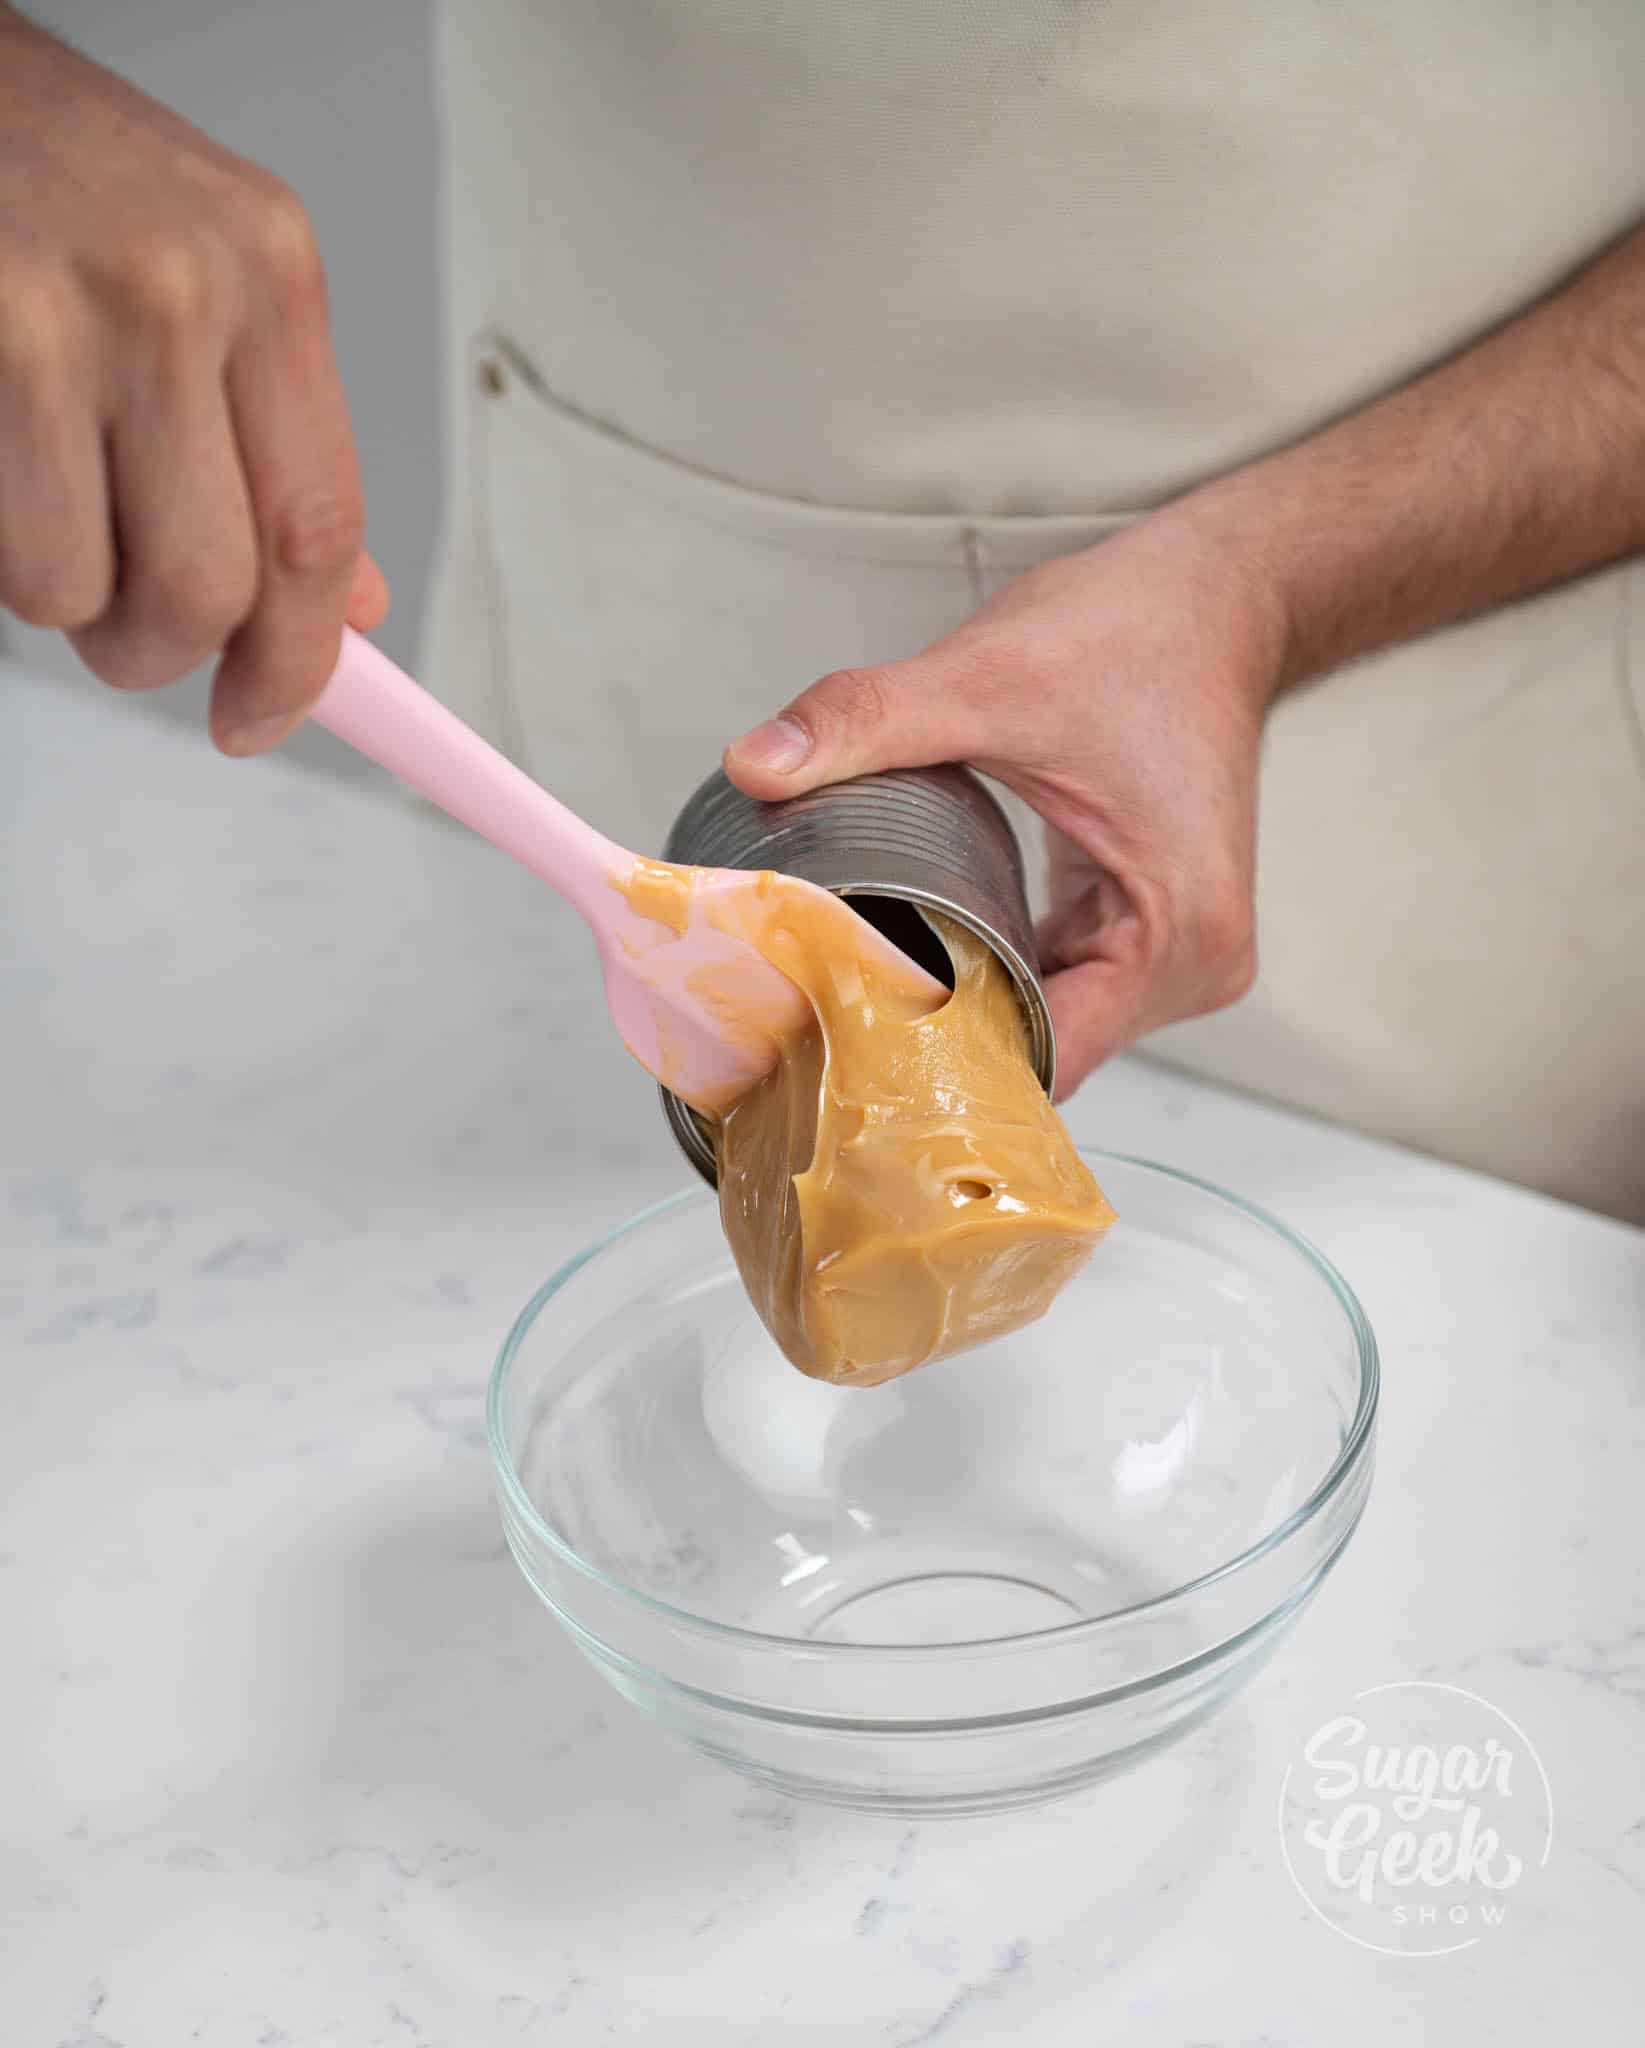
- Remove from the heat, and let the can cool in the water.

- Open the can and use your dulce de leche! This can last refrigerated in an airtight container for up to 2 weeks.

Assembling the Galette
- Preheat your oven to 350°F and prepare a baking sheet with parchment paper.
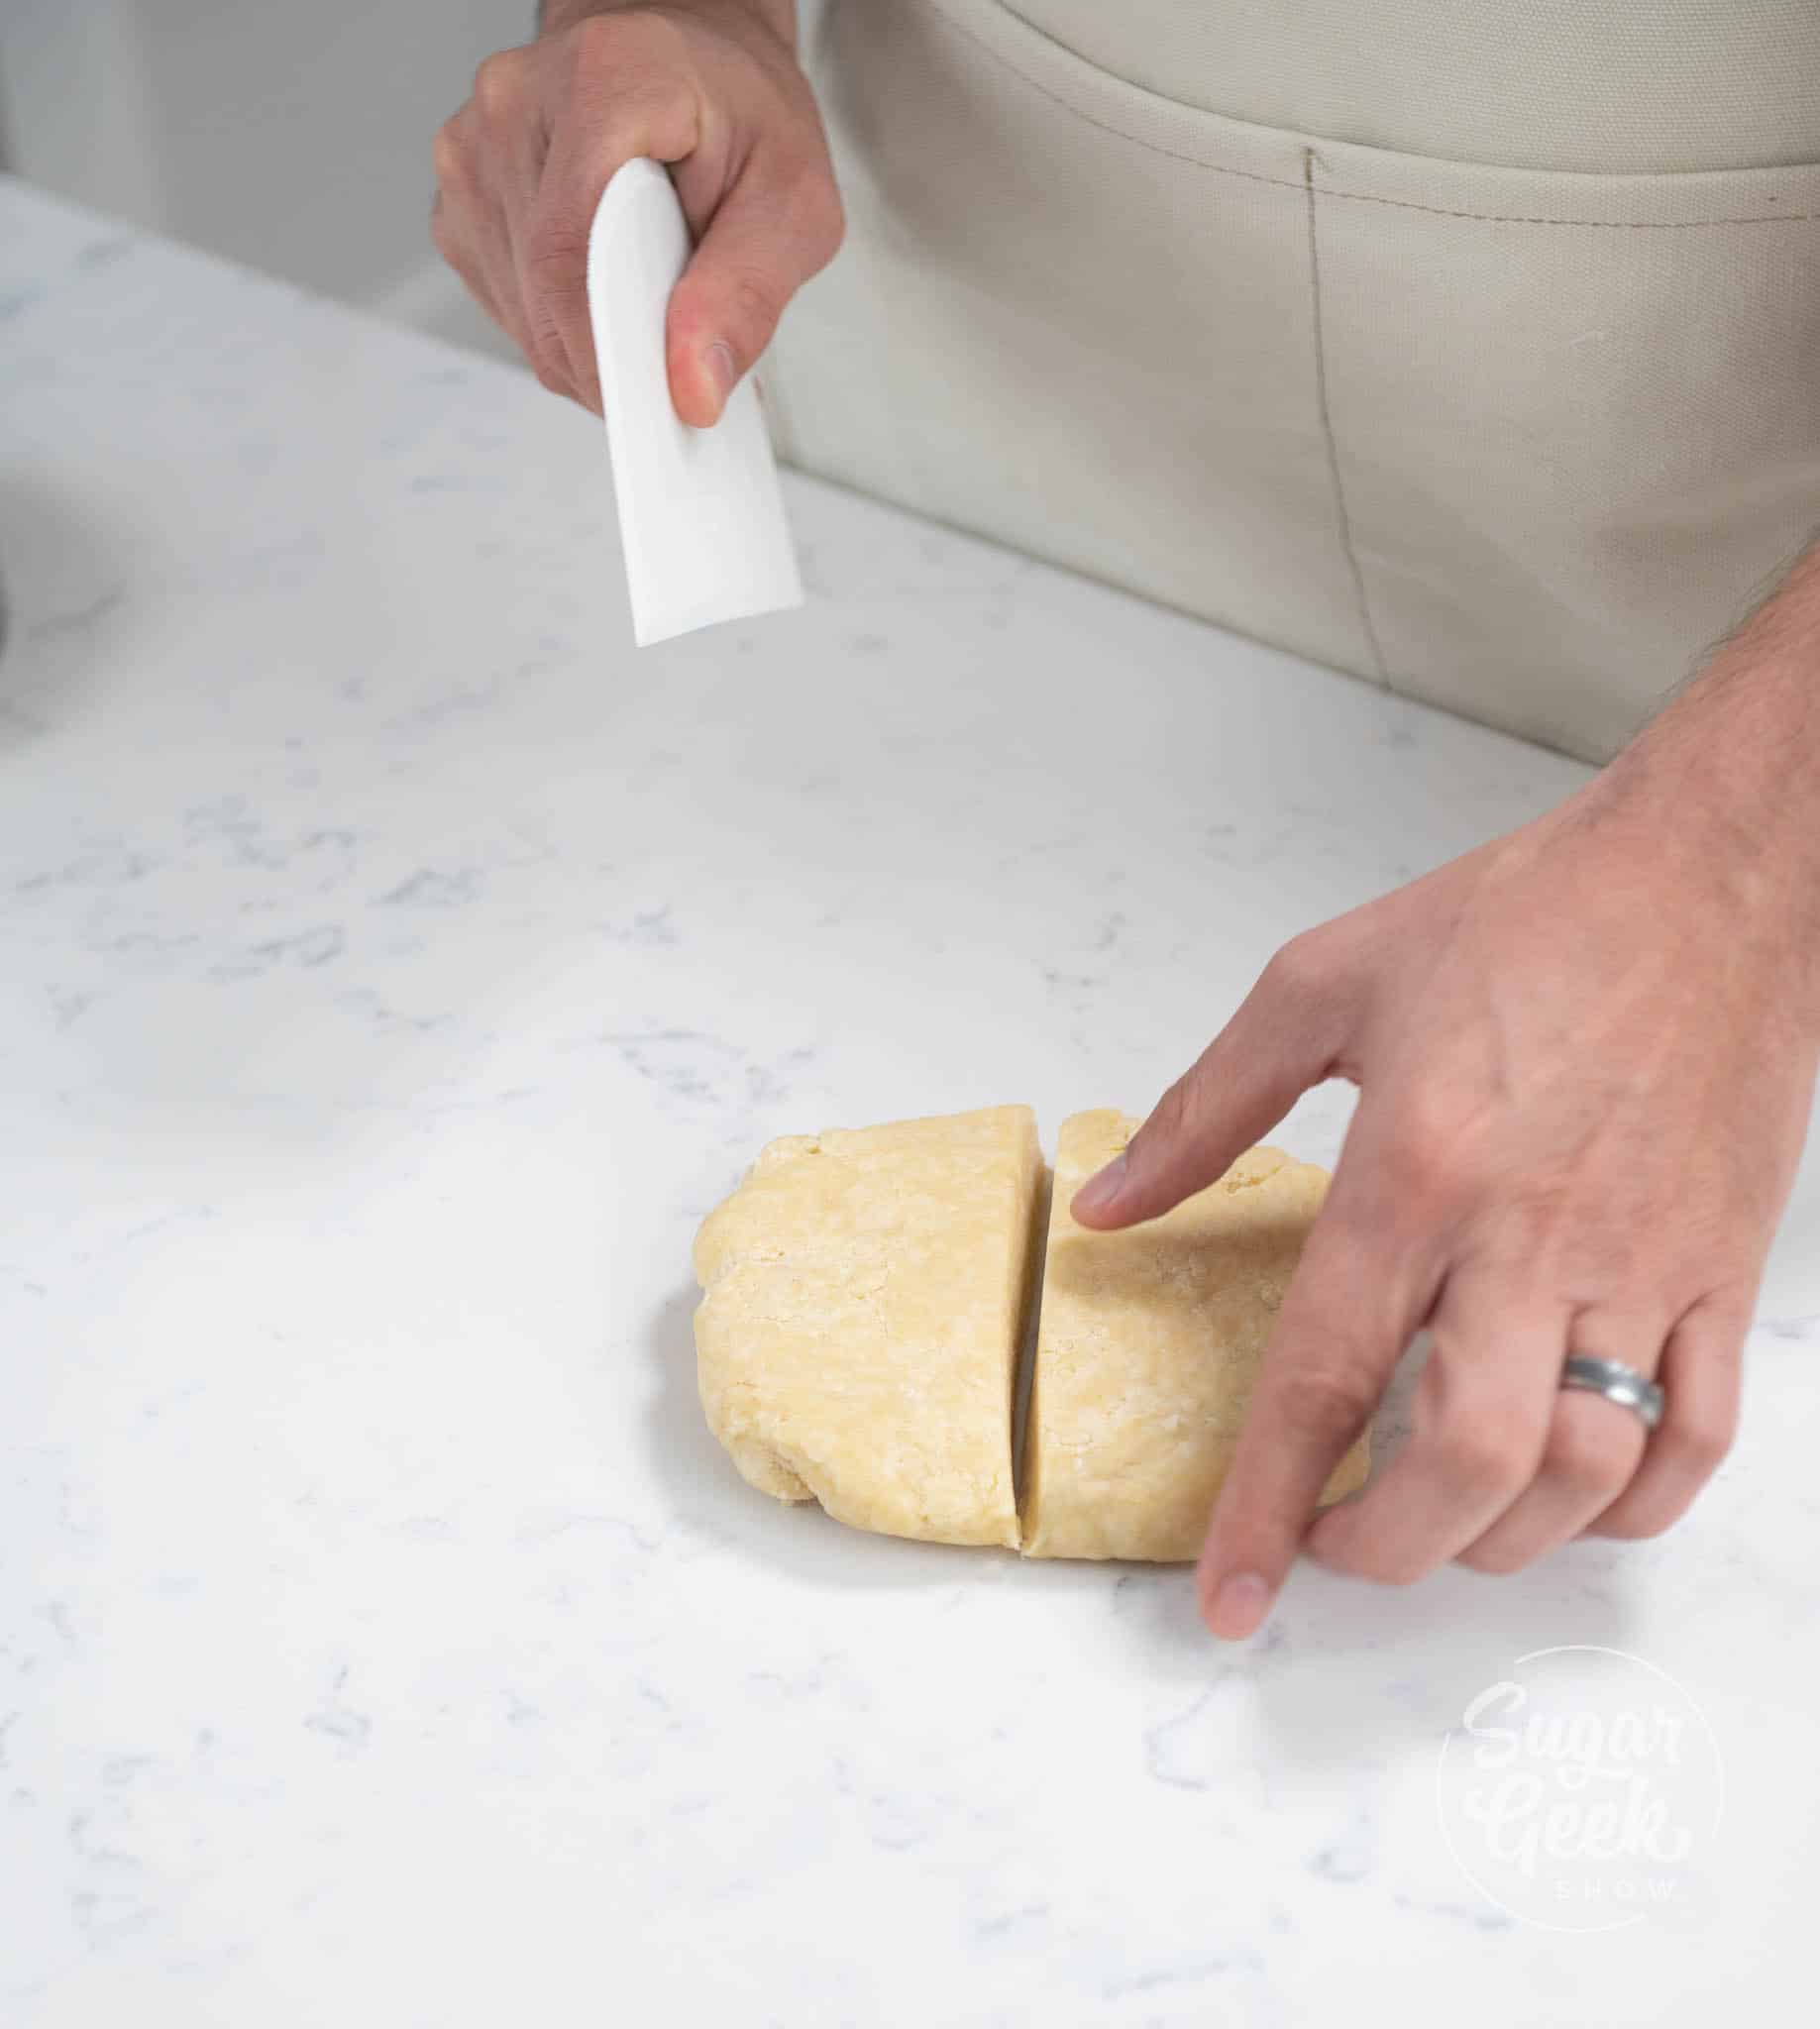
- Take your cooled dough out of the refrigerator and divide it in half. Wrap and refrigerate one half while you roll out the other half.

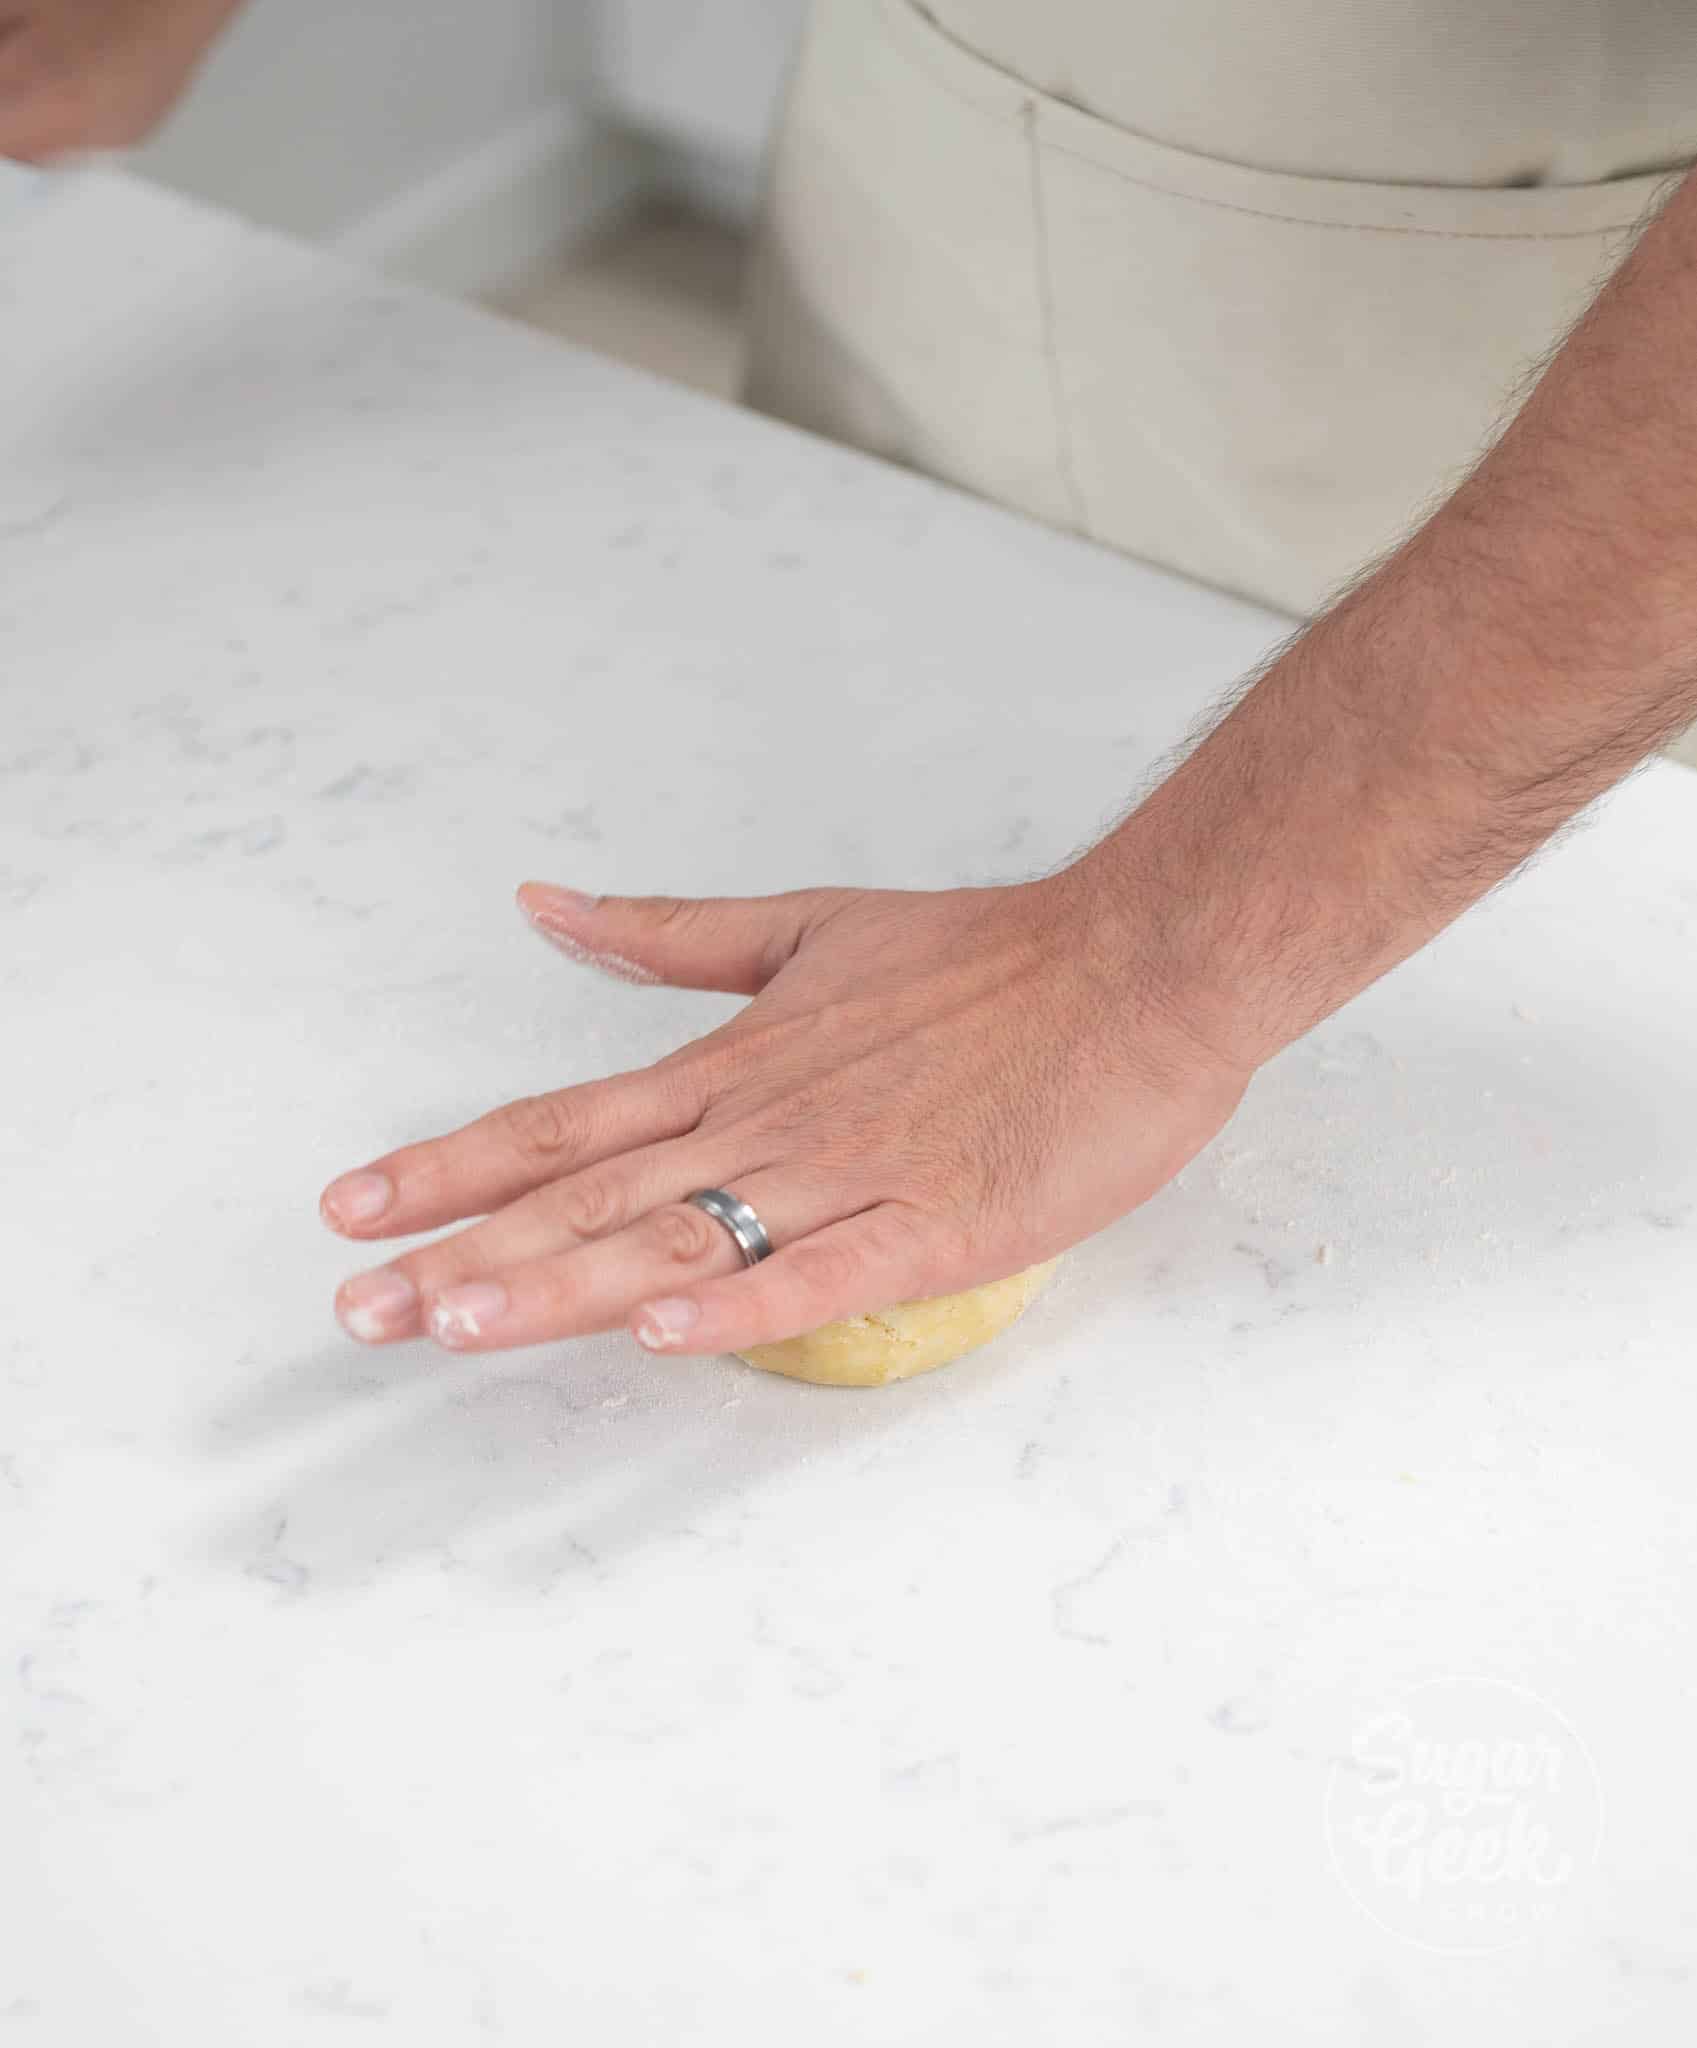
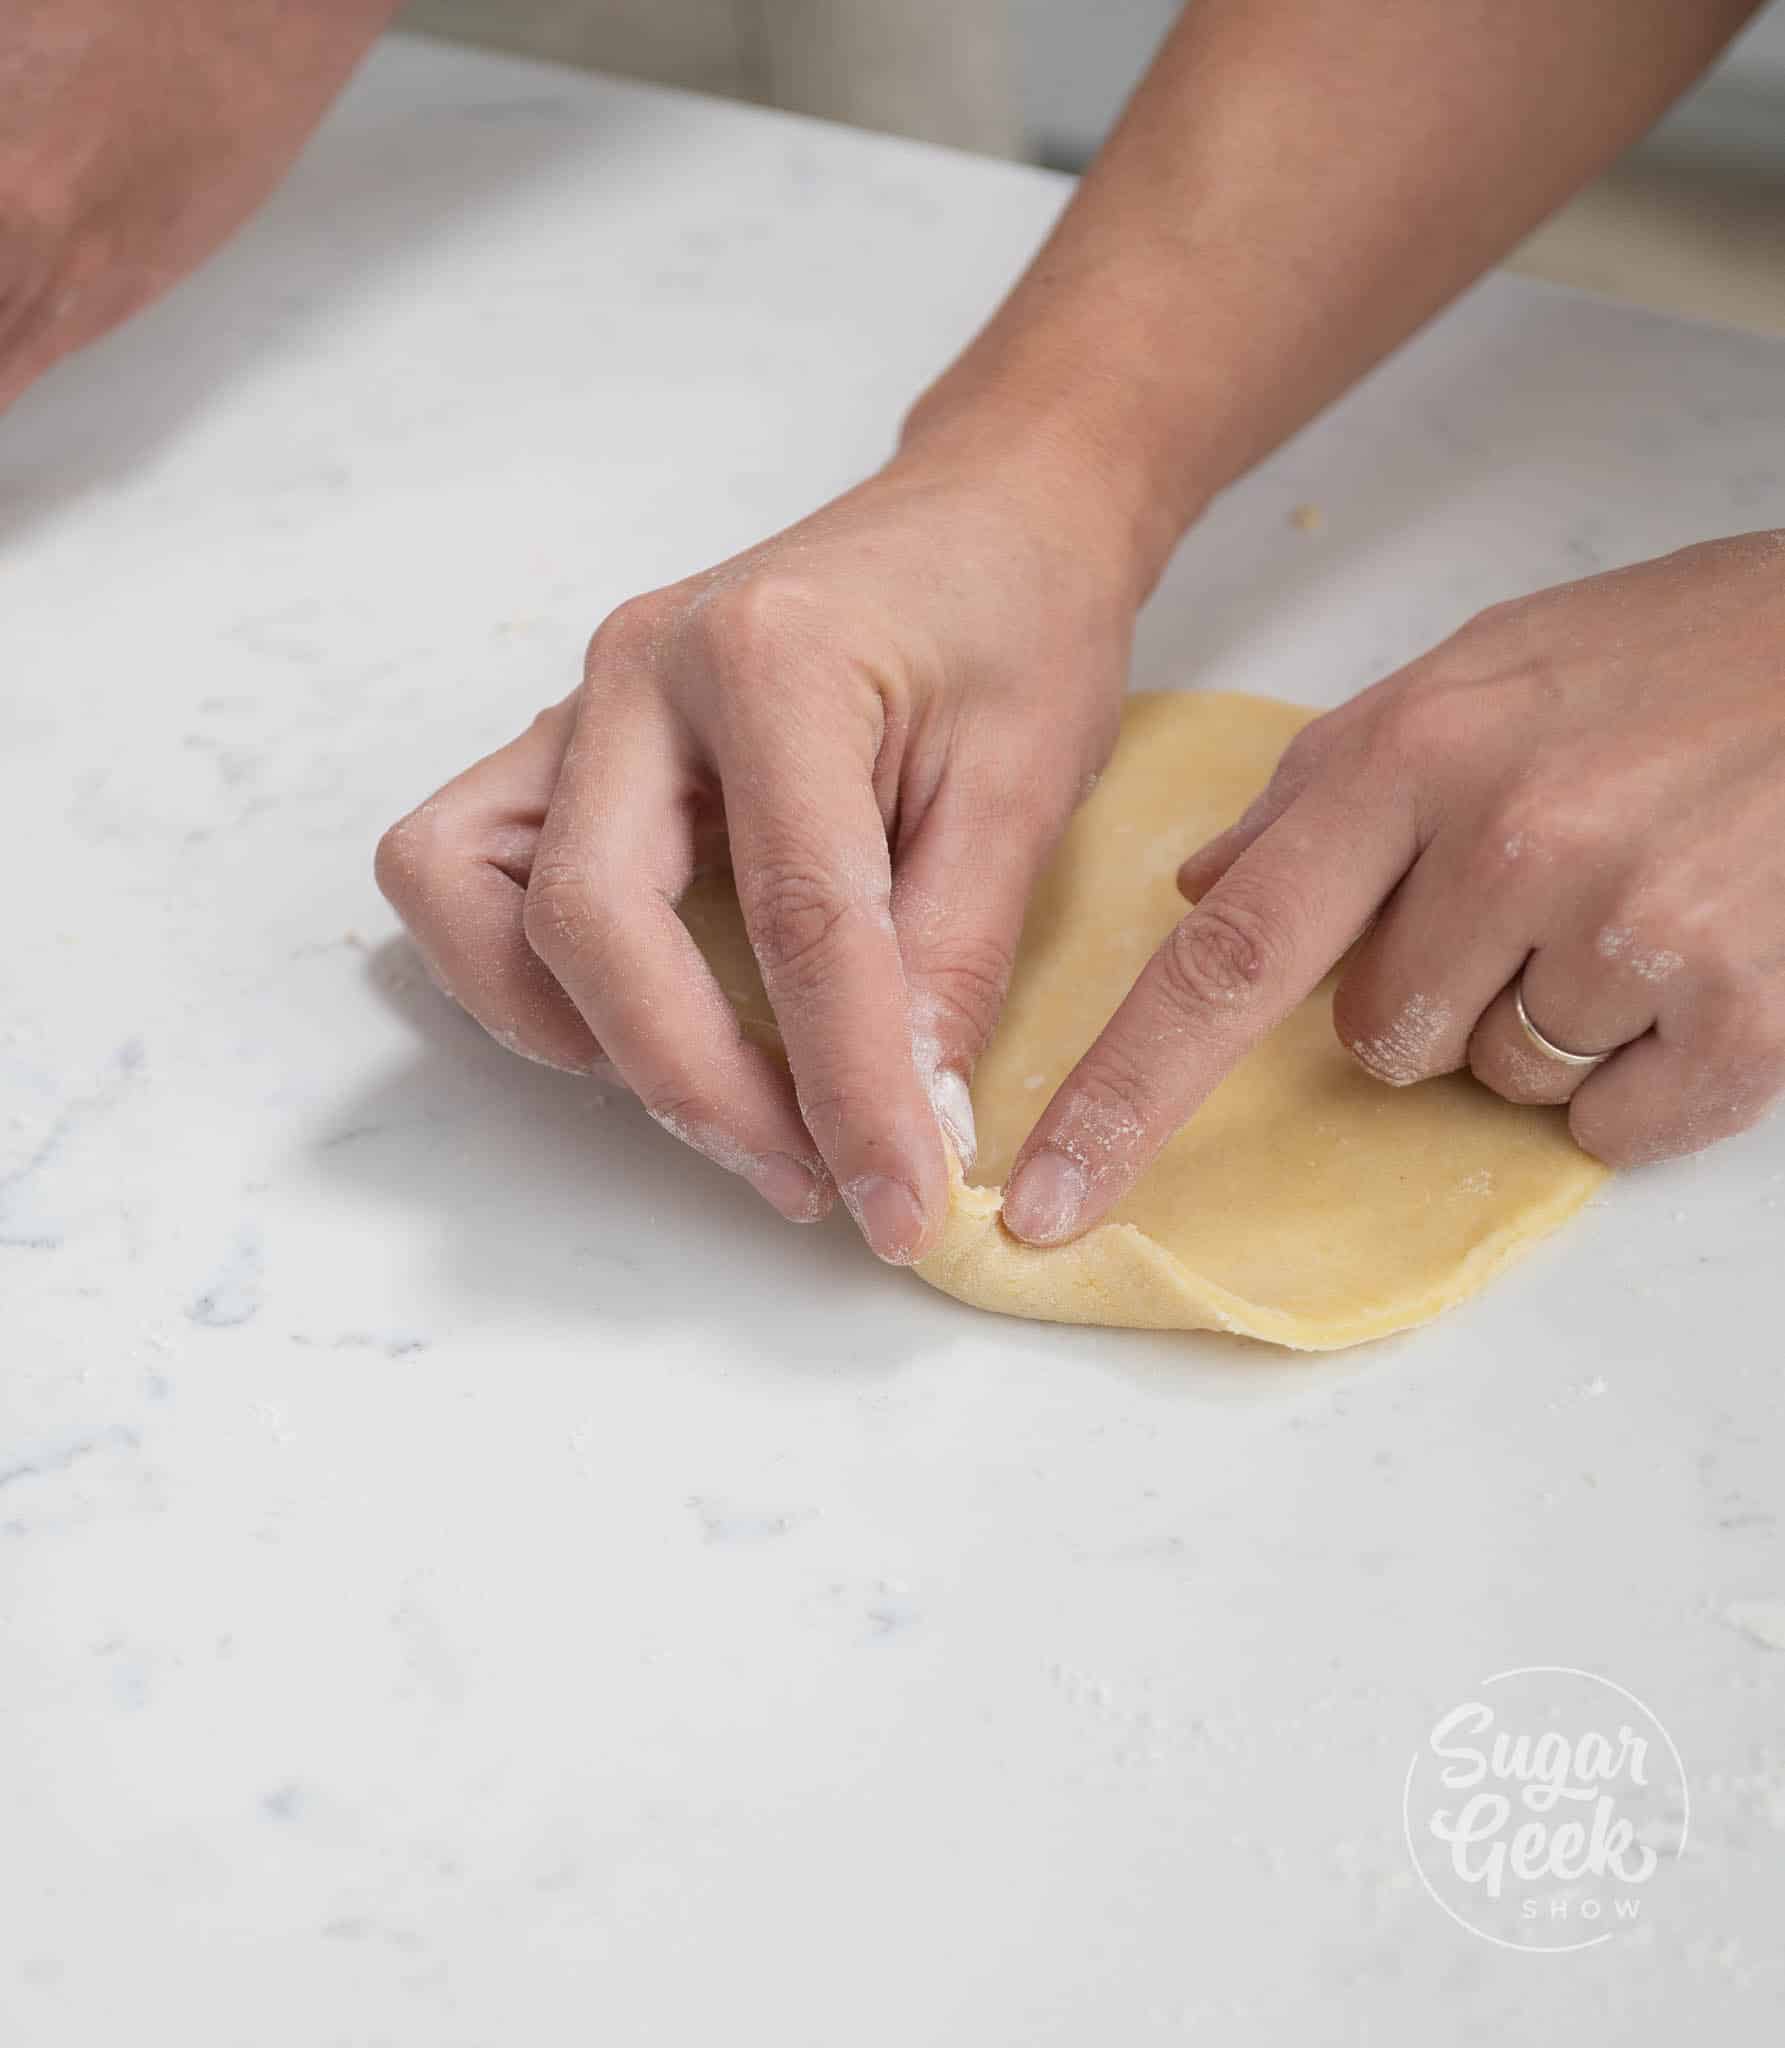
- Form the dough into a circle with your hands.

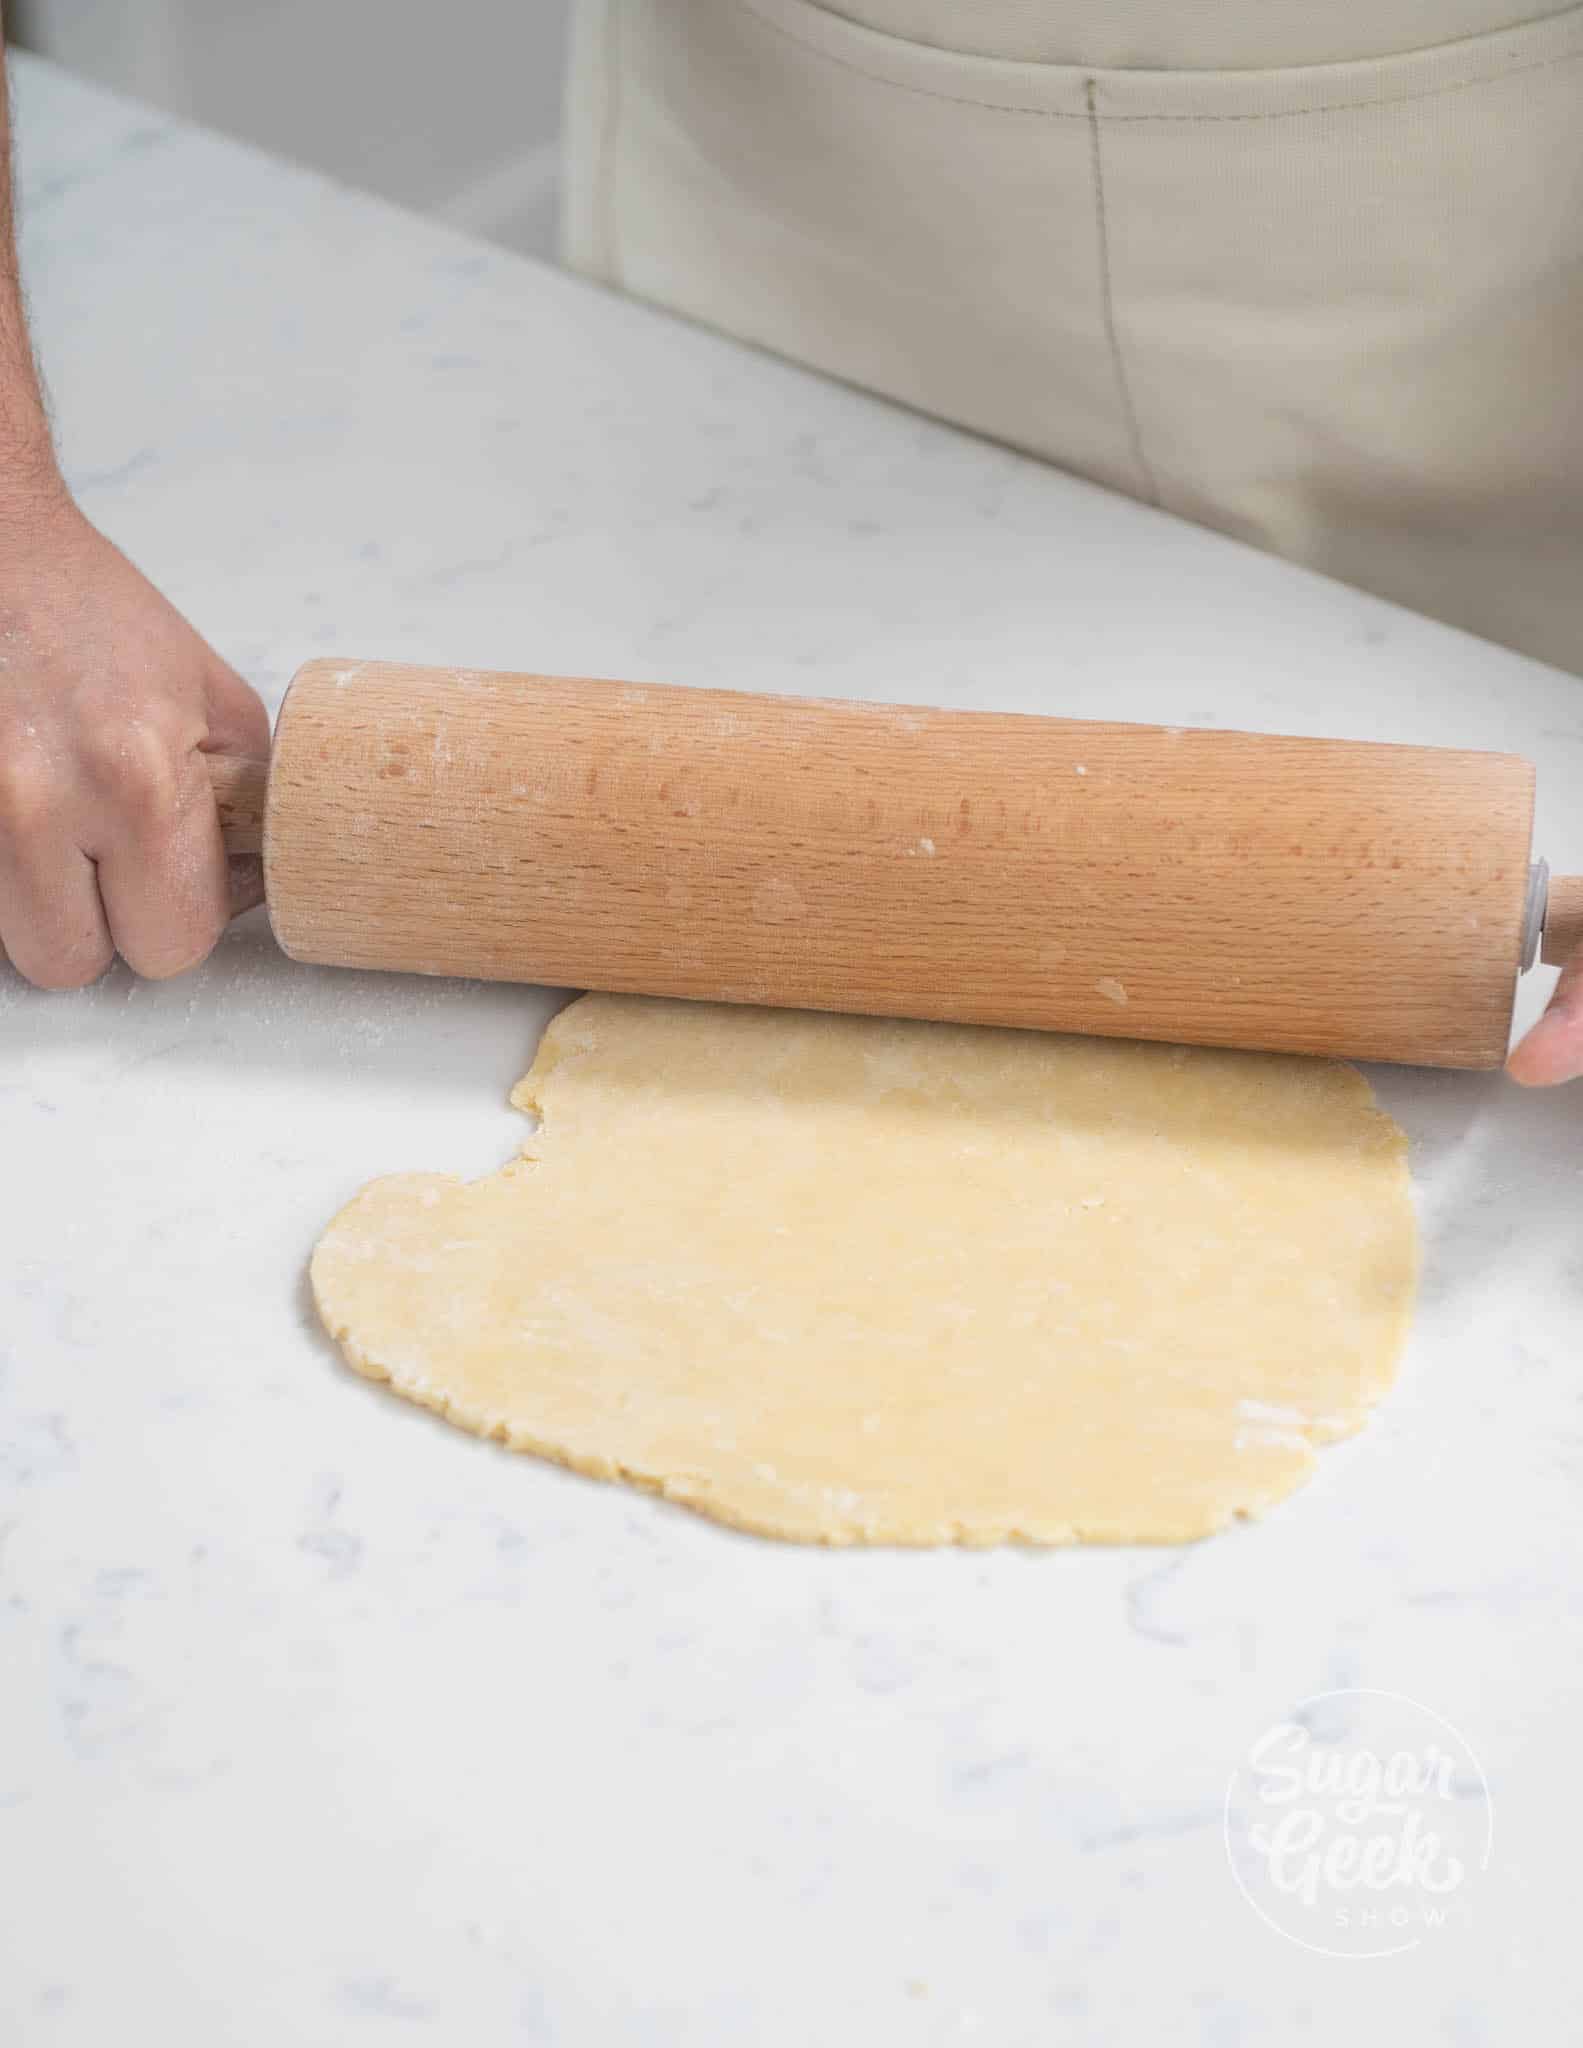
- Lightly flour your work surface, and roll your dough out with a rolling pin to ⅛" thick, about 7" wide. Pro-Tip: Keep moving your dough while rolling it out to avoid it sticking to the table. Start in the center and work your way out towards the edges.

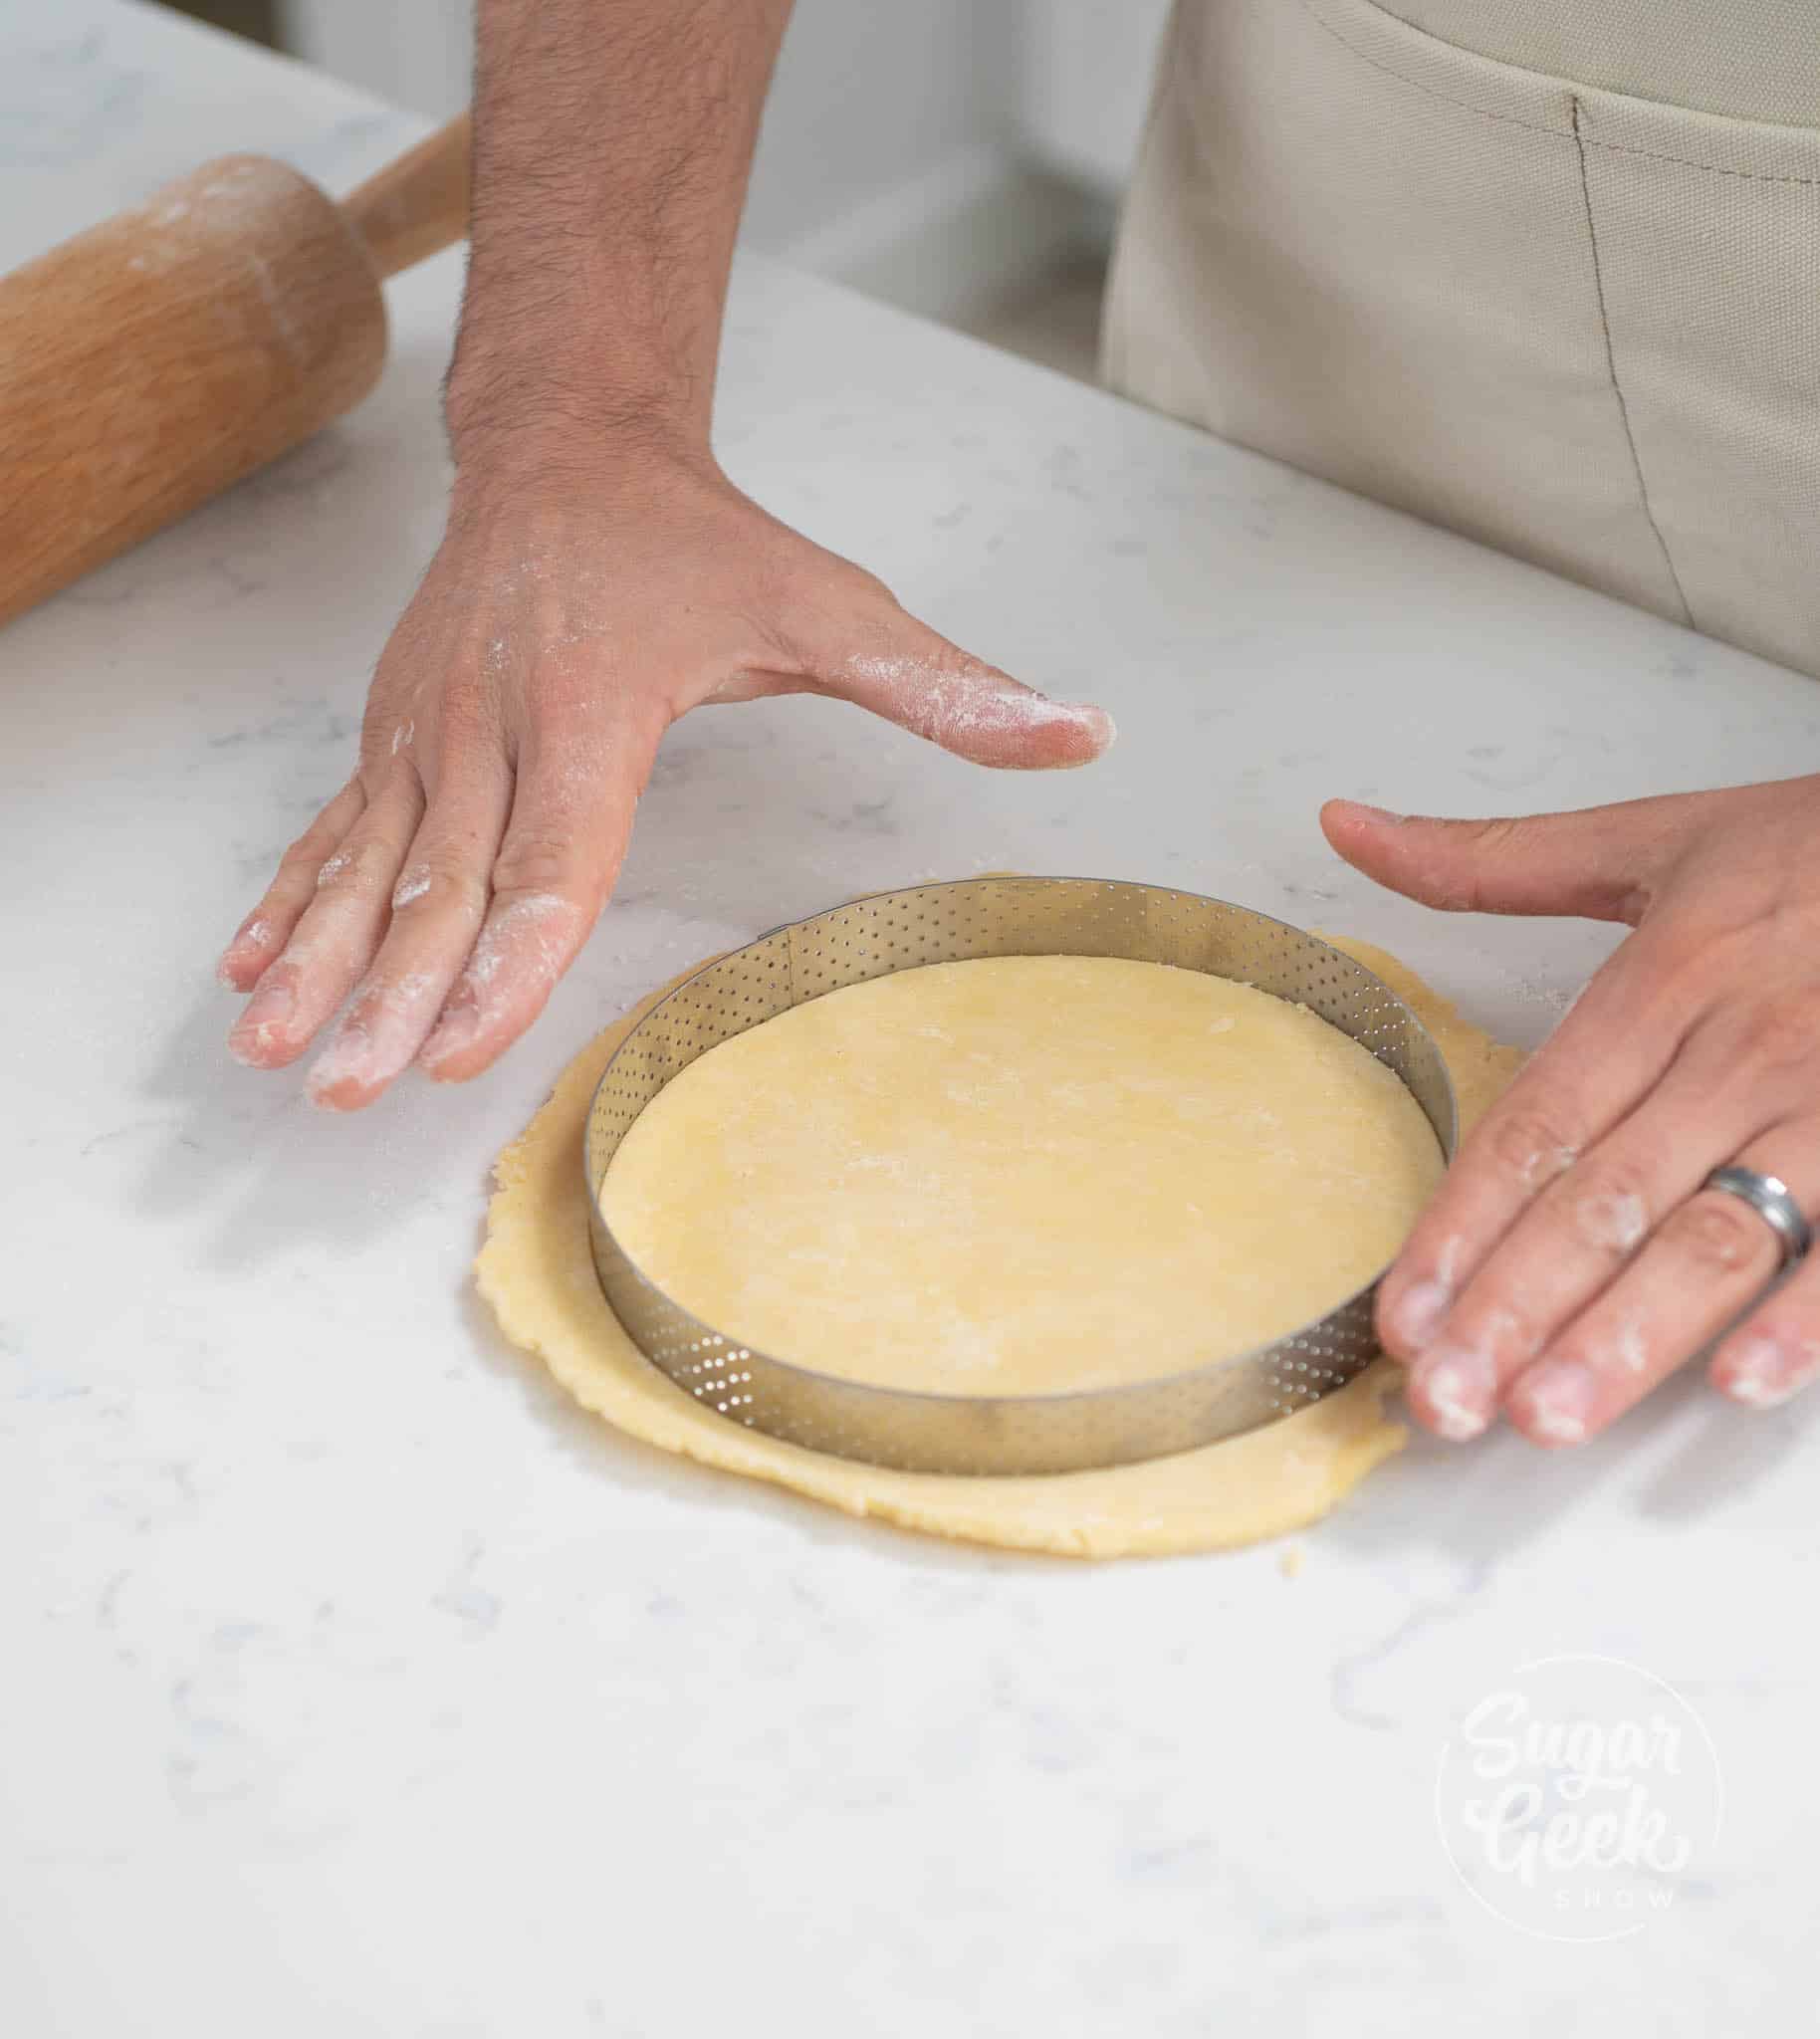
- Dust a 6" circular ring with flour and cut your dough by pressing the ring firmly into the dough, then remove the excess. You can reuse this extra dough to make another galette.

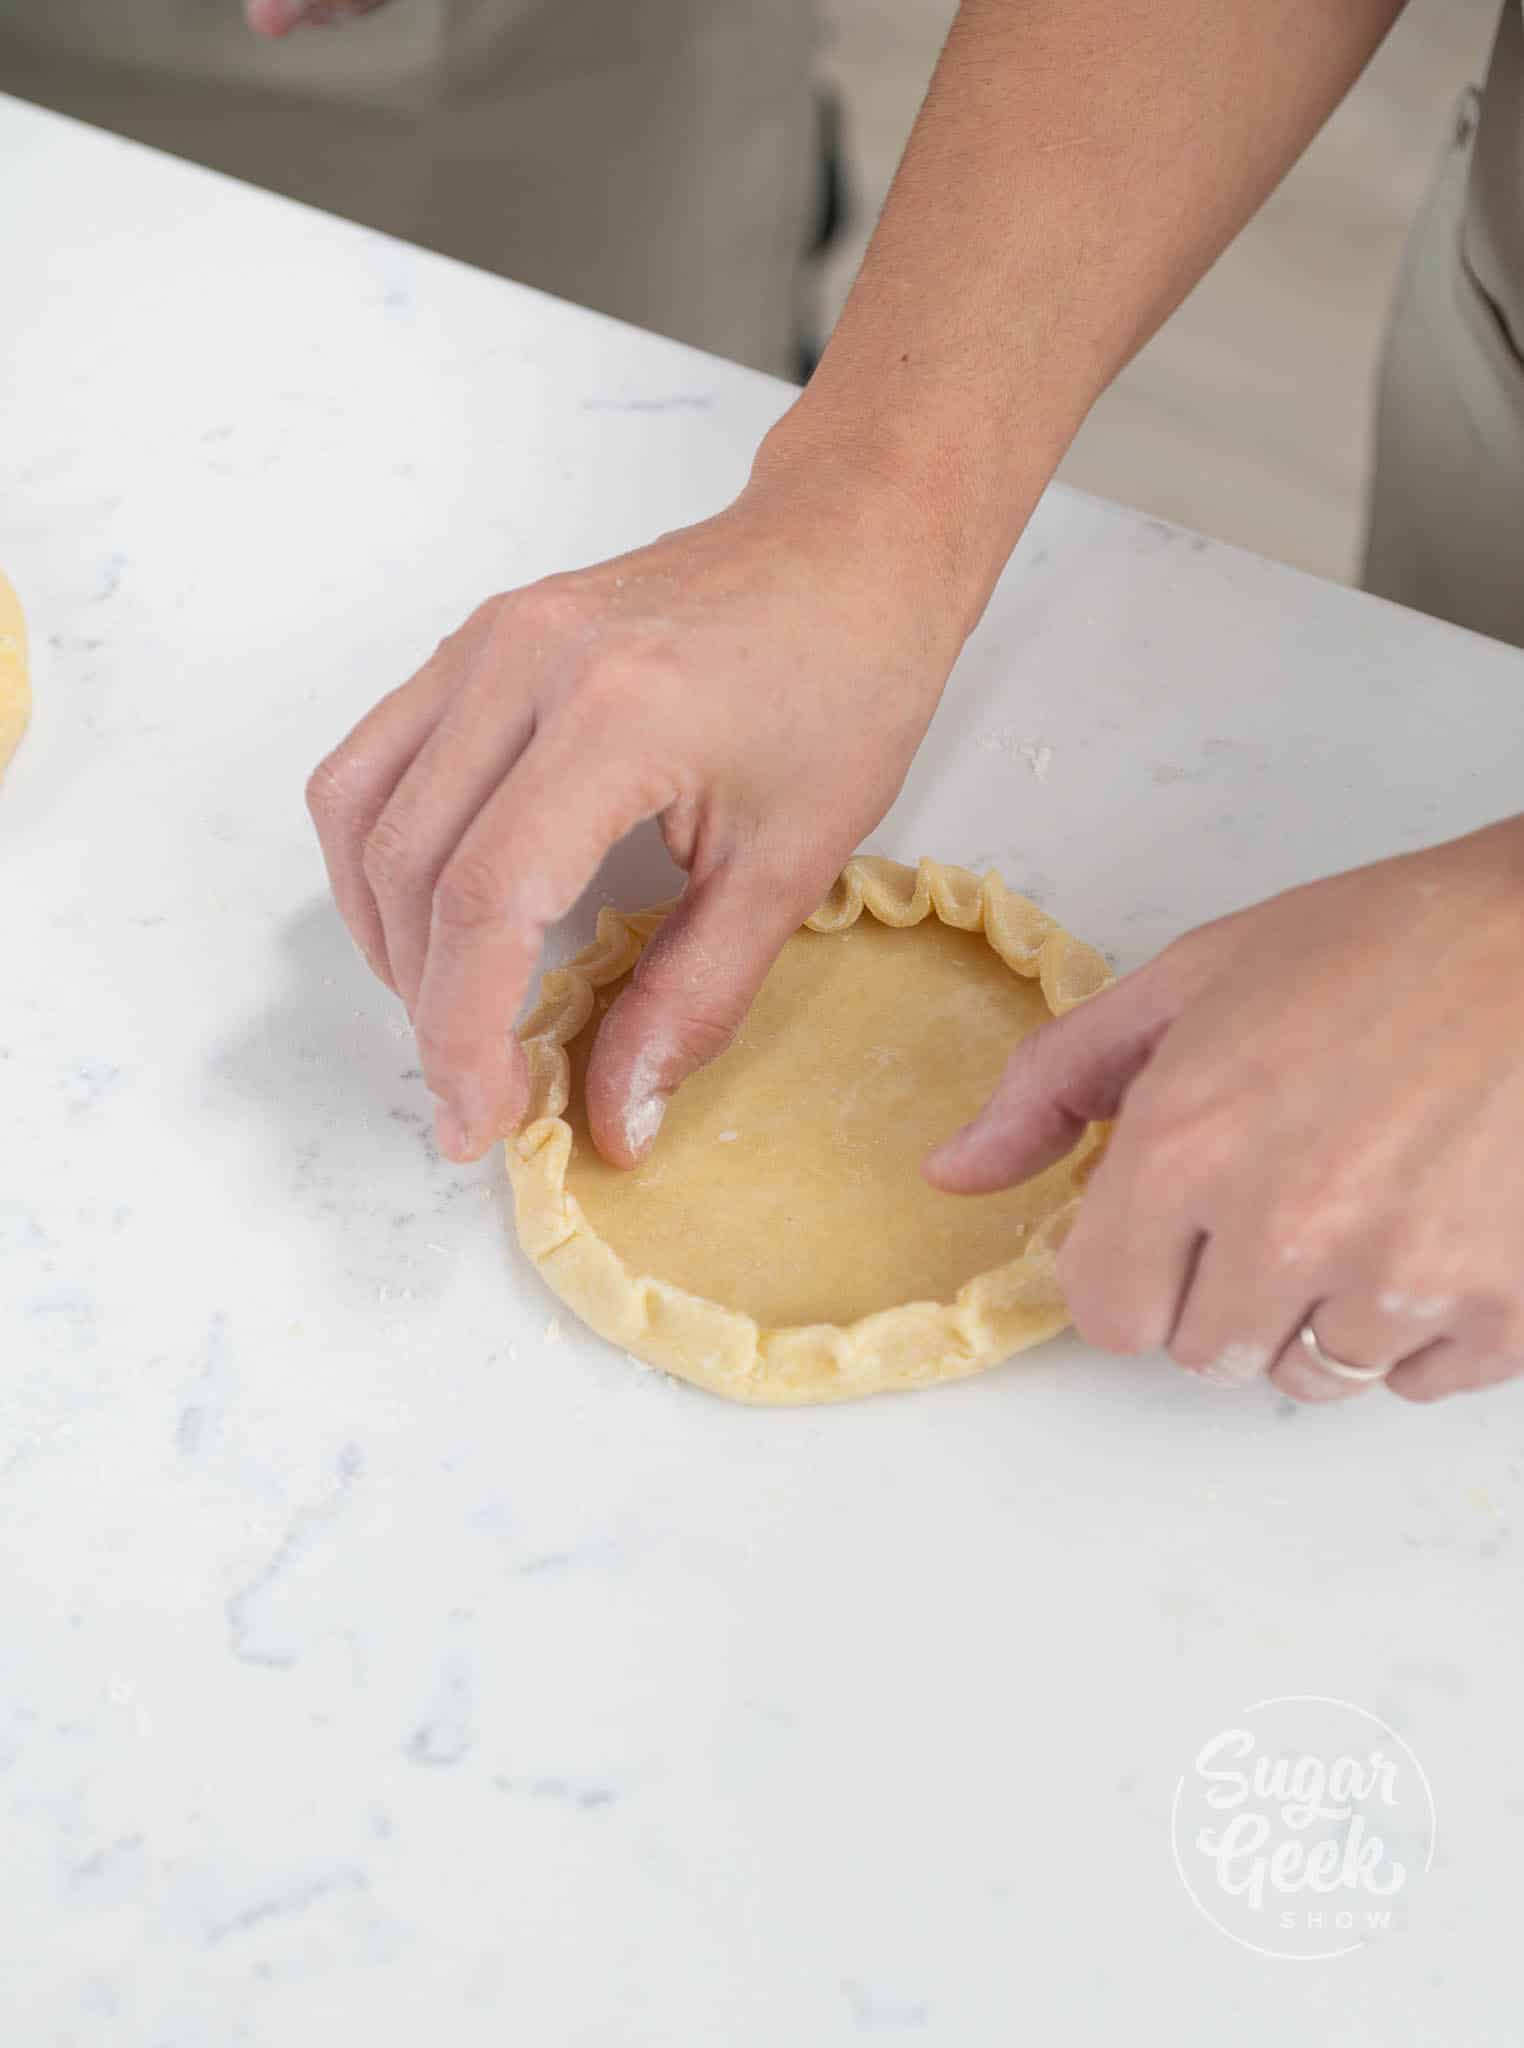
- Fold the edges of the dough to make a crust. Press the edge of the dough with your index finger, fold the dough over the top, and pinch.


- Press together the remainder of the dough, and repeat steps 3-6 with the other half of your dough to make a total of 6 galettes. You can also make smaller or larger galettes, just adjust your baking time.
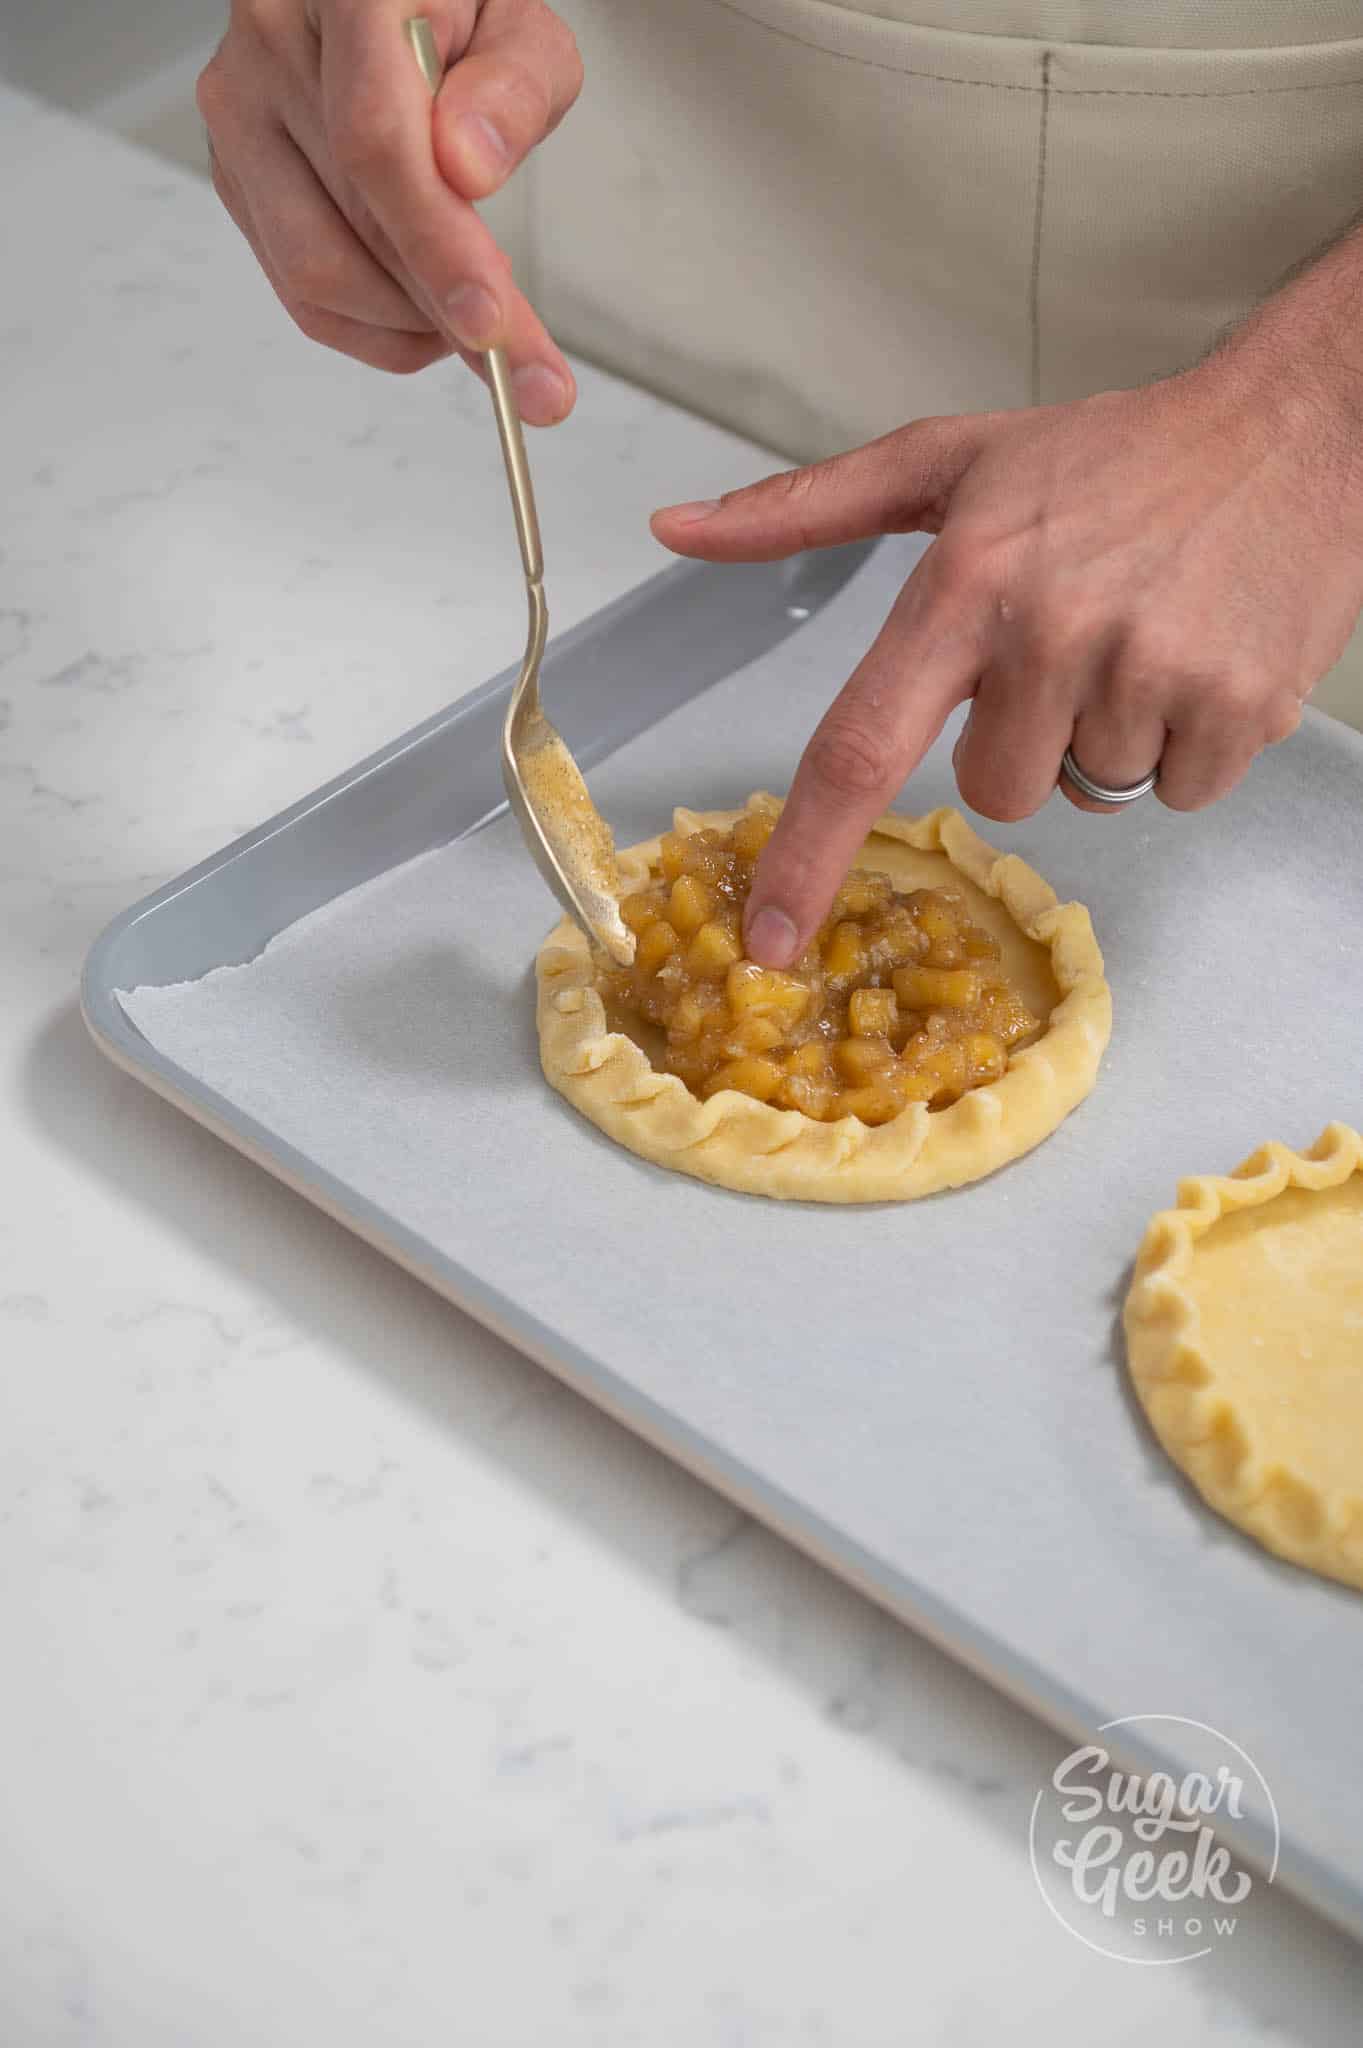
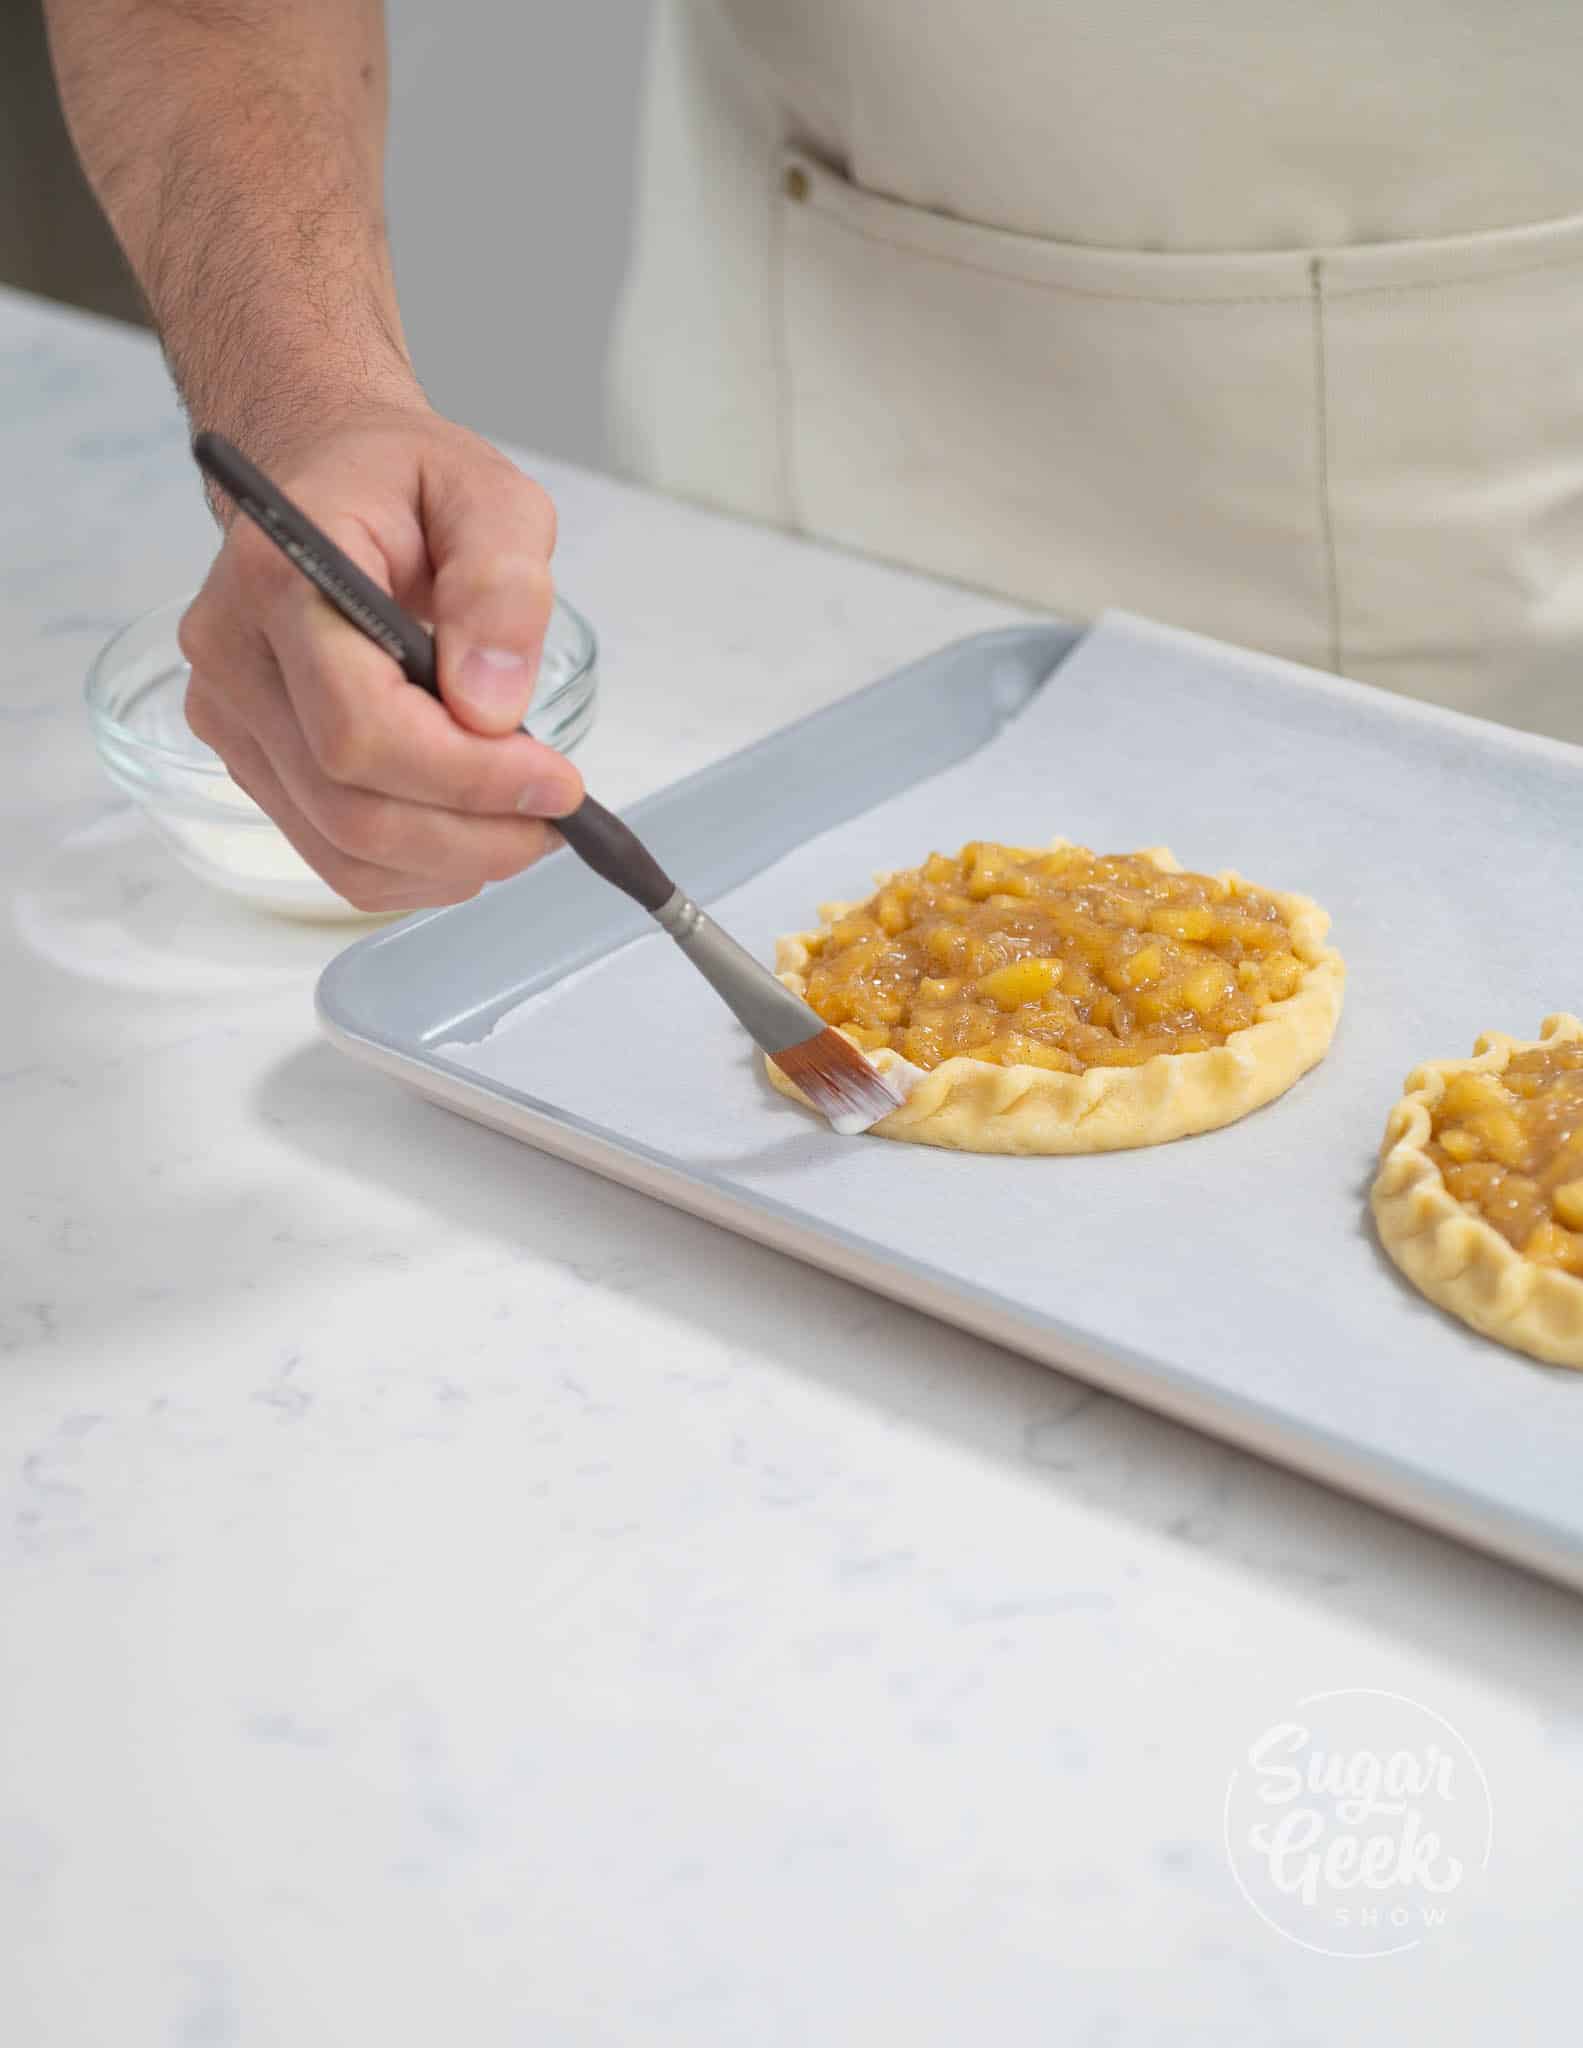
- Carefully transfer the dough onto your prepared baking sheet and fill the center of the dough with the apple filling.
- Using a pastry brush, brush the edges of the crust with a little bit of heavy whipping cream to promote browning. Then sprinkle the edges with a little bit of sanding sugar (optional).
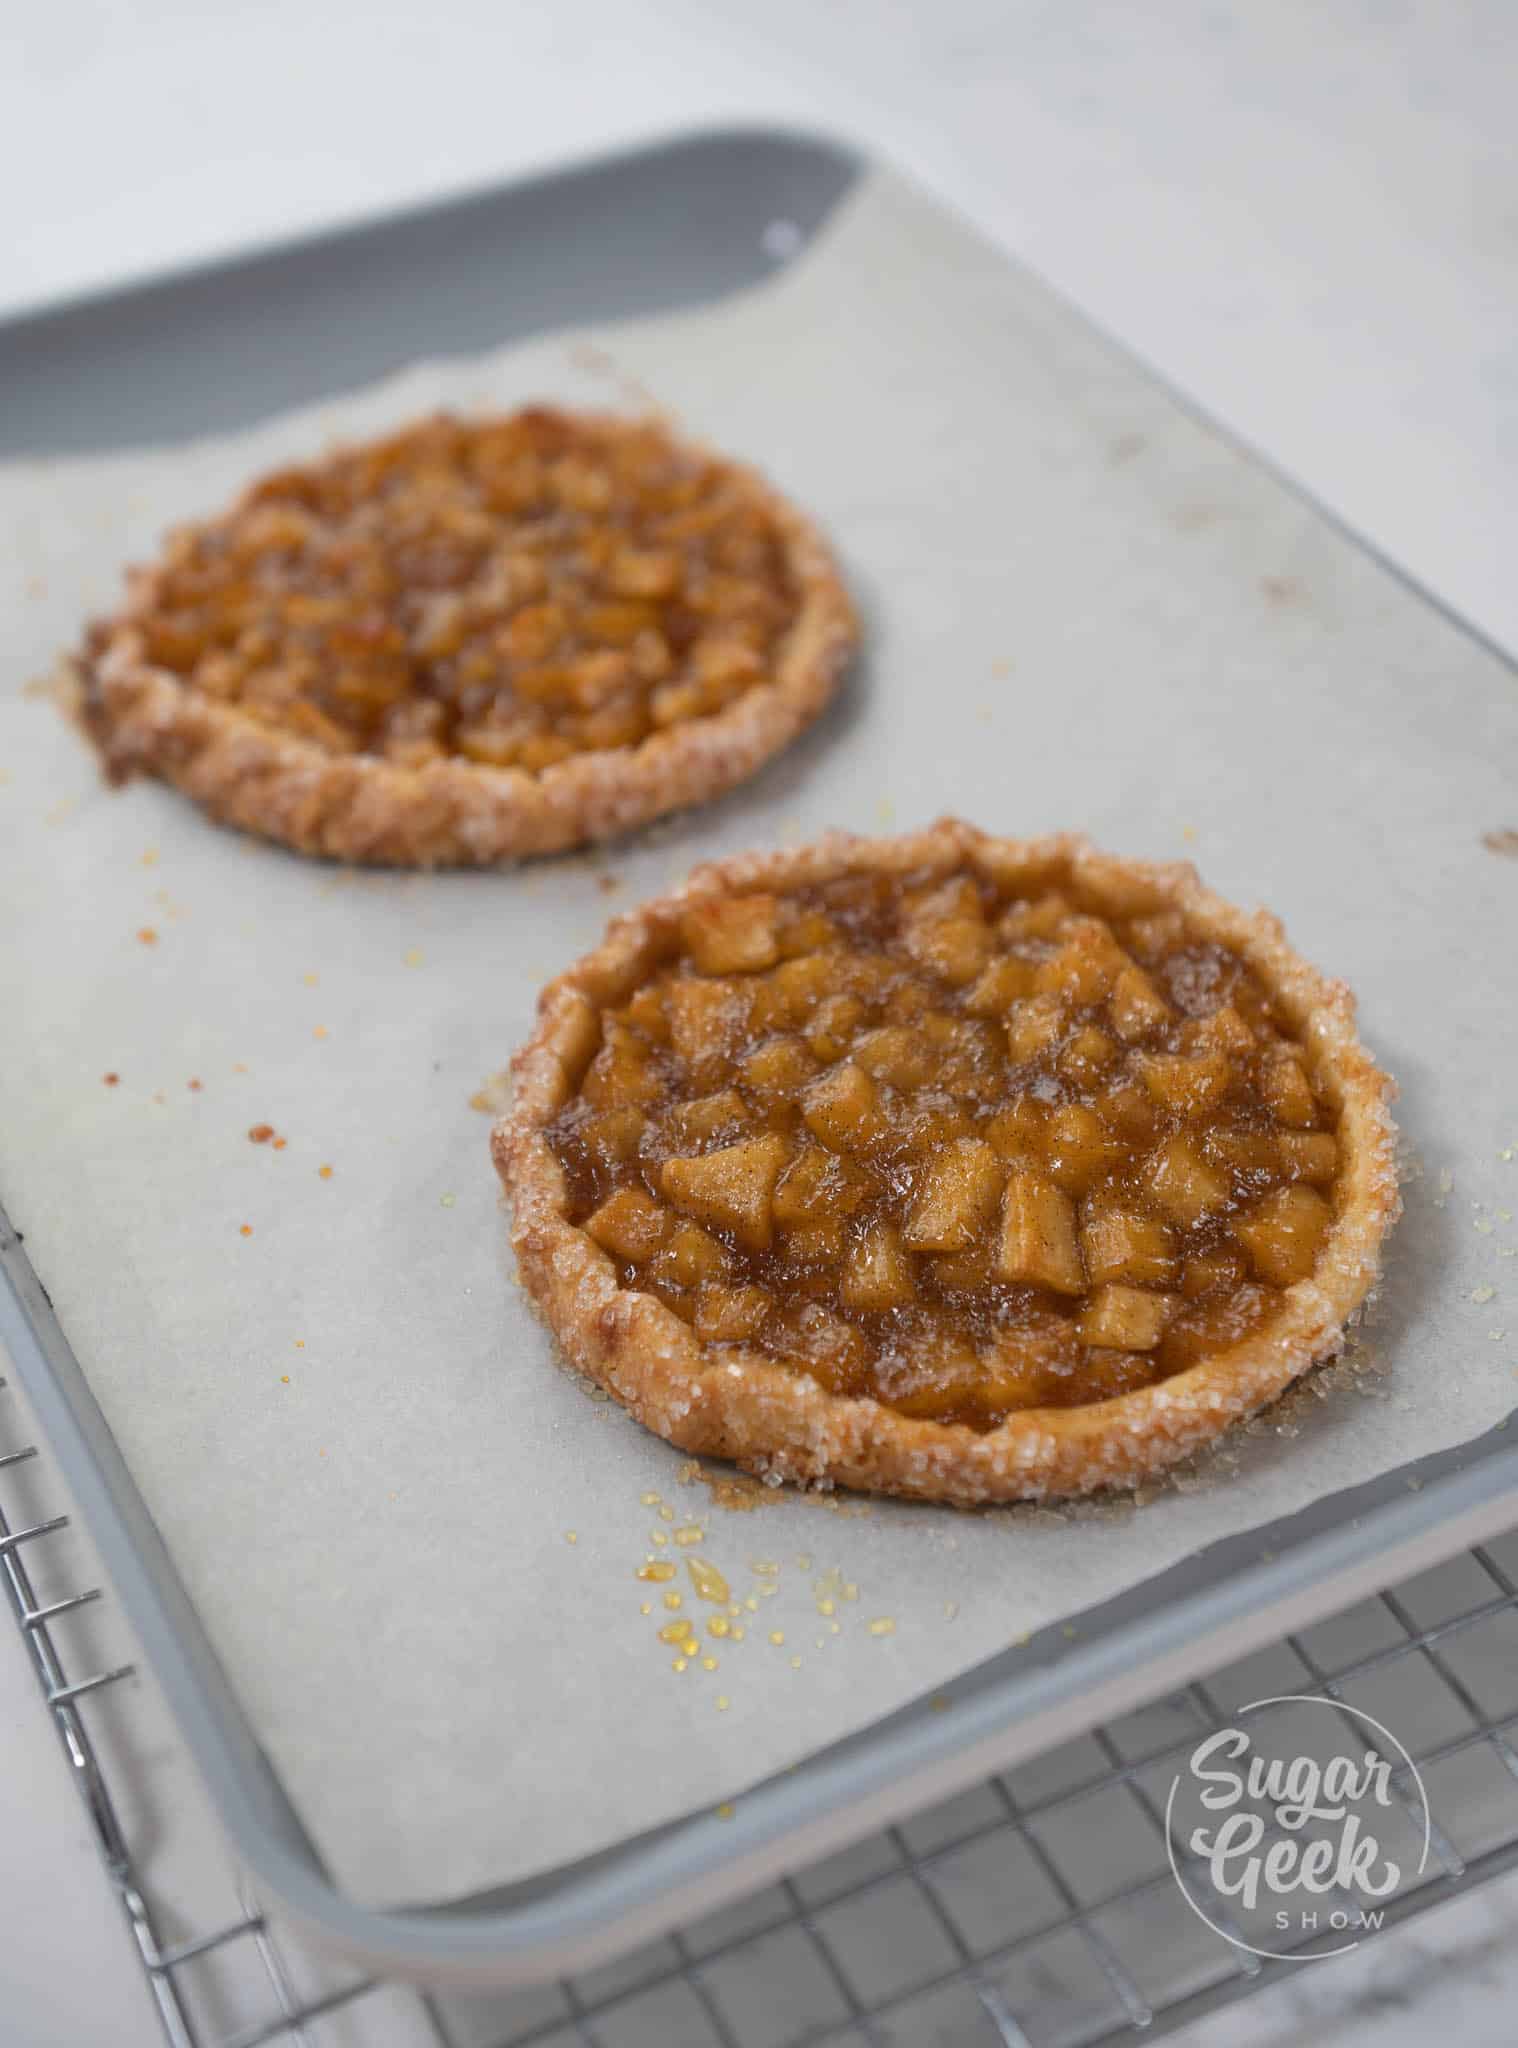
- Bake the galette for 40-45 minutes until the crust is golden brown and the apples are soft.

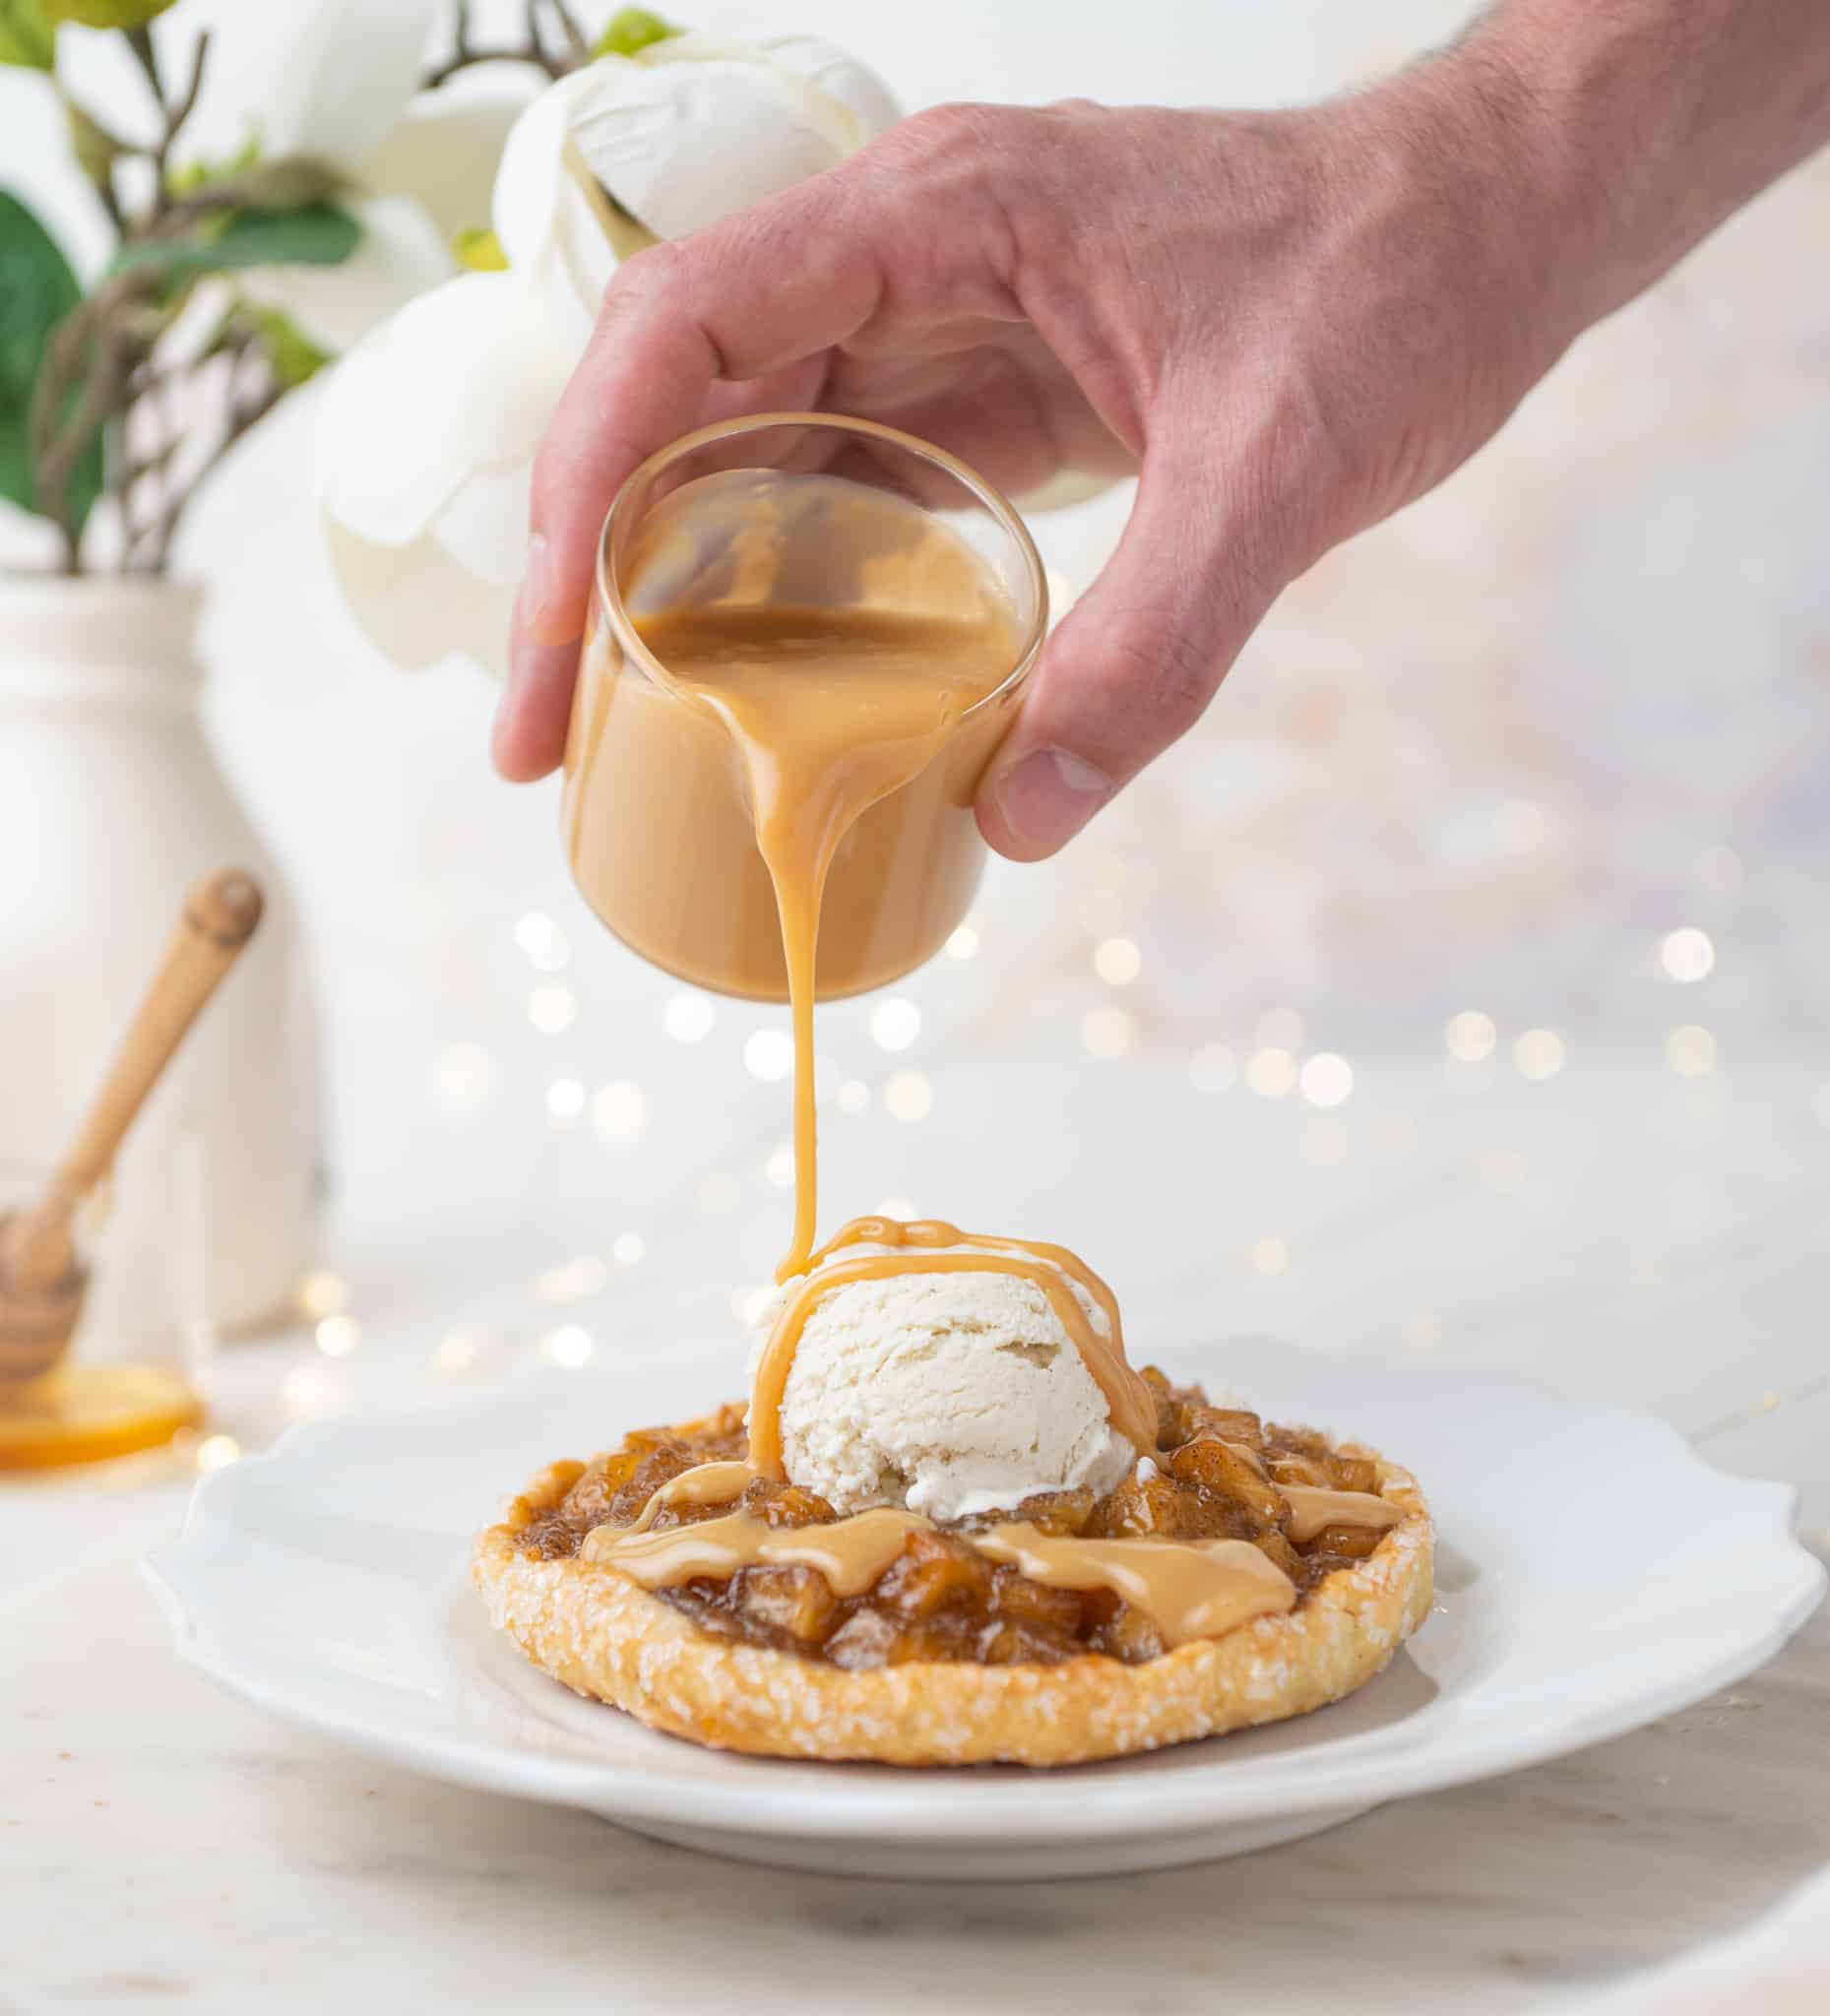
- Drizzle the top with some dulce de leche or caramel sauce and a scoop of vanilla ice cream or whipped cream. Serve the galette warm, each should serve about 2 people (really 1 hehe).

FAQ
A pie is baked in a dish or pan, giving structure to the sides and top of the dessert. A galette by comparison is a free-form pie that is baked flat on a pan. Galette also has an open-top design compared to the typically closed look of an apple pie. In many respects, a galette is even easier to make than a pie because you only need one type of dough, compared to sometimes needing 2 for the bottom and top of a pie.
Gala work best for baking because they are naturally sweet and don't require a lot of extra sugar. Honeycrisp, Braeburn, Pink Lady, and Granny smith apples are also good choices.
Baked galette freezes well for up to 3 months, just thaw it overnight in the fridge, heat it back up in the oven and serve warm. Both the dough and filling can be made ahead of time and refrigerated for up to 3 days if you cover them tightly.
There are endless flavor options for a fruit galette. Some of my favorites are cherry, blueberry, peach, or mixed berry.
I like this dough because there's no need for ice water or grating butter, and it turns out nice and crisp without a soggy bottom. You can use a mealy pie dough or another recipe if you prefer.
Related Recipes
Recipe
Equipment
- 1 Sheet pan
- 1 medium saucepan
Ingredients
Galette Dough
- 150 grams all-purpose flour
- 75 grams cold unsalted butter cubed, I like using "Plugra" or European butter
- ½ teaspoon salt
- 20 grams eggs
- 20 grams cold water
- 1 teaspoon white vinegar
- 1 Tablespoon heavy whipping cream for brushing the edge
- 1 Tablespoon sanding sugar optional
Apple Filling
- 400 grams fresh apples (about 4 medium apples) cubed, I like using gala apples
- 80 grams granulated sugar
- 80 grams honey
- 40 grams unsalted butter
- 1 whole vanilla bean or 1 tablespoon of extract
Dulce de Leche
- 1 can condensed milk 14 oz
Instructions
Galette Dough
- Add your cold water, salt, white vinegar, and flour to the bowl of your stand mixer with the paddle attachment and mix to combine. You can also do this with a whisk and a large bowl or a food processor.
- Add the eggs to the flour mixture little by little while mixing on low until combined.
- Add in your cold butter and mix on low for about 1 minute or until it creates a sandy texture. Pro-tip: leaving chunks of butter in your dough will create a crunchier texture.
- Transfer your dough to a surface and push it together with your hands until it sticks together but don't over-mix it or the heat from your hands will melt the butter.
- Flatten the dough and then wrap the dough in plastic wrap and chill it in the refrigerator for 2 to 3 hours until hard. You want the butter to chill and get really firm again. Pro-tip: Make this dough up to 3 days ahead of time and keep it in the fridge.
Apple Filling
- Peel and cut your apples into small cubes. You could also use apple slices if you want to make a design.
- Add the honey, sugar, and vanilla to a large saucepan.
- Cook the mixture over medium heat for about 3 minutes or until it reaches a light blonde color. If you want an extra rich flavor, you can substitute some of the honey and sugar for brown sugar.
- Add in your butter and apples and stir the mixture together.
- Cook over medium heat for about 10 minutes or until the apples are slightly soft and translucent. Don't overcook the apples here, you want to avoid getting them too mushy when they bake later.
- Combine the cold water and cornstarch in a small bowl until it's smooth. Pro-Tip: Use equal parts of Clear Jel instead of cornstarch for a more translucent and shiny apple filling.
- Add the cornstarch mixture to the apples and mix.
- Cook the mixture for about one more minute, then remove it from the heat. It will continue to thicken as it cools.
- Pour the apple filling into a medium bowl and cover it with plastic wrap so it's touching the surface of the filling. This is to prevent a film from forming over the surface of the filling.
- Refrigerate the apple filling for about an hour or until it's cooled down to at least room temperature. This can be made ahead of time and refrigerated for up to a week or frozen for a month.
Dulce de Leche
- Remove the paper label from the can of sweetened condensed milk.
- Place the can into a large pot and cover it with water. Make sure the can is completely submerged with about 1 inch of water over the top.
- Bring the water to a boil over medium-high heat and boil for about 2 ½ hours. If some of the water has evaporated after about an hour, add more water to cover the can as needed. If you want lighter dulce de leche, boil for 2 hours, for richer and darker dulce de leche, boil for 3 hours.
- Remove the pan from the heat, and let the can cool in the water.
- Open the can and use your dulce de leche! This can last refrigerated in an airtight container for up to 2 weeks.
Assembling the Galette
- Preheat your oven to 350°F and prepare a baking sheet with parchment paper.
- Take your cooled dough out of the refrigerator and divide it in half. Wrap and refrigerate one half while you roll out the other half.
- Form the dough into a circle with your hands.
- Lightly flour your work surface, and roll your dough out with a rolling pin to ⅛″ thick, about 7″ wide. Pro-Tip: Keep moving your dough while rolling it out to avoid it sticking to the table. Start in the center and work your way out towards the edges.
- Dust a 6″ circular ring with flour and cut your dough, then remove the excess. You can reuse this extra dough to make another galette. You can also make one big galette if you want using the same technique.
- Fold the edges of the dough to make a crust. Press the edge of the dough with your index finger, fold the dough over the top, and pinch.
- Press together the remainder of the dough, and repeat steps 3-6 with the other half of your dough to make a total of 6 galettes. You can also make smaller or larger galettes, just adjust your baking time.
- Carefully transfer the dough onto your prepared baking sheet and fill the center of the dough with the apple filling.
- Using a pastry brush, brush the edges of the crust with a little bit of heavy whipping cream to promote browning. Then sprinkle the edges with a little bit of sanding sugar (optional).
- Bake the galette for 40-45 minutes until the crust is golden brown and the apples are soft.
- Drizzle the top with some dulce de leche or caramel sauce and a scoop of vanilla ice cream or whipped cream. Serve the galette warm, each should serve about 2 people (really 1 hehe).
Video
Notes
- Weigh your ingredients to avoid failure. Using a kitchen scale for baking is super easy and gives you the best results every single time.
- Practice Mise en Place (everything in its place). Measure out your ingredients ahead of time and have them ready before you start mixing to reduce the chances of accidentally leaving something out.


Leave a Reply