

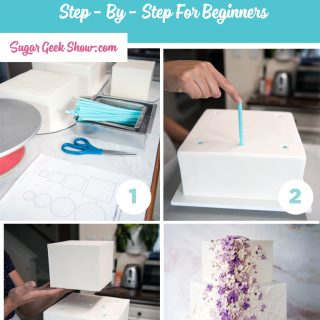
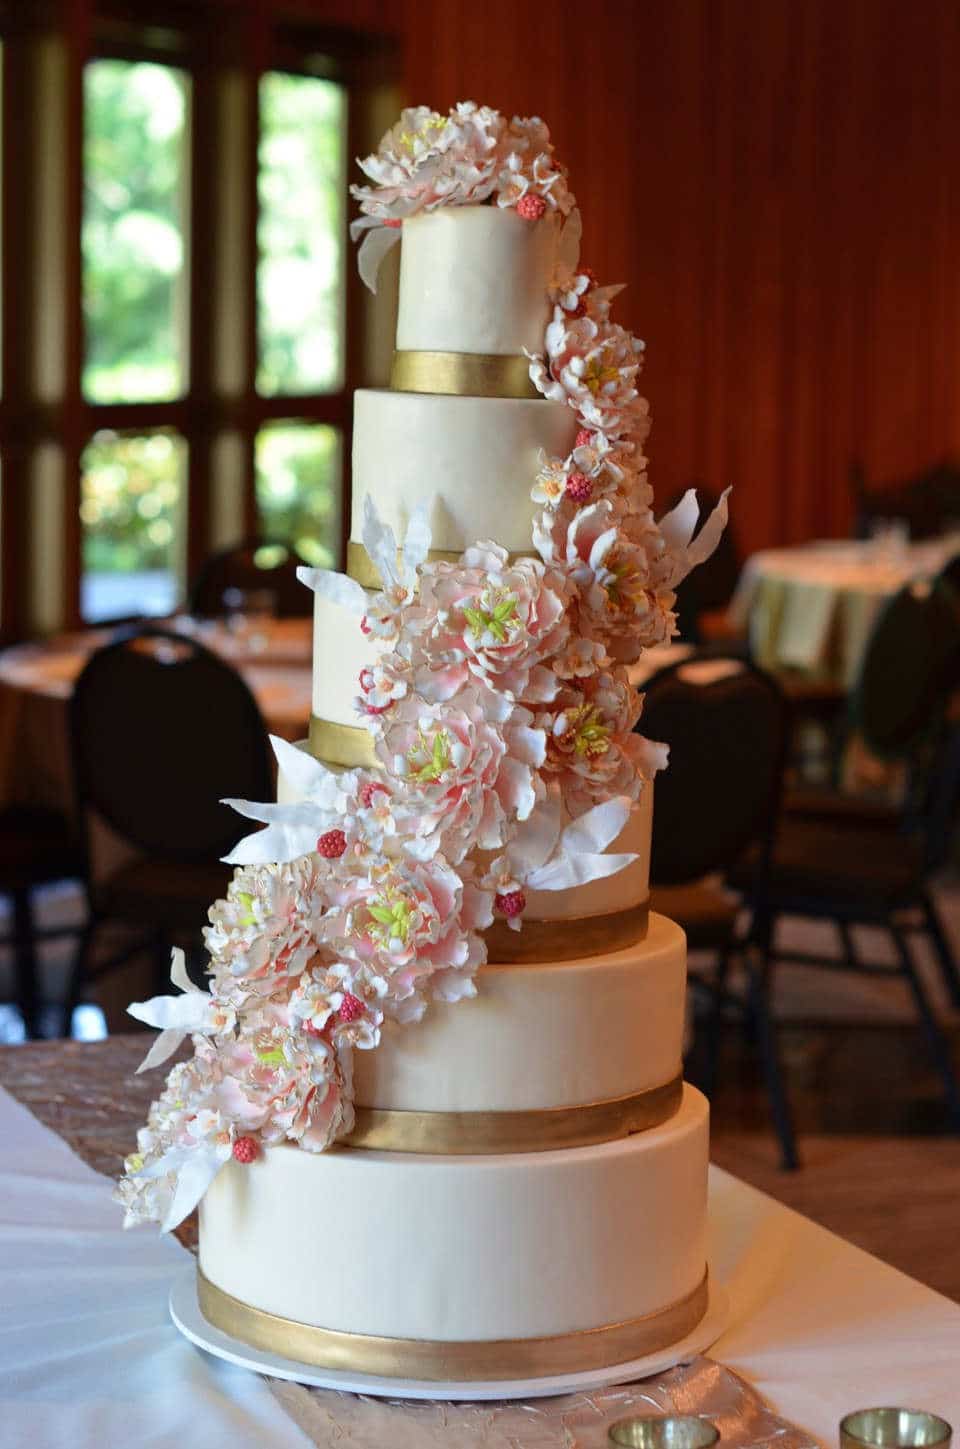
How to stack a cake with straws
Suppose you do get brave enough to try your first tiered cake. Once all the tiers are completed, how do you safely get one on top of the other? No, it is not a stupid question! If you've never done it before there can be many factors that aren't obvious. Today we will show you just how to stack your cake using straws.
Unless you've used straws before, you might be a little freaked out by the idea but I promise you straws are AMAZING for stacking cakes. I've stacked cakes up to 6 tiers using only straws. The reason I prefer them is that in my experience, dowels are hard to cut so that they are level on the bottom. They are also a pain to cut! Straws are strong, easy to cut and very inexpensive.
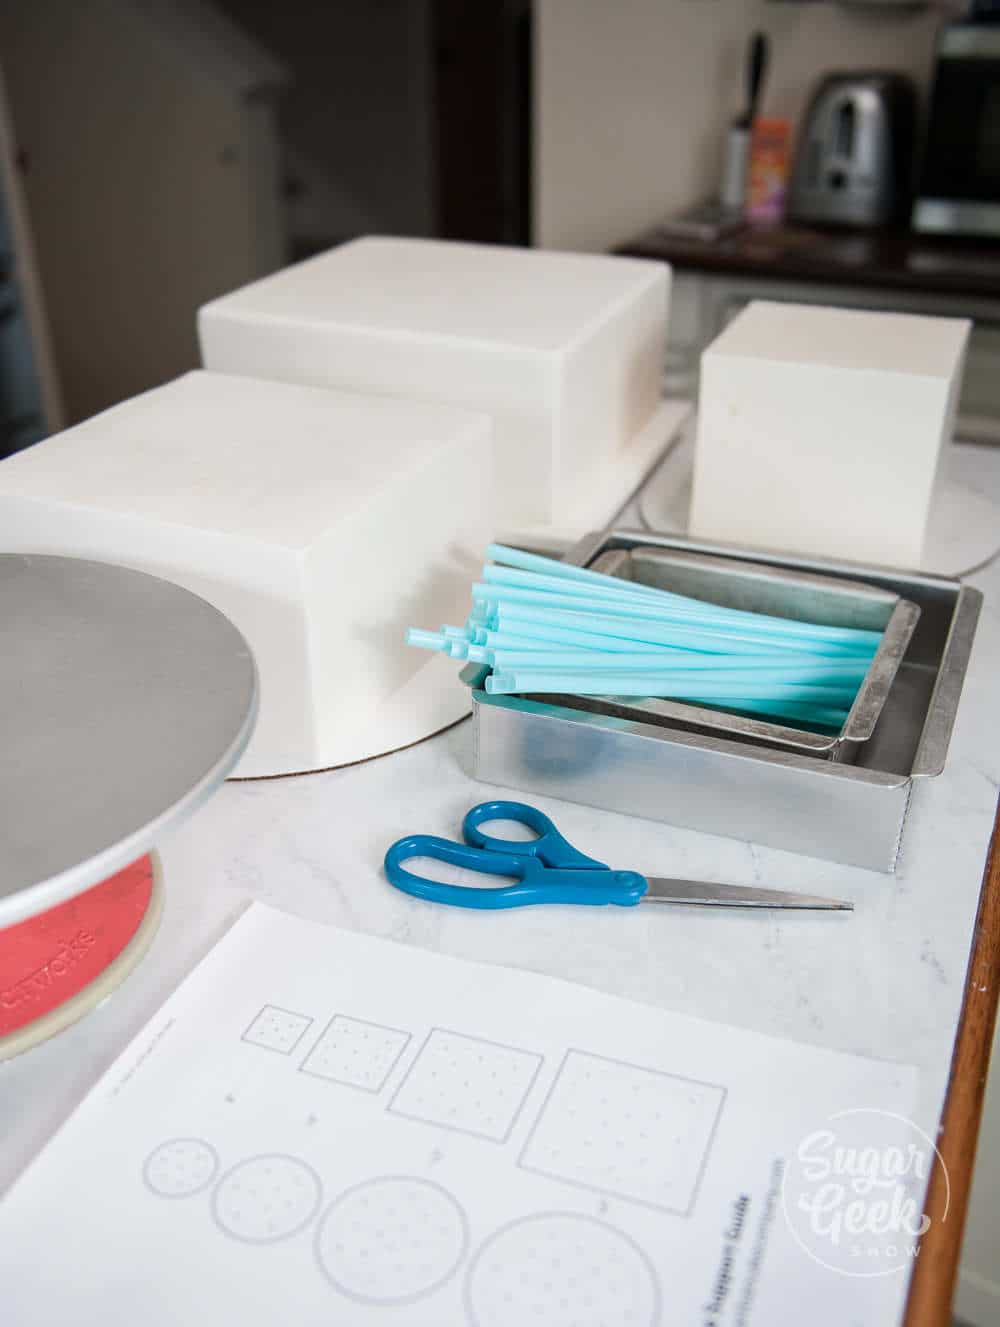
What you need
- Milkshake Straws
- Scissors
- Chilled Cakes On Cardboard
What kind of straws work best as cake supports?
When I say straws, I'm actually referring to thick milkshake straws. Some people use bubble tea straws but I have a hard time finding sturdy bubble tea straws. I buy milkshake straws at Cash and Carry but like most things, you can also find them on amazon.
These milkshake straws are thicker than a typical straw and perfect for pushing into a chilled cake.
I should also note that recently there has been a lot of press in the media about not using straws because of the risk to sea turtles. Now, sea turtles are my FAVORITE animal so I definitely want to do everything I can to help save them but when it comes to cake decorating, I have to use what's economical and works the best for the stability of my cakes.
You might also find it interesting to note that straws only make up .08% of the world's plastic in the ocean. So while switching to a paper straw might make you feel better and make for some trendy videos on saving the turtles, you're not really having much impact on actual pollution in the ocean IMO.
The bigger threat to the ocean is actually in the fishing industry (nets and leftover fishing supplies trapping animals in the ocean). You can read more about this in this news article. And that's all I will say about the milkshake straws and pollution politics. Sorry I had to go there!
How do you prepare cakes for stacking?
The first thing you need are some cakes! I typically follow this calendar for baking and decorating when I have a cake that needs to be finished on Saturday.
- Tuesday – Review my cake design to see if I need to order anything and make my shopping list. On Tuesdays, I also look at my cake orders for NEXT week to see if I need to order anything online.
- Wednesday – Grocery shopping for supplies, make my frosting and fondant.
- Thursday – Bake my cakes, chill them in the freezer, fill them and get them crumb-coated and resting in the refrigerator.
- Friday – Apply the final coat of buttercream to the cakes and store them in the refrigerator. Make buttercream flowers and put them into the freezer. Assemble and decorate the cake.
- Saturday – Deliver cake. Obviously, if your cake is due on another day you can adjust this timeline.
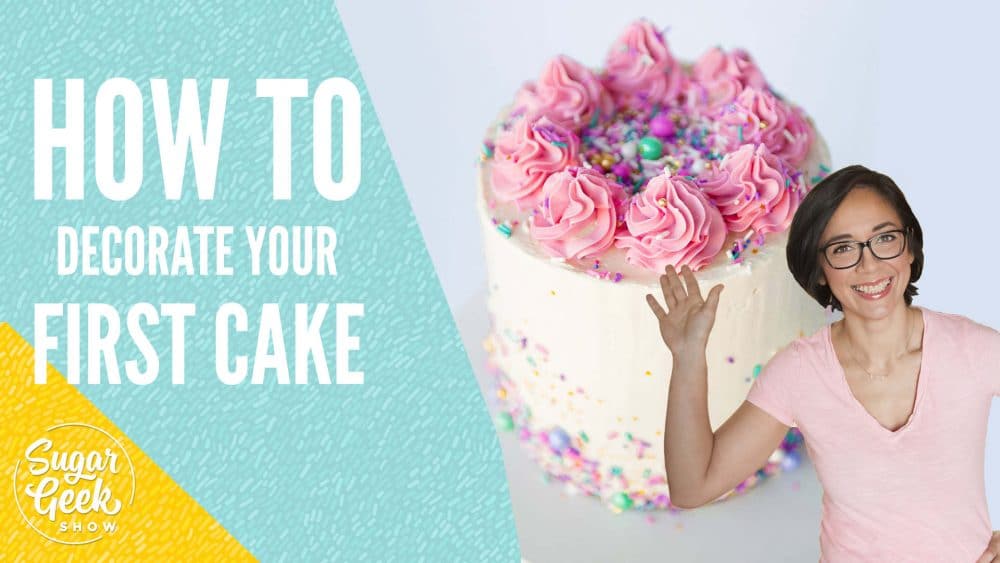
If you are new to decorating and want to know more about baking, trimming, frosting and filling your cakes for the first time, watch my how to make your first cake tutorial.
Here are some other tutorials that might be helpful for you if you're new to cake decorating.
How to cover a cake in fondant
How to get sharp edges on buttercream
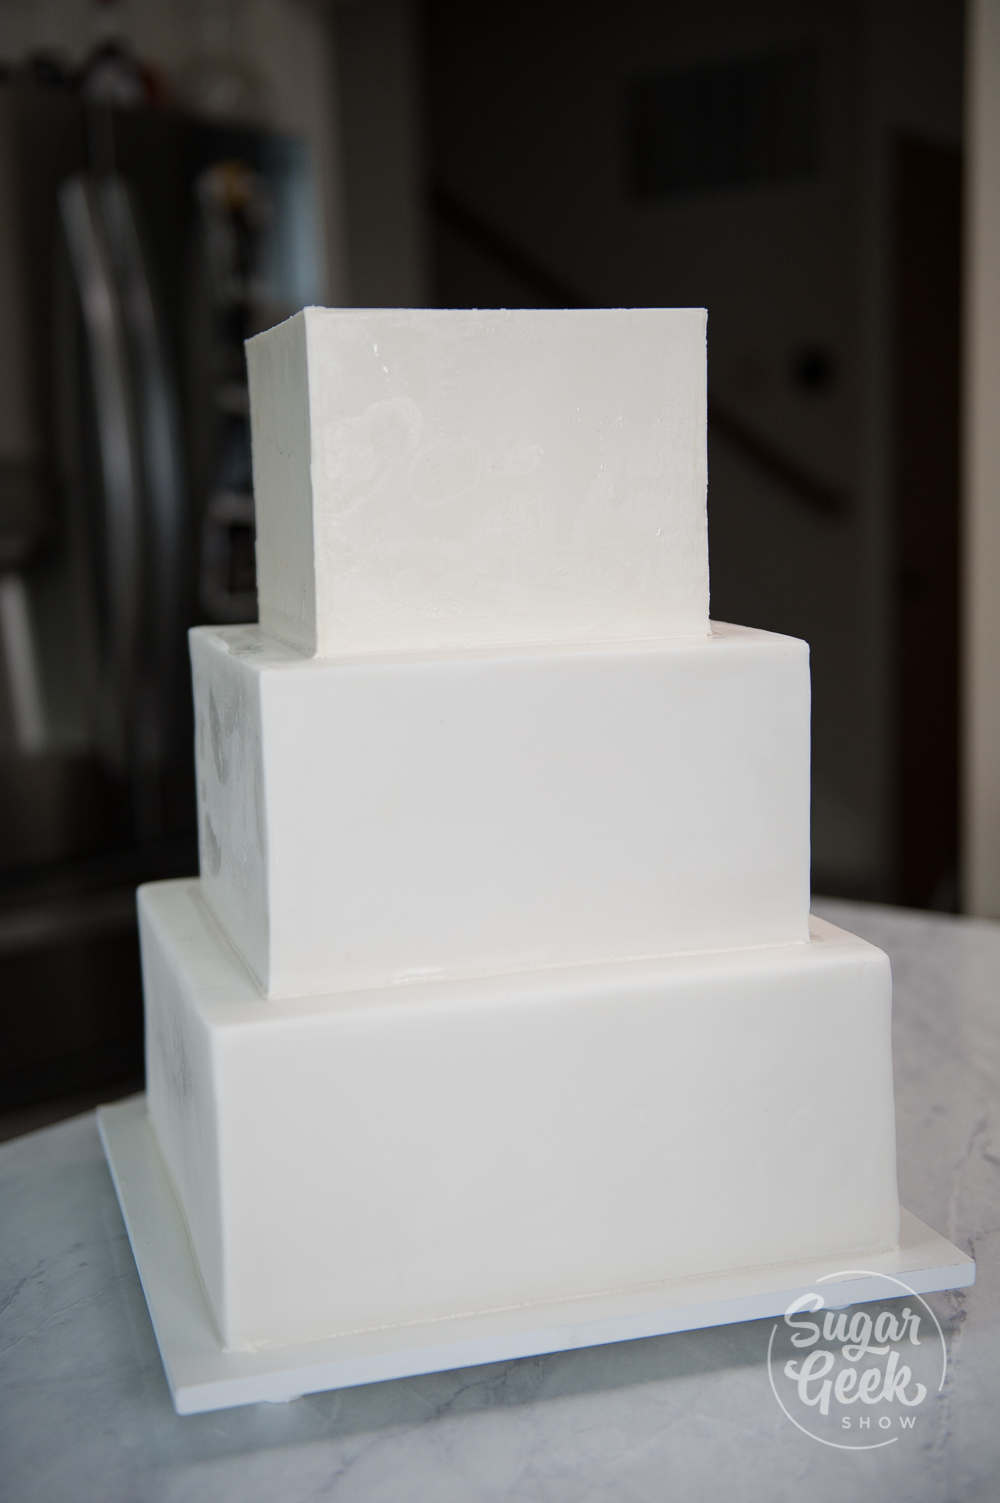
How to make a square buttercream cake
How to cover a square cake in fondant
The rule of thumb is to put as many supports in a cake as the size of cake it will be supporting. So say you have an 8" cake for your bottom tier and you will be stacking a 6" cake on top. You will want to put 6 supports into your 8" cake to support the 6" cake. You then would put 4 supports in the 6" cake to add a 4" tier on top.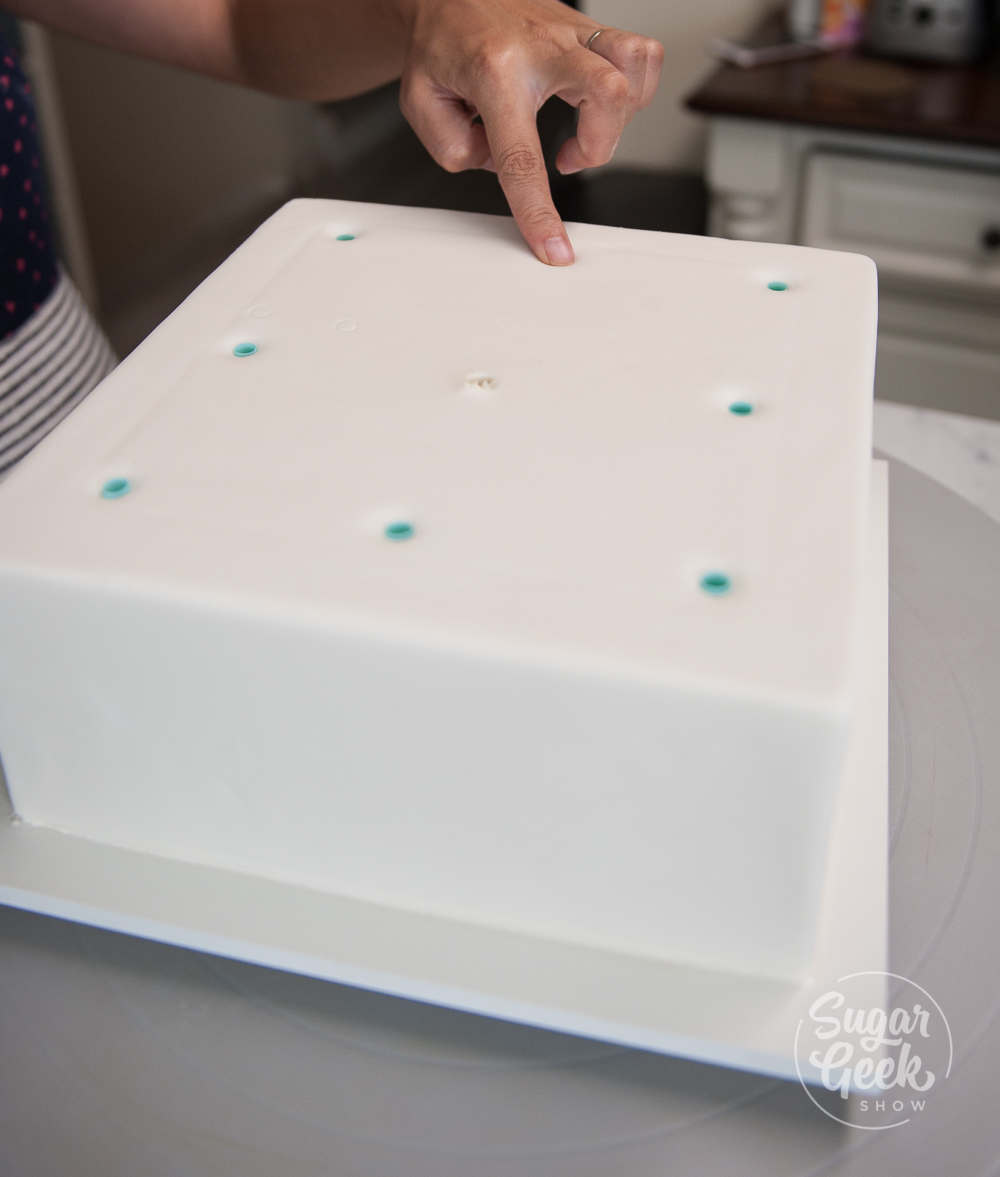
Where do you place the supports? As close to the edge of the cake they will be supporting as possible without them showing. Putting your supports on the outer most edge of your cake will give you the most stability and keep your cake from caving in. Use a cake pan or cake board the size of the cake you're supporting to trace an indention in the supporting cake so you know exactly where you'll be placing your cake and exactly where the supports should go. If you're supporting a large cake, you will be putting in a lot of supports so adding some of them further in the center is a good idea and putting an extra one in the center for good measure never hurt anyone.
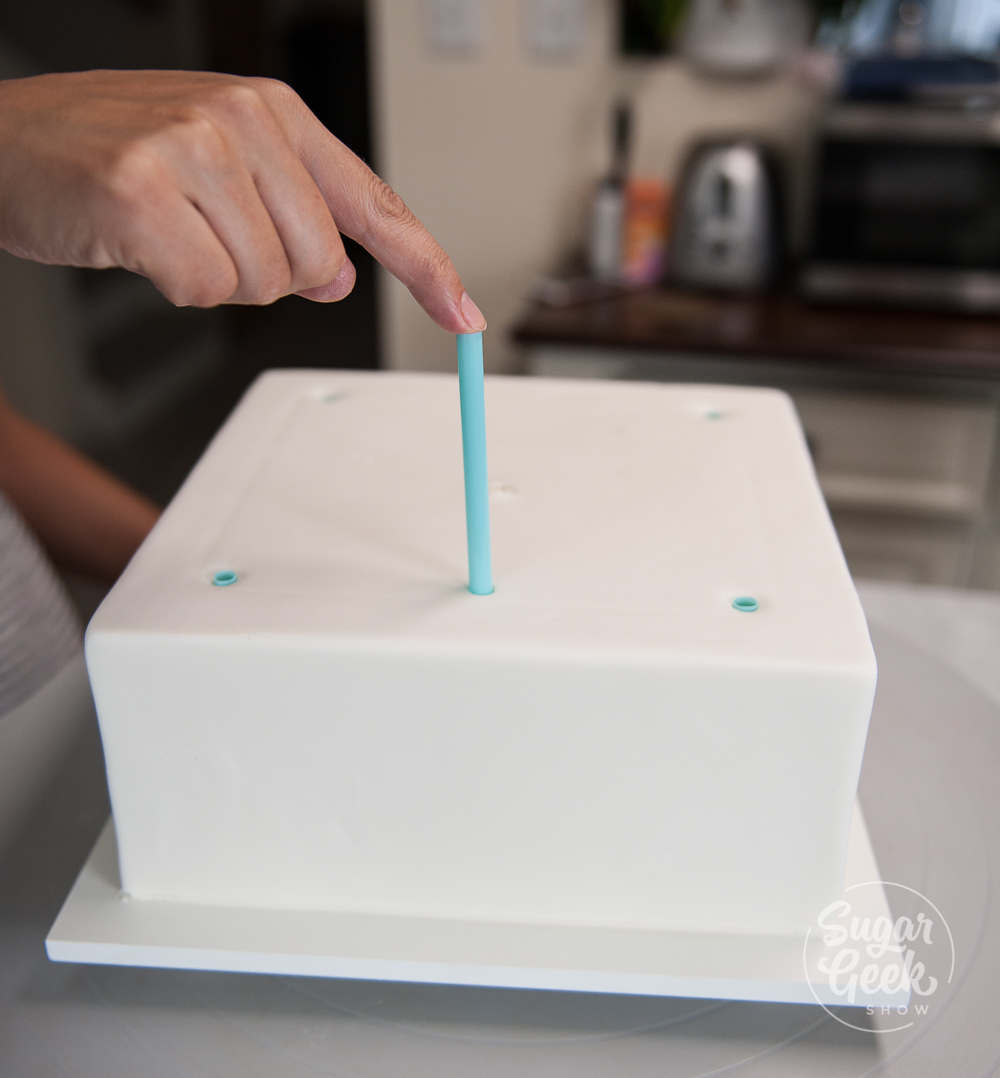
For a demonstration on exactly how to cut and place the straw supports, check out the Easy Double Barrel Blog Post as it shows how to insert straw supports for any cake.
Okay! So once you have your supports all ready to go you are ready to stack! As always, your cakes should be made with real butter in the cake as well as the buttercream and should be chilled nice and firm.
Whether you are stacking on site or at home before you travel, your bottom cake should already be placed on your base cake board. Slide your next tier to the edge of the table and carefully slide it off. Having your tiers on an additional cake board makes it easier to not damage the cake while moving it.
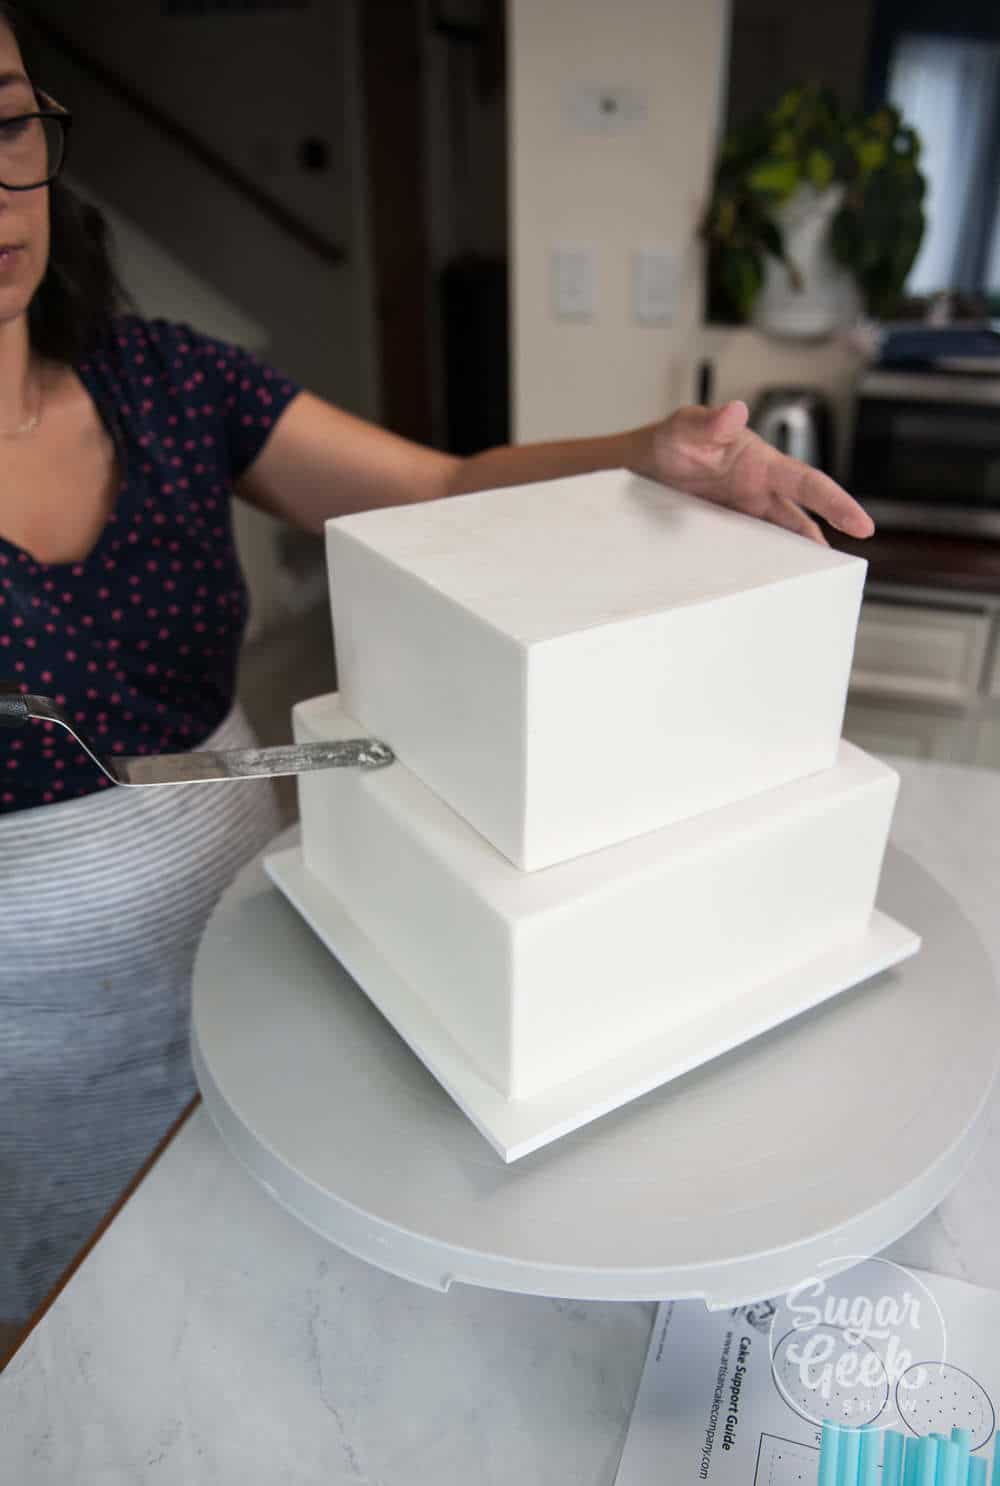
Supporting the cake from the top and bottom, carefully line your cake up with your traced outline and supports. Place a large offset spatula underneath the cake to easily set it down without any damage to the edge.
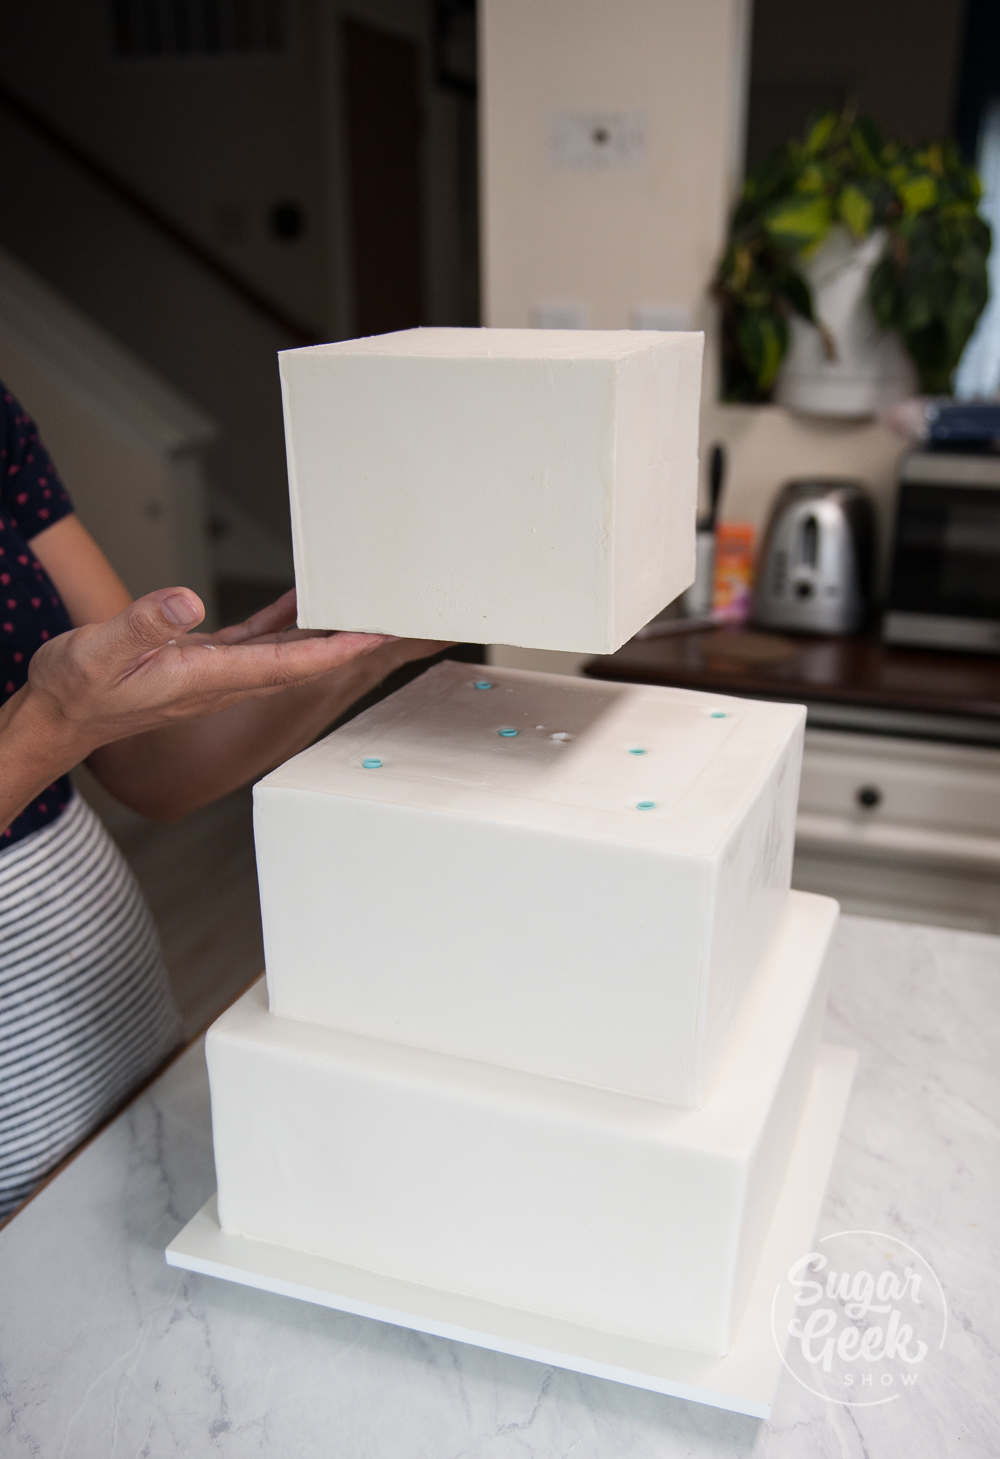
Repeat this process for each tier needing to be stacked. Smaller tiers may not need the spatula because they are so small and light. If you have decided to stack on site, you are done! If you are traveling with a stacked cake you will want to add additional structure support.
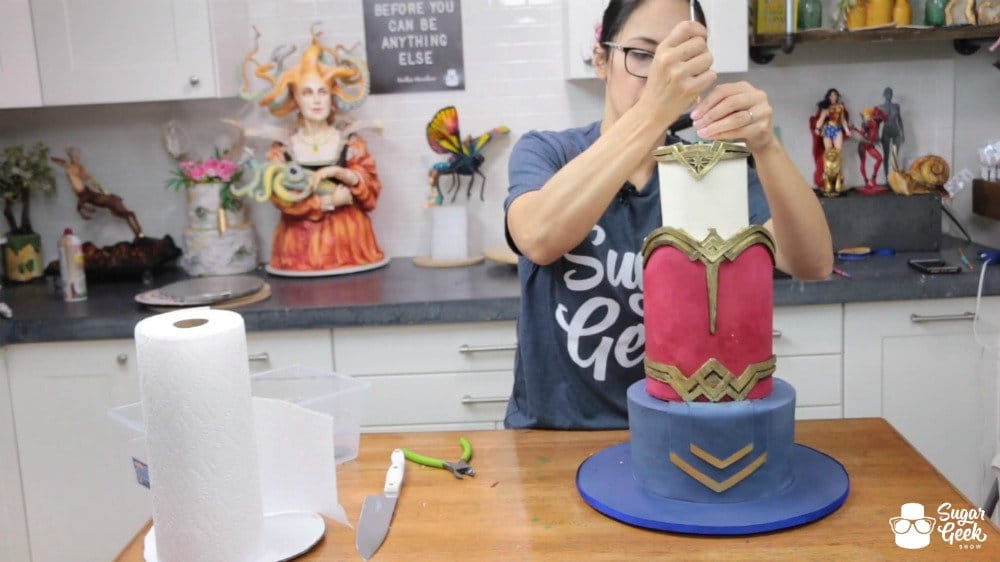
Take a ¼" wooden dowel rod cut just under the height of your cake and sharpen one end. A ¼" rod will fit in any standard pencil sharpener. Carefully push the rod through all tiers and cake boards.
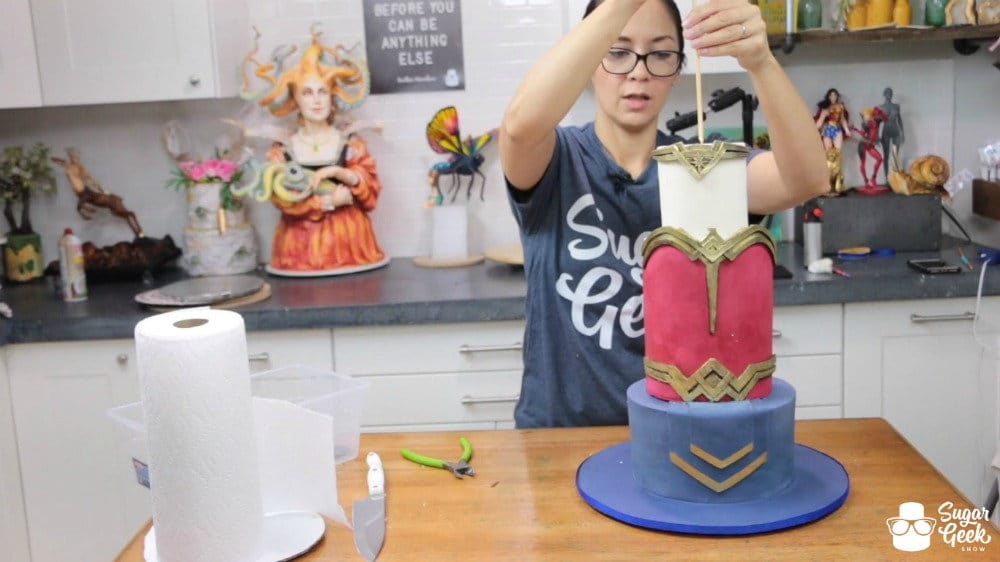
To get the rod all the way in without damaging the top of your cake, you will want to take another small rod, place it on top of the support dowel rod and finishing pushing it in. I actually like to hammer mine into the bottom cake board for extra stability. We've sharpened the rod so that it can easily pierce through the cake boards.
The support rod will leave a hole in the top of your cake that you'll want to fill in with buttercream, fondant, or cover up with a decoration. Now your cake is ready to transport to the venue.
Whether or not you stack on site or travel with your cake stacked is completely up to you and your personal preference. I prefer to stack before hand and travel with the cake that way, whereas Liz prefers to always stack on site. Either way we don't recommend traveling with a cake stacked with more than three tiers. If I have a cake that is more than three tiers I will stack the first three tiers and travel with the others separate in boxes and stack the rest at the venue. I have never had an issue with any of the tiered cakes I've traveled with. They've always made it safe and sound.
Hopefully that has cleared up any questions you might have had about stacking a tiered cake! As always, let us know if you have questions and we will do our best to help! Happy stacking!

Megan says
So does each tier have a cake board underneath not just the bottom tier?
Thanks!
The Sugar Geek Show says
All the cakes have cardboard underneath them so that I can frost them. If there isn't board underneath then the bench scraper has nothing to go against
Mary says
So you leave the cardboard under each tier when you stack, you don't remove the cardboard after frosting correct?
The Sugar Geek Show says
Yes you leave it under the cake so you can lift it and support it
Mary says
Probably a stupid question, but how do you go about cutting the cake? Just layer by layer and remove the board as you get to another layer? Going to attempt a few cakes and hopefully make my own wedding cake 🙂
The Sugar Geek Show says
Yep, that is what the board is for so that you have something to cut against
rose says
So do you typically have two cake cardboards under a single tier cake while frosting?One the same size as cake(for frosting help) and one bigger than cake to transport cake etc?
The Sugar Geek Show says
yes I do unless it's already on a cake board like a wooden or foam board
Amy says
SO did you make holes on the central for each of cake boards ? or just the main dowel pierce through all of them? Thank you...
The Sugar Geek Show says
Im not sure I understand what you mean by "make holes on the central".
Brittanie says
Liz you confused me. You 1st started off as if you weren't going to use any wooden dowels, but then later did.
Wouldn't it have been much easier to instruct us to have a hole in the center of all cake boards, and have the wooden dowel attached already to the very first foundation cake board (one at base of cake) and we just stack the cakes through?
Bc it seems like it will be hard to get the dowels through the cake boards where there are no center holes already established.
Also, how do you know how long to have the dowels to be?
Elizabeth Marek says
When the dowel is sharpened, it pushes through the cardboard and is more secure. Its pretty much impossible to get a dowel through a pre-made hole.
Bella says
Hi there,
If I'm making a double barrel 8" cake (aiming for final heigh to be 10") and intending to transport it to the venue already stacked, do I need the central wooden dowel? Or can I just rely on the straws/platic dowels my cake will have?
Thanks!
Elizabeth Marek says
You don't need a internal dowel