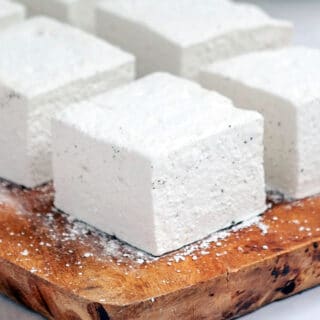
Heart hot chocolate bombs are the perfect treat for Valentine's day. If you loved the hot chocolate bomb trend that took over social media in December, you'll love these geometric heart versions. All you need is a heart mold, some delicious chocolate mix, hot chocolate mix, and 20 minutes of your time!

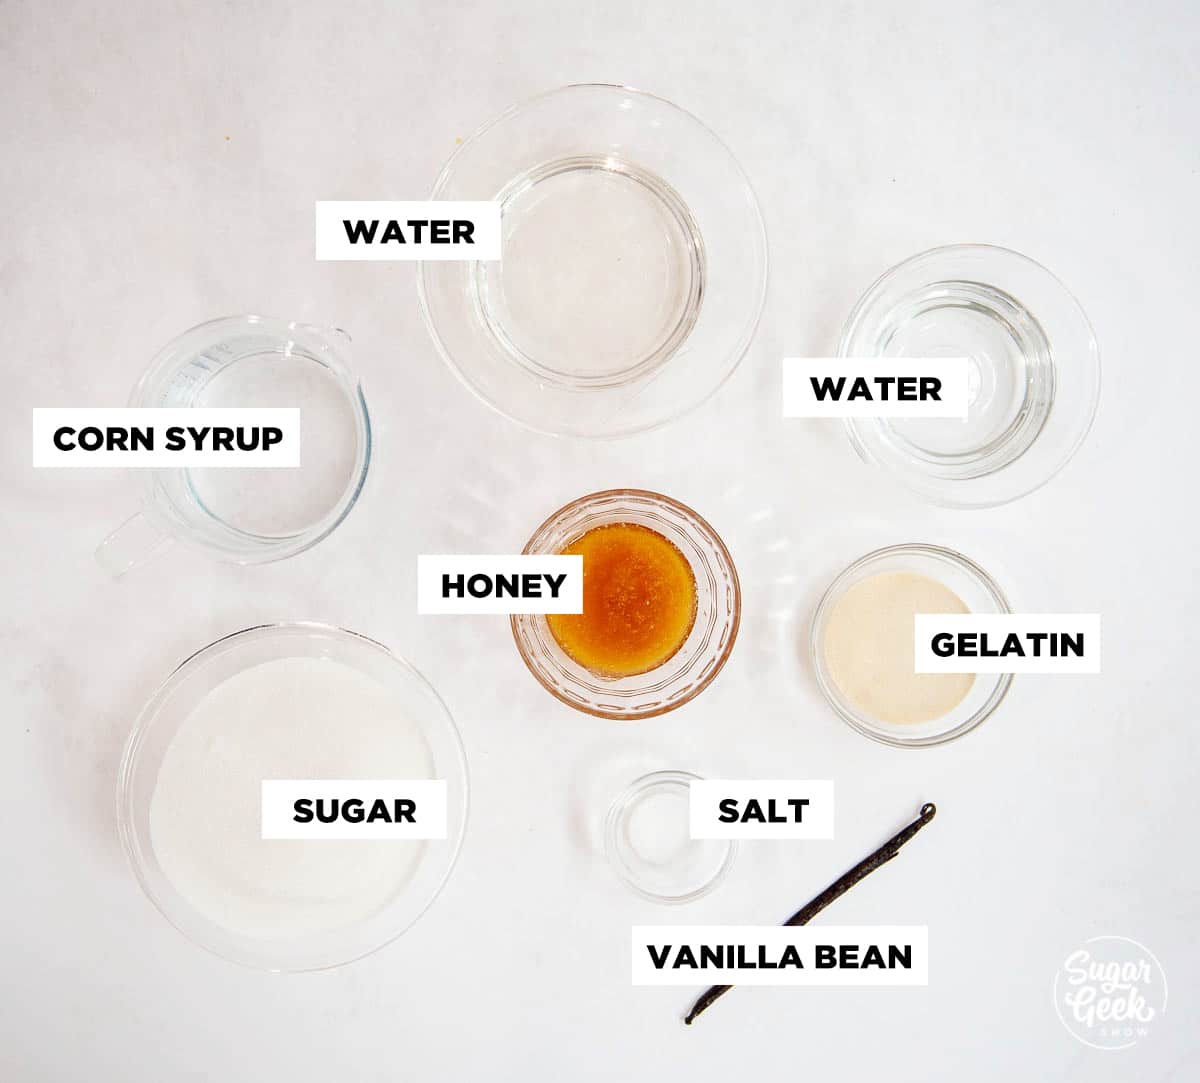
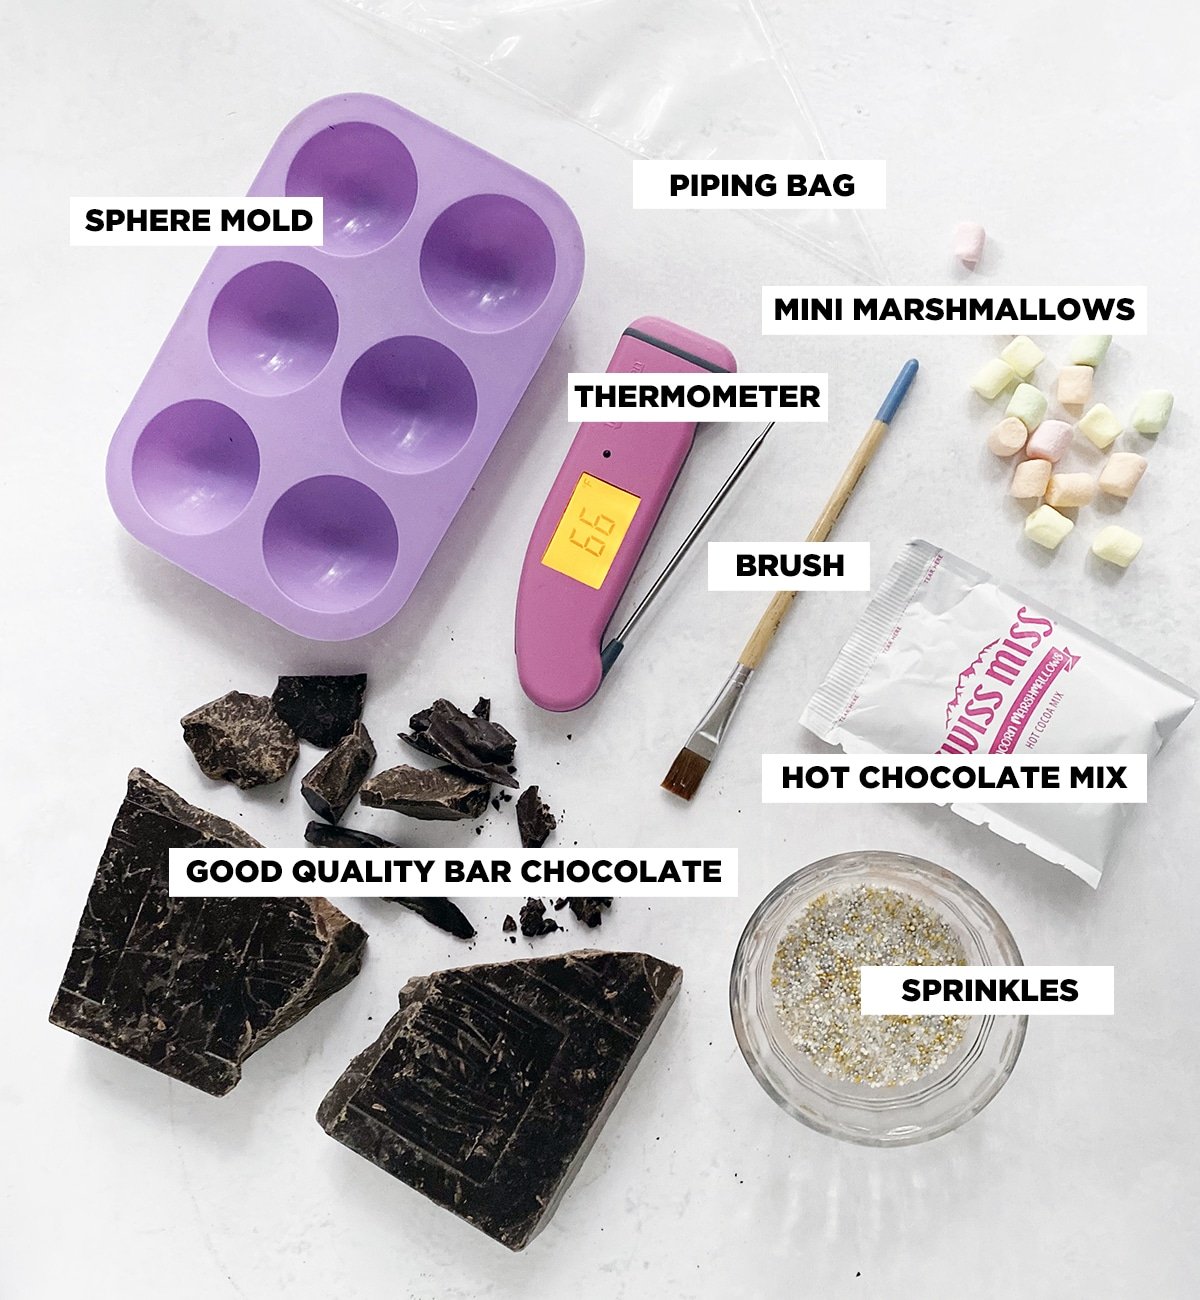
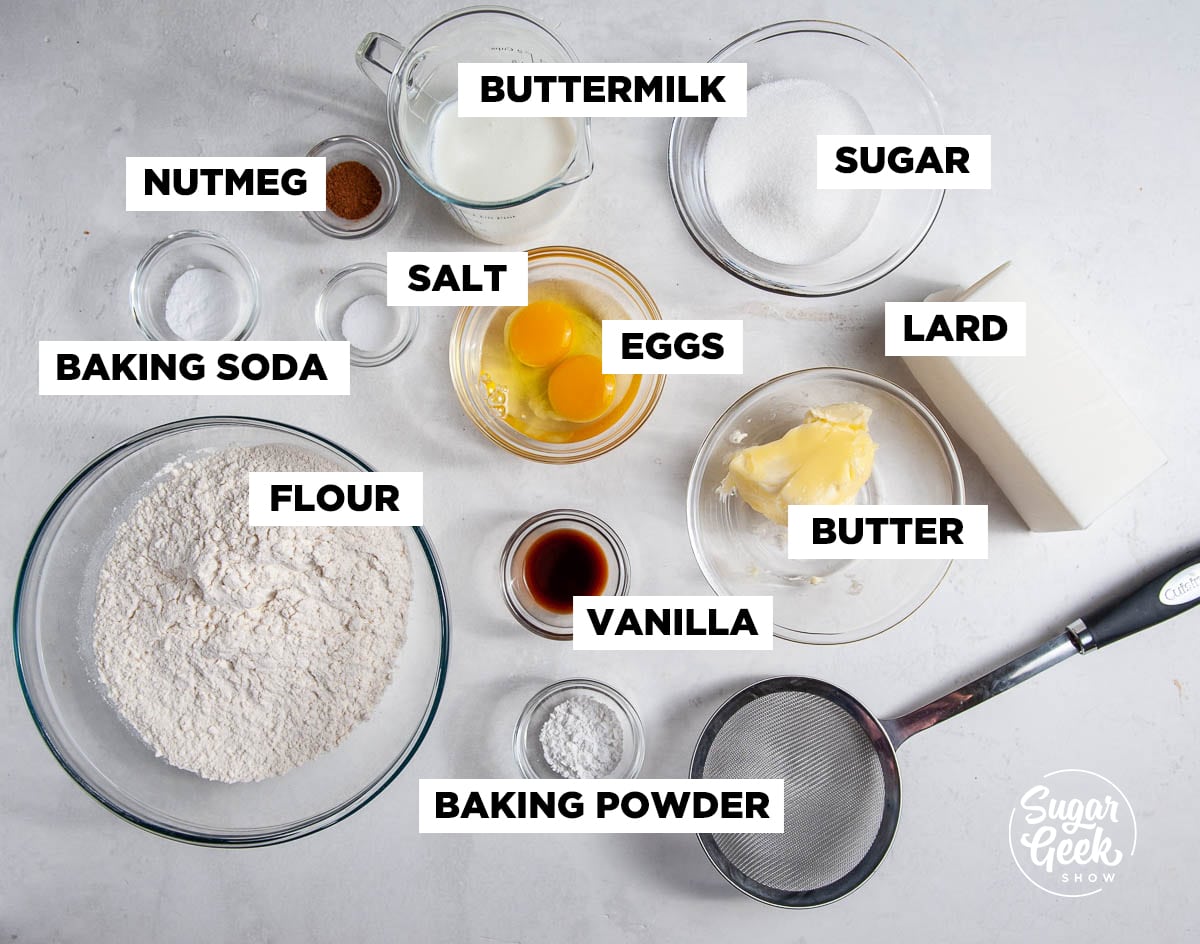
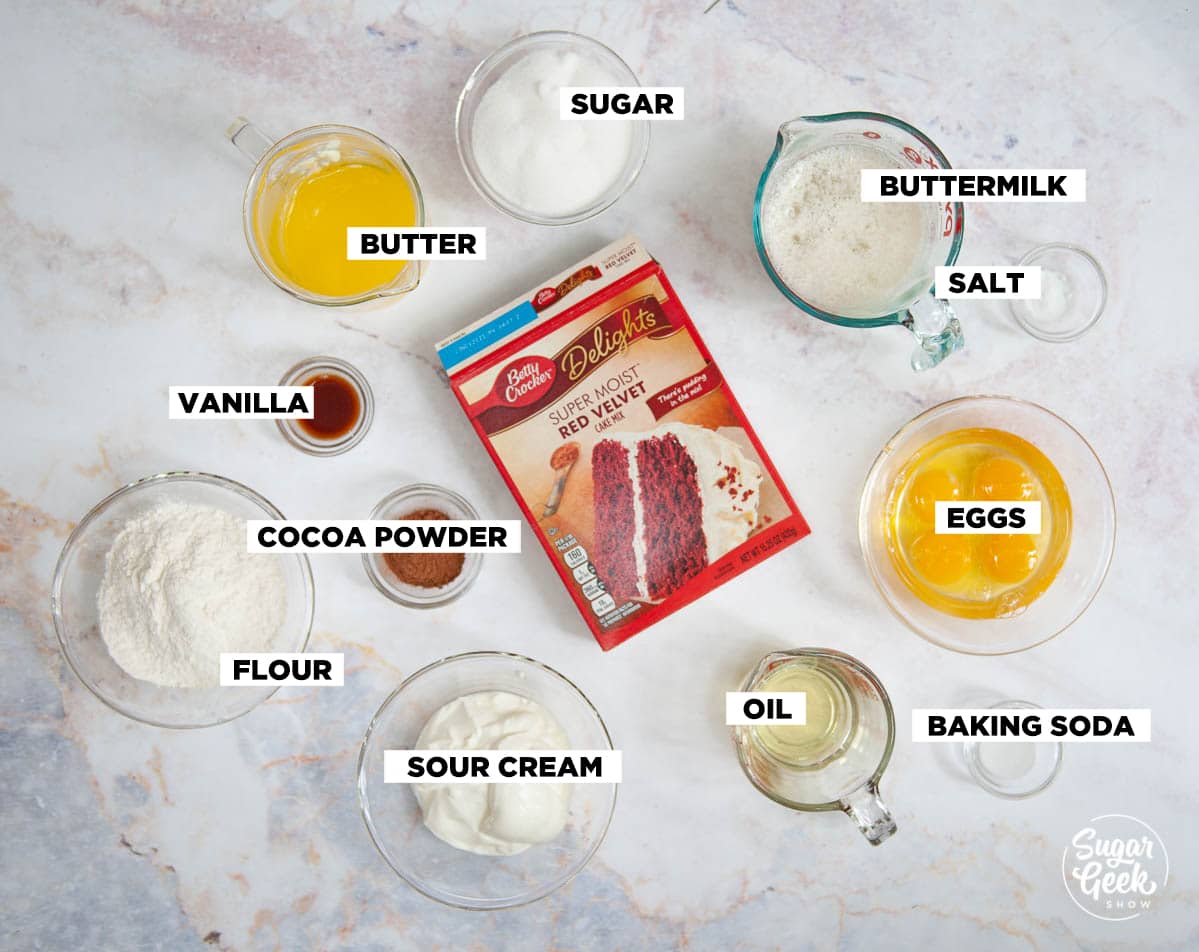
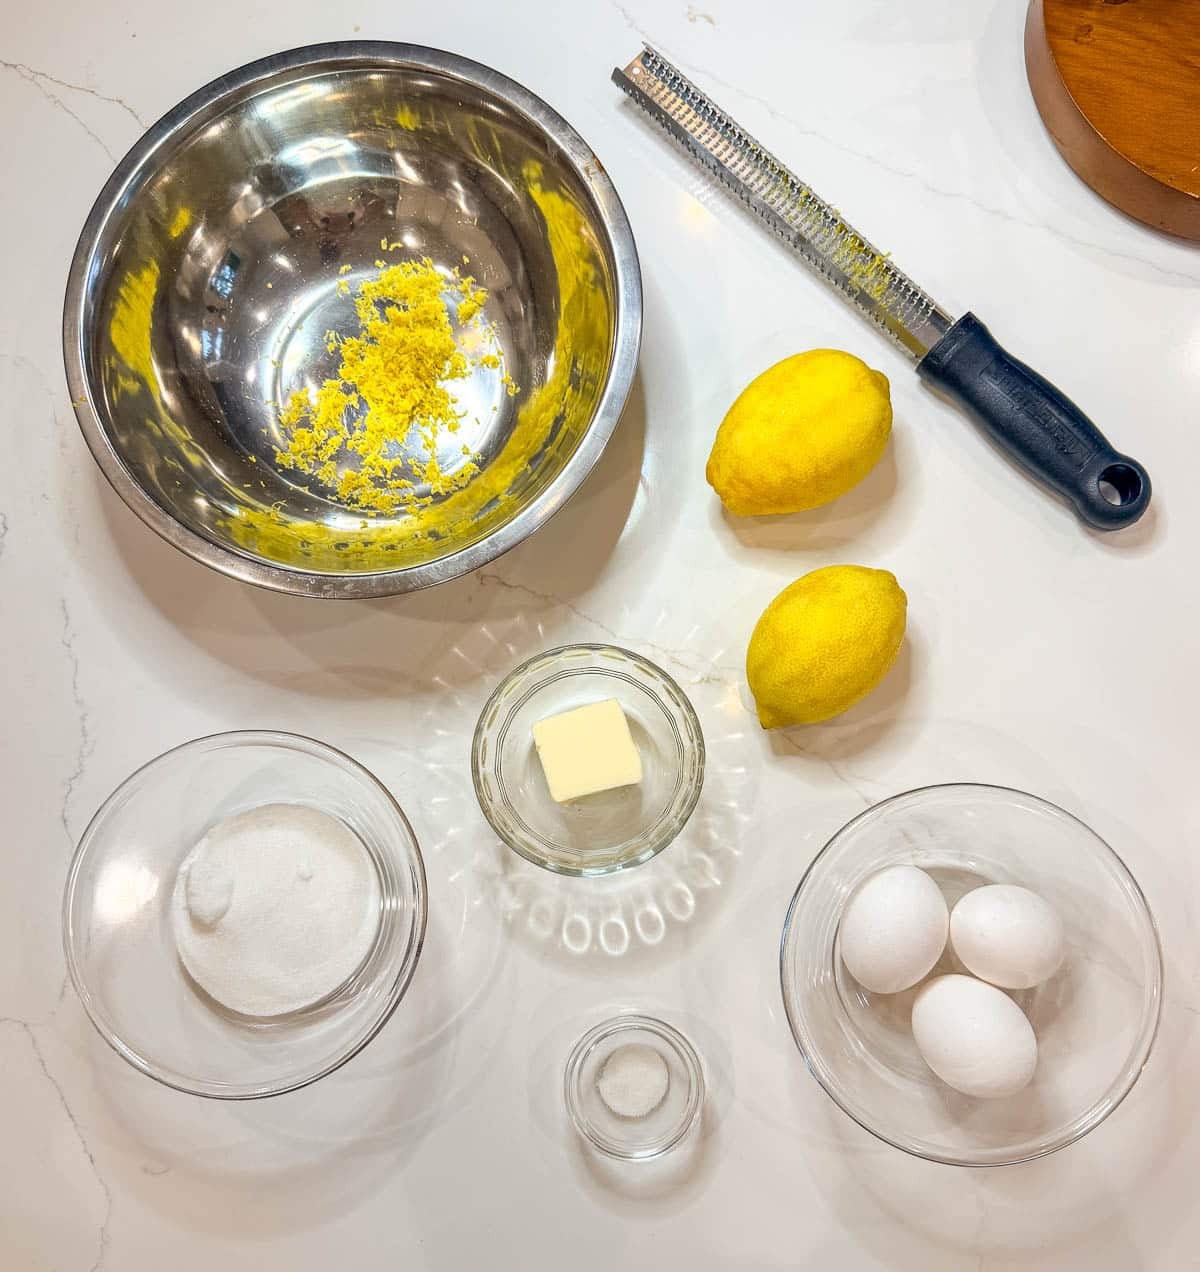
Heart Hot Chocolate Bomb Ingredients

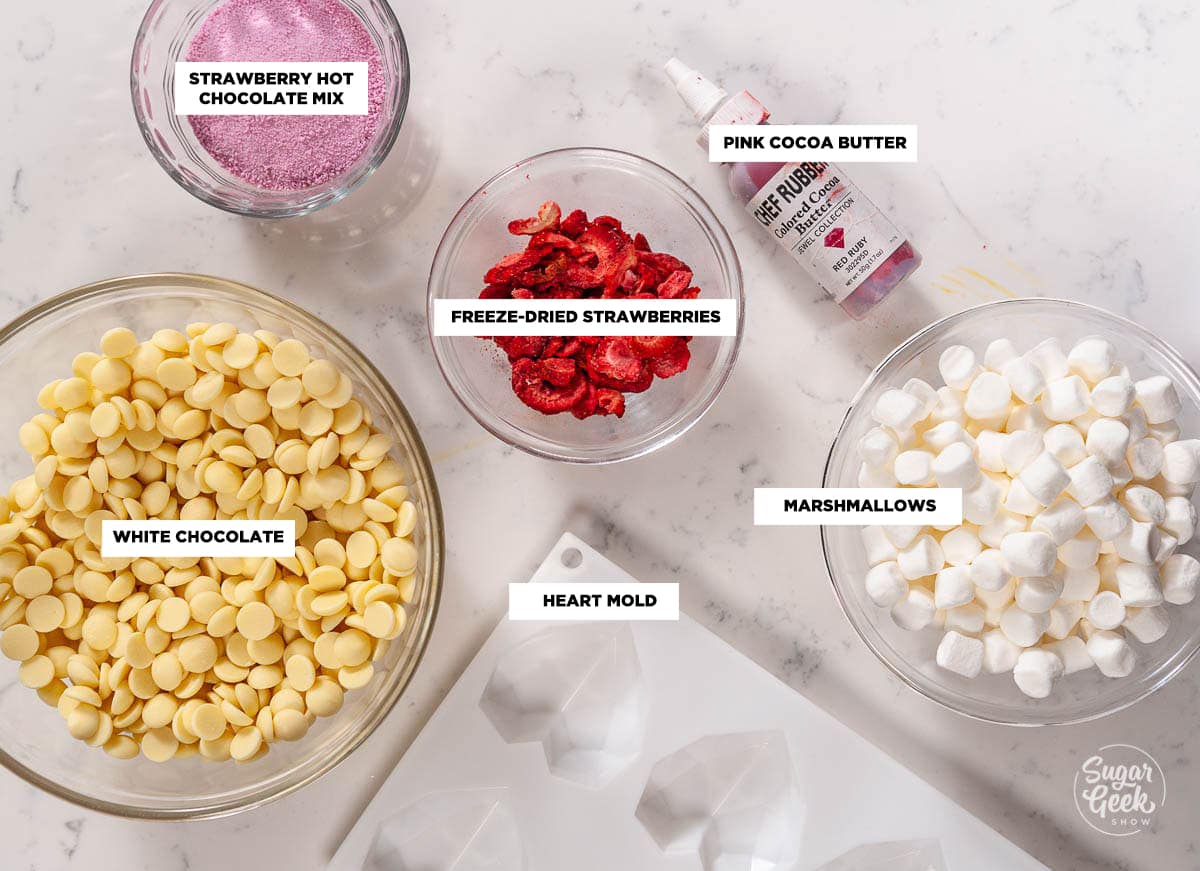
For this tutorial, we are going to be making three types of heart hot chocolate bombs using white chocolate and a geometric heart mold. You can use semi-sweet chocolate, dark chocolate, or even milk chocolate. I like to use really nice tasting chocolate in my bombs because I like the flavor but you could also use almond bark or candy melts.
If you are going to use real chocolate then you will have to temper it so that it has a strong shell and is nice and shiny. Don't worry, you can easily temper your chocolate in the microwave using a thermometer.
What Are Hot Chocolate Bombs?
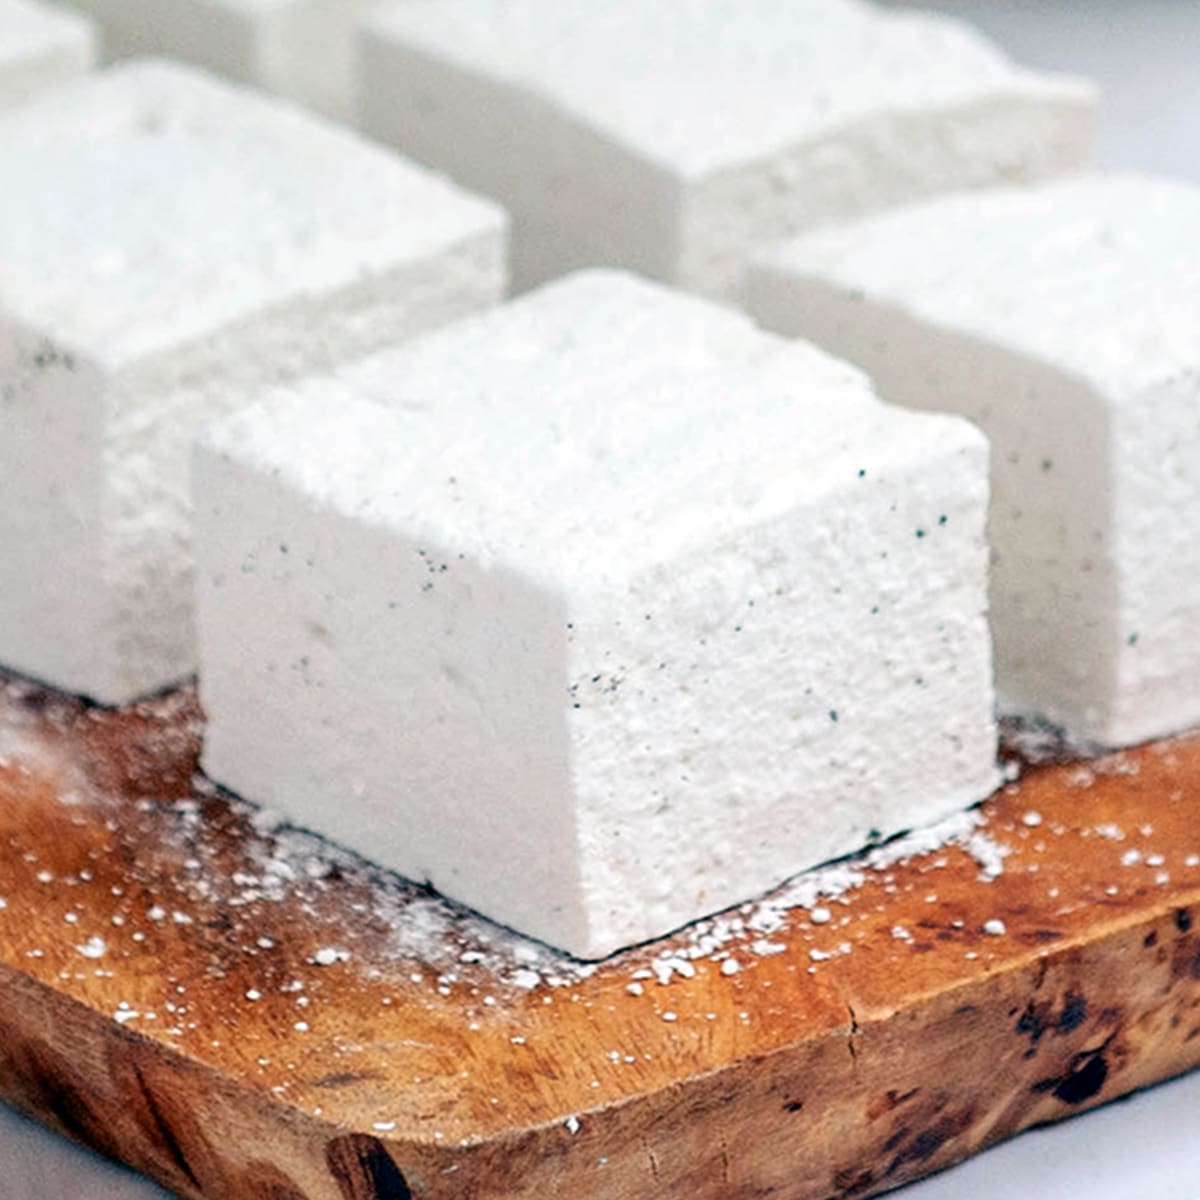
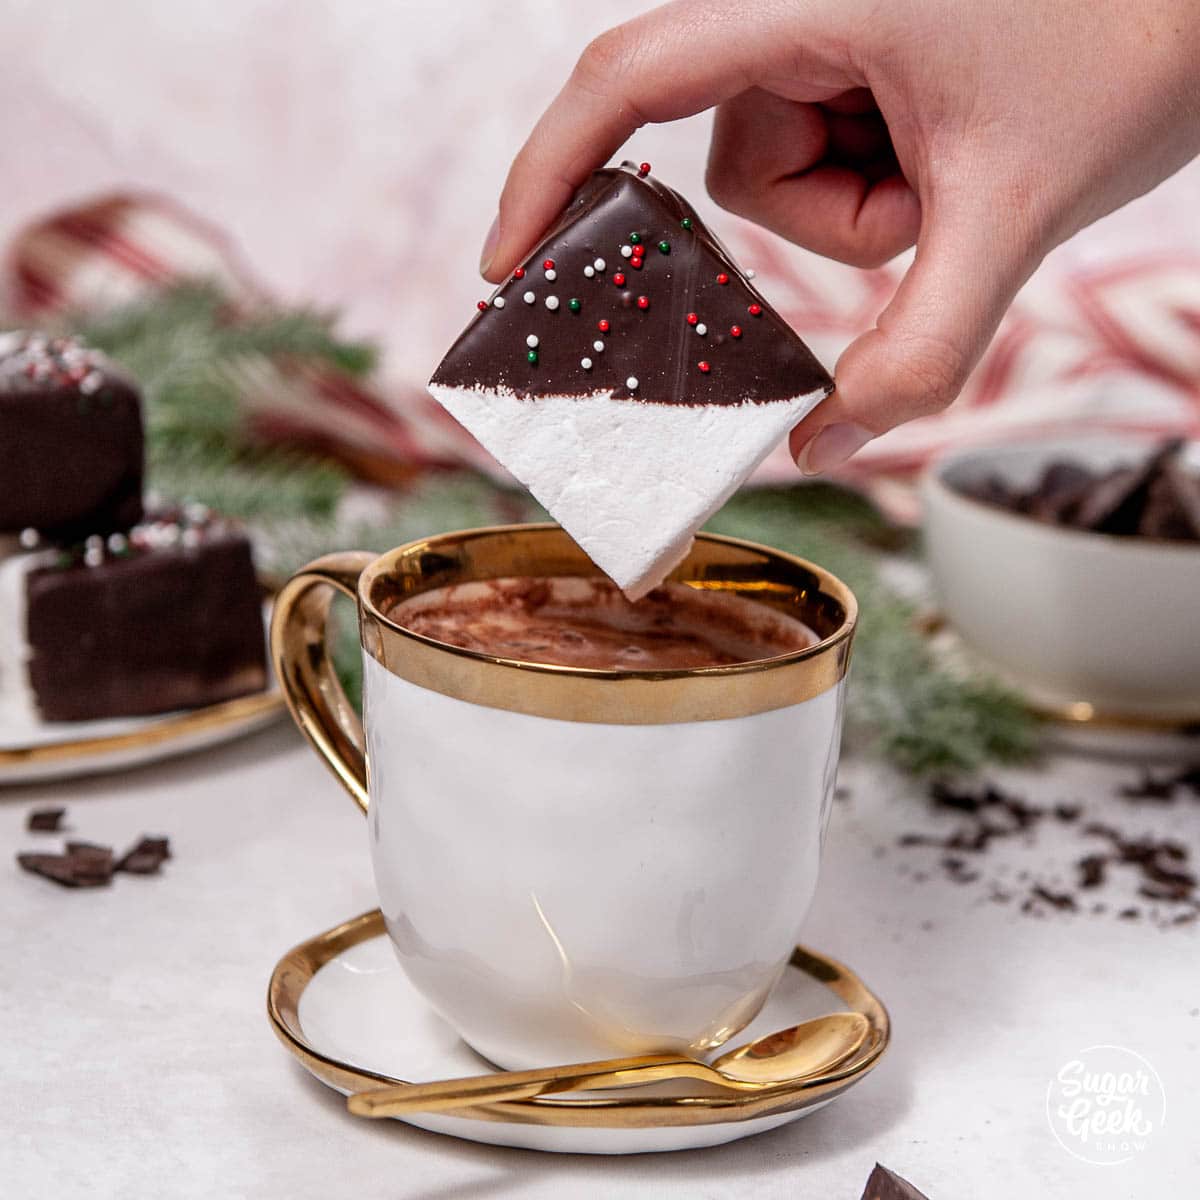
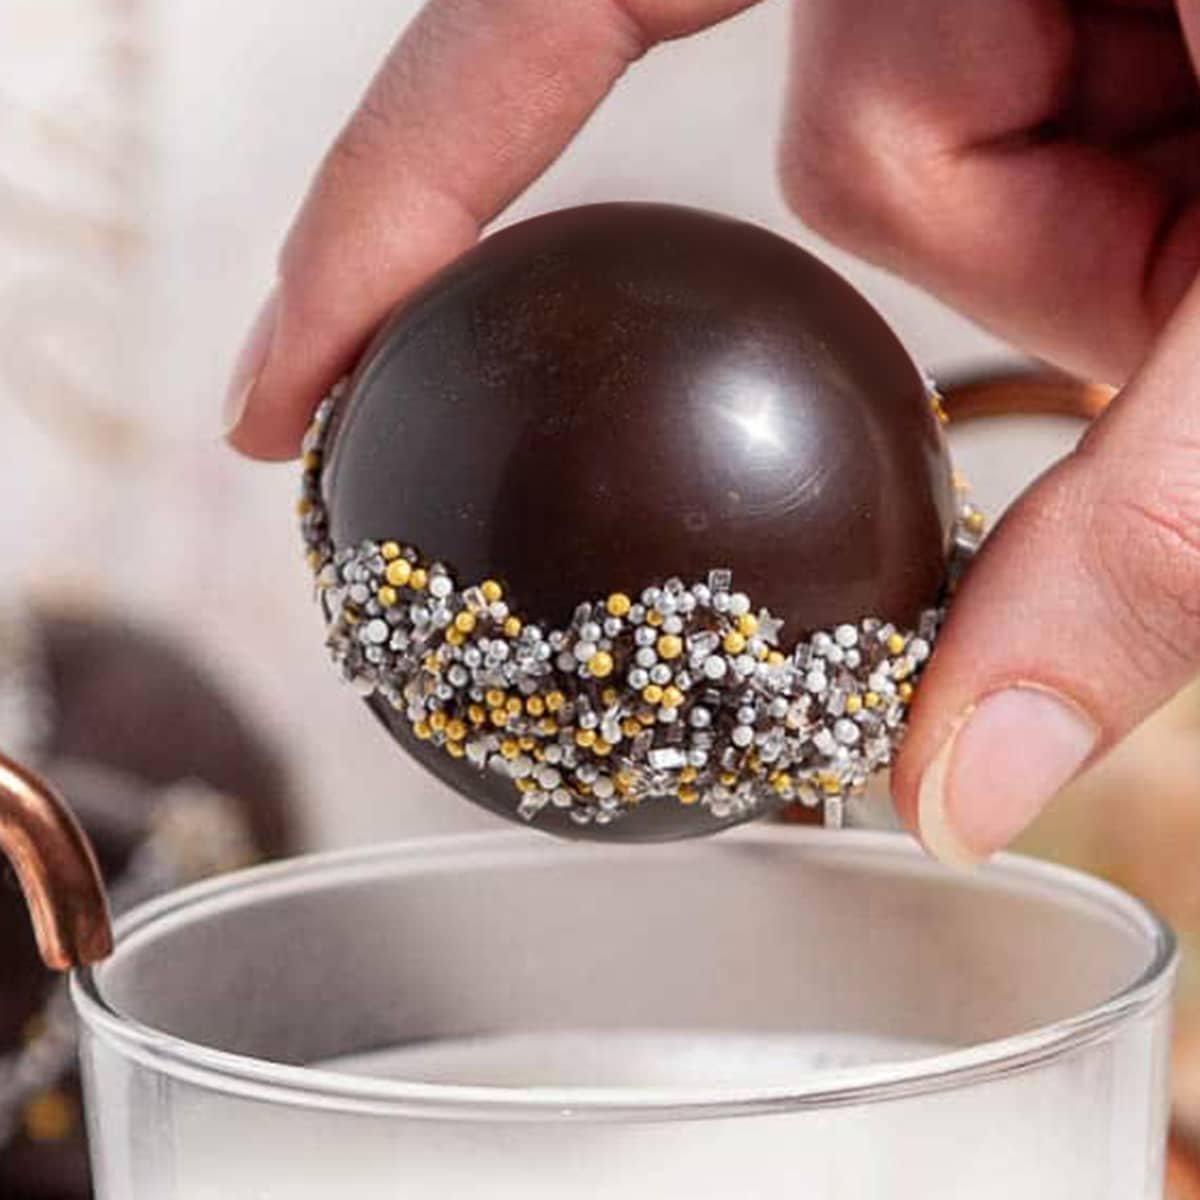
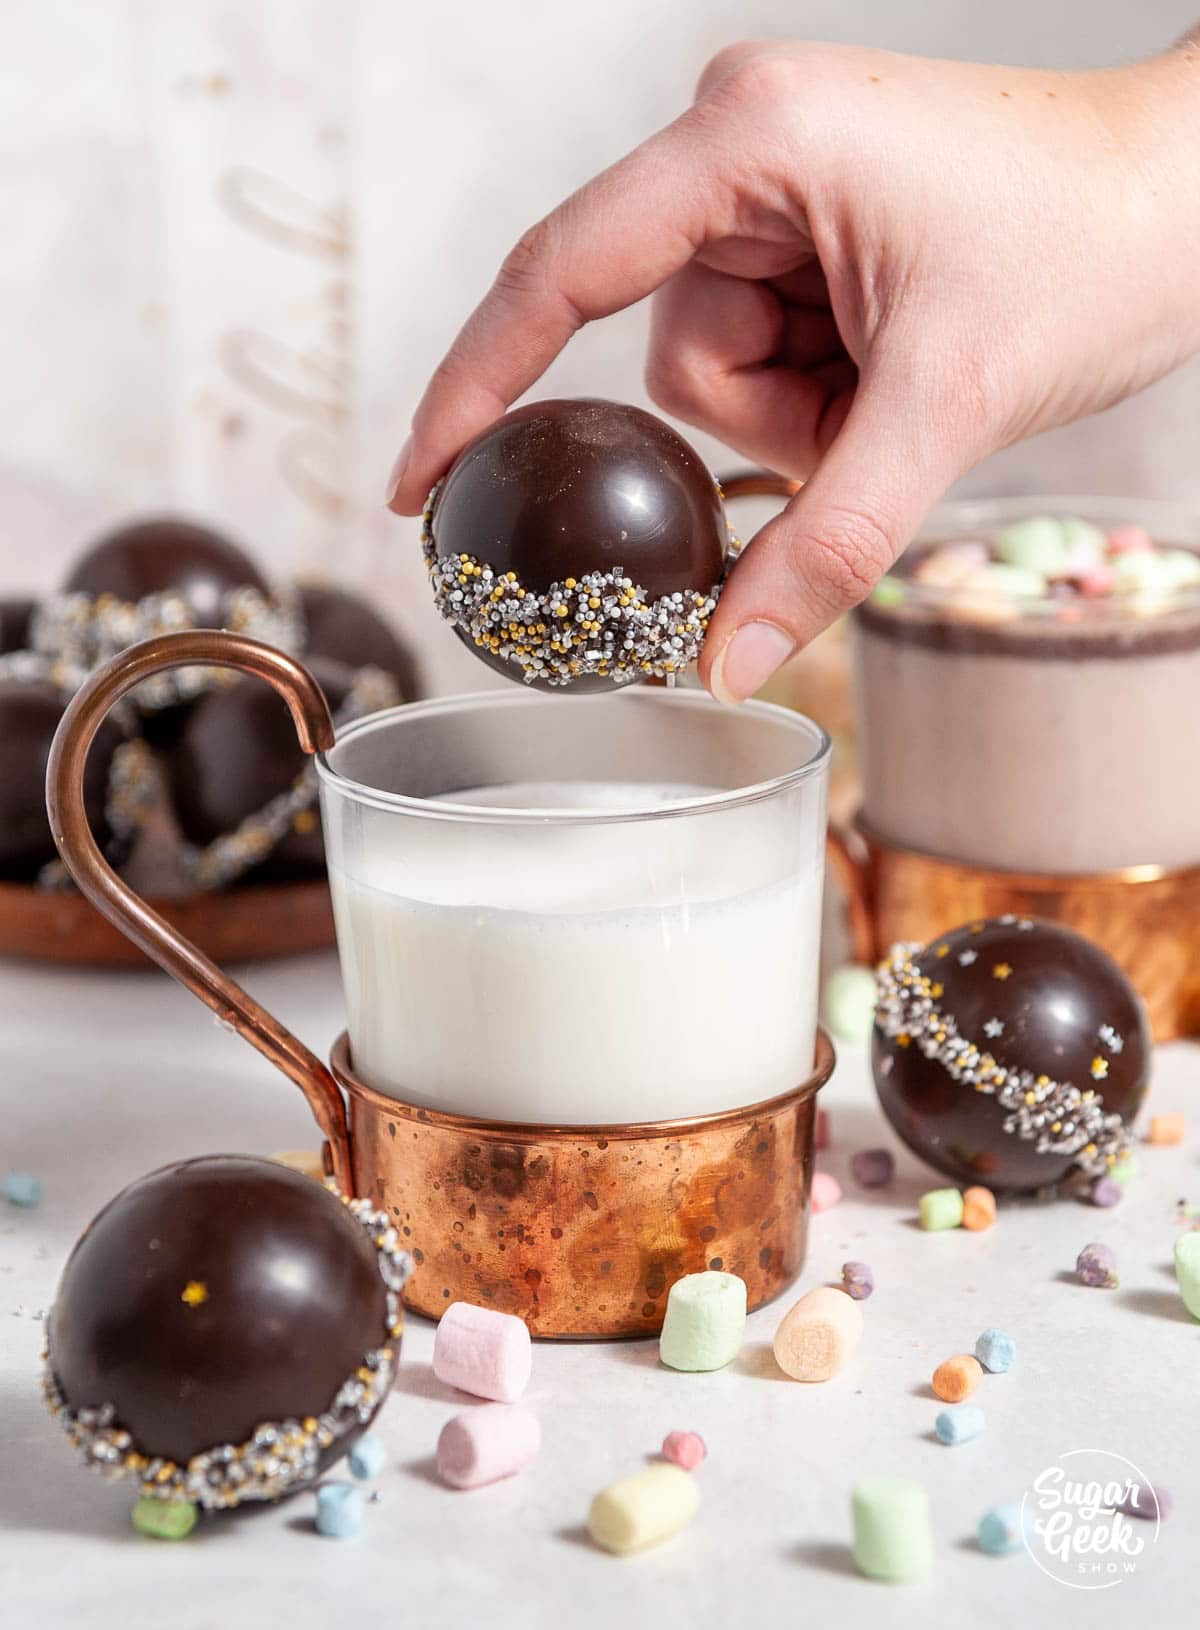
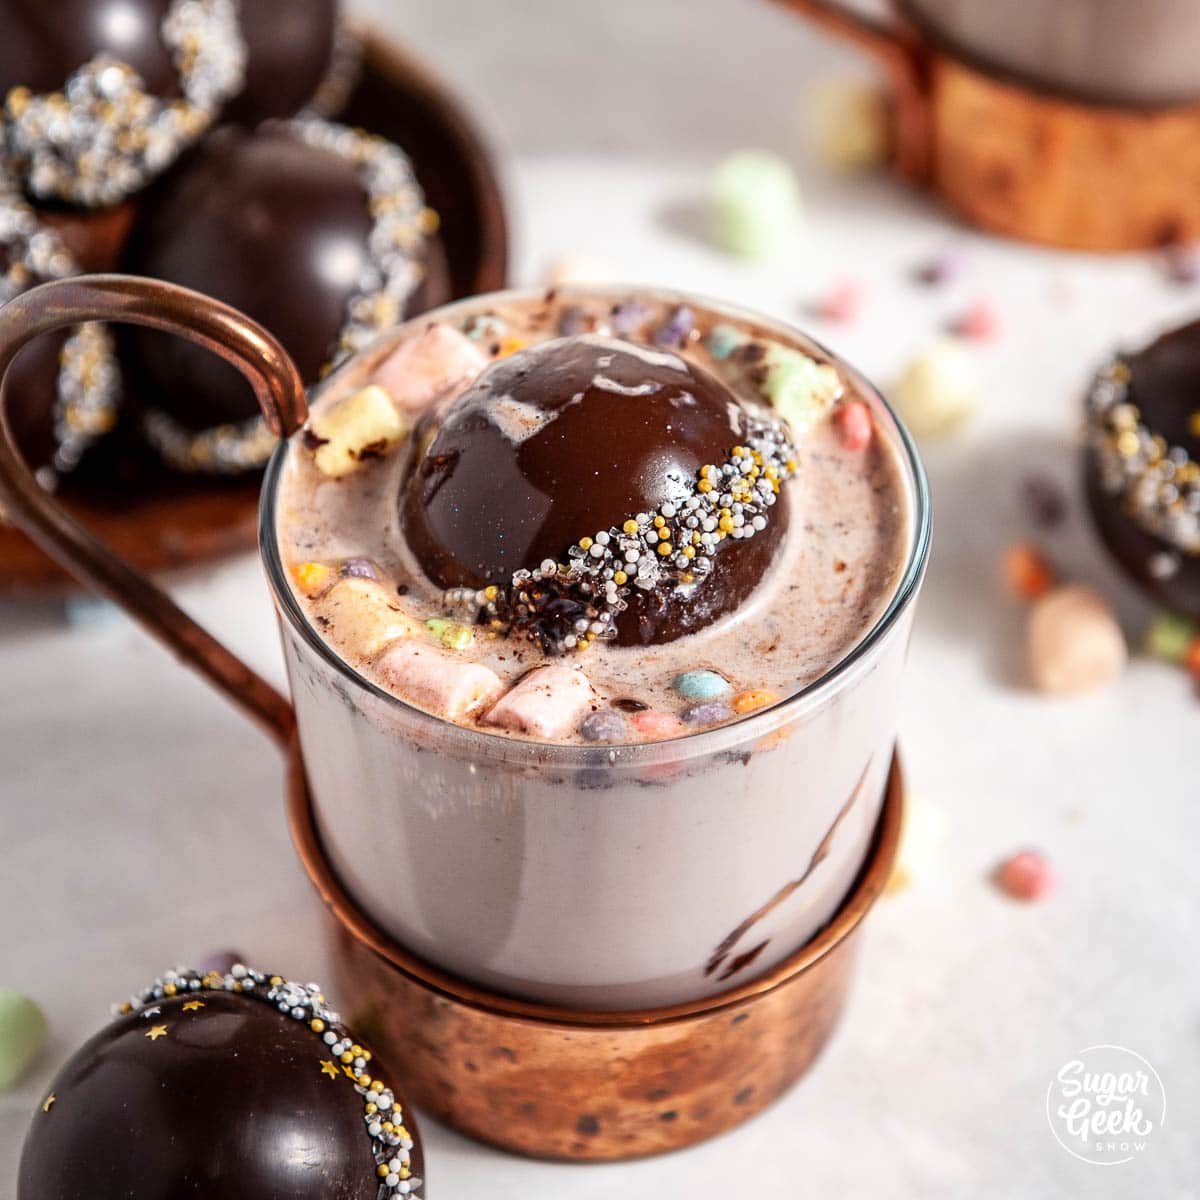
Hot chocolate bombs are a fun way to take your hot chocolate up a notch! A thin chocolate shell is filled with flavored hot chocolate mix and marshmallows. Sometimes other flavors are incorporated as decor like caramel or peppermint. Drop it into a hot cup of milk and watch the hot chocolate bomb explode!
How To Make Heart Hot Chocolate Bombs Step-By-Step
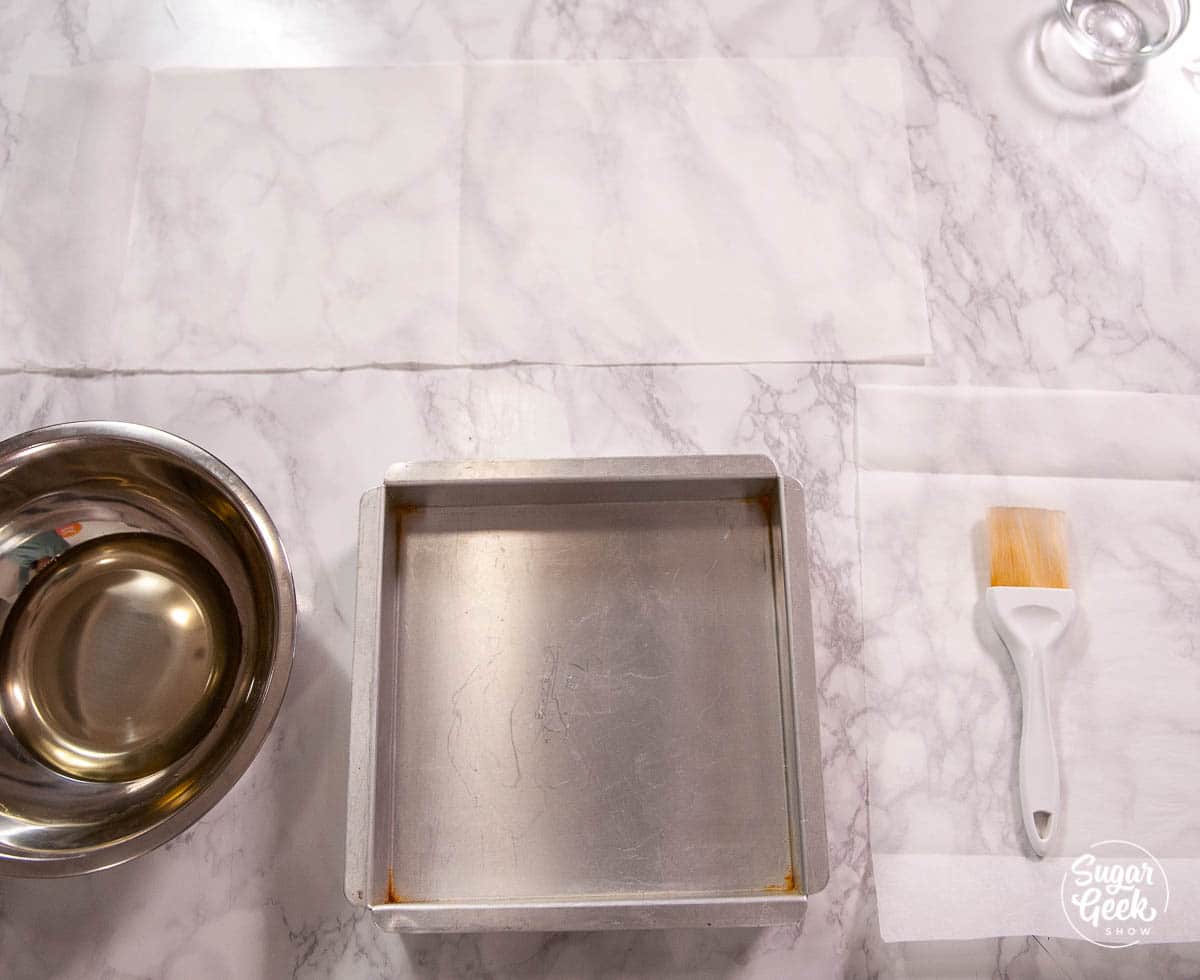
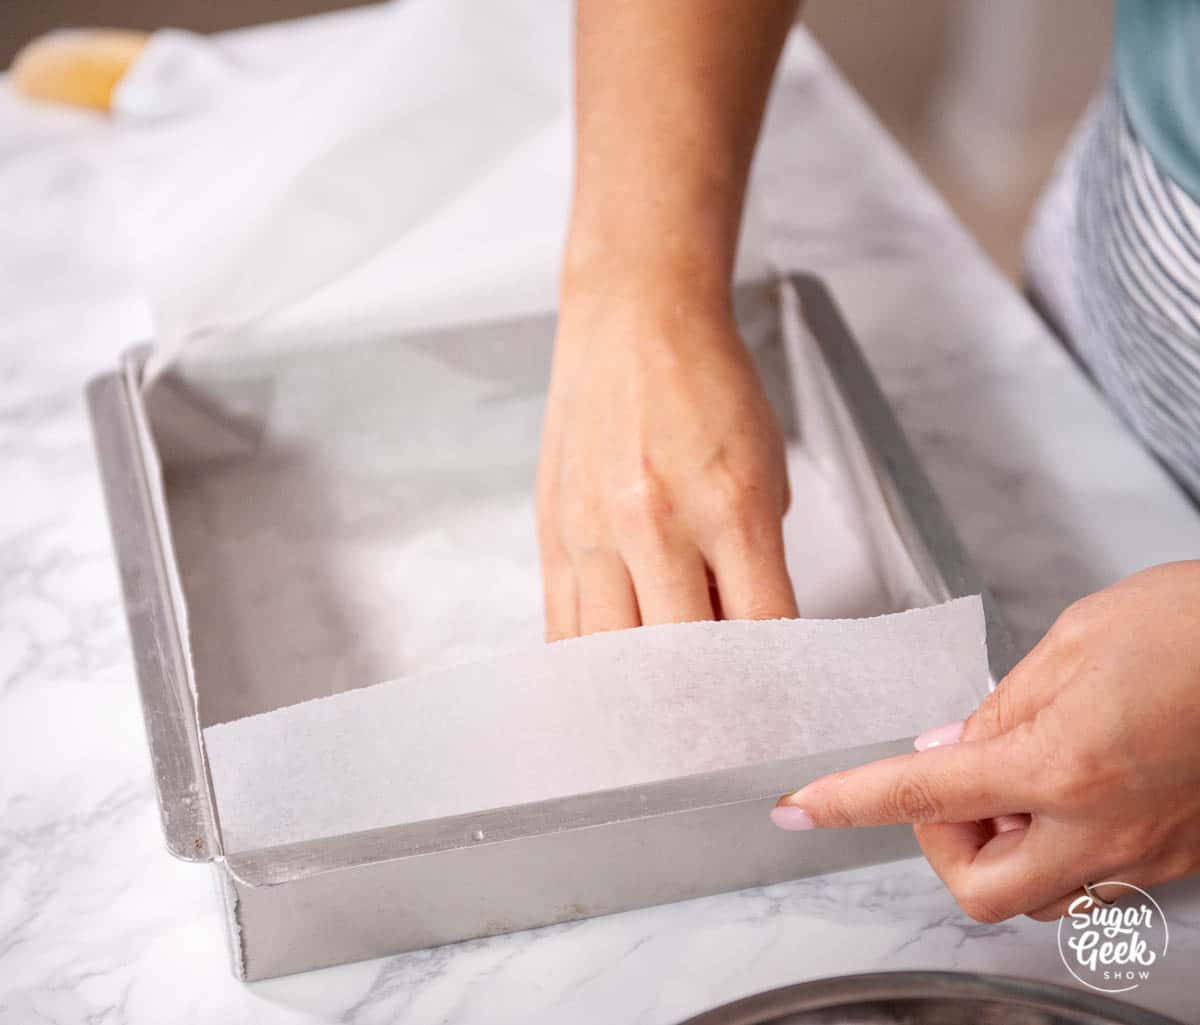
Step 1 - Make sure your molds are clean & dry. Cut your molds into individual hearts. This will make them easier to fill. Line a sheet pan with a piece of parchment paper to hold your molds.
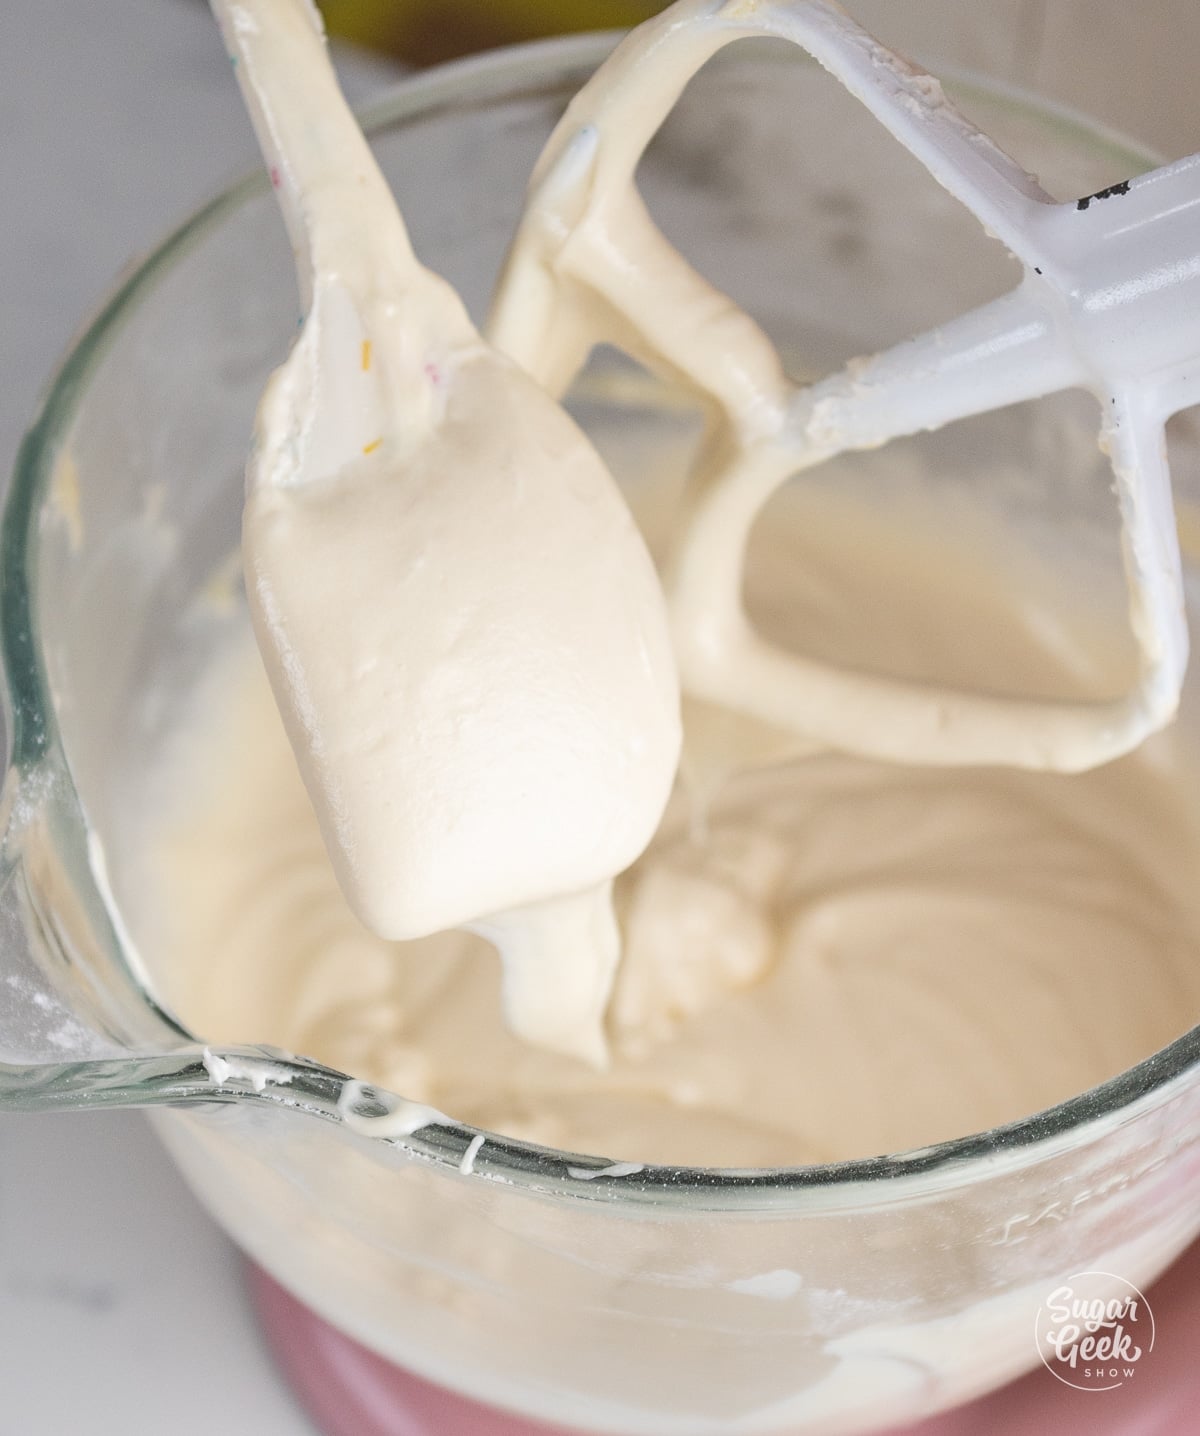
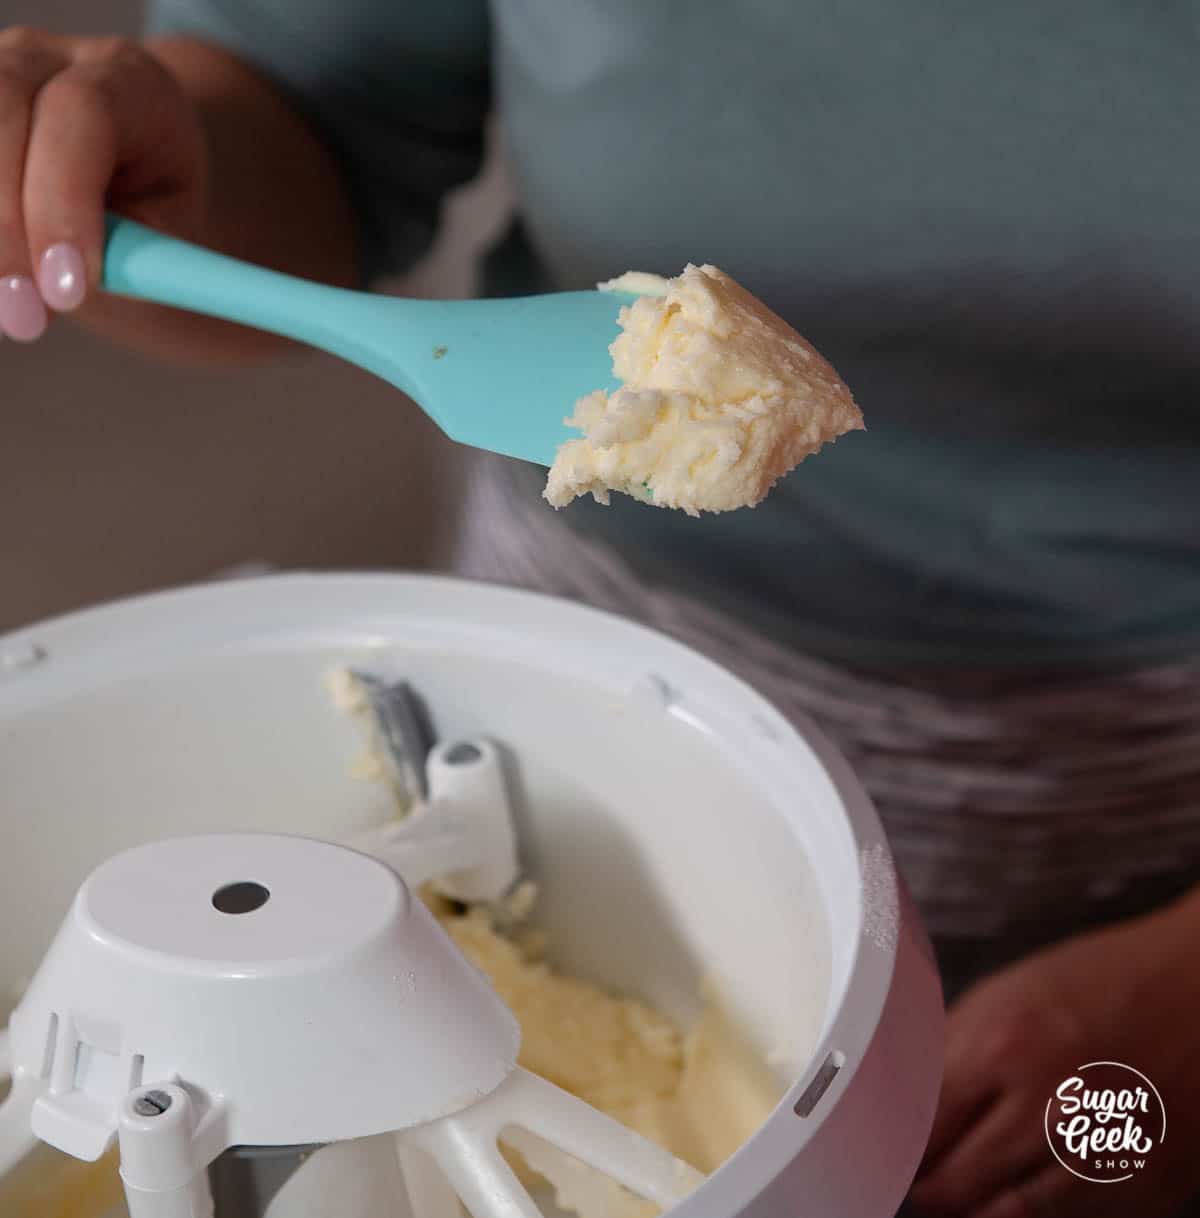
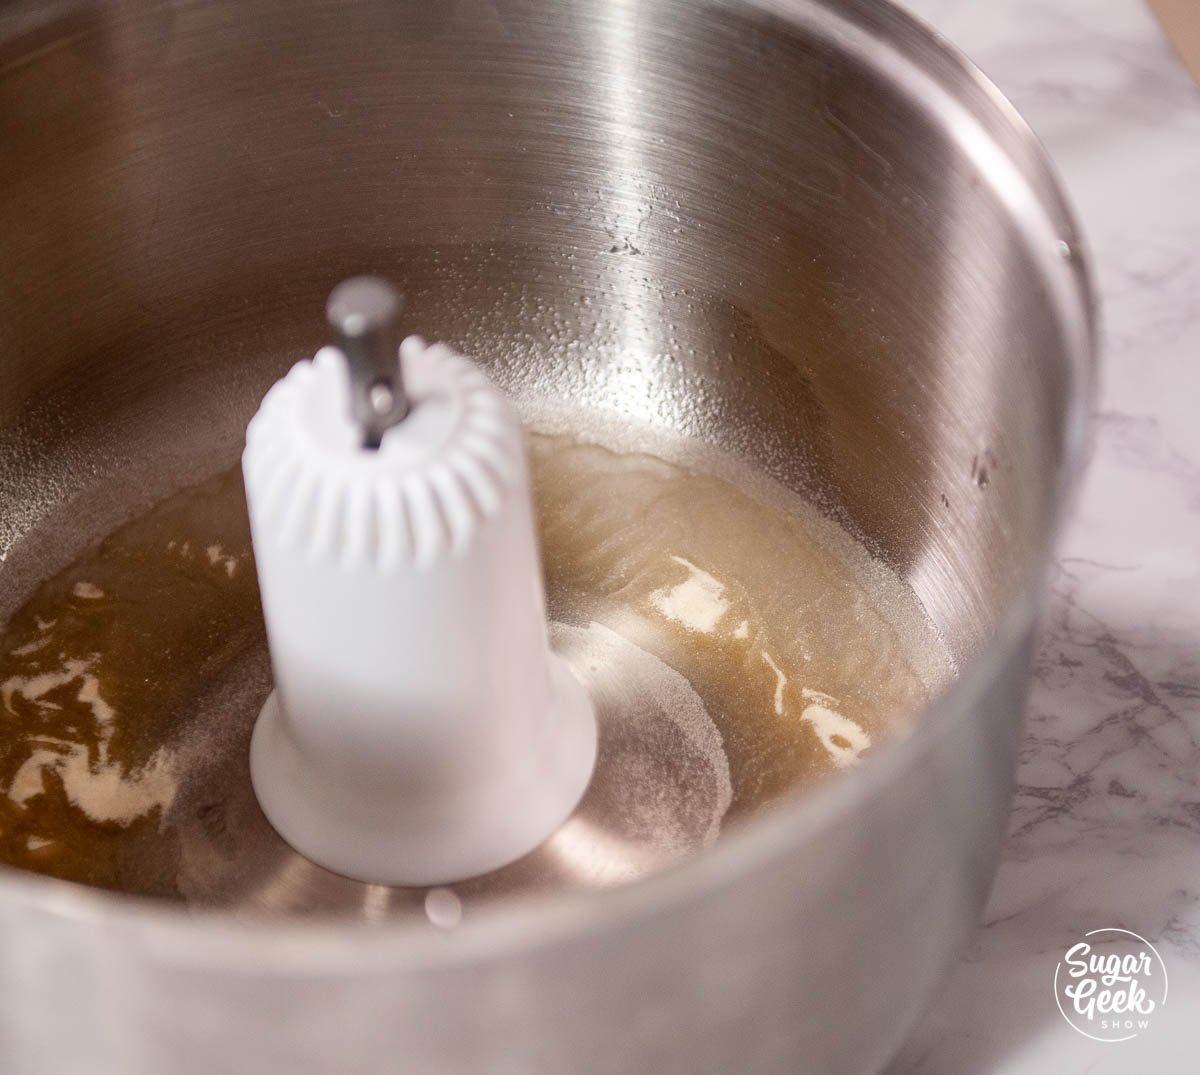
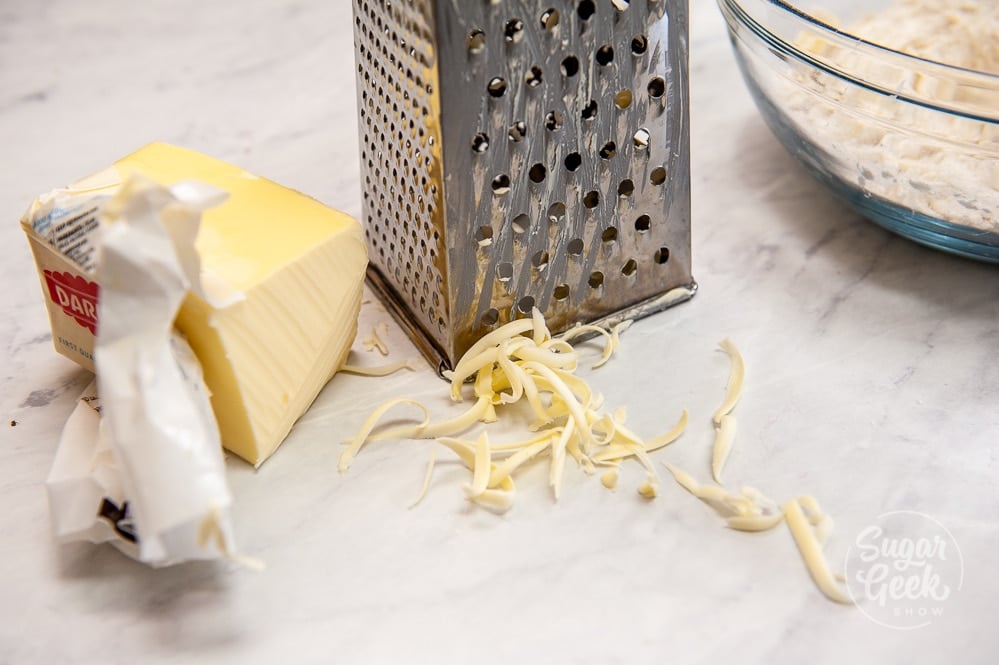
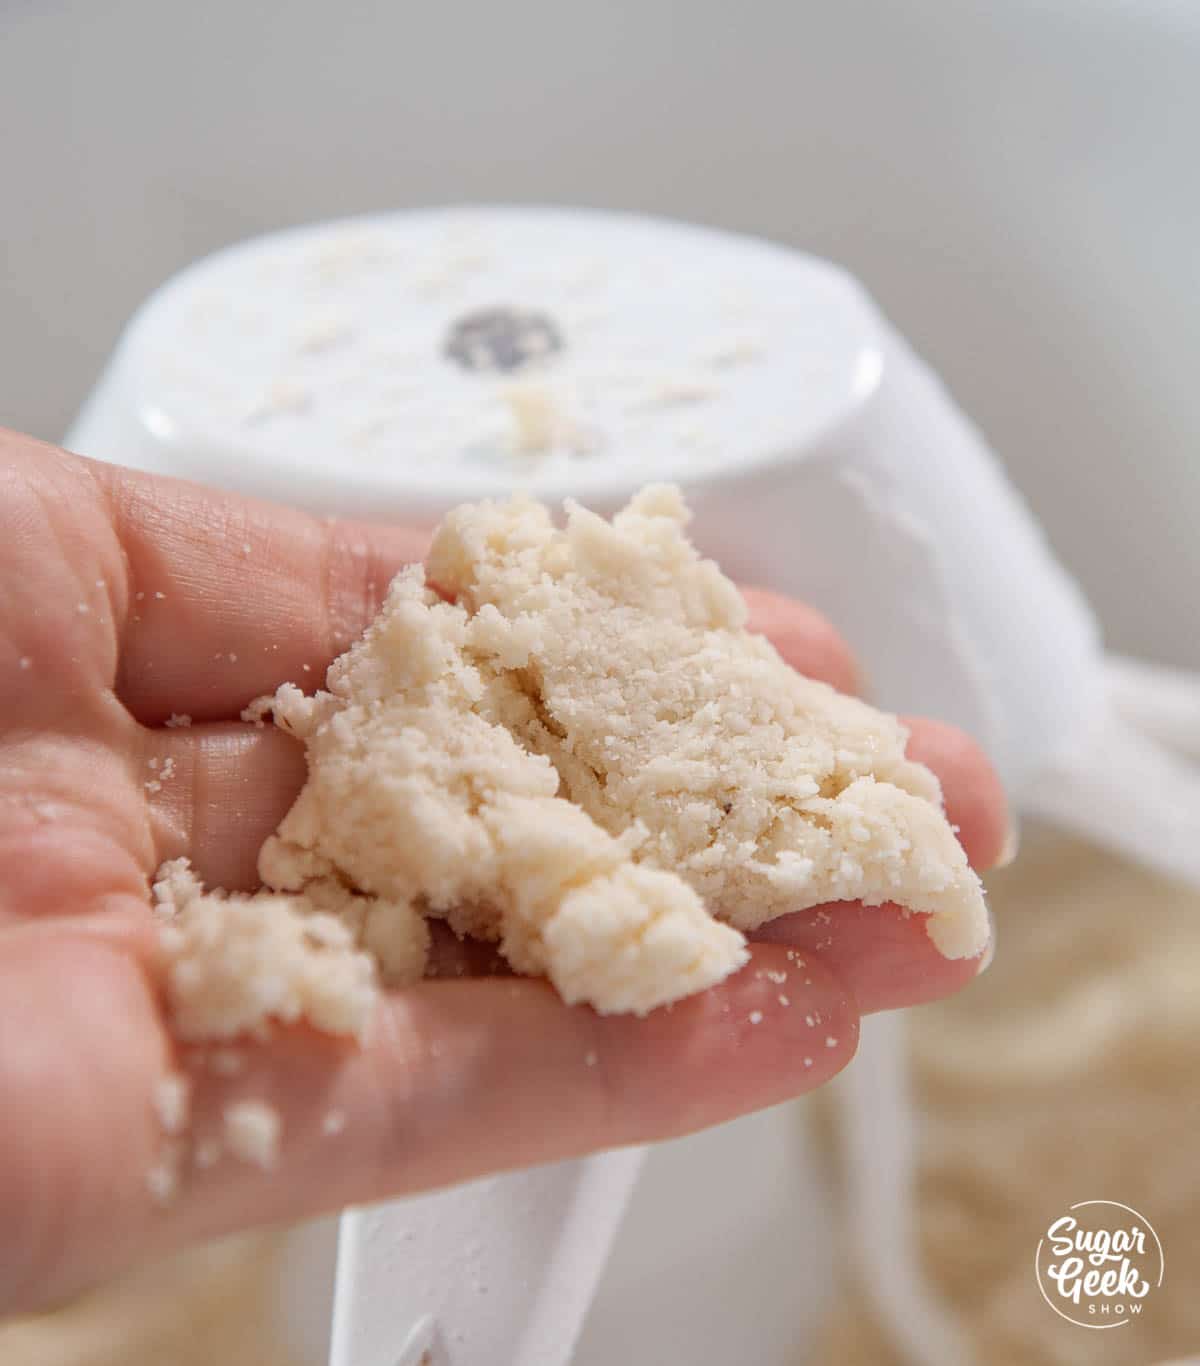
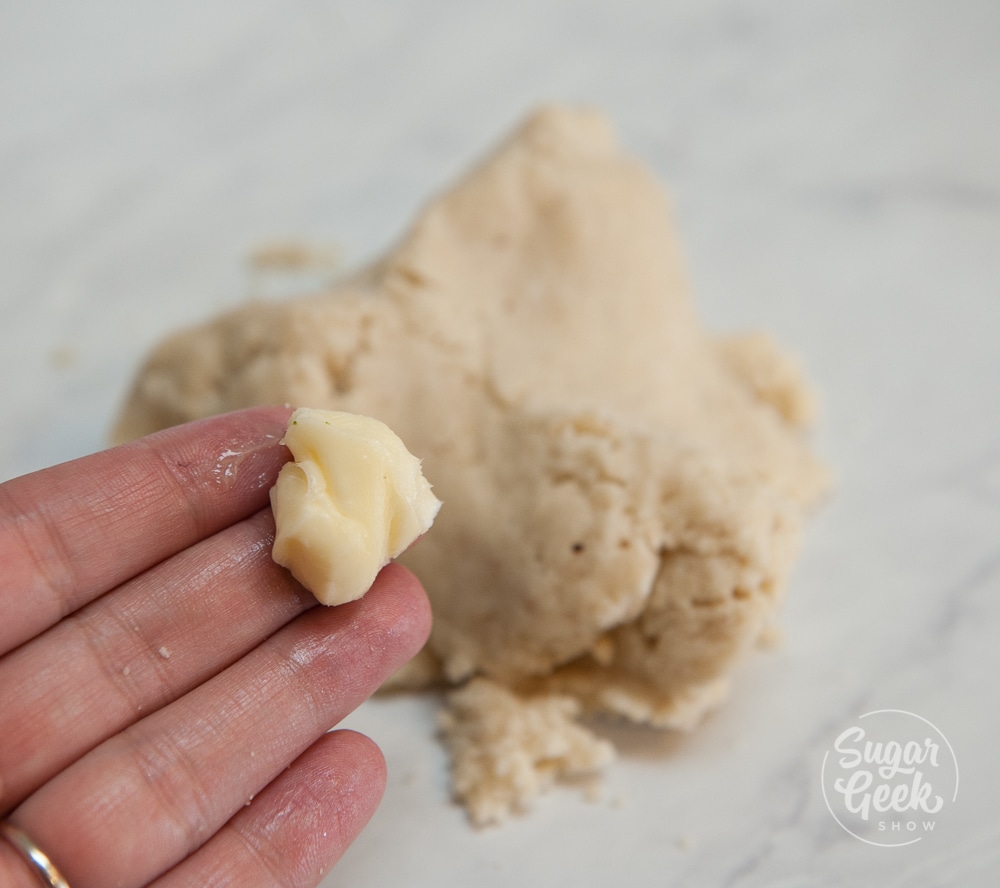
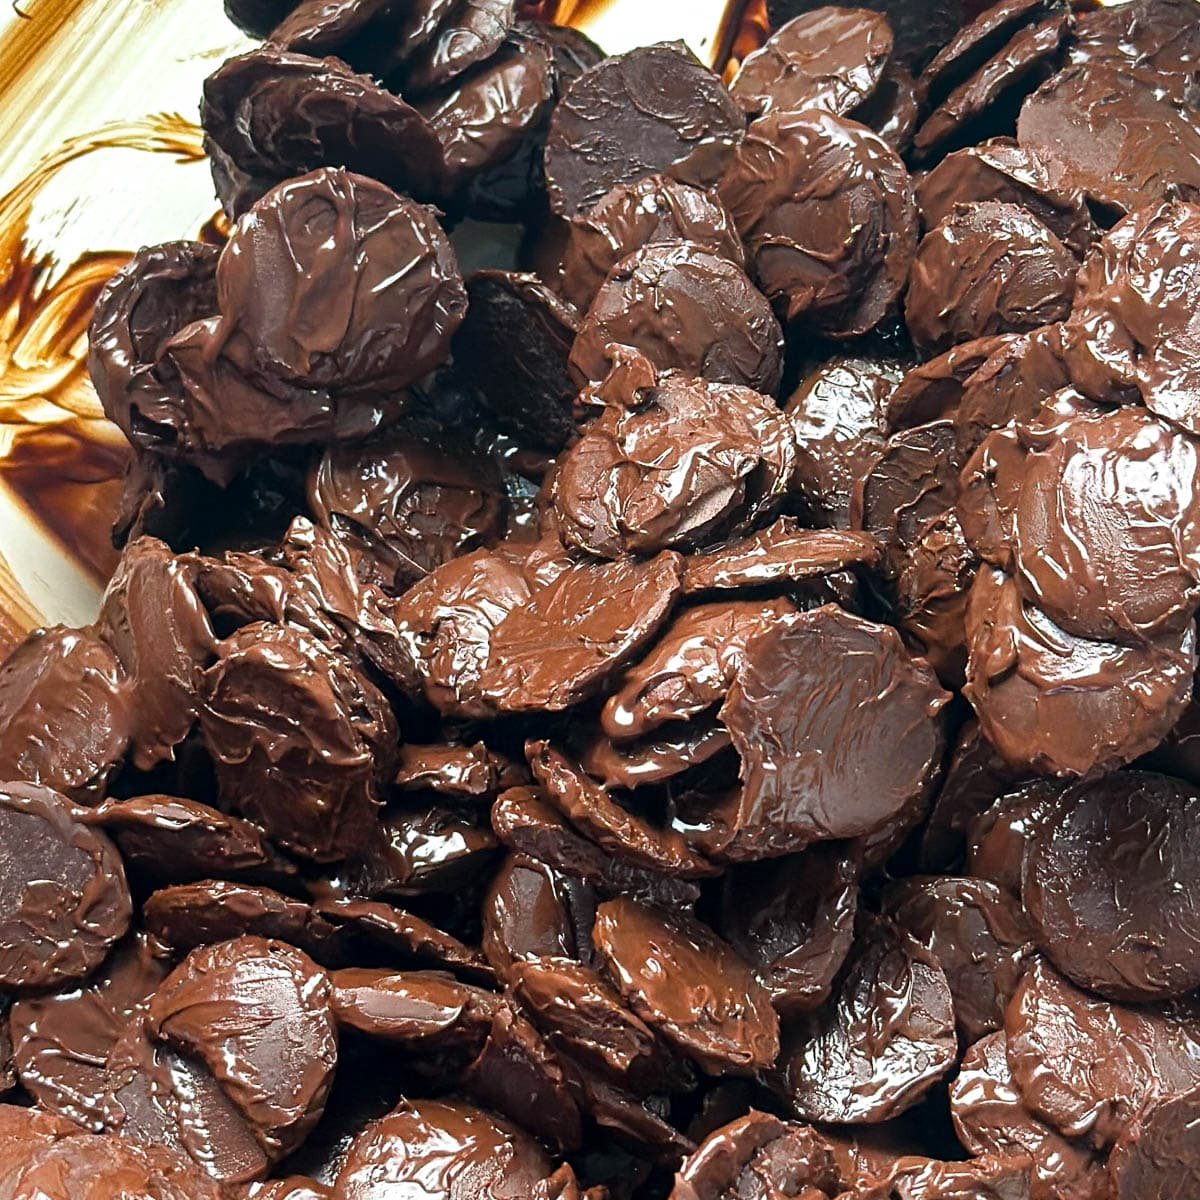
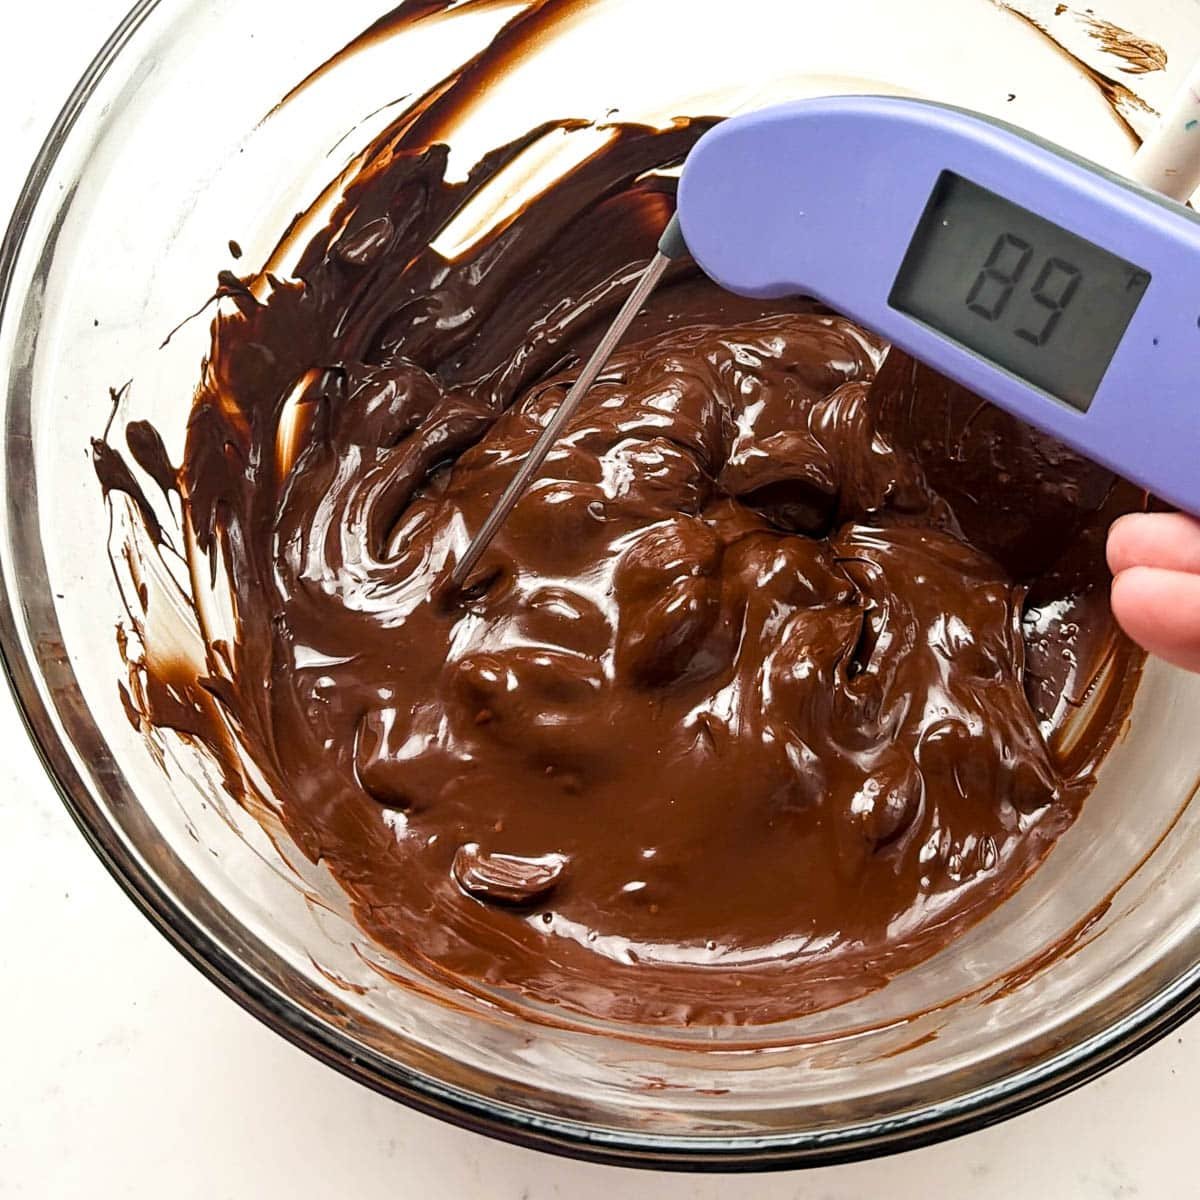
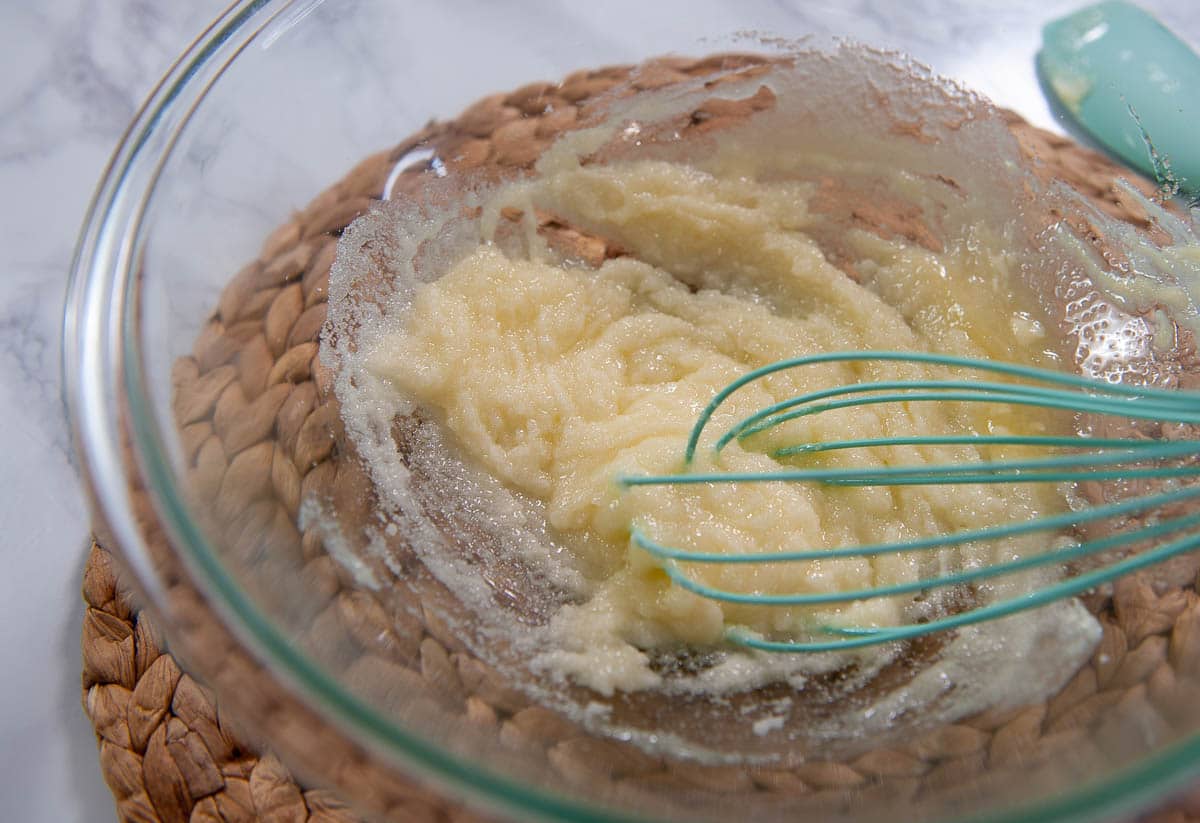
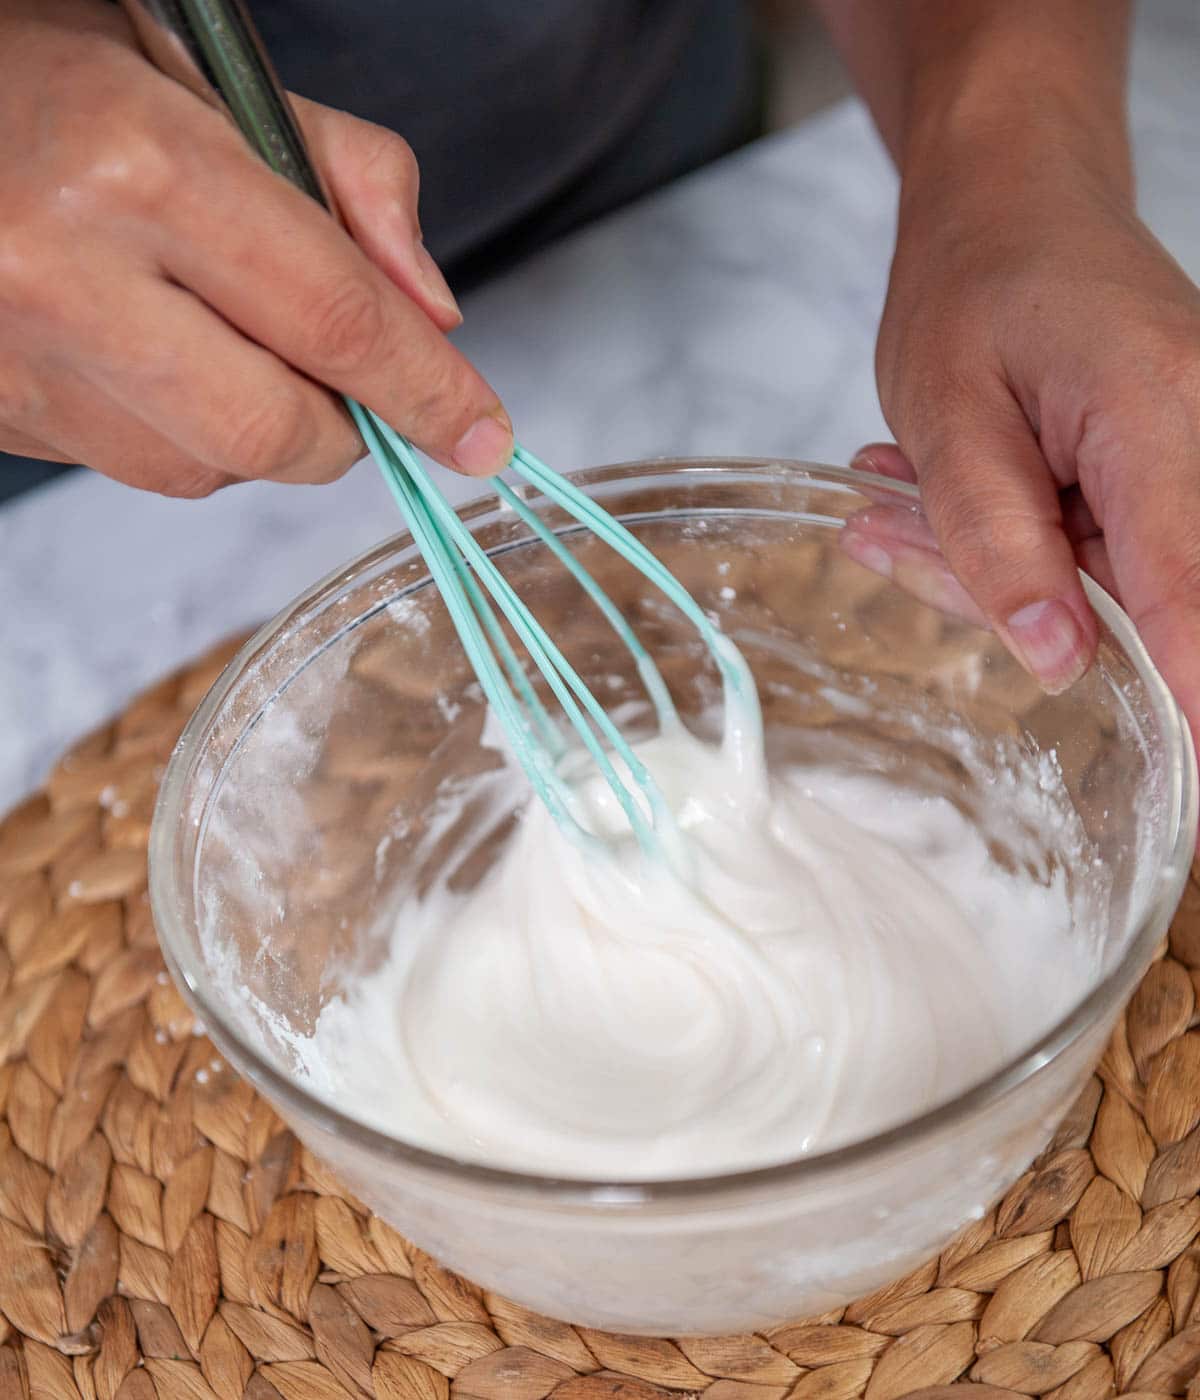
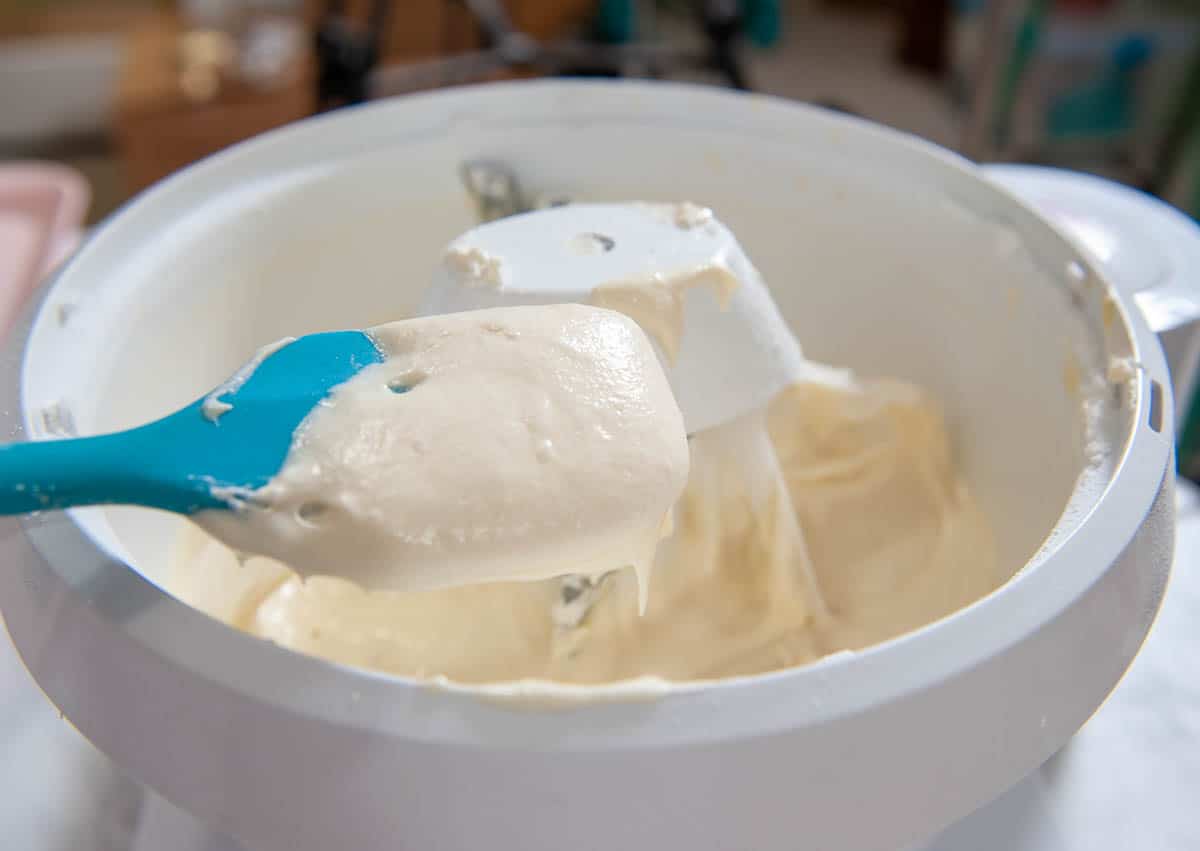
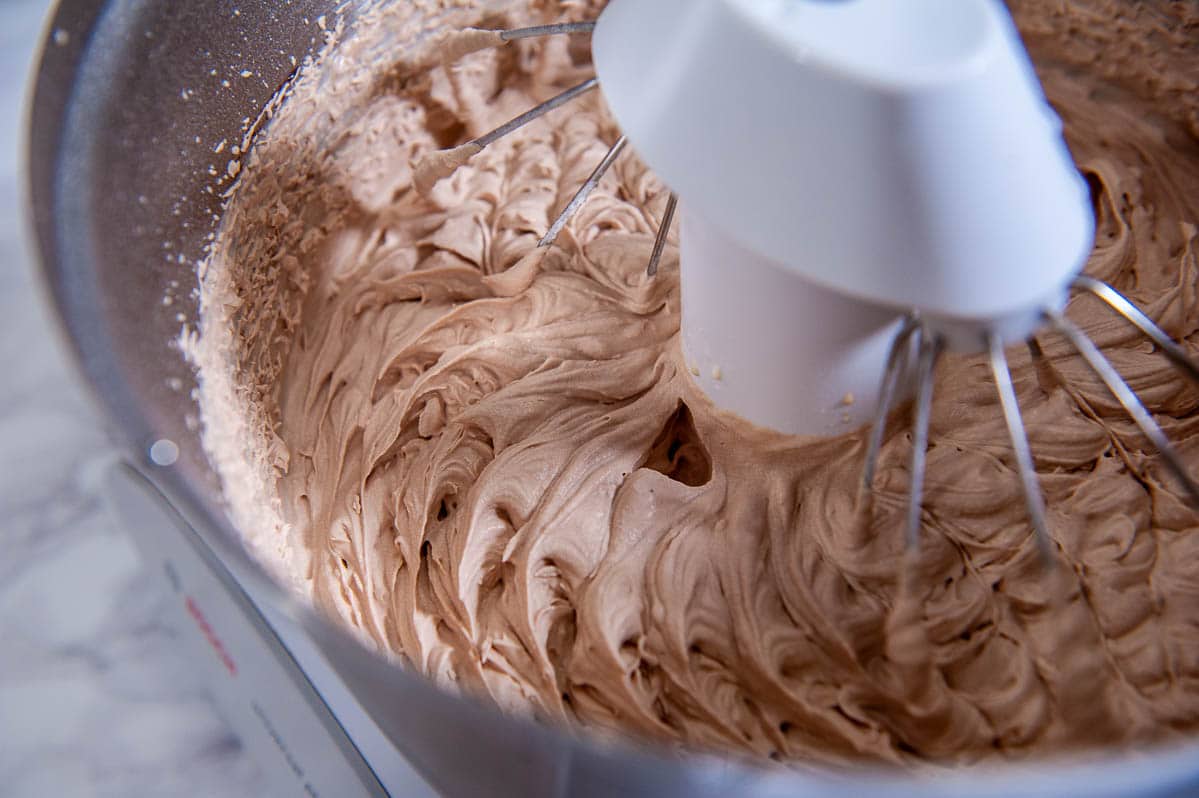
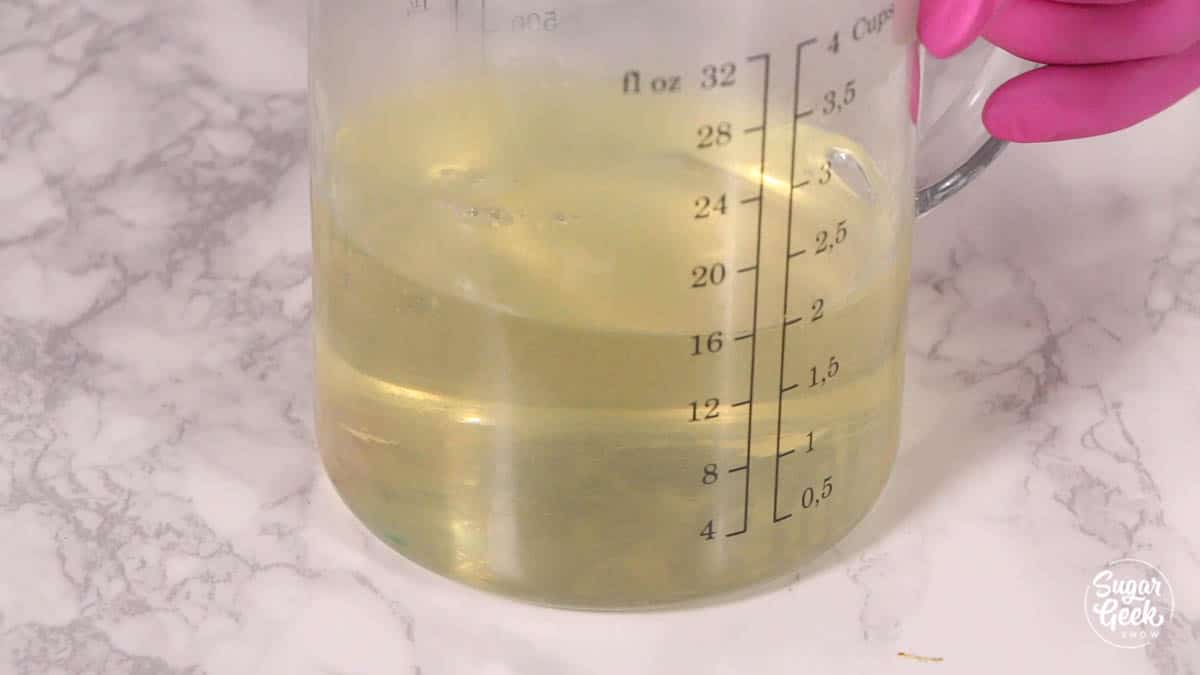
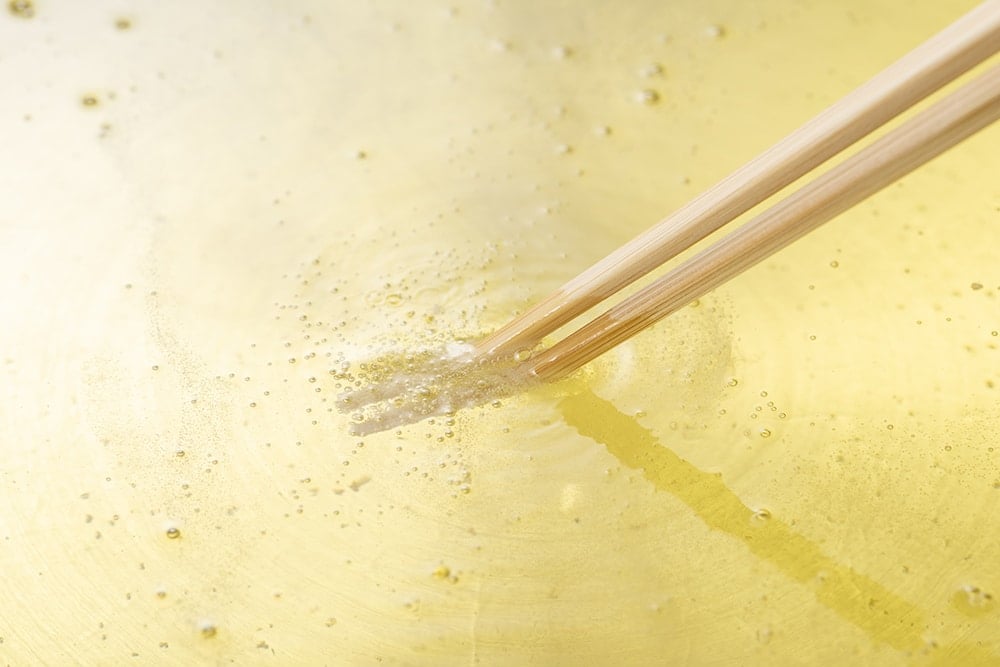
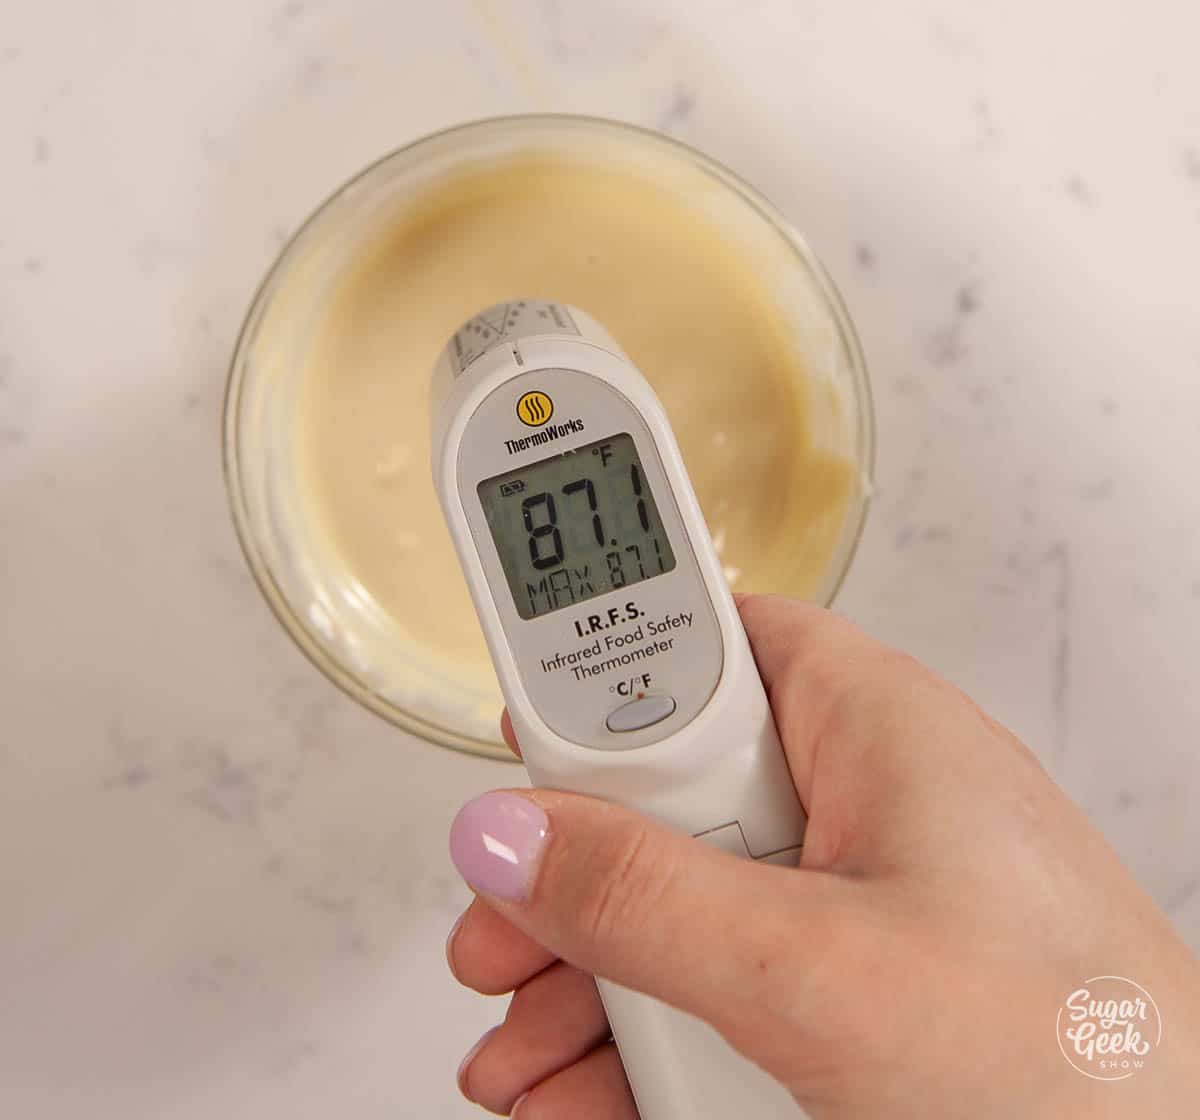
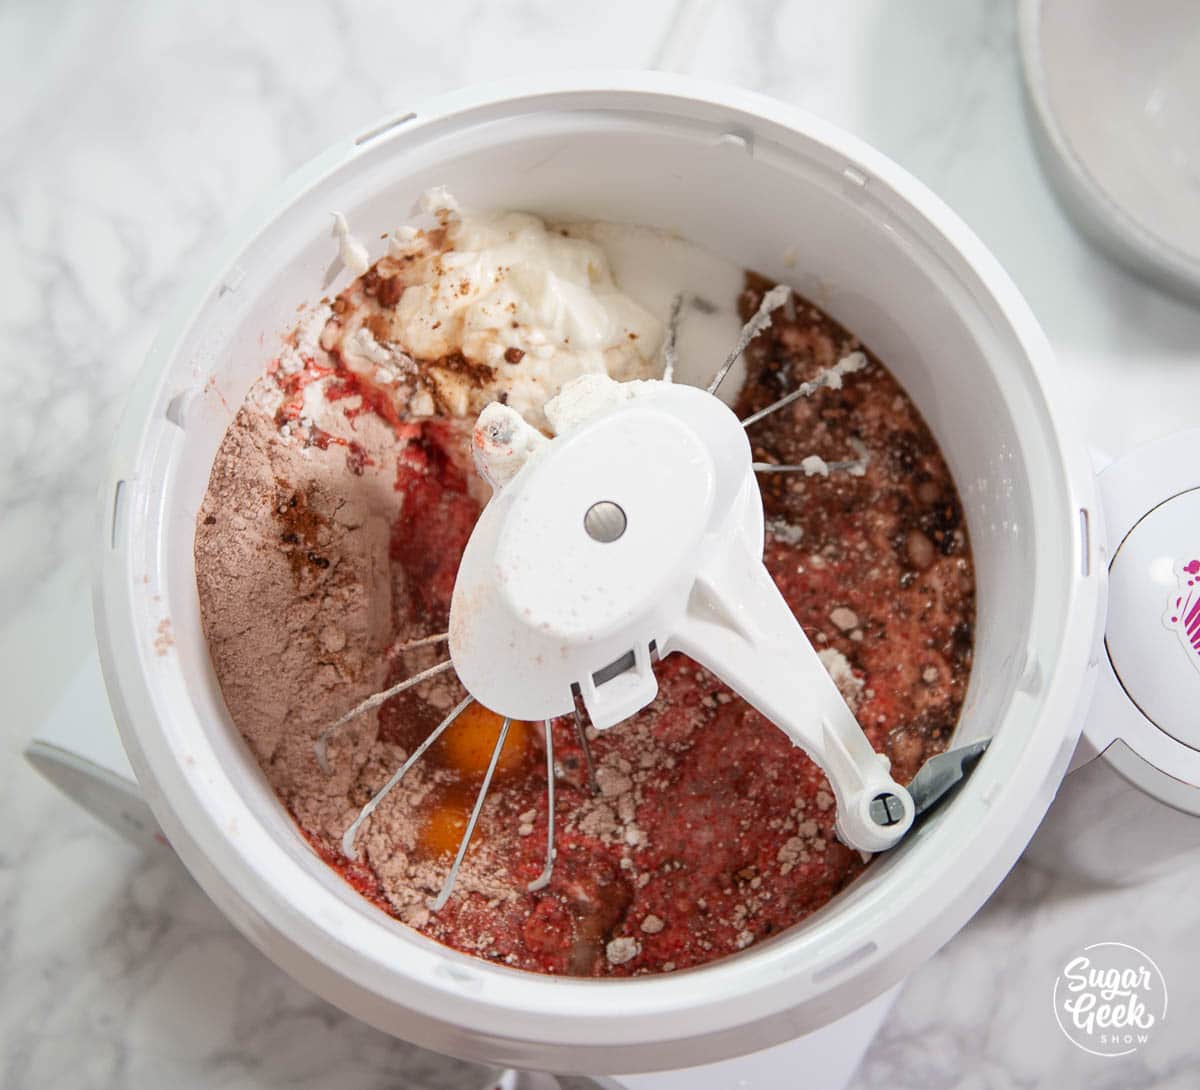
Step 2 - Melt your chocolate. I chop my chocolate even if it's in chip form so that it melts faster. The smaller your bits of chocolate, the easier they will melt and the easier it is to control the temperature of your chocolate. Place your chocolate in a heatproof bowl and microwave it for 30 seconds. Stir to distribute the heat. Heat for 15 seconds and then stir.
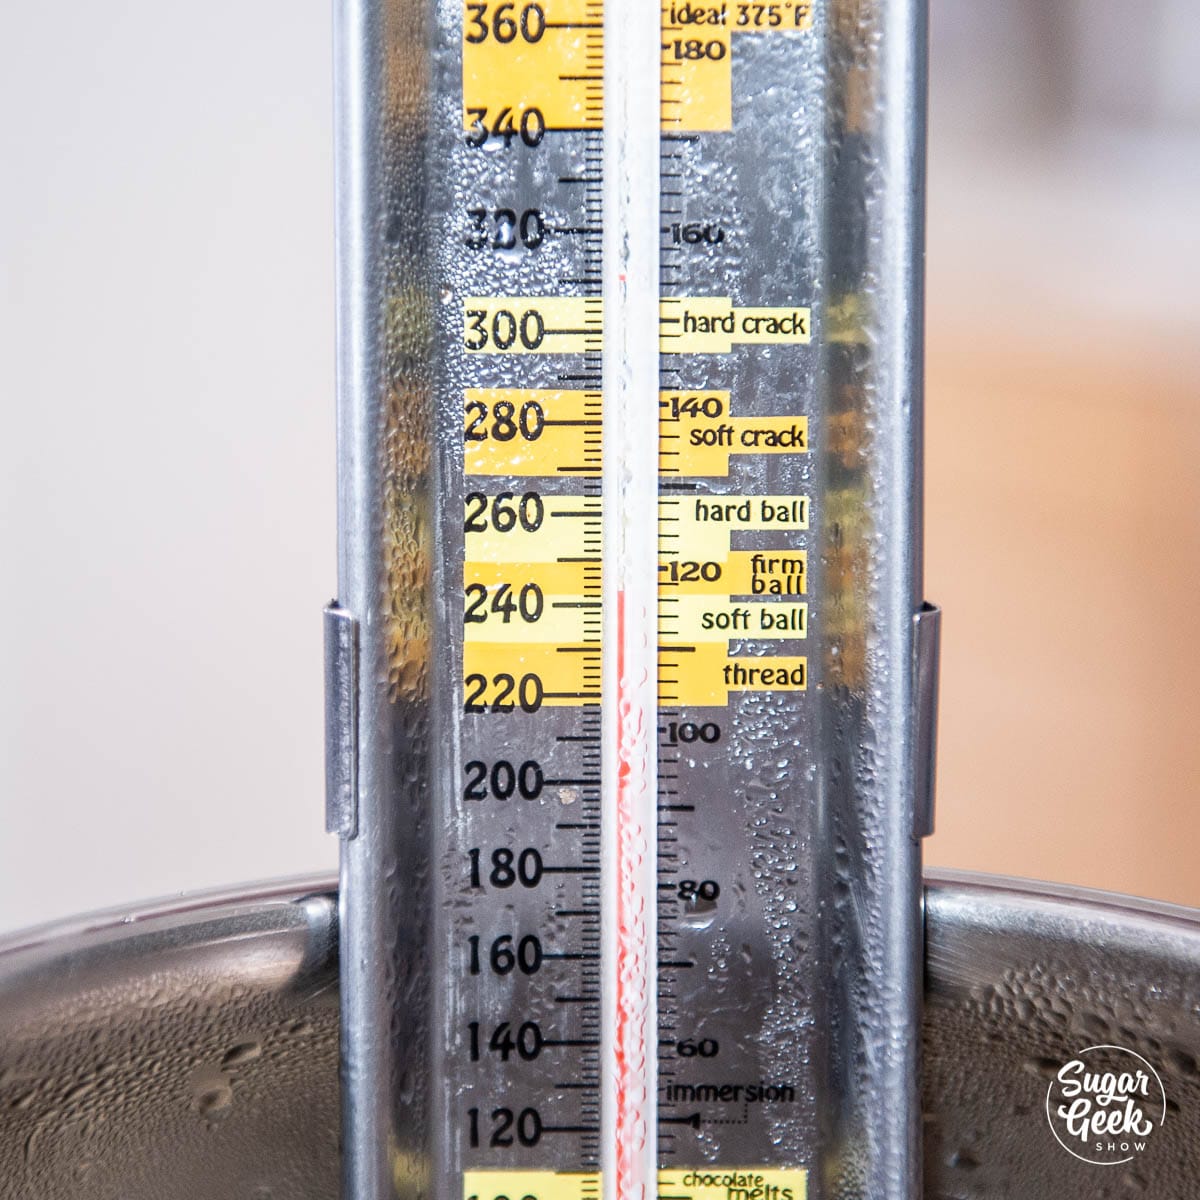
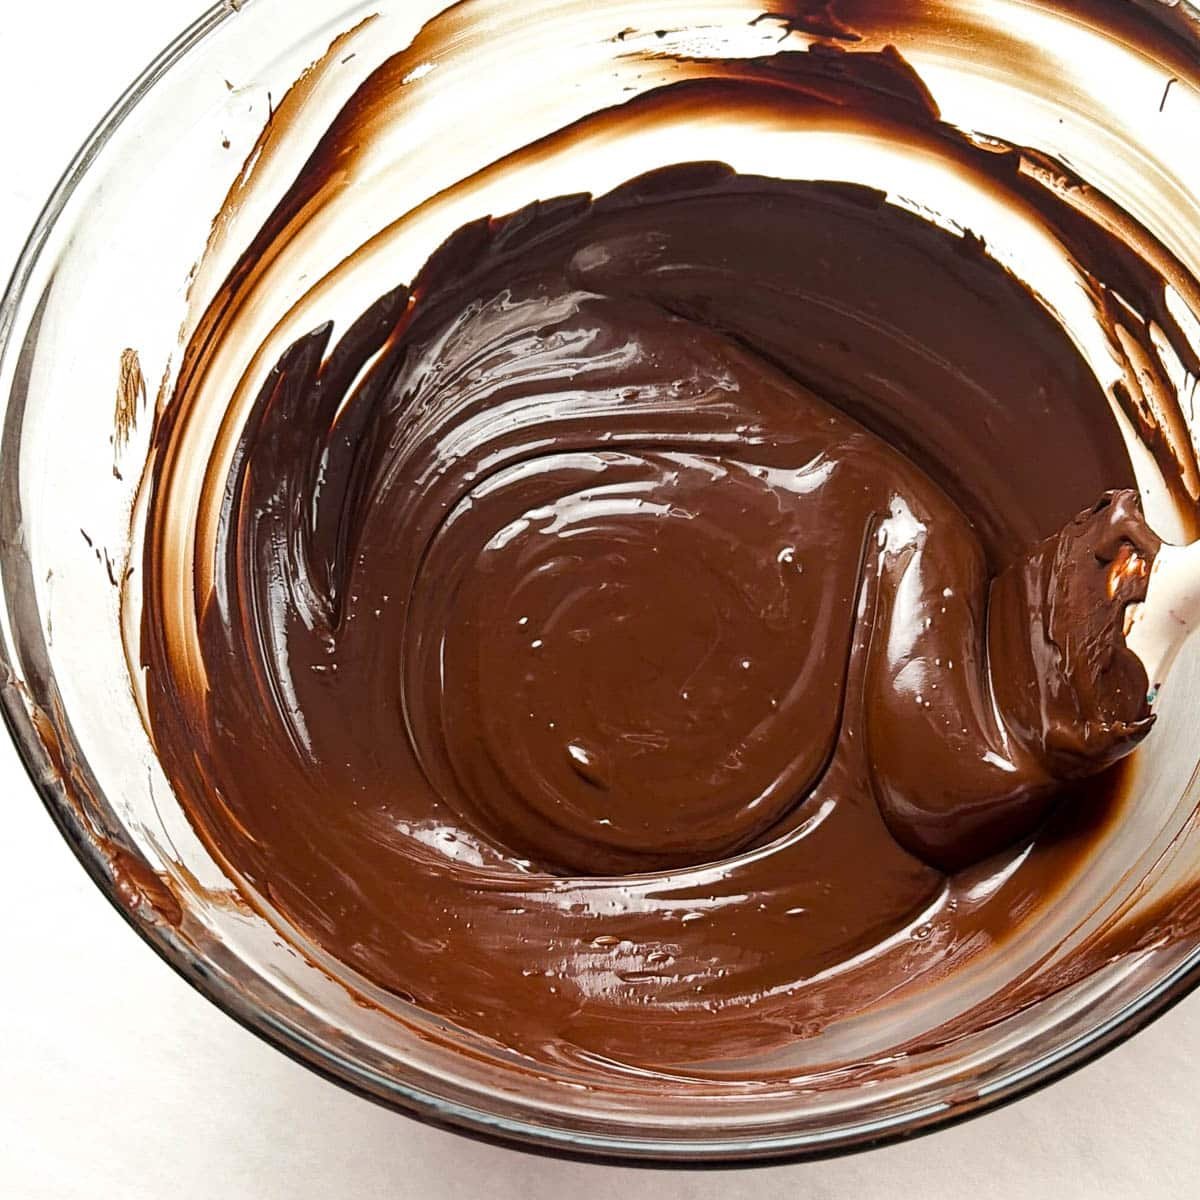
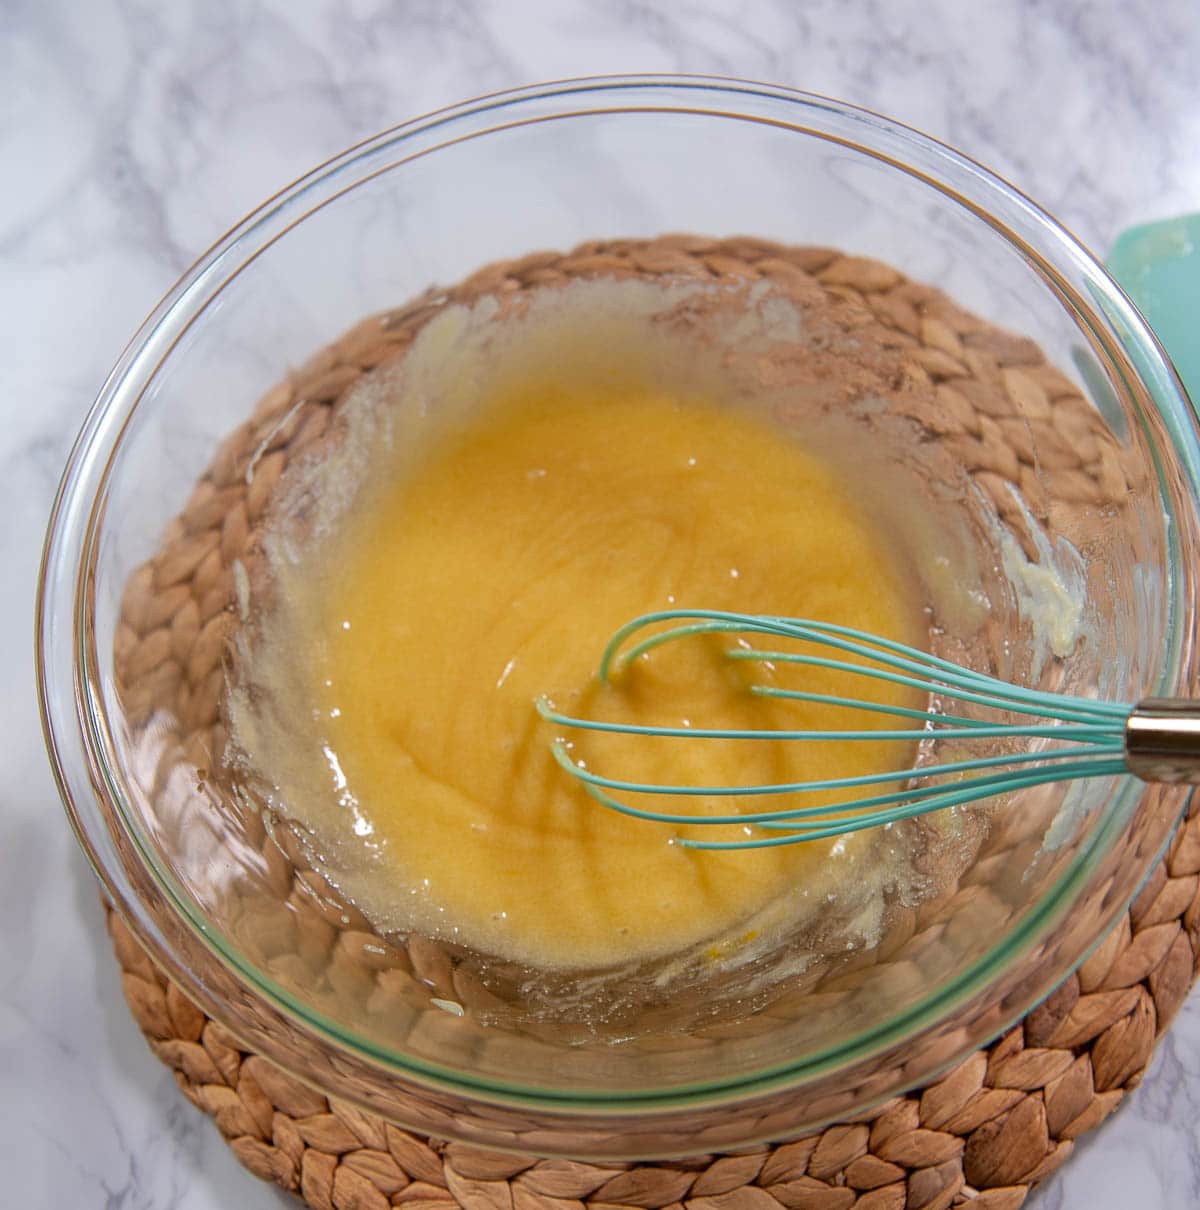
Make sure the temperature of the chocolate never goes above 88ºF so that it stays in temper. Repeat the 15-second heating and stirring until the chocolate is 90% melted. Continue stirring until it's fully melted.
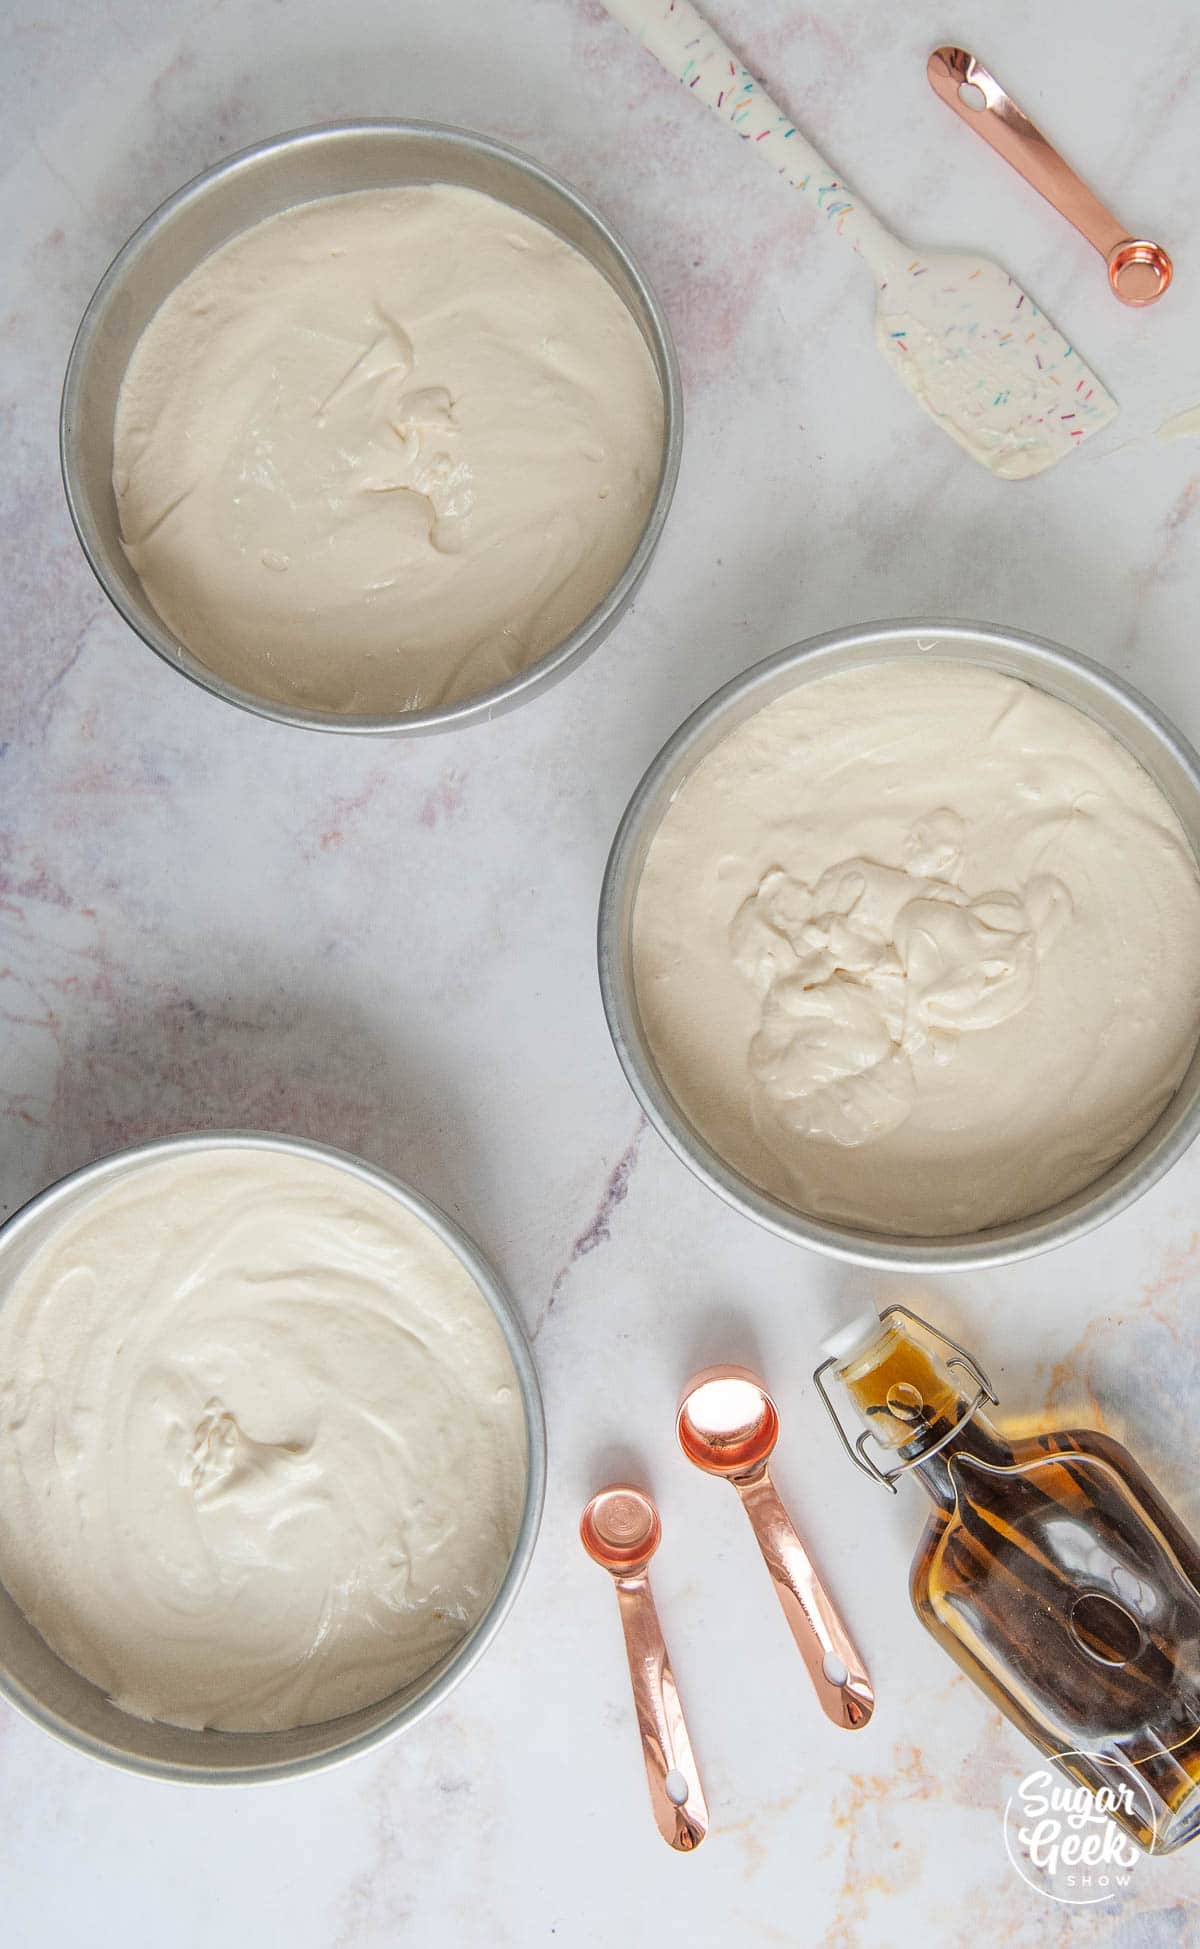
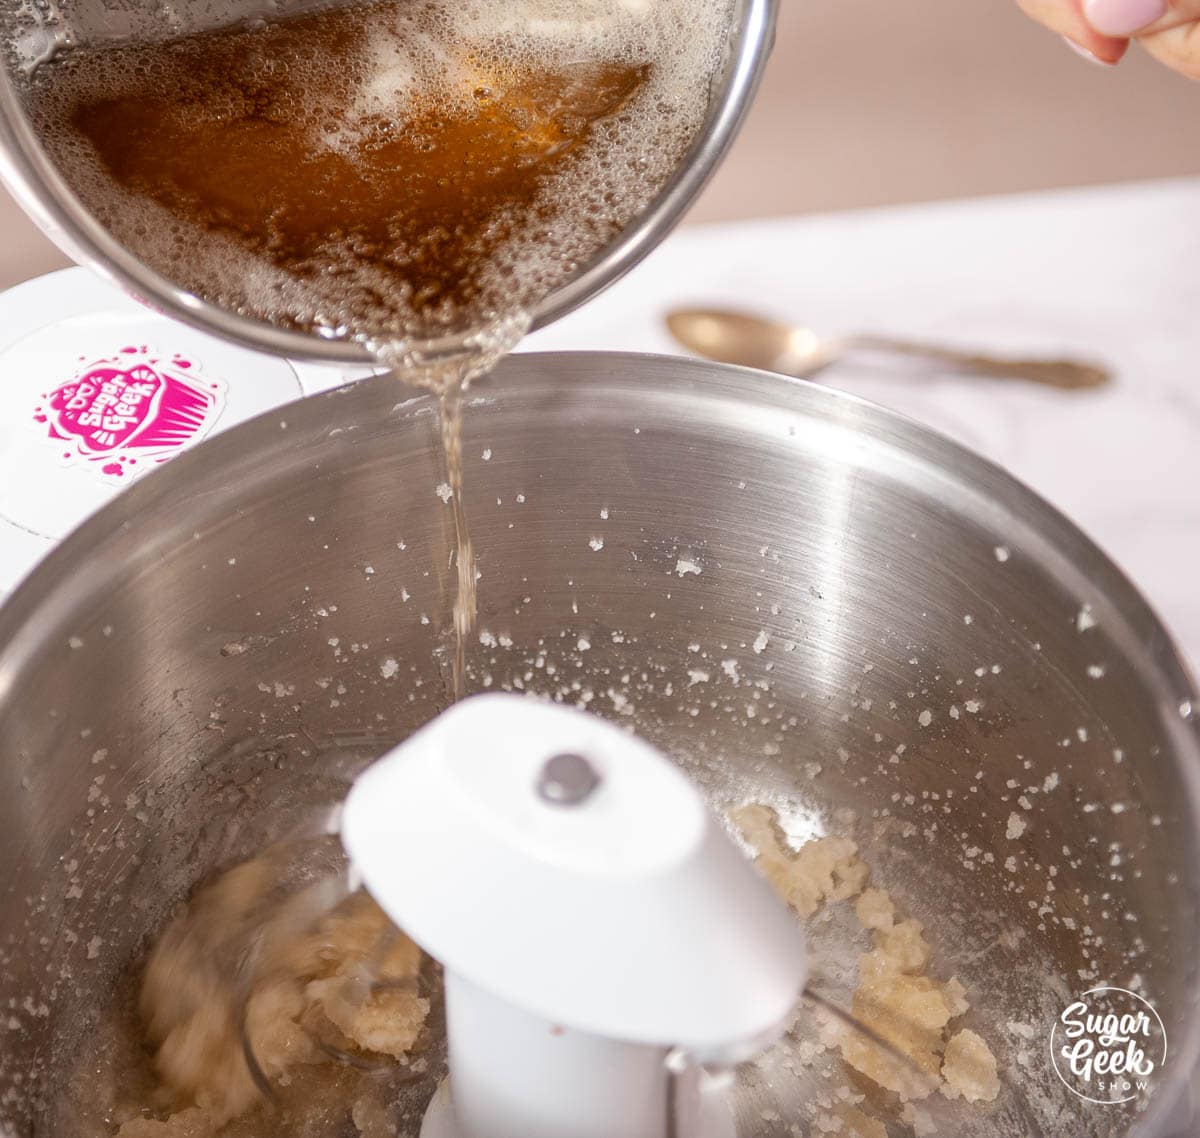
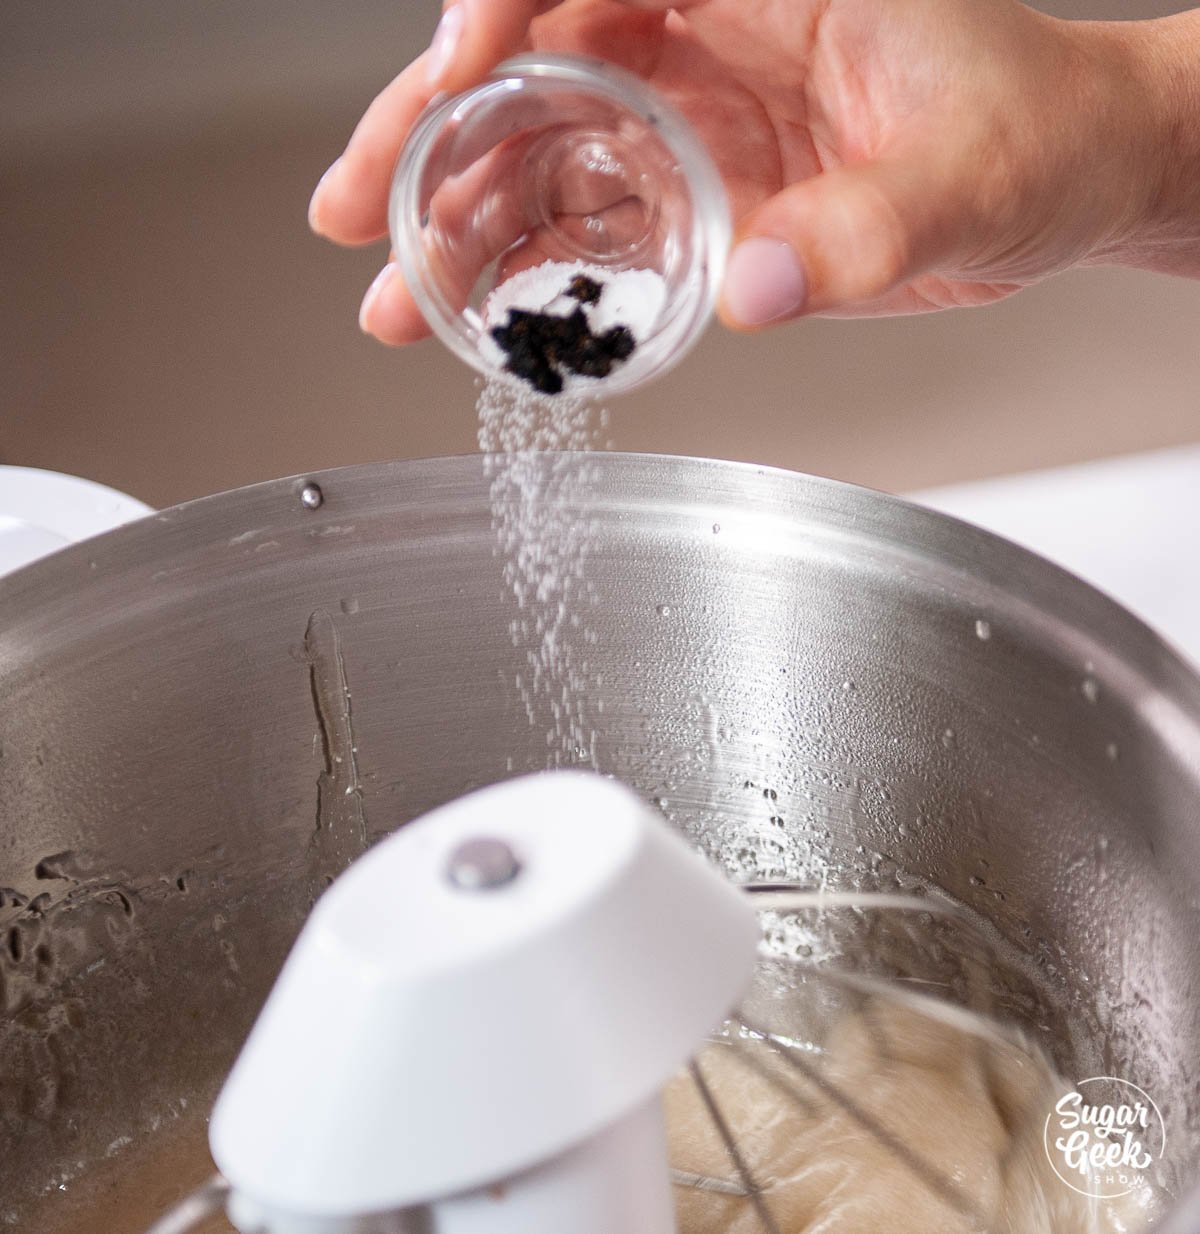
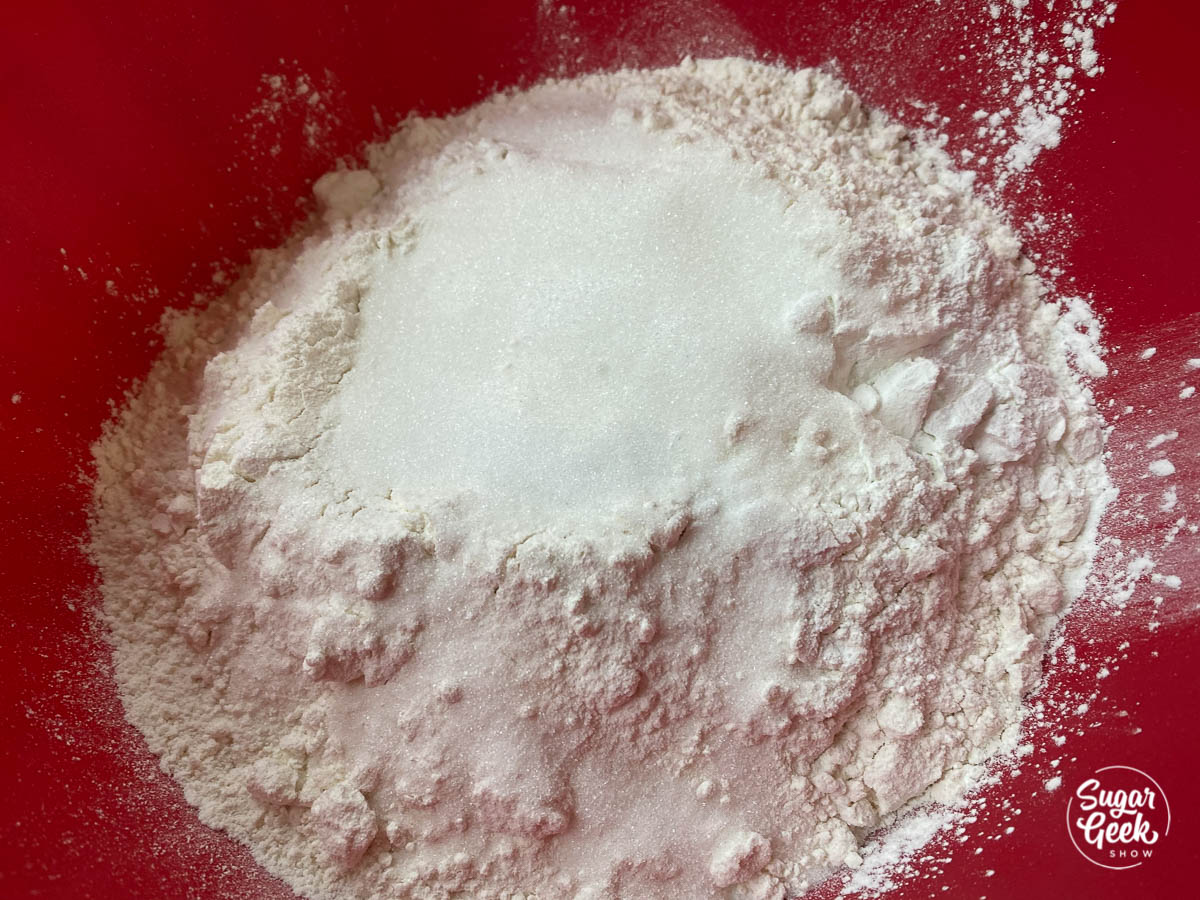
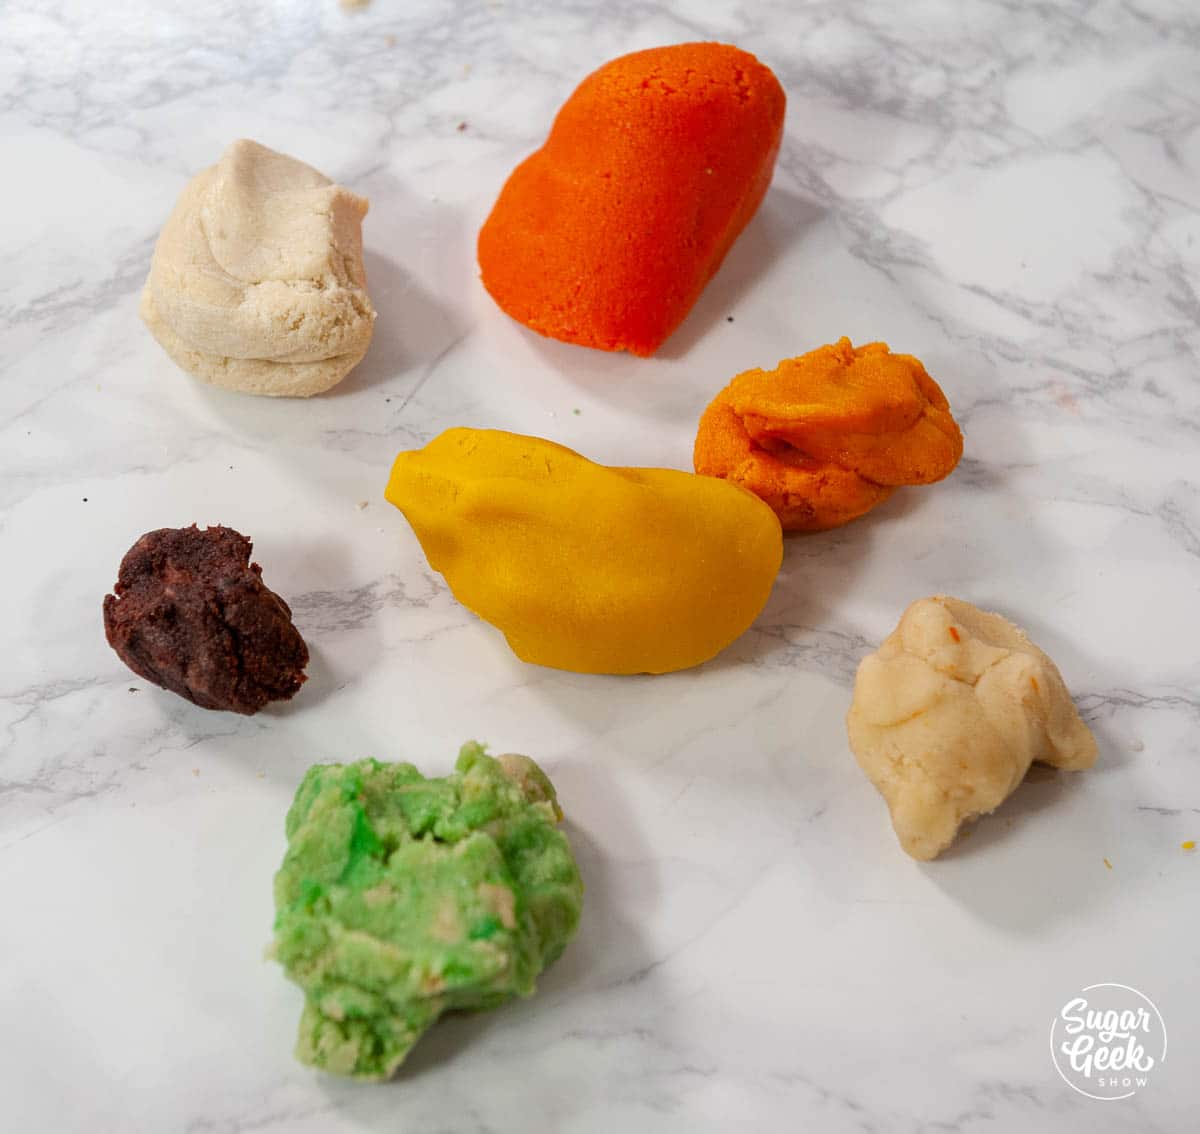
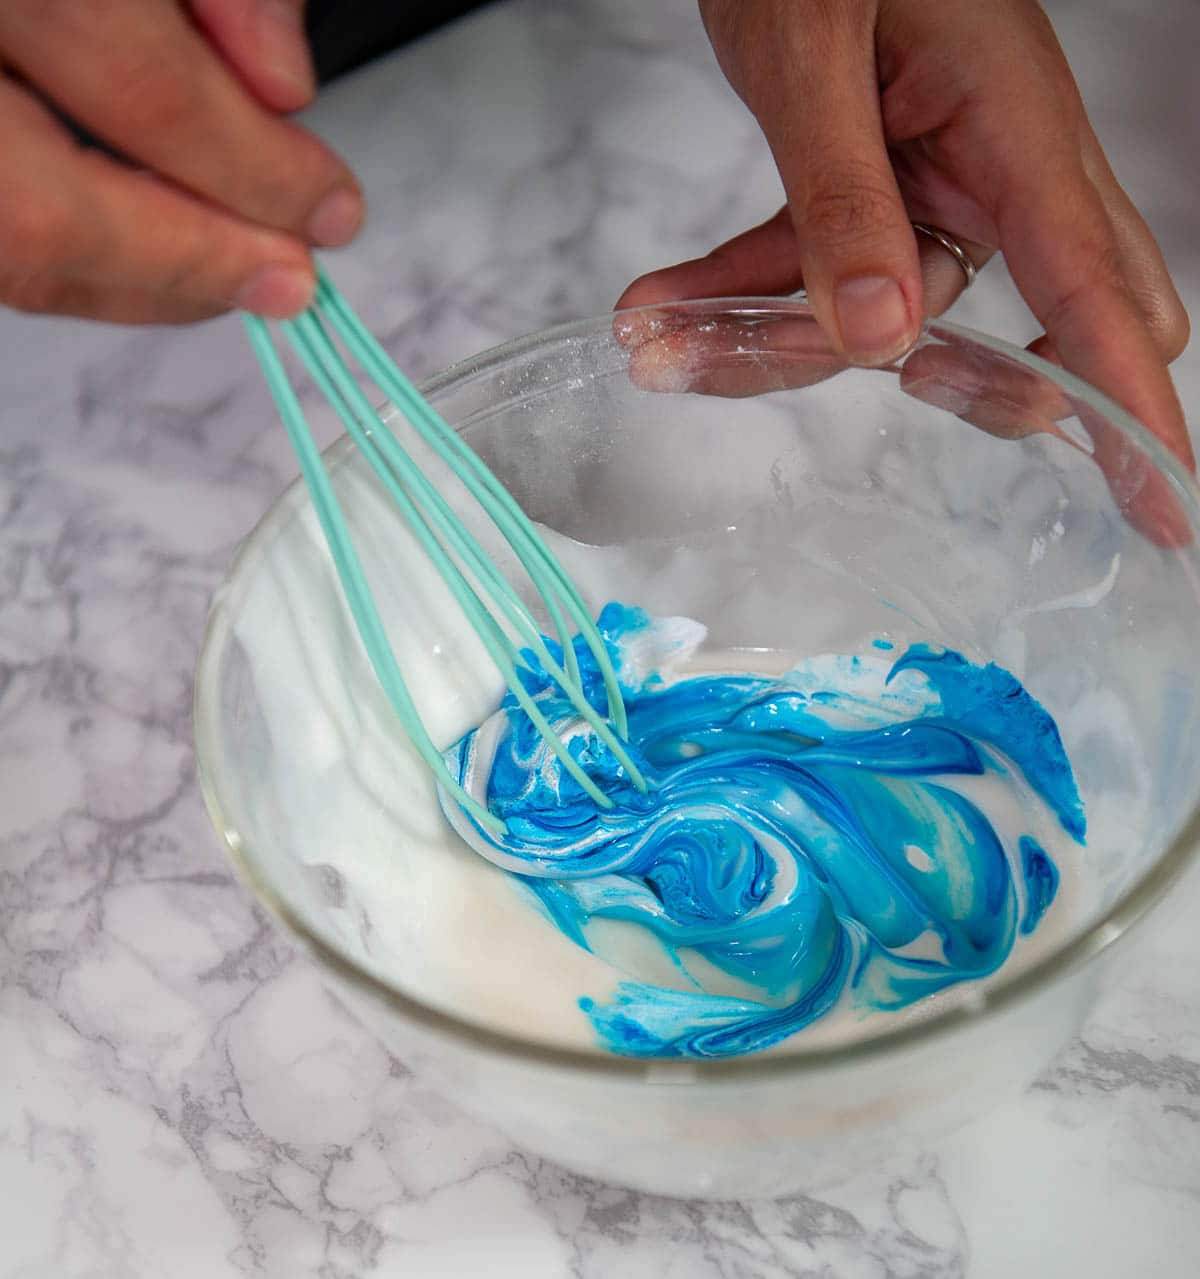
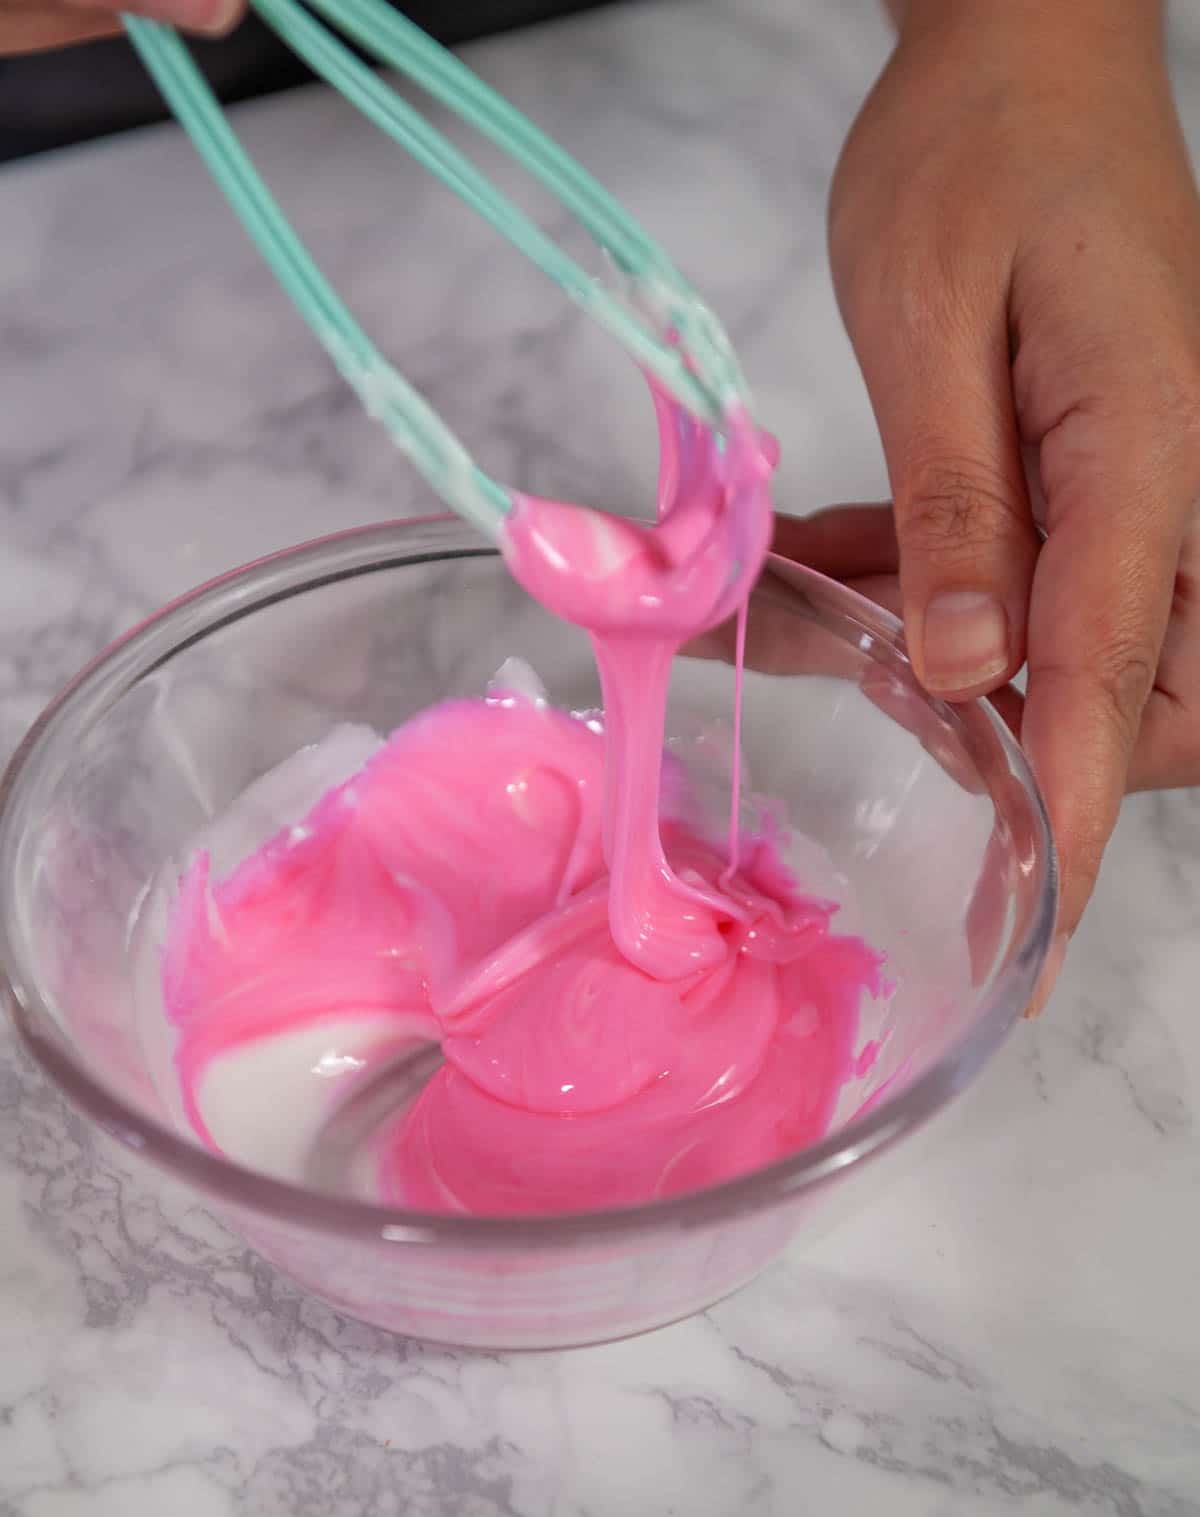
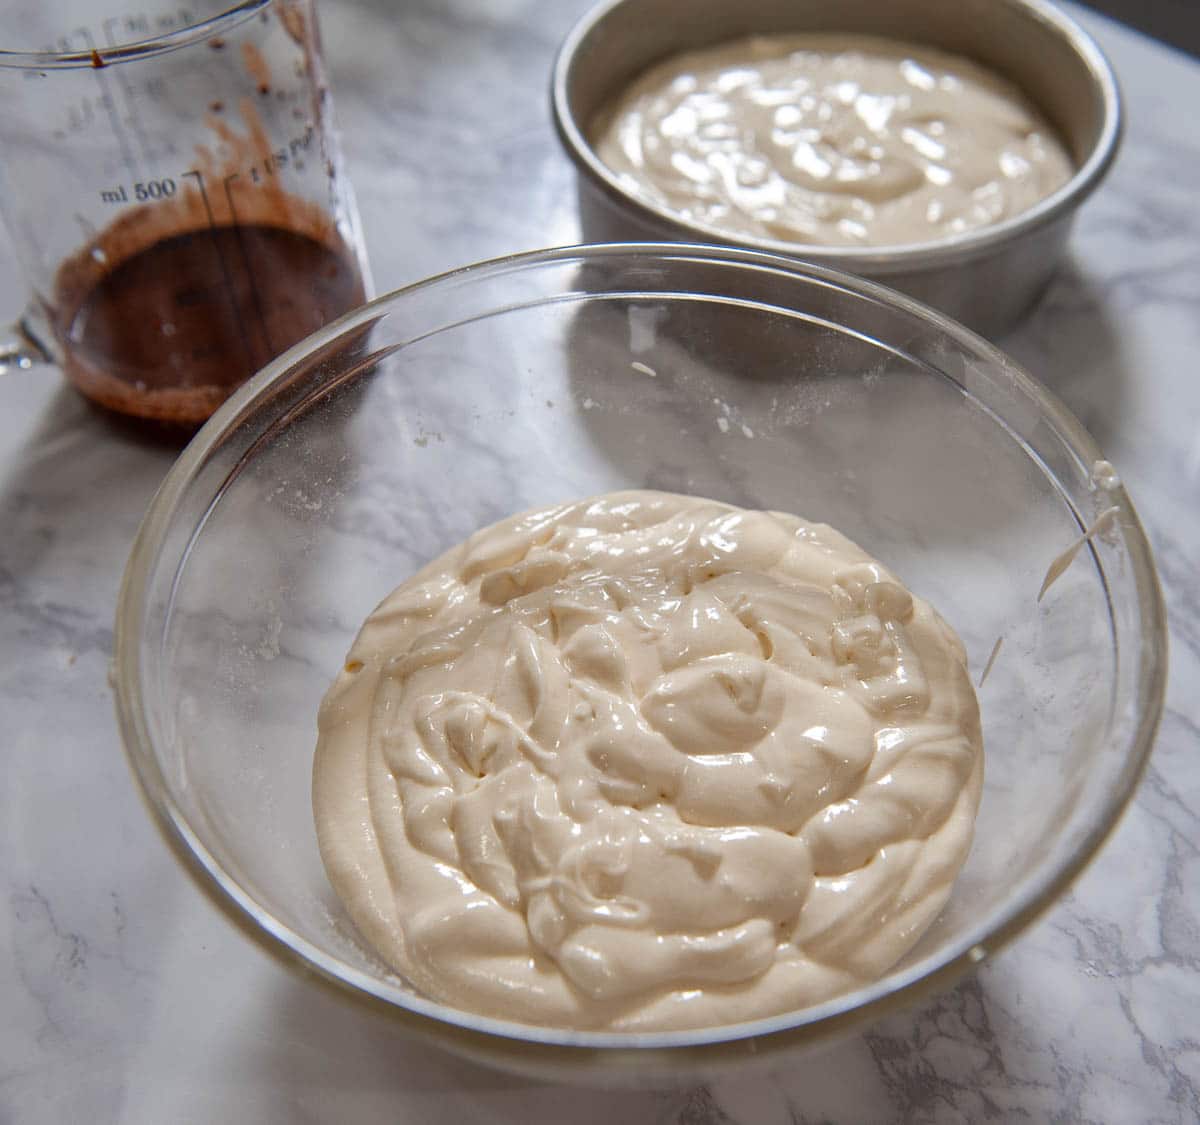
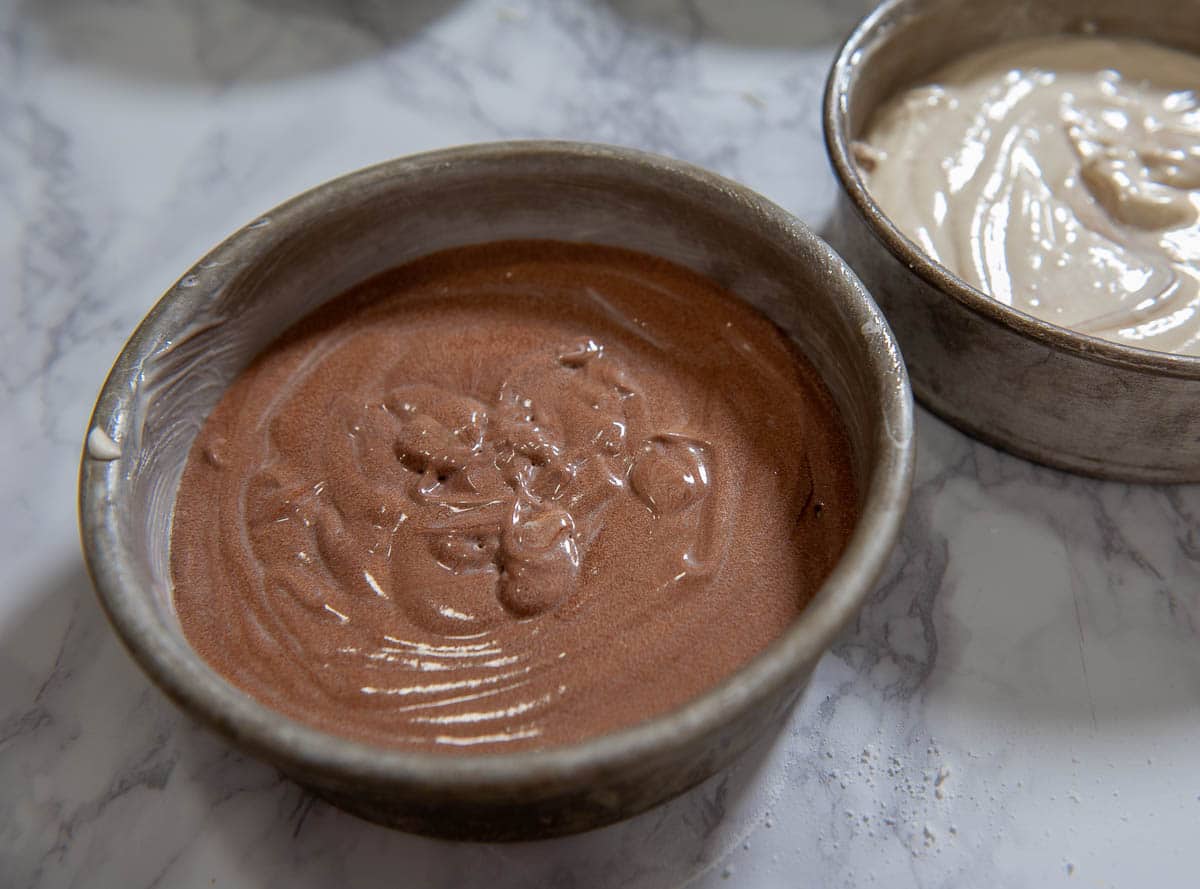
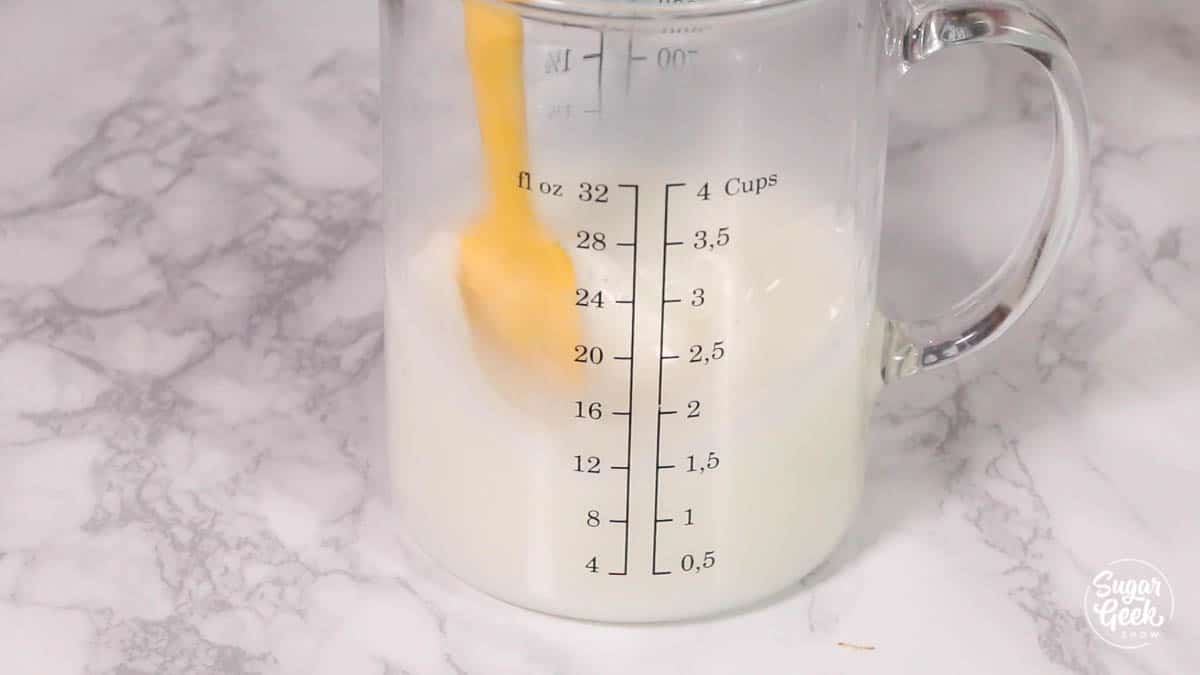
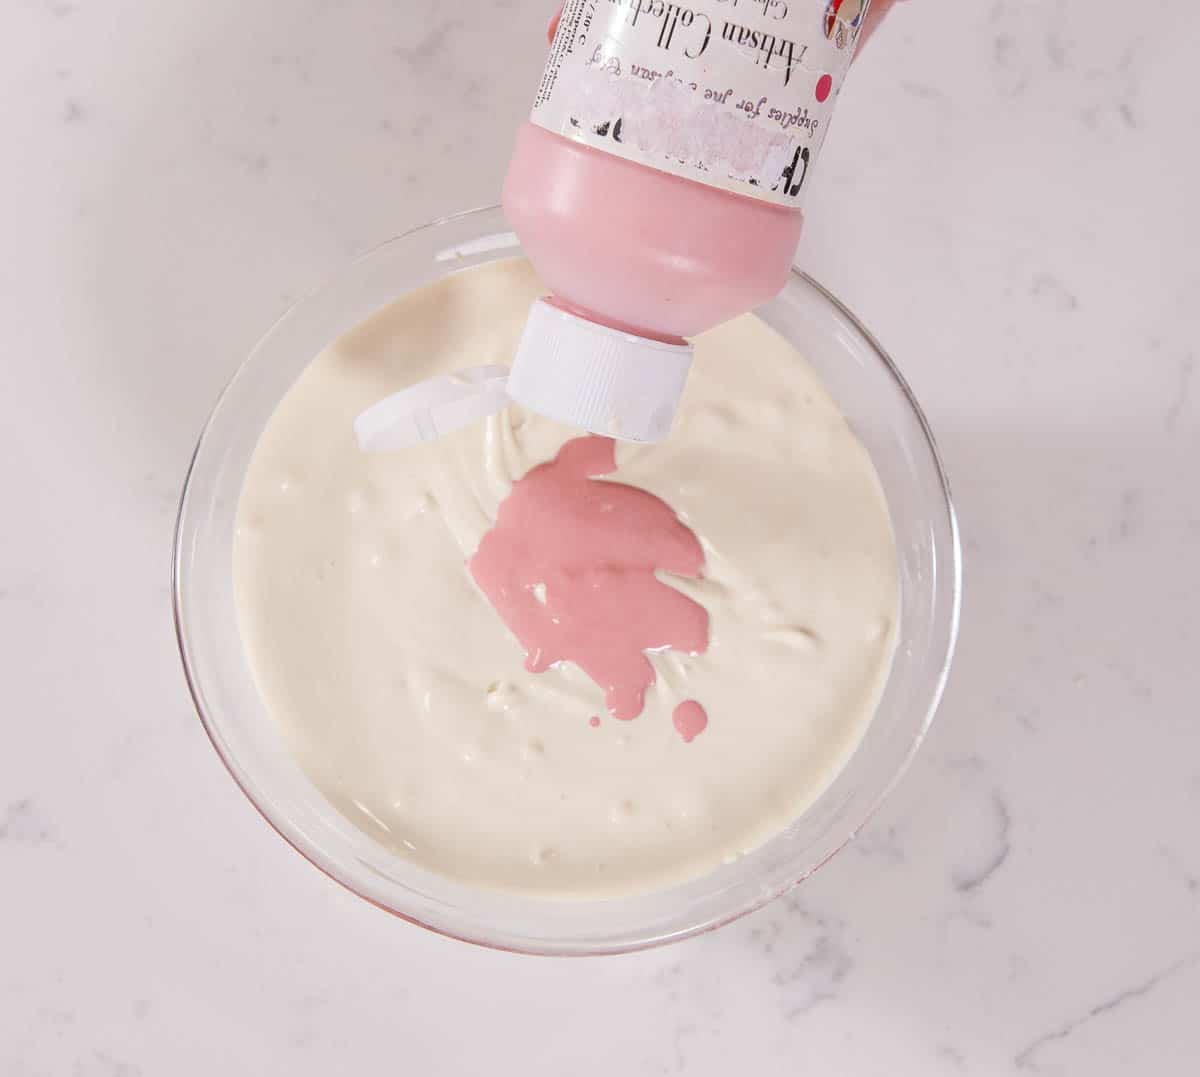
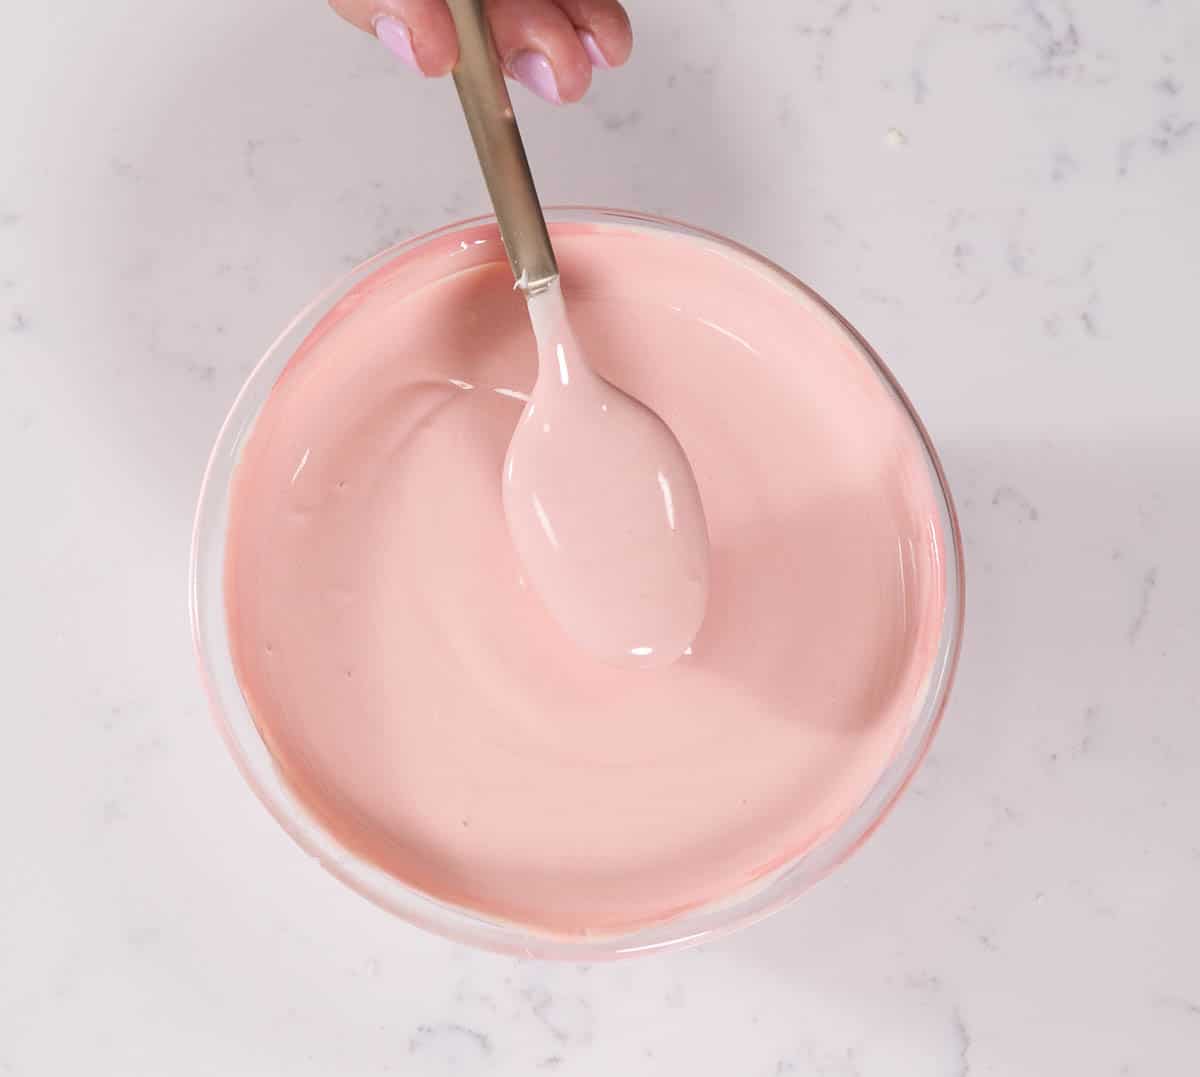
Step 3 - Divide your melted chocolate into three batches. In one batch I added 1 Tablespoon of ground up freeze-dried strawberries, one batch I added a teaspoon of pink melted cocoa butter, and one batch I left white. If your chocolate has cooled down too much, heat it up again for 5 seconds to get to 88ºF again.
Pro-Tip: You can add in any kind of dry ingredient to melted chocolate like sprinkles, nuts, crushed cookies etc. As long as it doesn't have any liquid, it will work!
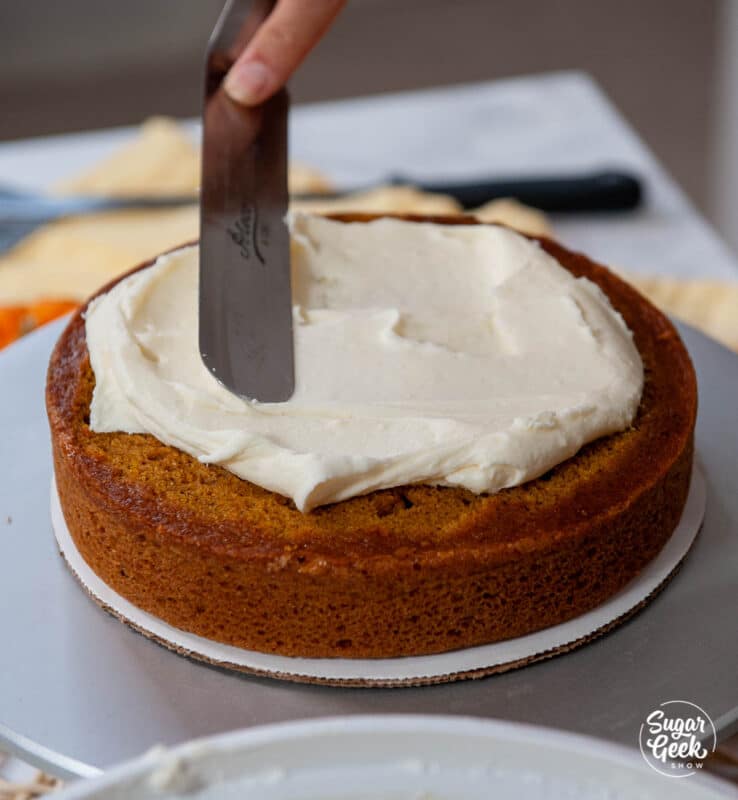
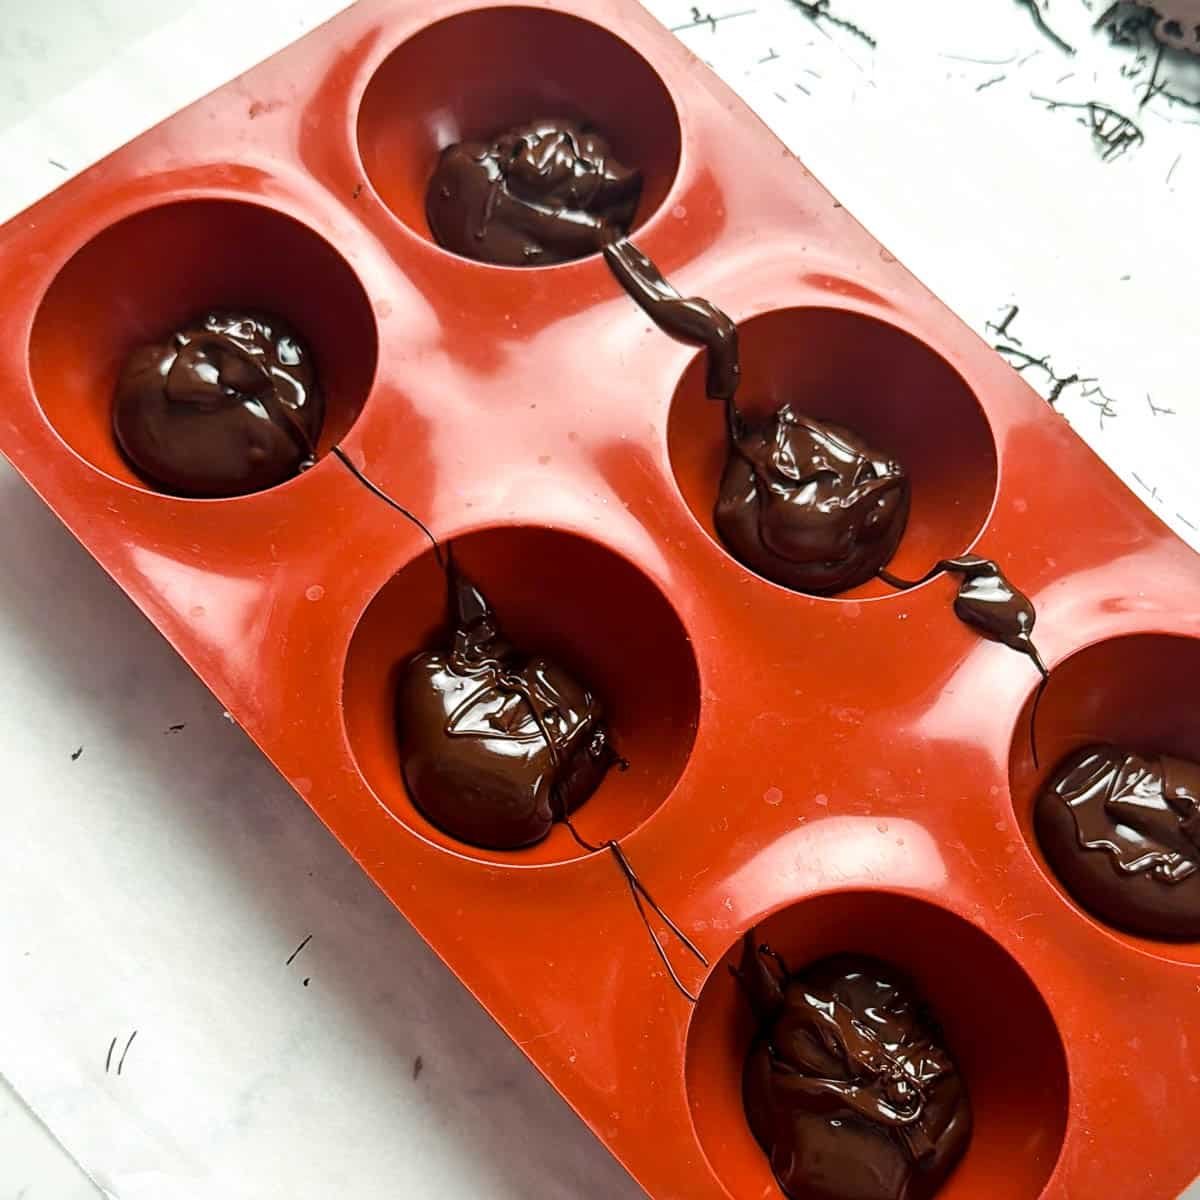
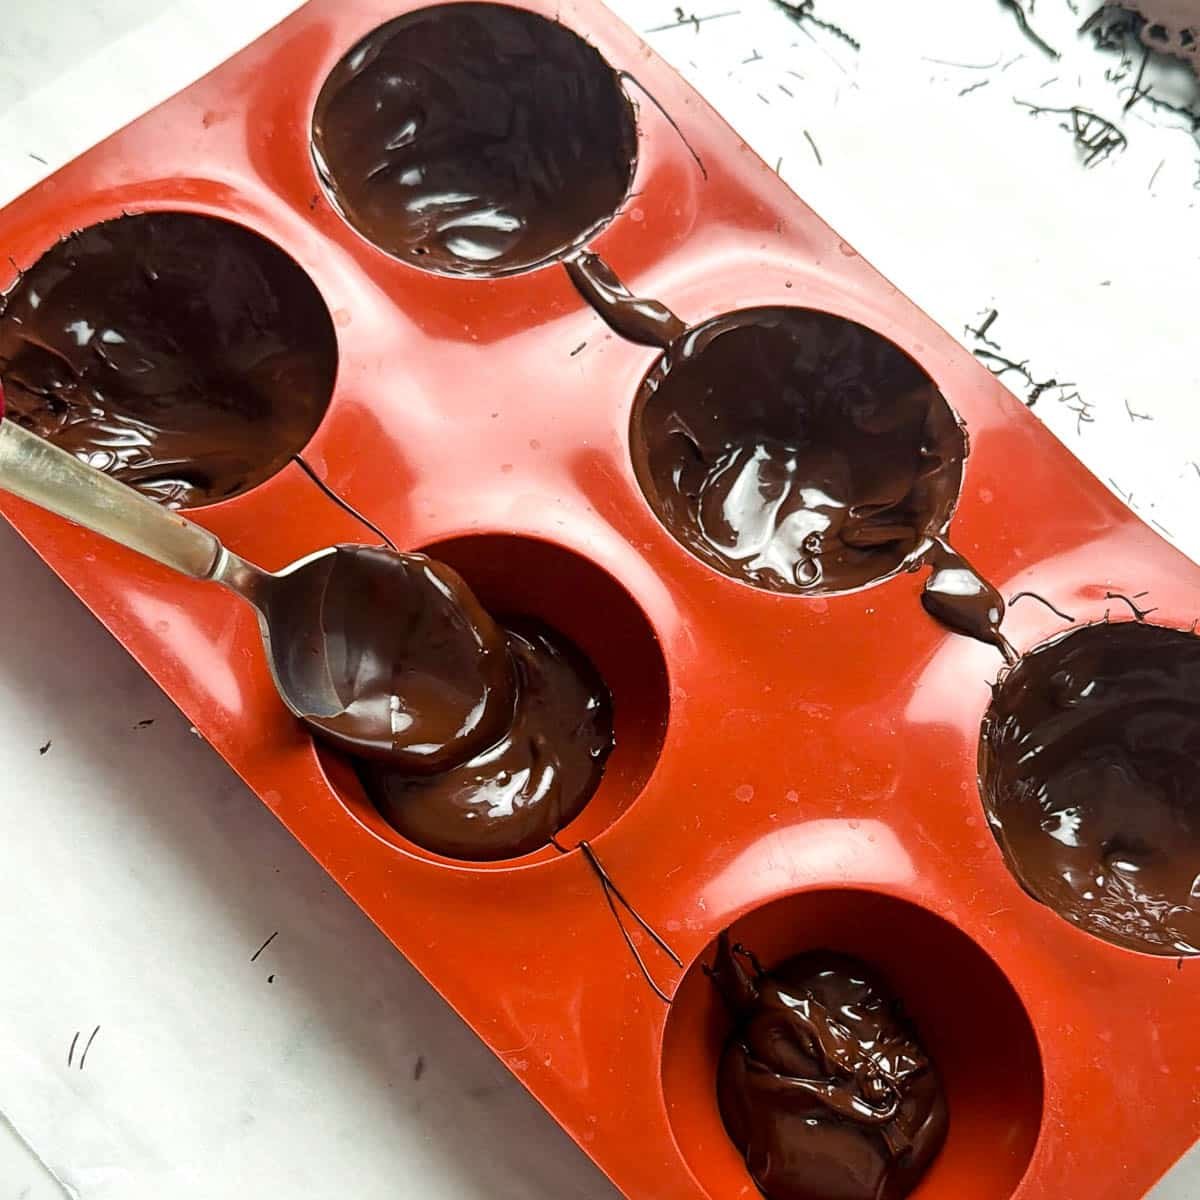
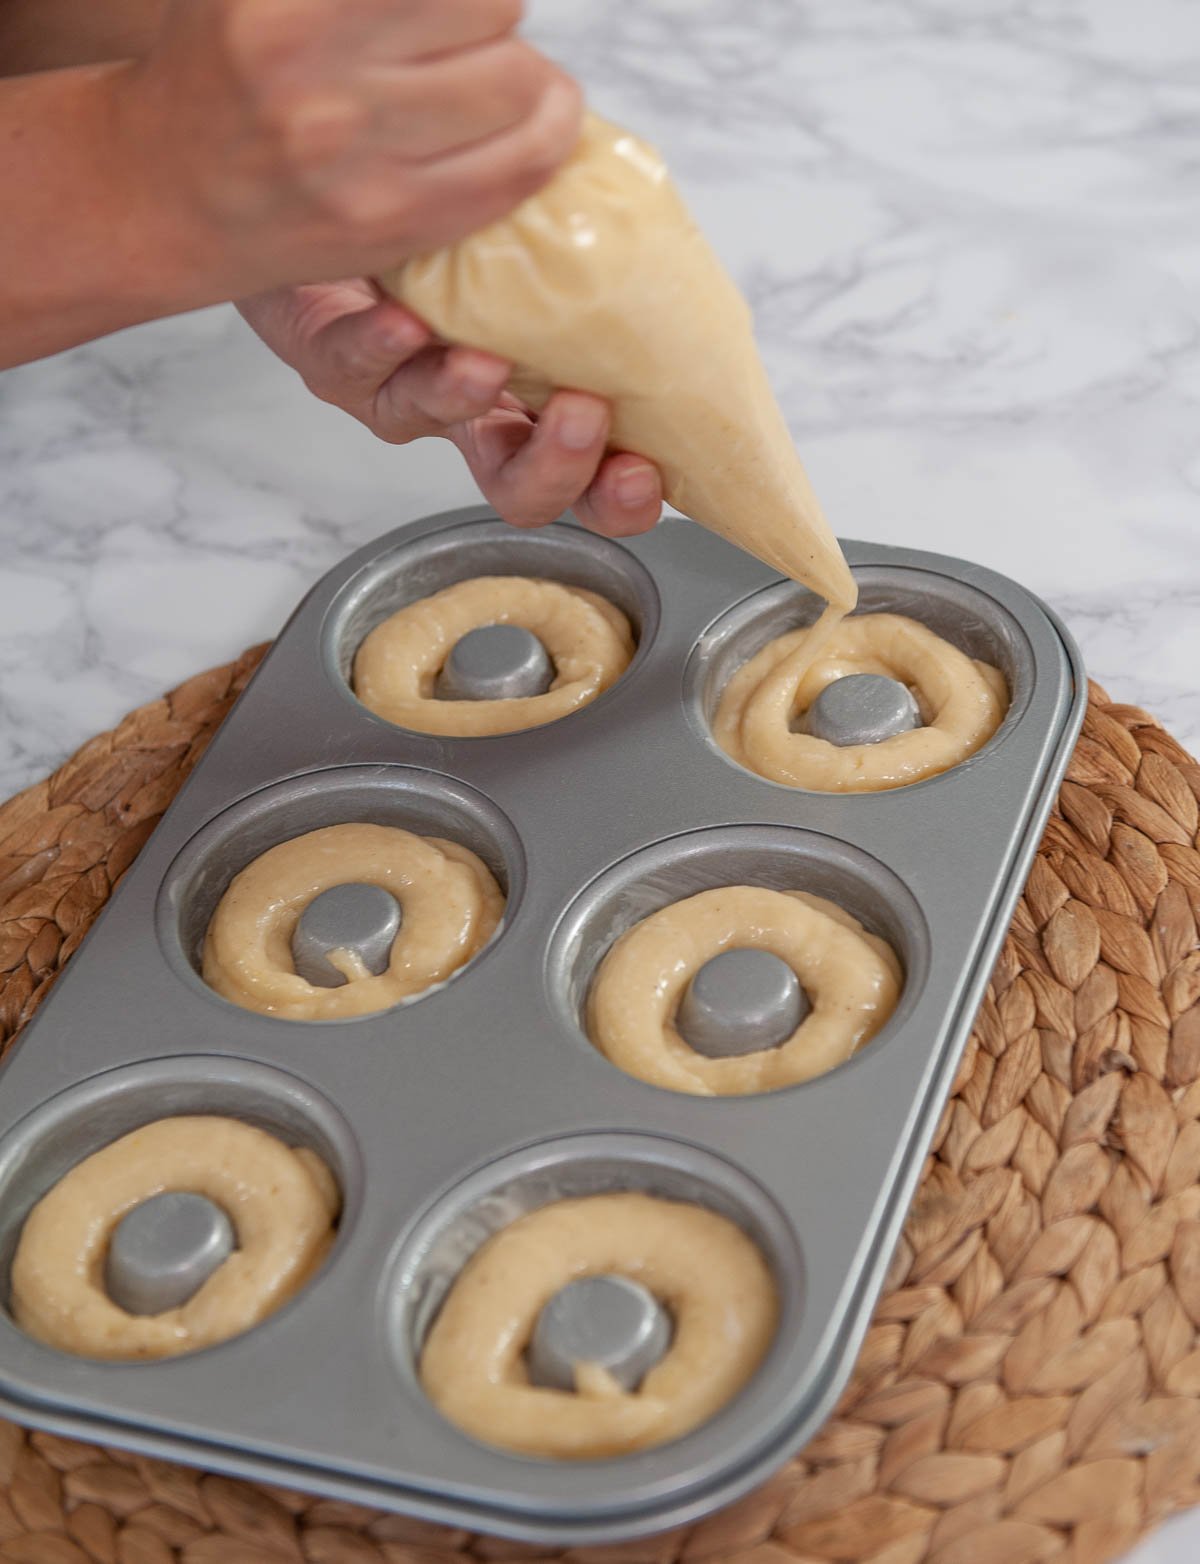
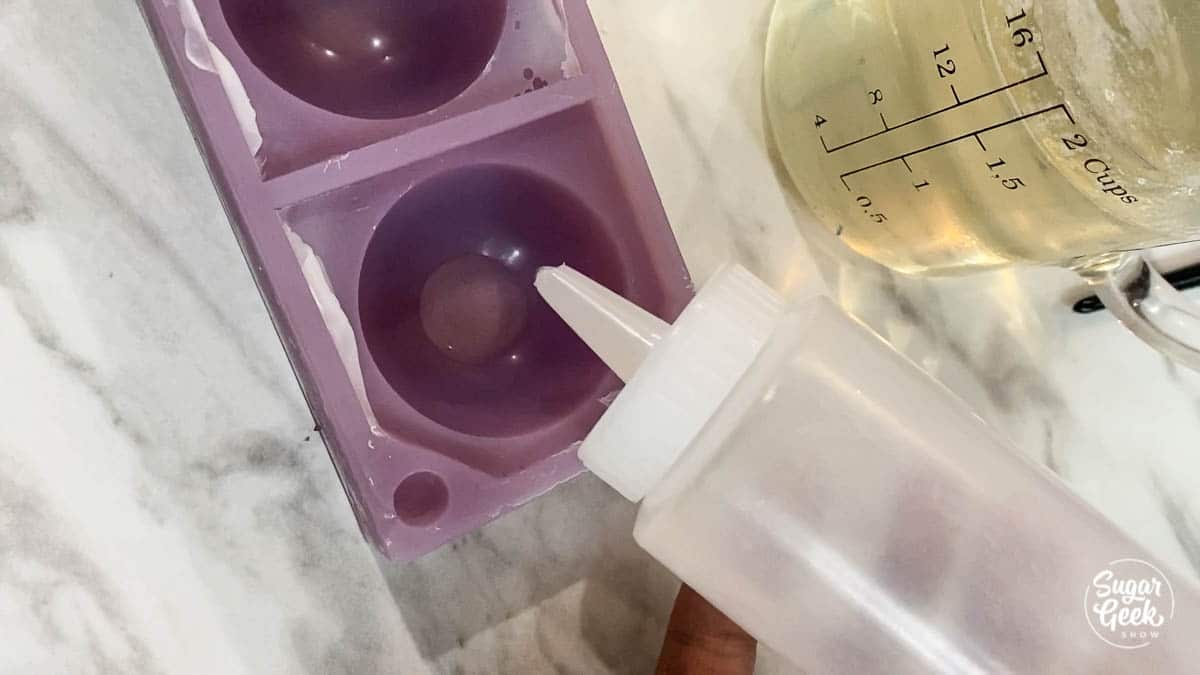
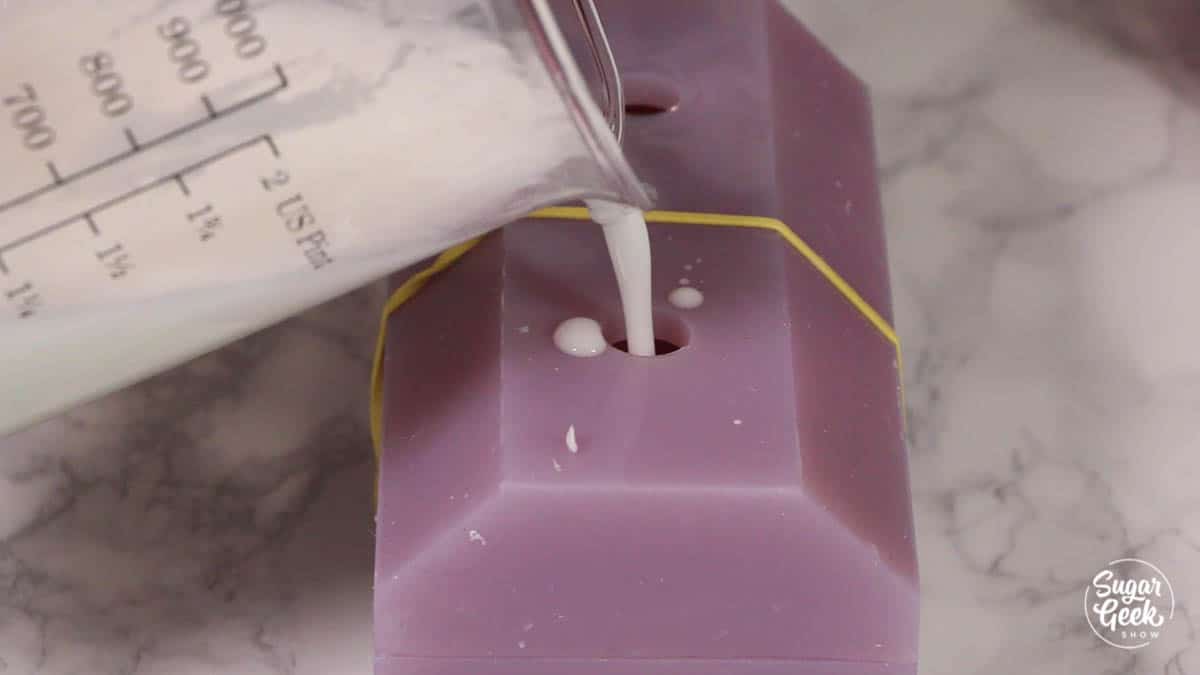
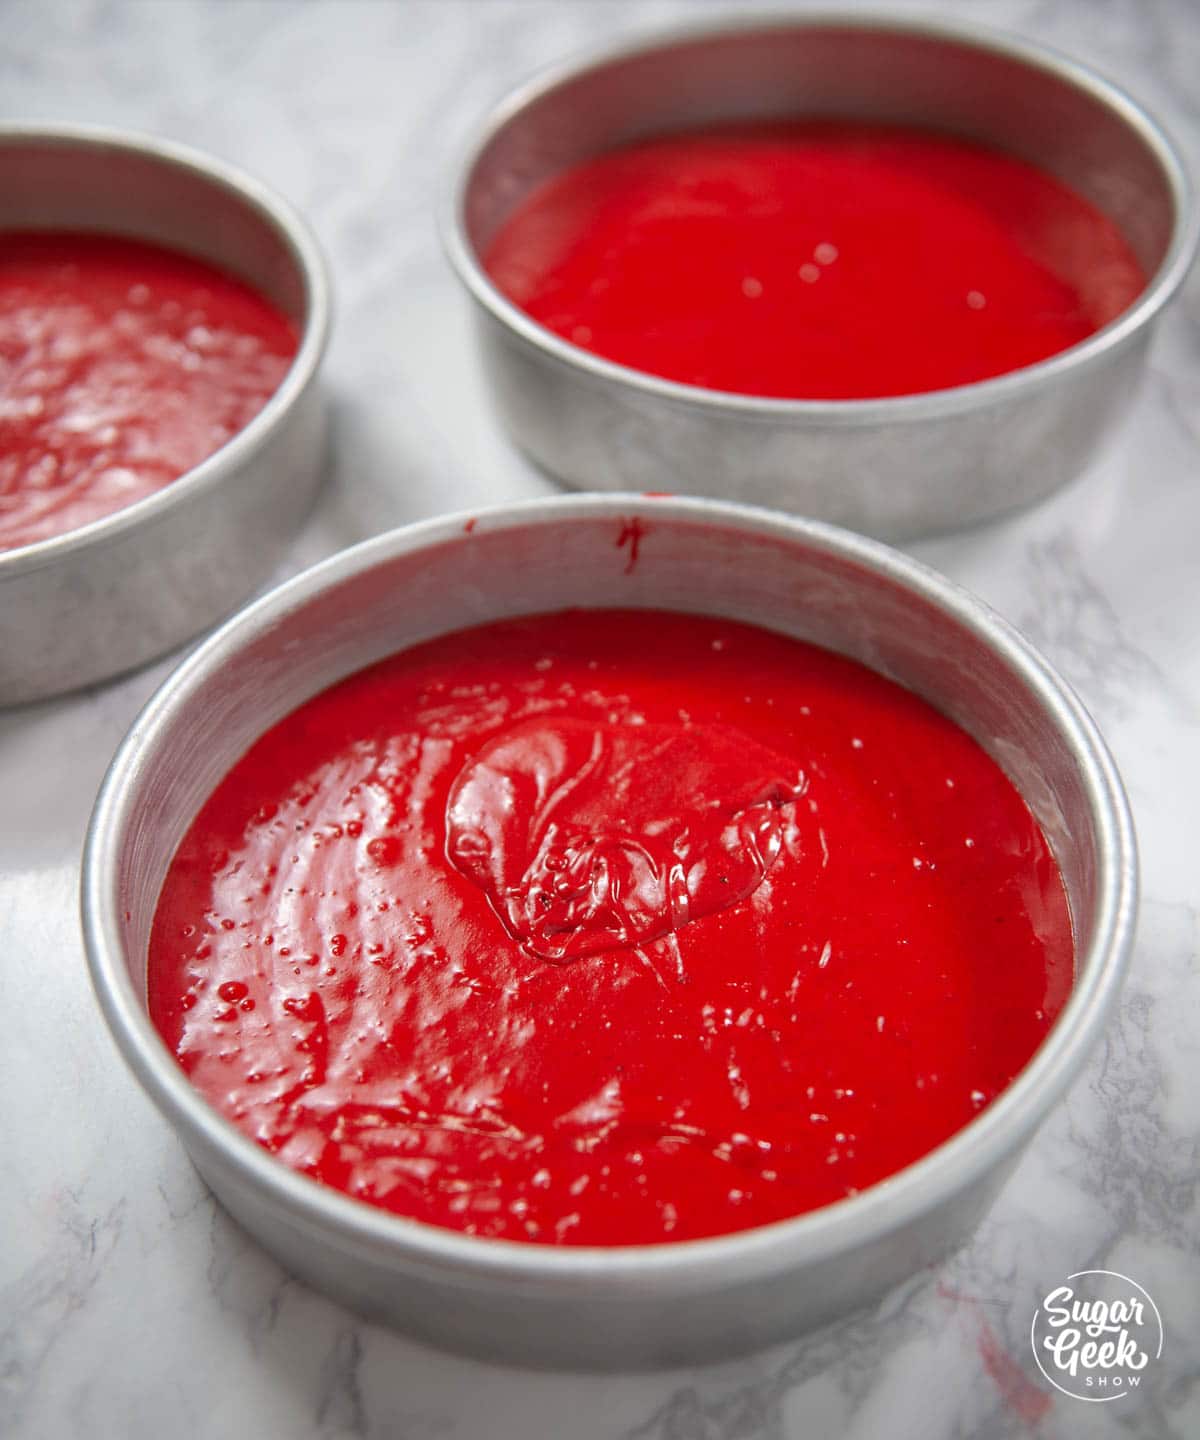
Step 4 - Line all your molds up and start filling them with chocolate one by one, all the way to the top edge. Don't overfill them.
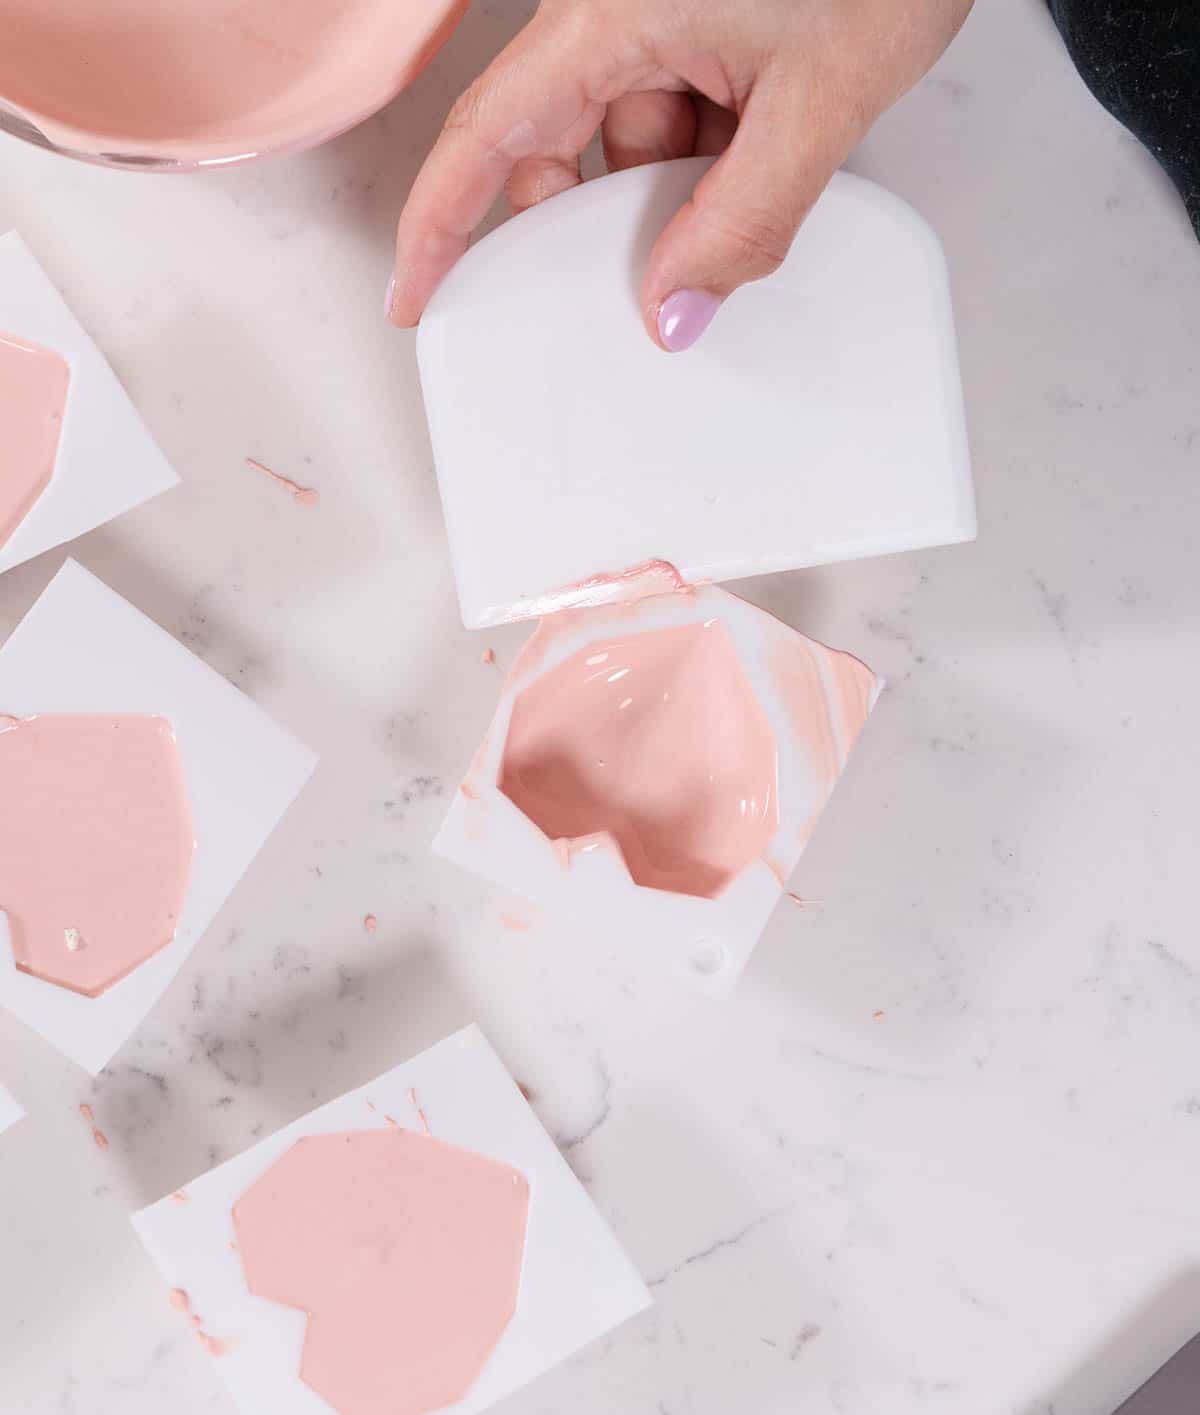
Step 5 - Once they are all filled, start emptying the chocolate back into the bowl. Start with the first mold you filled and work your way to the most recent. Tap the mold or shake it slightly to remove as much of the excess chocolate as possible. Thick shells will be hard to melt.
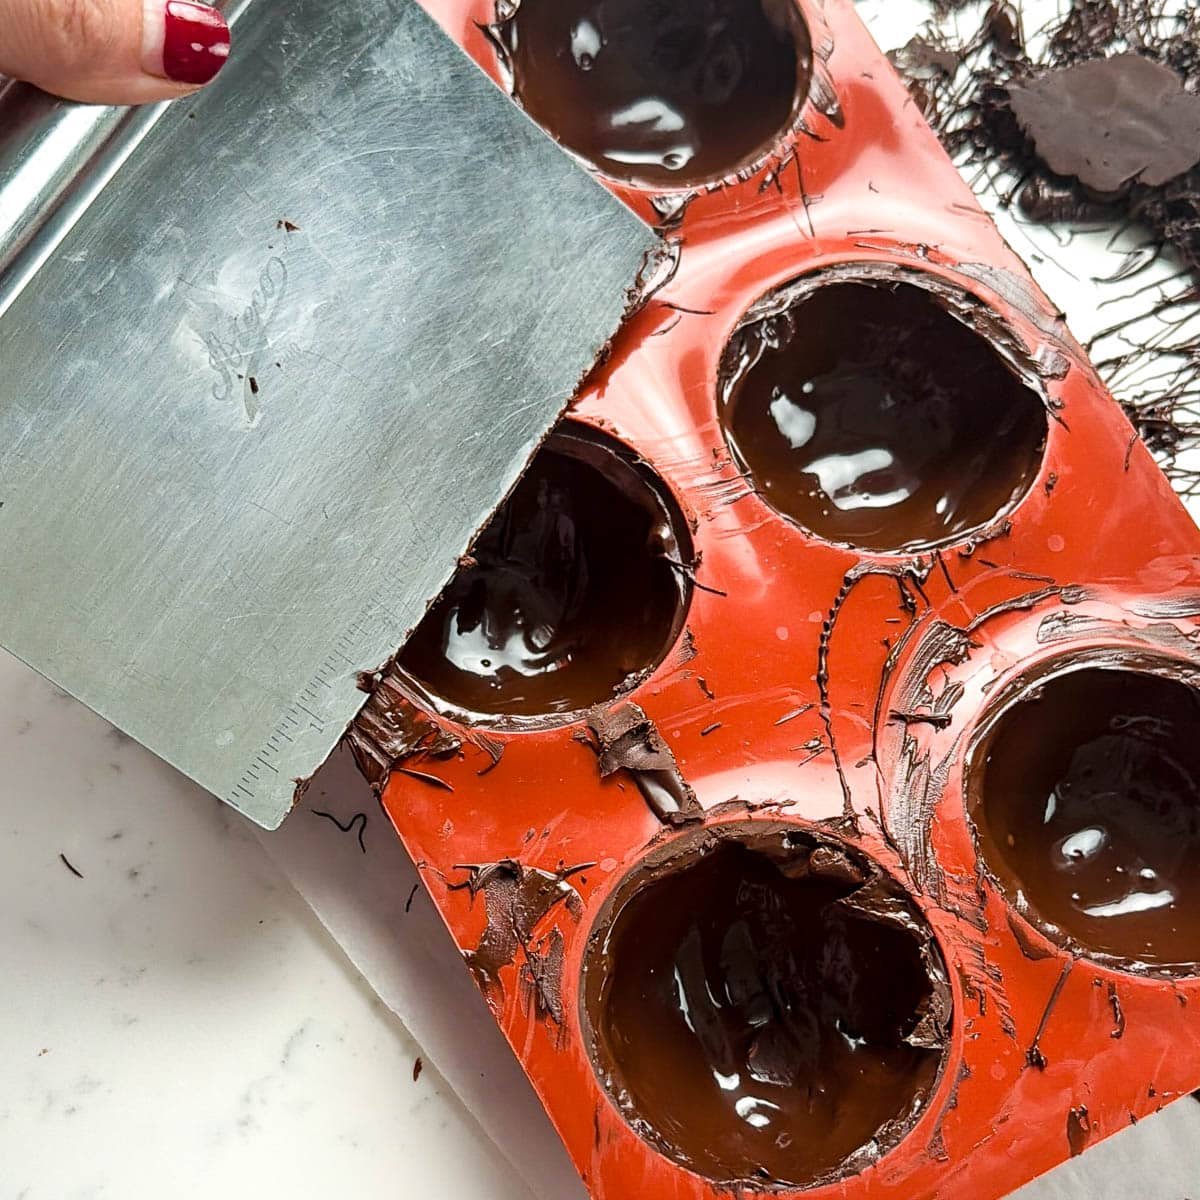
Step 6 - Scrape the top edge with a spatula to make it nice and clean.
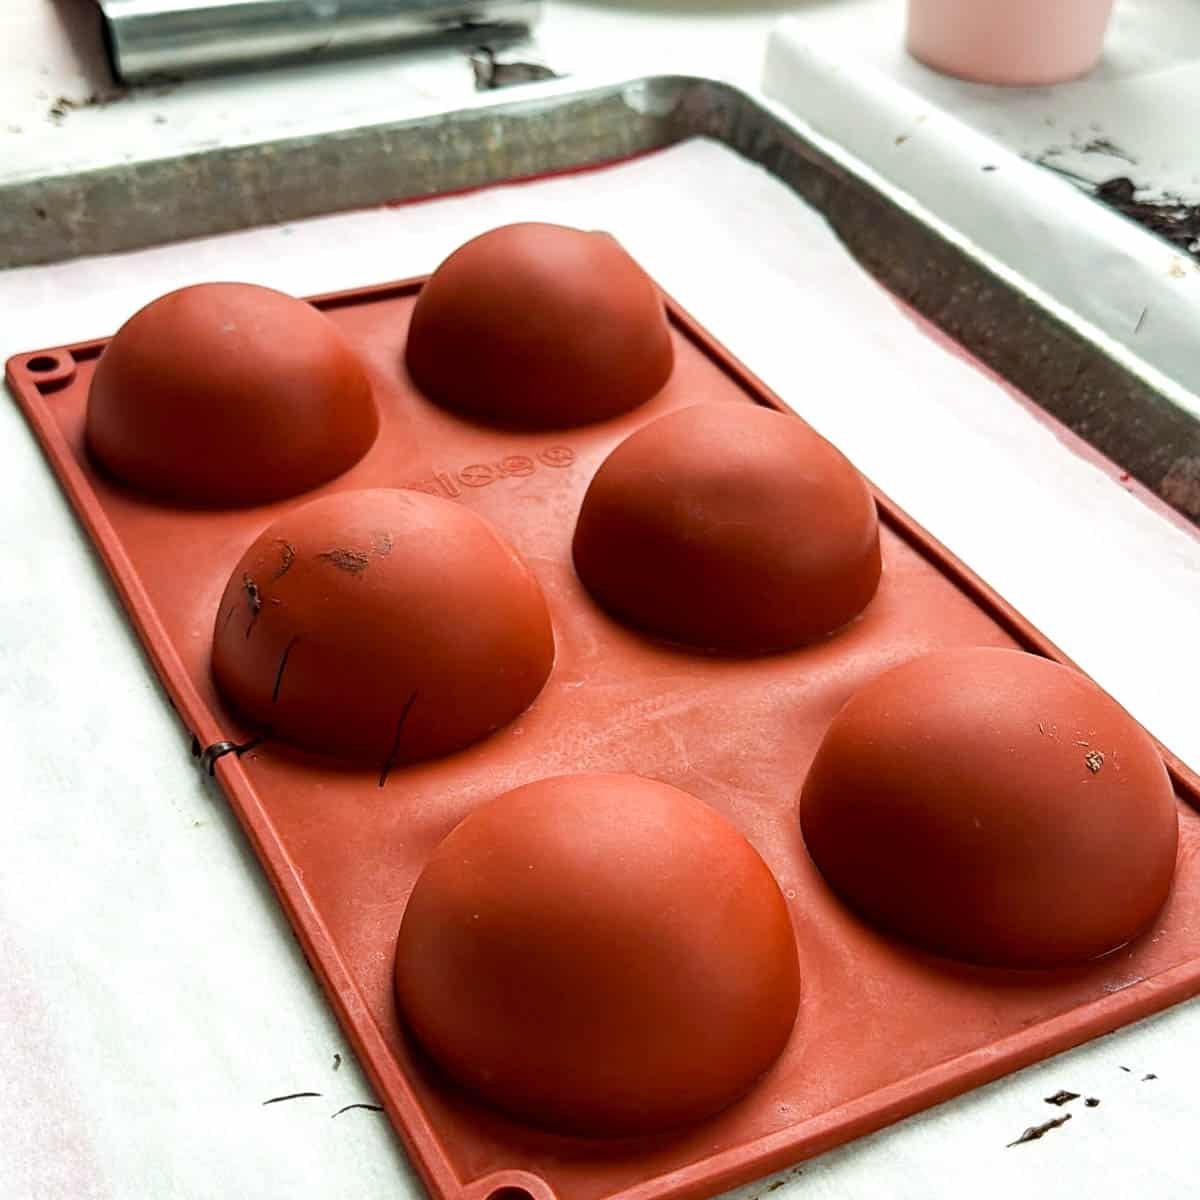
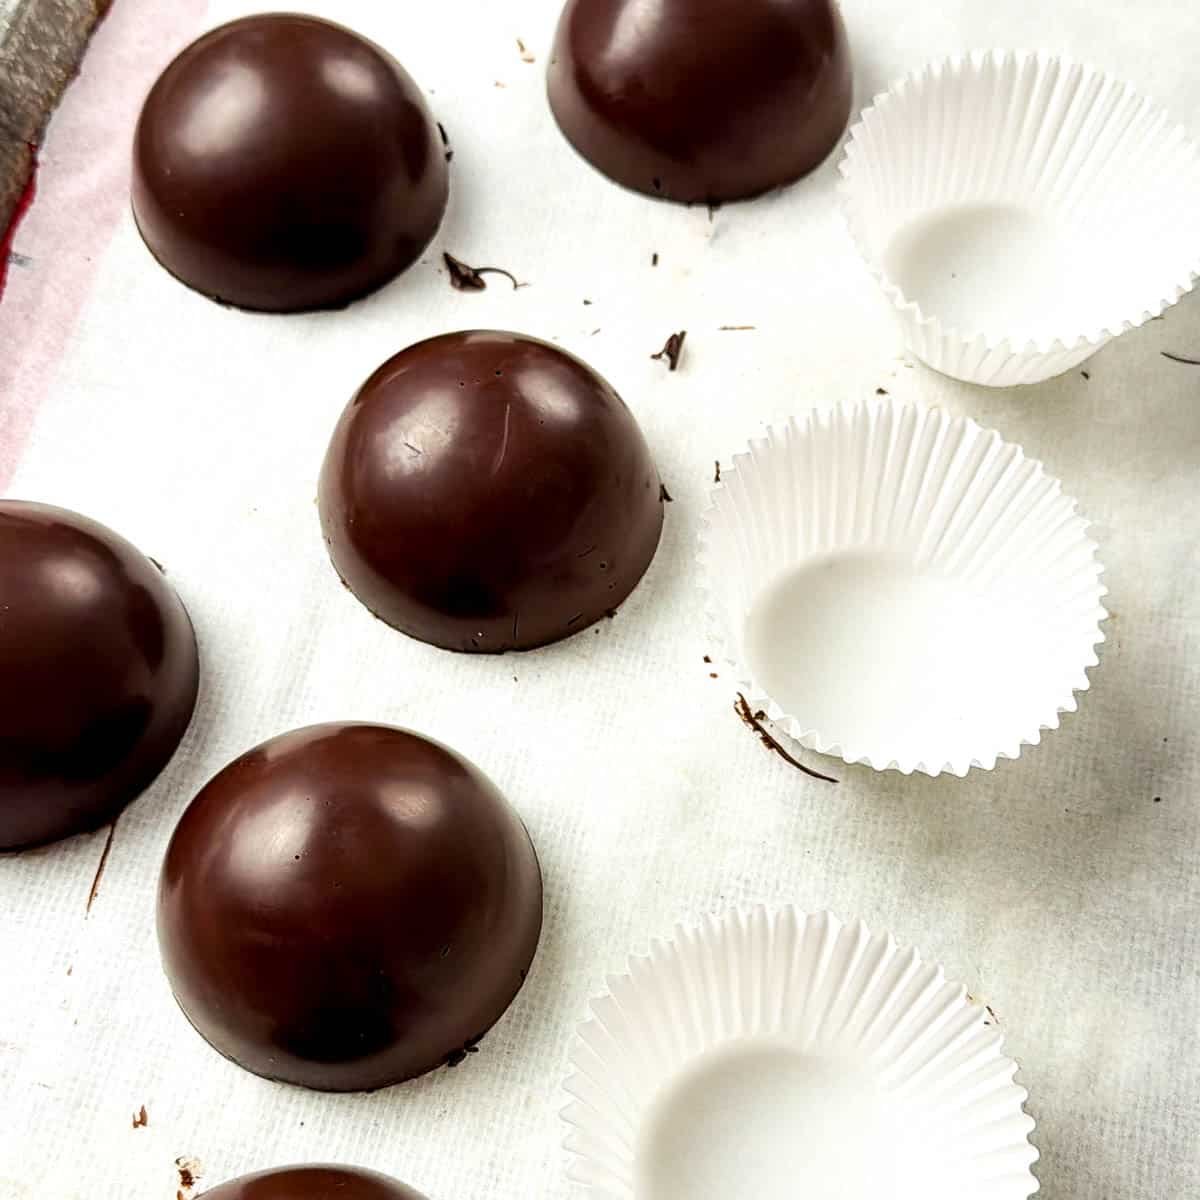
Step 7 - Place the mold upside down on your sheet pan with parchment paper.
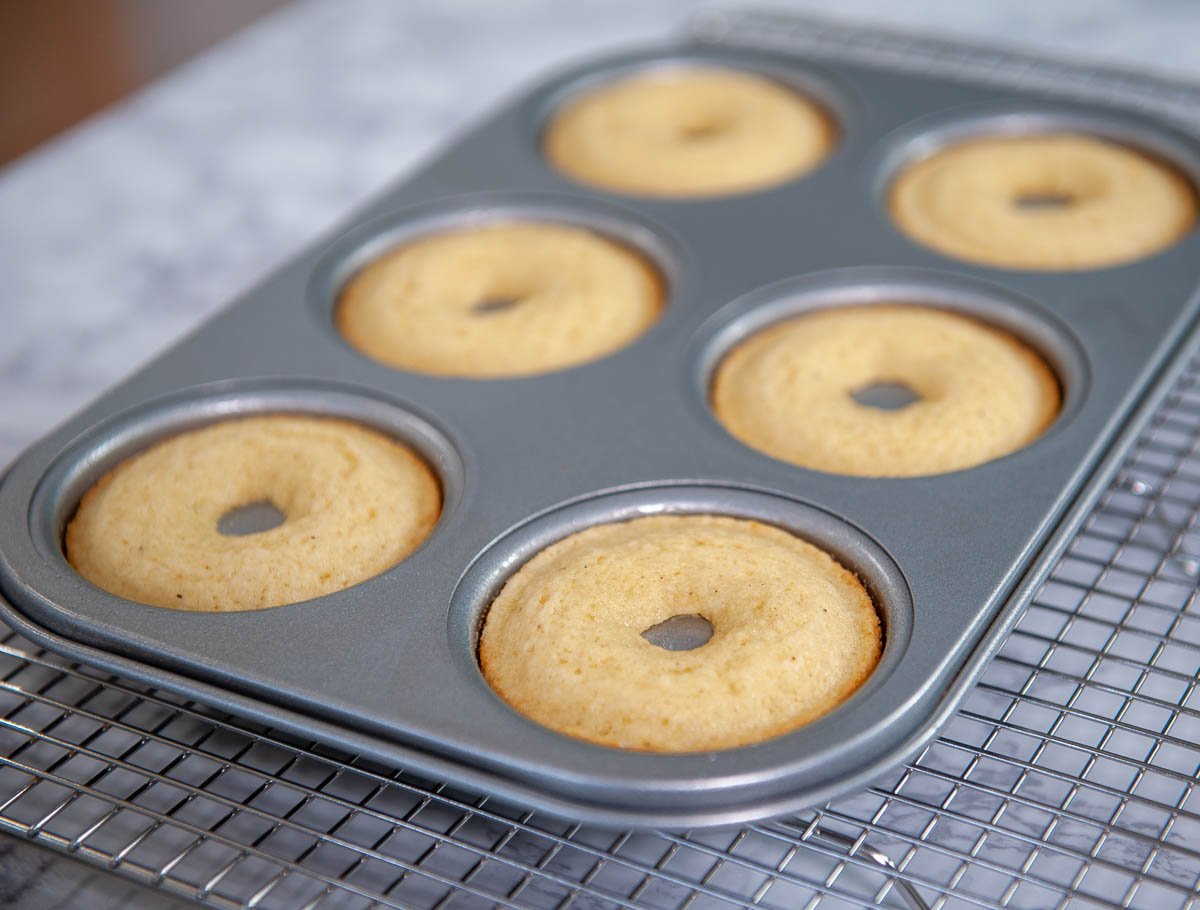
Step 8 - Place the molds into the freezer or fridge for 5 minutes to make them set.
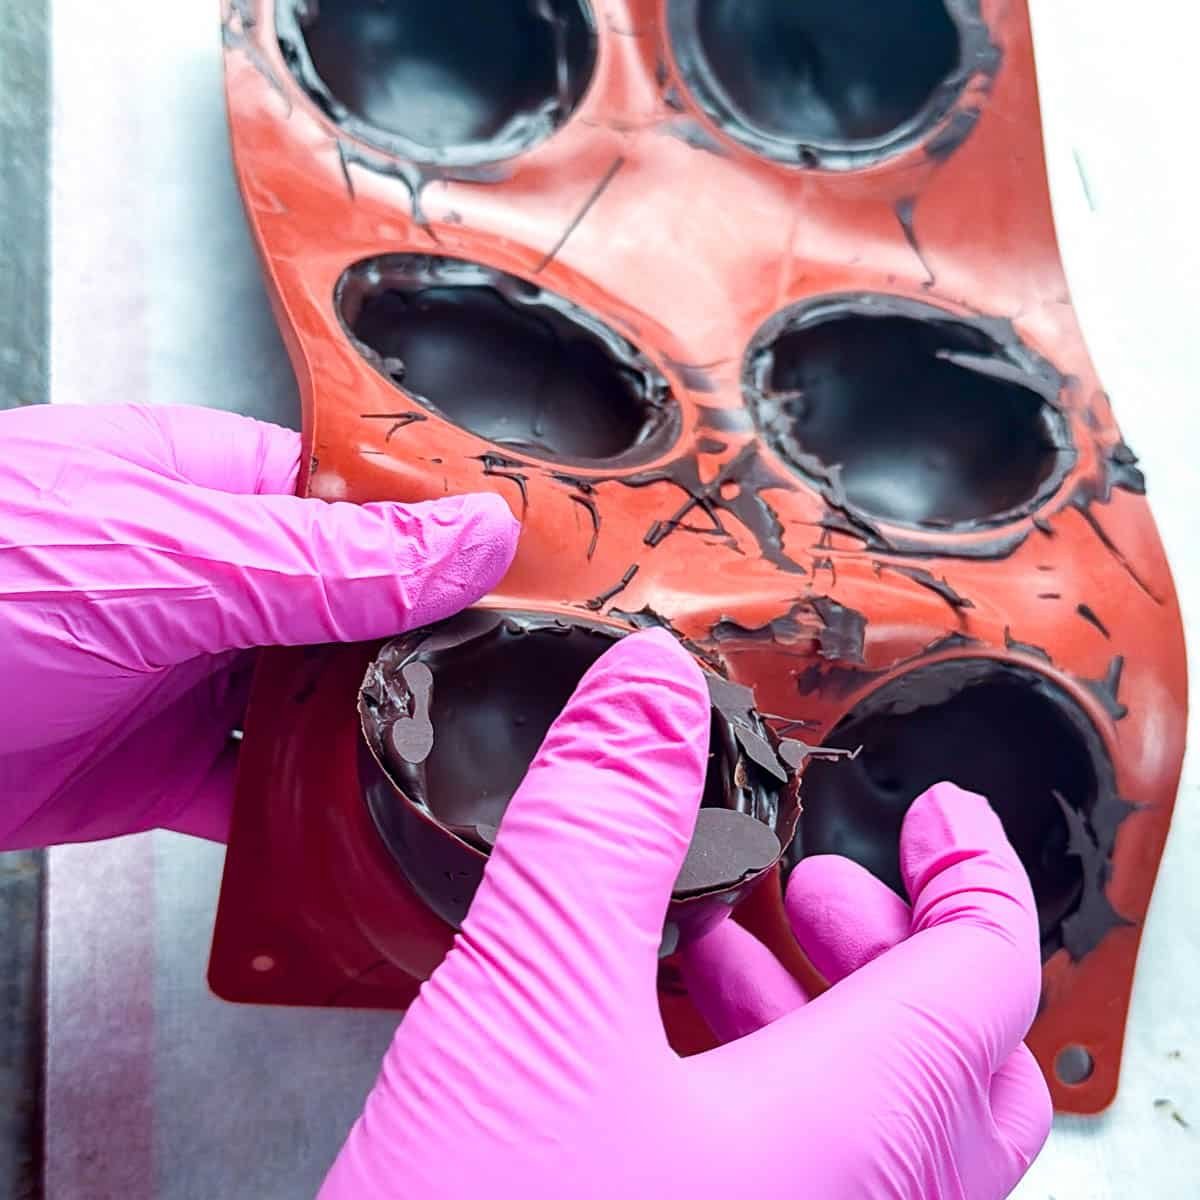
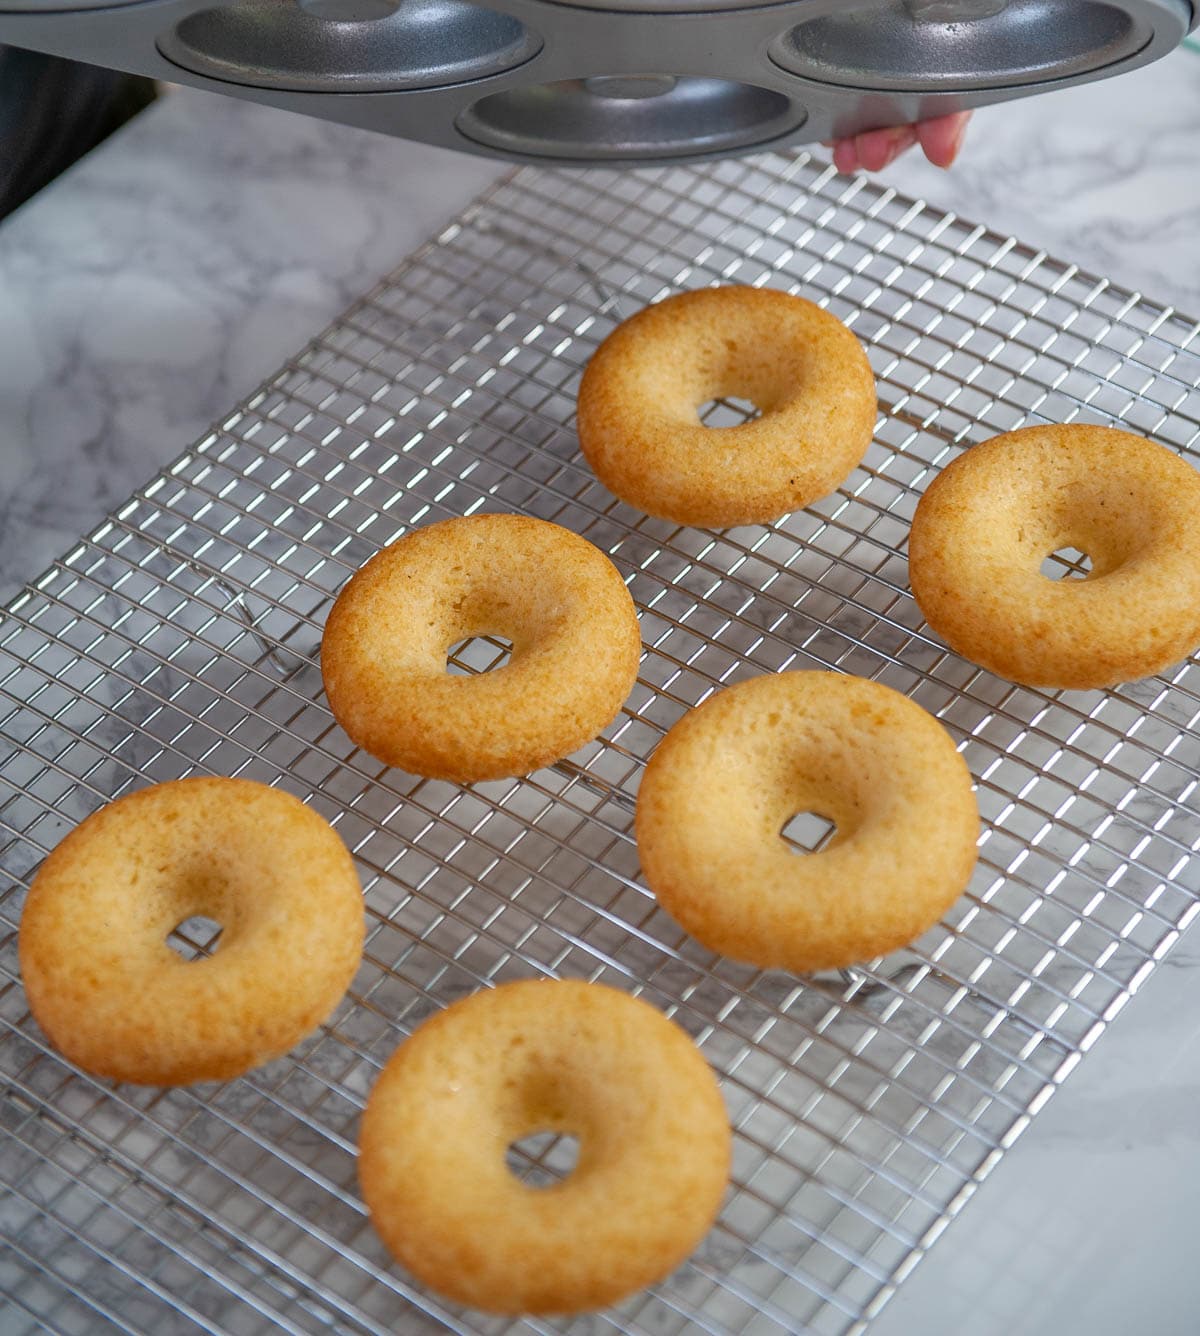
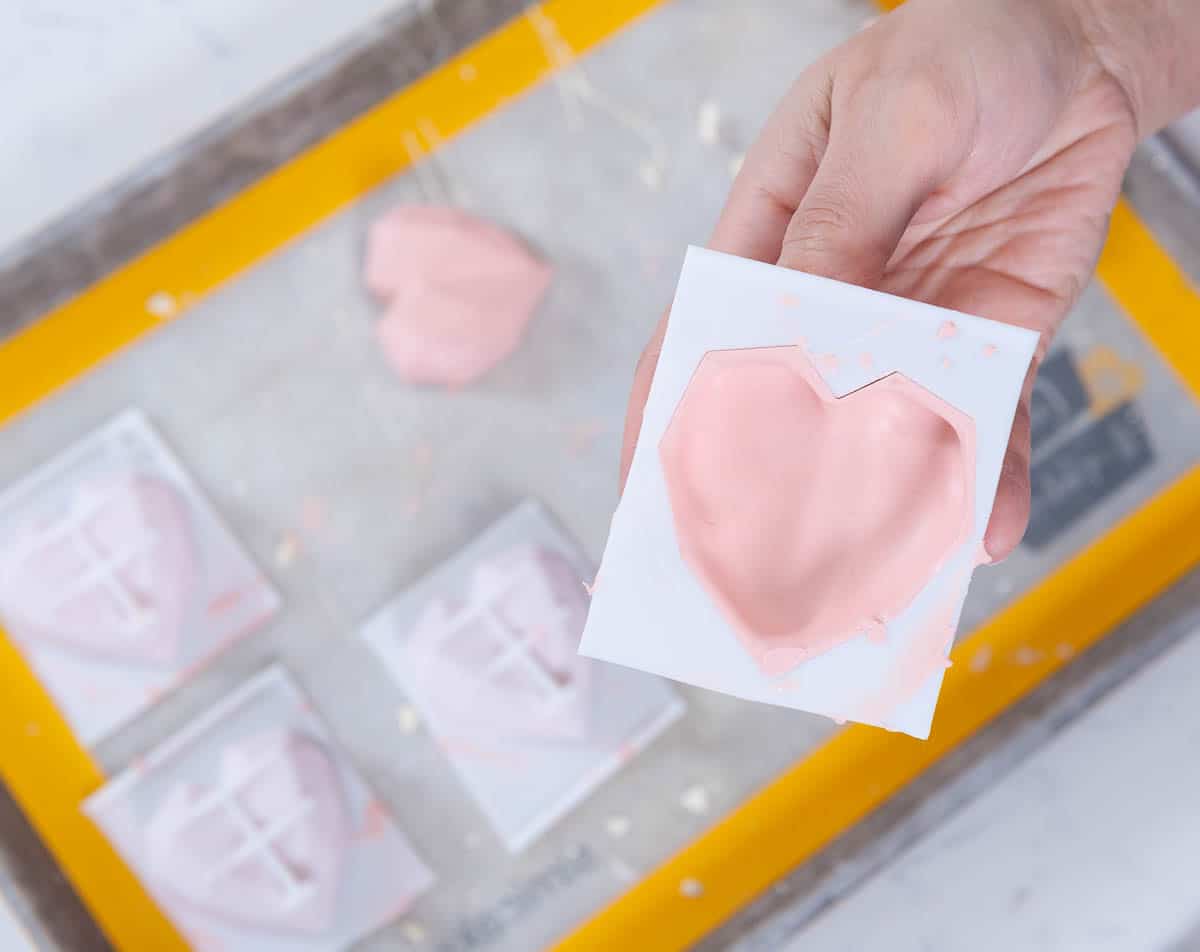
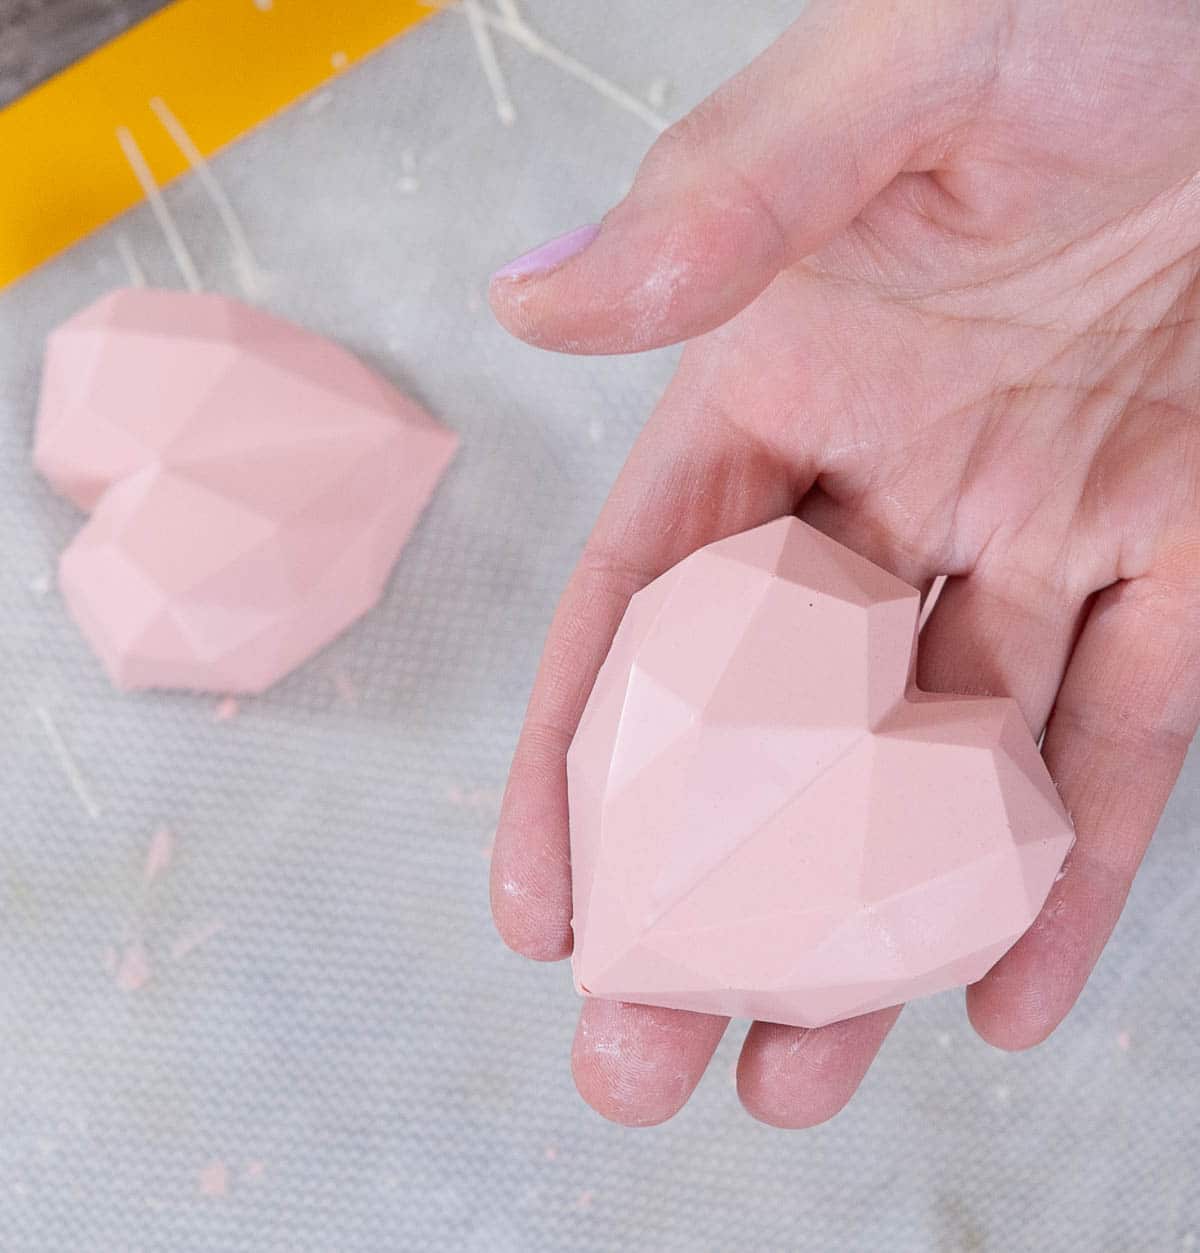
Step 9 - Remove the molds from the freezer and with gloved hands, carefully remove the chocolate hearts from the mold.
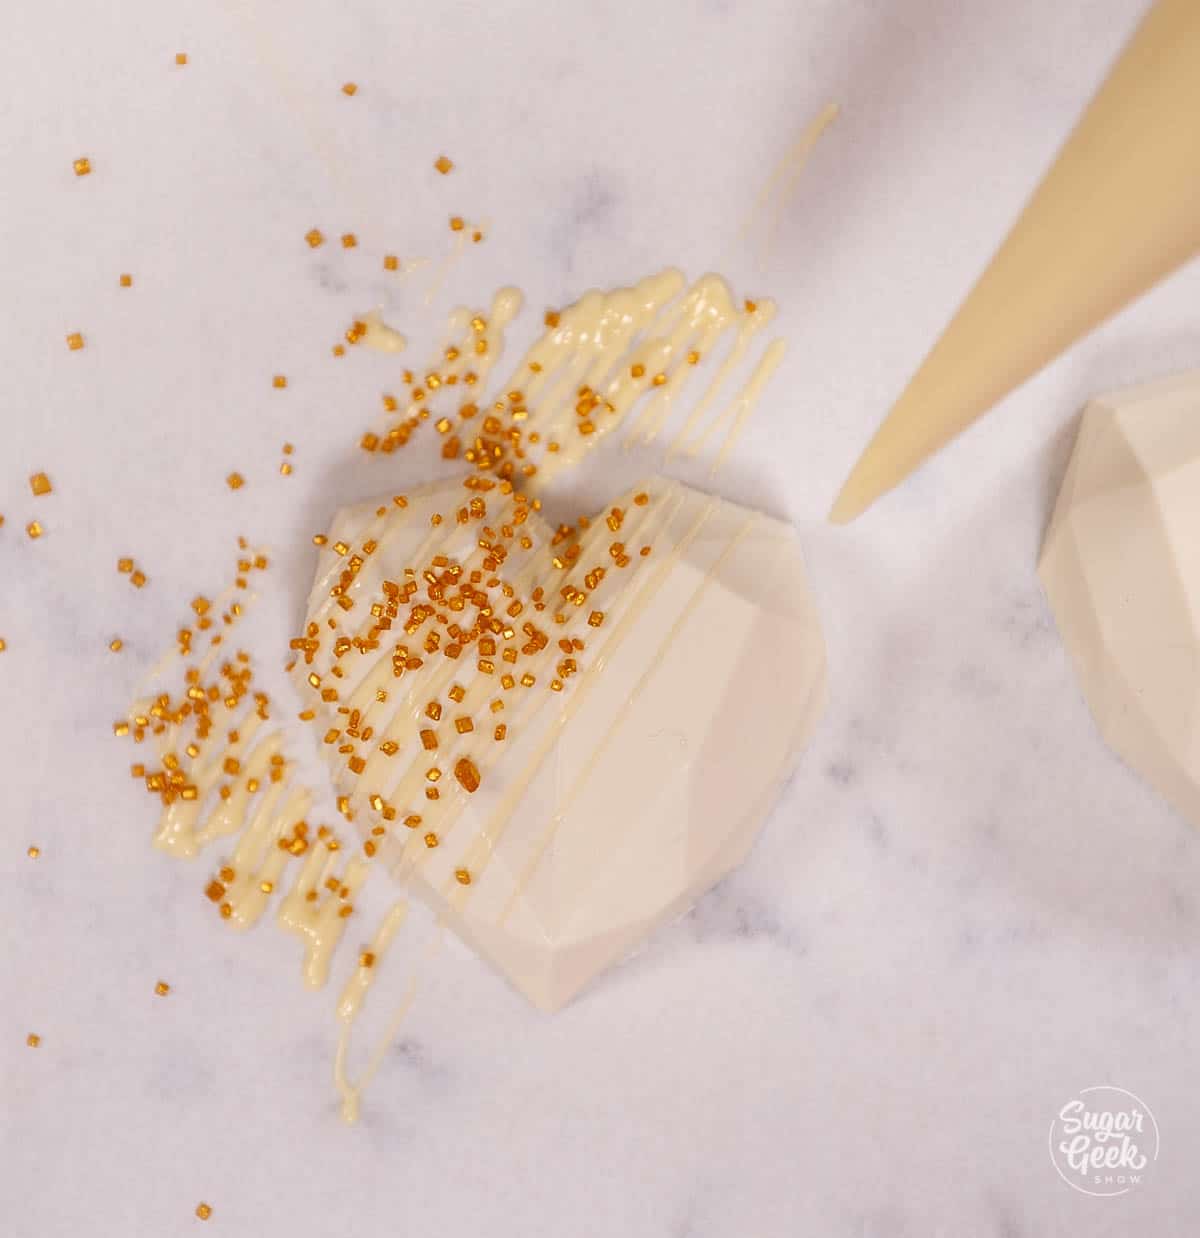
Step 10 - Make sure you have some melted chocolate ready to go for drizzling. I re-melted the chocolate leftover from the heart molds (never going above 88ºF) and placed it into a piping bag.
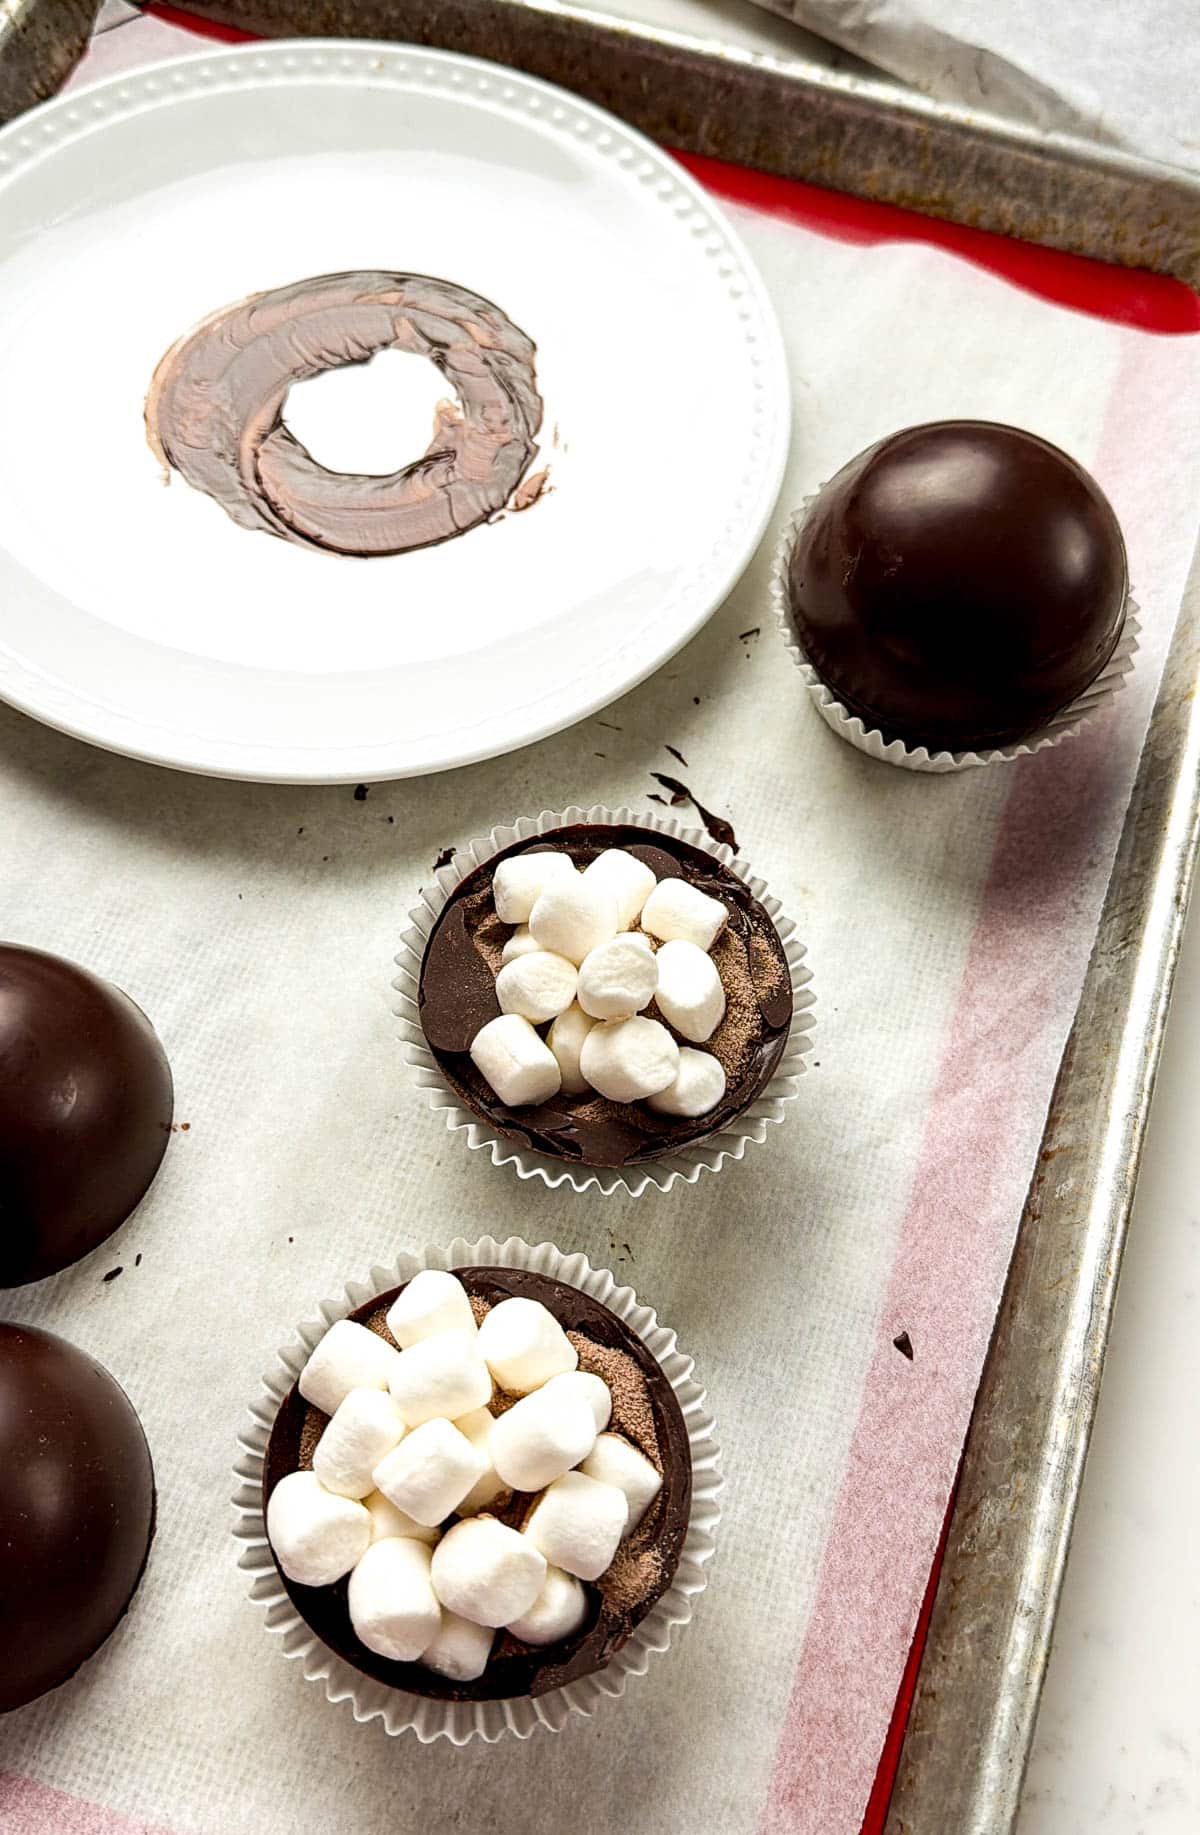
Step 11 - If your edges are not flat, you can melt them slightly on a hot plate. I warmed mine in the microwave for 1 minute.

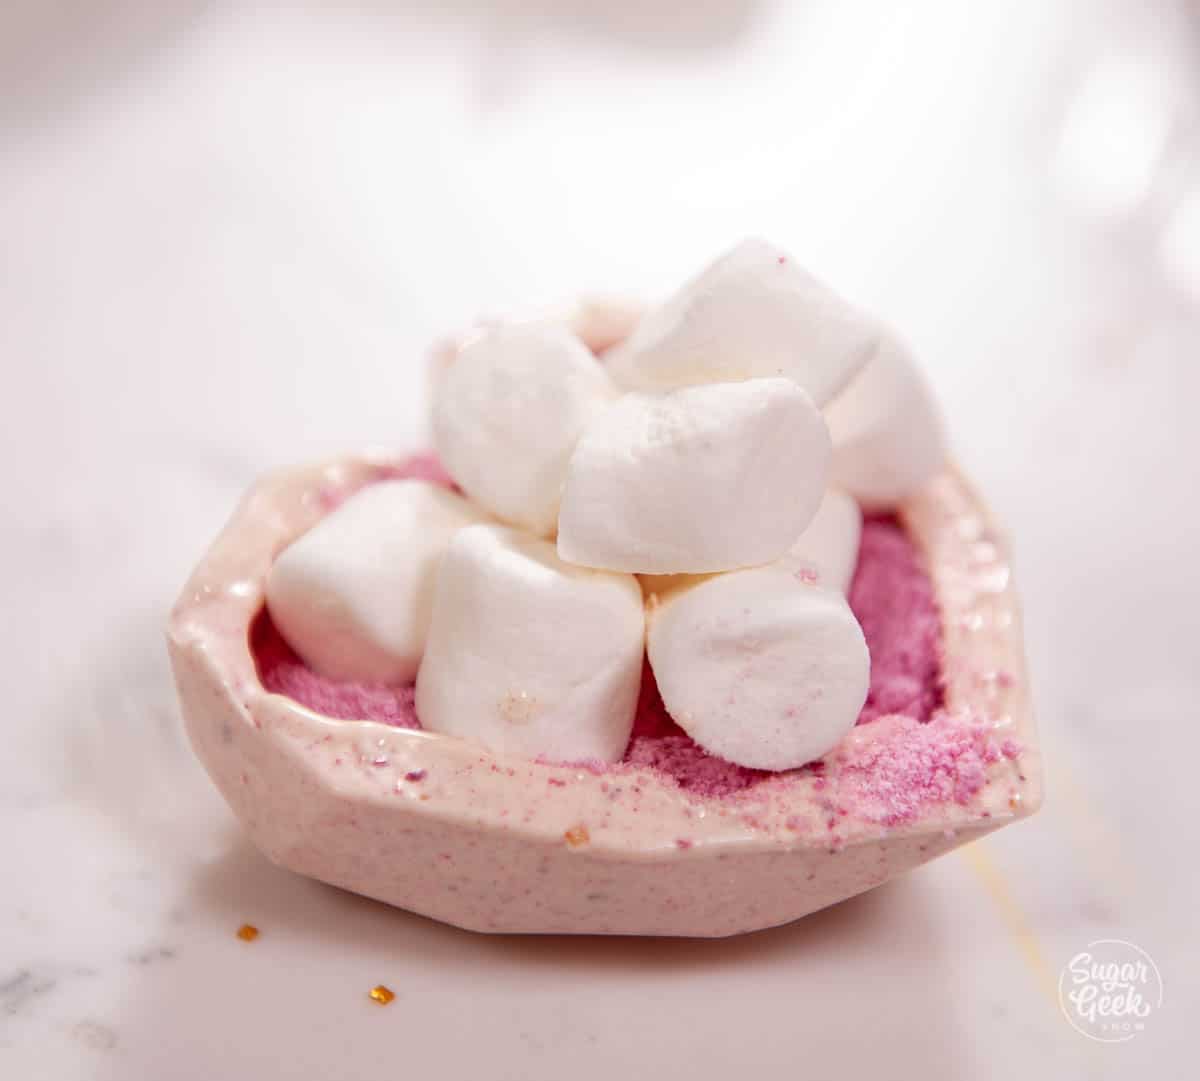
Step 12 - Fill one side of your heart shell with 1 Tablespoon of strawberry cocoa mix. I used Nesquick.
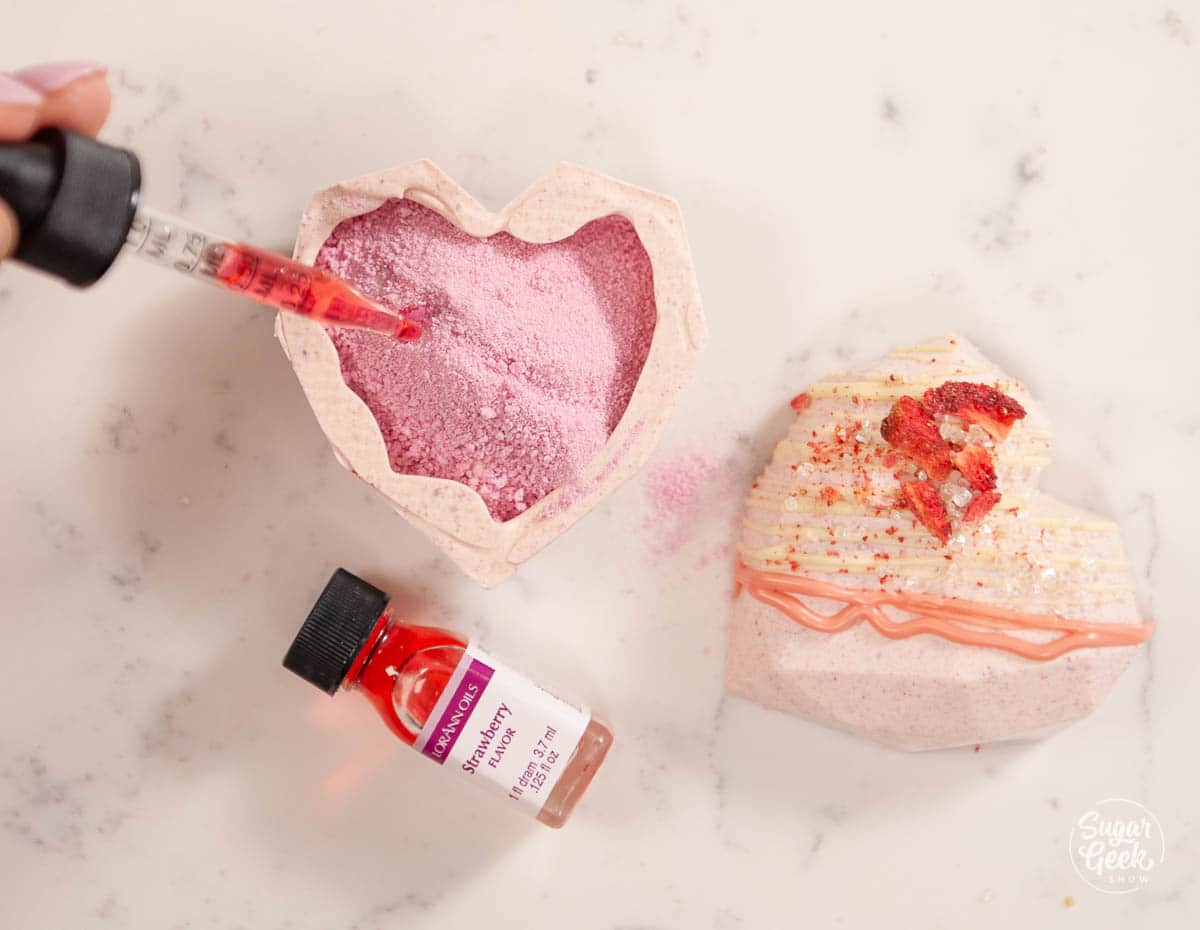
Step 13 - Add two drops of strawberry oil for more strawberry flavor! (optional).
Step 14 - Add some marshmallows on top.
Step 15 - Place your shell on top and squeeze it together to seal it. Make sure you are wearing gloves to avoid fingerprints. You can also pipe chocolate onto the edge and seal it and then wipe away the excess chocolate.
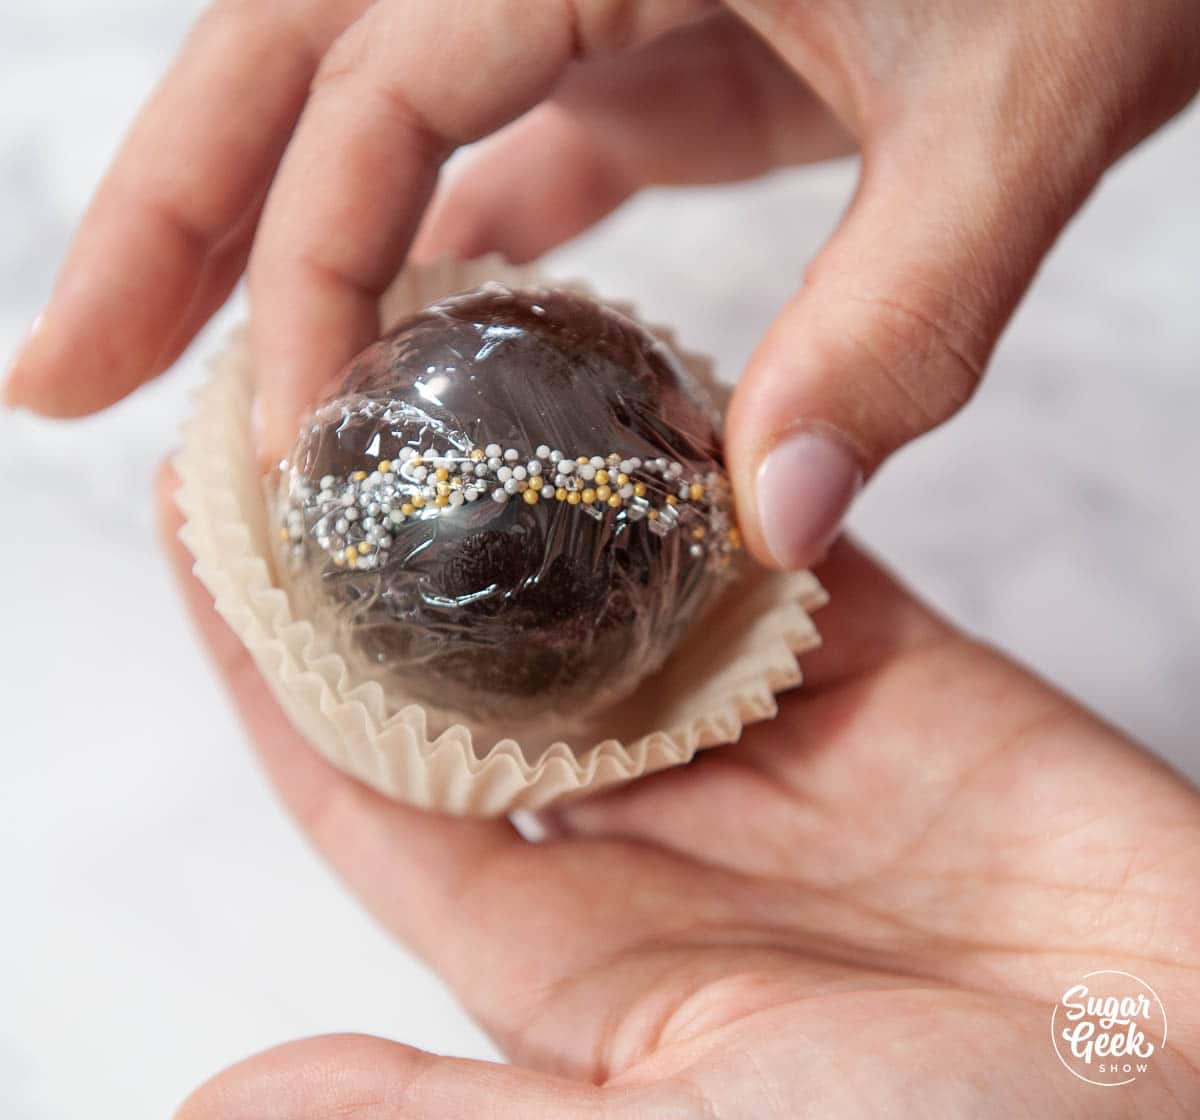
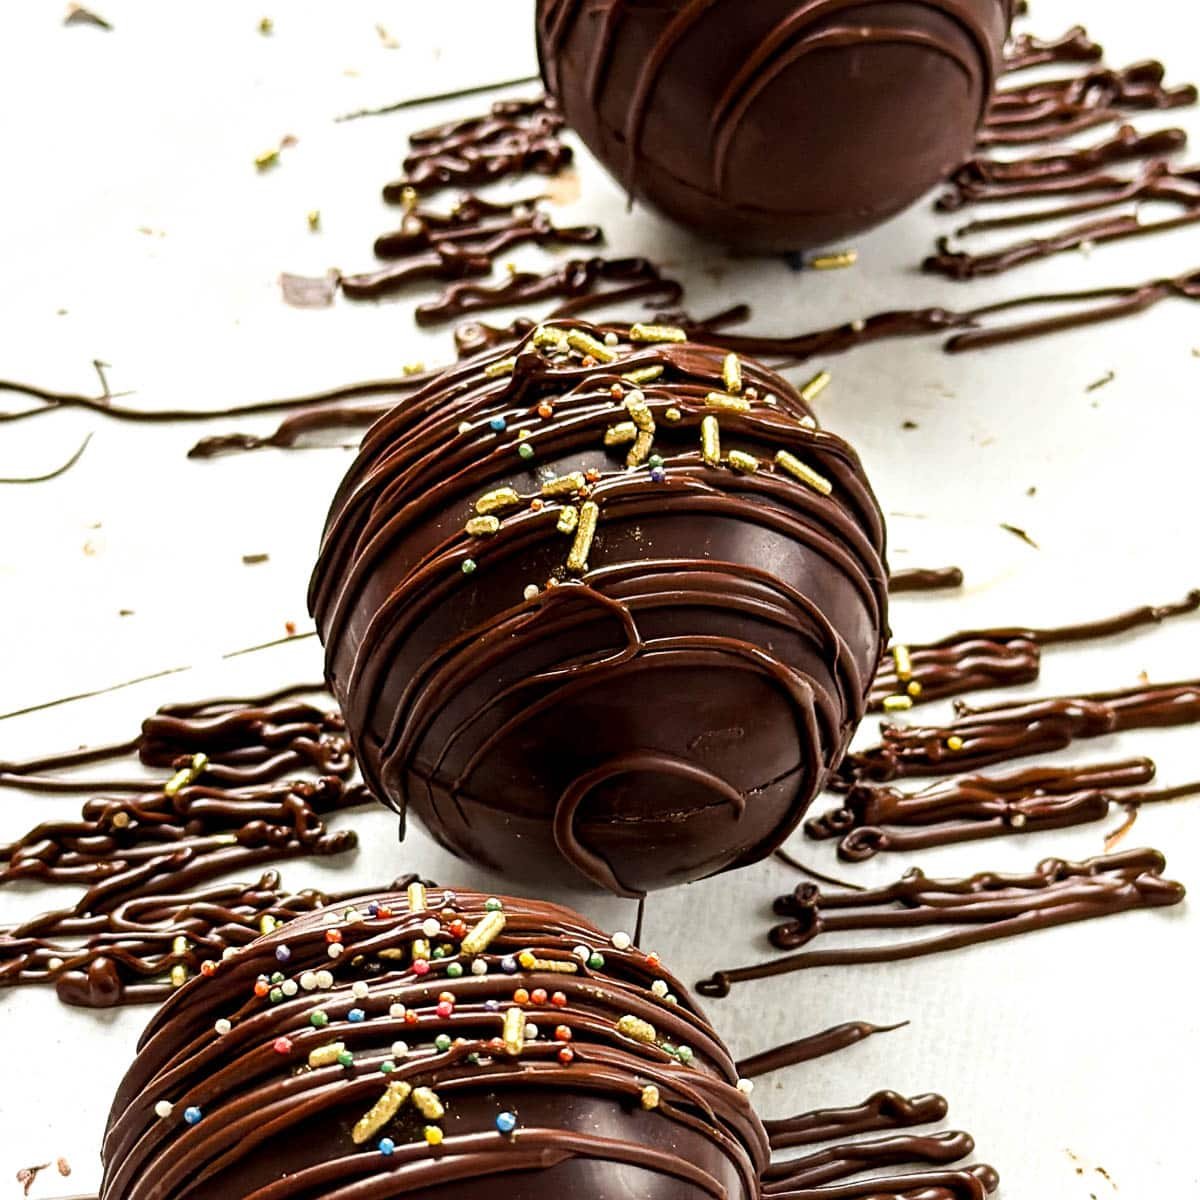
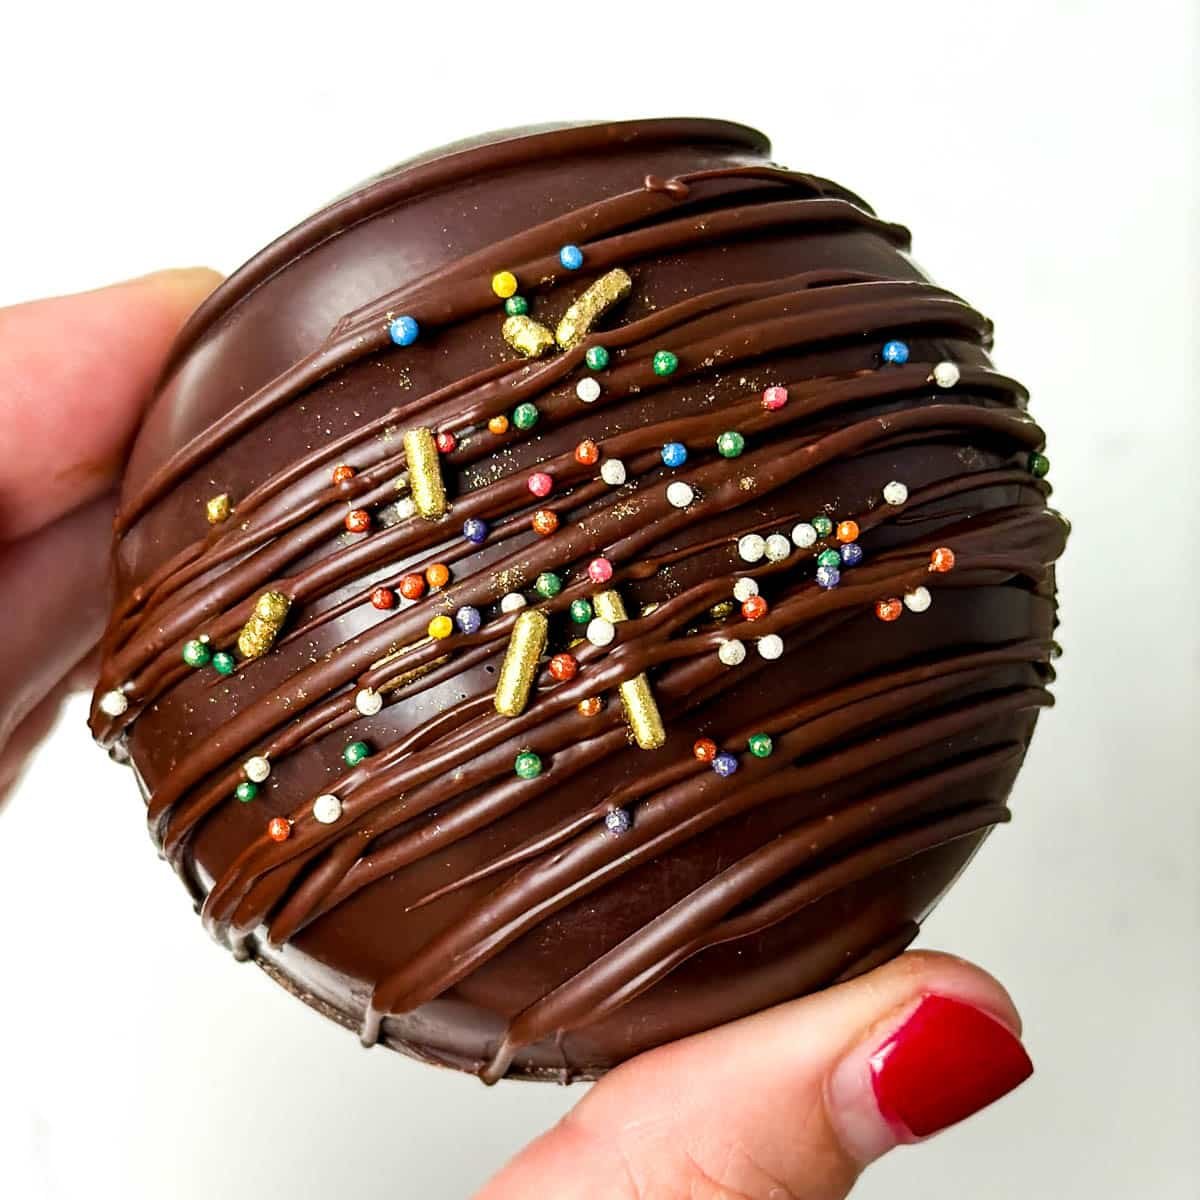
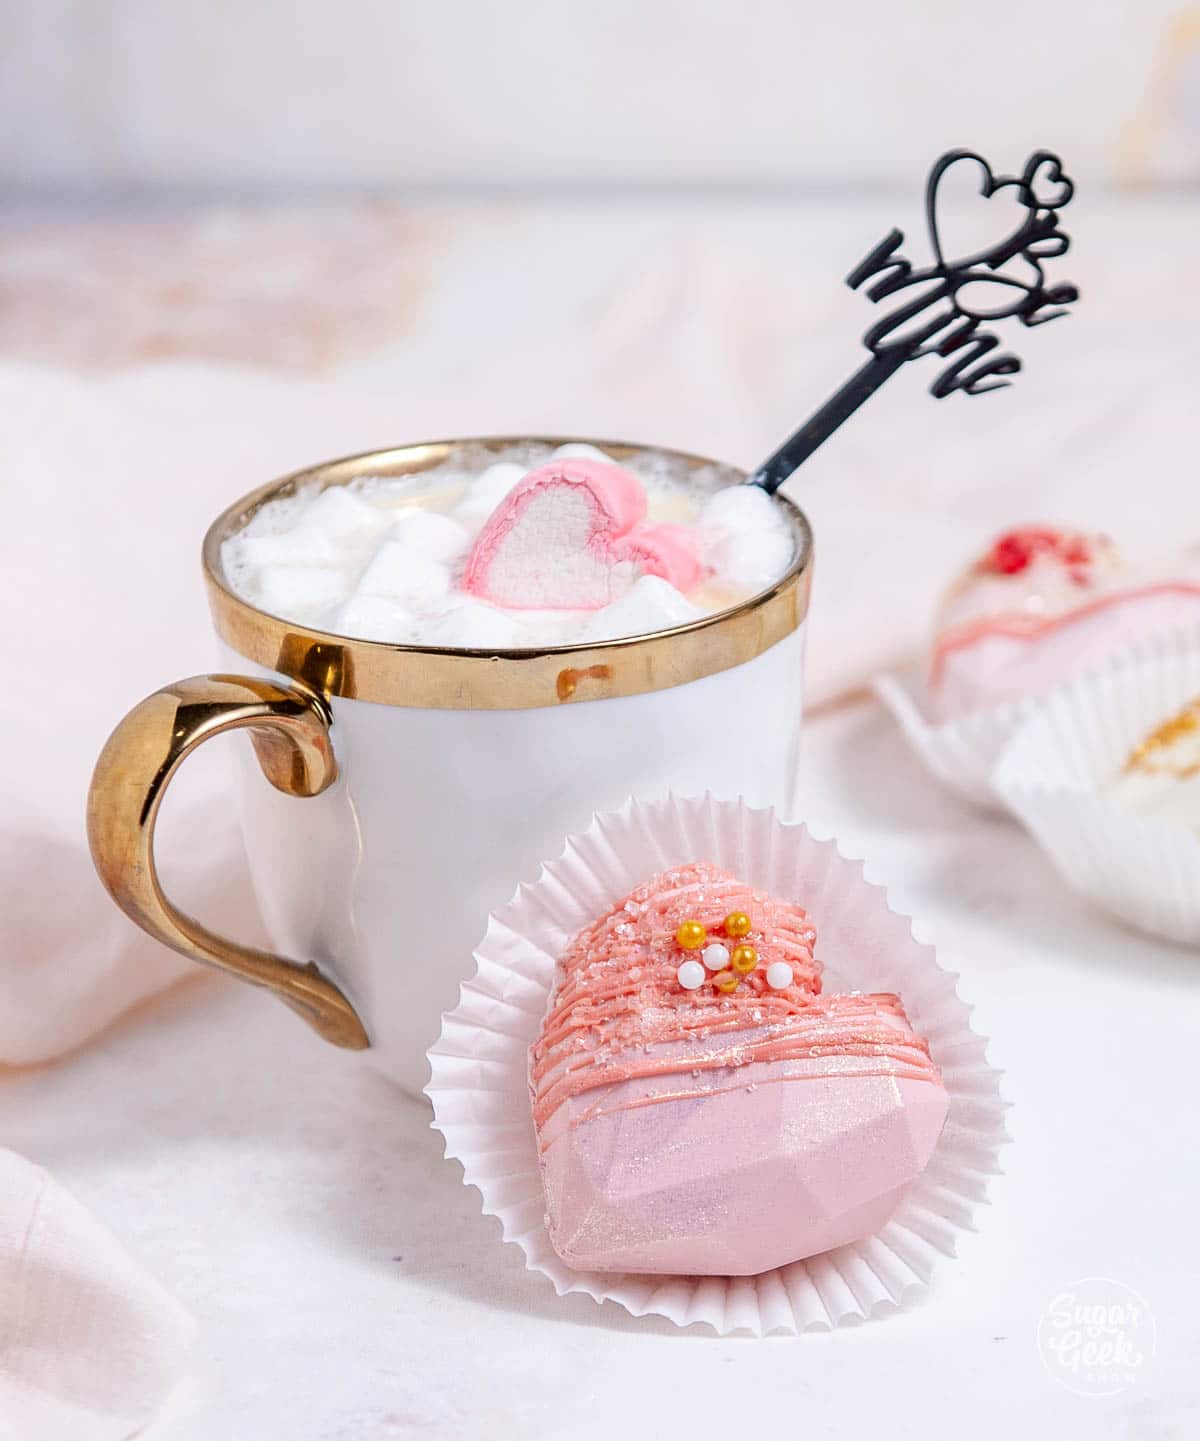
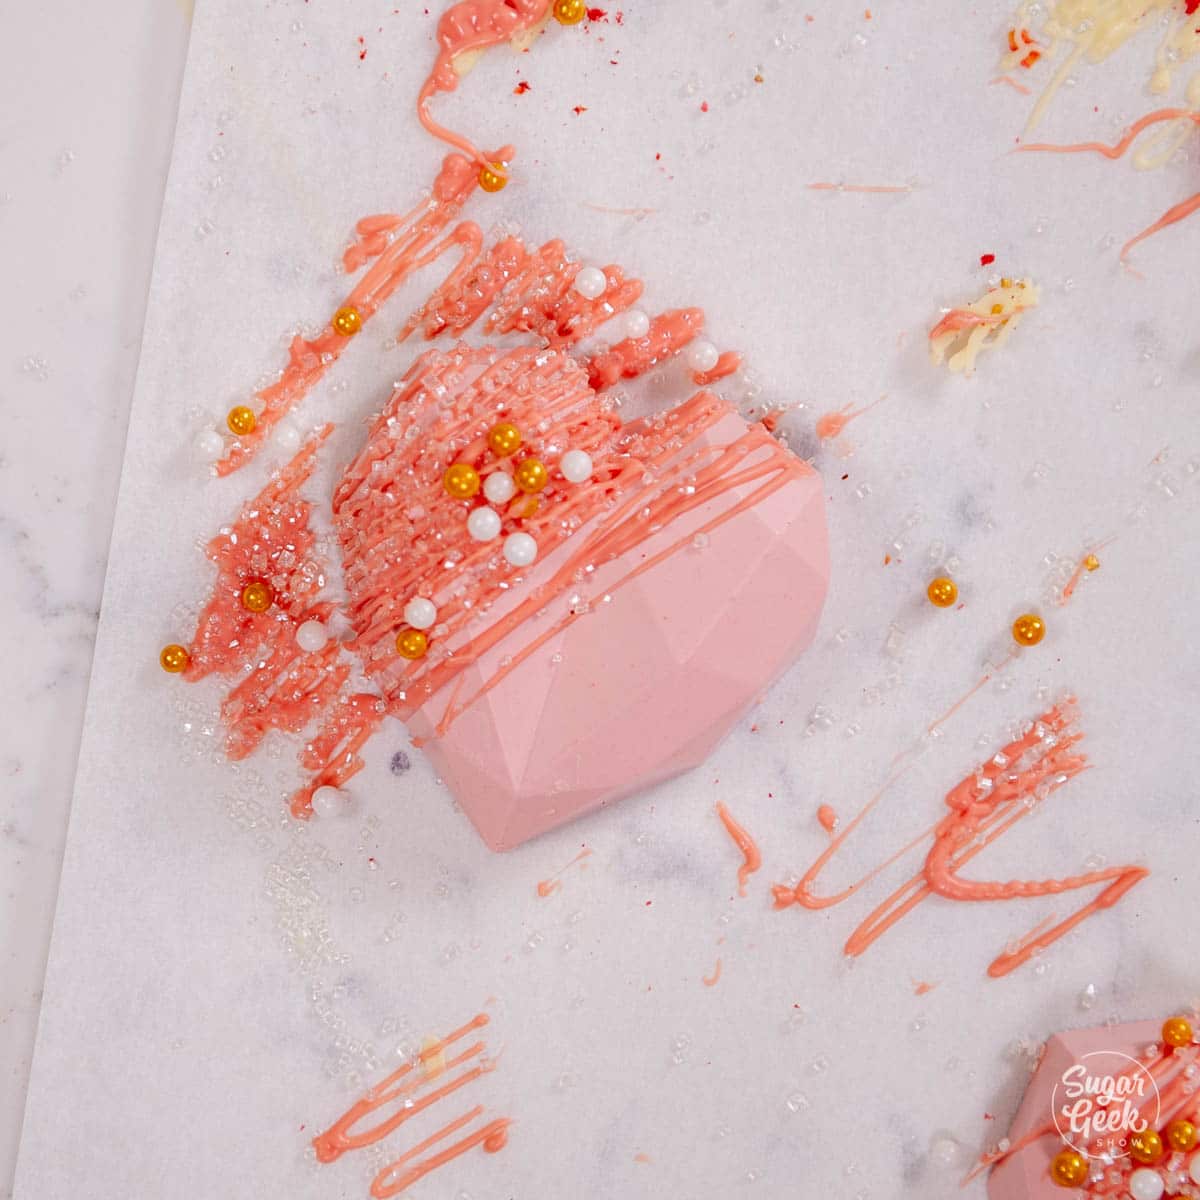
Step 16 - Drizzle some melted chocolate on top, add some sprinkles, crushed strawberries, anything you want!
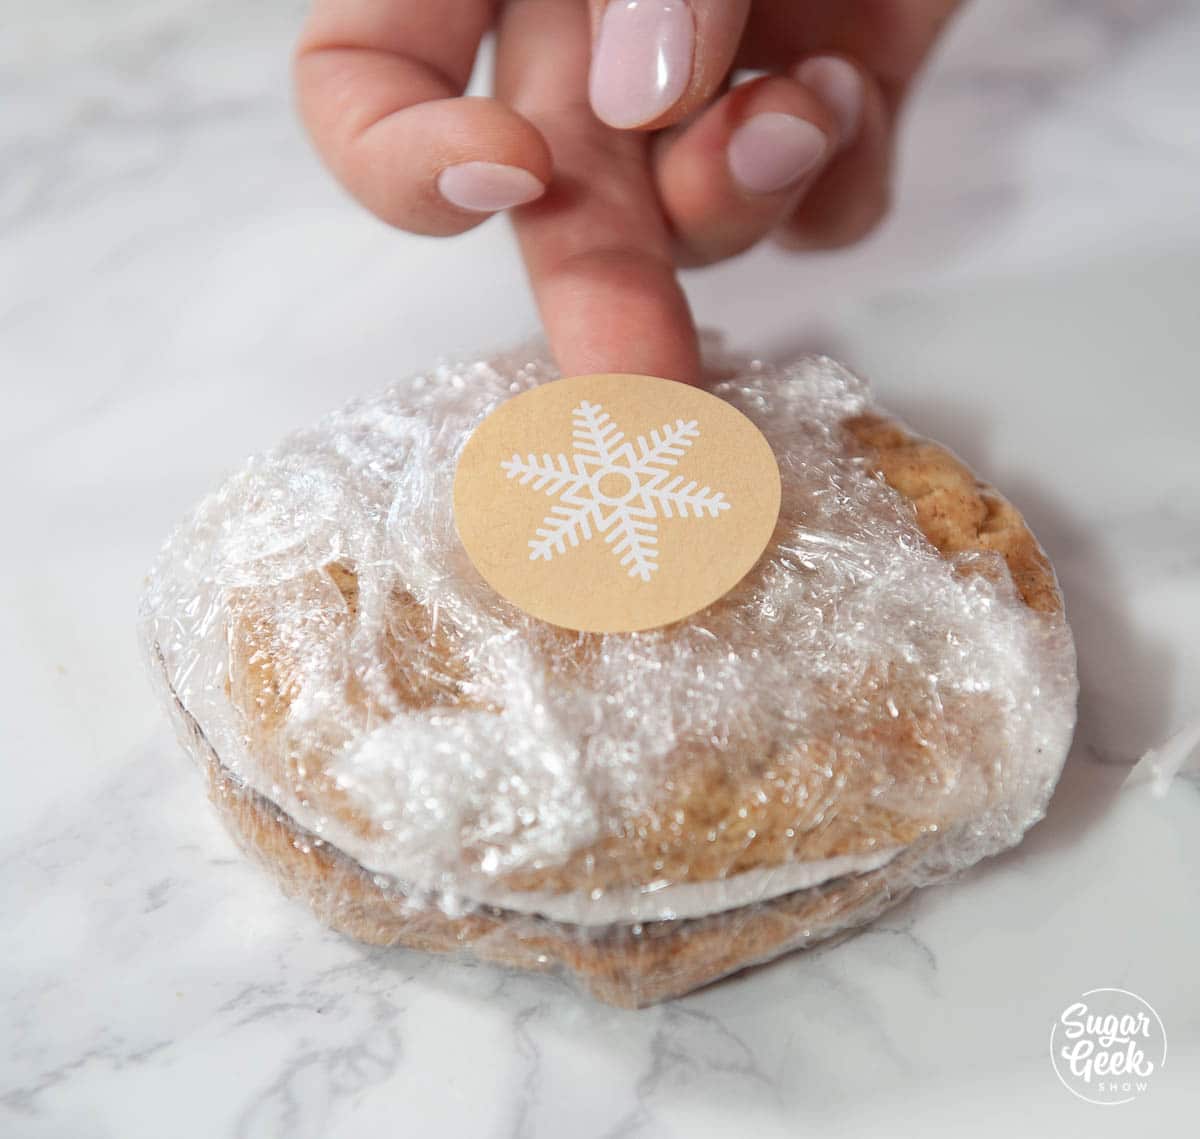
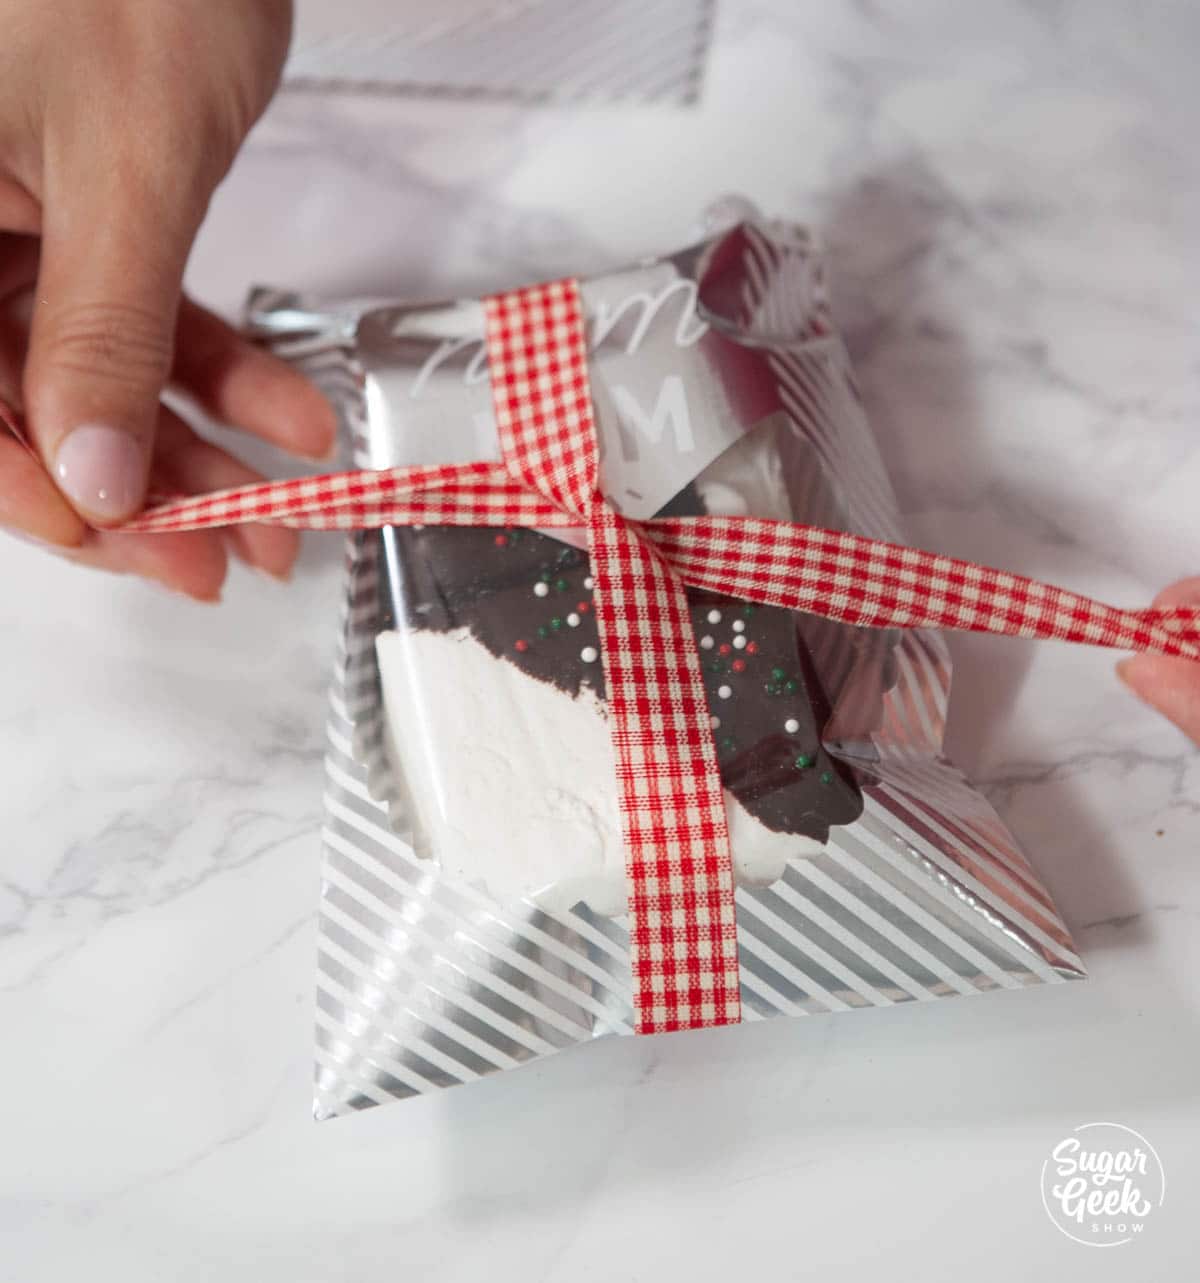
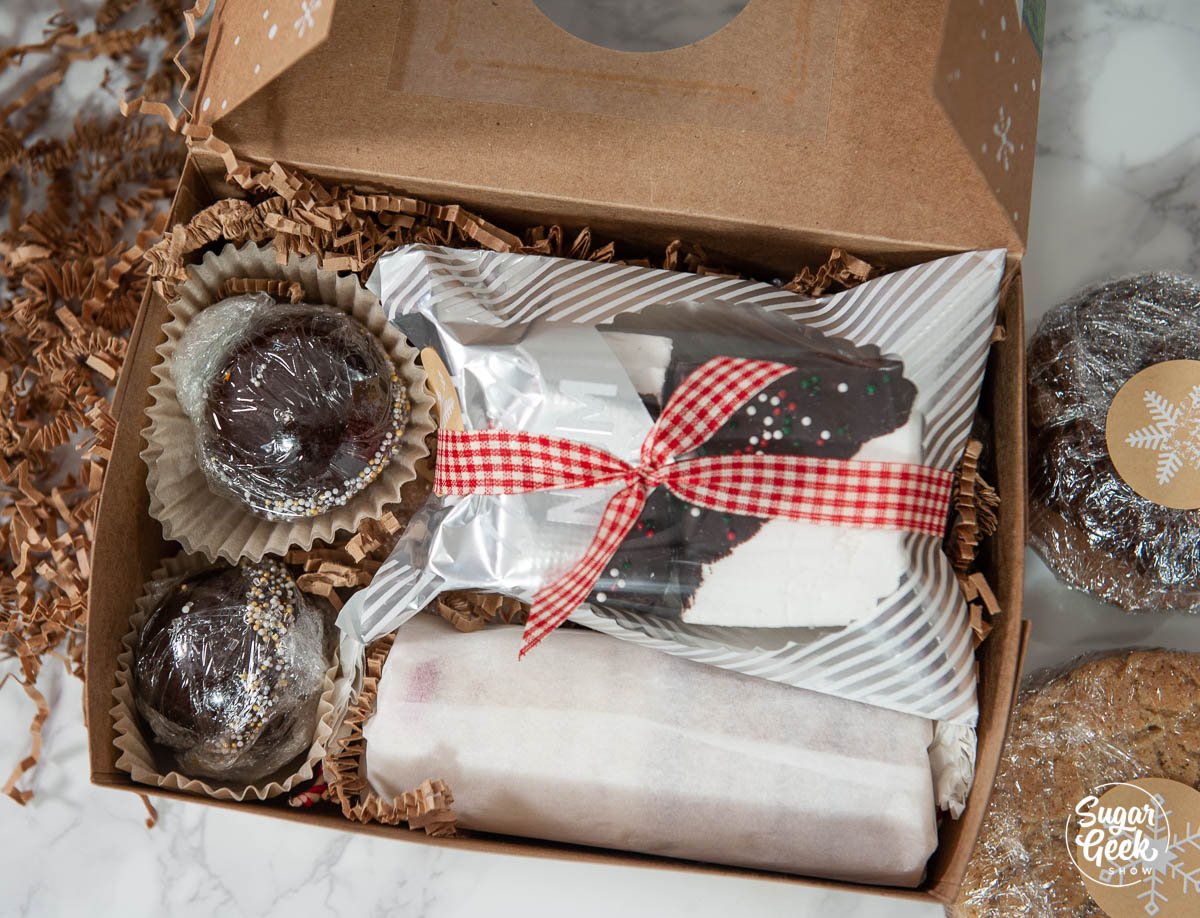
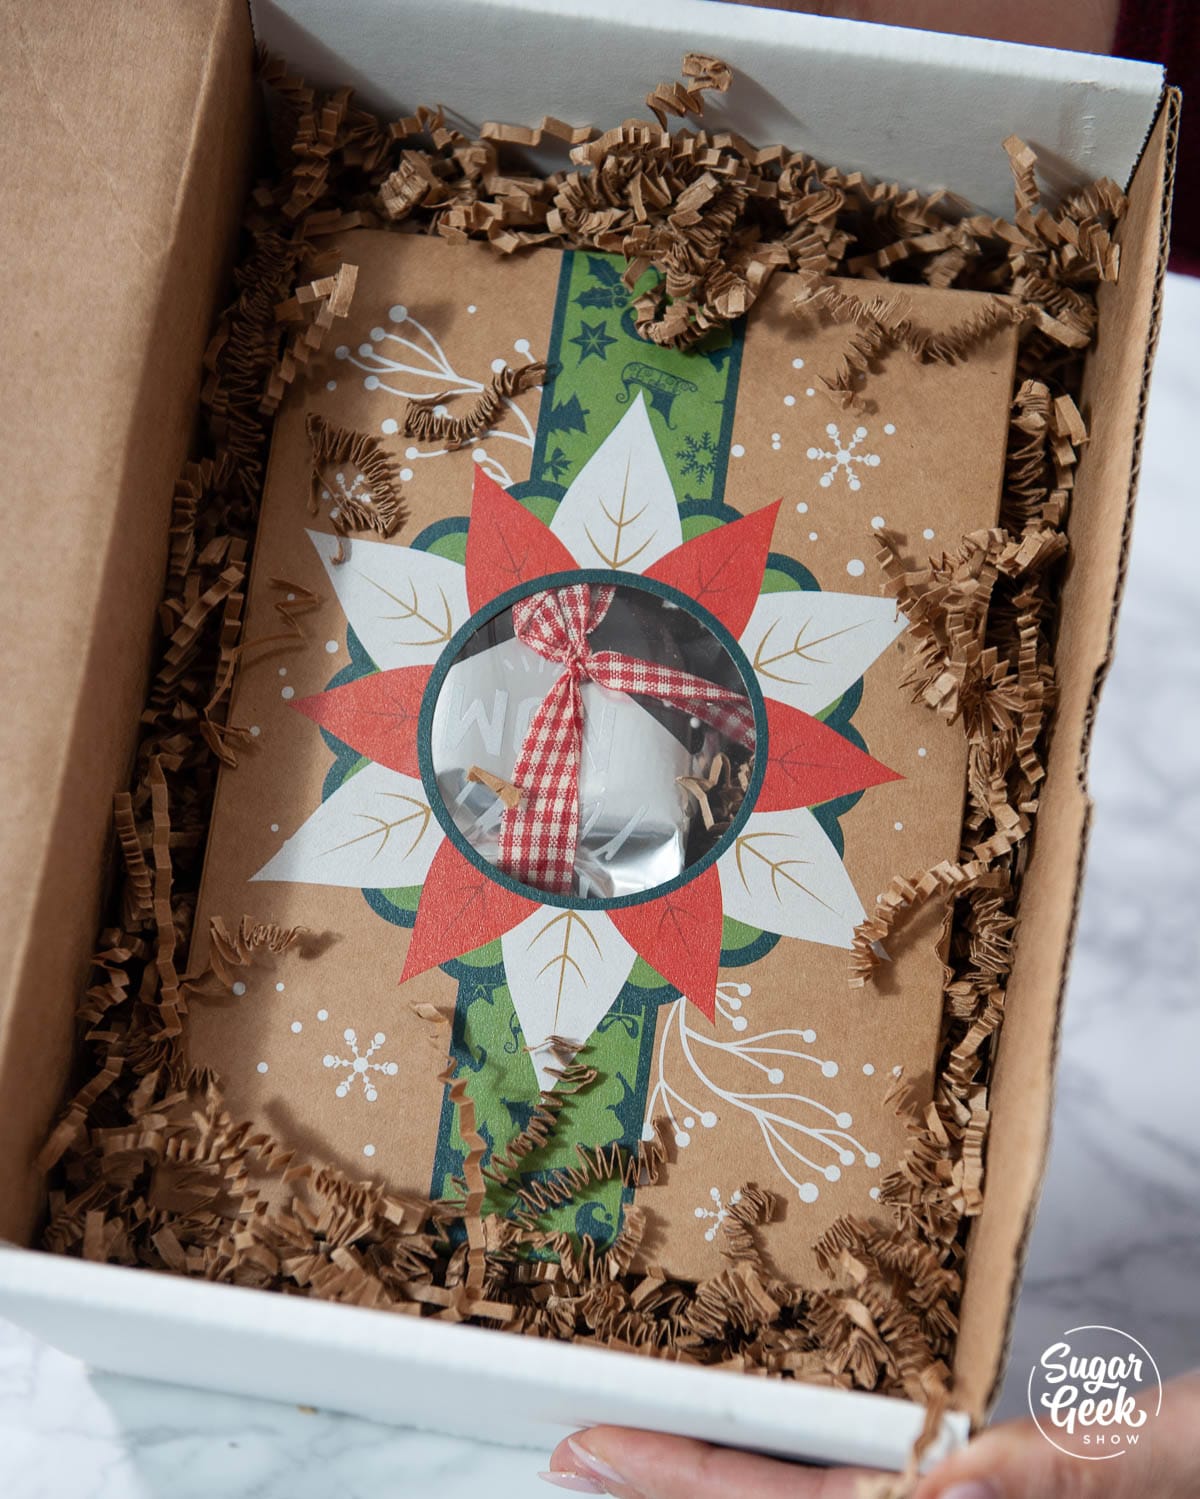
I like to package my heart hot chocolate bombs in cupcake wrappers. Make sure you include instructions on how to use them or your client might take a bite out of them thinking they are candy! You can get these cool labels and stir sticks here.

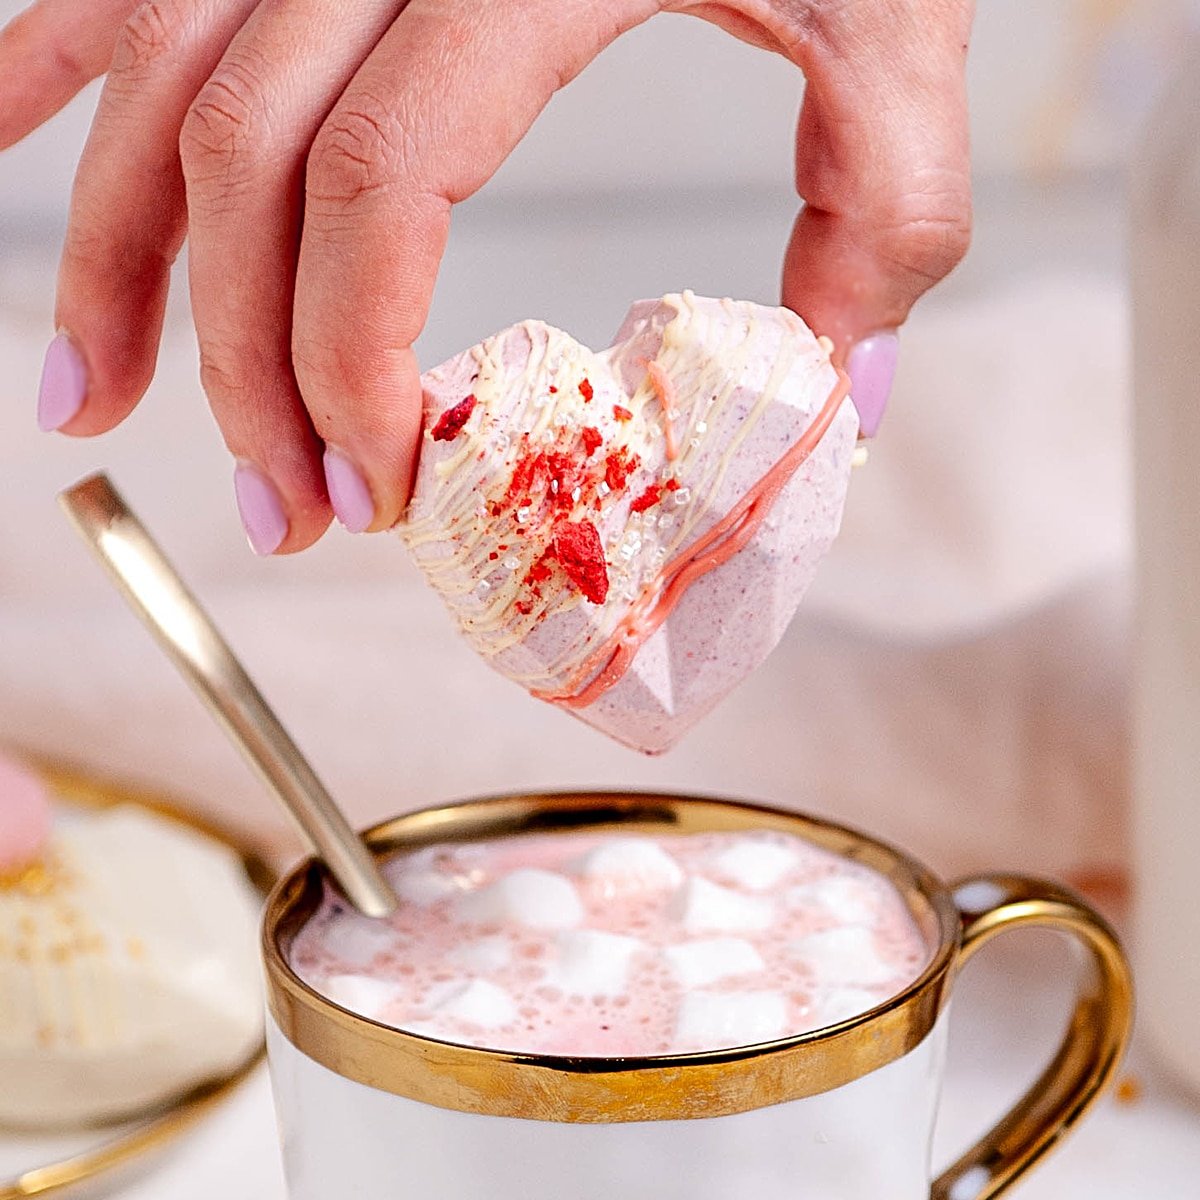
To use your heart hot chocolate bombs, place them in a mug that holds 14-16 oz of liquid. Pour steaming hot milk on top and watch it explode! Stir and enjoy!
Store leftover bombs at room temperature in a ziplock or airtight container.
Related Recipes
How To Temper Chocolate in the Microwave
Tempering Chocolate with Cocoa Butter
Recipe

Heart Hot Chocolate Bomb
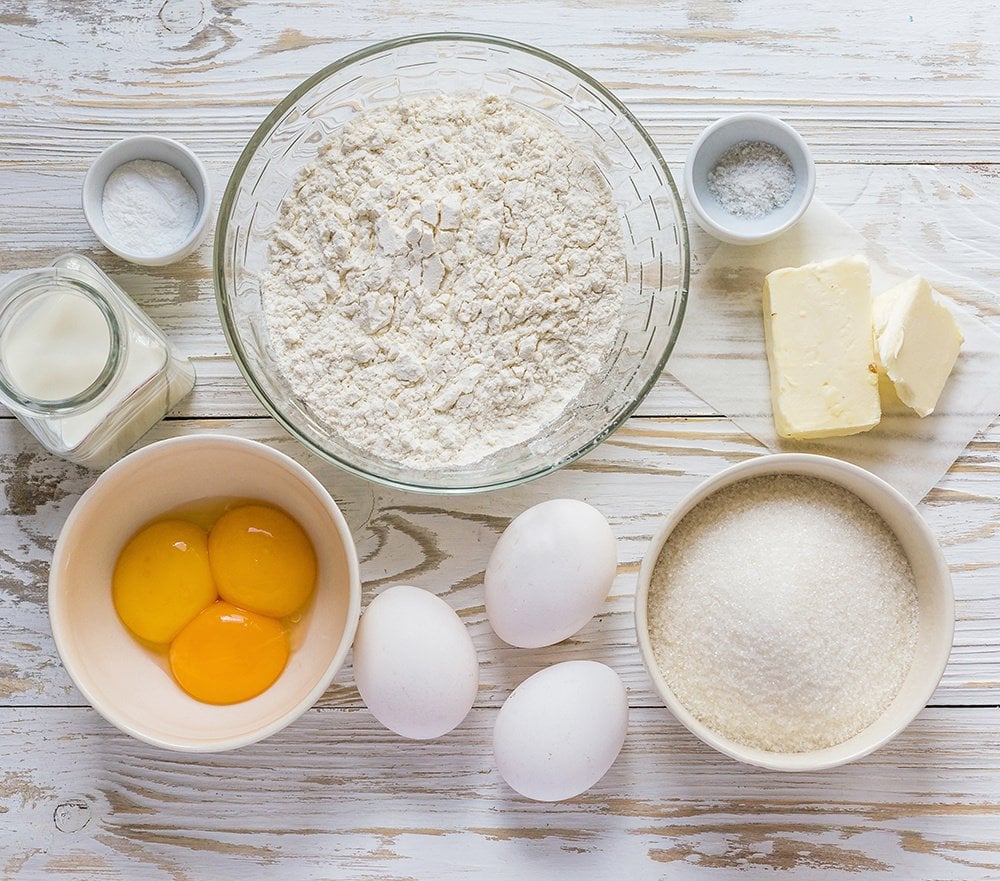
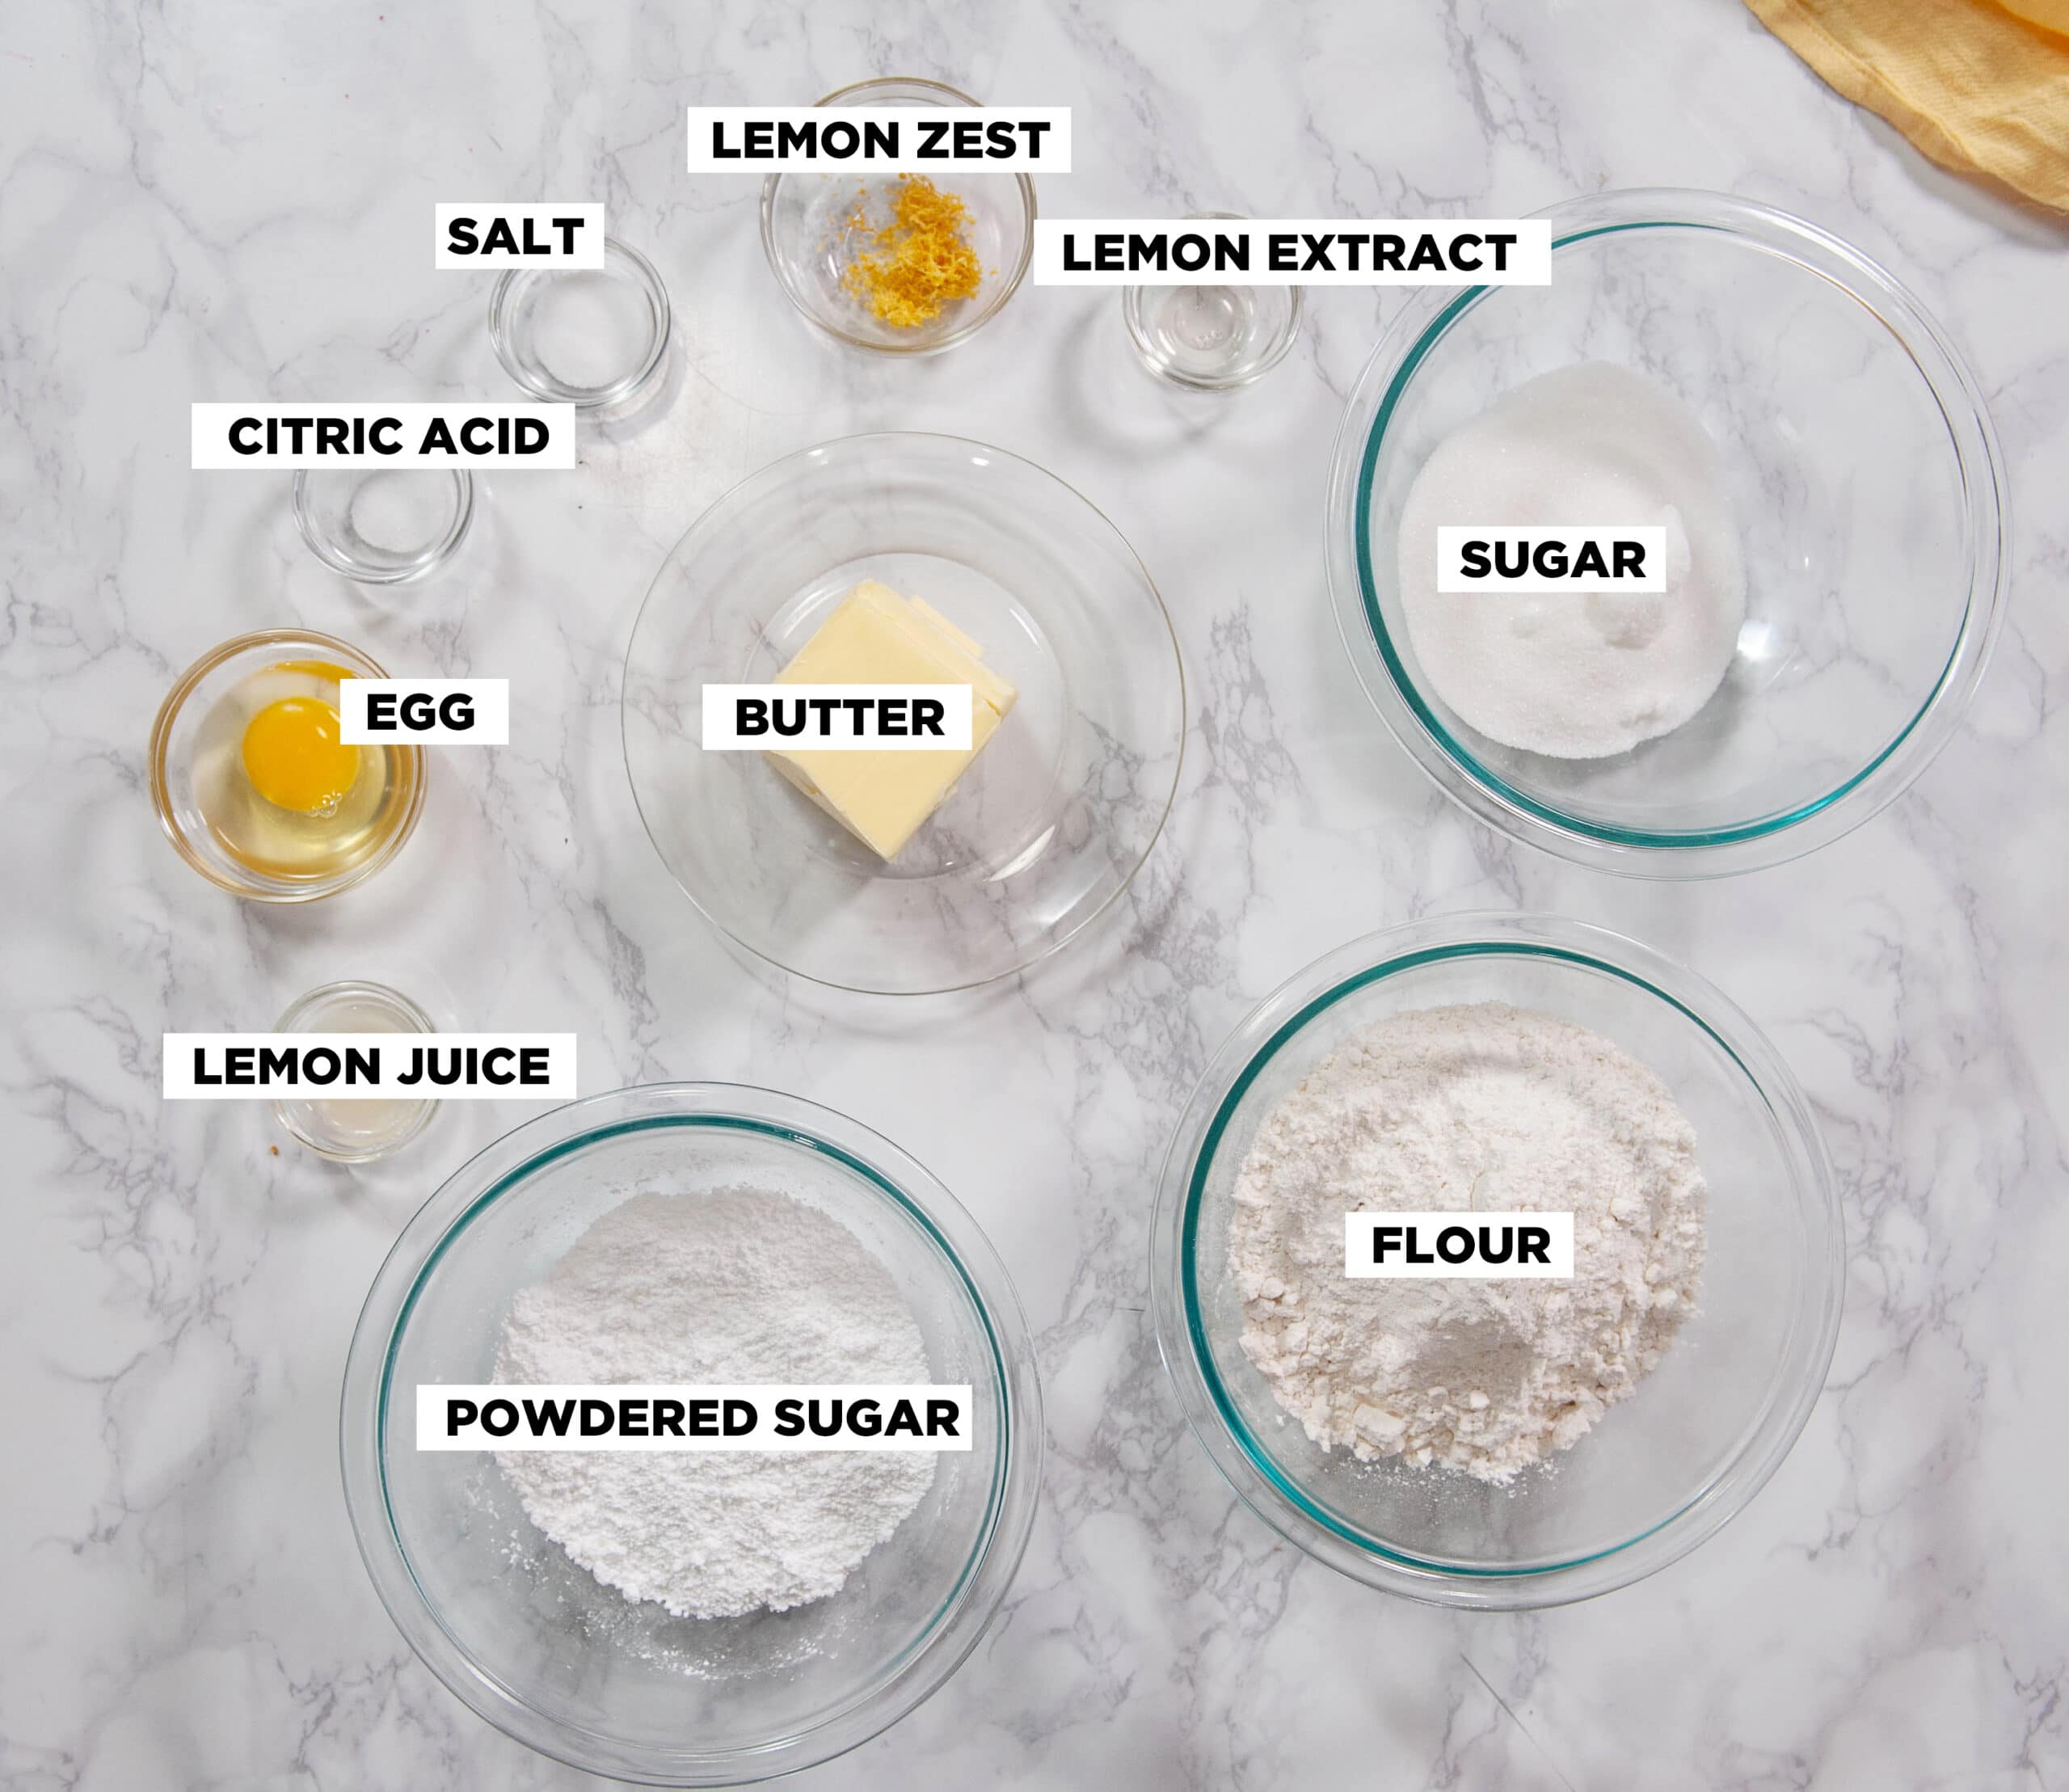
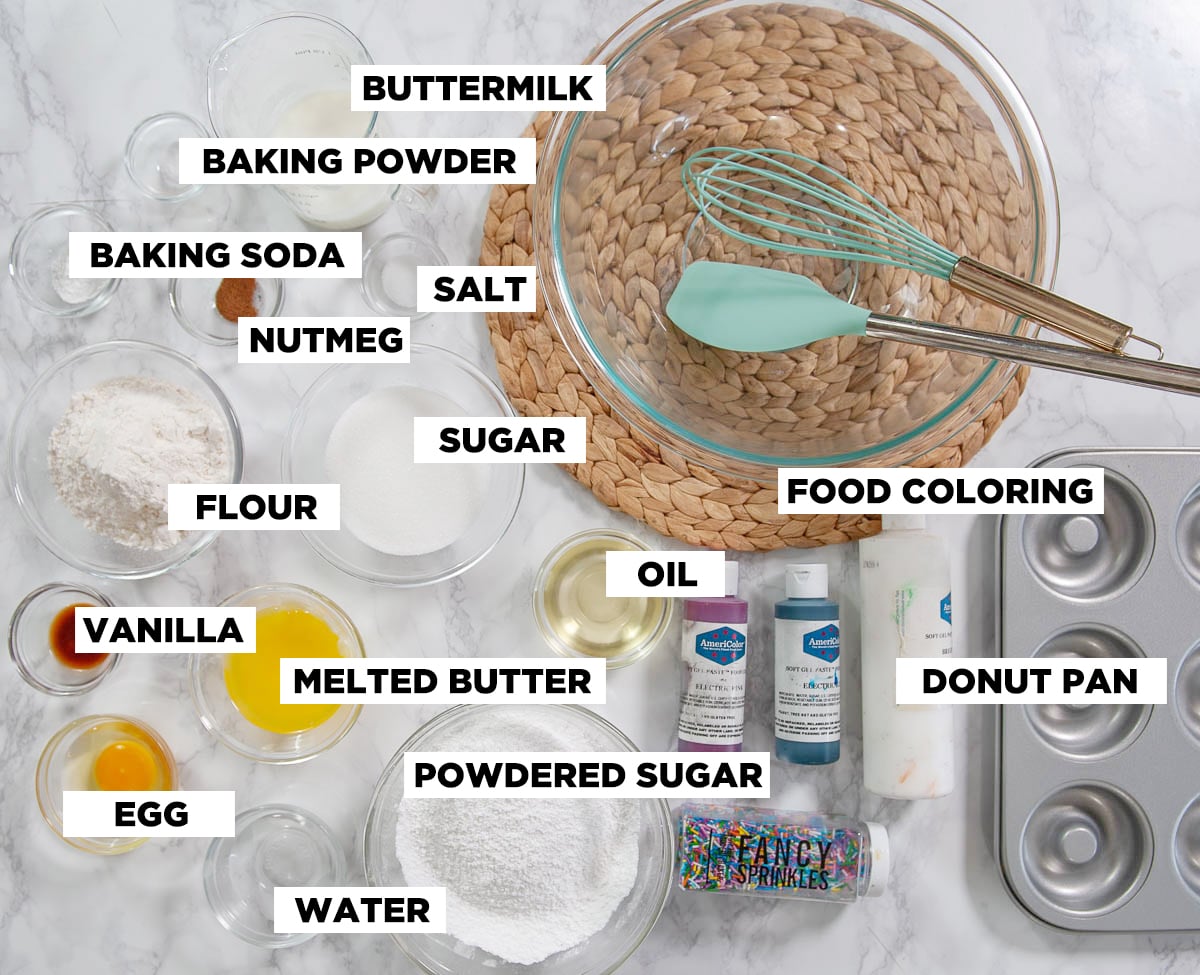
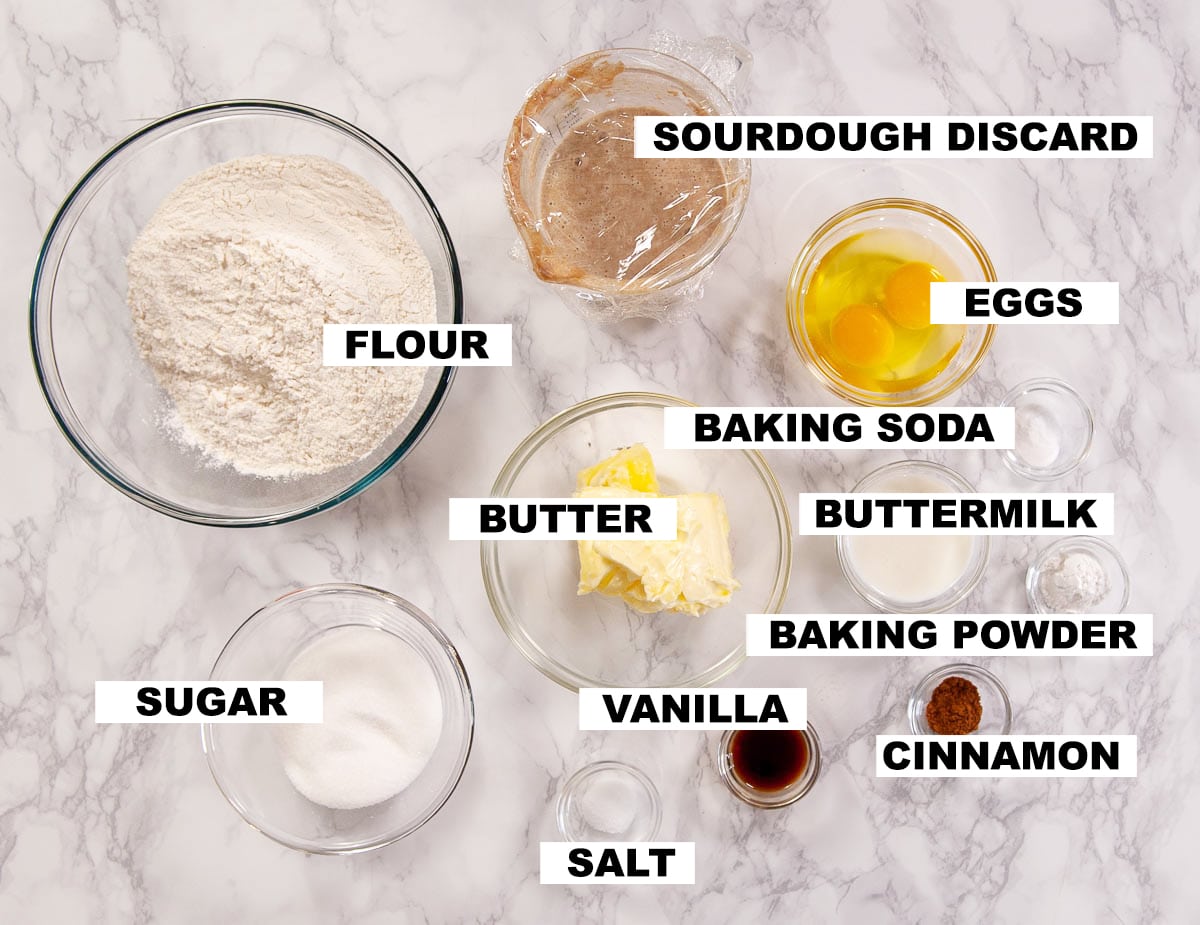
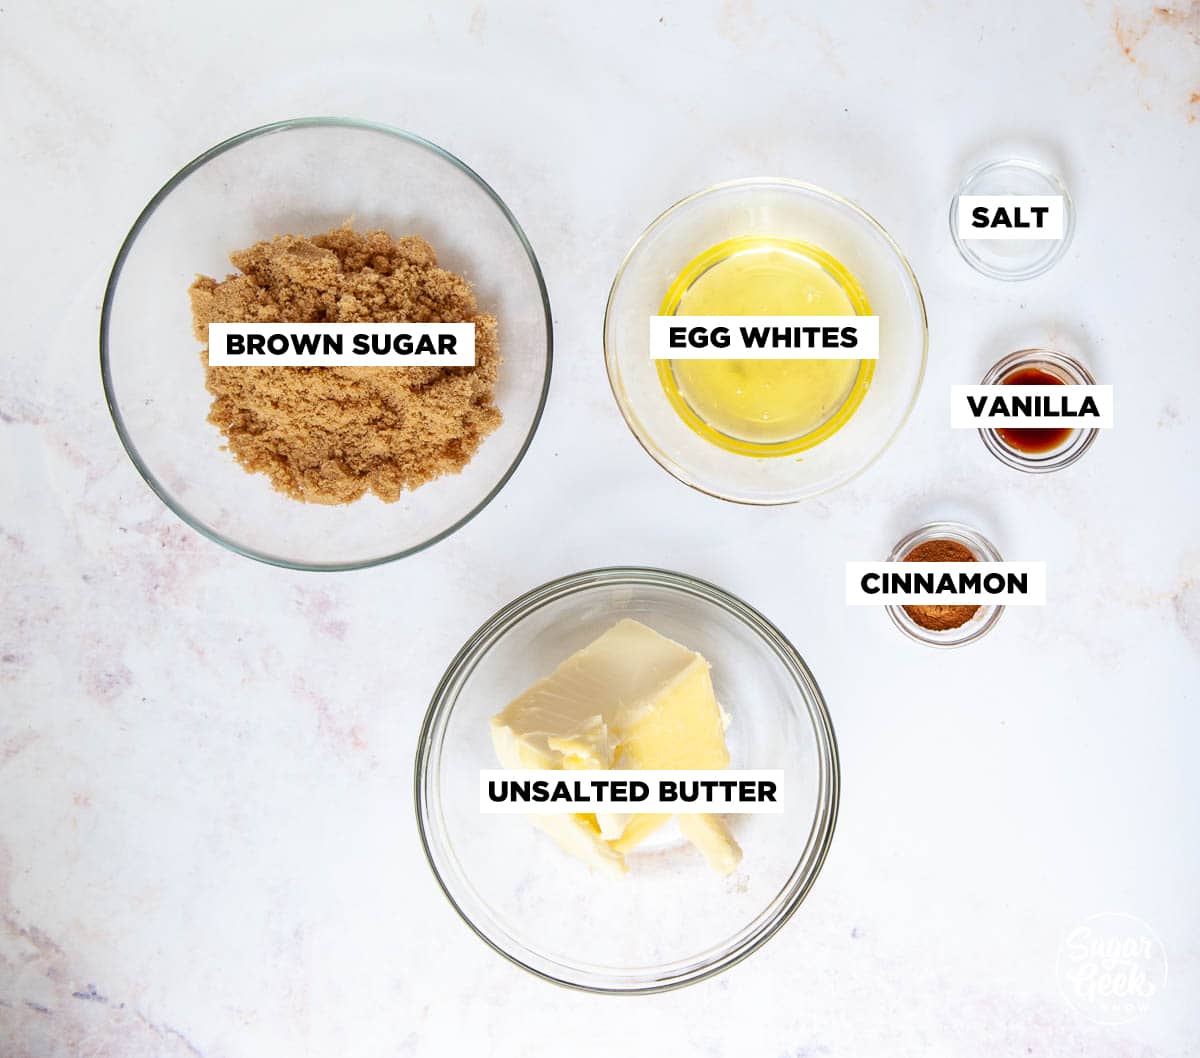
Ingredients
- 16 ounces white chocolate callebaut white chocolate
- 4 Tablespoons strawberry NesQuick hot chocolate mix
- 8 drops strawberry oil
- 1 Tablespoon ground freeze-dried strawberries
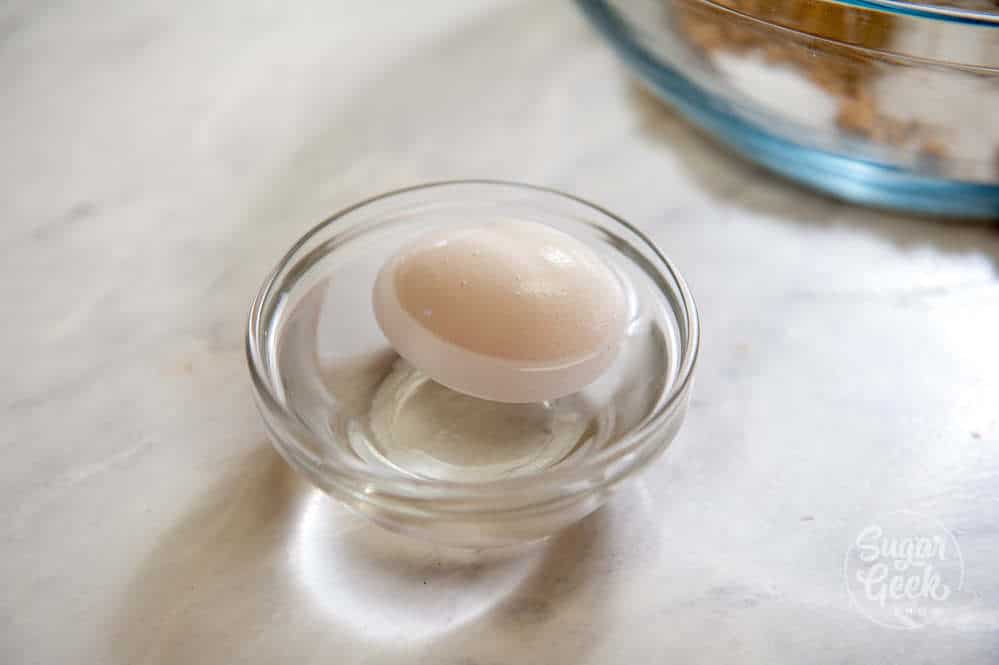
- 2 drops pink cocoa butter
- 1 Tablespoon sprinkles
Instructions
- Line a cookie sheet with some parchment paper and set it aside. Make sure your mold is washed, dried and cut into individual hearts for easy molding.
- Chop your chocolate finely and then place into the microwave for 30 seconds. Stir.
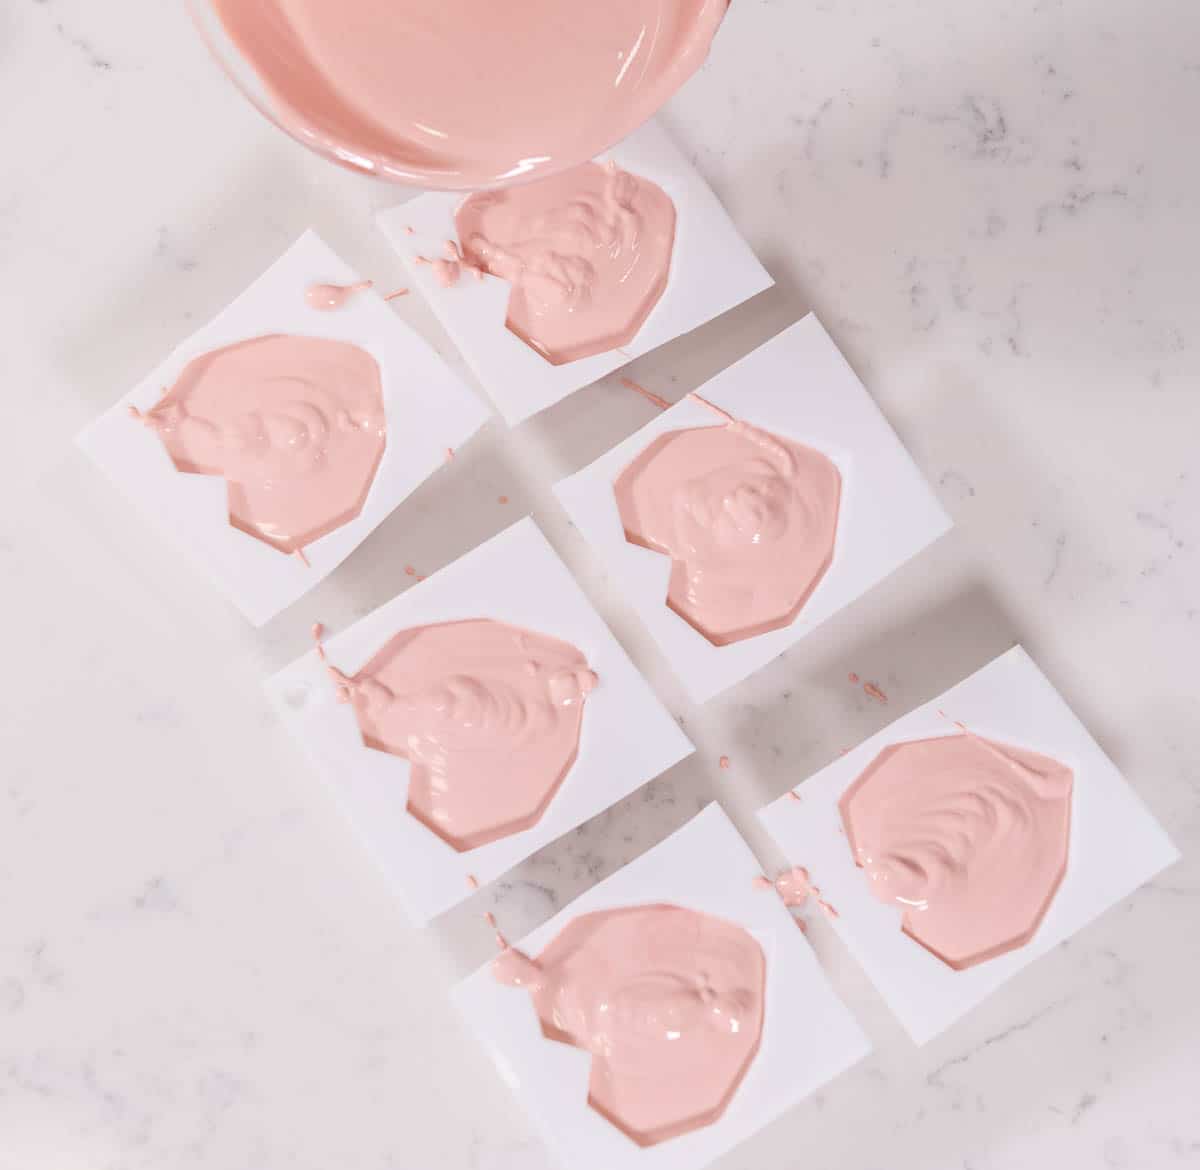
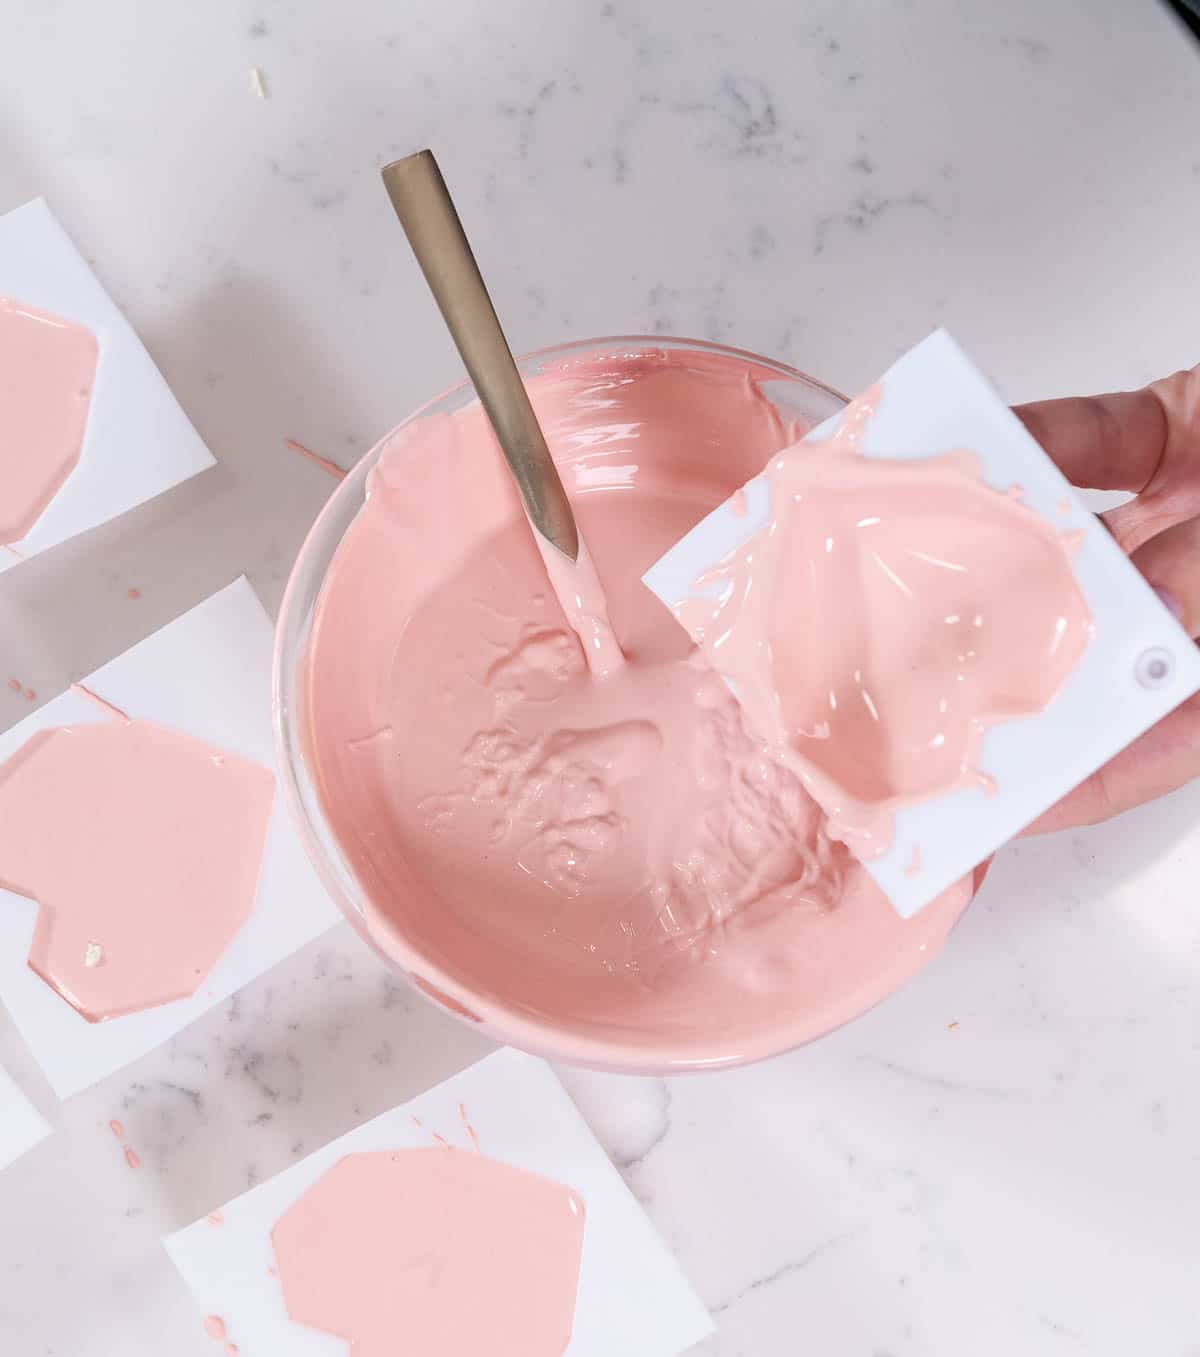
- Continue heating for 15-second increments and stirring. Check the temperature every time to make sure you do not go above 88ºF. If you do go above 88ºF then you can temper the chocolate using the seeding method. See the blog post for more details.
- Once your chocolate is melted you can divide it into three batches. I colored one batch with a few drops of pink cocoa butter, one batch with some crushed freeze-dried strawberries and one I left white.
- Heat your melted chocolate up to 88ºF again (I re-heat in 5-second increments only).
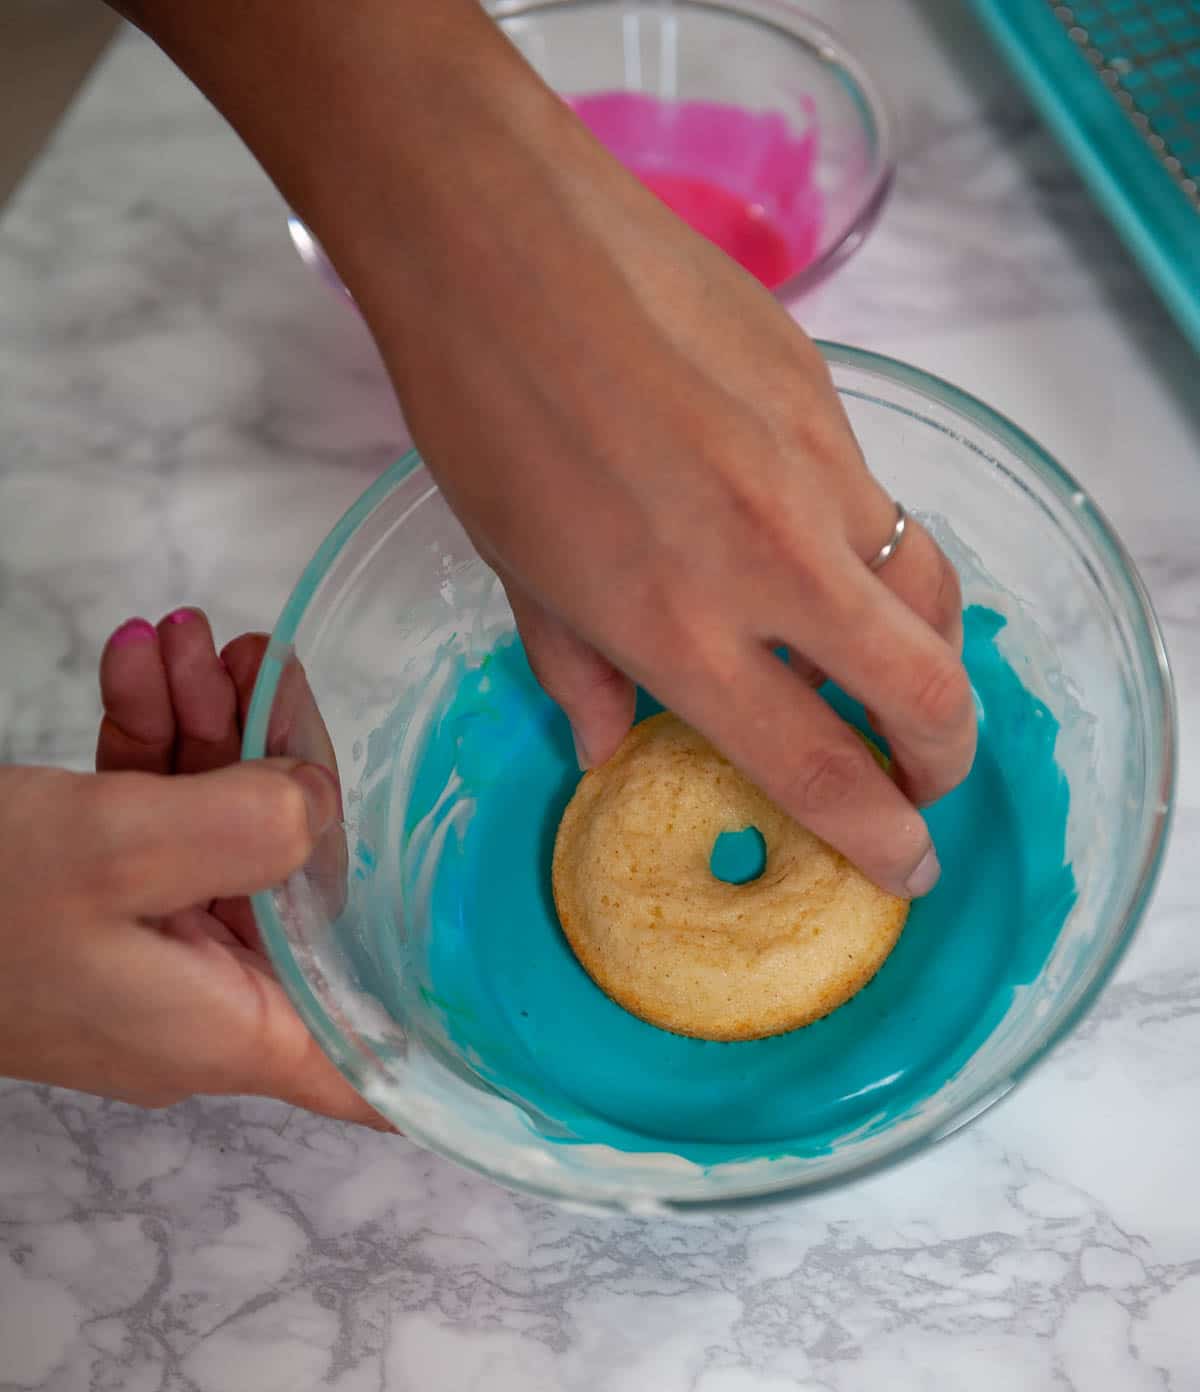
- Pour the chocolate into the heart mold and let it cool for a few moments to build up the shell.
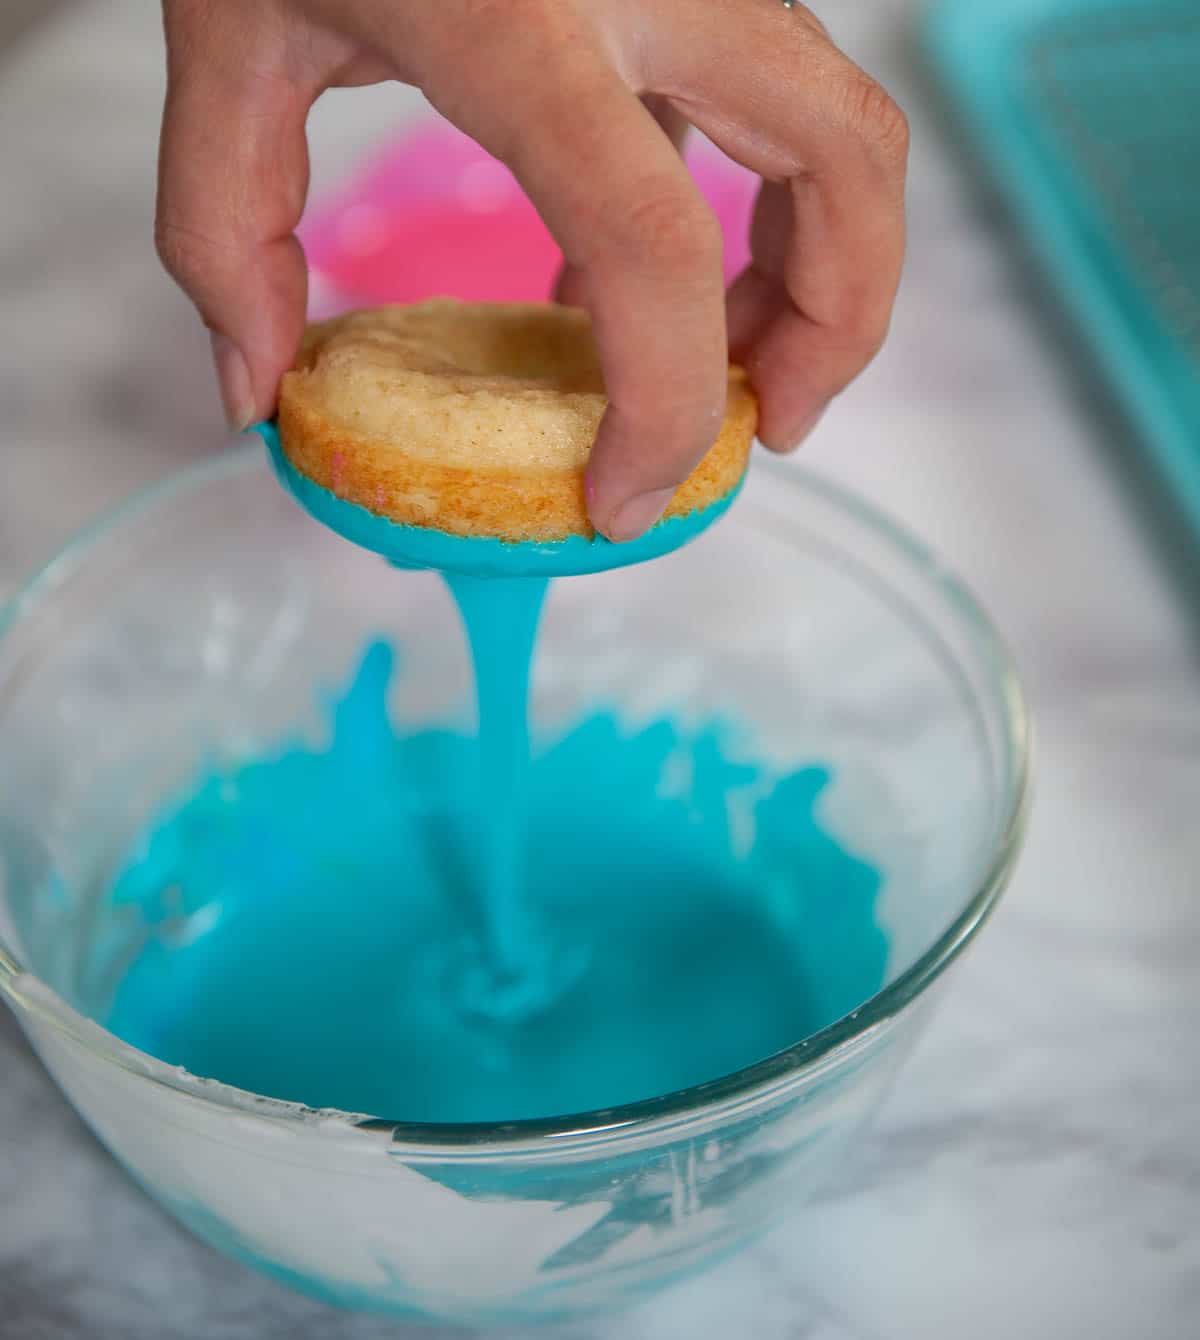
- Pour the excess chocolate out of the mold and give it a shake to make sure as much is out as possible.
- Place the mold upside down onto the parchment paper. Once all the molds are done, place the tray into the freezer for 5 minutes.
- Carefully remove the chocolate shells from the mold.
- Heat a plate up in the microwave for 1 minute. Place the front and back of one mold onto the plate for 5 seconds to melt the edges and flatten them out. Then remove them from the plate.
- Fill one half of the mold with 1 Tablespoon of cocoa mix. Add 2 drops of strawberry oil for more flavor and as many marshmallows as you can fit in there.
- Add the top of the mold onto the back and press together with gloved hands to seal.
- Drizzle more melted chocolate on top of the hearts and add sprinkles, crushed dried strawberries, or any decorations you want.
Video
Notes
- Callebaut Belgian white chocolate
- Couverture White Chocolate (any brand)
- Lindt chocolate bars (chopped finely)


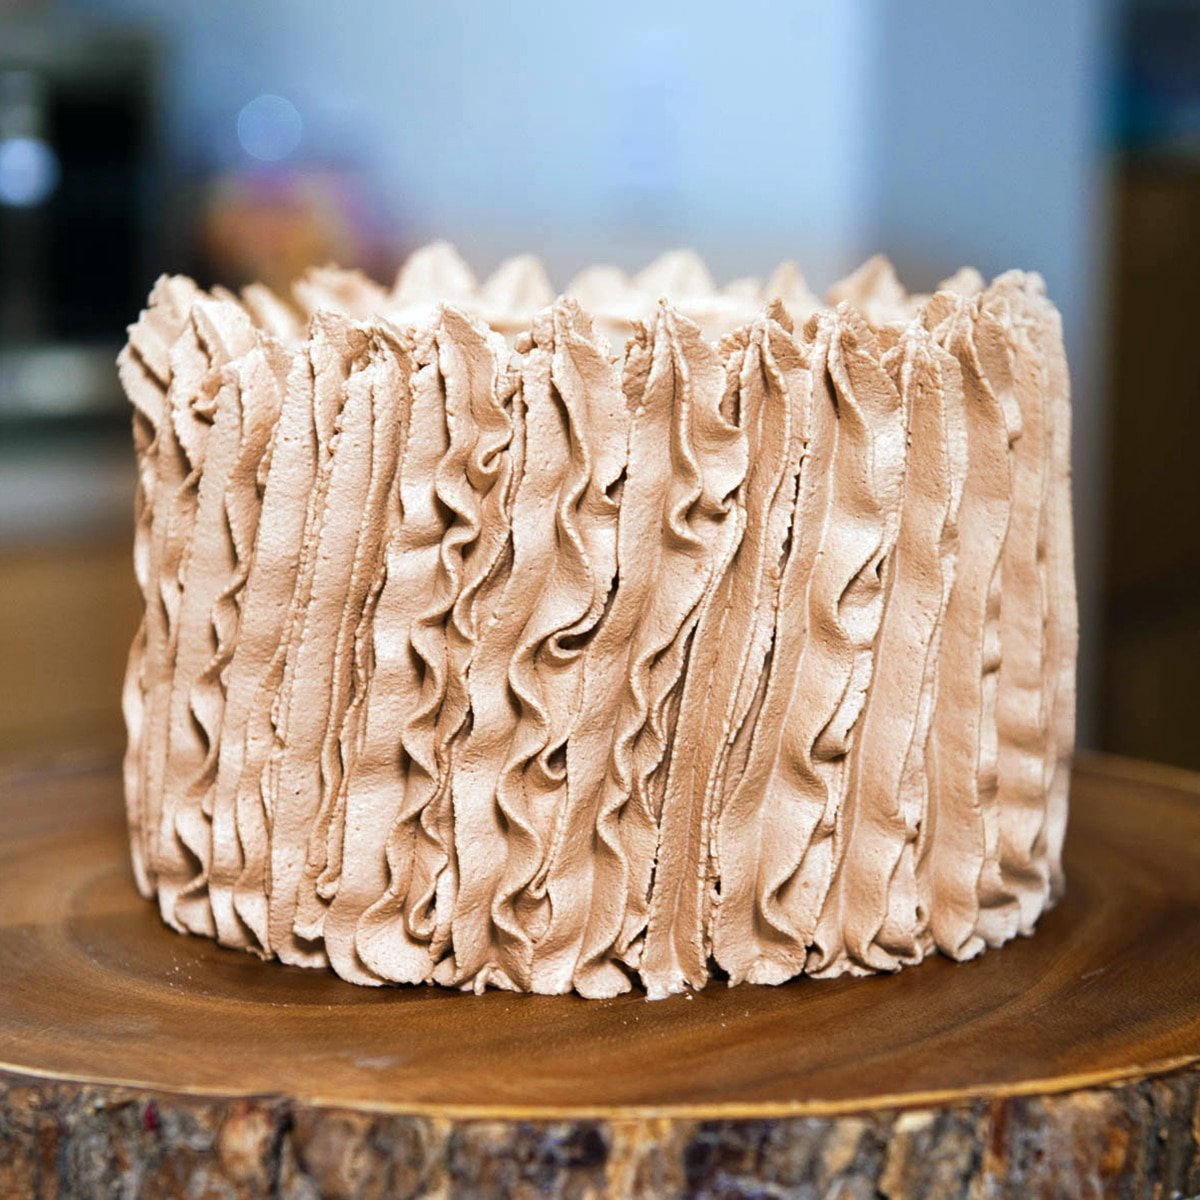
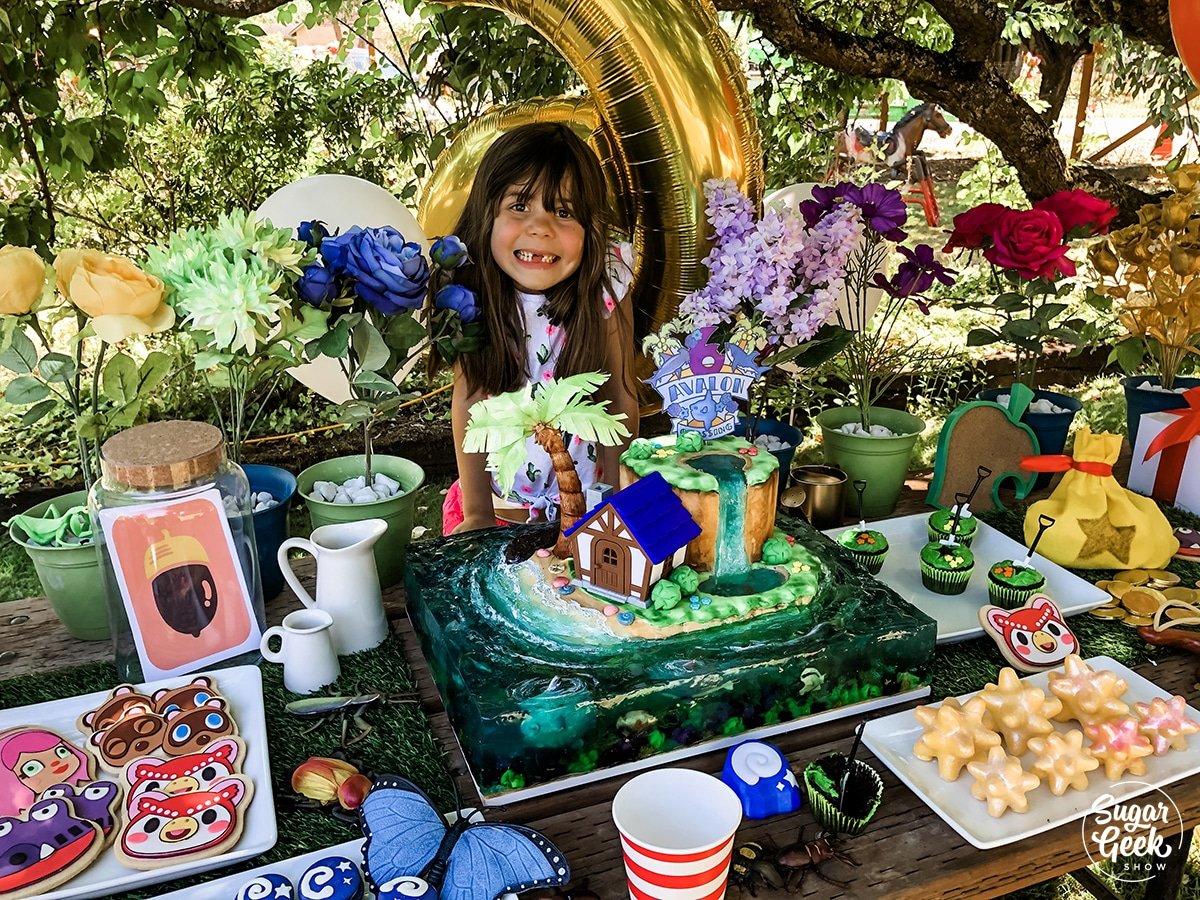
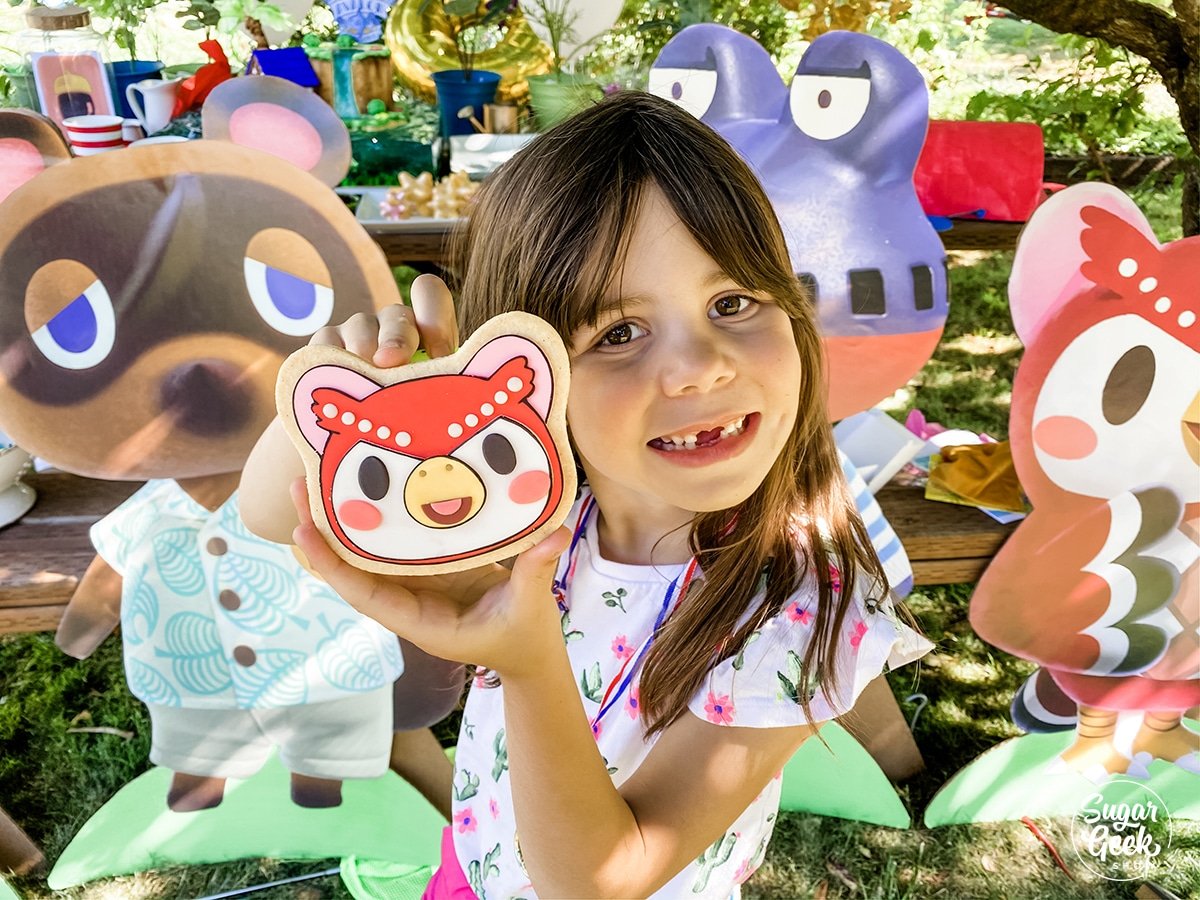
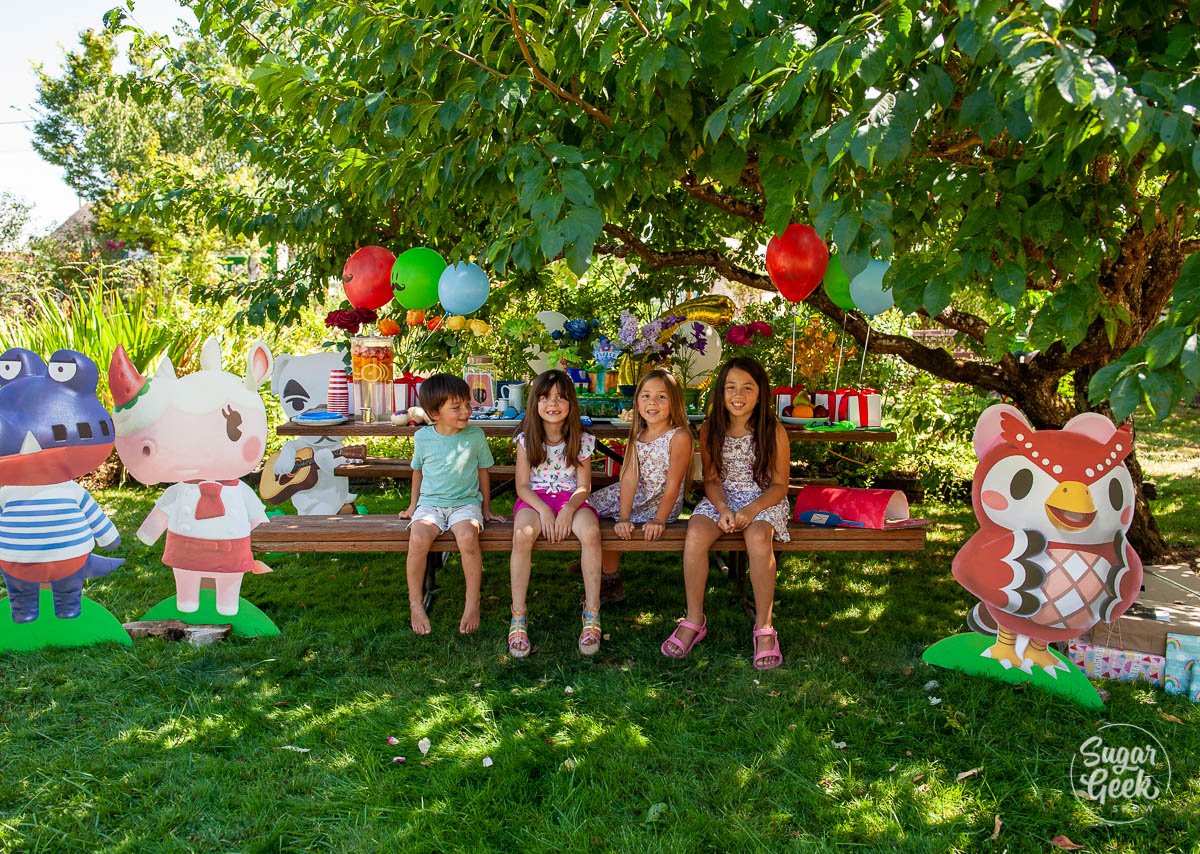
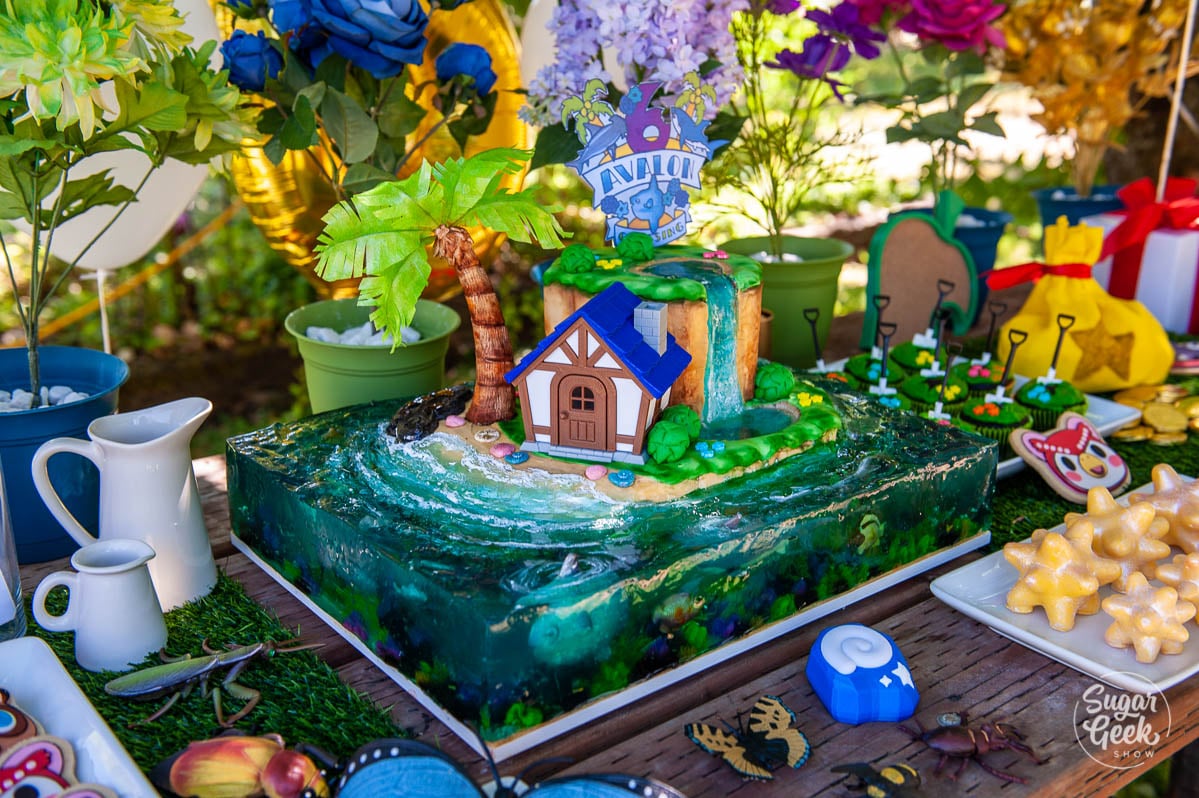
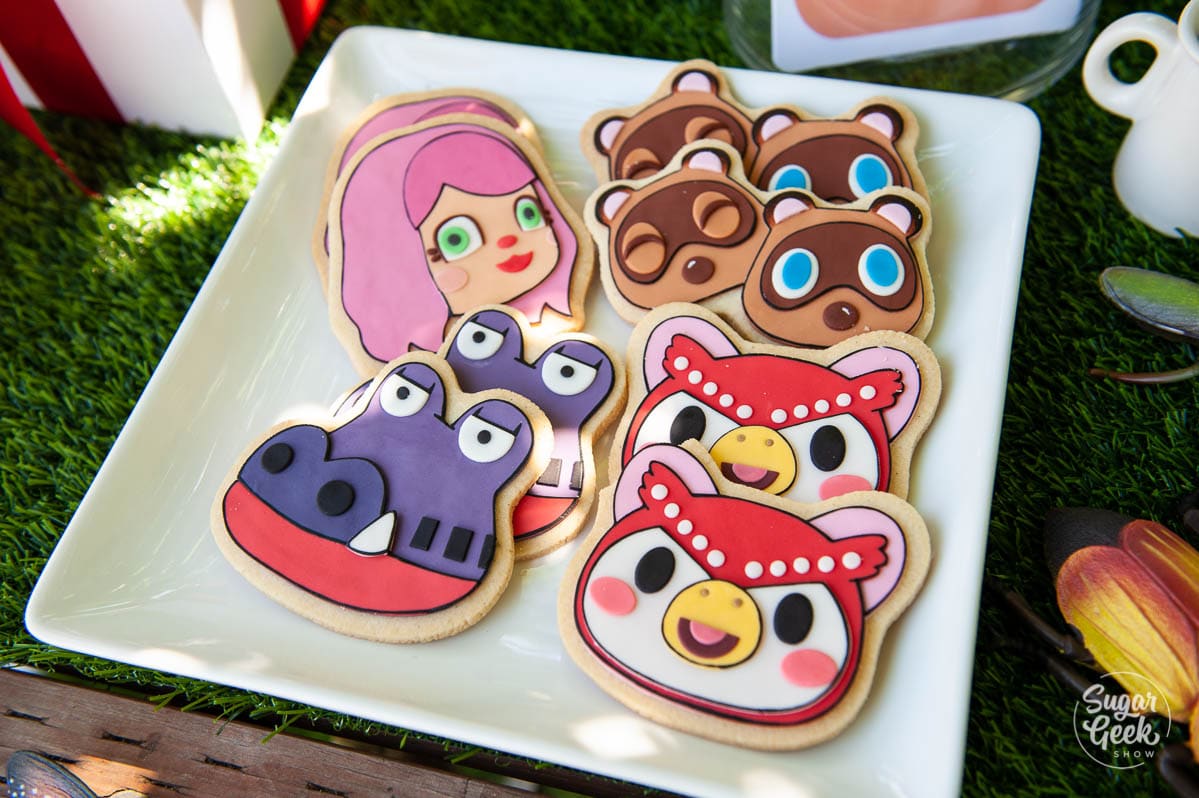
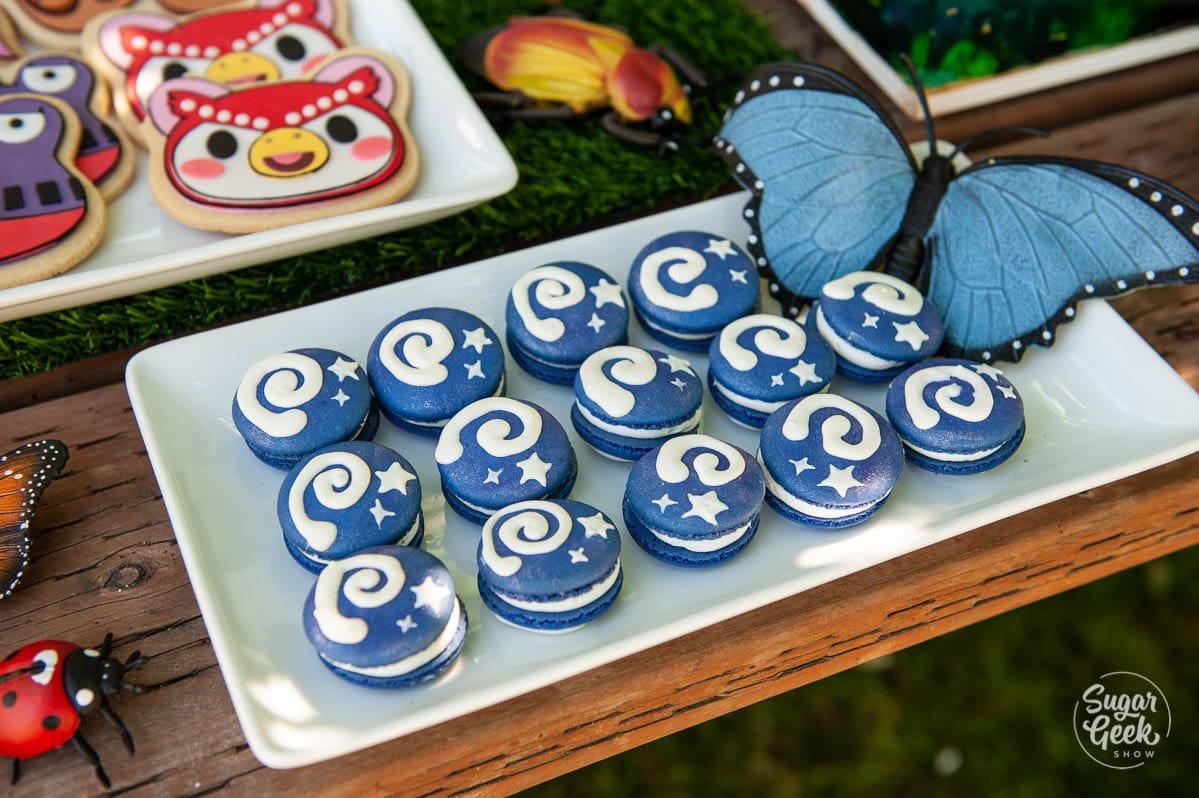
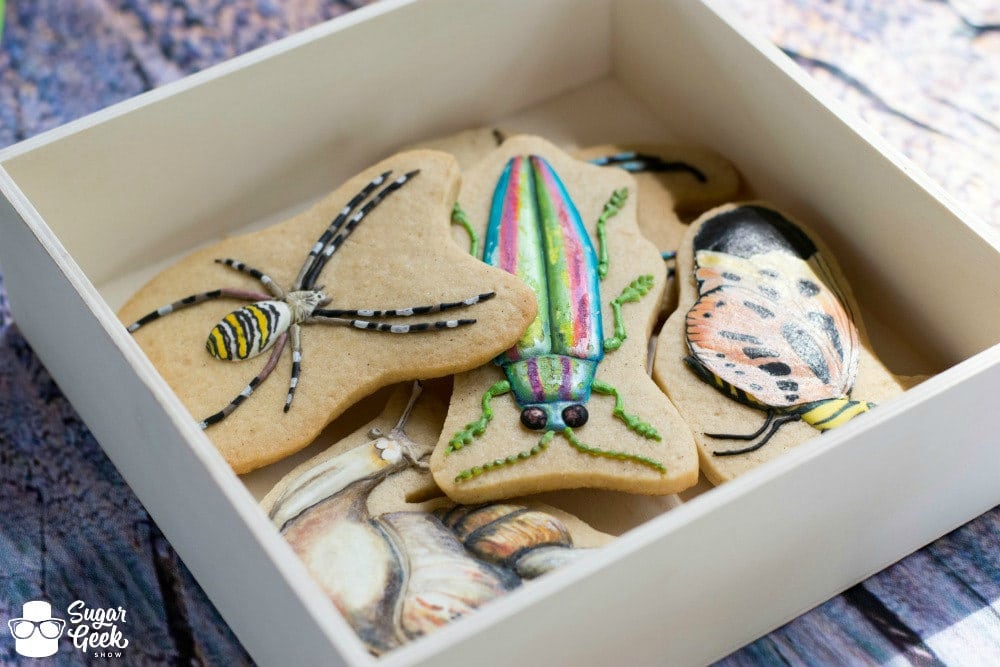 Gorgeous bug-themed cookies for Avalons' third bug birthday party.