

This is everything I wish I had known about how to make square a wedding cake when I made my first one in 2009. I'm re-making that exact disaster start to finish using my white cake recipe layered, stacked, and covered in fondant.
Quick Glance: How to Make a Square Wedding Cake
- Tutorial Name: How to Make a Square Wedding Cake
- Why You'll Love It: A complete week-long roadmap for making a 3-tier square wedding cake that has sharp corners, doesn't crack, and doesn't collapse on delivery
- Time and Difficulty: 4 days from prep to delivery • Advanced
- Main Materials: White cake, easy buttercream, fondant, square cake pans, square acrylic disks, milkshake straws, cake board
- Method: Bake midweek, fill and crumb-coat, frost square tiers using acrylics for sharp corners, cover in fondant using the panel method, decorate the day before, deliver chilled
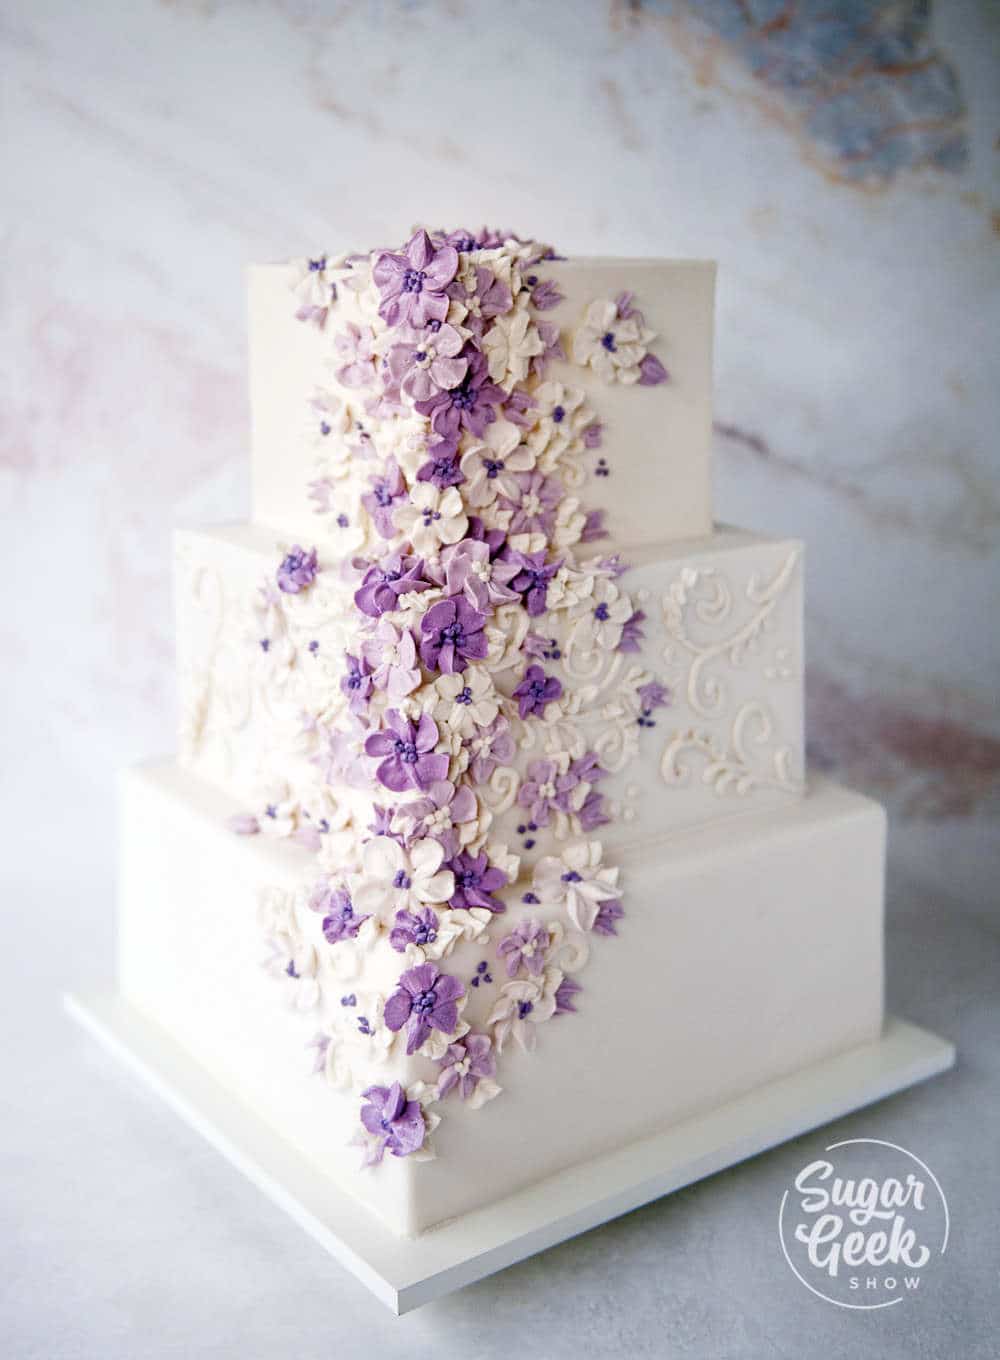
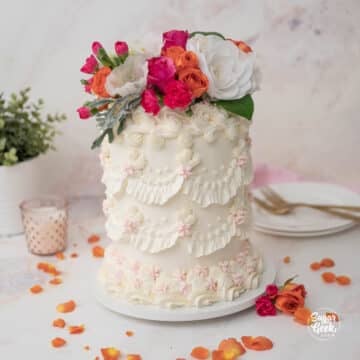
- Visual Style: Classic, white-on-white tiered square wedding cake with buttercream flowers
- Quick Tip: Always chill your square cakes before stacking. A warm cake will collapse under the weight of the tiers above it (don't ask me how I know).
Jump to:
- Quick Glance: How to Make a Square Wedding Cake
- My First Wedding Cake Disaster
- Wedding Cake Timeline
- What You Need To Make A Wedding Cake
- Recommended Tools
- How To Make A Square Wedding Cake Step-By-Step
- Common Wedding Cake Problems To Avoid
- Final Thoughts
- Square Wedding Cake FAQs
- More Cake Tutorials To Try
- Ready To Master Cake Decorating?
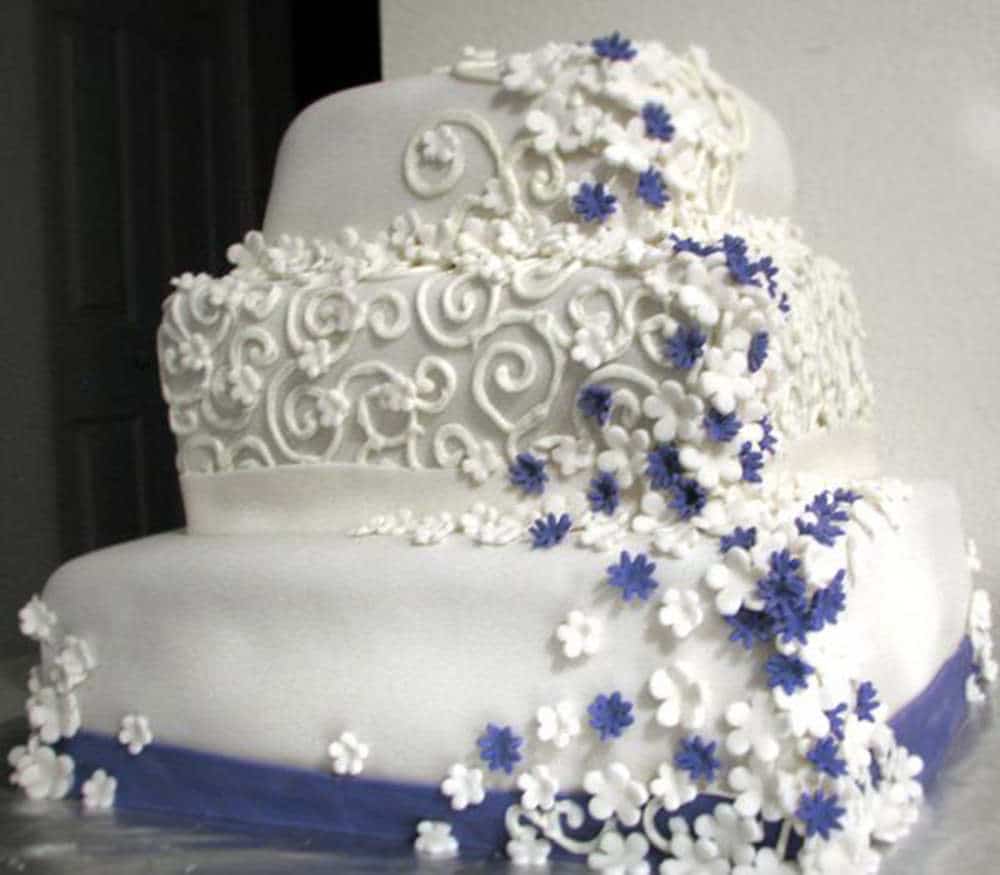
My First Wedding Cake Disaster
I was actually proud of this cake when I made it. It was the first wedding cake I ever made back in 2009. The cake was a 12 inch, 10 inch, and 8 inch tiered design. The 12 inch cracked because I didn't level the layers, so I baked a new one. Then I proceeded to stack the new cake warm. You can imagine what happened next. Yep, it cracked again.
Then Dan drove this unchilled wedding cake for two hours to an outdoor beach wedding. Bumps and turns and car vibrations led to that bottom tier turning into a warm crumbly mess. Needless to say, this cake did not do so well. The things I wish I knew when I was a beginner.
I had no idea about how to stack and frost a cake, how to get sharp corners, how to chill my cakes, or how to cover square cakes in fondant. The worst part was that I knew it looked bad but I didn't know how to fix it.
If you struggle with any of those things, this post is for you. Recently, I posted a picture of this first wedding cake on social media to show that everyone starts somewhere. People joked that I should remake it, so I took the challenge.
Back then there was no social media for me to learn from, only books. Books that would say "stack your layers, frost, and make it smooth." I had no idea what that meant or why my cakes didn't match the photos in the books. But that didn't stop me.
Wedding Cake Timeline
When I'm baking wedding cakes for a Saturday delivery, I start baking on Wednesday and have everything crumb-coated and frosted by Thursday so all of Friday is decorating time. I always try to have my cakes fully decorated the day before delivery so if I run into problems, I have time to fix them.
Here is my standard timeline for a Saturday wedding:
- Tuesday - Review the cake design, make a shopping list, and order anything online I'll need.
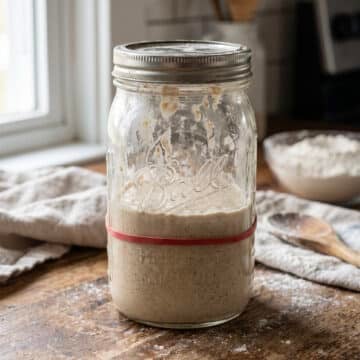
- Wednesday - Grocery shop for supplies. Make the buttercream and fondant ahead.
- Thursday - Bake the cake layers, chill in the freezer, fill them, and apply the crumb coat. Rest in the refrigerator overnight.
- Friday - Apply the final coat of buttercream and chill. Make buttercream flowers and freeze them. Cover in fondant, assemble, and decorate the cake.
- Saturday - Deliver the cake.
If your wedding is on a different day, just shift the timeline back by a few days.
What You Need To Make A Wedding Cake
Here's what I used to make this wedding cake. If you're working from your own design, you may need different sized boards, colors, or amounts of frosting and fondant.
Edible Materials
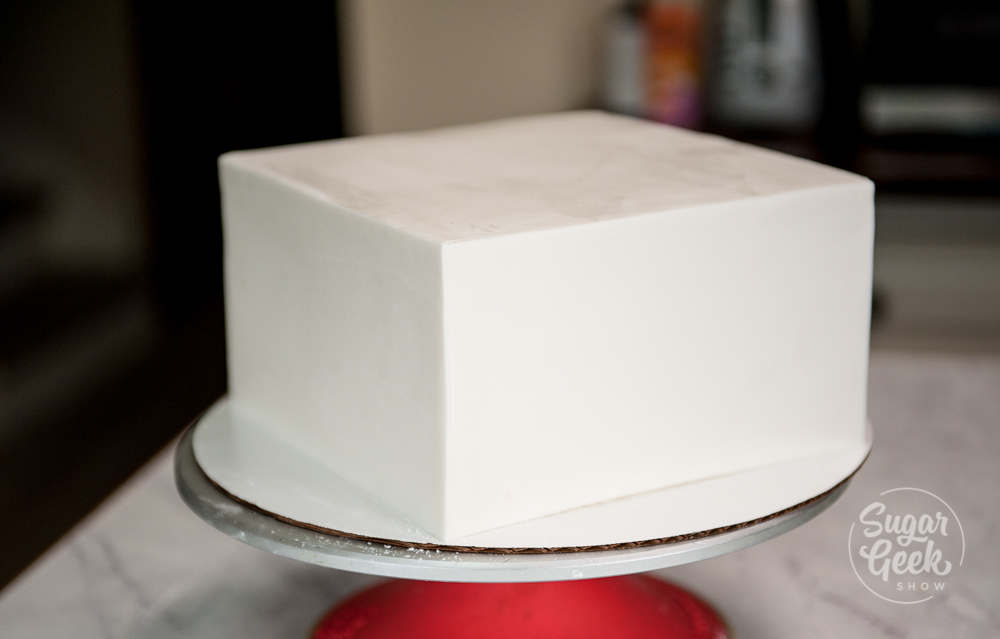
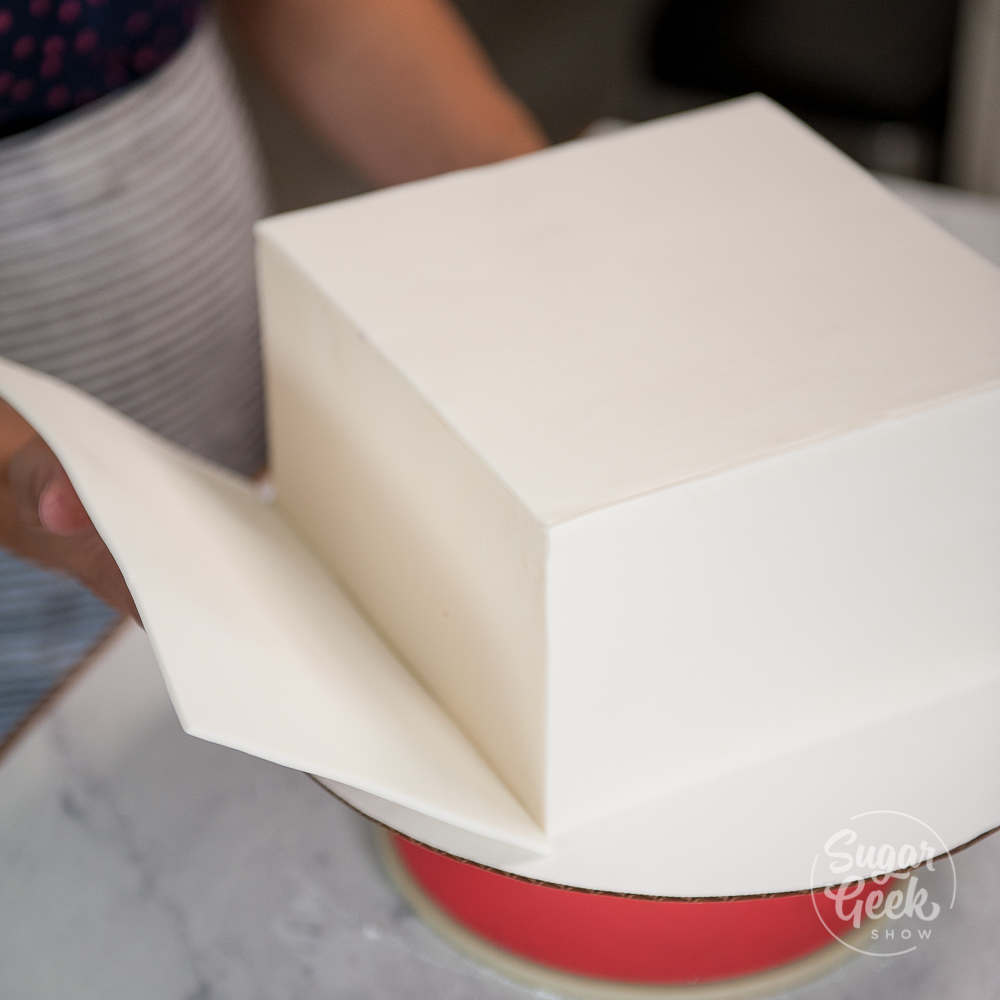
I covered my cakes in fondant using the paneling method, but you can also use the one-piece method.
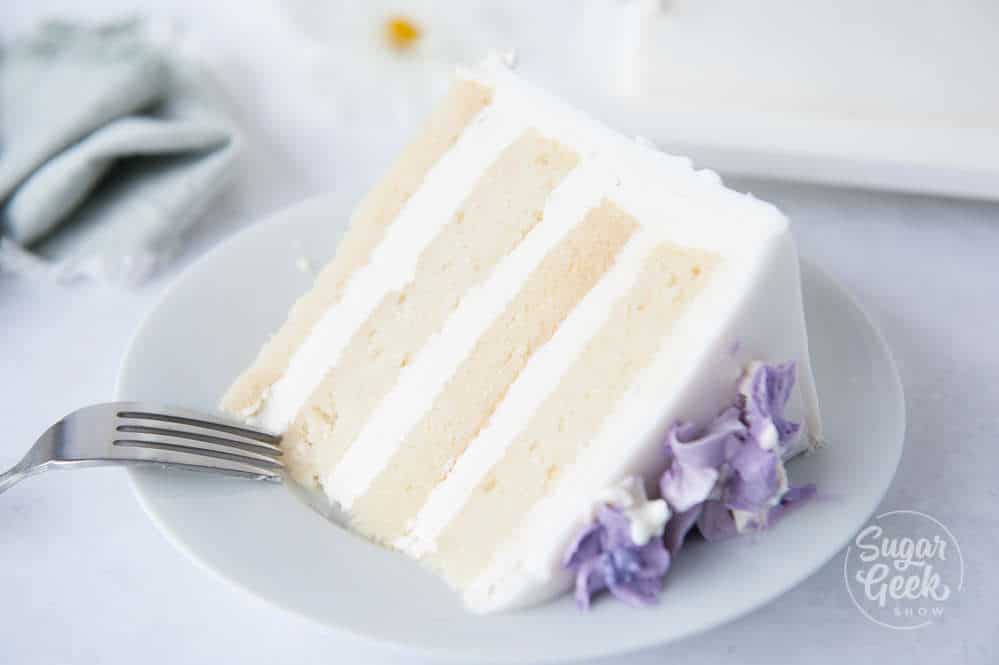
- White cake layers, baked, chilled, and wrapped (I made two double batches of my white cake recipe to get two 10 inch, two 8 inch, and two 6 inch square layers, all 2 inches tall)
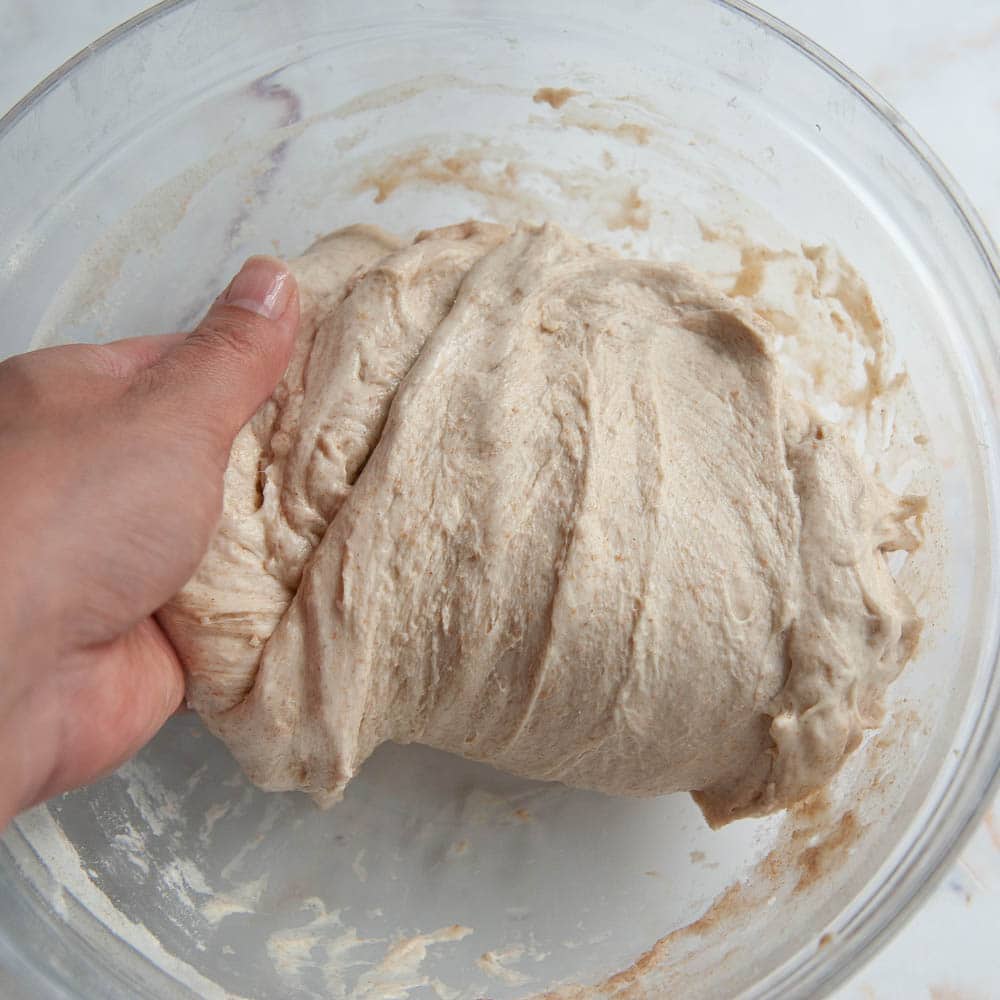
- 10 lbs of white fondant (I made two batches of my LMF Marshmallow Fondant; you can also use any store-bought fondant. I prefer Renshaw Americas brand.)
- Easy buttercream frosting (I made two double batches)
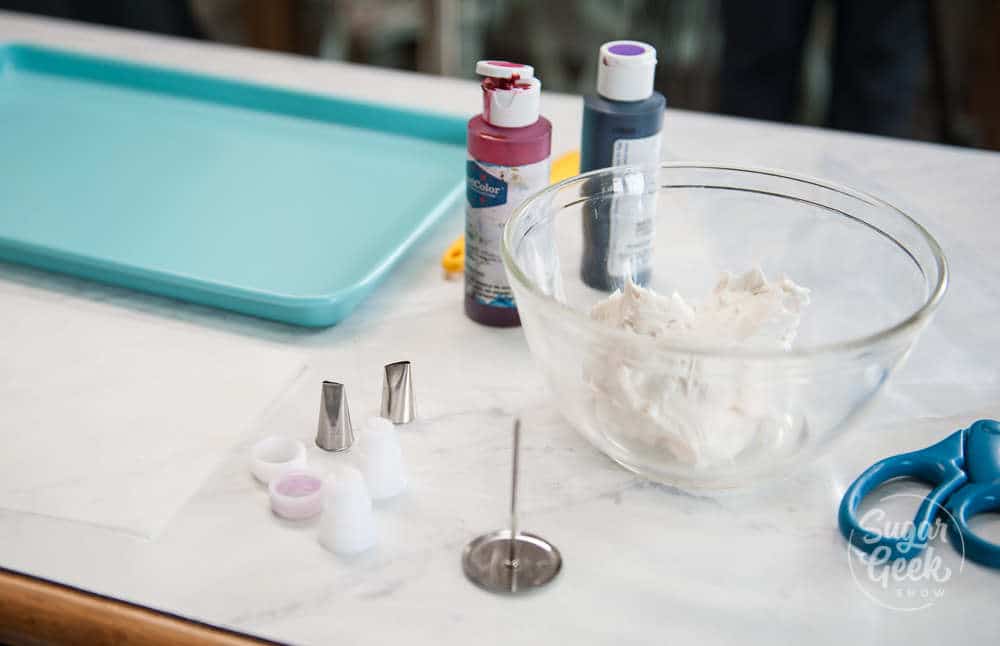
I applied my frozen buttercream flowers to the cake with a dab of buttercream. I tried to create the same flow of flowers down the corners of the cake. Alternating the dark flowers with lighter flowers.
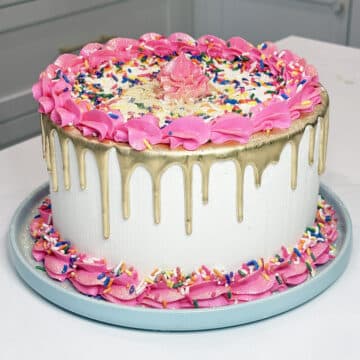
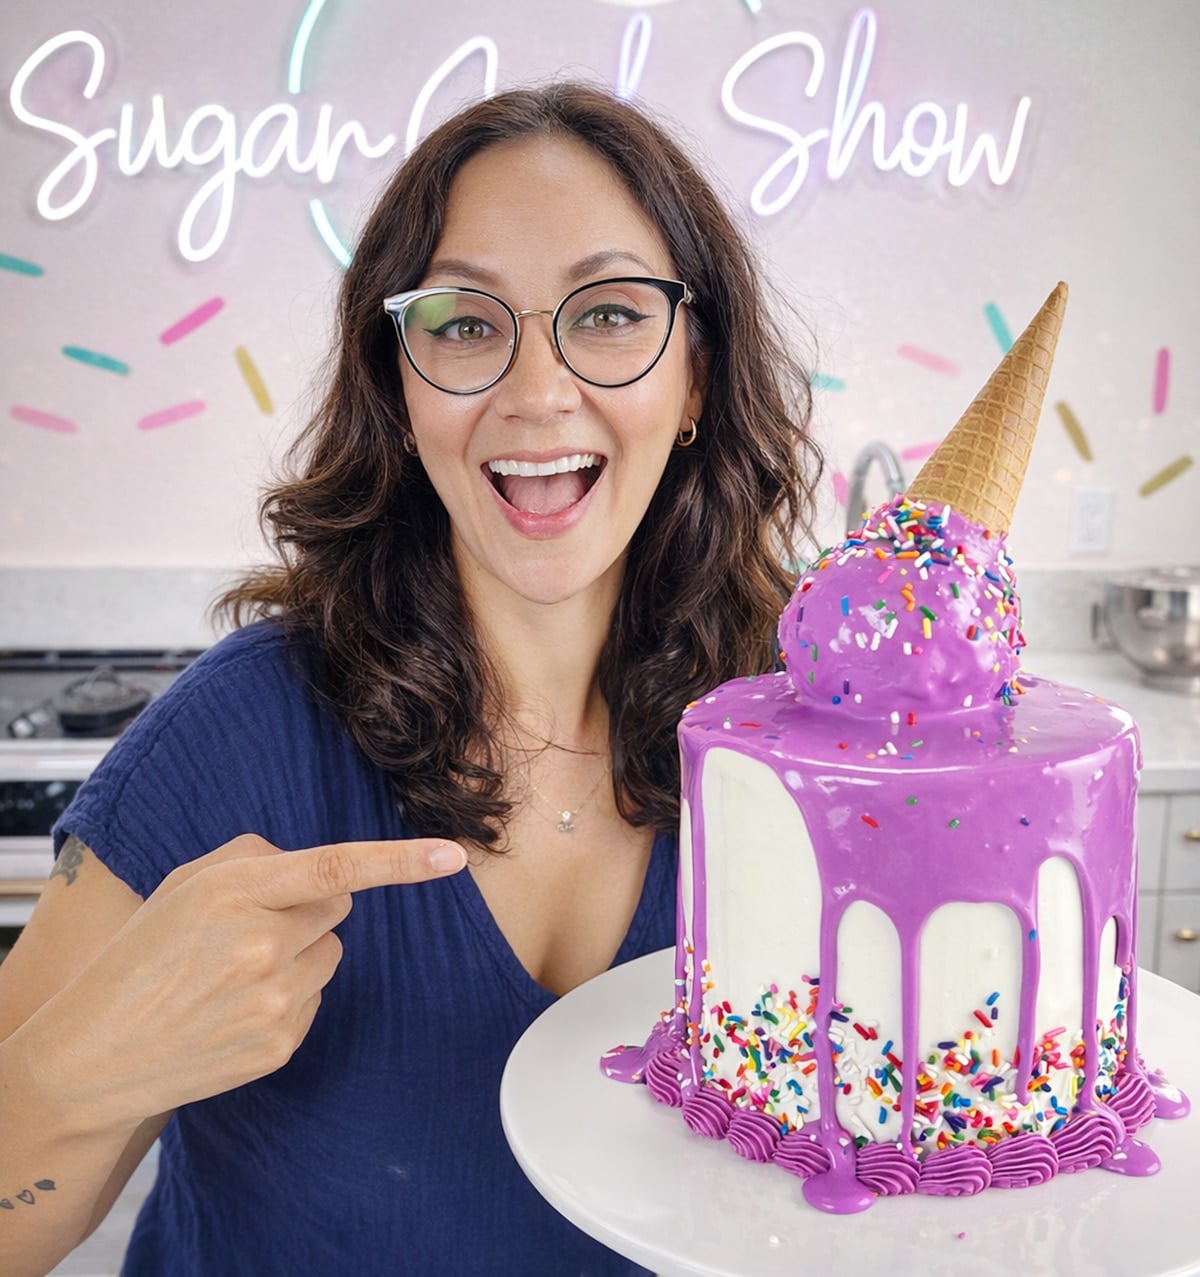
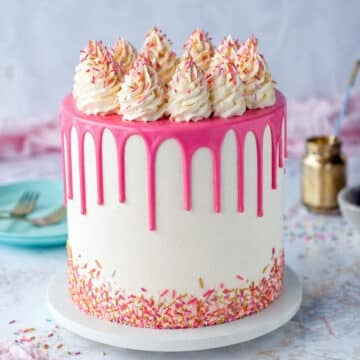
Once my cake is completed, I put the whole thing back in the fridge to stay chilled. Try a gold drip cake finish for a modern wedding look
Recommended Tools
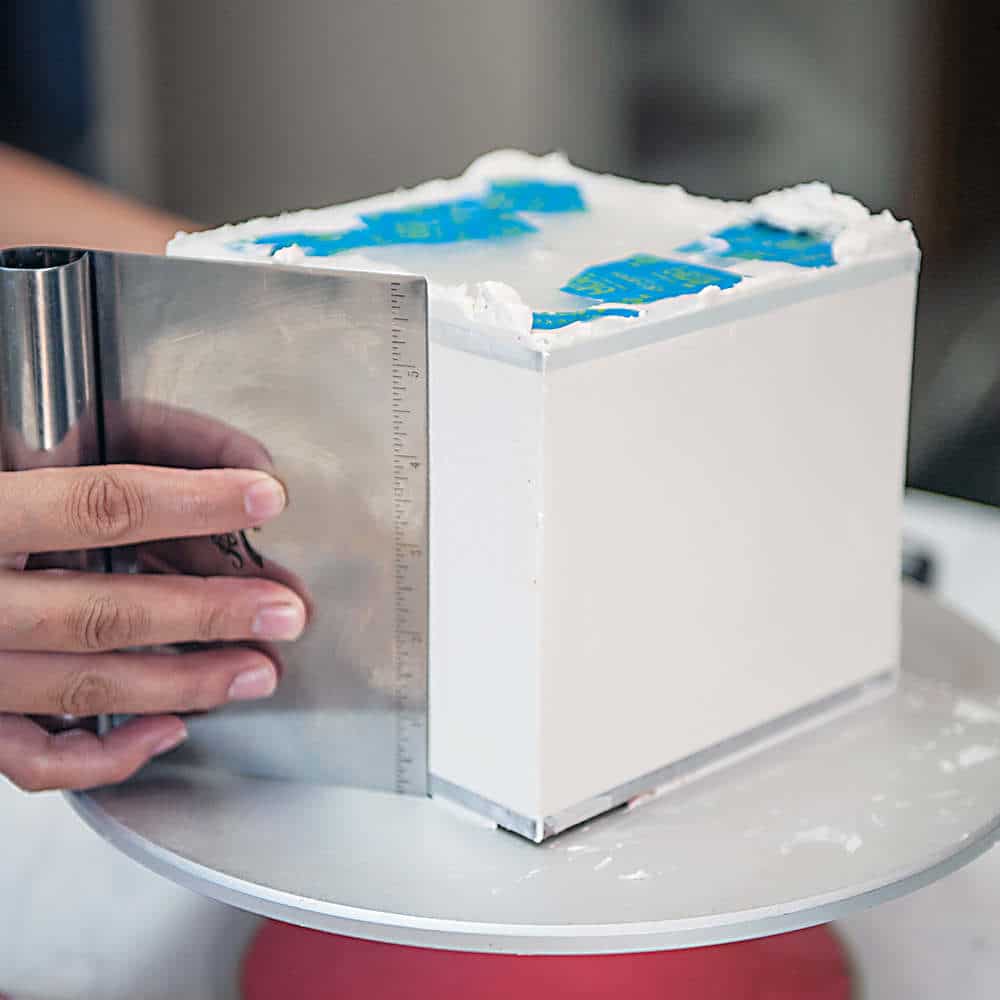
- I used acrylic disks to get my cakes really square, but they're optional. You can also try frosting with the upside-down method, which I used for years. It takes a little longer but works just as well.
- Fondant smoothers
- 10 inch, 8 inch, and 6 inch square cake pans, 2 inches tall (I have Magic Line pans)
- Parchment paper
- 10 inch, 8 inch, and 6 inch square acrylic disks (optional)
- Brand new razor blade
- Square cake cardboards (if using acrylics, cut your boards to be 9.5 x 9.5 inches, 7.5 x 7.5 inches, and 5.5 x 5.5 inches)
- Large serrated knife
- Offset spatula
- Bench scraper
- Thick plastic milkshake straws
- 12 inch wooden cake board or cake drum (I like Cakeboards Avare. Don't use flimsy cardboard for a 3-tier cake or it could crack and collapse)
- Piping tips for buttercream flowers - #4 round, #366 small leaf tip, #104 petal tip
- Flower nail
- Turntable
- Turntable extender (optional but makes it easier to frost large layers)
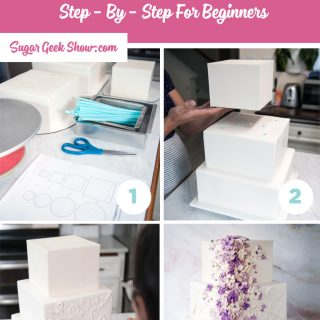
How To Make A Square Wedding Cake Step-By-Step
For exact technique, watch the video tutorial above. Here's the high-level flow:
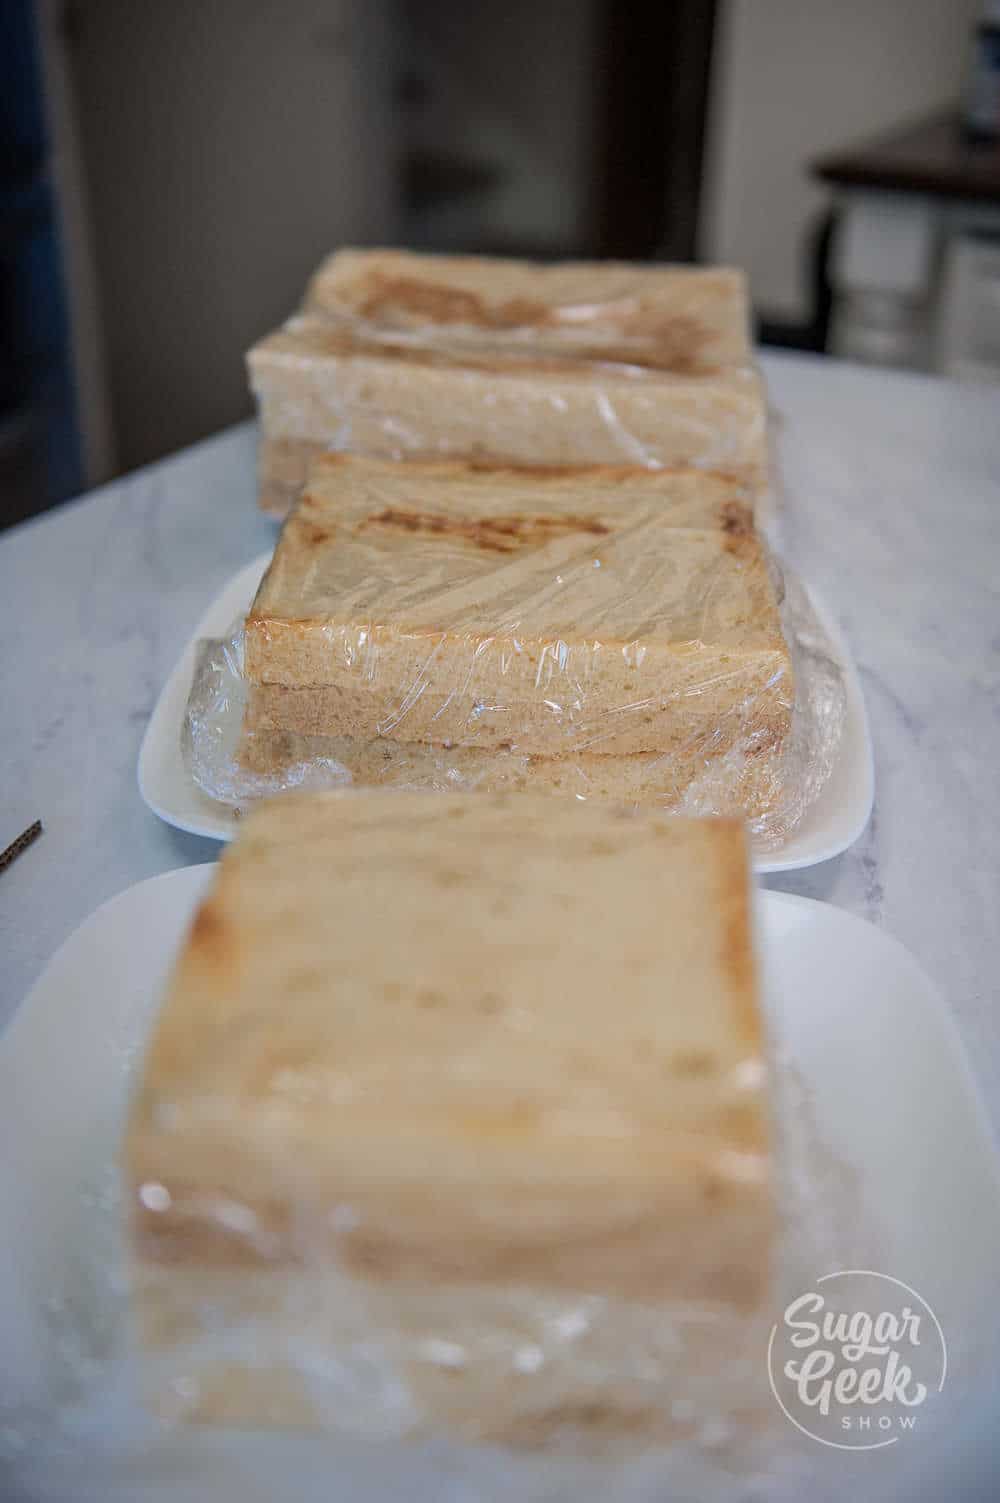
- Bake the cake layers. Use my white cake recipe (or WASC if you prefer a doctored mix) baked in good-quality square pans. Cool, wrap, and chill or flash freeze the layers so they're firm before you start working with them.

- Fill and crumb coat each tier. Trim the brown edges, tort the layers, stack with buttercream filling, and apply a thin crumb coat to seal in crumbs. Chill until firm.
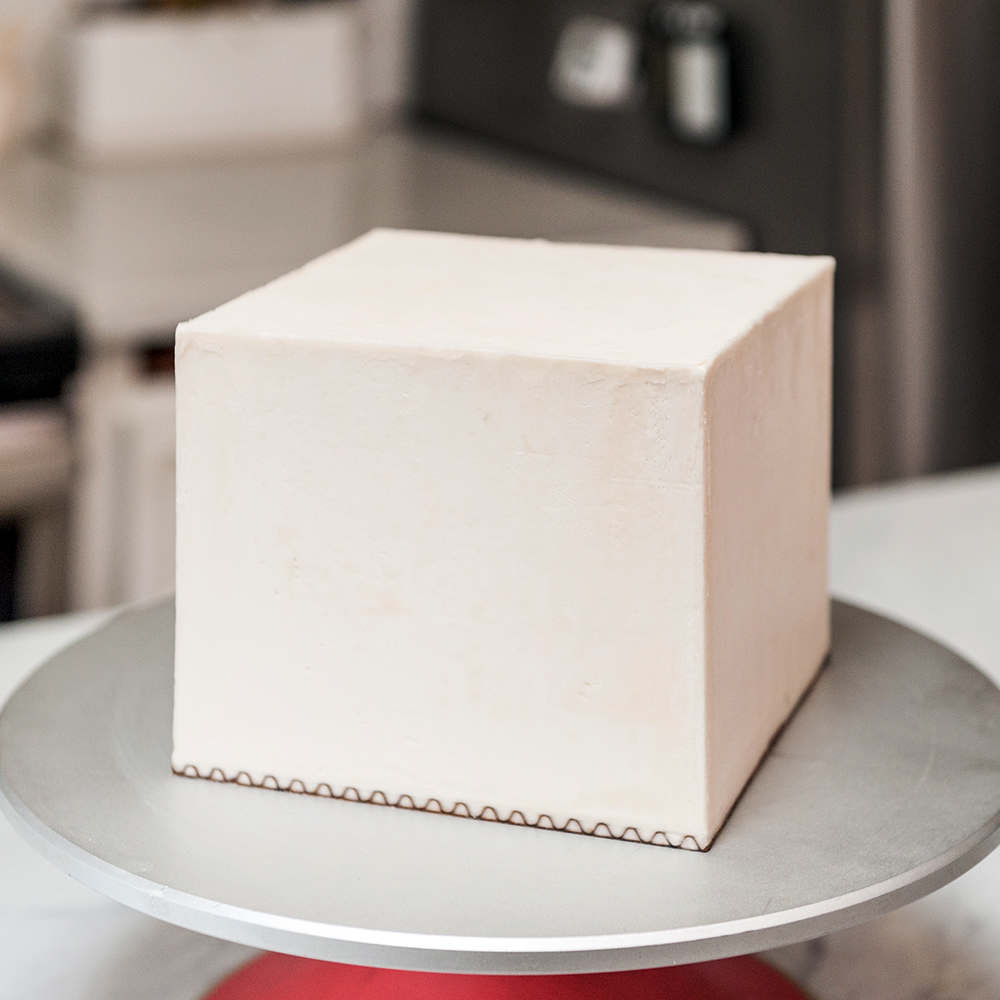
- Frost the final coat. Apply a smooth final layer of buttercream to each chilled tier. Use square acrylics for sharp corners or the upside-down method. Chill again.
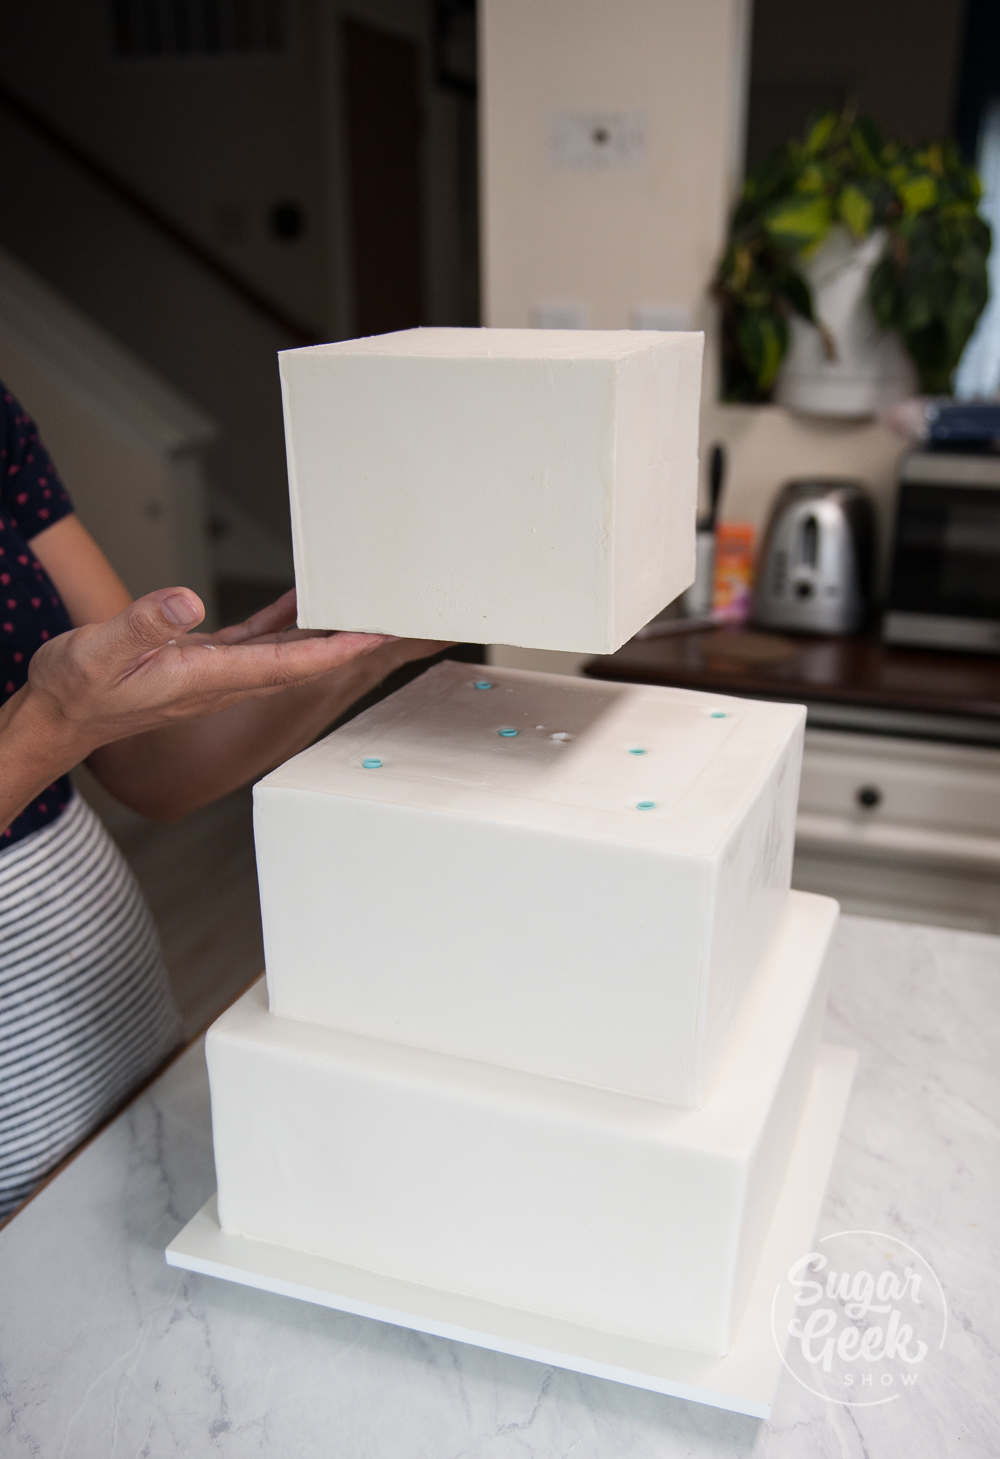
- Stack the tiers. Insert milkshake straw supports into the bottom and middle tiers, lift each tier into place with an offset spatula, fill gaps with buttercream, and run a center dowel through the whole cake for stability.
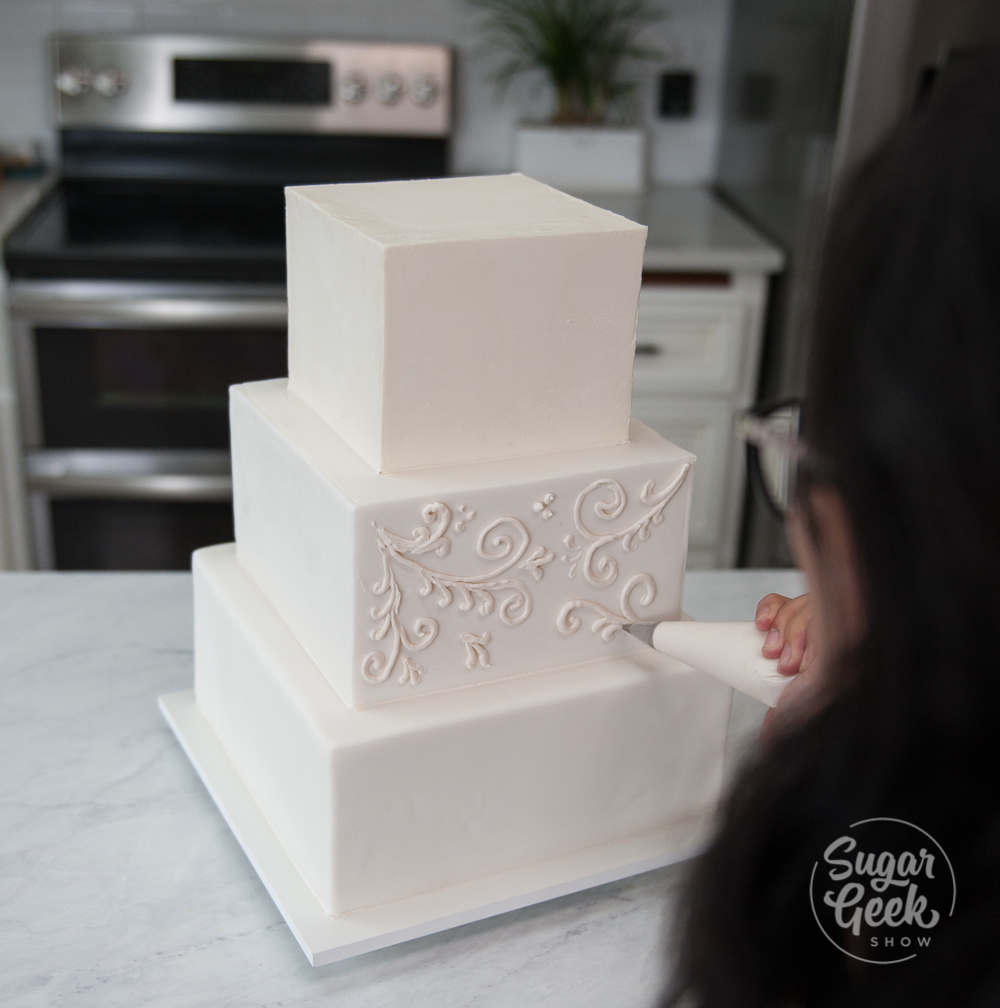
- Decorate. Pipe details and apply pre-made buttercream flowers (made ahead and frozen) according to your design. For a modern look, try a gold drip finish instead. Chill until delivery.
- Deliver chilled. Transport the cake on a flat, level surface in an air-conditioned vehicle. Aim for 1 to 2 hours before the ceremony so the cake has time to come up to temperature without sagging in the heat.
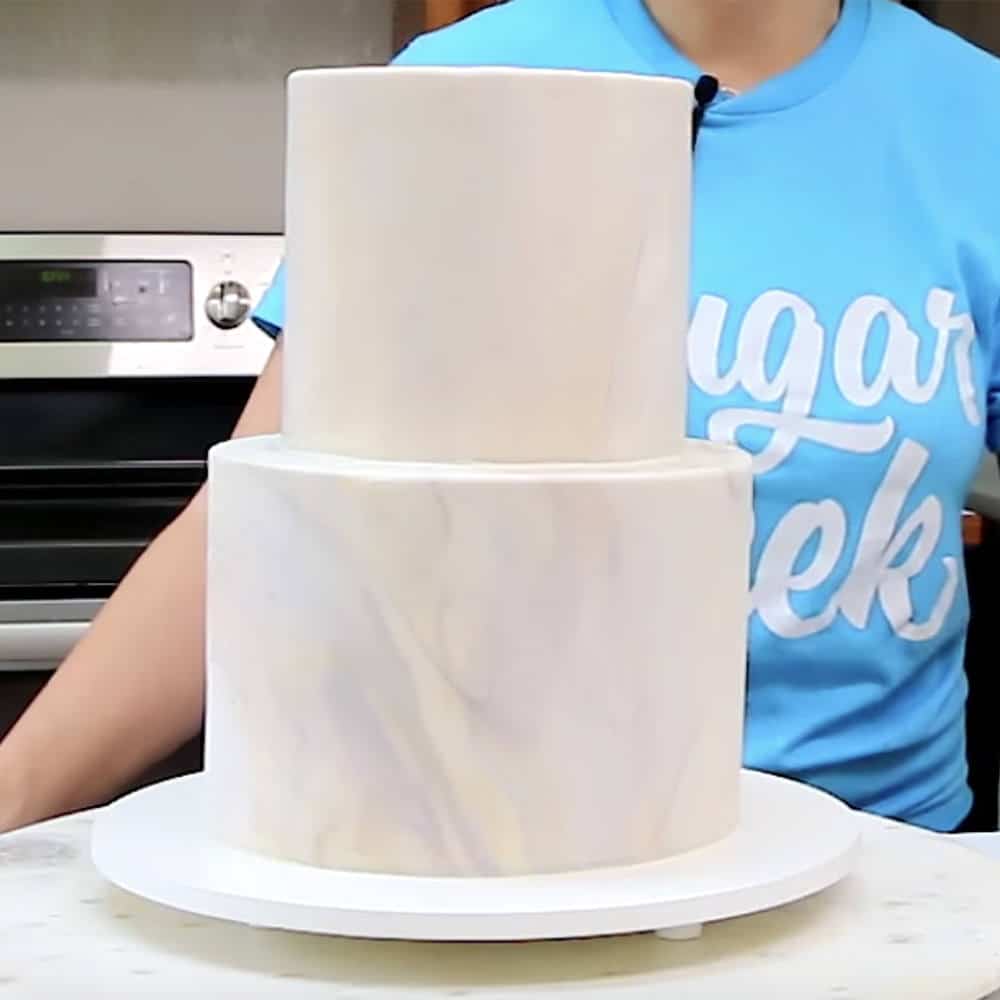
If you're a beginner, watch my how to decorate your first cake tutorial first to nail the foundational frosting and stacking techniques. For round wedding cakes, see my marbled wedding cake tutorial.
Common Wedding Cake Problems To Avoid
No sketch or plan before you start. Wedding cakes are too complicated to wing it. Sketch the design, list every decoration, and make sure the design is buildable in advance.
Stacking warm cakes. This was my first-cake mistake. Warm cakes collapse under the weight of the tiers above. Always chill or freeze your layers before frosting and stacking.
Skipping the dowel through the center. Without a center dowel, a cake can lean or topple in transit. The 30 seconds it takes to insert one is worth it.
Cardboard or supports that are too flimsy. Use sturdy cake boards under each tier and a wooden cake drum at the base. A 3-tier cake is heavy and flimsy supports will collapse.
Cake sweating after taking out of the fridge. Don't touch it. Let the surface dry naturally with a fan blowing across it. Touching wet fondant smudges the surface.
Delivering an unchilled cake. Warm cakes shift, slide, and crack on the road. A well-chilled cake holds up to vibration and looks crisp on arrival.
Driving the cake on your lap. Almost guaranteed disaster. The cake should be on a flat, level surface in the car with the AC blasting.
Final Thoughts
Making a wedding cake is not as simple as some articles make it sound. When I was first learning, every tutorial I read made it seem easy. When problems came up, I realized I didn't have all the information I needed for success.
I hope this long post didn't discourage you. As you can see, I was no expert when I tried my first cake, but you get better with practice. Anyone can make a beautiful wedding cake. The biggest thing is to give yourself time, plan ahead, and trust the process. The first cake will not be perfect, but it'll be way better than my 2009 disaster, I promise you that.
Square Wedding Cake FAQs
You can bake the cake layers up to a month in advance and freeze them, wrapped tightly in plastic. The buttercream and fondant can be made up to a week in advance and refrigerated. The decorated, fully assembled cake should be made the day before delivery, kept refrigerated, and delivered chilled.
Plan on one slice per guest. A 6-inch tier serves about 12, an 8-inch tier serves about 24, a 10-inch tier serves about 38, and a 12-inch tier serves about 56. A standard 3-tier wedding cake (6, 8, and 10 inch) feeds about 75 people.
Yes, you can decorate a wedding cake entirely with buttercream. A buttercream-only wedding cake is simpler but less stable in warm environments. For outdoor weddings or hot climates, fondant gives you a sturdier shell that holds up better.
For 3 tiers or fewer, I assemble at home and deliver fully stacked. For 4 or more tiers, stack on site to reduce the chance of a delivery disaster. Either way, the bottom tier should always be on a sturdy cake drum and there should be a center dowel running through all the tiers if you assemble in advance.
Keep the buttercream flowers frozen until the moment you apply them, and keep the cake refrigerated until delivery. Once the cake is at the venue, place it in the coolest spot possible and out of direct sunlight. If the venue is over 80°F, switch to fondant or gum paste flowers, which won't melt.
Box mix is generally too light and fluffy to hold up to stacking, but if you want to use it, modify it with the WASC method (white almond sour cream cake), which adds butter and density and makes the box mix sturdy enough for tiered cakes.
Transport the cake well-chilled, on a flat level surface (the floor of an SUV or truck bed works), in a cold air-conditioned vehicle. A cake safe with a central dowel is the safest option. Never hold a cake on your lap or in someone's hands during transport.
More Cake Tutorials To Try
Ready To Master Cake Decorating?
Join Sugar Geek University and learn professional techniques through detailed cake decorating courses, tutorials, and real kitchen demonstrations by
award-winning cake decorator, Liz Marek.
Hiram Juarbe says
I like the 3 Smooth sharp layers.
I can have it w/o swirls and flowes.
Sarah says
Hey, i have a question about after the cake is stacked how do you unstack a Cake when it to be cut without the frosting coming off the top of the other cake ?
The Sugar Geek Show says
Place a circle of parchment paper under the cake tier as you are stacking
Amber says
Hi: what would you recommend for which type of buttercream to use for a cake in September / outdoor?
Will your Swiss recipe (in your book) work? I know you had mentioned about add 1 drop of purple to make it white but mine came out less butter color yet it isn’t white? Any recommendations? Many thanks.
The Sugar Geek Show says
Yes swiss meringue or easy buttercream would work
Heidi says
Hi, what if I can’t buy the pasteurised egg white? Any easy receipe I can refer to make butter cream? And for colouring, oil base or water base colouring I should use? Thankyou!
The Sugar Geek Show says
You can refer to my Swiss Meringue Buttercream Recipe and yes you can add any water based food coloring
Marlene says
Que maravilloso tutorial, eres genial Liz! Dios te prospere en todo lo que emprendas y te recompence con muchas bendiciones en tu vida. Gracias por compartir! es el tutorial más completo que eh visto. Thanks!!!
Beth says
I'm going to be making my own wedding cake, so this is exactly what I needed! Thank you!
The Sugar Geek Show says
You're very welcome! Tag me in your final pic! Would love to see!