These delicious pumpkin cheesecake bars are made with a buttery graham cracker crust and two layers of cheesecake and pumpkin filling. Warm spices, tangy cream cheese, and a beautiful swirl on top make for the perfect fall dessert. 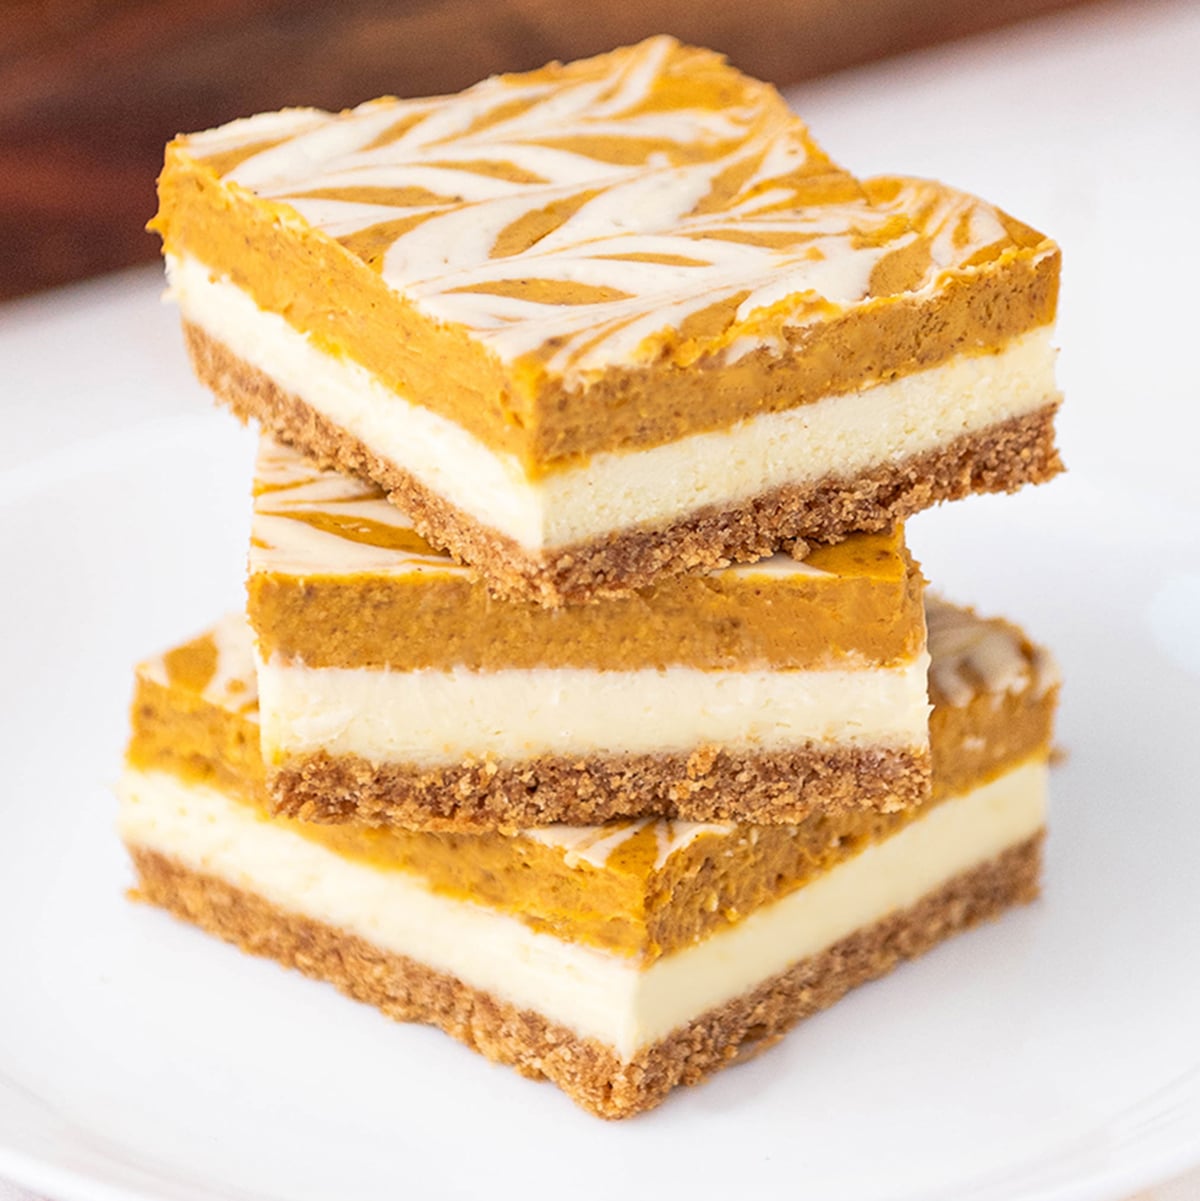
I love pumpkin pie, but I wanted an easy recipe that served and traveled well. This recipe incorporates all of the best parts of pumpkin pie, creamy cheesecake, and a no-stress crust. Graham cracker crust with a touch of cinnamon comes together in a snap. These pumpkin cheesecake bars are a huge hit with teachers and class treats!
Table of contents
Ingredients
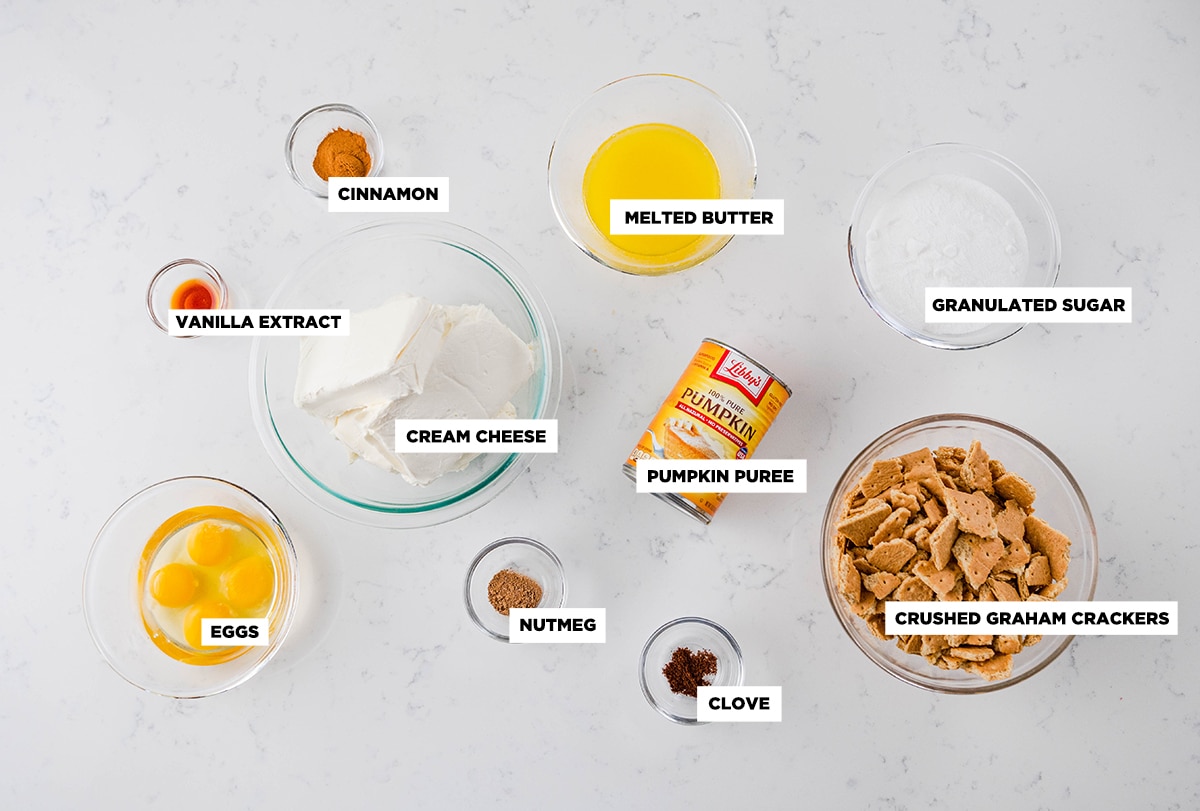
Canned Pumpkin: You can roast your own sugar pumpkins to make homemade pumpkin purée , but canned is available year-round. I have tested a lot of brands and find that Libby’s has the best flavor and is not too watery. You do want to make sure that you get pure canned pumpkin, not pumpkin pie filling, which comes in a similar-looking can.
Cream cheese: It is tangy and adds creaminess and smooth tartness to desserts, but not too much that overpowers the mild warm flavors of pumpkin and spices. It bakes really well at a similar consistency as the pumpkin so the bars have a smooth cohesive texture, creating those lovely layers and swirls on top.
How to Make Pumpkin Cheesecake Bars
The baked pumpkin spice cheesecake bars will have to set for a minimum of 3 hours, so it’s important to plan ahead for this recipe. I recommend making the cinnamon graham cracker crust first, then the cheesecake filling while the crust is freezing, and finally the pumpkin filling while the cheesecake layer is freezing.
Making the Graham Cracker Crust
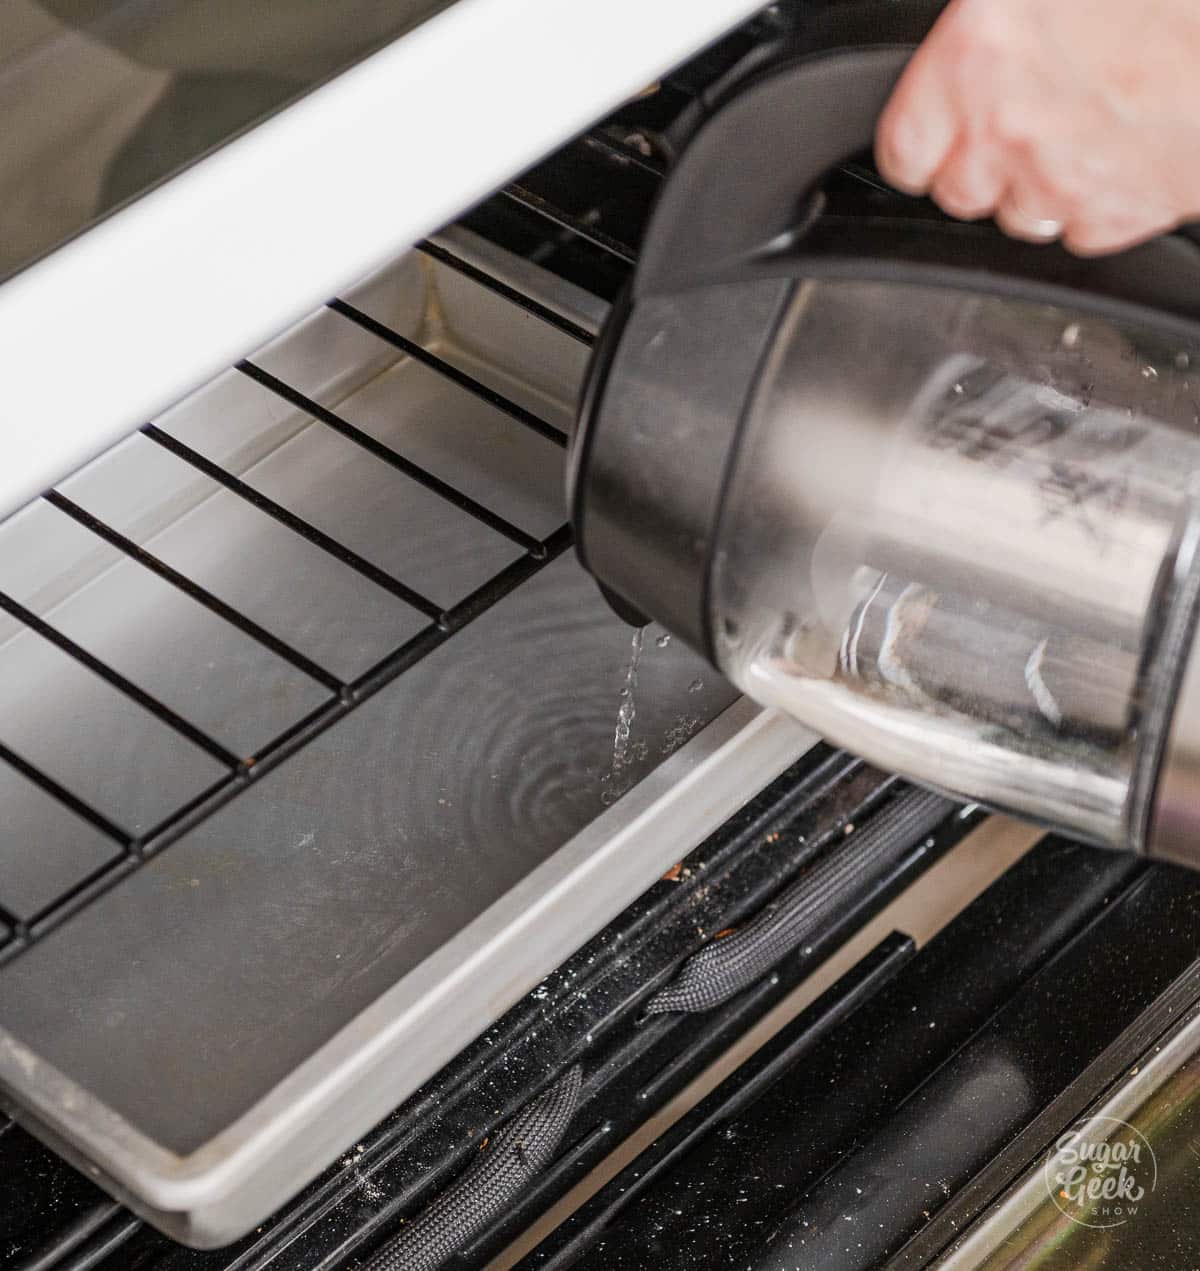
- Preheat your oven to 325°F and place a sheet pan on the lower rack of the oven. Fill the pan halfway up with boiling water to create a water bath. This is to add moisture to the oven and keep the cheesecake from drying out. You will not place the cheesecake bars into this water bath but on the rack above it.
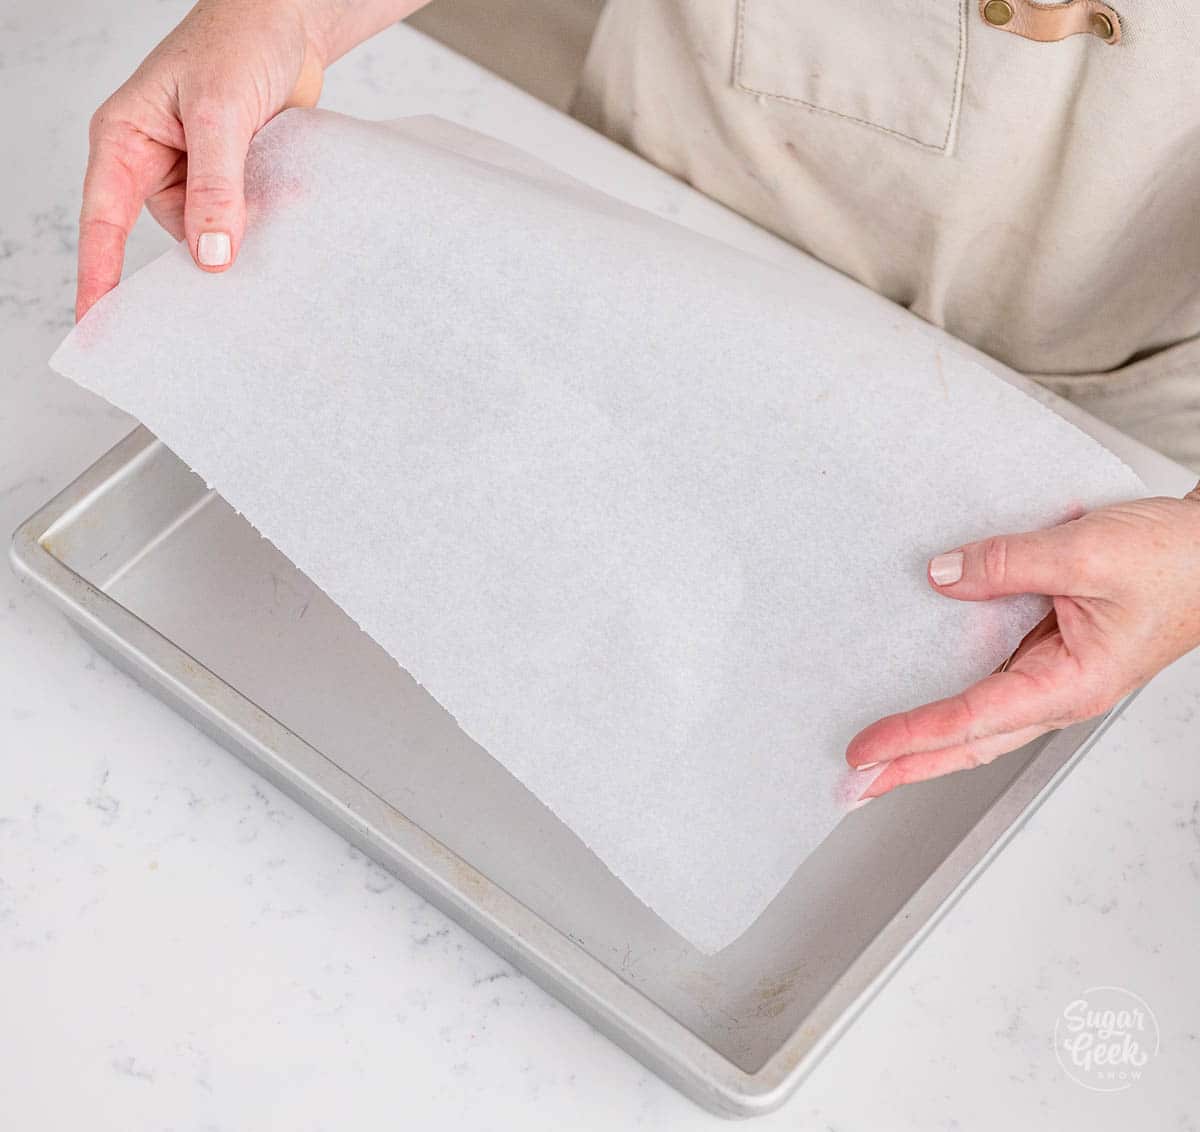
- Line a 9x12x2 inch pan with parchment paper. The butter in the graham crust layer should keep it from sticking, but you can lightly spray it if.
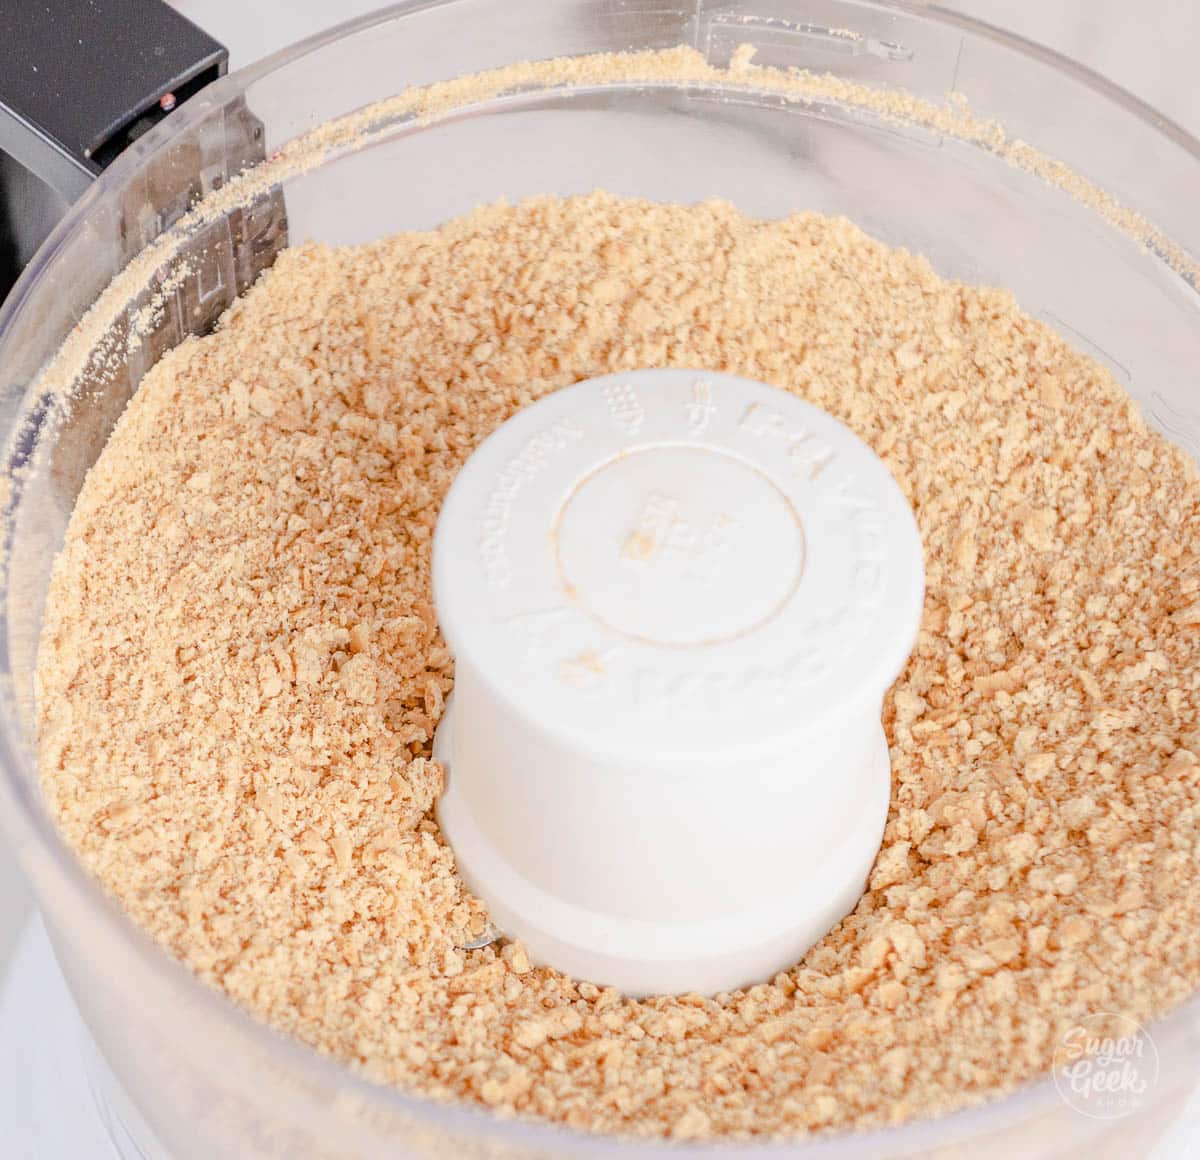
- Grind the graham crackers and cinnamon in a food processor to a sandy crumb.
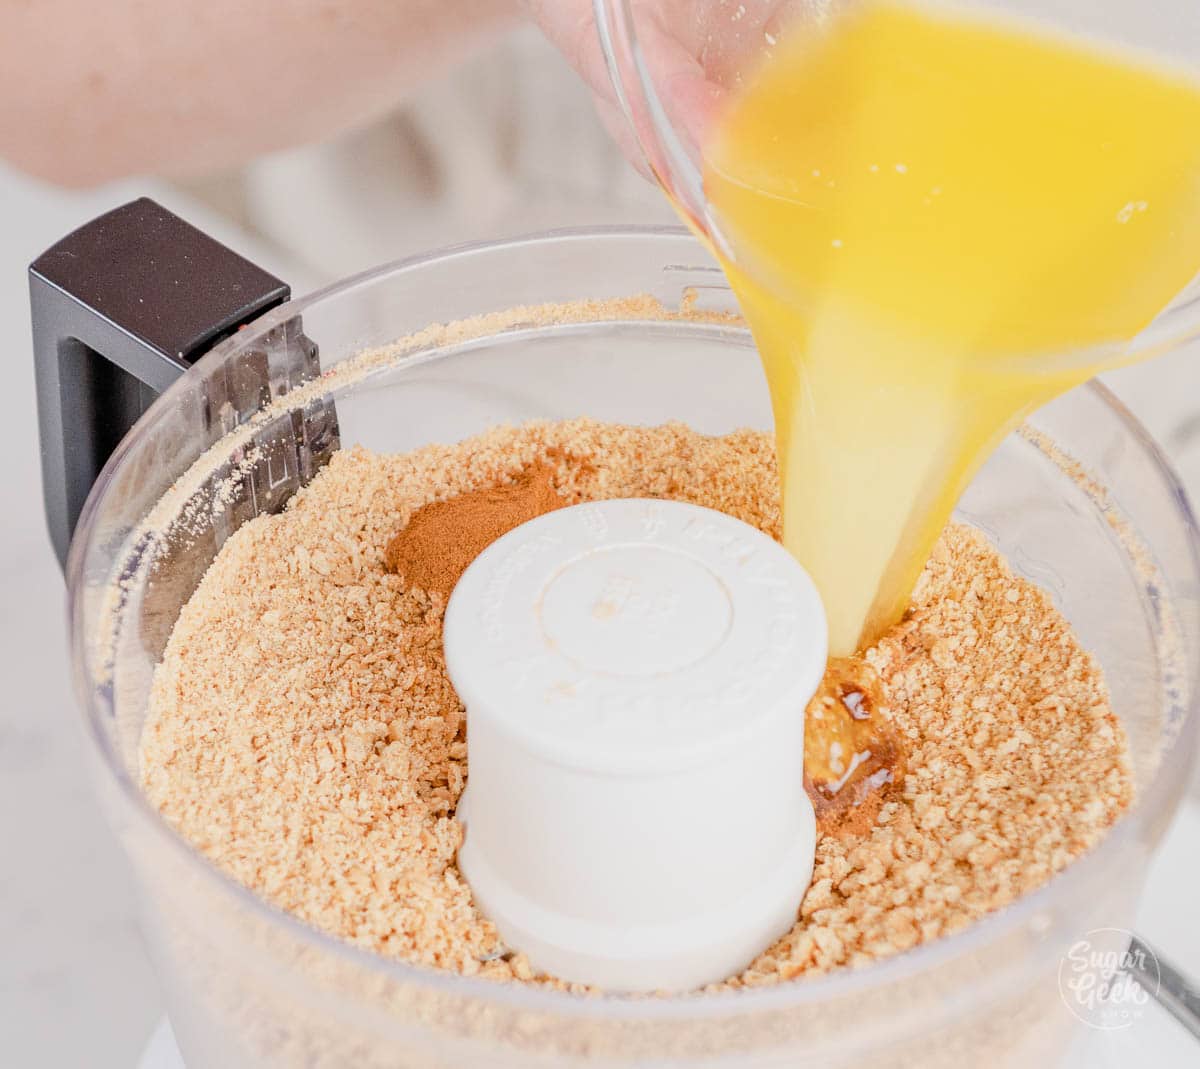
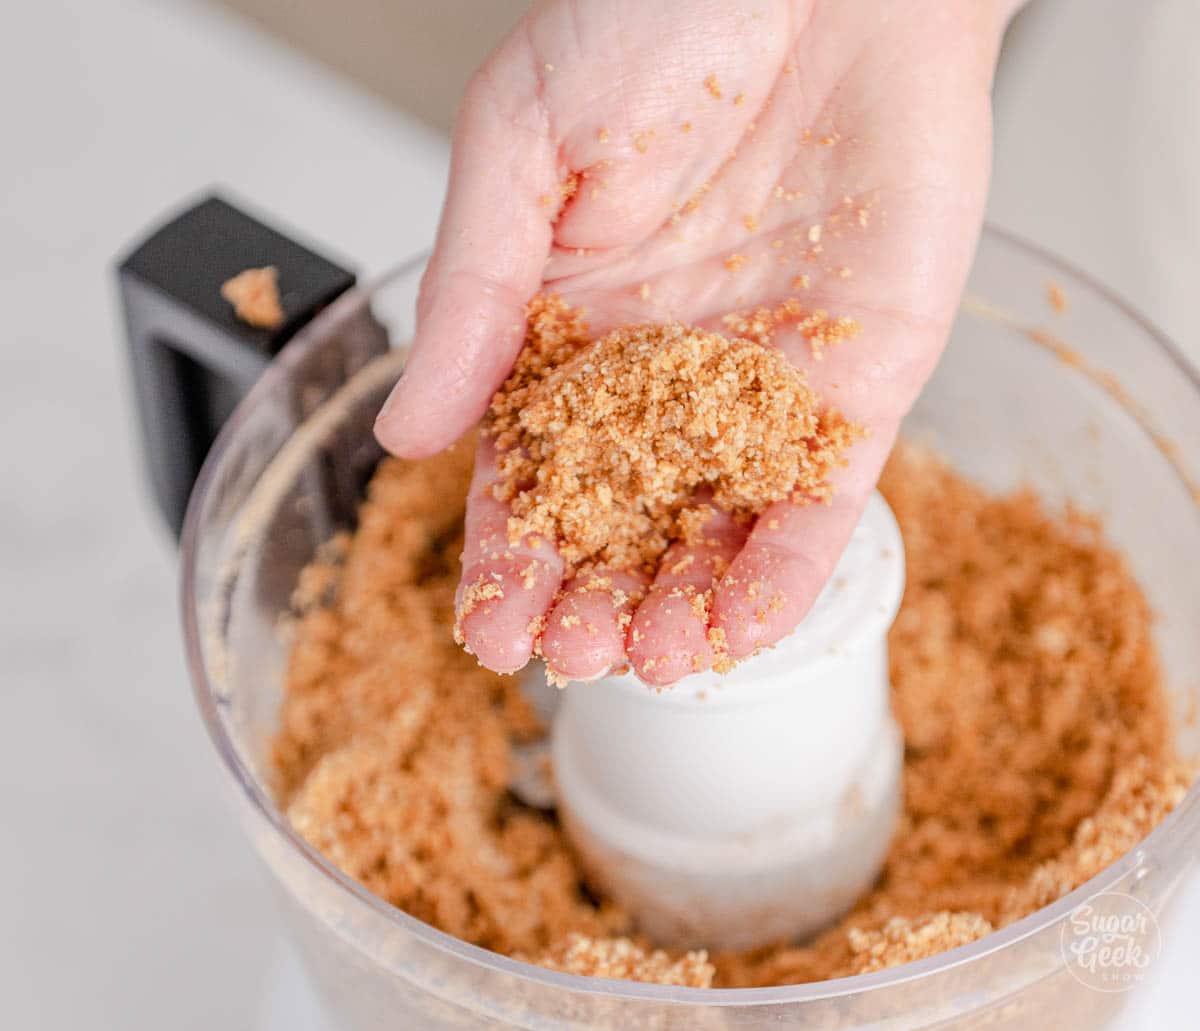
- Then add the melted butter to the crumbs and pulse until combined. The crumbs should hold their shape when you squeeze them in your hand.
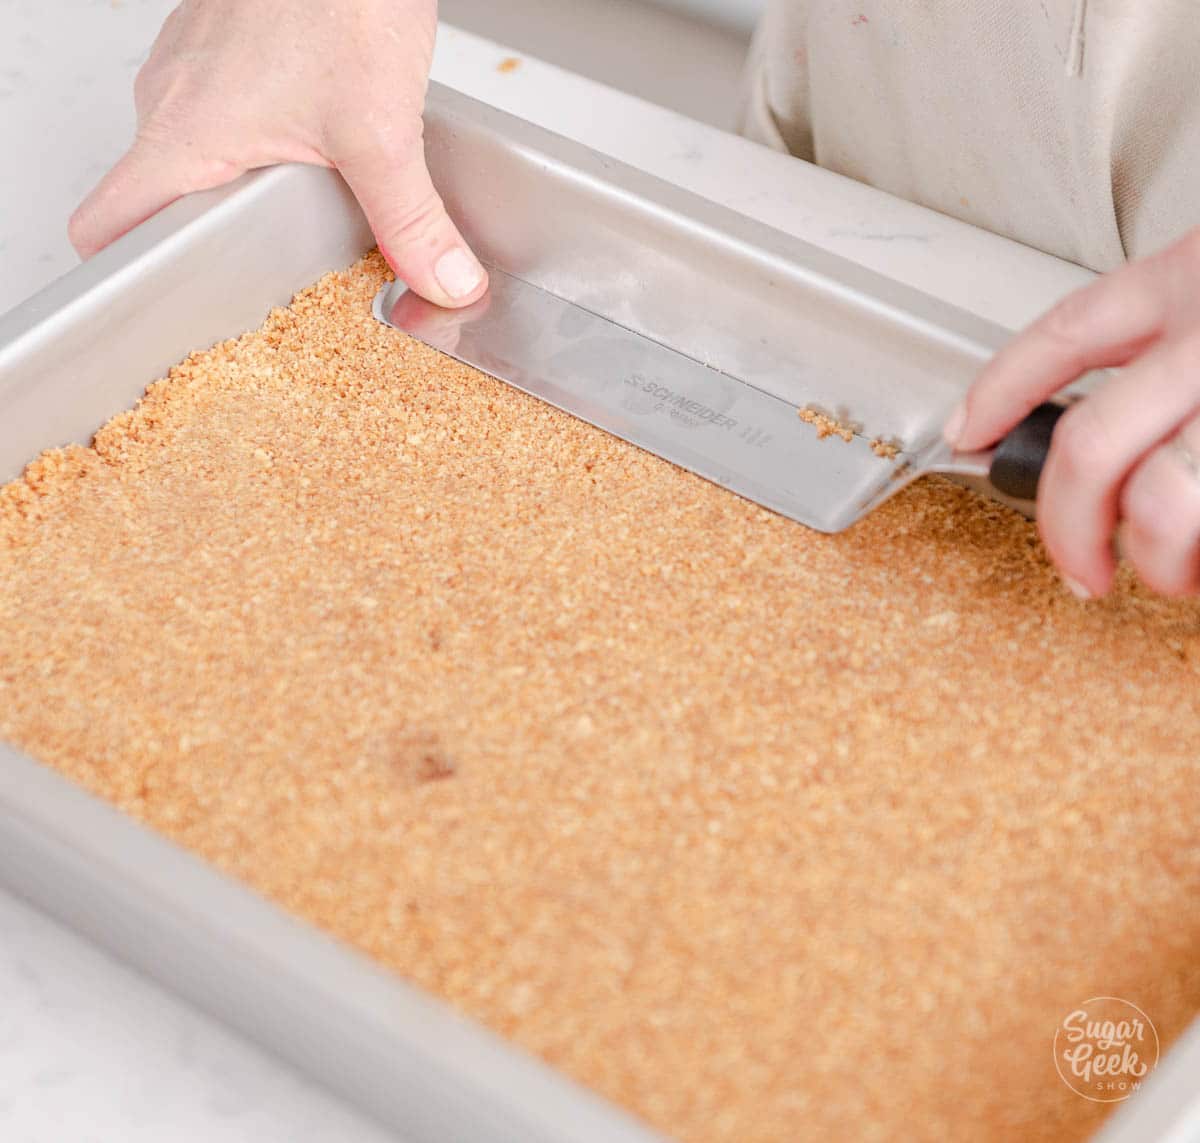
- Pour the graham cracker crumbs into the prepared pan and press it evenly across the bottom of the pan. Use a measuring cup to press it down firmly and an offset spatula to press the edges neatly.
- Freeze the pan for about 20 minutes to set the crust. The cream cheese layer will spread cleaner on a cold crust.
Making the Cheesecake Layer
- Bring the cream cheese and eggs to room temperature. They will come together easier if they are not cold right from the fridge.
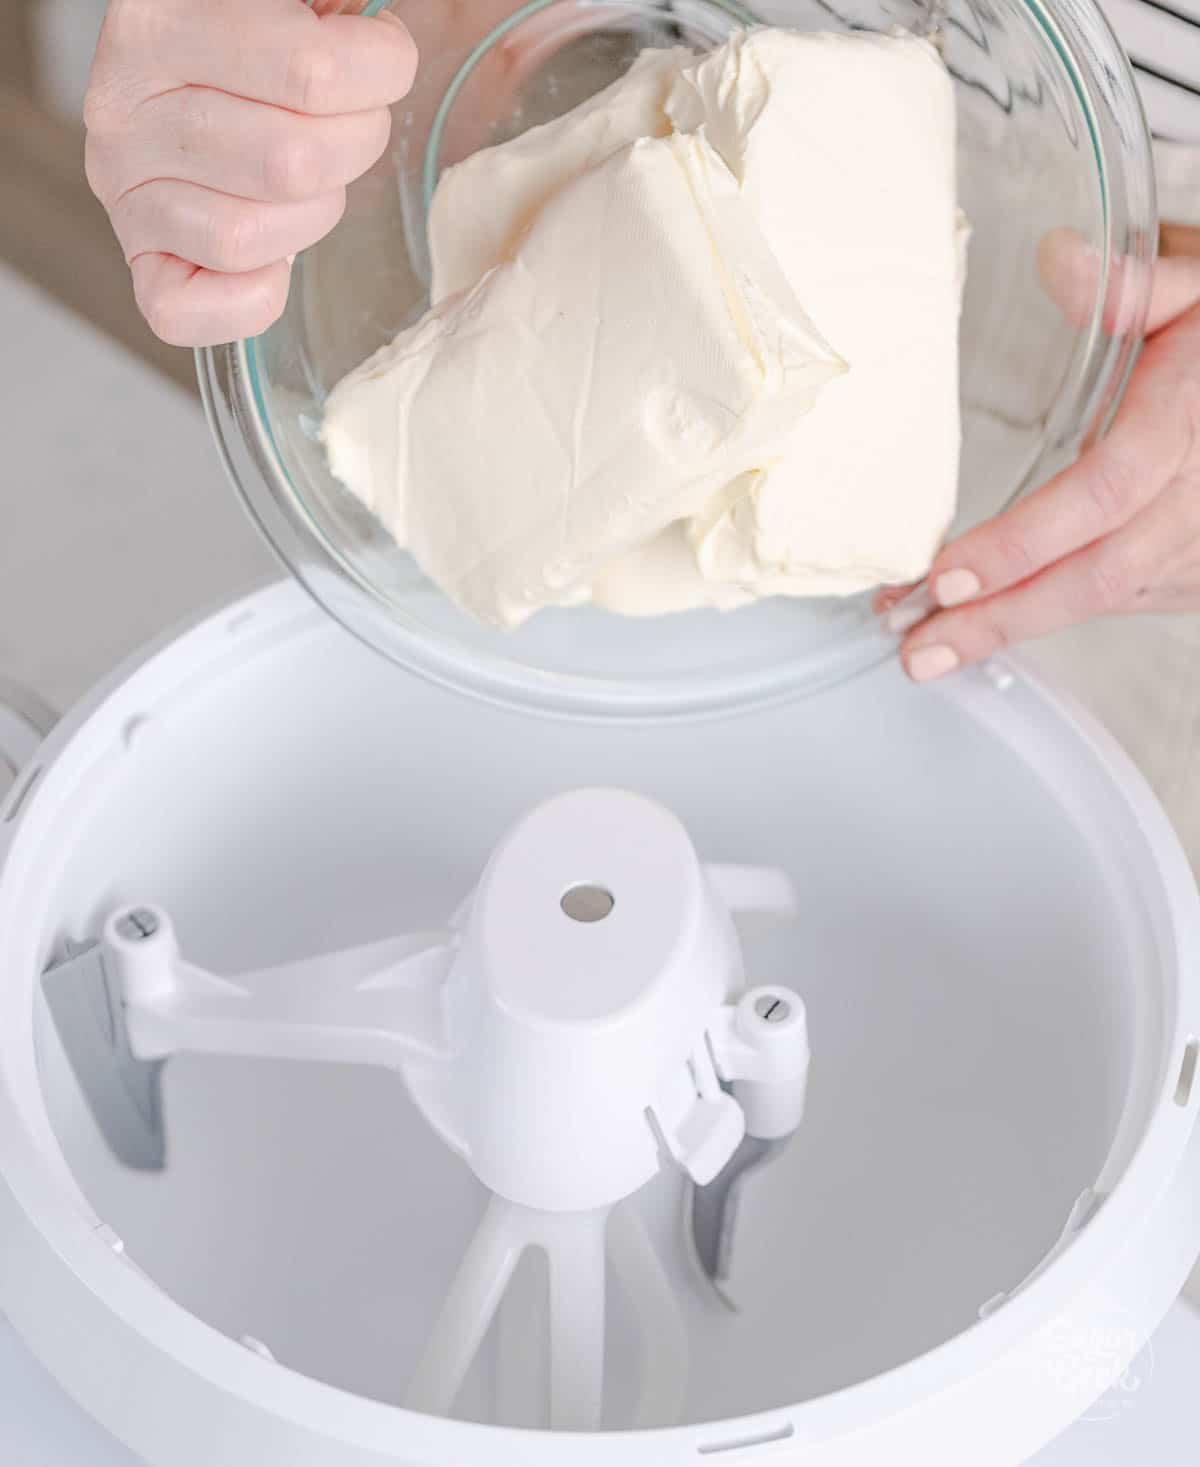
- Add the cream cheese to the bowl of the stand mixer with the paddle attachment. Mix on low speed until smooth and even for about one minute, do not over-mix the cream cheese.
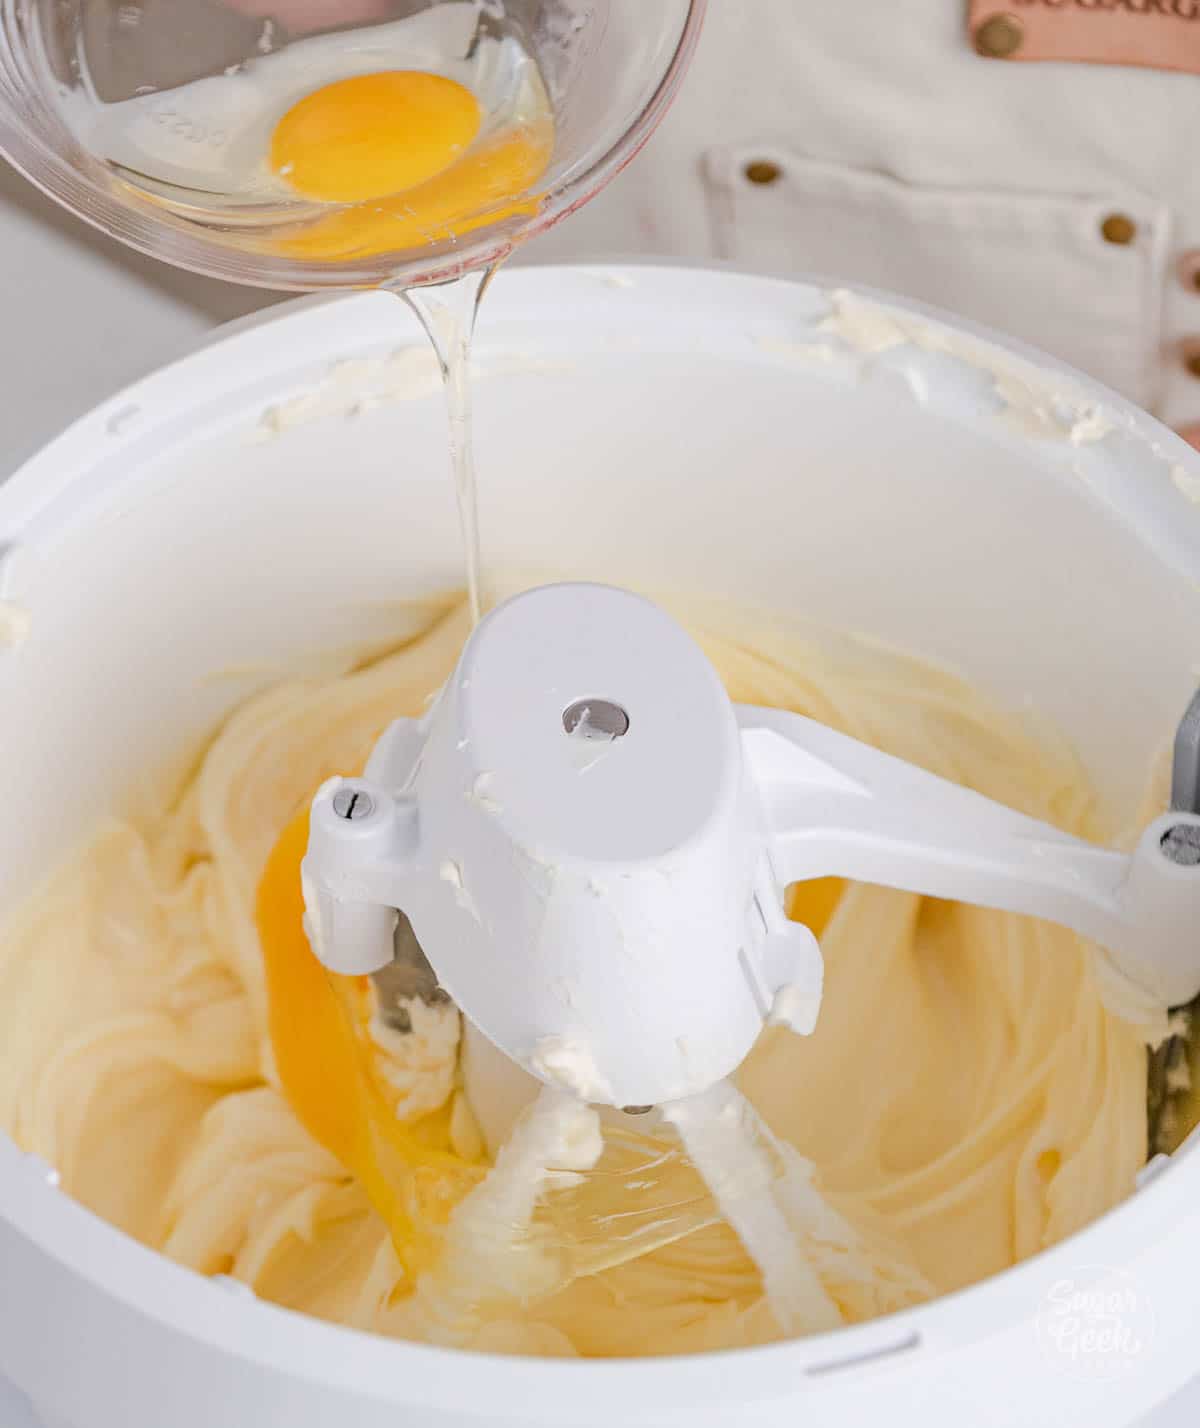
- Add the sugar, vanilla, and eggs one at a time while mixing on low until just combined.
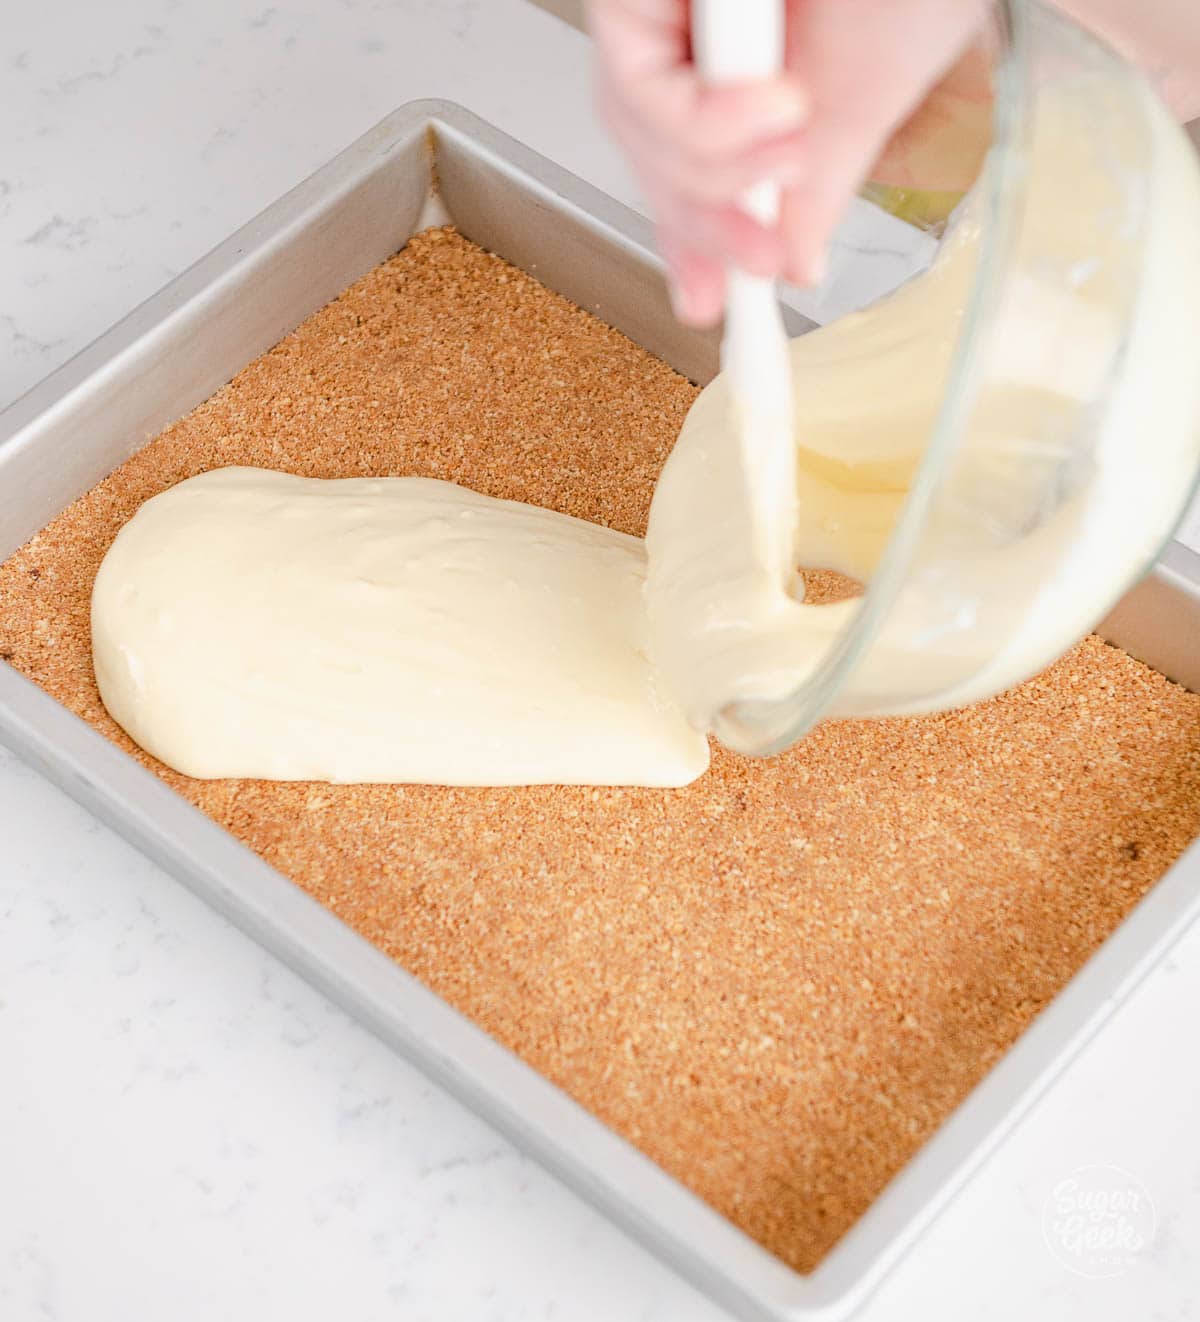
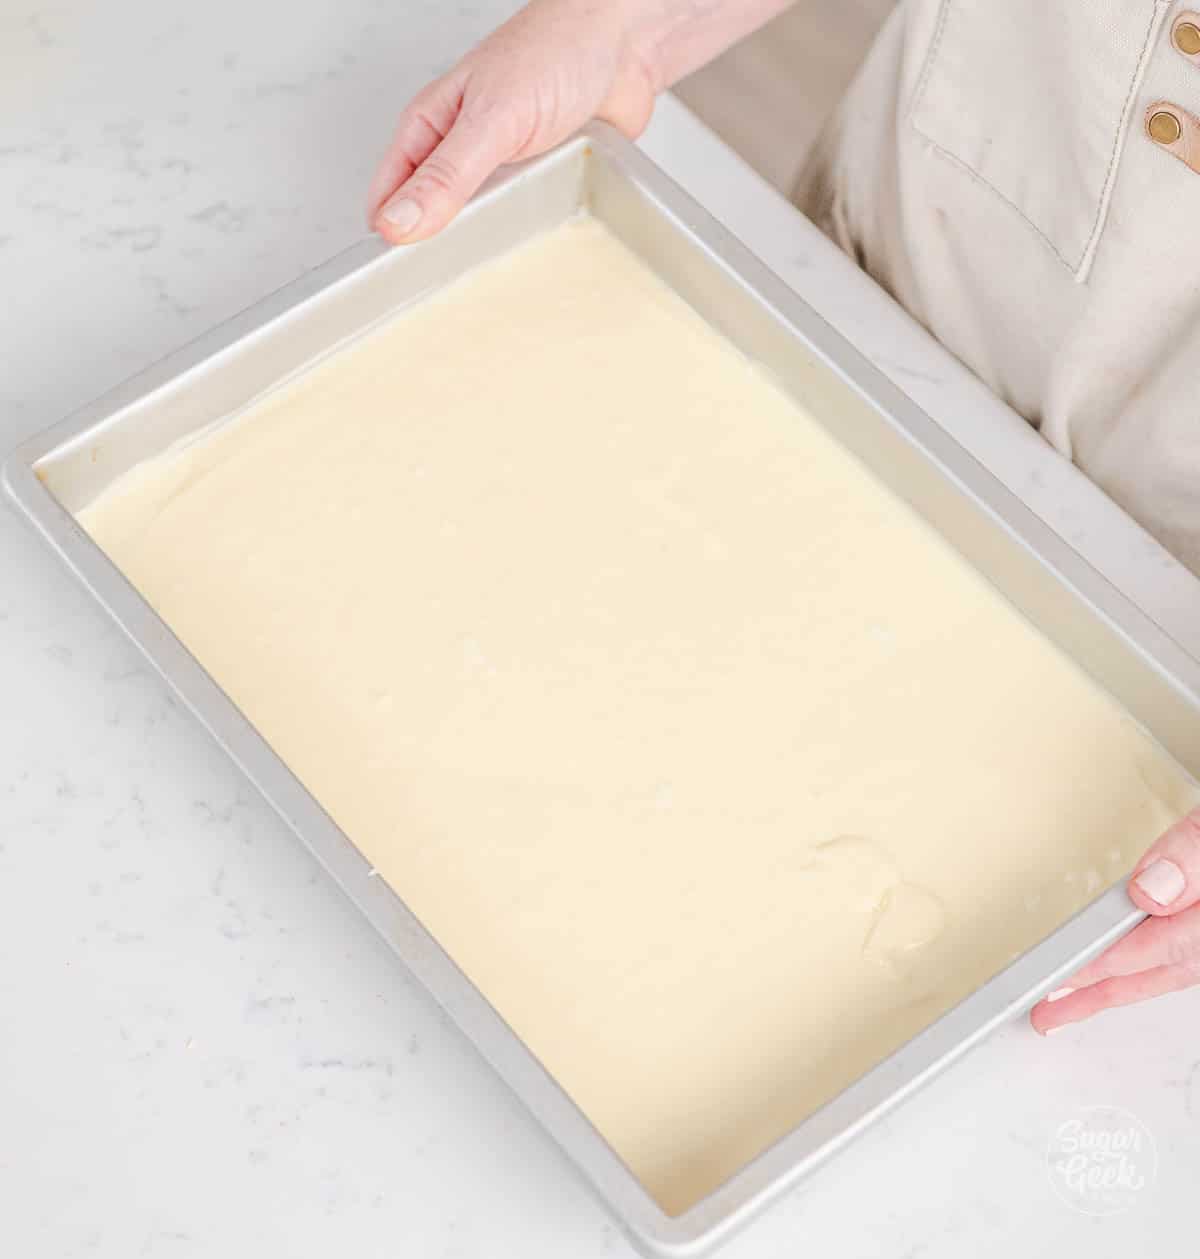
- Pour about ¾ of the cheesecake mixture over the frozen crust and gently spread it evenly with an offset spatula. Be careful not to pick up any crumbs from the crust.
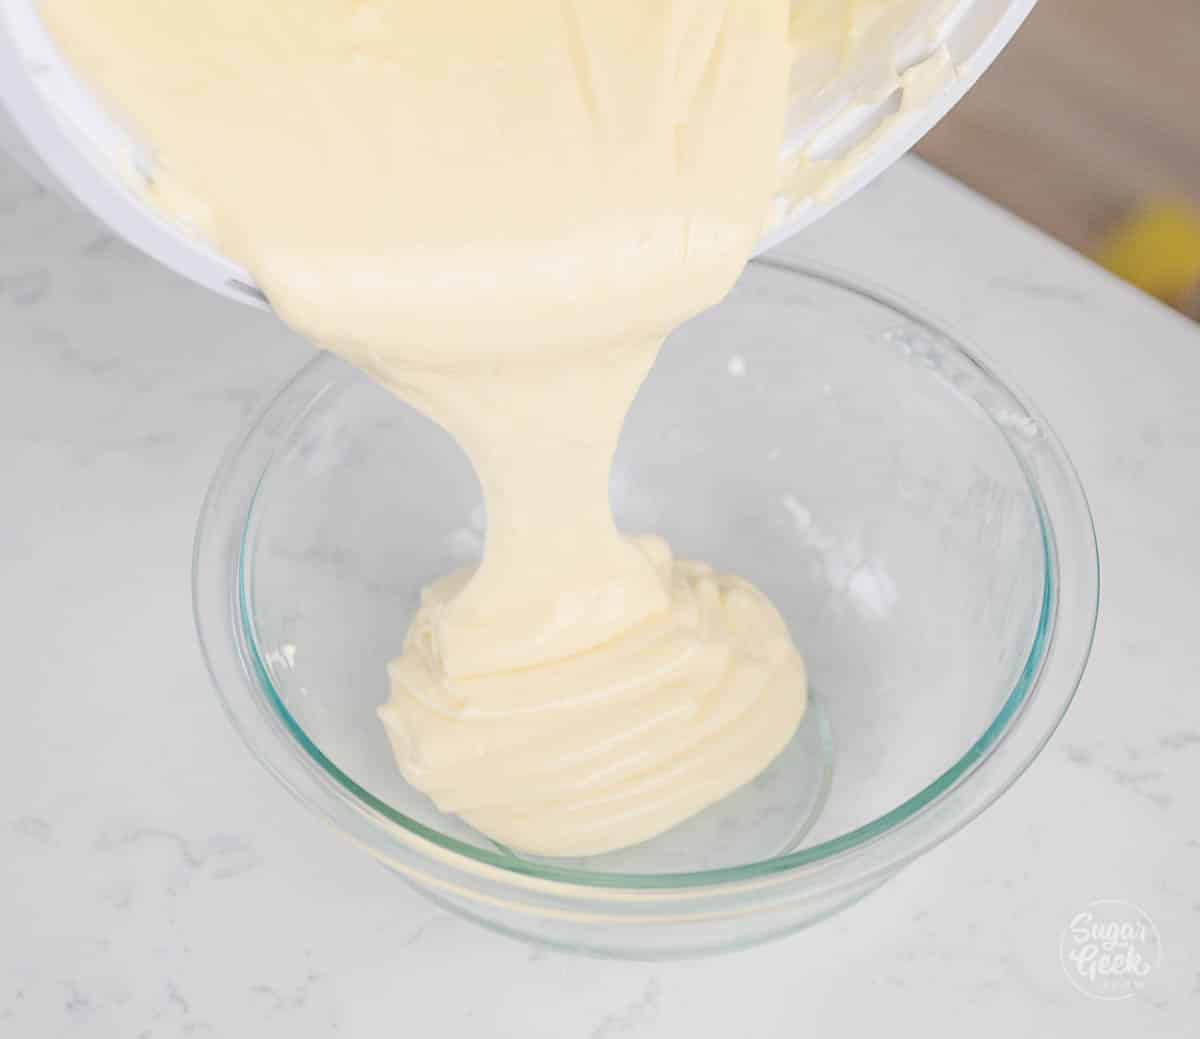
- Reserve the rest for the pumpkin layer, and about ¼ cup of the cheesecake mixture for the swirl topping.
- Place the cheesecake layer into the freezer for 30-40 minutes.
Making the Pumpkin Layer
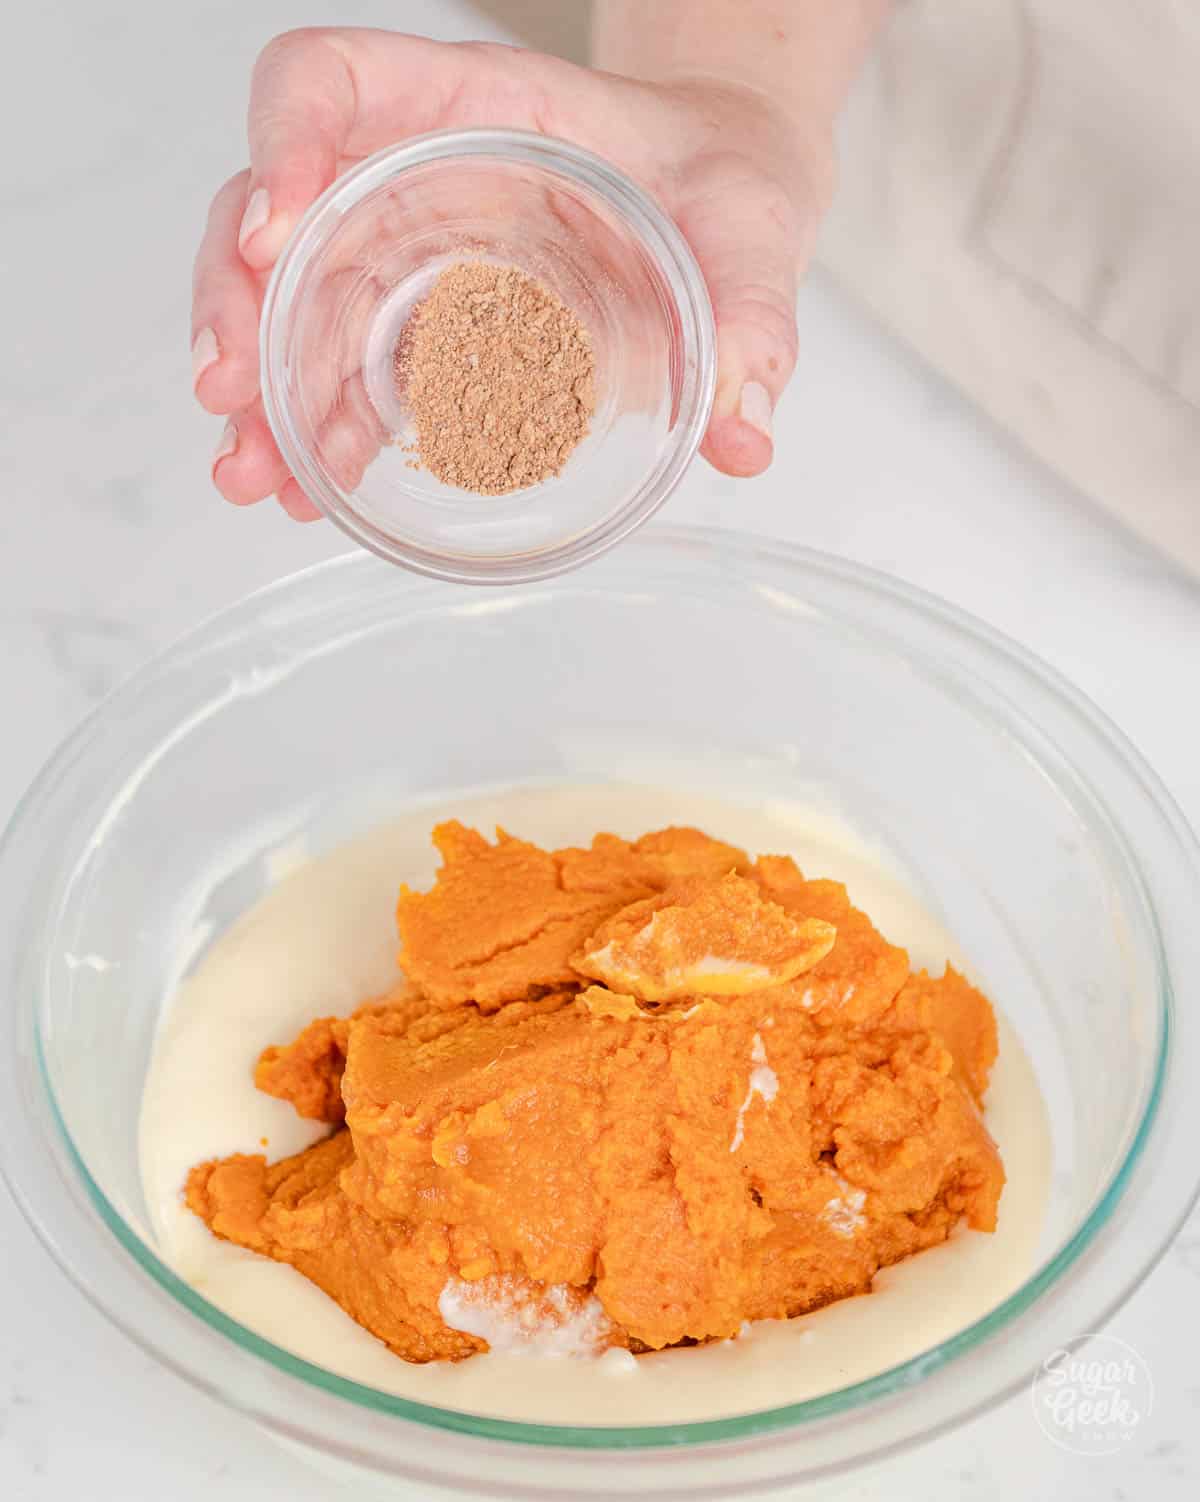
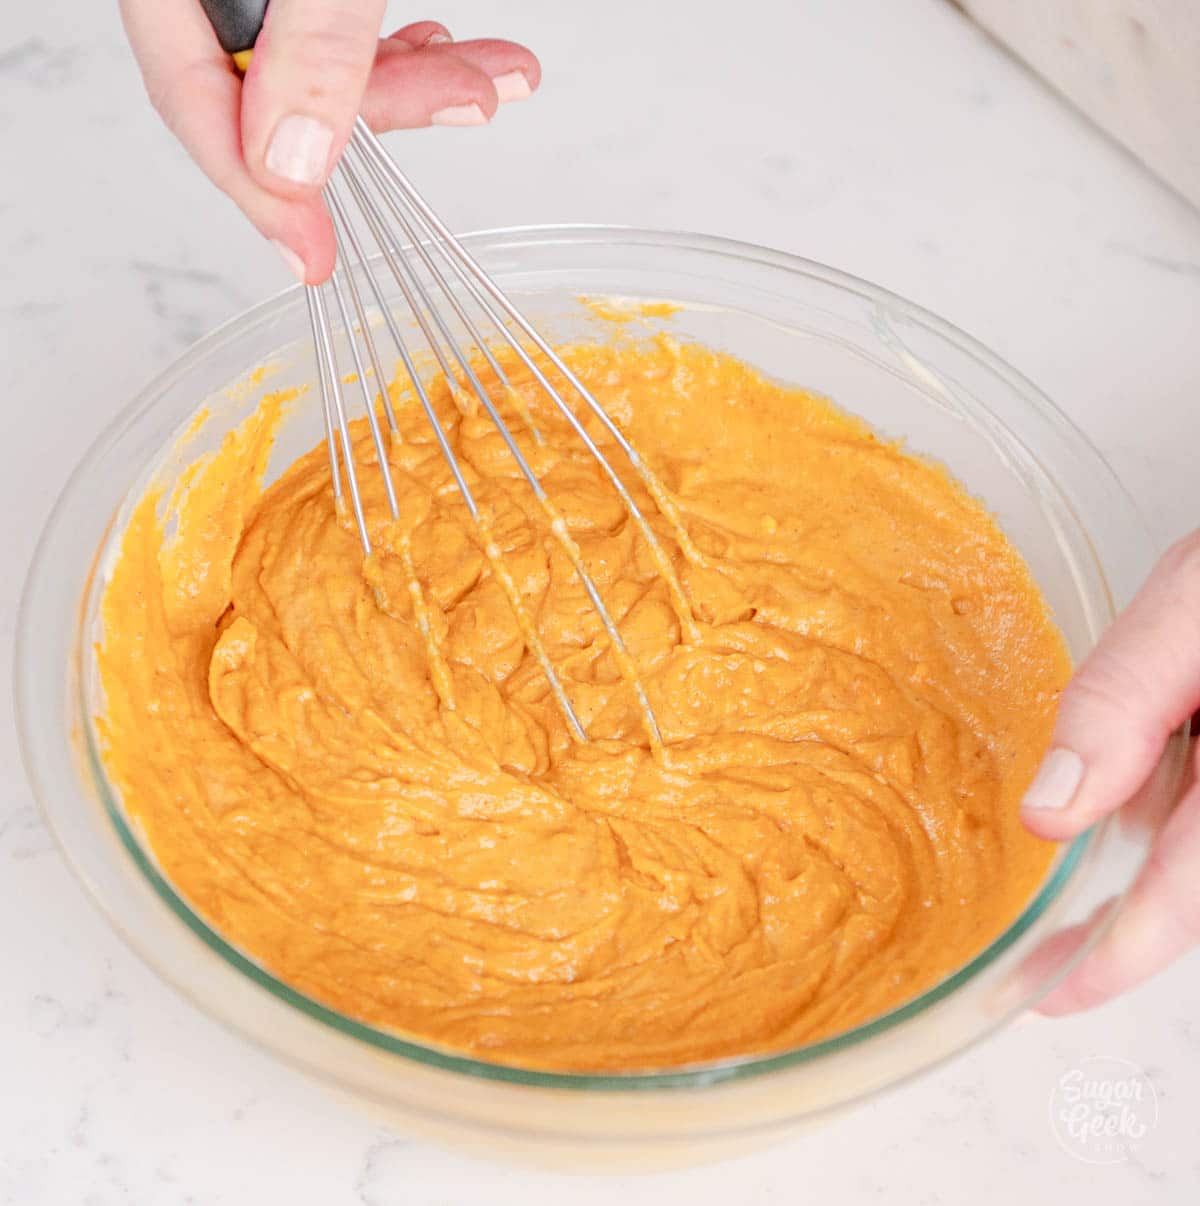
- Next, add the pumpkin puree, cinnamon, nutmeg, and cloves to the remaining cheesecake batter and whisk until combined.
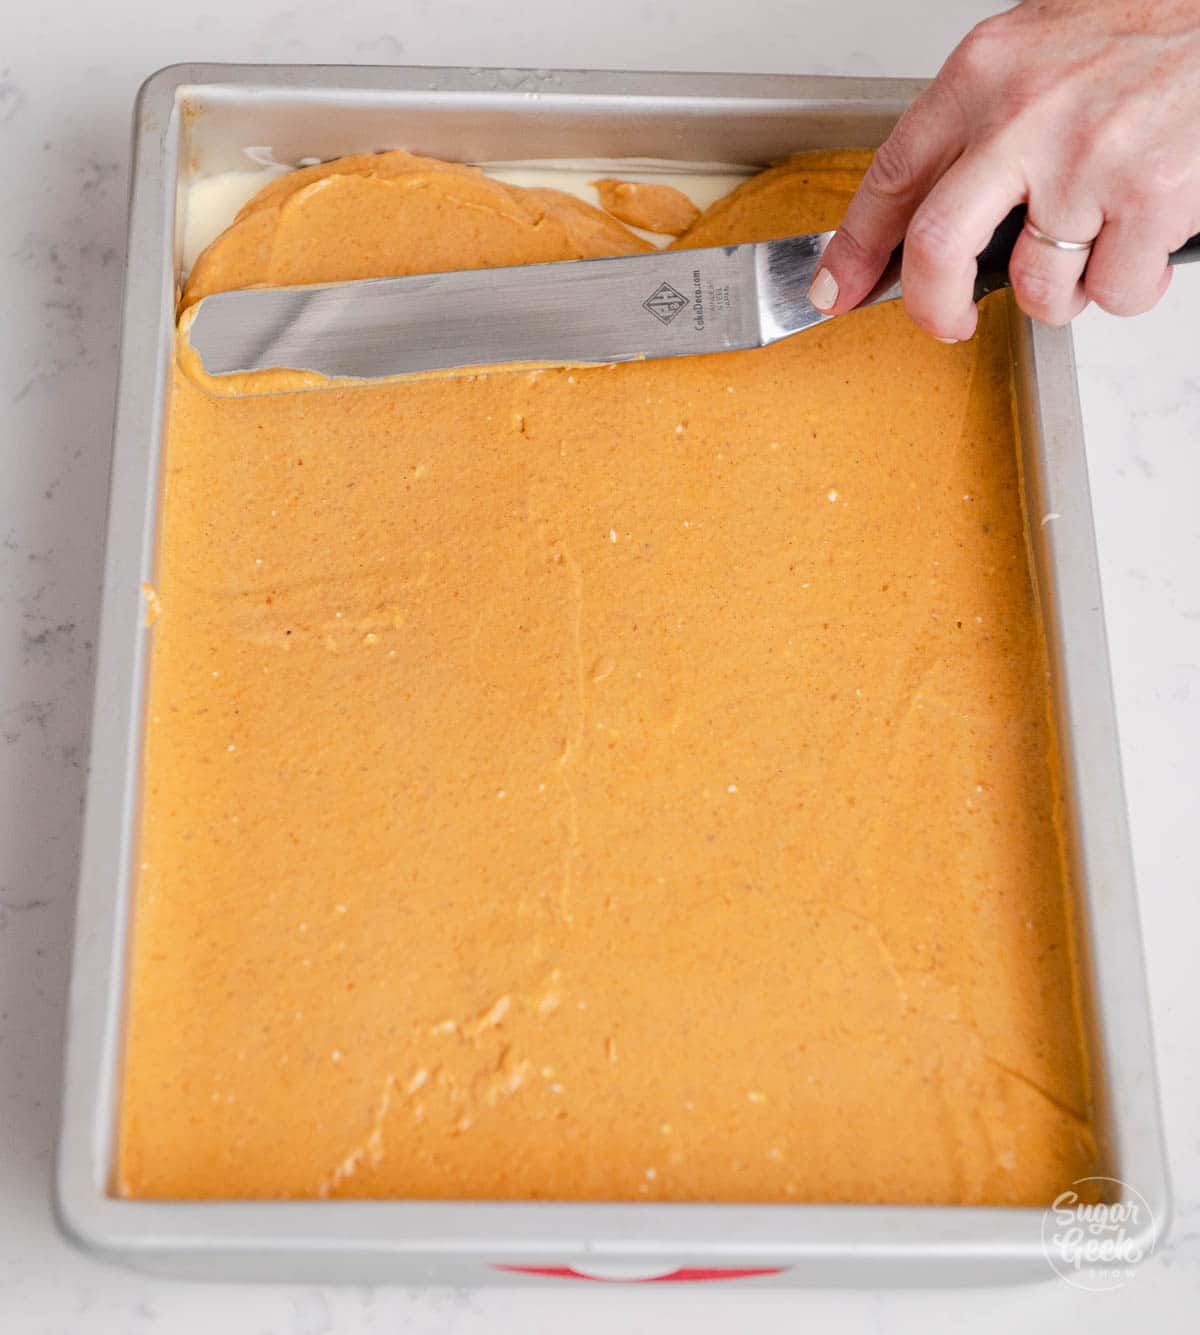
- Evenly distribute the pumpkin cheesecake mixture on top of the frozen cheesecake layer and spread evenly with an offset spatula. Use gentle pressure to not disturb the layers of cheesecake.
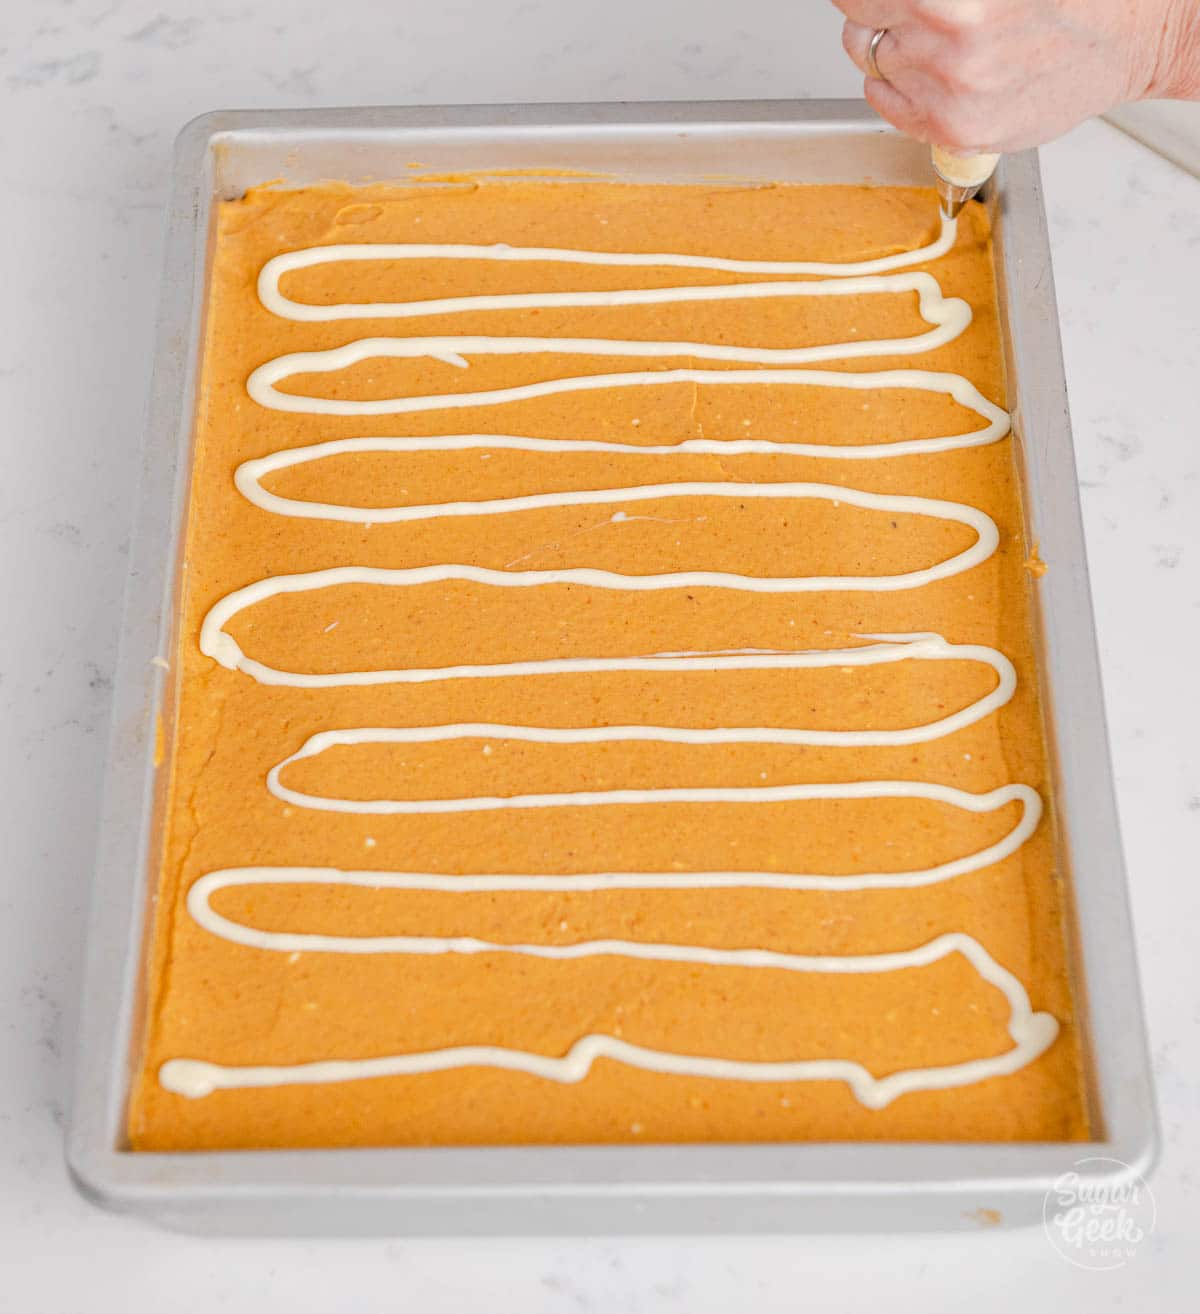
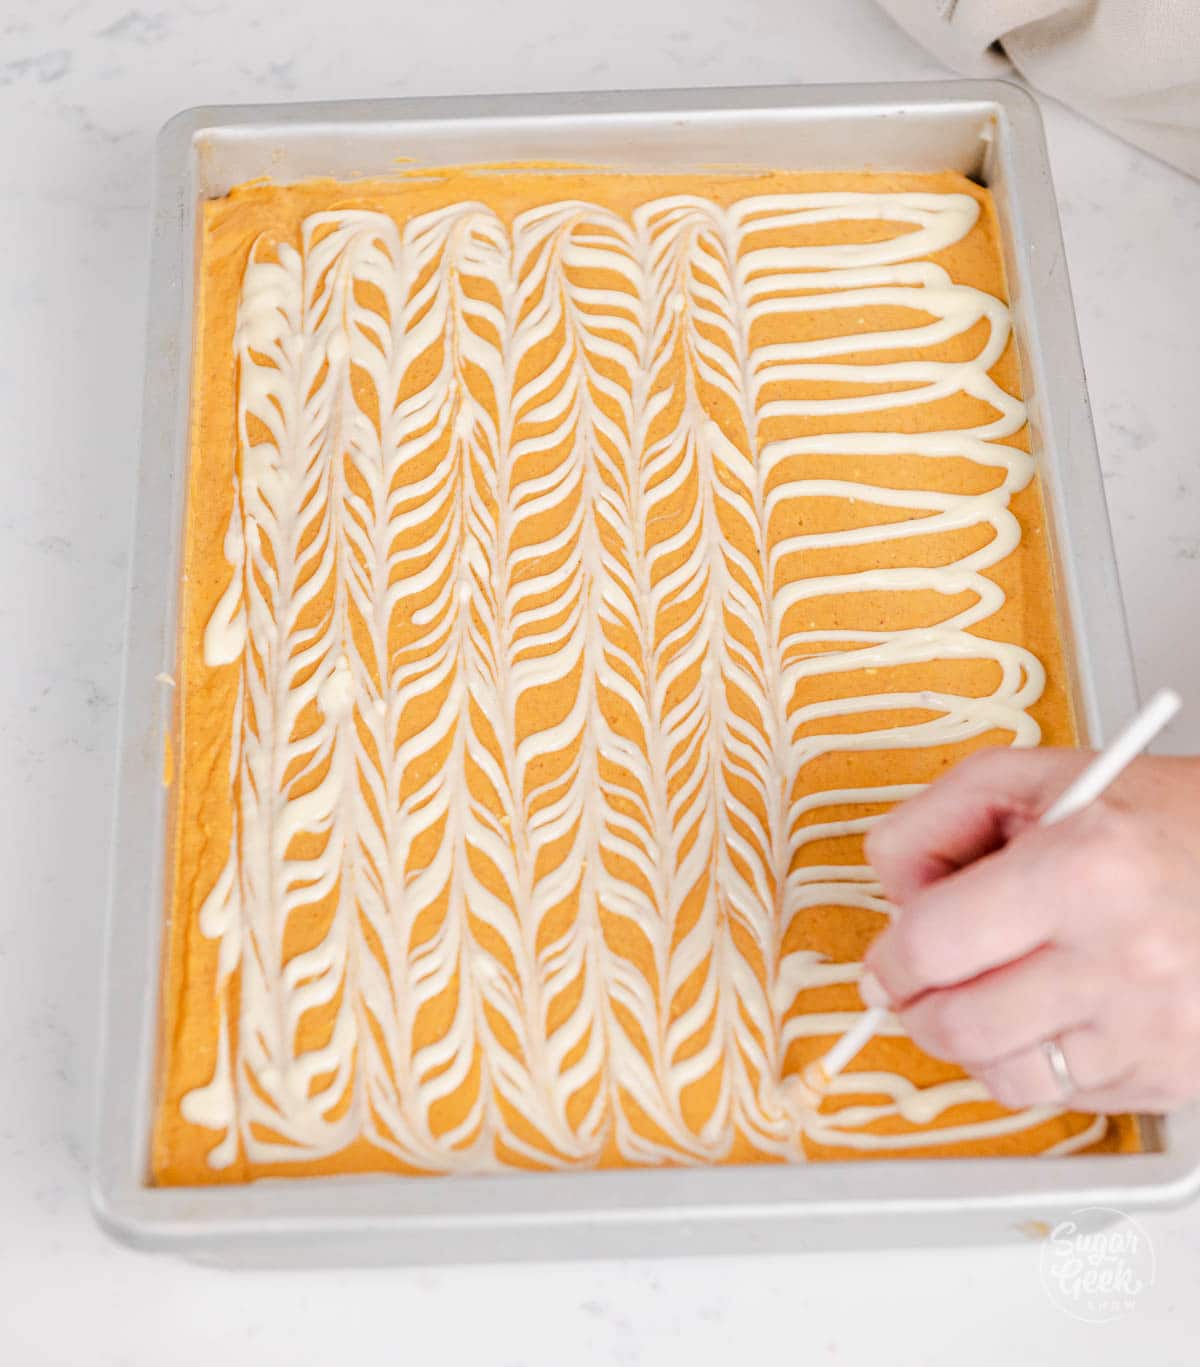
- Drizzle the remaining cheesecake mixture across the top of the pumpkin layer in horizontal lines. Gently run the tip of a skewer vertically across the drizzled lines to create a swirl pattern.
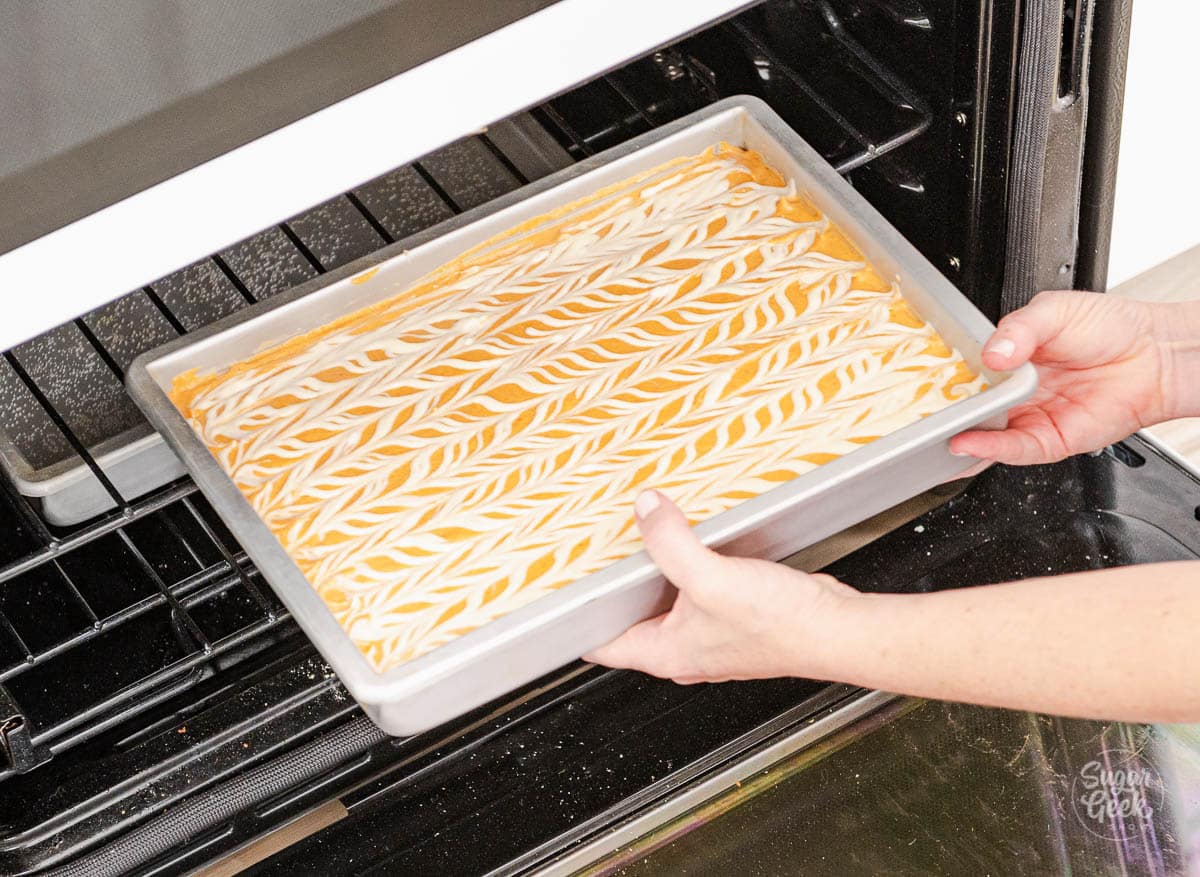
- Bake the pumpkin cheesecake bars for 35-40 minutes on the rack above the water bath. Bake until the cheesecake is set around the edges and still has a slightly stiff jiggle in the center. The internal temperature should reach 150°F. Overbaked cheesecake will crack as it cools.
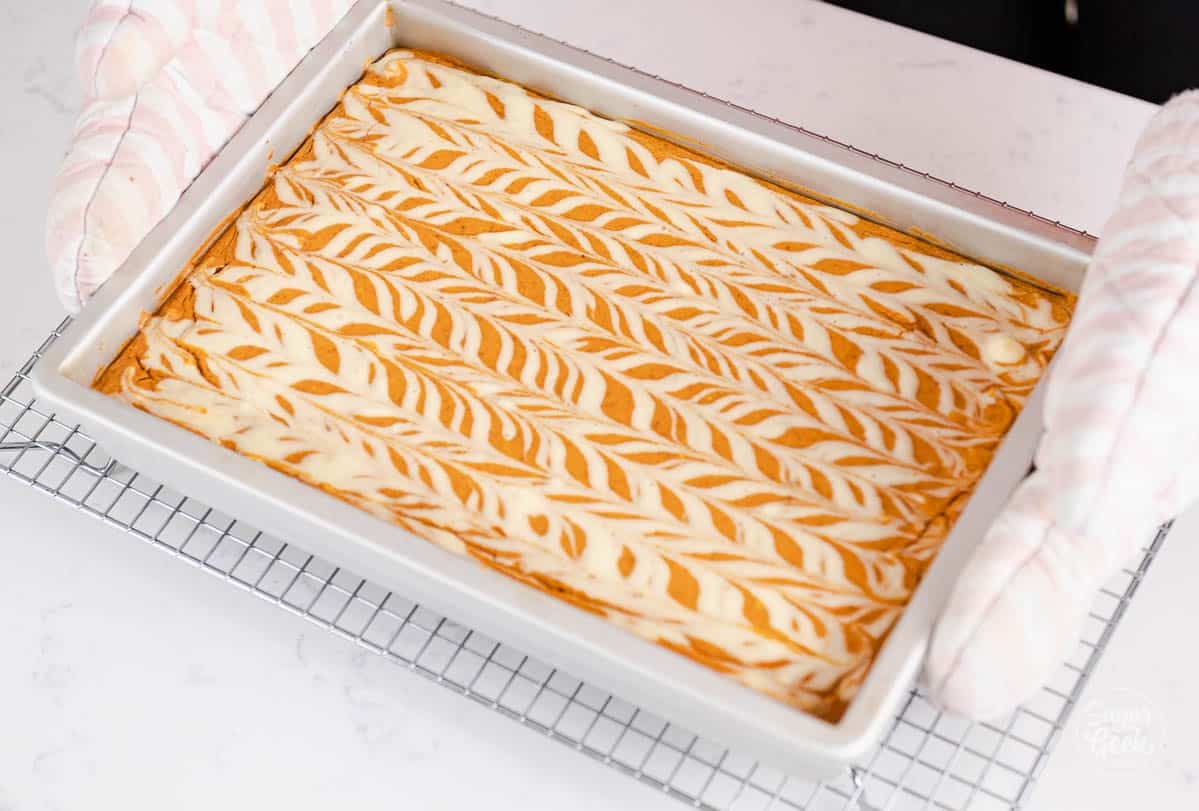
- Then, cool the bars on a wire rack until you can handle them, and refrigerate for about 3 hours until cold. If you are going to chill overnight make sure to wrap it in plastic wrap to avoid the top of your cheesecake from drying out.
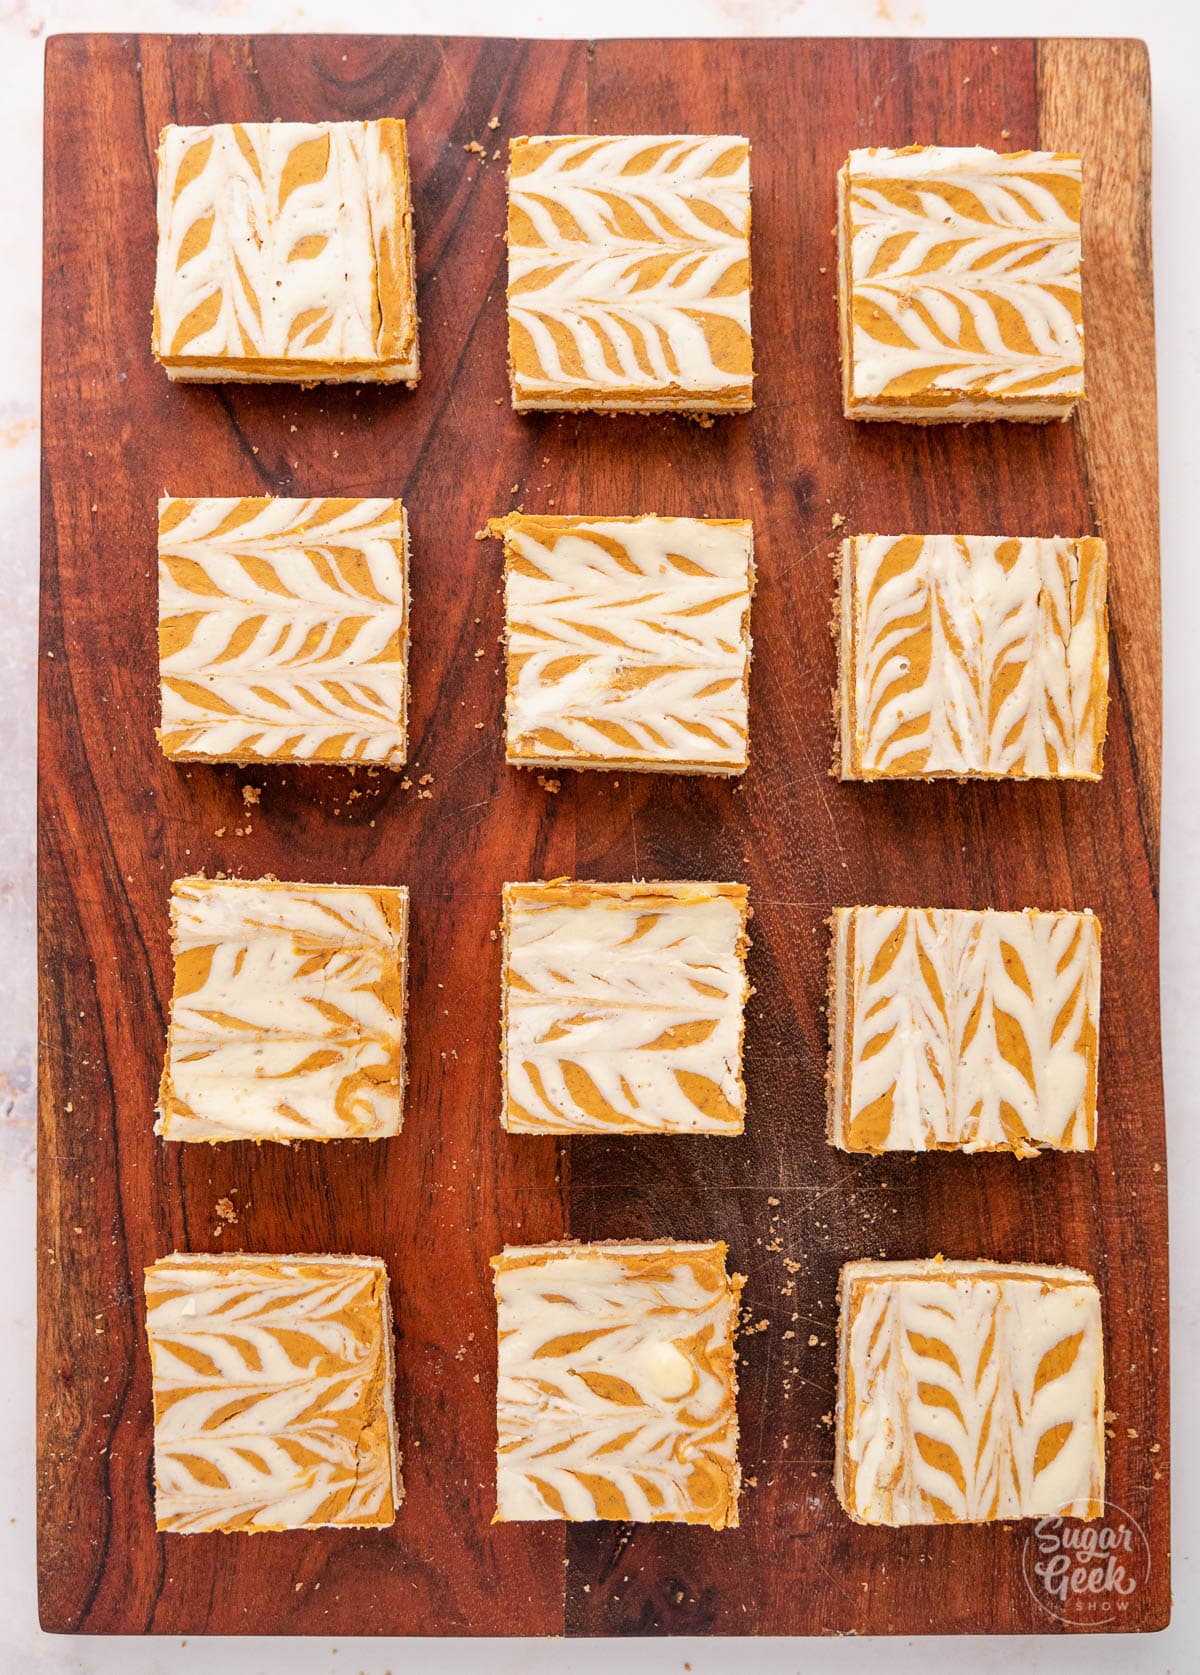
- Using a knife, loosen the edges of the cheesecake around the pan. Cut them into evenly sized squares and clean the knife between cuts to ensure a nice clean cut. To store them, place them in an air-tight container or wrap with plastic wrap and refrigerate them. For longer storage, freeze them for up to 3 months.
FAQ
If the cheesecake has been overbaked, it will contract as it cools and pulls cracks in the top of the cheesecake. This is why it's important to take the cheesecake out of the oven when it is just barely set or a very slight jiggle still remains. You can test the center with a knife and it should come out clean. Like any custard containing eggs, they expand with heat, and the proteins contract as it cools, so the more it is cooked, the tougher it becomes. If this is your first time making a cheesecake you can use a thermometer to check the center. When it reads 150ºF, the cheesecake is done.
These need to be refrigerated because of the egg and dairy content. They will keep in the fridge for 4 days, or wrap them in an airtight container and freeze for up to 3 months. That makes this dessert great to make in advance for special occasions! Once the bars are cool I like to use plastic wrap on the surface of the cheesecake to avoid a skin forming, refrigeration tends to dry out baked goods, so proper wrapping is important.
You will get the best results when cutting cold cheesecake. I like to use a ruler to mark where I am going to make my cuts so that my squares are even. Using a clean knife, cut in one even pass. Clean off the knife between cuts with a warm rag, or dipped in hot water, to keep the knife from picking up crumbs as it drags through the bars.
Yes! Don’t have graham crackers handy? Try a gingersnap crust or any other crunchy cookies that would make a good crumb. Try adding 2 teaspoons of cocoa powder to the cheesecake layer or throwing some chocolate chips on top.
If you already have pumpkin spice mix in your cabinet, you can add 2 teaspoons of that and omit the individual spices. Try adding caramel sauce to the cheesecake drizzle on top. The top swirl is an optional step, you can skip it altogether or get creative with your decoration on top. These make a great Halloween or Thanksgiving dessert.
Related Recipes
Recipe

Equipment
- 1 stand mixer with the paddle or electric mixer
- 1 9"x12" pan
- 1 Sheet pan for the water bath
Ingredients
Graham Cracker Crust
- 2 cups crushed graham crackers about 10 crackers
- ½ cup unsalted butter melted
- 2 teaspoons cinnamon
Cheesecake Filling
- 1 ¼ cups granulated sugar
- 4 cups cream cheese room temperature
- 4 large eggs room temperature
- 1 teaspoon vanilla extract
Pumpkin Filling
- 1 can pumpkin puree
- 1 teaspoon cinnamon
- 1 teaspoon nutmeg
- ¼ teaspoon cloves
Instructions
Graham Cracker Crust
- Preheat your oven to 325°F and place a sheet pan on the lower rack of the oven. Fill the pan halfway up with boiling water to create a water bath. This is to add moisture to the oven and keep the cheesecake from drying out. You will not place the cheesecake bars into this water bath but on the rack above it.
- Line a 9x12x2 inch pan with parchment paper. The butter in the graham crust layer should keep it from sticking, but you can lightly spray it if.
- Grind the graham crackers and cinnamon in a food processor to a sandy crumb.
- Then add the melted butter to the crumbs and pulse until combined. The crumbs should hold their shape when you squeeze them in your hand.
- Pour the graham cracker crumbs into the prepared pan and press it evenly across the bottom of the pan. Use a measuring cup to press it down firmly and an offset spatula to press the edges neatly.
- Freeze the pan for about 20 minutes to set the crust. The cream cheese layer will spread cleaner on a cold crust.
Making the Cheesecake Layer
- Bring the cream cheese and eggs to room temperature. They will come together easier if they are not cold right from the fridge.
- Add the cream cheese to the bowl of the stand mixer with the paddle attachment. Mix on low speed until smooth and even for about one minute, do not over-mix the cream cheese.
- Add the sugar, vanilla, and eggs one at a time while mixing on low until just combined.
- Pour about ¾ of the cheesecake mixture over the frozen crust and gently spread it evenly with an offset spatula. Be careful not to pick up any crumbs from the crust.
- Reserve the rest for the pumpkin layer, and about ¼ cup of the cheesecake mixture for the swirl topping.
- Place the cheesecake layer into the freezer for 30-40 minutes.
Making the Pumpkin Layer
- Next, add the pumpkin puree, cinnamon, nutmeg, and cloves to the remaining cheesecake batter and whisk until combined.
- Evenly distribute the pumpkin cheesecake mixture on top of the frozen cheesecake layer and spread evenly with an offset spatula. Use gentle pressure to not disturb the layers of cheesecake.
- Drizzle the remaining cheesecake mixture across the top of the pumpkin layer in horizontal lines. Gently run the tip of a skewer vertically across the drizzled lines to create a swirl pattern.
- Bake the pumpkin cheesecake bars for 35-40 minutes on the rack above the water bath. Bake until the cheesecake is set around the edges and still has a slightly stiff jiggle in the center. The internal temperature should reach 150°F. Overbaked cheesecake will crack as it cools.
- Then, cool the bars on a wire rack until you can handle them, and refrigerate for about 3 hours until cold. If you are going to chill overnight make sure to wrap it in plastic wrap to avoid the top of your cheesecake from drying out.
- Using a knife, loosen the edges of the cheesecake around the pan. Cut them into evenly sized squares and clean the knife between cuts to ensure a nice clean cut. To store them, place them in an air-tight container or wrap with plastic wrap and refrigerate them. For longer storage, freeze them for up to 3 months.
Video
Notes
- If your crust is stuck in the pan, gently warm the bottom of the pan to loosen the crust.
- The best investment you can make when you’re getting started with baking is a digital kitchen scale! Weighing your ingredients will help you avoid cake failure. Using a kitchen scale for baking is super easy and gives you the best results every single time.
- Practice Mise en Place (everything in its place). Measure out your ingredients ahead of time and have them ready before you start mixing to reduce the chances of accidentally leaving something out.
- If you don't have a second oven rack, you can place a cooling rack in the water and place your cheesecake on top so it's not in the water. You can also wrap your cheesecake pan in aluminum foil to prevent water from getting inside.


Leave a Reply