These mini apple pies are so easy to make! All you need is pie crust (homemade or store-bought), apples, and a couple of muffin tins (or you can use mini aluminum pie tins). These mini pies are perfect for individual desserts at Thanksgiving, Christmas, or even fall-themed parties like bridal showers.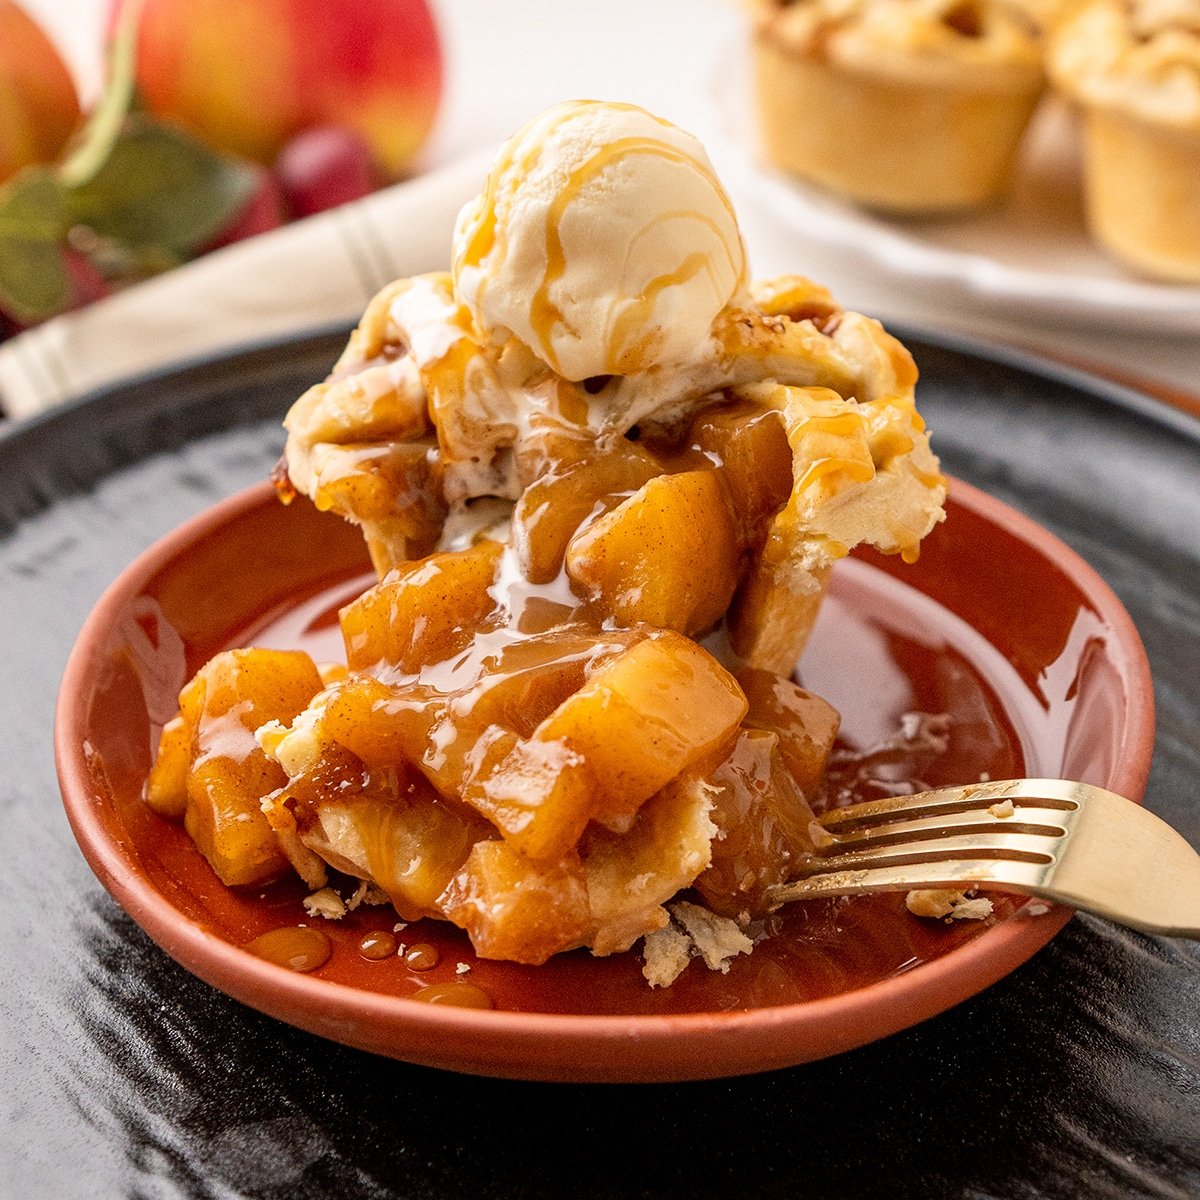
I have made a different version of this apple pie recipe for many events over the years and they are only getting more and more popular. Recently a friend asked me for my recipe and I realized I didn't have one. I just adapted my classic apple pie recipe to mini pies but there are a few extra tips in this recipe for baking times and making the mini pie crusts.
Table of contents
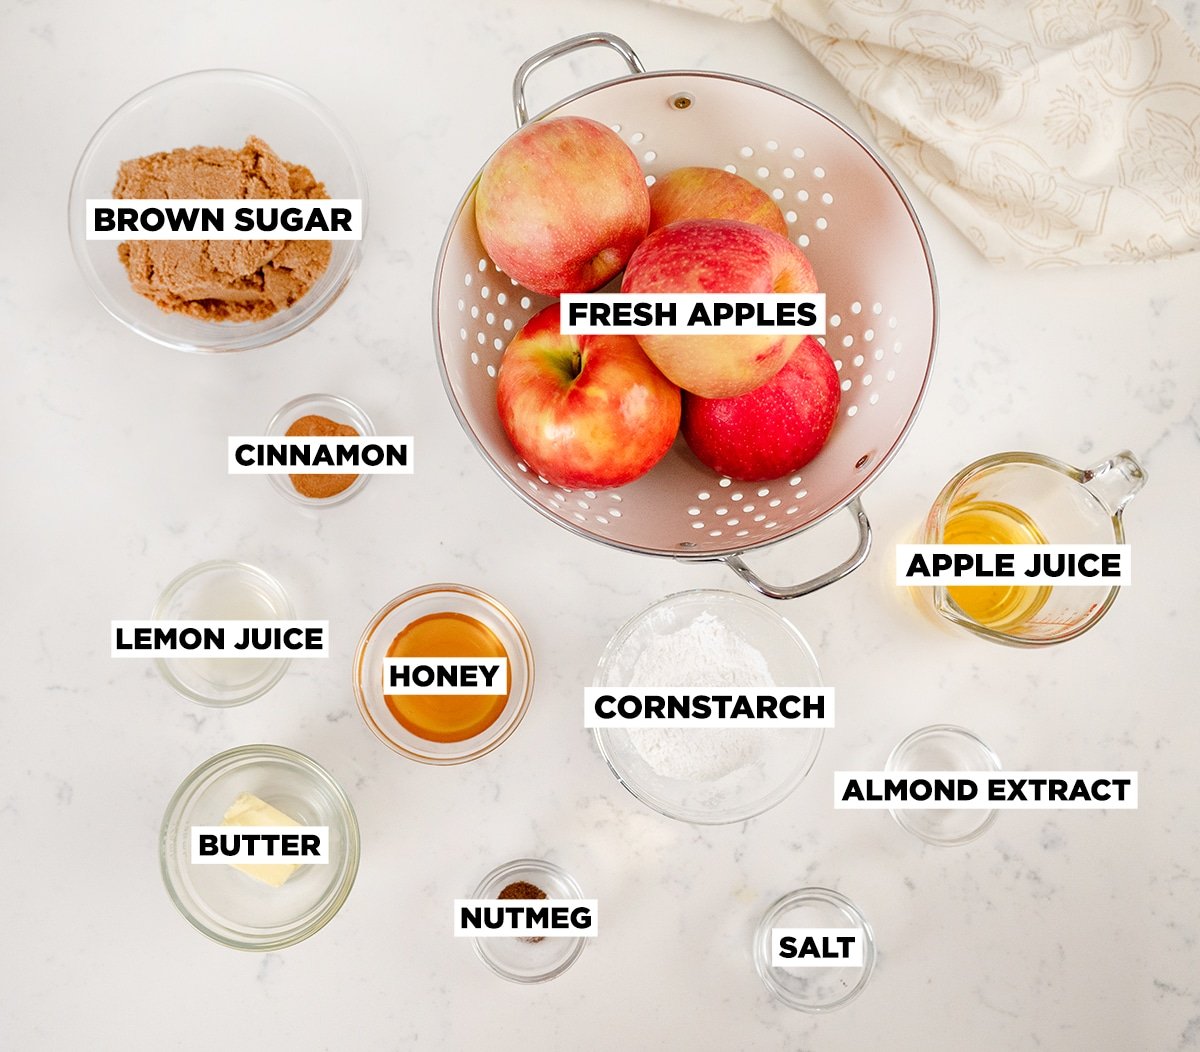
Ingredients and Equipment
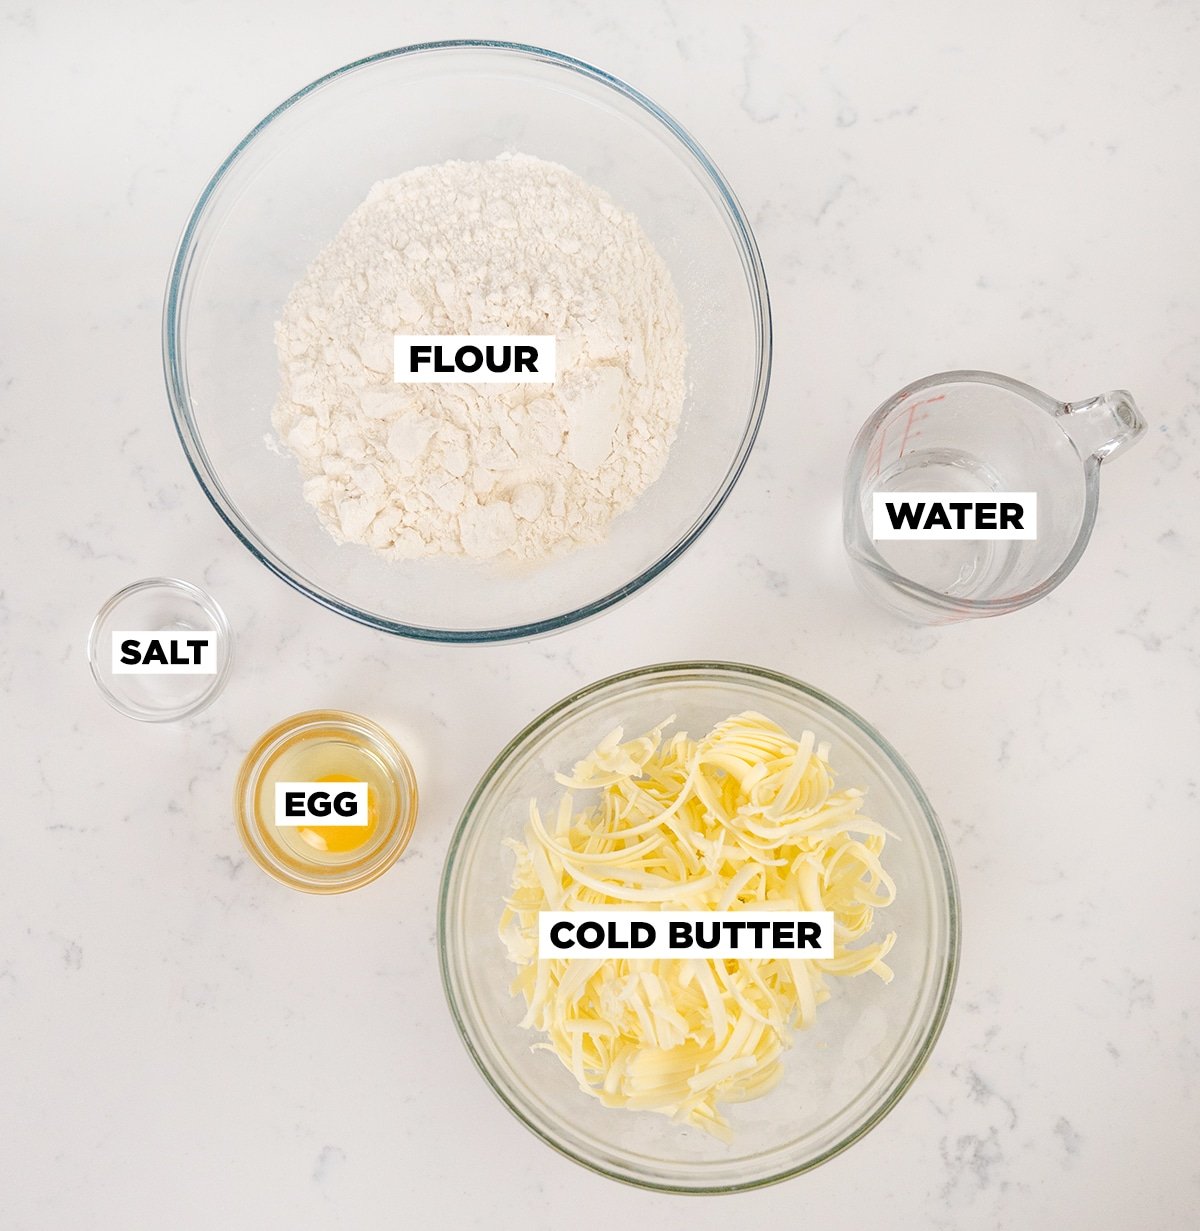
I also highly recommend a circle cutter for quickly cutting your pie dough but you can get away with using a jar lid or cup that is a similar size. For the size of the muffin tin, I used a 6” round cutter. This allows enough dough to line the tin and fold under to create a nice size lip.
How to Make Mini Apple Pies
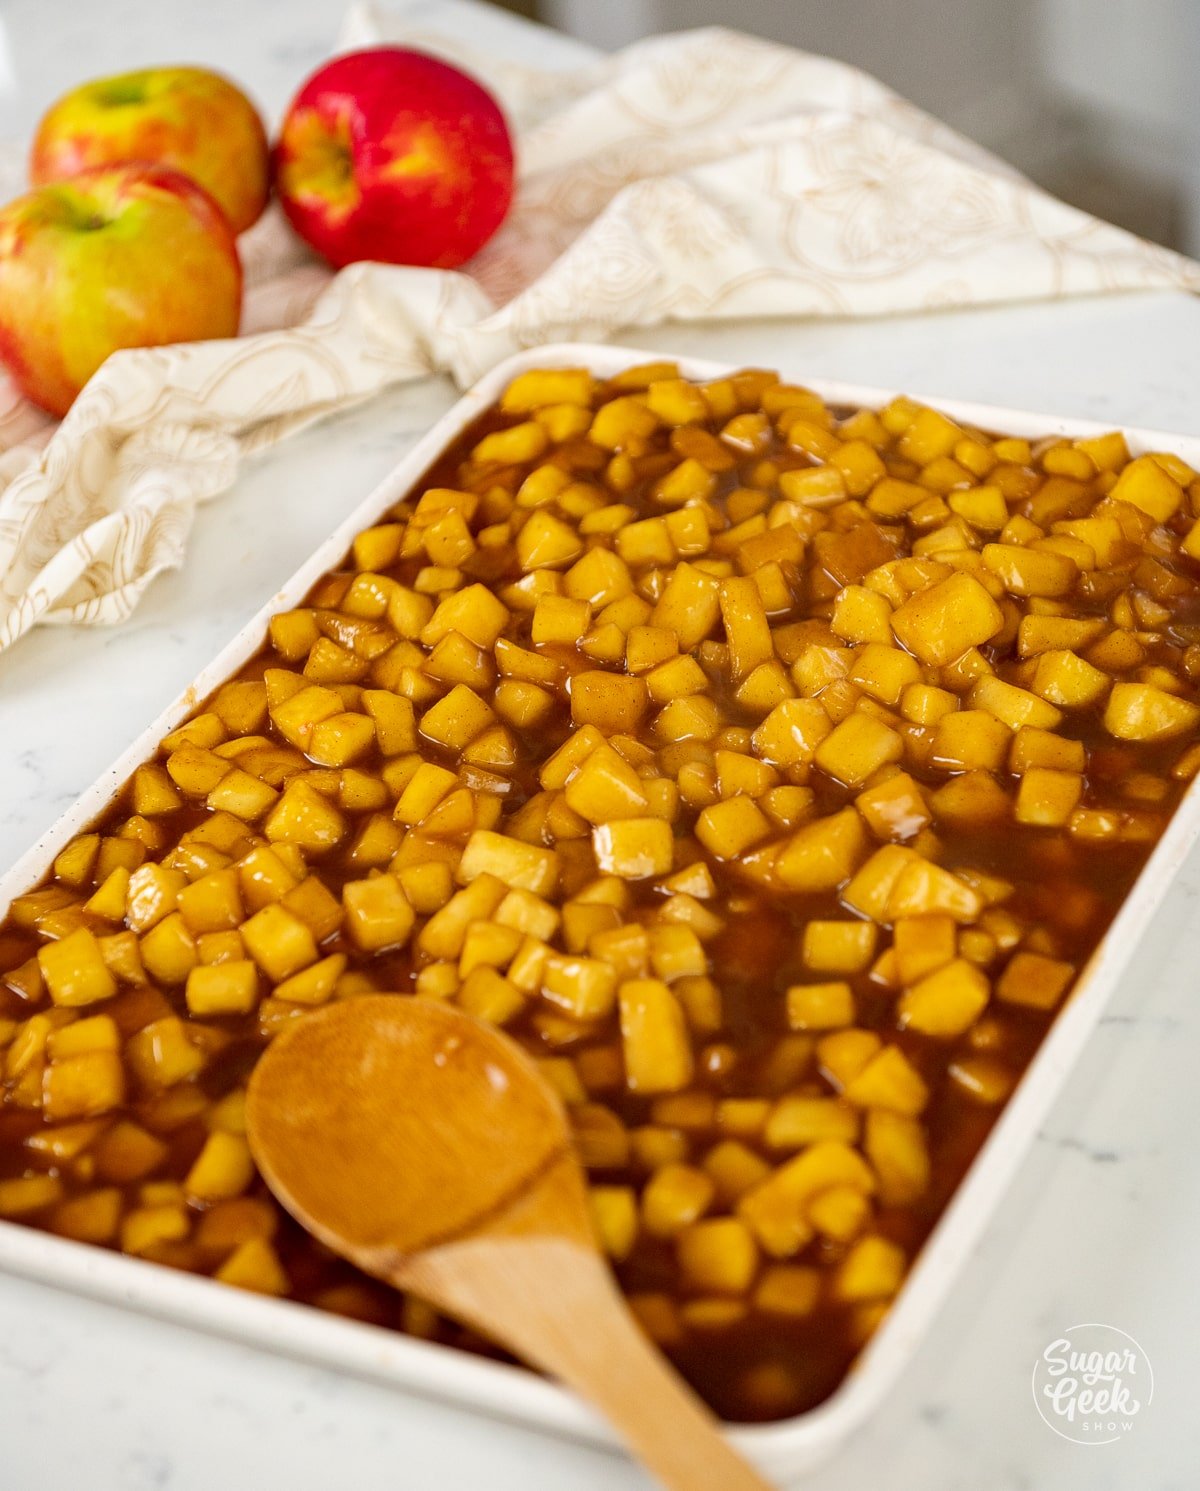
This recipe comes together very quickly, but there is some waiting time involved to let the dough and filling cool before assembling your mini pies. I like to make my filling a day ahead, but if you don’t, you can cool it quickly by spreading the hot filling on a sheet pan and refrigerating it.
Making Pie Crust for Mini Pies
This is the easiest pie crust you'll ever make. I like to make mine in the food processor or stand mixer because it's faster and keeps the butter cold. In my classic apple pie recipe, I use this mealy pie dough recipe for the bottom of my pies and a flaky pie crust for the top but when you're making mini pies, it's not as important and you can just use one.
- Combine the flour and salt in the bowl of your stand mixer with the paddle attachment.
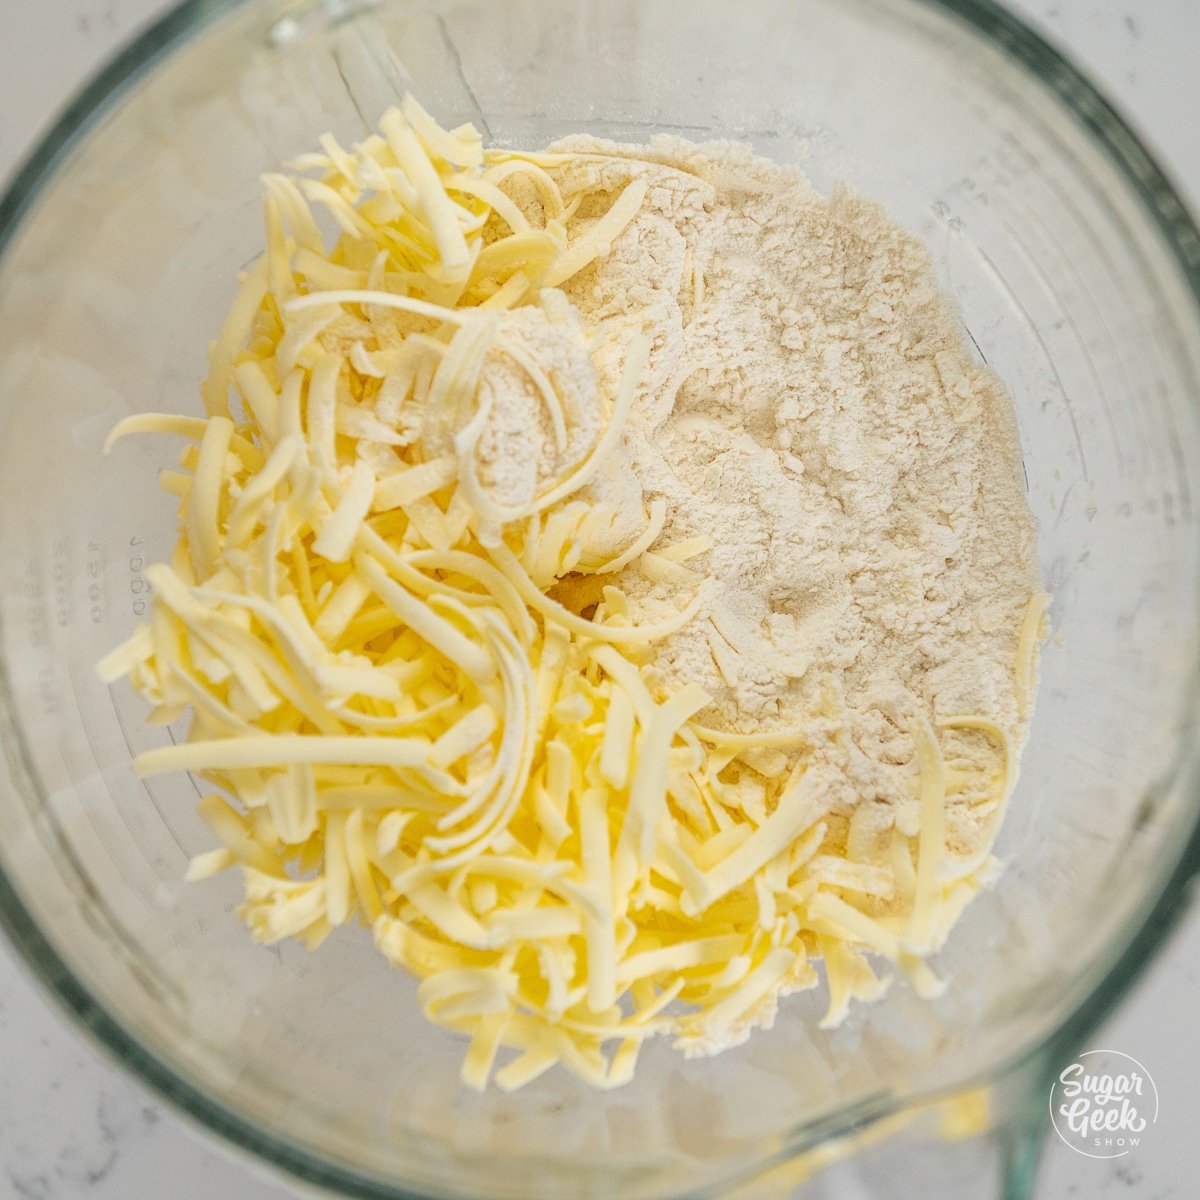
- Grate your cold butter directly into the flour mixture.
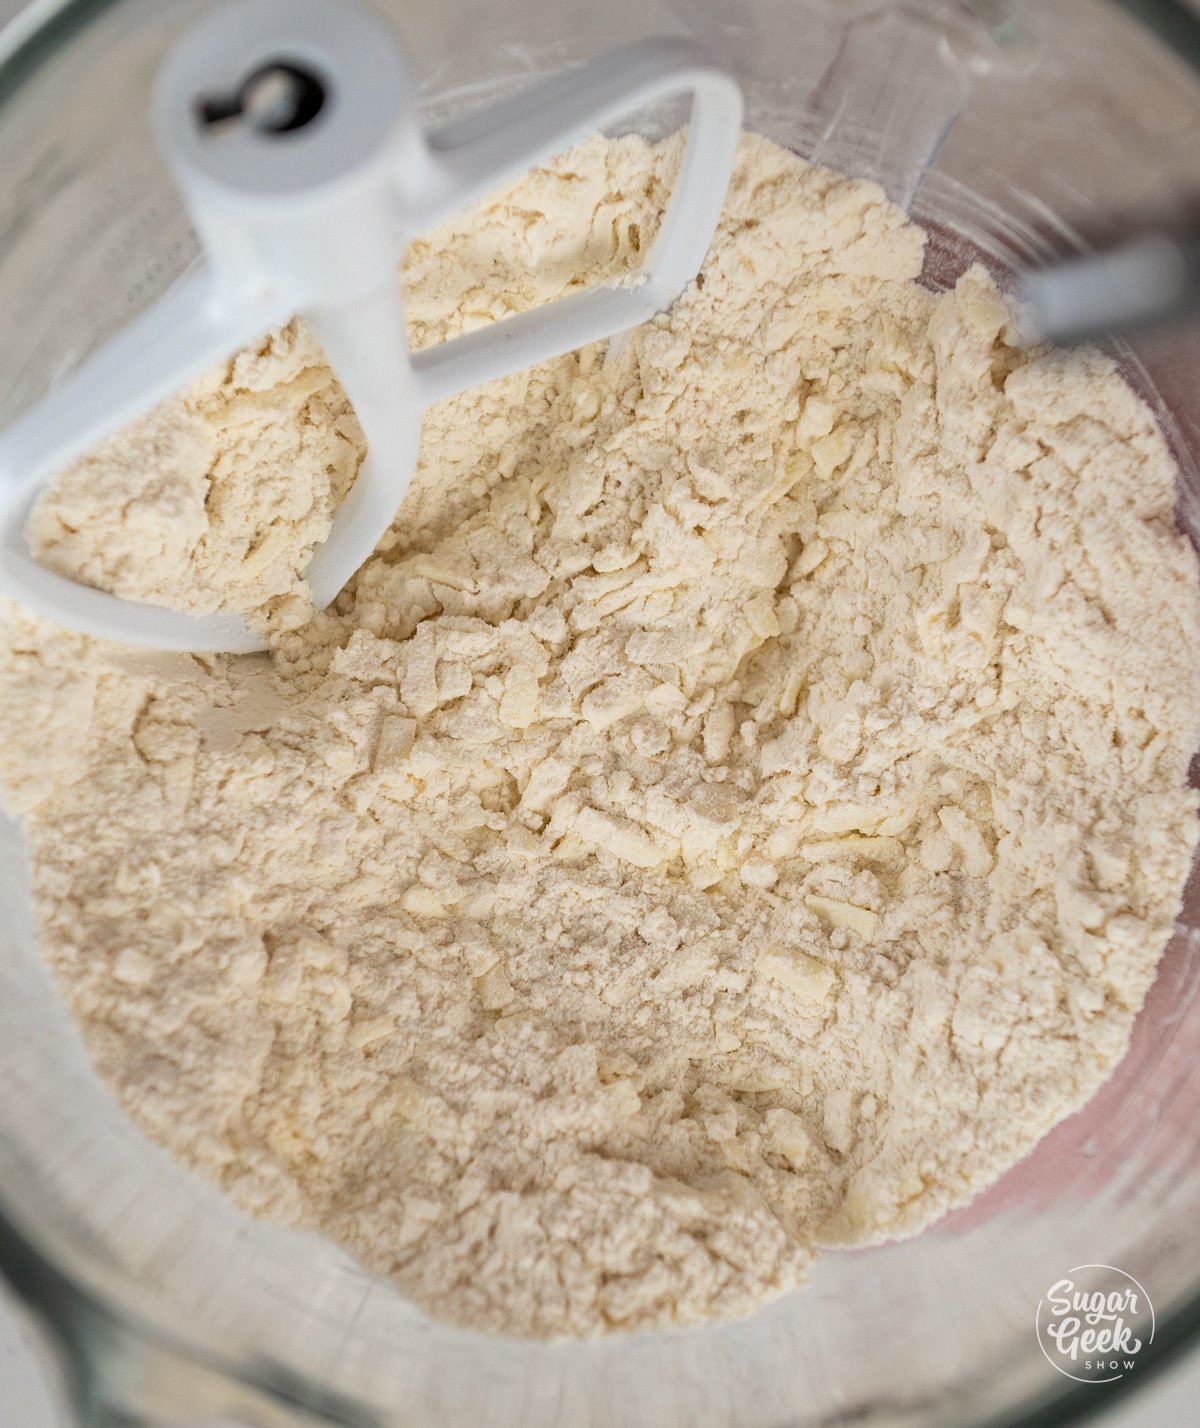
- Mix on low until the flour and butter resemble a sandy mixture.
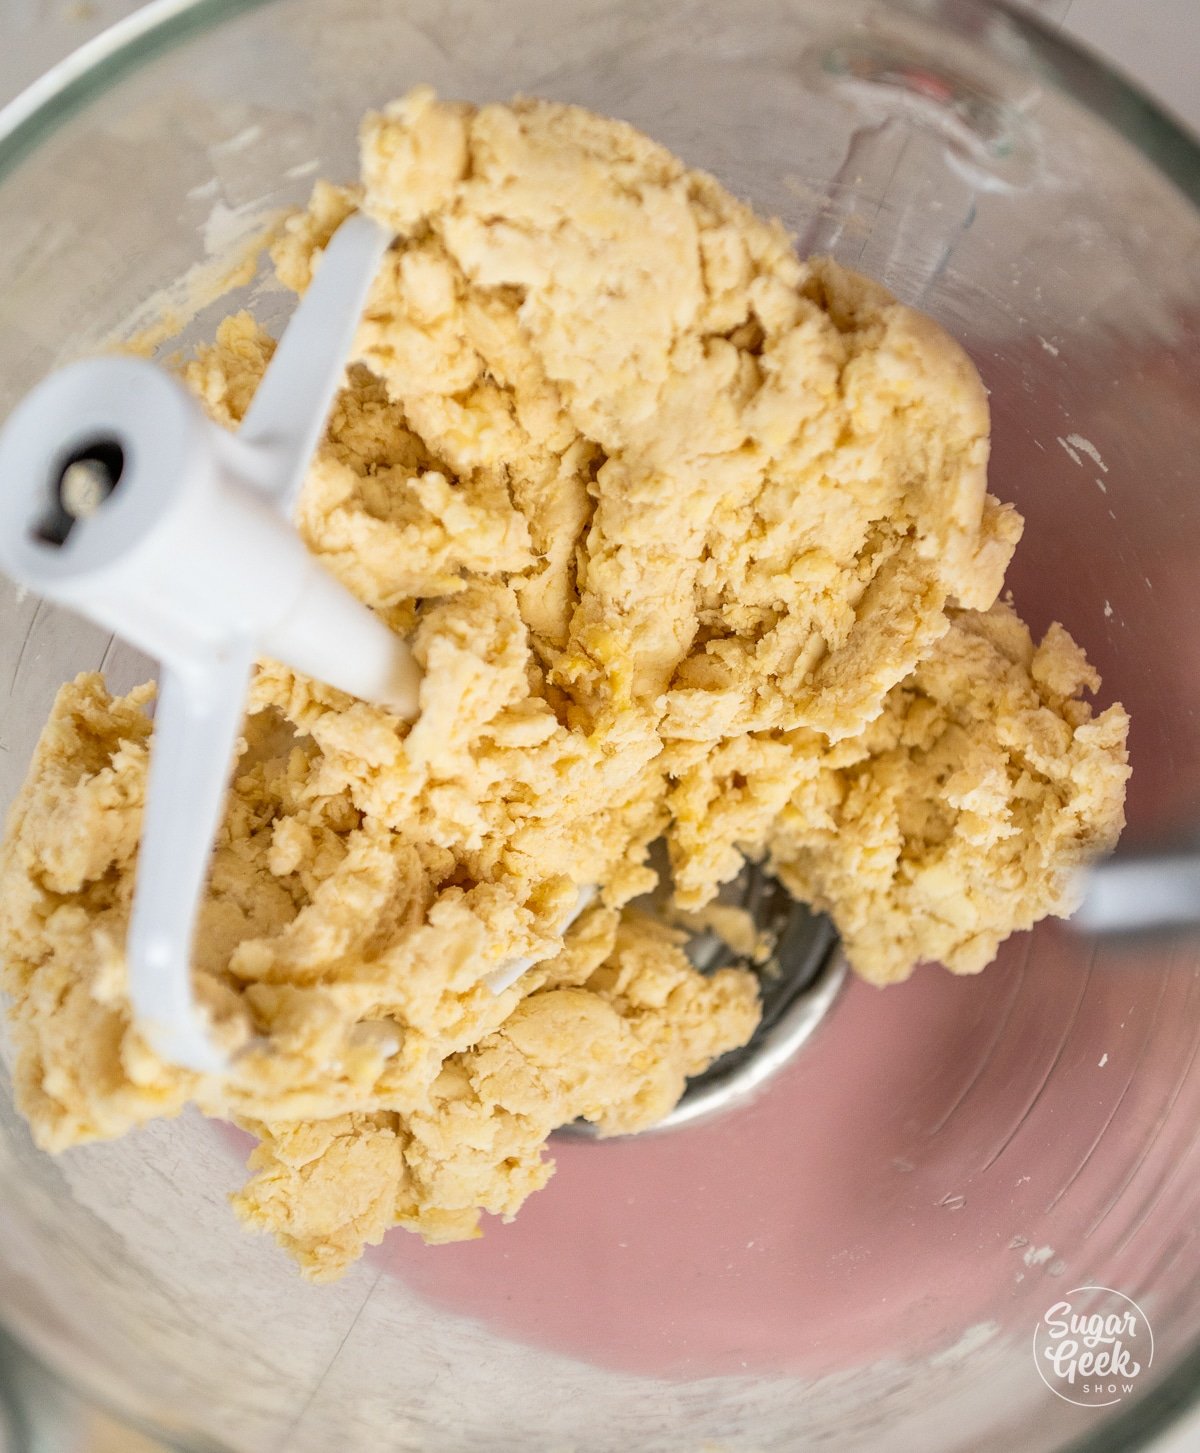
- Add the egg and slowly pour in the cold water while the mixer is on, and mix on low until the dough begins to form a ball. If it's still dry, slowly add in drizzles of cold water until it comes together.
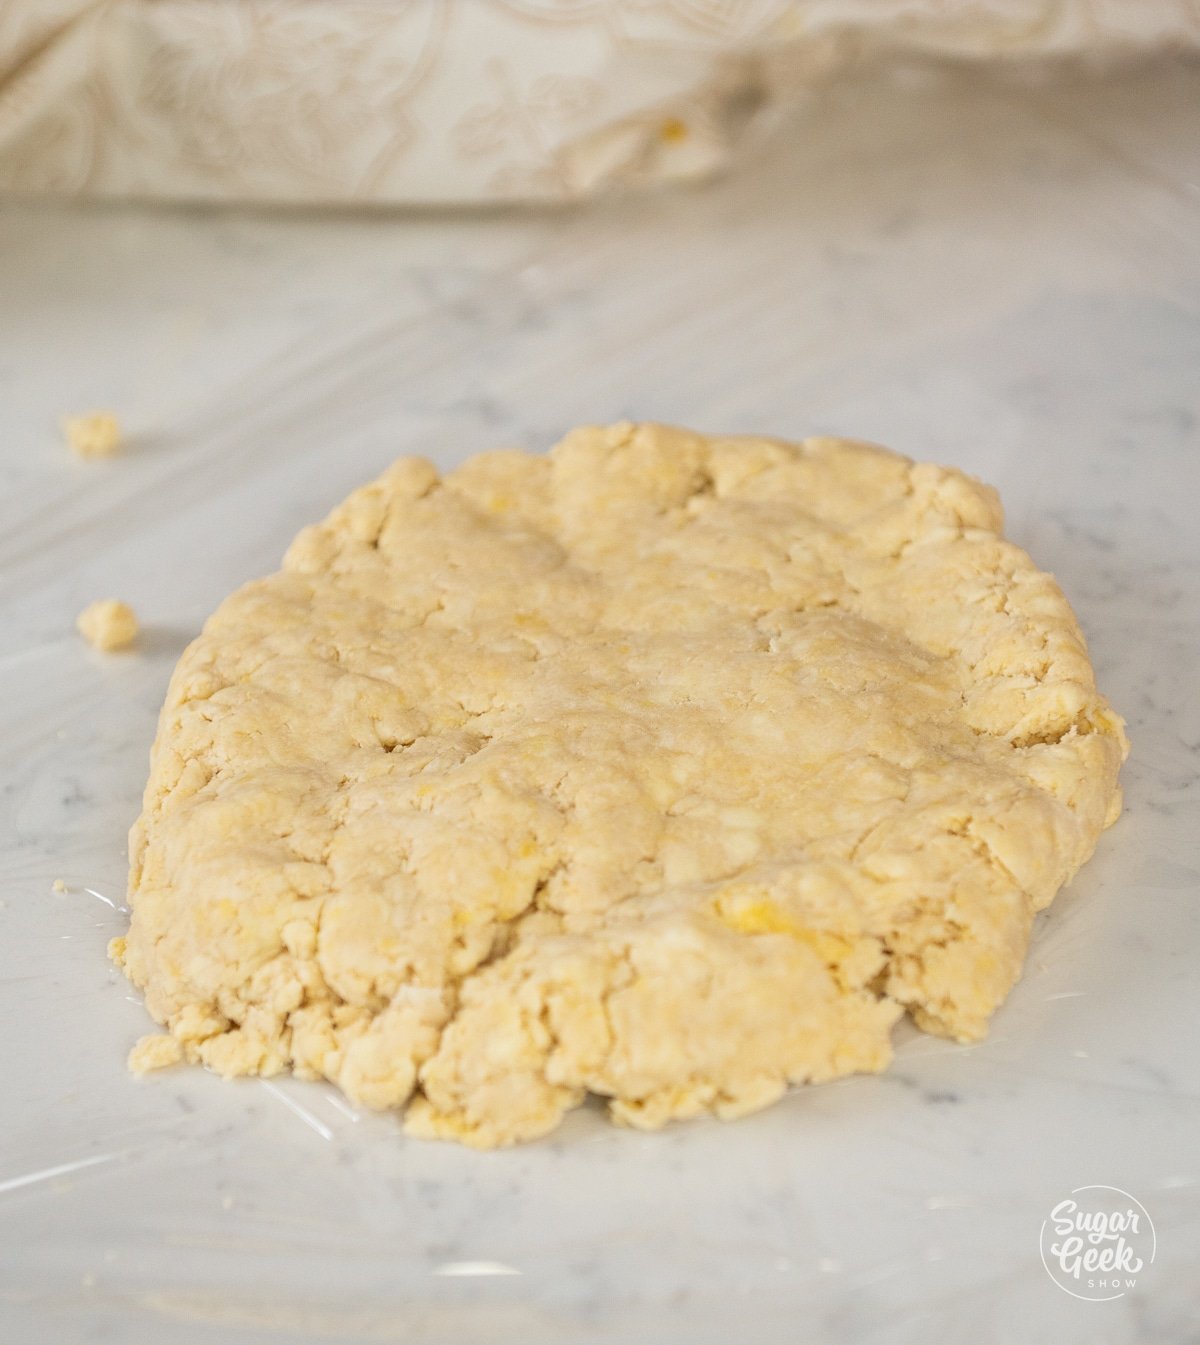
- Remove the dough from the bowl and place it onto a piece of plastic wrap.
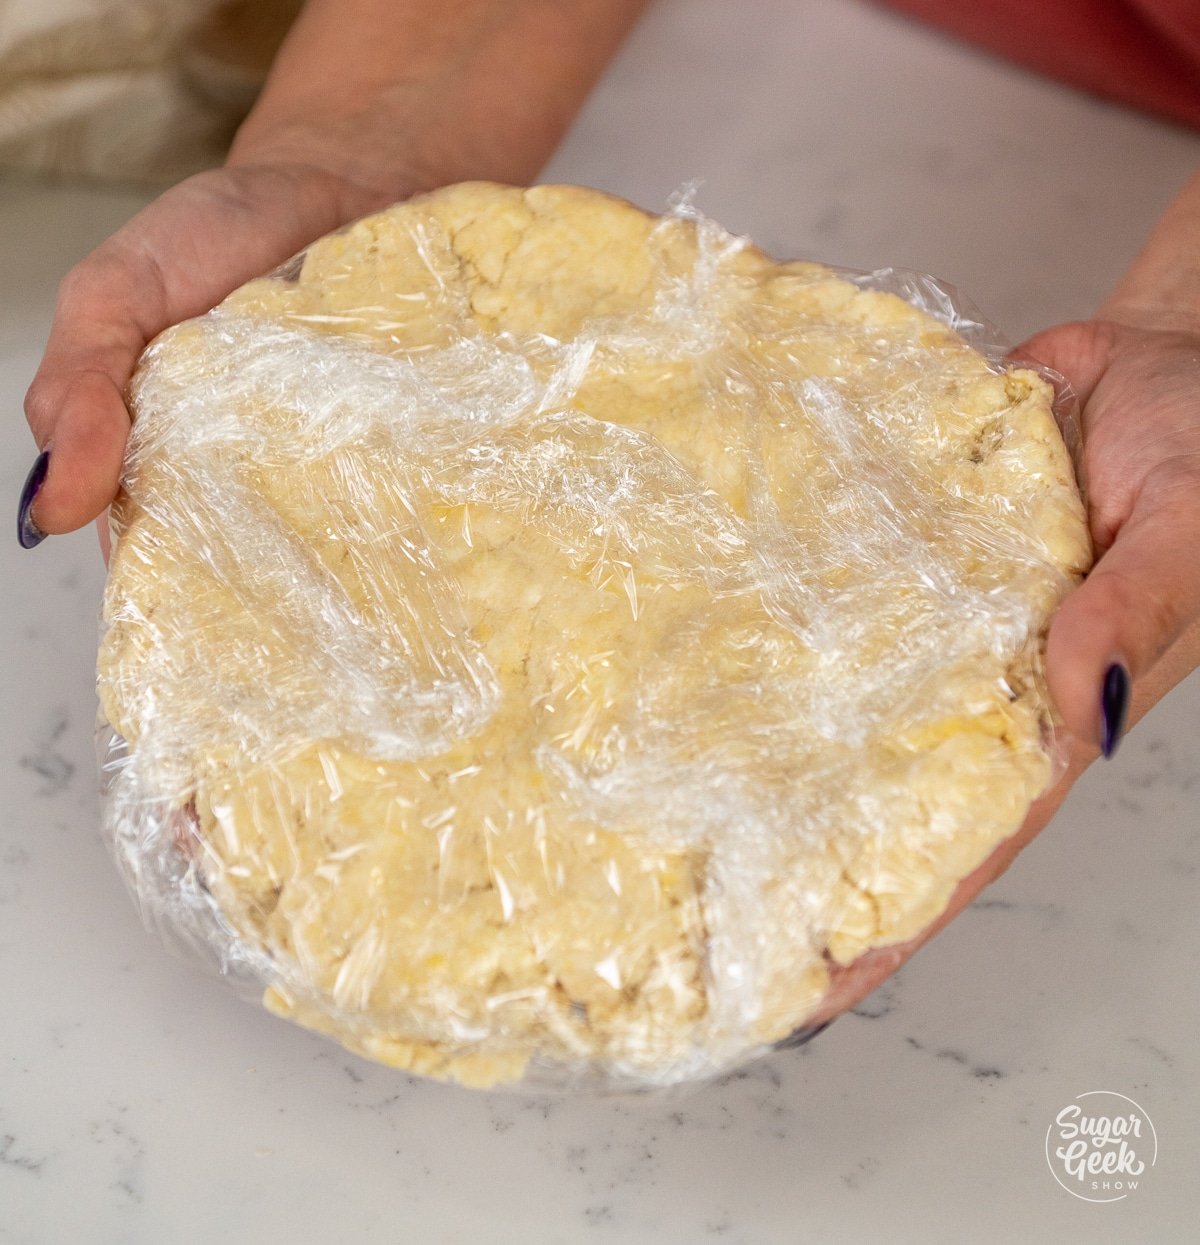
- Flatten the ball of pie dough to about 1". Wrap the plastic wrap over the dough and place it into the fridge to rest for 20 minutes (you can also do this the day before).
- Remove the dough from the fridge 20 minutes before you need to use it so the dough is more pliable and easier to roll out.
Making Homemade Apple Pie Filling
The best apples to use are tart apples that hold their shape during baking. Granny smith apples are a classic choice but I also love the taste and texture of Jonagold, Honeycrisp apples, Braeburn, Mutsu, pink lady, and gala apples.
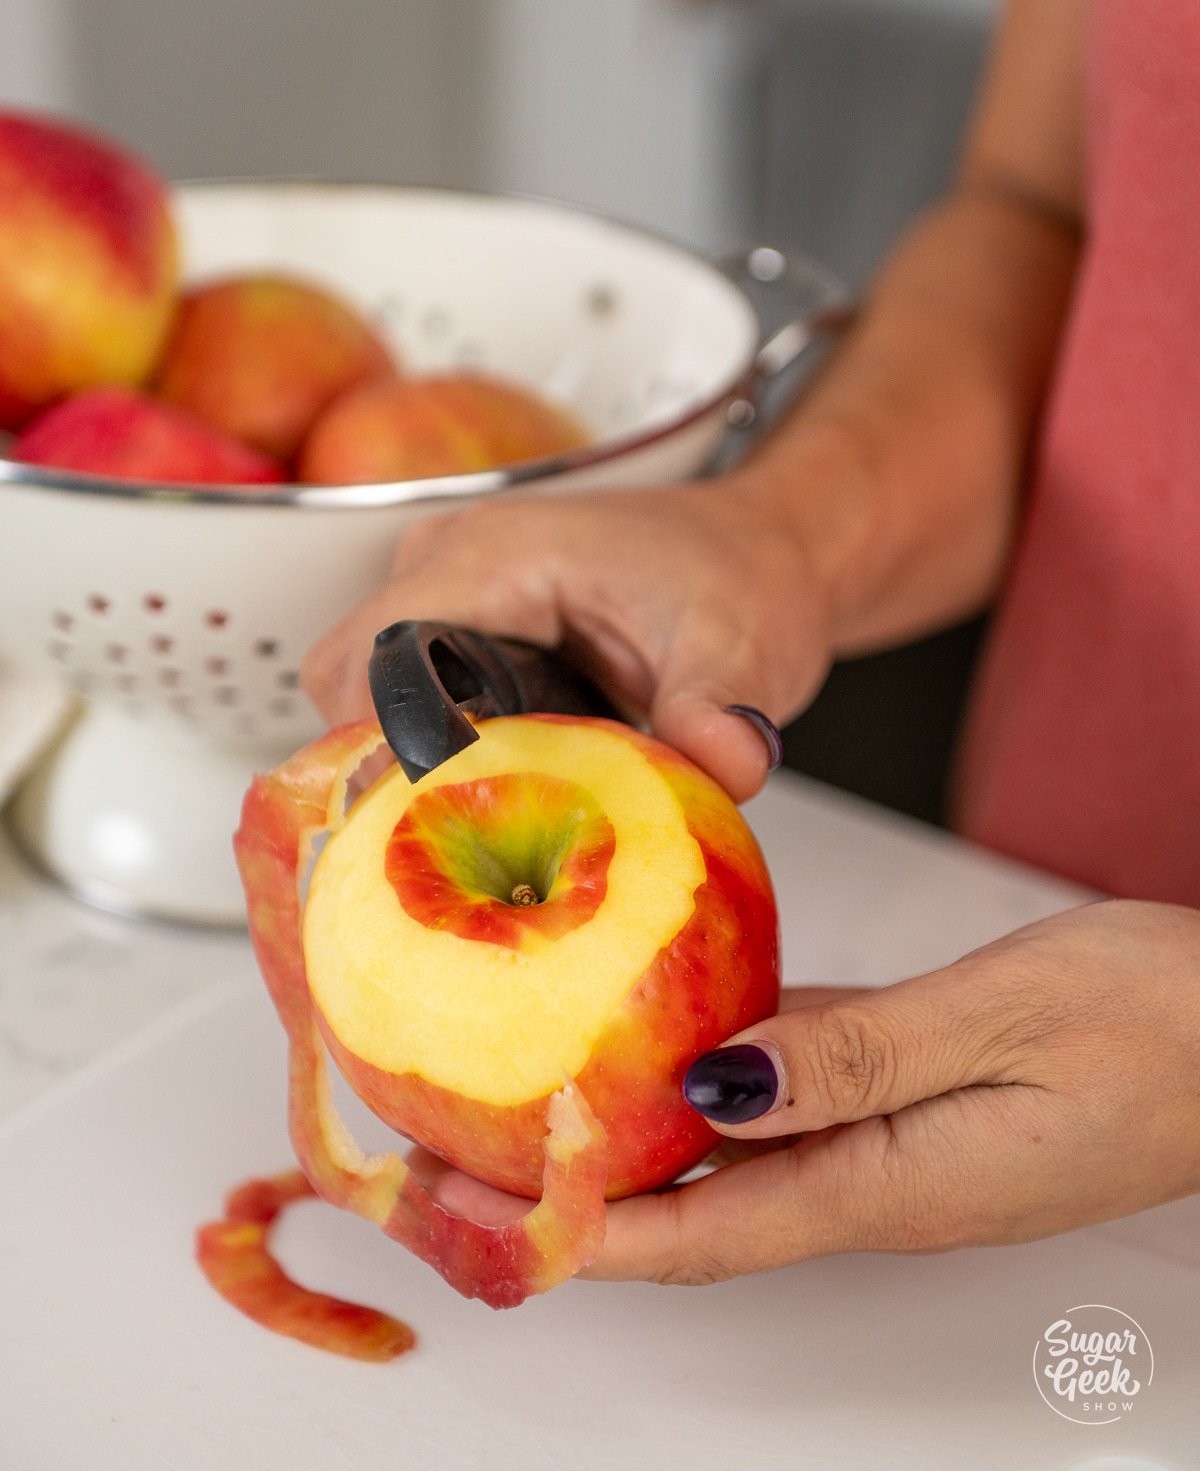
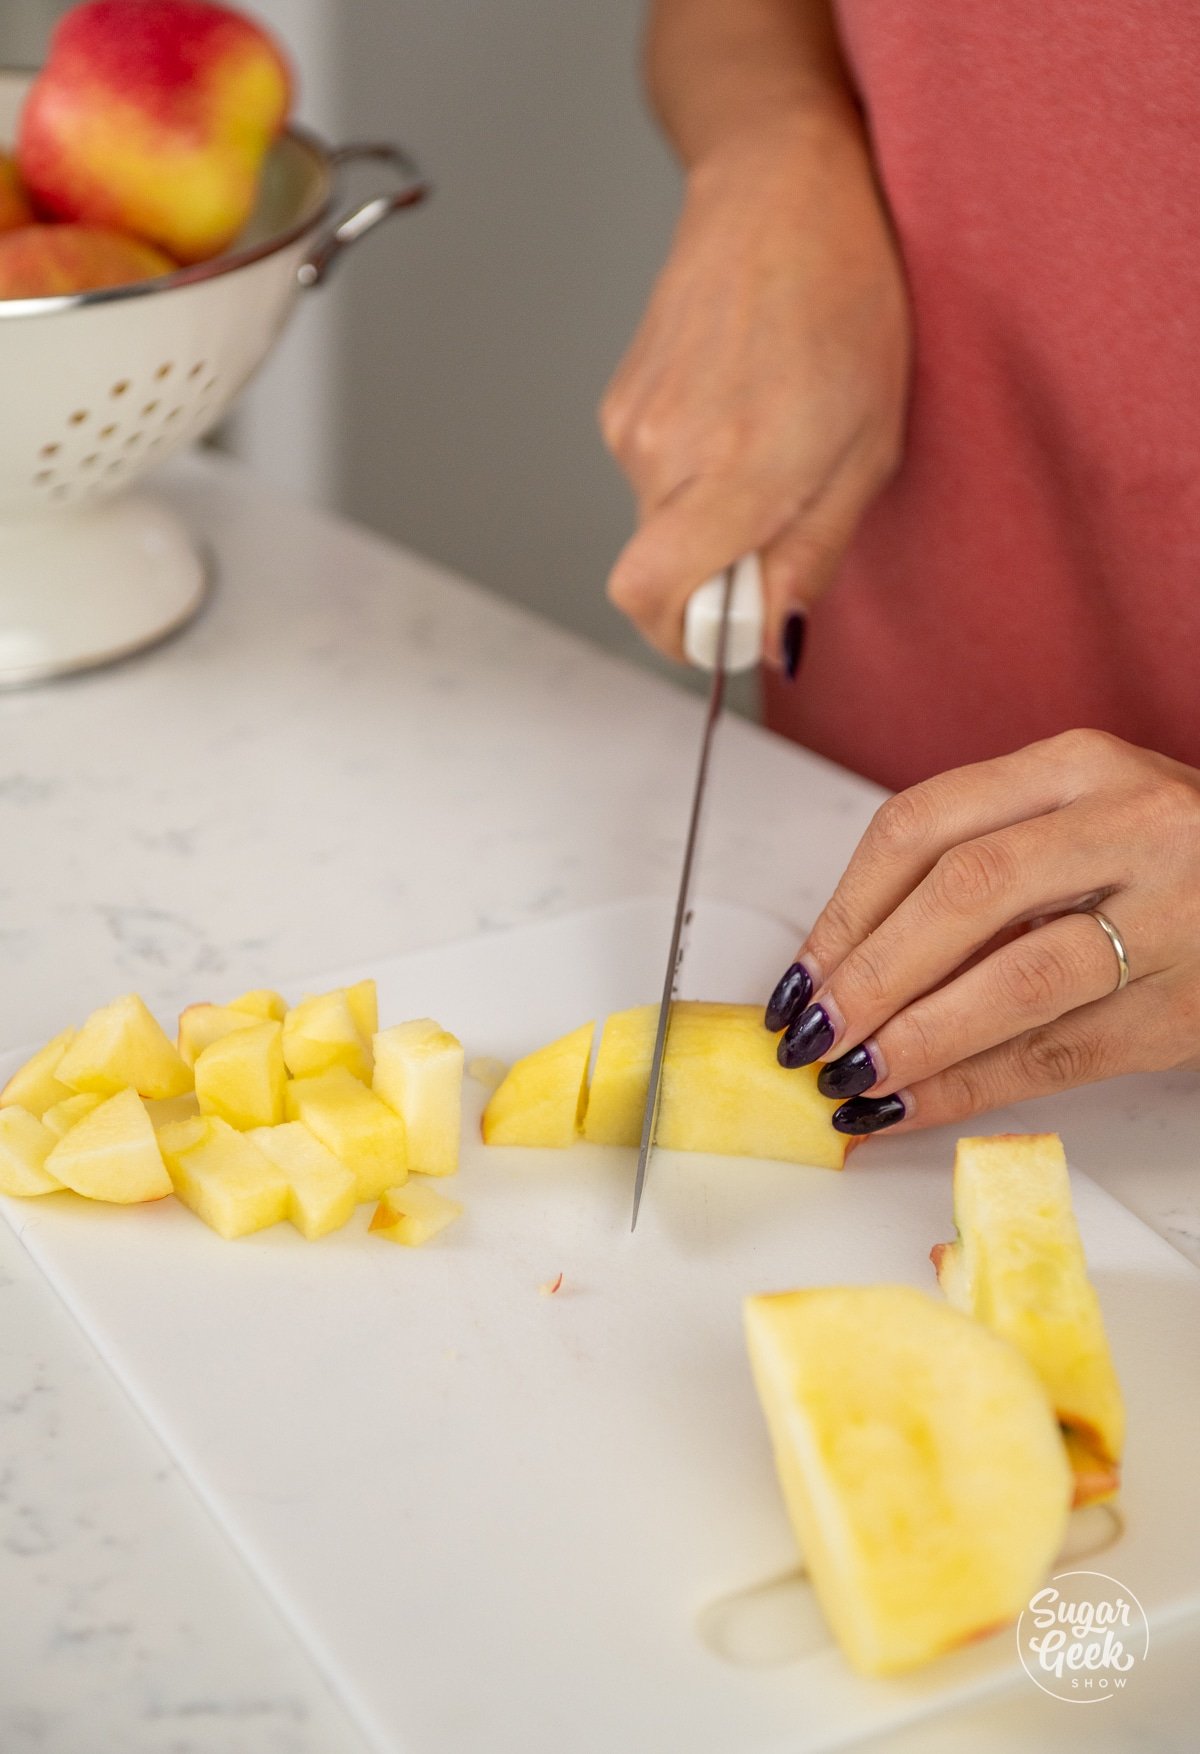
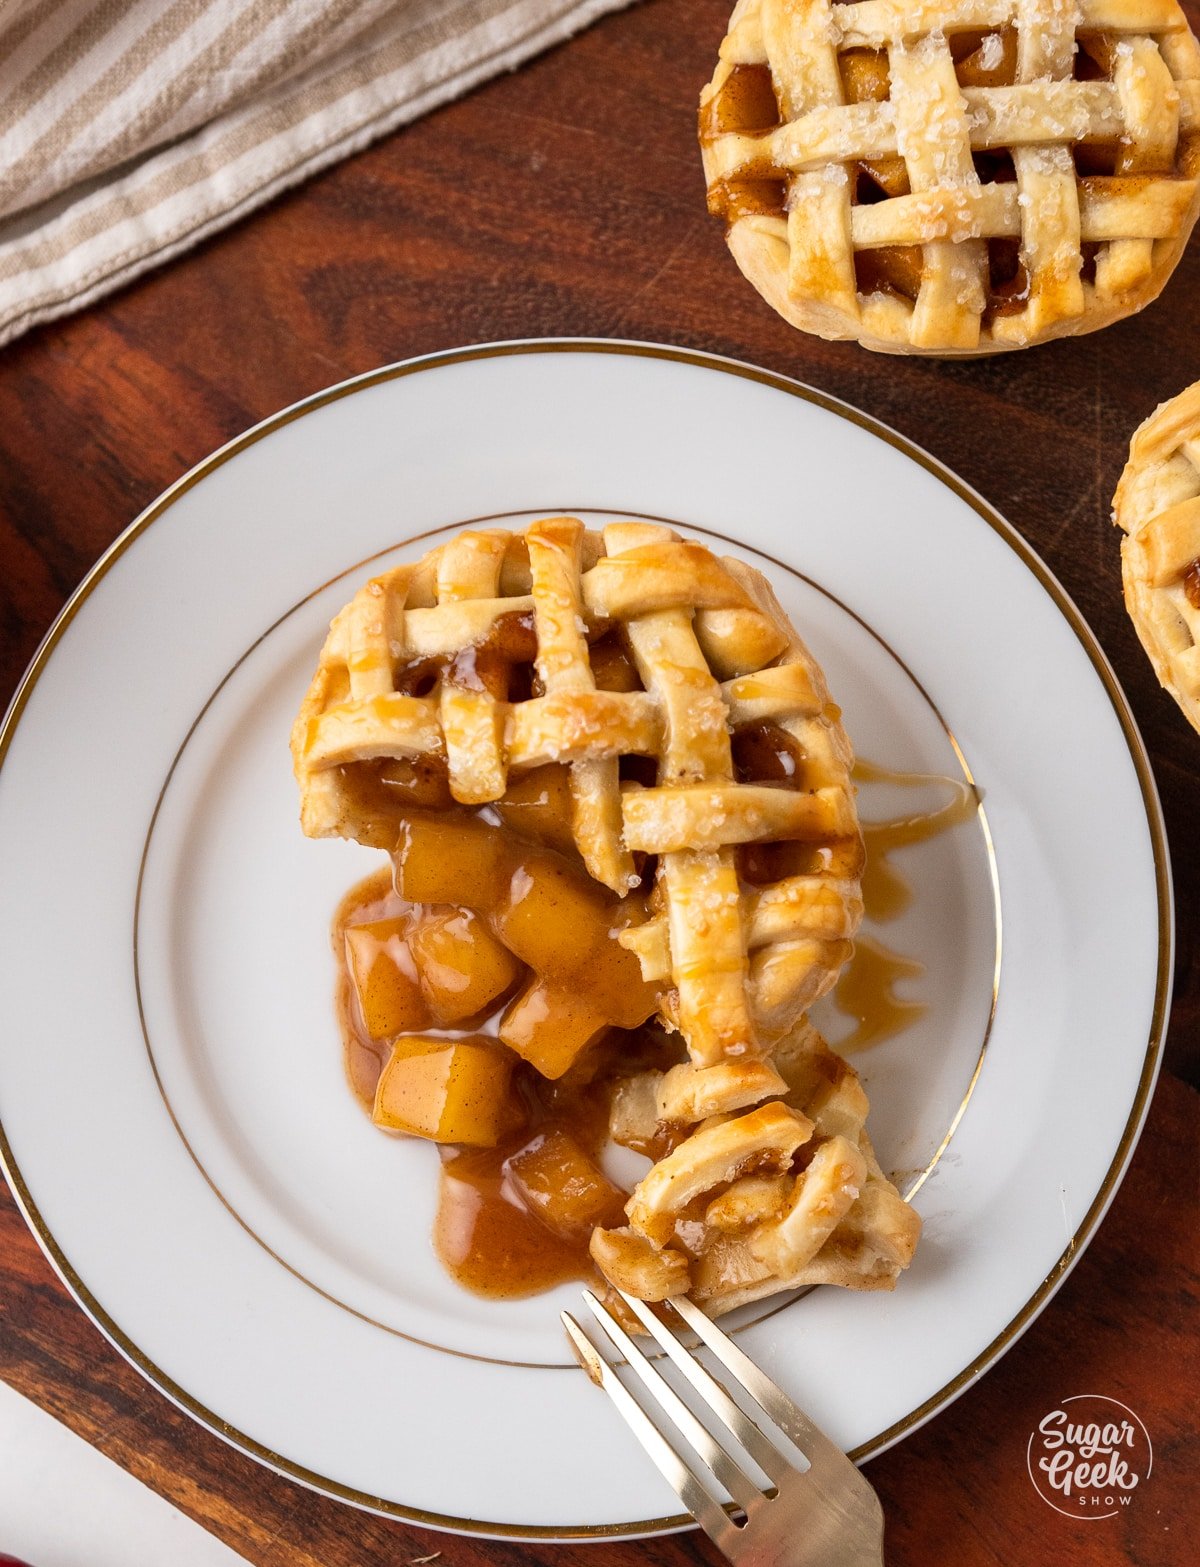
- Peel, core, and cube your apples into ¼" pieces. Mini pies need mini pieces of apple so the filling can fall into the small spaces in the crust.
- Combine your apples and butter in a large saucepan over medium heat until the apples are warmed through.
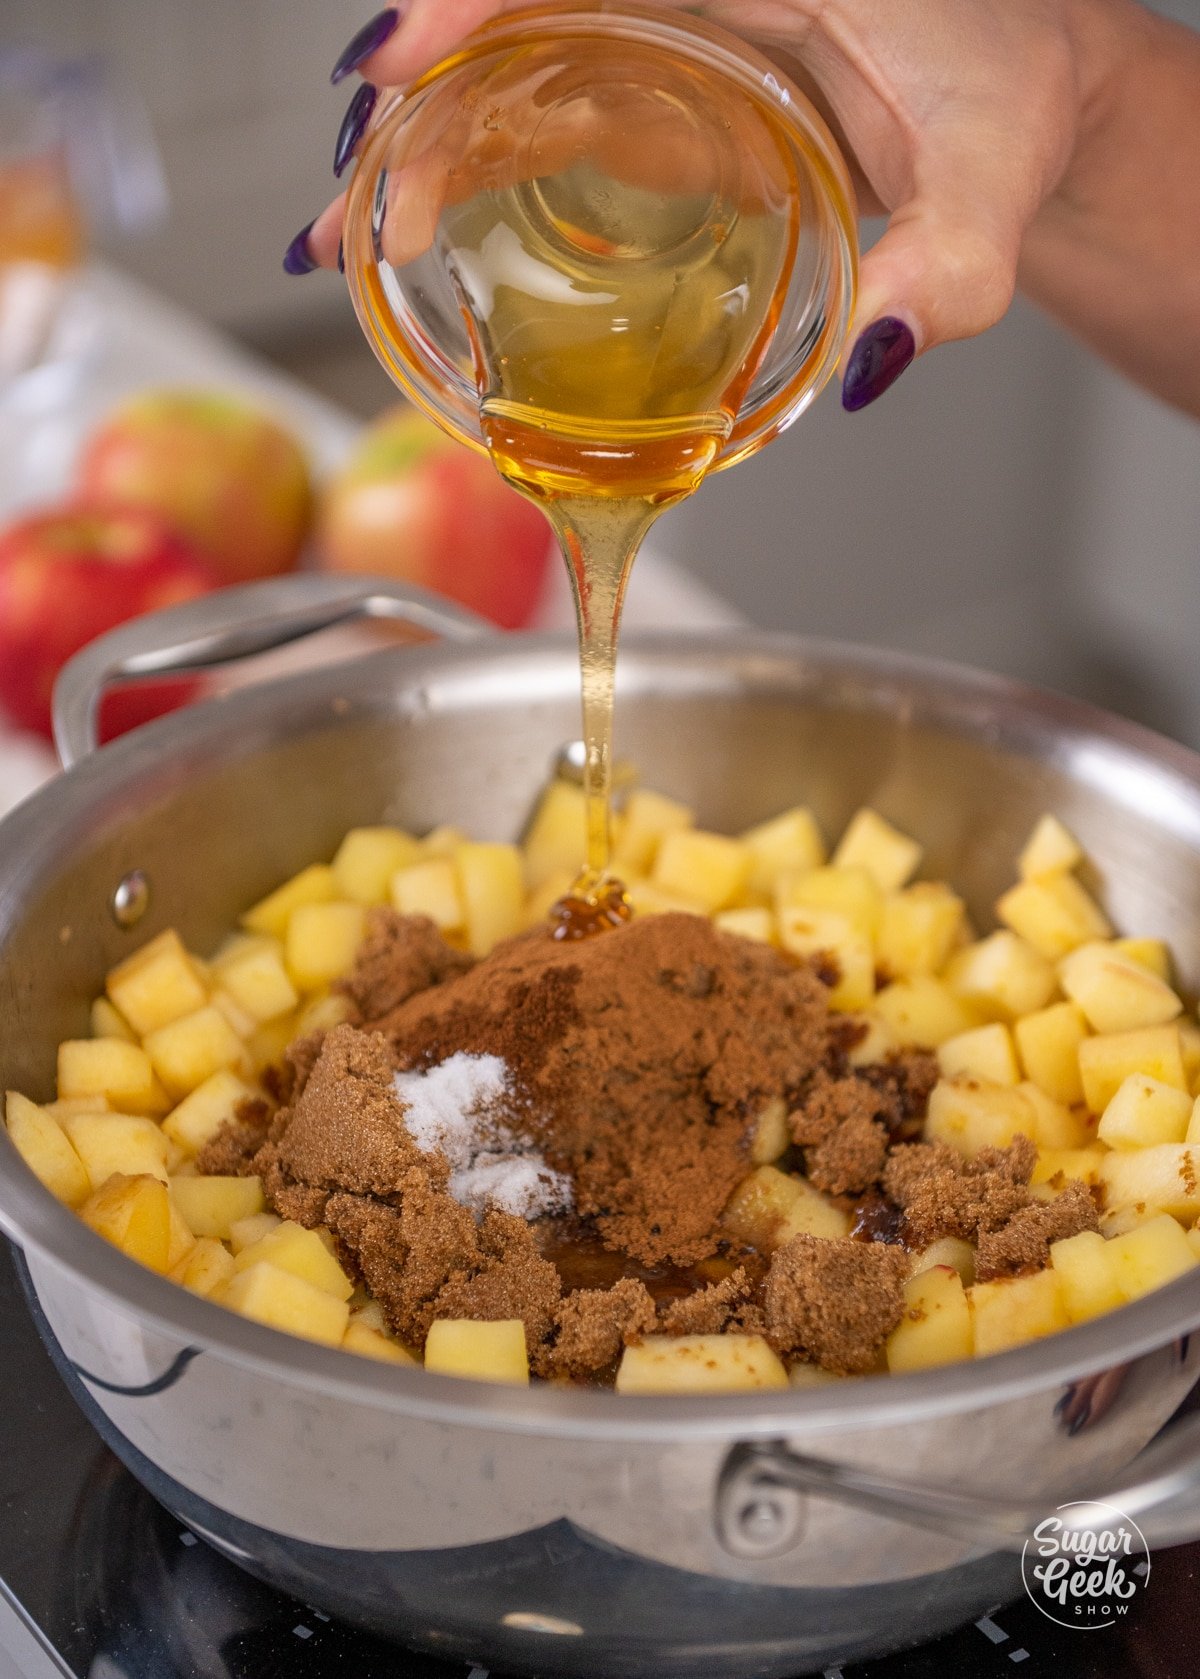
- Add in your lemon juice, brown sugar, cinnamon, cloves, salt, the smaller measurement of apple juice, extracts, and honey.
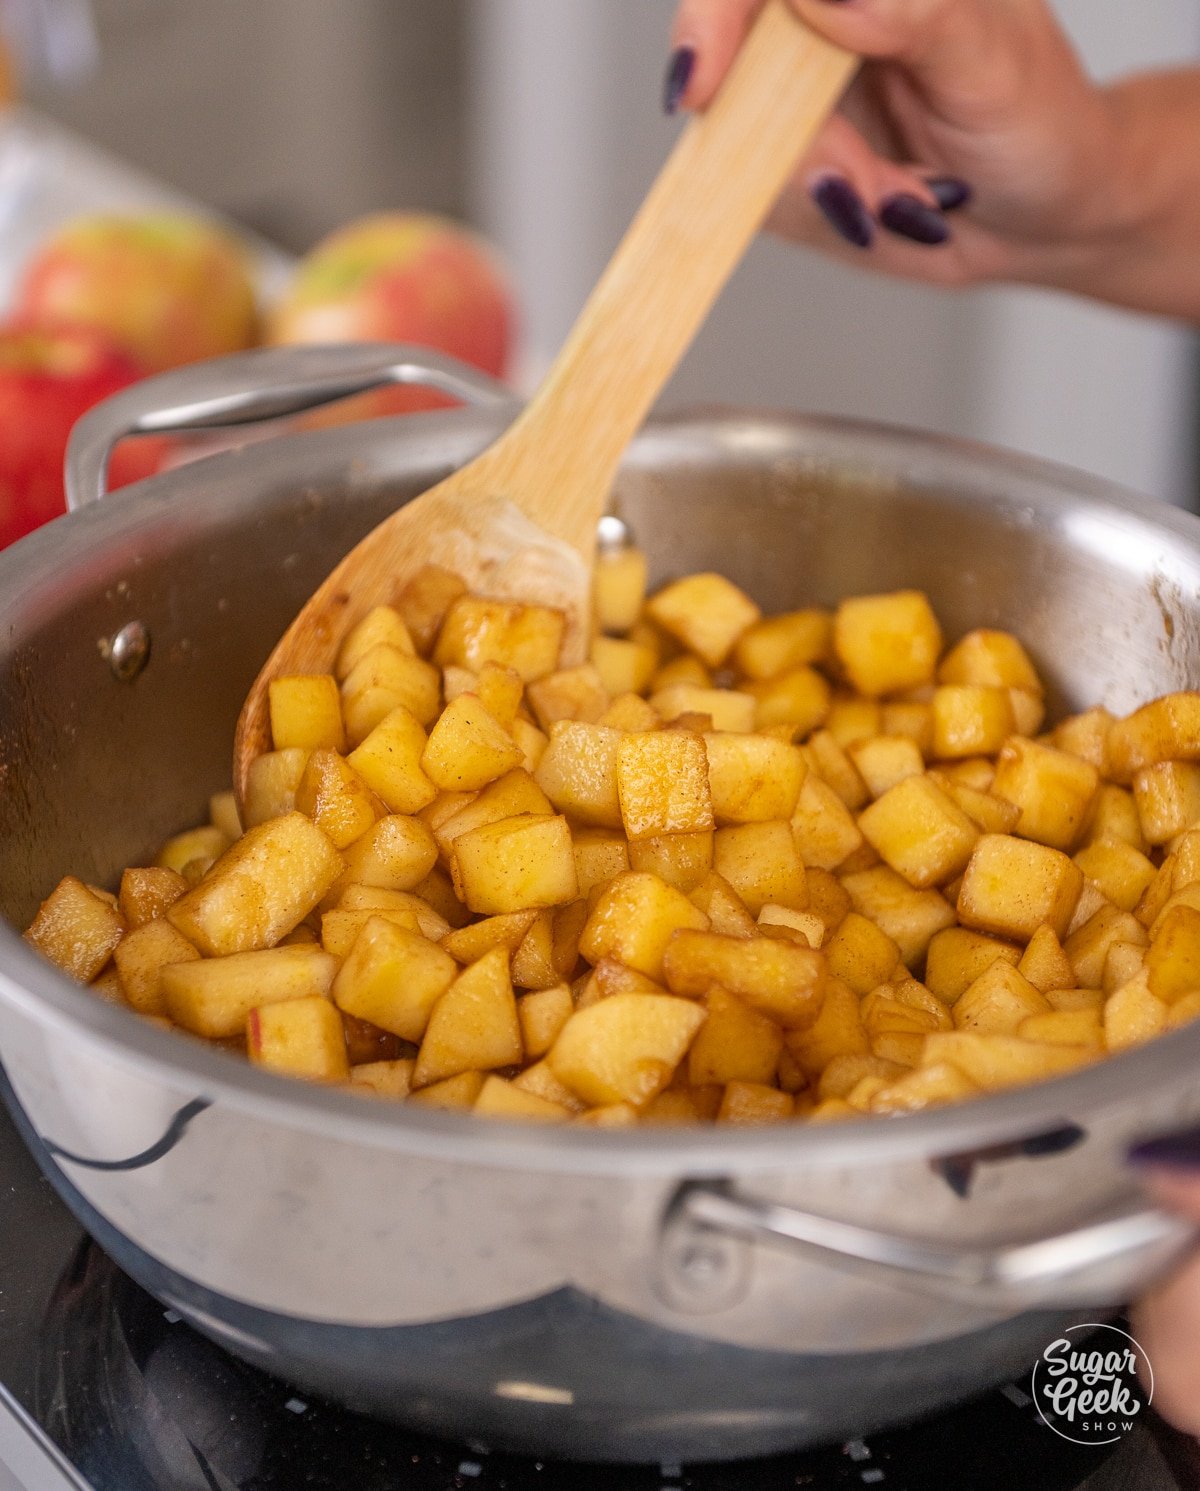
- Saute the apple mixture on medium heat until the apples are soft but still a little firm in the middle (al dente).
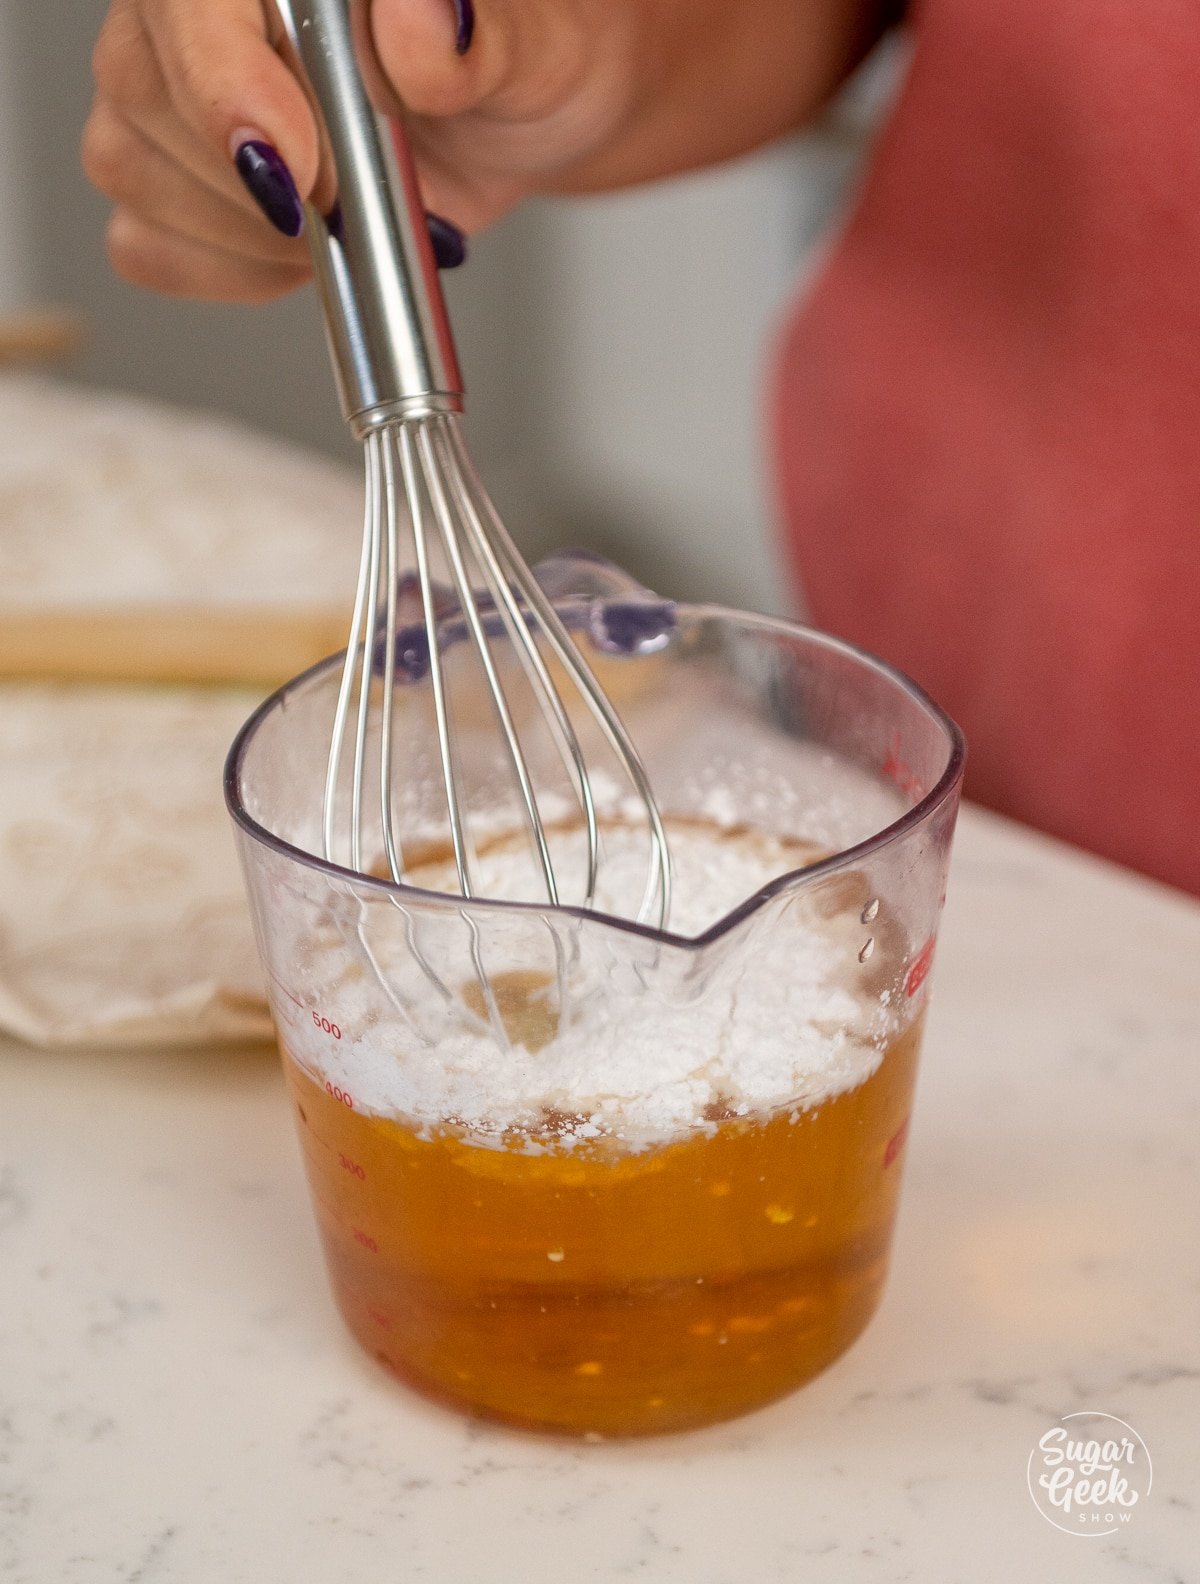
- Combine the cornstarch with the larger measurement of apple juice in a measuring cup to make a slurry.
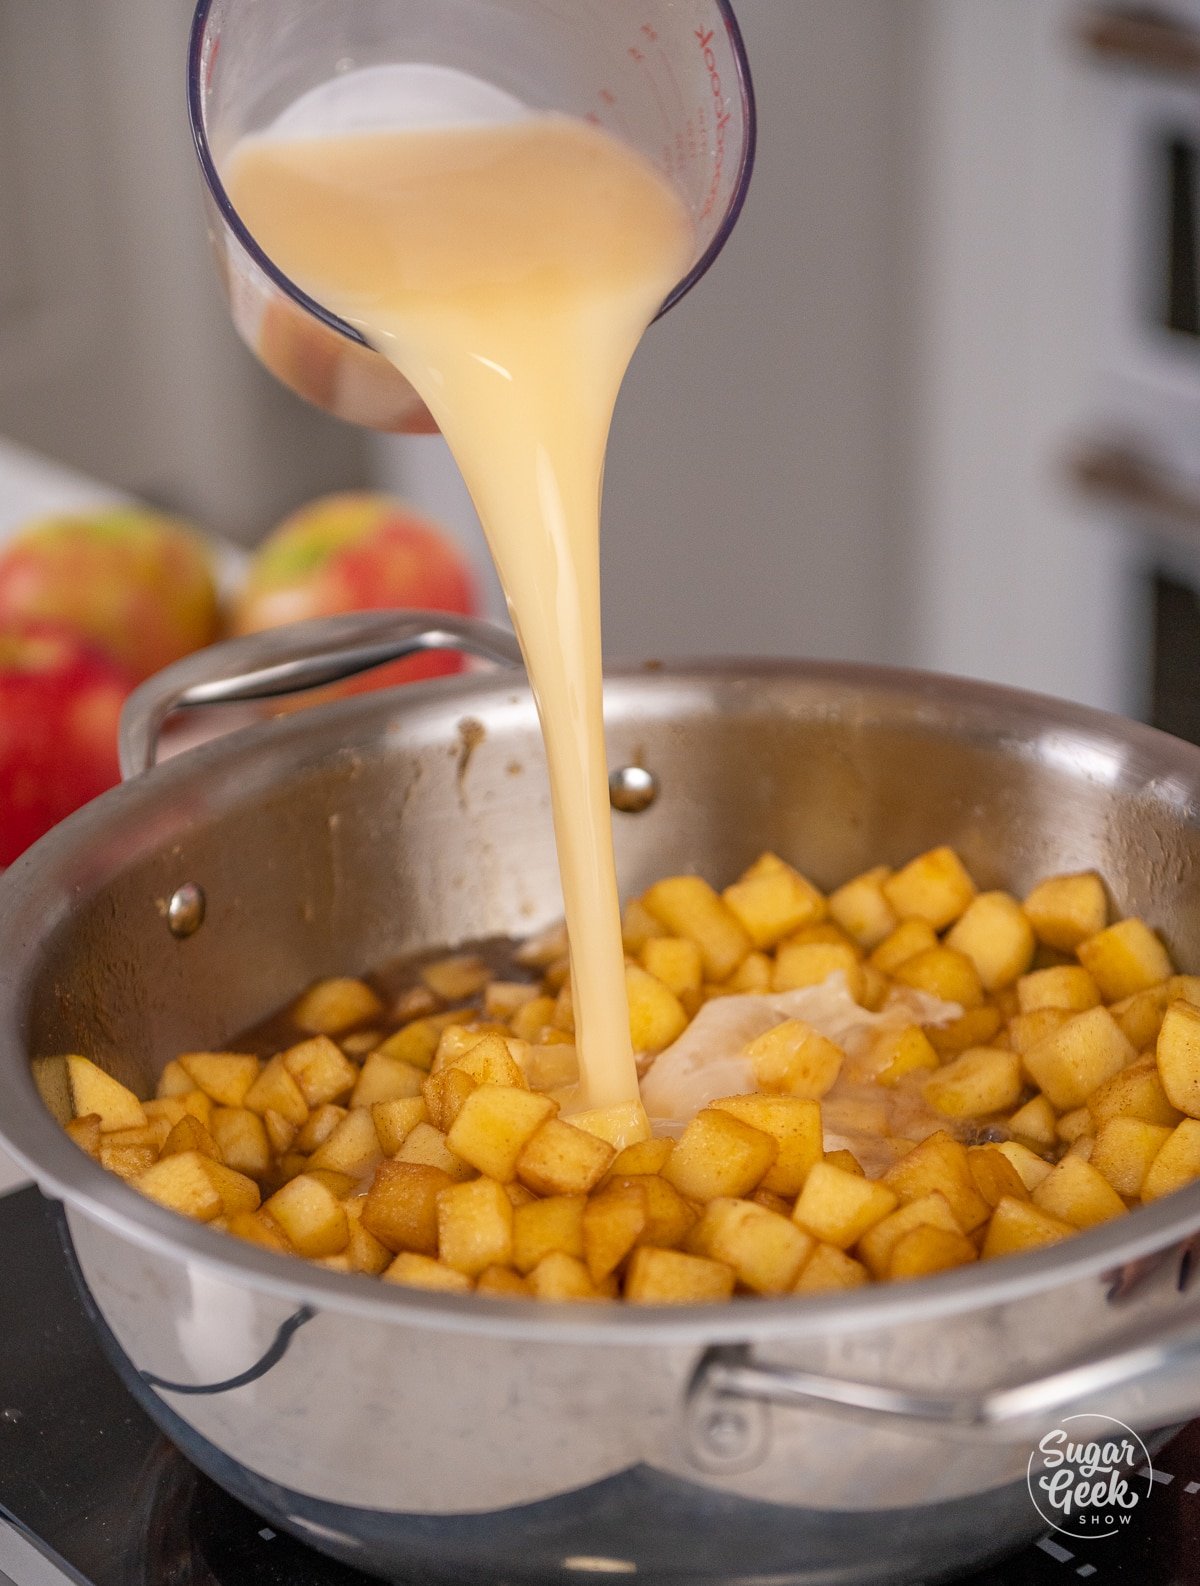
- Add the mixture to the apple filling and continue cooking and stirring for 2-3 minutes until thickened.
- Allow your mixture to cool fully before you fill your pie crusts.
Assembling the Mini Apple Pies
- Preheat your oven to 400ºF
- Roll your pie dough to ⅛" thick on a lightly floured surface.
- Use a 6” cookie cutter to cut out 12 - 6 inch circles, you will use 2 muffin tins, alternating spots so the pies don’t touch each other. Roll your scraps back up, flatten them and place them back in the fridge to use again.
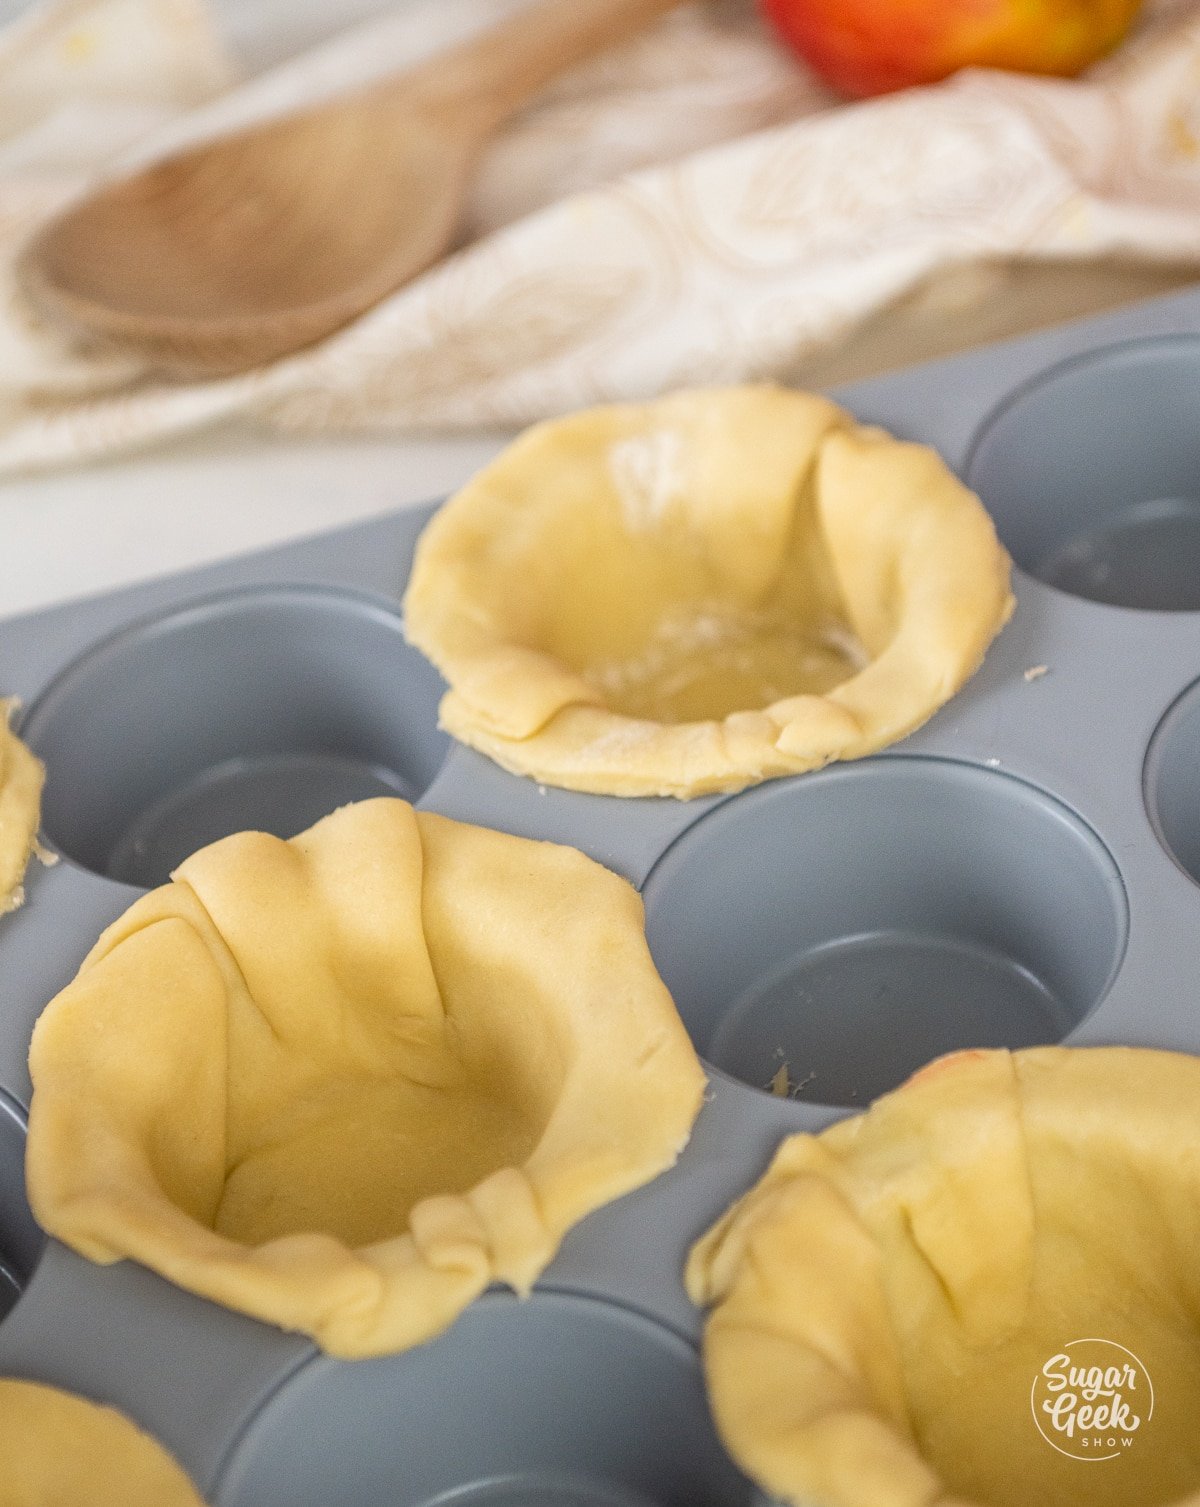
- Place a round of dough in the muffin tin, gently forming it to the shape of the tin, making sure the dough is pressed snugly against the bottom edge. Smooth out the folds on the sides so it is smooth and has a uniform width of the dough. Gently roll under the top edge of the dough to make the edge crust.
- Lightly dock the bottom of the mini pie shells, this will help prevent big bubbles from happening in the dough when it begins to bake.
- Place the pans into the freezer for 20 minutes. This step is very important to keep your mini pies from shrinking during baking.
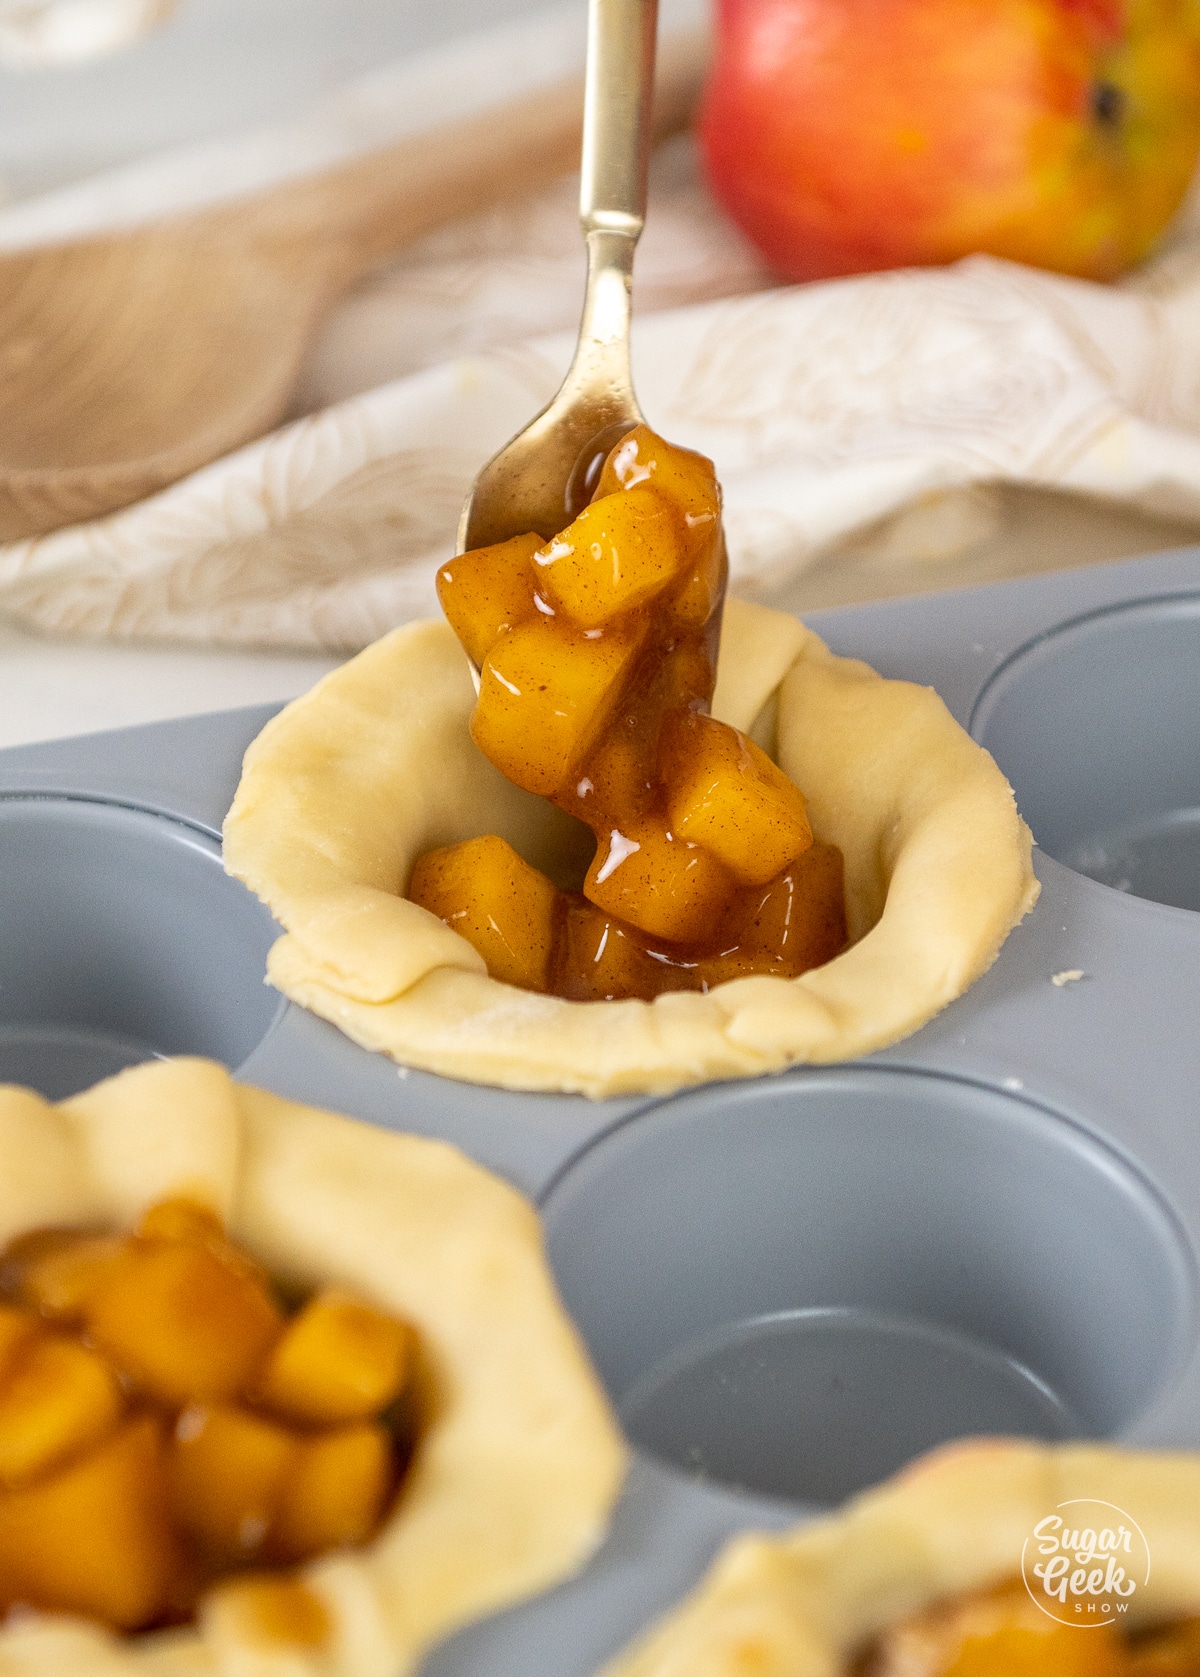
- Fill your pie pans with the filling to the top of the crust (do not be tempted to over-fill, but if you under-fill they could collapse a bit once the apples cook down.)
Making a Lattice Crust
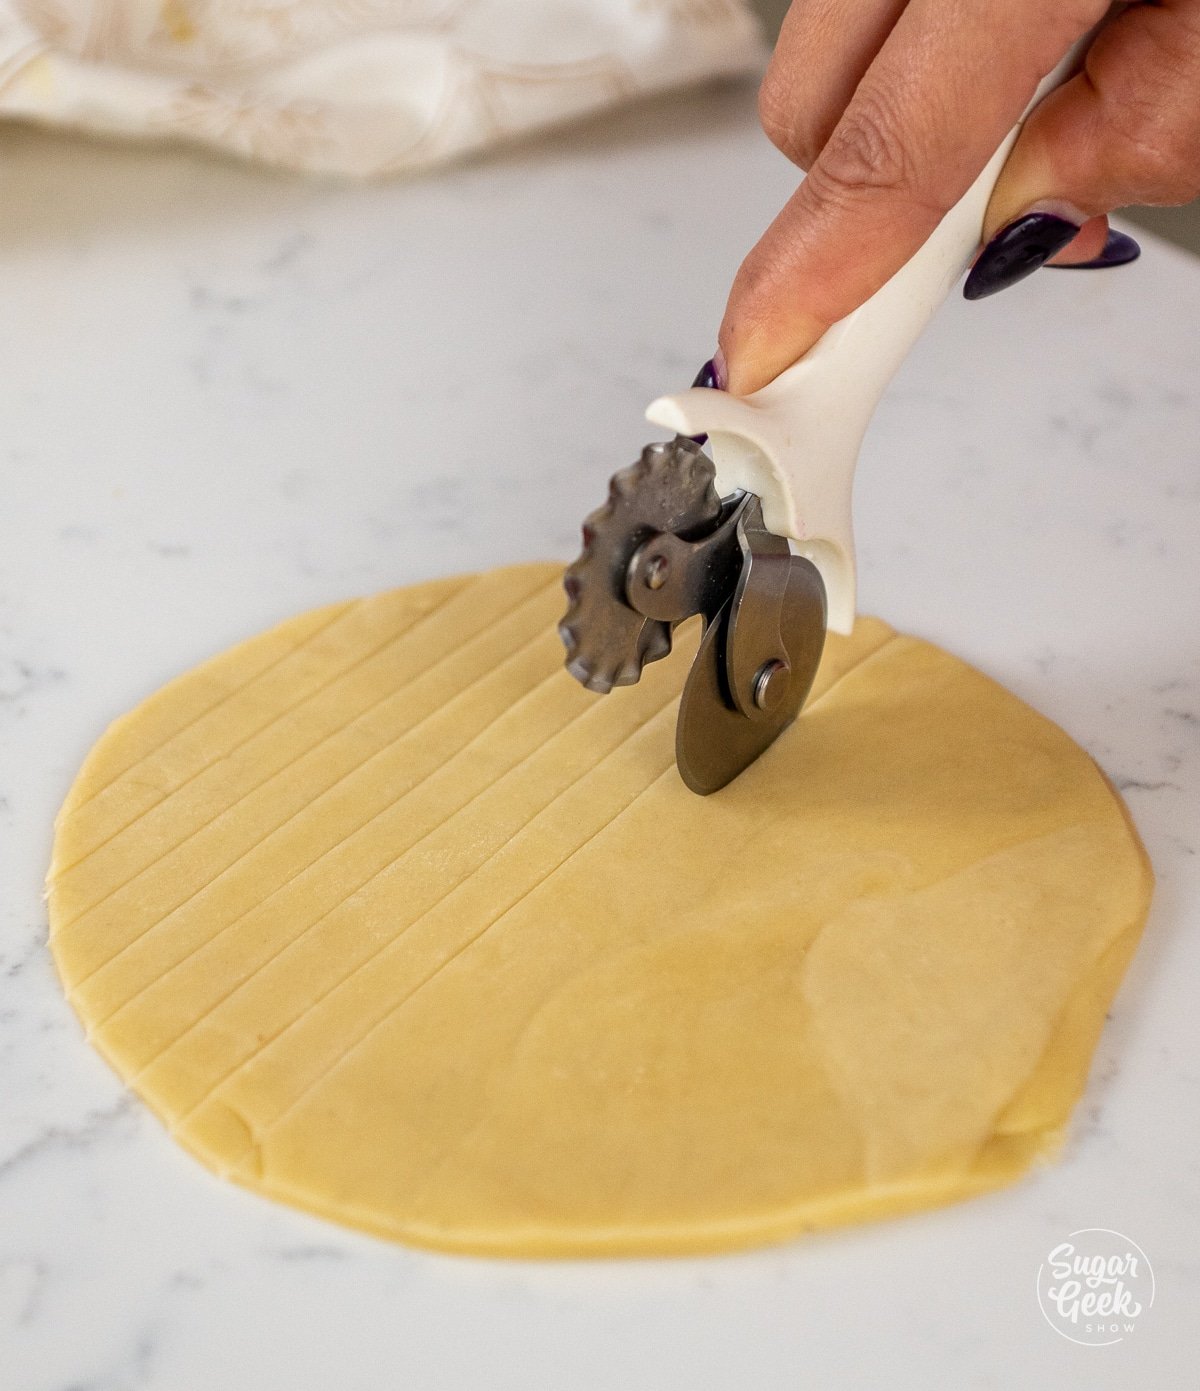
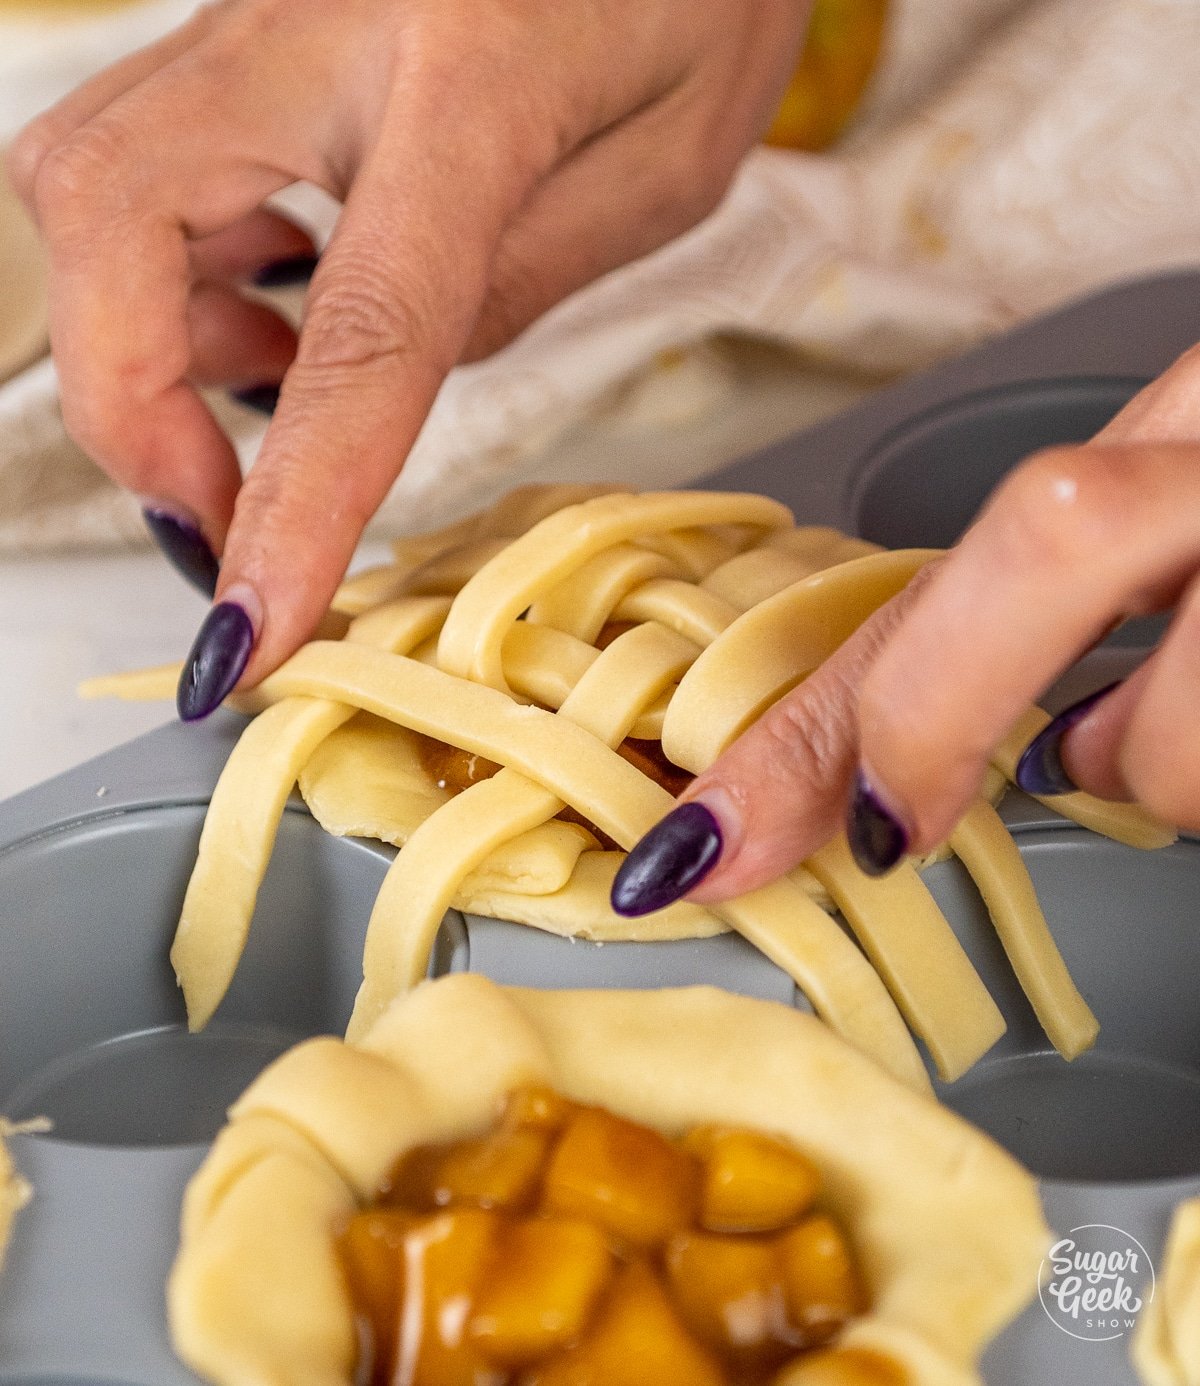
- Roll out your leftover dough to ⅛" thick and cut out ¼" strips of dough.
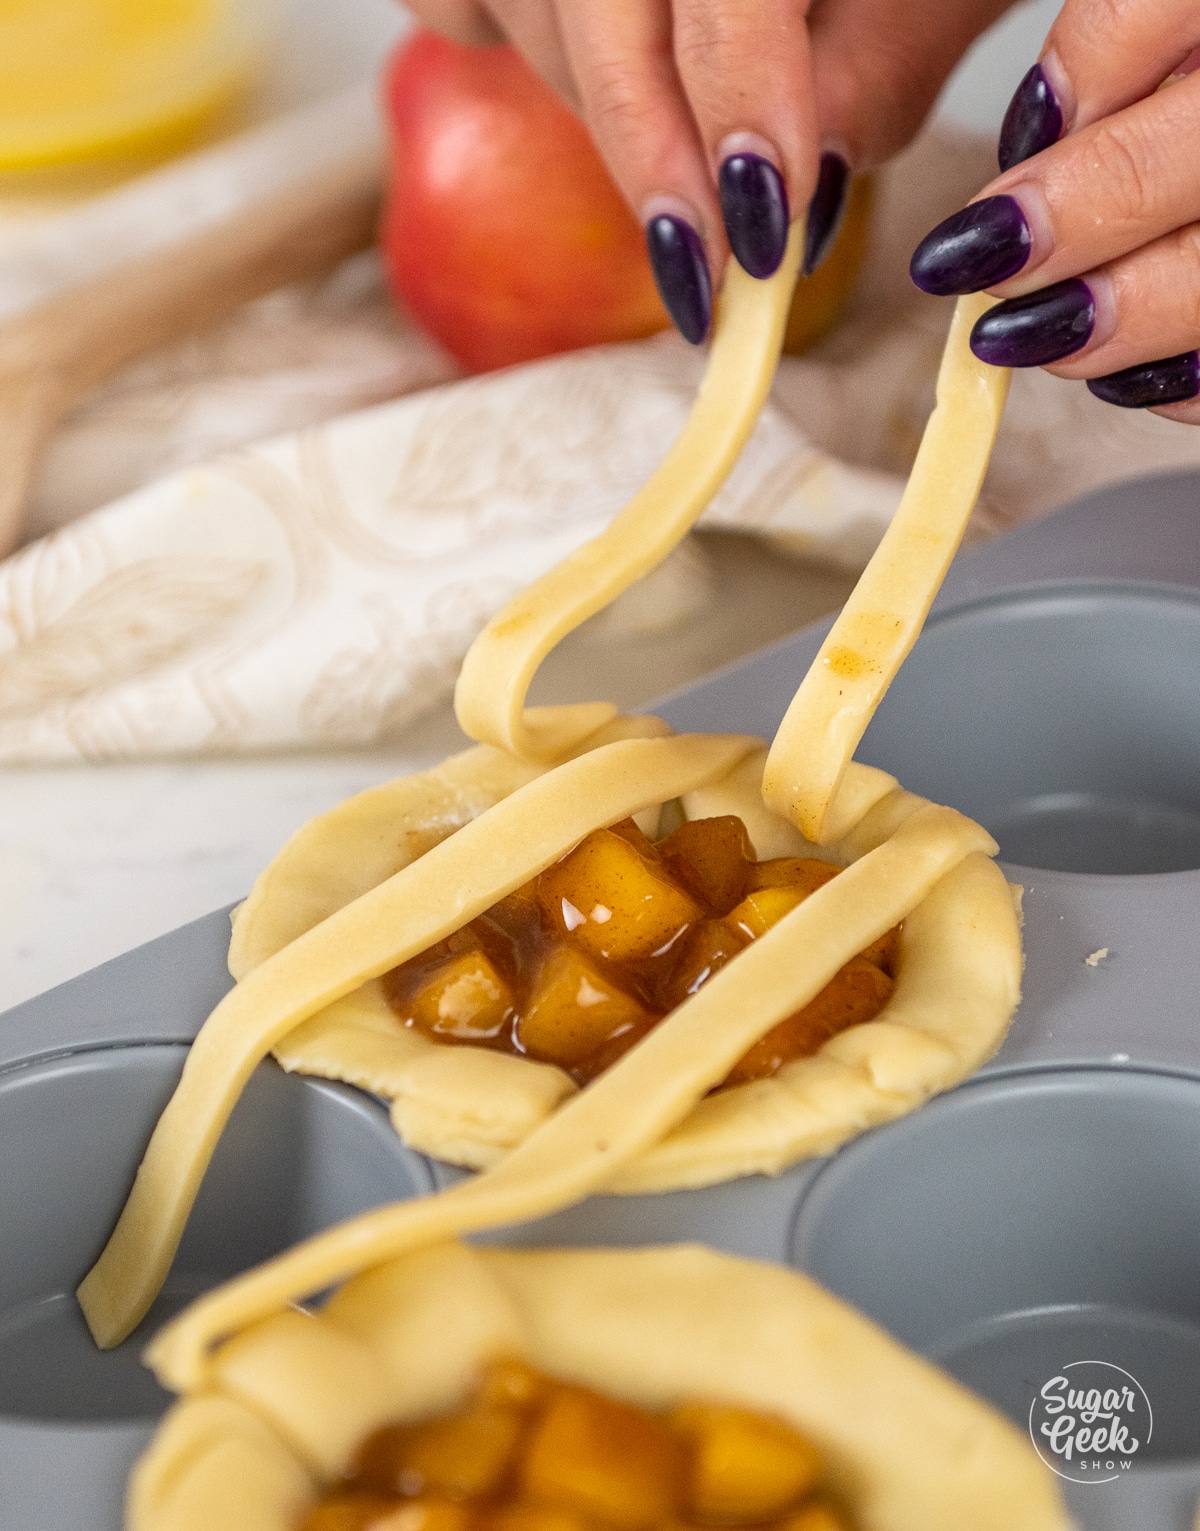
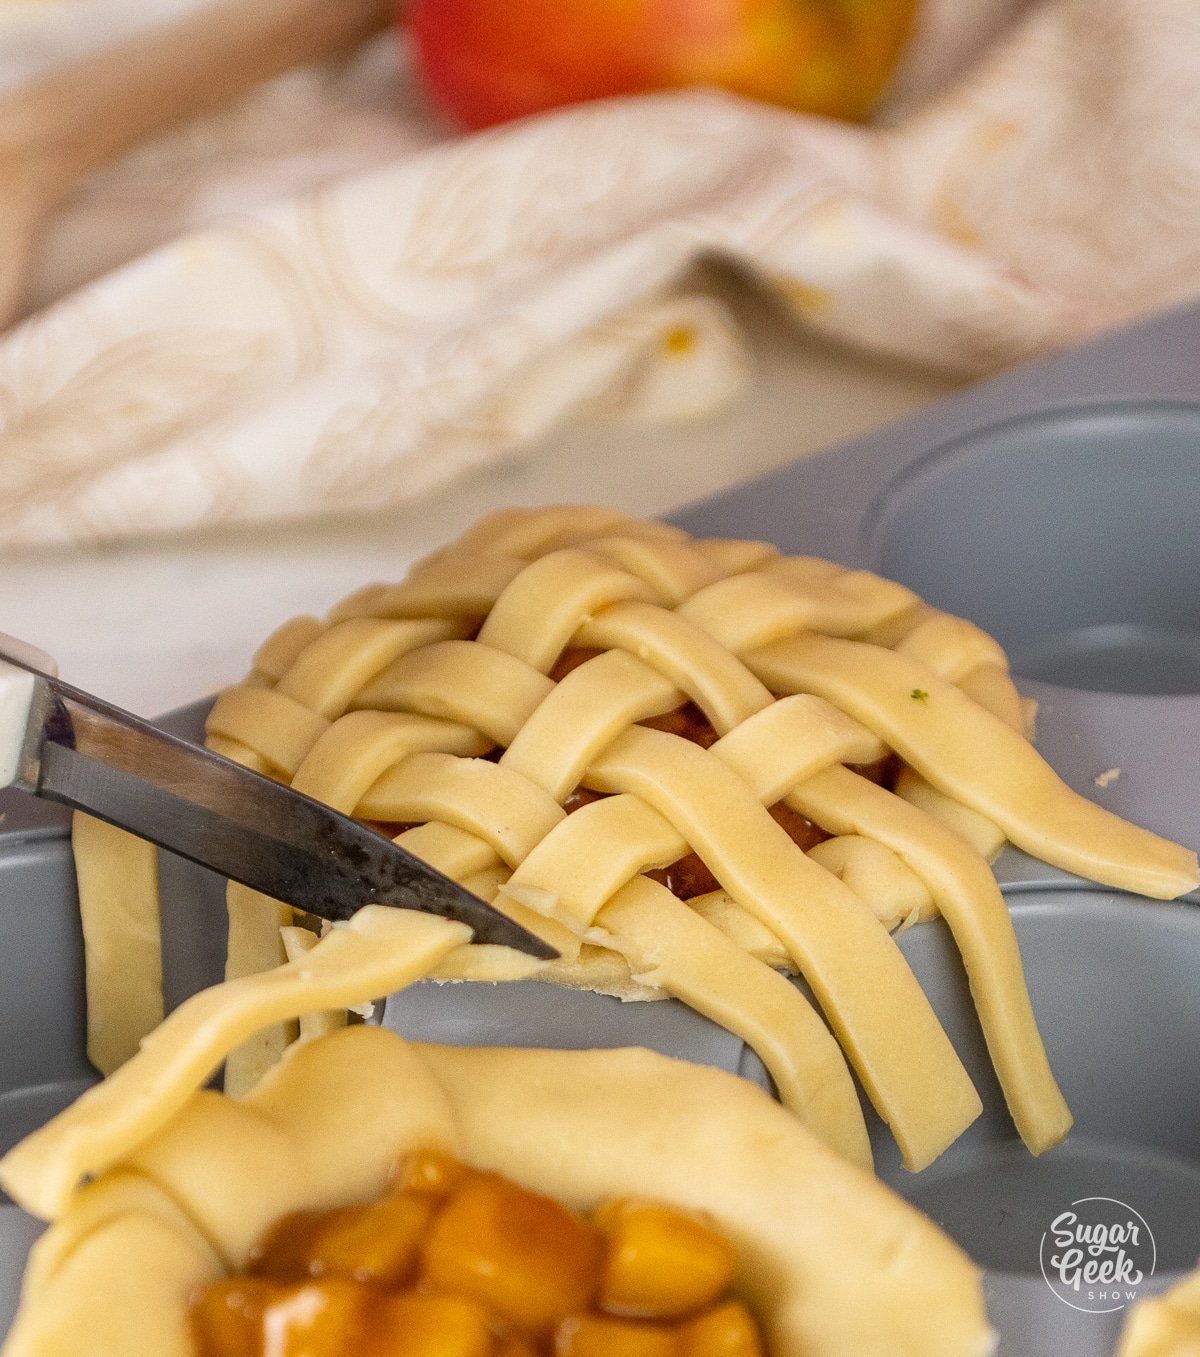
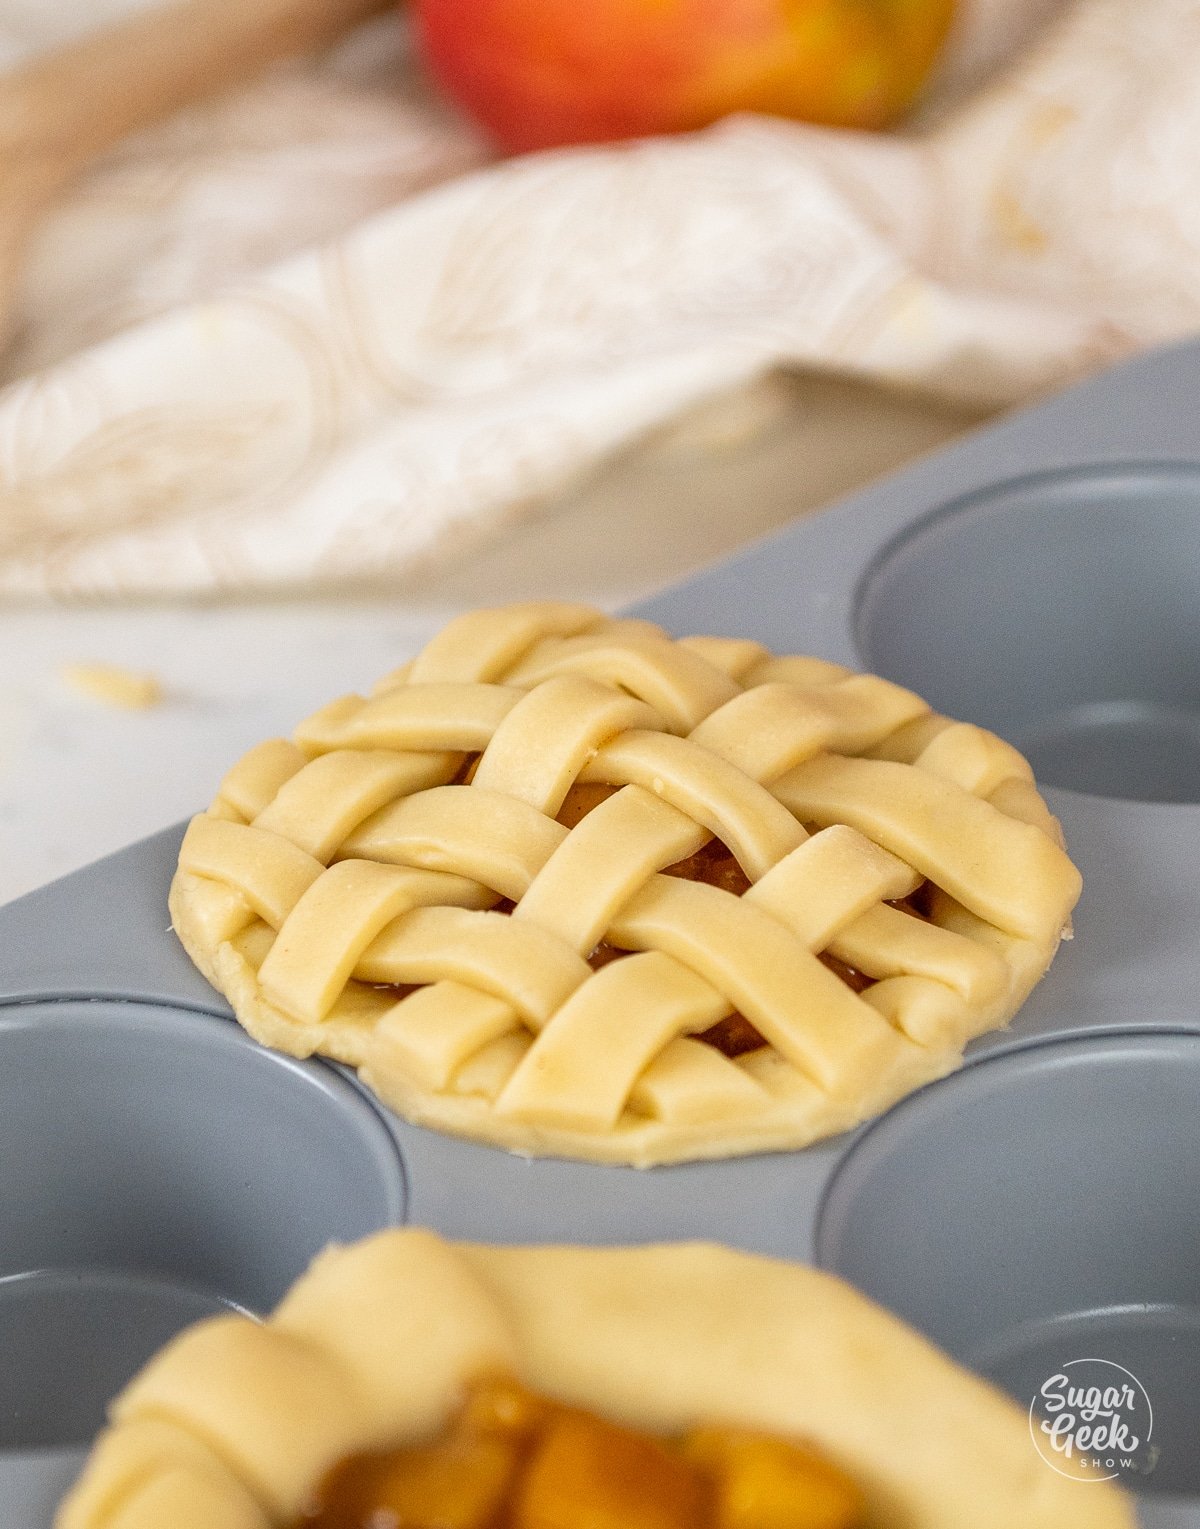
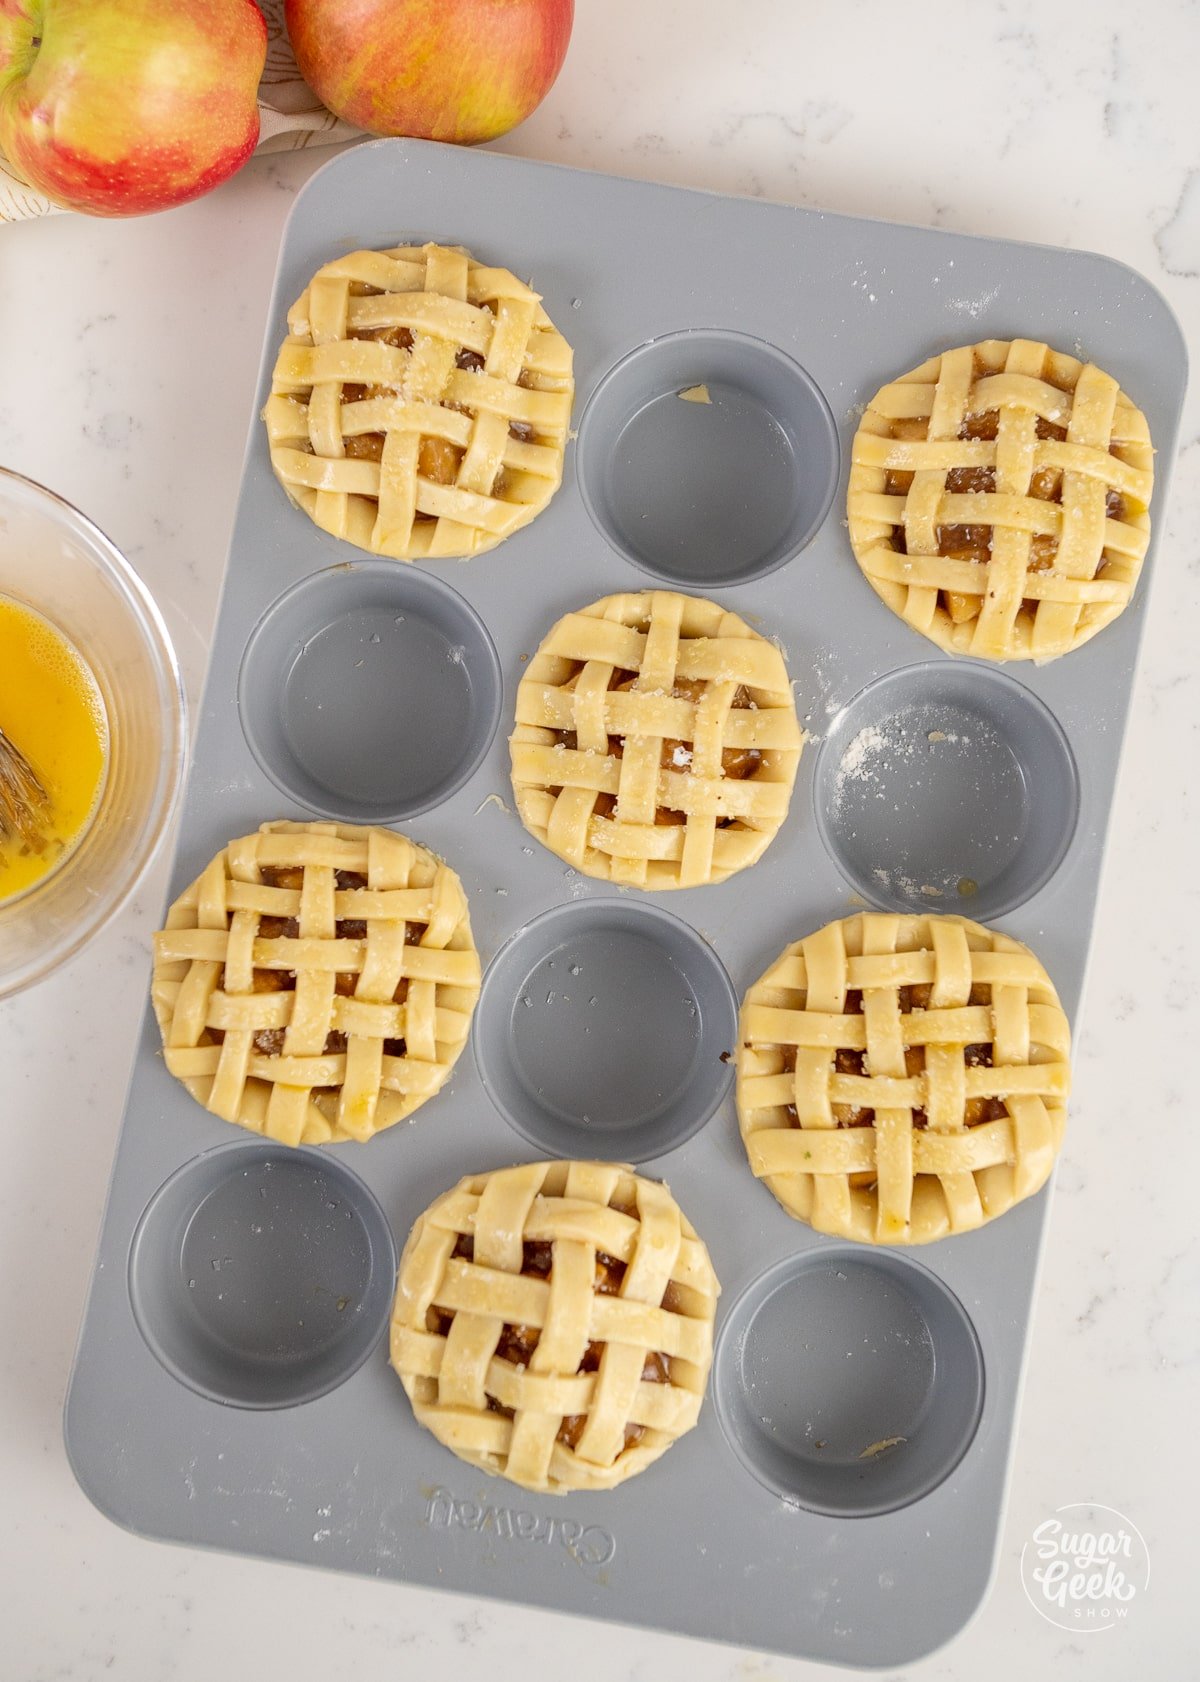
- Place the strips on top of your filled pie crusts. You can weave them or just crisscross them for the sake of time. They will look cute either way!
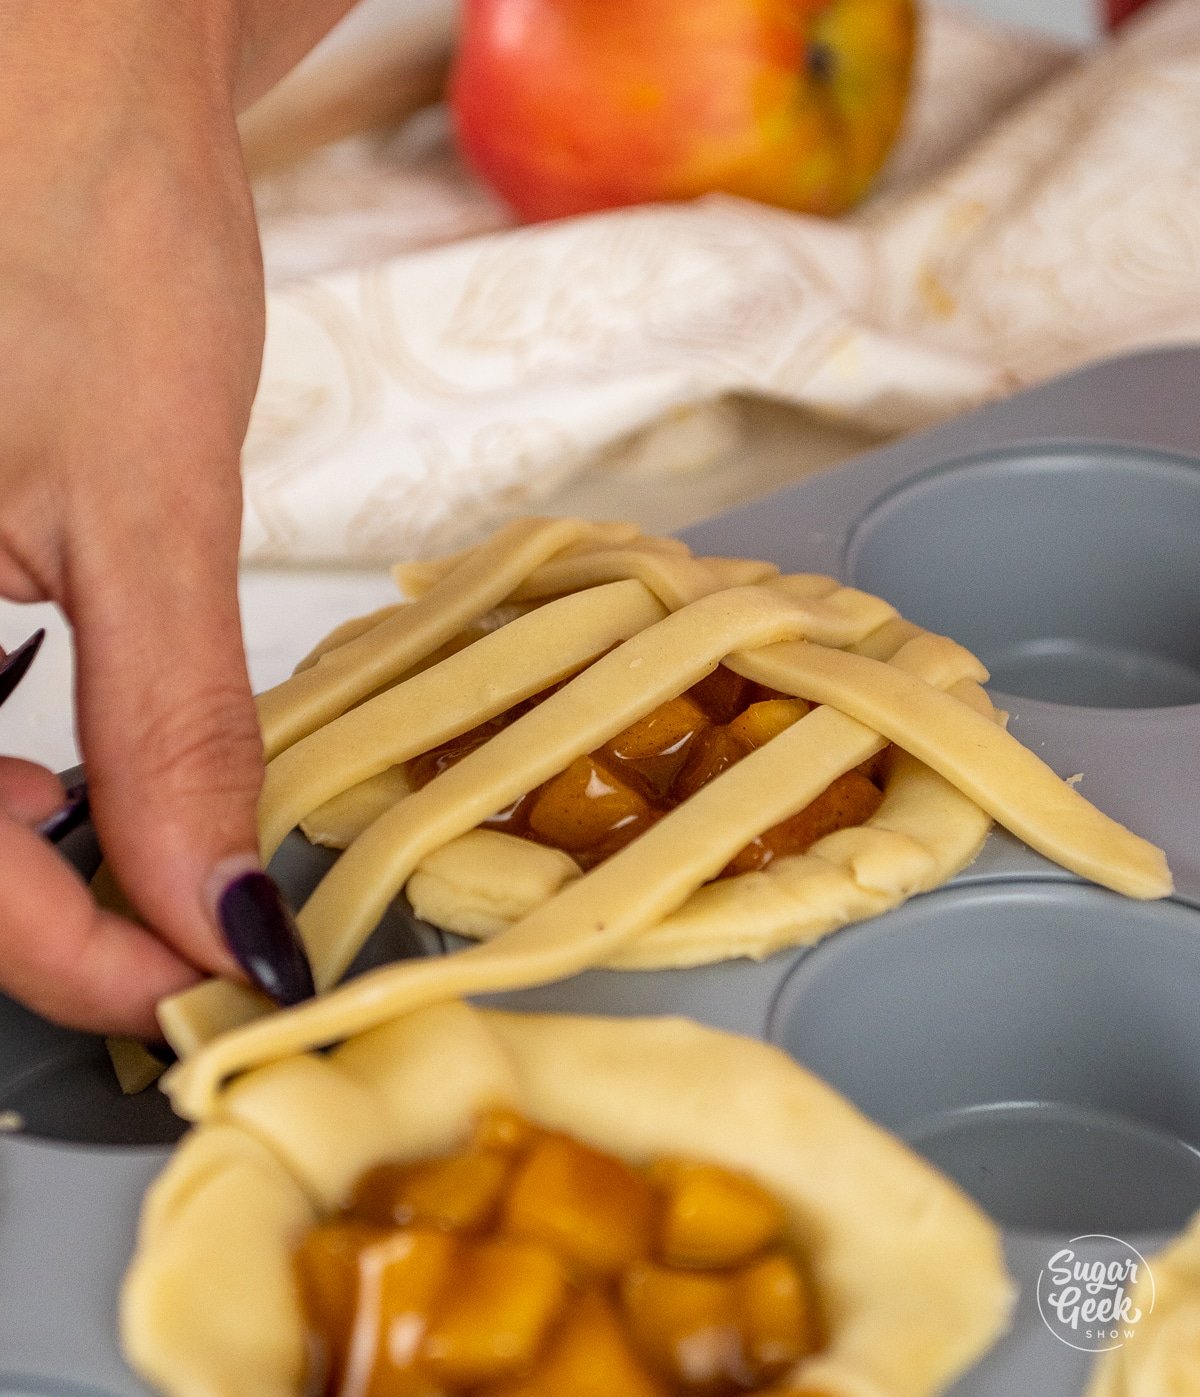
- Press the lattice top dough onto the bottom dough and trim off the excess to create a clean, round top. You can flute them with your fingers or use a fork to seal the edges. This gives those mini apple pies that real pie look. Pro-tip: If you want to skip the top crust, you can just add some crumbled-up bits of the leftover dough tossed with some brown sugar to the top of the pies or make a little leaf and place it on top of each pie which also looks super cute.
Baking the Mini Apple Pies
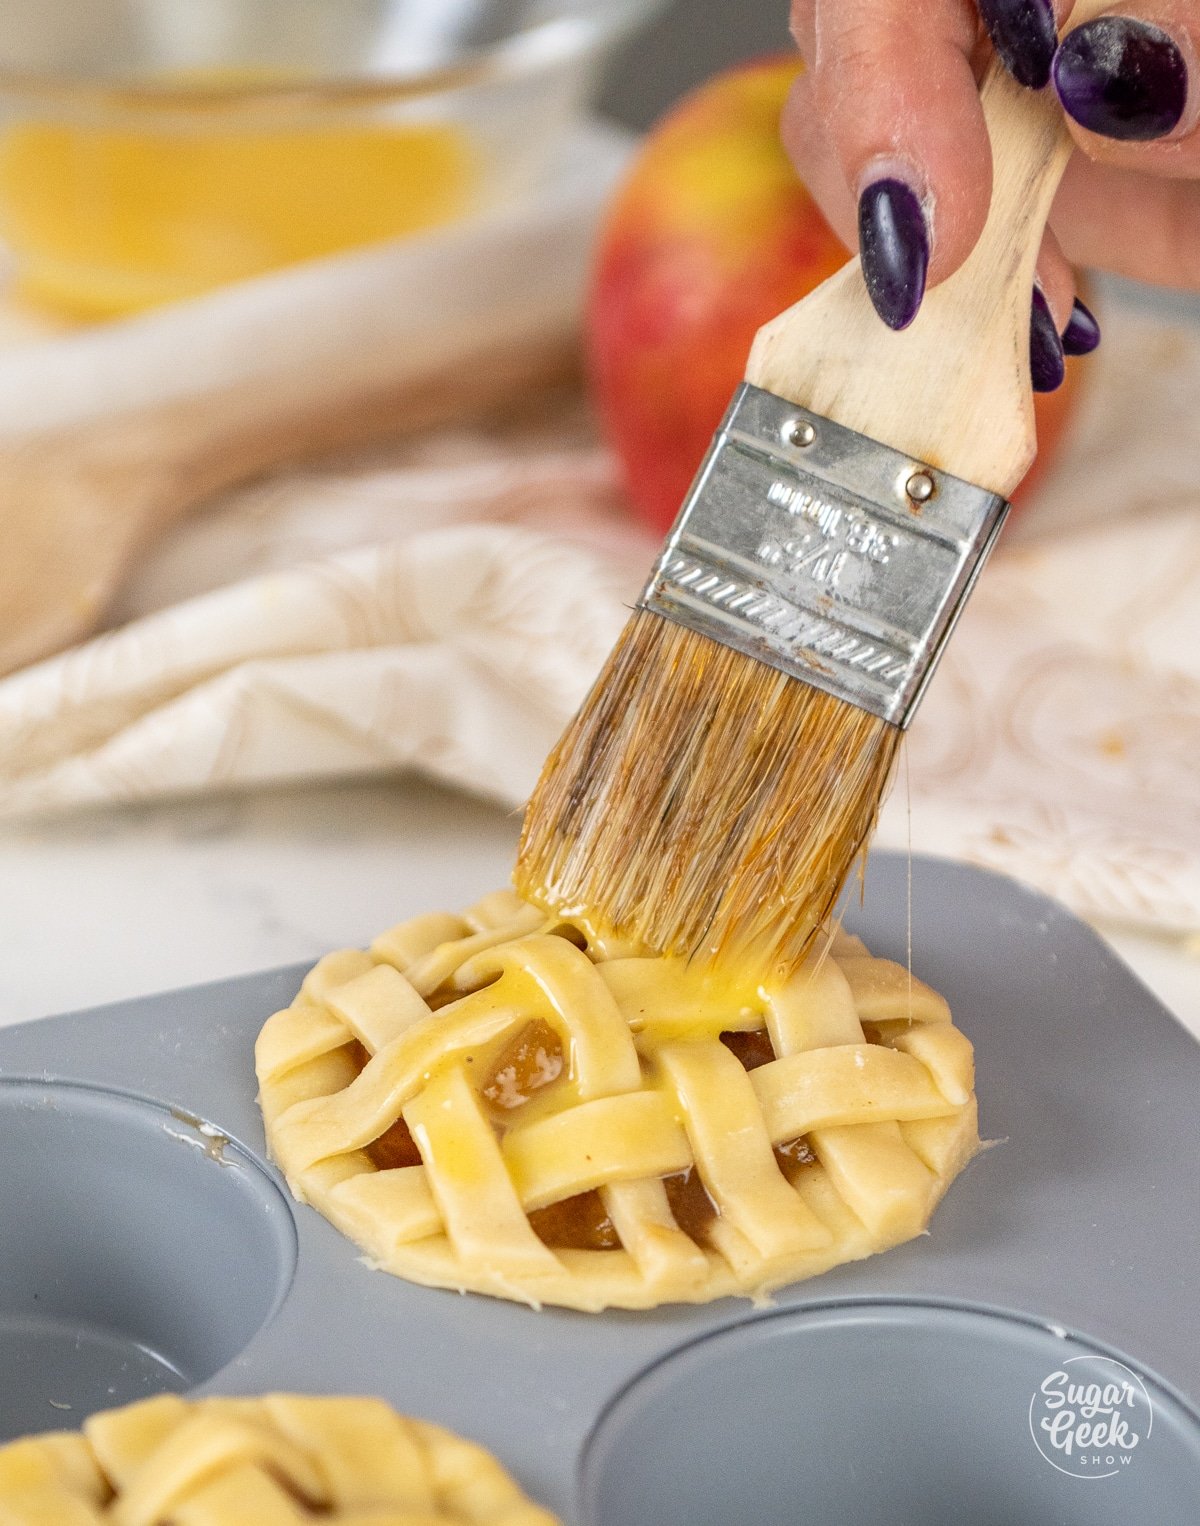
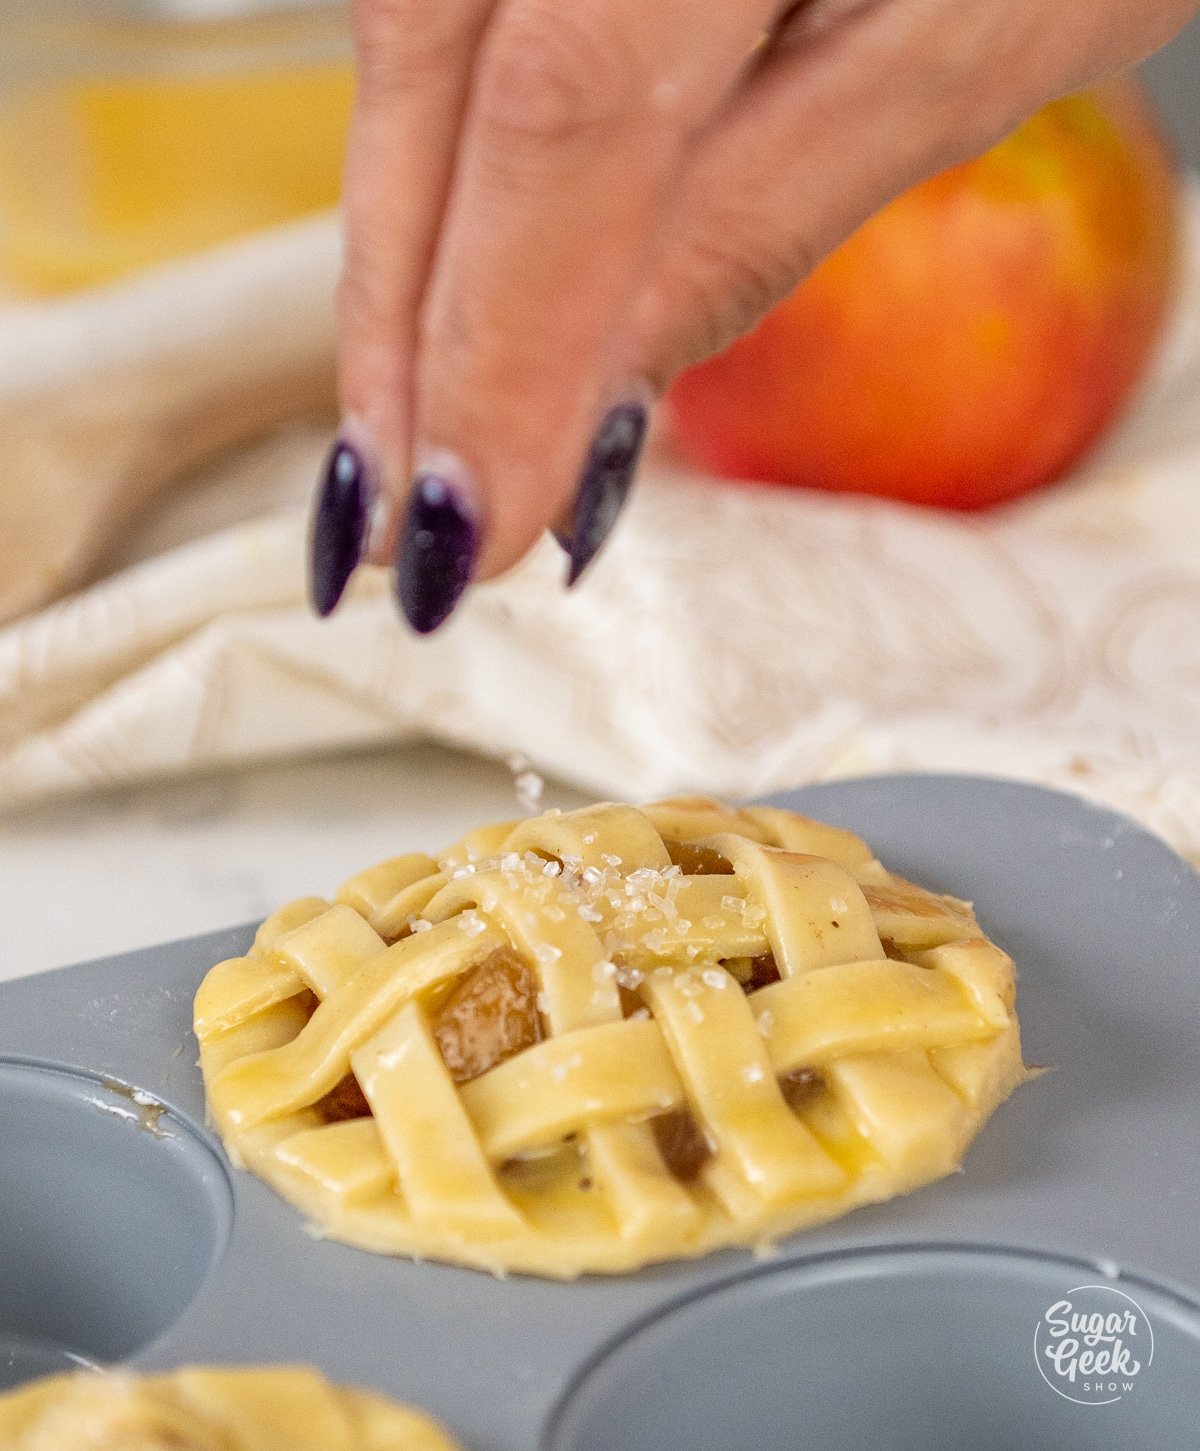
- Brush the crust with your egg wash (one egg whisked together with 1 Tablespoon of water) carefully with a pastry brush. You can sprinkle some coarse sanding sugar on top to make them extra cute.
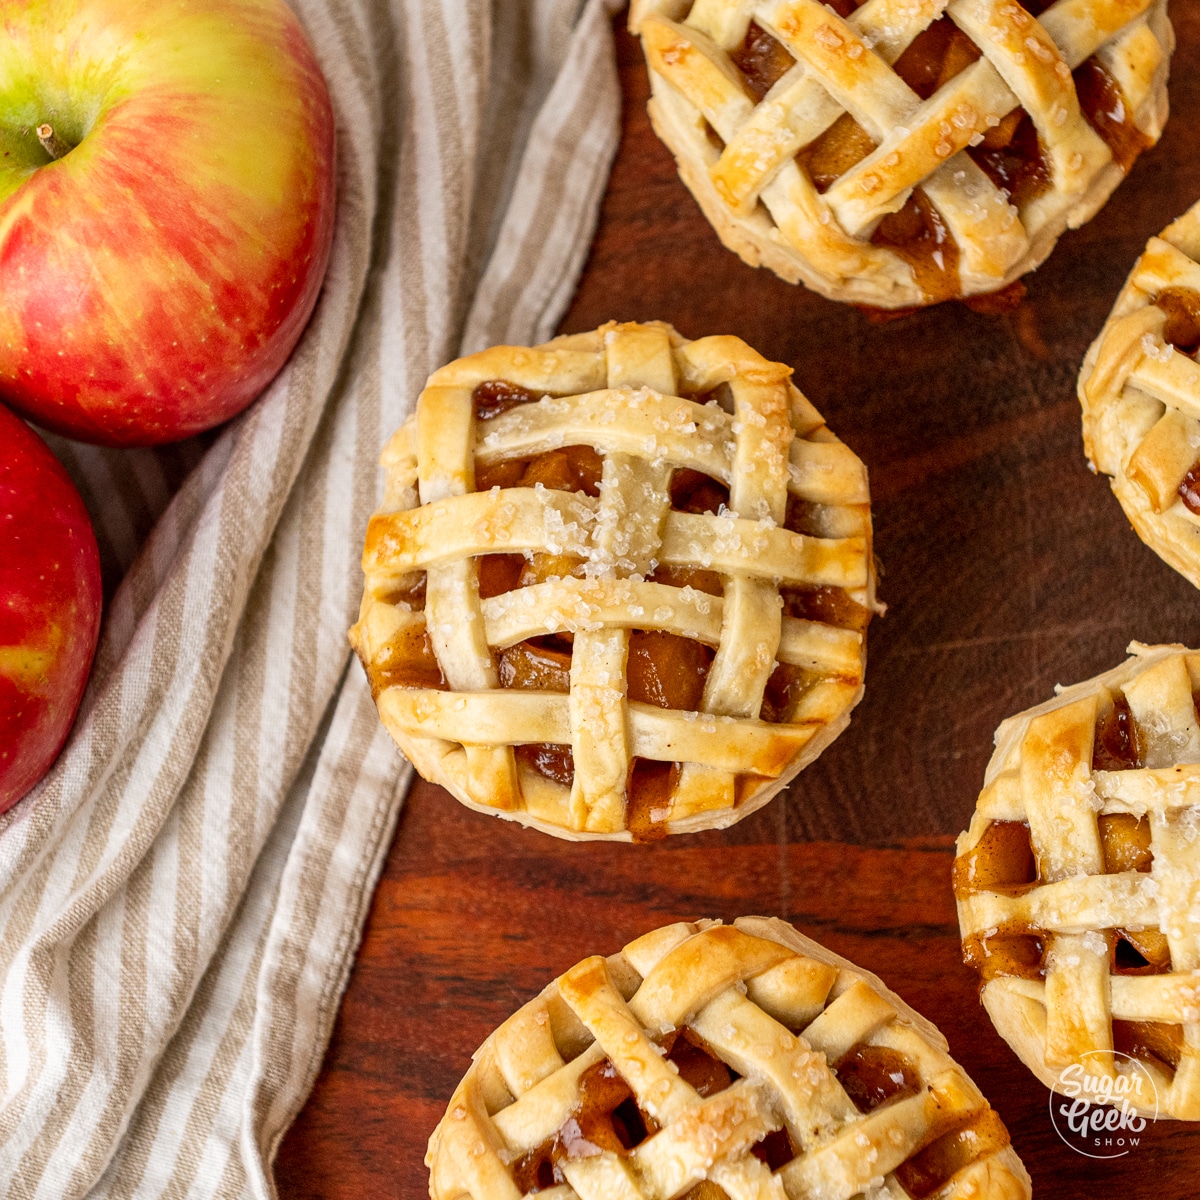
- Bake the pies at 400°F for 20-25 minutes until the pie crust is a nice golden brown. Most people under bake their pies so don't be afraid!
- Place your apple pies in the muffin tin onto a cooling rack and allow them to come to room temperature for about 30 minutes.
- You can then remove your pies carefully from the muffin tin and serve. If you choose to store the pies for later, store them in an airtight container, or wrap them in plastic wrap in the muffin tin to hold their shape. They can be stored at room temperature for a day or in the refrigerator for up to 4 days.
FAQ
Yes, you can make mini apple pies up to four days in advance. Refrigerate them in an airtight container before serving.
I like to cook my apple pie filling first so that the filling is nice and thick and not watery. It also breaks the apples down slightly so they don’t collapse as much when they bake in the pie.
Mini individual apple pies are pretty small, it's best to cube your apples into small pieces so you can fit as much apple filling as possible.
Yes! This crust is great for making mini pumpkin pies, berry pies, pecan pies, etc.
Related Recipes
Recipe

Equipment
- 1 Stand mixer with the paddle attachment optional
- 2 Muffin tins
Ingredients
Mealy Pie Dough
- 24 ounces all-purpose flour (5 ¼ cups)
- ½ teaspoon salt
- 12 ounces unsalted butter grated, and cold (1 ½ cups)
- 2 large eggs cold
- 4 ounces ice water (½ cup)
Apple Pie Filling
- 2 pounds apples about 6 medium-sized, diced in ¼ inch cubes
- 1 ounce unsalted butter (2 Tablespoons)
- 1 Tablespoon lemon juice
- 4 ounces brown sugar (½ cup)
- 2 teaspoons cinnamon
- ¼ teaspoon cloves
- ¼ teaspoon salt
- 2 ounces apple juice (¼ cup)
- 1 Tablespoon vanilla extract
- 1 teaspoon almond extract optional
- 1 Tablespoon honey
- 1 ounce cornstarch (2 Tbsp)
- 12 ounces apple juice (1 ½ cups)
Egg Wash
- 2 large egg
- 1 Tablespoon water
Instructions
Pie Crust for Mini Pies
- I like to make this pie crust in the food processor or stand mixer because it's faster and keeps the butter cold. You can also use a large bowl and a pastry cutter or a whisk.
- Combine the flour and salt in the bowl of your stand mixer with the paddle attachment.
- Grate your cold butter directly into the flour mixture.
- Mix on low until the flour and butter resemble a sandy mixture.
- Add the egg and slowly pour in the cold water while the mixer is on, and mix on low until the dough begins to form a ball. If it's still dry, slowly add in drizzles of cold water until it comes together.
- Remove the dough from the bowl and place it onto a piece of plastic wrap.
- Flatten the ball of pie dough to about 1". Wrap the plastic wrap over the dough and place it into the fridge to rest for 20 minutes (you can also do this the day before).
- Remove the dough from the fridge 20 minutes before you need to use it so the dough is more pliable and easier to roll out.
Apple Pie Filling
- Peel, core, and cube your apples into ¼" pieces. Mini pies need mini pieces of apple so the filling can fall into the small spaces in the crust.
- Combine your apples and butter in a large saucepan over medium heat until the apples are warmed through.
- Add in your lemon juice, brown sugar, cinnamon, cloves, salt, the smaller measurement of apple juice, extracts, and honey.
- Sauté the apple mixture on medium heat until the apples are soft but still a little firm in the middle (al dente).
- Combine the cornstarch with the larger measurement of apple juice in a measuring cup to make a slurry.
- Add the mixture to the apple filling and continue cooking and stirring for 2-3 minutes until thickened.
- Allow your mixture to cool fully before you fill your pie crusts.
Assembling the Mini Apple Pies
- Preheat your oven to 400ºF
- Roll your pie dough to ⅛" thick on a lightly floured surface.
- Use a 6” cookie cutter to cut out 12 - 6 inch circles, you will use 2 muffin tins, alternating spots so the pies don’t touch each other. Roll your scraps back up, flatten them and place them back in the fridge to use again.
- Place a round of dough in the muffin tin, gently forming it to the shape of the tin, making sure the dough is pressed snugly against the bottom edge. Smooth out the folds on the sides so it is smooth and has a uniform width of the dough. Gently roll under the top edge of the dough to make the edge crust.
- Lightly dock the bottom of the mini pie shells, this will help prevent big bubbles from happening in the dough when it begins to bake.
- Place the pans into the freezer for 20 minutes. This step is very important to keep your mini pies from shrinking during baking.
- Fill your pie pans with the filling to the top of the crust (do not be tempted to over-fill, but if you under-fill they could collapse a bit once the apples cook down.)
Making a Lattice Crust
- Roll out your leftover dough to ⅛" thick and cut out ¼" strips of dough.
- Place the strips on top of your filled pie crusts. You can weave them or just crisscross them for the sake of time. They will look cute either way!
- Press the lattice top dough onto the bottom dough and trim off the excess to create a clean, round top. You can flute them with your fingers or use a fork to seal the edges. This gives those mini apple pies that real pie look. Pro-tip: If you want to skip the top crust, you can just add some crumbled-up bits of the leftover dough tossed with some brown sugar to the top of the pies or make a little leaf and place it on top of each pie which also looks super cute.
Baking the Mini Apple Pies
- Brush the crust with your egg wash (one egg whisked together with 1 Tablespoon of water) carefully with a pastry brush. You can sprinkle some coarse sanding sugar on top to make them extra cute.
- Bake the pies at 400°F for 20-25 minutes until the pie crust is a nice golden brown. Most people underbake their pies so don't be afraid!
- Place your apple pies in the muffin tin onto a cooling rack and allow them to come to room temperature for about 30 minutes.
- You can then remove your pies carefully from the muffin tin and serve. If you choose to store the pies for later, store them in an airtight container, or wrap them in plastic wrap in the muffin tin to hold their shape. They can be stored at room temperature for a day or in the refrigerator for up to 4 days.
Notes
- The best apples to use are tart apples that hold their shape during baking. Granny smith apples are a classic choice but I also love the taste and texture of Jonagold, Honeycrisp apples, Braeburn, Mutsu, pink lady, and gala apples.
- This is a great recipe to get some little hands to help you out! Cutting the dough, filling the pies with the filling, and fluting the pie edges can be a lot of fun for kids, and skipping to the fun part makes it less stressful for the parents.






Leave a Reply