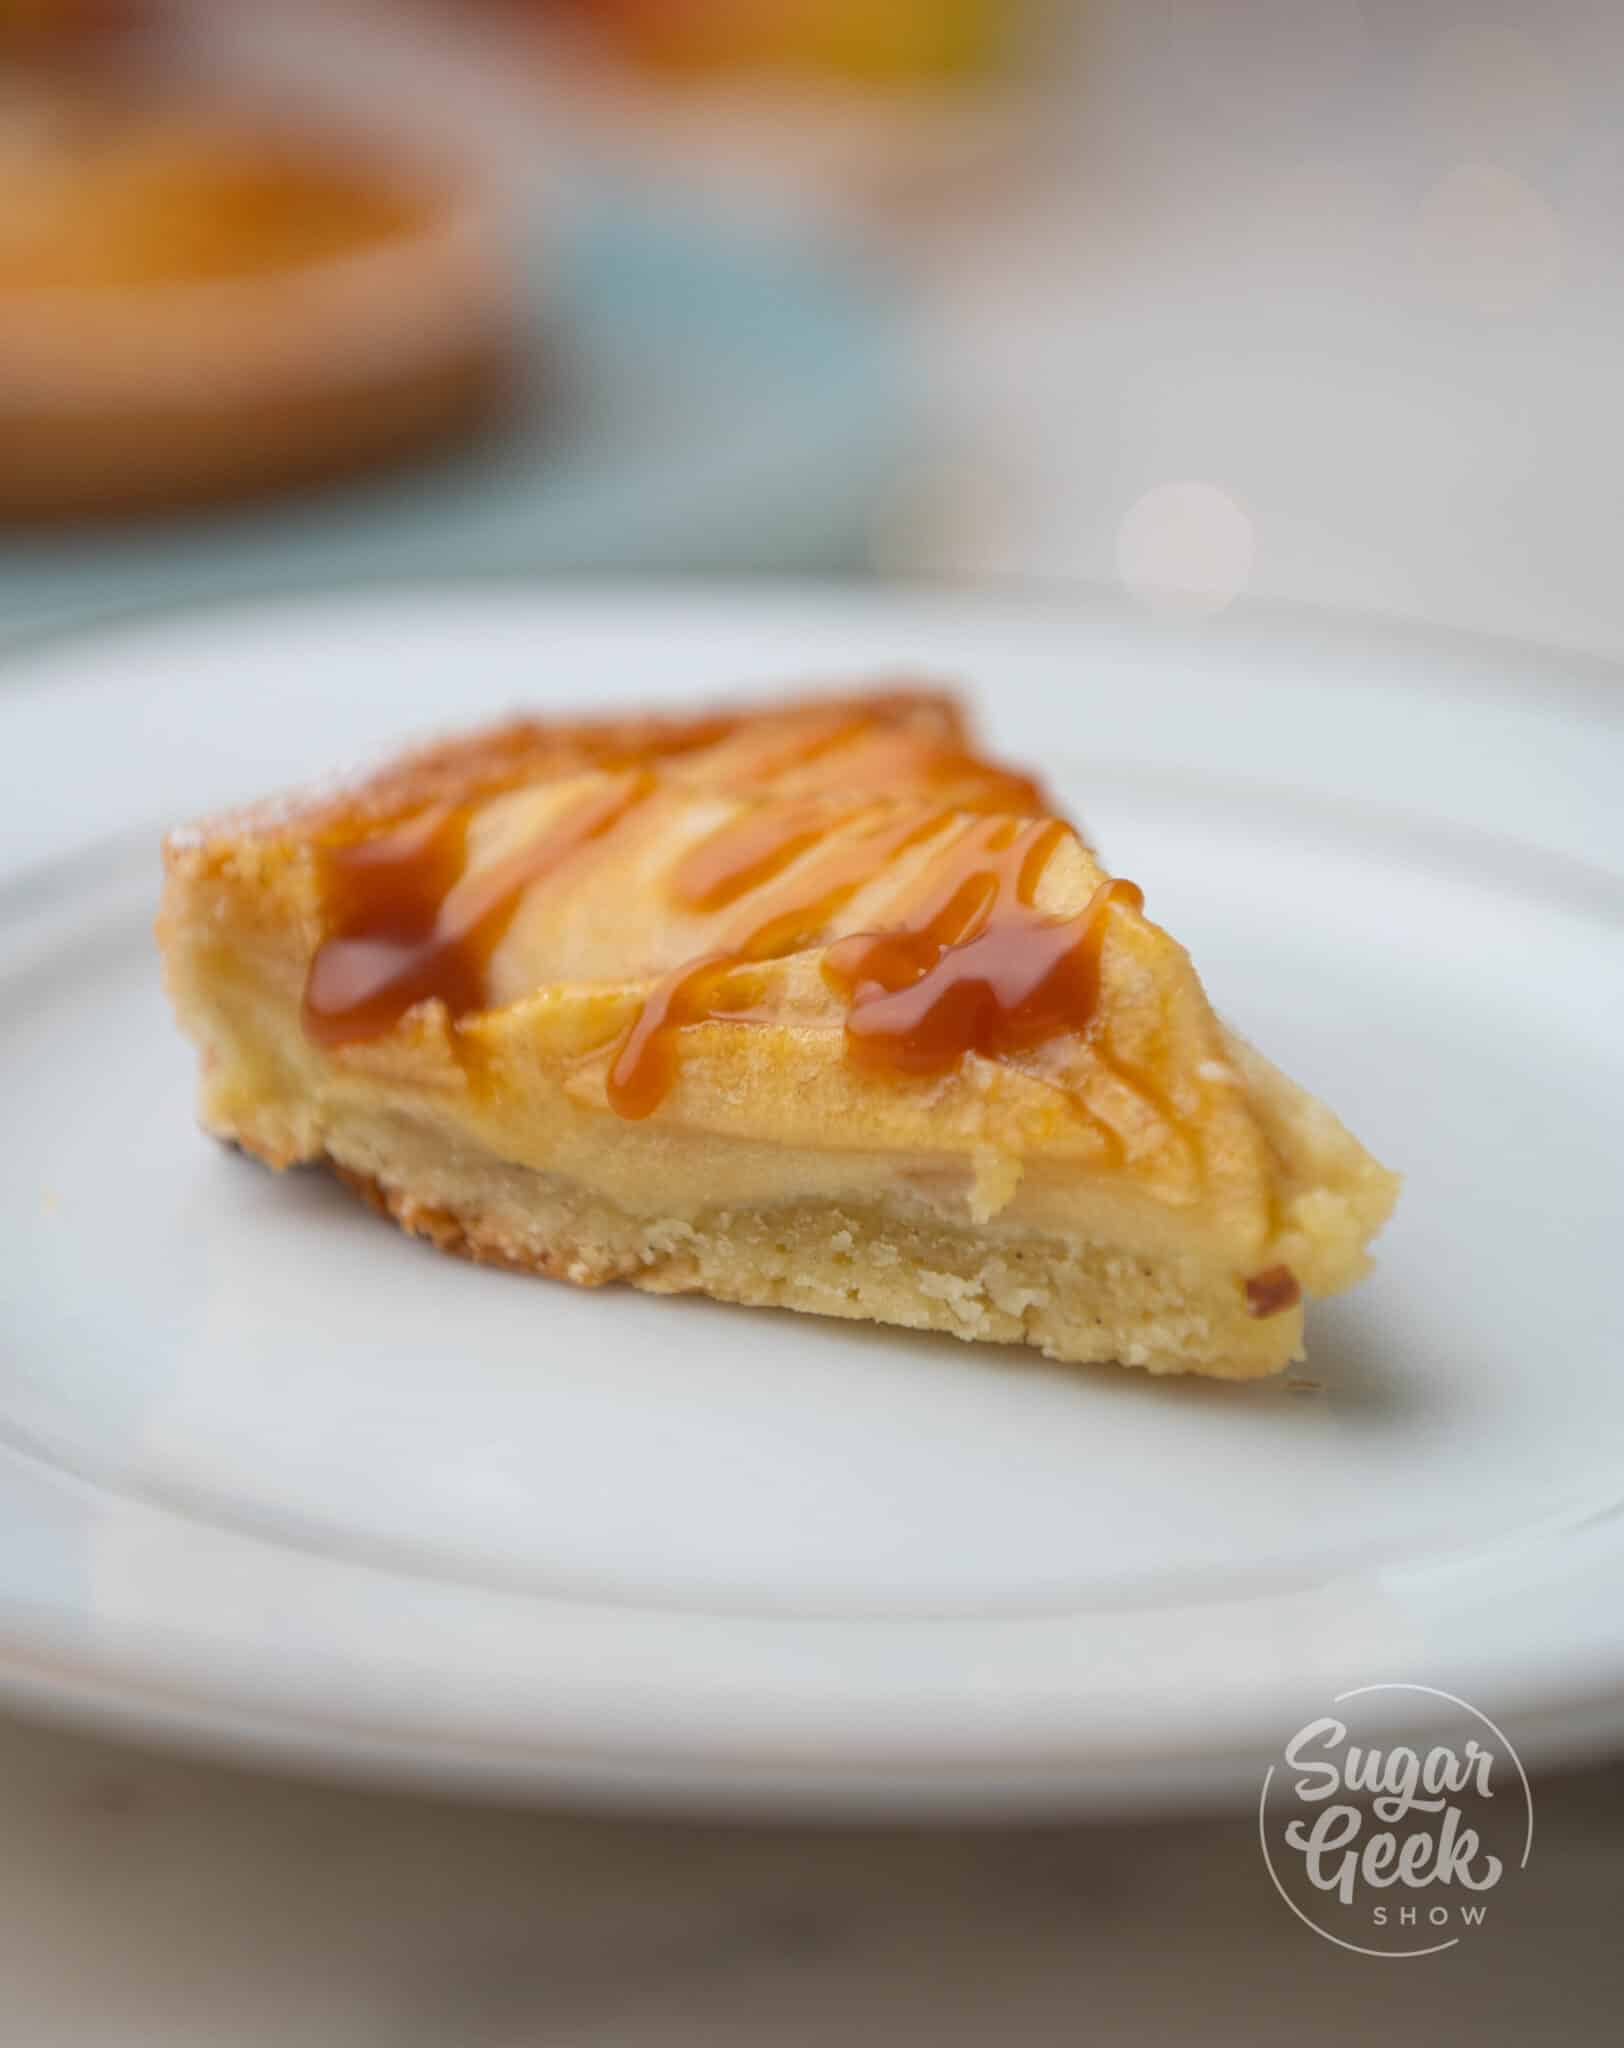
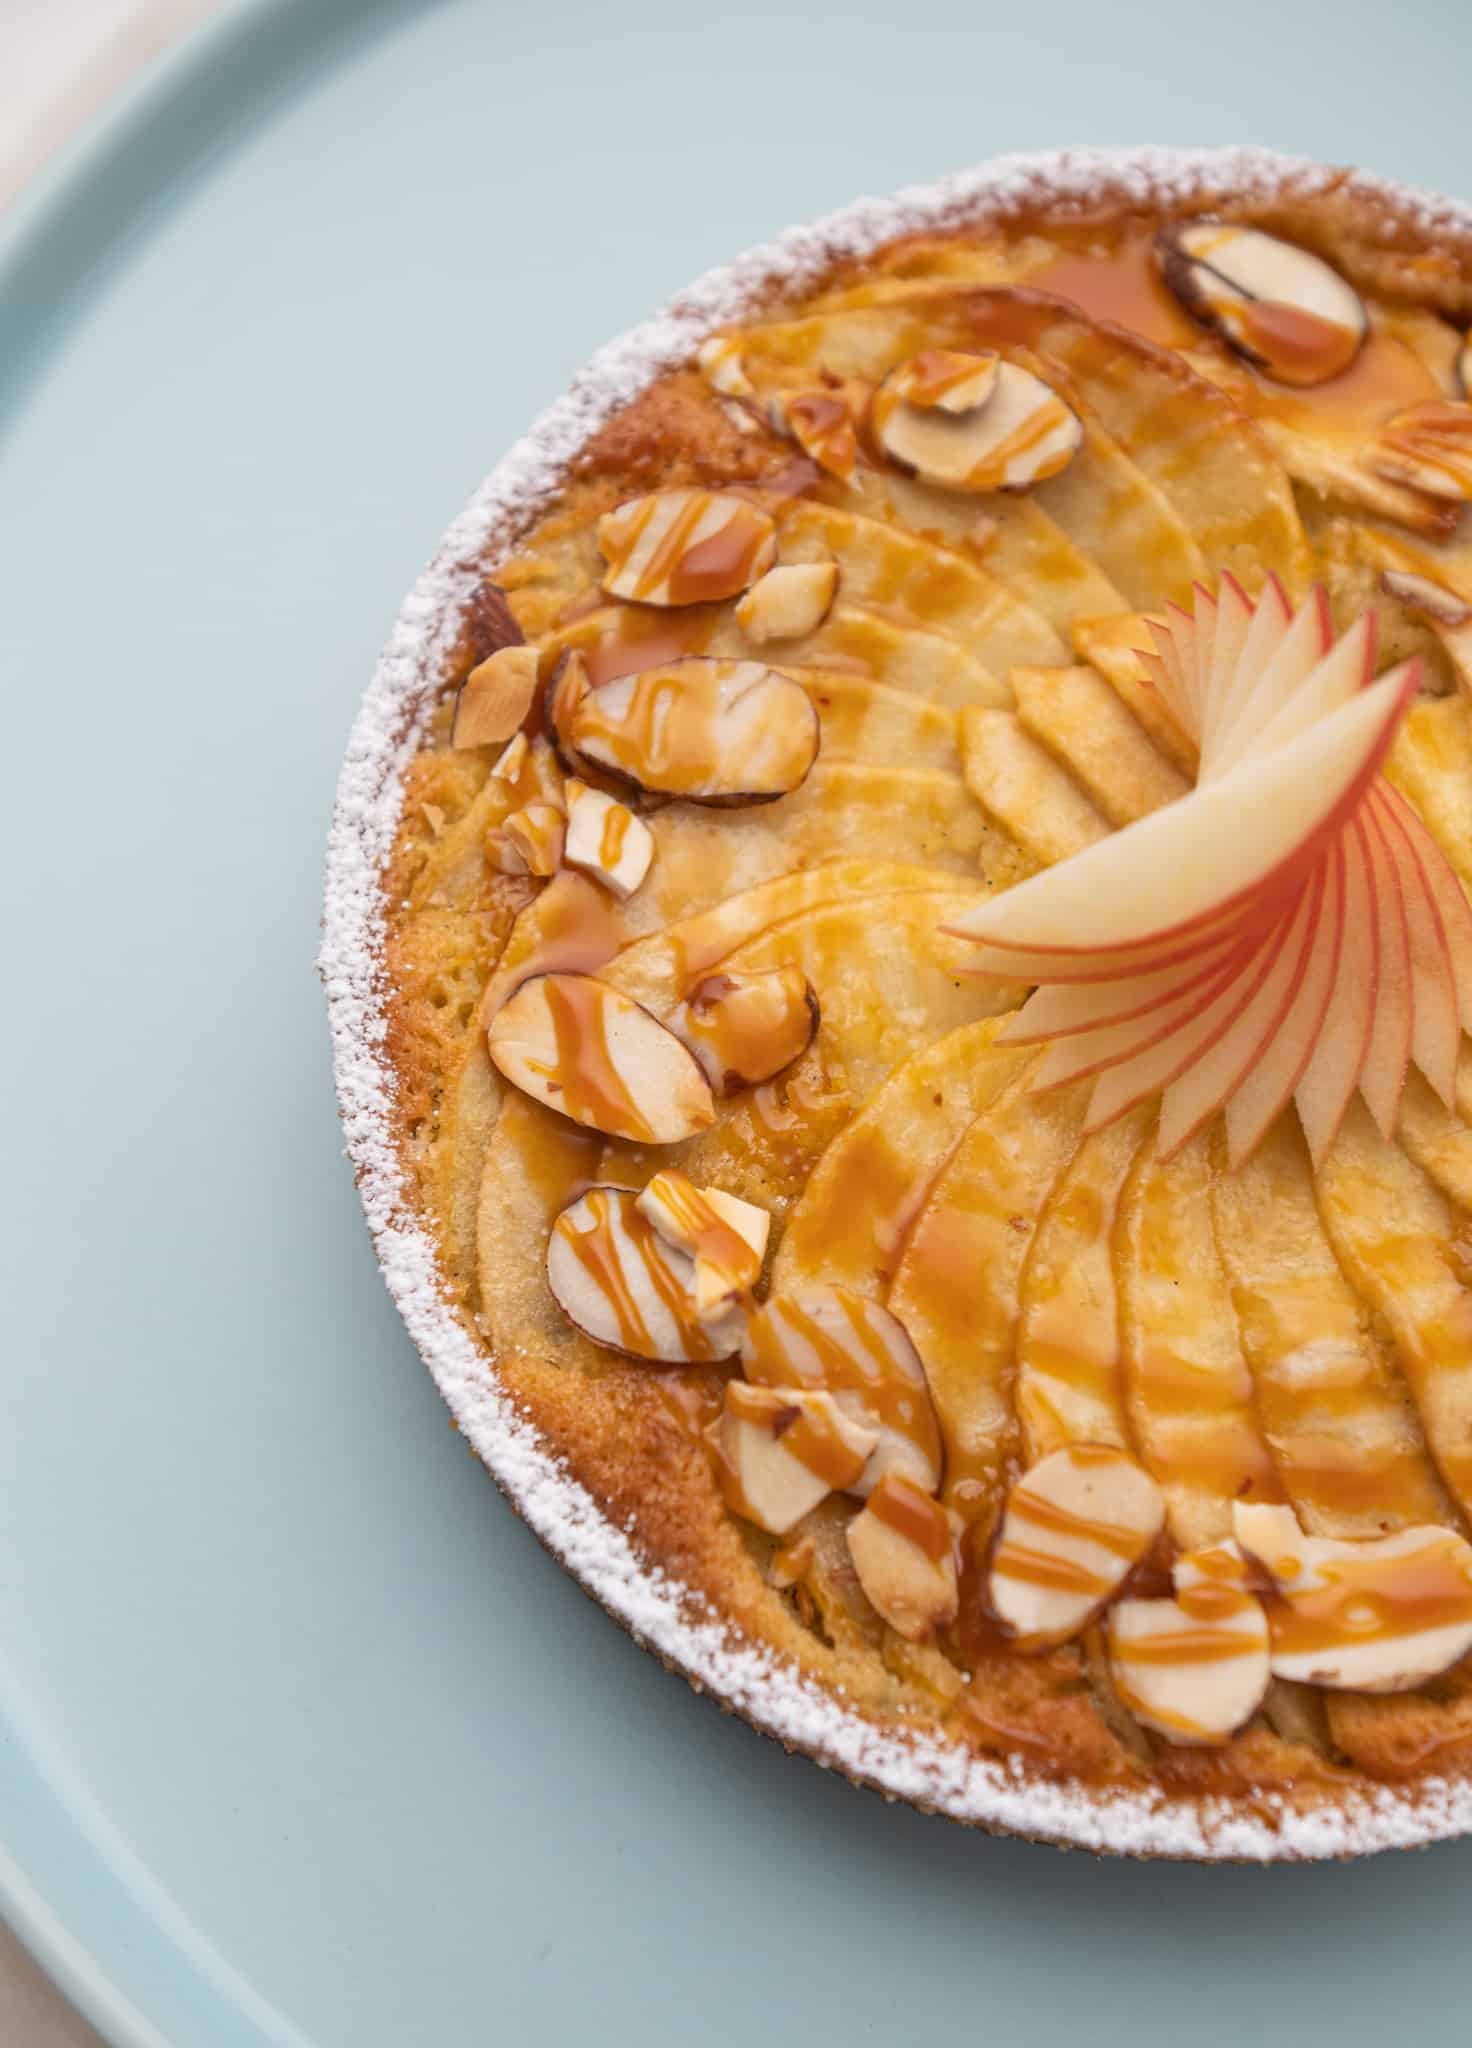
This Apple Tart Recipe is made with a tender pâte sucrée crust, filled with soft, nutty almond cream and topped with fresh crisp apples, sweet caramel sauce, and toasted almonds. Make the full recipe for two delicious apple tarts, or cut it in half for one.
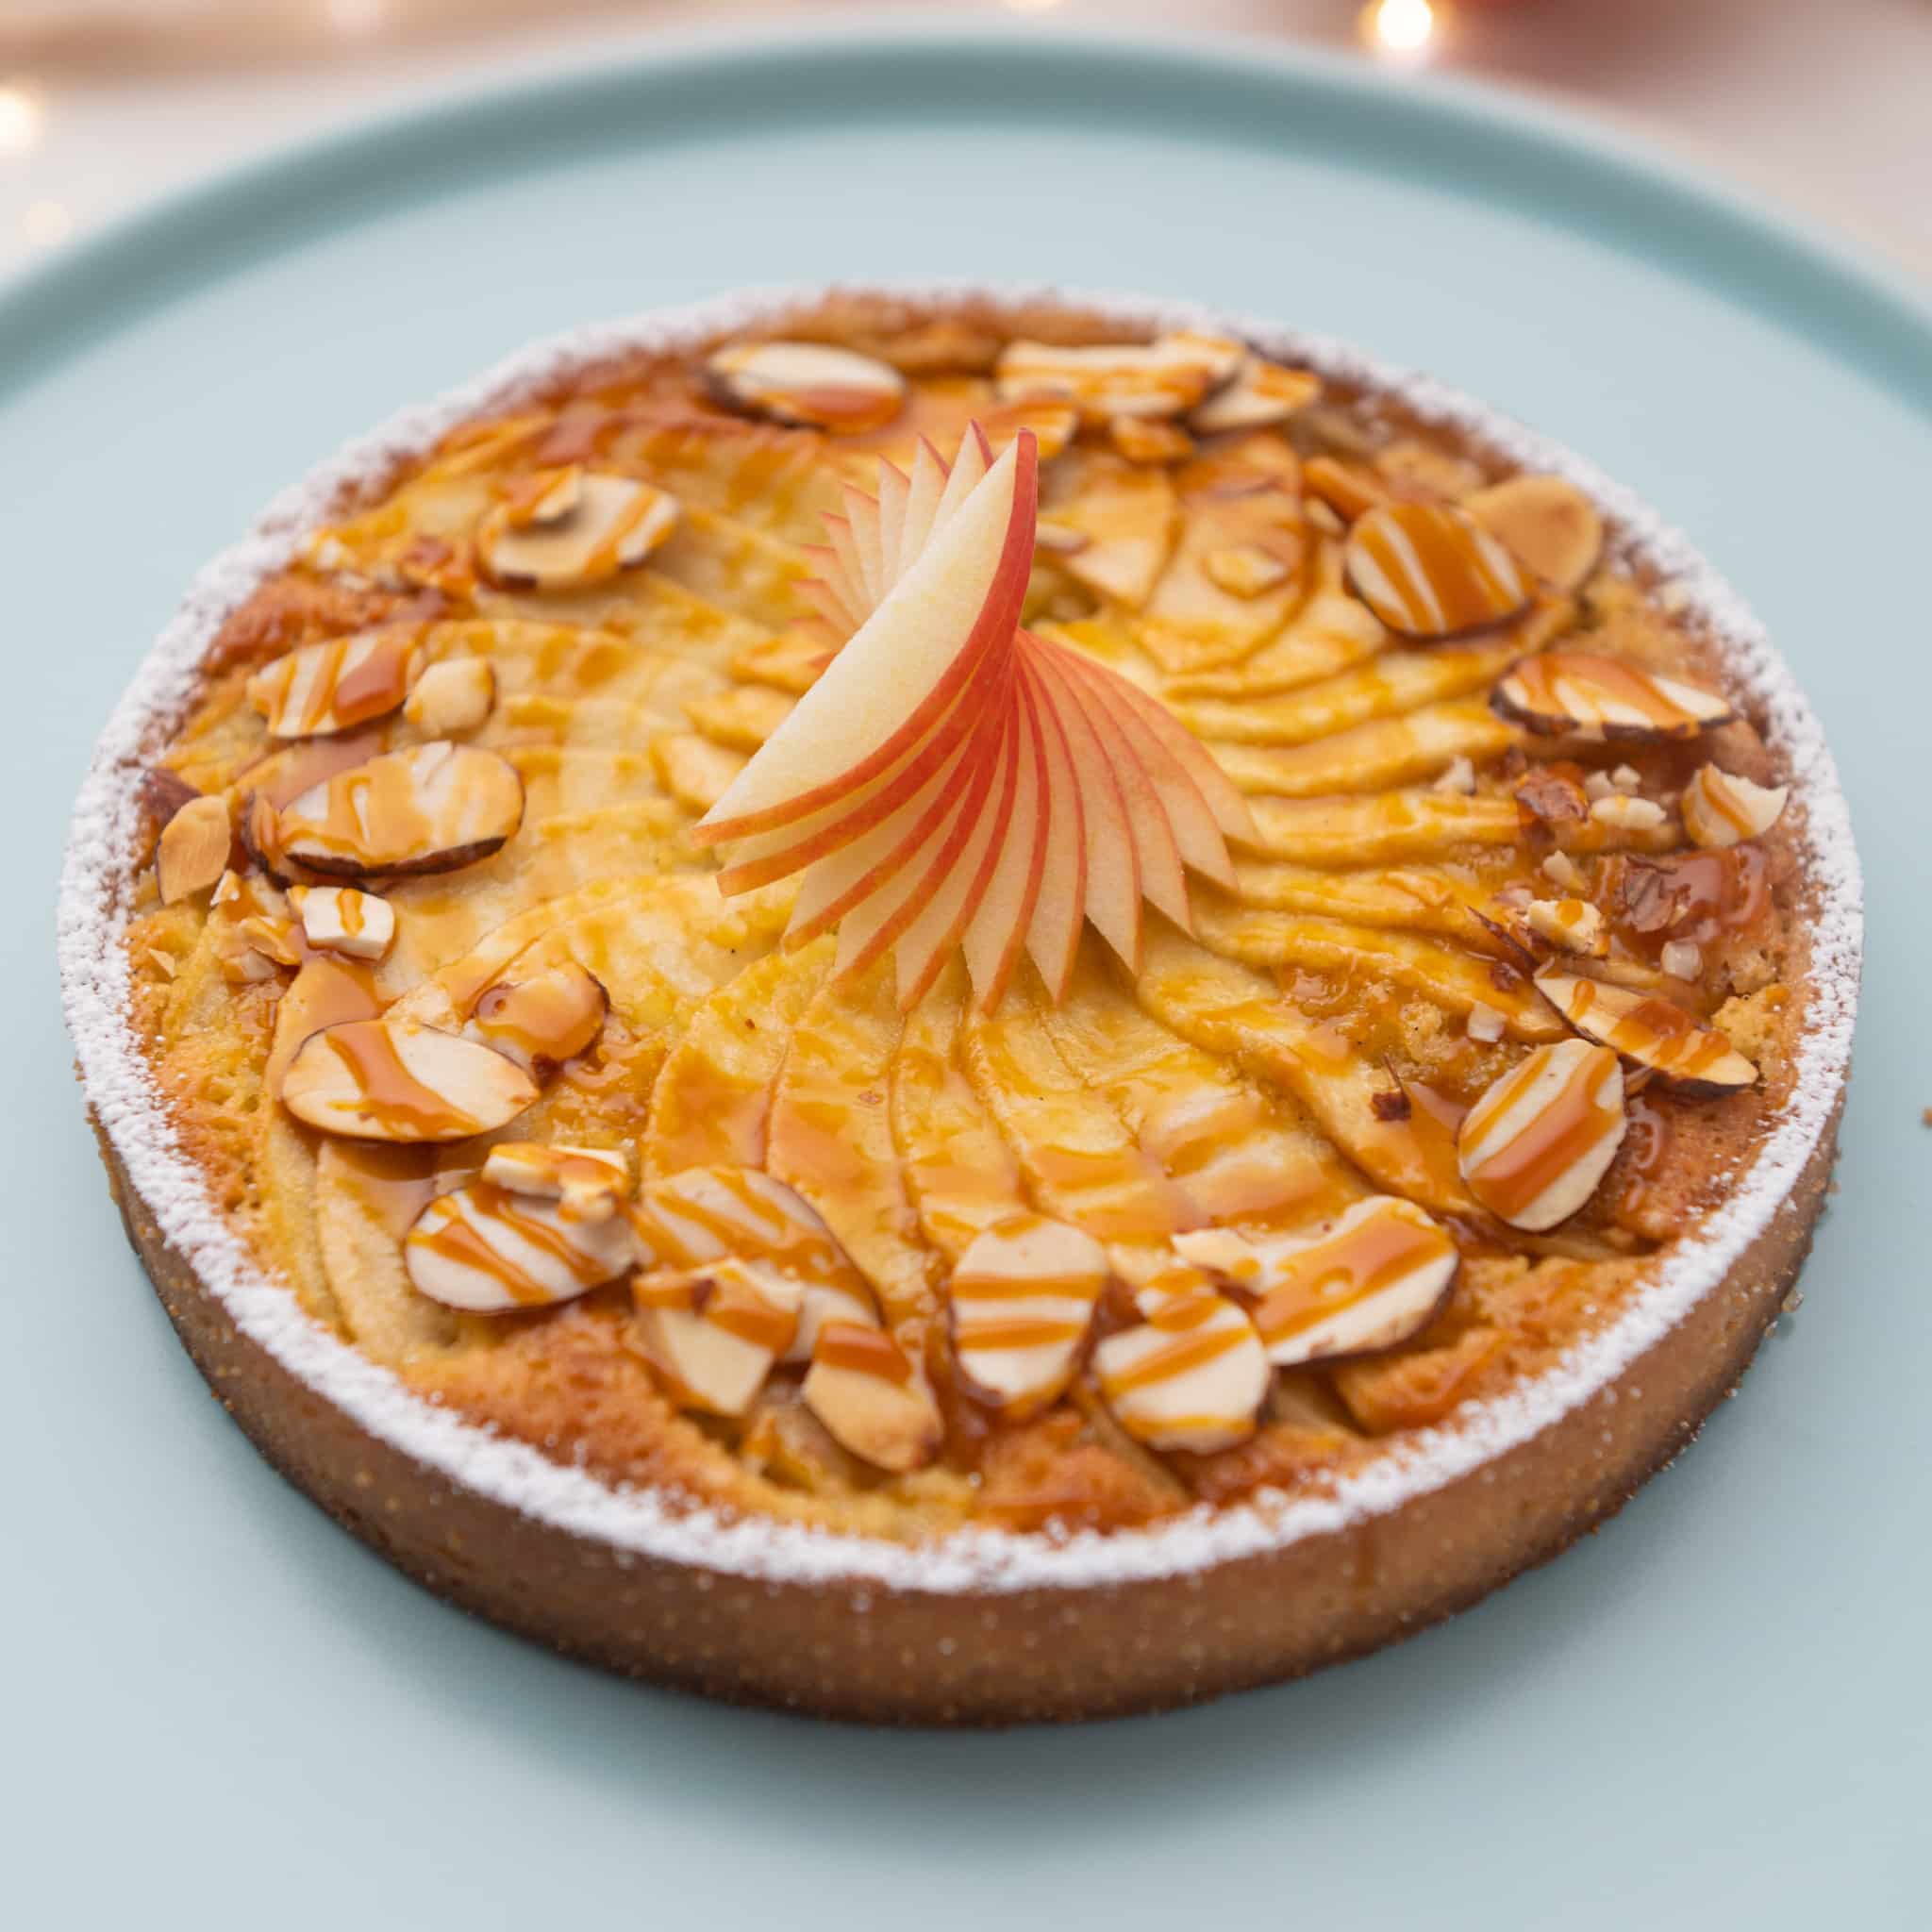
This apple tart is made with two of Chef Christophe Rull’s favorite fall recipes, a decadent almond cream, and a melt-in-your-mouth pâte sucrèe. The crisp apples layered on top add a sweet flavor and crunchy texture that make for a classic French apple tart.
What's In This Blog Post?
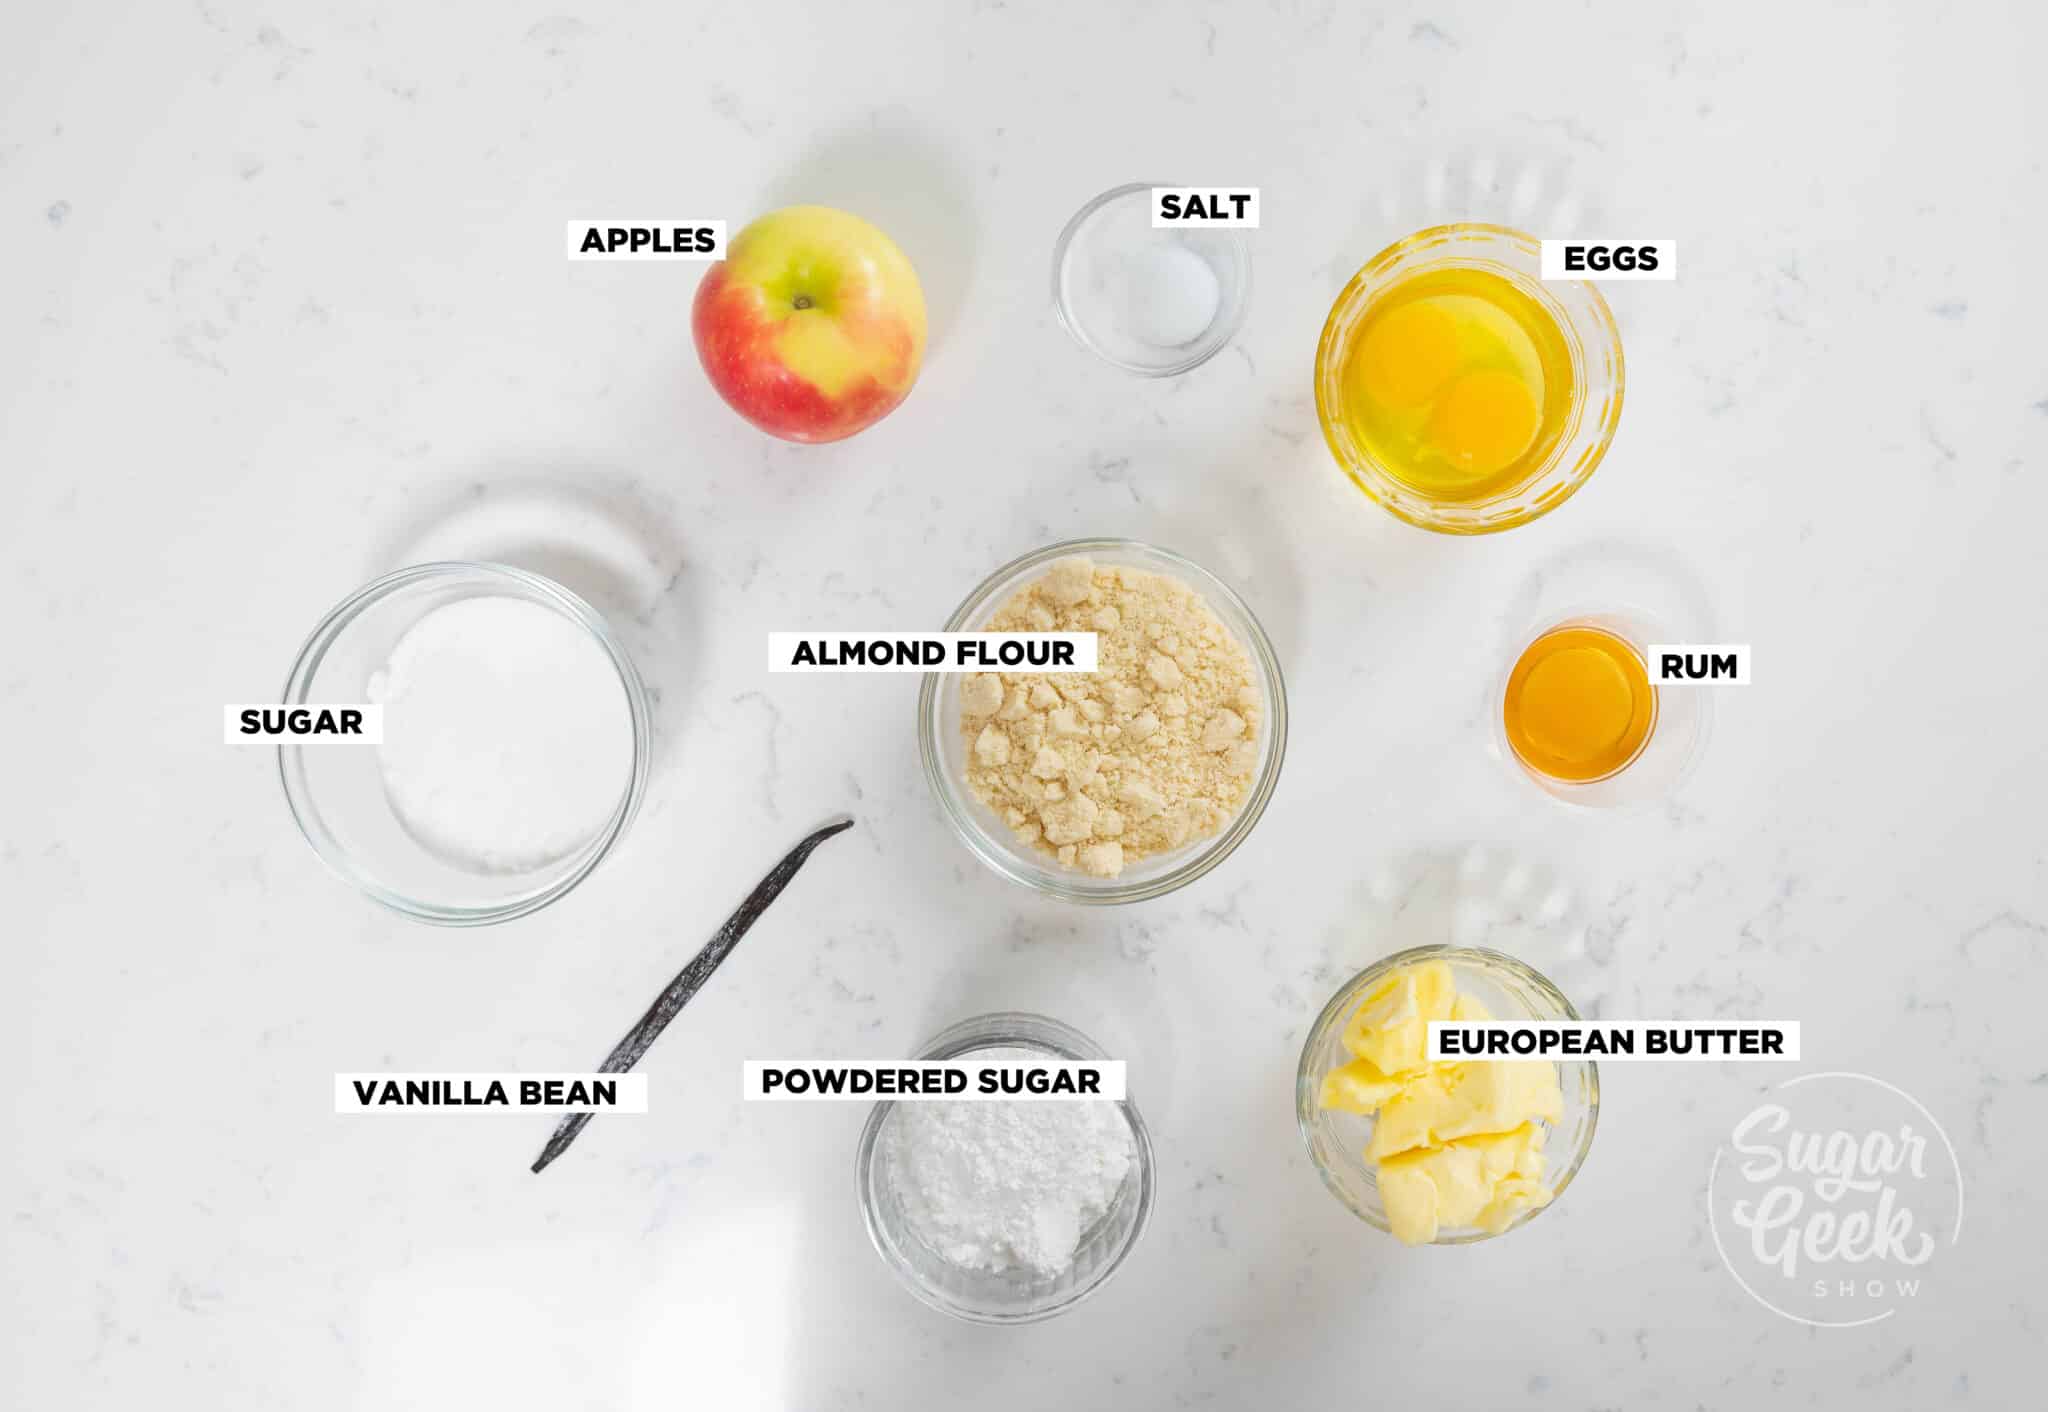
Apple Tart Ingredients
Gala Apples work best for this recipe because they have a sweeter flavor. You can use any apples you like depending on how sweet or tart you want your apples to be.
Almond flour retains more moisture and also adds a nuttier flavor to the dough, which is what we want for this recipe.
European butter is great for making doughs because the fat percentage is higher and water content is lower which makes the tart flakier and gives it a richer flavor. If you can’t find European butter in your local store you can use any butter that you have available.
Vanilla Beans are great to use because they give the ultimate flavor without adding extra sugar or alcohol content. If you don’t have vanilla beans, vanilla bean paste or extract will work just fine.
Rum enhances the flavors of this recipe but you can use another type of liqueur or leave it out if you wish.
Making the Apple Tart
The first thing you want to do is make the tart dough because it needs at least 2 hours to chill. You can make this and shape the shells ahead of time, but I'd recommend making the almond cream when you're ready to assemble and bake the tarts so that it stays soft enough to pipe.
Making The Pâte Sucrèe
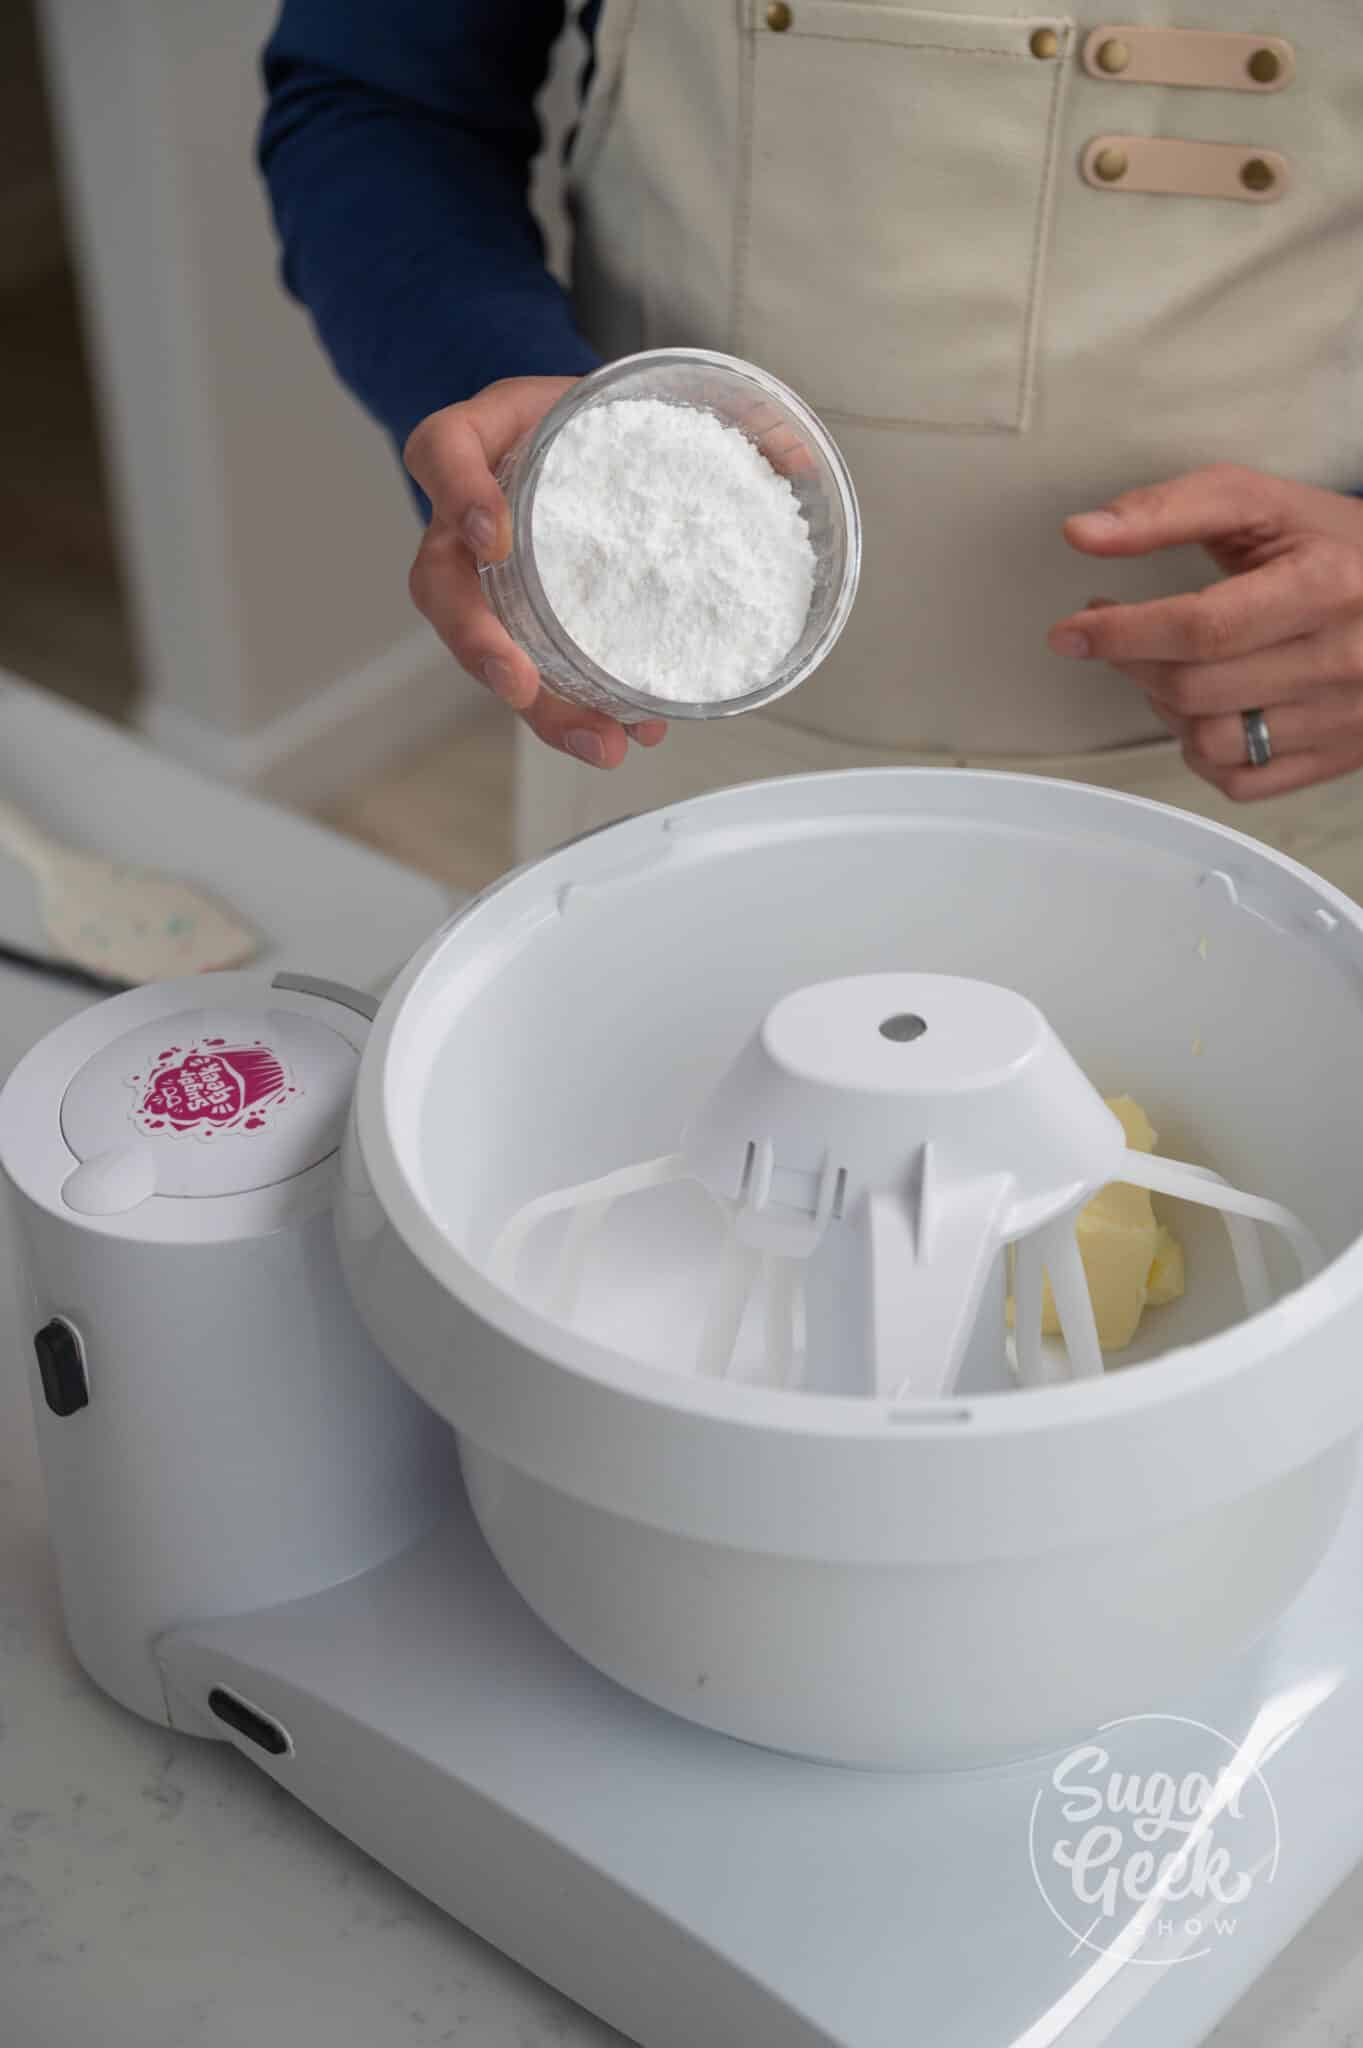
- Add the softened butter and powdered sugar in the bowl of your stand mixer with the paddle attachment and mix on low speed until combined. I'm using my Bosch universal plus mixer, but you can use a large bowl and an electric mixer if you prefer. I wouldn't recommend using a food processor for this recipe.
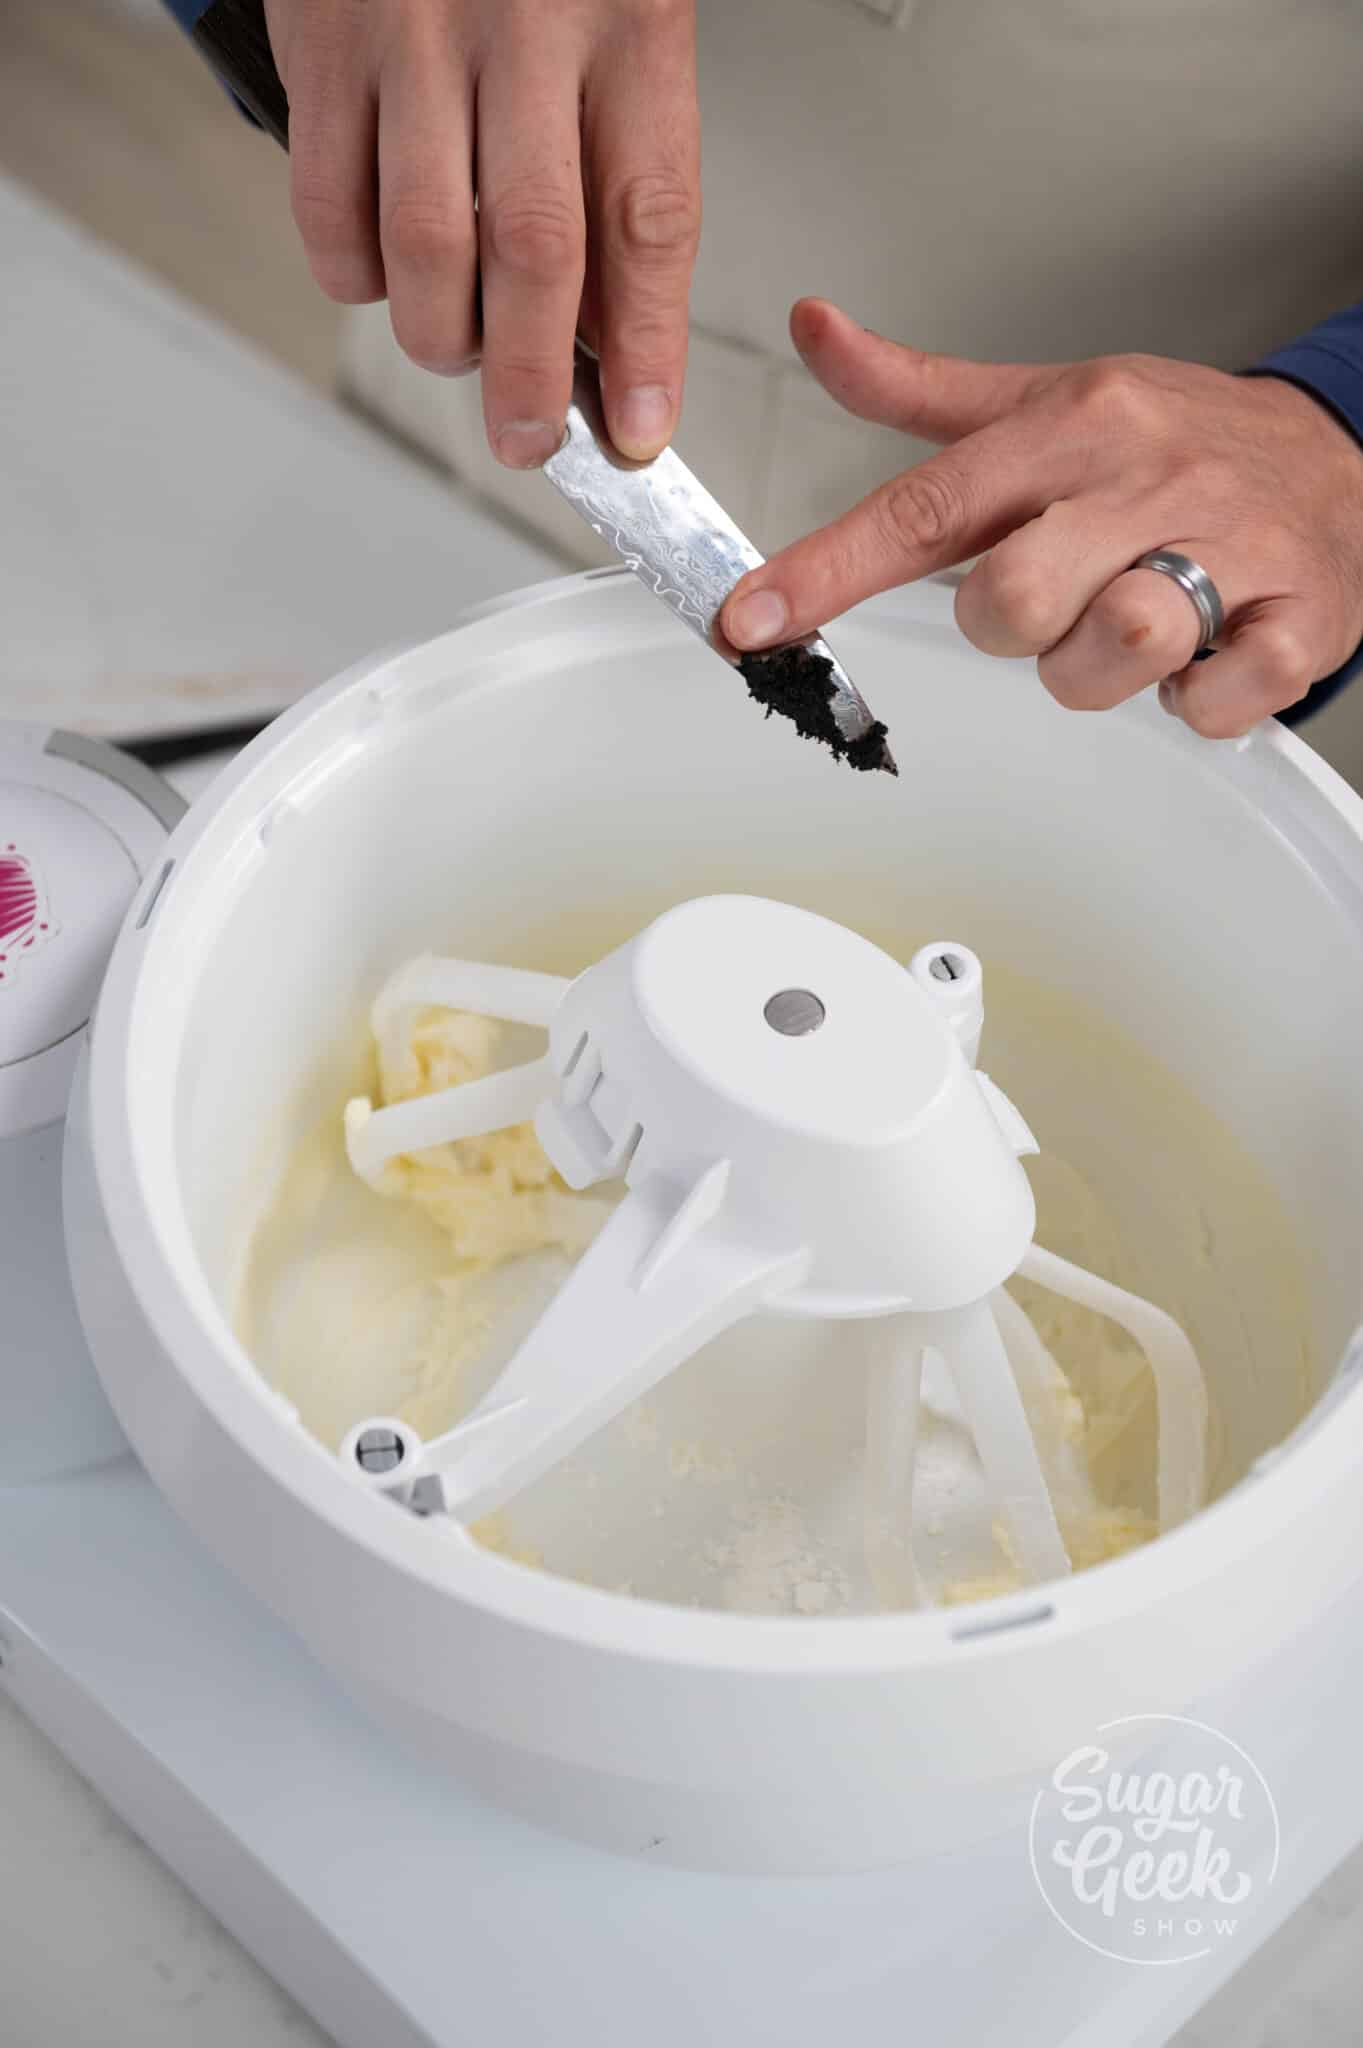
- Add the fresh vanilla bean seeds and continue to mix until incorporated.
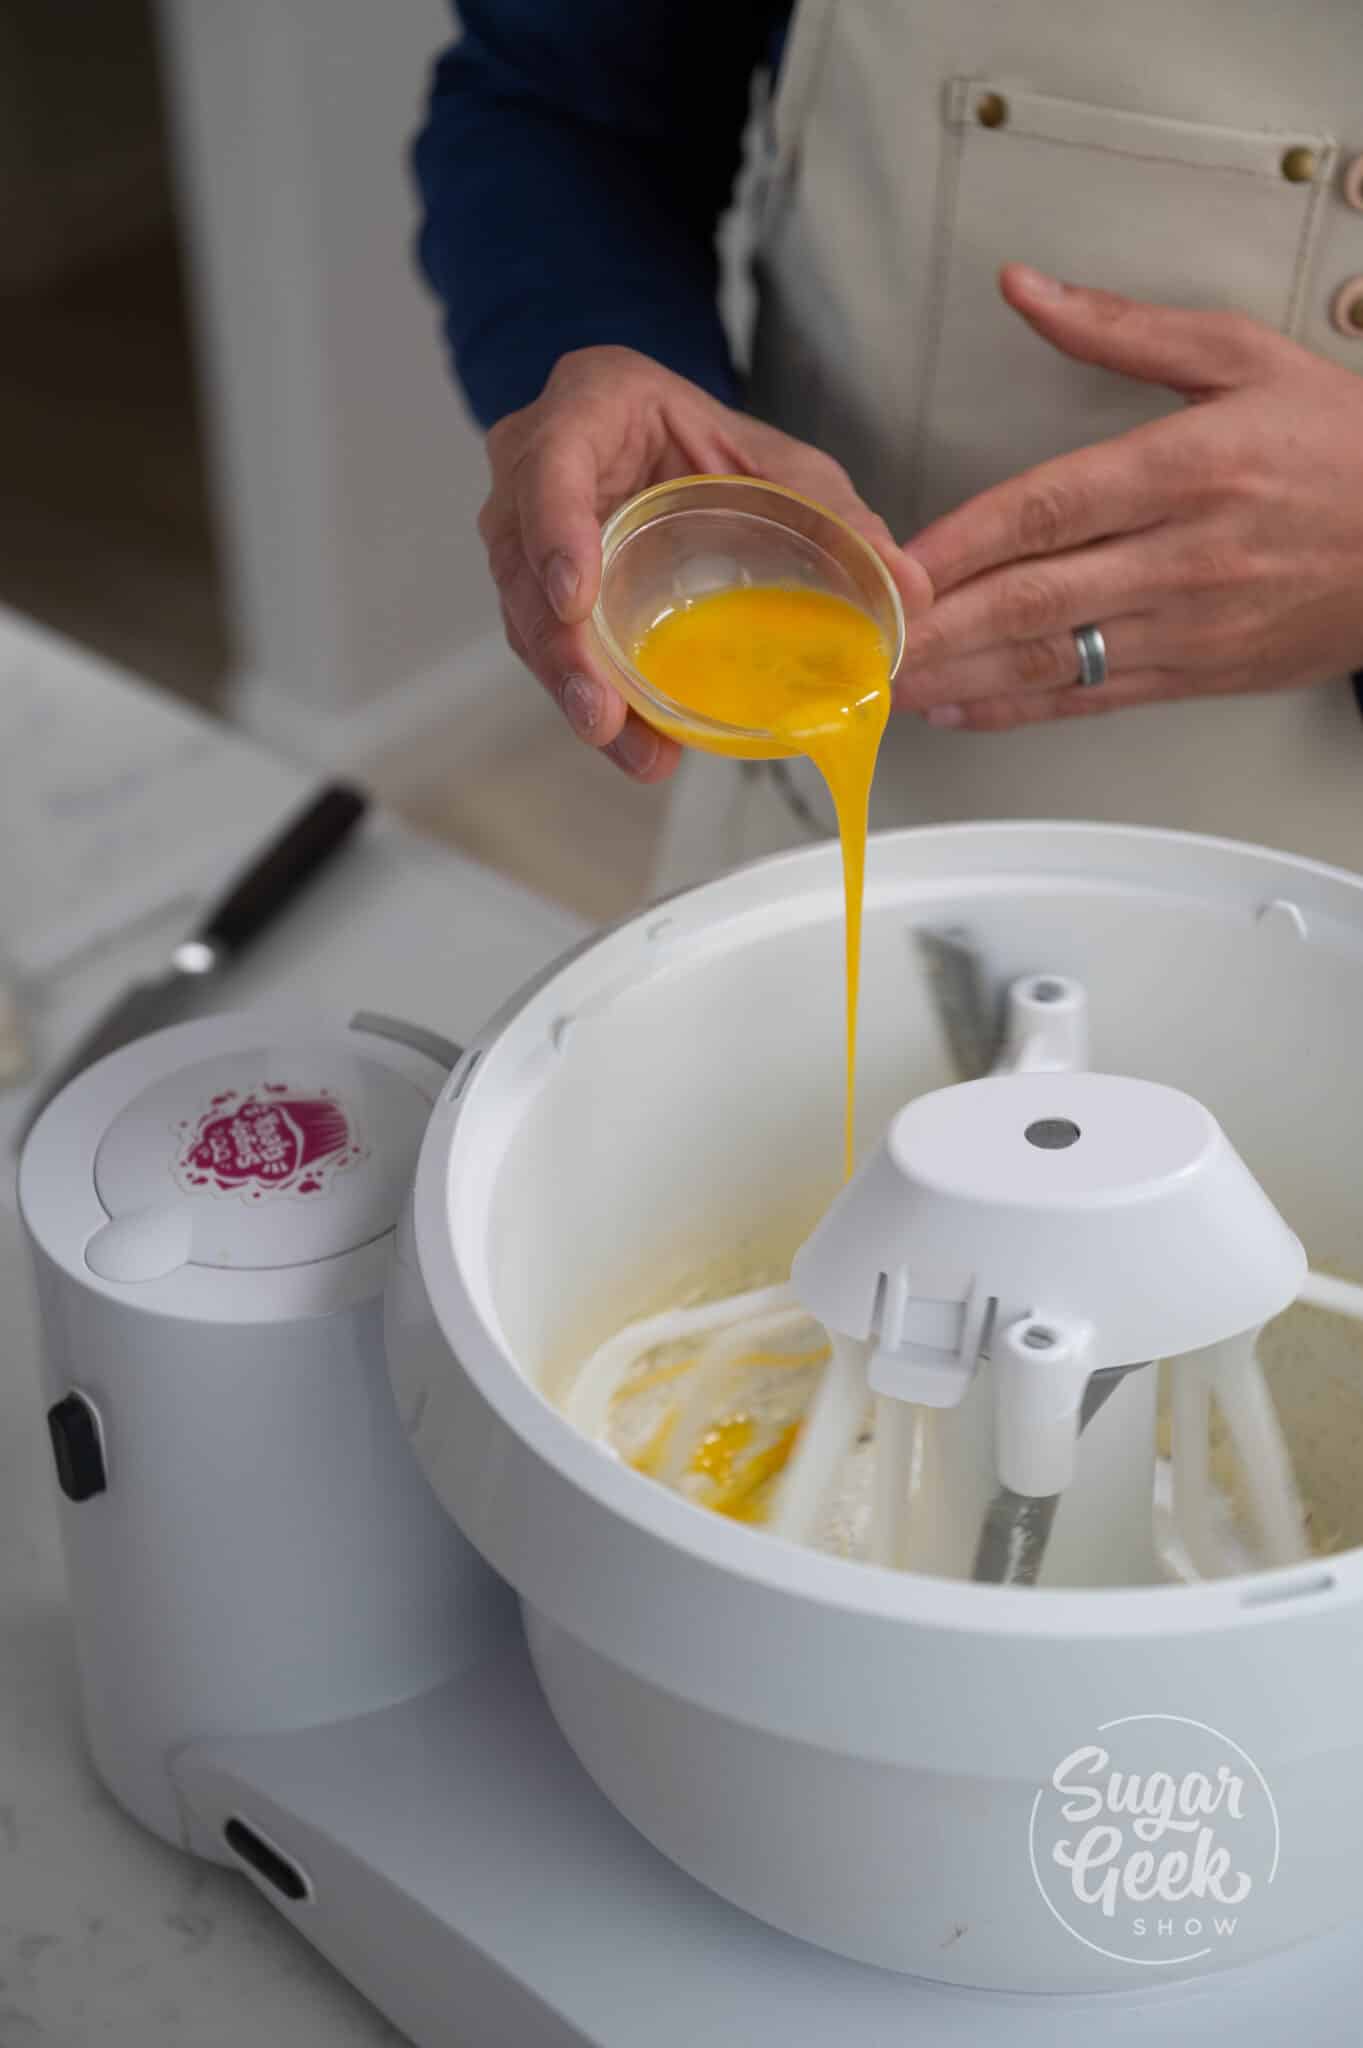
- Next, slowly add the eggs and continue to mix on low until combined, scraping the bowl as needed.
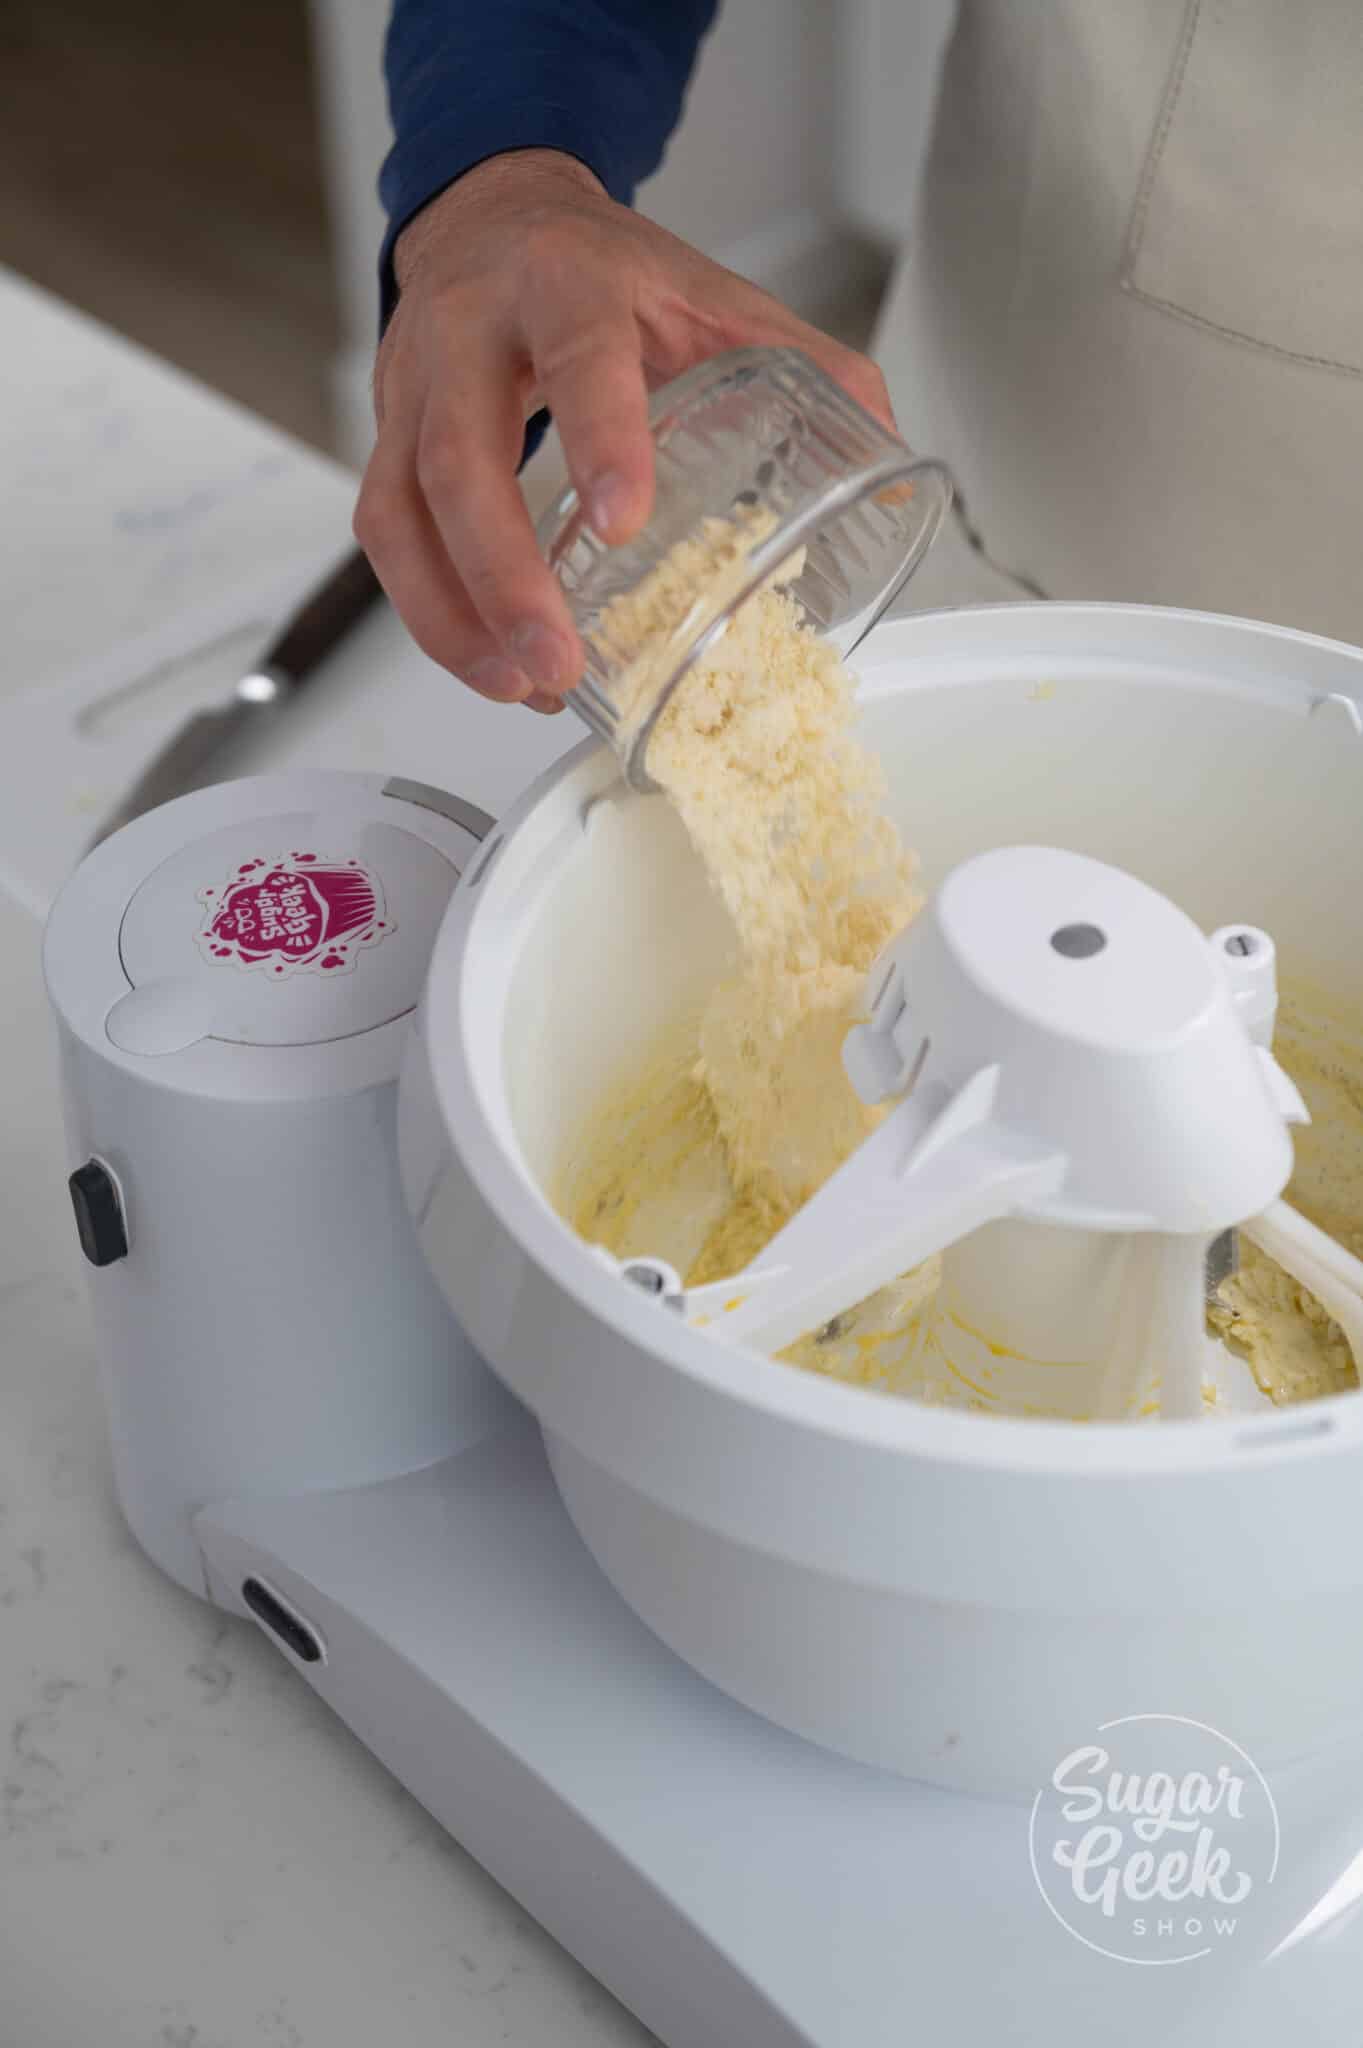
- Add the almond flour and mix for a few seconds then add the flour and salt.
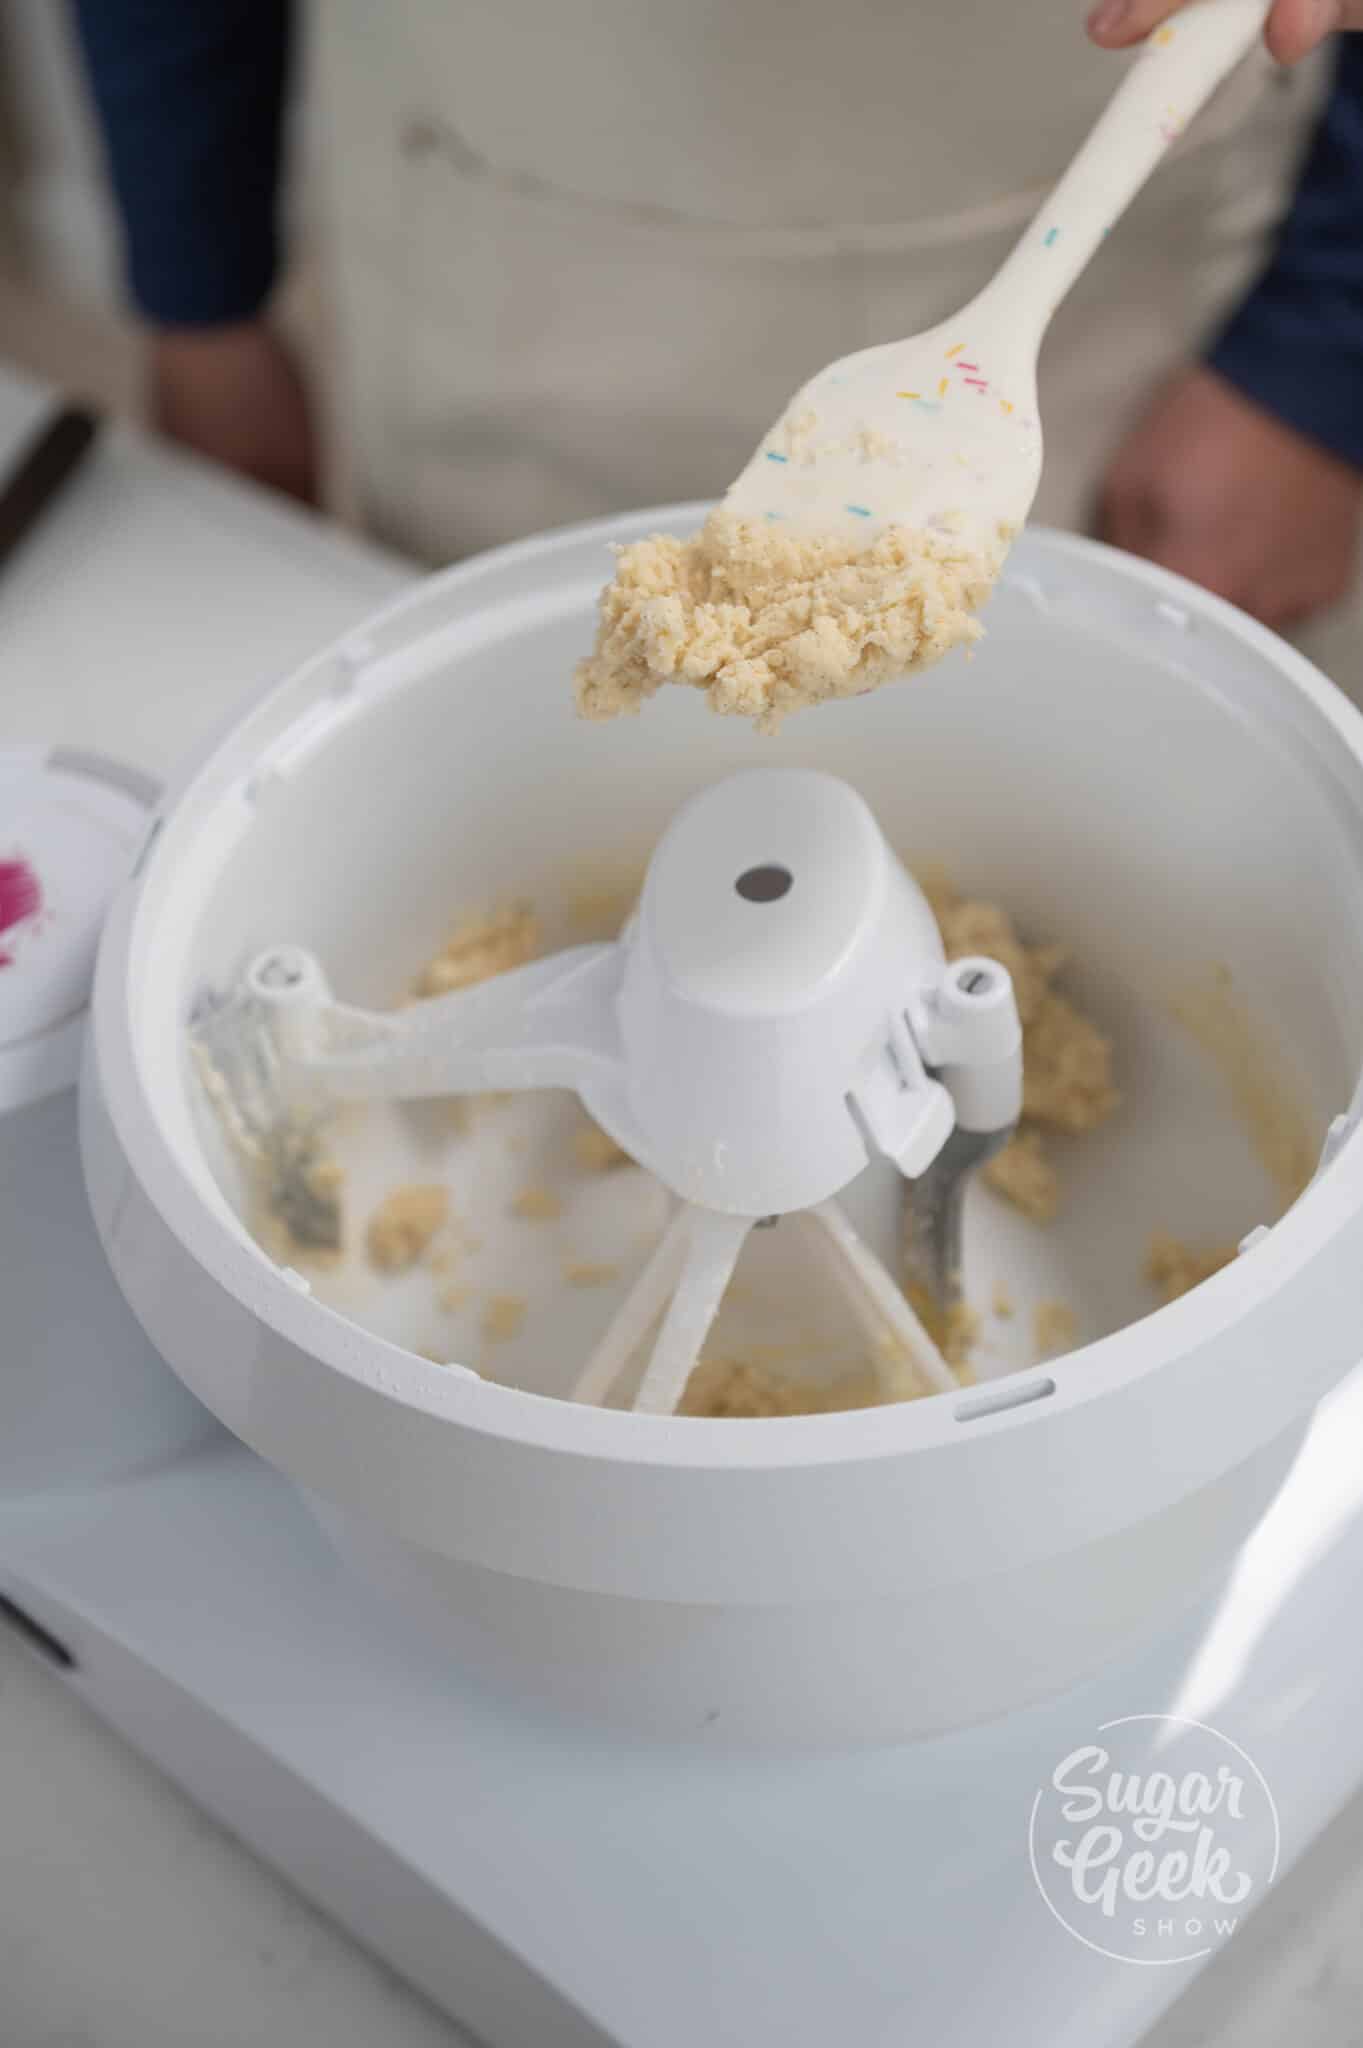
- Once all the ingredients have been added, continue mixing on low for 15 seconds until all ingredients are just combined and a dough starts to form. Be careful to not overmix.
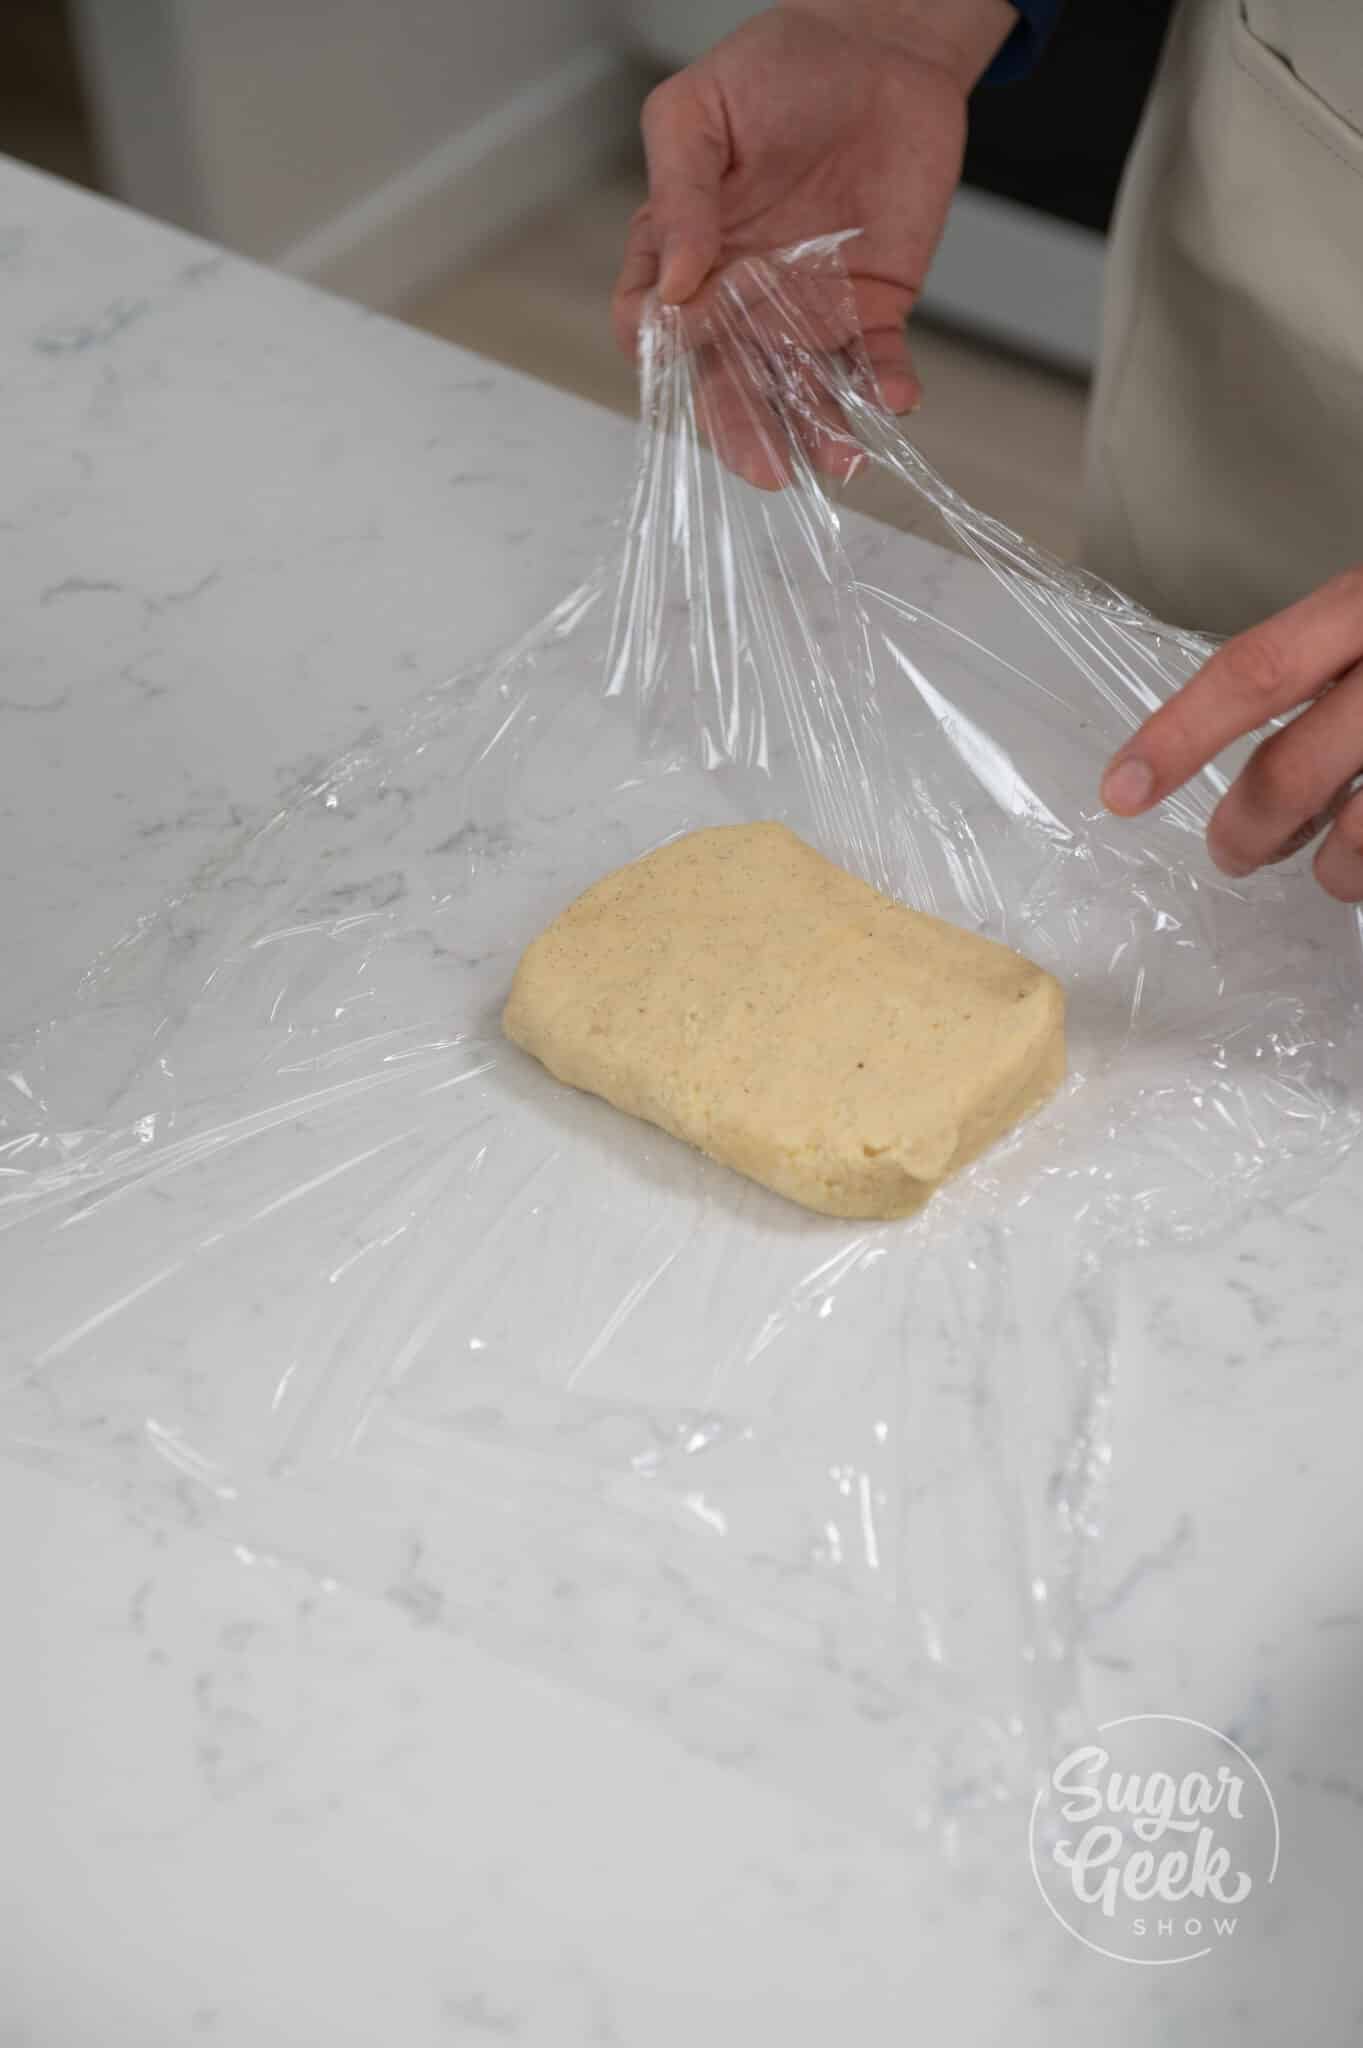
- Place the dough onto a piece of plastic wrap and shape it into a rectangle. Pro Tip: Forming the dough into a rectangle helps all parts of the dough chill evenly. Refrigerate for about 2 hours or until it becomes firm to the touch.
Making The Tart Shell
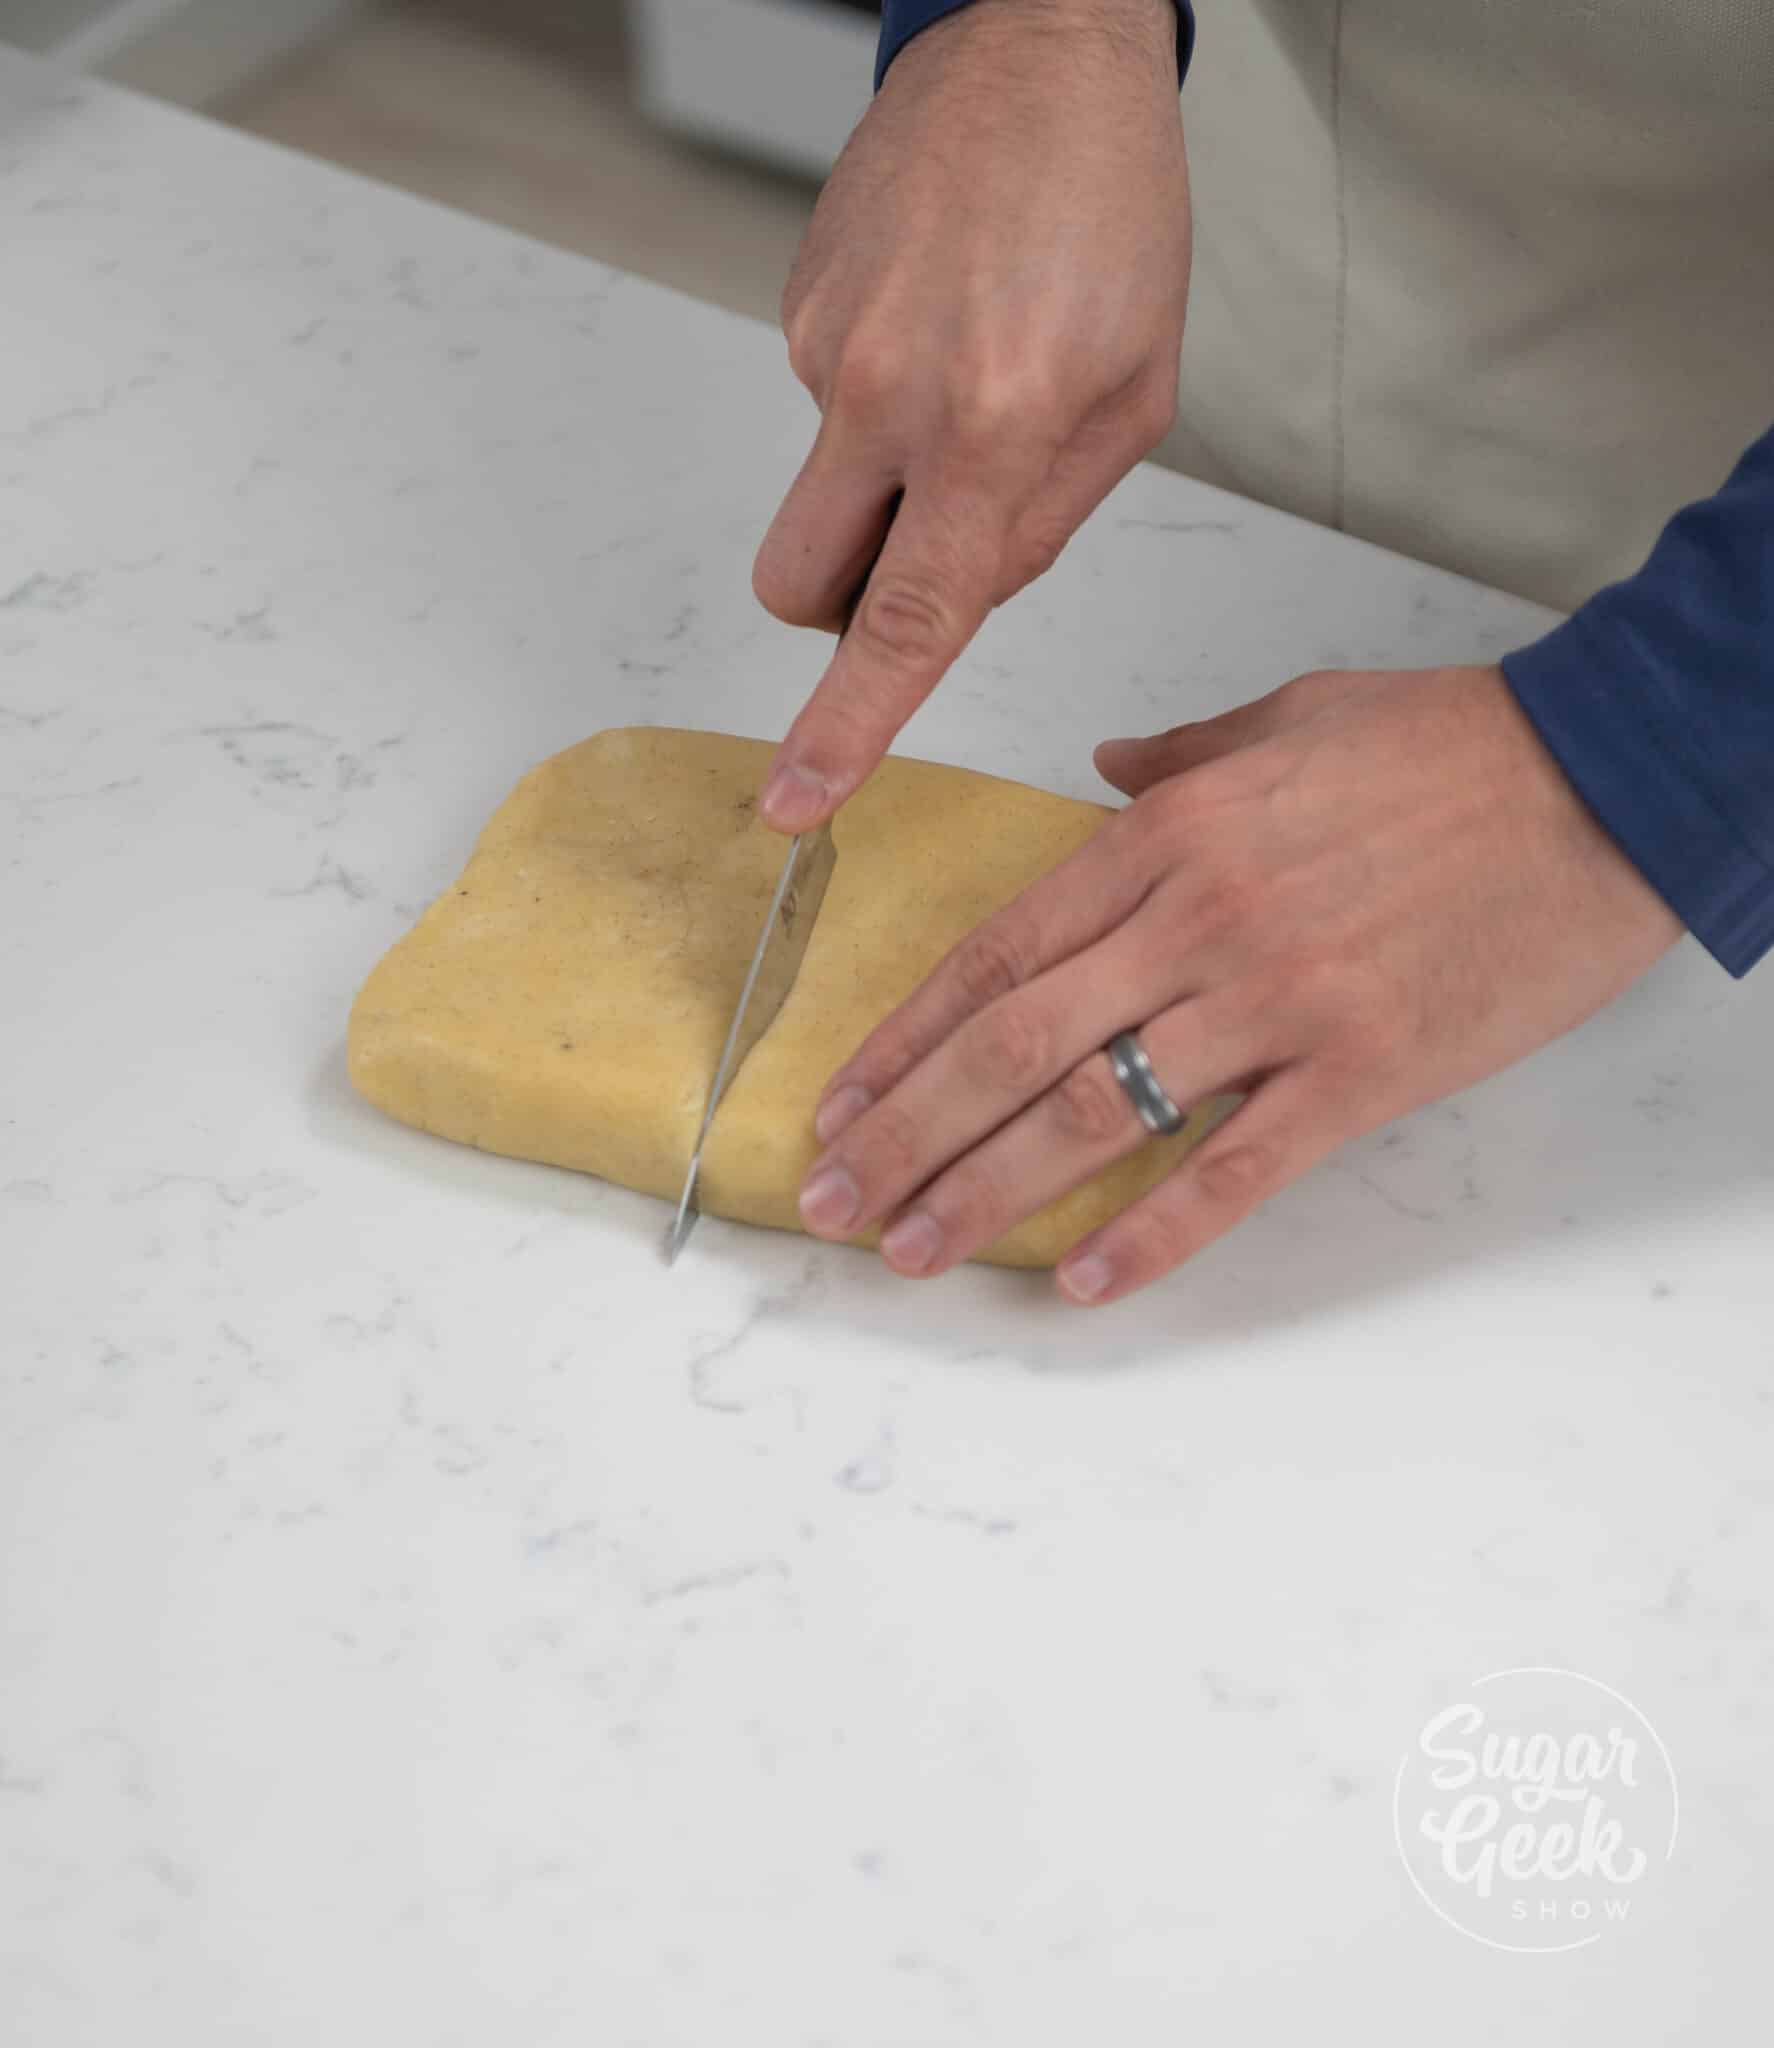
- Once the dough is chilled, take it out of the fridge about 30 minutes before rolling it out. Room temperature dough will roll out easier. Remove it from the plastic wrap and cut it in half, setting one half aside.
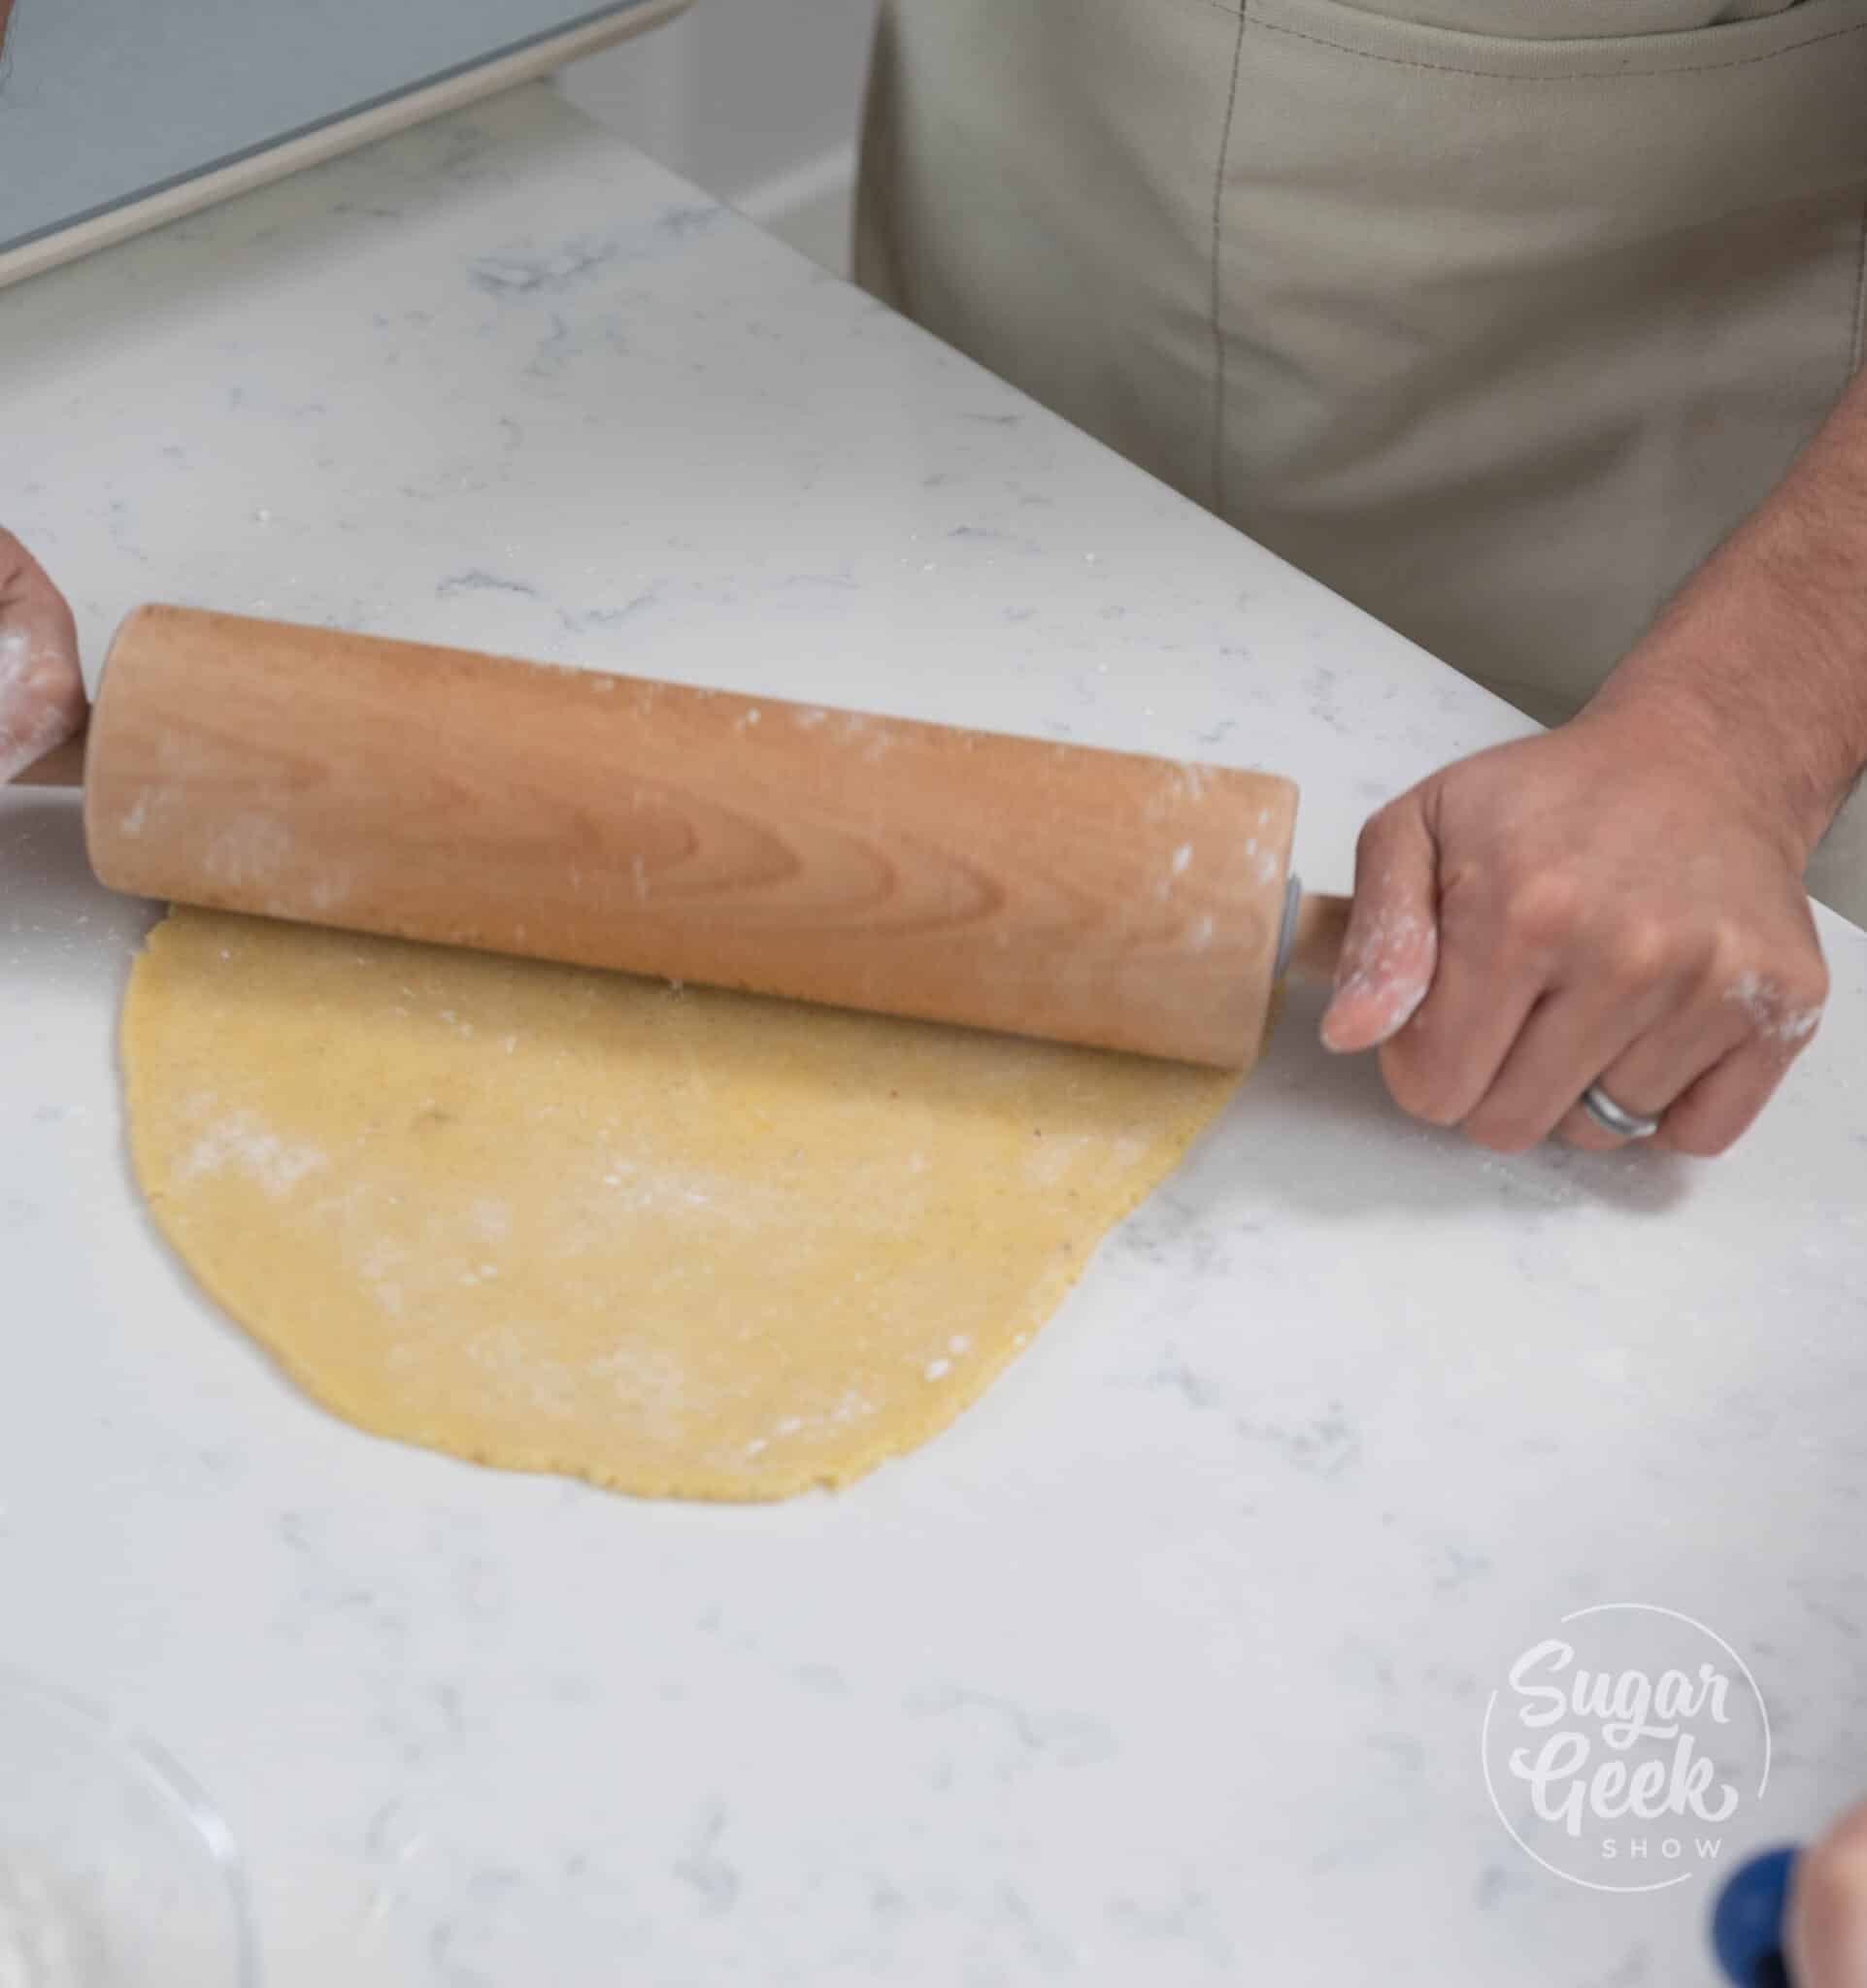
- Flour your surface and roll out one-half of your dough using a rolling pin until it is about ⅛ inch thick.
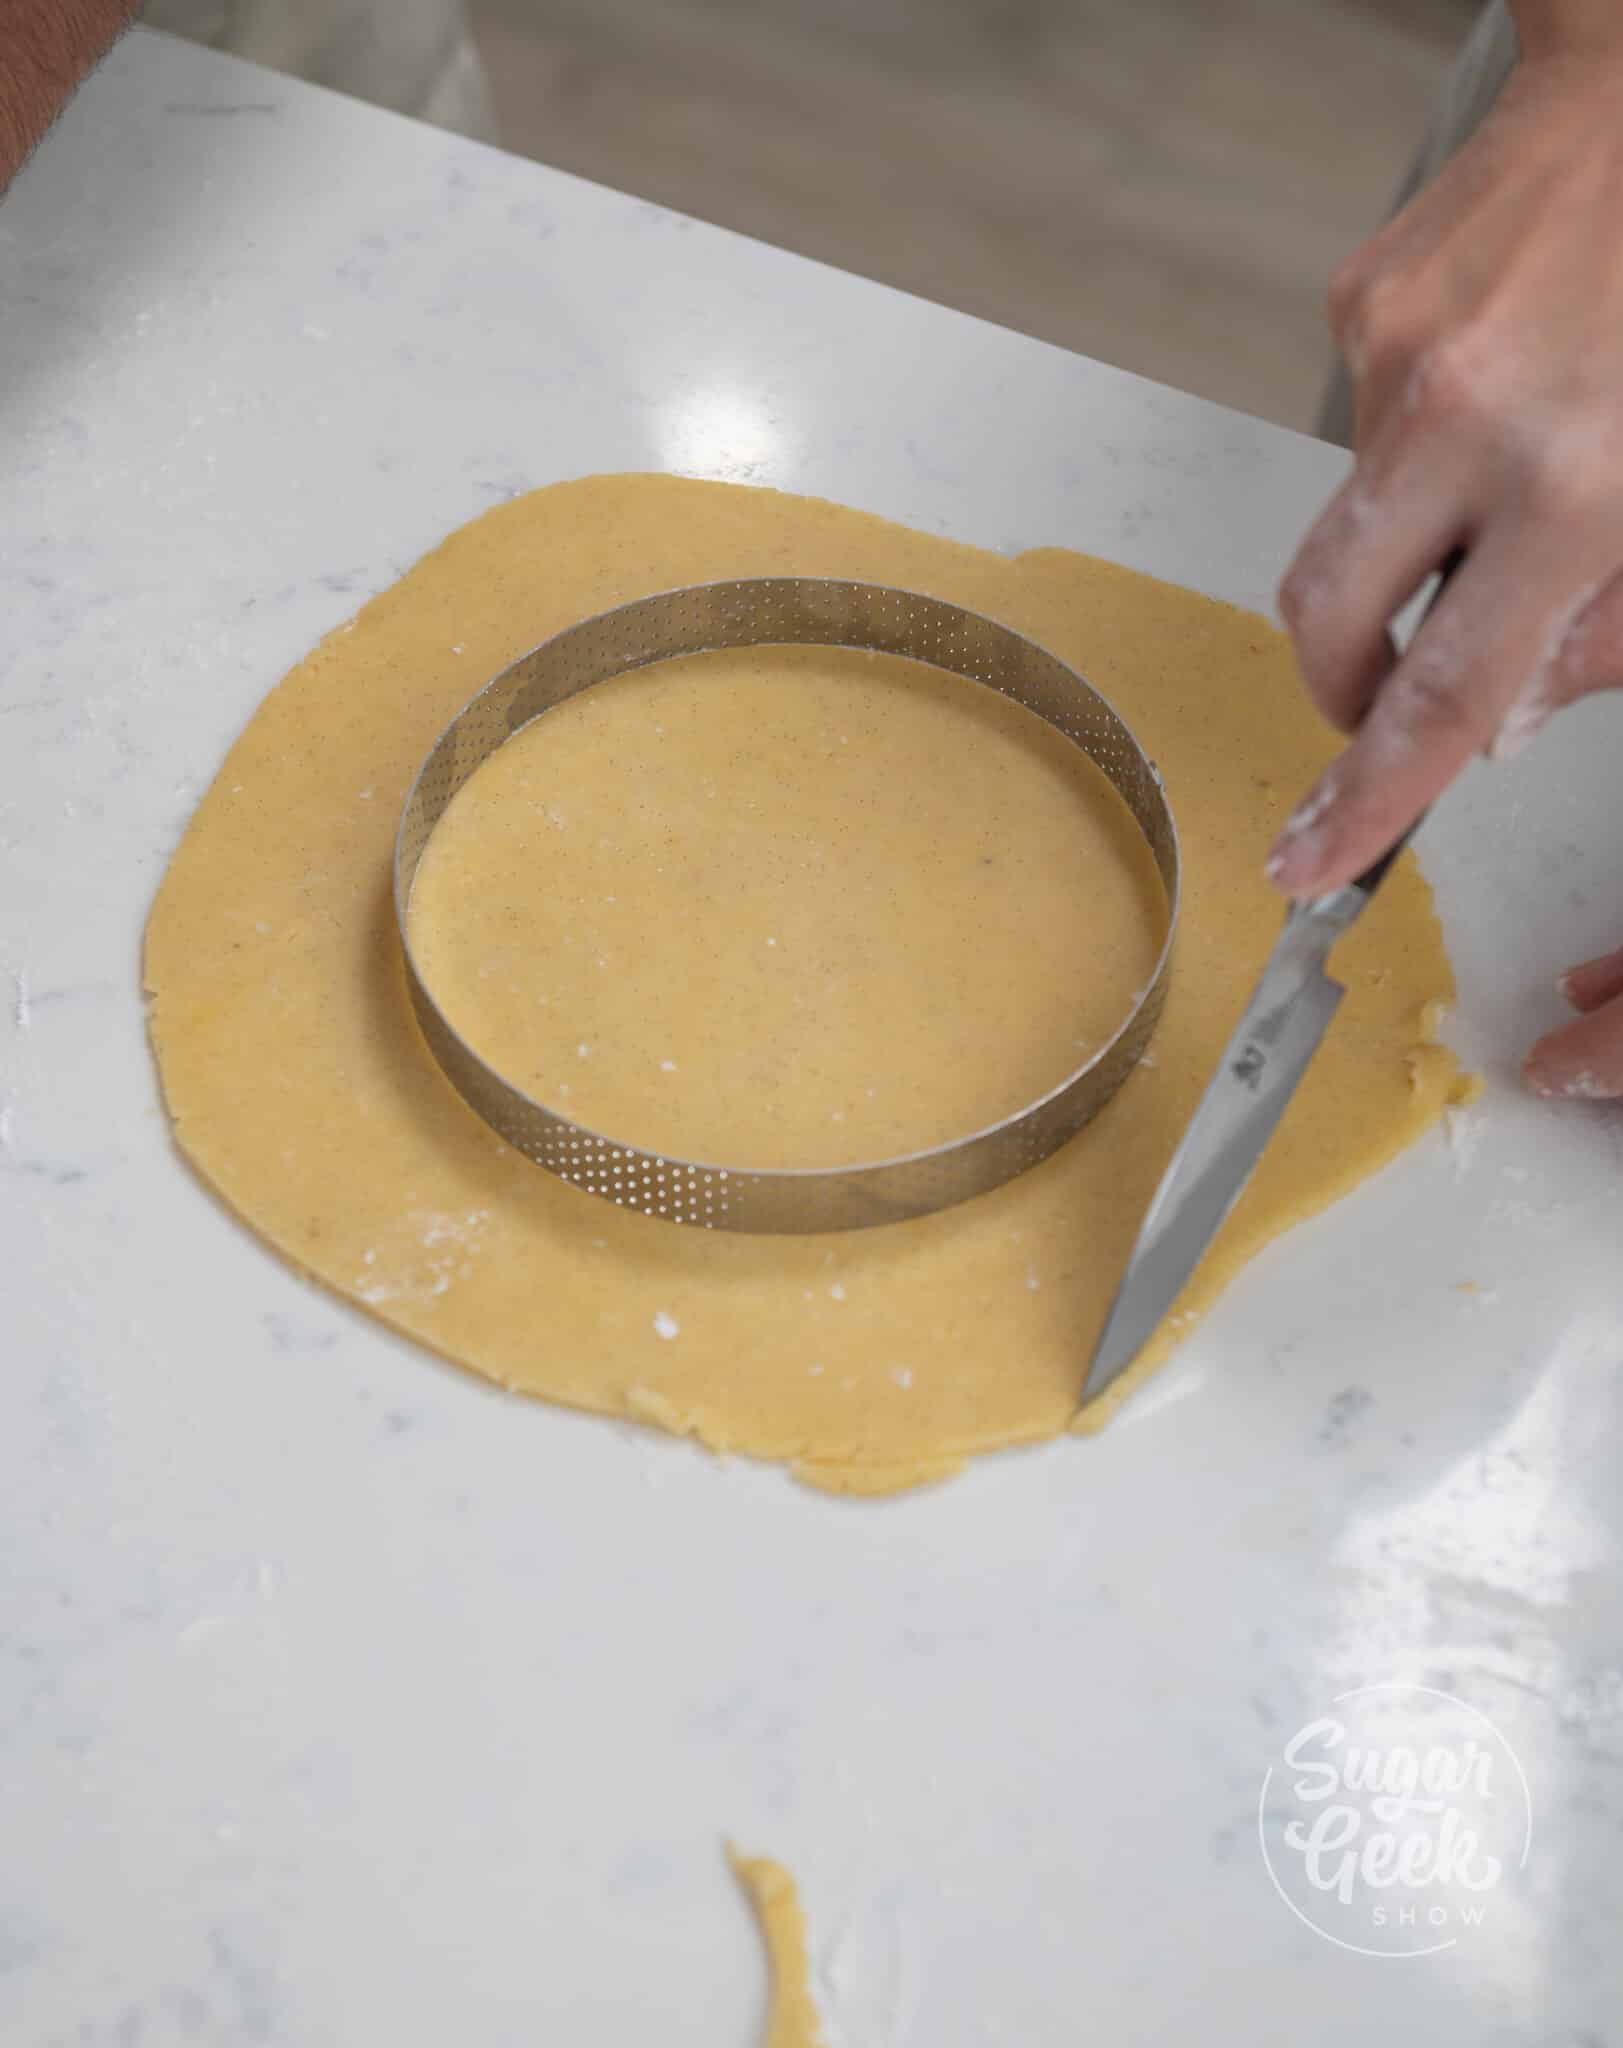
- Next, gently place the 6" tart ring on your rolled dough to use it as a guide. This perforated tart shell ring allows the tart to bake more evenly because the heat is well distributed. You can also use any fluted tart shell ring with a removable bottom if you prefer.
- Using a sharp knife, cut about 2 inches out from your tart ring (about 10 inches), this will give you enough dough to cover the bottom and sides of your ring with a little extra.
- Repeat with the other half of your dough.
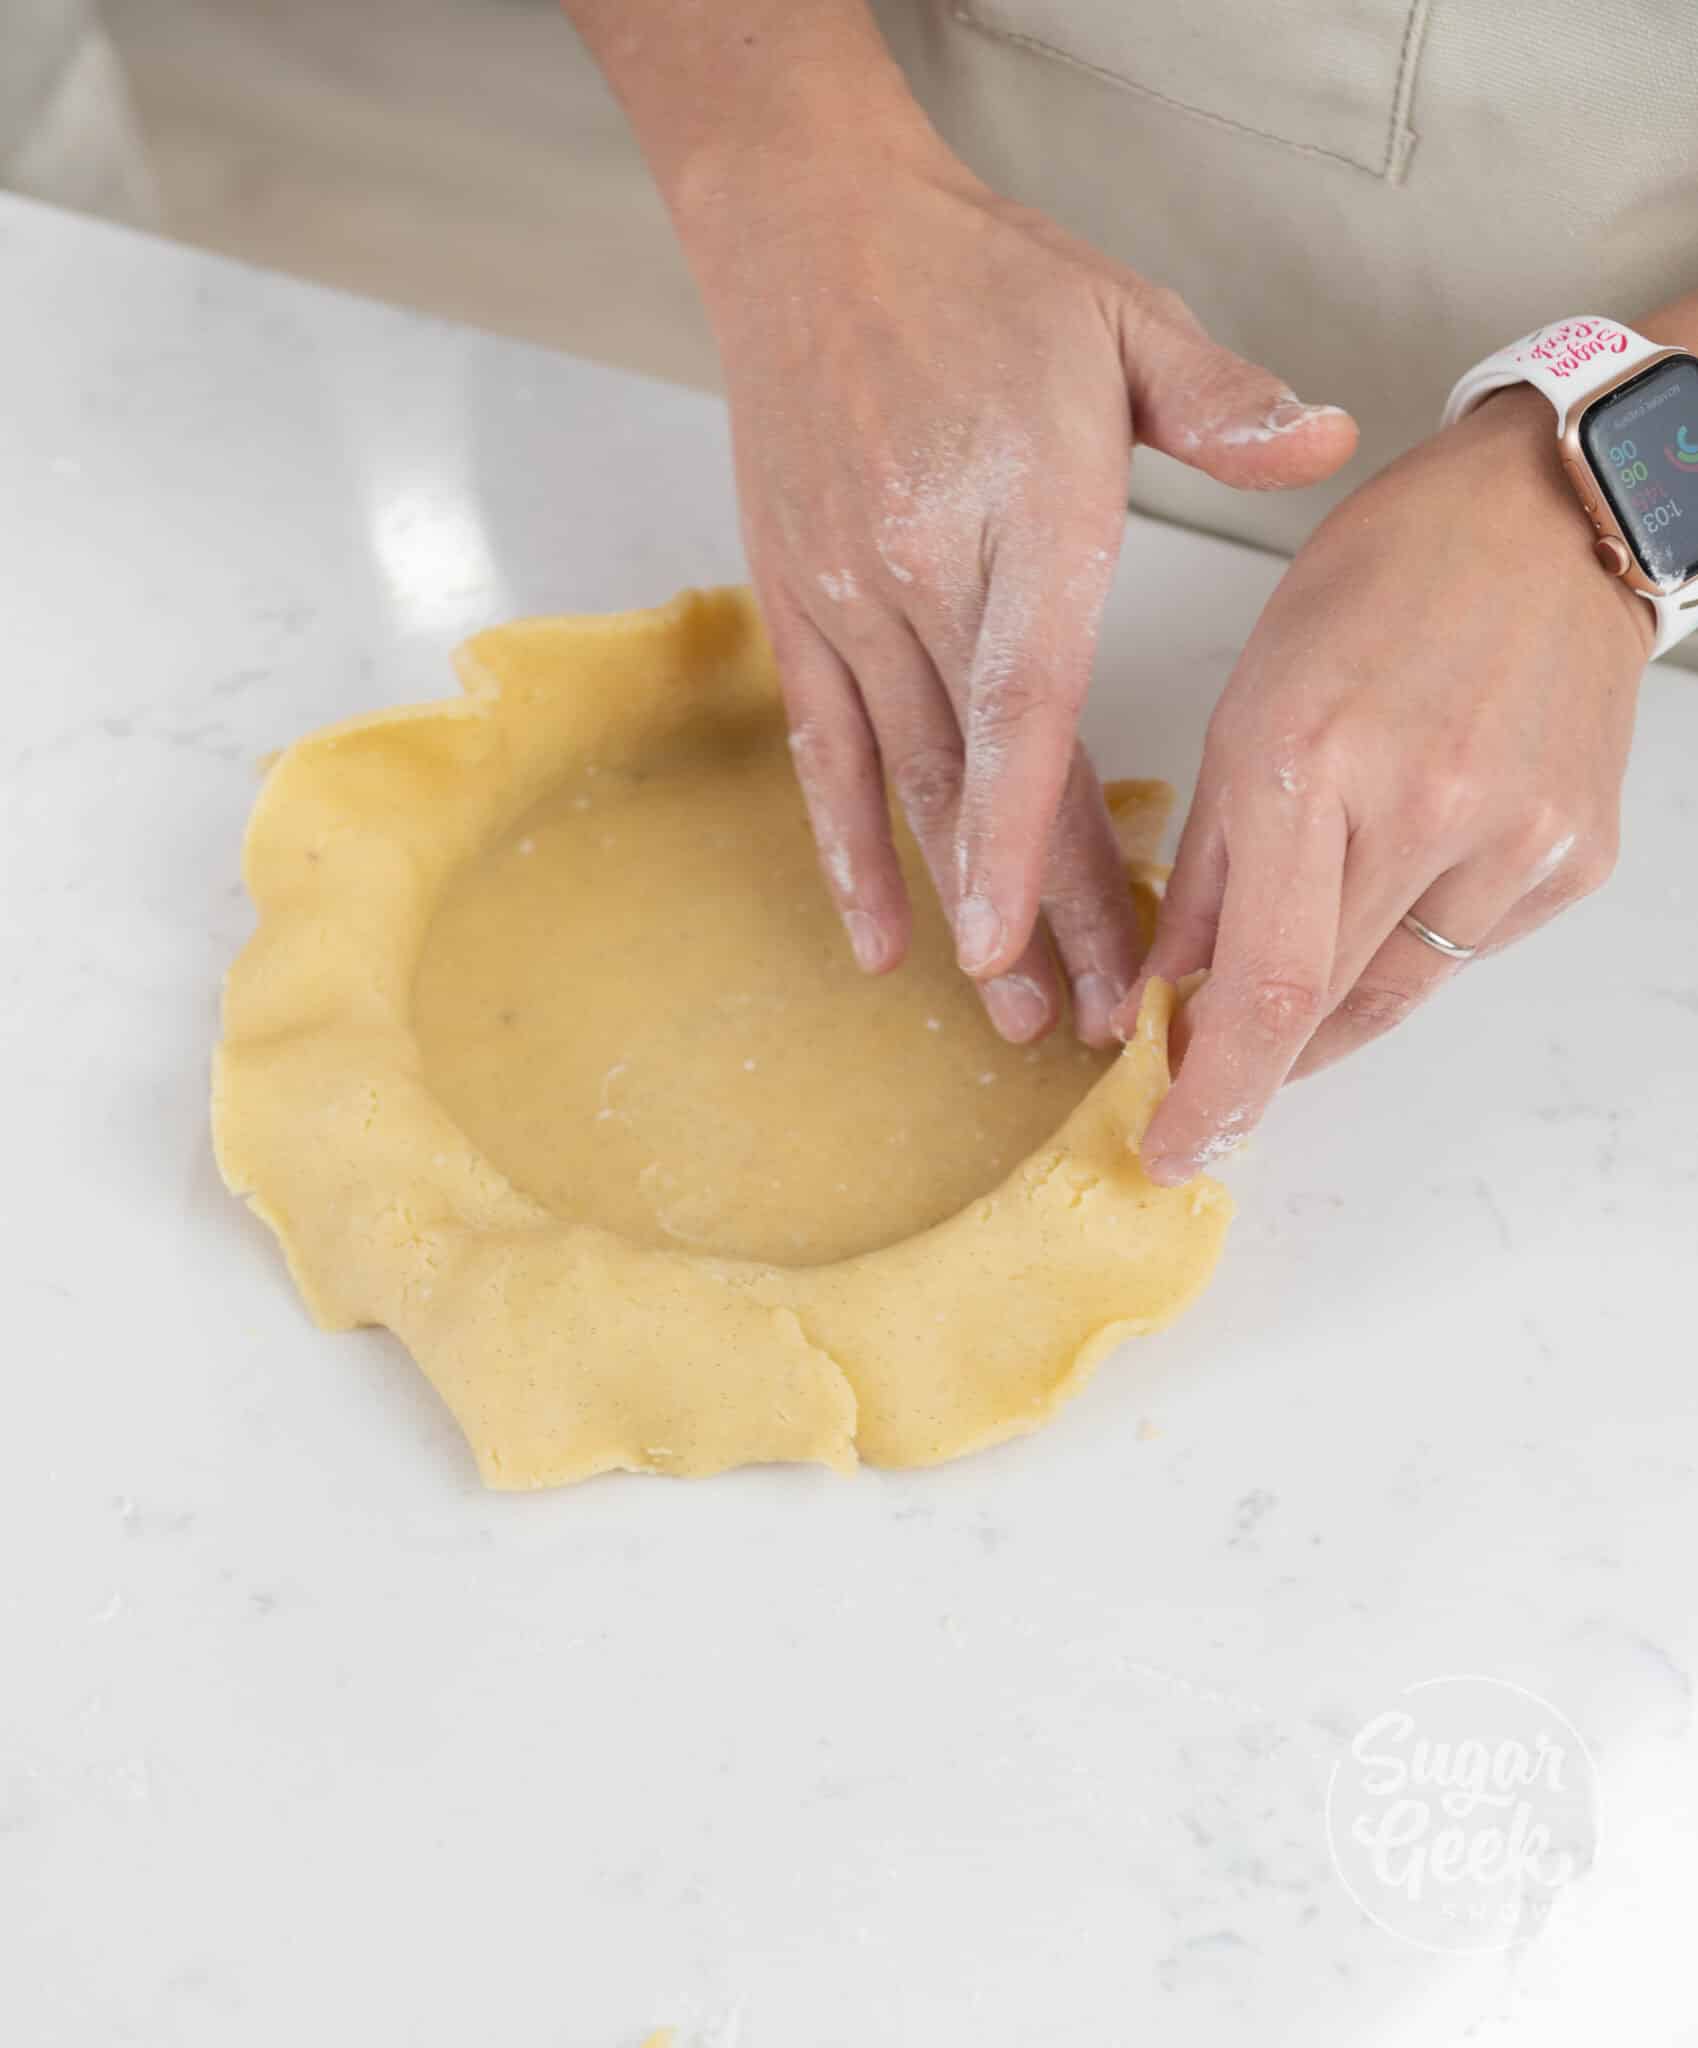
- Use your fingers to gently press the dough into the tart pan. Work your fingers around the shell slowly making your way towards the bottom taking care to not press too hard or tear the dough.
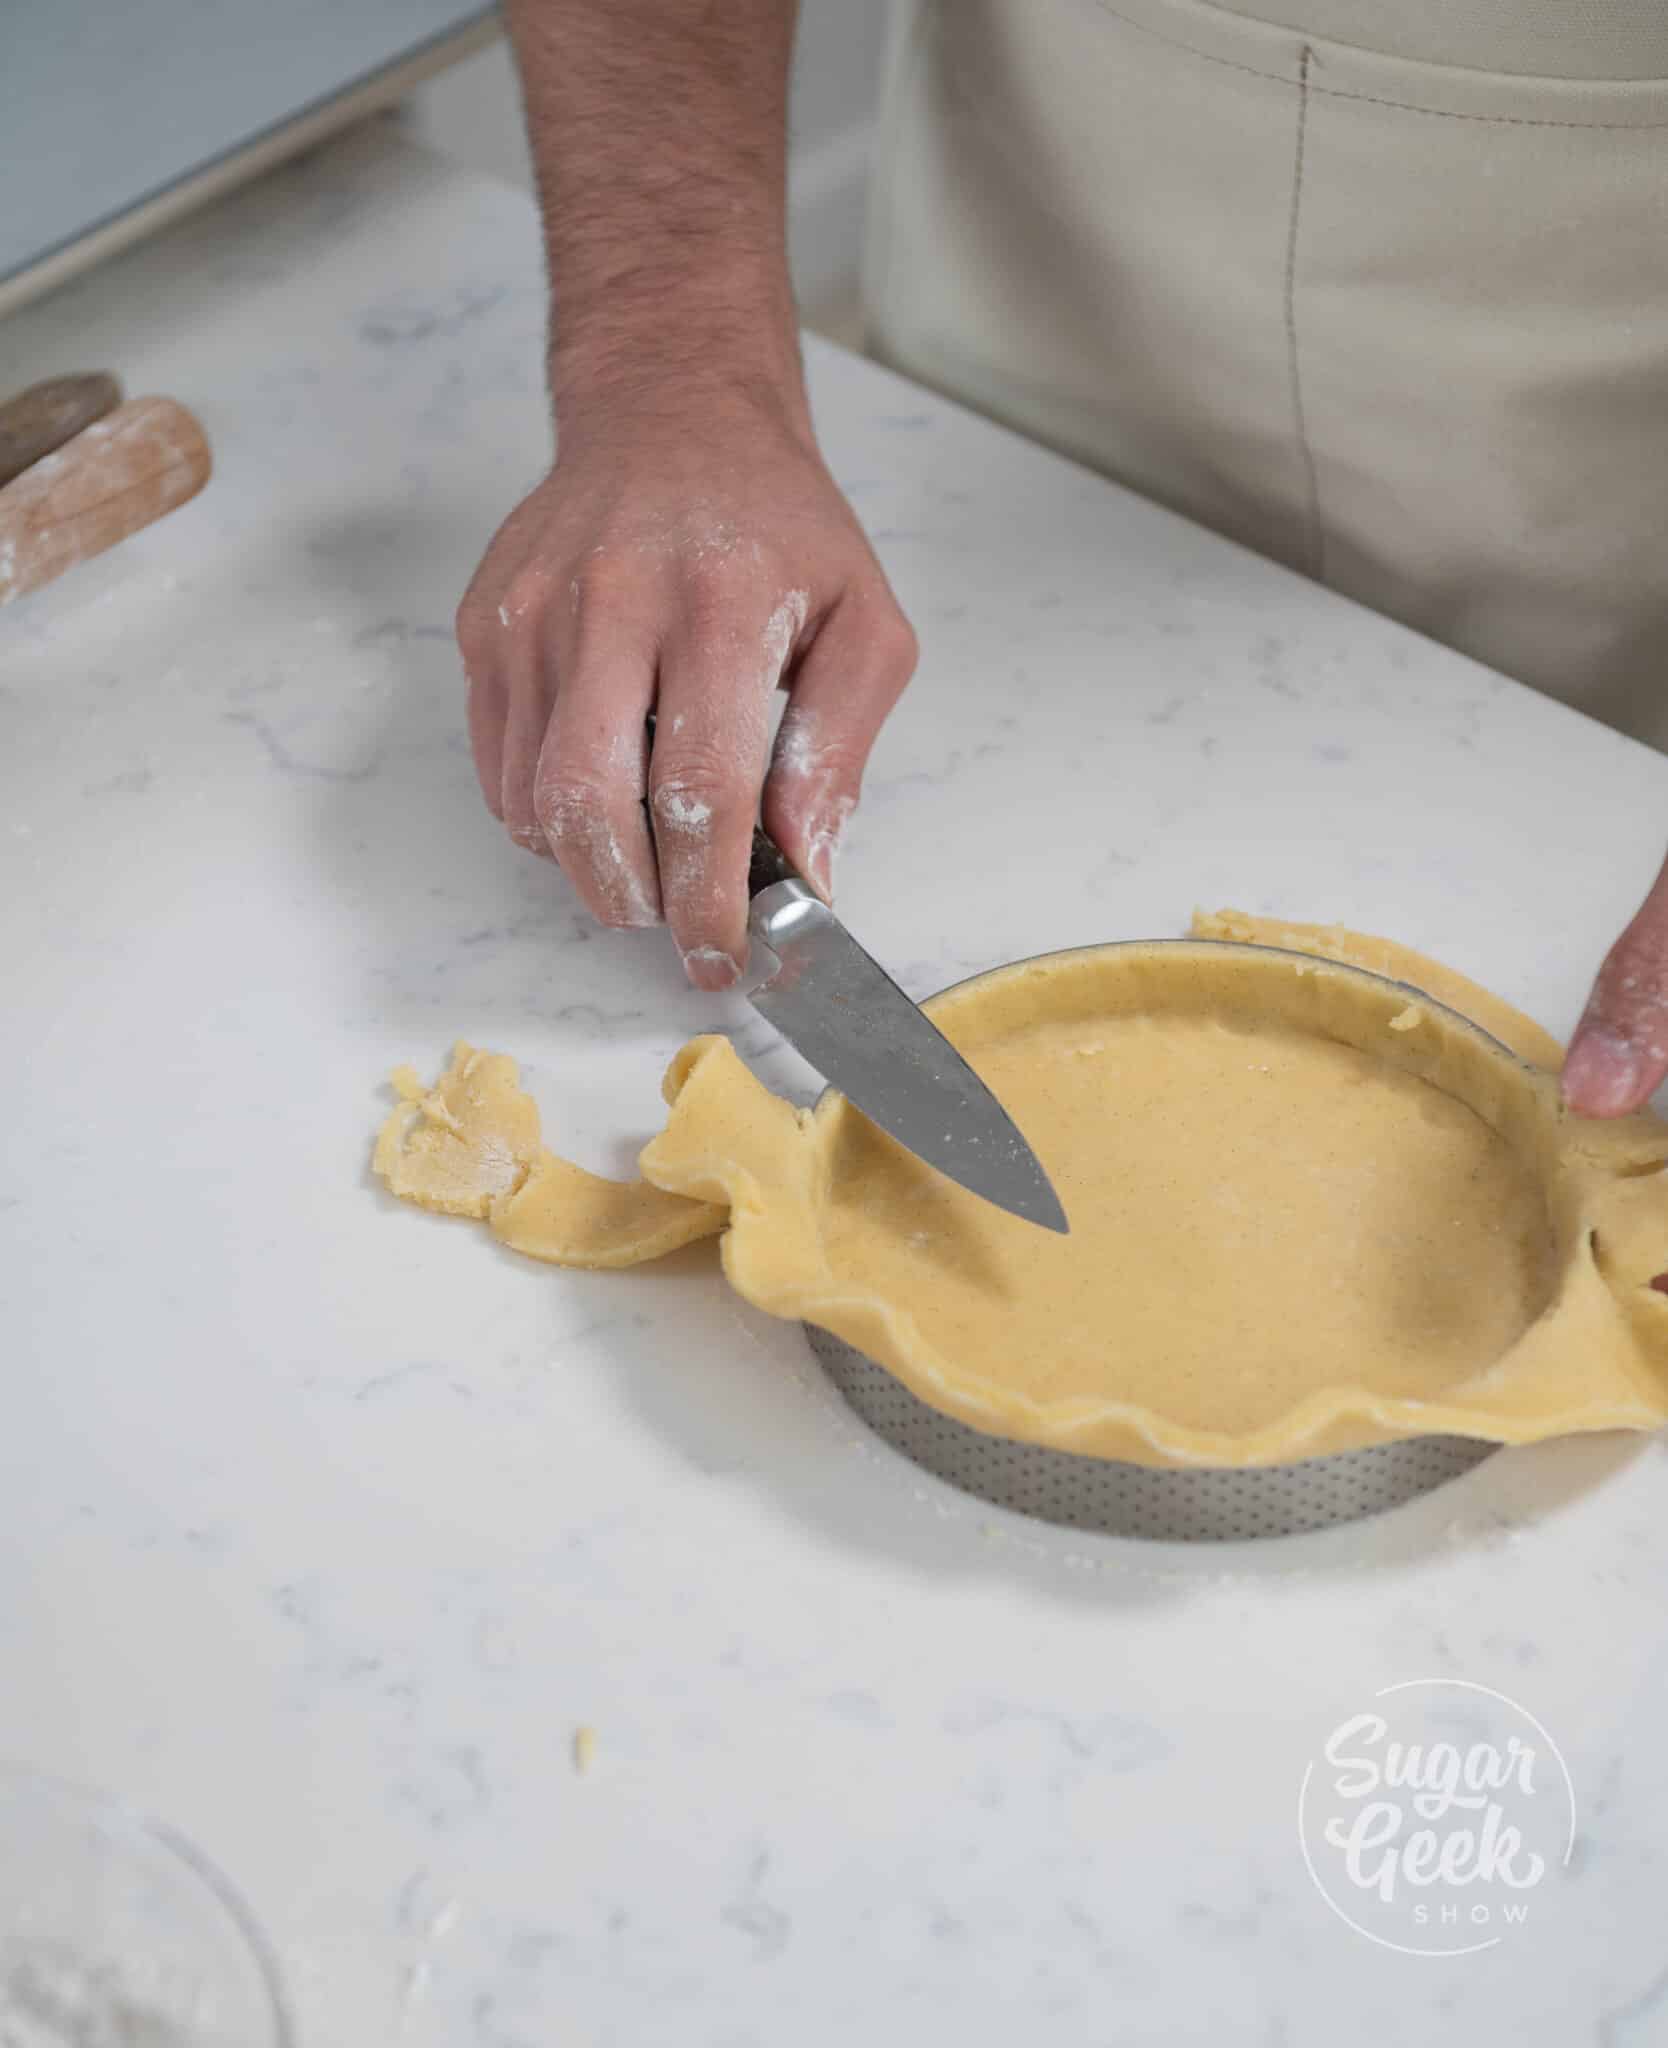
- Use a knife to trim the access dough from the top of your shell. Pro Tip: Hold the knife facing away from the tart shell and glide it flat along the top edge of the ring while using your other hand to turn the tart ring. This makes it easy to cut and leaves a super smooth top edge!
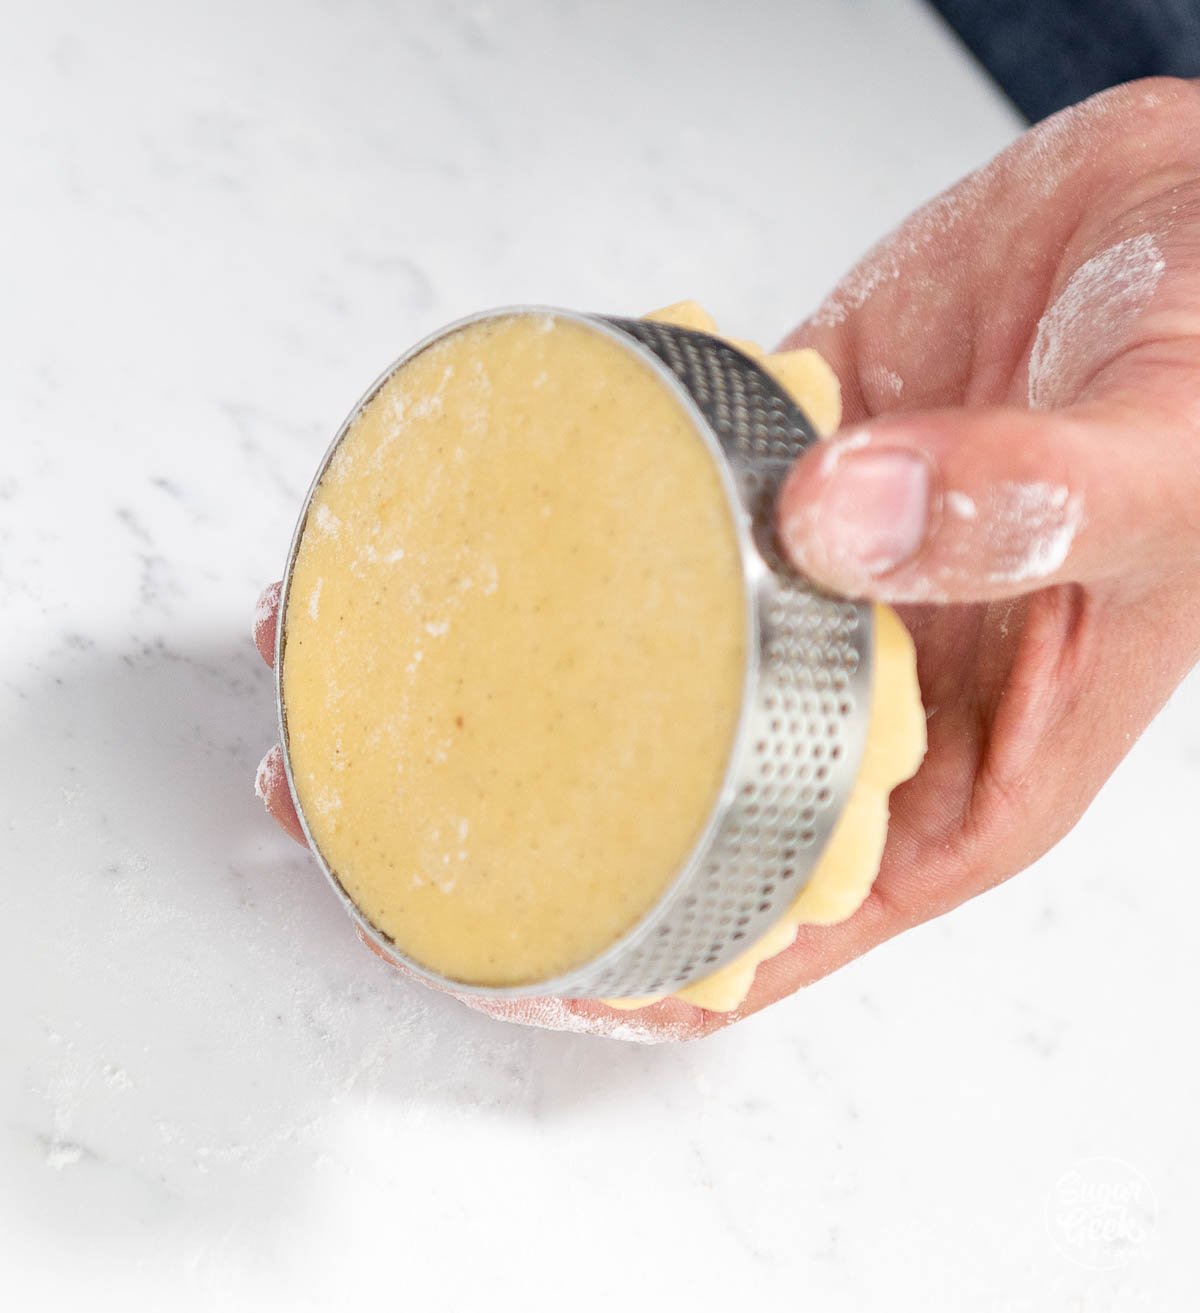
- Make sure the bottom edge of the tart shell is at a 90-degree angle with the ring, this will shrink as the dough bakes and will leave you with a straighter edge.
- Place your tart rings on a baking sheet with parchment paper.
- Refrigerate the tart rings while you make the almond cream.
Making The Almond Cream
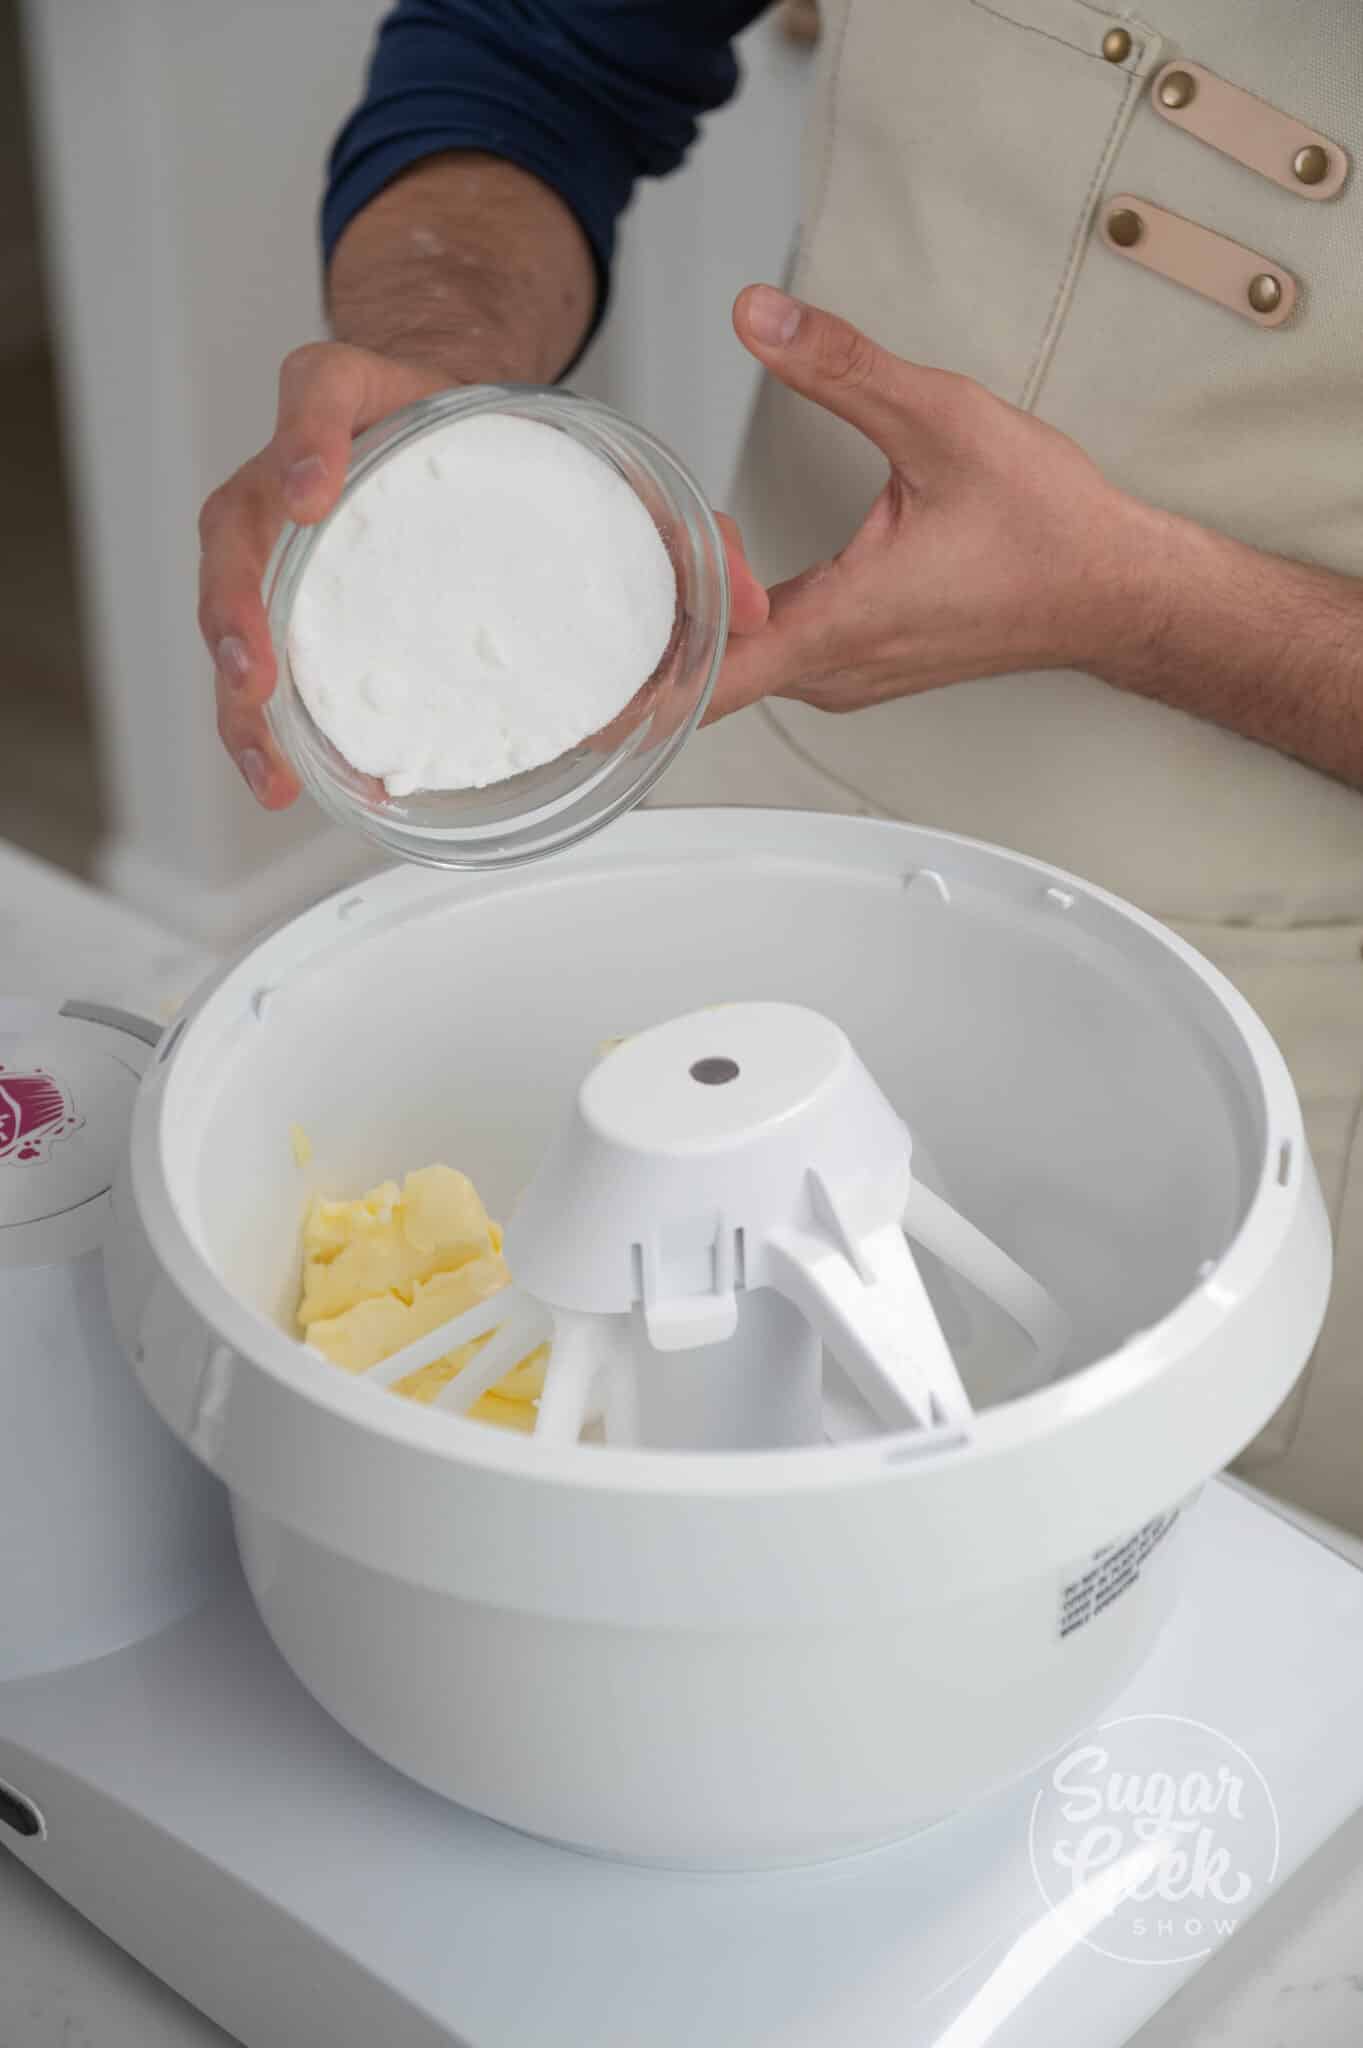
- First, add the sugar and butter into the bowl of your stand mixer and mix on low speed with the paddle attachment until smooth.
- Add the vanilla bean and mix for 10 seconds, scrape the bowl, and then continue to mix for another 10 seconds.
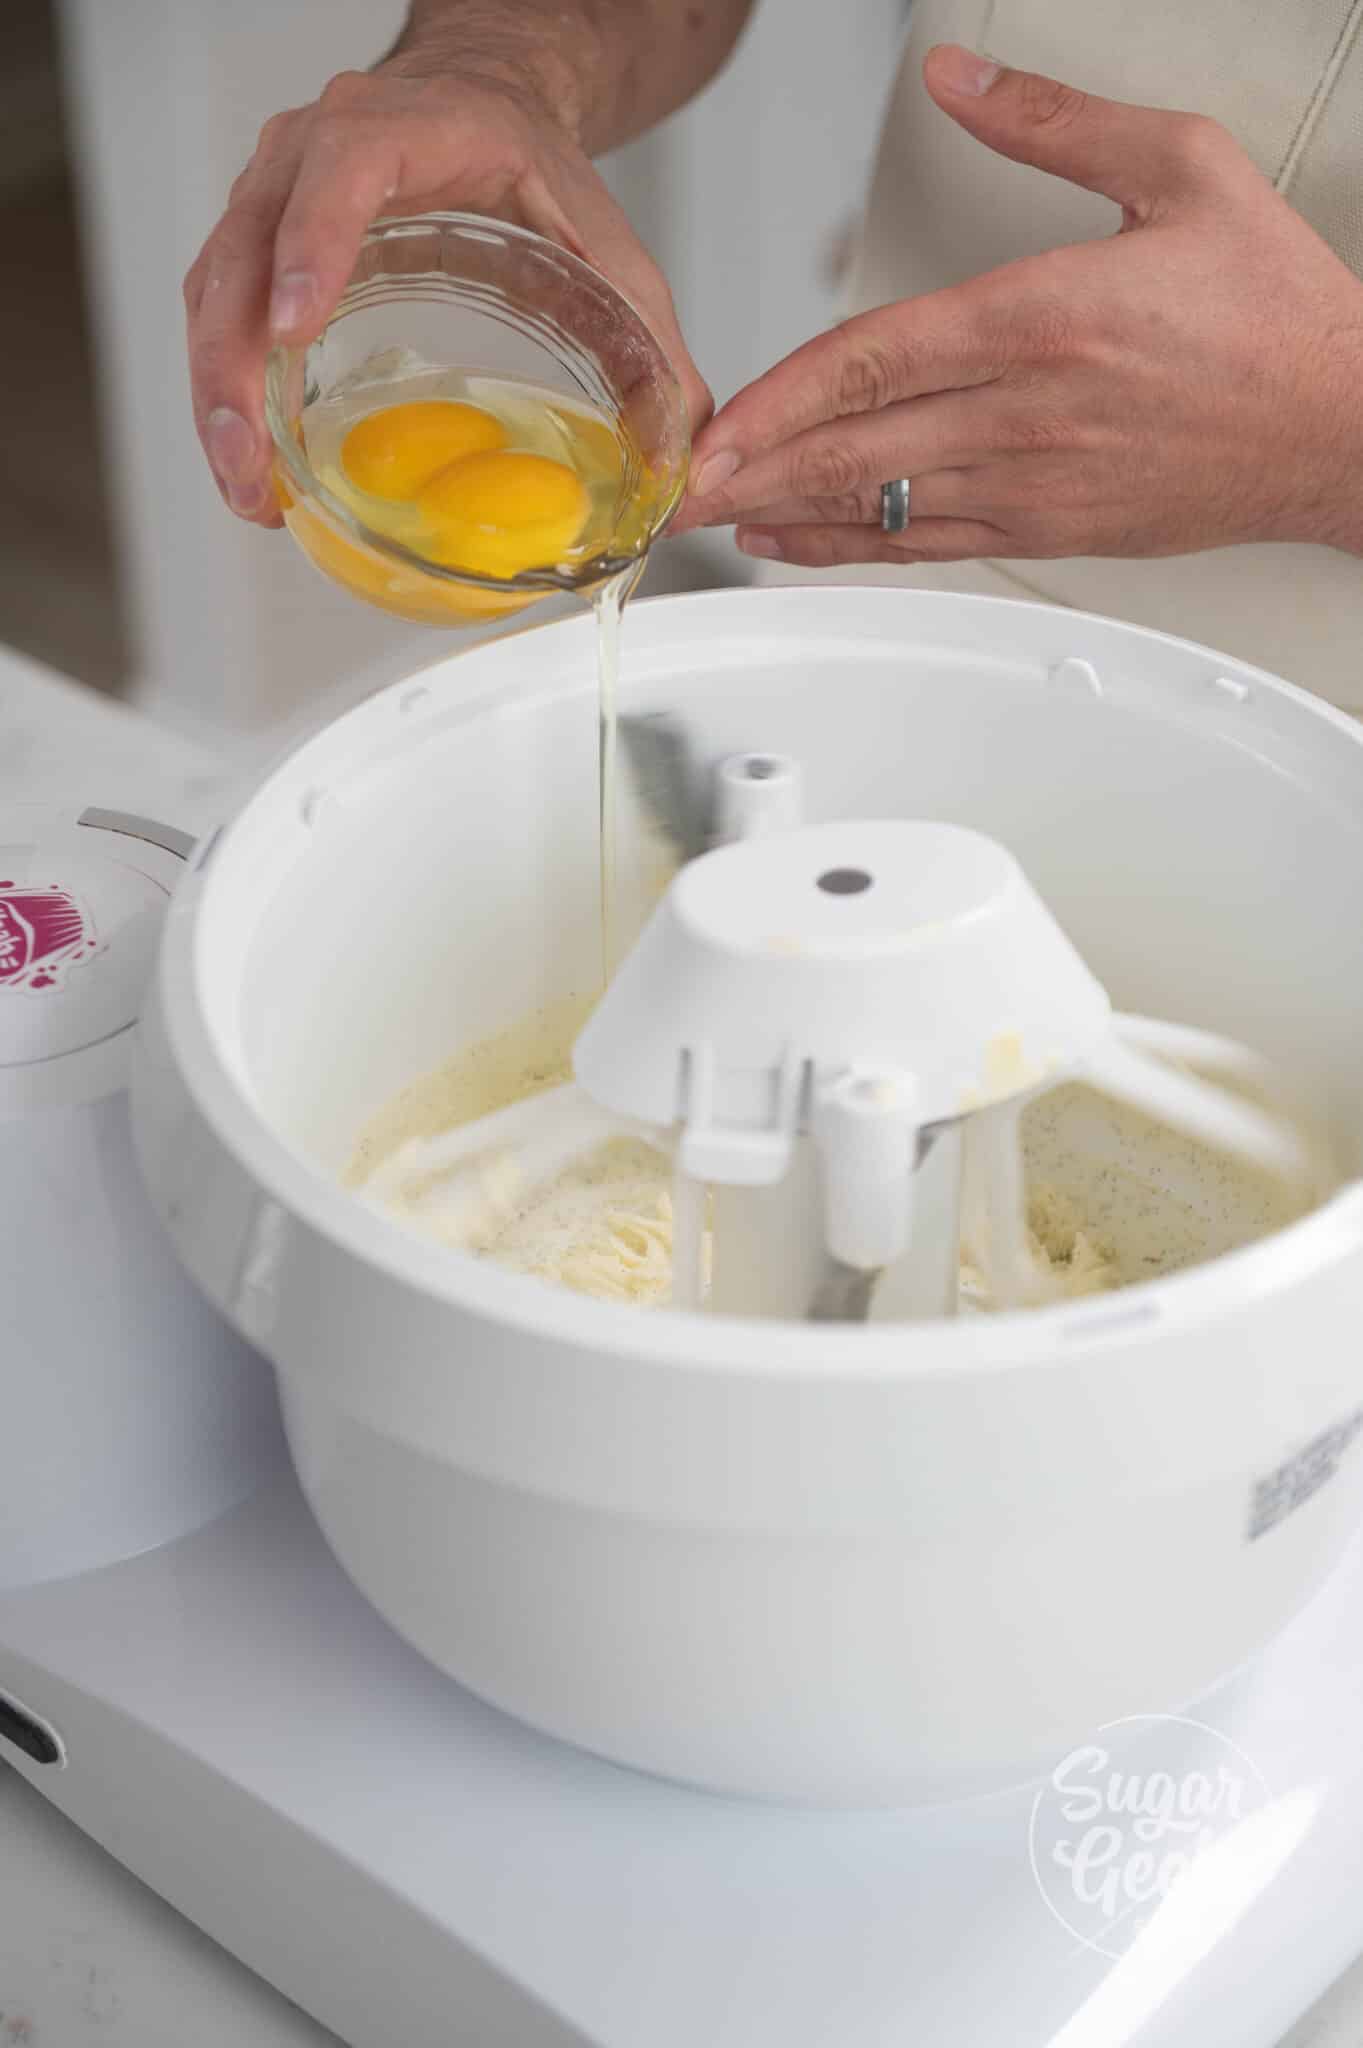
- Next, add your eggs one at a time and mix until fully incorporated, scraping the bowl if needed.
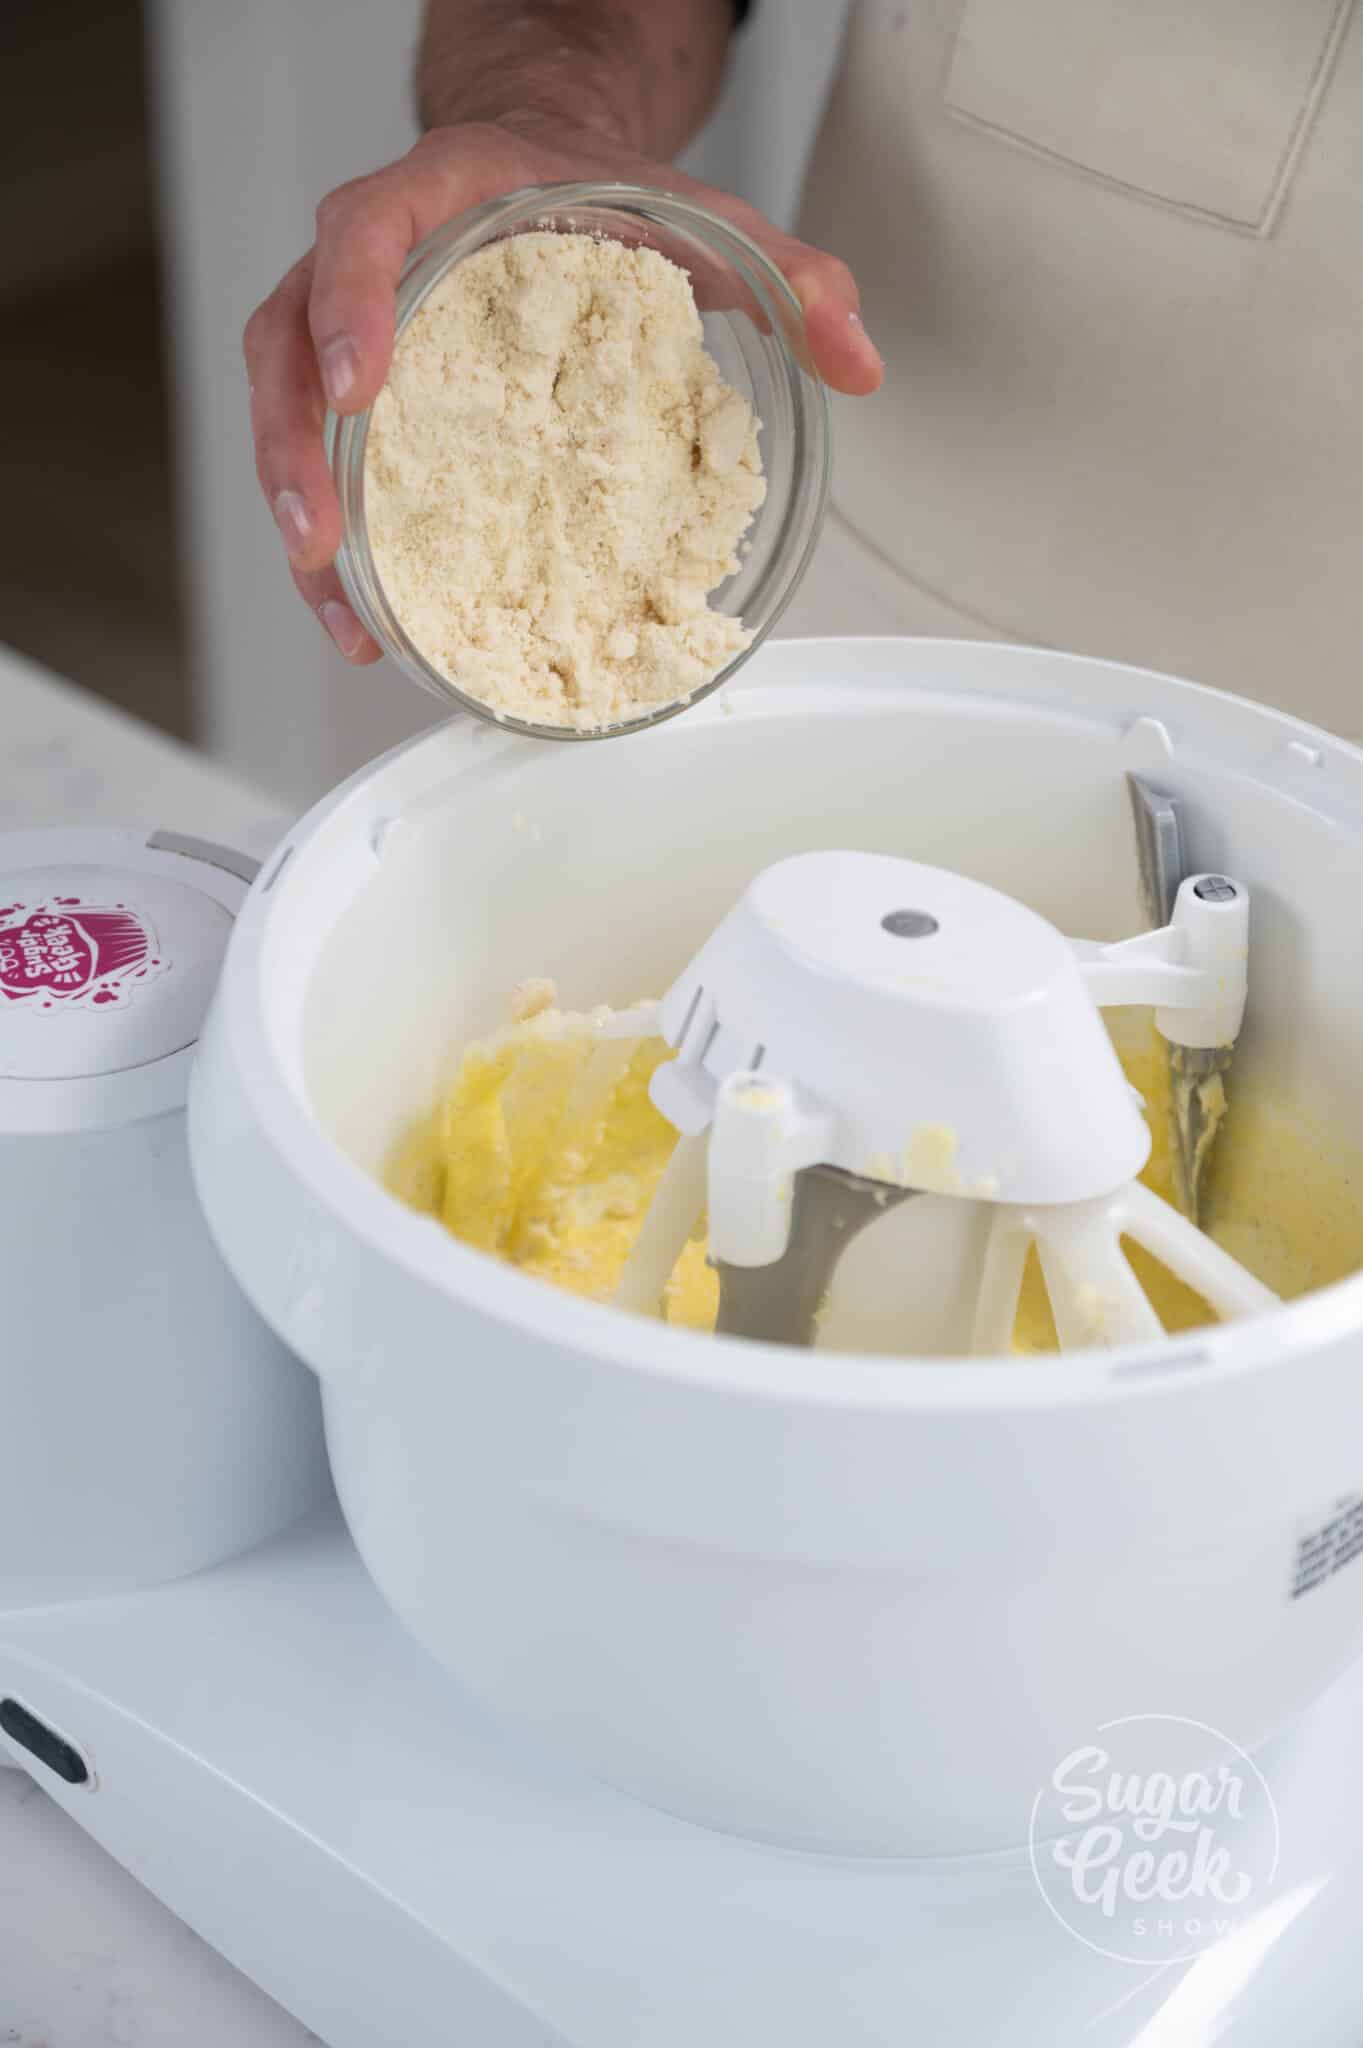
- Then add the almond flour and mix for a few seconds, add the rum and continue mixing on low speed until the mixture is smooth.
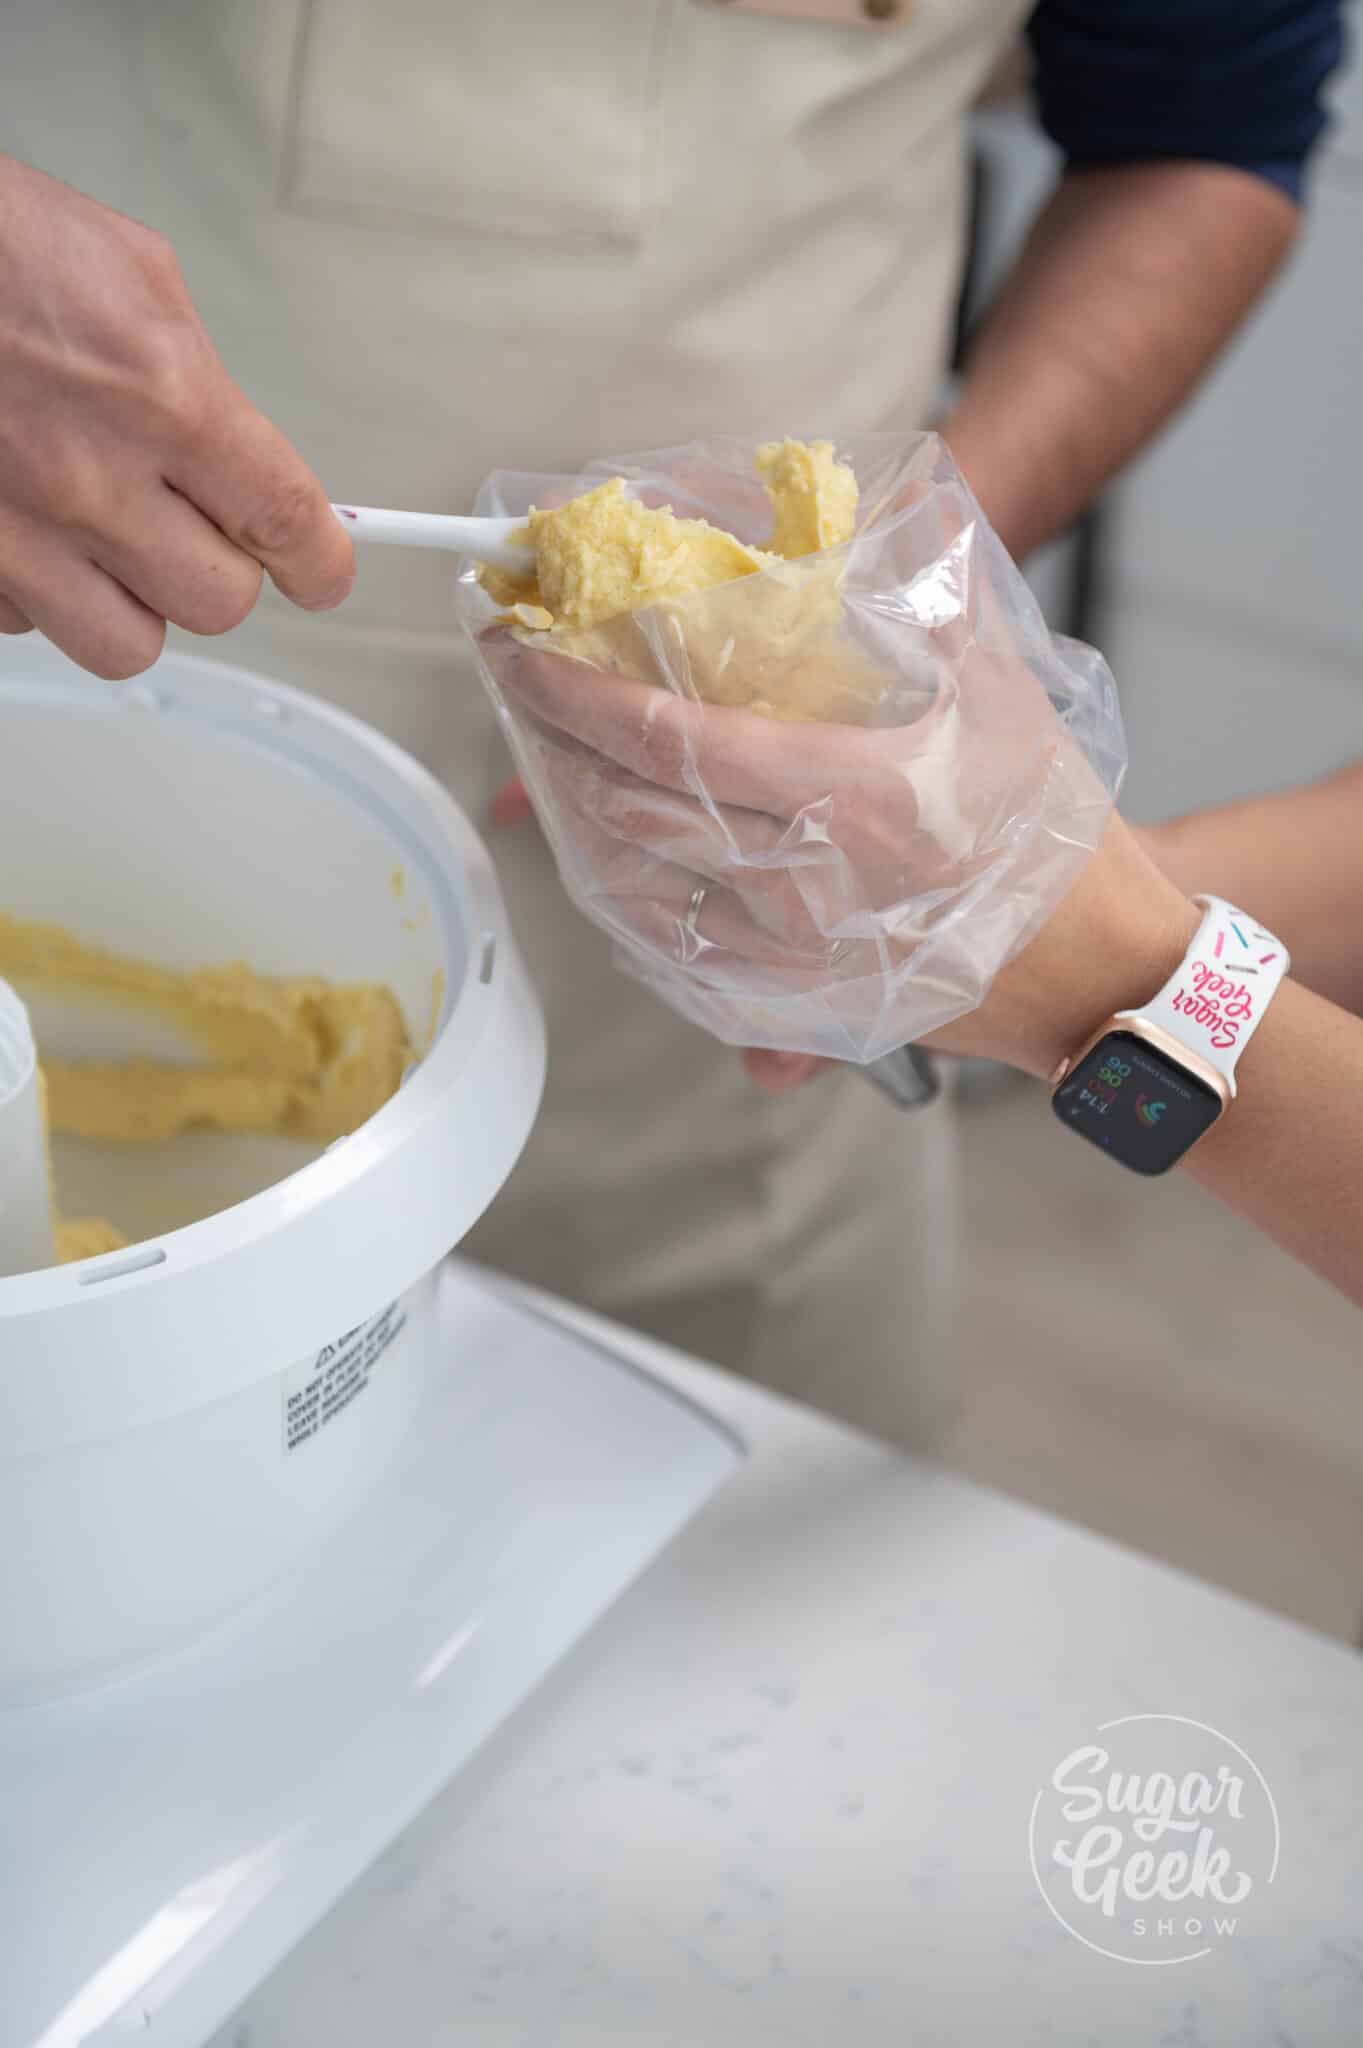
- Prepare a piping bag with a metal round tip and fill the bag with the almond cream.
Assembling The Apple Tart
- Preheat the oven to 360°F (162° C).
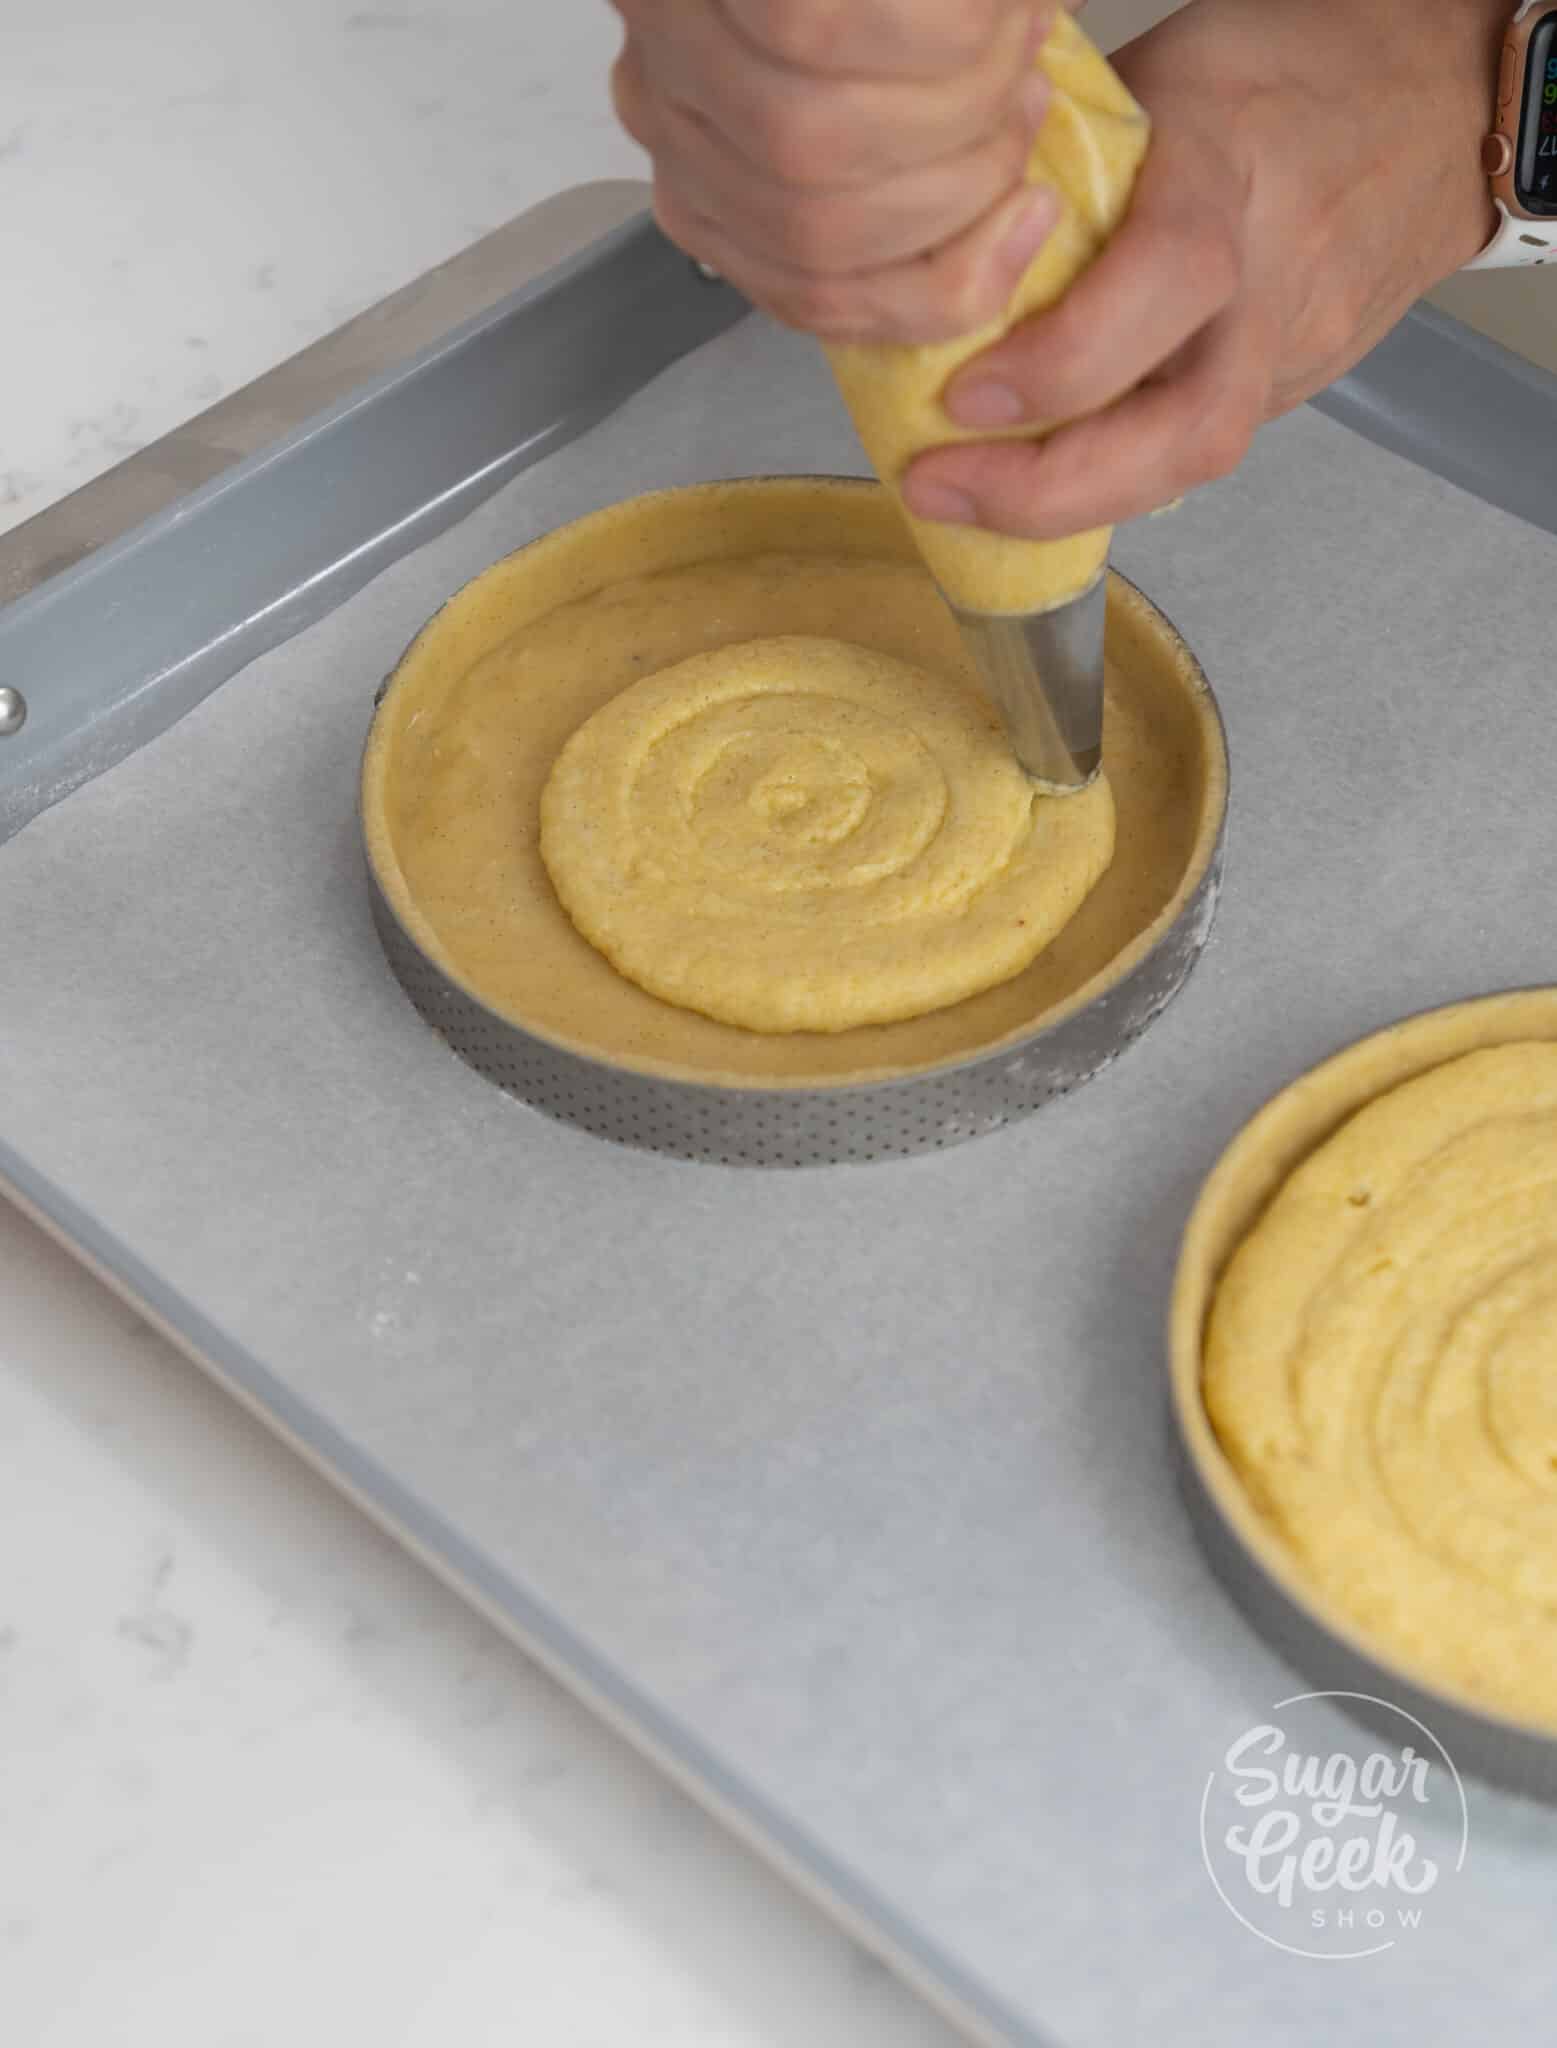
- Pipe the almond cream into your chilled tart shells using a spiral motion filling about ⅓ of the way up, then set it aside. Pro Tip: To form a perfect spiral, start from the center of the tart and slowly move outwards using a spiral formation.
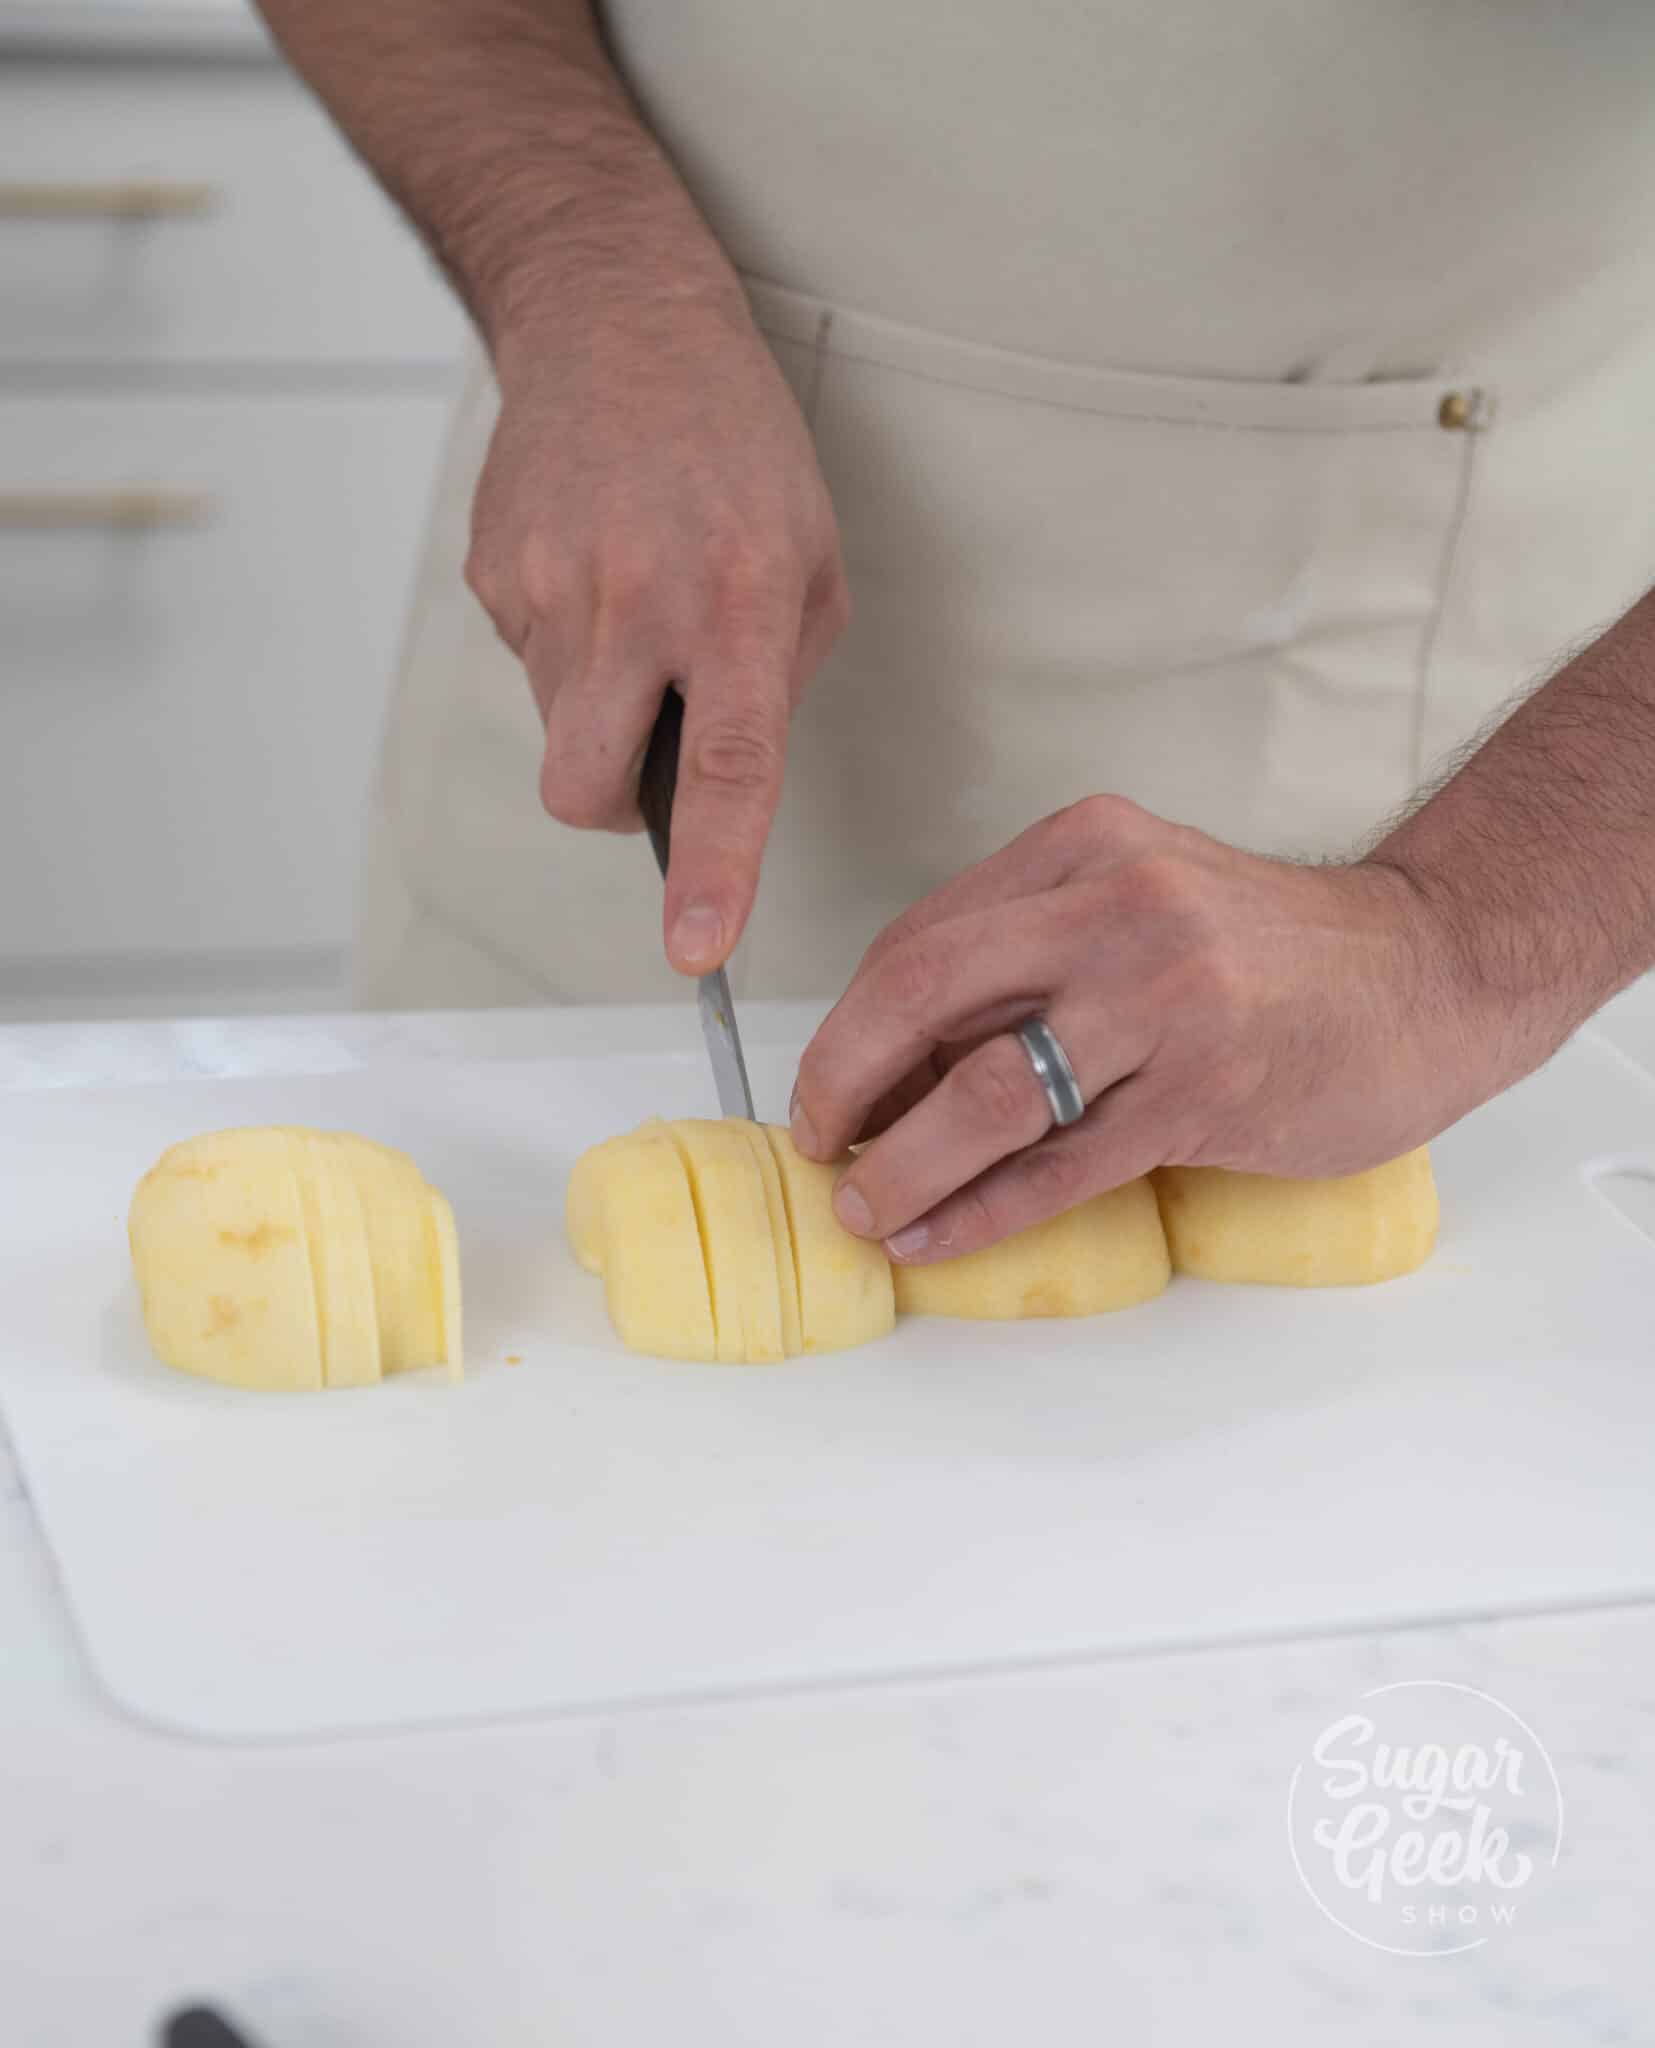
- Peel and core the apples, then cut them in half so that they're face down on the cutting board. Slice them into thin slices with a small pairing knife, removing any leftover seeds or core pieces from the slices. Pro Tip: Keep keep your slices uniform in size so that they bake evenly and soak them in lemon juice so that they don't brown.
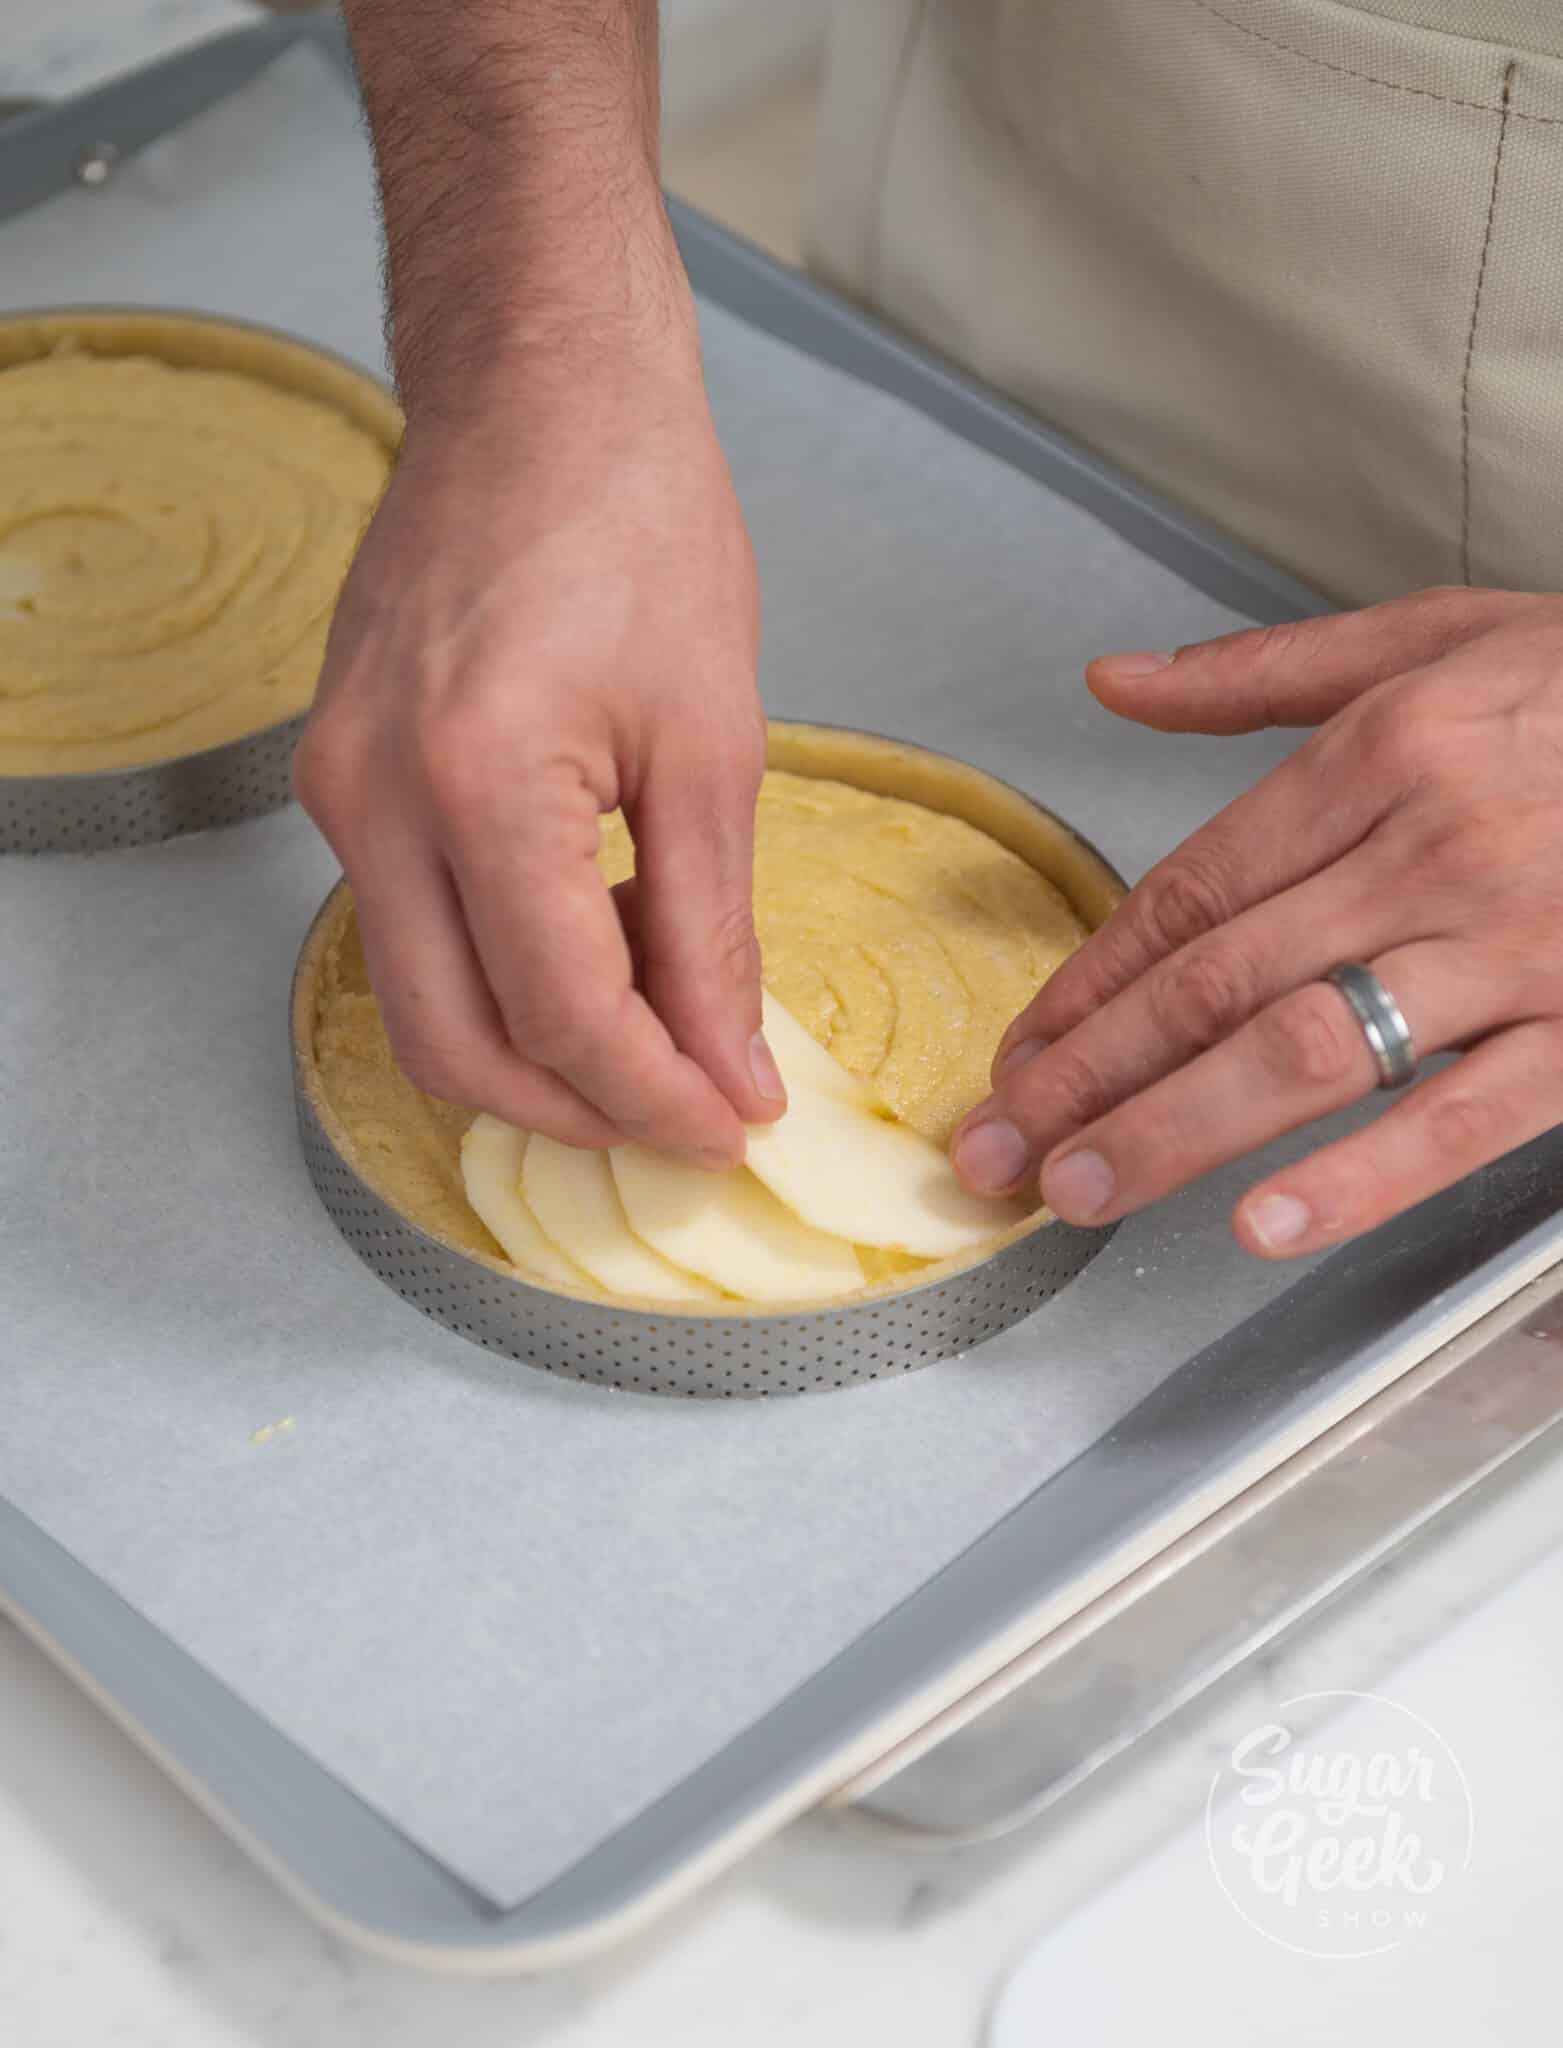
- Place the apple slices nicely inside of the tart on top of the almond cream, layering them slightly and fanning them into a circle in the tart shell.
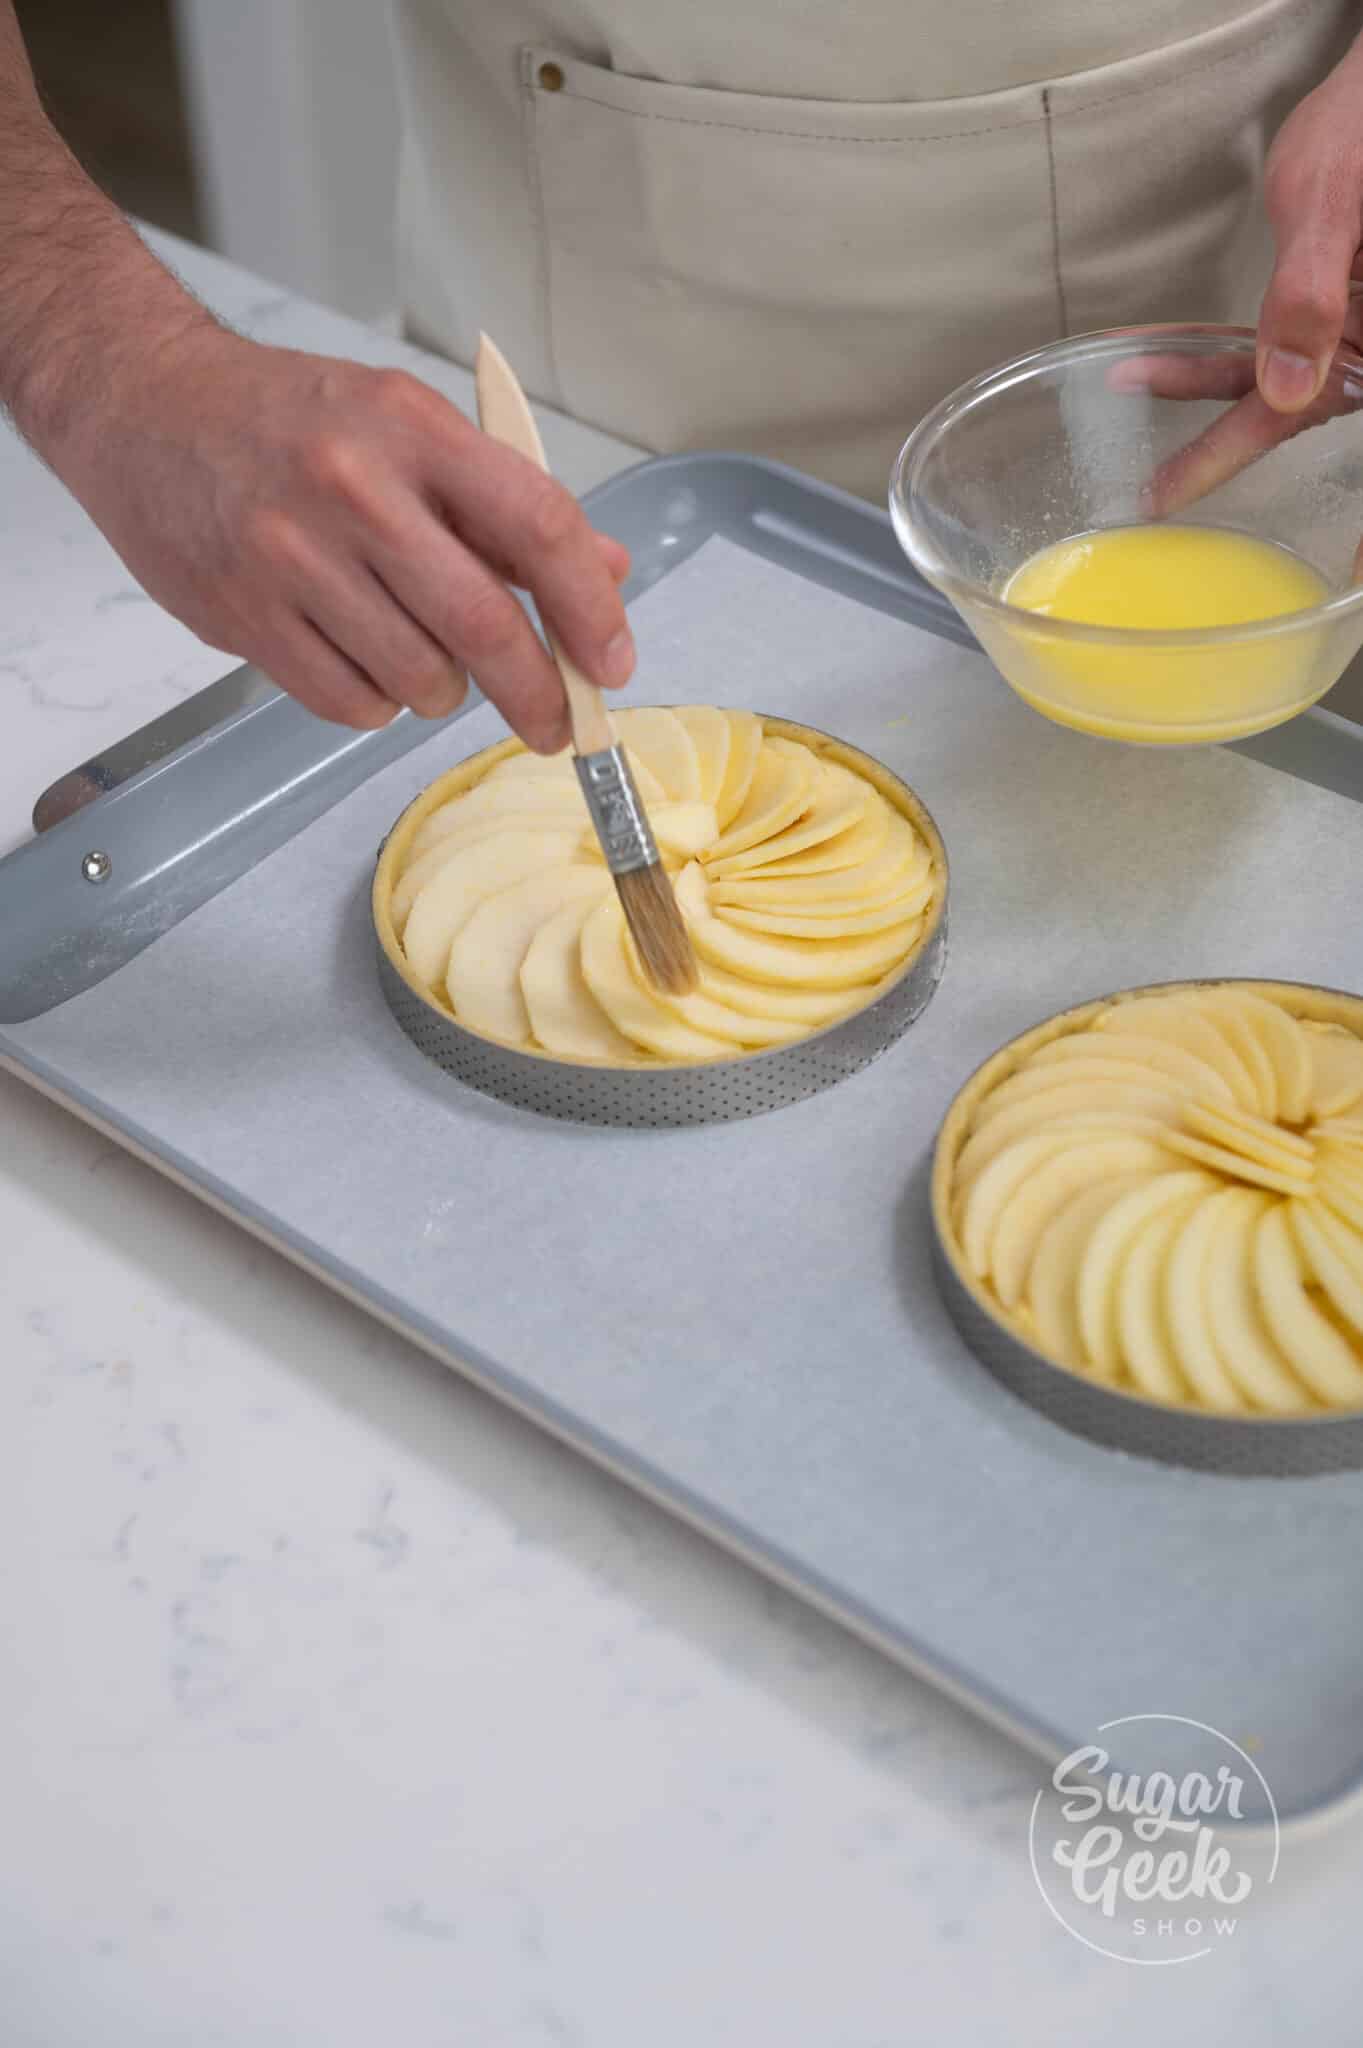
- Brush melted butter on top of the tart dough and apples using a pastry brush.
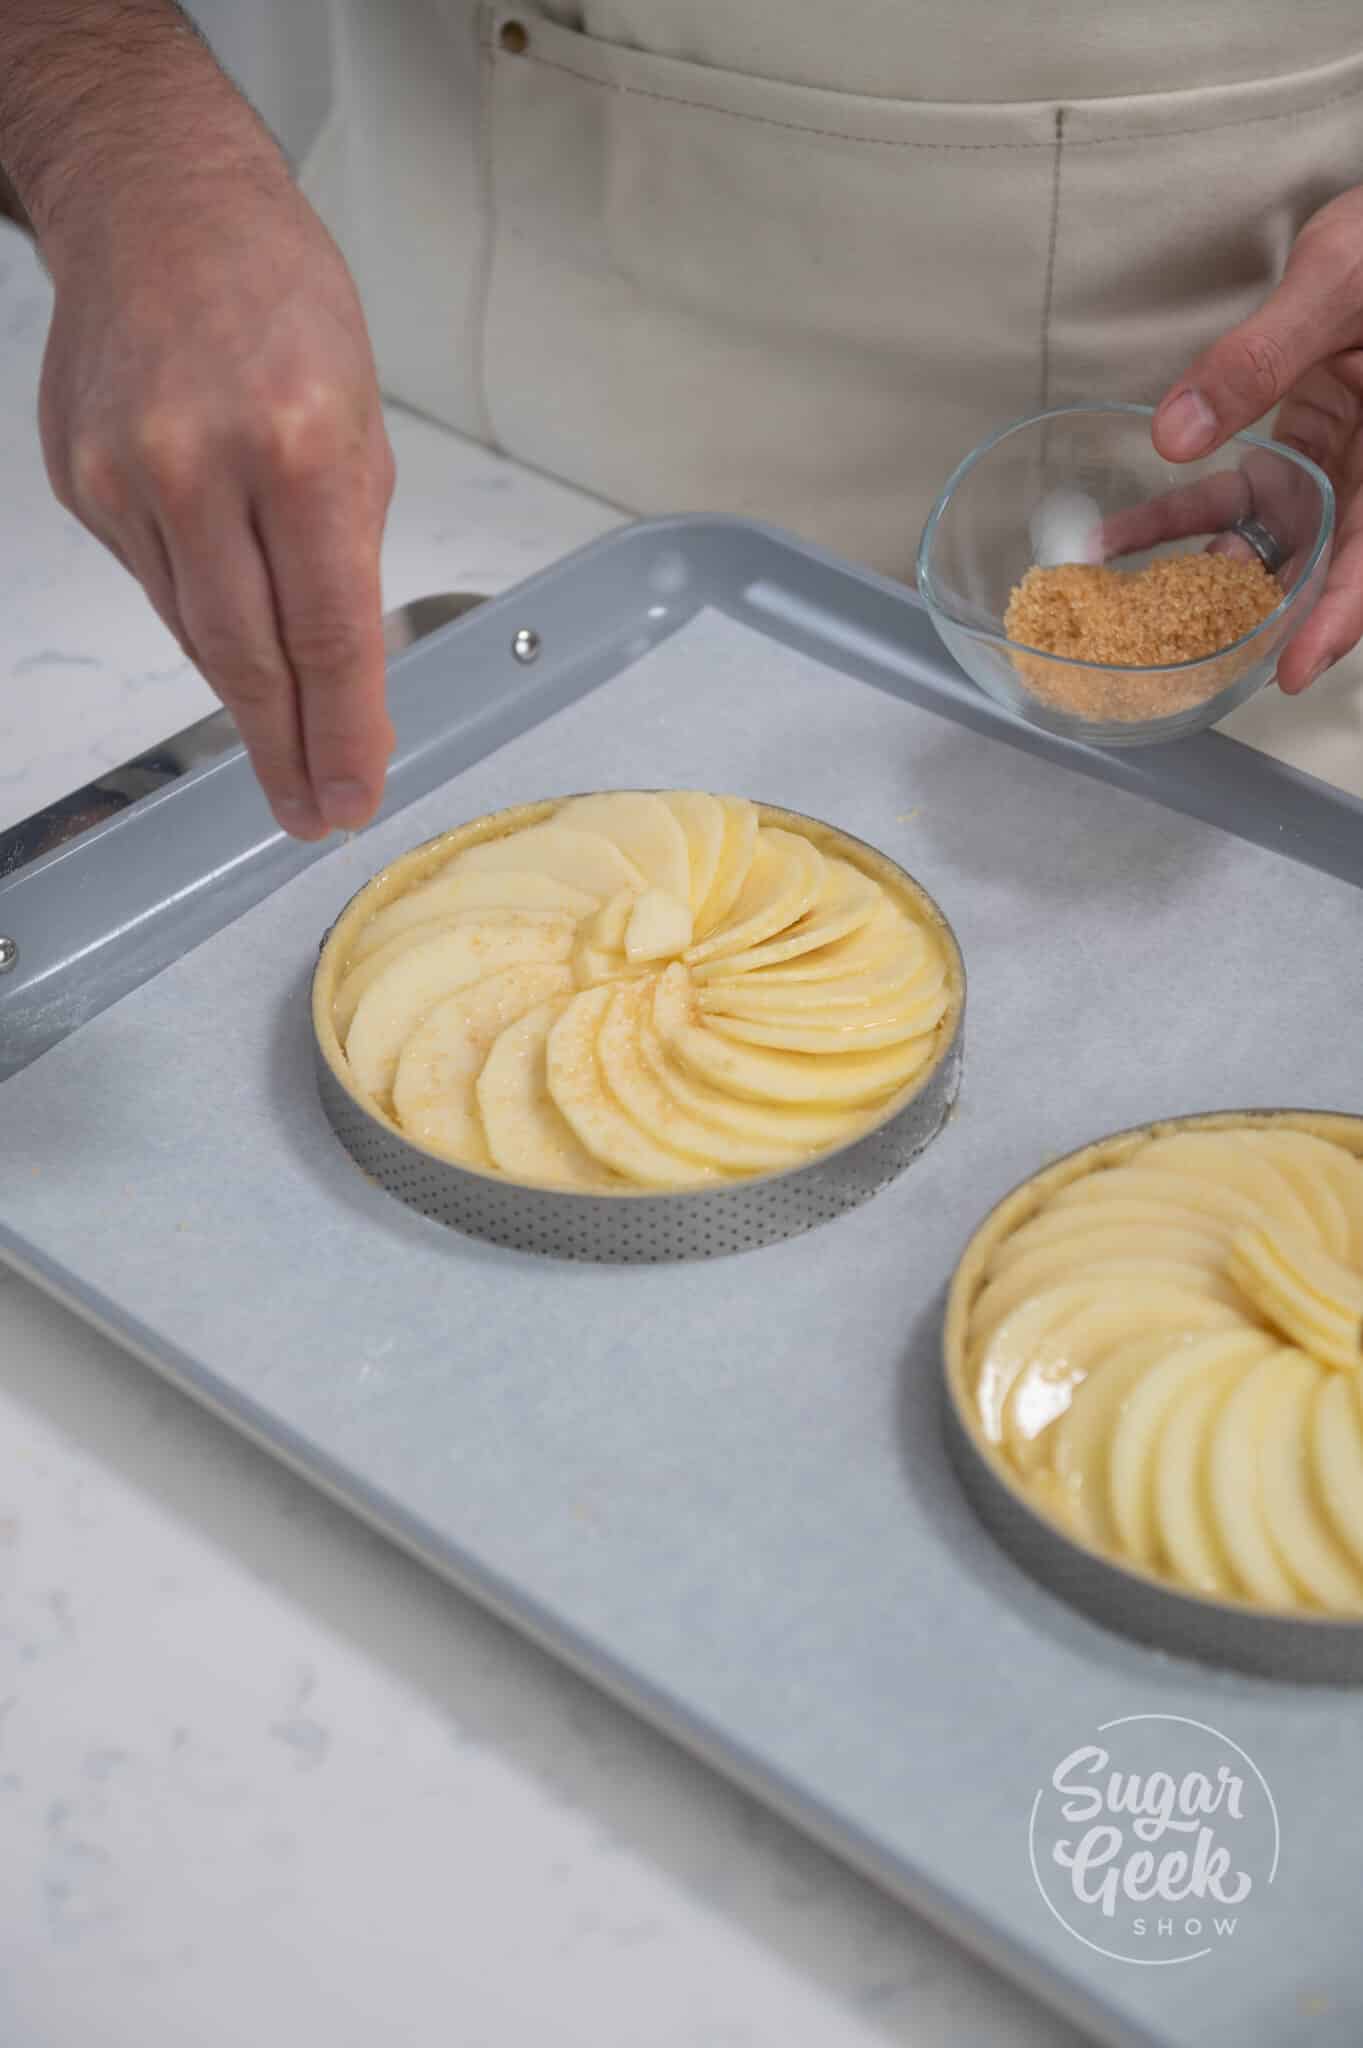
- Sprinkle a thin layer of brown sugar to help give the apples a hint of caramel flavor.
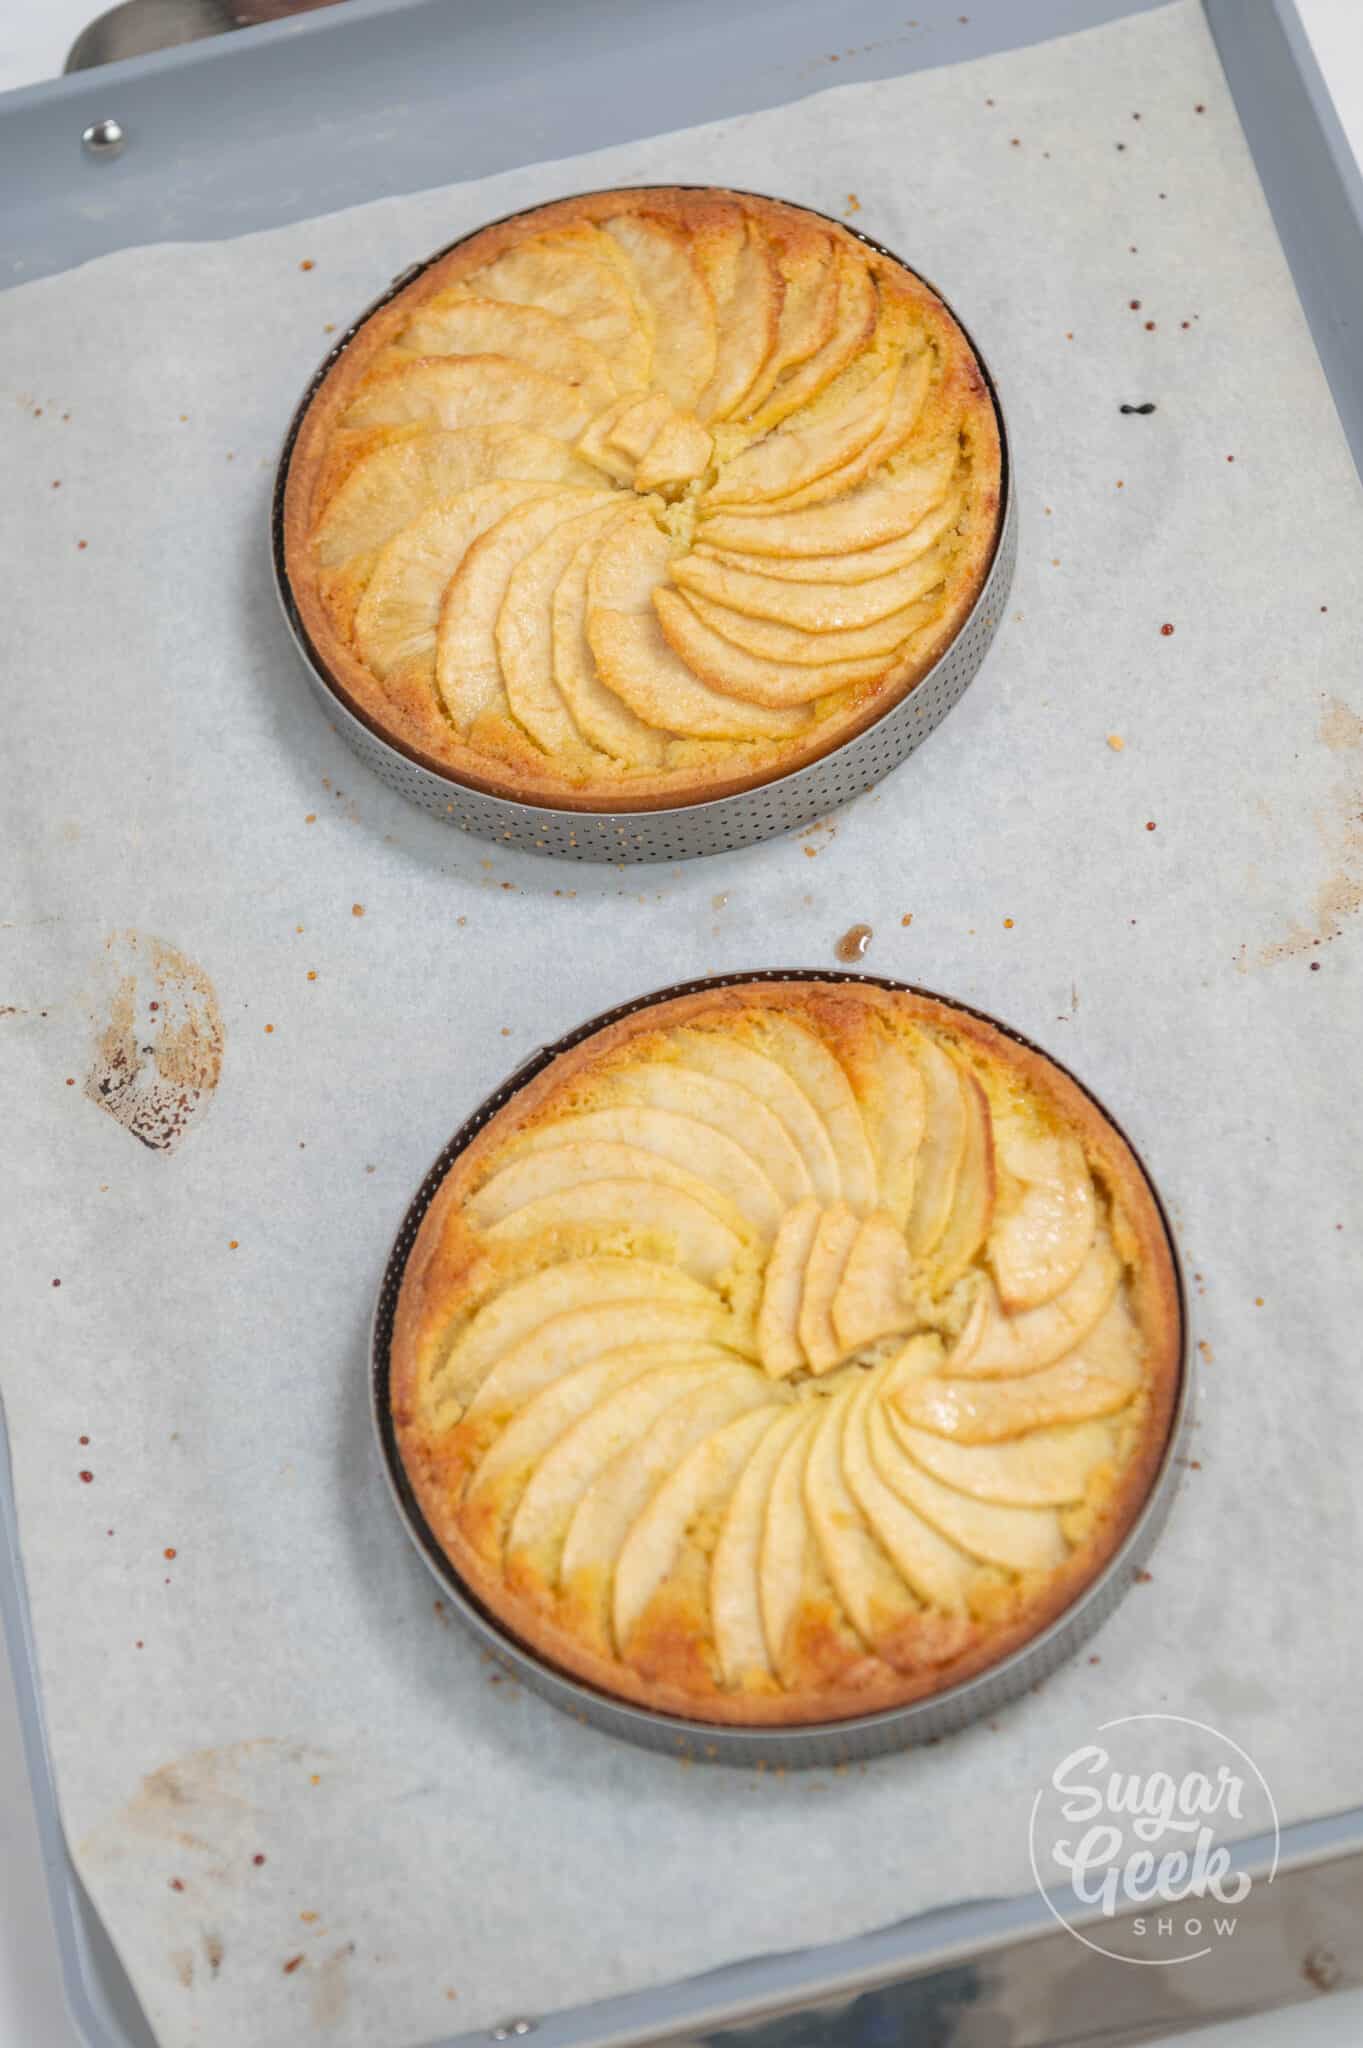
- Bake the tarts at 360°F (162° C) for about 30 minutes or until the tart crust looks golden brown.
- Set the tarts aside on a cooling rack for about 30 minutes.
Decorating The Apple Tart
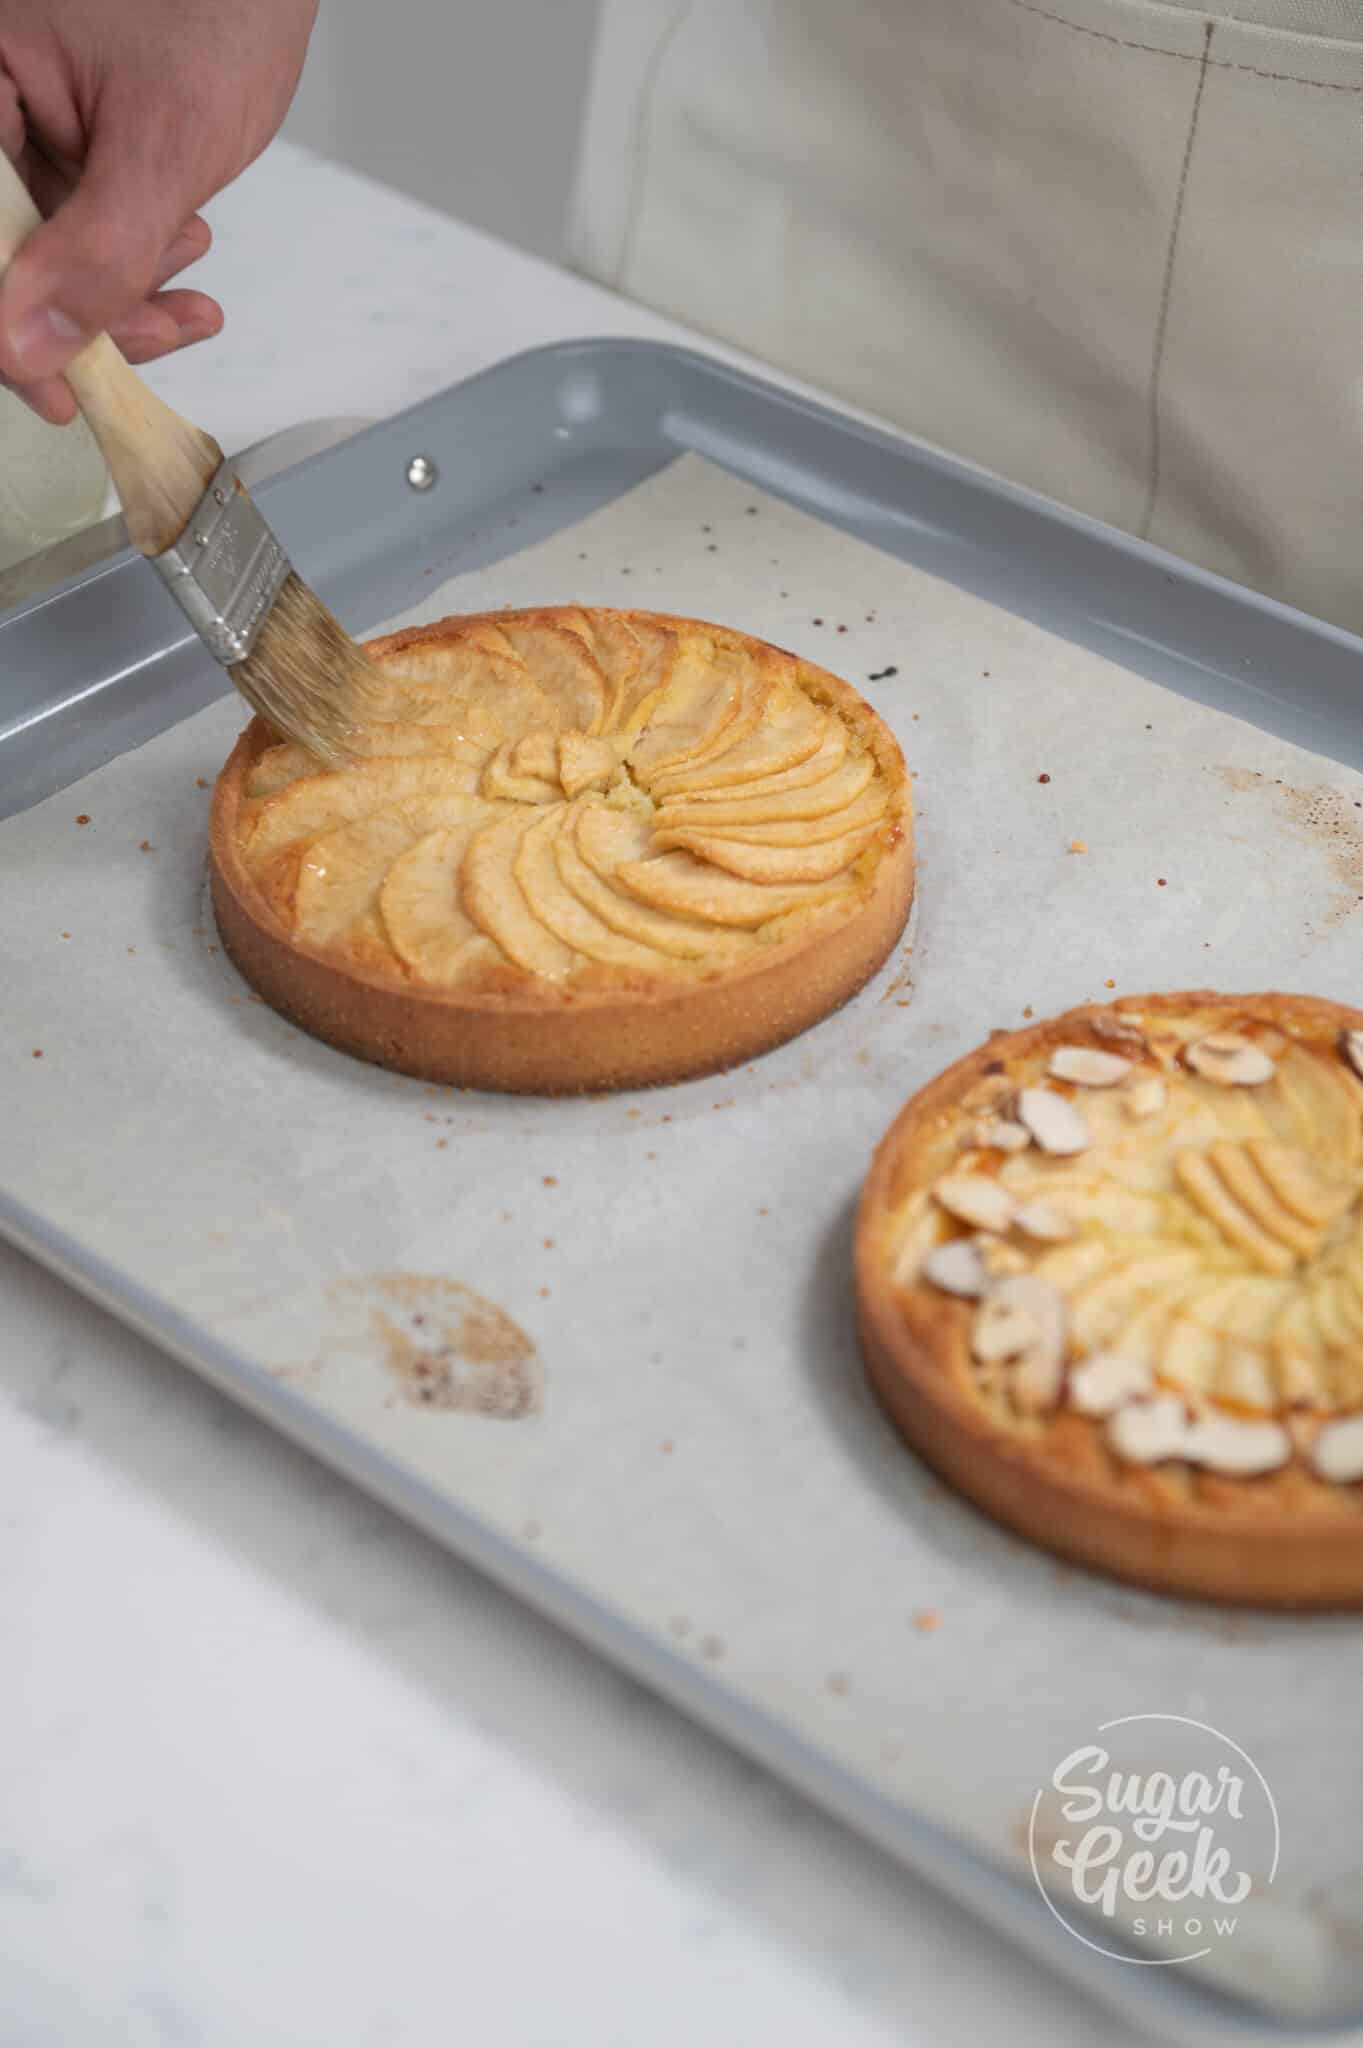
- Make a simple syrup out of corn syrup and water by mixing them together and bringing them to a boil, then cool it down. Brush the glaze over the top of the tart for a little extra sweetness and shine. You can also melt some apricot preserves and use that to brush over the top.
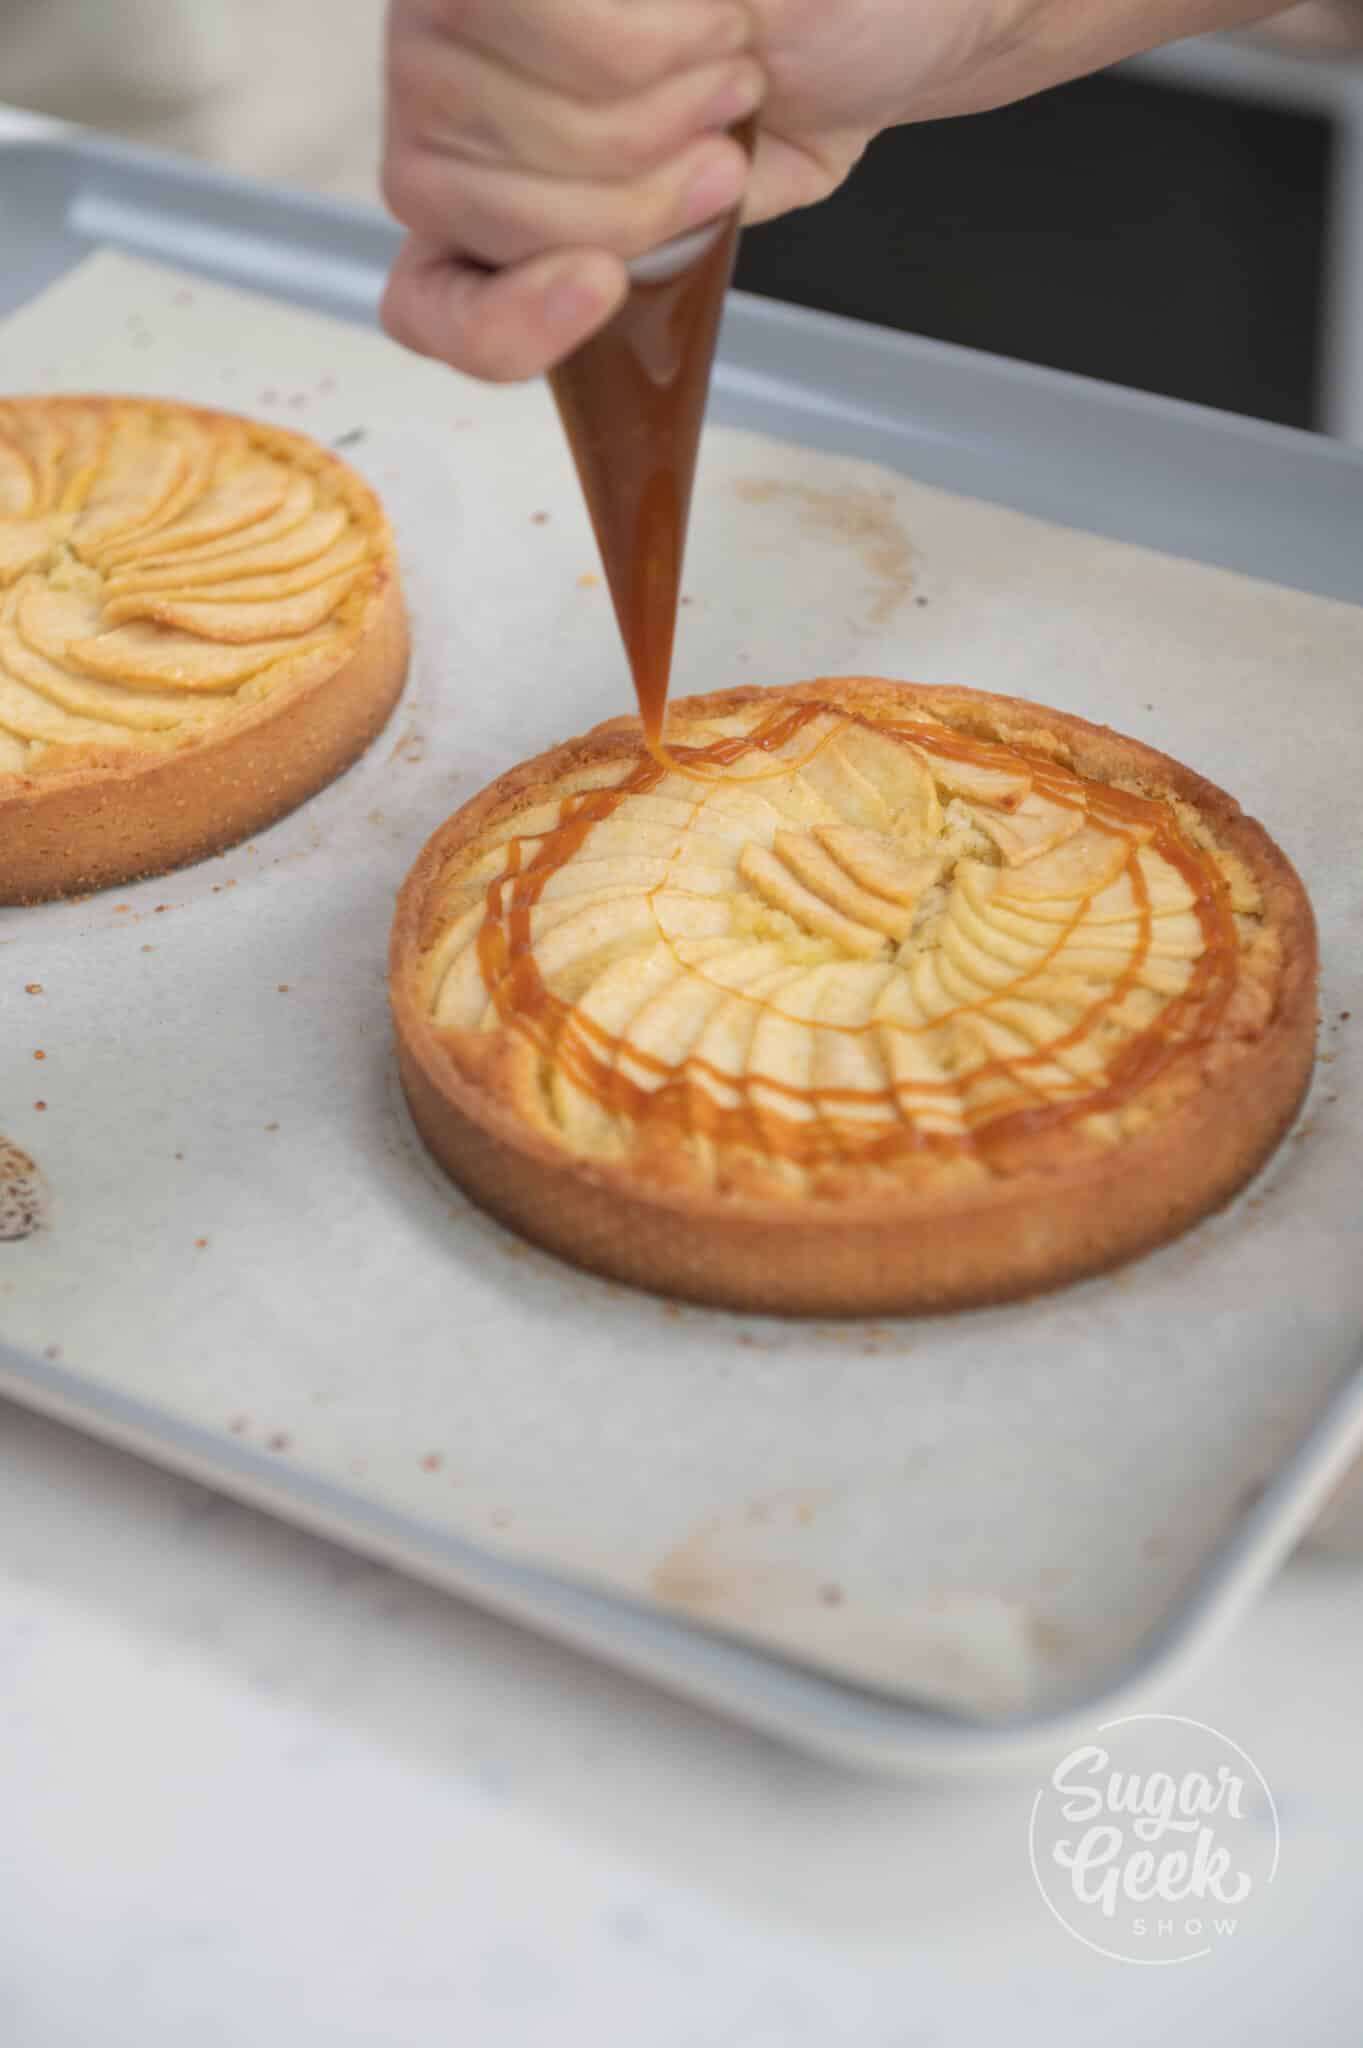
- Drizzle or pipe some caramel (store-bought or homemade) in a circle around the tart.
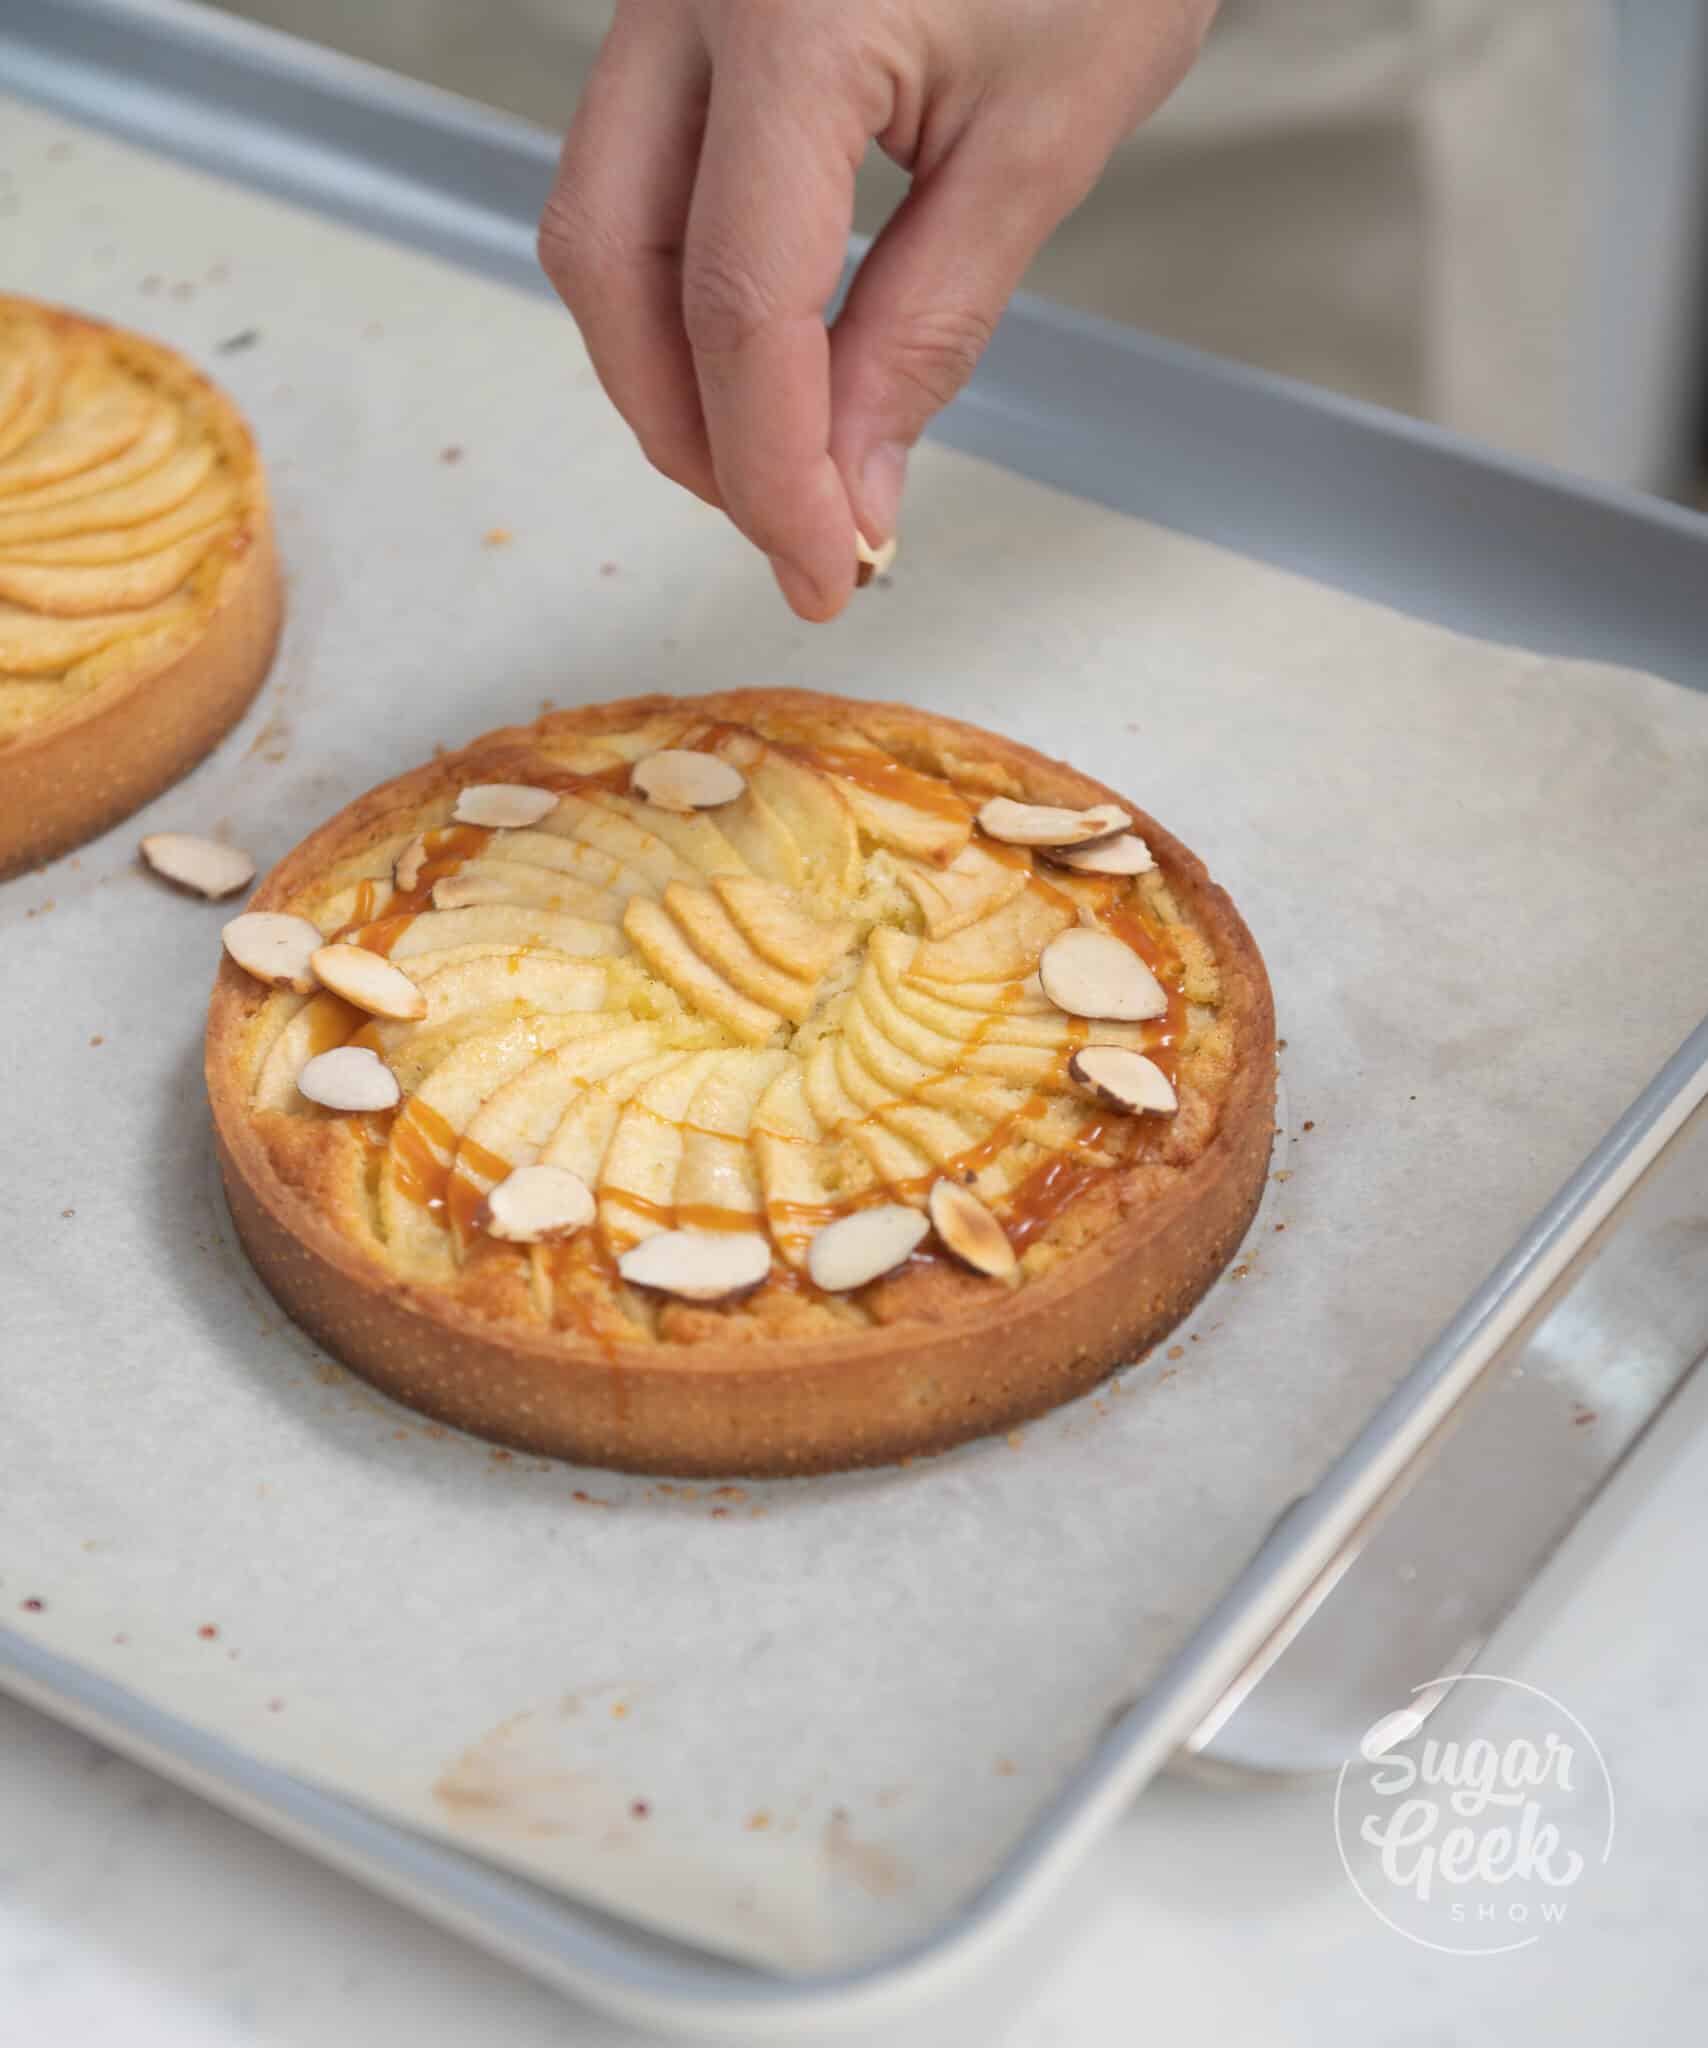
- Add some chopped toasted almonds along the caramel design.
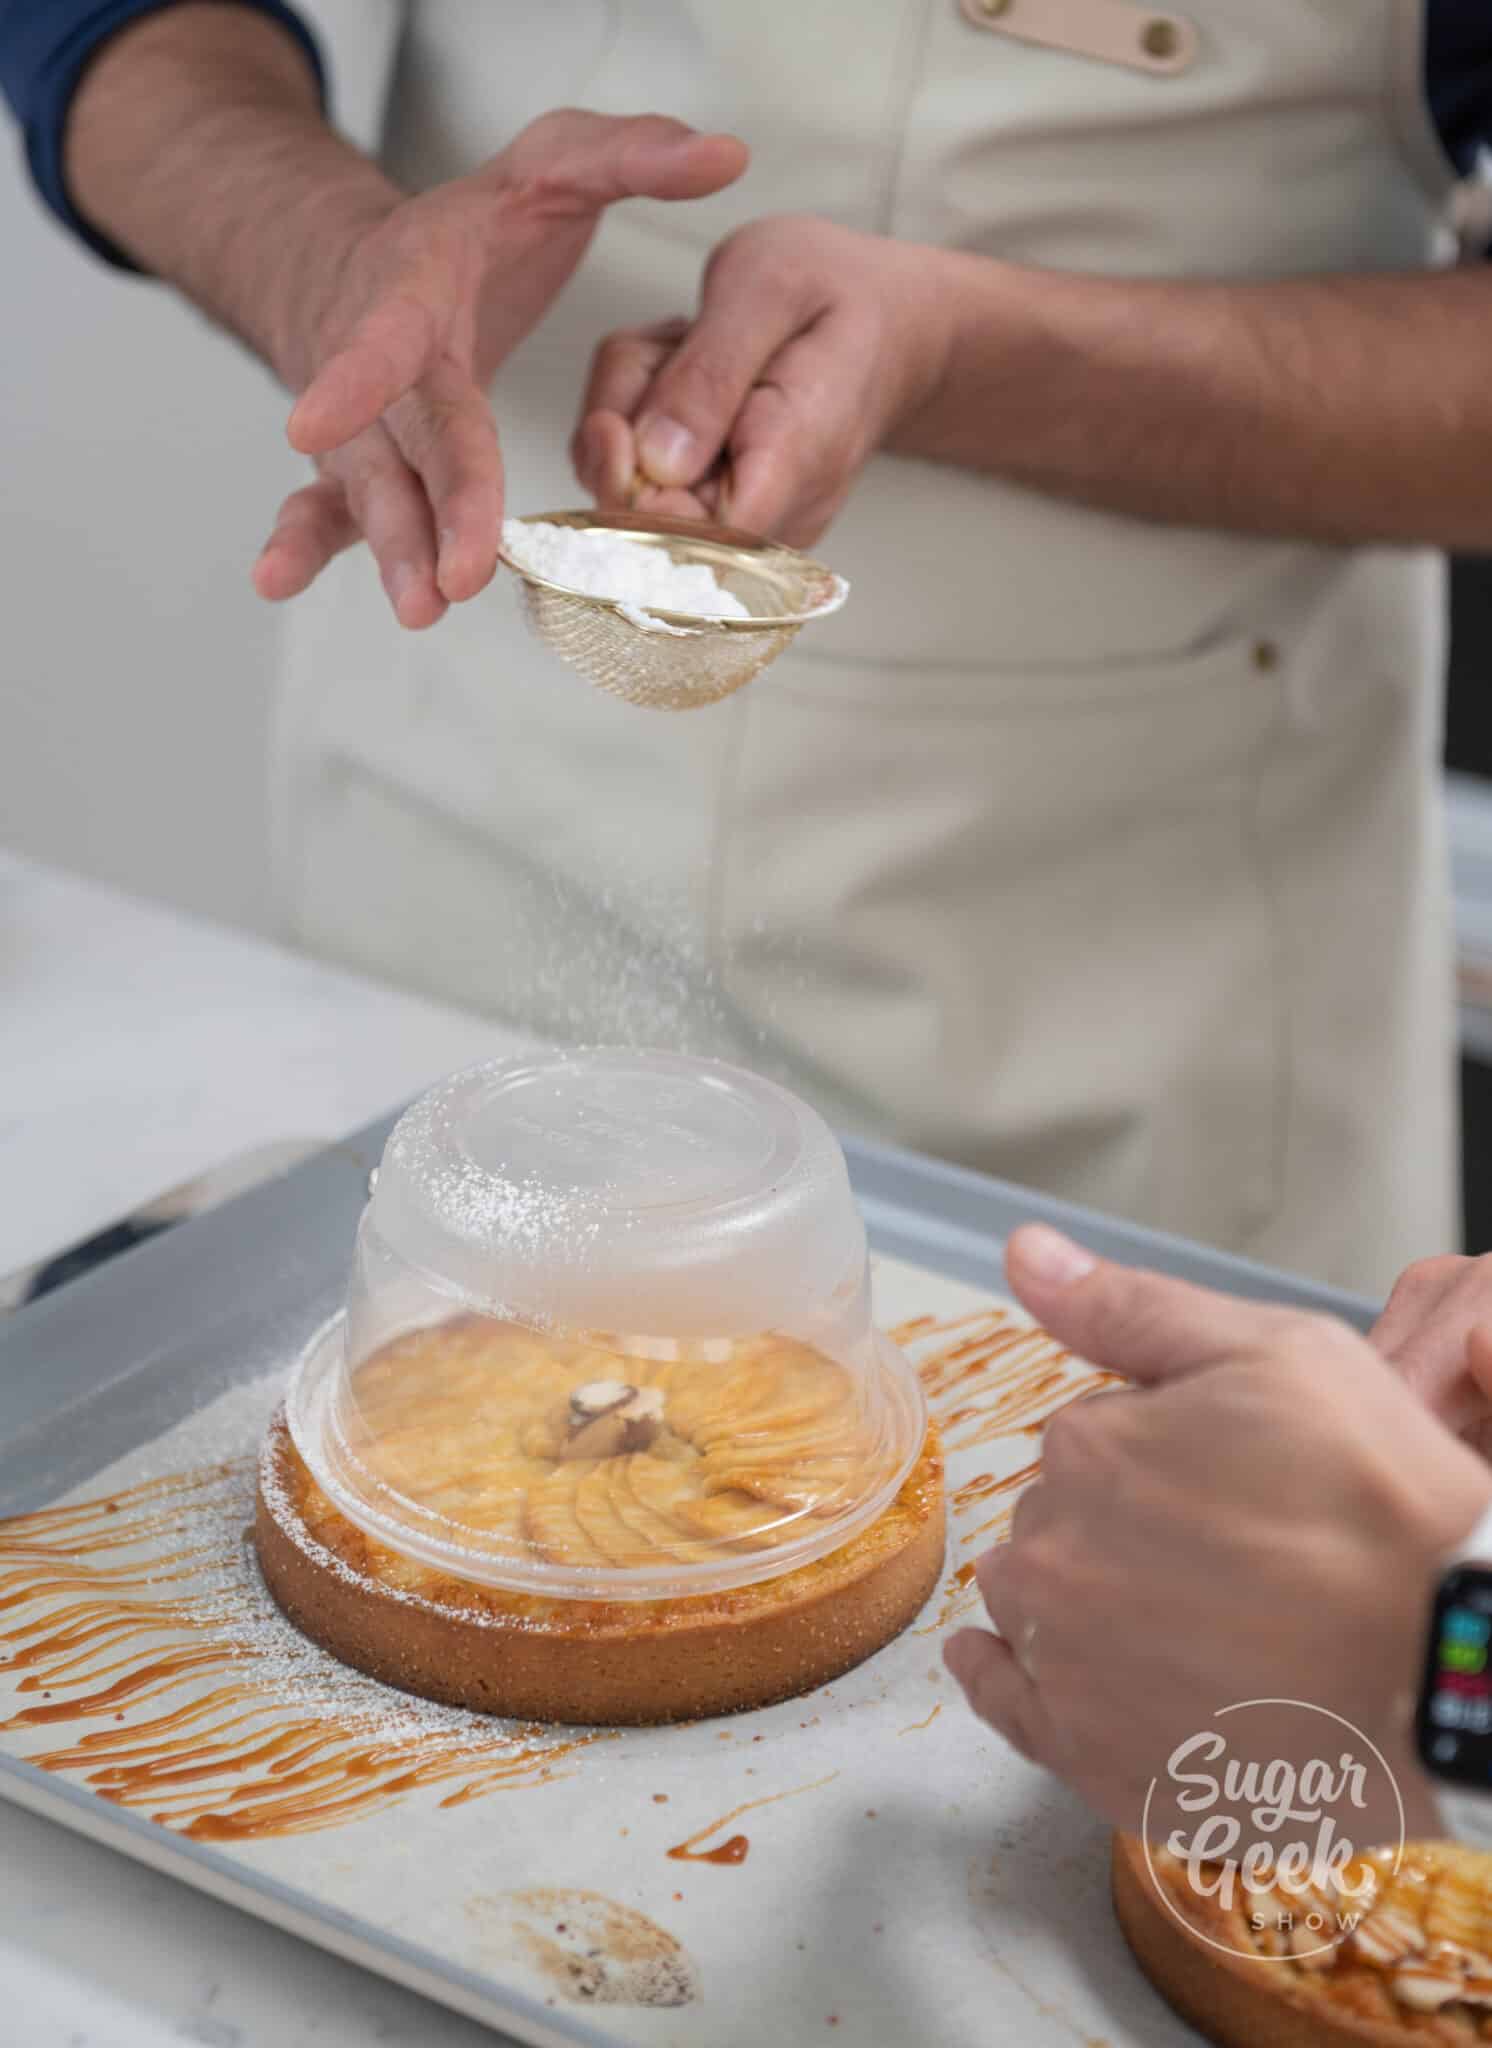
- Place a medium bowl that's slightly smaller than your tart on top so that everything but the top edge is covered. Sift some powdered sugar around the edge of the tart. Remove the bowl and you will be left with an even line of powdered sugar dusted along the edge of the tart.
- These apple tarts are best served immediately and with a scoop of vanilla ice cream on top. They can be stored for up to a week in the fridge and are should be eaten within 1-2 days after being baked.
FAQ
Gala apples work best for an apple tart because they are on the sweeter side but are still firm enough to hold their shape while baking. You can use granny smith apples if you like a more acidic and tart flavor, or a combination of apples if you prefer. Pink lady, honey crisp, or golden delicious apples are also good options.
A traditional pâte sucrèe (or sweet dough) is the perfect crust for an apple tart because it has a nice flaky crunch and will melt in your mouth. It's different from the classic pie dough that uses cold butter and flour because it contains eggs and sugar and is similar to a shortbread cookie. There is also no need to egg wash like you would a typical pie dough, it will brown evenly in the oven.
Peel and core the apples and remove any seeds, then cut them in half so that they're face down on the cutting board. Slice them into very thin slices with a small pairing knife and make sure the slices are as even as possible so that they bake well.
Yes, to make these in advance, make the dough and shape the tart rings, then freeze them. Fill and bake the tarts when you're ready to serve. These apple tarts are best served within a day or two after baking.
While pies and tarts both often include some sort of fruit or custard and a buttery crust, they are fundamentally different. Tarts only have a bottom crust and it is usually a thicker sweet pastry crust rather than a pie crust or puff pastry crust. Additionally, a tart looks cleaner and more refined than a traditional rustic pie.
Related Recipes
Recipe

Equipment
- 2 8-inch Tart Rings
Ingredients
Pâte Sucrée ( Sweet Doug)
- 300 grams All Purpose Flour
- 150 grams Powdered Sugar
- 150 grams European Unsalted Butter American butter is okay too
- 75 grams Eggs
- 40 grams Almond Flour
- 3 grams Salt
Almond Cream
- 100 grams Unsalted Butter
- 100 grams Granulated Sugar
- 100 grams Almond Flour
- 100 grams Eggs
- 8 grams Rum optional
- 1 fresh Vanilla Bean or 1 teaspoon of vanilla extract
Decoration
- 2 large Gala Apples (or apples of your choice)
- 30 grams Toasted Almonds Optional (for decoration)
- 10 grams Caramel Sauce Optional (for decoration)
- 10 grams Powdered Sugar Optional (for decoration)
- 30 grams corn syrup Optional (for glazing)
- 30 grams water Optional (for glazing)
Instructions
Making The Pâte Sucrée
- Add the softened butter and powdered sugar to the bowl of your stand mixer with the paddle attachment and mix on low speed until combined.
- Add the fresh vanilla bean seeds and continue to mix until incorporated.
- Next, slowly add the eggs and continue to mix on low until combined, scraping the bowl as needed.
- Add the almond flour and mix for a few seconds then add the flour and salt.
- Once all the ingredients have been added, continue mixing on low for 15 seconds until all ingredients are just combined and a dough starts to form. Be careful to not overmix.
- Place the dough onto a piece of plastic wrap and shape it into a rectangle. Pro Tip: Forming the dough into a rectangle helps all parts of the dough chill evenly. Refrigerate for about 2 hours or until it becomes firm to the touch.
Making The Tart Shells
- Once the dough is chilled, take it out of the fridge for about 30 minutes before rolling it out. Room temperature dough will roll out easier. Remove it from the plastic wrap and cut it in half, setting one half aside.
- Flour your surface and roll out one-half of your dough using a rolling pin until it is about ⅛ inch thick.
- Next, gently place the 8" tart ring on your rolled dough to use it as a guide. This perforated tart shell ring allows the tart to bake more evenly because the heat is well distributed. You can also use any fluted tart shell ring with a removable bottom if you prefer.
- Using a sharp knife, cut about 2 inches out from your tart ring (about 10 inches), this will give you enough dough to cover the bottom and sides of your ring with a little extra.
- Repeat with the other half of your dough, or chill it to use another time.
- Use your fingers to gently press the dough into the tart pan. Work your fingers around the shell slowly making your way towards the bottom taking care to not press too hard or tear the dough.
- Use a knife to trim the access dough from the top of your shell. Pro Tip: Hold the knife facing away from the tart shell and glide it flat along the top edge of the ring while using your other hand to turn the tart ring. This makes it easy to cut and leaves a super smooth top edge!
- Make sure the bottom edge of the tart shell is at a 90-degree angle with the ring, this will shrink as the dough bakes and will leave you with a straighter edge.
- Place your tart rings on a baking sheet with parchment paper.
- Refrigerate the tart rings while you make the almond cream.
Making The Almond Cream
- First, add the sugar and butter into the bowl of your stand mixer and mix on low speed with the paddle attachment until smooth.
- Add the vanilla bean and mix for 10 seconds, scrape the bowl, and then continue to mix for another 10 seconds.
- Next, add your eggs one at a time and mix until fully incorporated, scraping the bowl if needed.
- Then add the almond flour and mix for a few seconds, add the rum and continue mixing on low speed until the mixture is smooth.
- Prepare a piping bag with a metal round tip and fill the bag with the almond cream.
Assembling The Apple Tart
- Preheat the oven to 360°F (162° C).
- Pipe the almond cream into your chilled tart shells using a spiral motion filling about ⅓ of the way up, then set it aside. Pro Tip: To form a perfect spiral, start from the center of the tart and slowly move outwards using a spiral formation.
- Peel and core the apples, then cut them in half so that they're face down on the cutting board. Slice them into thin slices with a small pairing knife, removing any leftover seeds or core pieces from the slices. Pro Tip: Keep keep your slices uniform in size so that they bake evenly and soak them in lemon juice so that they don't brown.
- Place the apple slices nicely inside of the tart on top of the almond cream, layering them slightly and fanning them into a circle in the tart shell.
- Brush melted butter on top of the tart dough and apples using a pastry brush.
- Sprinkle a thin layer of brown sugar to help give the apples a hint of caramel flavor.
- Bake the tarts at 360°F (162° C) for about 30 minutes or until the tart crust looks golden brown.
- Set the tarts aside on a cooling rack for about 30 minutes.
Decorating The Apple Tart
- (optional) Make a simple syrup out of corn syrup and water by mixing them together and bringing them to a boil, then cool it down. Brush the glaze over the top of the tart for a little extra sweetness and shine. You can also melt some apricot preserves and use that to brush over the top.
- Drizzle or pipe some caramel (store-bought or homemade) in a circle around the tart.
- Add some chopped toasted almonds along the caramel design.
- Place a medium bowl that's slightly smaller than your tart on top so that everything but the top edge is covered. Sift some powdered sugar around the edge of the tart. Remove the bowl and you will be left with an even line of powdered sugar dusted along the edge of the tart.
- These apple tarts are best served immediately and with a scoop of vanilla ice cream on top. They can be stored for up to a week in the fridge and are should be eaten within 1-2 days after being baked.



Leave a Reply